I. Entering the Dungeon:
First things first, after your little chat with the Great Deku Tree, he’s going to open his mouth wide and invite you in. Don’t be shy, jump right into the darkness! This is where the adventure really begins.
II. First Floor Fun:
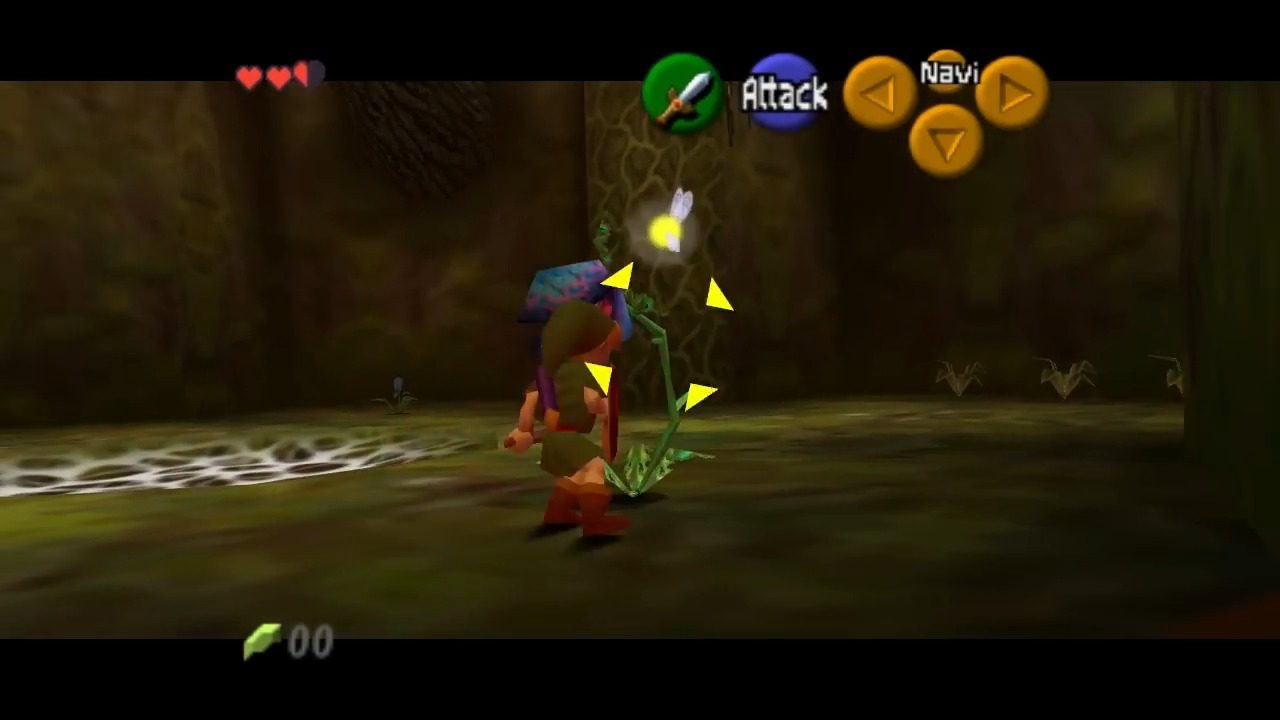
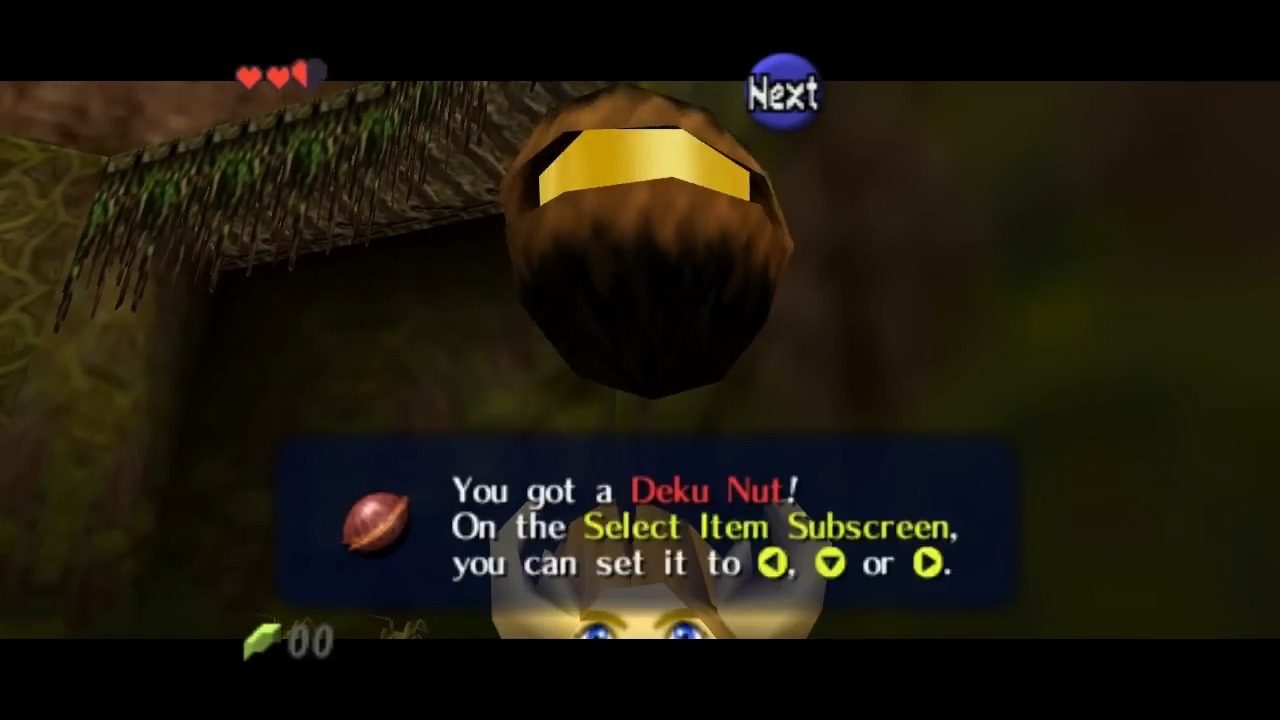
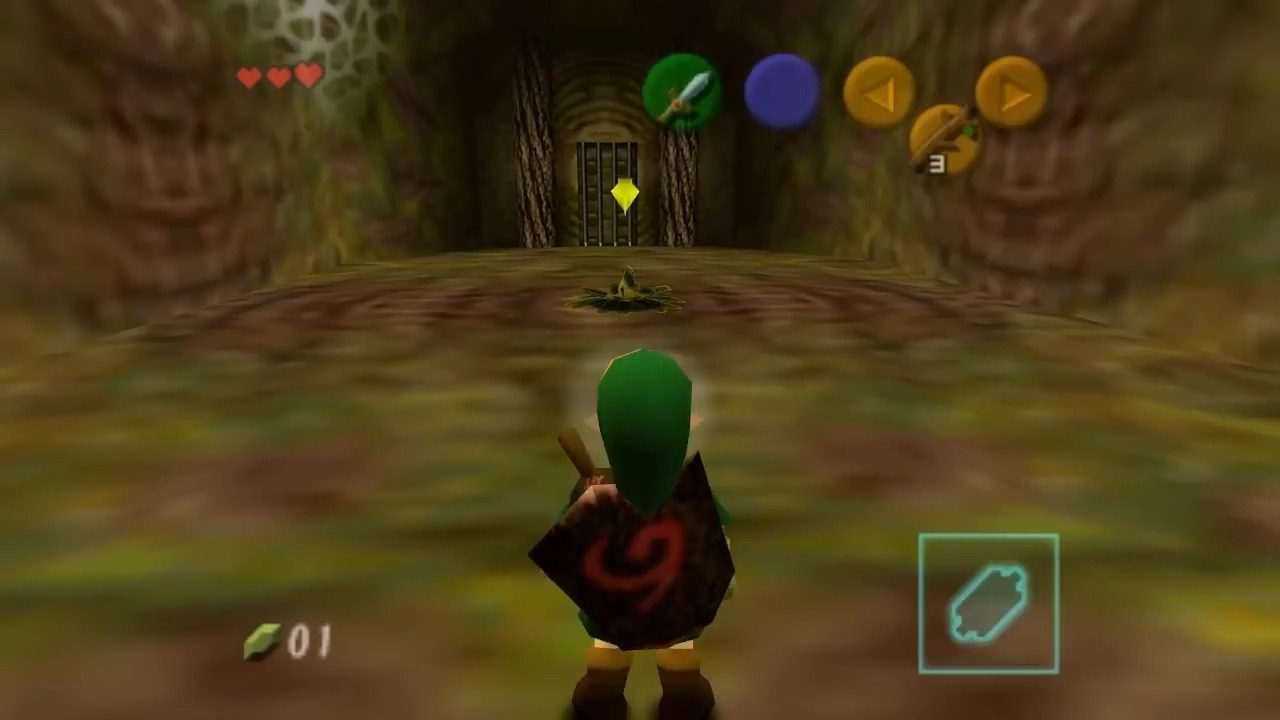
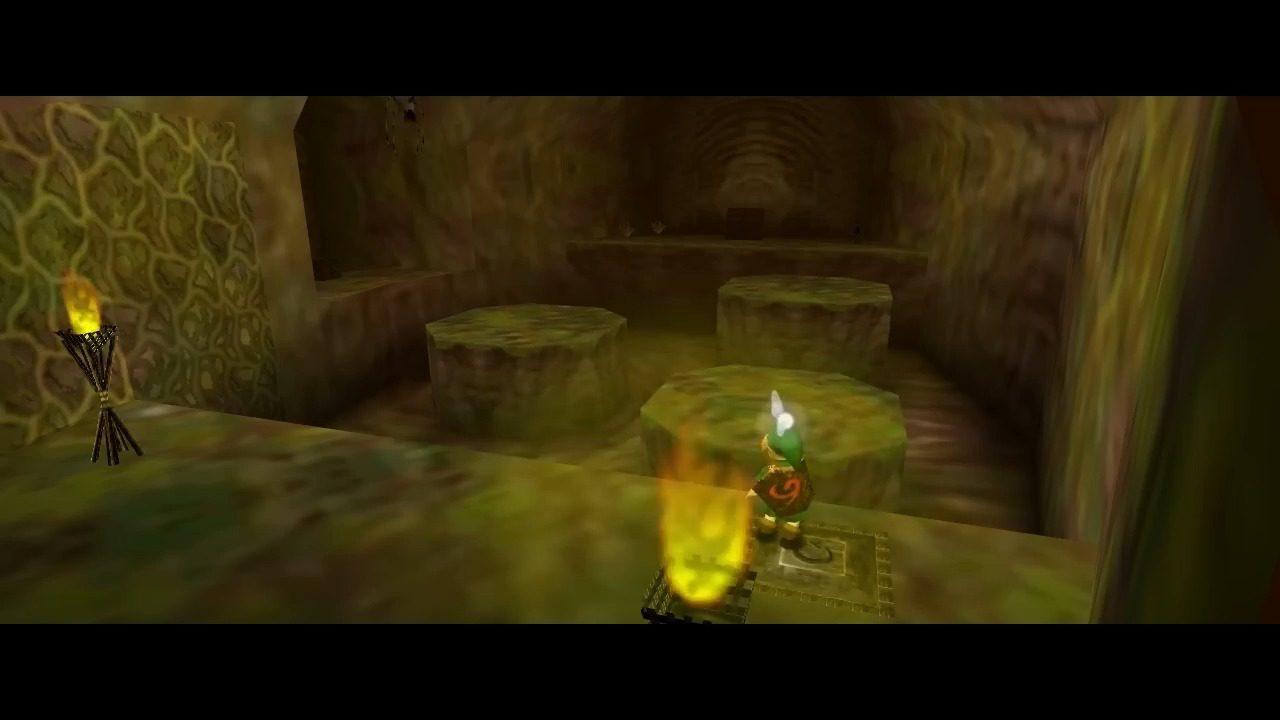
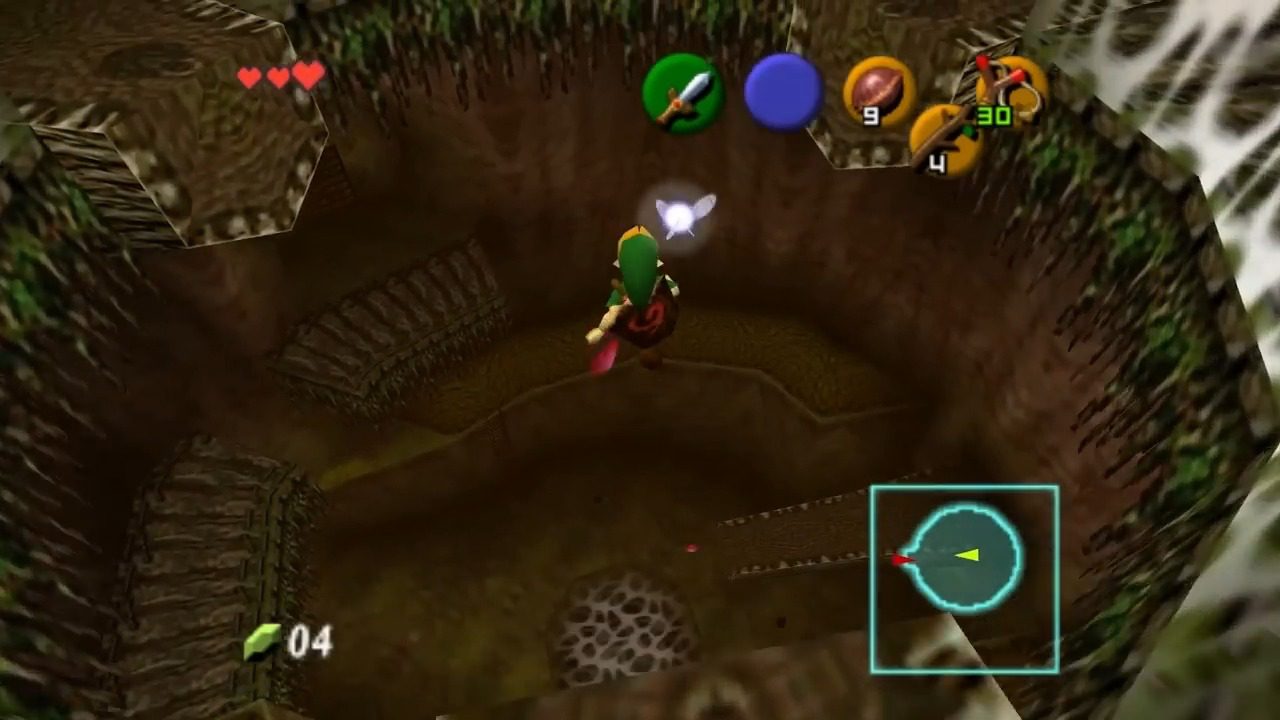
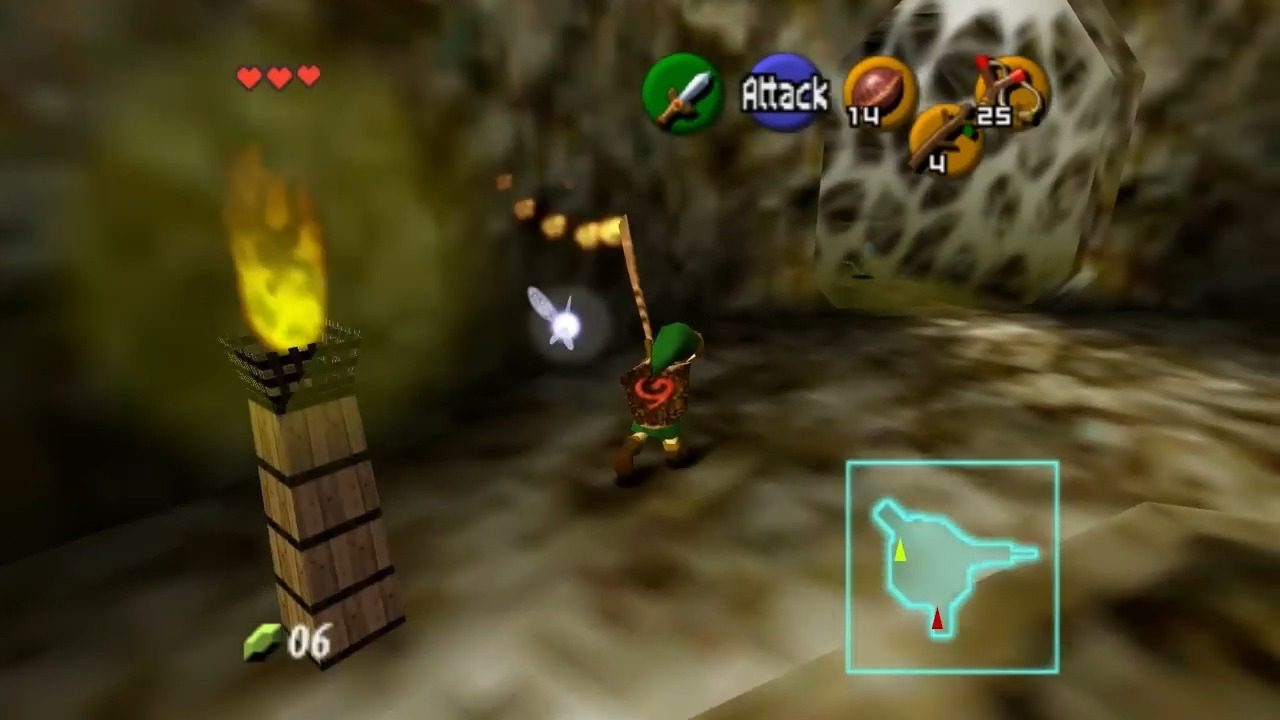
You’ll land in a big, open area. Take a look around. You’ll immediately notice some weird plant-like enemies called Deku Babas. These guys are pretty basic. Just target them and give them a good slash with your Kokiri Sword. They might drop some Deku Sticks or Deku Nuts, which can be useful later. This initial encounter serves as a gentle introduction to combat, allowing you to get a feel for your sword and targeting system.
See that wooden tower in the middle of the room? That’s our way up. You’ve got a couple of options here: you can either climb the ladder or use the vines on the side. Navi, your fairy companion, will probably point out the climbable nature of the vines. Either way, get yourself to the top of this first section of the tower. The game subtly guides you towards exploration by presenting multiple paths to the same objective early on.

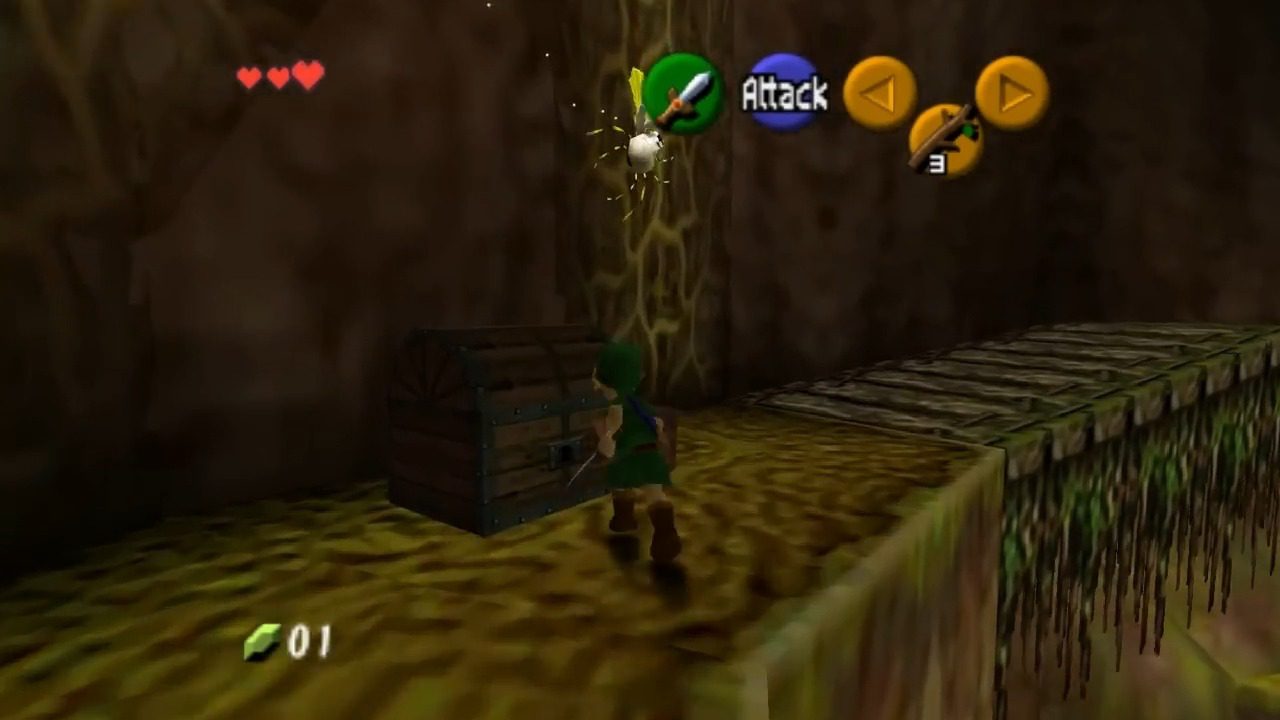
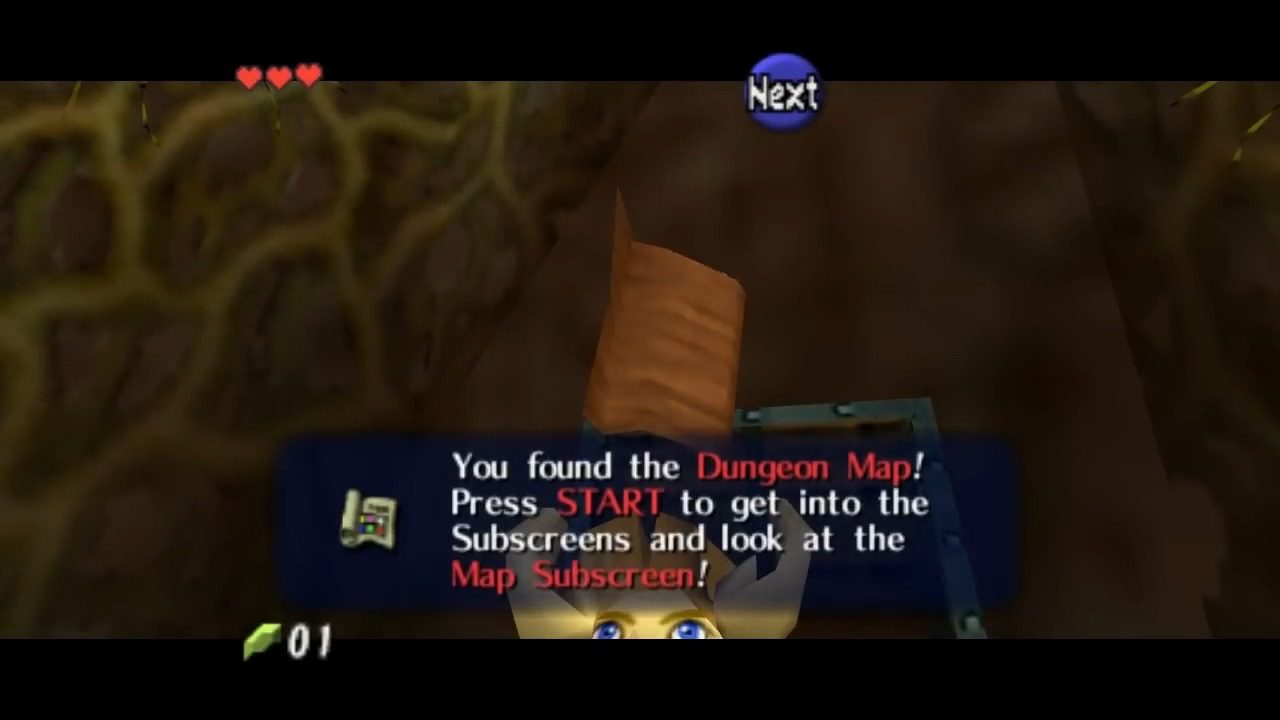
Once you’re up there, work your way around clockwise. You’ll see some more vines with spiders on them – we’ll deal with those soon enough. For now, ignore them and look for a large treasure chest. Open it up, and bam! You’ve got the Dungeon Map. This is super handy for knowing where you’re going, so take a peek at it in your inventory.
III. Facing the First Mini-Boss:
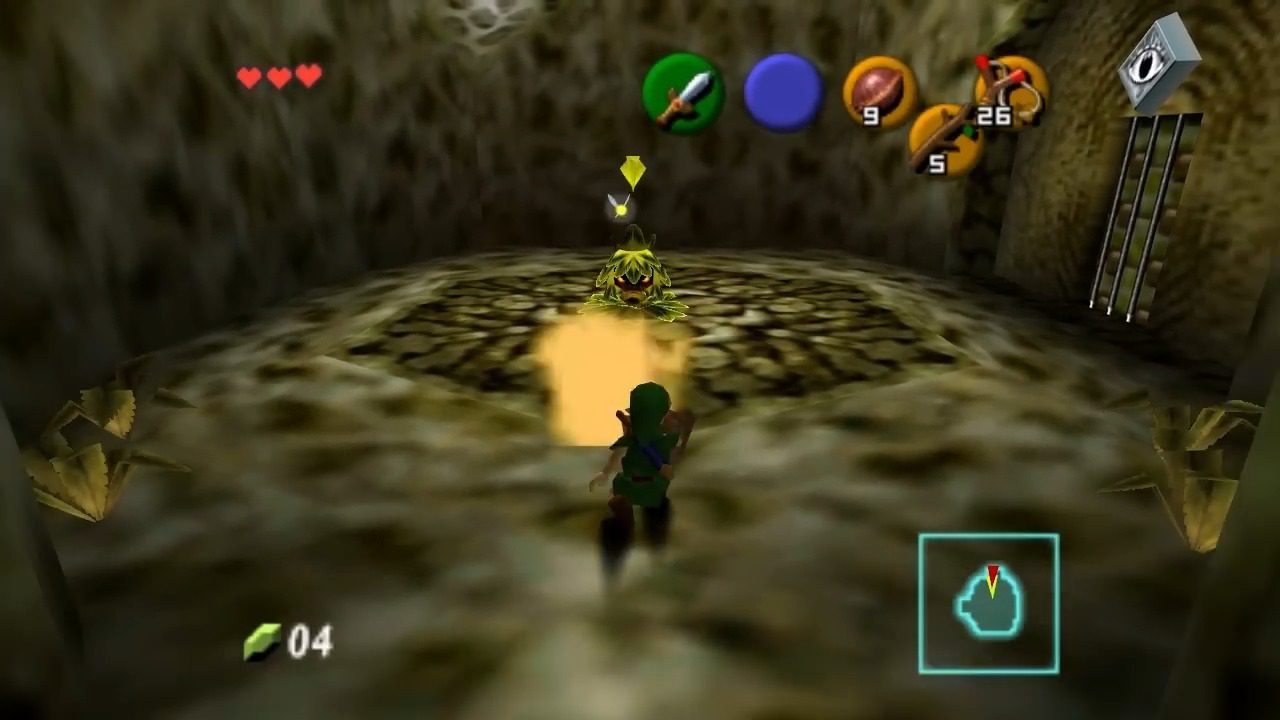
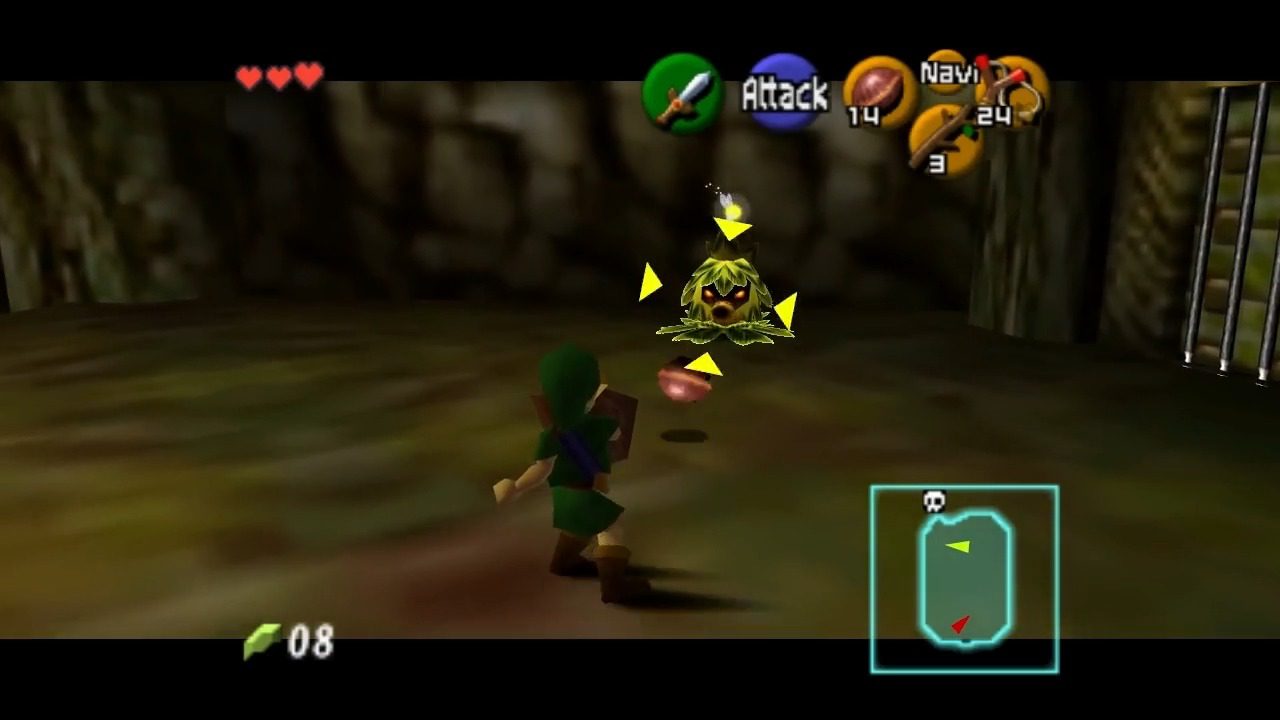
From the Dungeon Map chest, head through the nearby door. You’ll find yourself in a new room, and guess what? We’ve got our first mini-boss encounter! Say hello to the Deku Scrub. These little guys like to pop out of the ground and shoot Deku Nuts at you. The trick here is to target them with your Z-targeting and use your shield to reflect their shot right back at them. One hit is all it takes. After you hit him, he’ll get all flustered and give you a hint. This first Deku Scrub will tell you that rolling is useful when you fall.

IV. Getting the Slingshot:
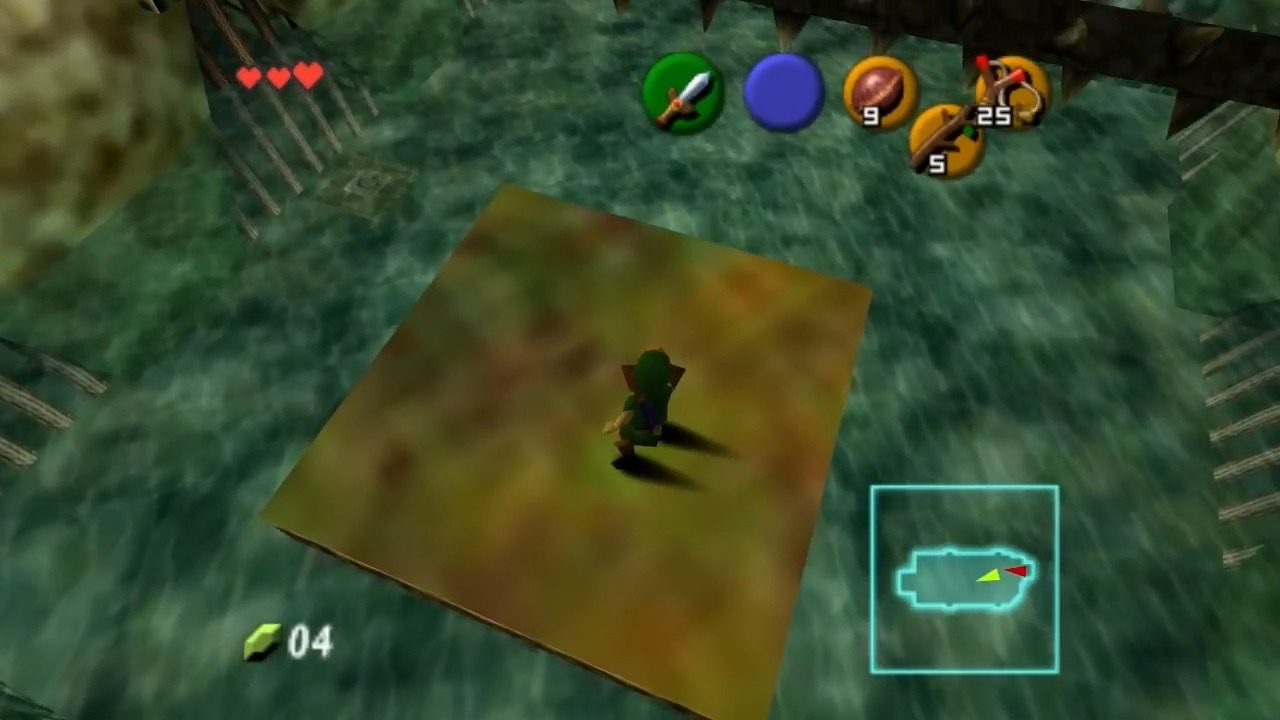
After dealing with the Deku Scrub, you’ll notice a platform in the middle of the room. Jump onto it, but be quick! It’ll start to crumble beneath your feet. Quickly jump to the next platform. If you happen to fall, don’t worry, you can climb the vines on the side to get back up.

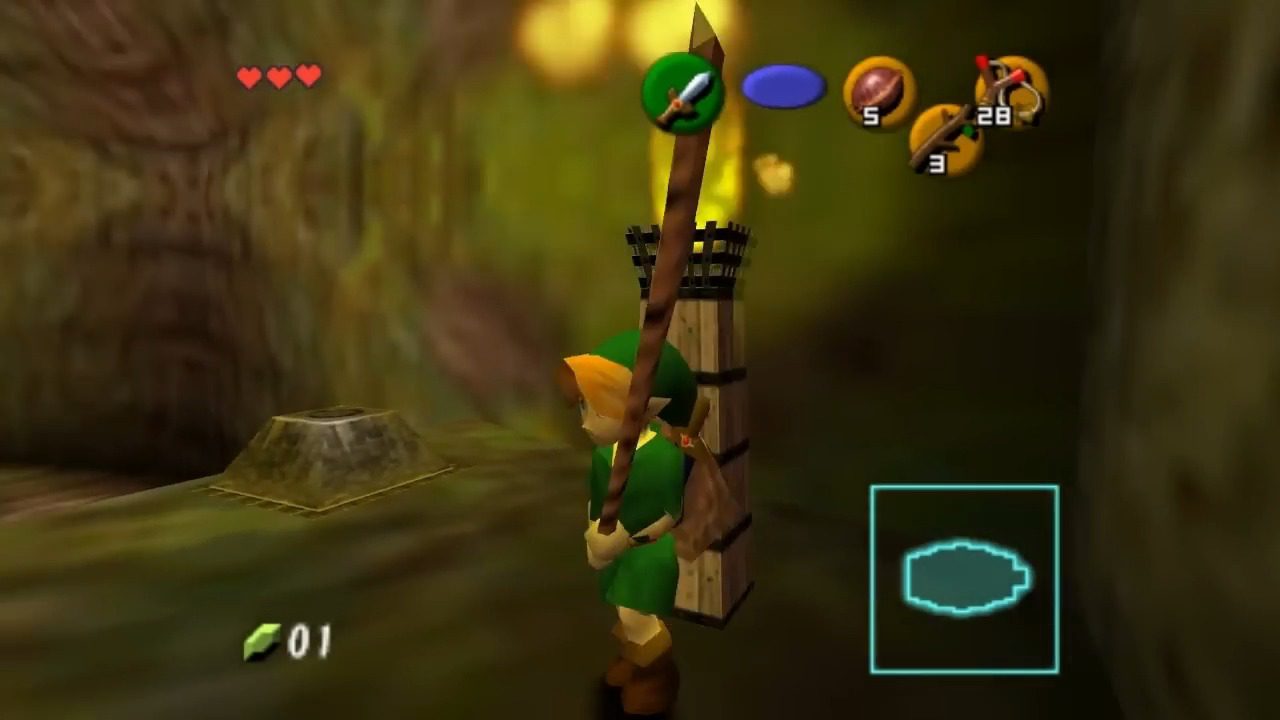
On the other side, you’ll see another large treasure chest. Open it up, and you’ll get the awesome Fairy Slingshot!. This is going to be your new best friend for taking out those pesky spiders and hitting far-away switches.

V. Back to the Main Hall (and a Secret!)
Now that we have the Slingshot, let’s use it! Look above the door you came into this room from. You should see a ladder hanging there. Target it with your Slingshot and fire a Deku Seed. This will make the ladder fall down, creating a shortcut.

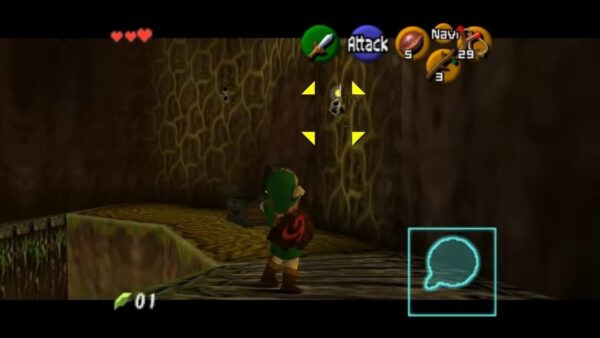
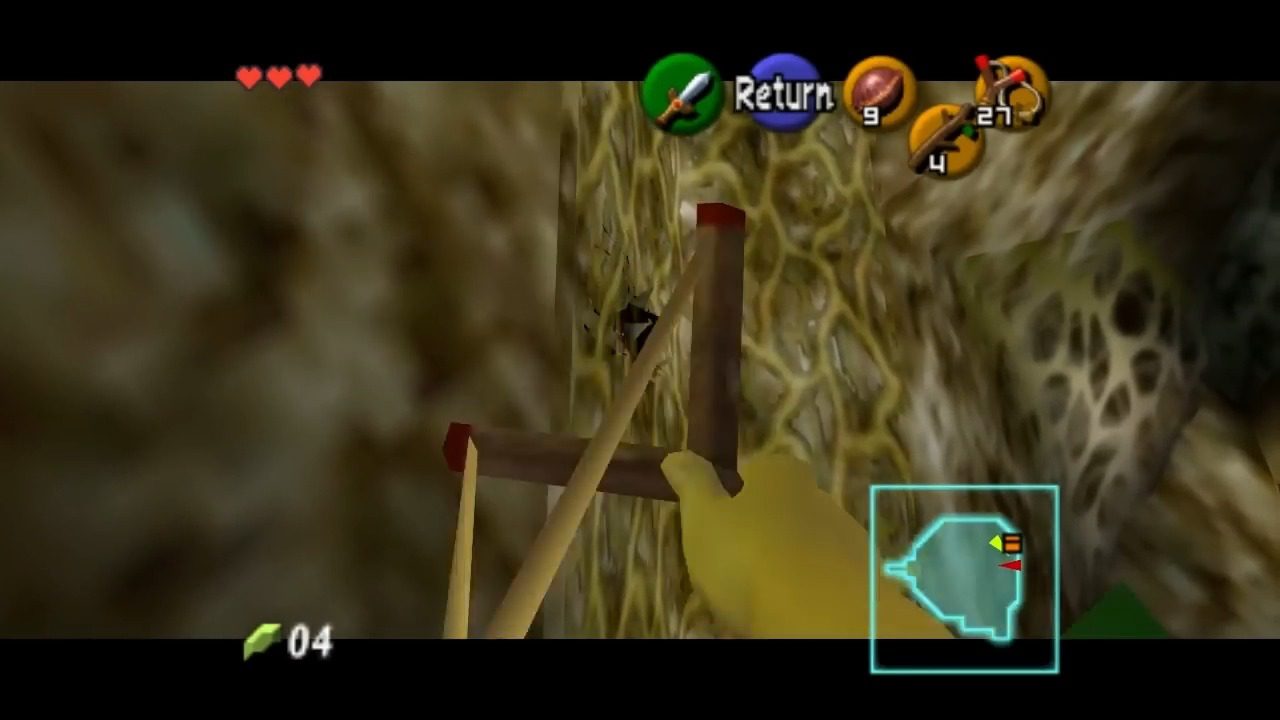
Head back to the main hall using the ladder. You’ll be on the second level now. You might notice some spider-like creatures crawling on the walls – these are Skullwalltulas. Defeat the one(s) at the bottom of the vine with your sling-shot. Climb the vine, avoiding line-of-sight with the Skullwalltula as it rotates at the top. If you do make it into its line of sight, stop moving until it rotates to the point where you’re out of its’ field of vision.
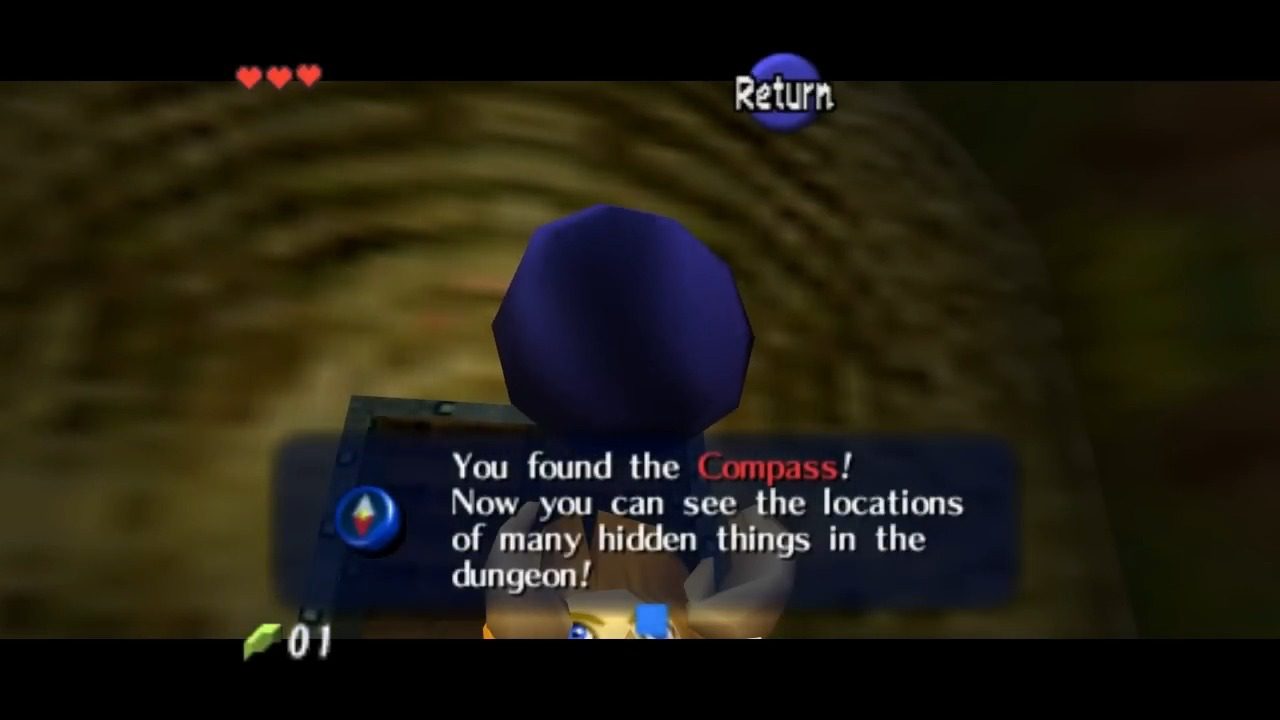
Once you make it to the top, head down the path. You’ll eventually come to a door. Go through it. In this room, you’ll see a switch on the floor. Step on it, and some platforms will rise up. Quickly jump across these platforms to reach a treasure chest on the other side. Open it to get the Compass. Now you can see the locations of all the rooms and the boss on your map – very useful!
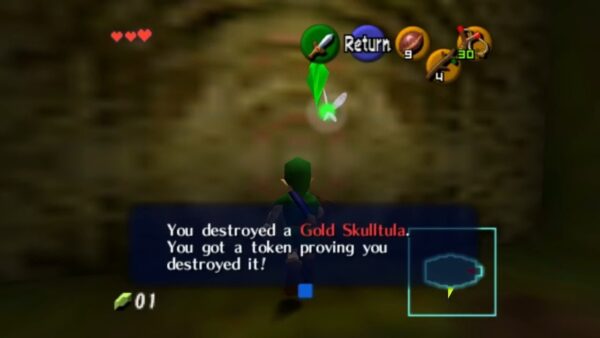
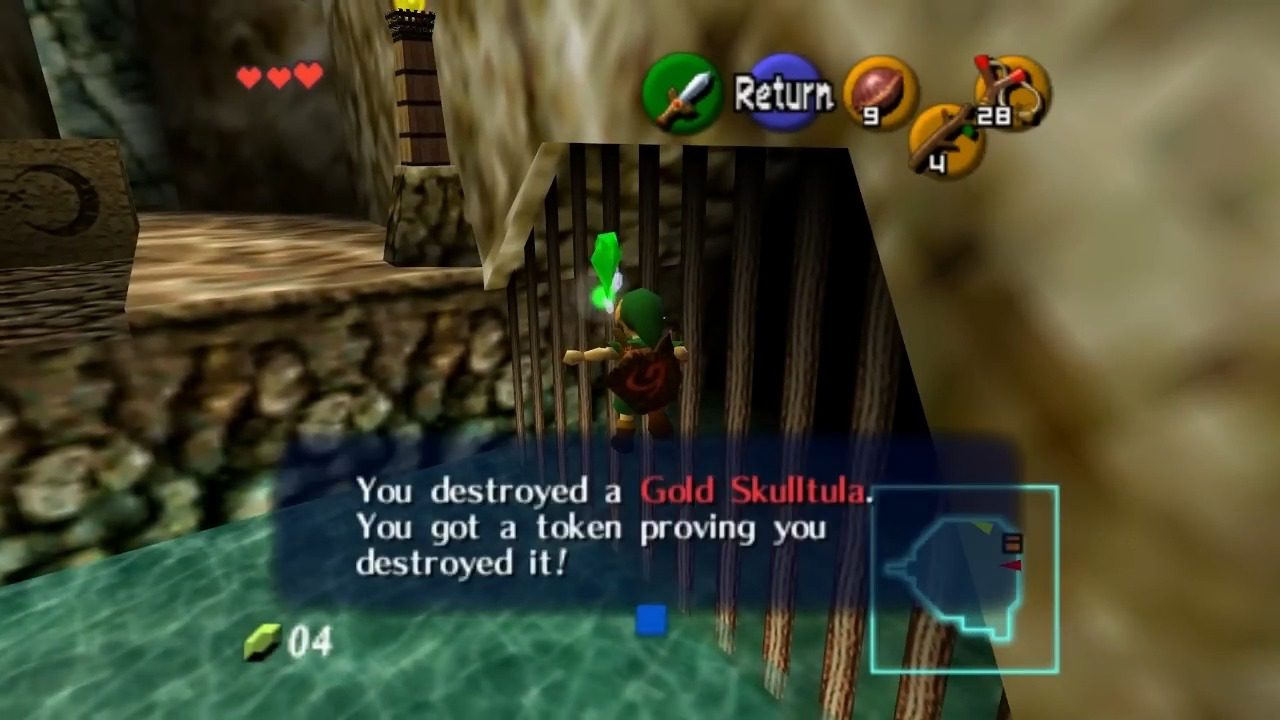
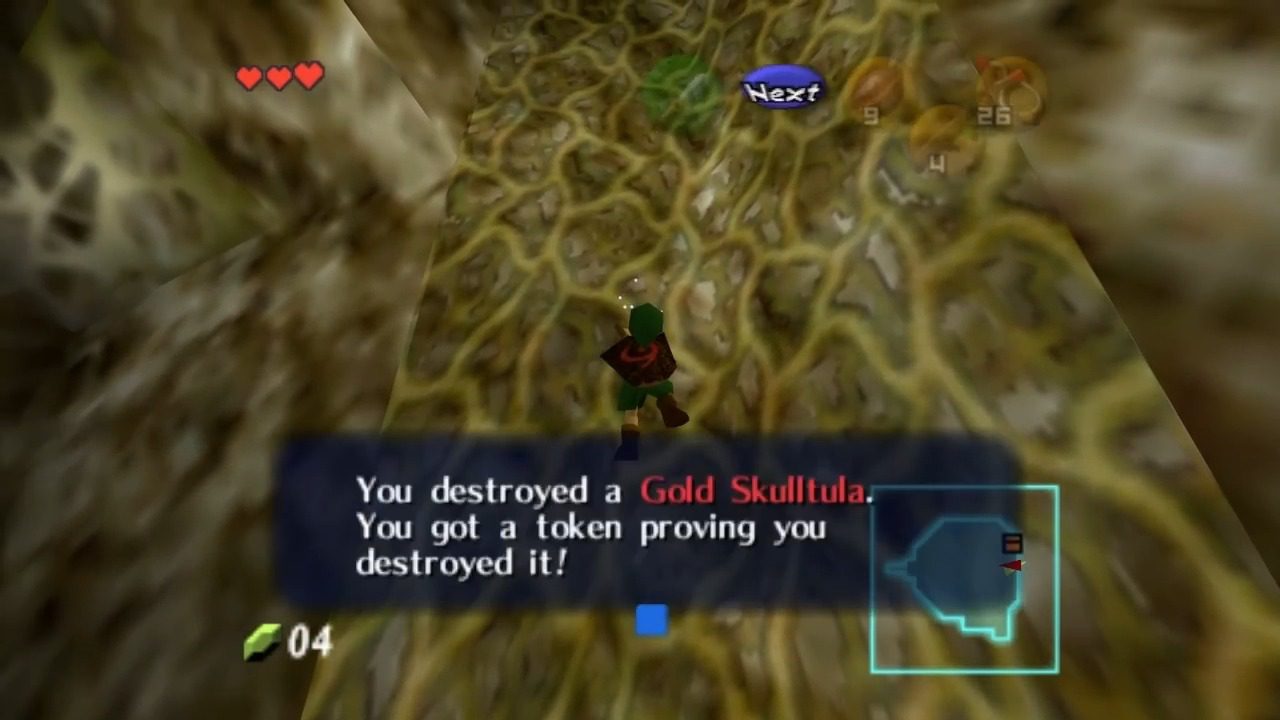
Before leaving this room, let’s grab a collectible! Remember that Big Skulltula? Behind it is the first Gold Skulltula. Take it out with your Slingshot to get a Skulltula Token!. There’s also a Recovery Heart in a chest here – nice!. The placement of the first Gold Skulltula behind a regular enemy encourages exploration and rewards observant players.
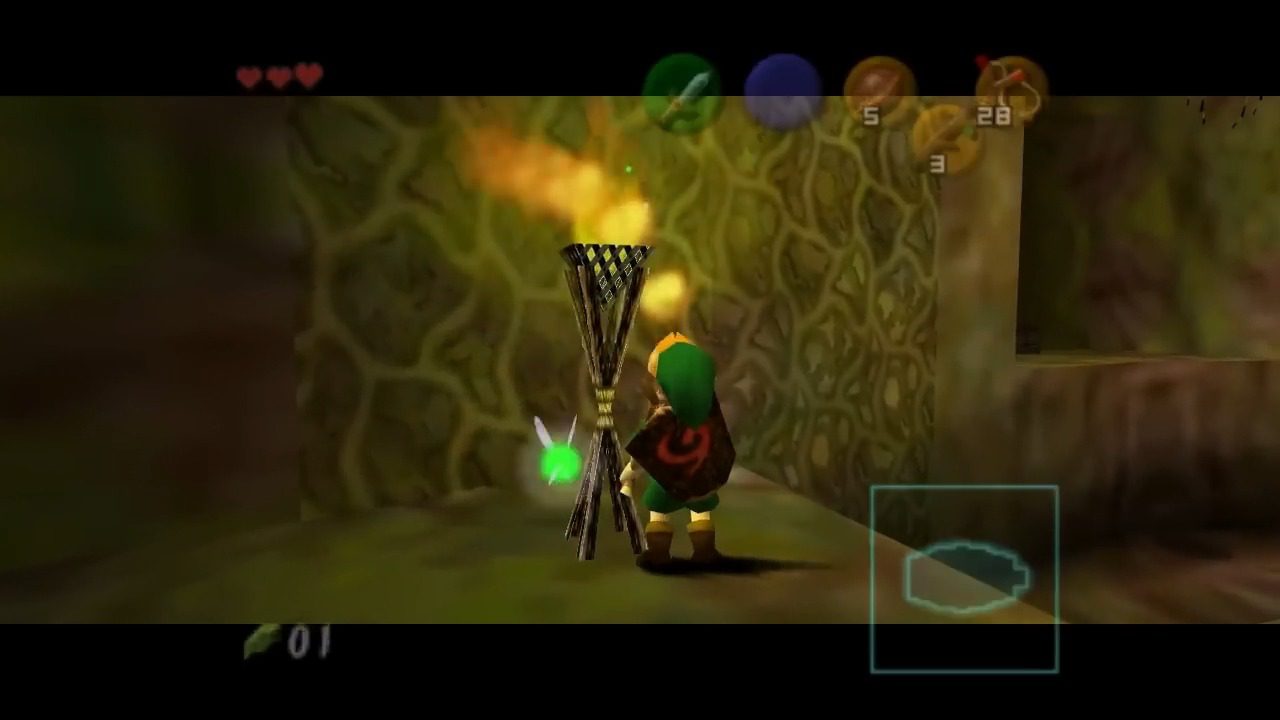
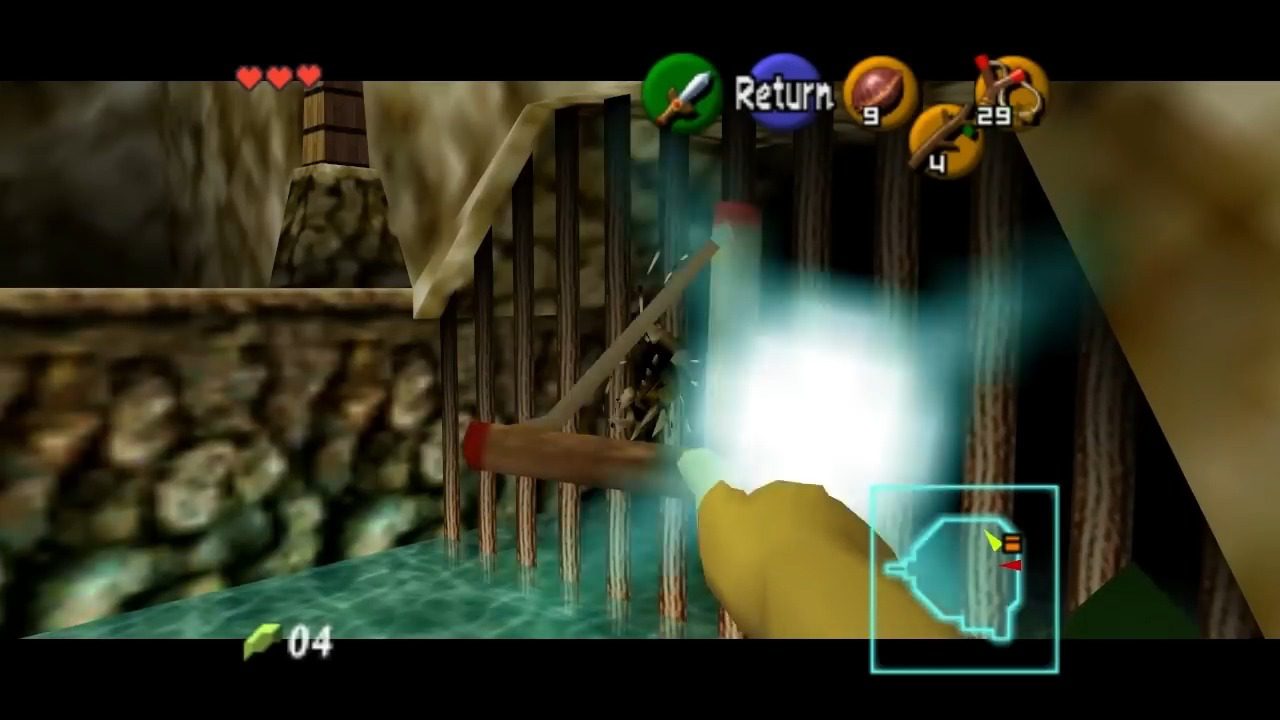
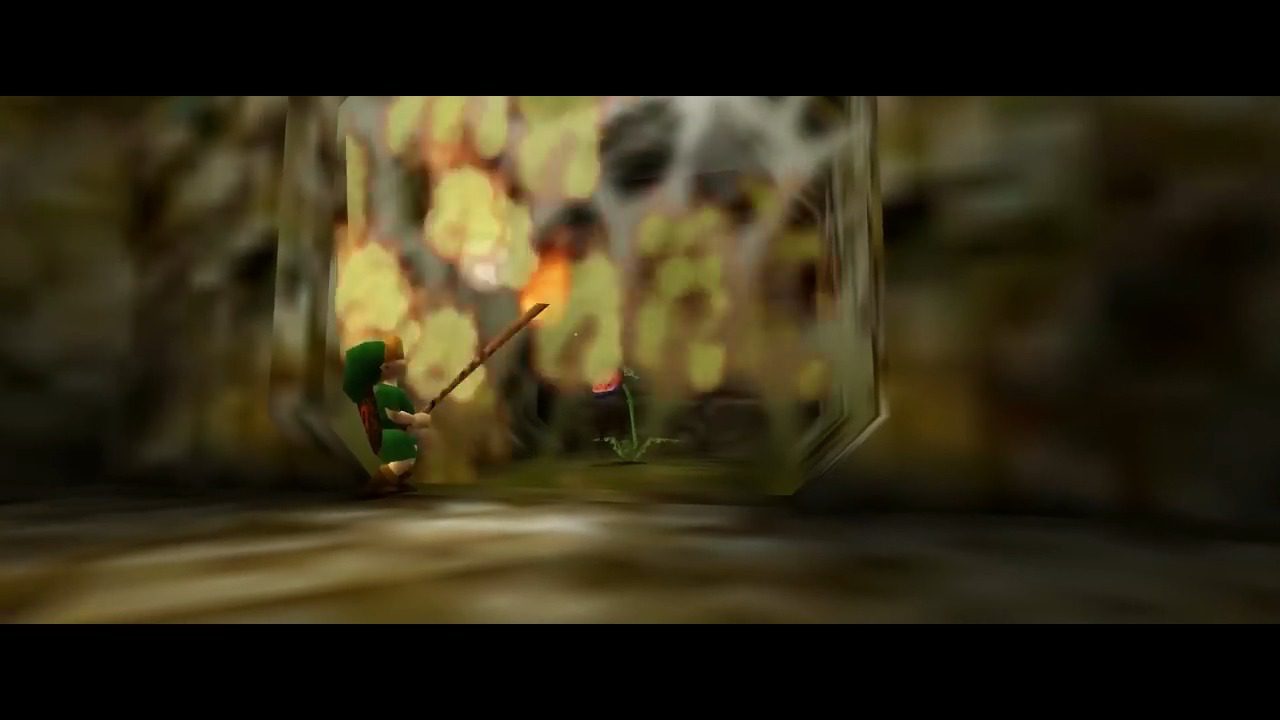
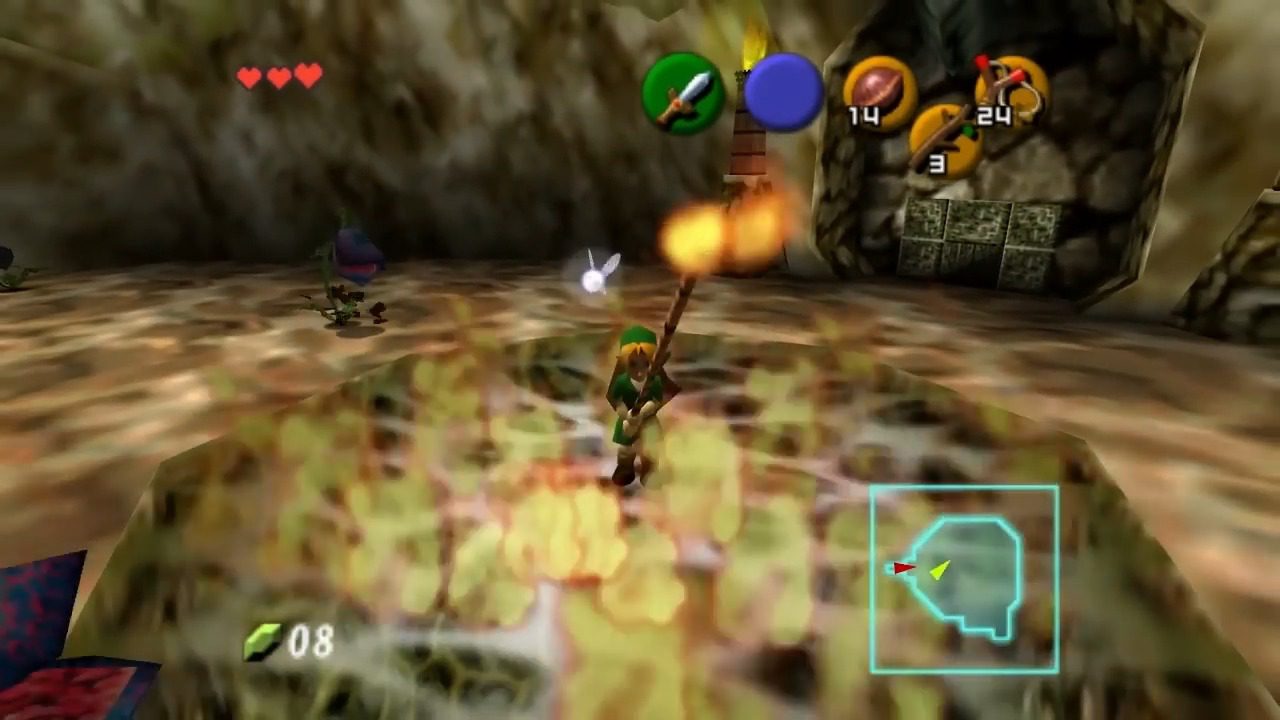
Lighting the Way: Head back to the switch you stepped on earlier. On your left, you’ll see a torch. Equip your Deku Stick and light it using the torch. Now quickly jump across the platforms again and use your lit Deku Stick to light the unlit torch on the other side of the room. This puzzle introduces the mechanic of using fire to solve environmental obstacles, specifically opening doors. It also highlights the limited lifespan of the Deku Stick as a torch. This mechanic will likely be used in later dungeons, and its early introduction serves as a tutorial. This will open the barred door in this room. Go through it.
You’ll be back in the main hall, but on the second level. Take out the Big Skulltula on your left. Now, head to the top floor of the main hall. You should see the big web on the floor below. Take a leap of faith and jump down onto the web!. This will break the web, and you’ll fall into a cavern with water. The act of intentionally falling through the web demonstrates a non-obvious puzzle solution that requires players to observe their surroundings and think vertically.
VI. Lower Level Exploration:
You’ve landed in the “1st Water room”. Take out the Deku Baba nearby.

Look up at the vines leading back to the upper floor – there’s a Gold Skulltula!. Shoot it down with your Slingshot and climb the vines to get the token. There’s another Gold Skulltula in this room on the grating near the switch. Use your Slingshot to take it out and jump from the switch’s platform to get the token. The placement of two Gold Skulltulas in the same room on different environmental elements (vines and grating) encourages players to thoroughly scan their surroundings.
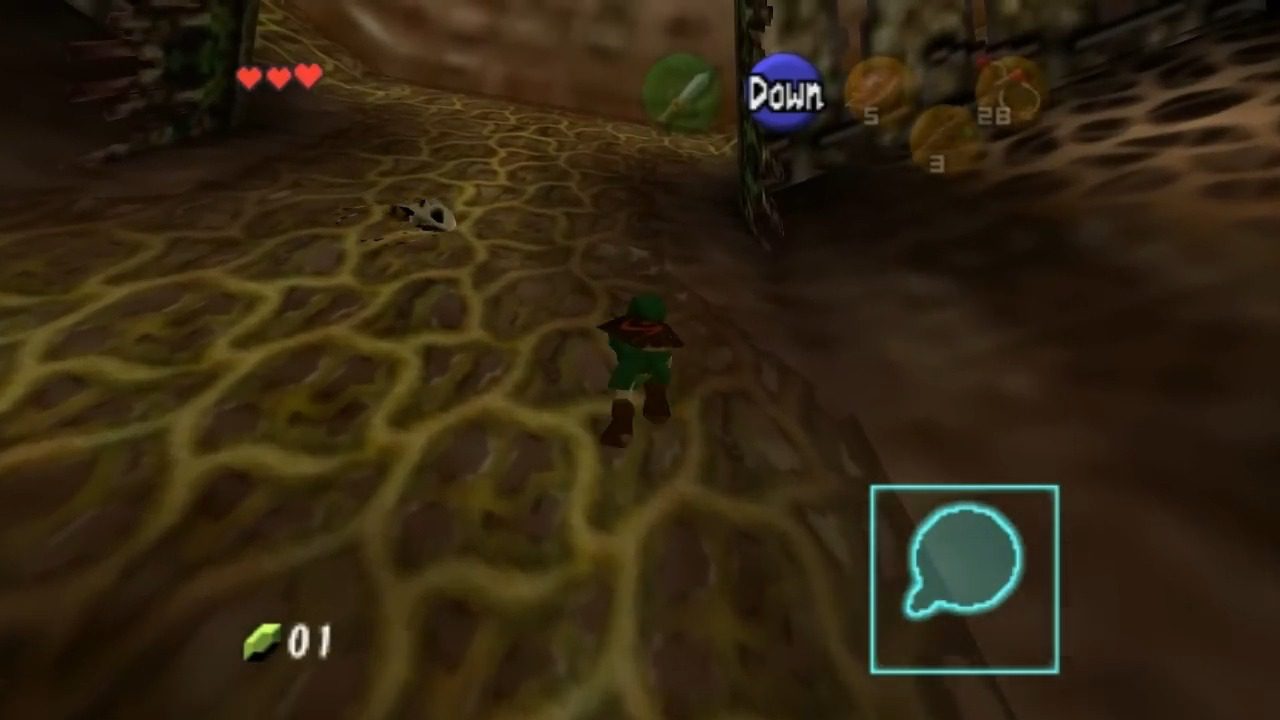
Step on the switch in this room to remove the web nearby and light a torch. There’s also a small chest with a Recovery Heart here – handy!. Light another Deku Stick using the torch.

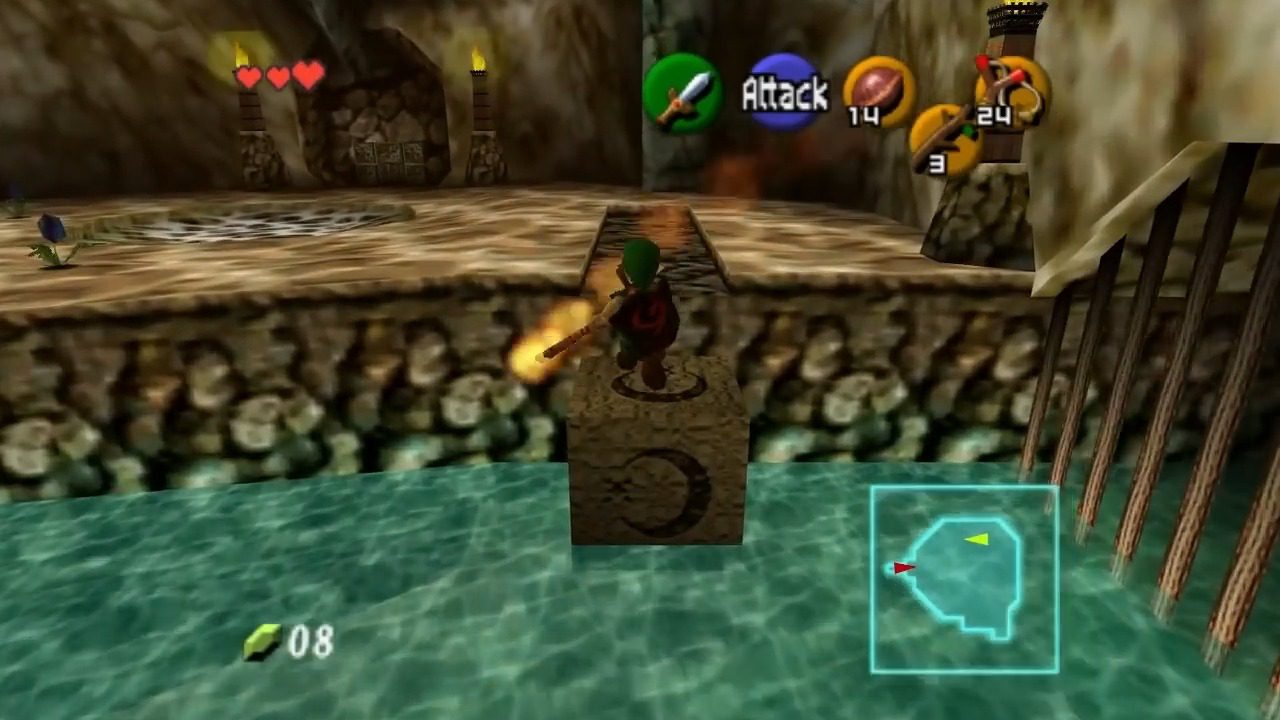
Look at your map – we need to burn the web in the southeast corner of the room. Carefully jump across the platforms and avoid falling into the water. Burn the web with your lit Deku Stick and go through the door.


VII. Deku Scrub Showdown (Part 2):
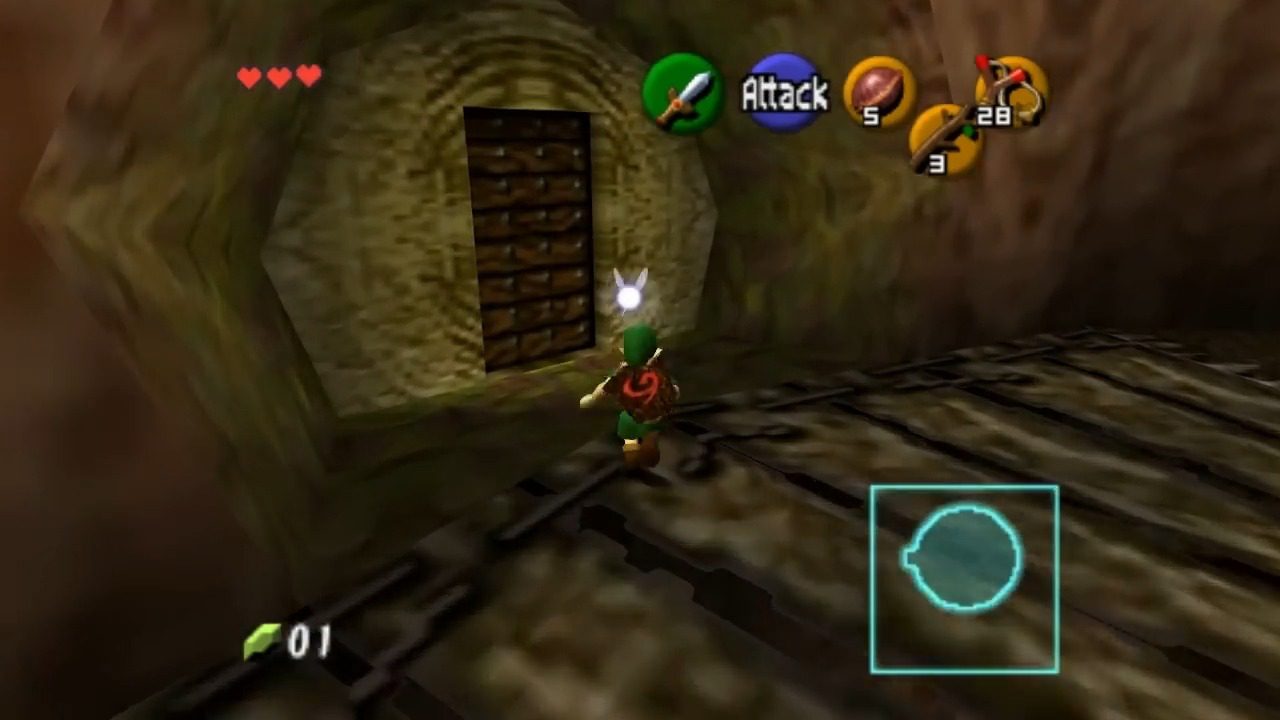
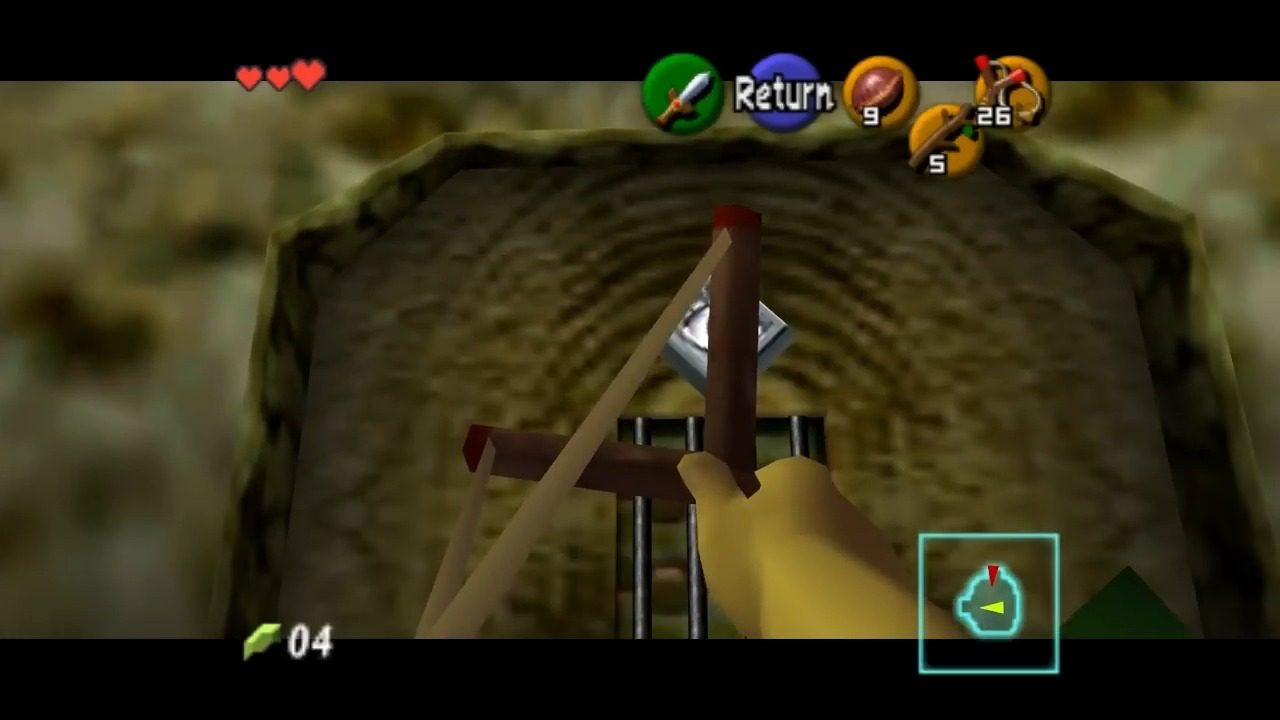
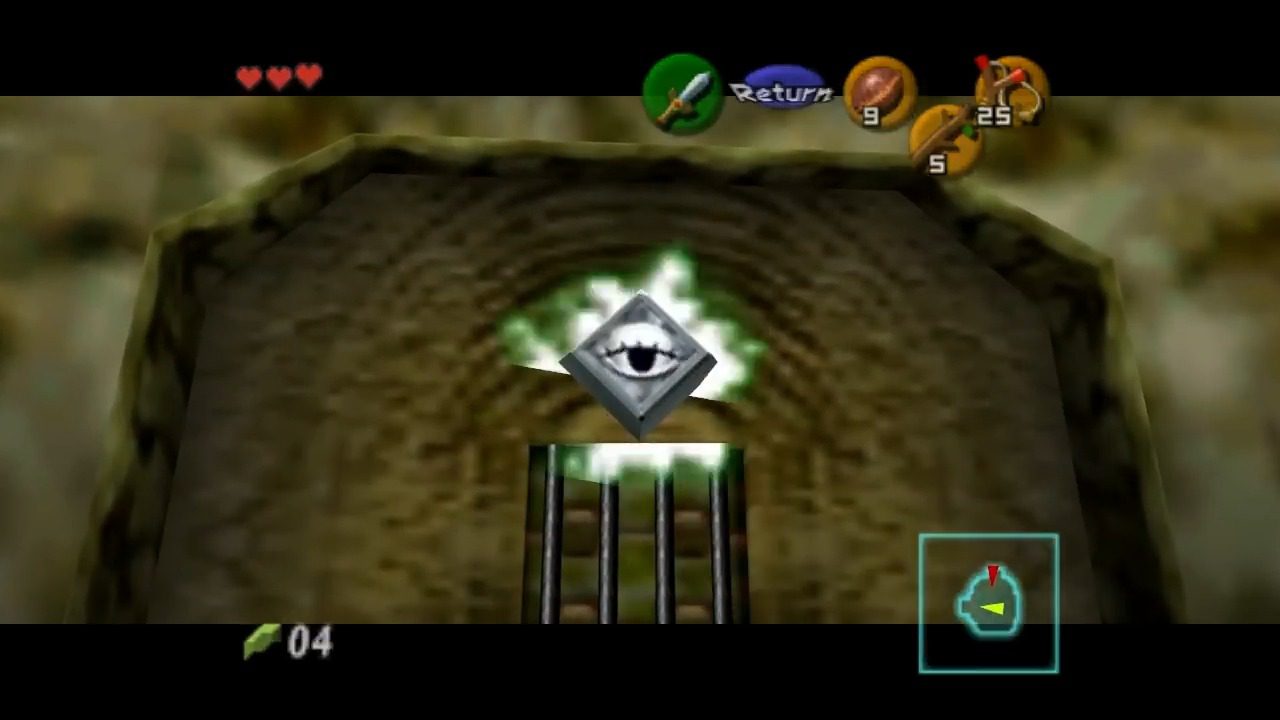
You’re back in a familiar-looking room. You’ll encounter another Deku Scrub here. Remember how to deal with these guys? Target them and use your shield to reflect their Deku Nut back at them. Hit them once, and they’ll give you a hint. This one will tell you about rolling when you fall. Now, look above the locked door – there’s a silver eye. Aim your Slingshot and shoot the eye to unlock the door.
VIII. Navigating the Lower Depths:
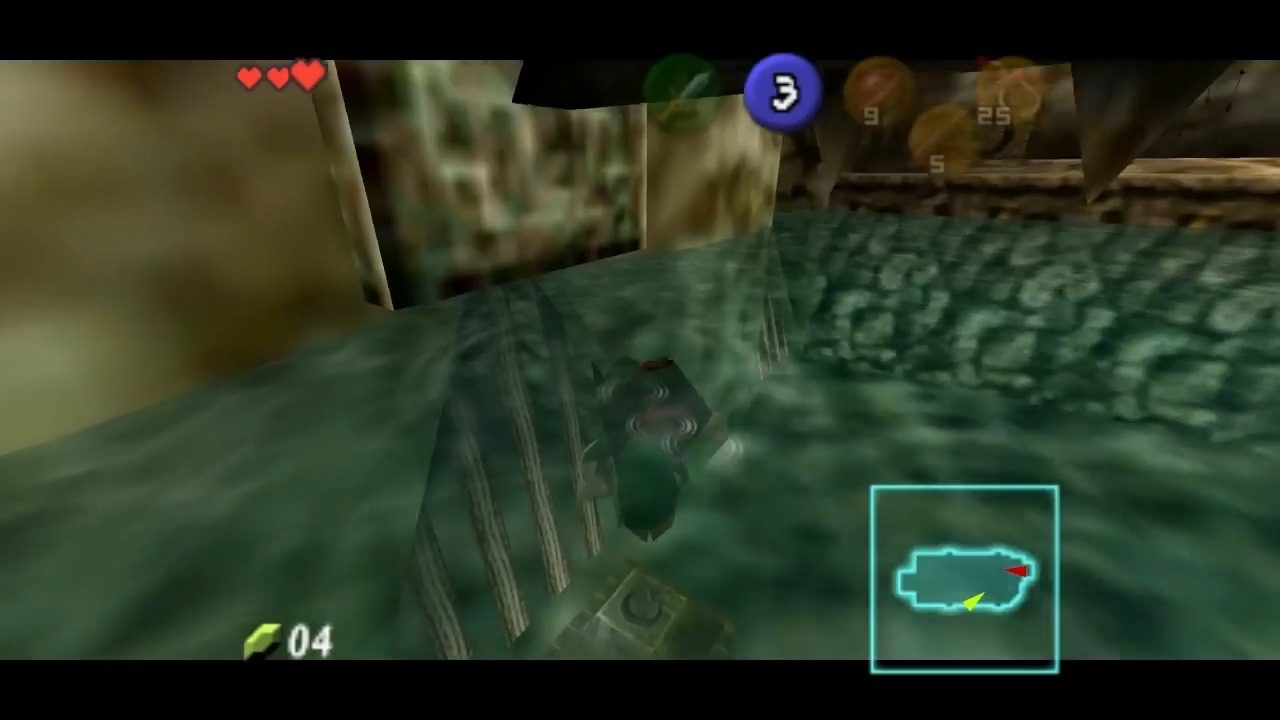
Head through the unlocked door. This room has a giant spiked log rolling back and forth and some water. Jump into the water and look for an underwater switch on the left side. Dive down and hit it by holding the ‘A’ button. The water level will temporarily lower. Quickly swim back to the ramp and climb up. Ride the floating platform under the spiked log to the other side.
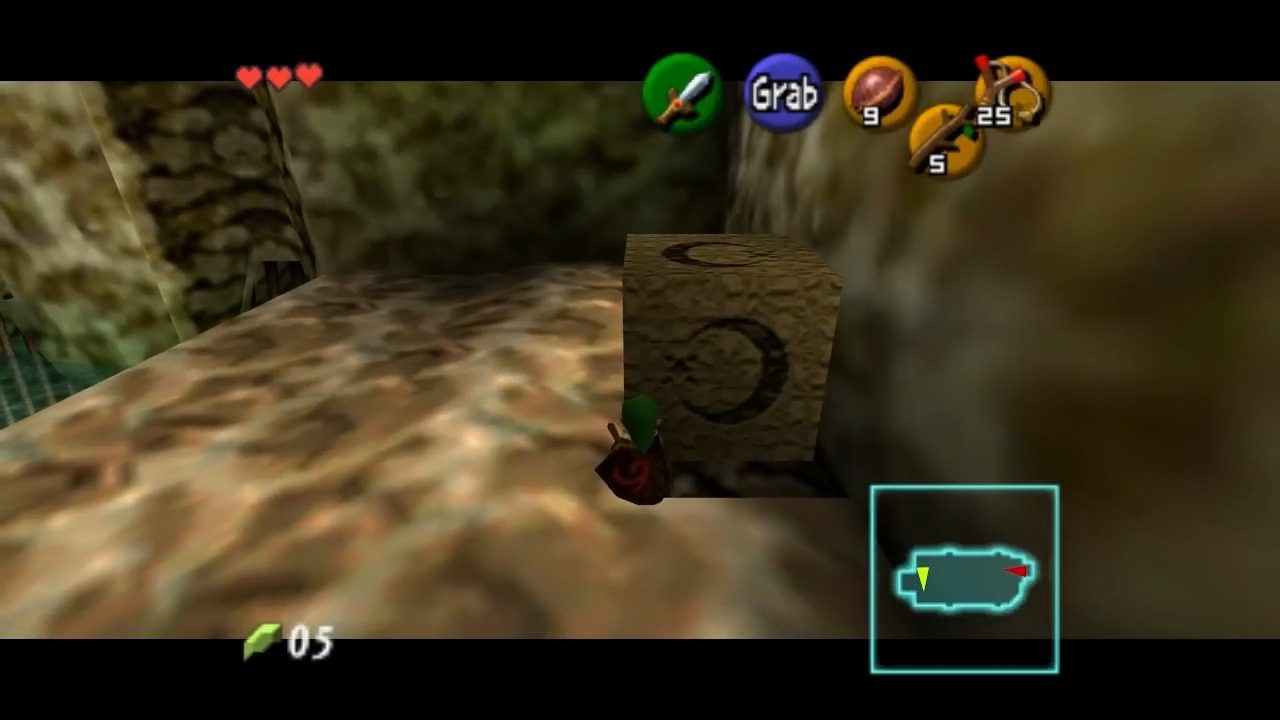
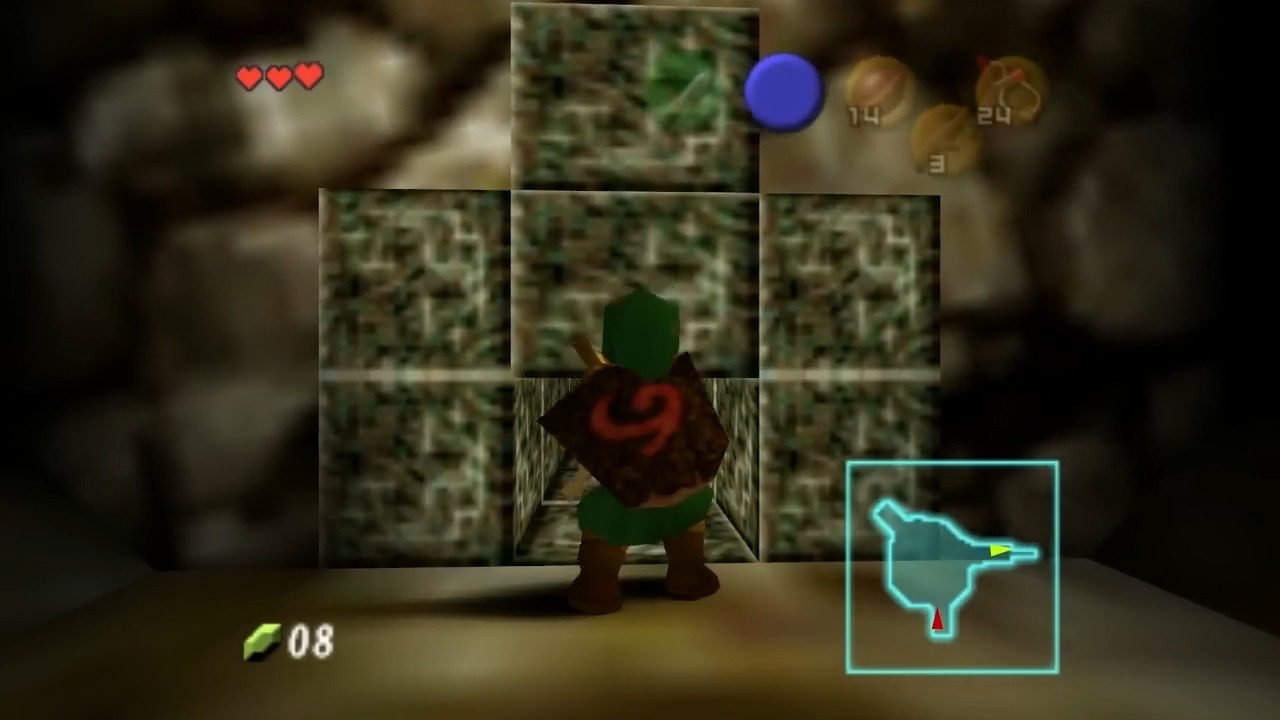
Watch out for another Big Skulltula here – take it out. You’ll see a stone block. Push or pull it under the doorway and climb up to the next area. The need to move a block to reach a higher ledge is a classic Zelda puzzle element that tests spatial reasoning. This simple yet effective puzzle type is a staple of the series.

Enter the door. You’ll encounter more Deku Babas and maybe some Withered Deku Babas. Take them out. You’ll see one torch is already lit. Light your Deku Stick with it and then use it to light the two unlit torches in the room. This reinforces the fire-based puzzle mechanic from earlier and is essential for progressing through the dungeon. Lighting both torches will open the next door.

IX. The Final Stretch:
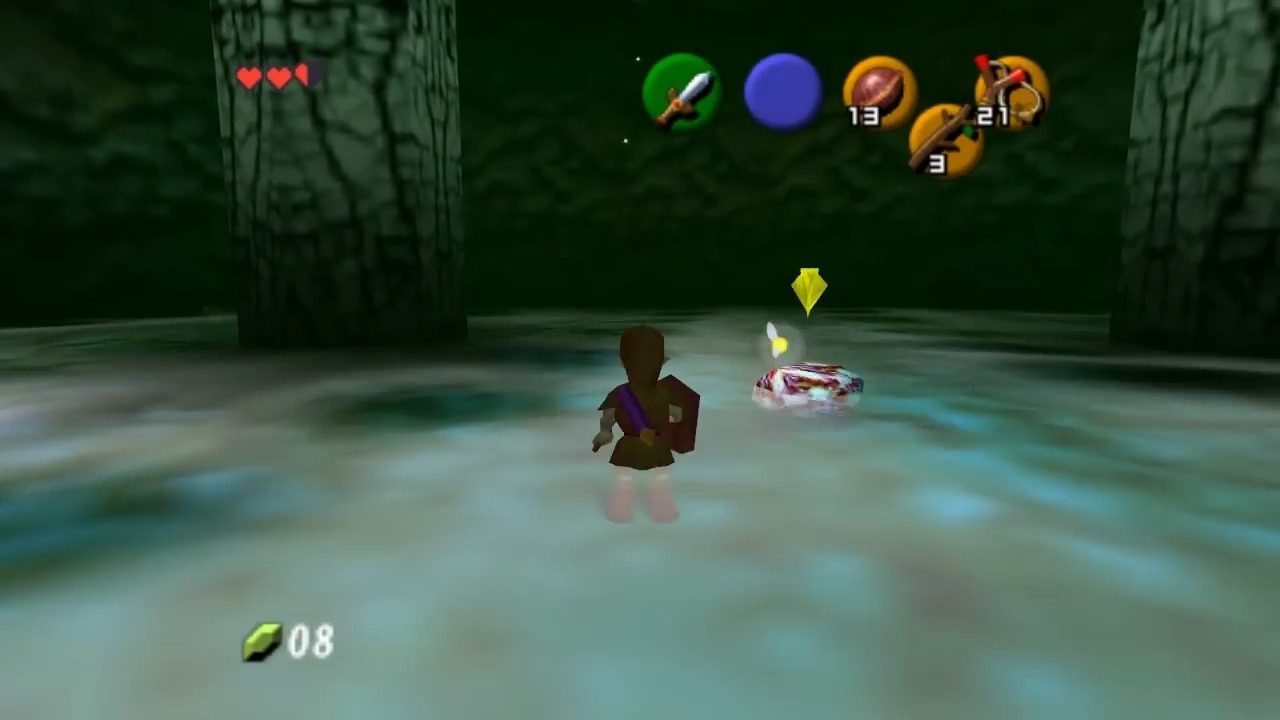
Go through the door. You’ll see another Big Skulltula ahead – snipe it with your Slingshot. Watch out for shadows on the ceiling – these indicate eggs that will hatch into Gohma Larvae. They’re not too tough, just slash them with your sword. You can even shoot the eggs with your Slingshot before they hatch. Light your Deku Stick again and burn it away. Crawl through the small hole. Note: There’s another cobweb in this room, but it leads to an unreachable area with a Gold Skulltula for now. We’ll come back for that much later!
After crawling through the small hole, you’ll find yourself back in the central chamber on an elevated platform. Locate the nearby stone block and push it off the ledge to create a shortcut for future access. Jump down to the lower level where you previously lit a torch to burn the first cobweb. Use this torch to light a Deku Stick, then quickly climb back up to the platform with the stone block. Approach the large cobweb on the floor and perform a rolling attack (by running forward and pressing the action button) to set the web ablaze. With the cobweb burned away, a hole is revealed. Jump down into the hole.
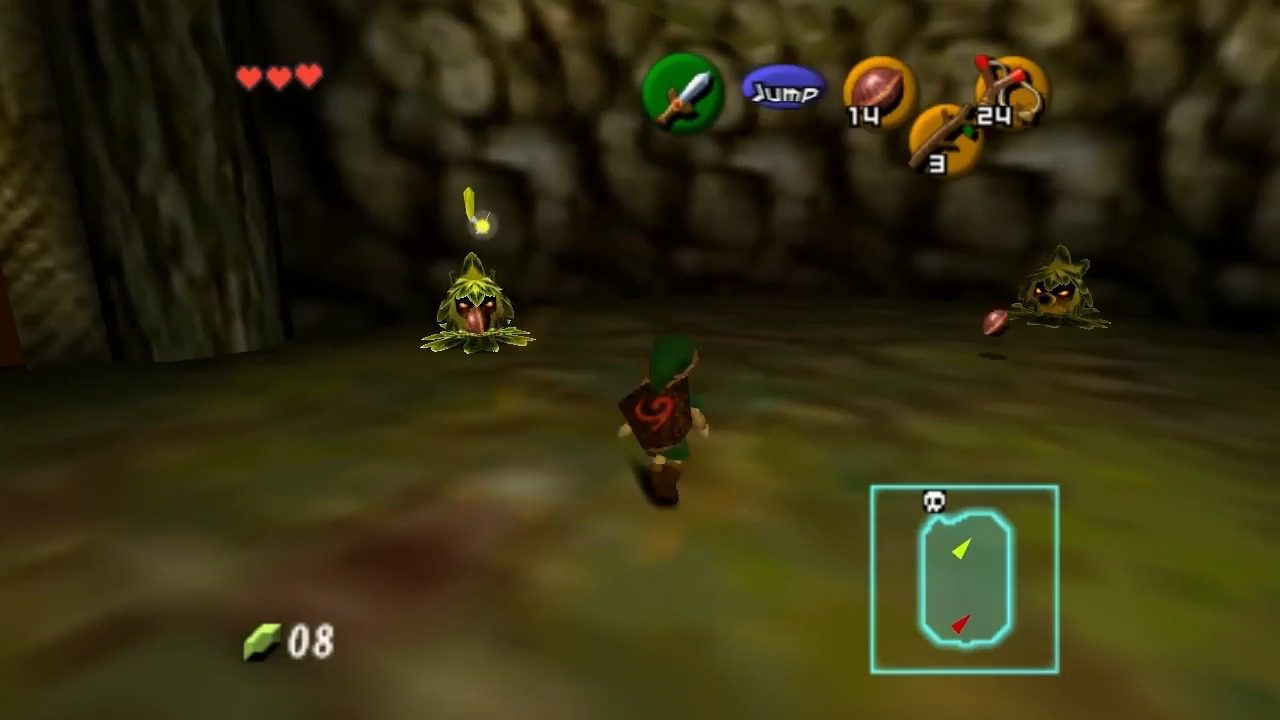
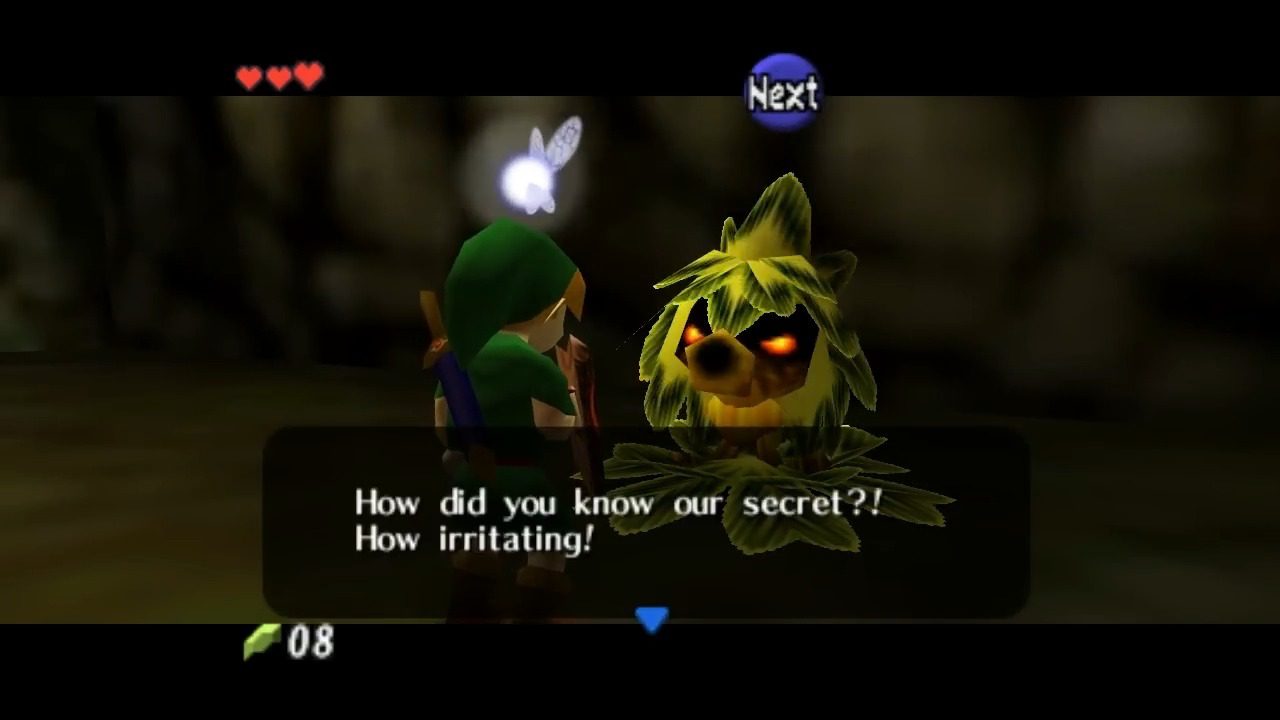
You’ll drop into a small room with some hearts and three Deku Scrubs. Remember those hints the Deku Scrubs gave us earlier? This is where they come into play! You need to reflect their Deku Nuts back at them in a specific order: middle, then right, then left. The last Deku Scrub will give you a final hint about the boss. The door to the boss will now open. Are you ready to face the big bad?
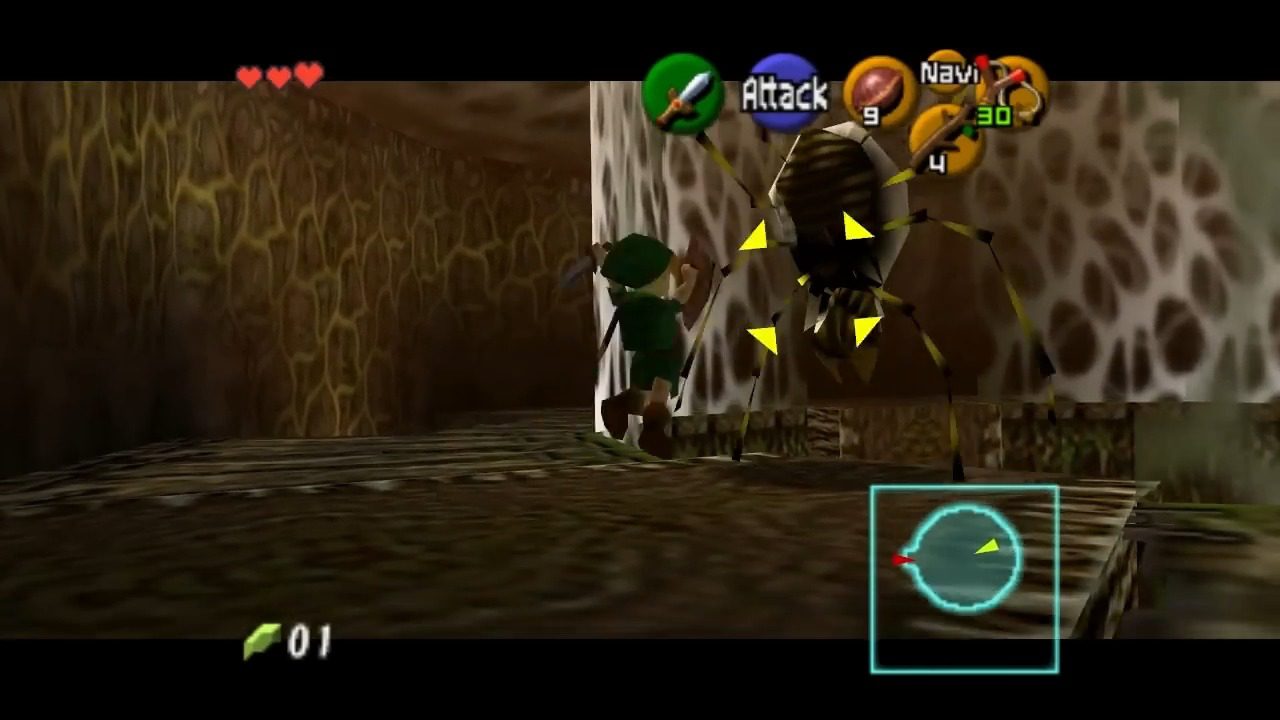
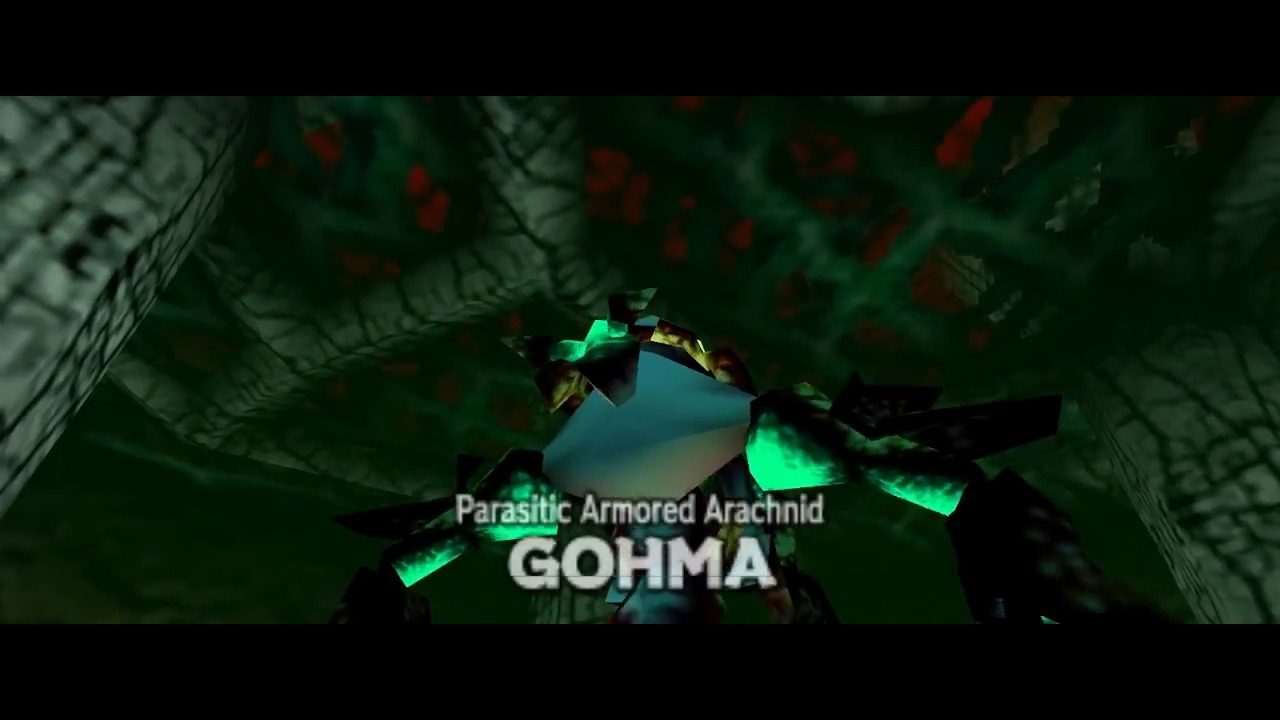
X. Boss Battle: Queen Gohma:

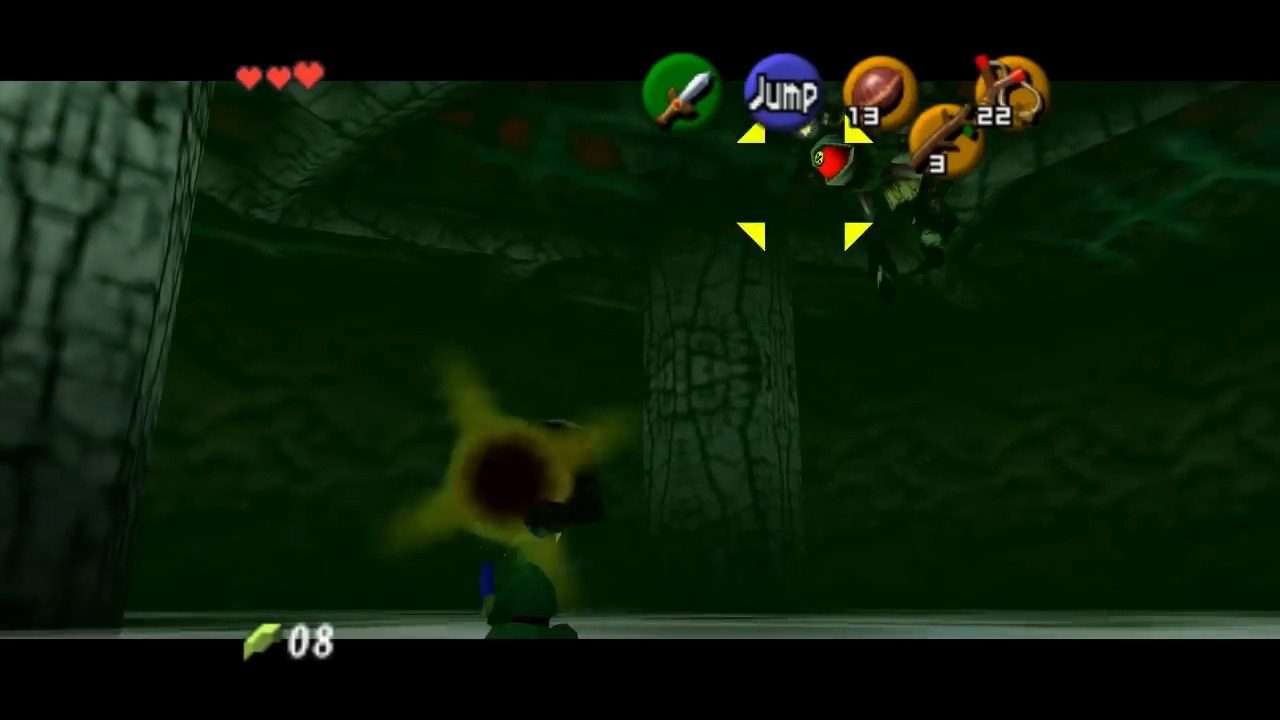
Step through the boss door into Queen Gohma’s lair. The fight starts when you look up at the giant spider hanging on the ceiling. Get ready for a creepy crawly showdown! Gohma will either crawl around on the ground or climb onto the ceiling. On the ground, she’ll try to stomp on you. Just keep moving to avoid this. Her eye will turn red before she attacks – this is our chance!. When she’s on the ceiling, she’ll lay three eggs that hatch into Gohma Larvae. You can either take out the larvae or focus on Gohma.
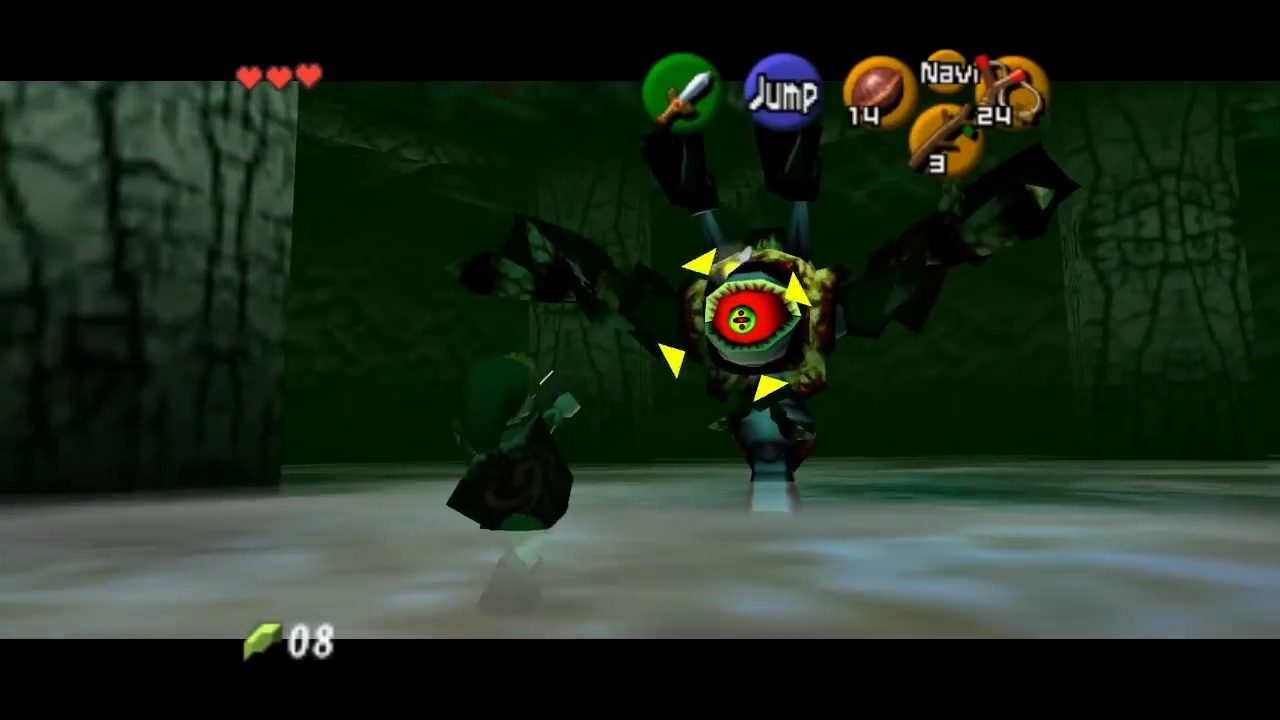
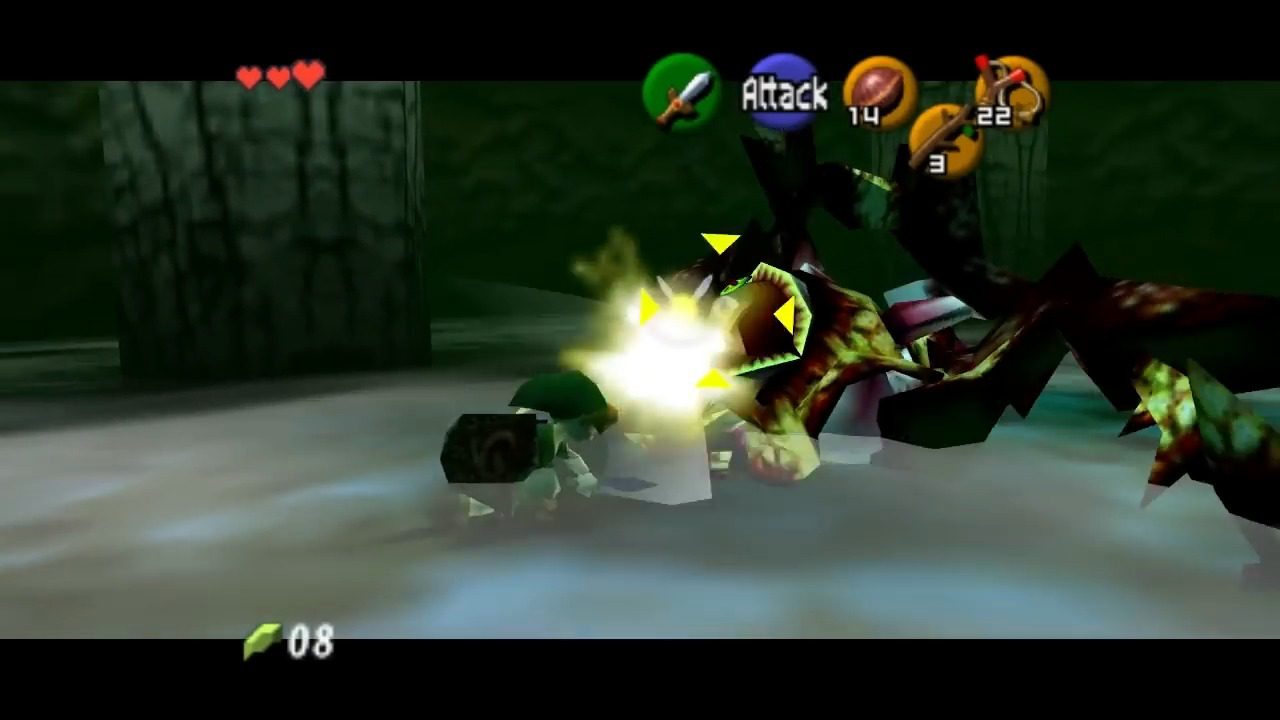

The Winning Strategy: The key to defeating Gohma is to hit her glowing red eye.
- Ground Attack: When she’s on the ground, lock on to her. When her eye turns red, quickly shoot it with your Fairy Slingshot or use a Deku Nut. The Slingshot works better as it stuns her longer. While she’s stunned, rush in and attack her eye with your sword. Get in as many hits as you can!
- Ceiling Attack: When she’s on the ceiling, wait for her eye to turn red again and shoot it with your Slingshot. This will make her fall to the ground, giving you another chance to attack. This is often the safest way to deal damage. The boss fight mechanics revolve around identifying attack patterns and exploiting vulnerable moments, a common trope in video game boss battles. The ability to stun Gohma both on the ground and ceiling offers strategic flexibility.
- If you run out of Deku Seeds, cut the grass around the room – they often drop some.
- Just keep repeating this until Gohma is defeated. It usually takes a few rounds.
Alternative Ground Stun: You can also use Deku Nuts to stun her when she’s on the ground , but the stun doesn’t last as long. Be careful though, there was a glitch in some very early versions of the game where using a Deku Nut on Gohma could freeze everything! This shouldn’t be an issue in most versions now.
The Key: Basically, hit the red eye, then hit it again with your sword. Rinse and repeat!
XI. Dungeon Cleared!
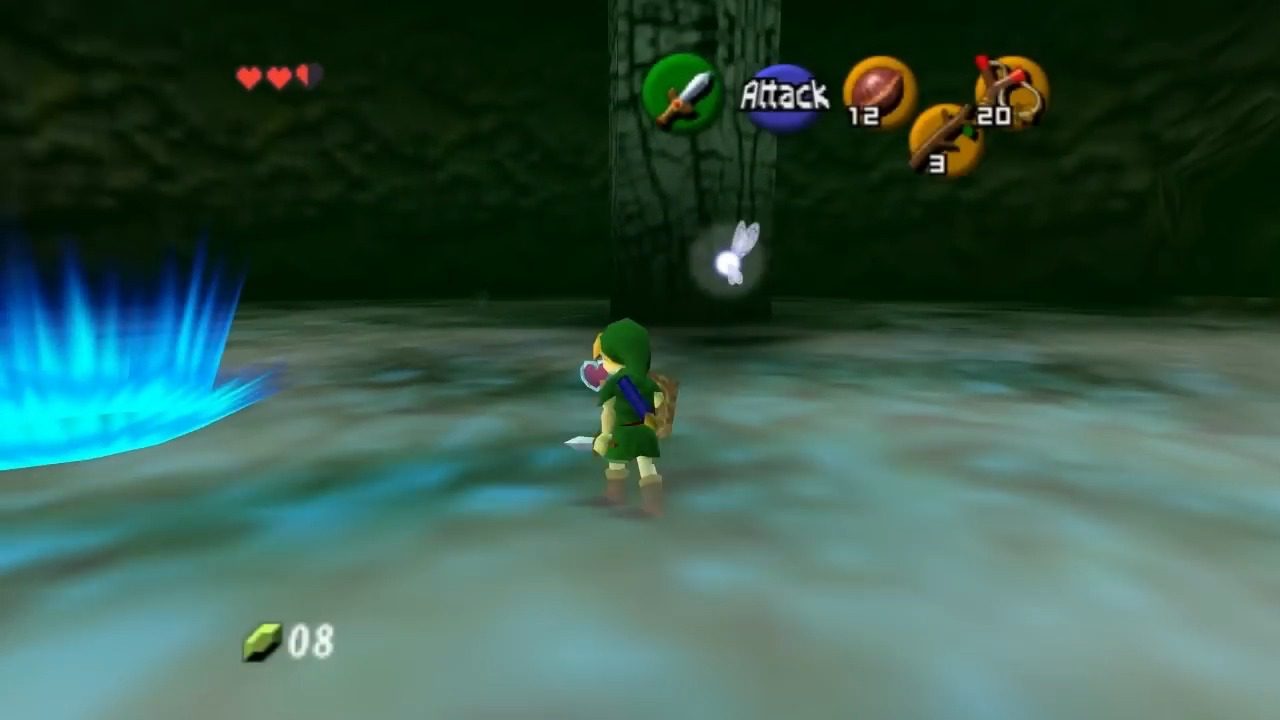
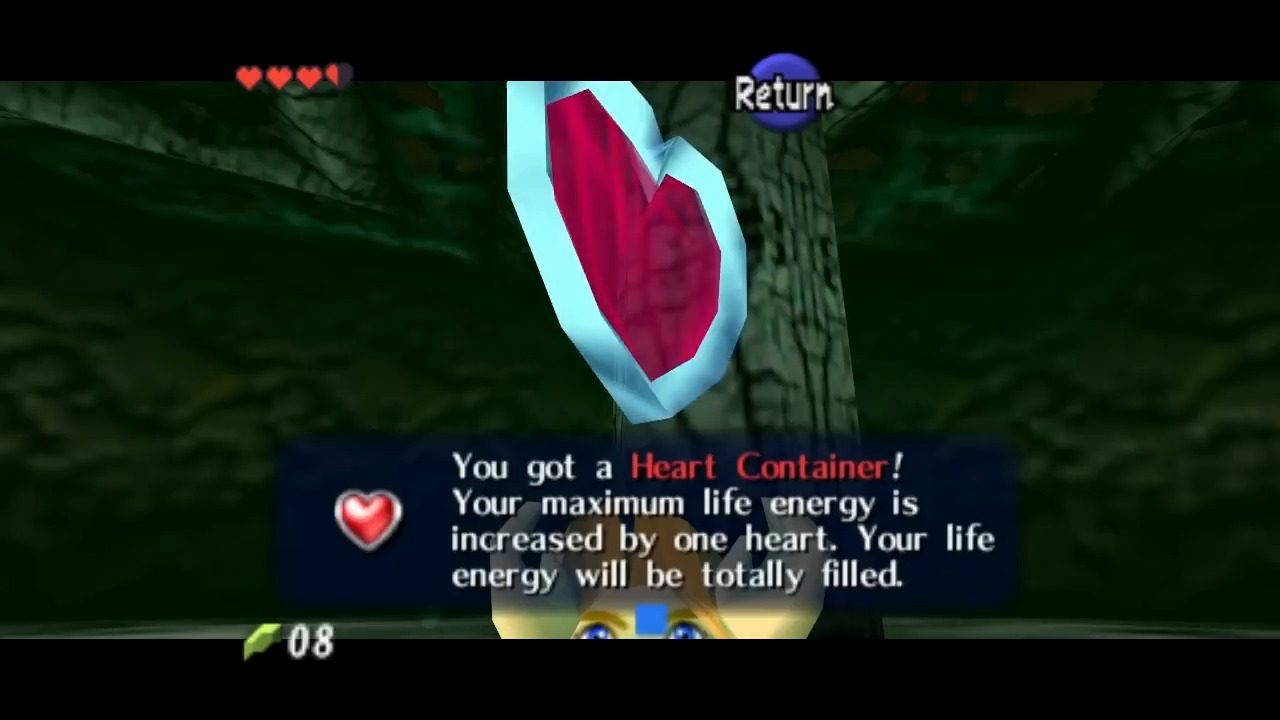
Once Gohma is defeated, she’ll leave behind a Heart Container!. This will increase your maximum health – sweet! Step into the blue light portal to be teleported out of the Deku Tree.
Back outside, the Great Deku Tree will tell you about the evil Ganondorf who cursed him for the Kokiri’s Emerald. He explains that this stone, along with two others, can open the door to the Sacred Realm and the Triforce. Sadly, the Deku Tree is now dying. He asks you to seek out the “Princess of Destiny” in Hyrule Castle and gives you the Kokiri’s Emerald before passing away. You’ll see the Deku Tree’s life force fade.

Head through the now open path on the west side of Kokiri Forest. Your friend Saria will be waiting for you and will give you the Fairy Ocarina. This is a really important item, so make sure you equip it! With that, your grand adventure truly begins!