






















Table of Contents
Slumber Dojo Challenges
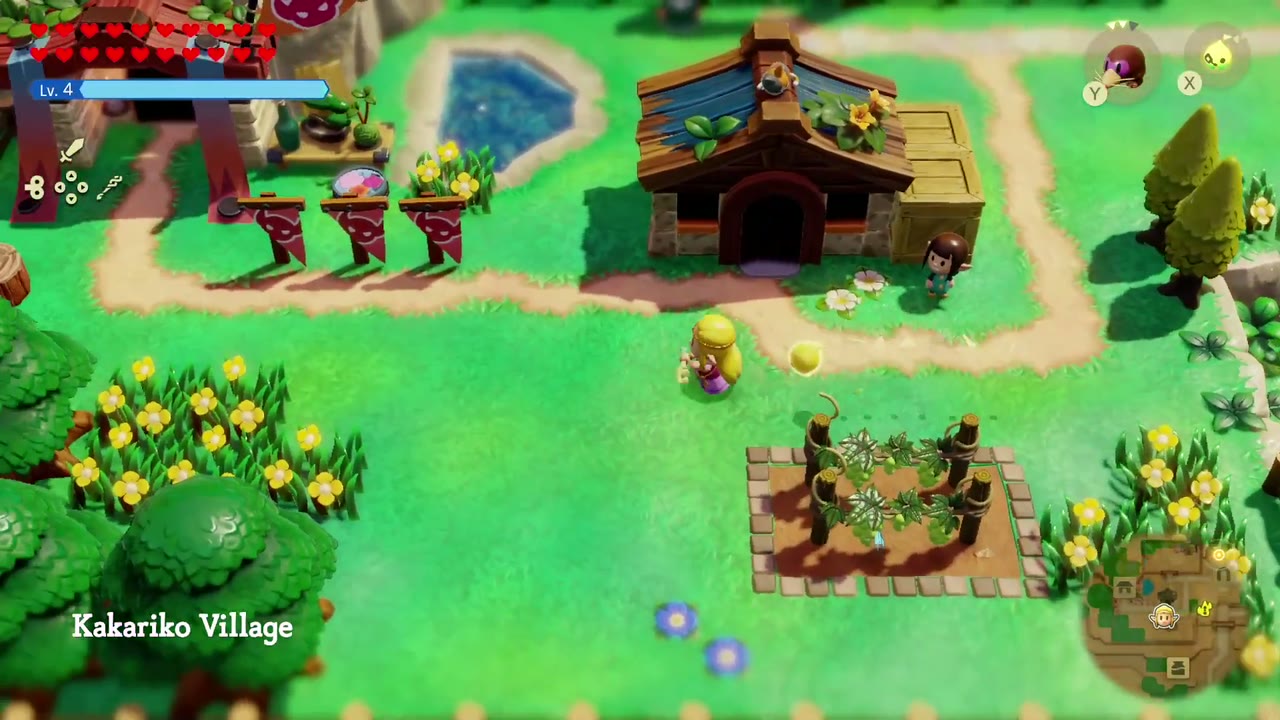
The Slumber Dojo in Kakariko Village is run by its dojo master, Shisho (the name on his Mastery scrolls). Sign up as an official student (all training is free) and he sends you into dream battles: 15 trainings in all, each with a goal time. Beat the goal for a reward; beat it by a wide margin for a bonus “special reward.” Rules vary by training, and the “Blank-Slate” battles seal off your experience and inventory: all you start with is the Tri Rod, and you pick echoes back up inside the dream.


Milestone rewards:

2 Trainings: Piece of Heart
Pass two Slumber Dojo trainings to earn a Piece of Heart. It counts toward a new Heart Container, giving Zelda more health for the challenges ahead. The dojo master makes a point of building up the reward before handing it over, so make sure to speak with him after clearing your second course.

4 Trainings: First Mastery
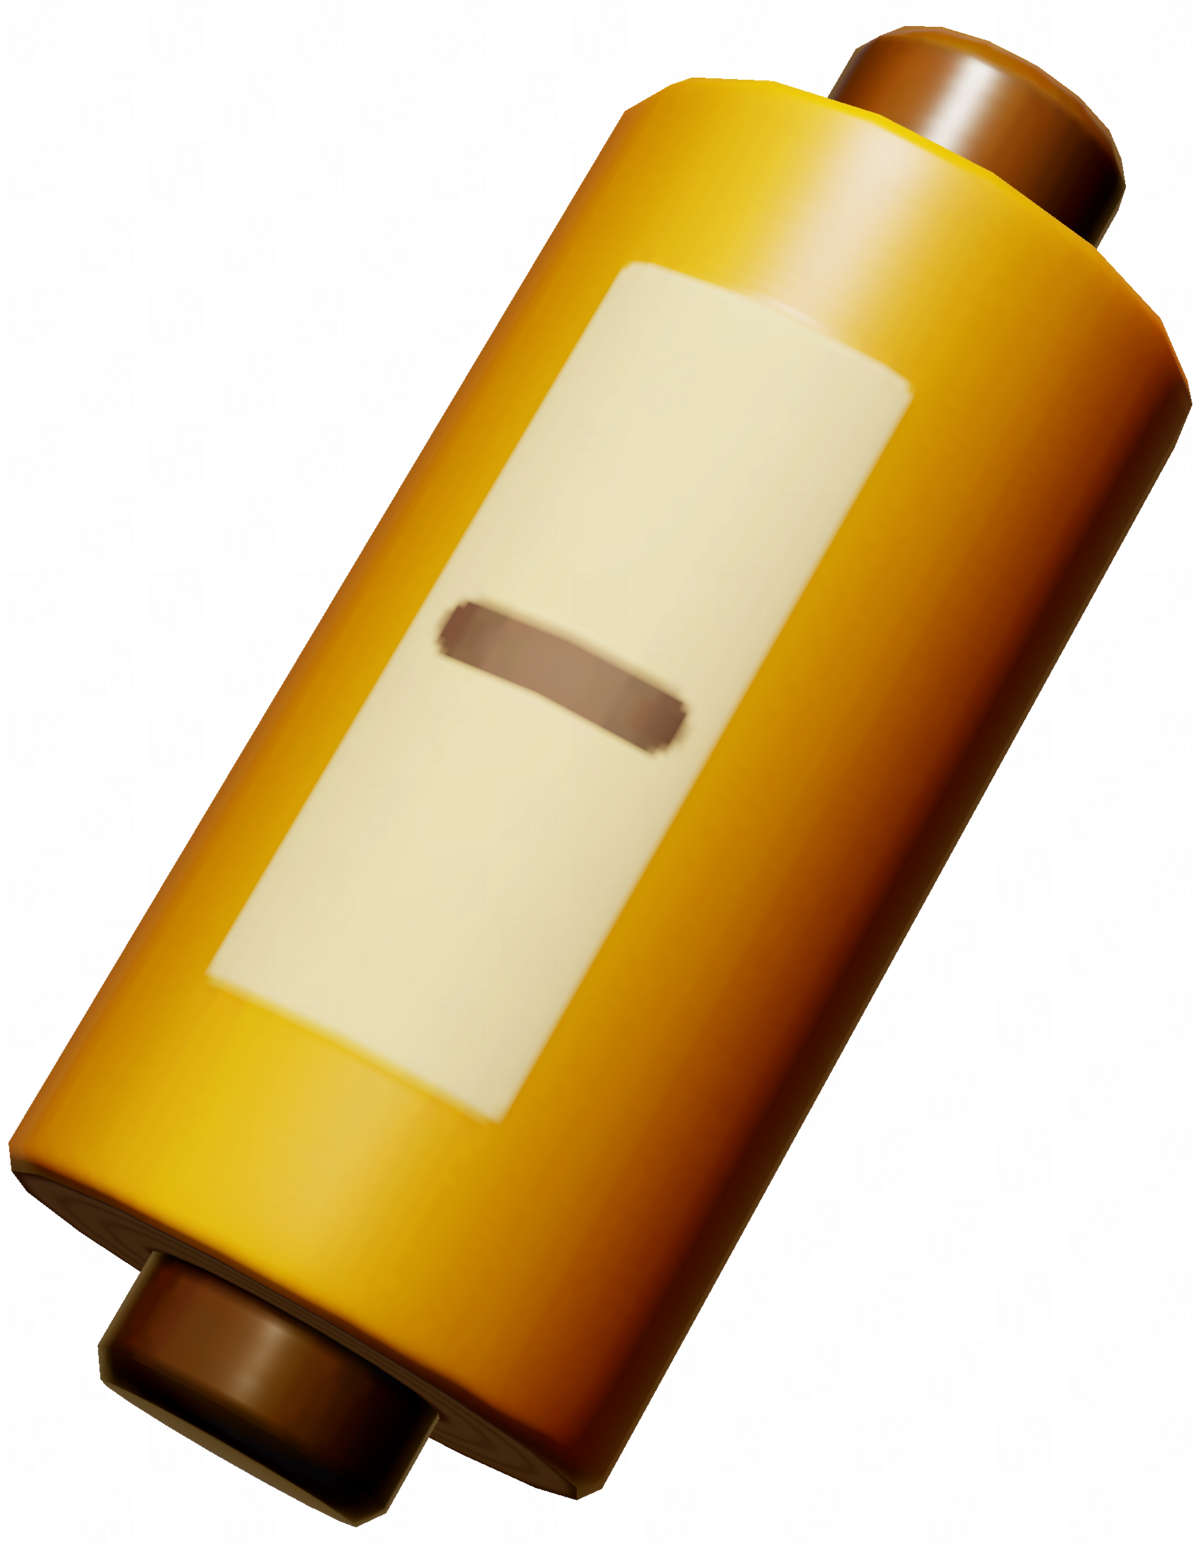
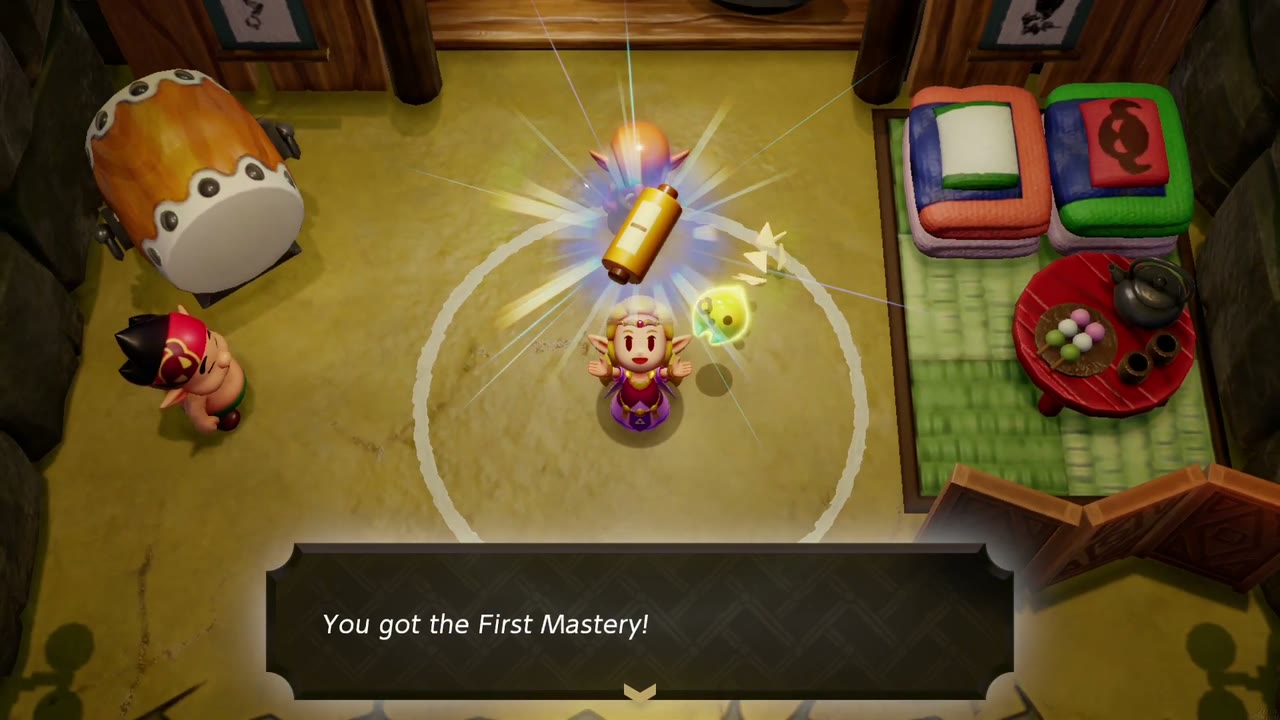
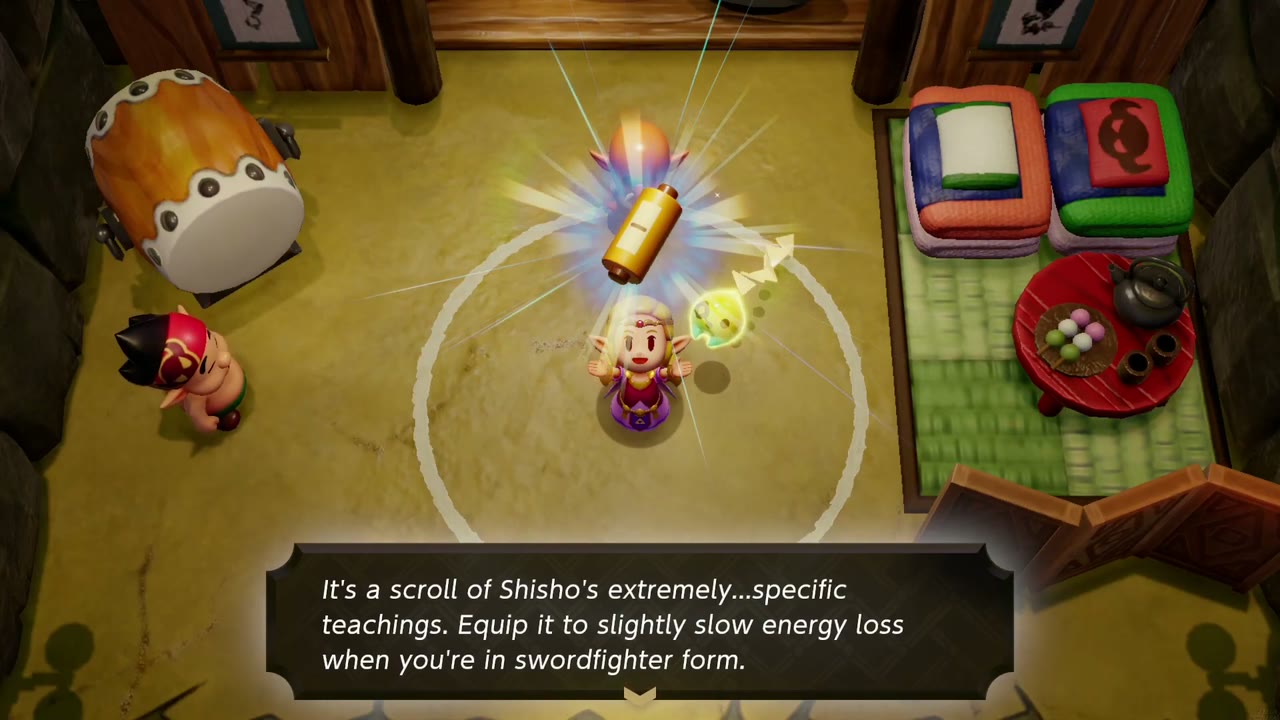
Clear four trainings to receive First Mastery, a scroll containing Shisho’s teachings. Equip it to slow energy loss in Swordfighter Form, letting Zelda stay transformed longer before her energy runs out. It is a welcome boost for courses that require sustained combat.
6 Trainings: Heirloom Katana
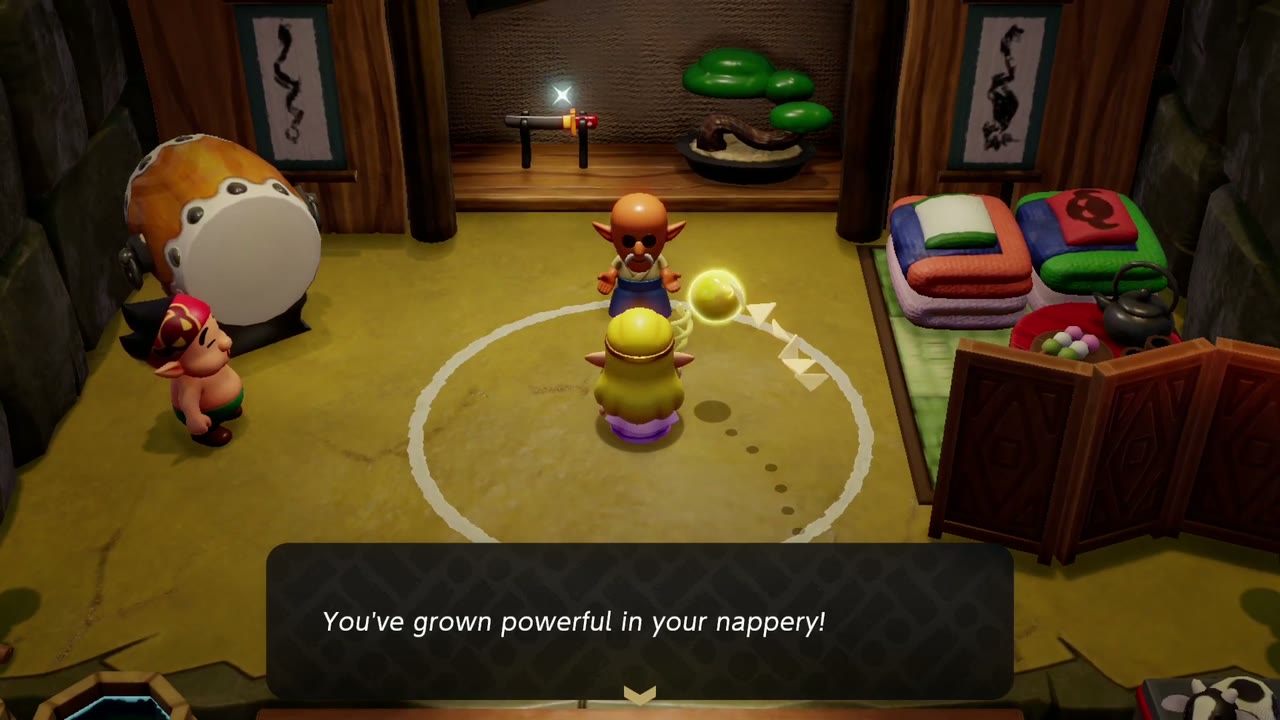
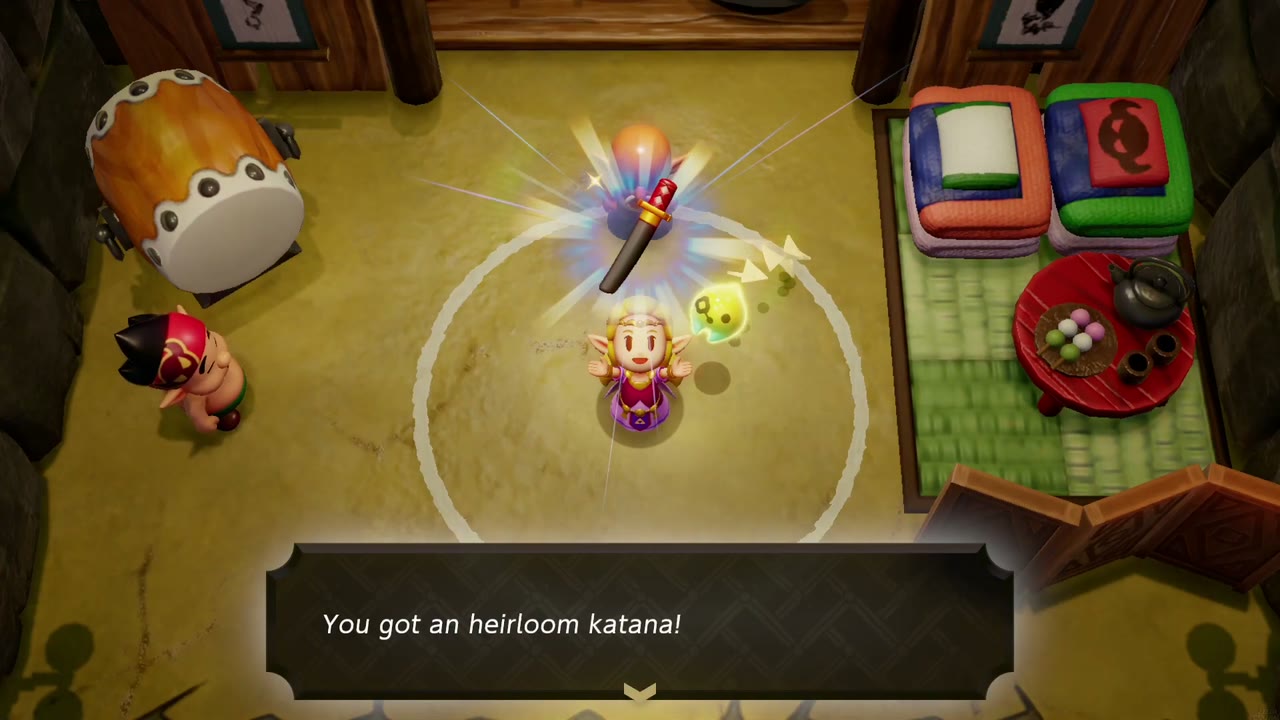
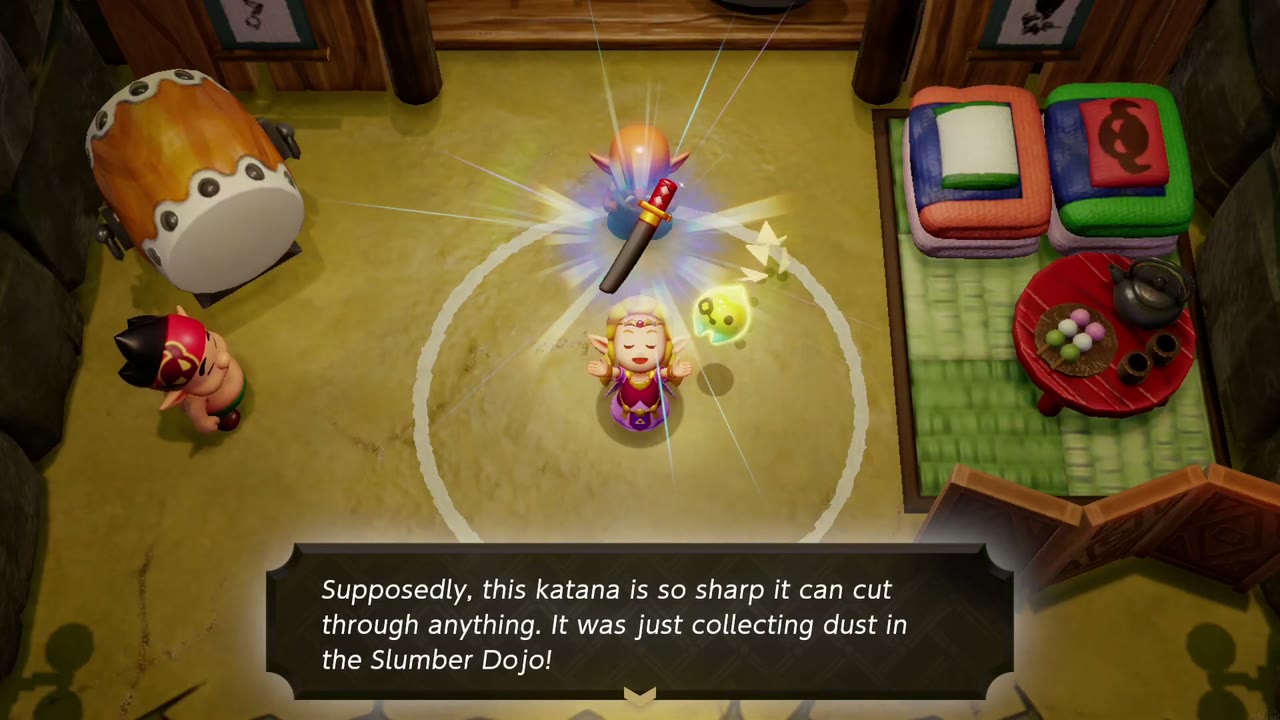
Pass six trainings to earn the Heirloom Katana, an old sword that has been collecting dust in the dojo. Its description claims it is sharp enough to cut through anything. More importantly, Dampé needs this katana to build the Roboblin automaton, so keep it for him when you continue his automaton work.
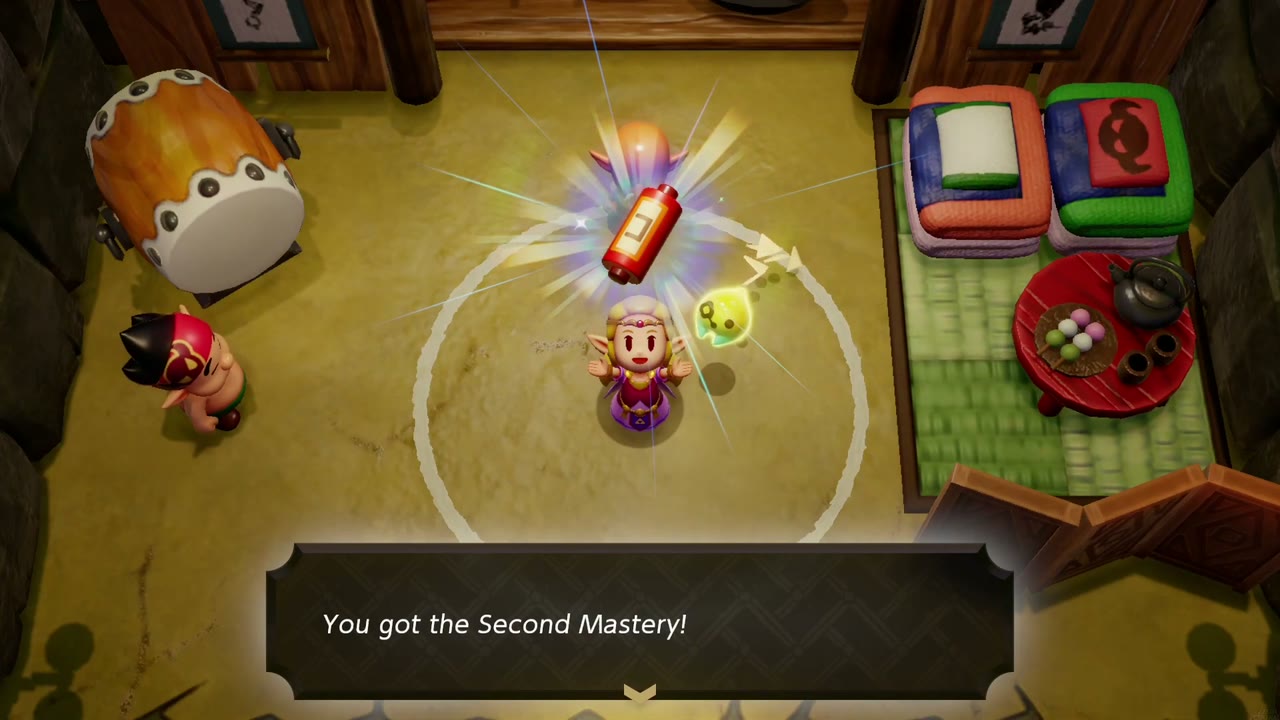
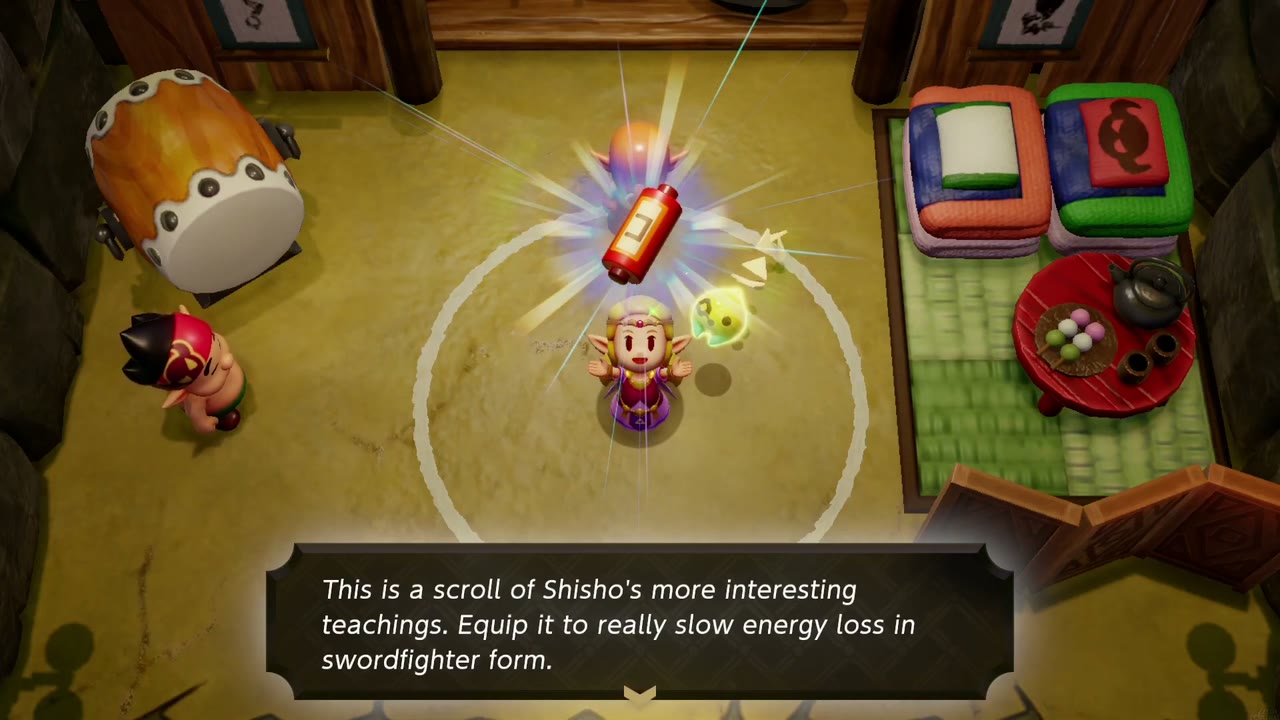
8 Trainings: Second Mastery
The Second Mastery scroll is the reward for clearing eight trainings. It contains more of Shisho’s teachings and slows Swordfighter Form energy loss more than First Mastery. After handing it over, the dojo master says that three more passed trainings will earn Zelda another major reward.

11 Trainings: Piece of Heart
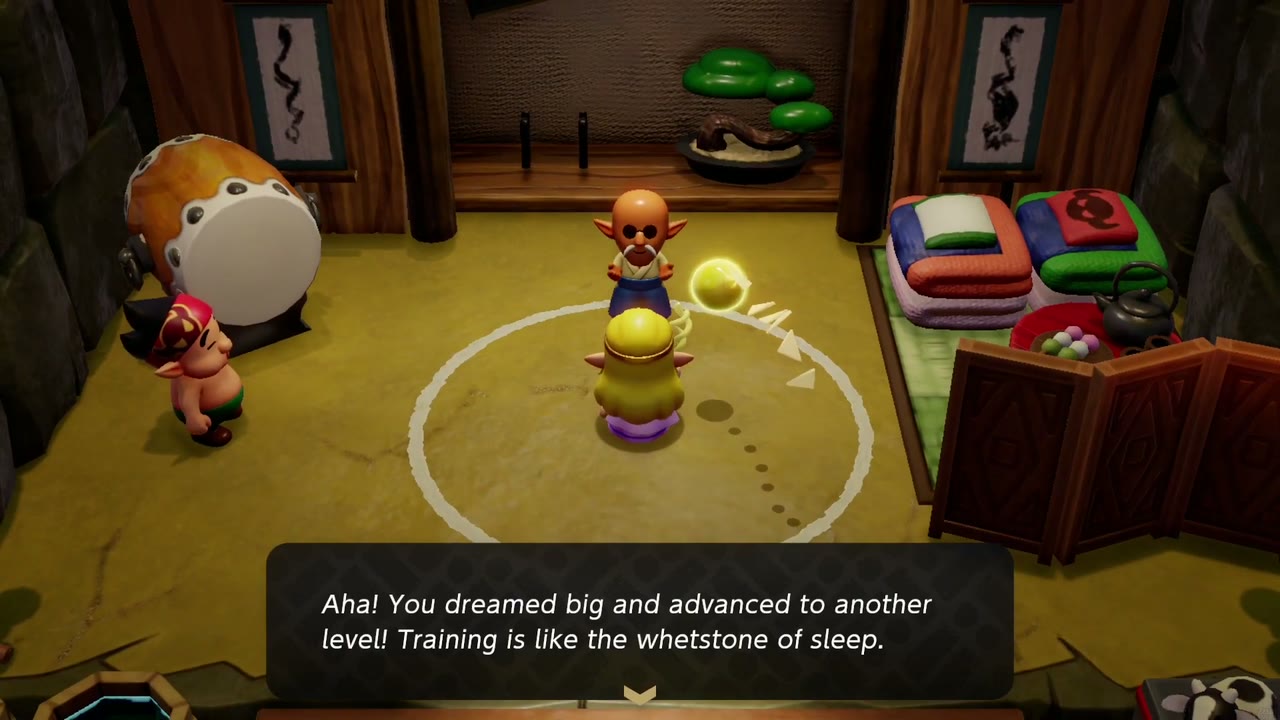
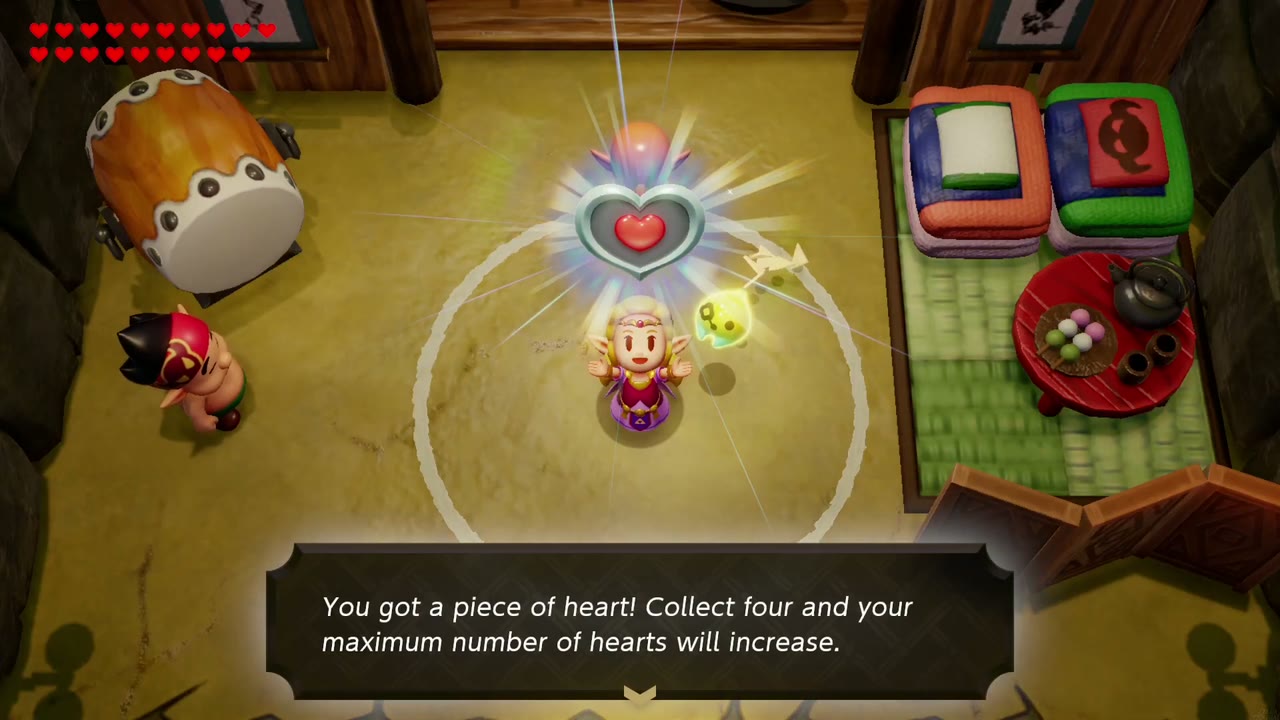
Clear eleven trainings to earn a second Piece of Heart from the Slumber Dojo. As with the first, it brings Zelda closer to another Heart Container. This reward comes after Blank-Slate Battle: Final, so return to the master once you have passed that course.
14 Trainings: Final Mastery
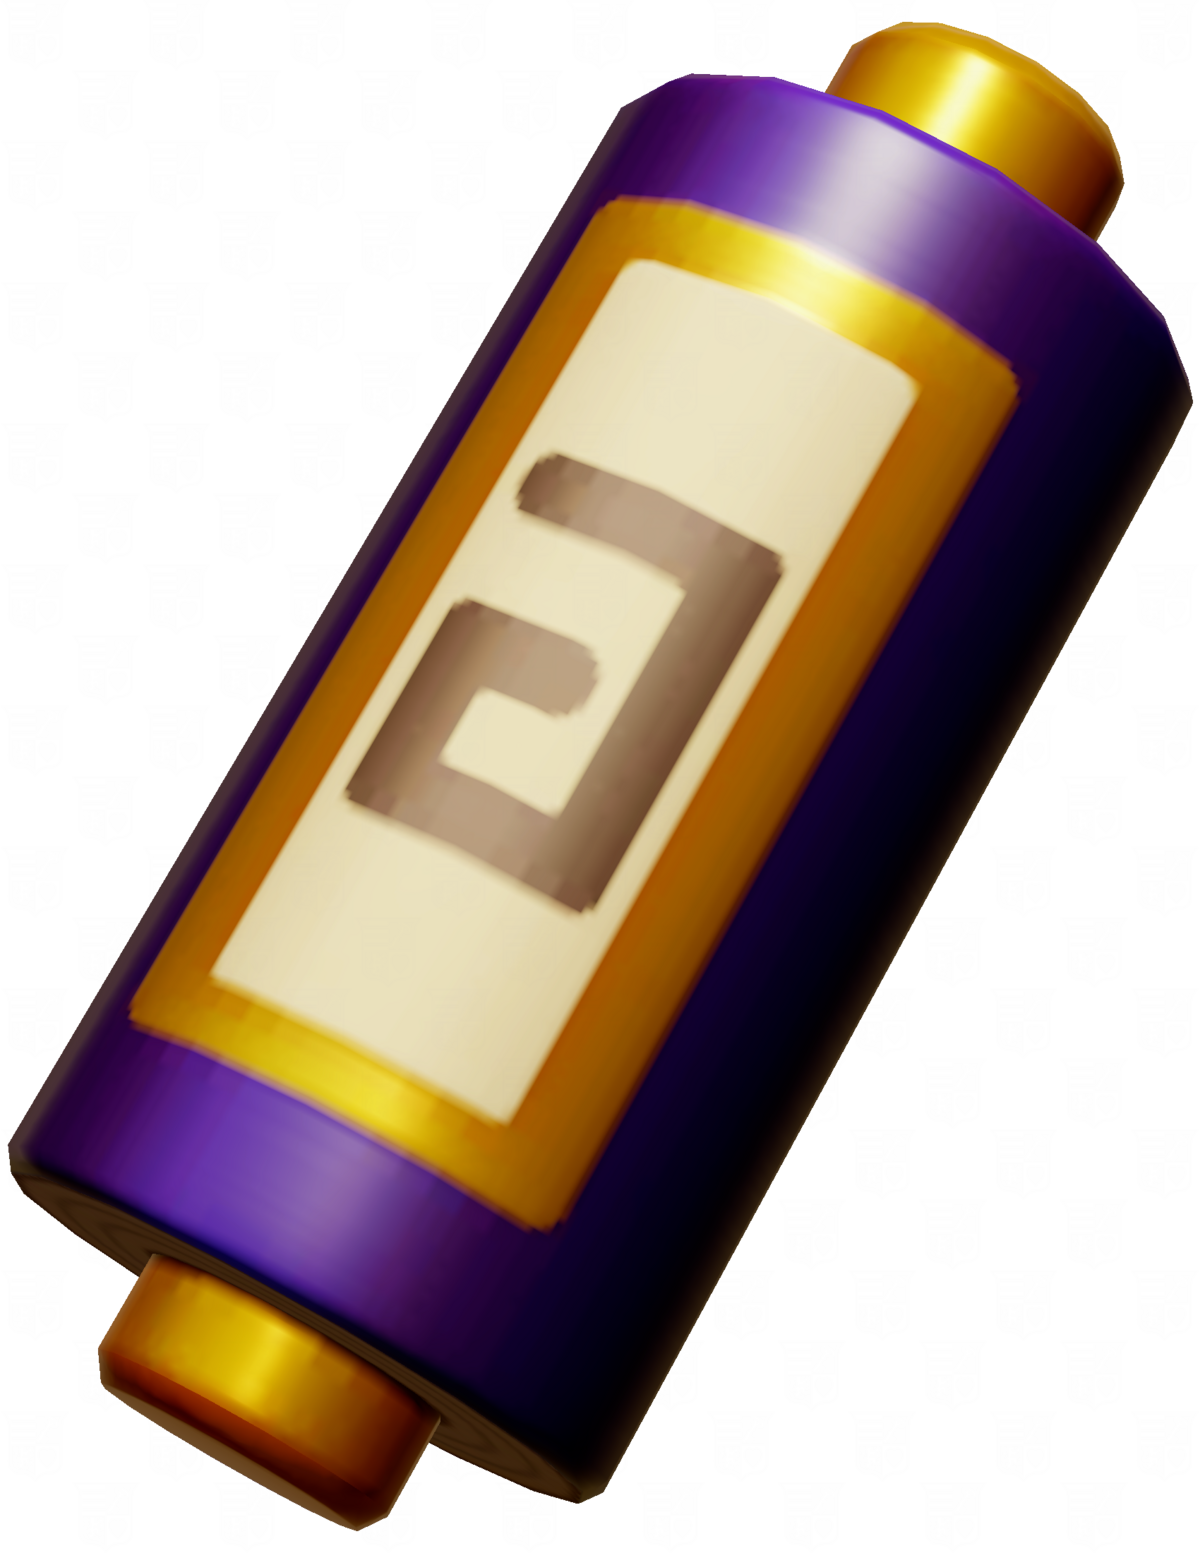
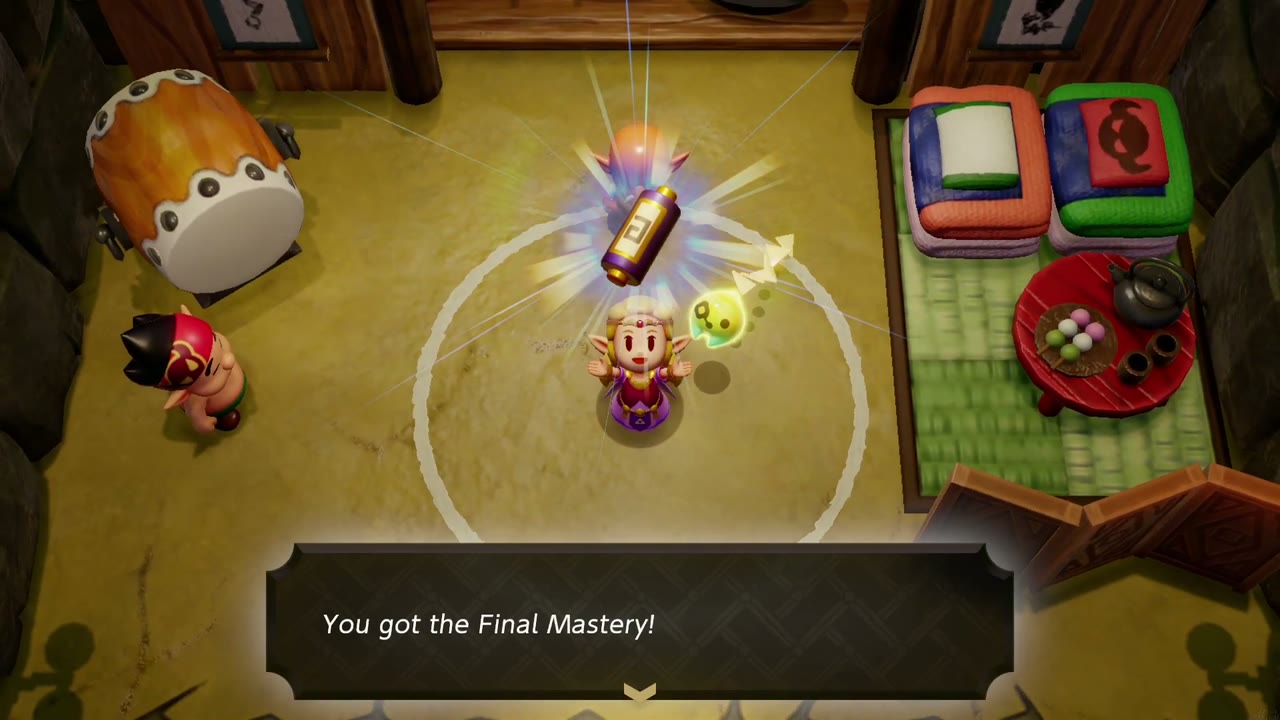
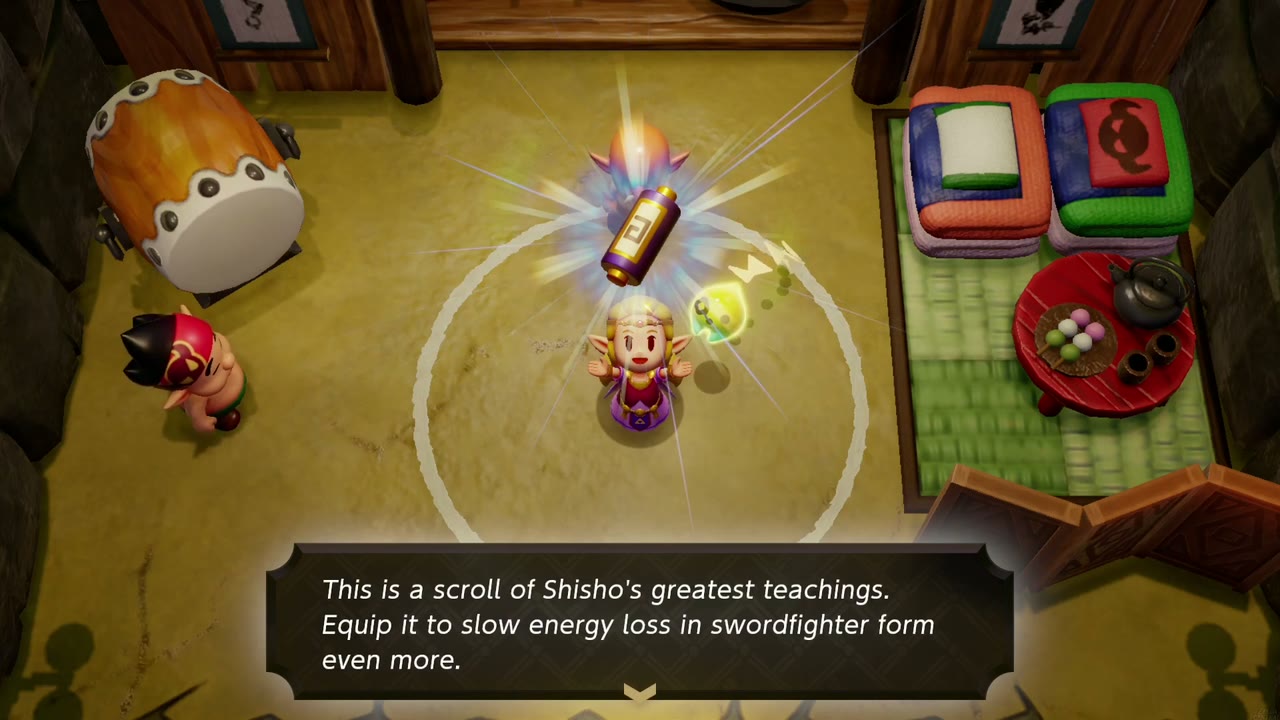
Clear fourteen Slumber Dojo trainings, then speak with the dojo master to receive Final Mastery. This accessory greatly reduces energy consumption in Swordfighter Form, allowing Zelda to use her sword, bow, and bombs for longer before her energy runs out. It provides a stronger effect than First Mastery or Second Mastery, making it useful for the final dojo challenge and tougher boss battles.

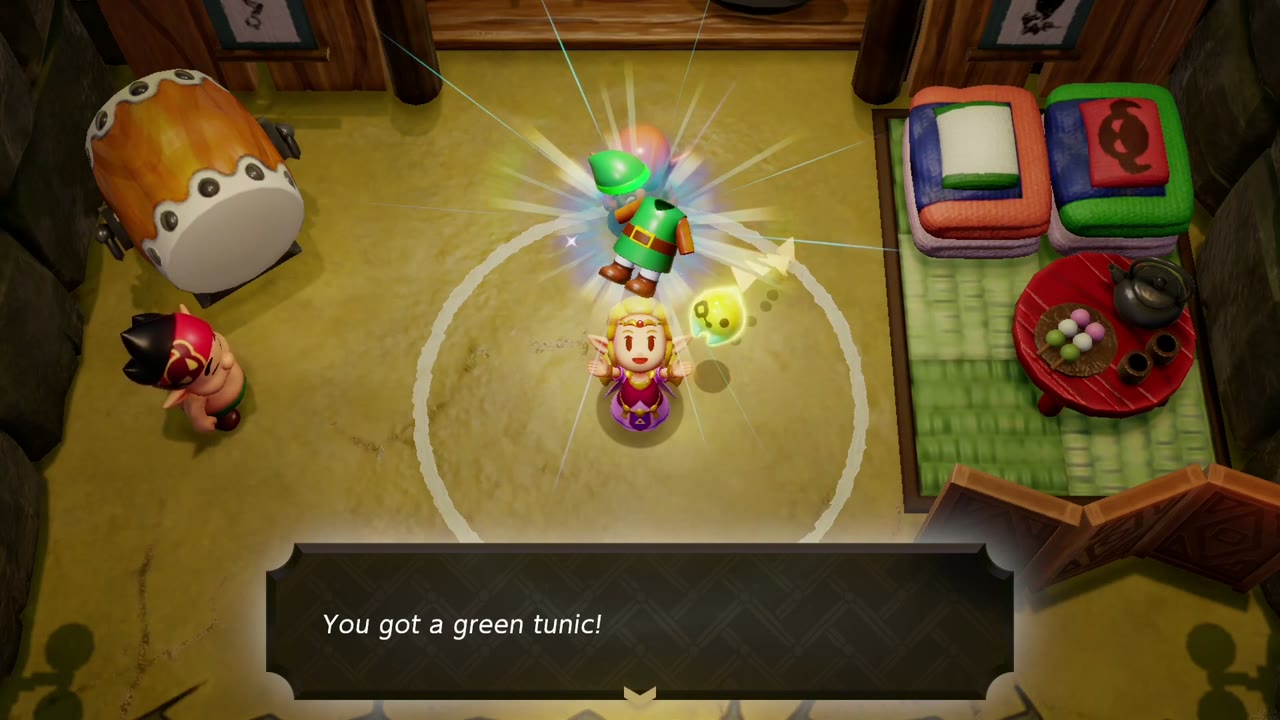
15 Trainings: Green Tunic
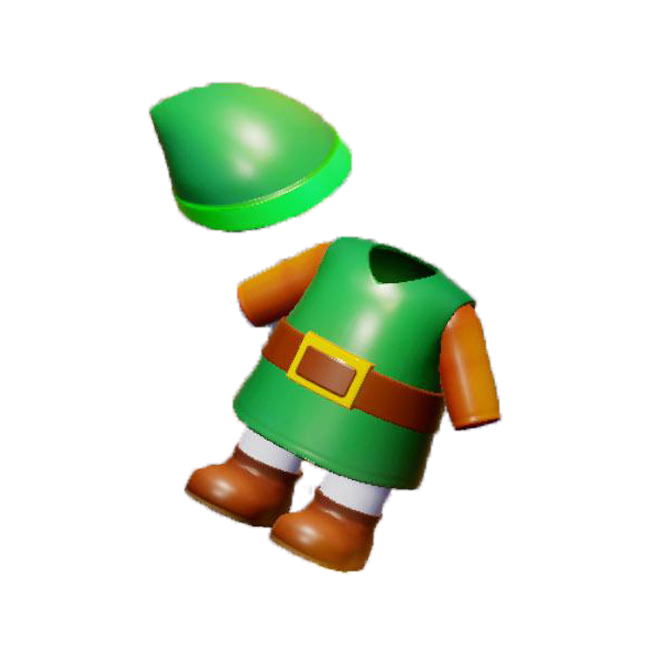
Clear The Final Titans’ Gathering to complete all fifteen Slumber Dojo trainings. The master awards Zelda the Green Tunic as a graduation present. Once you receive it, you have earned every milestone reward from the dojo.


All 15 Trainings
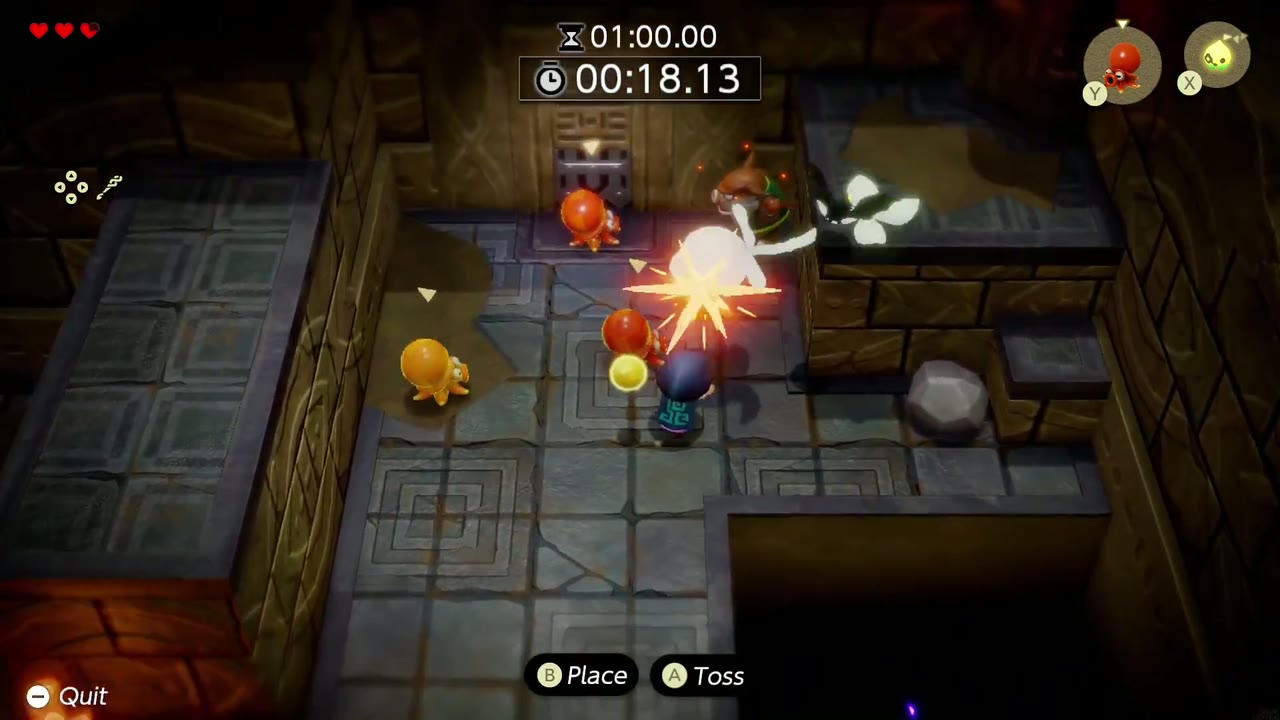
1. Blank-Slate Battle
Unlock: Complete Suthorn Ruins
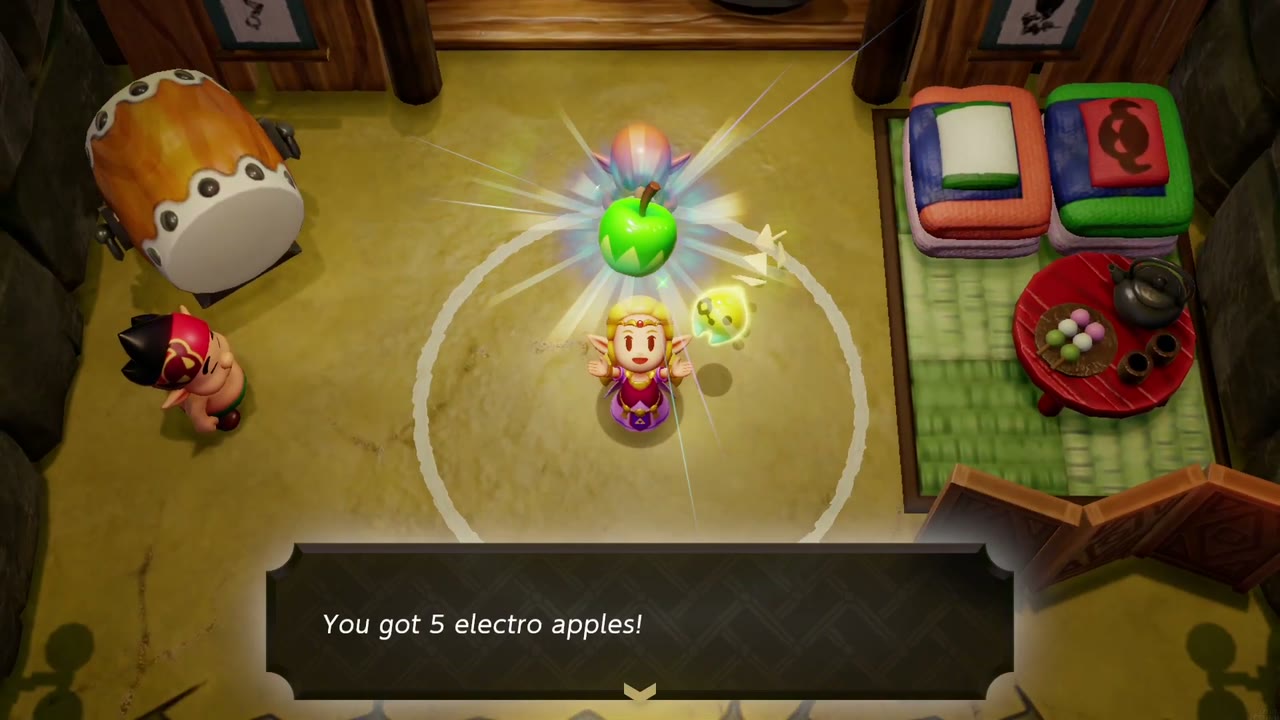
Goal: 01:00.00 → Electro Apple x5
Faster time: 00:40.00 → Floral Nectar x5
Enemies / rules: Start with no echoes and no items; learn Rock, Brazier, Octorok and Keese in the dream. Octoroks, Deku Babas, Spear Moblin, Keese
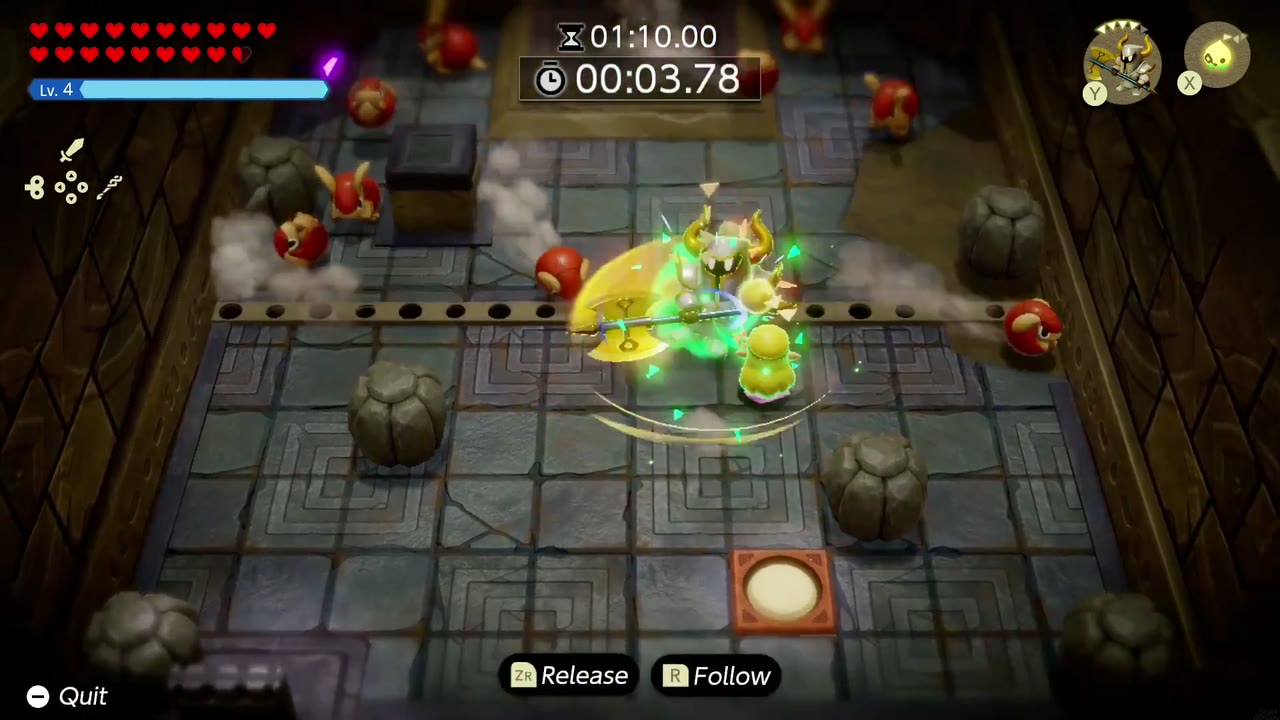
2. Caromadillos’ Revenge
Unlock: Complete Suthorn Ruins
Goal: 01:10.00 → Monster Fang x5
Faster time: 00:45.00 → Refreshing Grapes x3
Enemies / rules: Defeat all the foes! A pack of Caromadillos released from behind bars; your own echoes allowed
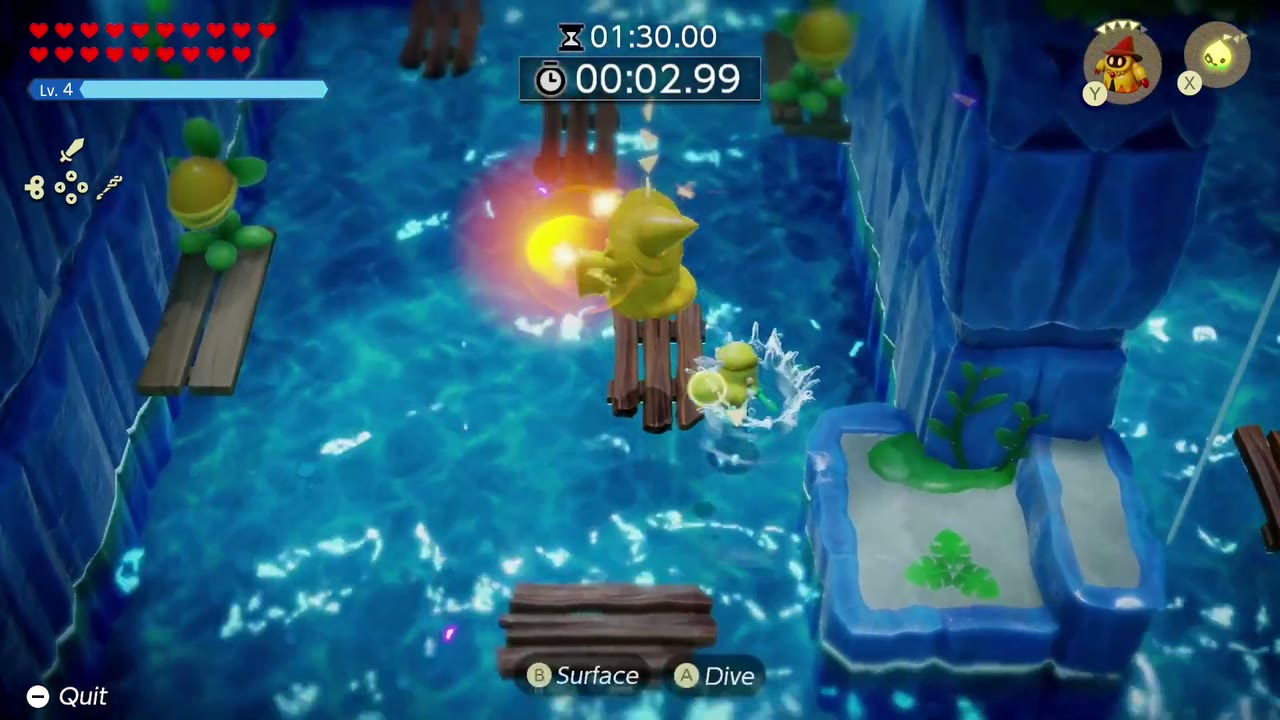
3. Flow of Battle
Unlock: Complete Jabul Ruins
Goal: 01:30.00 → Bubble Kelp x5
Faster time: 01:10.00 → Riverhorse x5
Enemies / rules: Defeat the enemies without being swept away by the current! No drinks or heart-restoring items. Deku Babas and water enemies on rafts and platforms

4. Blank-Slate Battle: Wind
Unlock: Complete Gerudo Sanctum
Goal: 01:05.00 → Chilly Cactus x5
Faster time: 00:50.00 → Warm Pepper x5
Enemies / rules: Start with no echoes and no items; learn Wind Cannon and Table in the dream. Gibdos among beds and sand pits
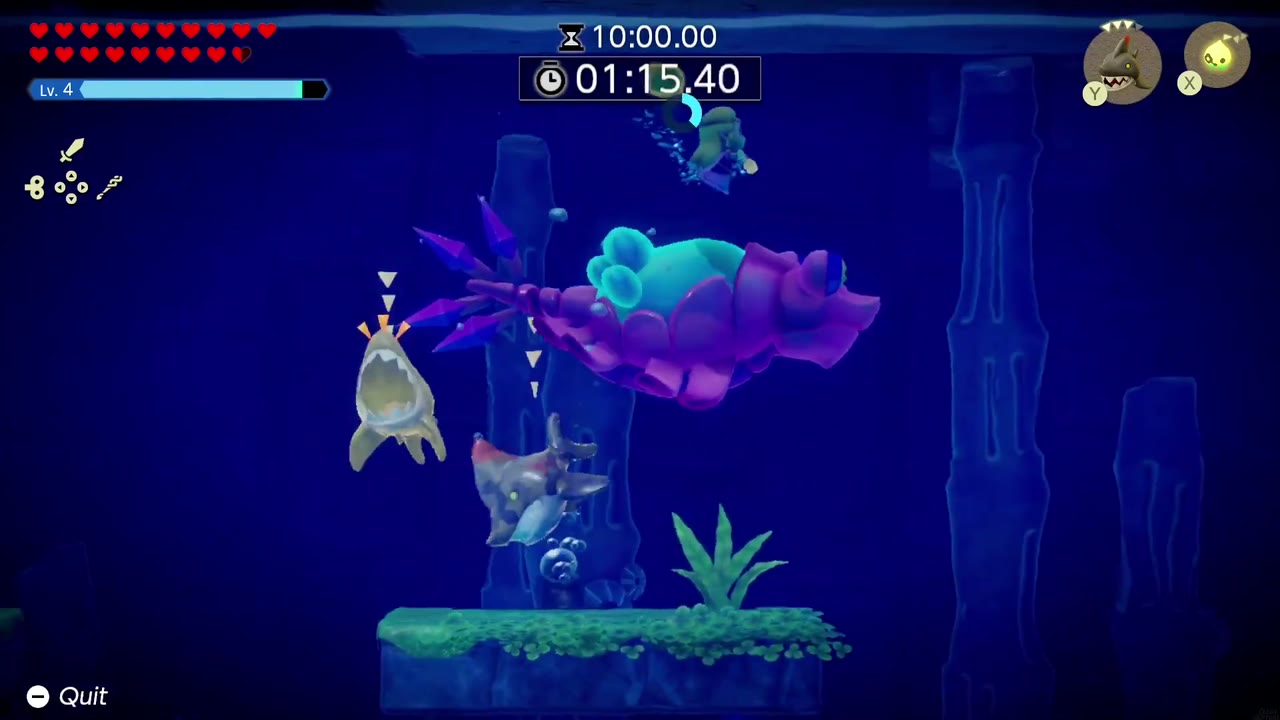
5. Titans’ Gathering
Unlock: Complete Jabul Ruins and Gerudo Sanctum
Goal: 10:00.00 → Fresh Milk x5
Faster time: 05:00.00 → Radiant Butter x7
Enemies / rules: Face a gauntlet of the mightiest foes you’ve braved so far! Boss rush: Seismic Talus, Vocavor, Mogryph; your echoes and materials are allowed
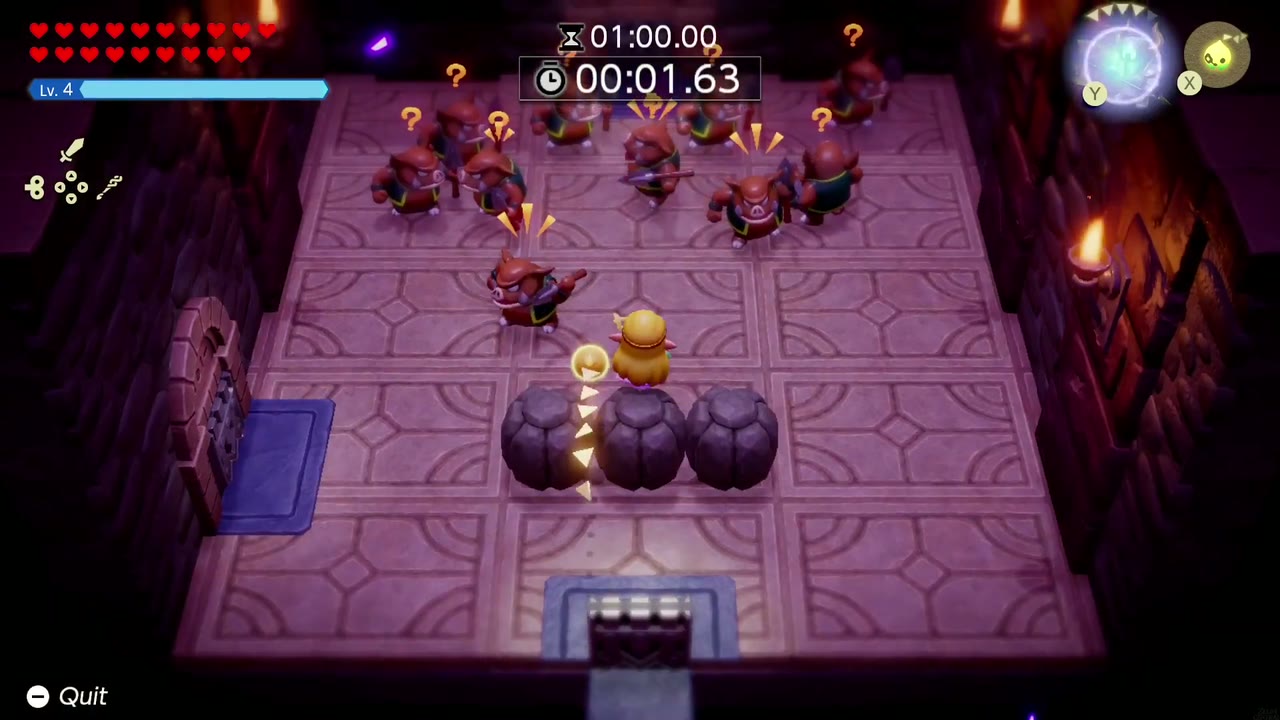
6. Moblins’ Revenge
Unlock: Complete Hyrule Castle
Goal: 01:00.00 → Red Rupee (20 Rupees)
Faster time: 00:35.00 → Monster Stone x3
Enemies / rules: Defeat an unruly horde of Moblins! No drinks or heart-restoring items. A packed room of Spear Moblins
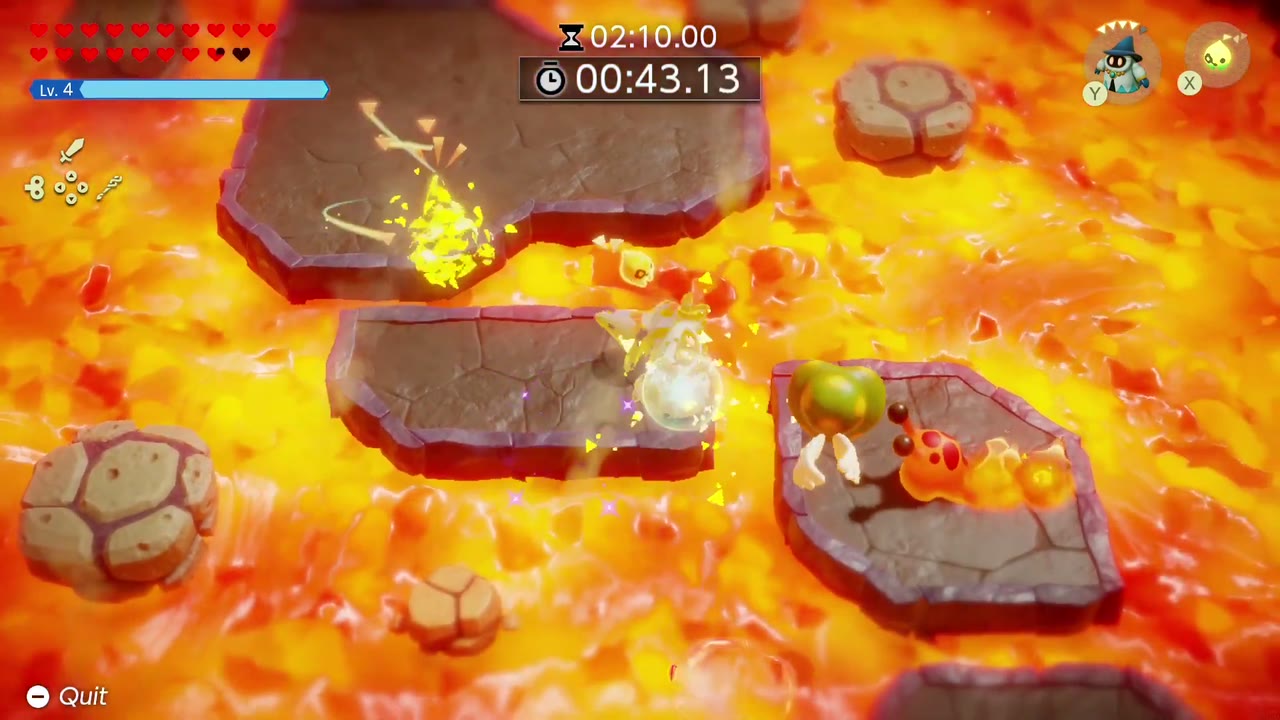
7. Floating on Fire
Unlock: Complete Eldin Temple
Goal: 02:10.00 → Monster Stone x3
Faster time: 01:30.00 → Rocktato x7
Enemies / rules: Carefully cross over the lava to defeat all the foes! No drinks or heart-restoring items. Rock islands in a lava sea, fire enemies on each platform

8. A Shock in the Dark
Unlock: Complete Faron Temple
Goal: 01:40.00 → Monster Guts x8
Faster time: 01:15.00 → Electro Apple x7
Enemies / rules: Defeat all the enemies under cover of darkness! No drinks or heart-restoring items. A near-black room lit only by braziers and glowing green enemies

9. Blank-Slate Battle: Ice
Unlock: Complete Lanayru Temple
Goal: 01:45.00 → Radiant Butter x8
Faster time: 01:25.00 → Twisted Pumpkin x7
Enemies / rules: Start with no echoes and no items; learn Brazier and Table in the dream. Ice-breathing Freezards among ice blocks and braziers
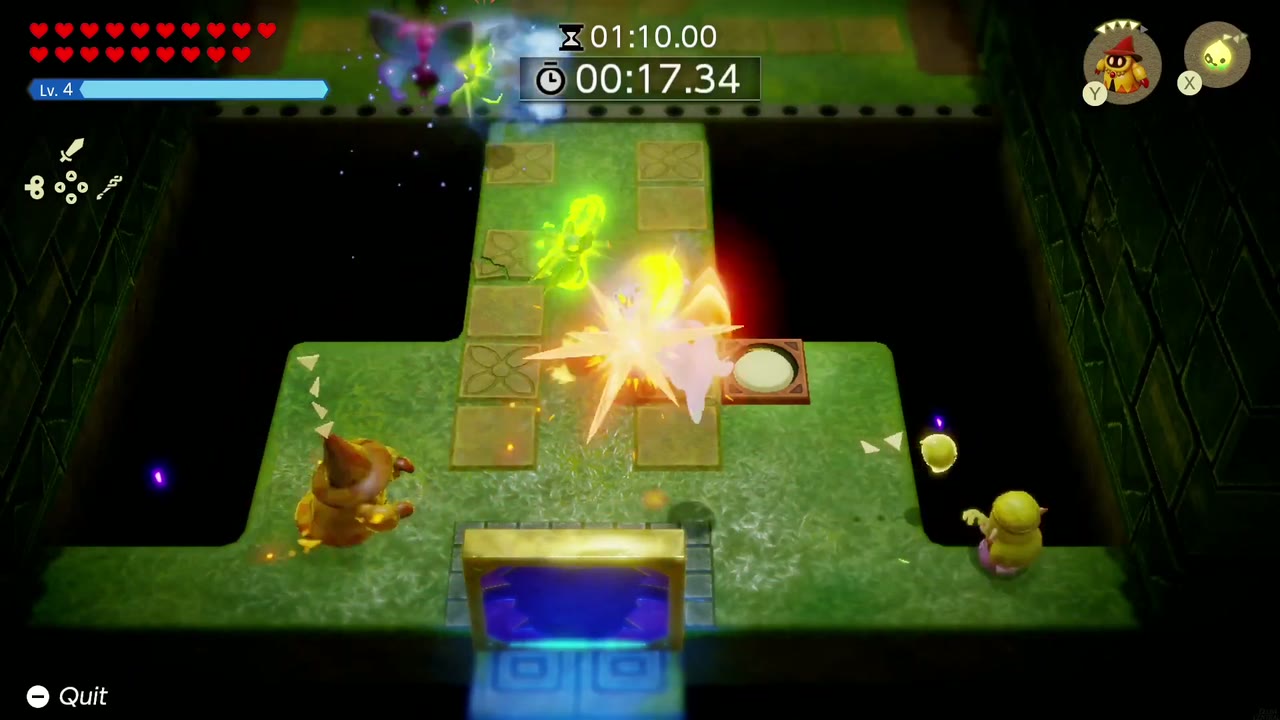
10. Revenge from the Skies
Unlock: Complete Faron and Lanayru Temples
Goal: 01:10.00 → Twisted Pumpkin x8
Faster time: 00:55.00 → Chilly Cactus x7
Enemies / rules: Fend off an assault from the skies! No drinks or heart-restoring items. Flying foes (Keese, Mothulas and others) over a grassy temple path

11. Blank-Slate Battle: Final
Unlock: Complete Eldin and Faron Temples
Goal: 02:00.00 → Golden Egg x3
Faster time: 01:30.00 → Monster Fang x7
Enemies / rules: Start with no echoes and no items (“all you’ll have is your rod!”); learn Fire Octo, Keese, Ghirro, Goo Specter and Buzz Blob in the dream, then face a Giant Goponga Flower in a rocky cavern with fire pits
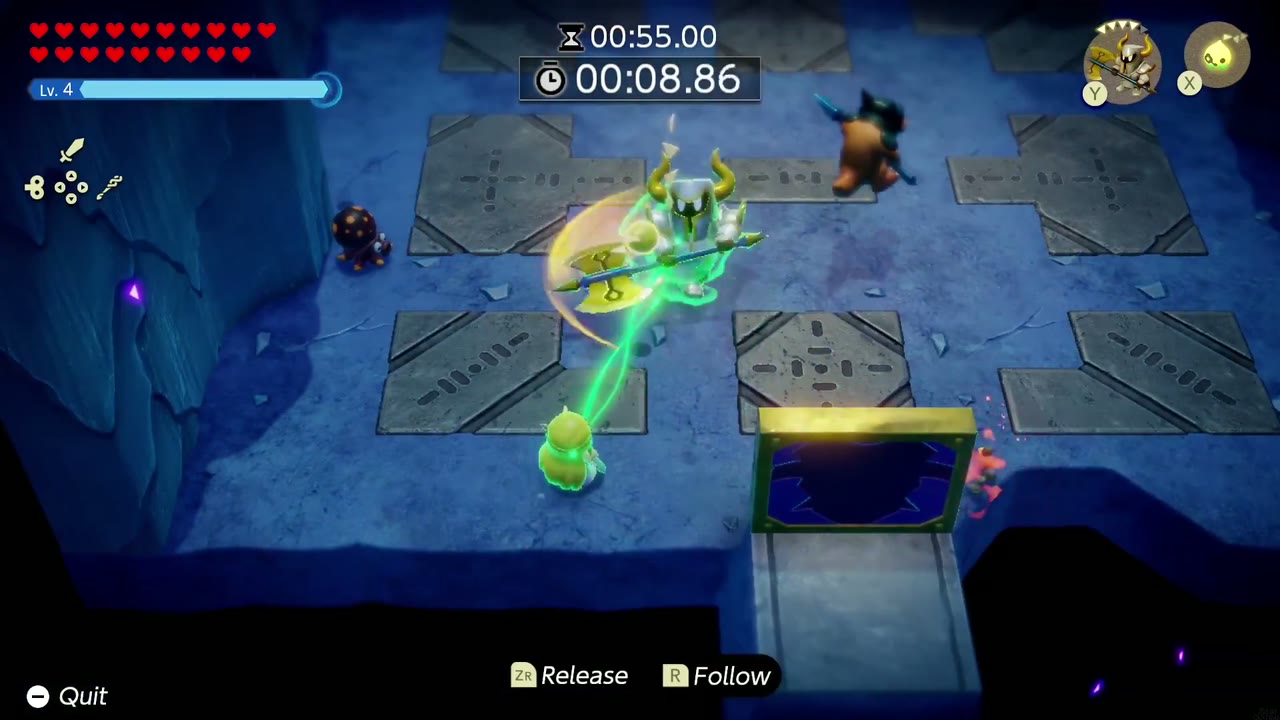
12. Trial of Flame and Ice
Unlock: Complete Eldin and Lanayru Temples
Goal: 00:55.00 → Golden Egg x5
Faster time: 00:40.00 → Rock Salt x7
Enemies / rules: Endure fire and ice attacks as you fight through all the enemies! No drinks or heart-restoring items. An armoured brute flanked by ice-breathing statues and fire-spitting foes on a blue stone floor
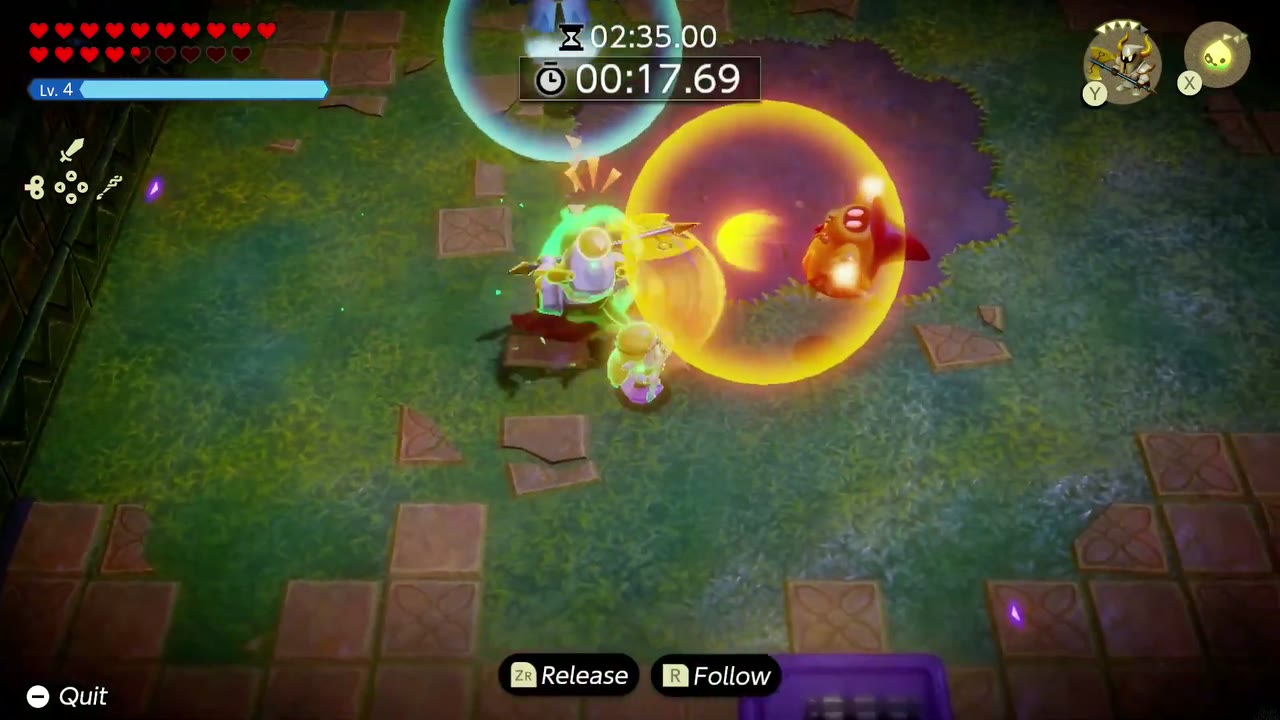
13. Wizzrobe Gathering
Unlock: Complete Eldin, Faron and Lanayru Temples
Goal: 02:35.00 → Purple Rupee (50 Rupees)
Faster time: 02:10.00 → Monster Guts x7
Enemies / rules: Confront these magical masters of fire, ice, and lightning attacks! No drinks or heart-restoring items. Fire, Ice and Electric Wizzrobes on a grassy arena around a purple pool

14. The Titans Gather Again
Unlock: Complete Eldin, Faron and Lanayru Temples
Goal: 10:45.00 → Monster Stone x5
Faster time: 08:45.00 → Fresh Milk x7
Enemies / rules: Face another gauntlet of the mightiest foes you’ve braved so far! Boss rush: Volvagia, Gohma, Skorchill
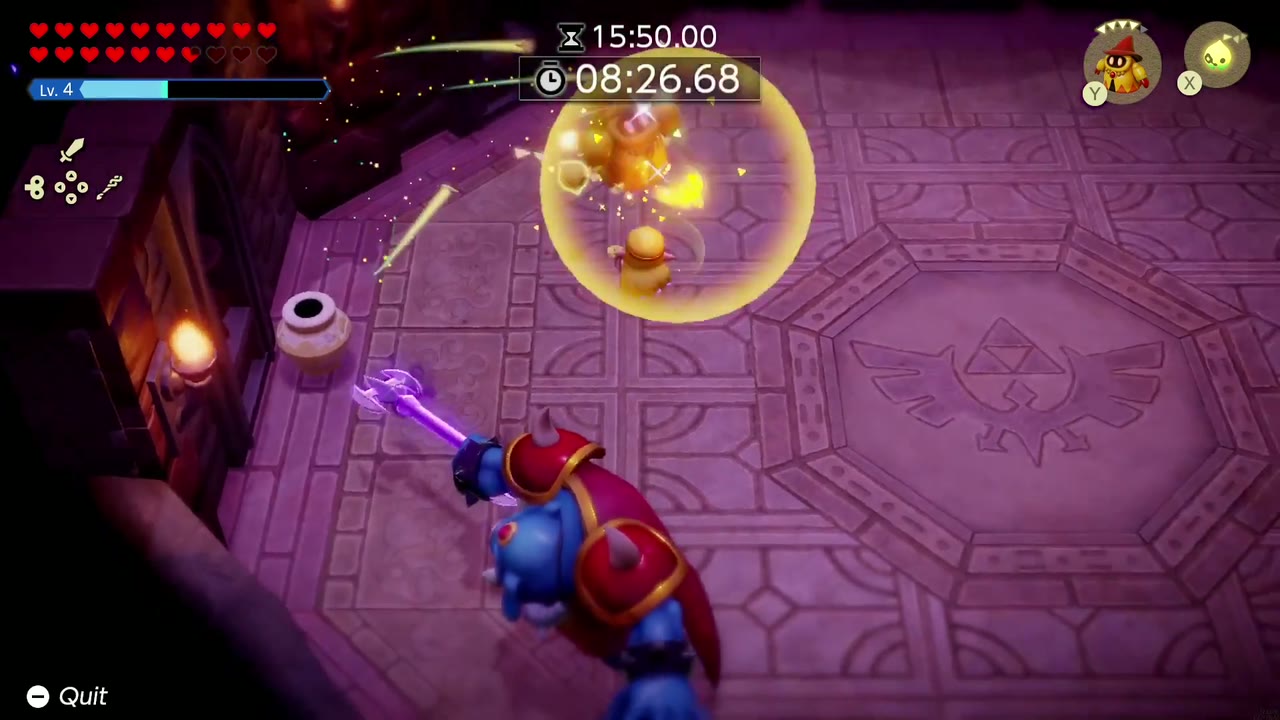
15. The Final Titans’ Gathering
Unlock: Complete all previous Trainings
Goal: 15:50.00 → Green Tunic
Faster time: 13:50.00 → Golden Egg x2
Enemies / rules: Face a gauntlet of ALL of the mightiest foes you’ve braved so far! Boss rush: Seismic Talus, Vocavor, Mogryph, Volvagia, Gohma, Skorchill, then Ganon
Mango Rush
At the Tough Mango Plant Lab in the Gerudo Oasis, the researcher runs Mango Rush: pay 10 rupees, head down to the basement field, and spin to harvest her fast-growing mangoes before the plants wither. Use just enough force: the field rules warn that too much and the mangoes burn up.
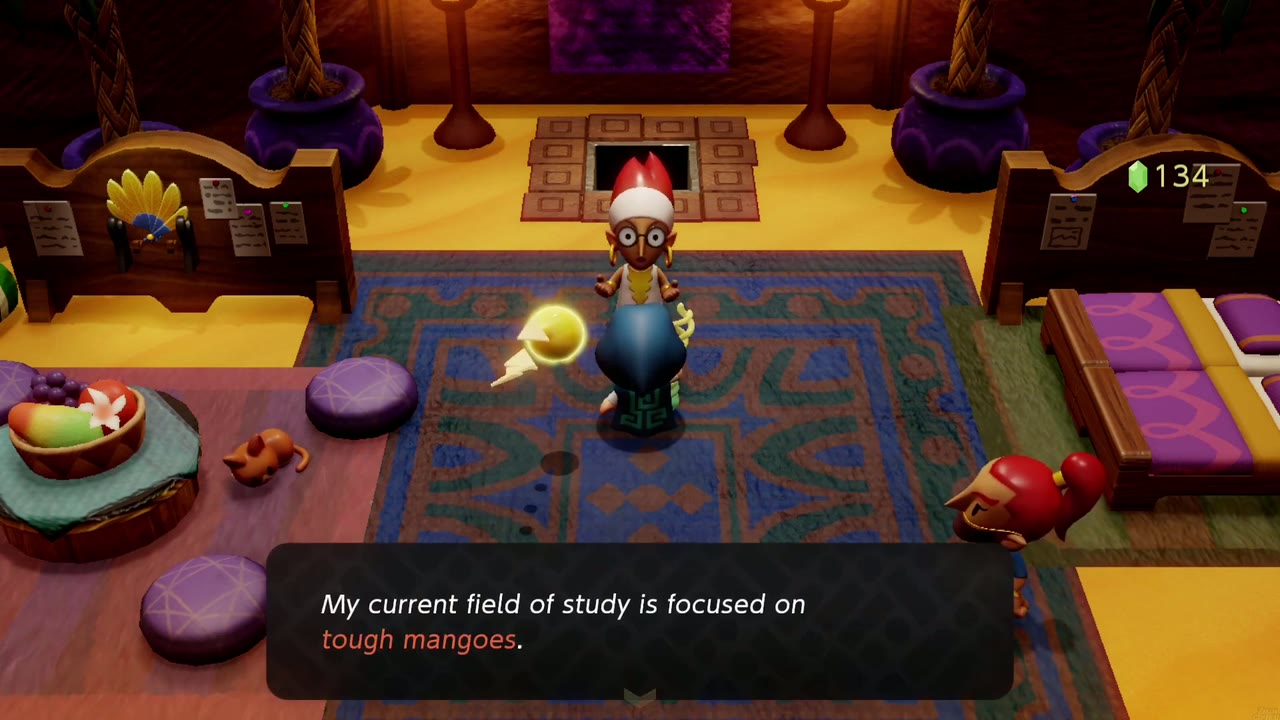

Standard / Vibrant / Ultimate seeds: Standard asks for 40 or more of 50 mangoes; Vibrant seeds sprout sharp thorns and ask for 50 or more of 60; Ultimate seeds, offered on a later visit, add thorns and bomb flowers and ask for 60 or more of 70.
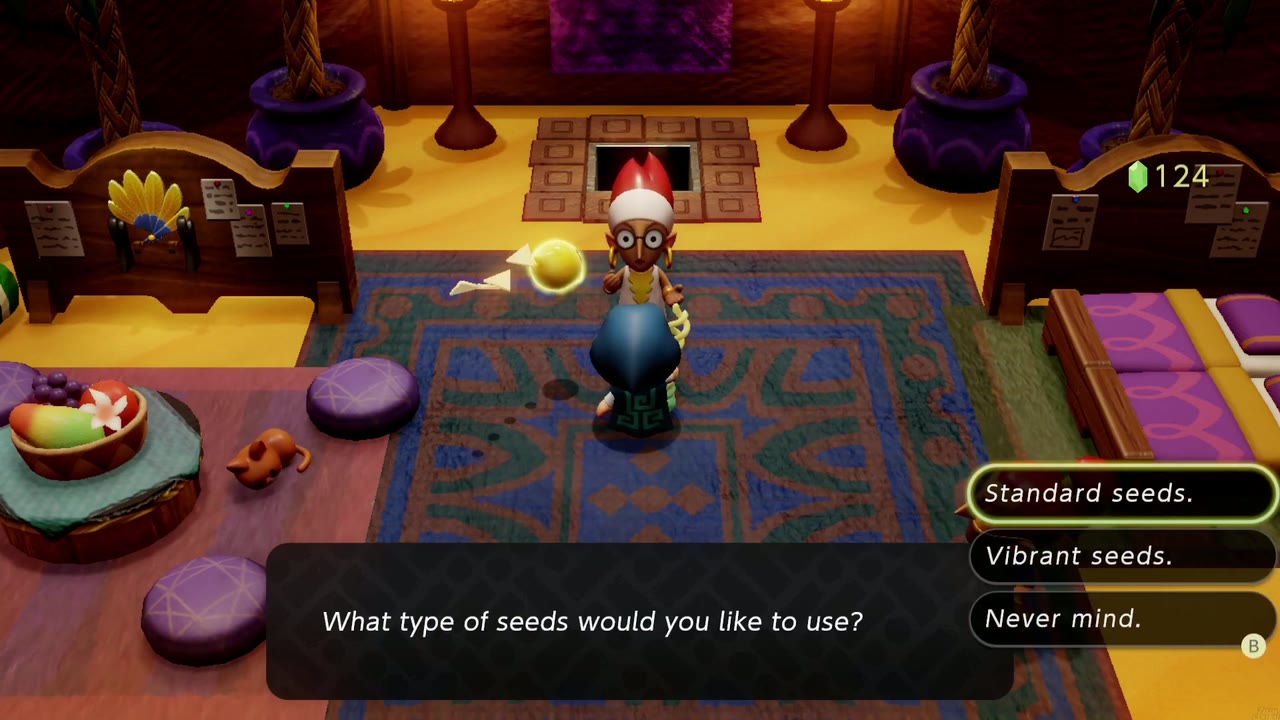
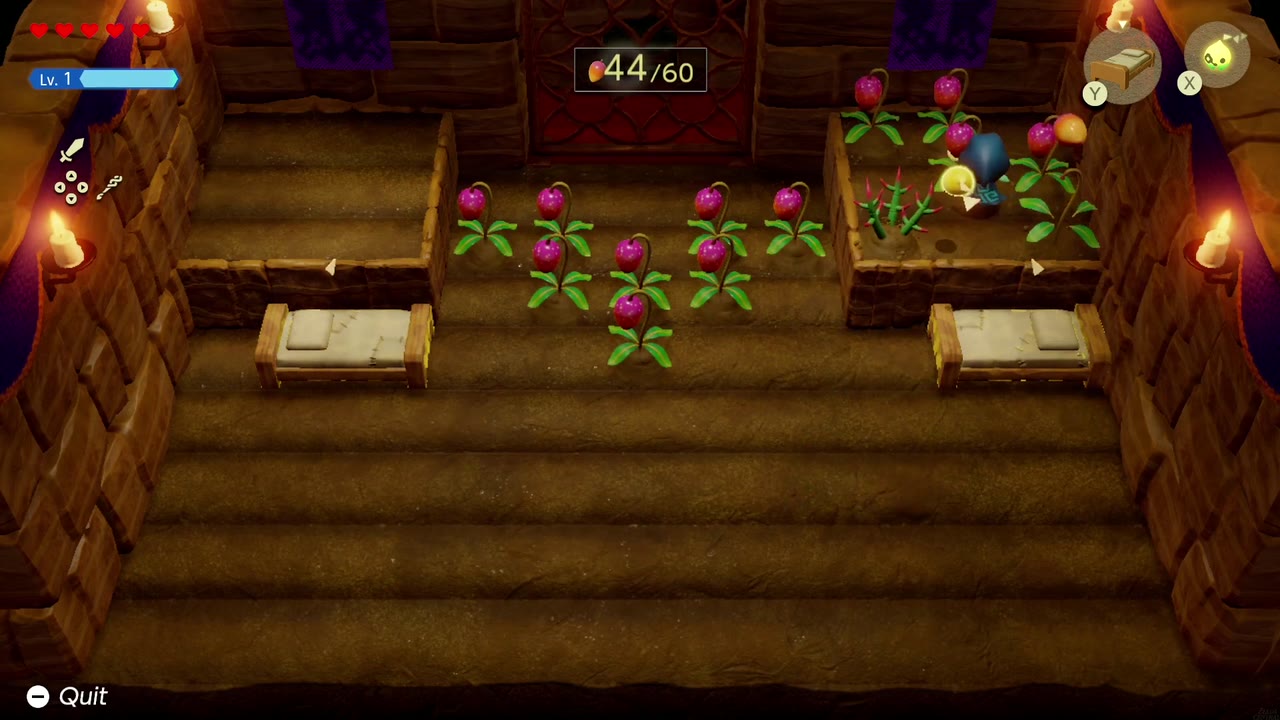

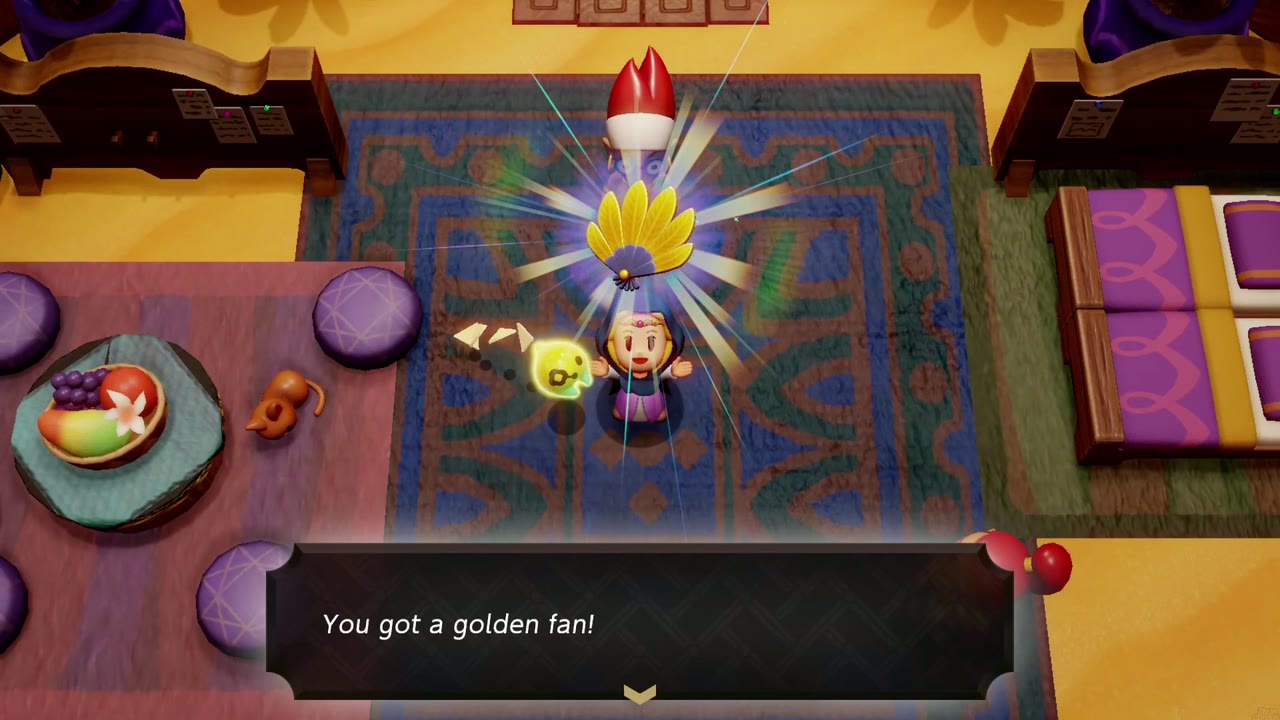
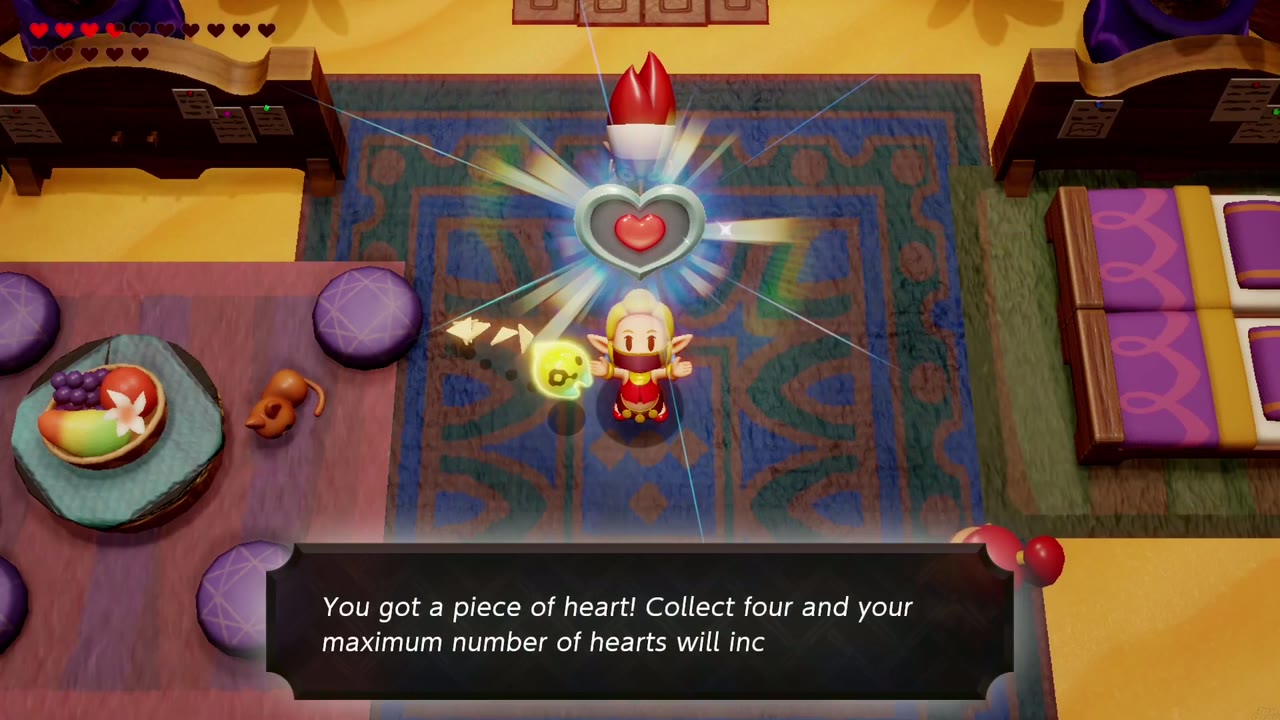
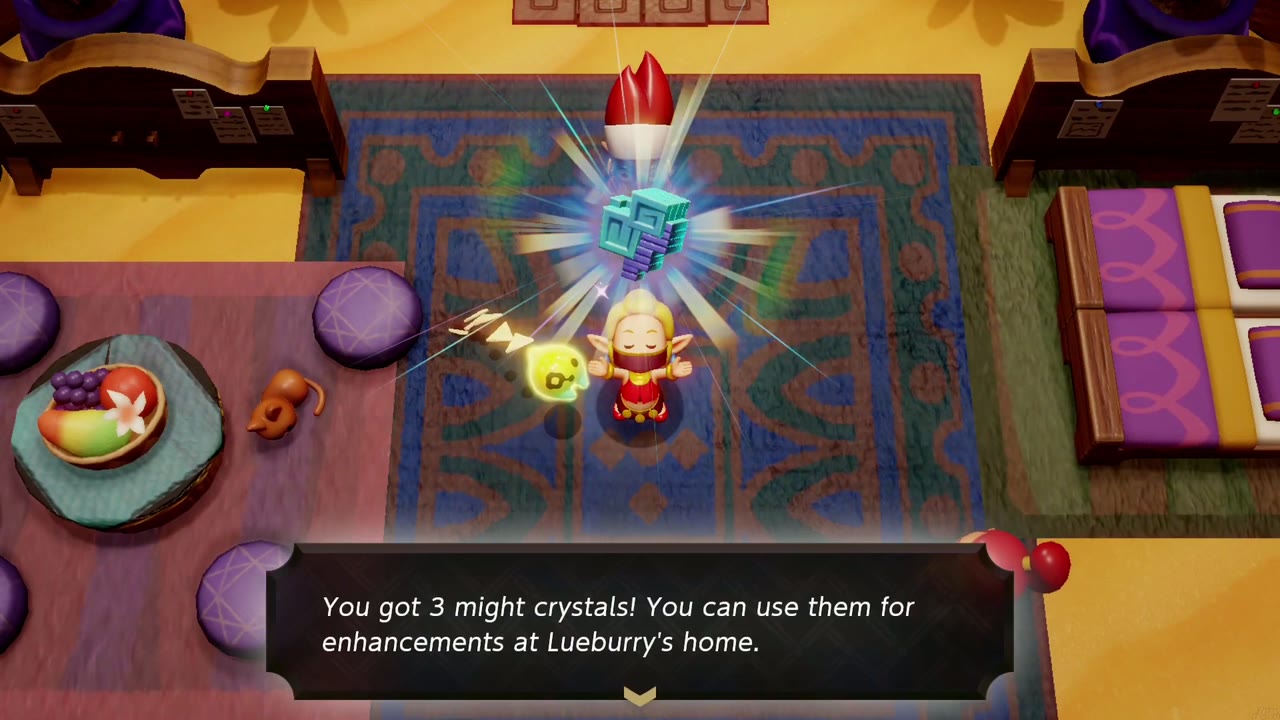
Rewards: every successful round pays out tough mangoes (they restore hearts and work better mixed into a drink). Vibrant 50+ earns the Golden Fan (an automaton part), all 60 on Vibrant adds 3 Might Crystals, Ultimate 60+ earns the Dancing Outfit (wider spin area), and all 70 on Ultimate earns a Piece of Heart.

Acorn Gathering
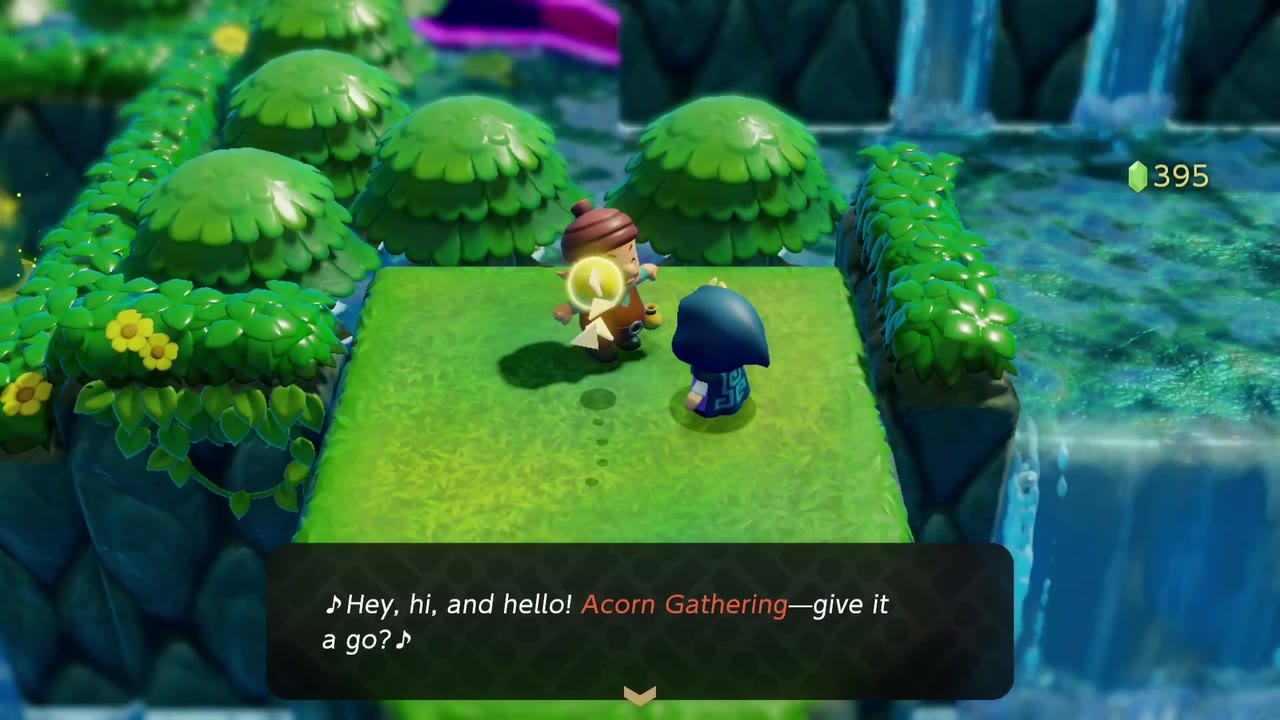
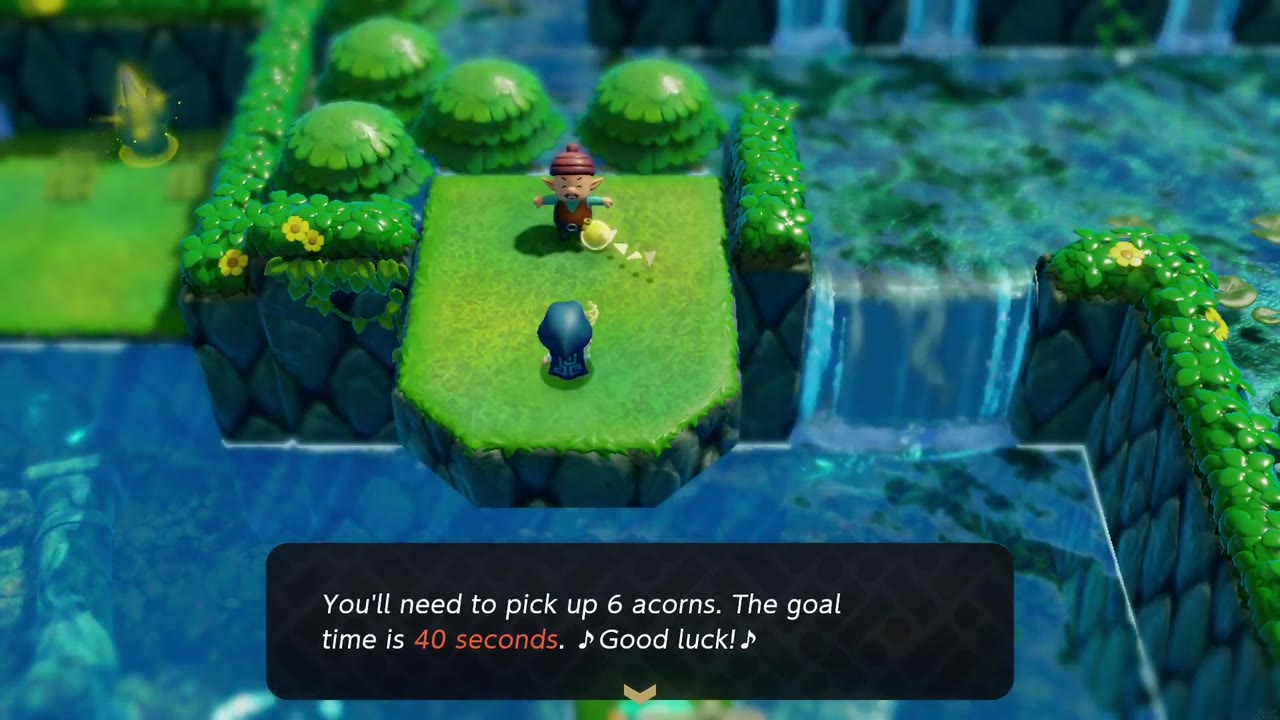
A singing acorn fan runs Acorn Gathering at five spots: pay 10 rupees for one try and pick up every acorn he scatters before the goal time. Any clear pays 20 rupees, beating the goal by a wide margin adds a bonus item, and your first lightning-fast run at each spot earns a special one-time bonus:

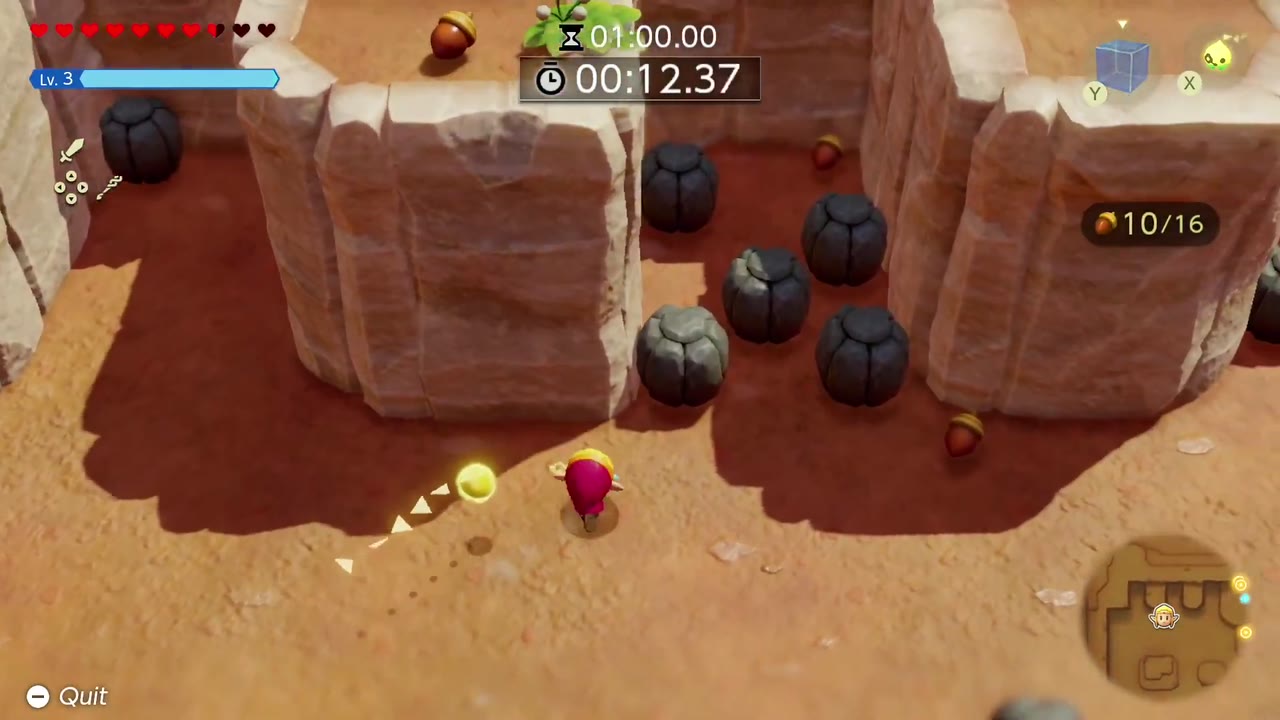
Western Hyrule Field, rocky canyon maze (western edge of Hyrule)
Goal: 16 acorns, 1:00 → 20 Rupees
Faster time: 0:40 → Rock Salt
One-time bonus: Steel Trap
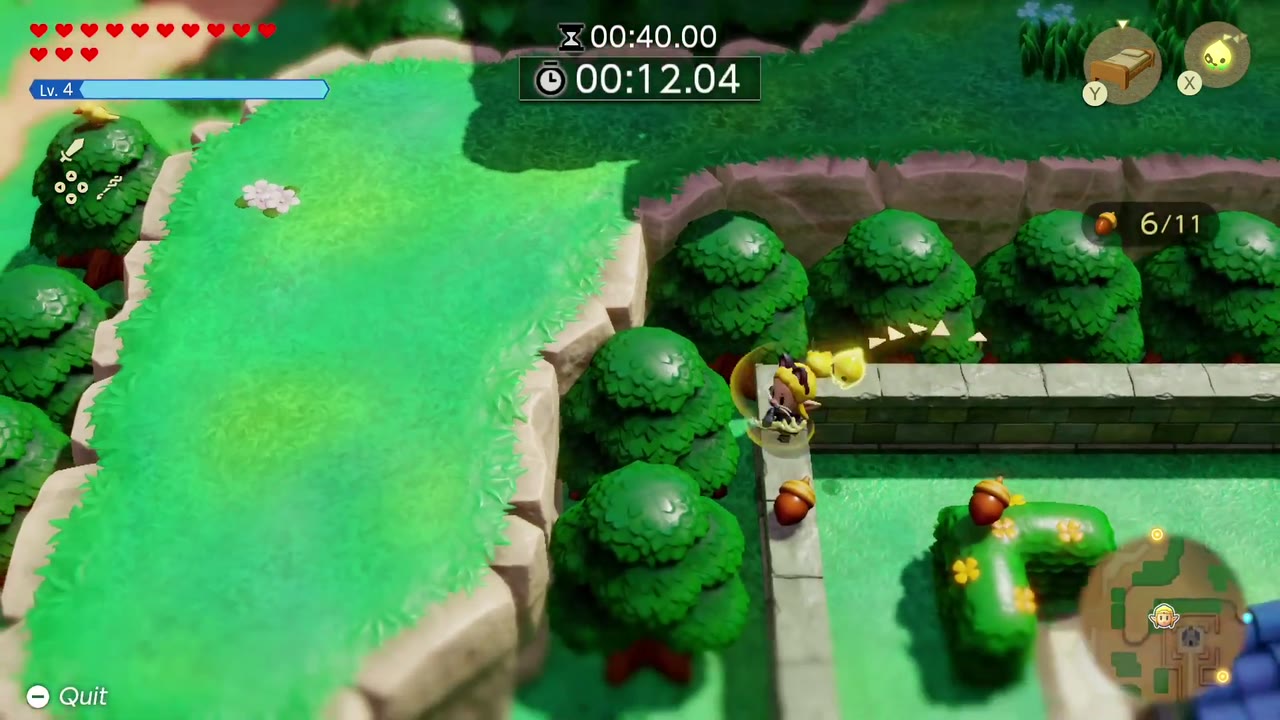
Hyrule Field hedge maze next to the Northern Sanctuary
Goal: 11 acorns, 0:40 → 20 Rupees
Faster time: 0:30 → Radiant Butter
One-time bonus: Golden Egg
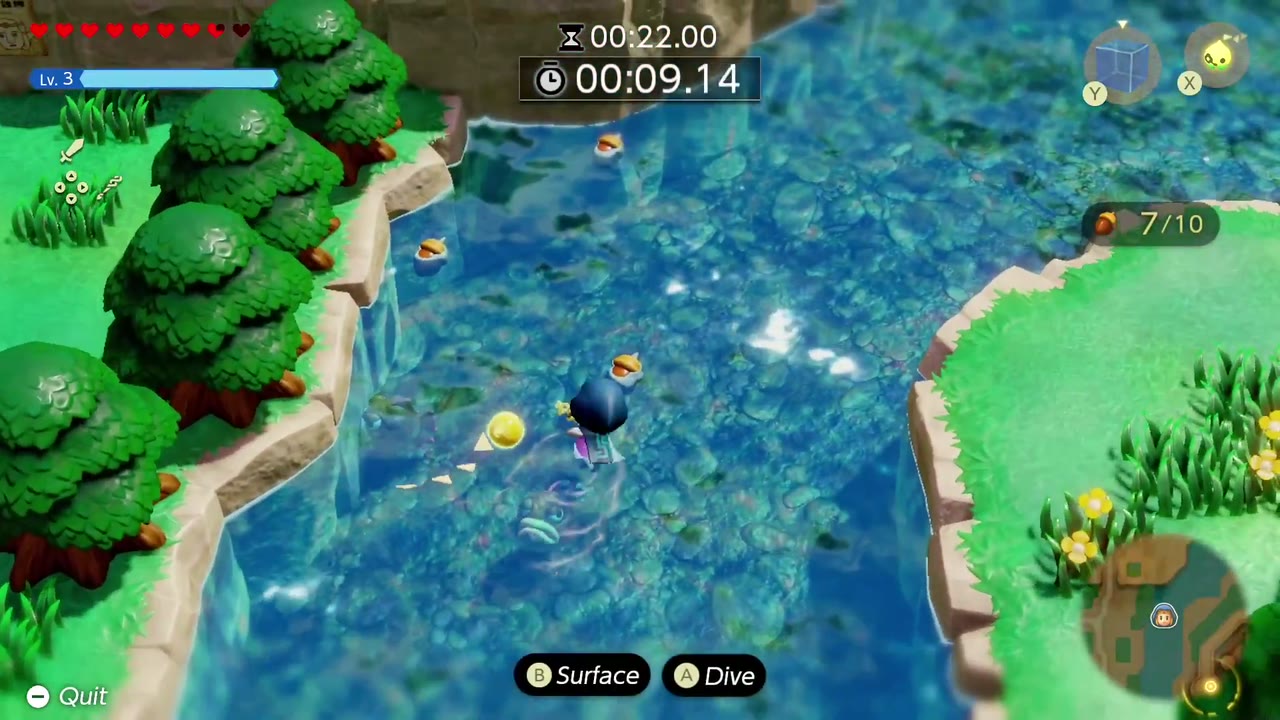
Hyrule Field riverside (west of Hyrule Castle Town)
Goal: 10 acorns, 0:22 → 20 Rupees
Faster time: 0:17 → Warm Pepper
One-time bonus: 3 Might Crystals

Jabul Waters islet (east of Crossflows Plaza)
Goal: 6 acorns, 0:40 → 20 Rupees
Faster time: 0:25 → Riverhorse
One-time bonus: 100 Rupees
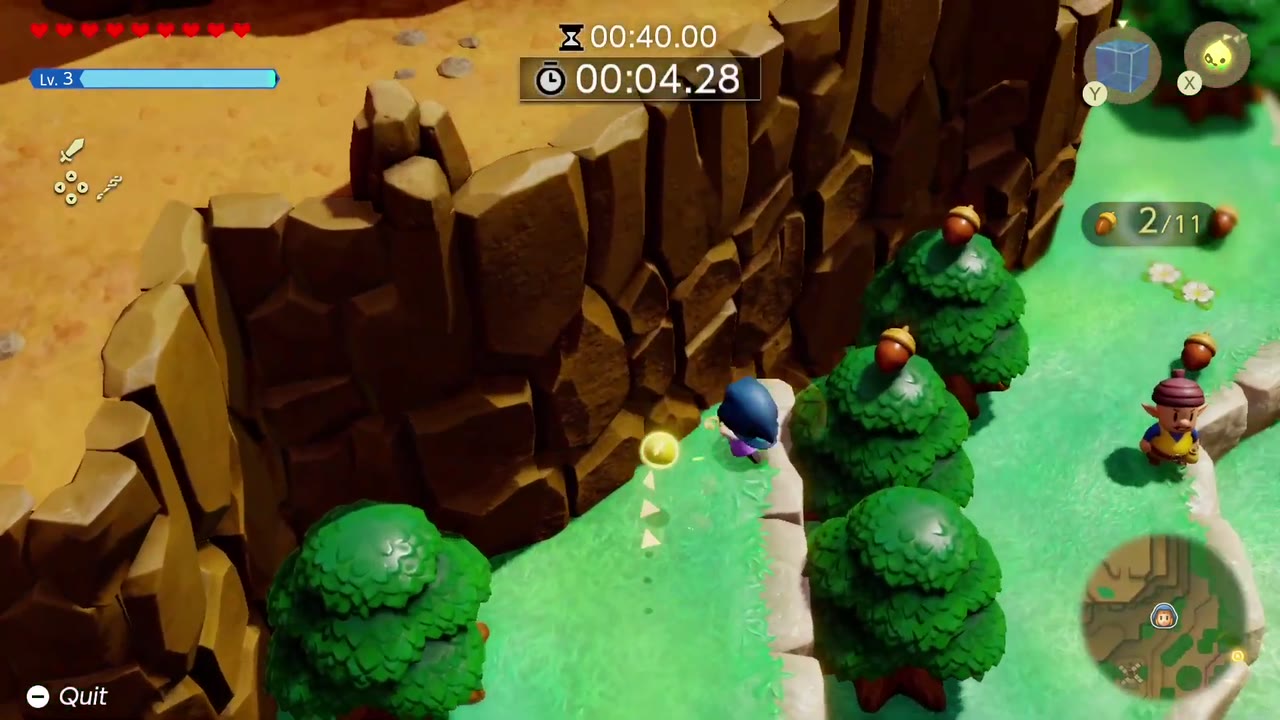
Hyrule Field wooded clifftop trail (northeast of Kakariko Village)
Goal: 11 acorns, 0:40 → 20 Rupees
Faster time: 0:25 → Refreshing Grapes
One-time bonus: Piece of Heart
Horseback and Other Challenges
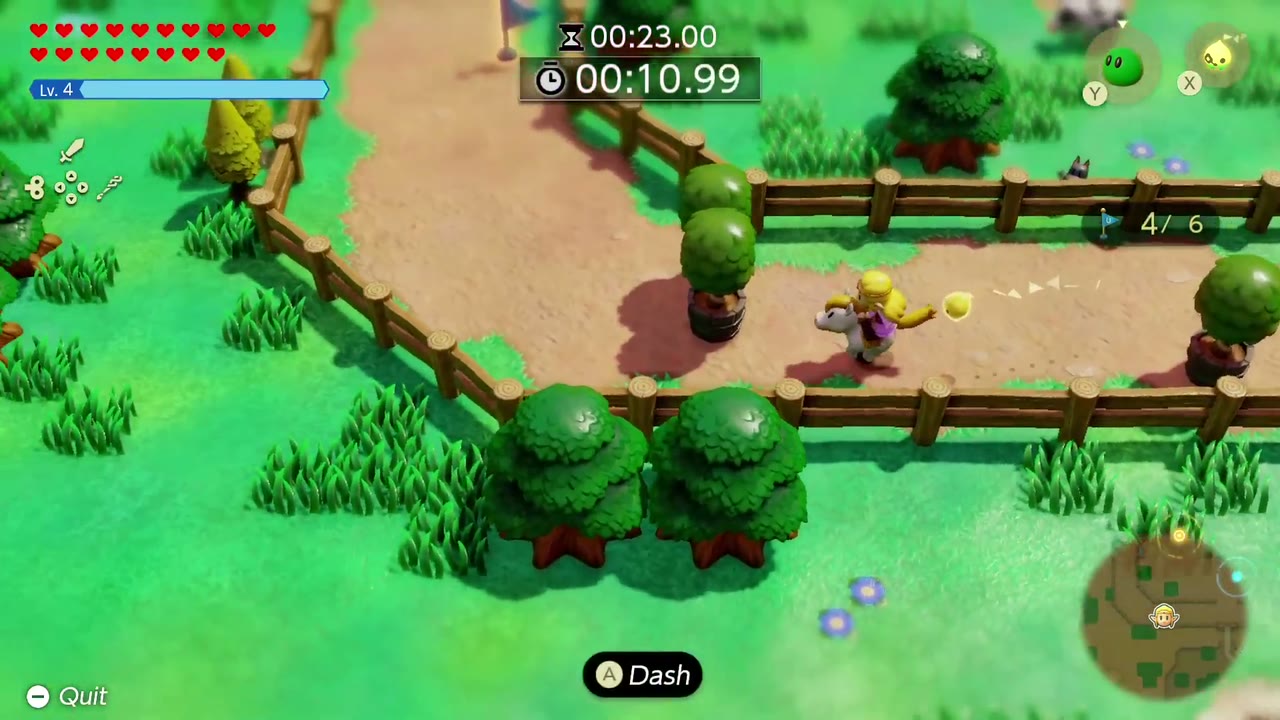
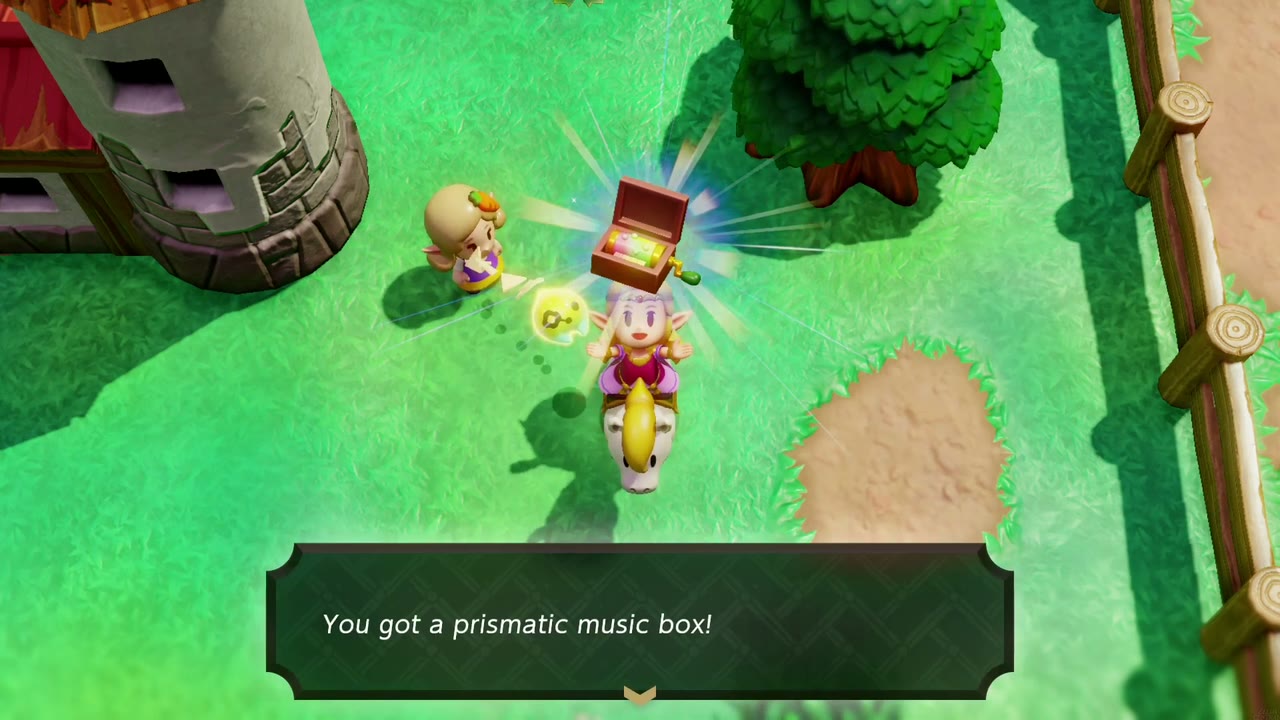
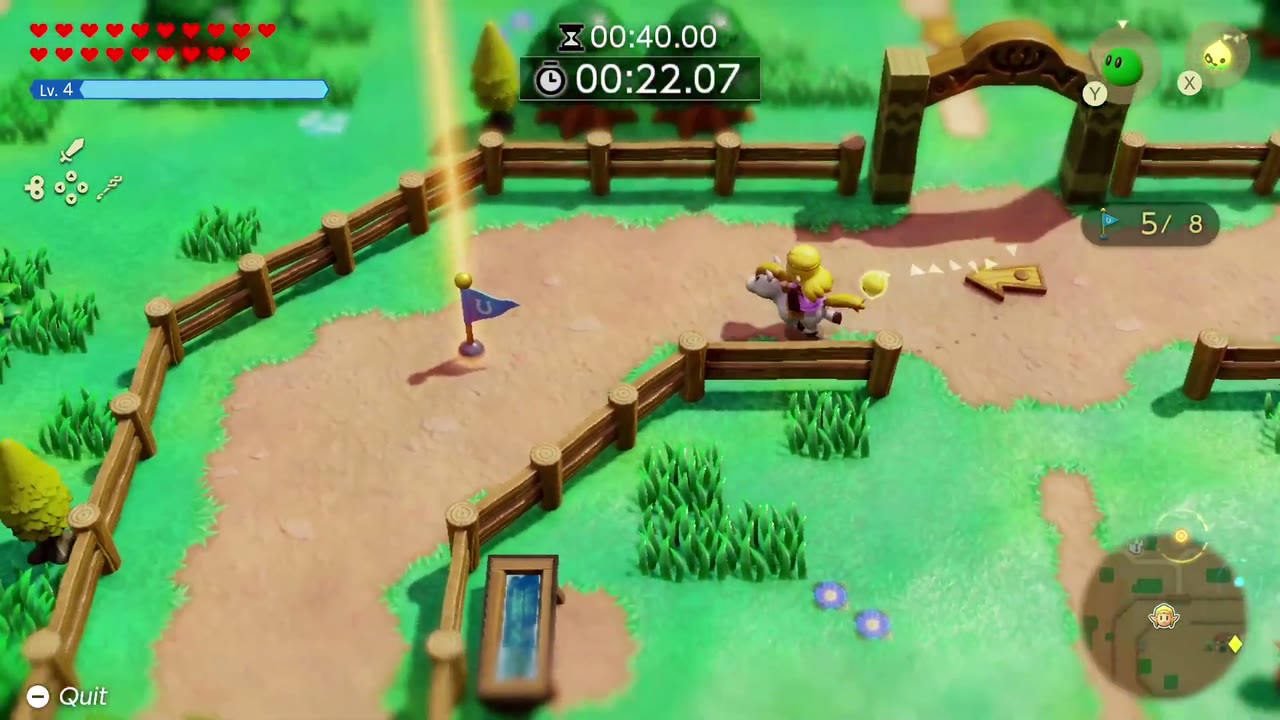
Flag Race (Hyrule Ranch): after Runaway Horse, complete Still Missing and Impa’s Gift to obtain Zelda’s own horse; rental horses cannot enter; ride up to the ranch girl beside the ranch house and she runs the Flag Races. Each run costs 10 rupees: collect the numbered flags in order on horseback, then reach the goal. Clearing a course’s goal time opens the next one. The short course is one lap of the ranch track (6 flags, goal 23 s, master 17 s); the middle course heads out into Hyrule Field (5 flags, goal 25 s, master 20 s); the long course runs the outside track and then the ranch track (8 flags, goal 50 s, master 40 s). First-time goal clears pay 20 rupees (short), the Prismatic Music Box (middle; the part Dampé needs for the Gizmol) and 50 rupees (long). Master times pay 3 Might Crystals (short), a Piece of Heart (middle) and the Charging Horn accessory (long), which powers up your horse’s charges. A 19.86 middle run earned the music box and the heart together; the horn took a 36.70 long run. Repeat clears give smaller prizes such as Radiant Butter.

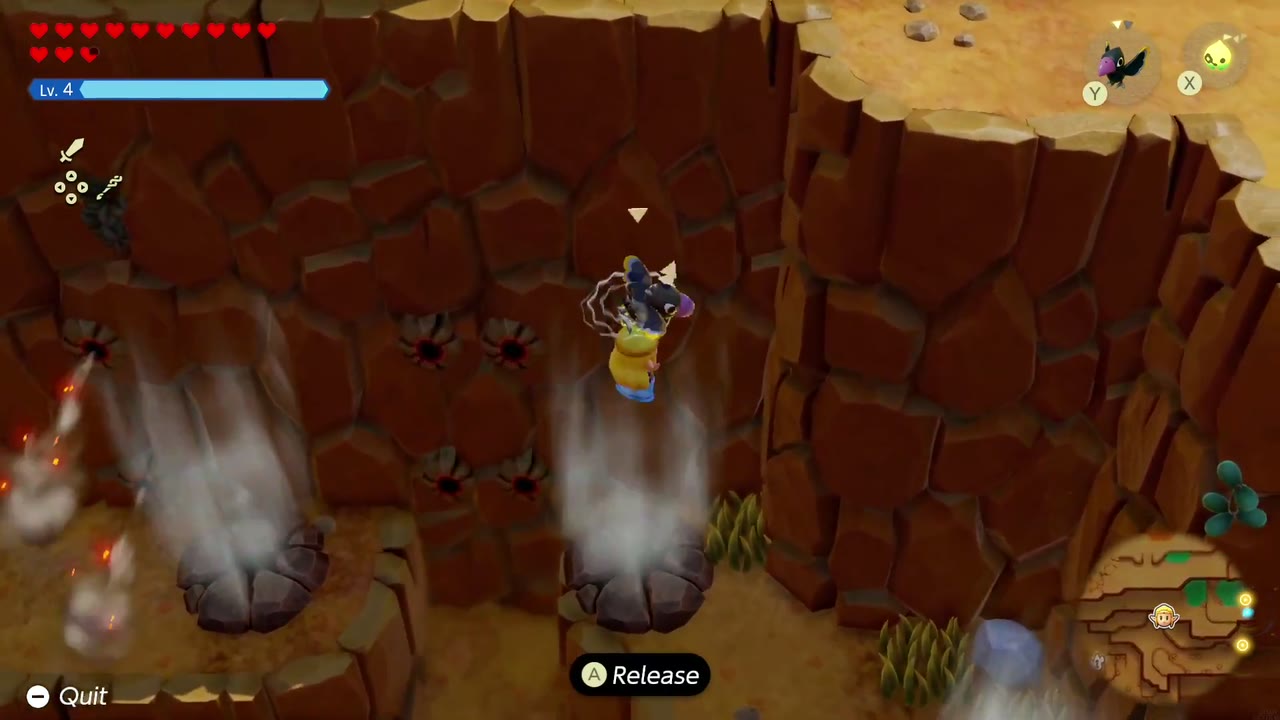
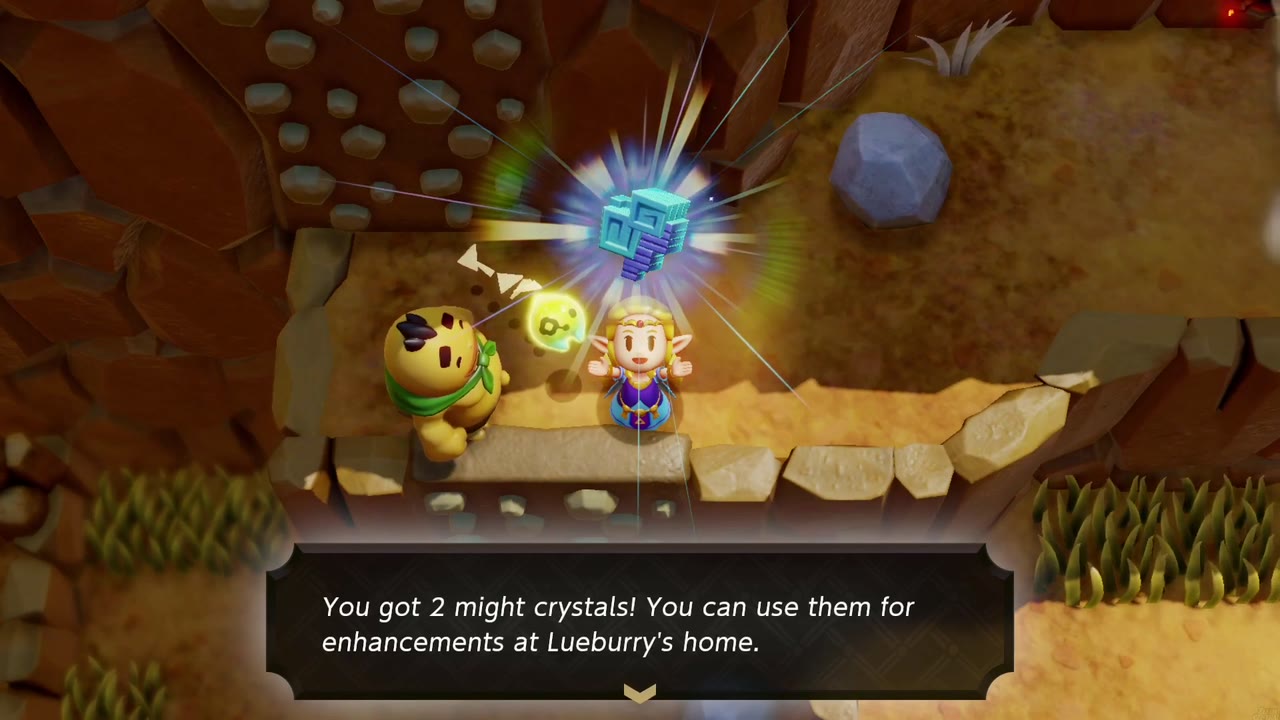
Glide Path / Glide Path Trailblazer (Eldin Volcano): on a cliff top on the volcano, the Goron boy Seko wants to see someone do the glider ride. The rule is simple: glide from the start to the flag without touching the ground, or start over. Zelda equipped a Crow echo, held it overhead and drifted down over the steam vents to the flag. Seko’s thank-you is 10 portions of Rock Salt. He then fetches his older brother Disian, who spent a year building the Eldin Death Road of Pain, a longer glide past more steam vents and falling rocks. Zelda cleared it with the same Crow echo, and Disian handed over 2 Might Crystals. He says you can come back and use the course anytime.

Ready? Set? Goron! on the Eldin Volcano trail, the Goron you rescued earlier suggests a Goron Race, “our traditional sport”: whoever reaches the flag first wins. The course follows stone paths beside the lava to a flag on a rocky outcrop. Zelda won on foot, summoning an Old Bed echo as a step to climb out of a sunken stretch near the start. The Goron pays 50 rupees and the side quest completes. Talk to him again for a rematch; there’s no second prize for winning again.
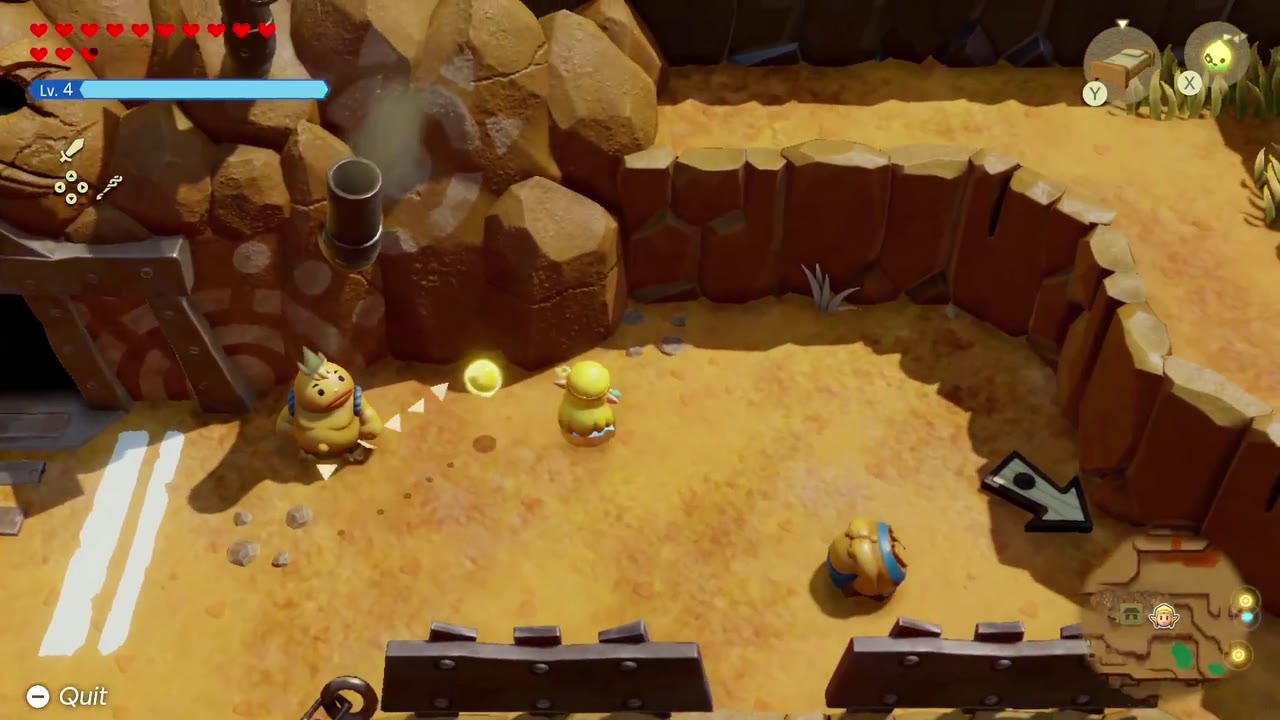

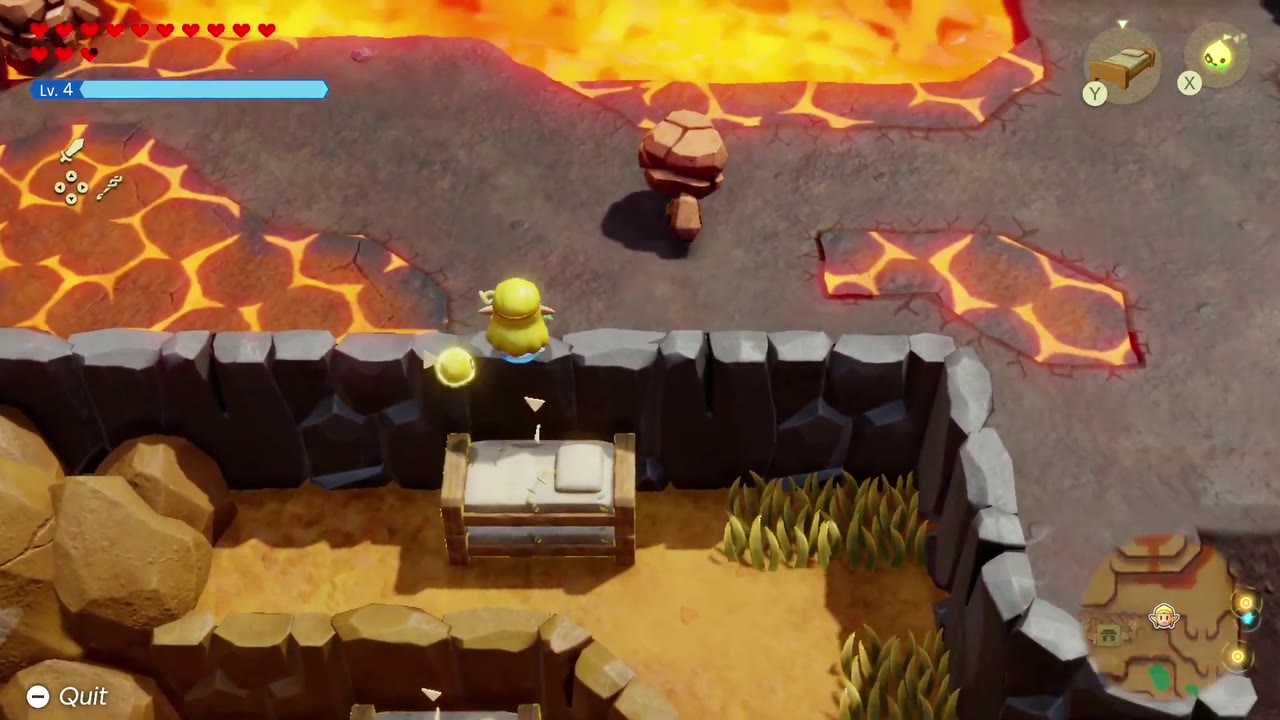
Tag and hide-and-seek challenges: two more minigame-style challenges are side quests: Gerudo Tag Training in Gerudo Town and Looking for Bempu, a round of hide-and-seek in Scrubton (Side Quests).
Challenge Rewards and Completion Checklist
| Reward | Challenge |
|---|---|
| Green Tunic | Pass all 15 Slumber Dojo trainings (the last is The Final Titans’ Gathering) |
| Dancing Outfit | Mango Rush: harvest 60 or more mangoes on an Ultimate-seed run |
| 2 Pieces of Heart | Slumber Dojo milestones (2nd and 11th passed training) |
| Piece of Heart | Mango Rush: all 70 mangoes on an Ultimate-seed run |
| Piece of Heart | Flag Race middle course in under 20 seconds (course master) |
| Piece of Heart | Acorn Gathering on the wooded clifftop trail in Hyrule Field (one-time bonus for a fast run) |
| Heirloom Katana | Pass 6 Slumber Dojo trainings → part for the Roboblin |
| Prismatic Music Box | Flag Race middle course, first clear under the 25-second goal → part for the Gizmol |
| Golden Fan | Mango Rush: harvest 50 or more mangoes on a Vibrant-seed run → part for the Goldfinch |
| Steel Trap | Acorn Gathering in the rocky canyon maze in Western Hyrule Field (all 16 acorns, 1-minute goal) → part for the High-Teku Baba |
| Charging Horn | Flag Race long course in under 40 seconds (course master) |
| First / Second / Final Mastery | Pass 4 / 8 / 14 Slumber Dojo trainings |
| Might Crystals | Flag Race short course in under 17 seconds (3); Mango Rush, all 60 on a Vibrant-seed run (3); Acorn Gathering at the Hyrule Field riverside, one-time bonus (3); Glide Path Trailblazer (2) |
| Golden Eggs & ingredients | Goal-time rewards at the dojo, Flag Races and Acorn Gathering; Golden Eggs make Golden smoothies |
