





















Echoes of Wisdom has dozens of side quests, tracked in the Adventure Log. Many hand out the game’s best rewards: accessories, outfits, Fairy Bottles, Pieces of Heart, Might Crystals, and Dampé’s Automatons.
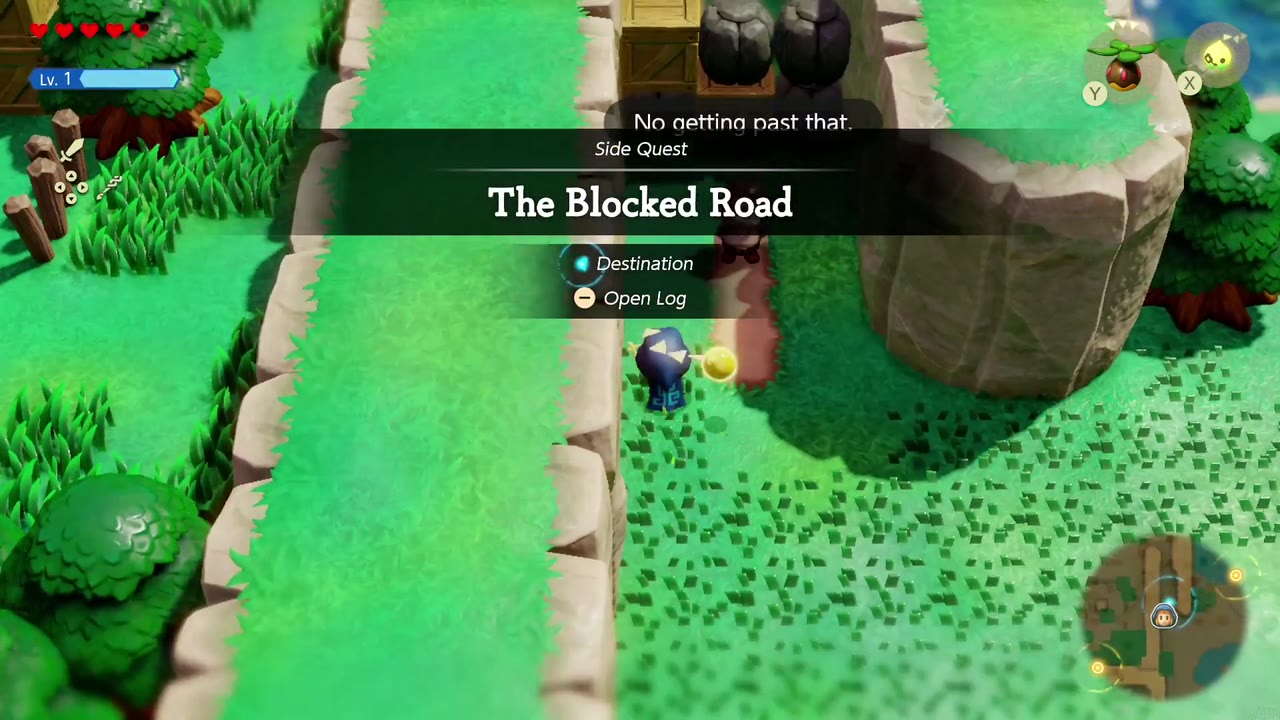
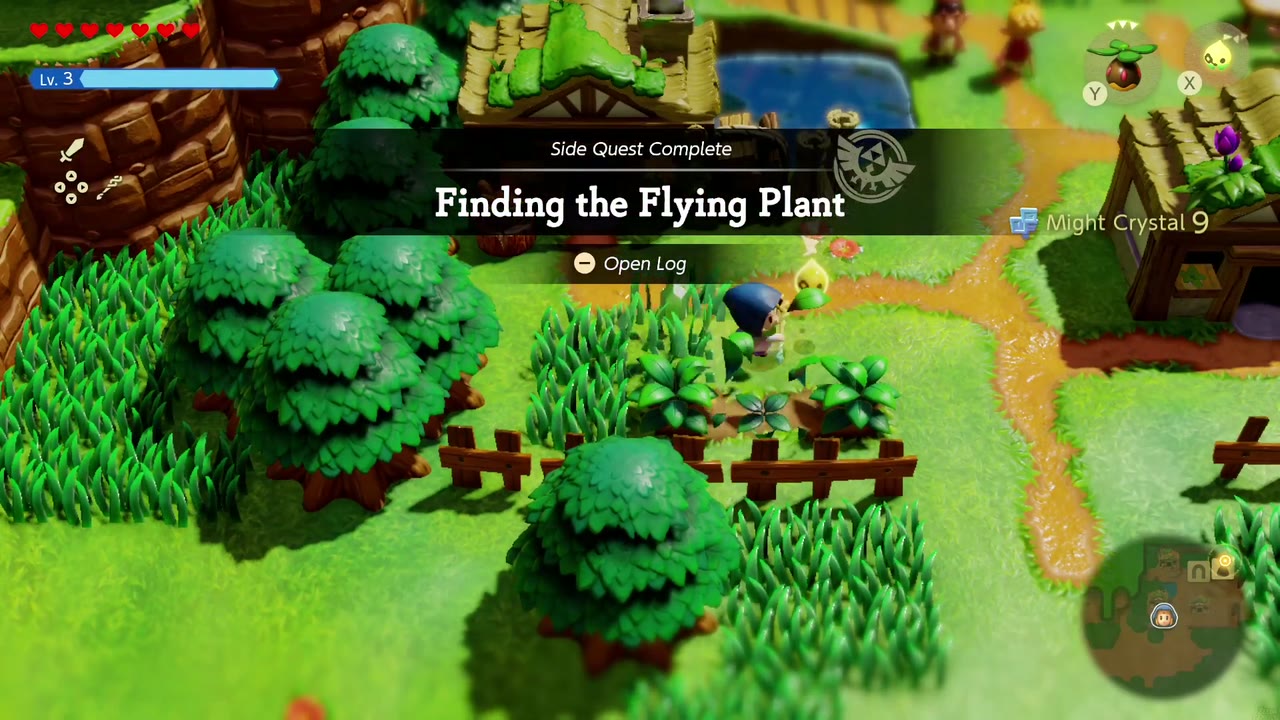
Table of Contents
How Side Quests Work
Quests appear as you reach new areas and as the main story moves on, so revisit towns and villages after each chapter; some only turn up late in the game.
“Show me” quests want the echo summoned in front of the NPC, not an item (for example a Peahat for Finding the Flying Plant, a Snowball for What Is Snow…Really?).
Fetch-style quests are often easier with Bind, which lets Zelda move objects without carrying them.
Most quests can still be picked up after the main story, so don’t worry if you skip one on your first pass.
Side Quests by Region
Suthorn Region
Finding the Flying Plant
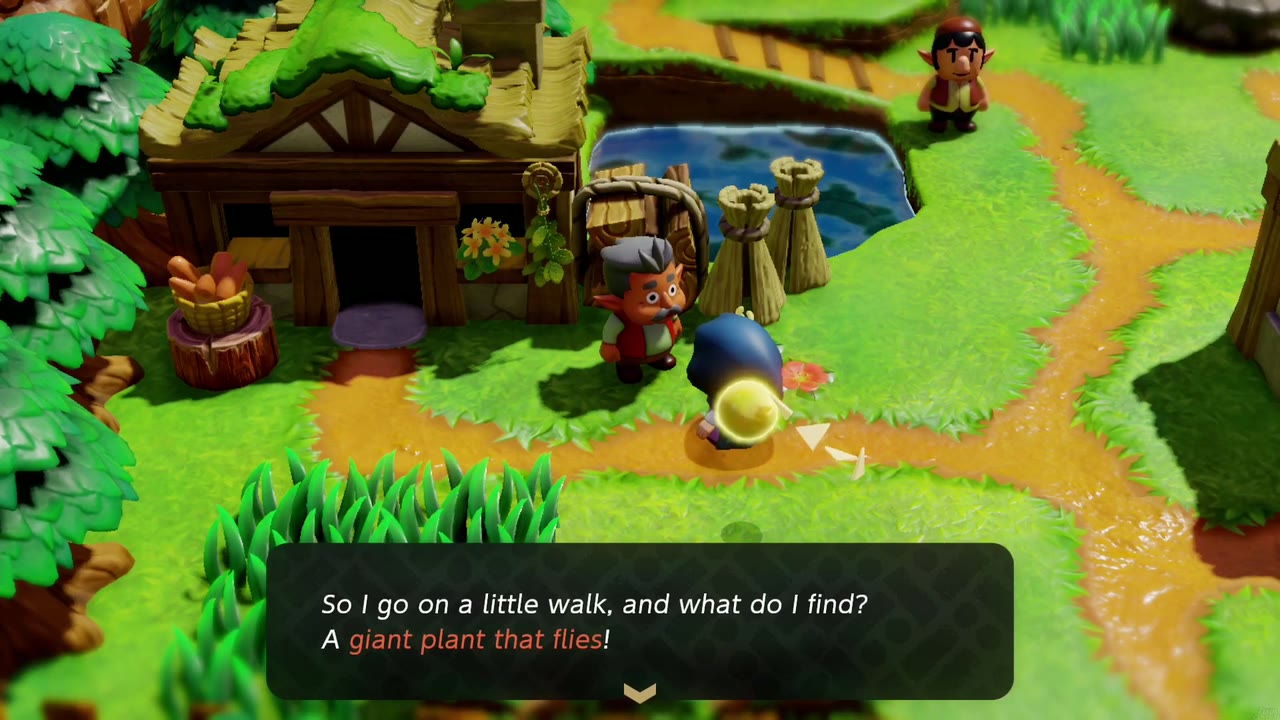
Where: Suthorn Village, the man outside the house by the pond.
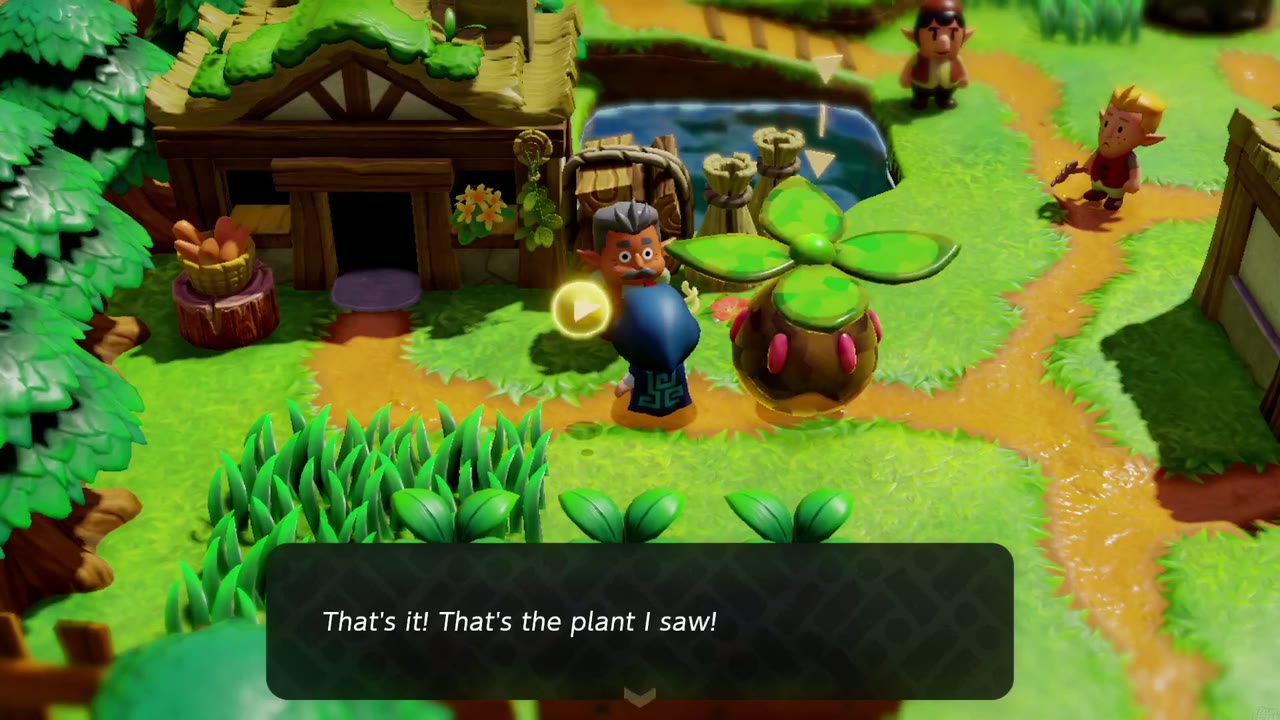
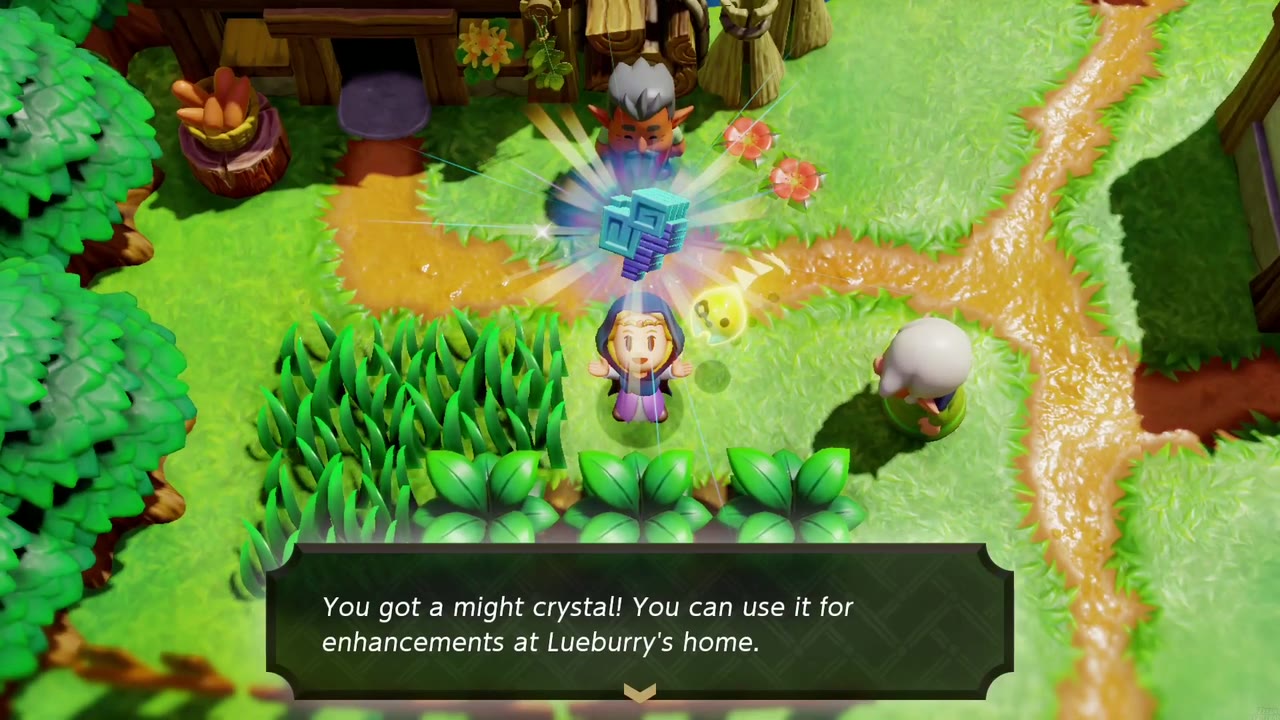
How: He wants to cheer up his sick wife with the “giant plant that flies” he saw near the caves deep in Suthorn Forest. Summon a Peahat echo next to him (“That’s it! That’s the plant I saw!”); after it chases him, his wife thanks you.
Reward: a Might Crystal.
What Is Snow…Really?
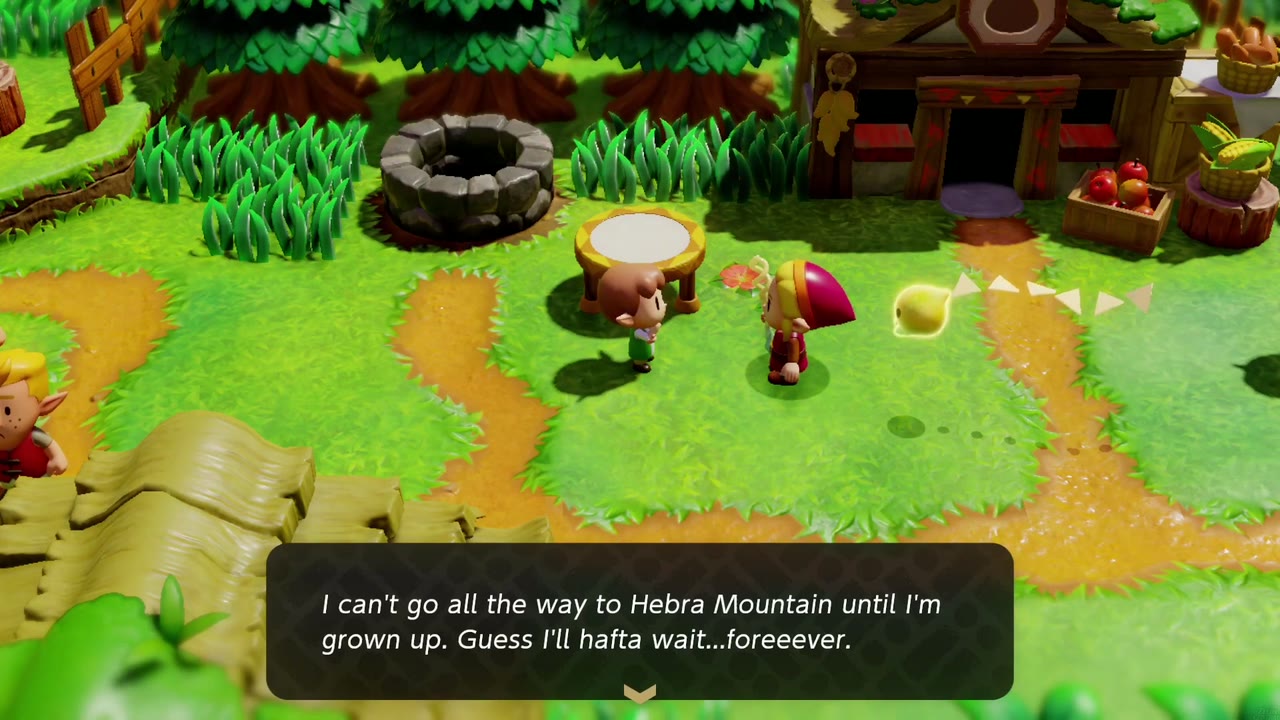
Where: Suthorn Village, a child near the well who wishes they could see snow.
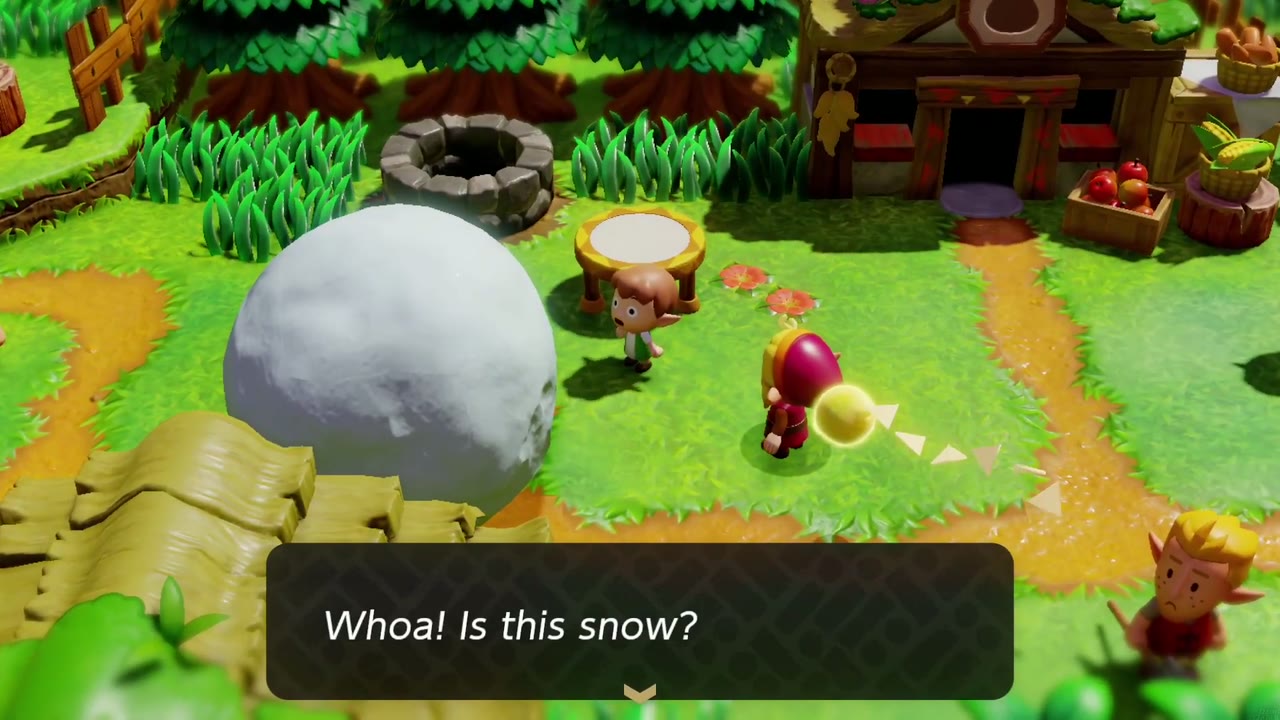
How: Summon a Snowball echo (found on Hebra Mountain) next to the child (“Whoa! Is this snow?”).
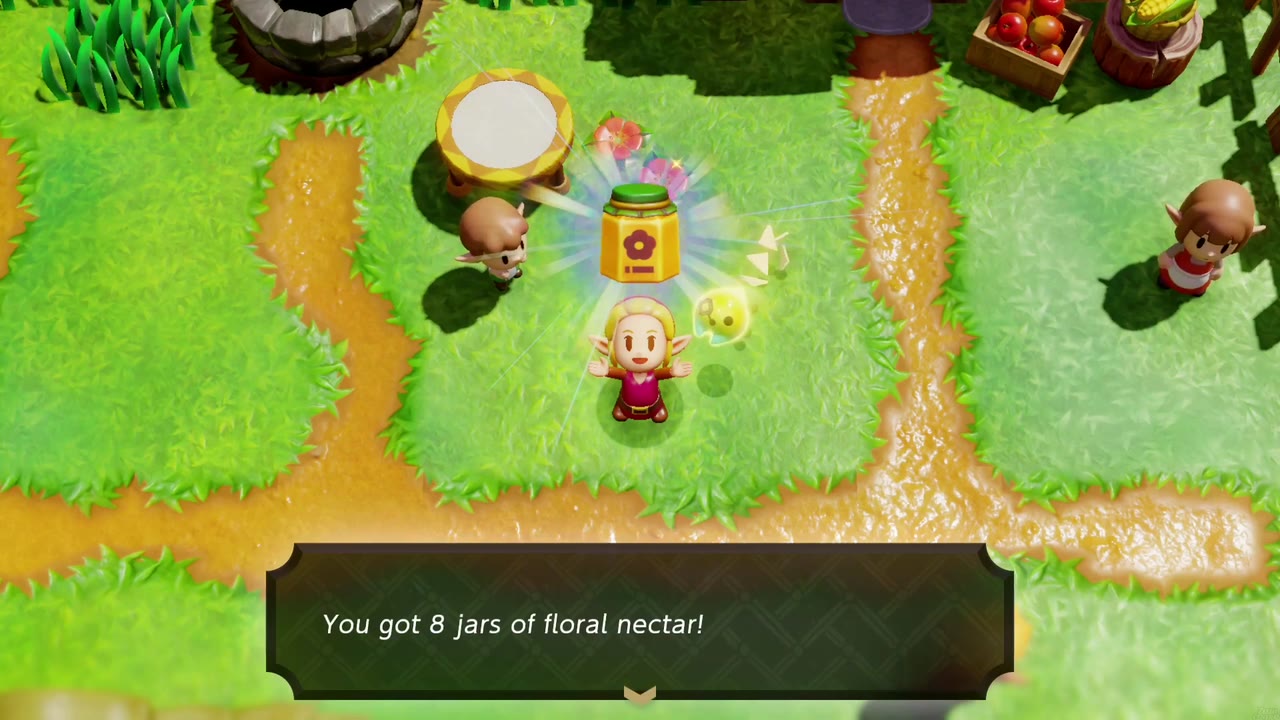
Reward: 8 jars of Floral Nectar.
Up a Wall
Where: Suthorn Prairie, inside a walled enclosure.
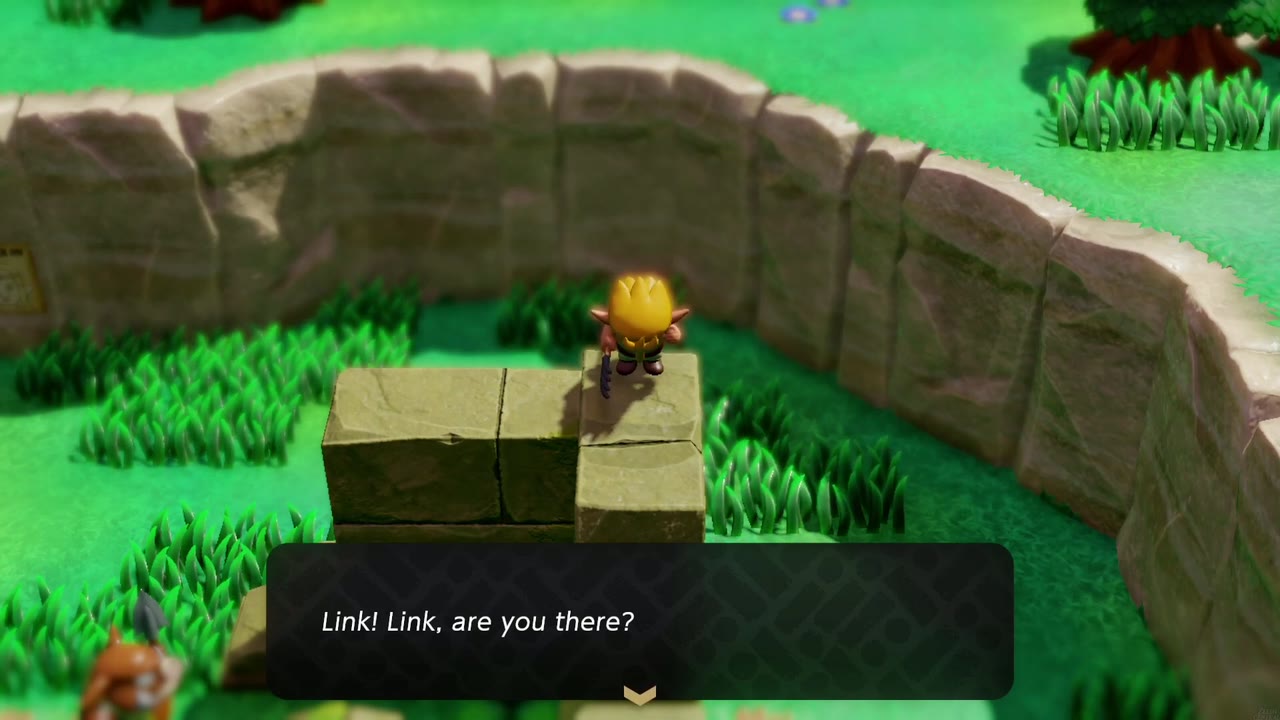
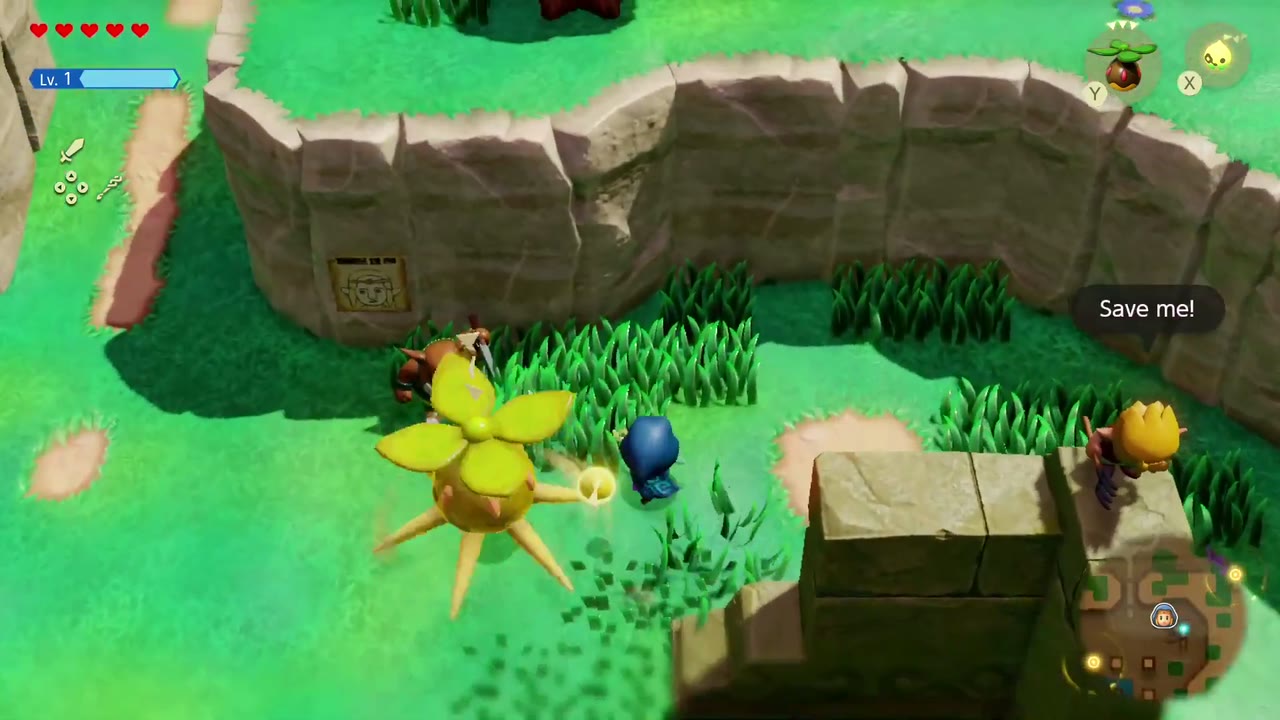
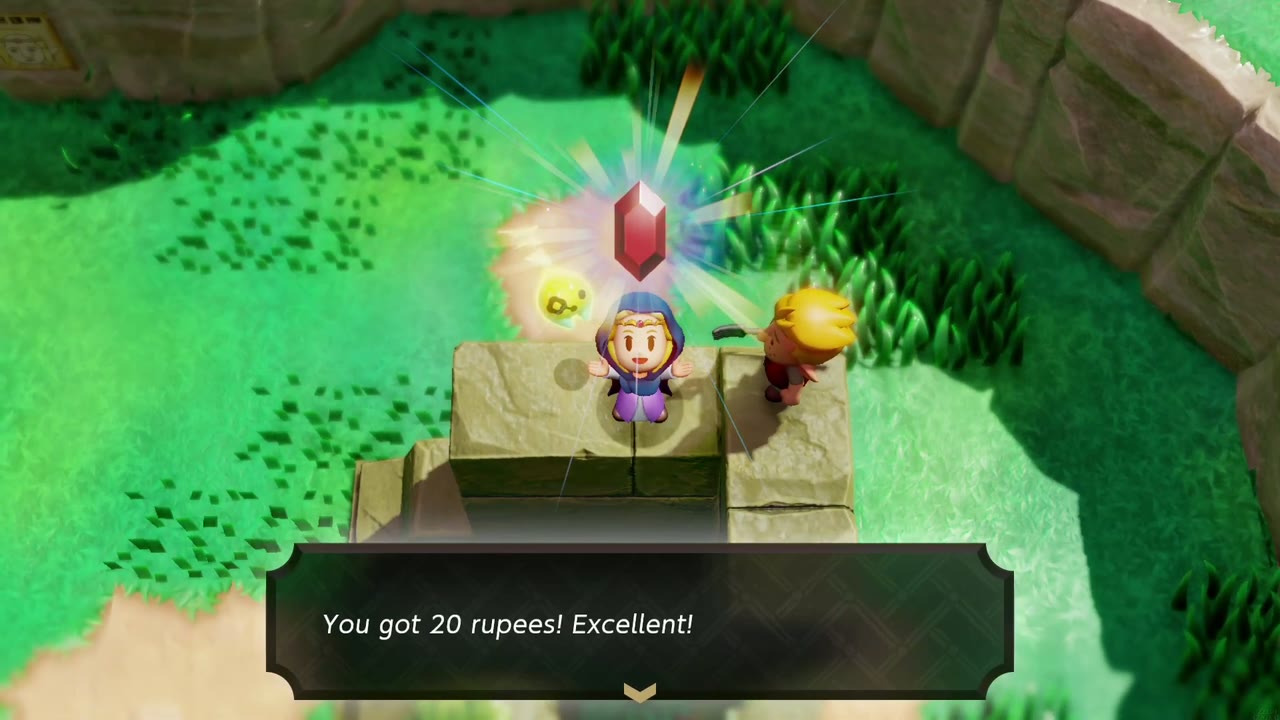
How: Verley, a Suthorn Village resident, is stuck on top of a stack of stone blocks: “There are so many monsters here. Fight them off for me, please!” Defeat the monsters around him (here with a Peahat echo), then talk to him.
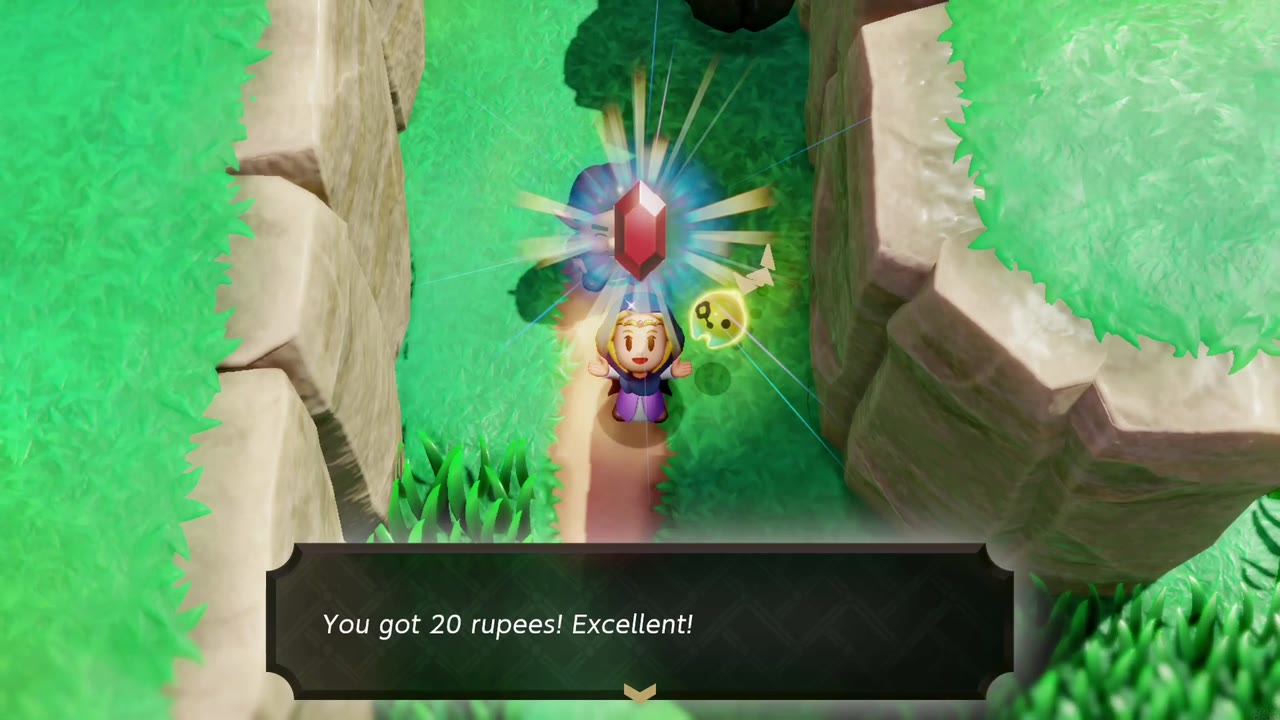
Reward: 20 Rupees.
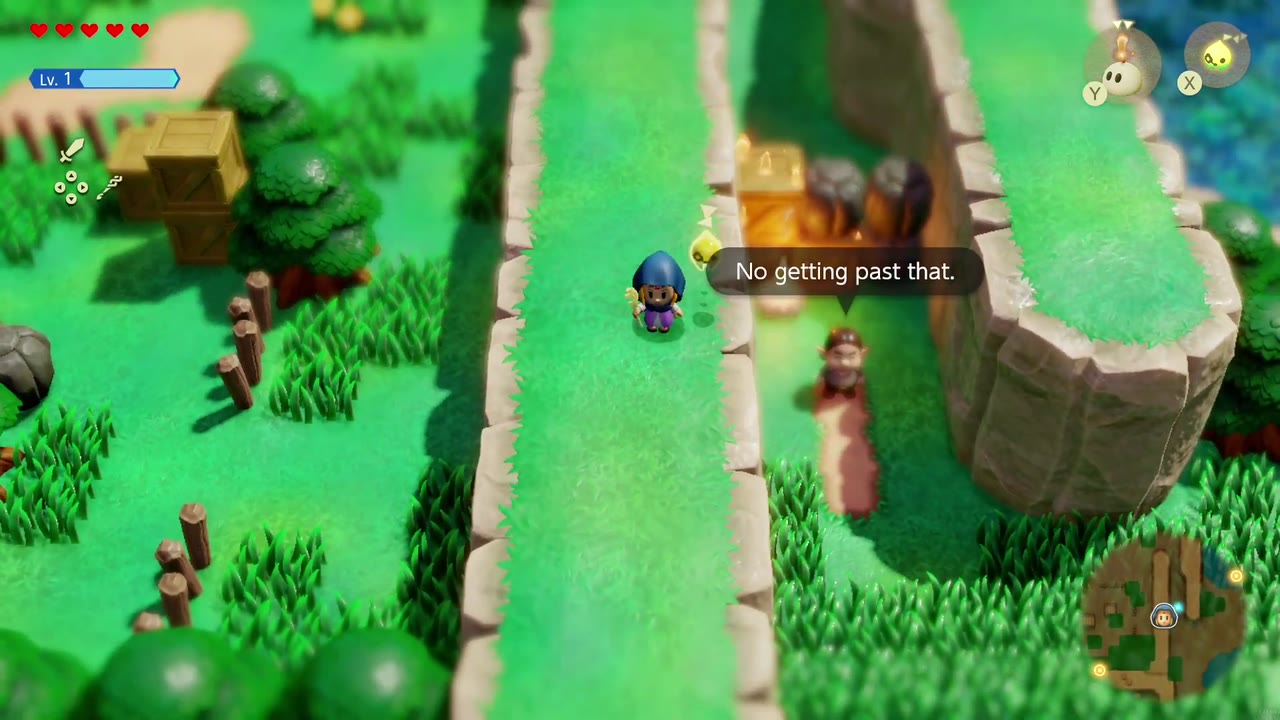
The Blocked Road
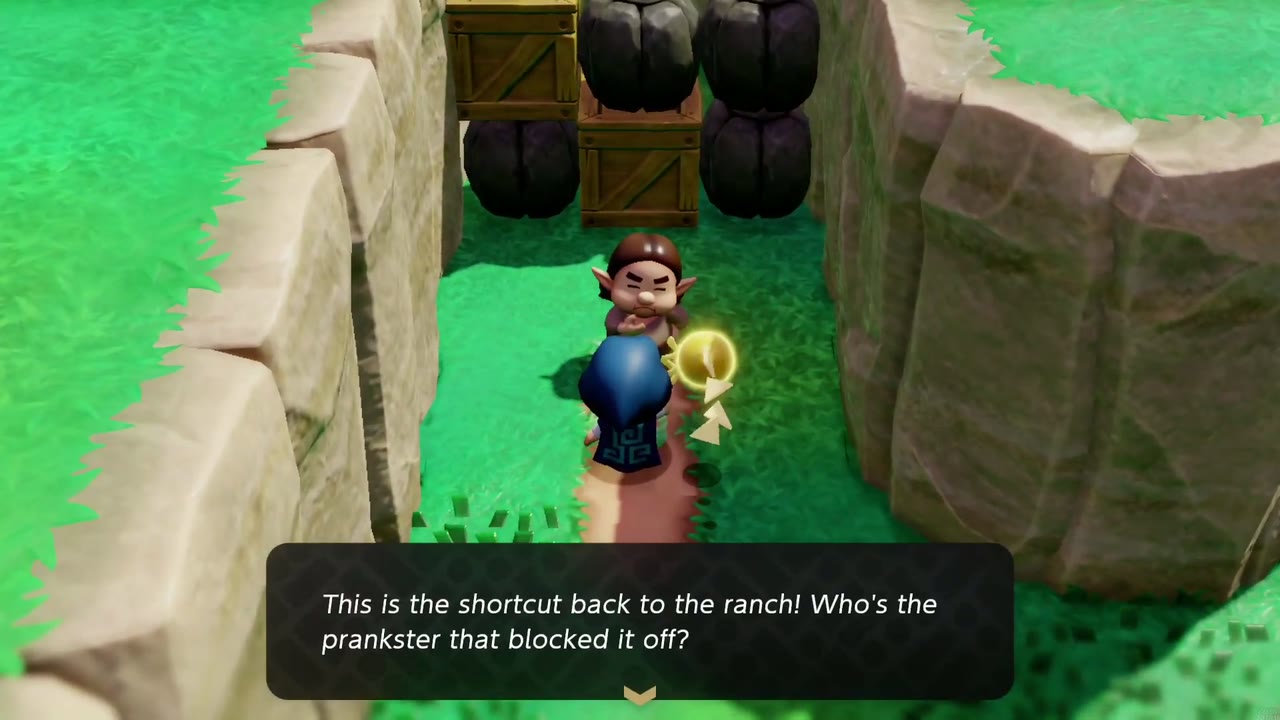
Where: a narrow walled path at the Suthorn Prairie / Hyrule Field edge, the shortcut back to Hyrule Ranch.
How: A man complains that a prankster blocked the shortcut with wooden crates and boulders. Burn the crates and lift the boulders out of the way, then talk to him.
Reward: 20 Rupees.
Gerudo Desert
The Flying Tile
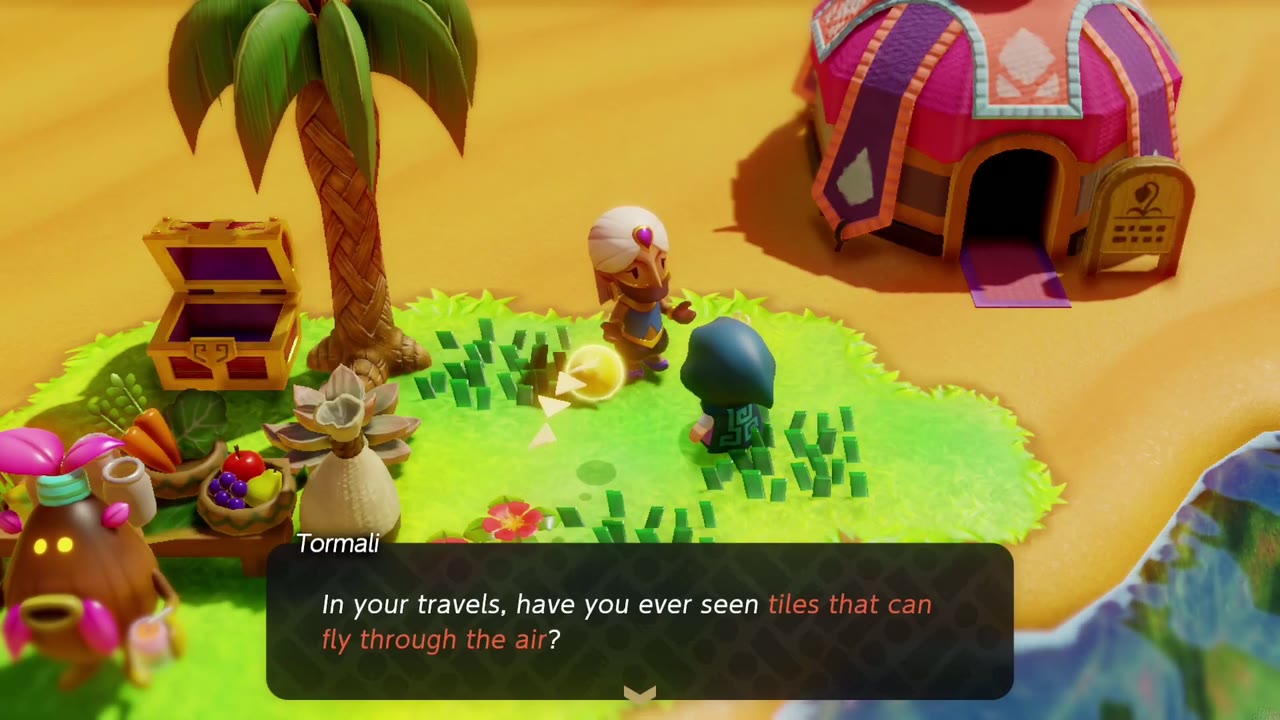
Where: Oasis (Gerudo Desert), Tormali by the pink tent.
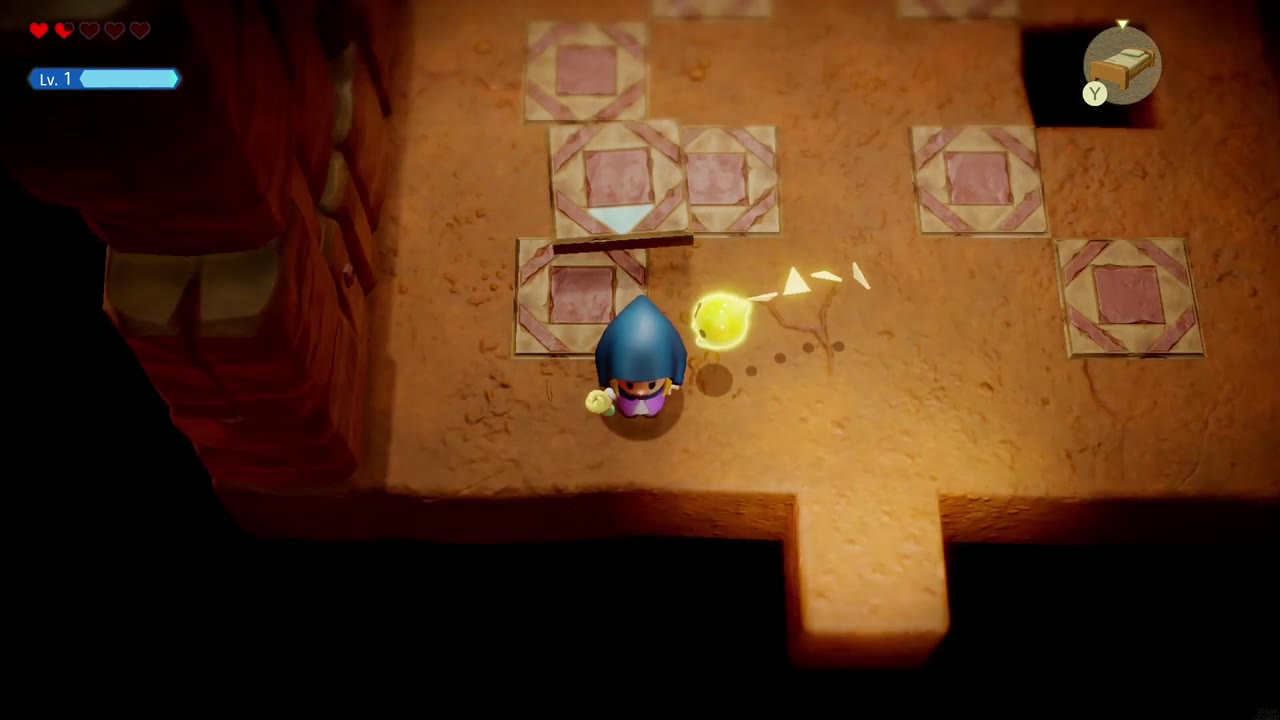
Unlocks: needs the Flying Tile echo, learned in a dark tiled cave room off the red-rock canyon (area label “Hyrule Field”).
How: Tormali asks if you’ve seen tiles that fly through the air. Learn the Flying Tile echo, then return and summon one in front of her.
Reward: 50 rupees.
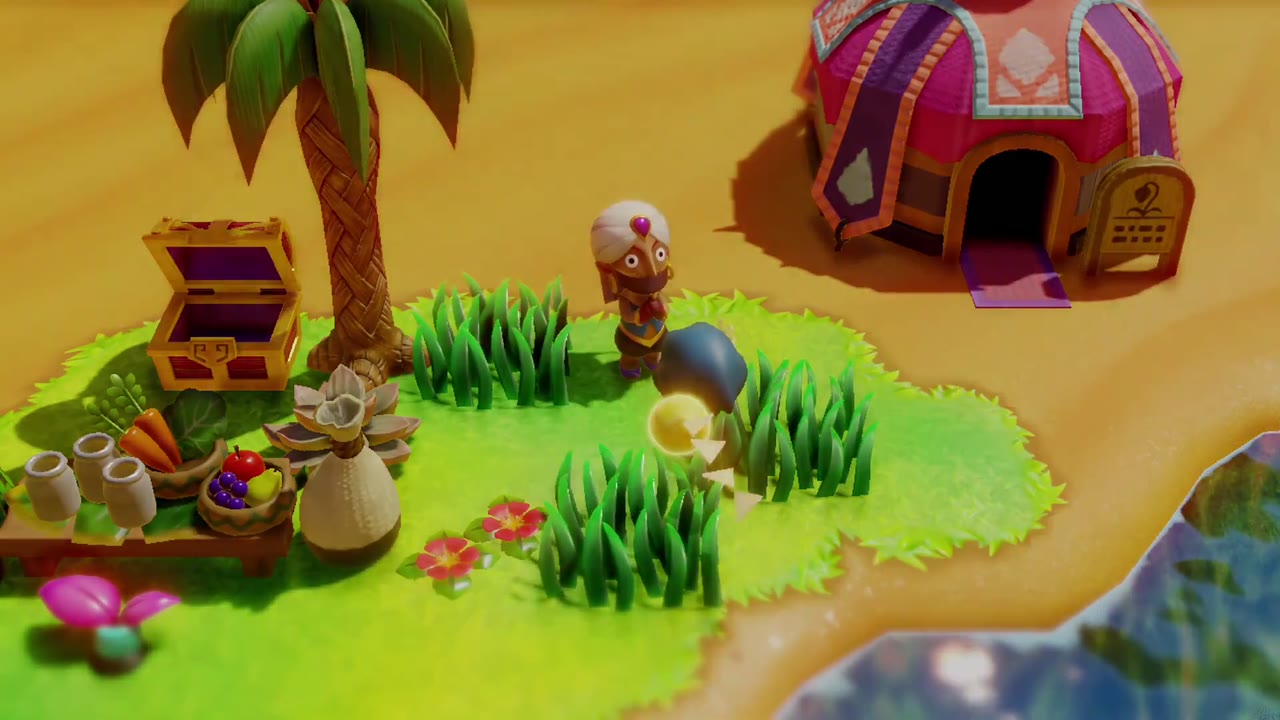

Elusive Tumbleweeds
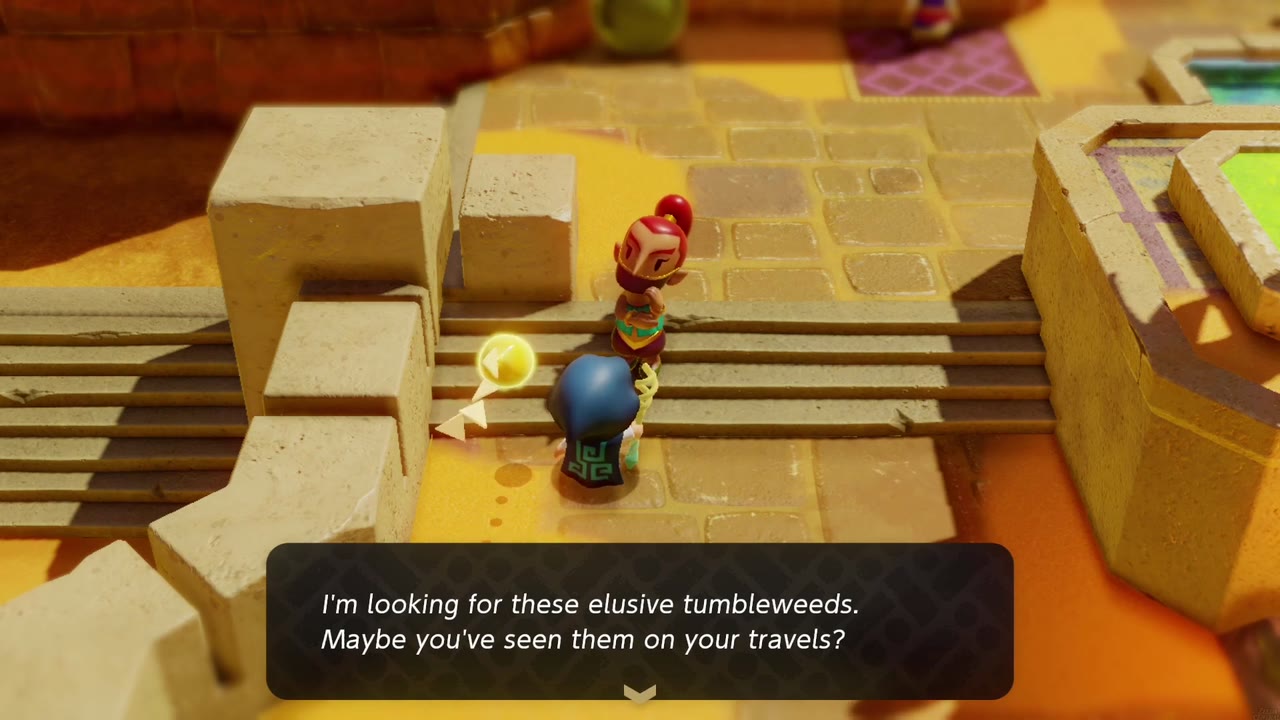
Where: Gerudo Town, a Gerudo on the stairs.
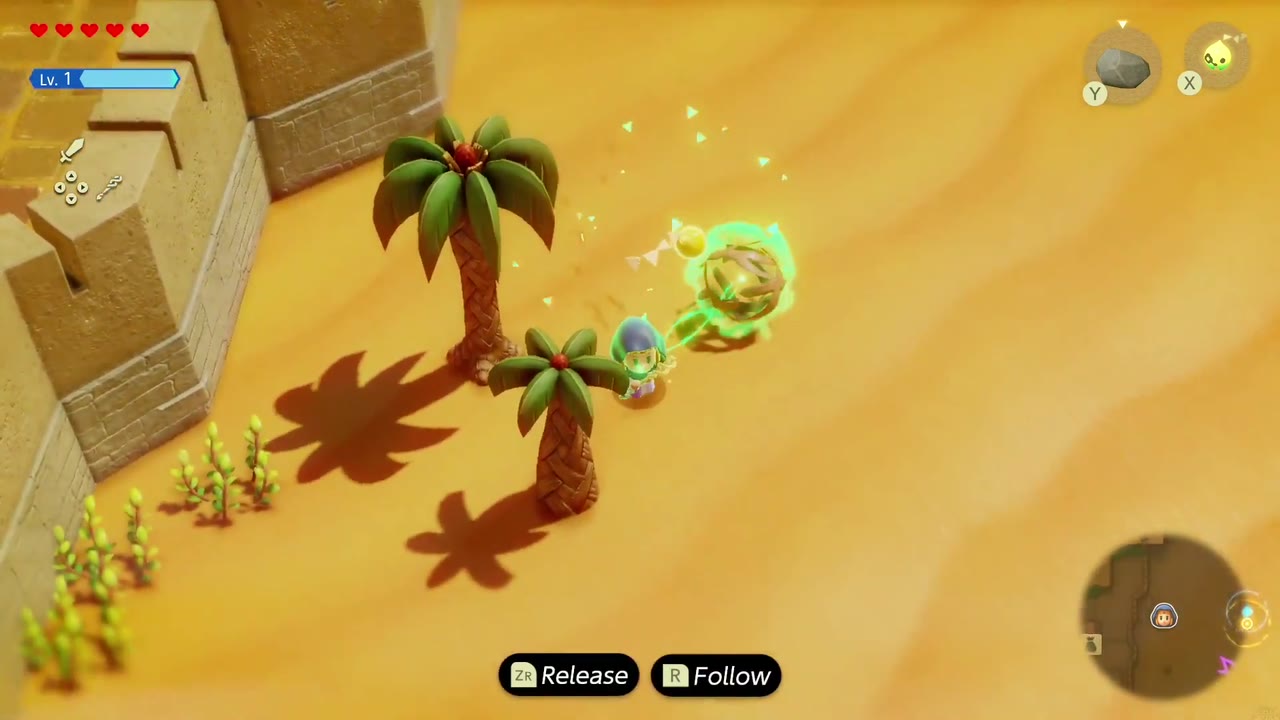
How: She wants a tumbleweed, which falls apart if you grab it. Catch one in the desert with Bind, drag it back into town and bring it to her.
Reward: 2 unusual crystals.

Beetle Ballyhoo
Requirements: Complete Still Missing.
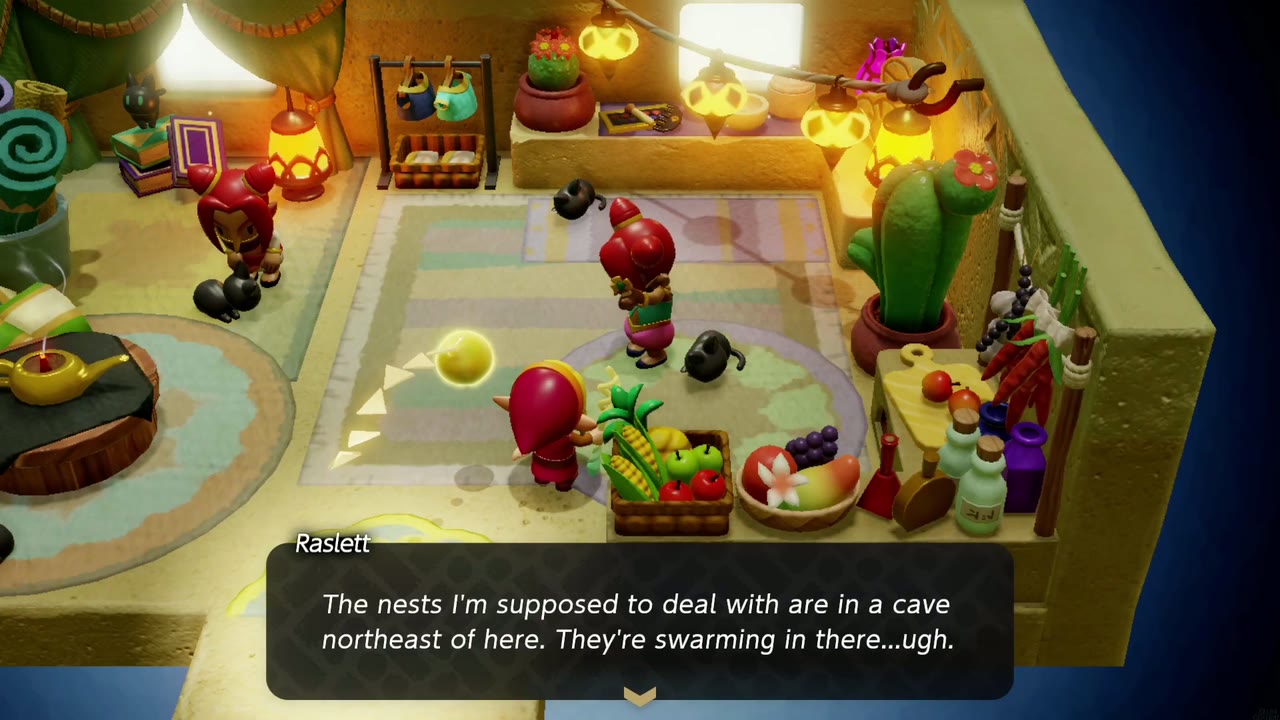
Where: Gerudo Town, the soldier Raslett (talk to her outside her house).
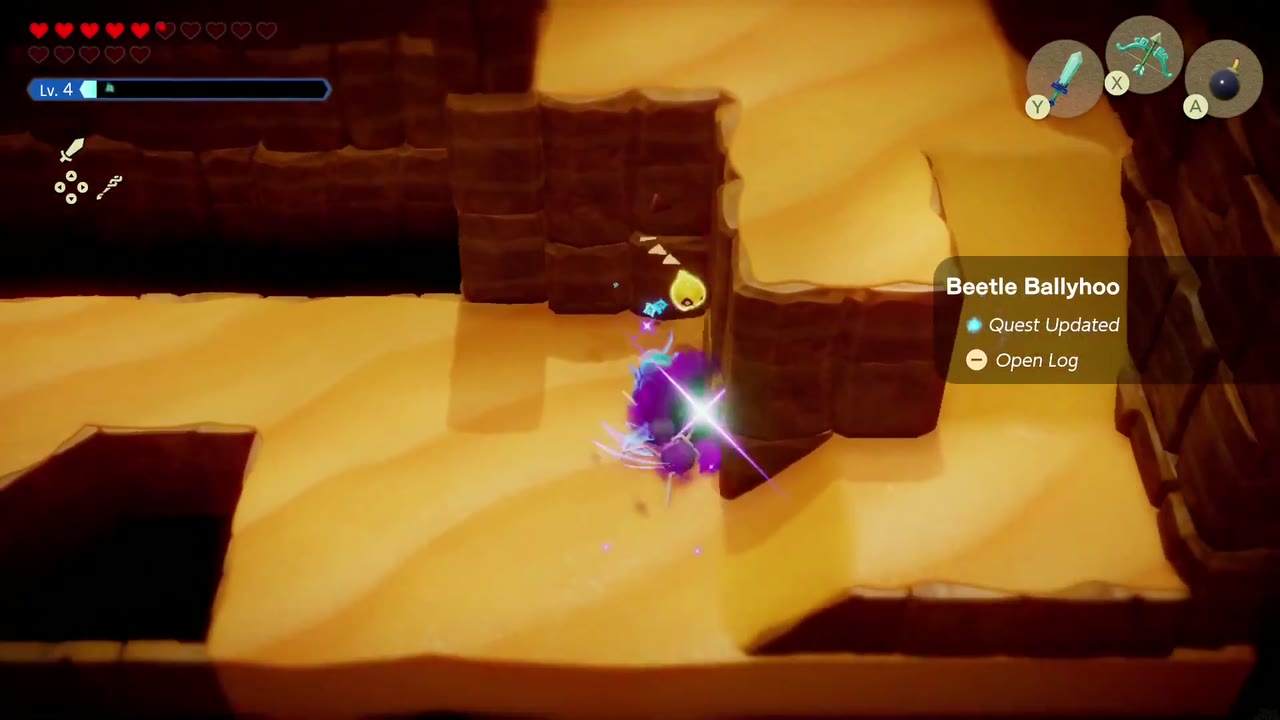
How: Raslett is scared of beetles and asks you to destroy the beetle mounds in a cave northeast of town. Clear the mounds in the cave, then report back to her.
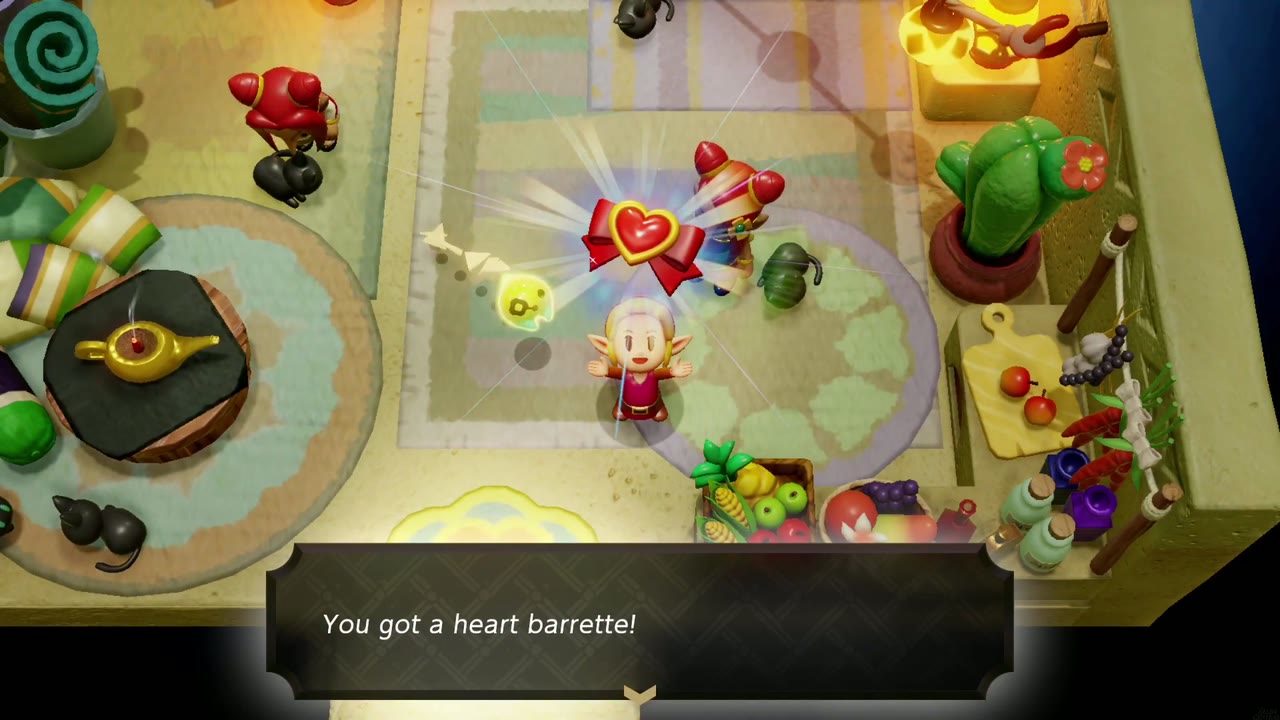
Reward: heart barrette.
Gerudo Tag Training
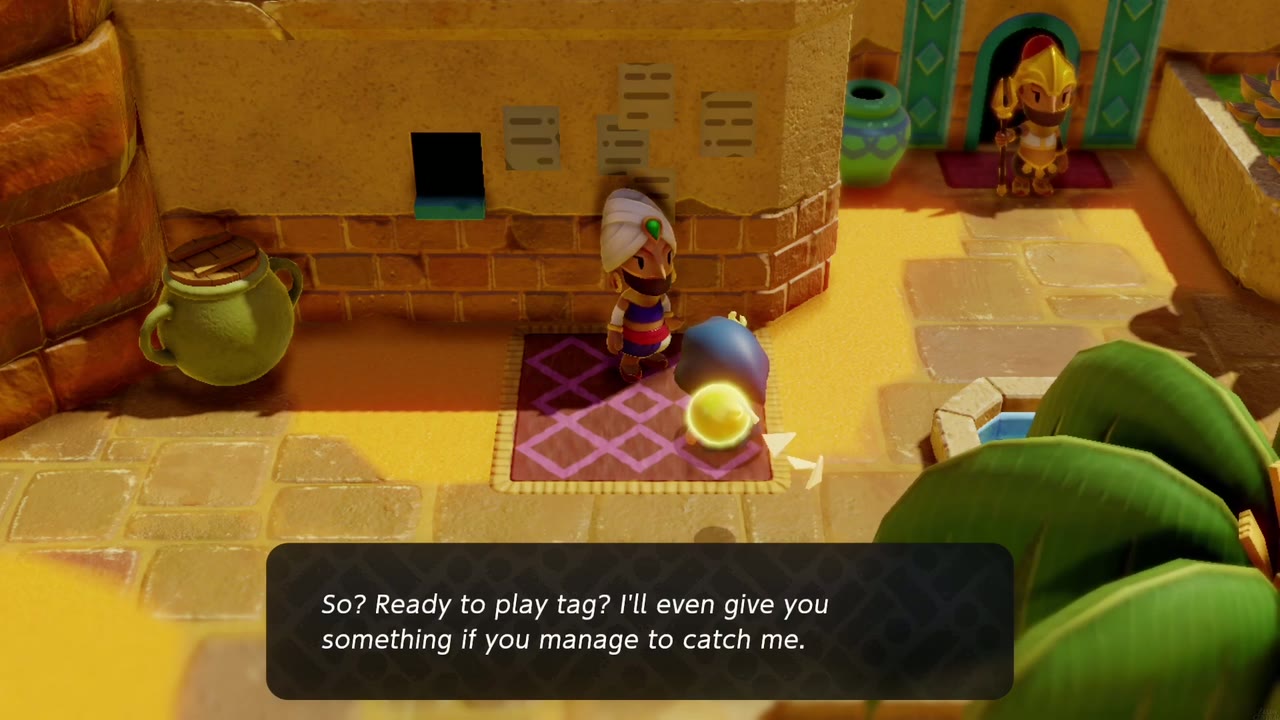
Where: Gerudo Town, an off-duty Gerudo soldier on a rug.
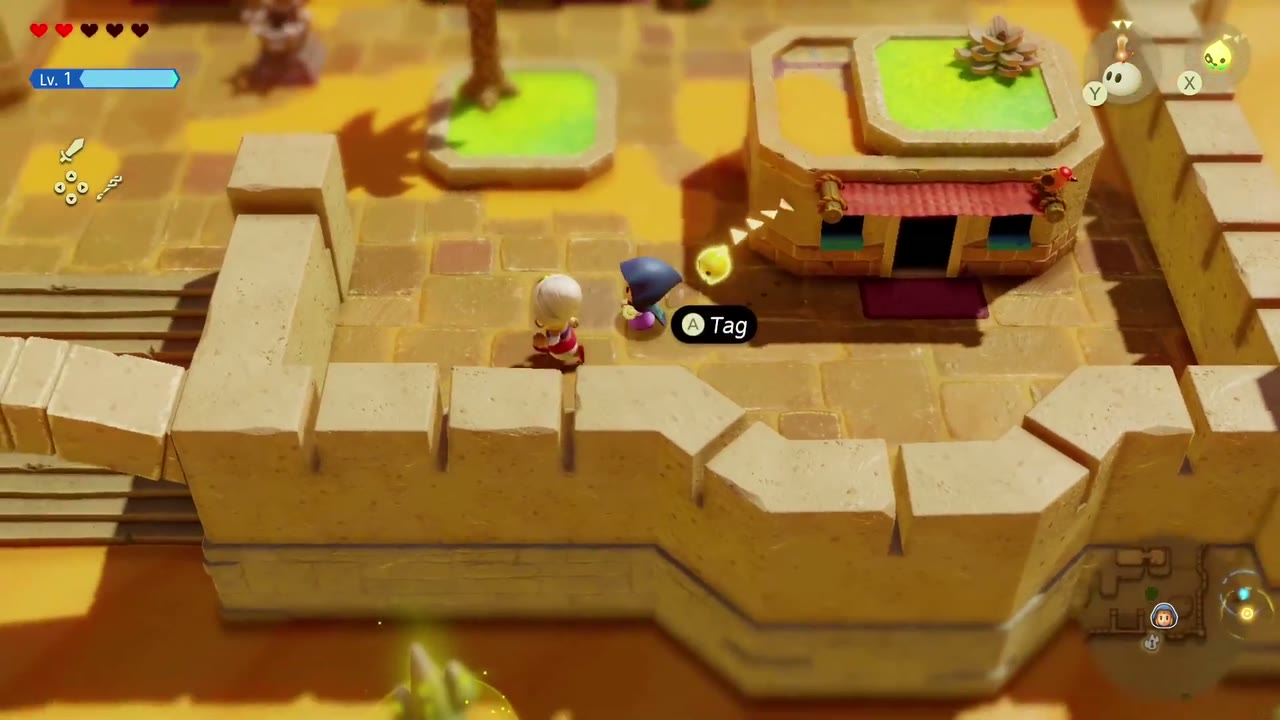
How: Agree to play tag. She runs around town, and you win by catching up and pressing the Tag button. She says you can block her path, but in this playthrough a straight chase caught her in about 15 seconds.
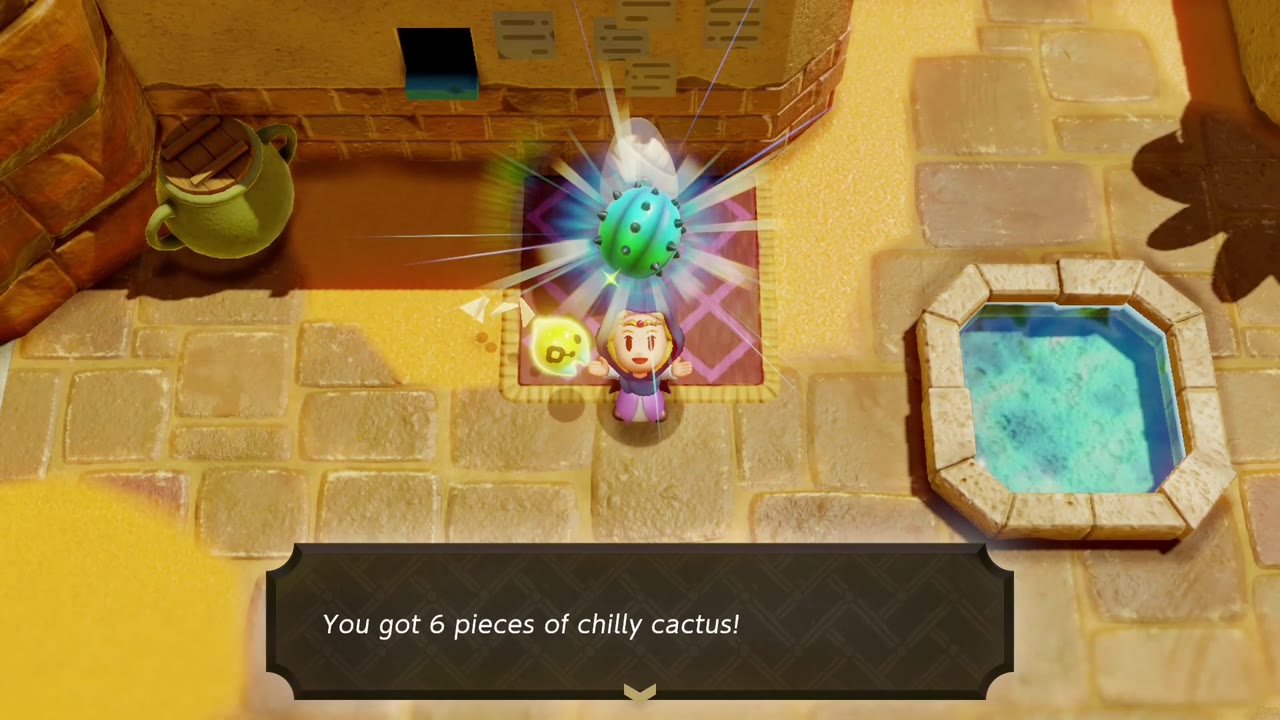
Reward: 6 pieces of chilly cactus.
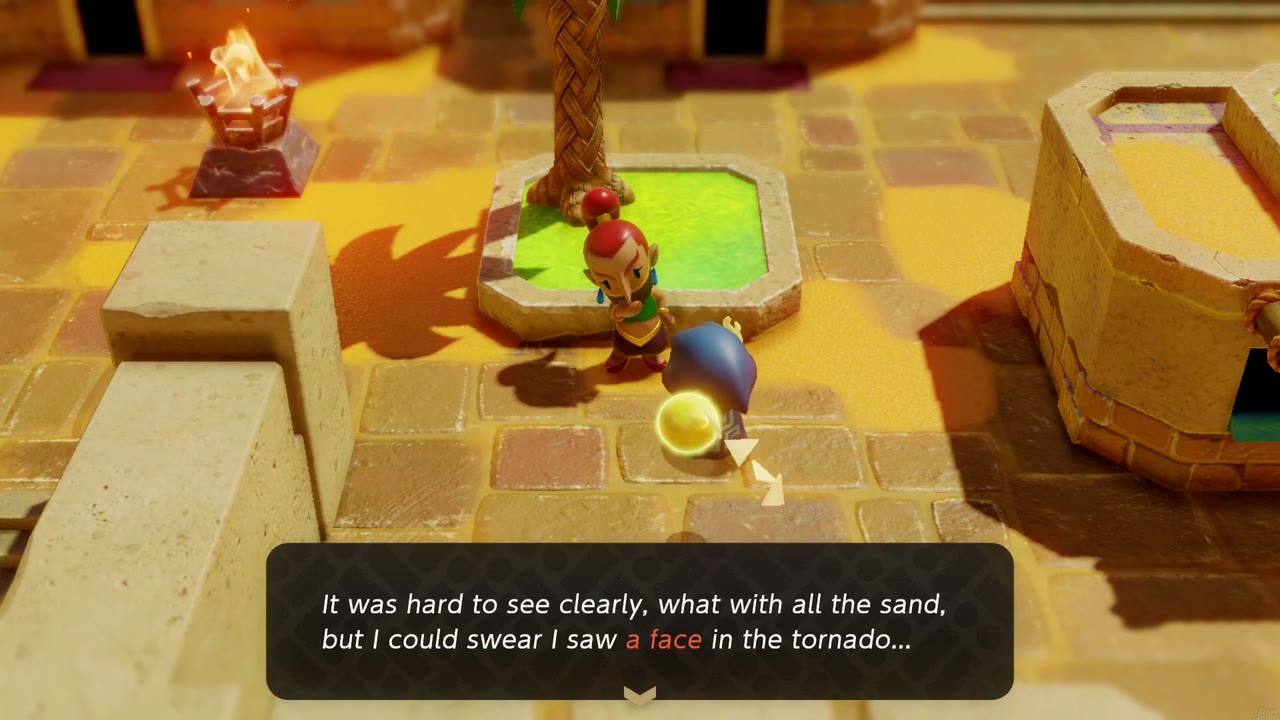
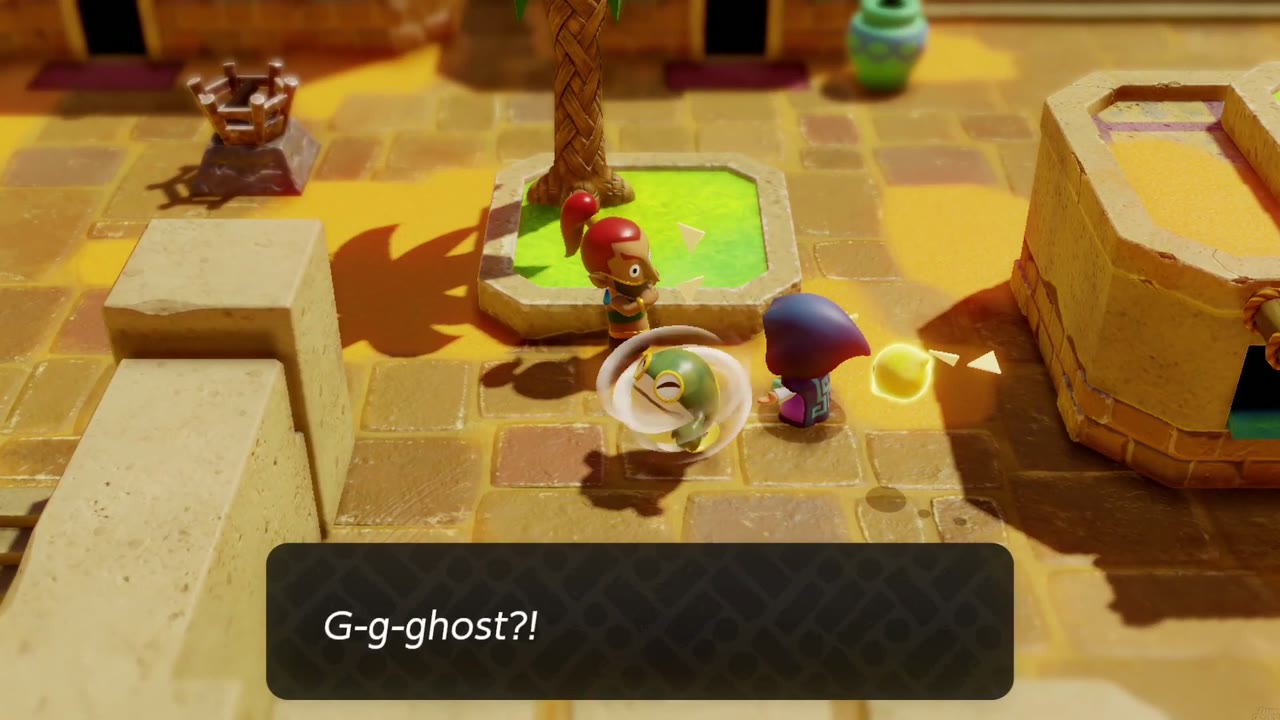
Tornado Ghost?
Where: Gerudo Town, a Gerudo by a palm planter.
Unlocks: needs the Tornando echo.
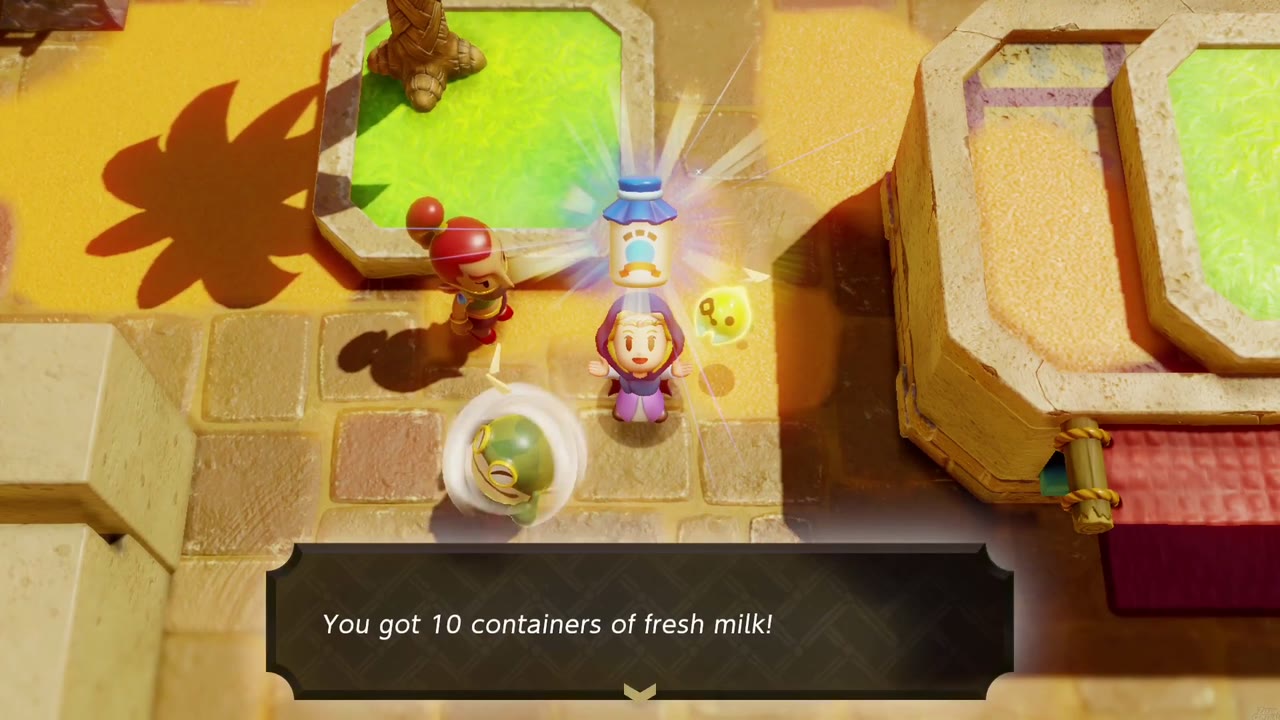
How: She thinks a tornado with a face that chased her in a sandstorm was a ghost. Summon a Tornando echo in front of her to show it’s only a monster.
Reward: 10 containers of fresh milk.
Wild Sandstorms
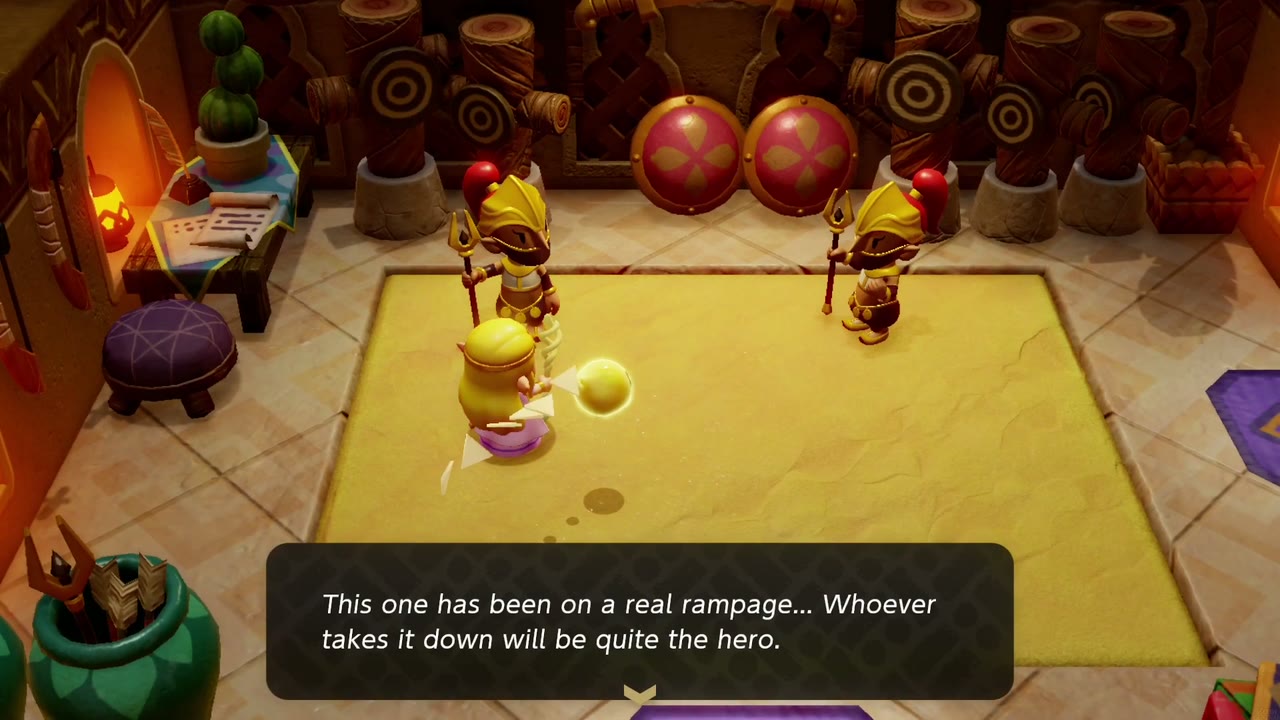
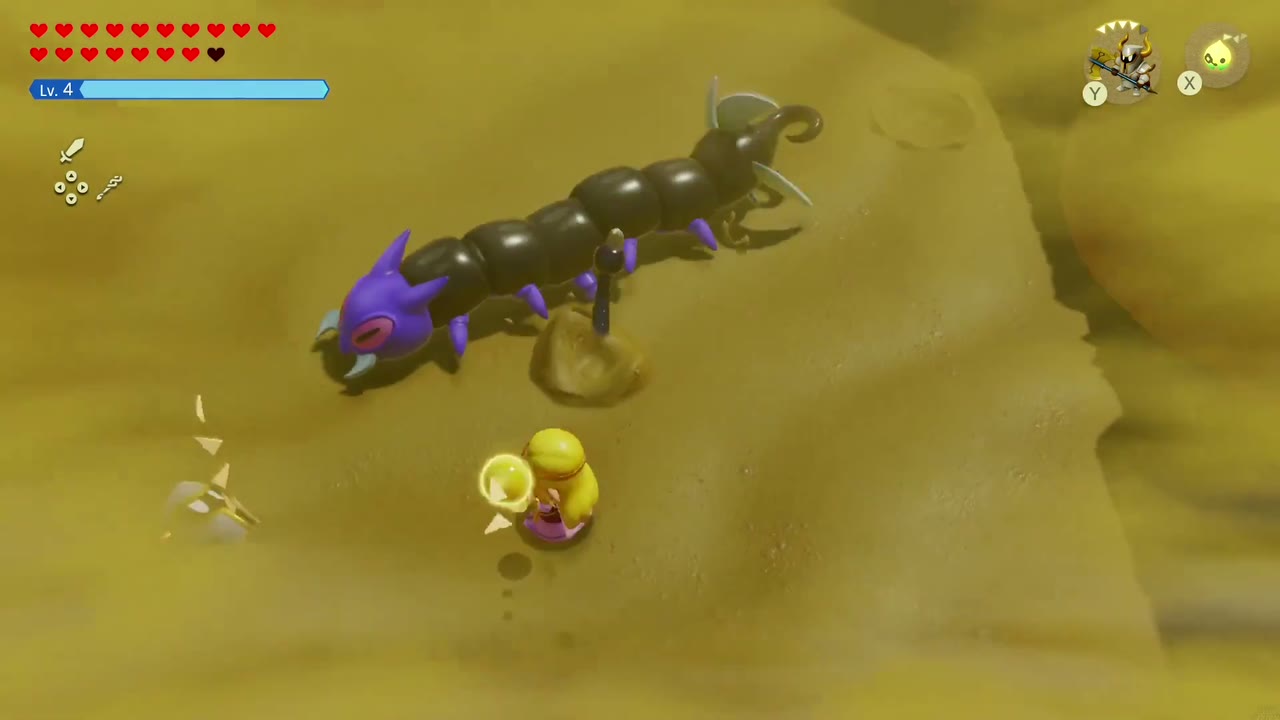
Requirements: Complete Still Missing and defeat the two preliminary Lanmolas. For the third fight, Bind and pull the exposed tail to topple it, then attack its underside.
Where: Gerudo Palace training room (soldiers); the fight takes place in the Gerudo Desert sandstorm.
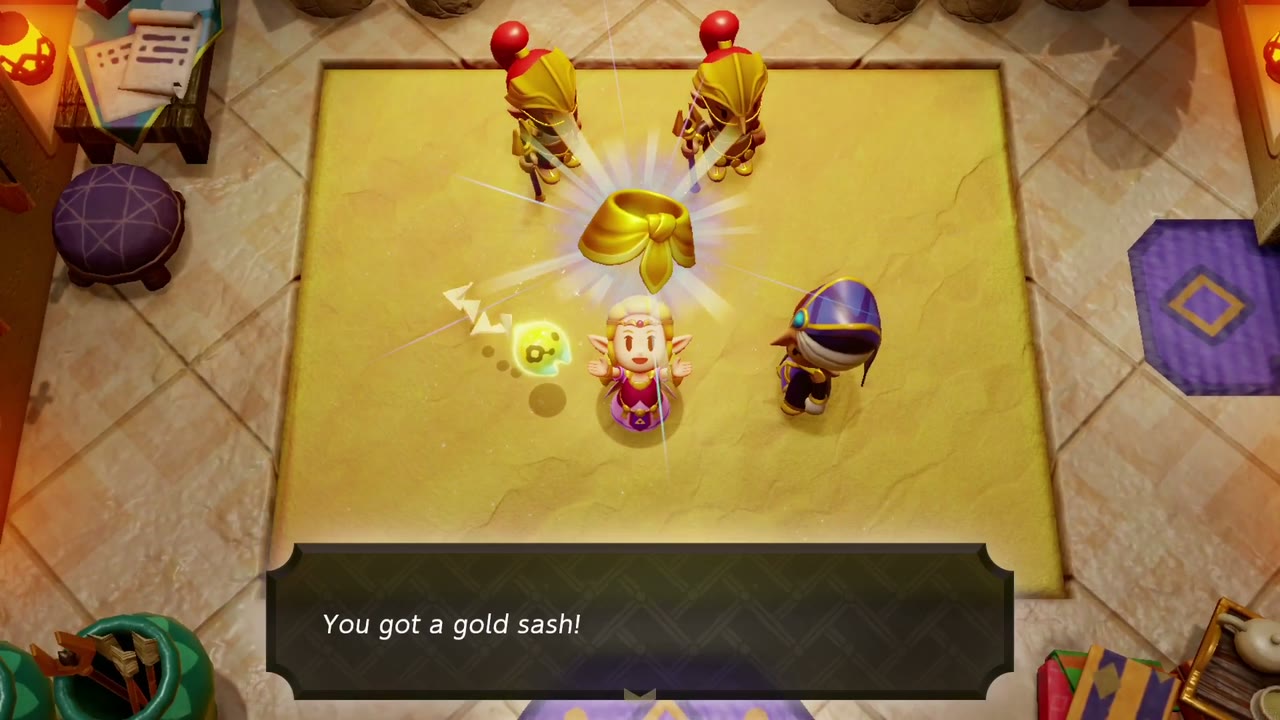
How: The soldiers say a strong Lanmola is causing sandstorms and whoever defeats it wins. Find it in the desert sandstorm and beat it (here with sword-wielding knight echoes), then return to the palace, where Facette thanks you.
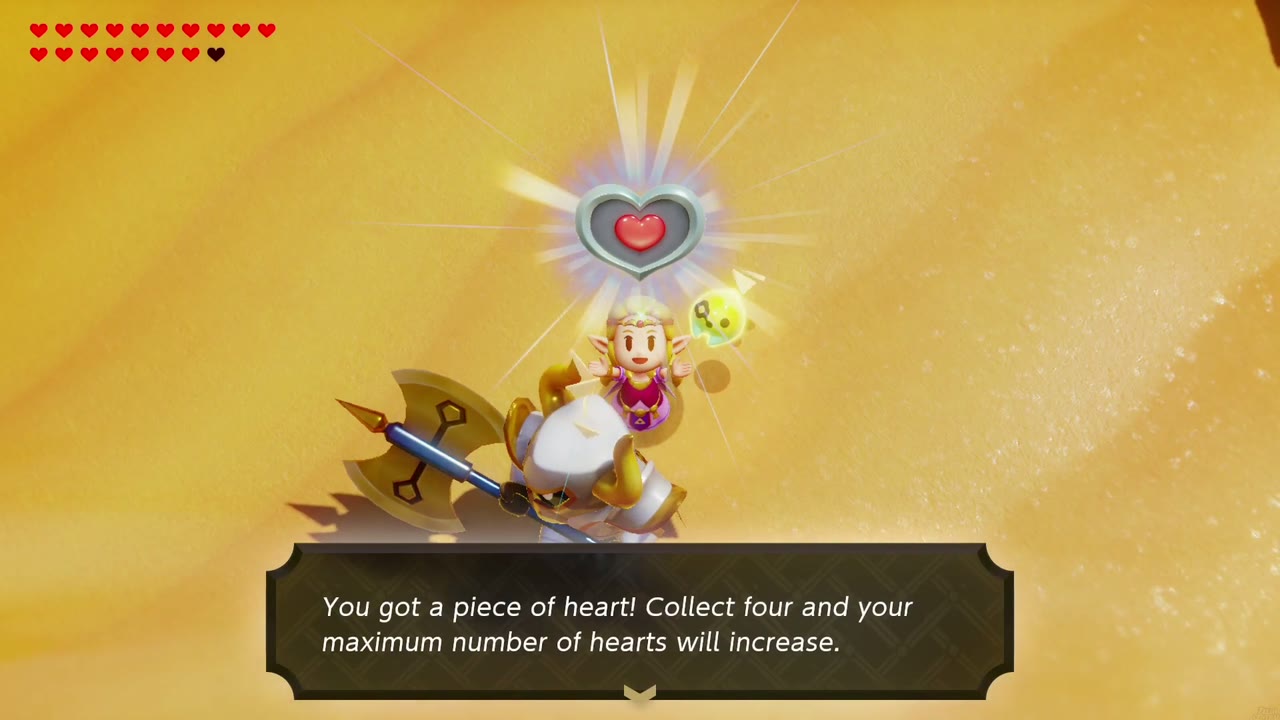
Reward: the Lanmola drops a Piece of Heart; Facette gives a gold sash.
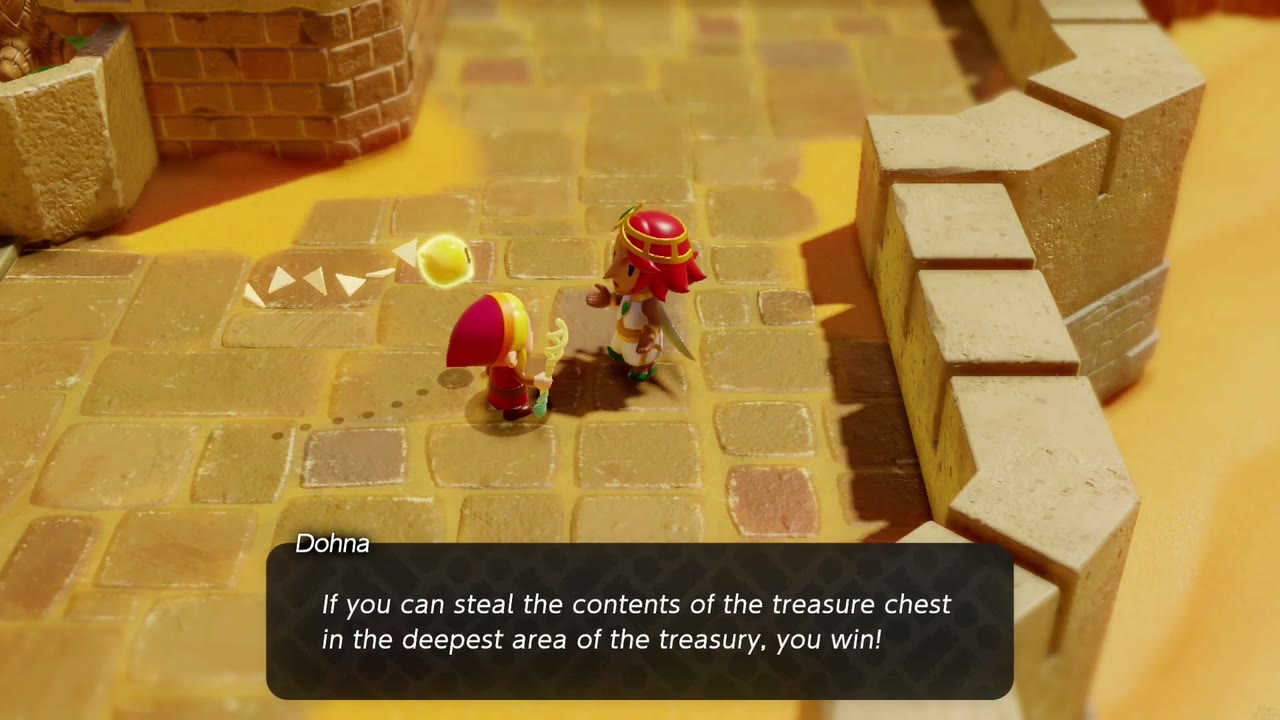
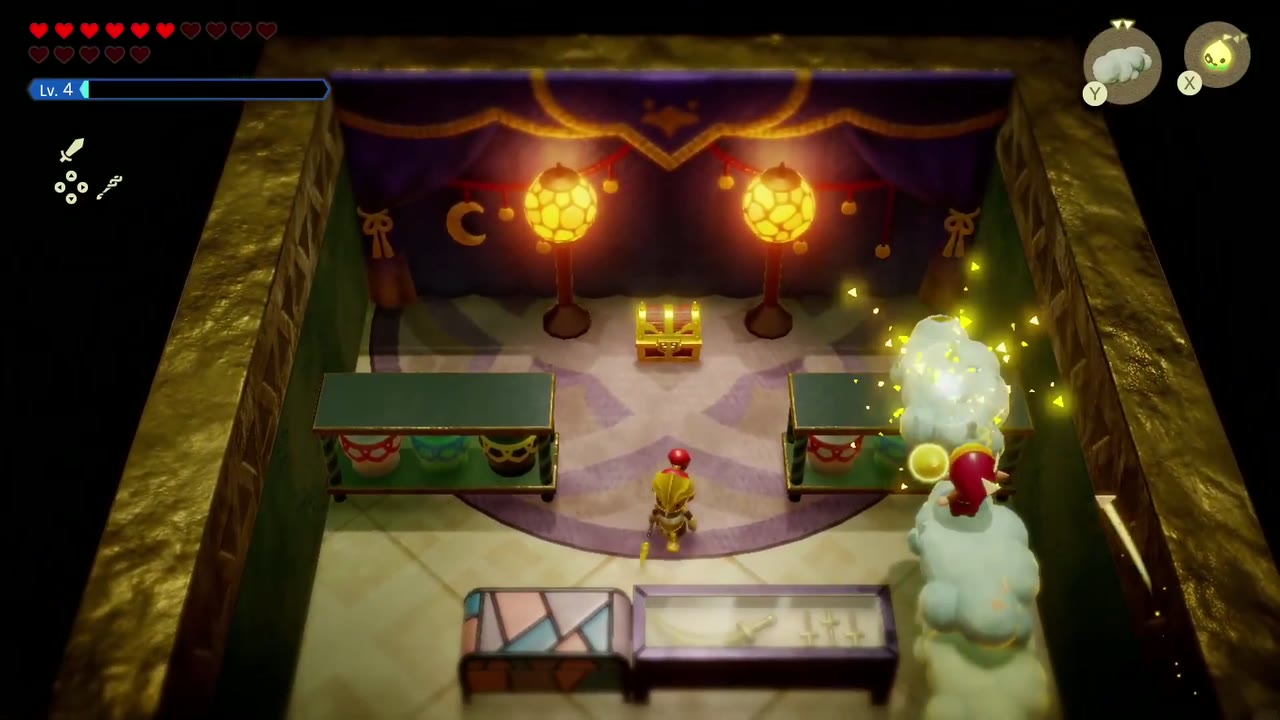
Dohna’s Challenge
Requirements: Complete Still Missing. The Cloud route is one optional method if you already have that echo.
Where: Gerudo Town, Captain Dohna; the treasury is on the palace’s second floor, west side.
How: Steal the contents of the chest in the deepest part of the treasury without being caught by the guards. If a guard catches you, you’re thrown out and have to start again. Cloud echoes make good cover.
Reward: silk pajamas.

Jabul Waters
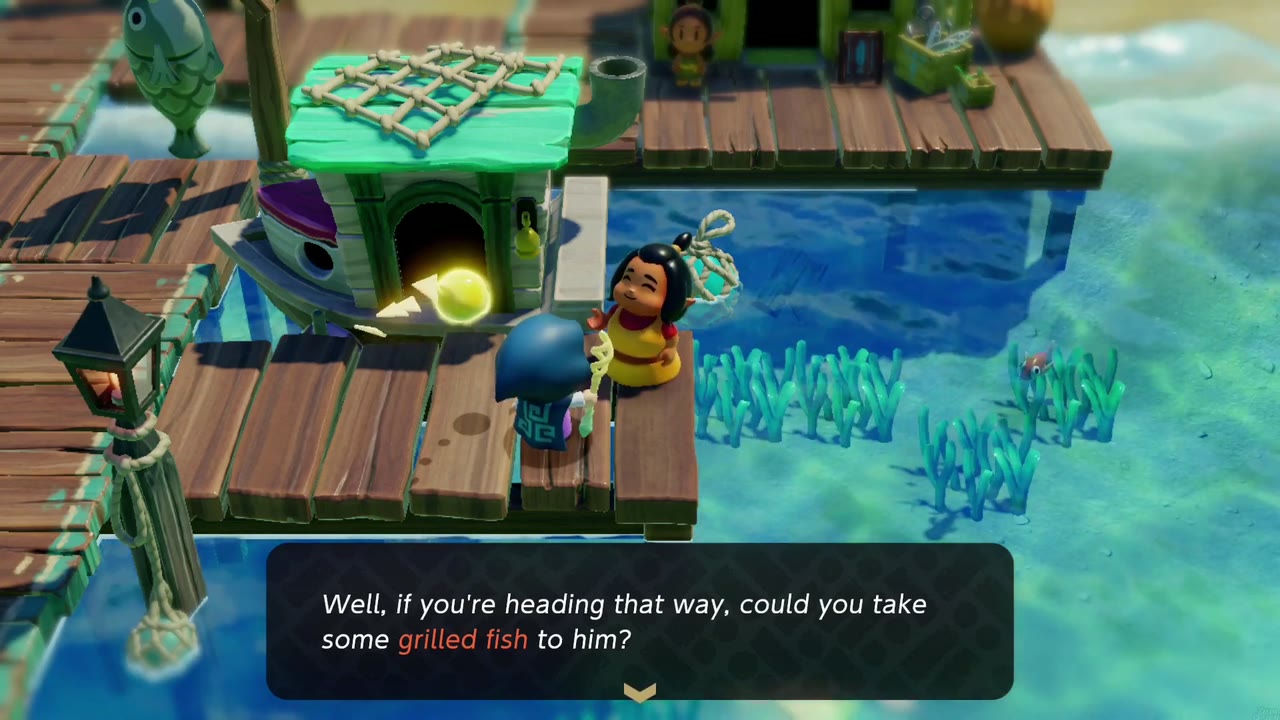
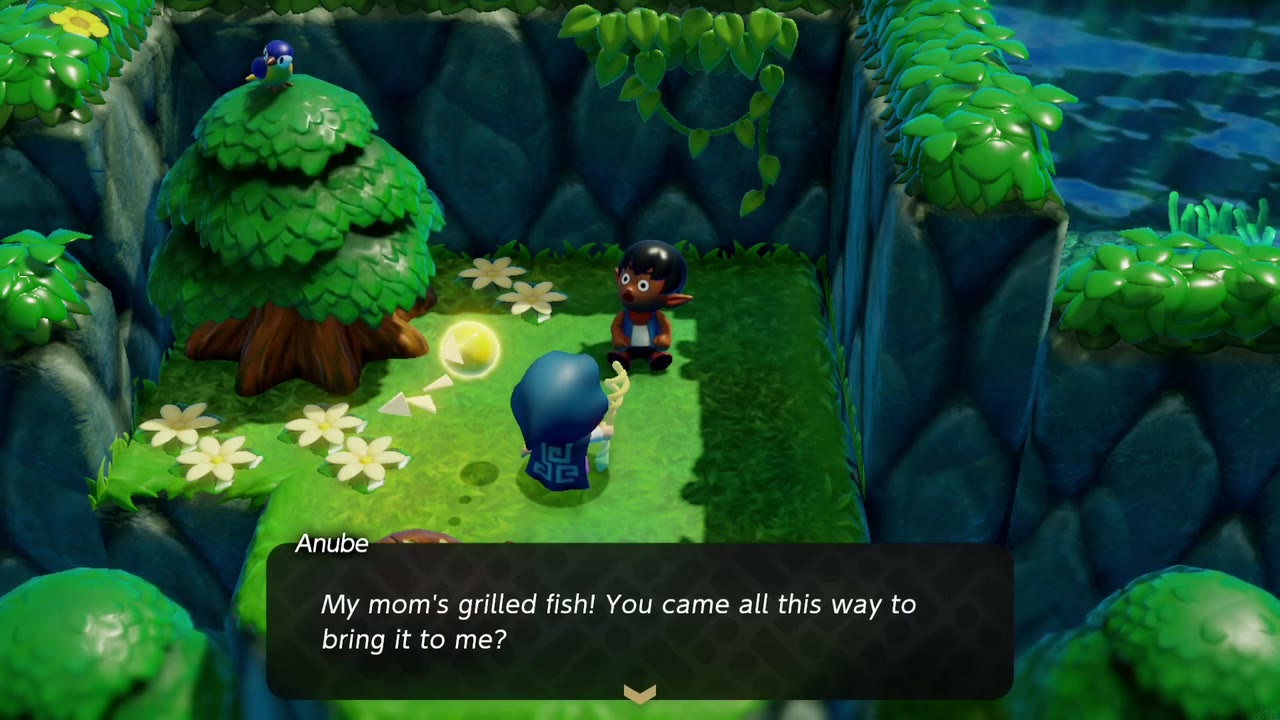
Deliver the Grilled Fish!
Where: Seesyde Village pier (the mother by the house on the water).
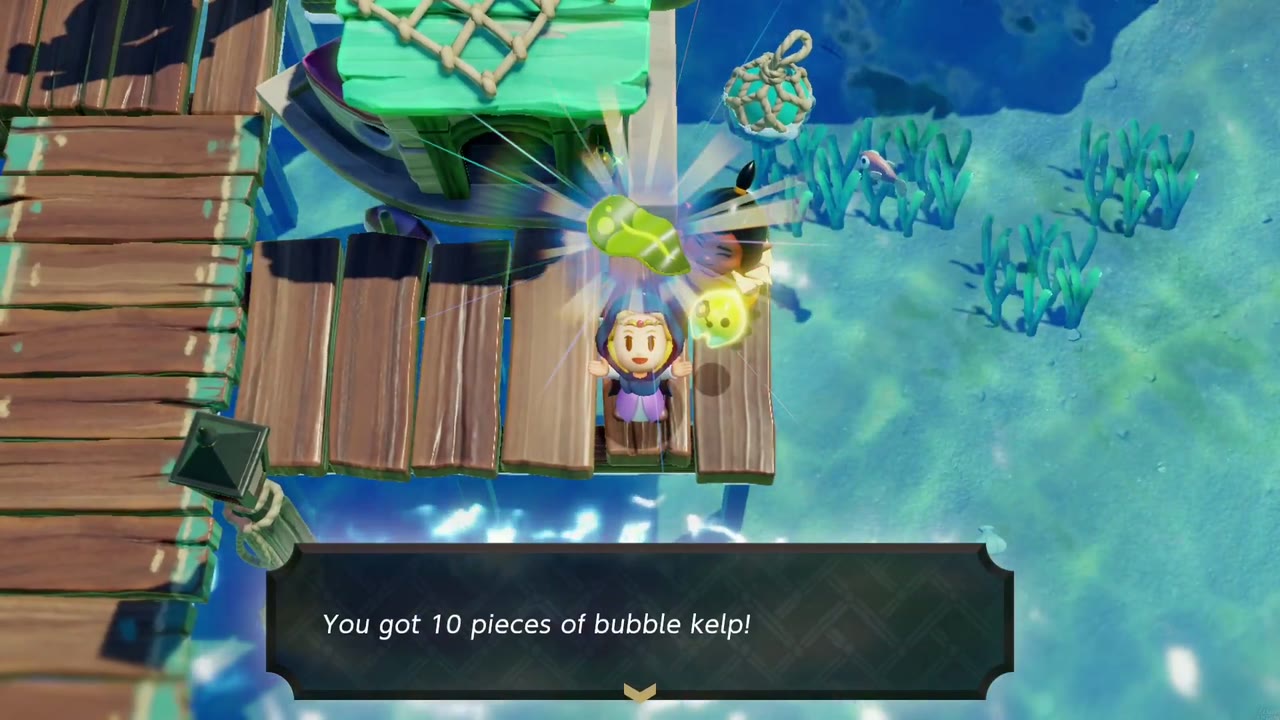
How: She asks you to take grilled fish to her son Anube, asleep in a hedged clearing in the woods north of the village; talking to her also teaches the Grilled Fish echo. Carry the fish to him (Bind helps); if it spoils on the way, she cooks another. Return to her afterward.
Reward: 10 pieces of Bubble Kelp (and she leaves grilled fish on the pier to take freely).
A Treat for My Person
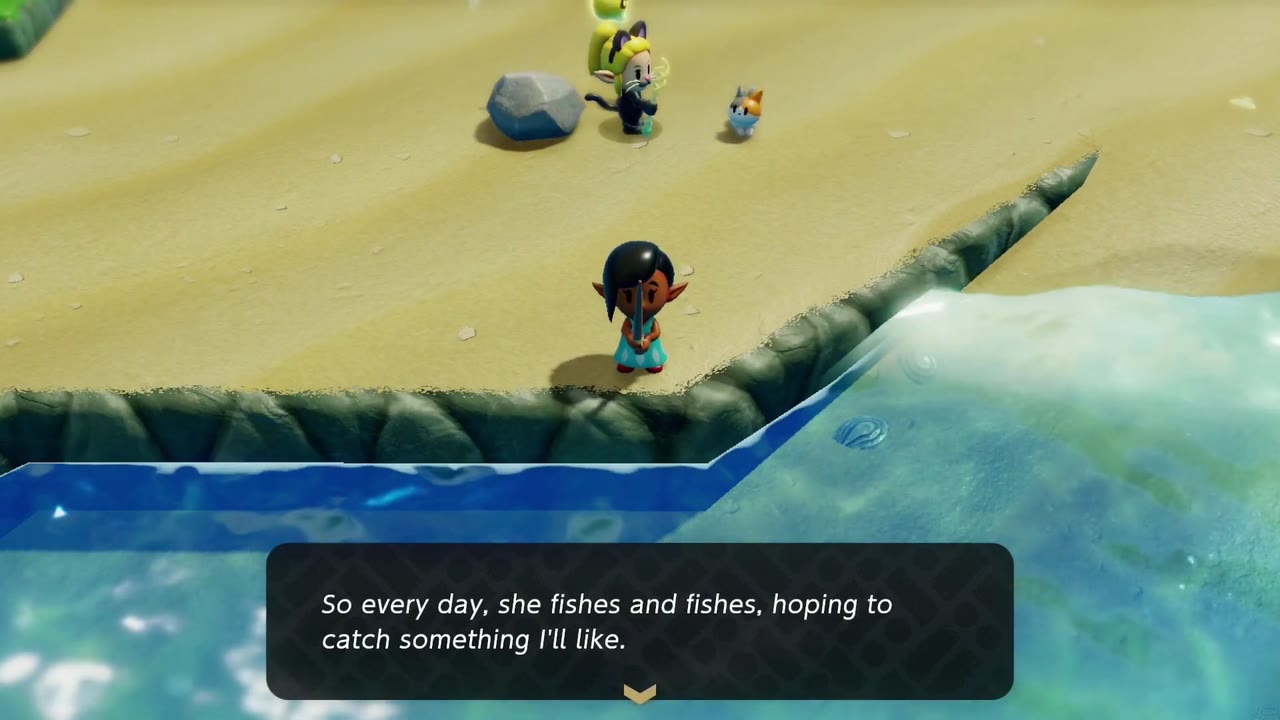
Where: Seesyde Village beach, a cat sitting near its fisher owner.
Unlocks: needs the Cat Clothes outfit to understand the cat.
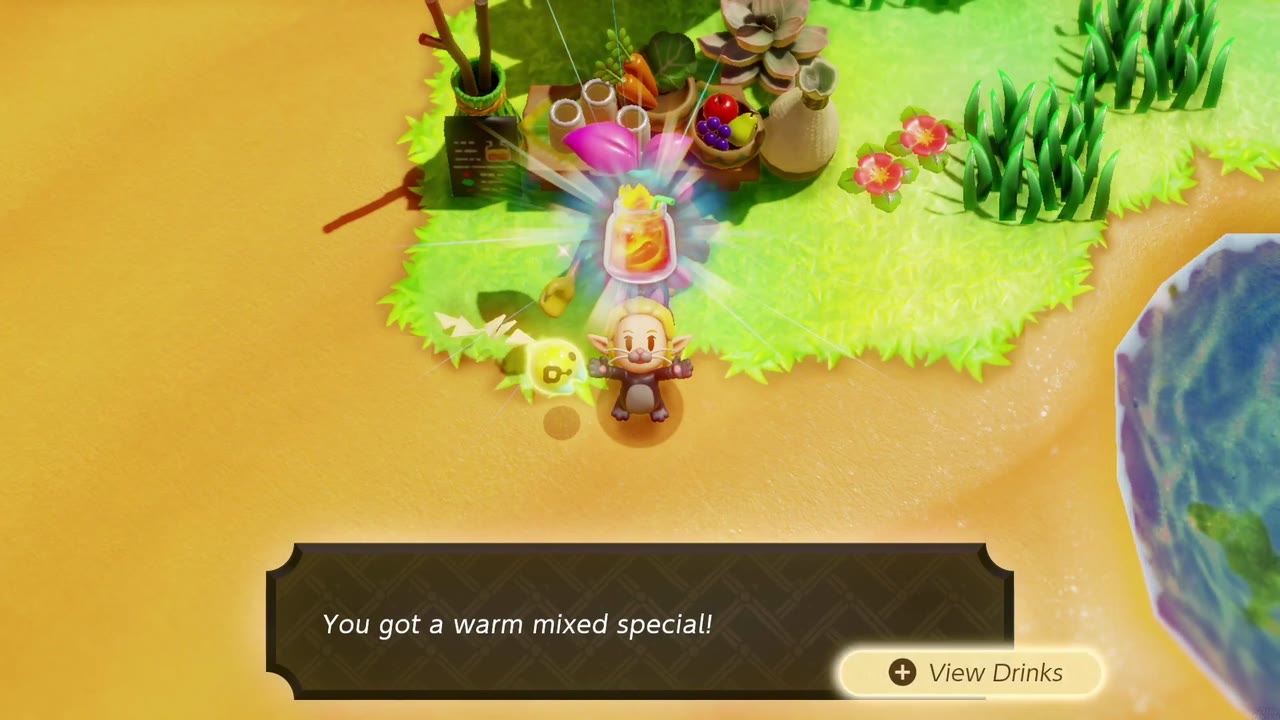
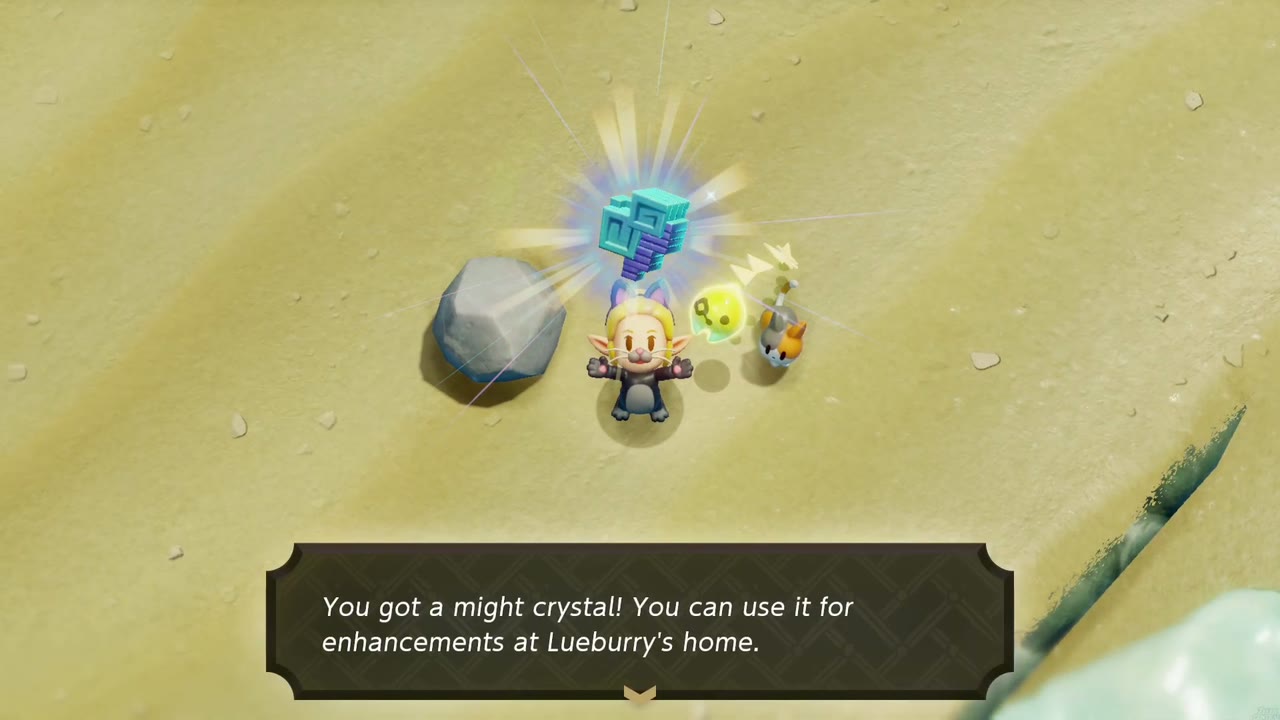
How: The cat wants to treat its owner to a smoothie from its homeland, a “warmix spatial”. The Business Scrub at the Gerudo Desert oasis identifies it as a Warm Mixed Special (Warm Pepper with Fresh Milk and grapes, or with a Tough Mango); buy it, bring it back and the cat gives it to its owner.
Reward: a Might Crystal.
The Zappy Shipwreck
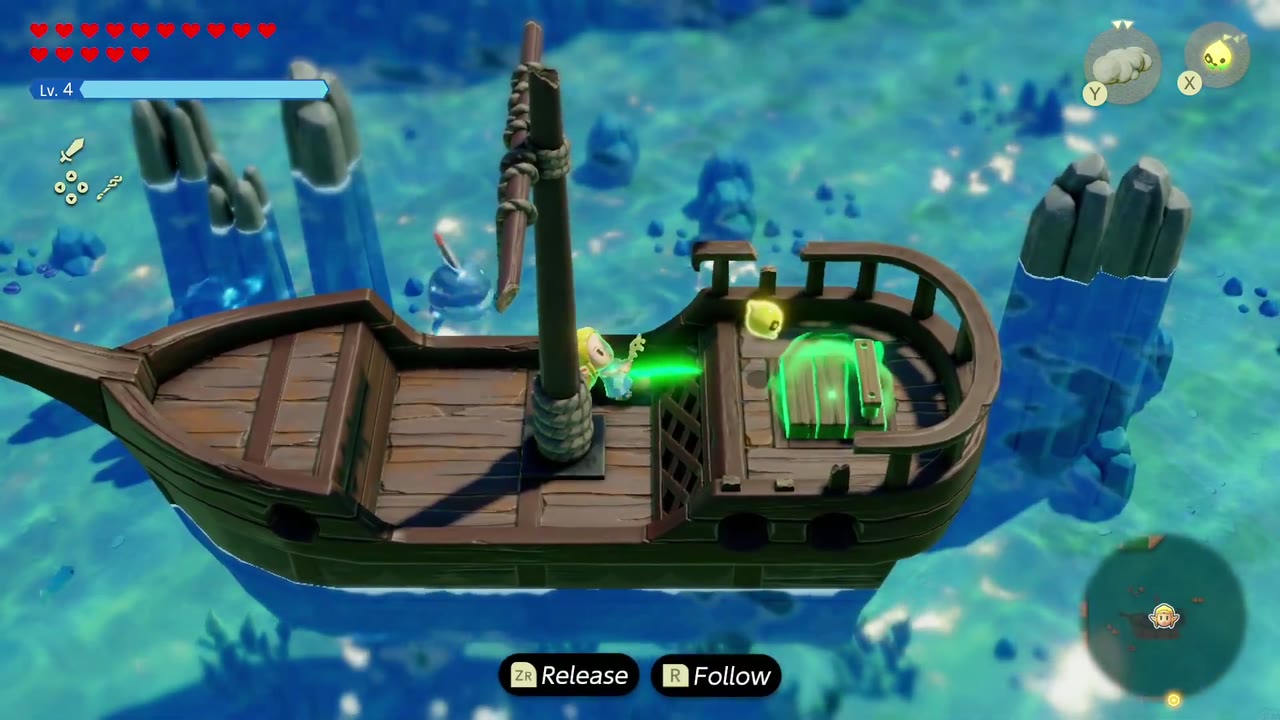
Where: the wrecked ship in the rocks off Zora Cove; quest giver is the sailor on his little boat at the Seesyde Village dock.
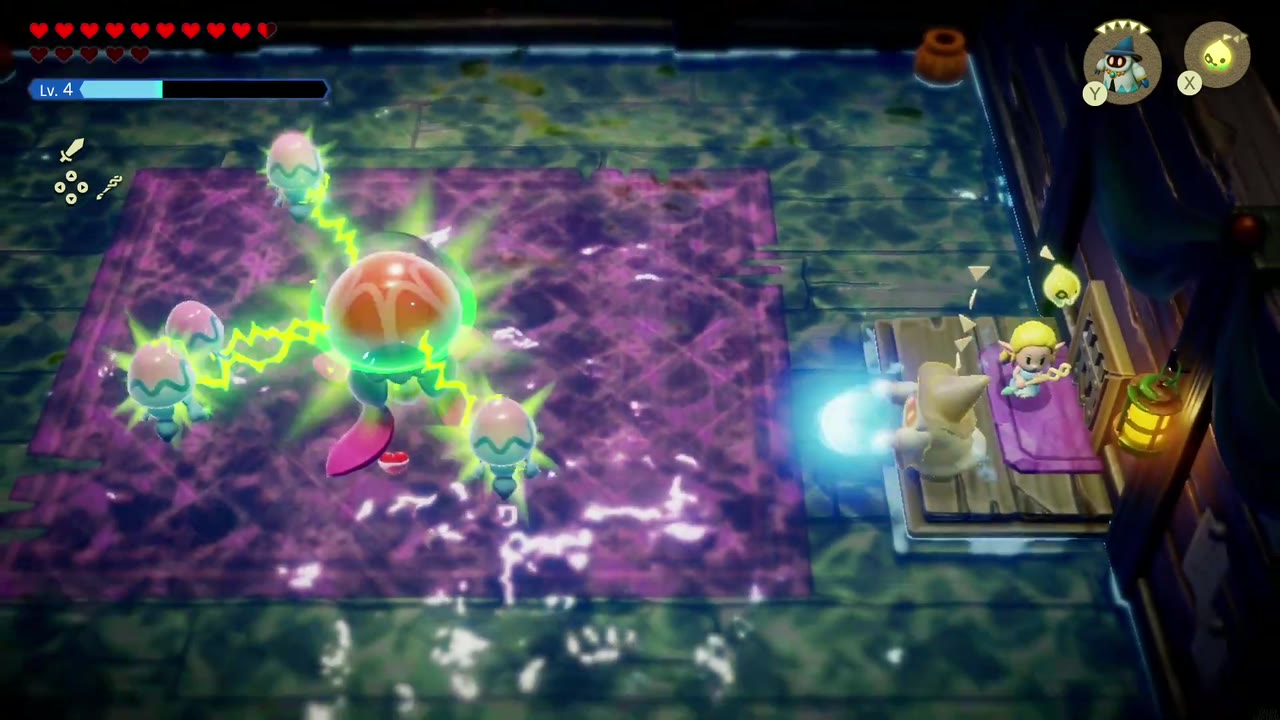
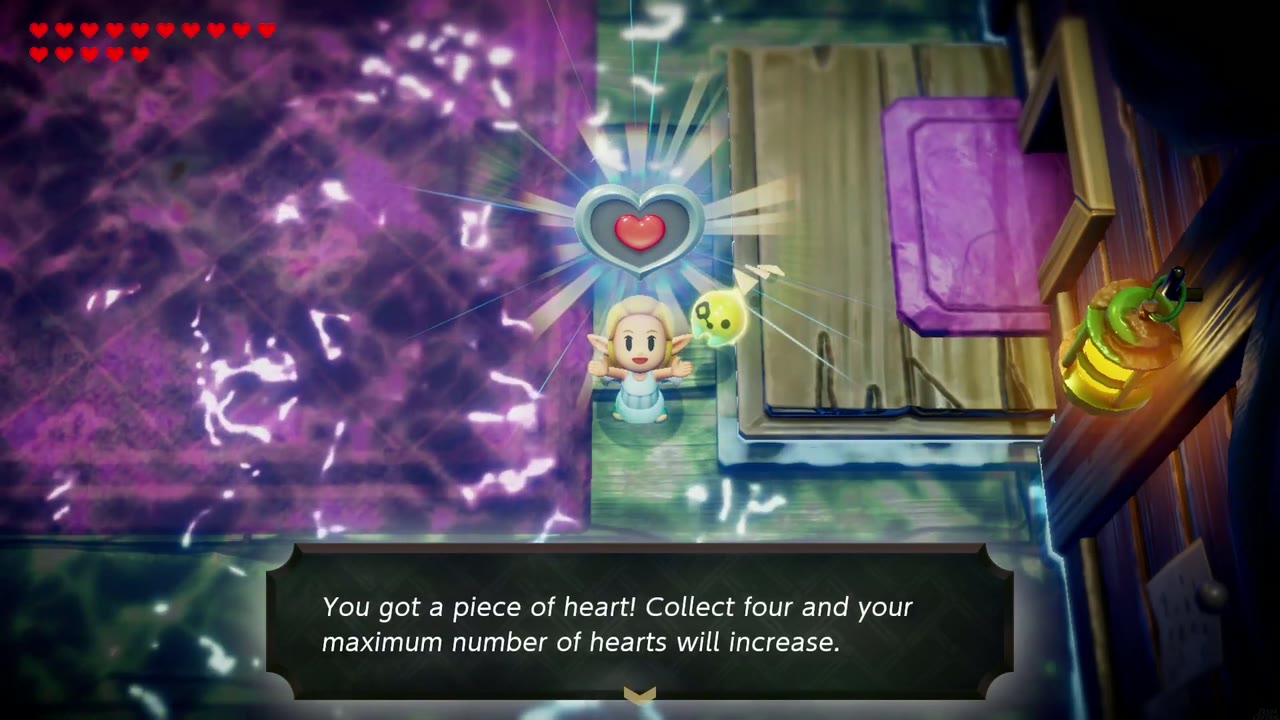
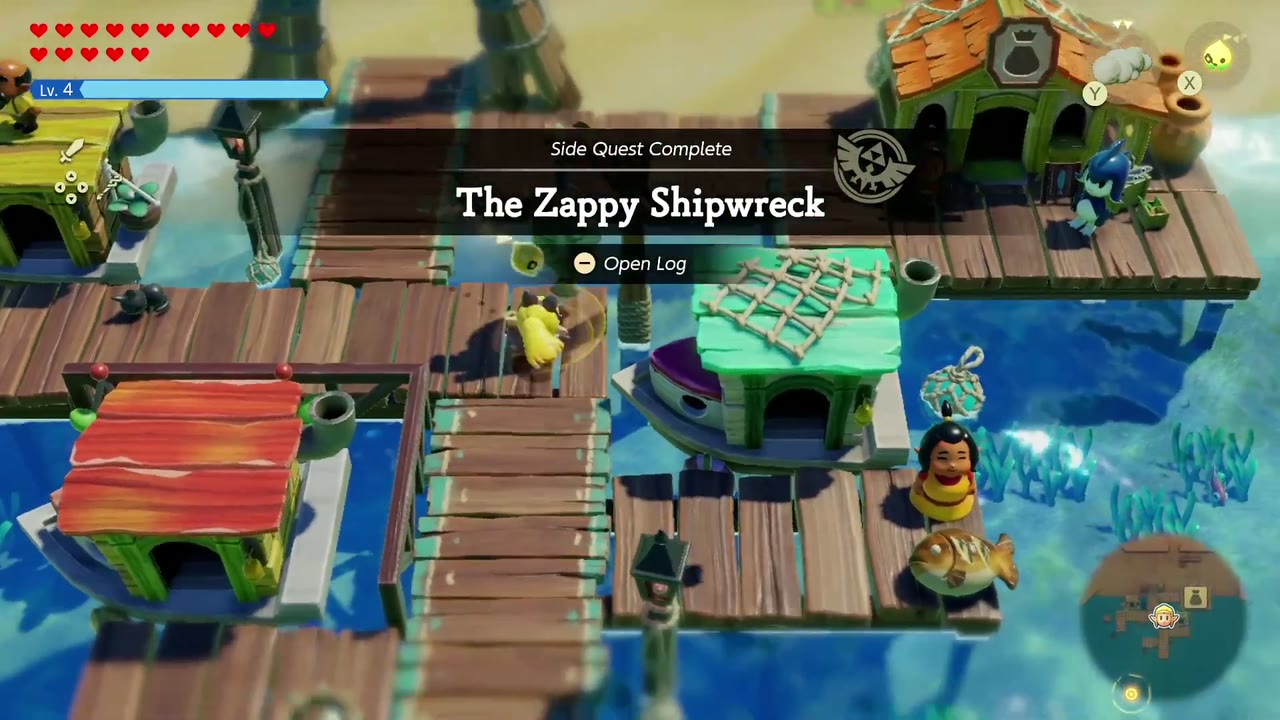
How: Bind the hatch on the wreck’s deck to open it, work down through the flooded holds (crates, a side-view underwater passage, Water Block and Cloud echoes to pass the barred railing), and defeat the giant electric jellyfish in the purple-floored room. It drops a Piece of Heart. Then tell the sailor his ship is clear (this playthrough cleared the wreck first, so the quest started and completed in the same conversation).
Reward: an empty bottle (Fairy Bottle) from the sailor; Piece of Heart from the boss.
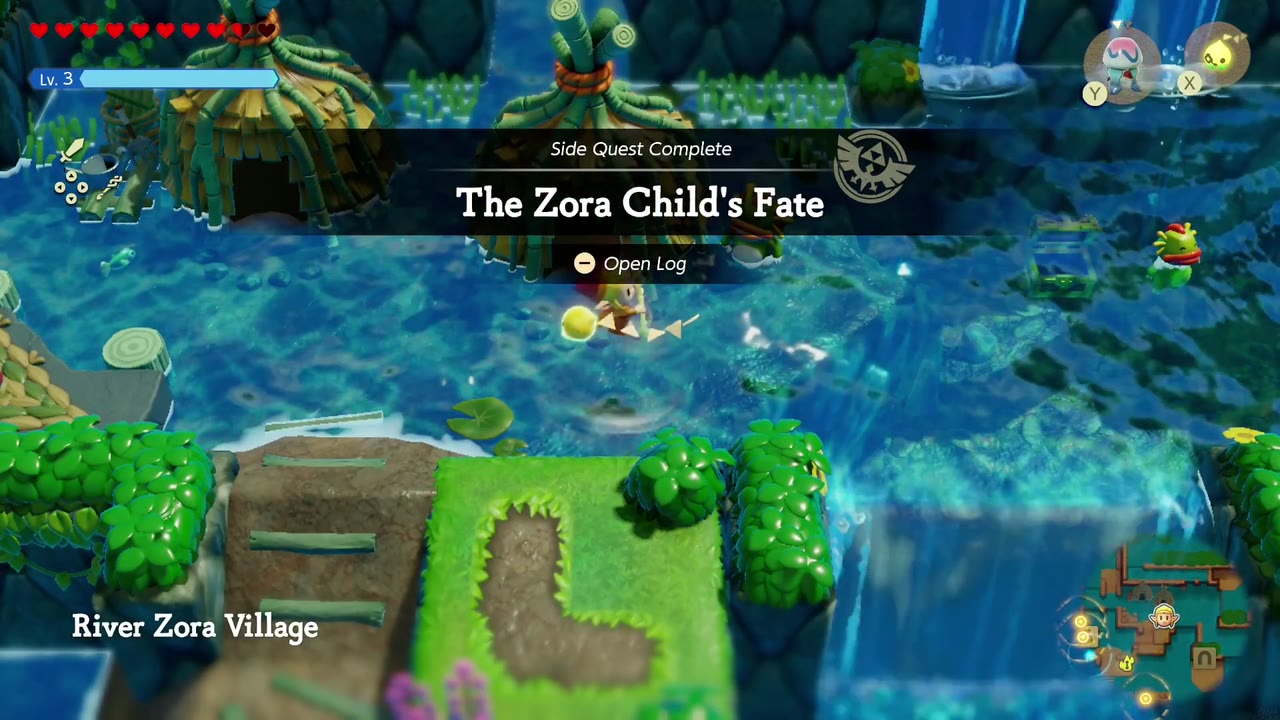
The Zora Child’s Fate
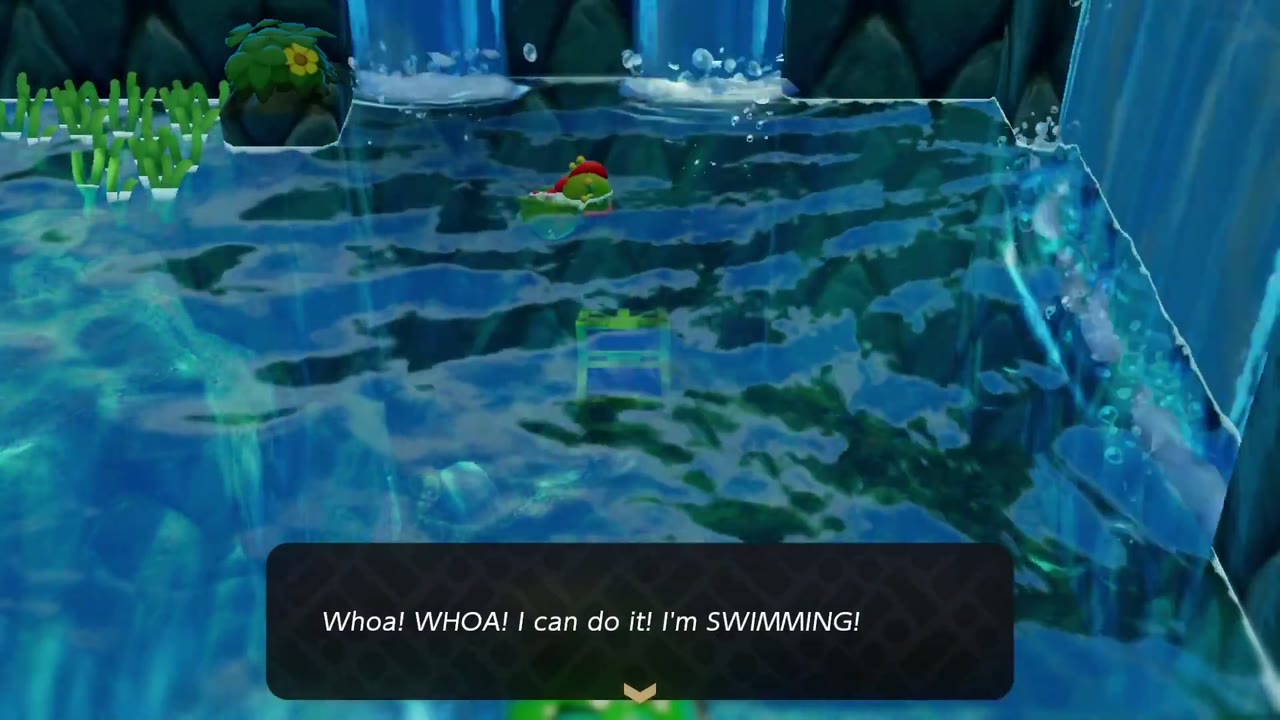
Where: River Zora Village; a Zora child who can’t swim starts it, and his mother asks for help in her hut.
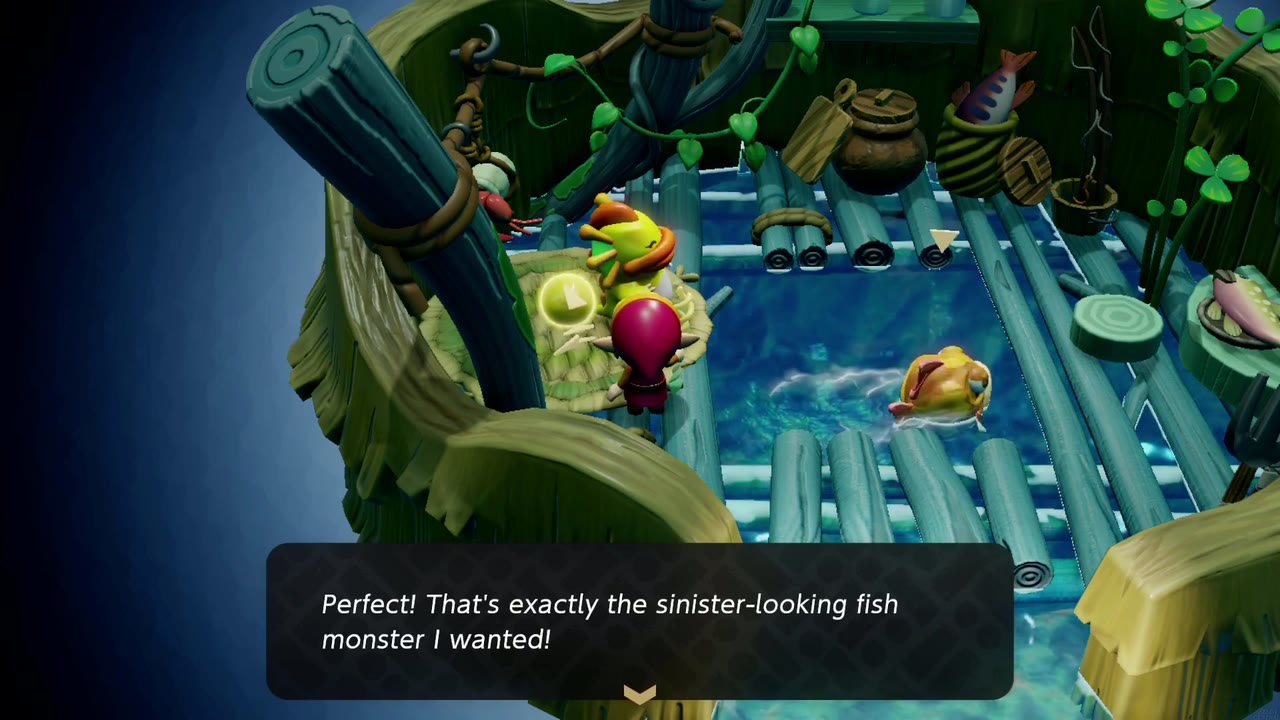
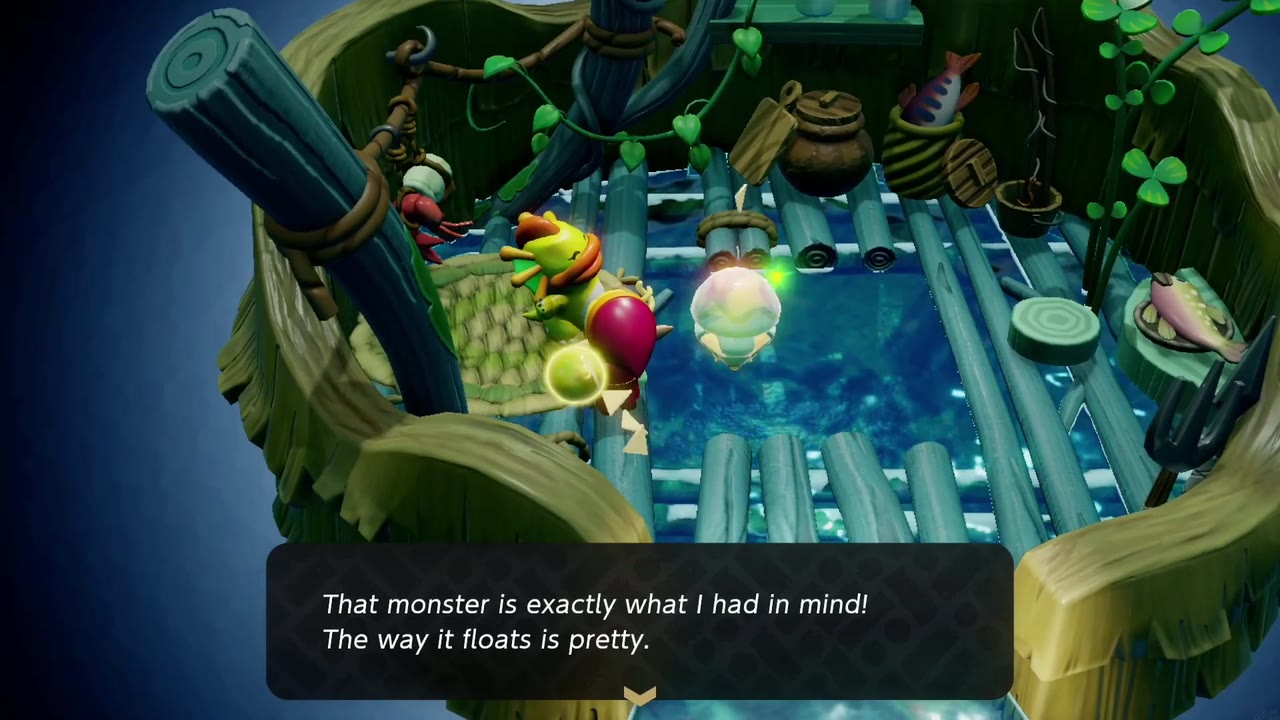
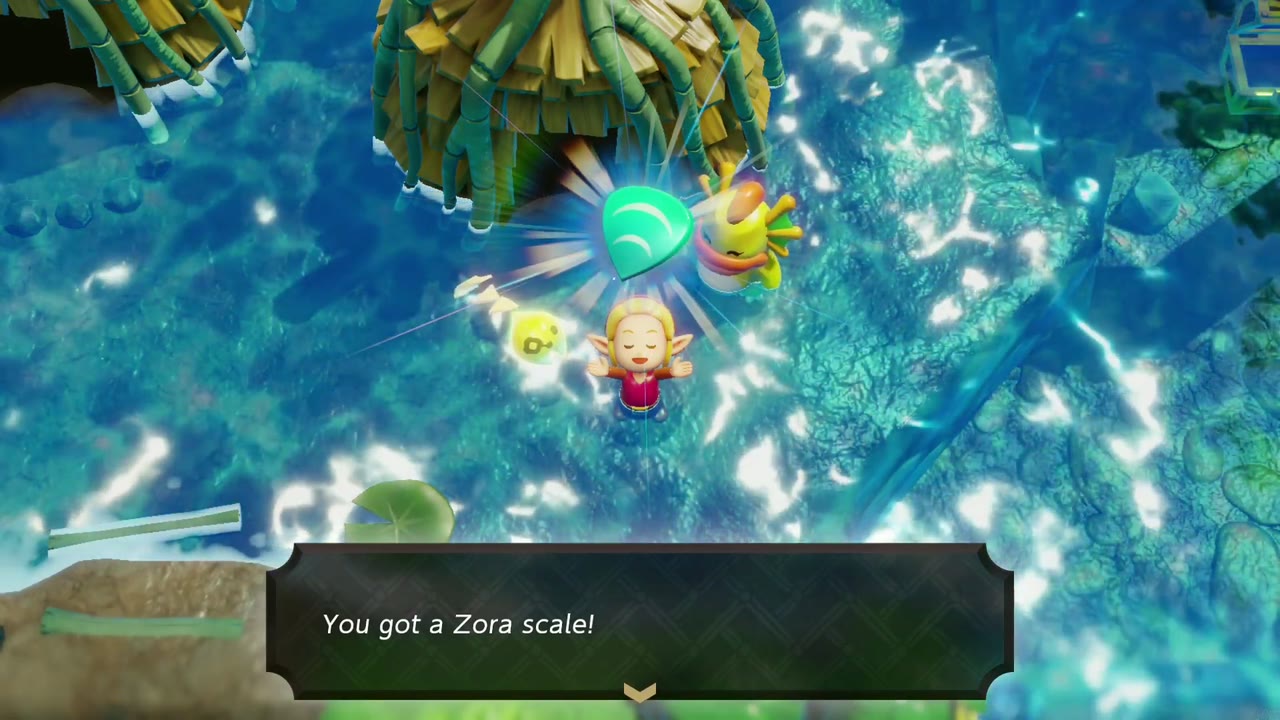
How: Summon three monsters into the water in her hut, one at a time: a “sinister fish” (Tangler), a “monster that goes BOOM” (Bombfish), and finally a pretty floating one (Biri). She uses them to polish a scale charm for her son, who can then swim.
Reward: Zora Scale (she gives Zelda the same charm).
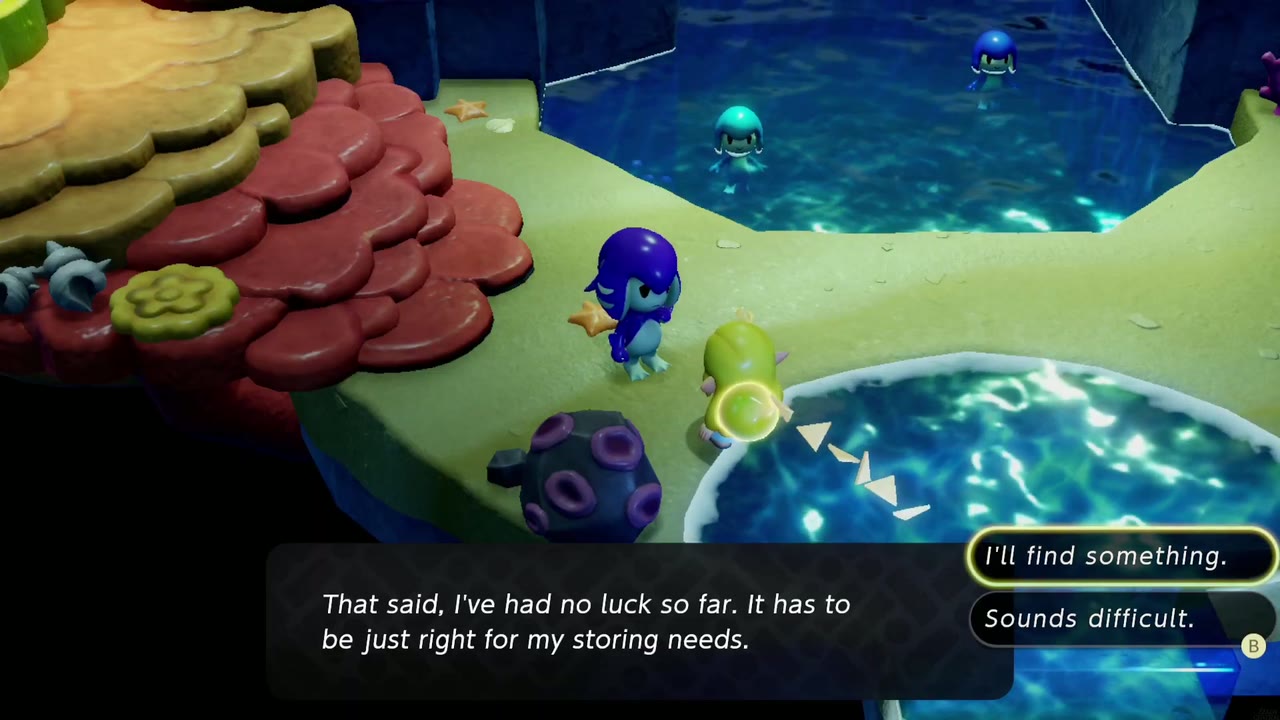
Precious Treasure
Where: Sea Zora Village, Zora Cove.
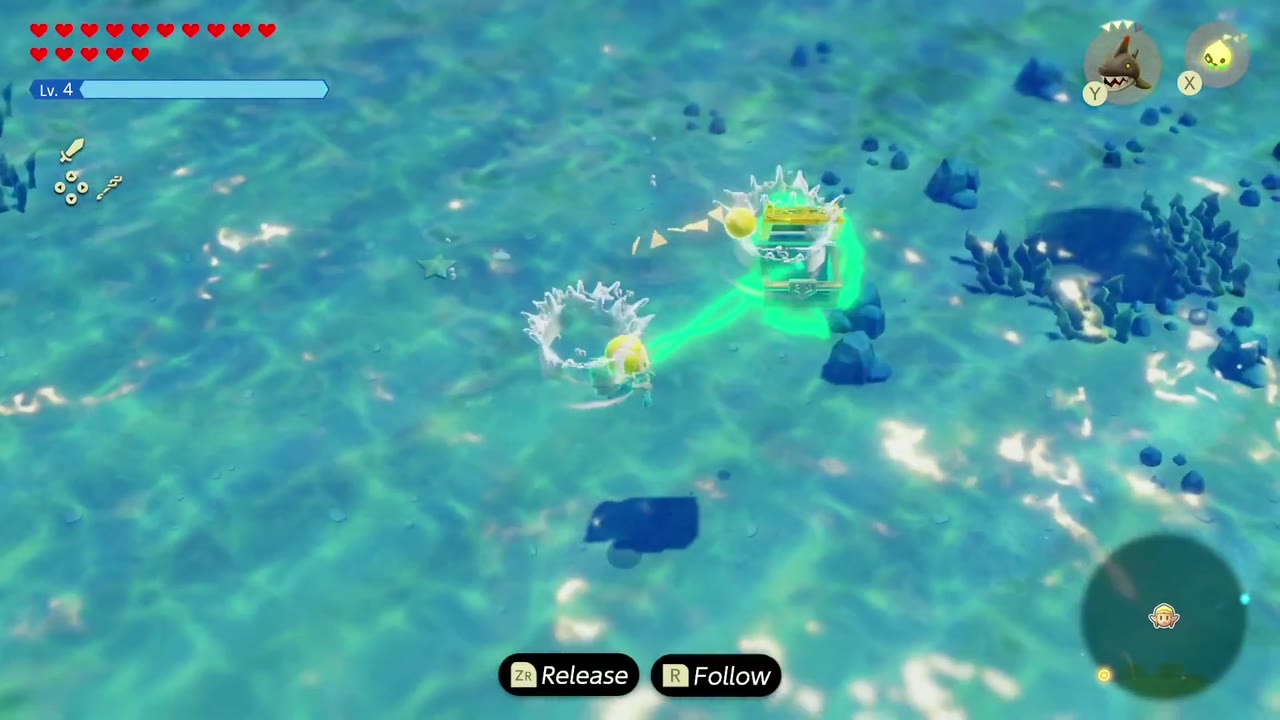
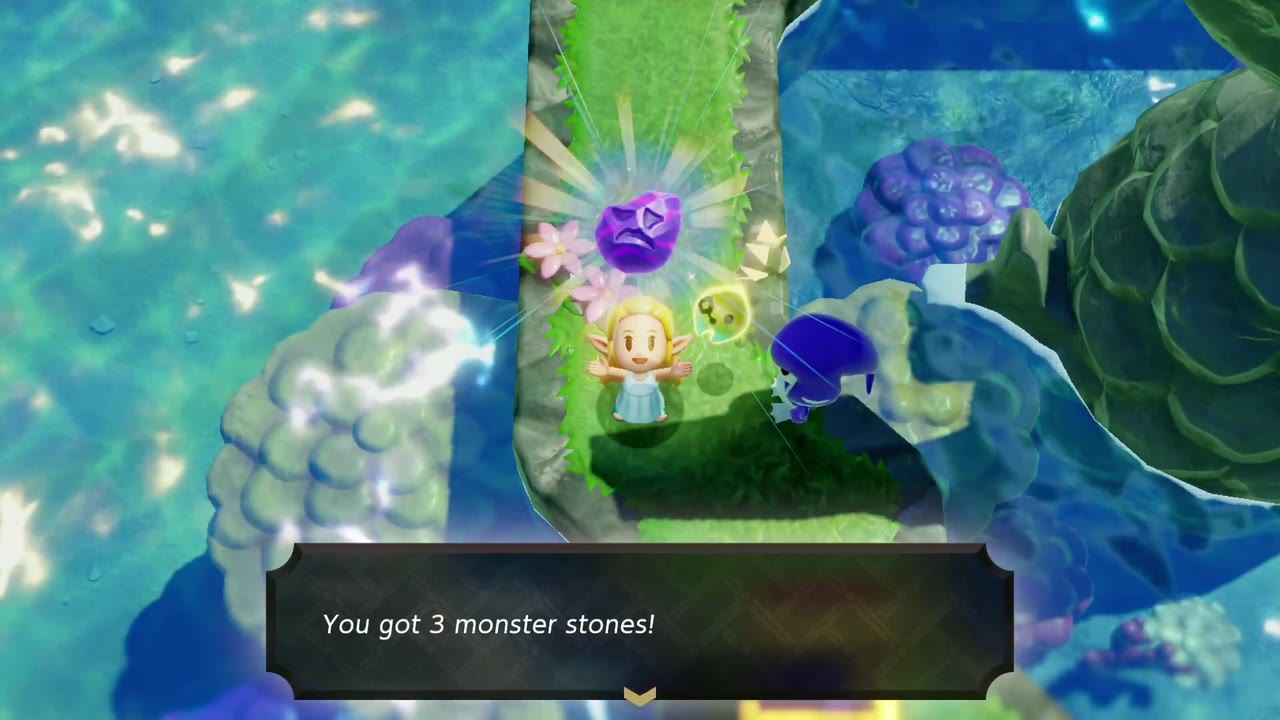
How: A Sea Zora collector wants something secure, water-tight and just right to store her shells and rocks in. There is no chest to copy as an echo: find a real treasure chest out in the open sea, bind it and tow it back through the water to her.
Reward: 3 Monster Stones.
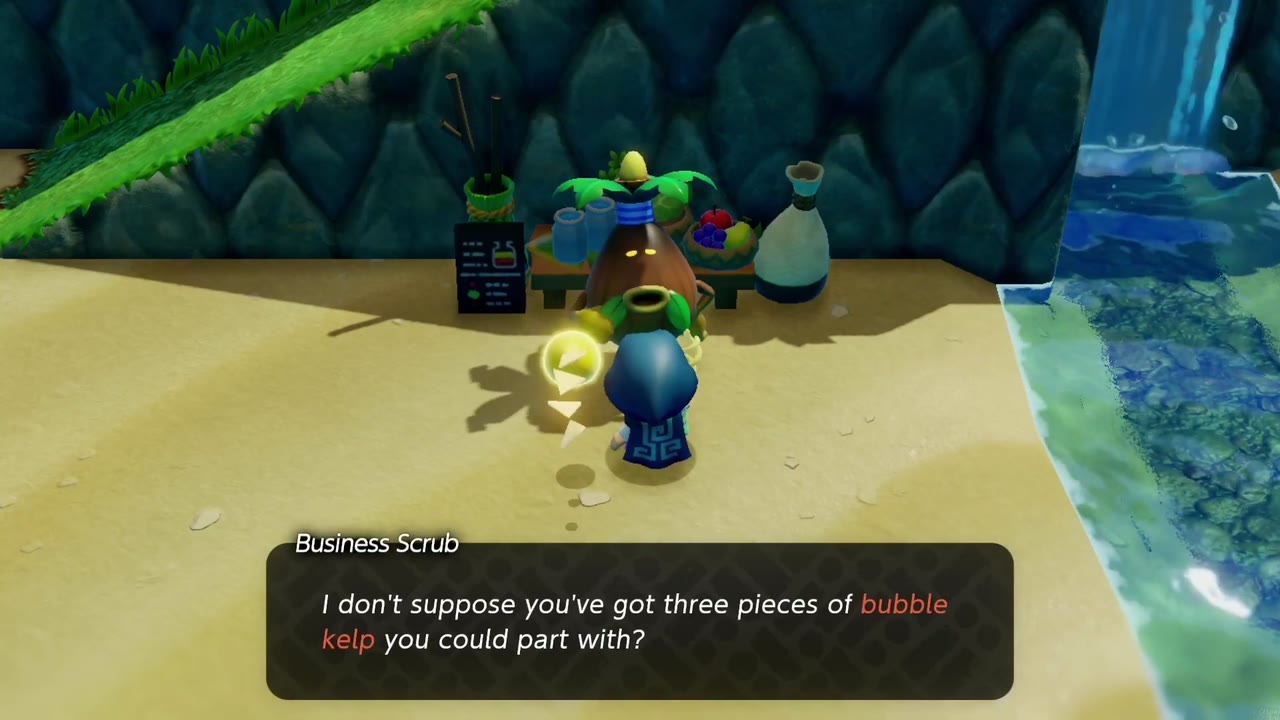
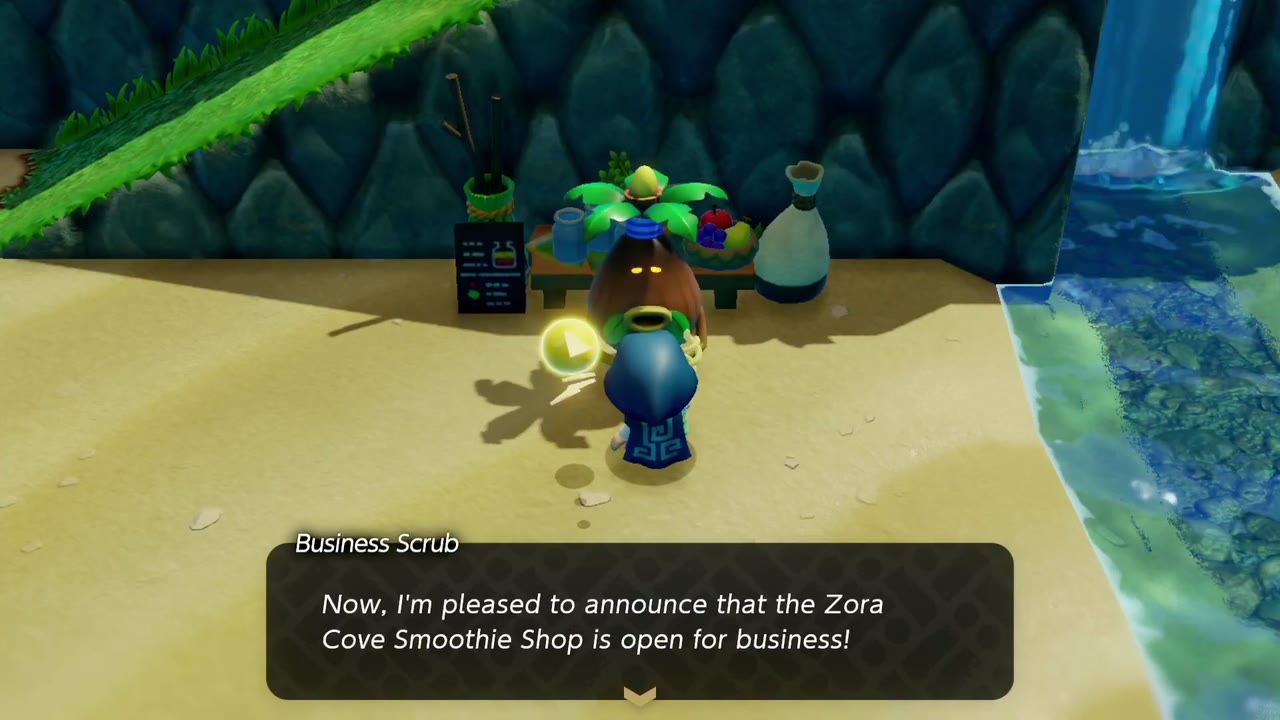
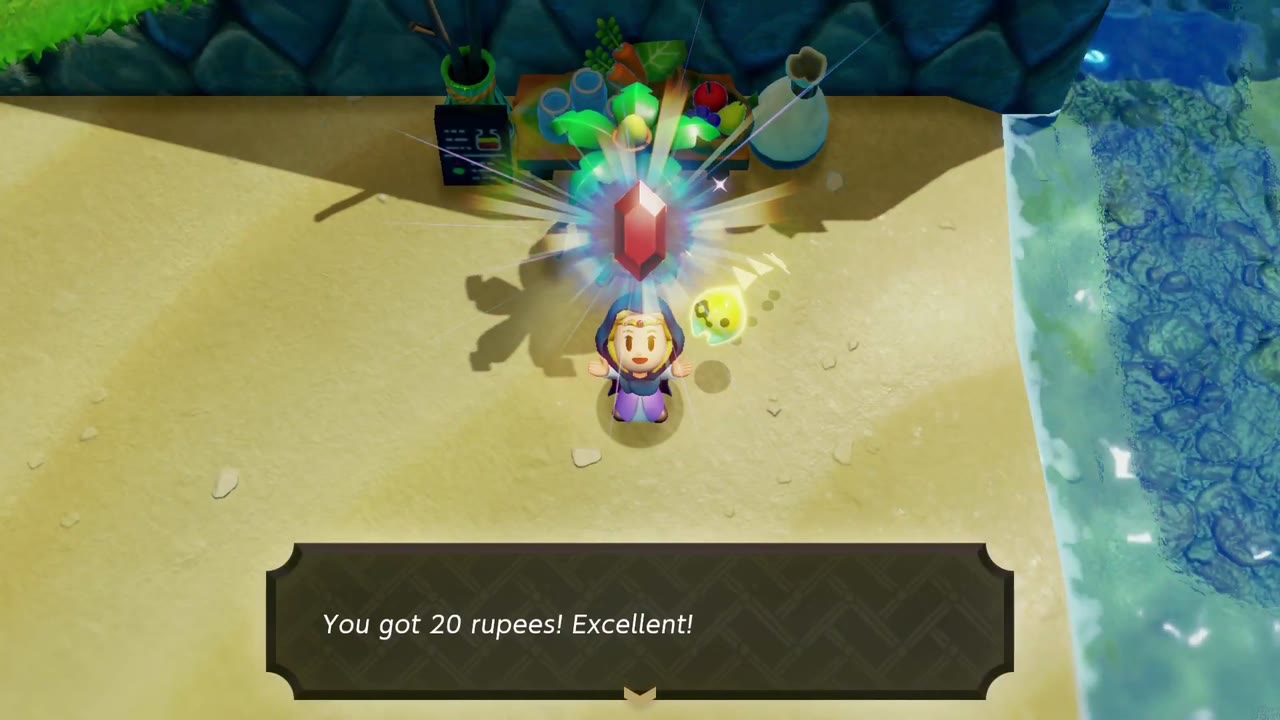
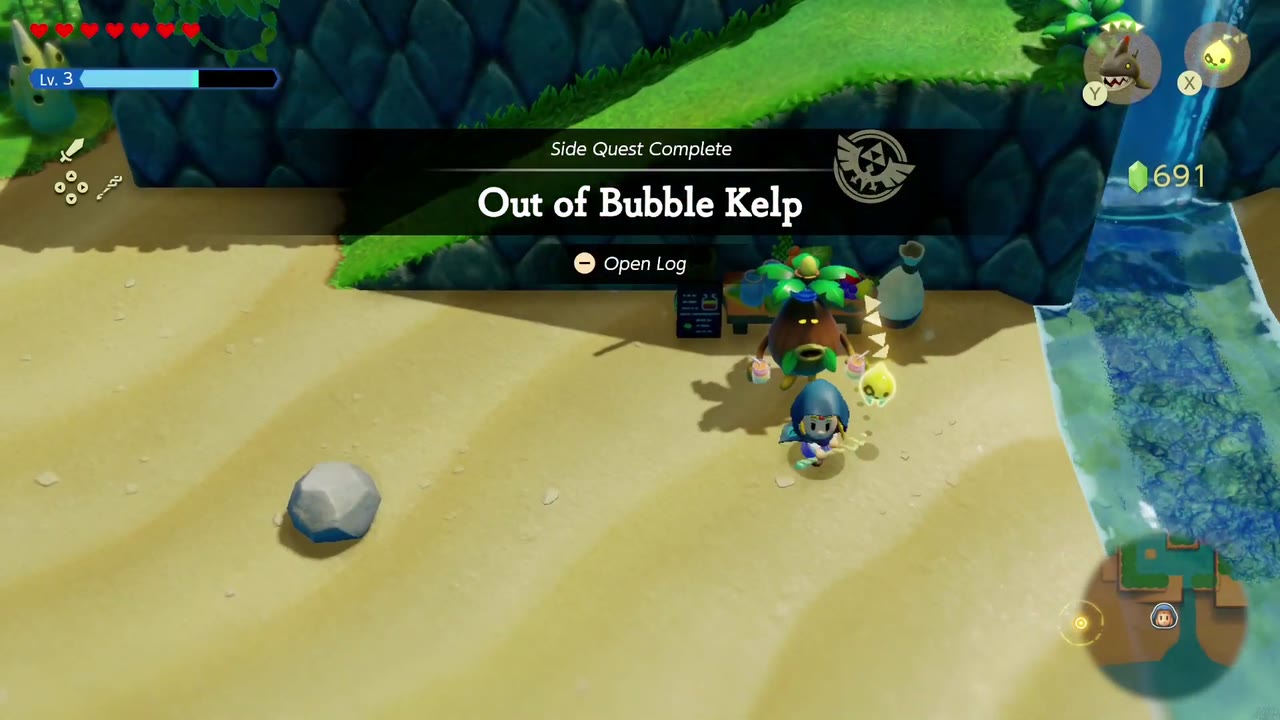
Out of Bubble Kelp
Where: Business Scrub’s Smoothie Shop on the beach in Zora Cove.
How: The shop can’t open because the Scrub ran out of Bubble Kelp, which only grows in the sea. Give him three pieces of Bubble Kelp (they turn up while swimming around Jabul Waters) and the Zora Cove Smoothie Shop opens for business.
Reward: 20 rupees.
Big Shot
Requirements: Complete Still Missing.
Where: Open sea off Seesyde Village, Jabul Waters.
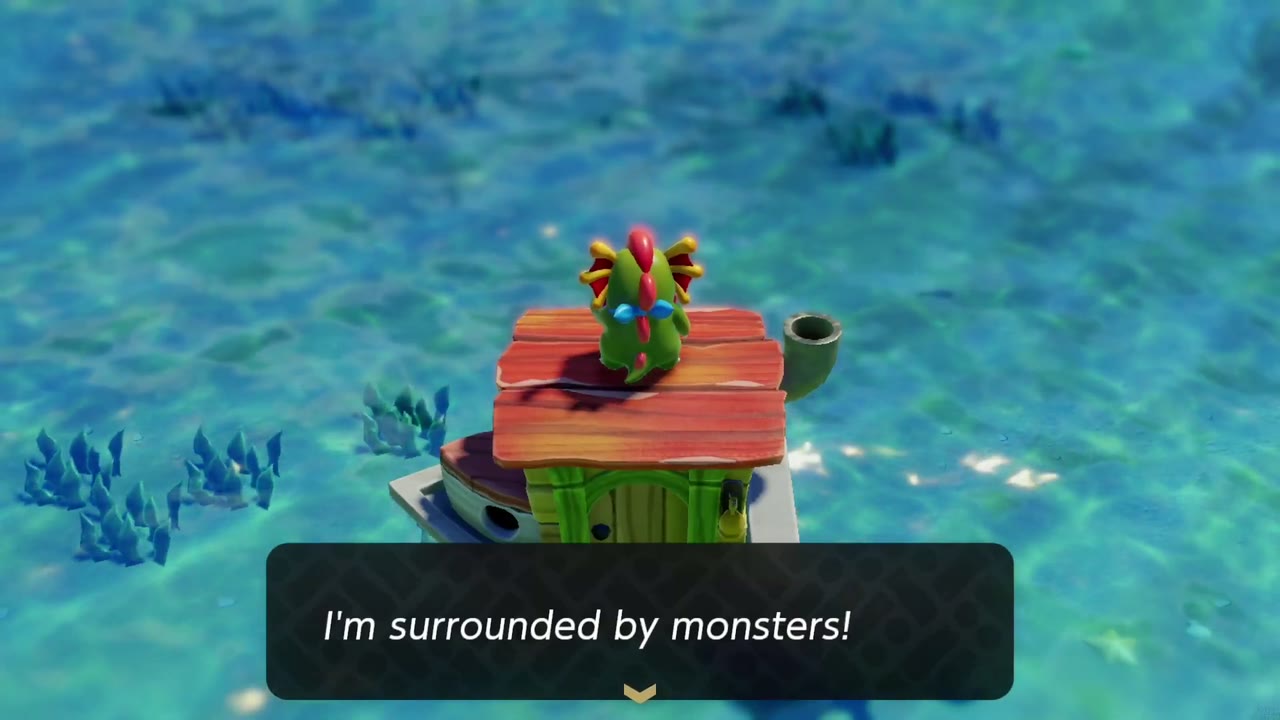
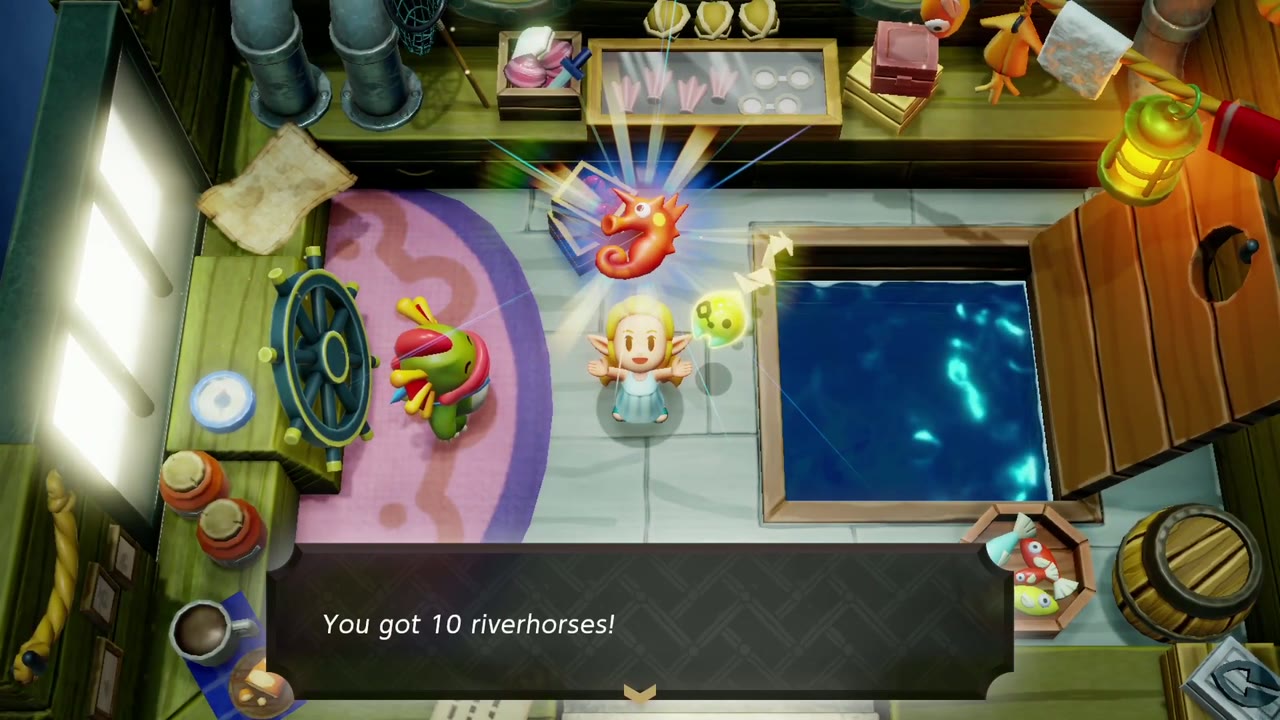
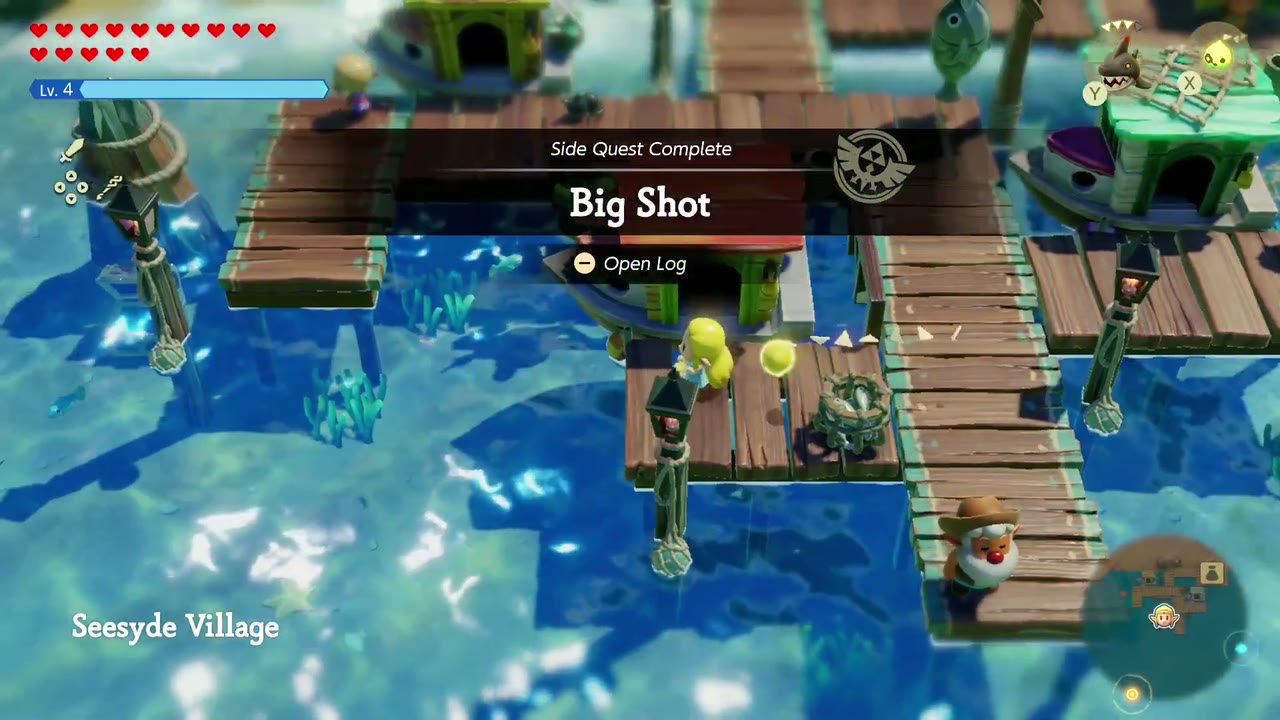
How: While swimming you hear a River Zora shouting that he is surrounded by monsters on a borrowed boat. Defeat the sea monsters around the boat, then talk to him in the cabin; he wanted to be more than Chief Dradd’s house-sitter. The quest starts out at sea when you hear him, and it completes once you’re back on the Seesyde Village dock.
Reward: 10 Riverhorses.
Secret Chief Talks
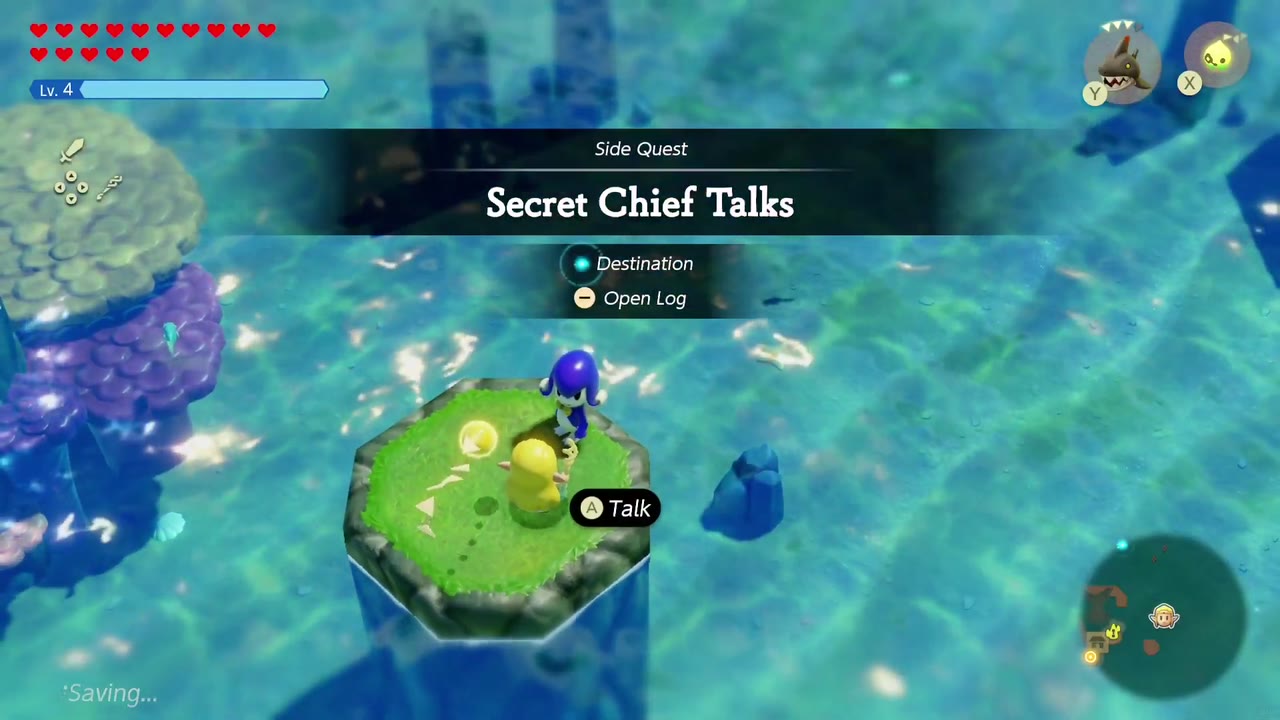
Requirements: Complete Still Missing.
Where: Starts with Rogma just outside Sea Zora Village; ends in a cave in Zora Cove.
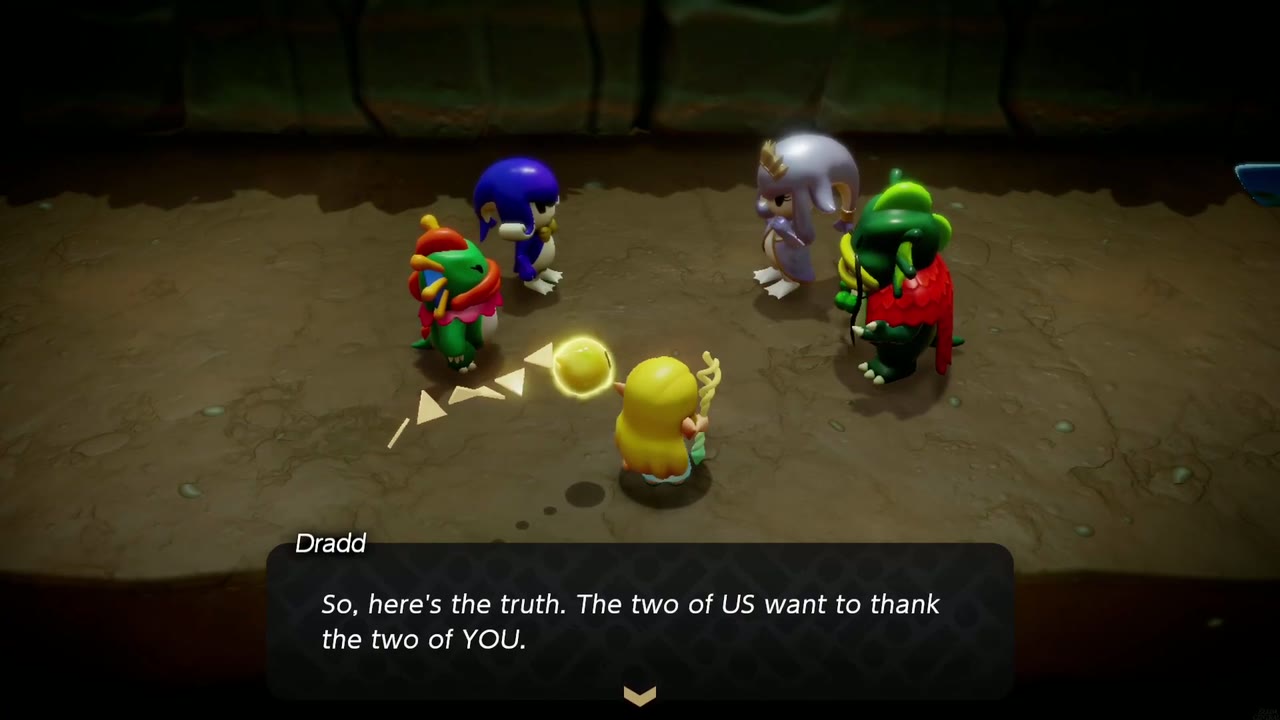
How: Rogma says Chief Kushara keeps sneaking off. Talk to Inawa in River Zora Village (Chief Dradd is avoiding her too), then ask the River Zoras; Tellum, fishing on Zora River, says Dradd went to the cave in Zora Cove. Go there and the four Zoras meet: the chiefs were secretly planning how to thank their assistants.
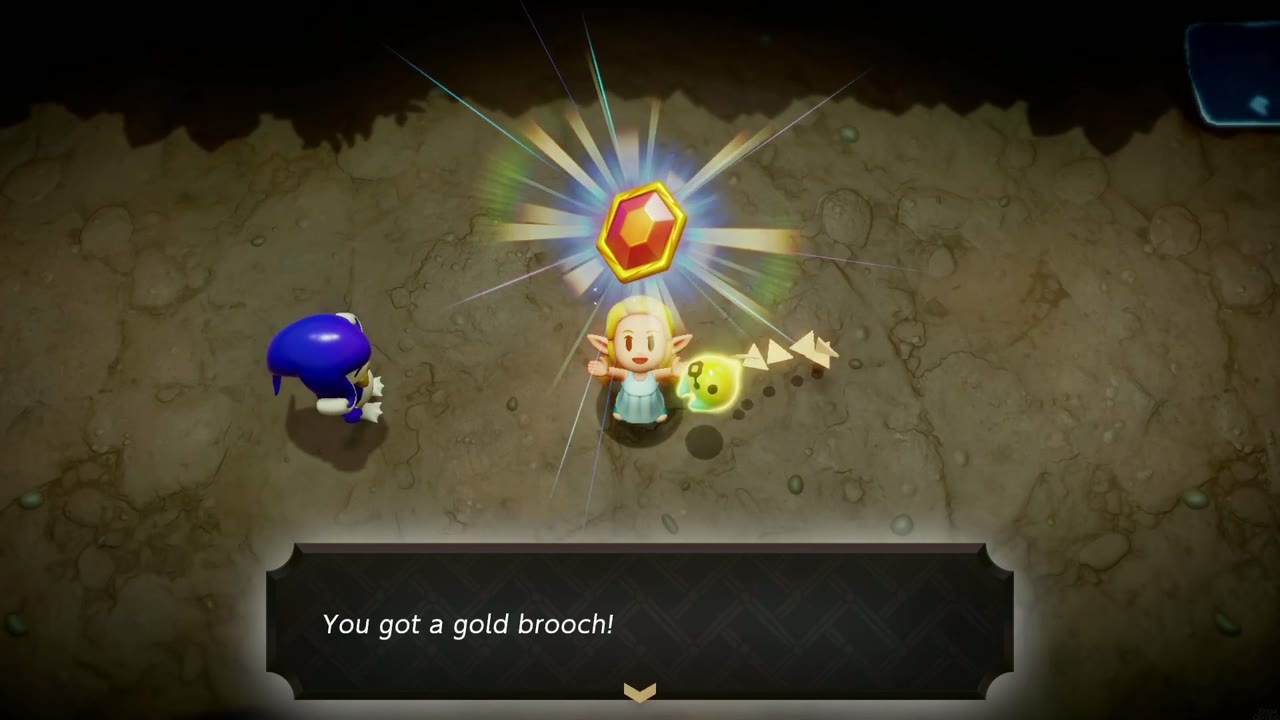
Reward: Gold Brooch (rupees appear more often).
Hyrule Field, Ranch & Castle Town
Runaway Horse
Where: Hyrule Ranch.
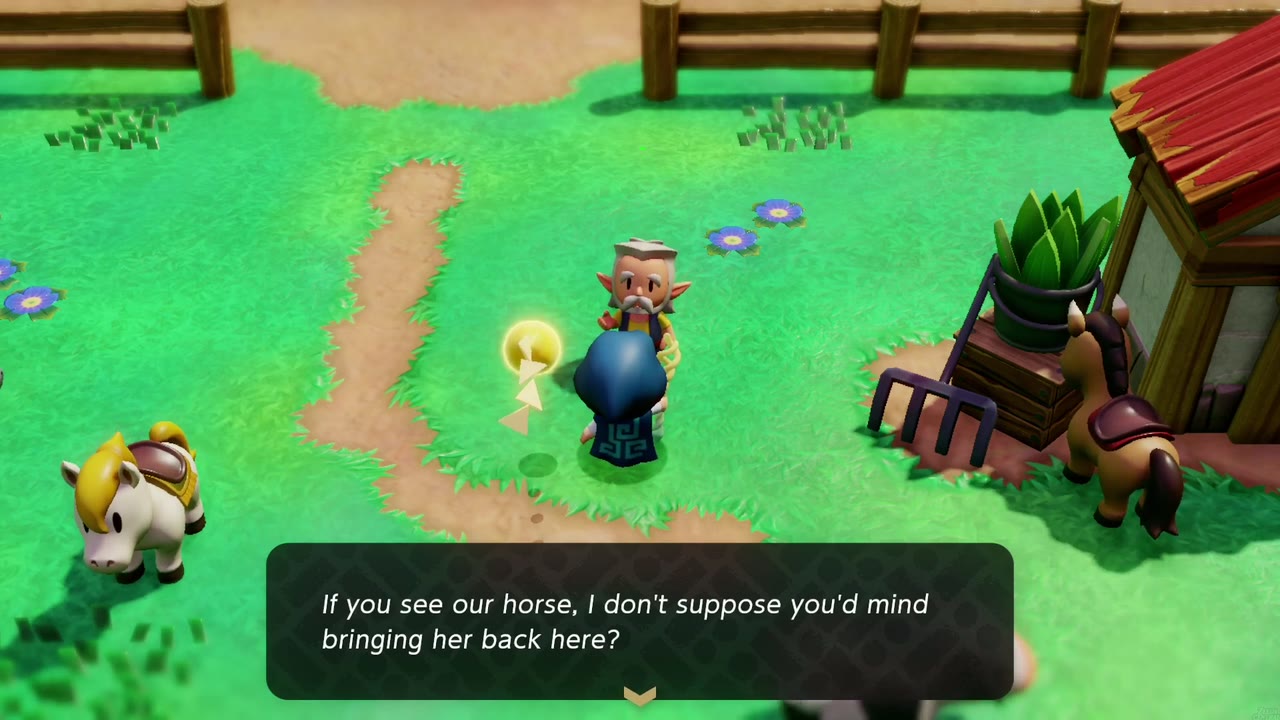
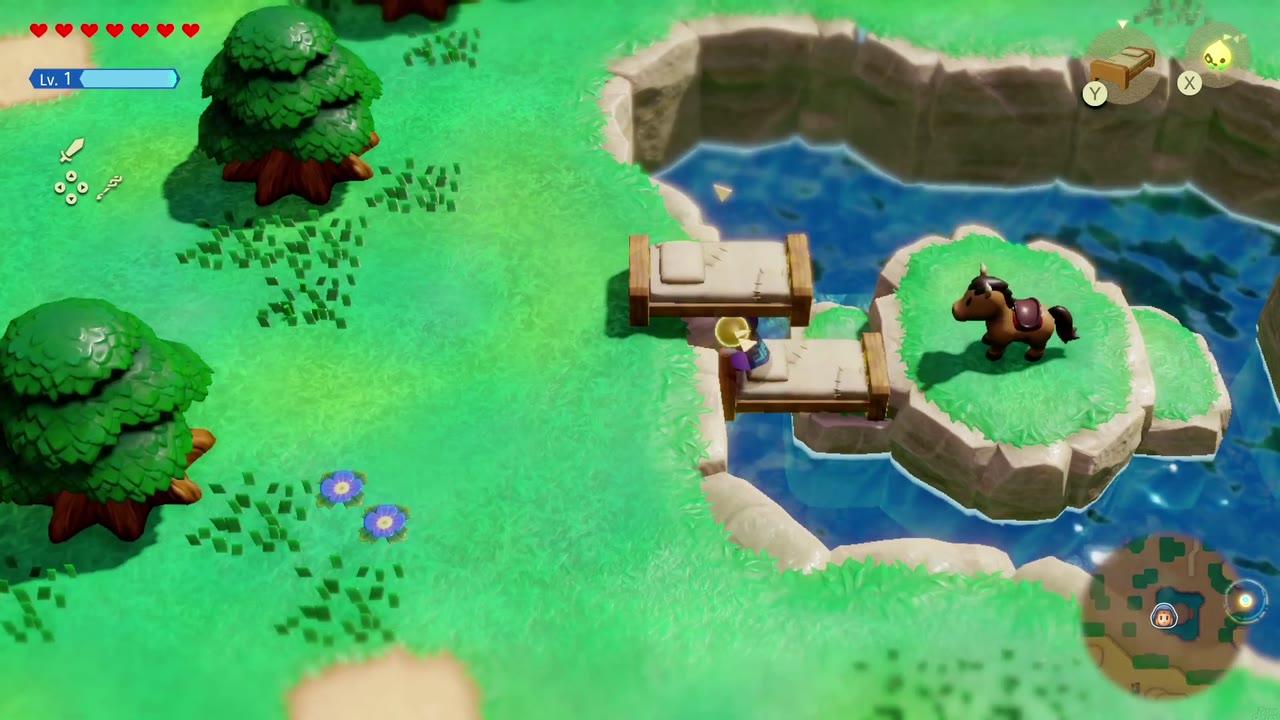
How: The rancher says one of the horses galloped off west and never came back. She is stranded on a small grassy island inside a walled pond in Hyrule Field west of the ranch; swim over, then give her a way off: a row of beds doesn’t reach the far bank, but two small round table echoes placed in the water let her hop across. Ride her back to the rancher.
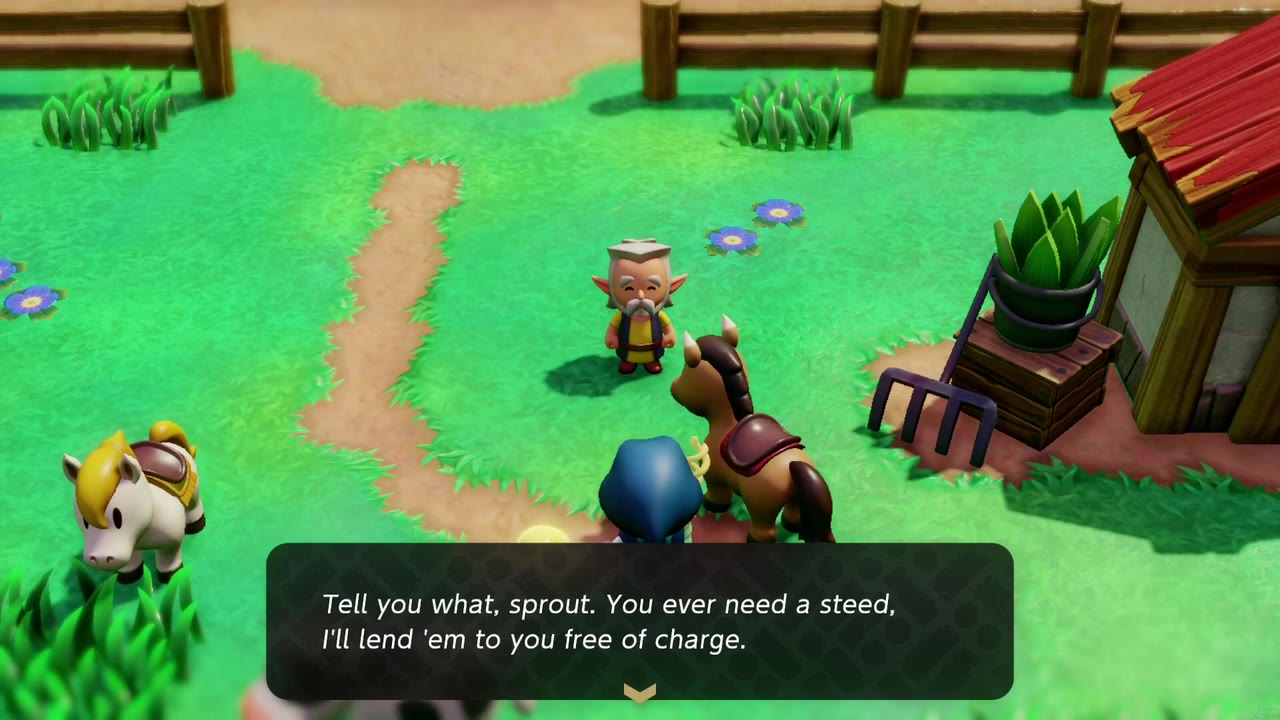
Reward: No item: the rancher promises to lend you horses free of charge from now on.
Flag Races: Rental horses cannot enter. Complete Still Missing and Impa’s Gift to obtain Zelda’s own horse.
Let’s Play a Game
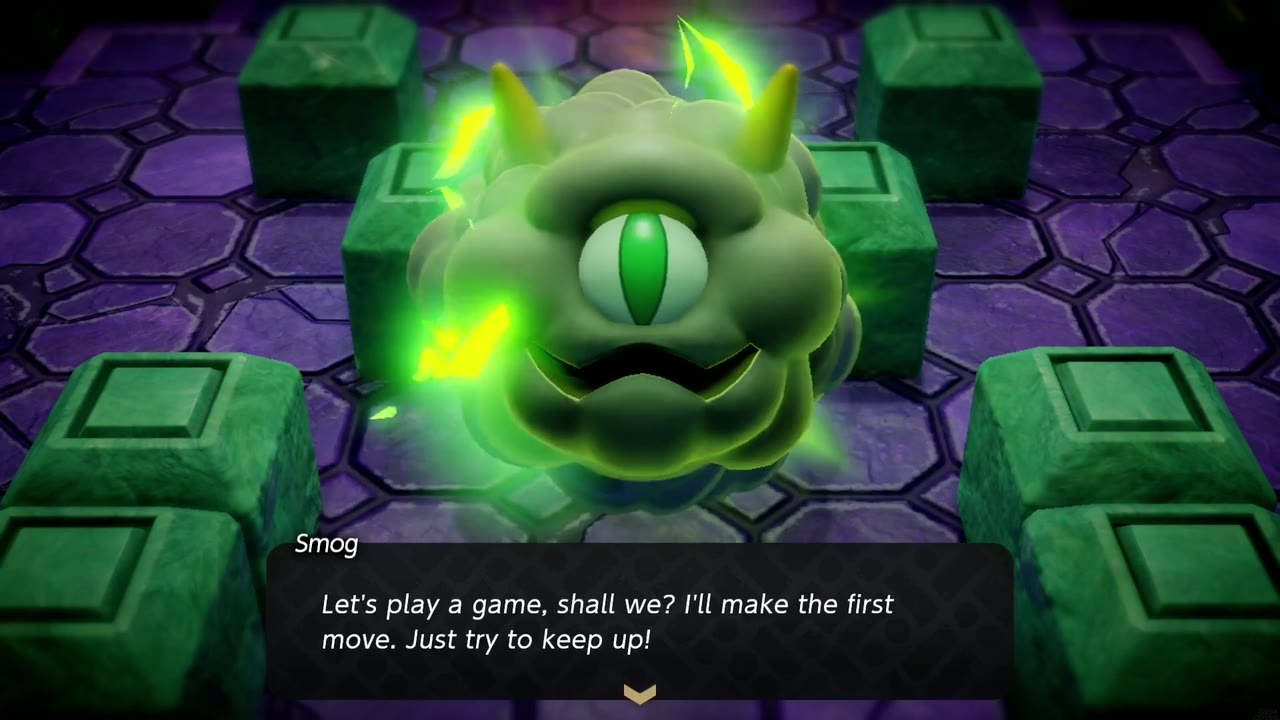
Requirements: Available after Suthorn Ruins when you can reach the Eastern Temple. Merge Smog’s three, then five, smaller clouds and damage him after he reforms.
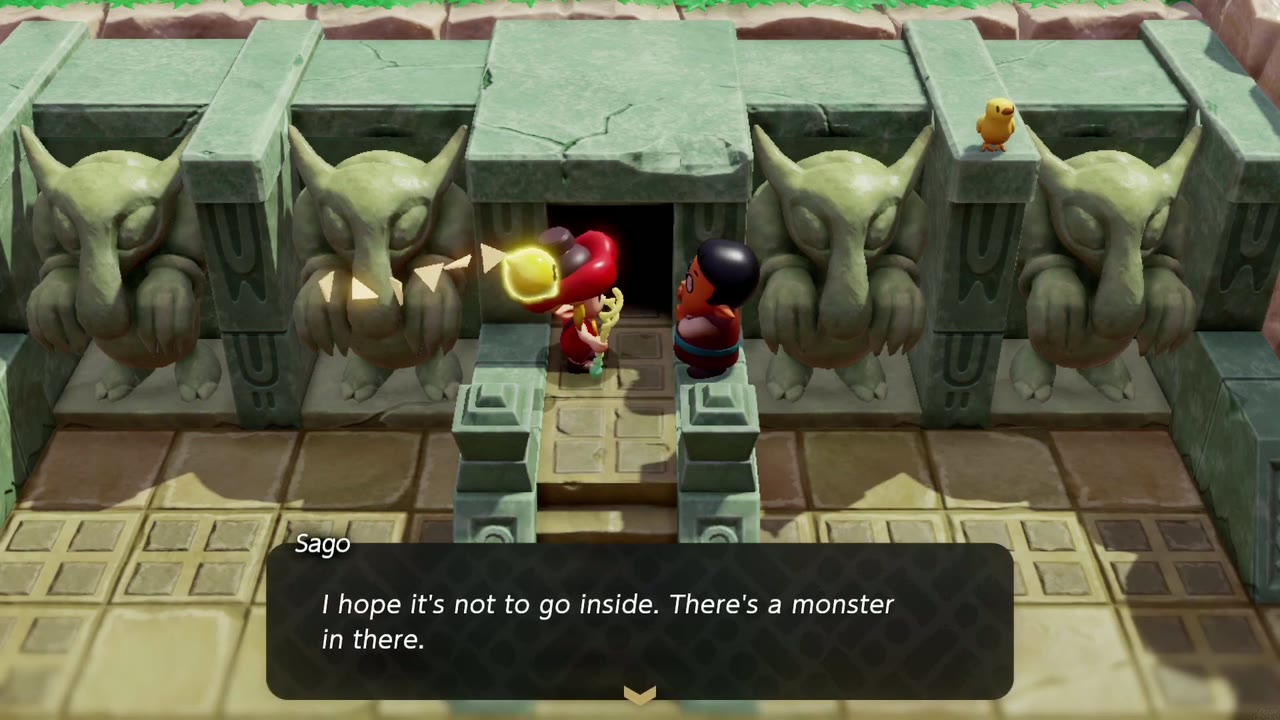
Where: The Eastern Temple, ancient ruins in Eastern Hyrule Field; the archaeologist Sago waits at the entrance.
How: Sago heard a creepy voice inside and won’t go in. Work through the ruins (the Spark echo is learned inside) to the boss room, where Smog challenges you to a game; beat it and it retreats, promising a rematch. Take the warp back out to Sago.
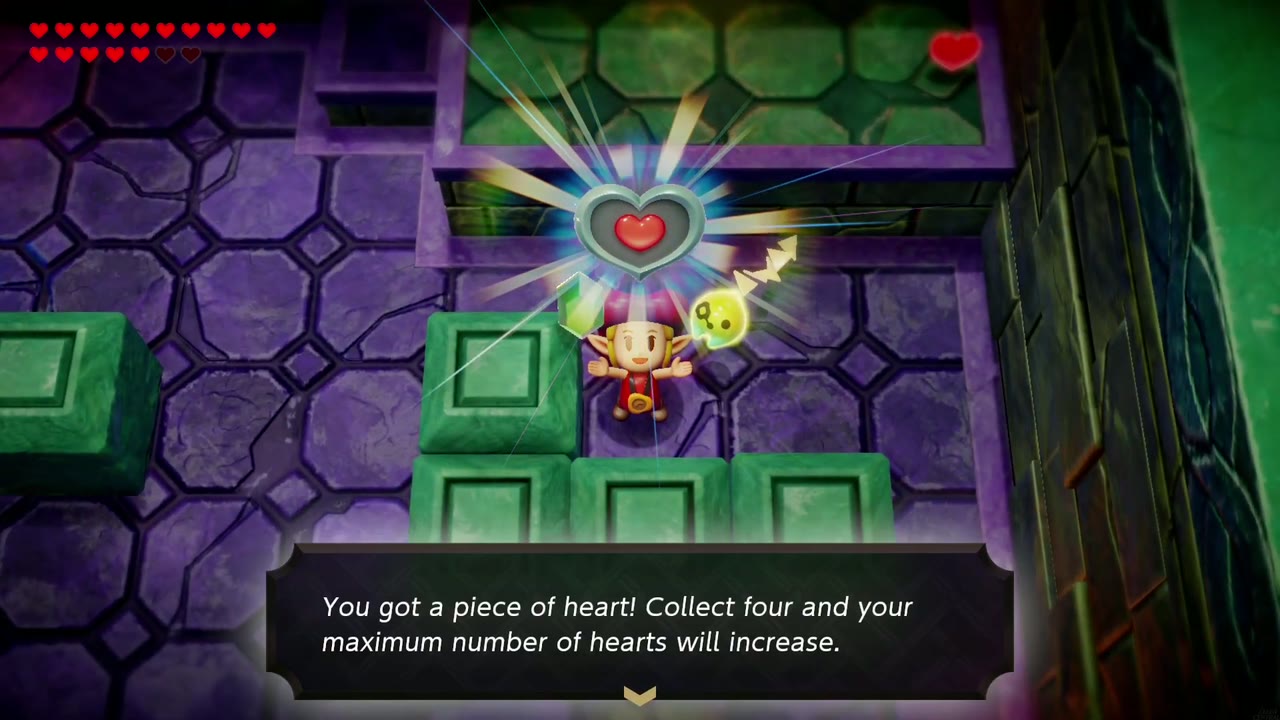
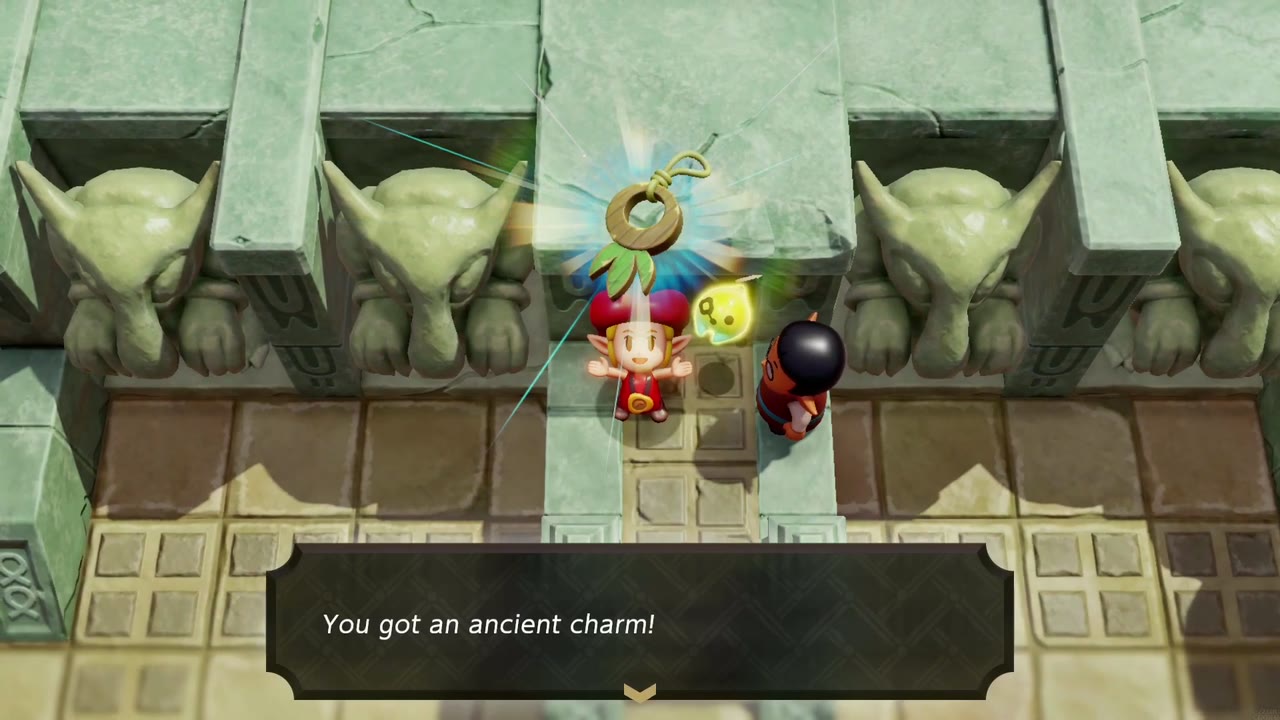
Reward: a Piece of Heart (in Smog’s room) and an ancient charm from Sago (an accessory that reduces the damage you take).
The Great Fairy’s Request
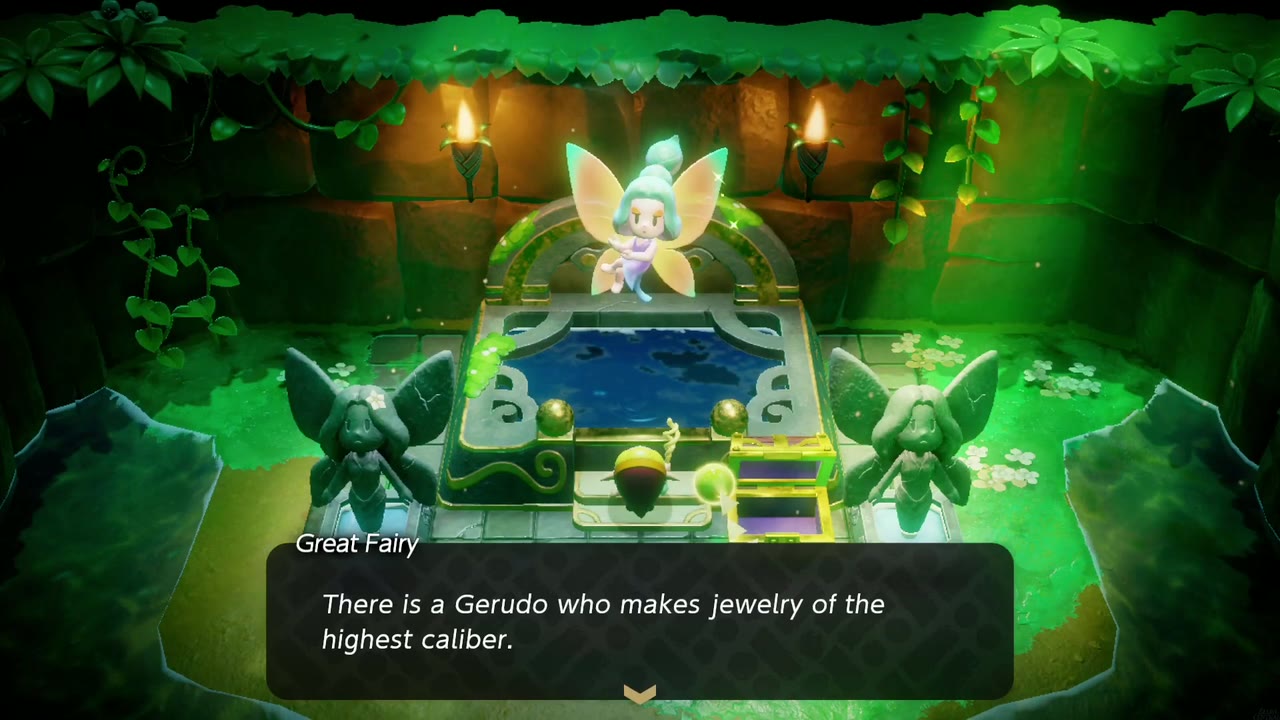
Requirements: Complete the Eldin Volcano storyline and buy all four Great Fairy slot upgrades (five slots total, 1,900 rupees), then open the shrine chest when it appears.
Where: Great Fairy Shrine (Lake Hylia), then Gerudo Town, Eldin Volcano and Sea Zora Village.
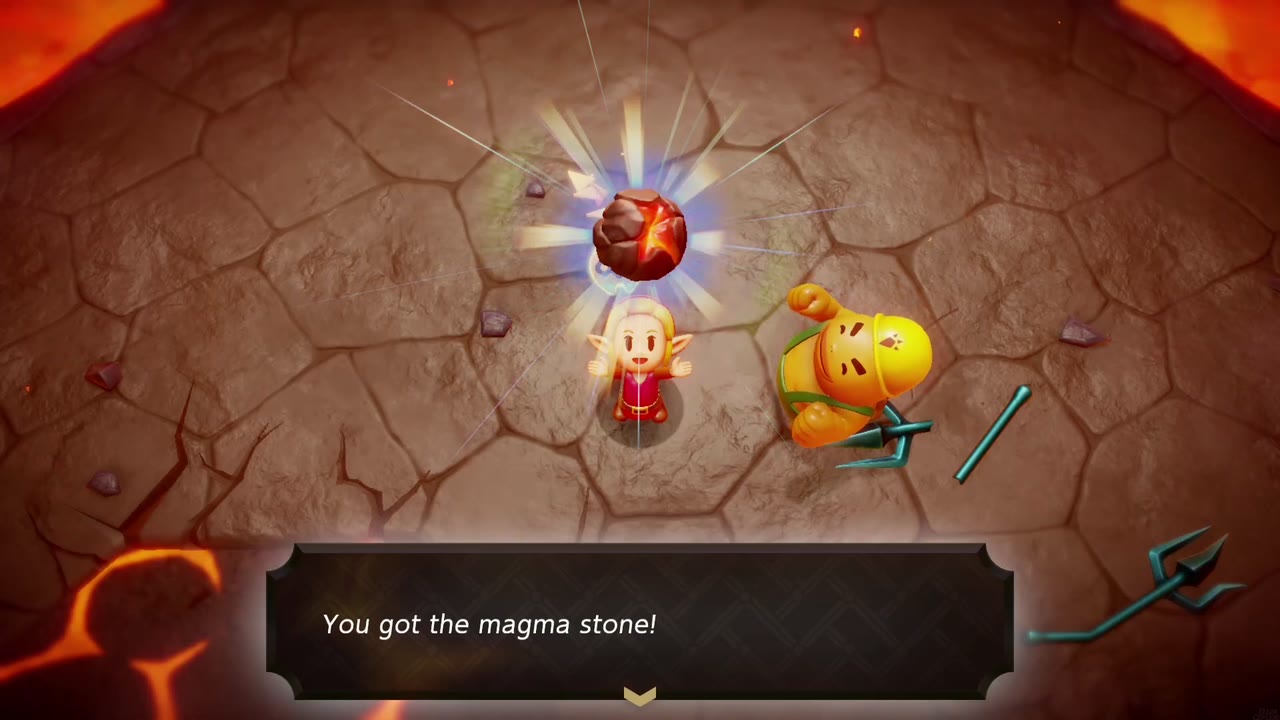
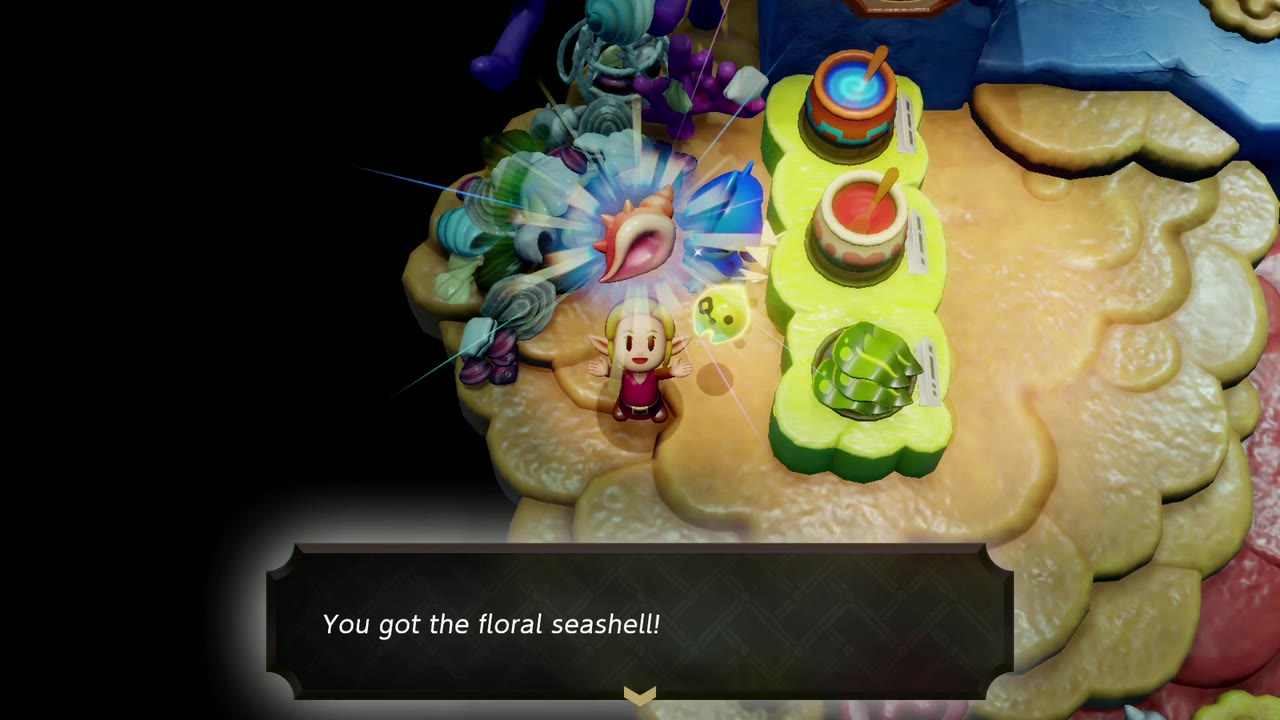
How: The Great Fairy wants a pendant made by the jewelry artisan at the Gerudo Shop in Gerudo Town. The artisan needs a magma stone: clear the Lizalfos from the lava-lake cave north of Goron City and the Goron there gives you one. She also needs a floral seashell: a Sea Zora collector in Sea Zora Village swaps it for an “unfortunate smoothie”. Take both to the artisan for the lovely pendant, then bring it to the Great Fairy.
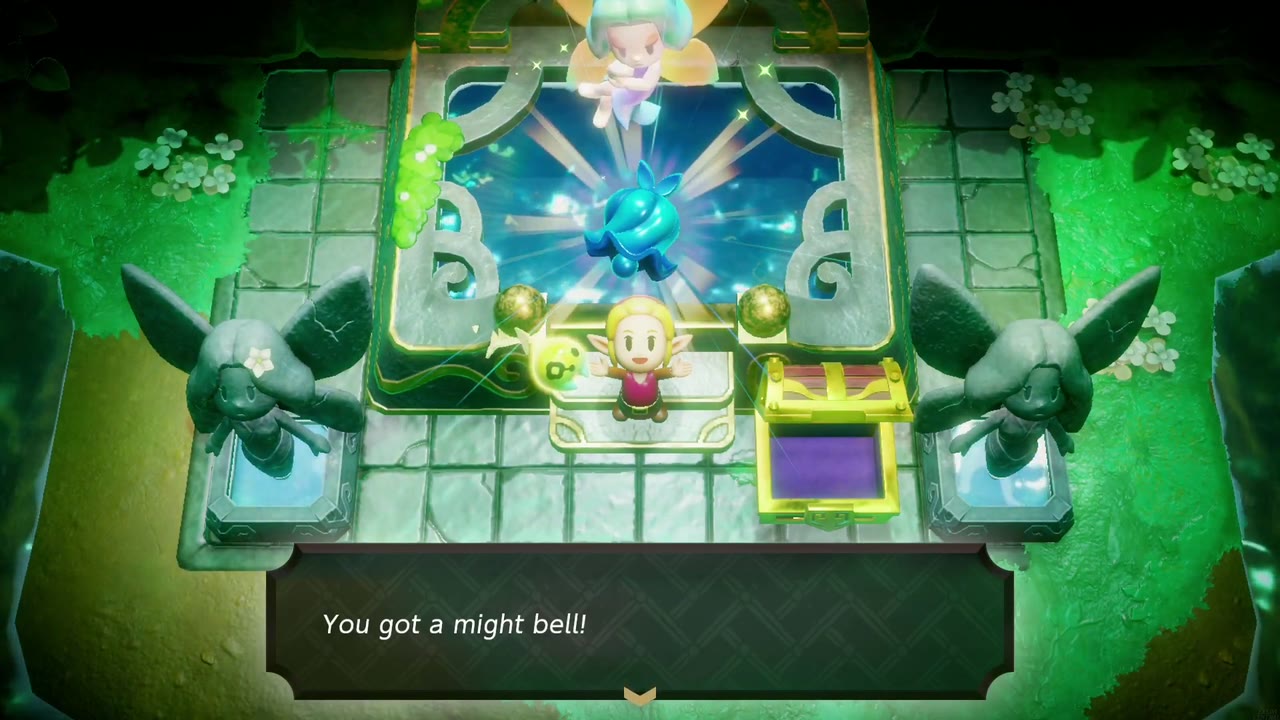
Reward: Might Bell (an accessory that rings when a might crystal is nearby).
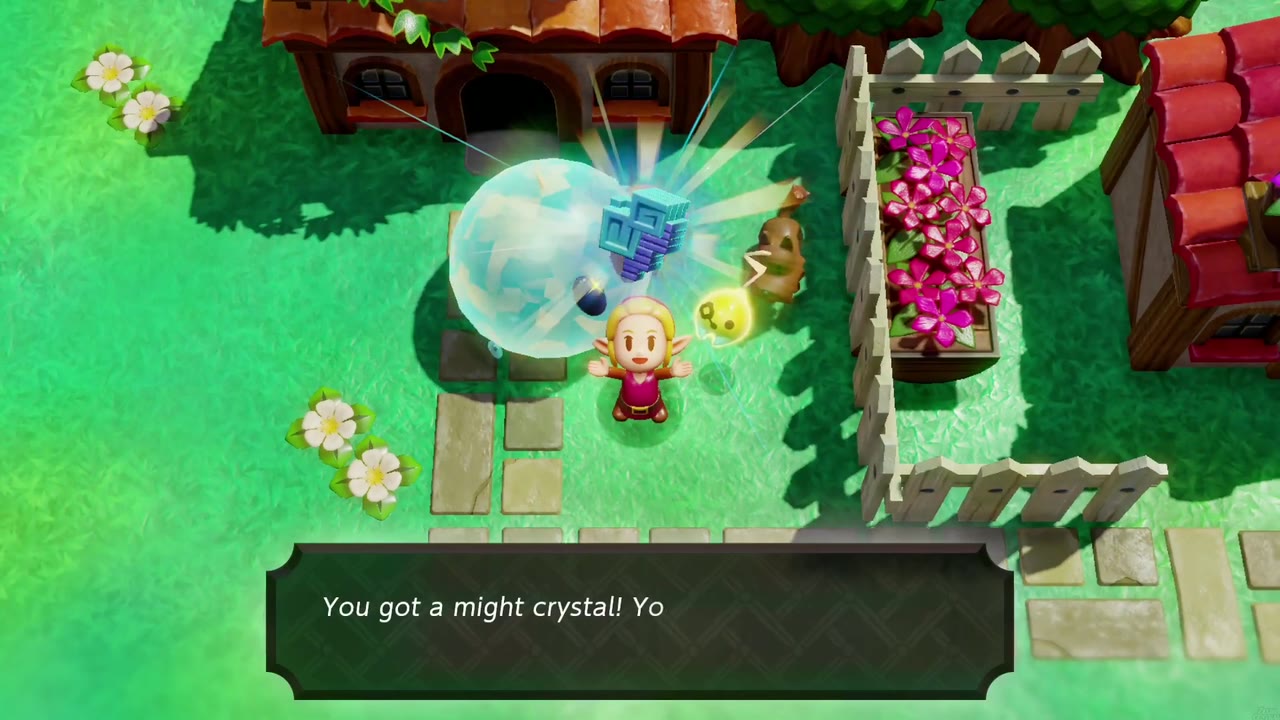
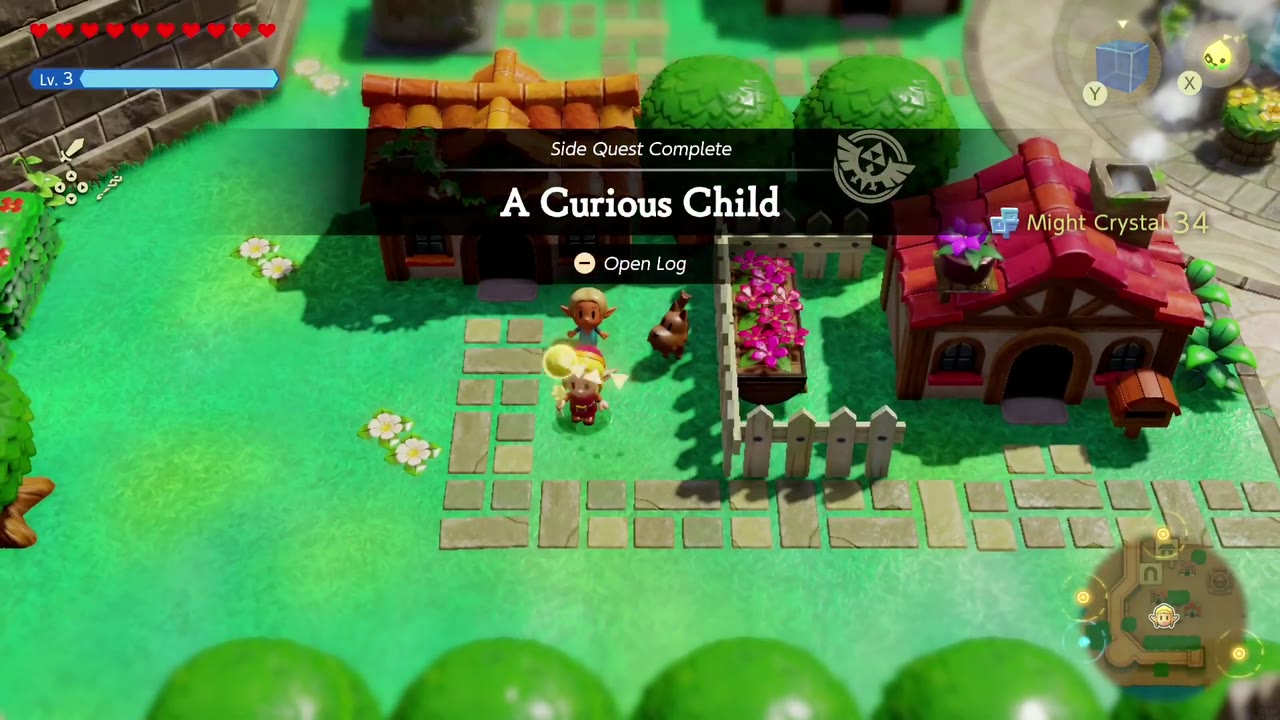
A Curious Child
Where: Hyrule Castle Town (a boy in a garden by the houses).
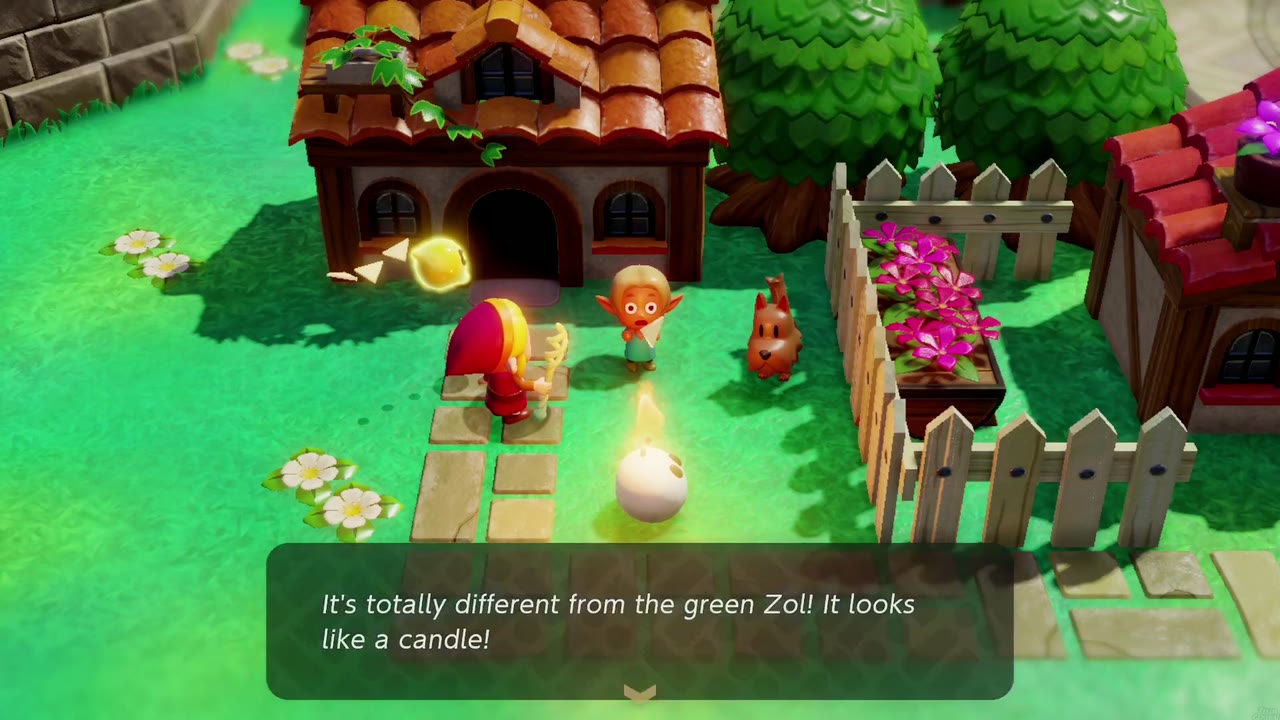
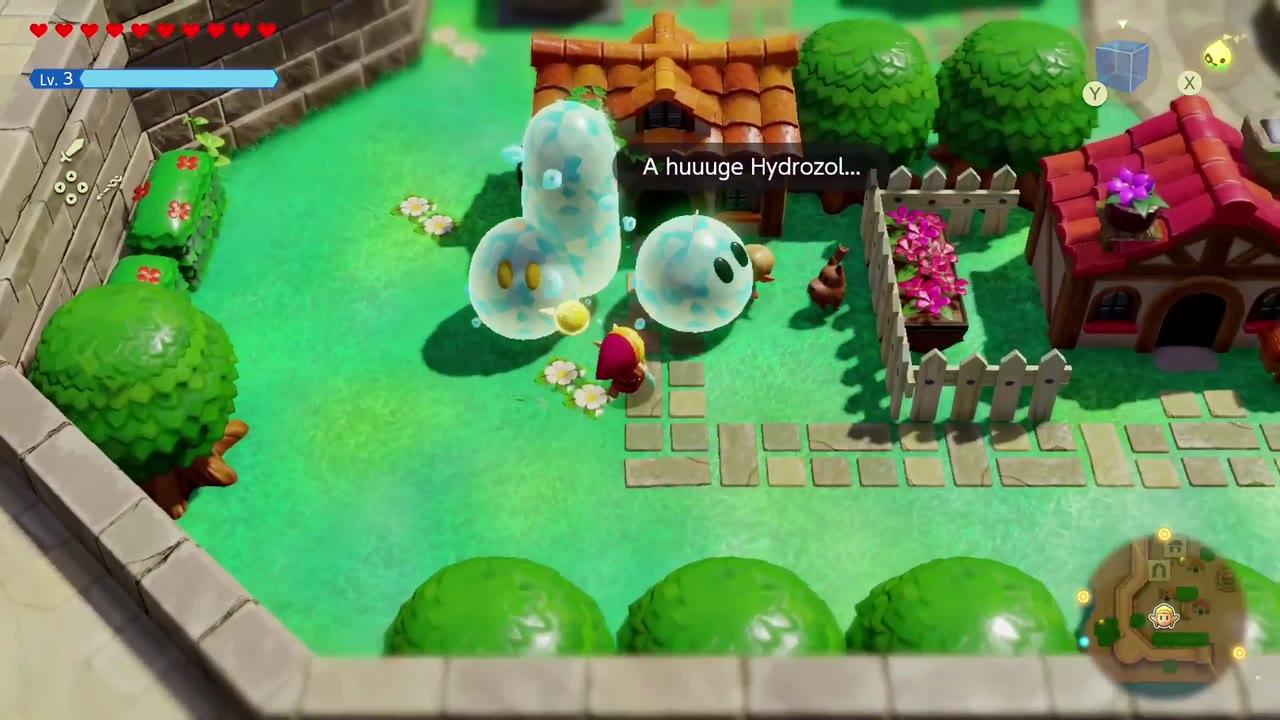
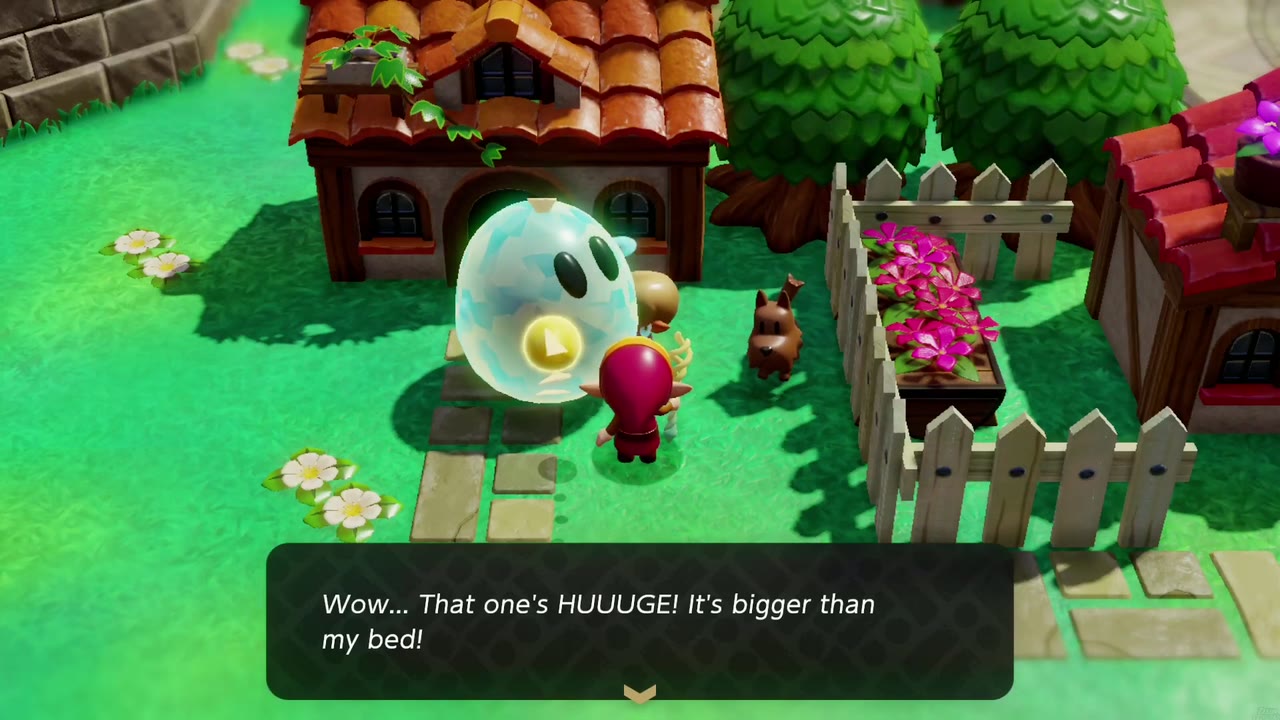
How: Show him the Zol echoes he asks for one at a time: a Zol, then an Ignizol (the “Zol like a candle”), then a Hydrozol. Finally he wants a “huuuge Hydrozol”: put water next to a Hydrozol (the player used a Water Block echo) so it swells up.
Reward: a might crystal.
An Out-There Zol
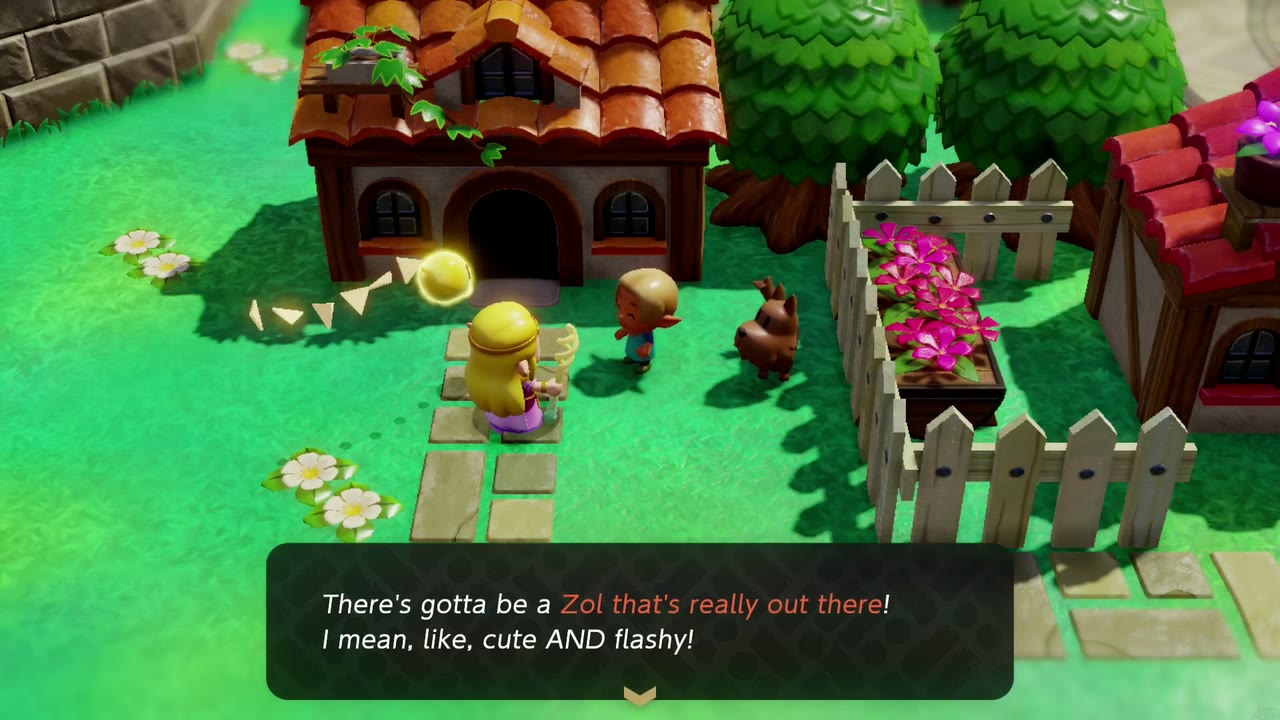
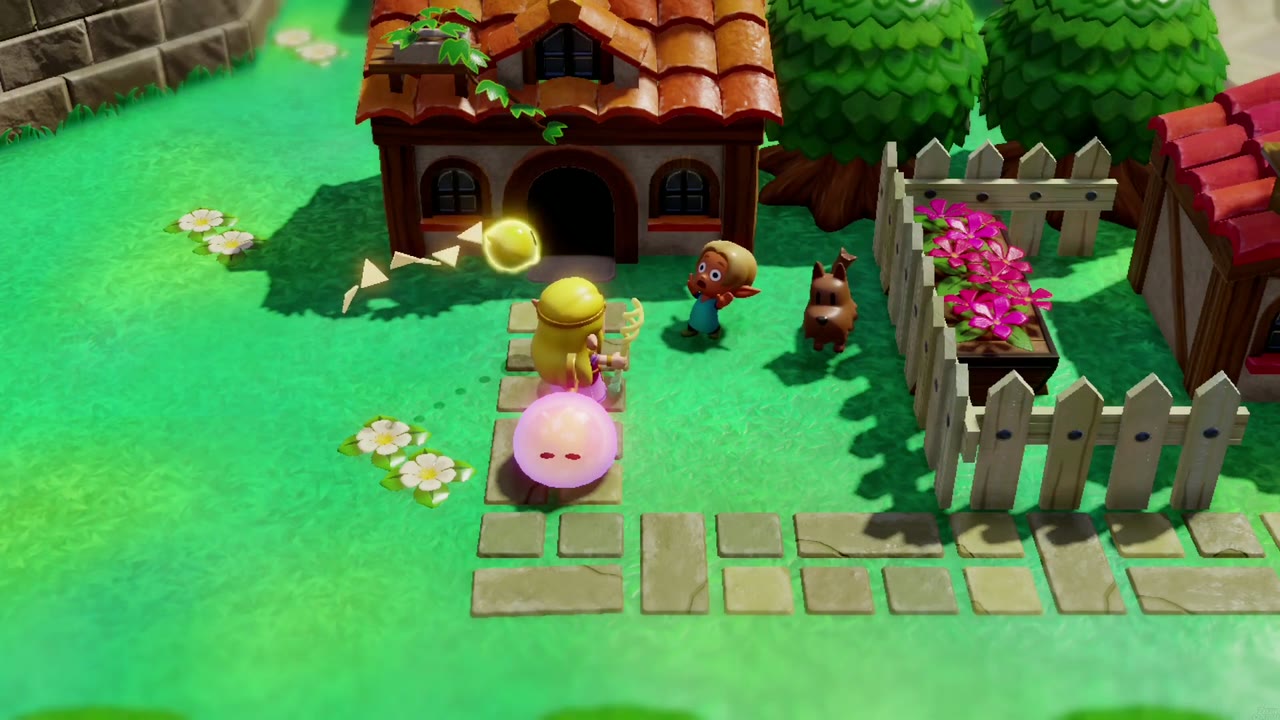
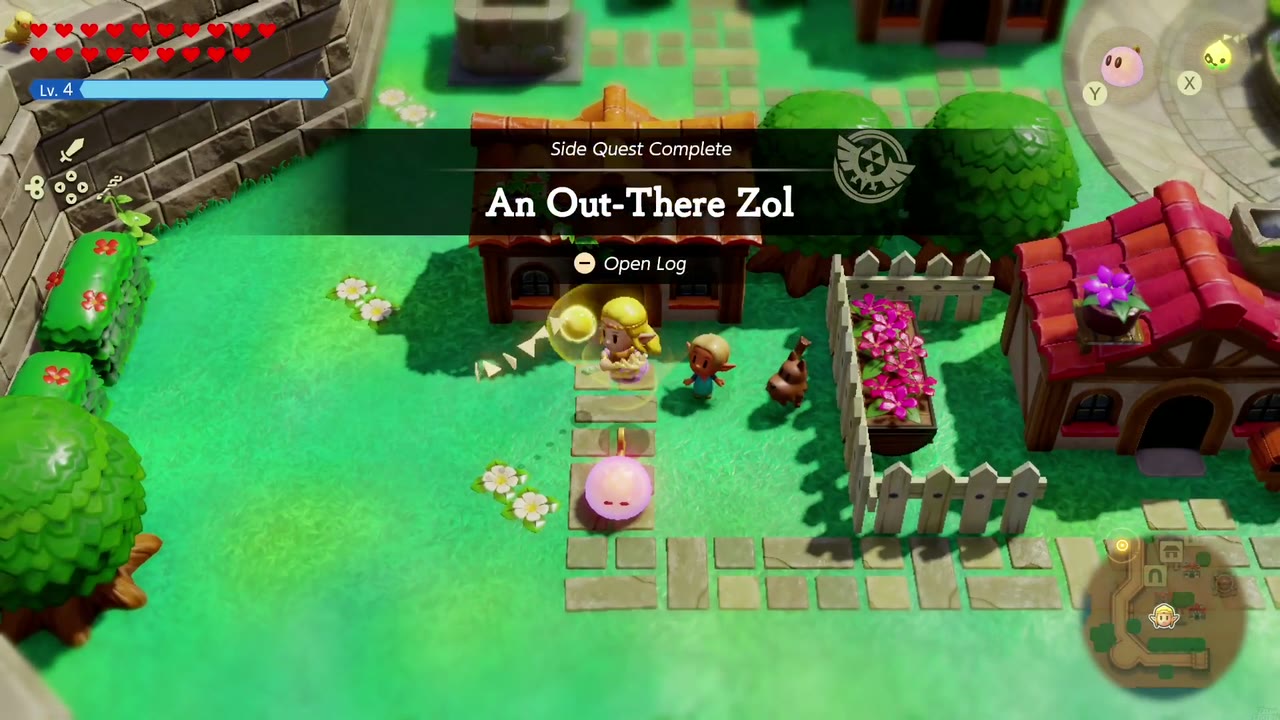
Where: Hyrule Castle Town, the Zol-obsessed boy in the garden by the red-roofed house.
Unlocks: late in the game; you need the Gizmol automaton.
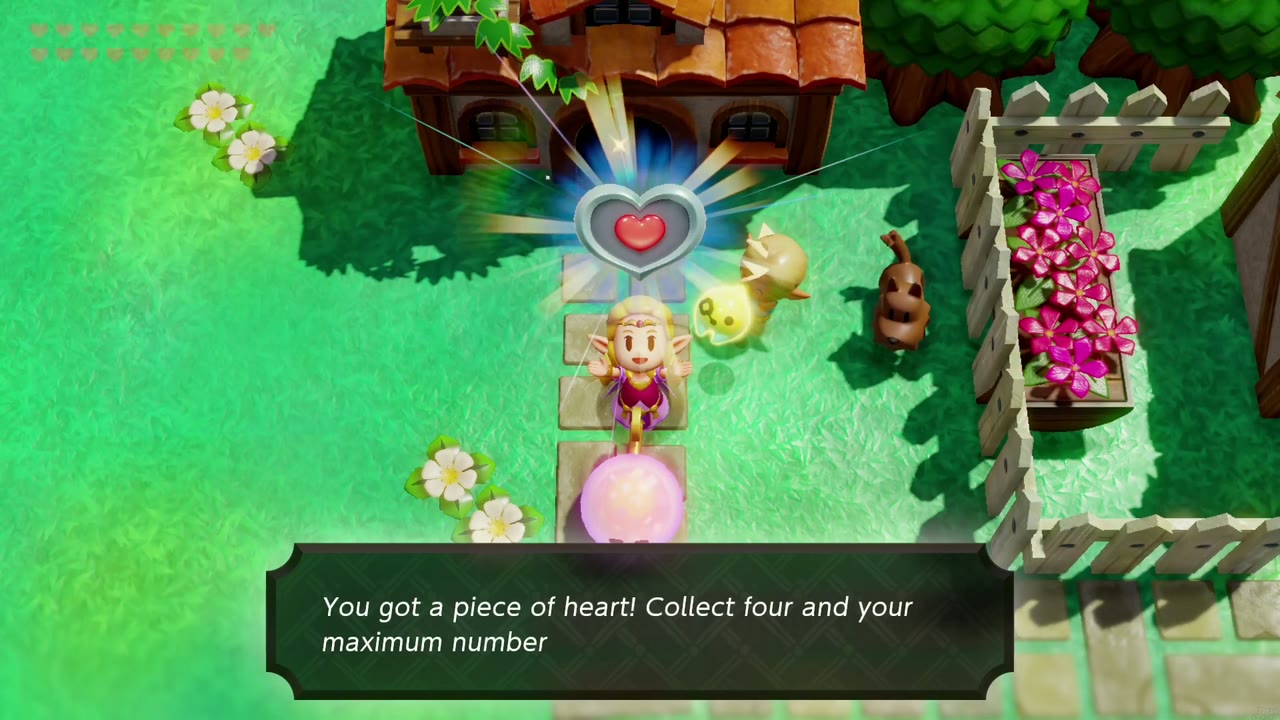
How: The boy wants a Zol that’s “really out there… cute AND flashy”. Summon a Gizmol next to him and talk to him.
Reward: Piece of Heart.
Impa’s Gift
Requirements: Complete Still Missing and Runaway Horse.
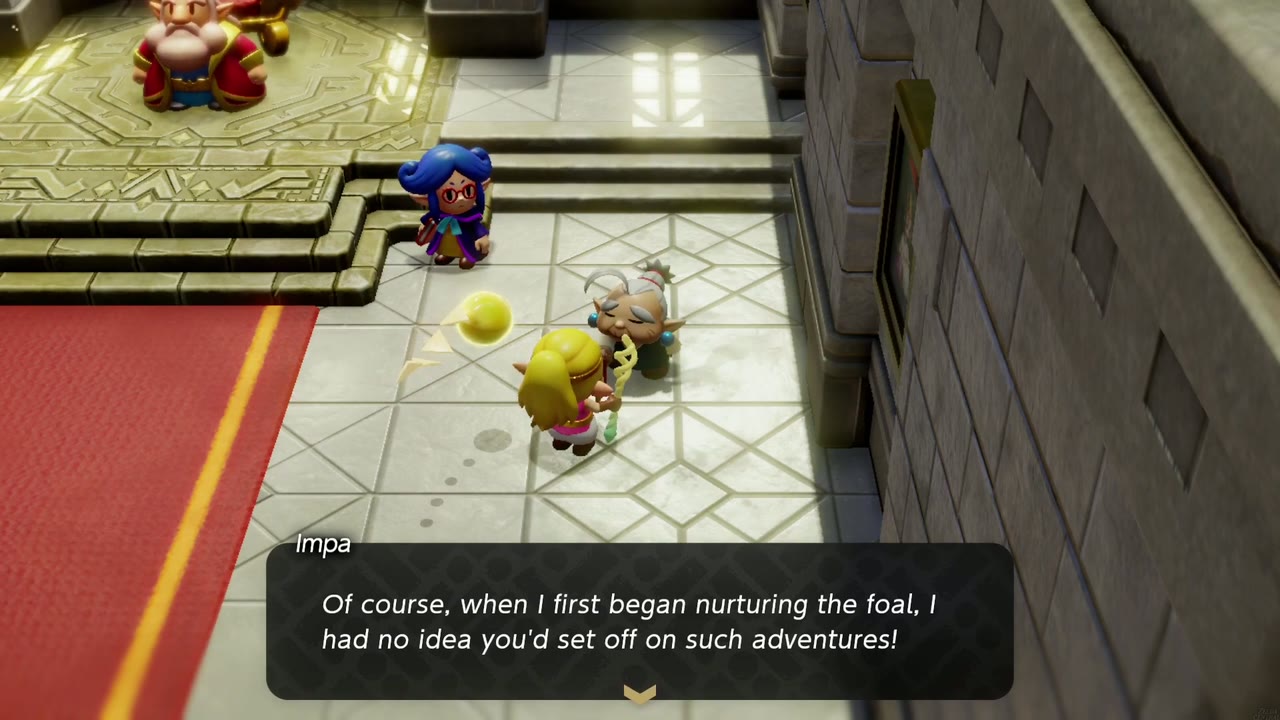
Where: Starts with Impa in the Hyrule Castle Throne Room. The horse she raised for Zelda is kept at Hyrule Ranch.
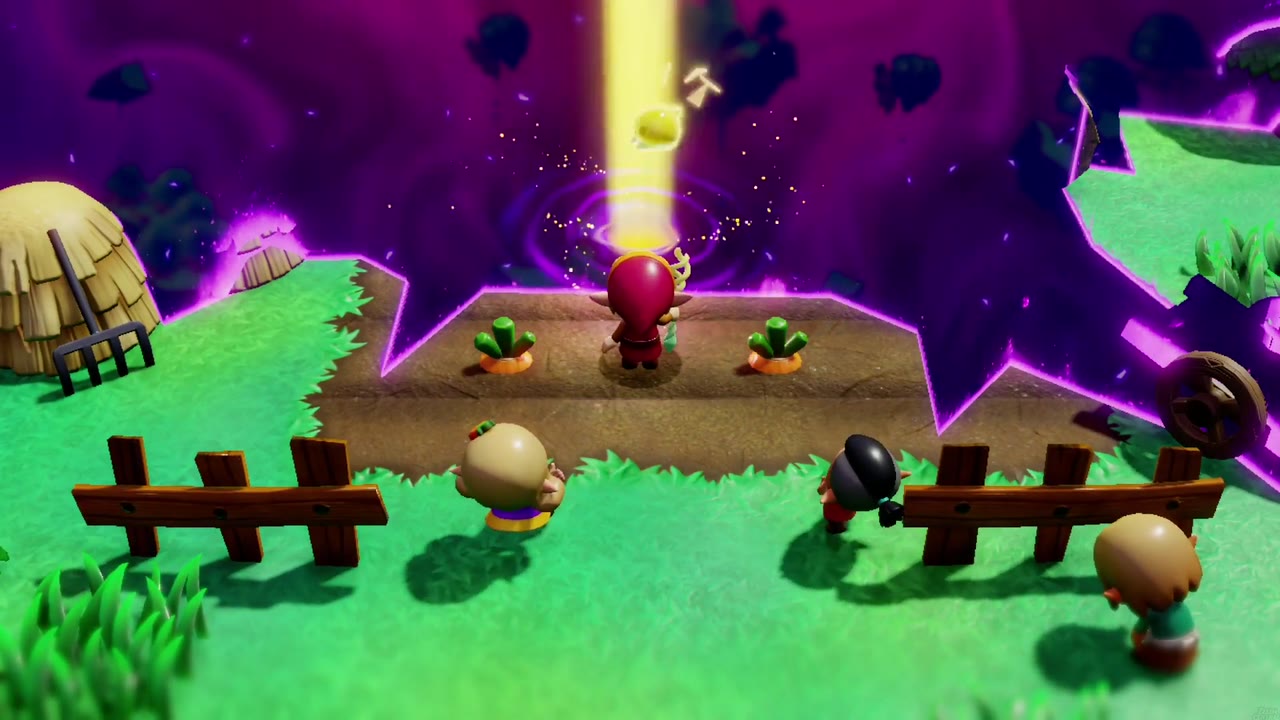
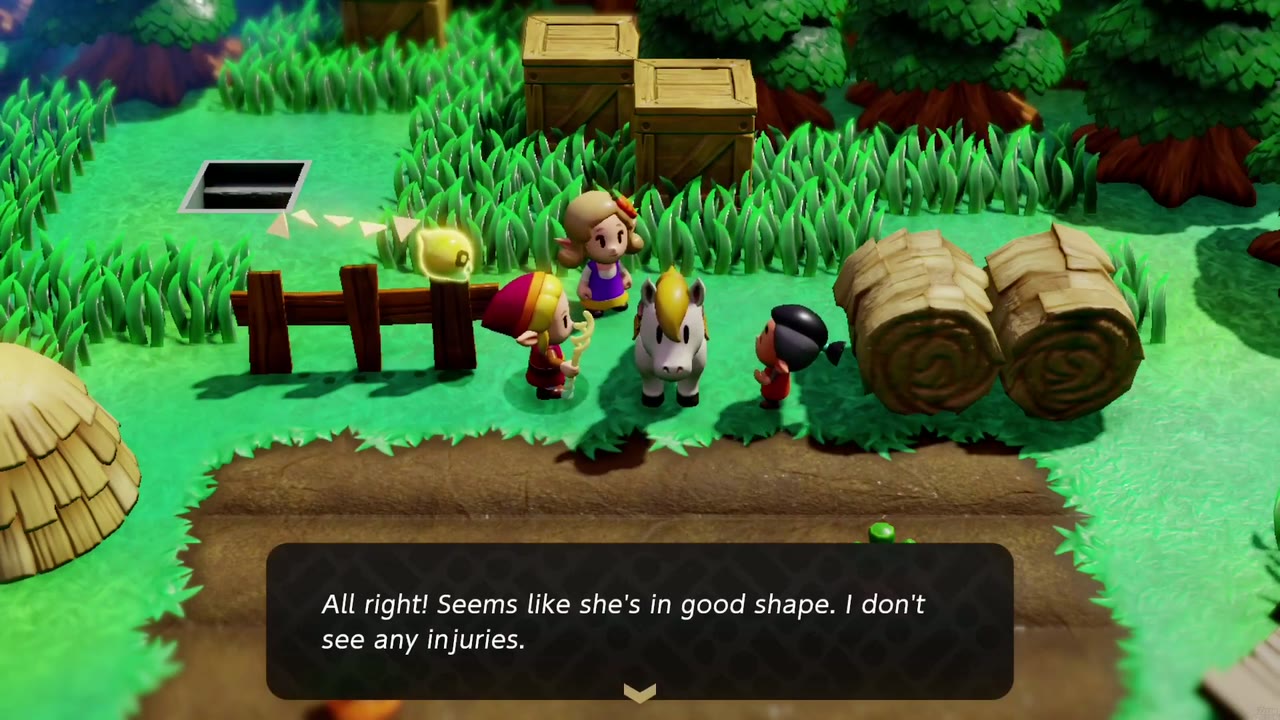
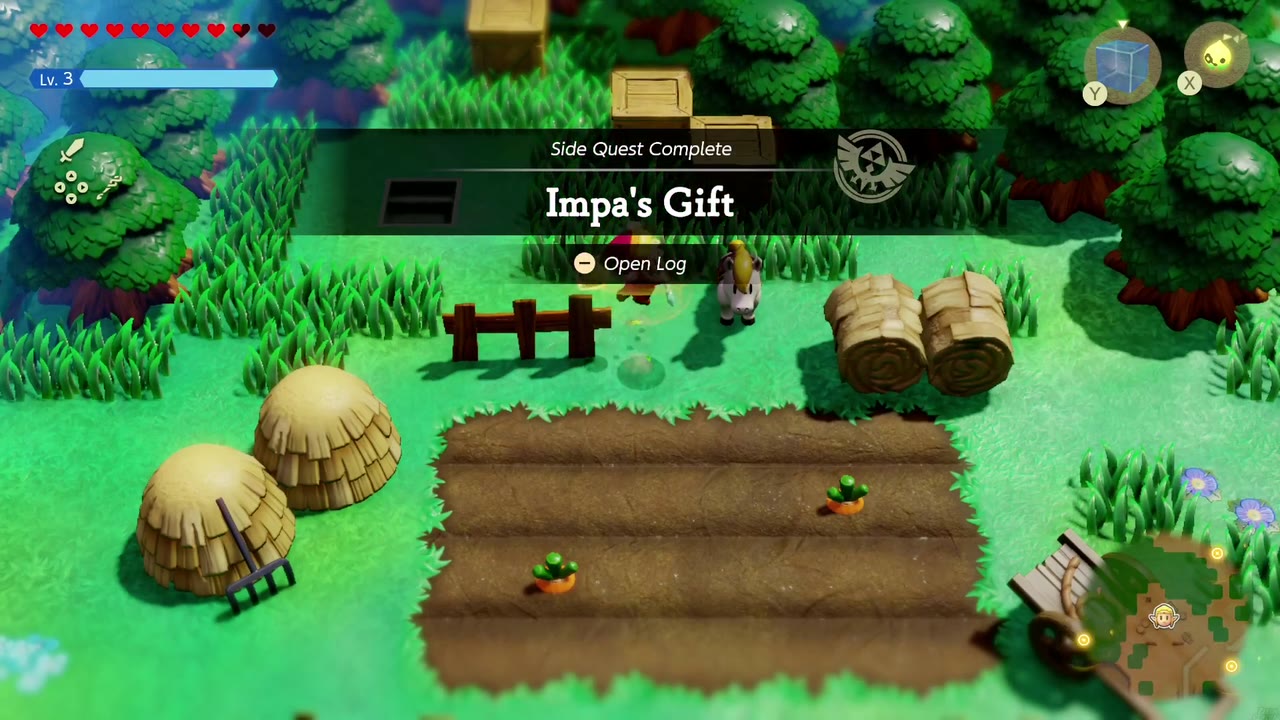
How: At Hyrule Ranch, the siblings say the horse never came back and a rift opened at the carrot patch northwest of Hyrule Castle. Enter it and clear the Stilled Carrot Patch. Back in the field, calling the horse doesn’t work, so the siblings suggest a fresh carrot: pull one out of the patch with Bind and the mare comes back to eat it. You also learn the Carrot echo.
Reward: Zelda’s own horse, a cream-coloured mare. No “You got…” box appears; the quest completes once the horse is back and you can ride it.
One Soldier Too Many
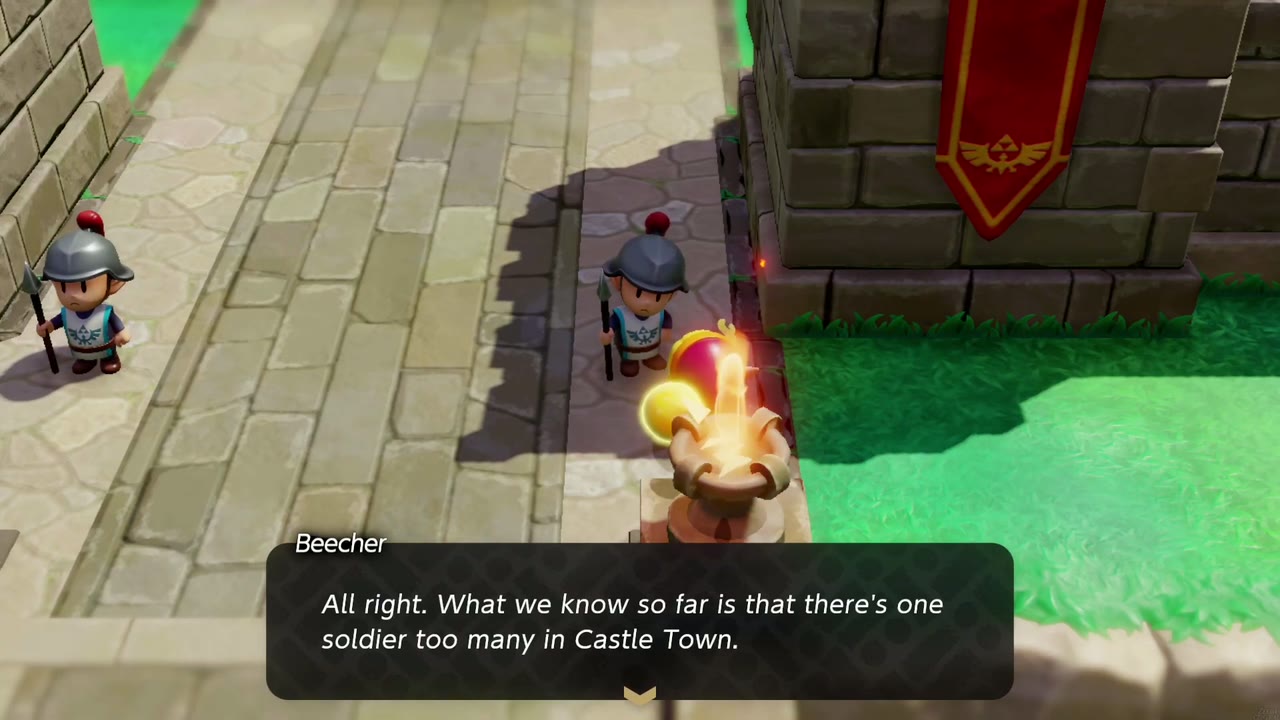
Where: Starts with the soldier Beecher by the Hyrule Castle gate. You solve it in the Castle Town Barracks.
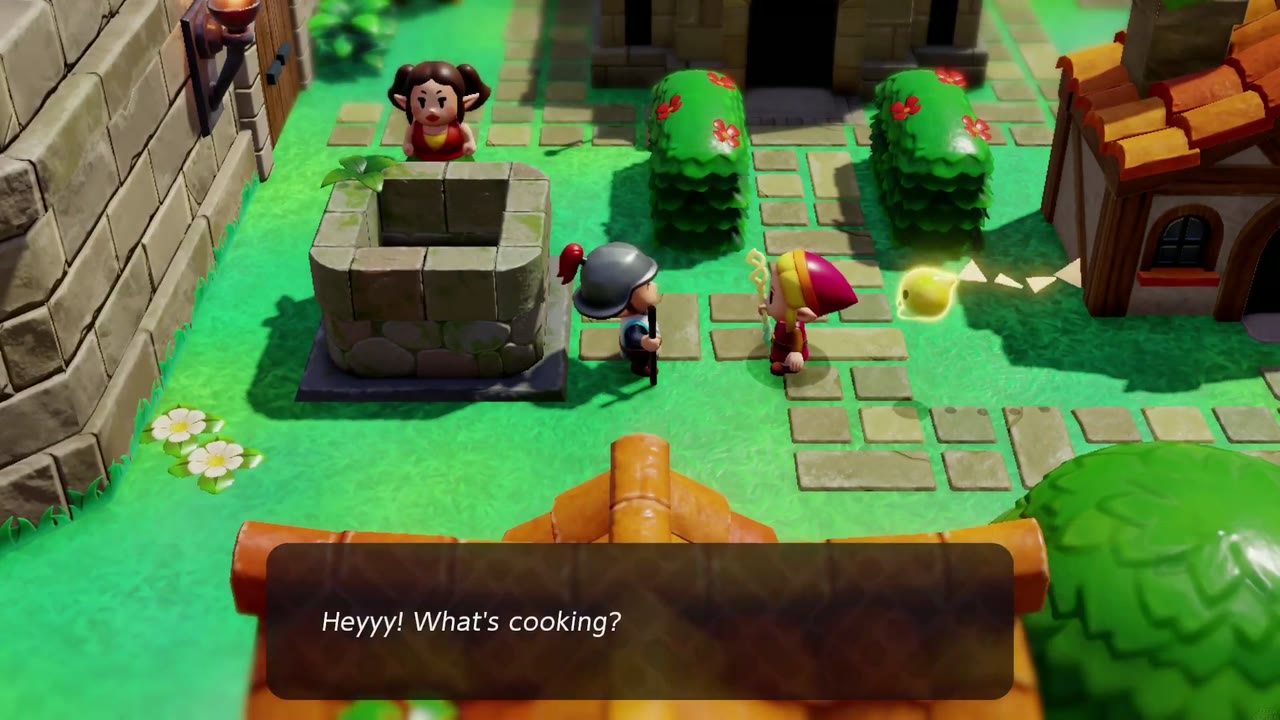
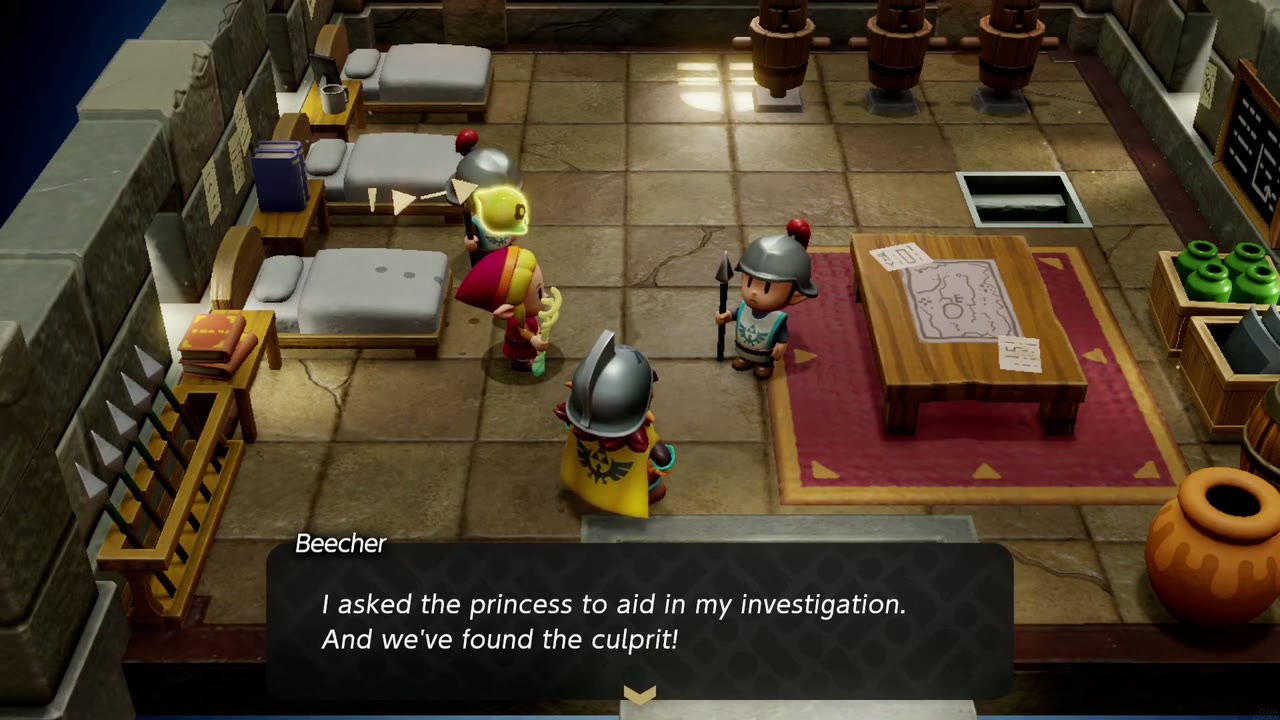
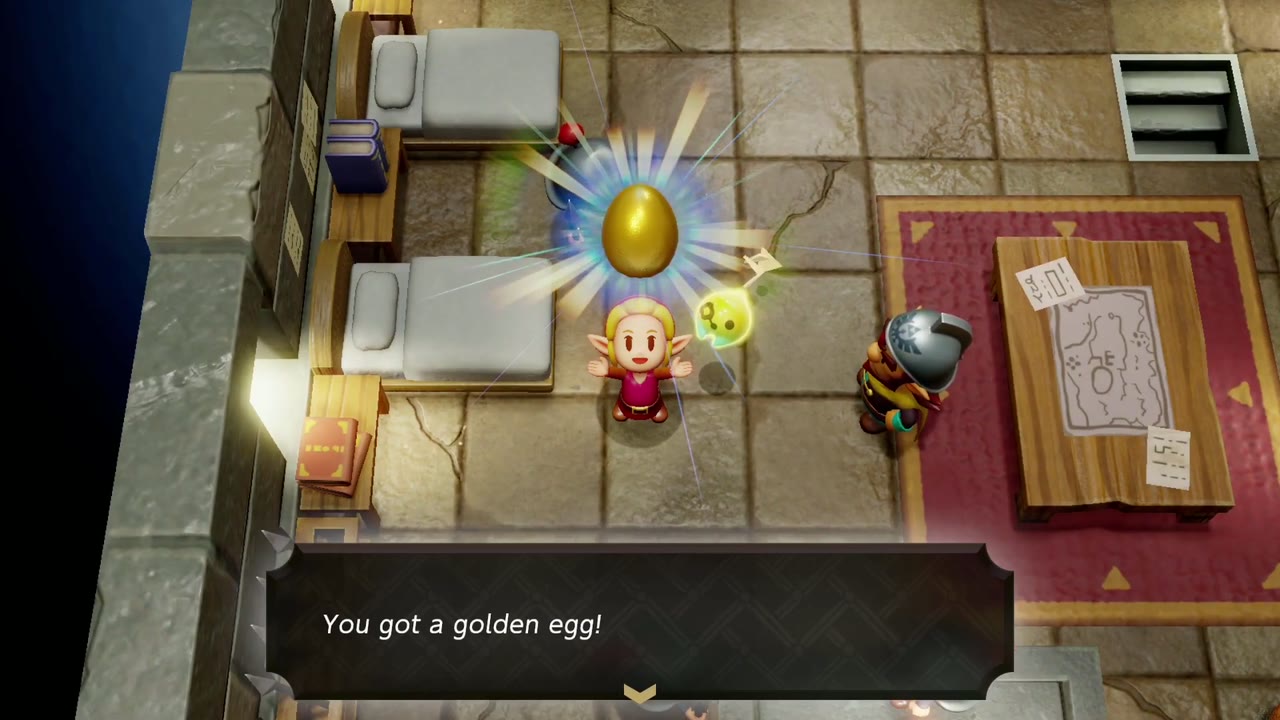
How: Beecher says there’s one soldier too many in Castle Town. Question the soldiers on the walls; one suggests asking at the barracks about missing equipment. Note the soldier standing by the well. In the barracks, tell Beecher you saw the suspicious soldier near the well and that the lance was the damaged equipment. The impostor, Capnut, is unmasked and General Wright takes him on as a recruit.
Reward: Golden Egg (from General Wright).
From the Heart
Requirements: Complete Still Missing, Impa’s Gift and One Soldier Too Many.
Where: Hyrule Castle Town, from the girl Romi and her black dog. Ends in the Throne Room.
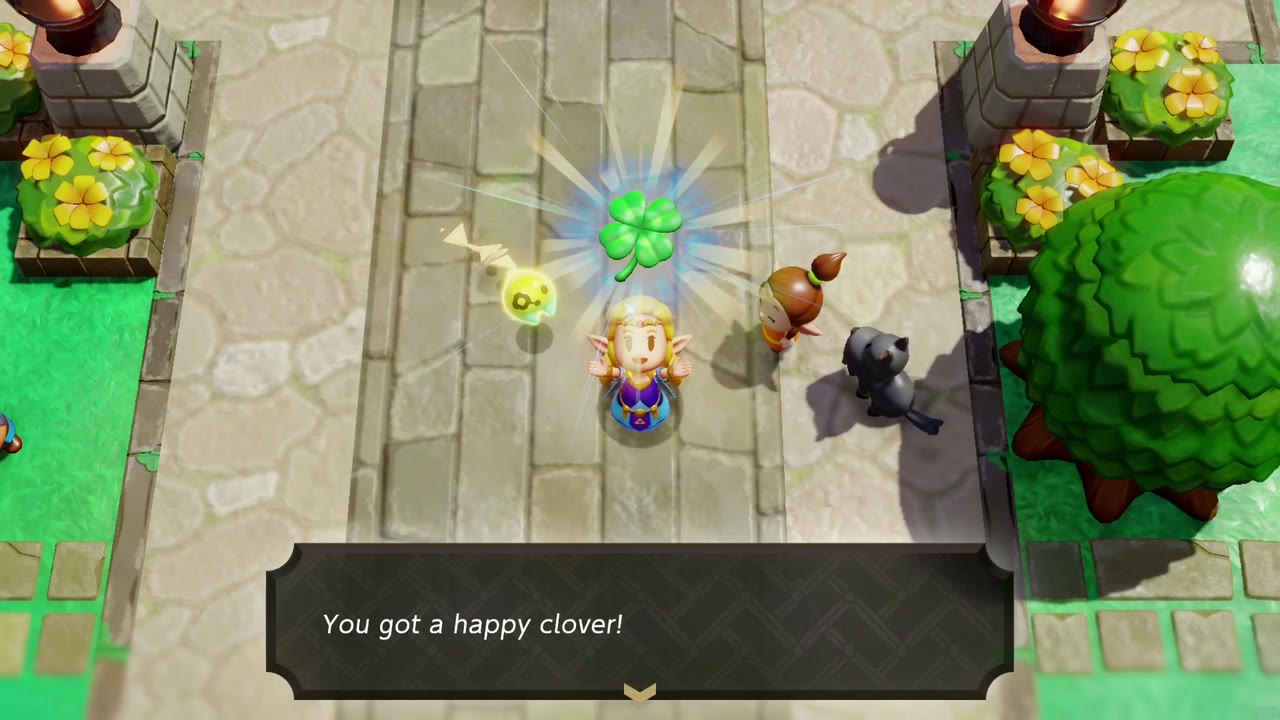
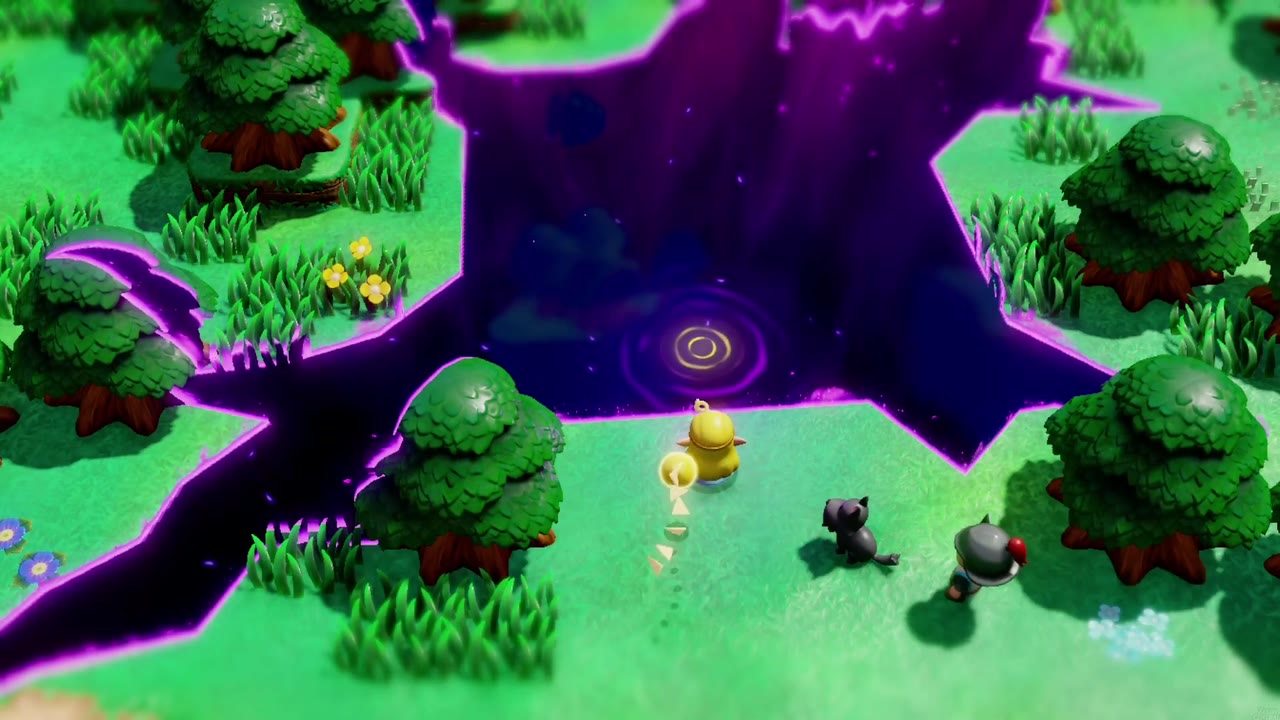
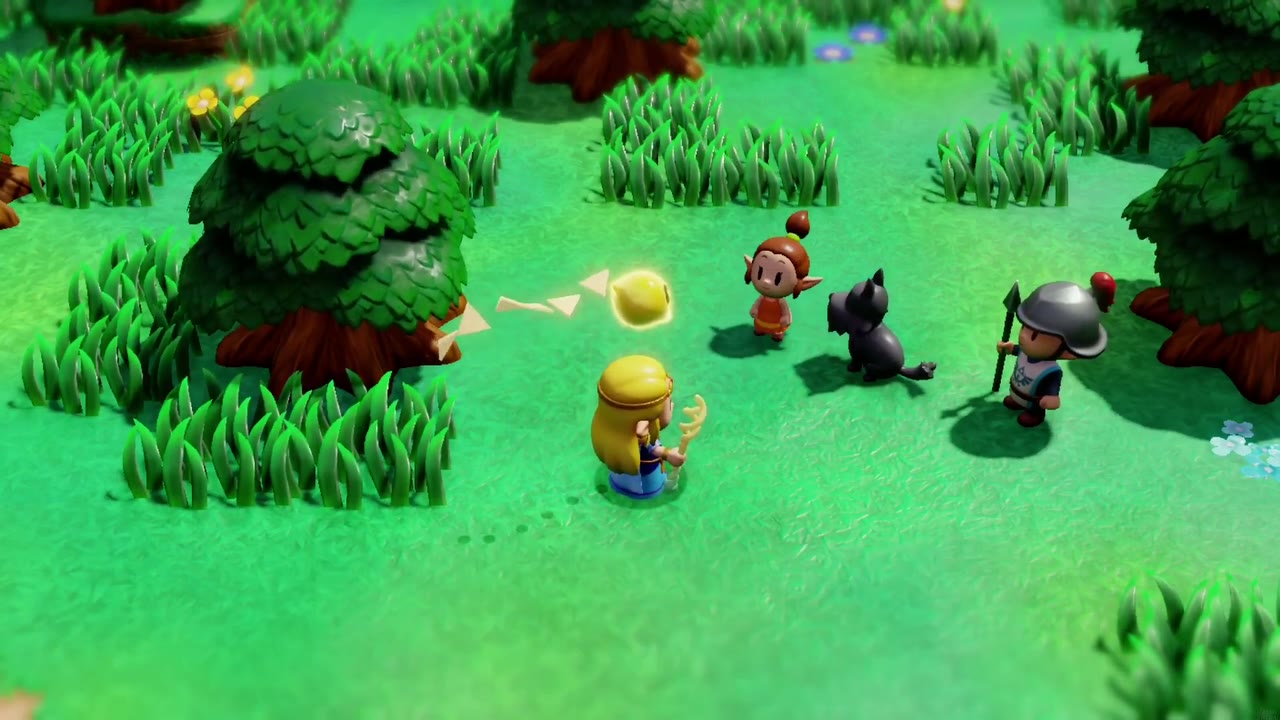
How: Romi gives you a Happy Clover to take to the King. The guards at the south gate then say she ran down the road chasing a dog. Follow the road south into Hyrule Field, where a new rift has opened. Clear Stilled Southern Hyrule Field to rescue Romi, the dog and a soldier. Then return to the King.
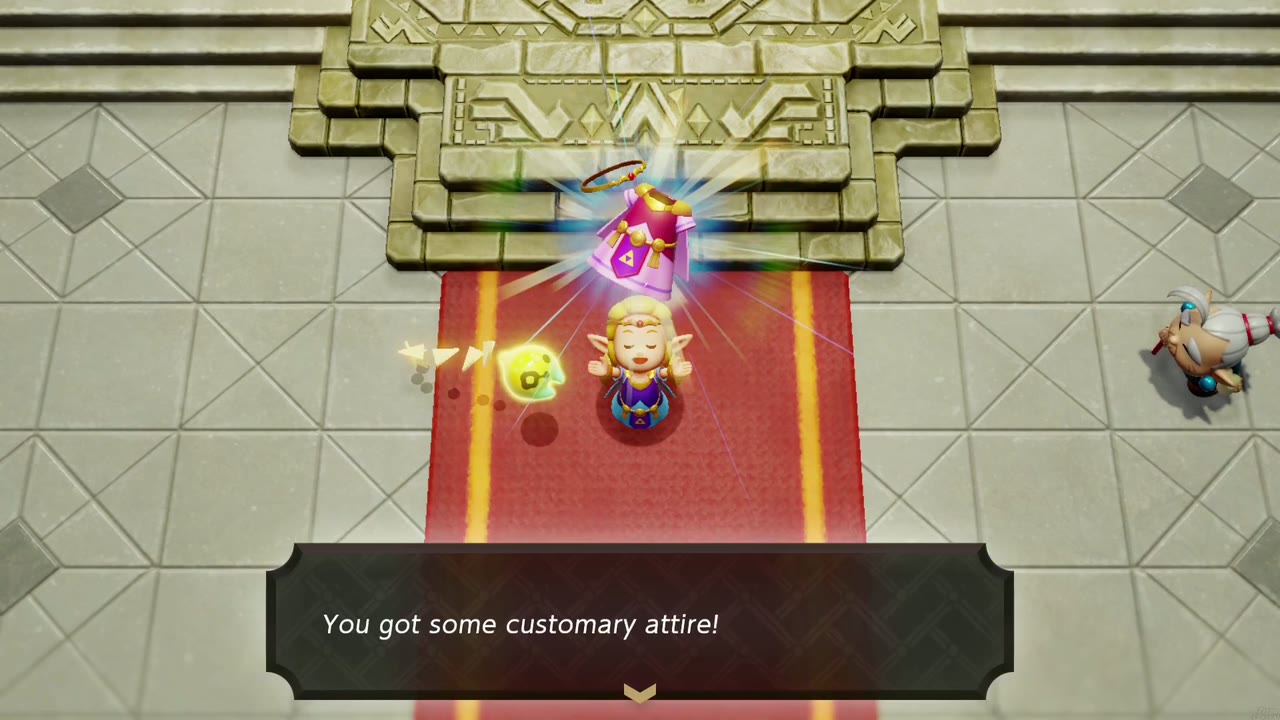
Reward: Happy Clover (at the start, from Romi). The King then gives you the Customary Attire outfit.
Dampé Studio (Automaton Chain)
Automaton Engineer Dampé
Where: Dampé’s studio, Eastern Hyrule Field (you first meet Dampé in Hyrule Field, chasing a crow that stole his key).
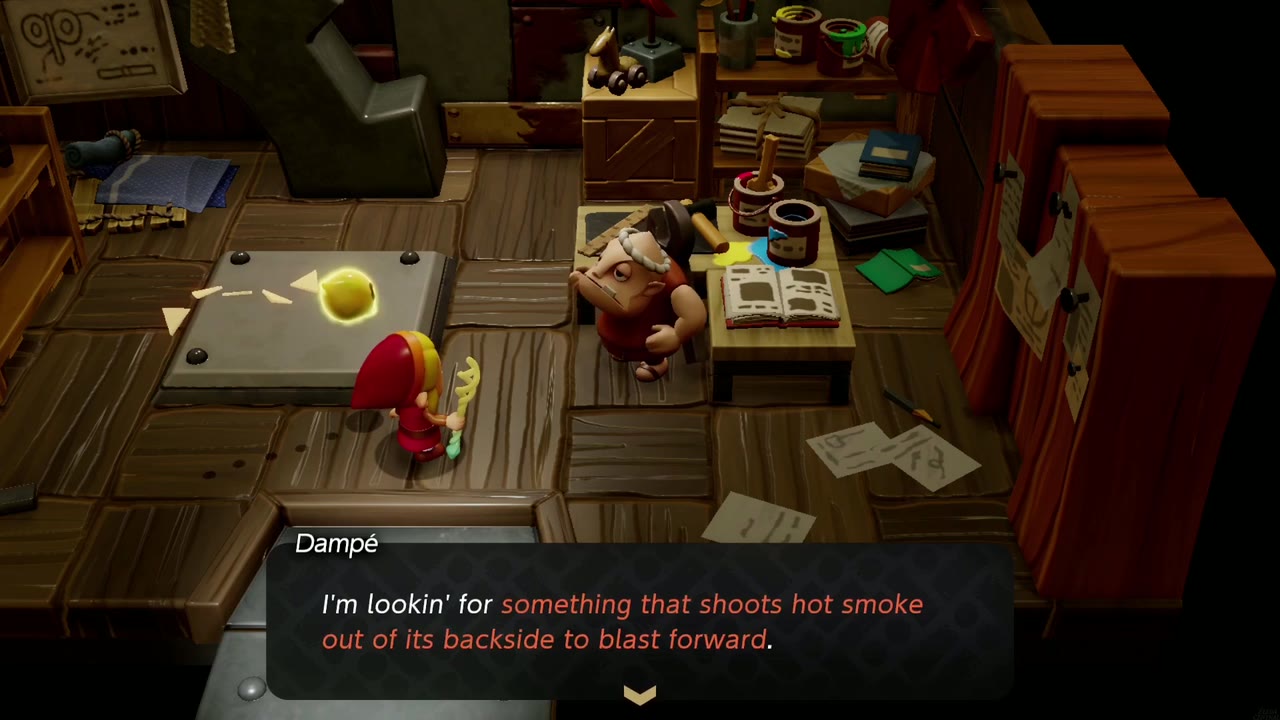
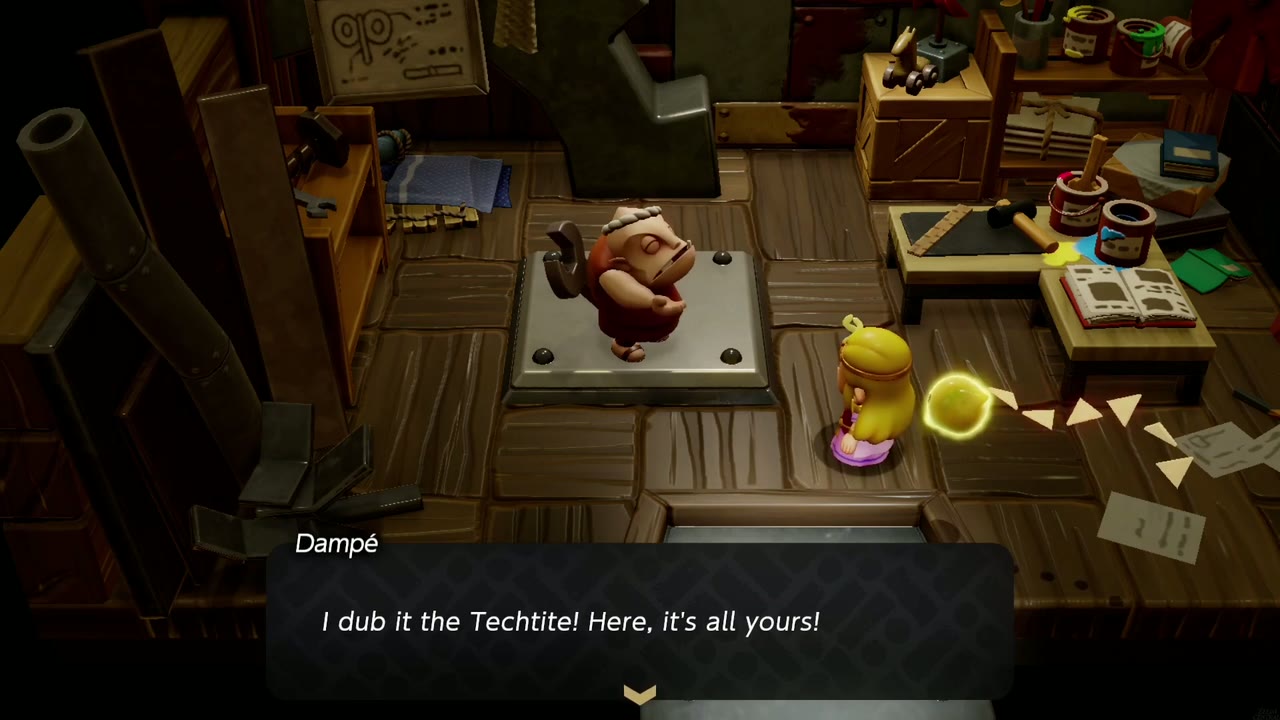
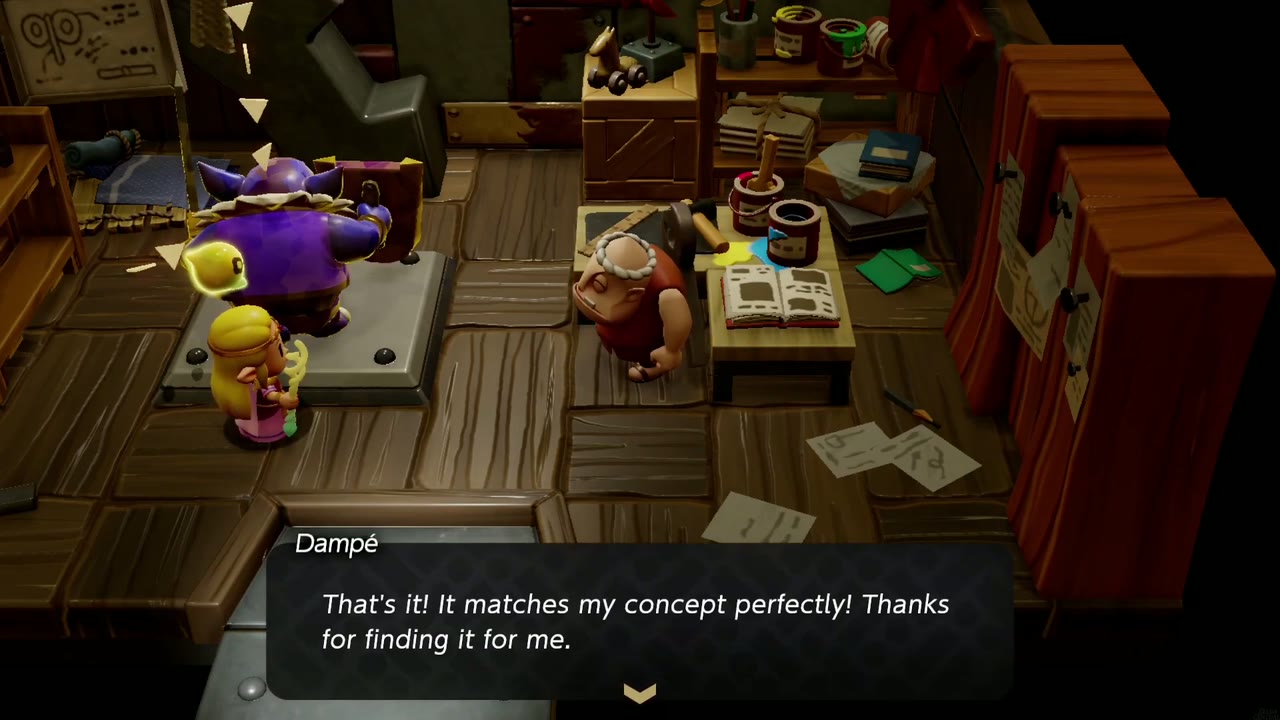
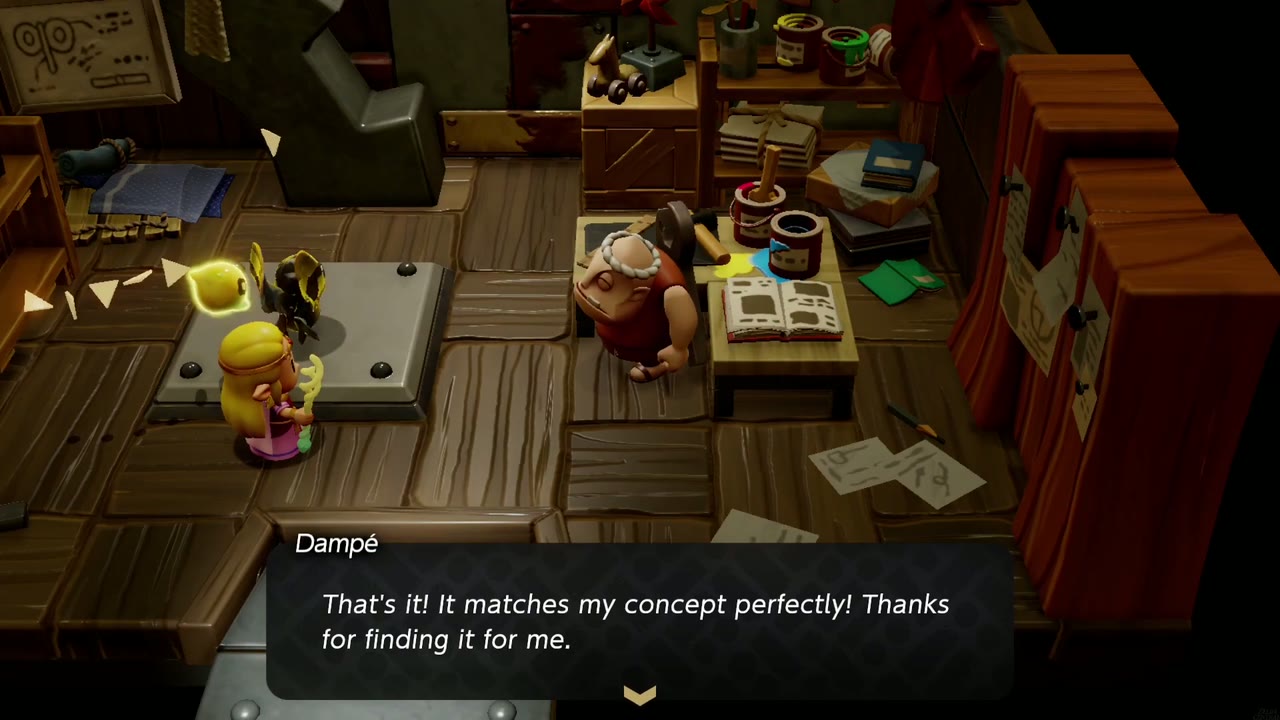
How: Dampé wants a monster with a big eye that’s always jumping, plus something that shoots hot smoke out of its backside to blast forward. Place matching echoes on his pedestal; this playthrough used a Tektite and a Mothula. He then builds the Techtite, an automaton that blasts nearby monsters when it jumps.
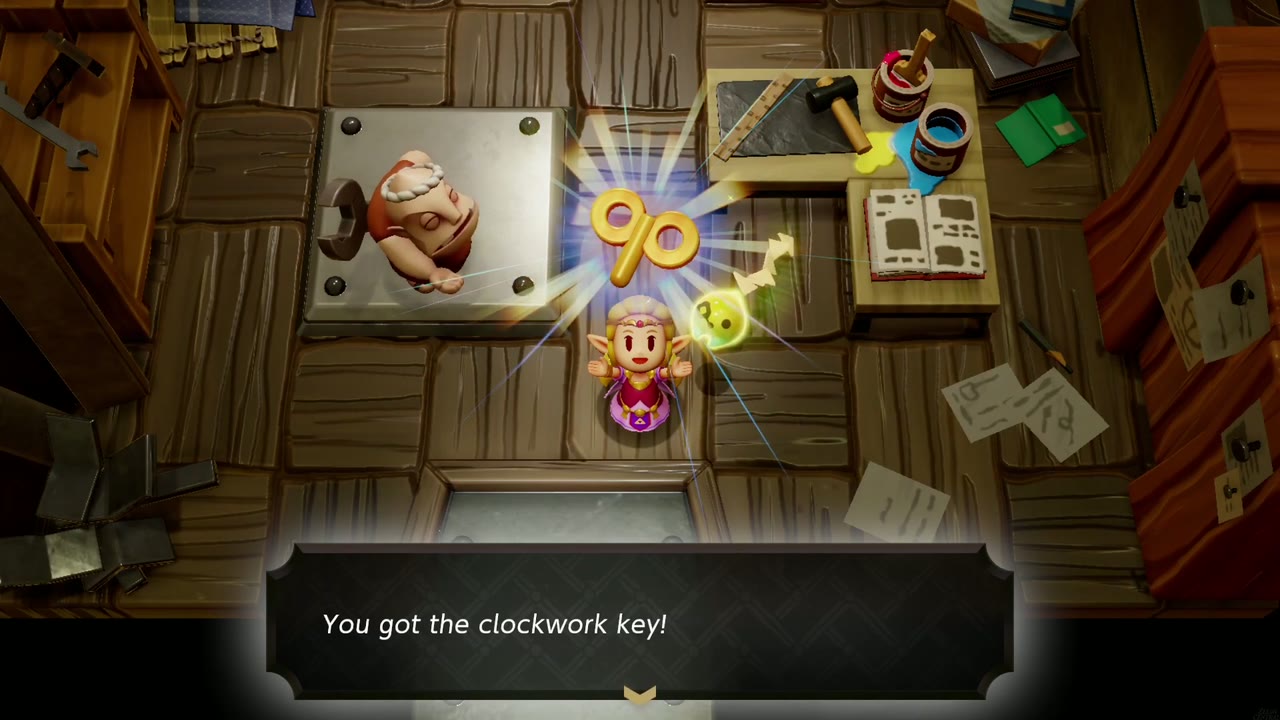
Reward: 5 twisted pumpkins on the first visit. On completion you get the Techtite and the clockwork key, which winds up automatons (see Automatons). Finishing this quest opens Dampé’s journal, which starts the quests below.
Explosions Galore!
Where: Dampé’s studio.
Unlocks: after Automaton Engineer Dampé, from Dampé’s journal.
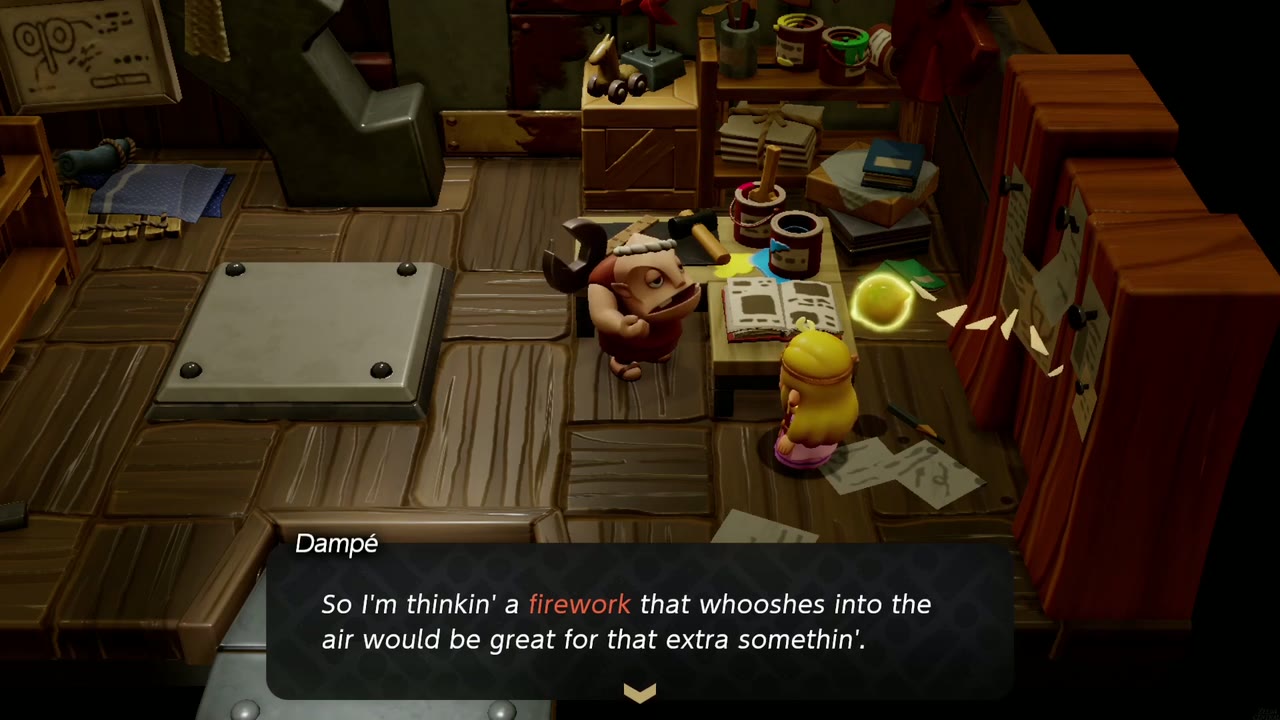
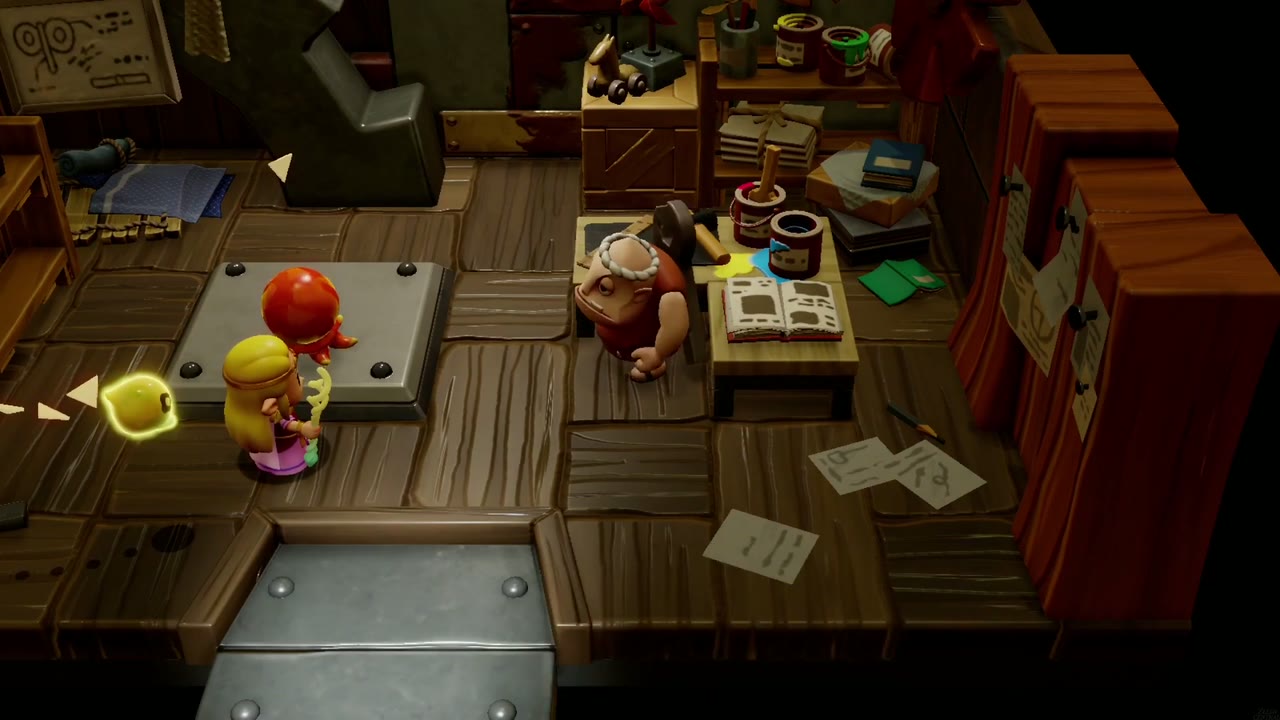
How: Dampé needs a creature that spits stones out of its mouth and a firework that whooshes into the air. Show him a Firework echo and an Octorok echo.
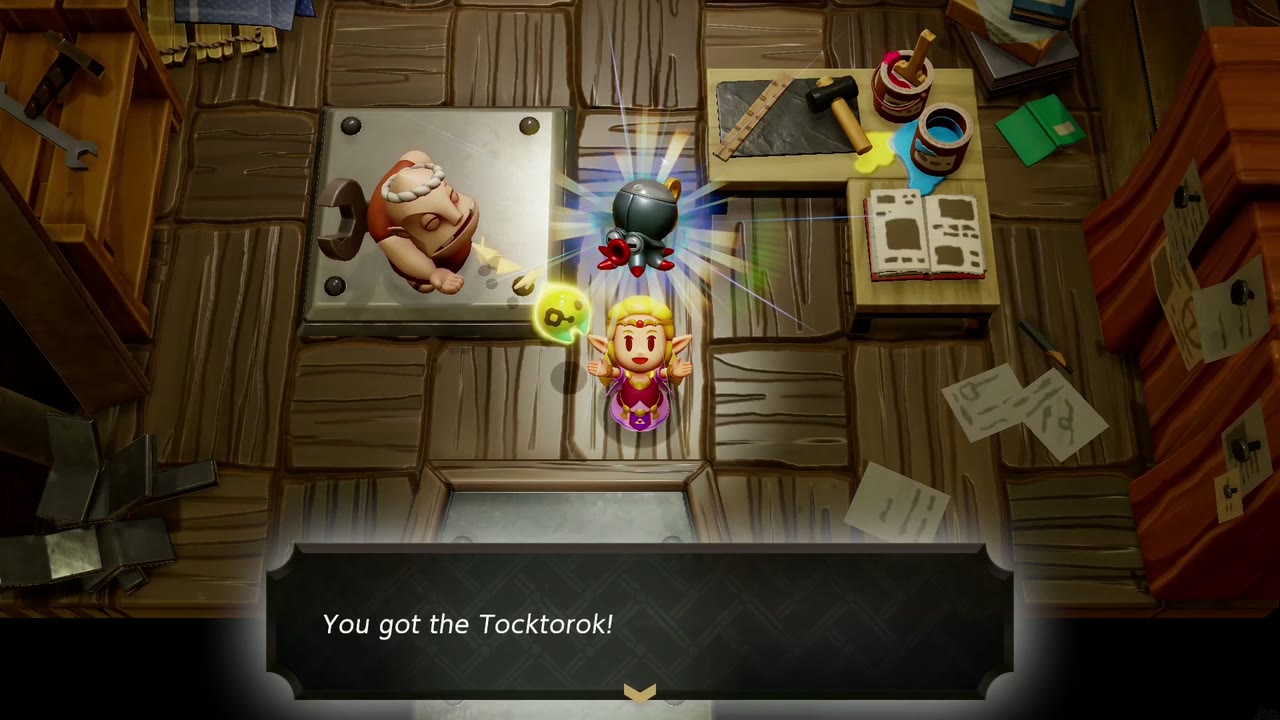
Reward: the Tocktorok, an automaton that shoots fireworks.
Performance Artist!
Requirements: Complete Explosions Galore!. Flag Races require Zelda’s own horse from Impa’s Gift, not a rental.
Where: Dampé’s studio.
Unlocks: pick “Performance artist!” in Dampé’s journal.
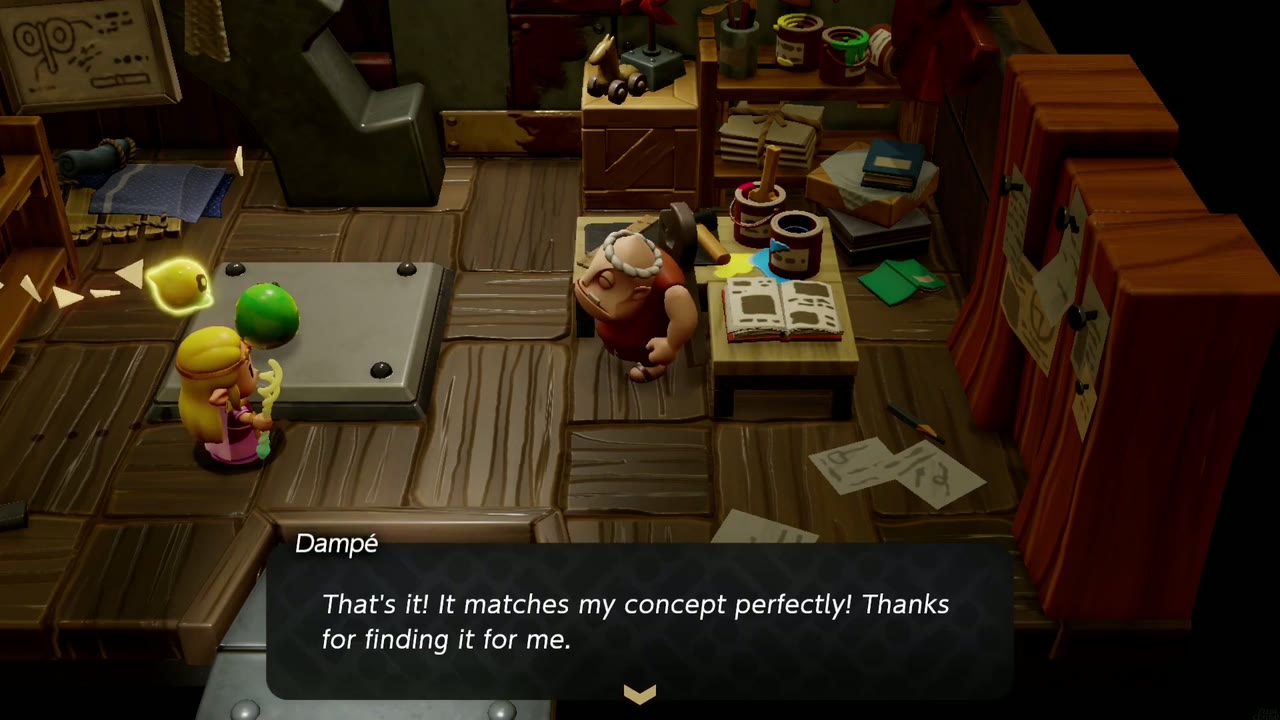
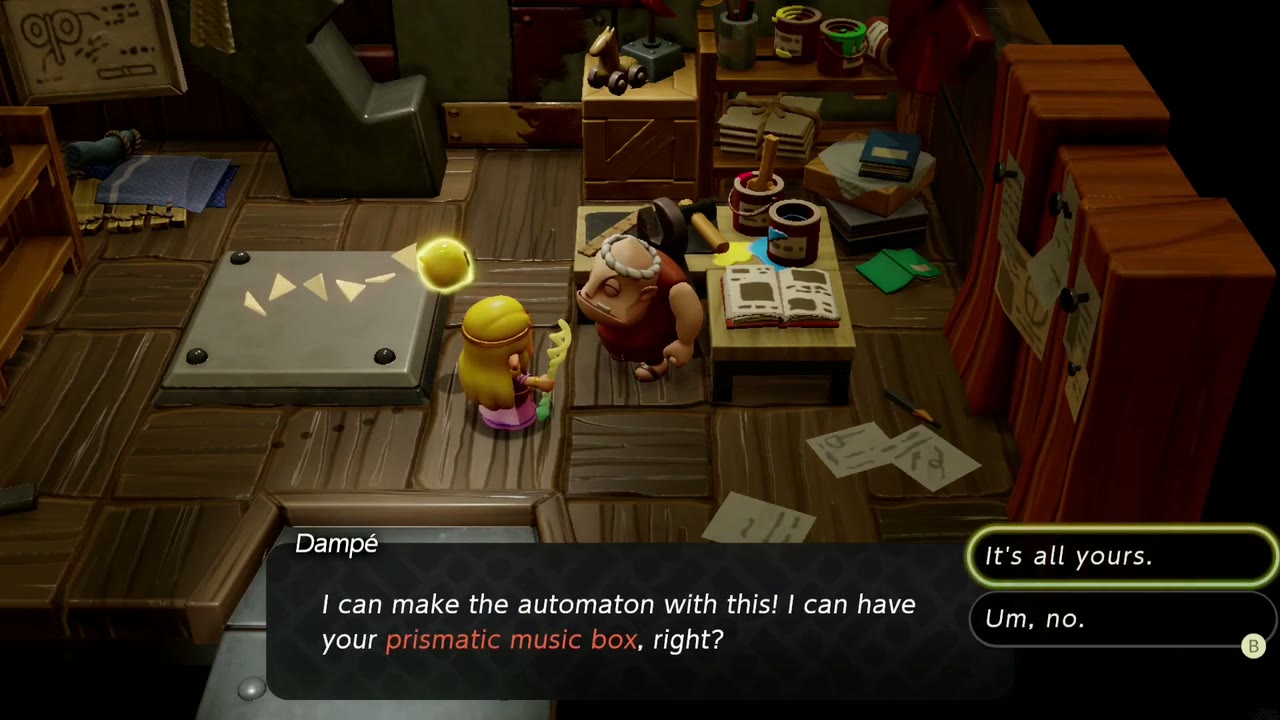
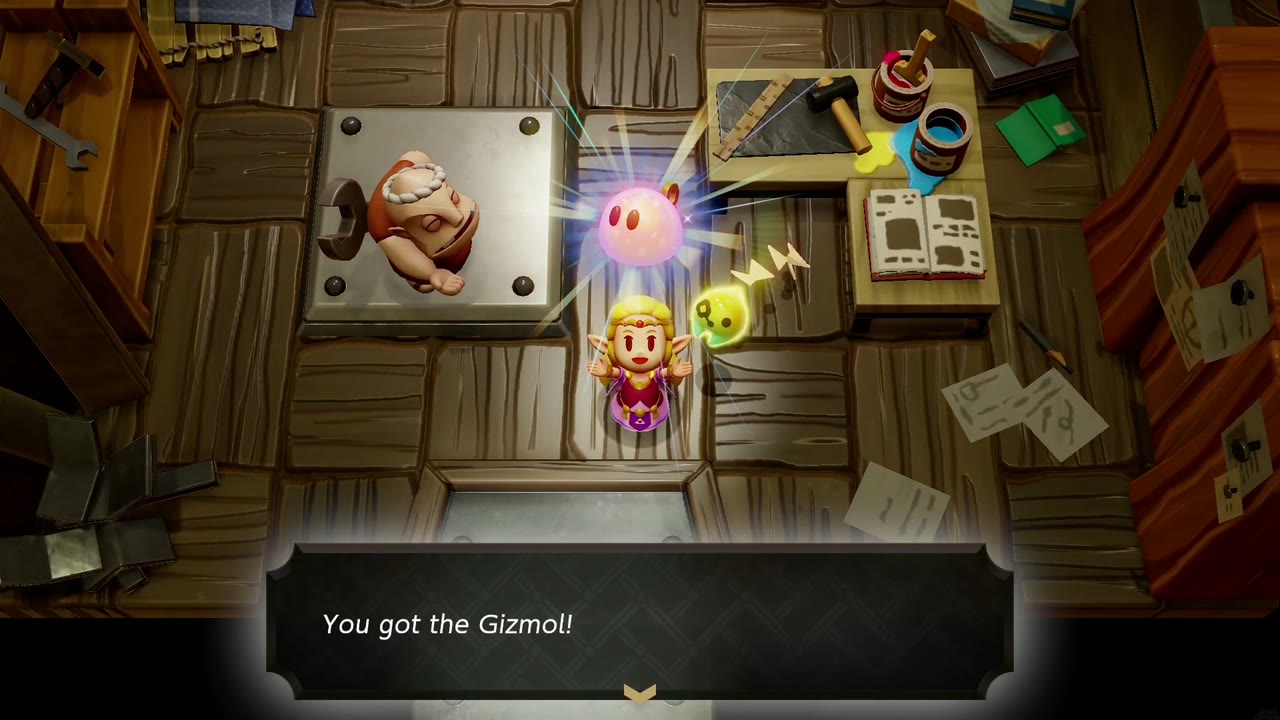
How: Dampé wants a jiggly monster with cute eyes (a Zol echo works) and a part that makes beautiful tones. He says he heard melodic sounds at Hyrule Ranch. Bring him a prismatic music box: it’s the prize for beating the 25-second goal on the middle course of the Hyrule Ranch Flag Races.
Reward: the Gizmol, which sings and dances to scatter groups of monsters.
Endless Stomach!
Requirements: Complete Explosions Galore!.
Where: Dampé’s studio.
Unlocks: pick “Endless stomach!” in Dampé’s journal.
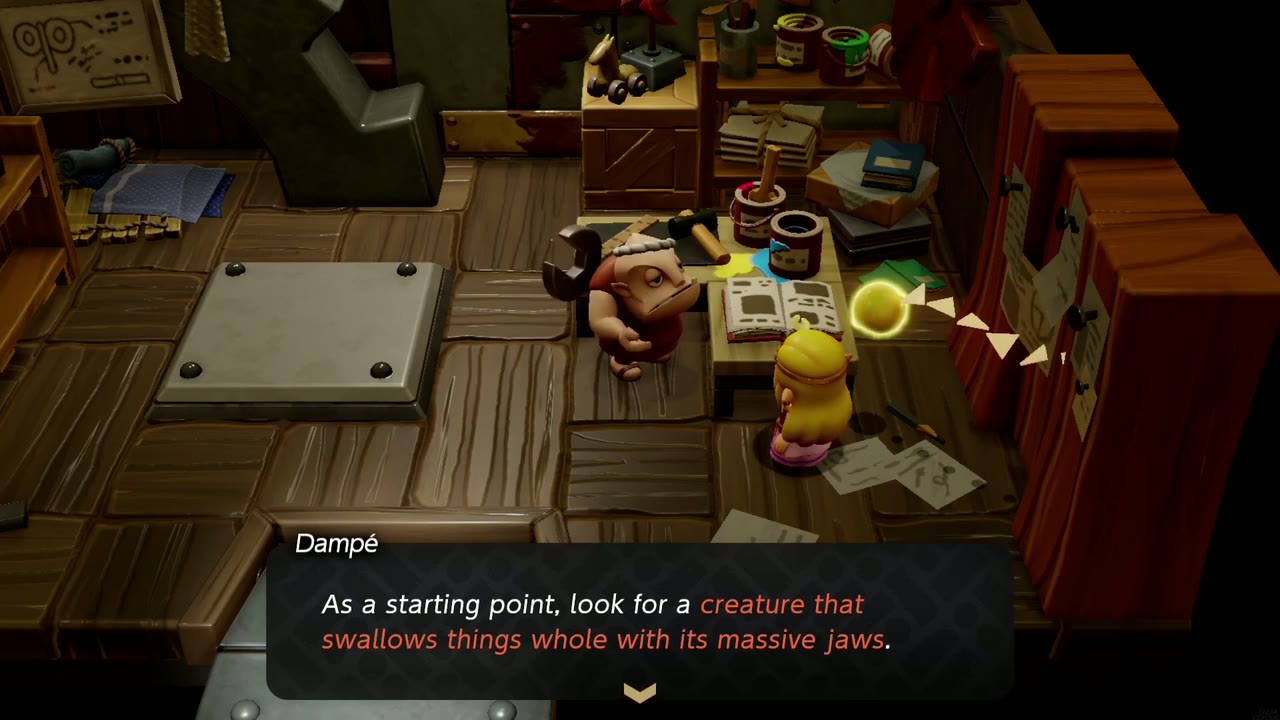
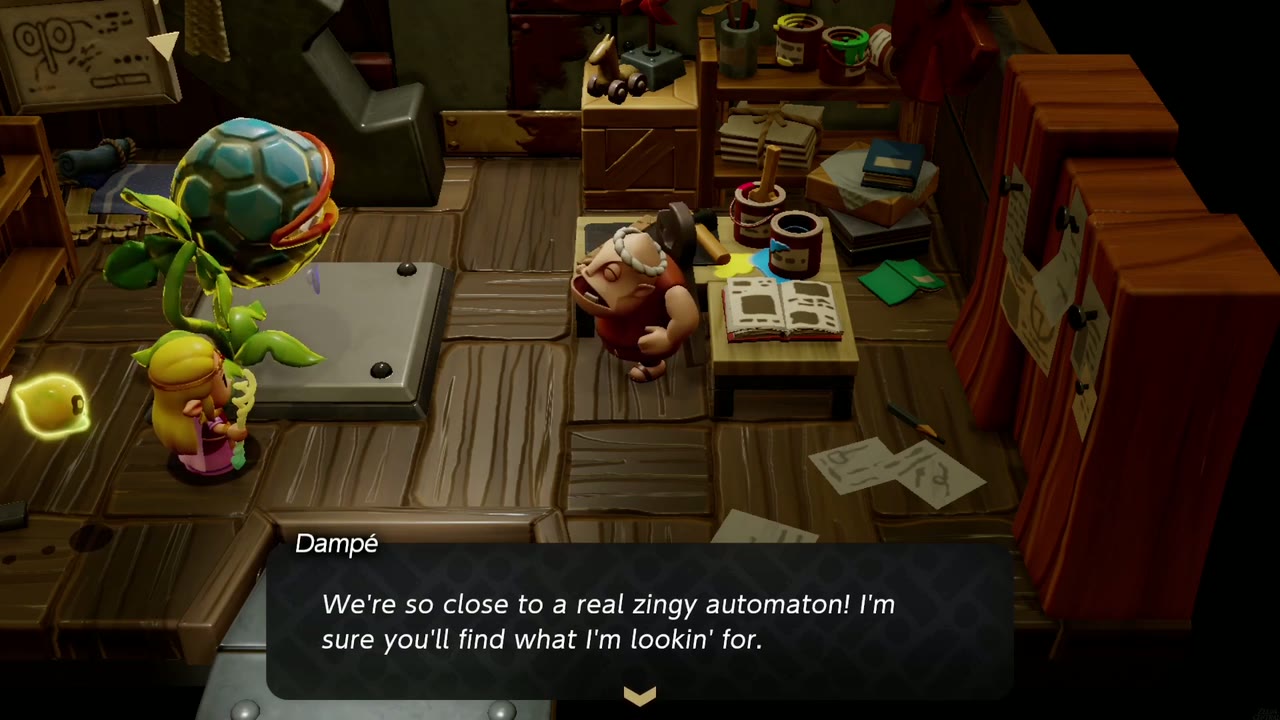
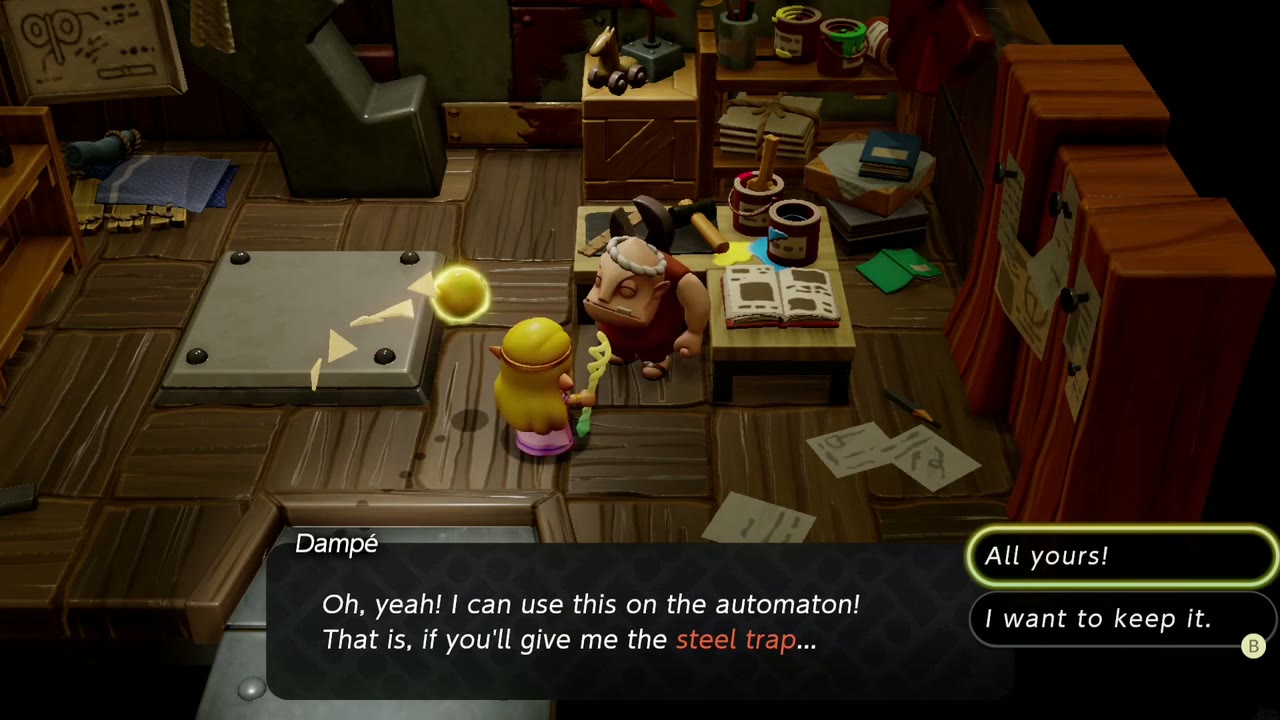
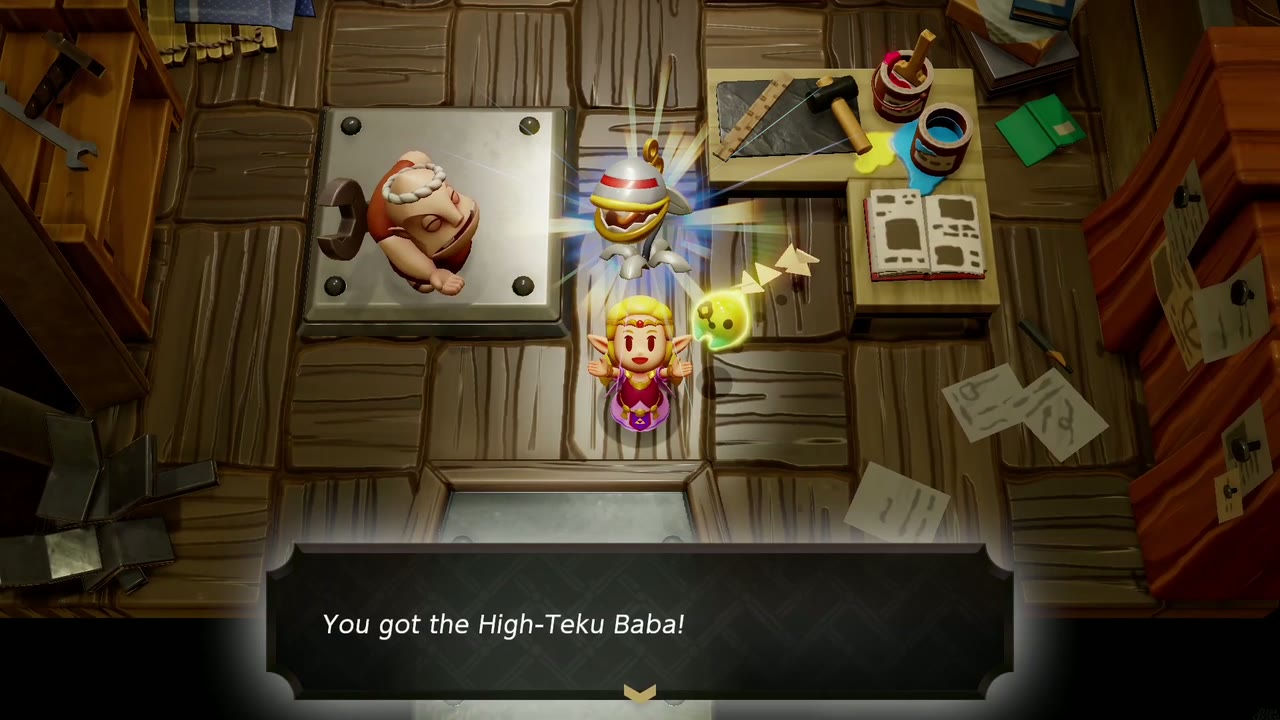
How: Dampé wants a creature that swallows things whole with massive jaws (a Deku Baba echo) and a part that clamps down on things. His journal says the man who scatters acorns in Hyrule Field has one, so play his acorn-gathering game; the steel trap is its one-time bonus for a fast run. Then give Dampé the steel trap.
Reward: the High-Teku Baba. It gobbles up nearby monsters and munches the rupees and items they carry.
Chop ’em in Two!
Requirements: Complete Explosions Galore!.
Where: Dampé’s studio; the katana comes from the Slumber Dojo in Kakariko Village.
Unlocks: pick “Chop ’em in two!” in Dampé’s journal.
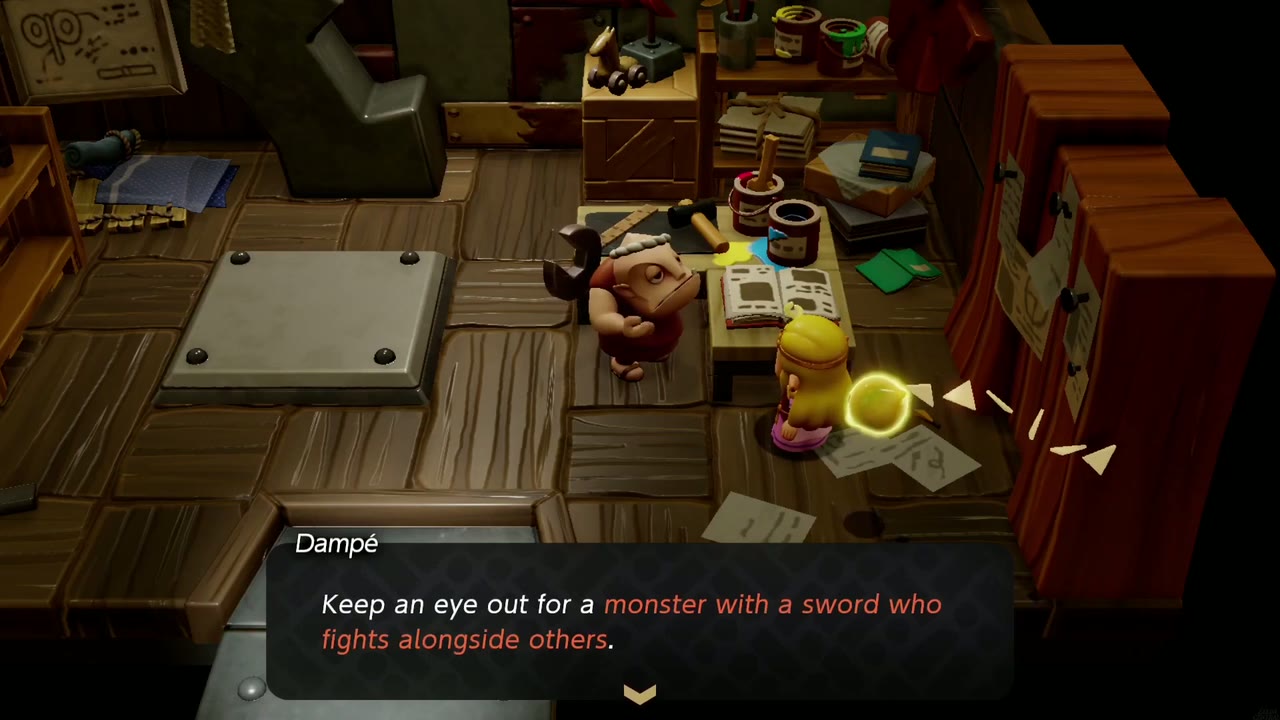
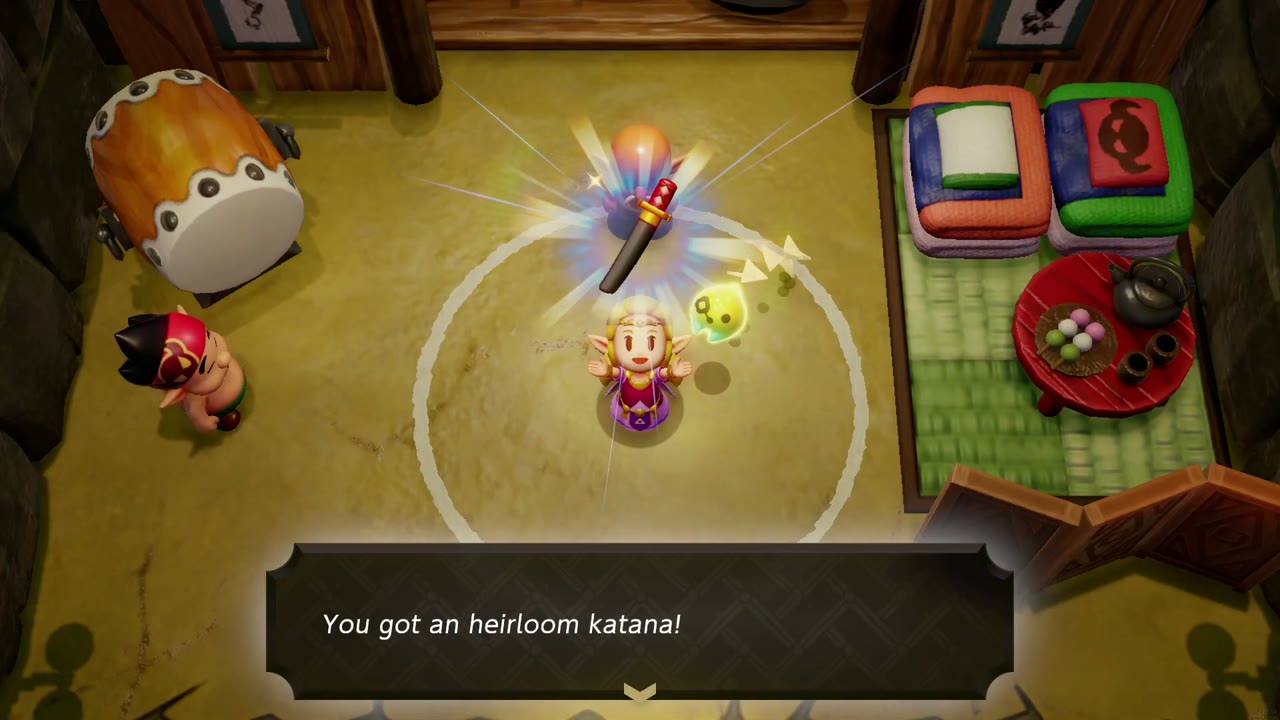
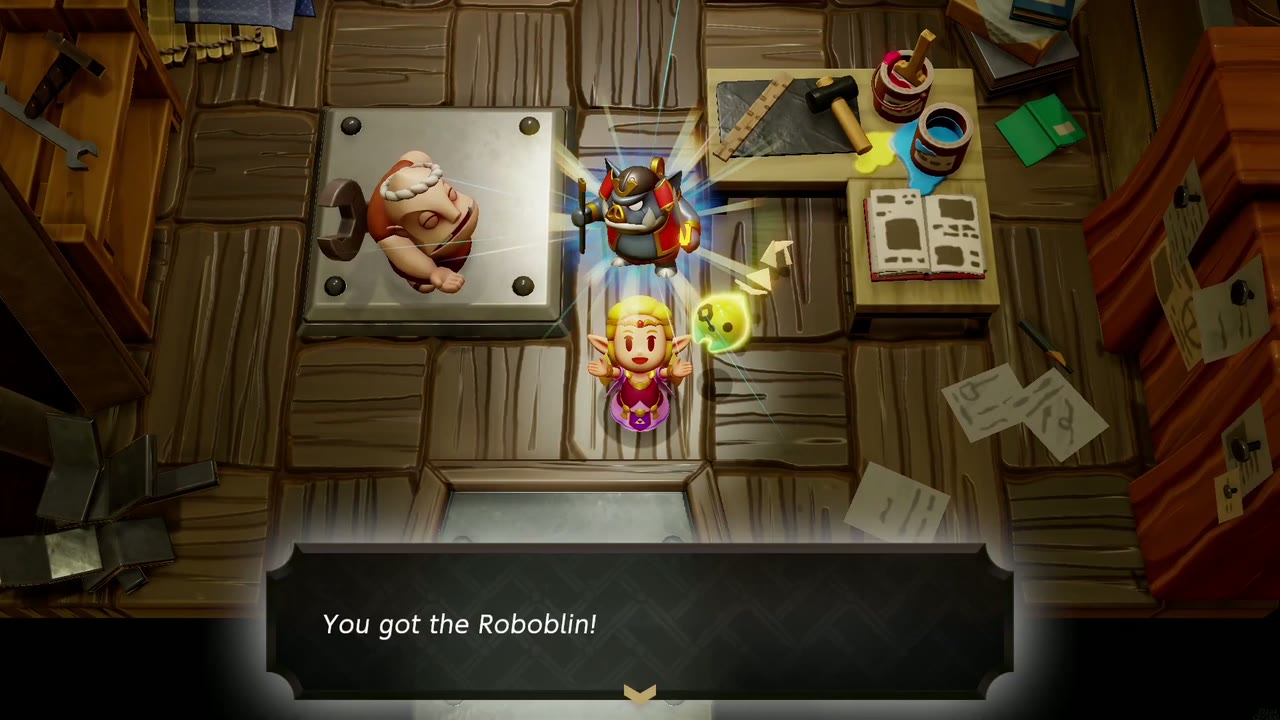
How: Dampé wants a monster with a sword who fights alongside others (a Sword Moblin echo) and a special weapon. He has heard the Kakariko dojo leader owns a rare sword. Clear the Slumber Dojo’s dream training to earn the heirloom katana, then give it to Dampé.
Reward: the Roboblin.
Get Rich Quick!
Requirements: Complete all five earlier automaton commissions. Performance Artist!, Endless Stomach! and Chop ’em in Two! can be done in any order after Explosions Galore!.
Where: Dampé’s studio.
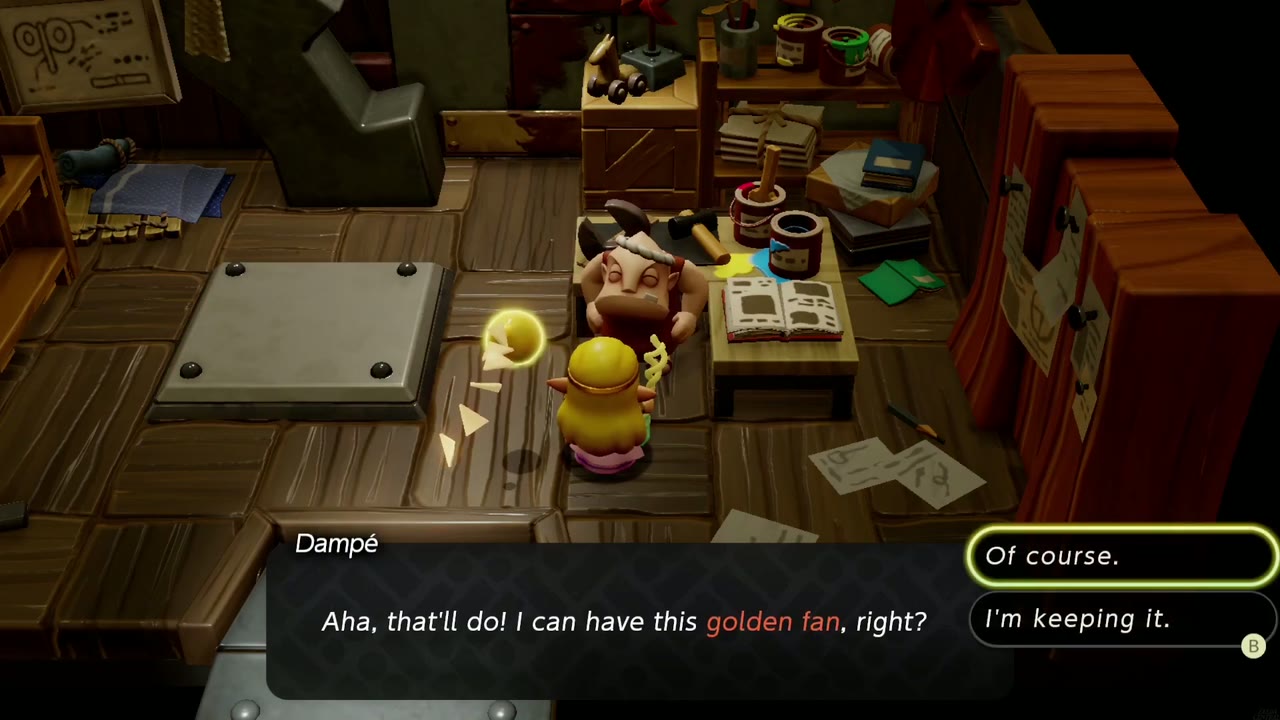
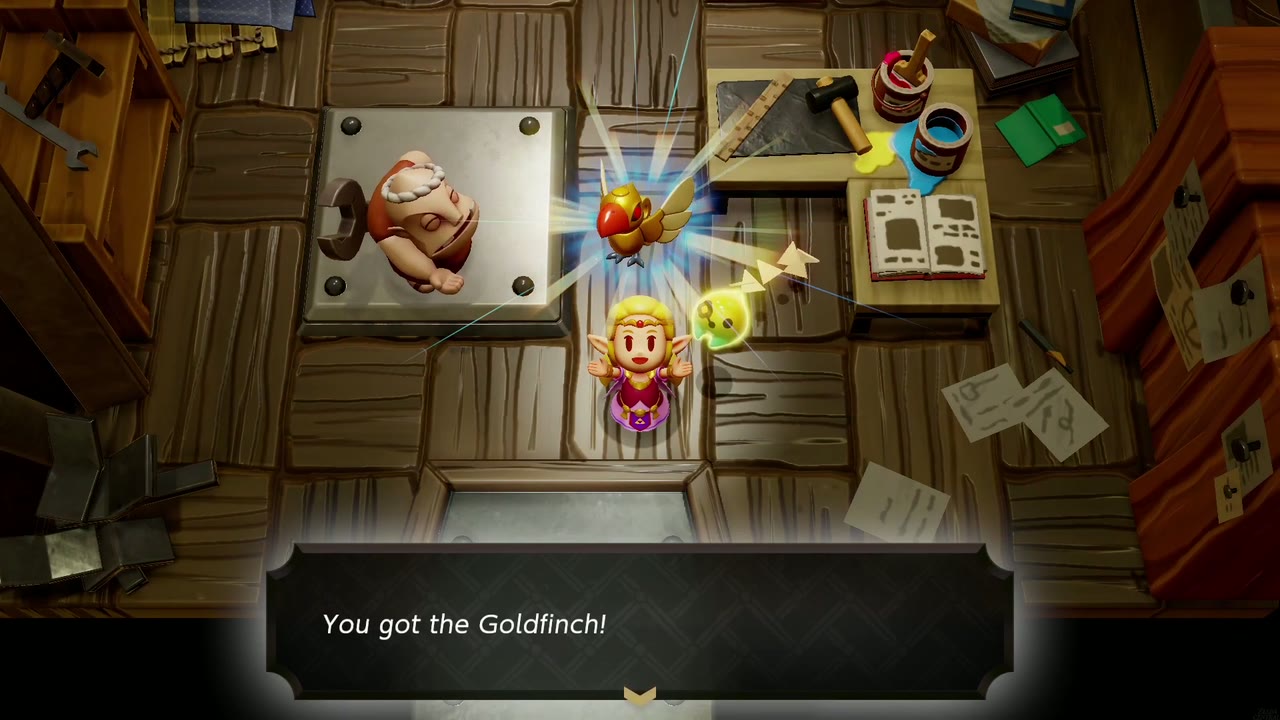
How: Dampé wants a sparkling gold automaton. Show him the crow echo. Then give him the golden fan, the Mango Rush prize at the Tough Mango Plant Lab in the Gerudo Desert oasis (he mentions a Gerudo with “a real shiny thing”).
Reward: the Goldfinch. It attacks enemies and sends their rupees flying, and you can hold it once it’s wound up to glide.
Kakariko Village
Cuccos on the Loose
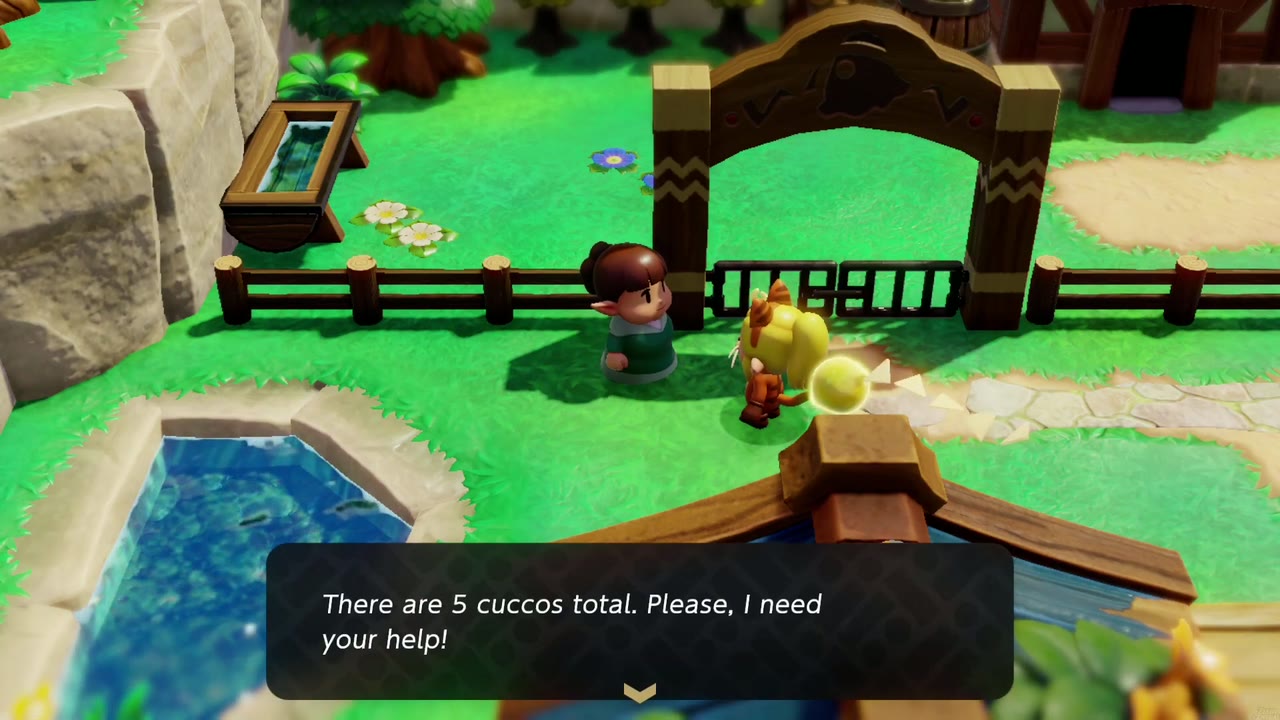
Where: Kakariko Village, at the cucco pen.
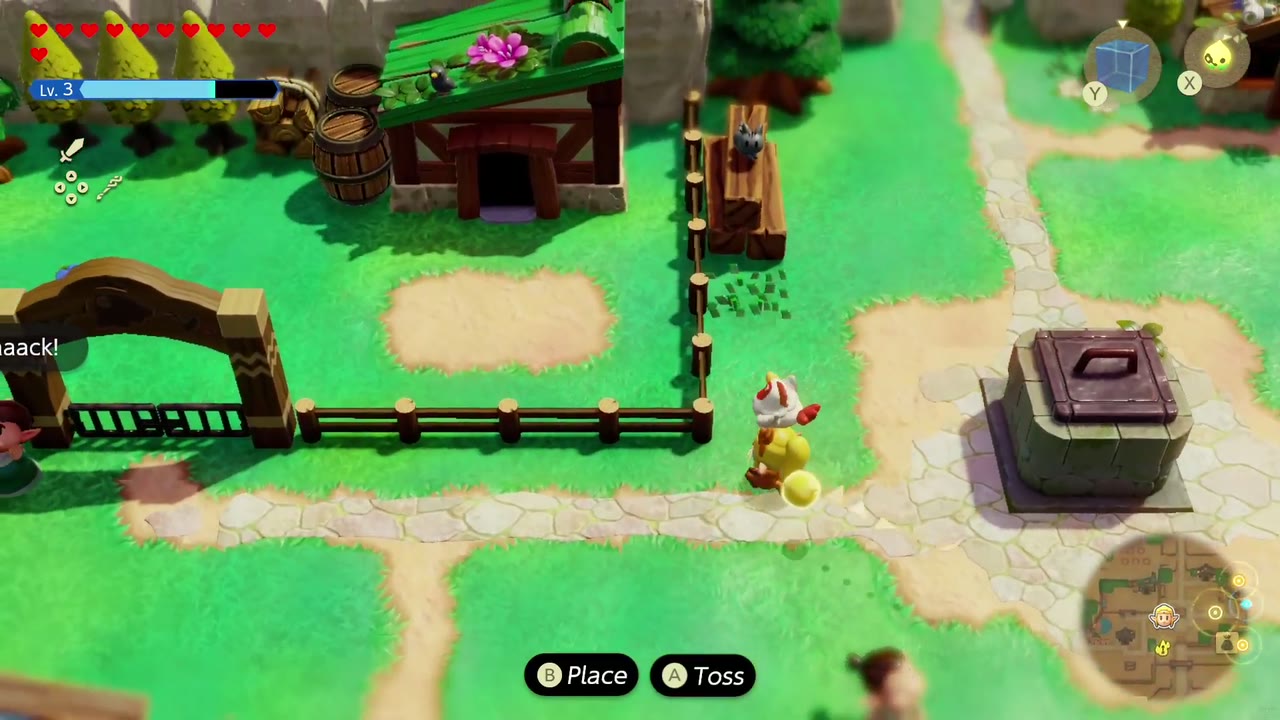
How: The woman by the pen says her 5 cuccos escaped over the fence this morning. Pick each one up east of the pen, southwest of the Slumber Dojo, southeast of the item shop, in the graveyard and on the northeastern windmill (climb via nearby trees with Bed echoes) and carry it back into the pen.
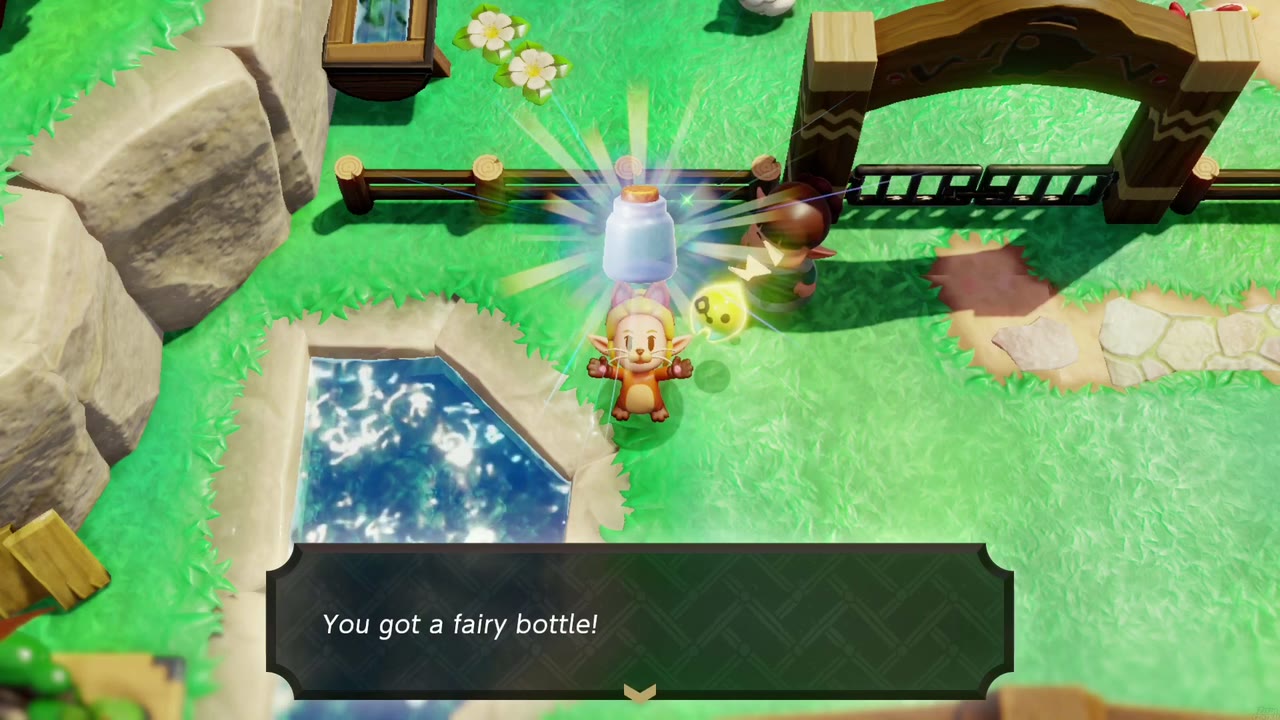
Reward: a Fairy Bottle. She also tells you that if you hold a cucco overhead and jump from a high place, you glide.
Questioning the Local Cats
Requirements: Complete Still Missing.
Where: Kakariko Village.
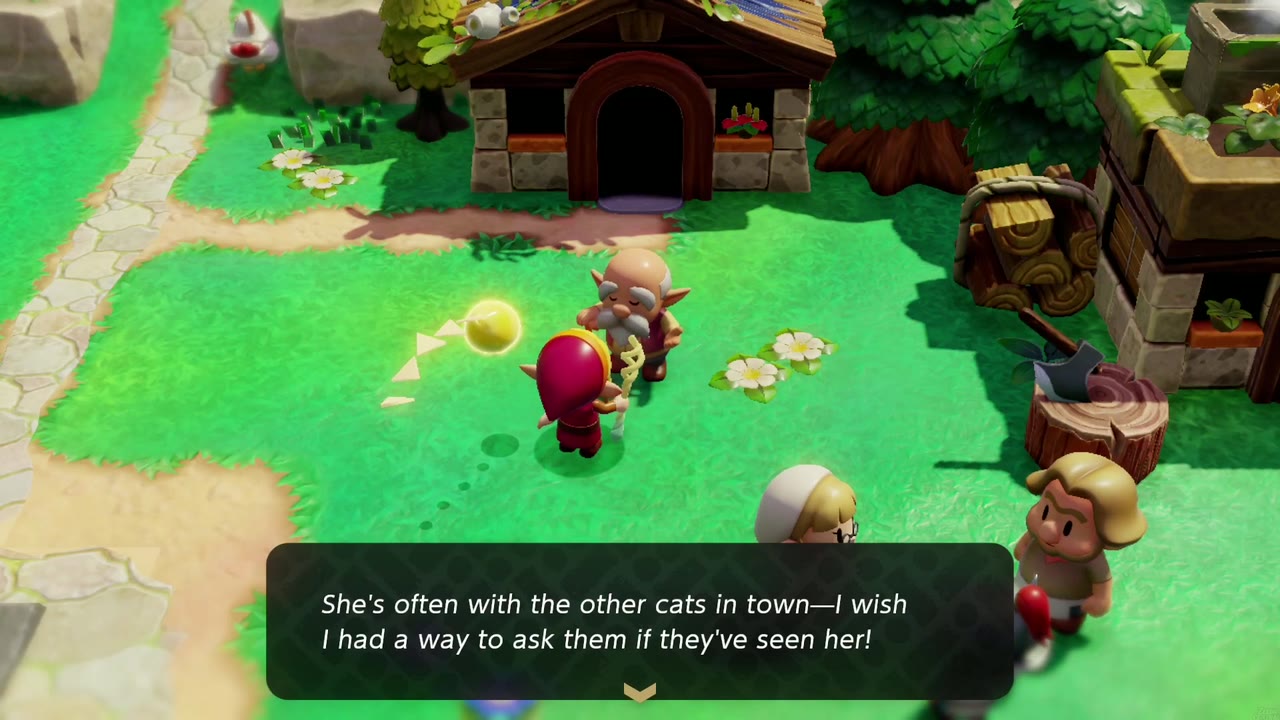
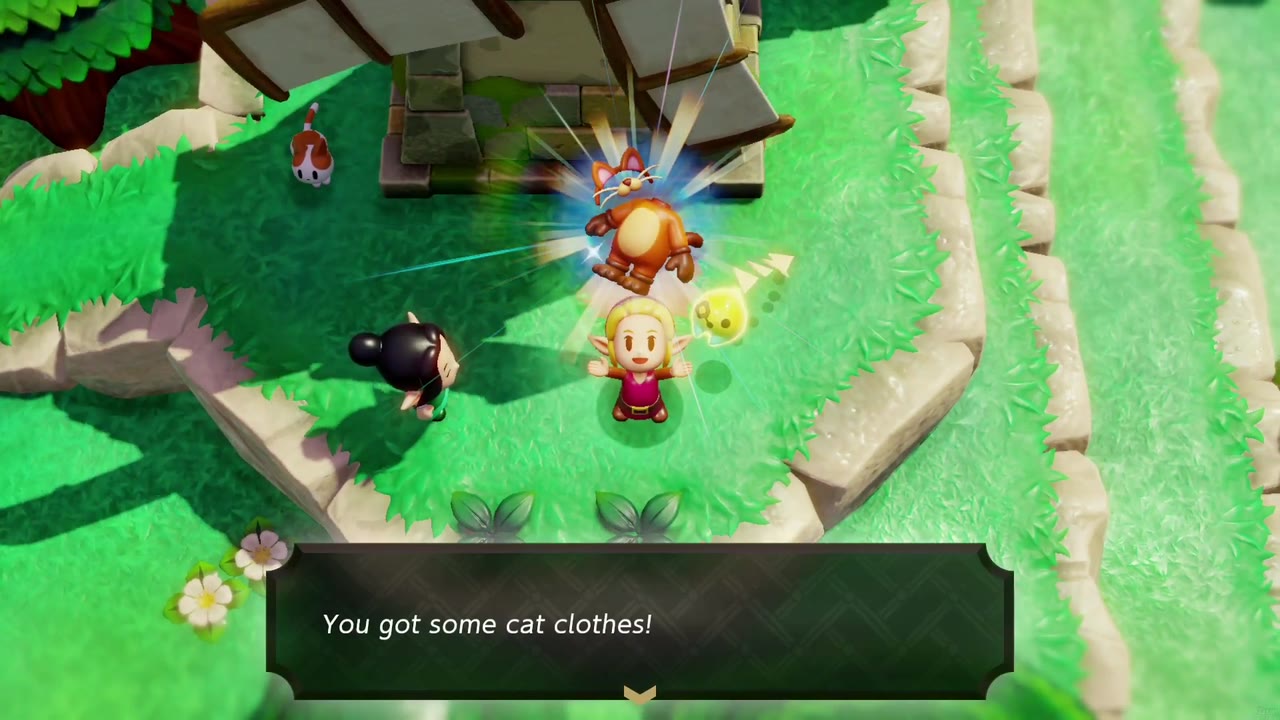
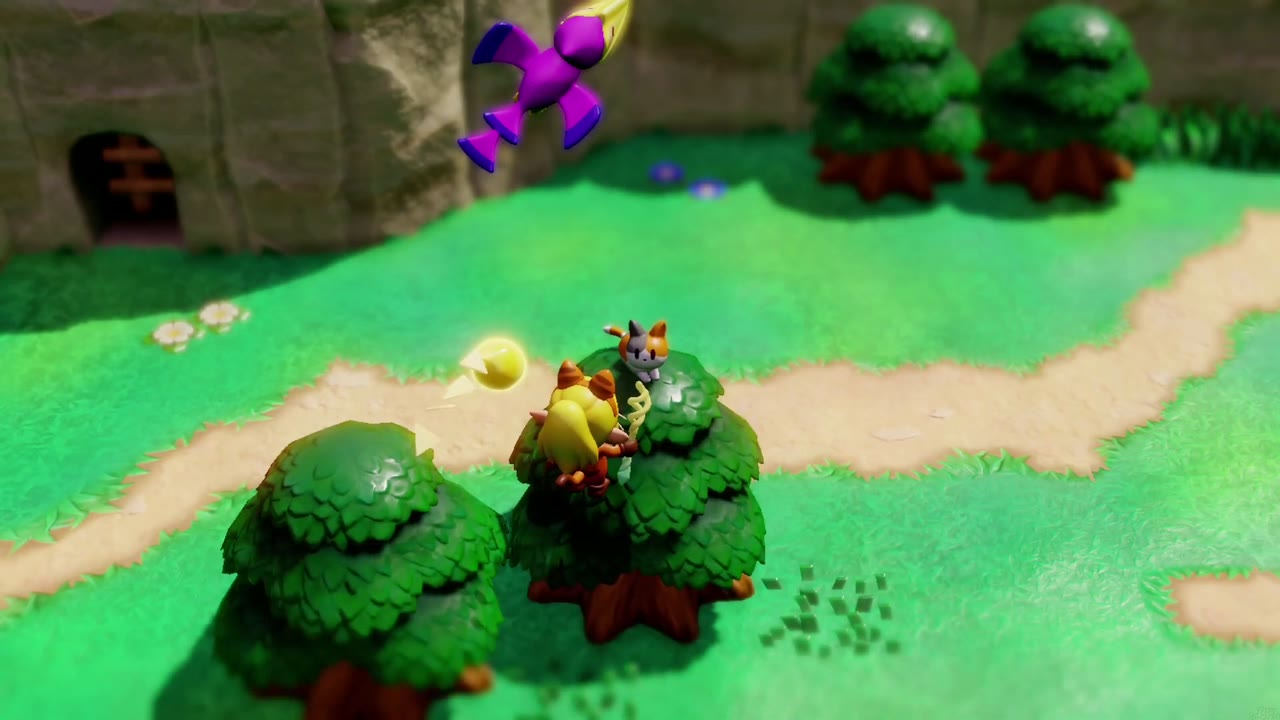
How: An old man’s cat is missing, and he wishes he had cat clothes so he could ask the town’s cats where she went. The set at the village shop was already bought by a young woman. She asks you to dig up the “secret stash” she buried by the windmill (Zelda uses a Holmill echo), then gives you the Cat Clothes. Wear them, talk to the cats around the village, and find his cat napping up in a tree. She then goes home.
Reward: 10 bunches of Refreshing Grapes from the old man. The Cat Clothes you get along the way let you understand cats.

Eldin Volcano
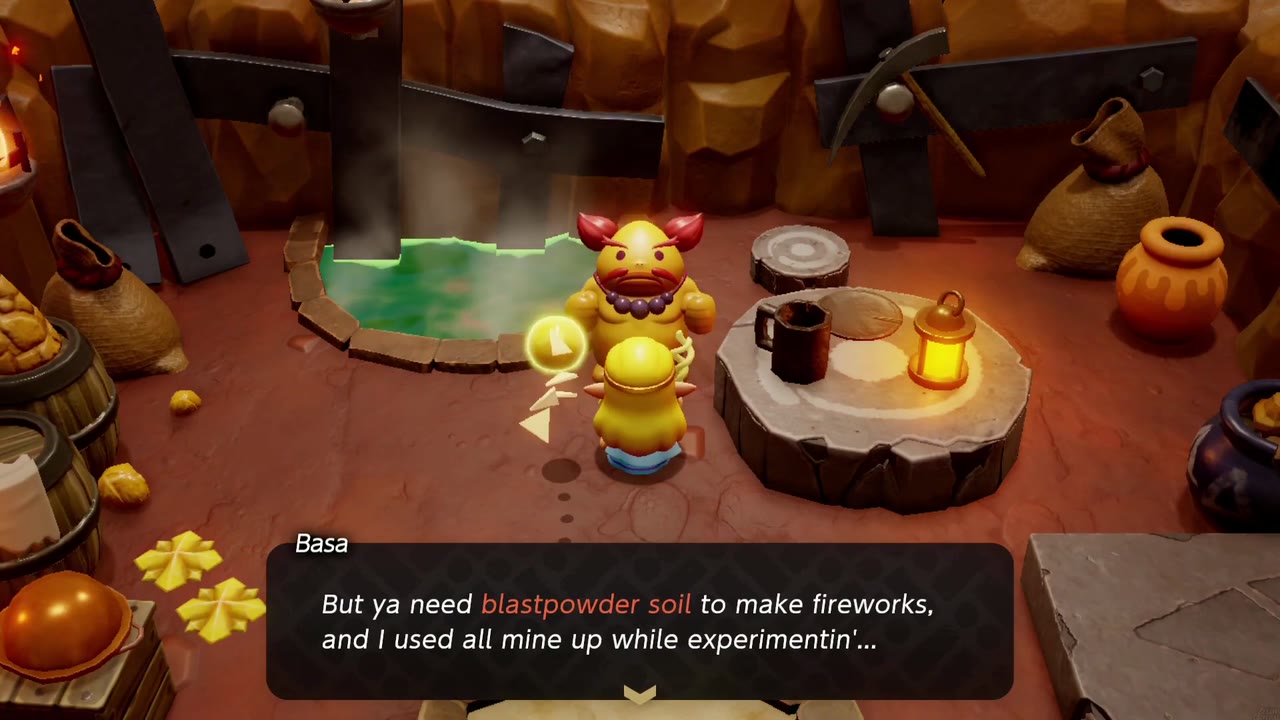
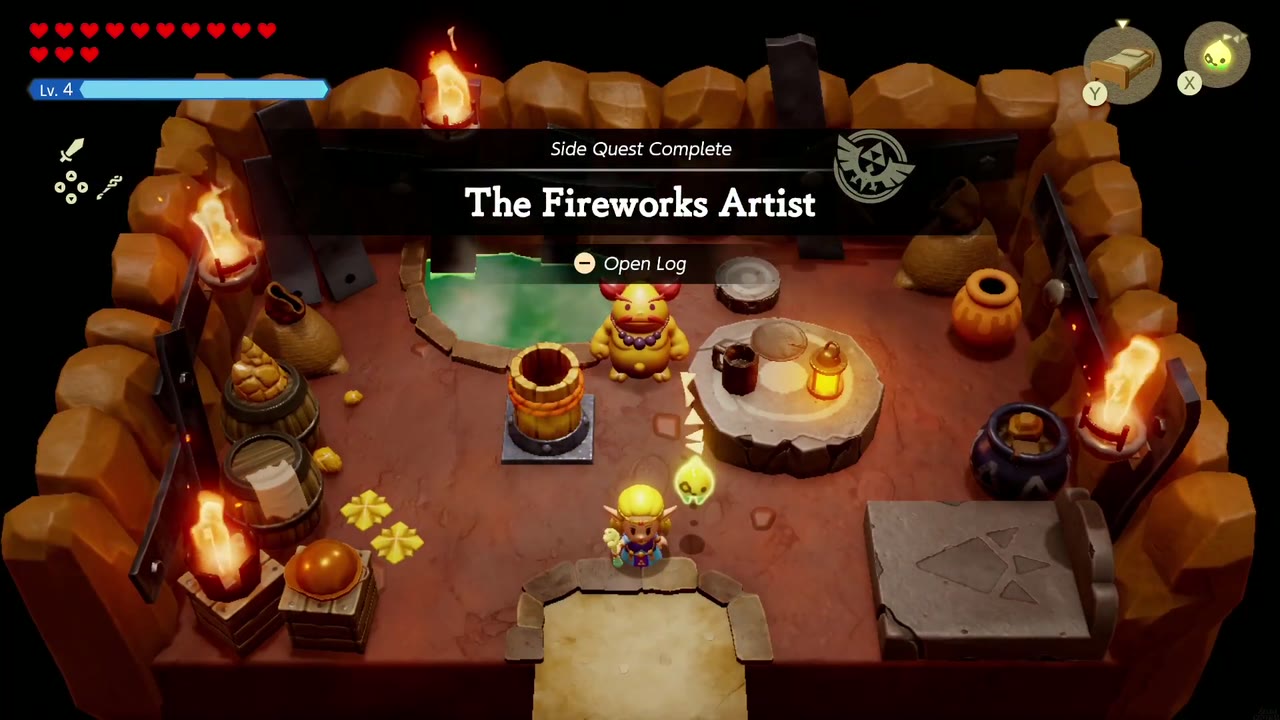
The Fireworks Artist
Where: Basa’s house, Goron City.
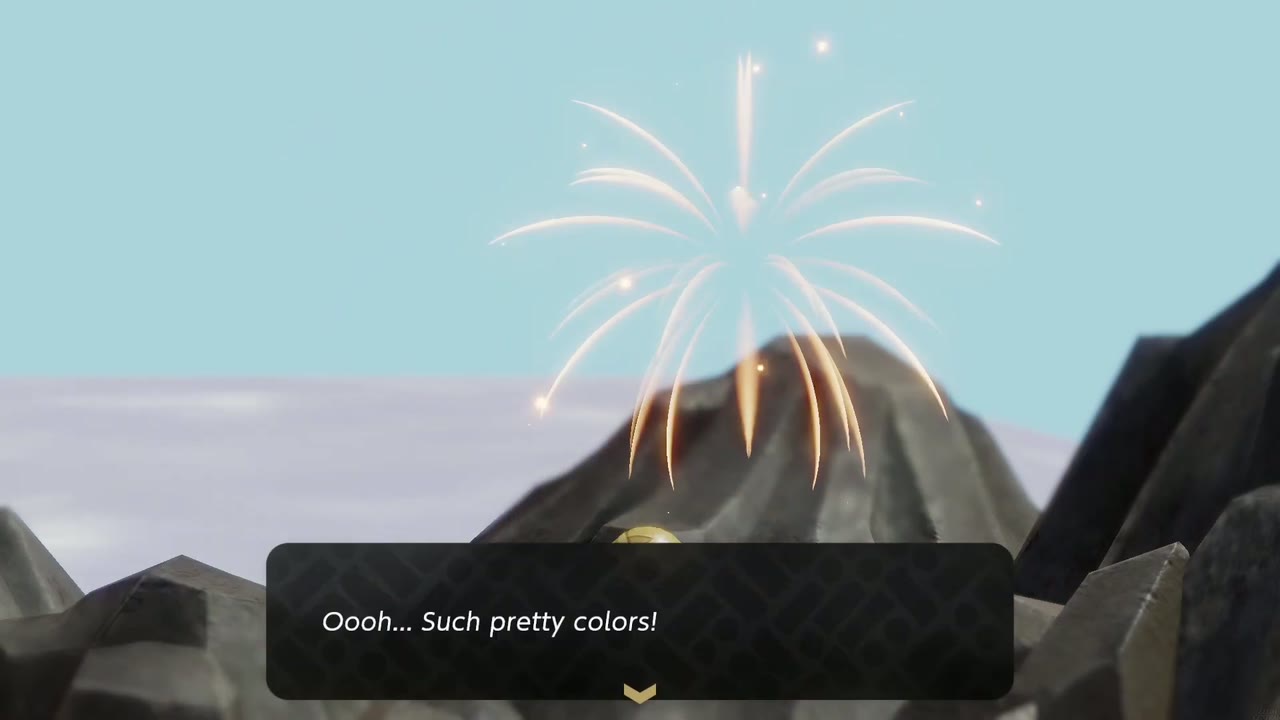
How: Basa has used up all her blastpowder soil. It grows where golden flowers cluster higher up Eldin Volcano, so find a patch, pick up the soil and bring it back to her. She then puts on a fireworks show over the volcano.
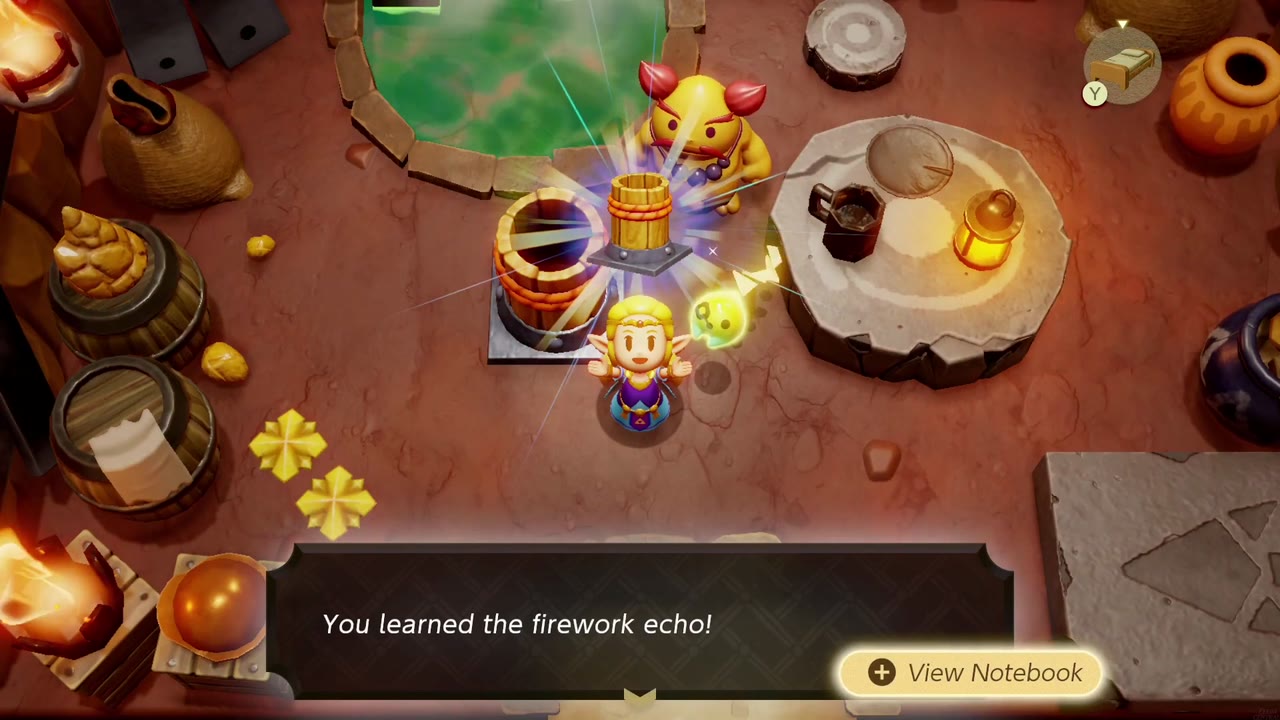
Reward: 50 rupees from Basa (“You got 50 rupees!”), and you learn the Firework echo.
Ready? Set? Goron!
Where: The Goron race track on Eldin Volcano, just outside Goron City.
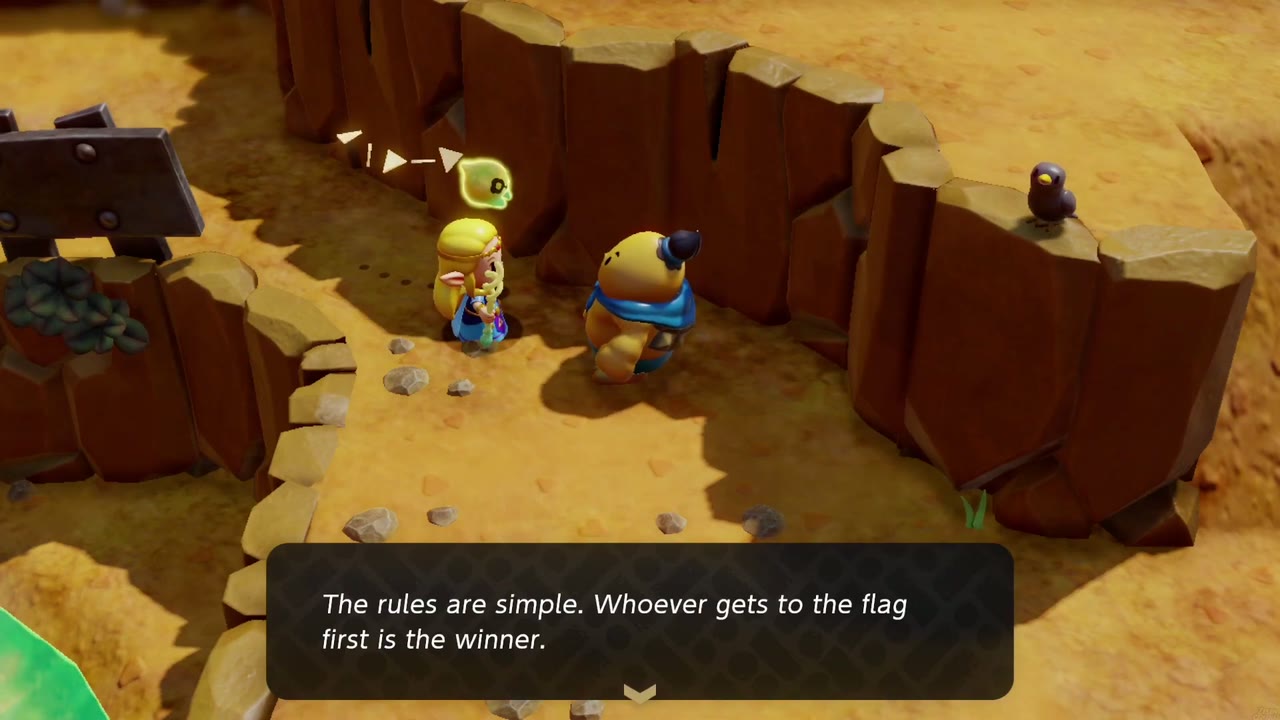
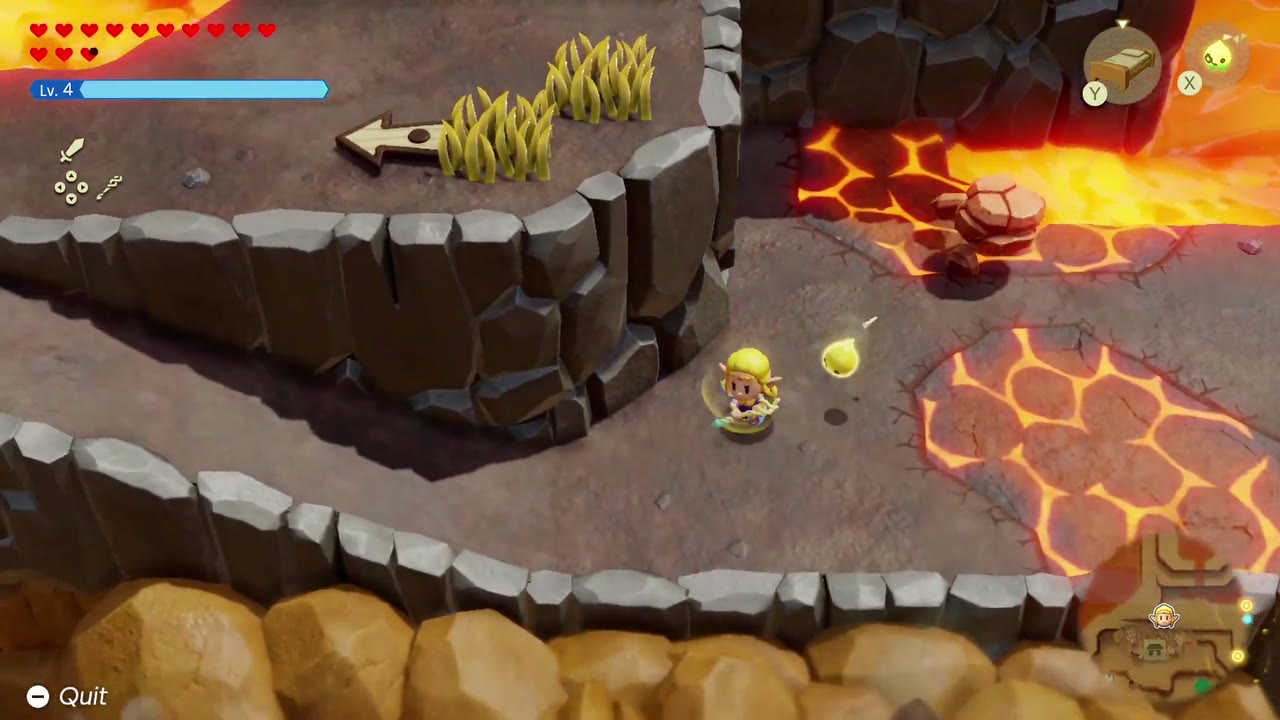
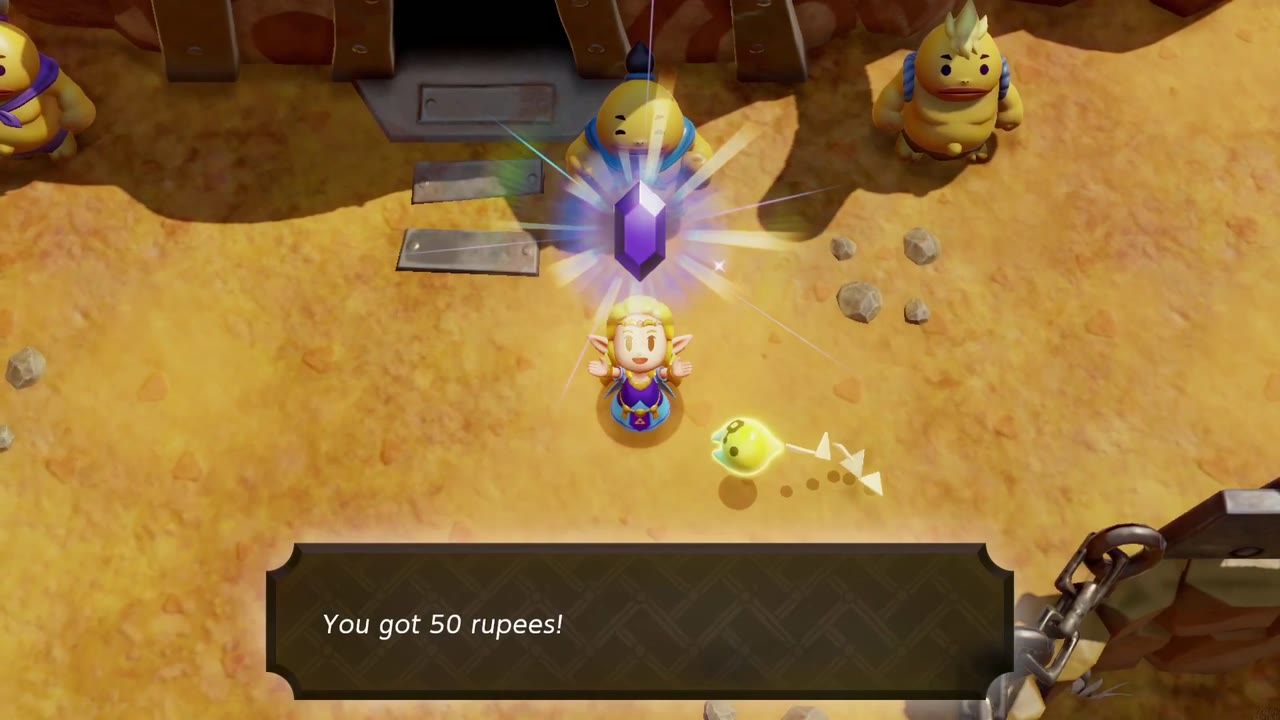
How: Accept the Goron’s challenge to a Goron Race and reach the flag at the end of the lava course before he does. He offers a rematch afterwards.
Reward: 50 Rupees.
Glide Path
Where: A clifftop on Eldin Volcano.
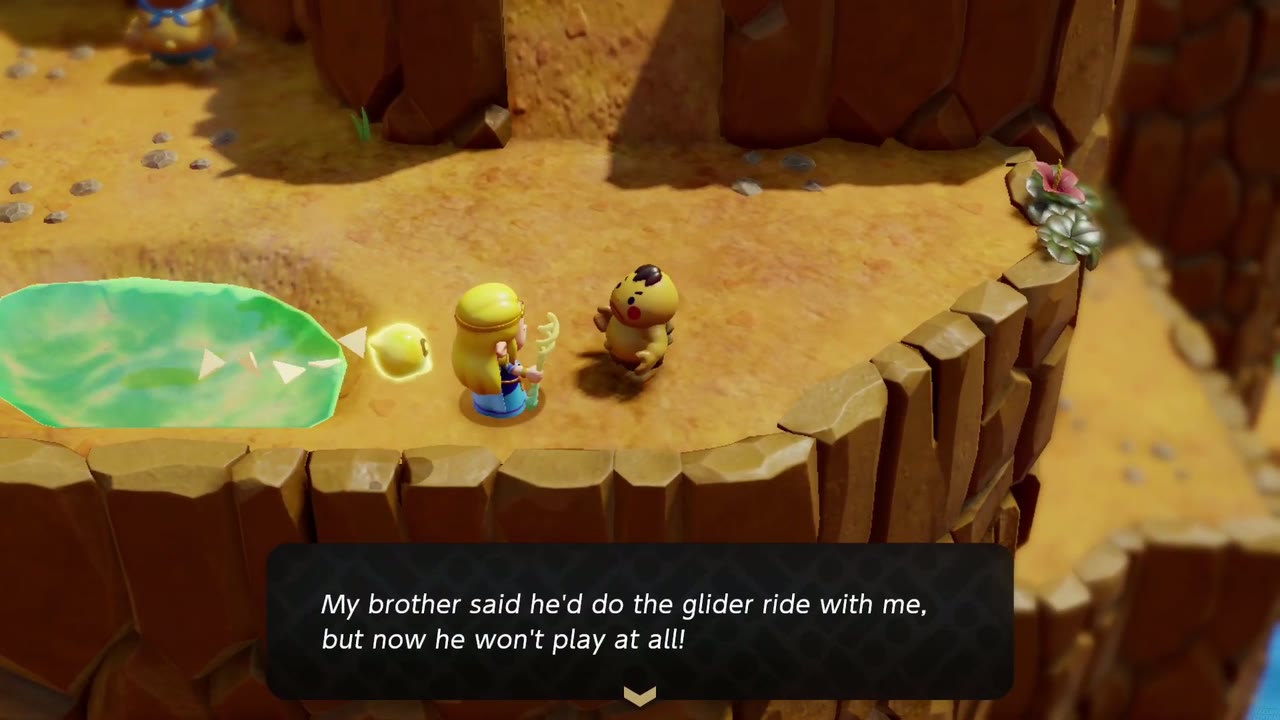
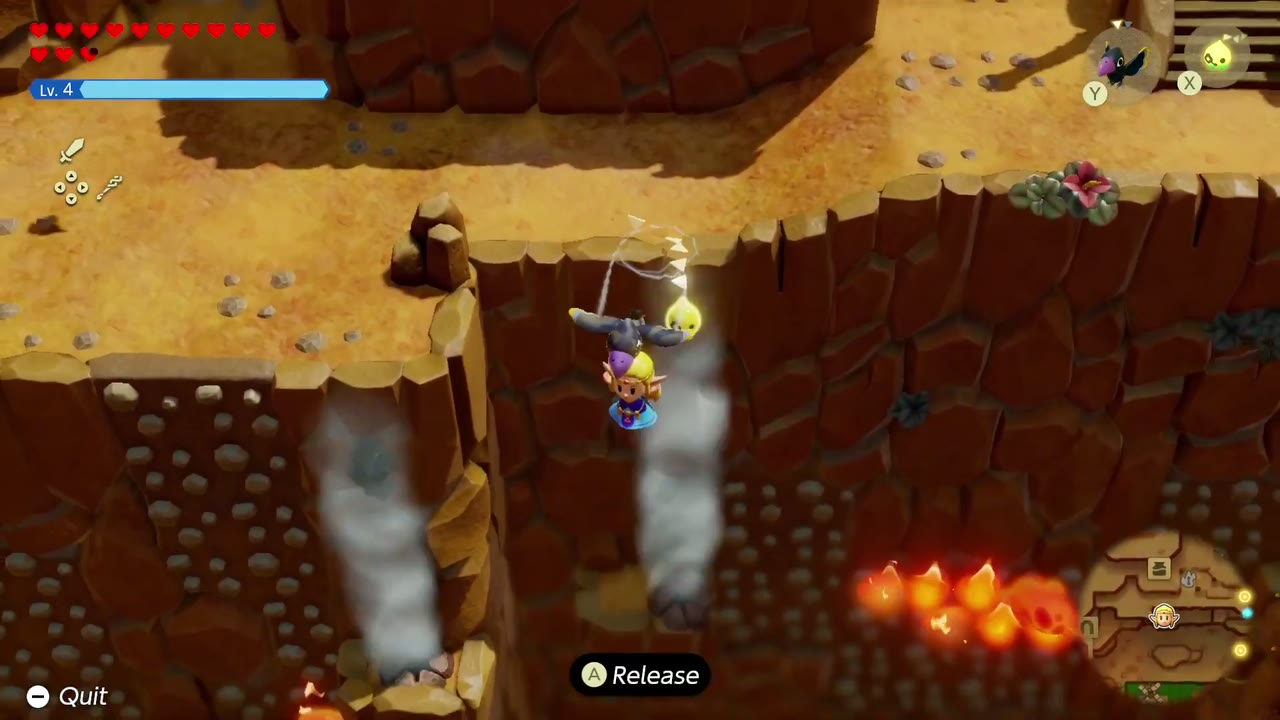
How: A young Goron wants someone to show him the glider ride. Grab a Crow echo and glide from the start line to the flag over the steam vents without touching the ground.
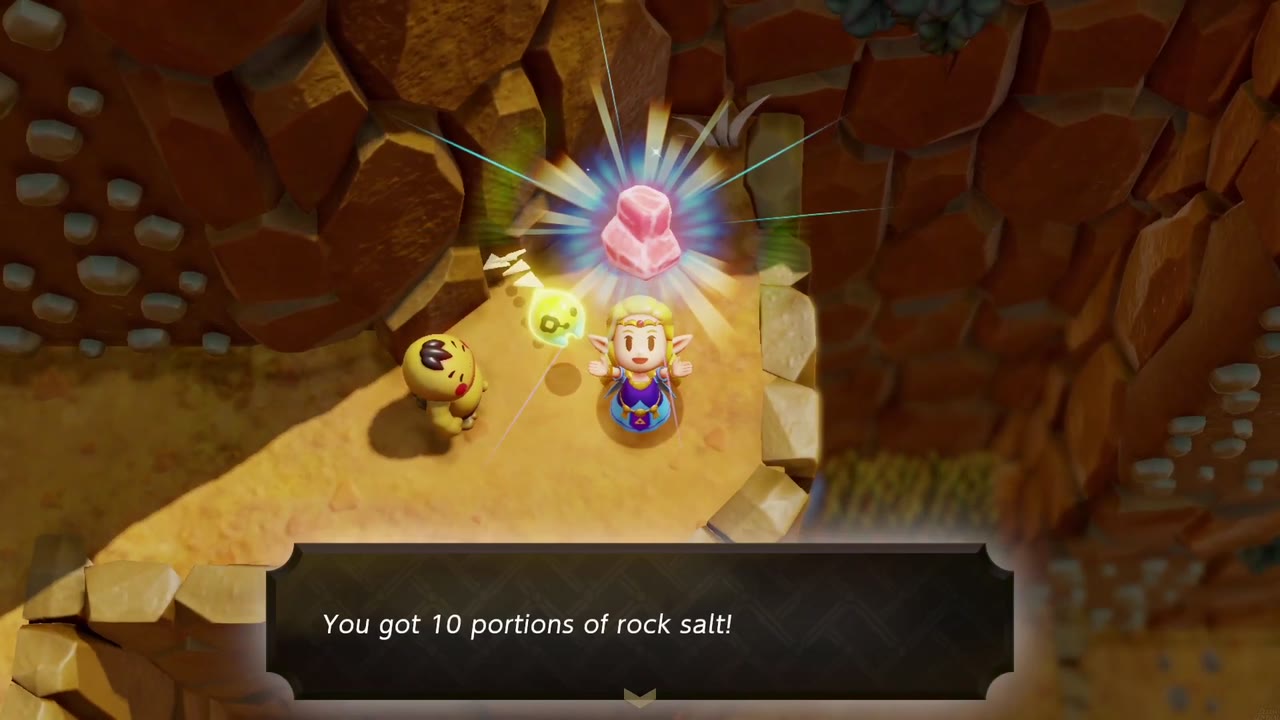
Reward: 10 Rock Salt.
Glide Path Trailblazer
Where: The same clifftop, right after Glide Path.
Unlocks: after you finish Glide Path.
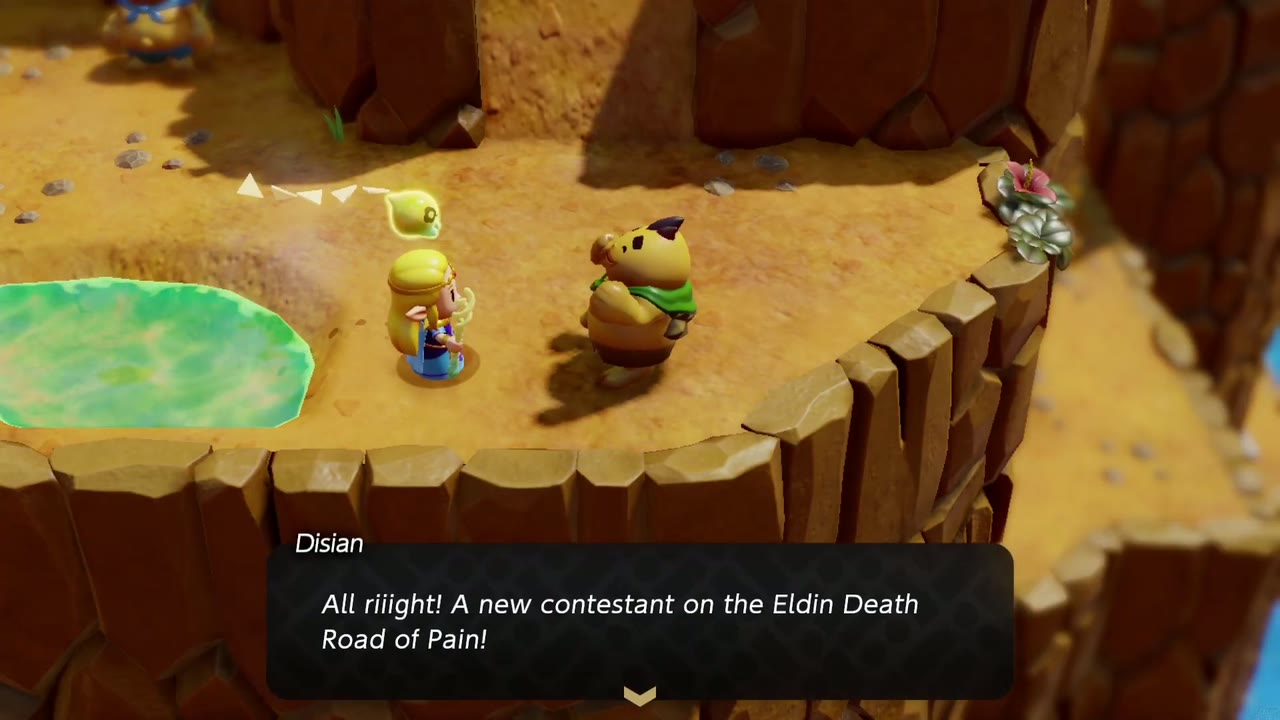
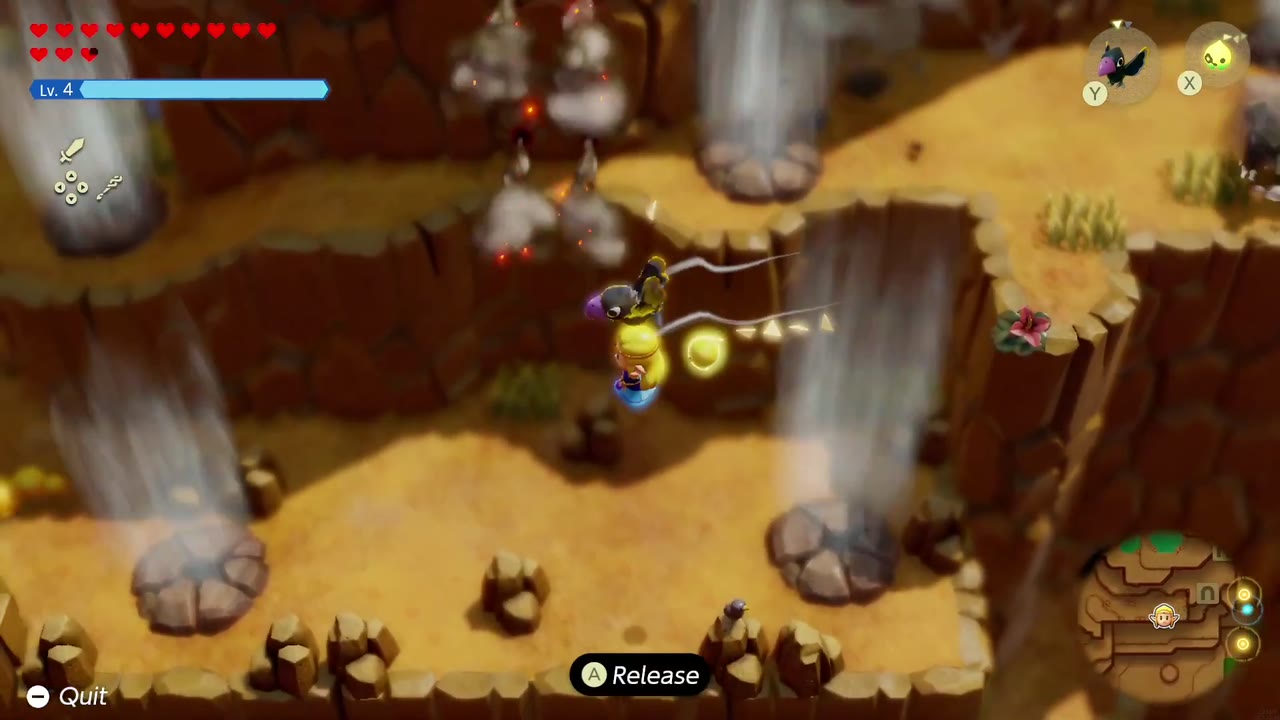
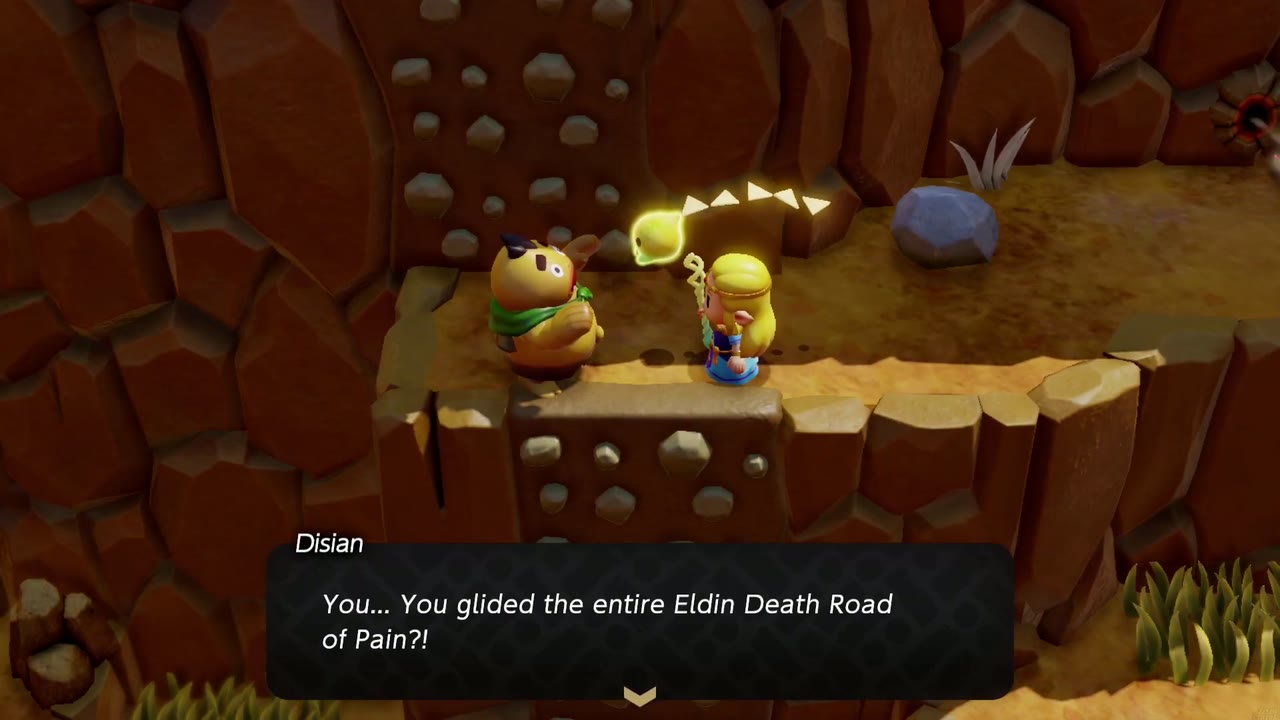
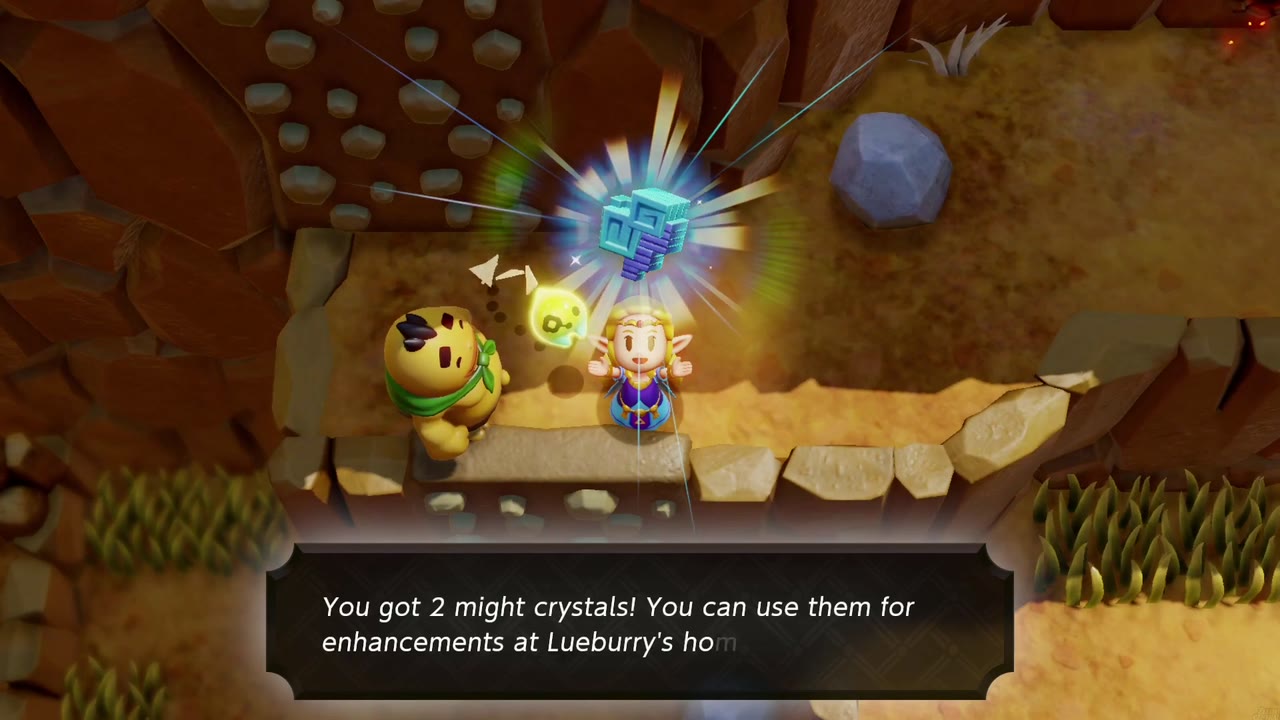
How: The boy’s big brother Disian challenges you to his own course, the “Eldin Death Road of Pain.” It is a longer glide past more steam vents, and touching the ground sends you back to the start.
Reward: 2 Might Crystals.
The Flames of Fortune
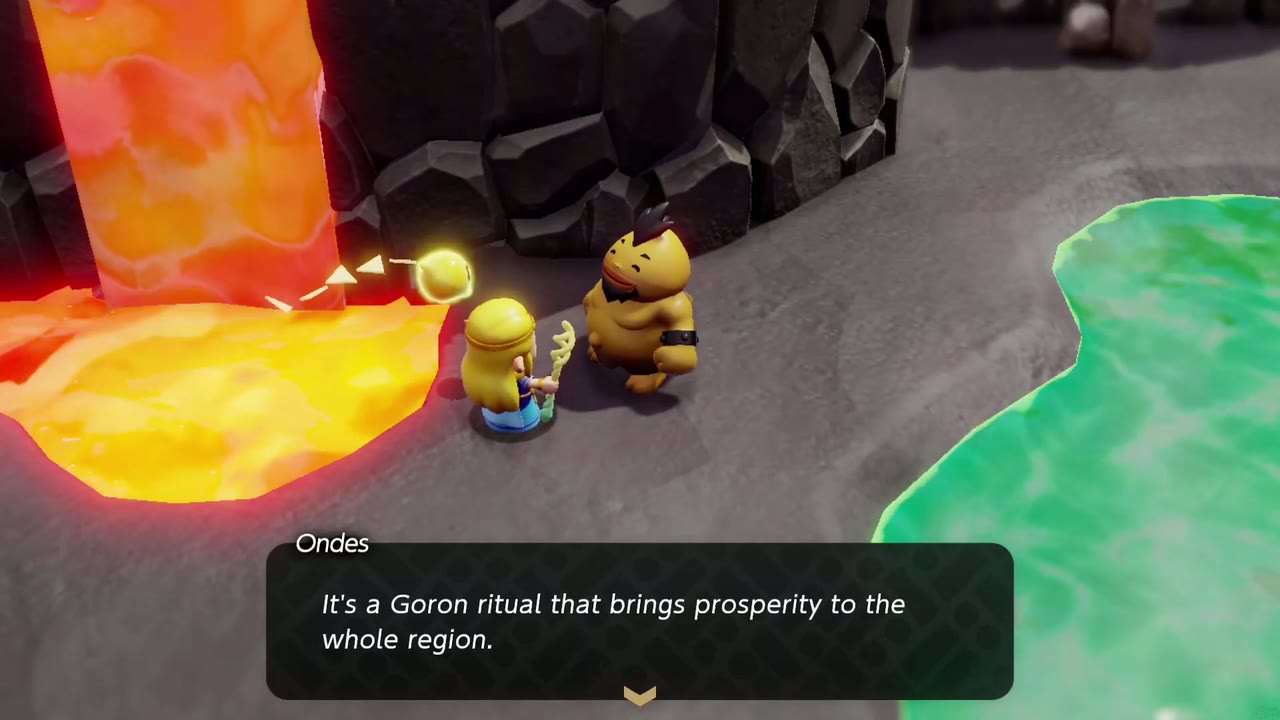
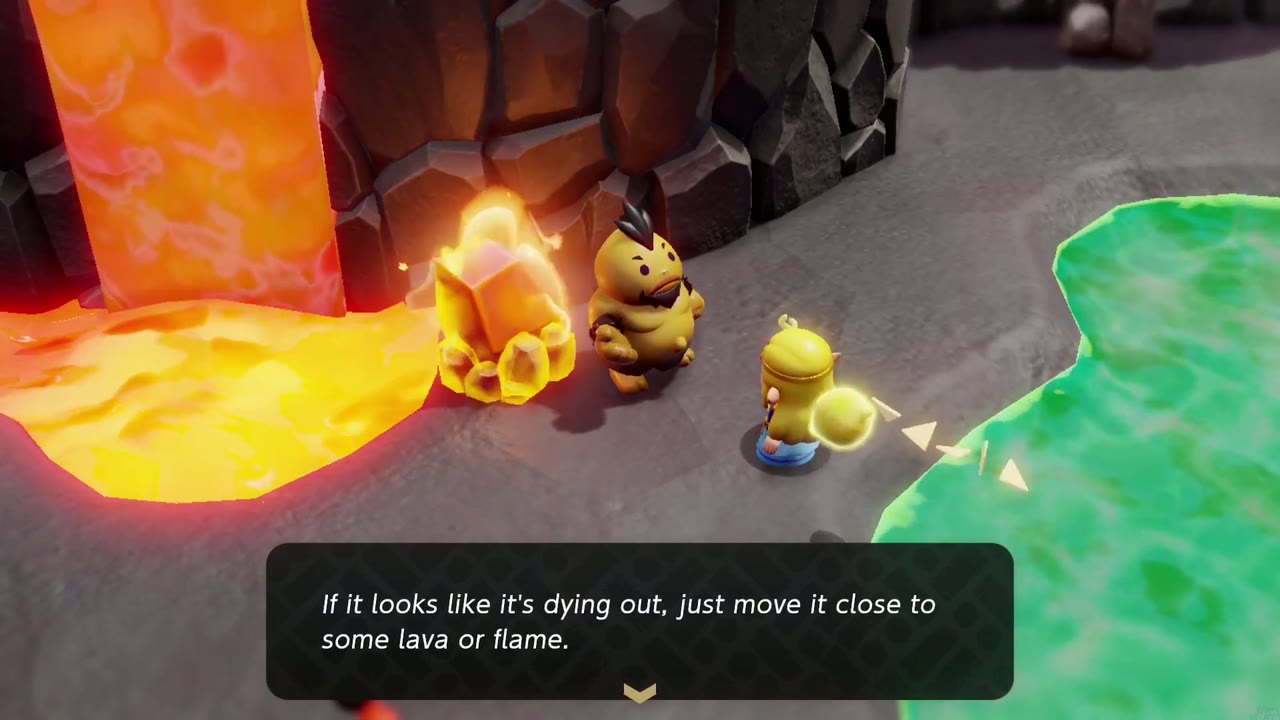
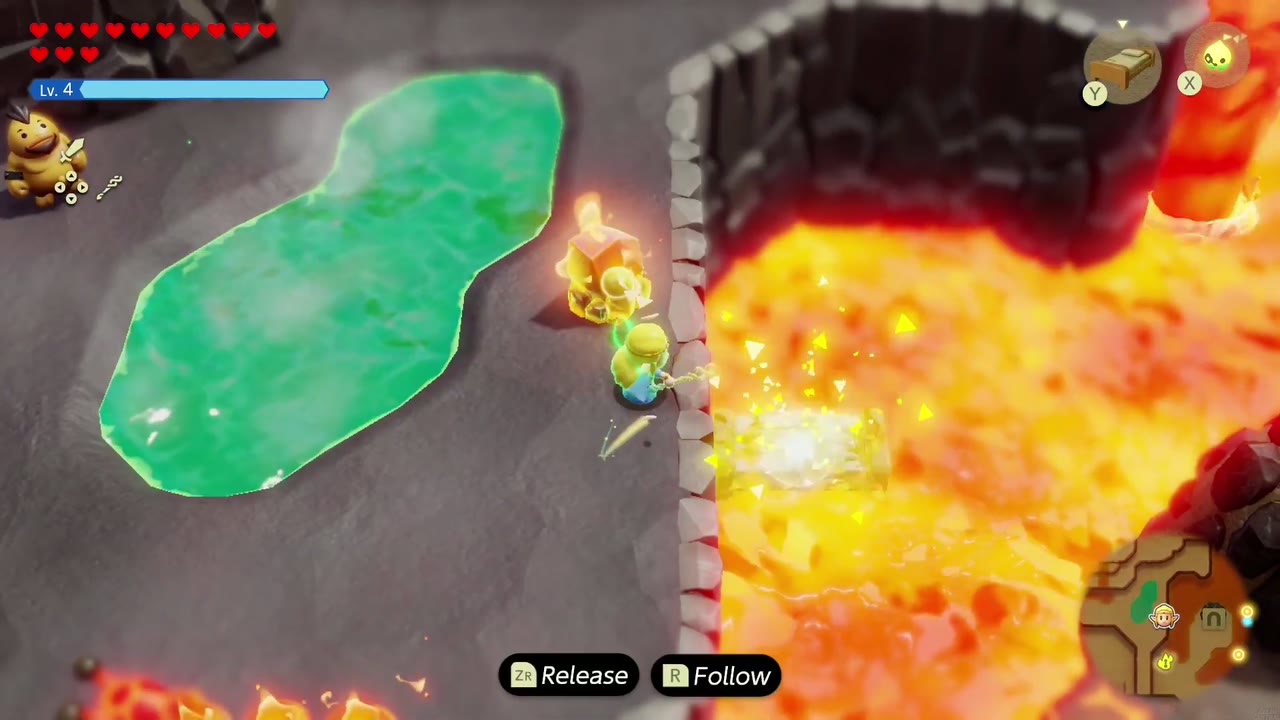
Where: A lava pool on Eldin Volcano, where a lost Goron named Ondes is waiting.
How: Ondes hands over a lump of burning coal. Carry it with Bind down to Limme at the entrance of Goron City. If it looks like it is dying out, move it close to lava or flame. If it burns out, Ondes gives you a new piece.
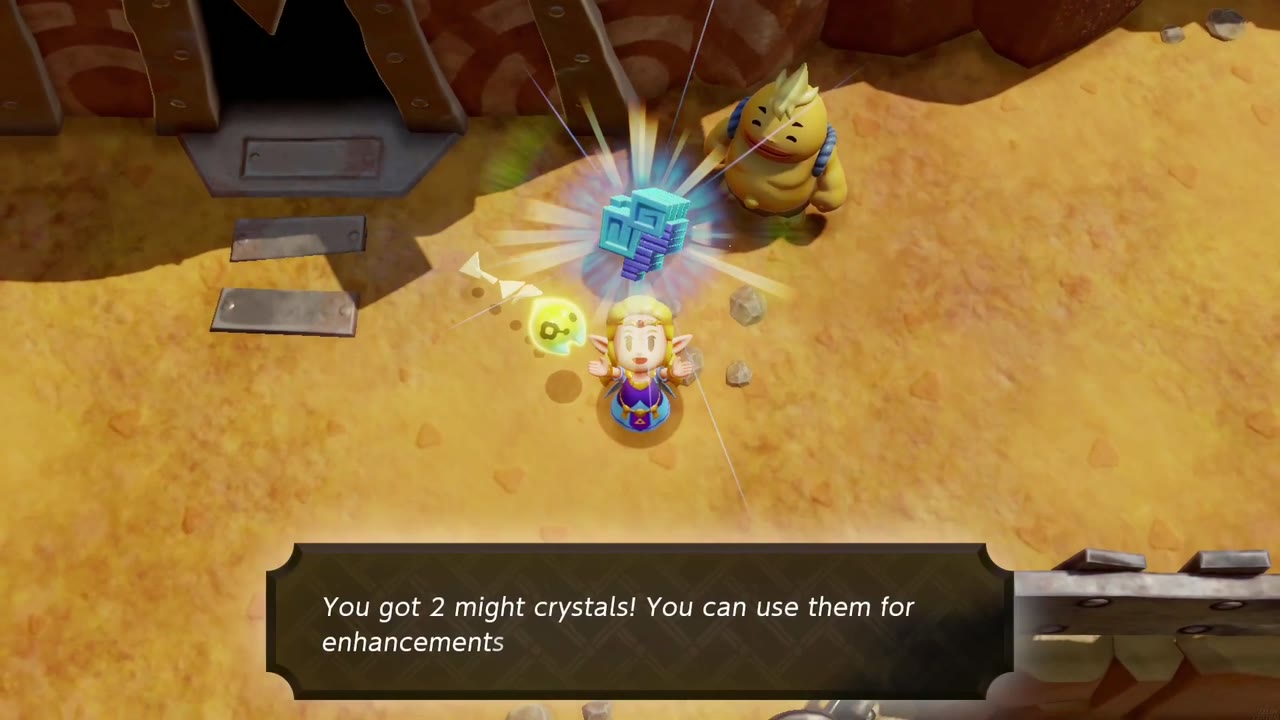
Reward: 2 Might Crystals.
A Mountainous Mystery
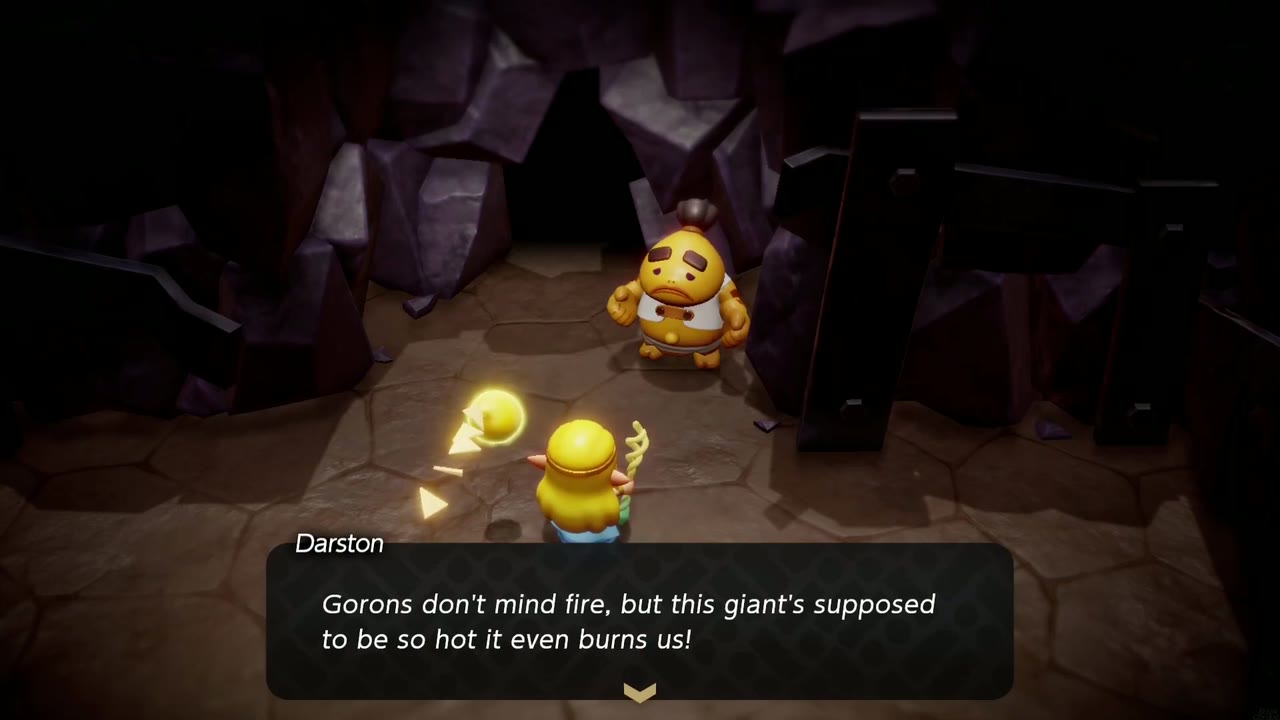
Where: A cave on Eldin Volcano where Chief Darston is waiting.
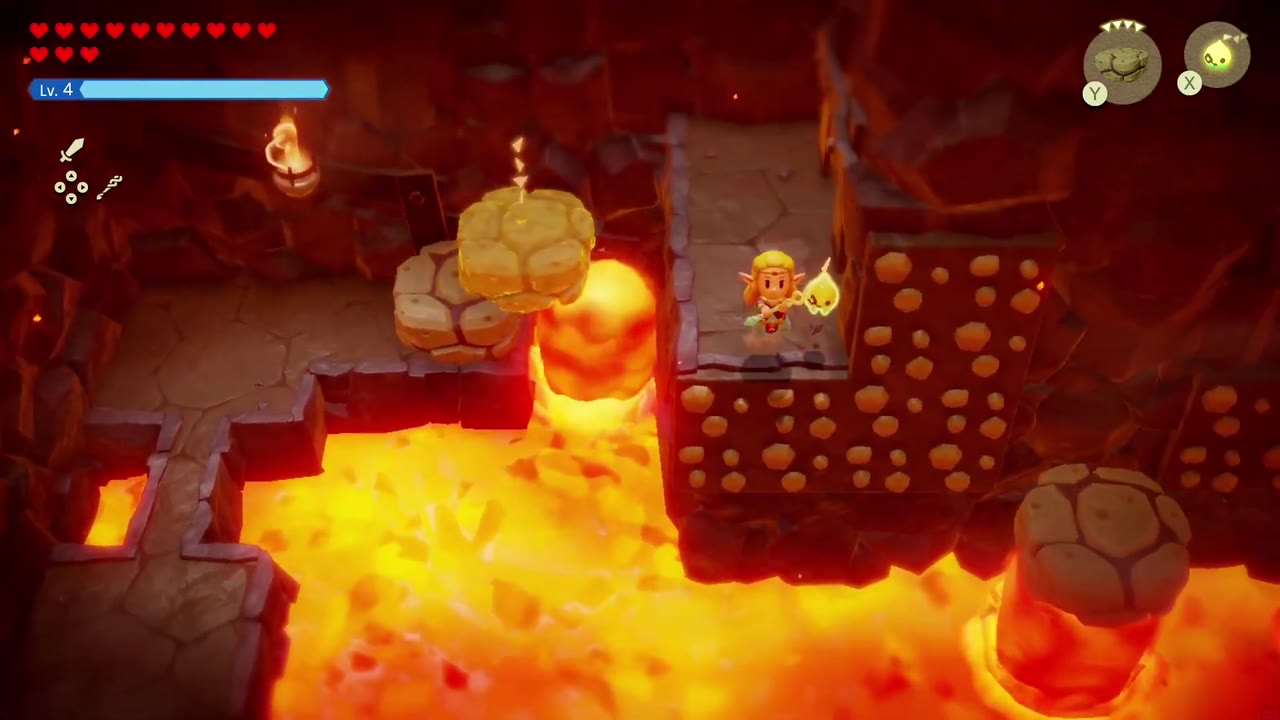
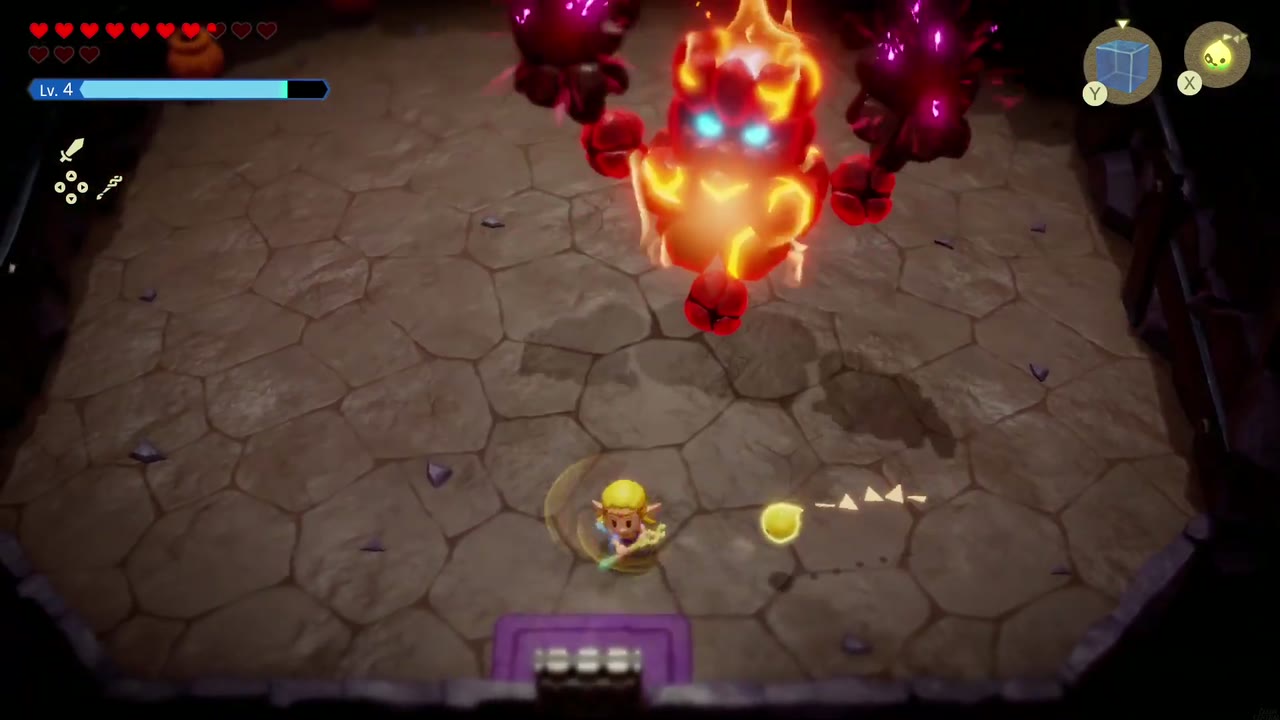
How: Darston tells the folk tale of a flame giant trapped inside the volcano. Work through the lava cave by riding Lava Rock echoes, burning brambles and crossing a side-view section. Then beat the flame giant by dousing it with Water Blocks and hitting its core. Go back to Darston for a second reward.
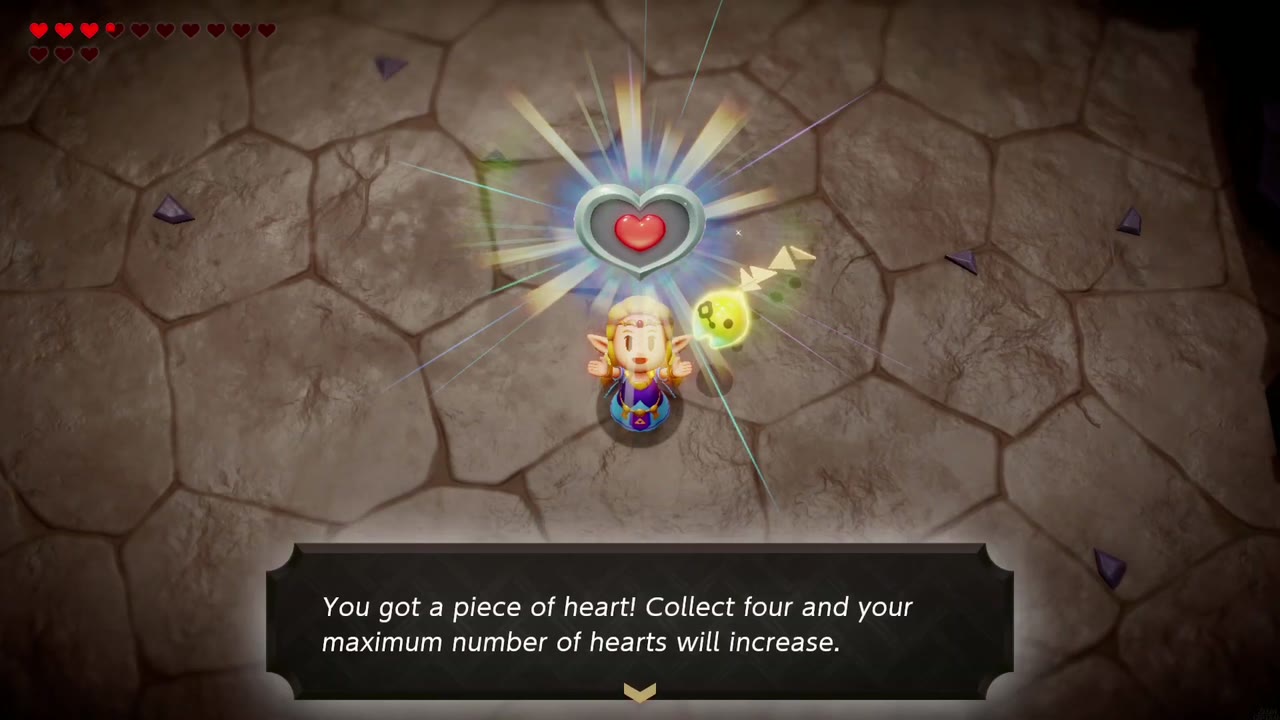
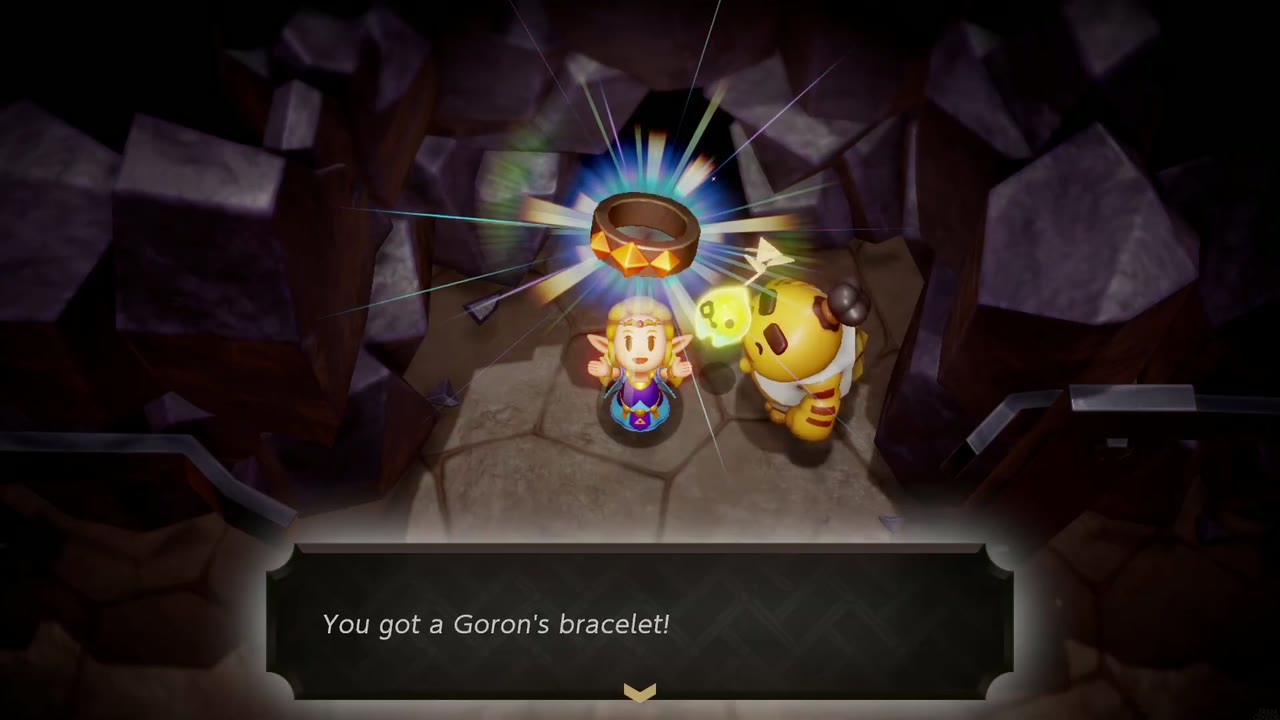
Reward: Piece of Heart (dropped by the giant) and the Goron’s Bracelet (from Darston). While you wear the bracelet, you can carry things faster.
Hebra Mountain
Getting It Twisted
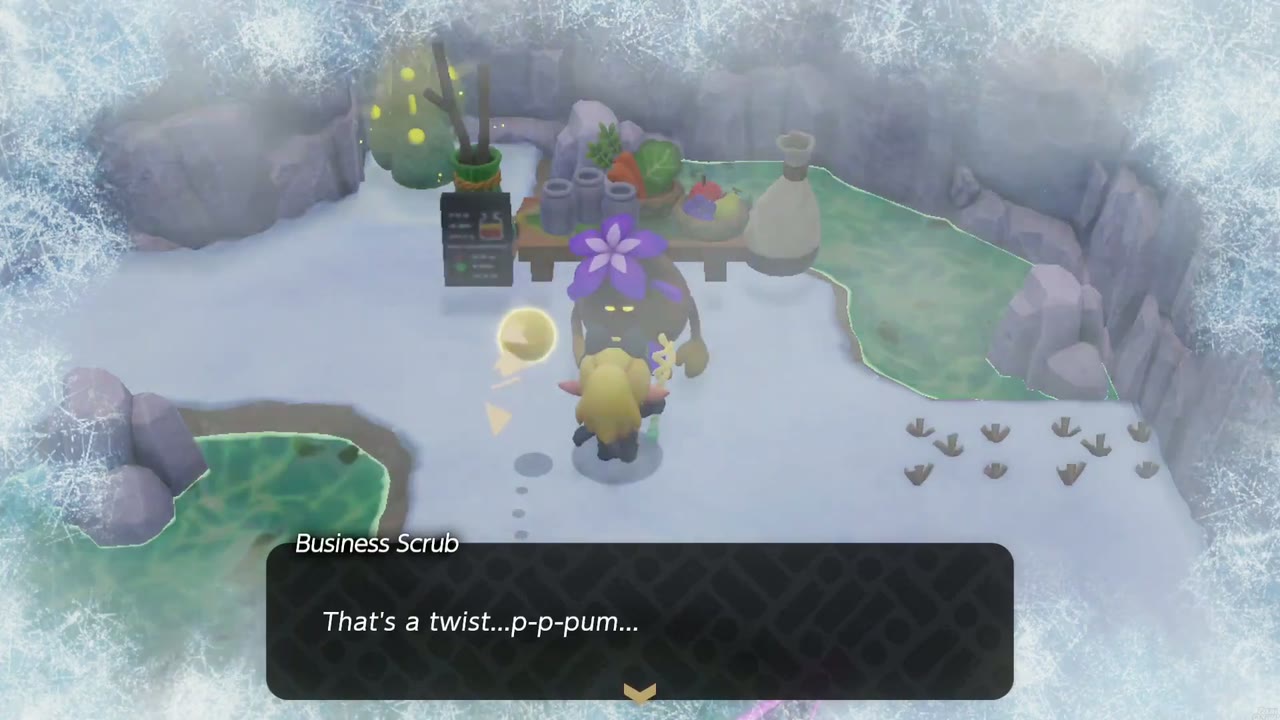
Where: Hebra Mountain, at the Business Scrub’s smoothie stand in a snowy nook beside the rift.
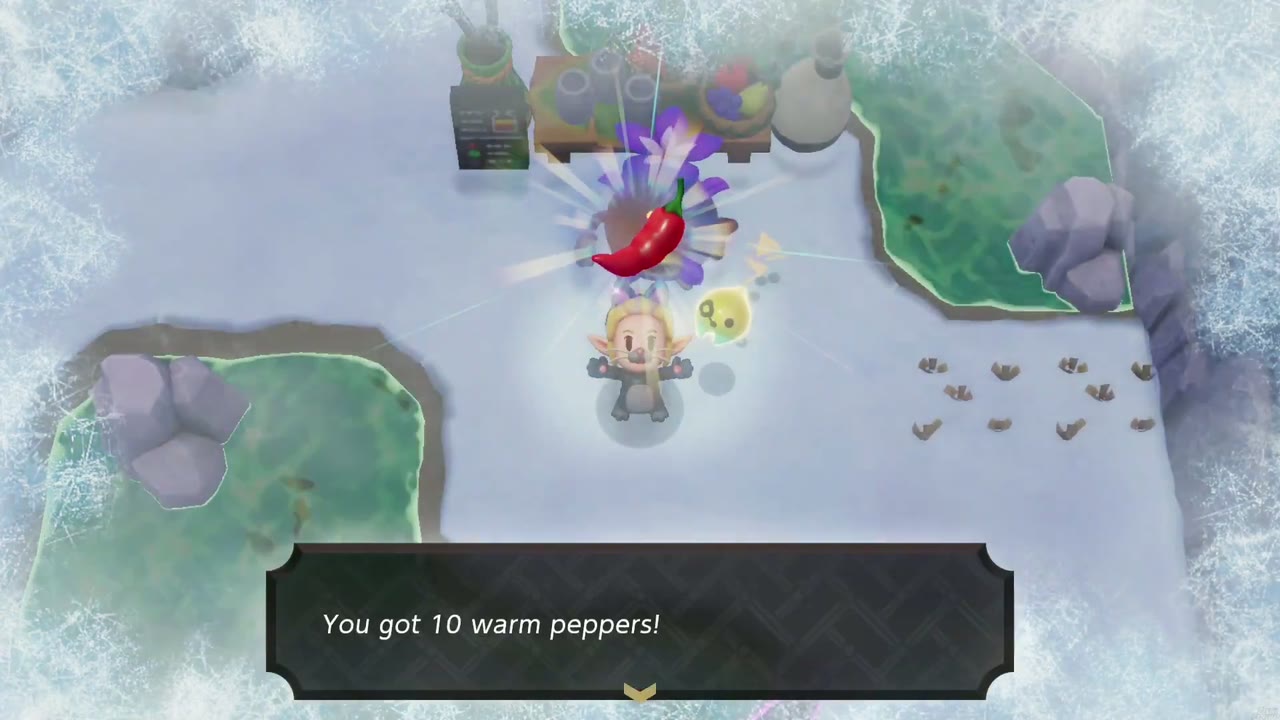
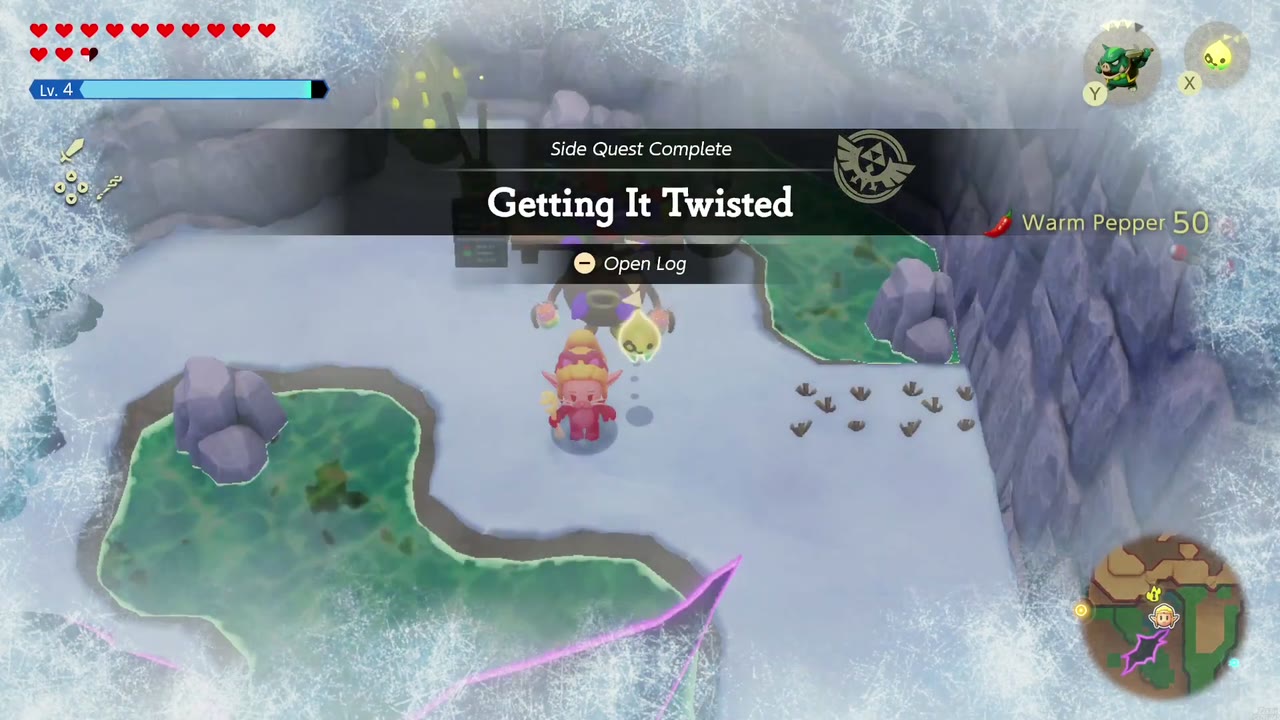
How: The Business Scrub came to Hebra because he heard it had twisted pumpkins, and he’s freezing without one. Choose “Here you go!” to give him a Twisted Pumpkin. After that he opens his Smoothie Shop.
Reward: 10 Warm Peppers.
Stamp Stand Swallowed!
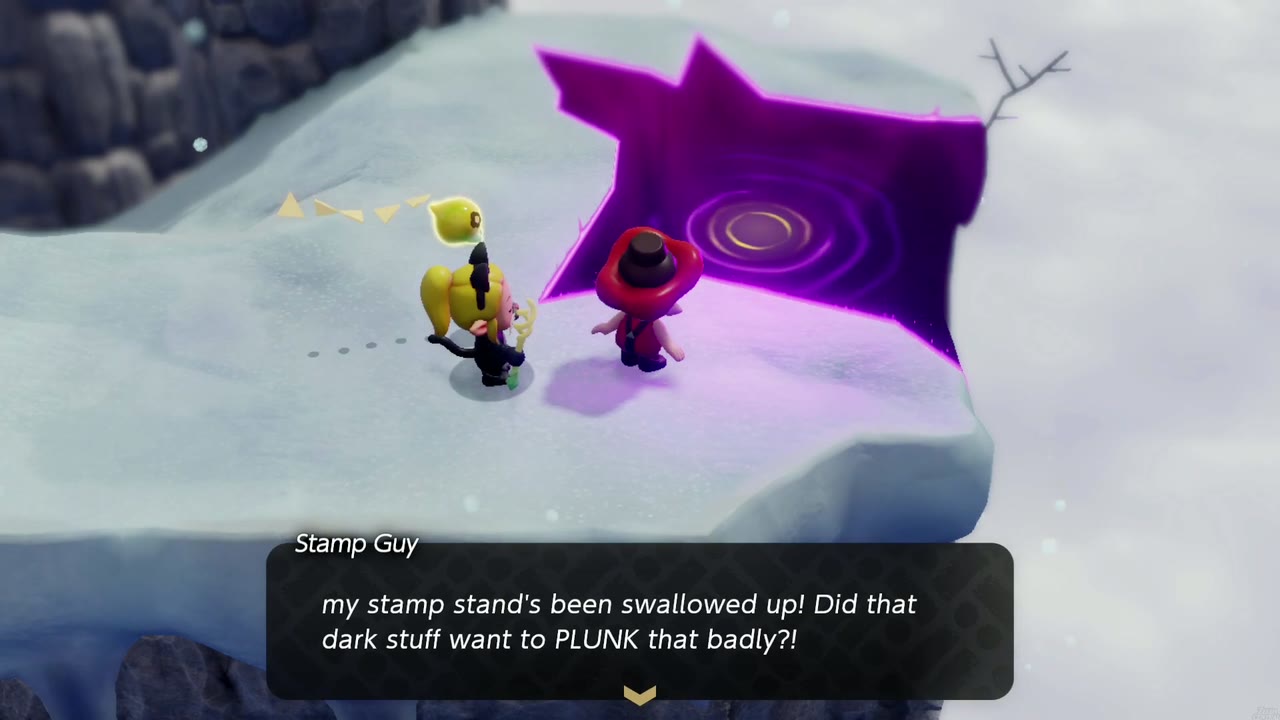
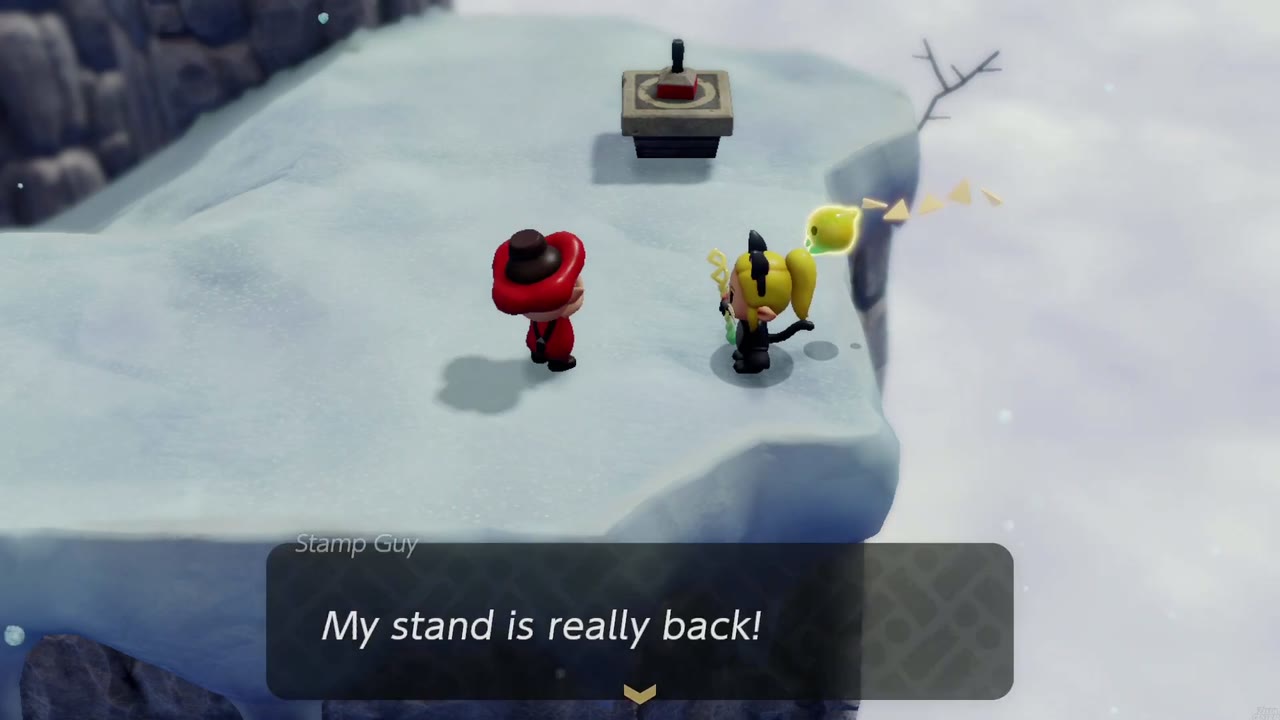
Where: Hebra Mountain summit, on a ledge where a small rift has swallowed the Stamp Guy’s stand.
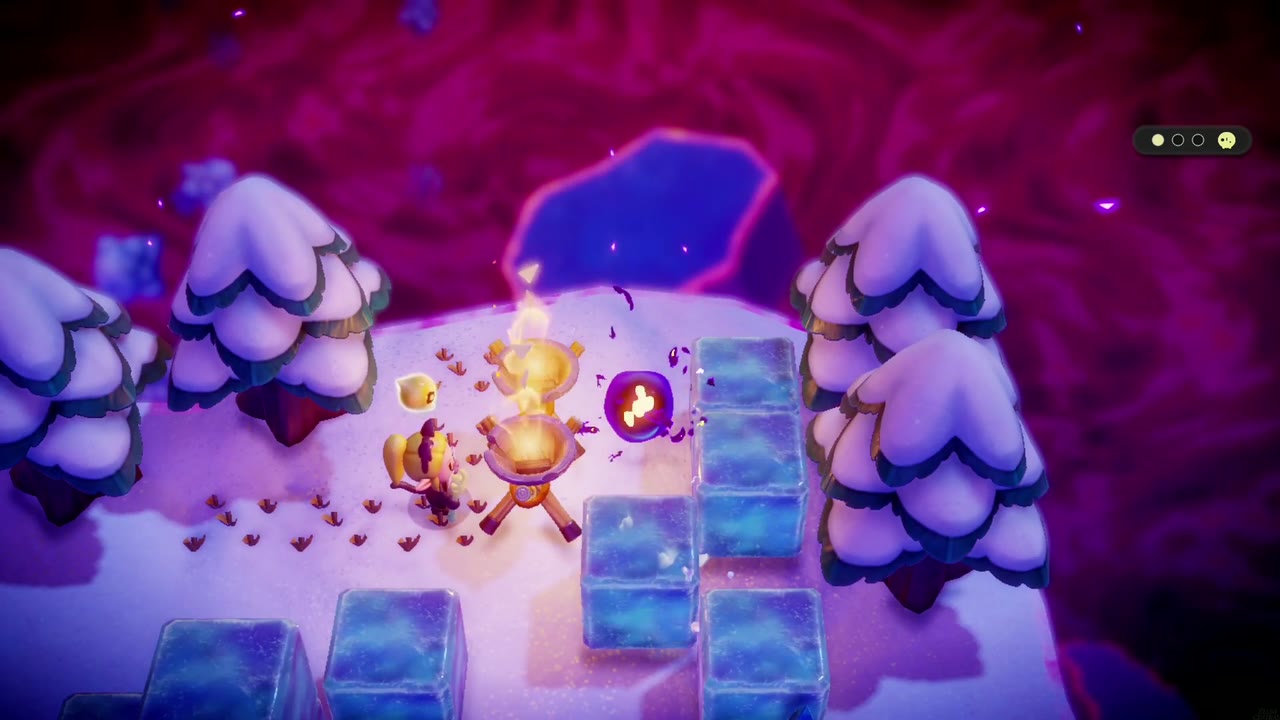
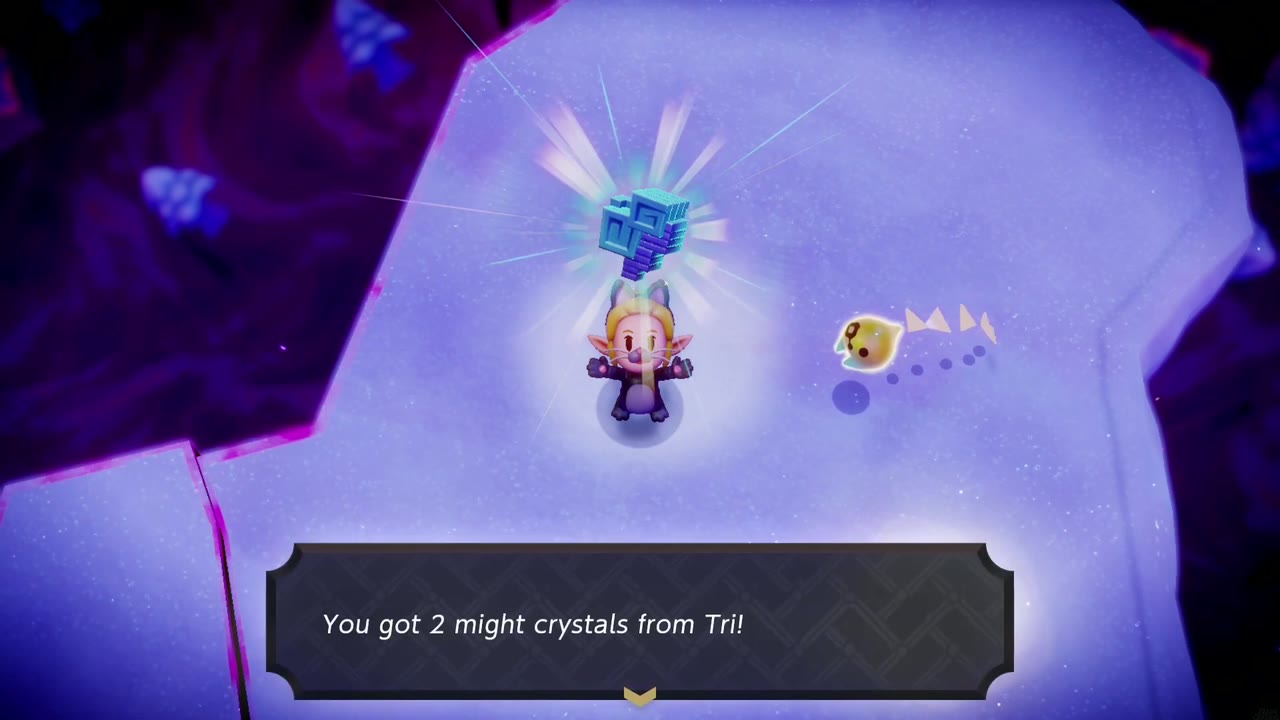
How: Tri opens an entrance into the rift, which leads to the Stilled Hebra Mountain Passage. Melt the ice blocks with Brazier/fire echoes and find Tri’s friends there to seal the rift. Back outside, the Stamp Guy’s stand is restored and you can stamp your card.
Reward: 2 Might Crystals from Tri for sealing the rift (“You got 2 might crystals from Tri!”), plus the Hebra Mountain stamp stand.
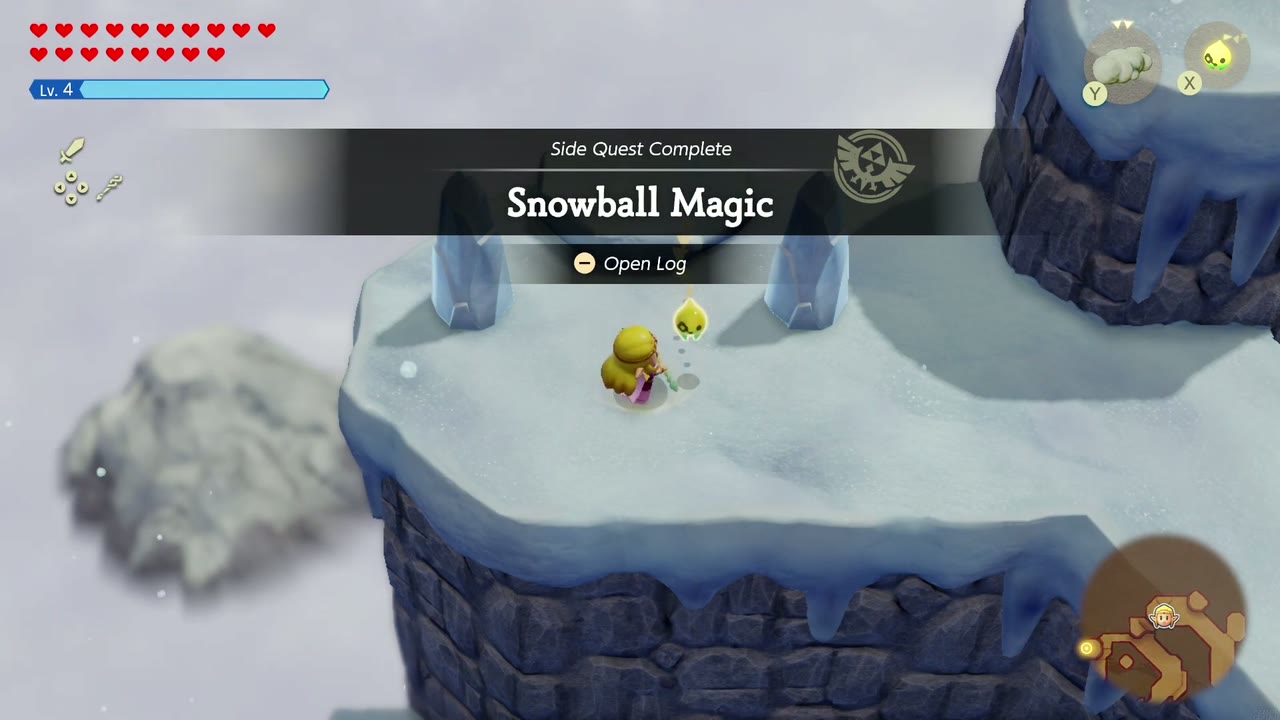
Snowball Magic
Where: Hebra Mountain. The quest starts inside Condé’s House.
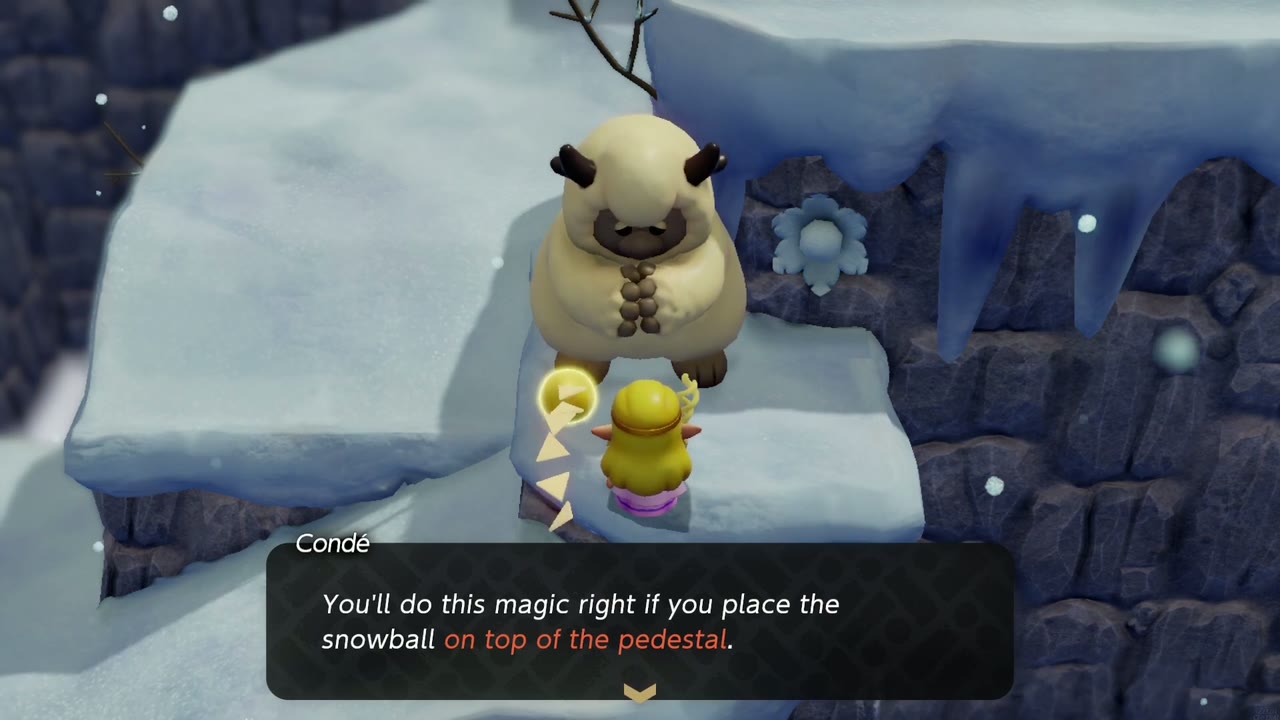
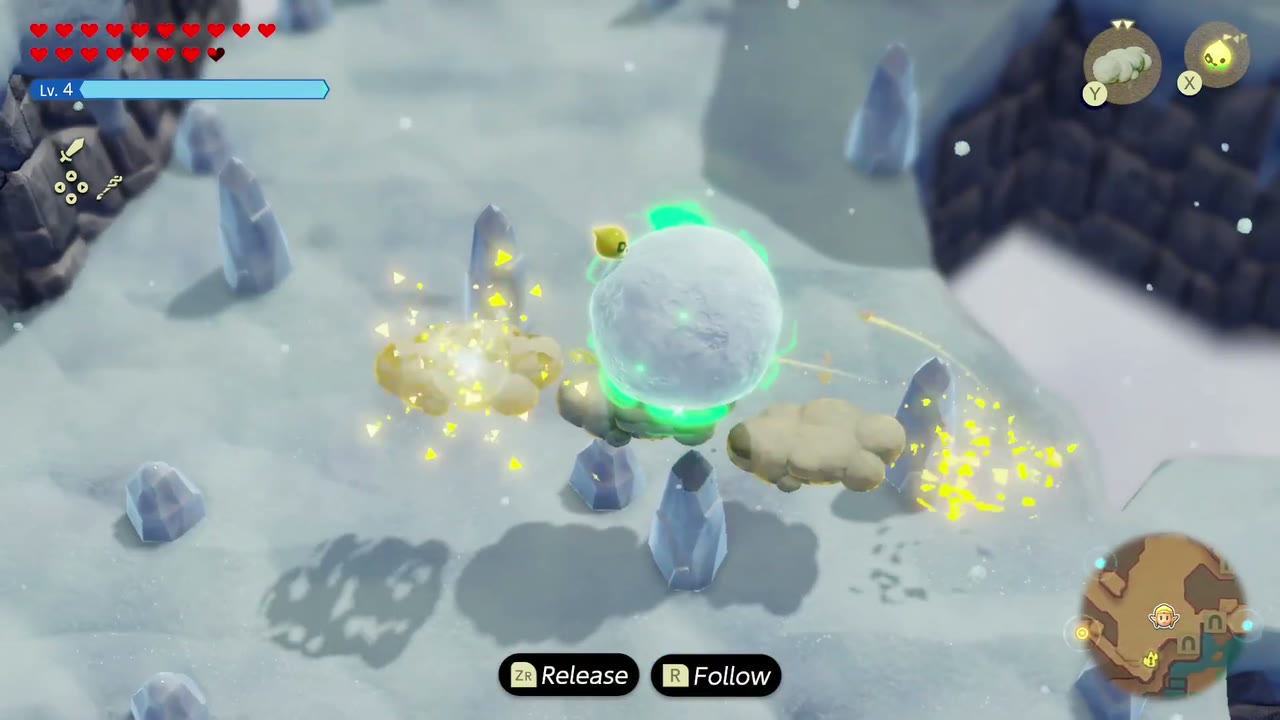
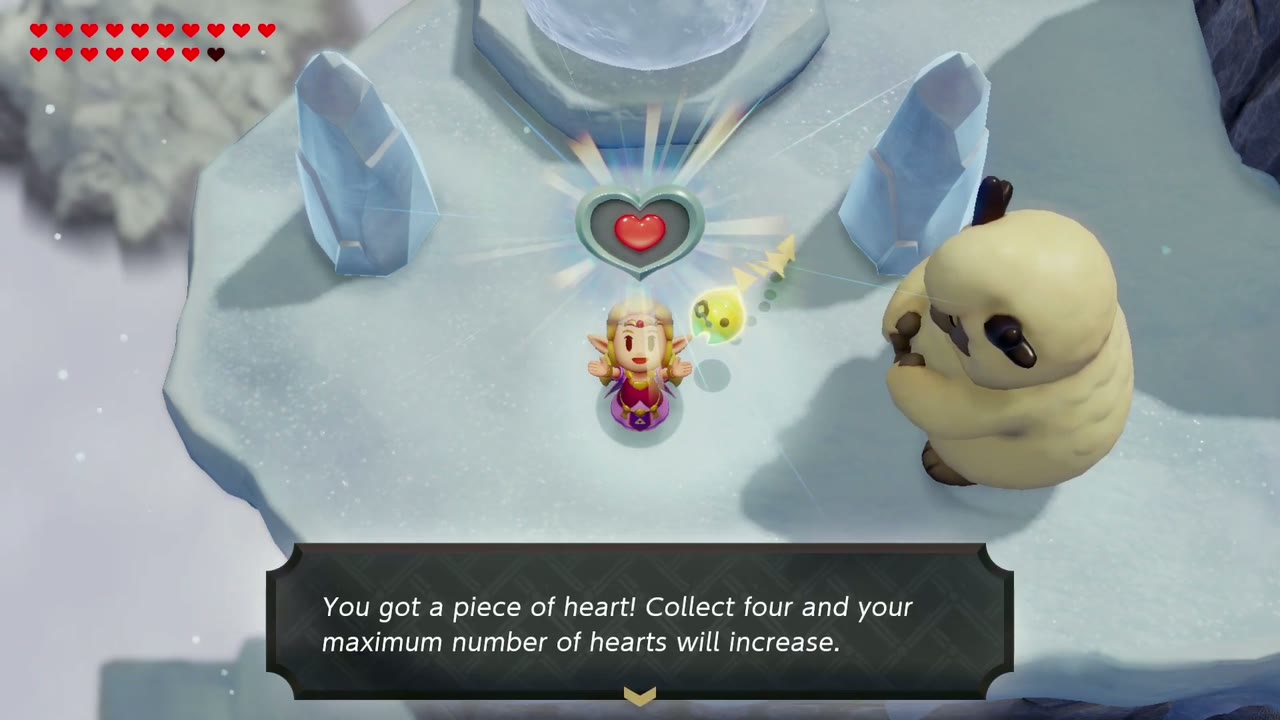
How: Condé hopes Big Brother will come home if Hebra turns sunny, and he asks you to show him the “snowball magic”. Bind a large snowball and carry it across the icy ledges without breaking it, using cloud echoes to bridge the gaps. Then set it on top of the pedestal.
Reward: a Piece of Heart (“You got a piece of heart!”), handed over by Condé once the snowball is on the pedestal.
Scrubton & Faron
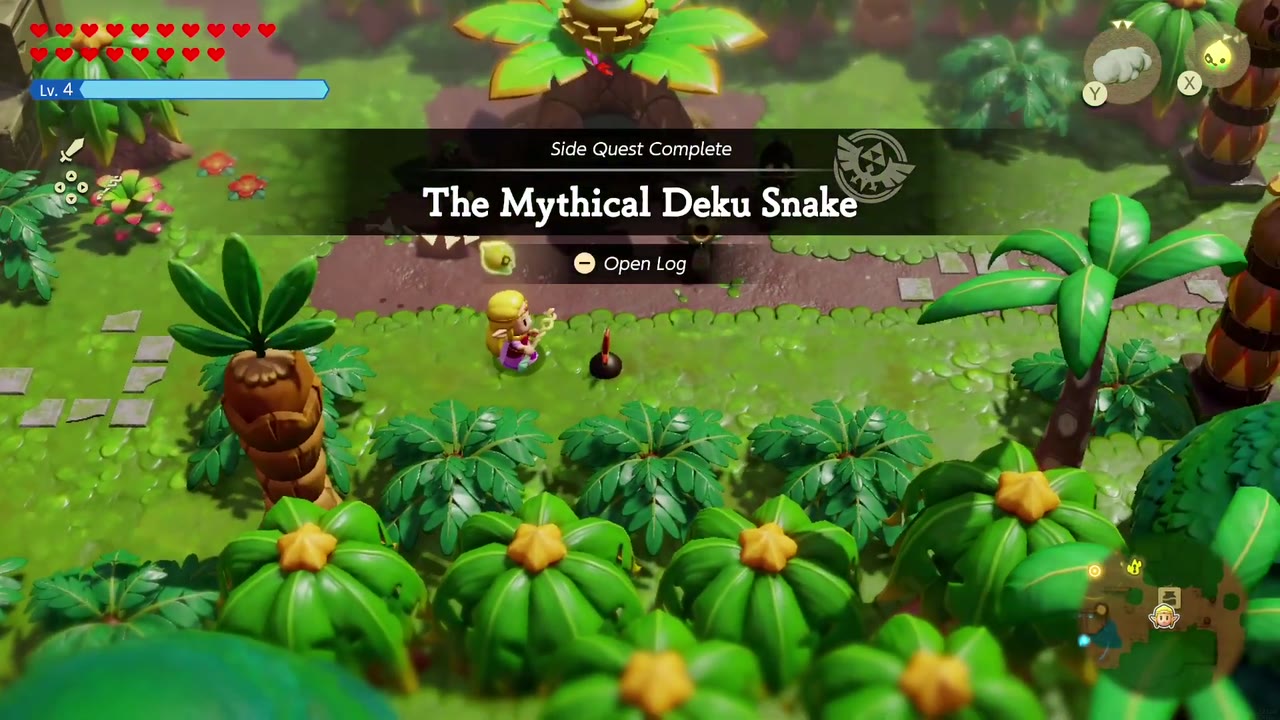
The Mythical Deku Snake
Requirements: Complete Faron Temple.
Where: Scrubton, at the big hollow-stump hut.
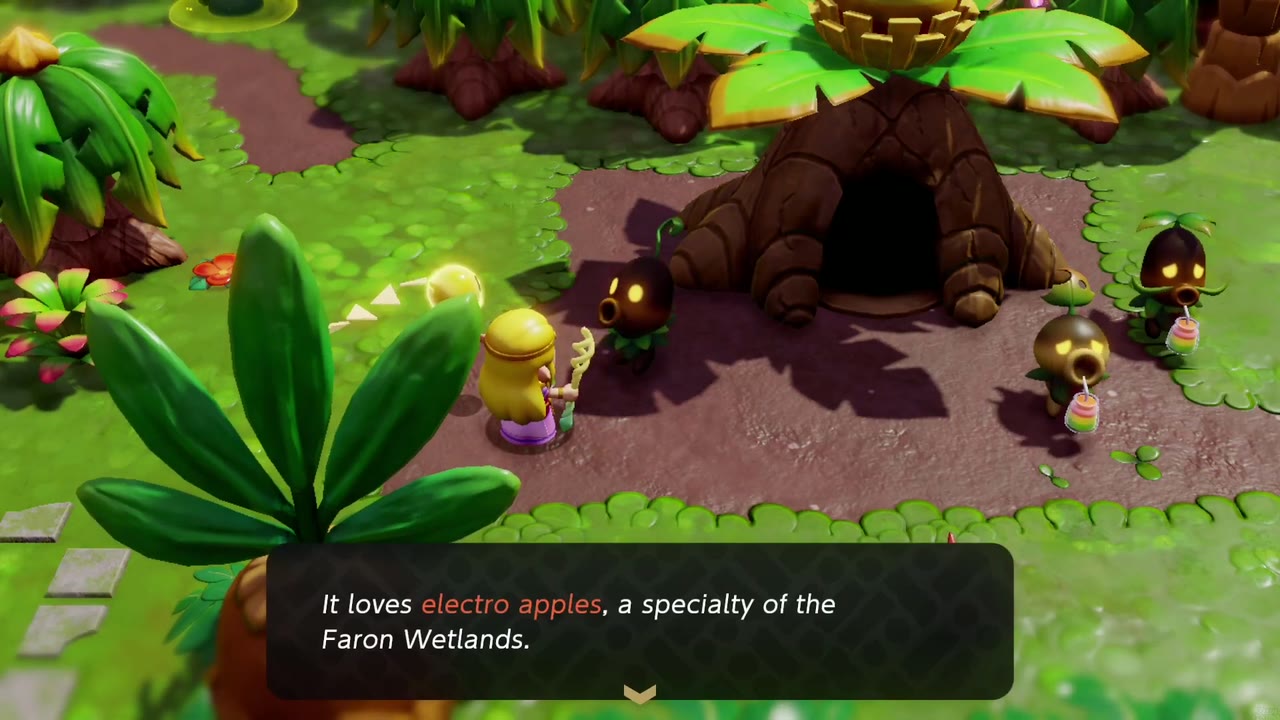
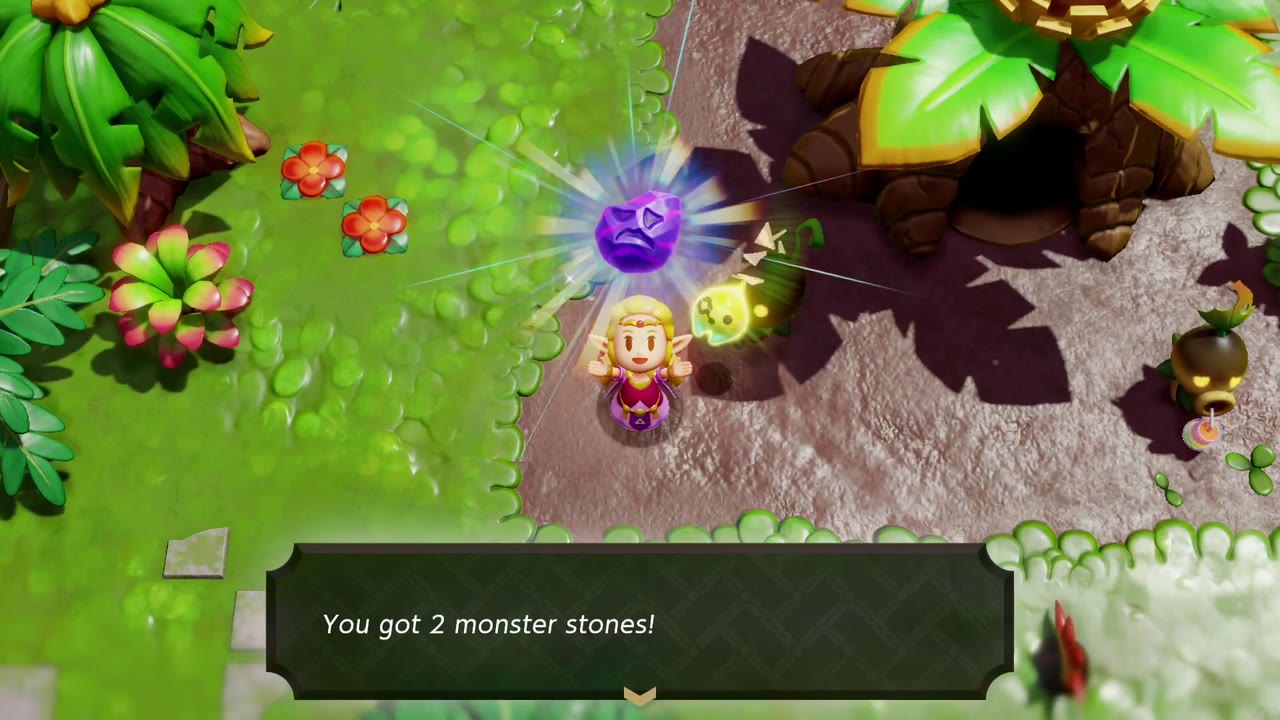
How: A scrub with a money-making scheme wants to catch the Deku Snake and needs bait: bring him three electro apples (a Faron Wetlands specialty) and hand them over.
Reward: 2 Monster Stones (his “cut”).
Mobbing Mothulas!
Requirements: Complete Faron Temple.
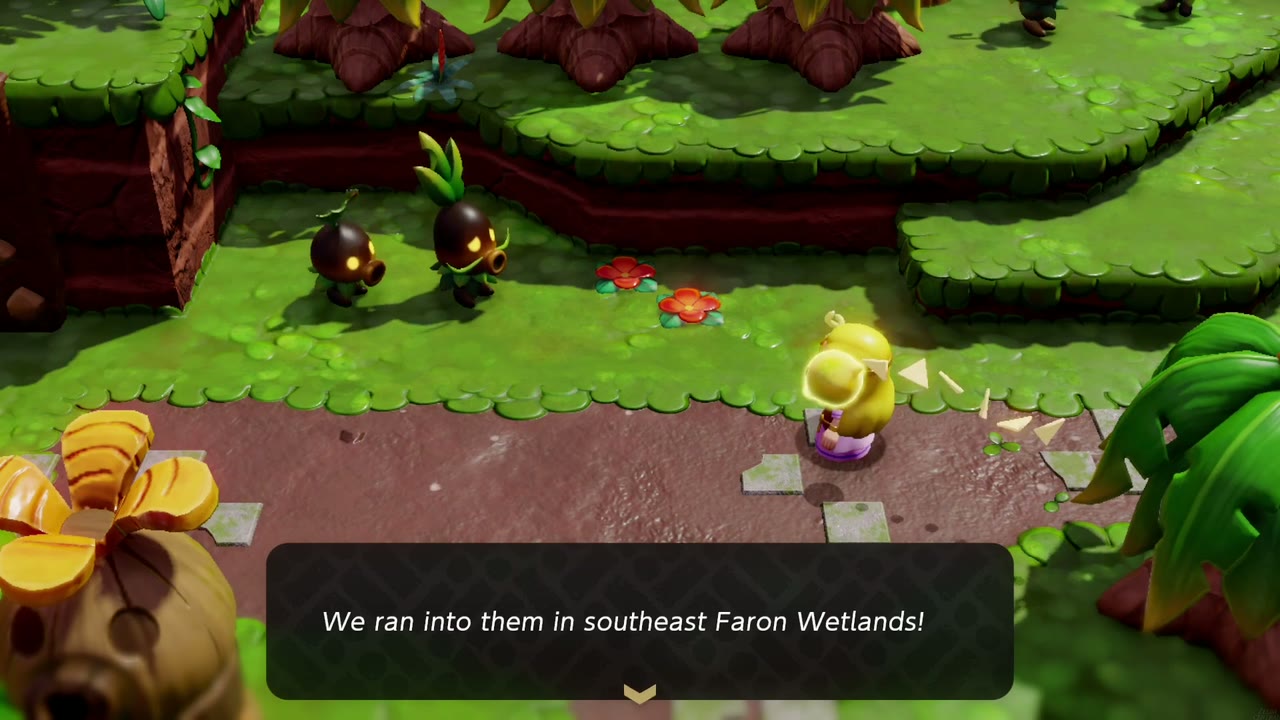
Where: Just outside Scrubton; leafy Deku Scrubs hiding from “leaf eaters”.
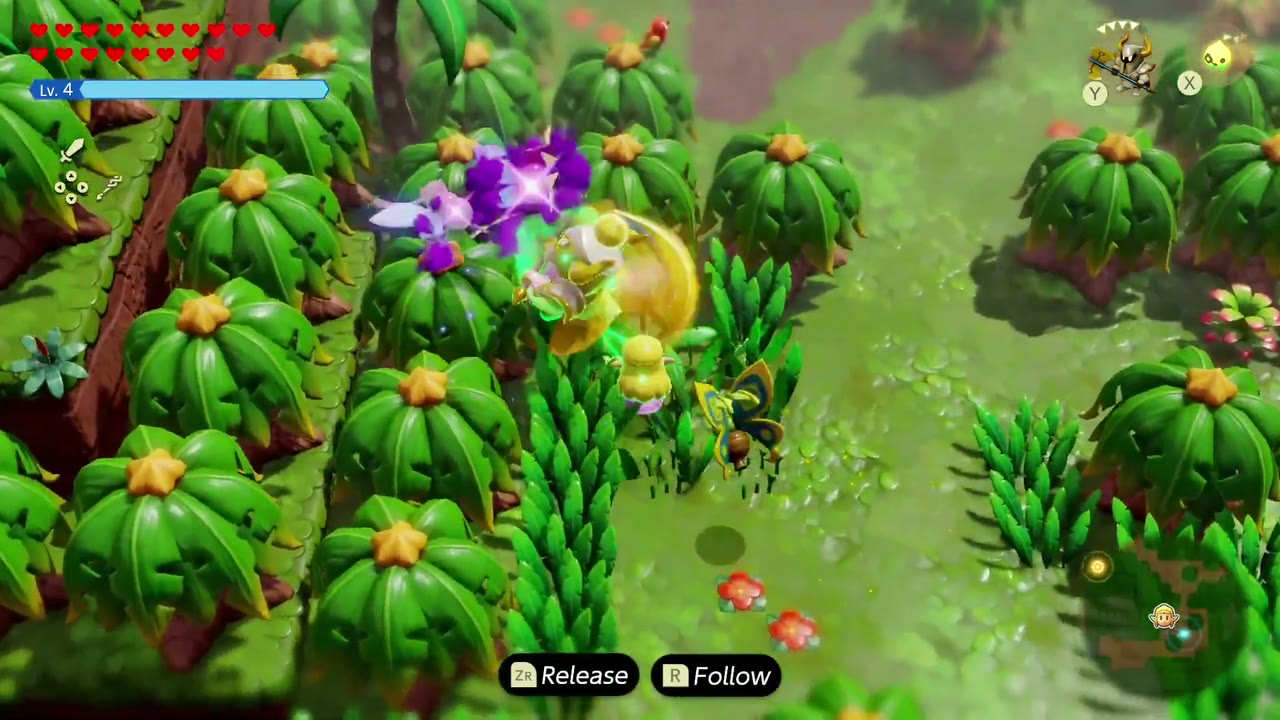
How: They were attacked by a swarm of Mothulas in southeast Faron Wetlands. Go there and defeat the Mothula swarm, then report back to the scrubs.
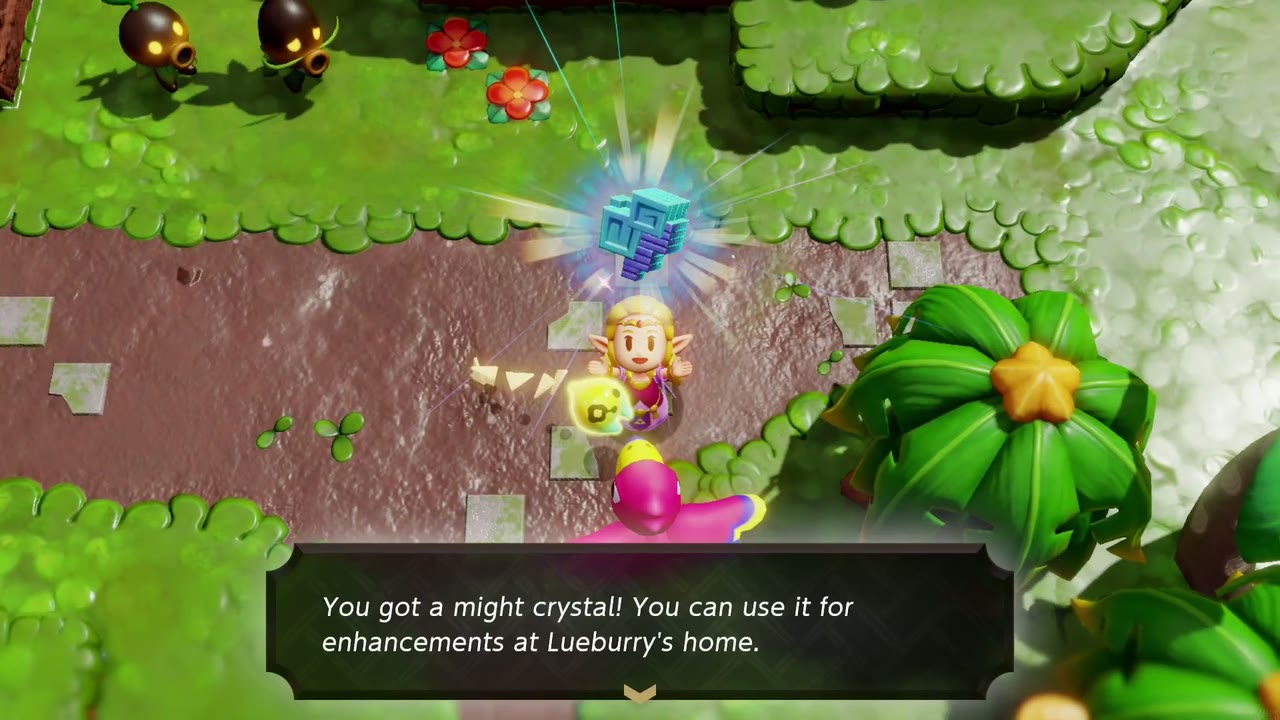
Reward: a Might Crystal.
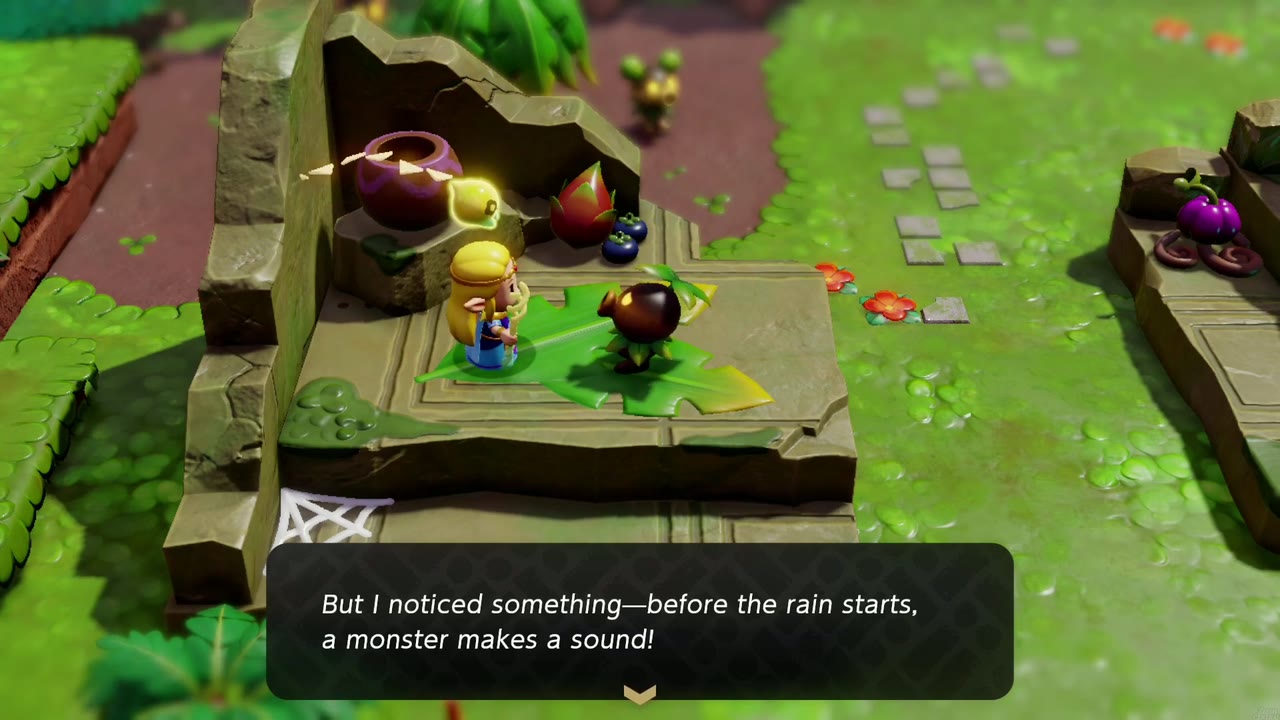
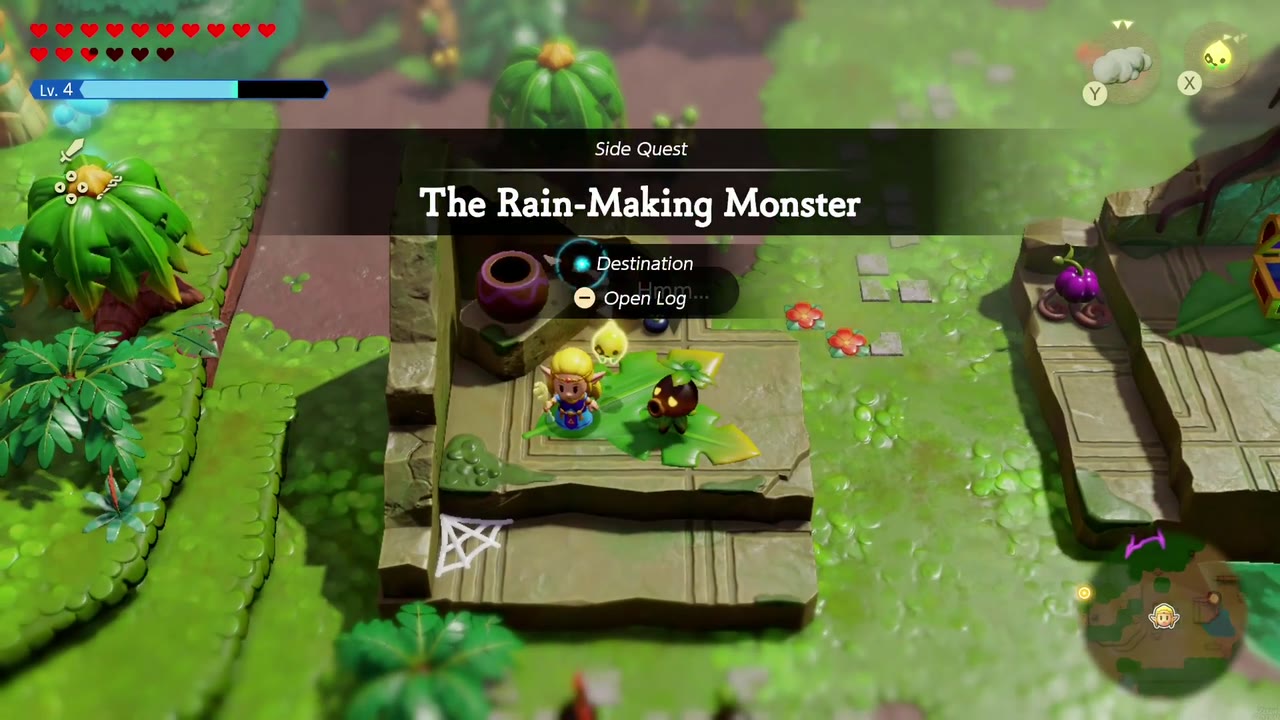
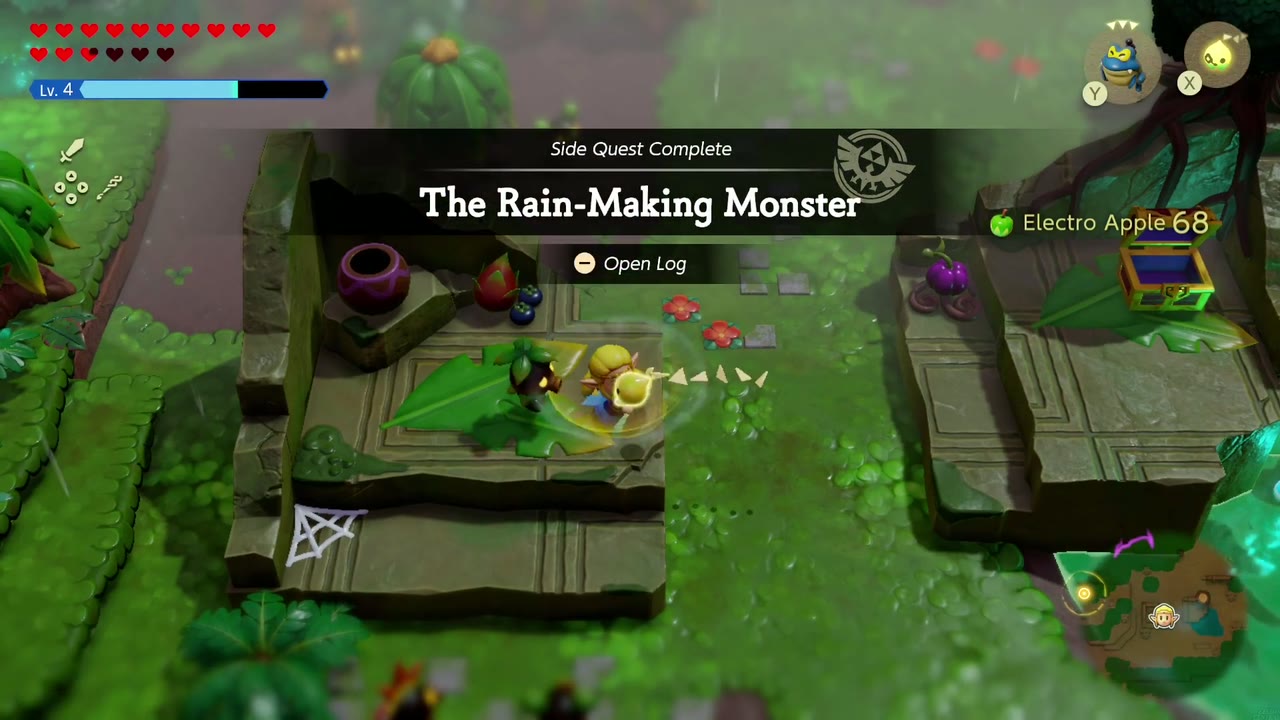
The Rain-Making Monster
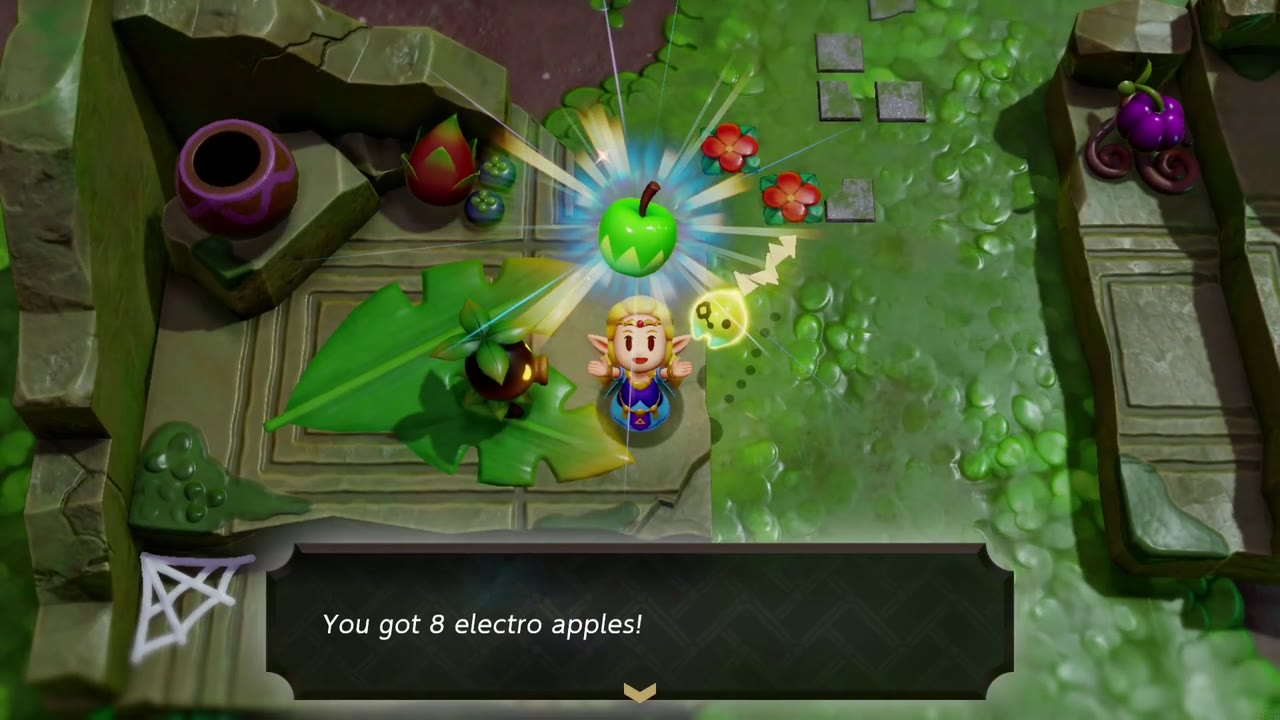
Where: Scrubton, a researcher scrub on a leaf mat atop a stone ledge.
How: He noticed that a monster makes a sound just before the rain starts. Summon a Drippitune echo next to him; its croak is “the sound I remember”.
Reward: 8 Electro Apples.
Looking for Bempu
Requirements: Complete Faron Temple.
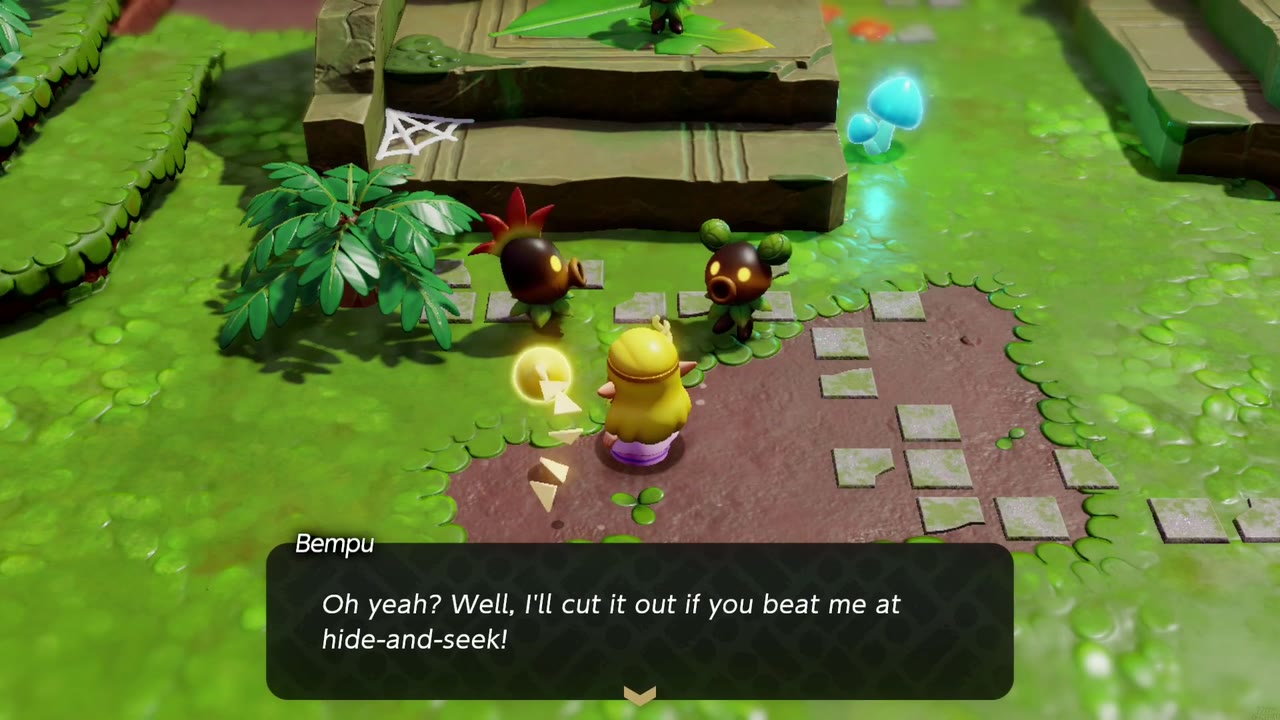
Where: Scrubton, where Bempu and Buzzu are quarreling.
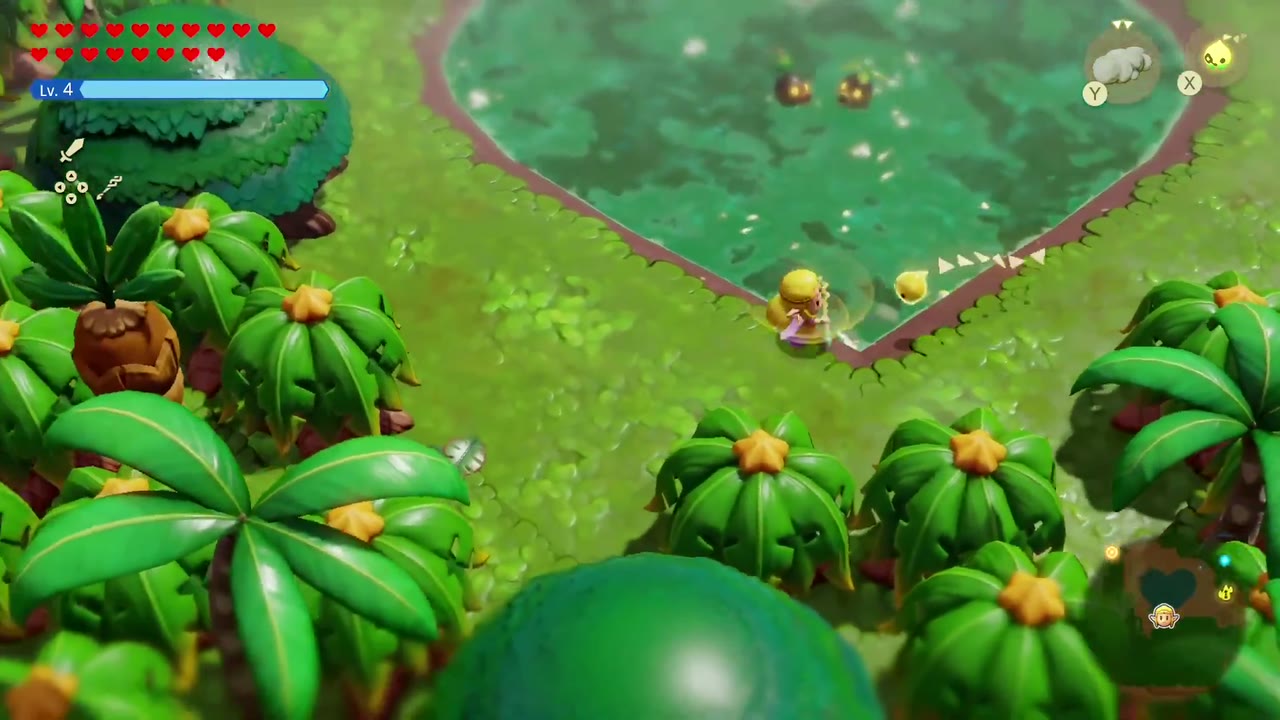
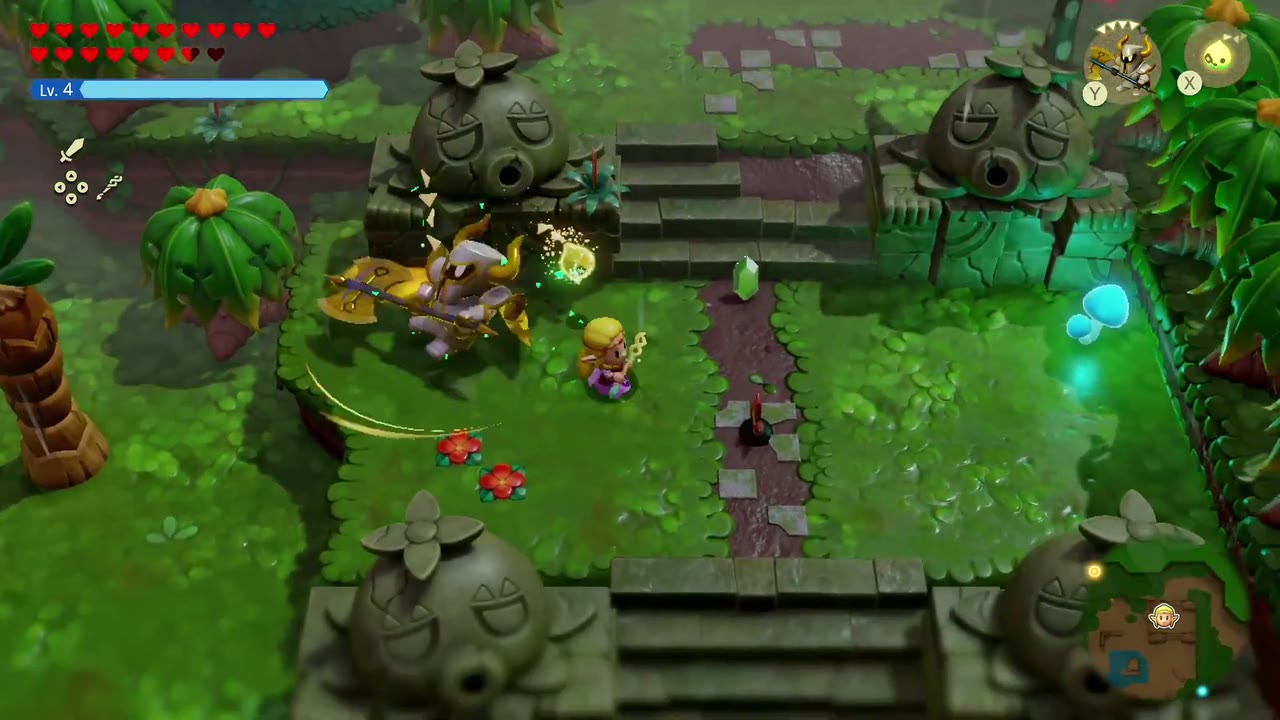
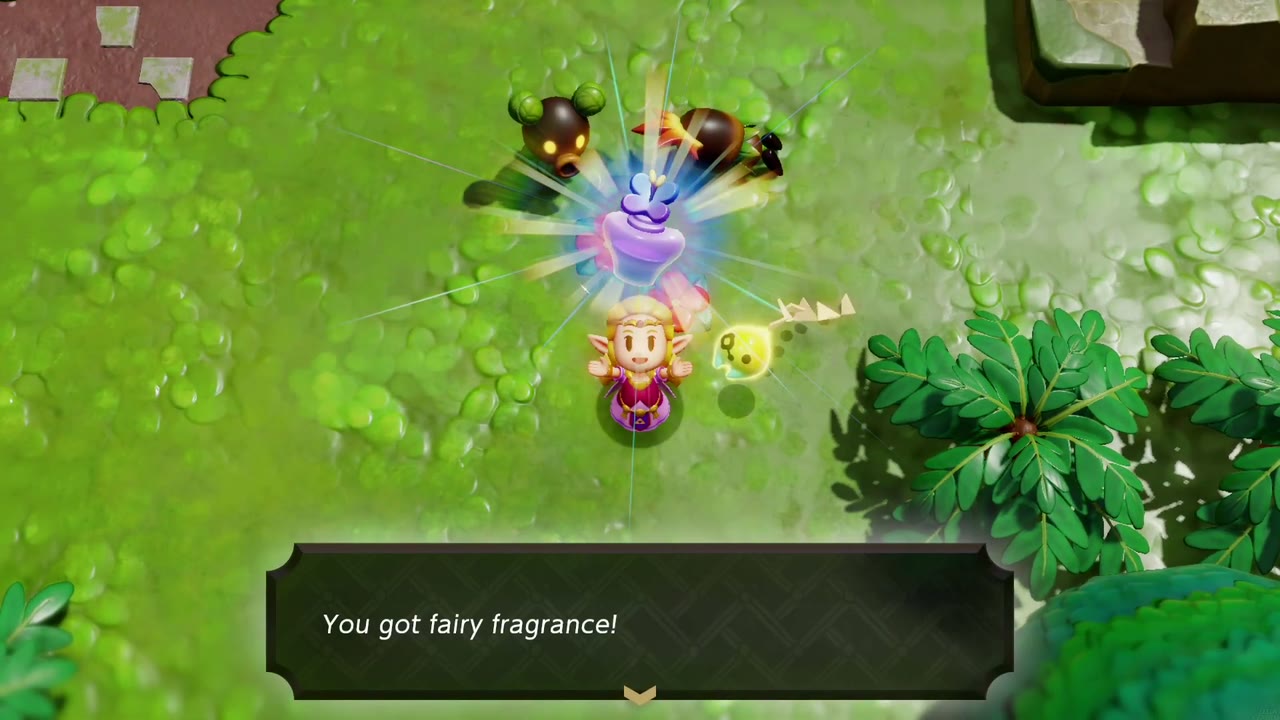
How: Bempu agrees to make up if you beat him at hide-and-seek. Before each round he gives a hint: after a warm-up round, find him by “a lake that’s a symbol of love” (the heart-shaped pond), then “between four stone siblings” (the four Deku stone heads), then one last hiding place in Faron Wetlands.
Reward: Fairy Fragrance.
Cotton-Candy Hunt
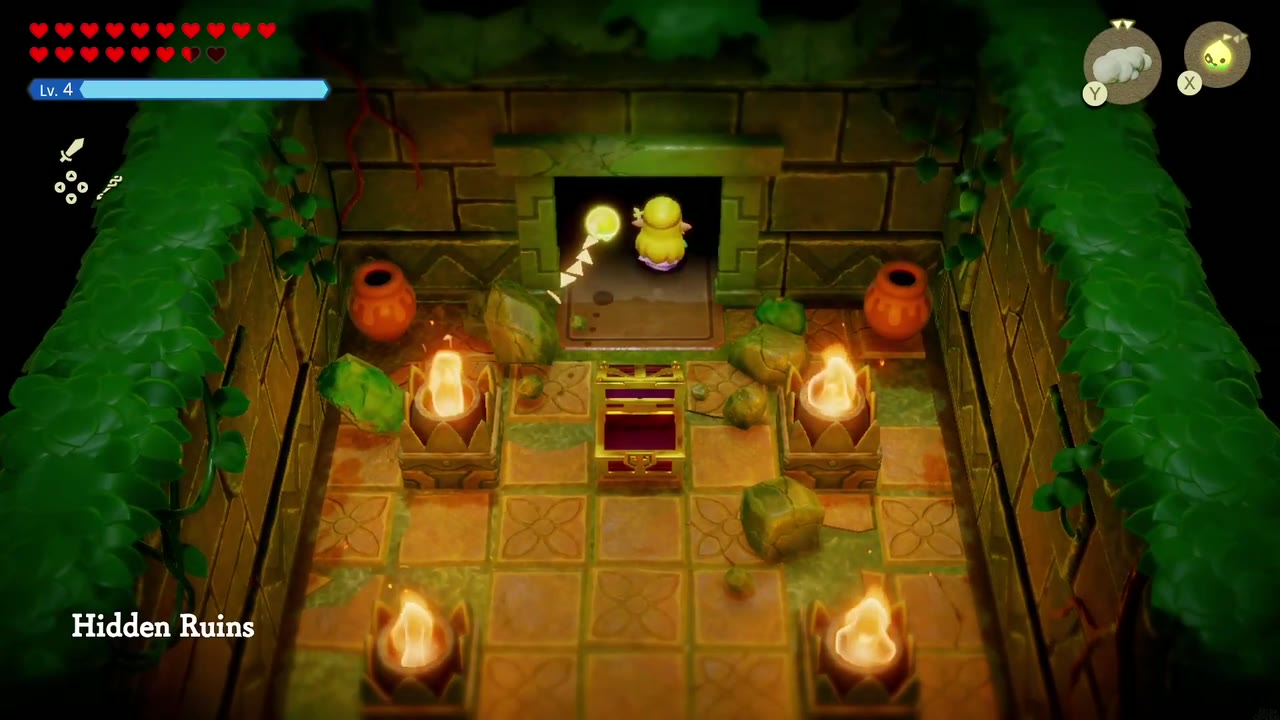
Requirements: Complete Faron Temple and Let’s Play a Game. Stop the rain by defeating the entrance Drippitunes, then light the two braziers to reveal Hidden Ruins. Merge Smog’s small clouds before attacking the reformed boss.
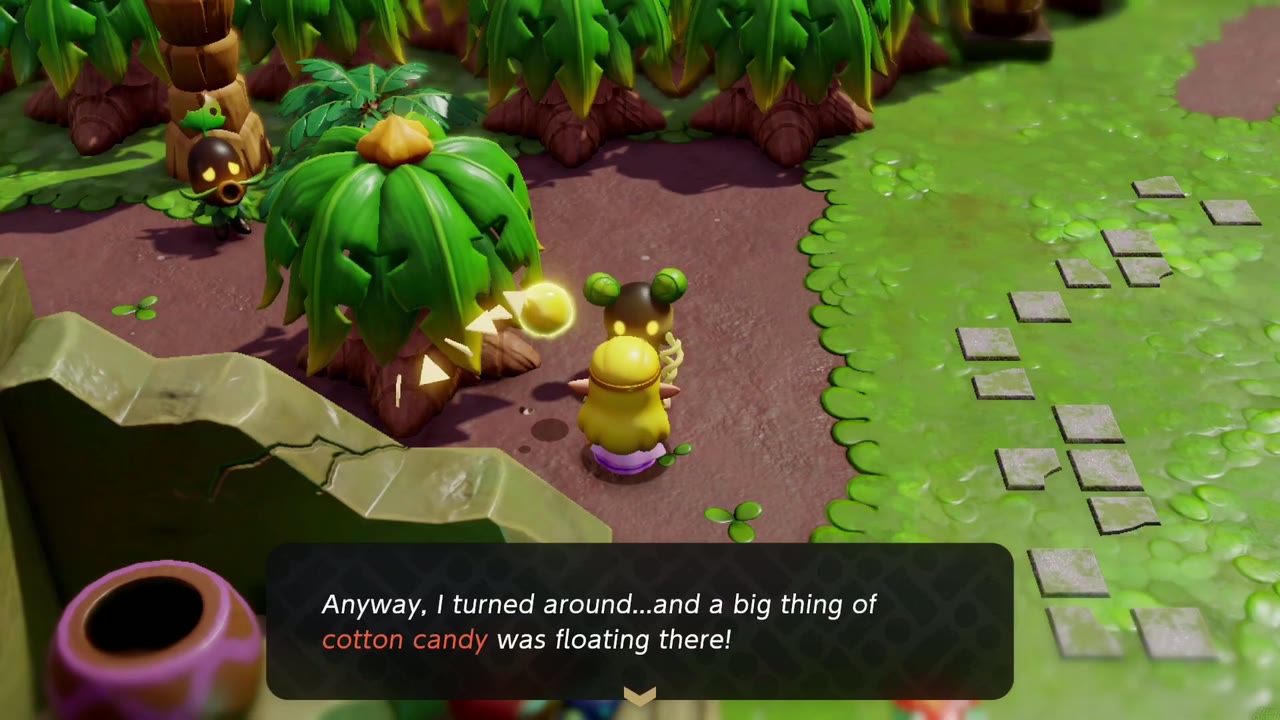
Where: Scrubton, a scrub loyal to cotton candy (pick “Cotton candy!”).
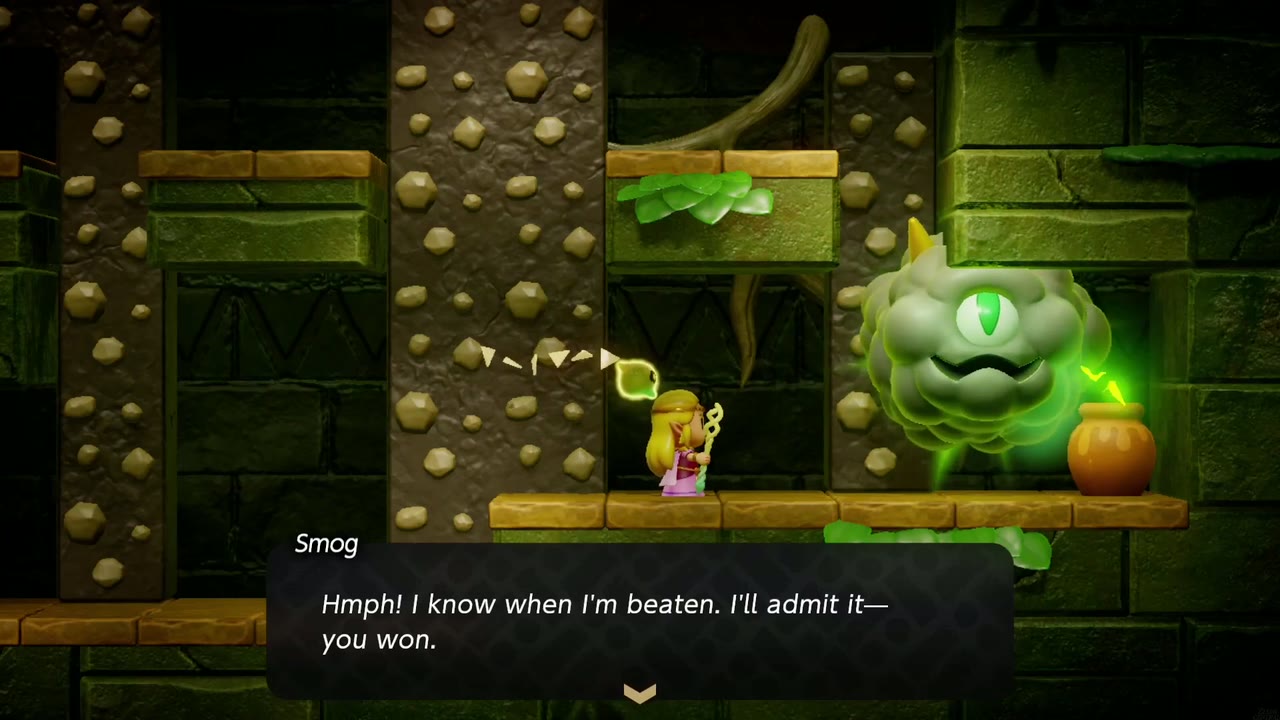
How: He saw a big thing of cotton candy floating and heard of an underground entrance. Cross the wetlands on Cloud echoes to the Hidden Ruins, clear the web, block-puzzle and side-view rooms, and defeat Smog, who leaves a Piece of Heart. Then return to the scrub.
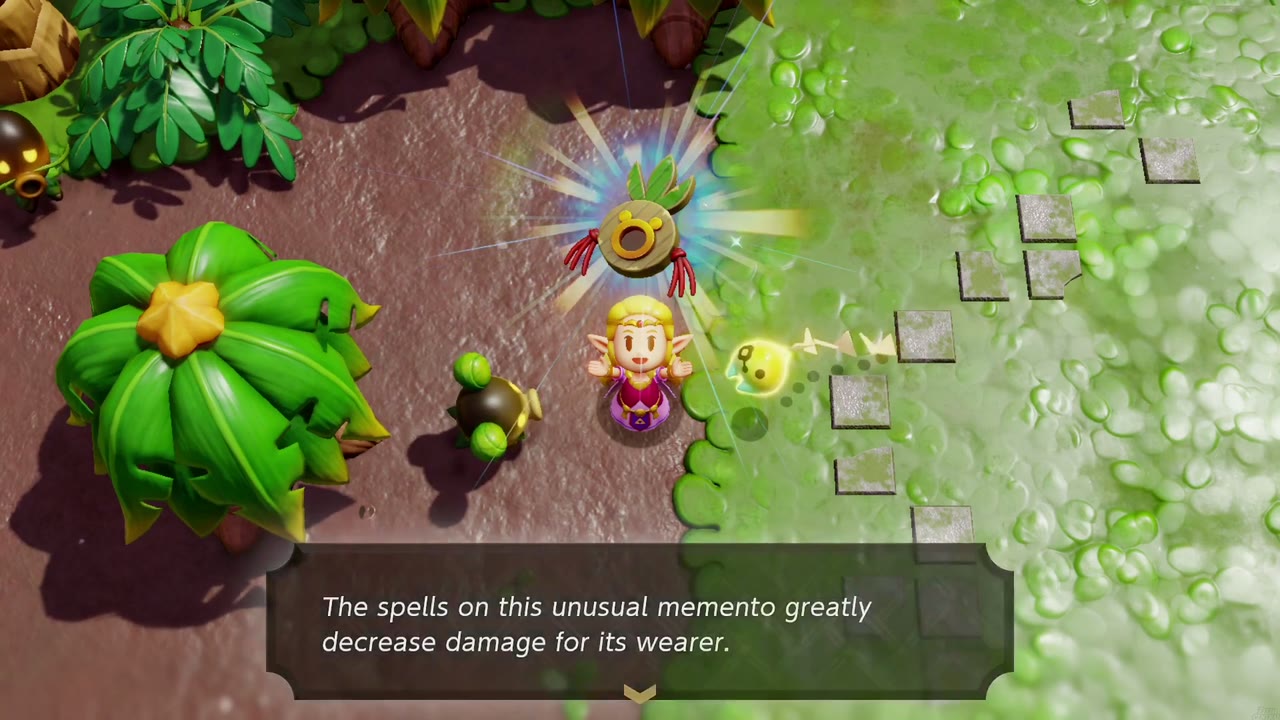
Reward: the Ancient Charm becomes the Curious Charm (greatly decreases damage); plus the Piece of Heart from Smog.
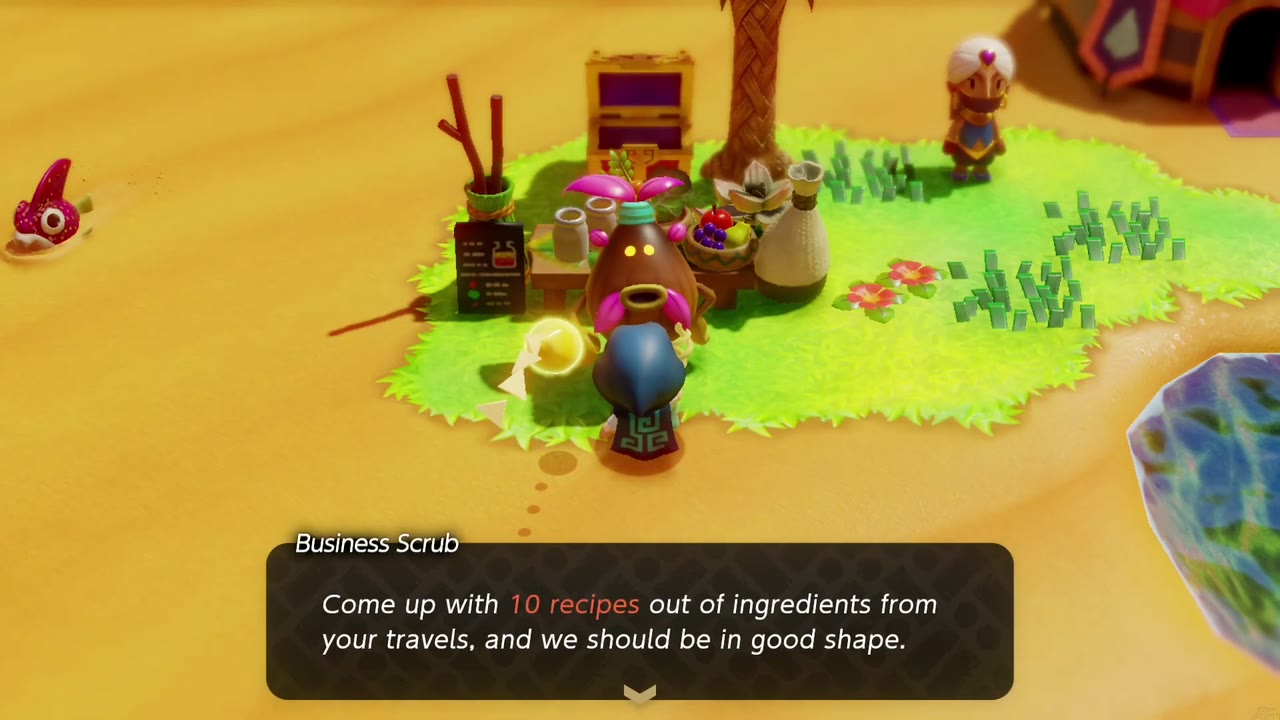
Recipes, Please!
Where: Any open Smoothie Shop.
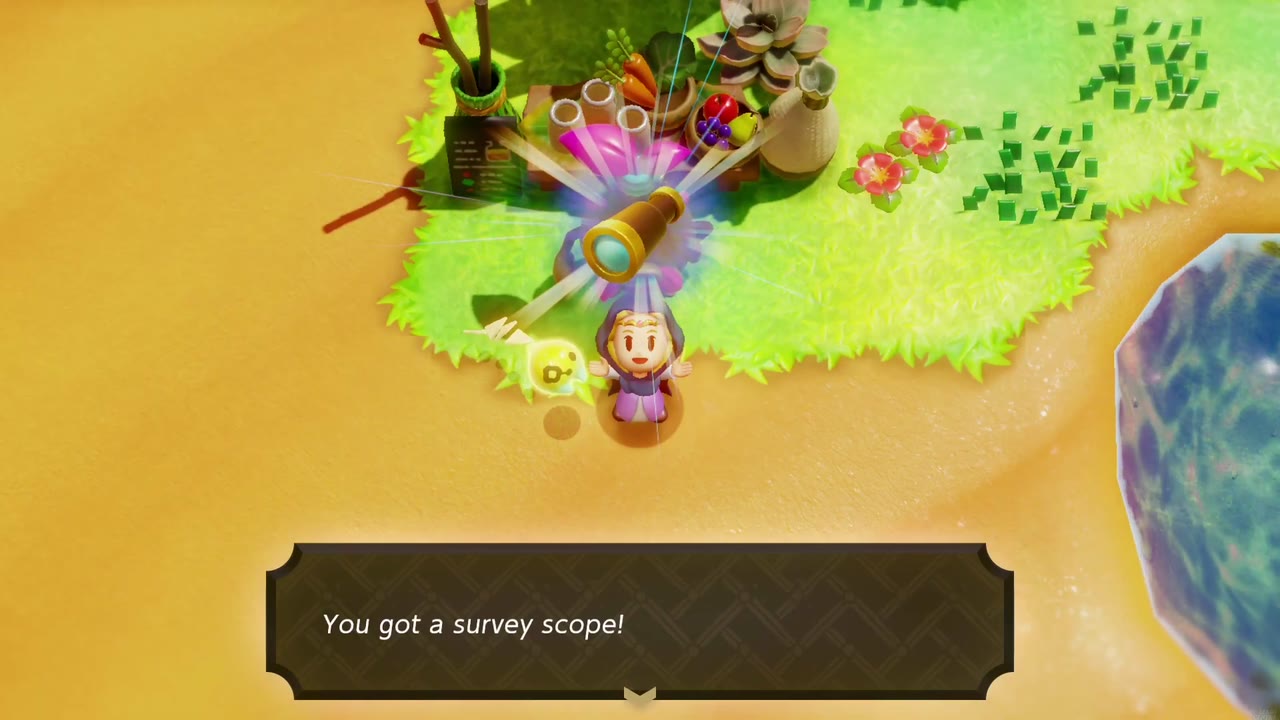
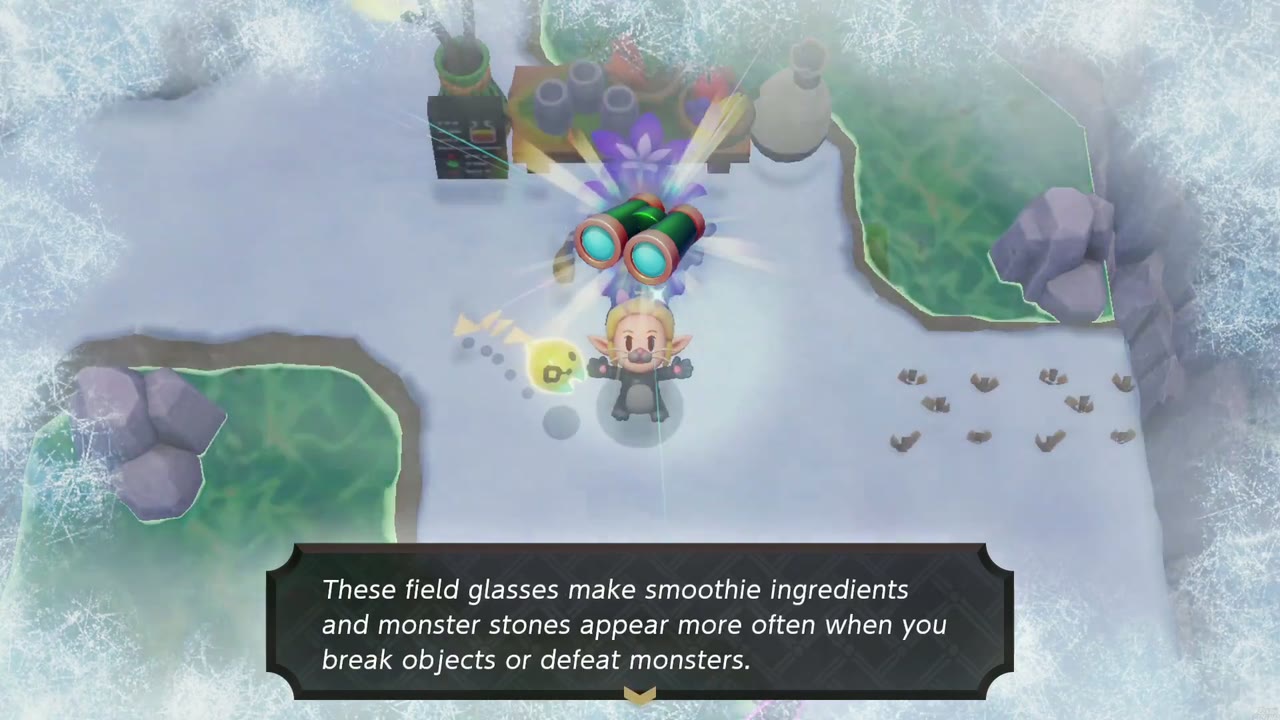
How: Discover 10 distinct successful recipes for the Survey Scope, then 20 more for 30 total to earn Survey Binoculars. Ingredient pairs that yield a known result or an Unfortunate Smoothie do not increase the distinct successful recipe count. Hebra is optional.
Reward: Survey Scope, upgraded to Survey Binoculars at the second milestone.
A Checklist of All Completed Quests
Rewards checklist for the big-ticket items:
Fairy Bottles: Cuccos on the Loose · The Zappy Shipwreck (another comes from a chest in a Suthorn Forest cave)
Accessories: Heart Barrette · Gold Sash · Zora Scale · Gold Brooch · Ancient Charm → Curious Charm · Might Bell · Goron’s Bracelet · Fairy Fragrance · Survey Scope → Survey Binoculars
Outfits: Silk Pajamas · Cat Clothes · Customary Attire
Key unlocks: Clockwork Key + Automatons · Impa’s horse · free horse rentals at Hyrule Ranch · the Zora Cove Smoothie Shop
Pieces of Heart from side quests include: Wild Sandstorms · The Zappy Shipwreck · Let’s Play a Game · A Mountainous Mystery · Cotton-Candy Hunt · Snowball Magic · An Out-There Zol (full heart list)
