





















Gold Skulltulas FULL Guide & Walkthrough (All Locations + Rewards)
FULL Guide & Walkthrough with chapter timestamps for every major section.


What Are Gold Skulltulas and Why Hunt Them?

Gold Skulltulas, also known as Spiders of the Curse, are special Skulltulas scattered throughout Hyrule. Unlike their regular cousins, they don’t attack but instead remain stationary, often hidden away. Defeating one yields a Gold Skulltula Token.
The primary motivation for collecting these tokens lies in Kakariko Village at the House of Skulltula. This once-wealthy family fell victim to a curse born from their own greed, transforming them into grotesque Skulltula creatures. As Link collects tokens, he gradually breaks the curse, freeing members of the family one by one. Each freed member offers Link a reward for his efforts.
The House of Skulltula: Rewards for Your Bravery
Located in Kakariko Village (it’s the first house on the right as you enter from the main village square, distinctively eerie and empty inside), this house is where you reap the benefits of your hunt. Talk to the freed family members as you reach these milestones:

10 Tokens: Adult’s Wallet
Allows Link to carry up to 200 Rupees. Essential for affording some pricier items early on.

20 Tokens: Stone of Agony (N64) / Shard of Agony (3DS)
A crucial tool for secret hunters!
- N64: Causes the Rumble Pak (if inserted) to vibrate when Link is near a hidden grotto or secret hole.
- 3DS: Provides a visual icon and an auditory cue (beeping faster the closer you are) on the screen when near a secret, as the 3DS lacks rumble.
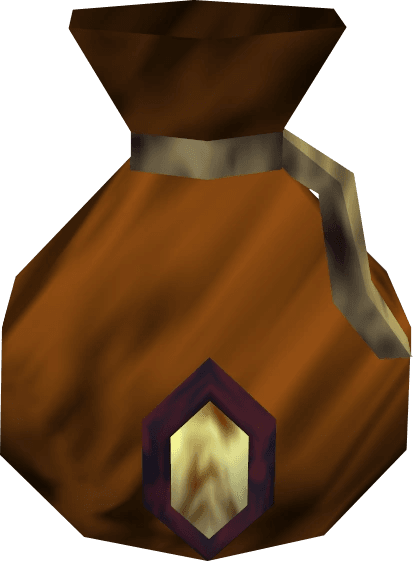
30 Tokens: Giant’s Wallet
The largest wallet upgrade, allowing Link to carry a maximum of 500 Rupees.

40 Tokens: Bombchus
Link receives 10 Bombchus. Finding these also unlocks the ability to find or purchase more Bombchus elsewhere (like the Bowling Alley or specific shops, once available). Bombchus are unique crawling bombs useful for puzzles and hitting distant switches.

50 Tokens: Piece of Heart
A valuable reward contributing to Link’s overall health meter. Many players aim for at least this many tokens.

100 Tokens: Huge Rupee (Repeatable)
Upon collecting the final token and freeing the last family member, Link receives immense gratitude… and a Huge Rupee (worth 200). He can return and speak to this grateful man anytime to receive another Huge Rupee, effectively granting unlimited funds (though by this point, you may not need them as much!).
How Do I Know Which Gold Skulltula Tokens I Haven’t Found Yet?
So, you’re deep into your quest to break the curse on the House of Skulltula, but finding every last one requires knowing where you’ve already been successful. While Ocarina of Time doesn’t give you a numerical count like “3 out of 5” on the map for each area, it does provide clear visual markers to show if you’ve found all the Gold Skulltulas in a specific dungeon or overworld location. Here’s the correct way to check:
1. Checking Dungeons
- Enter the Dungeon: You must be inside the dungeon you want to check.
- Pause the Game: Press the START button to bring up the pause menu (Quest Status Screen).
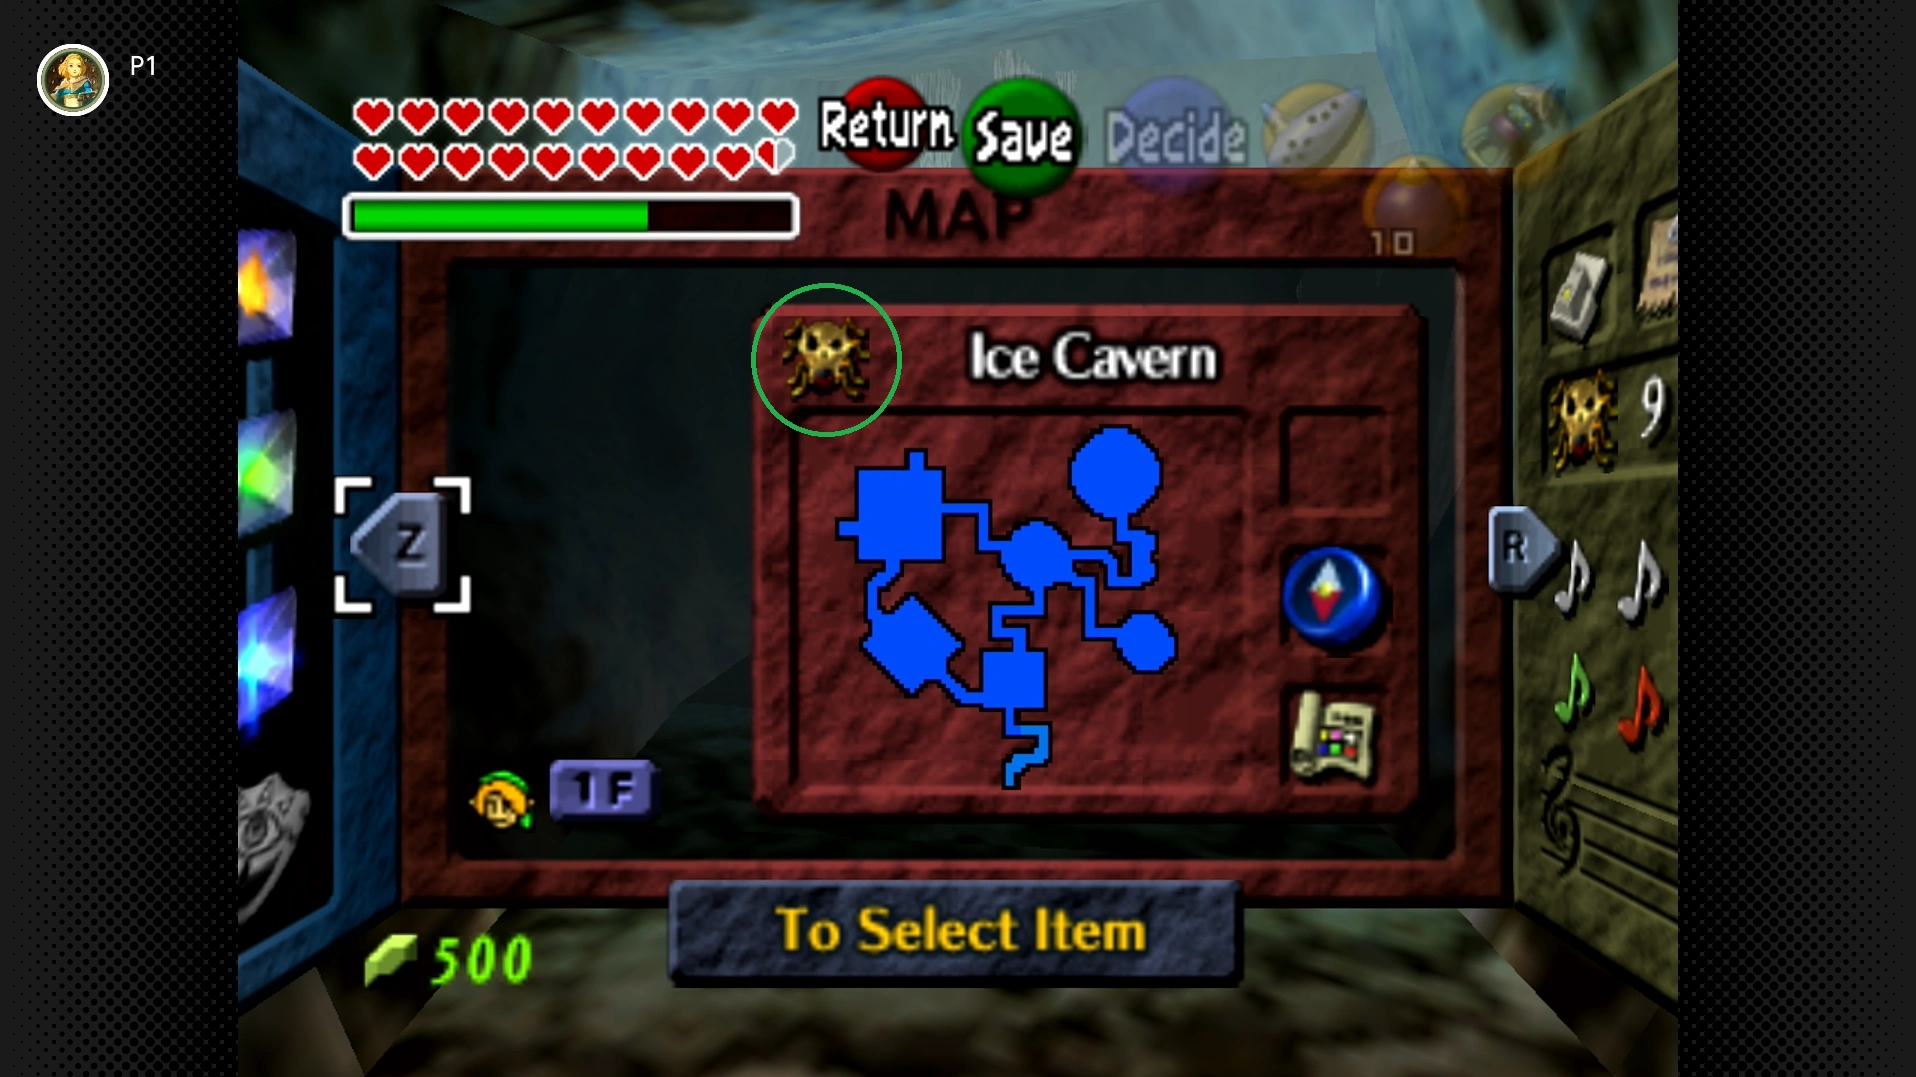
- Navigate to the Dungeon Map: Select the Map tab. This will display the map of the dungeon you are currently in.
- Look for the Skulltula Icon: Somewhere on this dungeon map screen, you will see a Gold Skulltula icon.
- Check the Icon’s Appearance:
- If the Gold Skulltula icon is bright gold and fully visible, congratulations! You have found all the Gold Skulltulas hidden within that specific dungeon.
- If the Gold Skulltula icon is greyed out, dim, or lacks color, you are still missing one or more Skulltulas inside that dungeon.
2. Checking Overworld Areas
- Pause the Game: Press the START button while you are in the Hyrule overworld (not inside a dungeon or house).
- Navigate to the World Map: Select the Map tab to view the main map of Hyrule.
- Hover Over Locations: Use the control stick to move the cursor over the names of different regions you have visited (e.g., “Kakariko Village,” “Death Mountain Trail,” “Zora’s River”).
- Look for the Skulltula Mark: Observe the information box that displays the location’s name. If you have found all the Gold Skulltulas that are hidden in that specific overworld map section, a small Gold Skulltula icon will appear directly next to the location’s name.
- No Icon Means Missing Skulltulas: If there is no Gold Skulltula icon next to the name, it means you haven’t yet found all the Skulltulas located directly in that overworld area. (Note: This marker does not reflect Skulltulas inside dungeons accessible from that area; check the dungeon maps separately for those).
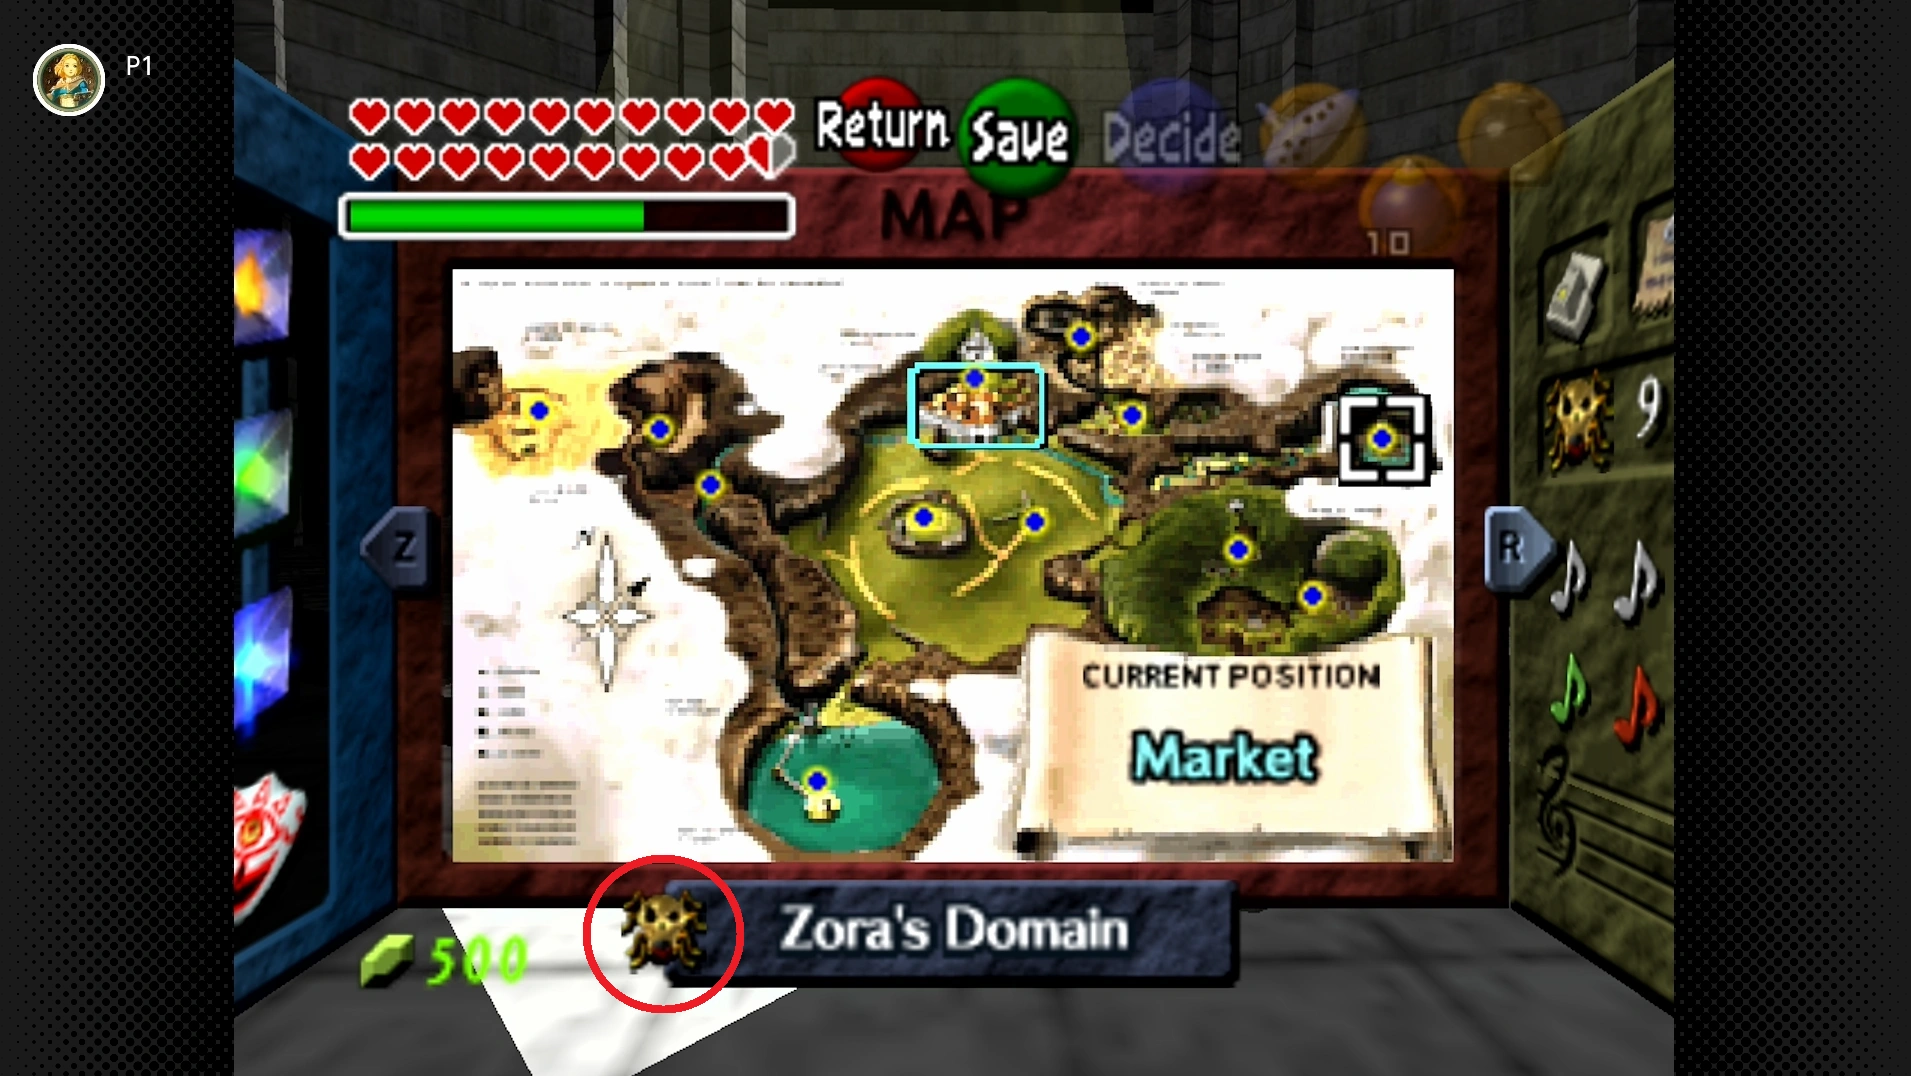
By using these two map checks – the bright icon on the dungeon map and the small icon next to names on the world map – you can pinpoint exactly which dungeons and overworld zones still hold the hidden Skulltulas you need!
Every Gold Skulltula Location
This guide details the locations of all 100 Gold Skulltulas. Remember to listen for their distinctive skittering sound!
Inside the Deku Tree (4 Skulltulas) [#1-4]
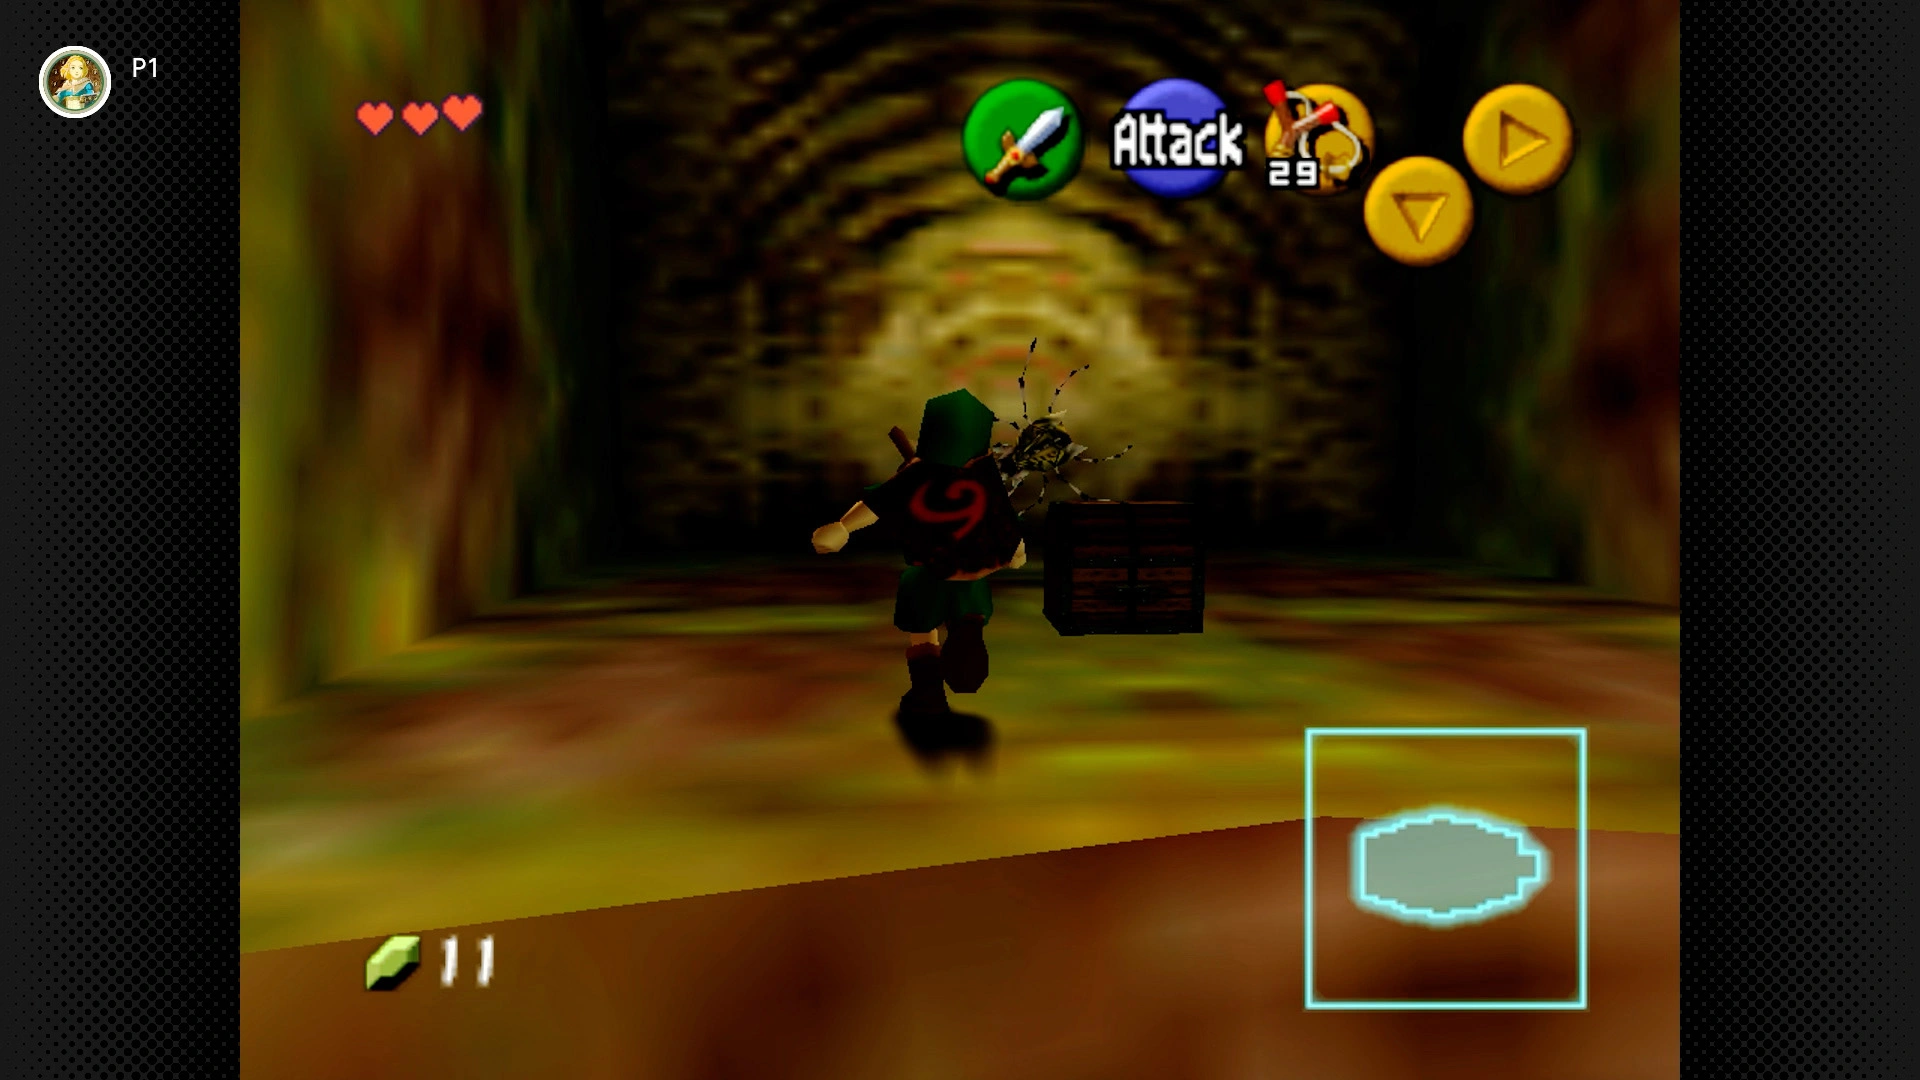
#1 – Compass Point Crawler
Required: Young Link
Location: In the room where you find the Compass (3F). Look in an alcove on the west side wall.
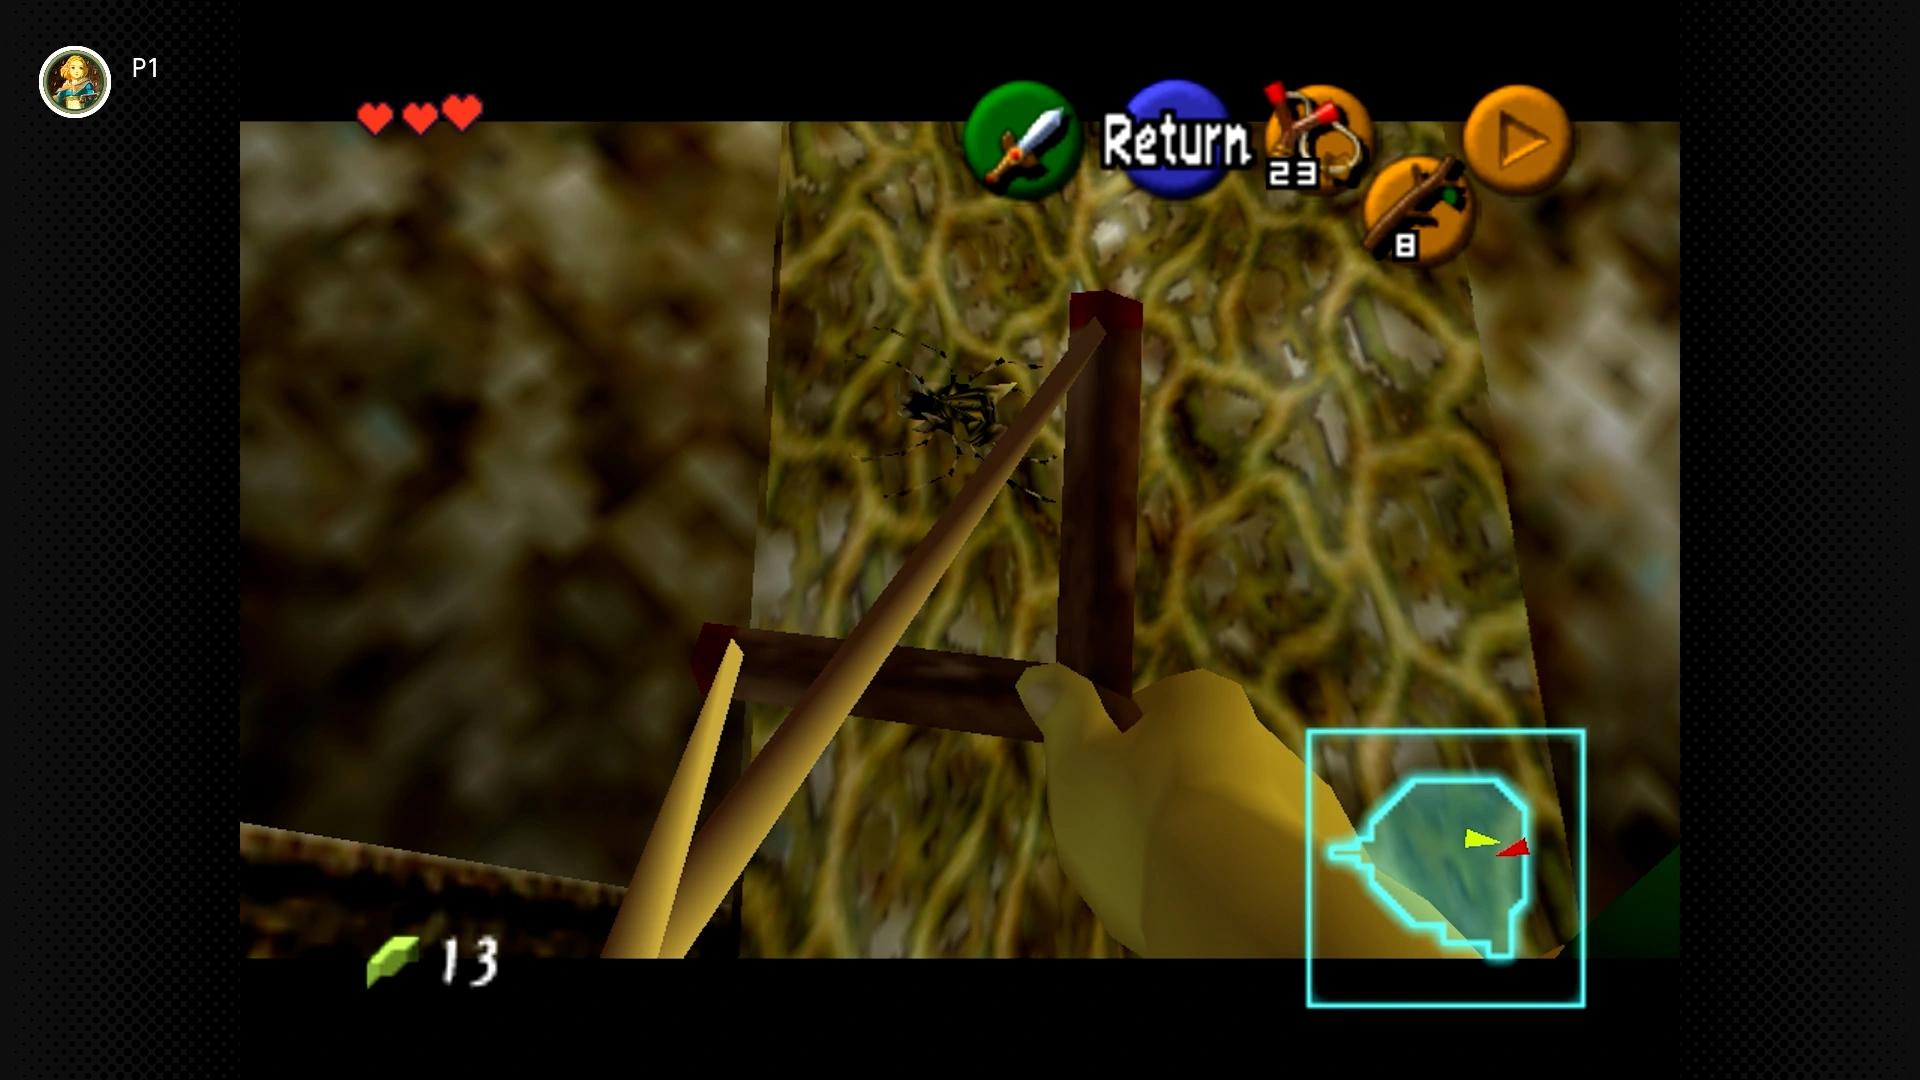
#2 – Vine-clinging Token
Required: Young Link and Fairy Slingshot
Location: In the basement room (B1) you land in after falling through the web in the main room’s floor. It’s high up on the climbable vines on the wall.
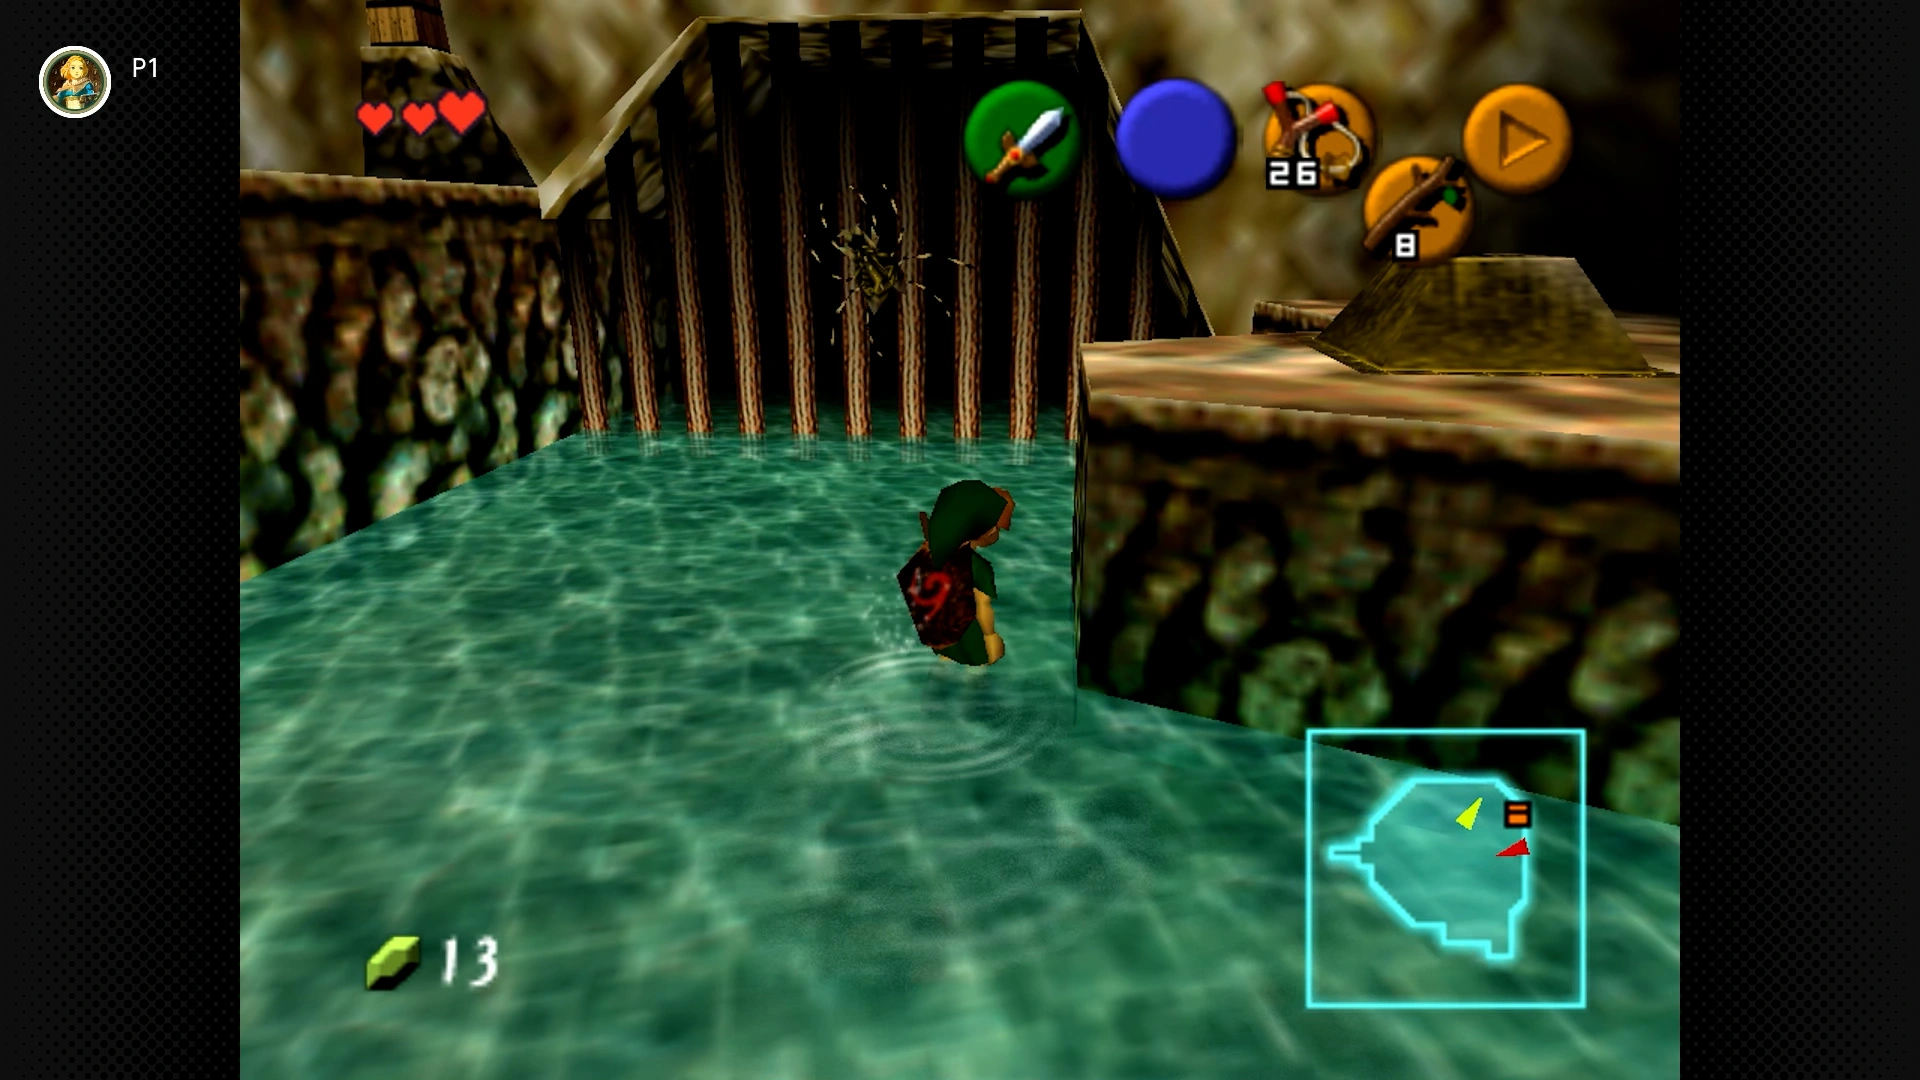
#3 – Grate Expectations
Required: Young Link & Fairy Slingshot
Location: Same basement room (B1) as #2. Found on the metal grate near the switch. Jump off the adjacent ledge to claim.
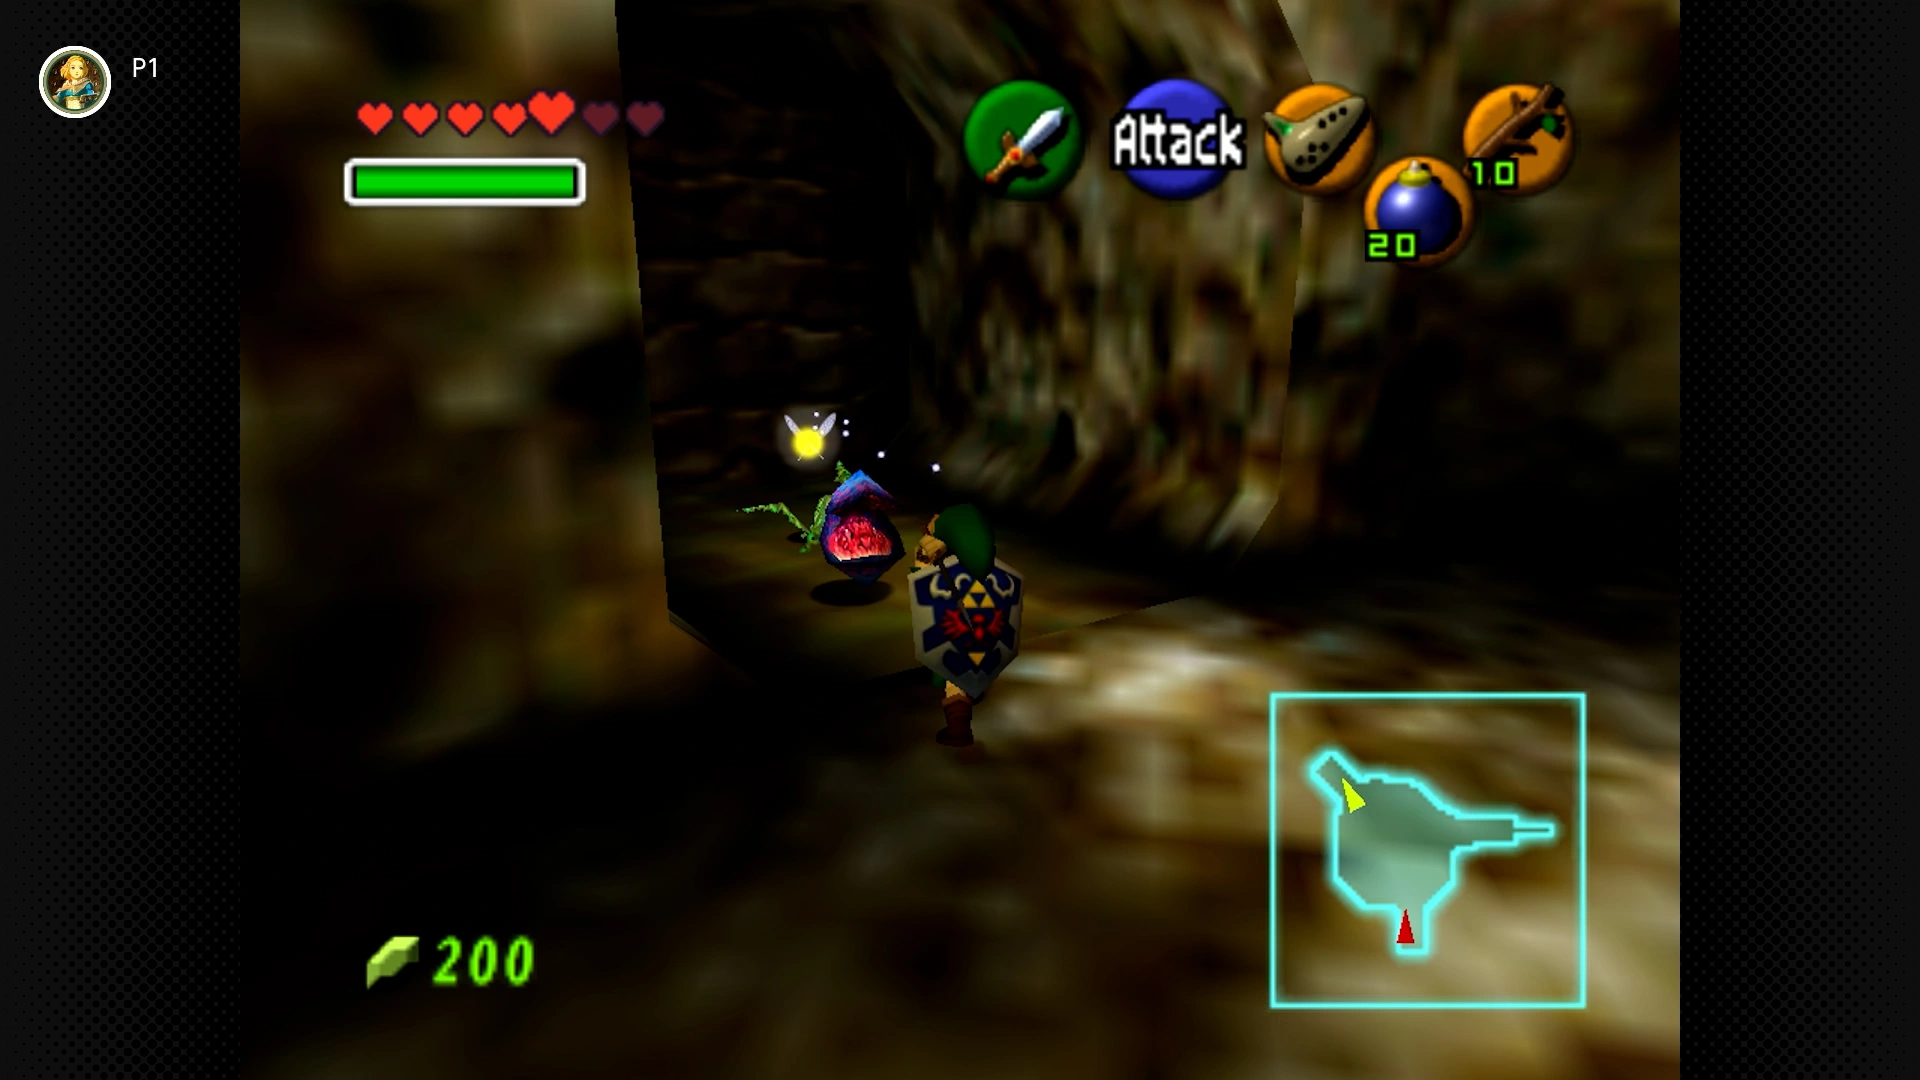
#4 – Behind the Bombable Barrier
Required: Young Link, Bombs and Boomerang.
Location: From the main room (1F), drop down the hole in the center. Crawl through the small passage. In this lower room, find the bombable wall on the north side (listen for the sound). Bomb it open to find the Skulltula behind a web.
Dodongo’s Cavern (5 Skulltulas) [#5-9]
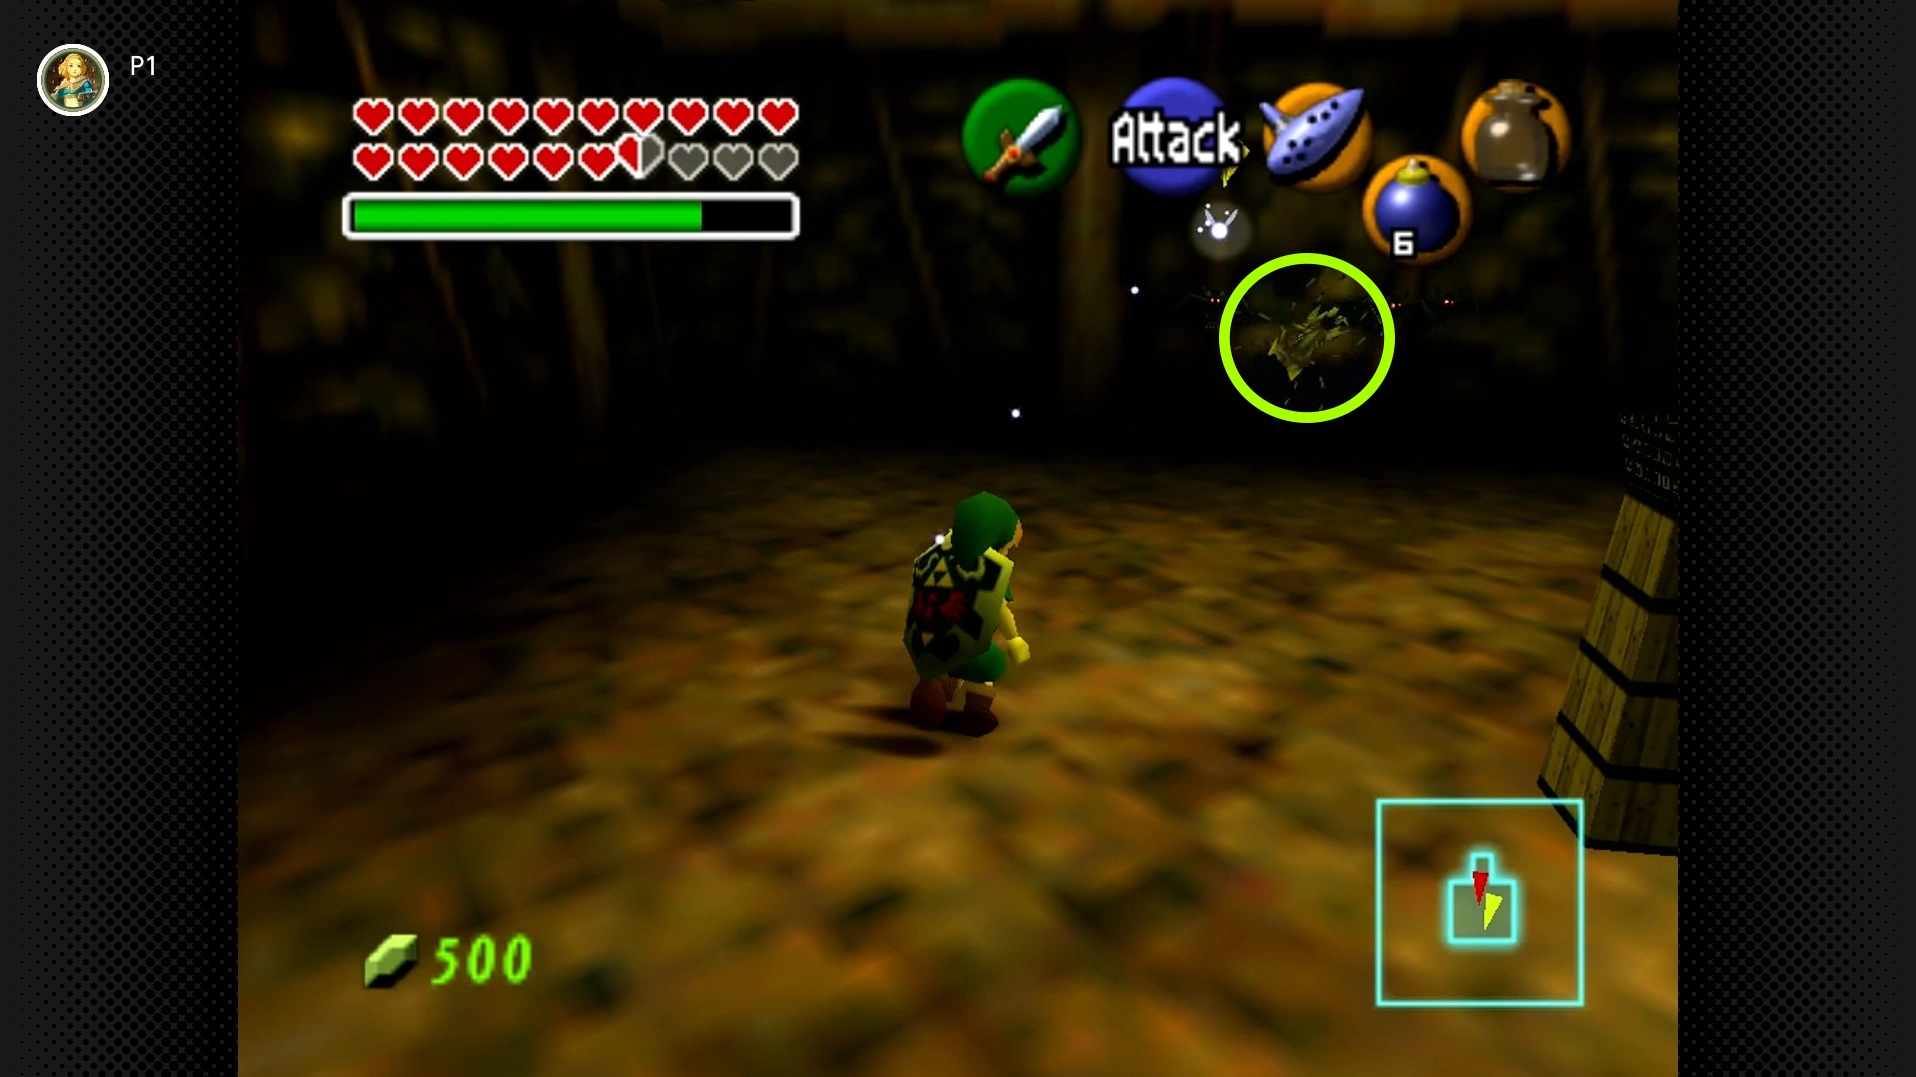
# 5 – Baby Boom Blast
Required: Young Link, Bombs (or nearby Baby Dodongo)
Location: In the short passageway just before the main large cavern room (the one with the central platform and lava). There’s a fake wall section on the right (south) side. Lure a Baby Dodongo to explode near it, or use your own Bomb, to reveal a room with the Skulltula.
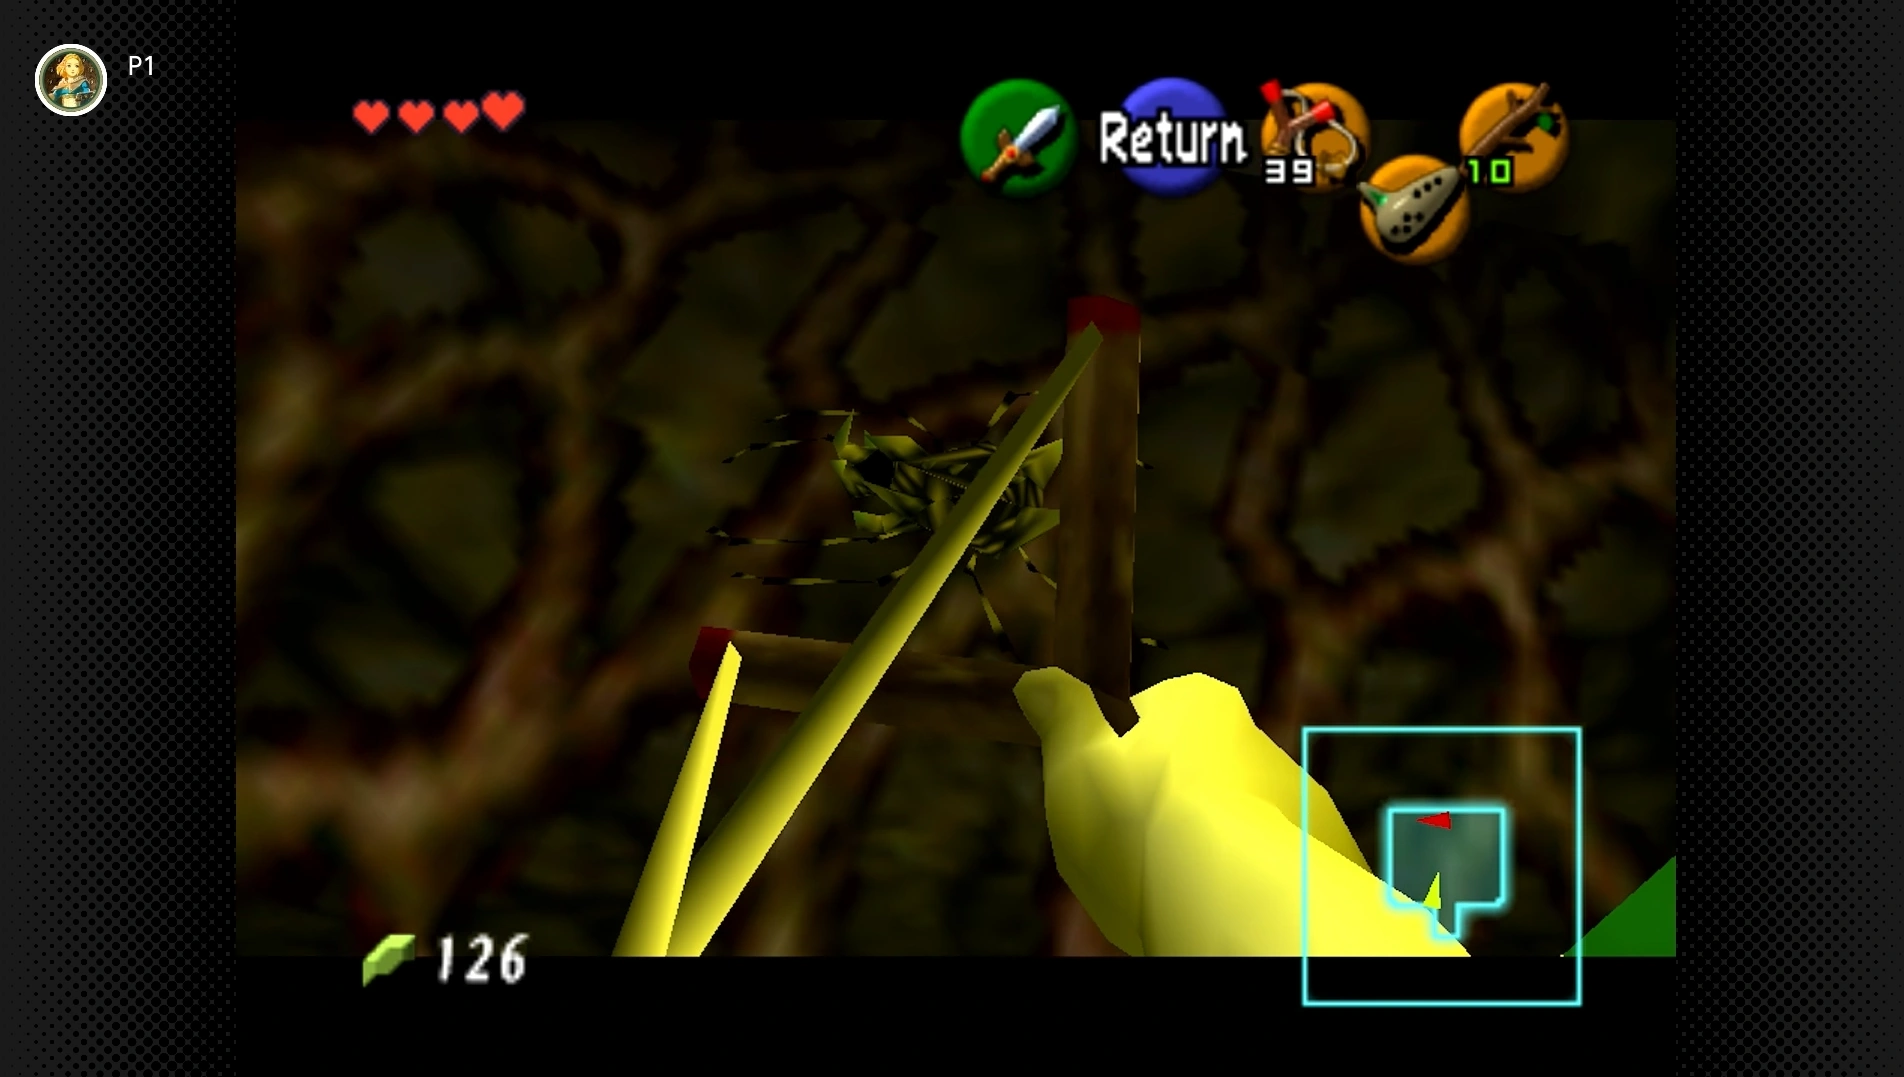
#6 – Stairway Vine Varmint
Required: Young Link
Location: In the large room with the giant stone staircase structure. Climb the vines near the second-floor doorway (east side). The Skulltula is on these vines.
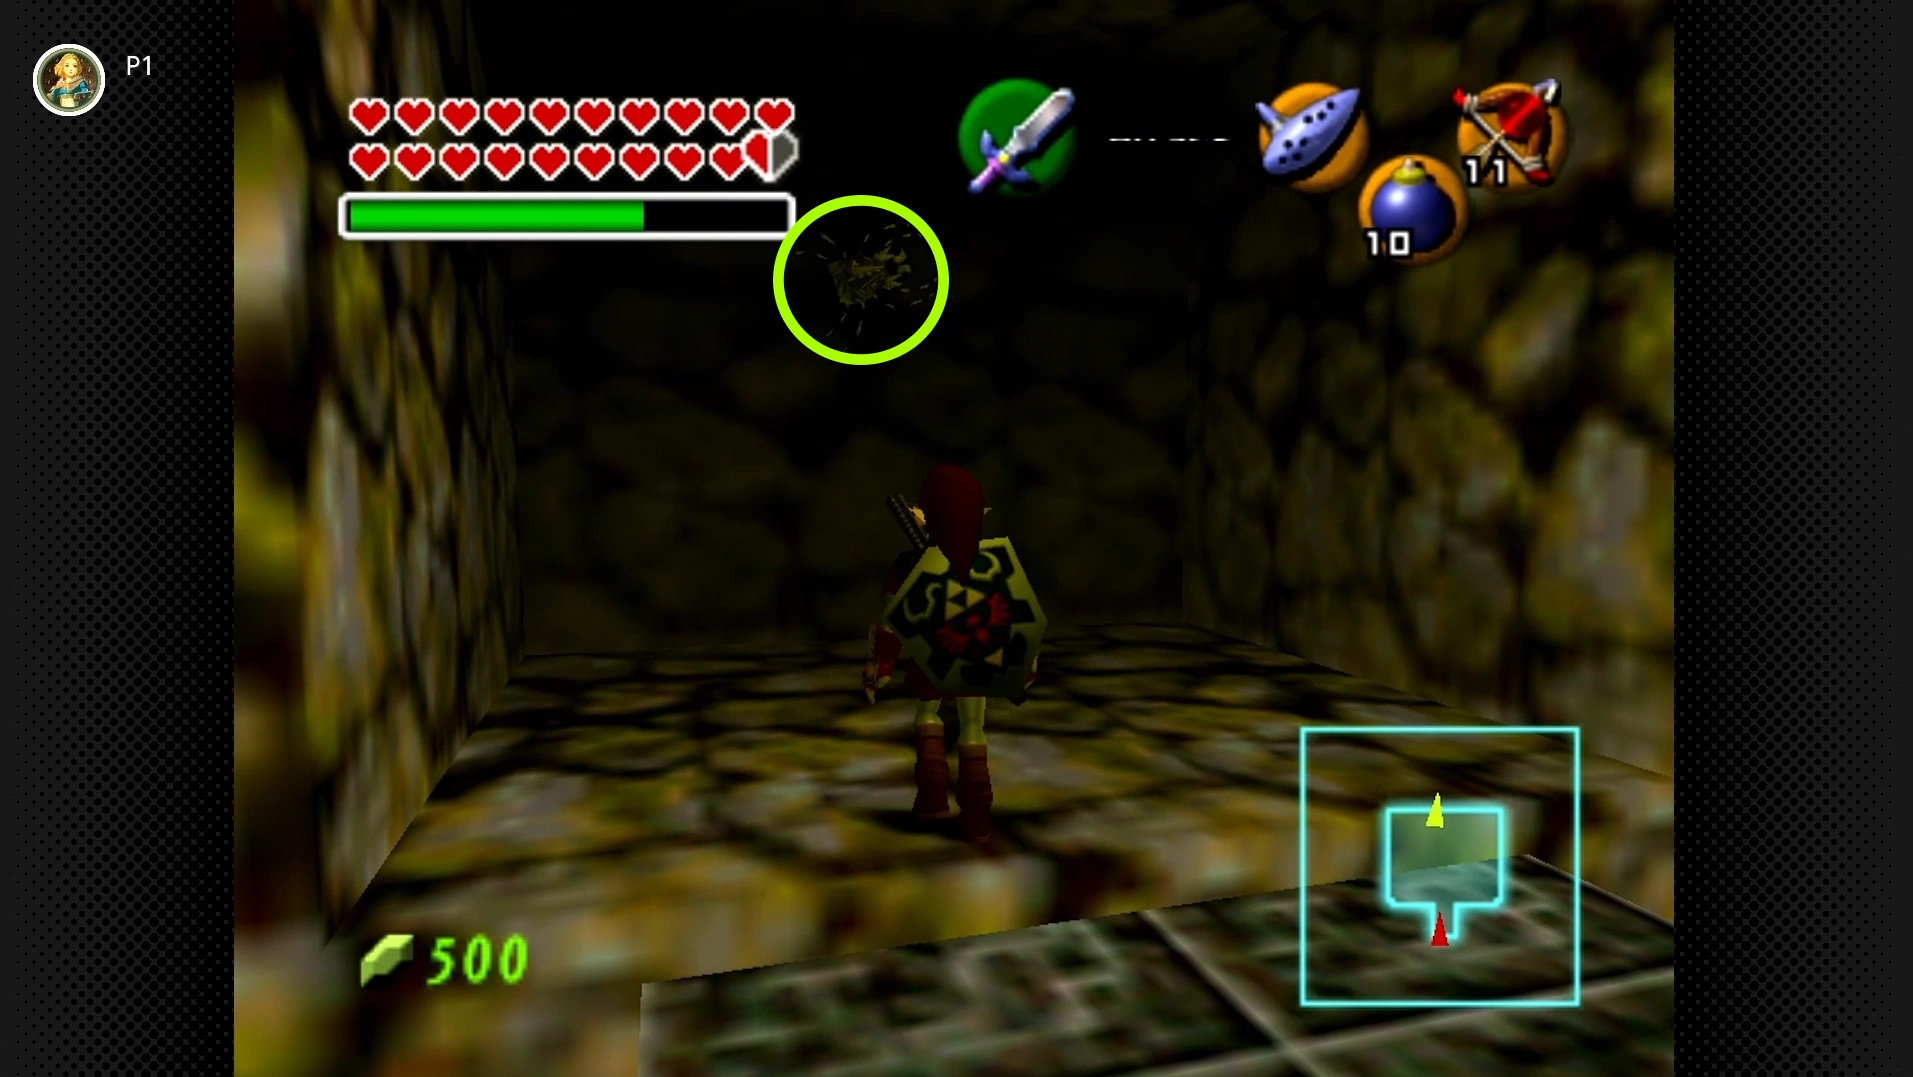
#7 – The Raised Stair Surprise
Required: Young Link, Boomerang (requires returning after Jabu-Jabu’s Belly)
Location: In the large room with the giant stone staircase structure. To reach this, you must first activate the rising platform in the main cavern room (using a bomb flower from the upper level) to reach the second floor. Proceed through the dungeon until you loop back to the upper level of the staircase room. The stairs will now be raised. Look for an alcove high above where the base of the stairs used to be. Use the Boomerang.
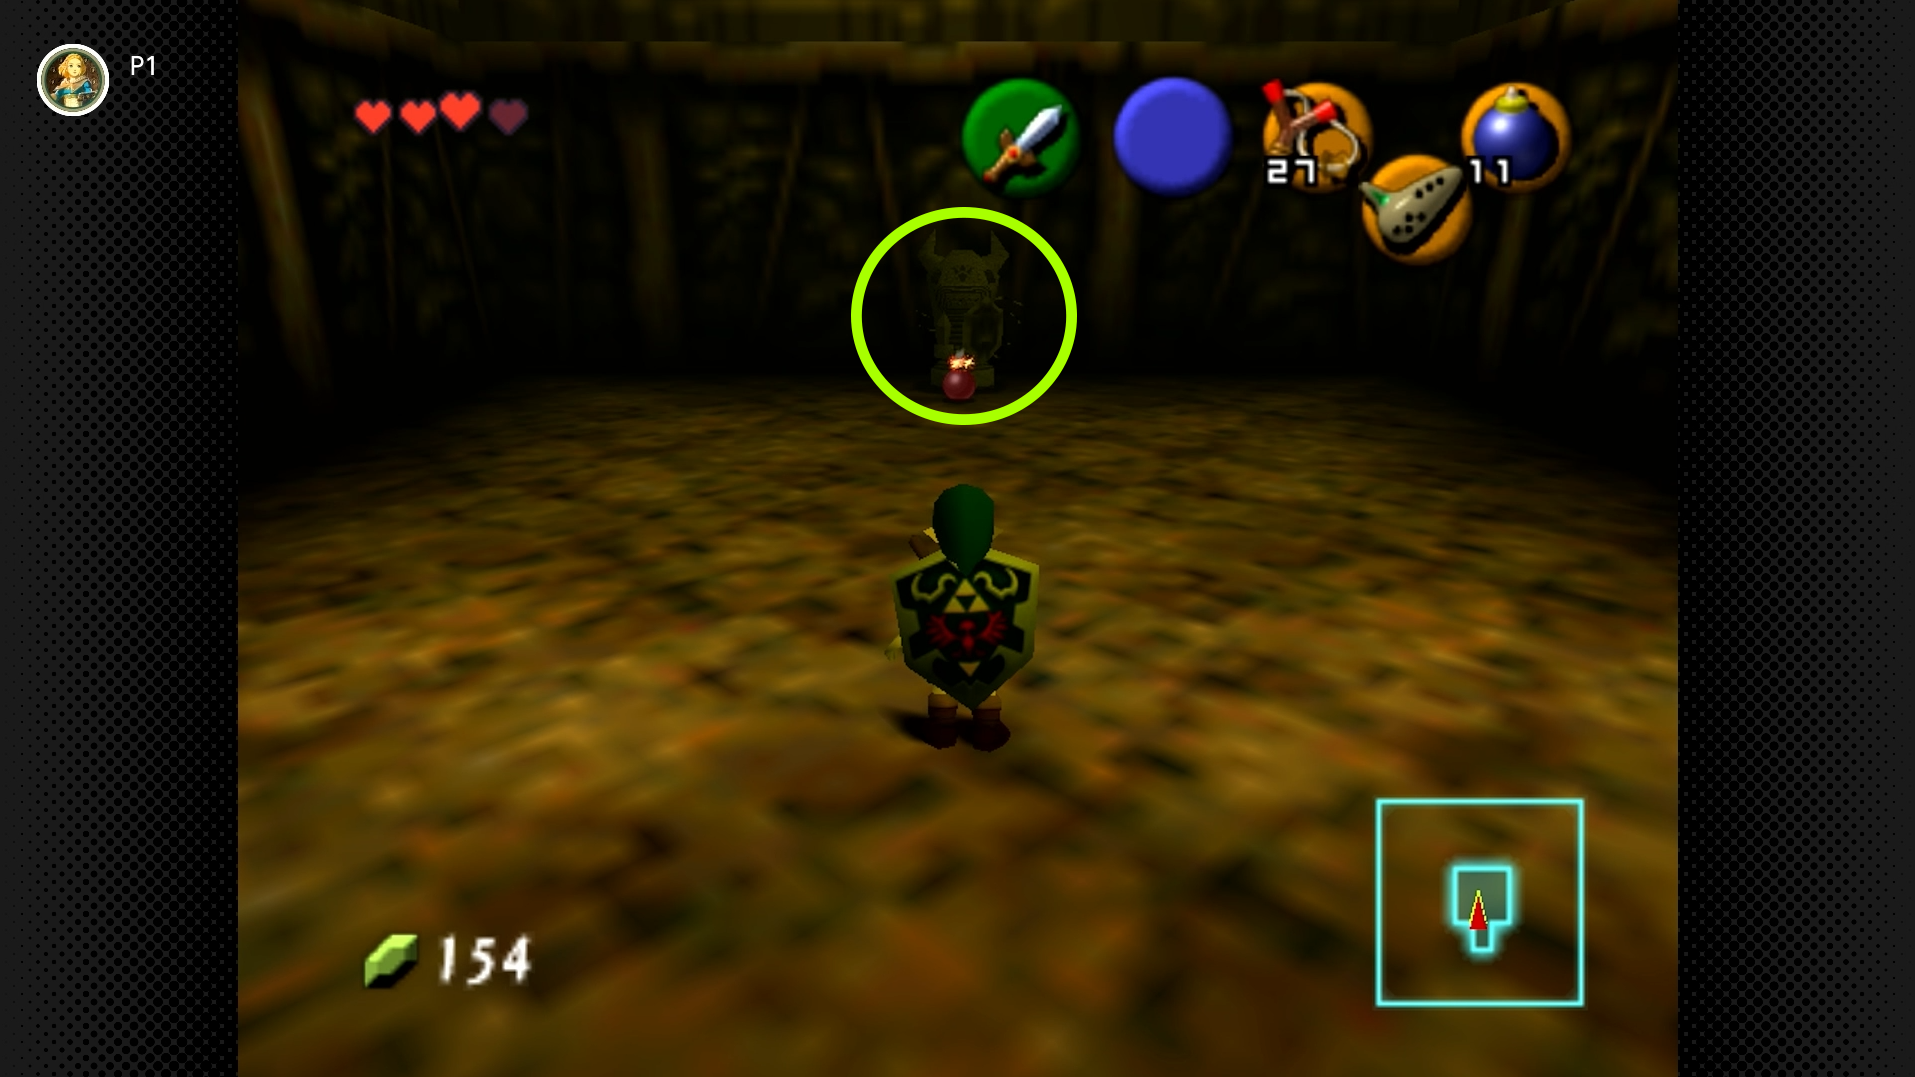
#8 – Armos’ Hidden Hoard
Required: Young Link, Bombs
Location: In the room just before the boss chamber, where you push blocks onto a switch. Find the bombable wall on the north side of this room. Bomb it open, defeat the Armos statue inside, and claim the Skulltula.

#9 – Scarecrow’s Ledge Leaper
Required: Adult Link, Scarecrow’s Song and Hookshot
Location: From the main cavern room, take the eastern passage (the one with the Blade Traps and Baby Dodongos). Look for an alcove high up on the left (north) wall. Play the Scarecrow’s Song to make Pierre appear, then Hookshot to him to reach the Skulltula.
Inside Jabu-Jabu’s Belly (4 Skulltulas) [#10-14]

#10 – The Water Switch Web
Required: Young Link, Fairy Slingshot or Boomerang
Location: In the large chamber where you shoot a ceiling switch to access a lower path. After hitting the switch, drop down and enter the next room. There’s a switch in the center that raises/lowers the water level. The Skulltula is high on the climbable vines on the wall. Use the Boomerang.
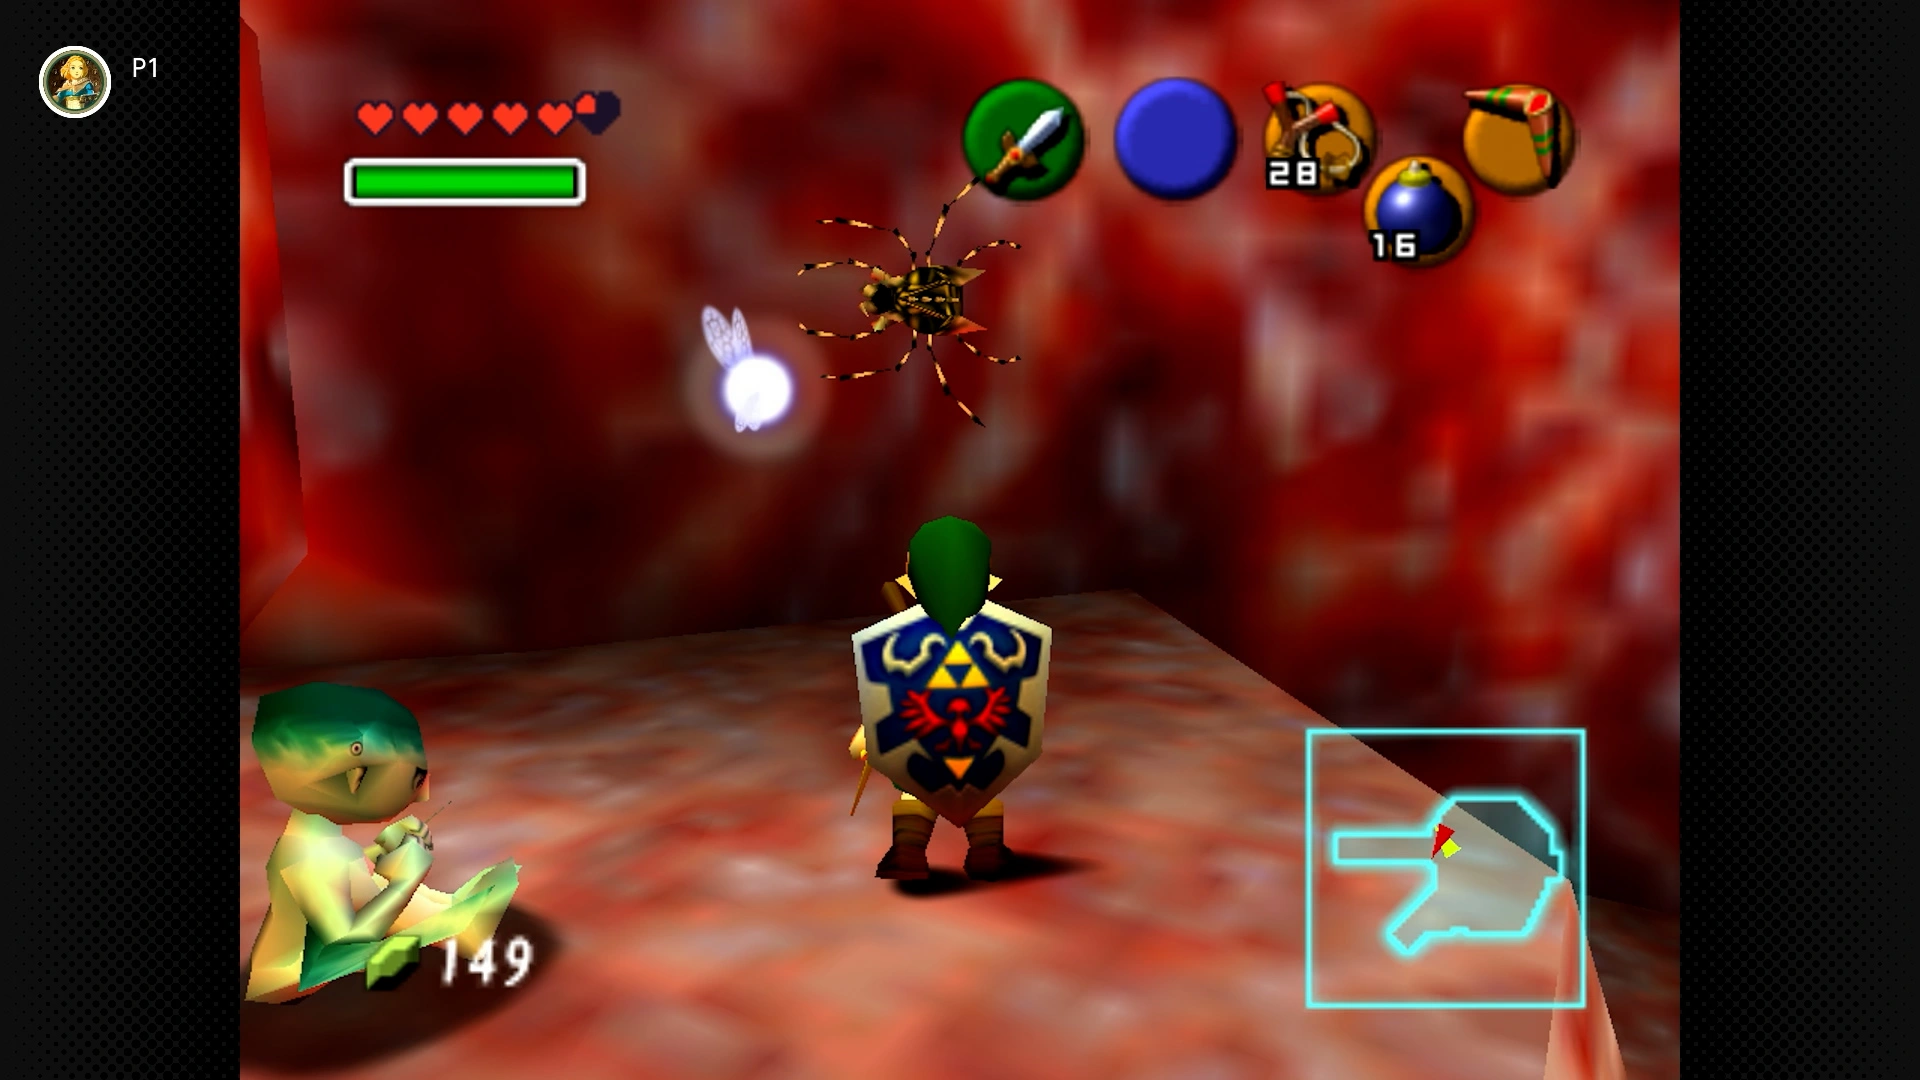
#11 – Pitfall Pest
Required: Young Link, Boomerang
Location: In the pit room before the Parasitic Tentacle mini-boss (the room you fall into). It’s on the vines on the wall.
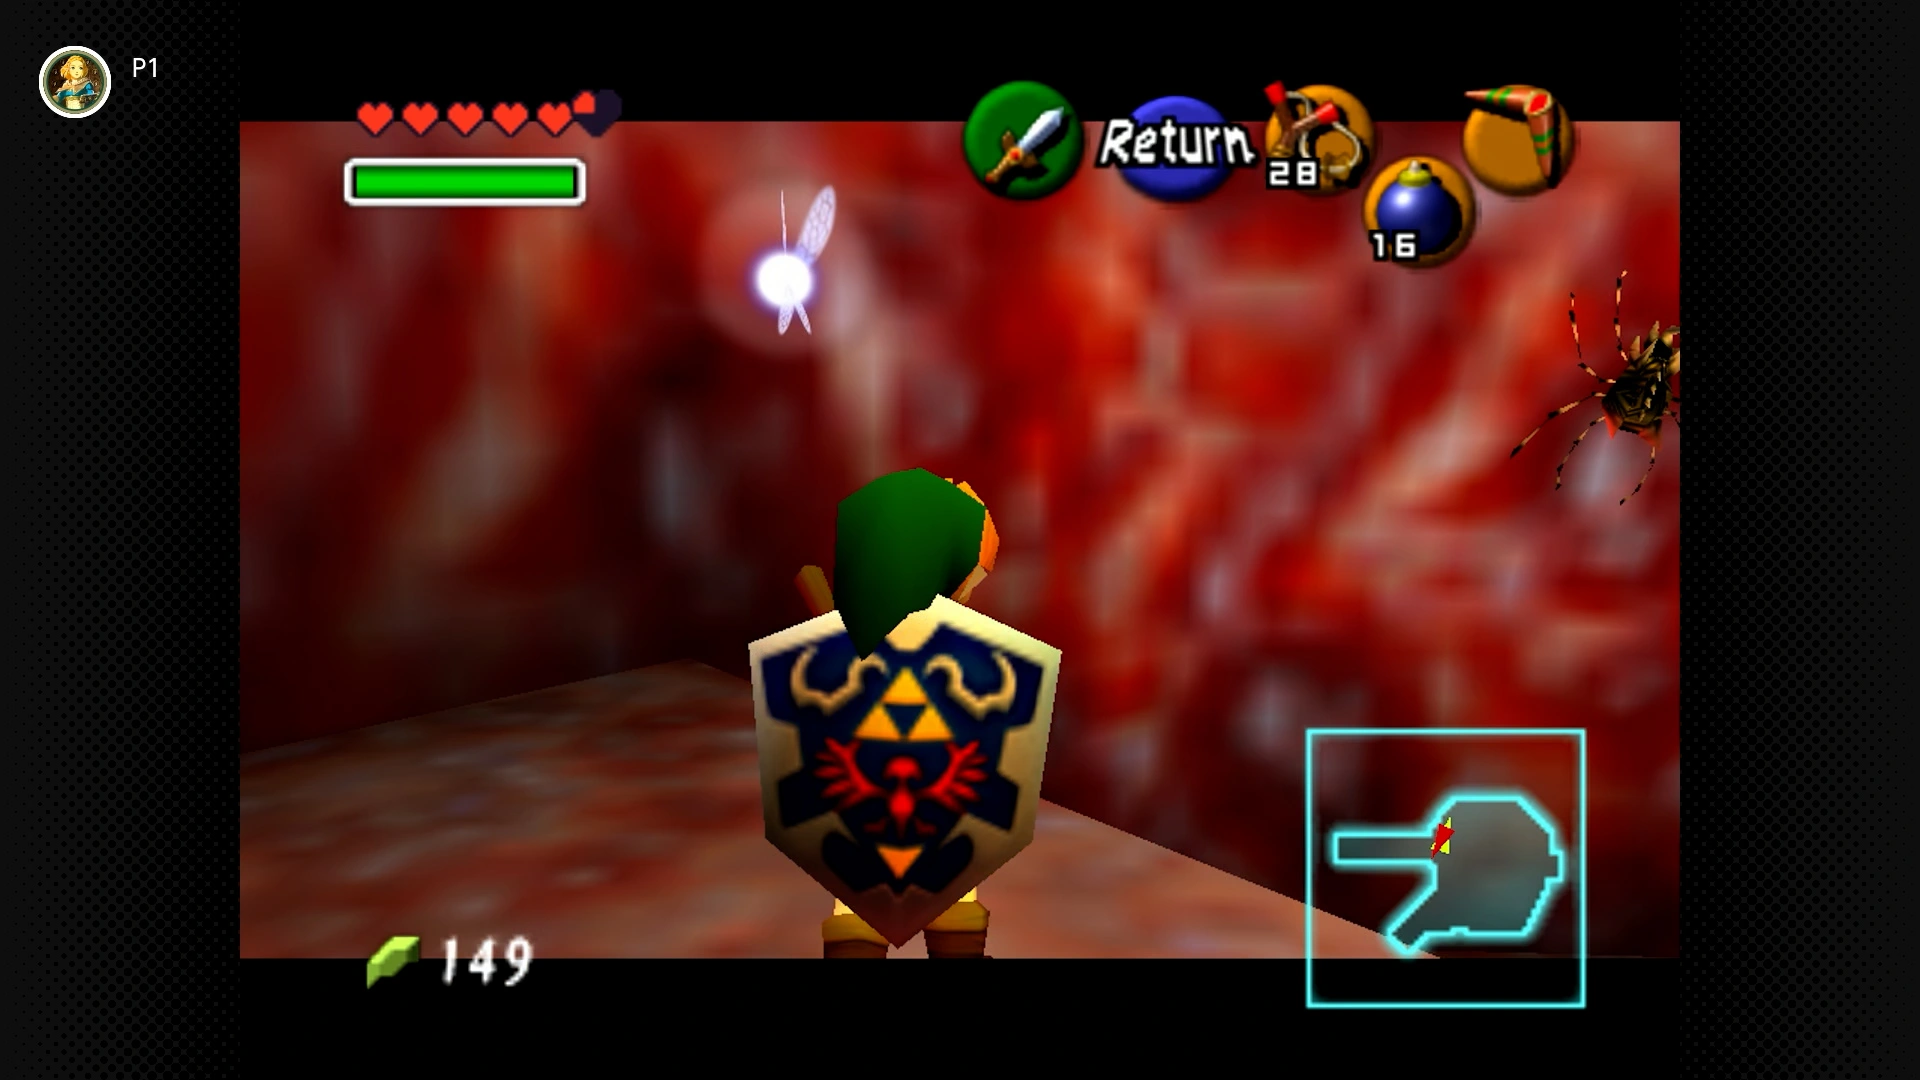
#12 – Pitfall Pest’s Partner
Required: Young Link, Boomerang
Location: Same pit room as #11. Located on the wall near the previous Skulltula.
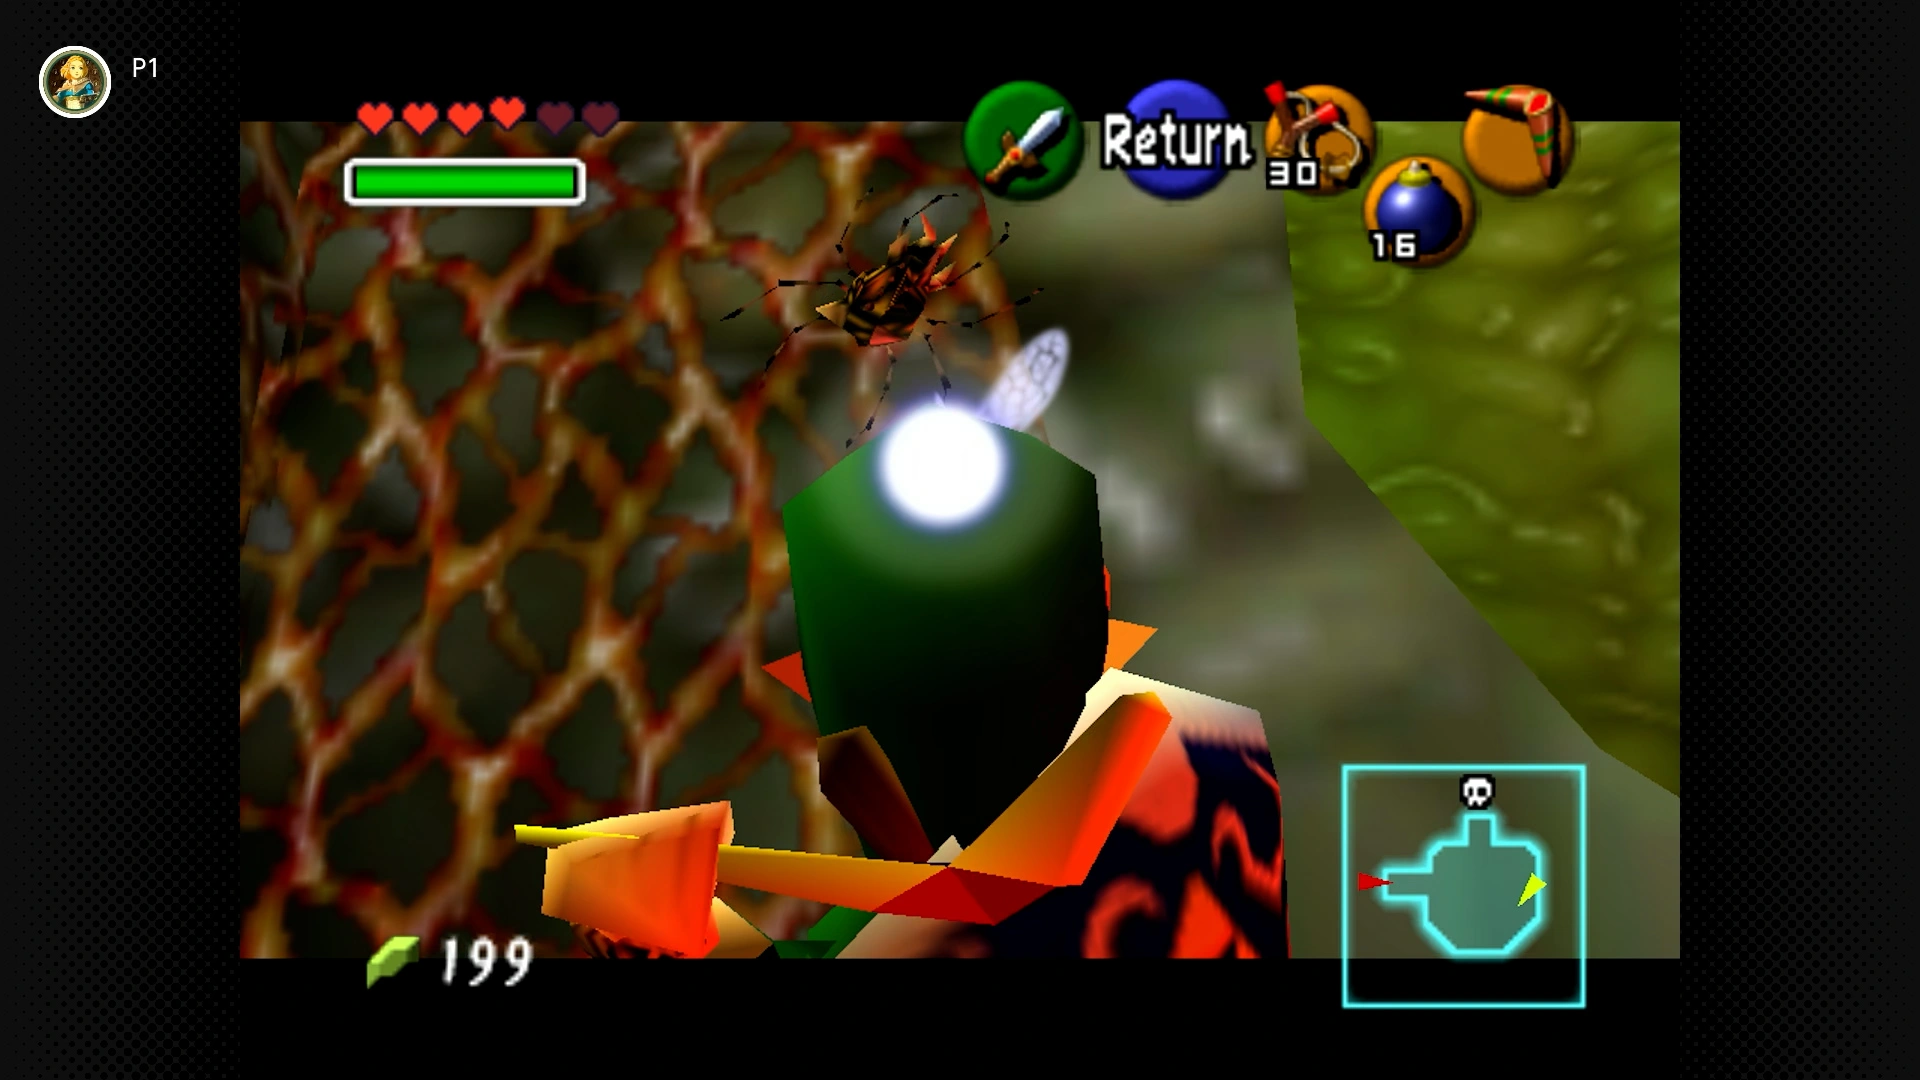
#13 – Platform Puzzle Prize
Required: Young Link, Boomerang
Location: In the room just before the final boss (Barinade). This room has platforms that rise and fall after hitting a switch. The Skulltula is high on the climbable vines on the wall.
Forest Temple (5 Skulltulas) [#14-18]
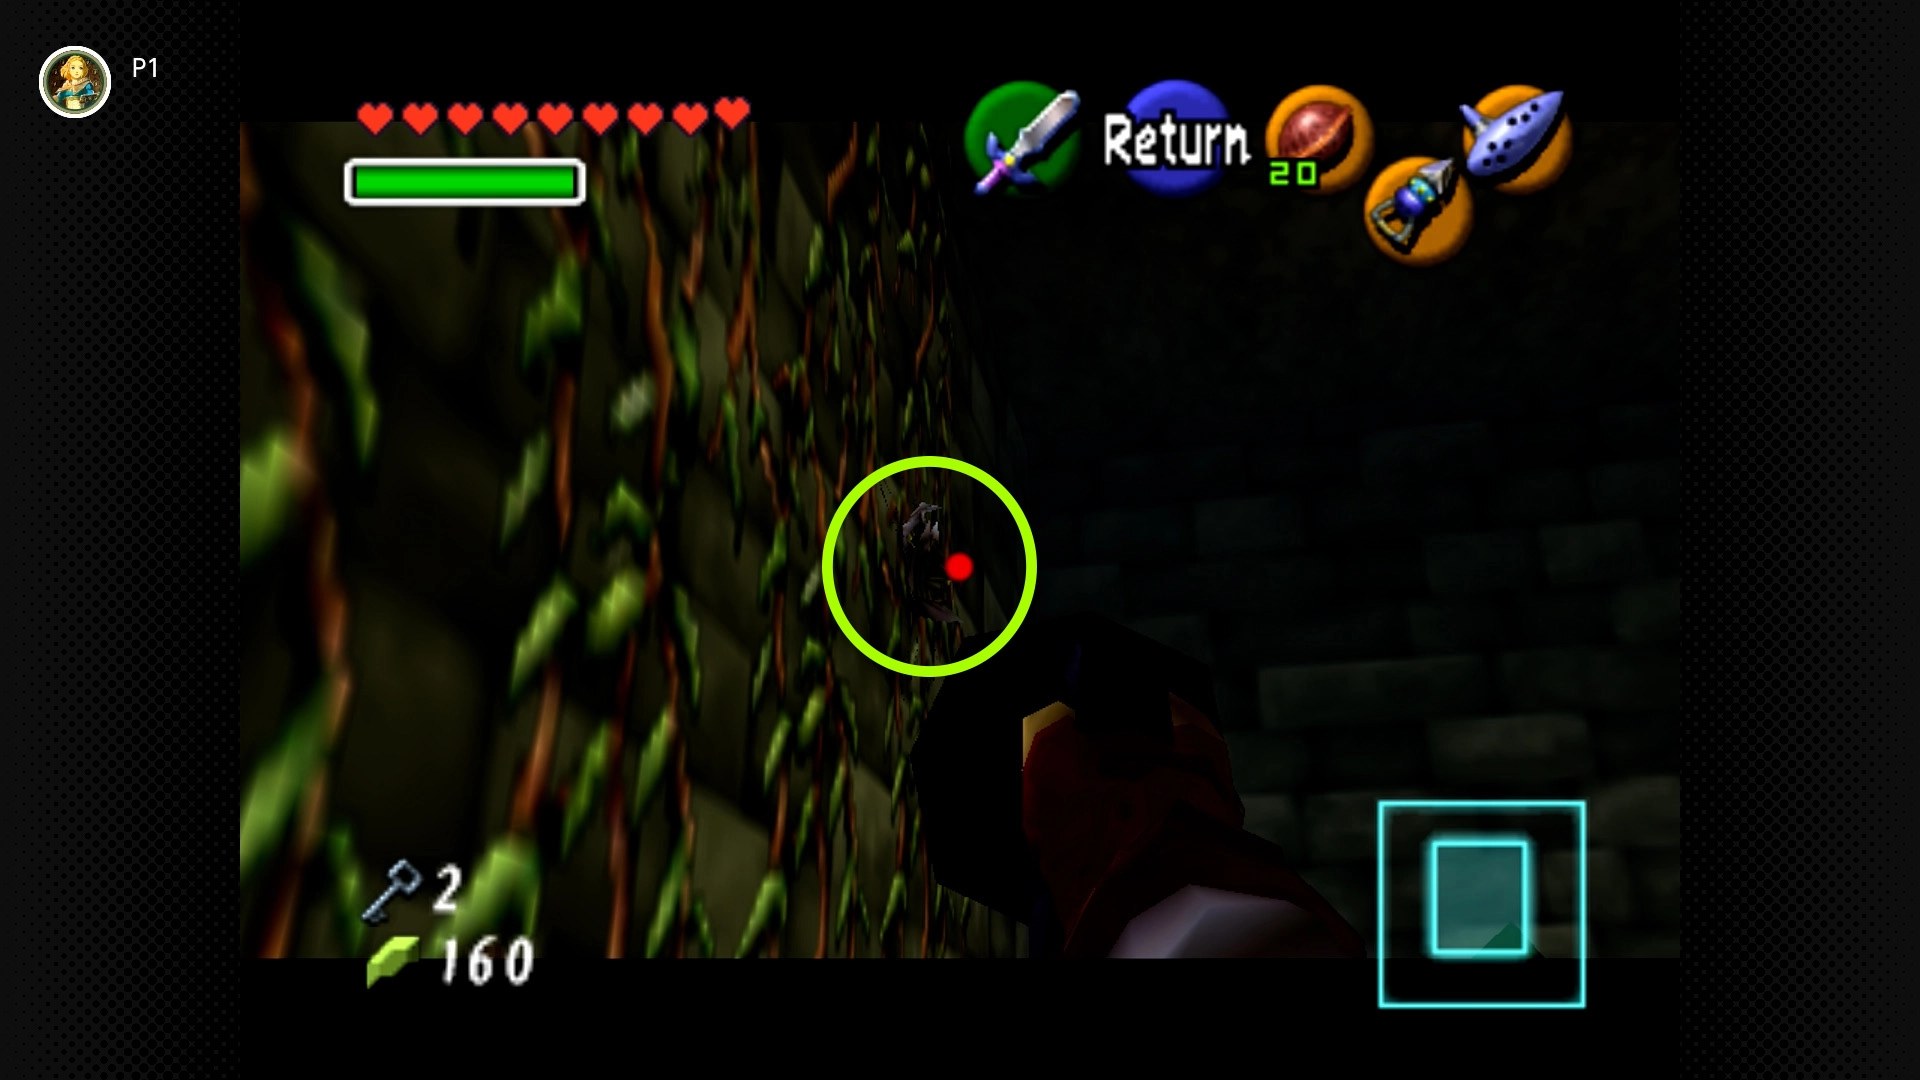
#14 – Entryway Entanglement
Required: Adult Link, Hookshot
Location: In the very first room of the temple. Look high up on the vines on the right (east) wall.
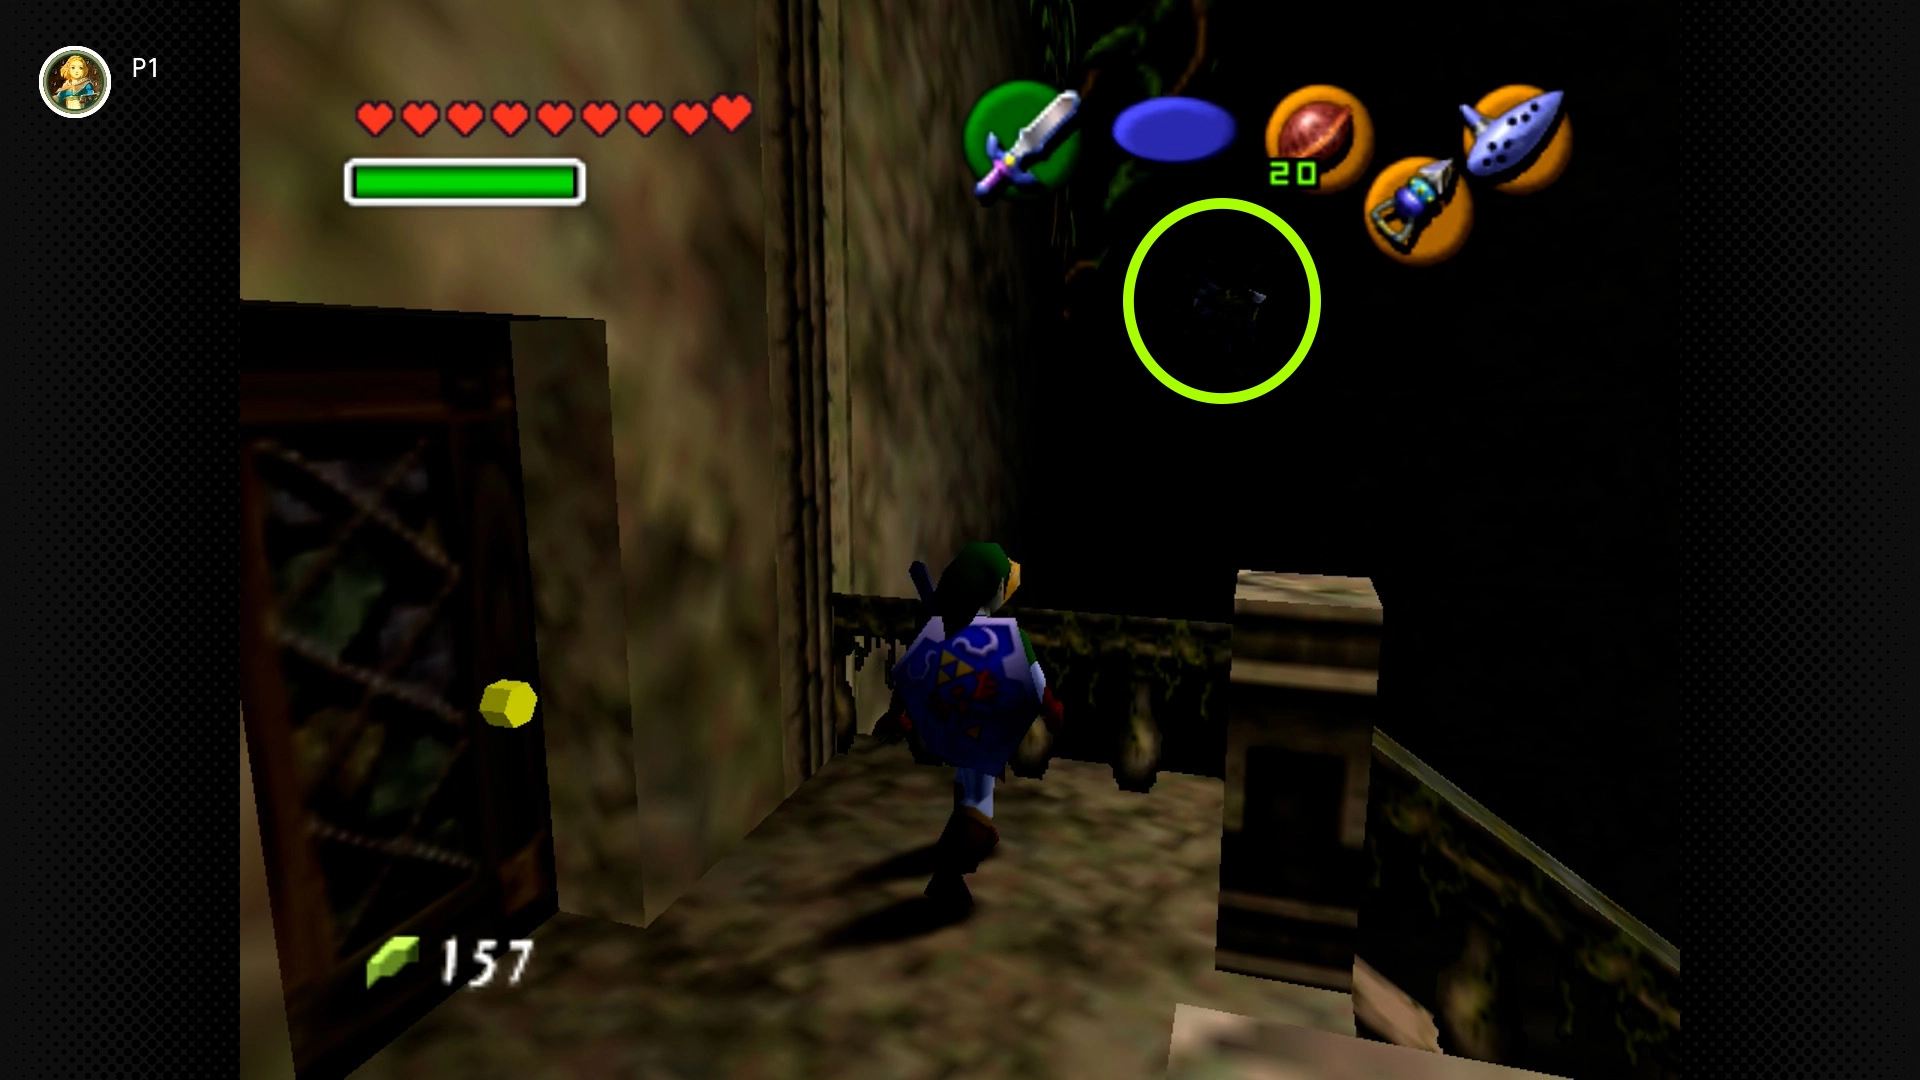
#15 – East Balcony Bug
Required: Adult Link, Hookshot
Location: In the main central chamber (with the four torches). Look high up on the wall of the eastern balcony, above the doorway leading to the northeast courtyard.
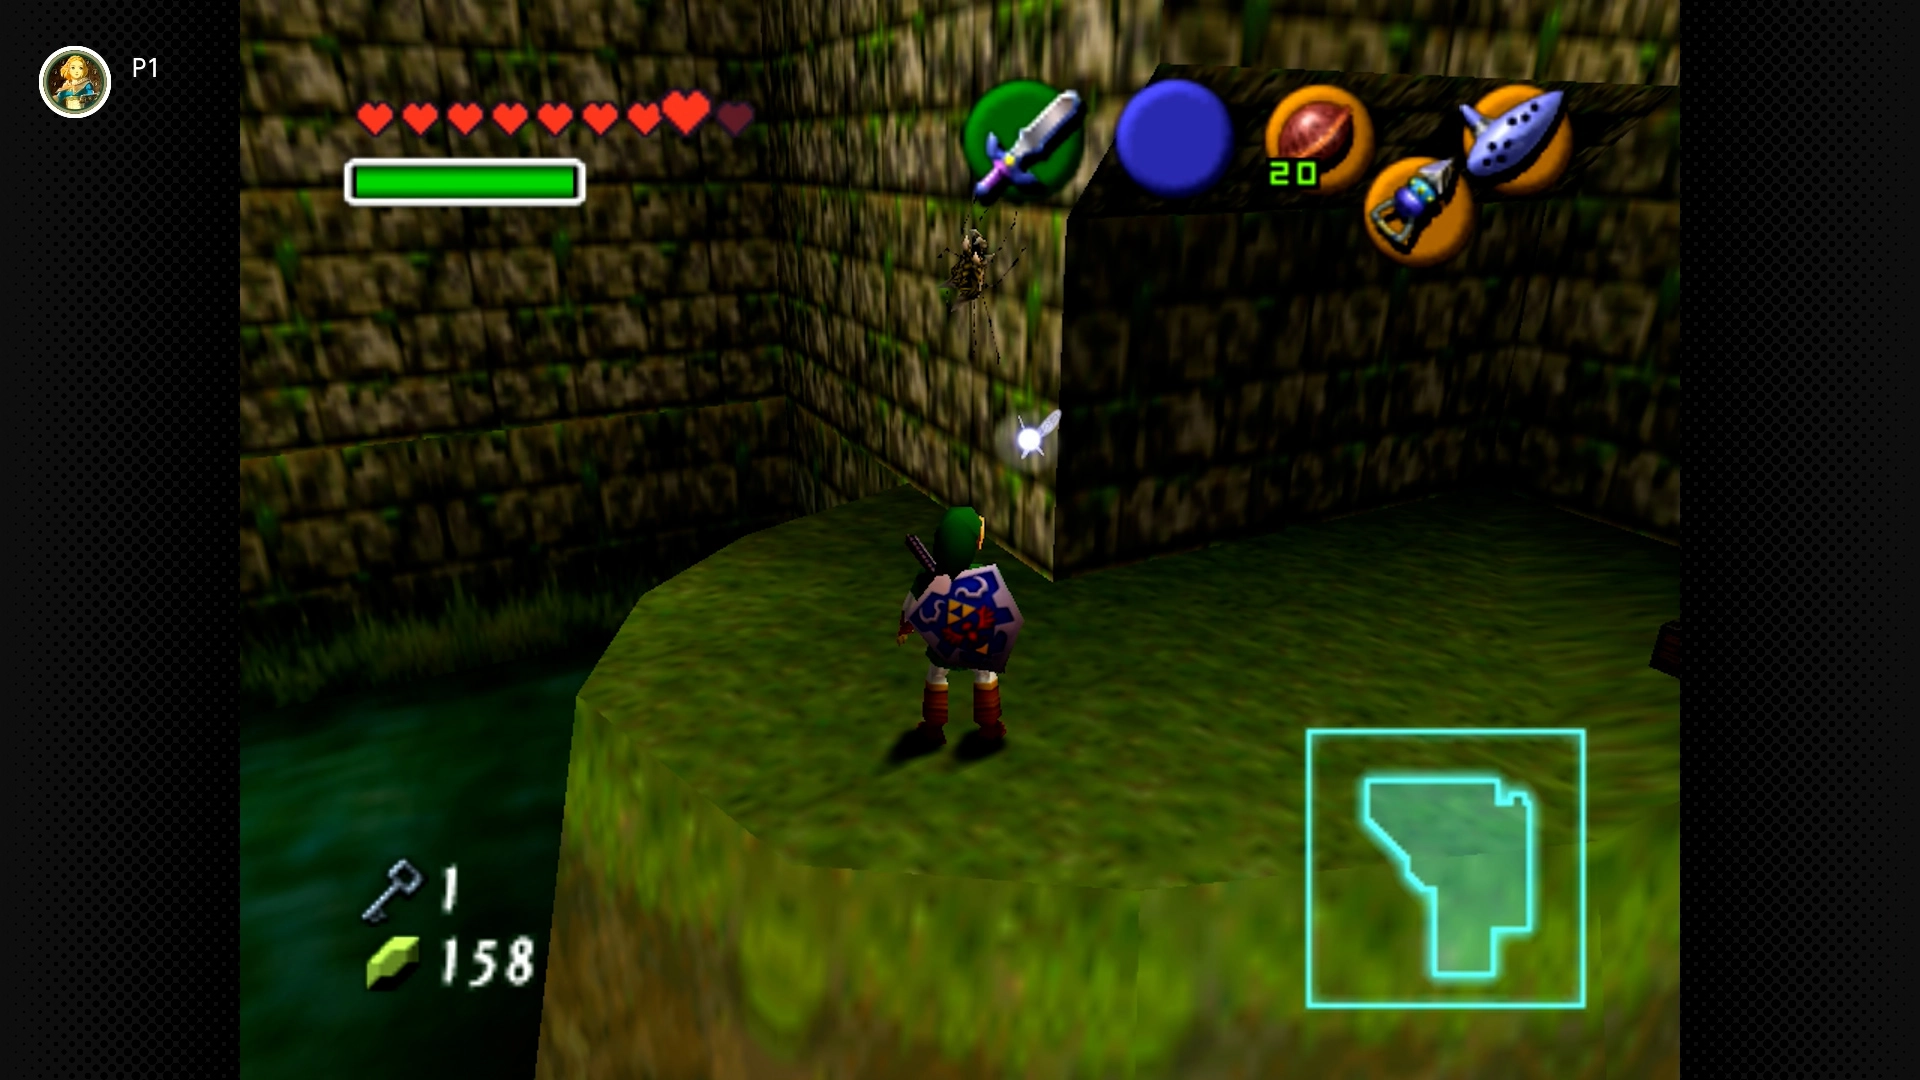
#16 – Courtyard Island Crawler
Required: Adult Link, Hookshot
Location: In the northeast courtyard area (the one with the well and underwater switch). There’s a small island in the center. Hookshot to the chest on the island first, then turn around to find the Skulltula on the wall of the island structure.
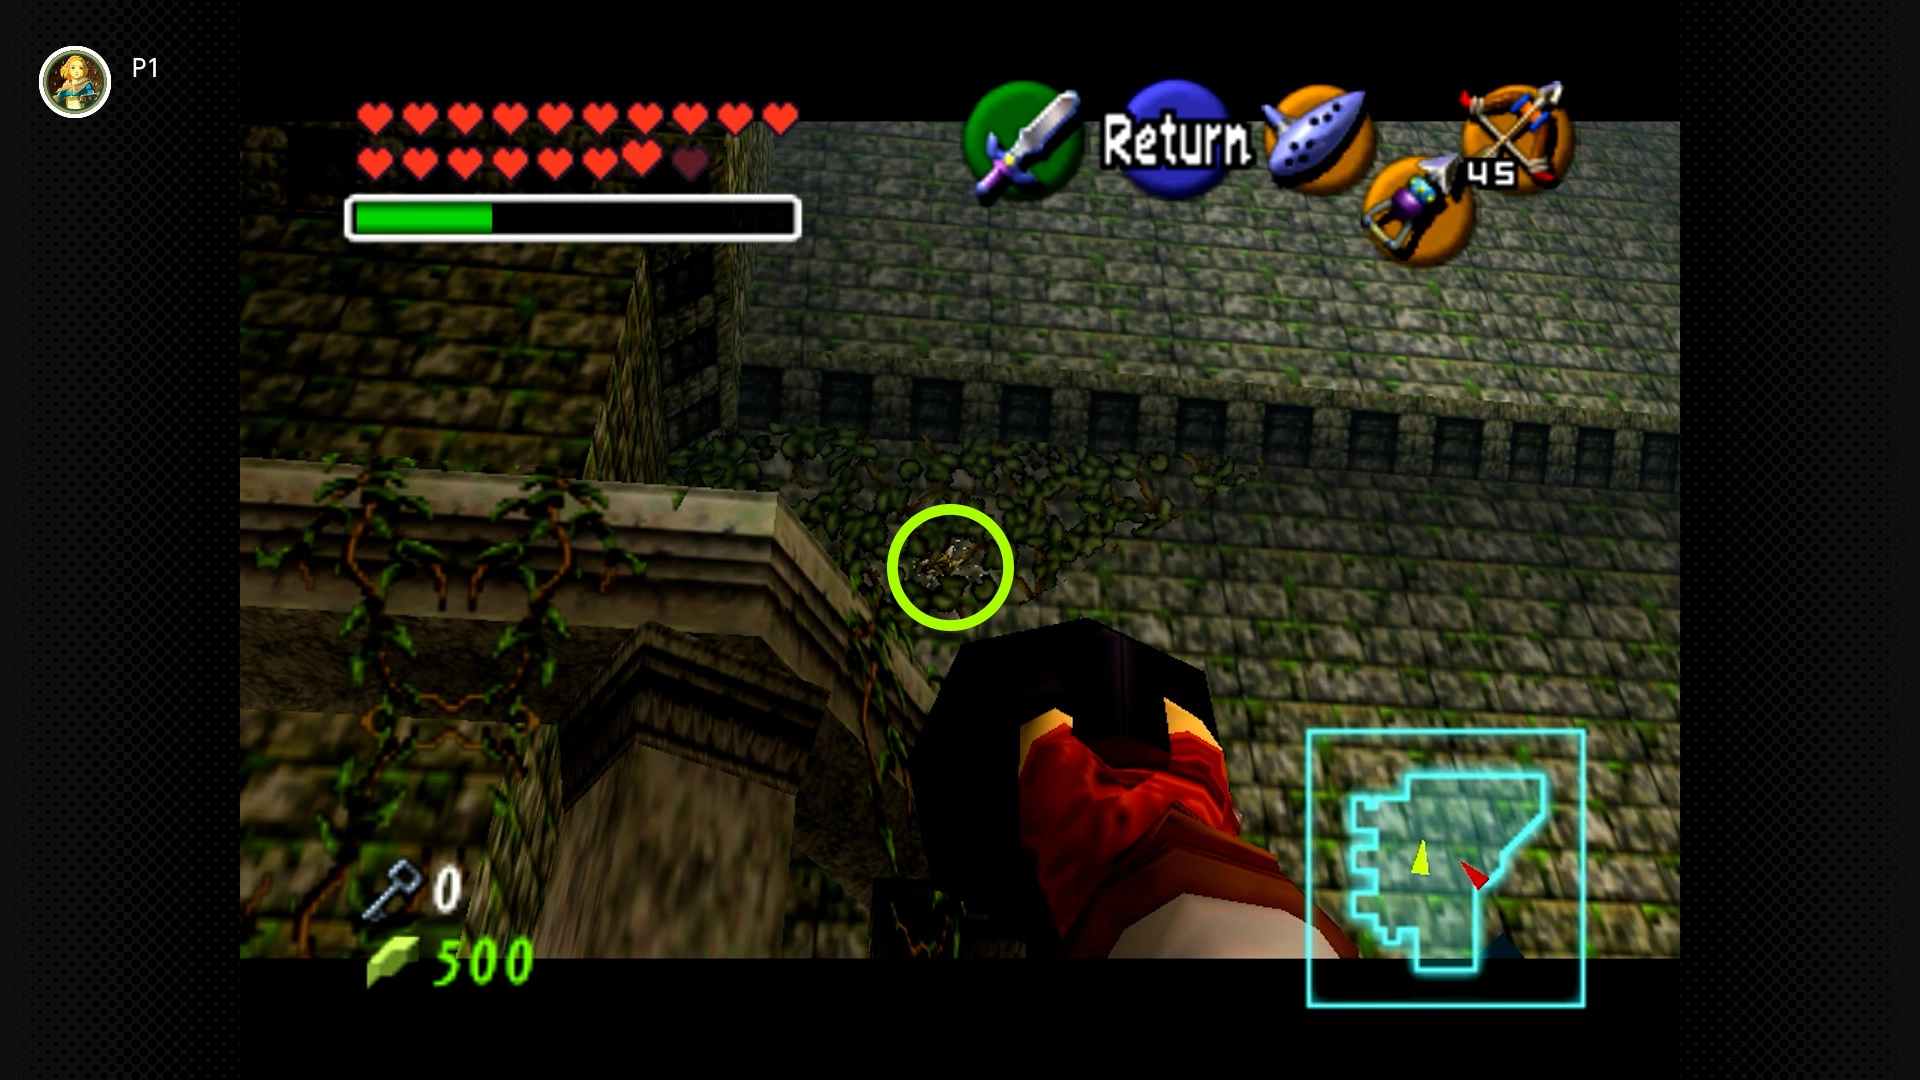
#17 – Checkerboard Chase
Required: Adult Link, Hookshot
Location: In the northwest courtyard area (the one with the checkerboard floor blocks). Enter from the upper balcony (accessible after twisting the hallway). The Skulltula is high on the wall.
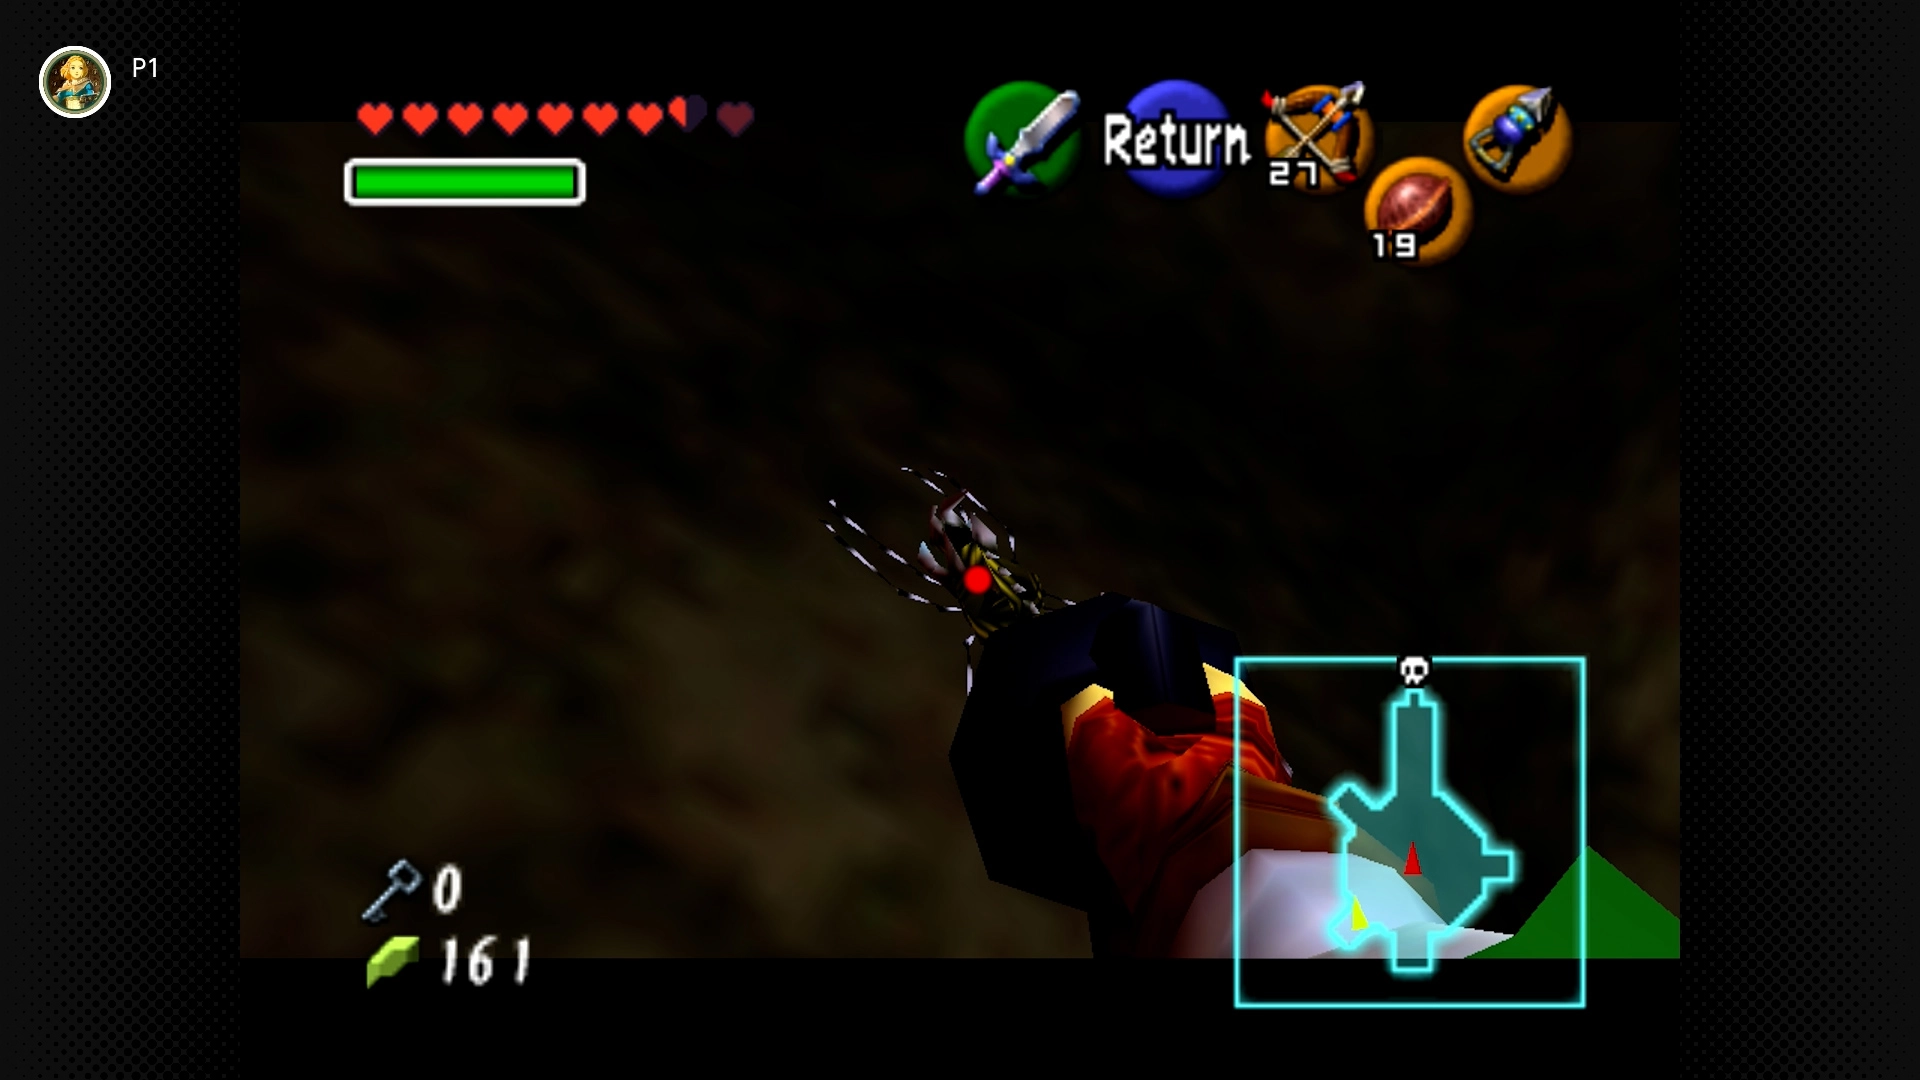
#18 – Corridor Corner Critter
Required: Adult Link, Hookshot
Location: In the rotating corridor room just before the boss chamber. Check the small alcoves along the walls; one contains the Skulltula.
Bottom of the Well (3 Skulltulas) [#19-21]
Note: Lens of Truth is required for navigation.
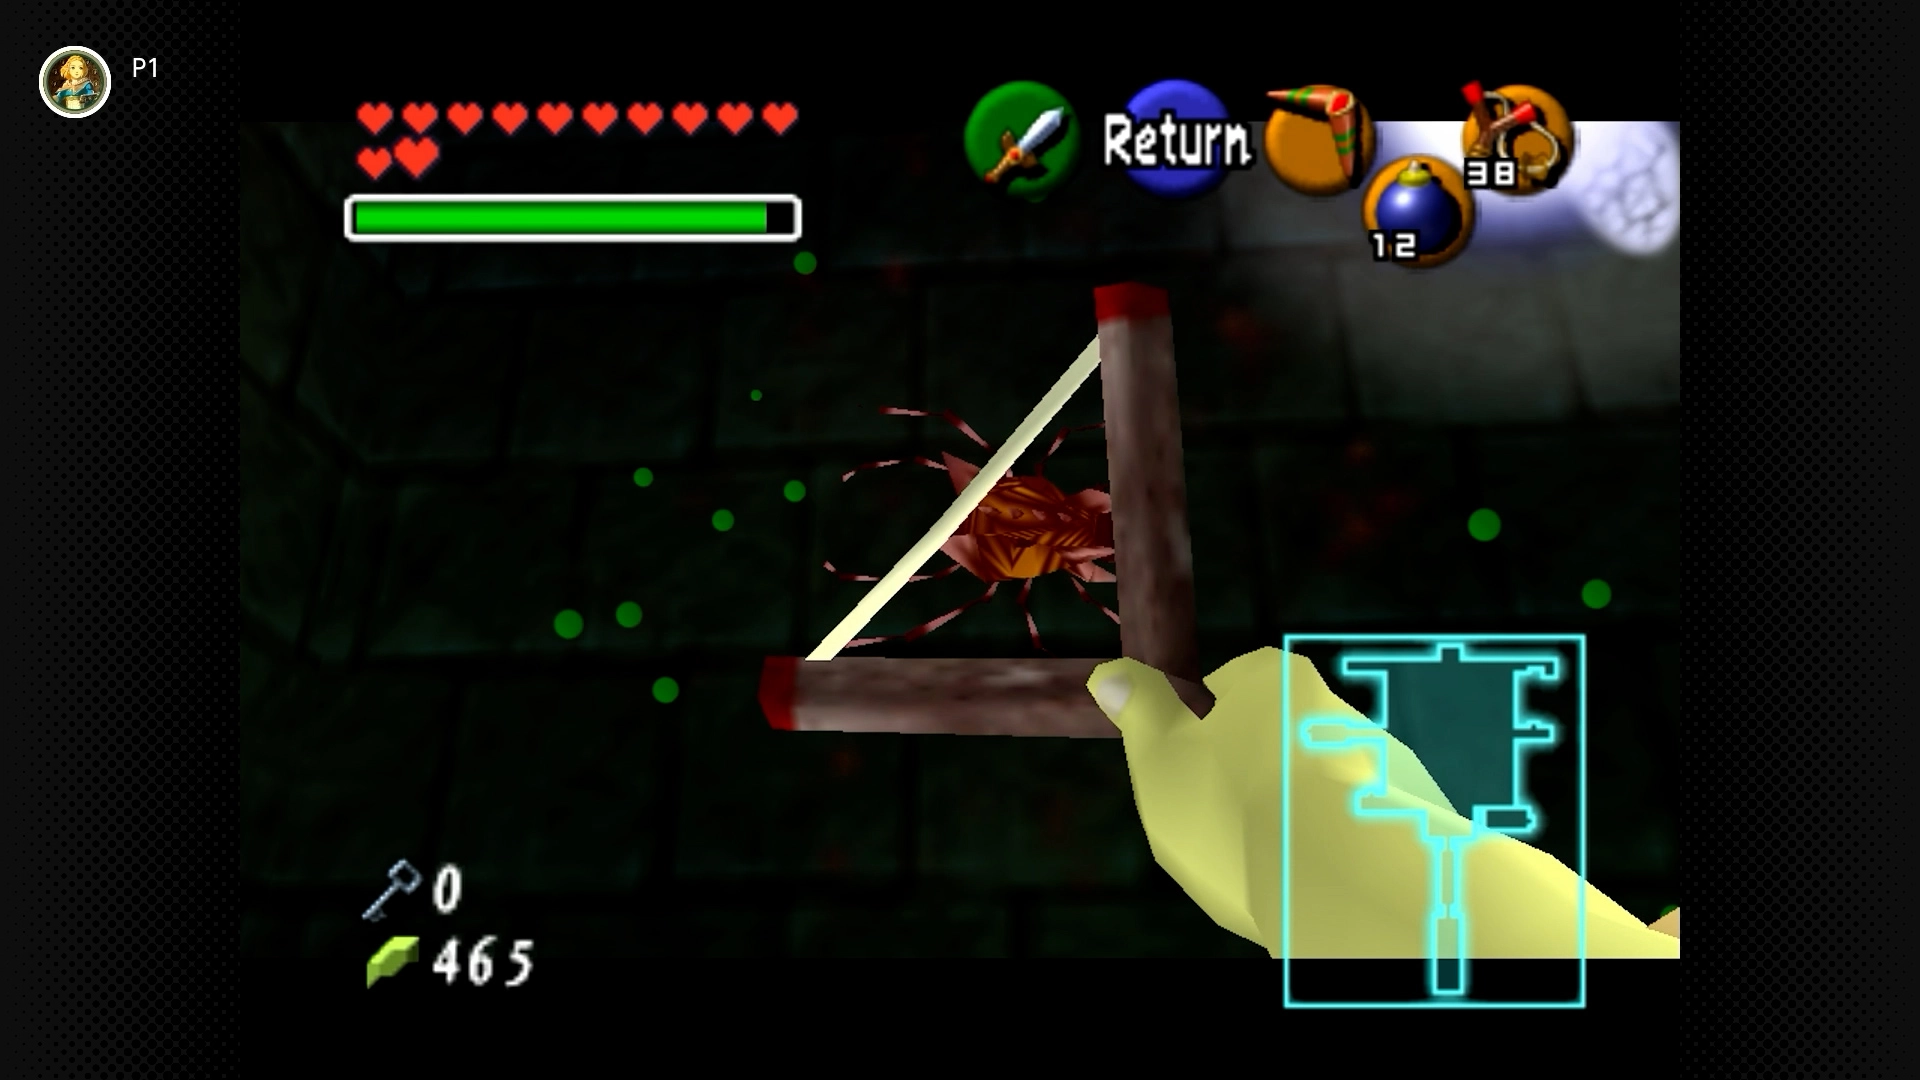
#19 – North Nook Phantom
Required: Young Link, Lens of Truth
Location: In the large central room with the pit around the edges. Use the Lens of Truth to see a hidden opening in the north wall (lower level). Crawl through to find the Skulltula.
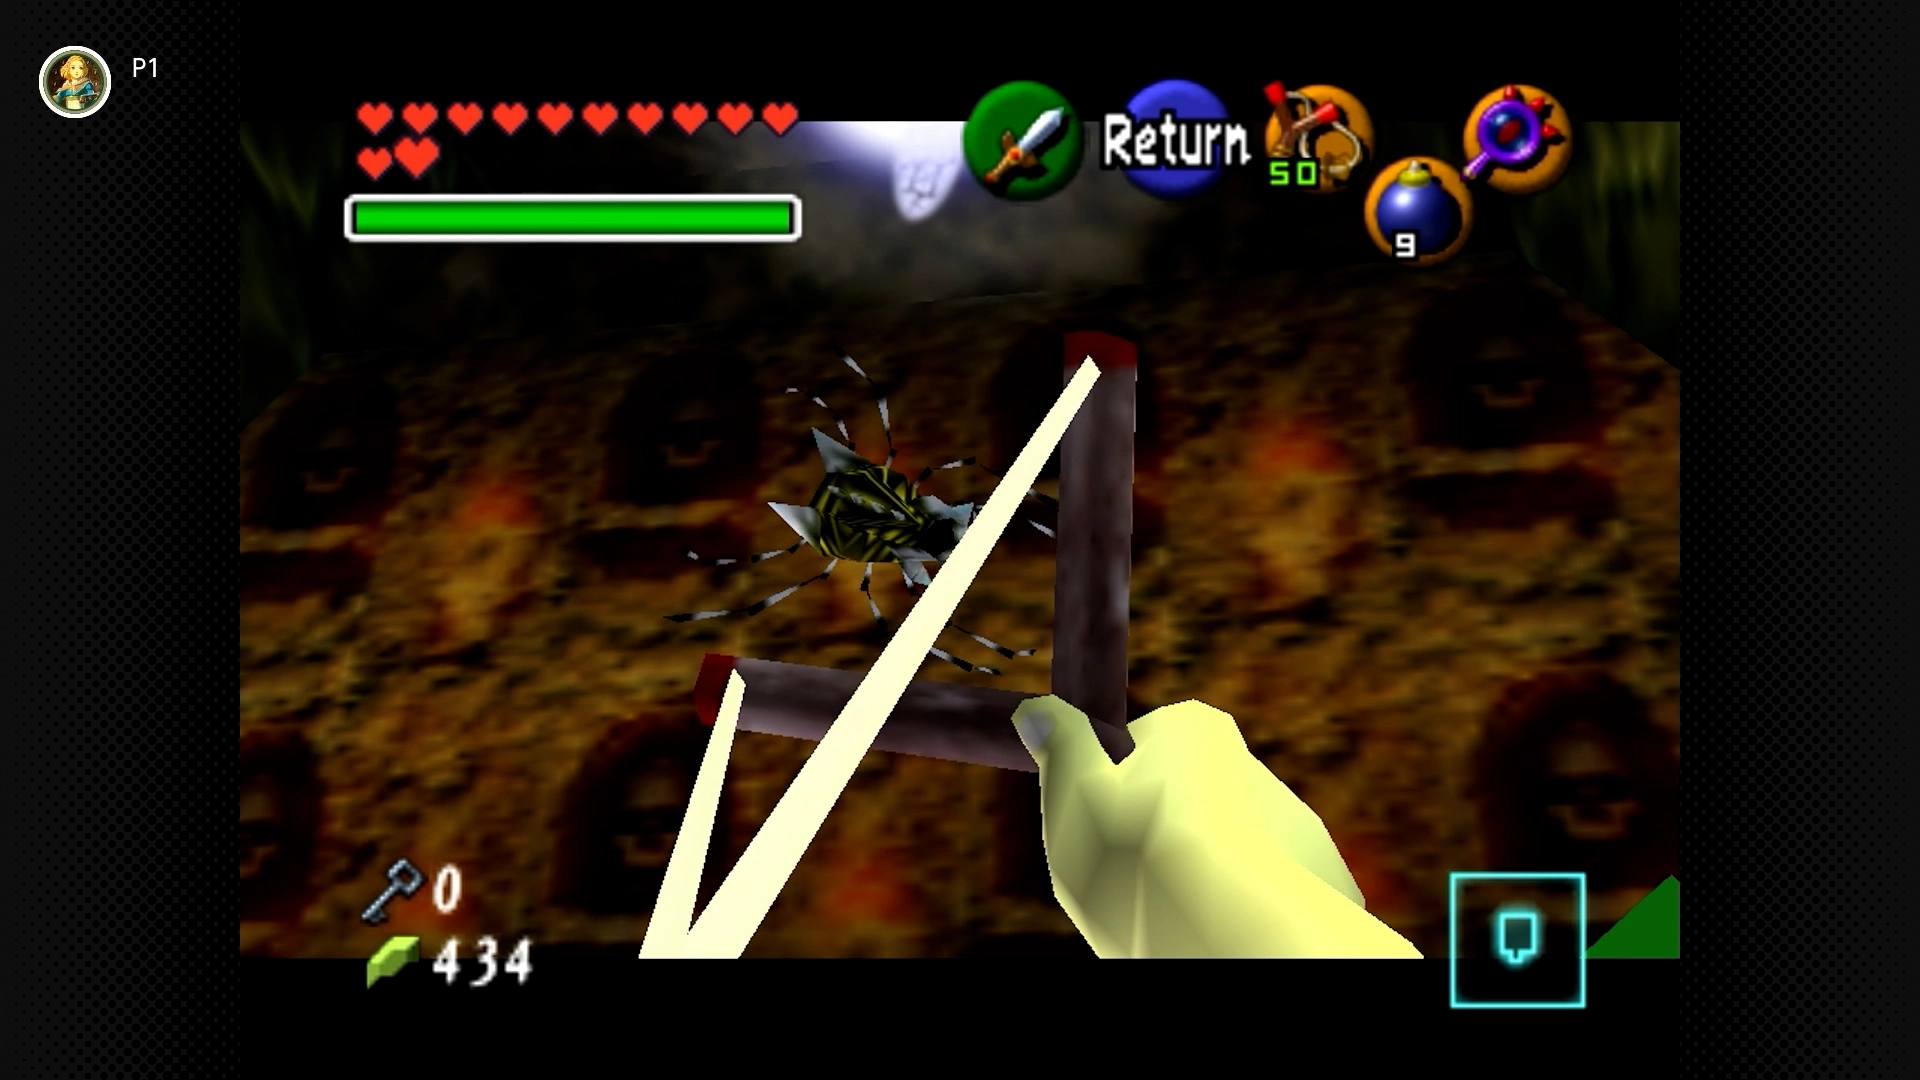
#20 – East Alcove Illusion
Required: Young Link, Lens of Truth
Location: Use a Small Key to open the locked door on the west (left) side of the main central room. Once inside, you’ll find the Skulltula behind the Deku Baba and the flying pots; clear them out to get the Skulltula.
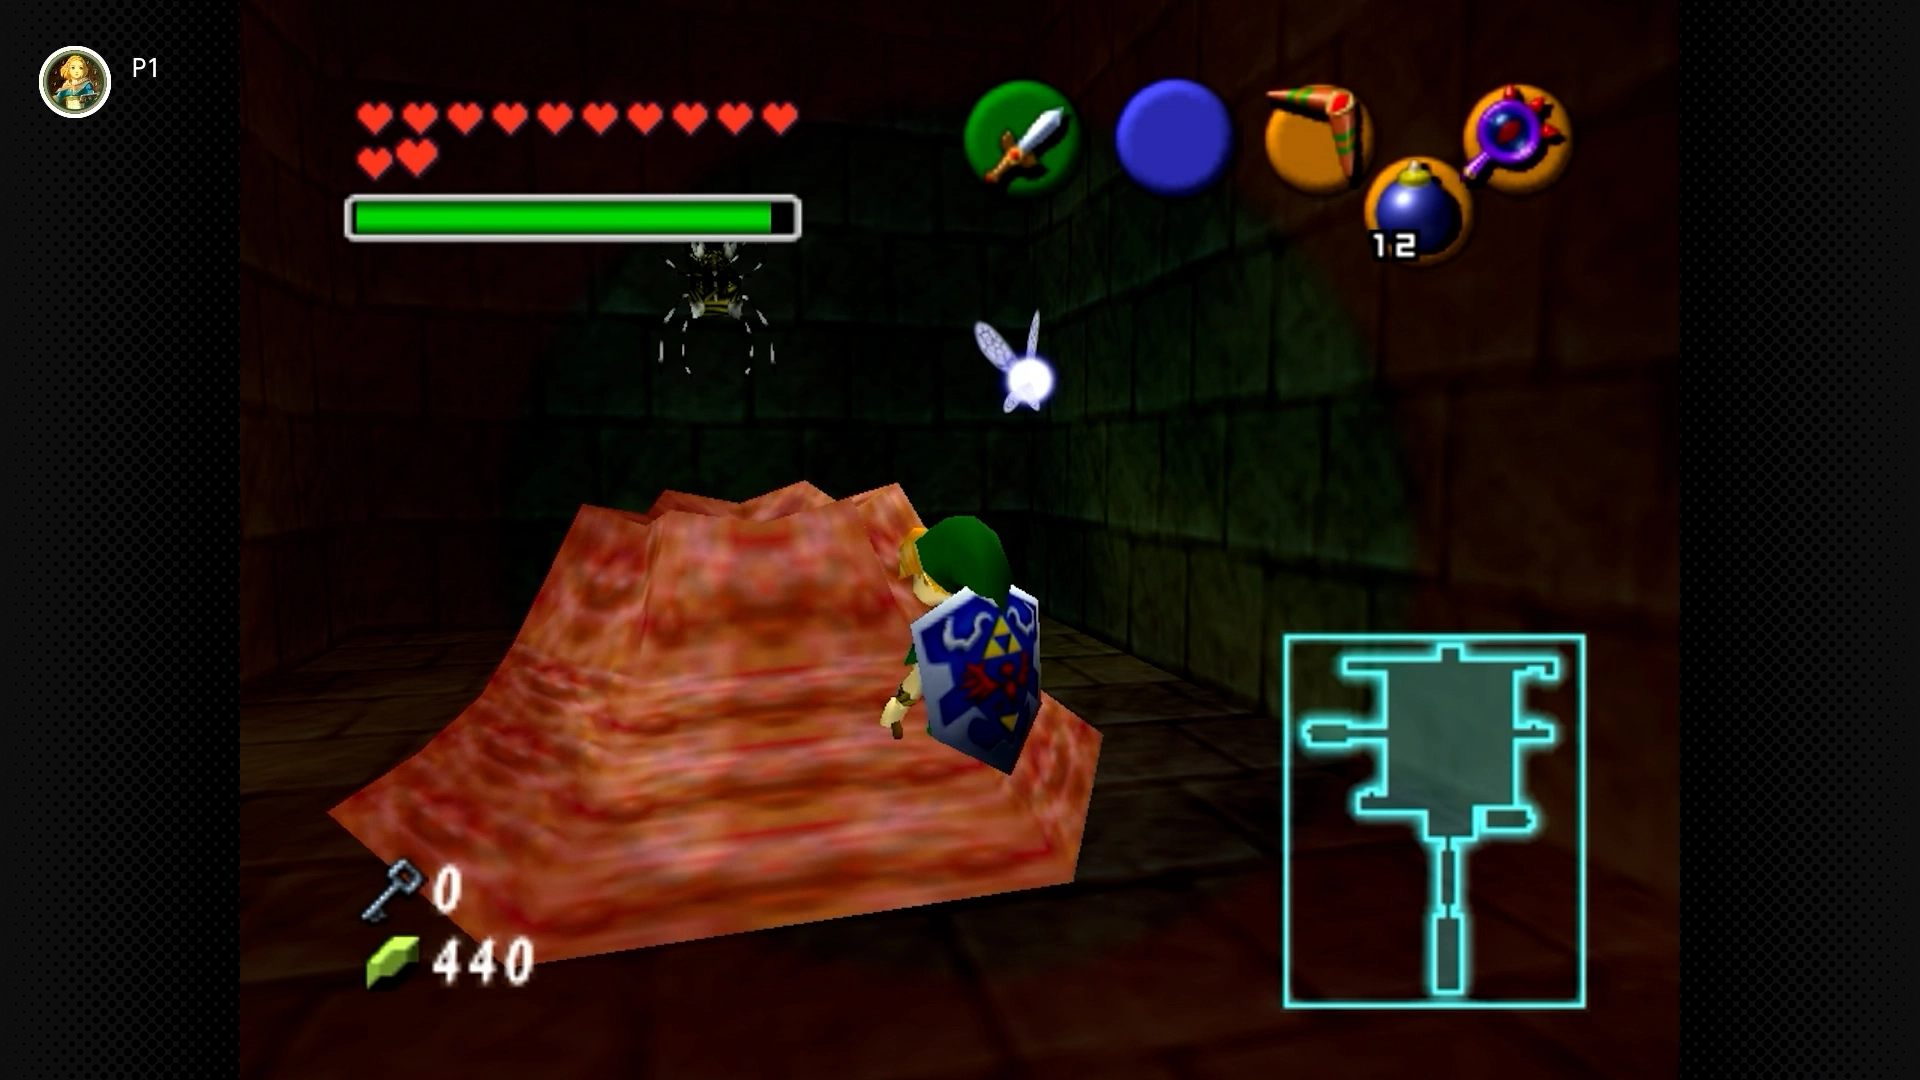
#21 – The Like Like’s Leftover
Required: Young Link, Lens of Truth, Small Key
Location: In the locked room on the west side of the main area (requires a key, often found in a chest behind a fake coffin). Defeat the Like Like inside to get access to the Skulltula.
Fire Temple (5 Skulltulas) [#22-26]
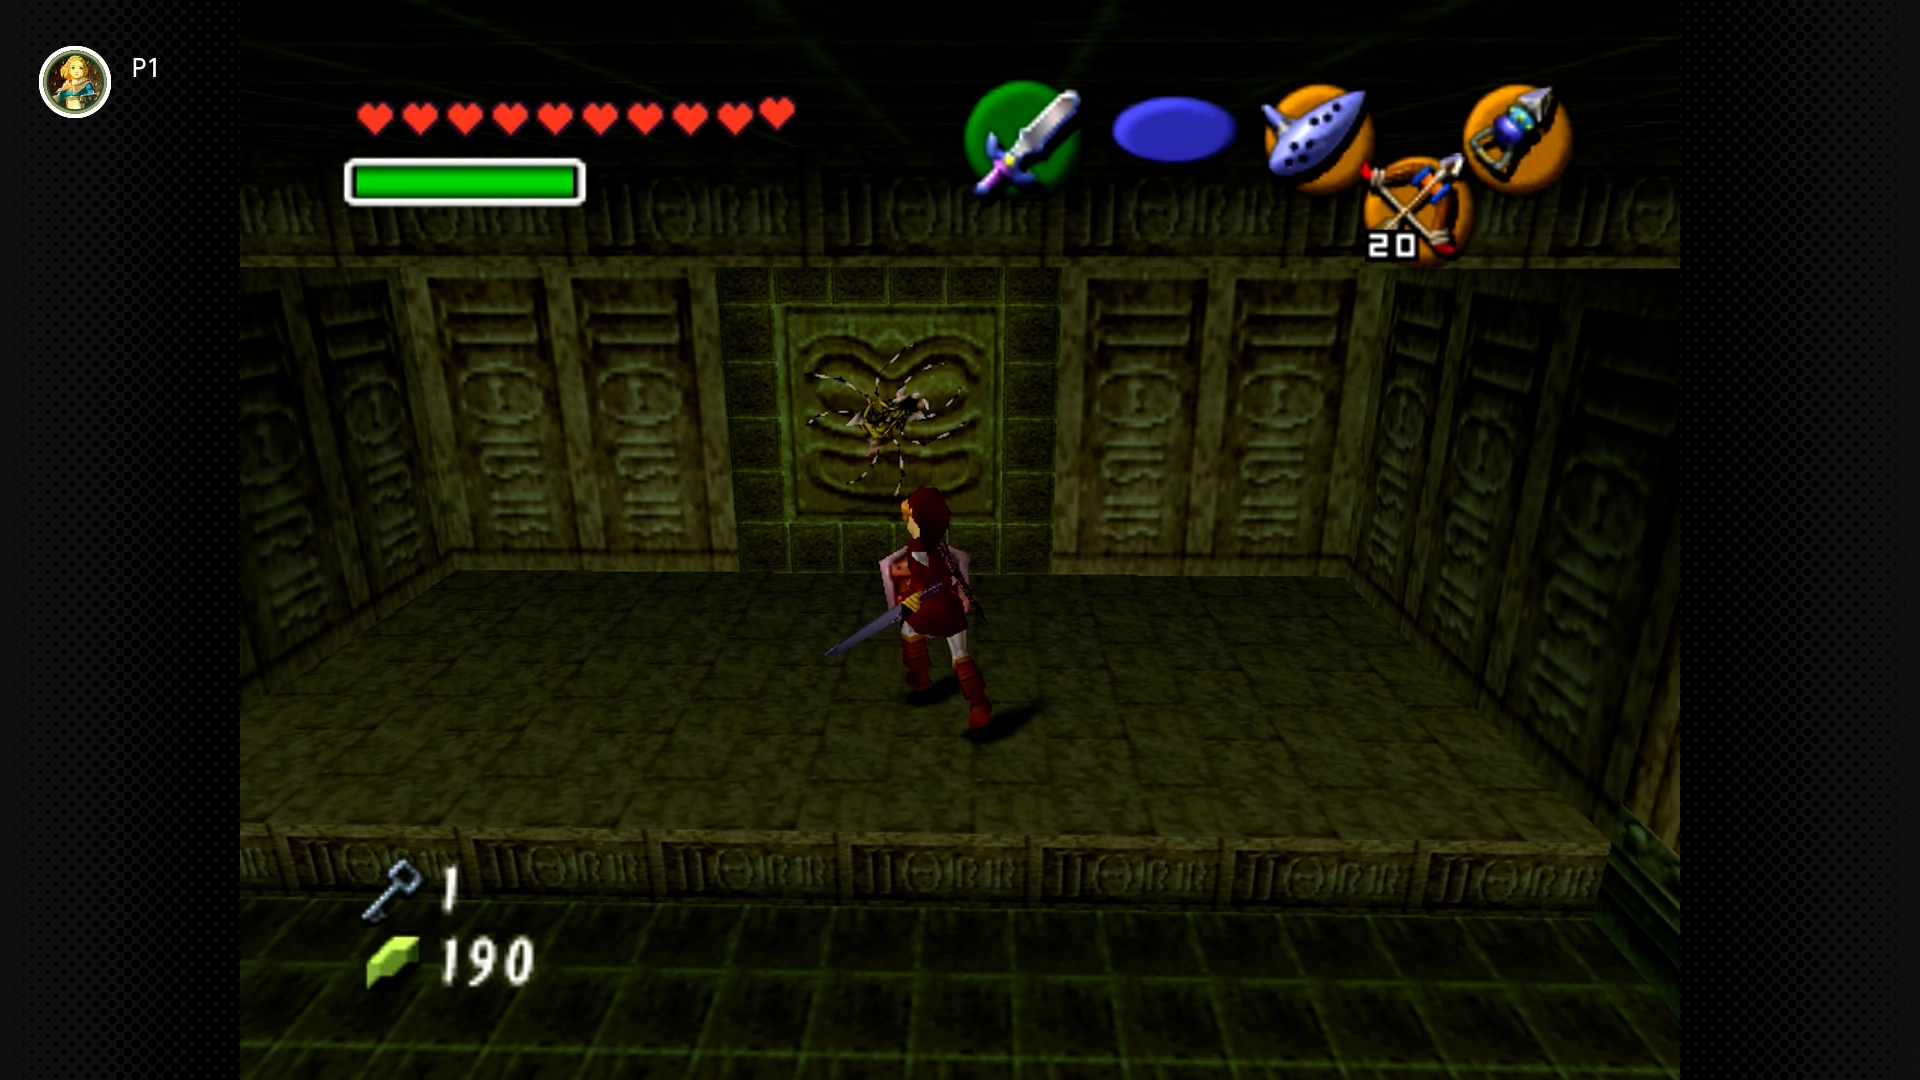
#22 – Time Block Treasure
Required: Adult Link, Song of Time, Hookshot
Location: In the first large lava room with the broken bridge. Go to the far north side. Look above the doorway for a Blue Time Block. Play the Song of Time to move it, revealing a hidden door. Enter this room and defeat the enemies to get the Skulltula.
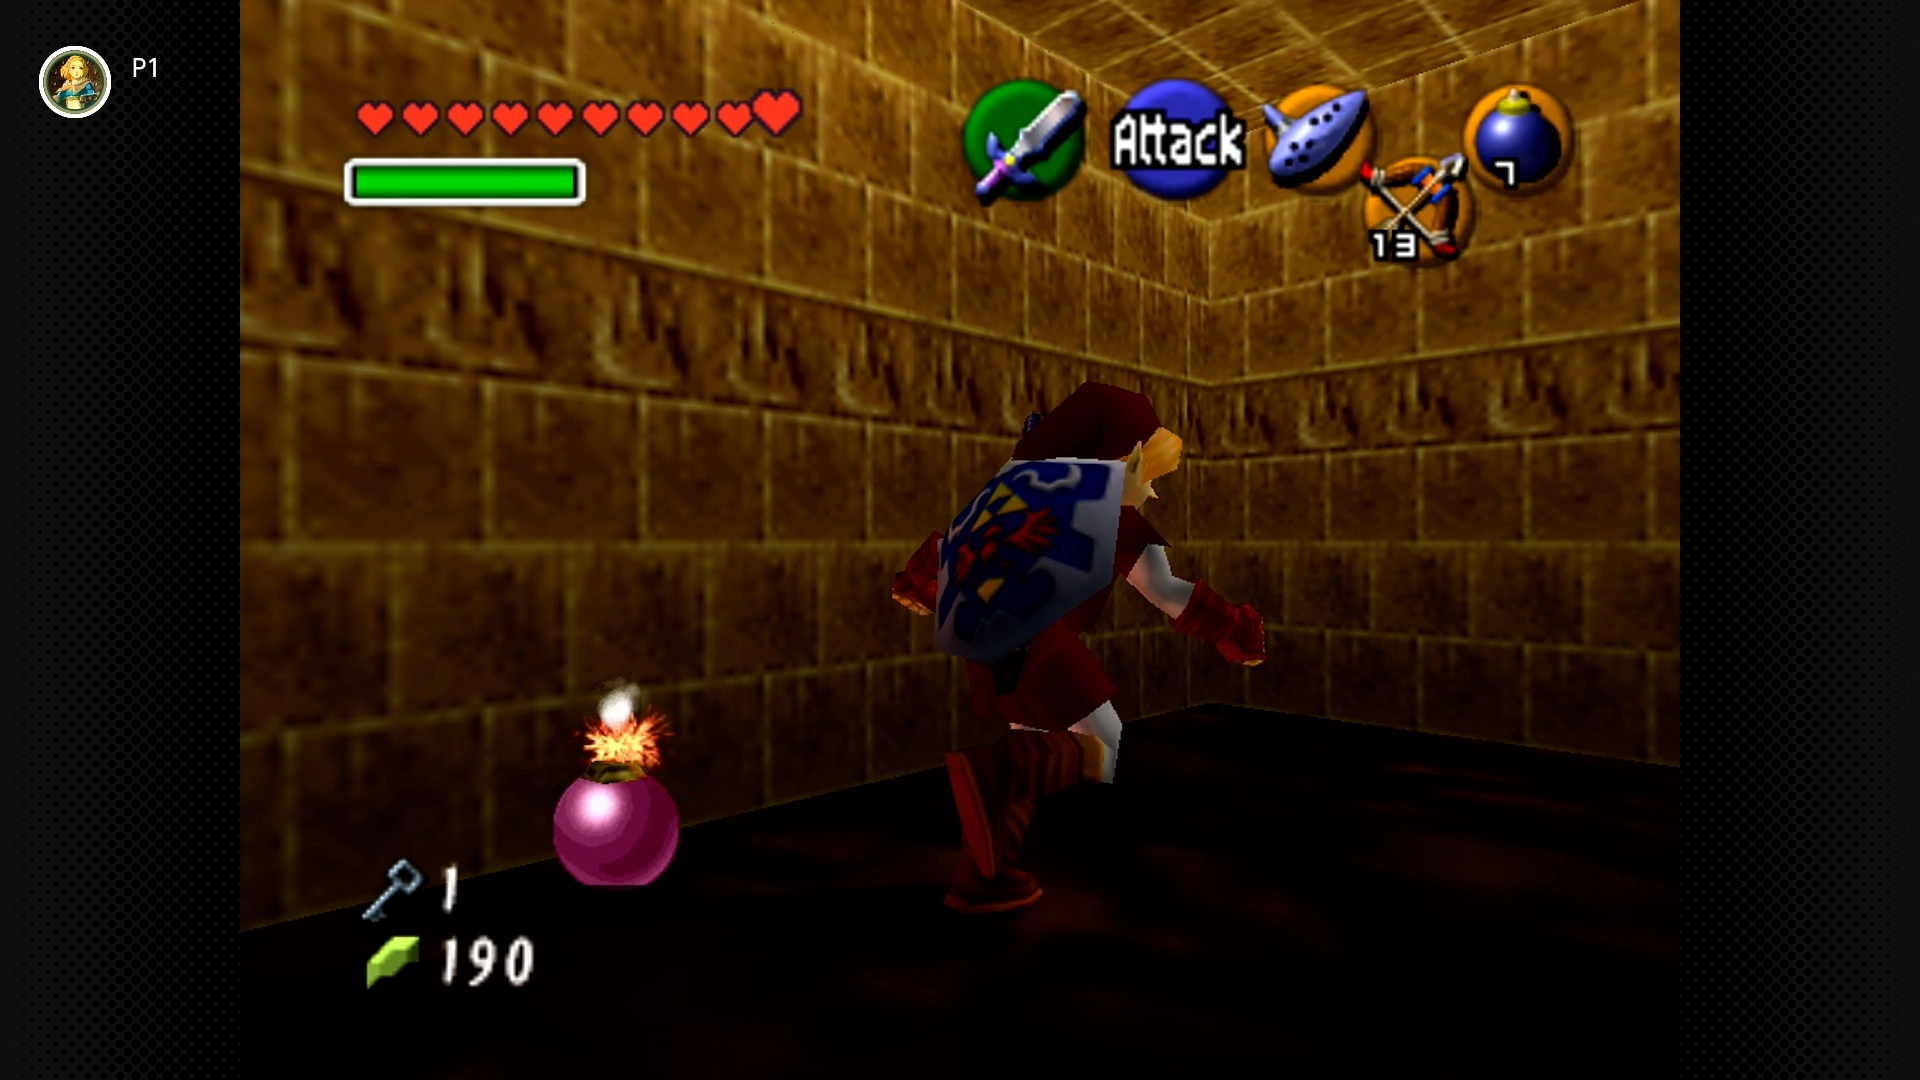
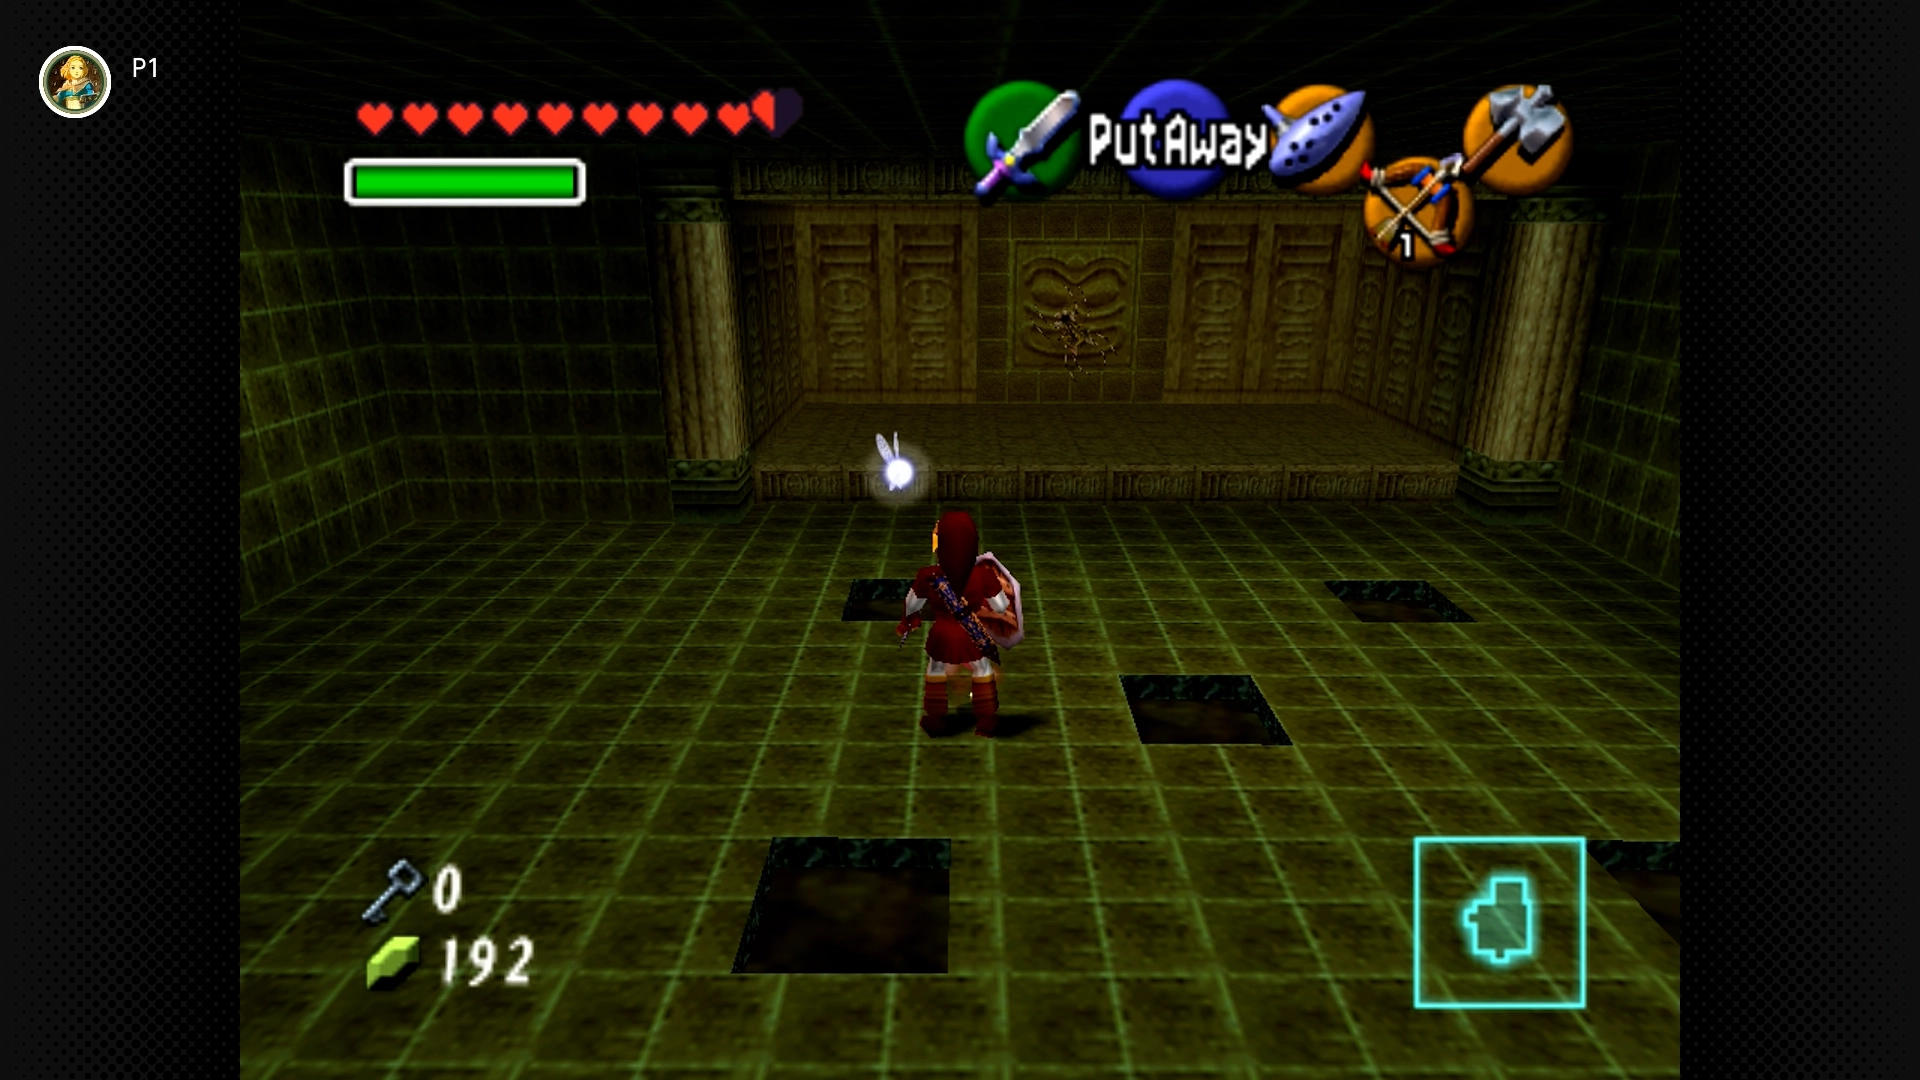
#24 – Flame Dancer’s Foe
Required: Adult Link, Hookshot
Location: In the room just before the Flare Dancer mini-boss chamber (where you hit a switch inside a Goron cage). Defeat the Like Like in this room to find the Skulltula.
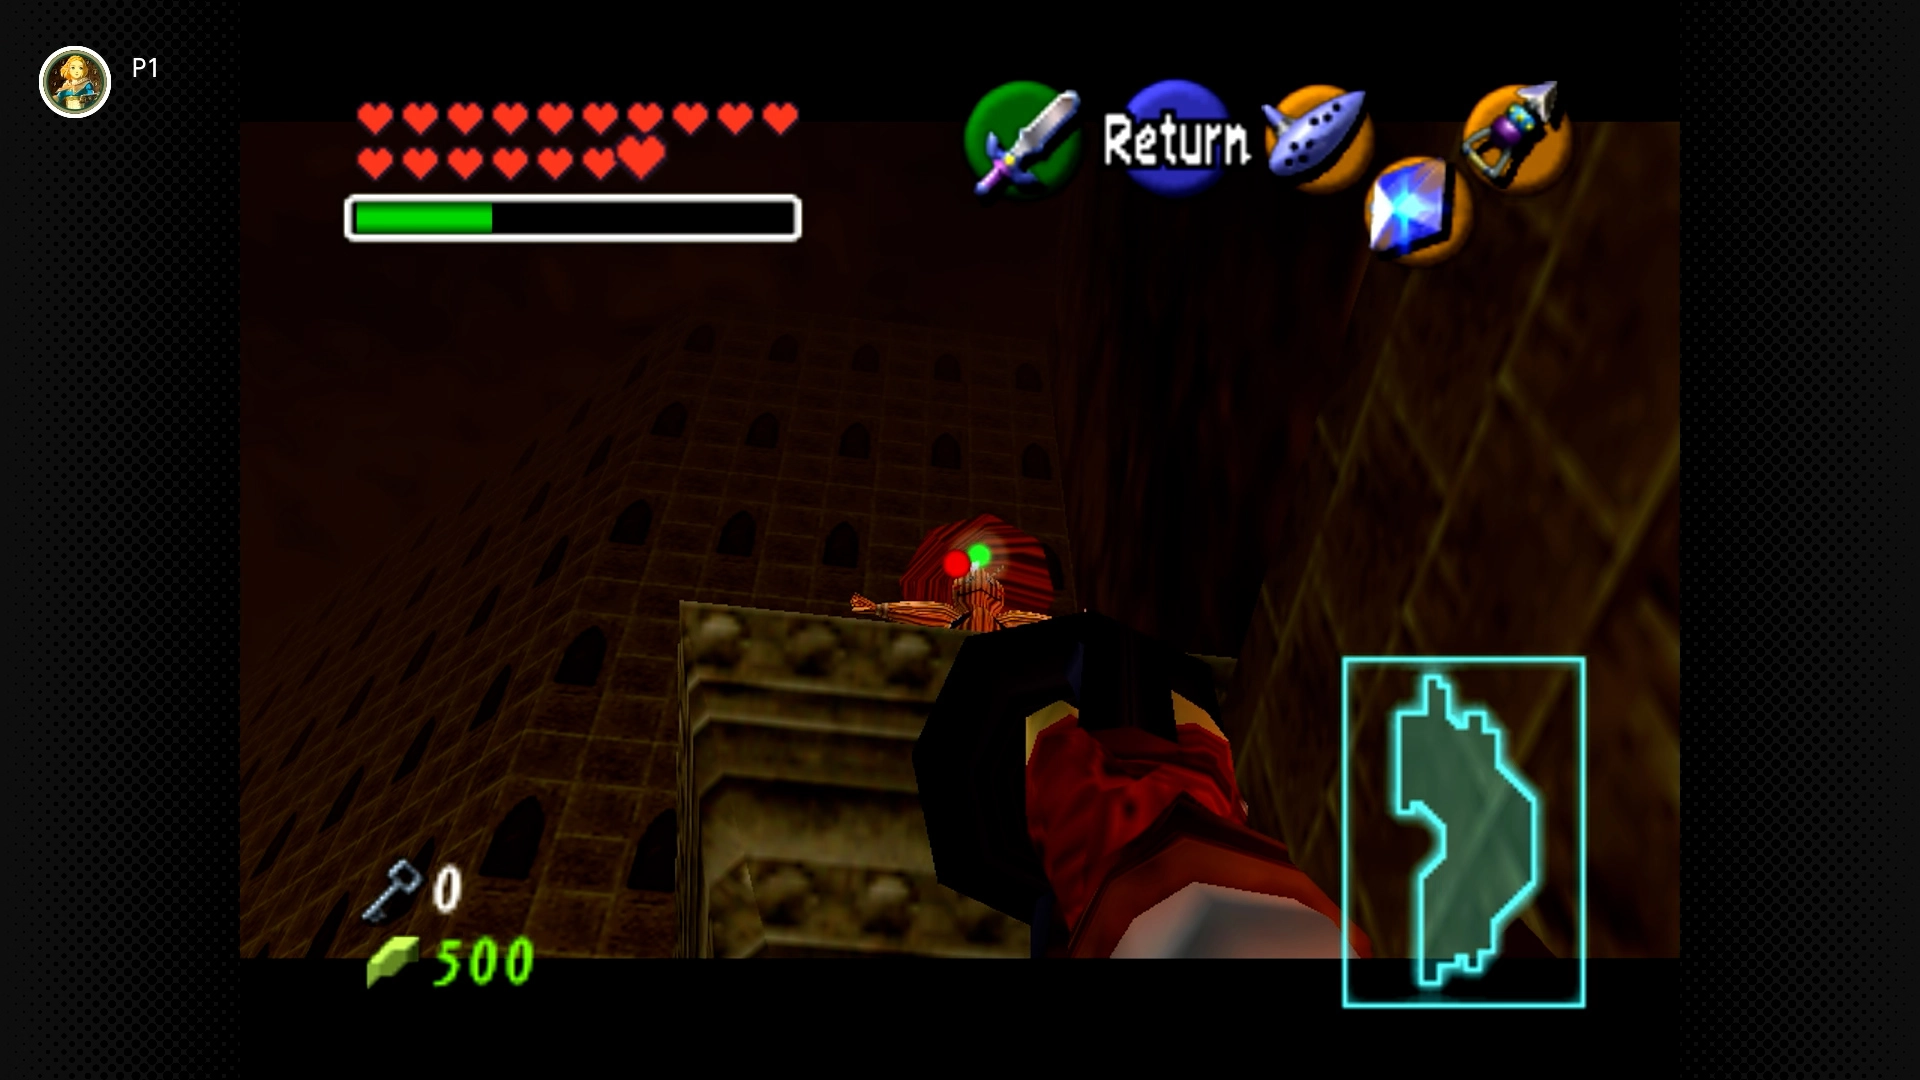
#25 – Scarecrow’s Secret Ascent
Required: Adult Link, Scarecrow’s Song, Hookshot
Location: In the large boulder maze room. Go to the upper level. Stand on the platform above the entrance doorway (southeast corner). Play the Scarecrow’s Song to make Pierre appear on a higher platform across the gap. Hookshot to Pierre, then Hookshot to another platform that acts as an elevator, taking you to a secret upper room containing the Skulltula.

#26 – Hammer Room Haunter
Required: Adult Link, Hookshot (must have done #4)
Location: Continue from the secret room of Skulltula #4. You’ll enter the upper part of the room where you find the Megaton Hammer. Look to your left (west) on the wall near the pillar switch to find the Skulltula.
Ice Cavern (3 Skulltulas) [#27-29]
Note: Blue Fire (requires Bottles) is needed.
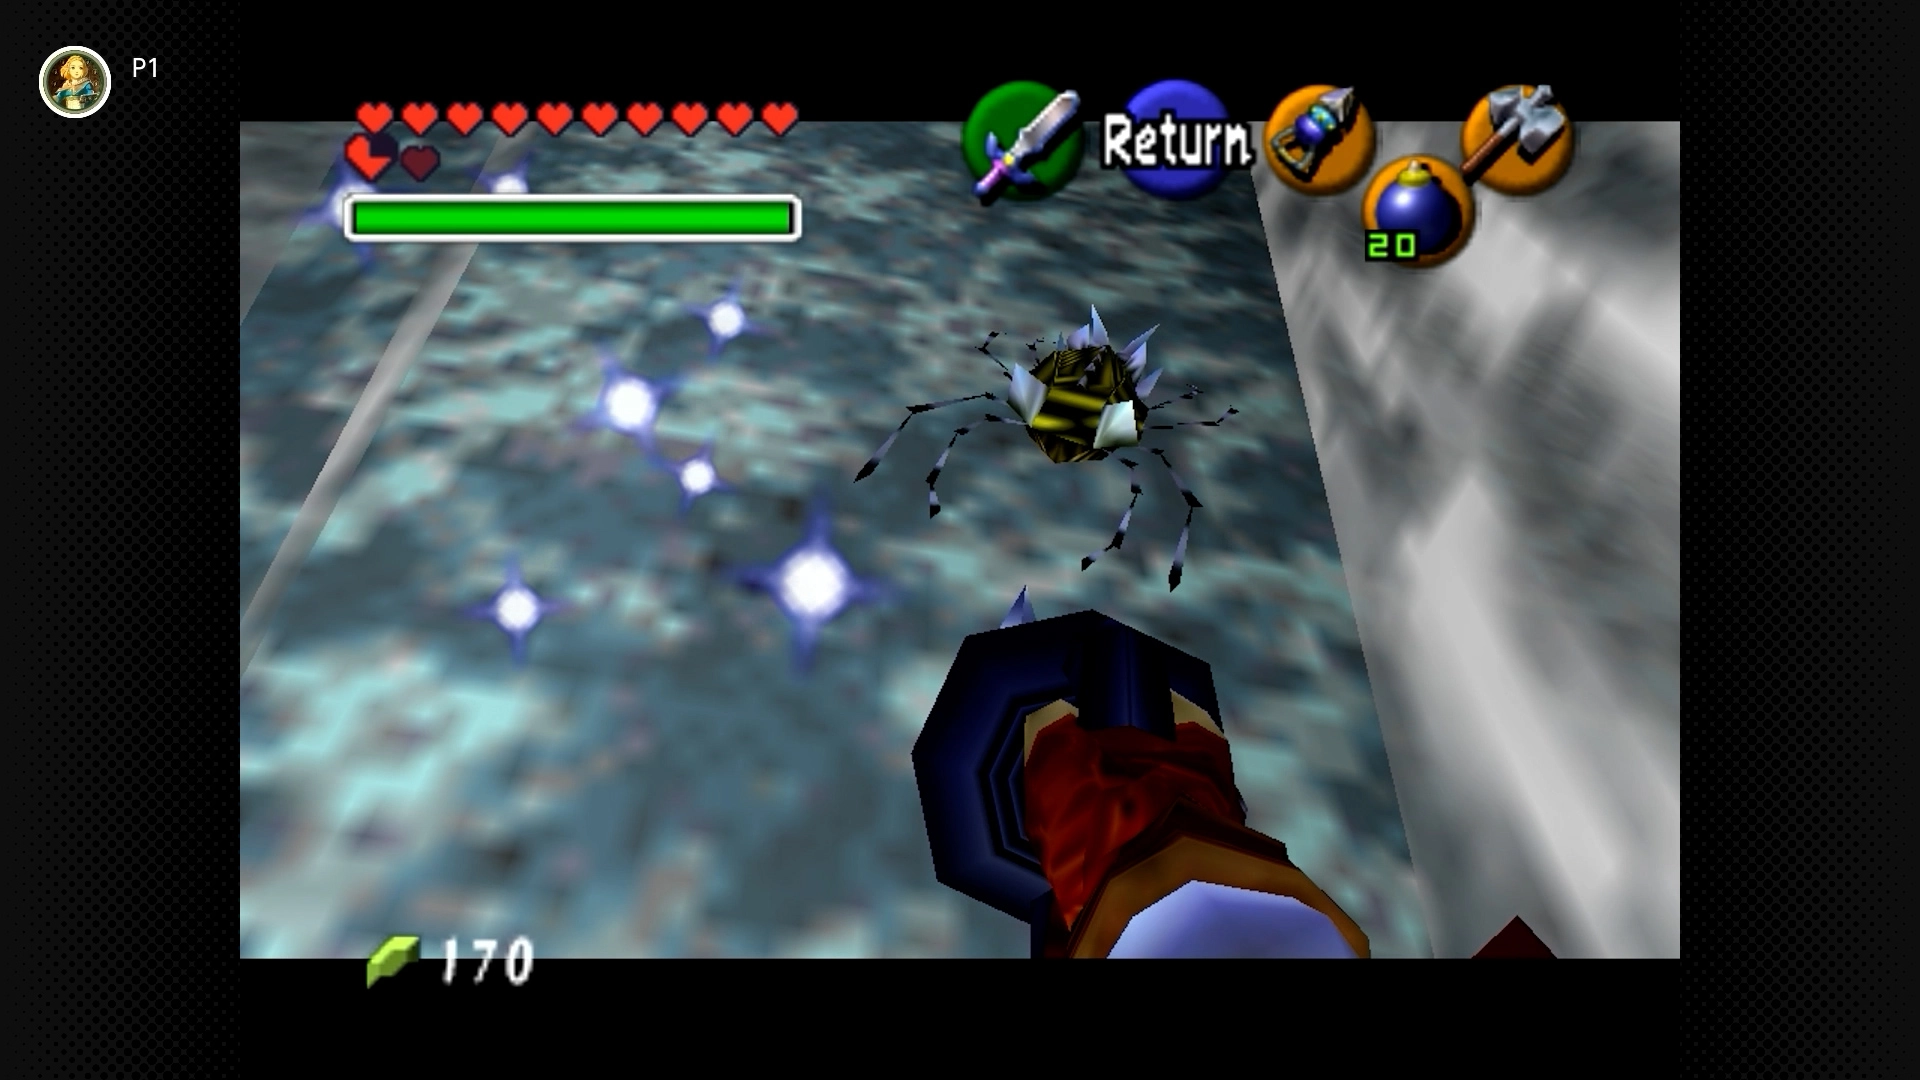
#27 – Spinning Scythe Souvenir
Required: Adult Link, Hookshot, Blue Fire (Bottled)
Location: In the room with the large, spinning ice scythe blade. The Skulltula is high up on the central pillar. You’ll need Blue Fire to melt red ice blocking access.
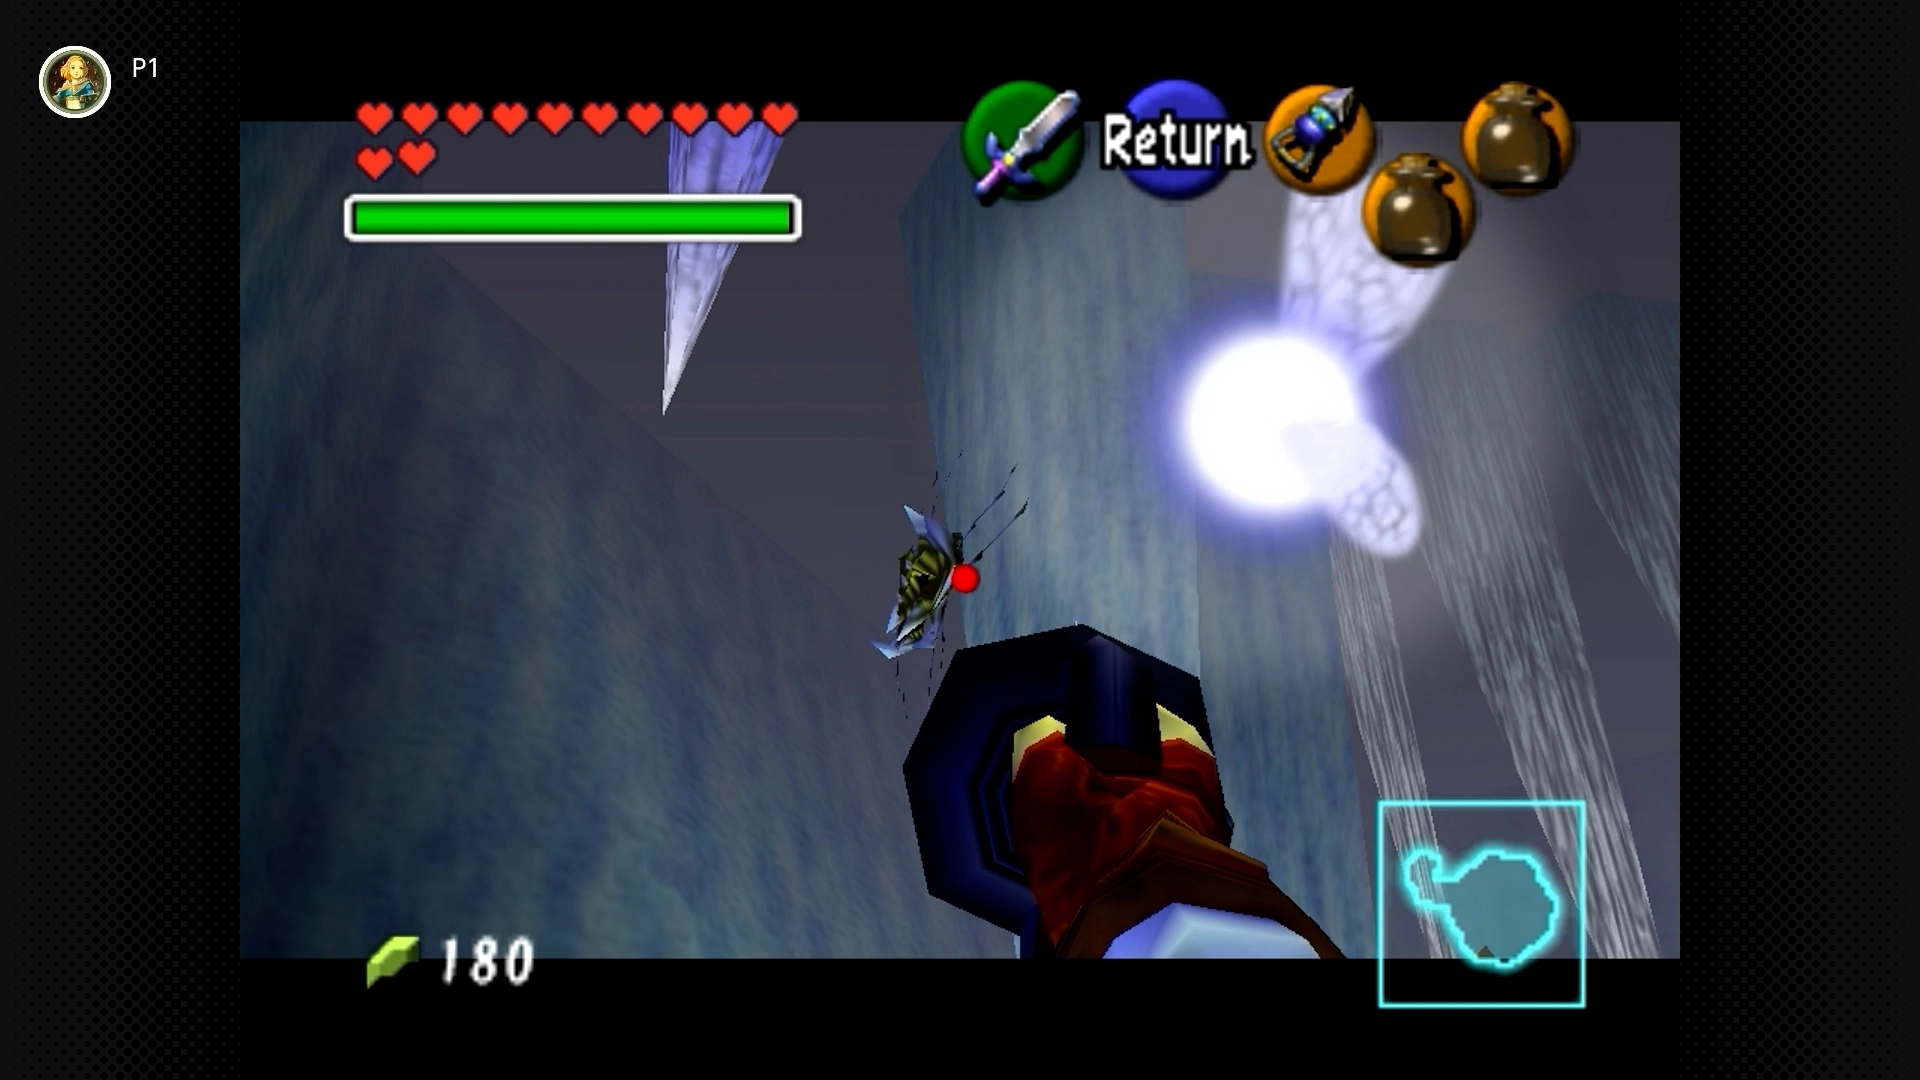
#28 – East Wing Icicle
Required: Adult Link, Hookshot, Blue Fire (Bottled)
Location: In the small, round room east of the spinning scythe room (requires melting red ice to enter). The Skulltula is in an alcove high on the wall.
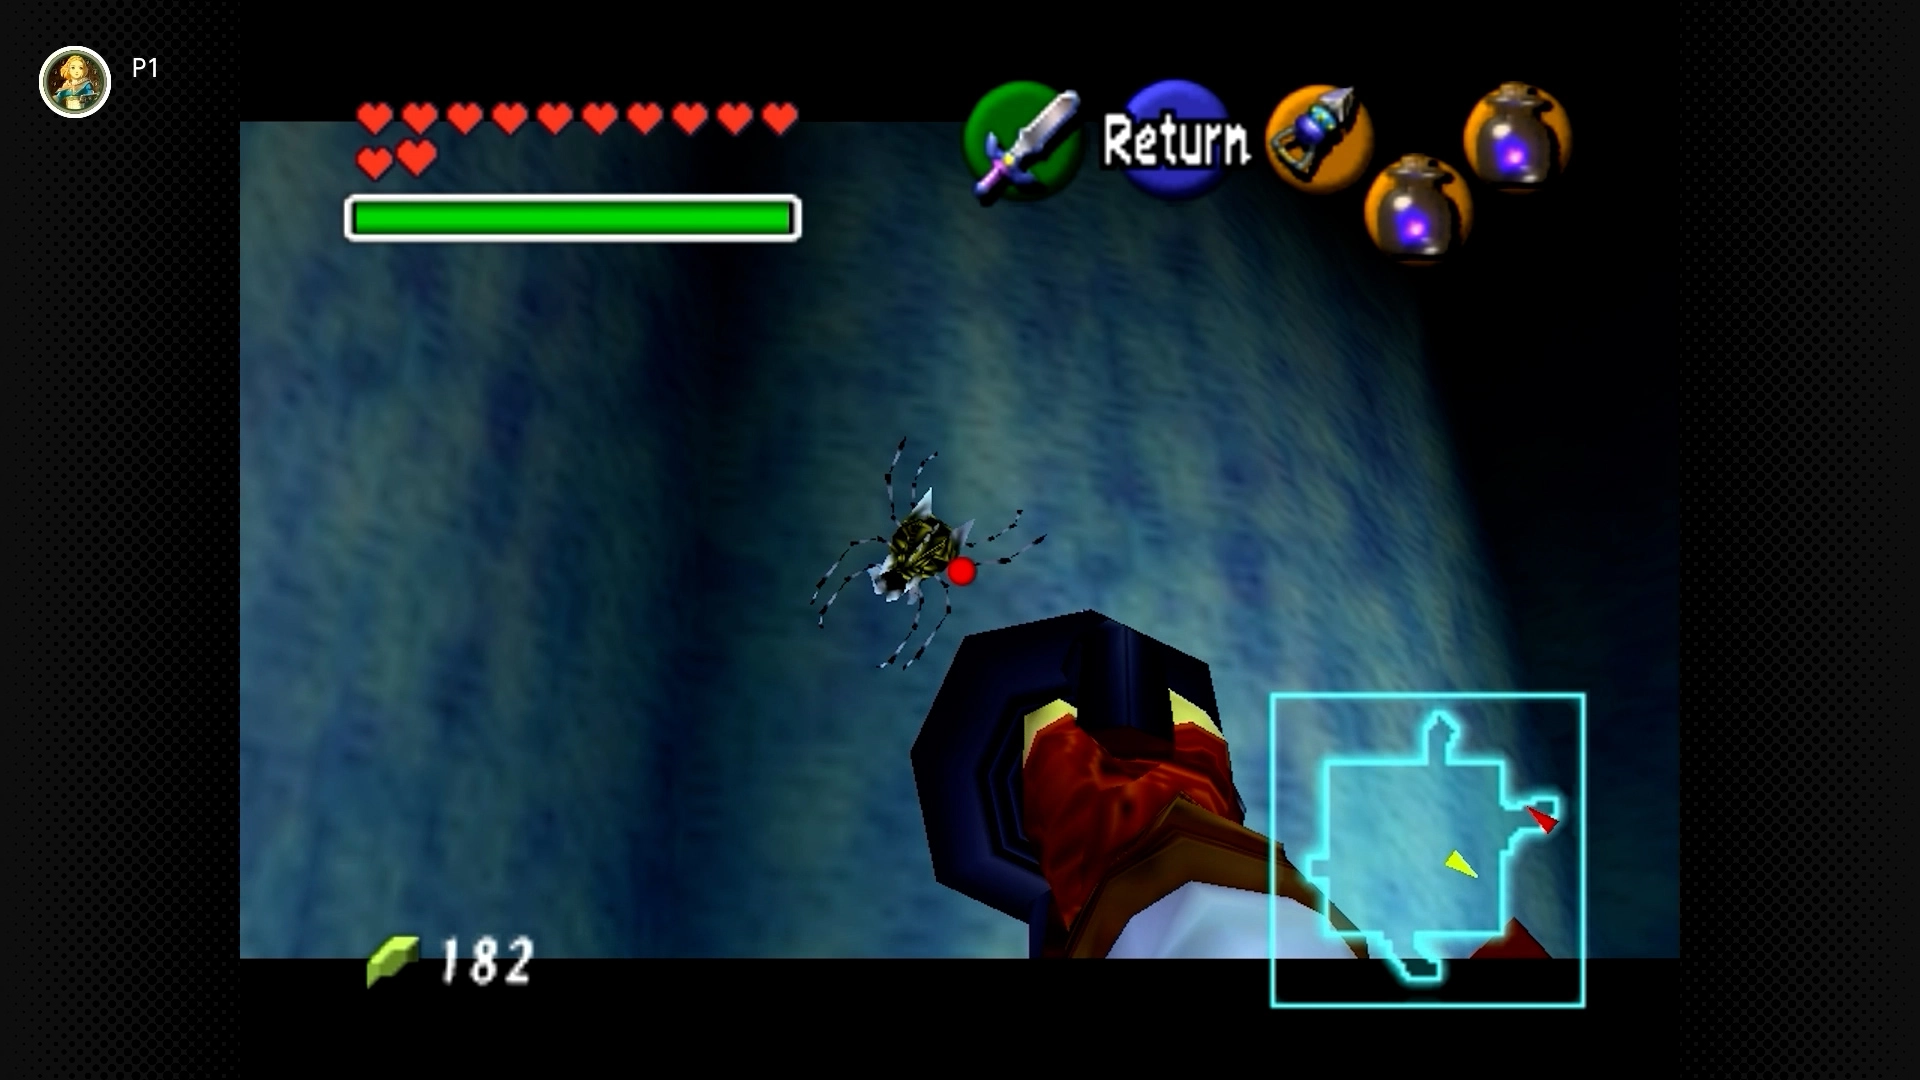
#29 – West Wing Winter
Required: Adult Link, Hookshot, Blue Fire (Bottled)
Location: In the room west of the spinning scythe room, where you push a large block of ice (requires melting red ice to enter). The Skulltula is in an alcove high on the wall.
Water Temple (5 Skulltulas) [#30-34]
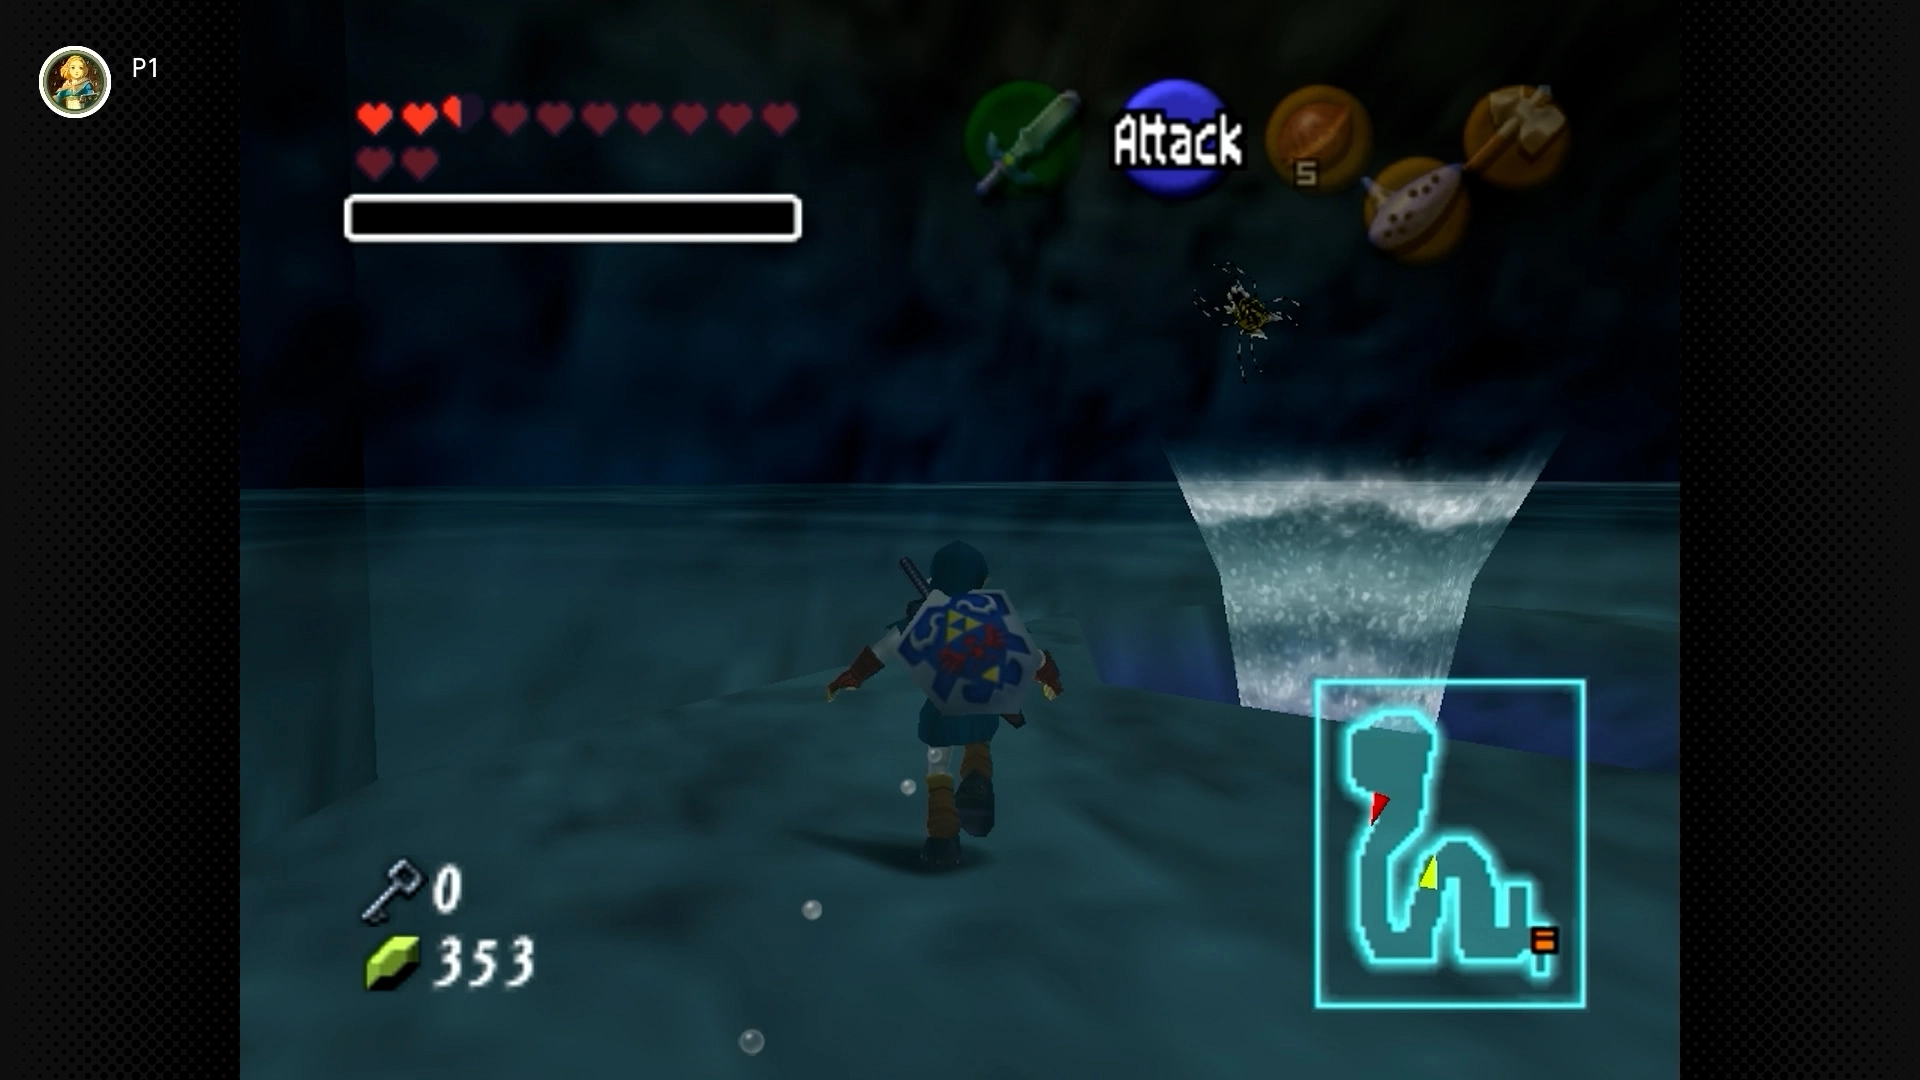
#30 – Vortex Vermin
Required: Adult Link, Iron Boots, Hookshot
Location: In the underground river passage connecting the central room (lowest level) to the room with the vortexes. Look up above the second vortex to spot the Skulltula. Use the Hookshot while wearing Iron Boots.

#31 – Central Pillar Prize
Required: Adult Link, Longshot, Song of Time (to raise water level)
Location: Inside the central tower in the main room. Raise the water level to the highest point (play Zelda’s Lullaby at the Triforce symbol, then use the Song of Time block). Enter the tower, look up, and use the Longshot on the Skulltula high up.
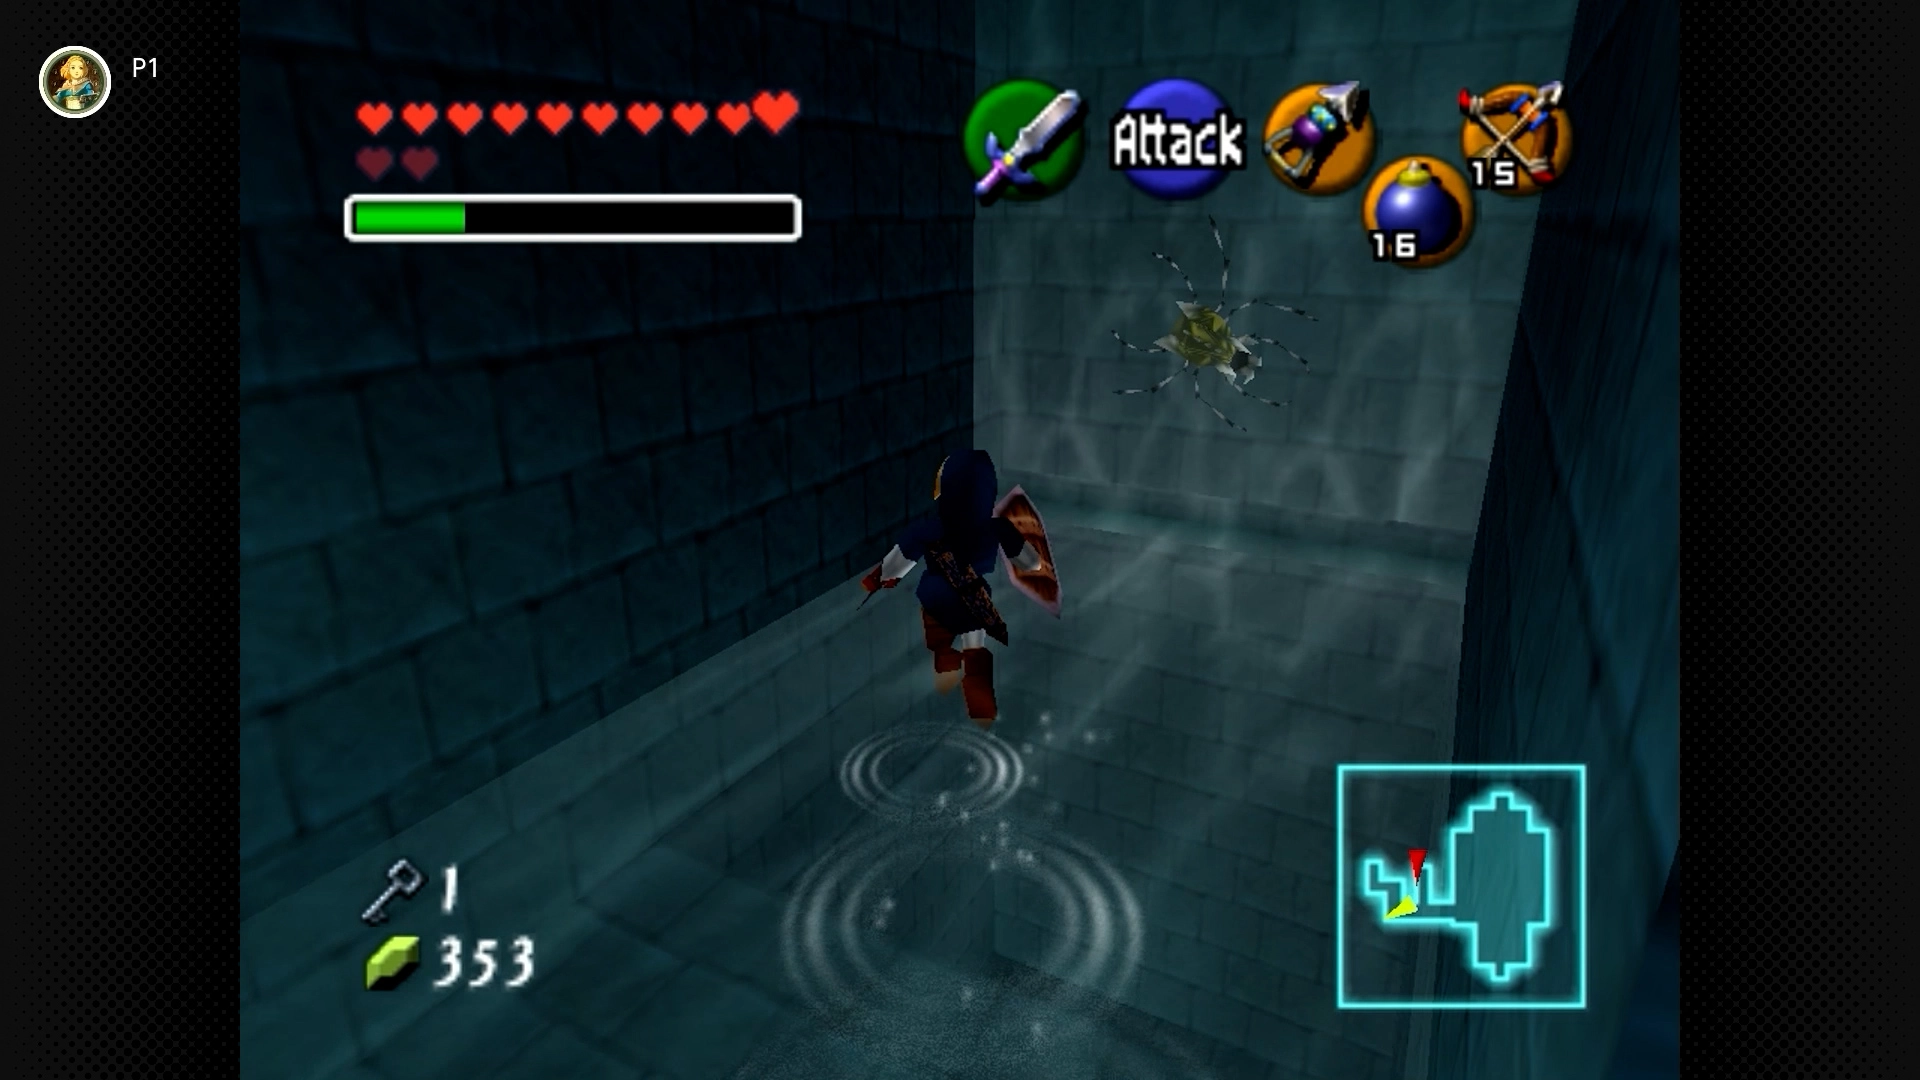
#32 – Waterfall Wallflower
Required: Adult Link, Longshot (recommended)
Location: In the passage with the rolling boulders just before the Dark Link mini-boss room. Look behind the waterfall at the very end of the passage.
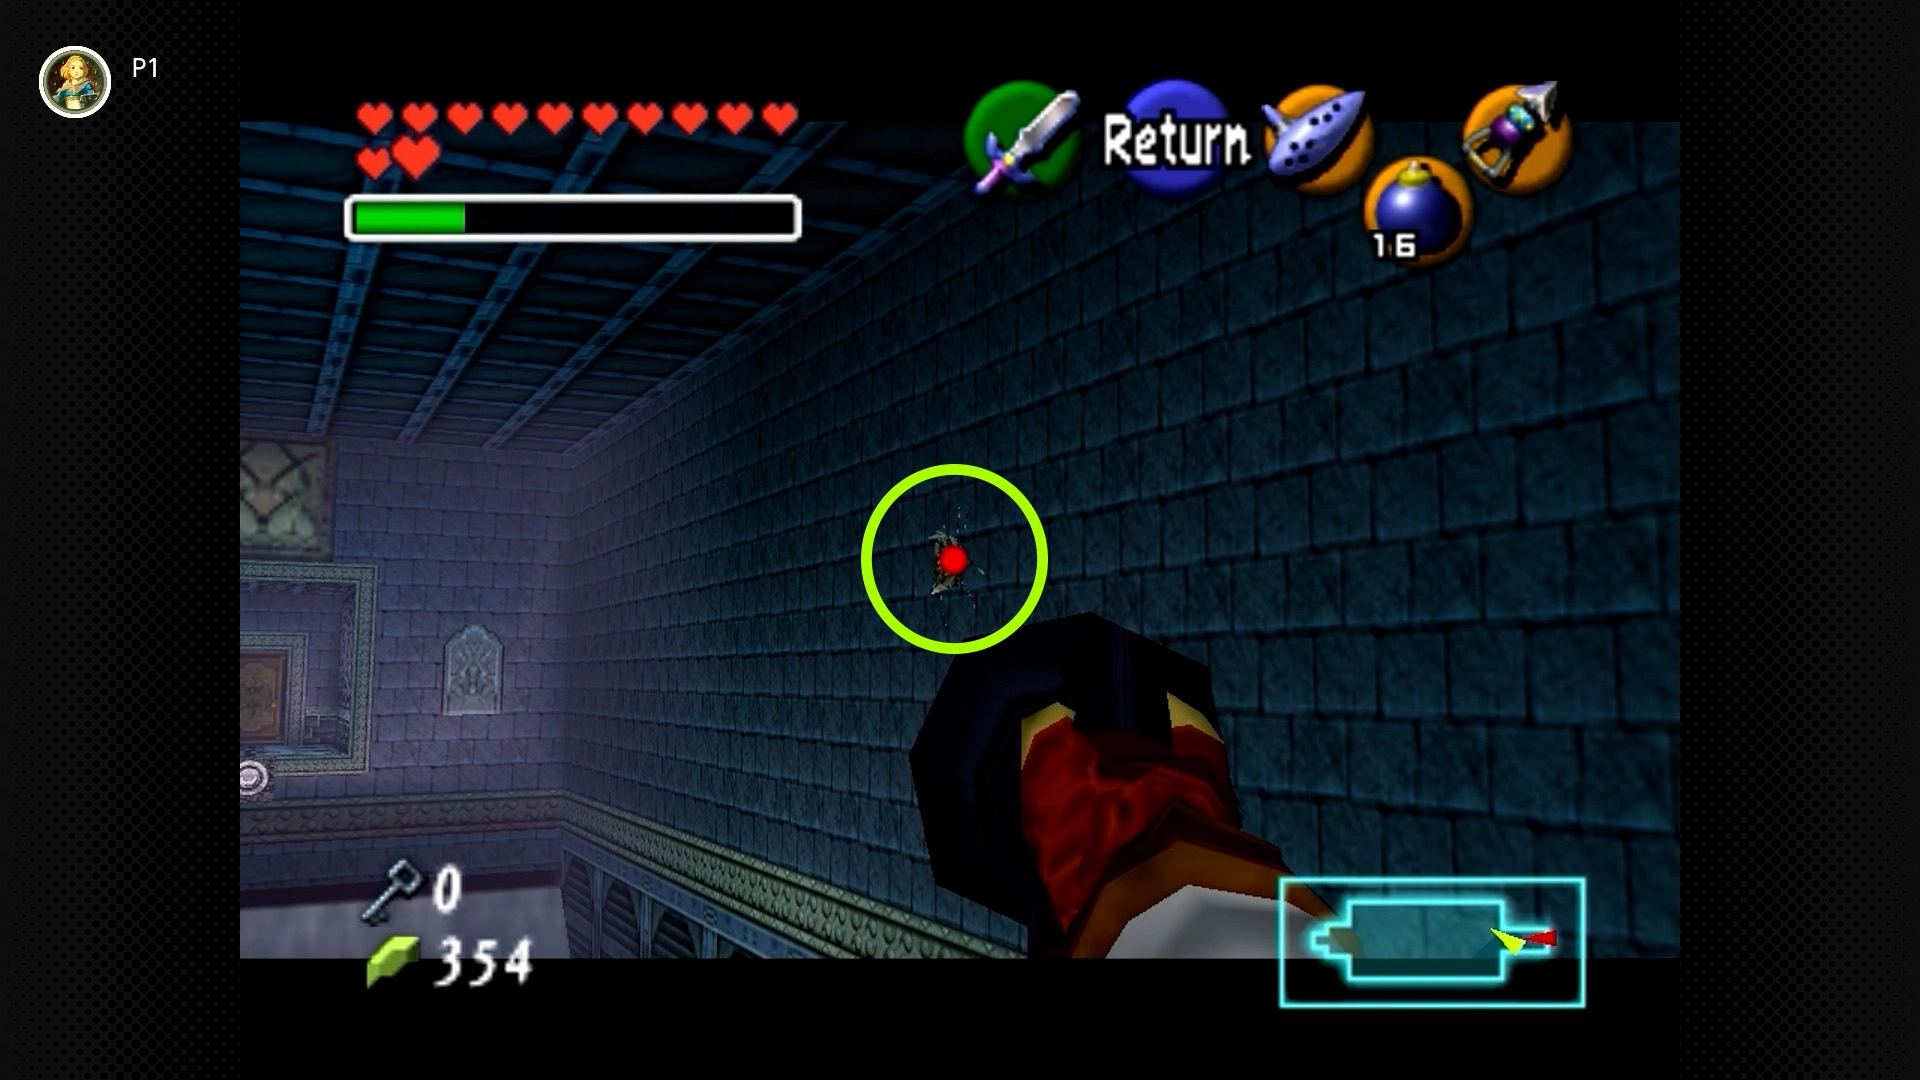
#33 – Descending Drop Dweller
Required: Adult Link, Longshot
Location: In the large room with the central waterfall and descending platforms. Look high up on the right (east) wall. Use the Longshot to claim it.
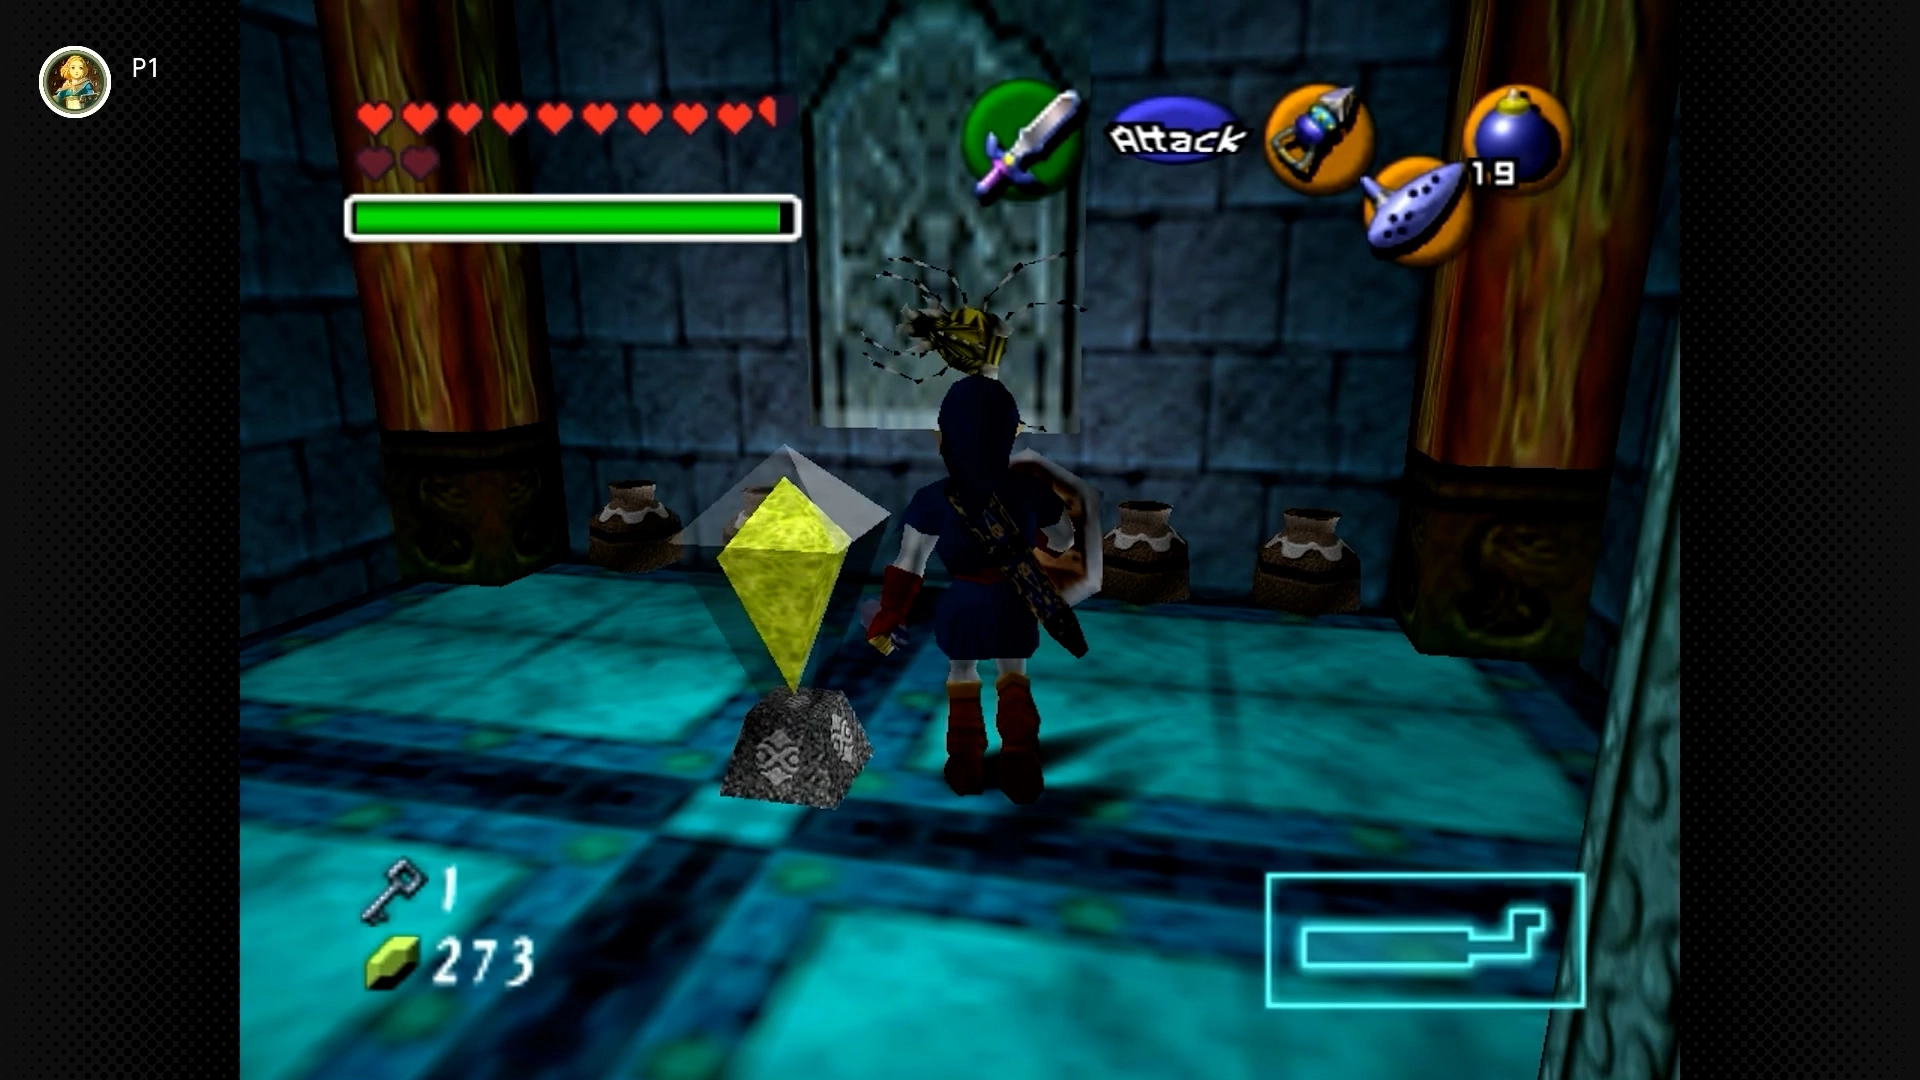
#34 – Grated Community
Required: Adult Link, Spin Attack (or Din’s Fire), Hookshot
Location: On the bottom level of the main room, take the western passage (left from the corridor where you first meet Ruto). This leads to a dead end with a grate. Perform a Spin Attack (hold and release B) next to the grate to hit a crystal switch inside, opening it. Use the Hookshot to get the Skulltula.
Shadow Temple (5 Skulltulas) [#35-39]
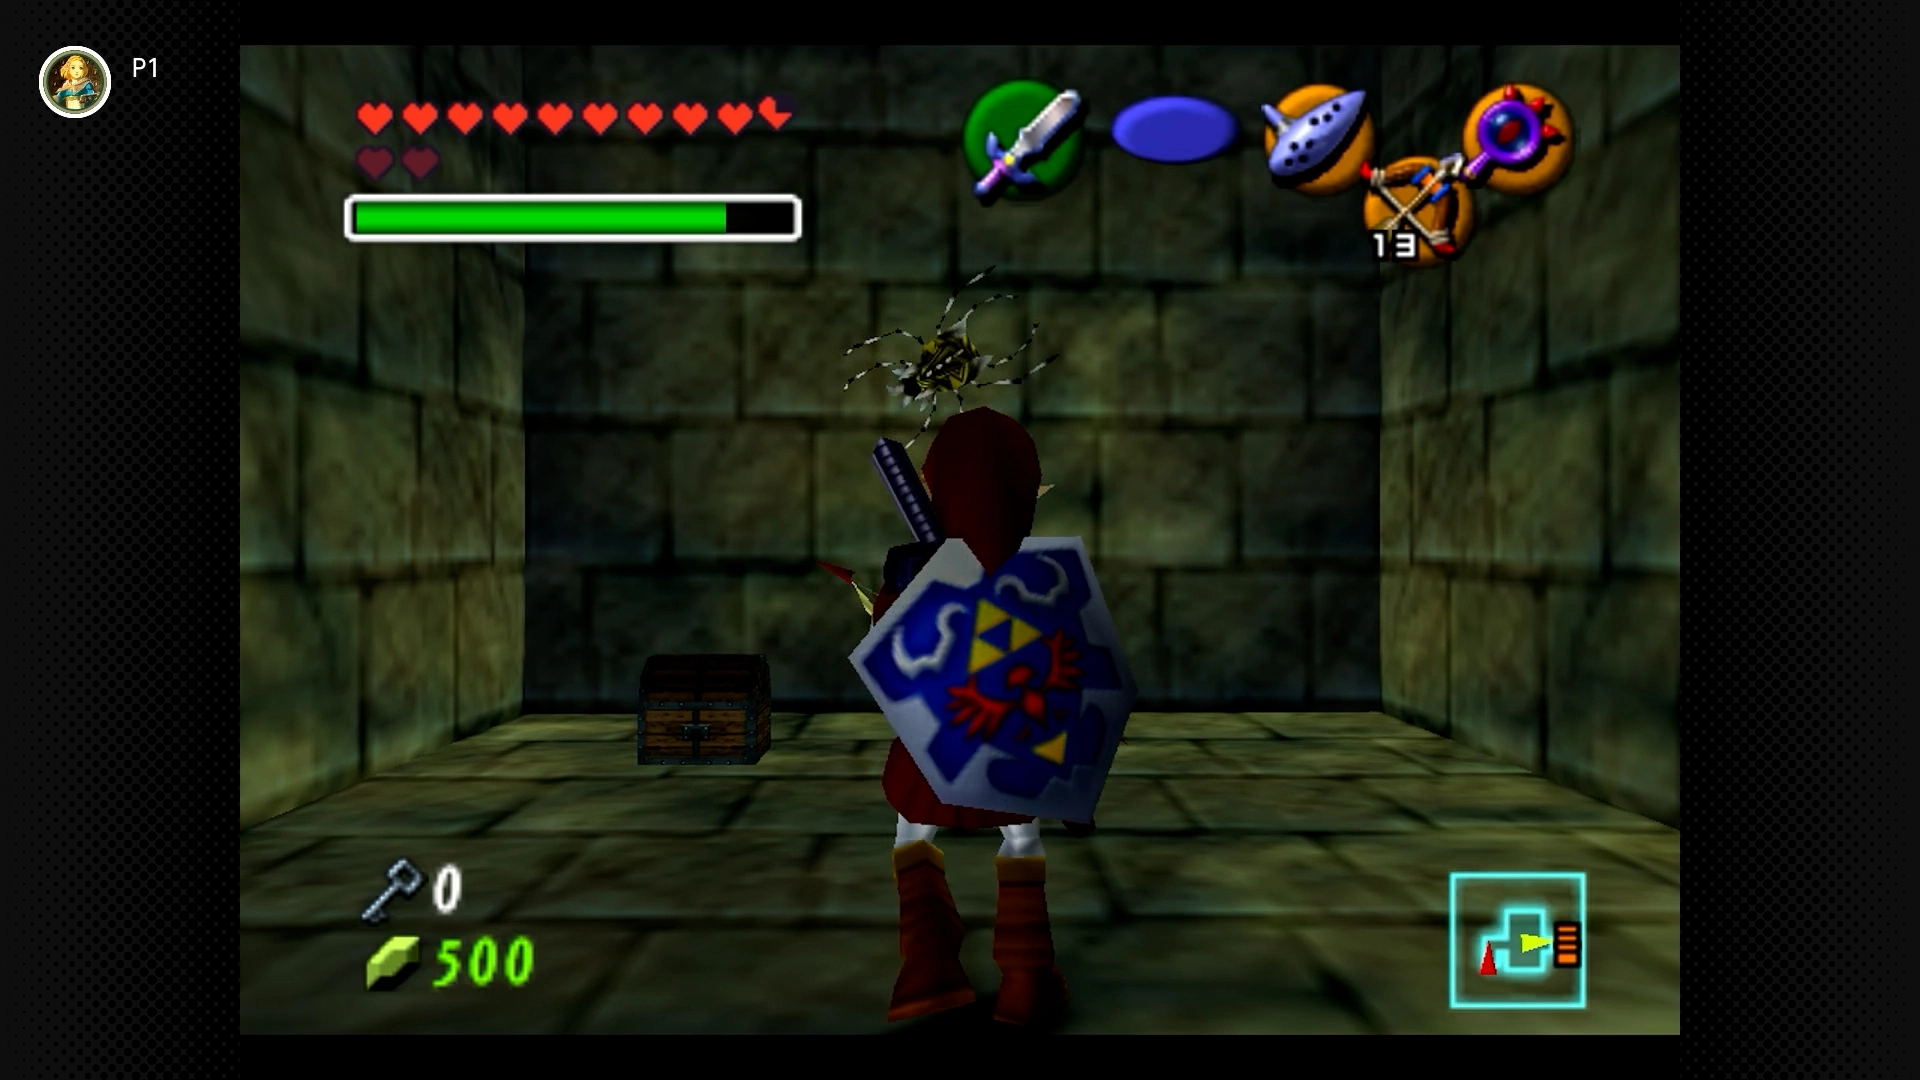
#35 – Illusionary Intruder
Required: Adult Link, Lens of Truth, Bombs (optional for Like Like), Hookshot
Location: After the first Stalfos fight, the path splits. Use the Lens of Truth to reveal a fake wall on the left path. Go through, defeat the Keese and Like Like inside the next room. The Skulltula is behind bars in this room.
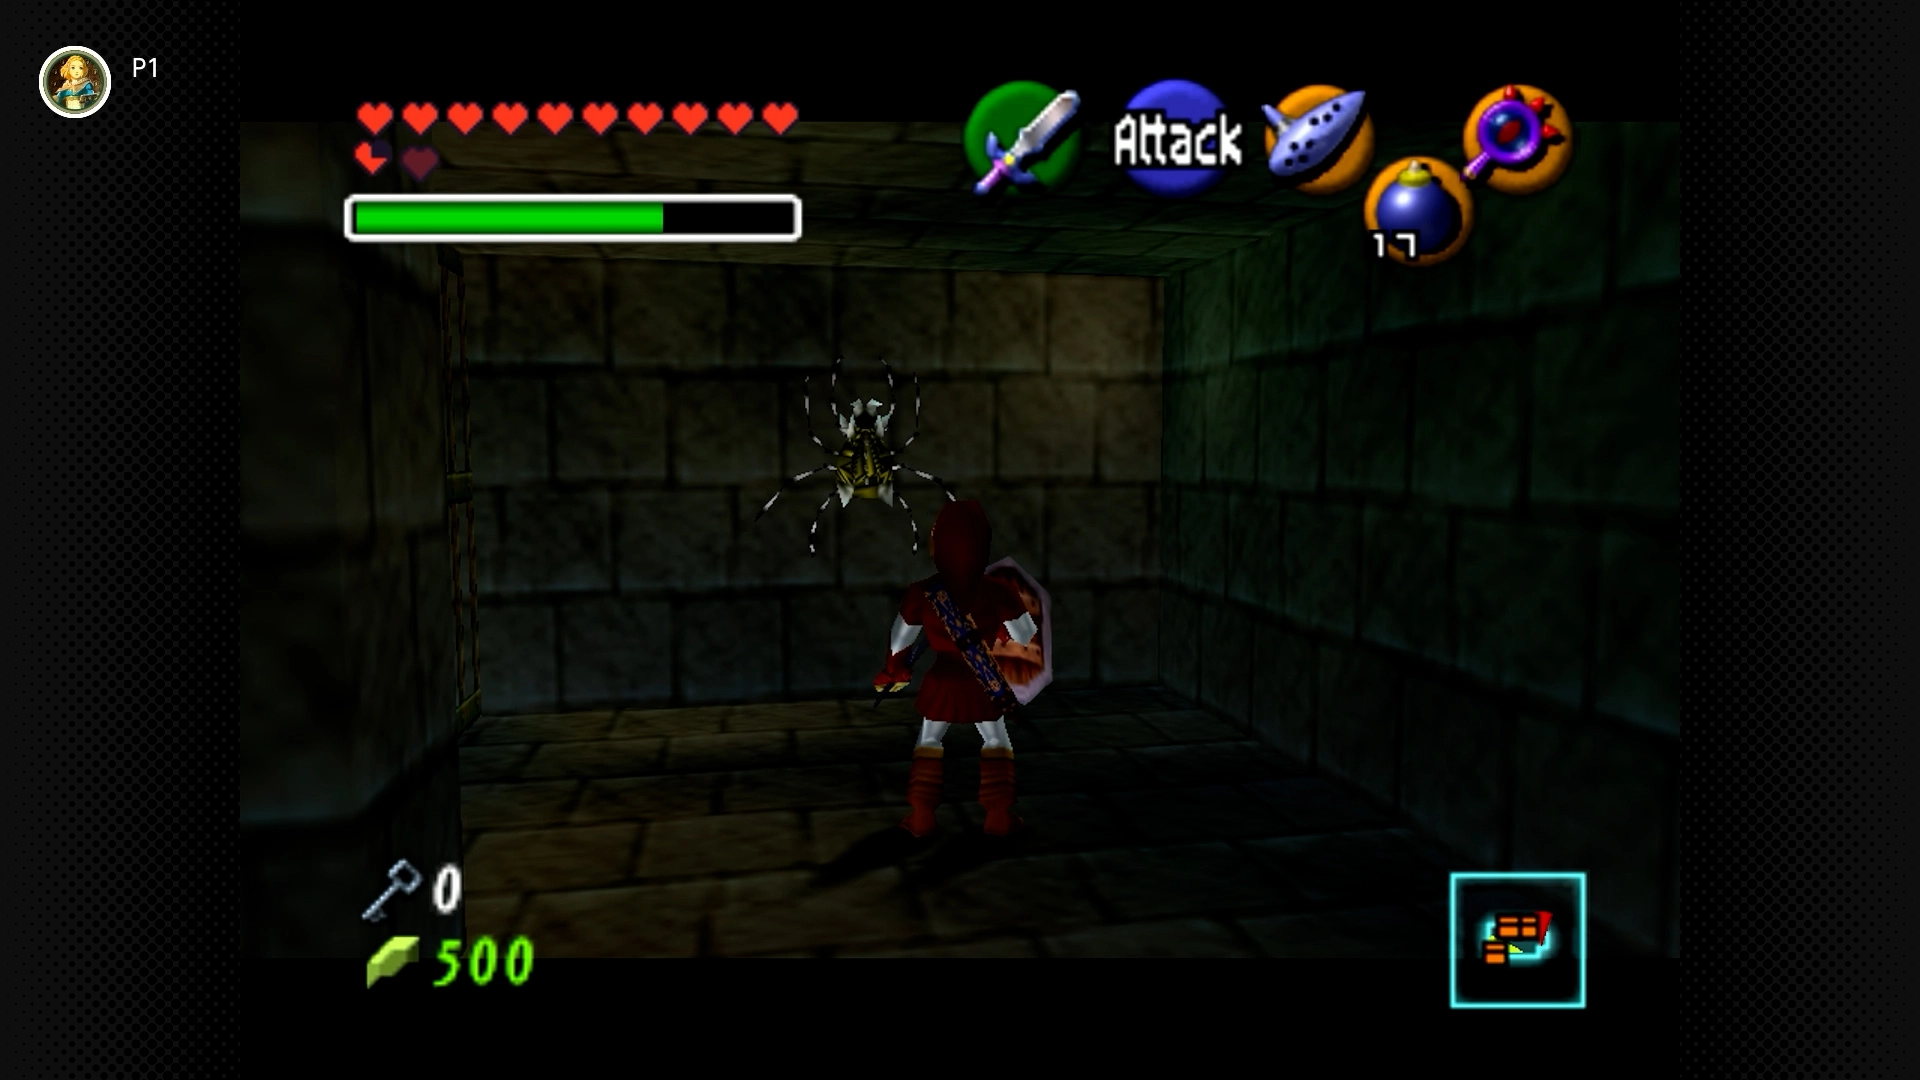
#36 – Spike Trap Specimen
Required: Adult Link, Hookshot
Location: In the large room with the descending spiked ceilings. Look inside one of the cells on the left (west) side.
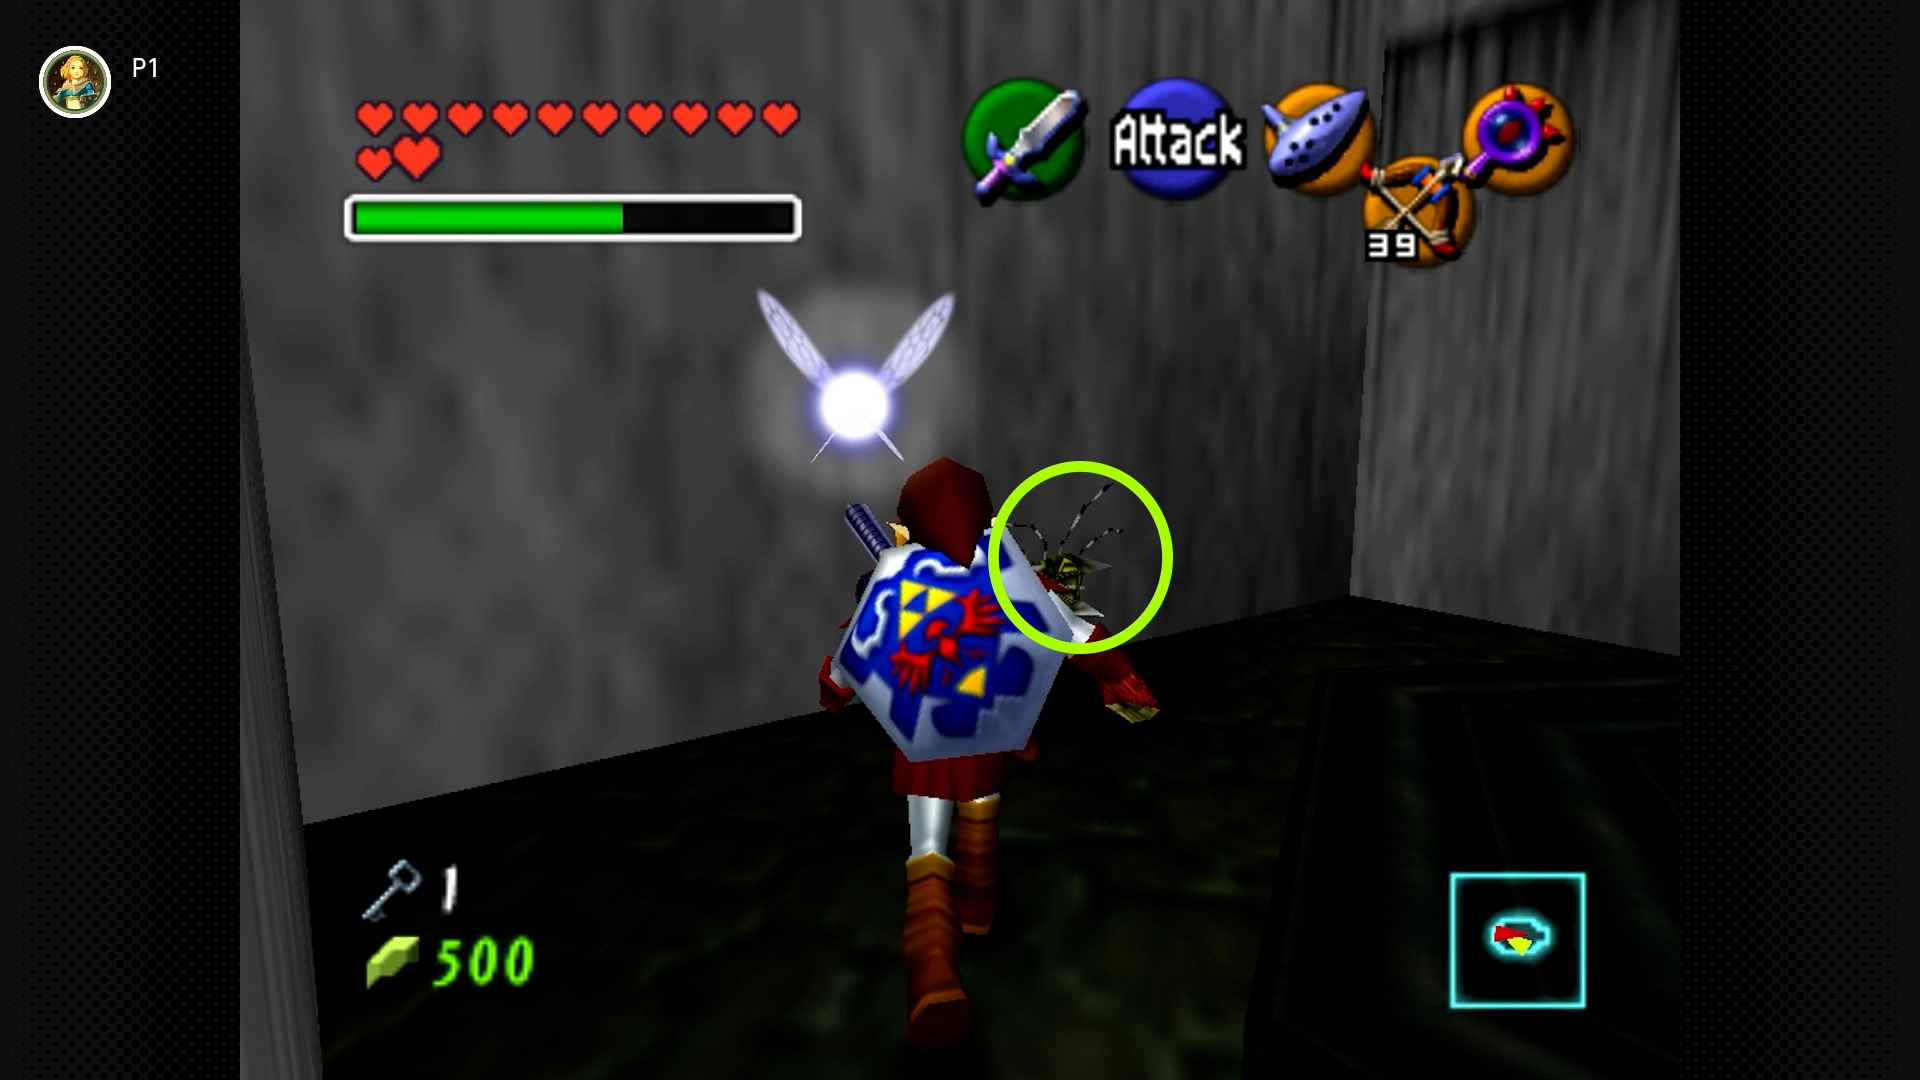
#37 – Giant Skull Guardian
Required: Adult Link, Hookshot
Location: In the room with the single giant skull pile (where you find the Hover Boots map). The Skulltula is hidden behind the large skull structure.
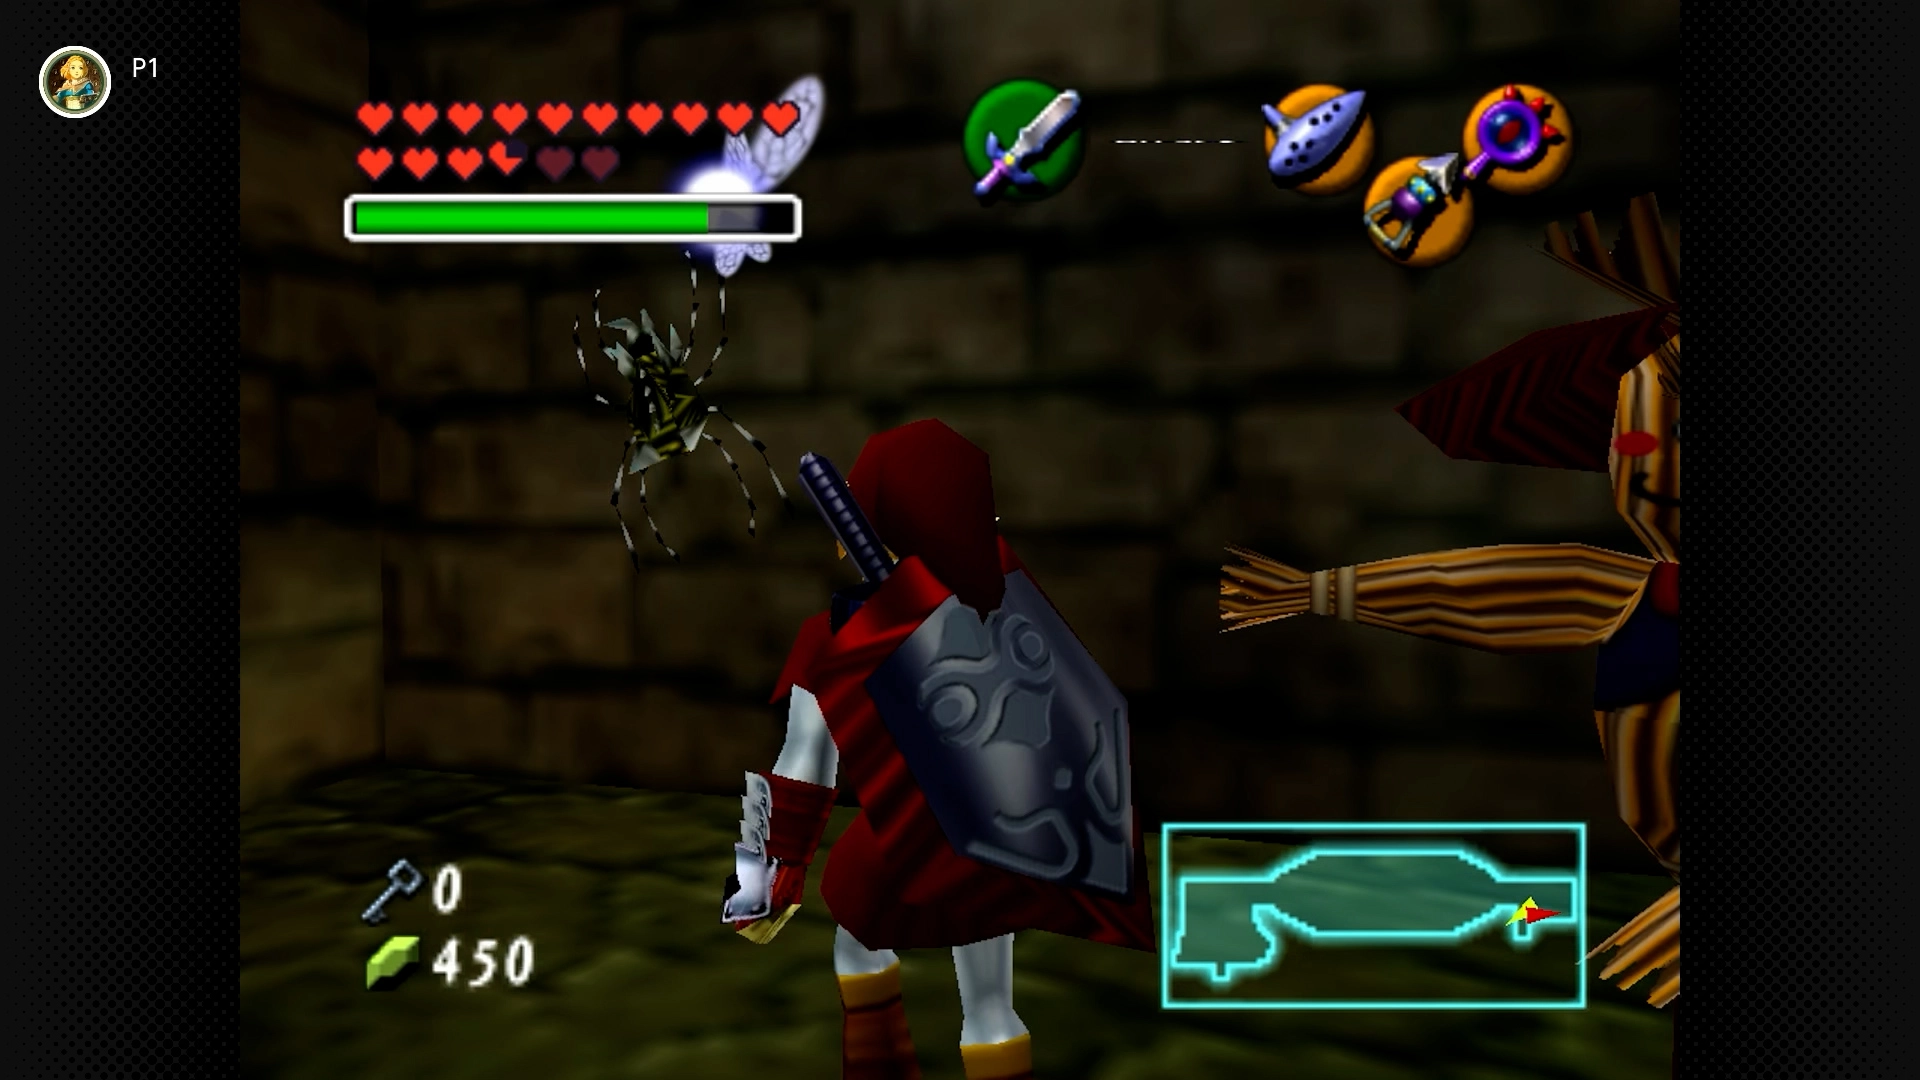
#38 – Ghost Ship Grapple
Required: Adult Link, Scarecrow’s Song, Longshot
Location: In the room with the ghost ship. Stand on the platform near where the ship docks. Look across the chasm and play the Scarecrow’s Song. Longshot over to Pierre to reach the Skulltula.
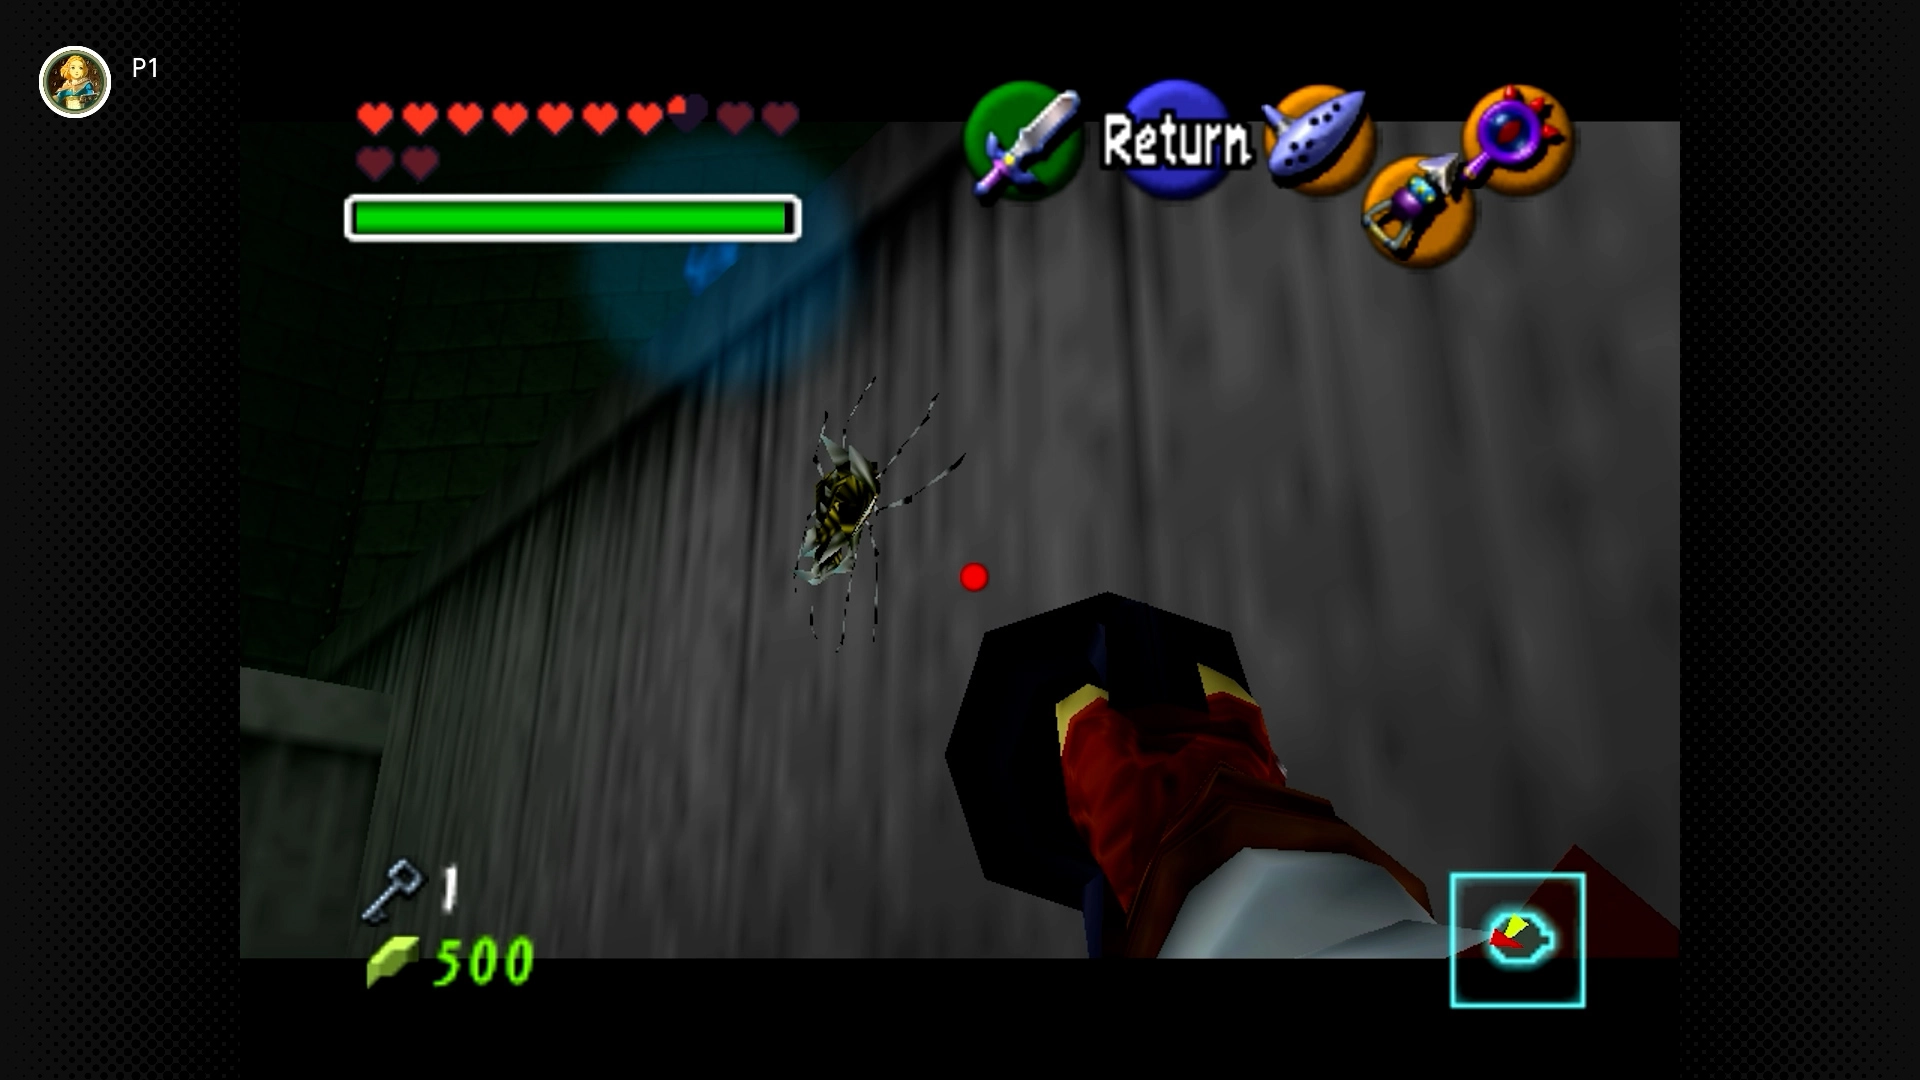
#39 – Three Giant Skull Guardians
Required: Adult Link, Hookshot
Location: In the room with the three giant skull piles (where you find the big key after the Ghost Ship). The Skulltula is hidden behind the large skull structure.
Spirit Temple (5 Skulltulas) [#40-44]
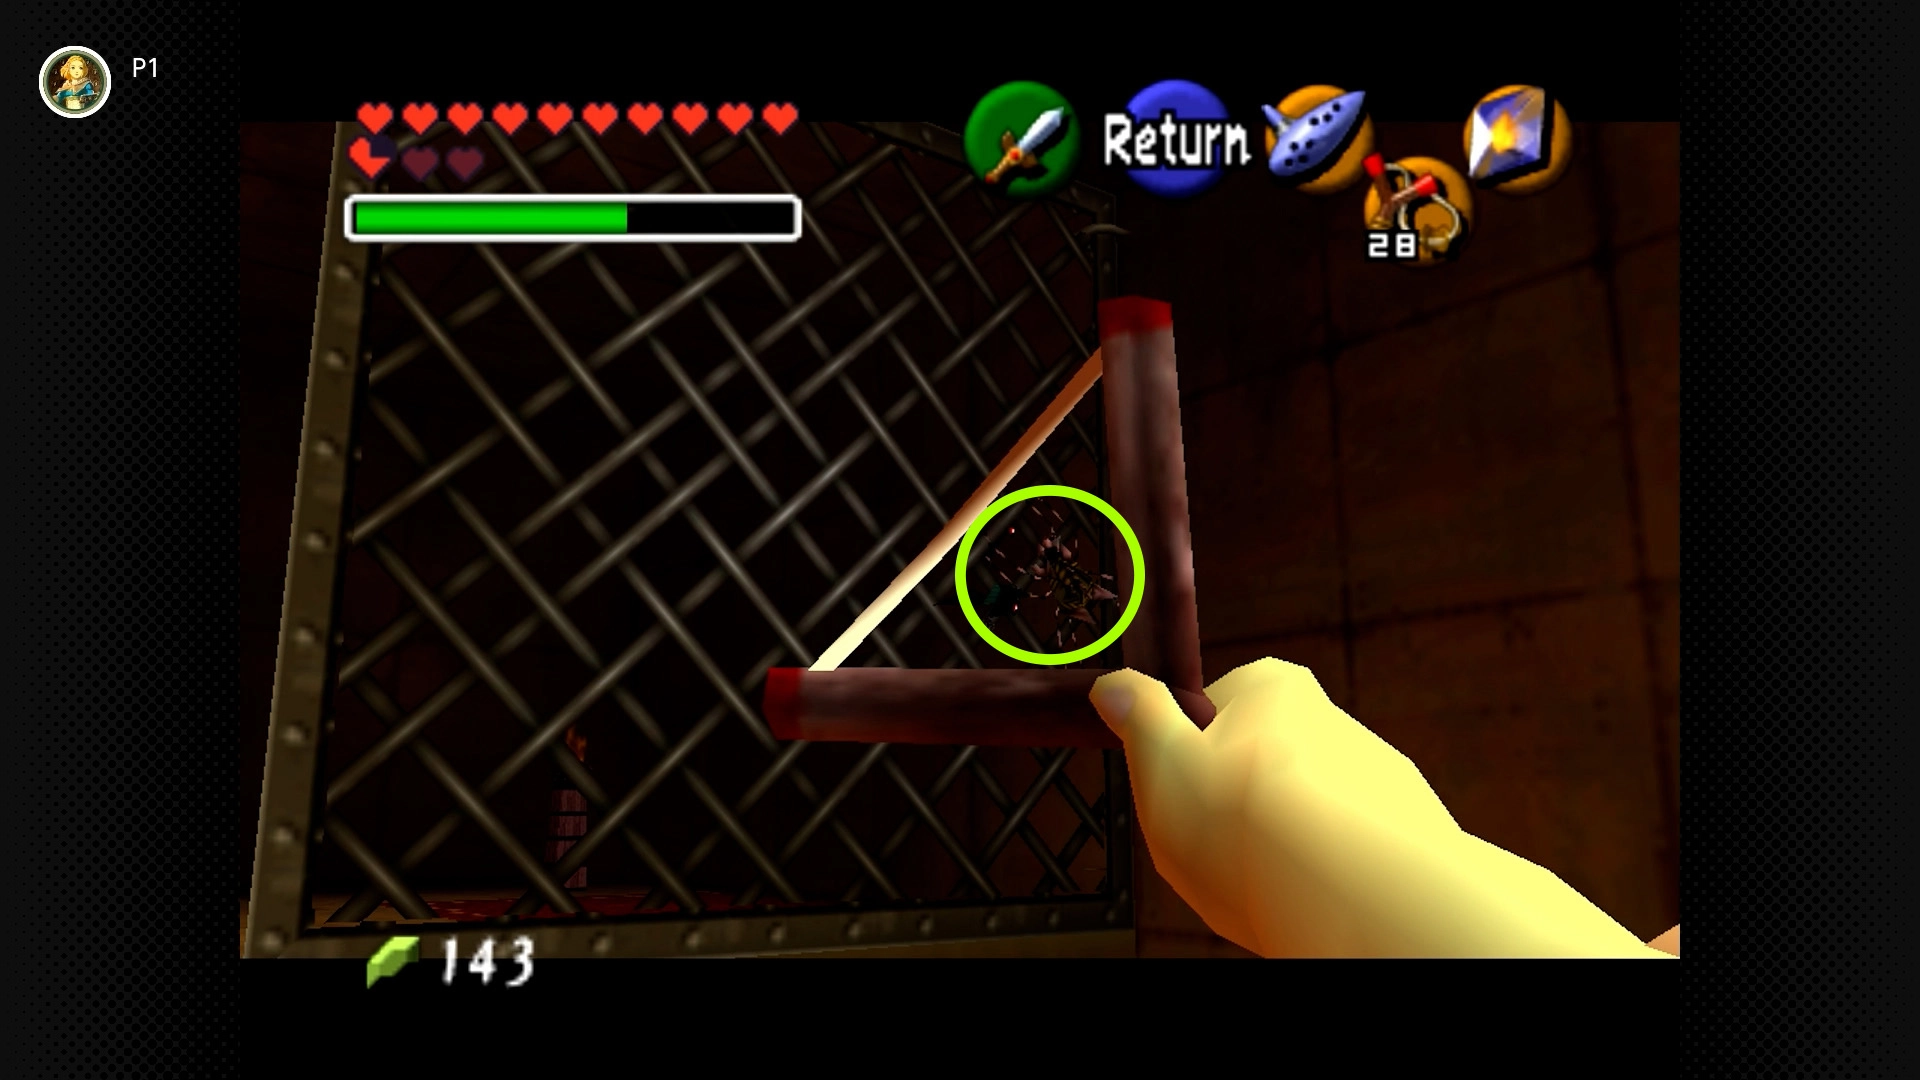
#40 – Across the Pit Prize
Required: Young Link, Boomerang
Location: After crawling through the first small hole as Young Link, enter the door on the right. Look across the pit to see the Skulltula on the fence. Use the Boomerang.
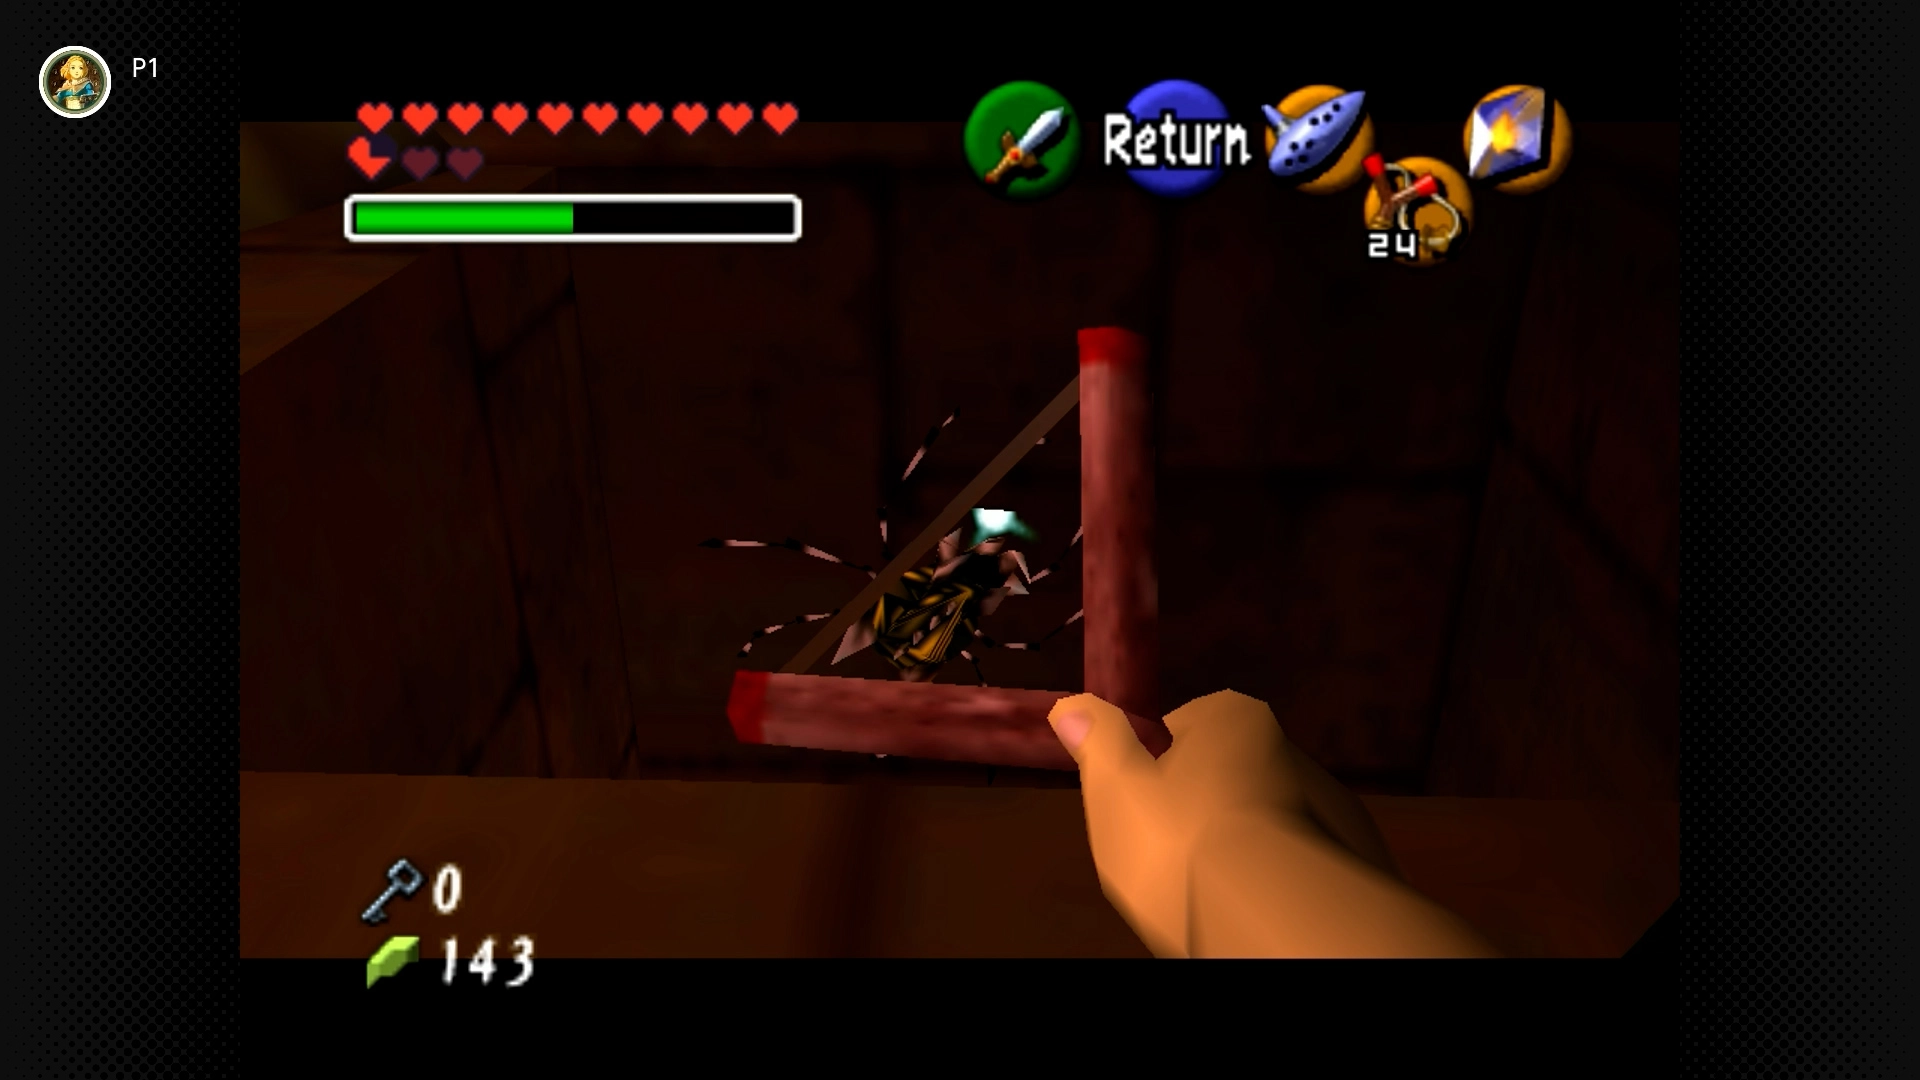
#41 – Climber’s Comeuppance
Required: Young Link, Boomerang
Location: After crawling through the second small hole as Young Link, you’ll be in a room with a climbable wall patrolled by regular Skulltulas (and a bridge puzzle involving a Bombchu). Climb the wall, then turn around and look back towards the entrance area to spot the Gold Skulltula high up. Use the Boomerang.
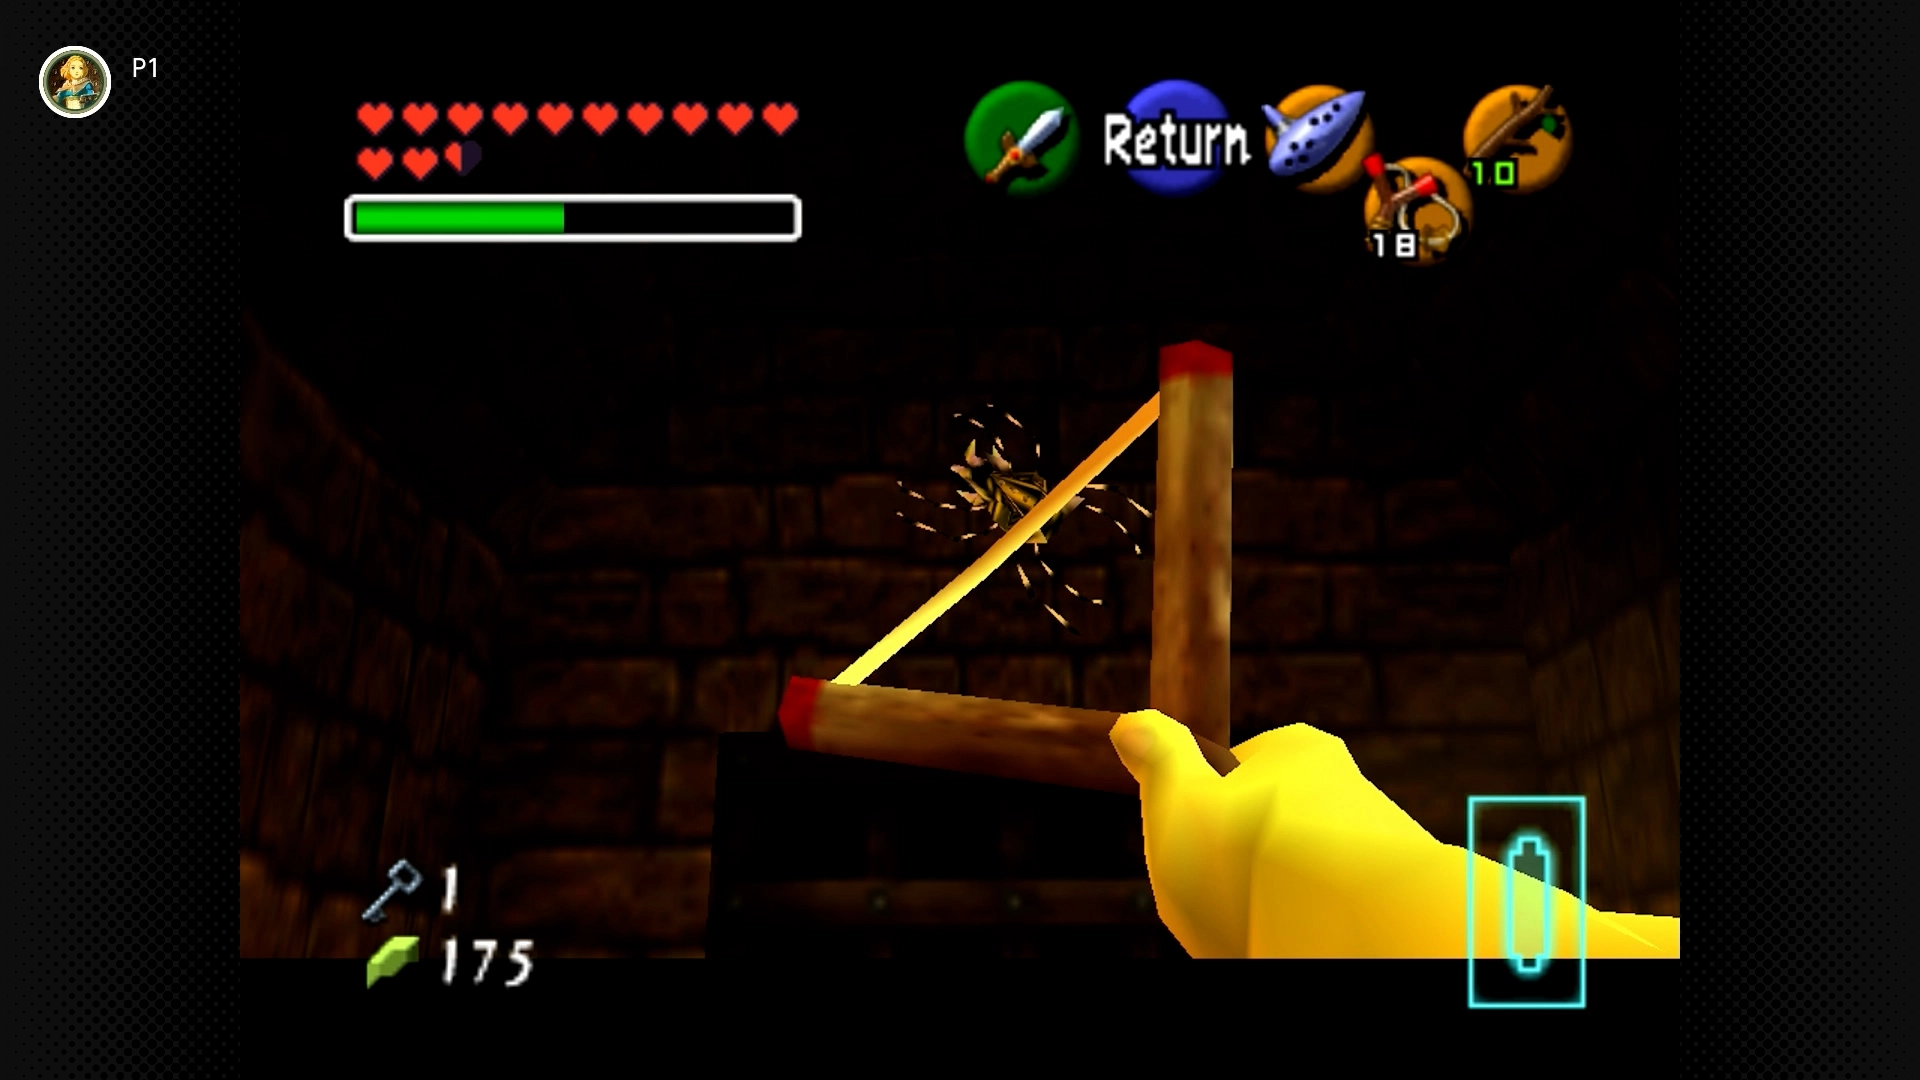
#42 – Stairway Sentinel
Required: Young Link, Boomerang
Location: After completing the block-pushing puzzle to shine sunlight onto the sun face, you’ll enter a staircase room. Look up above the doorway you just came through. Use the Boomerang.

#43 – Blocked Boulder Buddy
Required: Adult Link, Song of Time, Longshot
Location: In the room with the rolling boulders and Silver Rupees. Find an alcove blocked by a large blue Time Block. Play the Song of Time to move it and retrieve the Skulltula inside.
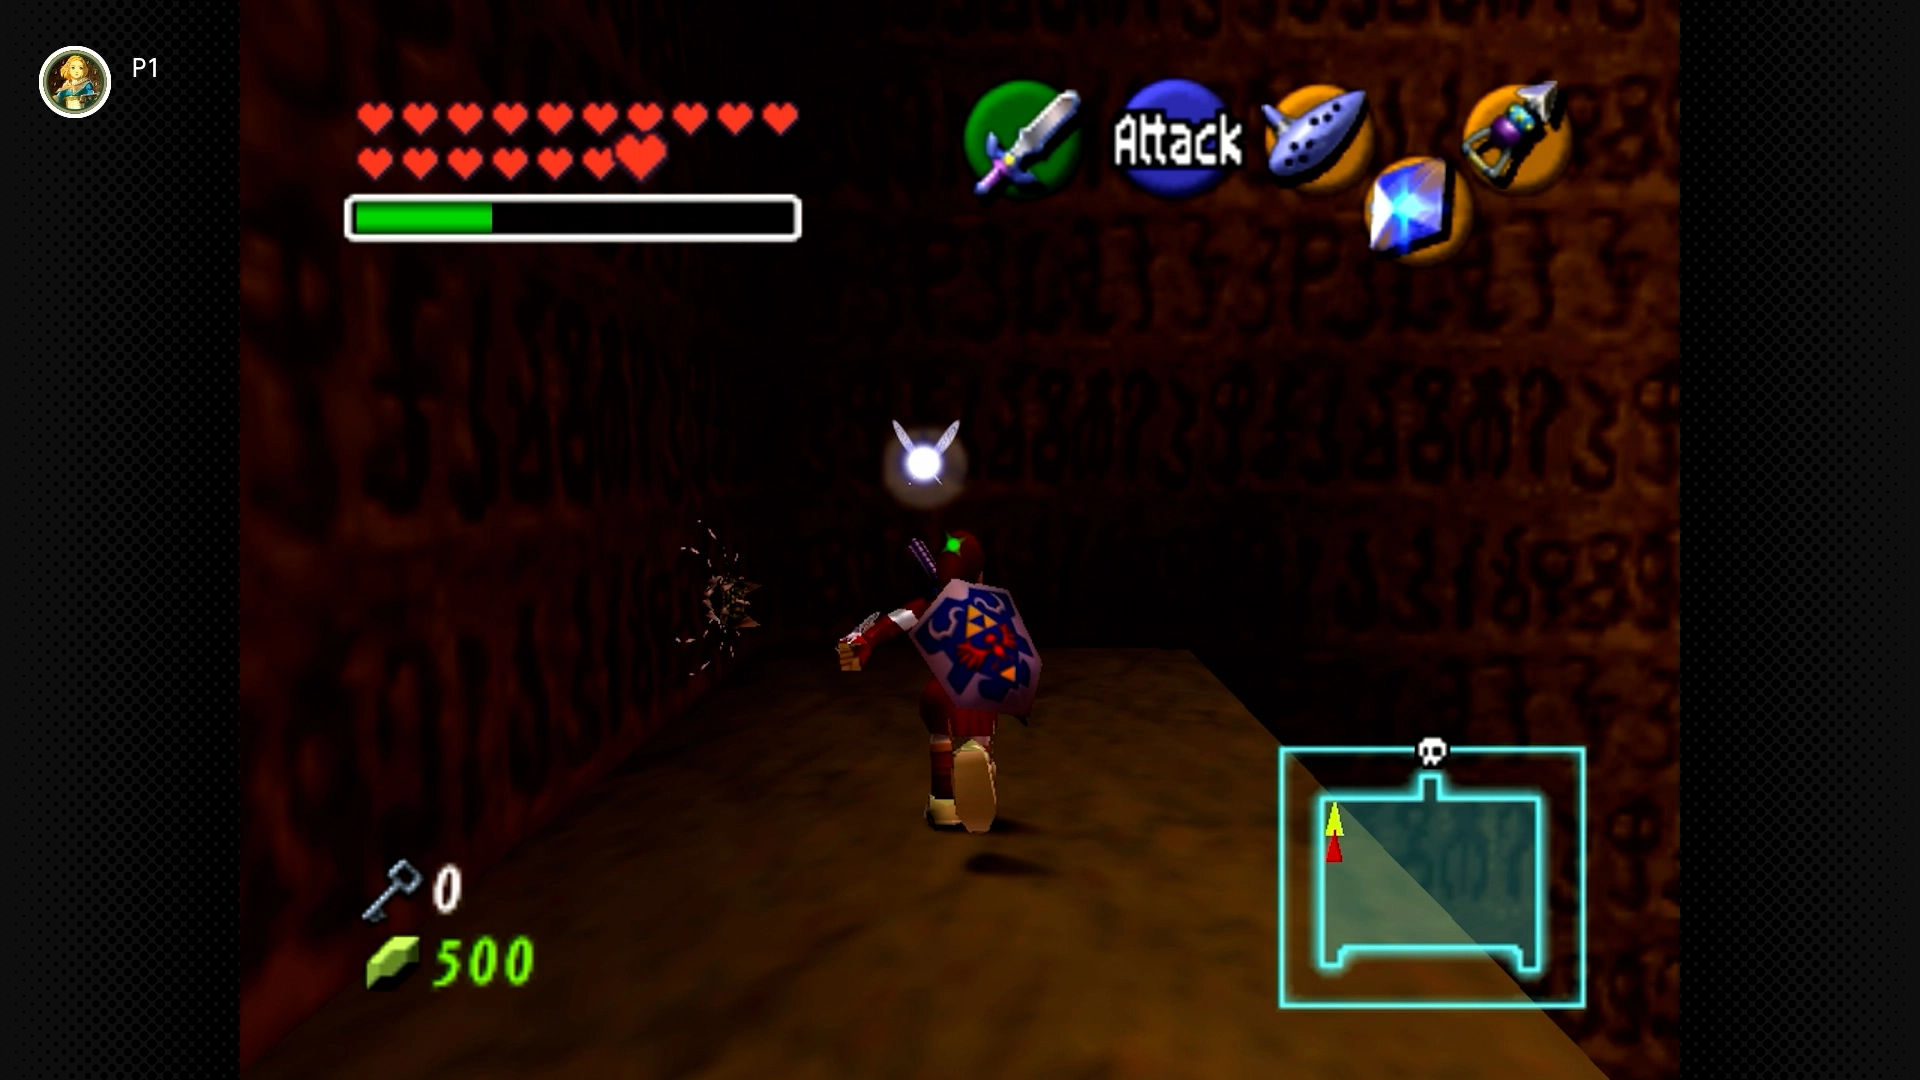
#44 – Statue’s Shoulder Spider
Required: Adult Link, Scarecrow’s Song, Longshot
Location: In the main large chamber with the giant statue. Go up the stairs on either side. Look across to the platform near the statue’s hands/shoulders and play the Scarecrow’s Song. Longshot across to Pierre to reach the Skulltula.
Hyrule Field (2 Skulltulas) [#45 & 46]
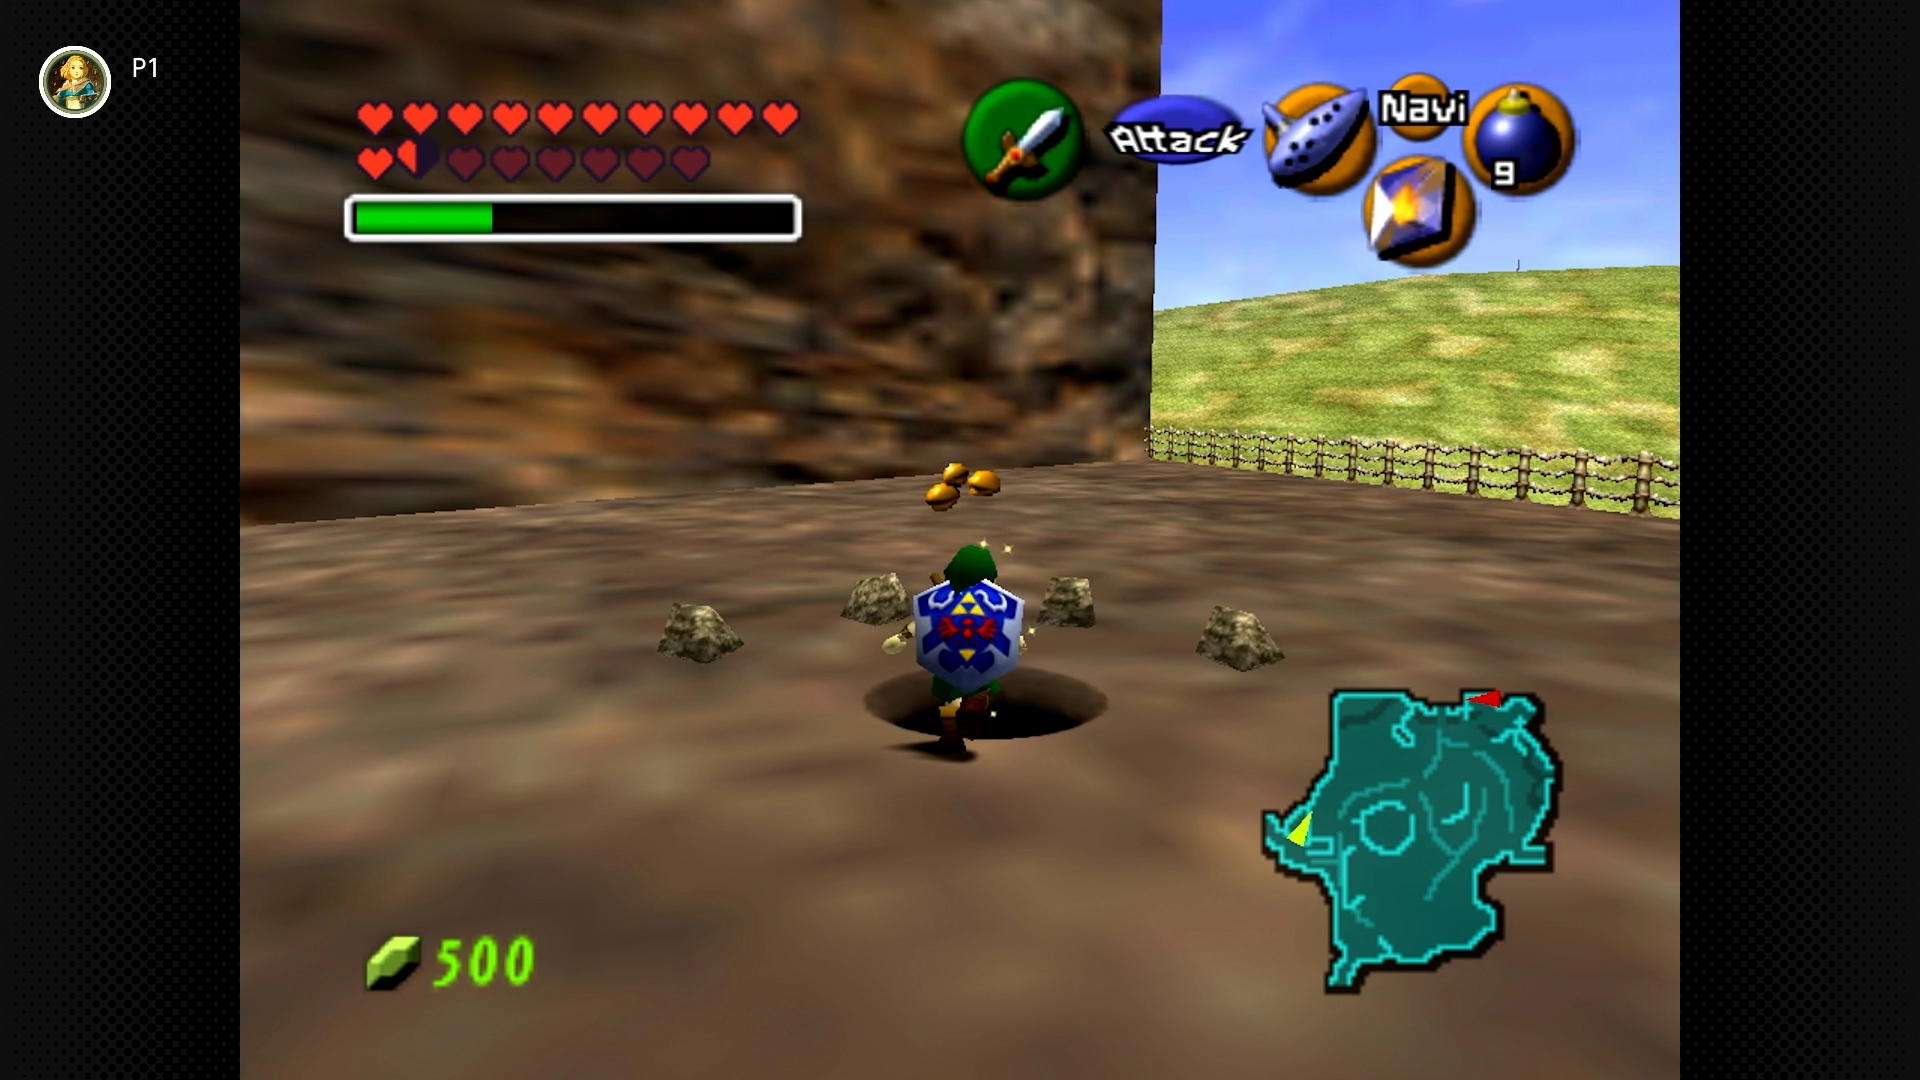
#45 – Gerudo Gate Grotto
Required: Adult Link, Megaton Hammer, Bombs, Din’s Fire (or Fire Arrows)
Location: Near the entrance to Gerudo Valley, find a circle of stones surrounding a reddish boulder. Smash the boulder with the Megaton Hammer. Bomb the ground in the center to reveal a hole. Drop down. Use Din’s Fire or a Fire Arrow to burn the web, revealing the Skulltula (and a cow!).
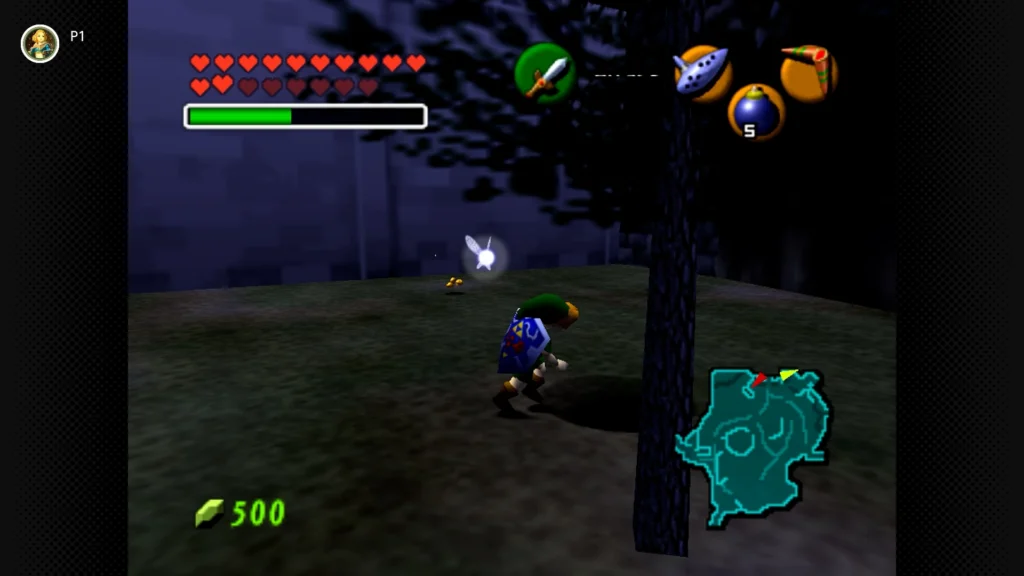
#46 – Kakariko Path Pitfall
Required: Young Link or Adult Link, Bombs
Location: Near the entrance to Kakariko Village (the path leading up from the field). Find a solitary tree near the stone wall. Place a Bomb near the base of the tree to open a hole. Drop down; the Skulltula is near the ceiling (use Slingshot/Boomerang/Hookshot).
Kokiri Forest (3 Skulltulas) [#47-49]
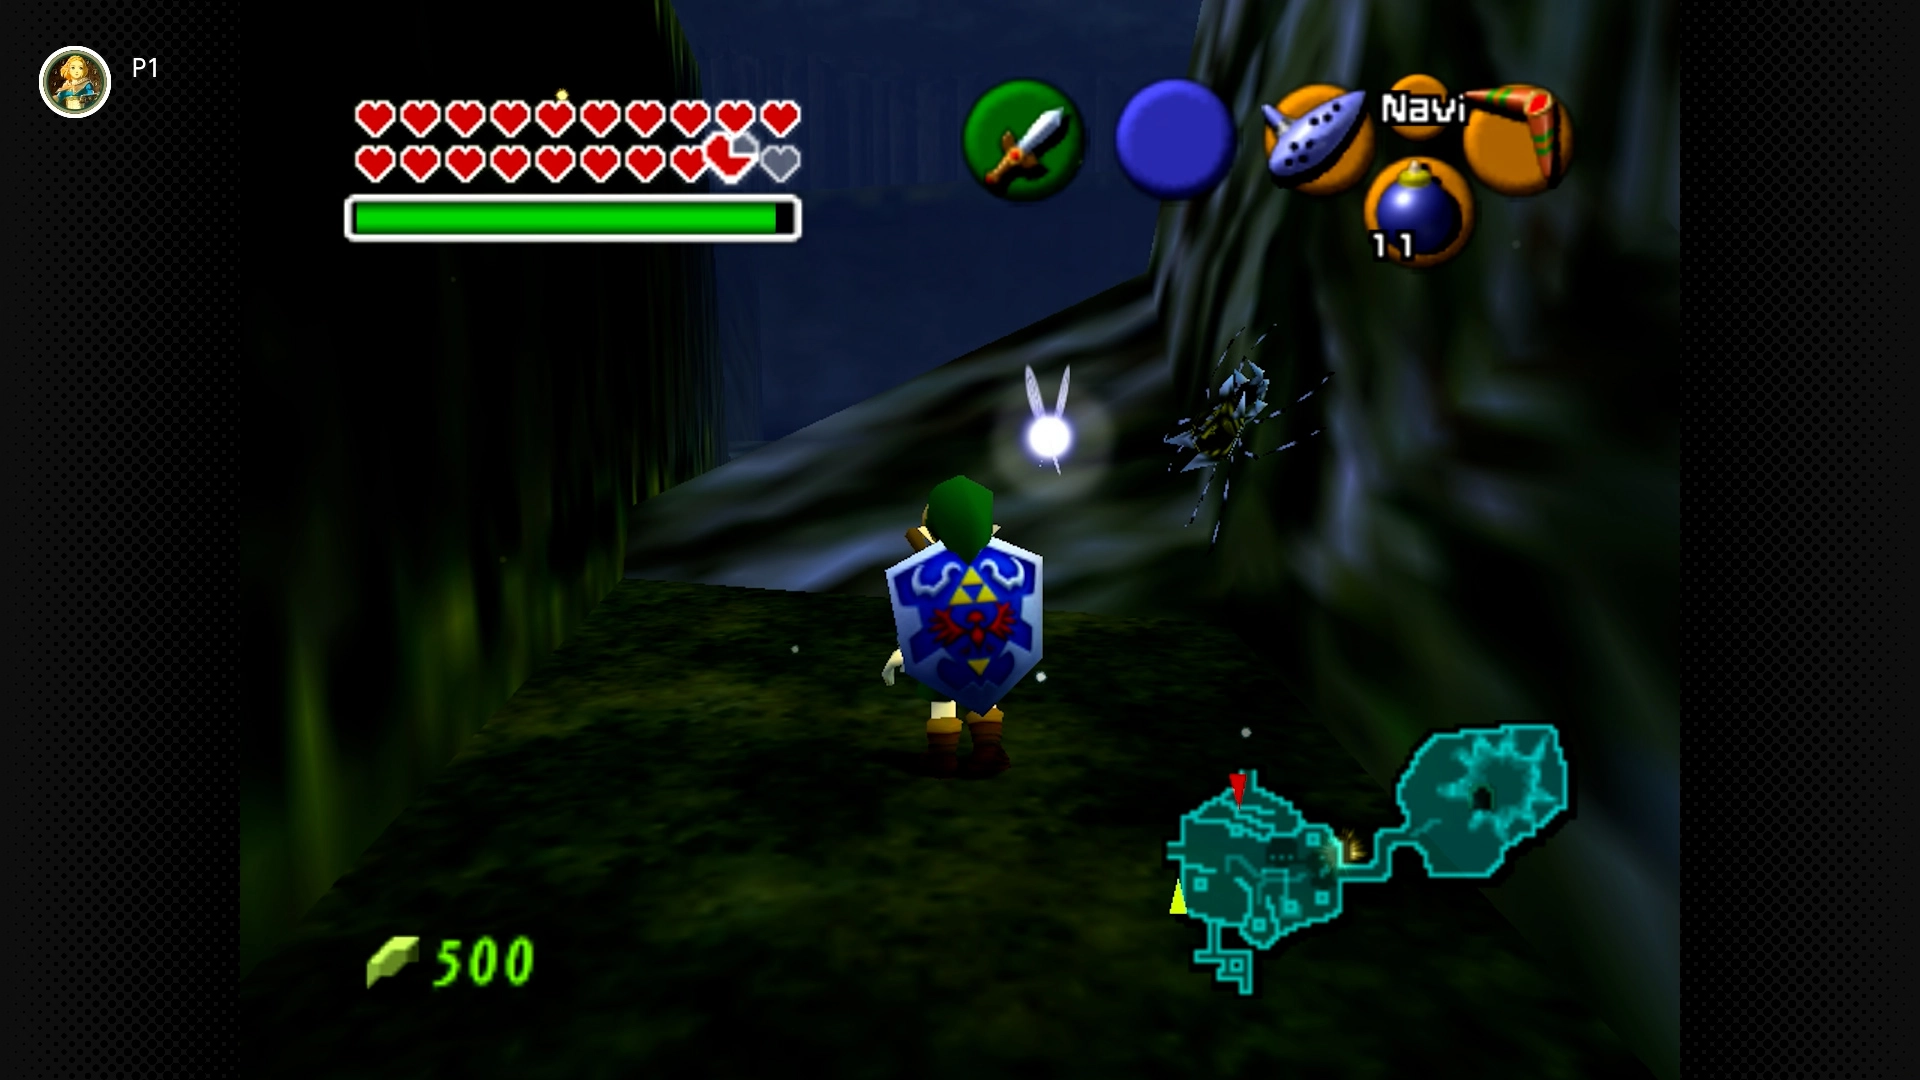
#47 – Know-It-All Nuisance (Night Only)
Required: Young Link, Night Only
Location: On the back wall of the House of the Know-It-All Brothers (the large house near the exit to Hyrule Field).
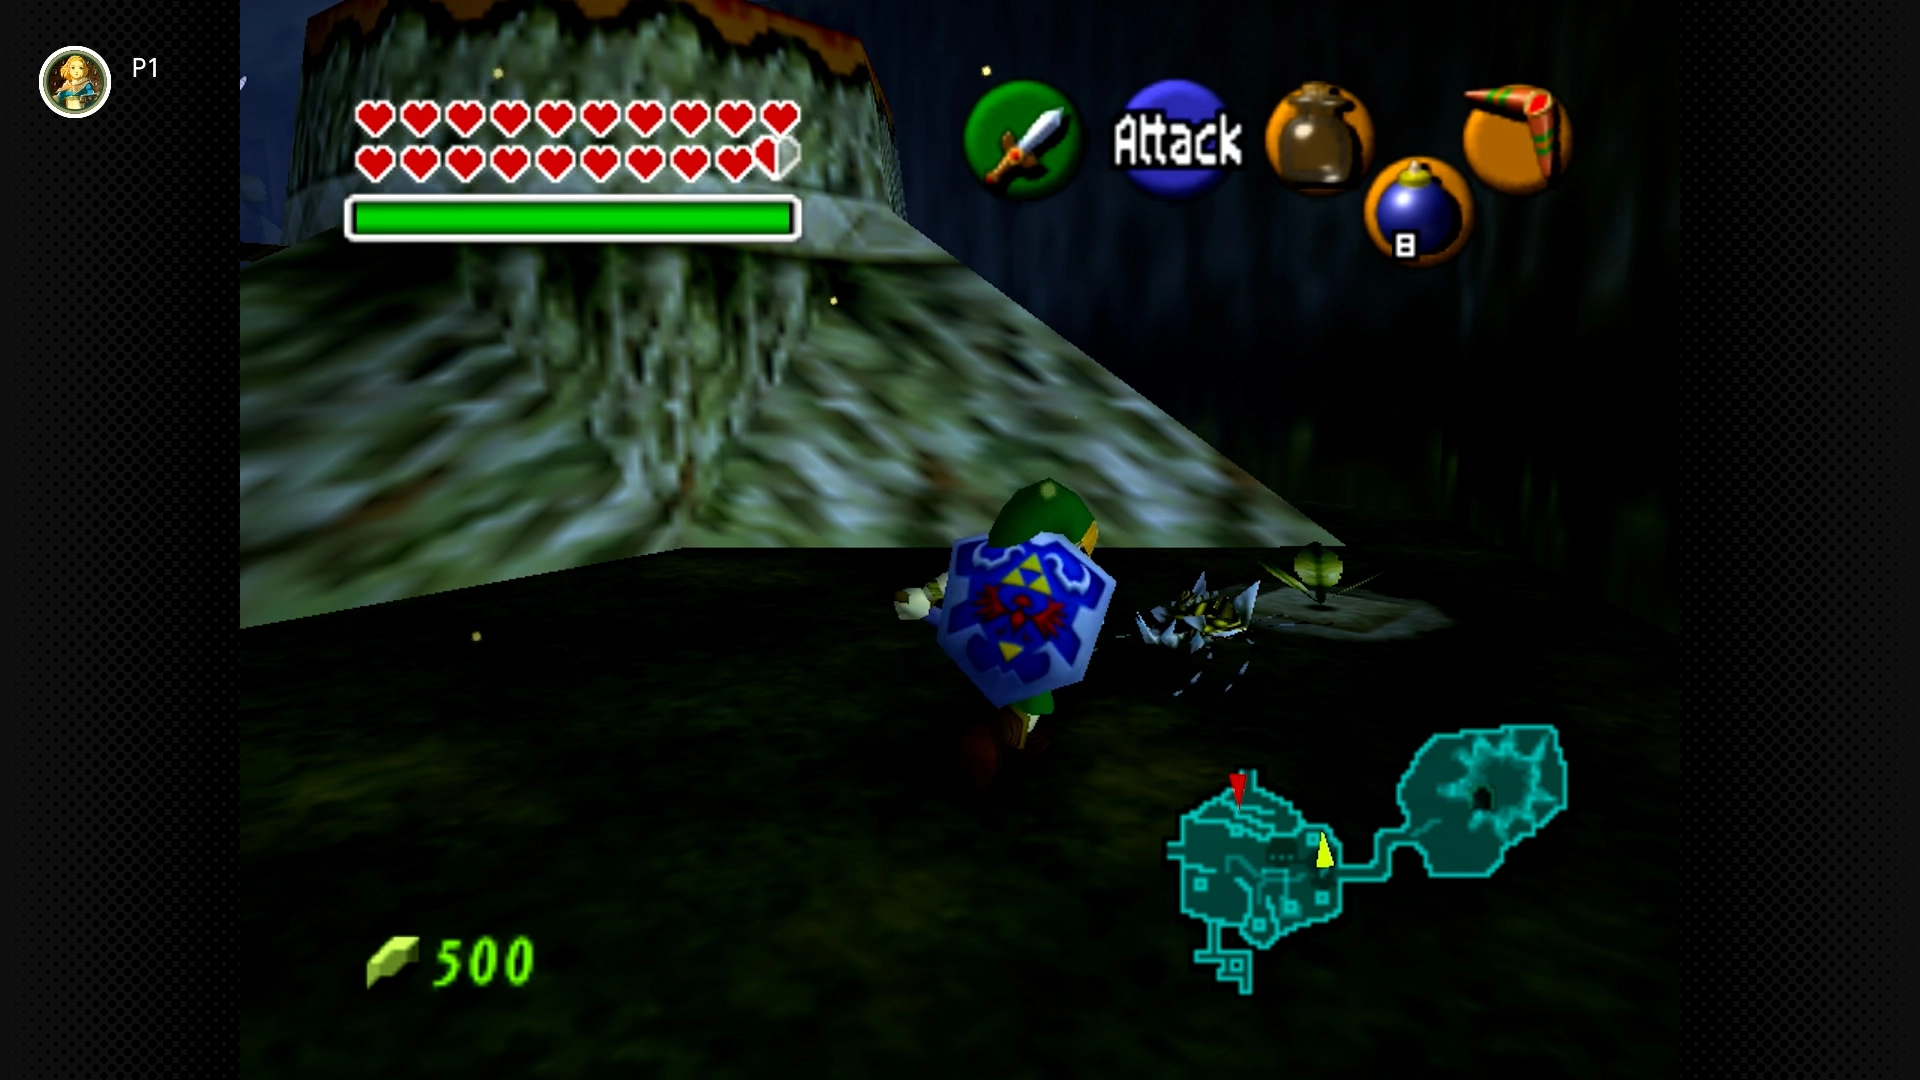
#48 – Shop Soil Surprise
Required: Young Link, Bottle with Bugs
Location: Find the patch of Soft Soil next to the Kokiri Shop. Release Bugs onto the soil, and a Skulltula will pop out.
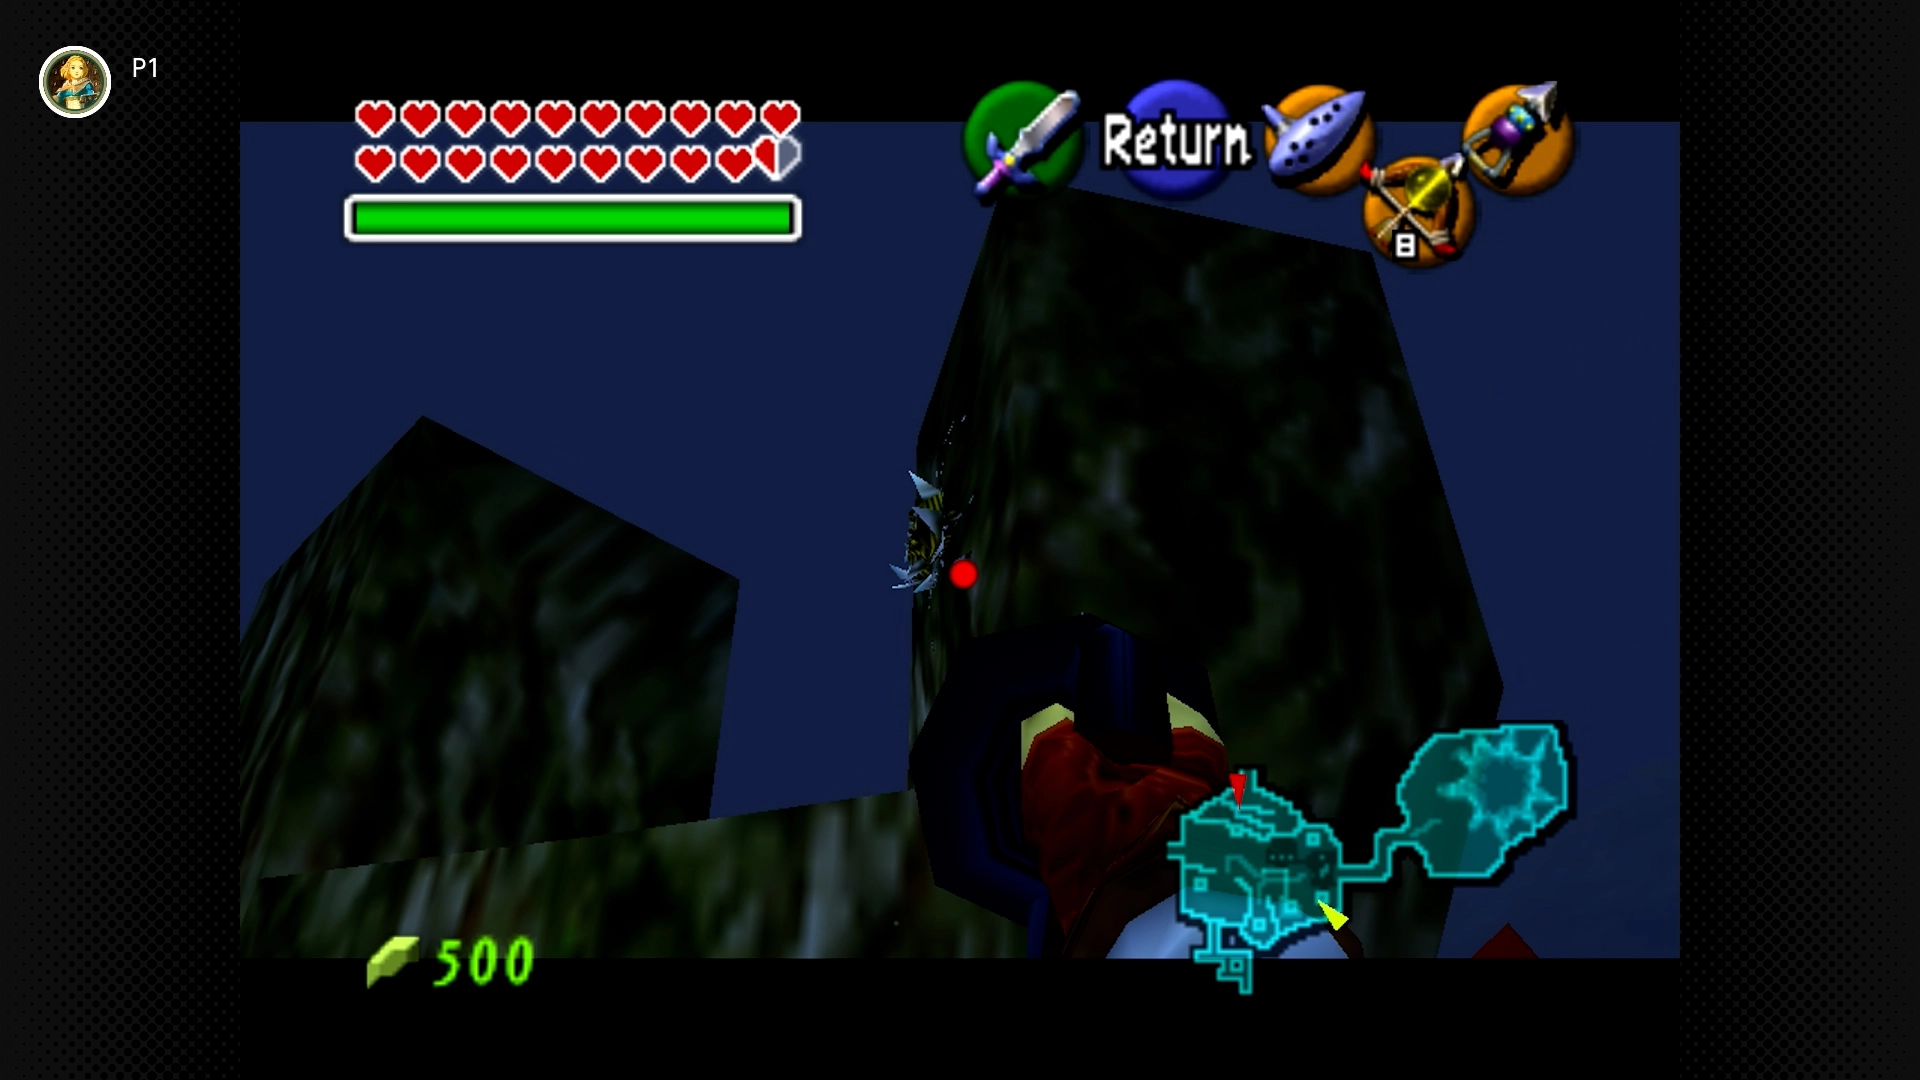
#49 – Twin House Terror
Required: Adult Link, Hookshot, Night Only
Location: On the back wall of the House of Twins (the house closest to the Lost Woods entrance).
Hyrule Castle / Market / Ganon’s Castle Area (4 Skulltulas) [#50-53]
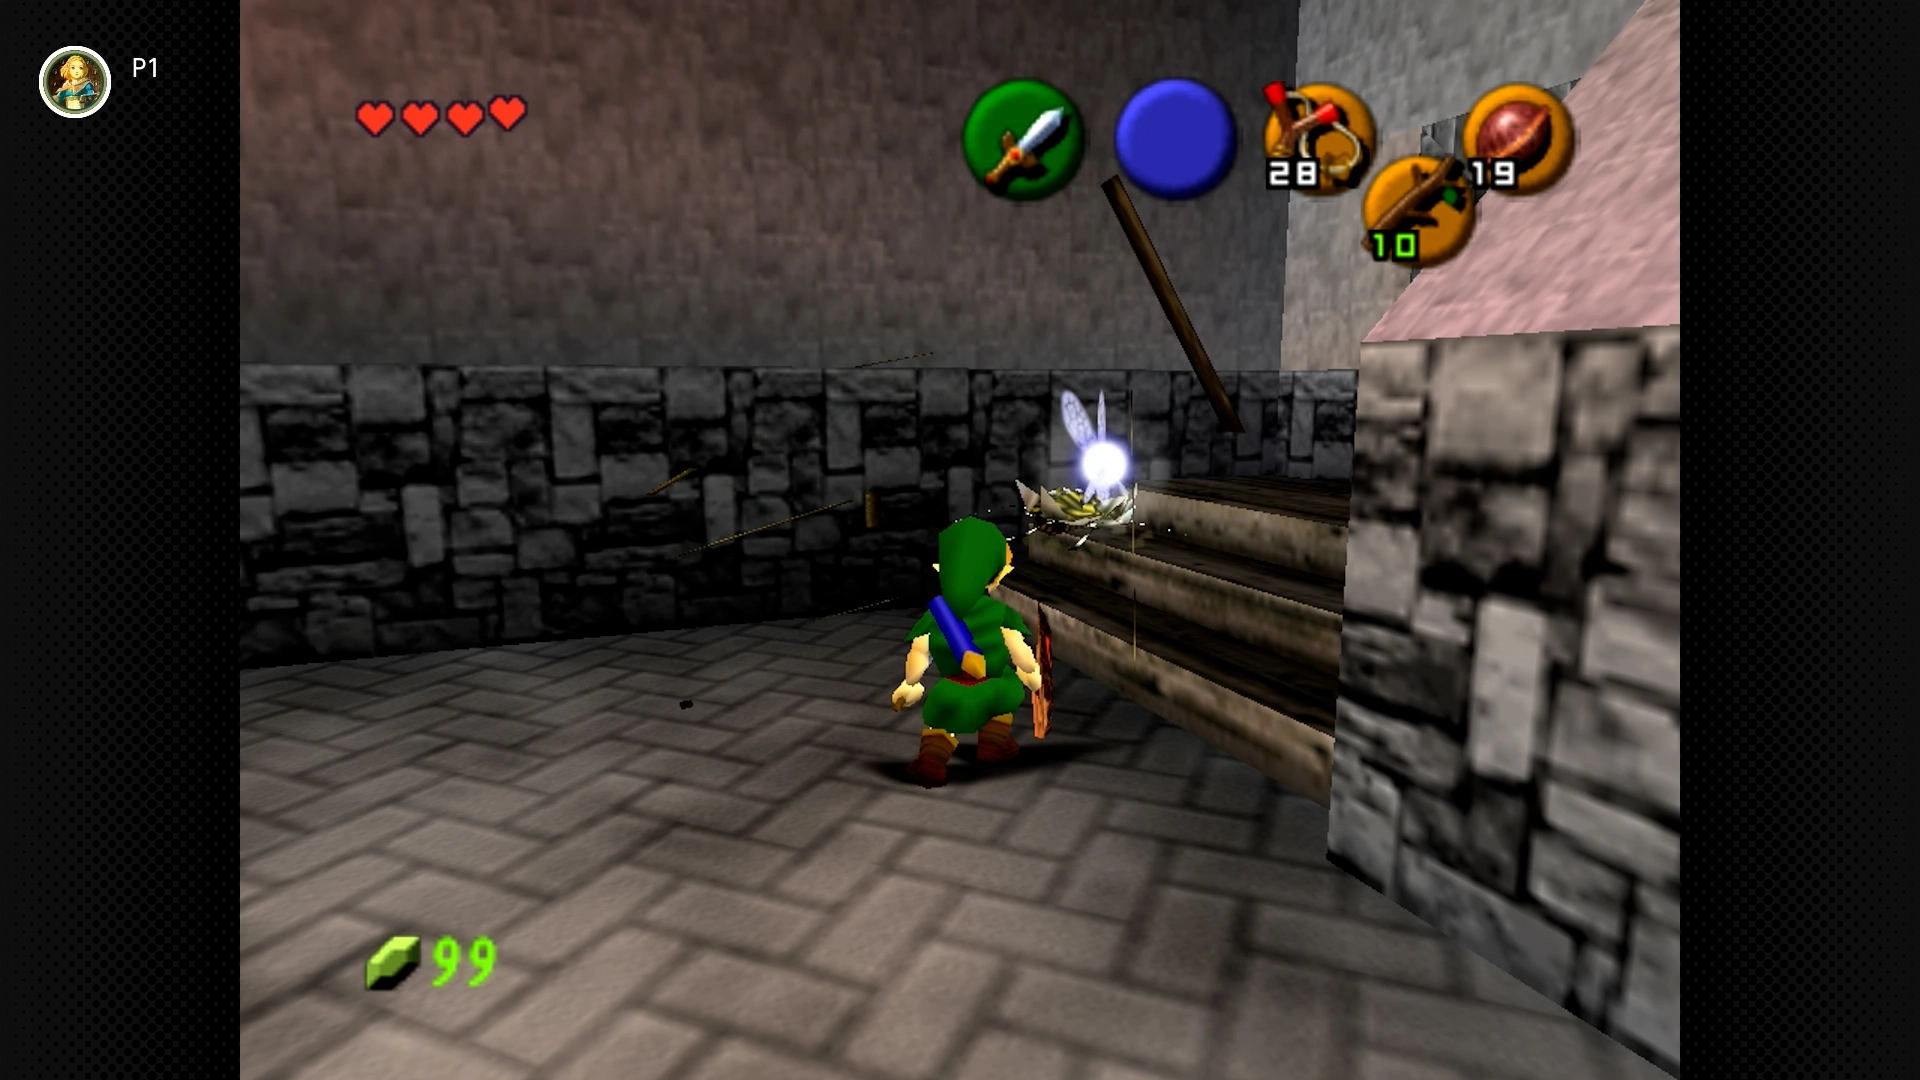
#50 – Guardhouse Goods
Required: Young Link
Location: Inside the Guard House at the entrance to Hyrule Market (where the soldier is sleeping). Roll attack (A button while running) into the crates in the corner to break them and reveal the Skulltula.
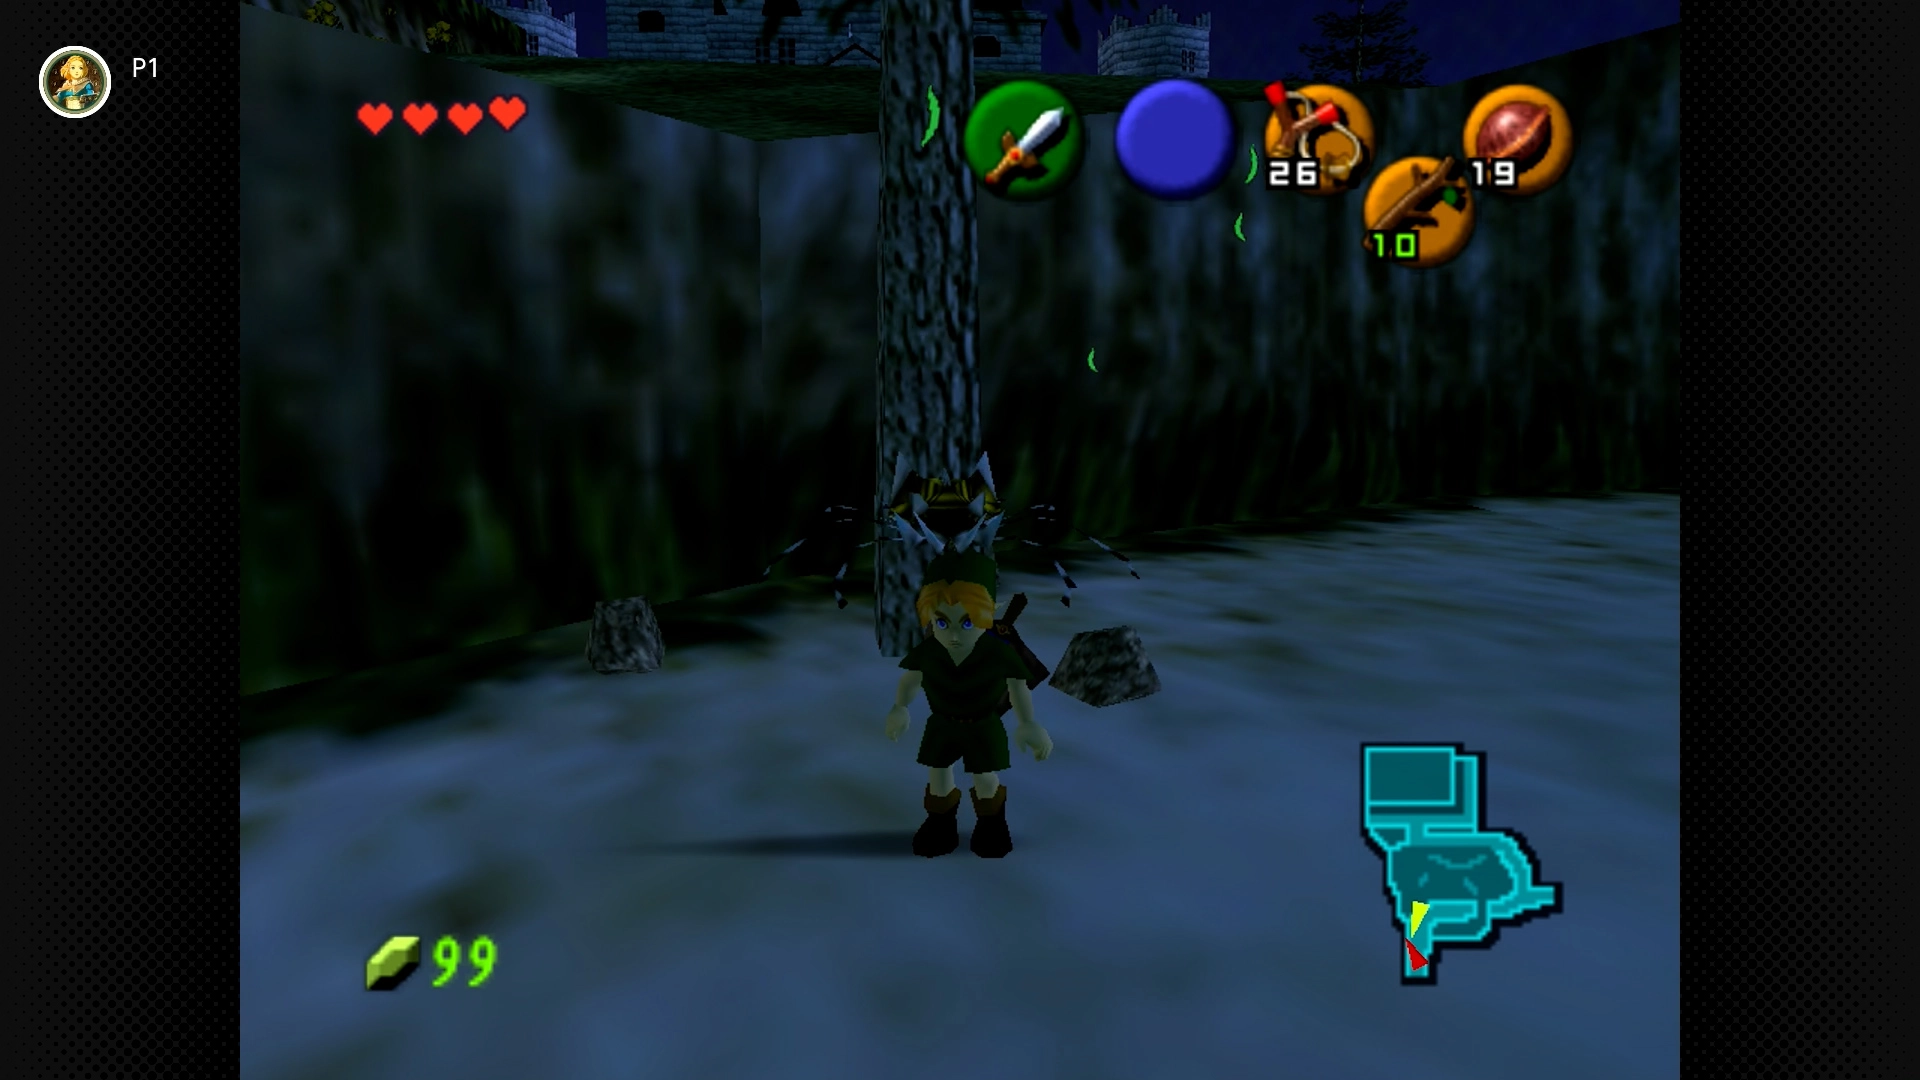
#51 – First Tree Foulness
Required: Young Link
Location: Just after entering the Hyrule Castle grounds (past the Market), roll attack the very first tree you see on the path.
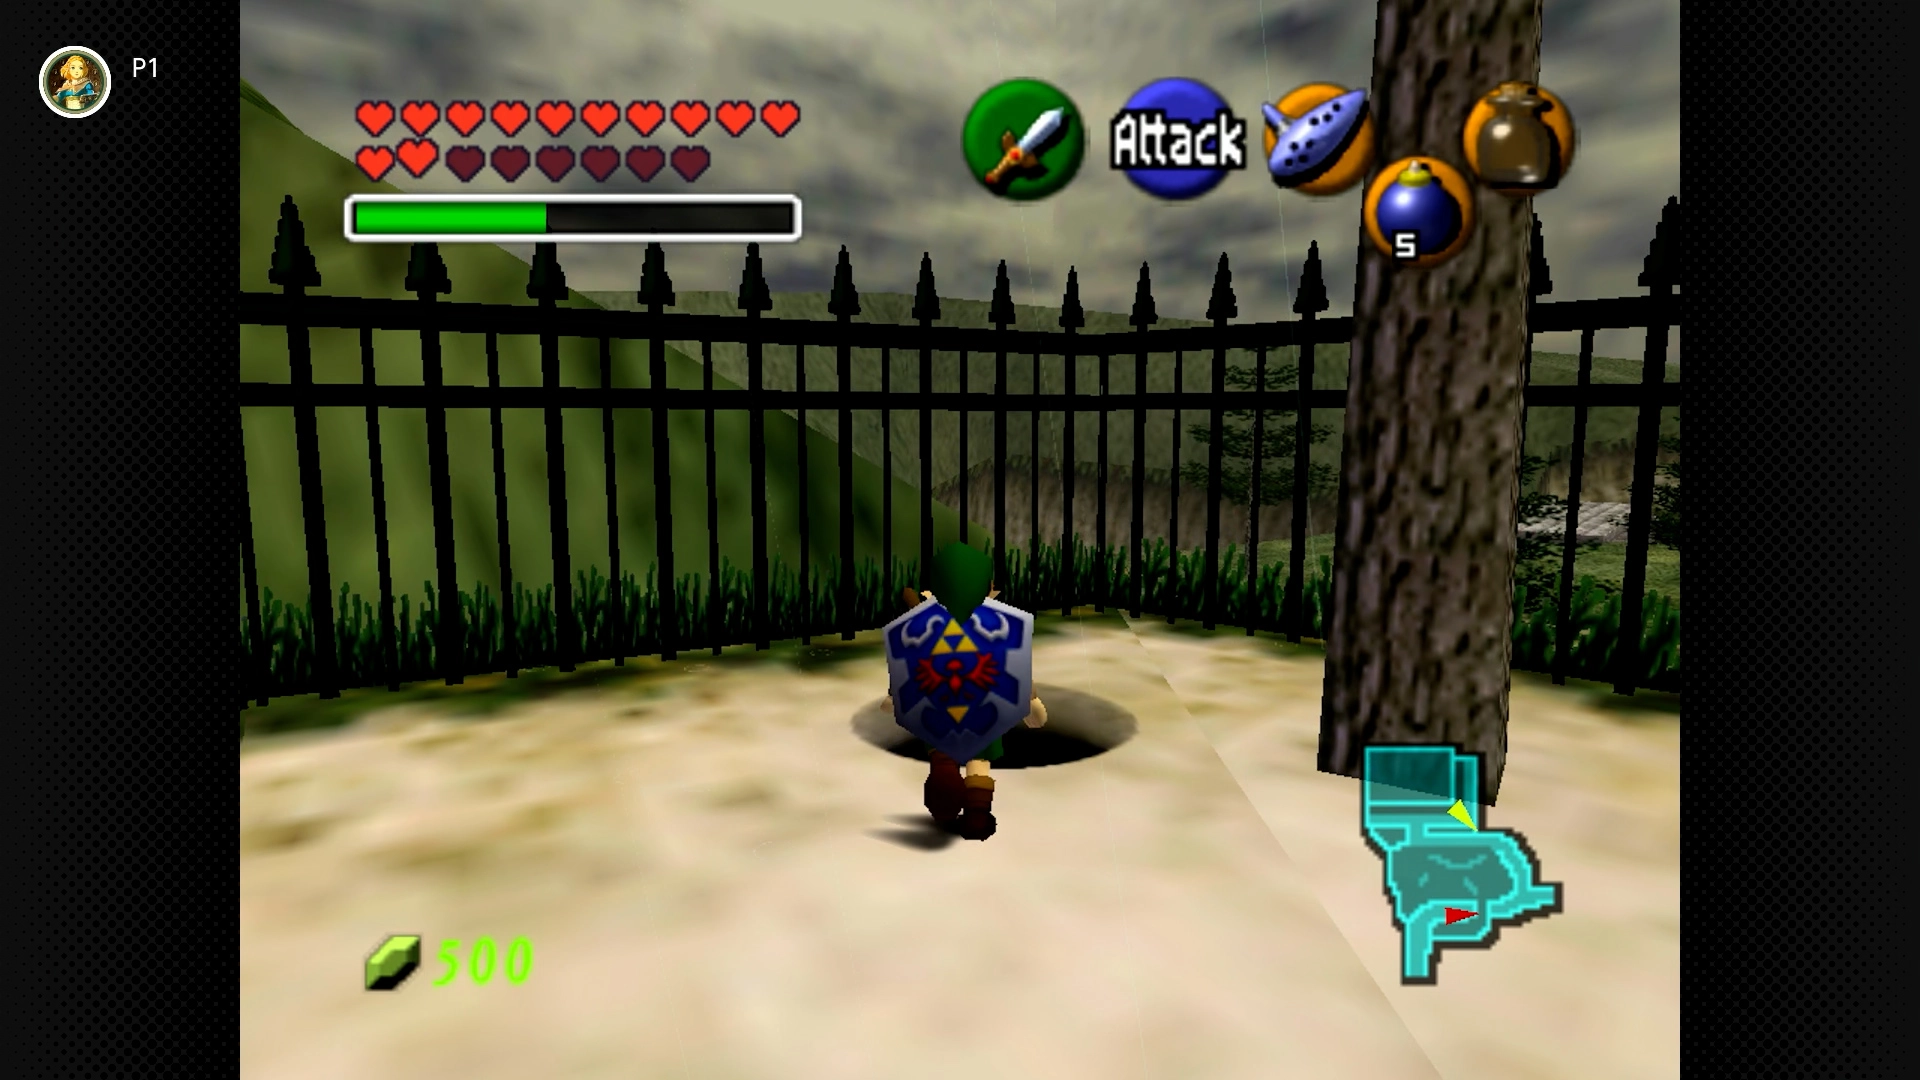
#52 – Moat Grotto Monster
Required: Young Link, Song of Storms, Bombs
Location: Sneak past the guards in the Hyrule Castle grounds. Go towards the corner where the moat is, near a large tree. Stand under the tree and play the Song of Storms to reveal a hole. Drop down and bomb the suspicious-looking walls inside the grotto to find the Skulltula.
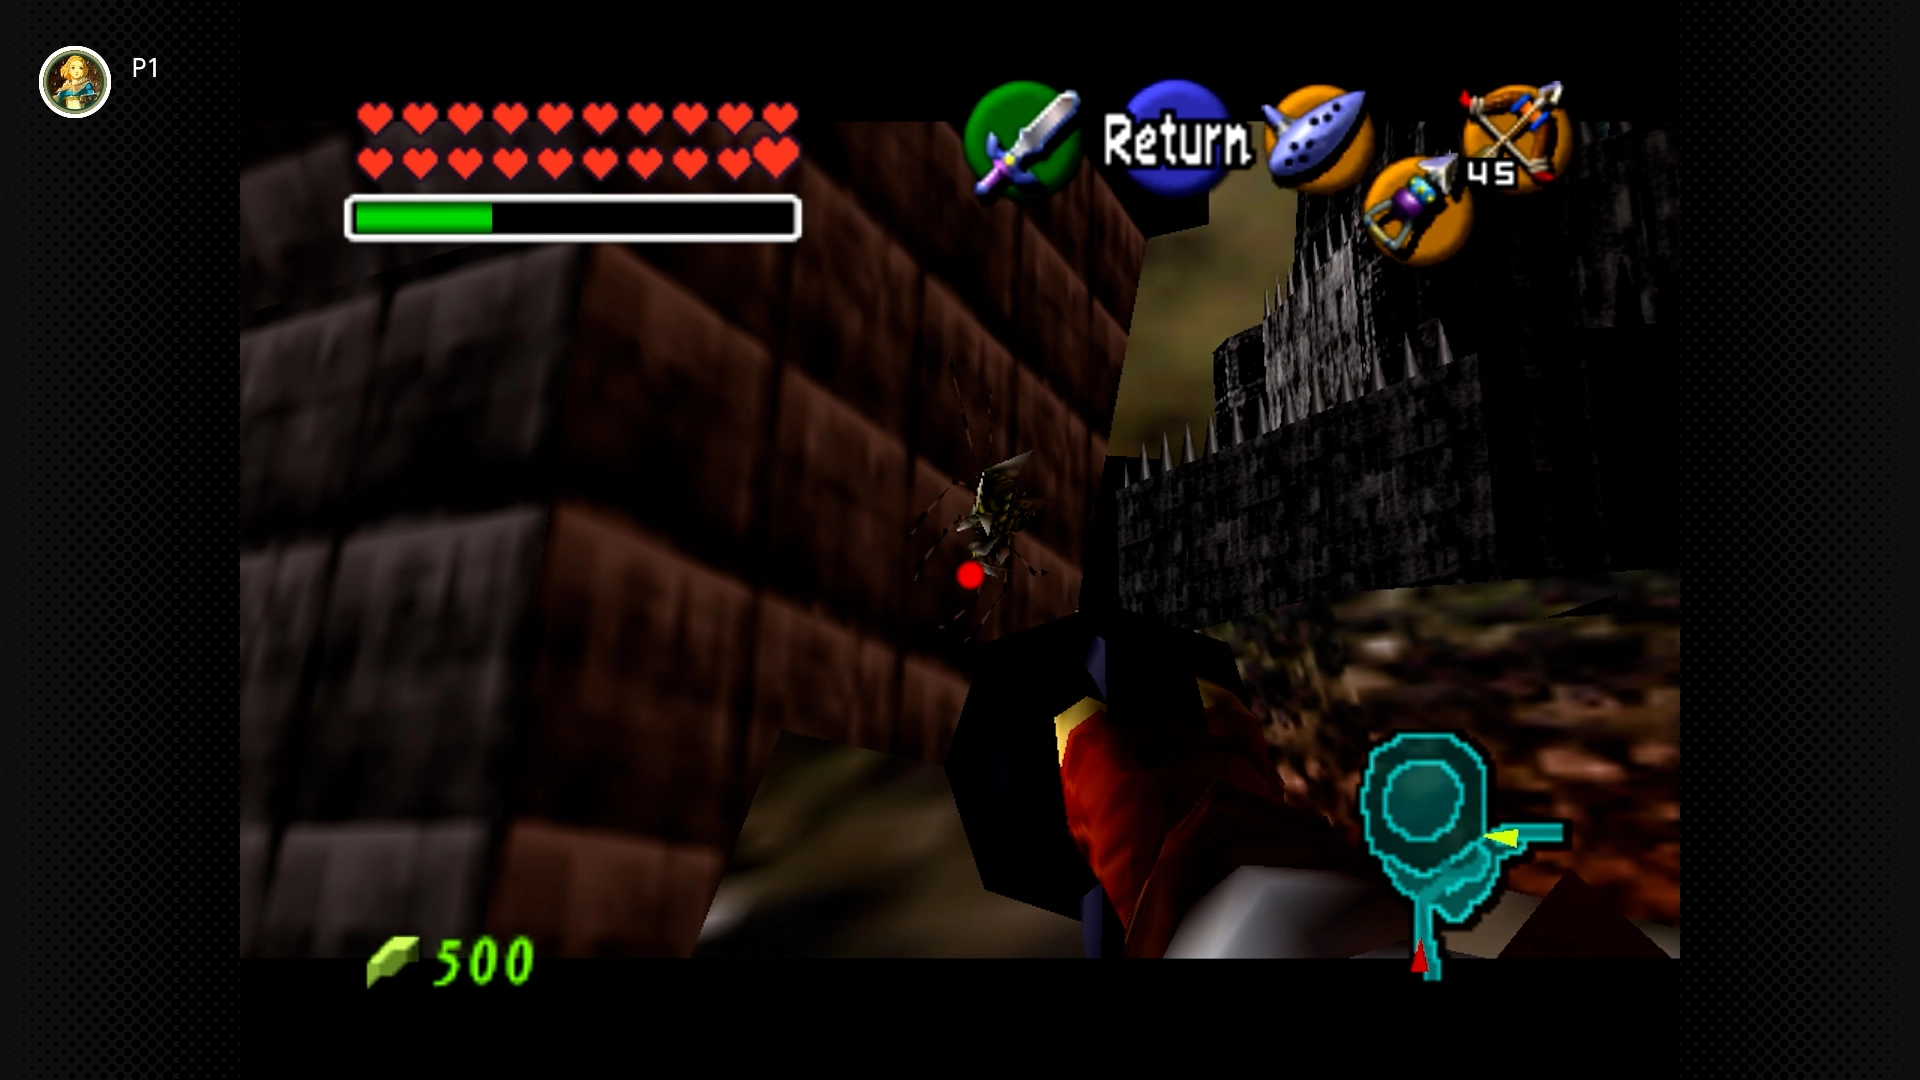
#53 – Archway Arachnid (Night Only)
Required: Adult Link, Hookshot, Night Only
Location: Where Hyrule Castle Town Market used to be, go towards the ruined drawbridge (where Ganon’s Castle is). To the right (east) is a stone archway. The Skulltula is on the back side of this arch.
Lon Lon Ranch (4 Skulltulas) [#54-57]
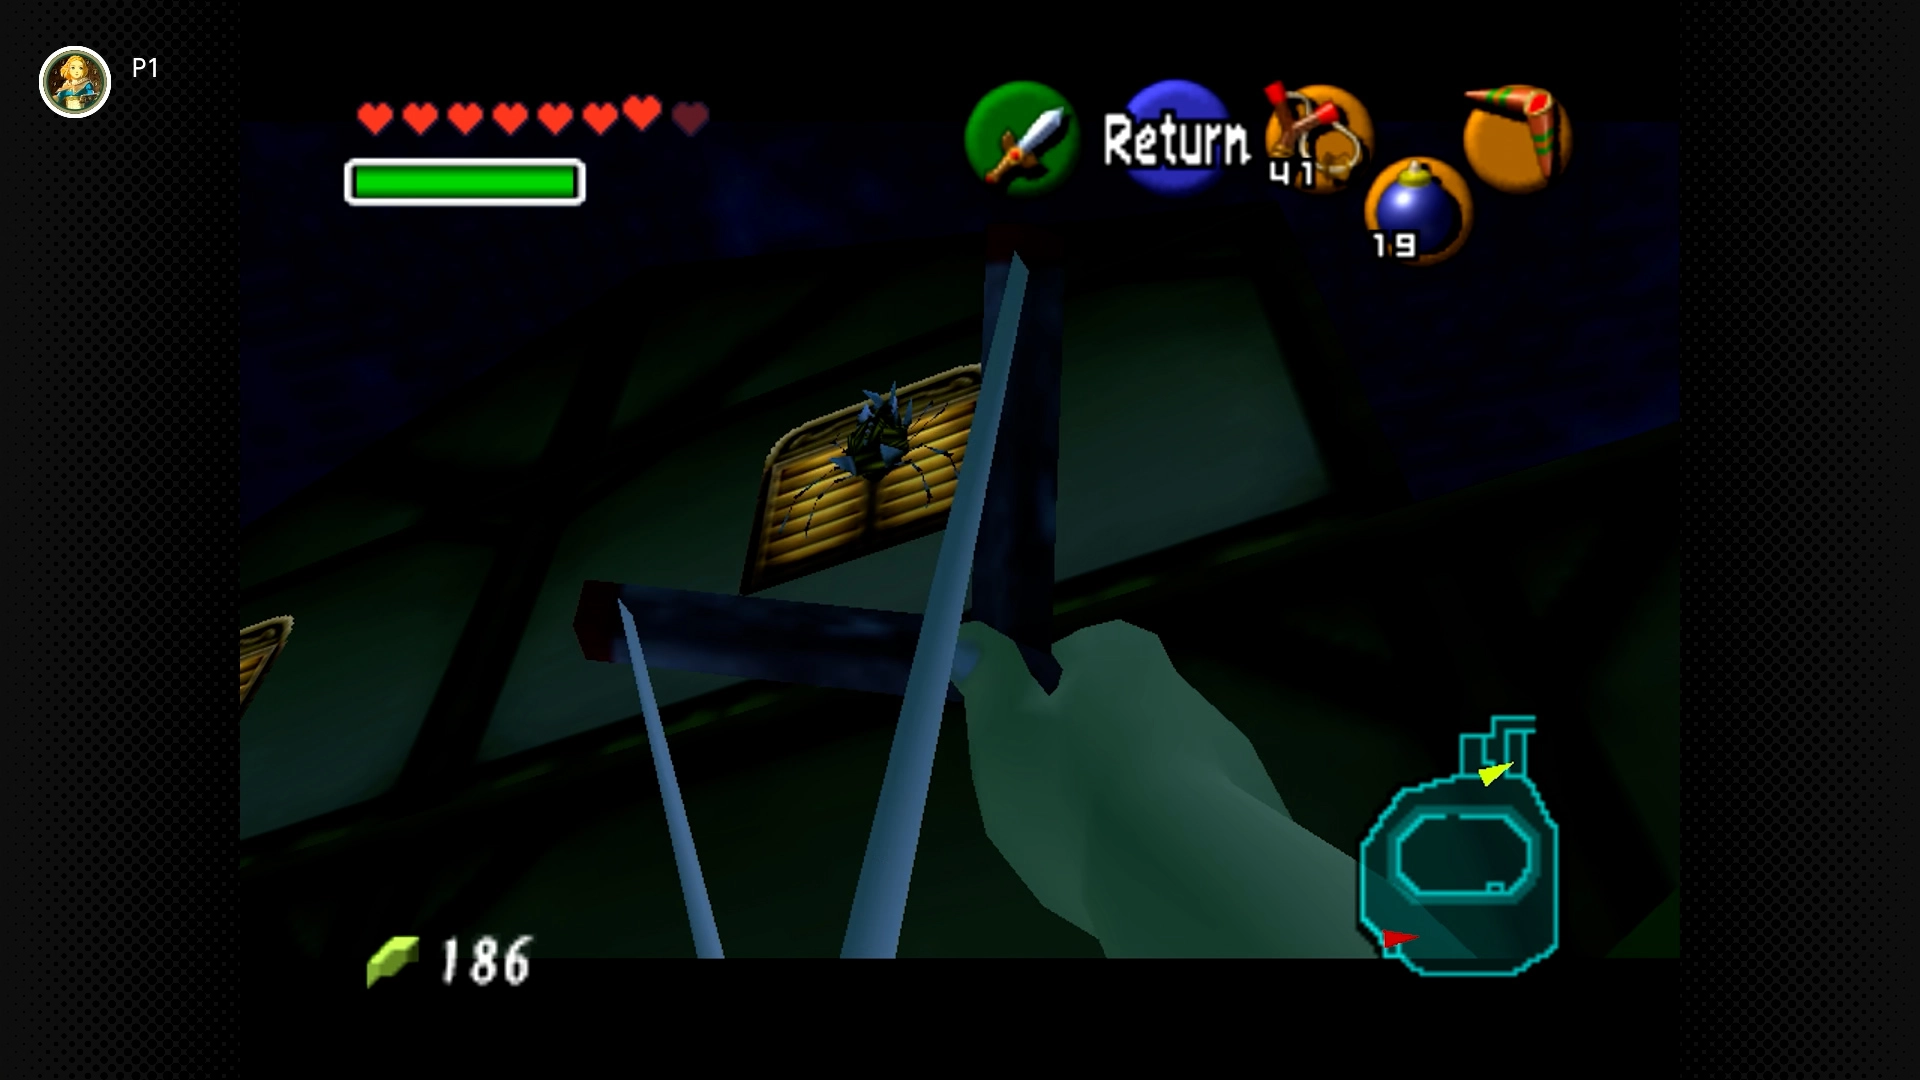
#54 – Talon’s Window Watcher
Required: Young Link, Night Only
Location: On the second-story window of Talon’s house (the main building).
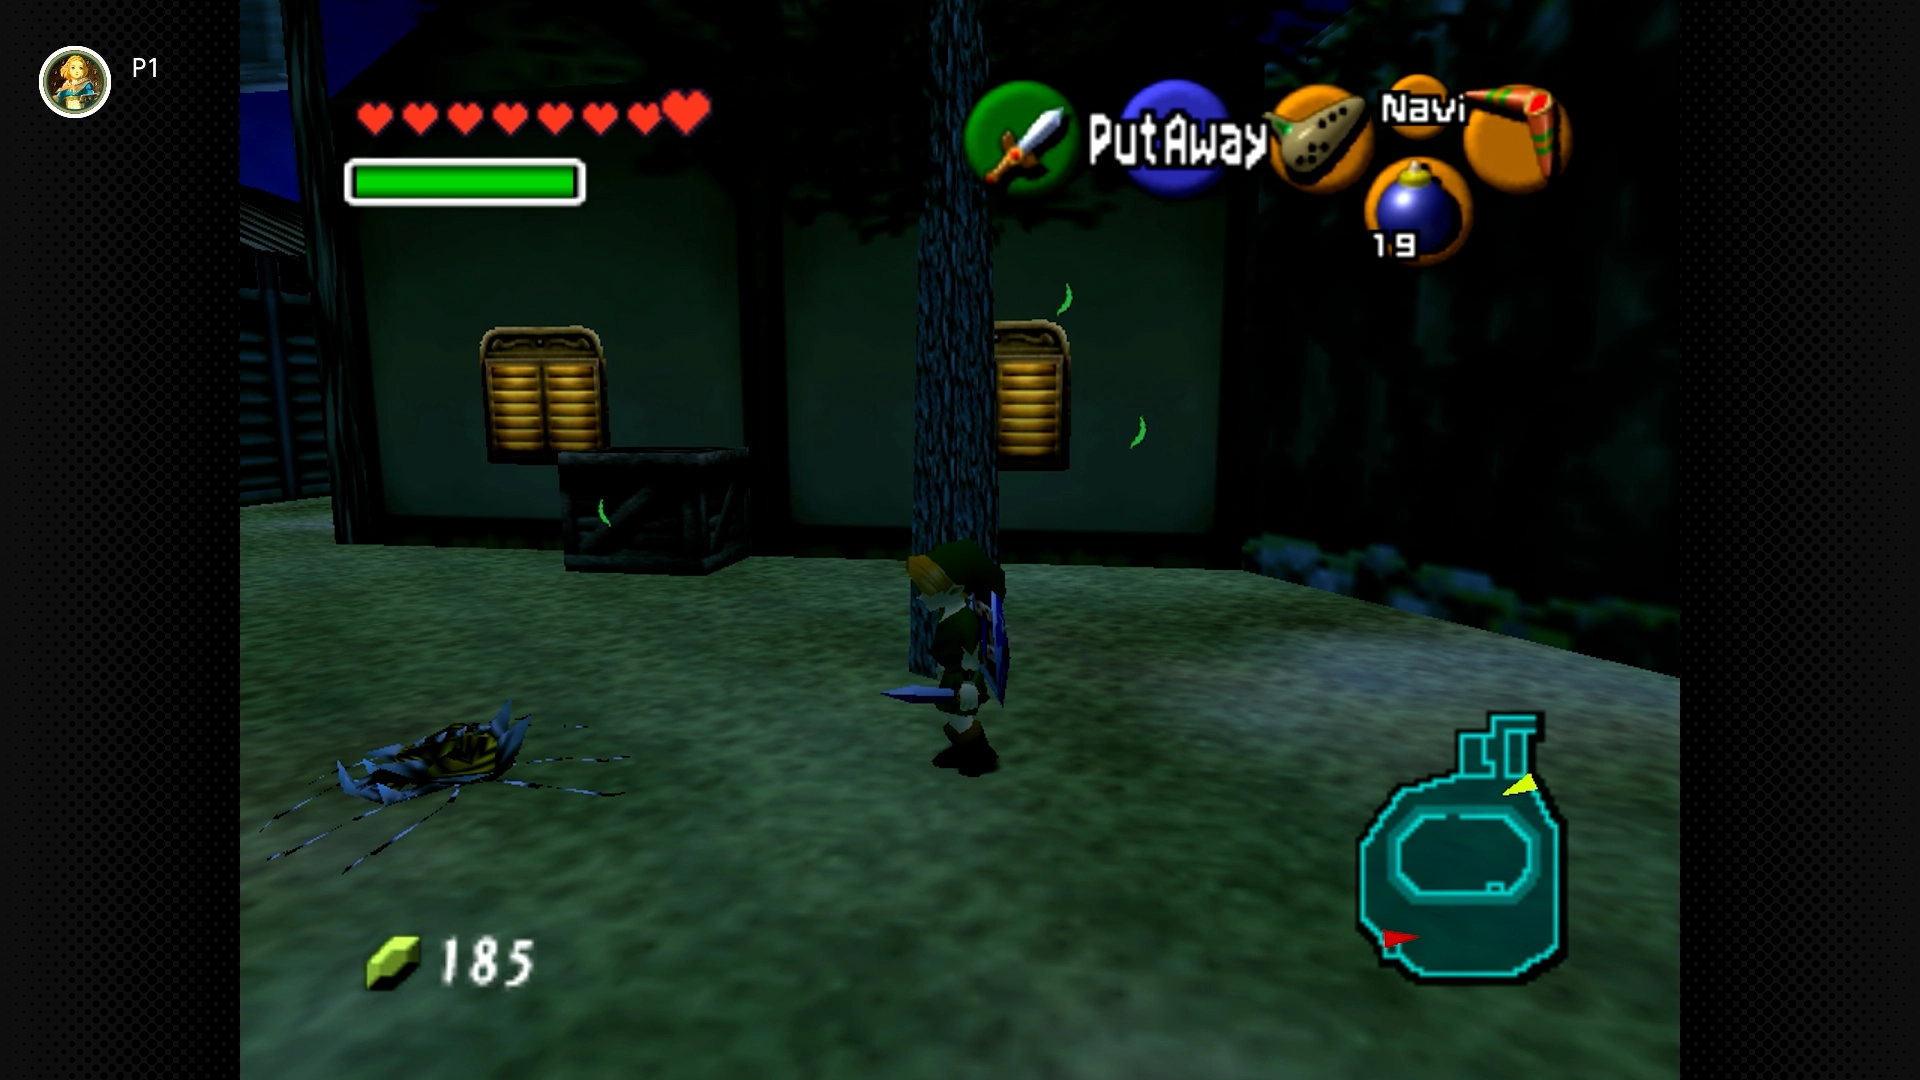
#55 – Lone Tree Lurker
Required: Young Link
Location: Near the main entrance gate to the ranch. Roll attack the lone tree standing nearby.
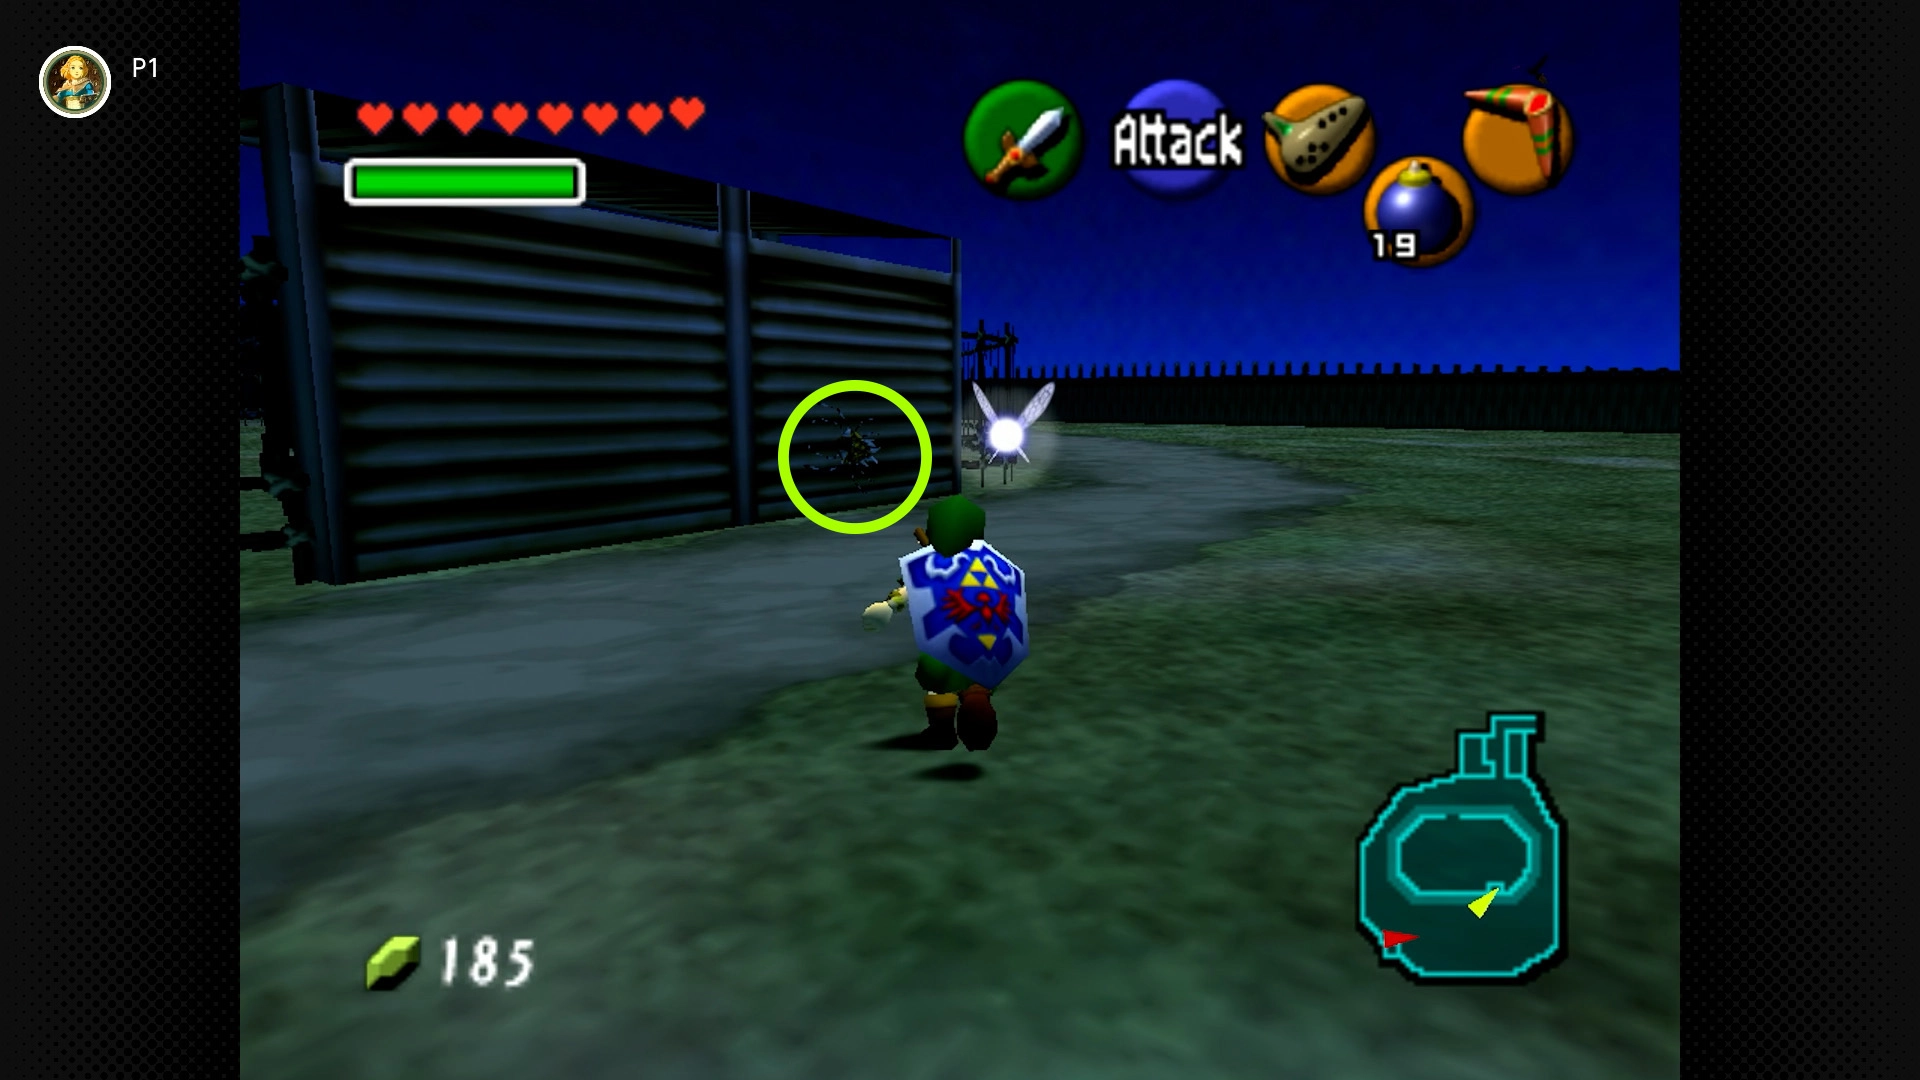
#56 – Shed Scuttler
Required: Young Link, Night Only
Location: On the back wall of the small storage shed/building at the edge of the horse corral.
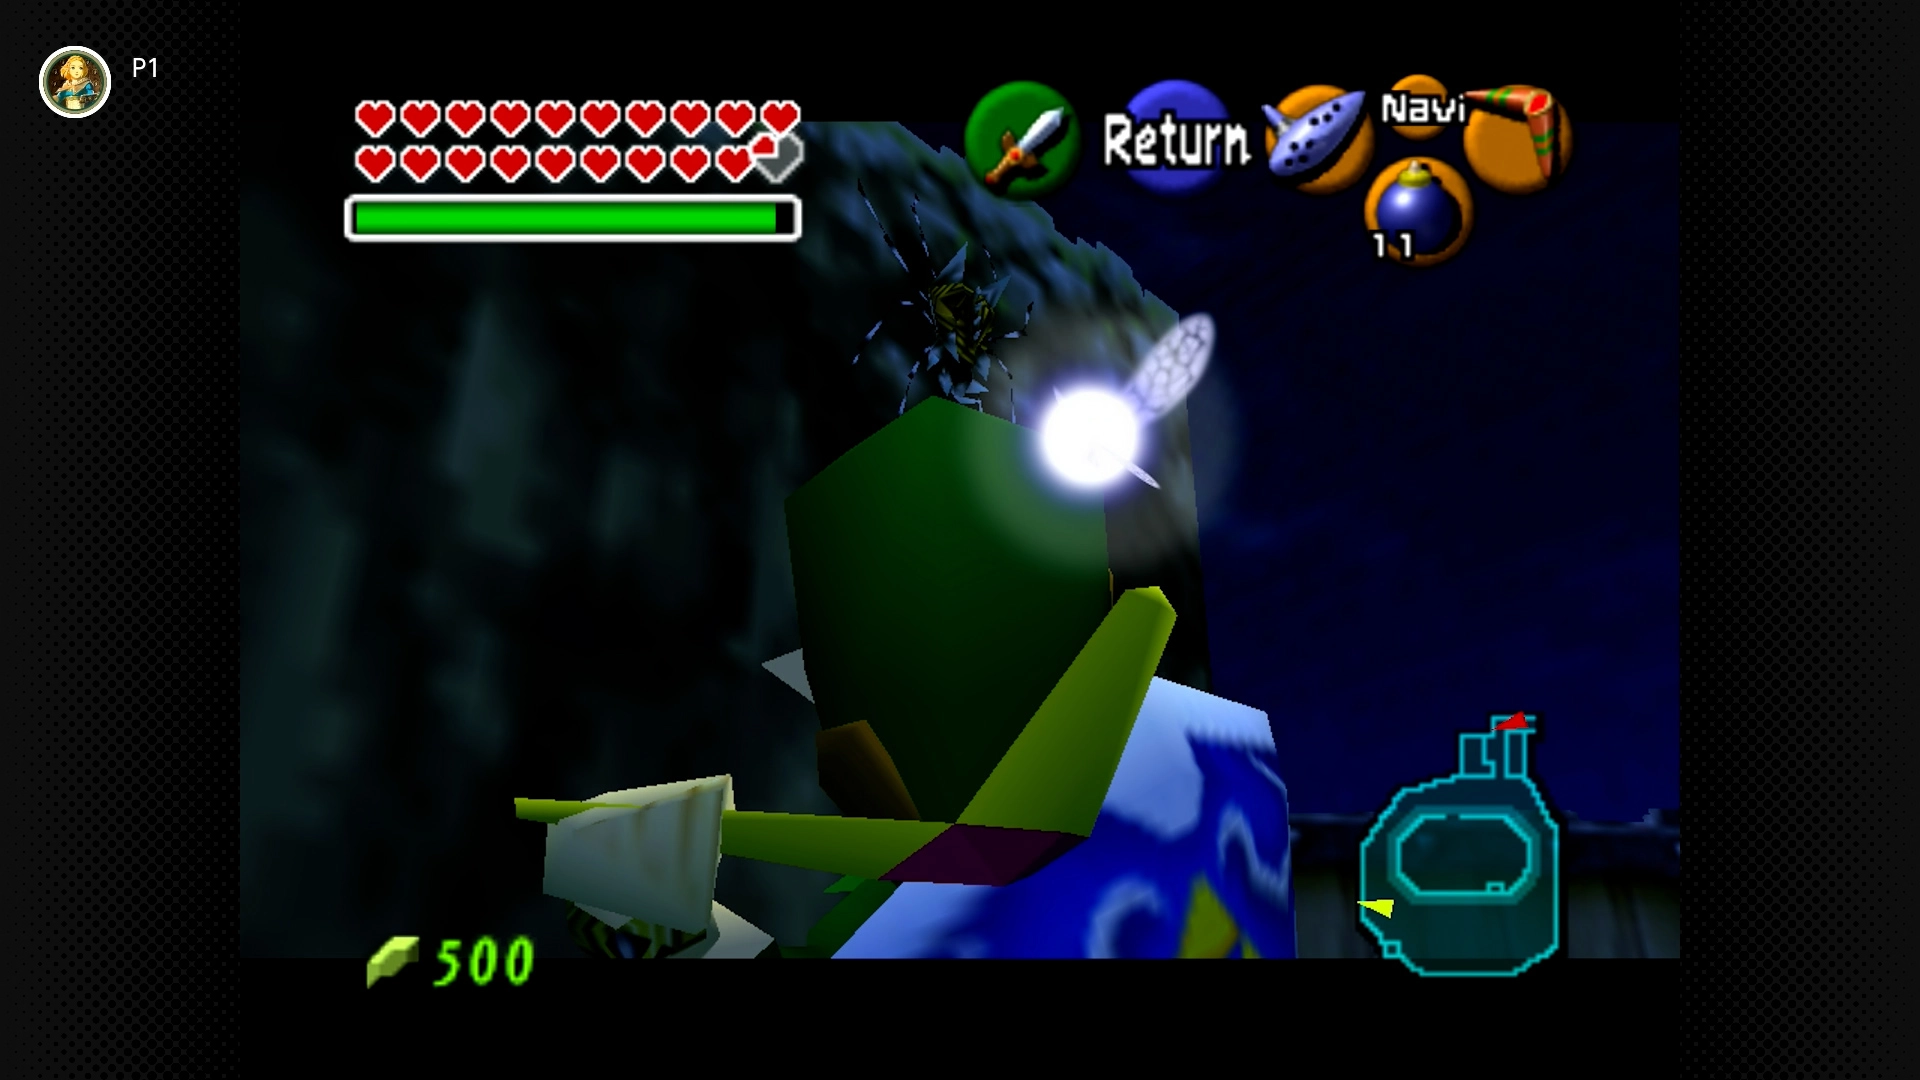
#57 – Outer Wall Wanderer
Required: Young Link, Night Only
Location: On the outer stone wall that encircles the ranch. Find it on the section north/northwest of the silo/stone tower structure inside the ranch.
Kakariko Village (6 Skulltulas) [#58-63]
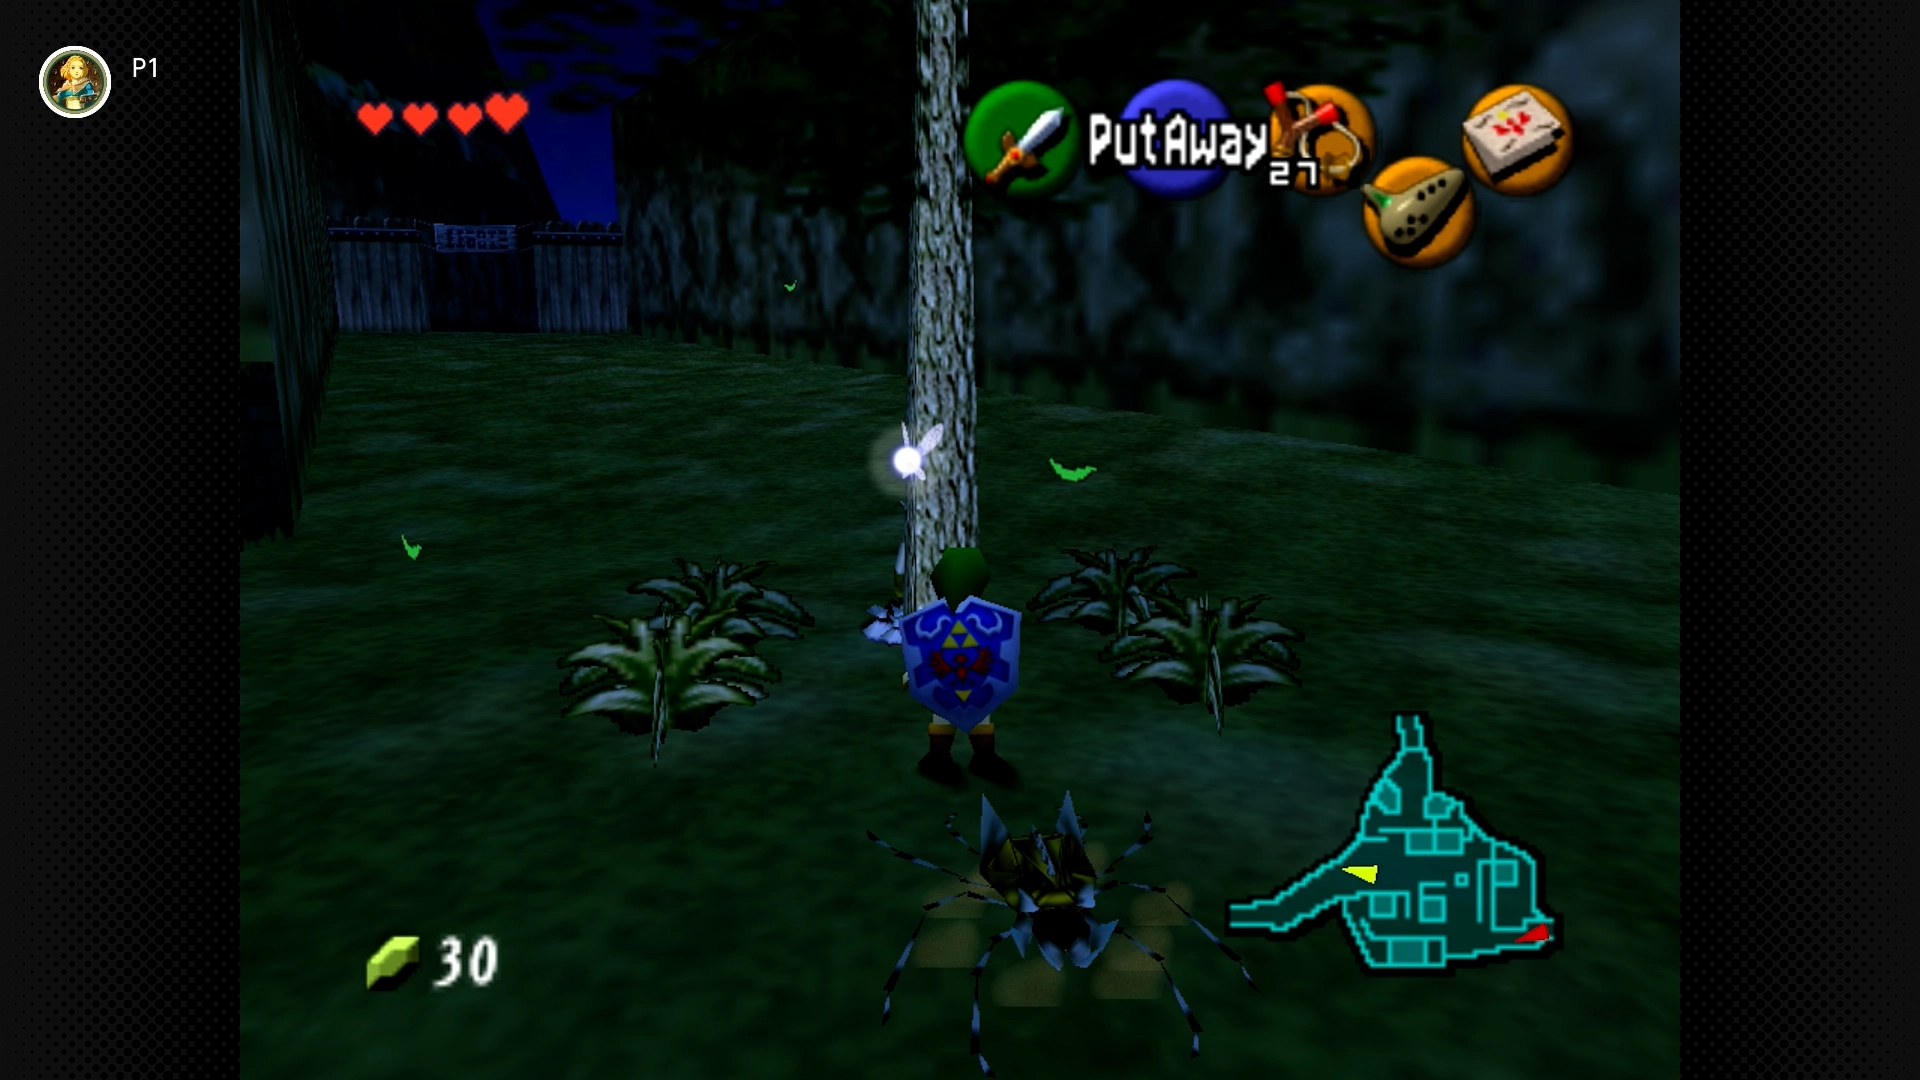
#58 – Entrance Tree Tapper
Required: Young Link, Night Only
Location: On the tree near the main entrance to the village (coming from Hyrule Field).
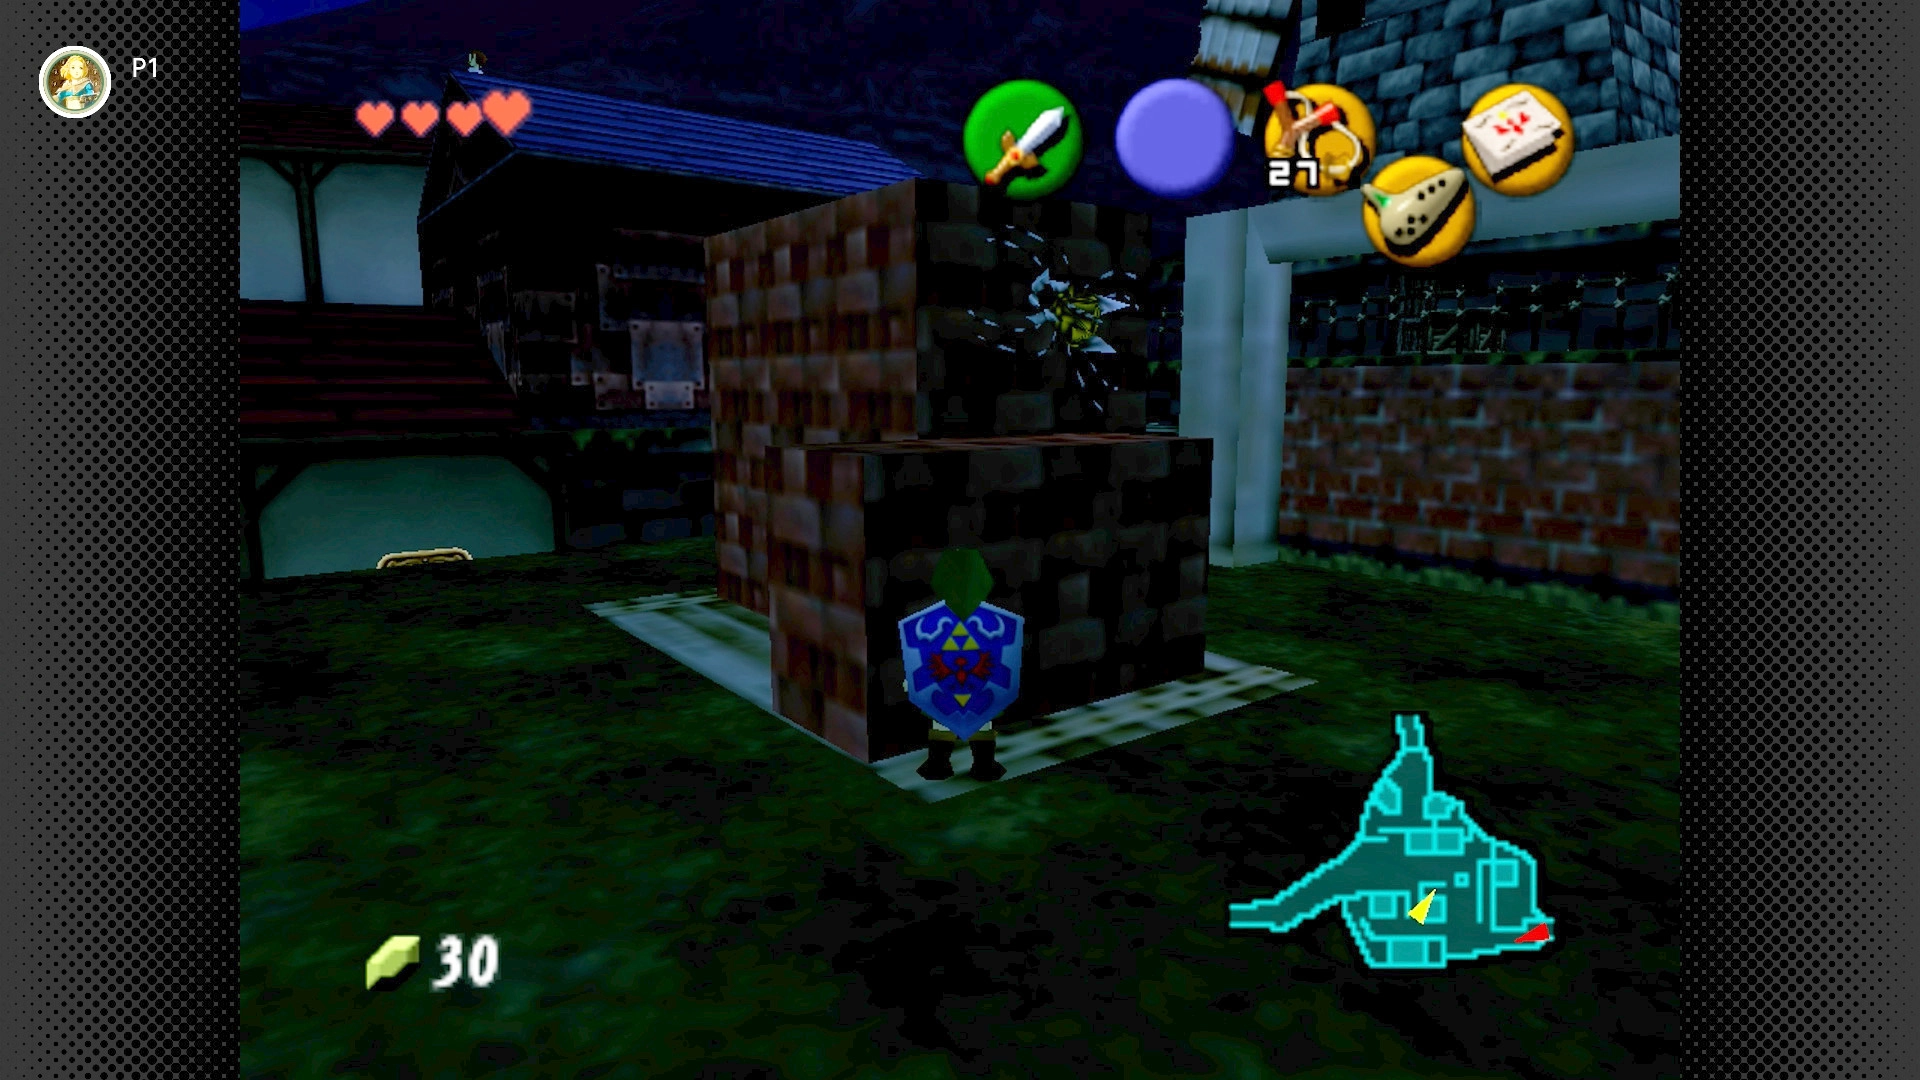
#59 – Construction Site Critter
Required: Young Link, Night Only
Location: On the side of the unfinished building at the center of the village (where carpenters work during the day). Check the red brick pile.
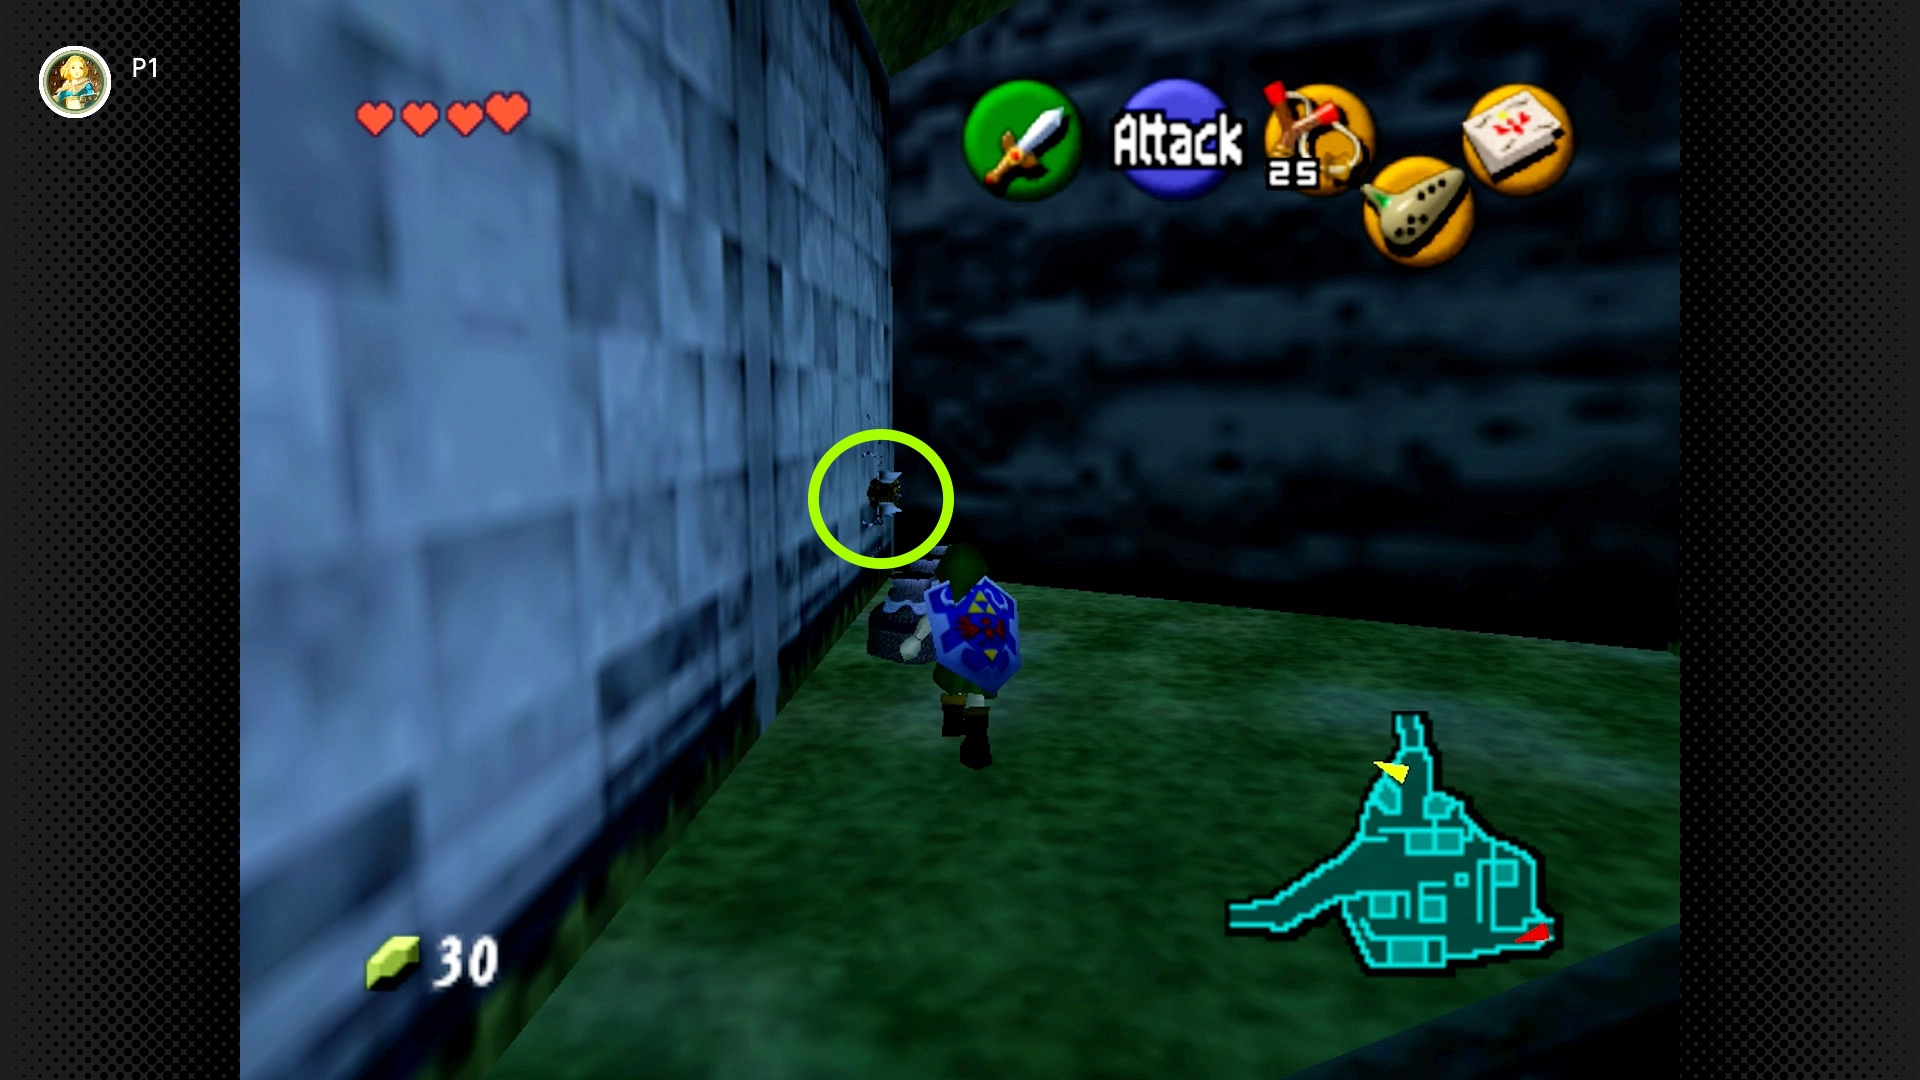
#60 – Guard’s House Ghoul
Required: Young Link, Night Only
Location: On the side of the house closest to the Death Mountain Trail entrance (the guard’s house).
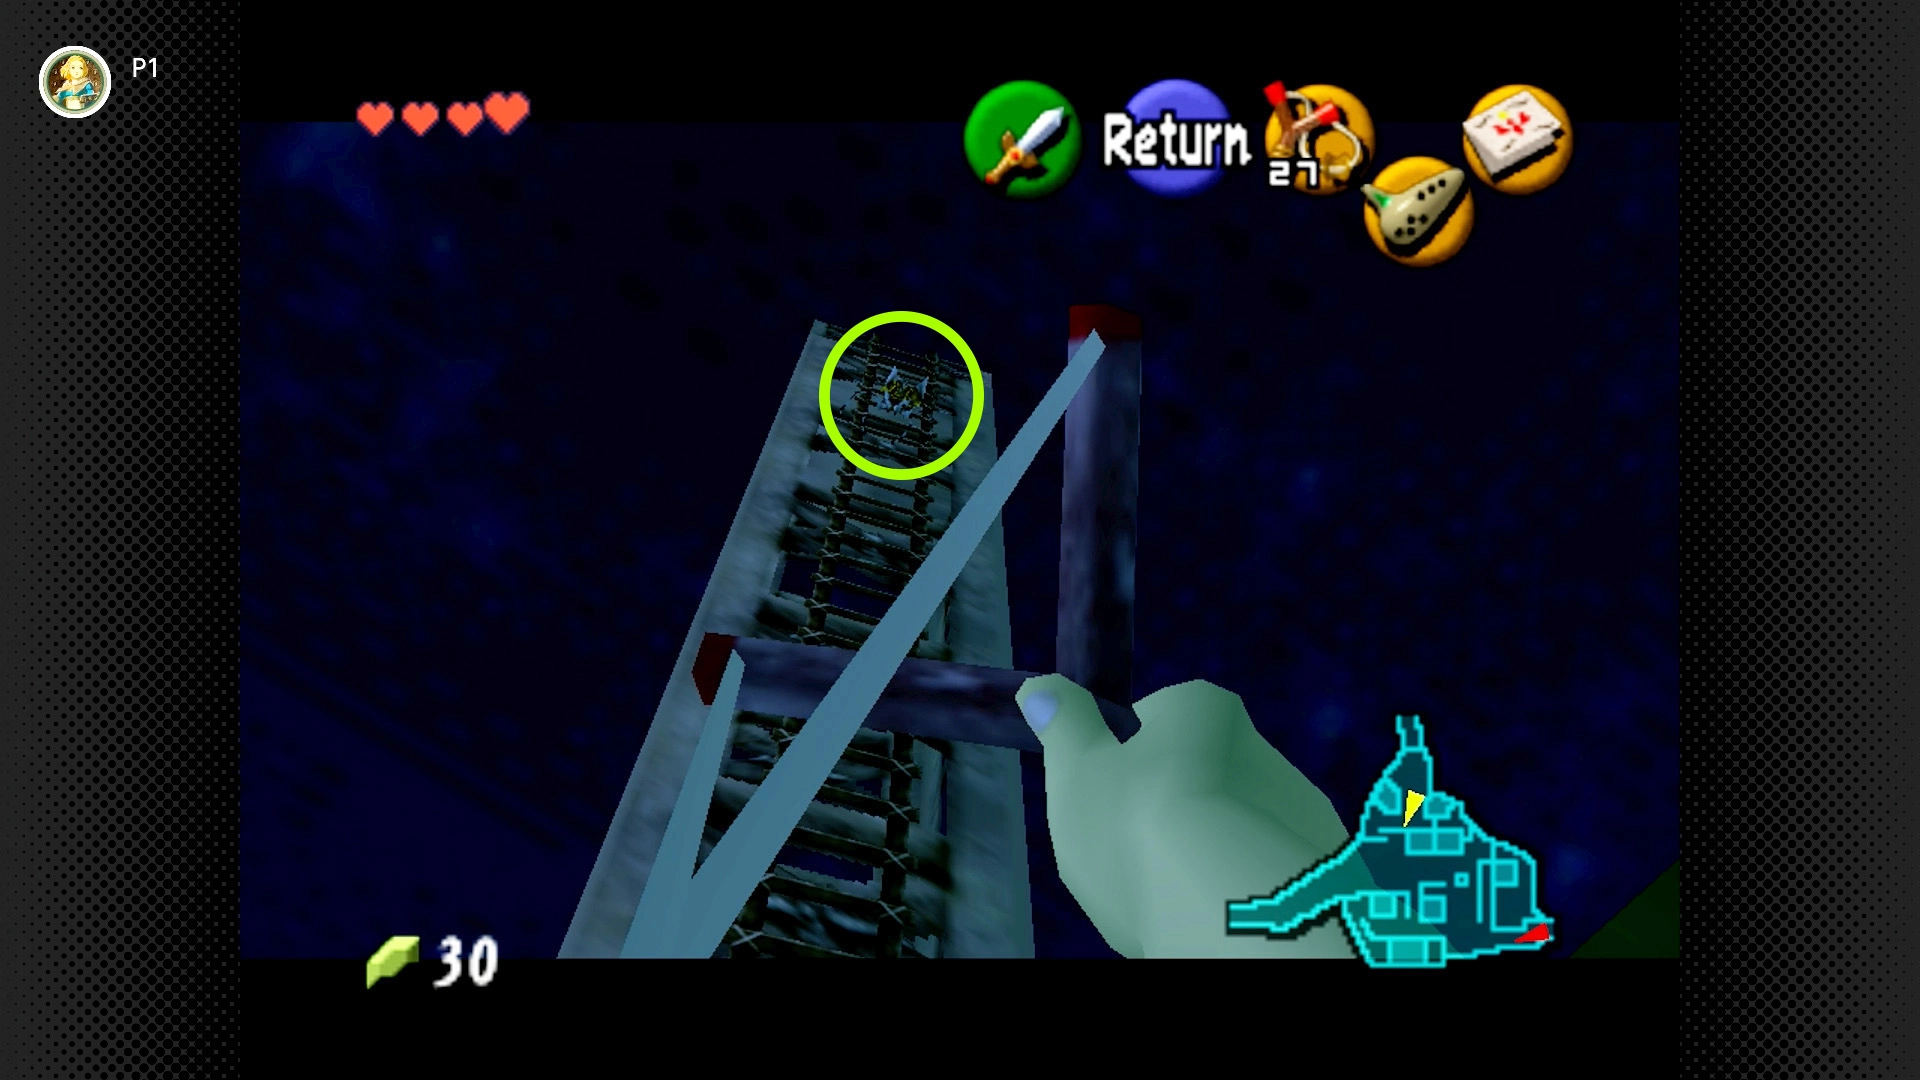
#61 – Lookout Ladder Leech
Required: Young Link, Fairy Slingshot or Boomerang, Night Only
Location: On the tall wooden lookout tower in the center/north part of the village.
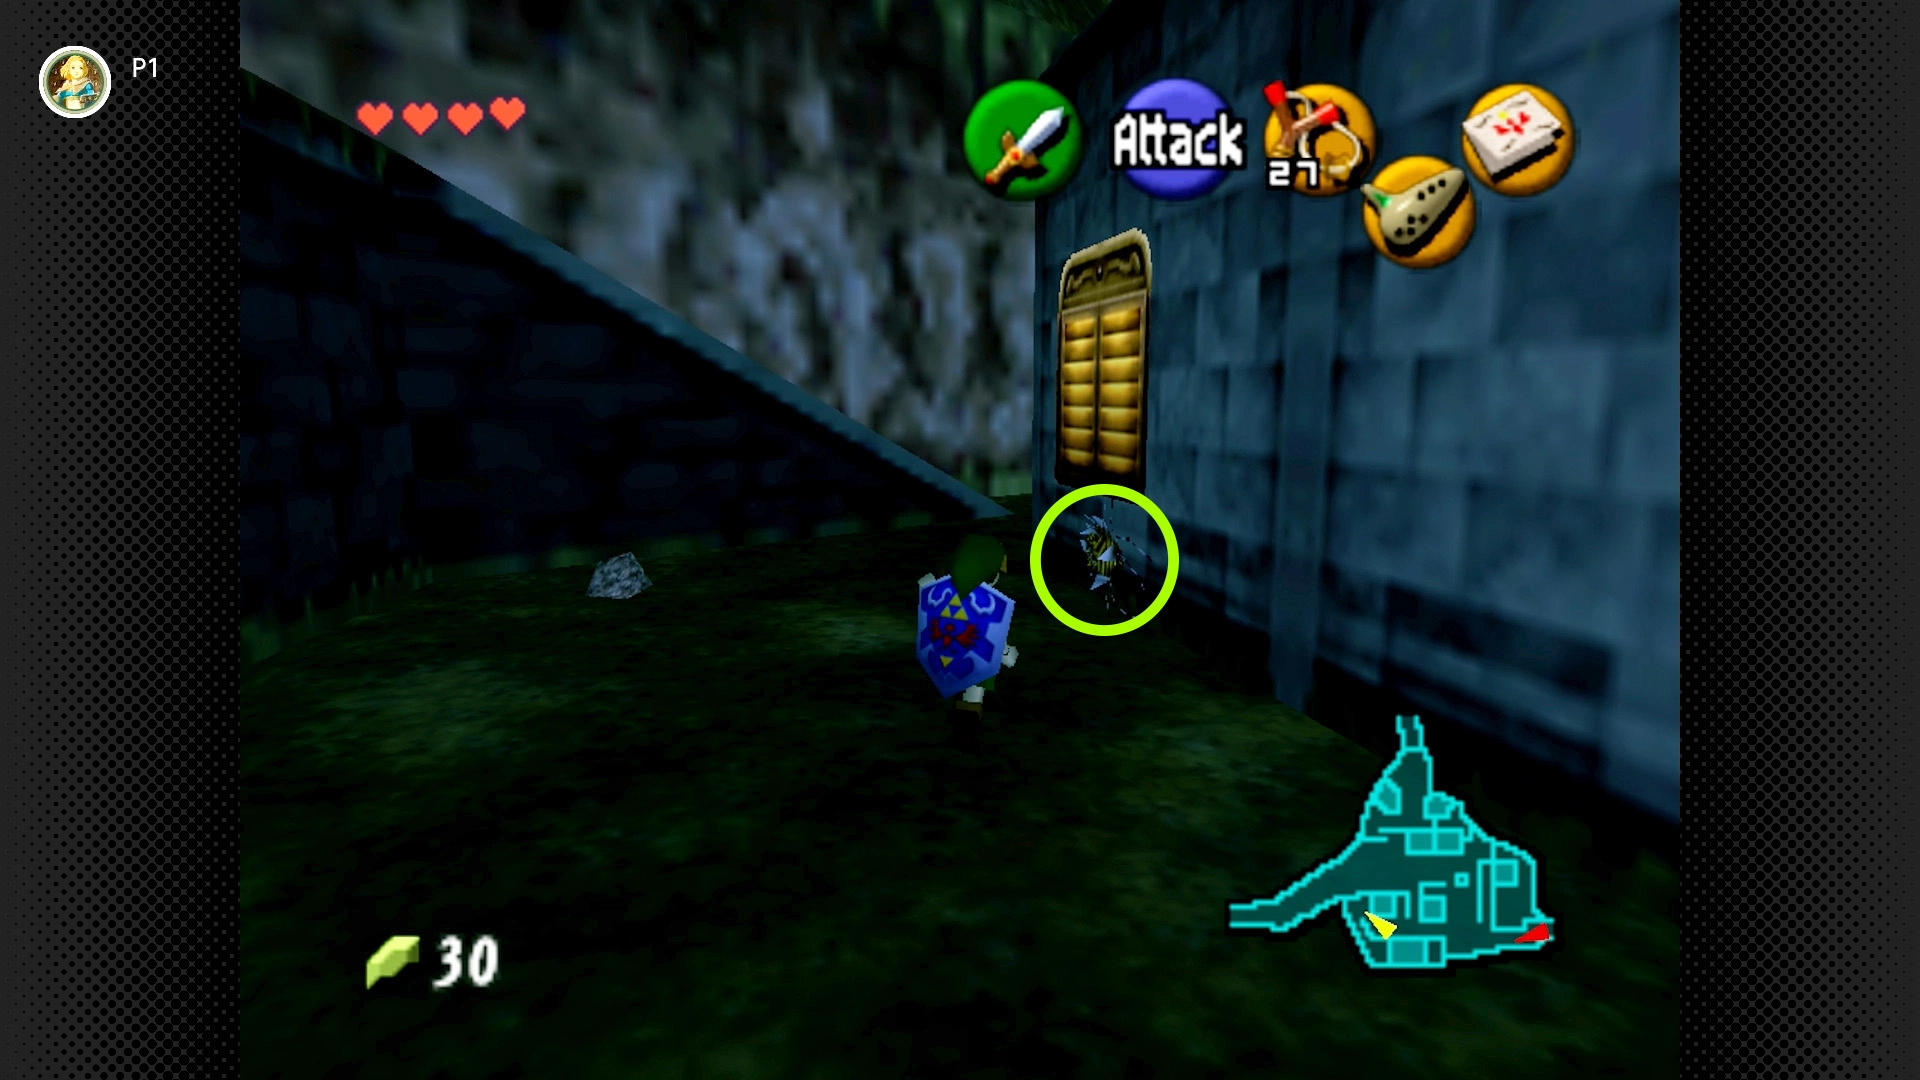
#62 – Skulltula House Squatter
Required: Young Link, Night Only
Location: On the side of the House of Skulltula (the cursed rich family’s house).
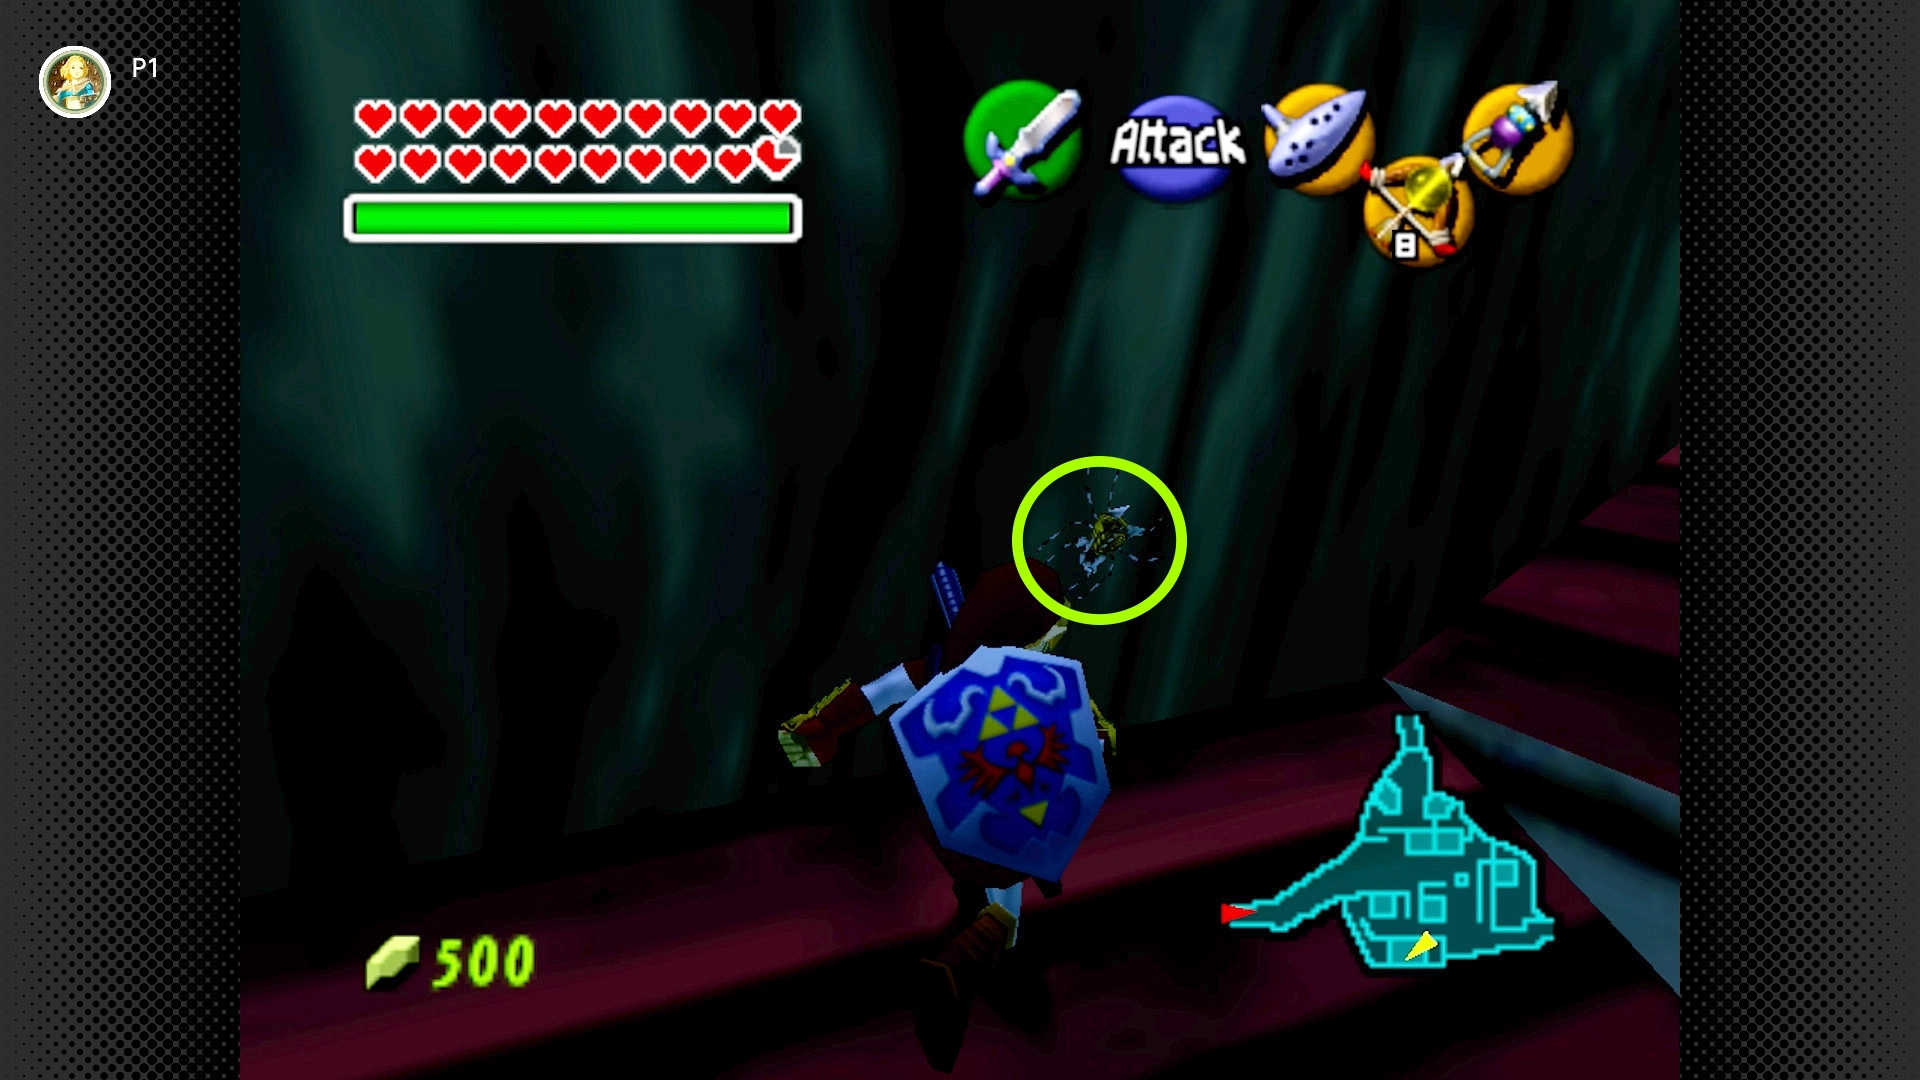
#63 – Impa’s Rooftop Raider
Required: Adult Link, Longshot, Night Only
Location: High up on the wall above Impa’s House (the large house near the Cucco pen). You need the Longshot to reach the roof first (aim at the shingles), then find the Skulltula.
Kakariko Graveyard (2 Skulltulas) [#64 & 65]
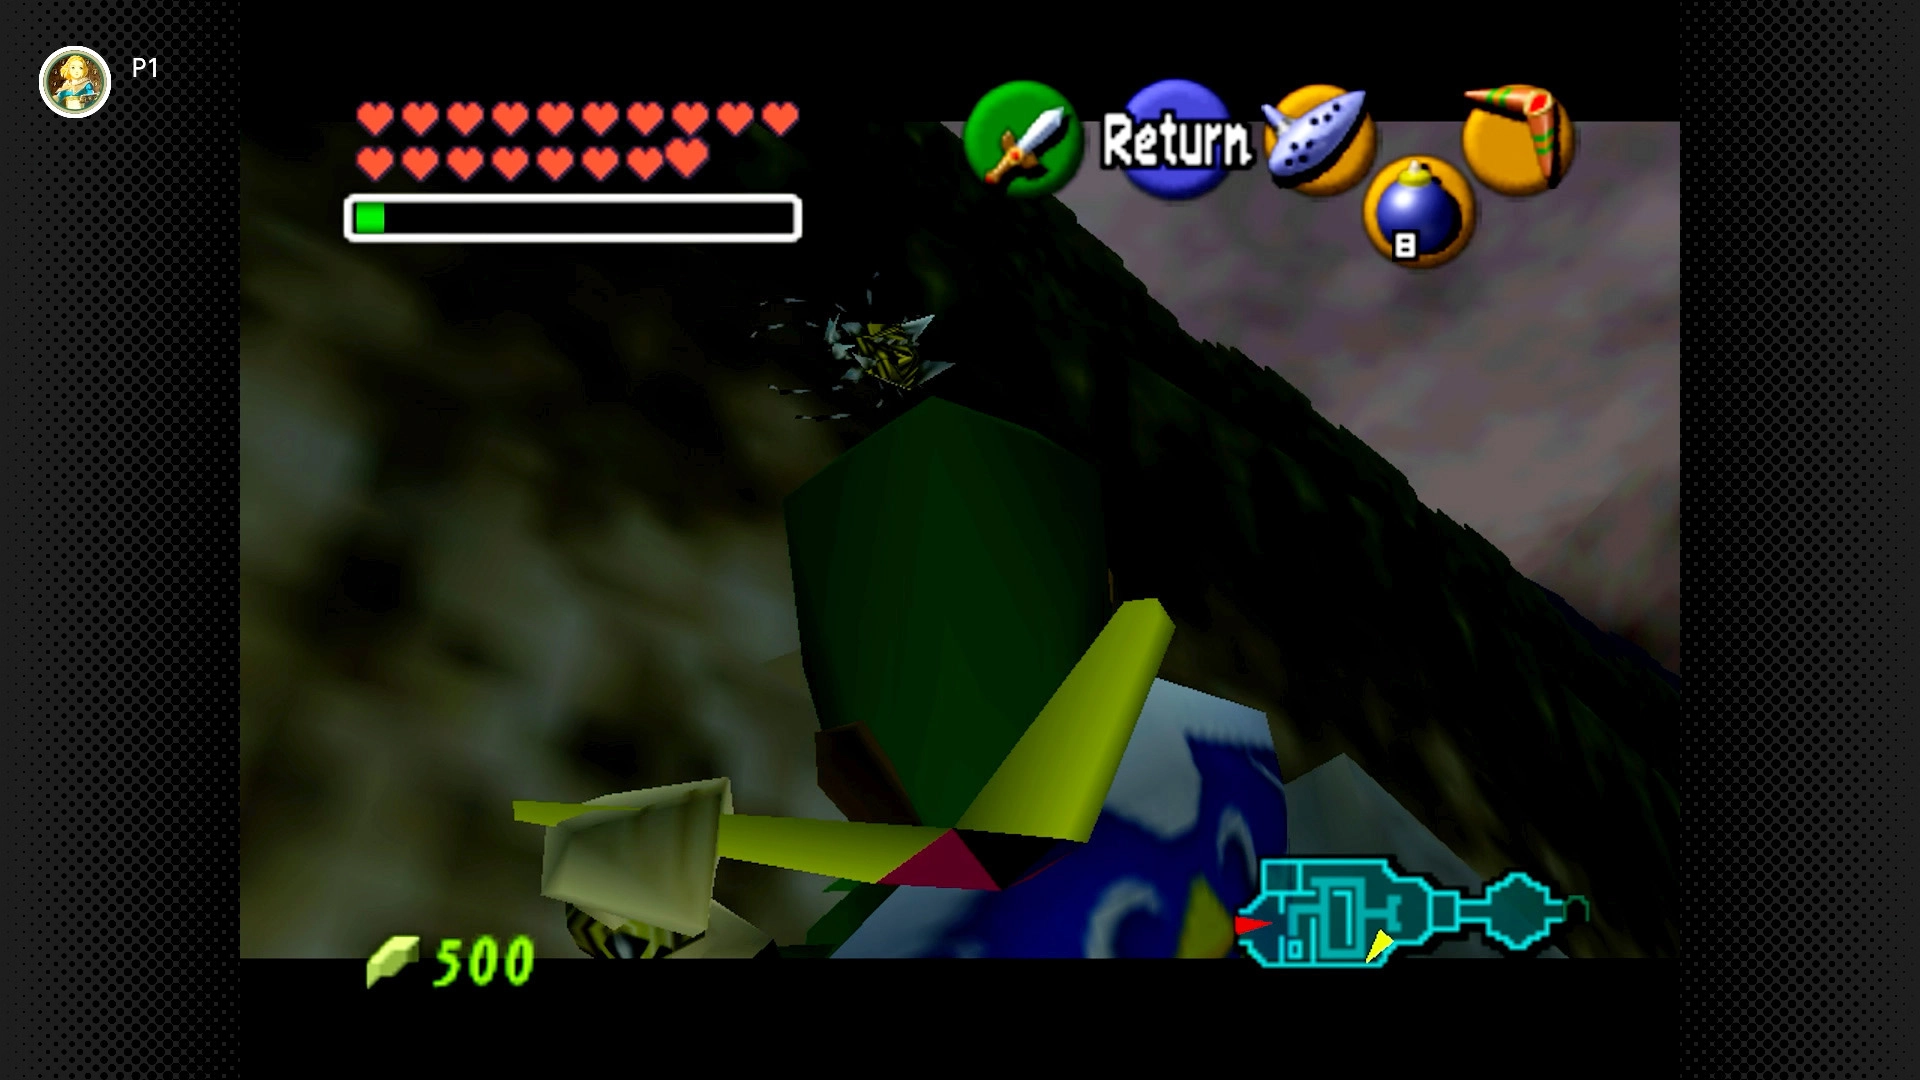
#64 – South Wall Spectre (Night Only)
Required: Young Link, Boomerang, Night Only
Location: On the far southeast wall of the graveyard.
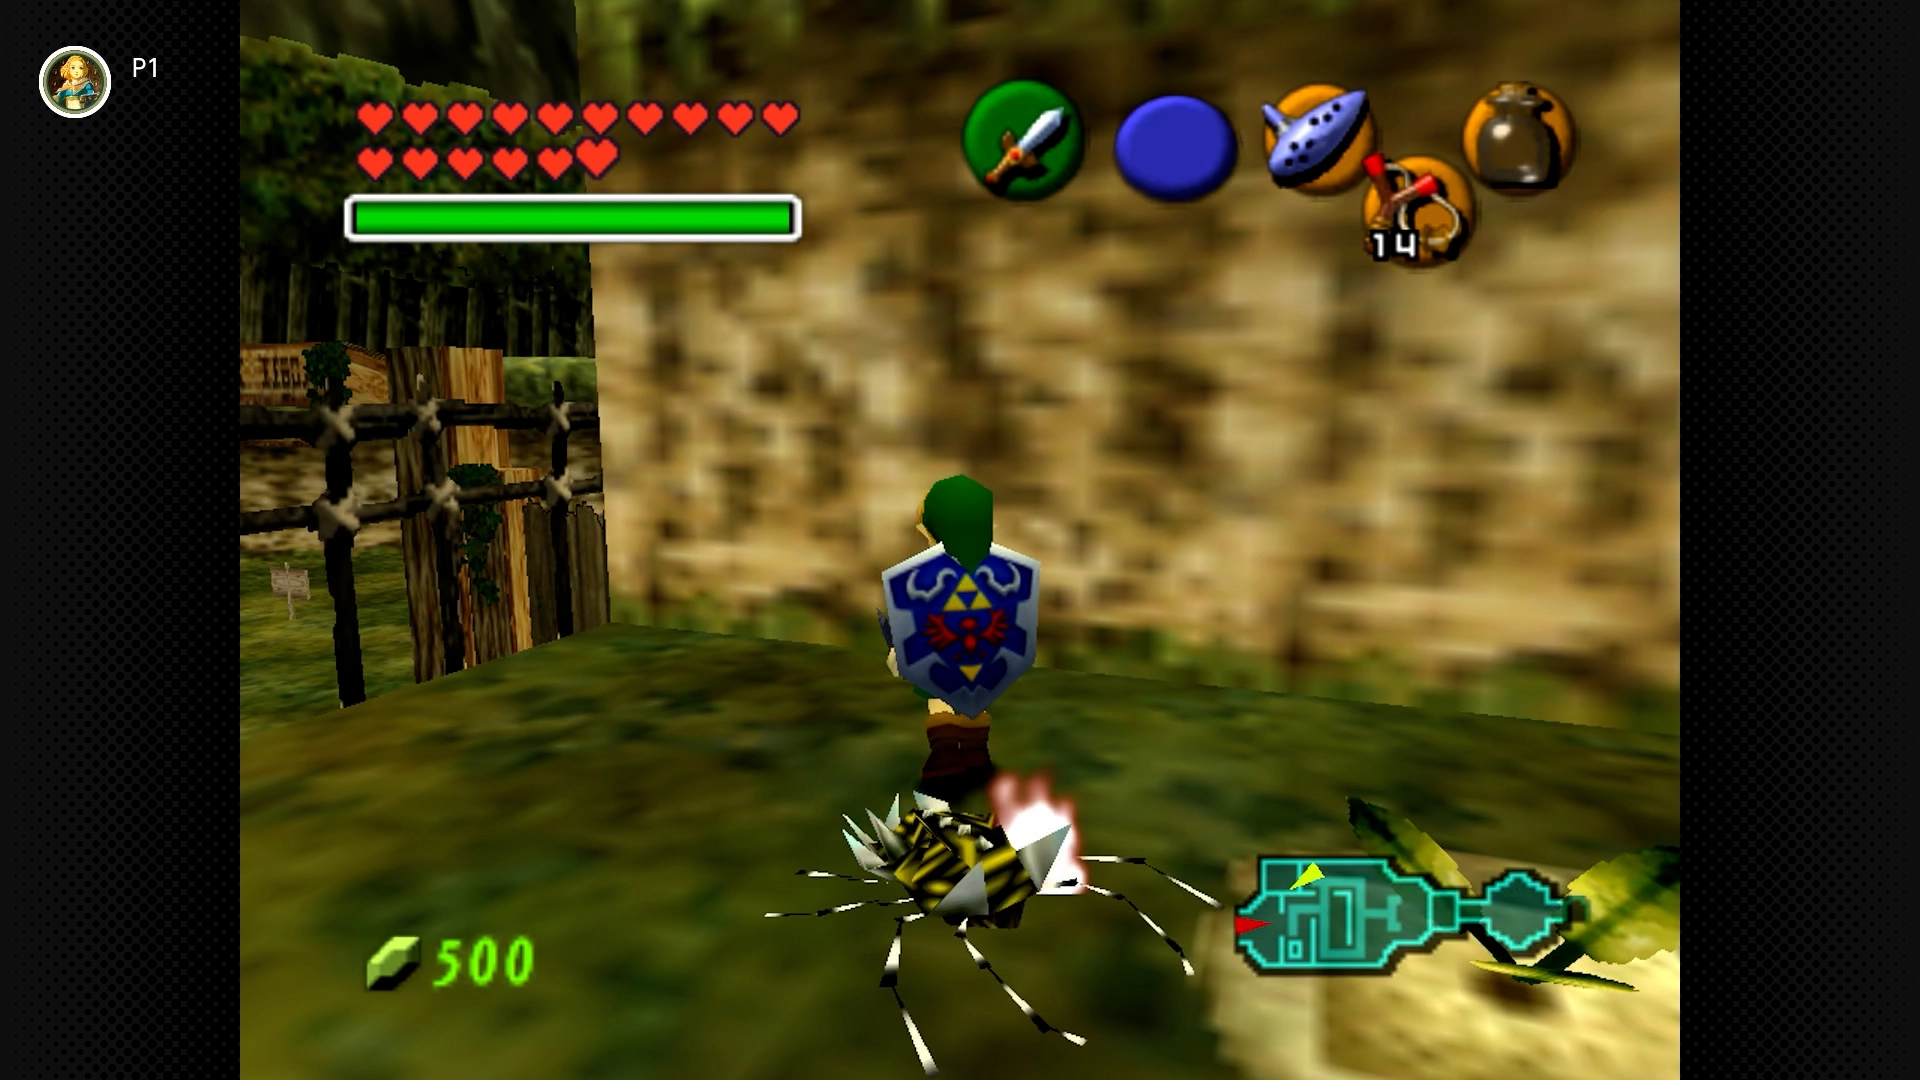
#65 – Soft Soil Soul
Required: Young Link, Bottle with Bugs
Location: Find the patch of Soft Soil in the northern part of the graveyard (near the entrance to the Royal Family’s Tomb). Release Bugs onto it.
Lost Woods (4 Skulltulas) [#66-69]

#66 – Double Left Dirt Dweller
Required: Young Link, Bottle with Bugs
Location: From the entrance (from Kokiri Forest), go left, then left again (two screens left). Find the patch of Soft Soil. Release Bugs onto it.
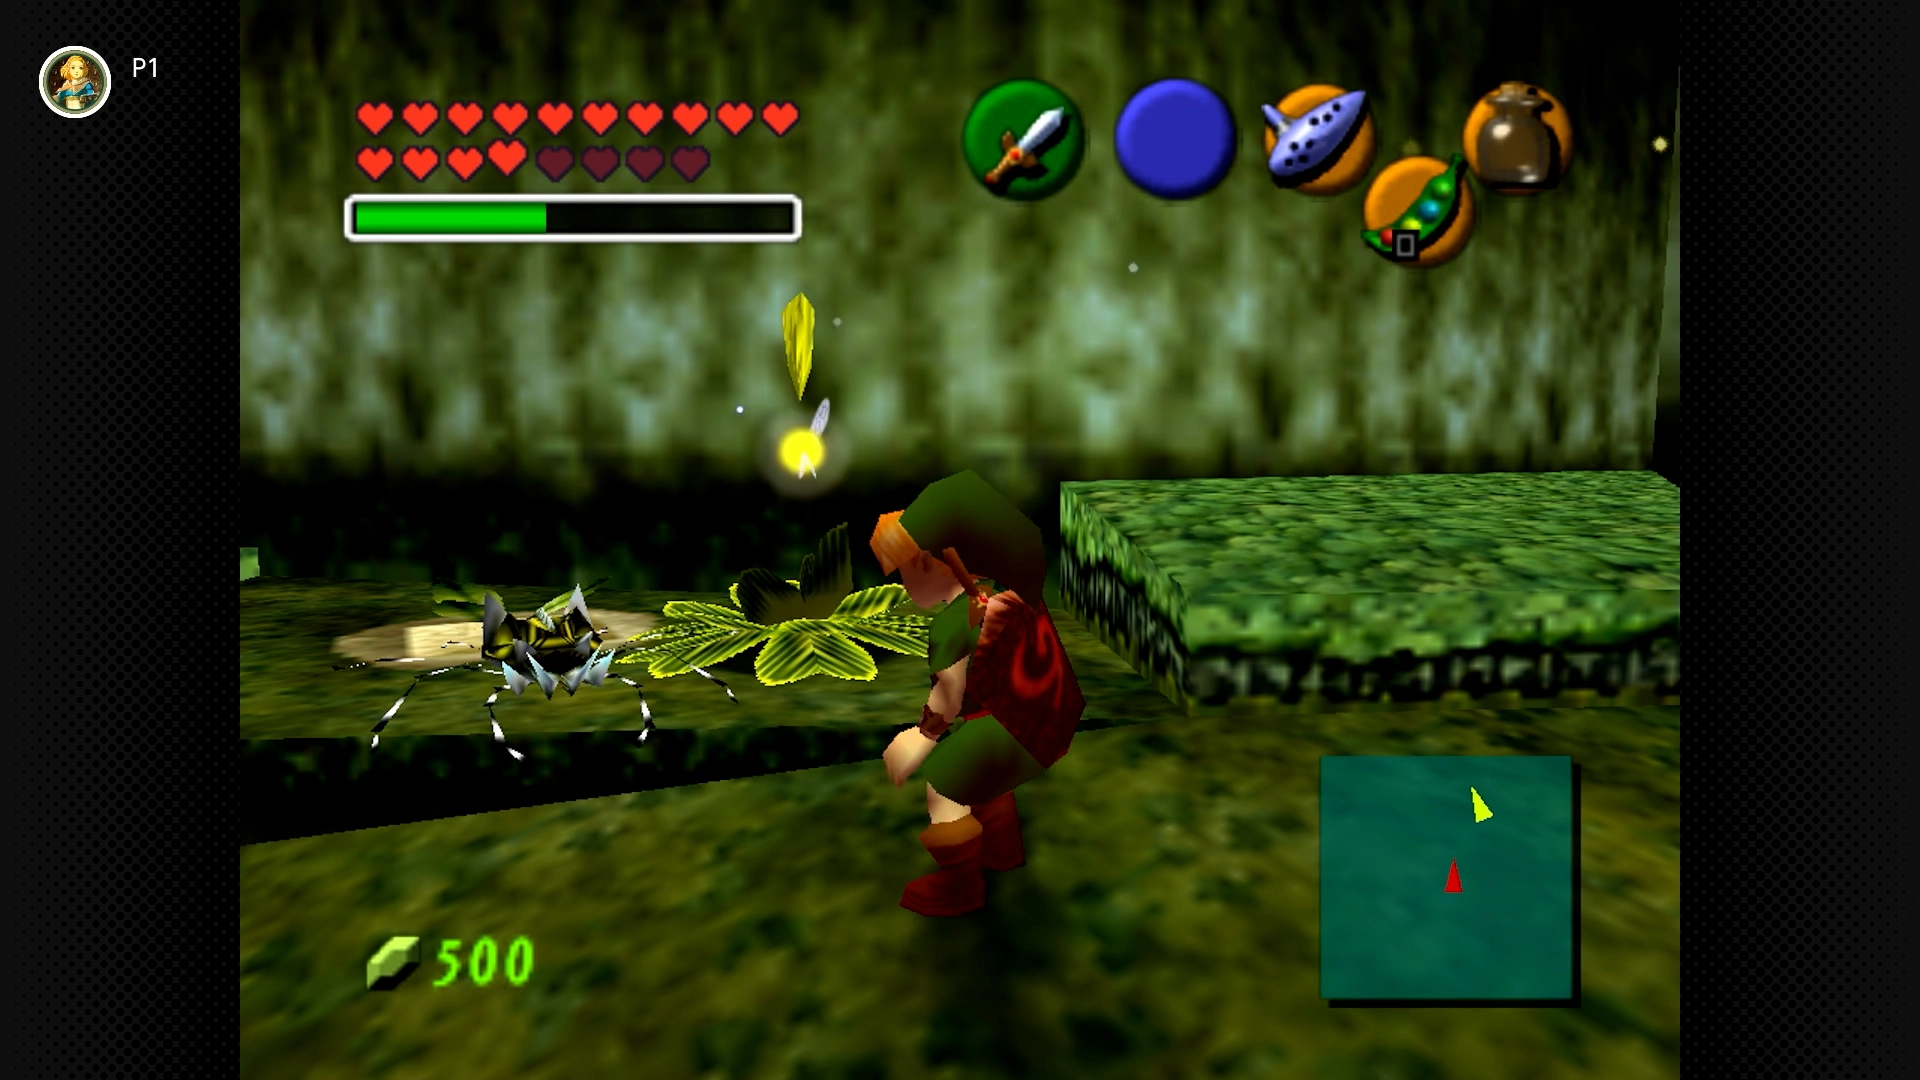
#67 – Forest Stage Soil Spinner
Required: Young Link, Bottle with Bugs
Location: Find the patch of Soft Soil in the area with the Forest Stage (where you show the Skull Mask). Path from entrance: Right, Left, Right, Left, Left. Release Bugs onto it.
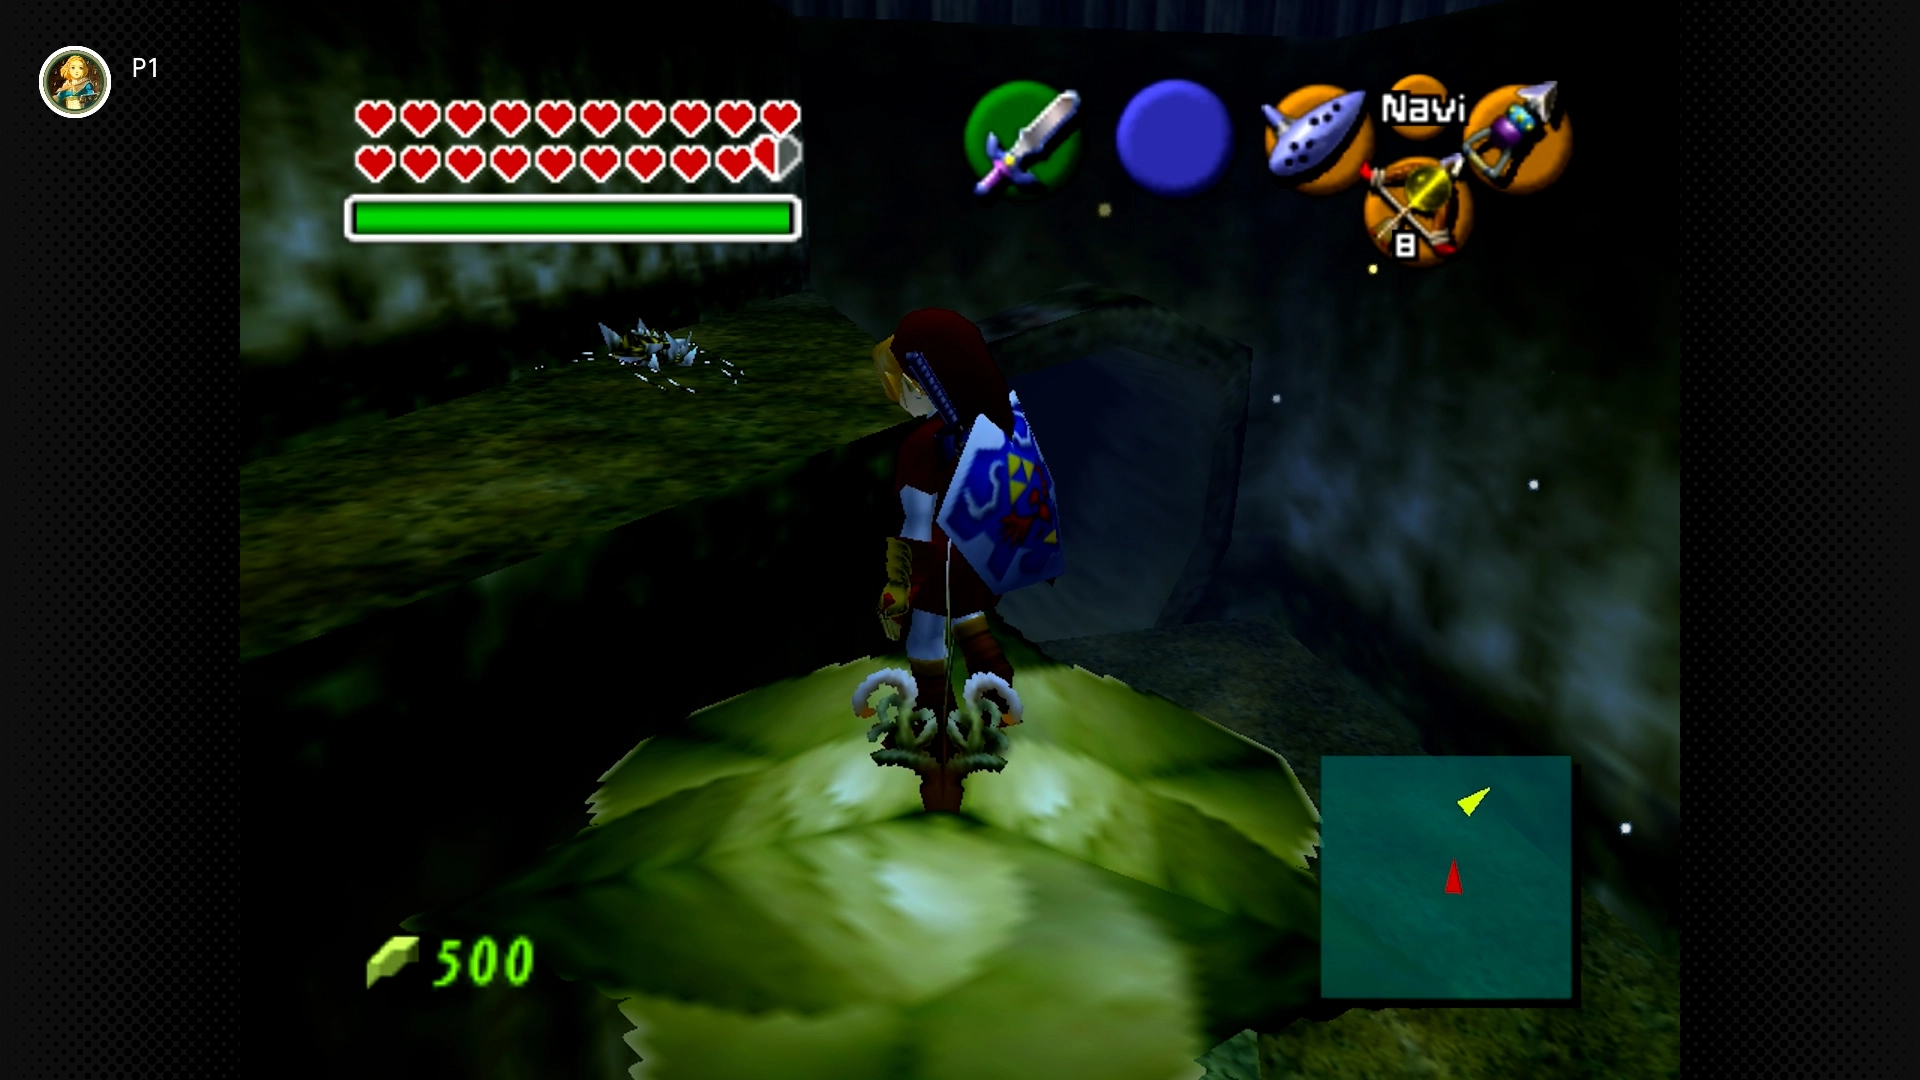
#68 – Magic Bean Beanstalker
Required: Magic Bean, Hookshot
Location: Plant a Magic Bean in the Soft Soil from #67 as Young Link. Return as Adult Link and ride the Magic Bean Plant platform up to the Skulltula.
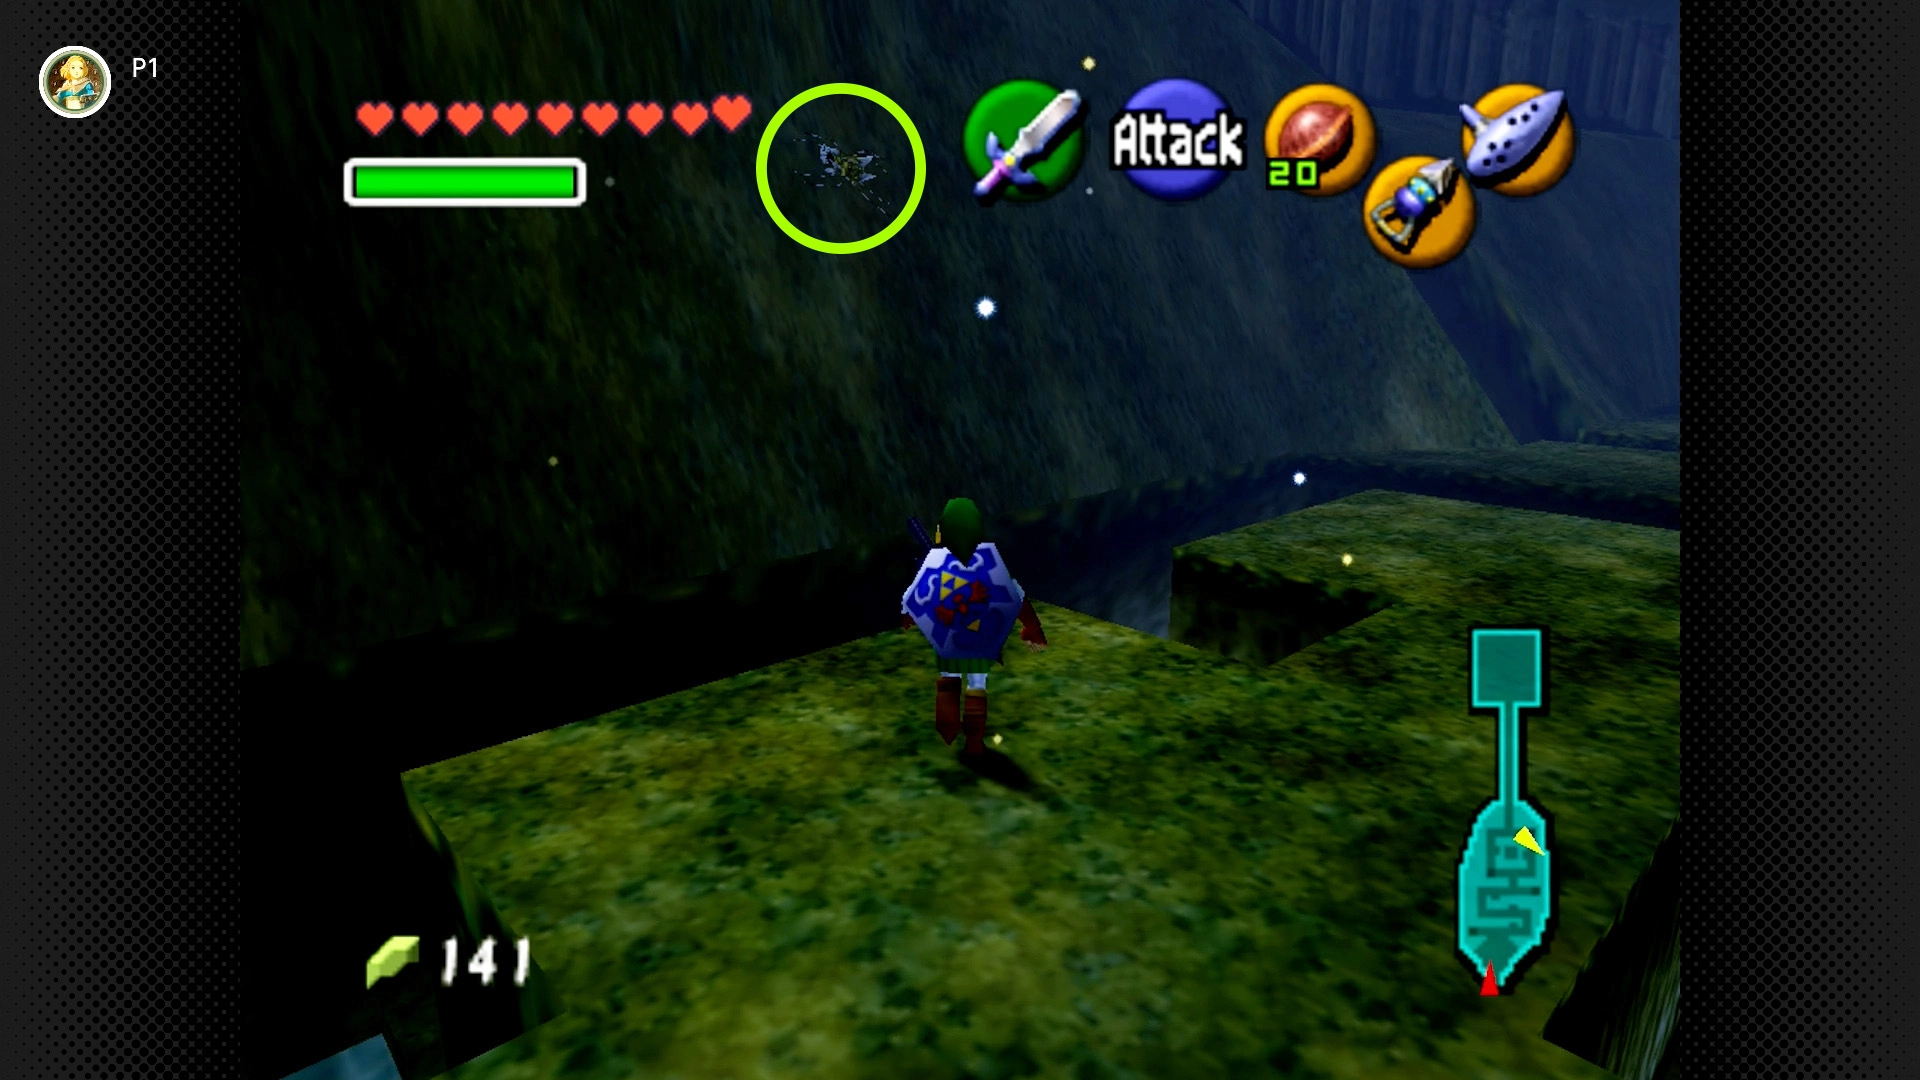
#69 – Meadow Wall Menace (Night Only)
Required: Adult Link, Hookshot, Night Only
Location: In the Sacred Forest Meadow area (where Saria teaches you her song). Look on the wall high above the maze entrance, to the east (right side) of the large stone steps.
Death Mountain Trail (4 Skulltulas) [#70-73]
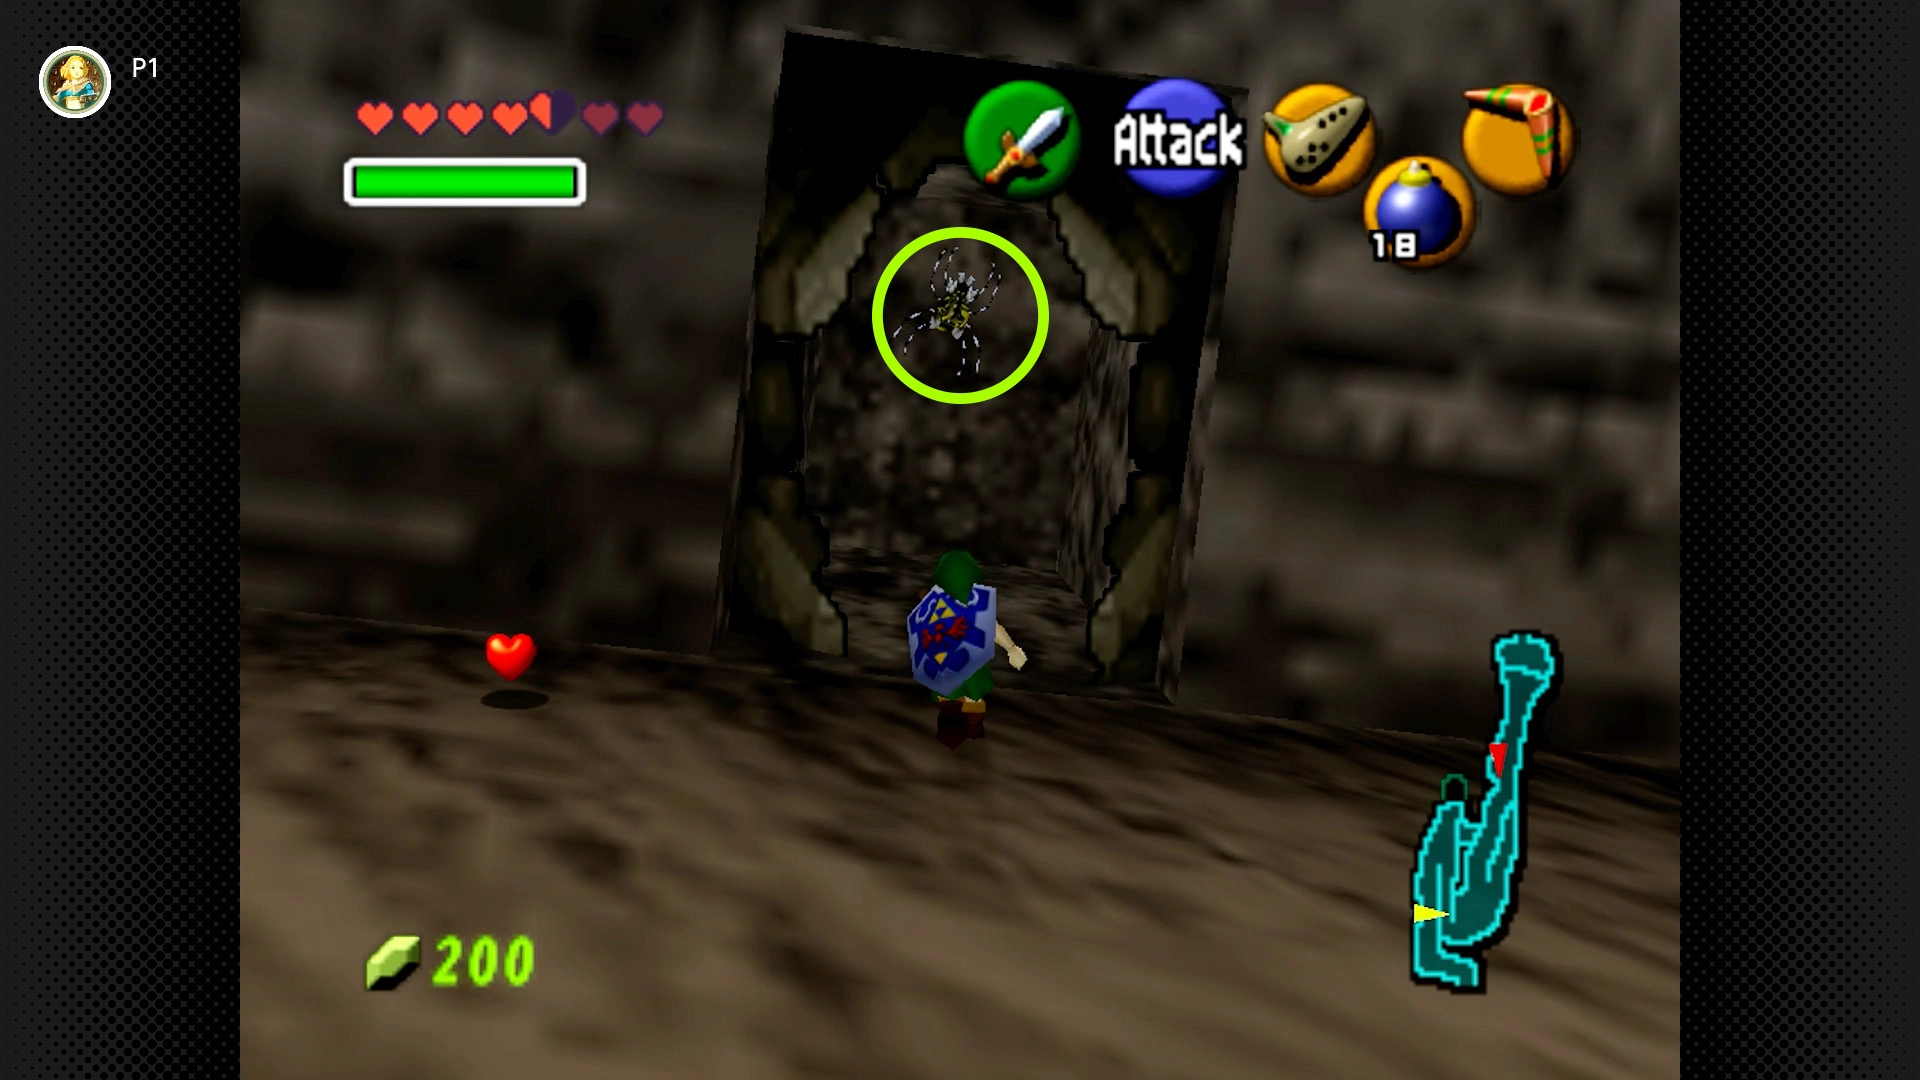
#70 – Trailside Tunnel Terror
Required: Young Link or Adult Link, Bombs
Location: Partway up the trail, shortly after the first few Tektites, there’s a bombable wall on the right side (listen for the sound near a rocky alcove). Bomb it to find the Skulltula inside a small cave.
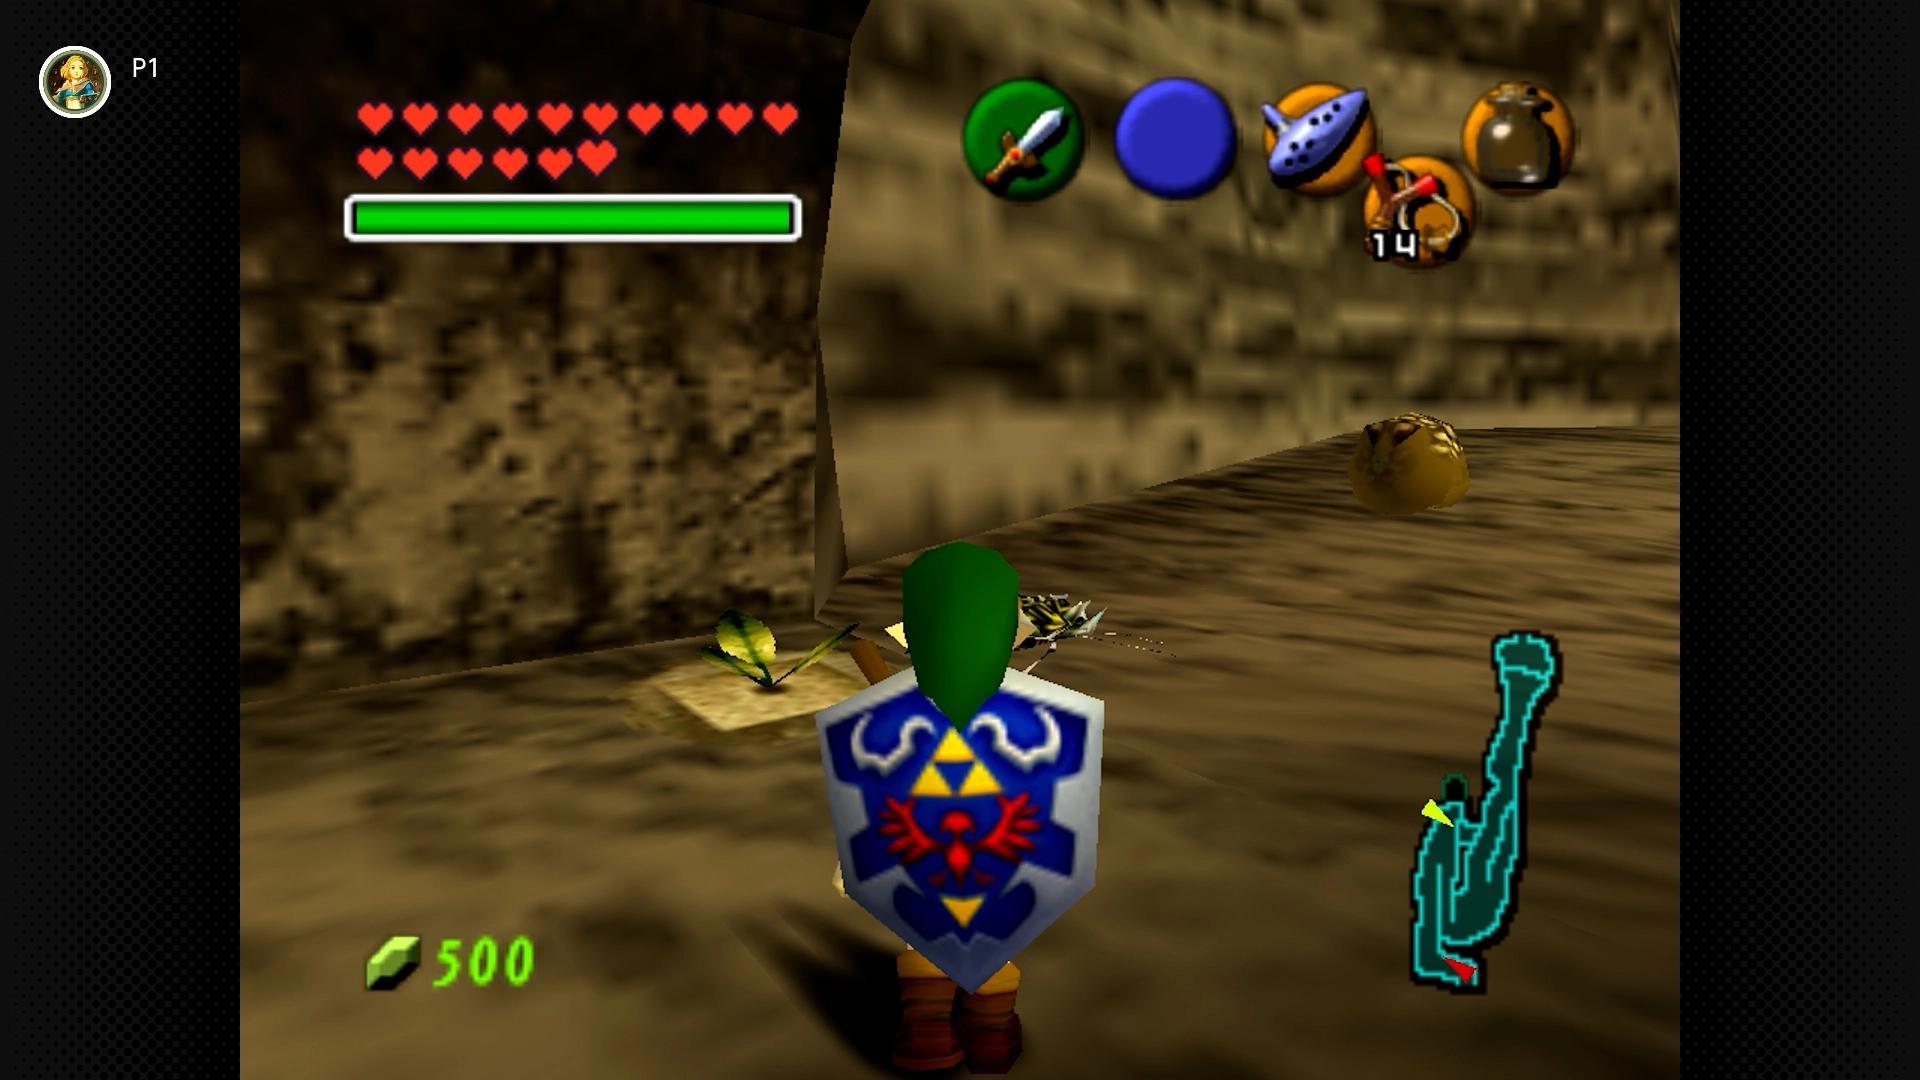
#71 – Cavern Entrance Crumb
Required: Young Link, Bottle with Bugs
Location: Find the patch of Soft Soil right next to the entrance to Dodongo’s Cavern. Release Bugs onto it.
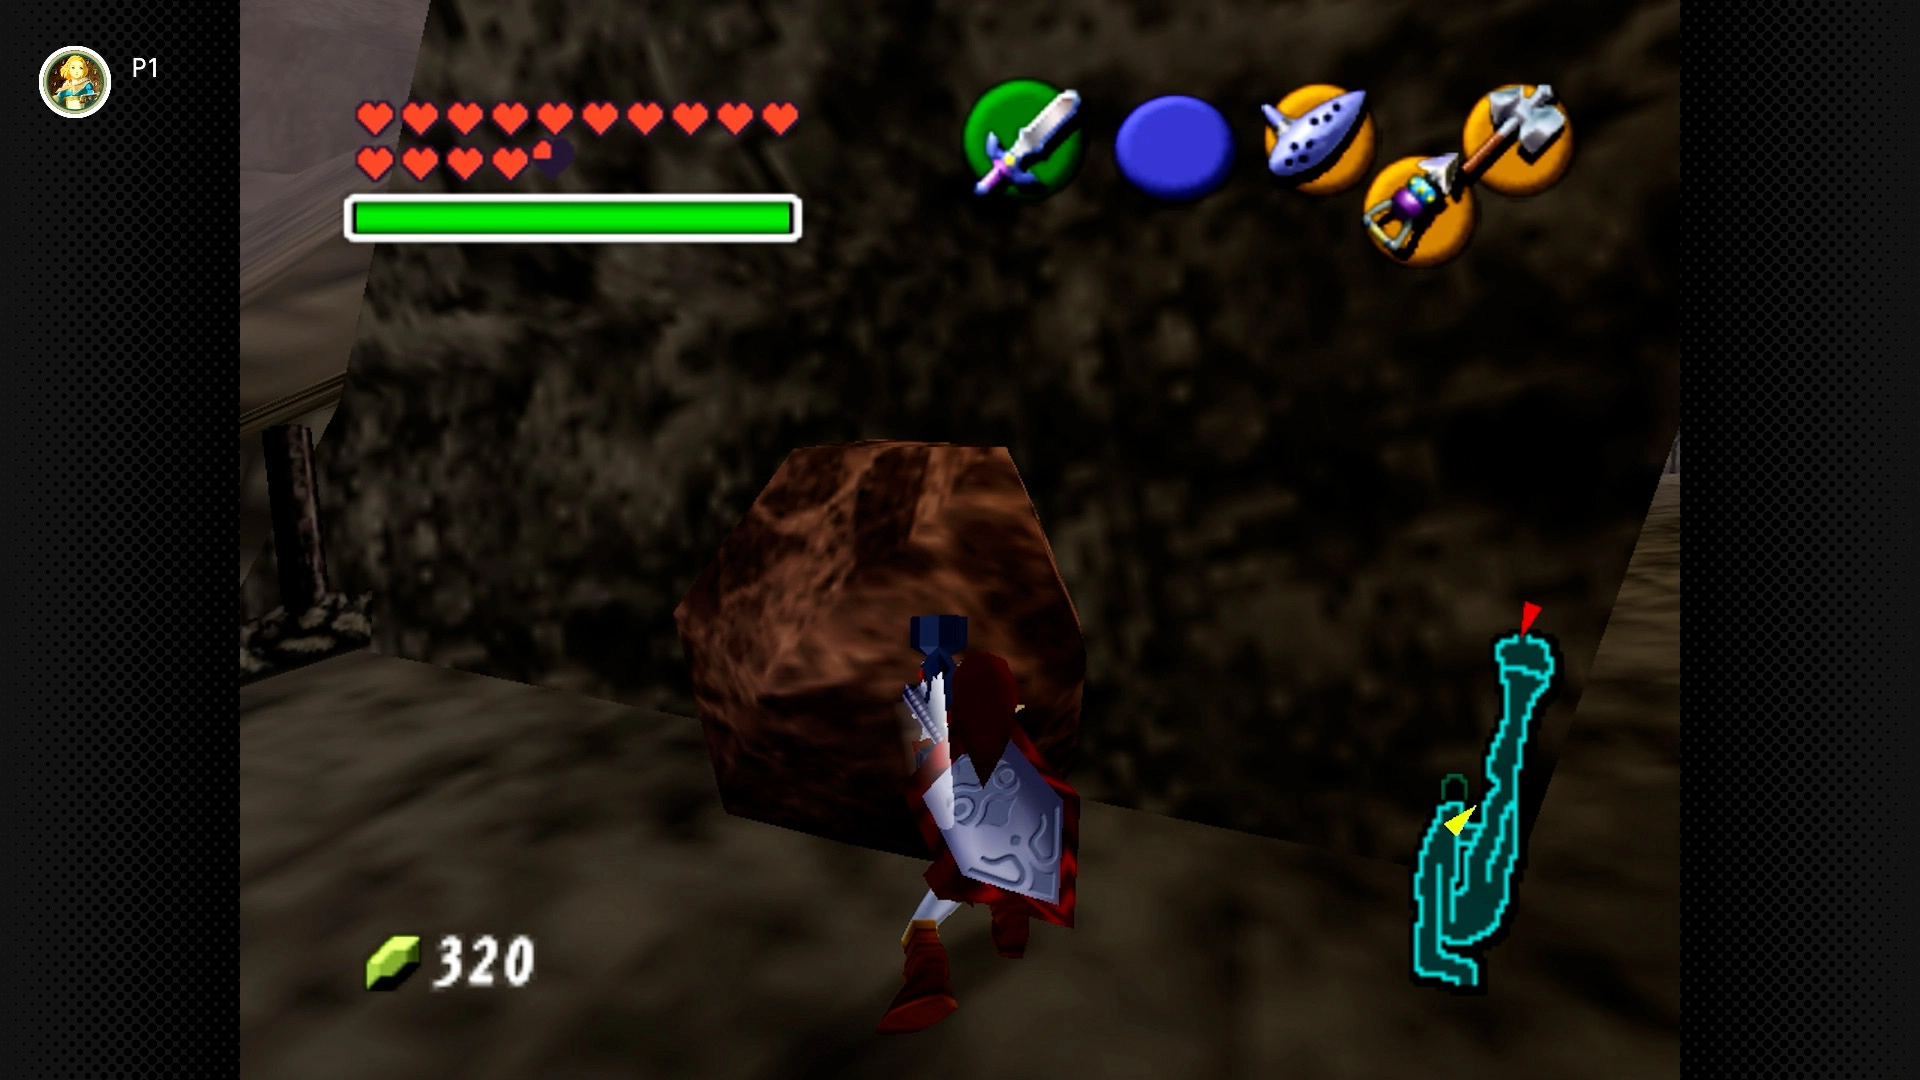
#72 – Red Rock Rumble
Required: Adult Link, Megaton Hammer
Location: In the alcove directly above the entrance to Dodongo’s Cavern (where a Bomb Flower grew for Young Link). Smash the reddish boulder there with the Megaton Hammer.
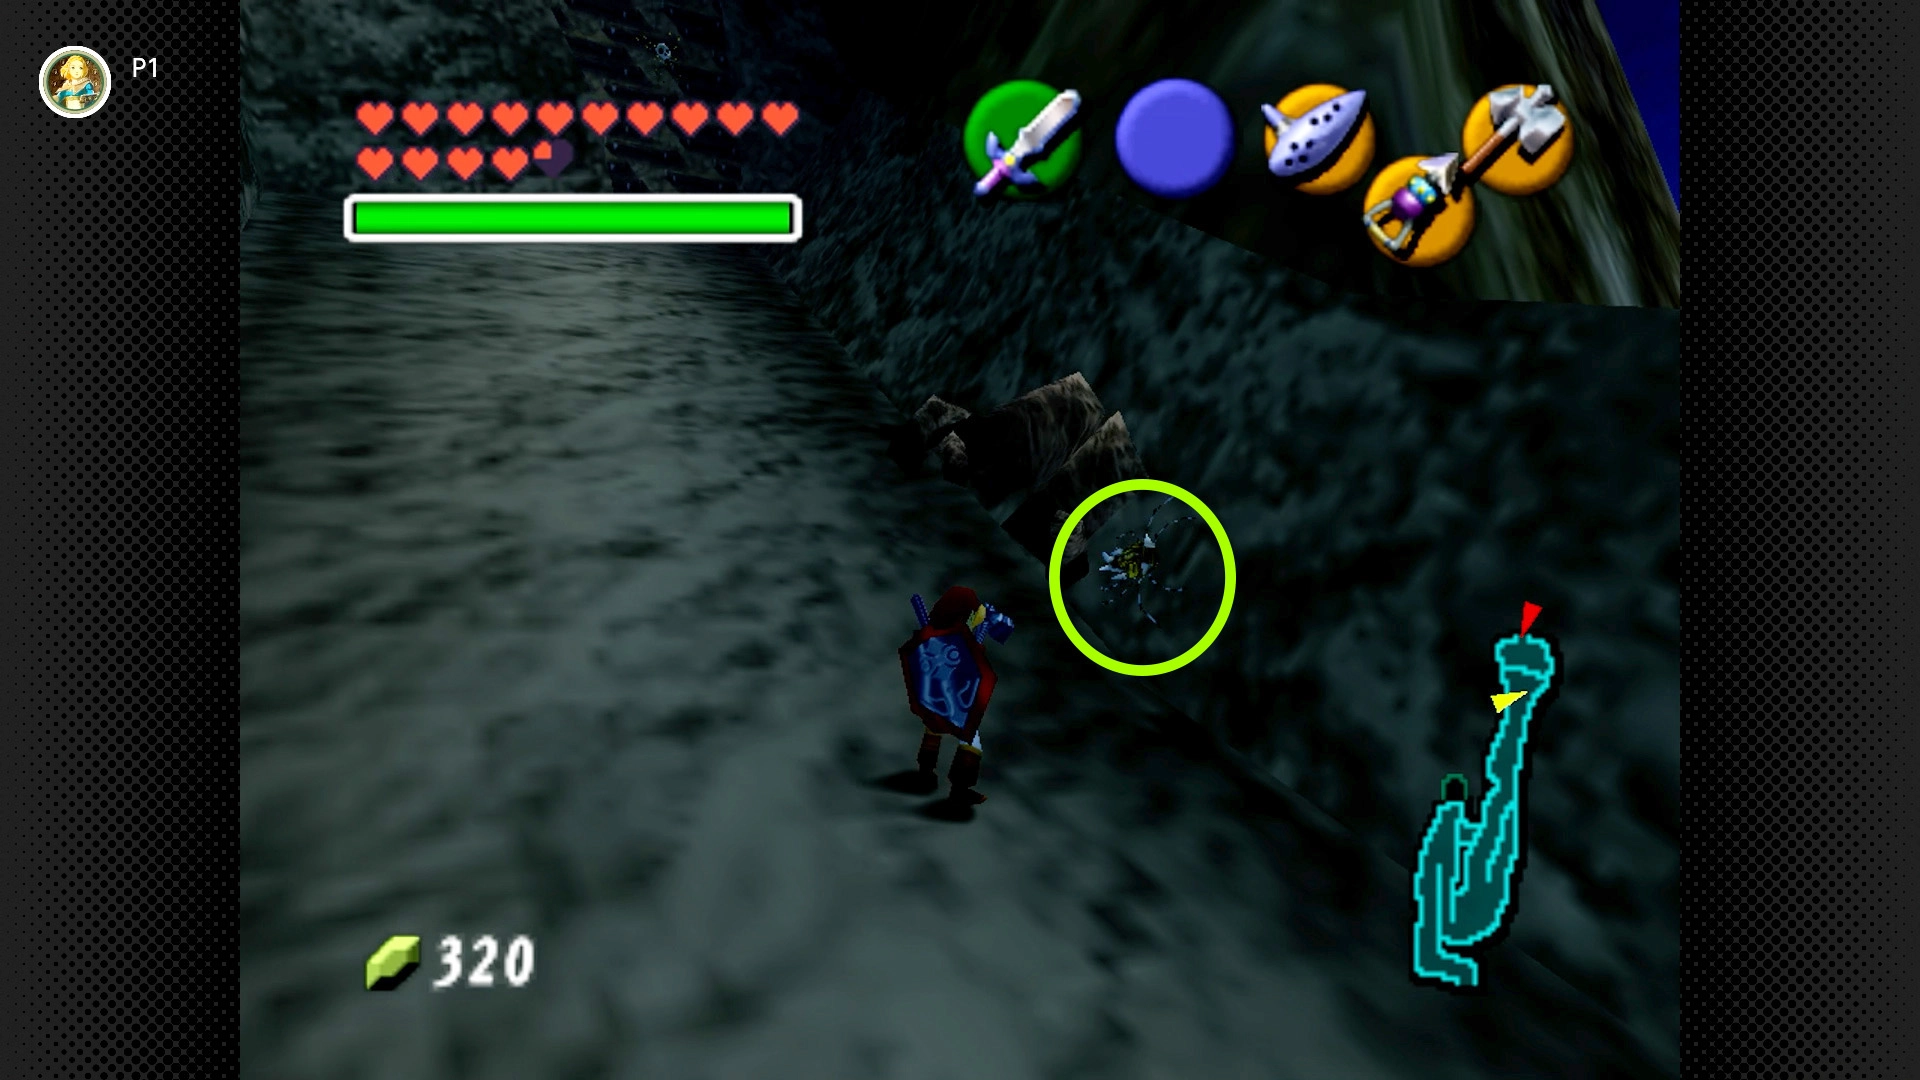
#73 – Falling Rock Remnant
Required: Adult Link, Megaton Hammer
Location: Ascend the trail to the area just before the entrance to Death Mountain Crater summit (where rocks used to fall constantly). Smash the reddish boulders in this area with the Megaton Hammer; one hides the Skulltula.
Death Mountain Crater (2 Skulltulas) [#74 & 75]
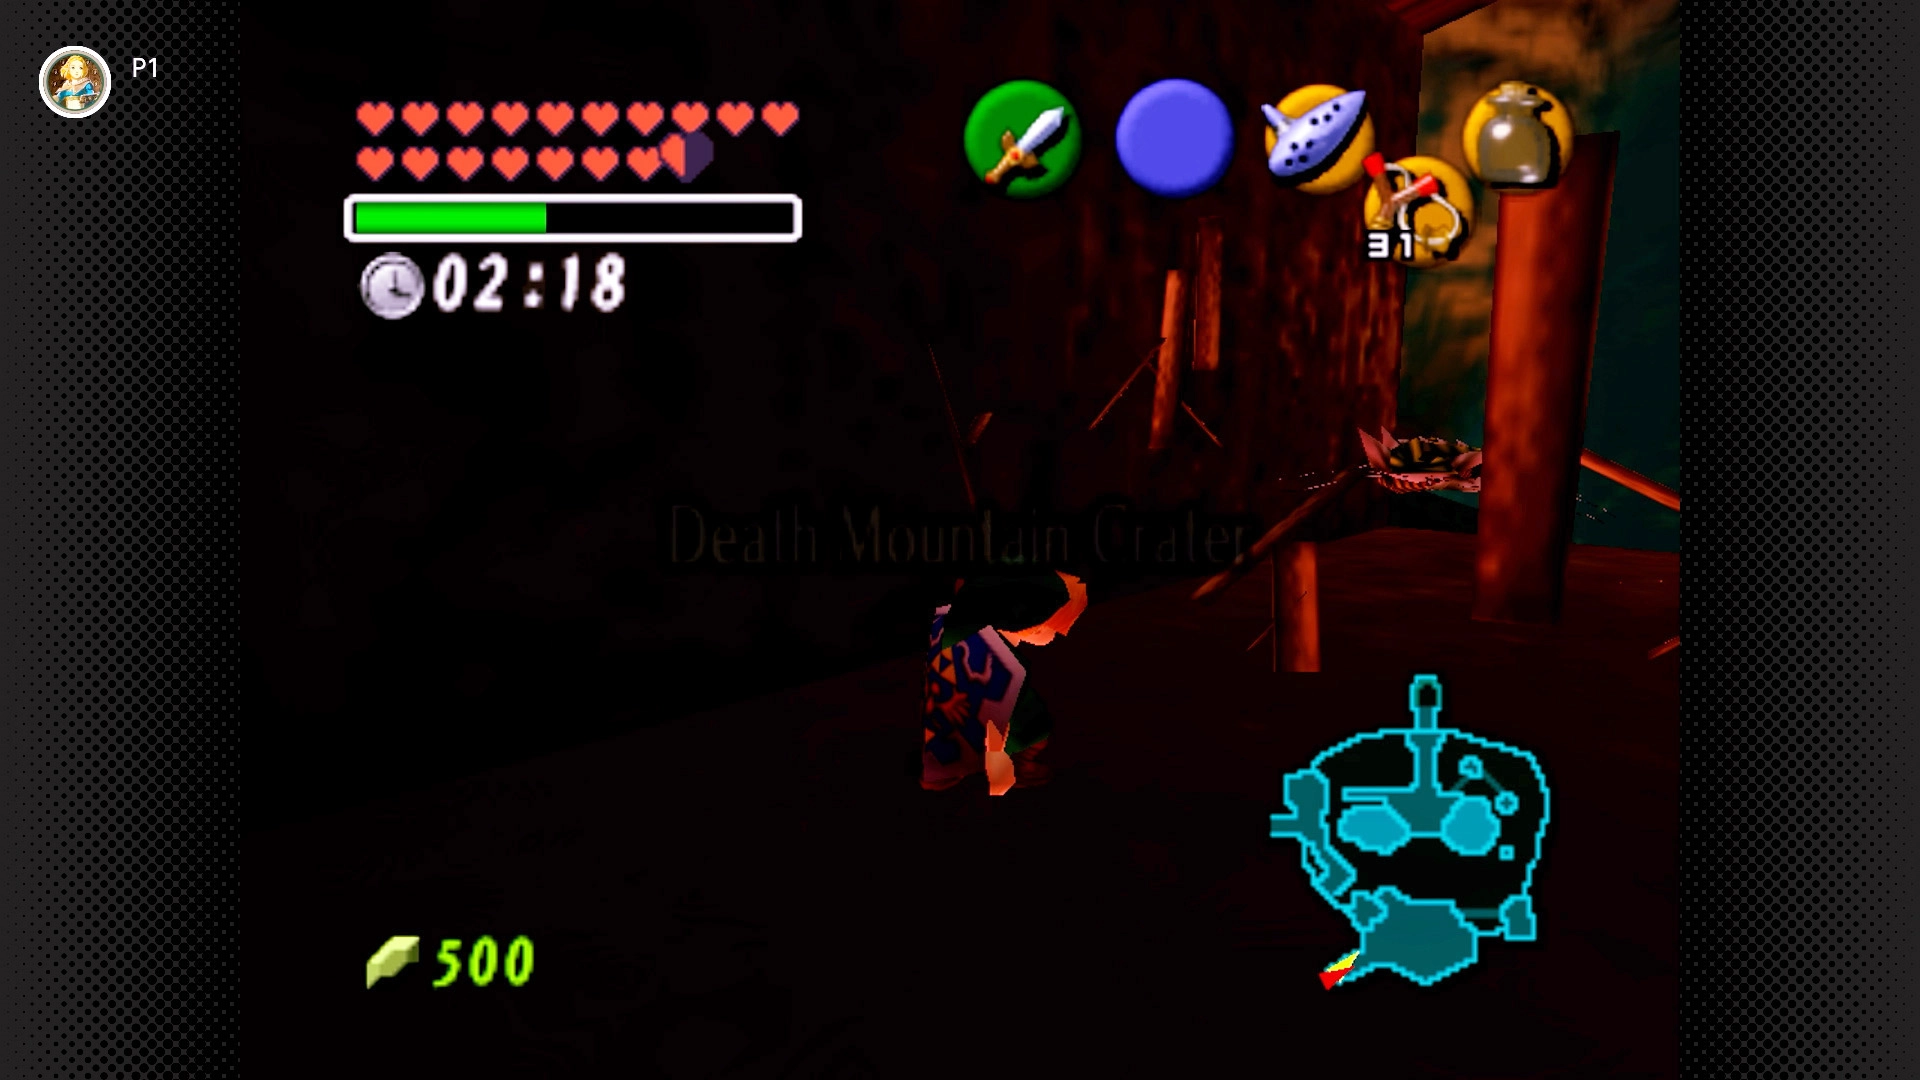
#74 – Crate Crasher
Required: Young Link
Location: Enter the crater from the Death Mountain Trail summit entrance. Immediately break the wooden crate near the entrance by roll attacking it.
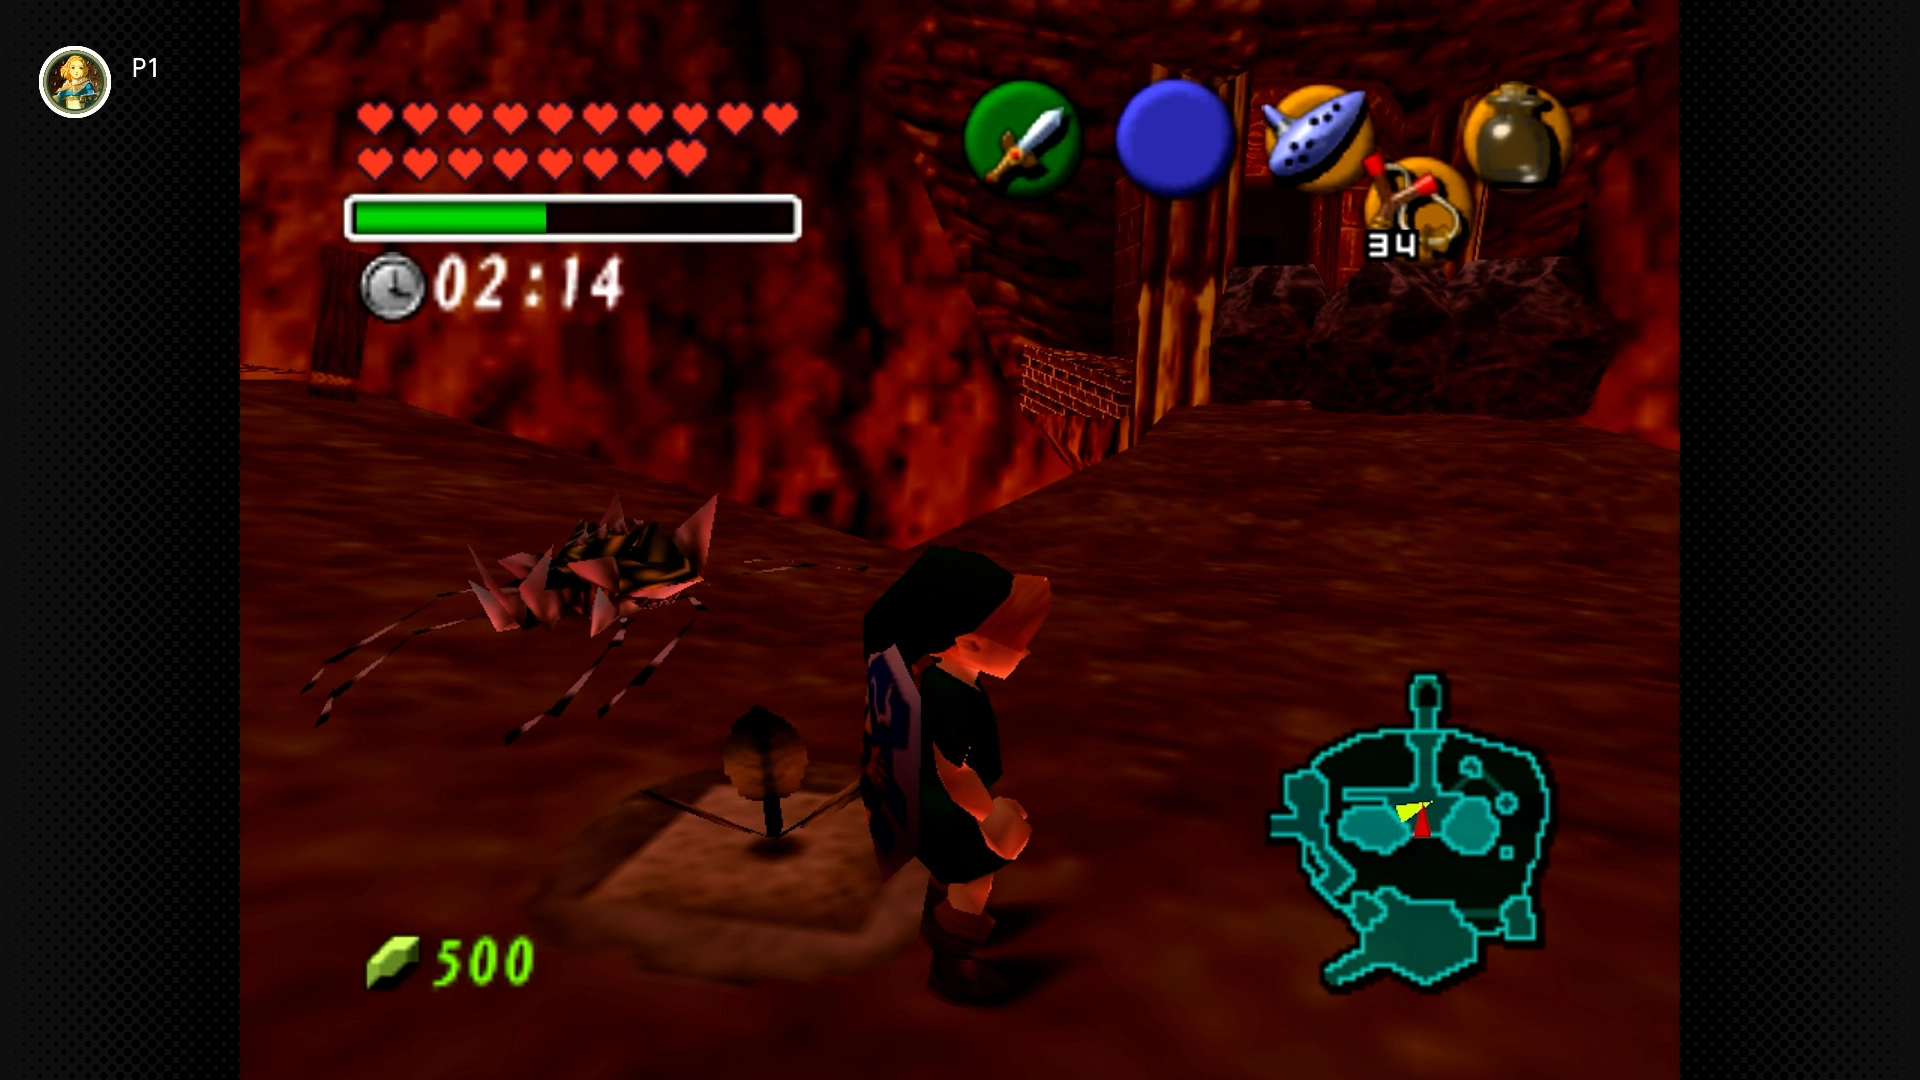
#75 – Warp Point Worm
Required: Young Link, Bolero of Fire, Bottle with Bugs
Location: Warp to the crater using the Bolero of Fire. Find the patch of Soft Soil near the warp point. Release Bugs onto it.
Goron City (2 Skulltulas) [#76 & 77]
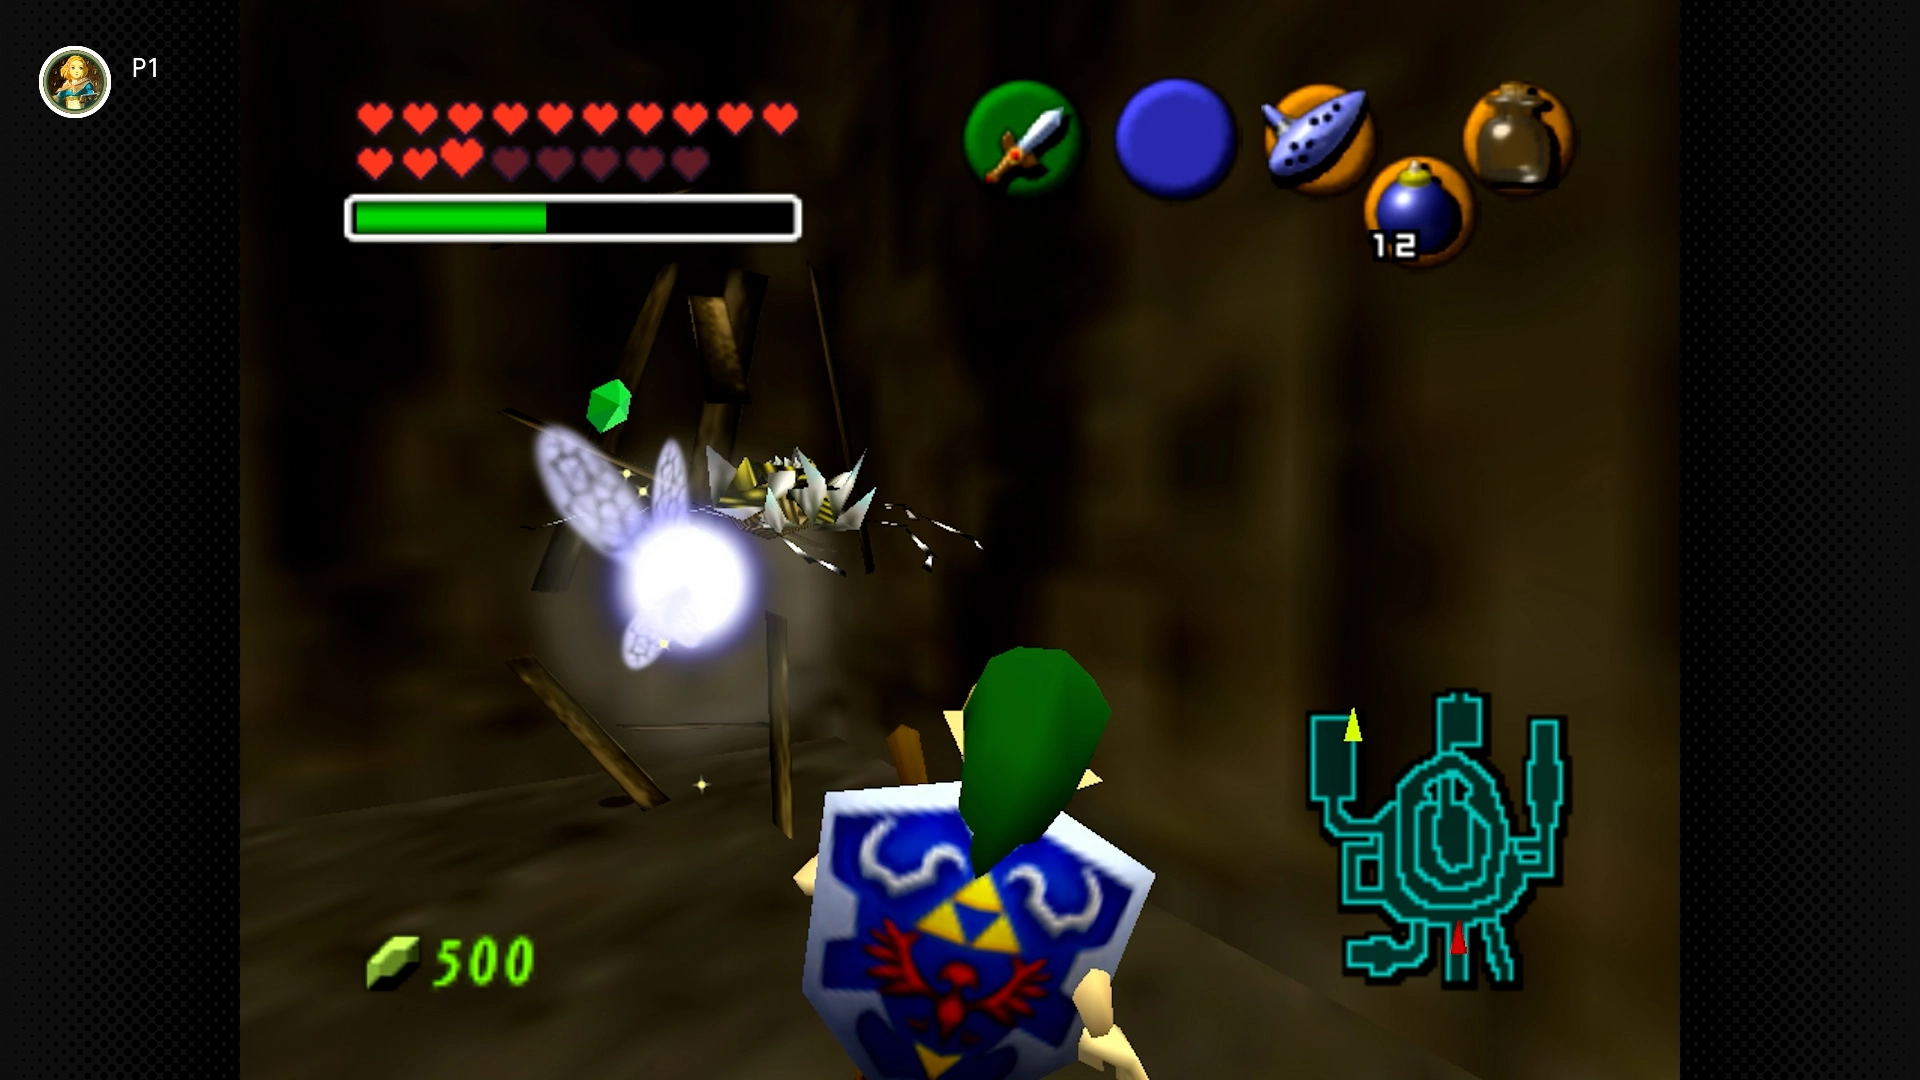
#76 – Boulder Room Box Buster
Required: Young Link, Bombs (or Bomb Flowers)
Location: Go to the top floor. Enter the room filled with boulders (behind the spinning Goron Pot). Use Bombs or nearby Bomb Flowers to clear the boulders. Roll attack the crates in the back room to find the Skulltula.
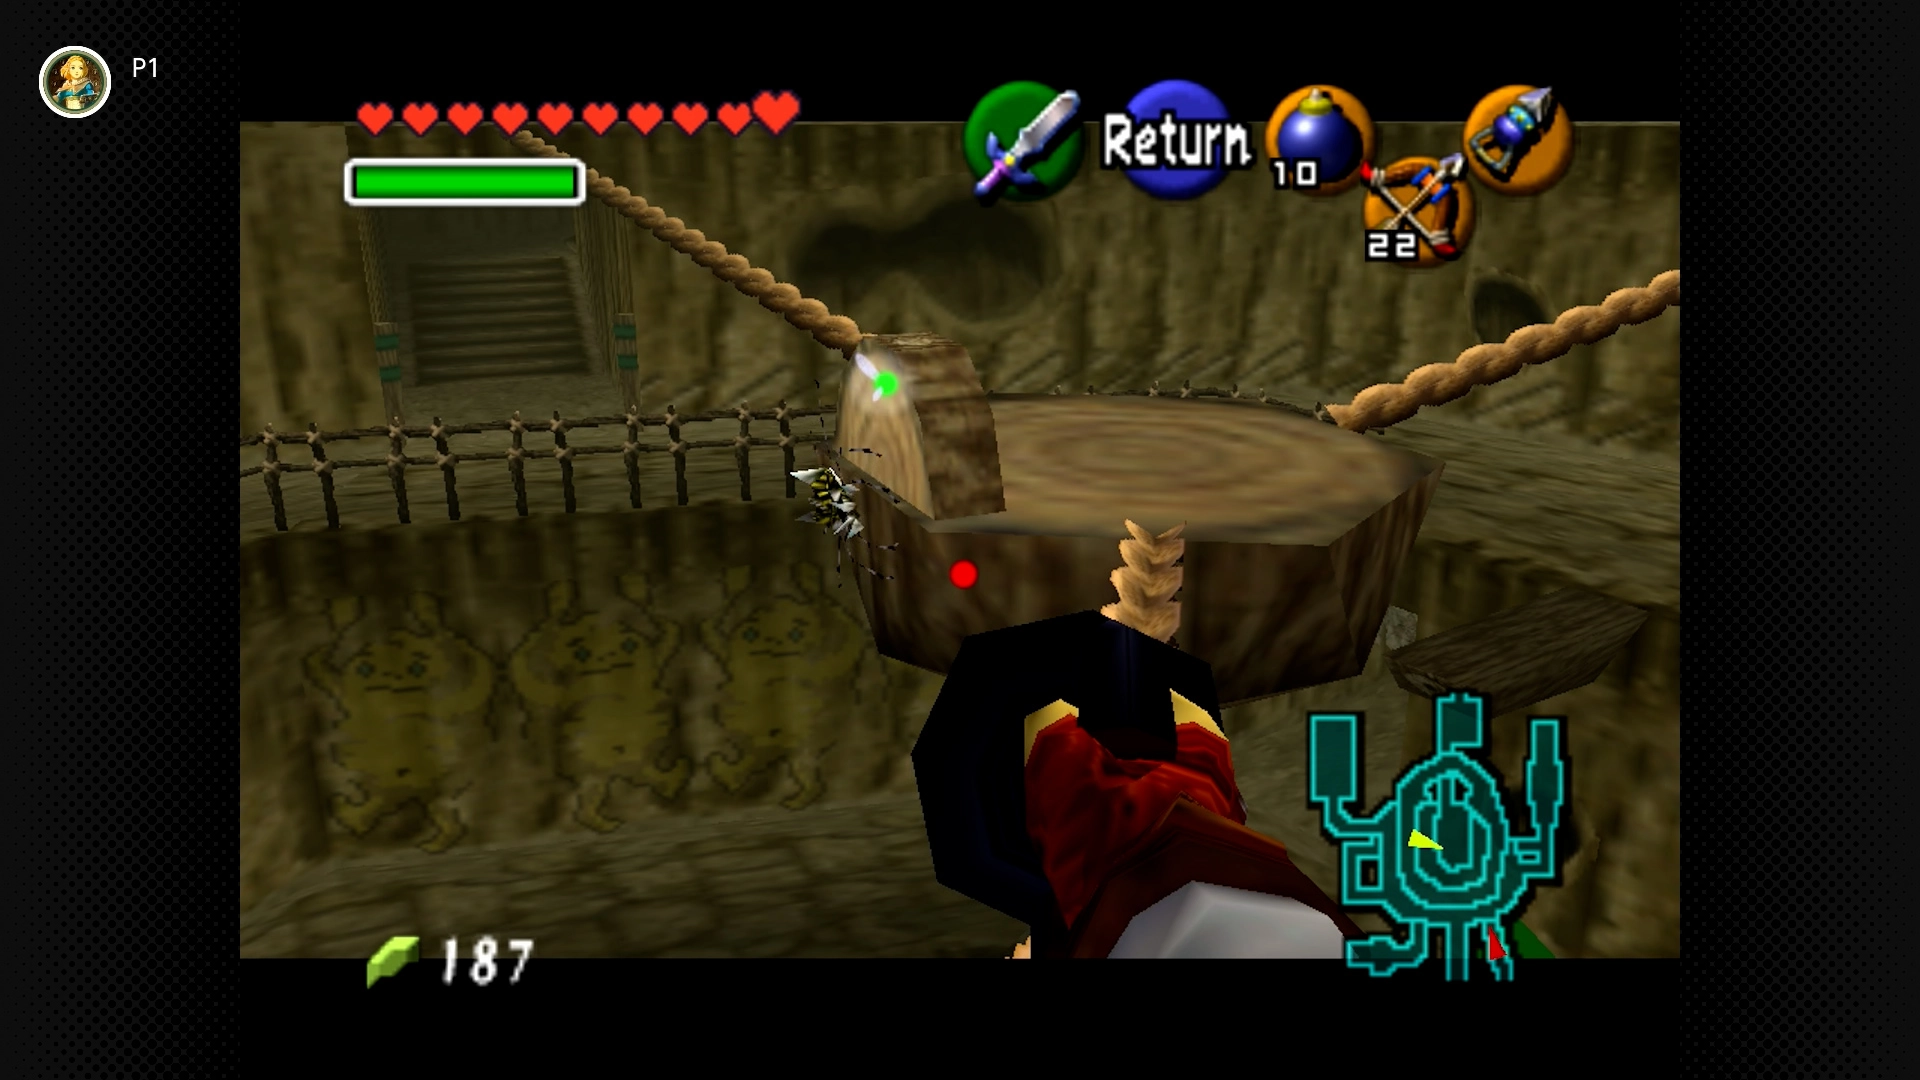
#77 – Suspended Stone Spider
Required: Adult Link, Hookshot
Location: From the top floor, go outside towards the Death Mountain Crater entrance. Look back towards the city; you’ll see small stone platforms suspended by ropes. The Skulltula is on the back side of the central suspended platform structure.
Zora’s River (4 Skulltulas) [#78-81]
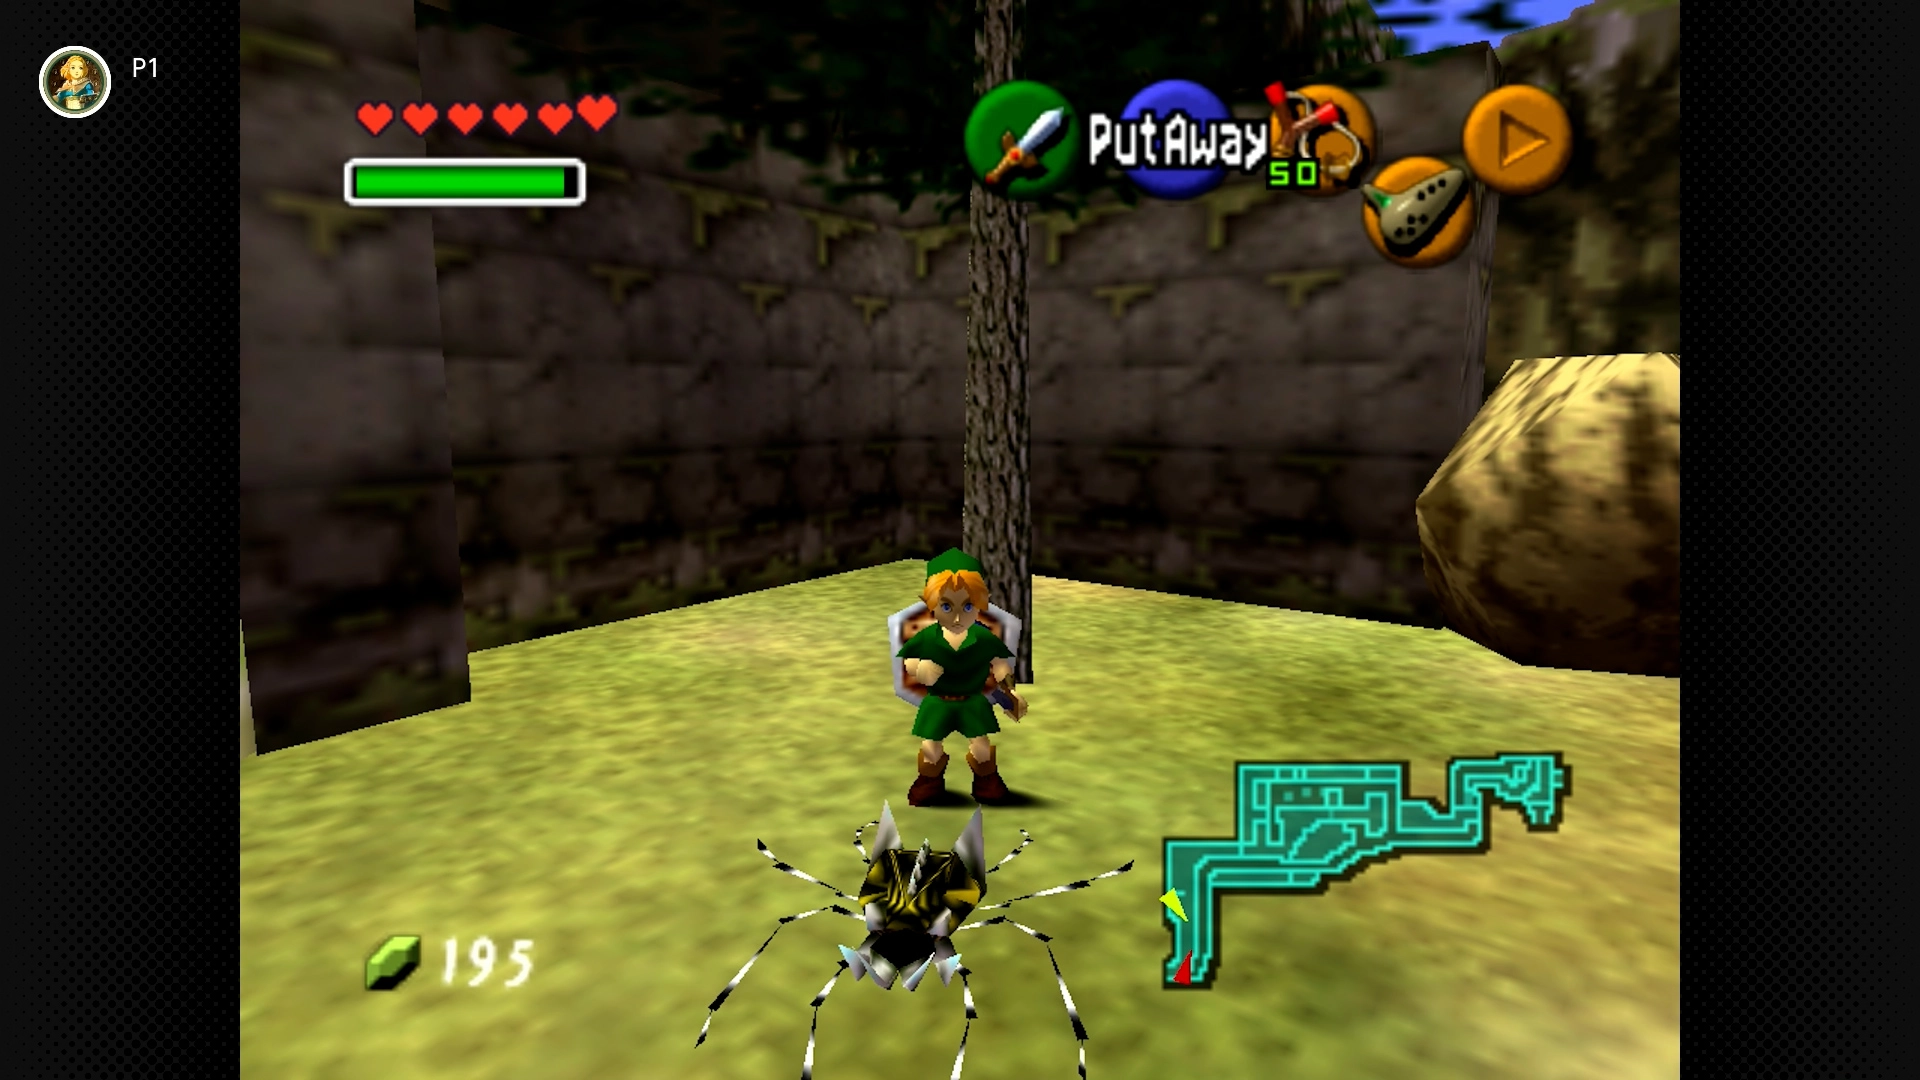
#78 – First Tree Fiend (Night Only)
Required: Young Link, Night Only
Location: Near the beginning of the river path (just past the rocks you bomb/lift). Roll attack the first large tree you see.
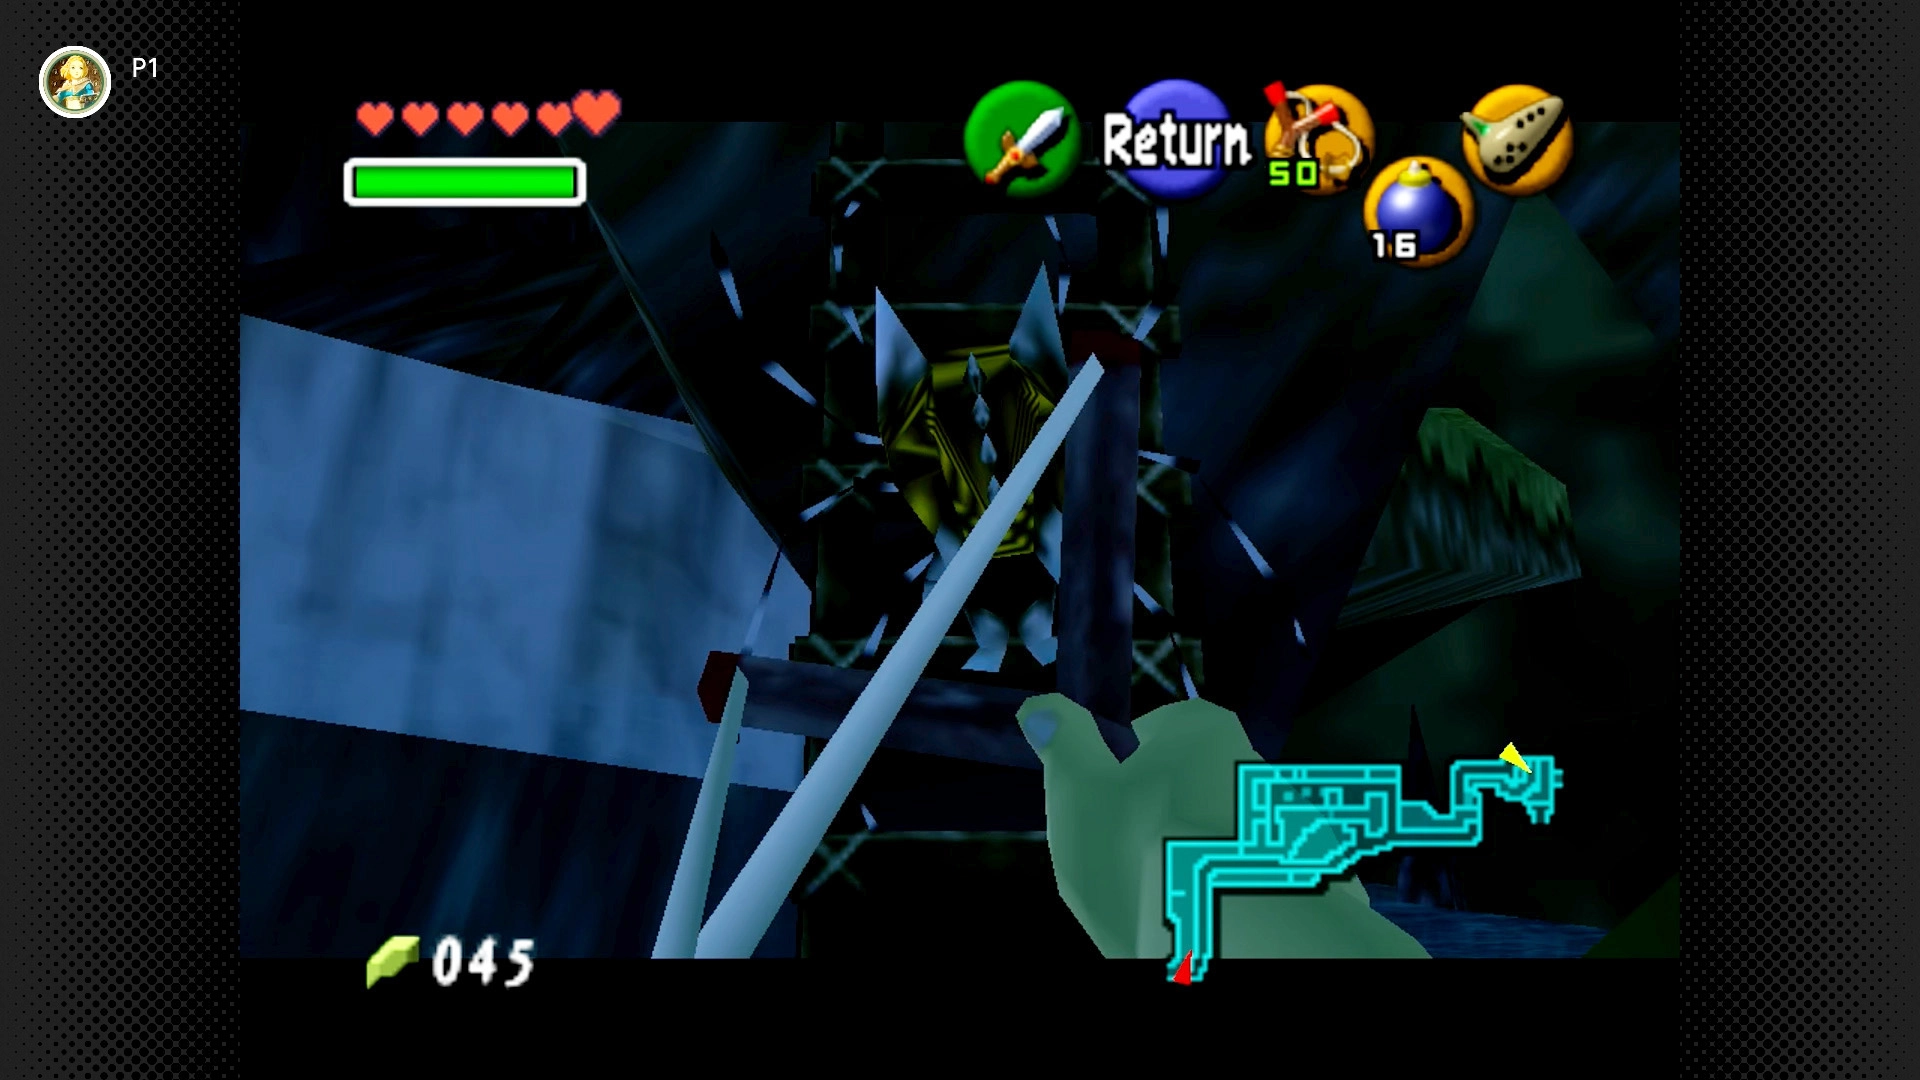
#79 – Waterfall Ladder Lurker (Night Only)
Required: Young Link, Night Only
Location: Near the waterfall entrance to Zora’s Domain. Look on the ladder partway up the cliff face leading to the waterfall.
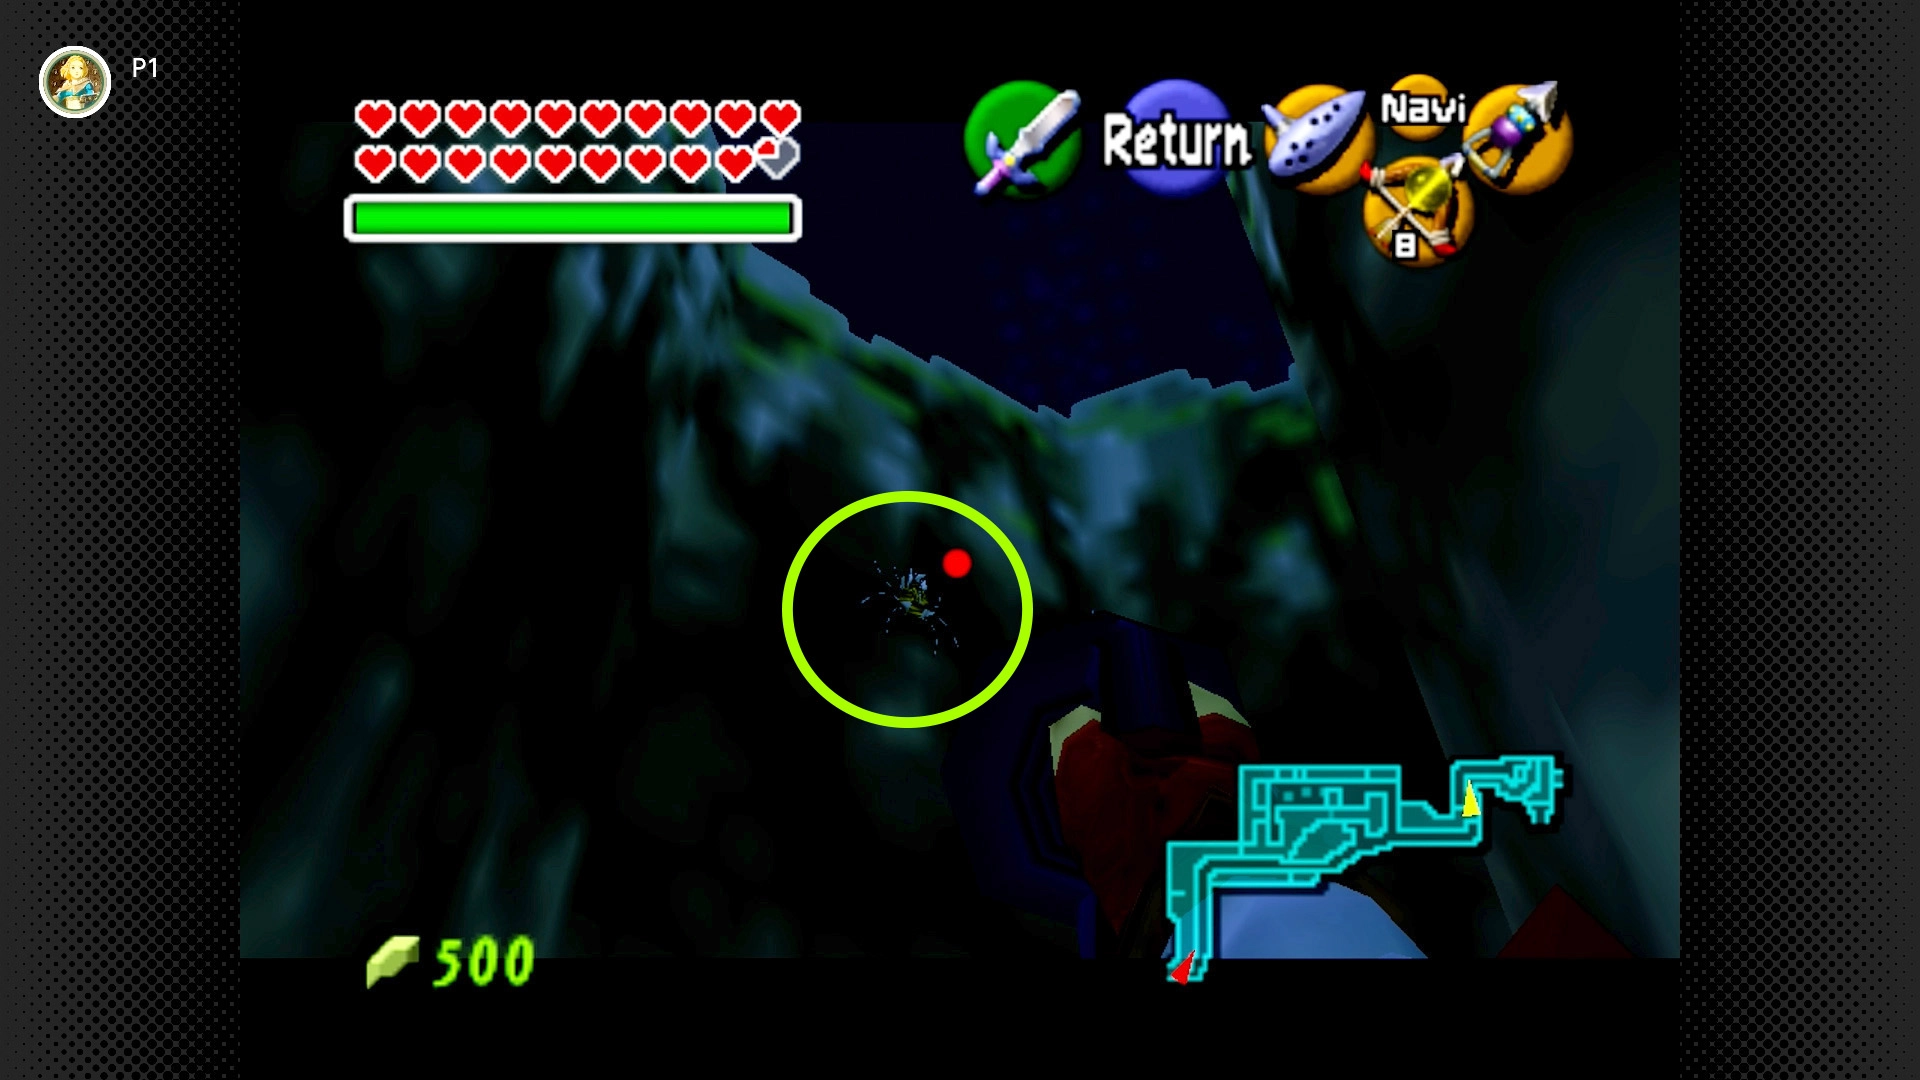
#80 – High Canyon Creeper (Night Only)
Required: Adult Link, Longshot, Night Only
Location: Near the middle section of the river, just before the large waterfall leading to Zora’s Domain, there’s a wooden bridge crossing a narrow canyon. Look very high up on the left (south) wall.
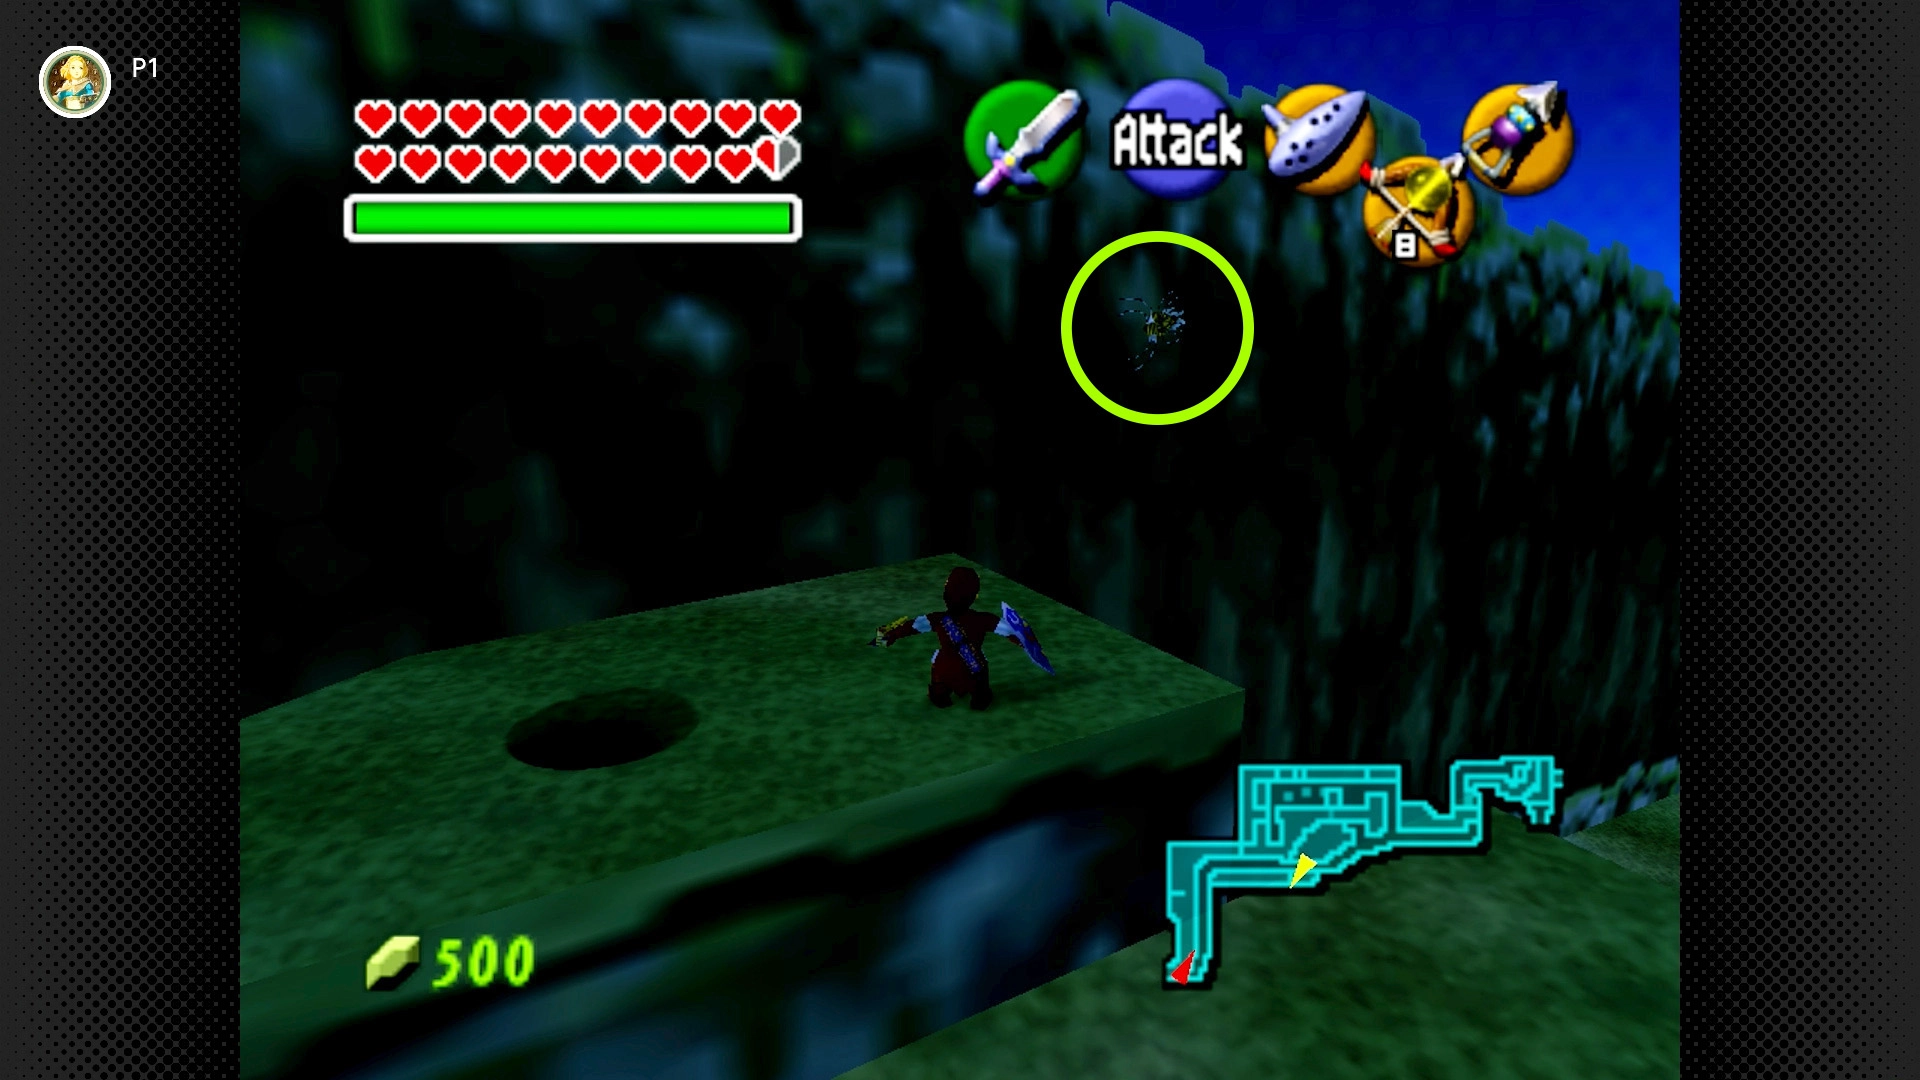
#81 – Magic Bean Lookout (Night Only)
Required: Magic Bean, Longshot, Night Only
Location: Plant a Magic Bean in the Soft Soil near the start of the river as Young Link. Return as Adult Link and ride the Magic Bean Plant platform. Partway through its trip, it passes near a high ledge with a circle of rocks. Jump off onto this ledge. Look high up on the southern wall to spot the Skulltula.
Zora’s Domain (1 Skulltula) [#82]
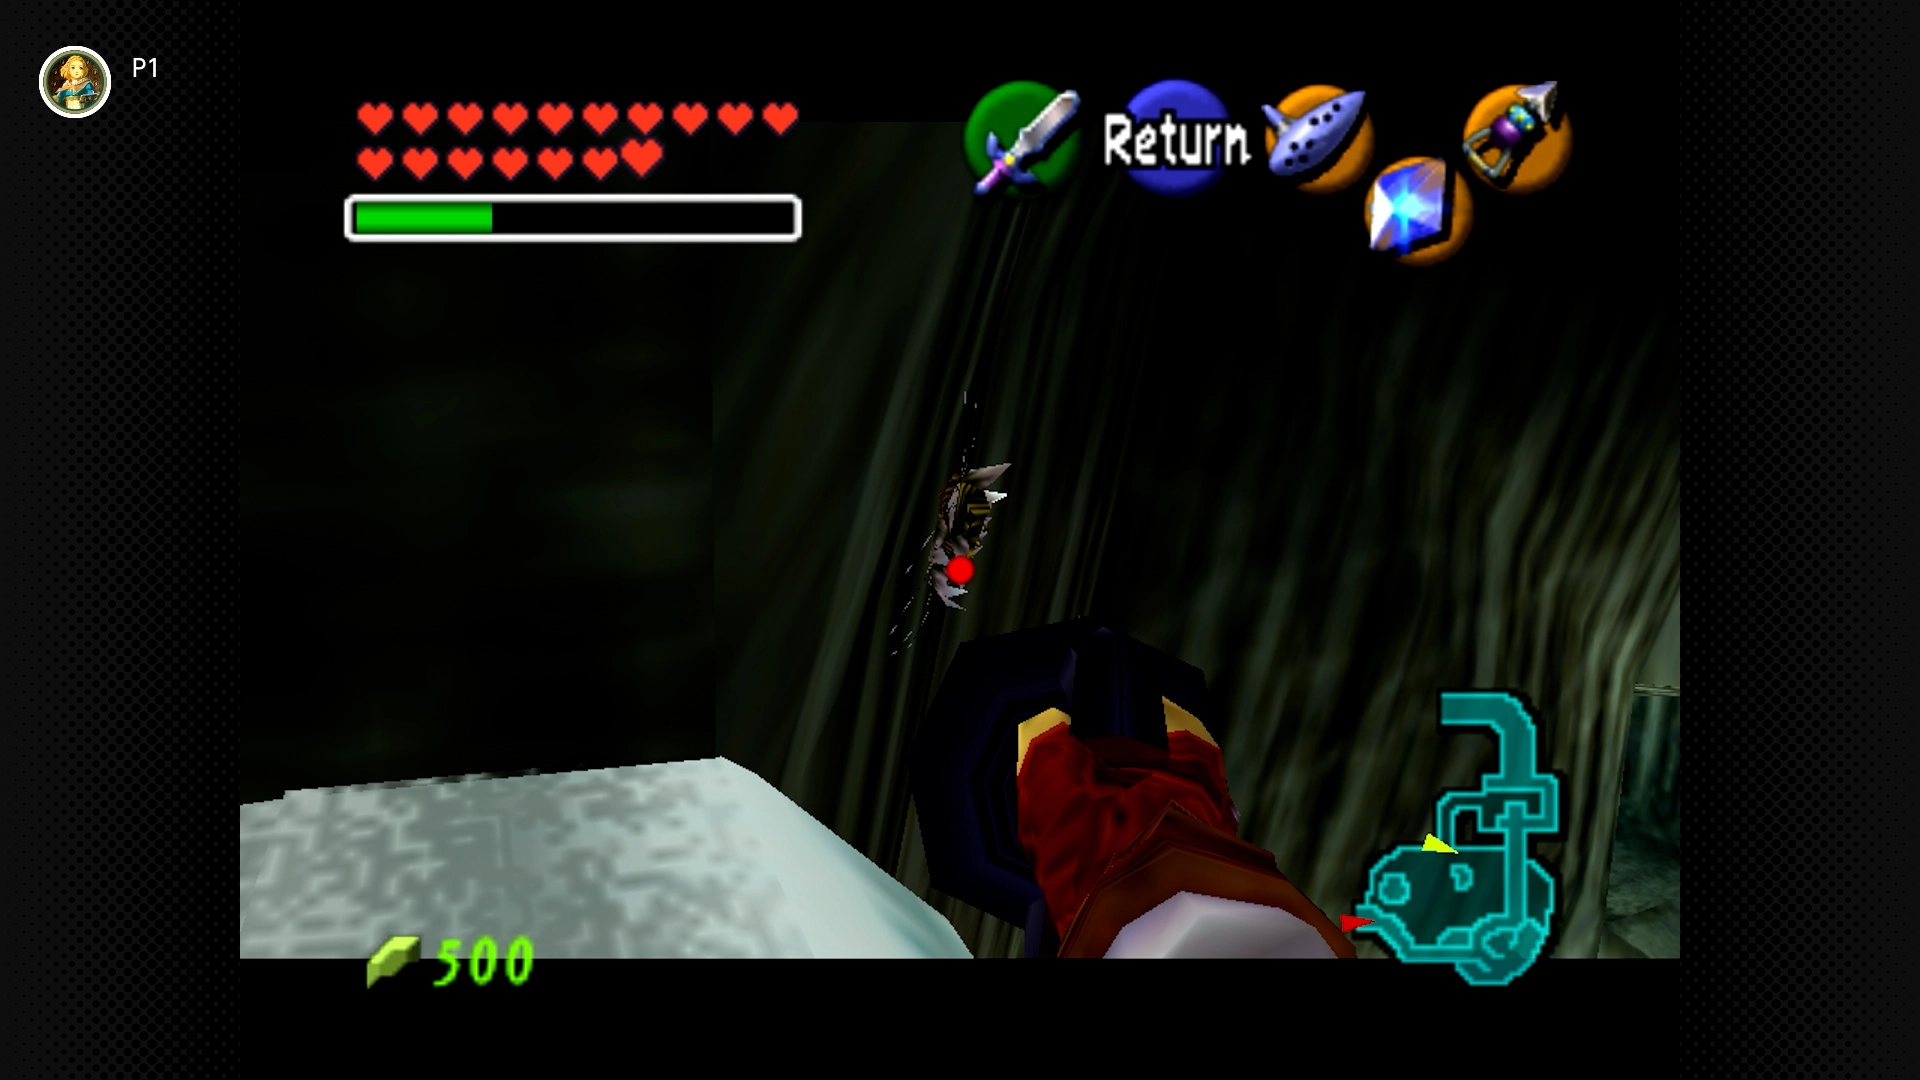
Zora’s Fountain (3 Skulltulas) [#83-85]
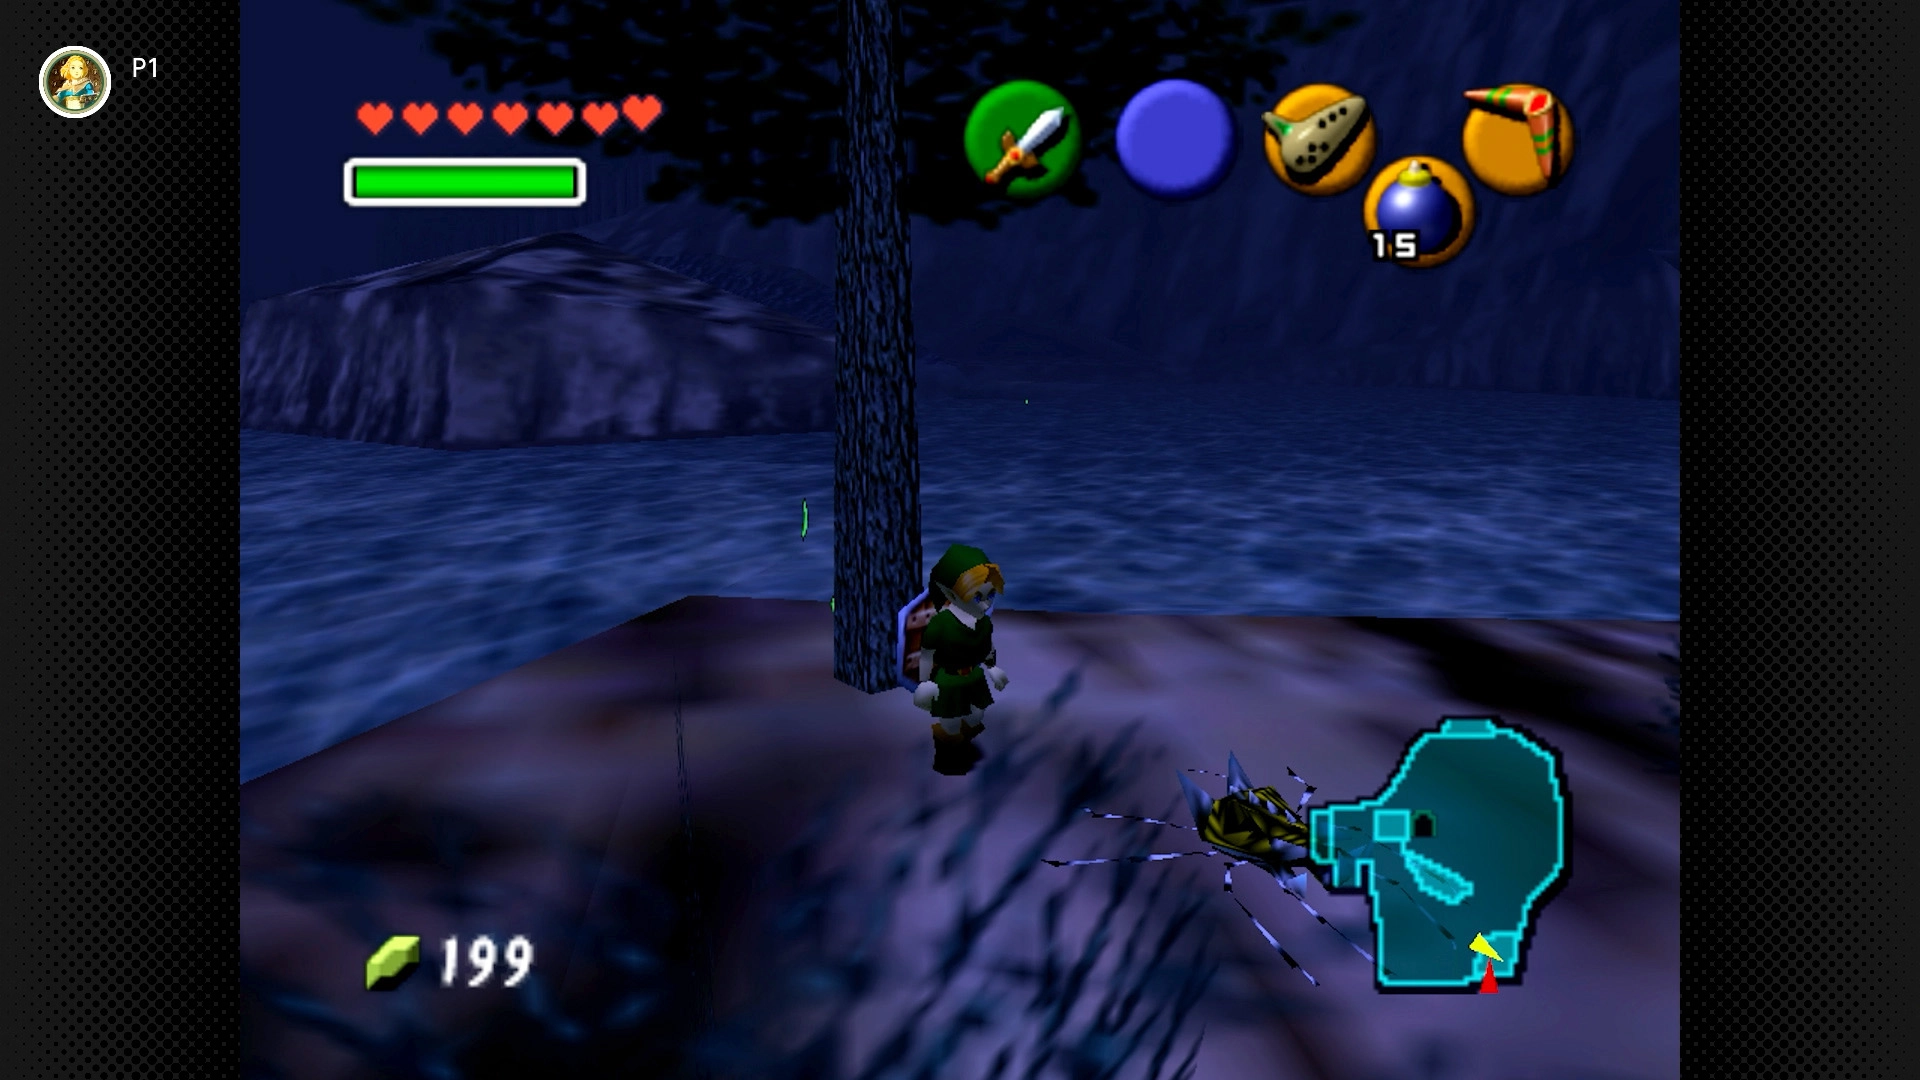
#83 – Island Tree Tickler
Required: Young Link
Location: Find the solitary tree on the small patch of land in the southeast corner of the fountain area. Roll attack the tree at night.
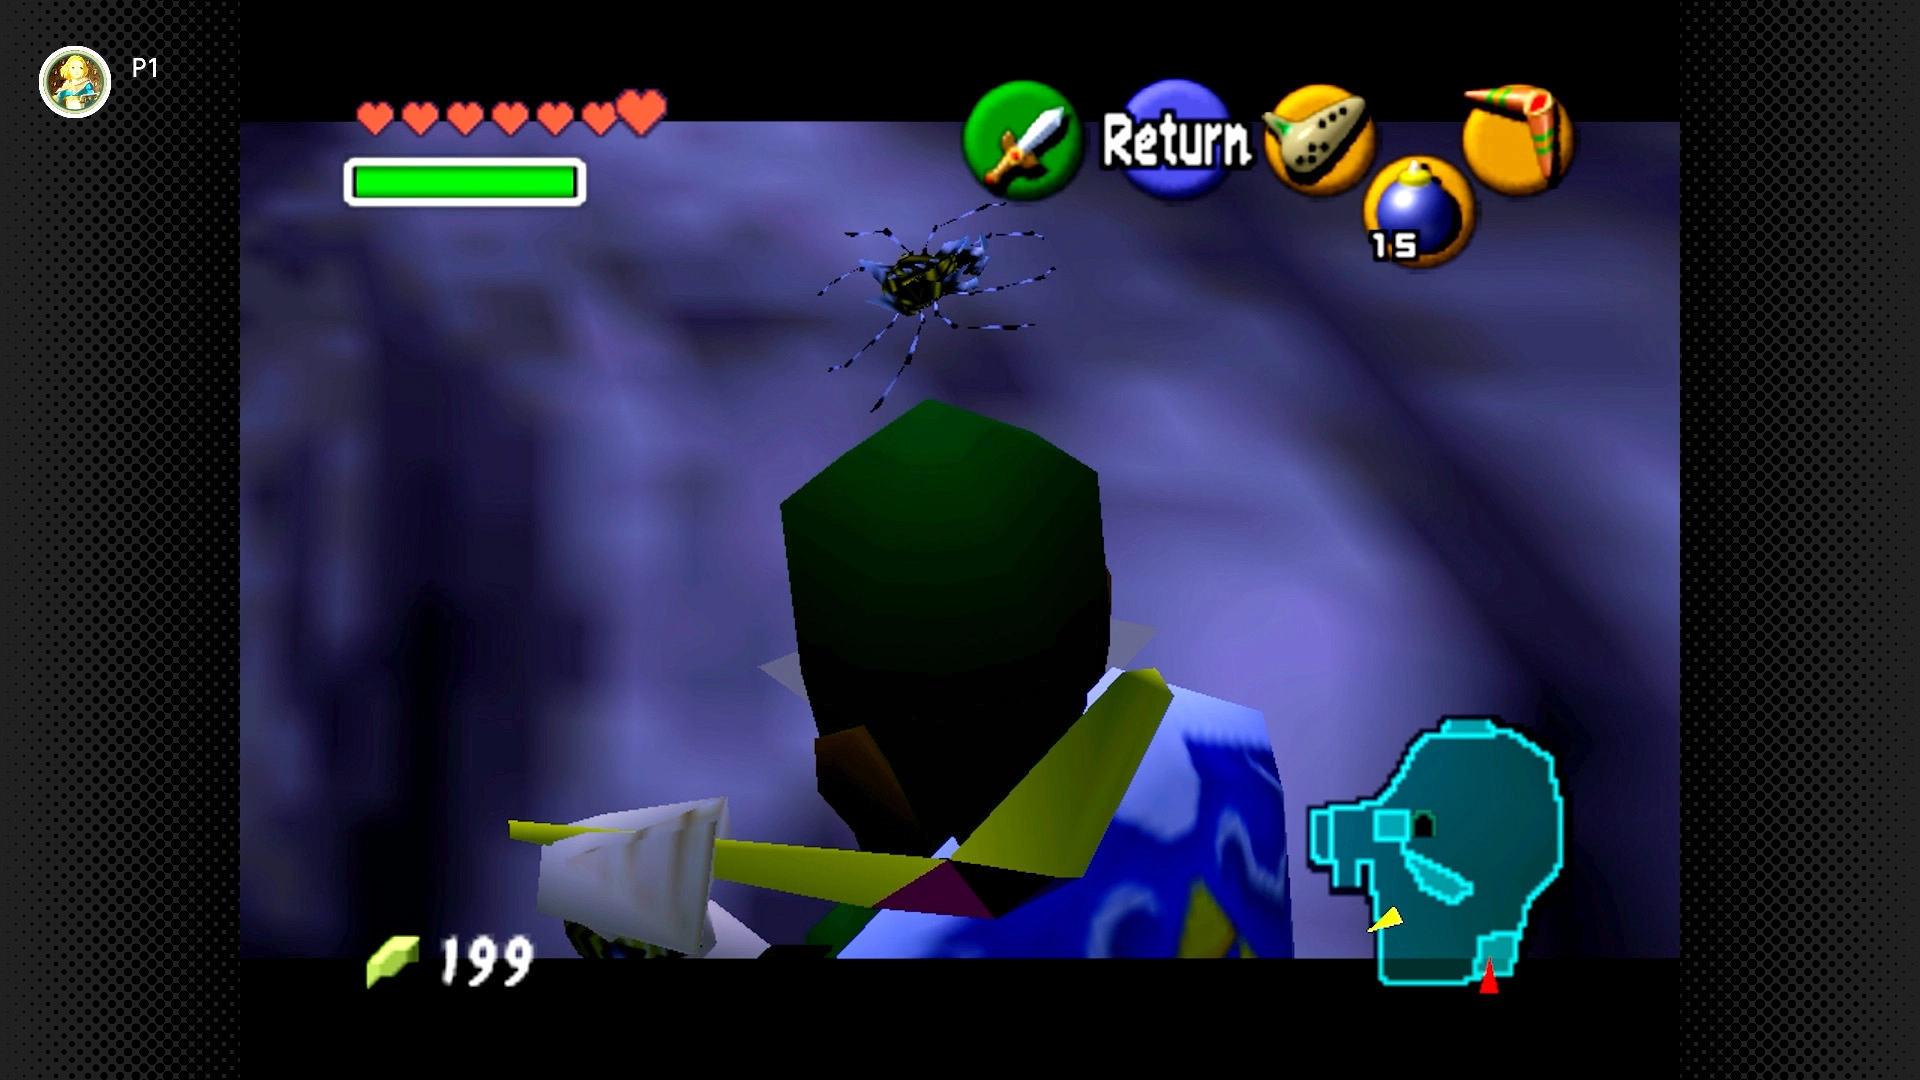
#84 – Log Lookout Leech
Required: Young Link, Fairy Slingshot and Boomerang
Location: Find the large log sticking out of the water near the back (north) wall. The Skulltula is on the wall just to the right (east) of this log.
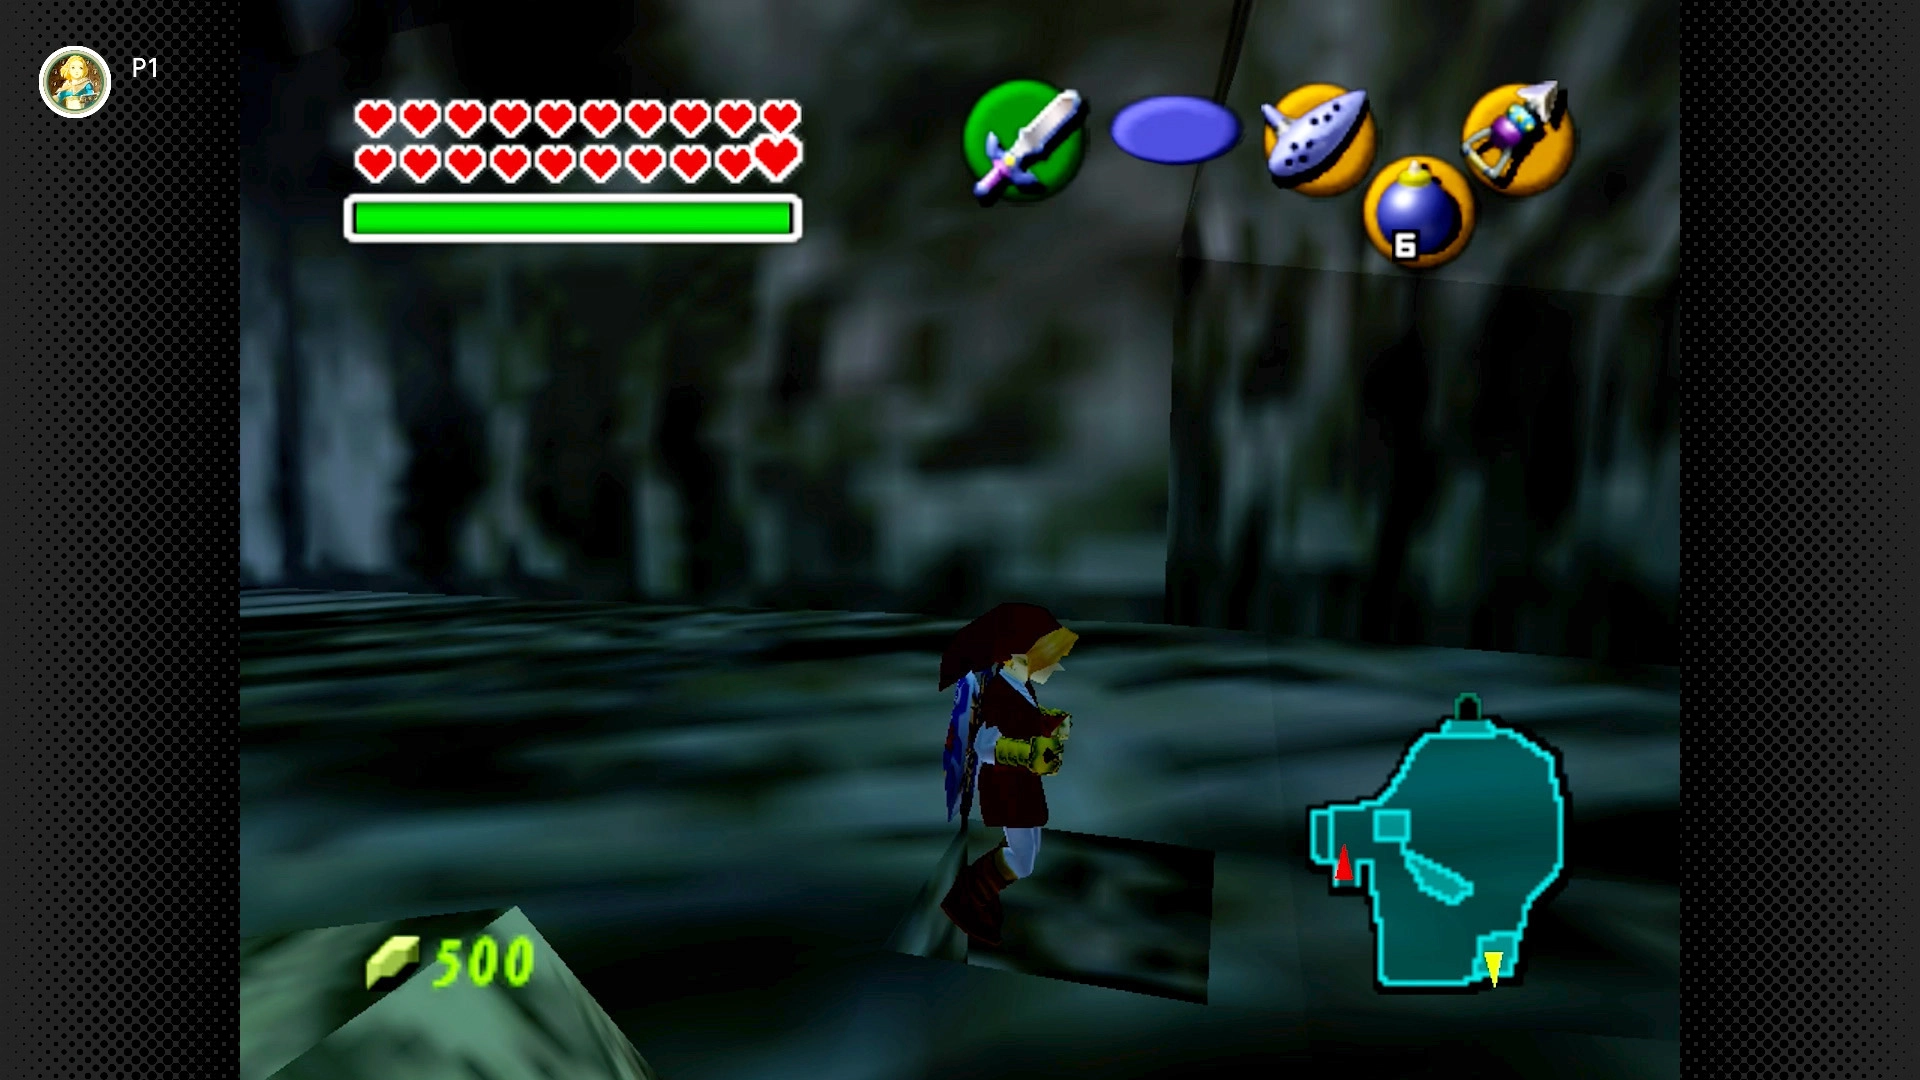
#85 – Grotto Gauntlet Gold
Required: Adult Link, Silver Gauntlets, Hookshot
Location: Find the large grey boulder near the entrance to the Great Fairy Fountain cave on the south side. Lift it using the Silver Gauntlets to reveal a hidden hole. Drop down, defeat the Skulltulas (optional Bomb on wall), and retrieve the Gold Skulltula.
Lake Hylia (5 Skulltulas) [#86-90]

#86 – Pillar Platform Pest (Night Only)
Required: Young Link
Location: On the small island with the two pillar-like structures (where you later get Fire Arrows as Adult Link).
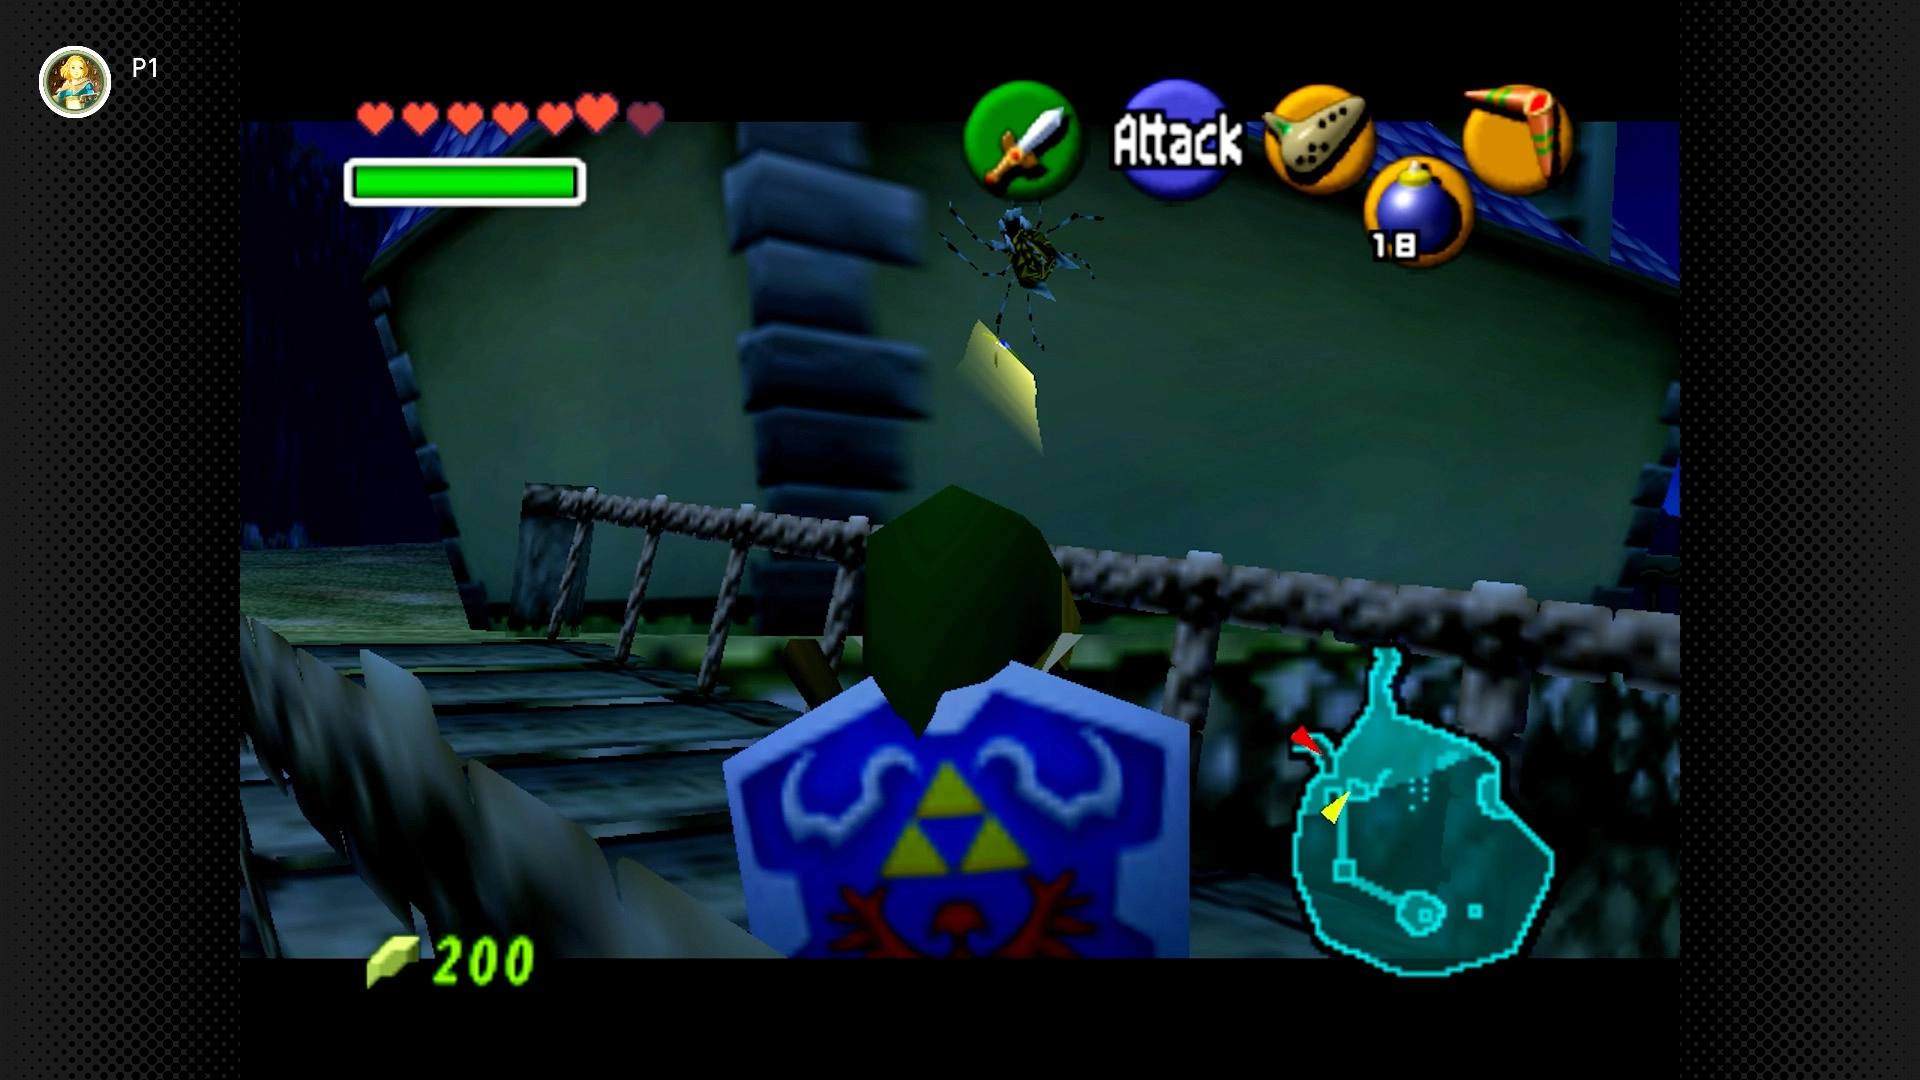
#87 – Lab Wall Leaper (Night Only)
Required: Young Link
Location: On the back wall of the Lakeside Laboratory building.
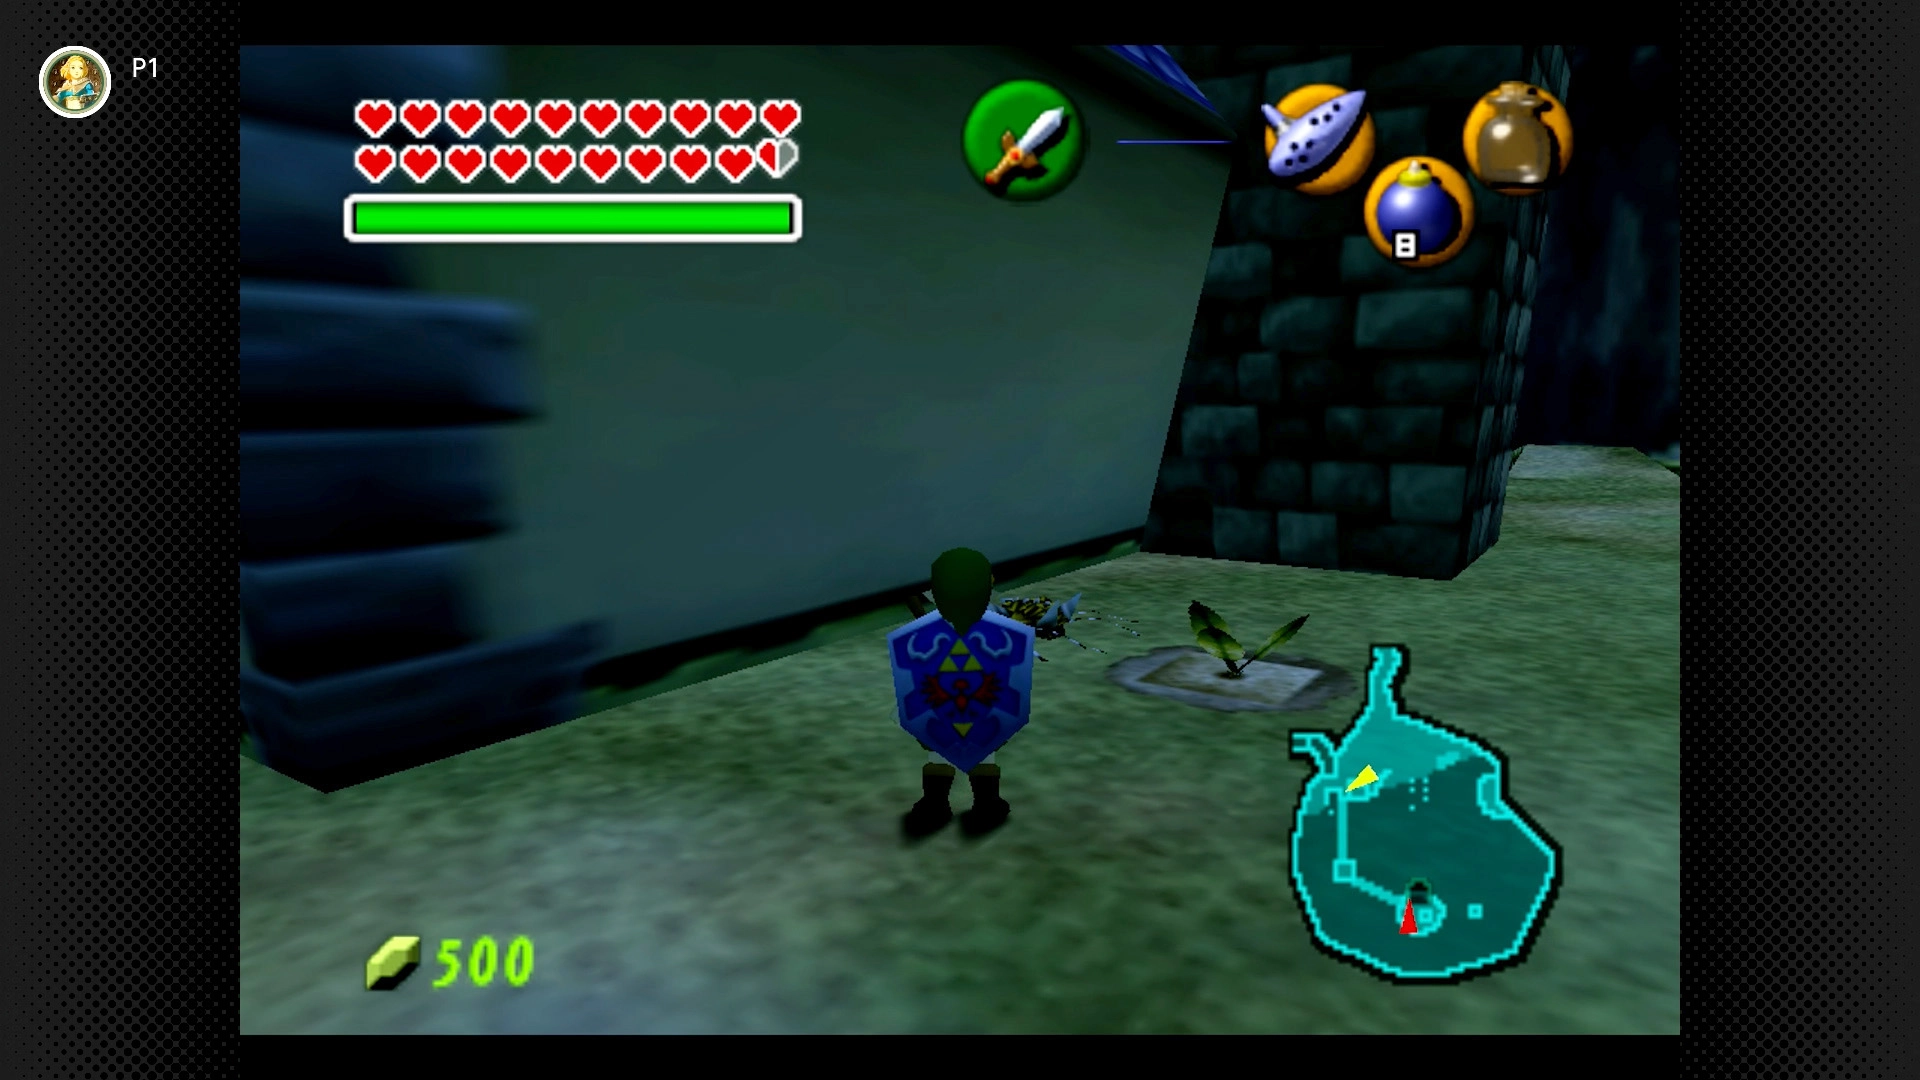
#88 – Lab Soil Search
Required: Young Link, Bottle with Bugs
Location: Find the patch of Soft Soil right next to the Lakeside Laboratory. Release Bugs onto it.
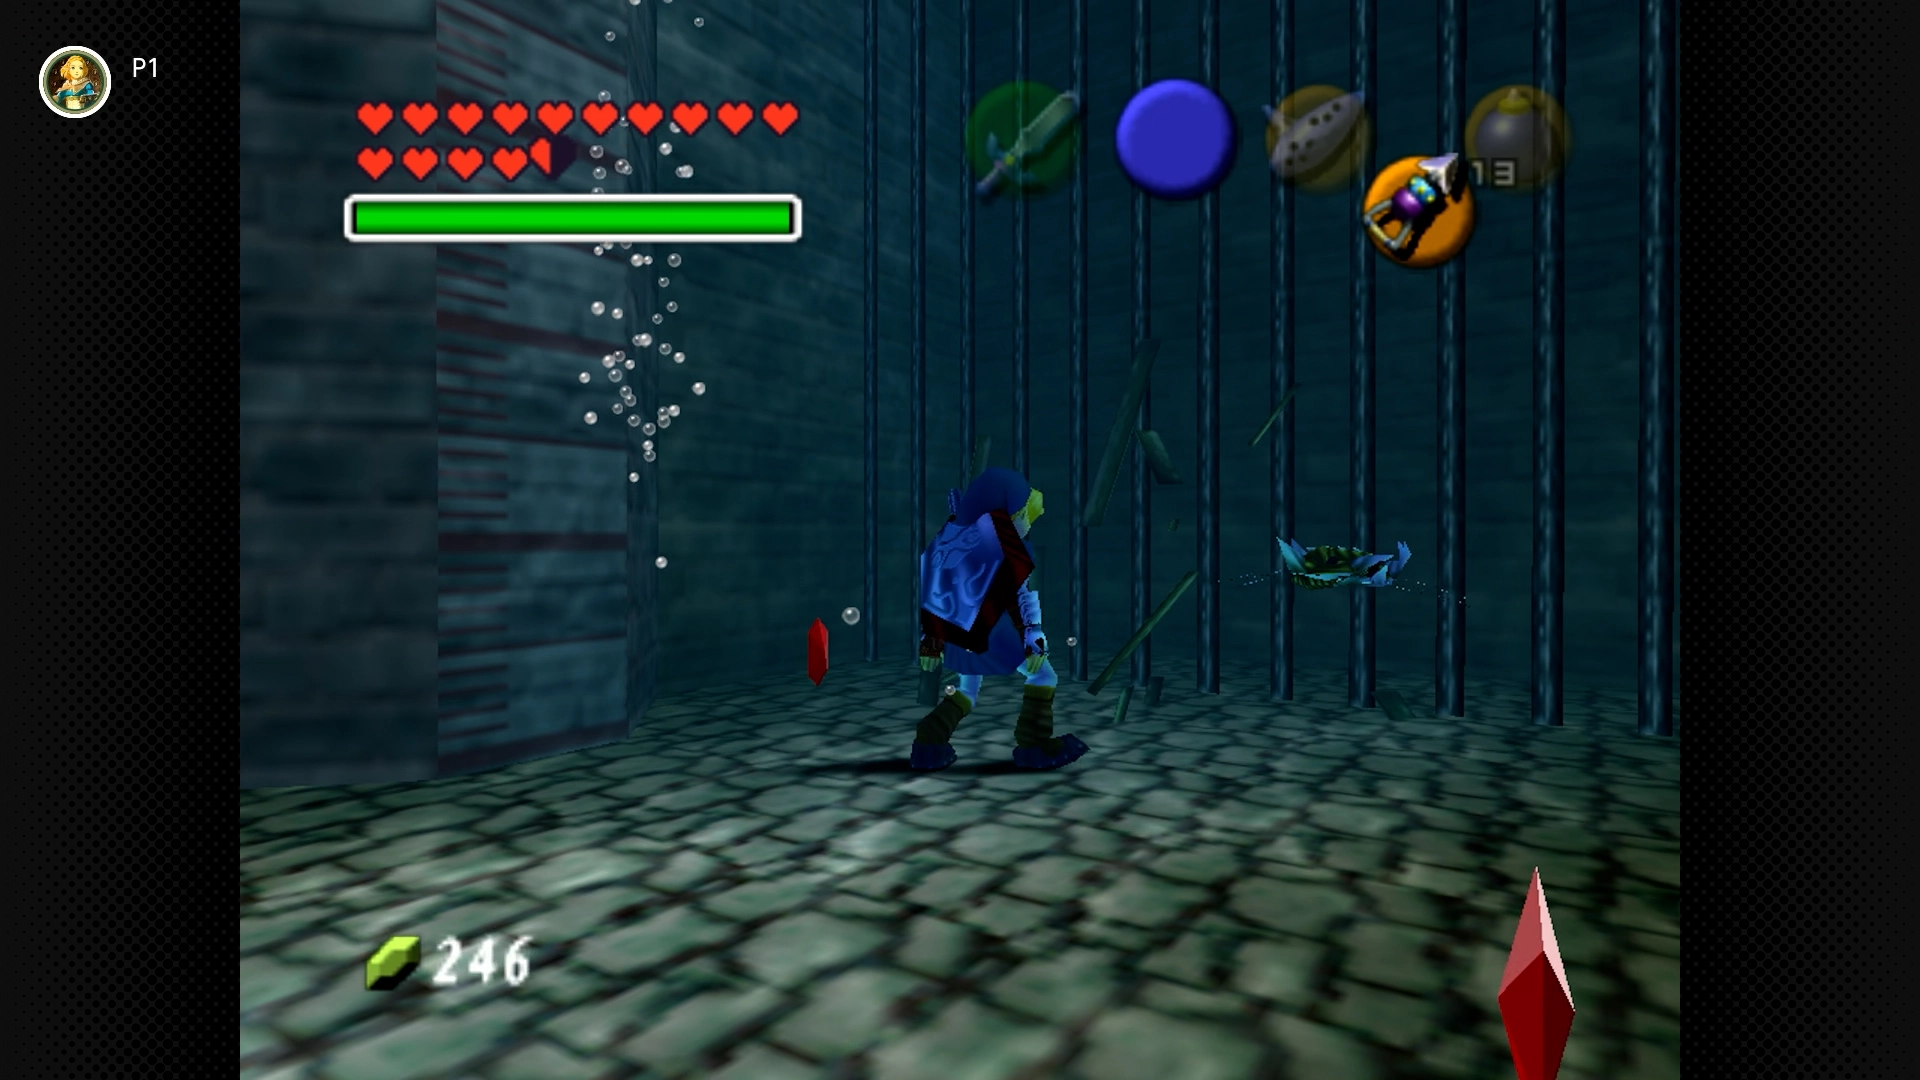
#89 – Pool Bottom Plunder
Required: Adult Link, Iron Boots, Hookshot
Location: Inside the Lakeside Laboratory pool. Put on the Iron Boots to sink to the bottom. Roll-attack the wooden crate at the bottom to reveal the Skulltula. Use the Hookshot to retrieve it.
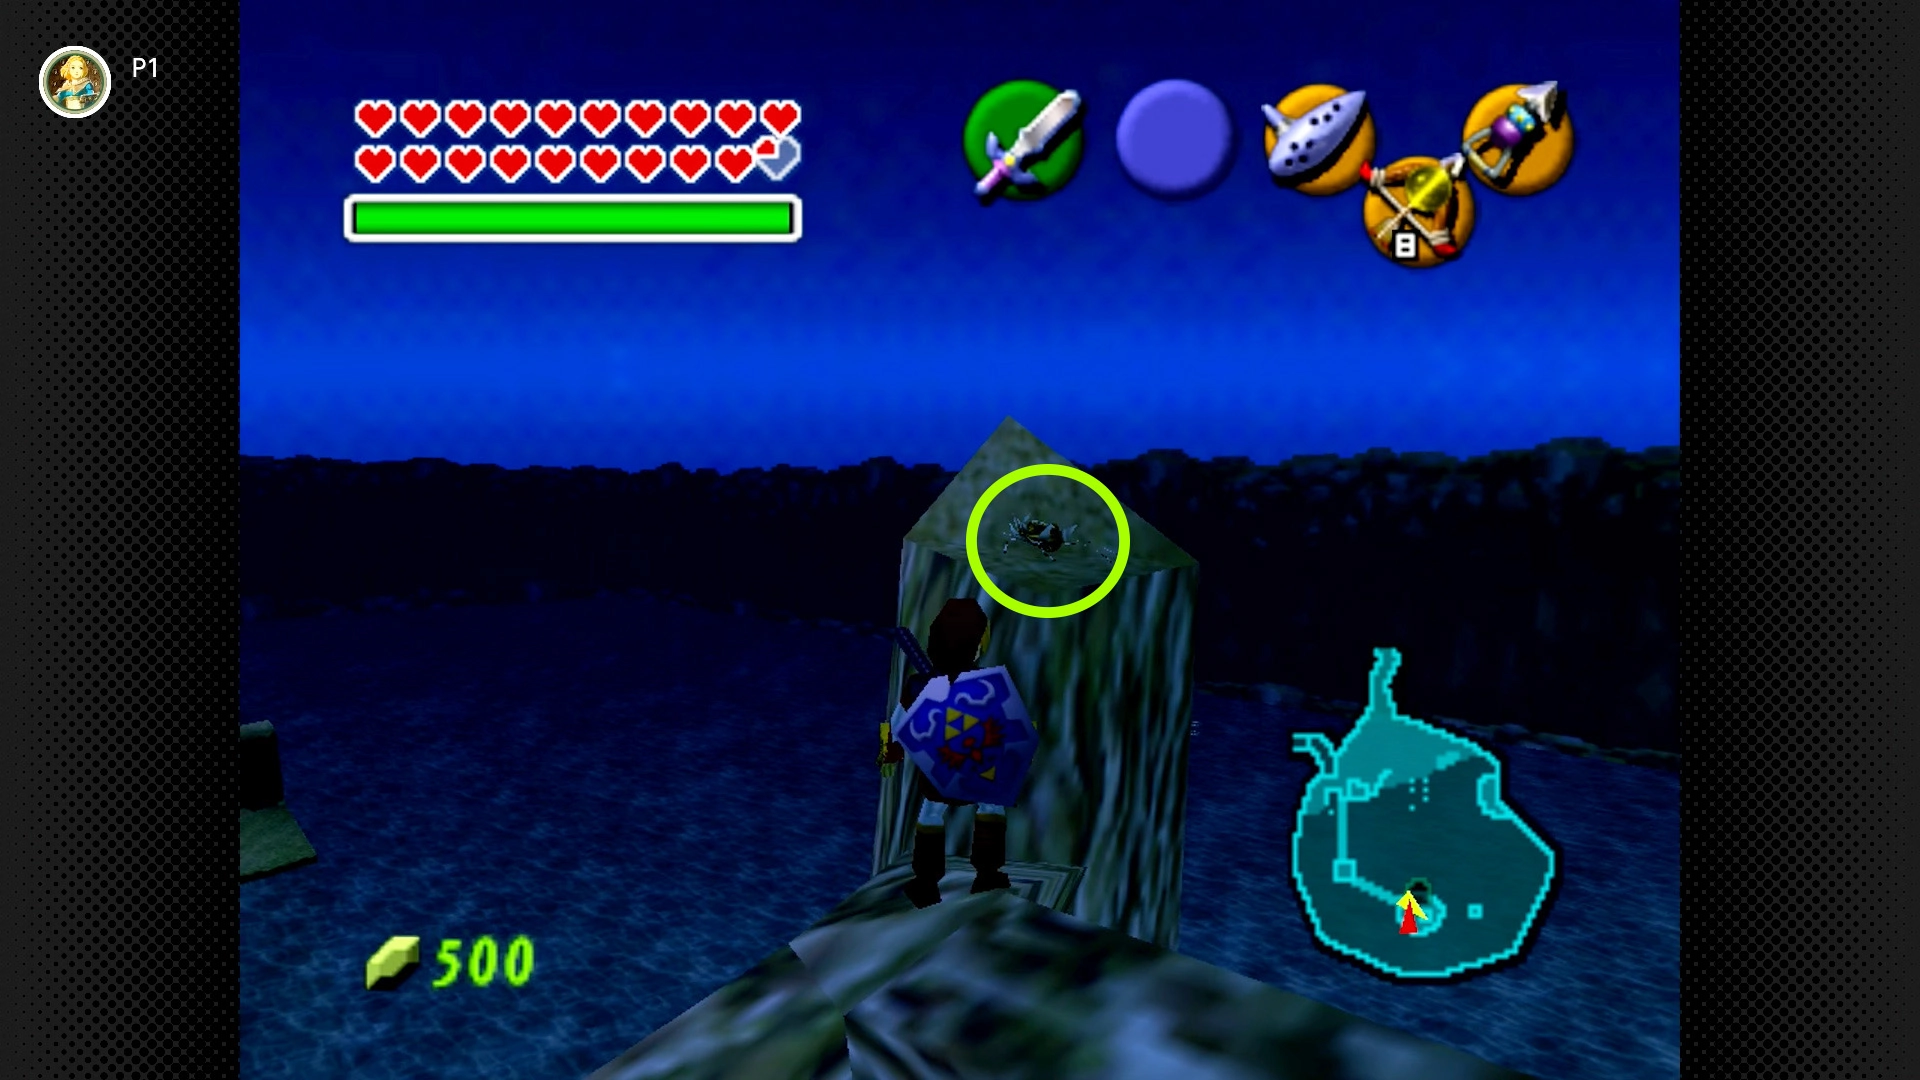
#90 – Dead Tree Topper
Required: Adult Link, Longshot
Location: Find the tall dead tree above the entrance plaque for the Water Temple. Use the Longshot to target a spot high on the trunk just above the main branch. This should pull you up onto the branch. The Skulltula is on the very top surface of the tree trunk.
Gerudo Valley (4 Skulltulas) [#91-94]
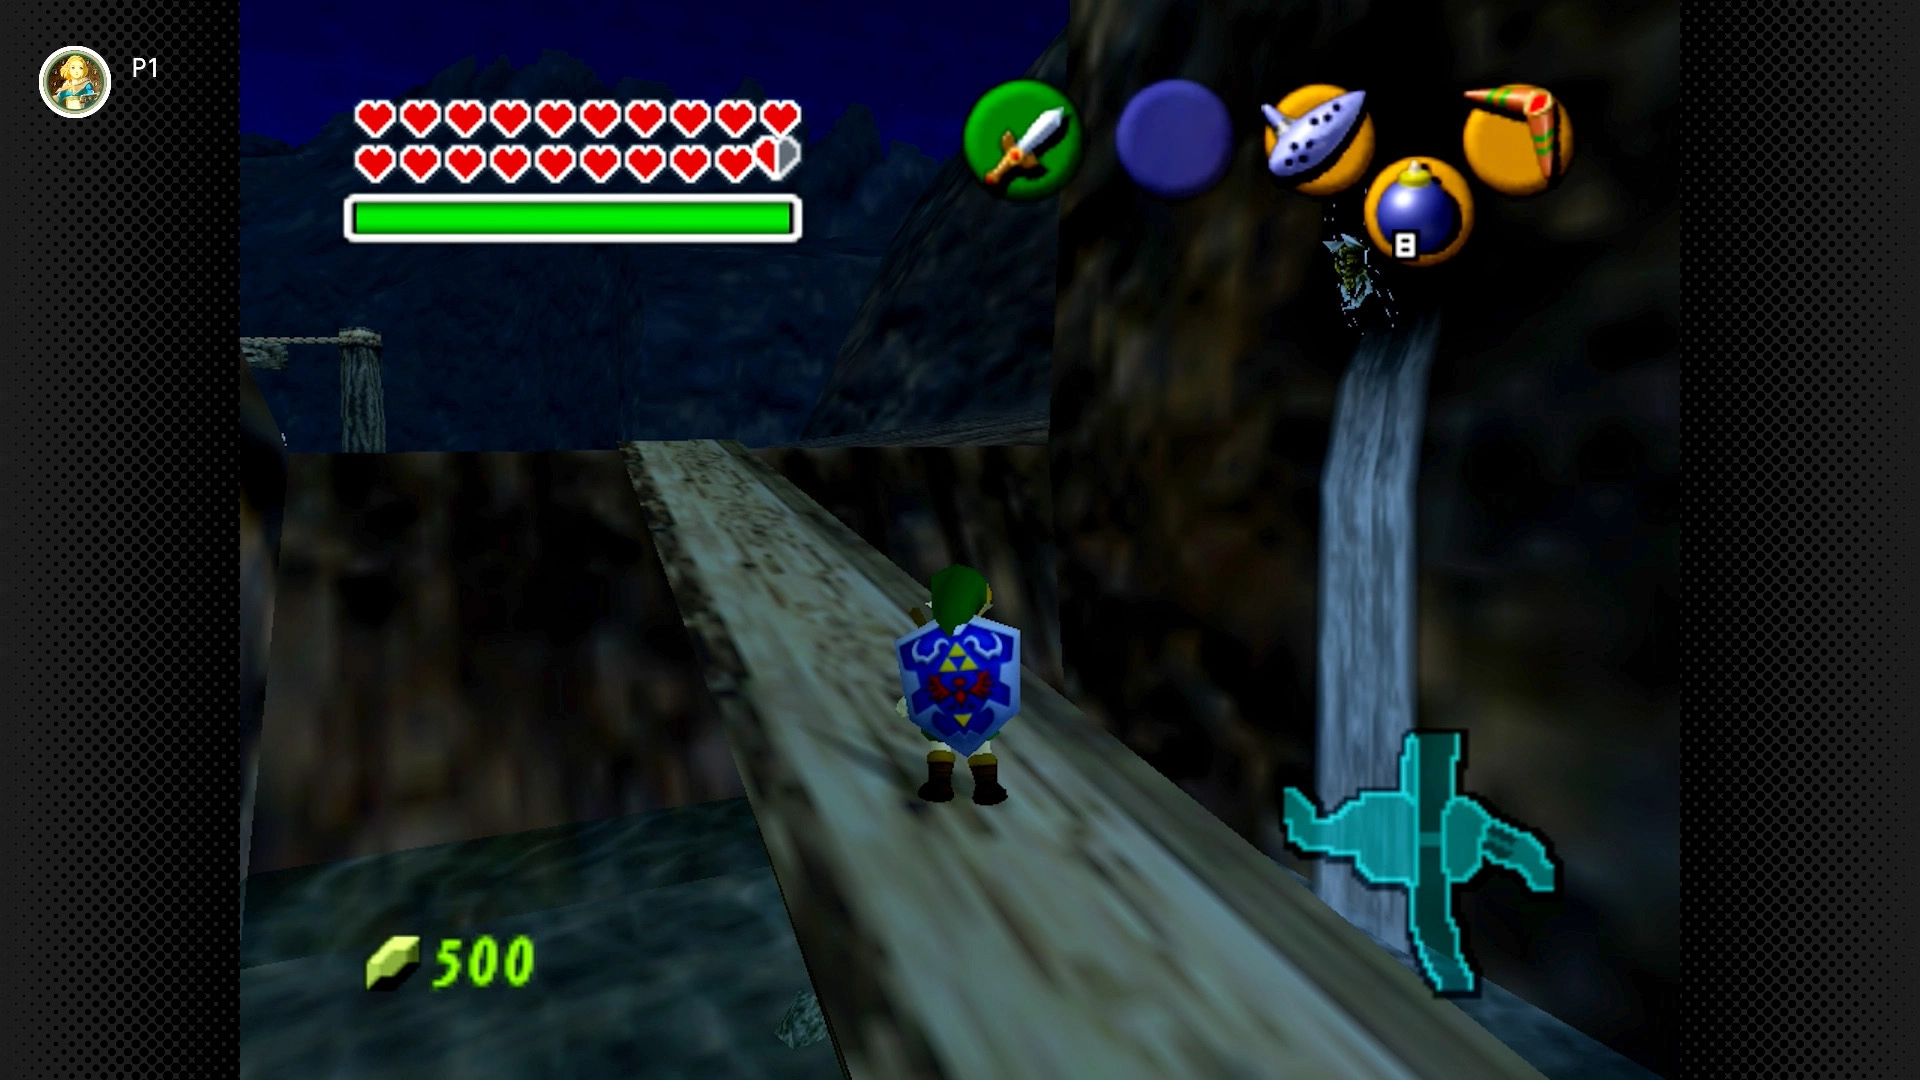
#91 – Bridge View Bug (Night Only)
Required: Young Link, Fairy Slingshot and Boomerang
Location: As you cross the small wooden plank bridge near the entrance from Hyrule Field, look right (downstream) towards the waterfall. The Skulltula is on the cliff face near the waterfall.

#92 – Cucco Glide Gold
Required: Young Link, Cucco, Bottle with Bugs
Location: Grab a Cucco near the large bridge. Glide over to the ledge on the other side (east side) of the canyon. Find the patch of Soft Soil on this ledge. Release Bugs onto it.
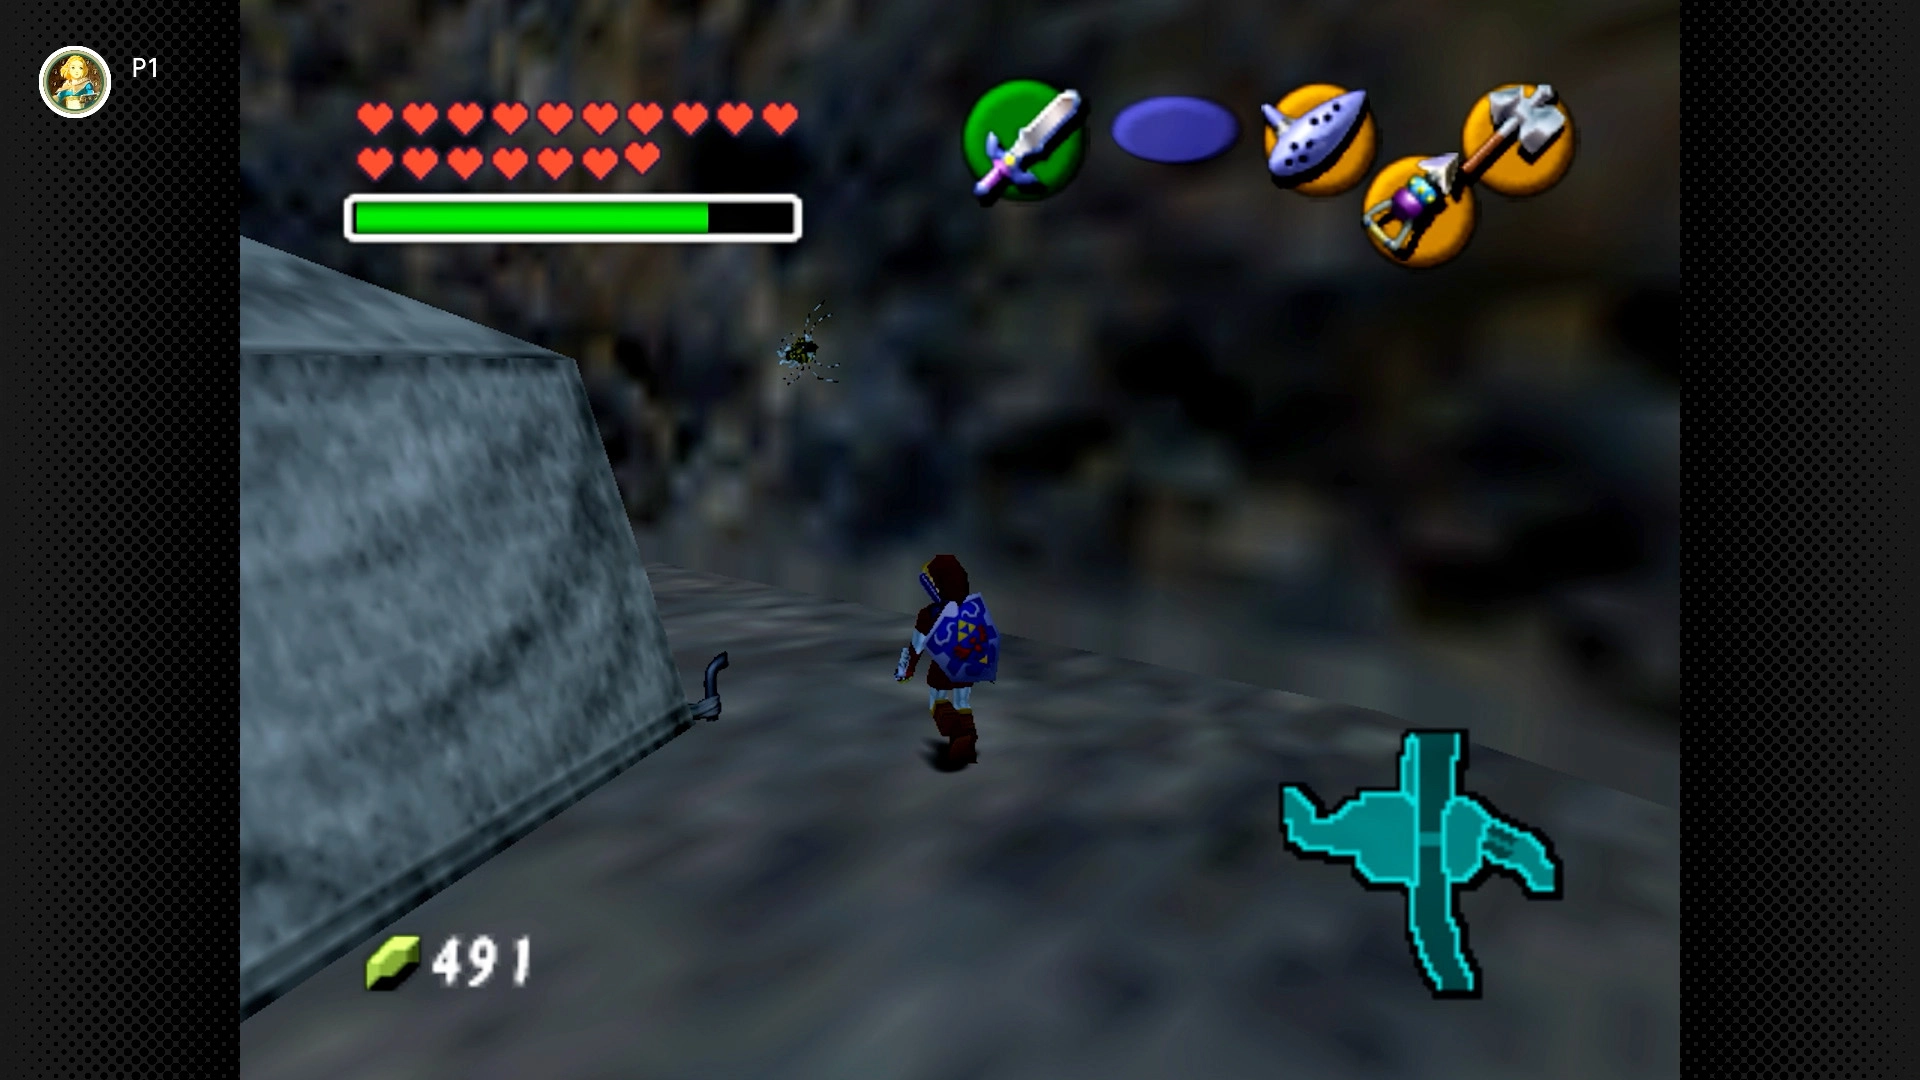
#93 – Tent Tag-Along (Night Only)
Required: Adult Link, Hookshot, Night Only
Location: Behind the large carpenter’s tent near the broken bridge. Look on the stone wall.

#94 – Archway Ambush (Night Only)
Required: Adult Link, Hookshot, Night Only
Location: On the large stone arch structure near the carpenter’s tent. Check the pillar/leg on the Gerudo Fortress side (west side) of the arch.
Gerudo Fortress (2 Skulltulas) [#95 & 96]
Note: Both require Adult Link and are easier at Night.
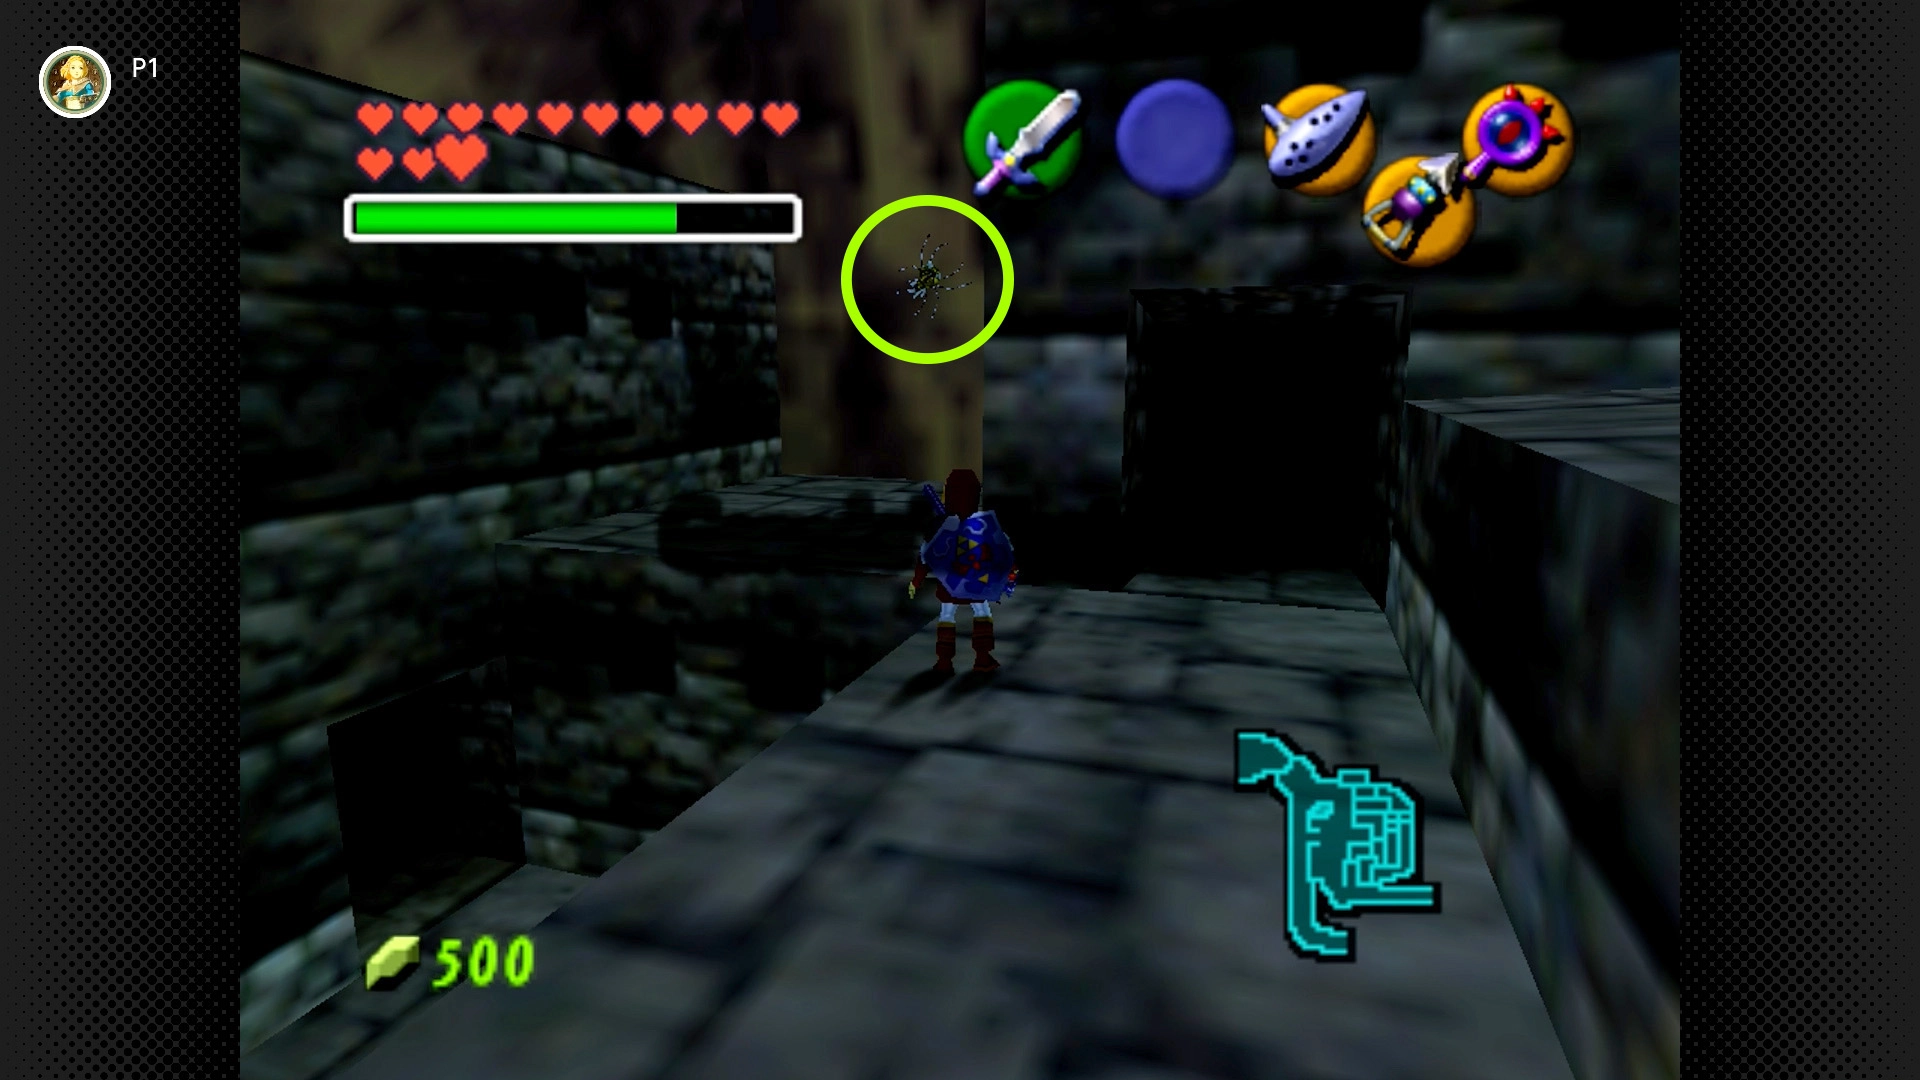
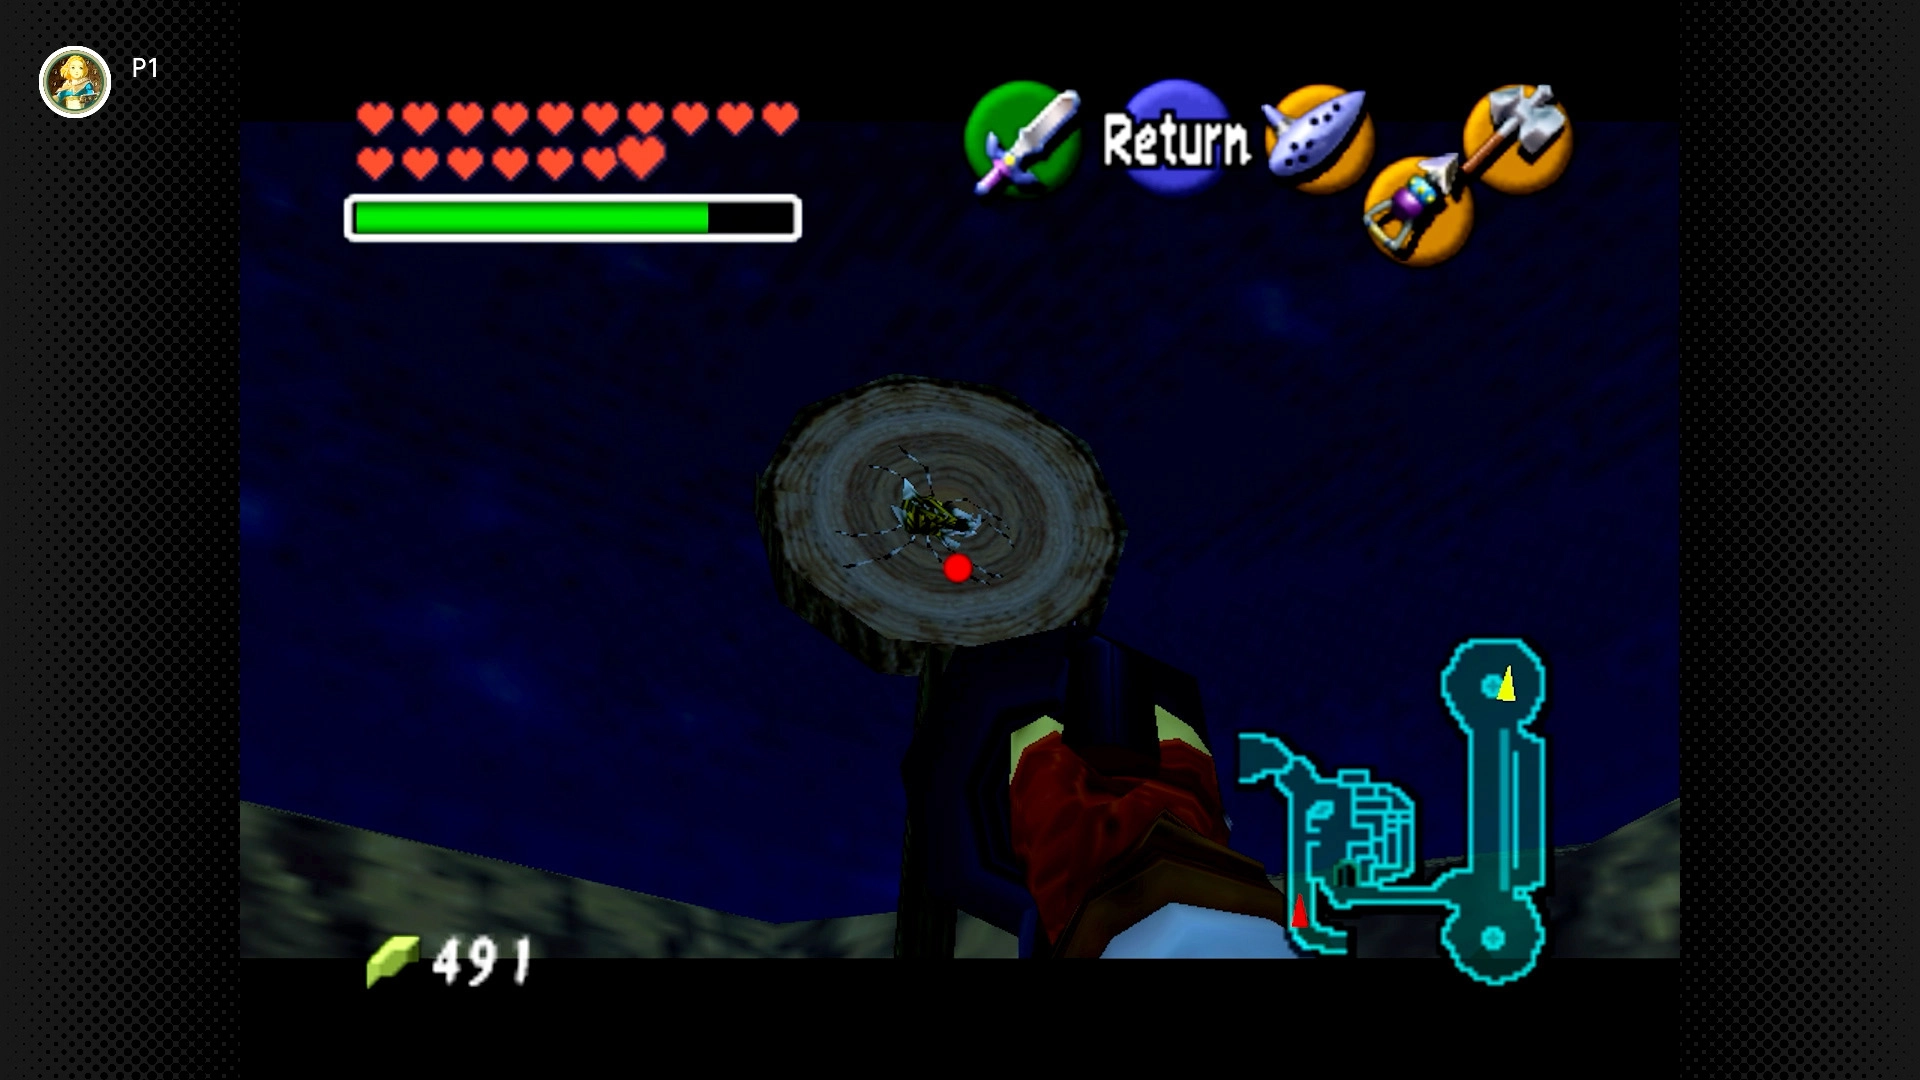
Haunted Wasteland (1 Skulltula) [#97]
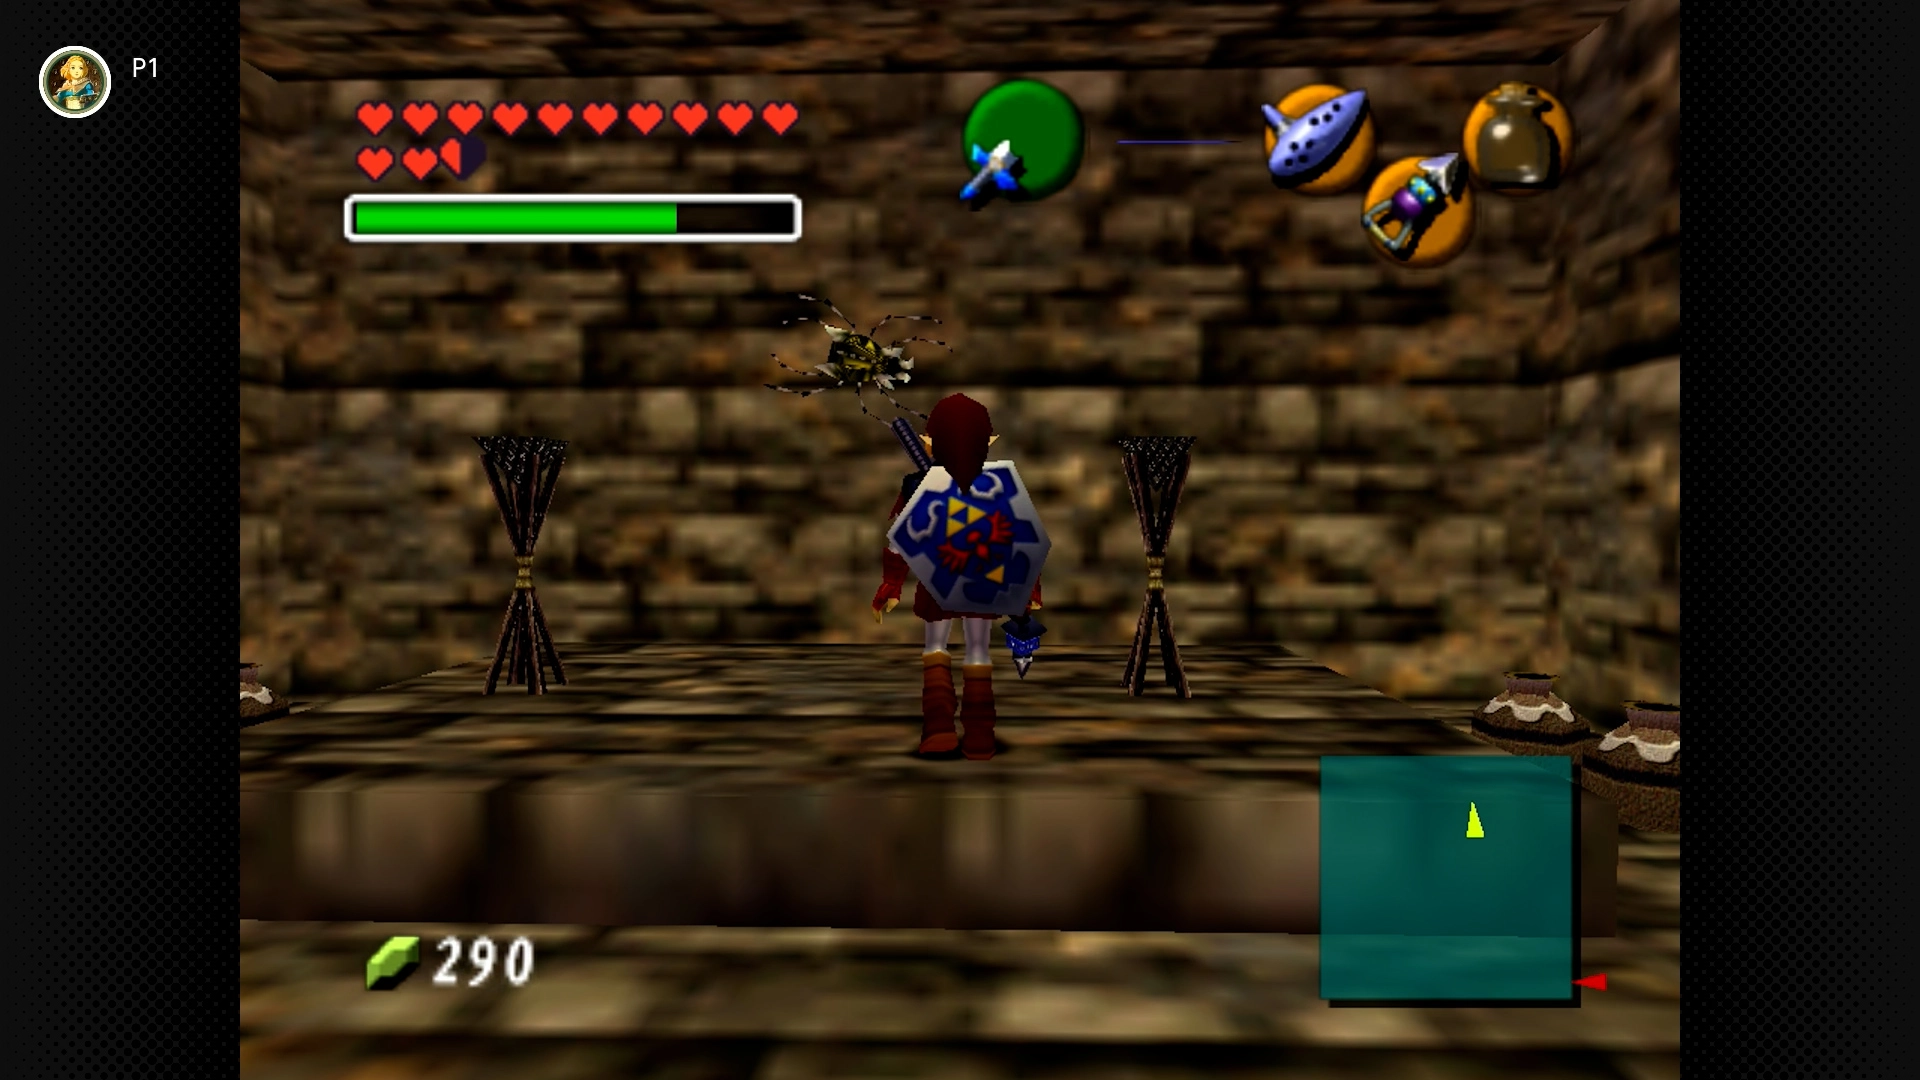
#97 – Phantom Guide’s Prize
Required: Adult Link, Longshot, Lens of Truth (for navigation)
Location: Navigate through the wasteland following the poles (use Lens of Truth if needed). Enter the small stone structure where you find the Phantom Guide Poe. Drop down into the lower area; the Skulltula is on the wall.
Desert Colossus (3 Skulltulas) [#98-100]
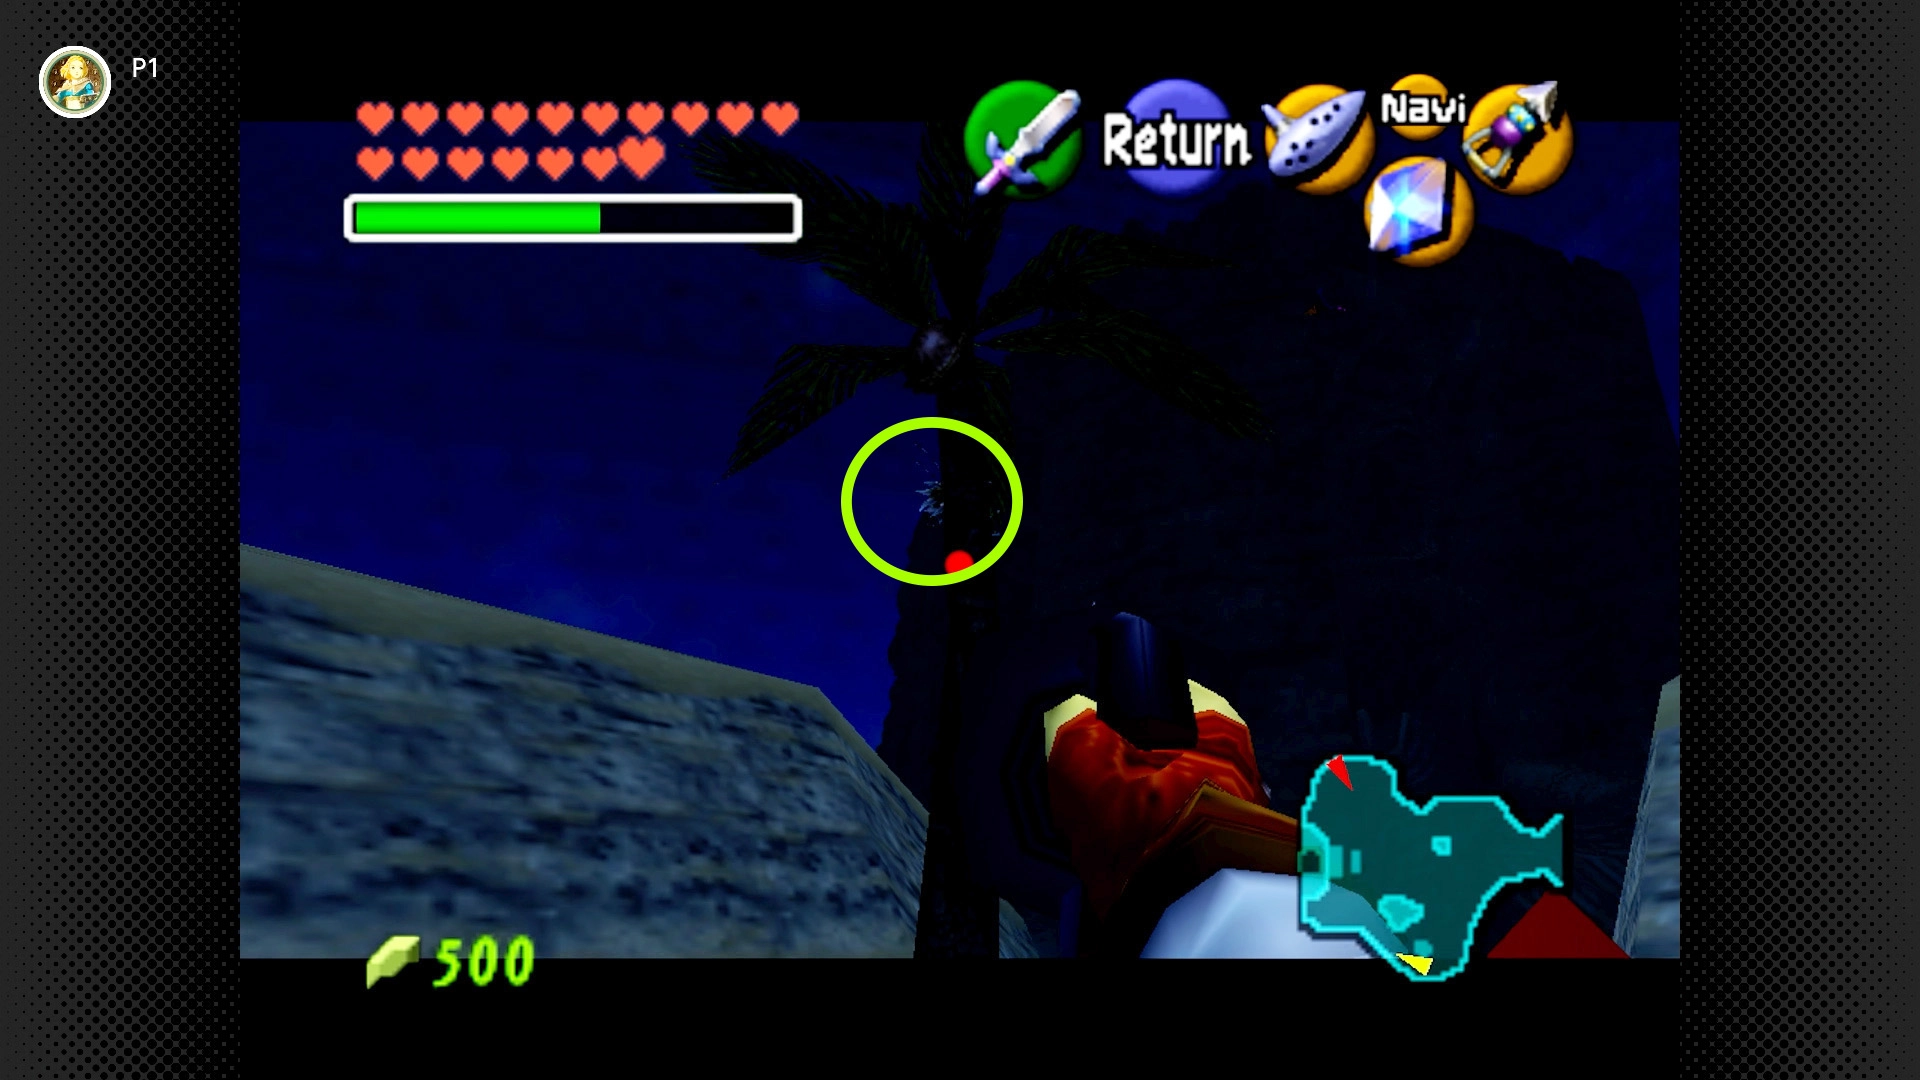
#98 – Oasis Palm Pest (Night Only)
Required: Adult Link and Hookshot
Location: Upon arriving at the Desert Colossus area, head left (north). Find the group of palm trees near the dried-up oasis/sand pit. The Skulltula is on one of these palm trees.
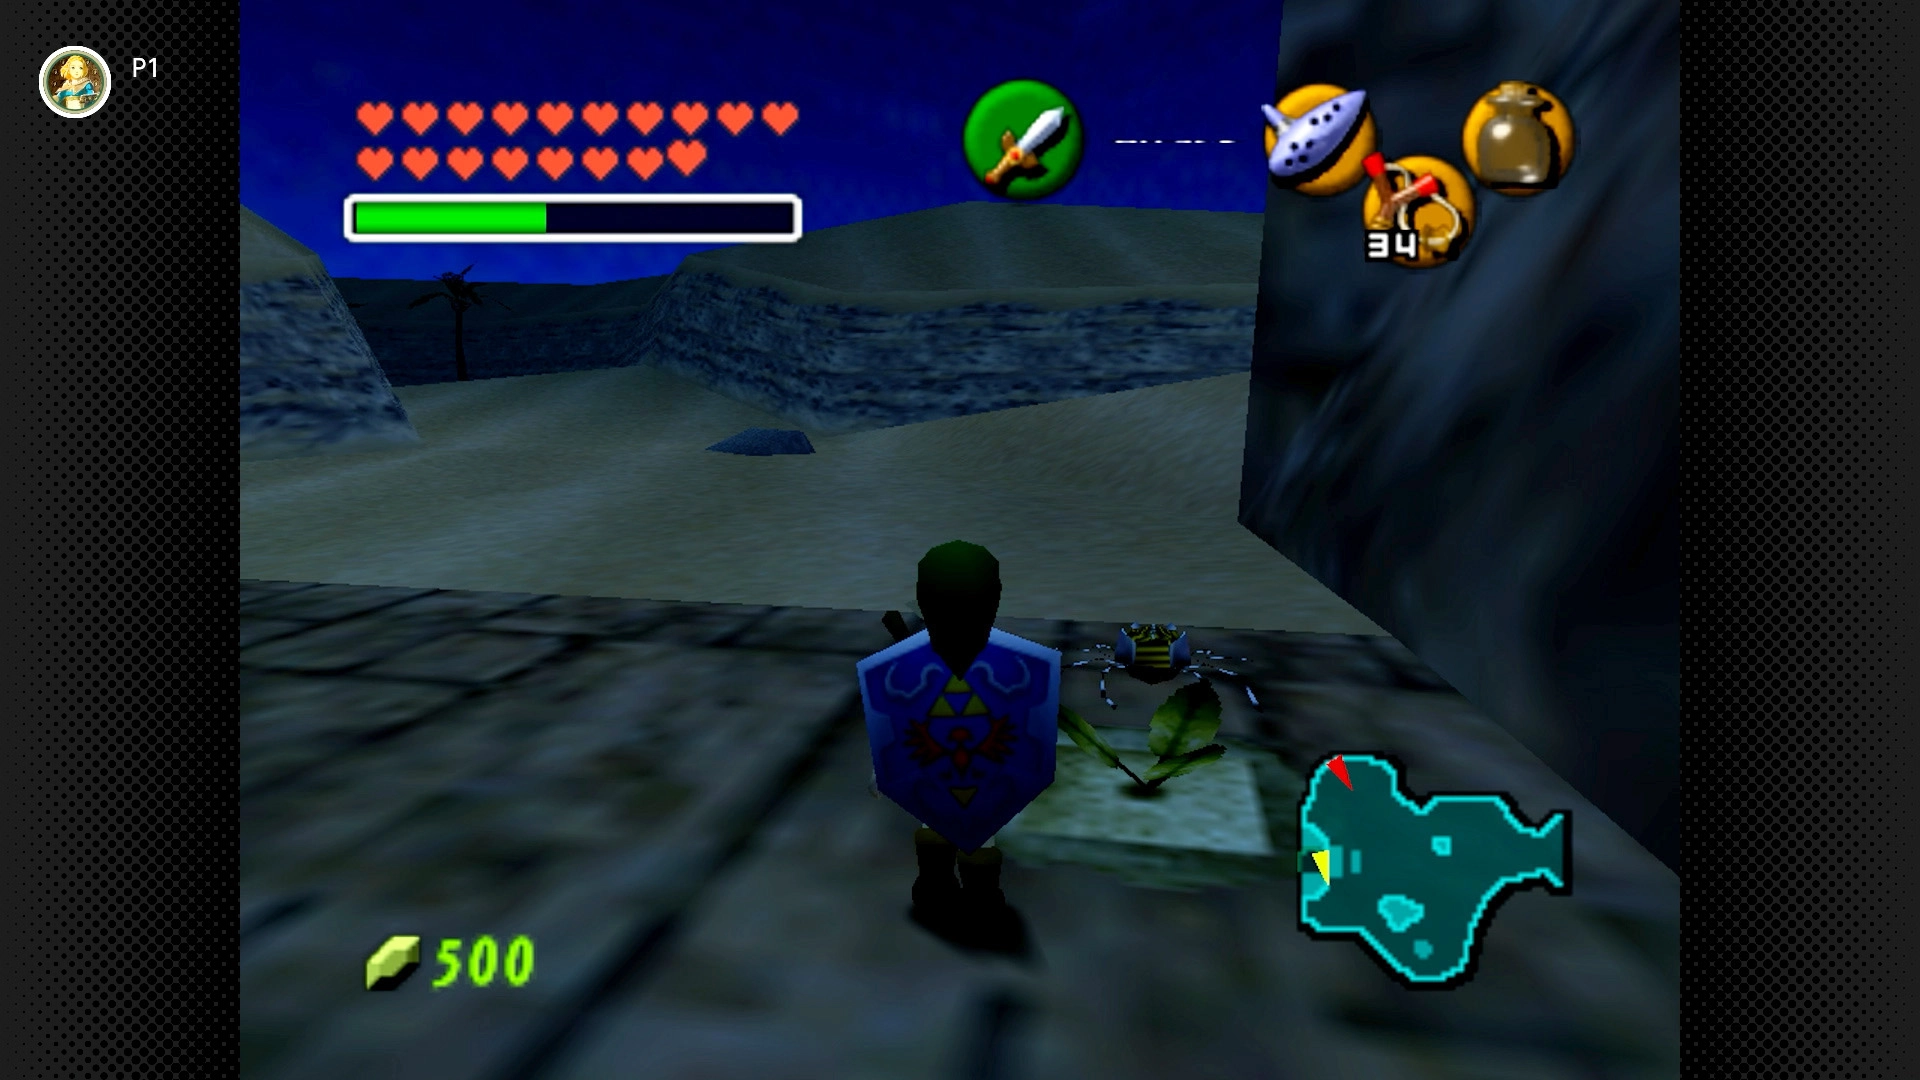
#99 – Temple Entrance Earth Eater
Required: Young Link, Requiem of Spirit, Bottle with Bugs
Location: Warp to the Desert Colossus using the Requiem of Spirit. Find the patch of Soft Soil near the entrance to the Spirit Temple. Release Bugs onto it.
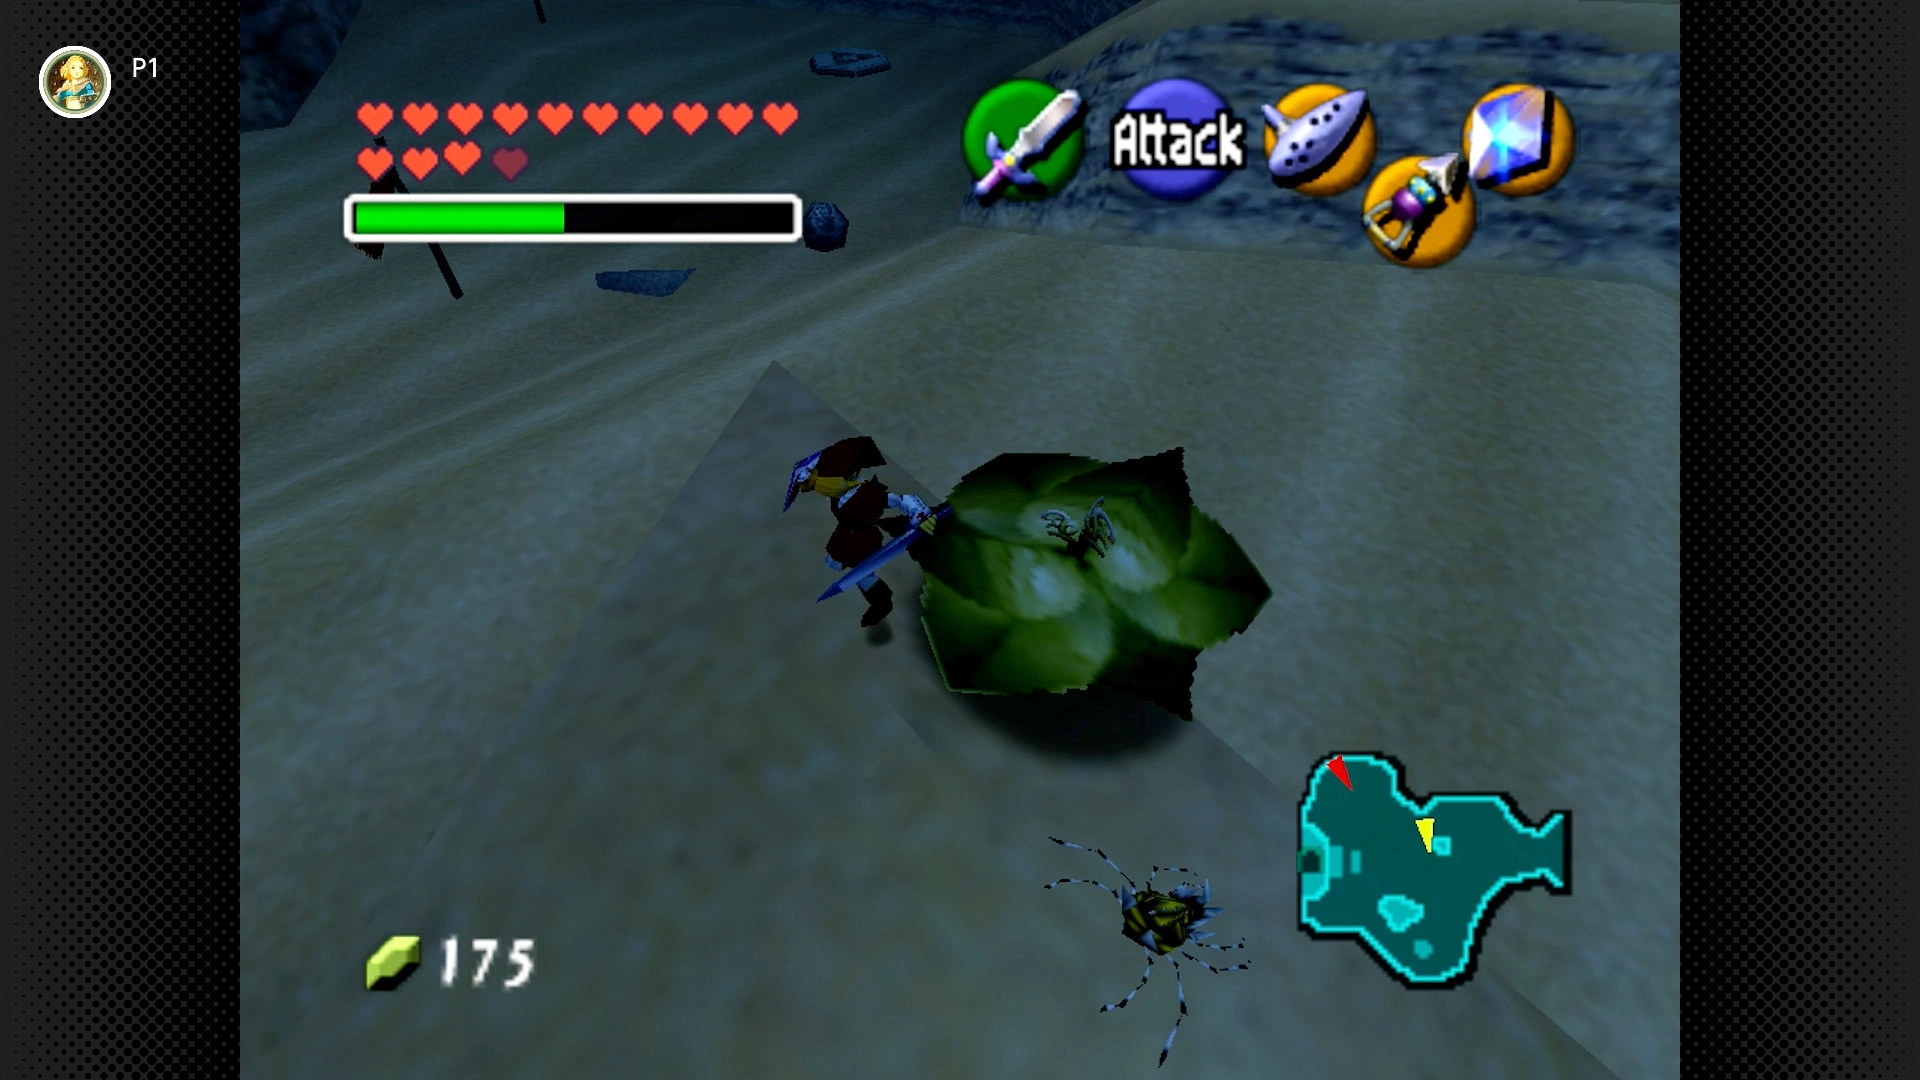
#100 – Final Bean Ride Reward (Night Only)
Required: Magic Bean and Hookshot/Longshot.
Location: Plant a Magic Bean in the Soft Soil from #2 as Young Link. Return as Adult Link and ride the Magic Bean Plant platform. It will carry you over a large rock formation where the Skulltula waits.