Table of Contents
Stamp Card Rewards

First Stamp Card (5 Stamps): 10 Fresh Milk
Fresh Milk is a consumable item that restores a small amount of health when consumed. It’s also a key ingredient in various cooking recipes, enhancing the effects of dishes. Use Fresh Milk to prepare dishes that can boost your health or provide other beneficial effects during your journey.

Second Stamp Card (10 Stamps): 3 Golden Eggs
Golden Eggs are rare items known for their high nutritional value and are used in cooking to create dishes that offer significant health restoration and buffs. Incorporate Golden Eggs into recipes to maximize their healing properties and gain advantageous effects in battles or challenging environments.

Third Stamp Card (15 Stamps): Fairy Bottle
A Fairy Bottle allows you to capture and store fairies found throughout Hyrule. When Zelda’s health depletes entirely, a stored fairy will automatically revive her, making it an invaluable item for survival. Keep a fairy in your bottle at all times to ensure you have a safety net during tough battles or challenging dungeons.

Fourth Stamp Card (20 Stamps): 5 Monster Stones
Monster Stones are special items that can be exchanged with certain NPCs for upgrades or unique equipment. They are often sought after for enhancing abilities or acquiring rare gear. Collect Monster Stones to trade for powerful upgrades or rare items that can aid you in your quest.

Fifth Stamp Card (25 Stamps): Stamp Suit Outfit
The Stamp Suit is a unique outfit modeled after the Stamp Guy, featuring a green suit adorned with stamp motifs. While it doesn’t provide combat advantages, it offers a distinctive aesthetic for Zelda. Wear the Stamp Suit to showcase your dedication to the Stamp Rally and enjoy a unique appearance as you explore Hyrule.
Stamp Locations by Region
Gerudo Desert (4)
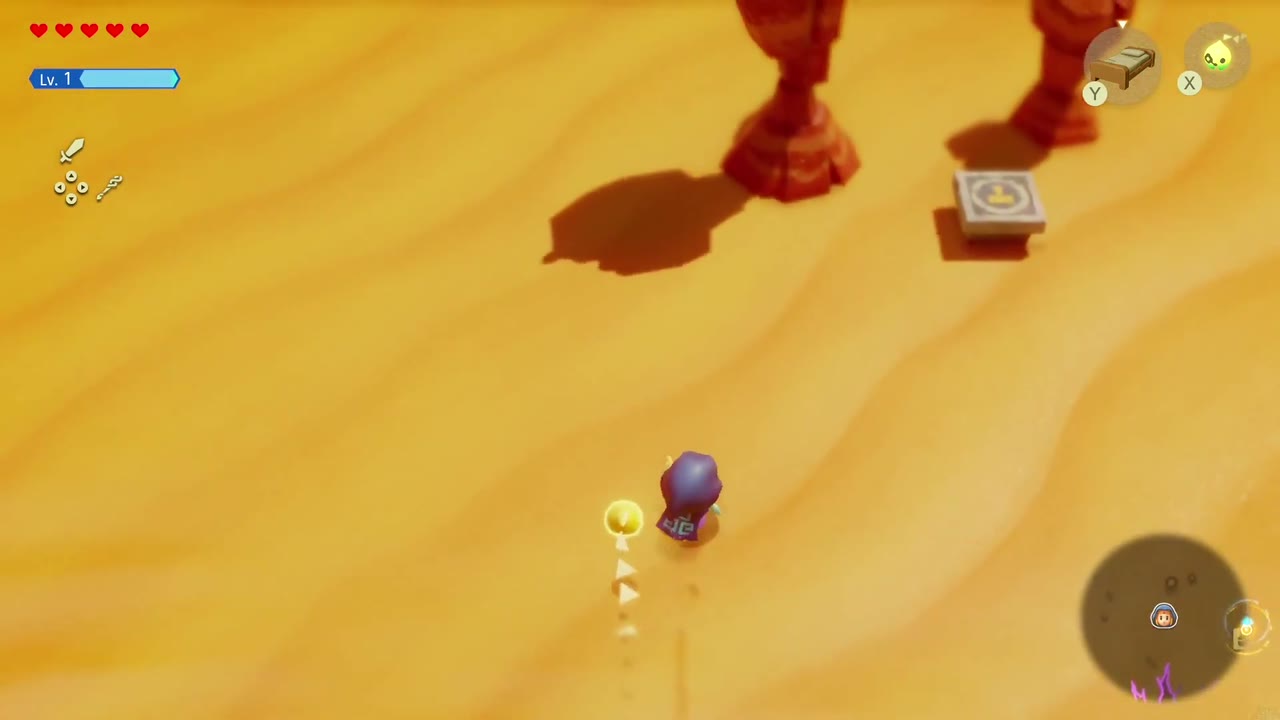
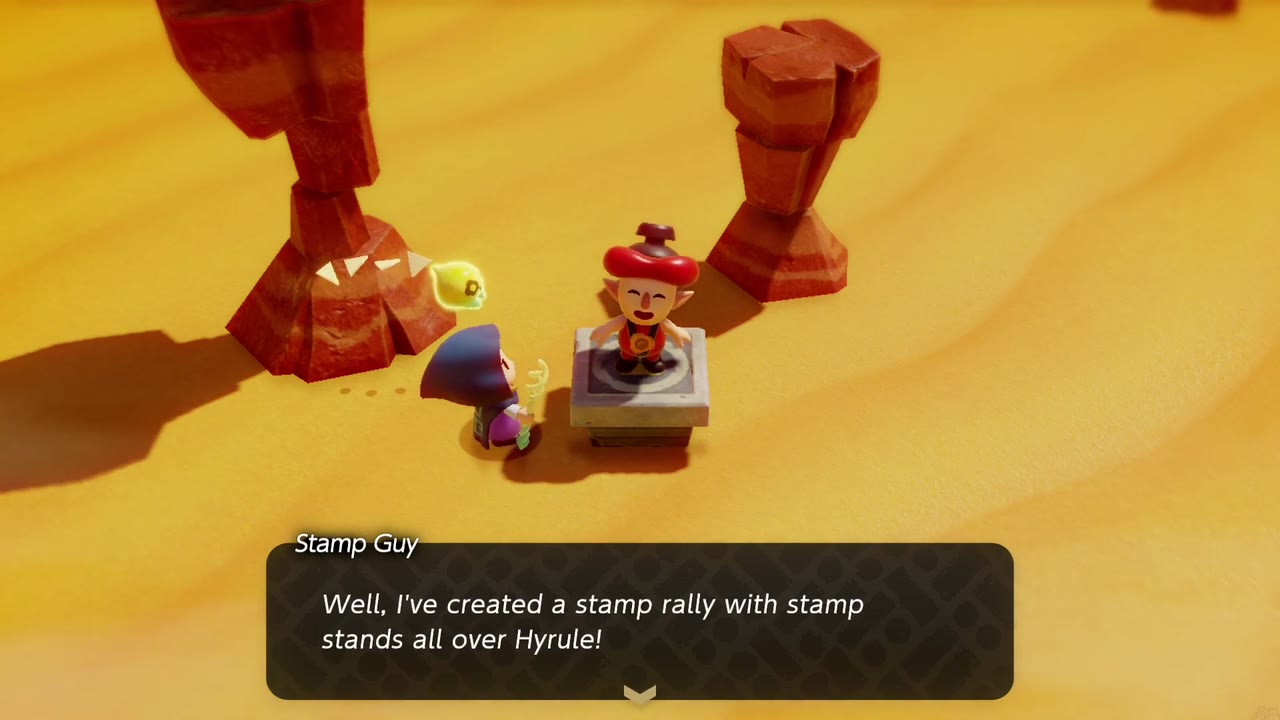
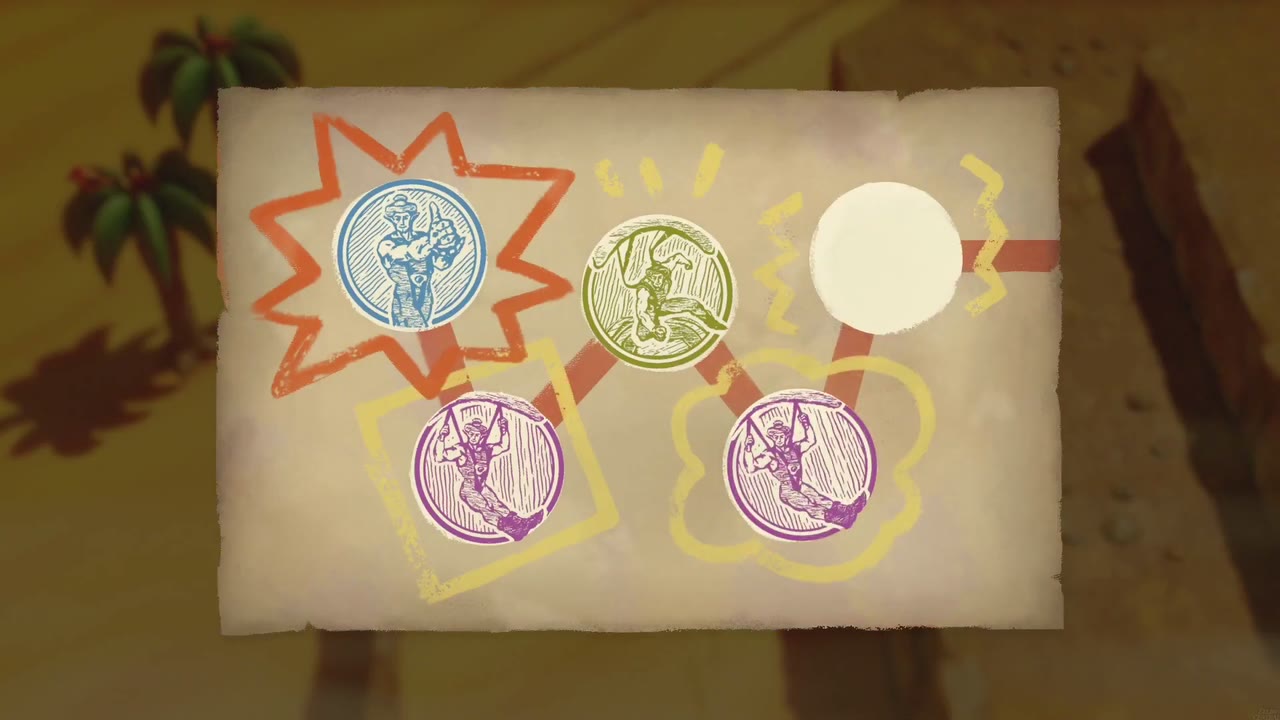
Stamp 1: Rock spires outside the Oasis
Where: Gerudo Desert, a short walk out of the Oasis past the dark rift patches, on open sand between two tall red rock spires.
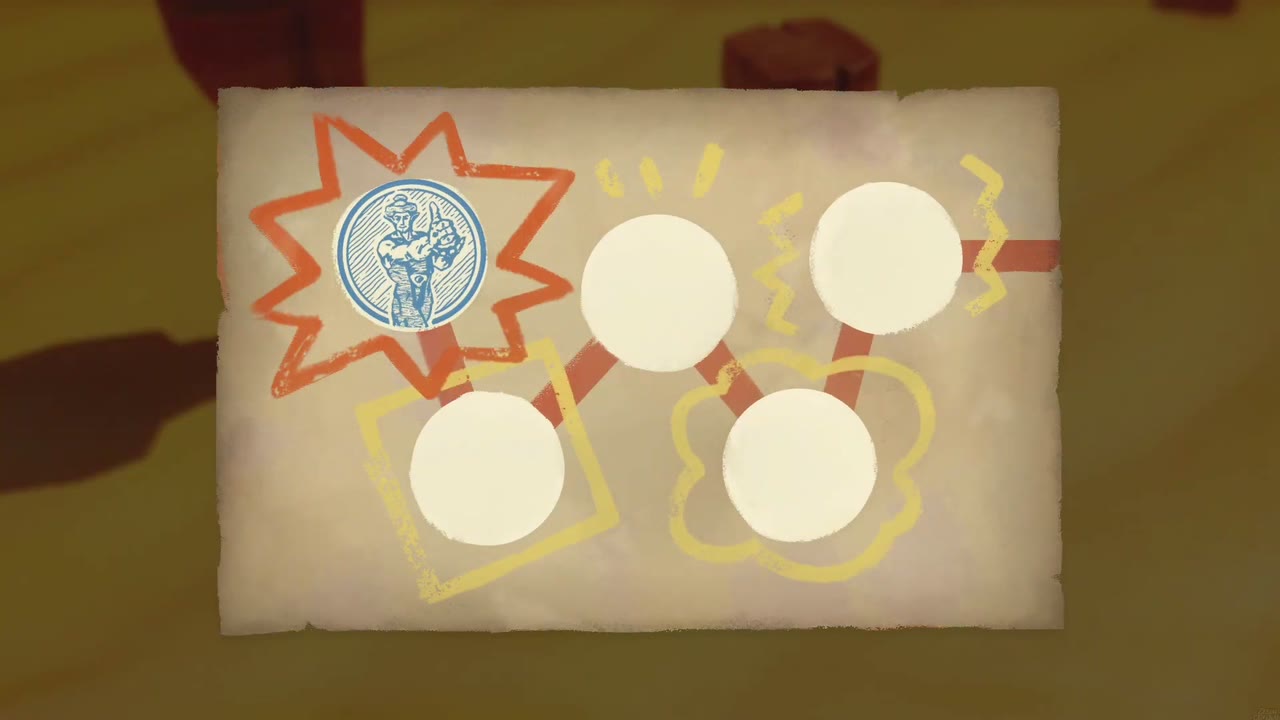
How: Just walk up and press Check. The first time you touch a stand, Stamp Guy drops in by parachute, explains the rally and hands you the first stamp card before you press it.
Stamp 2: Red canyon ledge near Hyrule Field
Where: The red-rock canyon on the eastern side of the Gerudo Desert, close to where the sand gives way to Hyrule Field. The stand sits on top of a raised rock ledge.
How: The ledge is too high to climb onto, so summon Old Bed echoes against the cliff face and climb up them to reach the stand.


Stamp 3: Rock shelf beside Gerudo Town
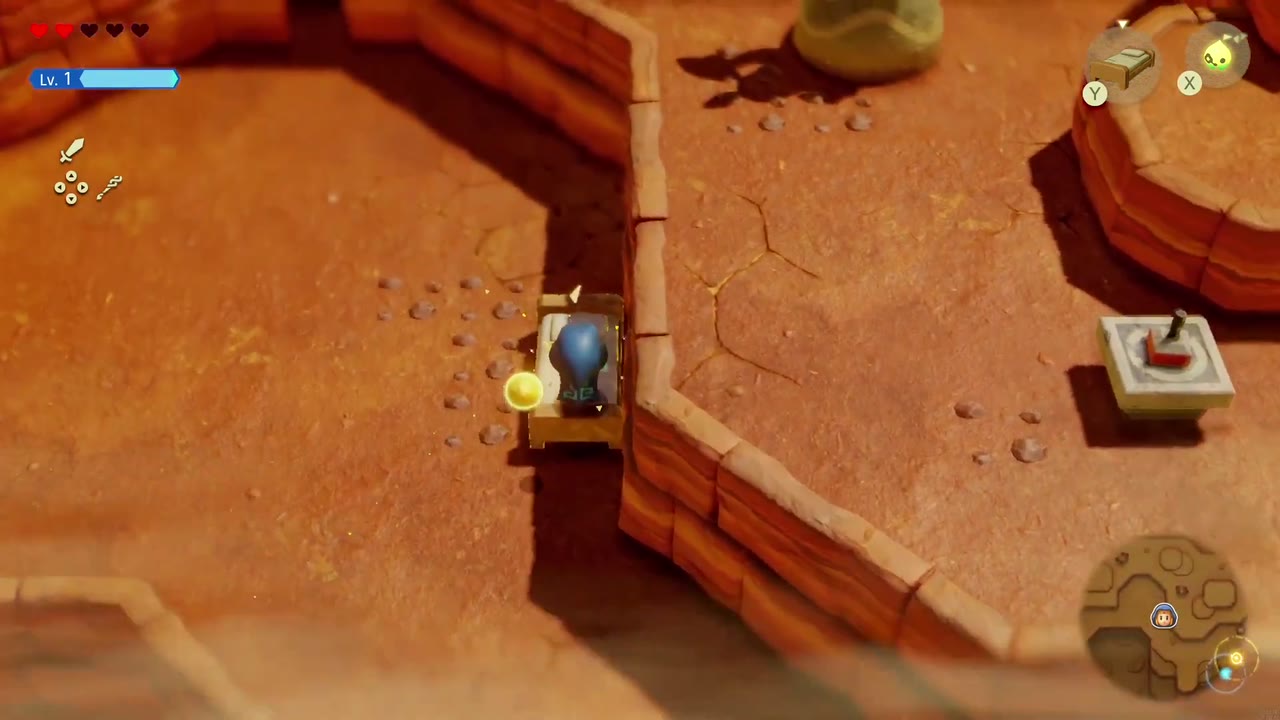
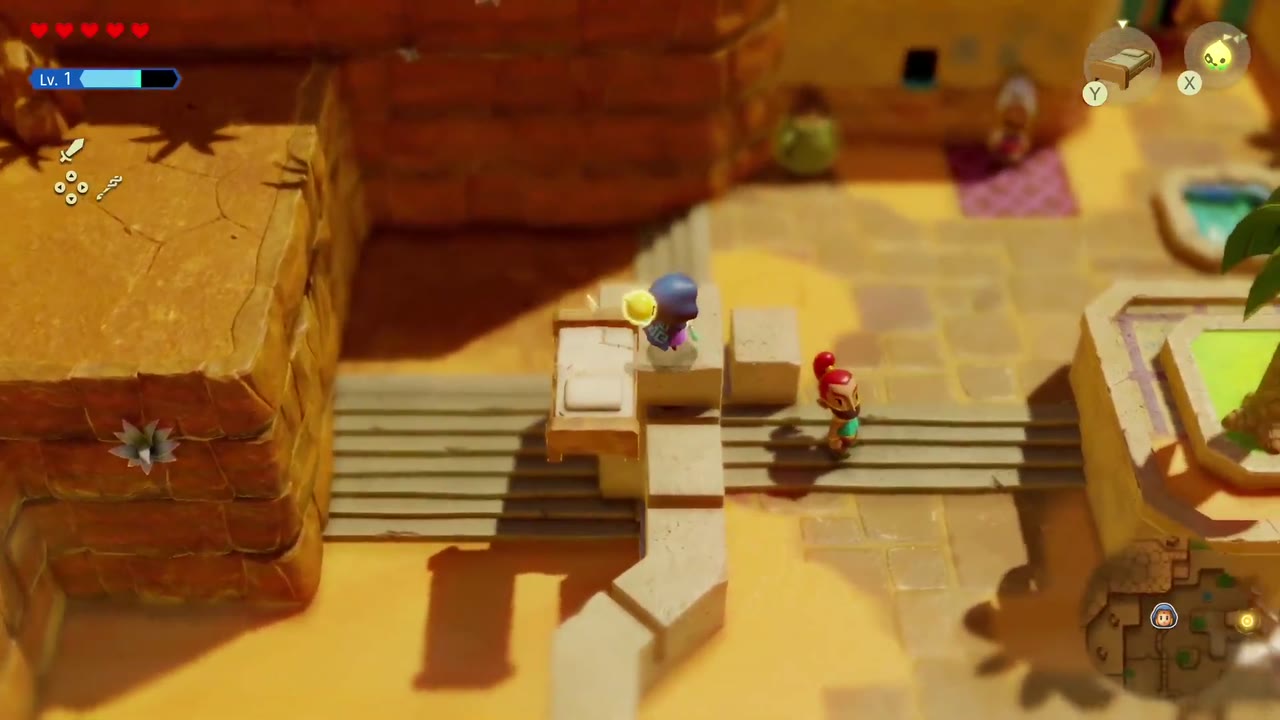
Where: Just outside Gerudo Town, on a walled sandstone shelf that sits above the town’s stone steps, next to a tall desert plant.
How: From the steps inside the town, summon an Old Bed against the low wall, climb onto it and over the wall, then drop down onto the shelf where the stand is.

Stamp 4: End of the walled sand corridor
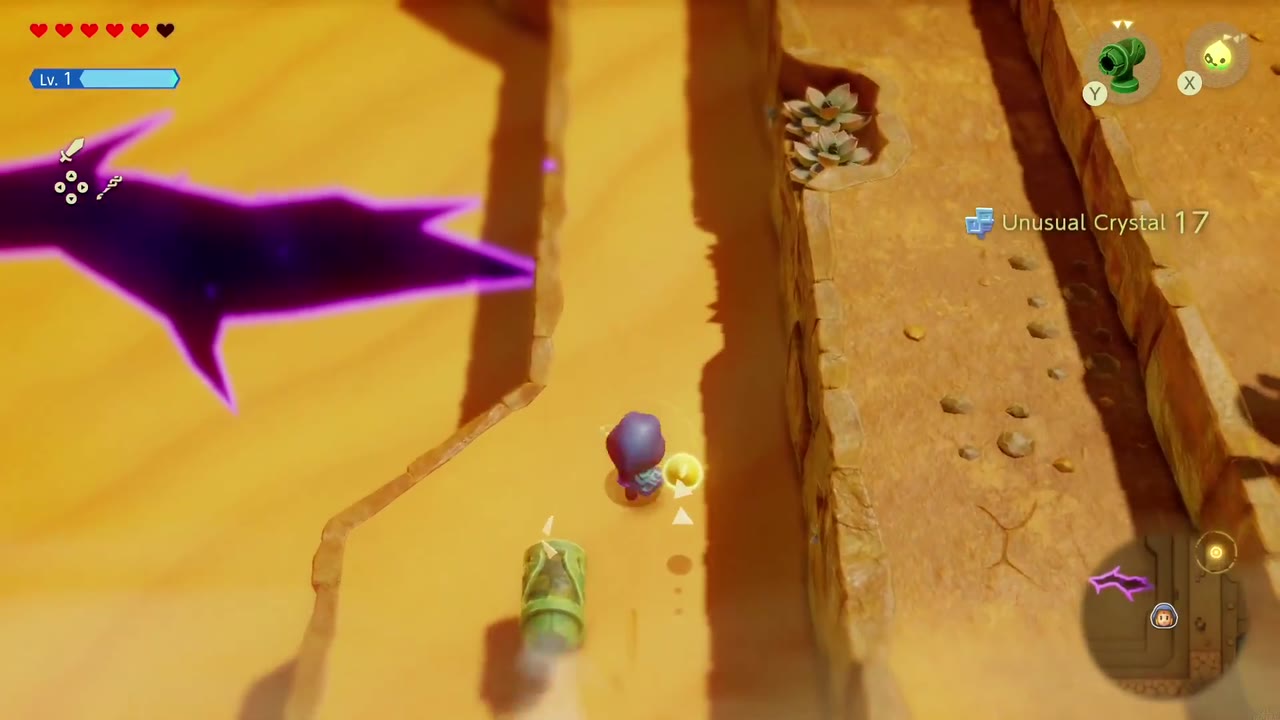
Where: Gerudo Desert, in a long sand corridor between rock walls, past a dark rift patch and the spot where you pick up a Might Crystal. The stand stands at the corridor’s far end, where it opens out near a pair of palm trees.
How: No puzzle: follow the corridor to the end and press the stand.

Hyrule Field & Kakariko (5)
Stamp 5: Outside the Hyrule Ranch gate
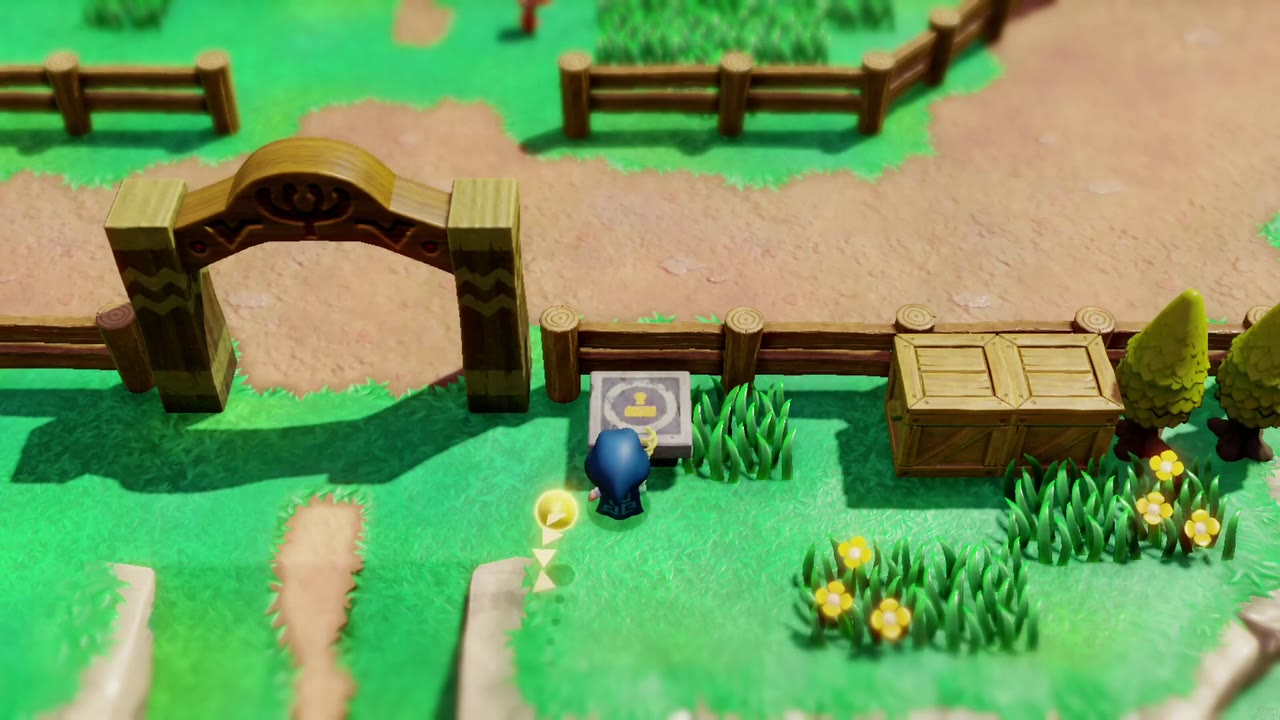
Where: Hyrule Field, right beside the wooden archway into Hyrule Ranch (see the Flag Races), on the outside of the fence next to some crates.
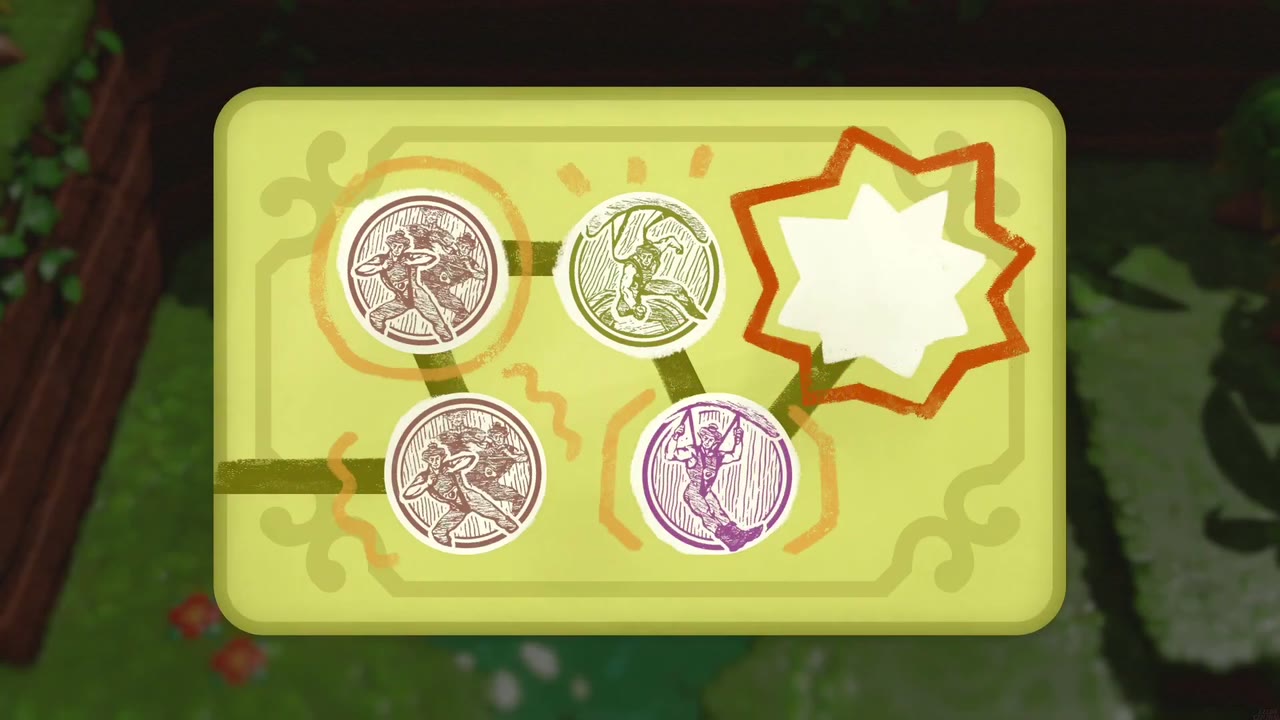
How: Follow the dirt paths and low stone walls of the field up to the ranch gate; no echoes needed. As the fifth stamp it completes the first stamp card: Stamp Guy parachutes in (“Oooh! You found five of my stands and filled your stamp card.”) and hands over the reward: “You got 10 containers of fresh milk!” He then gives you the exciting stamp card (“the stamp card earned by stamp-rally intermediates”) for the next five stands.


Stamp 6: outside Kakariko Village’s south gate
Where: Hyrule Field, just outside the stone archway that leads north into Kakariko Village. The stand is on a low grassy ledge to the right (east) of the dirt path, in front of a fenced garden with a chicken.
How: Walk north across the field toward the archway. The ledge is a step too high to walk onto, so place a Water Block echo against its wall, climb up and check the stand. This is the first stamp on the Exciting Stamp Card. A Business Scrub’s Smoothie Shop sits just east along the fence.

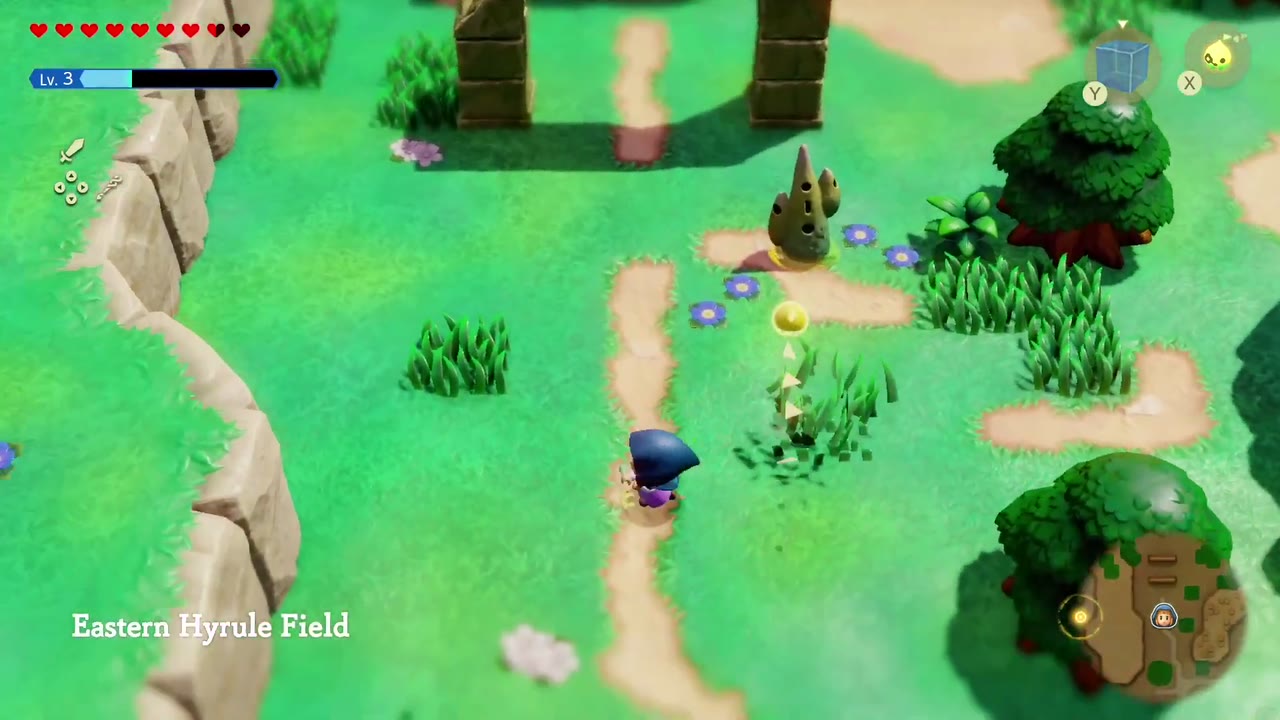
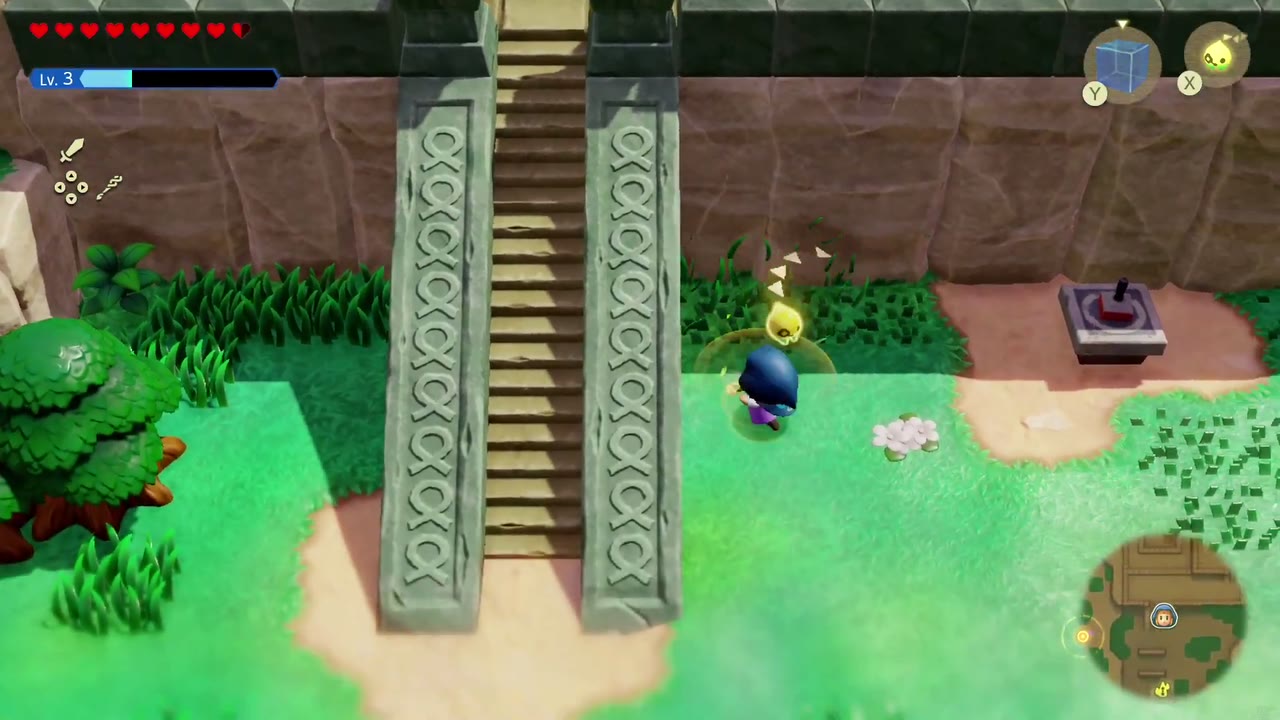
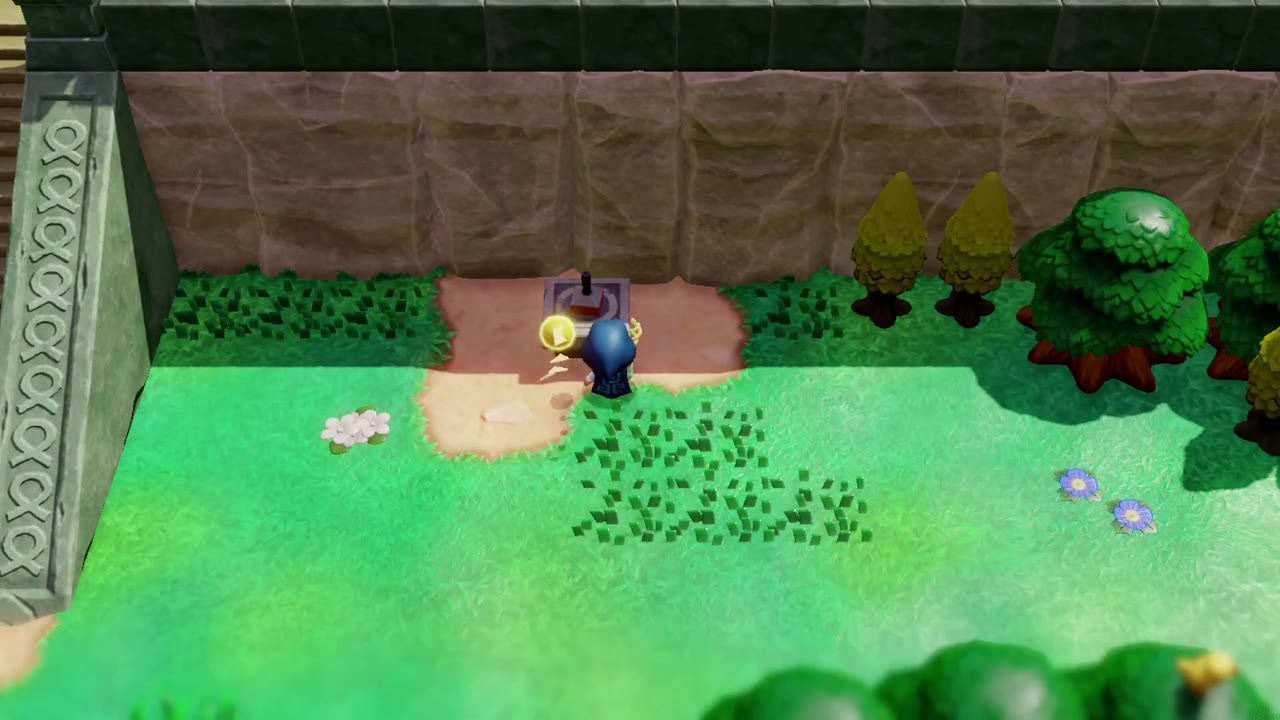
Stamp 7: foot of the stone ruins in Eastern Hyrule Field
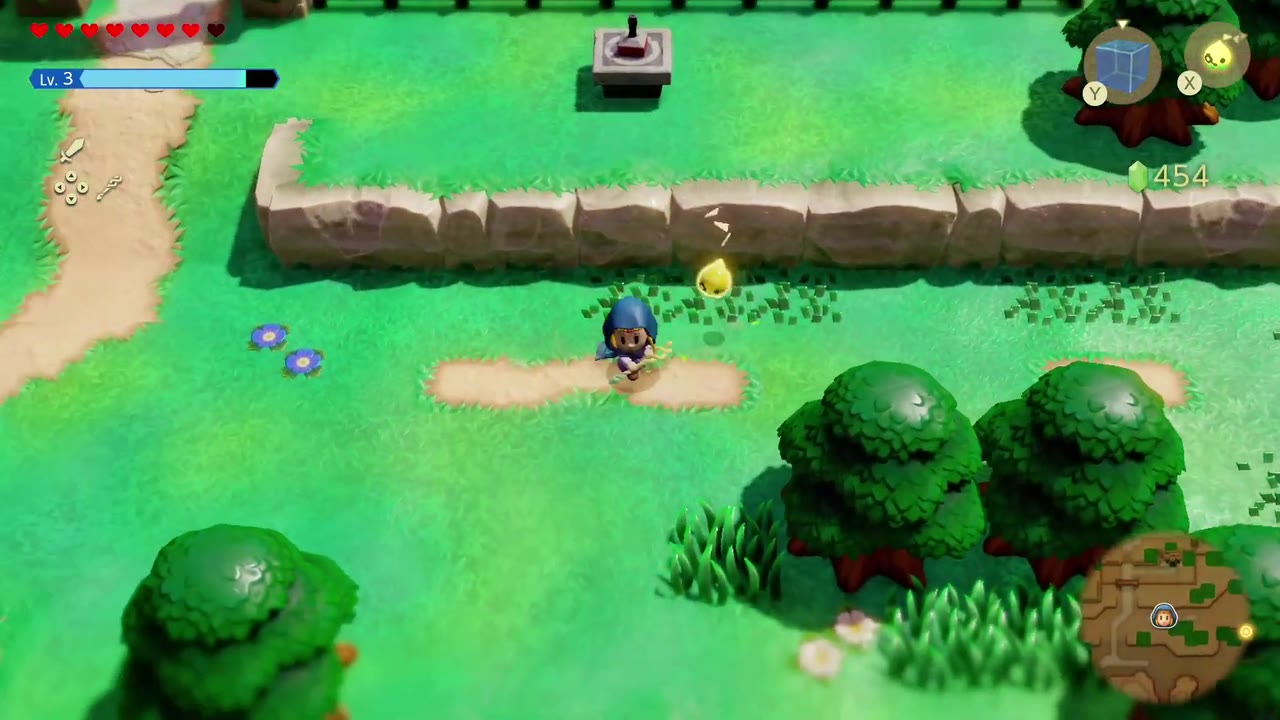
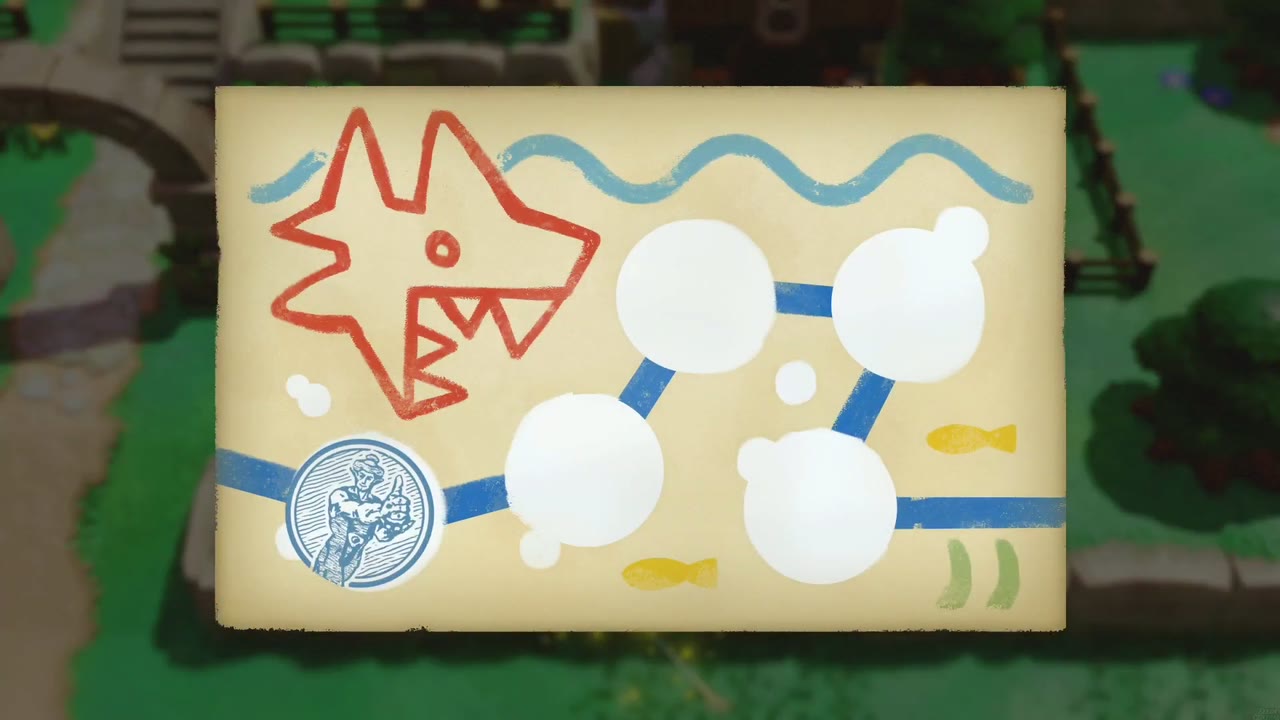
Where: Eastern Hyrule Field, northeast of the Hyrule Castle moat and north of Lake Hylia. The stand sits in a grassy courtyard at the foot of a large walled stone ruin, just to the right (east) of its long carved staircase.
How: Walk east into Eastern Hyrule Field (the title shows on the path) and record the waypoint there. Head north past the stone archways to the foot of the ruins’ wall, then follow the wall right past the staircase to the stand. No echoes needed. This is the second stamp on the Exciting Stamp Card.
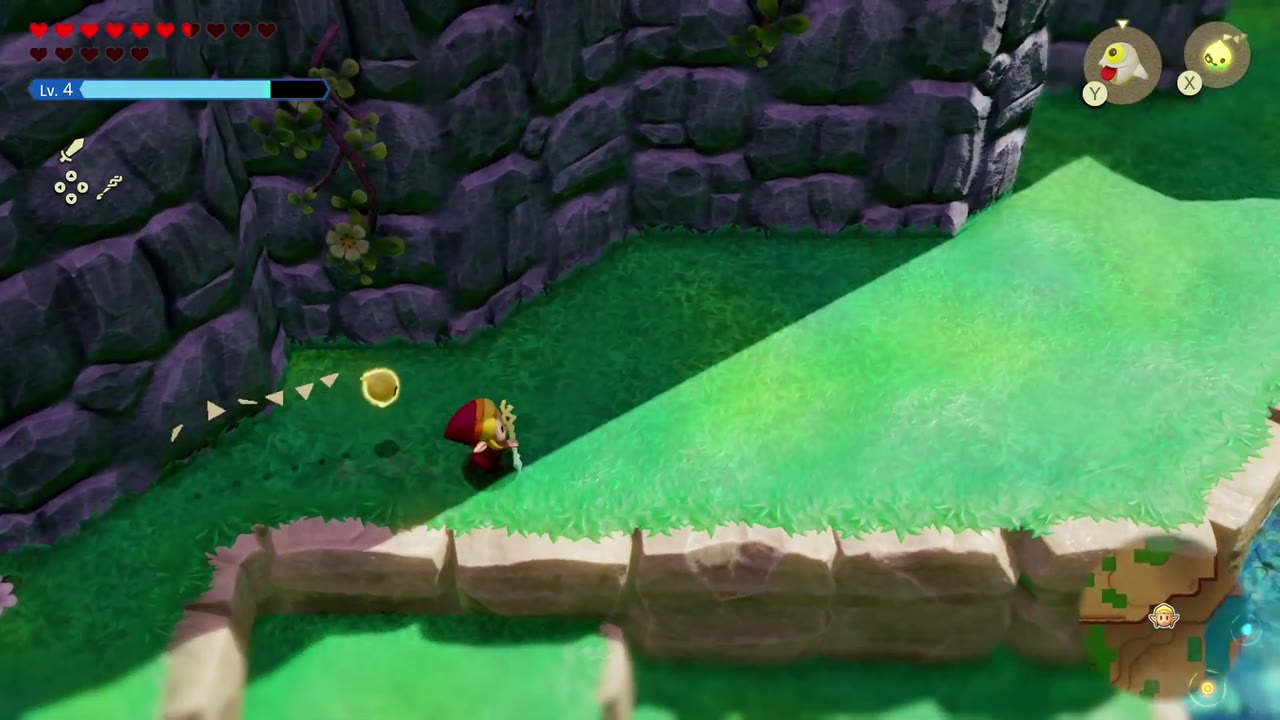
Stamp 8: canyon plateau beside a cave
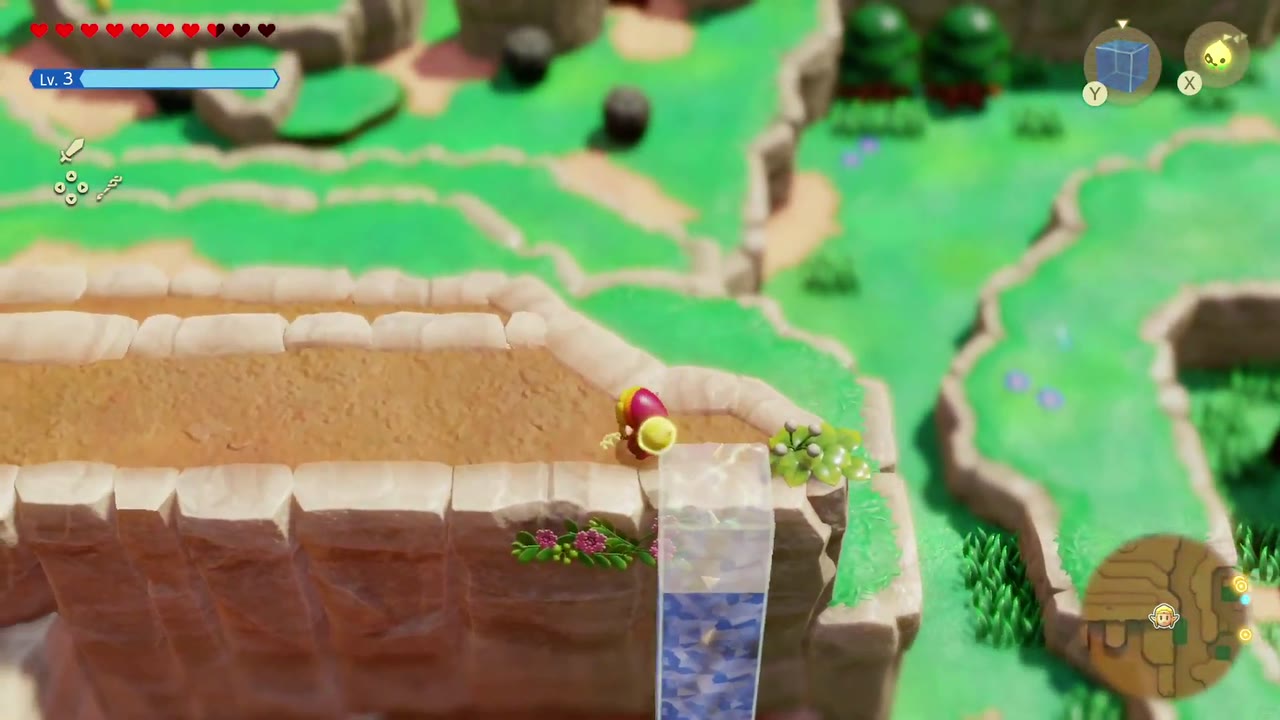
Where: The western Hyrule Field canyons, southwest of Kakariko Village. The stand is at the top of a winding red-rock canyon path, on a small grassy plateau looking across at a cave mouth in the cliff opposite.
How: Warp to the Hyrule Field waypoint southwest of Kakariko and head west into the stone-walled canyons. Where a ledge is too high, place a Water Block echo against it and climb up (one is enough at the first canyon wall). Follow the narrow path north between the rock walls; a Might Crystal is hidden under a rock along the way. The path comes out on the grassy plateau with the stand. This is the third stamp on the Exciting Stamp Card.


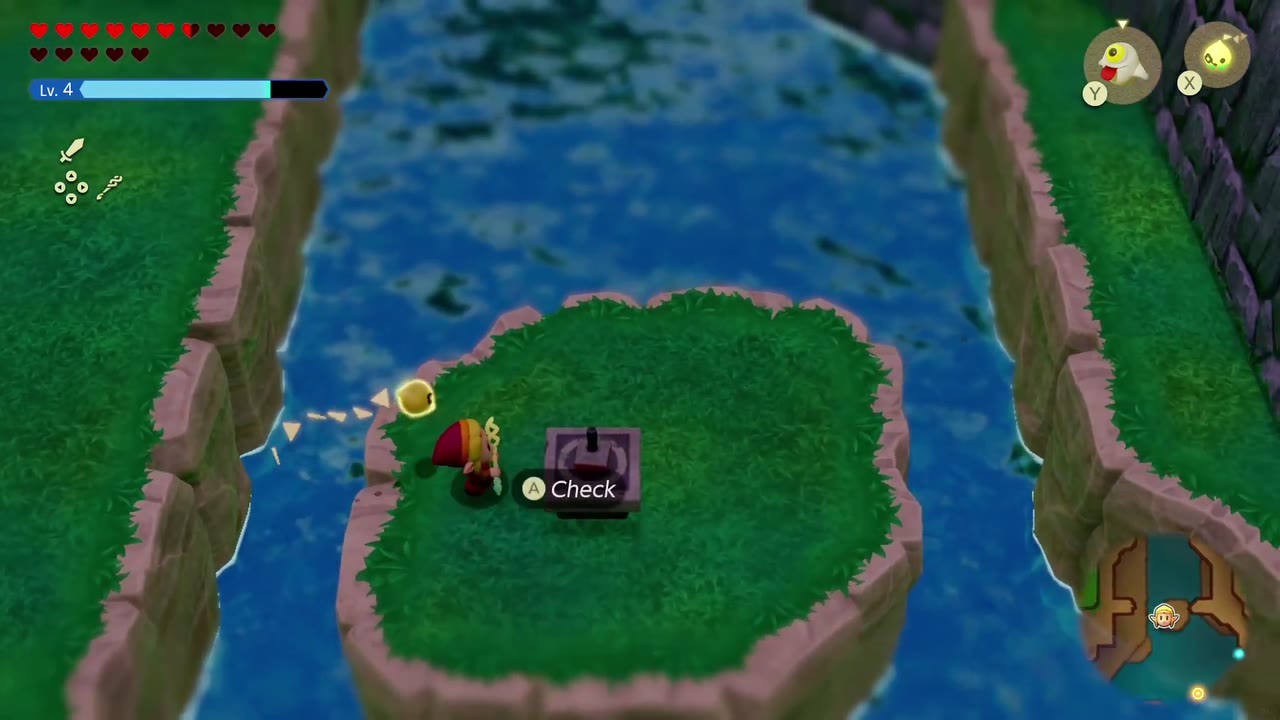
Stamp 9: River island in Hyrule Field
Where: a small grassy island in the middle of a narrow river gorge in Hyrule Field, a short walk from the fenced graveyard garden whose gravestone hides the Ghini cave.
How: From the graveyard garden (whose gravestone hides the Ghini cave), follow the grassy ledge down to the river and hop from the west bank onto the island; the stand is in its centre. This is the fourth stamp on the Exciting Stamp Card.

Lake Hylia (1)
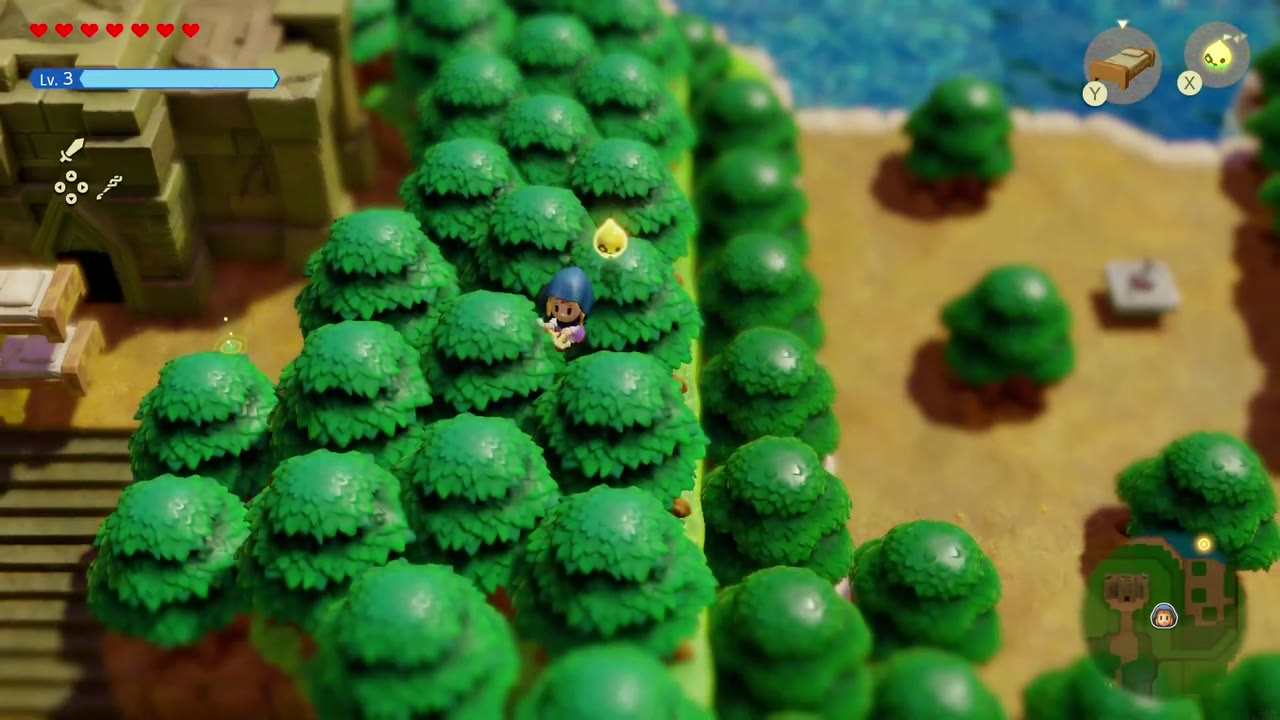
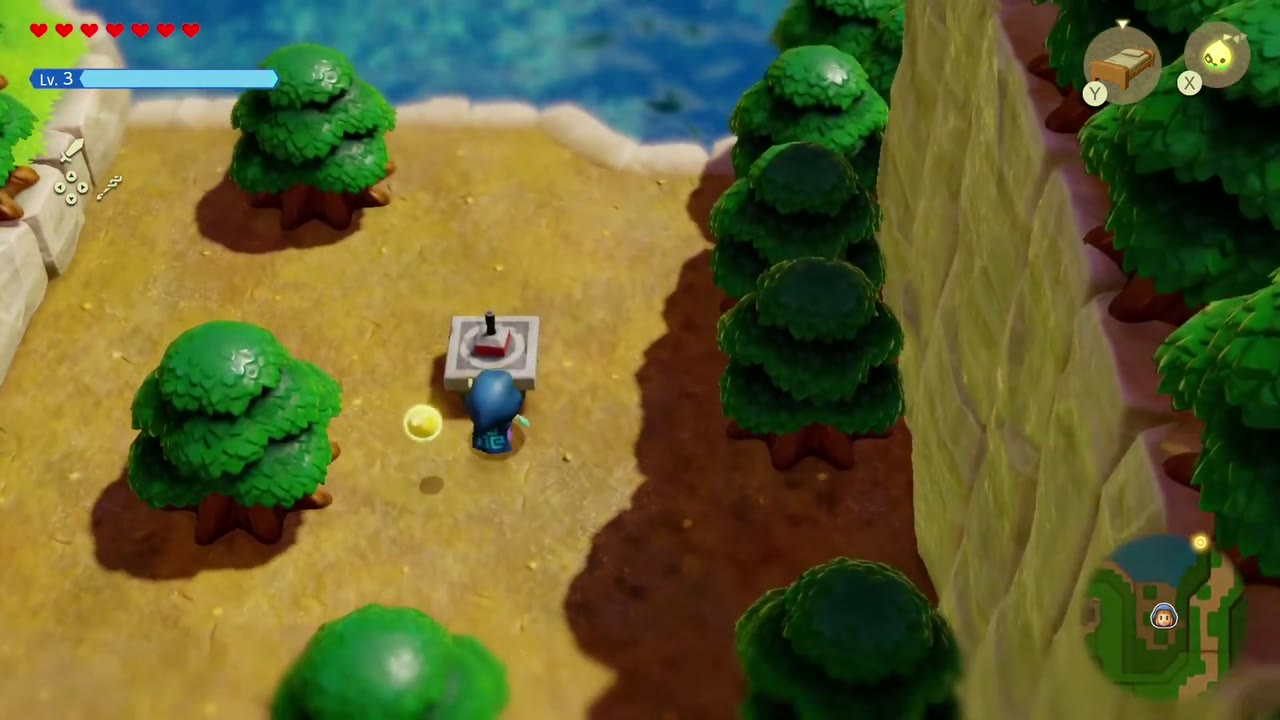
Stamp 10: Sandy clearing behind the Suthorn Ruins
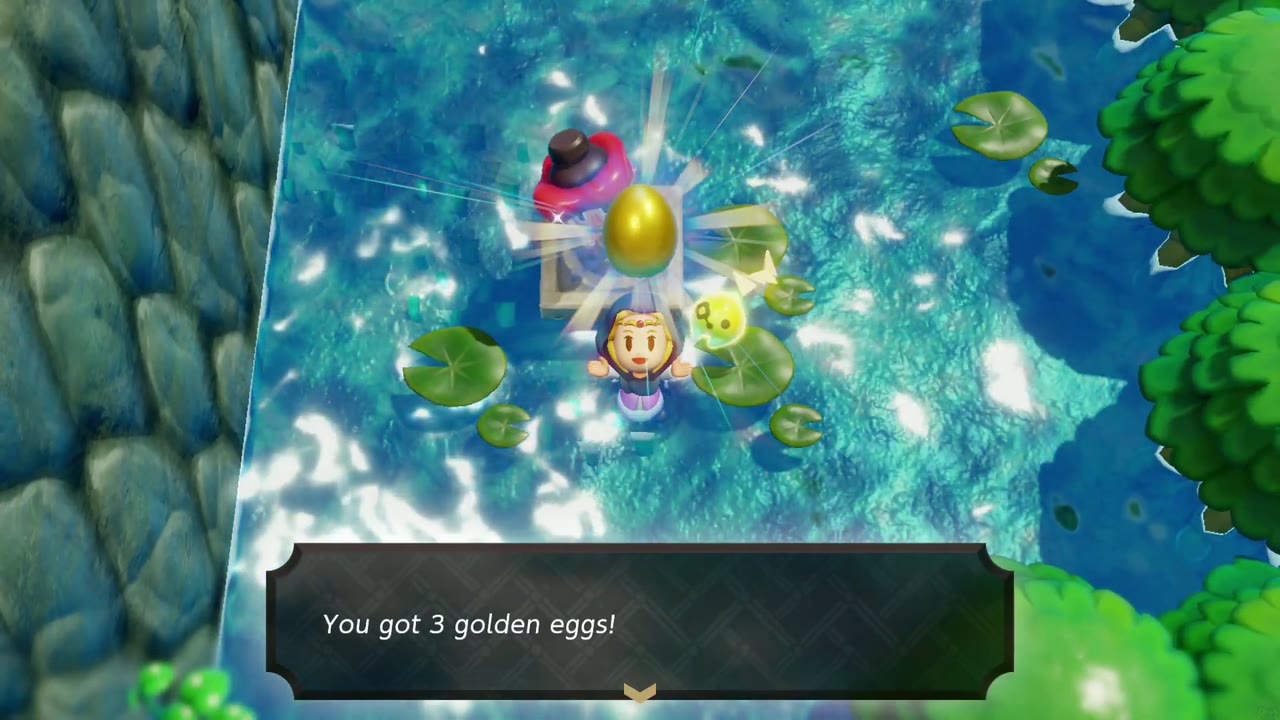
Where: Lake Hylia, in a small sandy clearing among trees just east of the Suthorn Ruins, on the lakeshore. How: At the top of the stone steps in front of the Suthorn Ruins, summon an Old Bed, climb it onto the wooded ledge beside the ruins, follow the ledge east (the “Lake Hylia” name appears here) and drop down into the clearing with the stand. This is the fifth and last stamp on the Exciting Stamp Card: Stamp Guy parachutes in and hands over the reward — “You got 3 golden eggs!” — then issues the Thrilling Stamp Card.
Jabul Waters (4)
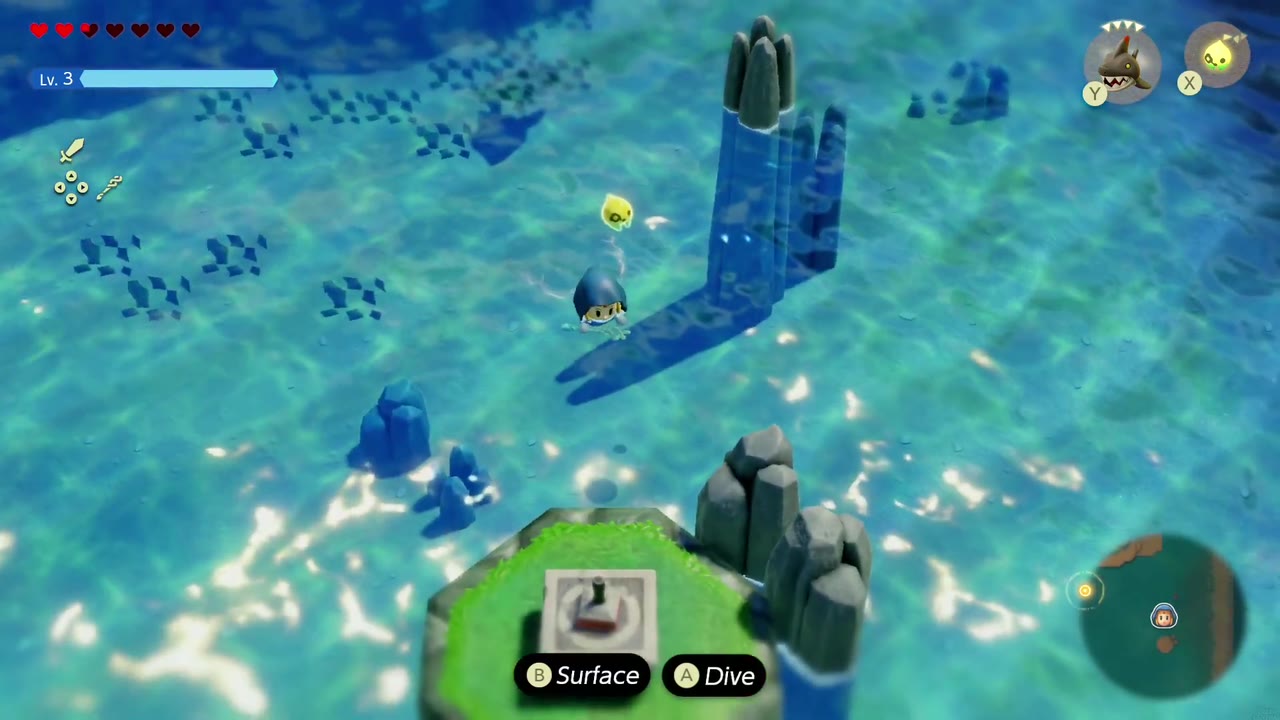
Stamp 11: Zora Cove sea islet
Where: Out in the open sea of Zora Cove, on a small octagonal grassy islet with a cluster of rock spires on one side, a short swim from the purple rift edge where you learn the Biri echo.
How: Swim (diving under when needed) past the rift edge toward the tall rock pillars, then climb out of the water onto the islet and check the stand. This is the first stamp on the Thrilling Stamp Card.


Stamp 12: Seesyde Village entrance
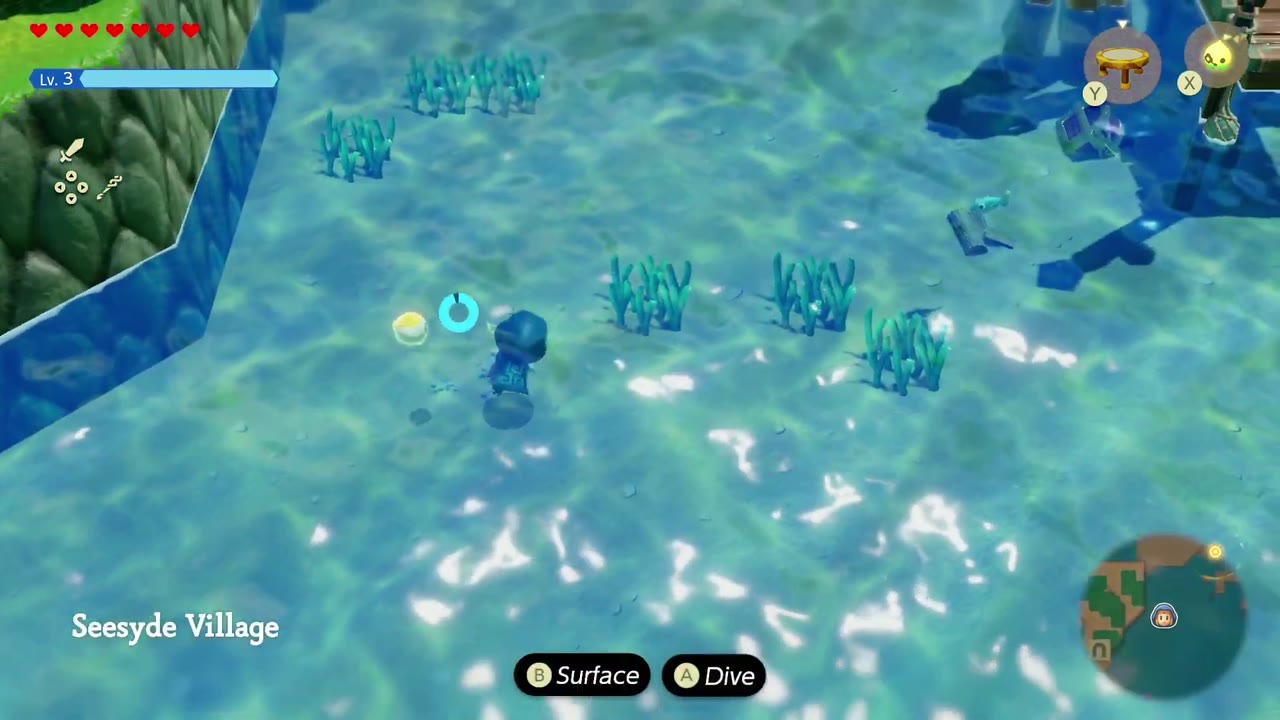
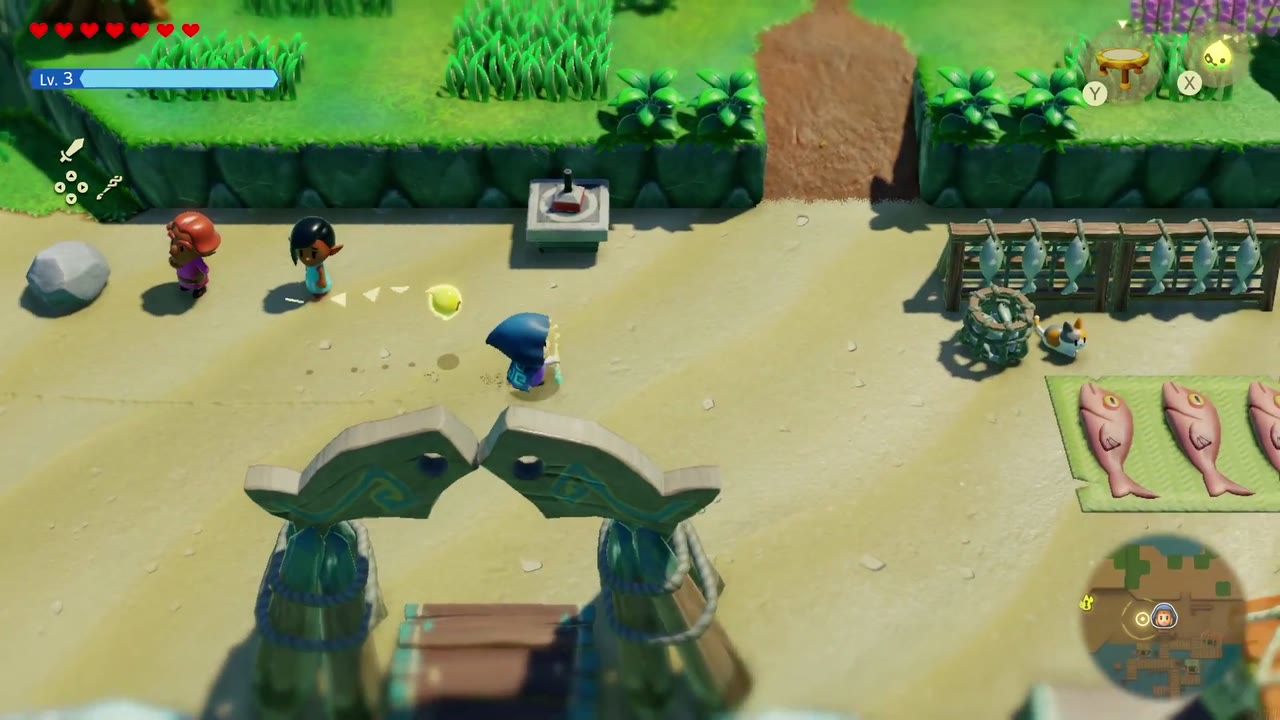
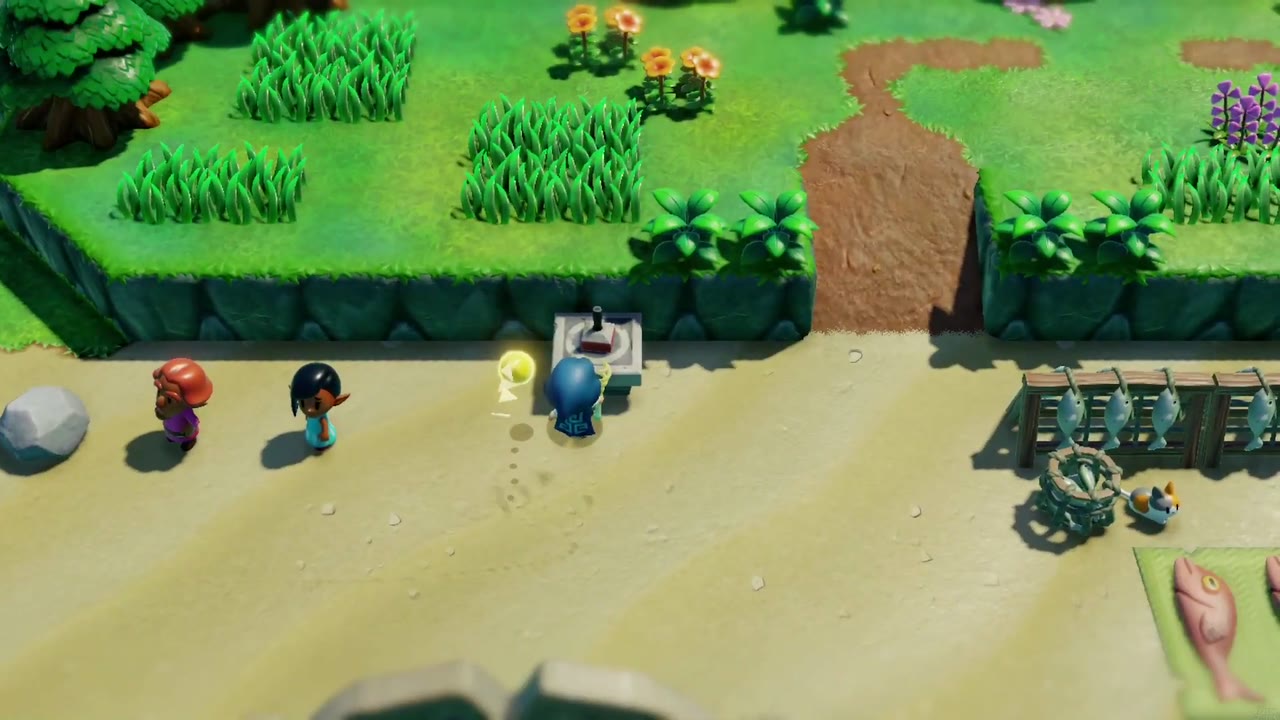
Where: On the sandy beach of Seesyde Village, against the grassy cliff just north of the village’s fish-shaped entrance arch, next to a dirt ramp and the fish-drying racks. Two villagers chatting about Lord Jabu-Jabu stand beside it.
How: Coming from Zora Cove, walk down the forest plateaus of Jabul Waters, swim the short channel where the “Seesyde Village” title appears, and walk east along the beach. Hear out the villagers if you like, then check the stand by the arch. This is the second stamp on the Thrilling Stamp Card.
Stamp 13: river stand beside the rift
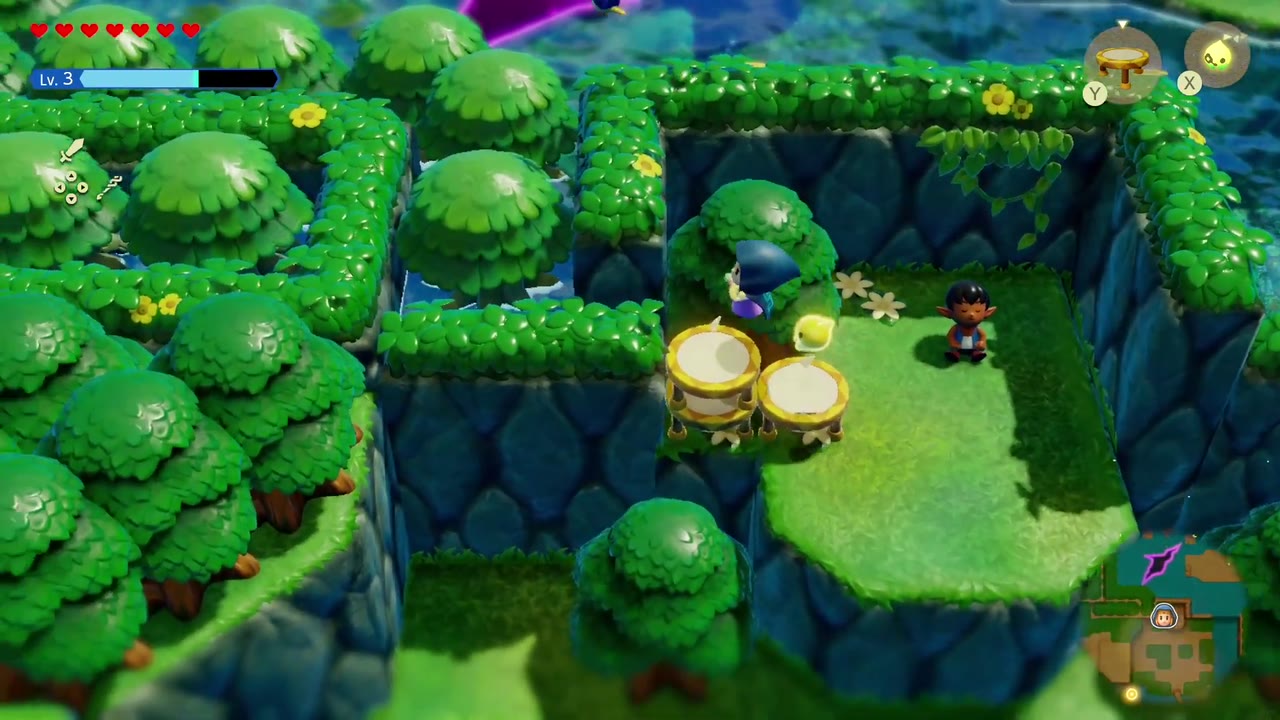
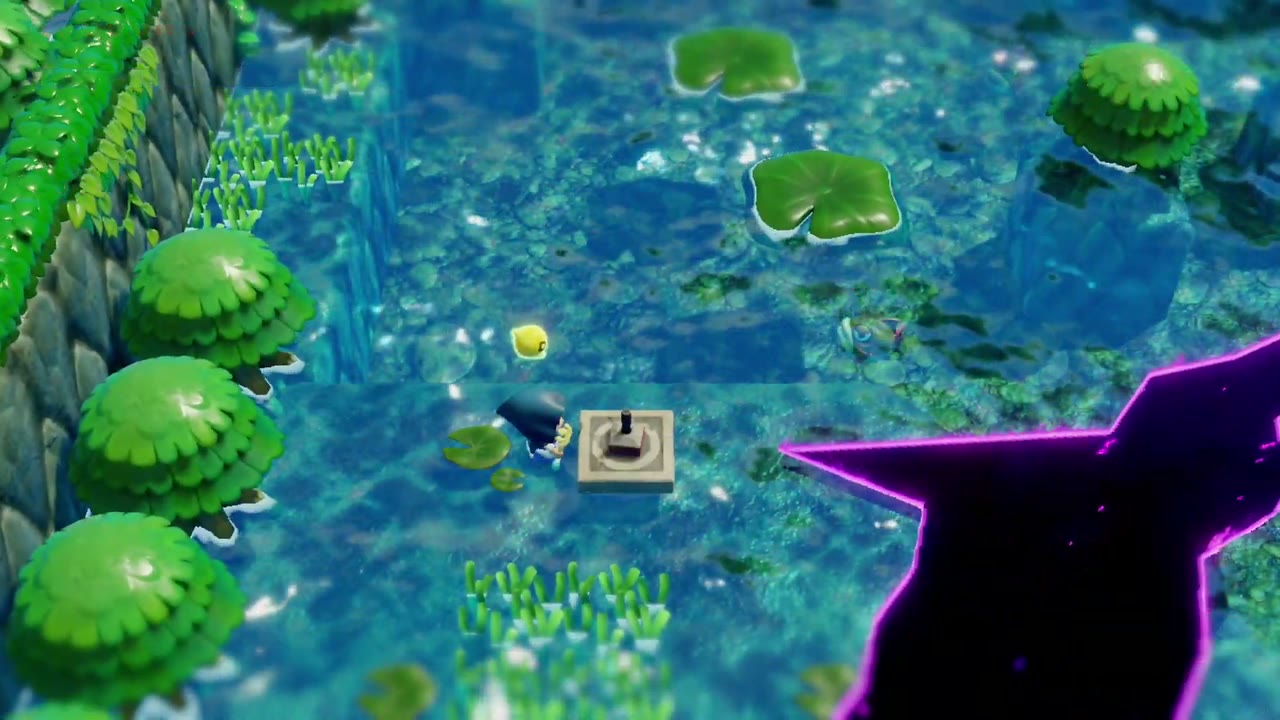
Where: In a shallow stretch of river just below Crossflows Plaza, where the stand rises straight out of the water at the edge of a purple rift, below a maze of hedge-topped cliffs.
How: Leave Crossflows Plaza down the side path and swim the channel (the “Jabul Waters” title shows). On the grassy ledges beyond, summon Trampoline echoes to bounce up the cliffs, past a boy standing in a small walled clearing, then walk along the hedge tops and drop into the water. Swim up to the stand and check it from the water. This is the third stamp on the Thrilling Stamp Card.
Stamp 14: Zora River channel
Where: Zora River, upstream of River Zora Village. The stand rises out of the water among lily pads in a narrow channel that runs between a tall rock cliff and a row of round trees, near the rift.
How: From River Zora Village, follow the river up its terraces and waterfalls beside the rift, using Bed echoes as steps to climb the falls (a Piece of Heart floats above one of them). Past a small flower-topped ledge, drop into the channel and swim up to the stand. This is the fourth stamp on the Thrilling Stamp Card.


Eldin Volcano (4)
Stamp 15: Lava islet below Rock-Roast Quarry
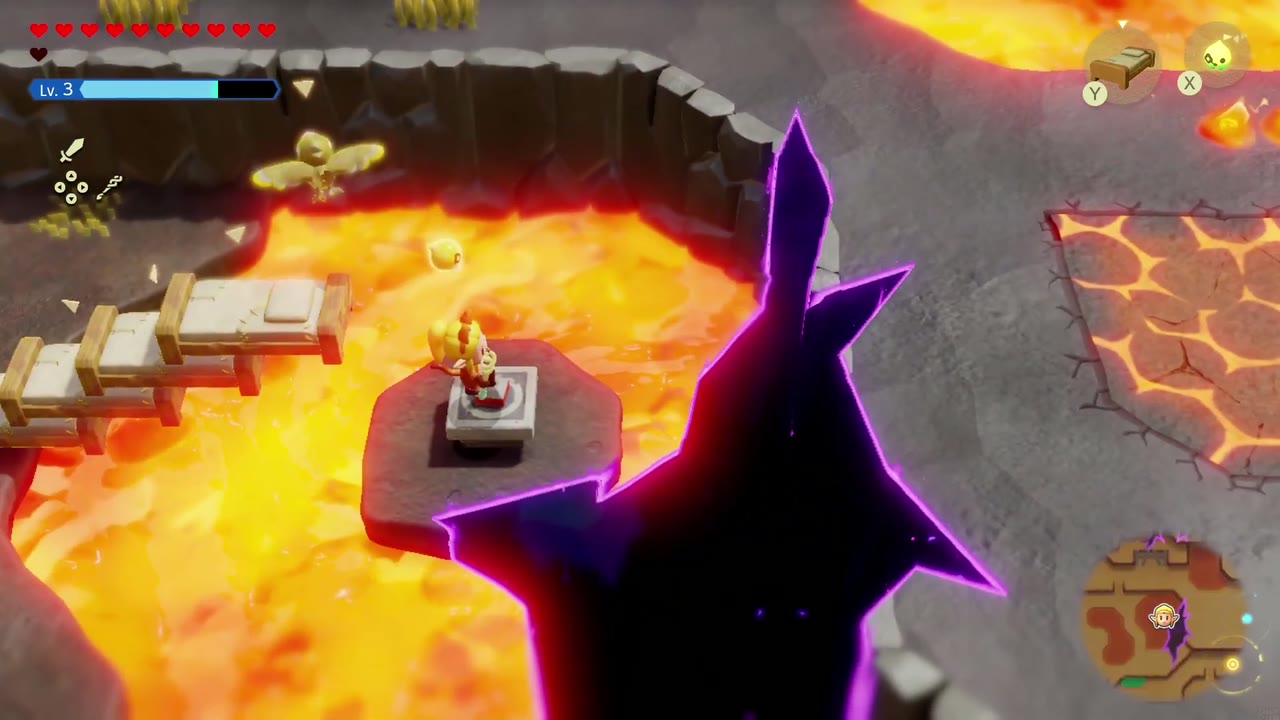
Where: In the lava flats of Eldin Volcano just south of the Rock-Roast Quarry gate, the stand sits on a small rock islet in a lava pool, right beside a Still World rift.
How: If you haven’t learned the Lava Rock echo yet, lay a row of Bed echoes across the lava as a bridge and walk out to the stand. This is the fifth and last stamp on the Thrilling Stamp Card: Stamp Guy parachutes in and hands over the reward — “You got a fairy bottle!” — then issues the Exhilarating Stamp Card.


Stamp 16: Eldin Volcano Trail, above the smoothie stand
Where: On Eldin Volcano Trail, a short climb up the stairs from the Business Scrub’s smoothie stand; the stand sits on a sandy ledge against a chain railing, next to a green pool.
How: Just walk up from the smoothie stand and press it. This is the first stamp on the Exhilarating Stamp Card.


Stamp 17: Sea-cliff ledge on Eldin Volcano Trail
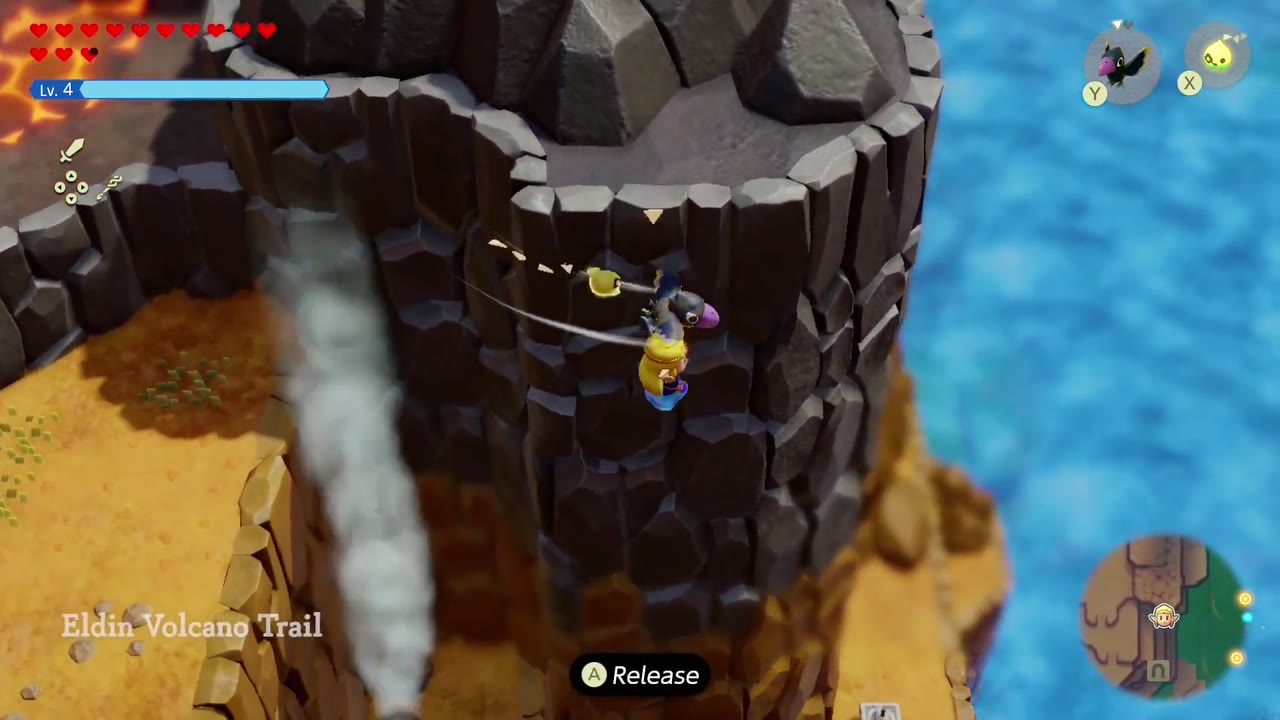
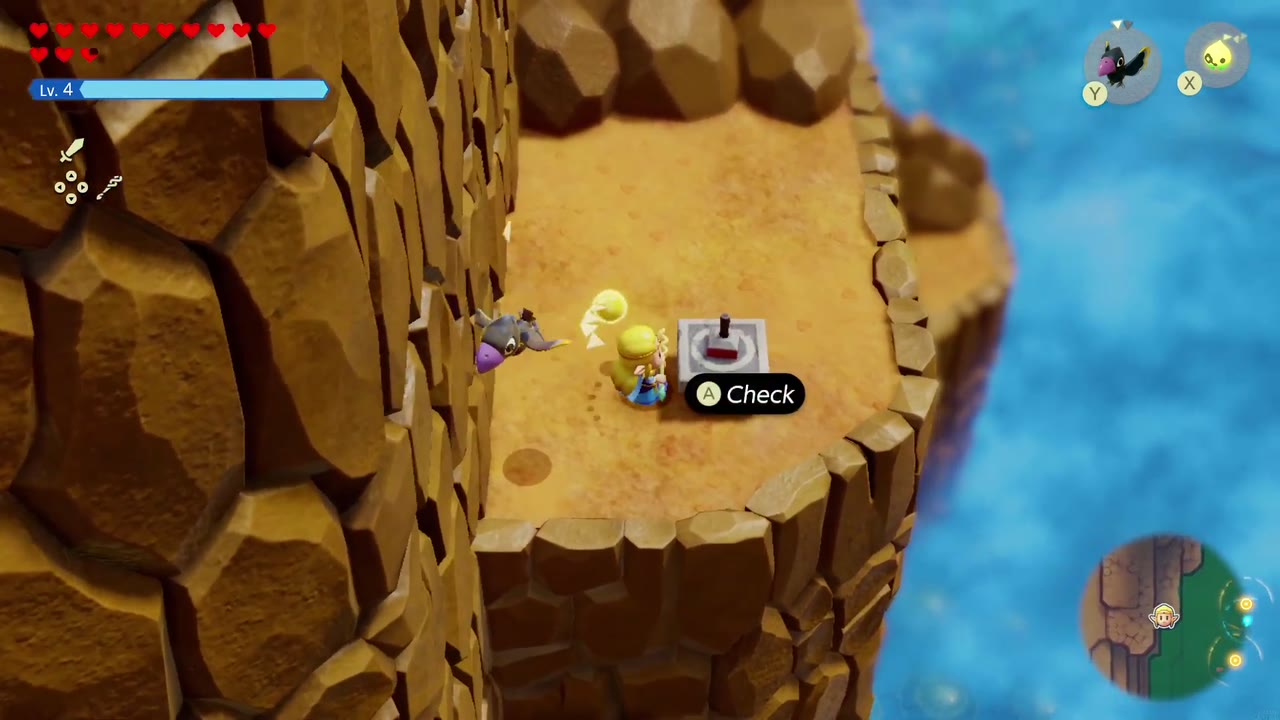
Where: A narrow ledge halfway down the cliffs on the sea side of Eldin Volcano, below the lava terraces near Disian’s glide course; the “Eldin Volcano Trail” title appears as you drop to it.
How: From the terrace above, grab onto a Crow echo and float down the dark rock face to the ledge, then press the stand. This is the second stamp on the Exhilarating Stamp Card.
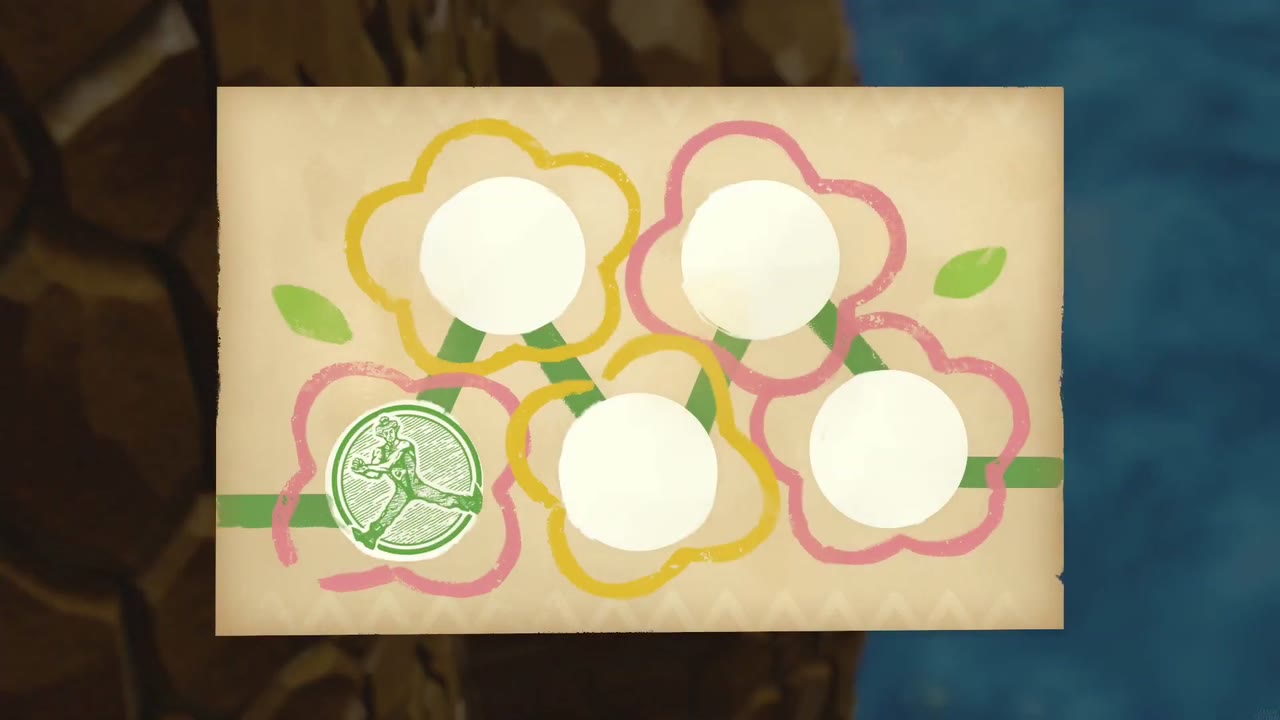
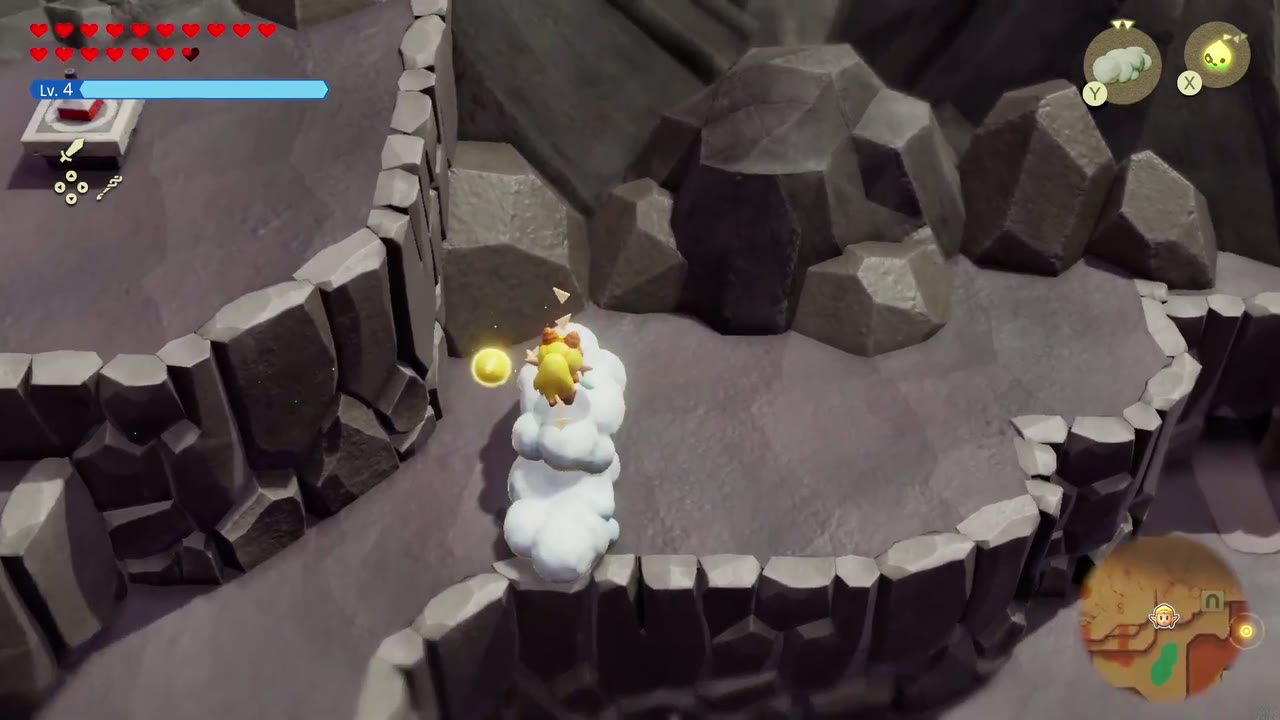
Stamp 18: Rocky plateau on Eldin Volcano
Where: Eldin Volcano, on a grey rocky plateau above the lava falls, beside a little pile of pale boulders.
How: Warp to the nearest Eldin Volcano waypoint, ride Cloud echoes across the lava falls and up the rock ledges, then walk over to the stand. This is the third stamp on the Exhilarating Stamp Card.

Hebra Mountain (3)
Stamp 19: Snowy ledge above the Hebra cave exit
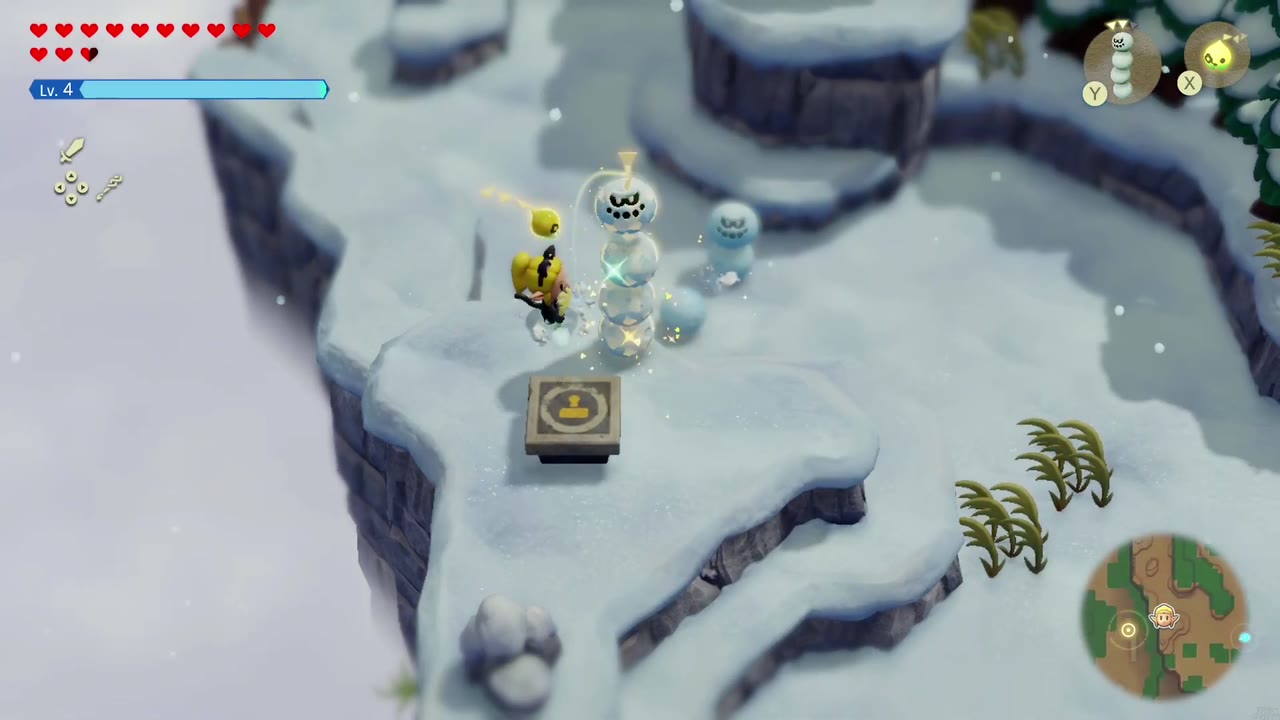
Where: On the snowy cliff ledges a short way past where you first come out of the cave onto Hebra Mountain, beyond the first big rift and the spot where you learn the Snomaul echo. The stand sits right at the cliff edge.
How: Climb the ledges with Water Block echoes, fight off the Snomauls on the path and press the stand. This is the fourth stamp on the Exhilarating Stamp Card.
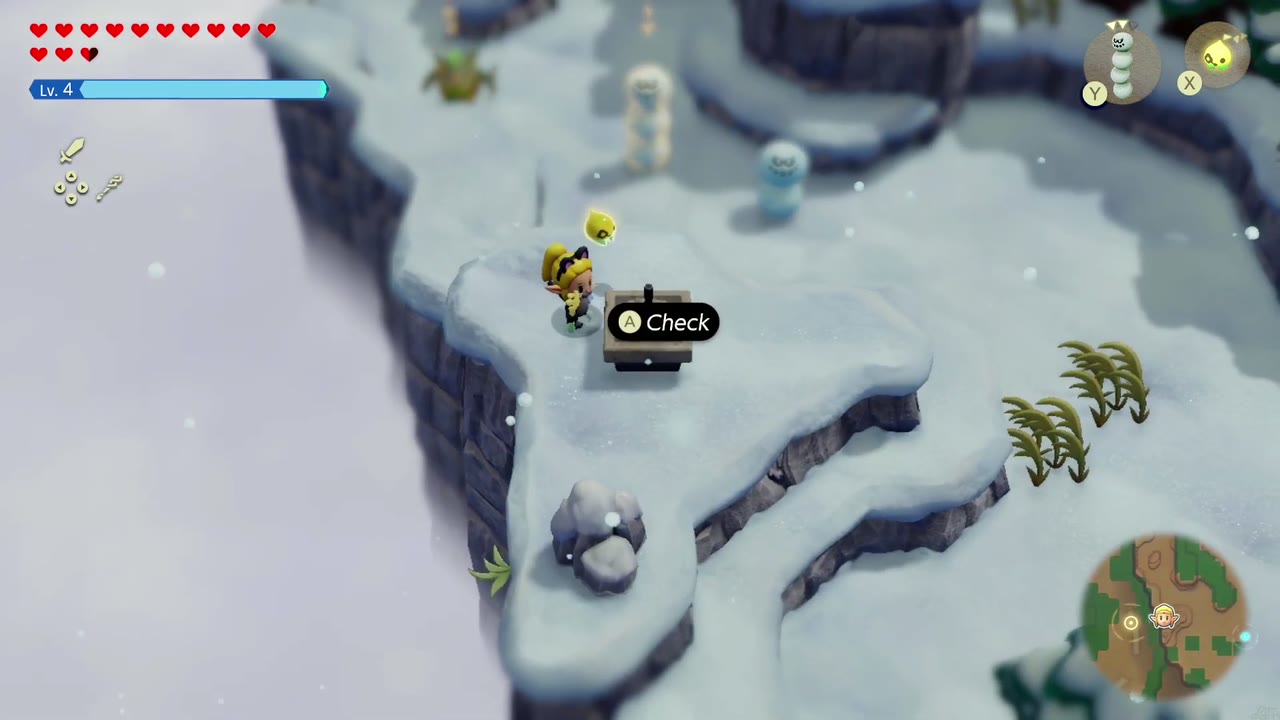

Stamp 20: Pine-forest clearing by the Moblin lookout
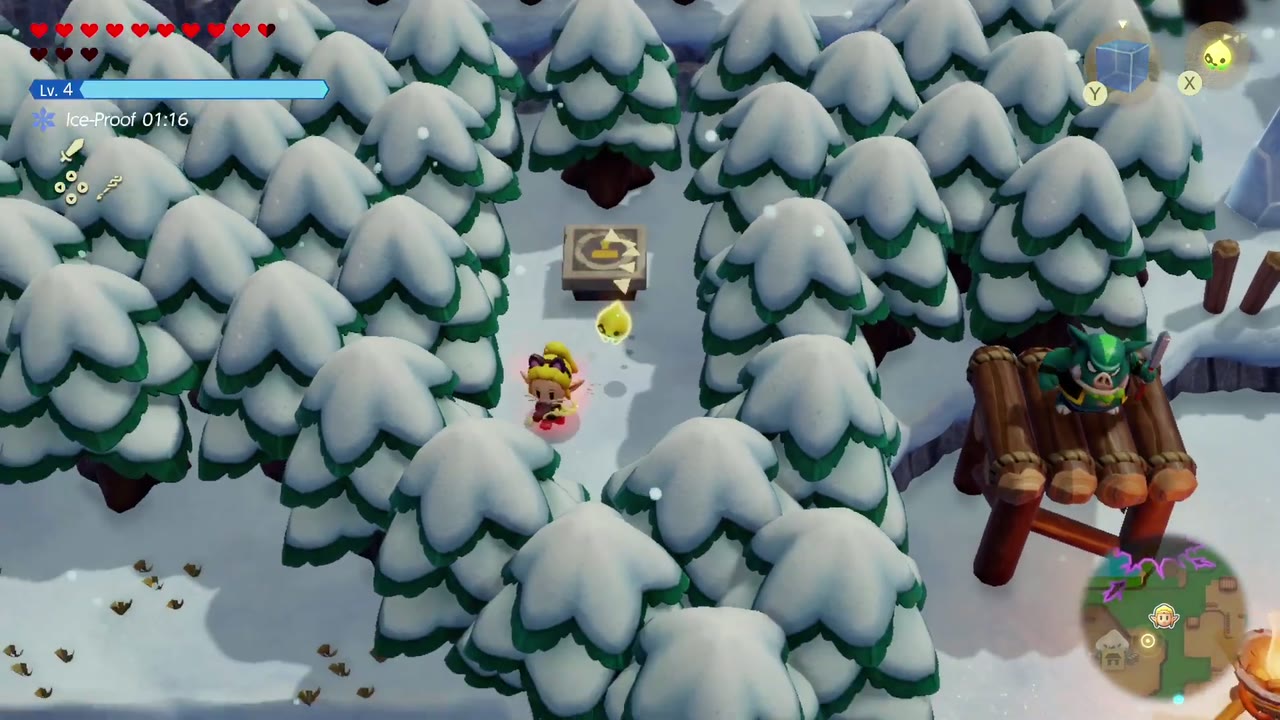
Where: Hebra Mountain, a short way on from Condé’s house: the stand is hidden in a small clearing among the snowy pines, up on the ledge above a brazier and right beside a wooden Moblin lookout tower.
How: From the ledge below (where you can light the brazier to melt an ice block holding a Might Crystal), stack Water Block echoes, climb up onto the tree-covered ledge and press the stand — watch for the Spear Moblins on the lookout towers. This is the fifth and last stamp on the Exhilarating Stamp Card: Stamp Guy parachutes in and hands over the reward — “You got 5 monster stones!” — then issues the Final Stamp Card, which he claims is autographed by the Stamp Guy himself.

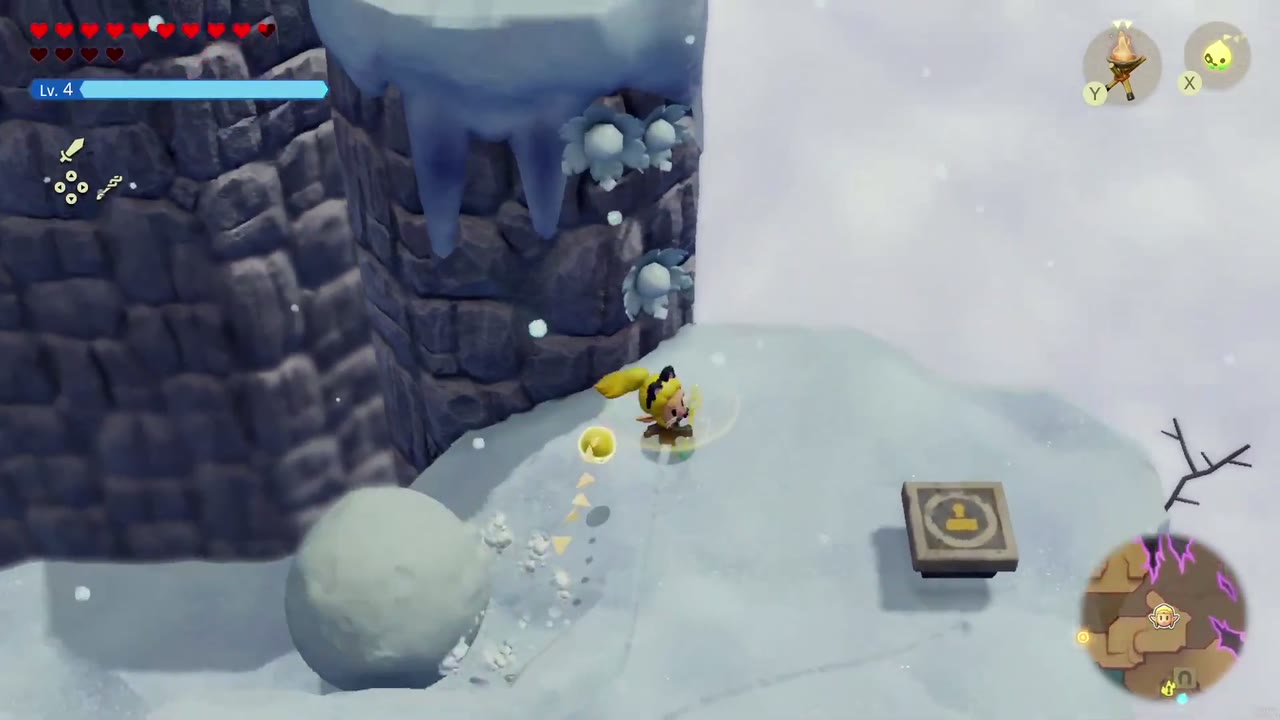
Stamp 21: Hebra summit stand (Stamp Stand Swallowed!)
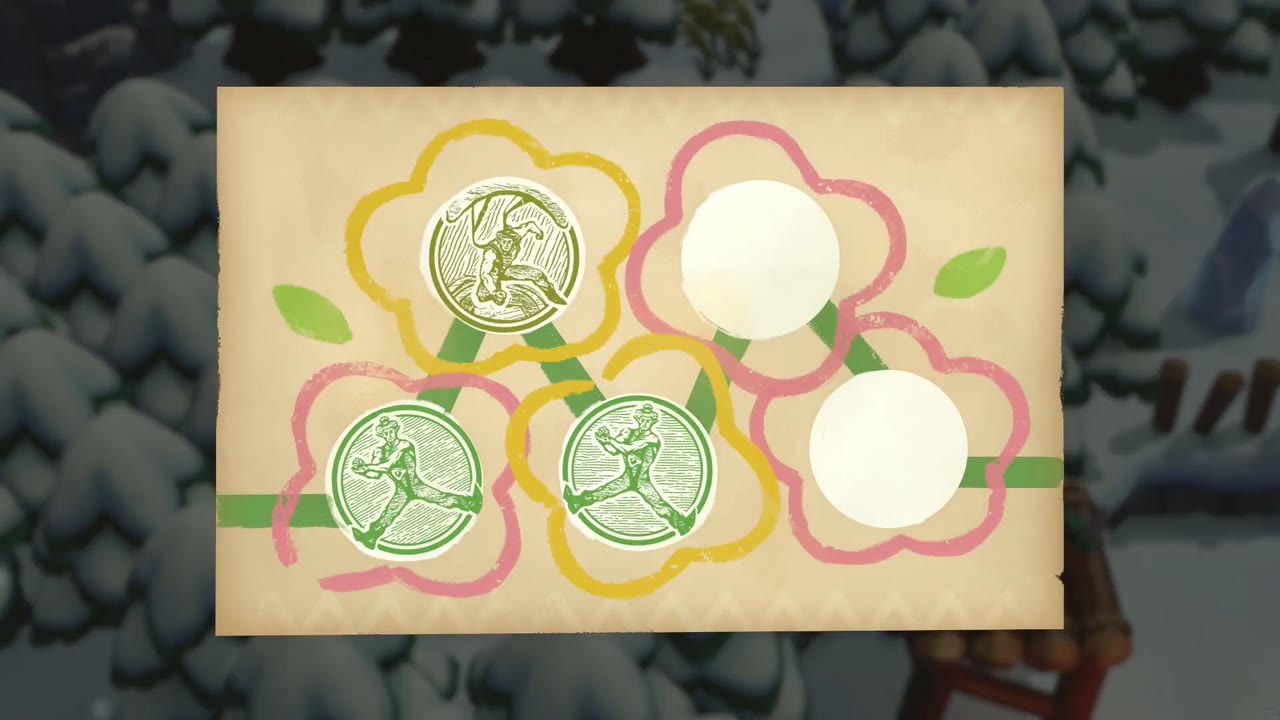
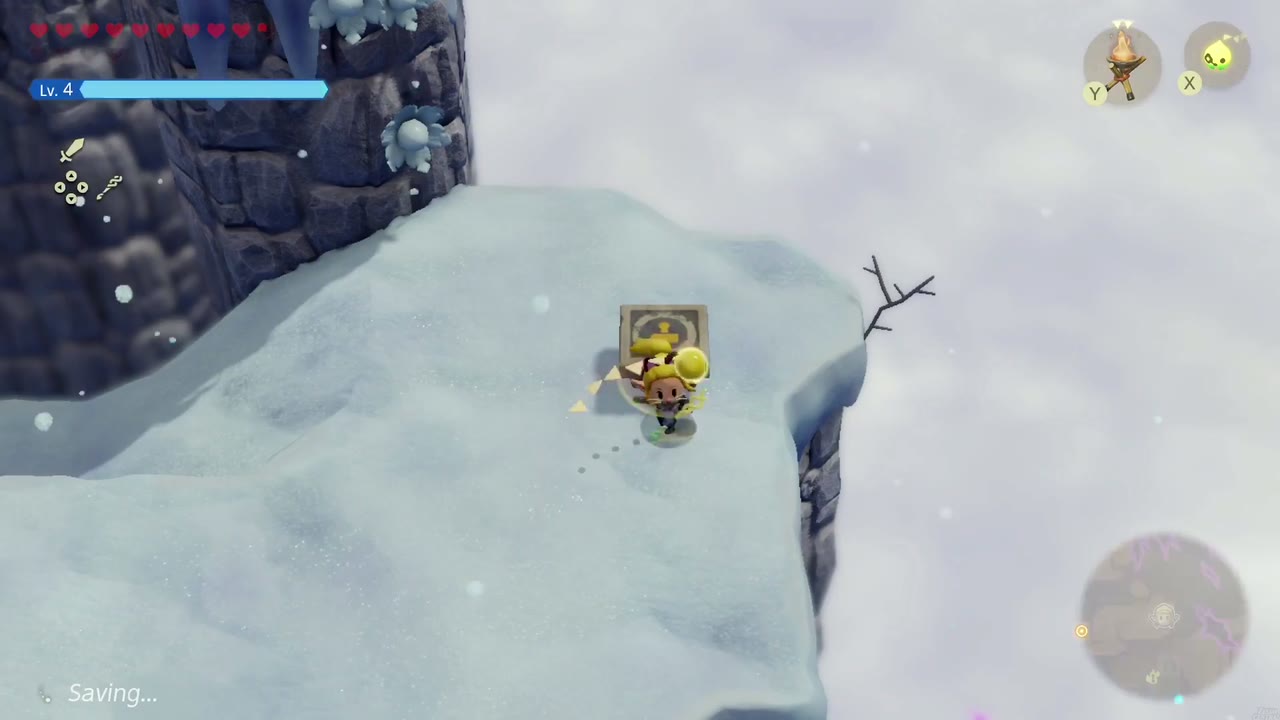
Where: High on Hebra Mountain, on a snowy ledge in the summit snowfield where snowballs roll down past the rift. This stand only appears after the side quest Stamp Stand Swallowed!, which is available during the Hebra Mountain climb before Lanayru Temple: Stamp Guy waits by a small rift complaining that his Hebra Mountain stand was swallowed.
How: Enter the rift (Stilled Hebra Mountain Passage), melt the ice with the Brazier echo, cross it with Water Block bridges and seal it. Back outside, Stamp Guy cheers “My stand is really back!” — press the restored stand. This is the first stamp on the Final Stamp Card.

Faron Wetlands (4)
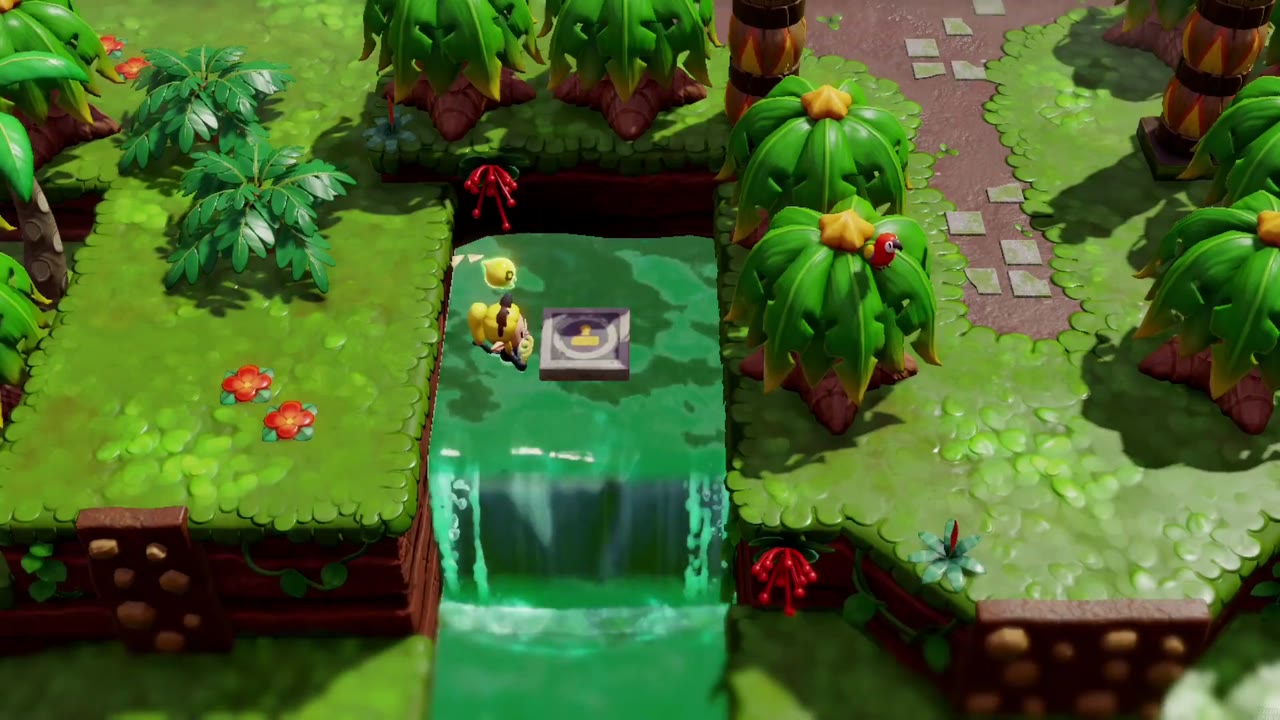
Stamp 22: Stream below the Scrubton clink
Where: in Scrubton, on the terraces just south of the clink (the stone building with bars that the Deku guards watch); the stand sits in a shallow stream at the top of a small waterfall.
How: from the clink, walk down the stepped jungle terraces and step from the grass into the stream to reach the stand. This is the second stamp on the Final Stamp Card.


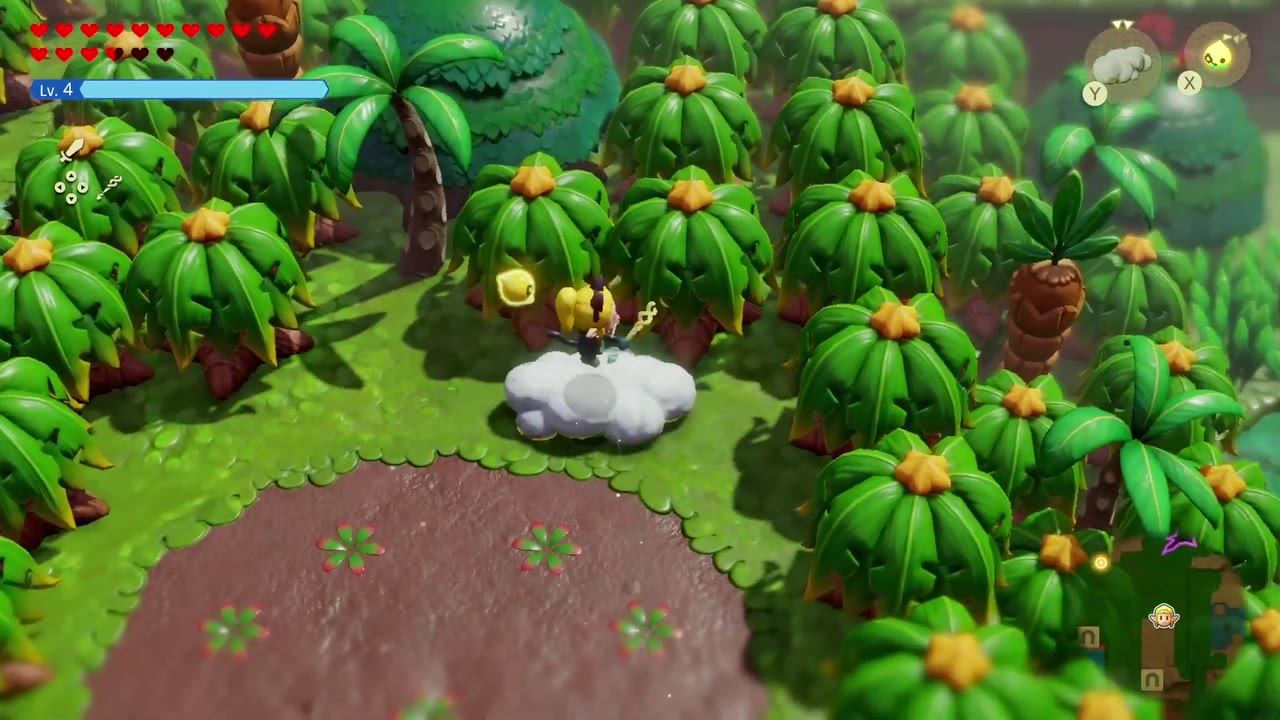
Stamp 23: Jungle ledge by the Might Crystal clearing
Where: Faron Wetlands, on a grassy ledge in the thick palm jungle just beside the round dirt clearing that holds a Might Crystal, with the purple rift a little to the north.
How: Grab the Might Crystal in the clearing if you haven’t already, then ride a Cloud echo over the palms onto the ledge; the stand is right there. This is the third stamp on the Final Stamp Card.

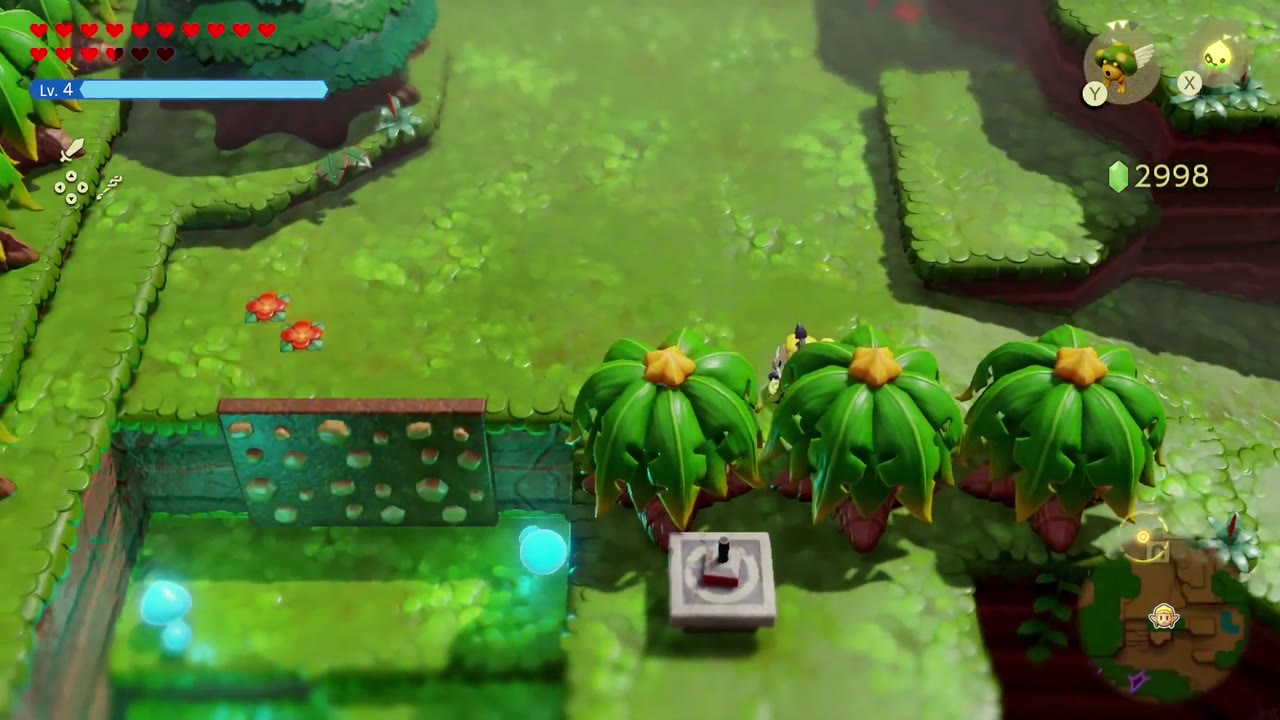
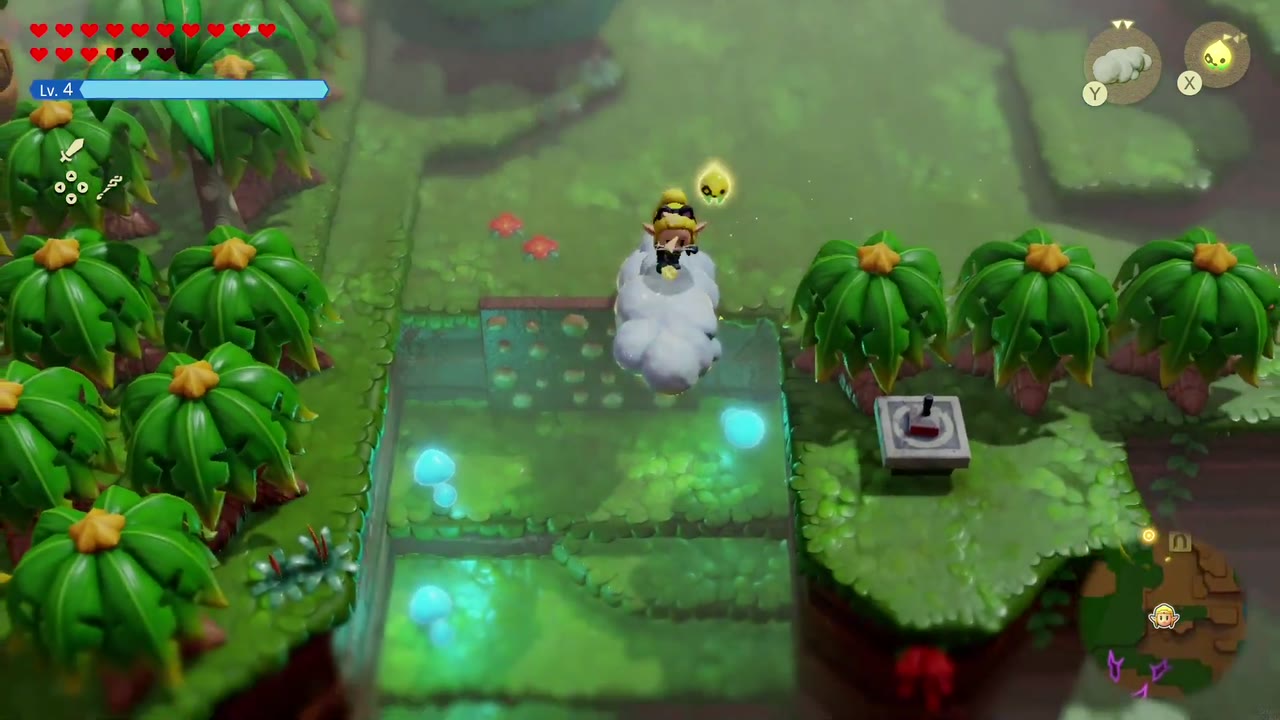
Stamp 24: Ledge over the water-block channel
Where: Faron Wetlands, east of Scrubton near the rift’s edge, on a raised grassy ledge beside a sunken channel of glowing water blocks and switch pedestals.
How: The ledge can’t be walked onto from the terrace above, so summon a Cloud echo, ride it out over the channel and step off onto the ledge next to the stand. This is the fourth stamp on the Final Stamp Card.
Stamp 25: Round pool below the crystal cliff
Where: Faron Wetlands, east of Scrubton beside the rift, in a round shallow pool on a mossy terrace at the top of a little waterfall; the cliff behind it has a web-covered alcove holding a Might Crystal.
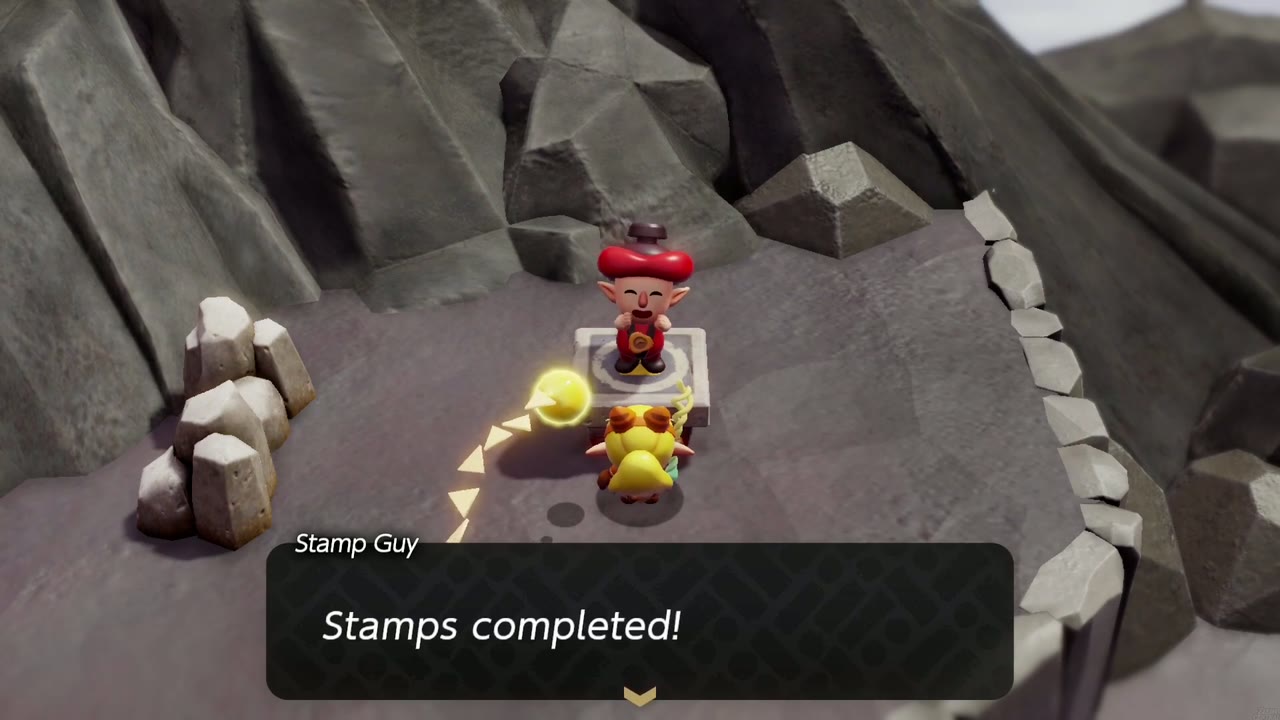
How: If you want the Might Crystal first, burn the web on the cliff with a bound fire echo and ride a Cloud echo up to the alcove; then float back down and wade over to the stand. This is the last stamp — pressing it completes the Final Stamp Card and the whole rally: Stamp Guy parachutes in (“Stamps completed!”), tells the story of Stamp Mama, and hands over the ultimate prize: “You got a stamp suit!” Equip it from the Clothing list to dress just like him.