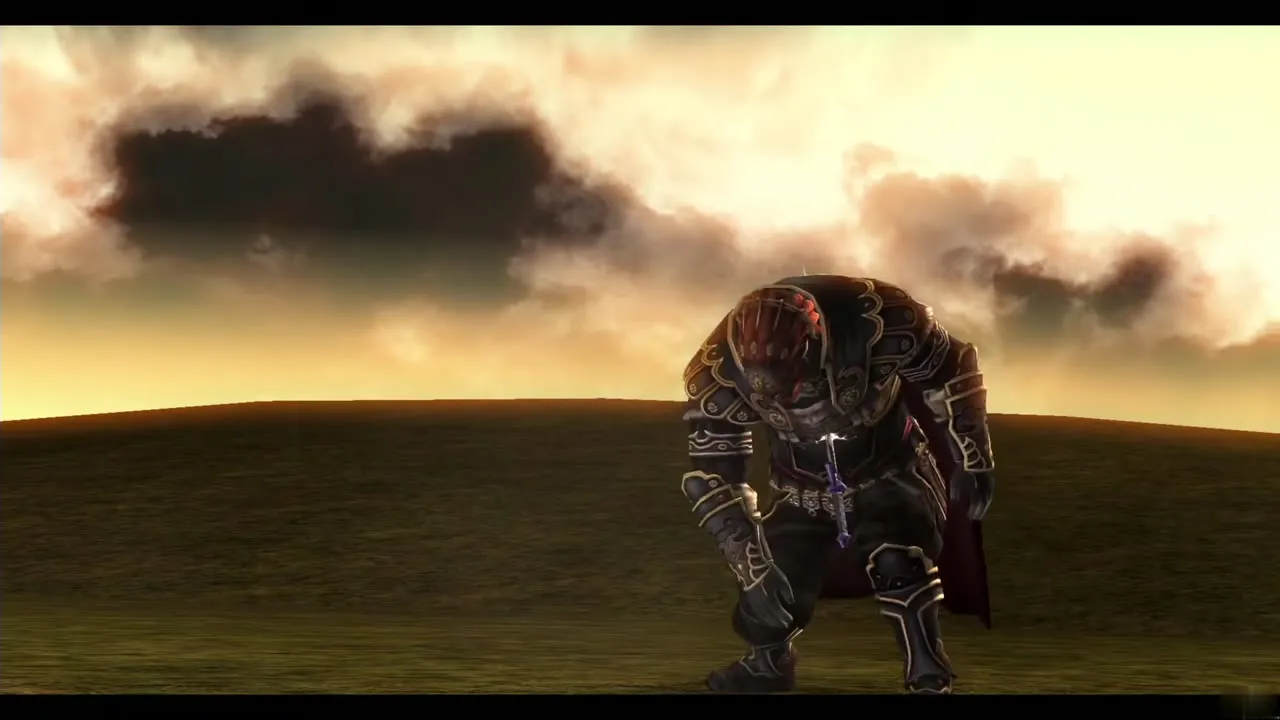
| Fights | 27 fights: 8 dungeon bosses, 15 mini-boss fights (four of them against King Bulblin) and the four-part final battle |
|---|---|
| Rewards | 8 Heart Containers (Diababa, Fyrus, Morpheel, Stallord, Blizzeta, Armogohma, Argorok, Zant), 3 Fused Shadows (Diababa, Fyrus, Morpheel), 3 Mirror Shards (Blizzeta, Armogohma, Argorok) and a new item from most mini-bosses |
| Hero Mode | Enemies deal double damage and hearts do not appear, so keep potions and a fairy ready |
This page lists every boss and mini-boss in the order you meet them, with where to find it, what you need and what you get. Each entry explains the fight step by step. The Ending Blow hidden skill cannot be used on Stallord, Blizzeta, Armogohma or Zant. The Mirror of Twilight already holds the first of the four Mirror Shards when you find it, which is why only three boss shards are counted.
Table of Contents
Quick reference
| # | Fight | Where | Use | Reward |
|---|---|---|---|---|
| 1 | Ook | Forest Temple | Sword | Gale Boomerang |
| 2 | Diababa | Forest Temple | Gale Boomerang, sword | Heart Container, first Fused Shadow |
| 3 | King Bulblin (Bridge of Eldin) | Hyrule Field and the Bridge of Eldin | Epona, sword | None (story progress) |
| 4 | Dangoro | Goron Mines | Iron Boots, sword | Hero’s Bow |
| 5 | Fyrus | Goron Mines | Hero’s Bow, Iron Boots, sword | Heart Container, second Fused Shadow |
| 6 | Twilit Carrier Kargarok | Lake Hylia (Twilight) | Wolf Link, Midna | Ride to Zora’s Domain |
| 7 | Twilit Bloat | Lake Hylia (Twilight) | Wolf Link, senses | Last Tear of Light of Lanayru |
| 8 | King Bulblin (Great Hylian Bridge) | Great Hylian Bridge, Hyrule Field | Epona, Hero’s Bow | None (story progress) |
| 9 | Deku Toad | Lakebed Temple | Sword, Bomb Arrows or bombs | Clawshot |
| 10 | Morpheel | Lakebed Temple | Clawshot, Iron Boots, Zora Armor | Heart Container, third Fused Shadow |
| 11 | King Bulblin (Bulblin Camp) | Bulblin Camp, Gerudo Desert | Sword | None (story progress) |
| 12 | Death Sword | Arbiter’s Grounds | Wolf Link, then Hero’s Bow, Clawshot or Boomerang | Spinner |
| 13 | Stallord | Arbiter’s Grounds | Spinner, Master Sword | Heart Container |
| 14 | Darkhammer | Snowpeak Ruins | Sword, Clawshot, Bomb Arrows | Ball and Chain |
| 15 | Blizzeta | Snowpeak Ruins | Ball and Chain | Heart Container, second Mirror Shard |
| 16 | Skull Kid | Sacred Grove | Hero’s Bow | None (story progress) |
| 17 | Darknut | Temple of Time | Sword, Ball and Chain | Dominion Rod |
| 18 | Armogohma | Temple of Time | Dominion Rod, Hero’s Bow | Heart Container, third Mirror Shard |
| 19 | Aeralfos | City in the Sky | Clawshot, sword | Double Clawshots |
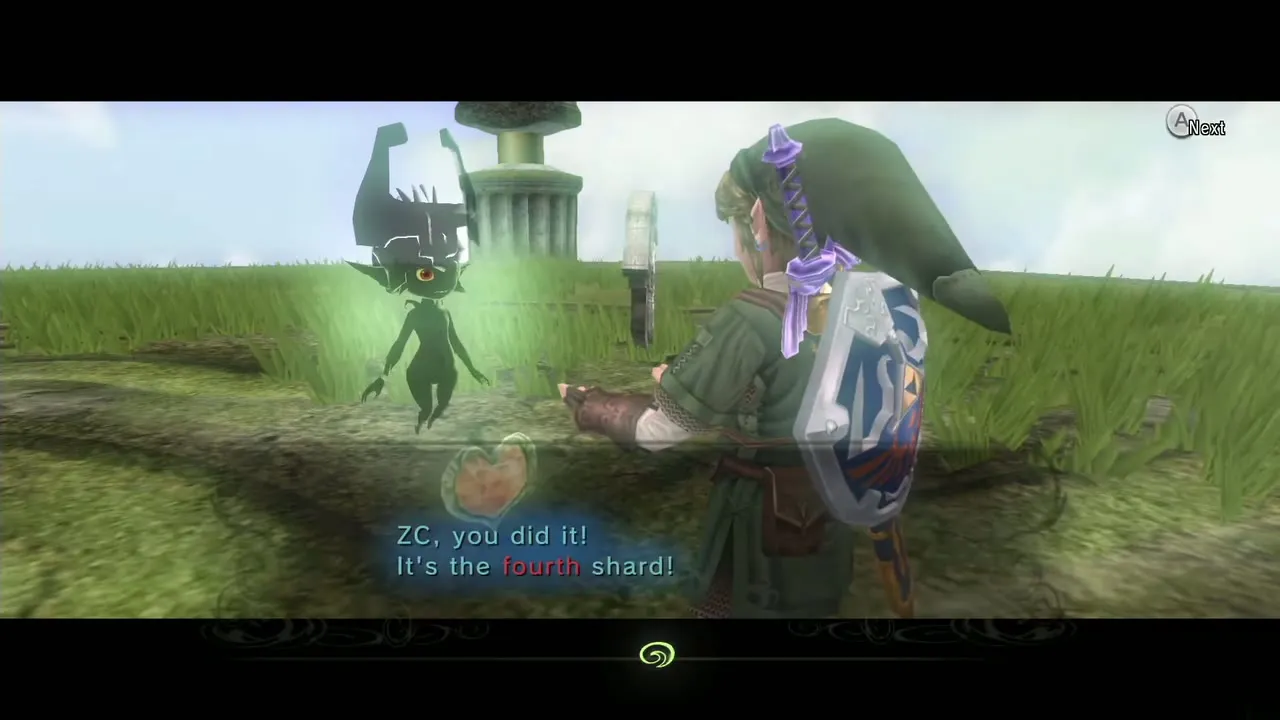
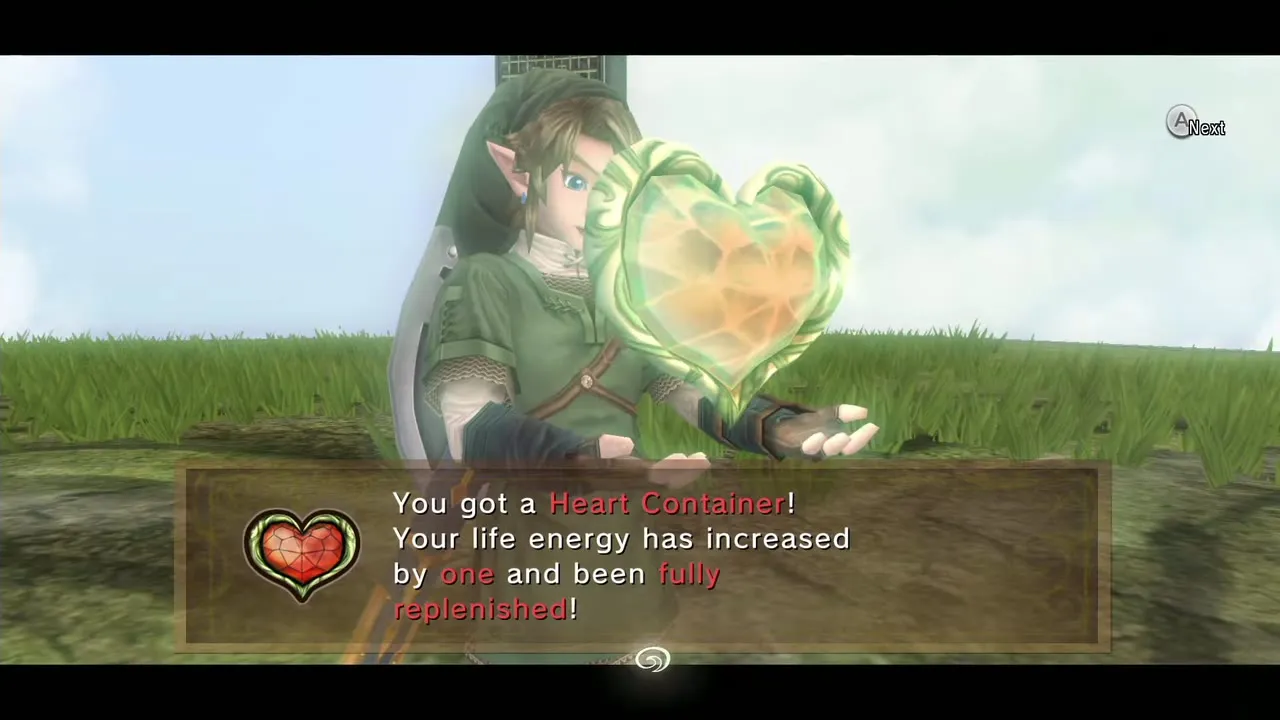
| 20 | Argorok | City in the Sky | Double Clawshots, Iron Boots | Heart Container, fourth Mirror Shard |
| 21 | Phantom Zant | Palace of Twilight | Sword | Sol (twice) |
| 22 | Zant | Palace of Twilight | Light Sword, Boomerang, Clawshot, Ball and Chain, Iron Boots | Heart Container |
| 23 | King Bulblin (Hyrule Castle) | Hyrule Castle courtyard | Sword | Small Key |
| 24 | Ganon’s Puppet: Zelda | Hyrule Castle throne room | Sword or bottle | None (story progress) |
| 25 | Dark Beast Ganon | Hyrule Castle throne room | Bow or Ball and Chain, Wolf Link, sword | None (story progress) |
| 26 | Dark Rider Ganondorf | Hyrule Field | Epona, sword | None (story progress) |
| 27 | Dark Lord Ganondorf | Hyrule Field | Master Sword | Ends the game |
Fight by fight
Ook
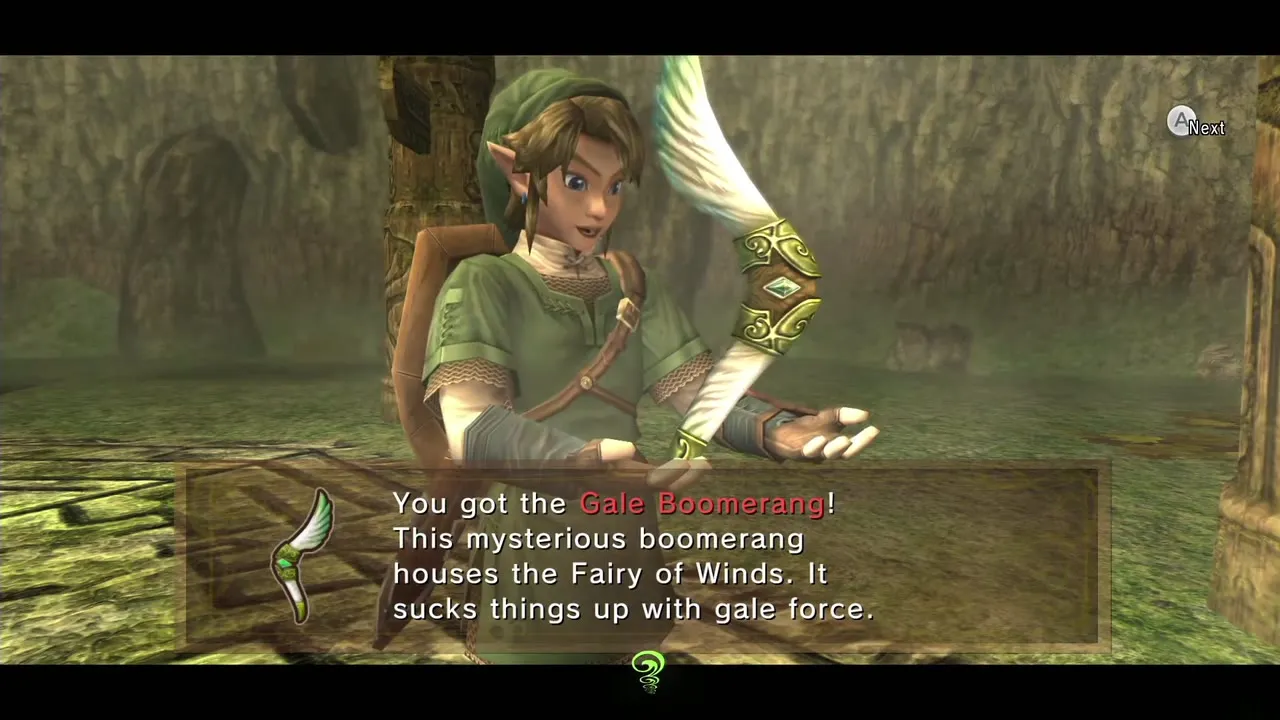
Mini-boss, Forest Temple. Chapter: Forest Temple. Requires: Sword. Reward: Gale Boomerang (chest after the fight).
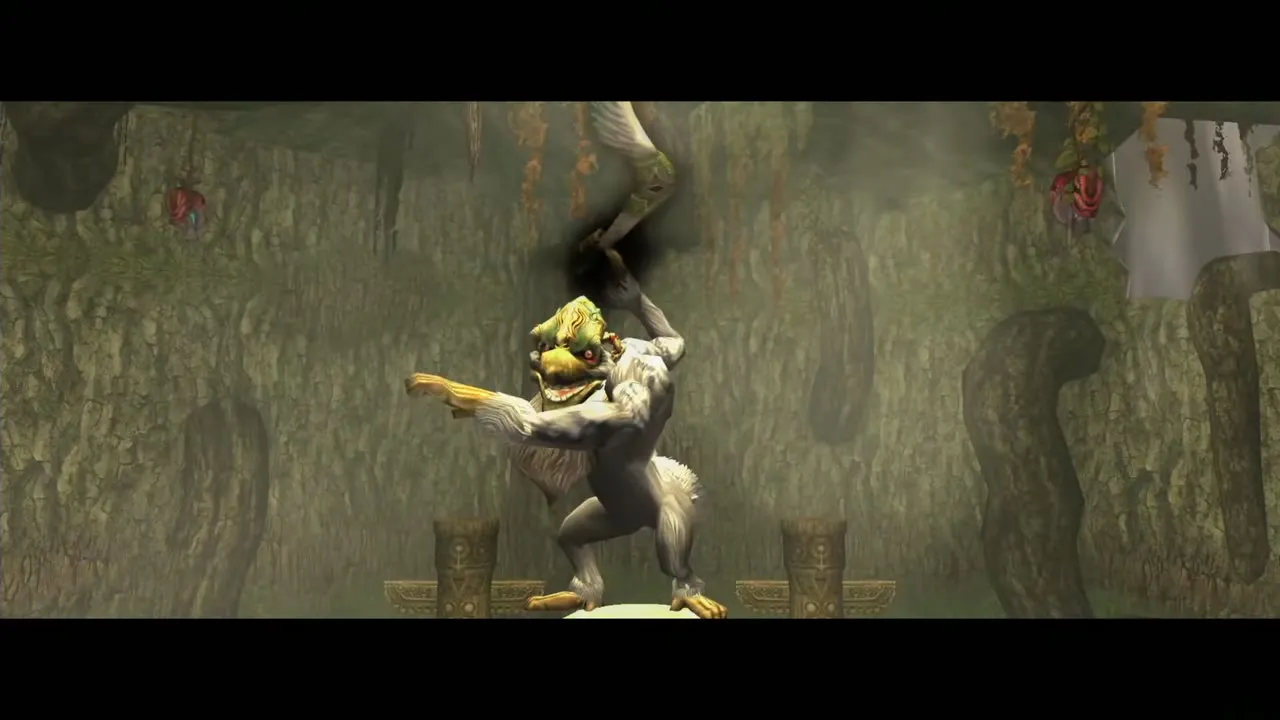
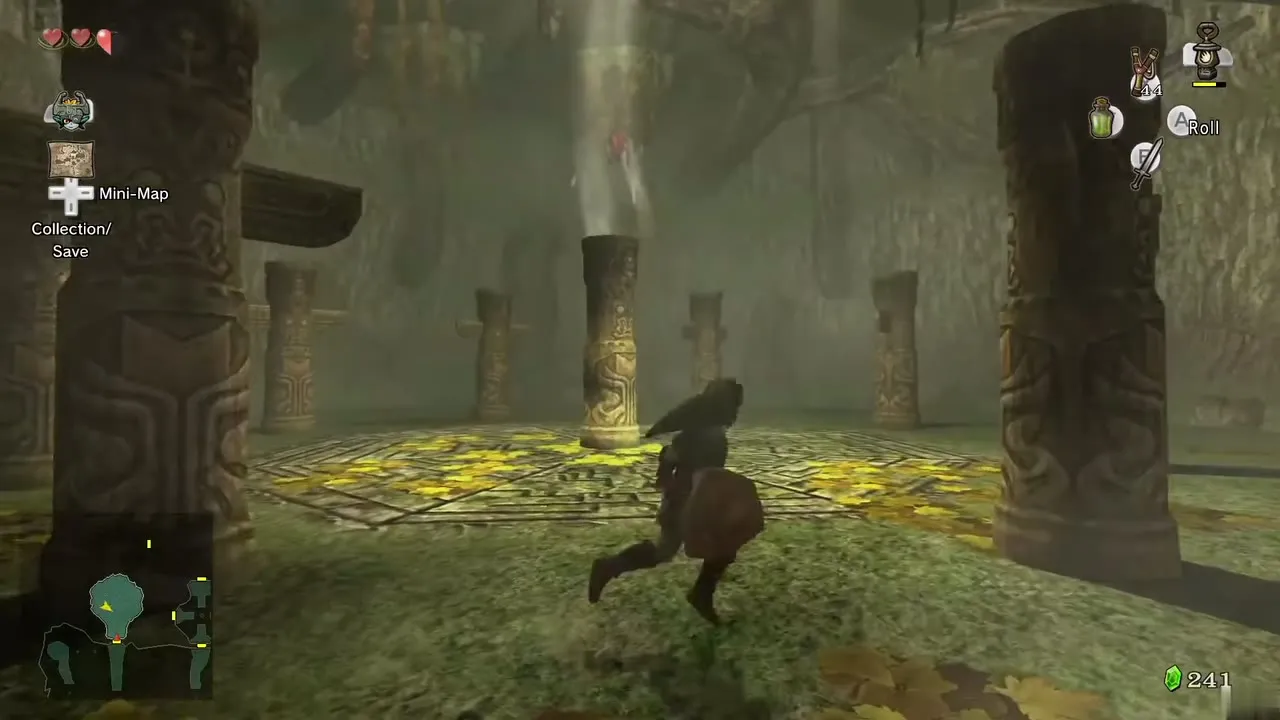
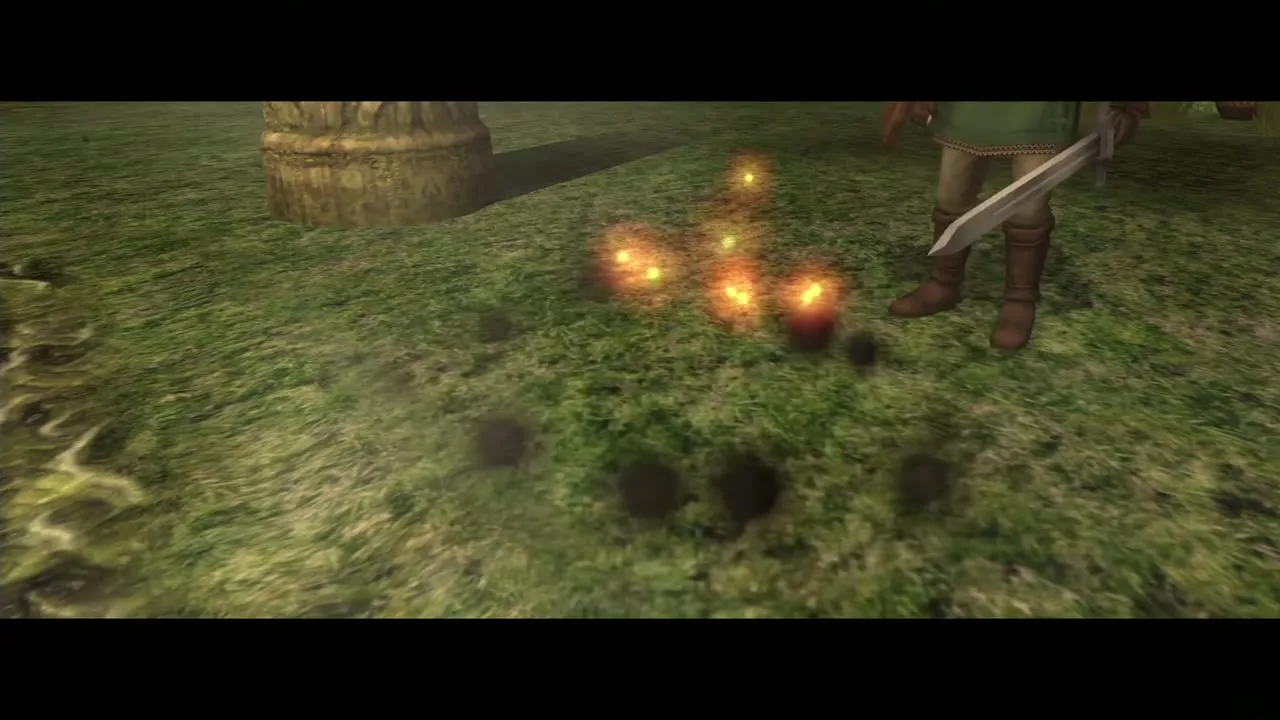
Ook is the baboon chief of Faron Woods, taken over by a parasite mite on his head. He leaps between the pillars in the middle of a round room, snapping Baba Serpents off the ceiling and throwing a boomerang of his own at you. Neither the boomerang nor the dropped serpents are hard to avoid; the puzzle is bringing him down.
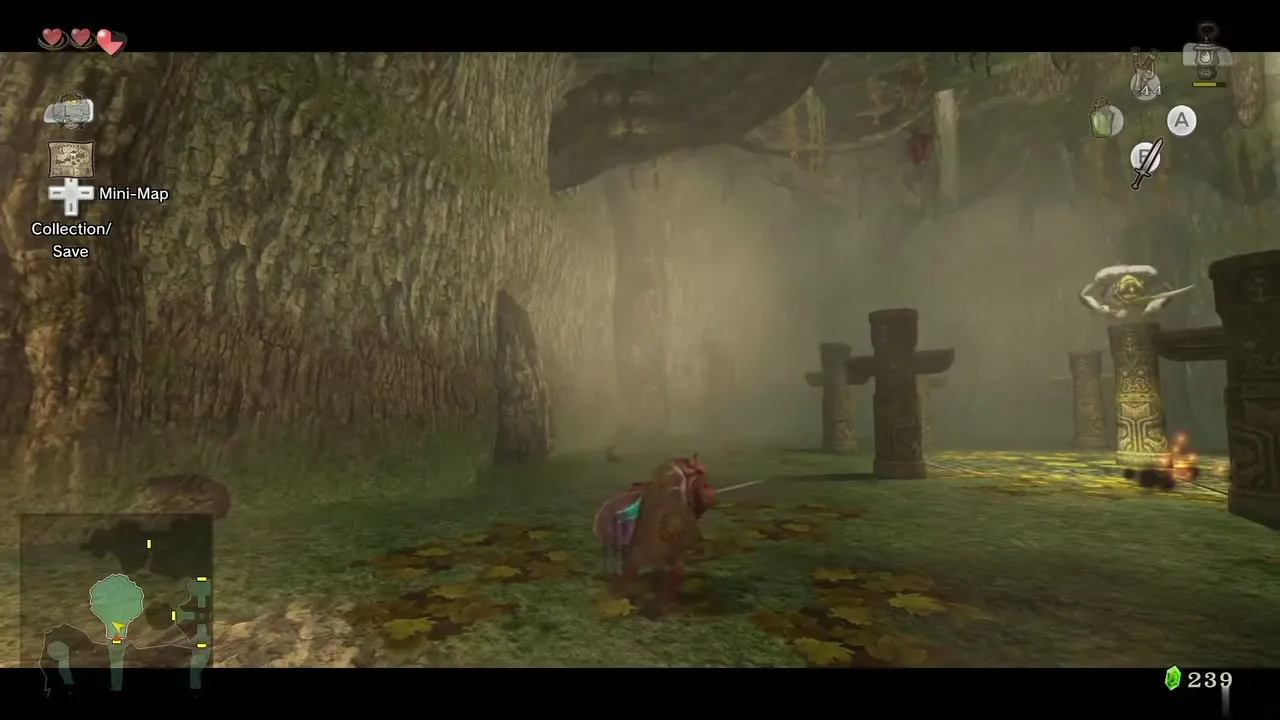
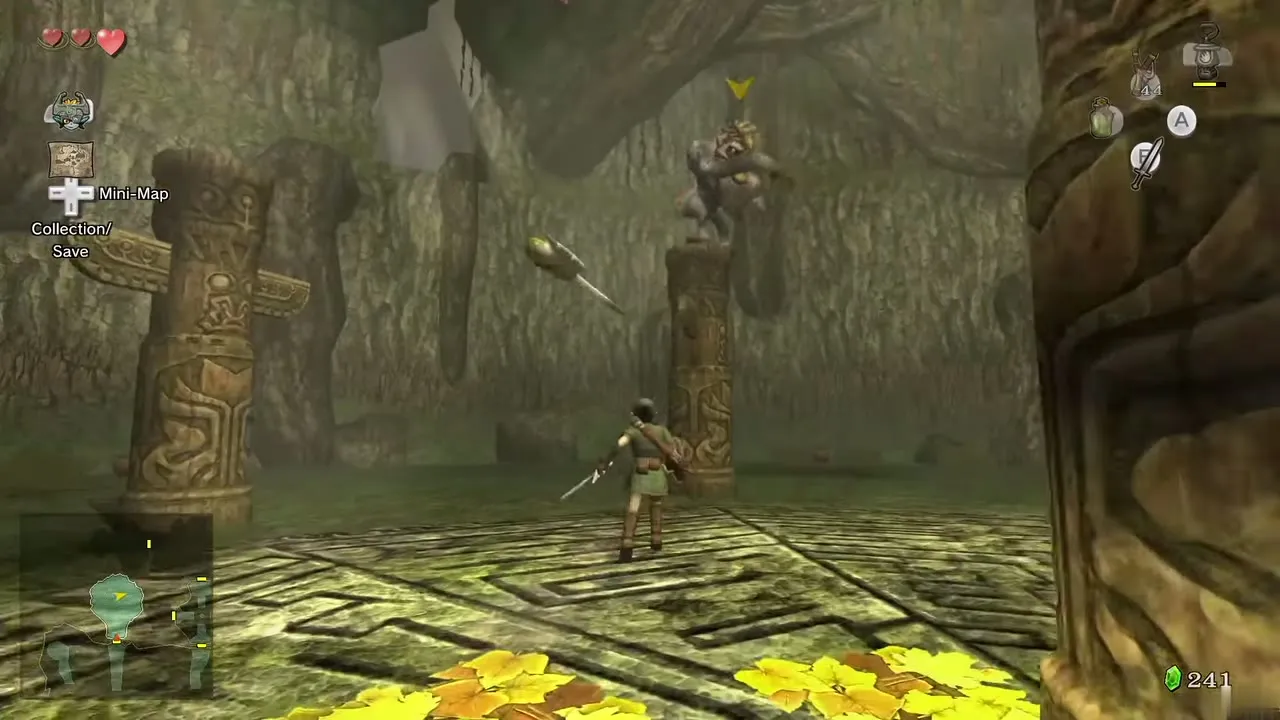
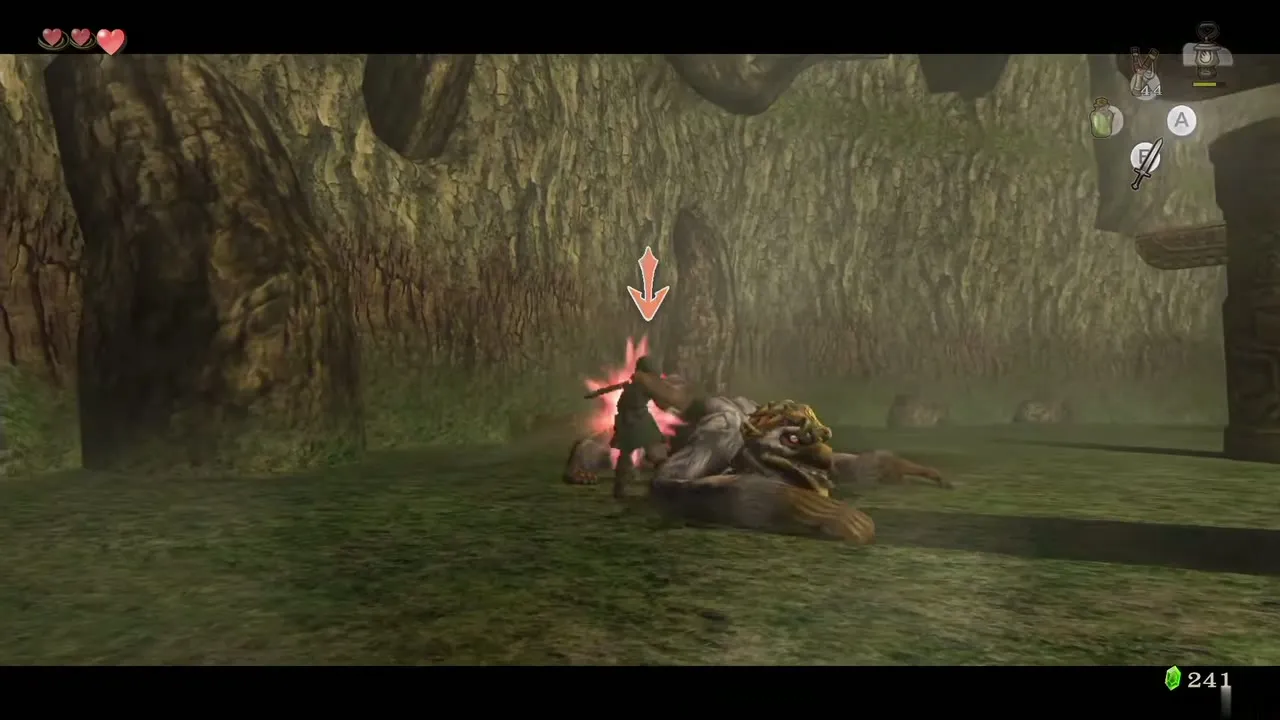
Dodge the boomerang, then roll into the pillar Ook is standing on. The shake makes him lose his balance, and the boomerang on its return trip knocks him off. His rear is now exposed: slash it a few times before he escapes. Repeat the cycle, clearing the serpents as they drop. When he falls, the mite dies and the Gale Boomerang chest appears. Ook turns up again to help in the Diababa fight.
Diababa
Boss, Forest Temple. Chapter: Forest Temple. Requires: Gale Boomerang, sword. Reward: Heart Container and the first Fused Shadow.
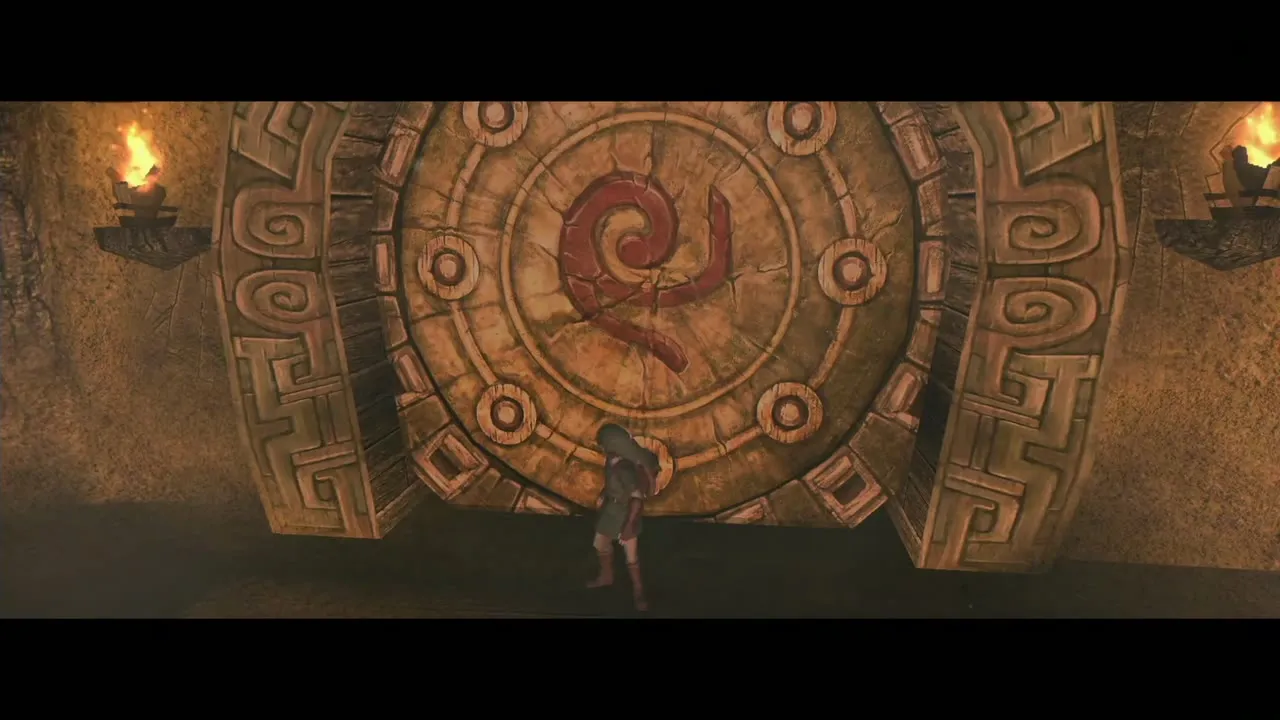
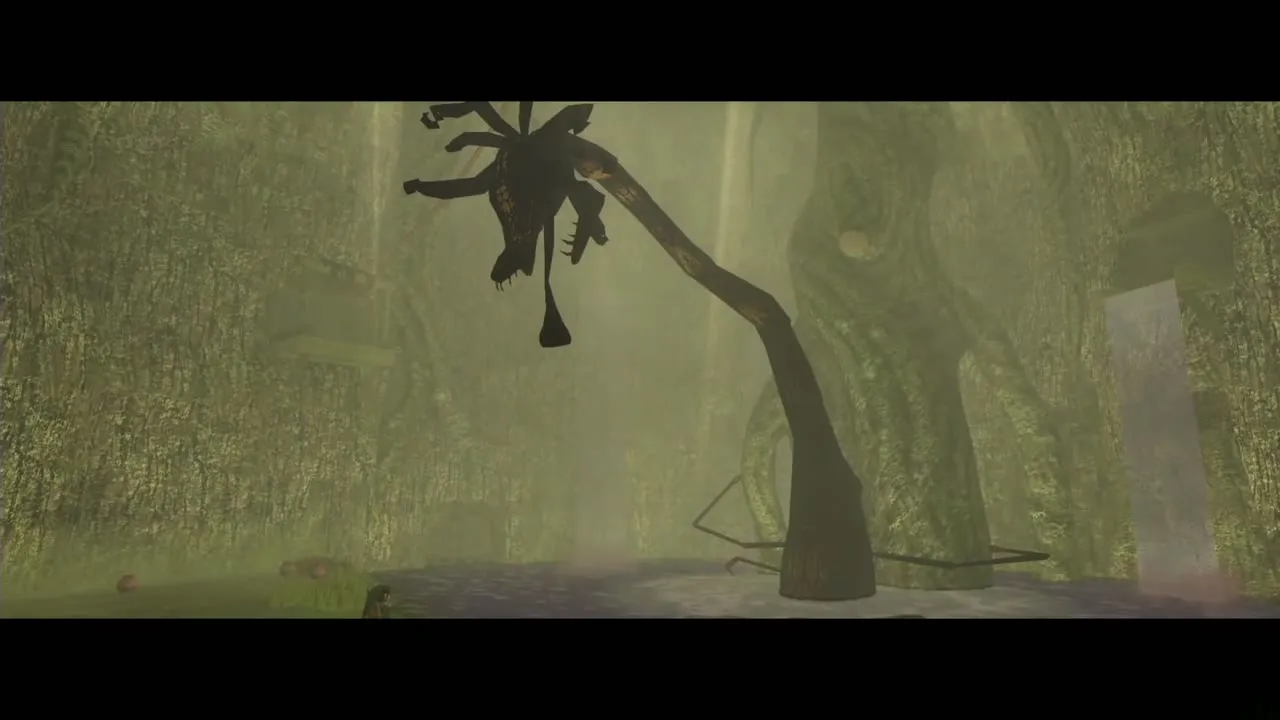
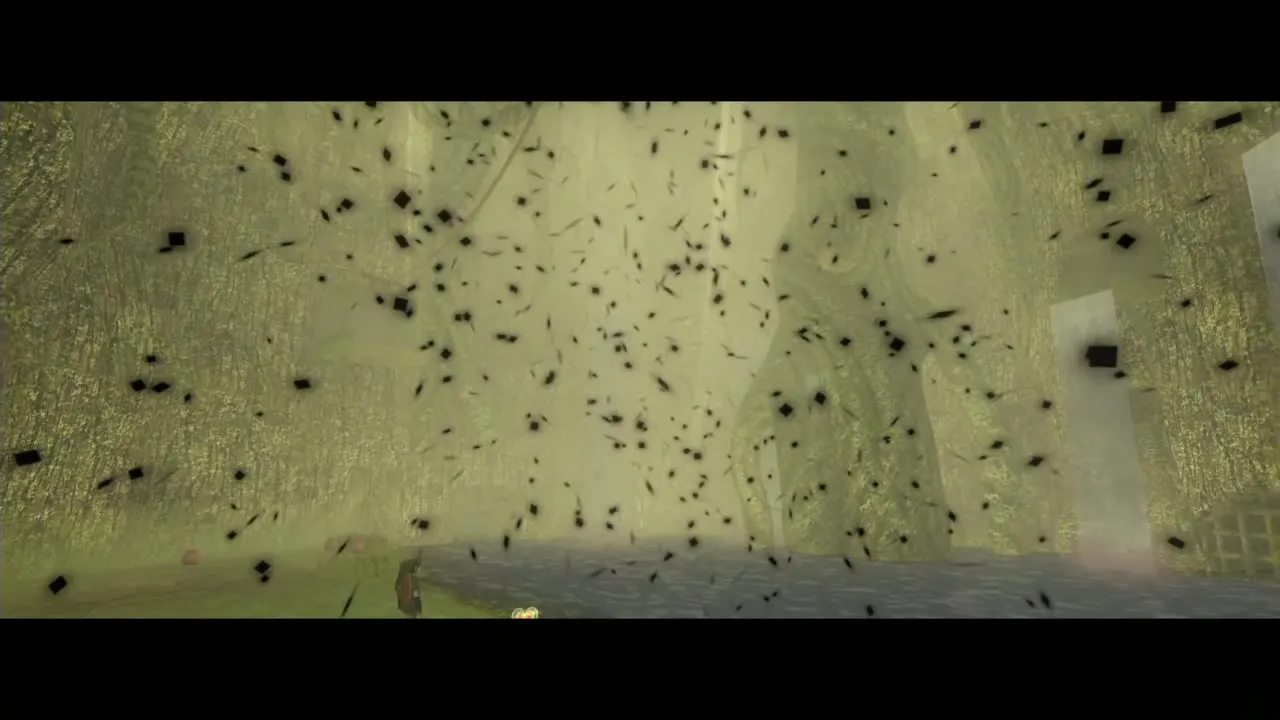
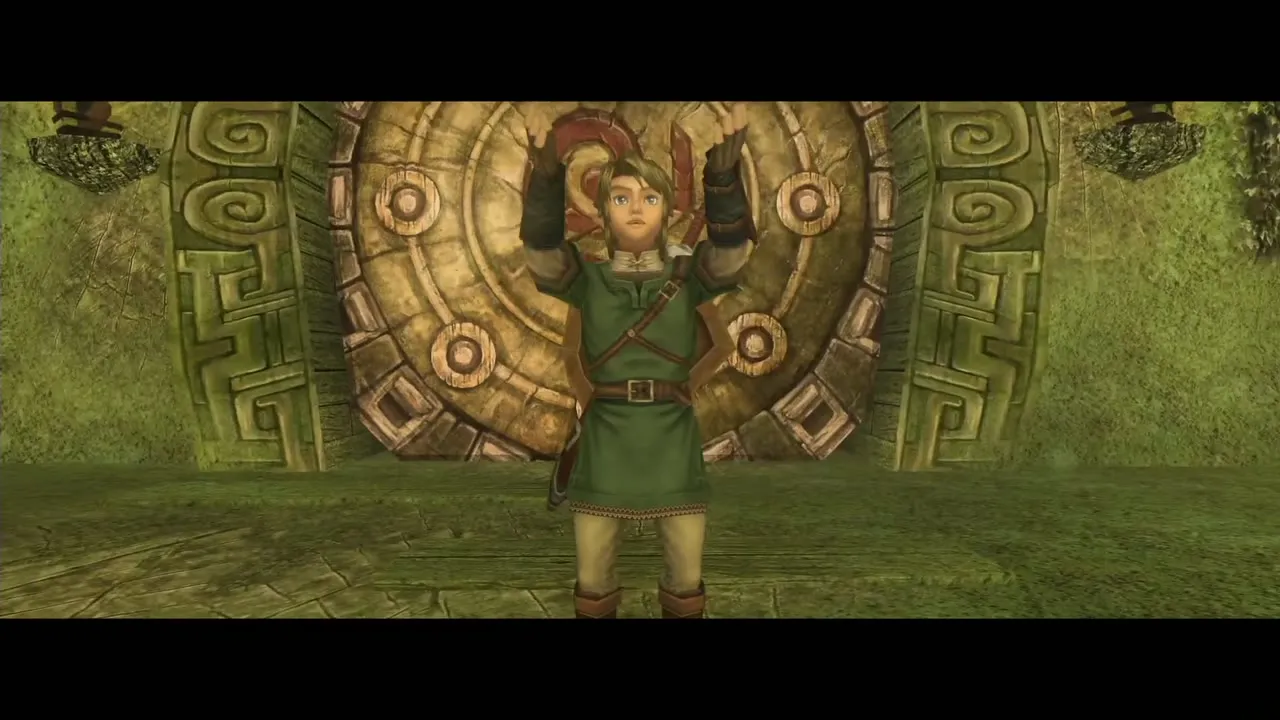
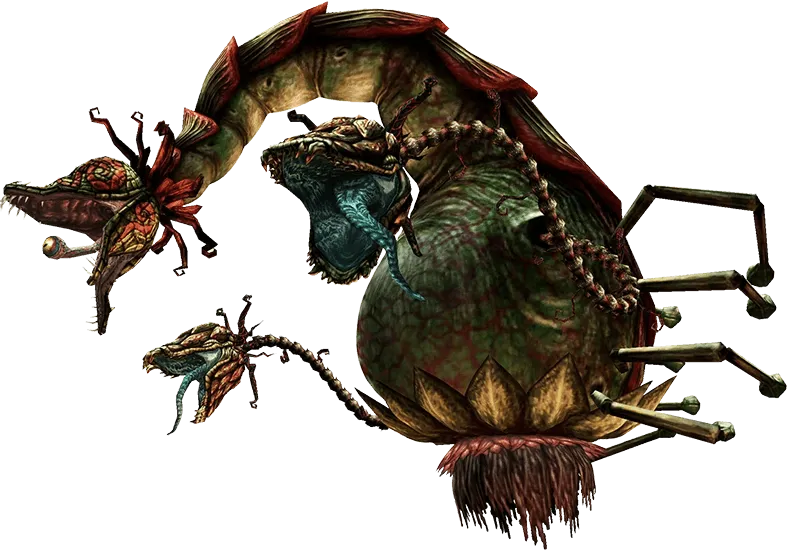
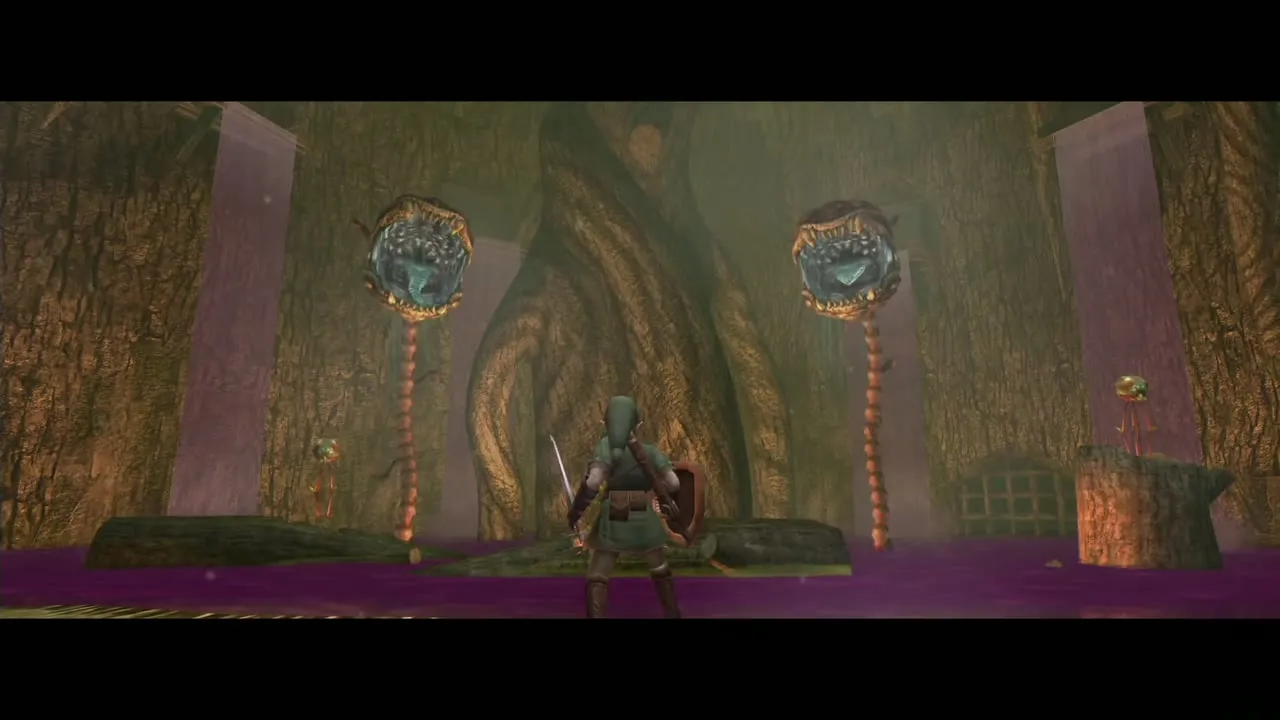
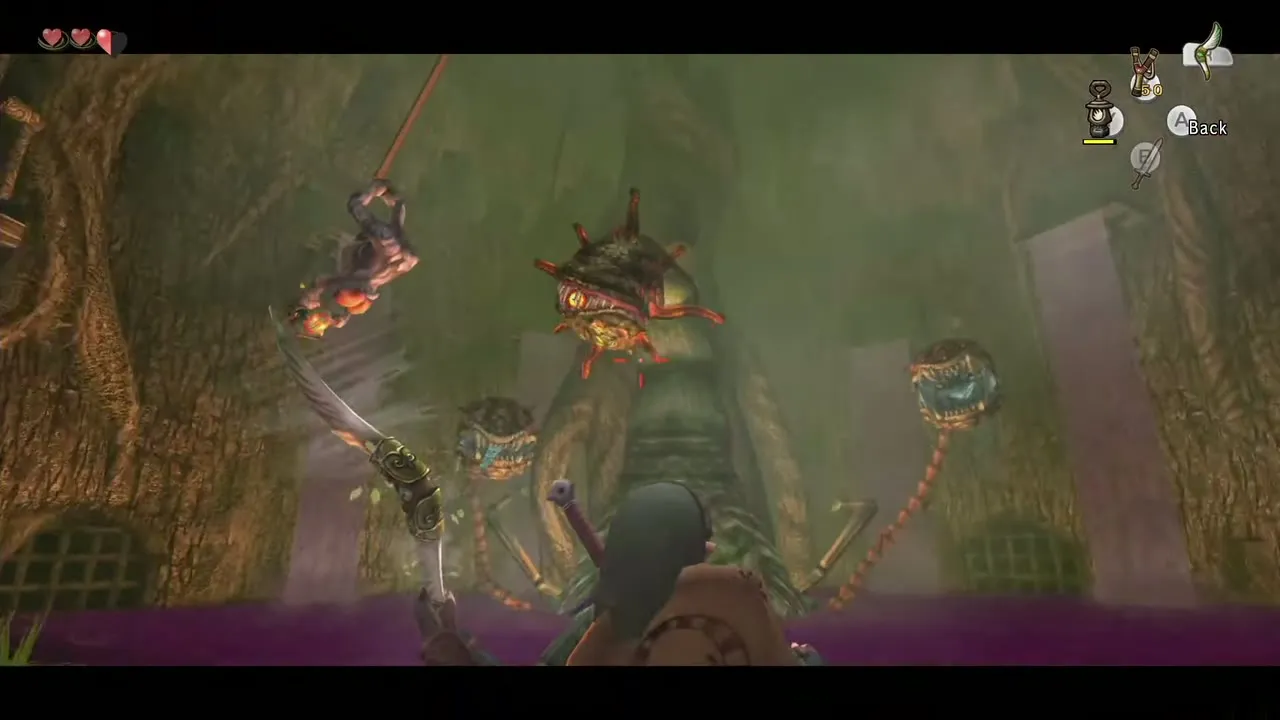
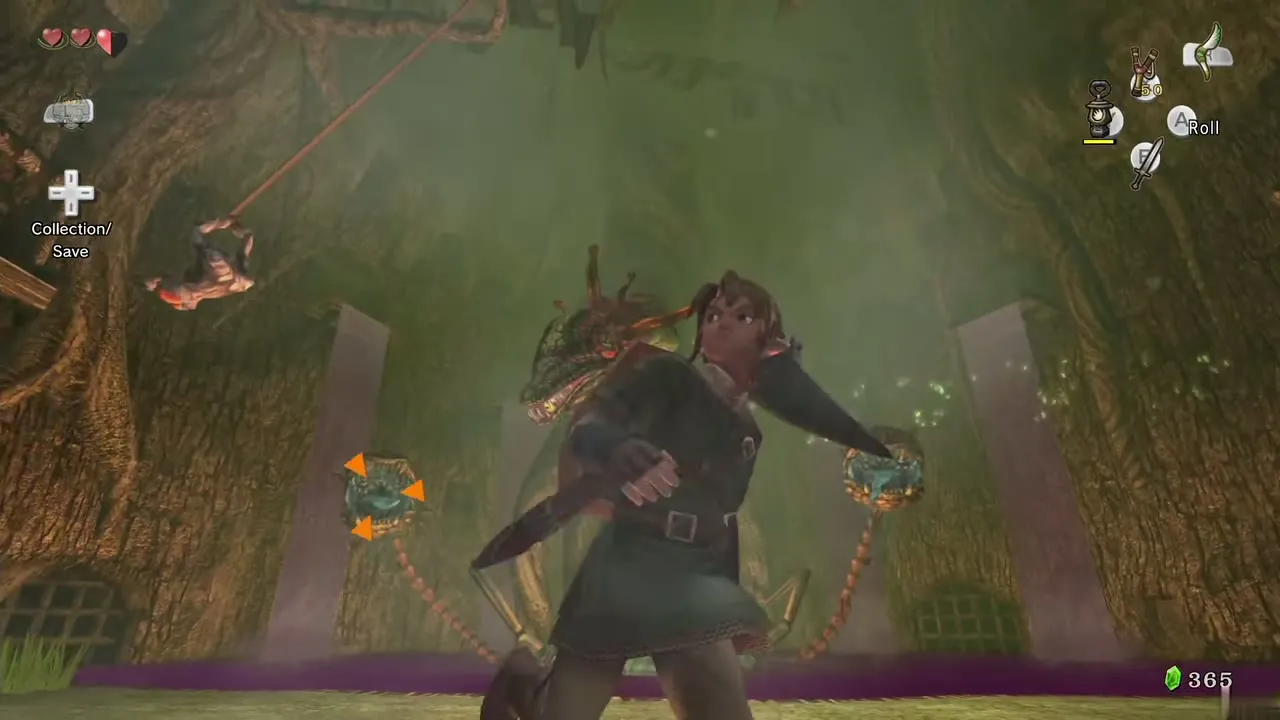
Diababa (the Twilit Parasite) is a huge three-headed Deku Baba that rises from a pool of poison. Two smaller heads attack first, lunging to bite. Three Bomblings sit on the logs and tree stump in the pool: target a Bombling with the Gale Boomerang, then target a head, and the boomerang carries the bomb into its mouth and sinks it. Do the same to the second head.
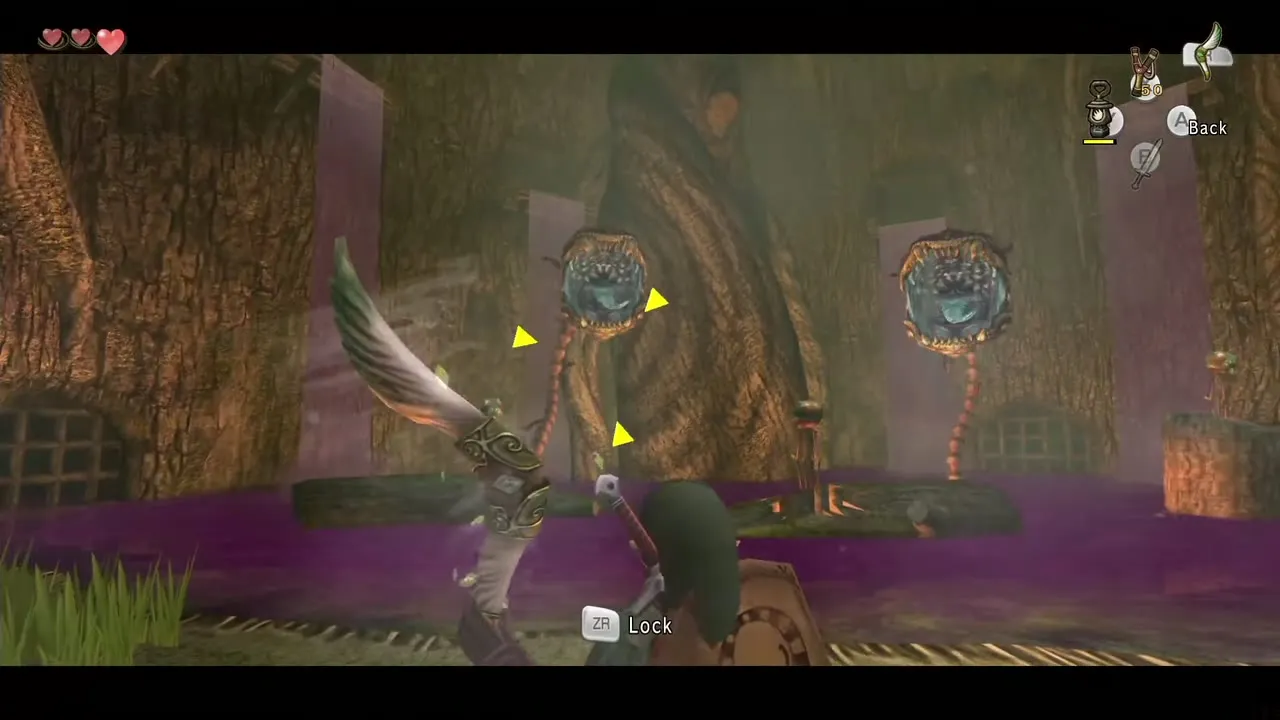
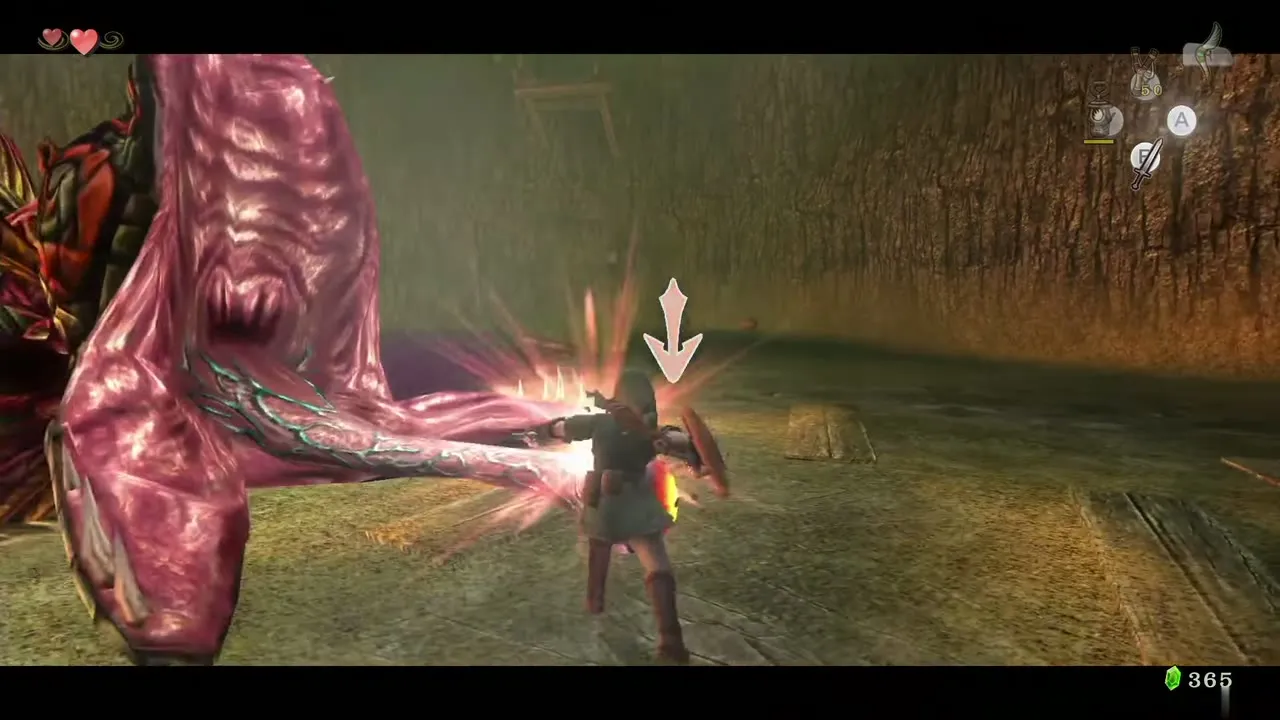
The main head then surfaces with the other two, and the logs sink, leaving you without bombs. Ook swings in on a rope carrying Bomblings. Lock the Gale Boomerang onto Ook to fetch a Bombling, then send it at the main head. The head crashes down and leaves its eye on a stalk exposed: slash the eye until it recovers. It then sprays purple poison, so keep moving. Two bomb-and-slash cycles finish it. Diababa drops a Heart Container and the first Fused Shadow.
King Bulblin (Bridge of Eldin)
Mini-boss, Hyrule Field and the Bridge of Eldin. Chapter: Death Mountain. Requires: Epona, sword. Reward: None; the story moves on to Death Mountain.
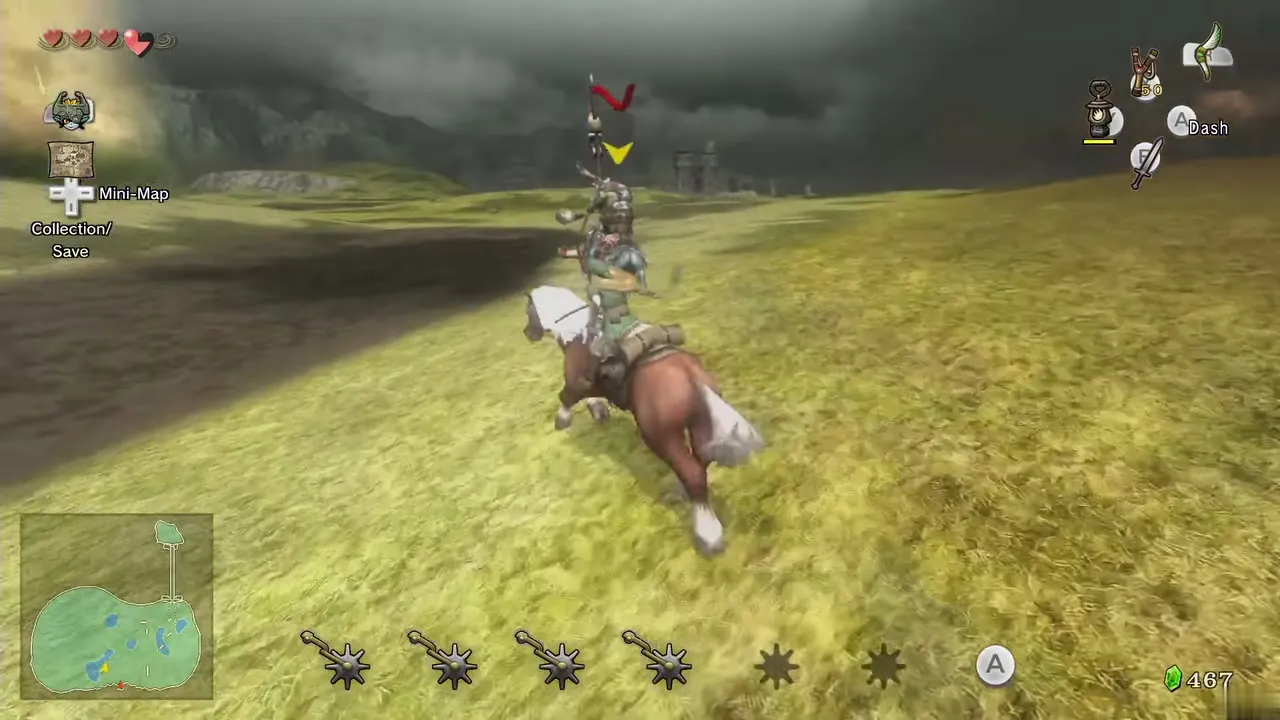
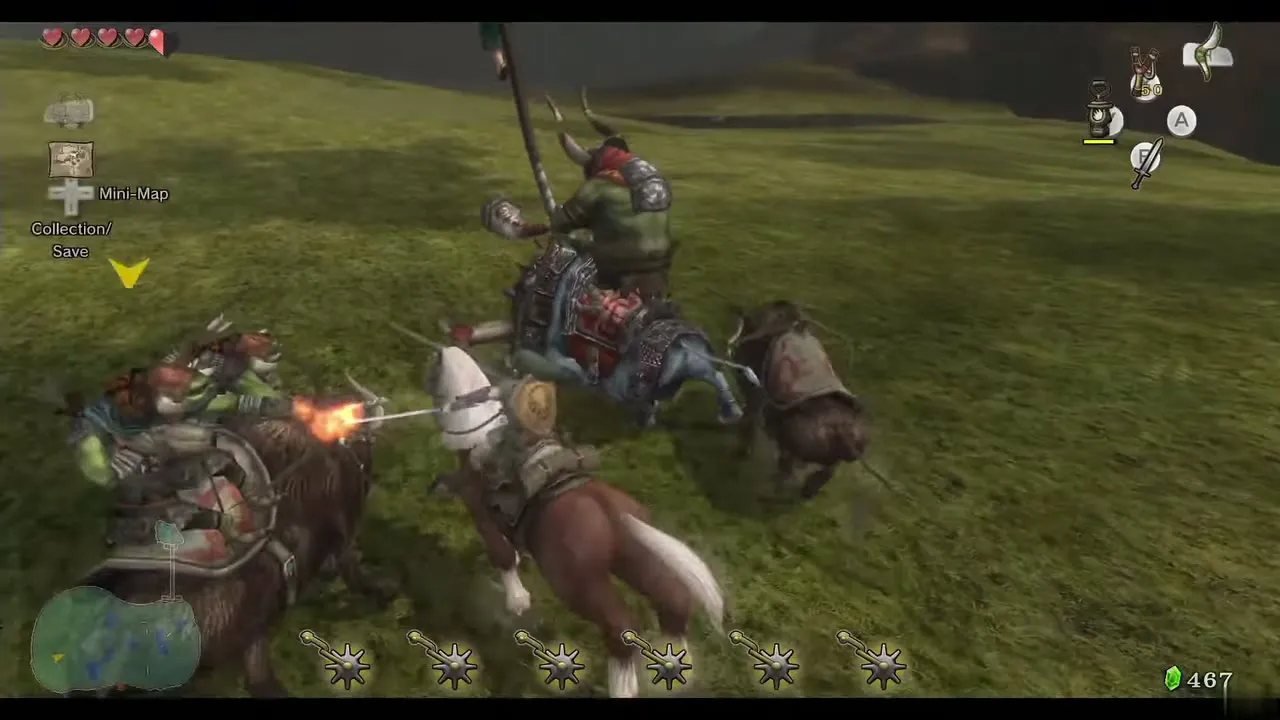
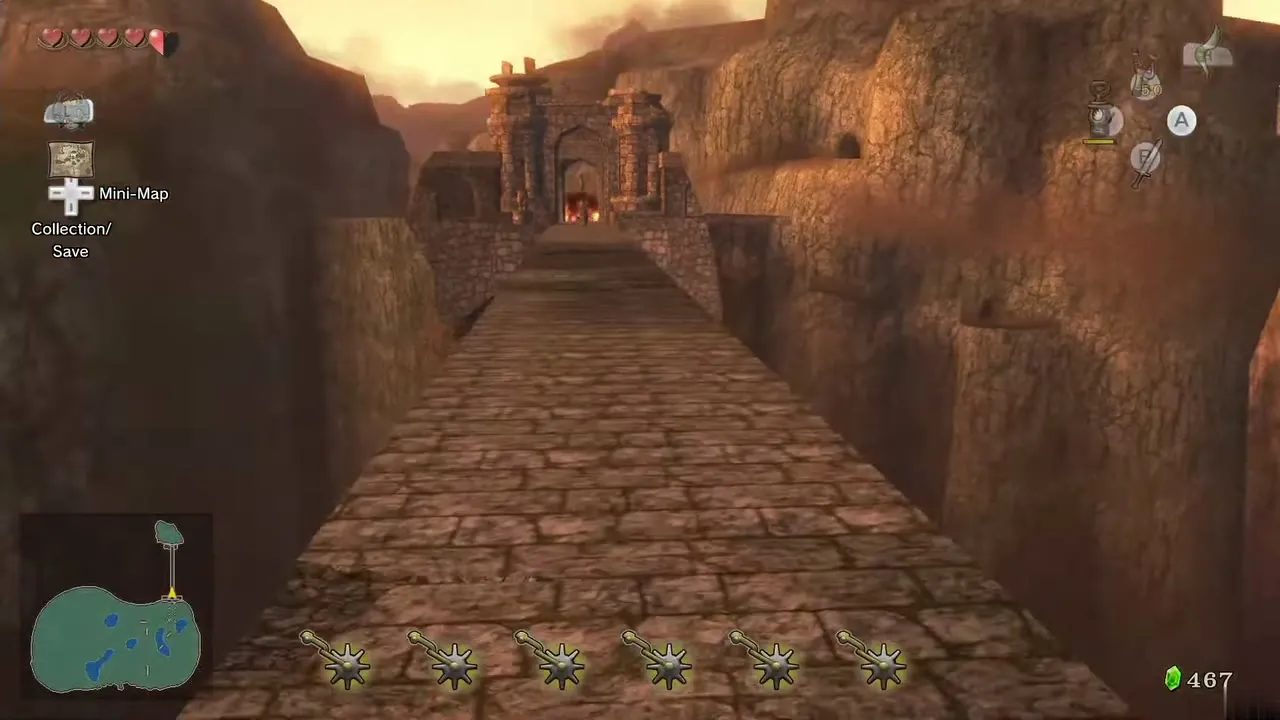
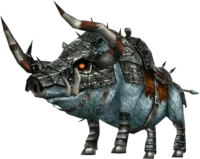
King Bulblin carries off Colin and races across the Eldin end of Hyrule Field on his boar, Lord Bullbo, with his Bulblin riders chasing you on their own Bullbos. Ride Epona after him and cut the armor off his back as you pass, ignoring the riders when you can. Once the armor is gone he retreats to the Bridge of Eldin.
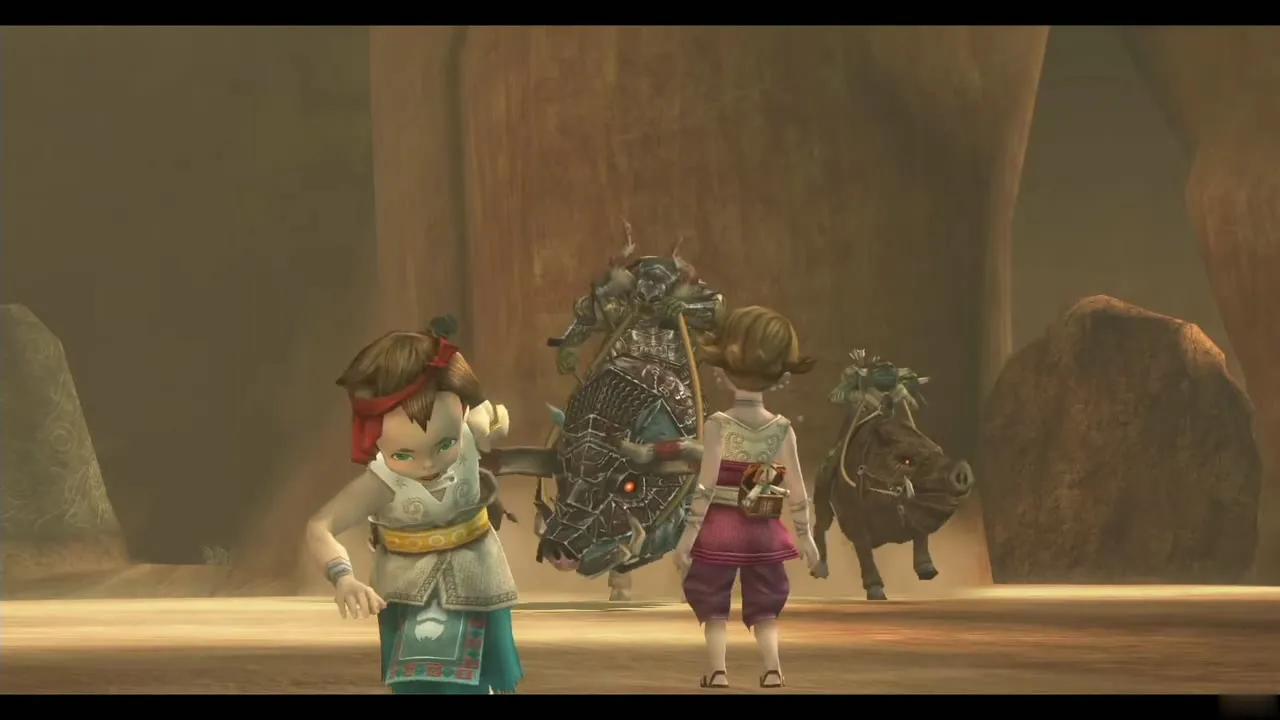
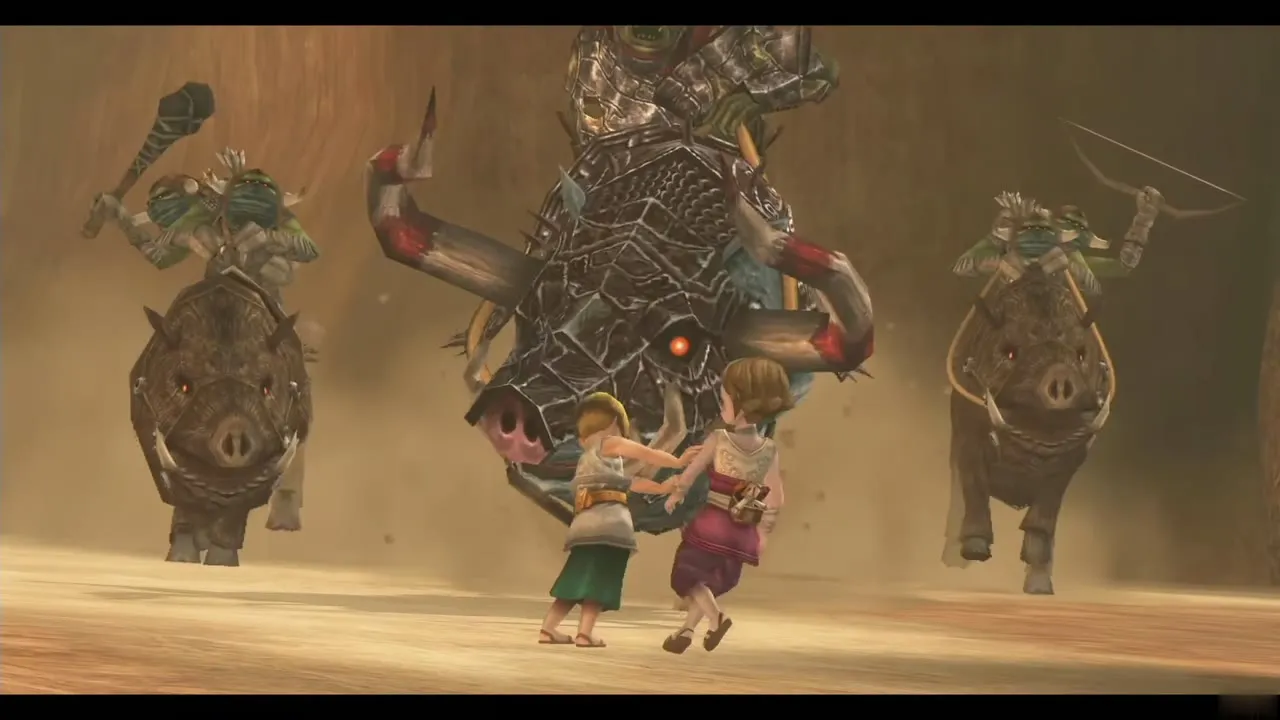
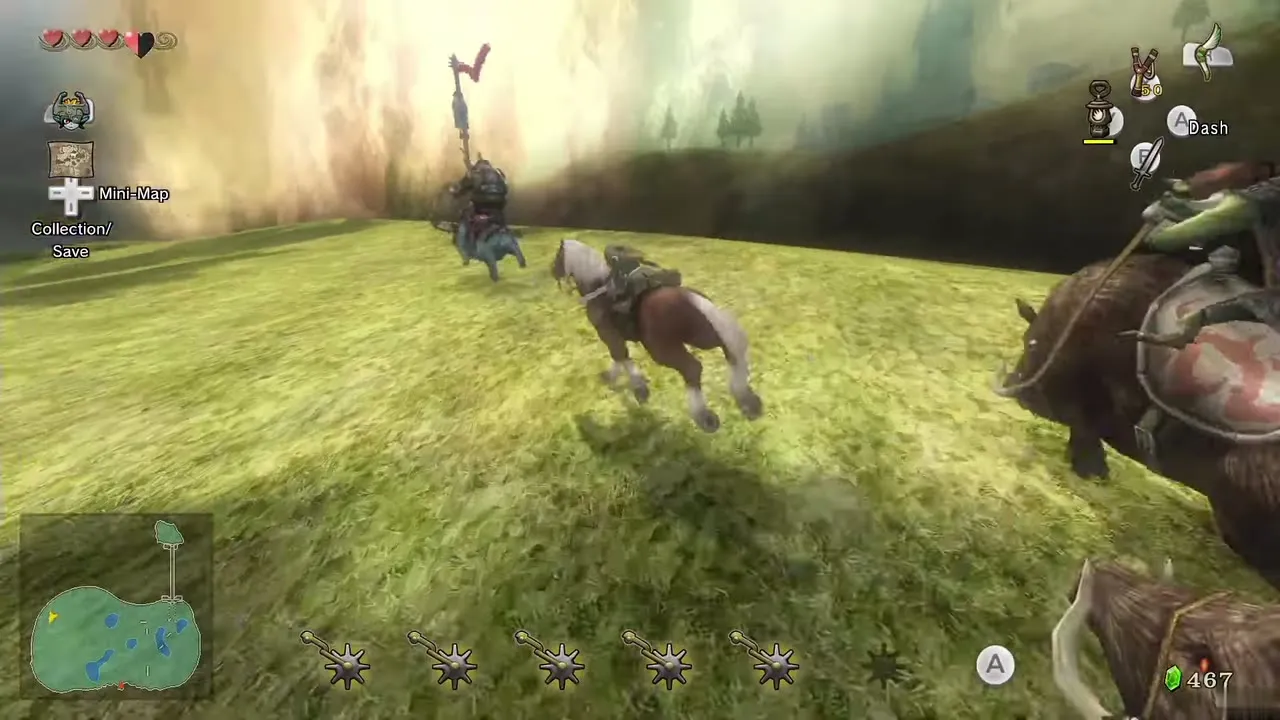
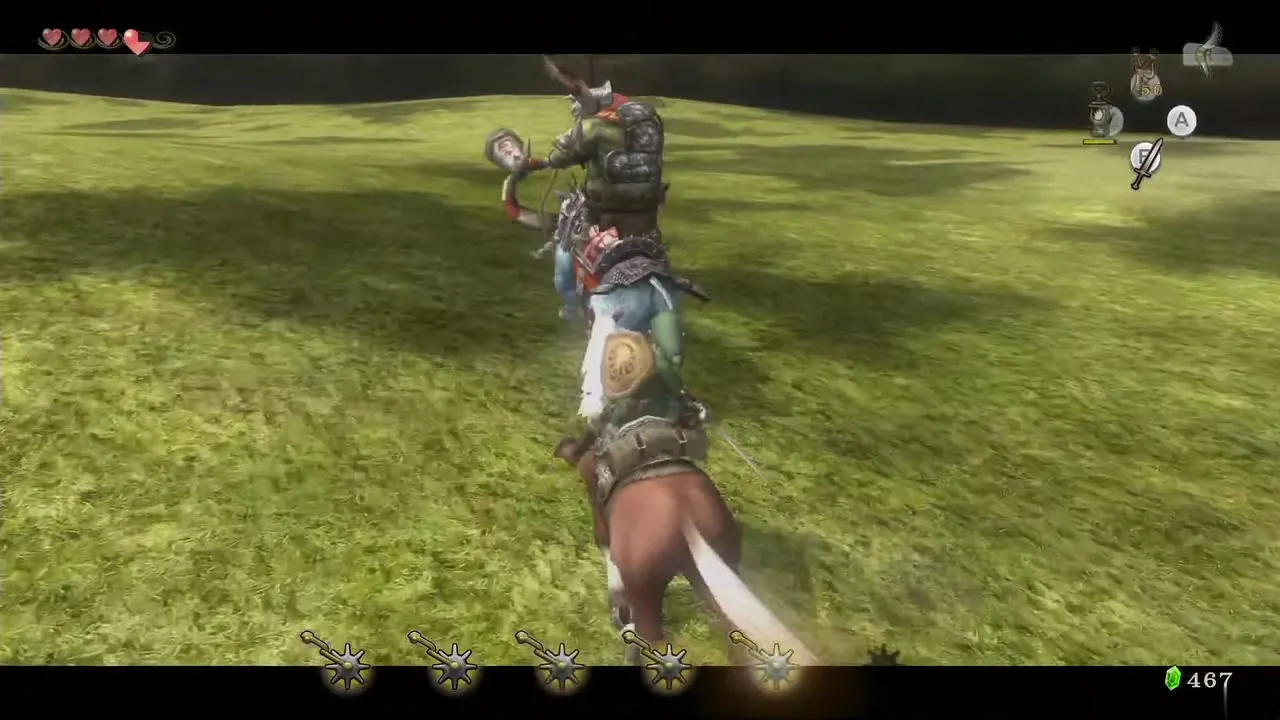
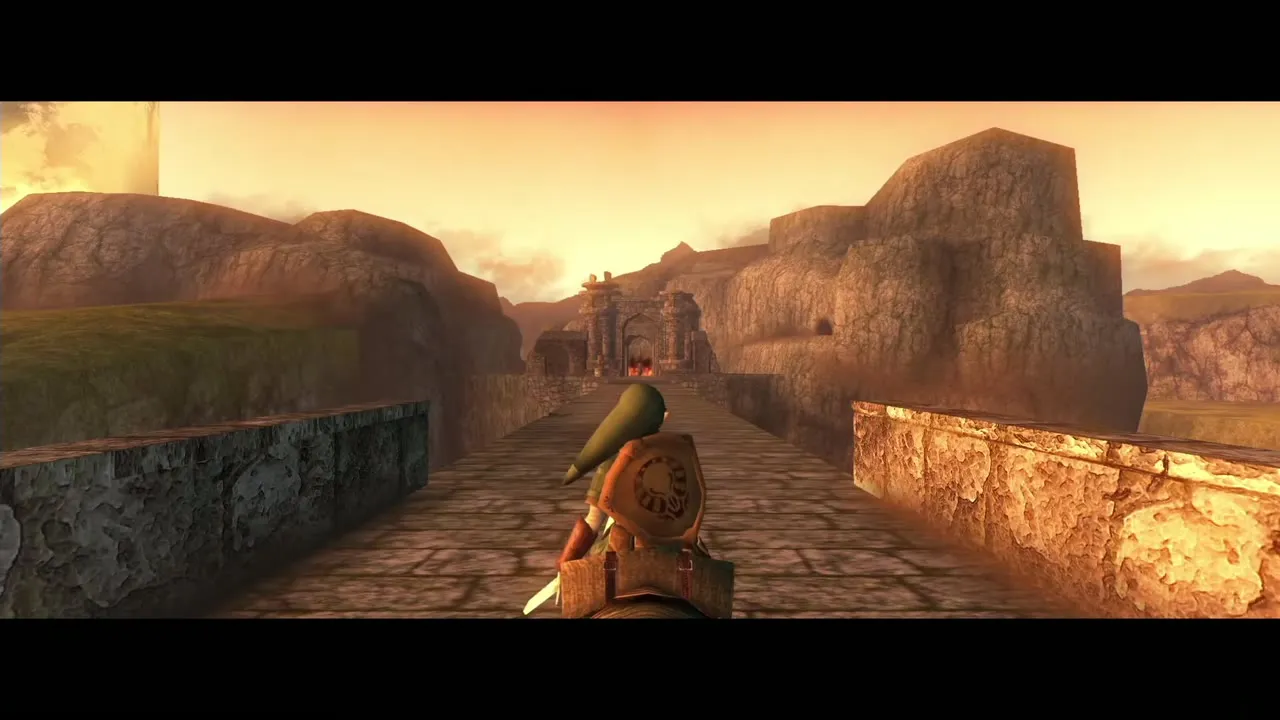
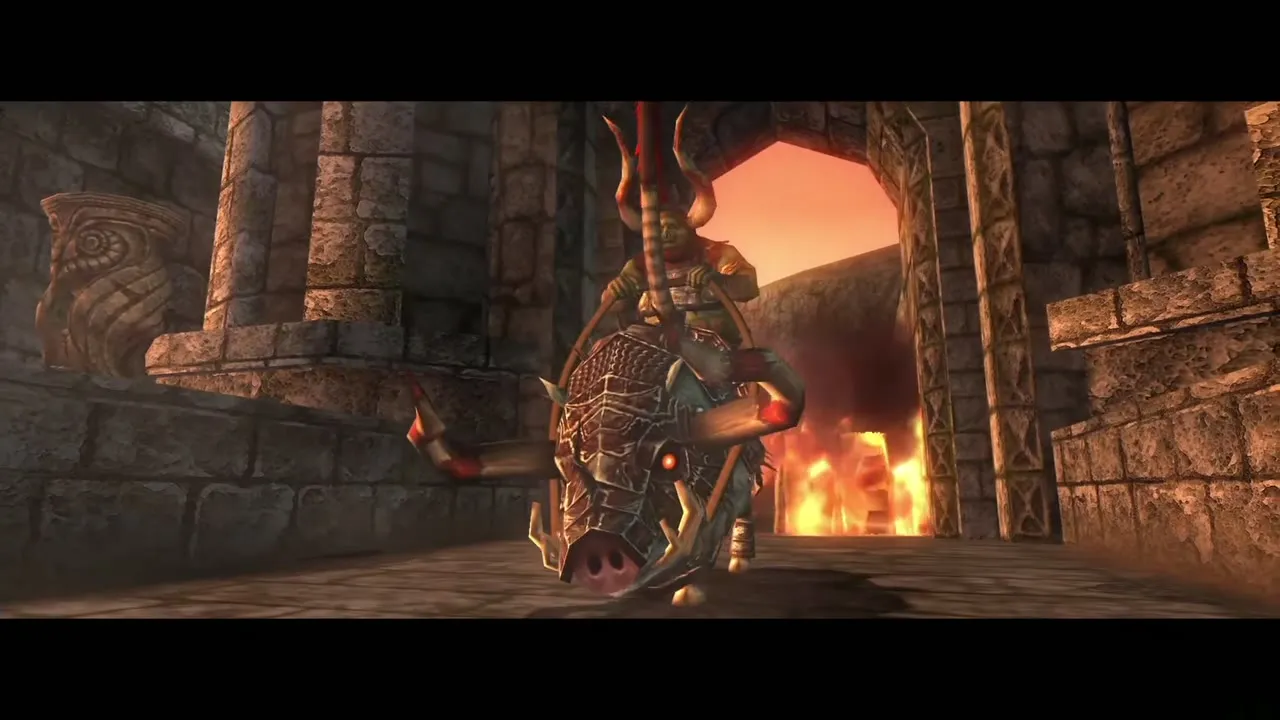
On the bridge it is a joust. Gallop straight at him, swerve at the last moment so the boar misses, and slash as the two of you pass. Do not hit the low side walls at an angle or you will fall off the horse. Every clean strike staggers him; after several he is thrown off the bridge and loses one horn. Lord Bullbo cannot be hurt, so only aim at the rider.
Dangoro
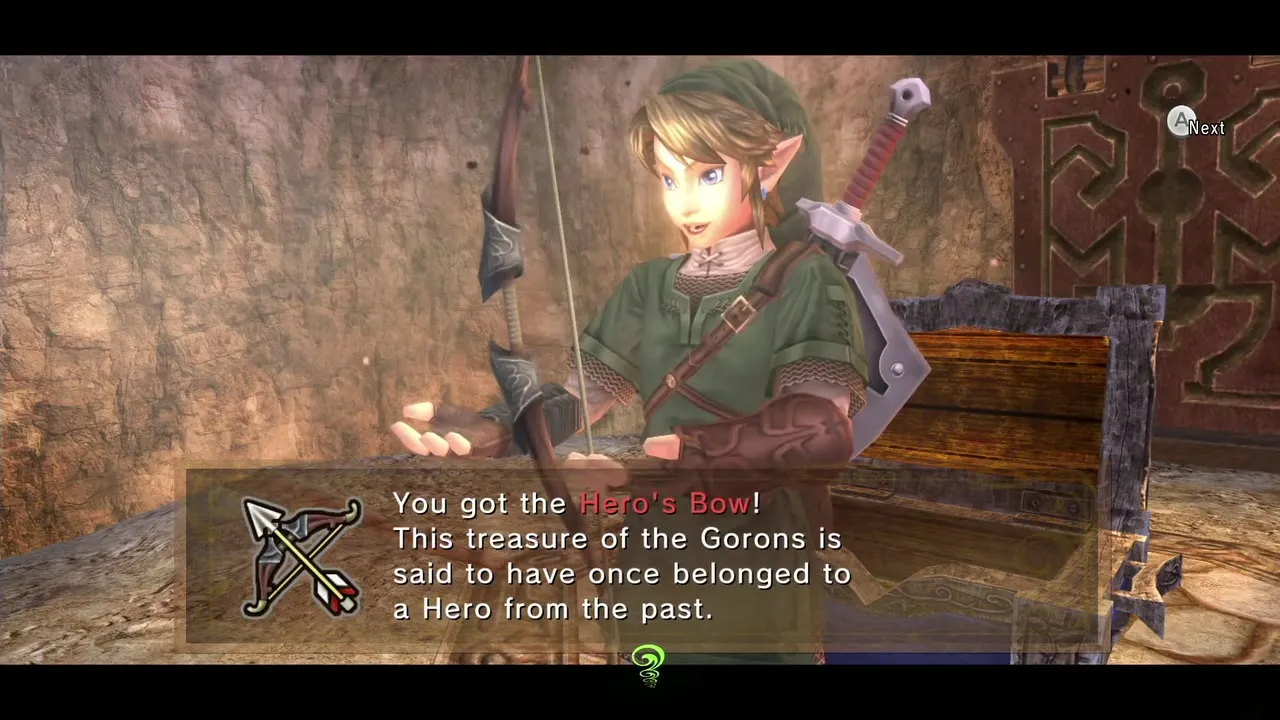
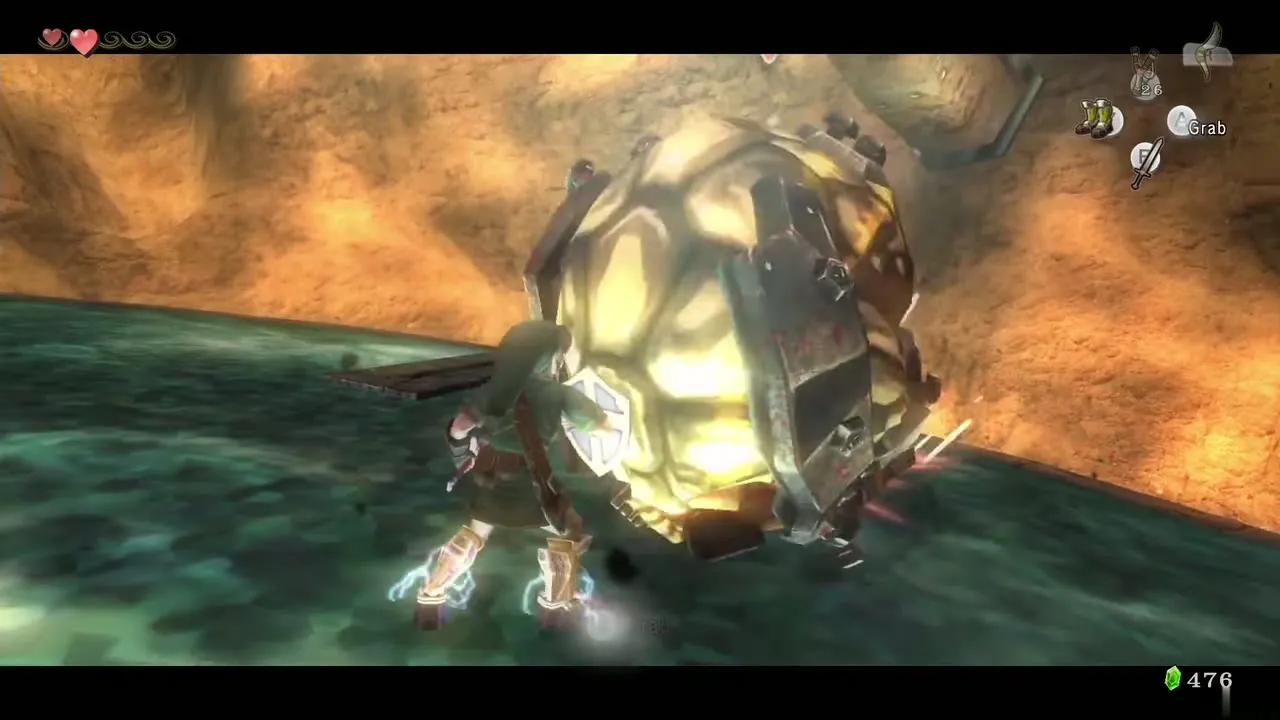
Mini-boss, Goron Mines. Chapter: Goron Mines. Requires: Iron Boots, sword. Reward: Hero’s Bow (chest after the fight).
Dangoro is a very large, armored Goron who takes you for an intruder. The arena is a magnetic platform over lava. Stay near the middle and watch his big wind-up punch: while he winds up, hit his belly, which is his weak spot, with a jump attack. Back off after two or three hits so the punch misses.
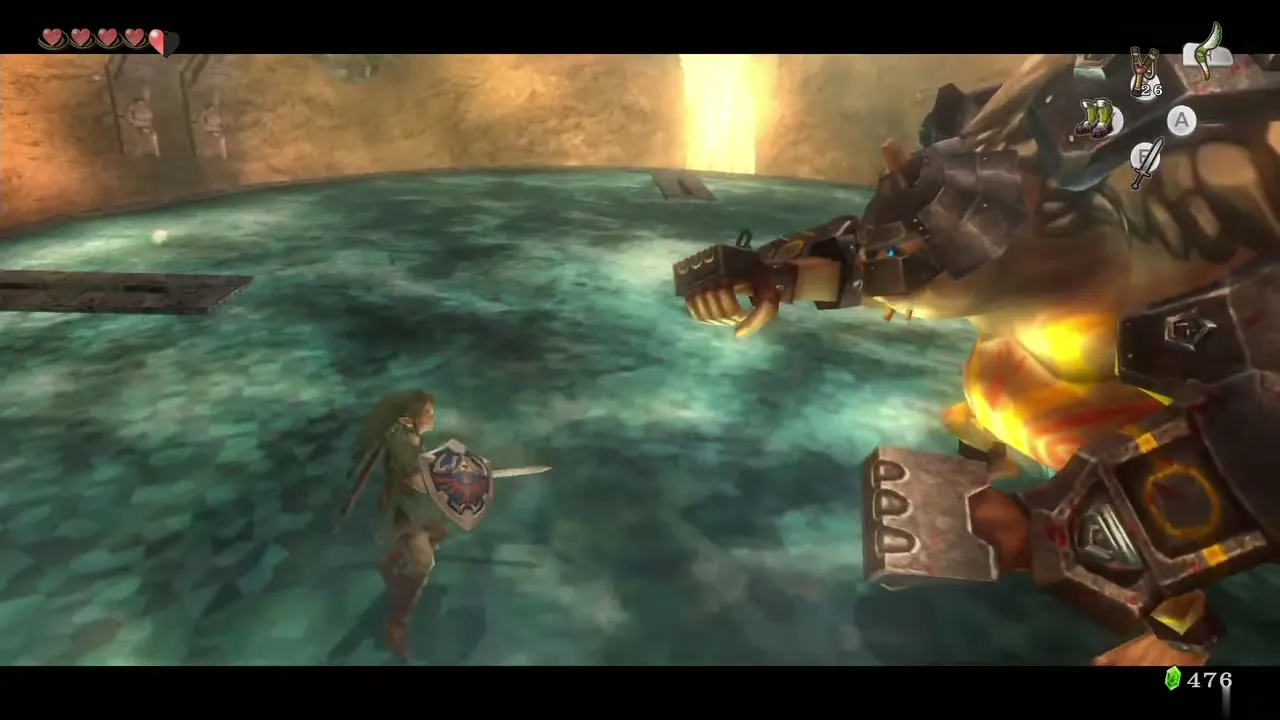
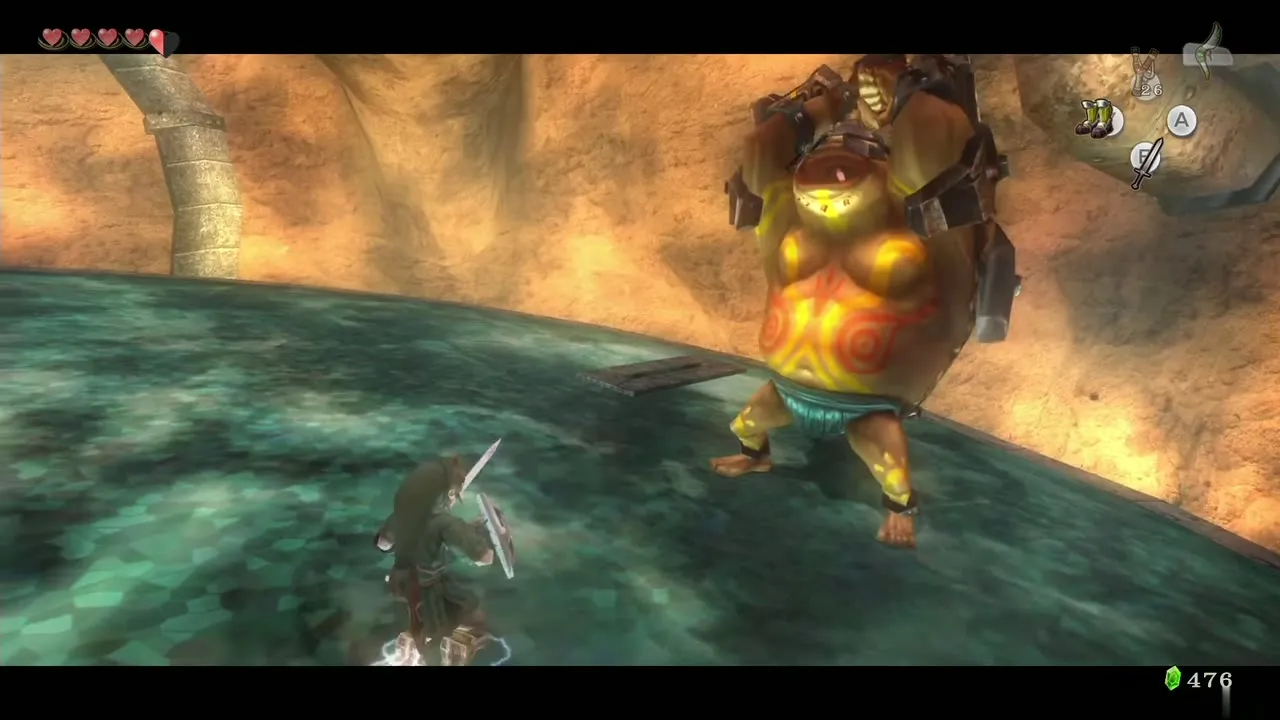
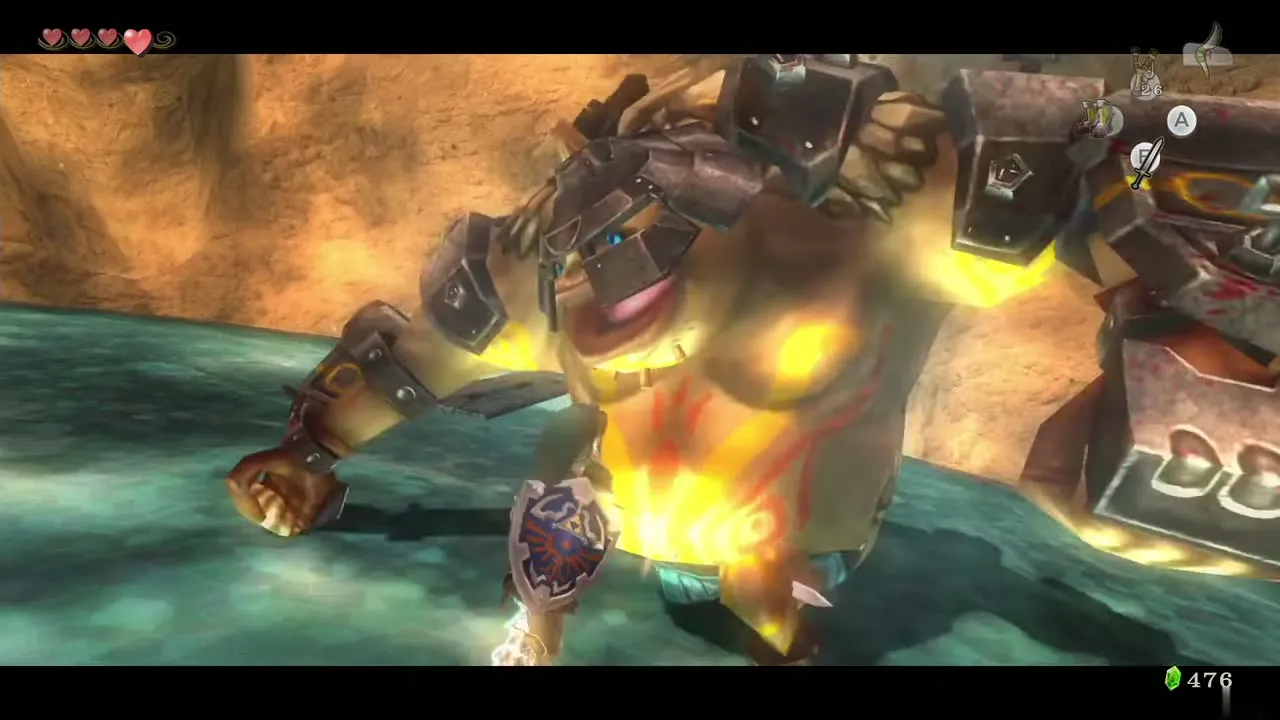
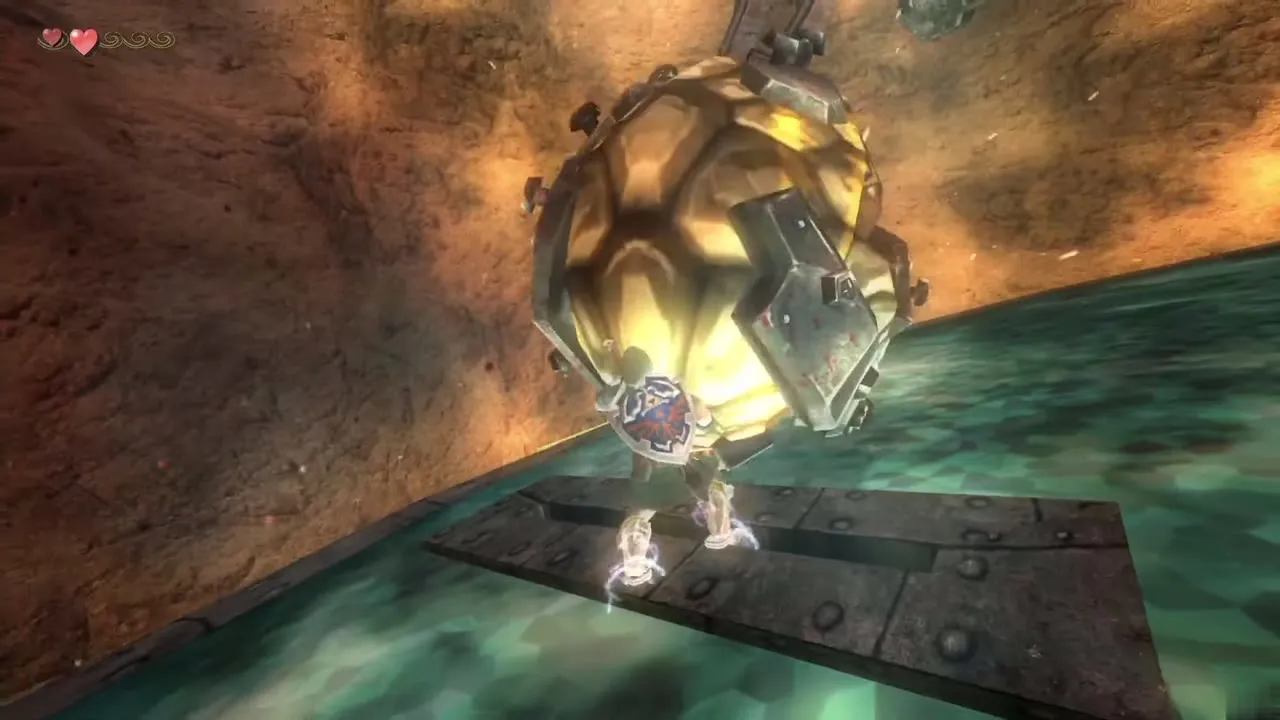
After enough damage he switches to rolling. Put on the Iron Boots so you can plant your feet, grab him when he rolls in, and throw him off the platform into the lava. Repeat until he gives up. He then lets you into the room with the Hero’s Bow chest.
Fyrus
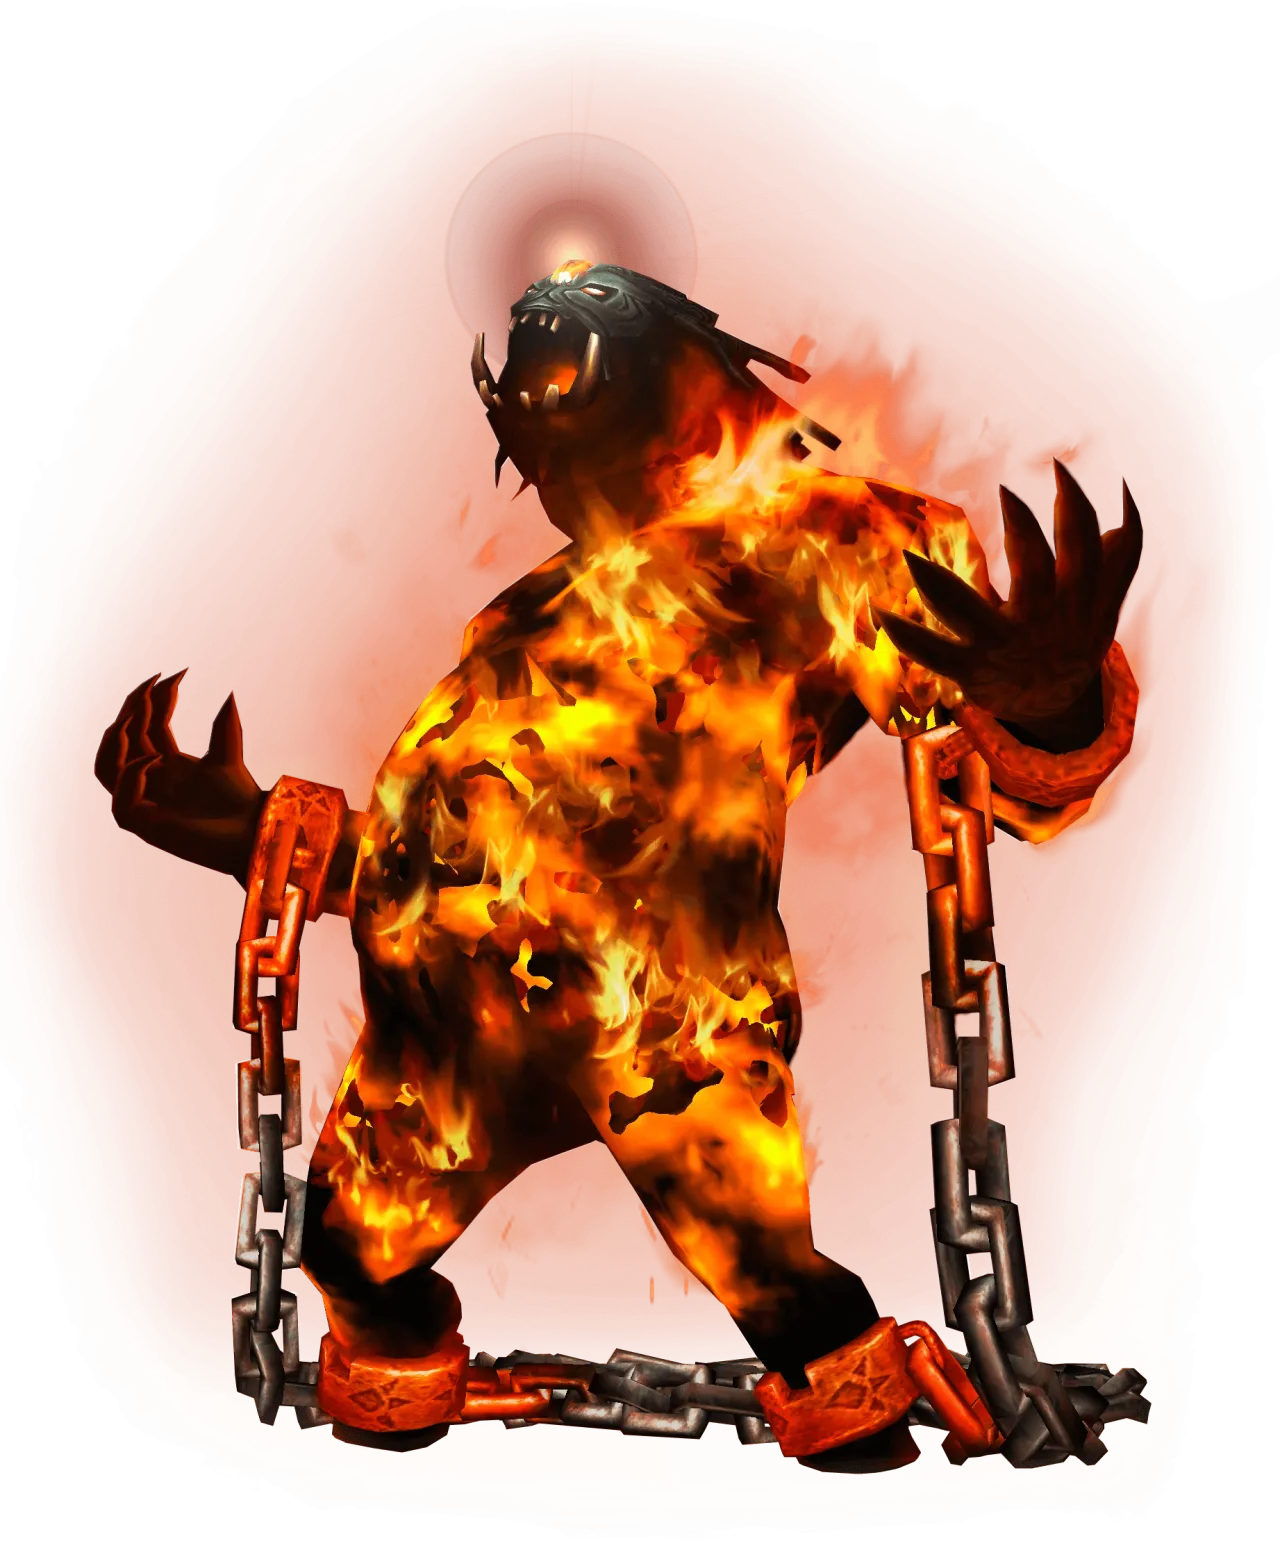
Boss, Goron Mines. Chapter: Goron Mines. Requires: Hero’s Bow, Iron Boots, sword. Reward: Heart Container and the second Fused Shadow.
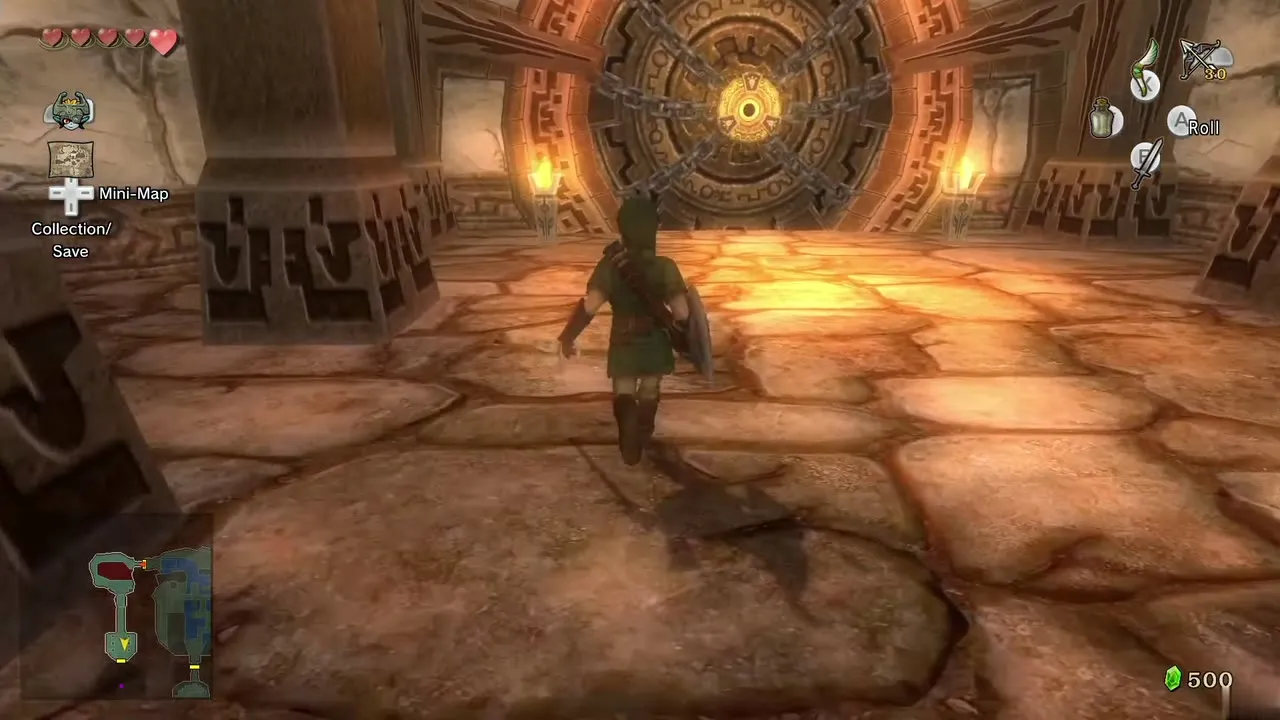
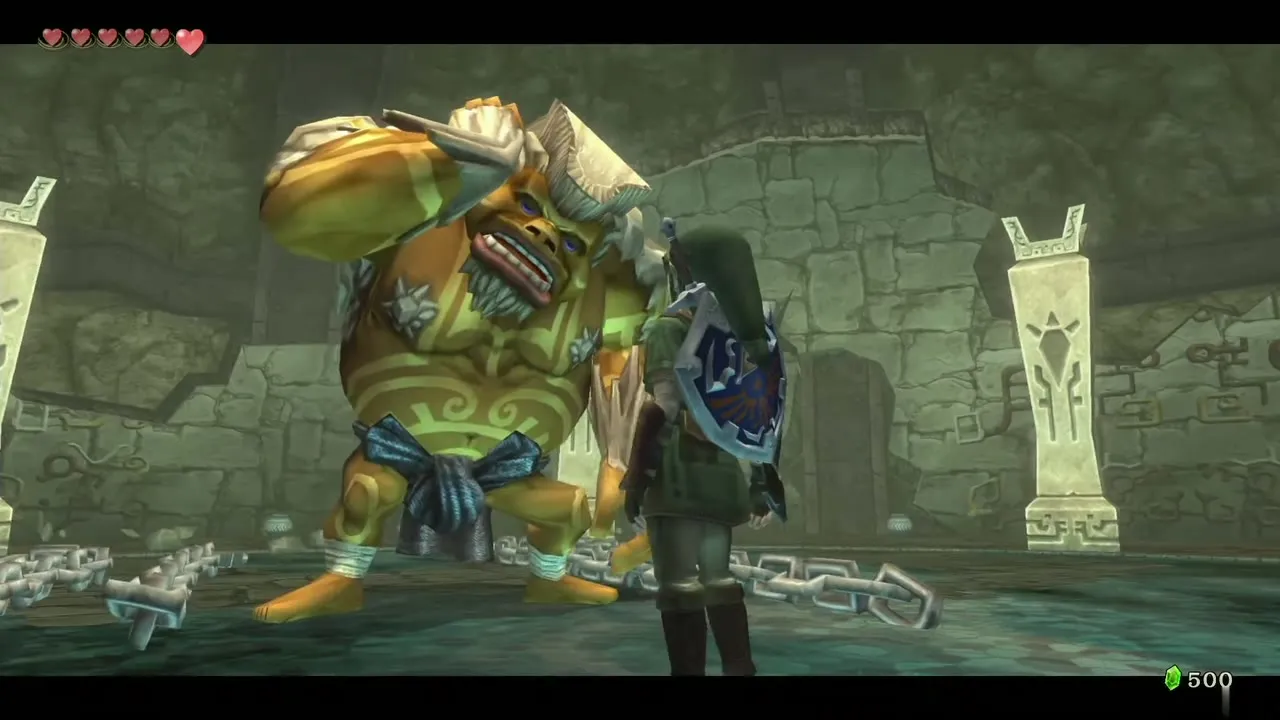
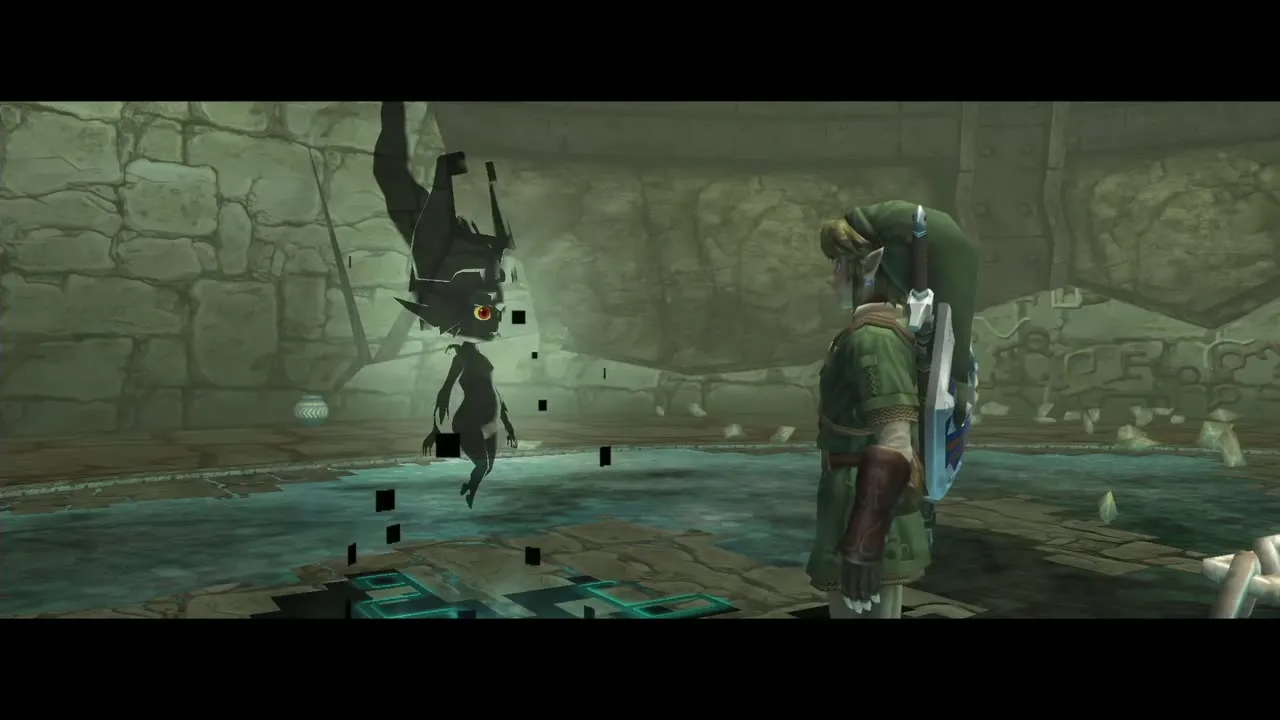
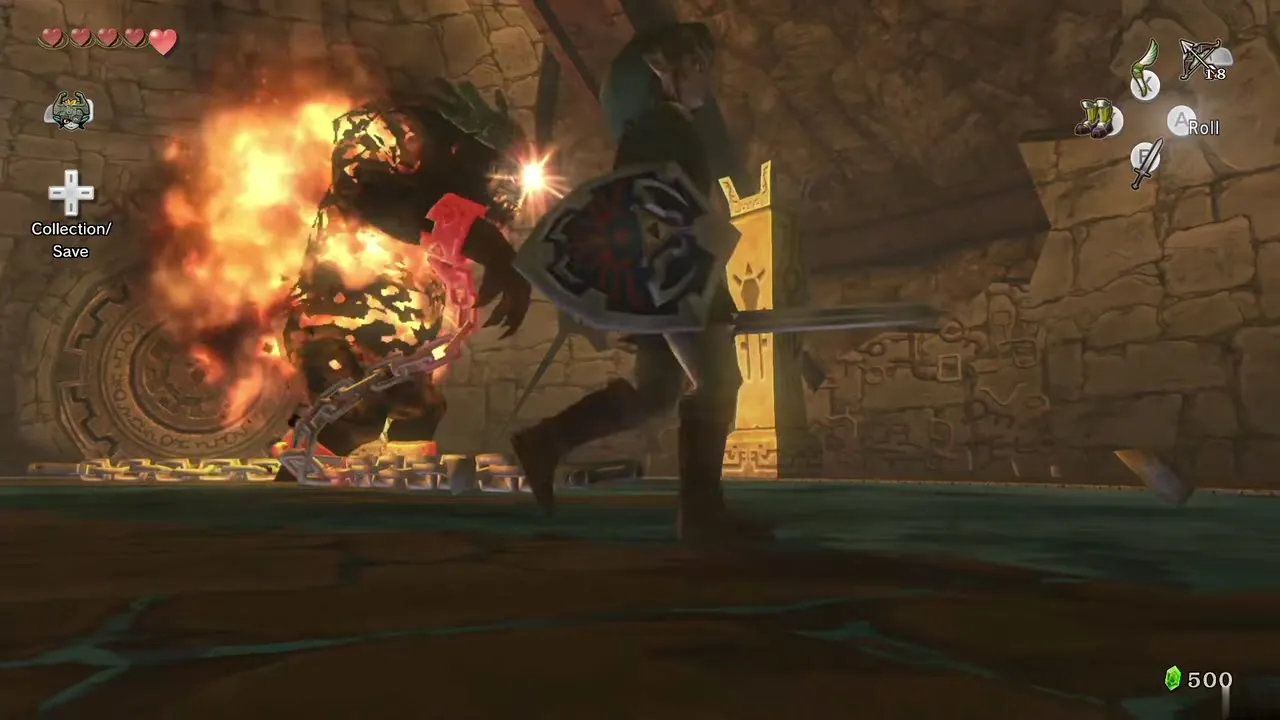
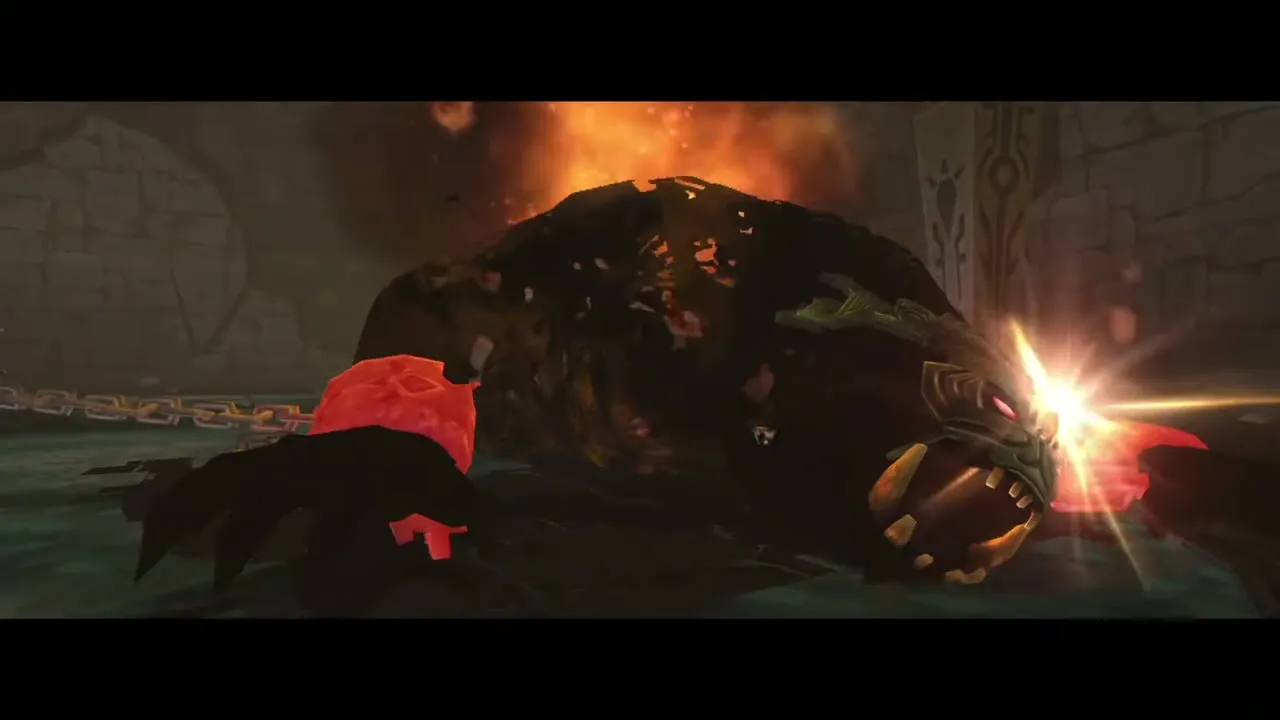
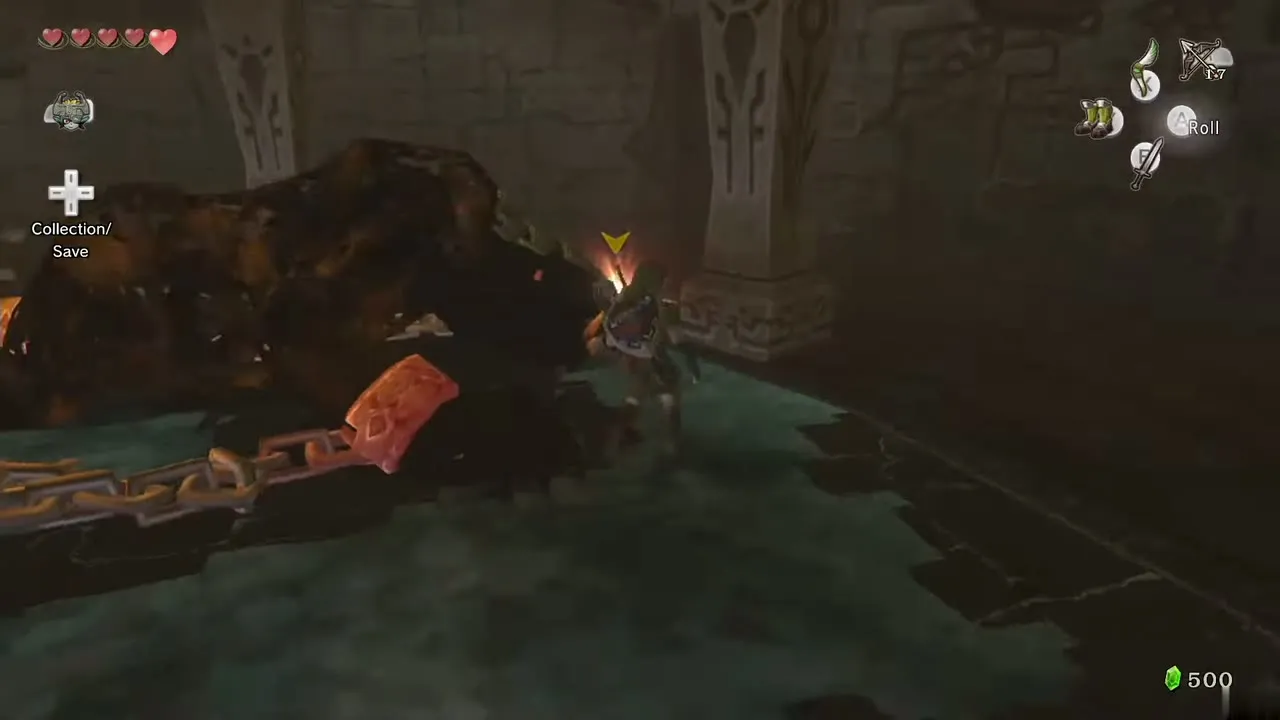
Fyrus, the Twilit Igniter, is Darbus the Goron chief, twisted by the Fused Shadow. He starts chained to the ceiling and floor of a magnetic room, then breaks free, sets himself alight and chases you, lashing with the chains and blowing fire. The gem on his forehead is his weak point.
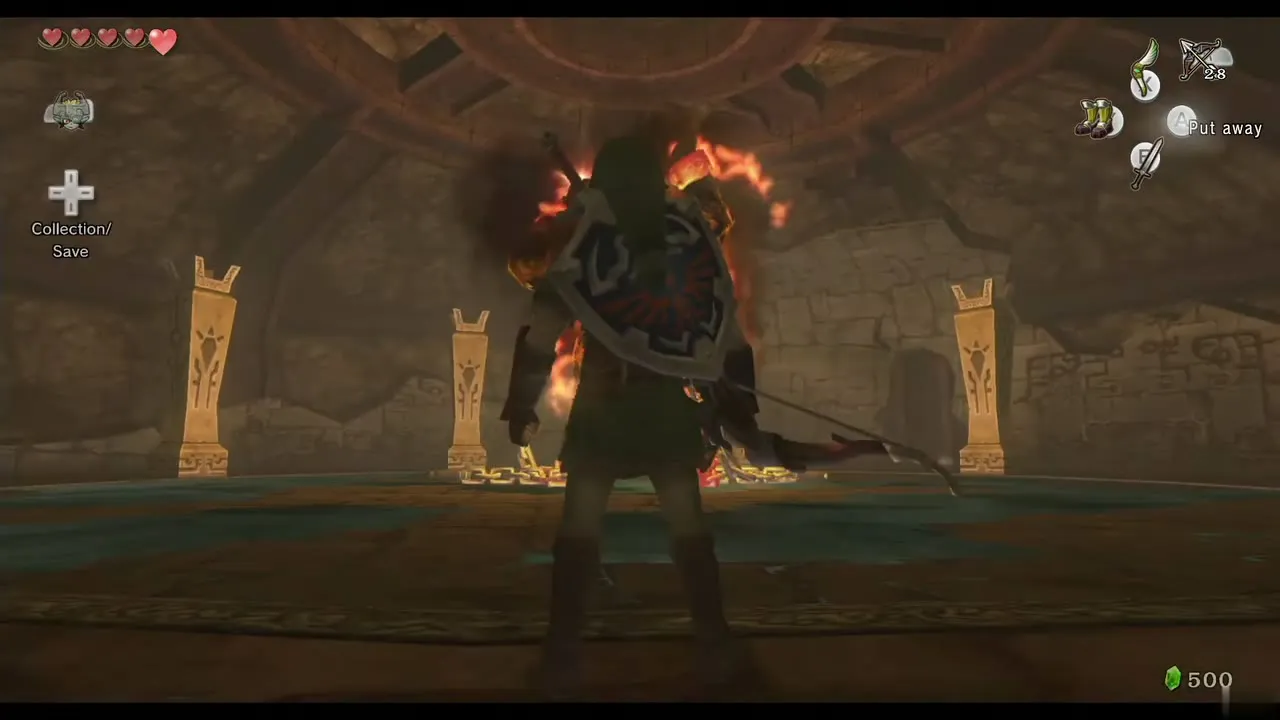
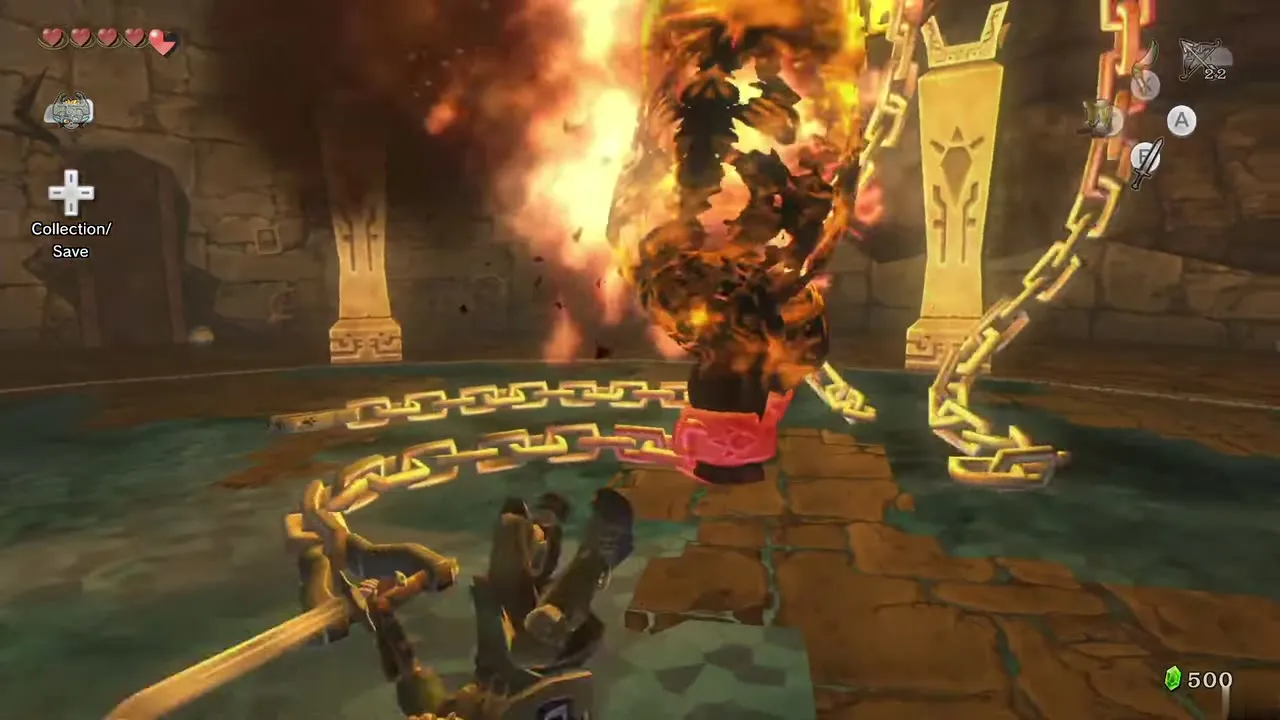
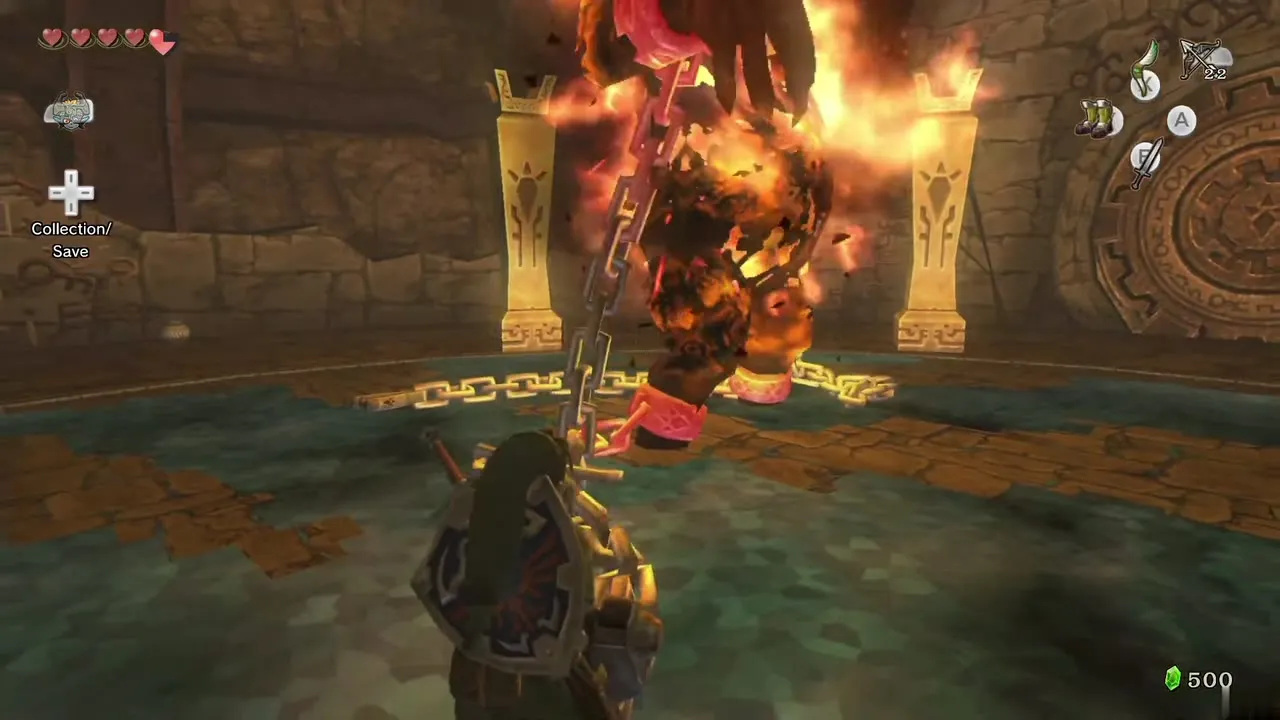
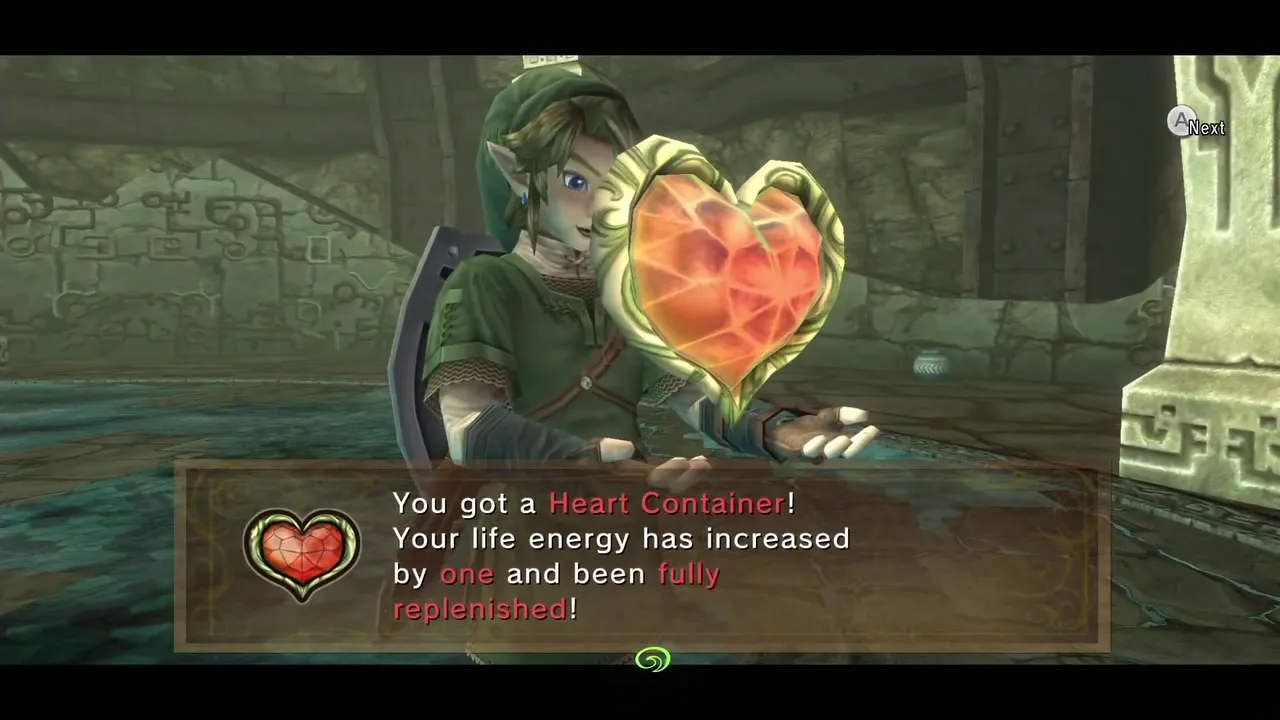
Shoot the gem with an arrow from the Hero’s Bow. He covers it and stamps blindly around the room. Put on the Iron Boots, grab the chain on one of his ankles and pull to topple him. While he lies there, slash the gem. Do this three times in total. After the last blow he thrashes around, a Heart Container drops and the second Fused Shadow leaves his body. Darbus is left unhurt.
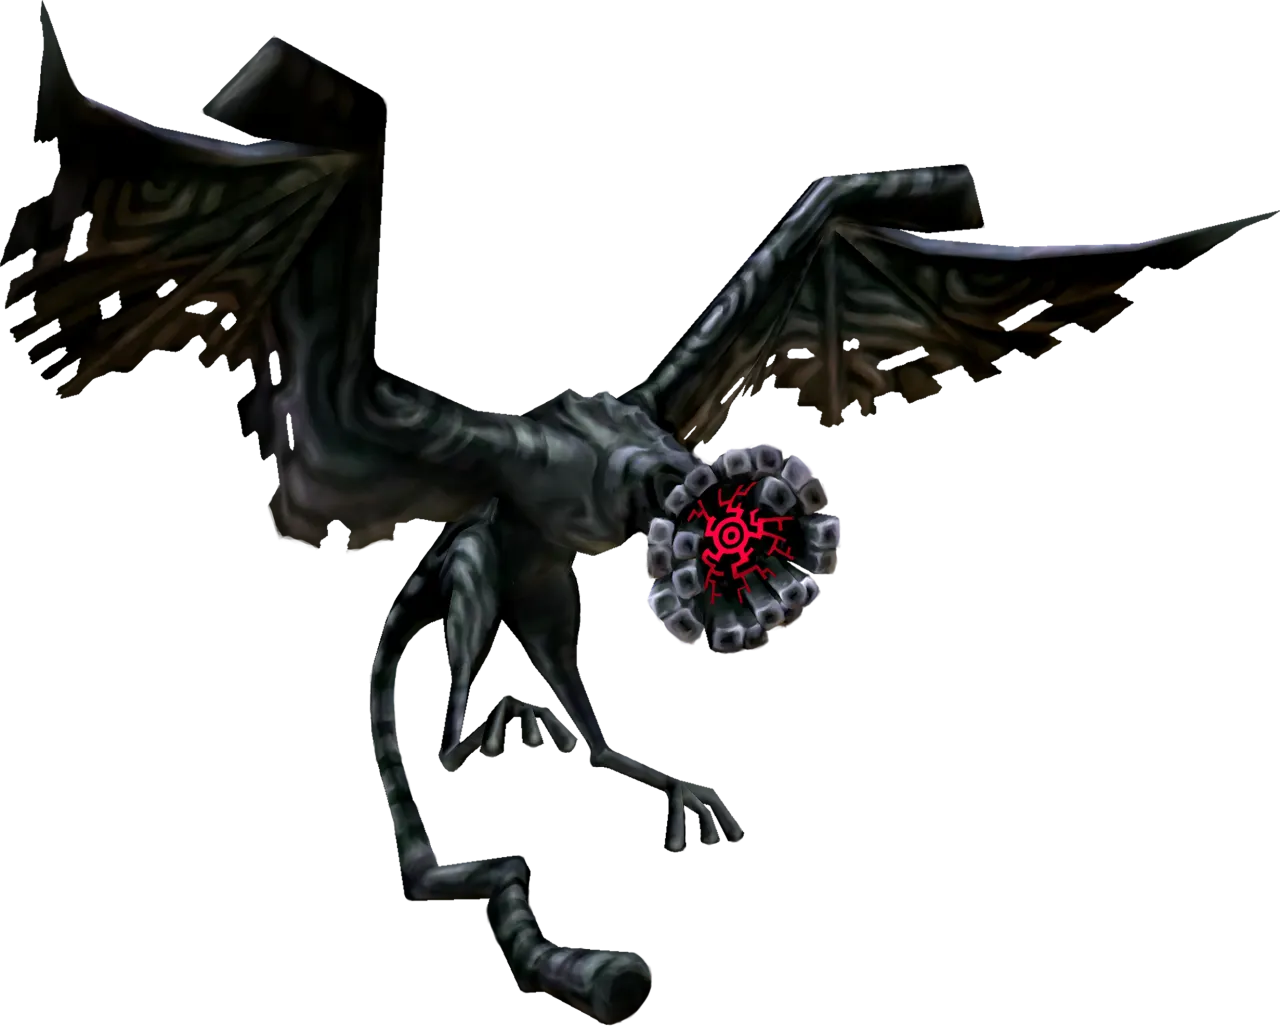
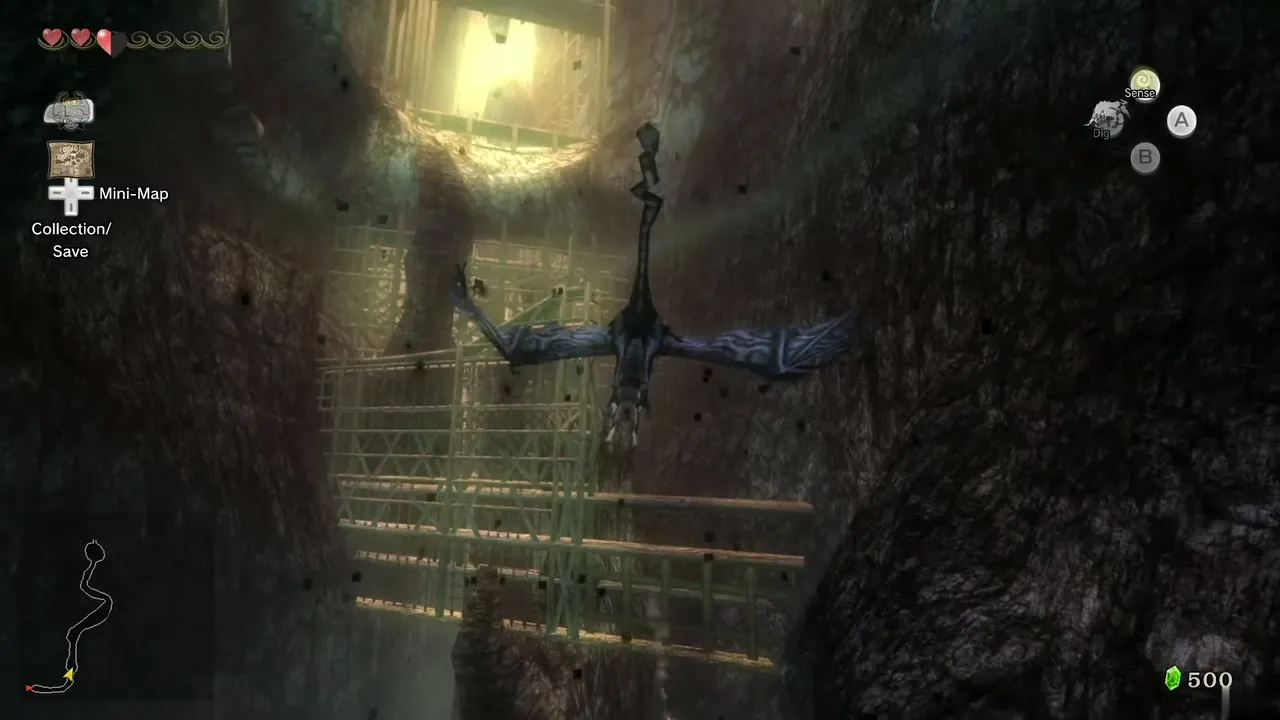
Twilit Carrier Kargarok
Mini-boss, Lake Hylia (Twilight). Chapter: Lanayru Twilight. Requires: Wolf form. Reward: A flight upriver to Zora’s Domain.
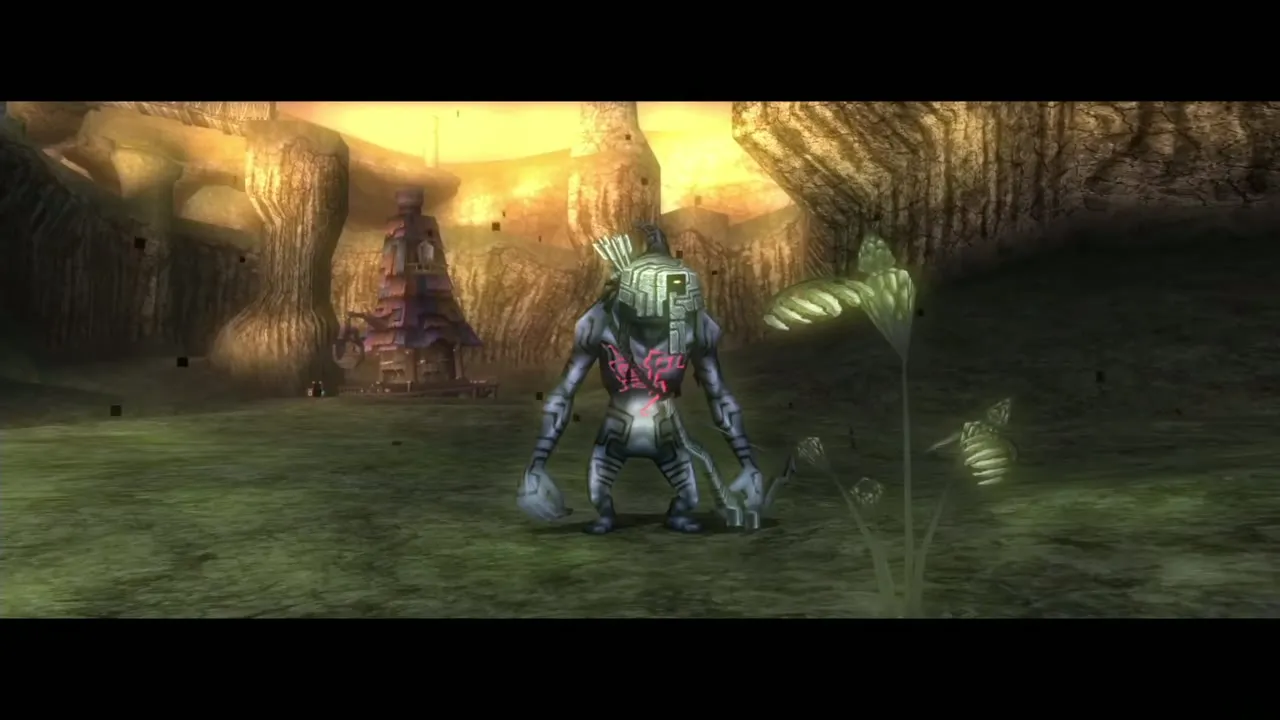
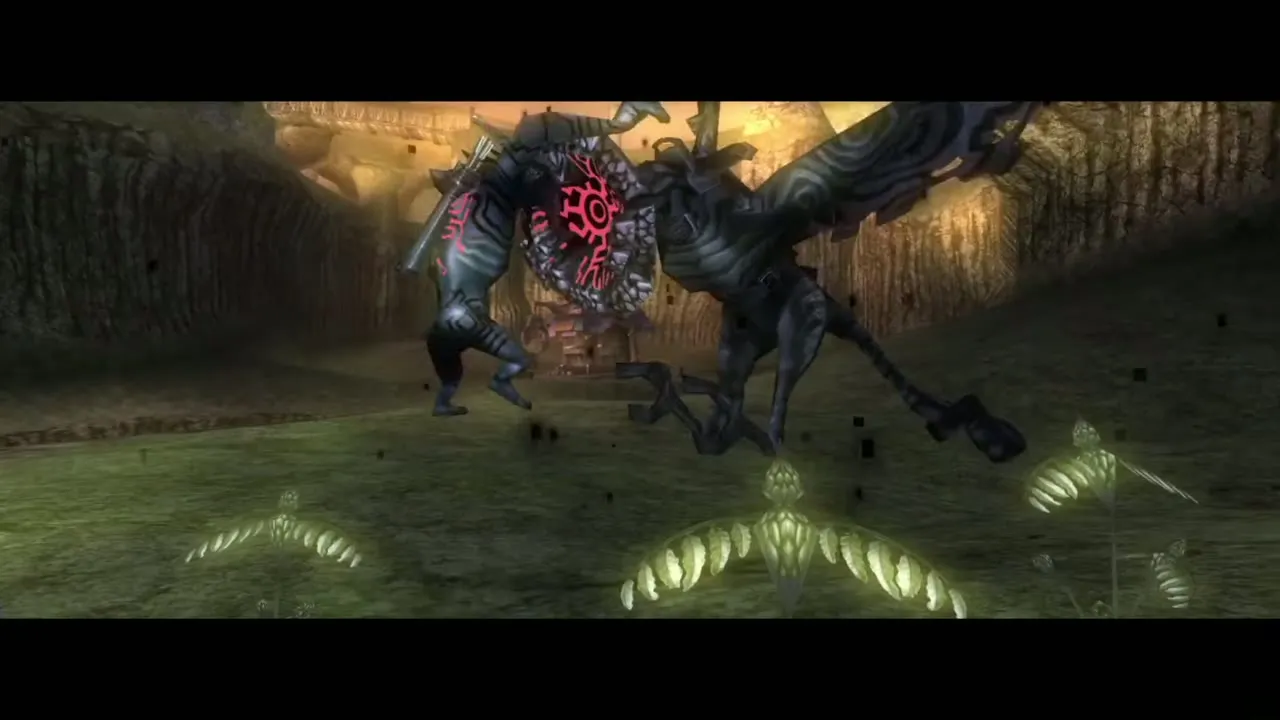
A Twilit Bulblin archer calls up a huge Shadow Kargarok with the hawk grass by the lake and rides it, firing flaming arrows. You cannot reach it at first, so run to avoid the shots. When the bird swoops low, jump onto it and bite. If you miss, it snatches you and drops you for a full heart of damage.
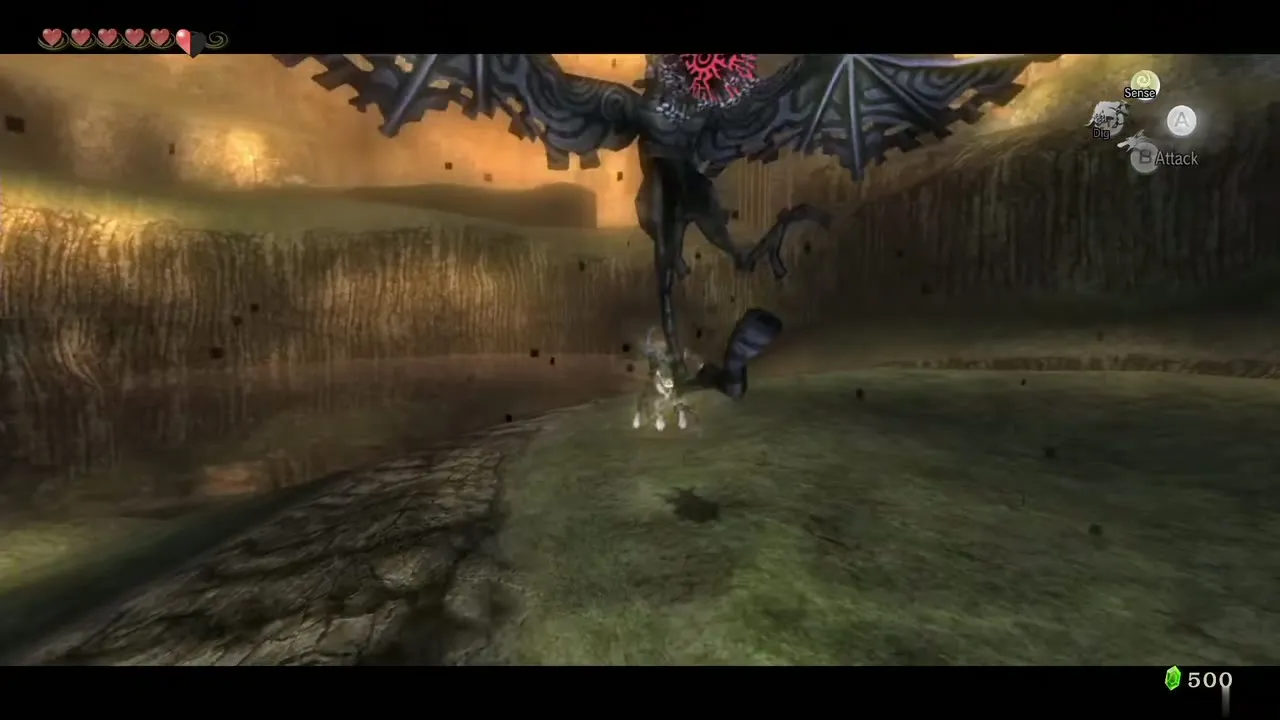
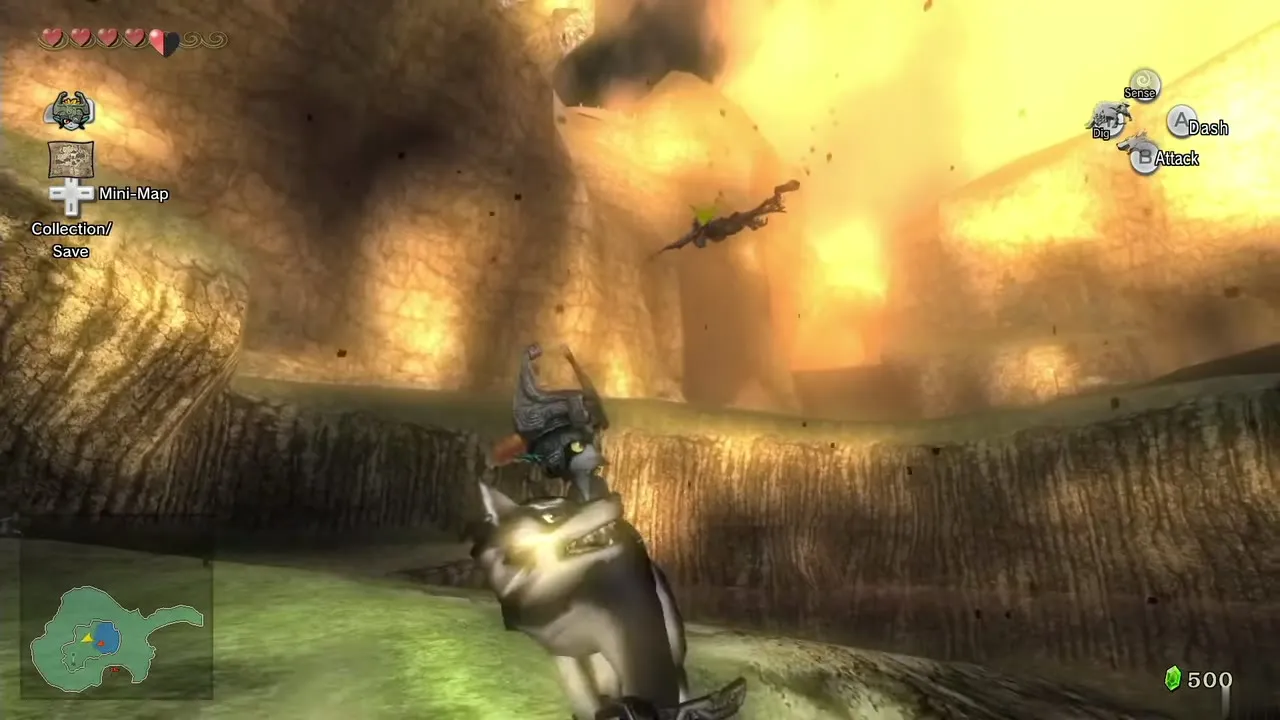
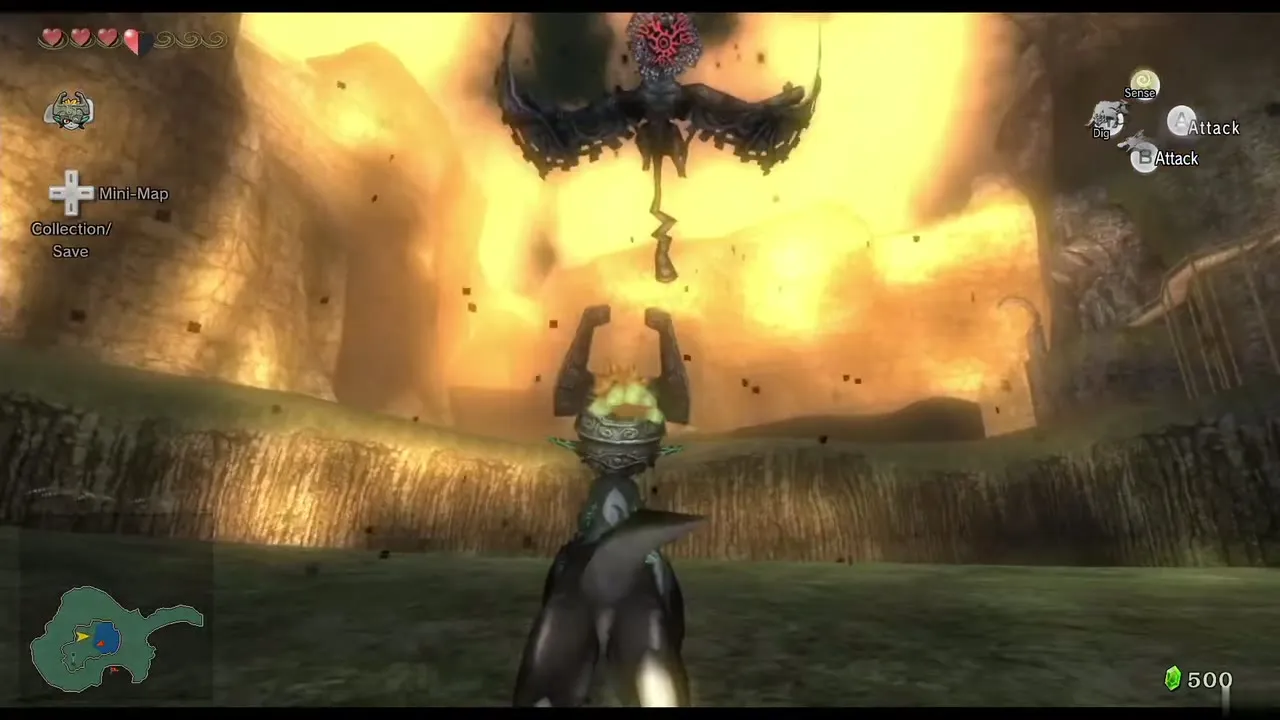
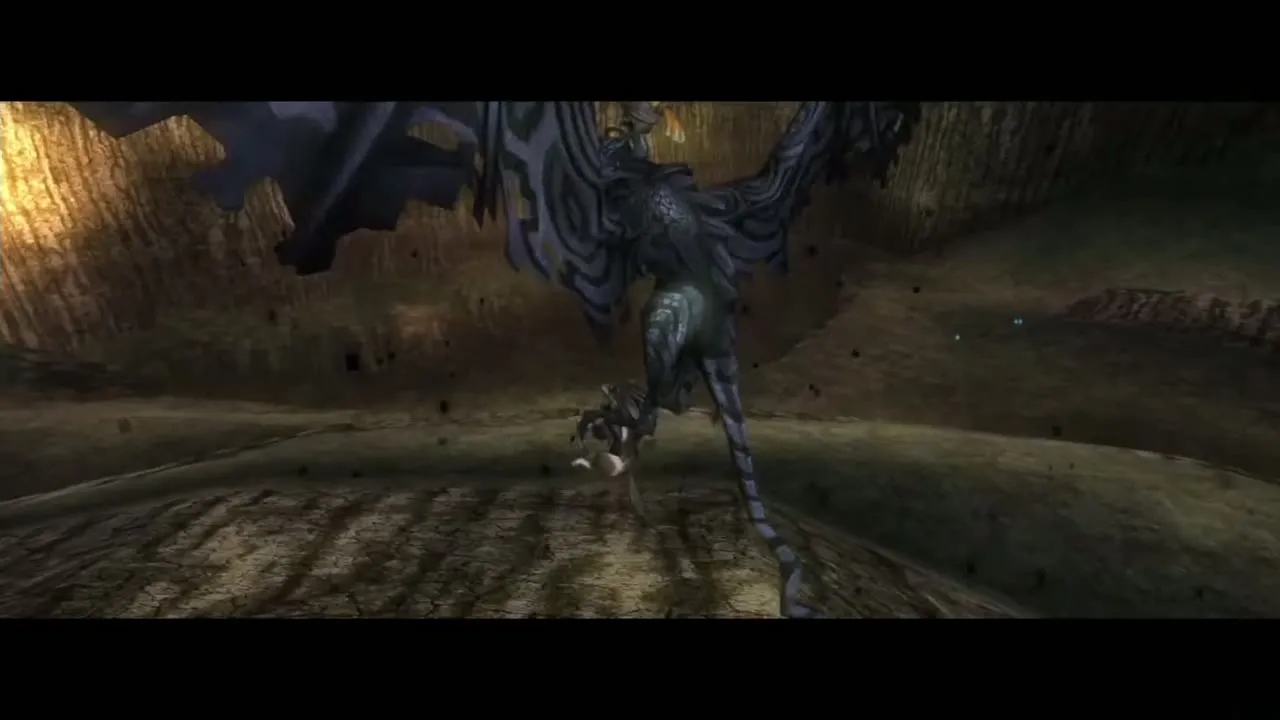
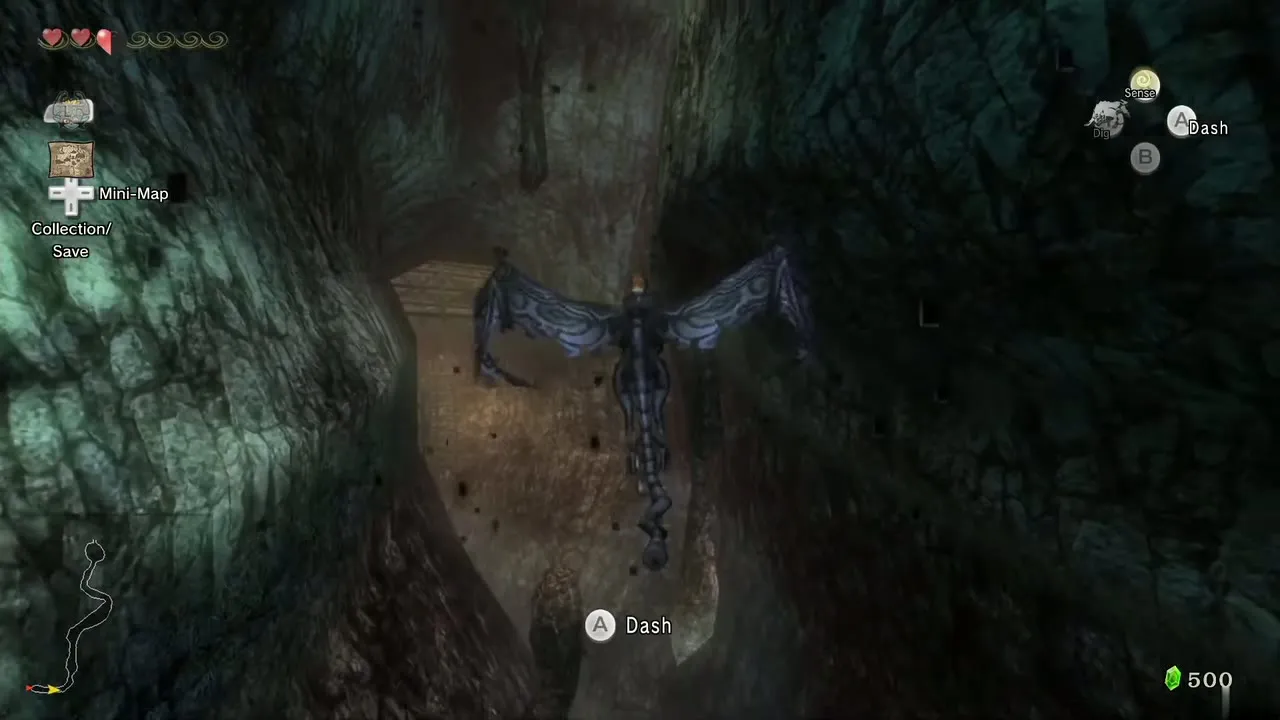
The knocked-off archer fights on the ground; finish him quickly, because he climbs back onto the bird if you are slow. Once he is beaten Midna takes control of the Kargarok and carries you to Zora’s Domain. The bird can be called again at the hawk grass whenever you want to cross the lake.
Twilit Bloat
Mini-boss, Lake Hylia (Twilight). Chapter: Lanayru Twilight. Requires: Wolf form, Midna’s charge attack. Reward: The last Tear of Light of Lanayru.
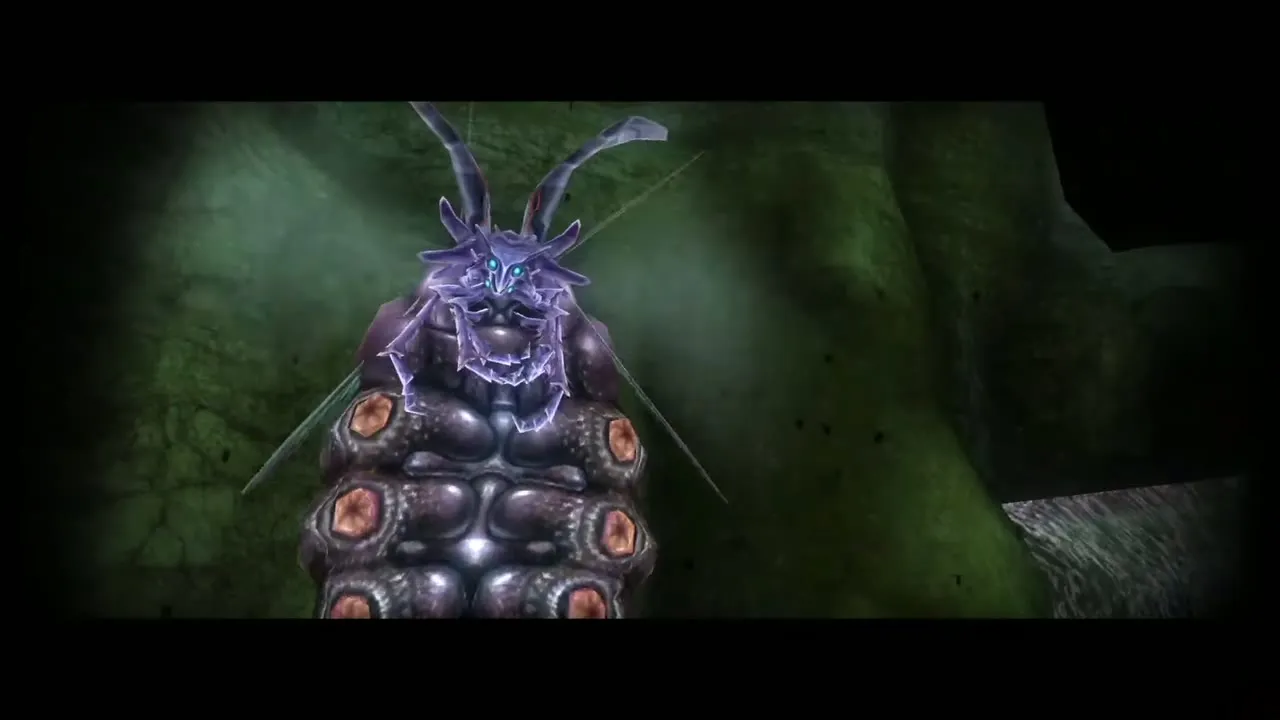
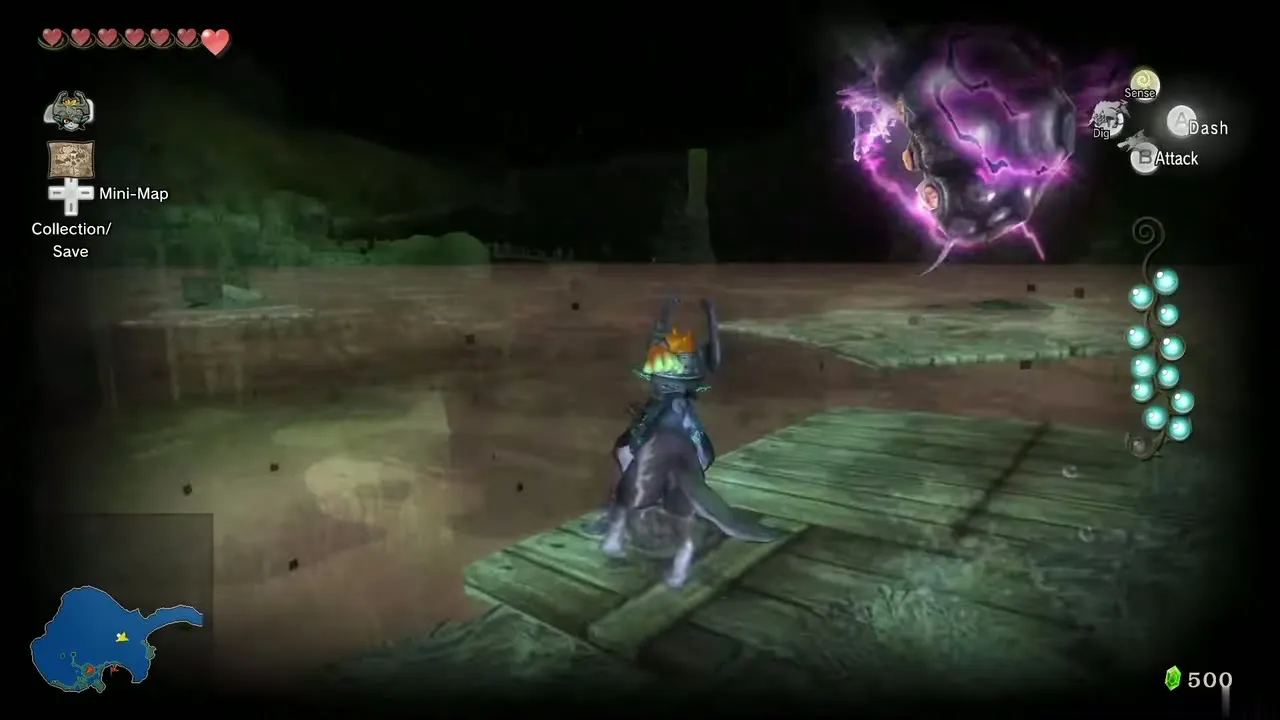
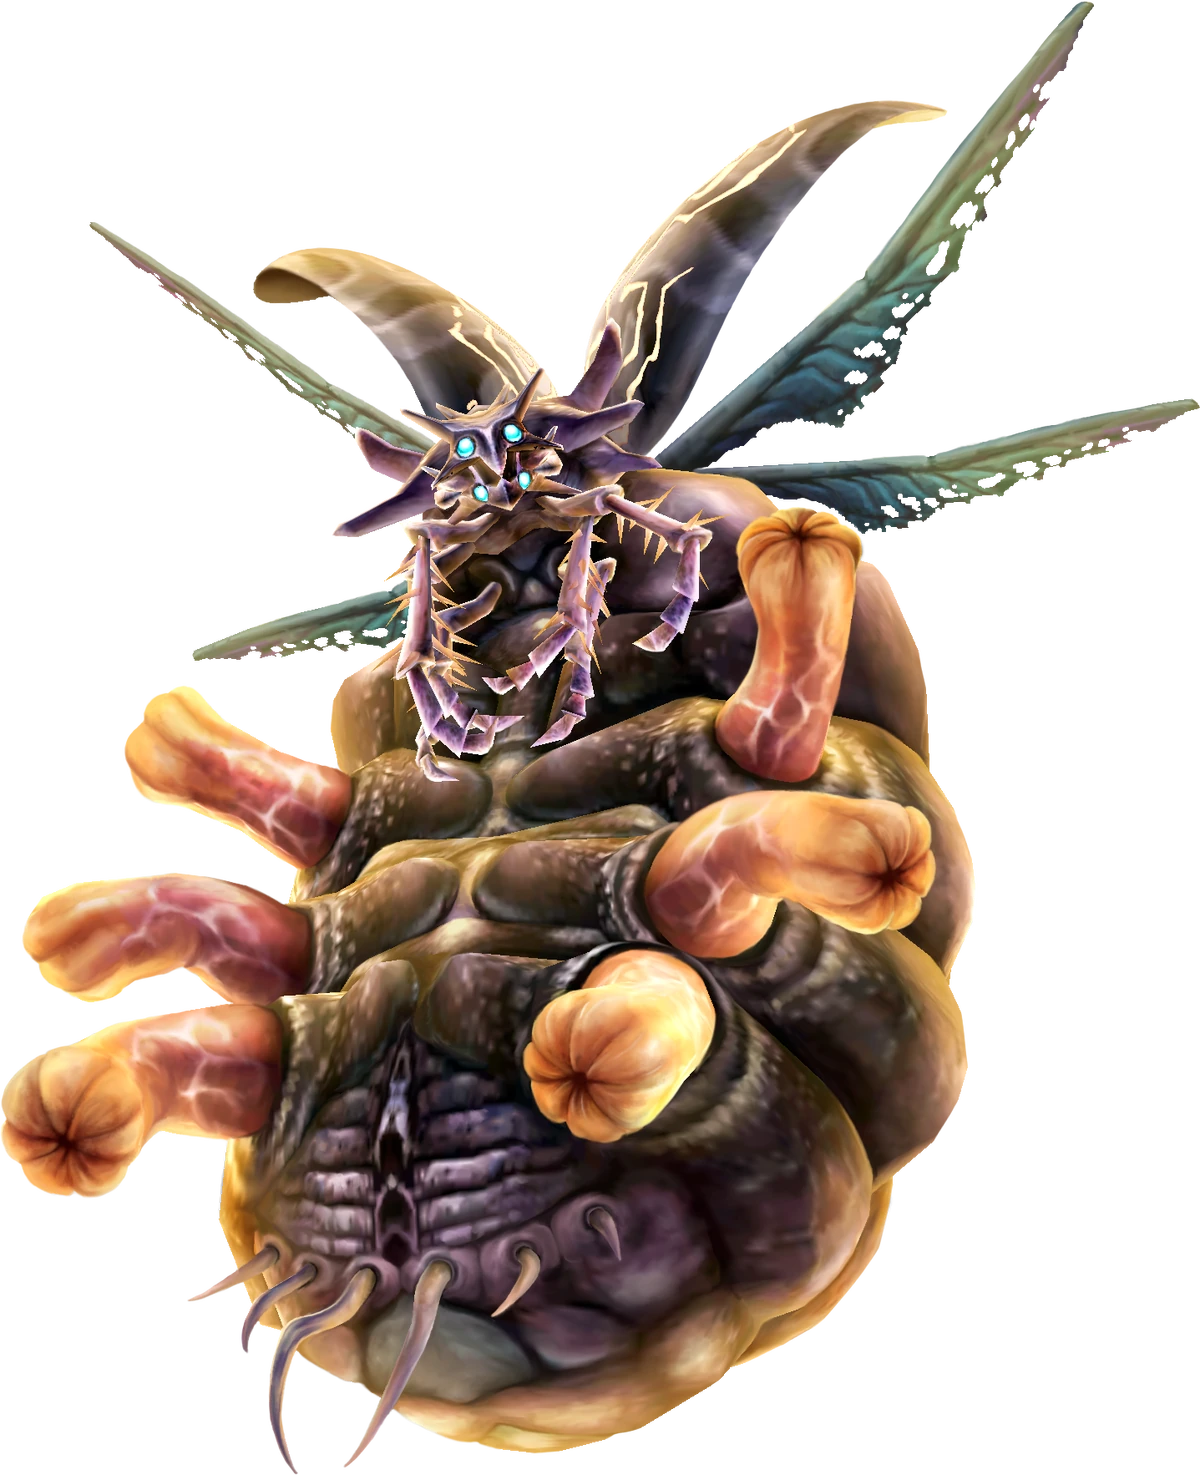
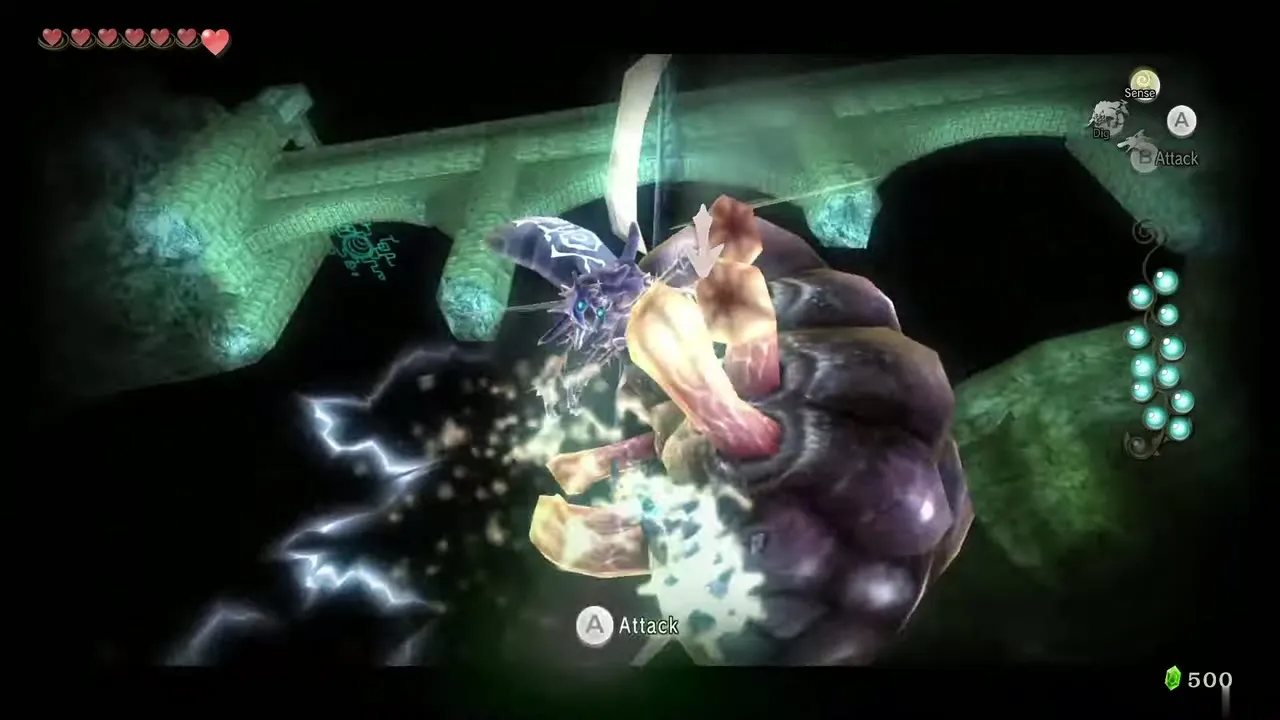
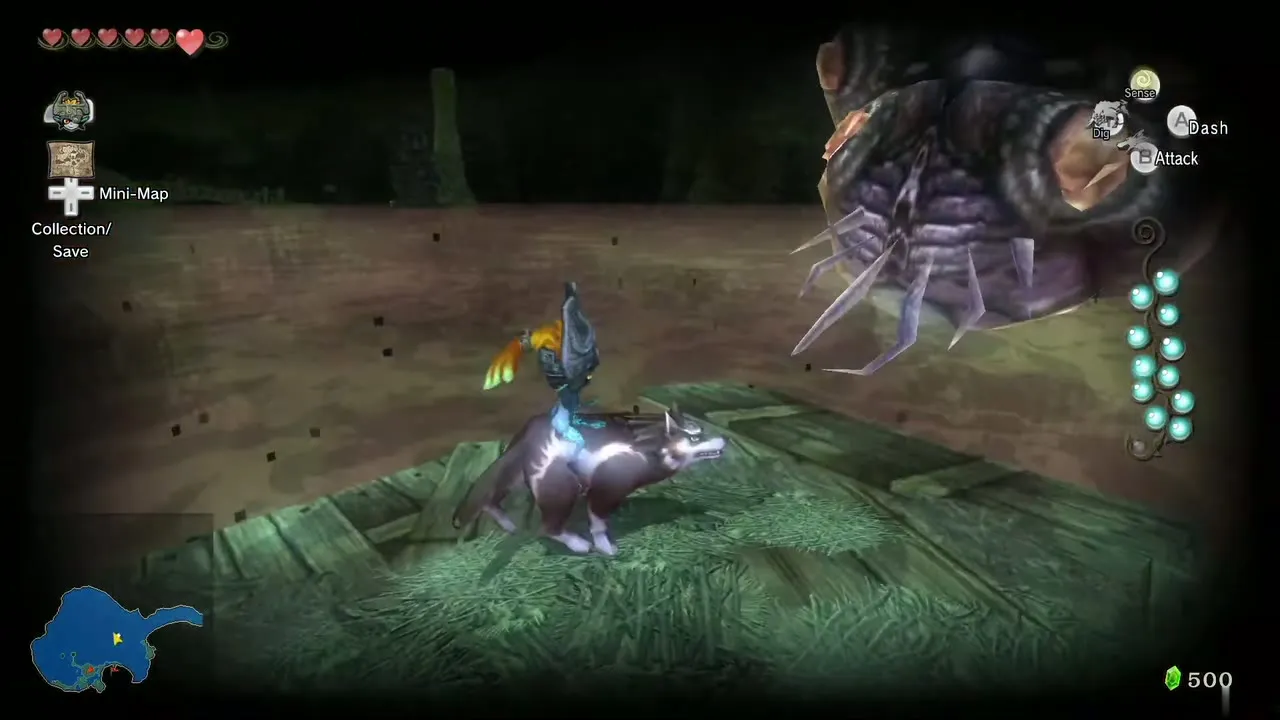
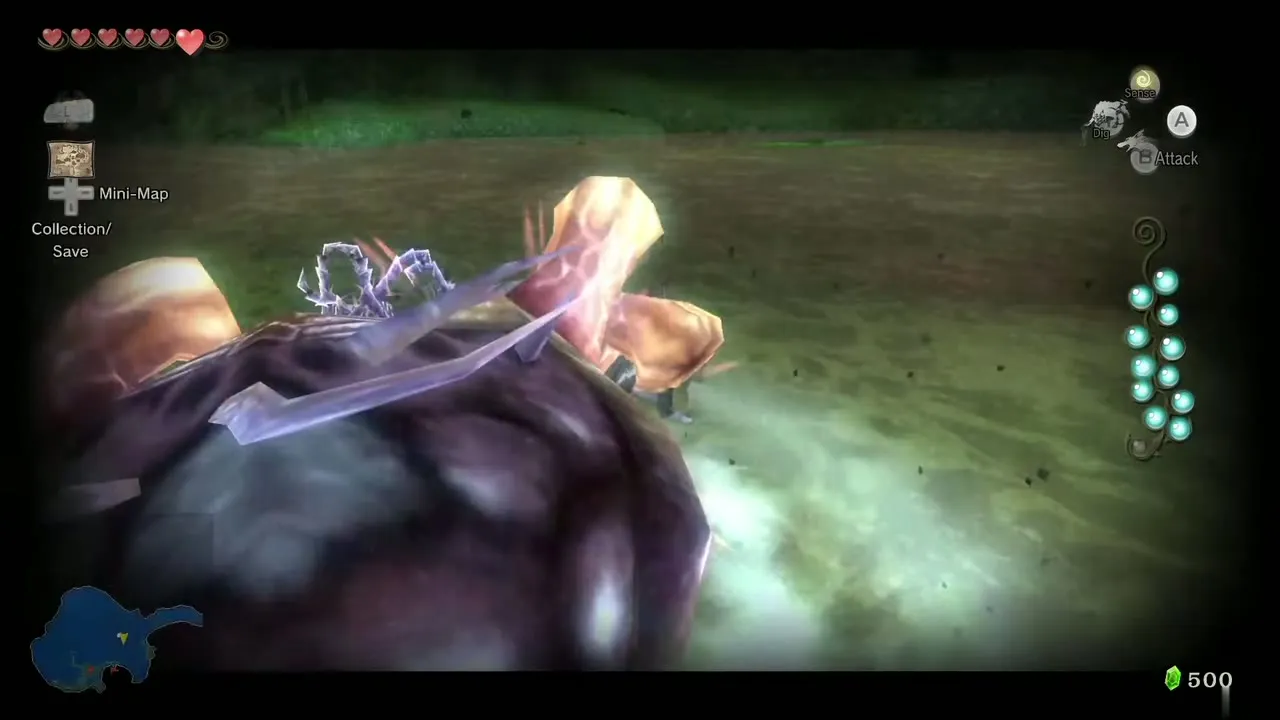
The Twilit Bloat is a giant electrified insect that is visible only through your senses. It swoops and swims into you, so dodge, then jump-bite its abdomen. Three rounds of bites make it fall into the water on its back, exposing six tentacles.
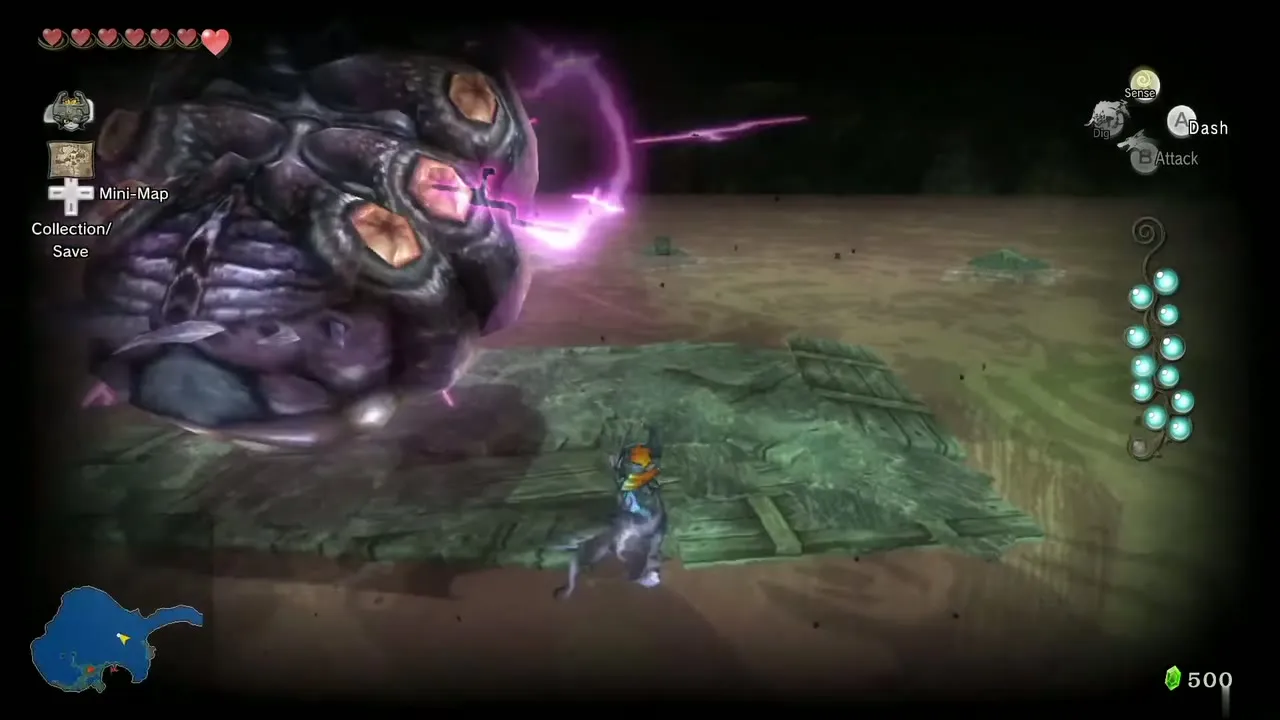
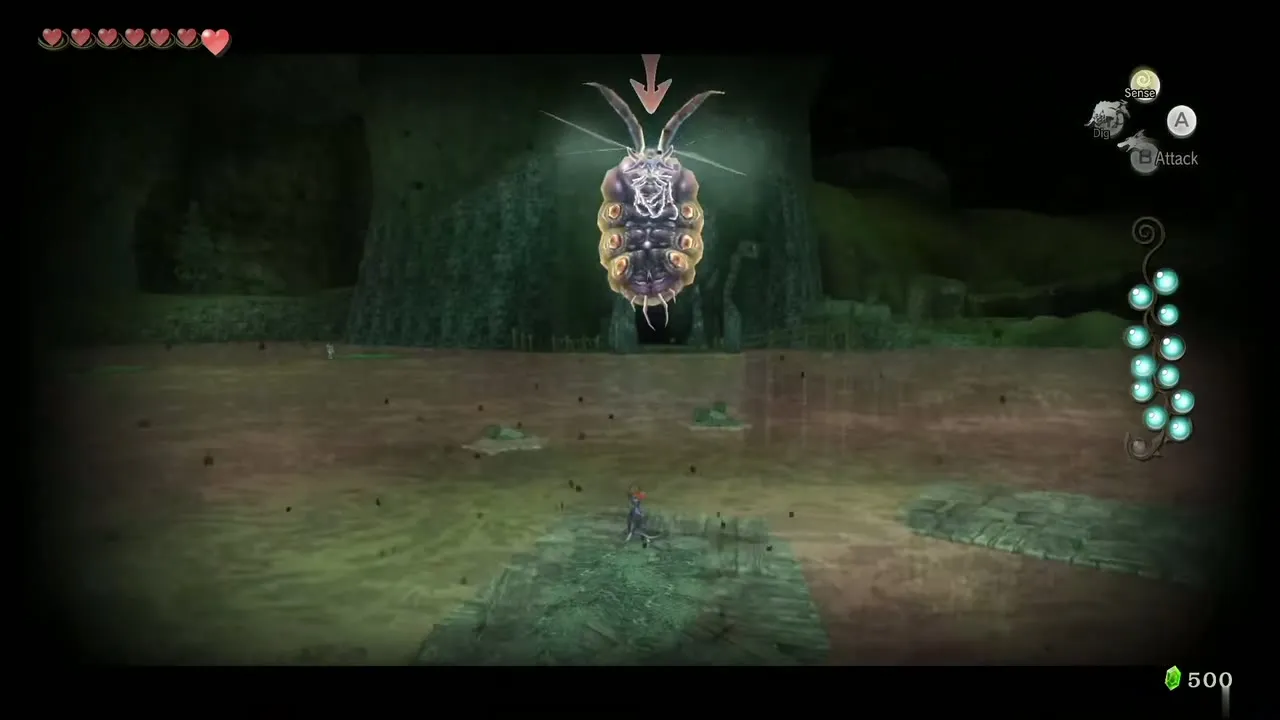
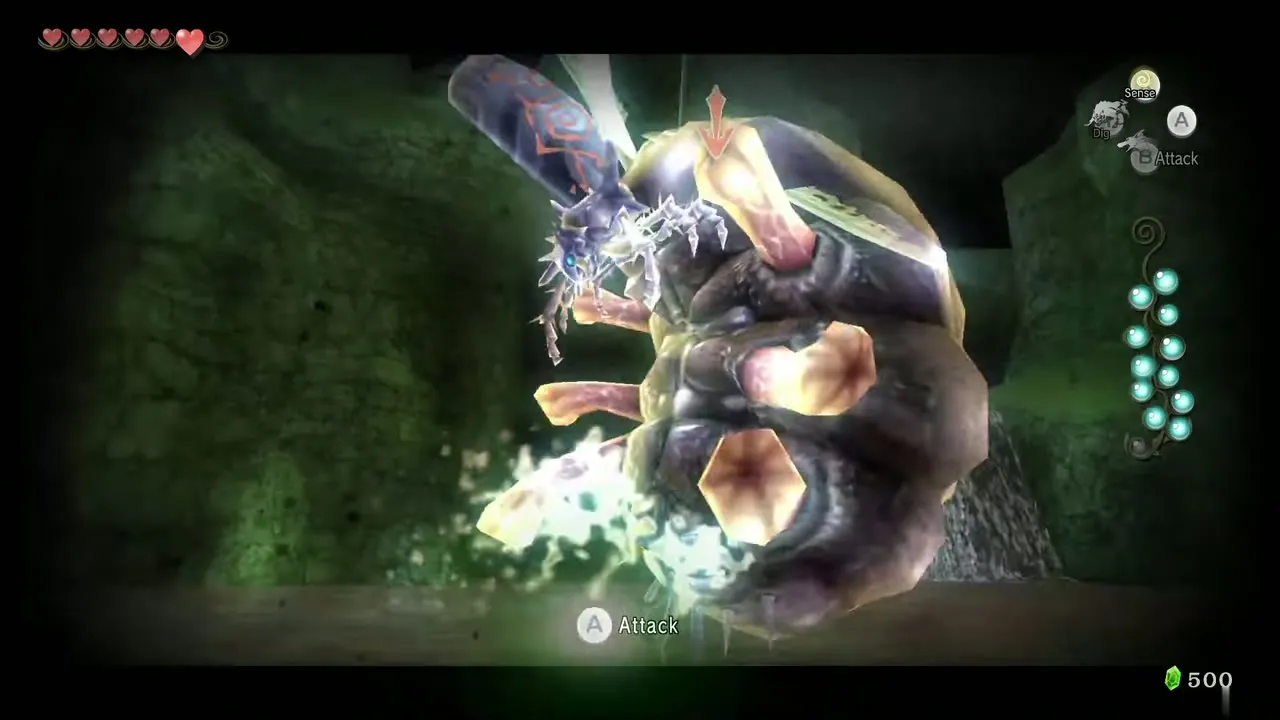
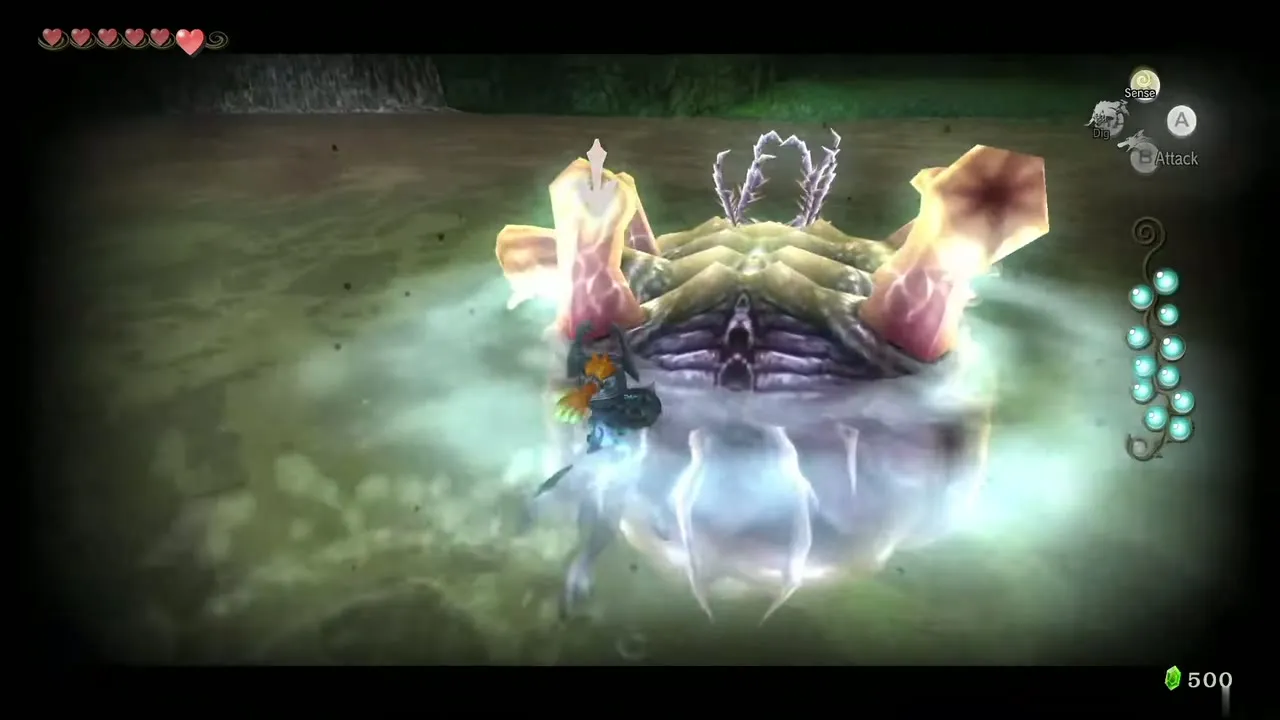
Jump on, and use Midna’s charge attack to hit all six tentacles at once; hitting them one at a time lets them heal too fast. If you are slow, the Bloat recovers, but one round of bites is then enough to stun it again. When it bursts, it releases the last Tear of Light in the province.
King Bulblin (Great Hylian Bridge)
Mini-boss, Great Hylian Bridge, Hyrule Field. Chapter: Lake Hylia side quests. Requires: Epona, Hero’s Bow. Reward: None; the carriage can continue to Kakariko.
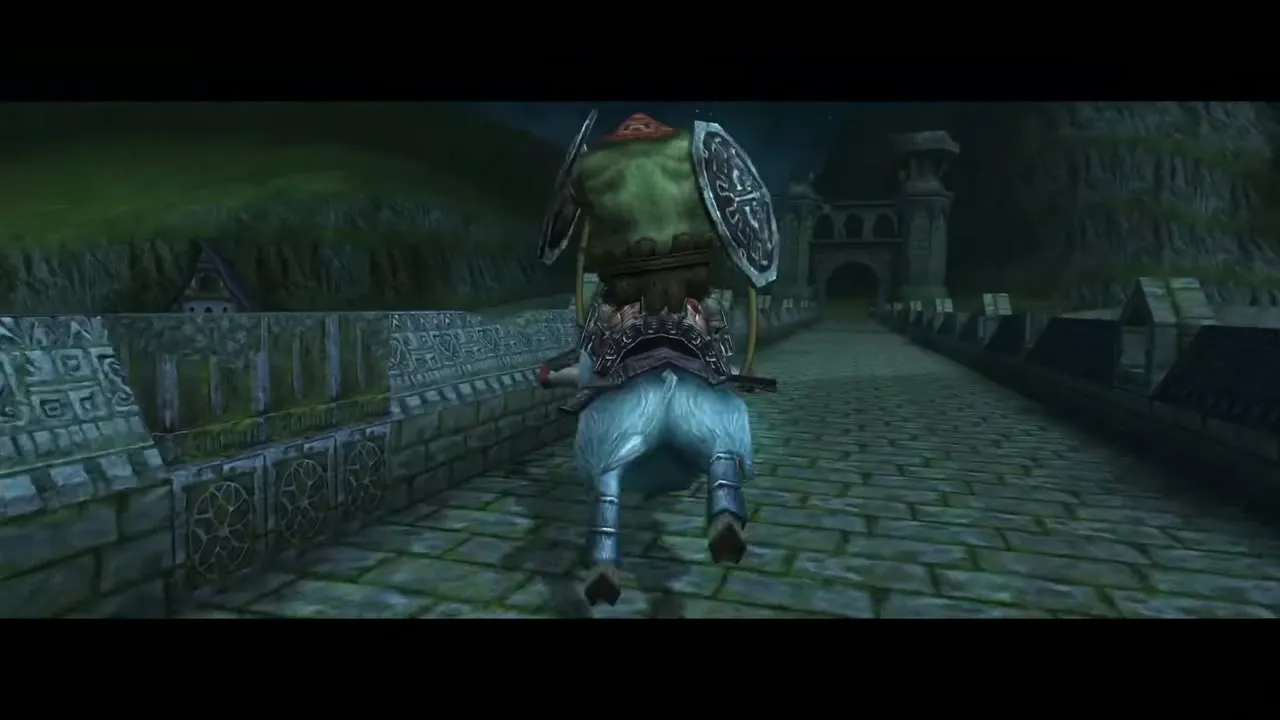
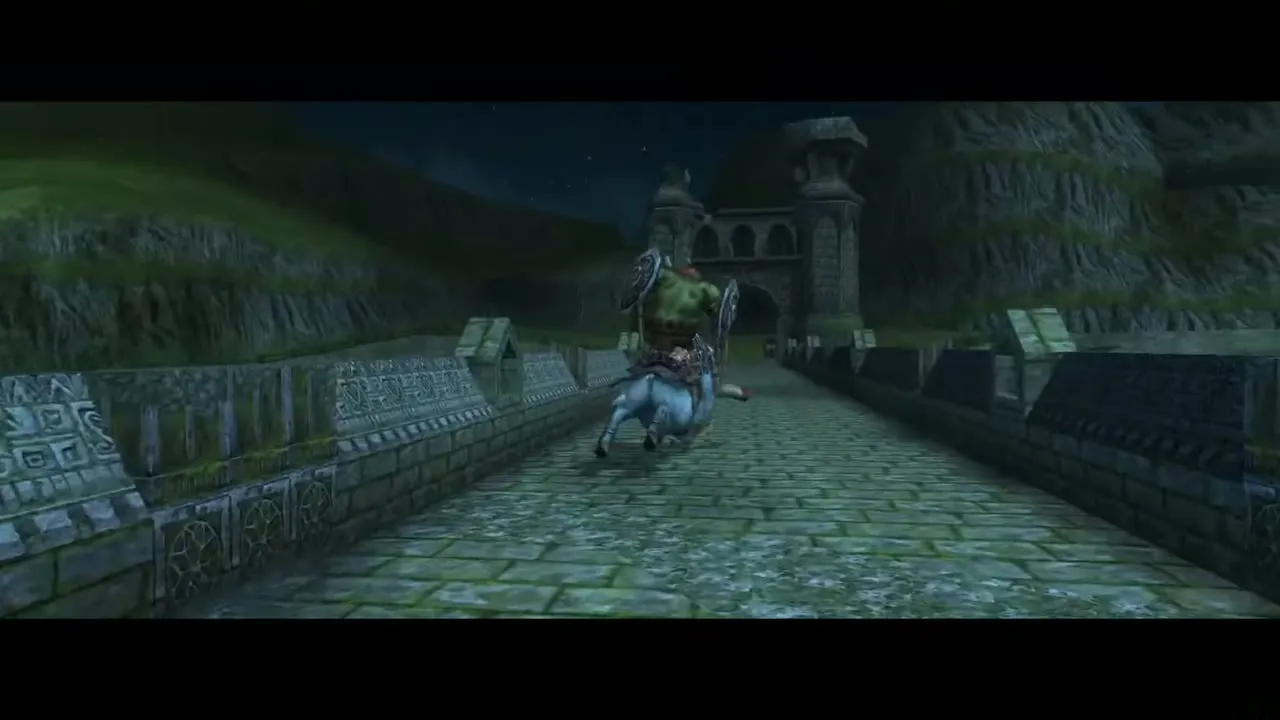
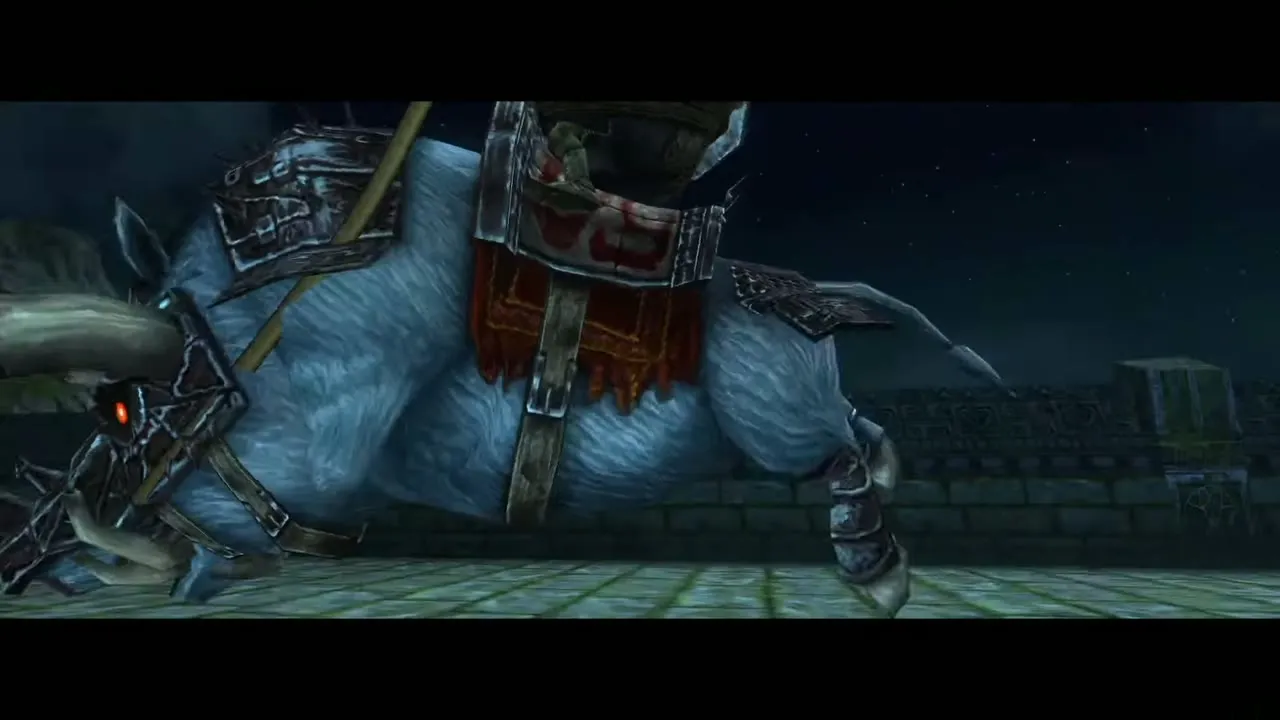
King Bulblin attacks the wagon you are escorting and fights you once more on a bridge. This time he has armor plates on his sides, and the gaps in front are the target. Ride at him, aim an arrow into the gaps and shoot before the two of you collide, then steer away. You can also shoot while standing, with the Hawkeye for aim.
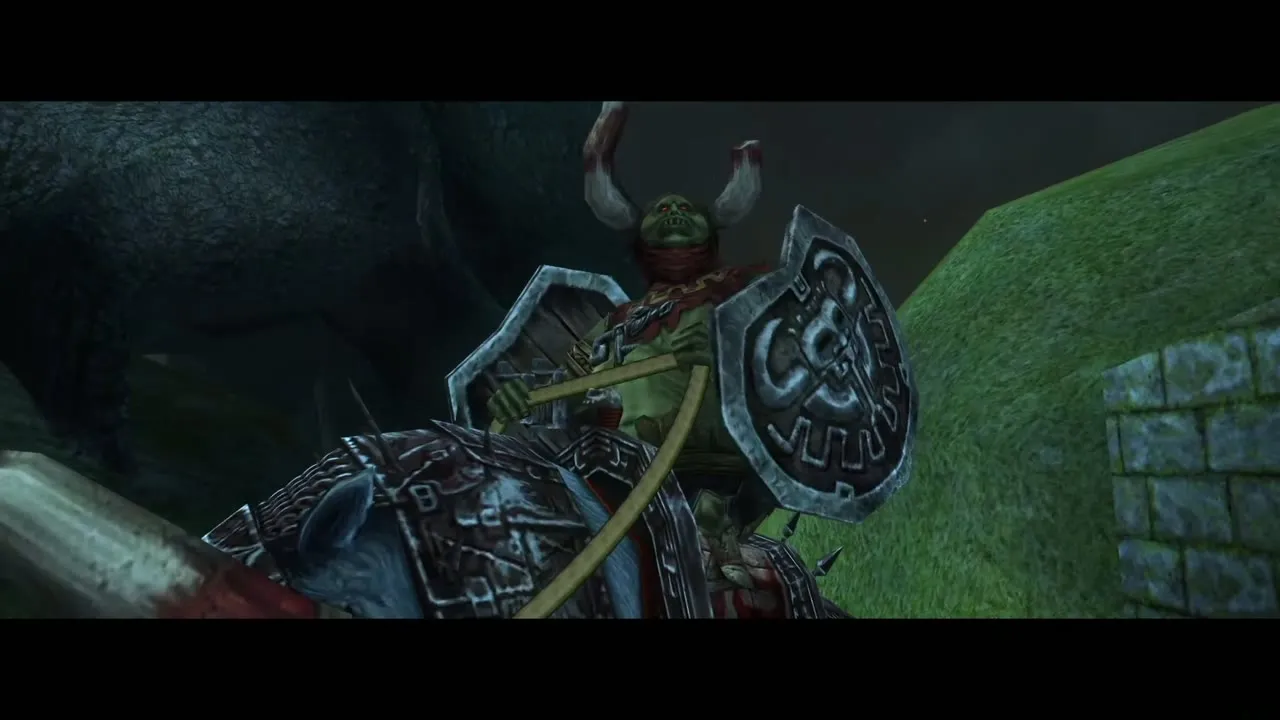
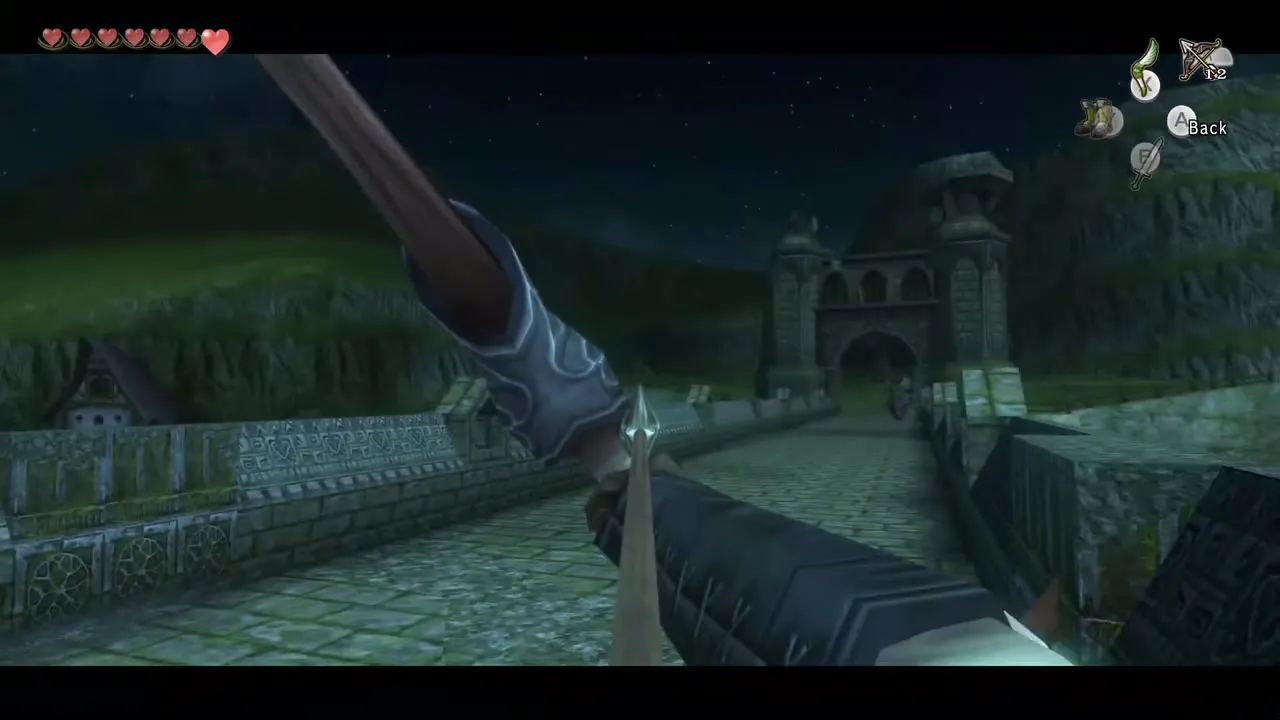
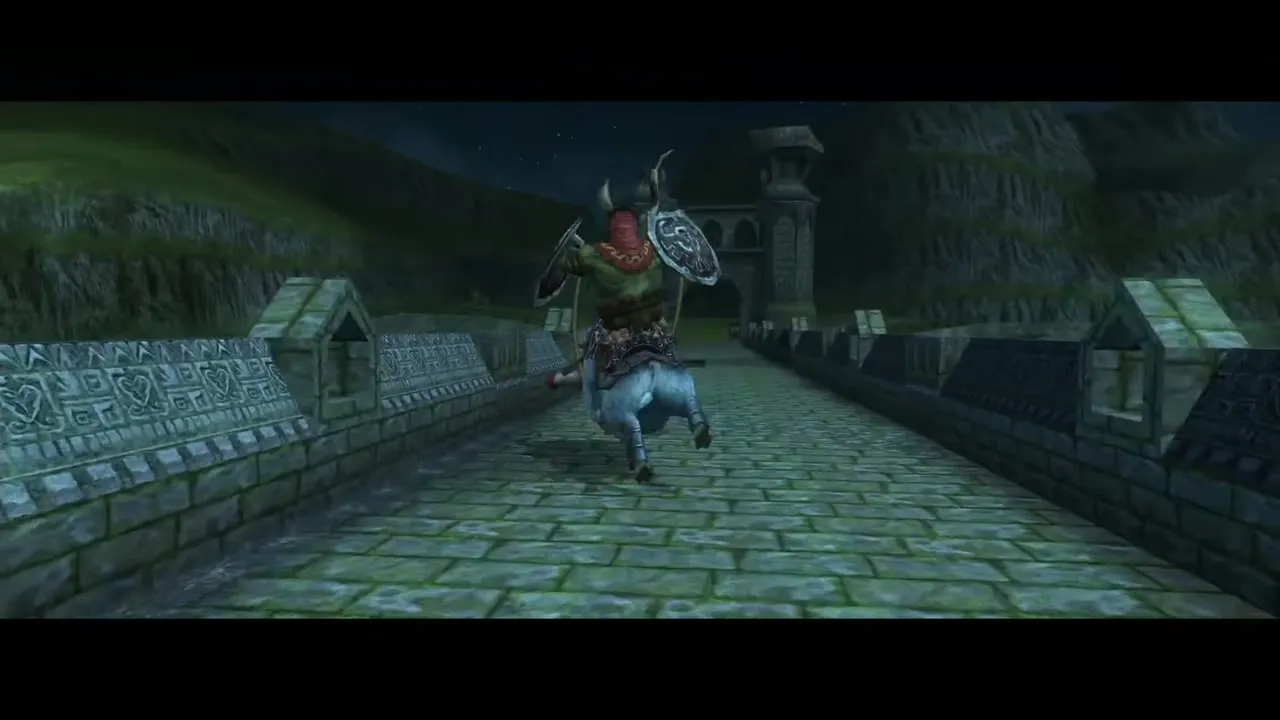
Hit him enough times and he is thrown off the bridge and loses his other horn. As before, Lord Bullbo is not a valid target.
Deku Toad
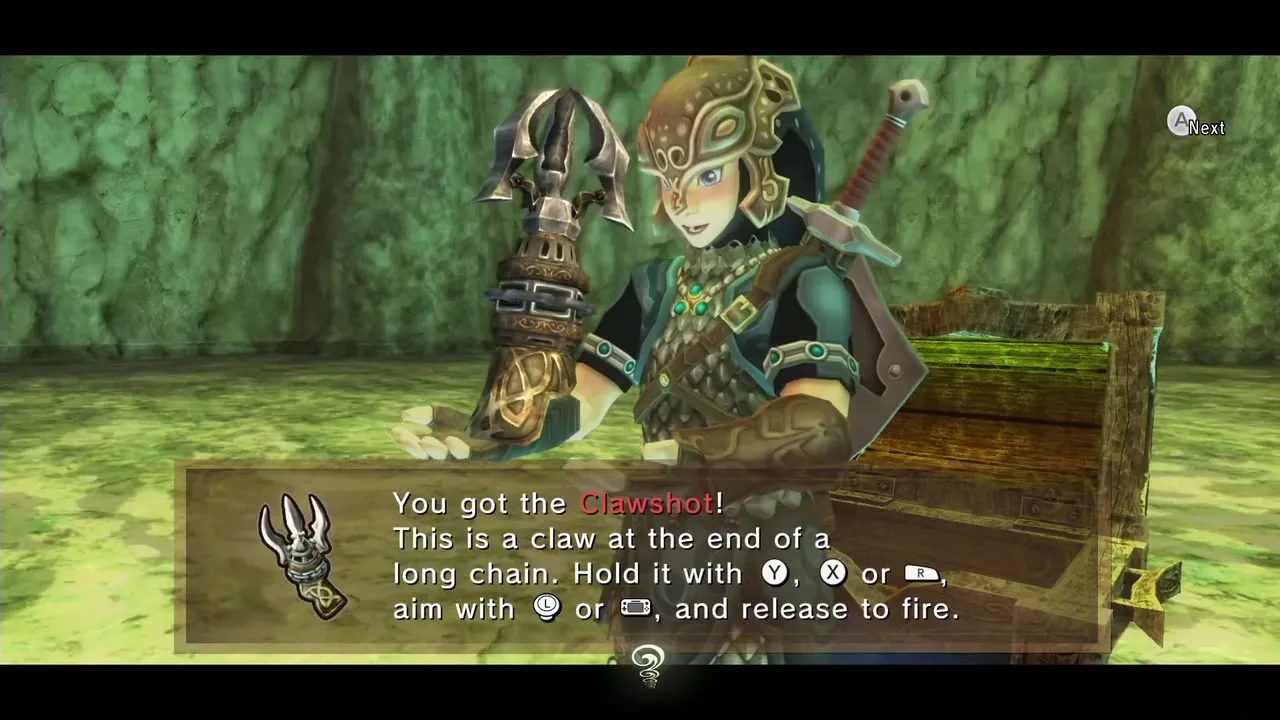
Mini-boss, Lakebed Temple. Chapter: Lakebed Temple. Requires: Sword; bombs help. Reward: Clawshot (chest the toad spits out).
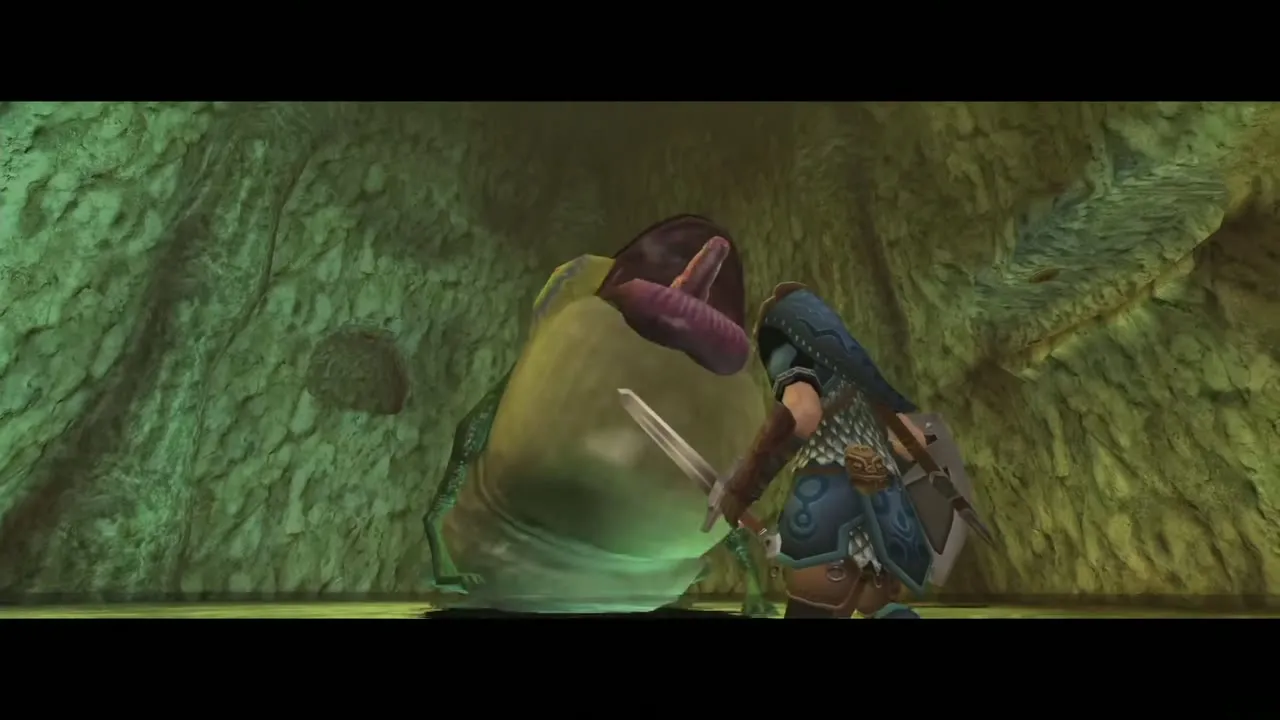
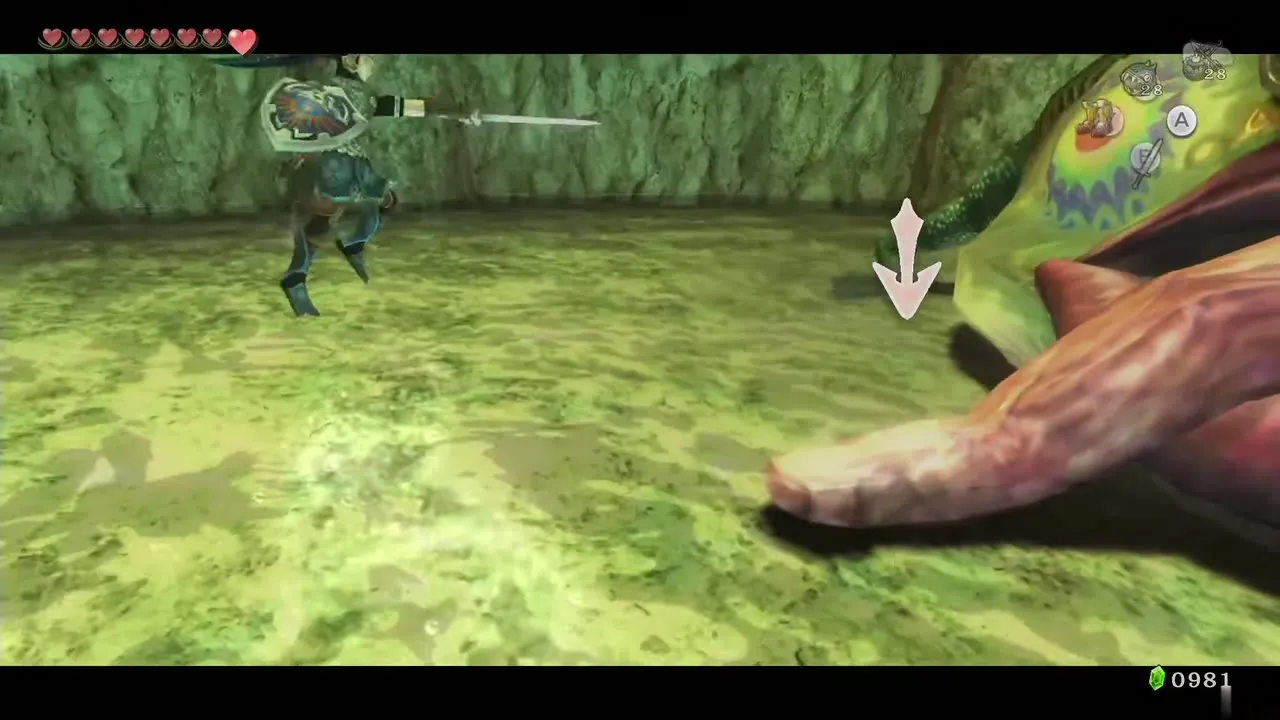
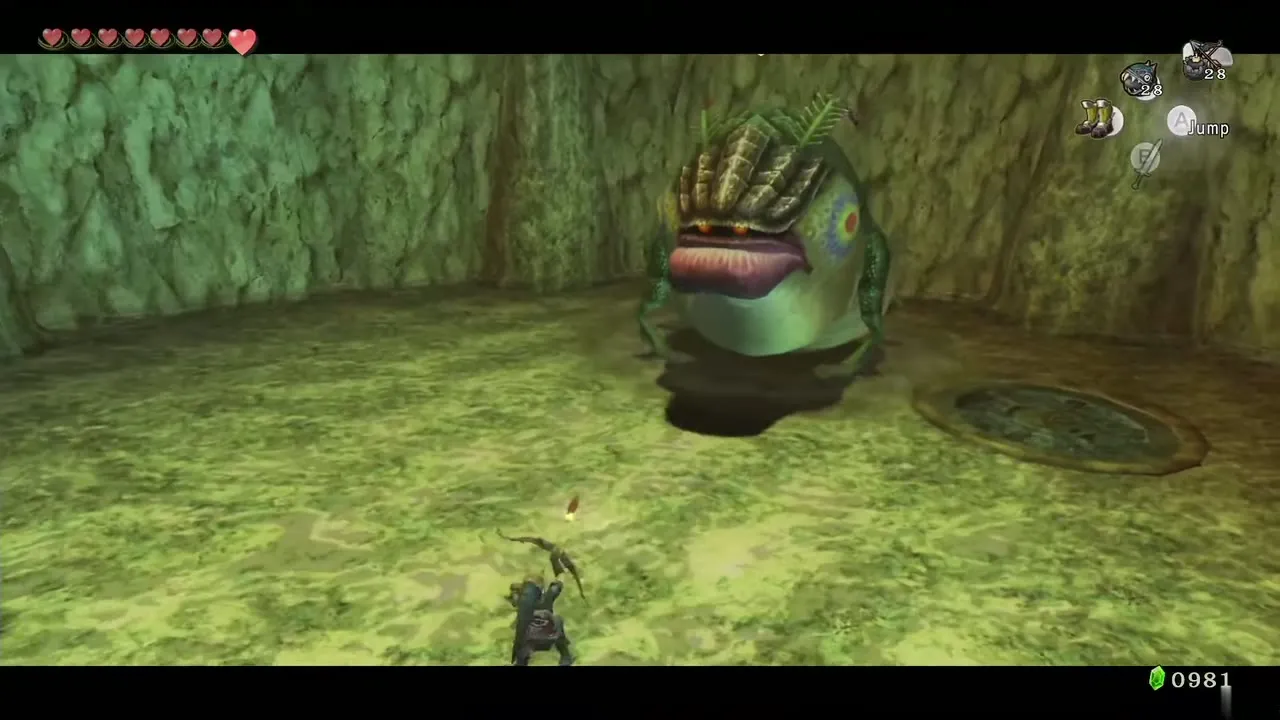
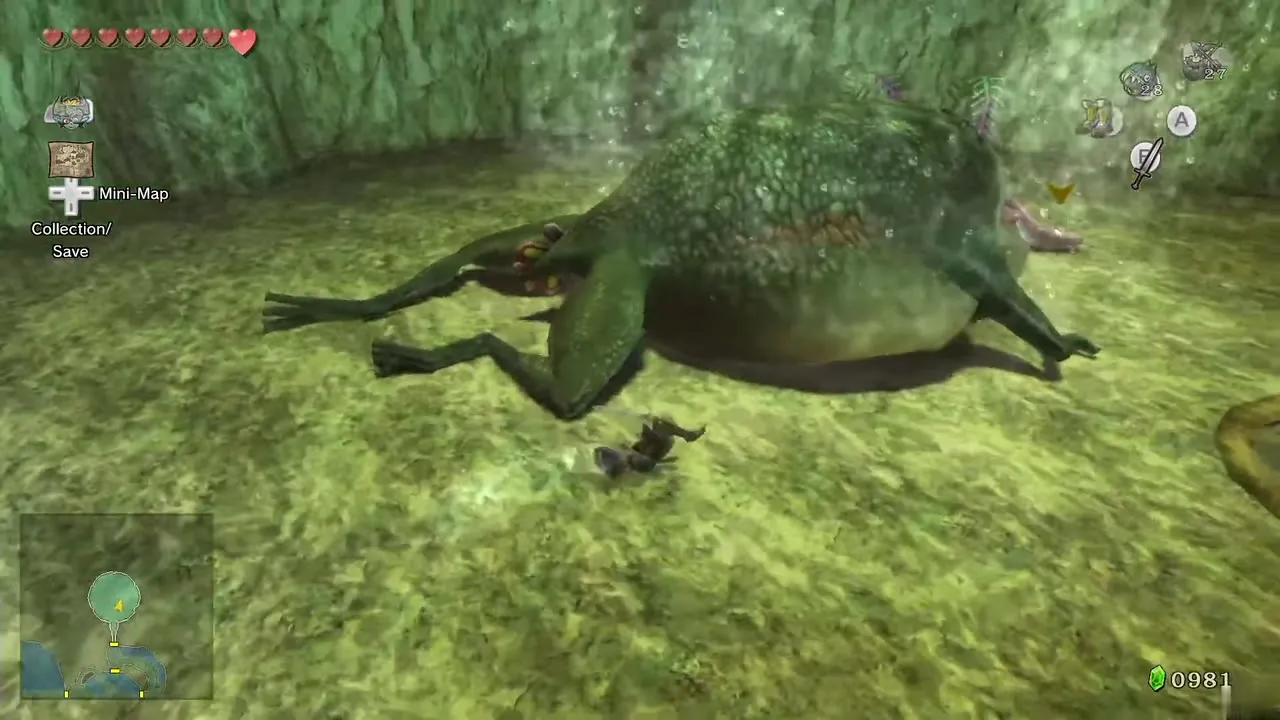
Deku Toad hangs from the ceiling of a flooded room, a thousand-year-old Toadpoli. Look up to wake it. It drops and shakes loose Toados, small tadpoles. Cut down all of the tadpoles first.
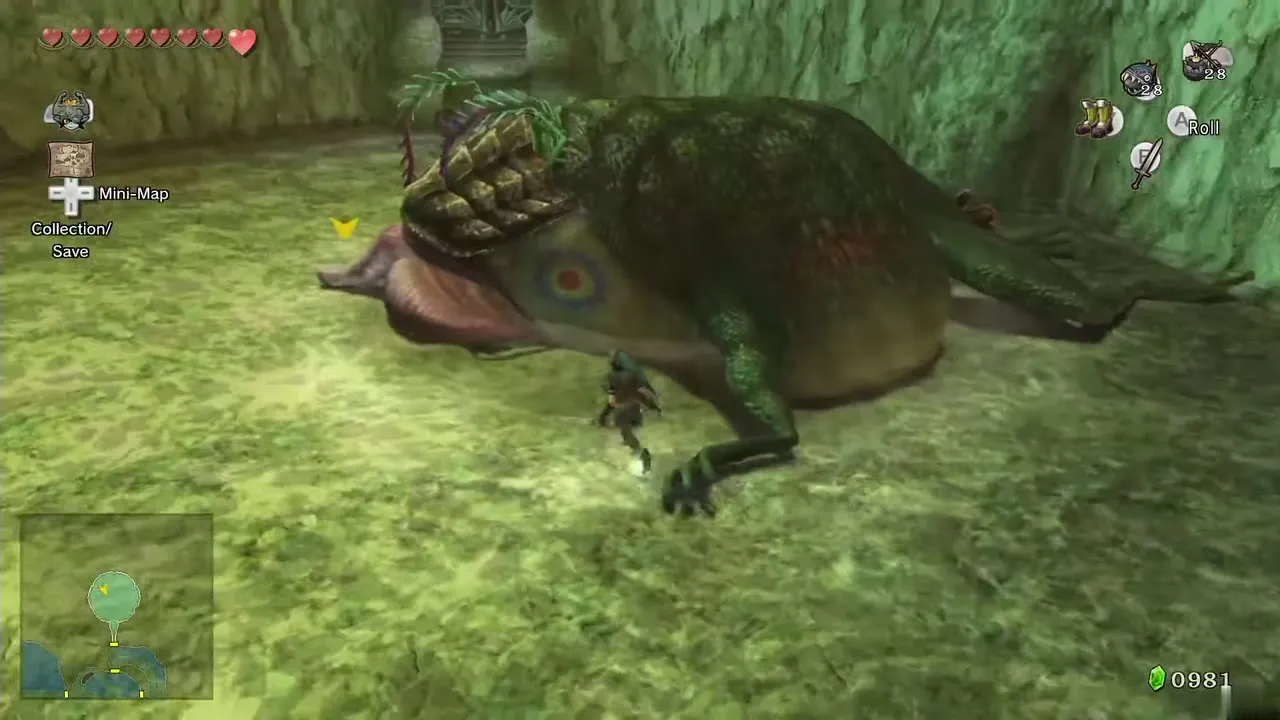
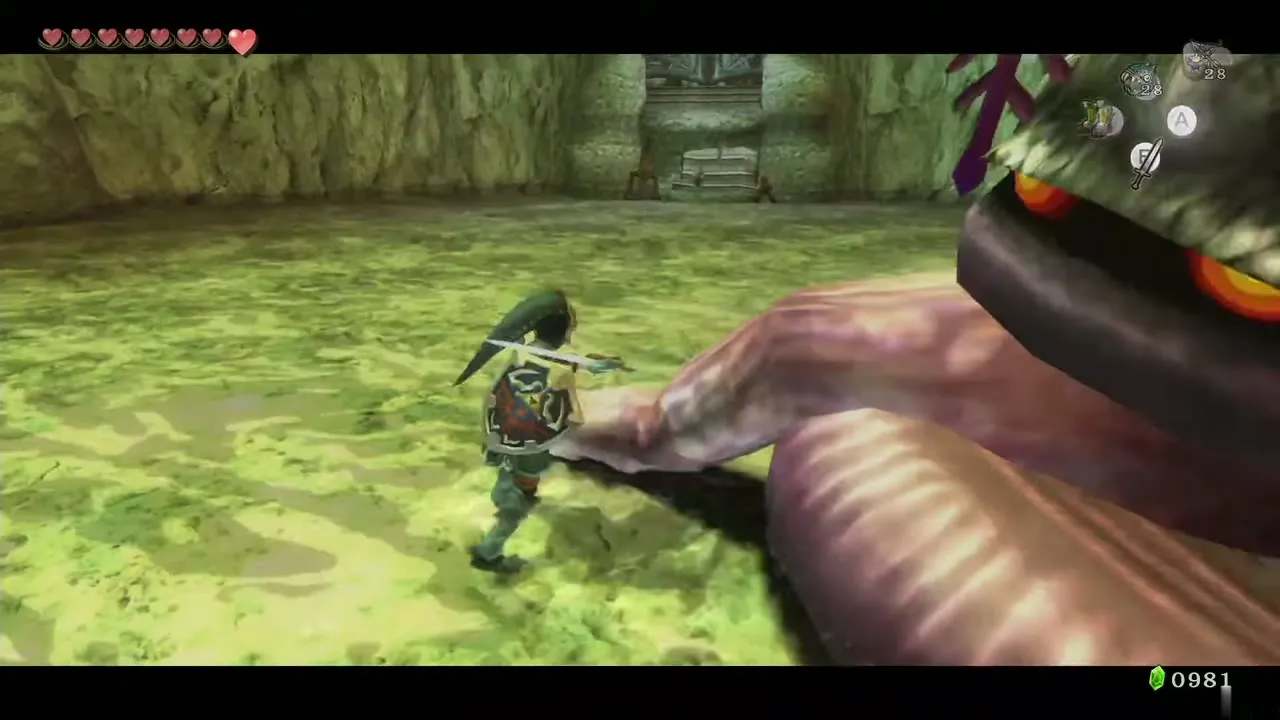
The toad then leaps to crush you. Run out of the circle of its shadow; it lands stunned with its tongue out. Slash the tongue, which is the only part that takes damage. When it recovers it shakes out another batch of eggs. You can speed things up by throwing a bomb or firing a Bomb Arrow into its open mouth. Beaten, it coughs up a chest with the Clawshot.
Morpheel
Boss, Lakebed Temple. Chapter: Lakebed Temple. Requires: Clawshot, Iron Boots, Zora Armor, sword. Reward: Heart Container and the third Fused Shadow.
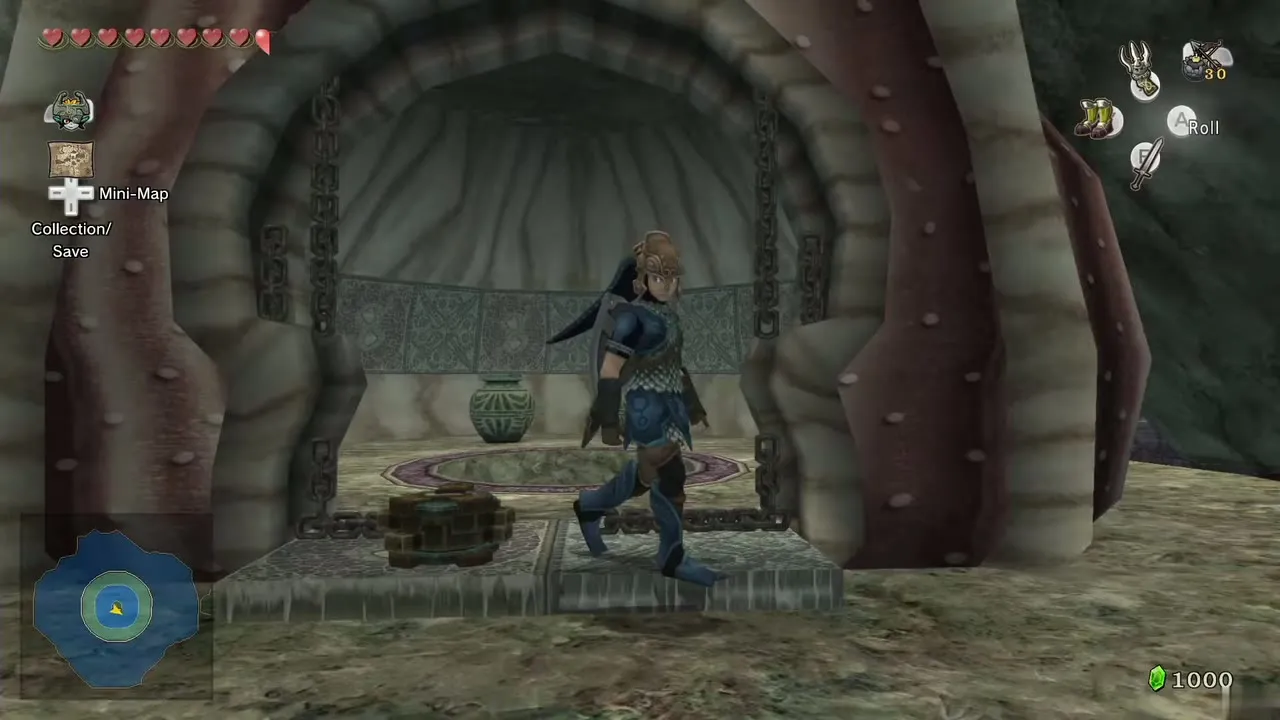
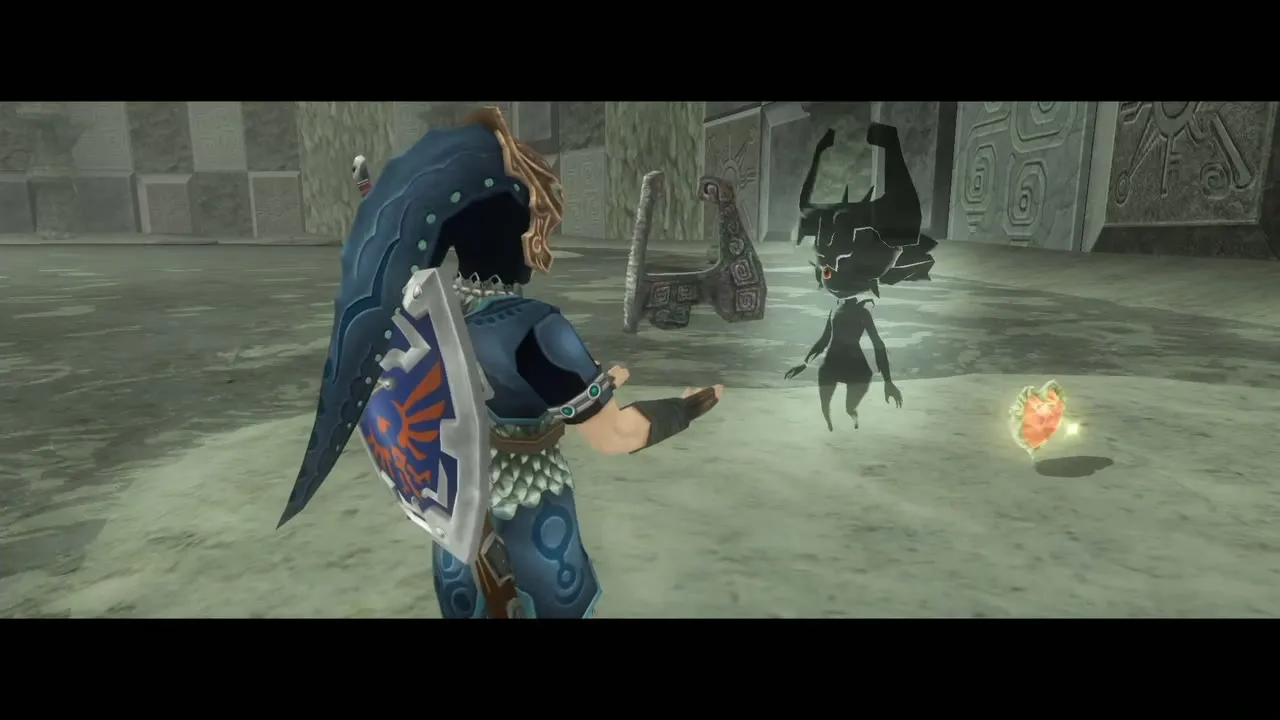
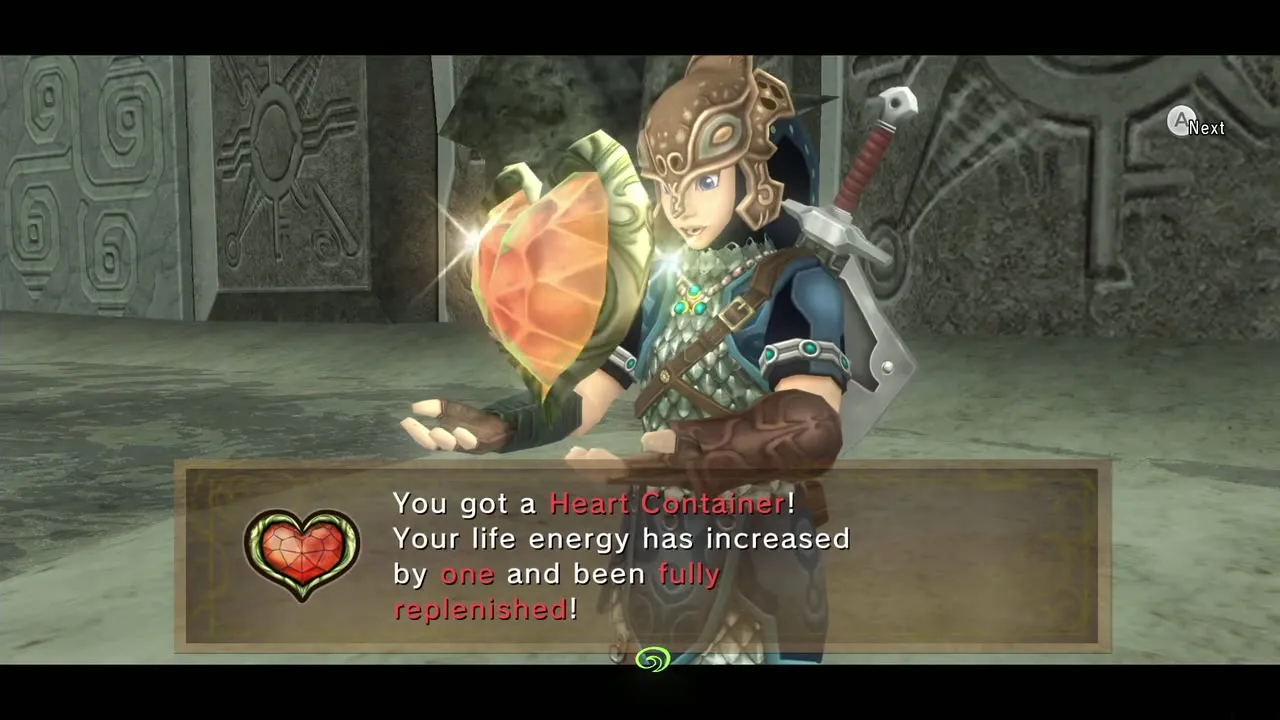
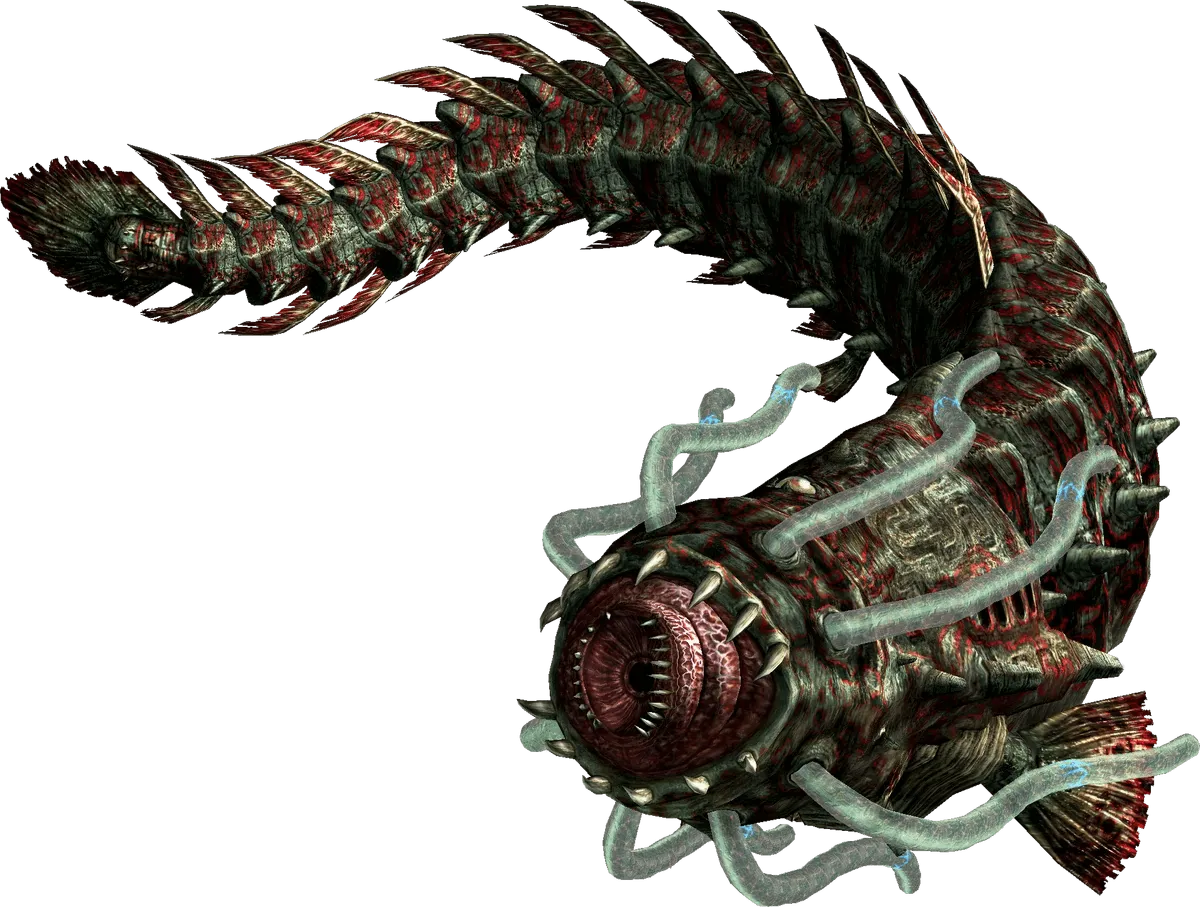
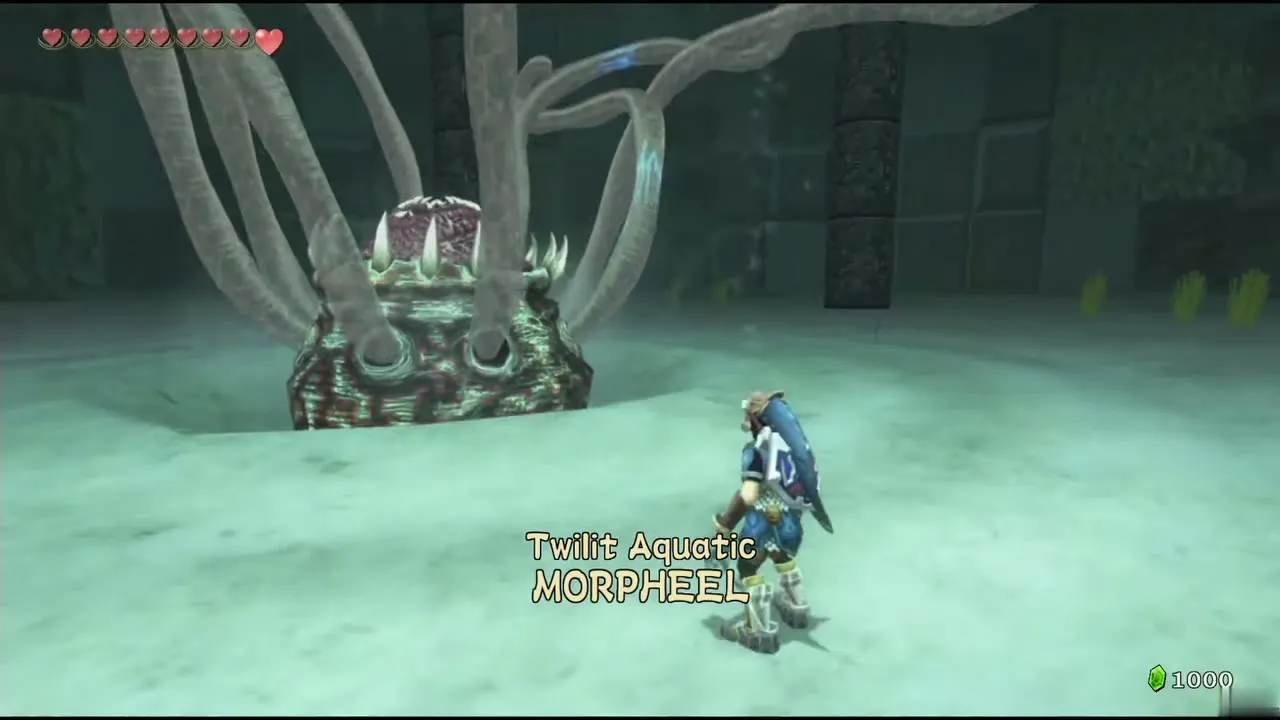
Morpheel, the Twilit Aquatic, is a giant eel-like Octorok. Wear the Zora Armor for air and equip the Iron Boots. In the first phase its body is buried in the sand and eight tentacles wave around its mouth, which fires Bombfish at you. A single eyeball hides in one tentacle and moves between them.
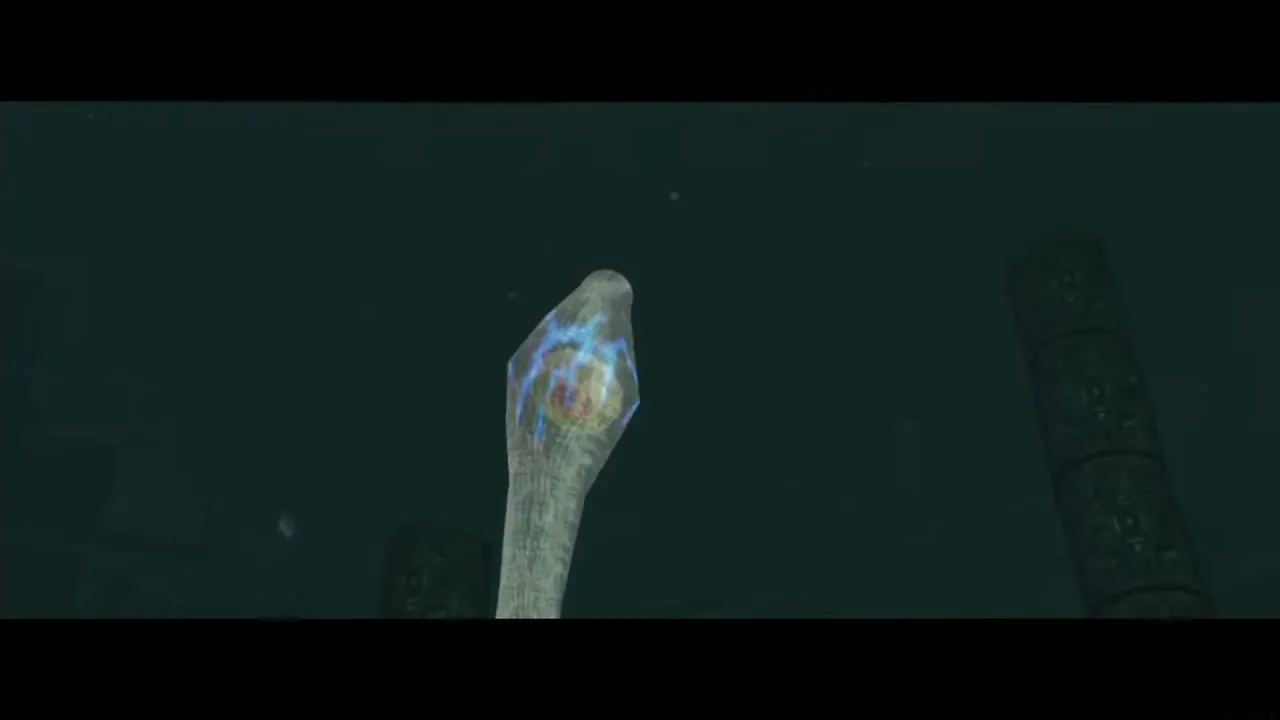
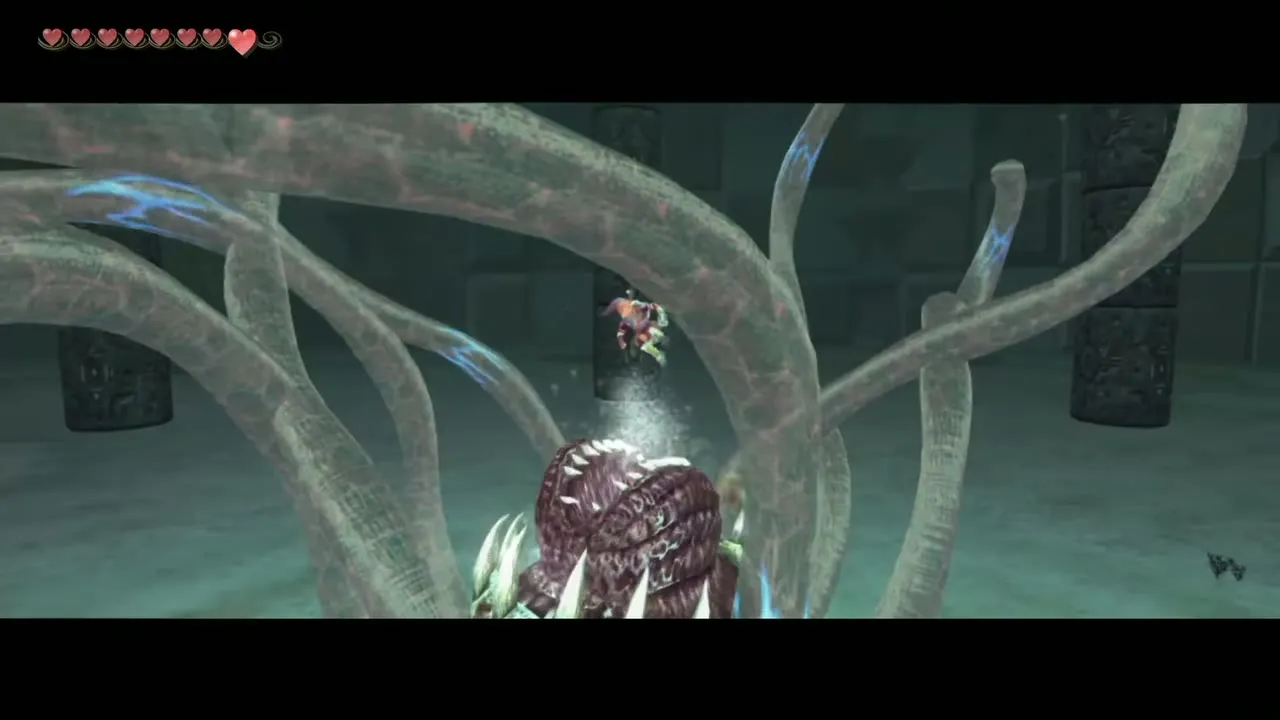
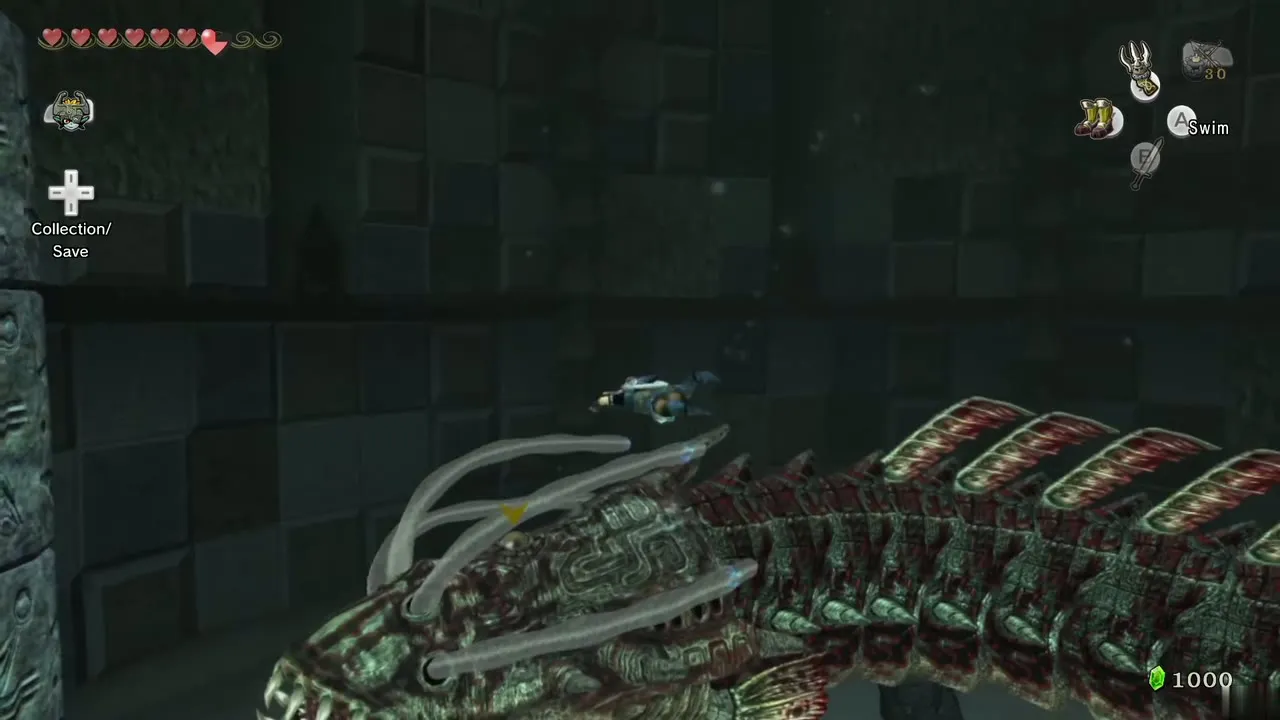
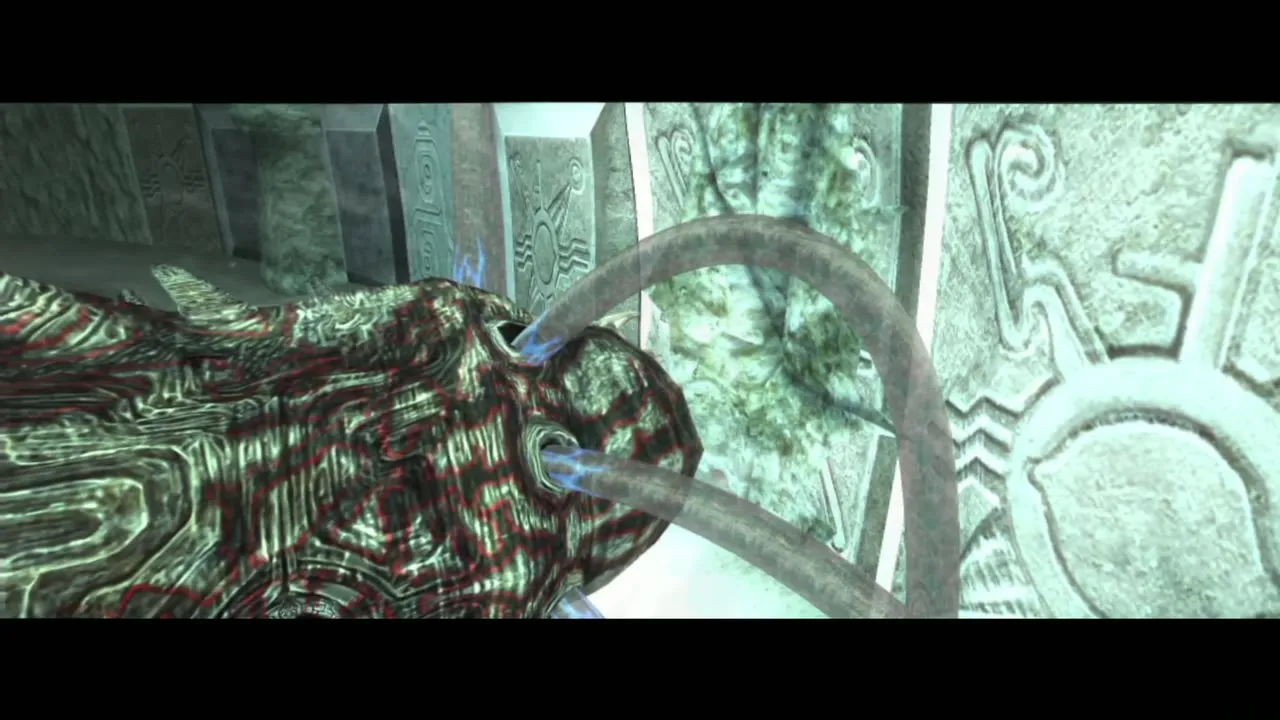
Lock the Clawshot on the eye, yank it out of the tentacle and slash it while it is close. After two rounds of this Morpheel swallows the eye and rises into the water. The eye now sits in a socket on its back. Swim up alongside the beast, because it sucks you in if you get in front, and Clawshot onto the eye so that you ride on its back and hit it with the sword. Morpheel shakes you off, and you repeat. When it dies it smashes into the wall and drains the chamber, and it leaves a Heart Container and the third Fused Shadow.
King Bulblin (Bulblin Camp)
Mini-boss, Bulblin Camp, Gerudo Desert. Chapter: Gerudo Desert. Requires: Sword. Reward: Opens the way to the Arbiter’s Grounds.
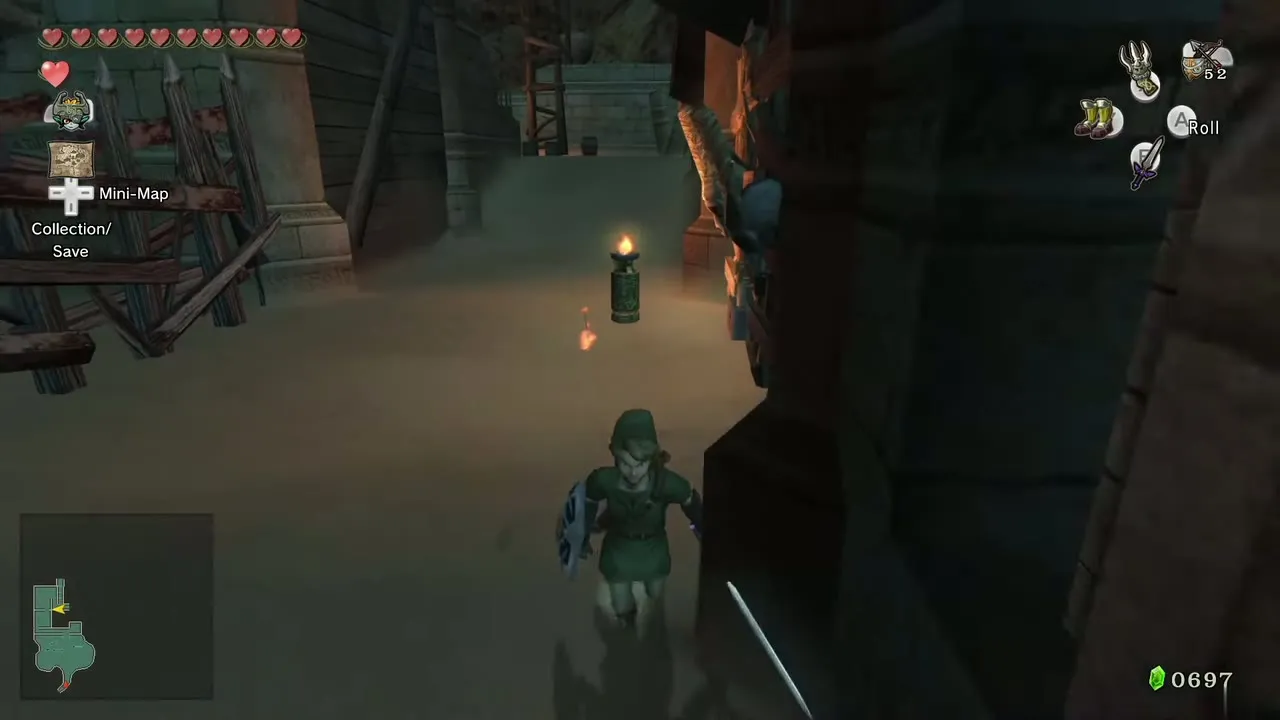
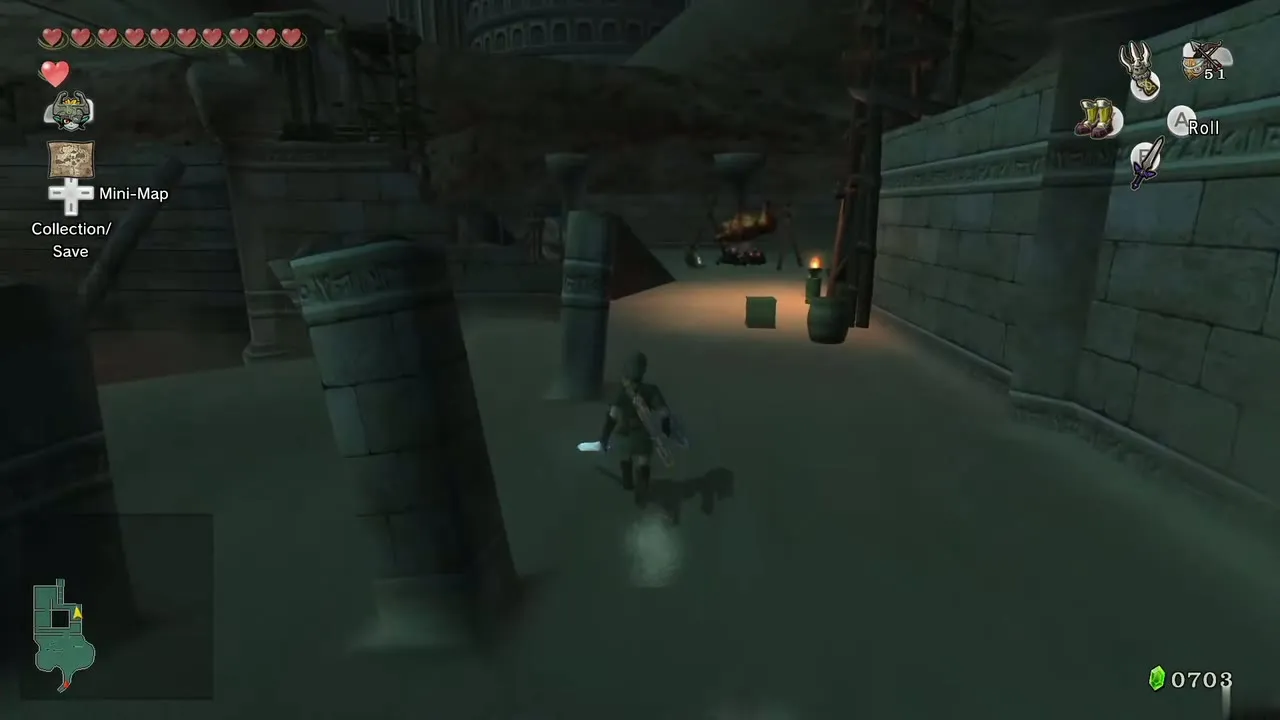
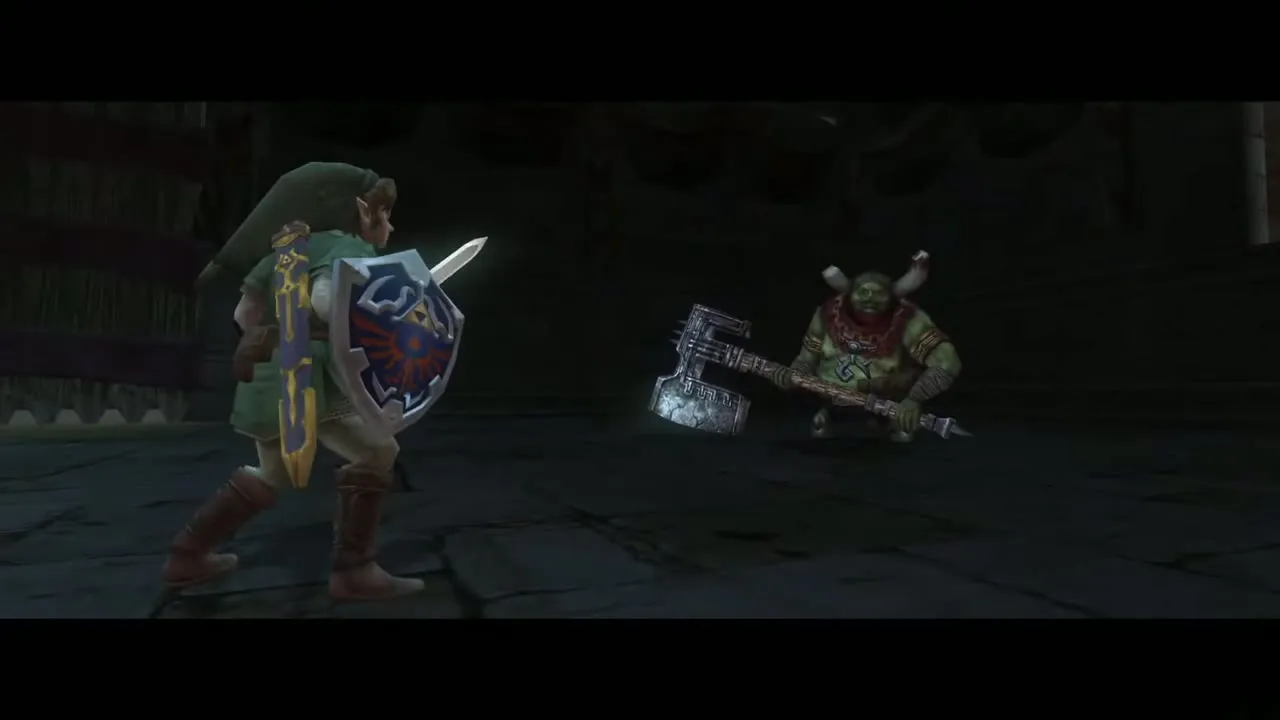
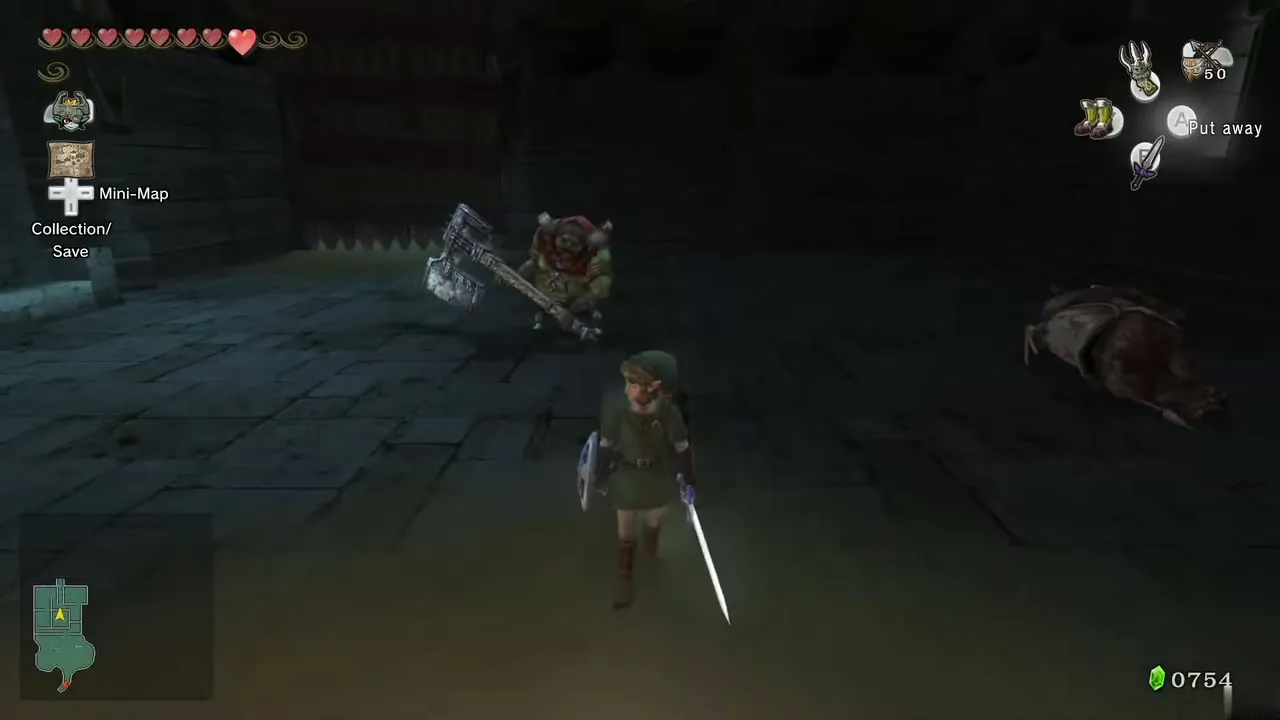
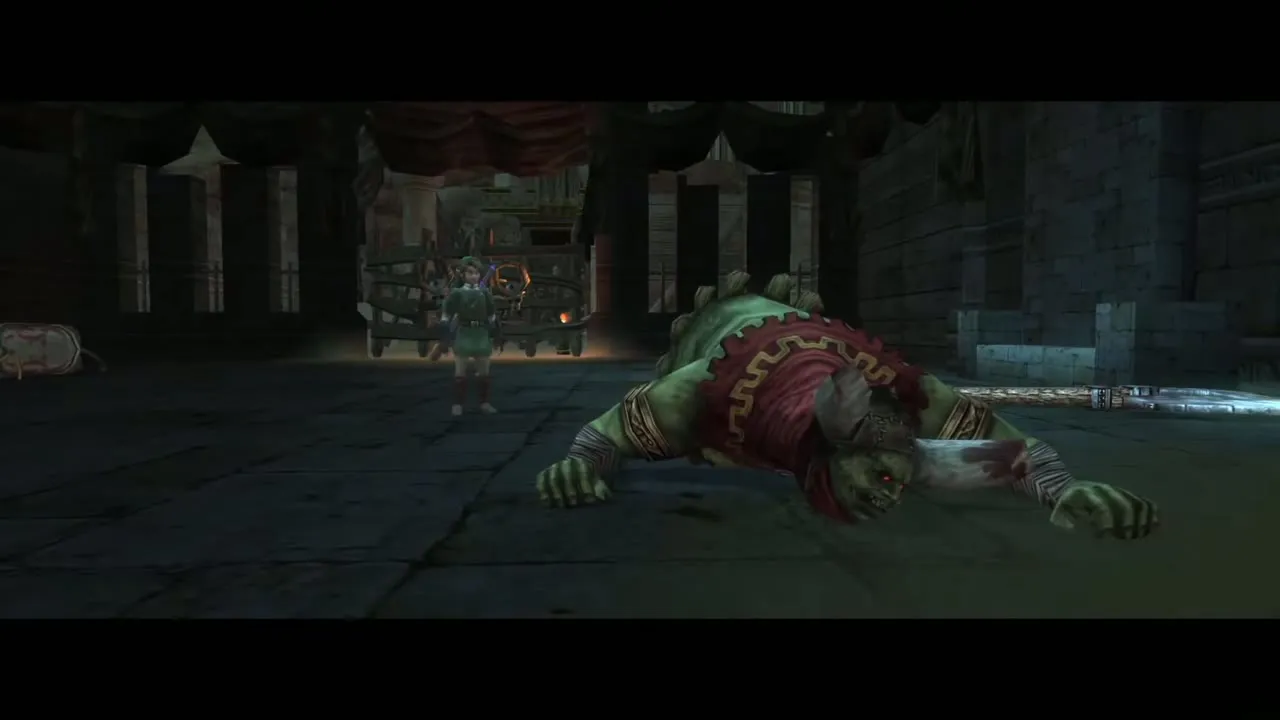
This time it is a duel on foot. King Bulblin swings an enormous axe and uses it to guard as well as to attack. Keep moving, let a swing miss, and answer with a jump attack and a spin attack; he slumps after the hits. Repeat until he falls. He sets his own tent on fire as he goes down, and you leave on a Bullbo through the flames.
Death Sword
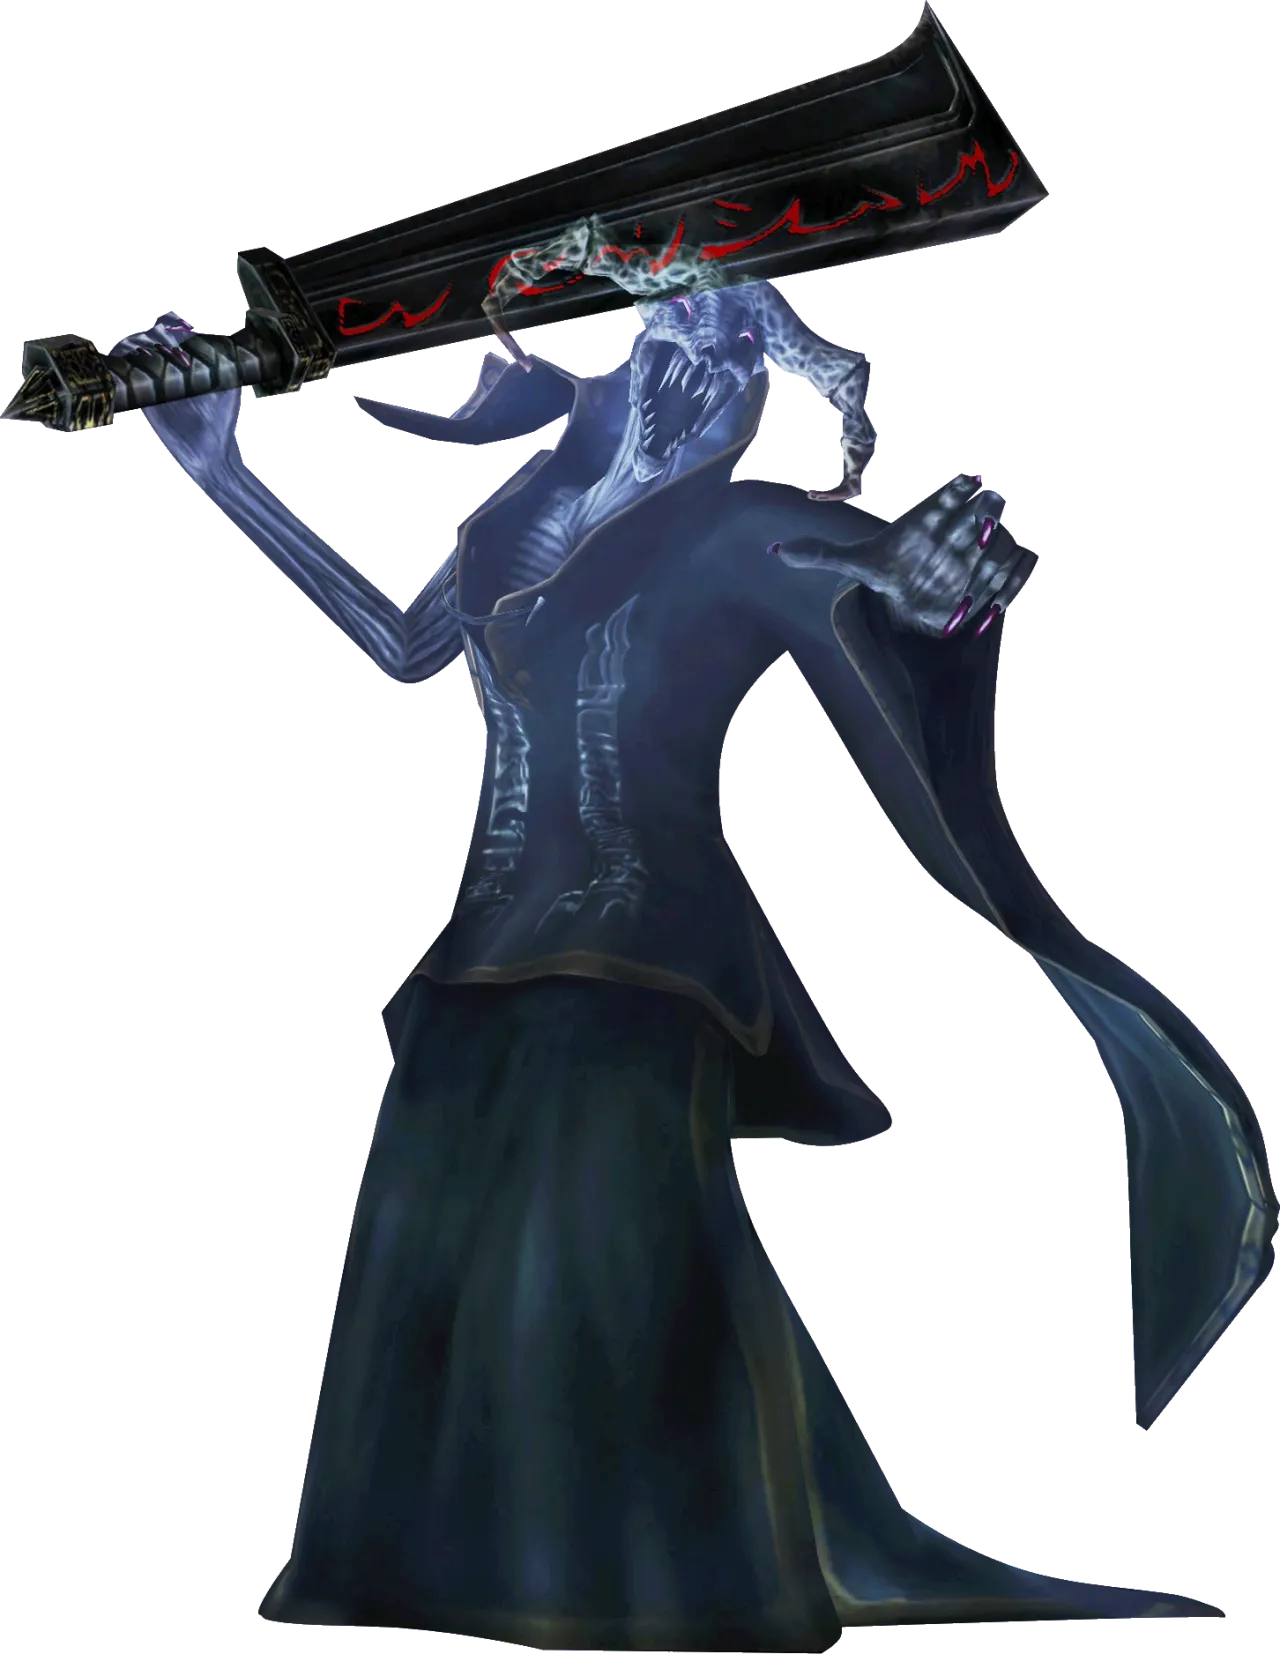
Mini-boss, Arbiter’s Grounds. Chapter: Arbiter’s Grounds. Requires: Wolf form, sword, Clawshot or Gale Boomerang. Reward: Spinner (chest after the fight).
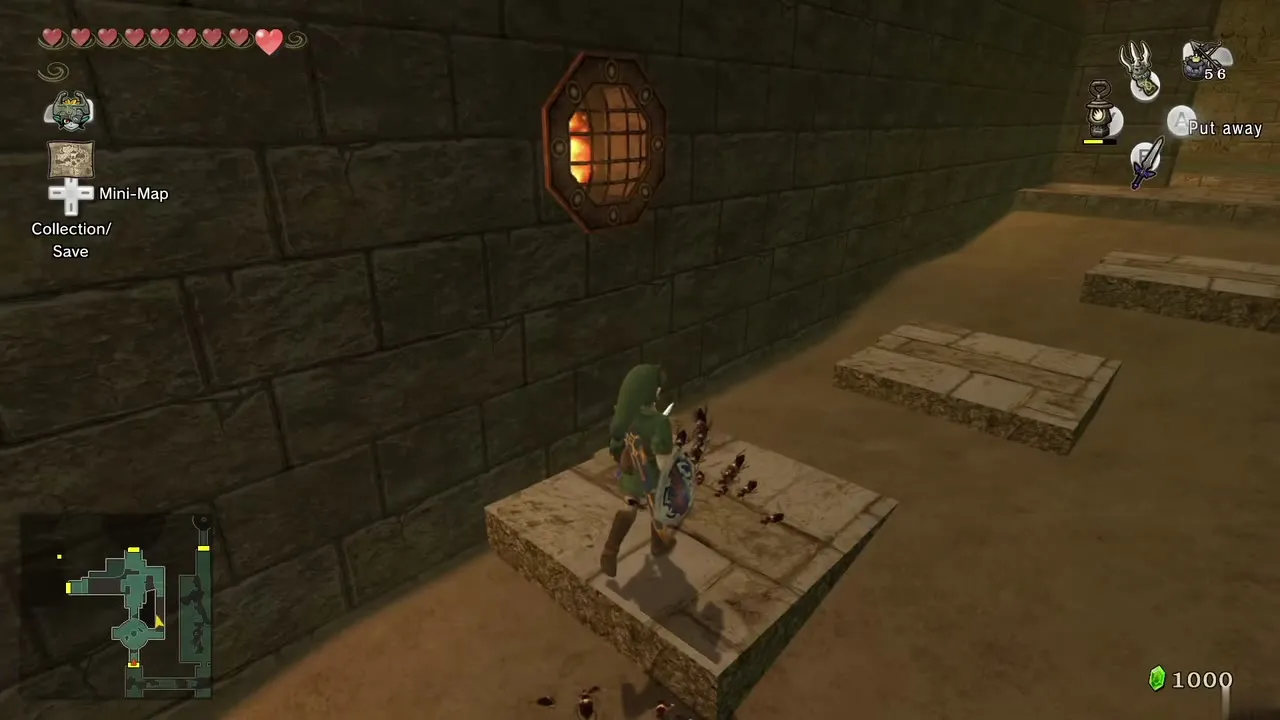
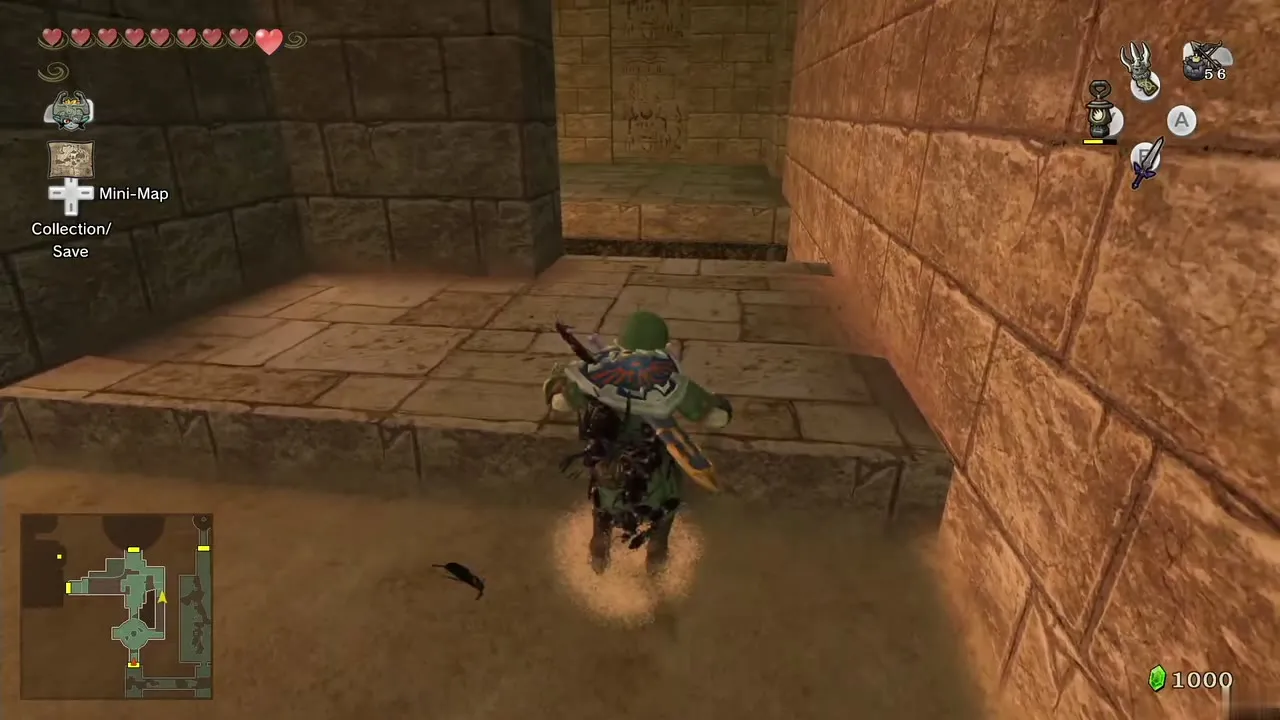
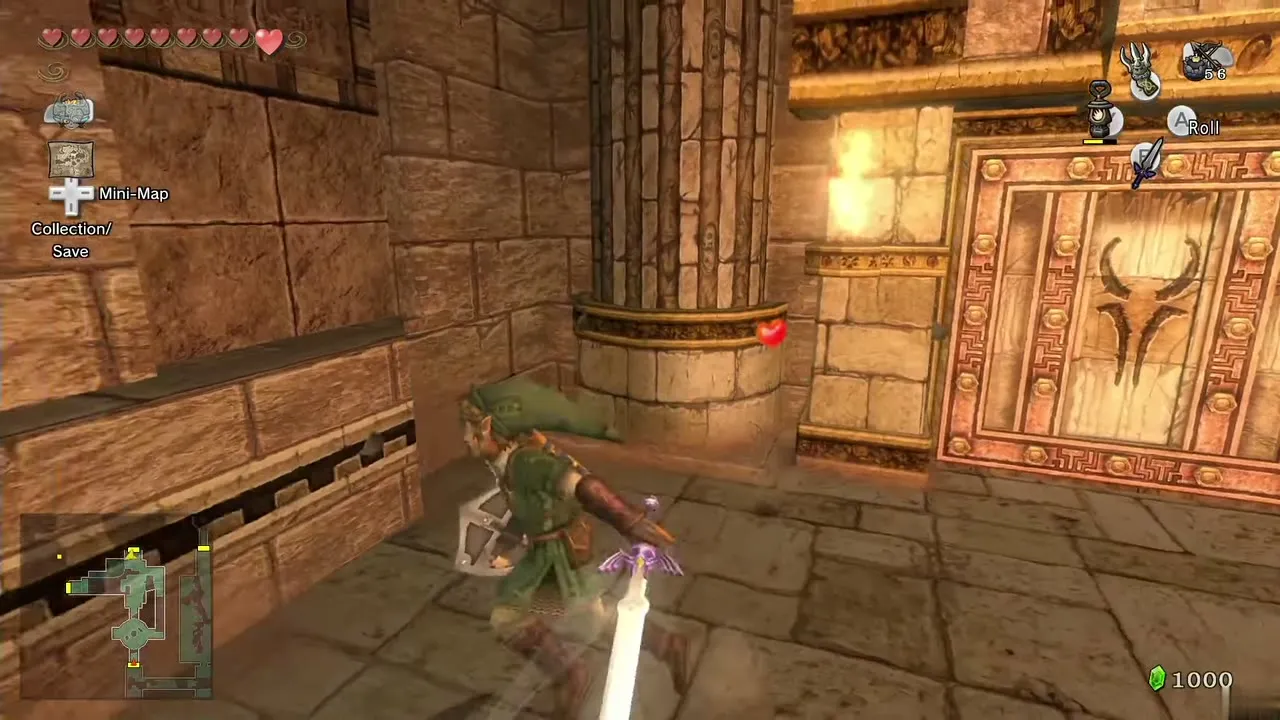
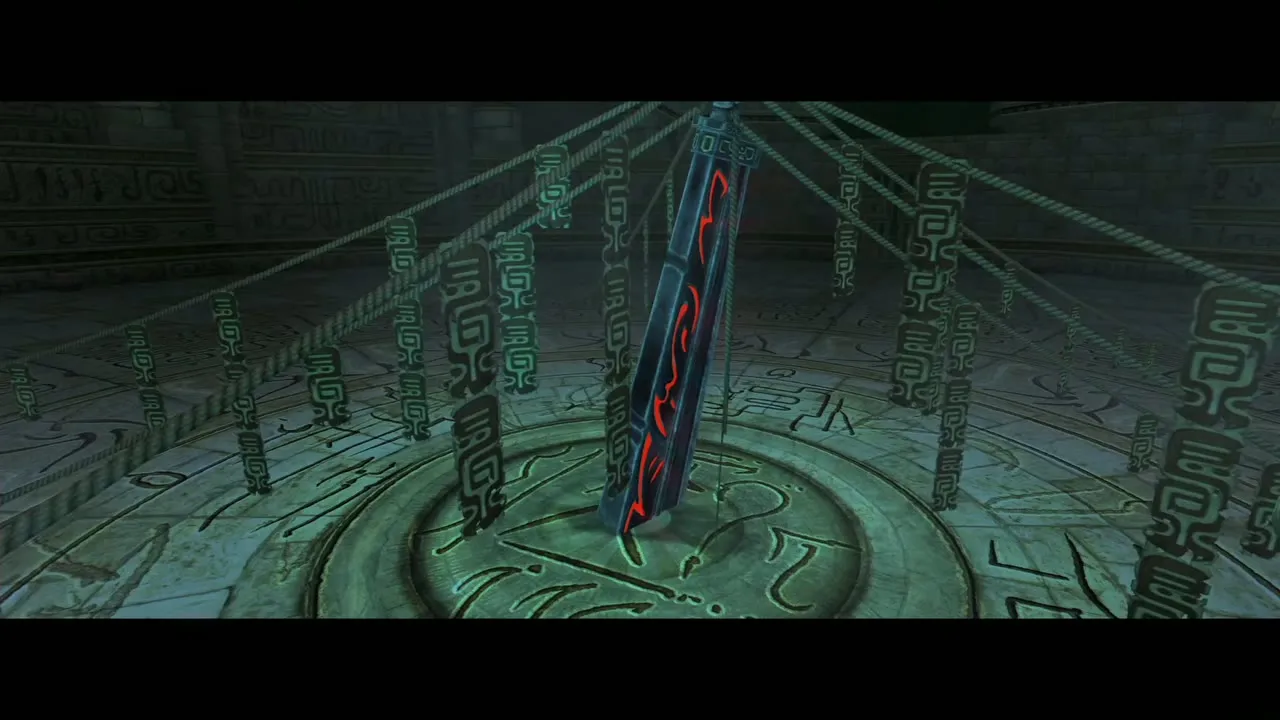
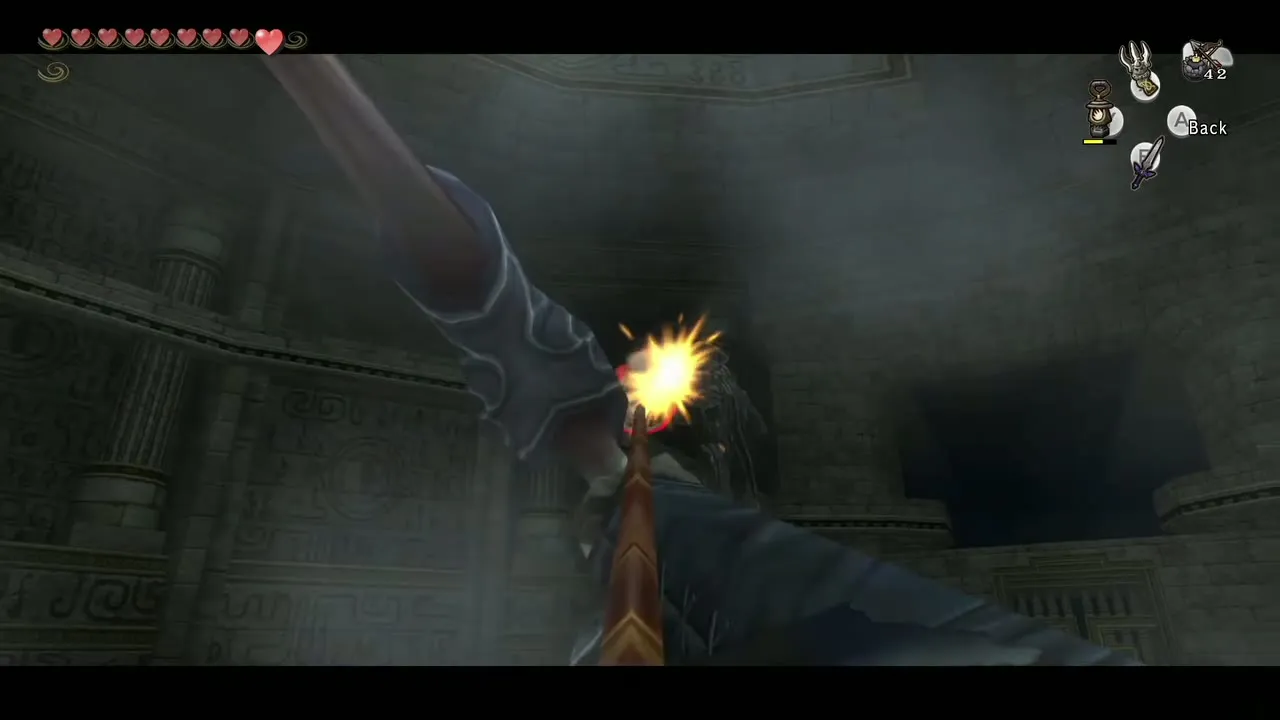
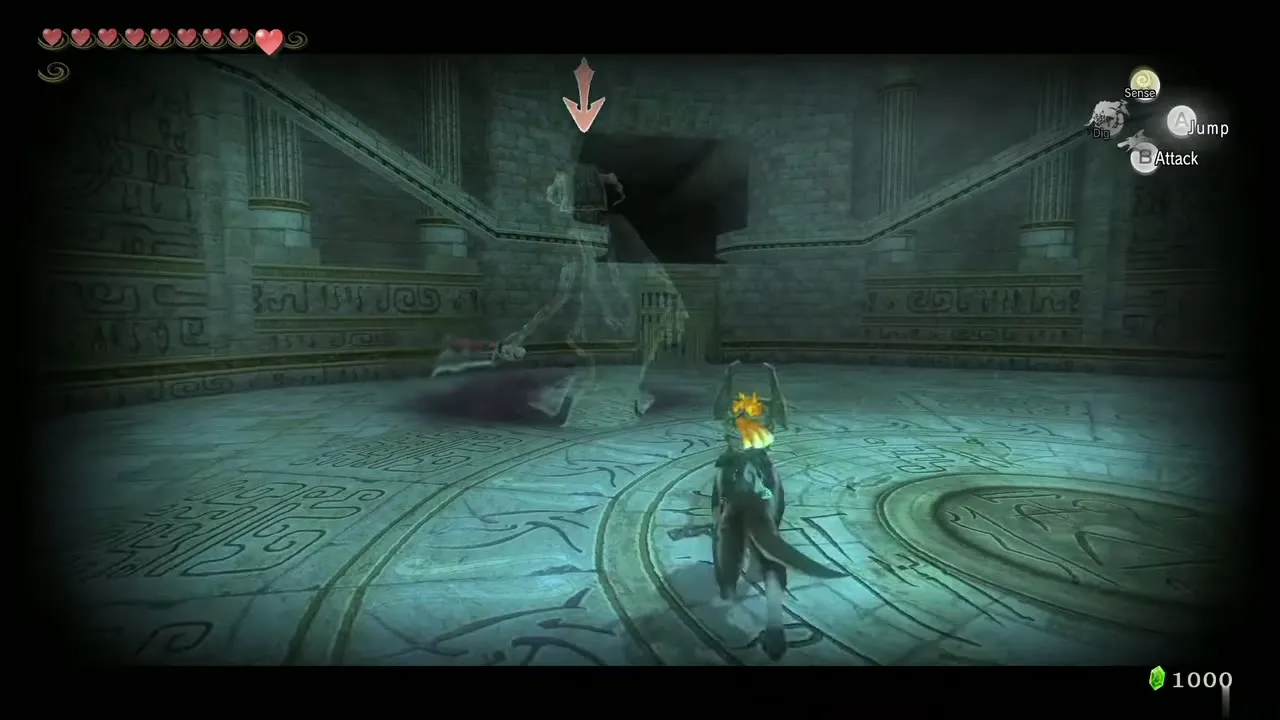
Death Sword is a huge blade stuck in the floor and bound by ropes with paper charms. Cutting one rope lets the evil inside burn the rest. The sword lifts itself and swings at you, and the ghost wielding it is invisible. Turn into a wolf so that your senses show the wielder.
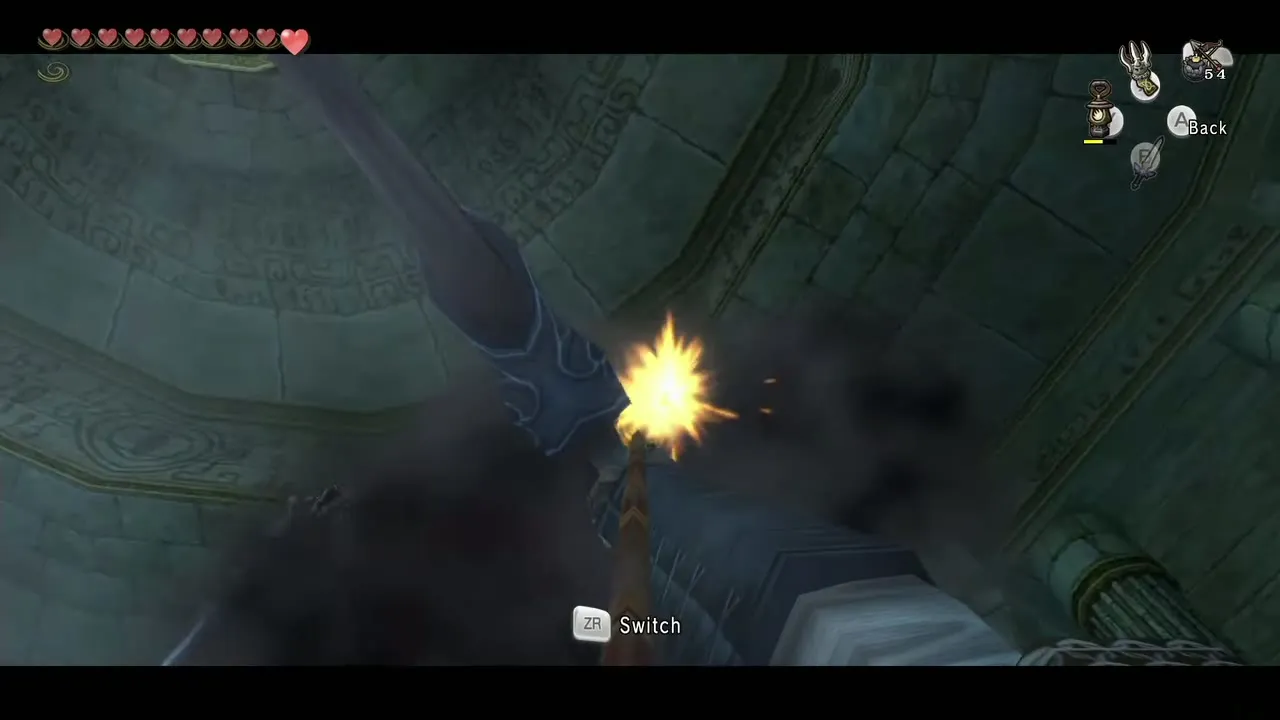
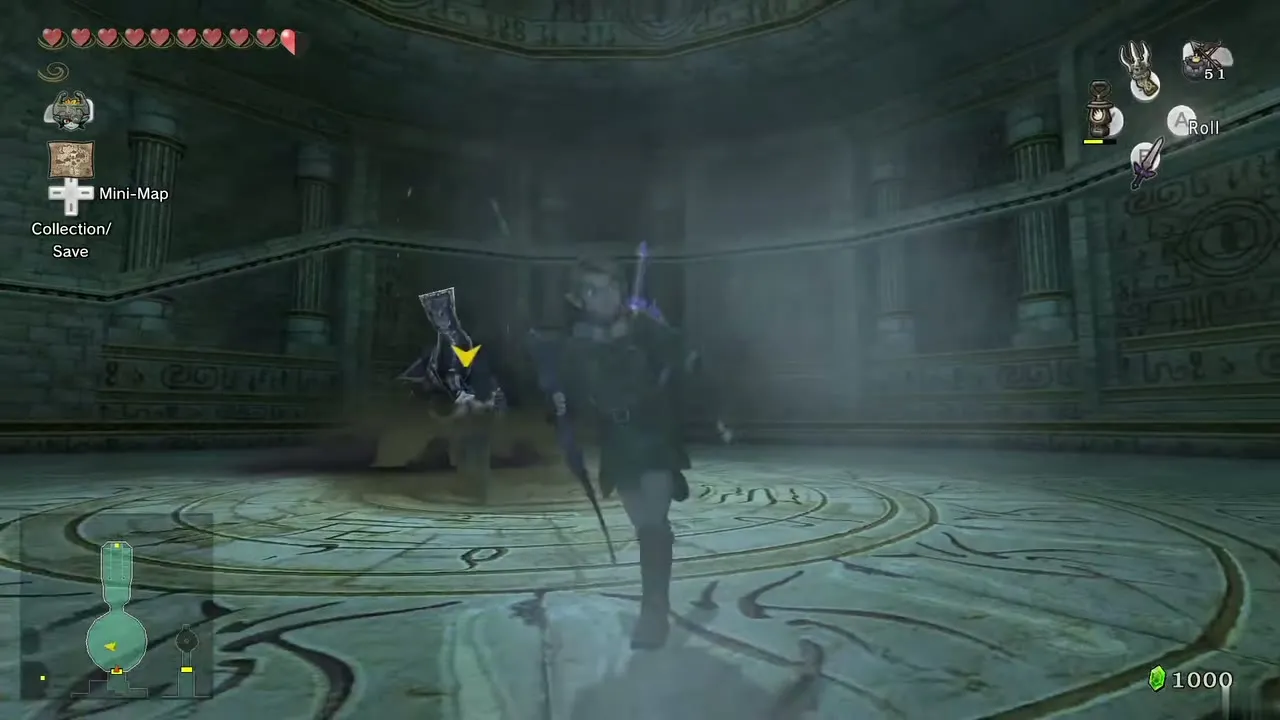
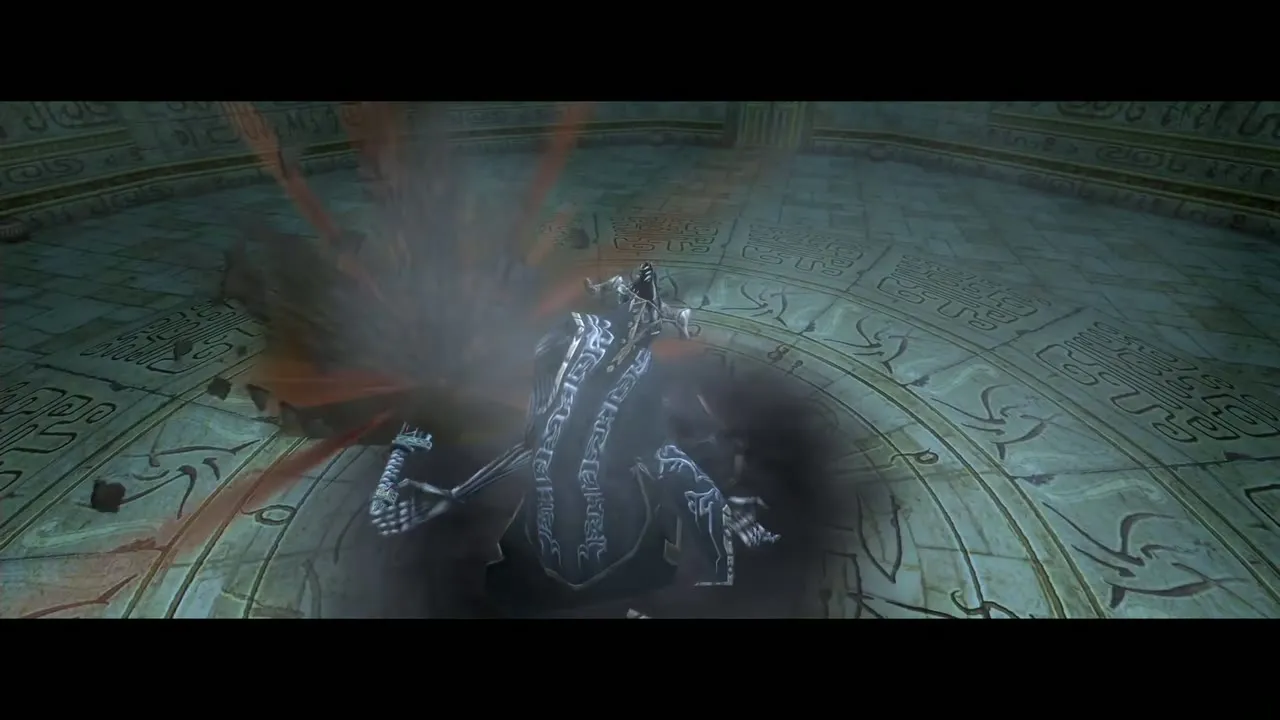
When the sword jams into the floor after a swing, jump on it and bite until it becomes visible. Change back and shoot it with the Hero’s Bow while it floats (the Clawshot or Gale Boomerang also stun it). It circles you and sticks in the floor again, leaving it open to a sword combo. Beaten, it bursts into insects and the way to the Spinner opens.
Stallord
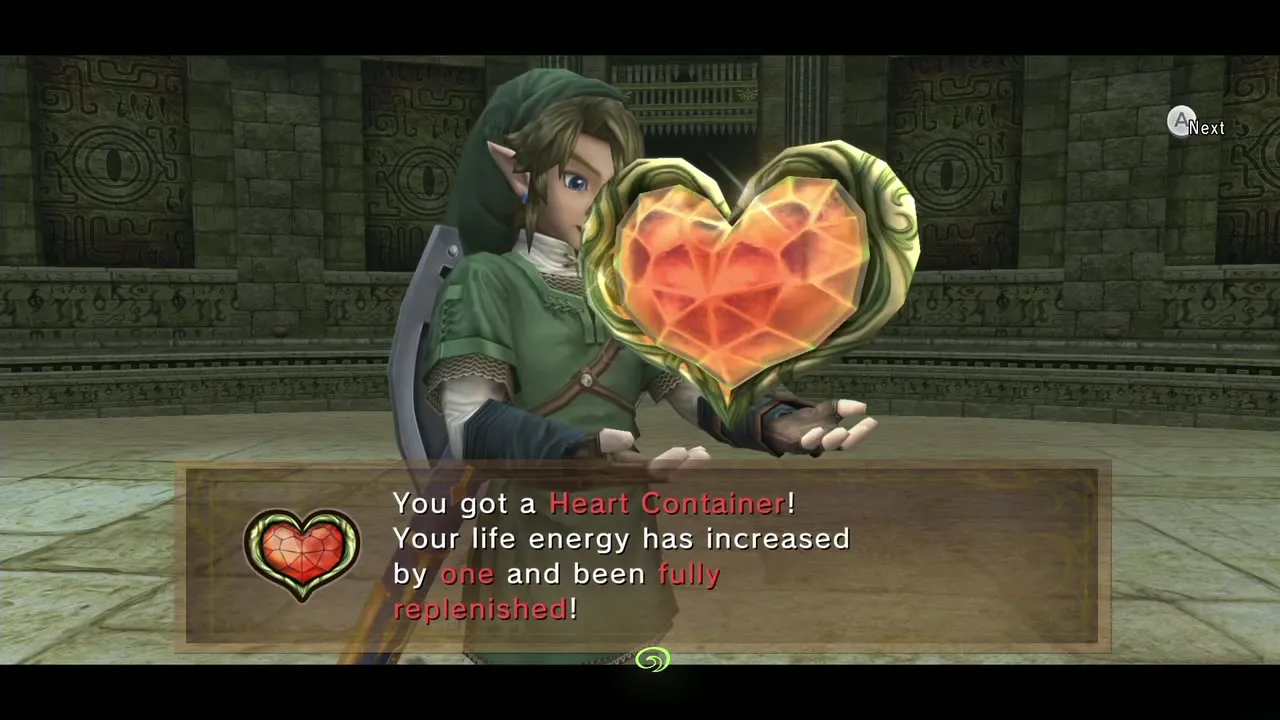
Boss, Arbiter’s Grounds. Chapter: Arbiter’s Grounds. Requires: Spinner, sword (Master Sword). Reward: Heart Container (no Fused Shadow or Mirror Shard).
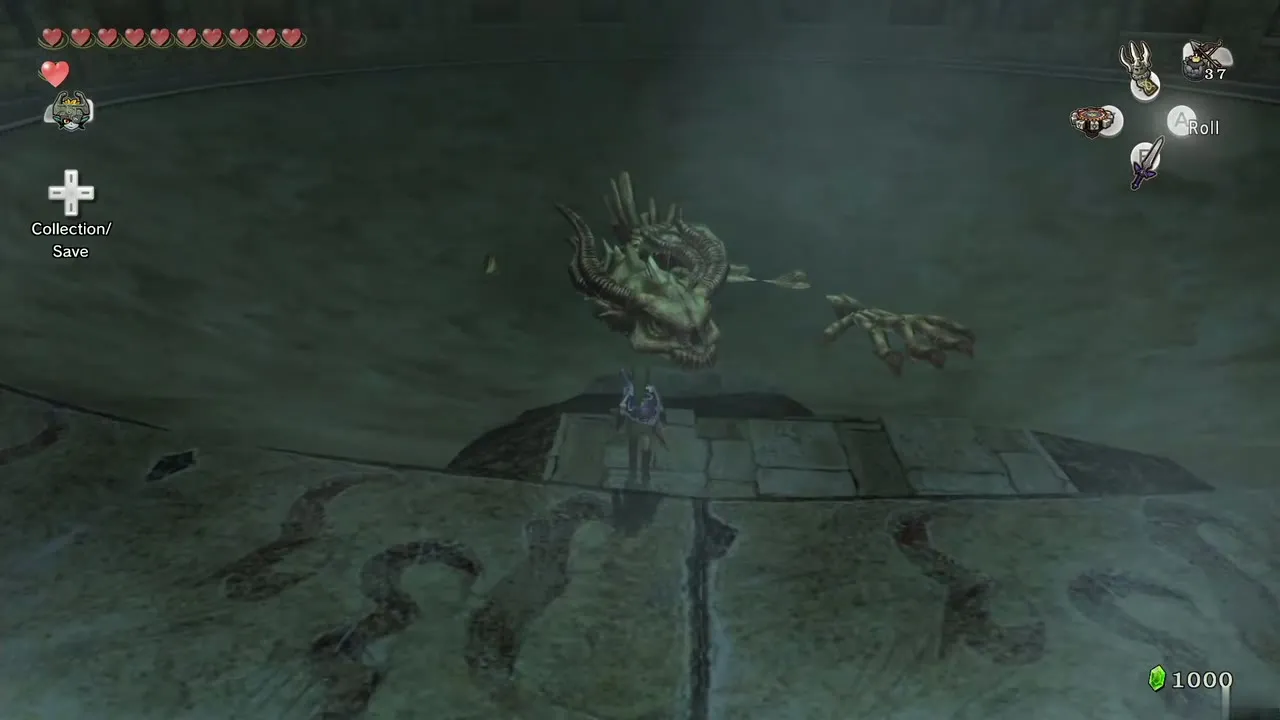
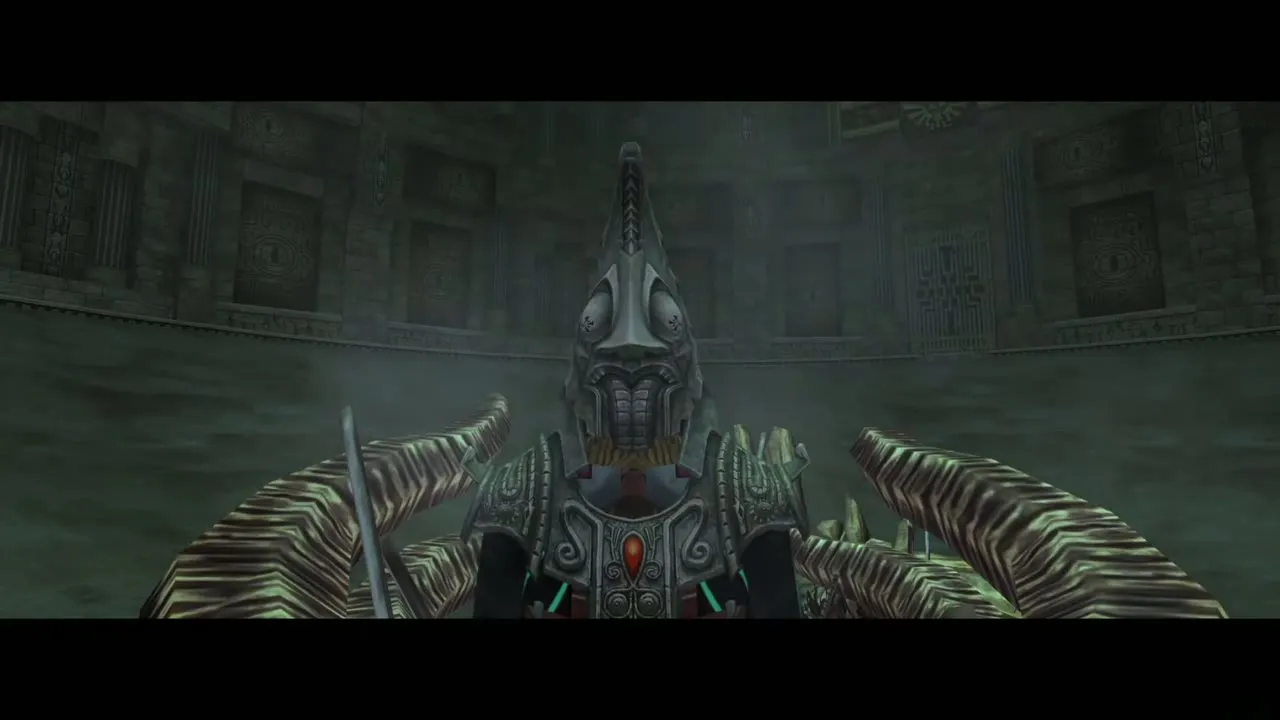
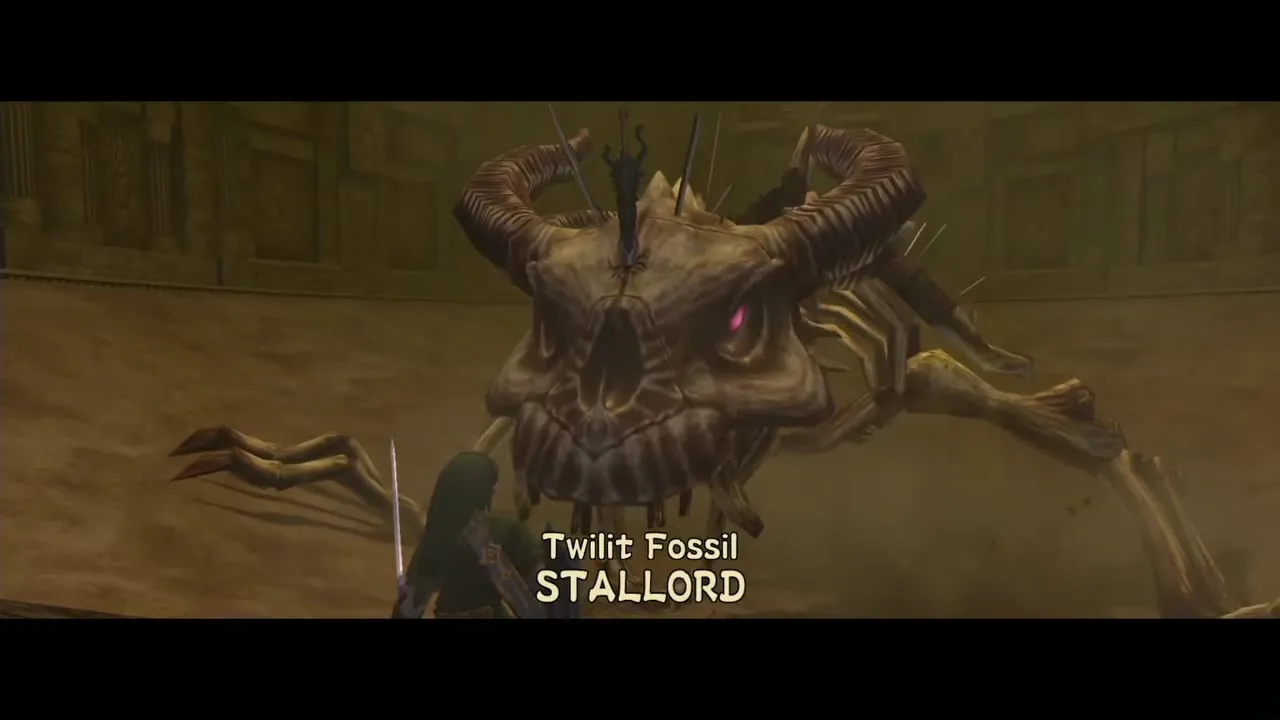
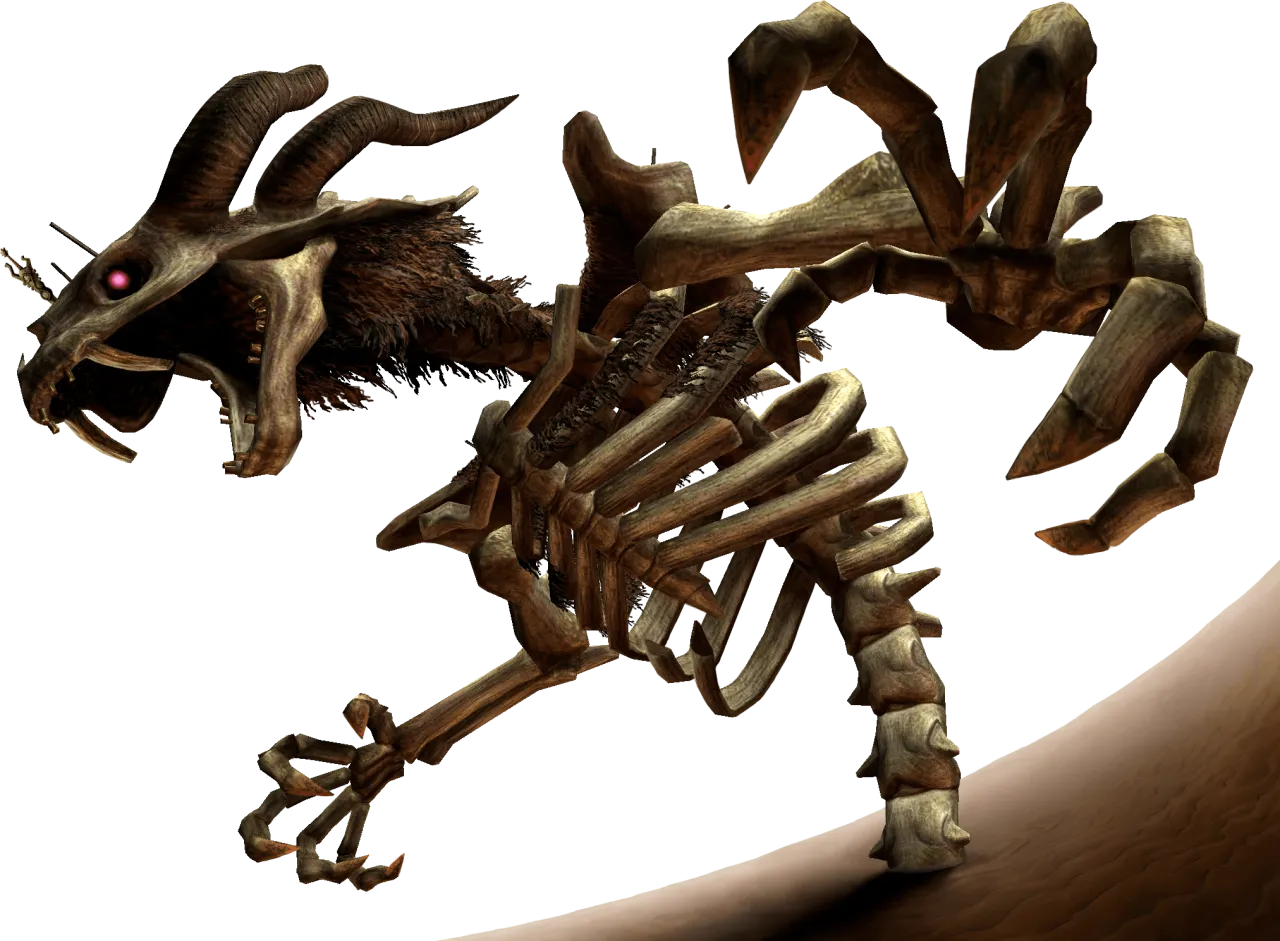
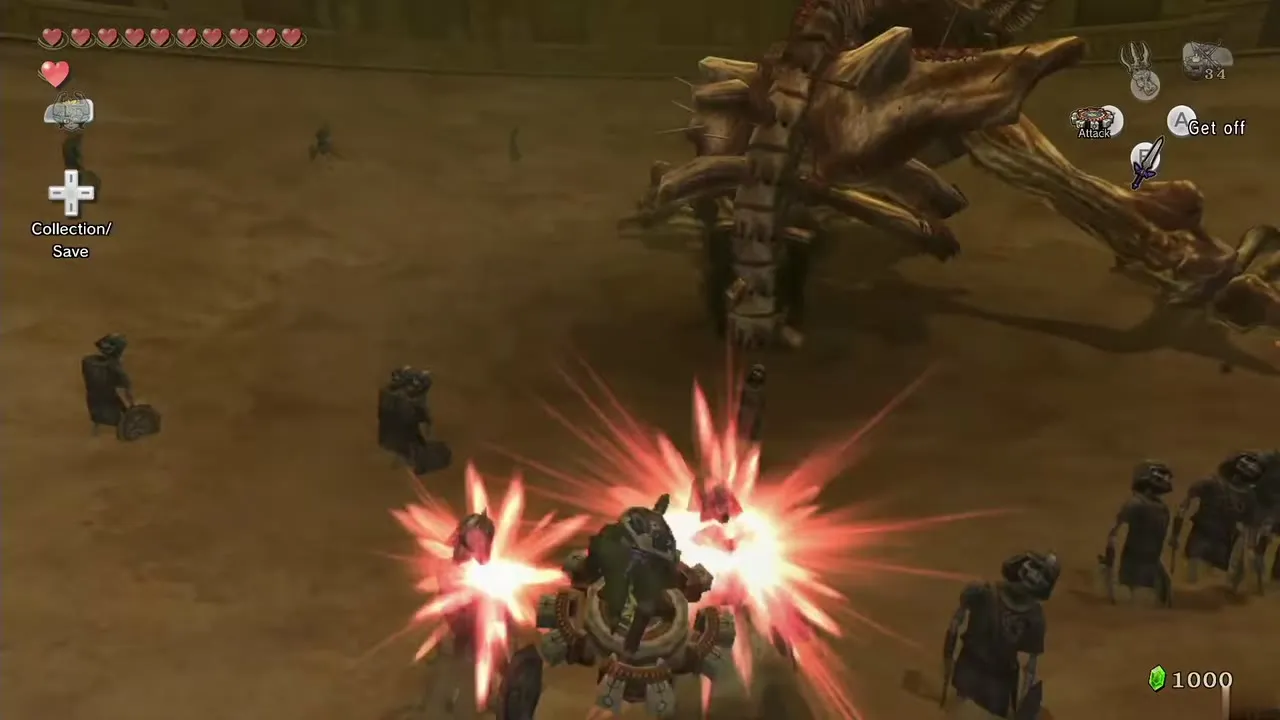
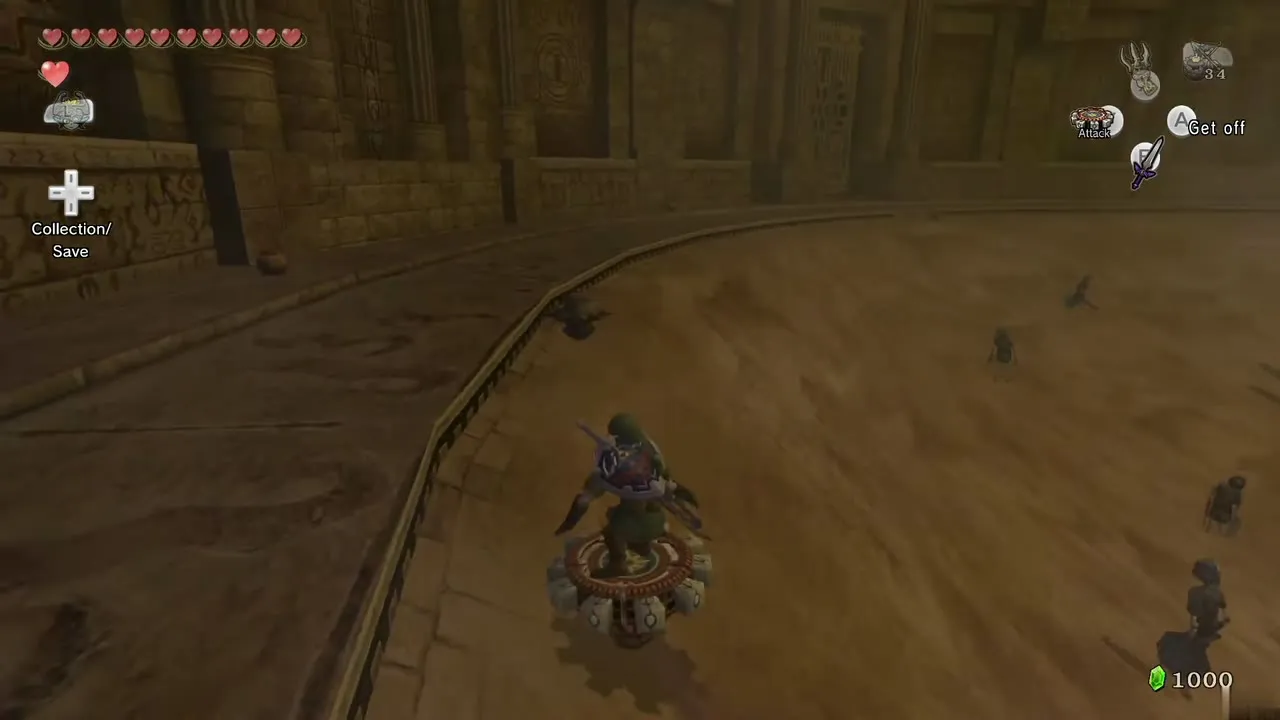
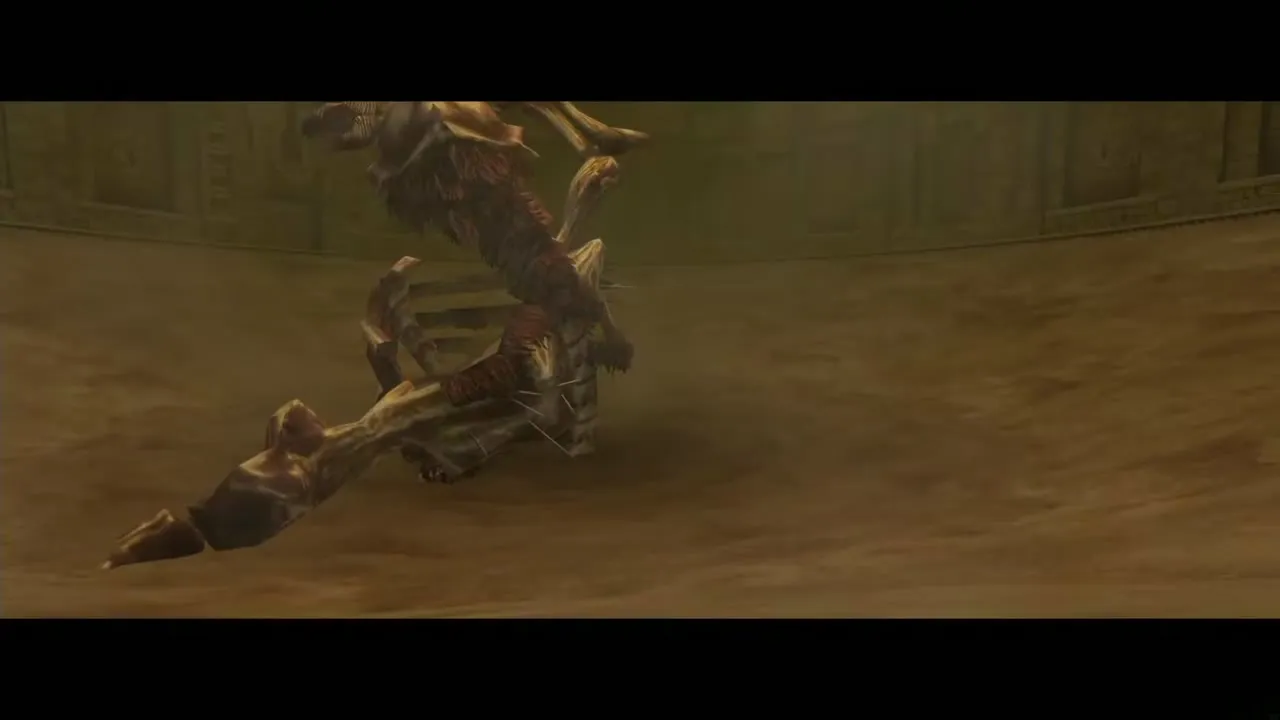
Zant brings the skeleton of an ancient beast back to life, and a pit of sand opens around it. Stallord is the one main boss that holds neither a Fused Shadow nor a Mirror Shard. In the first phase, ride the Spinner along the rail around the edge, then leave it and drive at the spine. Staltroops block you, so dodge them or bounce off them. Three Spinner hits crack the spine and bring the beast down.
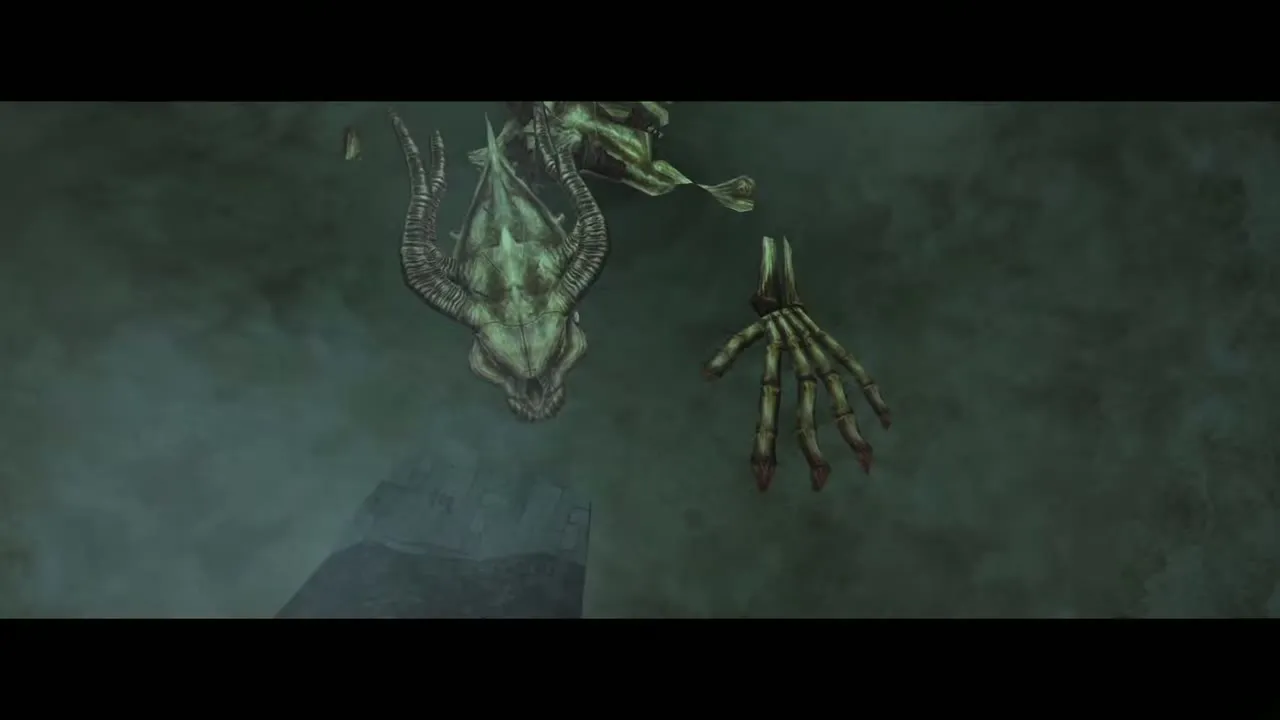
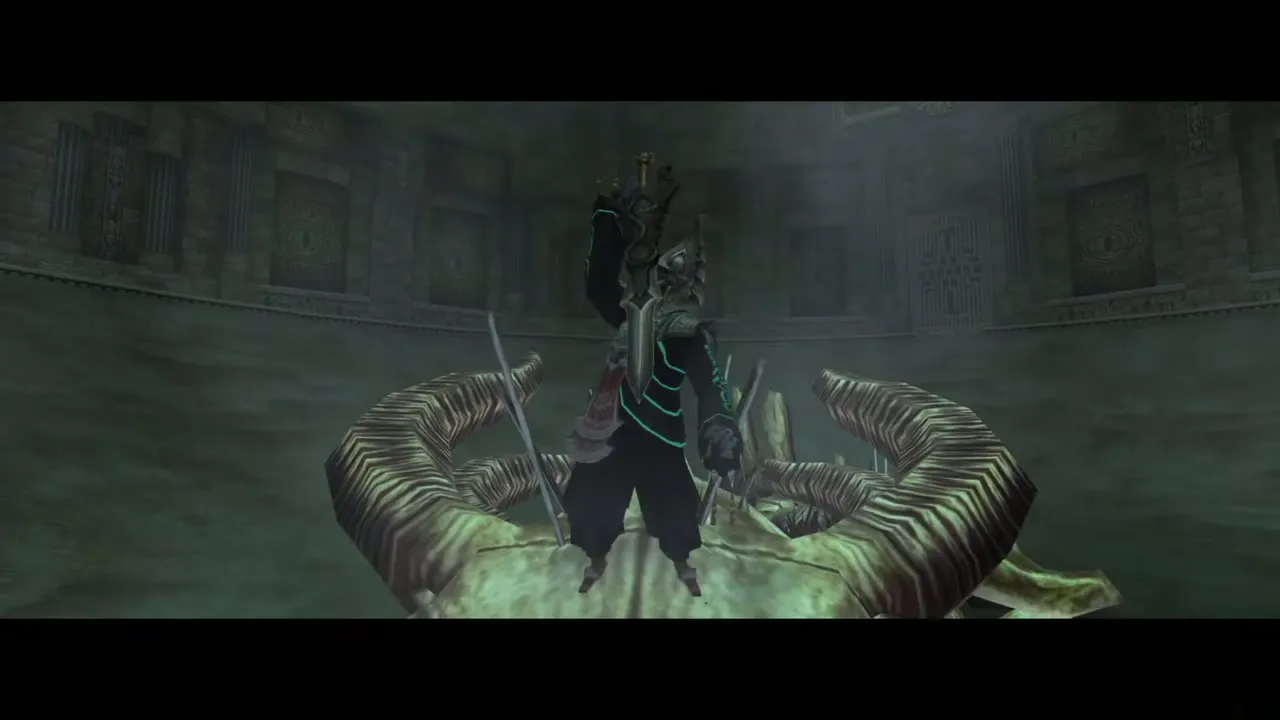
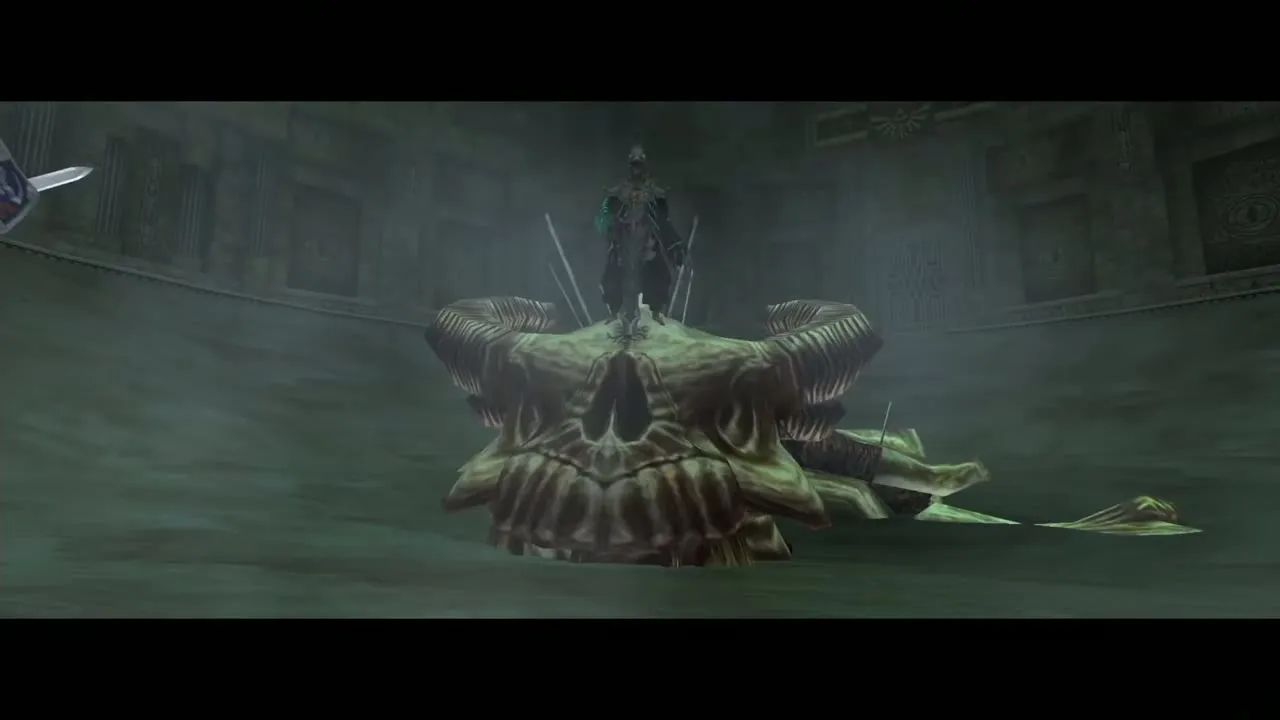
Spin the lock in the middle of the floor to raise a pillar. In the second phase, Stallord’s skull flies around it and fires at you. Ride the wall rail with the Spinner, jumping to the opposite wall when it gets close, and ram into it to knock it out of the air. Hit it with the sword while it is down. Blade traps fill the walls as the fight goes on. After enough hits it falls and leaves a Heart Container. The Ending Blow does not work on this boss.
Darkhammer
Mini-boss, Snowpeak Ruins. Chapter: Snowpeak Ruins. Requires: Sword; Clawshot or bombs help. Reward: Ball and Chain (it drops its own).
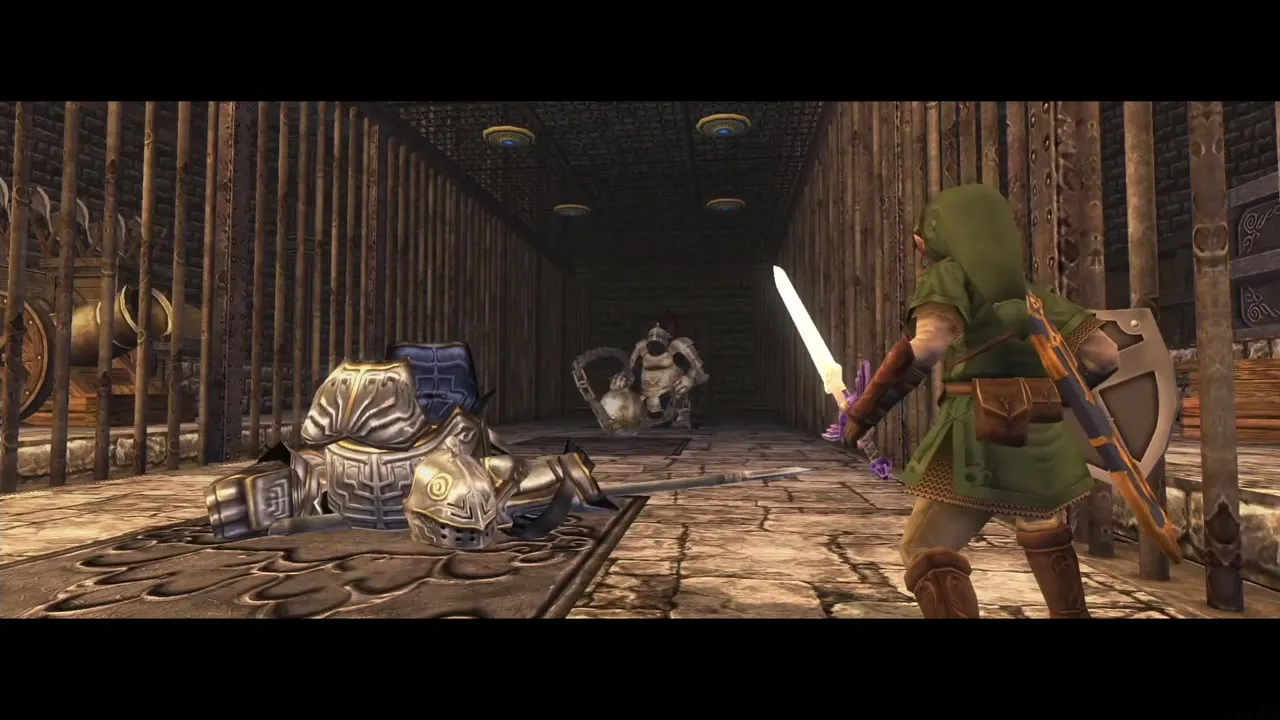
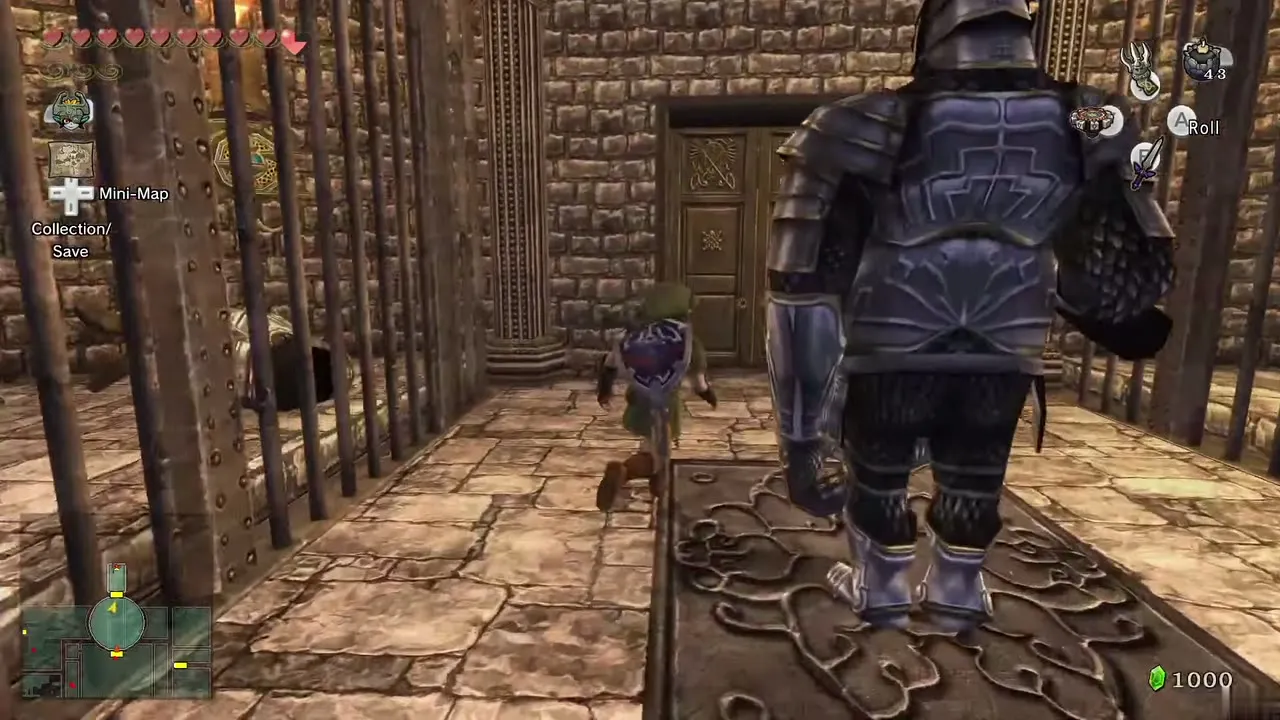
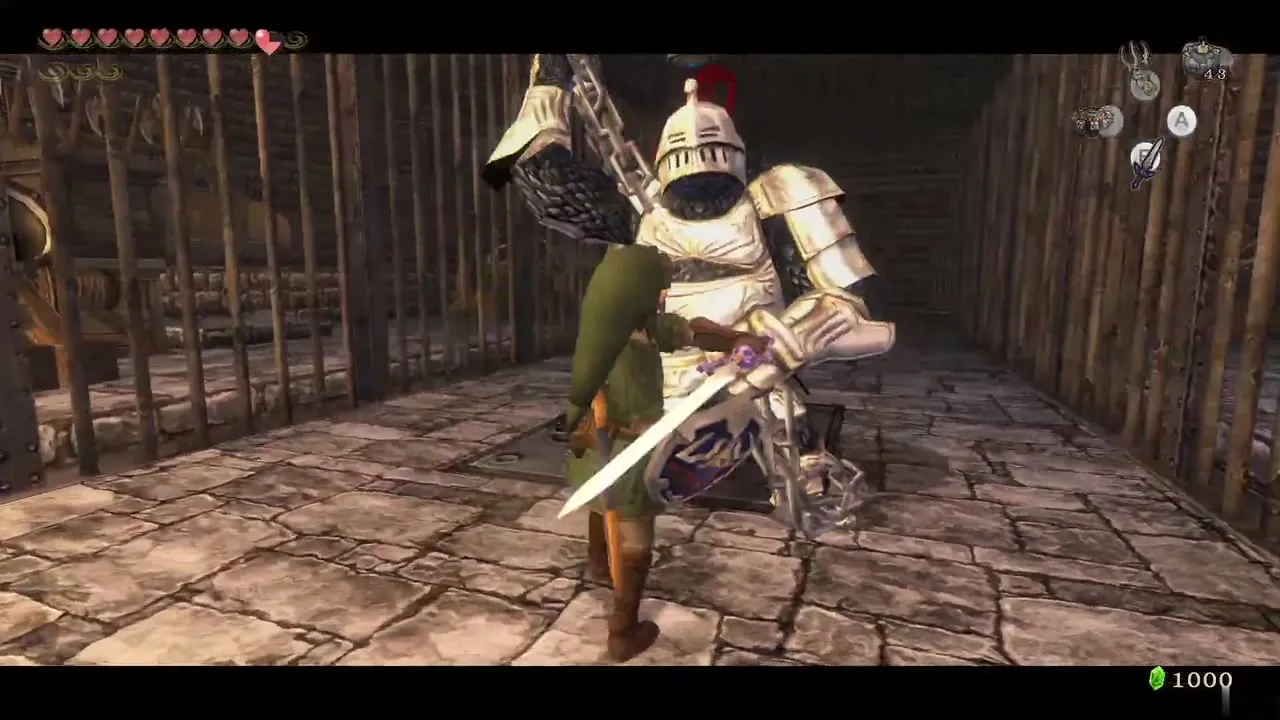
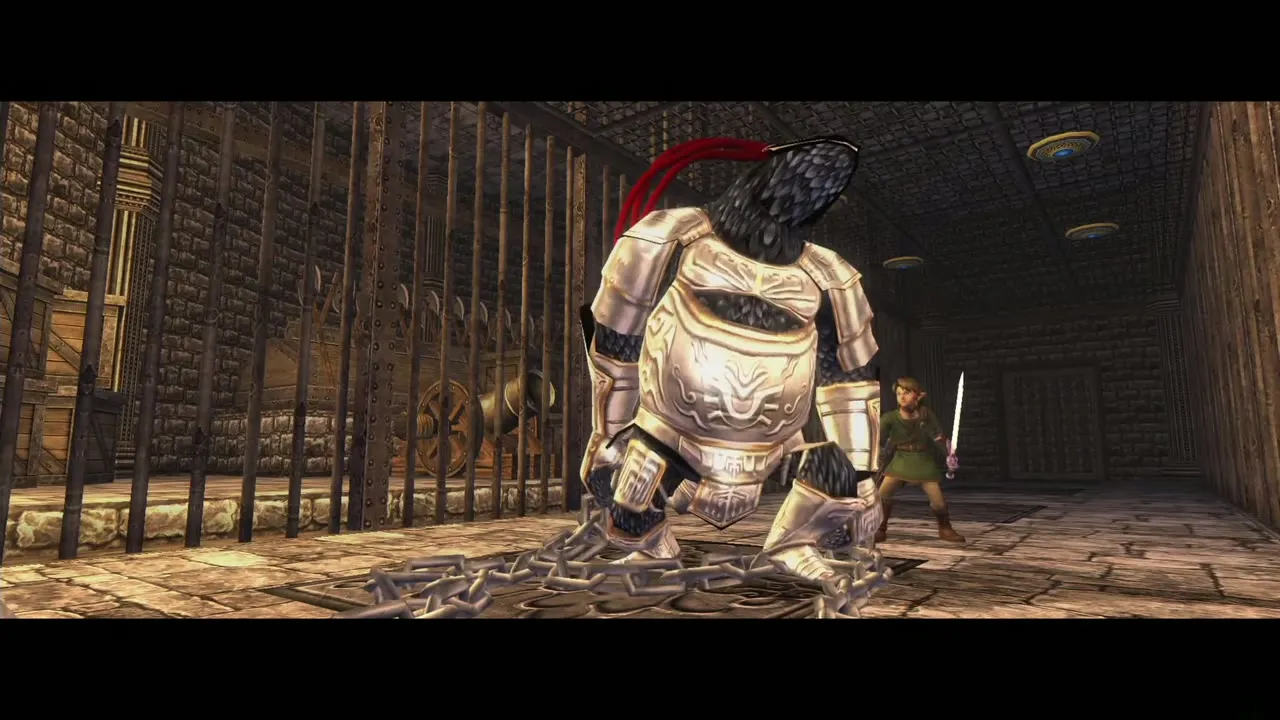
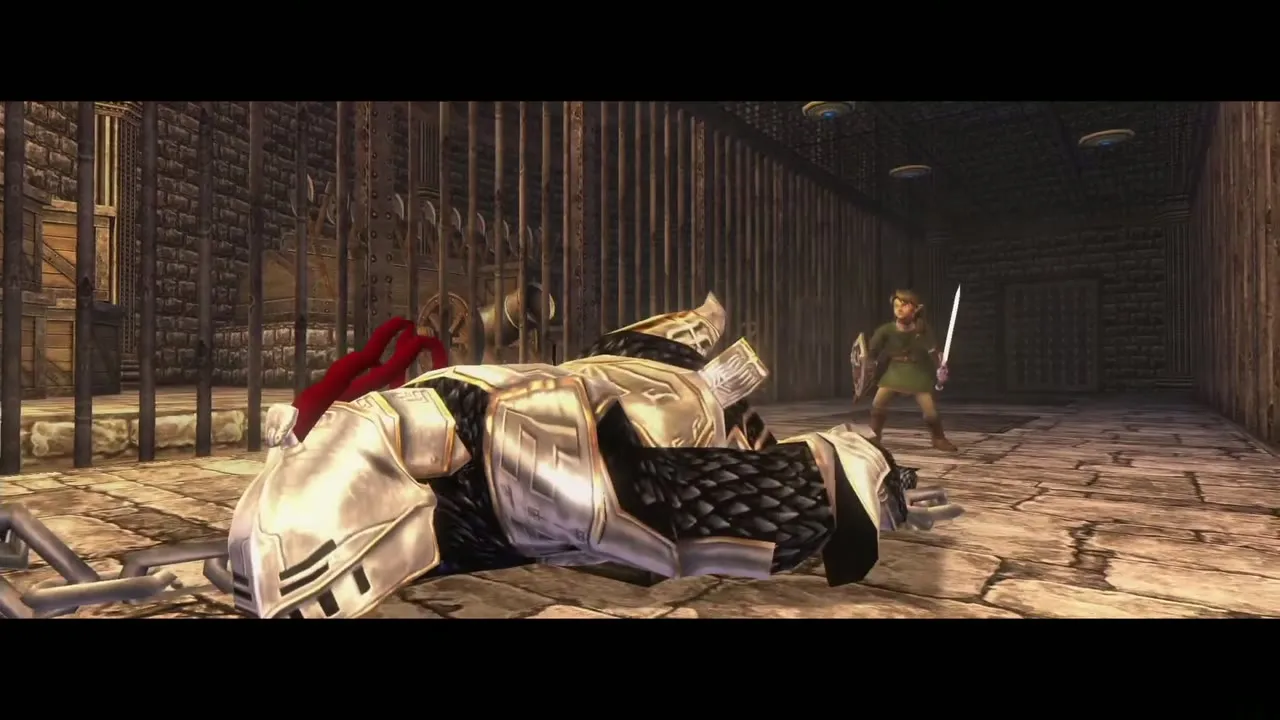
Darkhammer is a suit of armor that swings a huge Ball and Chain and looks like the suits lining the halls. It keeps swinging to guard itself. Its weak point is its tail. Latch onto a target behind it with the Clawshot, or roll around it, as soon as it starts swinging; it stops to retrieve the weapon and its tail is open to your sword. Two Bomb Arrows or one Mortal Draw also kill it. It drops its Ball and Chain when it dies.
Blizzeta
Boss, Snowpeak Ruins. Chapter: Snowpeak Ruins. Requires: Ball and Chain. Reward: Heart Container and the second Mirror Shard.
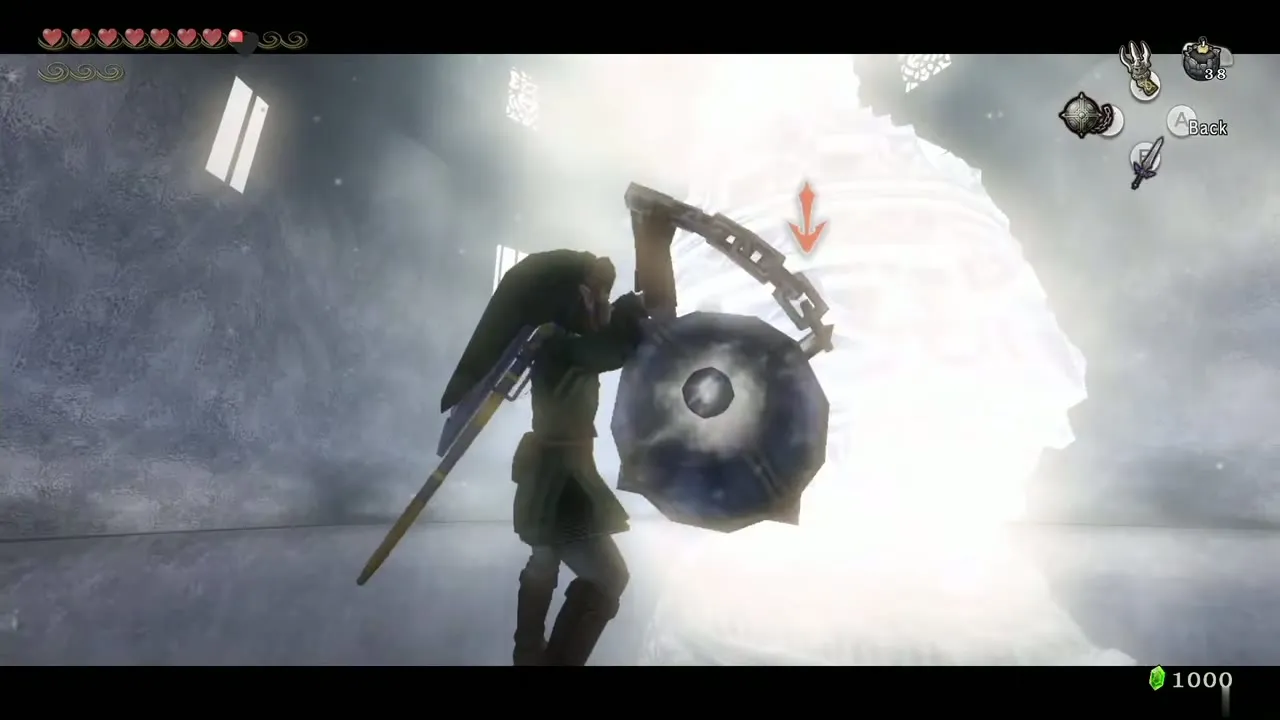
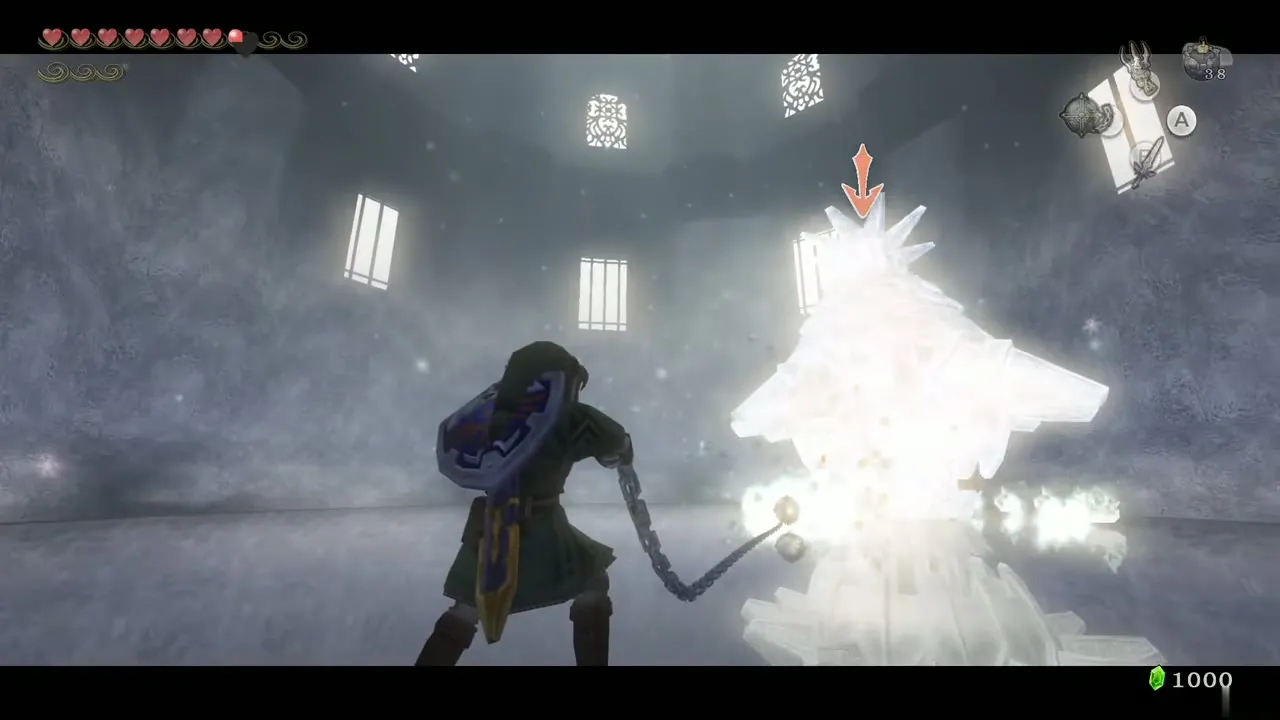
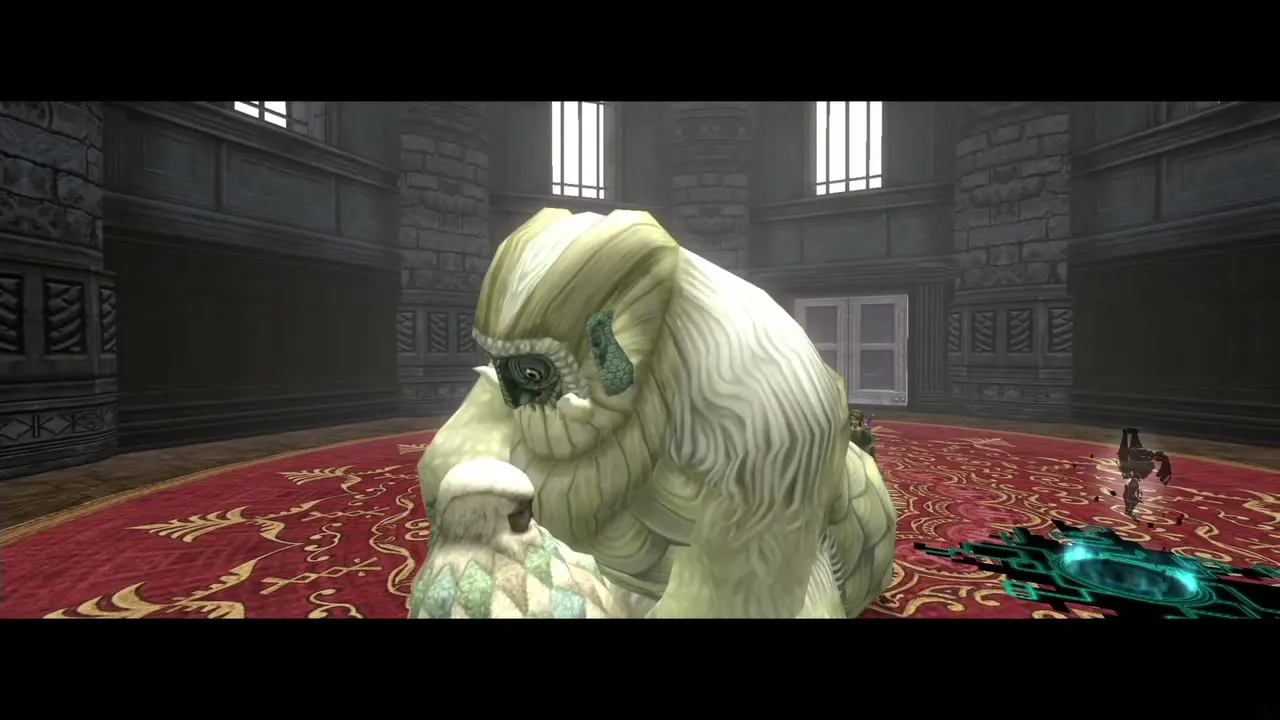
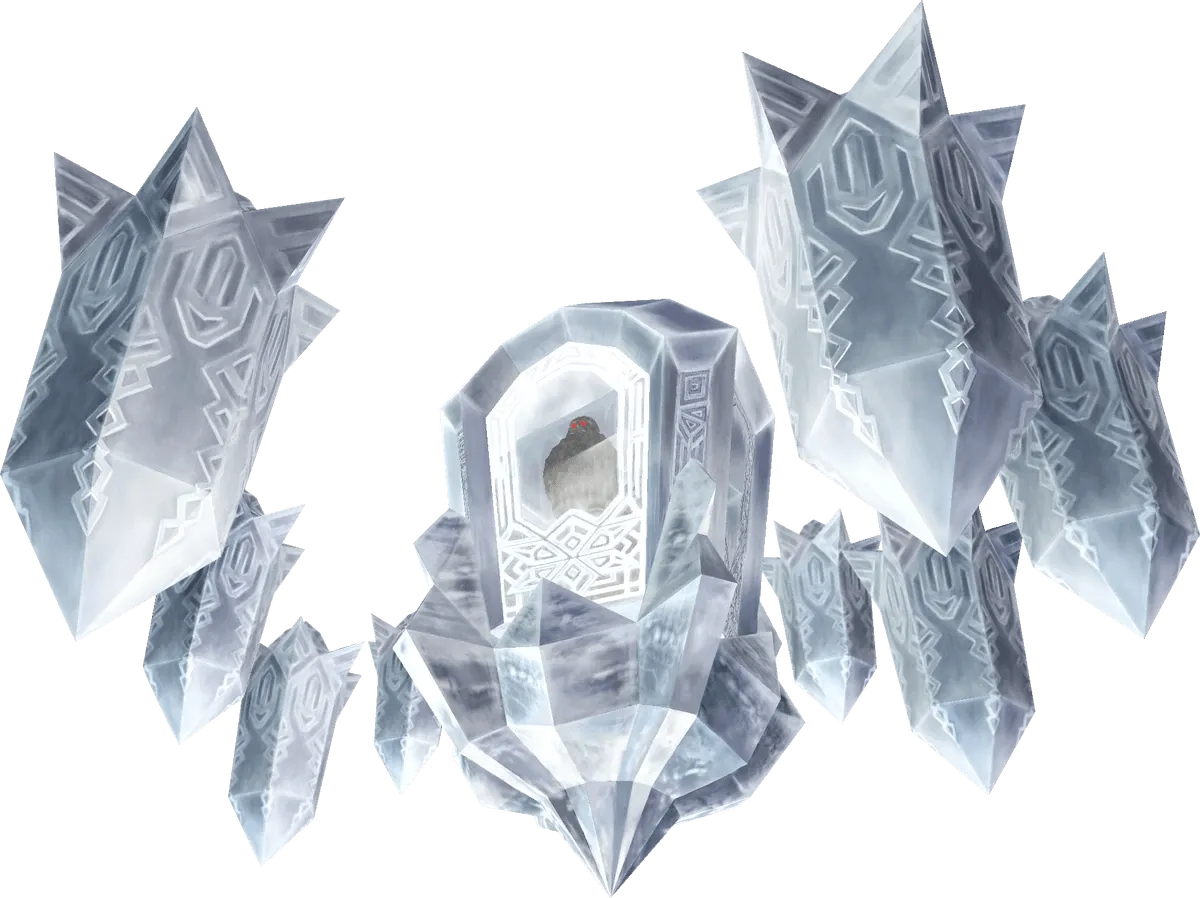
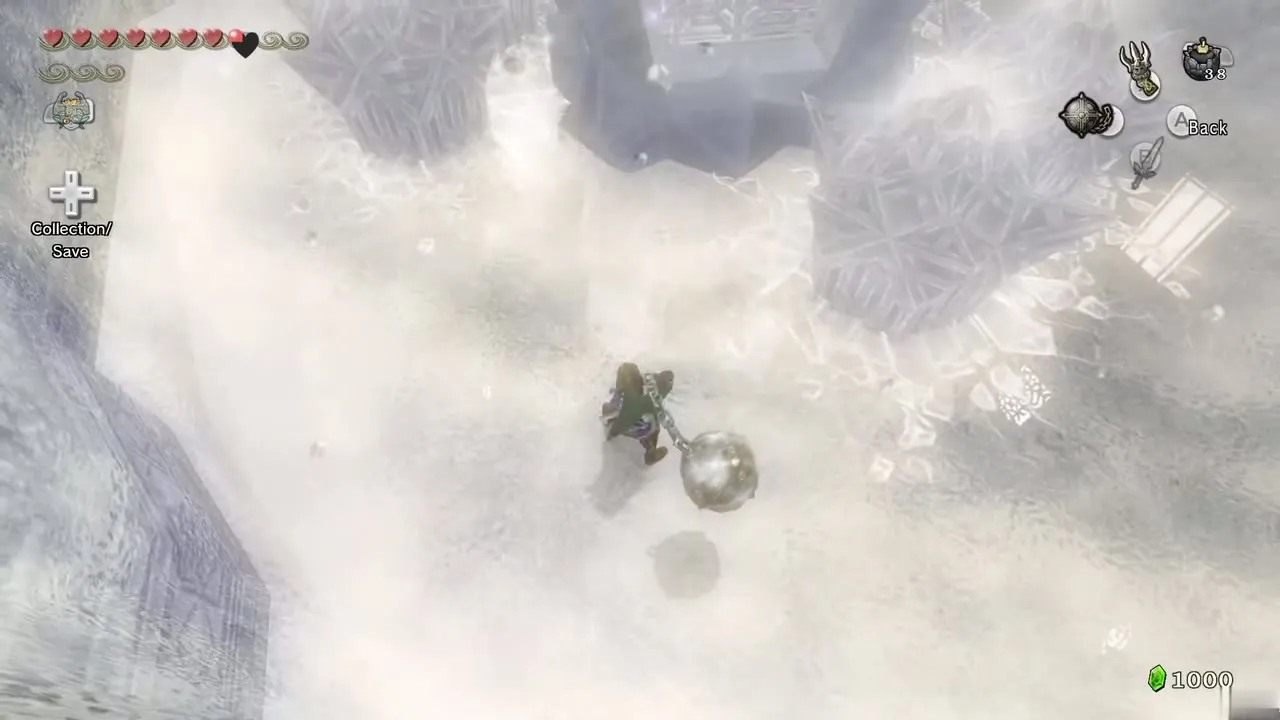
Blizzeta is Yeta, Yeto’s wife, trapped inside the Twilit Ice Mass. At first she is a big lump of ice sliding around the frozen bedroom. Chip layers off with the Ball and Chain; each hit makes her faster and sends out a ring of Mini Freezards. After enough hits she breaks free of the ice for a moment.
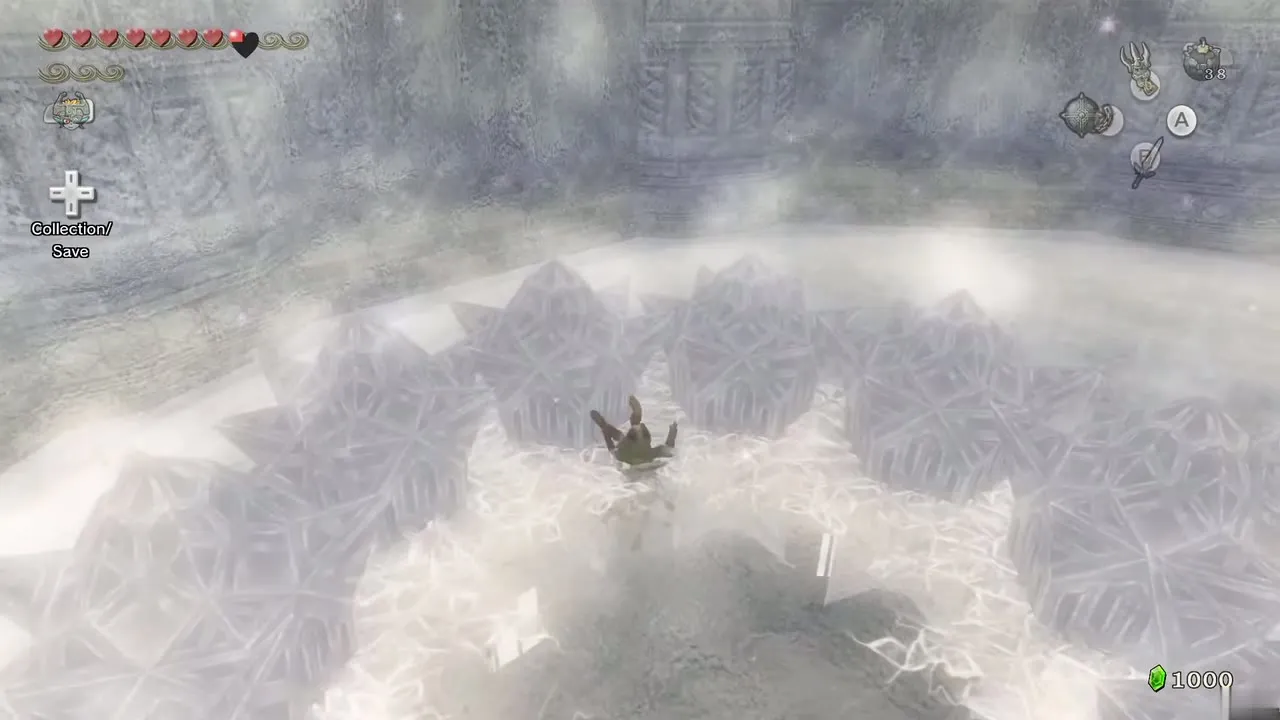
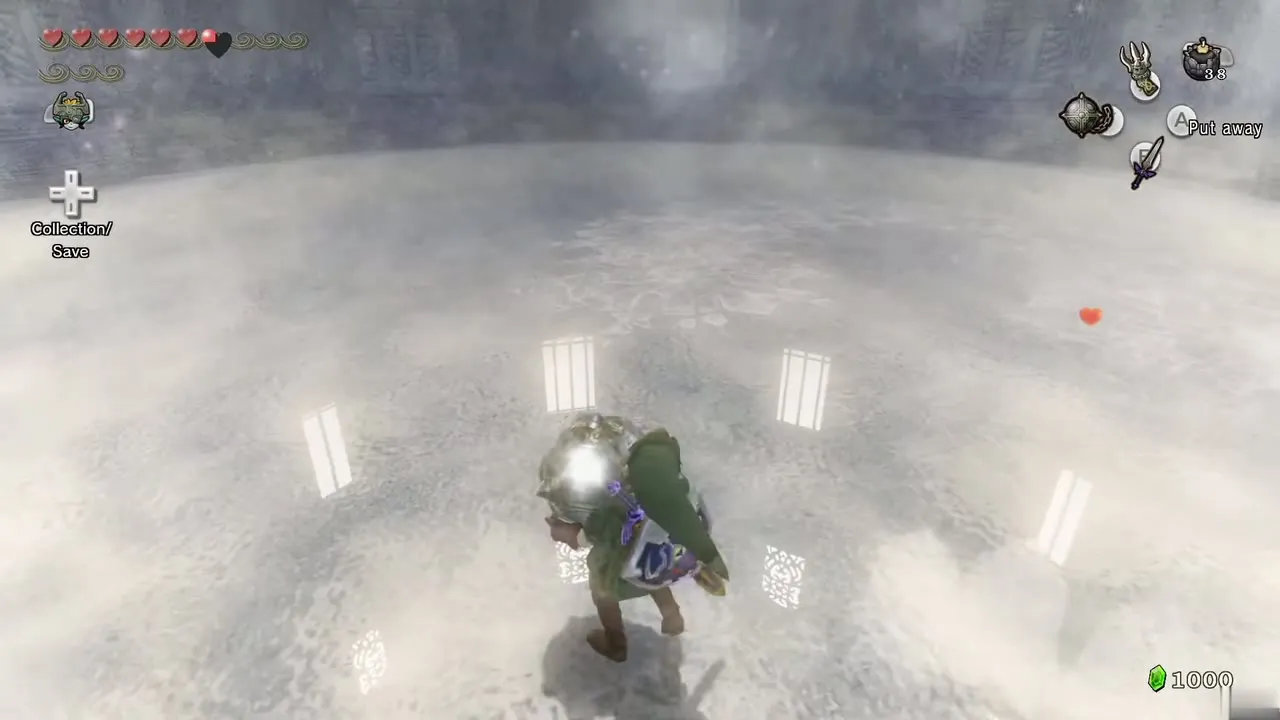
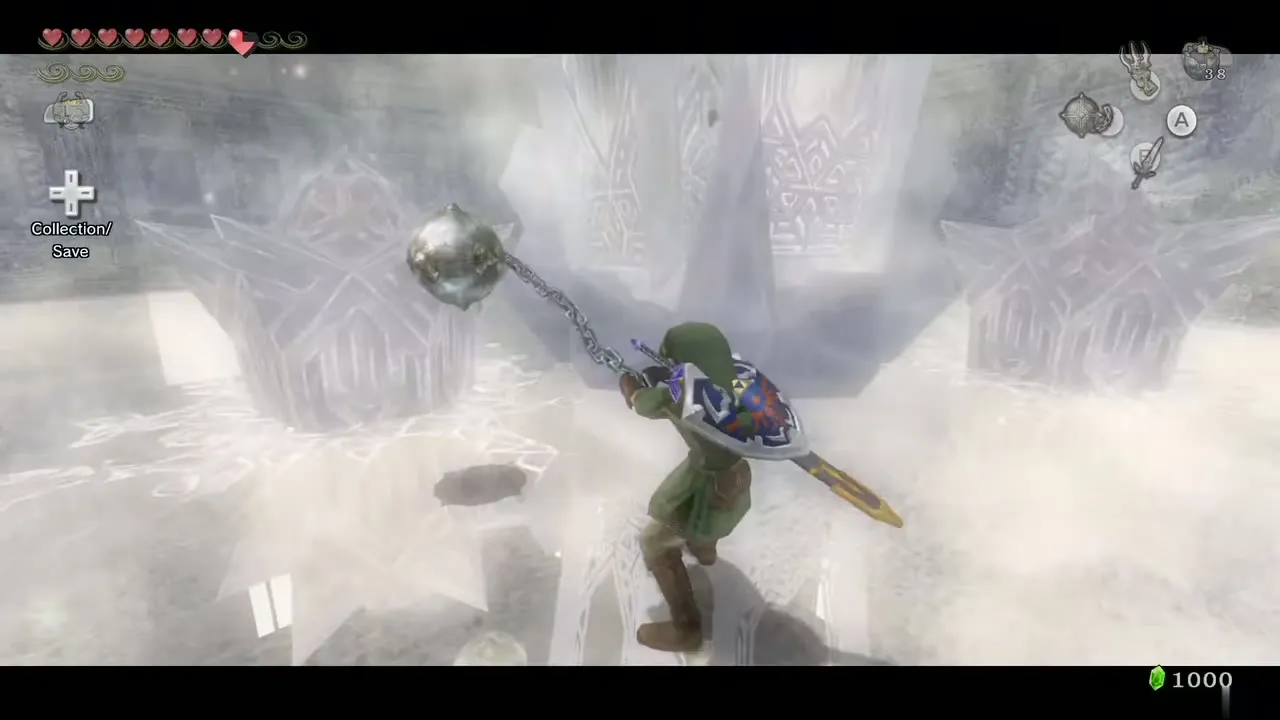
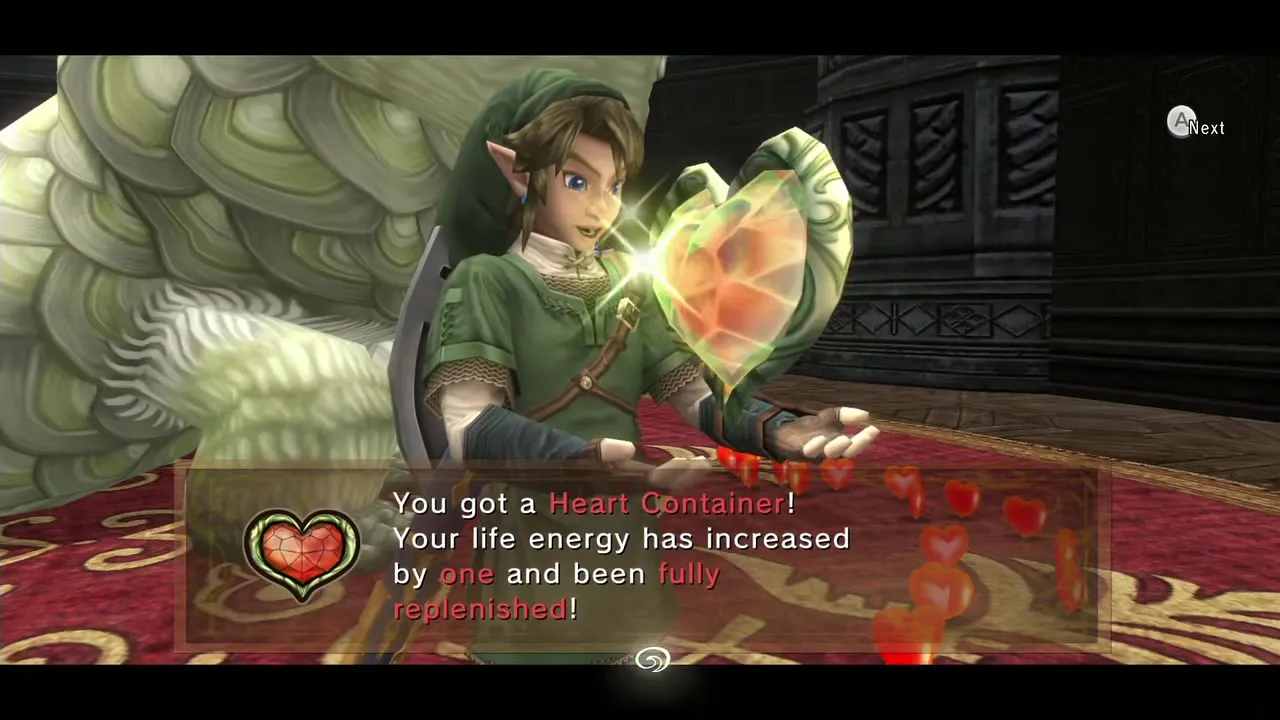
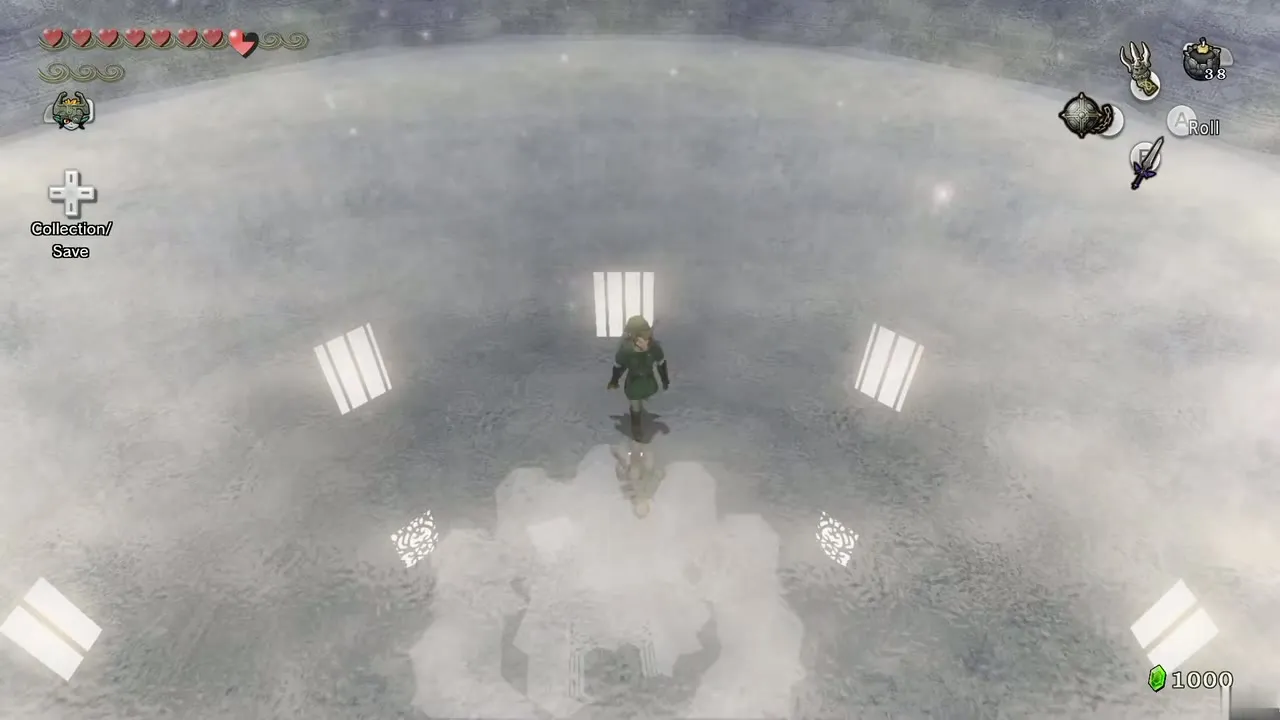
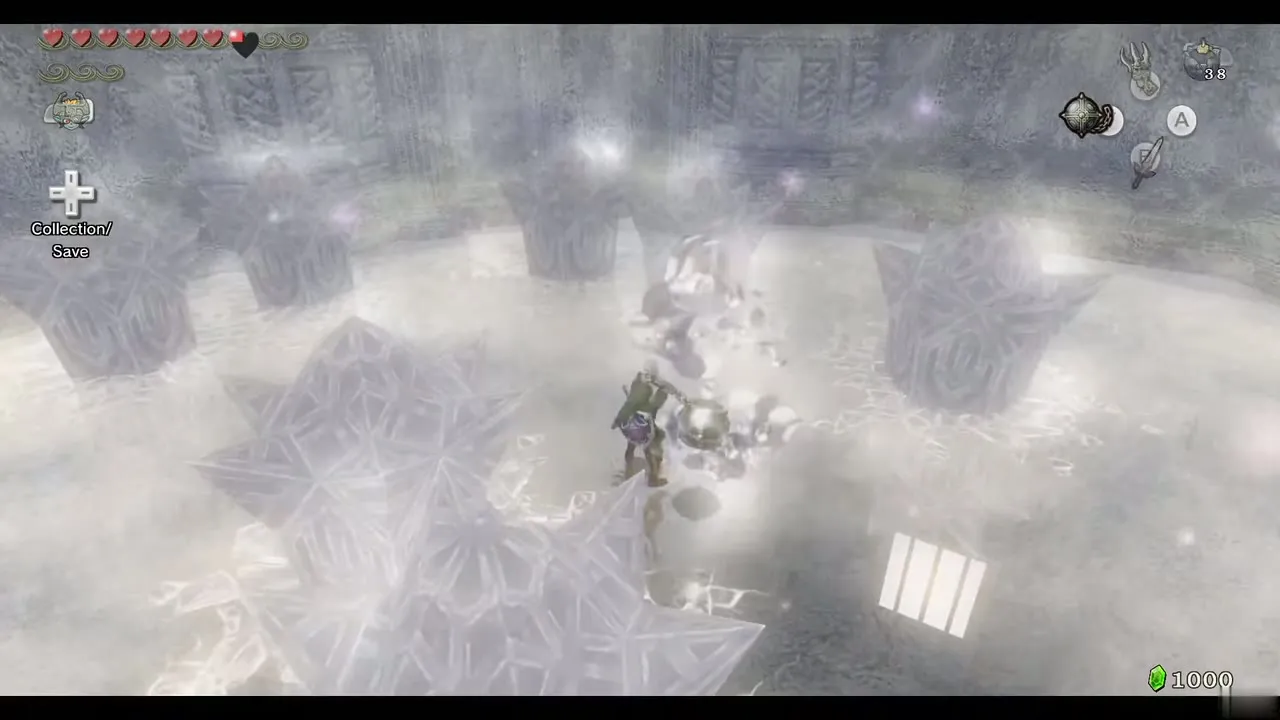
She rises, screams and surrounds herself with ice and huge spikes. The camera goes overhead and you see the spikes and her reflection in the floor as they fall. Smash the falling spikes with the Ball and Chain (some drop hearts), and when she herself drops, hit her with it. Three hits in this phase free Yeta. A Heart Container and the second Mirror Shard follow. Ending Blow does not work on her.
Skull Kid
Mini-boss, Sacred Grove. Chapter: Return to the Sacred Grove. Requires: Hero’s Bow. Reward: Opens the way to the Temple of Time.
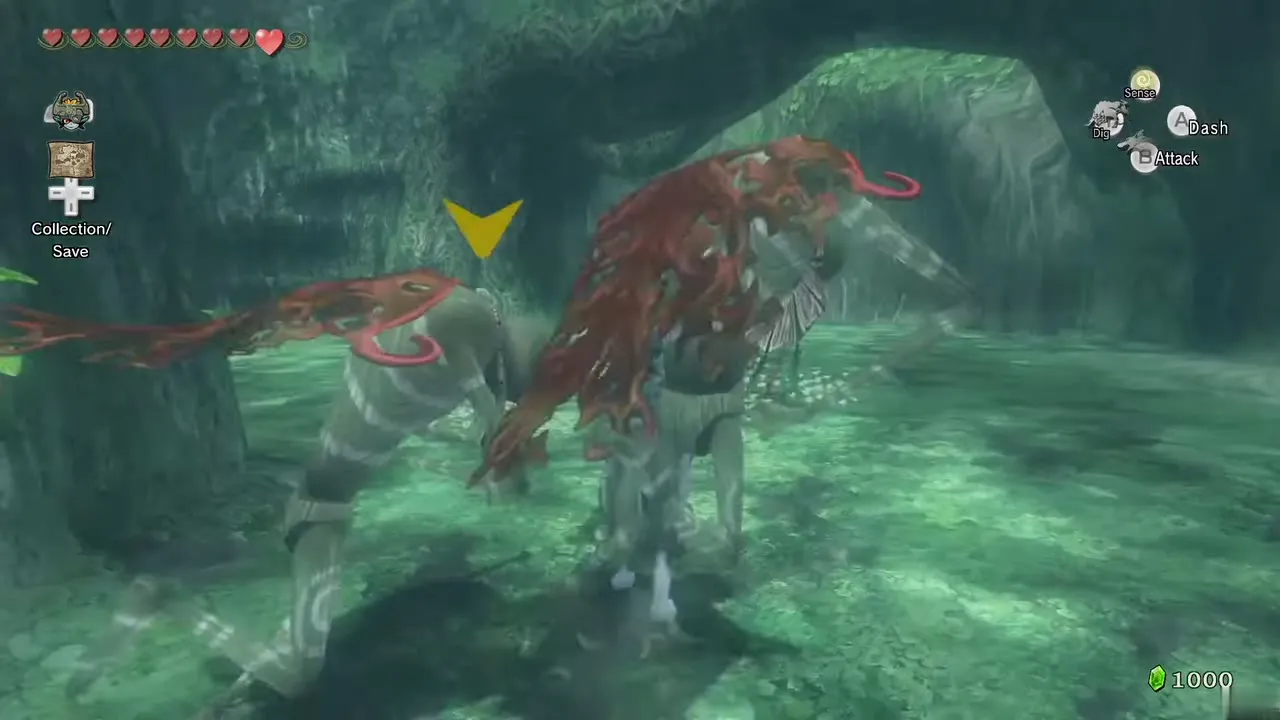
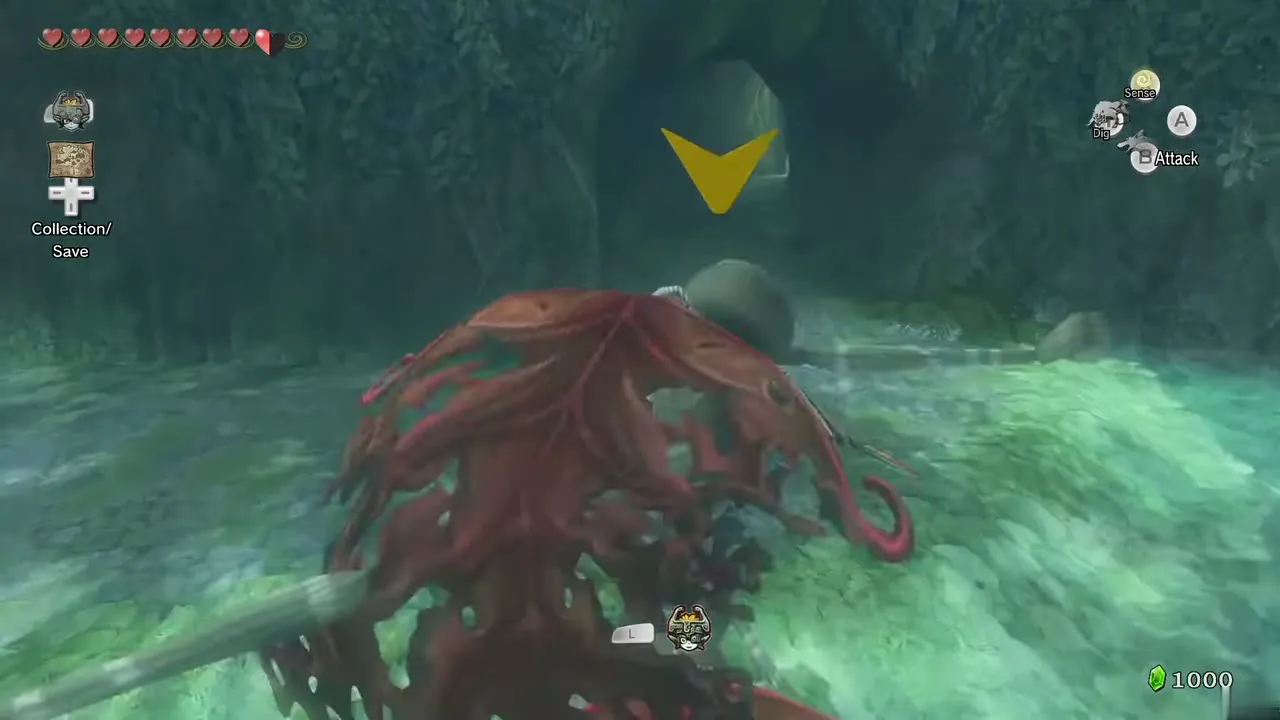
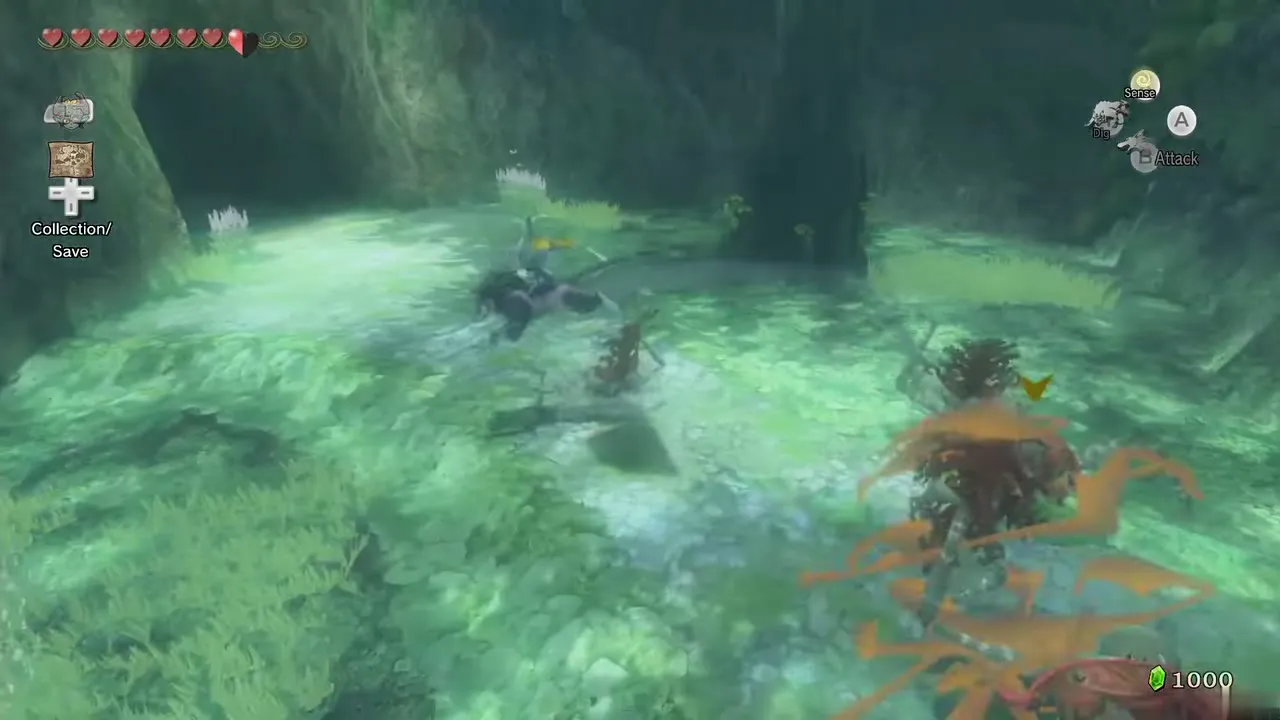
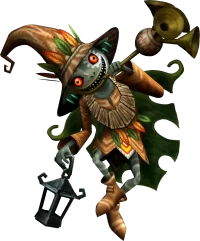
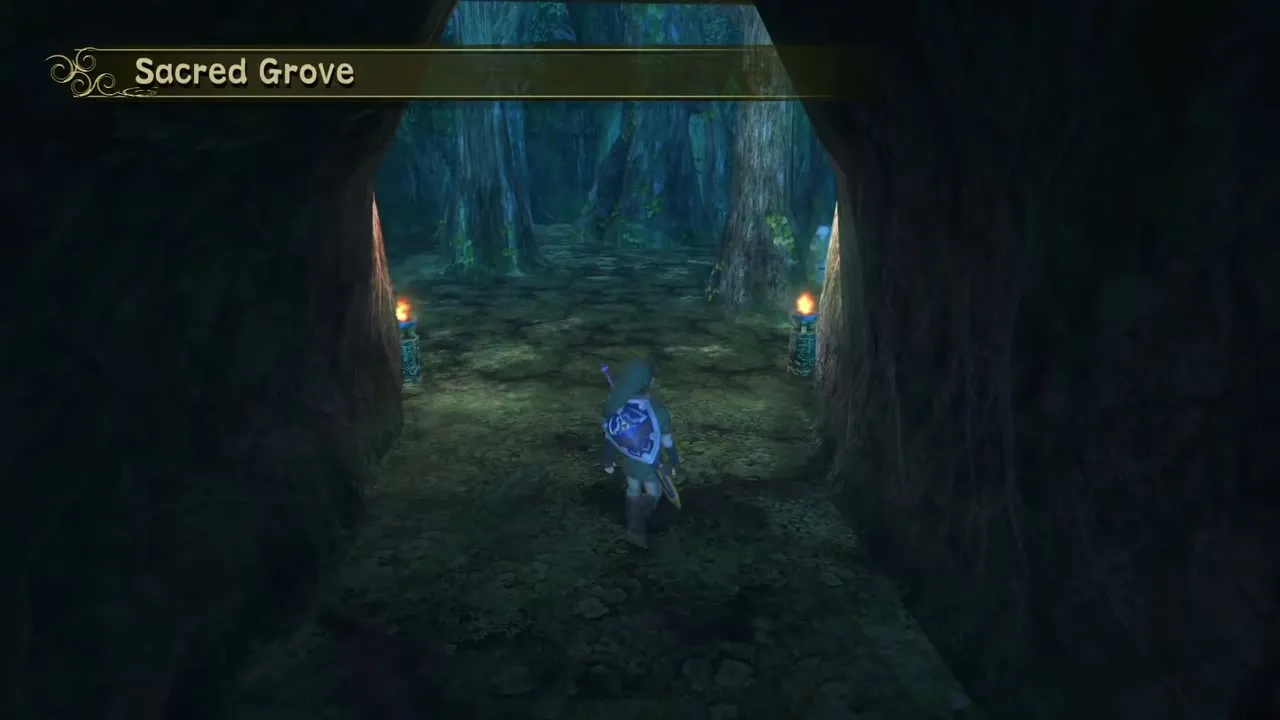
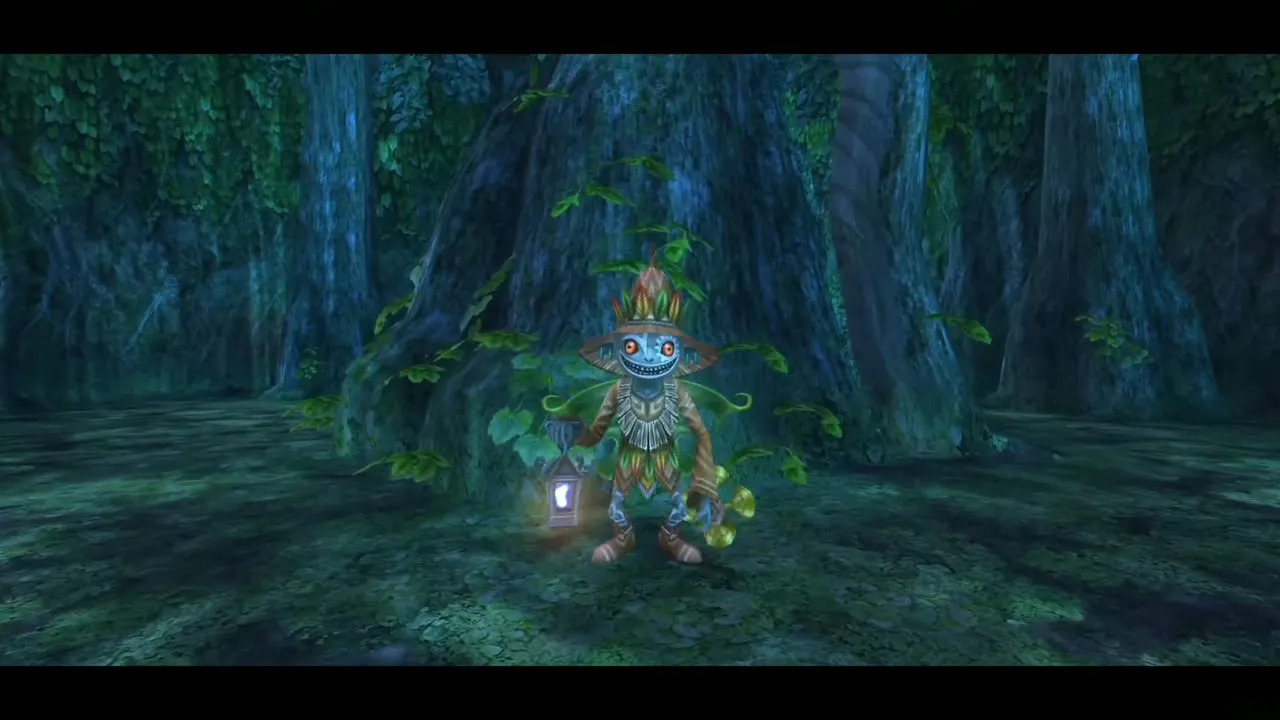
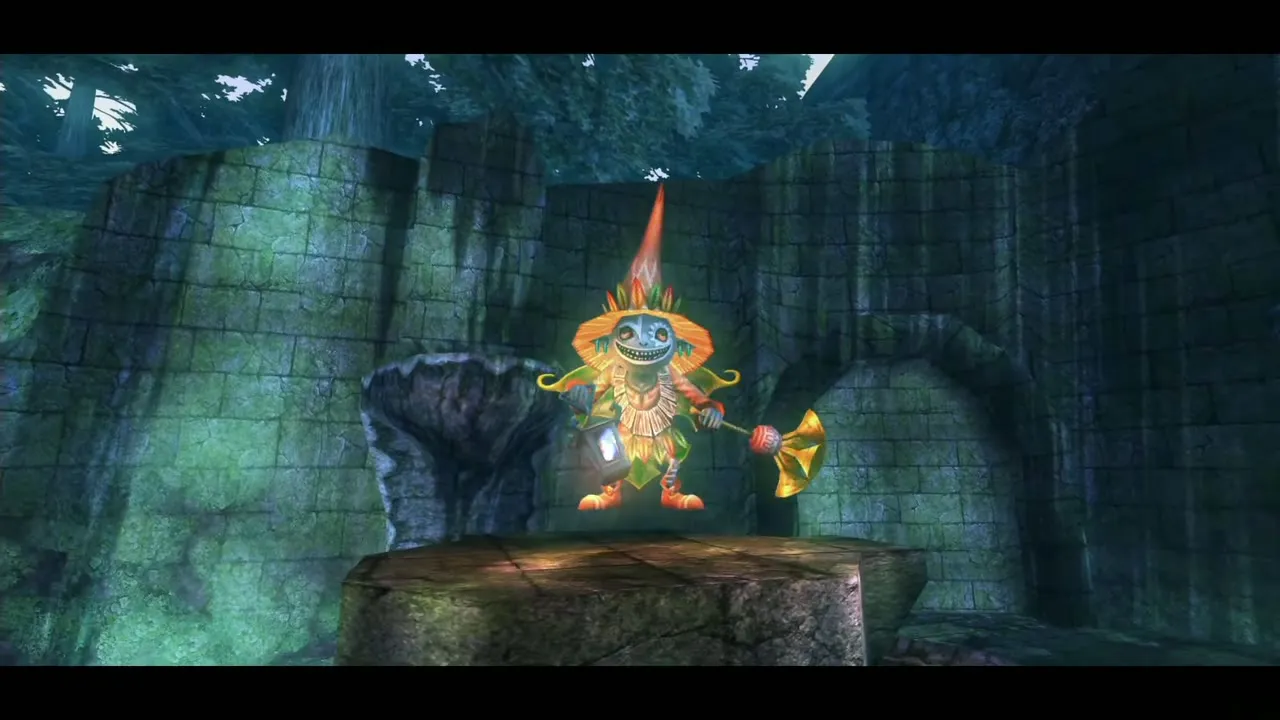
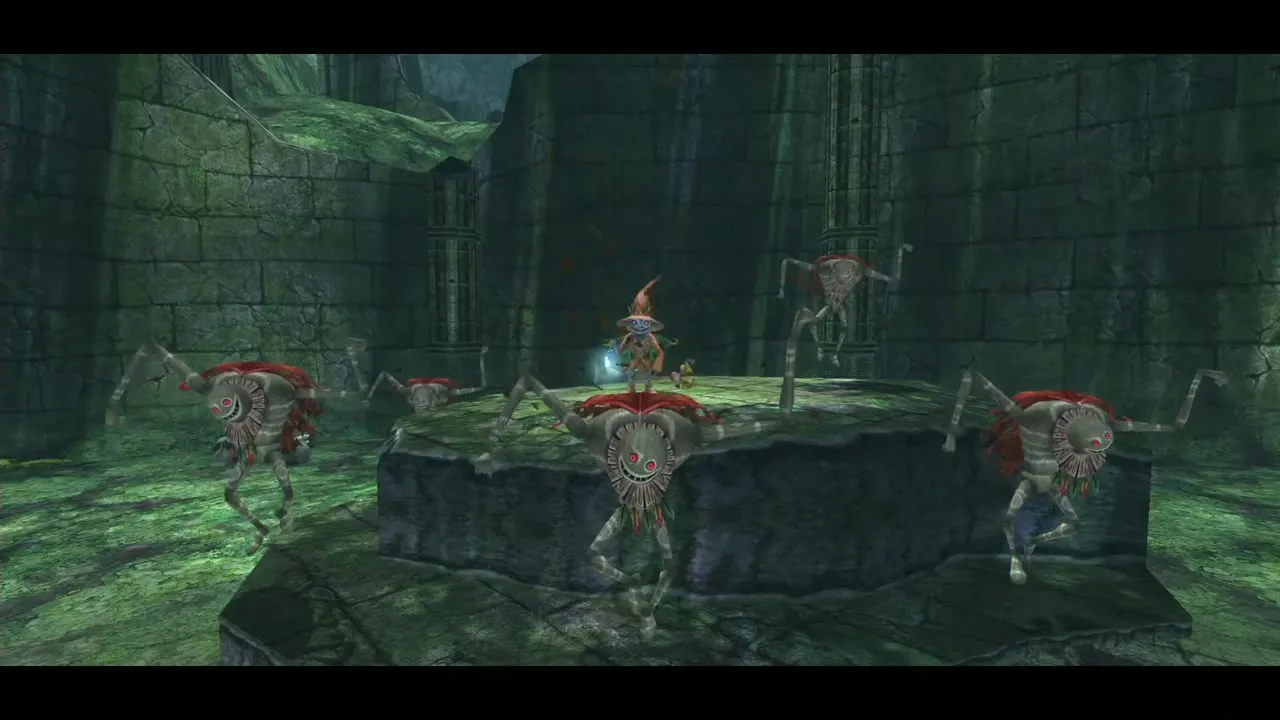
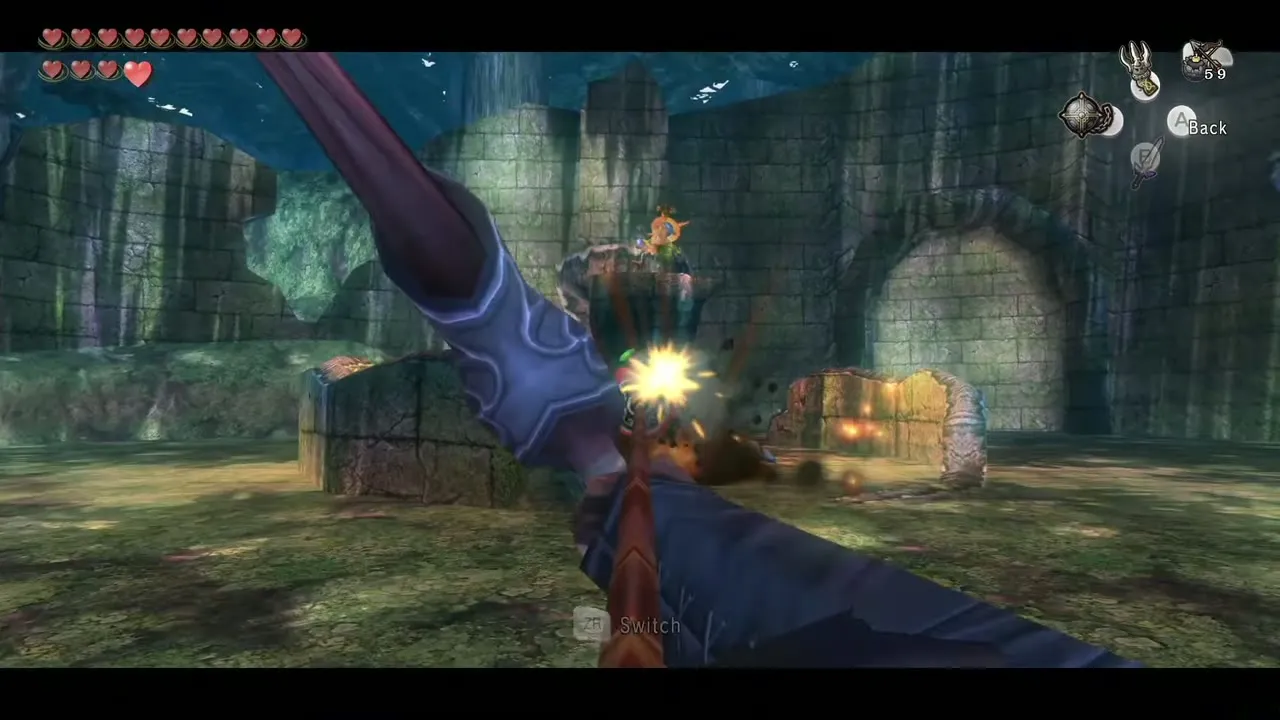
On the way to the Temple of Time the Skull Kid plays hide-and-seek in the Lost Woods again, but this time he calls up Puppets to attack you instead of just running. Find him by the glow of his lantern and the sound of his horn. Shoot him with the Hero’s Bow; every time he is hit he summons more Puppets, but a few arrows end it and he vanishes.
Darknut
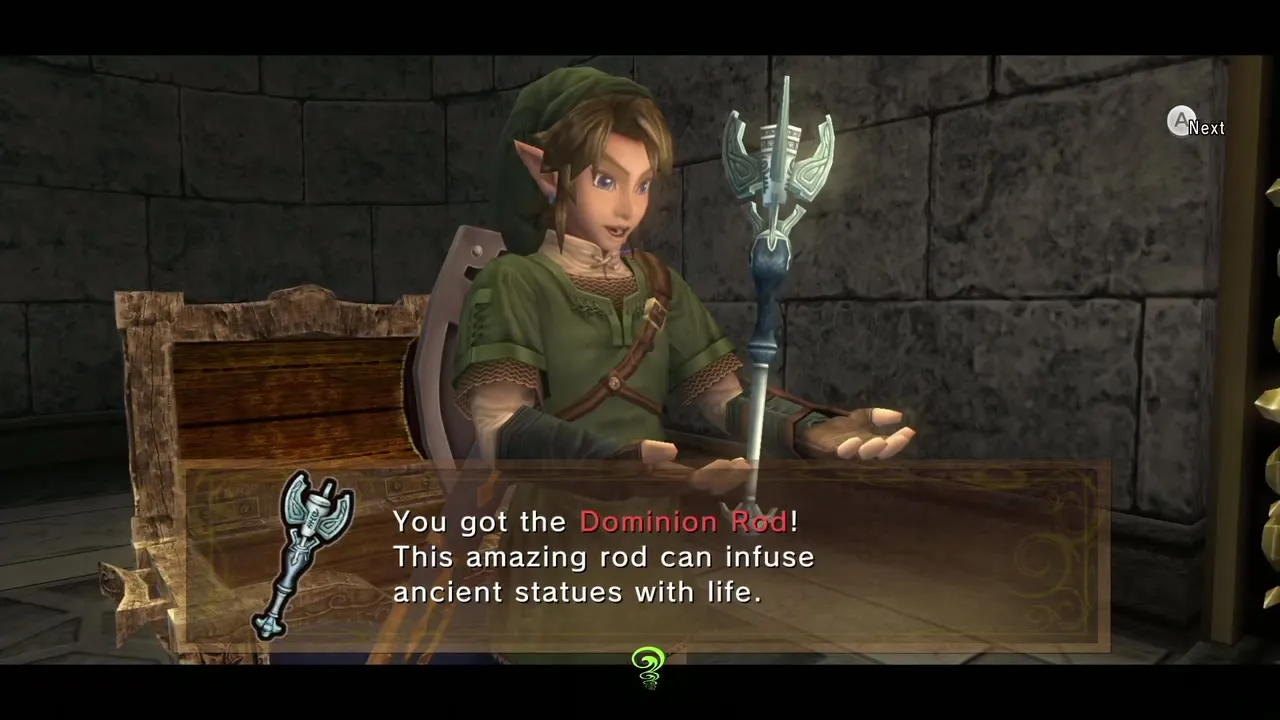
Mini-boss, Temple of Time. Chapter: Temple of Time. Requires: Sword; Ball and Chain helps. Reward: Dominion Rod (chest after the fight).
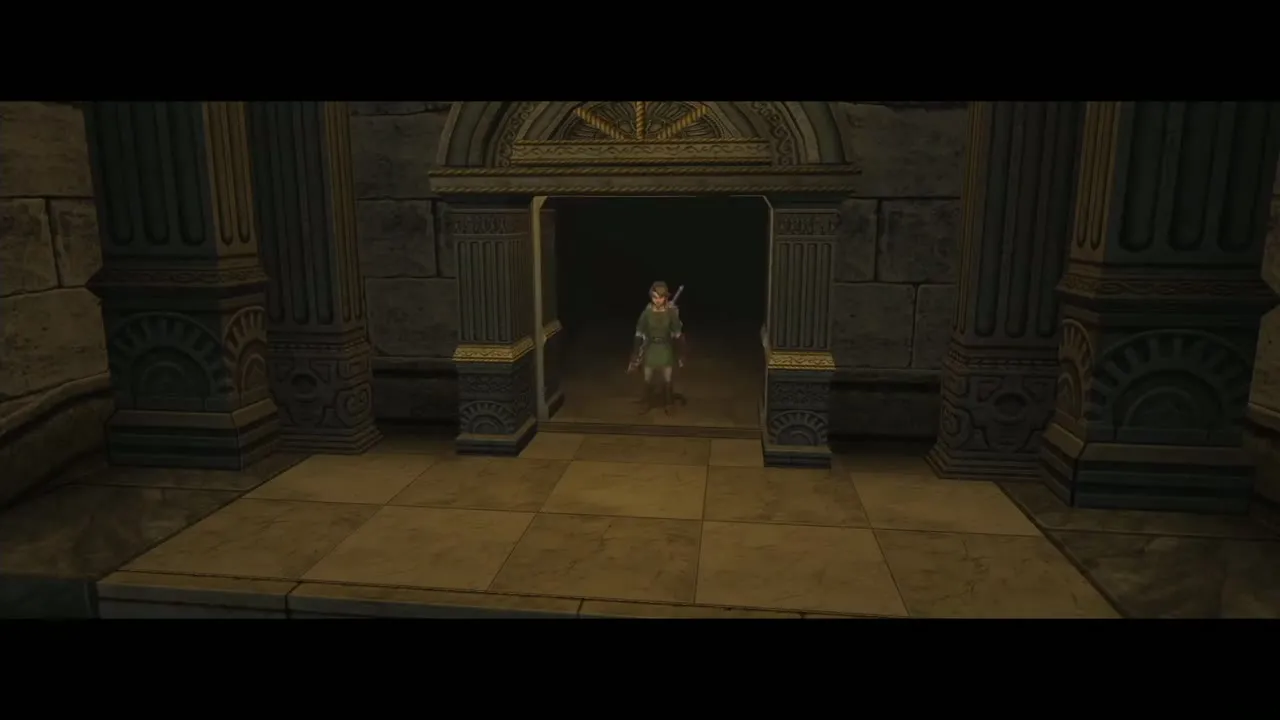
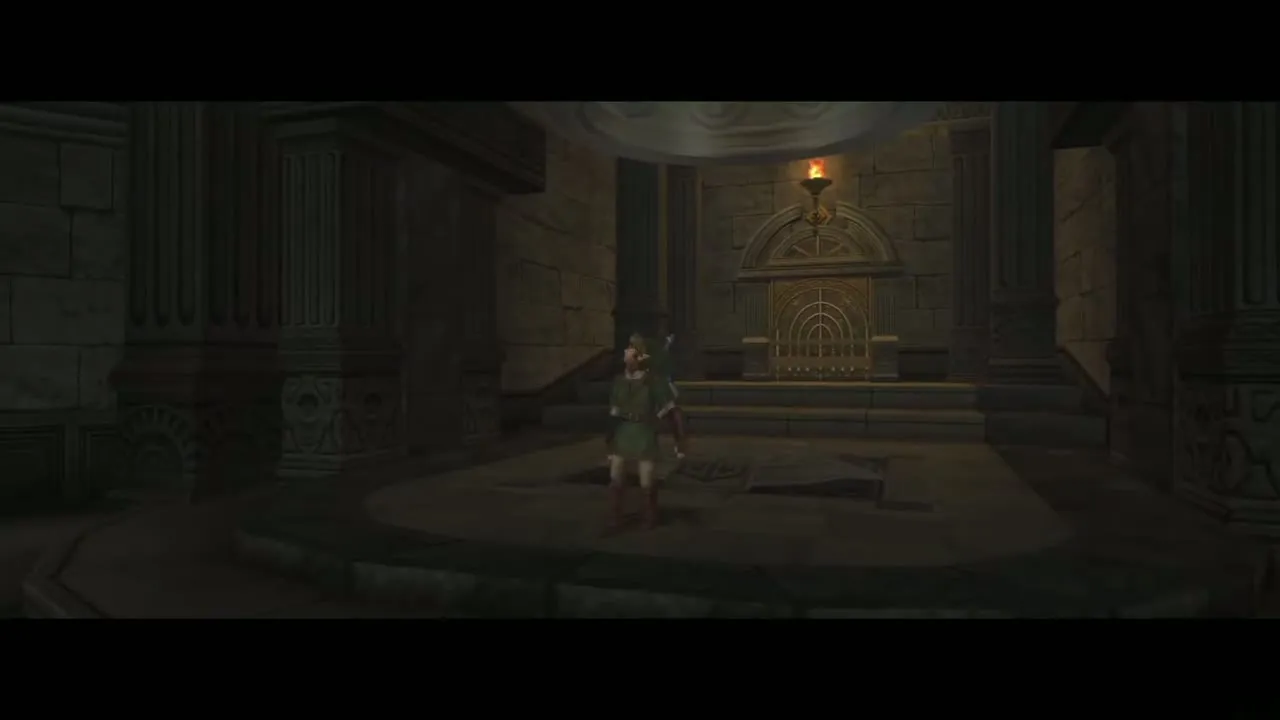
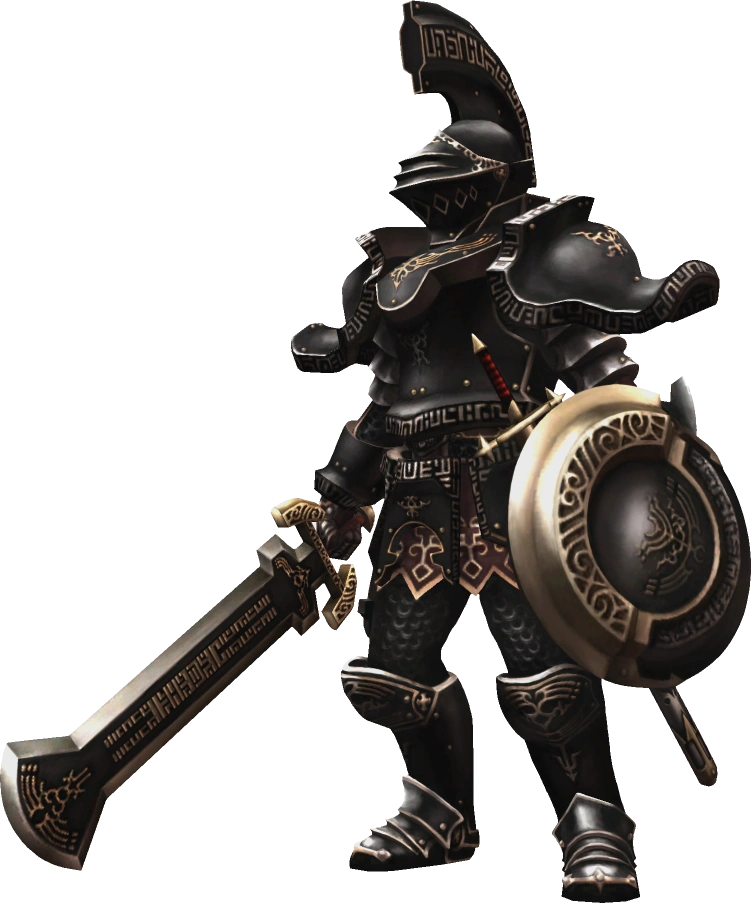
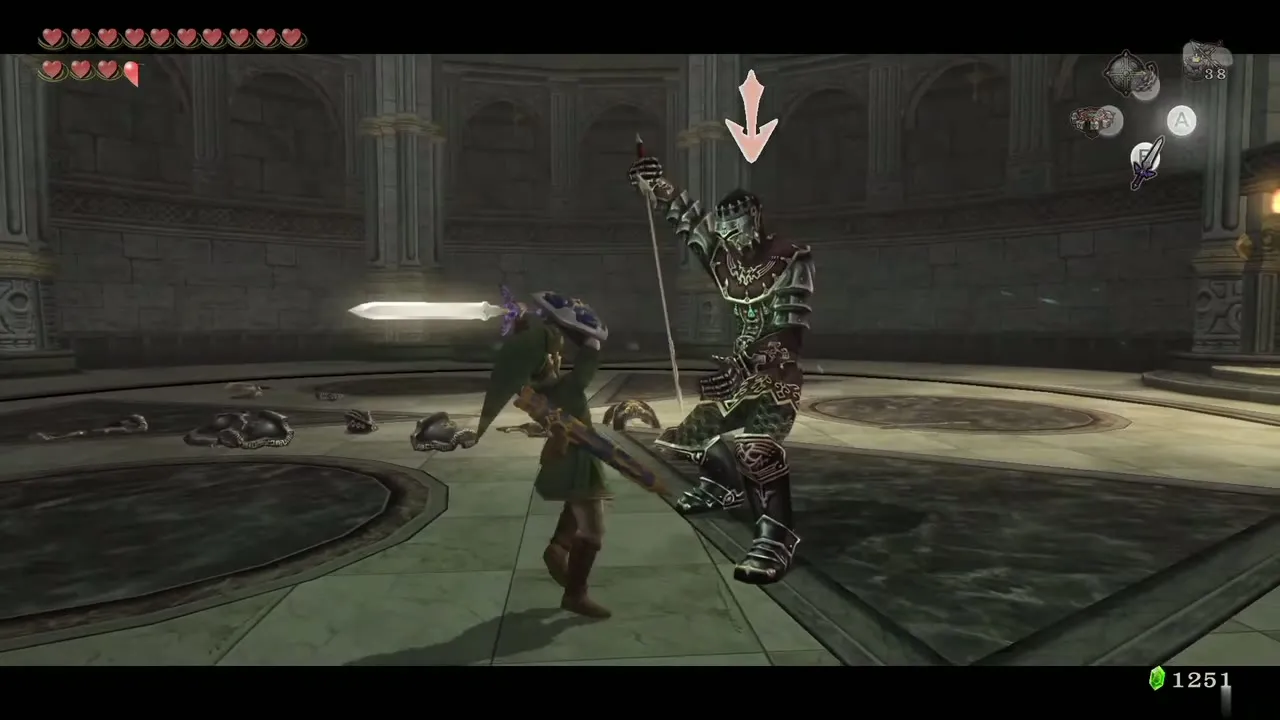
The Darknut is a knight in heavy armor with a large shield. It blocks attacks from the front and also blocks arrows. Provoke it into guarding, run around behind it and slash its back to break armor plates off. Hit it from behind with the Helm Splitter or the Back Slice for the same result.
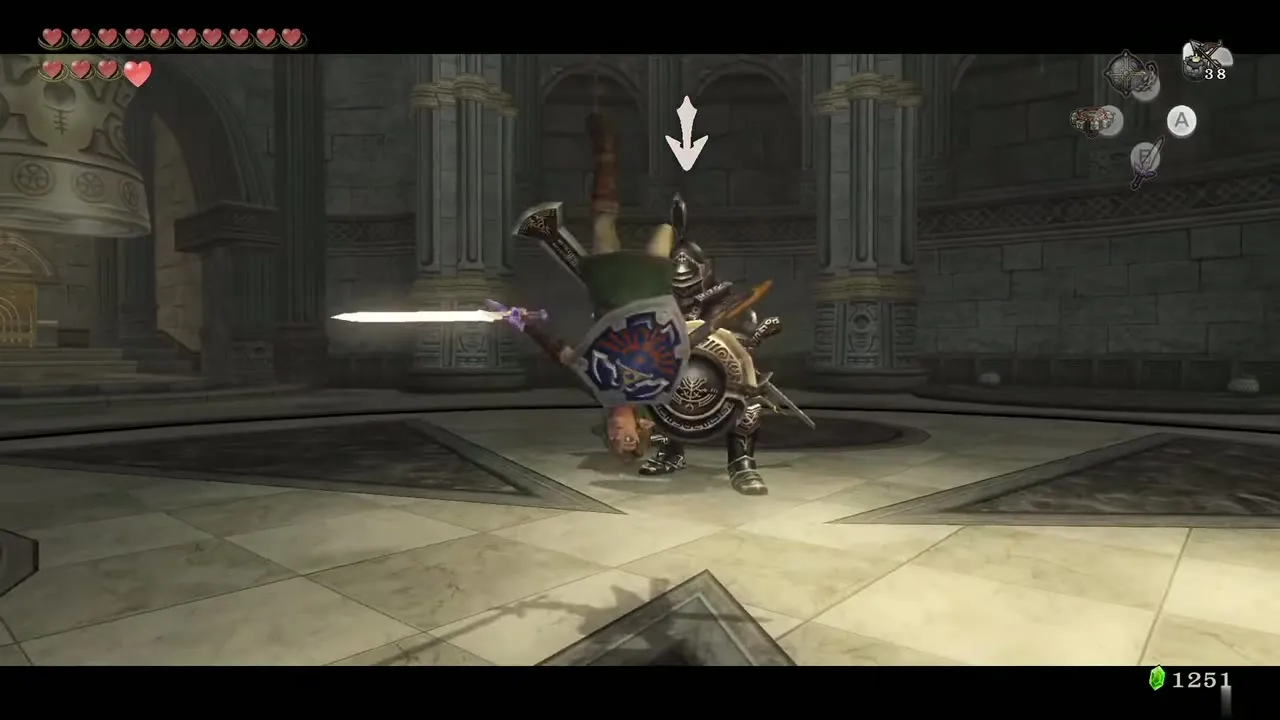
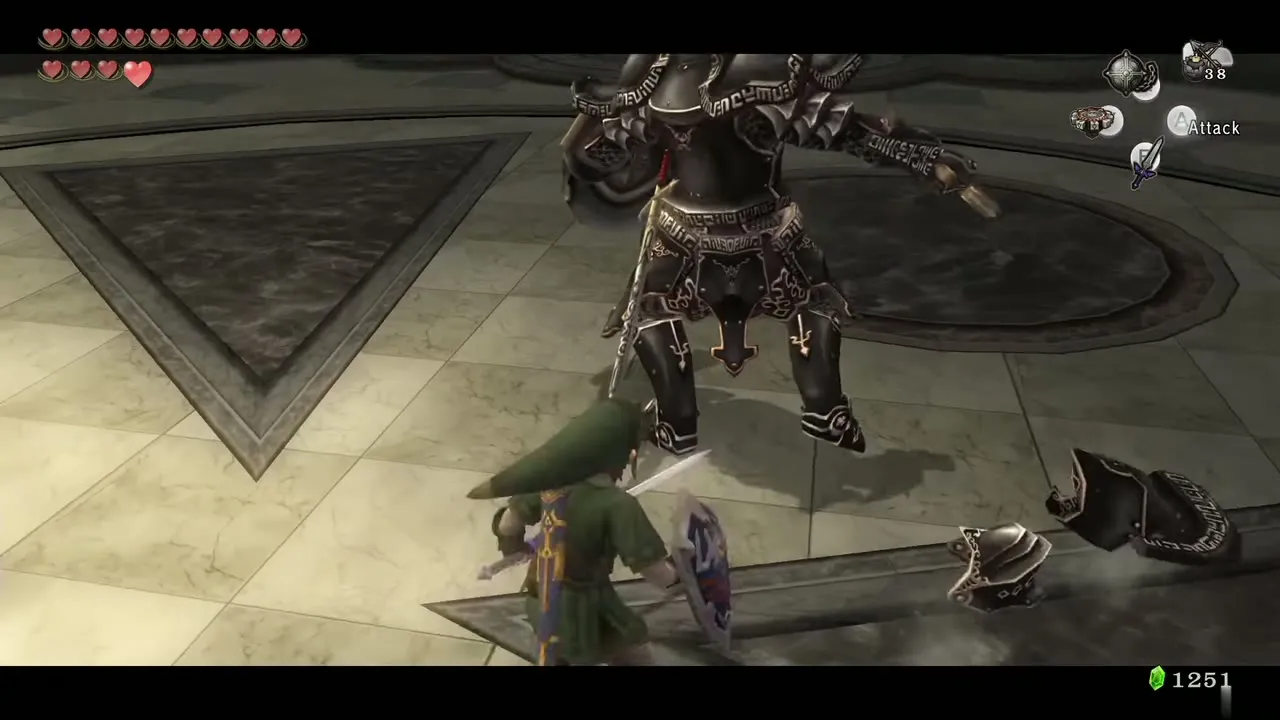
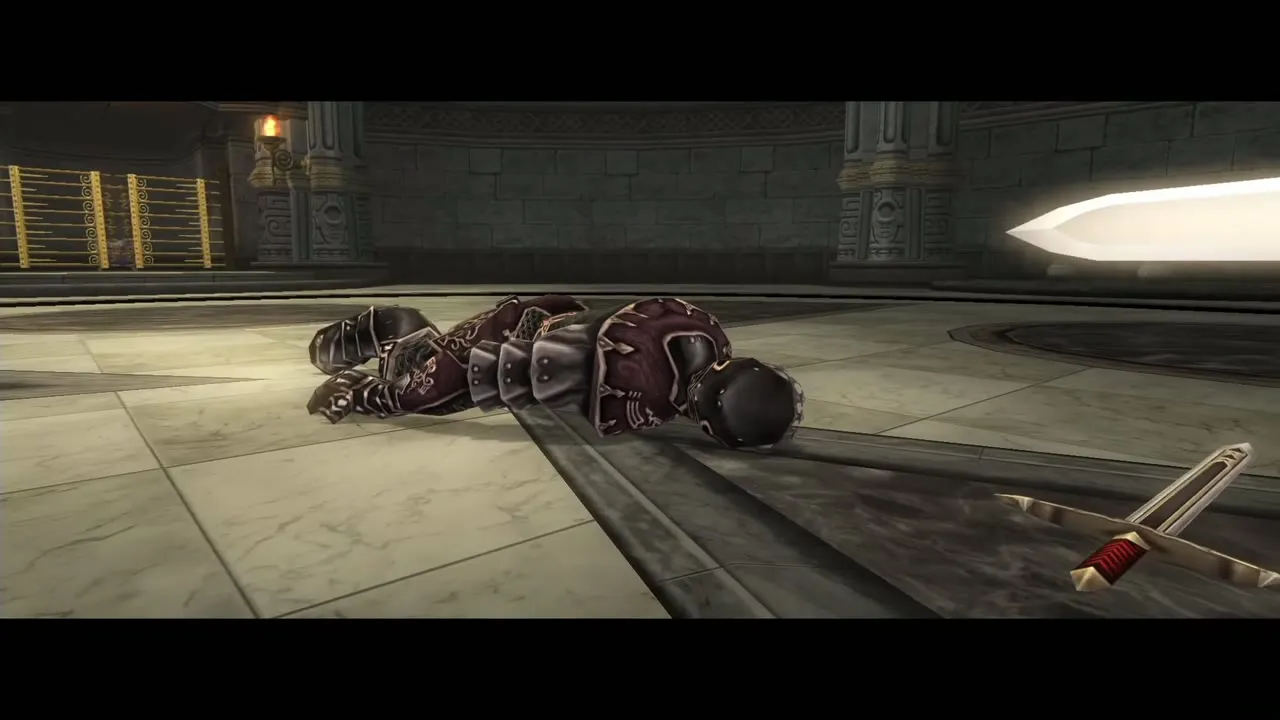
After a cutscene the knight loses most of its armor and becomes fast and aggressive, so dodge, and attack in the openings after its swings. The Ball and Chain does well here, hitting it several times in a row. It drops the Dominion Rod when beaten.
Armogohma
Boss, Temple of Time. Chapter: Temple of Time. Requires: Dominion Rod, Hero’s Bow, sword. Reward: Heart Container and the third Mirror Shard.
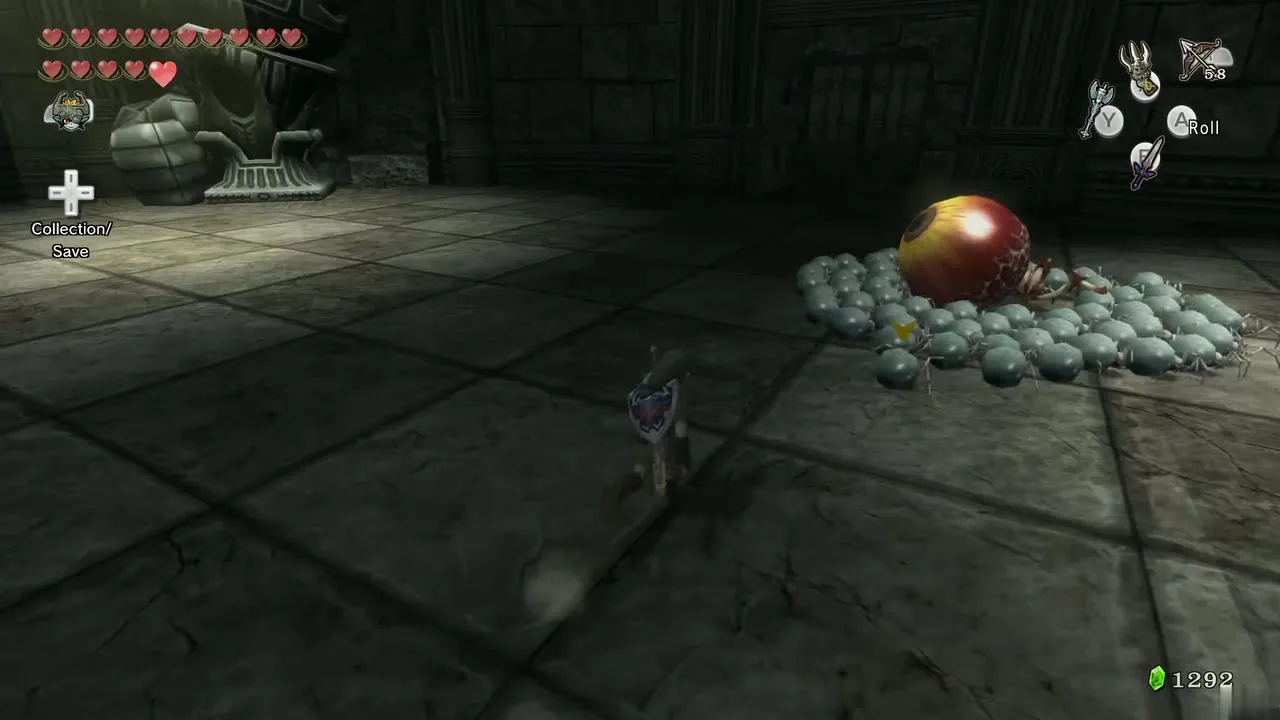
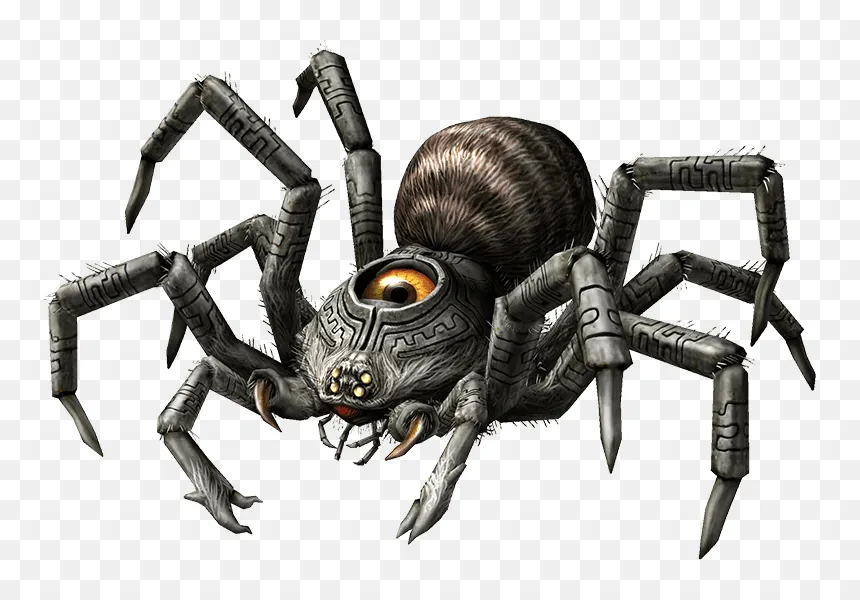
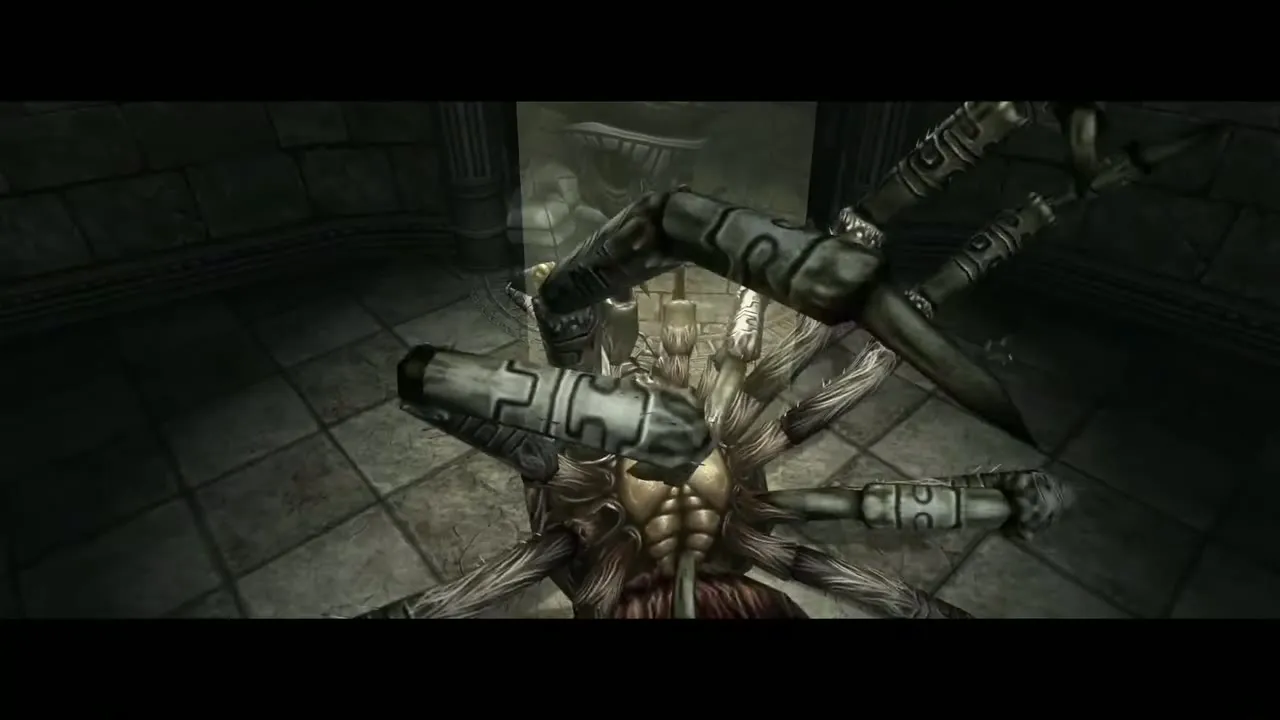
Armogohma is an armored spider that spends most of the fight on the ceiling, dropping eggs that hatch into Baby Gohma. Its big eye is covered by a lid, but it opens when the spider passes over a skylight, and then it fires a beam that follows you. Shoot the eye with an arrow when it opens, and the spider falls.
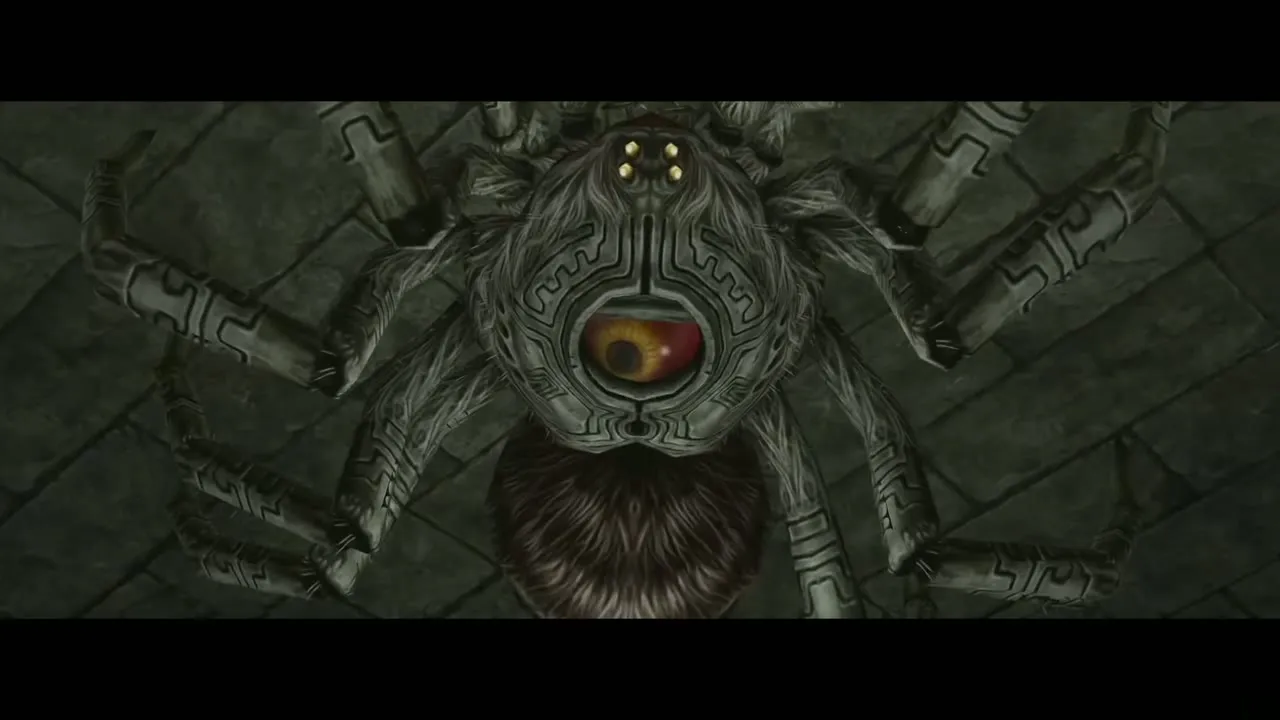
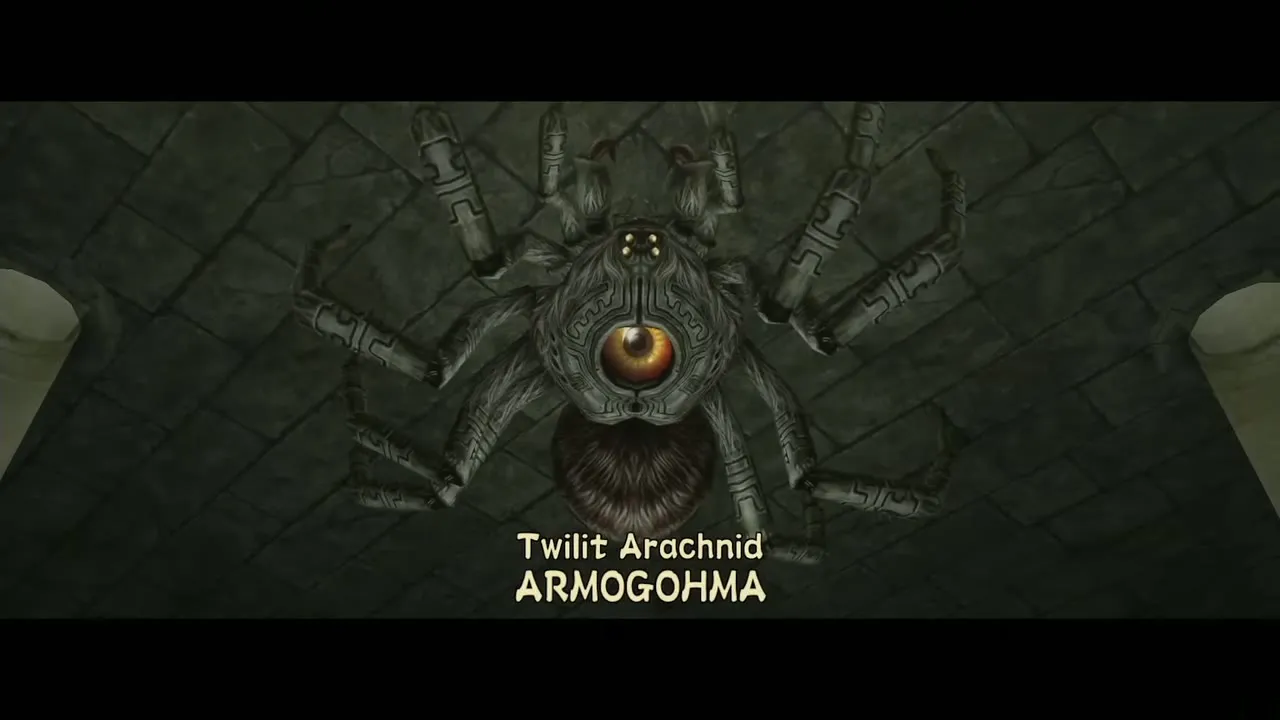
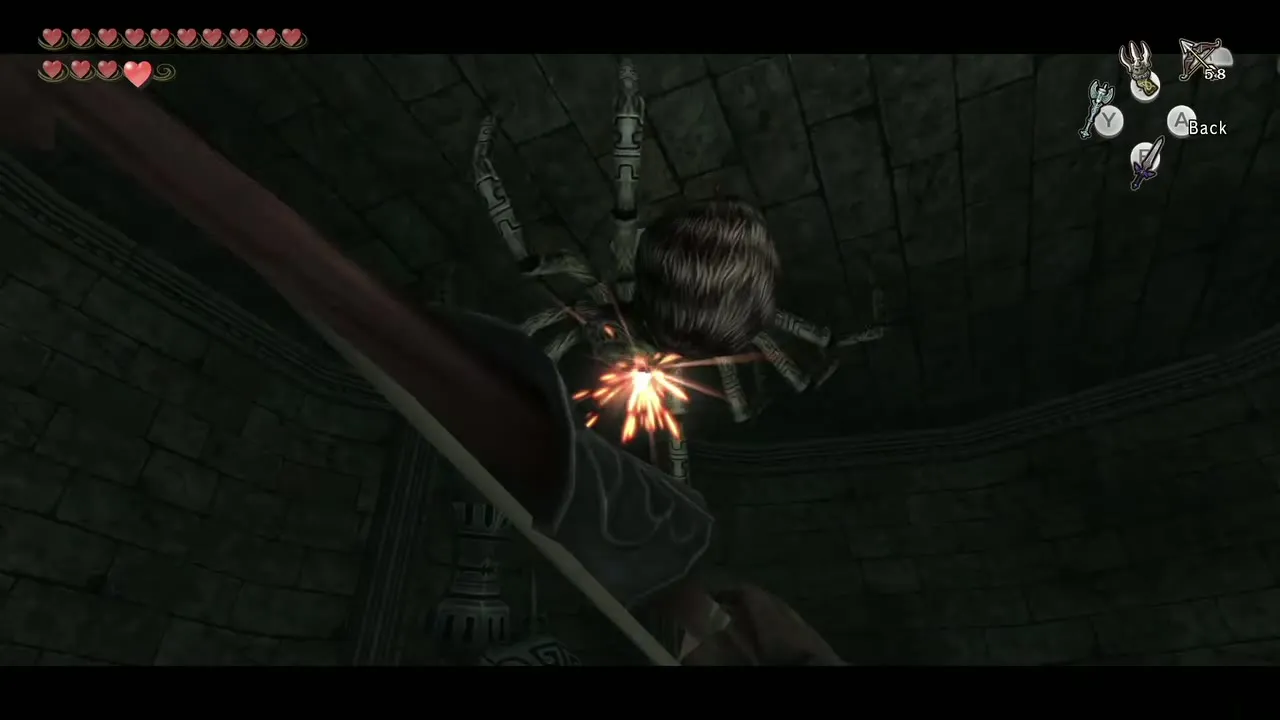
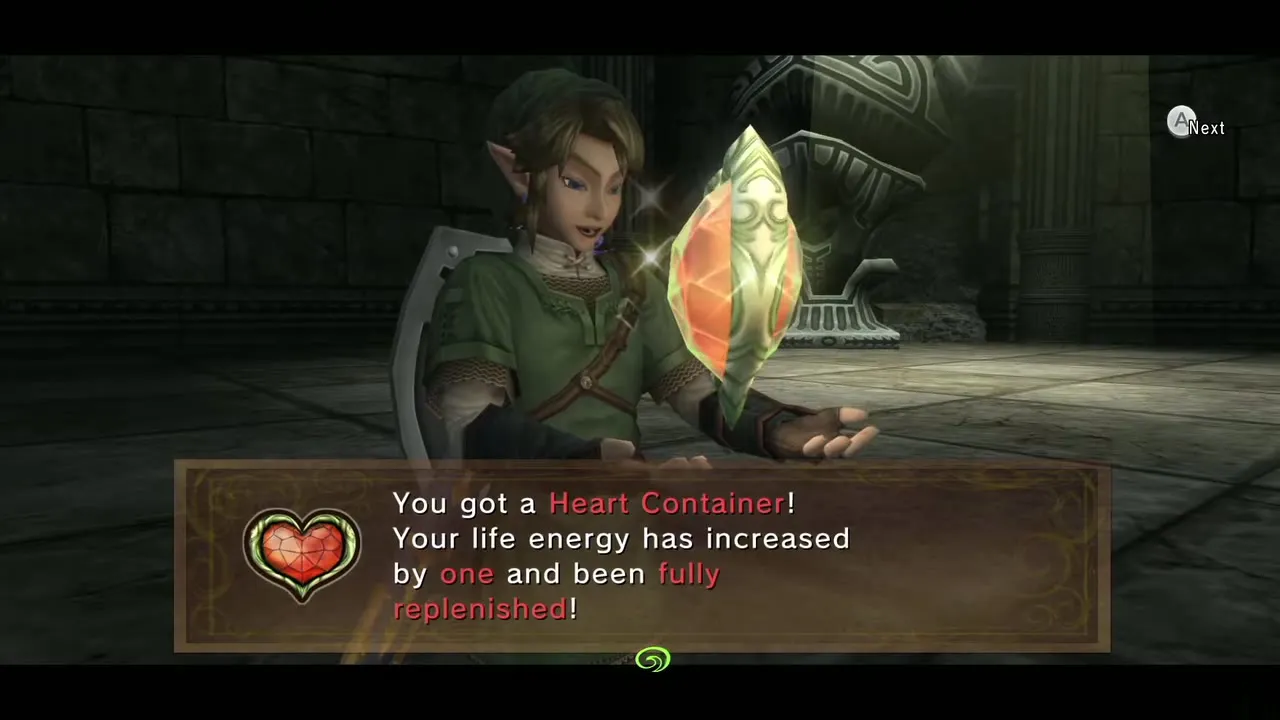
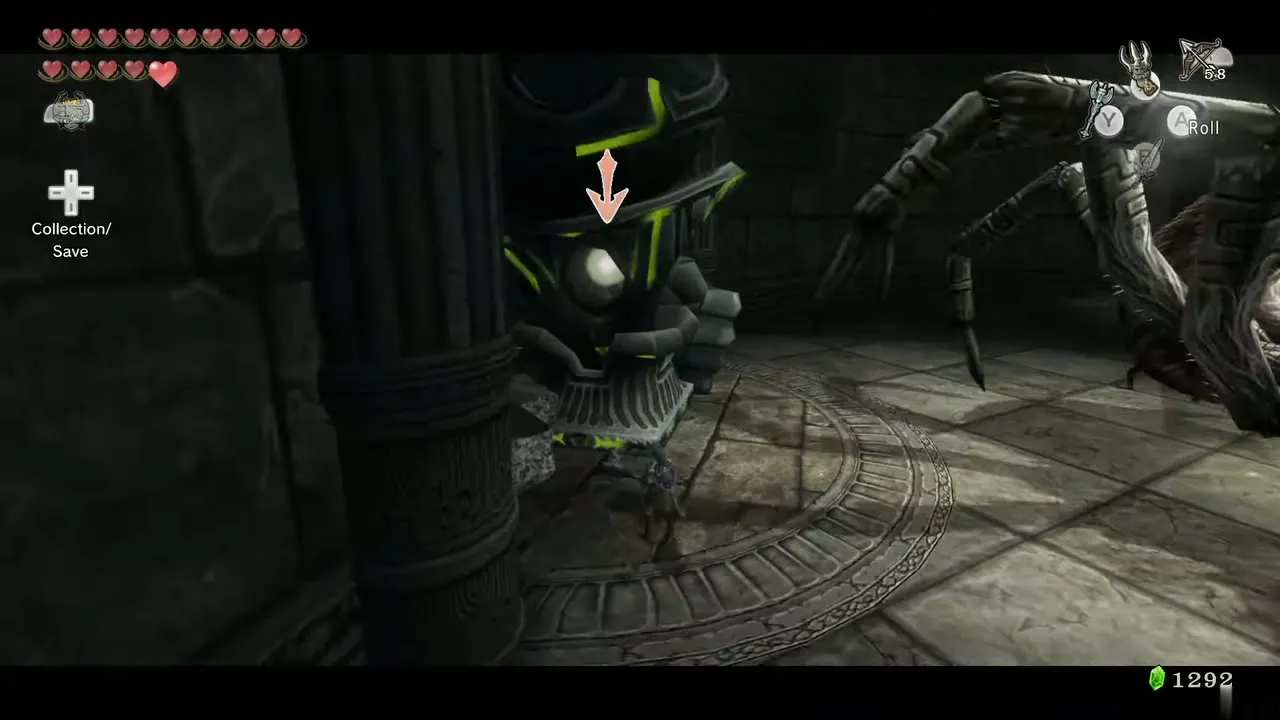
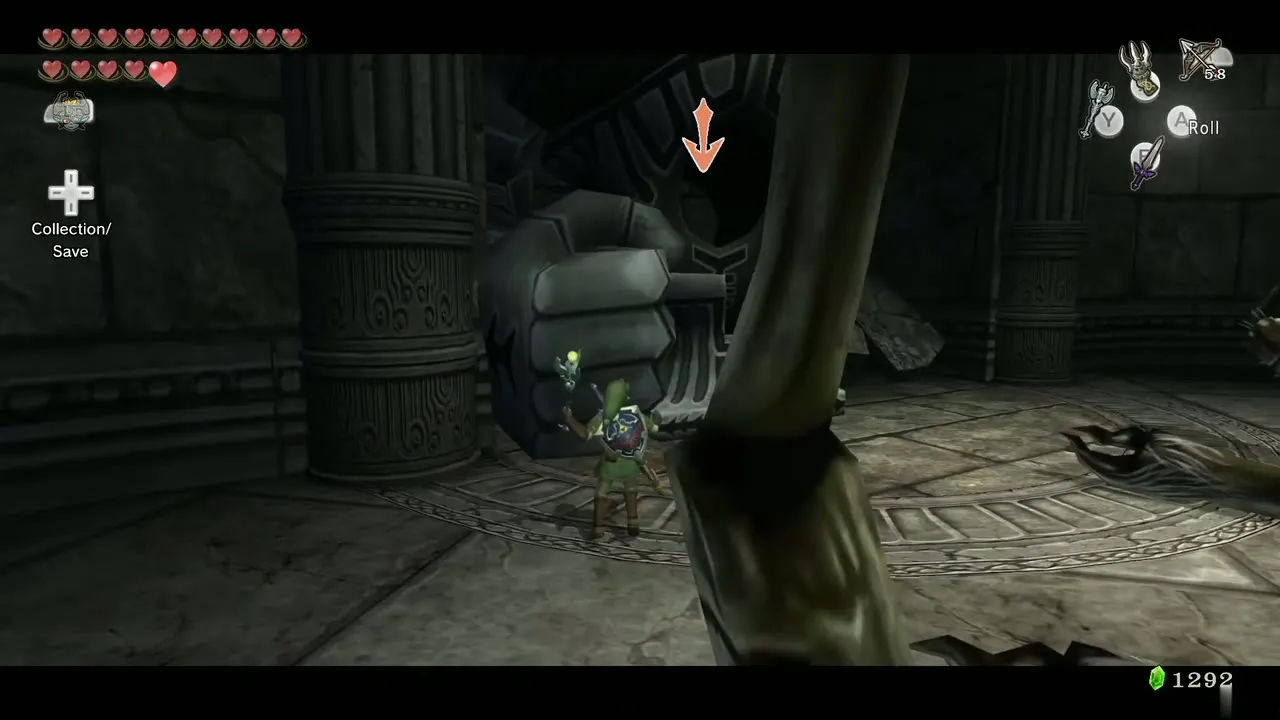
As it scrambles toward the ceiling, move the nearest statue with the Dominion Rod so its stone fist smashes the spider. Move the statue before the spider gets close, or the strike misses. Repeat three times; between rounds, watch the arrows you have left, since eggs hatch into small spiders you must clean up. After the last smash its eye detaches and turns out to be a small spider that scurries away. Kill it with any weapon for the Heart Container and the Mirror Shard. Ending Blow does not work on this boss.
Aeralfos
Mini-boss, City in the Sky. Chapter: City in the Sky. Requires: Clawshot, sword. Reward: Double Clawshots (chest after the fight).
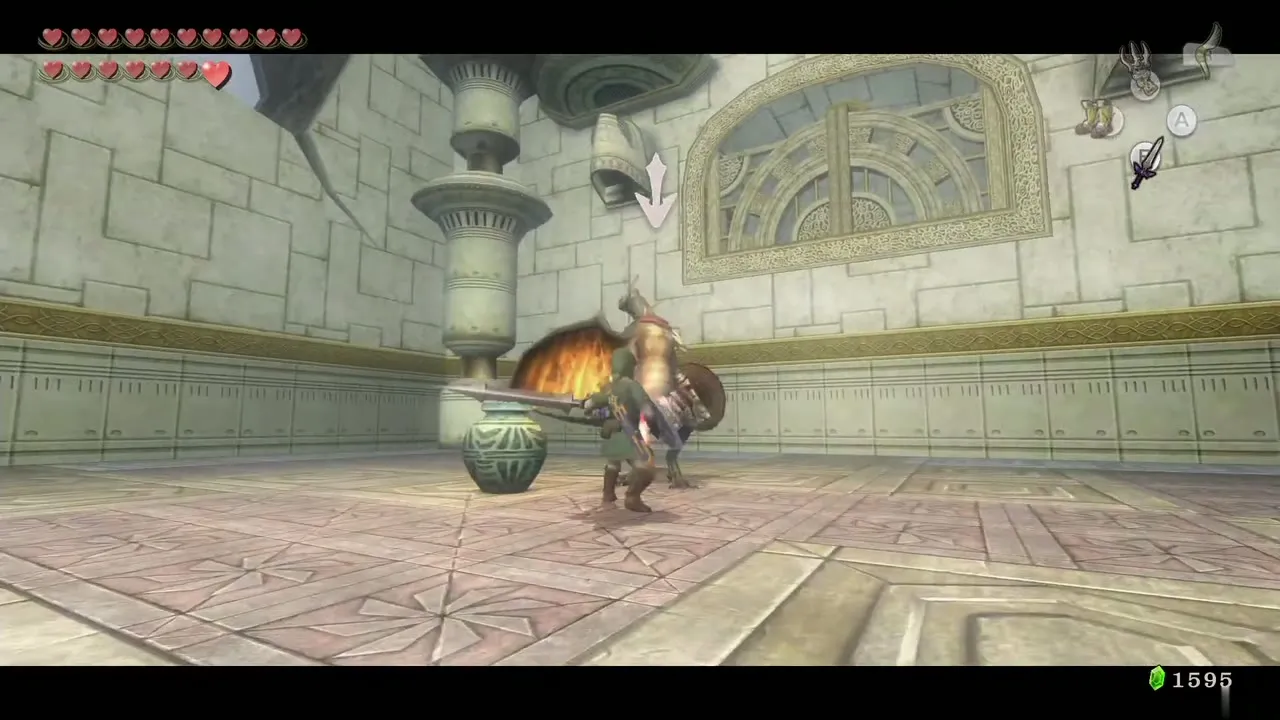
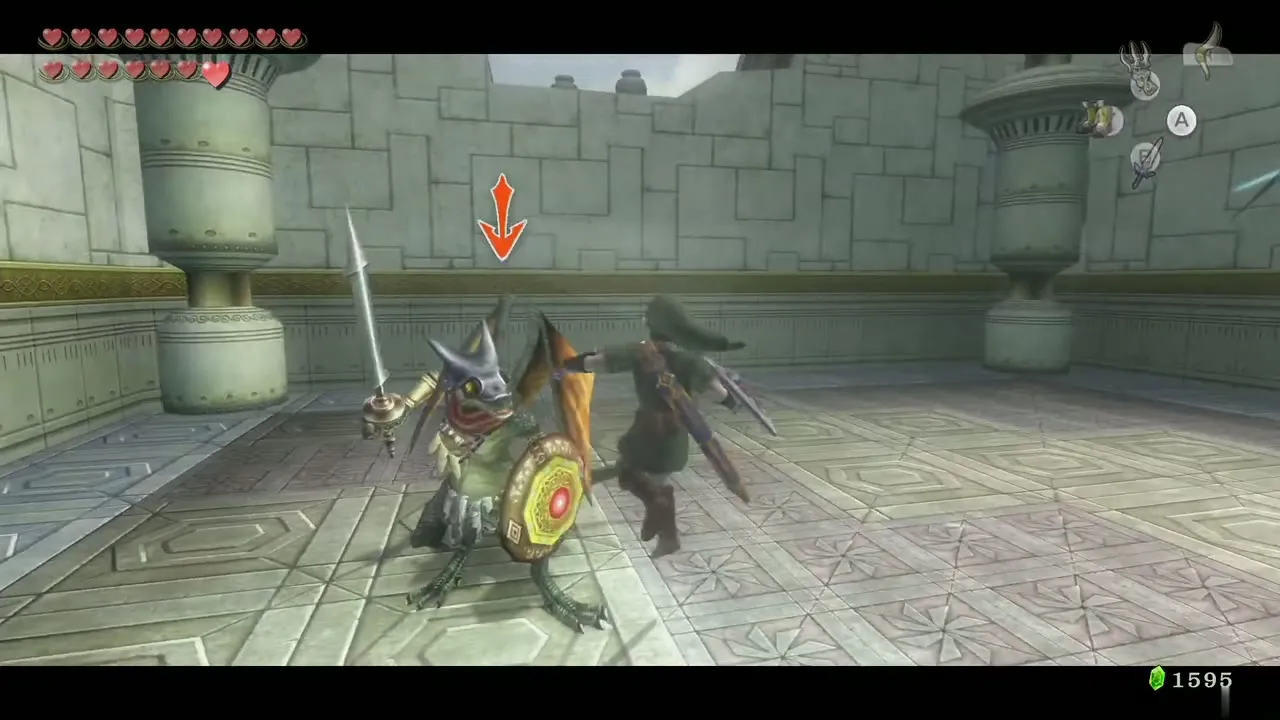
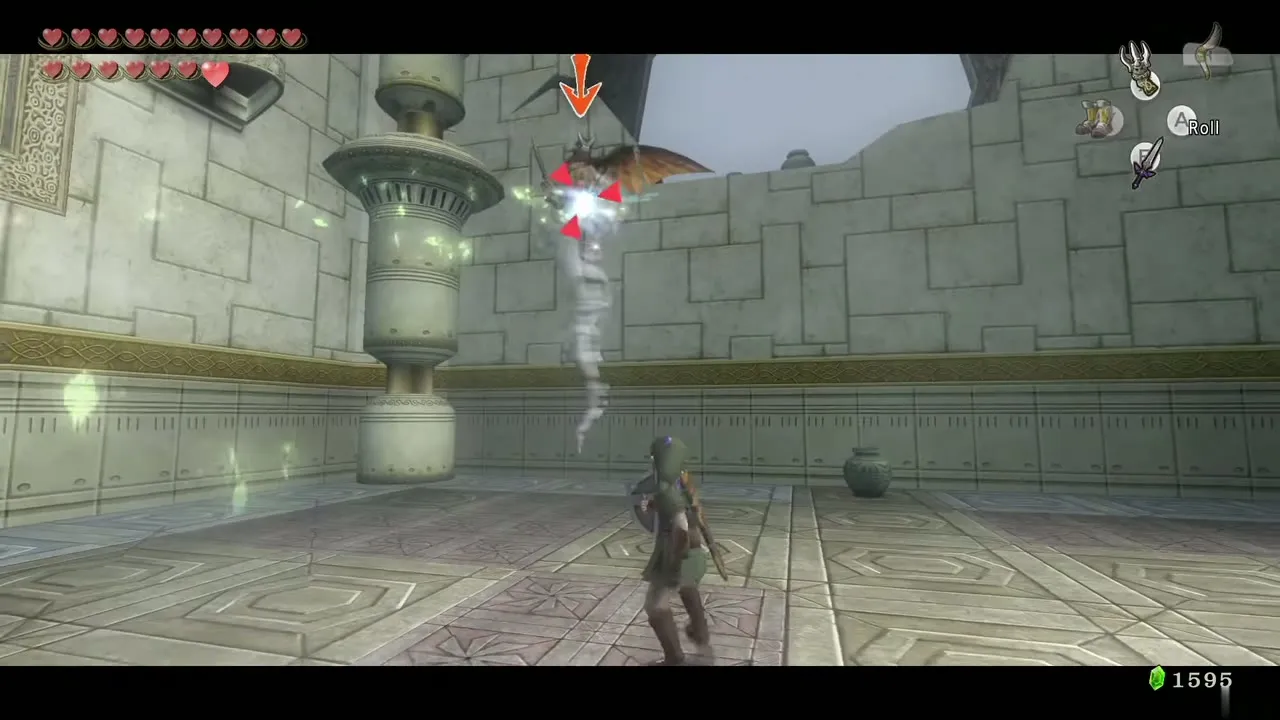
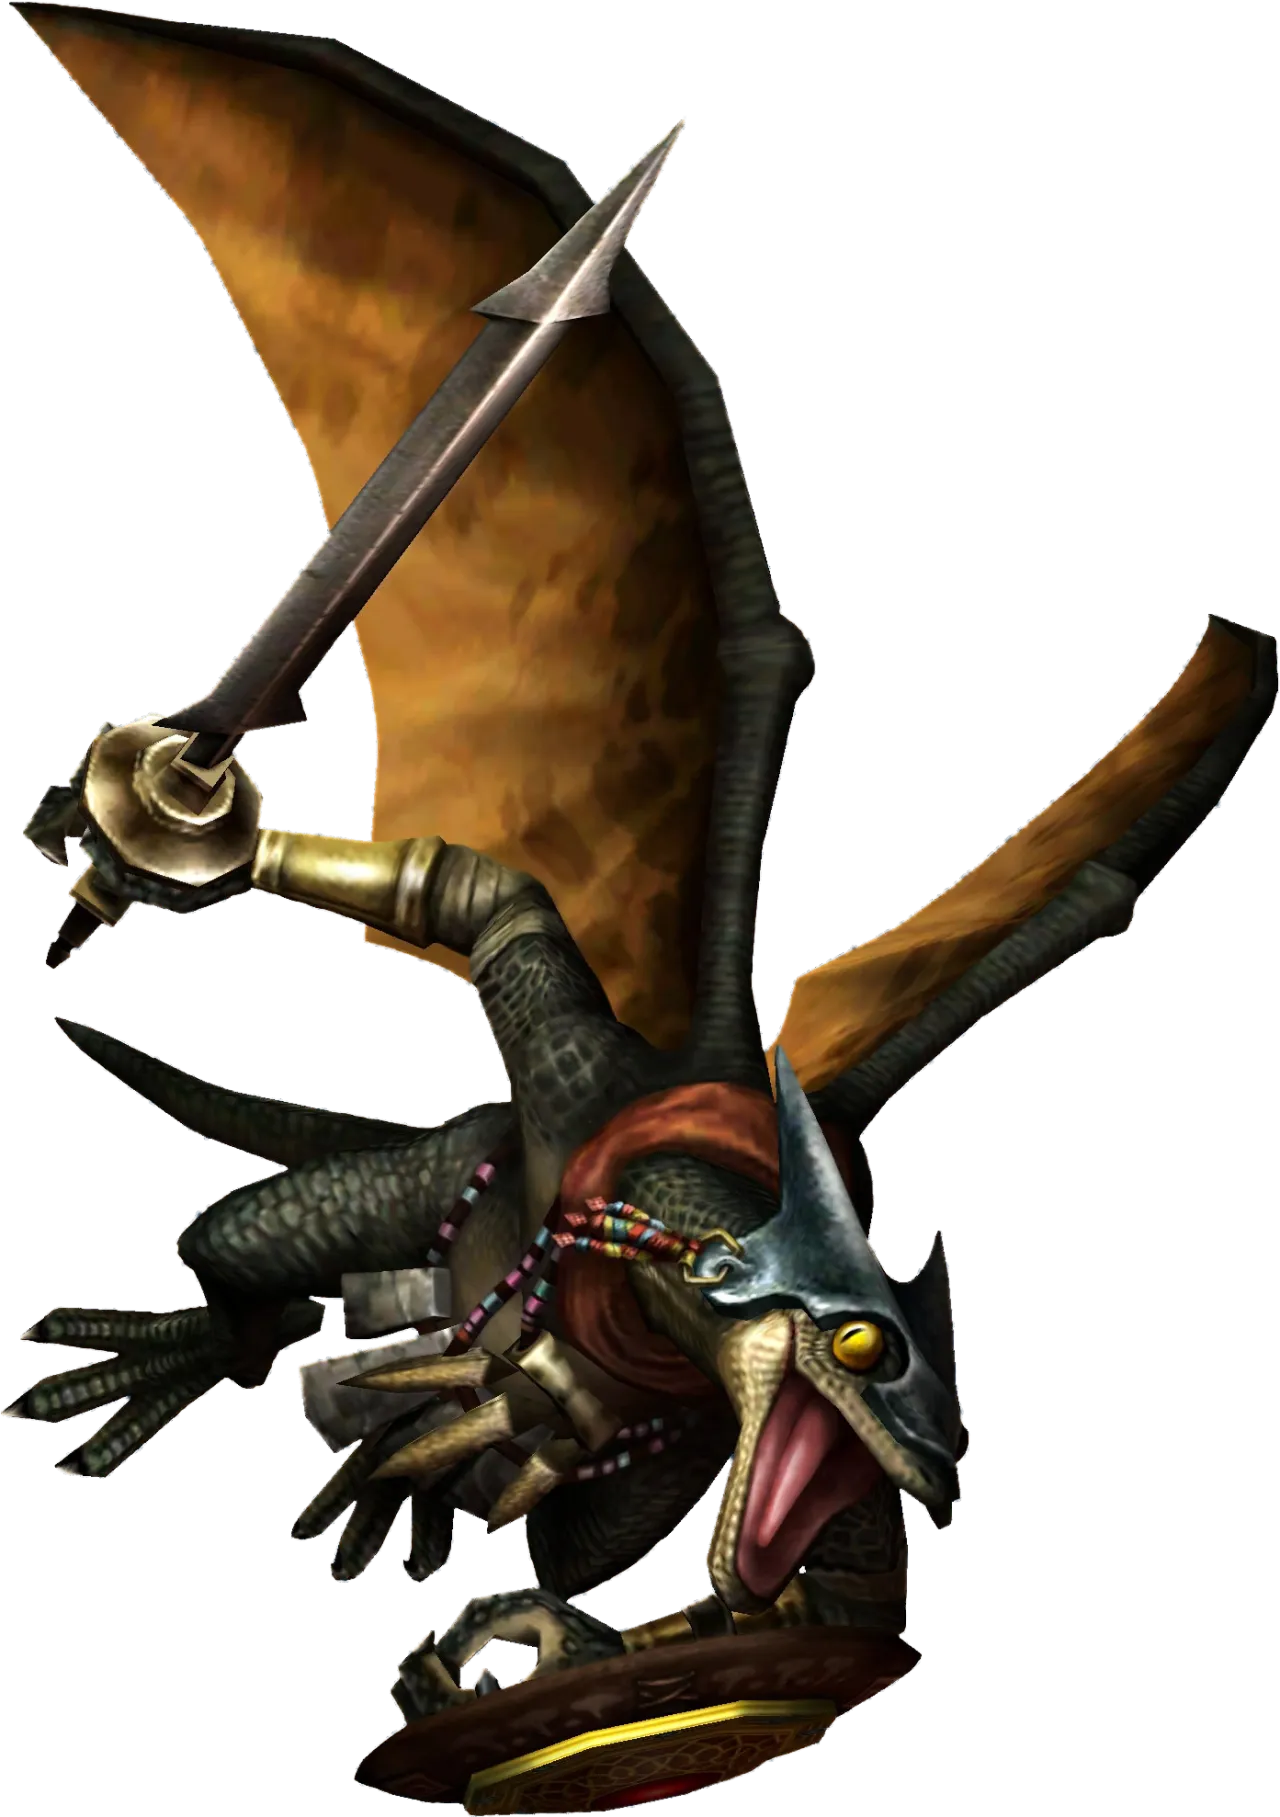
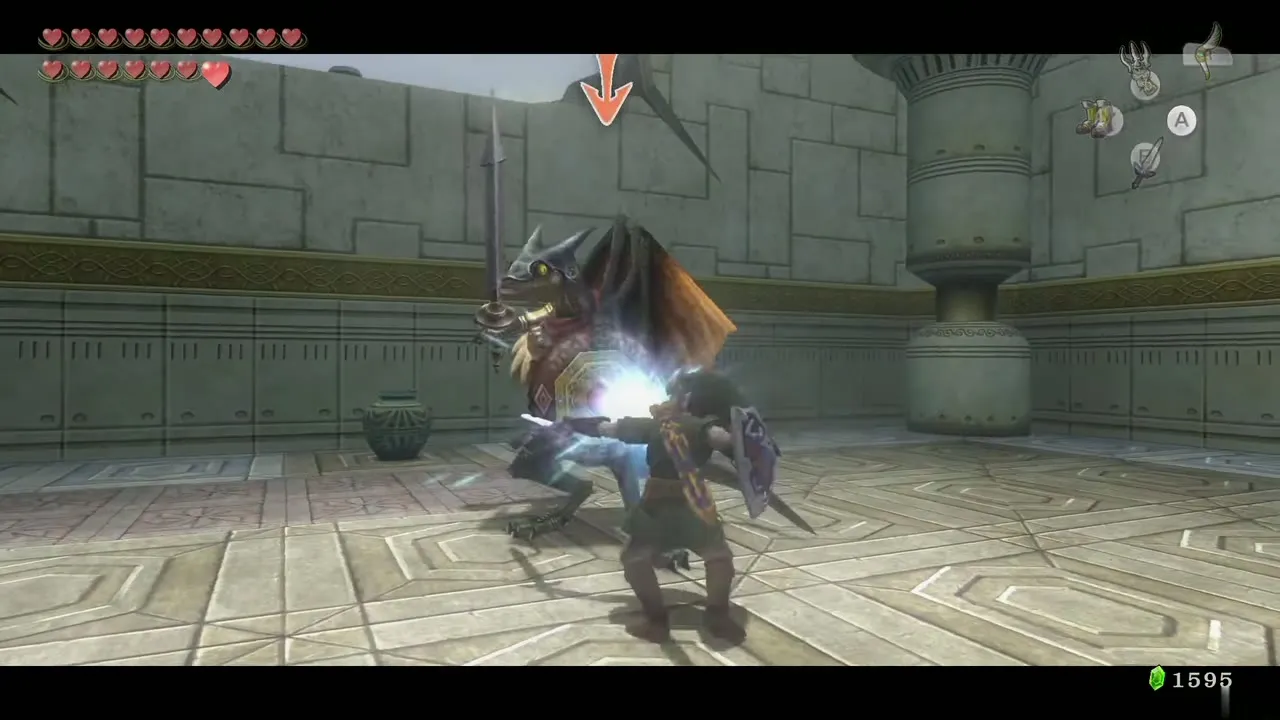
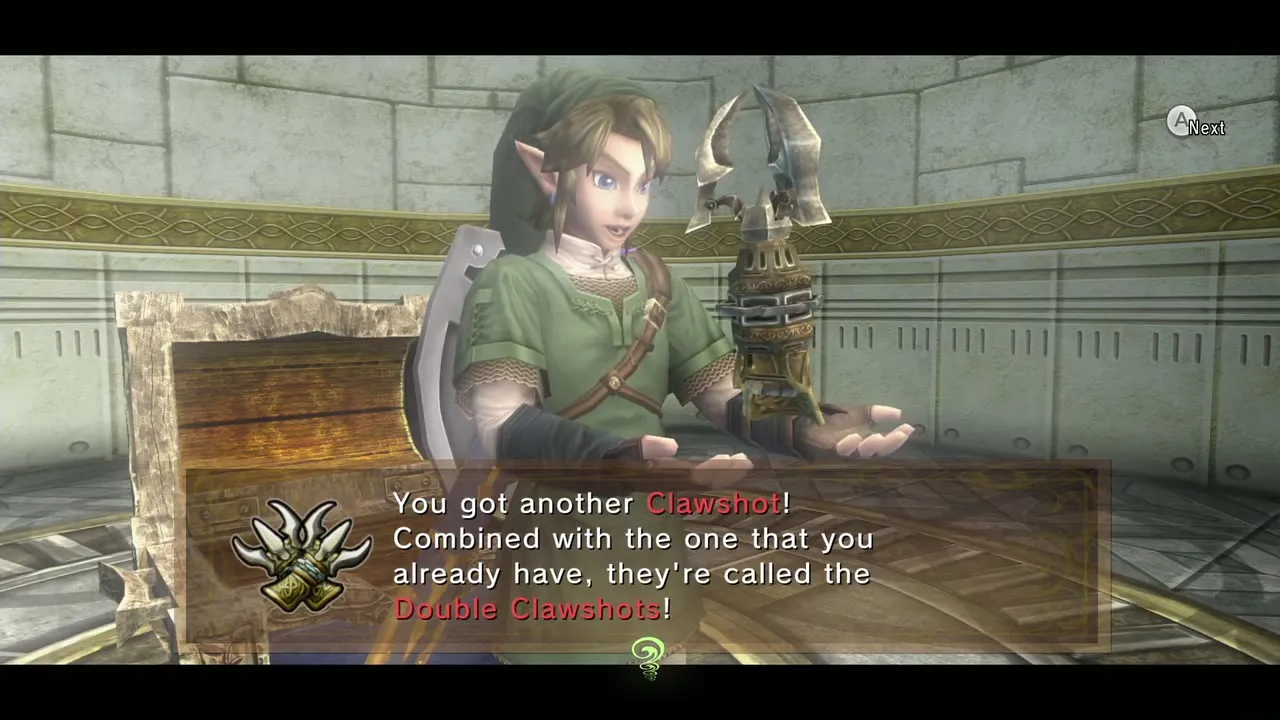
An armored, winged Lizalfos guards the second Clawshot. It flies through holes in the walls of the room to confuse you, then dives. Before it dives it raises its shield, which blocks arrows. Fire the Clawshot at the shield: it is torn away and the Aeralfos is dragged down to the ground, where you can slash its unprotected body. While it stays grounded it cannot take off again, so keep the pressure on. A defeated Aeralfos leaves the Double Clawshots chest.
Argorok
Boss, City in the Sky. Chapter: City in the Sky. Requires: Double Clawshots, Iron Boots, sword. Reward: Heart Container and the fourth Mirror Shard.
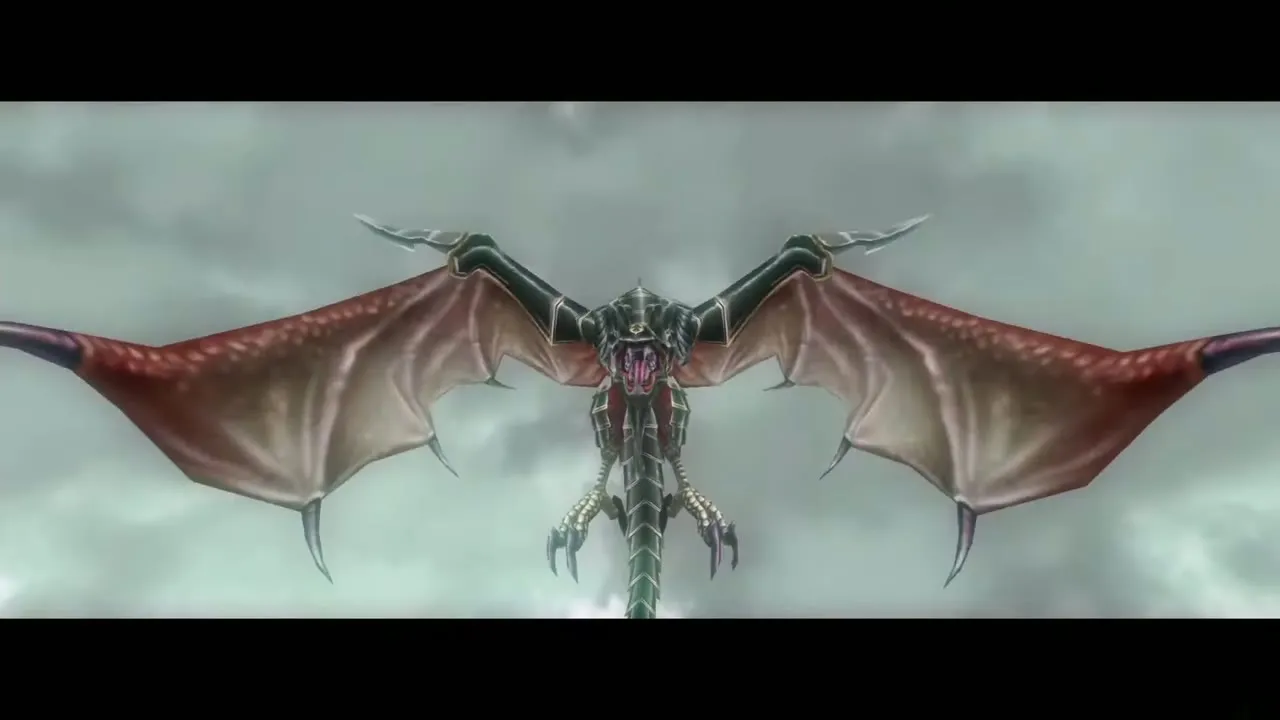
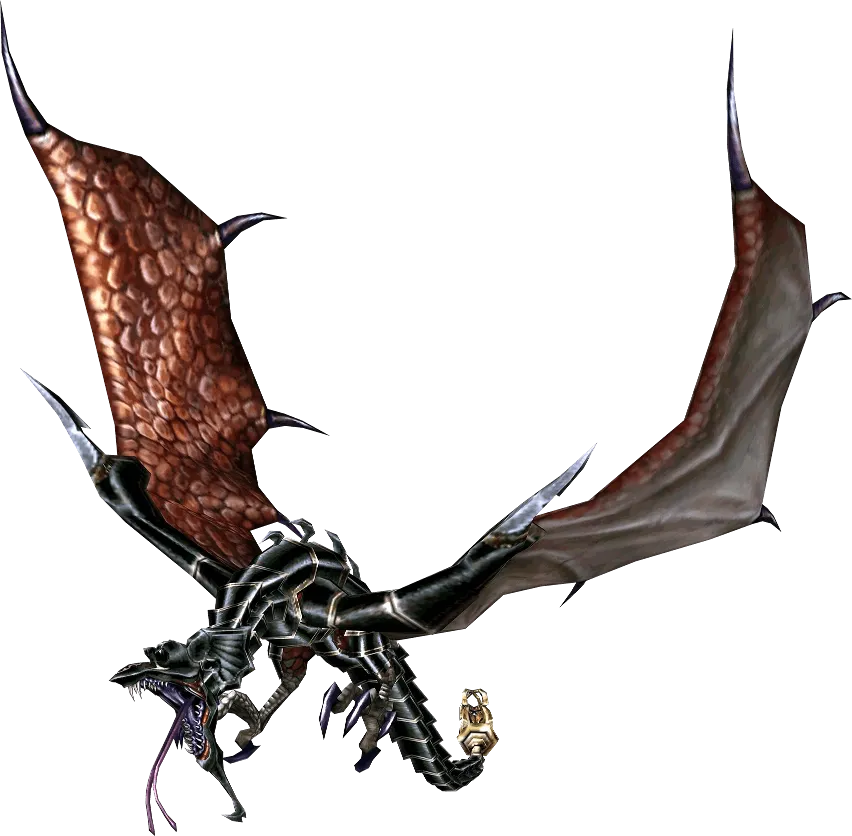
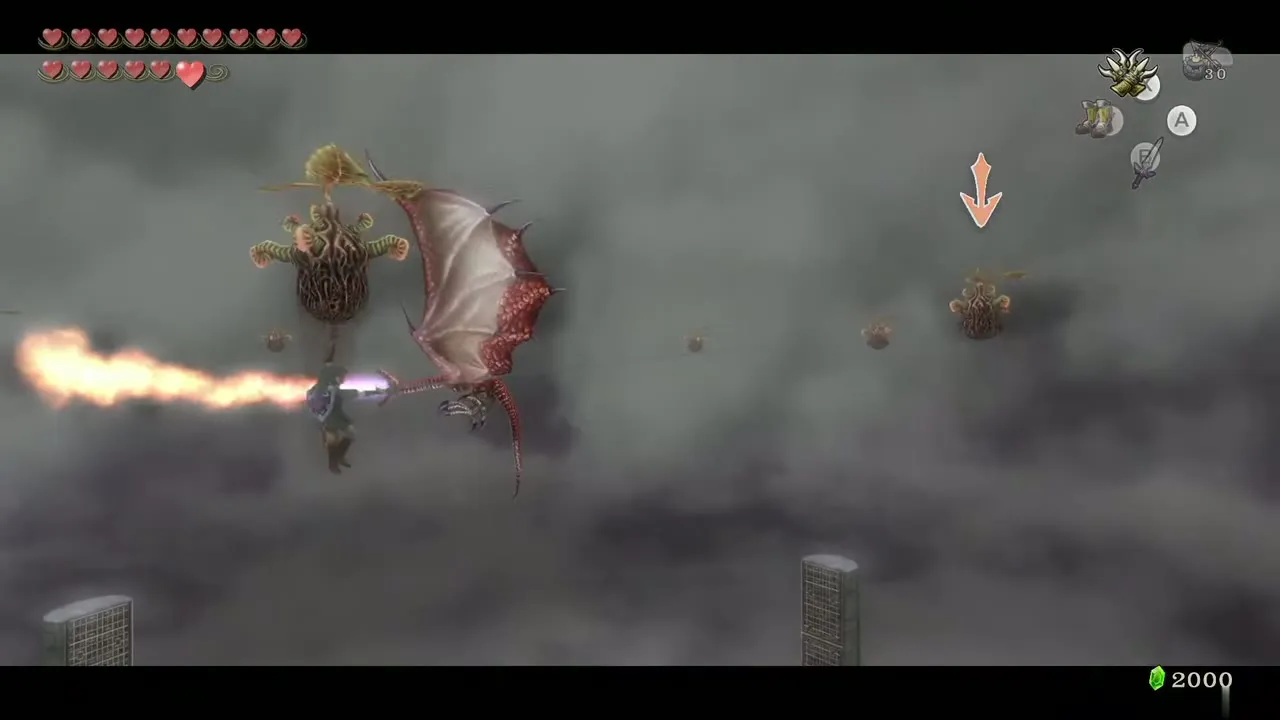
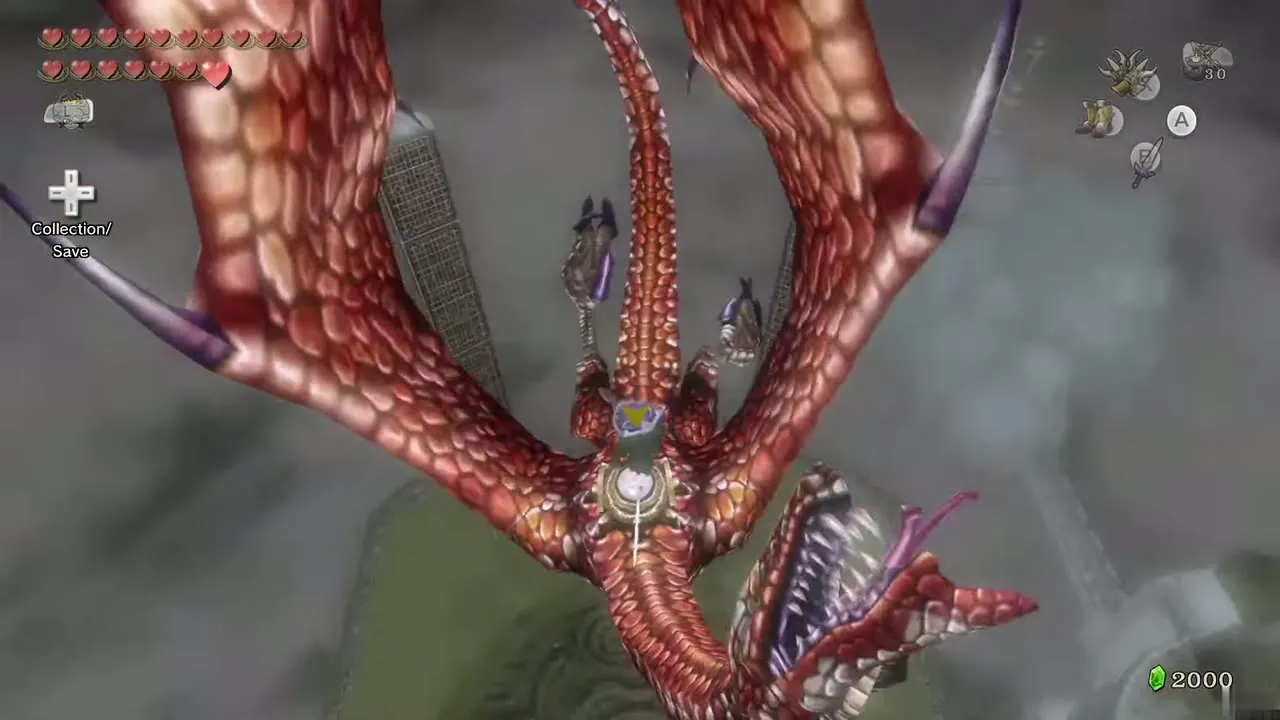
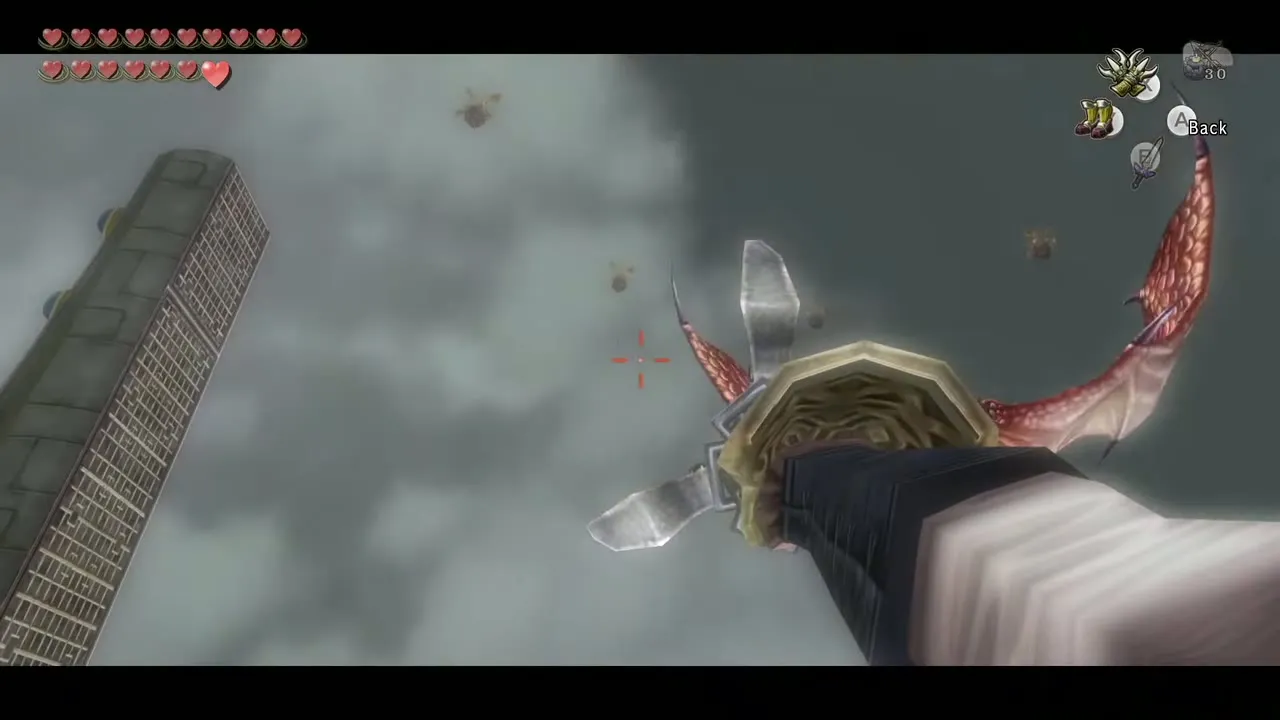
Argorok is a red wyvern in black armor, and the fight is on a flat roof ringed by four steel pillars in a strong wind. Climb a pillar with the Double Clawshots and wait for the dragon to come close and expose its tail. Clawshot the tail, then put on the Iron Boots to drag it crashing to the ground. After two pulls its armor is broken off.
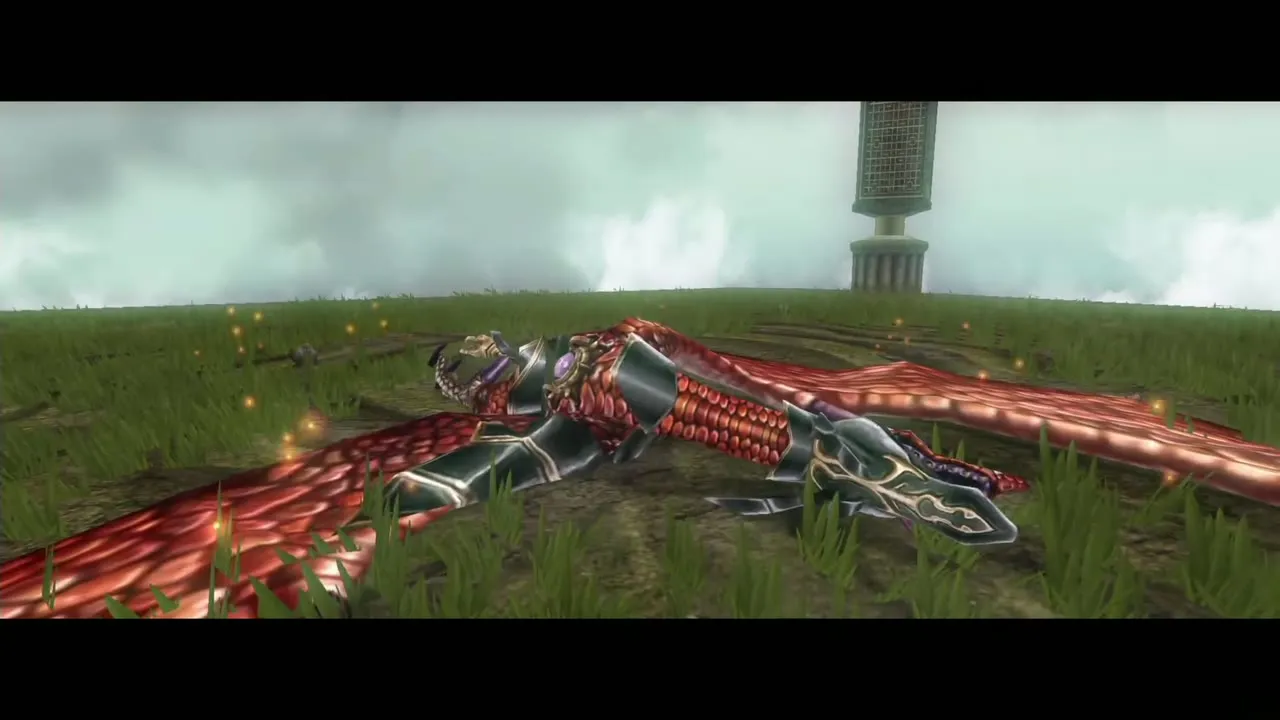
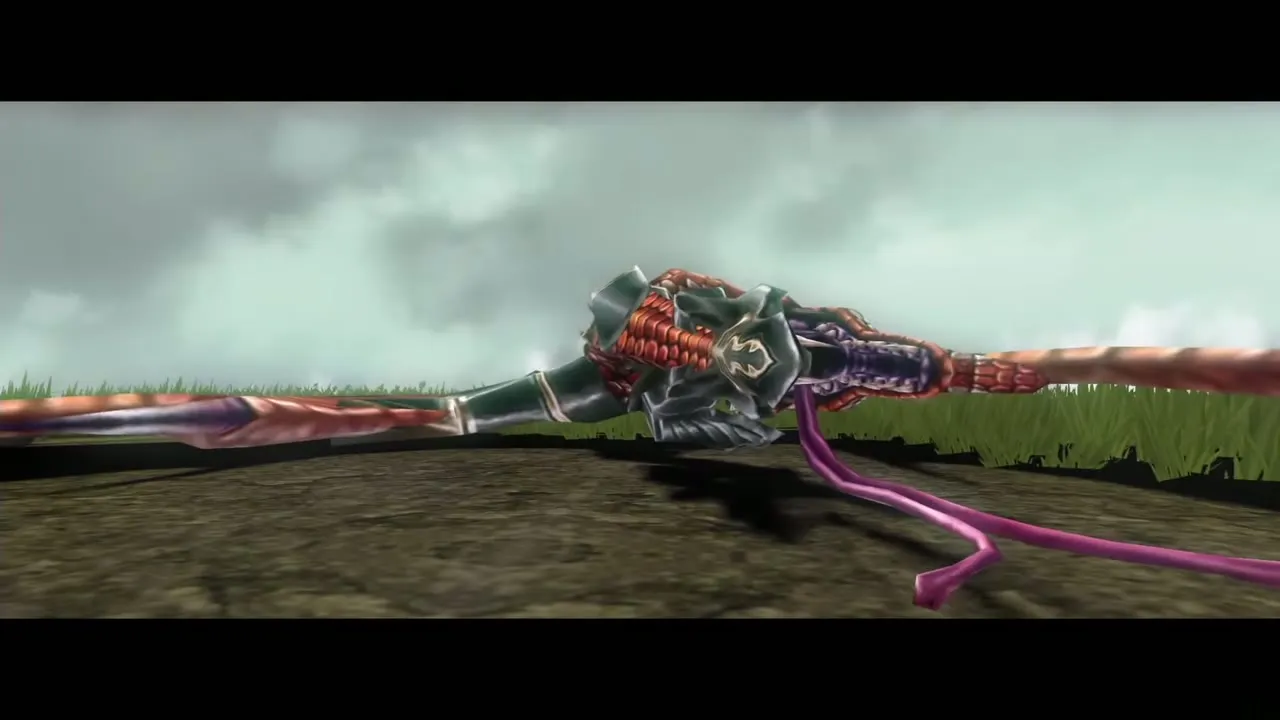
Peahats now burst from the ground and serve as Clawshot anchors. Hop between them while Argorok breathes fire along their line. When it pauses, Clawshot onto its back, hit the new weak spot with the sword and ride until it throws you off. After a few rounds it falls, leaving a Heart Container and the fourth Mirror Shard.
Phantom Zant
Mini-boss, Palace of Twilight. Chapter: Palace of Twilight. Requires: Sword. Reward: A Sol (once in each wing).
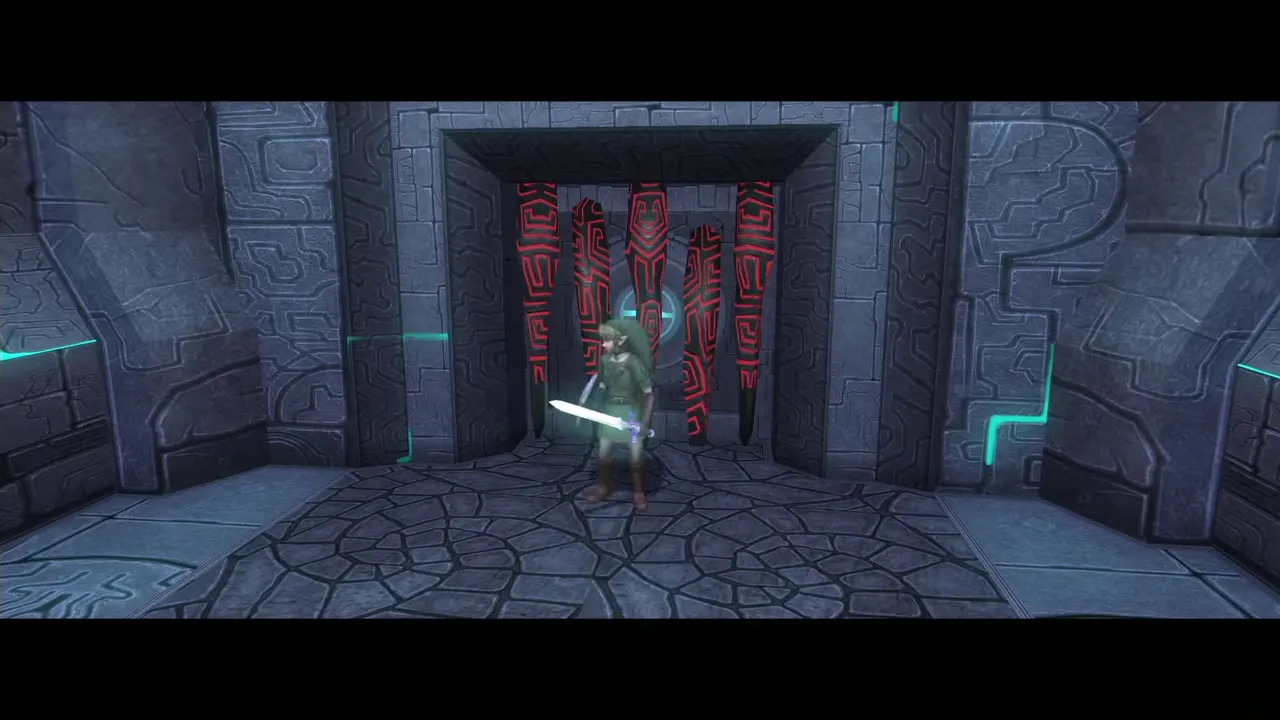
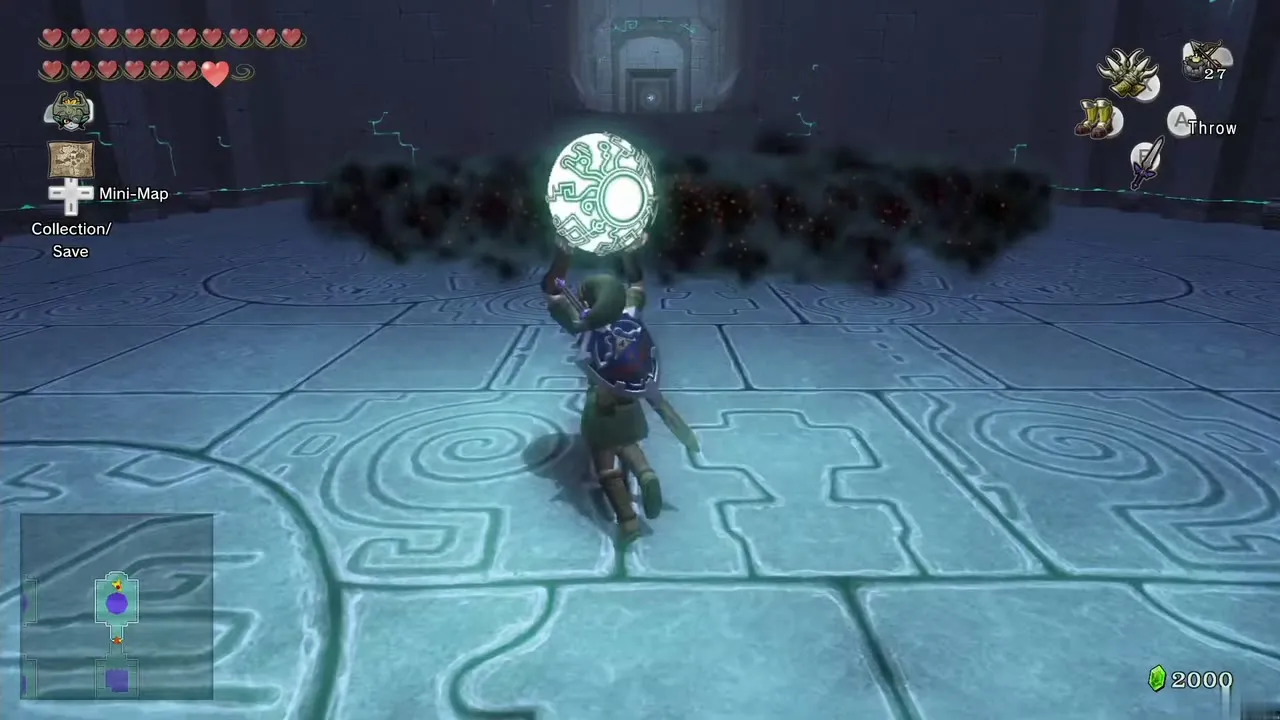
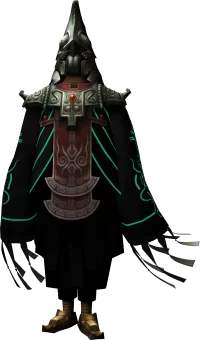
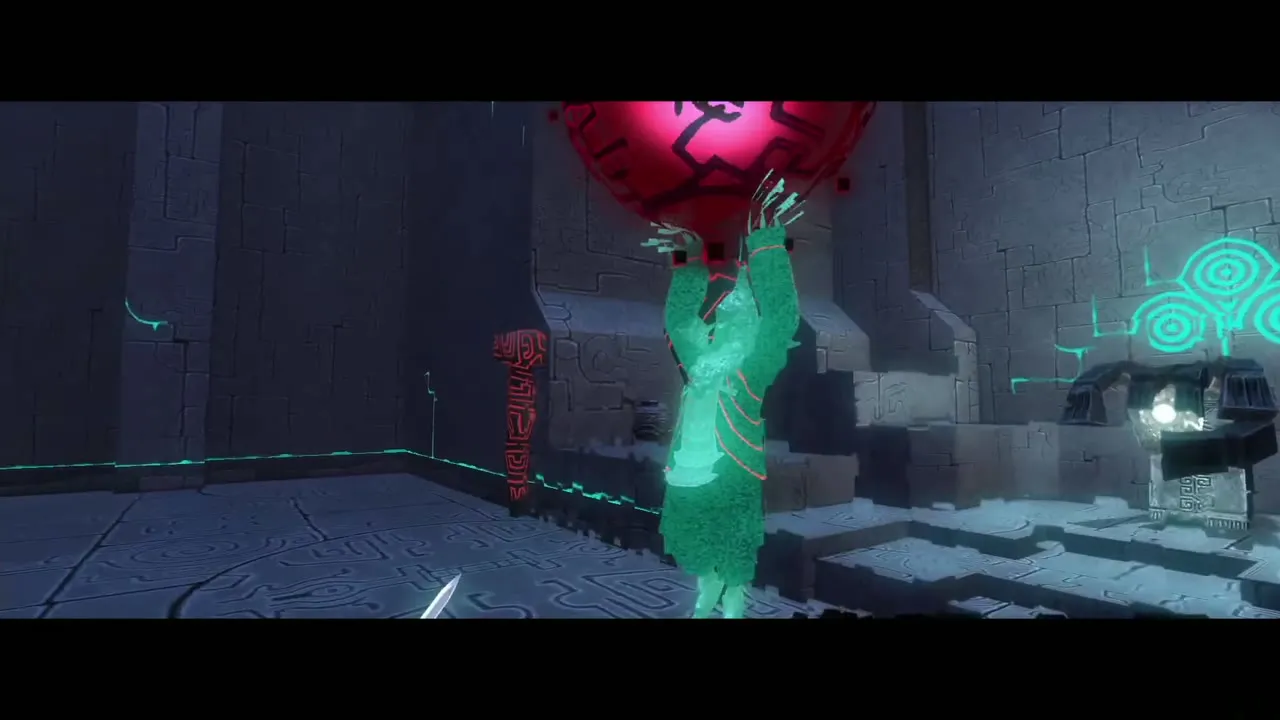
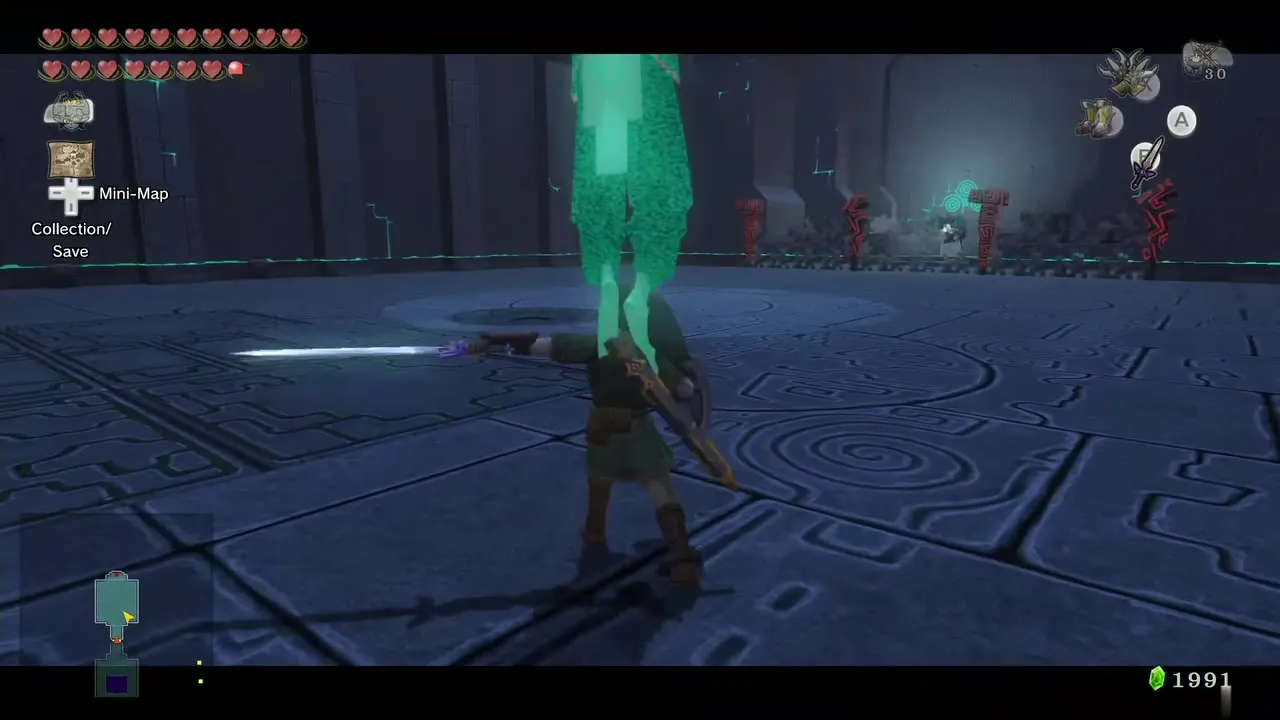
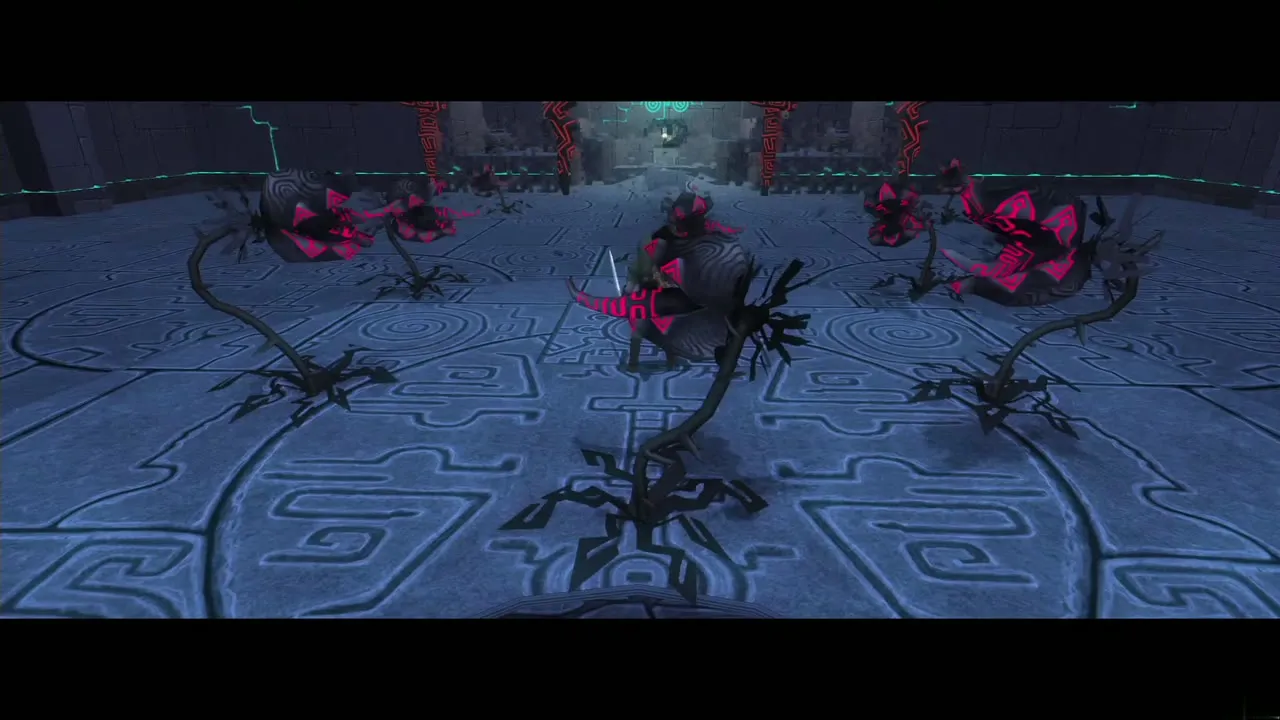
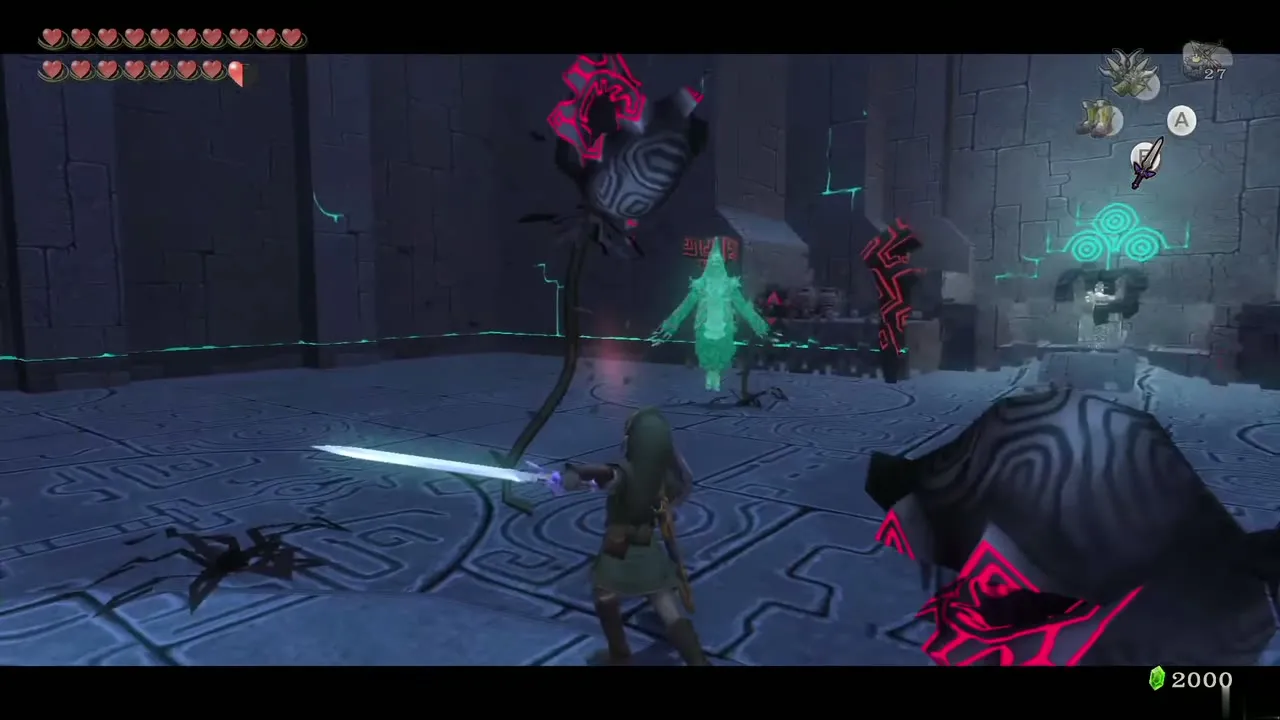
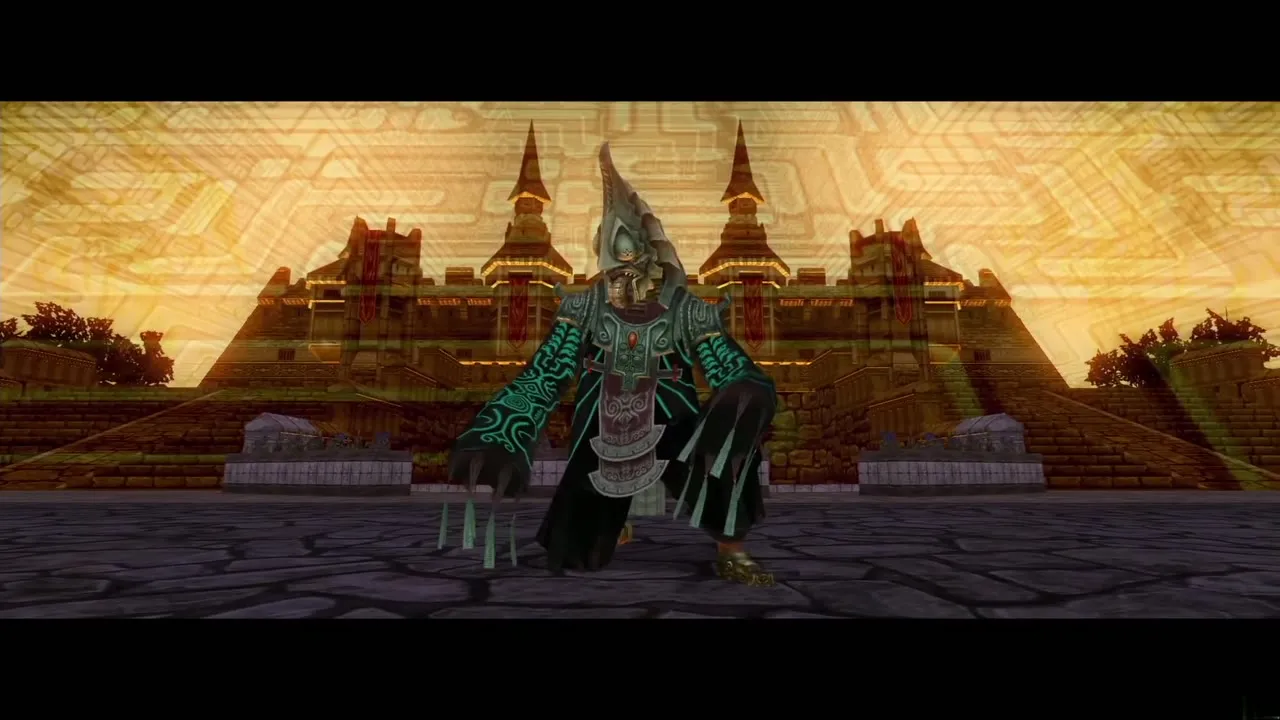
You fight Phantom Zant twice in the Palace of Twilight, once in each wing. He warps from spot to spot around the room and throws balls of dark matter that spawn Shadow Keese, Shadow Deku Babas and Shadow Beasts. Clear what he spawns, and hit him while he pauses to spawn more. Each fight rewards you with a Sol, which you carry back to the palace entrance past Zant’s Hand. Placing both Sols in front of the palace gives the Master Sword the light it needs for the Zant fight.

Zant
Boss, Palace of Twilight. Chapter: Palace of Twilight. Requires: Master Sword (Light Sword), Gale Boomerang, Iron Boots, Zora Armor, Clawshot, Ball and Chain. Reward: Heart Container (Midna takes back the three Fused Shadows).
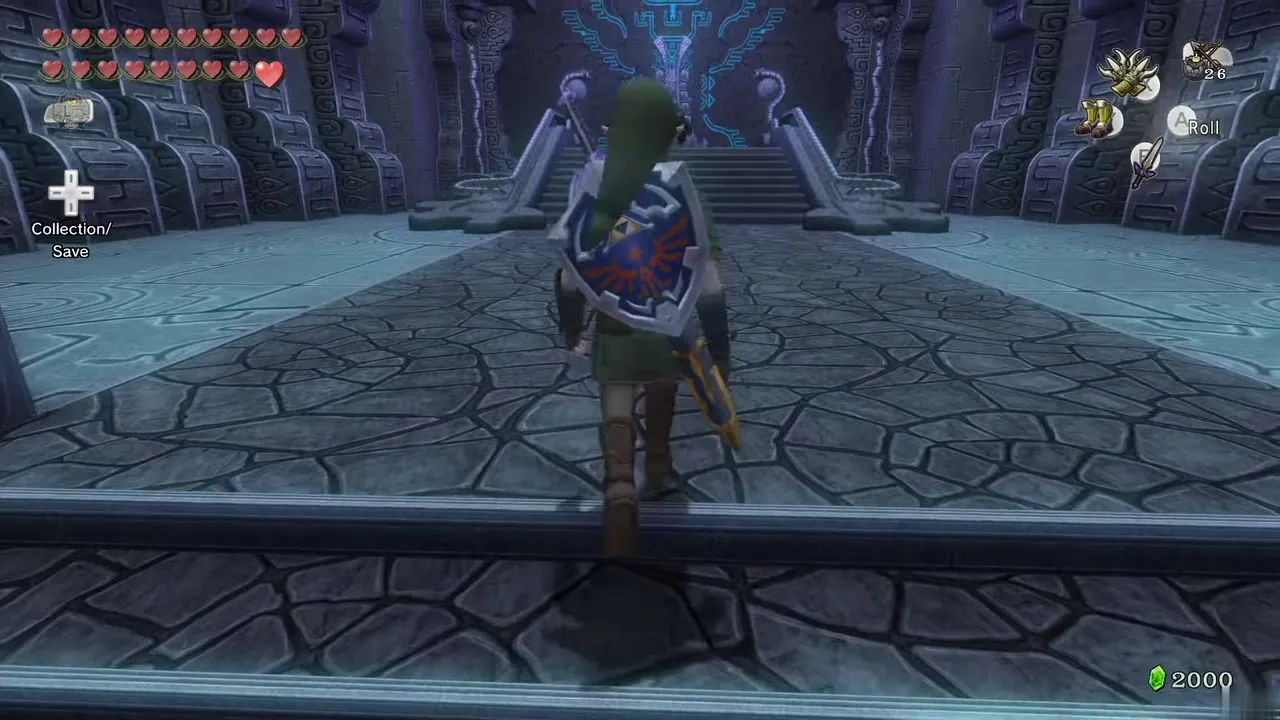
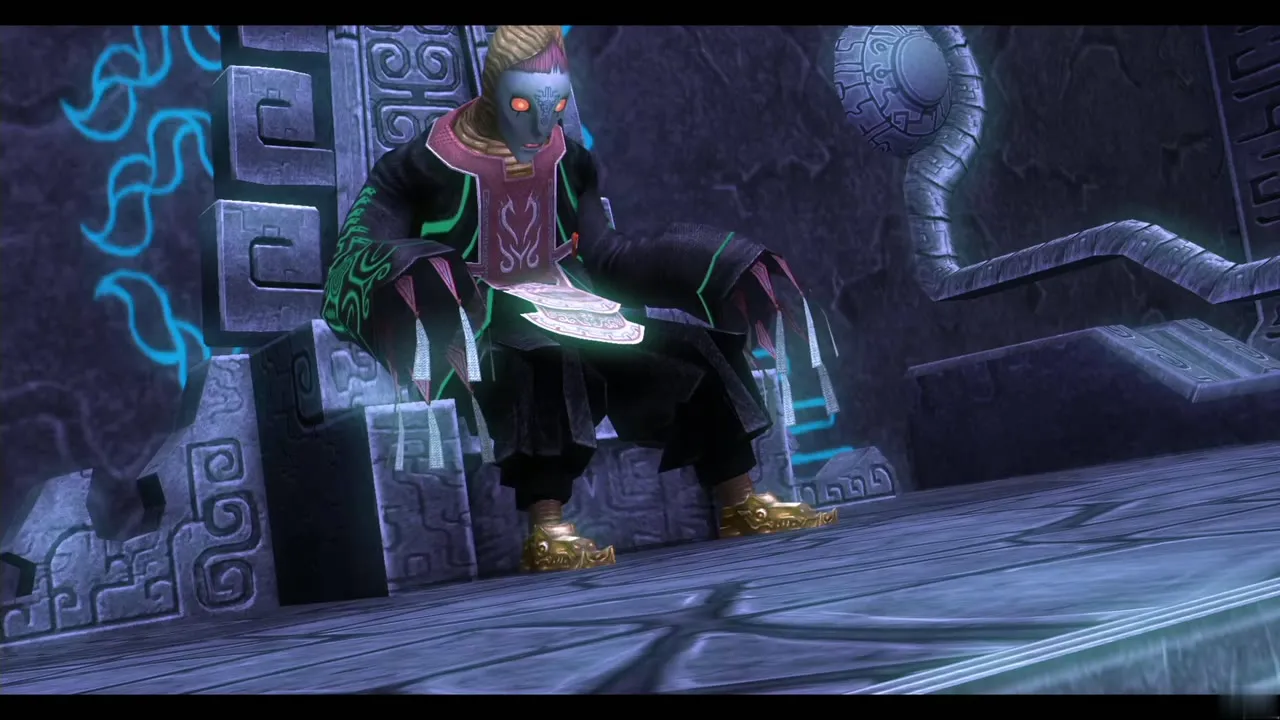
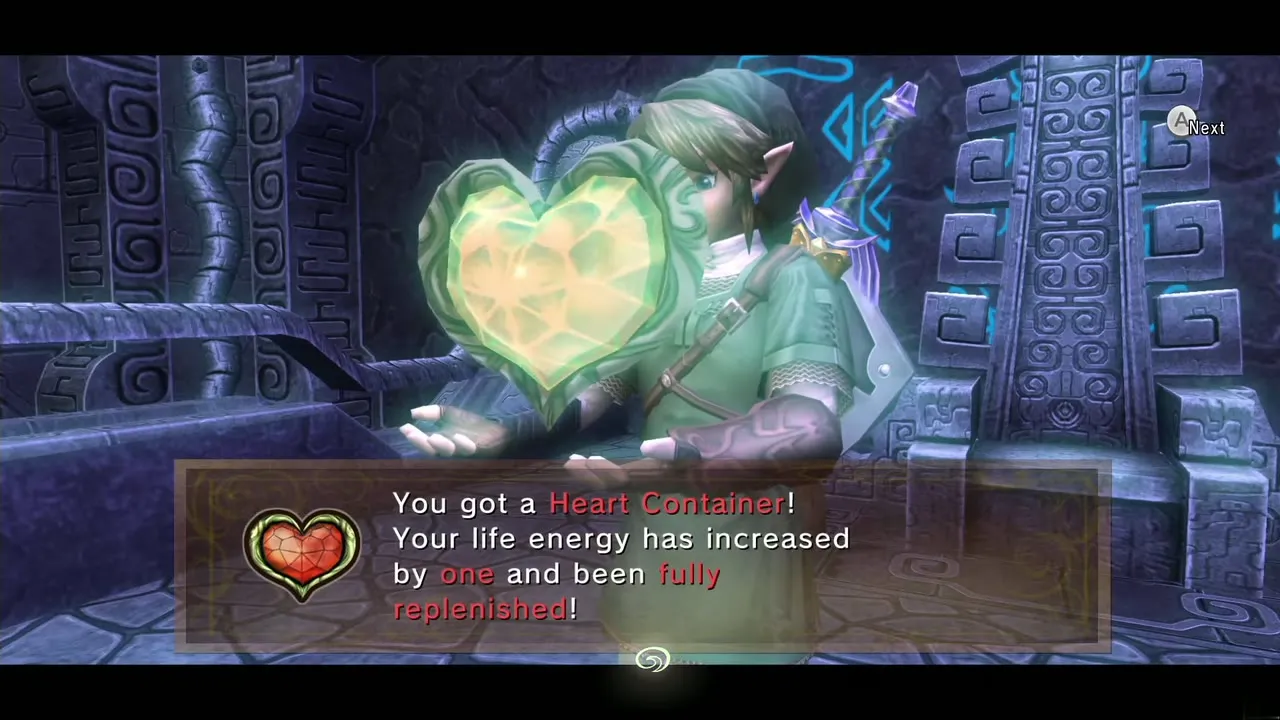
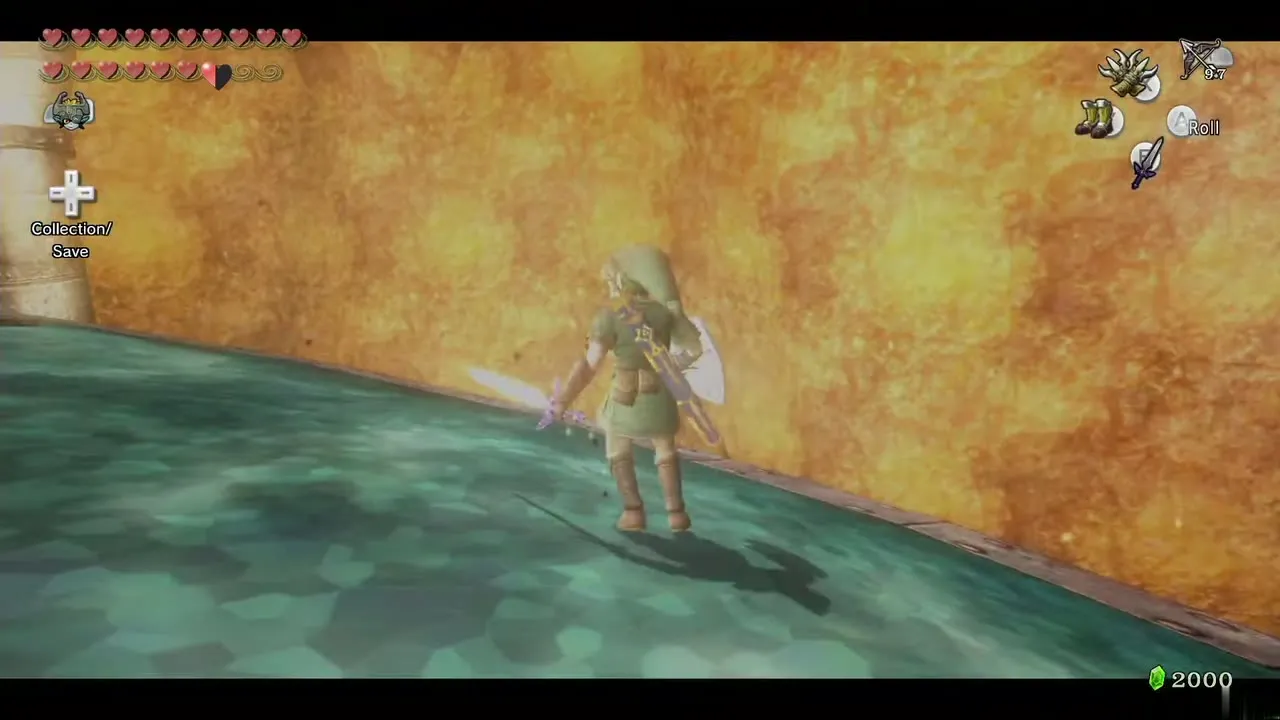
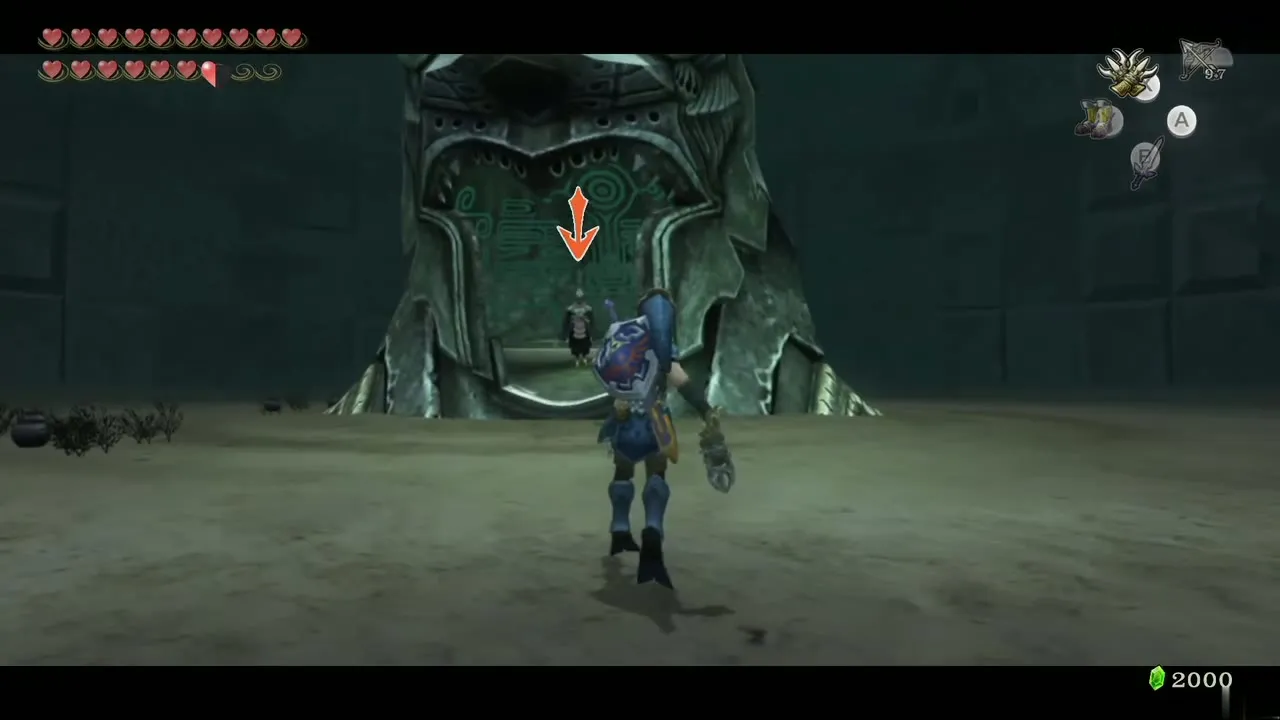
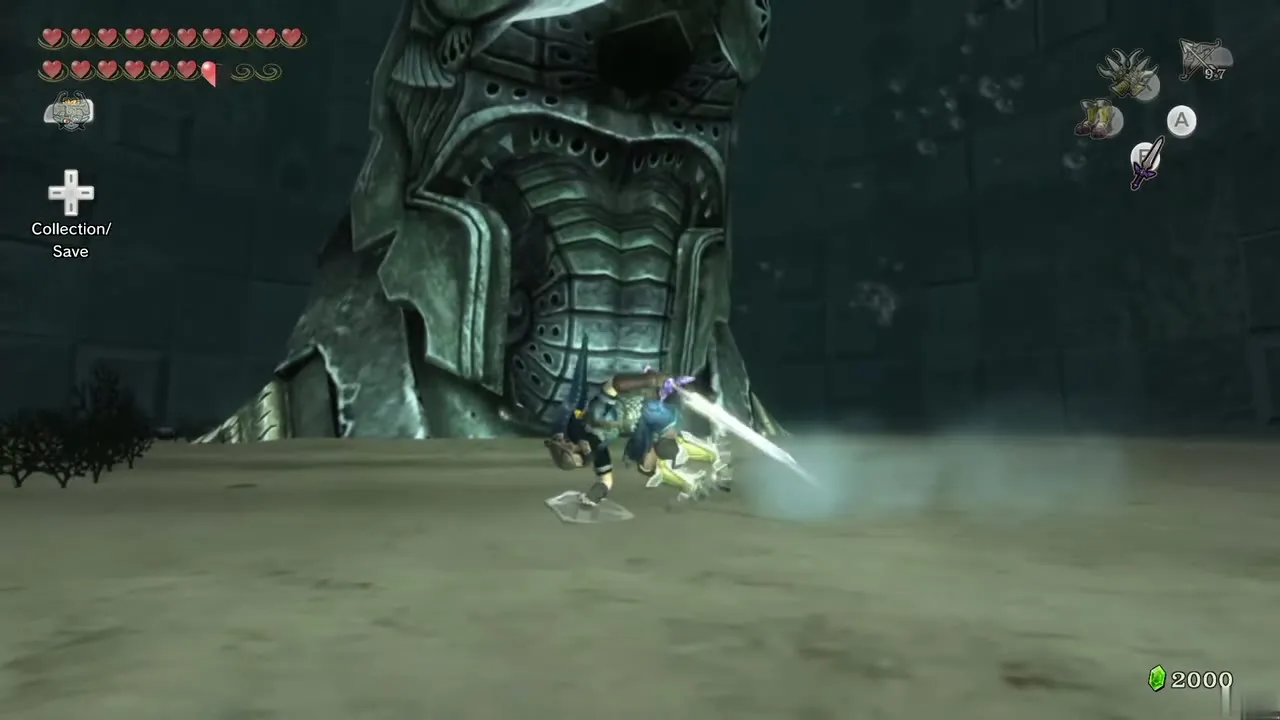
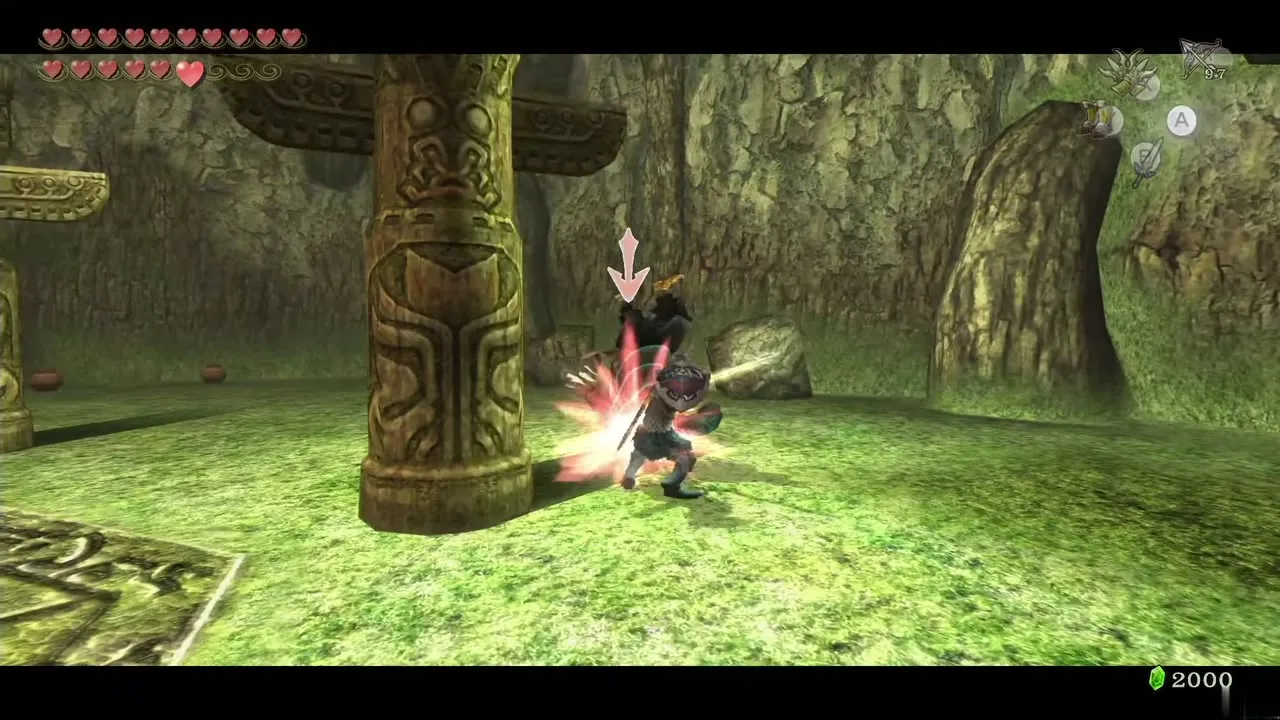
Zant, the Usurper King, fights in six phases. Each of the first five is a copy of an earlier boss room, and each asks for the item you used there. Zant is not hurt by the Ending Blow.
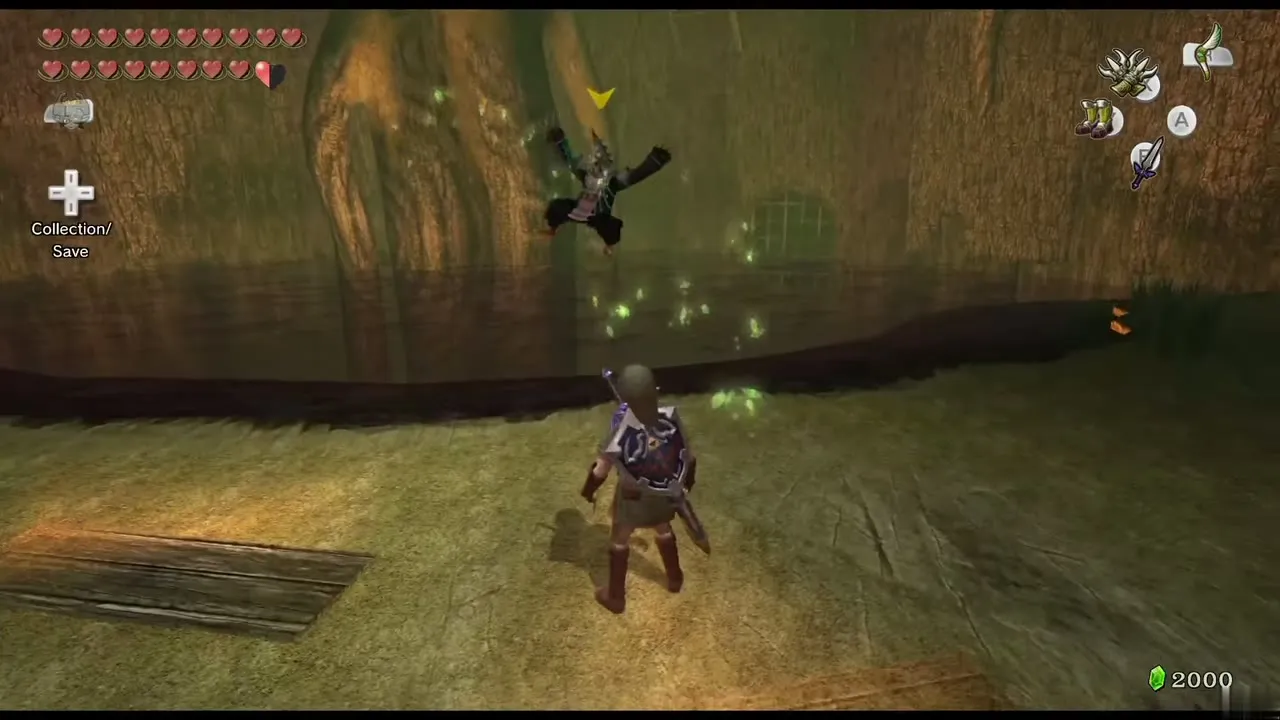
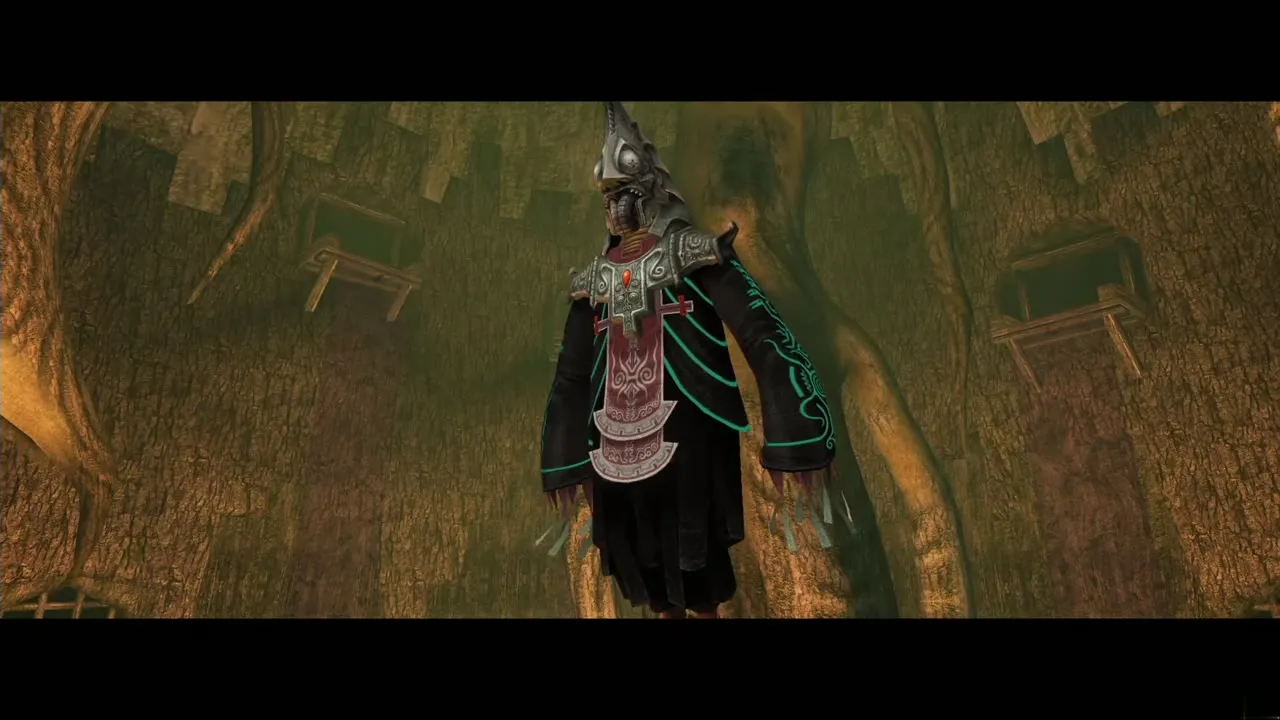
1, Forest Temple. He floats over the poison pool and fires bolts; block them with the shield. When he becomes visible, knock him out of the air with the Gale Boomerang, then slash him after he hops to dry land. 2, Goron Mines. He jumps up and down to tilt the magnetic platform and pushes you toward the lava. The Iron Boots keep you steady. He is breathless afterwards, so attack.
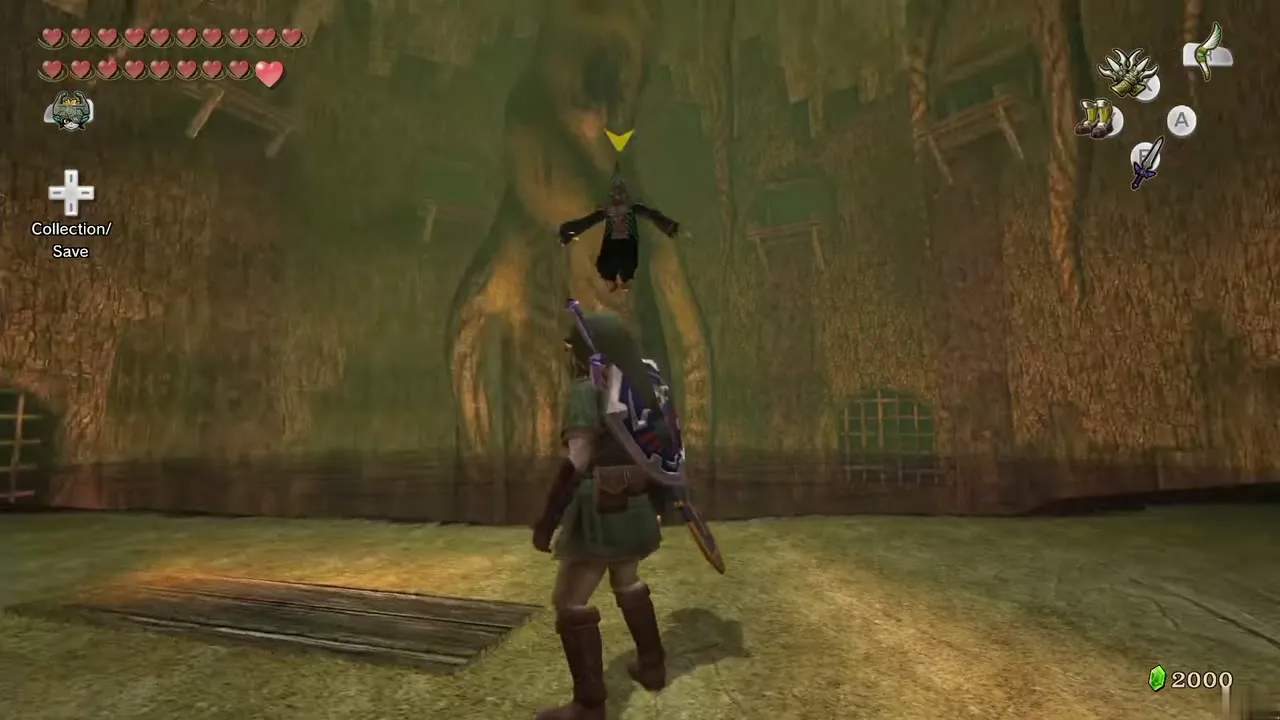
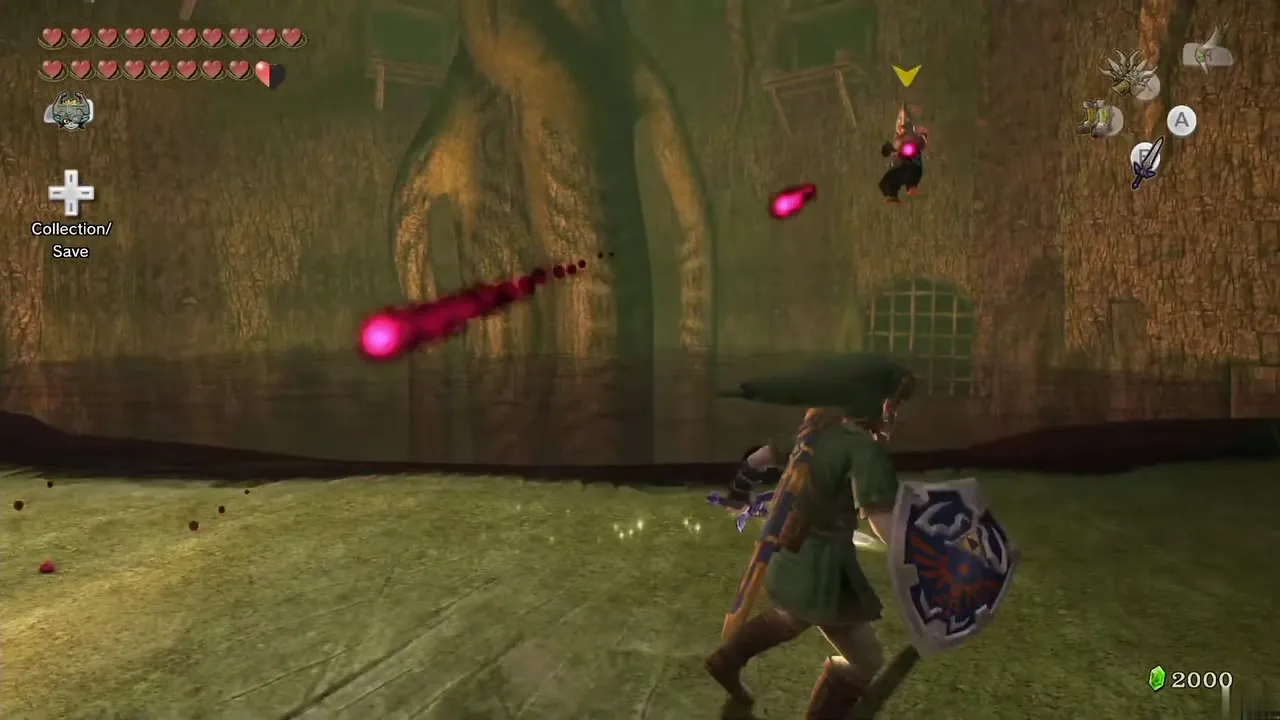
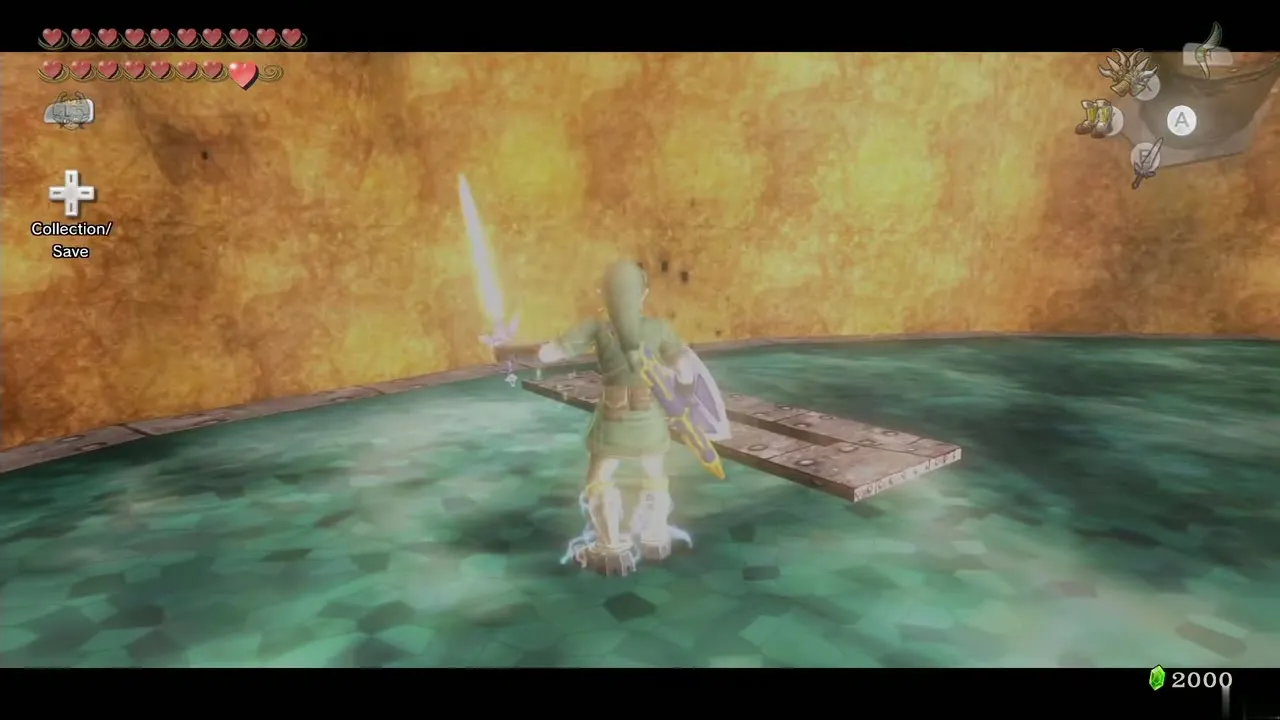
3, Lakebed Temple. He sits inside a giant copy of his helmet in the sand. Wear the Zora Armor and Iron Boots, pull him out of the helmet with the Clawshot and slash him. Then four helmets circle you and he appears in one at random, so be ready to Clawshot him from whichever opens. 4, Ook’s room. He hops between the pillars. Roll into the pillar he stands on twice to knock him down, then slash.
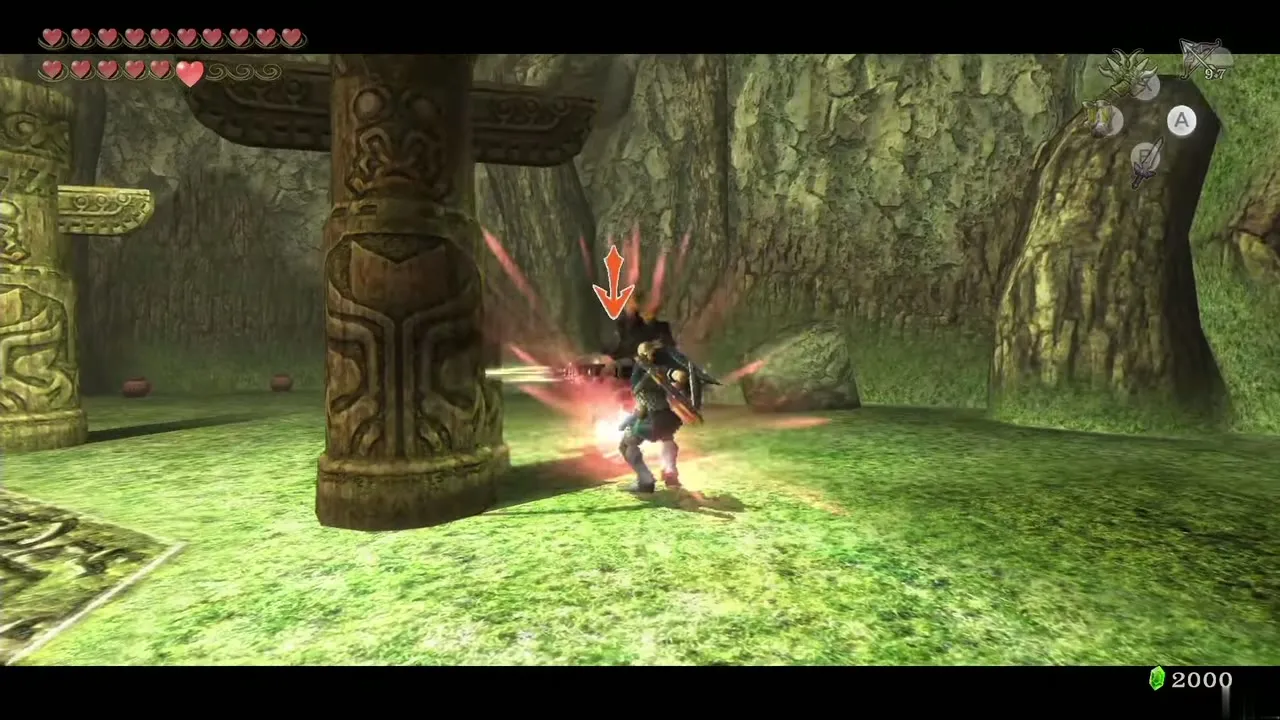
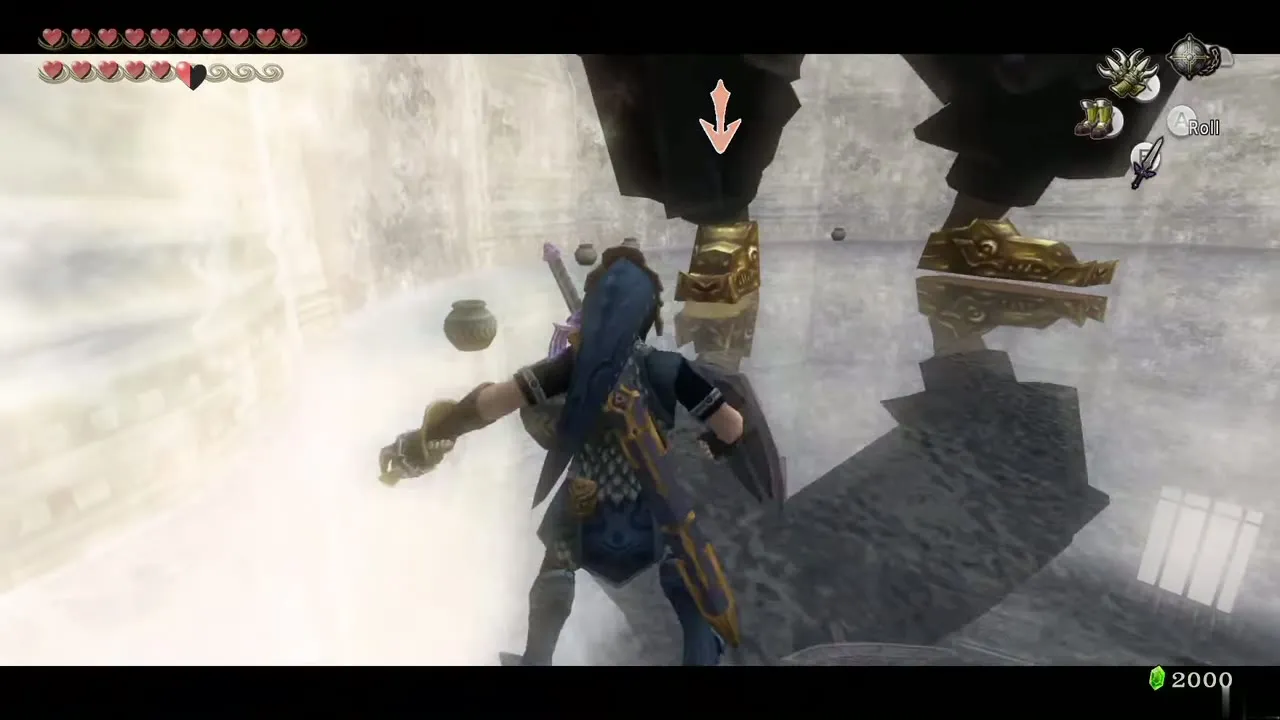
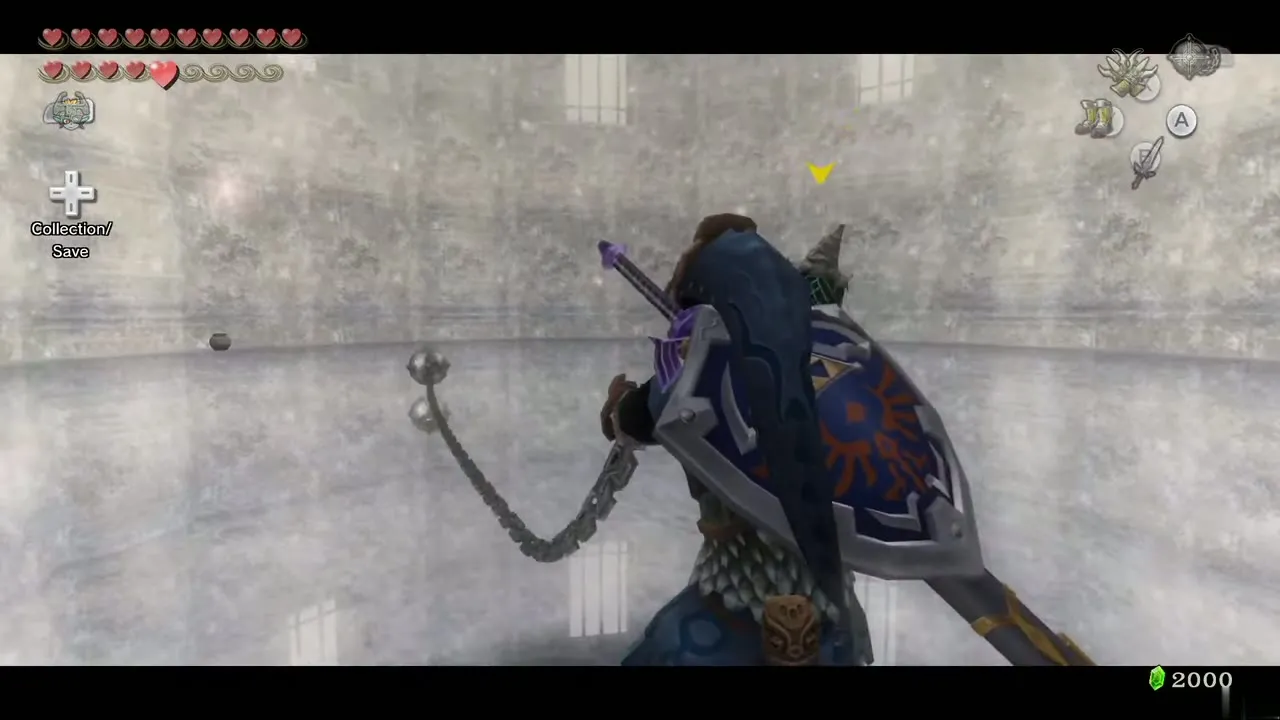
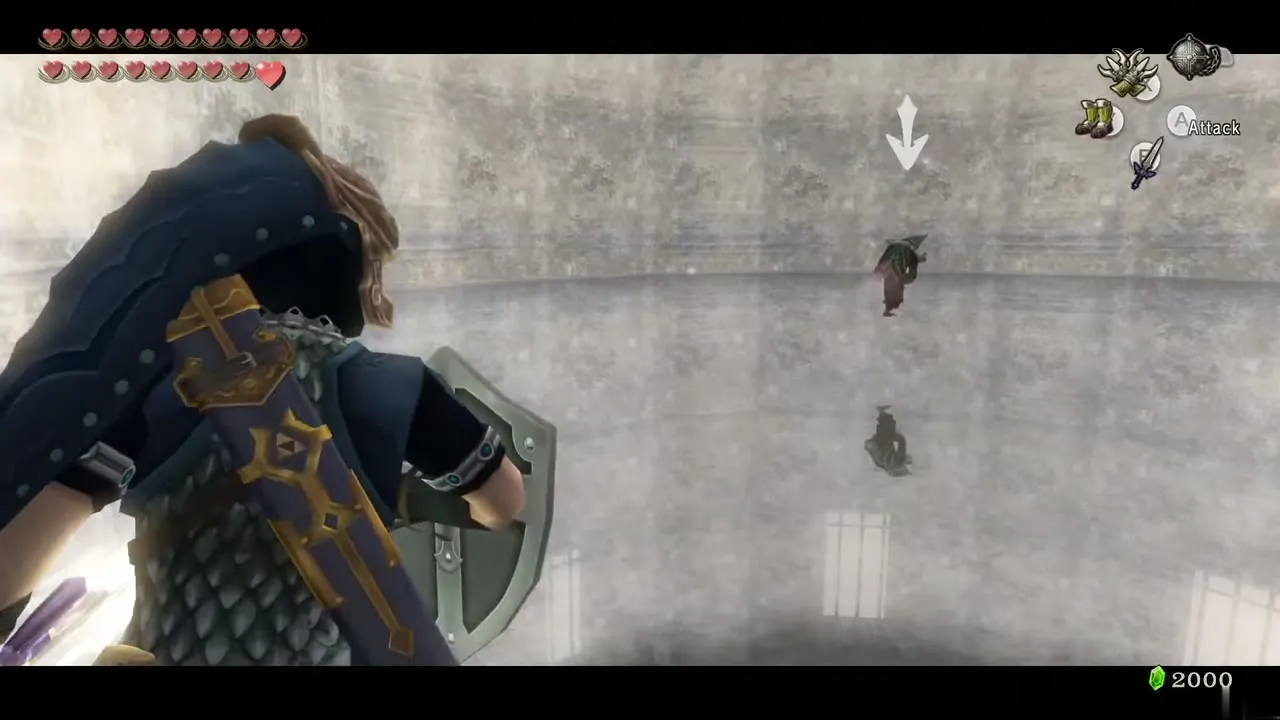
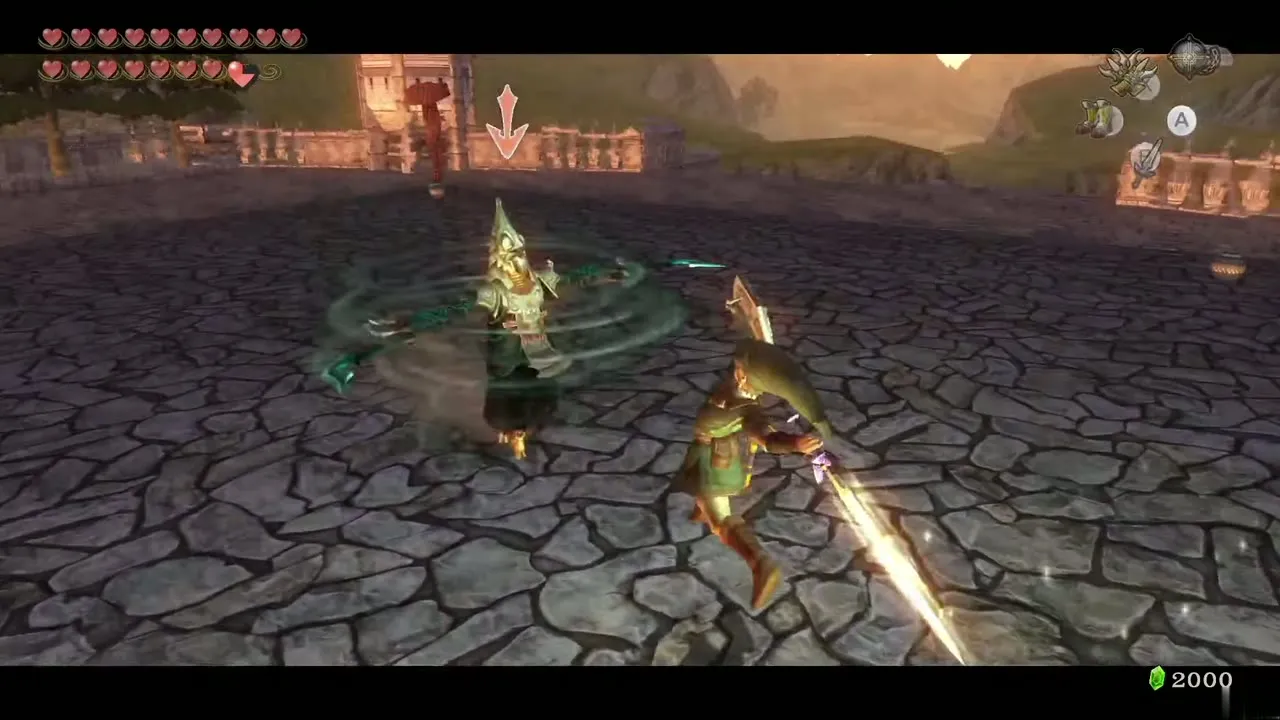
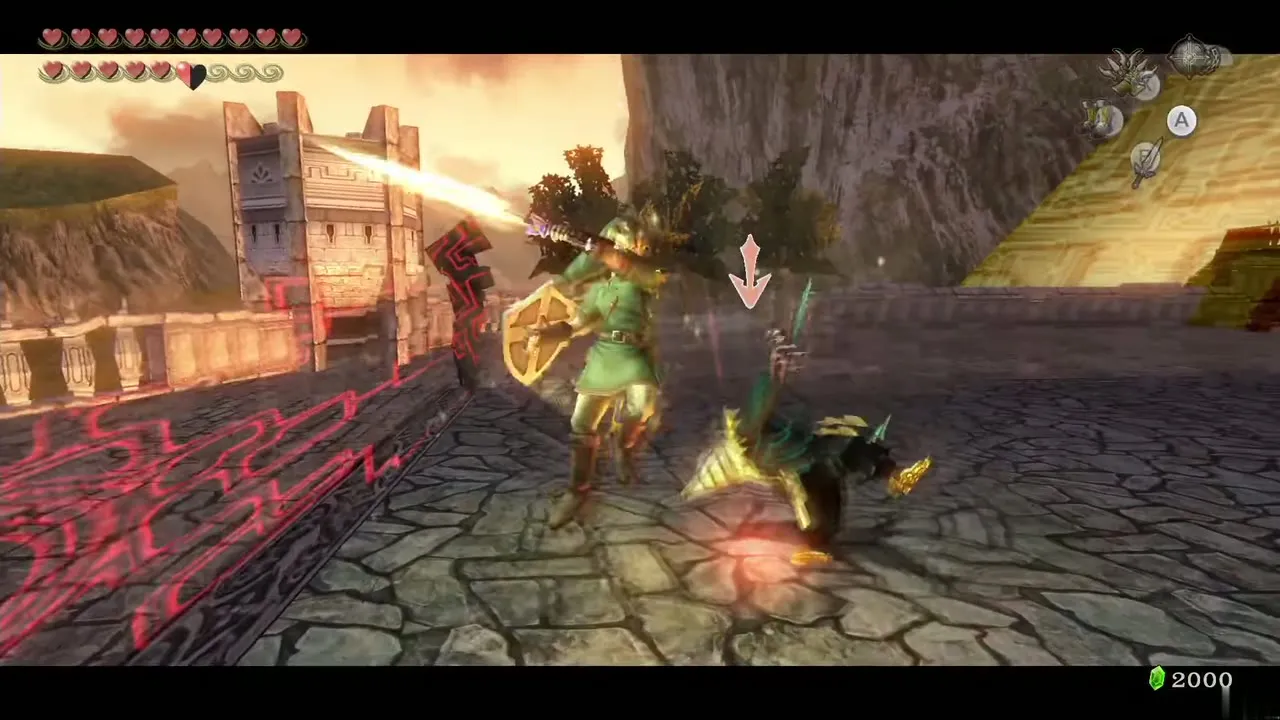
5, Snowpeak Ruins. He grows huge and stomps. As he drops, hit his foot with the Ball and Chain; he shrinks and hops away holding it, so run him down and slash. Do it twice. 6, Hyrule Field. The final fight is on the field in front of Hyrule Castle, inside a wall of twilight. Zant swings two scimitars and spins at you. Shield the spin, or counter it with your own spin attack, and attack after he stops to catch his breath. He teleports after every hit. When he falls, he boasts that he will be revived without end, and Midna ends him with a fraction of the Fused Shadows’ power. A Heart Container is left behind.
King Bulblin (Hyrule Castle)
Mini-boss, Hyrule Castle courtyard. Chapter: Hyrule Castle. Requires: Sword. Reward: First Small Key of the castle.
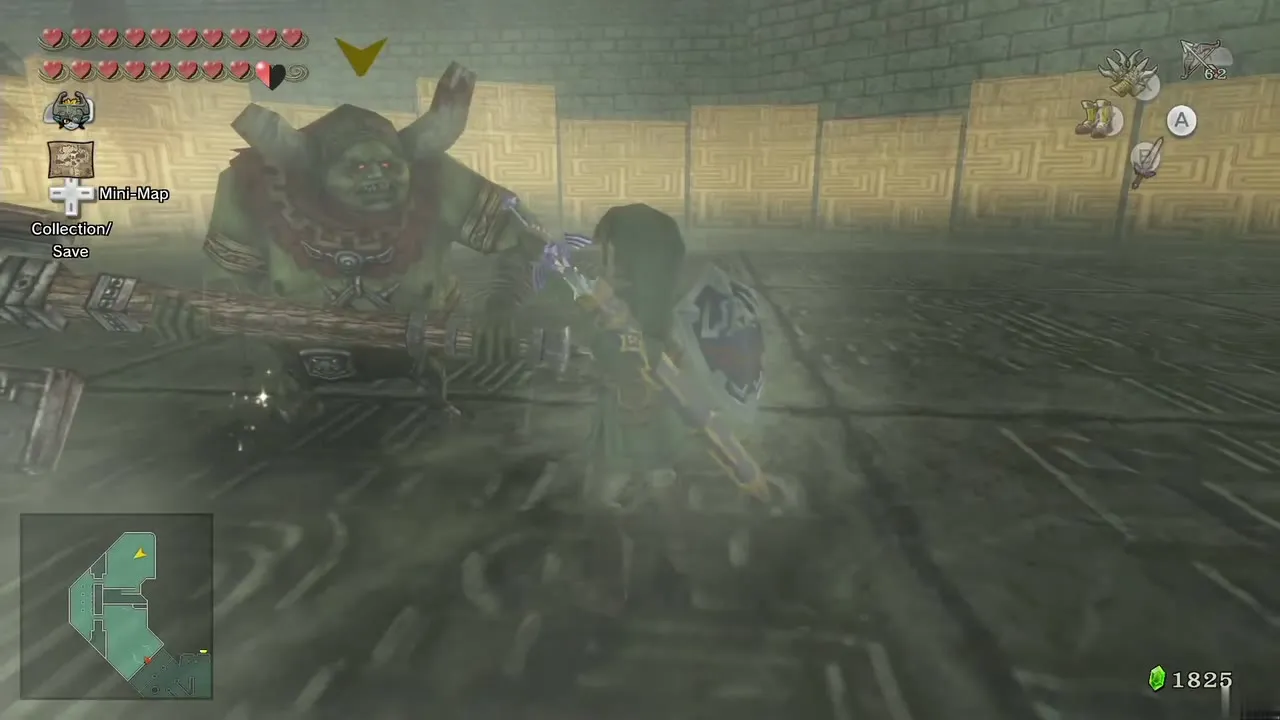
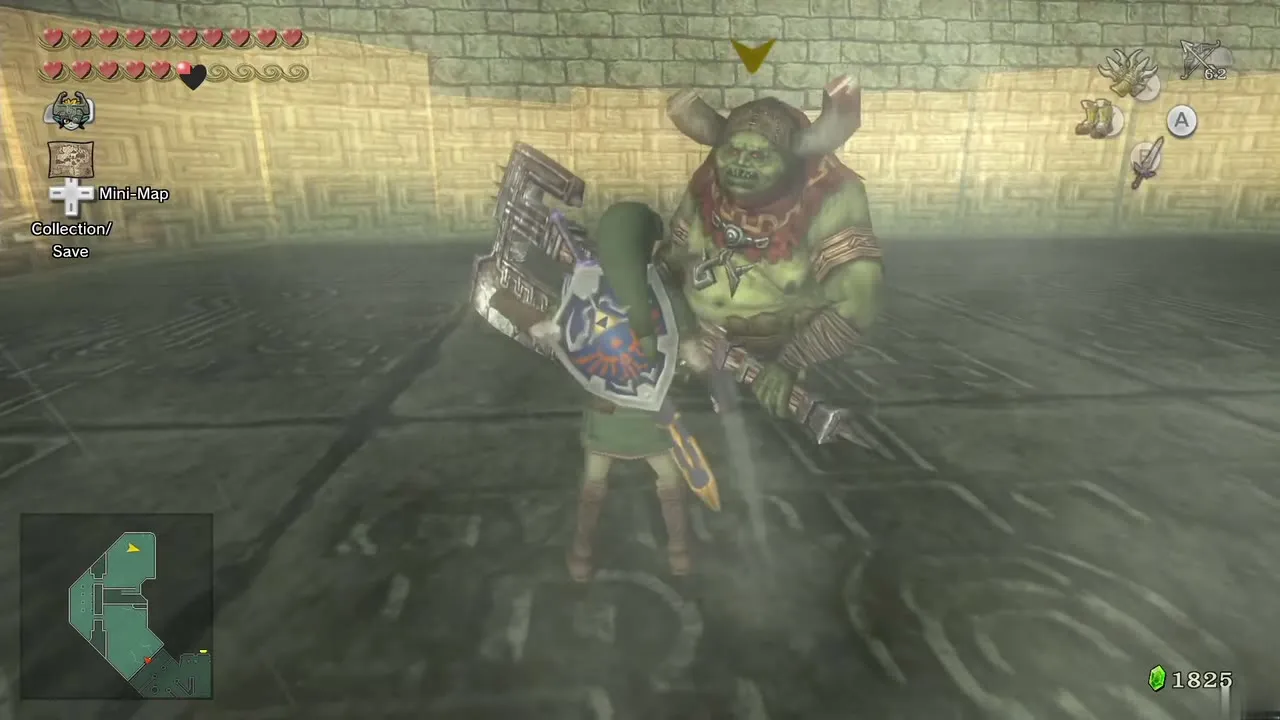
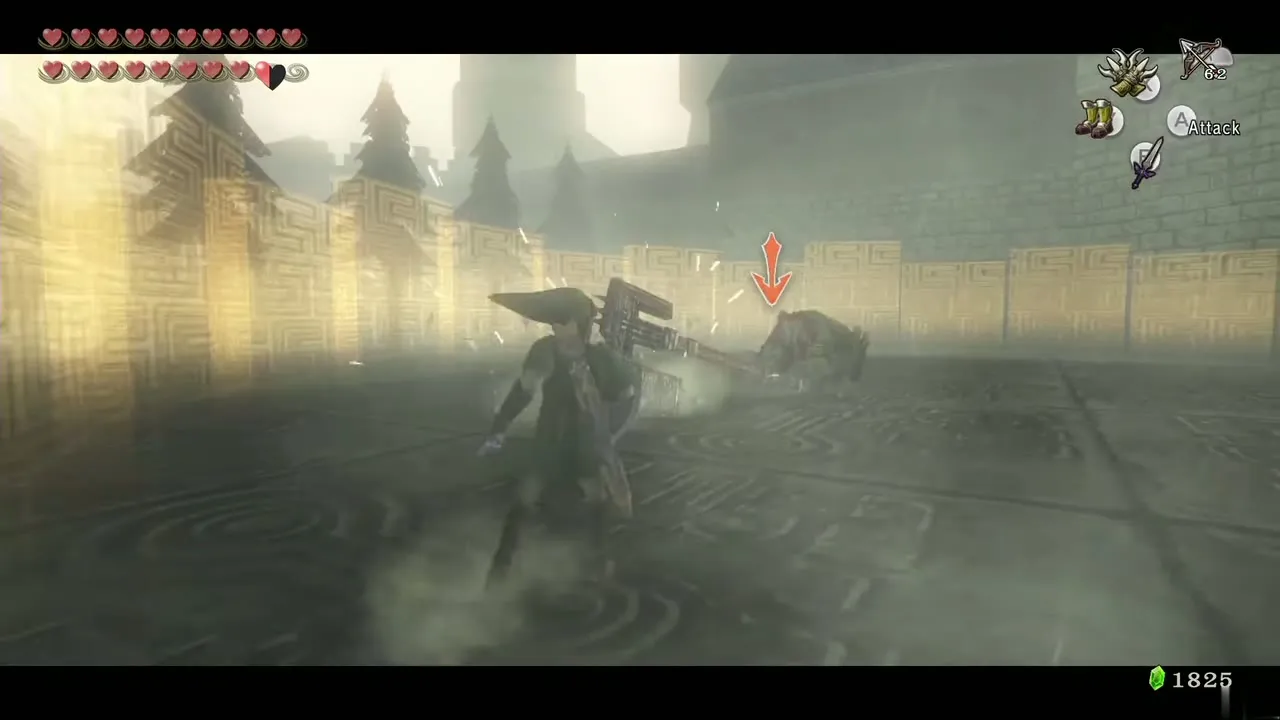
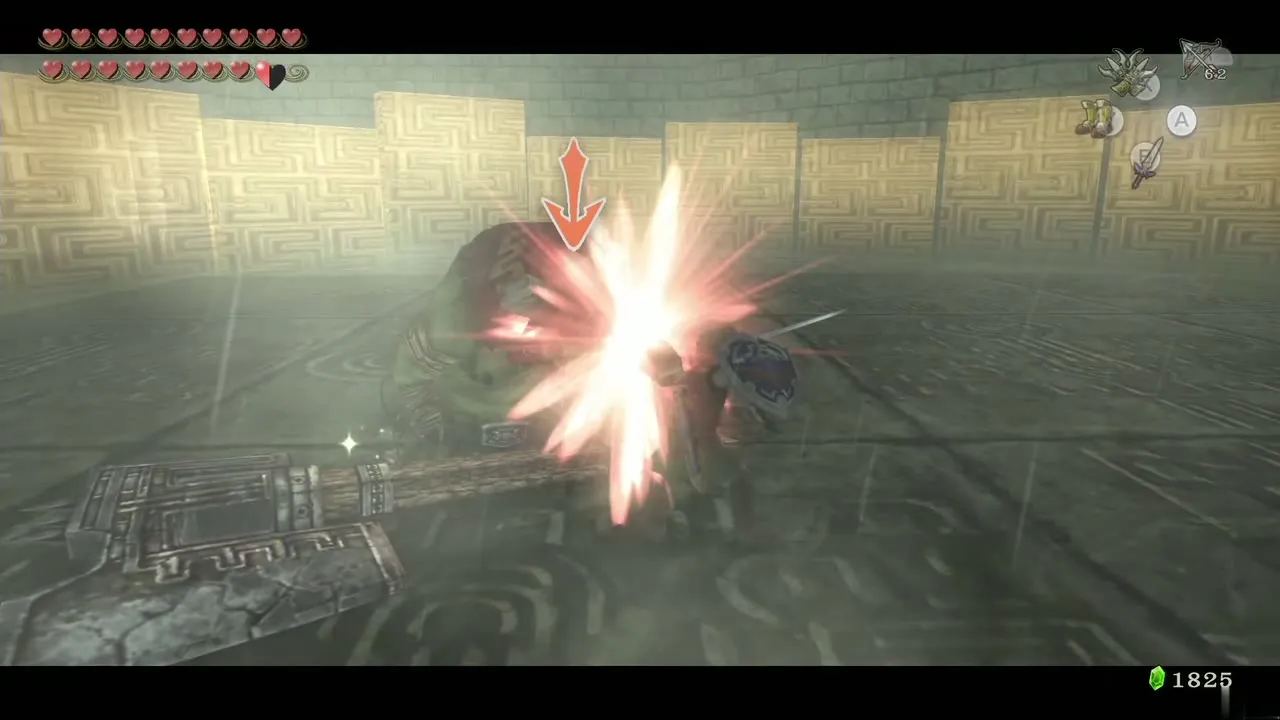
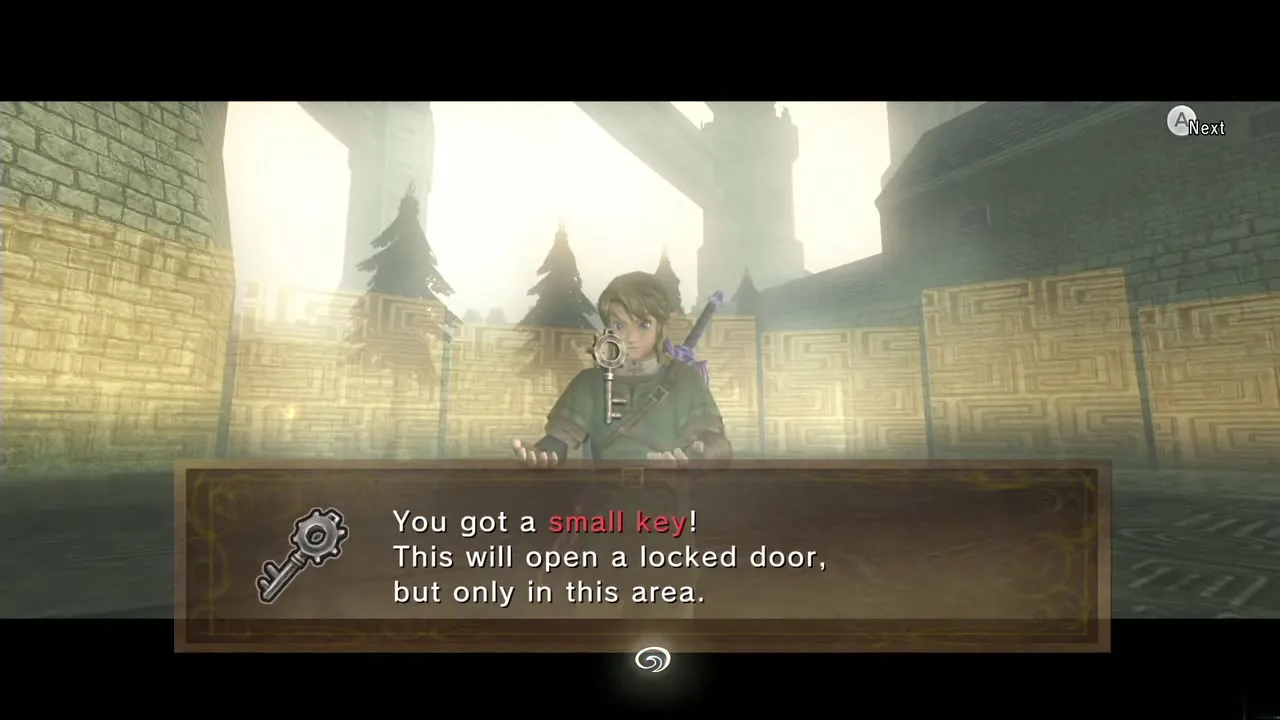
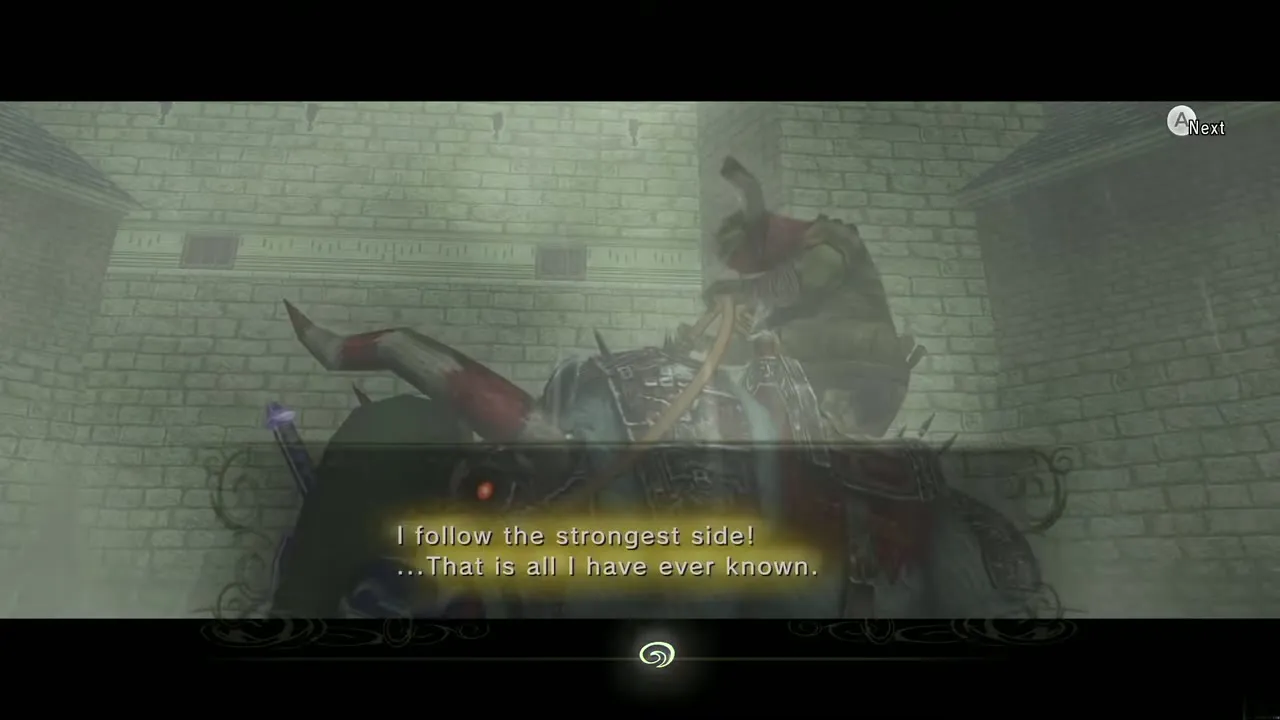
Before the castle gate, King Bulblin announces that he has come to play. Use jump attacks and spin attacks, and dodge his attack with a backflip when he strikes. When he loses, he hands you the first Small Key of the castle and says he follows whoever is strongest. He rides off on Lord Bullbo; Midna is startled to hear him speak.
Ganon’s Puppet: Zelda
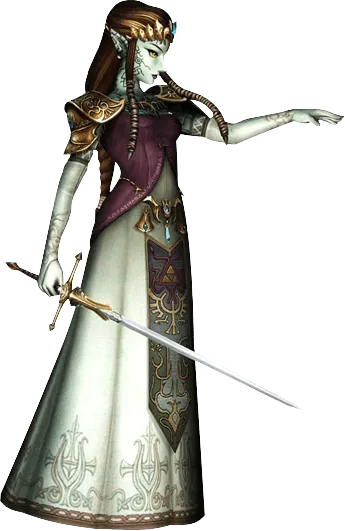
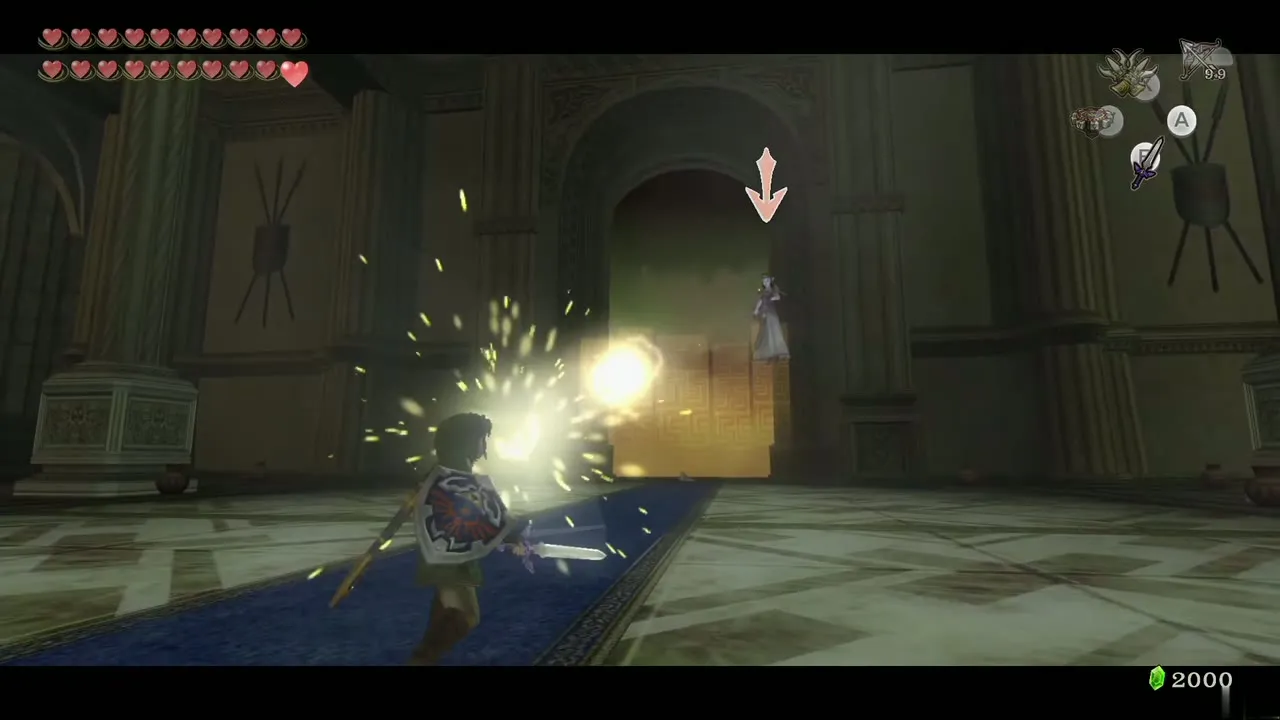
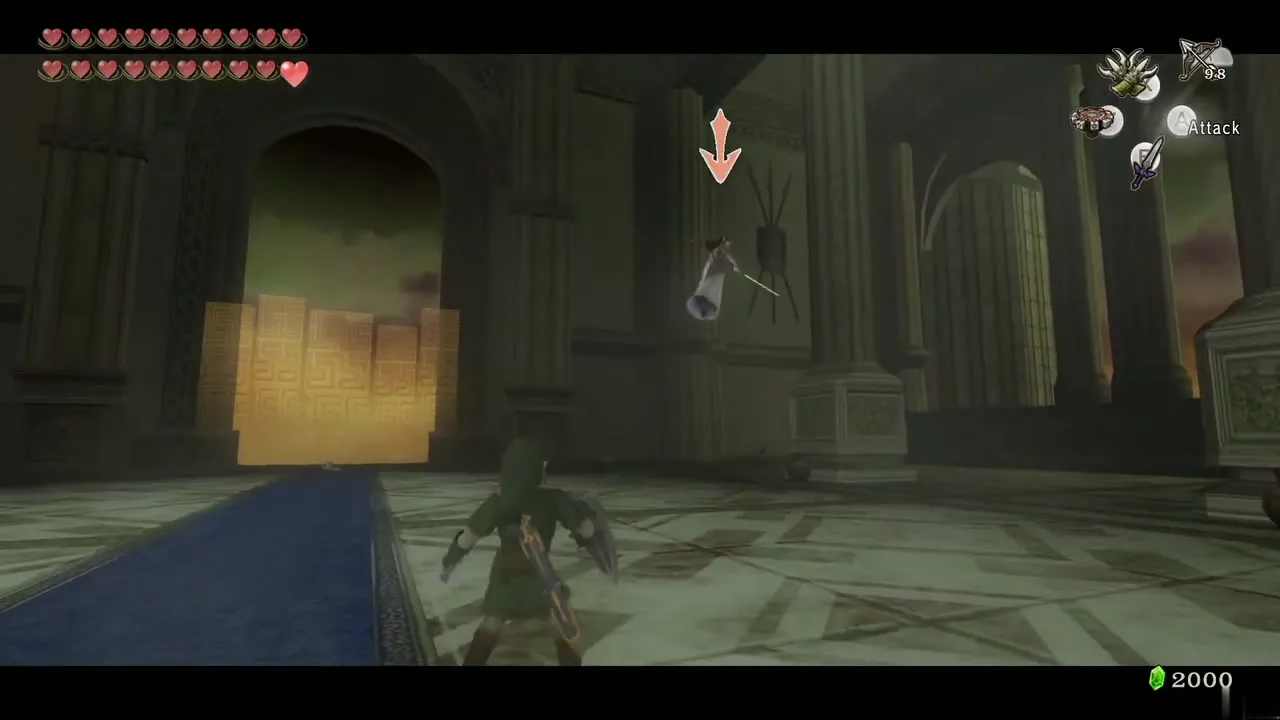
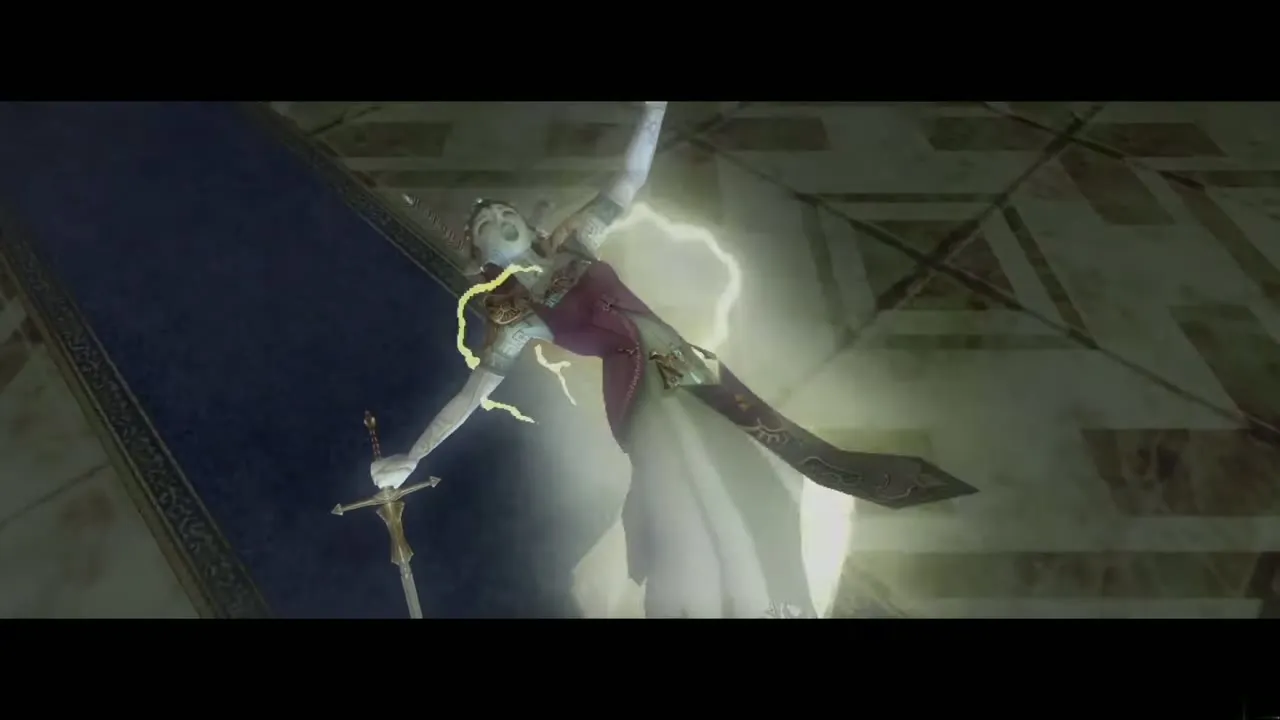
Final boss, phase 1, Hyrule Castle throne room. Chapter: Hyrule Castle. Requires: Sword (or an empty bottle). Reward: Midna pulls Ganondorf out of Zelda.
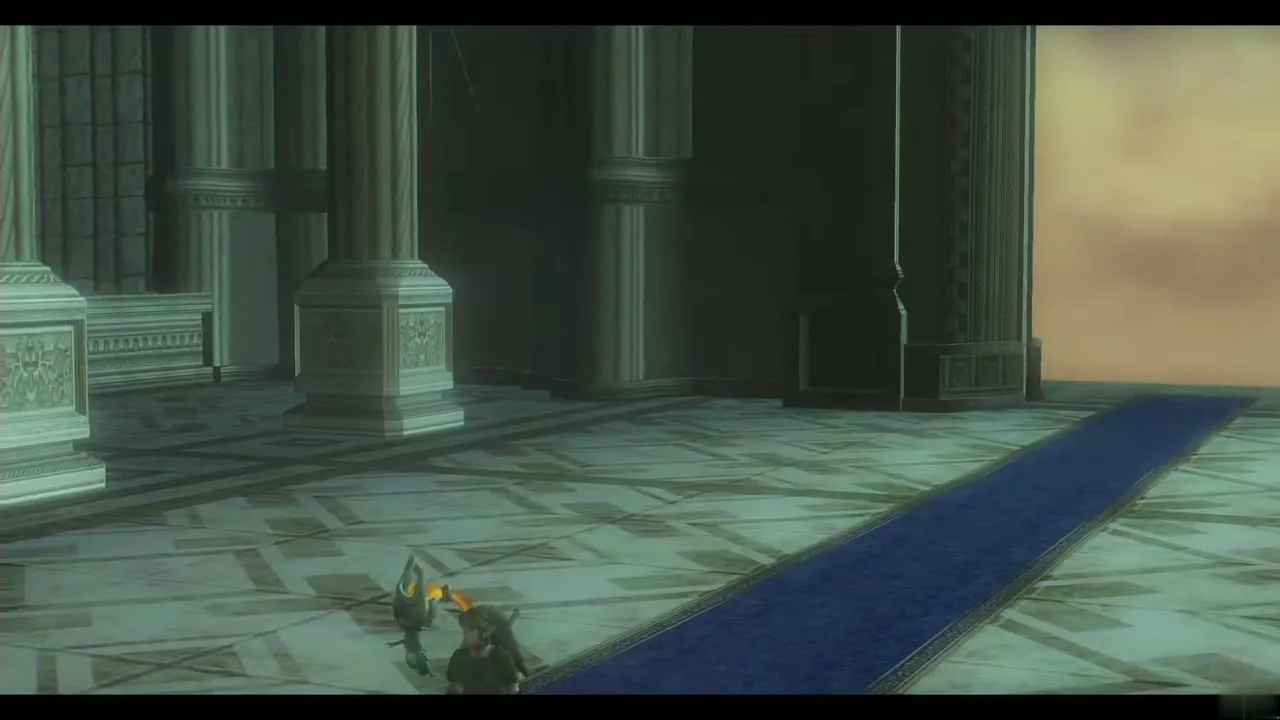
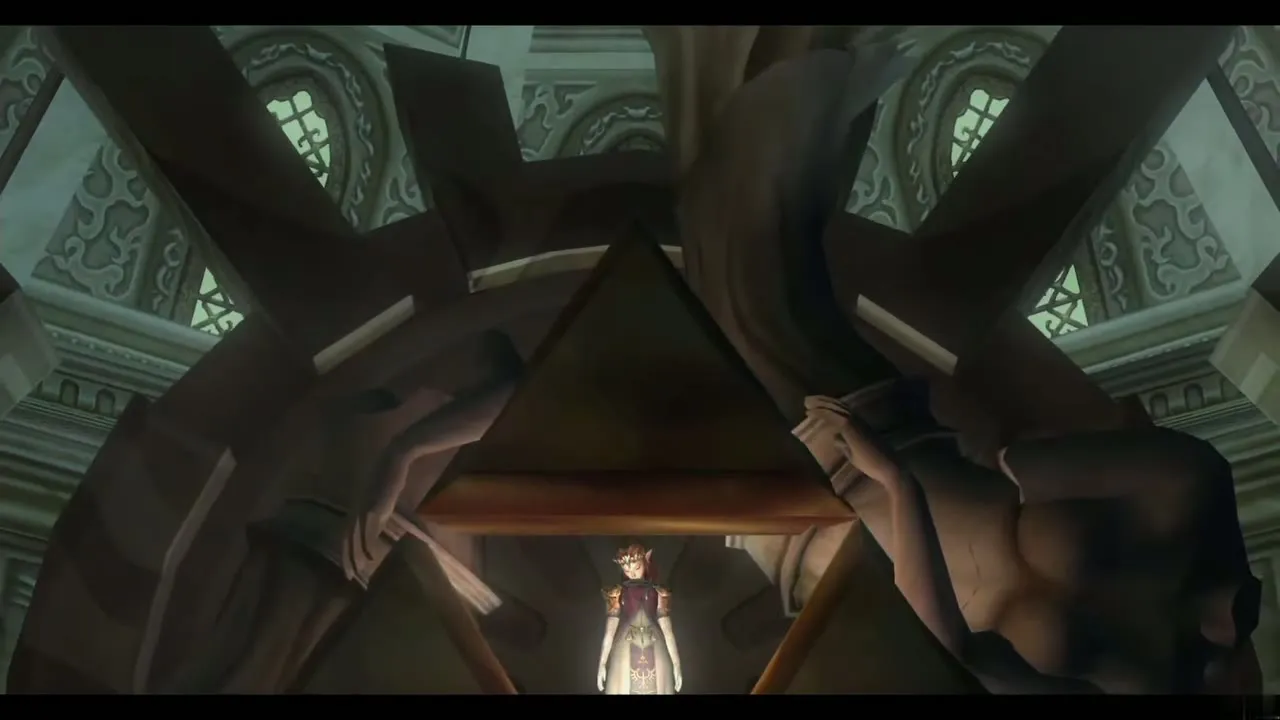
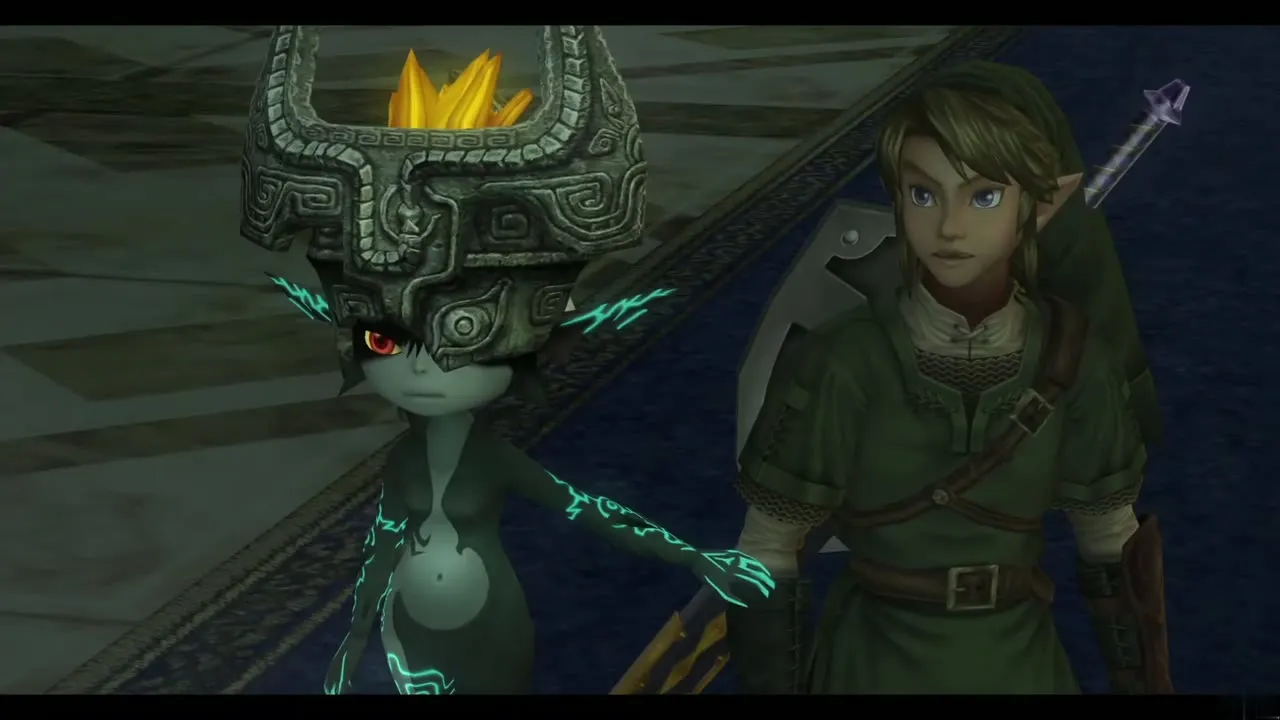
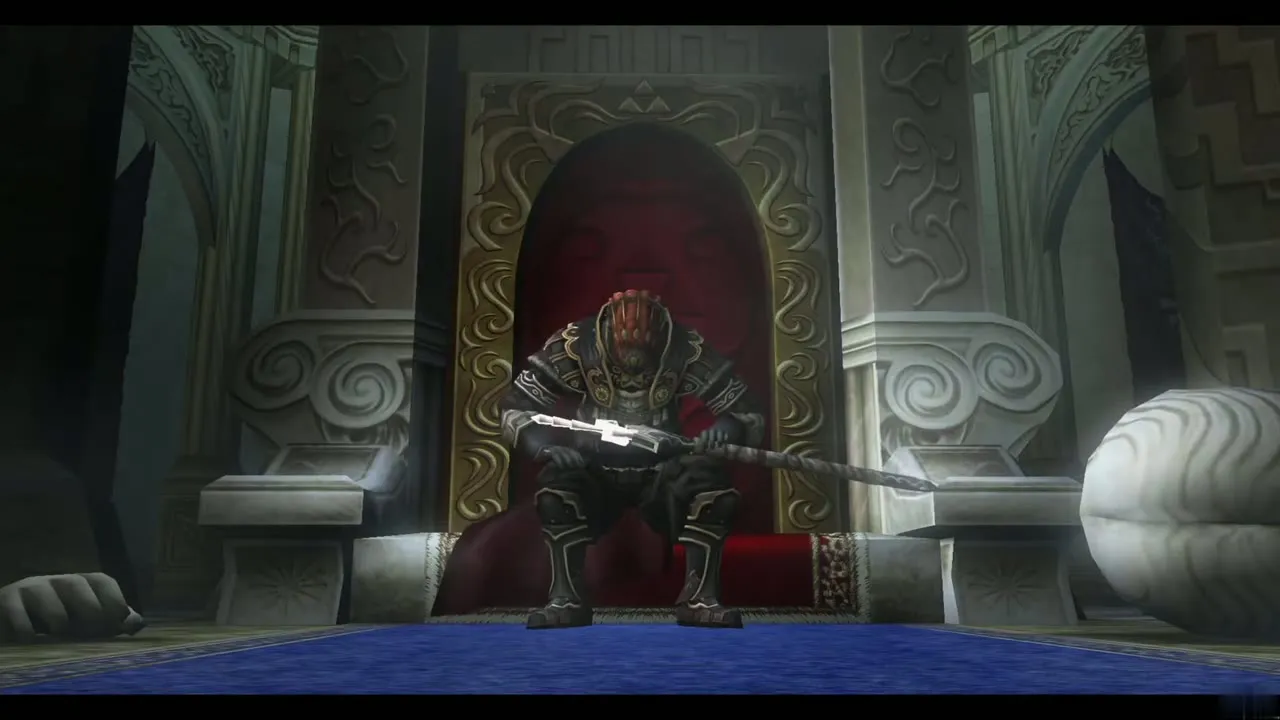
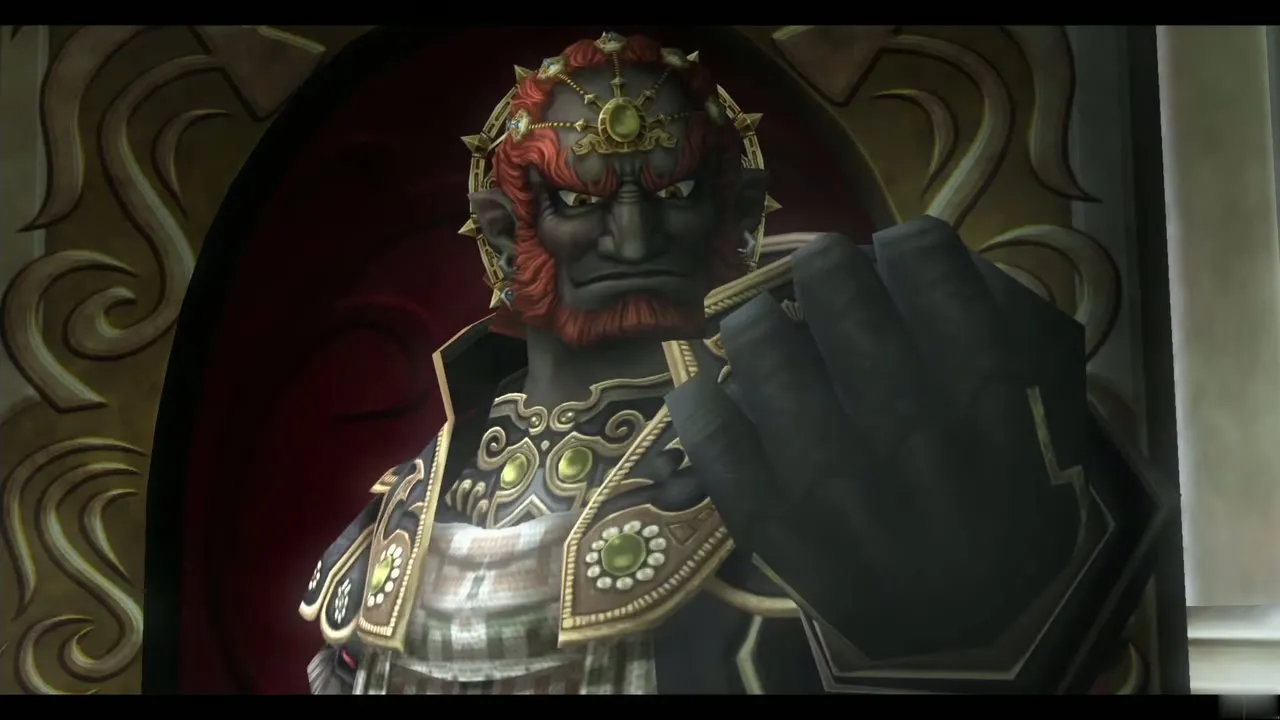
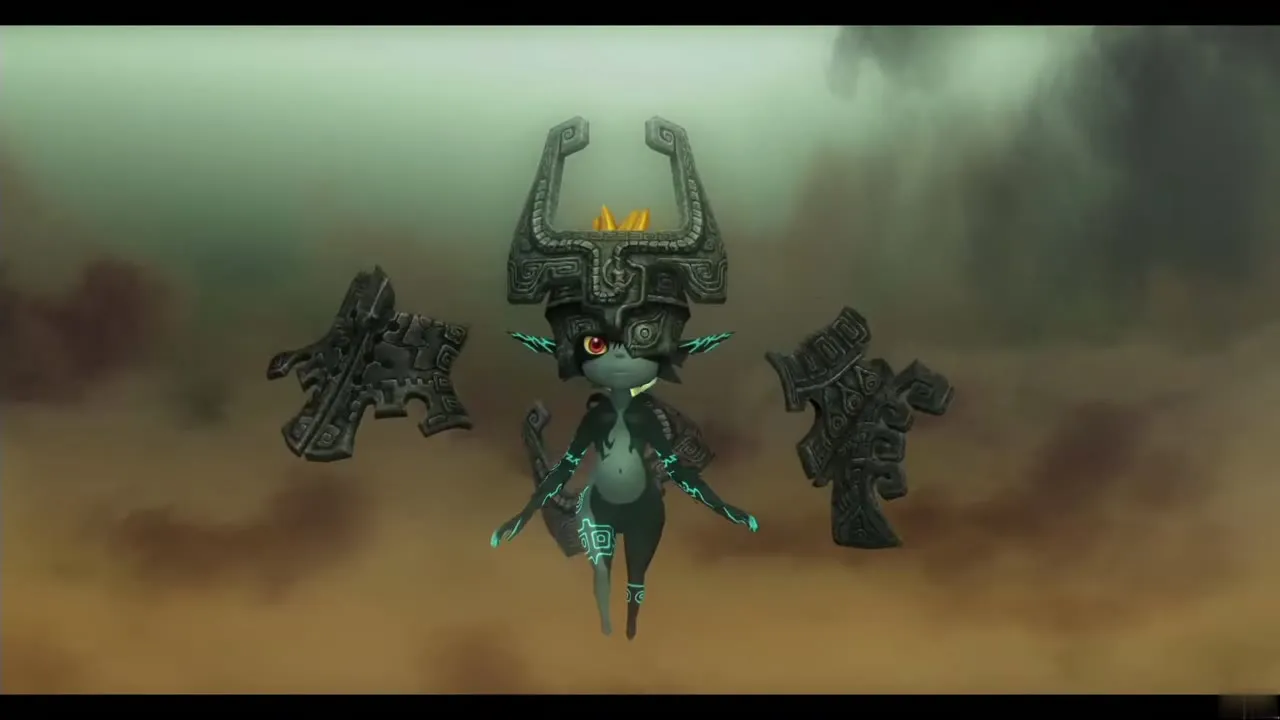
Ganondorf controls Zelda and attacks with three moves: an energy ball, a lunge with her sword and a Triforce mark on the floor. Stand under her and reflect the energy balls back with a sword swing, spin attack or a bottle swing. Step out of the glowing mark and sidestep or back away from the lunge. After the balls hit her enough times, Midna pulls Ganondorf out of Zelda.
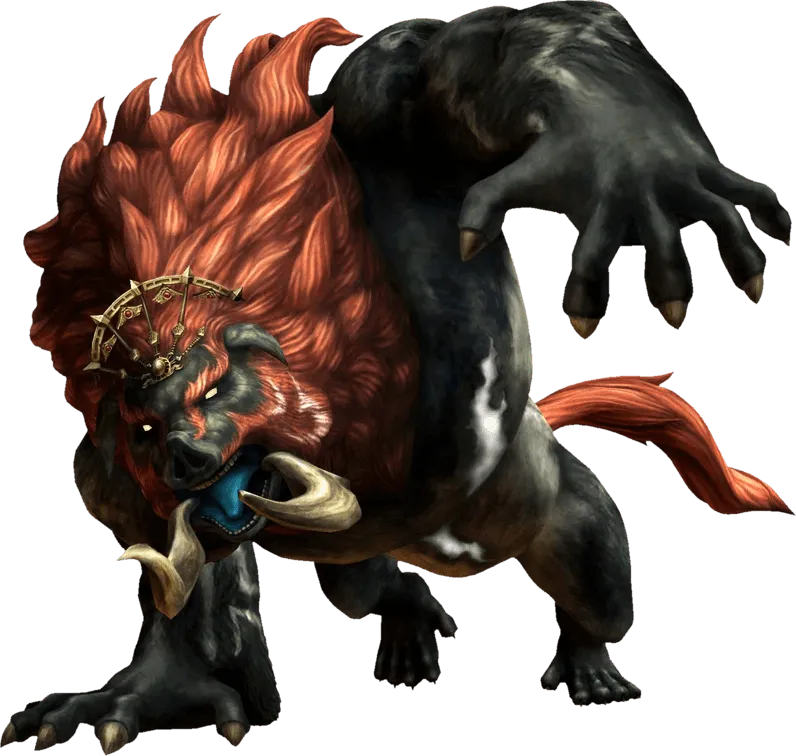
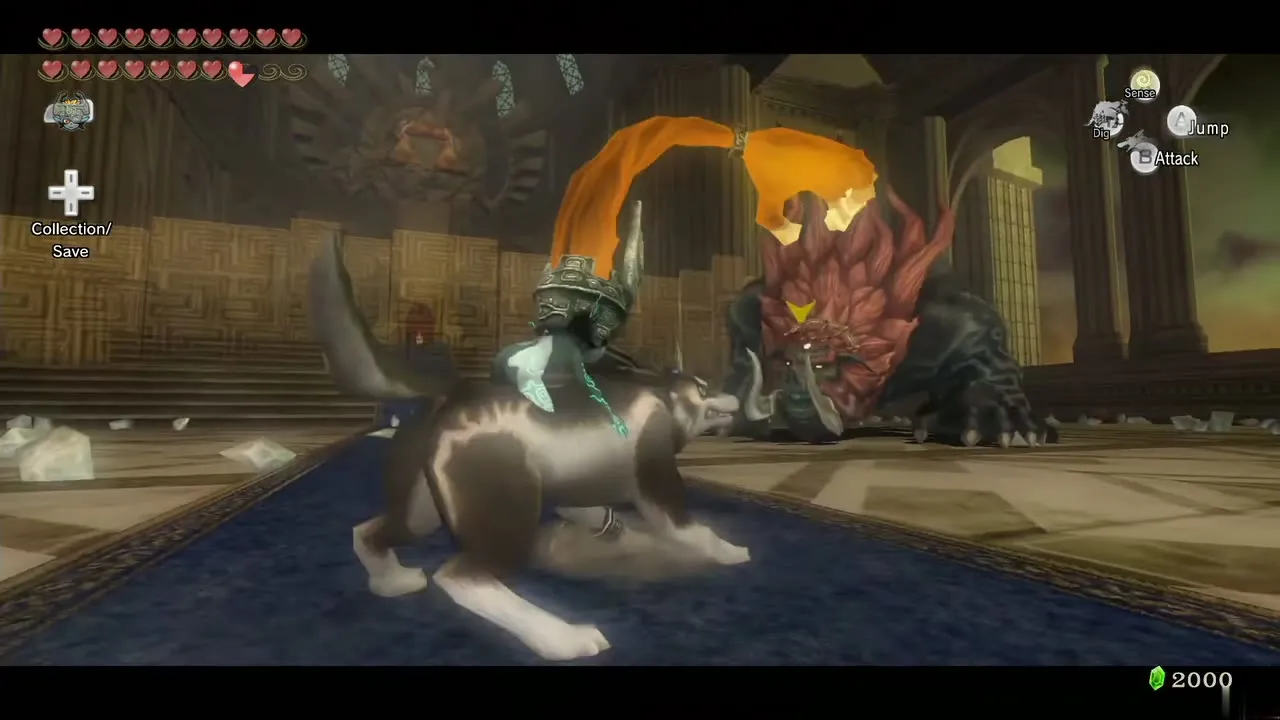
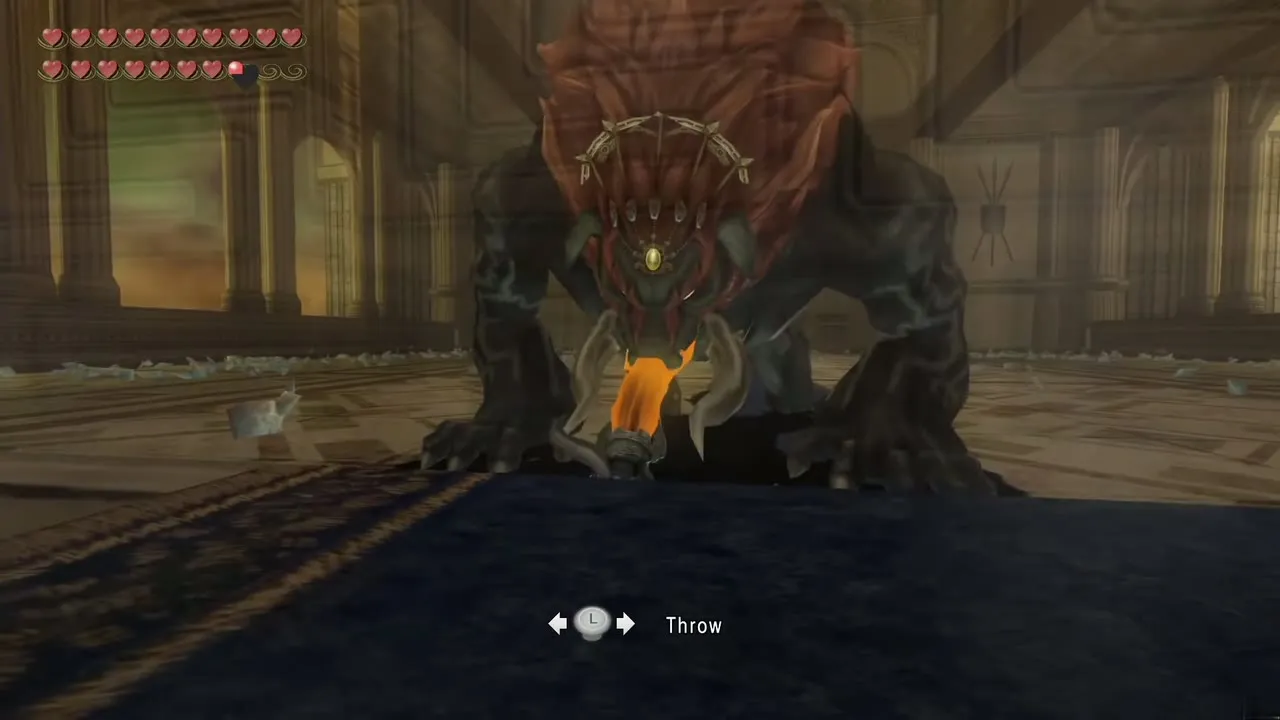
Dark Beast Ganon
Final boss, phase 2, Hyrule Castle throne room. Chapter: Hyrule Castle. Requires: Hero’s Bow or Ball and Chain, wolf form, sword. Reward: Ganon is pushed back; Midna sacrifices herself.
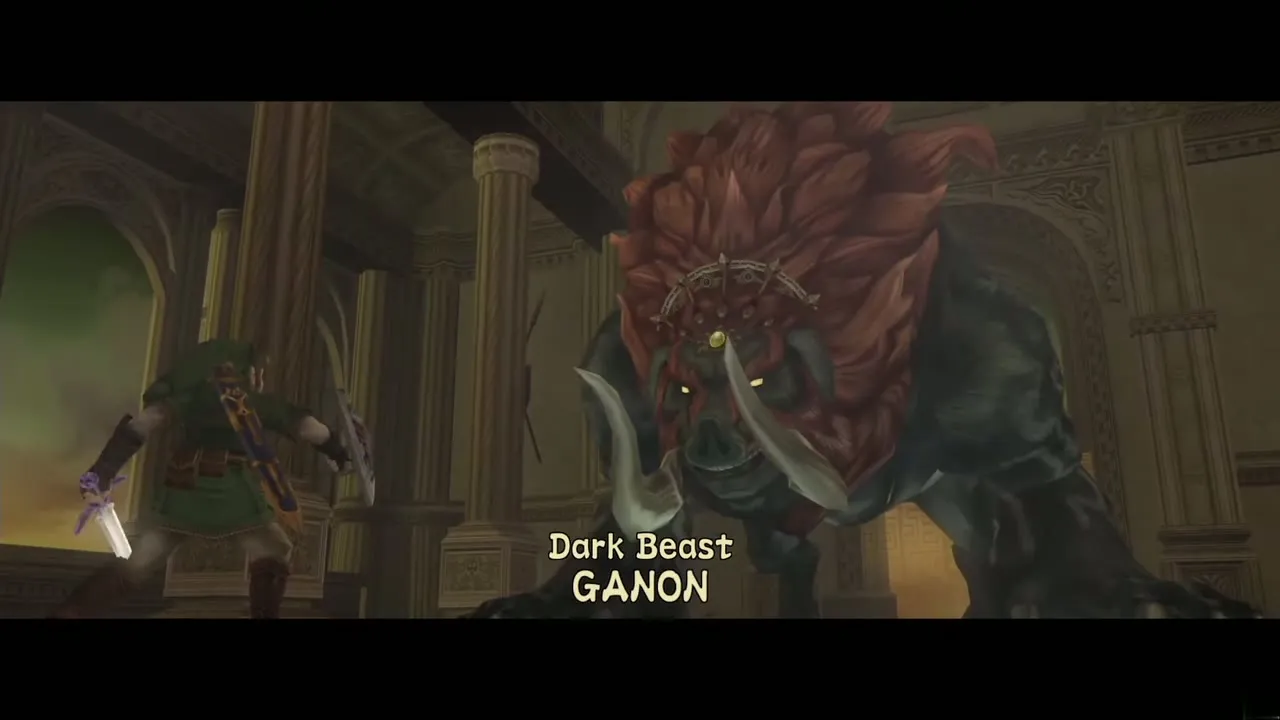
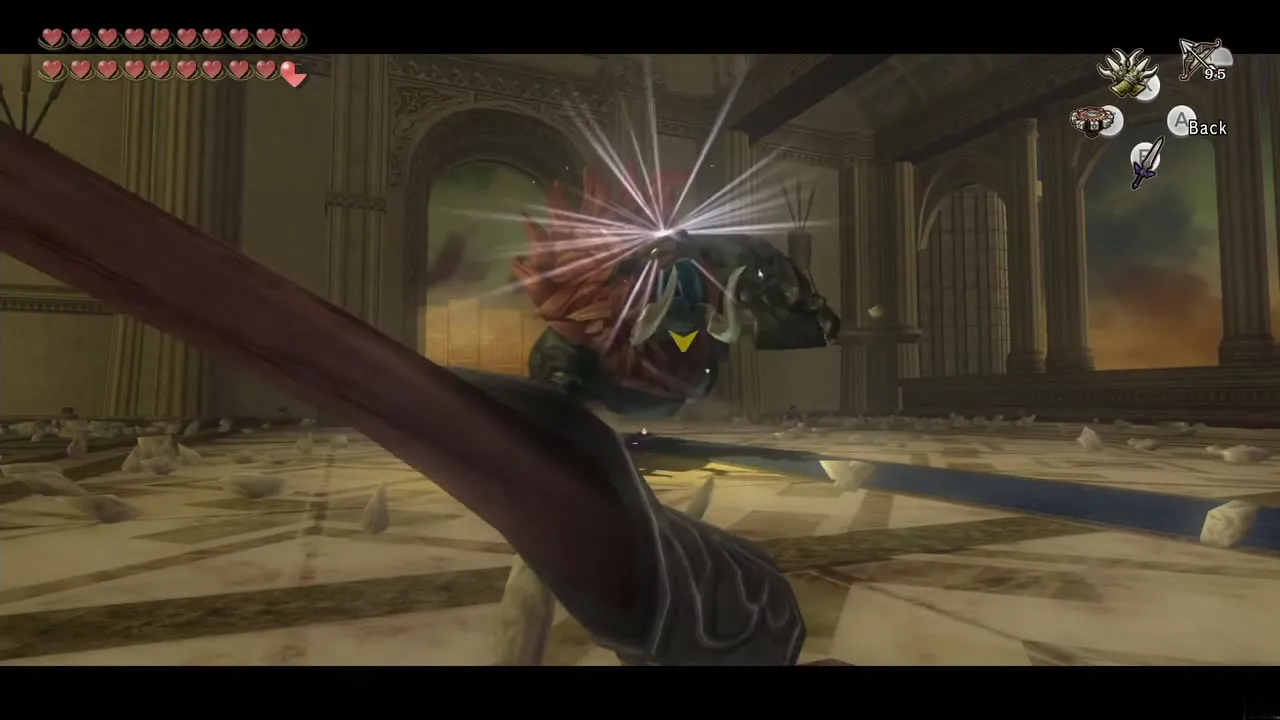
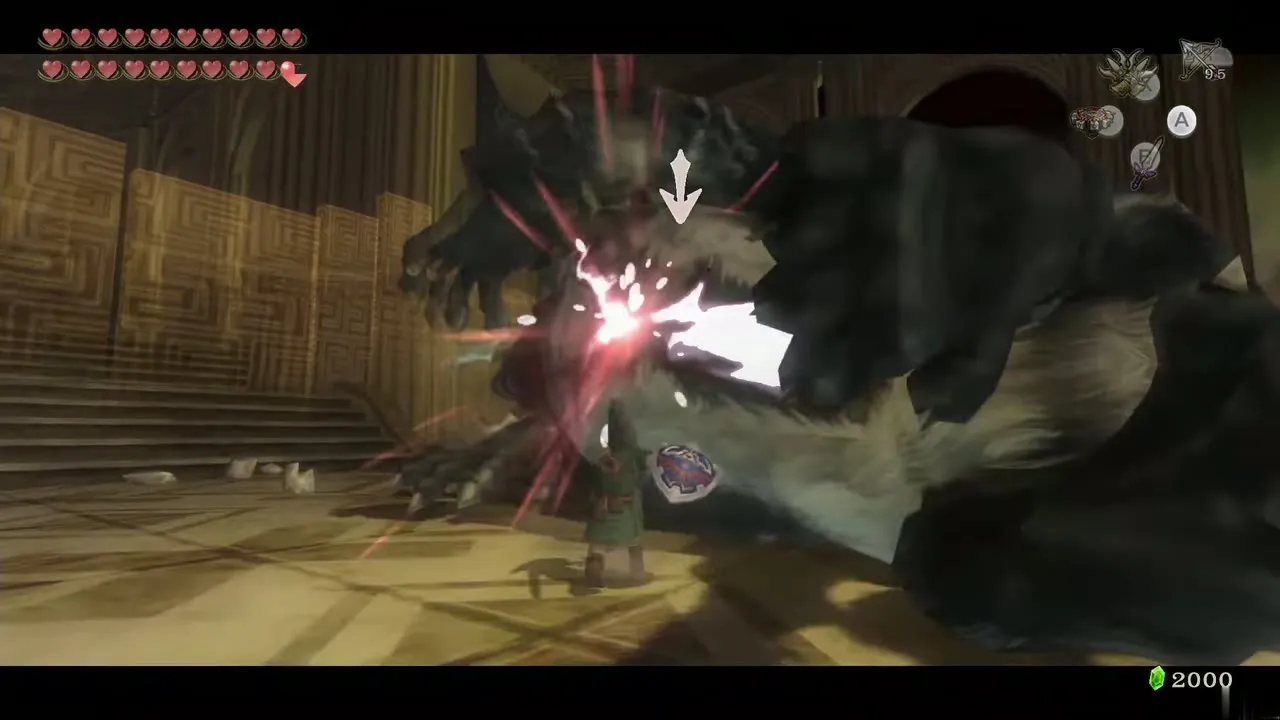
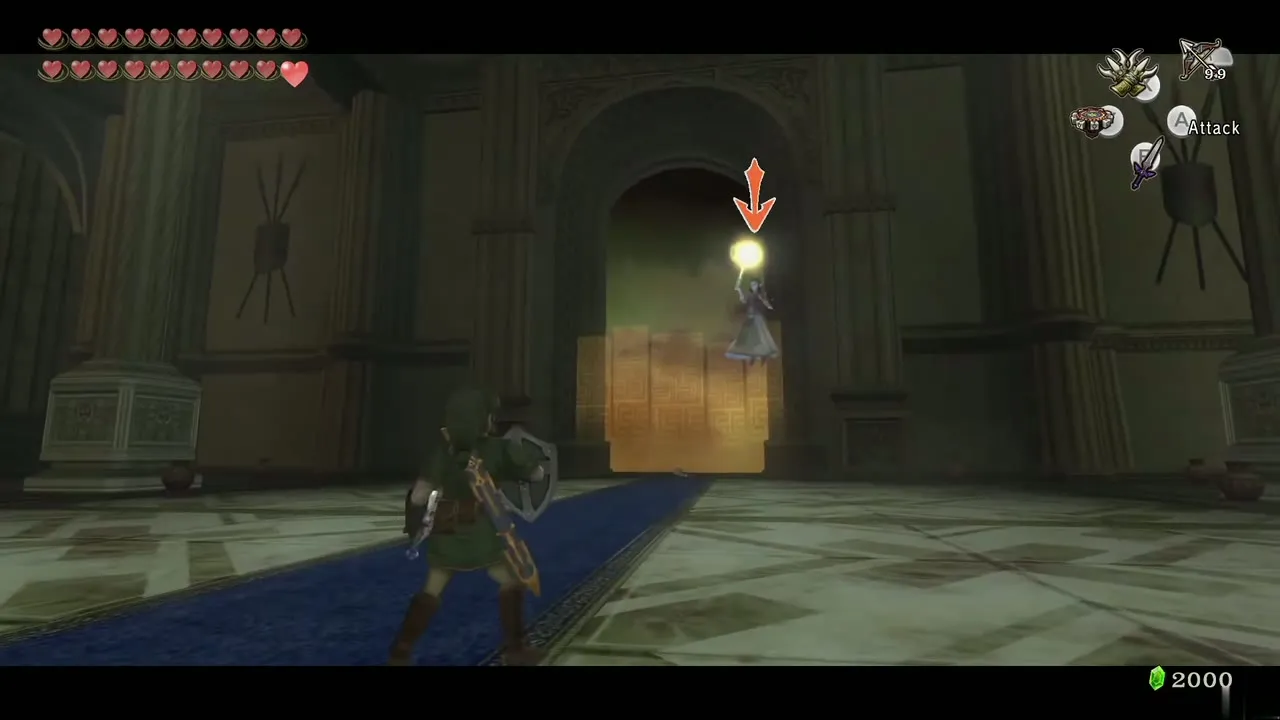
Ganon takes his beast form and charges at you and warps between portals. Stop a charge with an arrow to the forehead or a swing of the Ball and Chain; it stumbles and falls. Switch to the wolf, grab it and flip it so that its belly is exposed, then slash the belly or use the Mortal Draw. It gets up angrier and warps out of portals; watch for the portal it comes through and repeat. When it falls Midna draws away its remaining power, at great cost to herself.
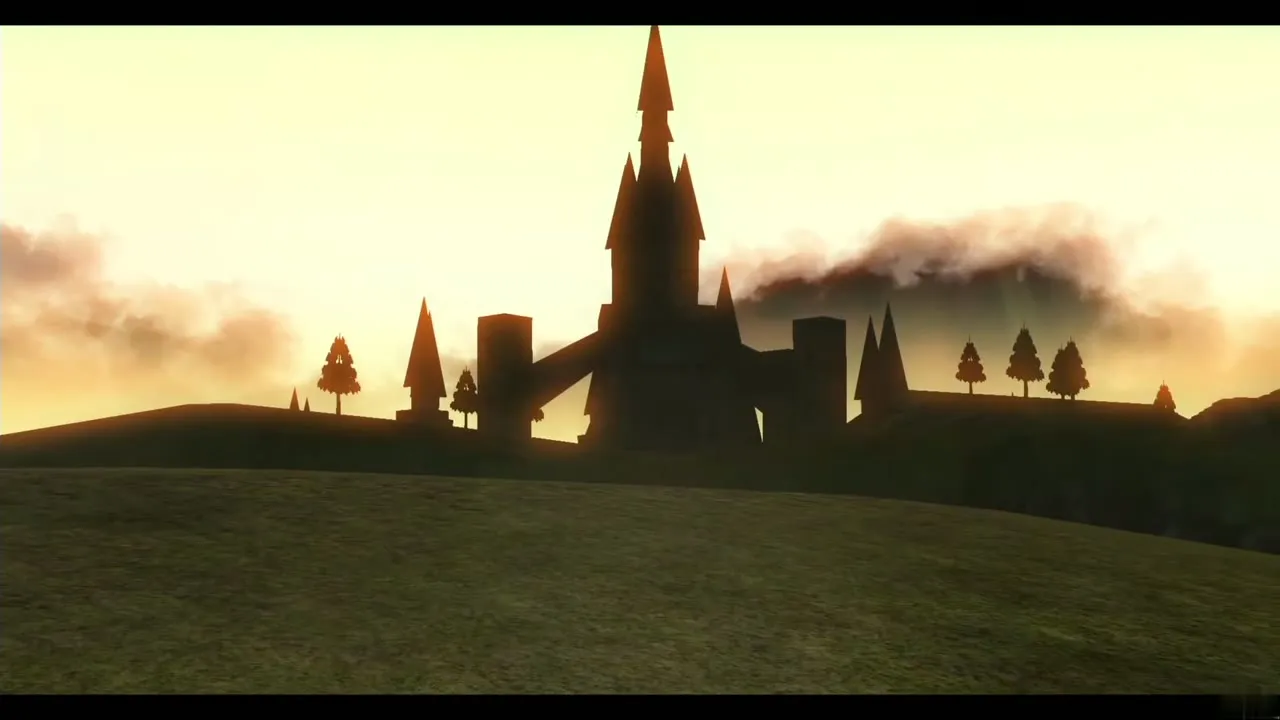
Dark Rider Ganondorf
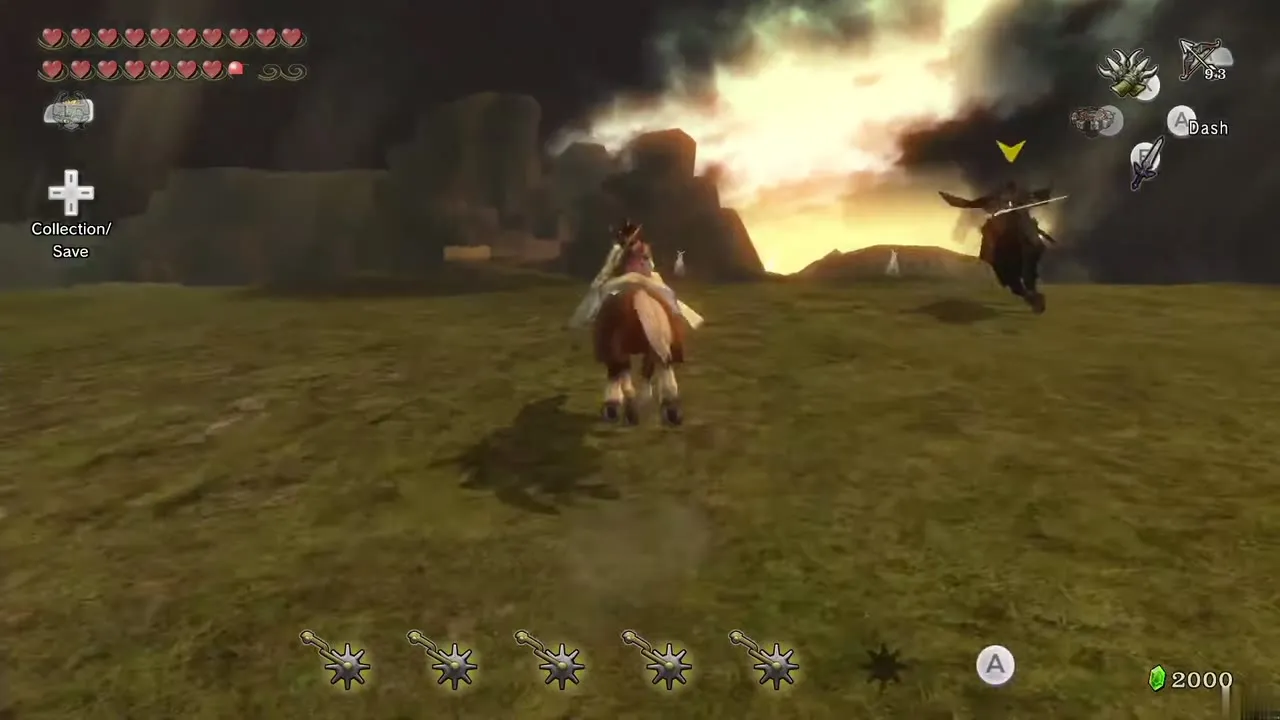
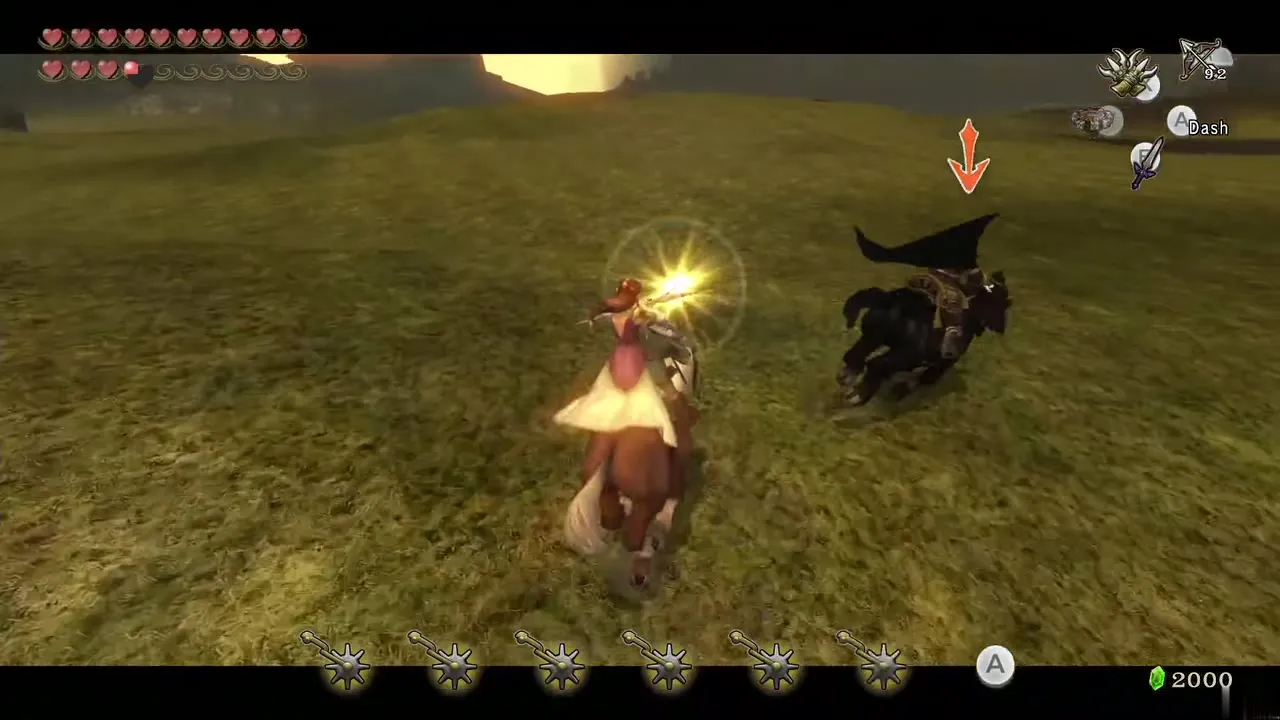
Final boss, phase 3, Hyrule Field. Chapter: Hyrule Castle. Requires: Epona, sword. Reward: Ganondorf is unhorsed.
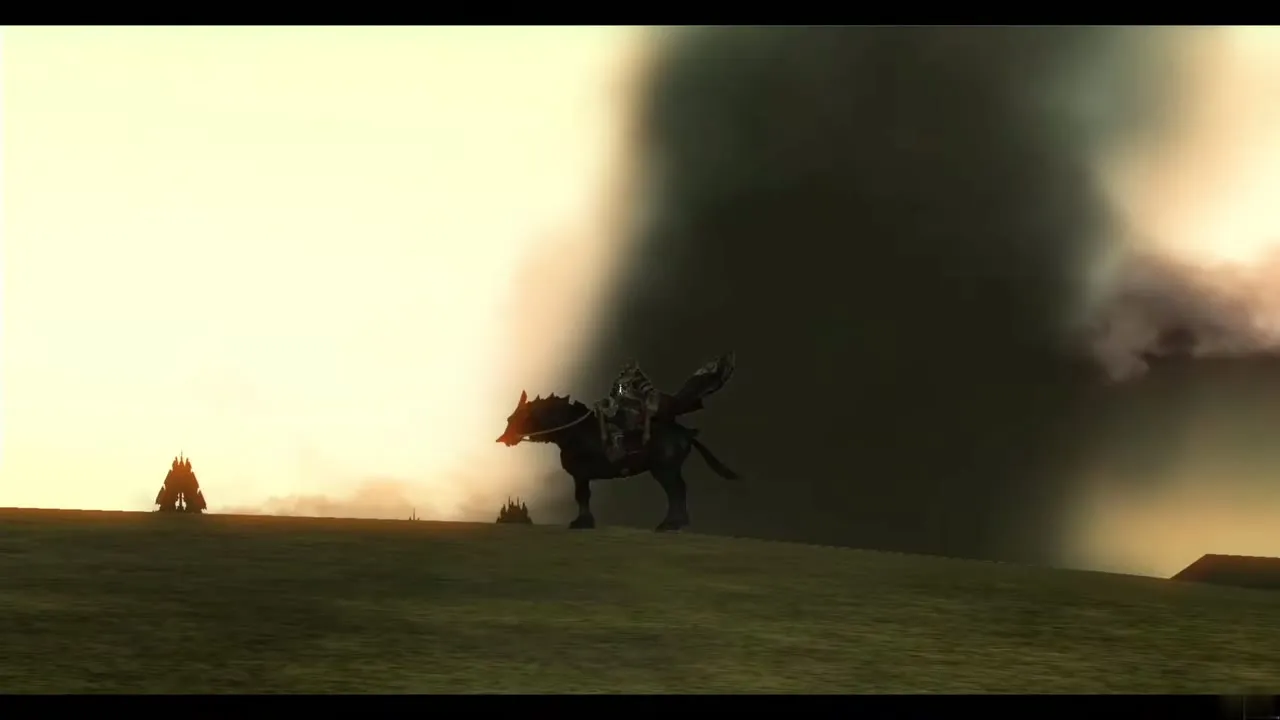
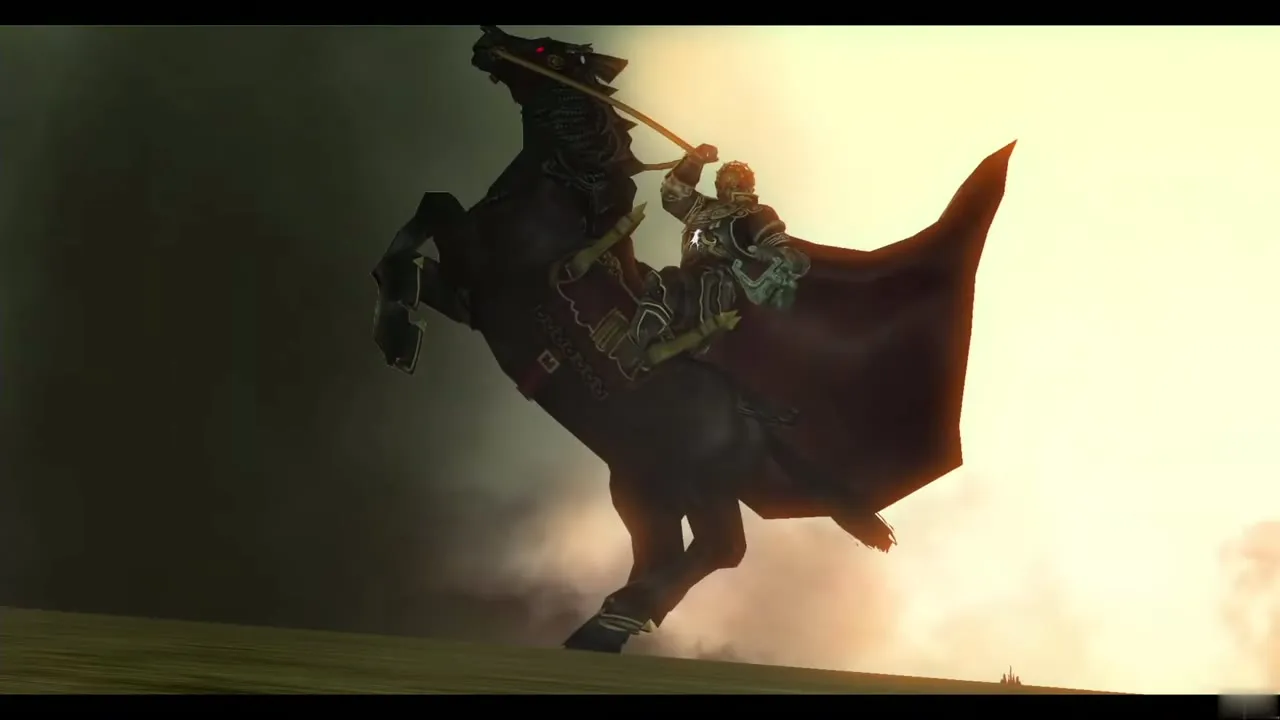
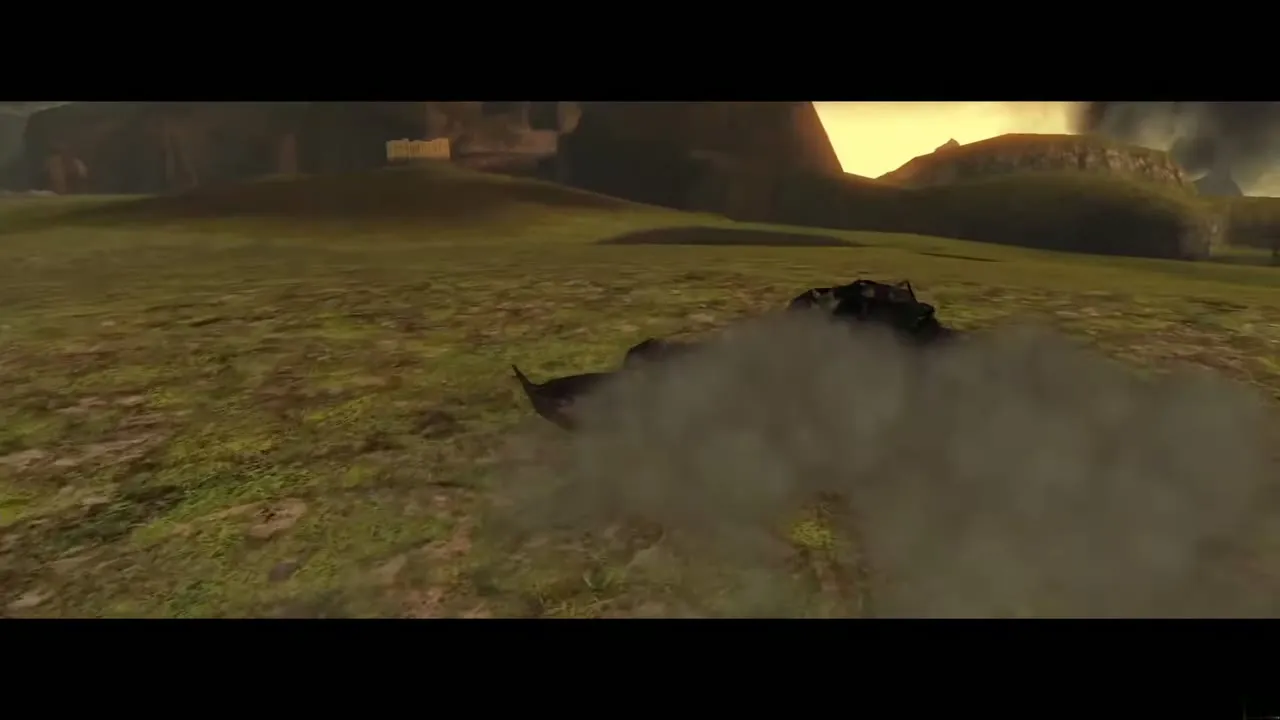
Link and Zelda ride after Ganondorf across the field, with Zelda firing Light Arrows. Ride after him, dodge his sword swing by dashing to his left, and aim Epona at him when Zelda lines up her shot. When an arrow hits he stops, so close in and use a spin attack. Three of these cycles unhorse him.
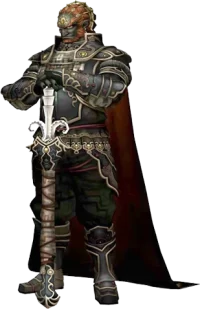
Dark Lord Ganondorf
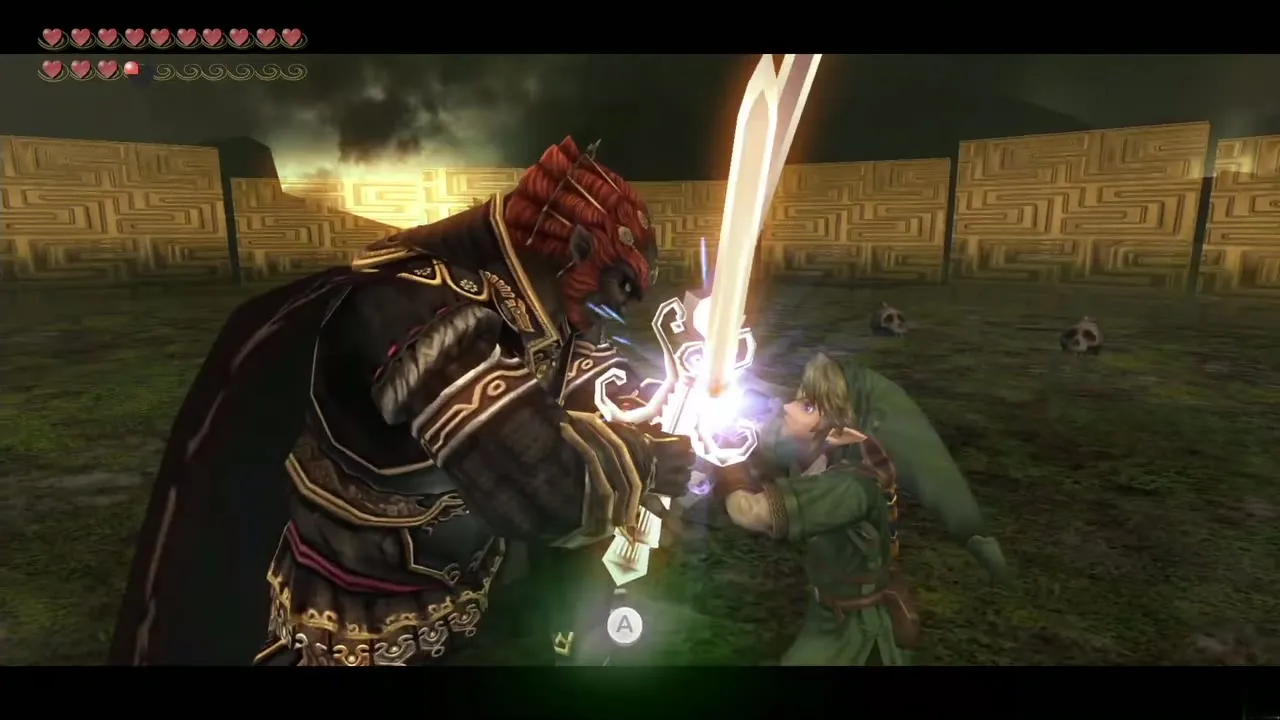
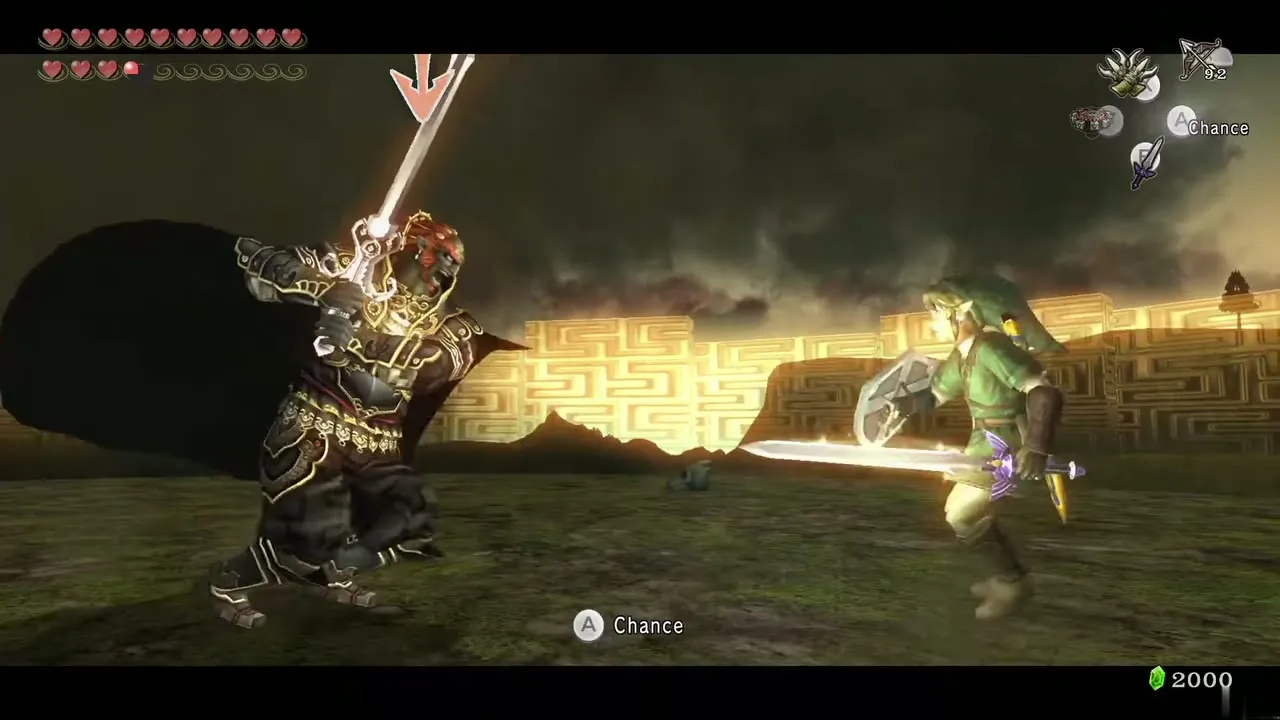
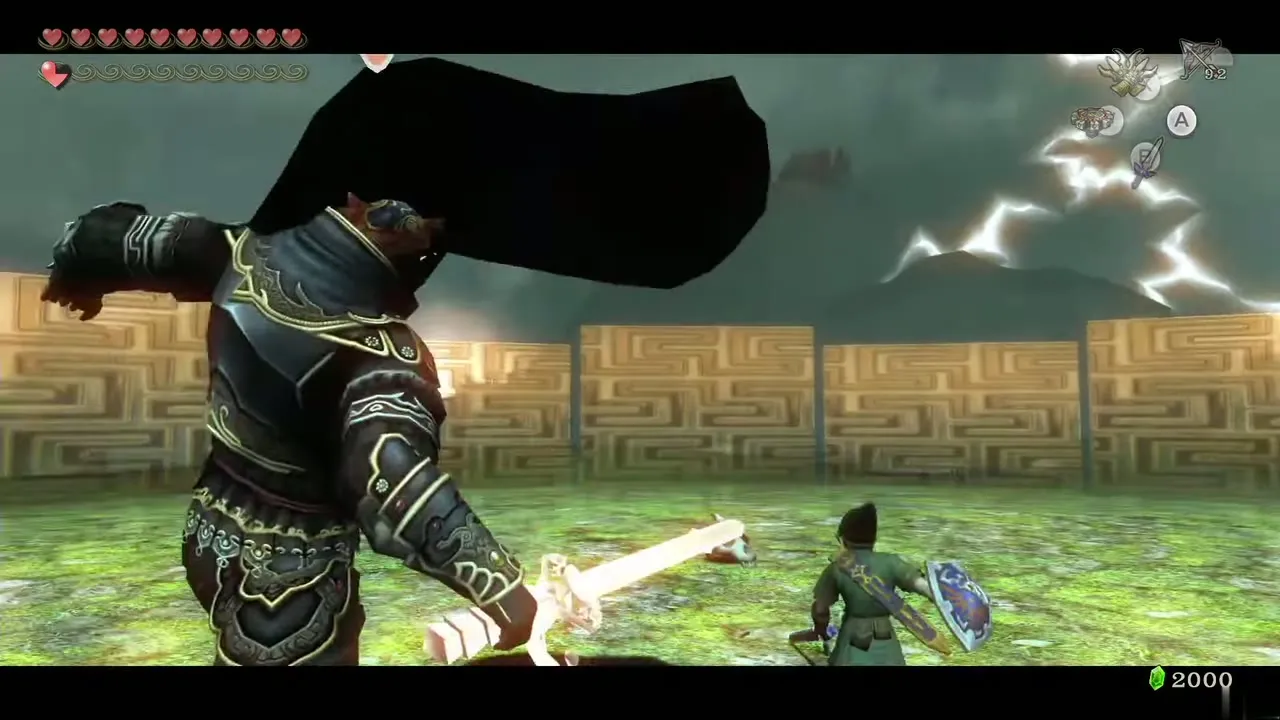
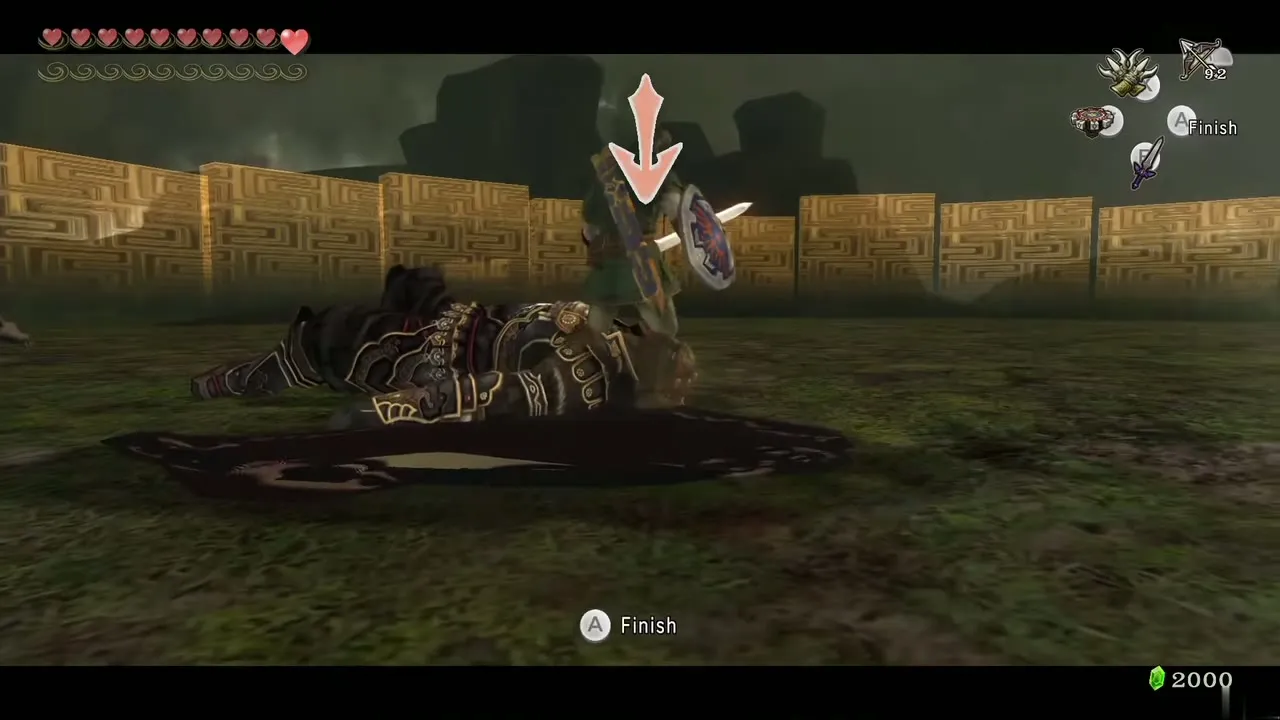
Final boss, phase 4, Hyrule Field. Chapter: Hyrule Castle. Requires: Master Sword. Reward: Ends the game.
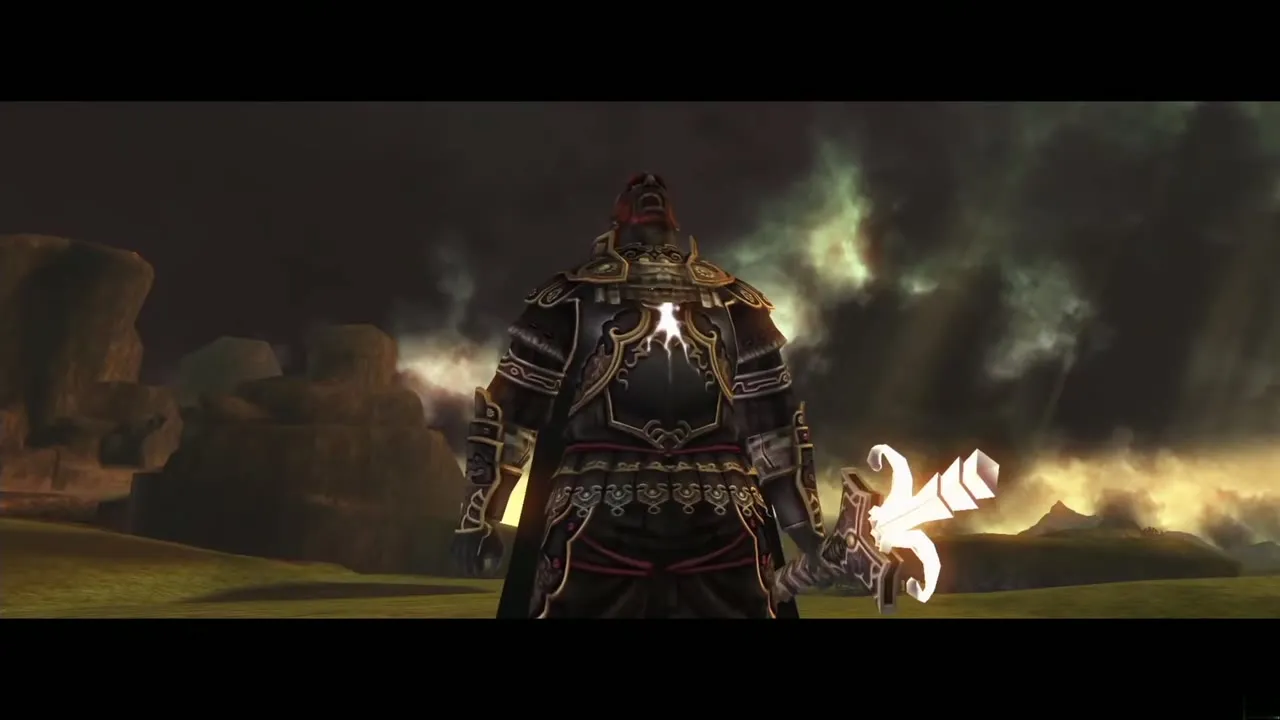
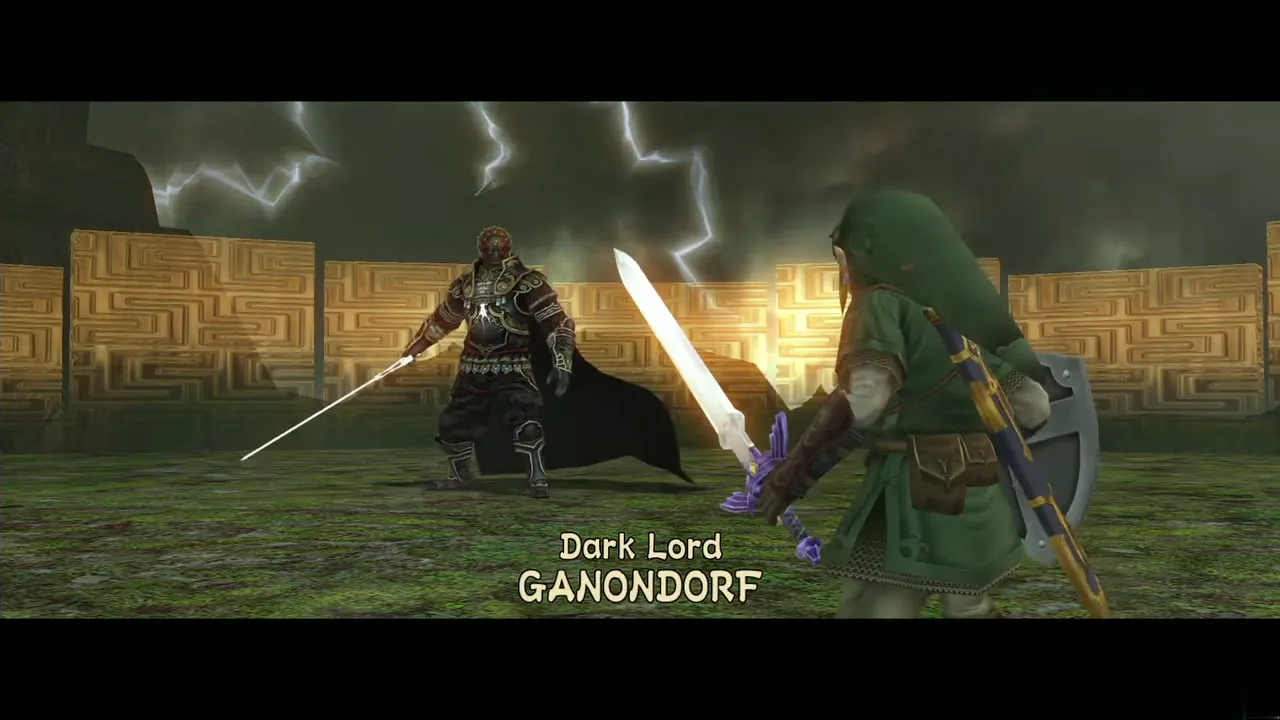
The sword duel needs the Master Sword; the Ordon Sword does nothing to him. Run at him without targeting and do a running slash so that he blocks. While he blocks, run around behind him and attack with a jump attack followed straight away by a spin. Each hit knocks him down; get behind him as he rises and repeat. After three of these, press the button shown to finish him.