| Dungeon bosses | 8, one at the end of each numbered dungeon. Each drops a Heart Container. |
|---|---|
| Mini-bosses | 8 dungeon mini-bosses, plus Facade at Onox’s Castle and the optional Great Moblin. |
| Final bosses | General Onox, then the Dark Dragon Onox (unlinked). Linked games add Koume and Kotake, Twinrova and Ganon. |
| Equipment that matters | Power Bracelet, Roc’s Feather, Roc’s Cape, Magnetic Gloves, Hyper Slingshot and the Rod of Seasons. |
Every dungeon in Oracle of Seasons ends with a boss, and each one sits behind a boss door that needs the Boss Key. Each dungeon also has a mini-boss earlier in the route. The boss gives a Heart Container, and the essence sits in a chamber beyond the room. Onox’s Castle is the exception, since it has no essence. Onox has two forms, and the linked game adds Twinrova and Ganon at the very end.
Table of Contents
Quick reference
| Dungeon | Mini-boss | Boss | Drops |
|---|---|---|---|
| 1. Gnarled Root Dungeon | Goriya brothers | Aquamentus | Heart Container, Fertile Soil |
| 2. Snake’s Remains | Facade | Dodongo | Heart Container, Gift of Time |
| 3. Poison Moth’s Lair | Three Omuai | Mothula | Heart Container, Bright Sun |
| 4. Dancing Dragon Dungeon | Agunima | Gohma | Heart Container, Soothing Rain |
| 5. Unicorn’s Cave | Syger | Digdogger | Heart Container, Nurturing Warmth |
| 6. Ancient Ruins | Vire | Manhandla | Heart Container, Blowing Wind |
| 7. Explorer’s Crypt | Poe Sisters | Gleeok | Heart Container, Seed of Life |
| 8. Sword and Shield Maze | Frypolar | Medusa Head | Heart Container, Changing Seasons |
| Great Moblin’s Keep (optional) | None | Great Moblin | Heart Piece, no container |
| Onox’s Castle | Facade | General Onox, then Dark Dragon Onox | Frees Din; no essence |
Dungeon bosses and mini-bosses
Aquamentus (Gnarled Root Dungeon)
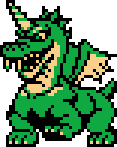
Aquamentus is a horned dragon. Walk east through the last room, unlock the north boss door with the Boss Key and strike the horn while it spits its three fireballs. It also charges. Stand on the upper side of the room so you can reach the horn. Its Heart Container appears when it falls.
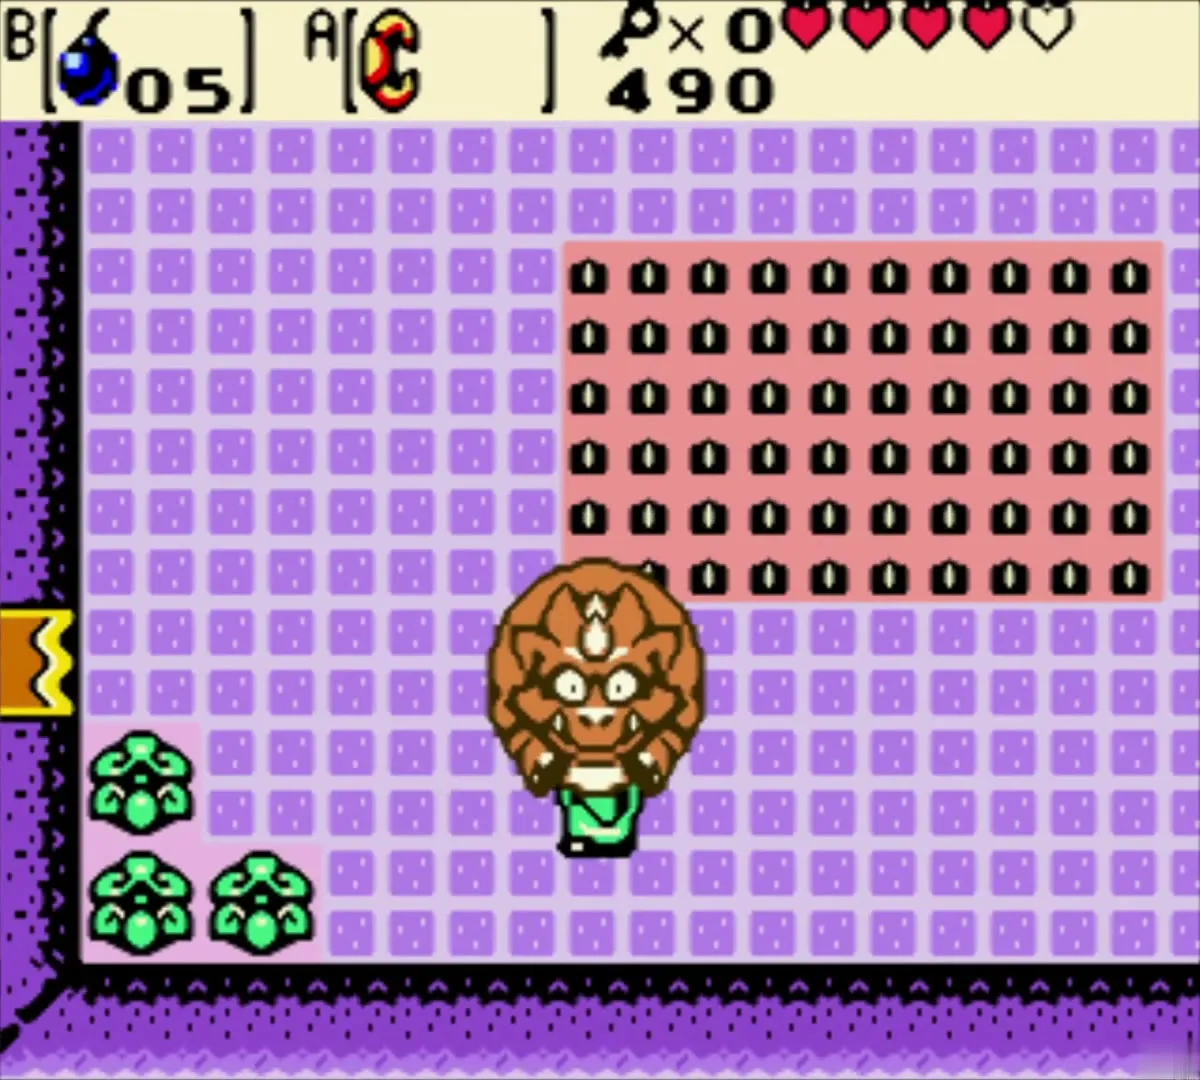
Dodongo (Snake’s Remains)
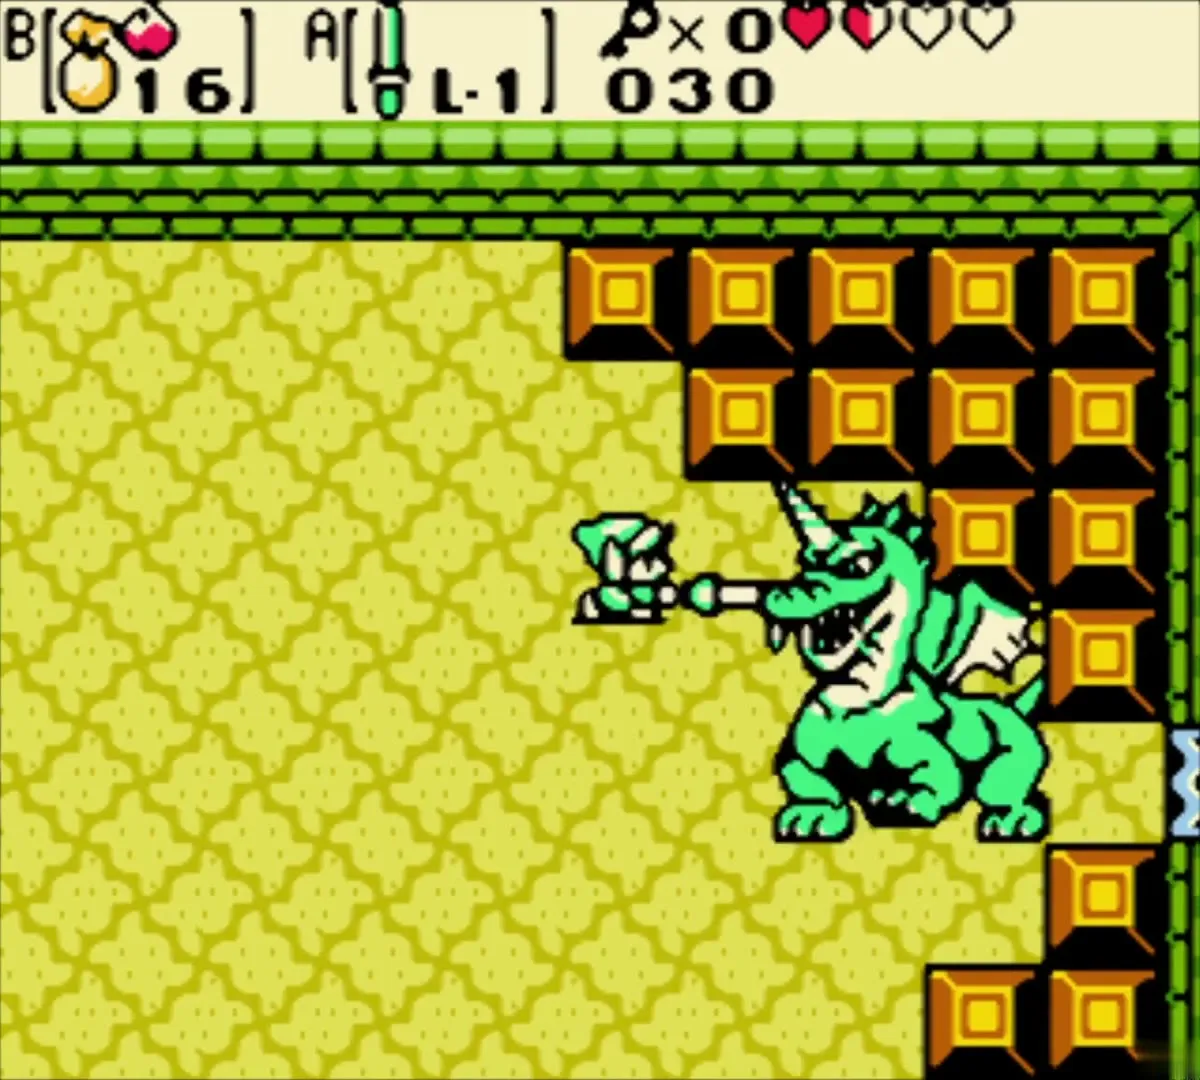
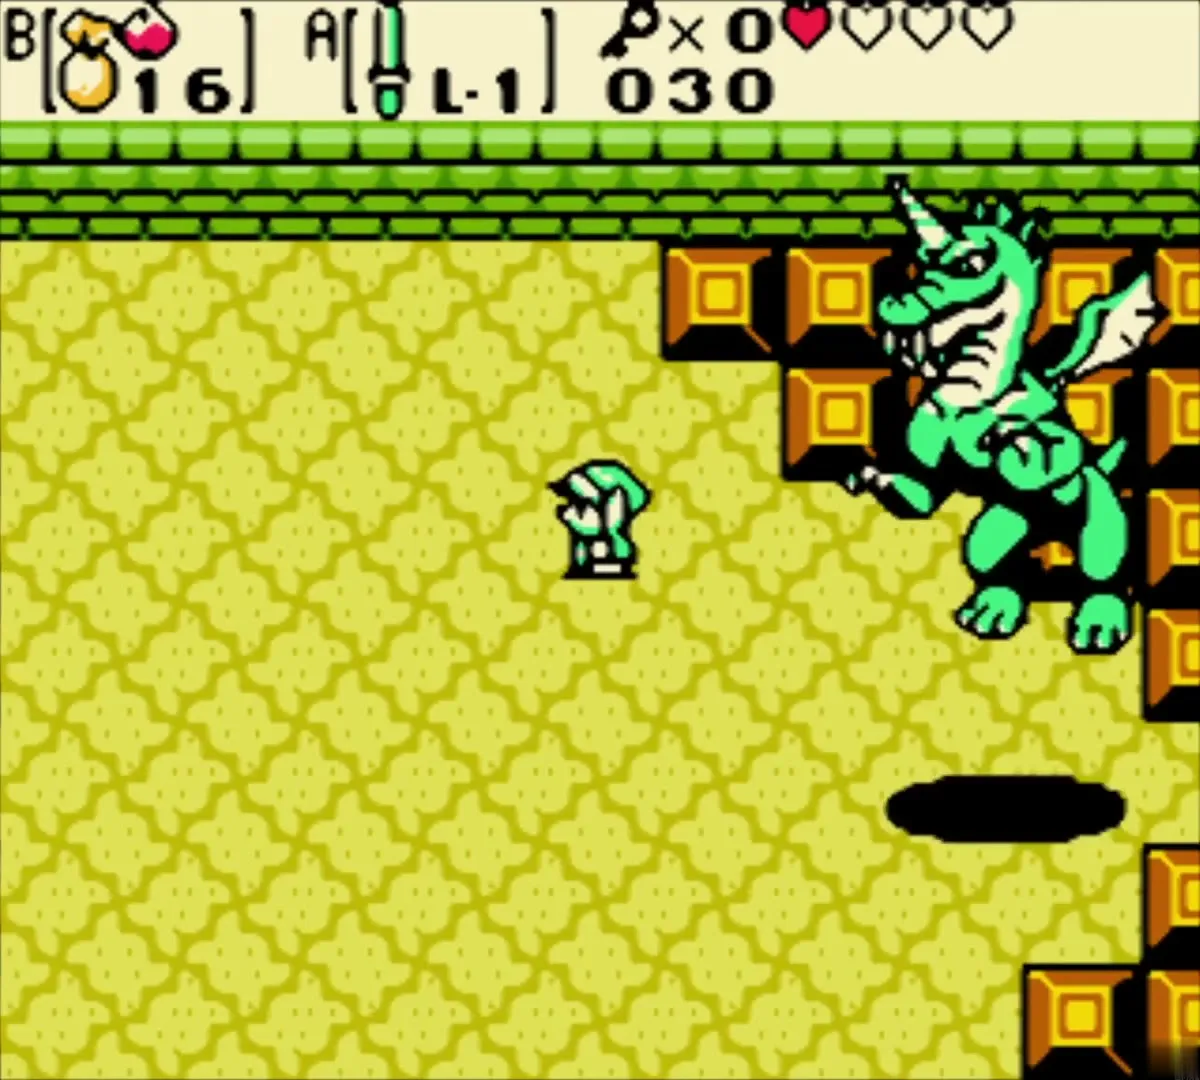
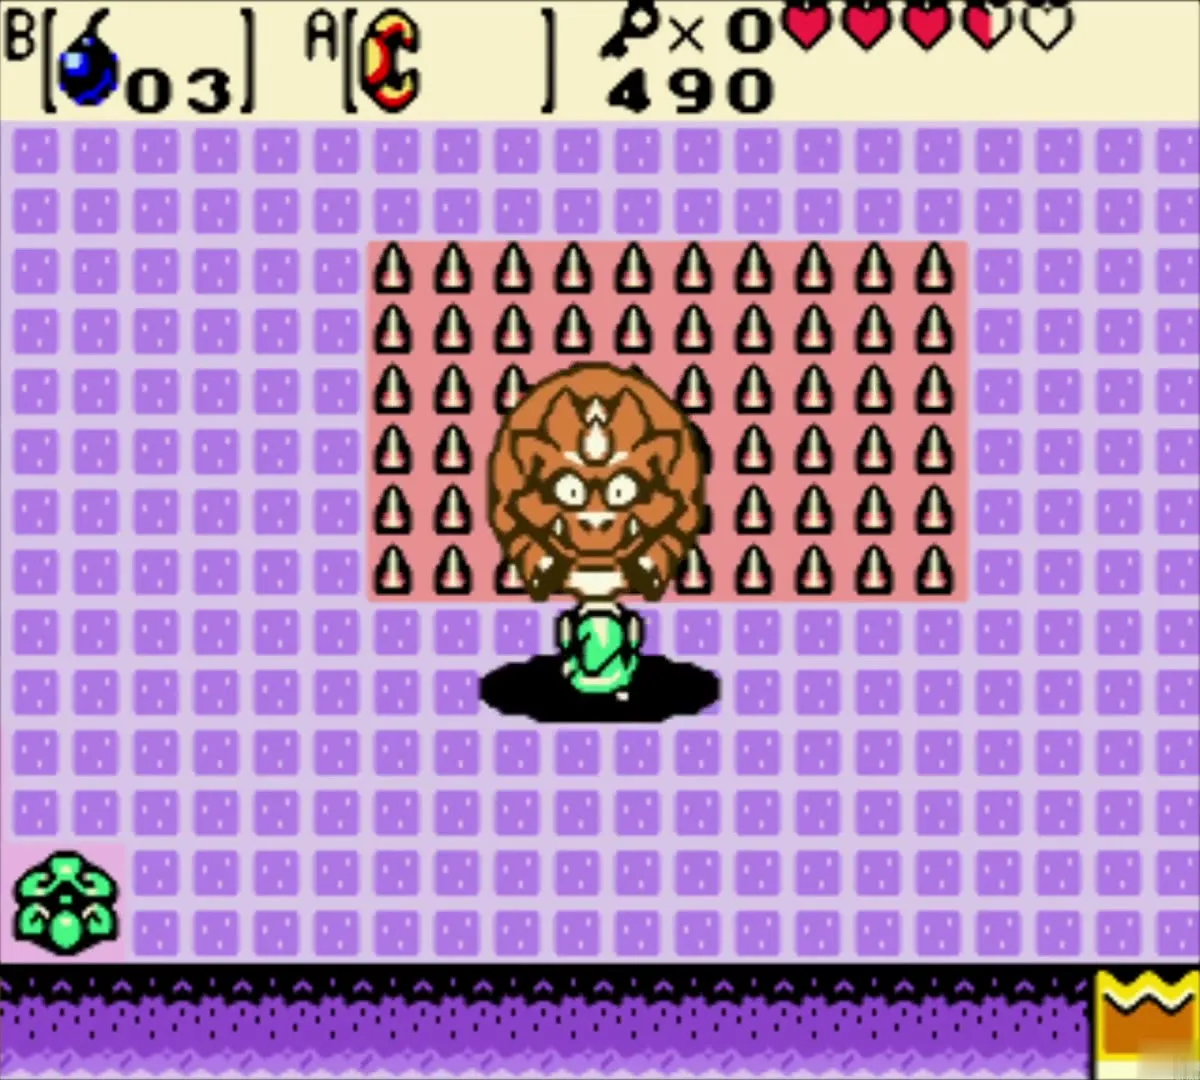
Dodongo breathes fire, so drop a bomb into its mouth as it inhales. The blast swells it, and you can lift it with the Power Bracelet and throw it onto the spikes. Repeat this until it is defeated. Its Heart Container drops, and the Gift of Time essence sits on the platform south of the boss room. Facade, the mini-boss, sits earlier in the dungeon.
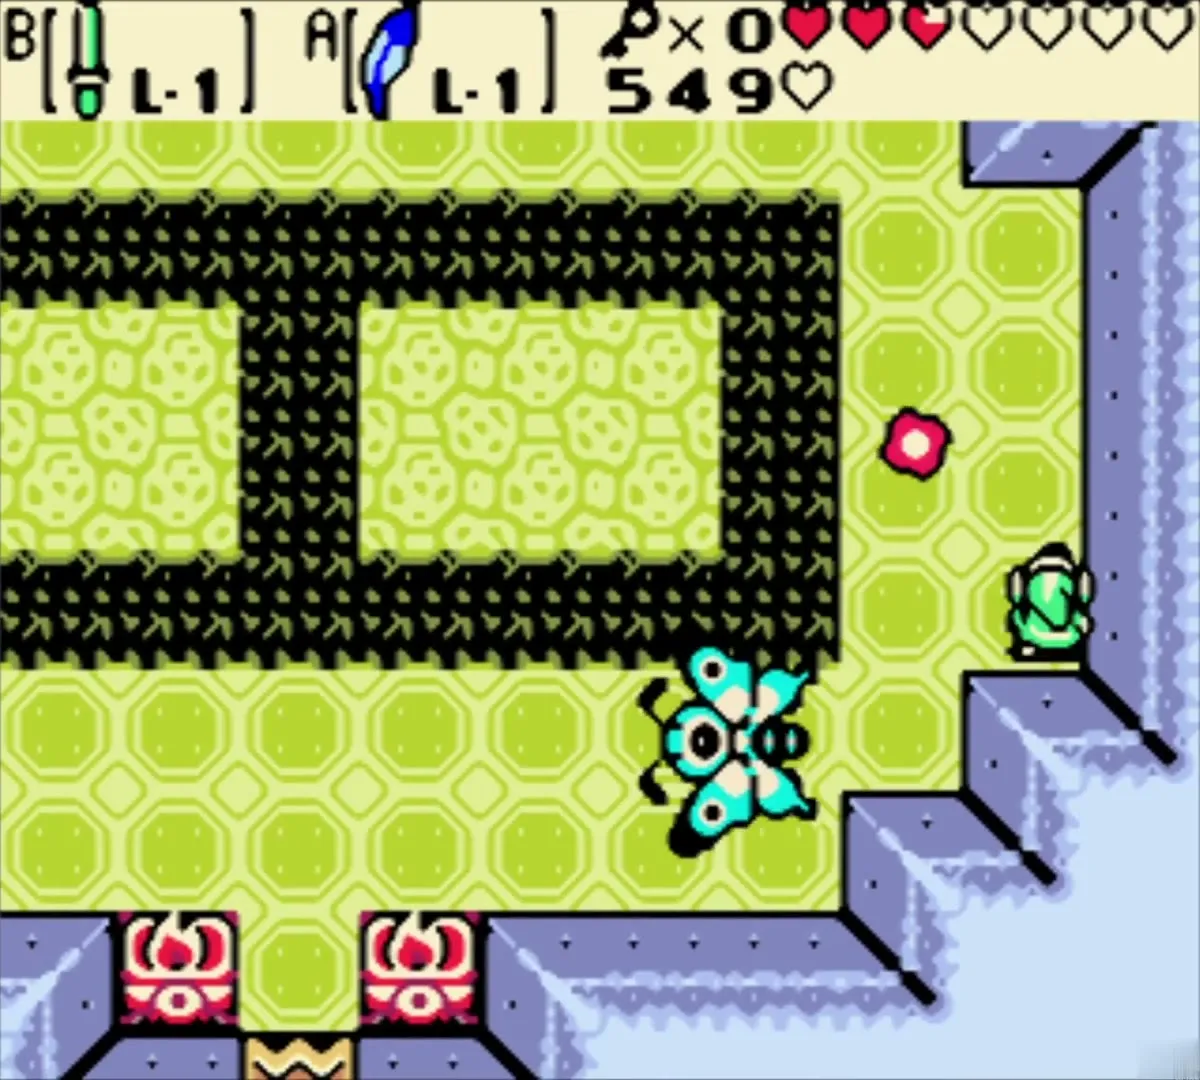
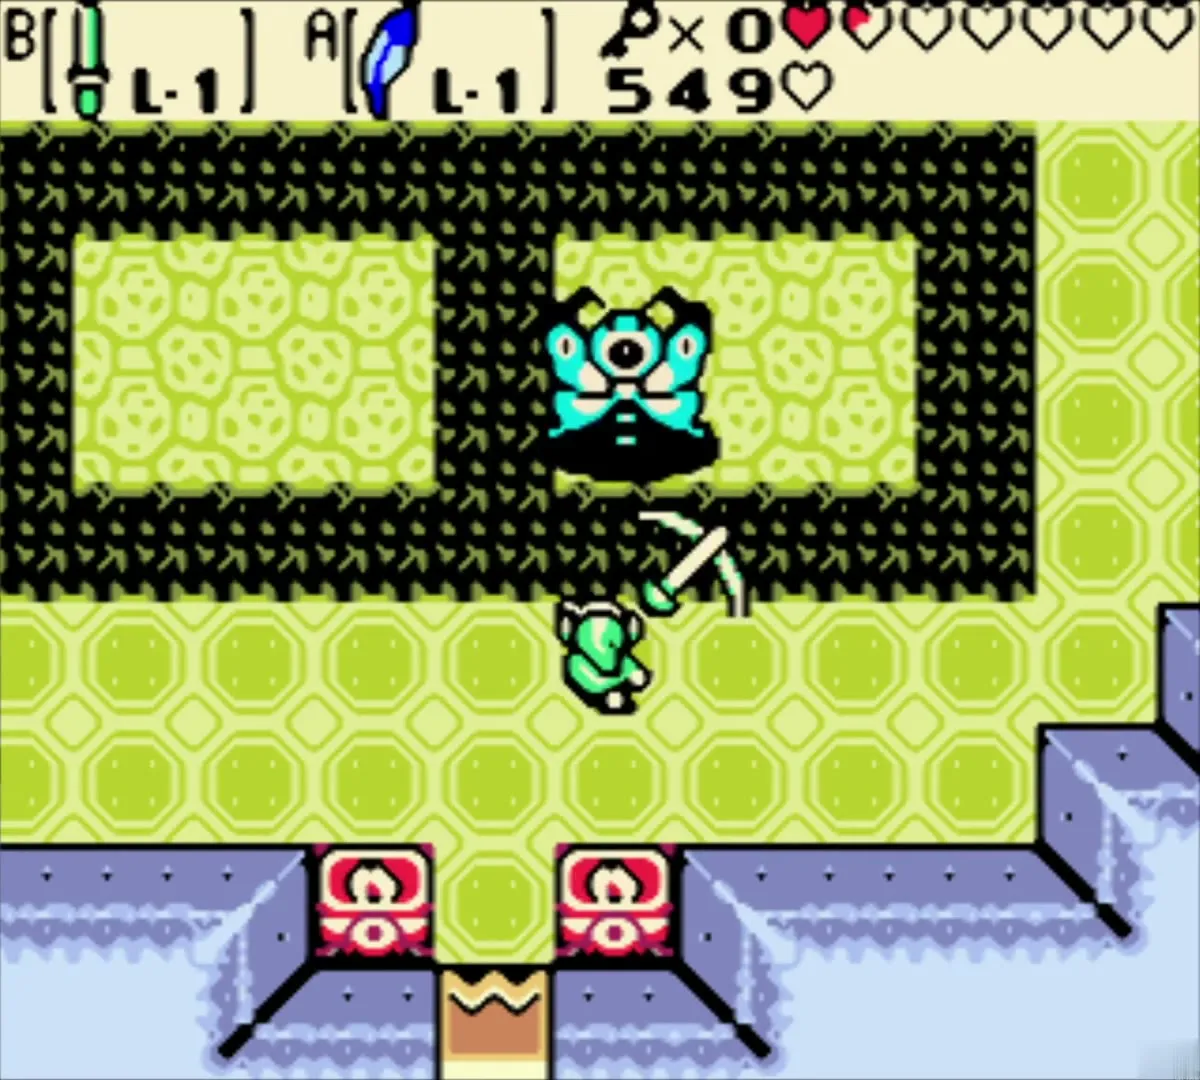
Mothula (Poison Moth’s Lair)
Mothula fires projectiles from the middle of the room. Use your shield to block them and strike when it rests its wings. Mini-Mothulas appear during the fight, so defeat them quickly to collect the hearts they drop. Its Heart Container appears, and the Bright Sun essence is in the room above the boss room. The mini-boss before it is the three Omuai, which you haul out of their pool with the Power Bracelet.
Gohma (Dancing Dragon Dungeon)
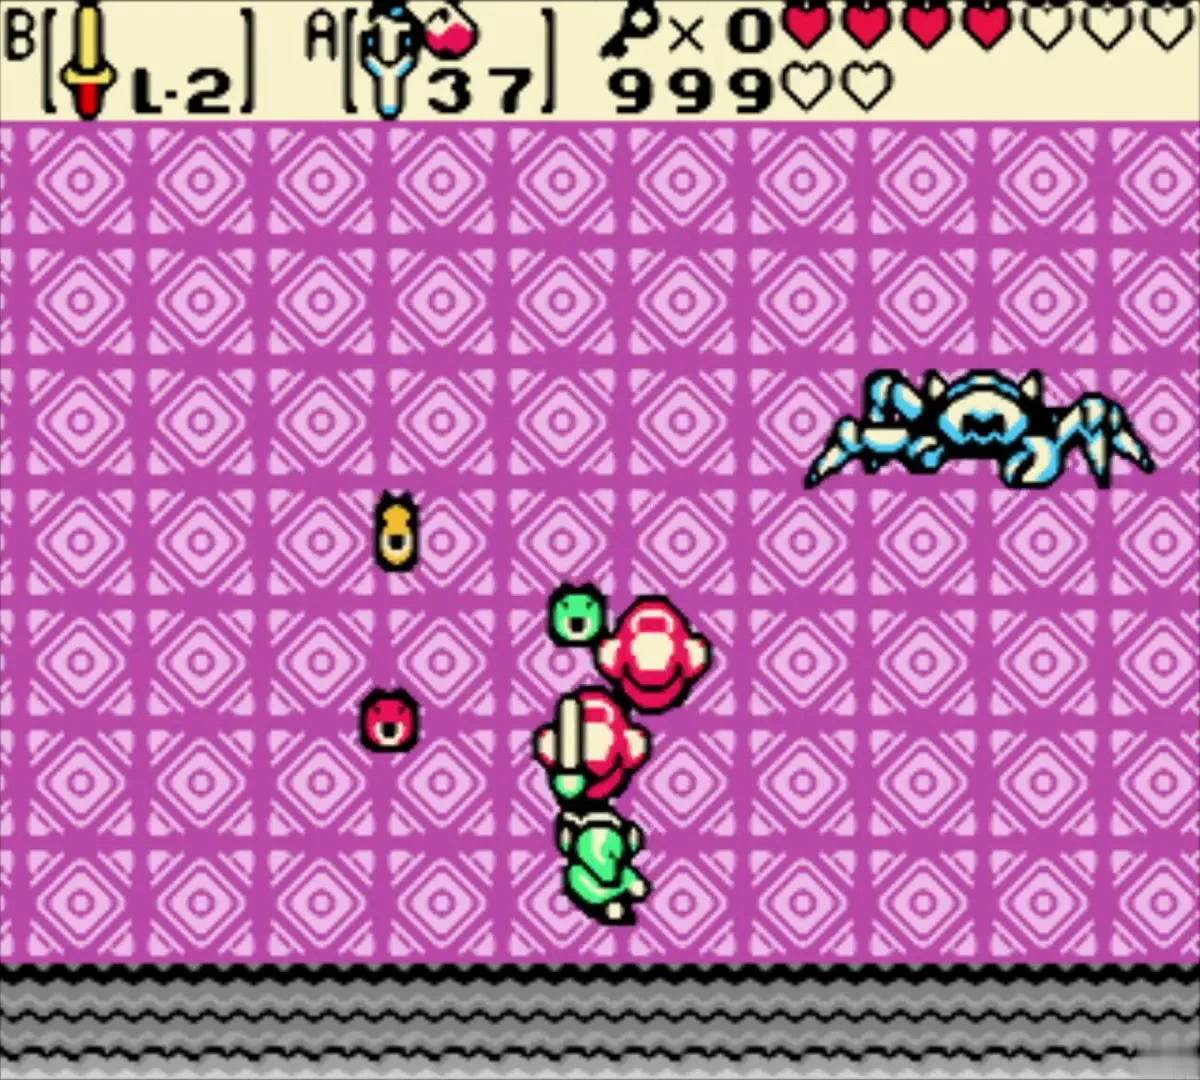
Gohma waits behind the boss door, which you unlock with the Boss Key from the eye-shaped pool. Its Heart Container floats down when Gohma falls. The essence room is past the boss, reached along the diamond-tiled path. Agunima, the three-bodied mini-boss, comes earlier in the dungeon, and the Slingshot you win there lights the torches on the way.
Digdogger (Unicorn’s Cave)
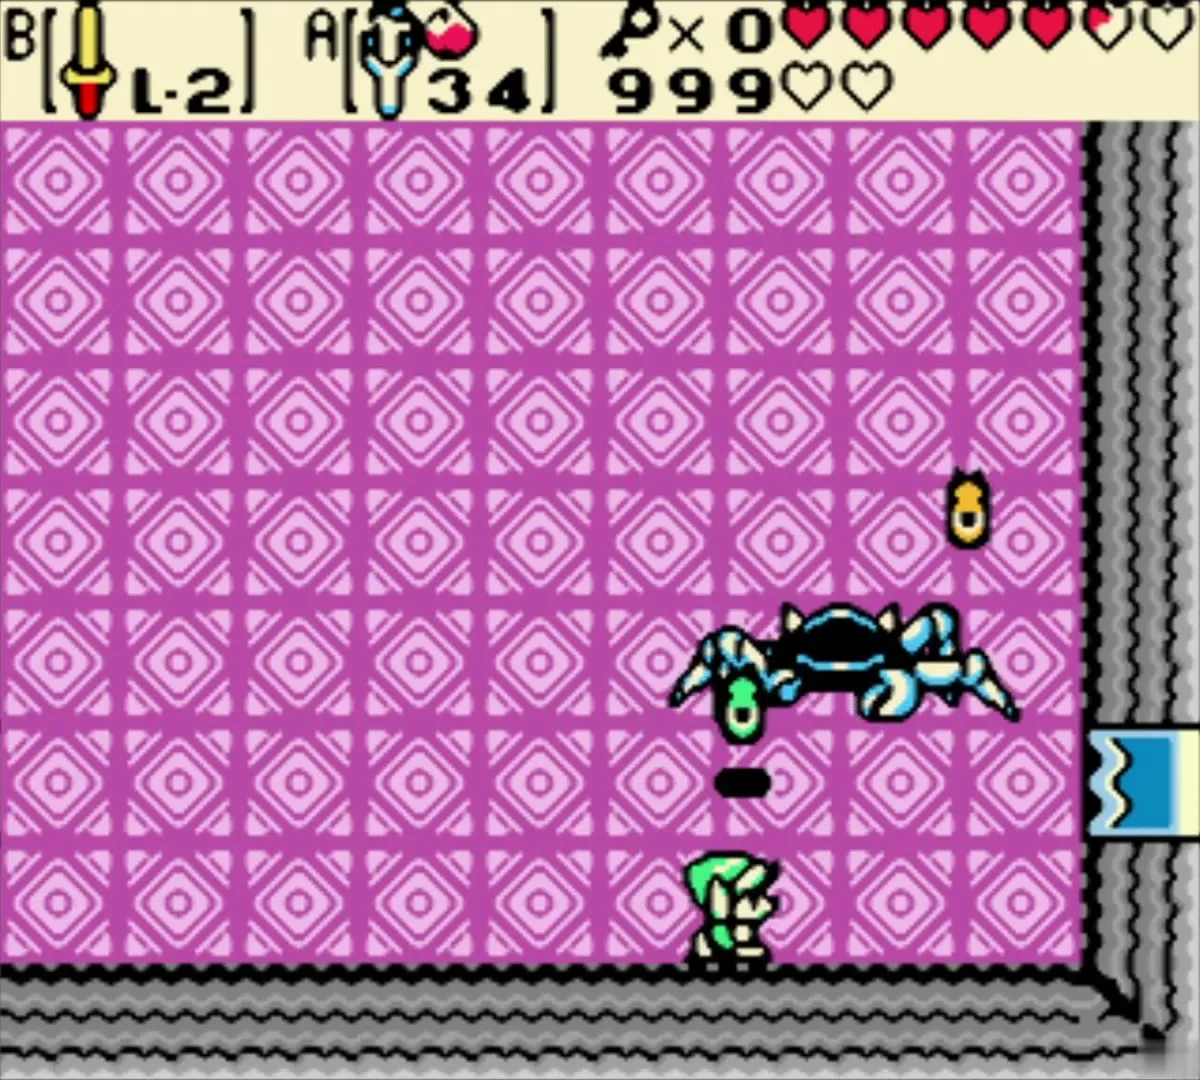
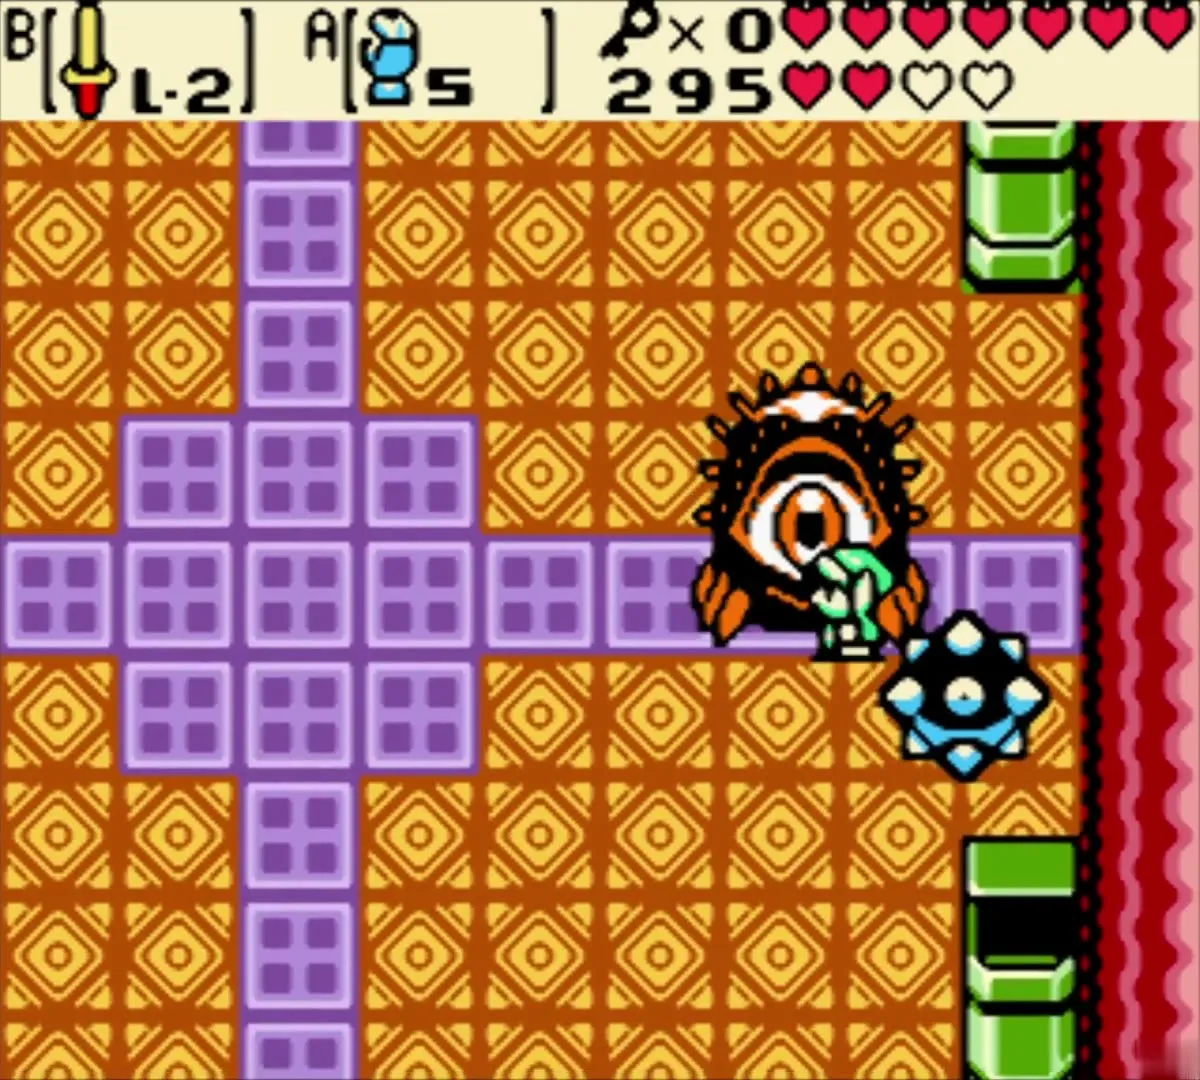
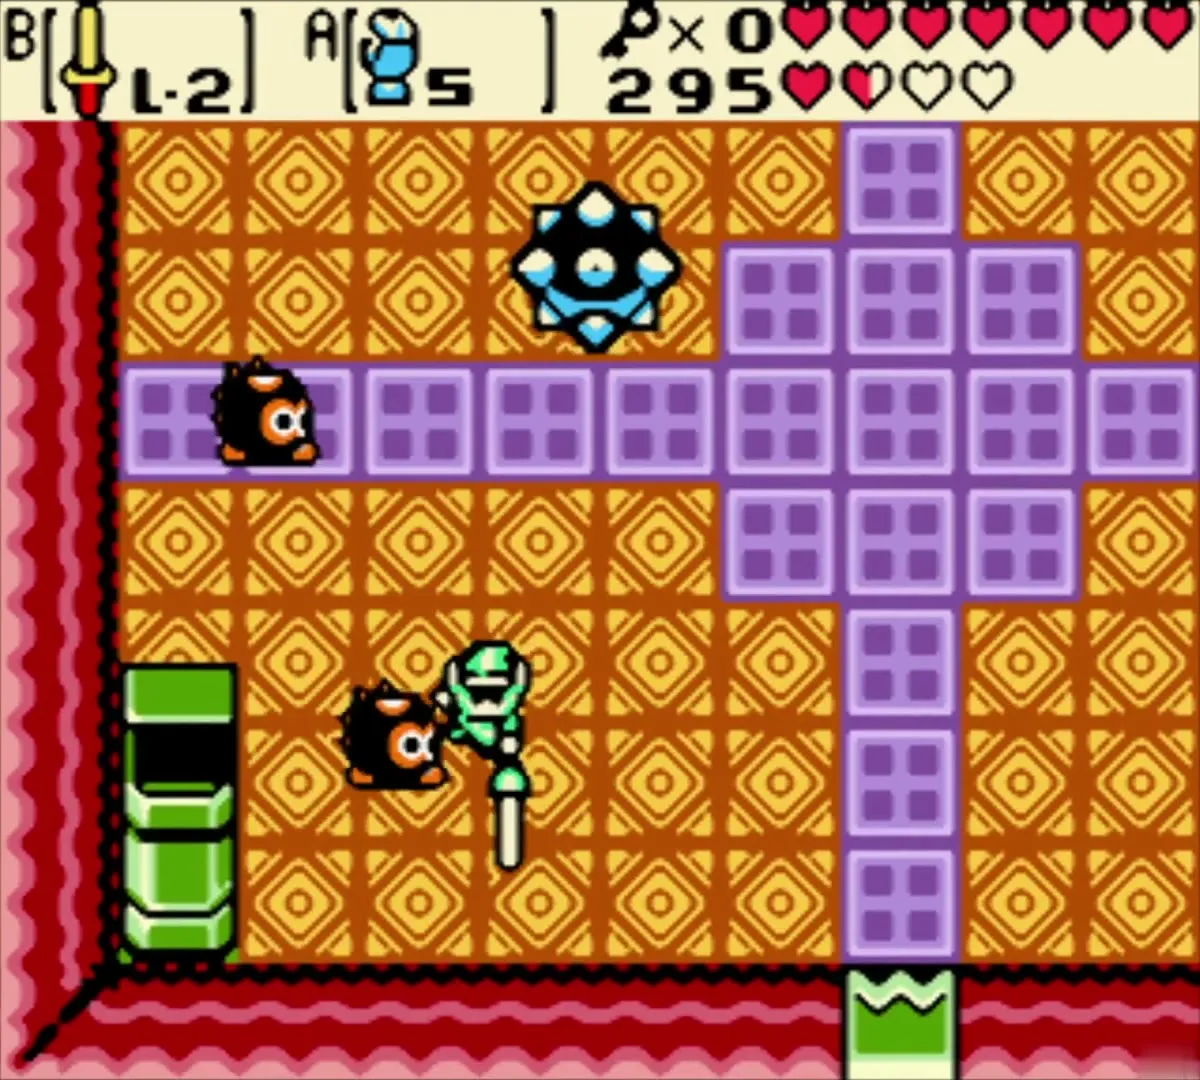
Digdogger is a giant urchin that bounces around a diamond-patterned room. Only its spiked ball hurts it. Equip the Magnetic Gloves, pull the ball toward you and repel it into the boss. Hit it about four times and it splits into small creatures. Defeat them with your sword or the ball. Syger is the mini-boss earlier in the cave. The Heart Container and the Nurturing Warmth essence come after the fight.
Manhandla (Ancient Ruins)
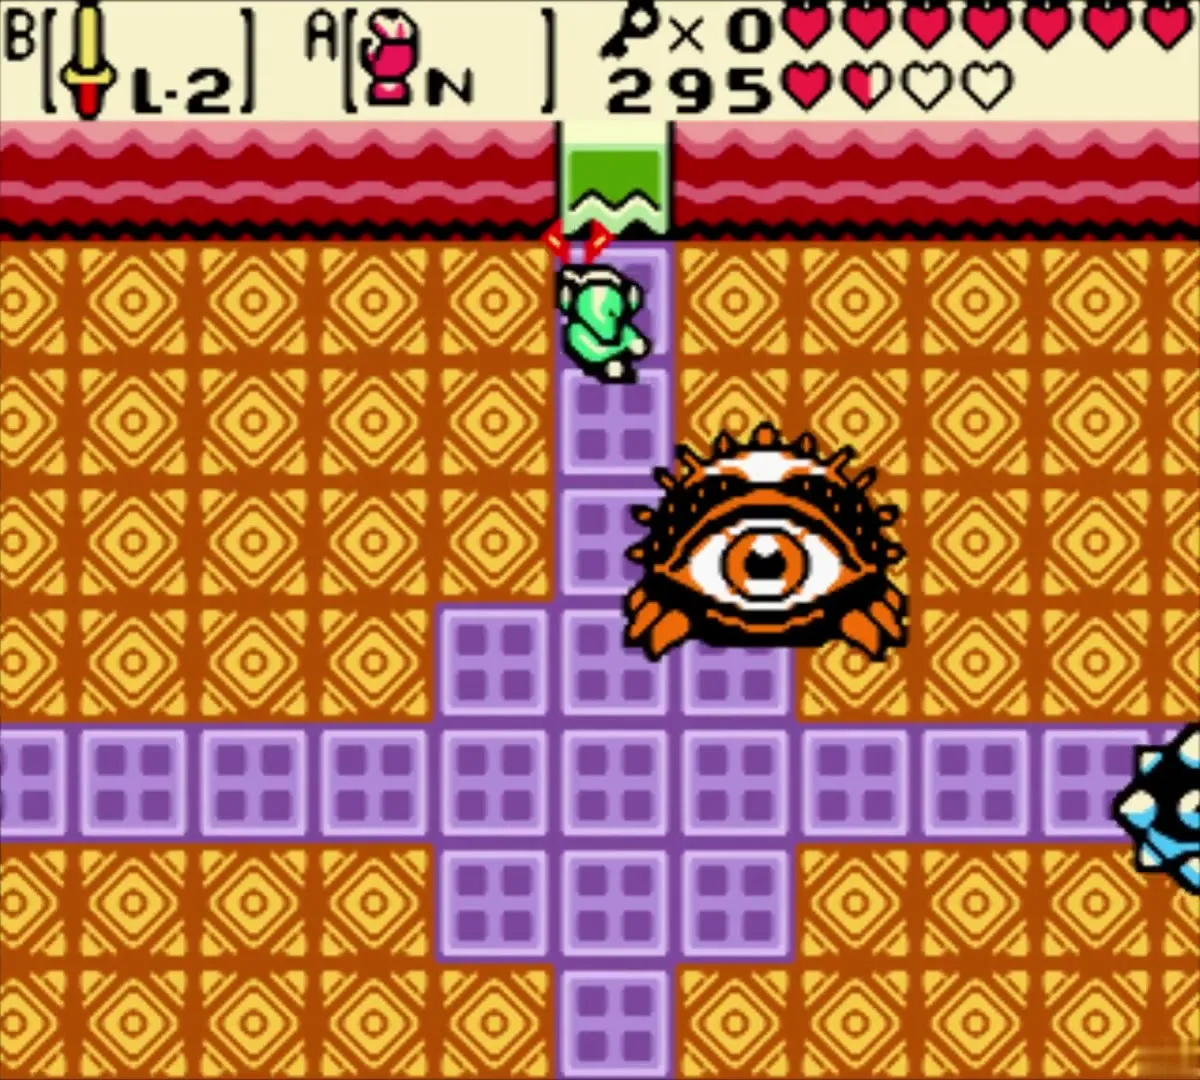
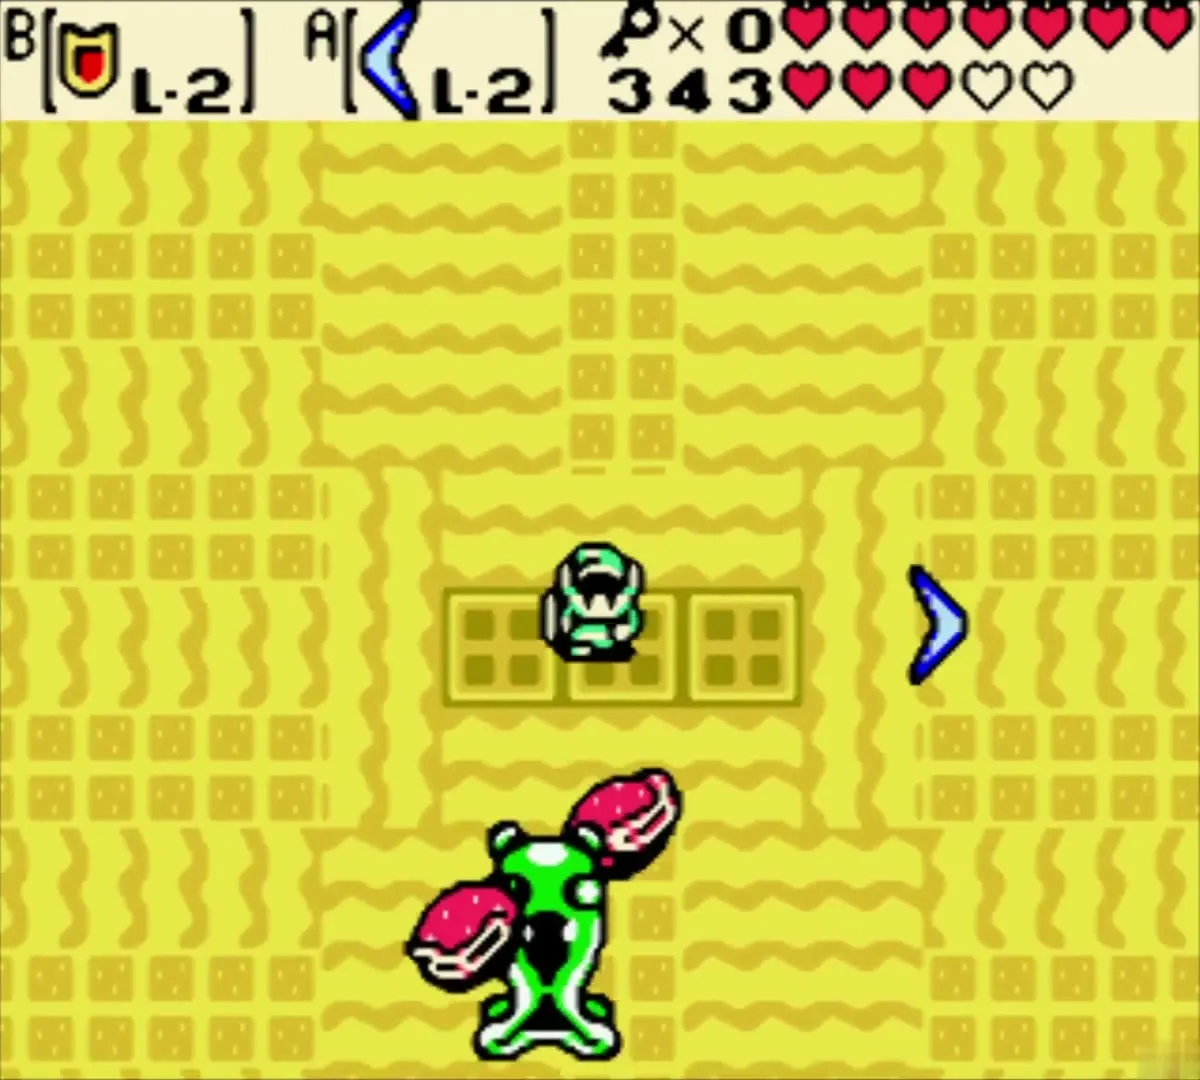
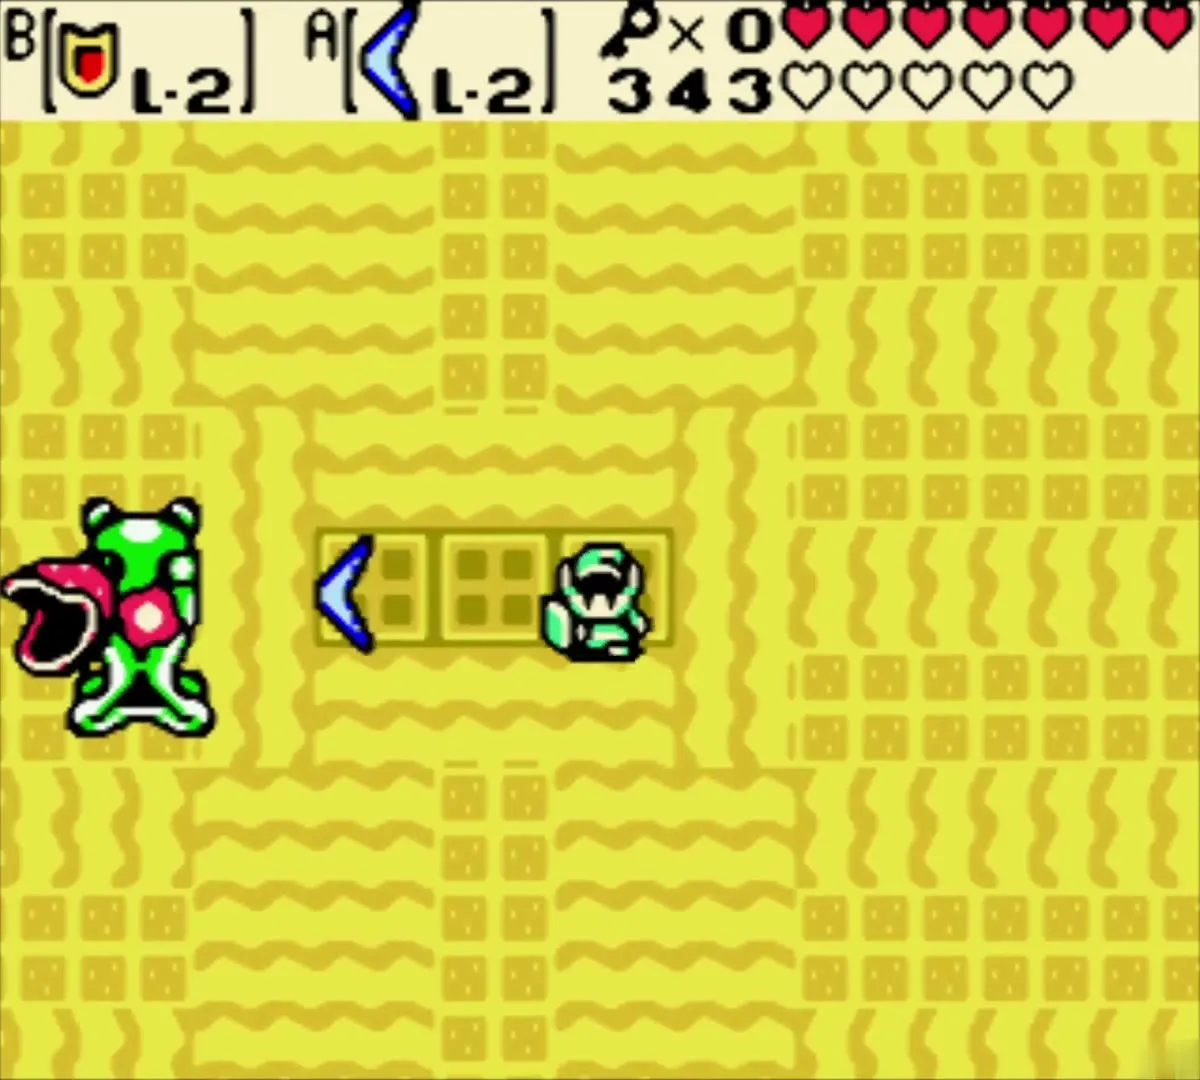
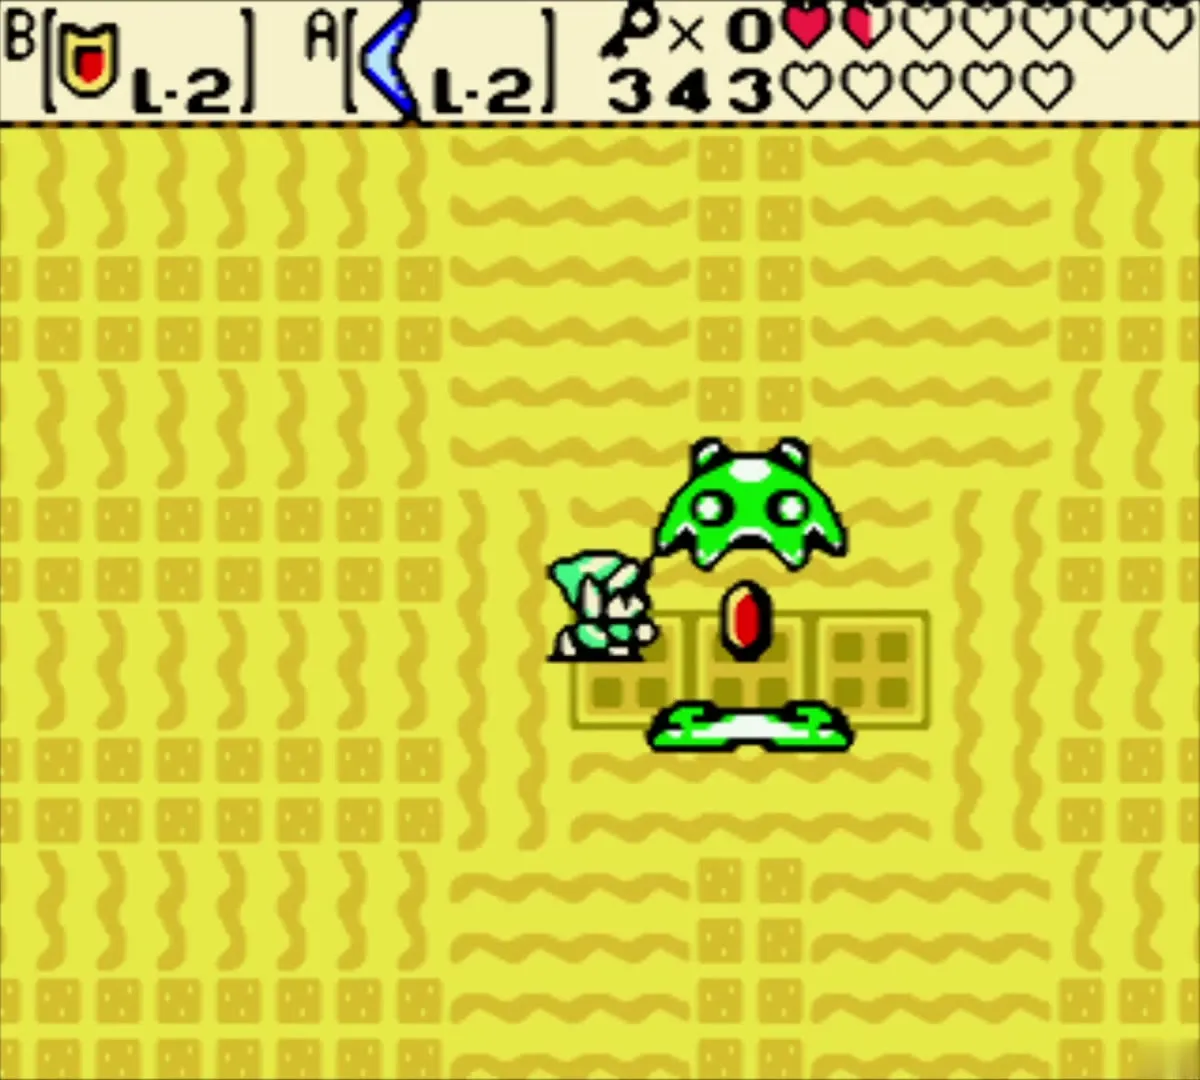
Manhandla has blooms around its body. Hit each bloom with the Magical Boomerang three times to clear it. Then throw the boomerang at the beast itself to open it up and expose the core. Strike the core with your sword until it closes again, then repeat. Vire, the mini-boss, is earlier in the dungeon. The Heart Container drops in the boss room, and the Blowing Wind essence waits on the altar above.
Gleeok (Explorer’s Crypt)
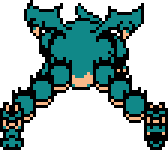
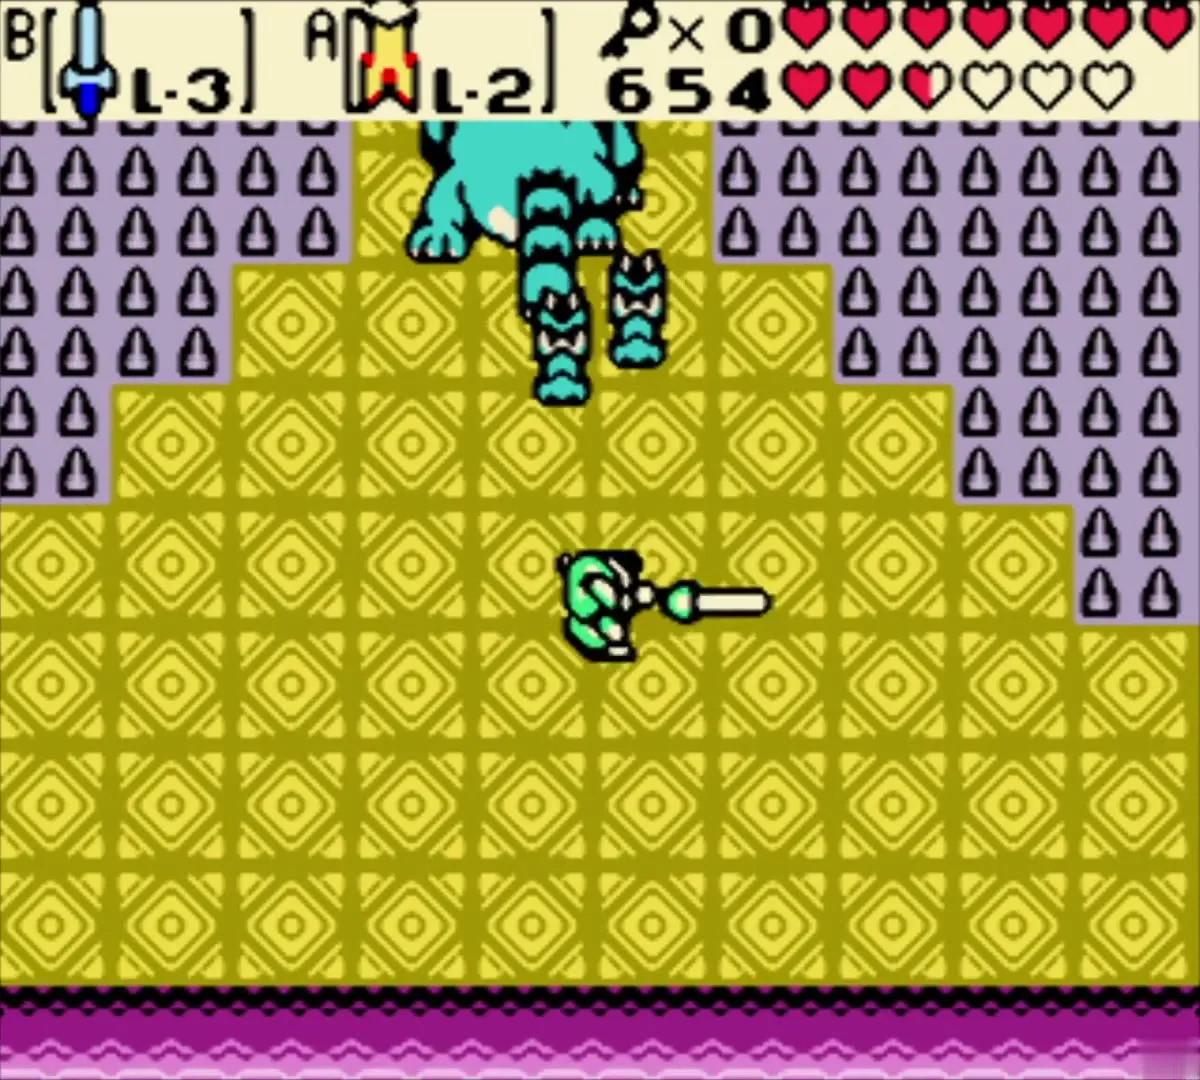
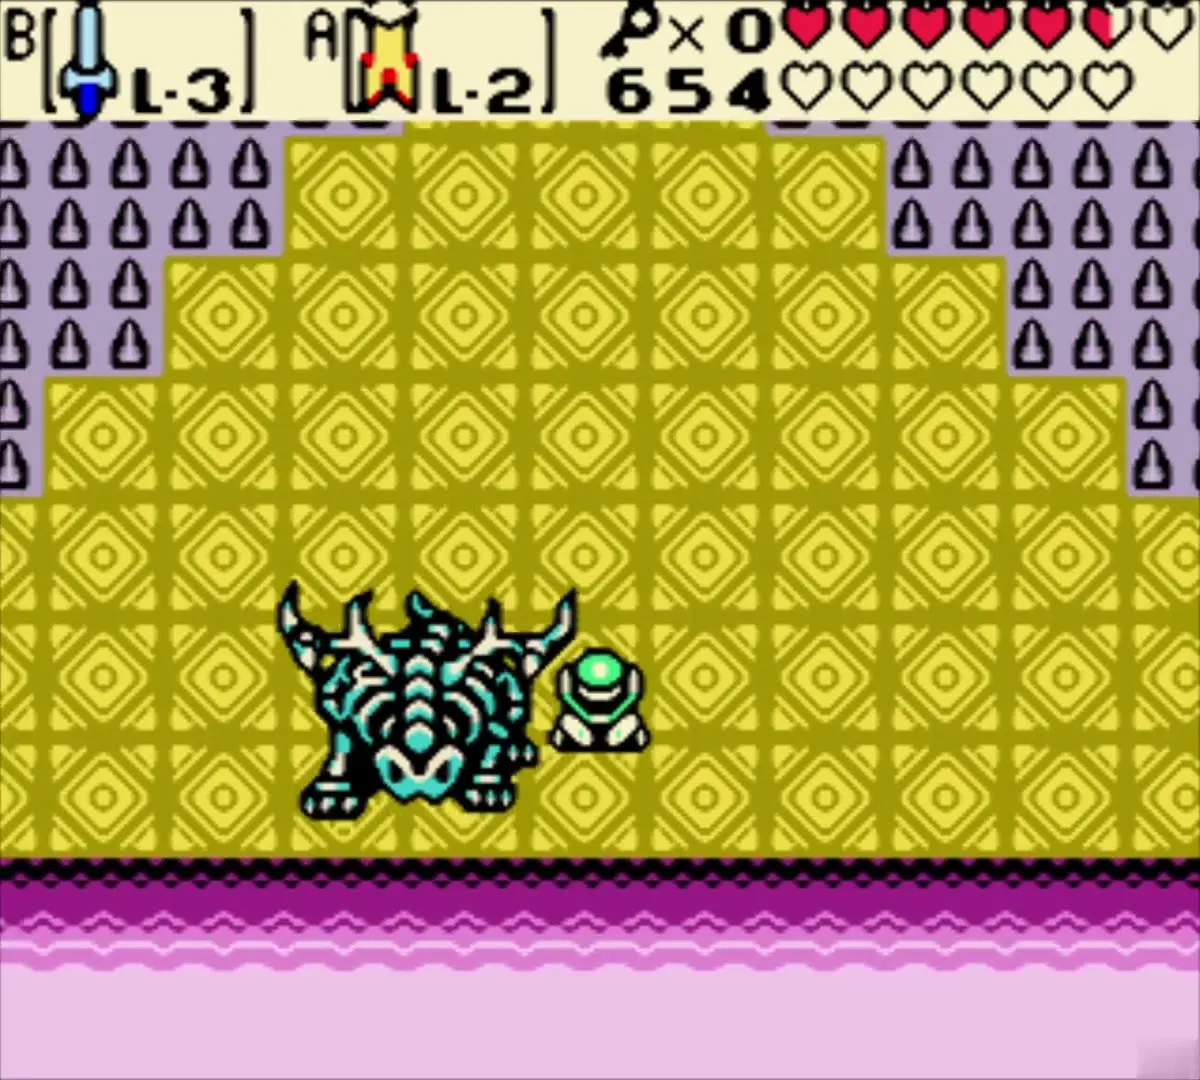
Gleeok is a two-headed dragon. Its body stays put while its heads spit fire in streams or rings. Fly over the stream with Roc’s Cape and jump over the full ring. Damage both heads evenly, because when each head has taken enough hits they separate and the body becomes a skeleton. Use Roc’s Cape to jump when it pounds the ground, and it damages itself. The Poe Sisters are the mini-boss before it.
Medusa Head (Sword and Shield Maze)
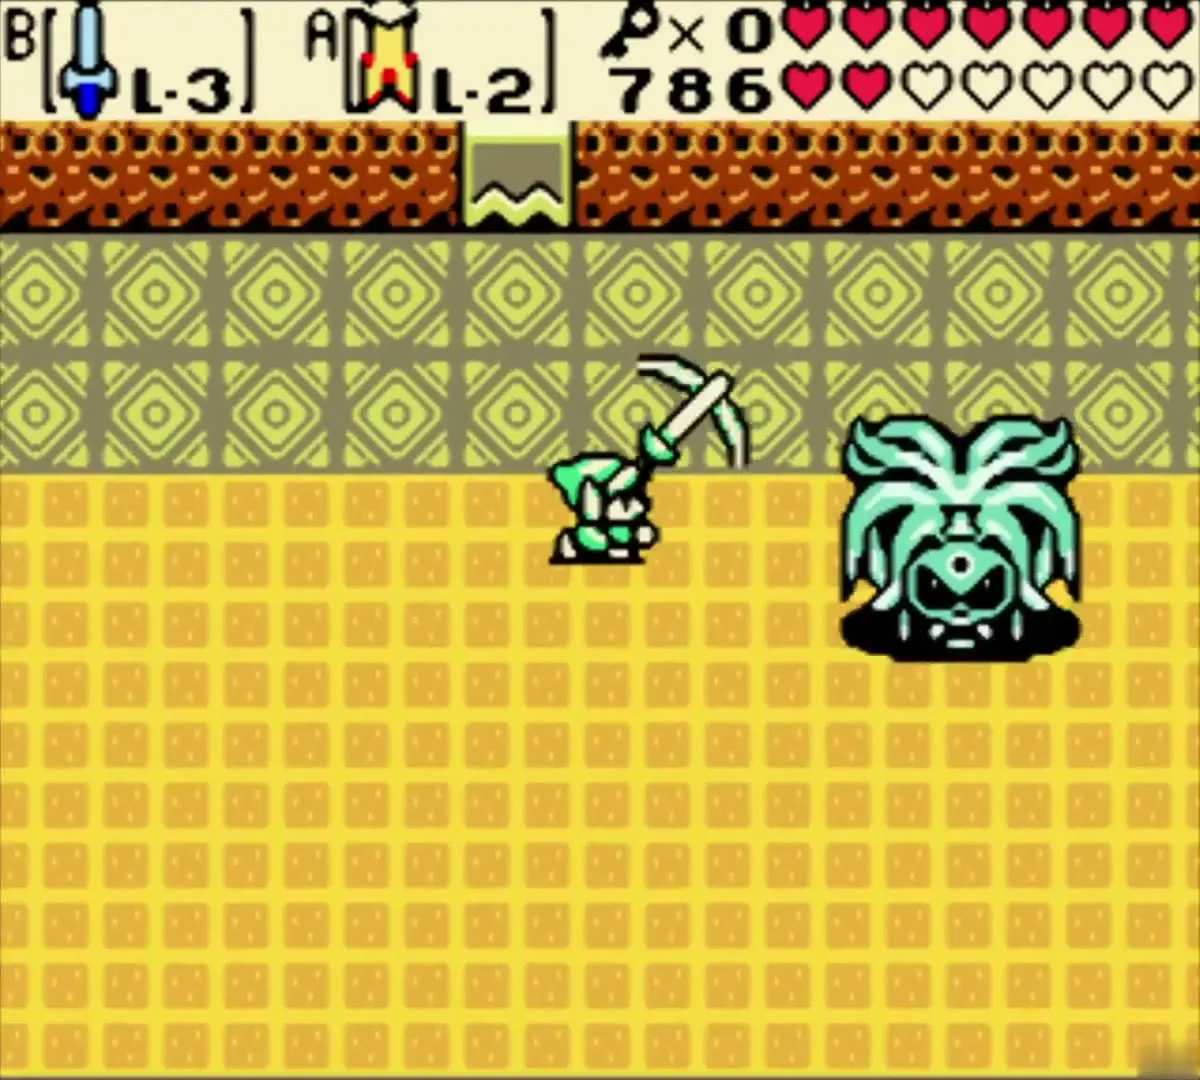
Medusa Head stands in the centre of a yellow-floored room and throws orbs and beams that can turn you to stone. Roc’s Cape lets you jump over the orbs. Shoot her with Pegasus Seeds from the Hyper Slingshot to stun her, then close in with your sword. Her Heart Container appears after she falls. Frypolar, the mini-boss, changes between ice and fire, so use Ember Seeds on the ice form and Mystery Seeds to change its form.


Great Moblin (optional)
Great Moblin’s Keep
Great Moblin’s Keep is an optional fortress, and the Great Moblin is its only boss. There is no Essence of Nature here. Walk in, beat the Pig Warriors, then pick up the bombs the Great Moblin throws and throw them straight back at him. Each hit angers him. After he is soot-grey, throw a bomb so it explodes just as he lifts one of his own. The keep collapses, and a chest holding a Piece of Heart appears in the rubble. The Great Moblin’s Keep chapter covers the approach.


Onox’s Castle and the final bosses

Facade (Onox’s Castle)
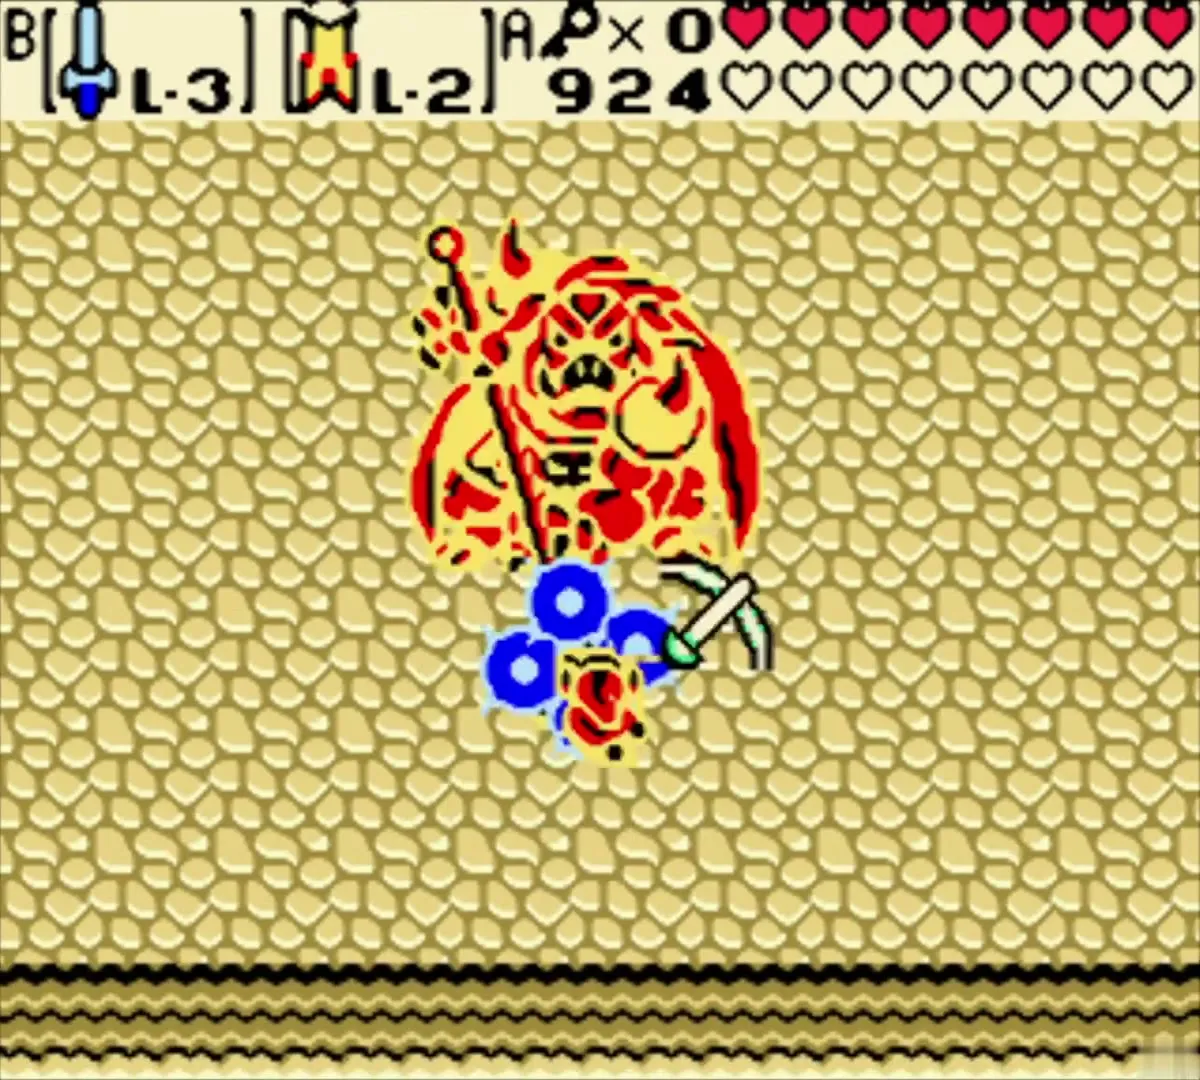
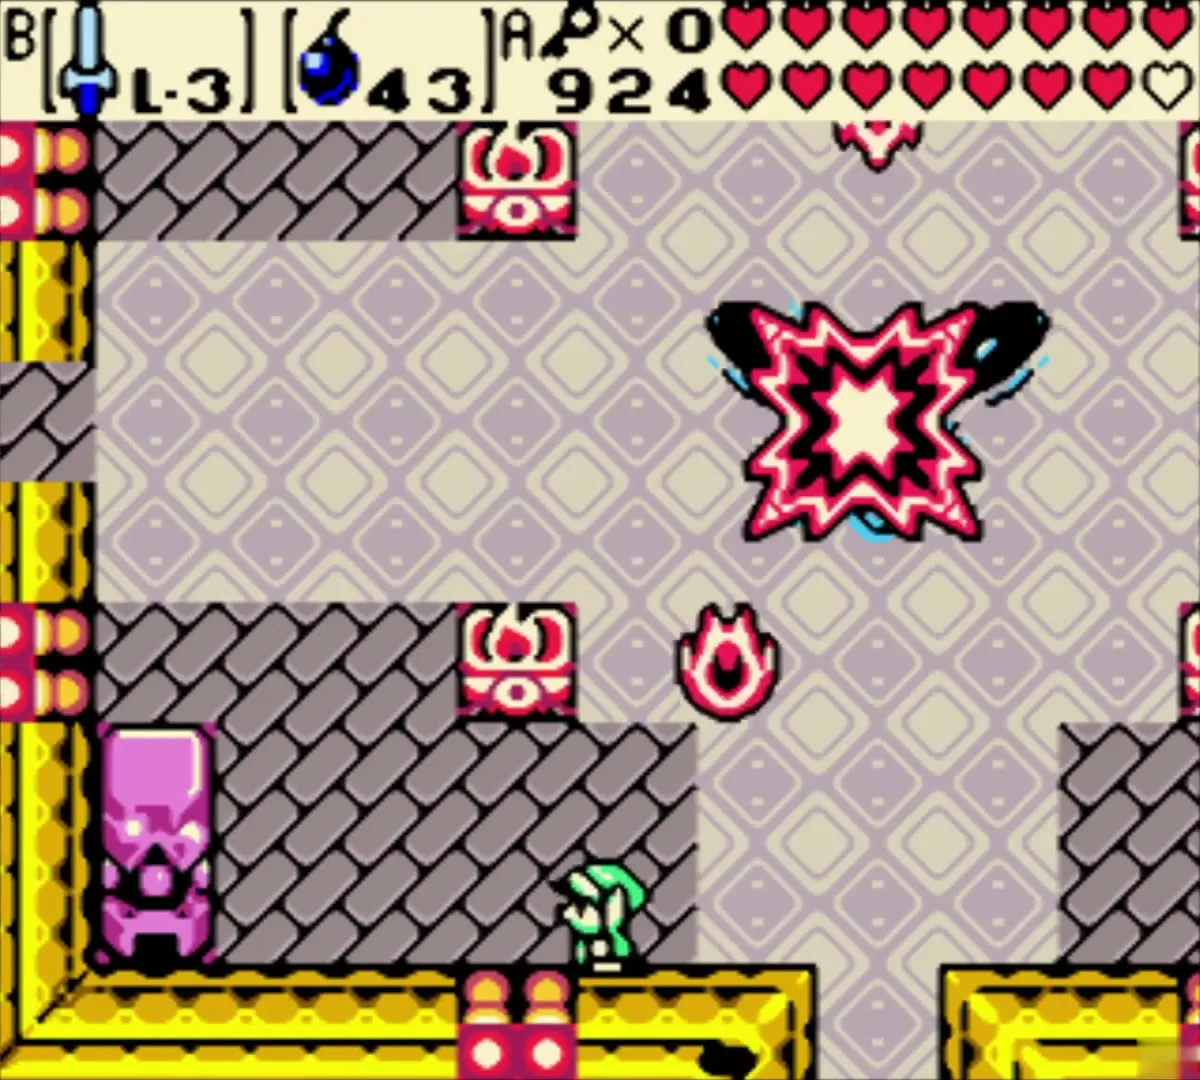
The last room before Onox holds Facade. Only bombs damage it, so stock up before you enter. Place bombs in the middle of the room as it appears, then keep moving to avoid its beetles, fireballs and the holes it opens in the floor.
General Onox, armored form
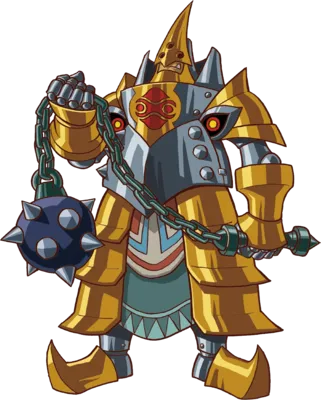
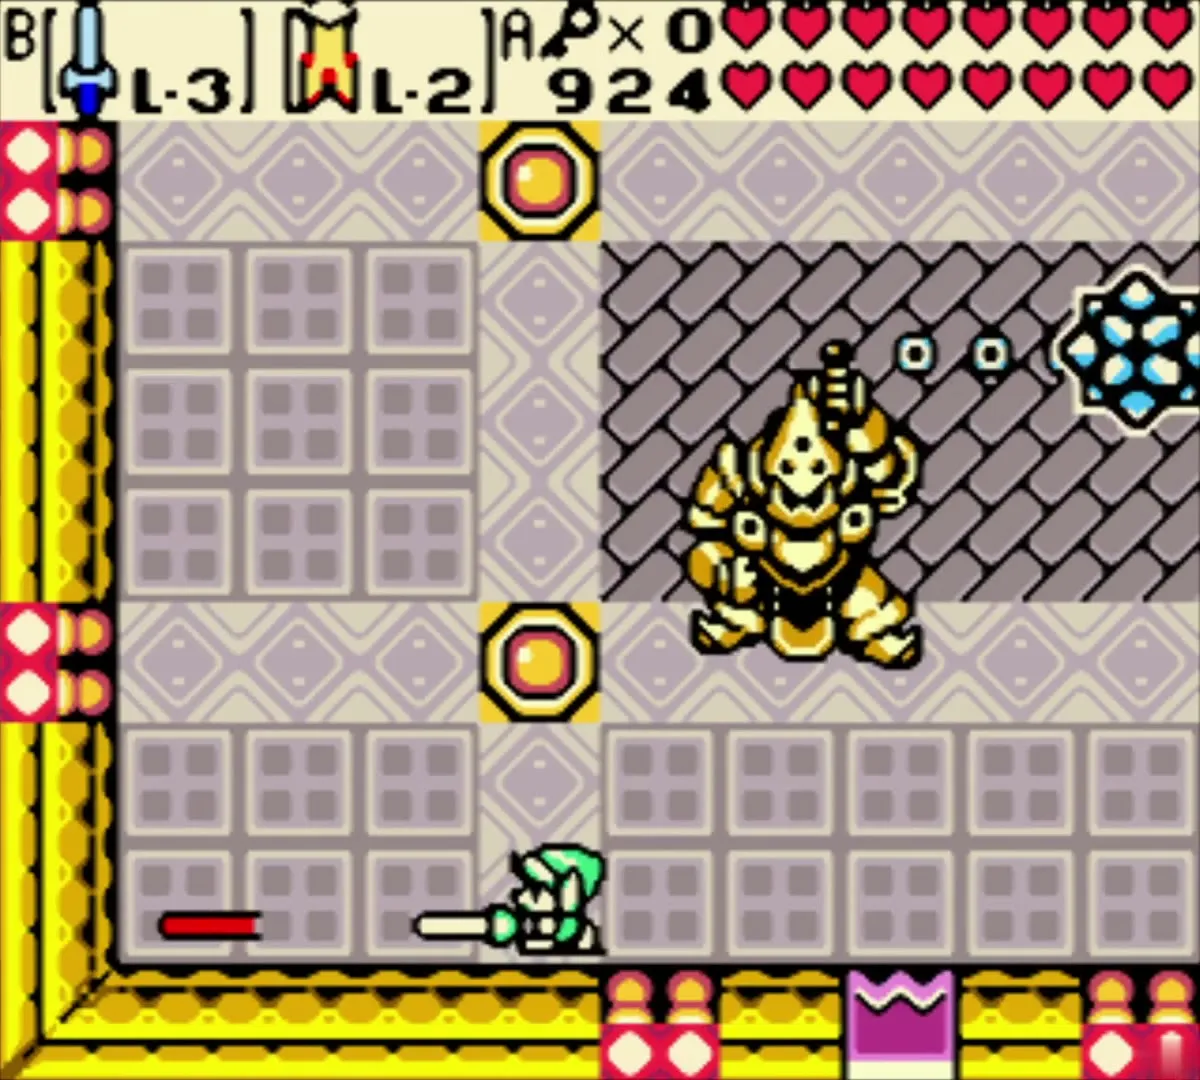
In his armored form, Onox carries a large ball and chain, and your sword alone will not hurt him. Use Spin Attacks: hold B to charge the sword, then release. Aim at his sides or back, since the front is armored. Strike while he recovers from an attack. Onox will raise Din’s crystal as a shield, and hitting it with your sword shocks you. Use the Rod of Seasons on the crystal to knock it aside instead. That leaves a short window for two or three Spin Attacks before Din drifts back.
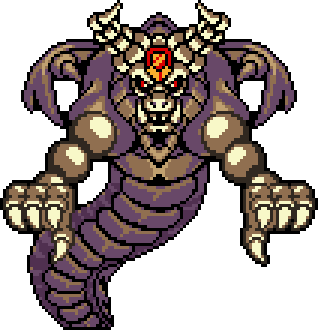
Dark Dragon Onox
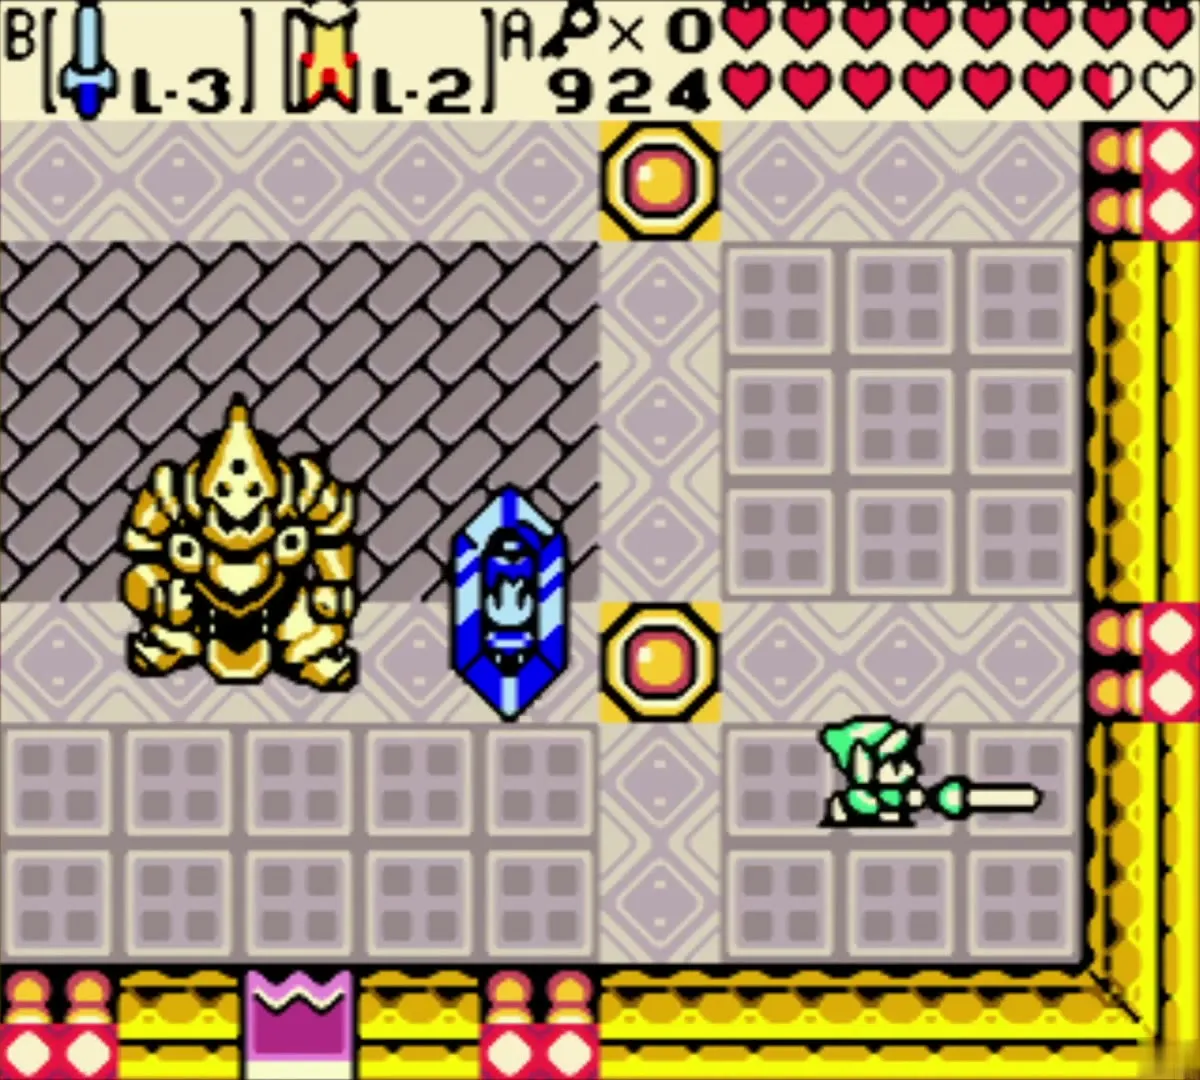
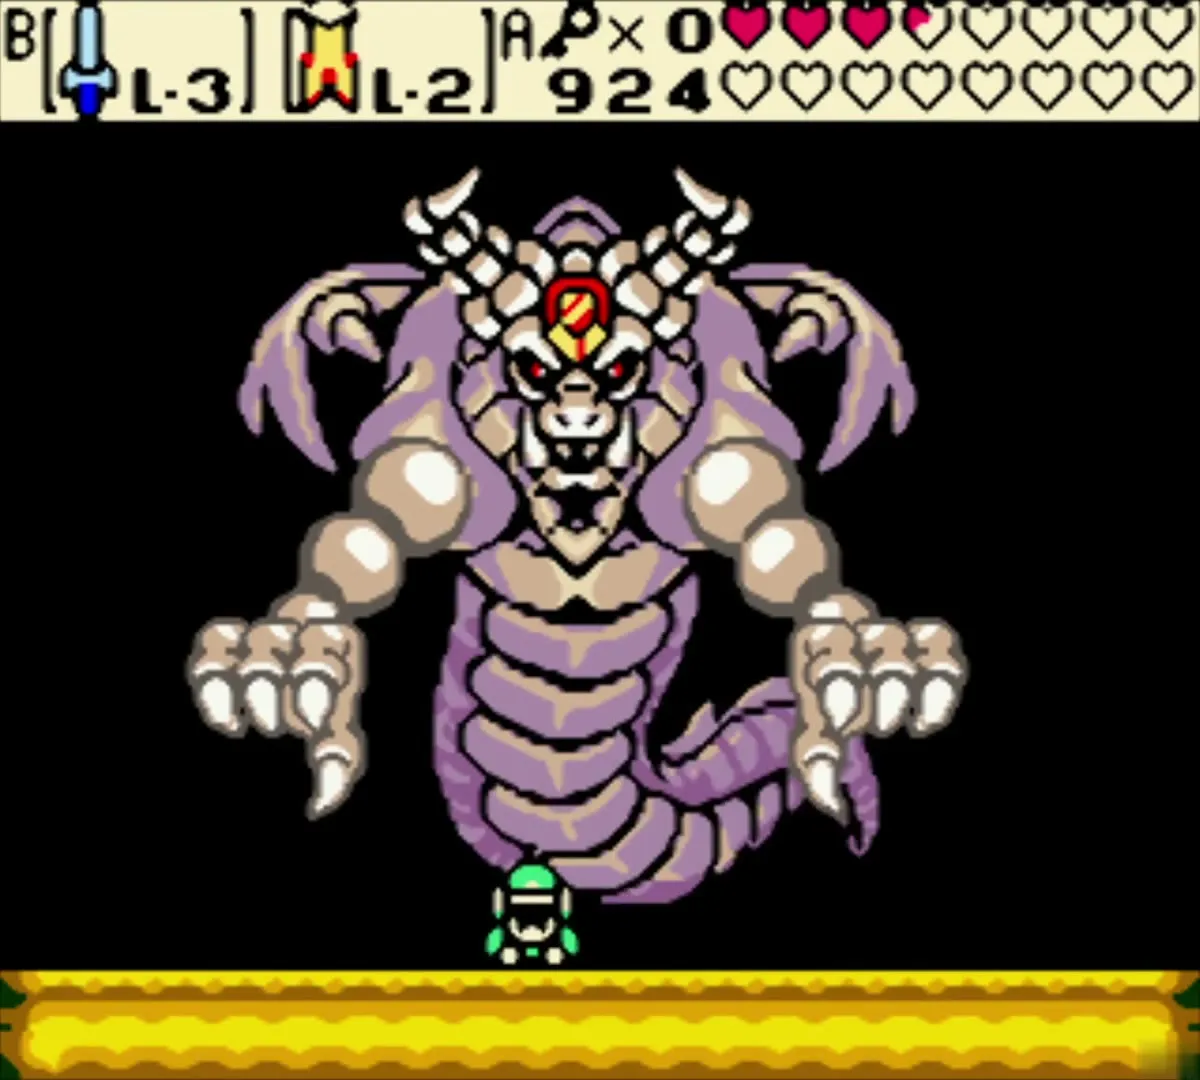
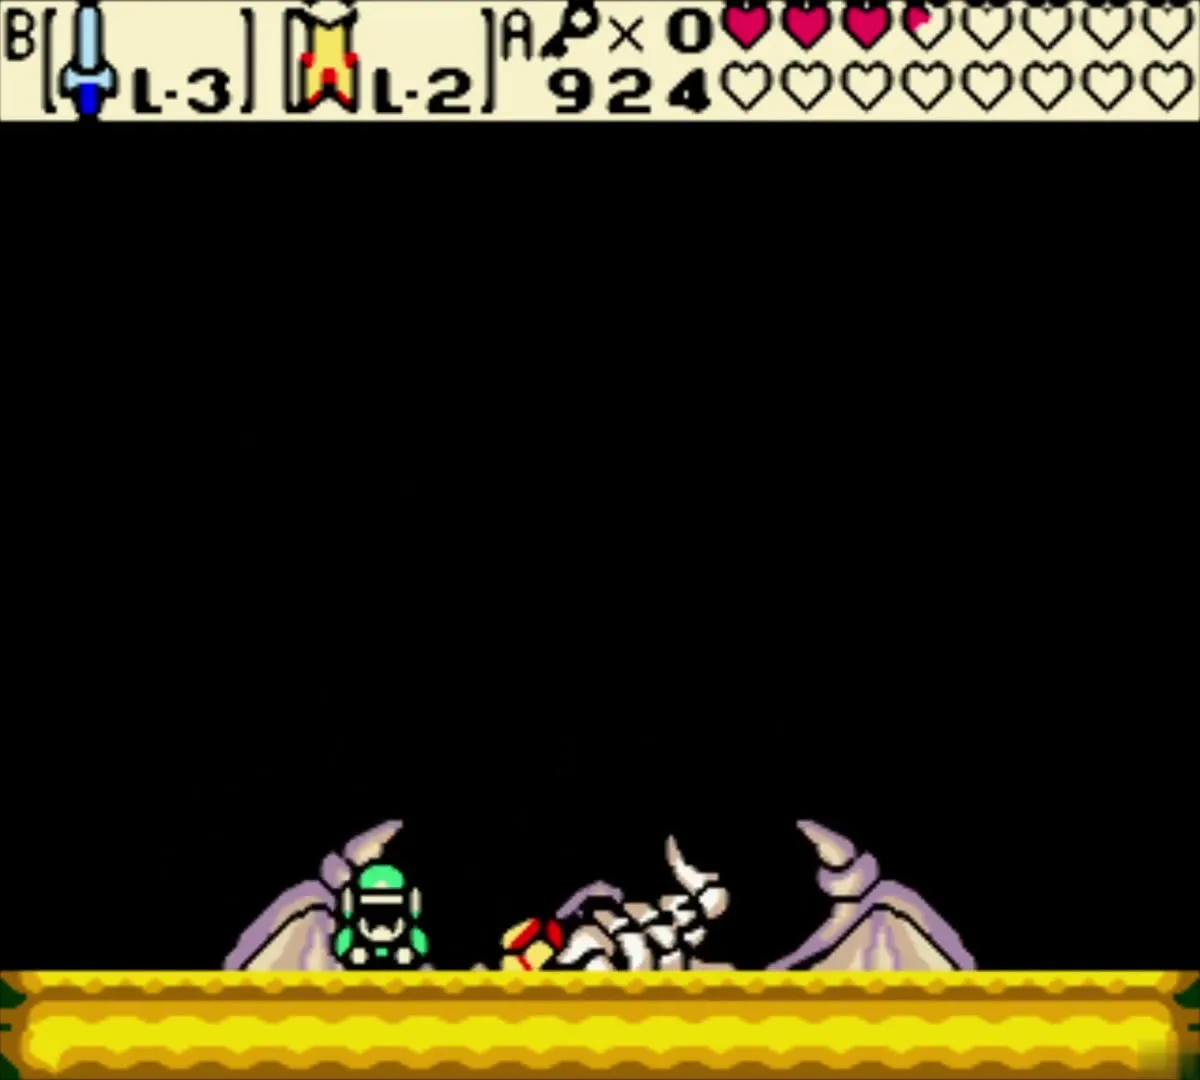
When the armor is spent, the floor collapses into a side-scrolling arena where Onox returns as a dragon. You need Roc’s Cape here. Watch for his hand slamming into the ground, and jump onto it as it comes down to reach his weak spot. A claw sweep crosses the ground from one corner, so move to the far corner on the other side. Blue flames stay on the ground for a while and cannot be jumped over, so sidestep them. Once Onox falls, walk up to the blue crystal that holds Din. It shatters, and Din steps out. The Onox’s Castle chapter covers the full battle.

Linked game: Twinrova and Ganon

Koume and Kotake
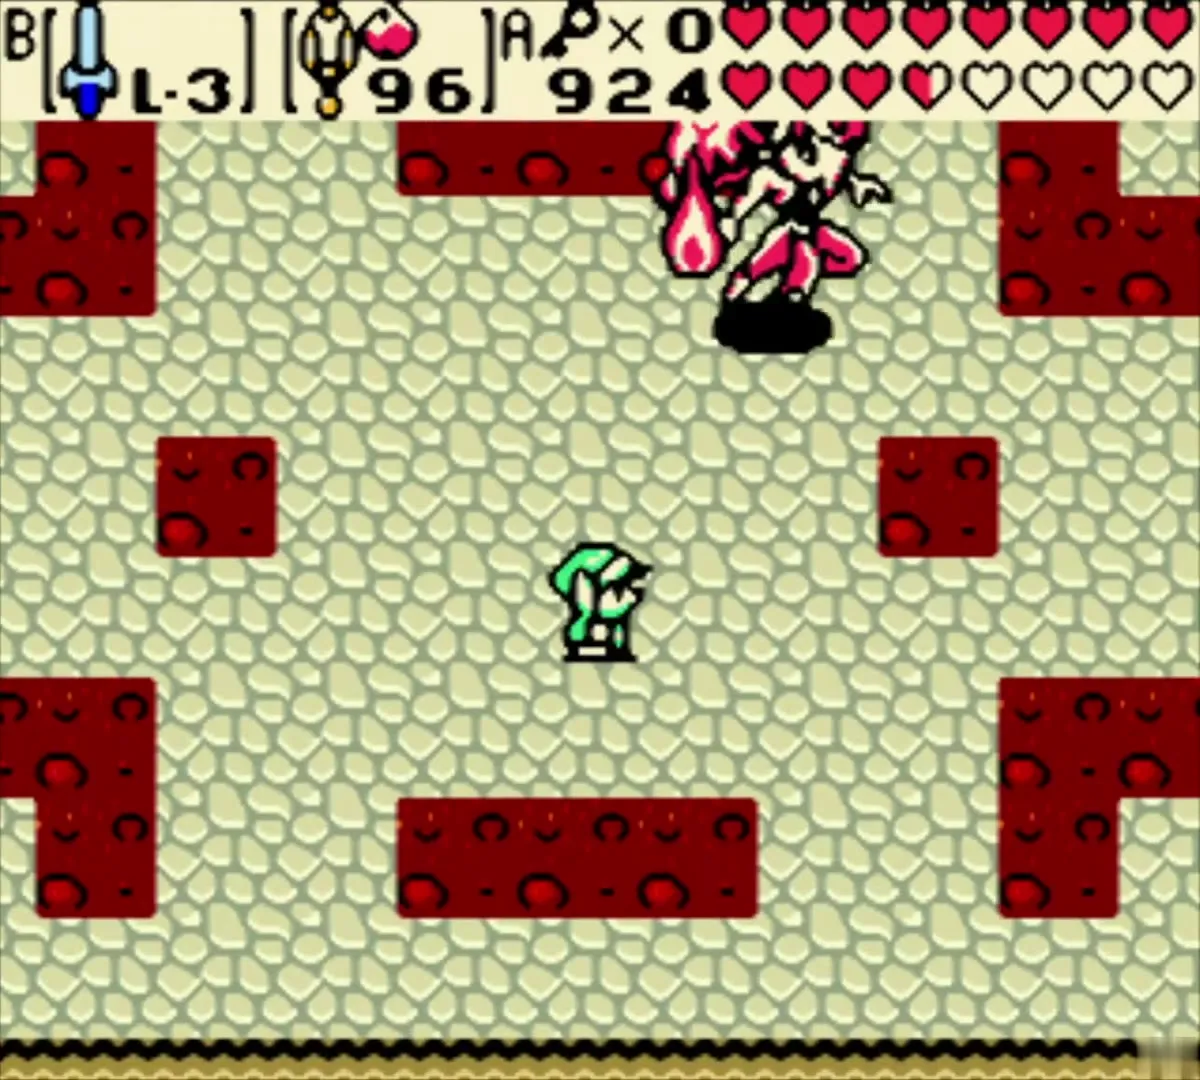
Only a linked game reaches the Room of Rites after Onox’s dragon form falls. First come the two witches, Koume and Kotake, who fire spells at you. Use your sword to hit their magic back, and aim each spell toward the other witch. Three successful hits in total, in any mix between them, make the two merge into Twinrova.


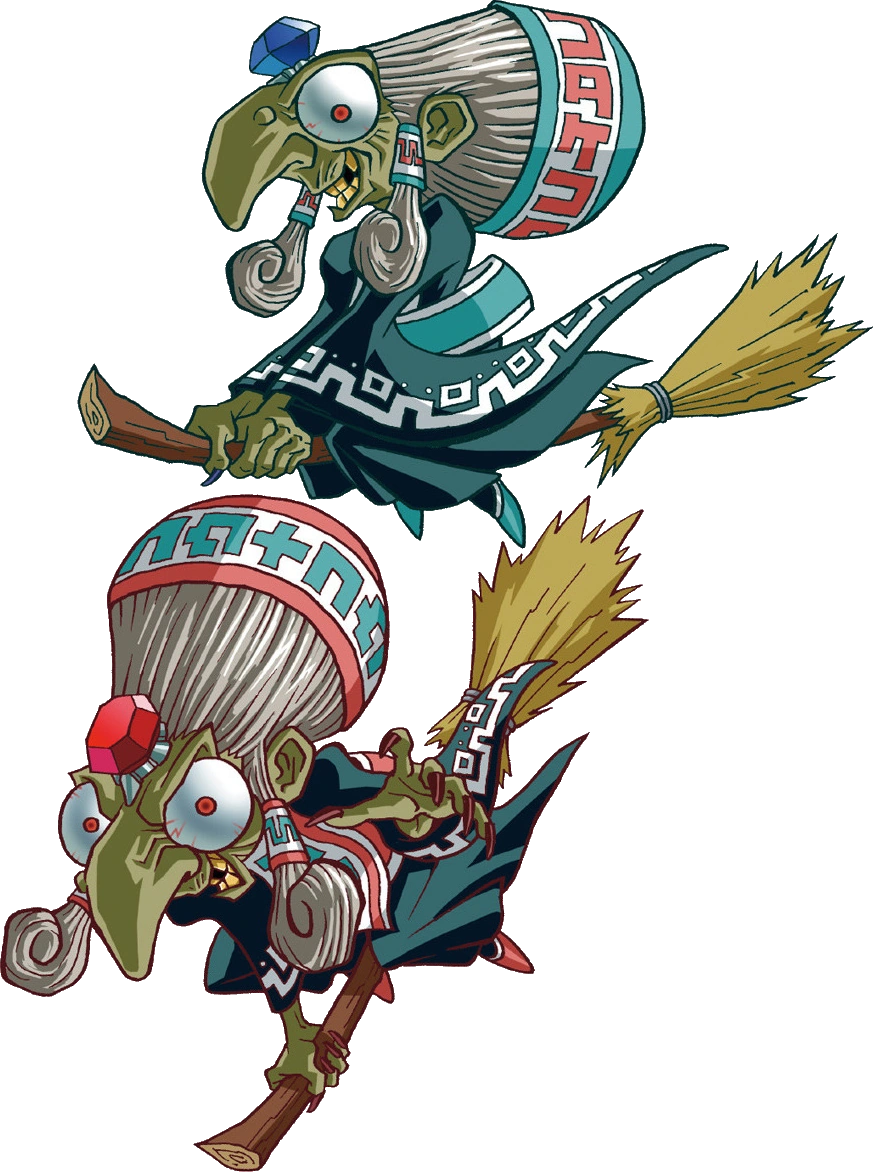
Twinrova
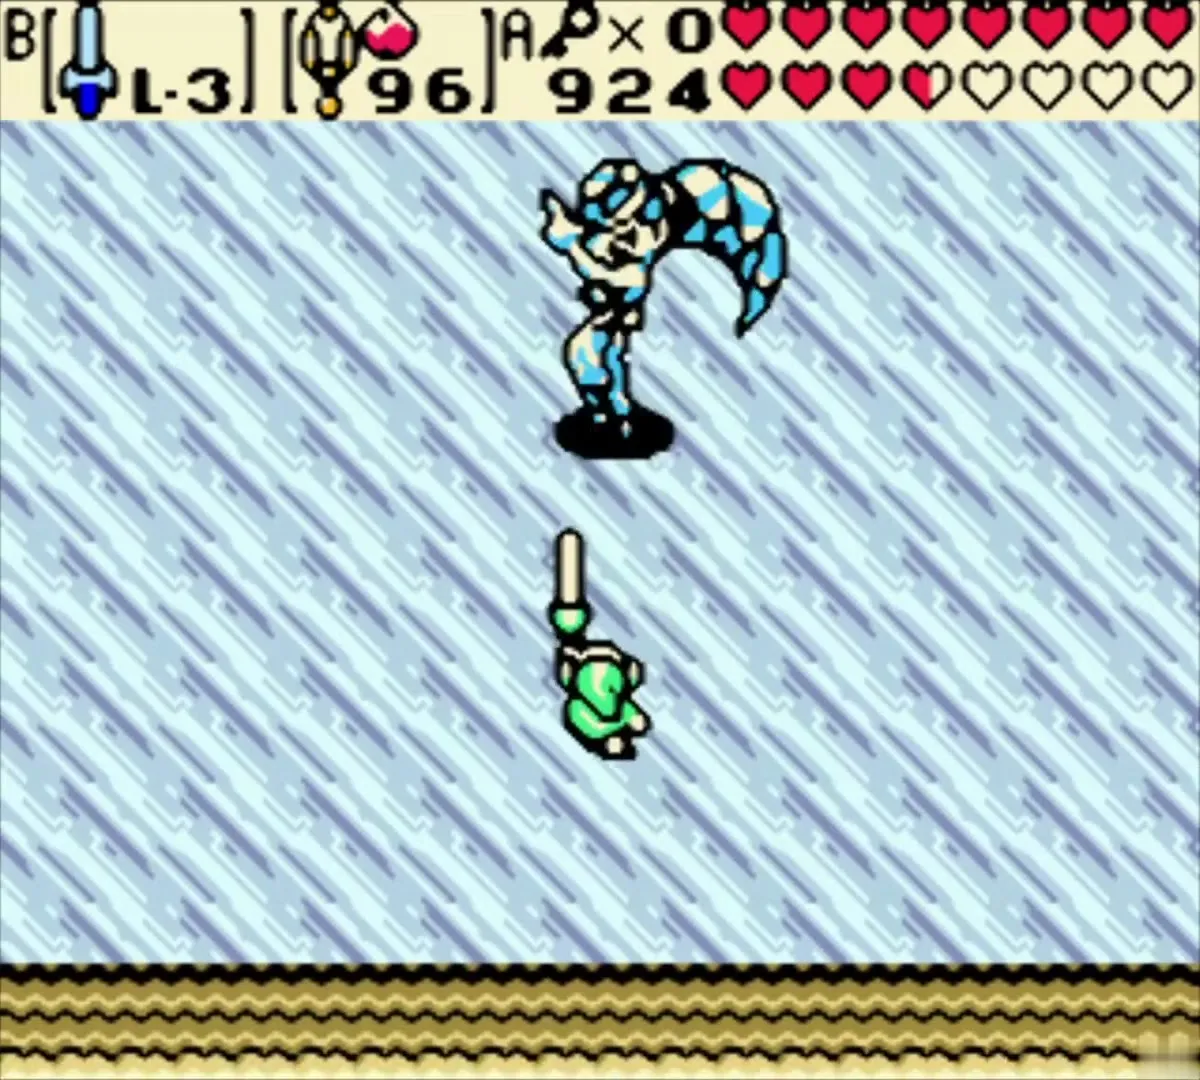
The floor is slippery ice. Land four normal hits with the Master Sword, or two Spin Attacks, to stun Twinrova. She splits into a fire half and an ice half. Quickly fire a Mystery Seed from the Hyper Slingshot at her, since Mystery Seeds are the only attack that does real damage. When she moves toward the centre, stand just above or below her for a free spin attack. Then dodge the ice spikes that bounce off the walls.

Ganon
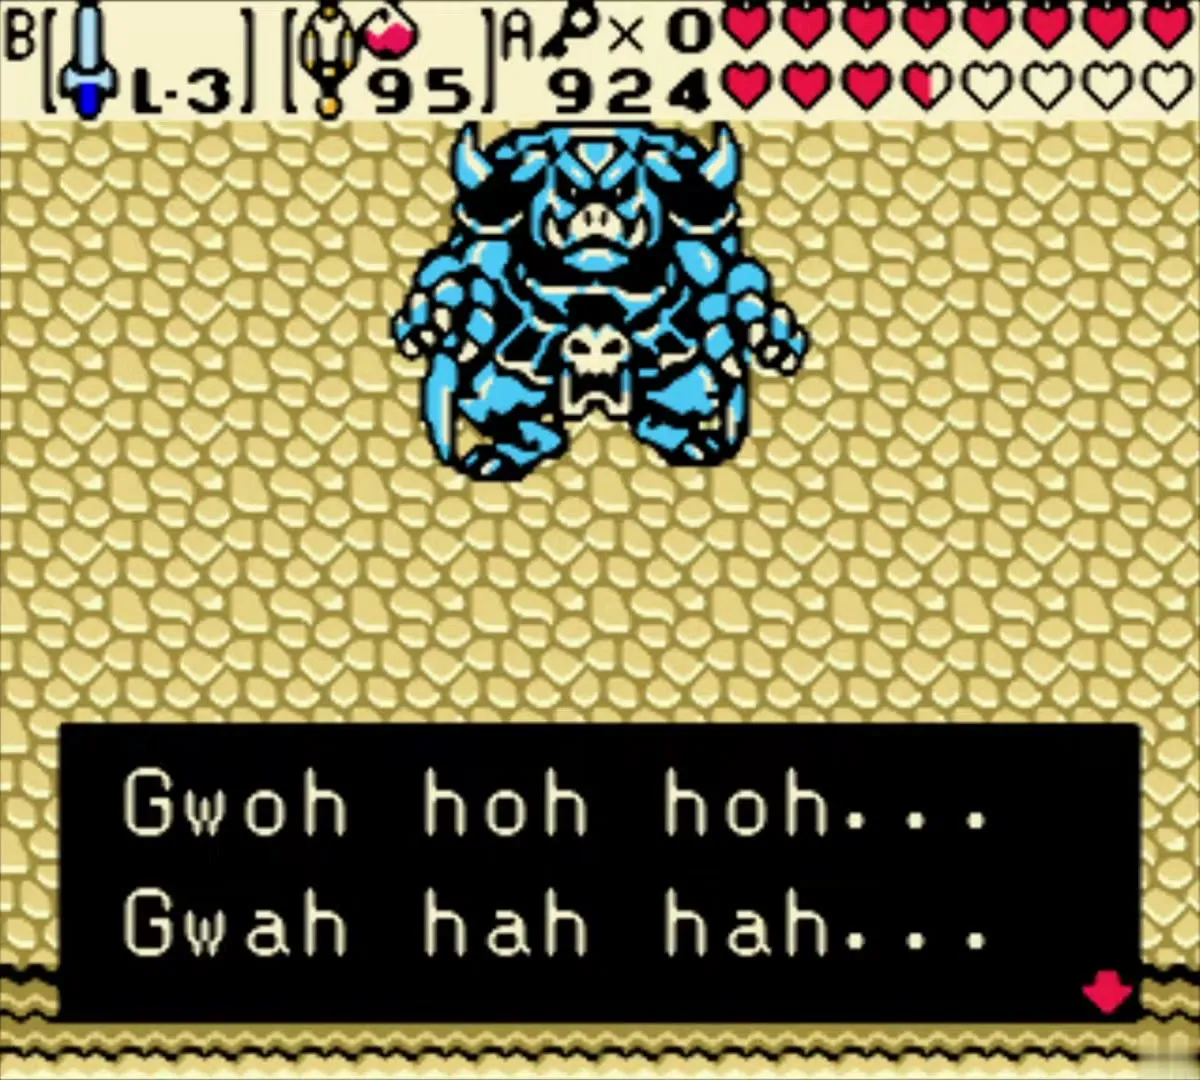
Ganon is a blue boar-like beast who hits hard, so play defensively. Wait for an opening, strike once and move away. Roc’s Cape is the better choice here, since a ground attack can stun you if you are standing when he lands. Once Ganon is gone, return to the altar. The room then collapses, and the ending plays. The linked game finale chapter covers the final fights.