





















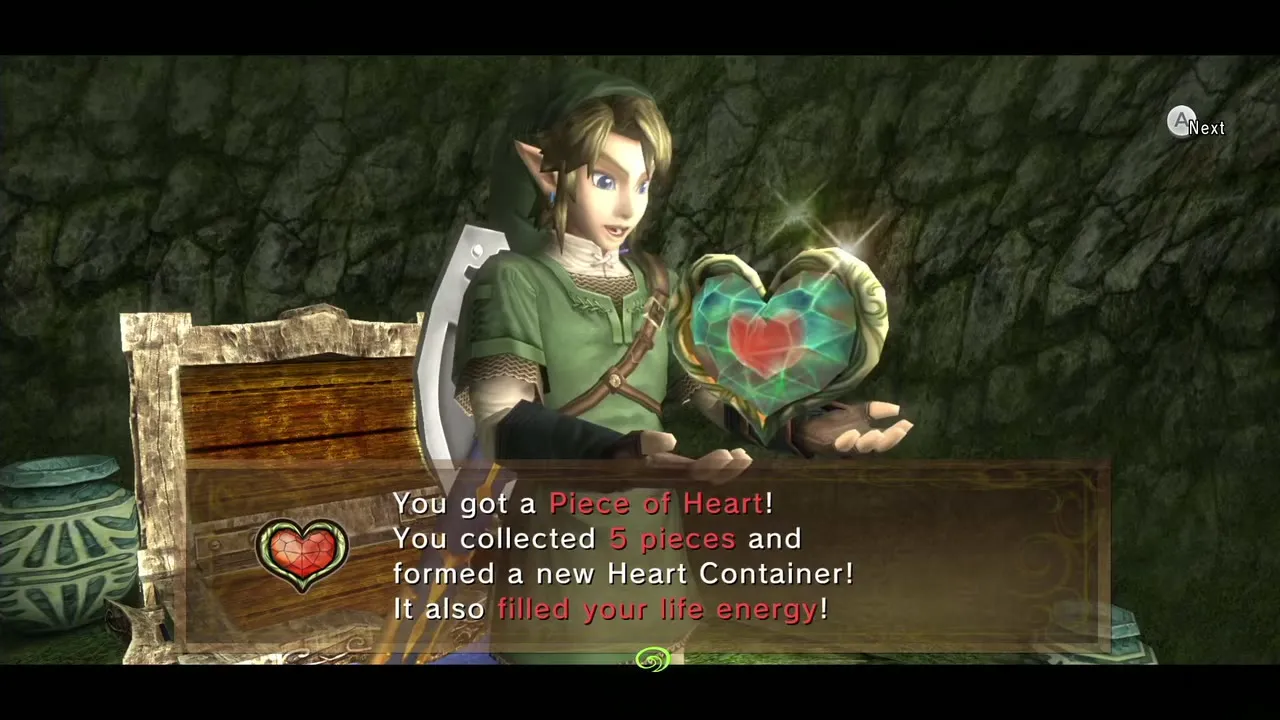
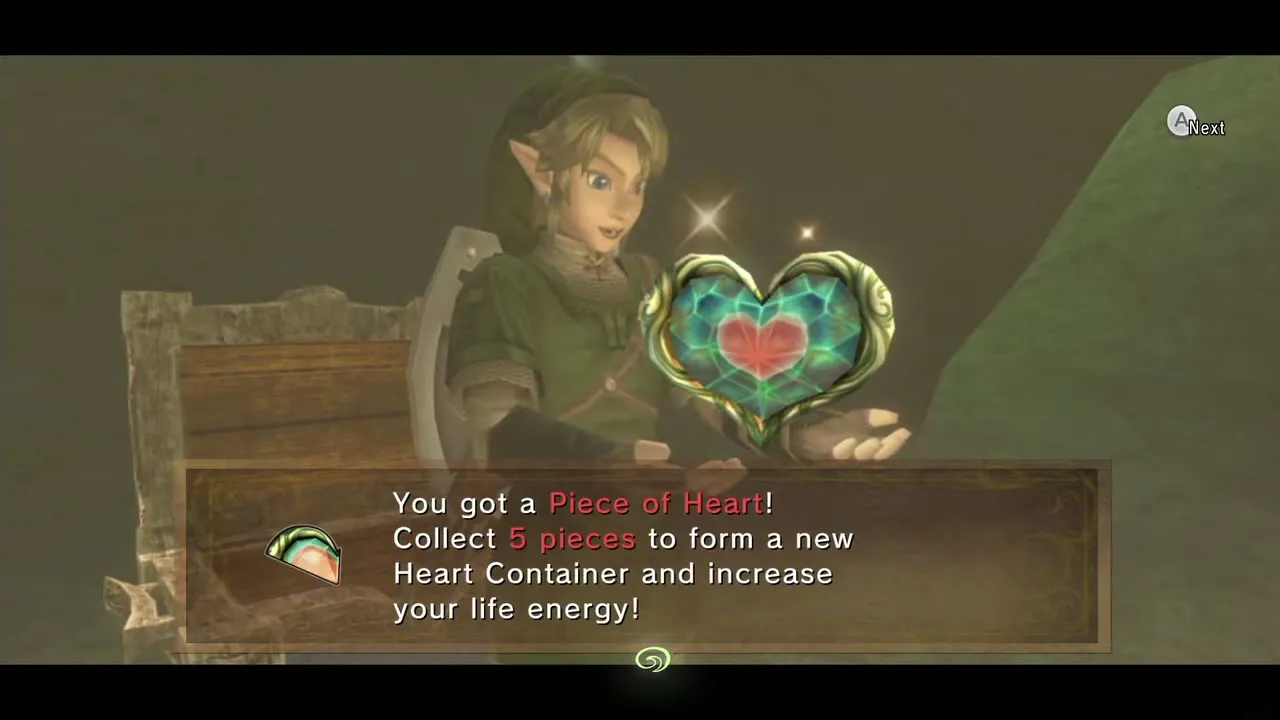
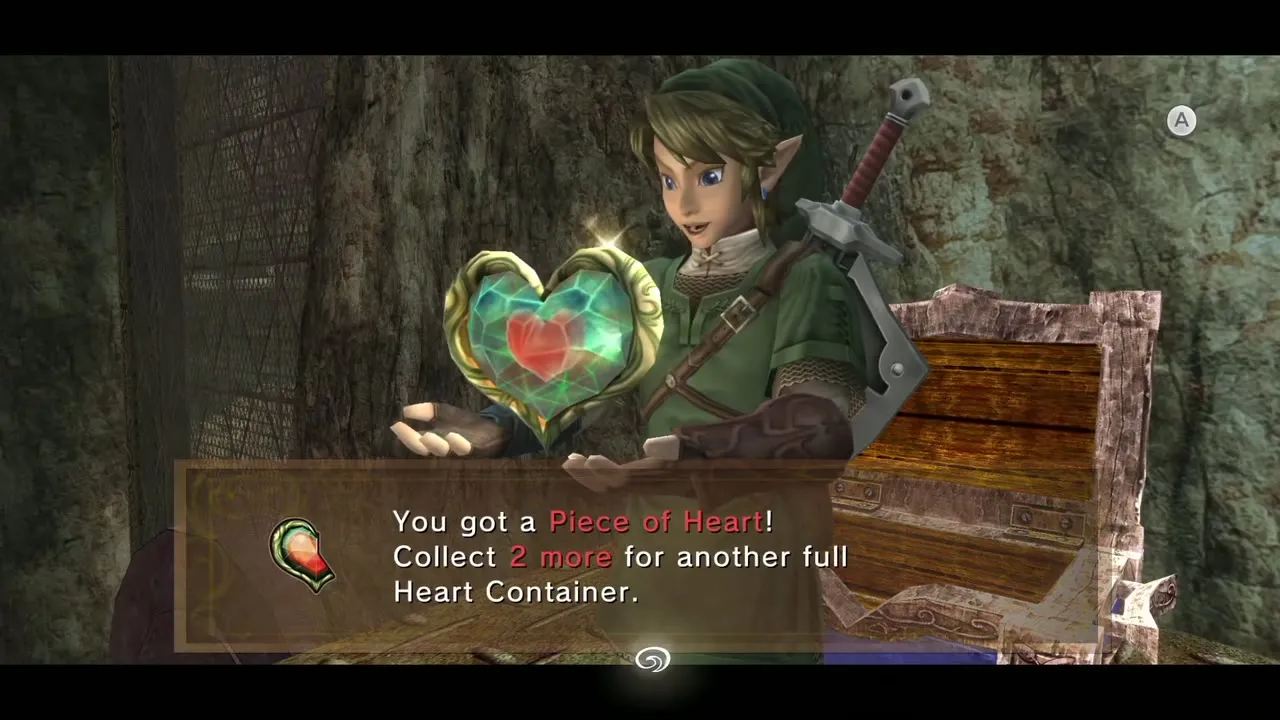
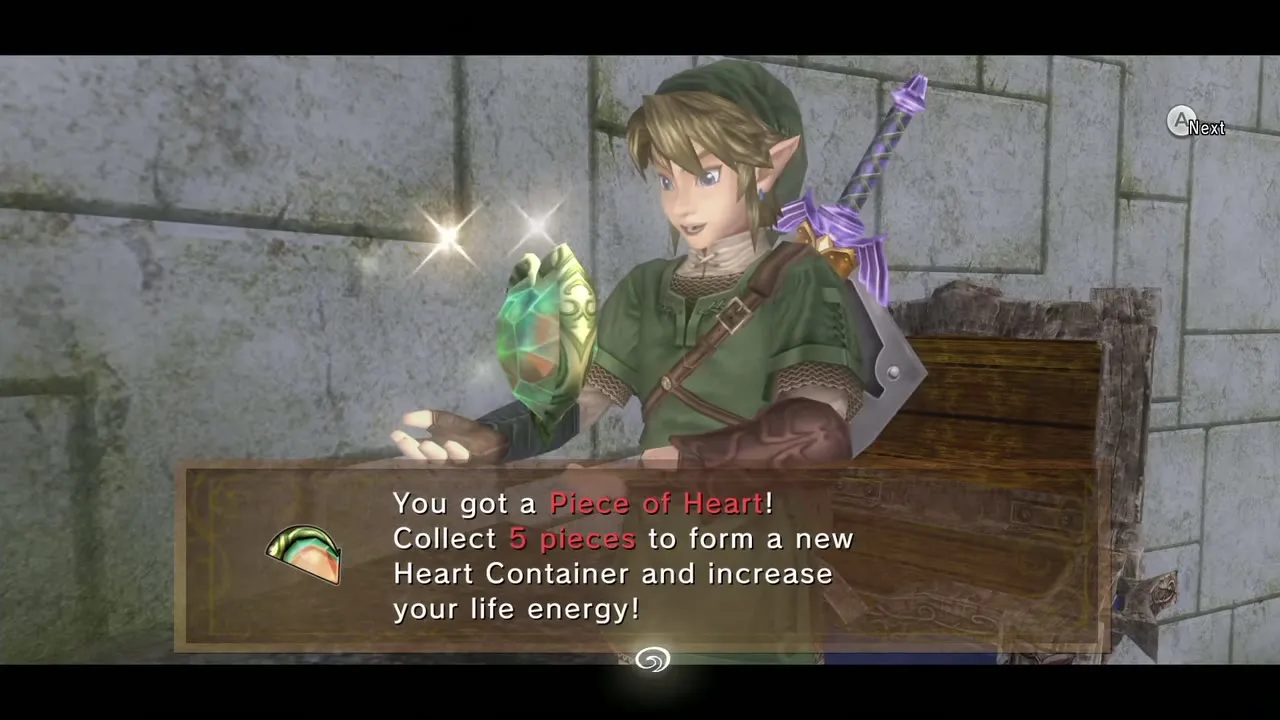
| Total | 45 Pieces of Heart. Every 5 pieces form one Heart Container (not 4), so they add 9 hearts |
|---|---|
| Hearts at the end | 3 starting hearts + 8 boss Heart Containers + 9 from pieces = 20 hearts |
| Late requirements | Several pieces need late items: Dominion Rod, Spinner, Ball and Chain or Double Clawshots. Collect them on a second pass |
| Layout | Directions use the Normal Mode layout. Hero Mode mirrors the world, so swap left and right and east and west |
Twilight Princess HD hides 45 Pieces of Heart across Hyrule and its dungeons. The list below gives every one: where it is, what you need to reach it, whether you must be Human Link or Wolf Link, and the walkthrough chapter that covers the area. Together with the eight Heart Containers that bosses drop, they take you from 3 to 20 hearts.
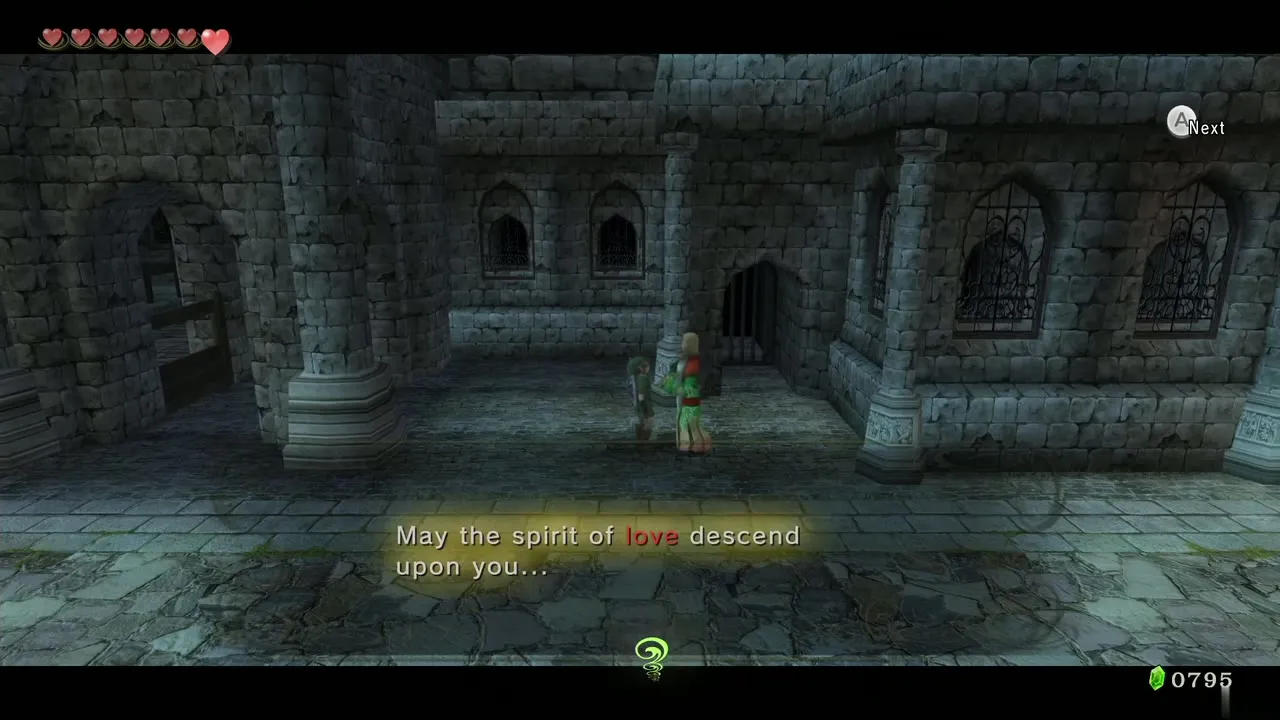
Madame Fanadi in Castle Town will point you toward an uncollected piece if you pay her for a fortune about love, which helps when you are down to the last few. The pieces are listed by region, not in the order you will collect them.
Table of Contents
Quick reference: all 45 pieces
The 8 boss Heart Containers
Each of the eight main dungeons ends with a boss who leaves a Heart Container. These are not Pieces of Heart: each one adds a full heart at once.
| Heart Container | Boss | Chapter | |
|---|---|---|---|
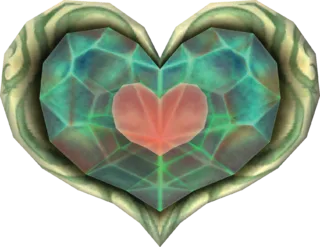 | Heart Container 1: Forest Temple | Diababa | Forest Temple |
| Heart Container 2: Goron Mines | Fyrus | Goron Mines |
| Heart Container 3: Lakebed Temple | Morpheel | Lakebed Temple |
| Heart Container 4: Arbiter’s Grounds | Stallord | Arbiter’s Grounds |
| Heart Container 5: Snowpeak Ruins | Blizzeta | Snowpeak Ruins |
| Heart Container 6: Temple of Time | Armogohma | Temple of Time |
| Heart Container 7: City in the Sky | Argorok | City in the Sky |
| Heart Container 8: Palace of Twilight | Zant | Palace of Twilight |
Pieces that are rewards, not chests
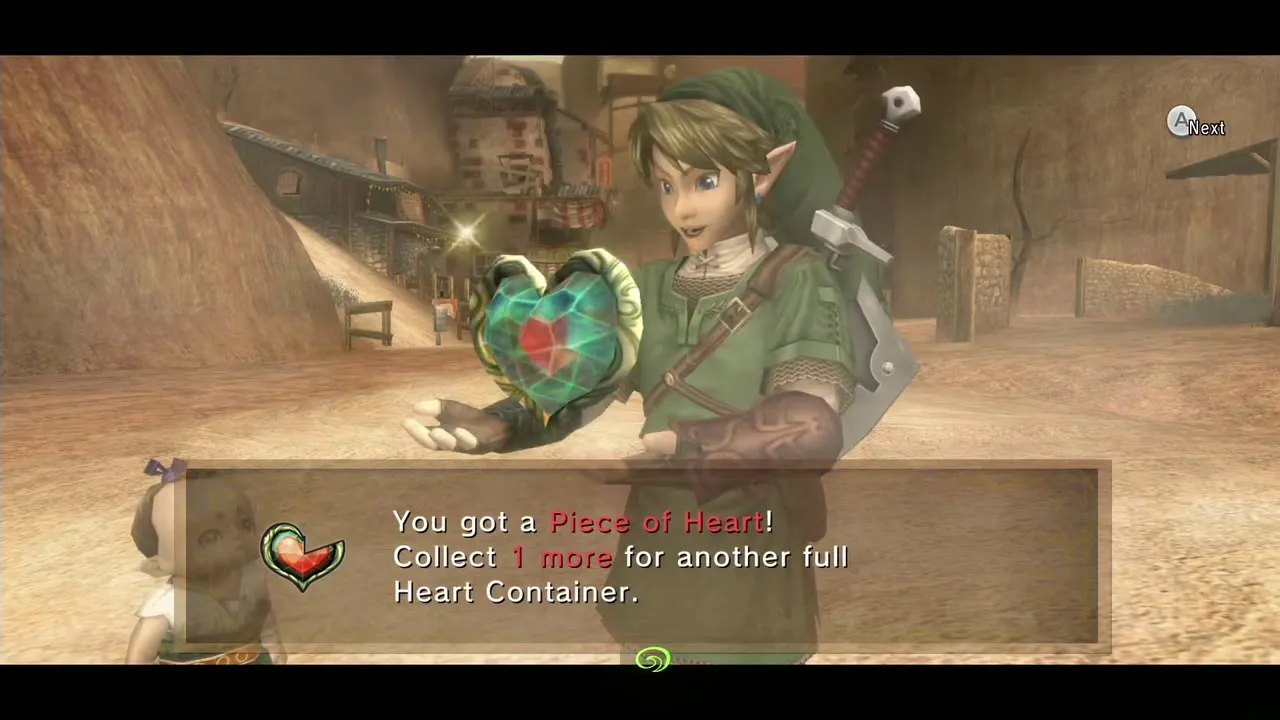
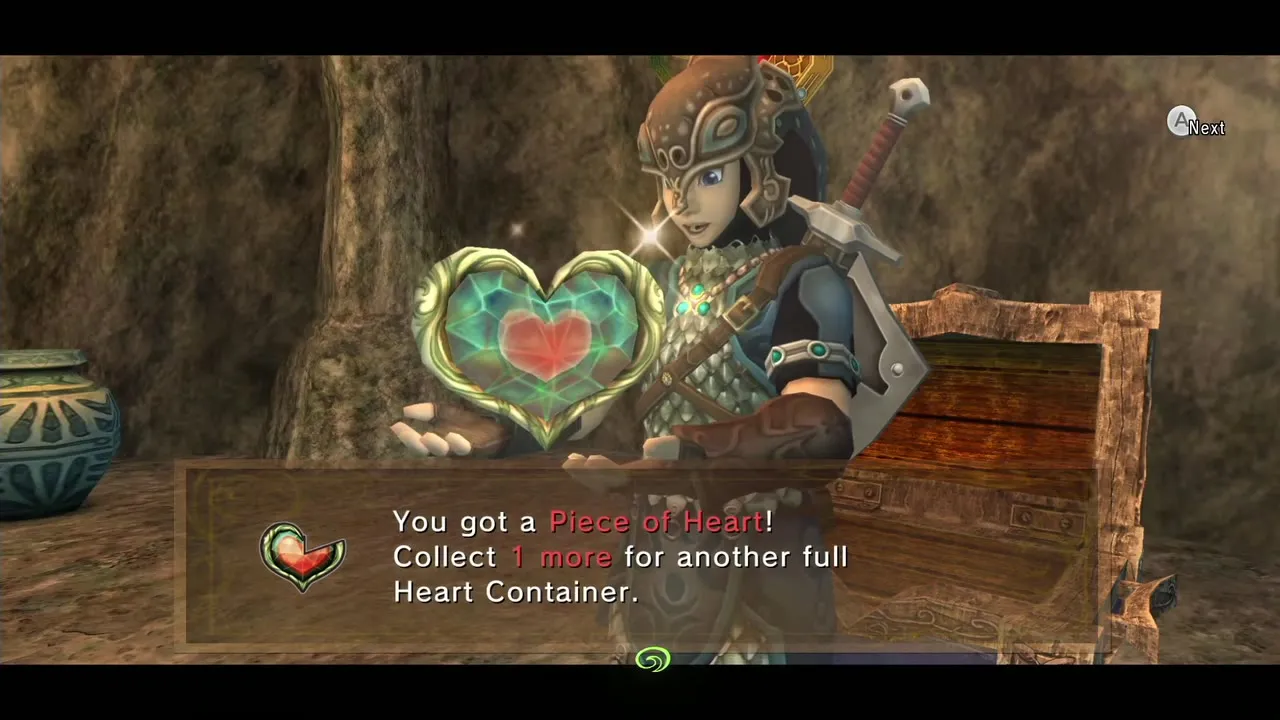
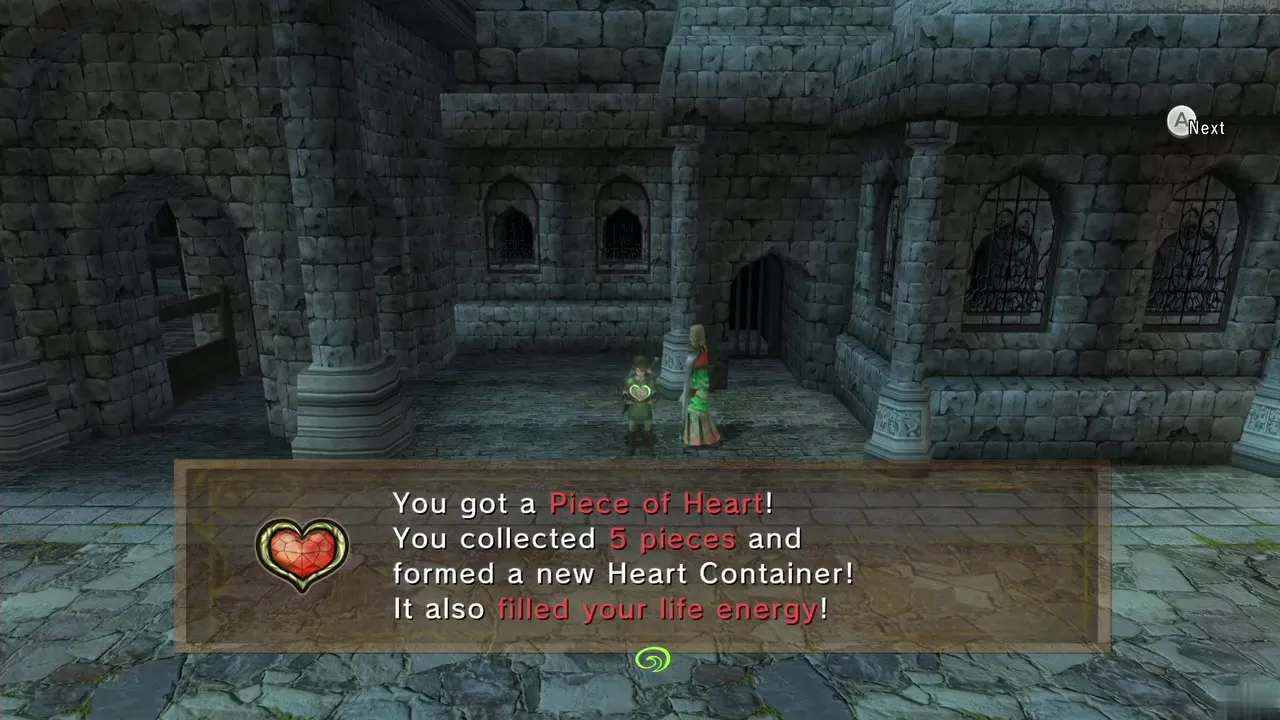
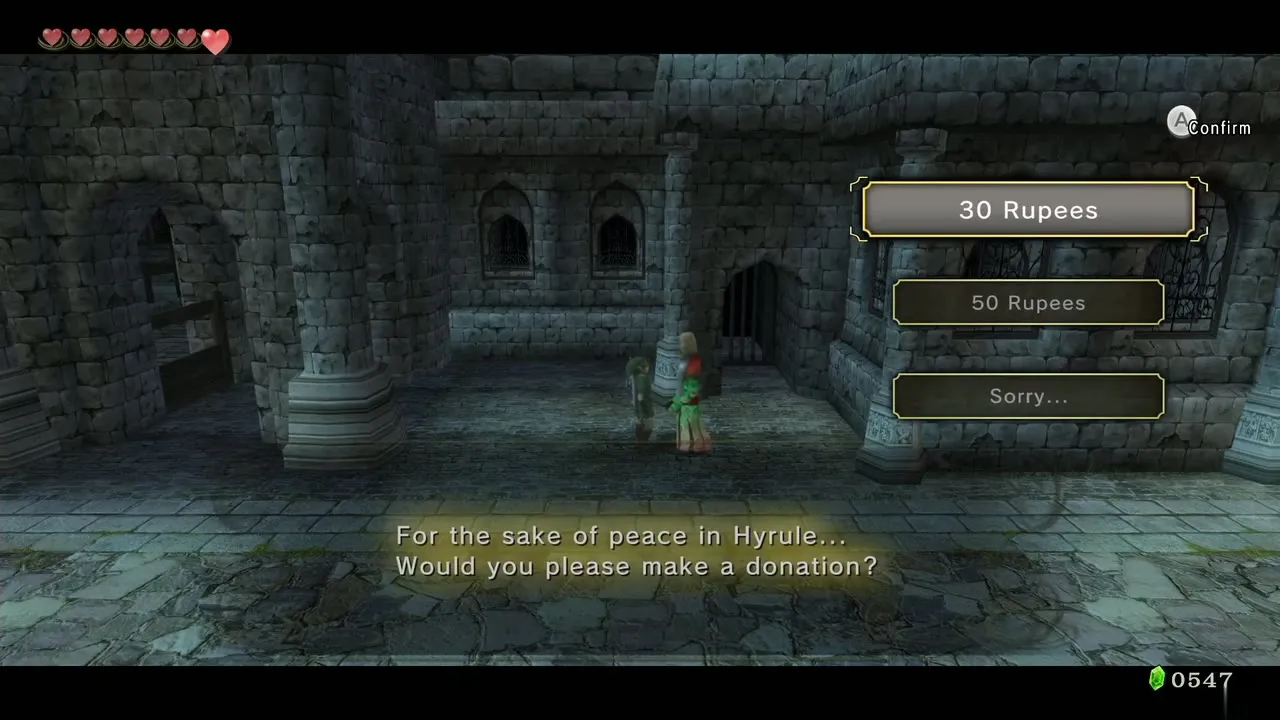
Several pieces are handed over by a character rather than found in a chest: the goat herding at Ordon Ranch (#1), Talo’s archery (#16), the Hot Spring Water delivery (#19), Flight-By-Fowl (#25), Plumm’s fruit game (#26), Charlo’s donation (#30), the Snowpeak sled races (#36) and the Hidden Village cats (#41). The Bulblin Camp roast (#33) drops from a piece of meat. Keep spare Rupees for Charlo (1,000 in total) and for the Malo Mart donation (another 1,000); Agitha‘s Golden Bug rewards cover both quickly.
Ordon Village and Faron Woods
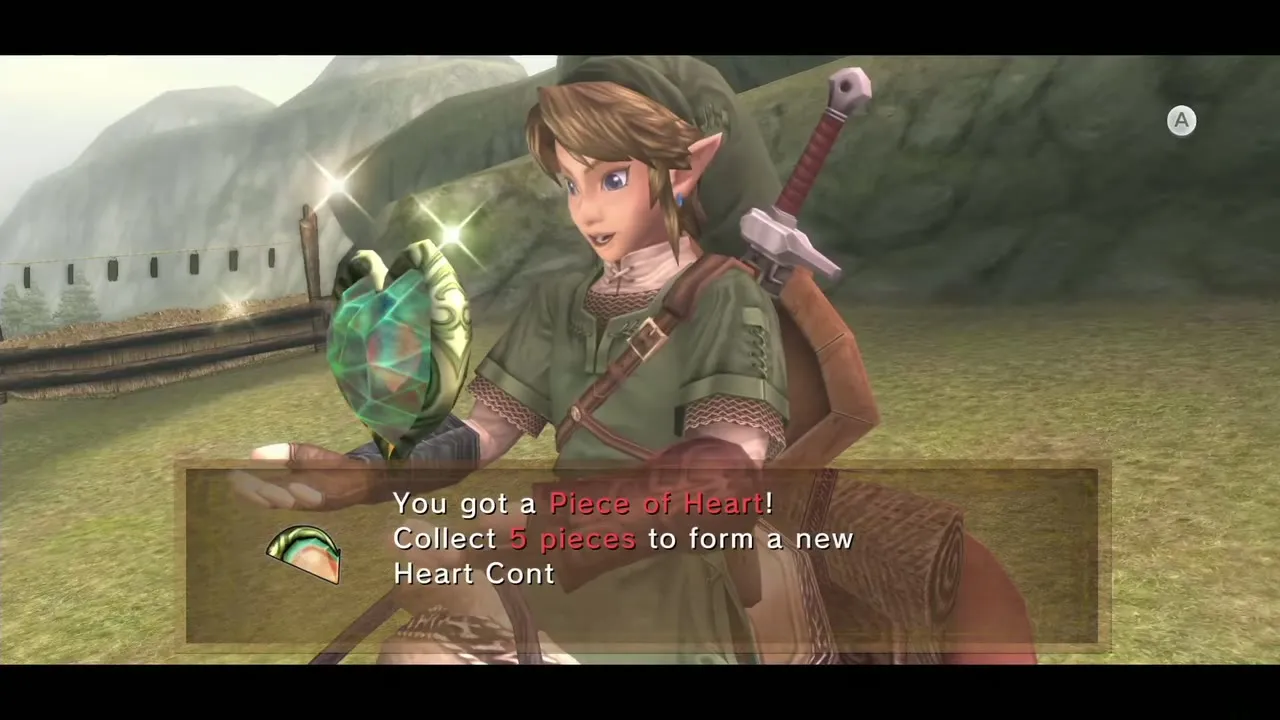
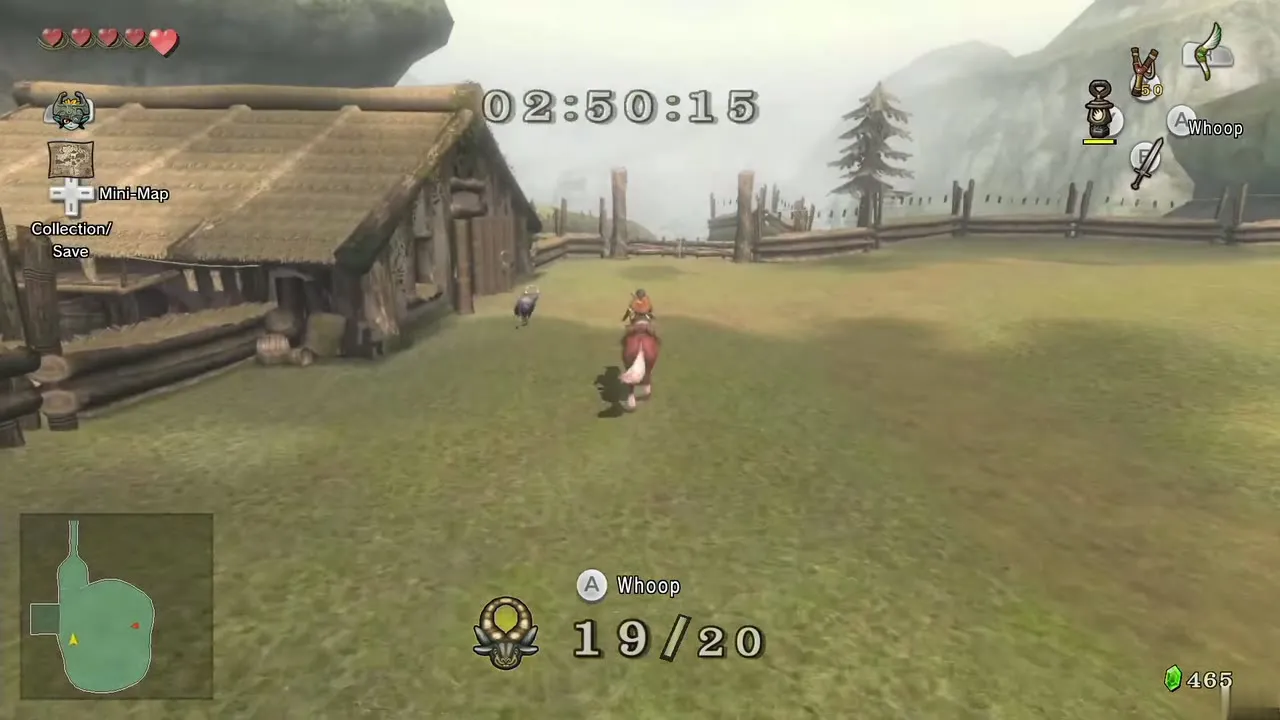
1. Ordon Ranch goat herding
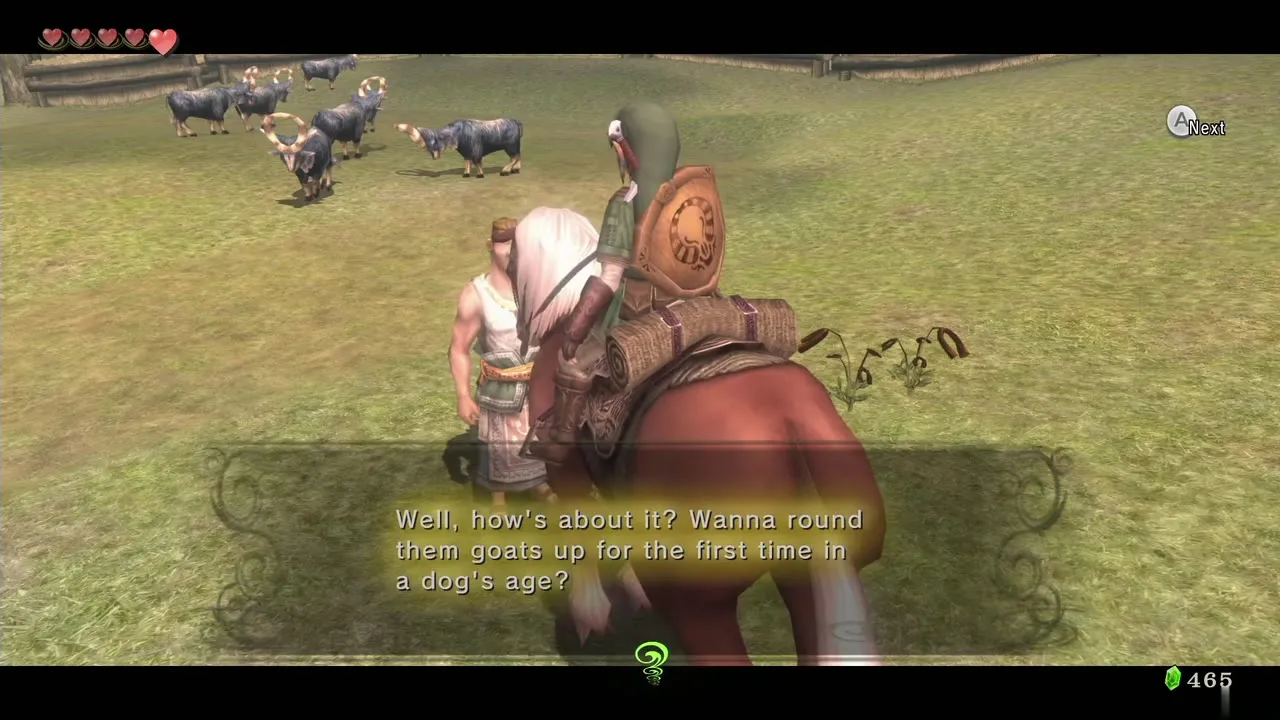
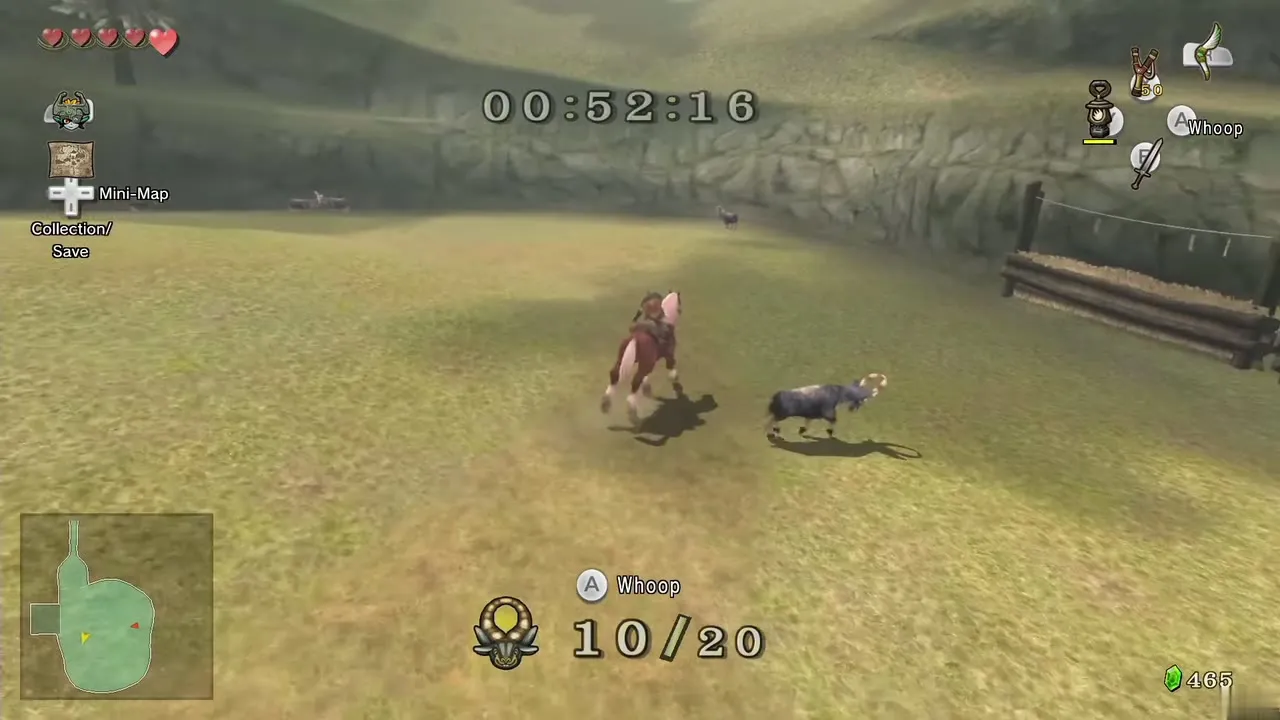
After Epona is back with you, talk to Fado at Ordon Ranch and agree to herd the goats again. Gather all 20 into the barn in under three minutes, the same task as at the start of the game with a tighter clock, and Fado hands over the piece. Epona makes the job much easier, so call her with the Horse Call first. Needs: Epona. Form: Human. Chapter: Death Mountain.
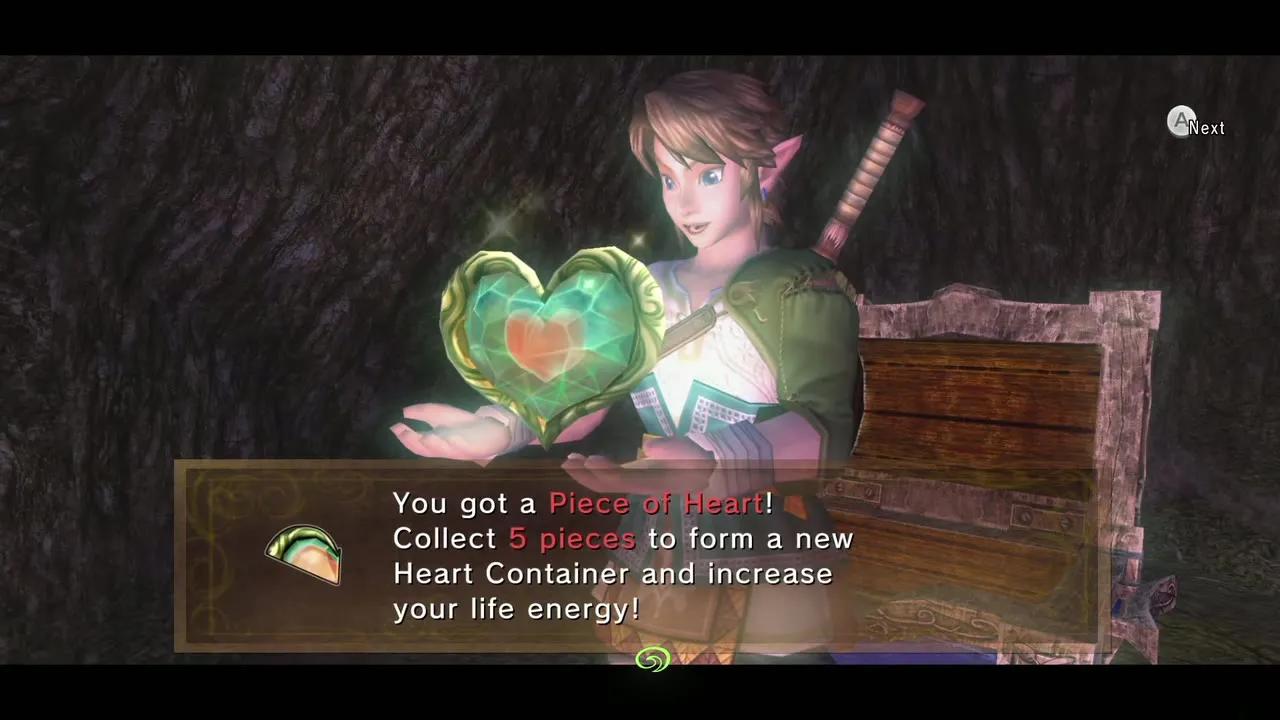
2. Torch cave in the northeast of the big clearing
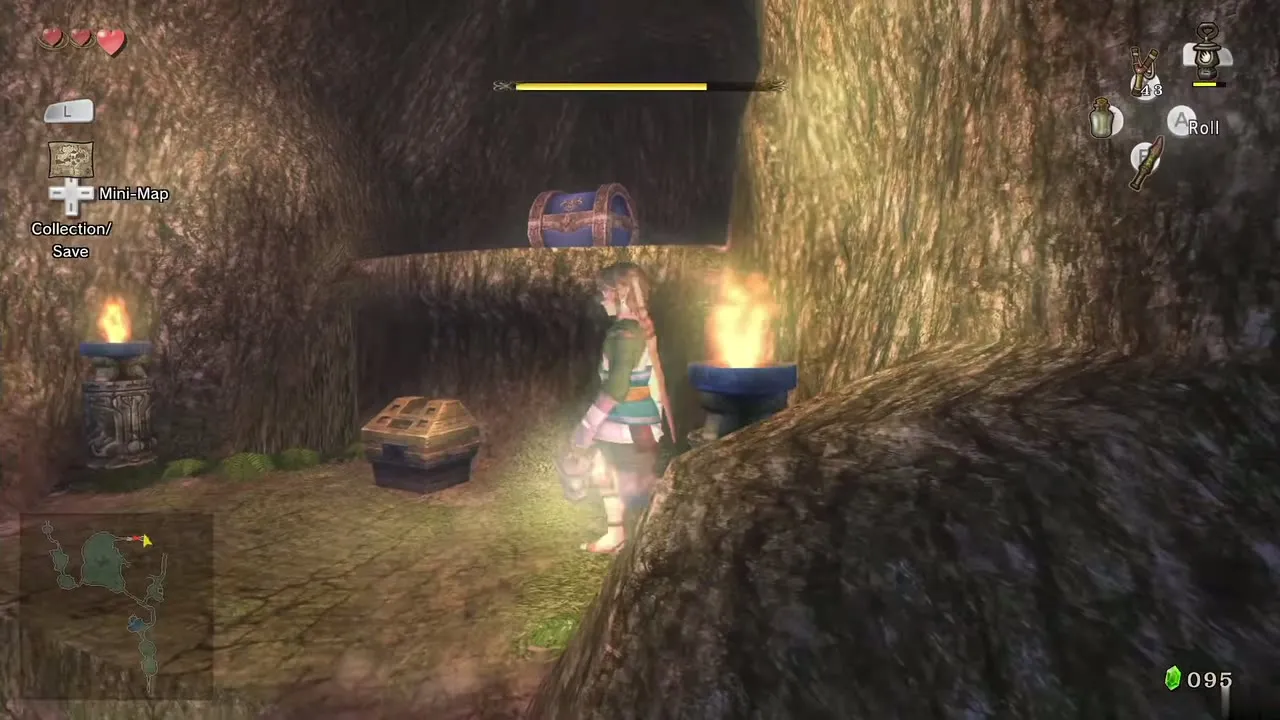
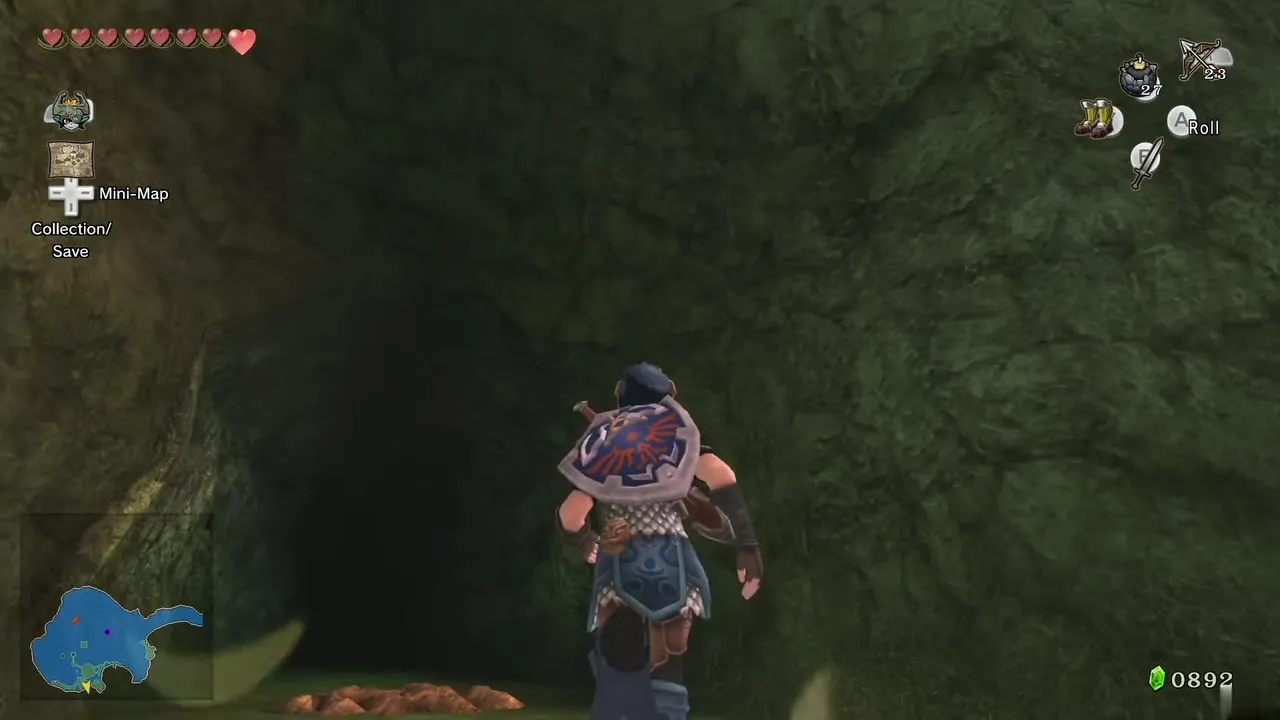
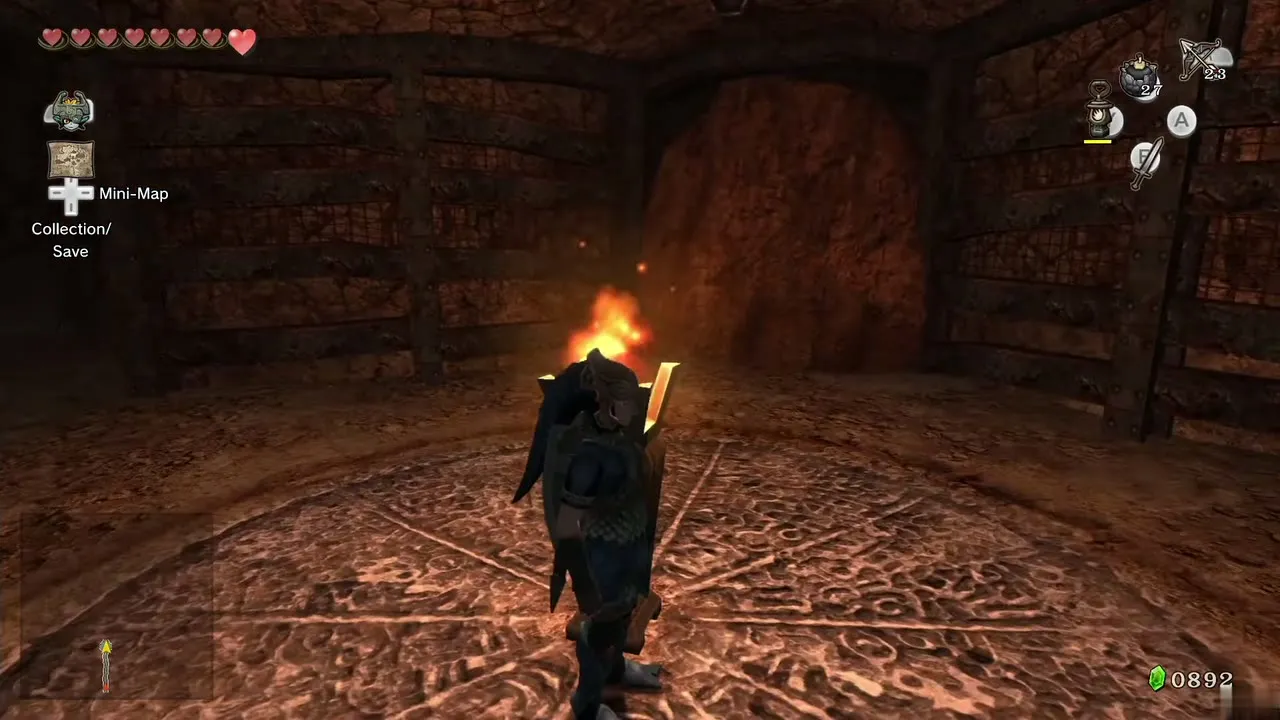
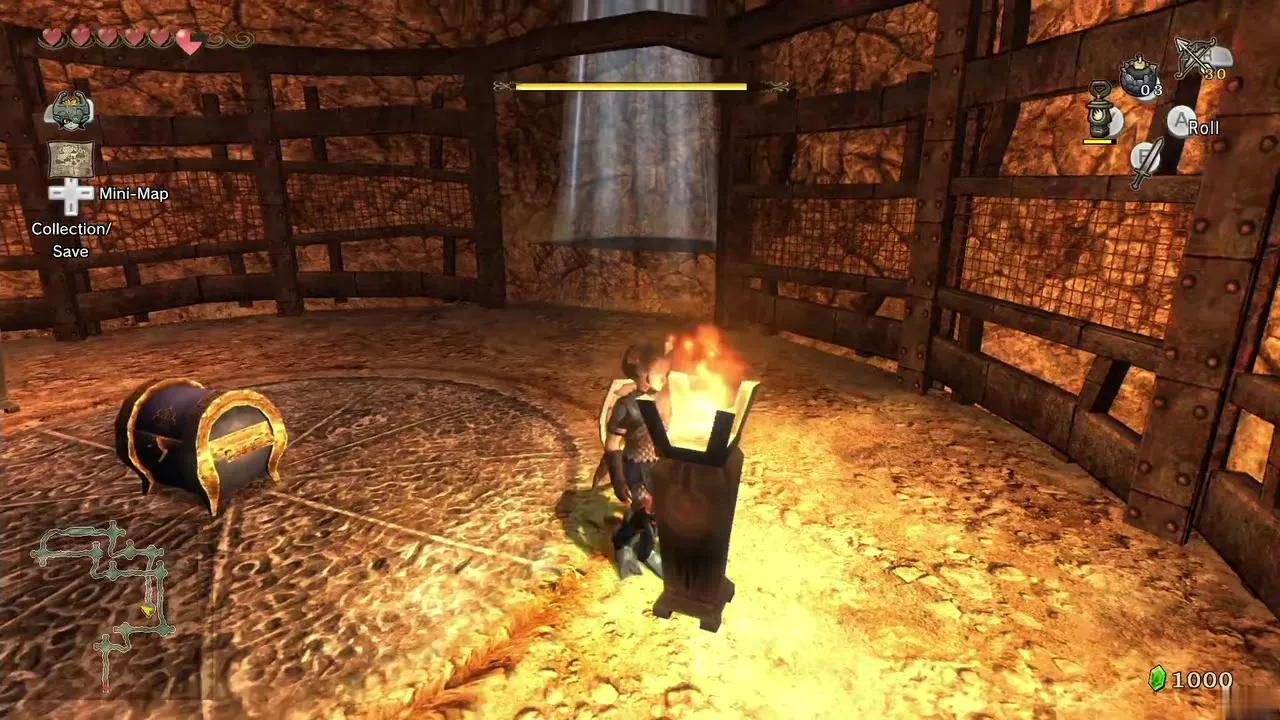
In the large open clearing of Faron Woods (the one later filled with purple fog), take the passage in the north-east corner. A cave there holds two unlit torches. Light both with the Lantern and a chest appears, with the piece inside. In the fog you need a full Lantern or a bottle of oil to see. Needs: Lantern. Form: Human. Chapter: Ordon Village.
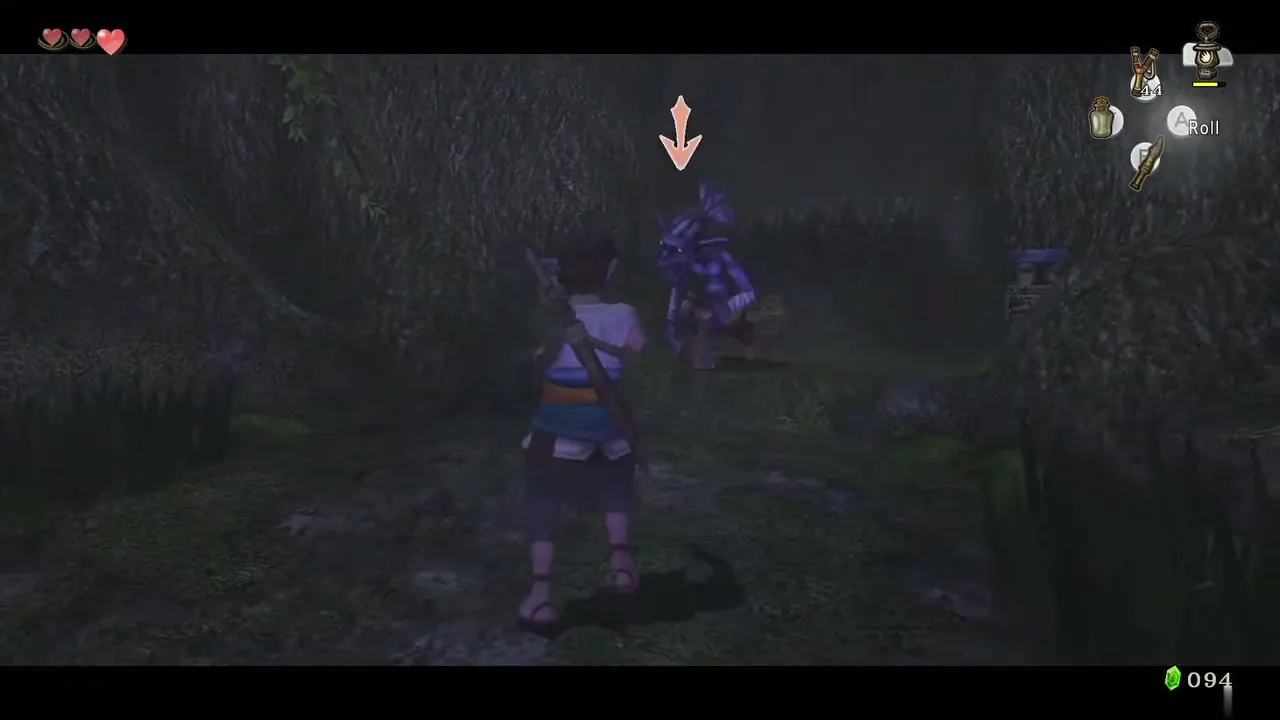
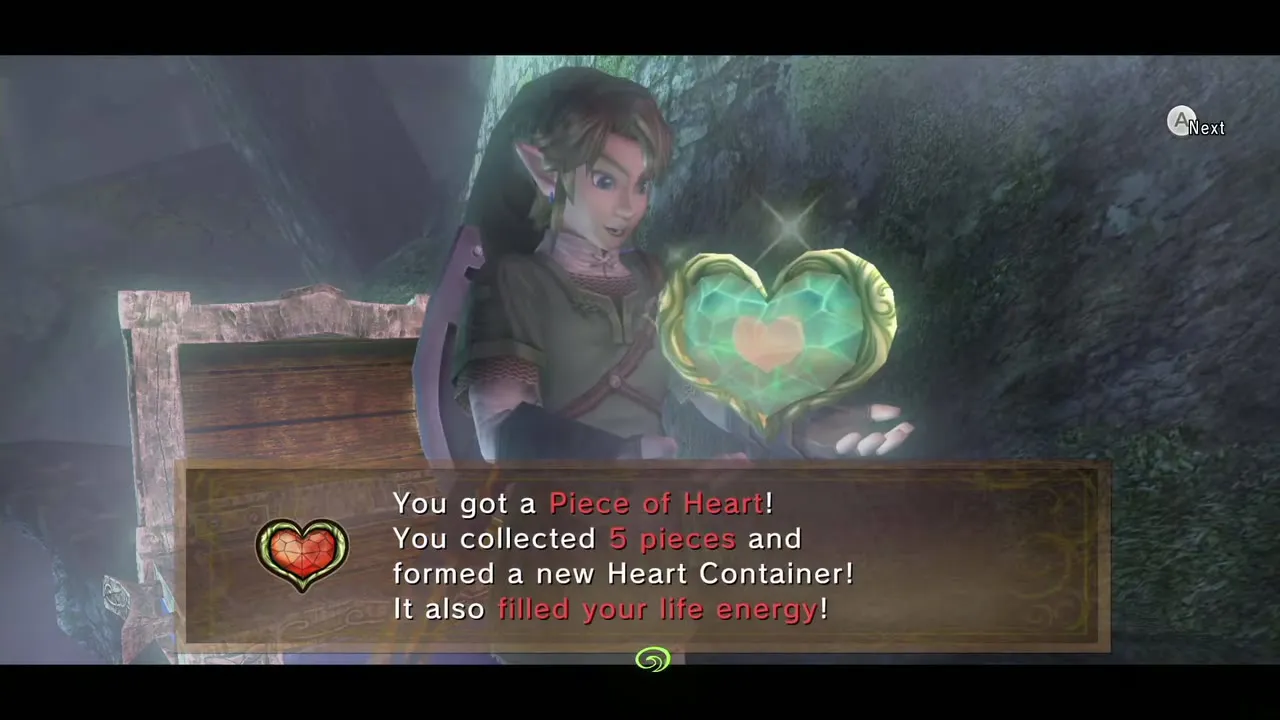
3. Owl Statue near Coro’s shop
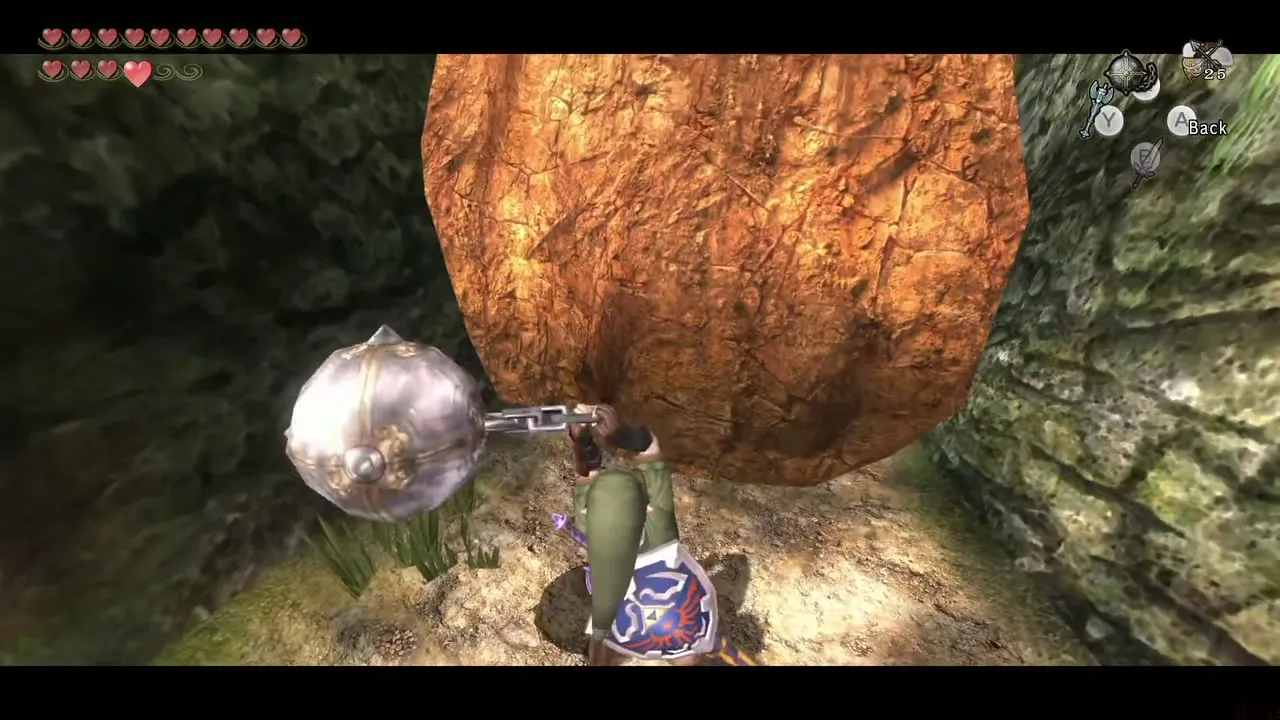
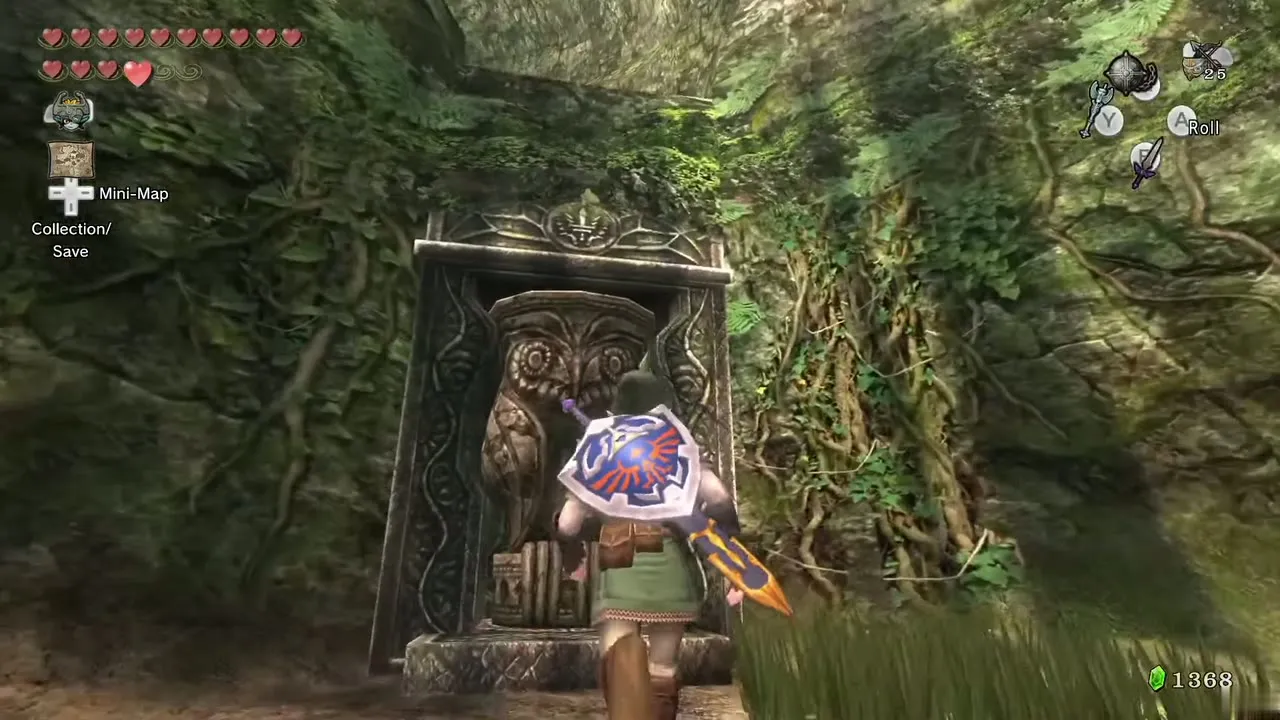
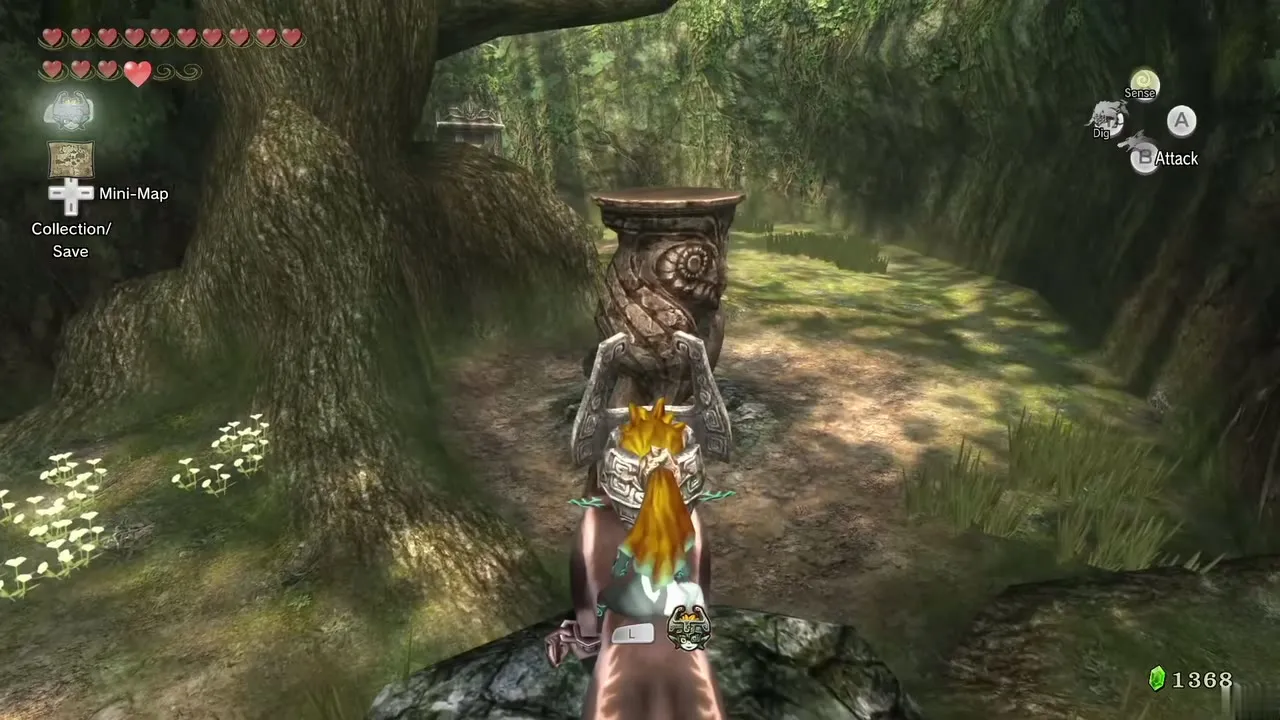
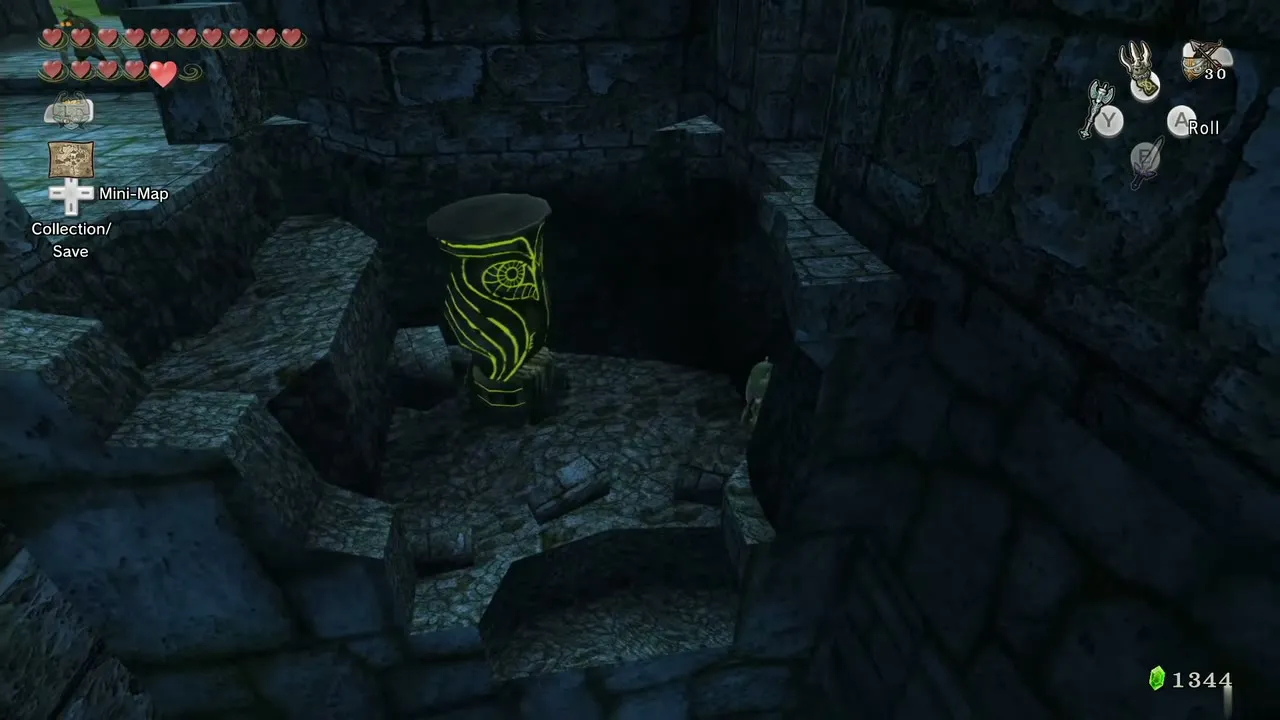
This one waits until the Dominion Rod has its full power (the Ancient Sky Book scene in the Hidden Village chapter). From Coro’s lantern shop take the path to the north-west and clear the boulder with a bomb or the Ball and Chain. Use the rod to walk the Owl Statue into the hollow in front of the tree, then as Wolf Link climb onto it and let Midna jump you over the wall to the chest. Needs: Dominion Rod (full power), Bombs or Ball and Chain. Form: Human, then Wolf. Chapter: Hidden Village.
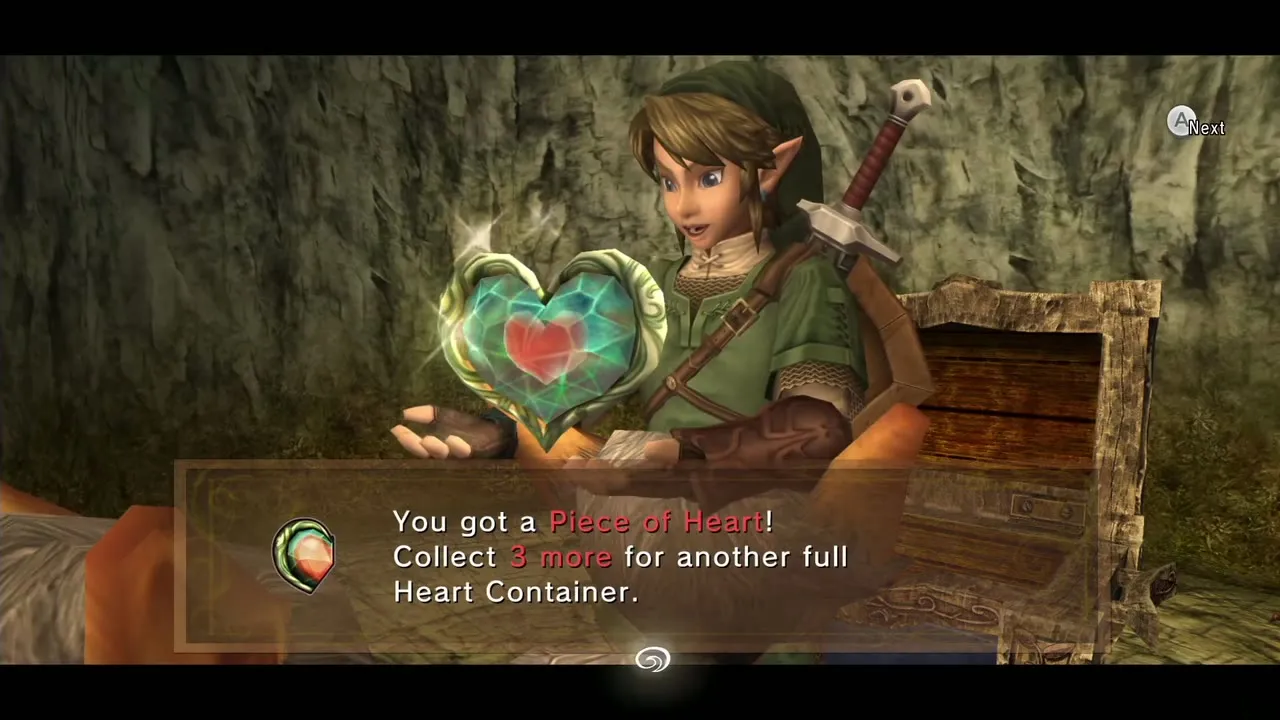
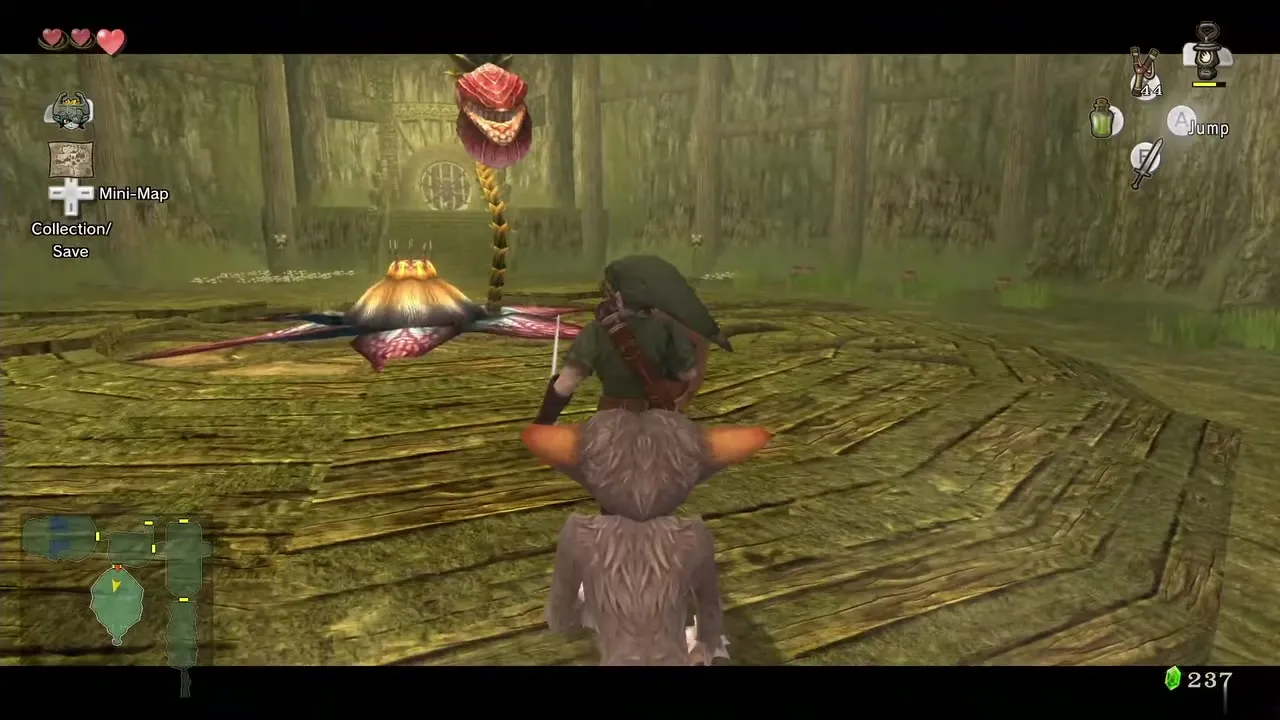
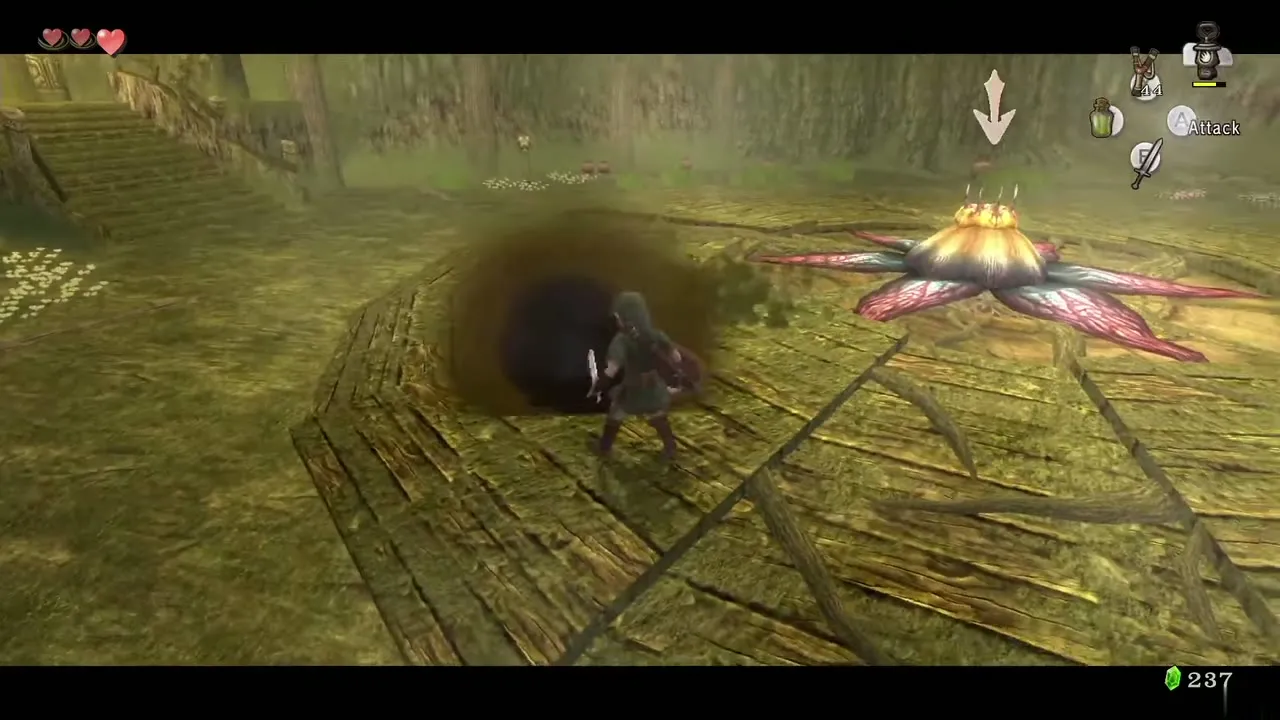
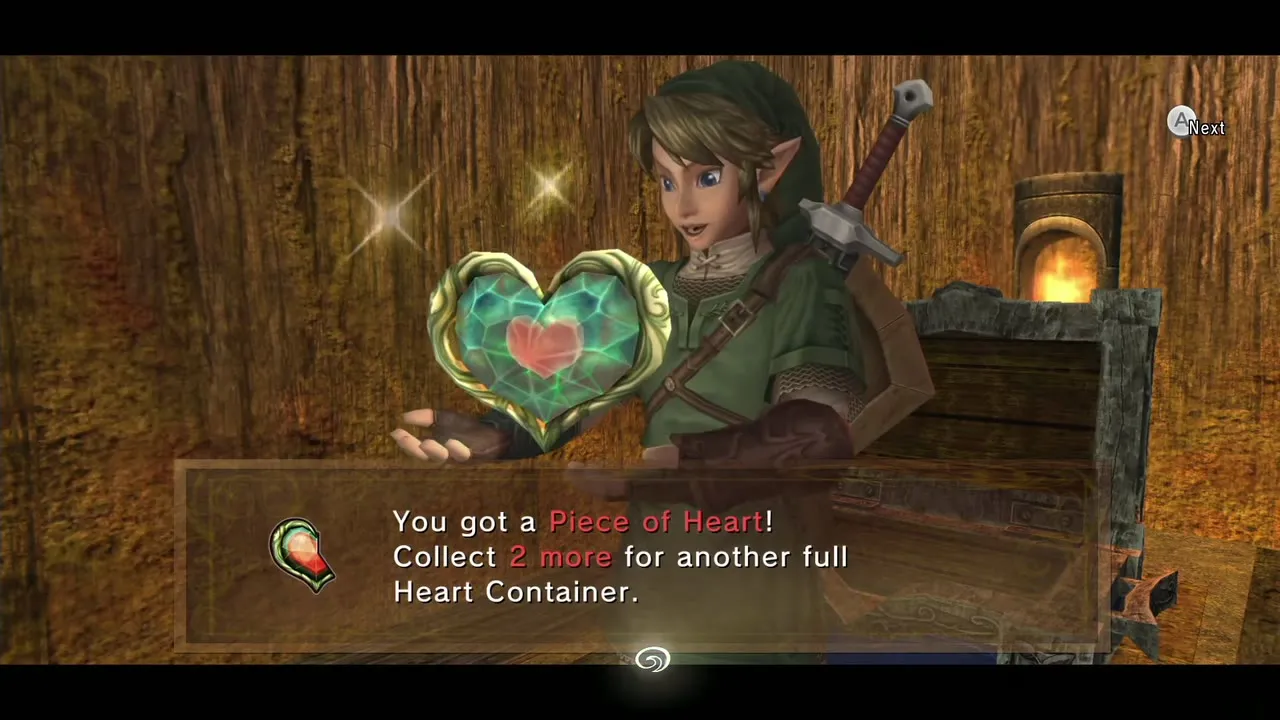
Forest Temple
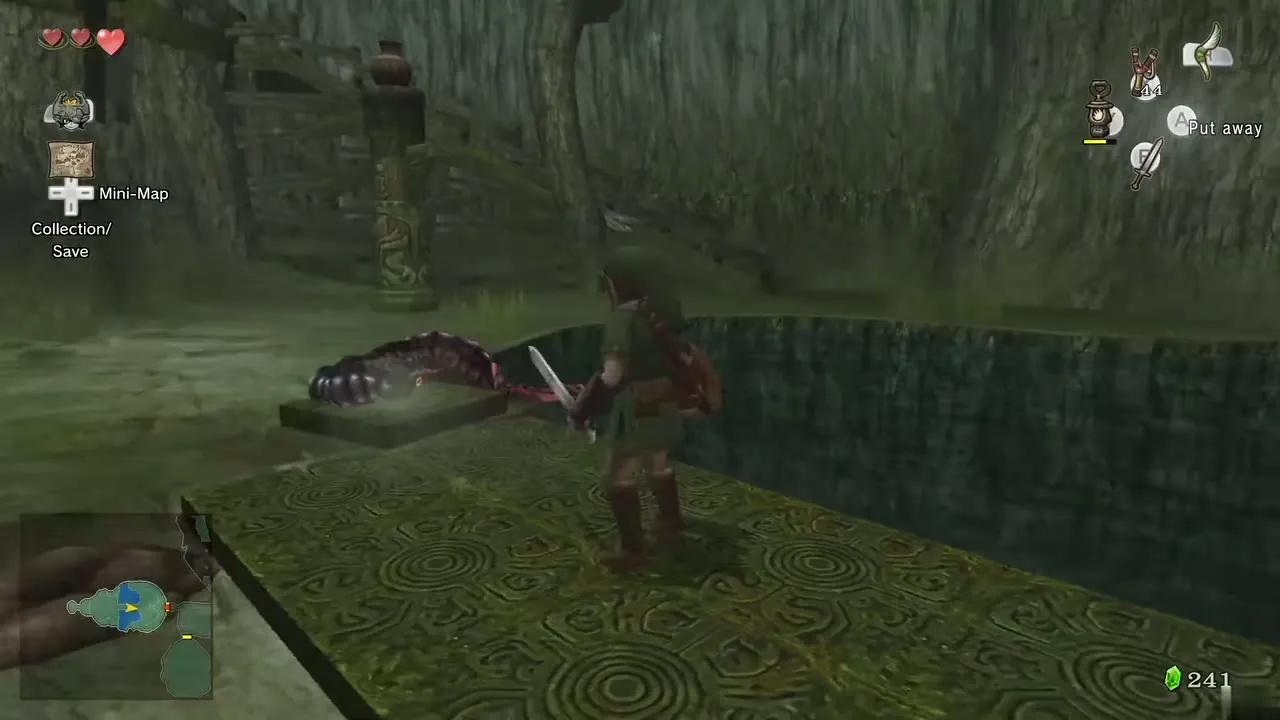
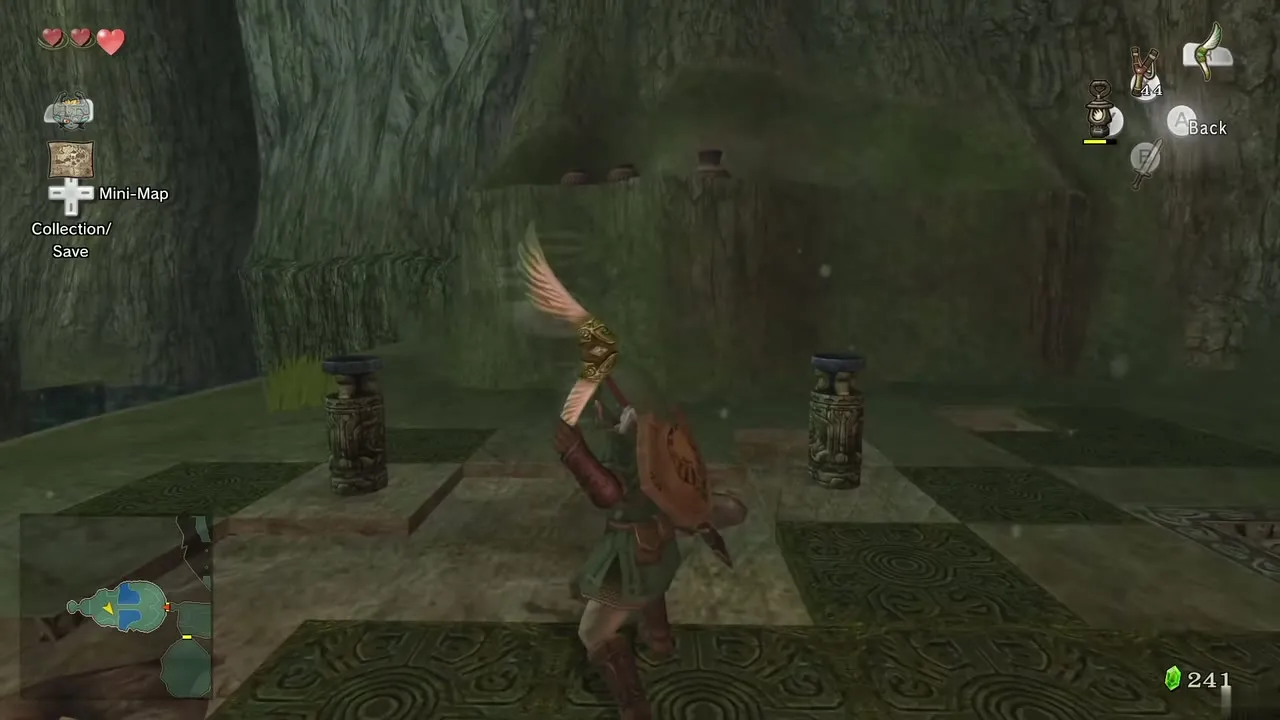
5. Tile Worm room with four torches
In the west room, flip the Tile Worms over with the Gale Boomerang and kill them, then cross the bridge and put out all four torches with the boomerang. The staircase lowers and the chest underneath holds the piece. Needs: Gale Boomerang. Form: Human. Chapter: Forest Temple.
Hyrule Field, Kakariko Gorge and the Bridge of Eldin
6. Tree beside the first stone bridge
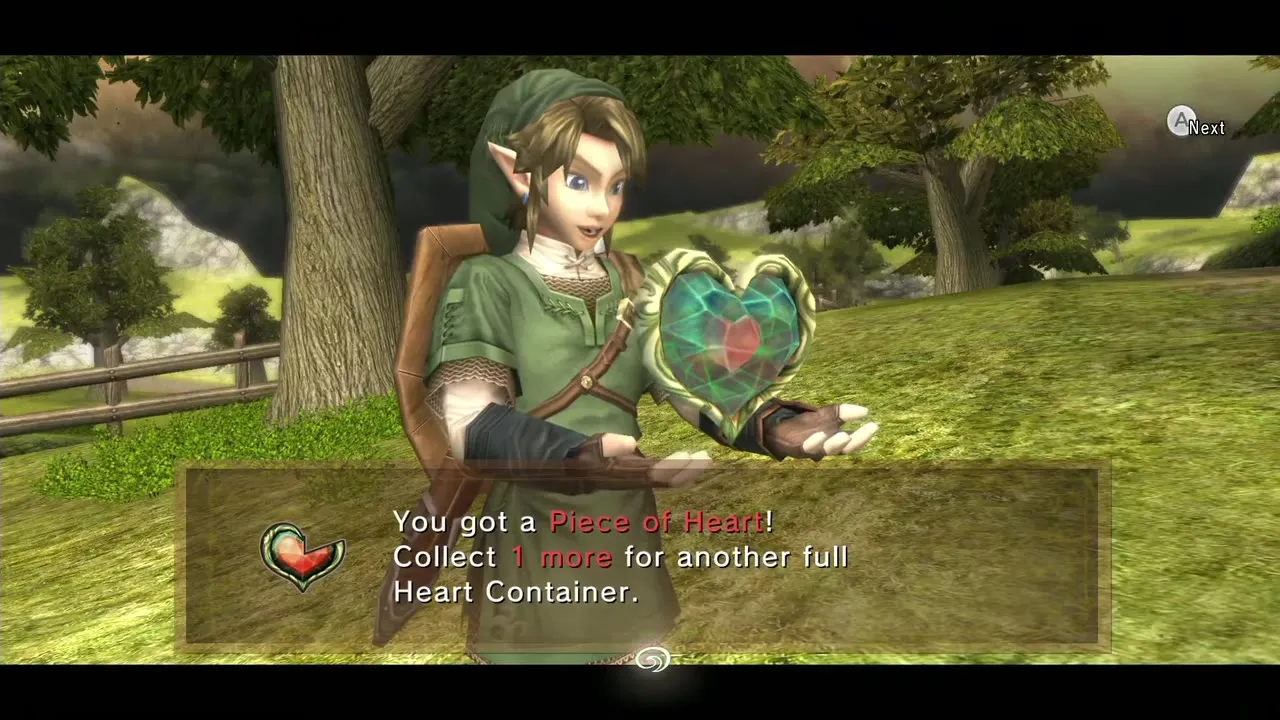
In the Faron half of Hyrule Field, a lone tree stands beside the road just before the first stone bridge, with a heart glinting in its branches. Pull it down with the Gale Boomerang. Needs: Gale Boomerang. Form: Human. Chapter: Hyrule Field and Kakariko.
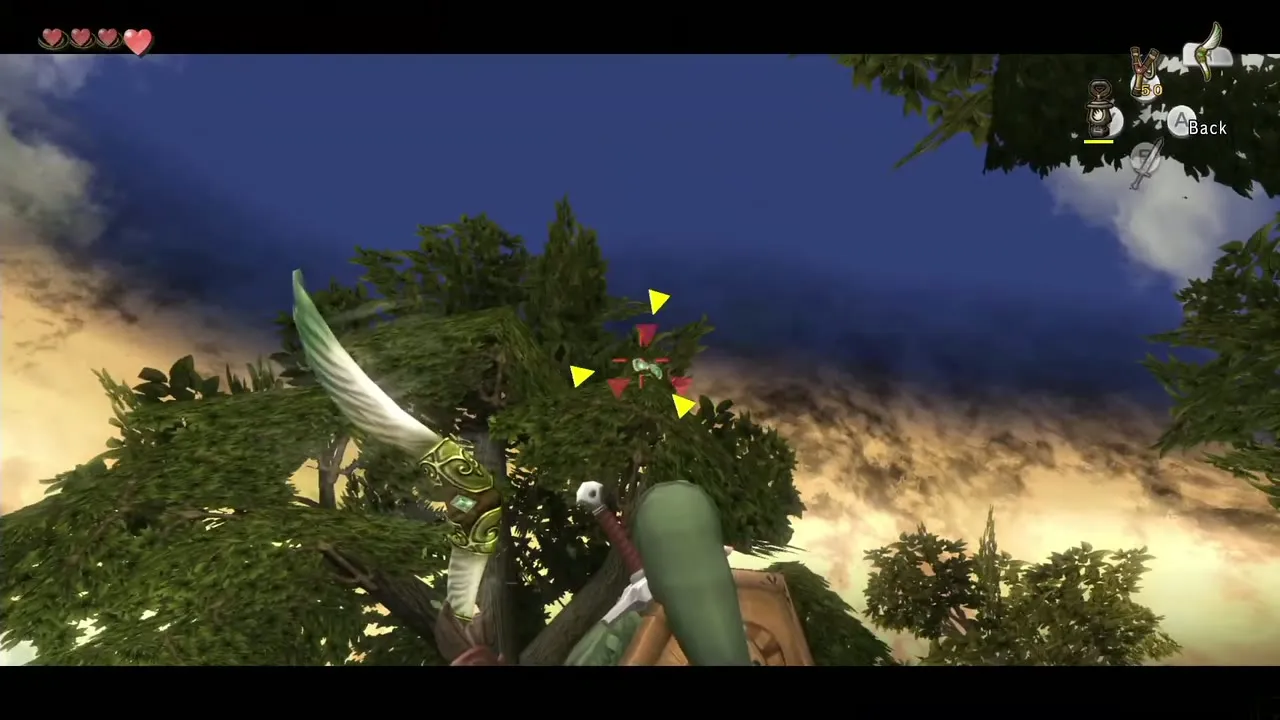
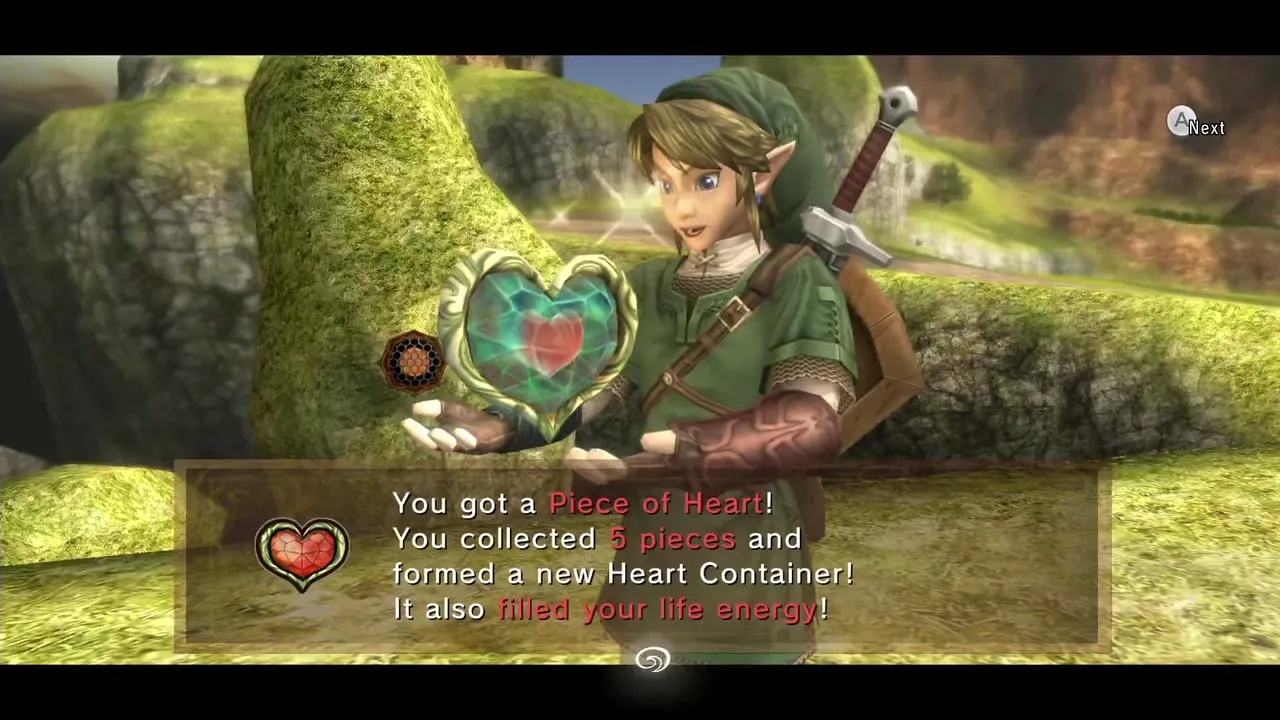
7. Heart on the large rock formation
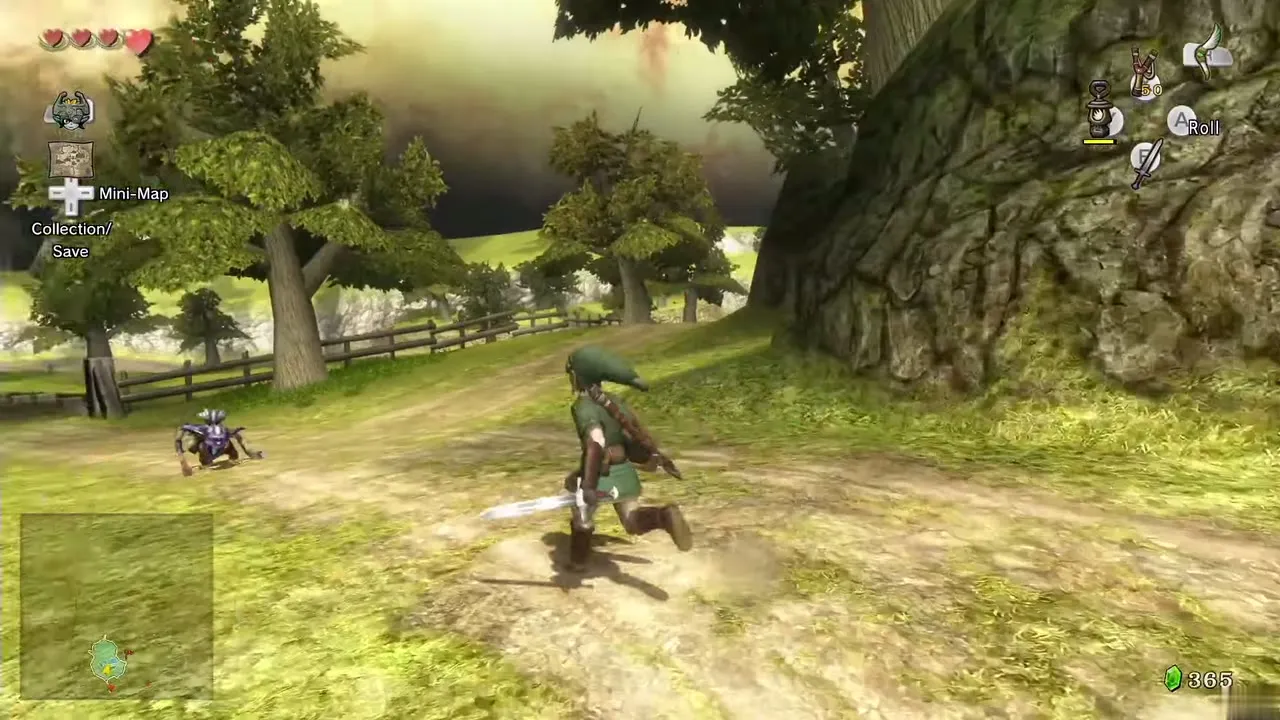
In the stretch of Hyrule Field just south of Kakariko Village, two big rock formations stand out toward the middle of the field. A piece sits on top of the larger one. Lock on from the ground and pull it down with the Gale Boomerang. Needs: Gale Boomerang. Form: Human. Chapter: Hyrule Field and Kakariko.
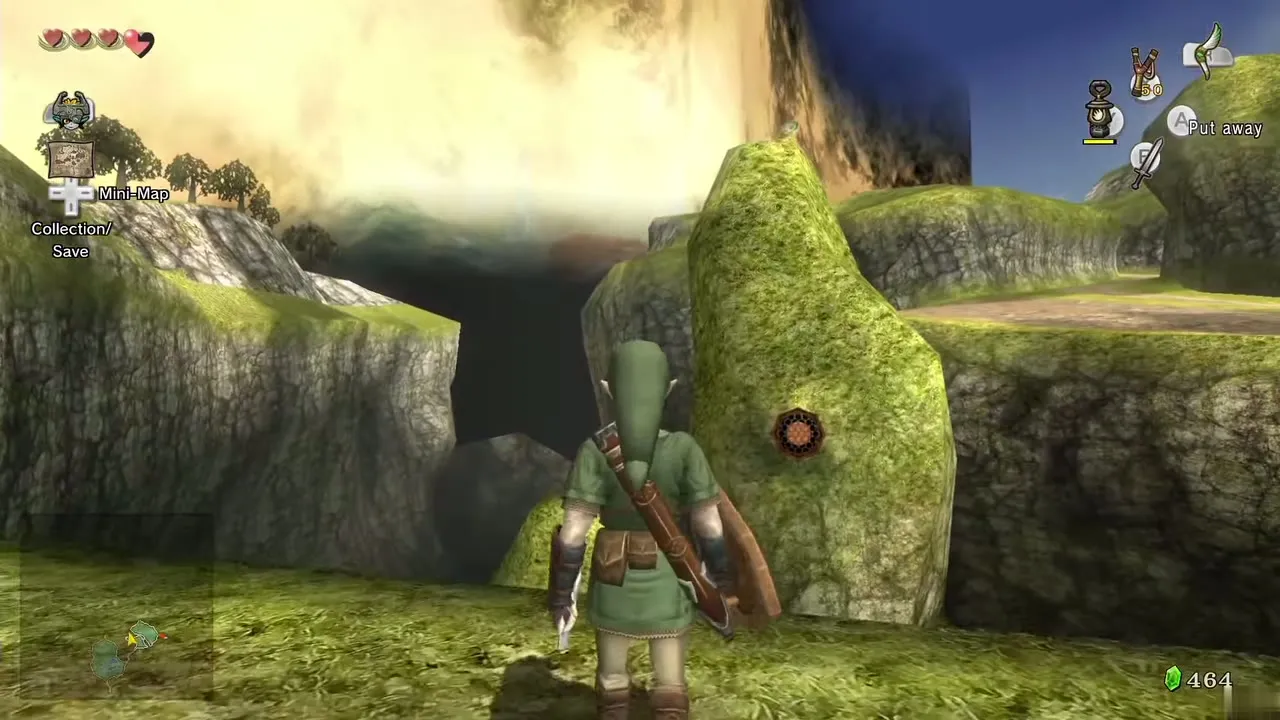
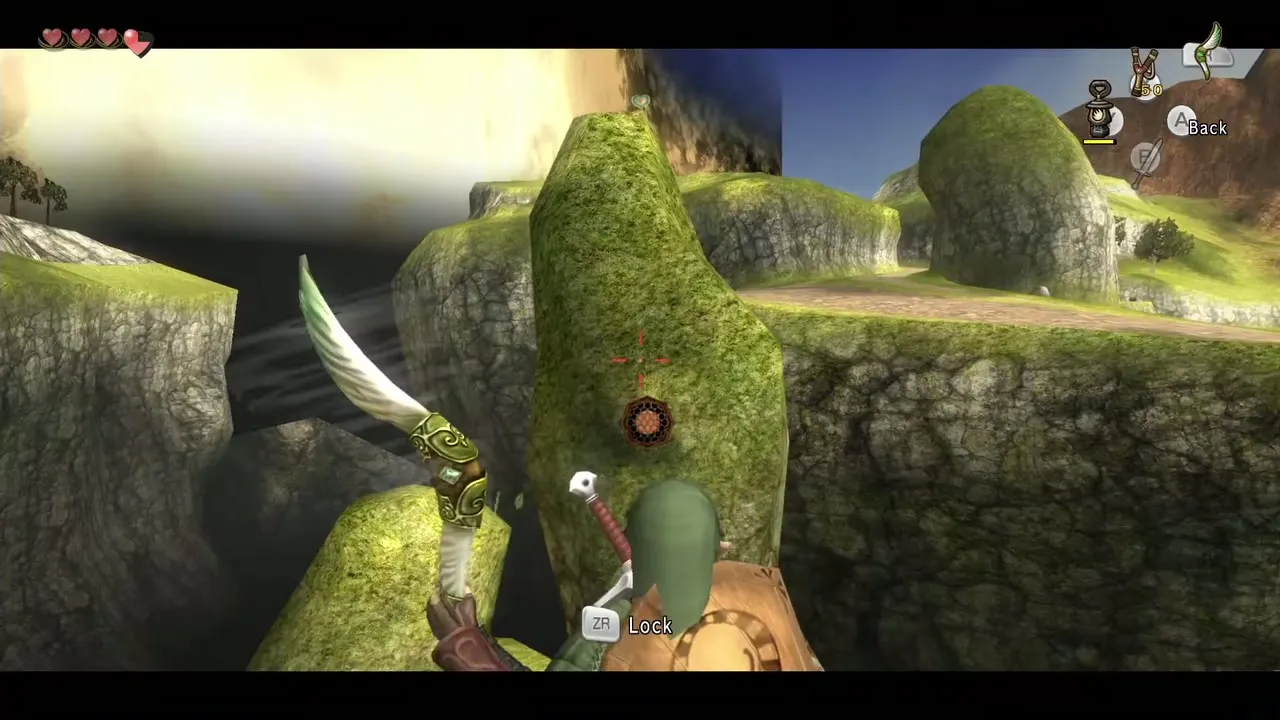
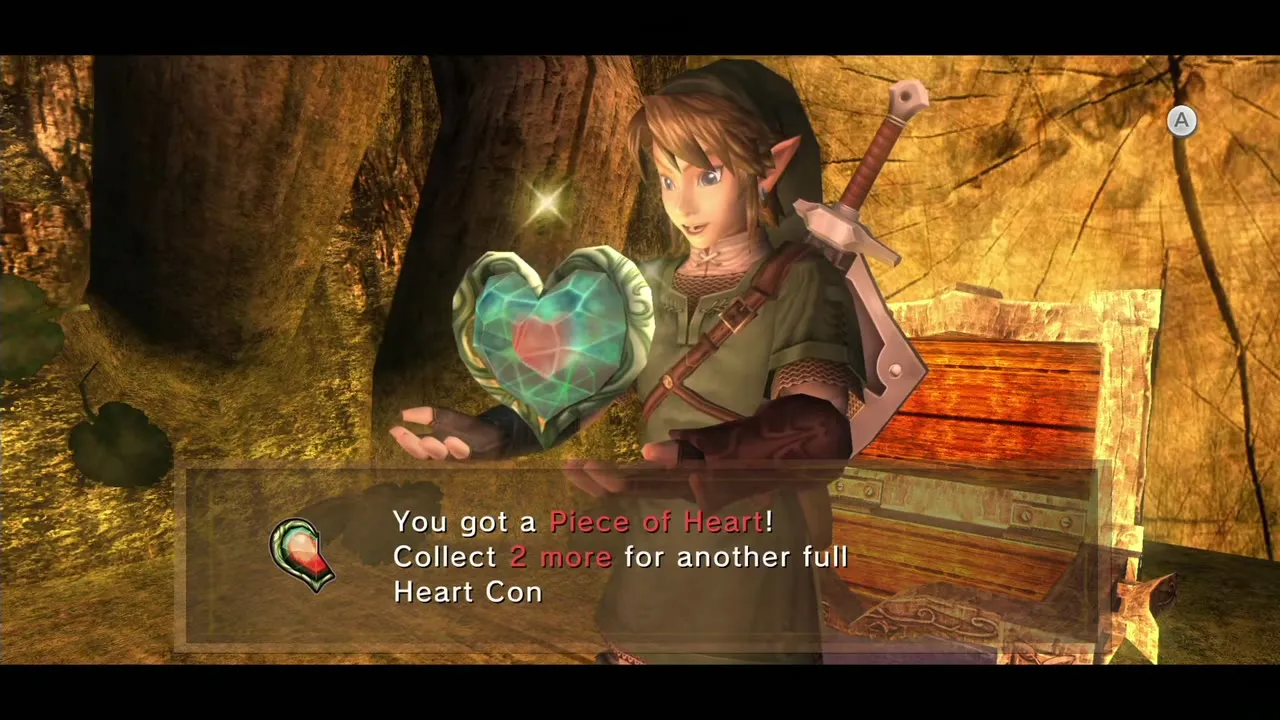
8. Gorge cavern (right, right, left, right)
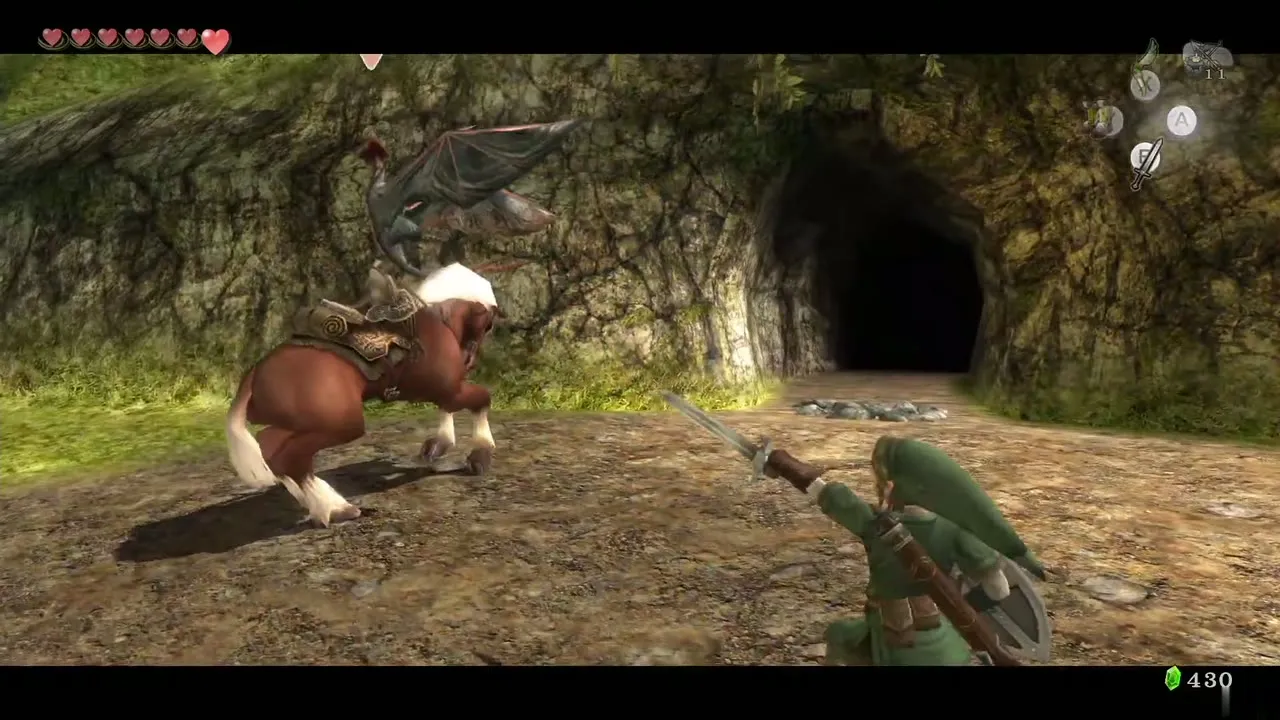
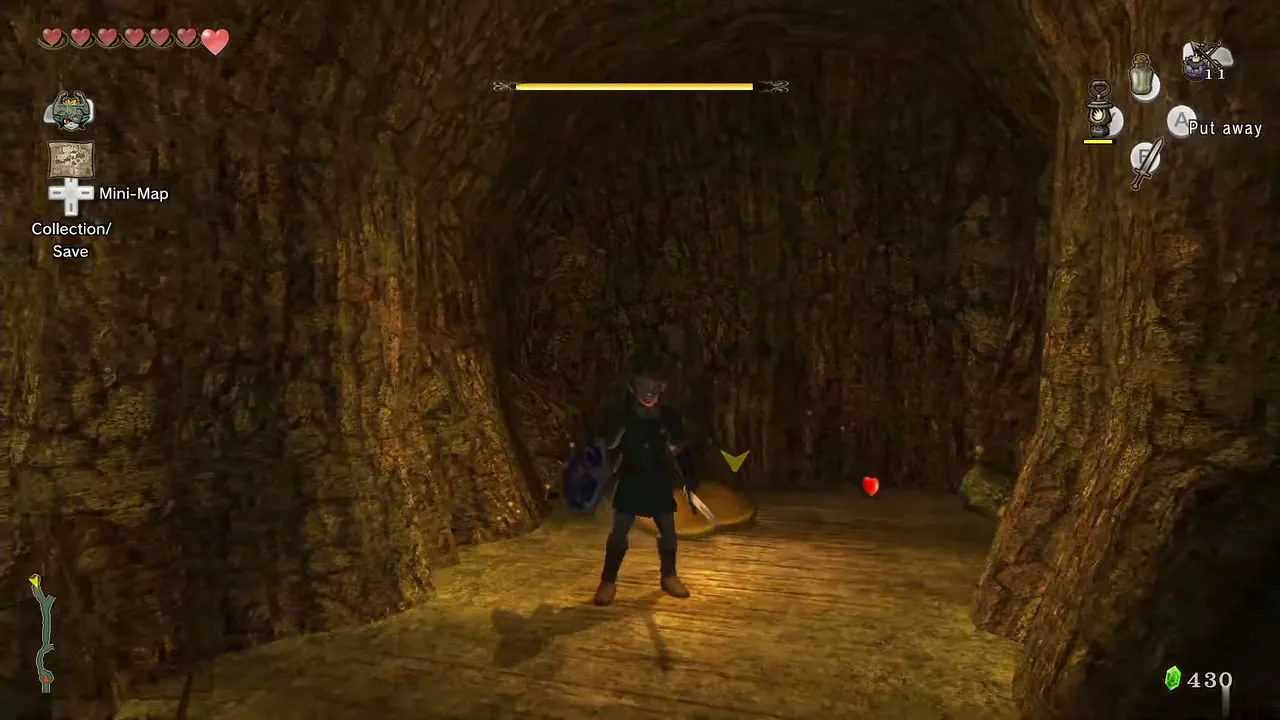
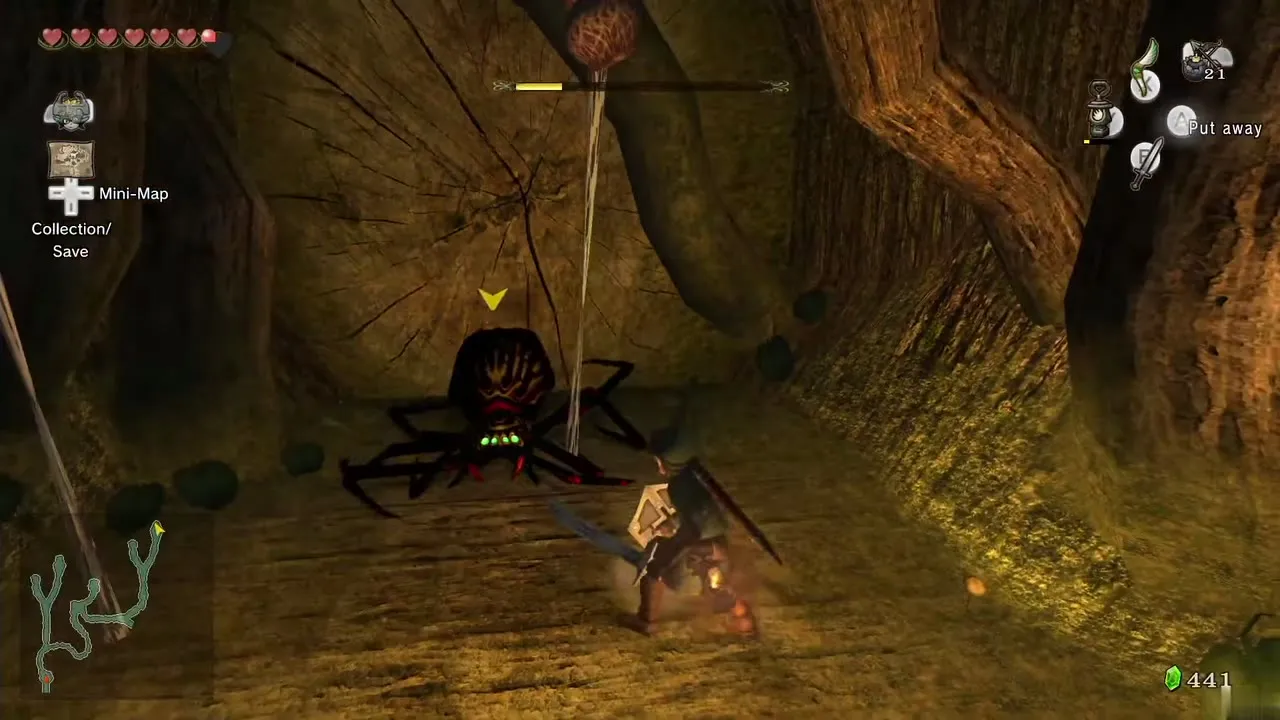
Bomb the boulder that blocks the cave in the southern part of Kakariko Gorge. The cave is dark and full of enemies, so keep the Lantern lit. At each fork take right, right, left, right to reach a dead end with a Skulltula. Defeat it, light the torches and a chest appears. A Poe lives in the same cave. Needs: Bombs, Lantern. Form: Human. Chapter: Lanayru Province.
9. Rock out in the abyss at the west end
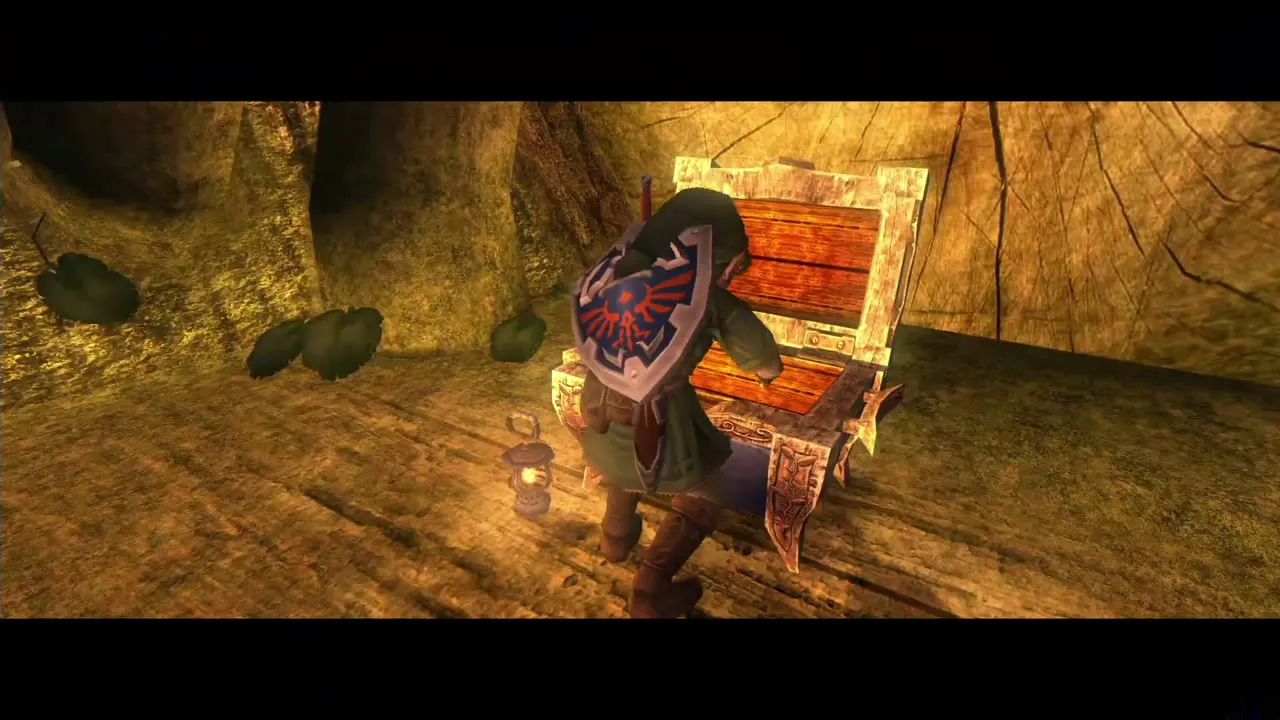
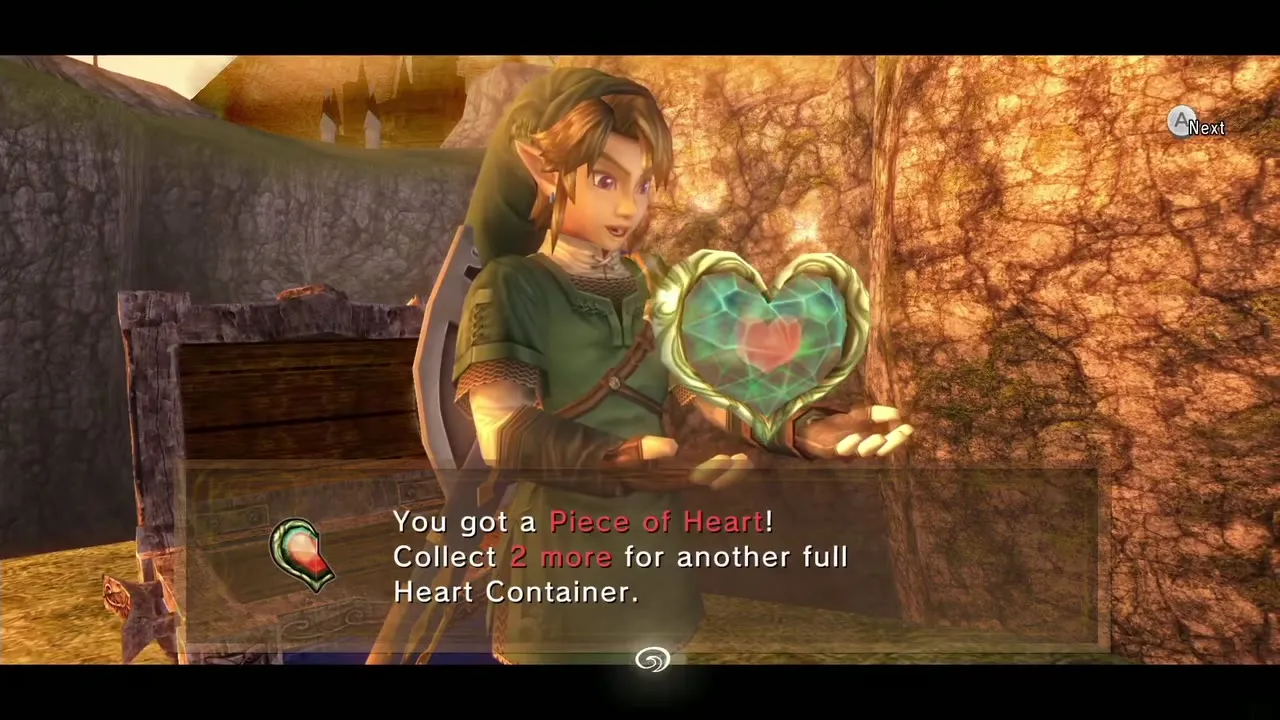
Return with the Double Clawshots. At the far west end of Kakariko Gorge a large rock formation stands out in the abyss with a target on its side. Grapple back and forth to reach the lower vines, climb around to the other side and open the chest on the platform there. Needs: Double Clawshots. Form: Human. Chapter: Palace of Twilight.
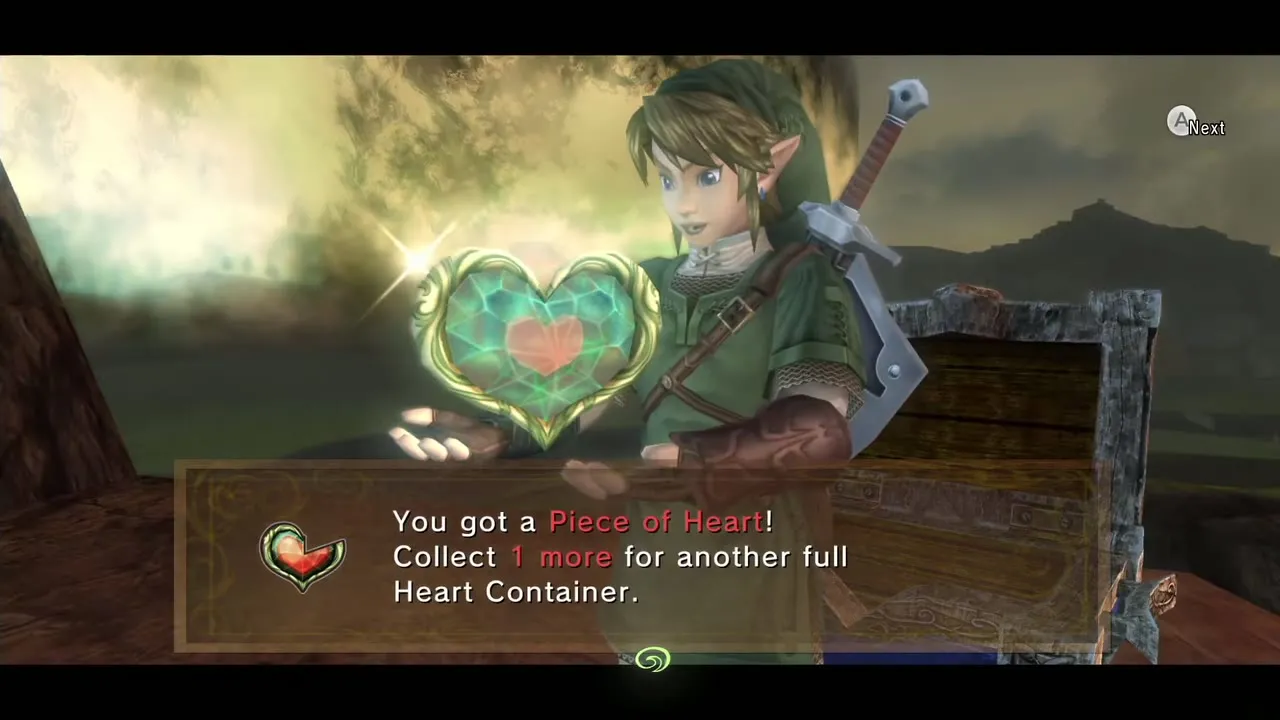
10. Cliff chest north of Kakariko
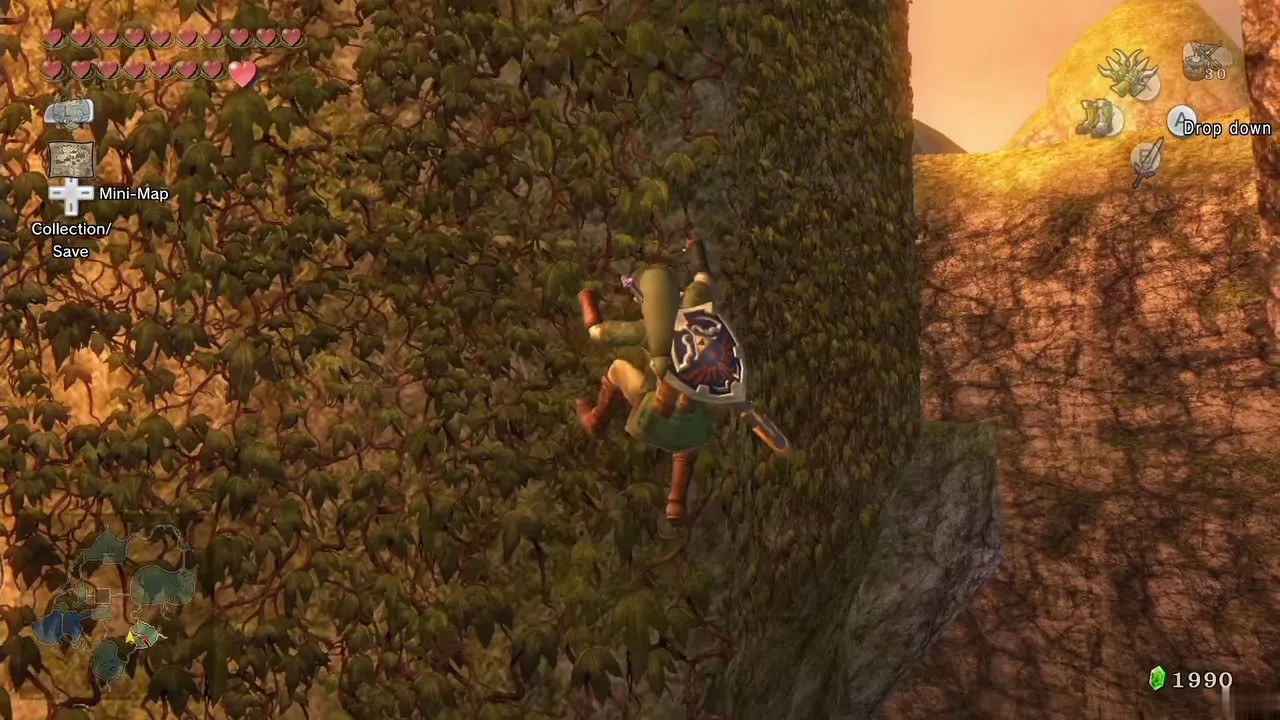
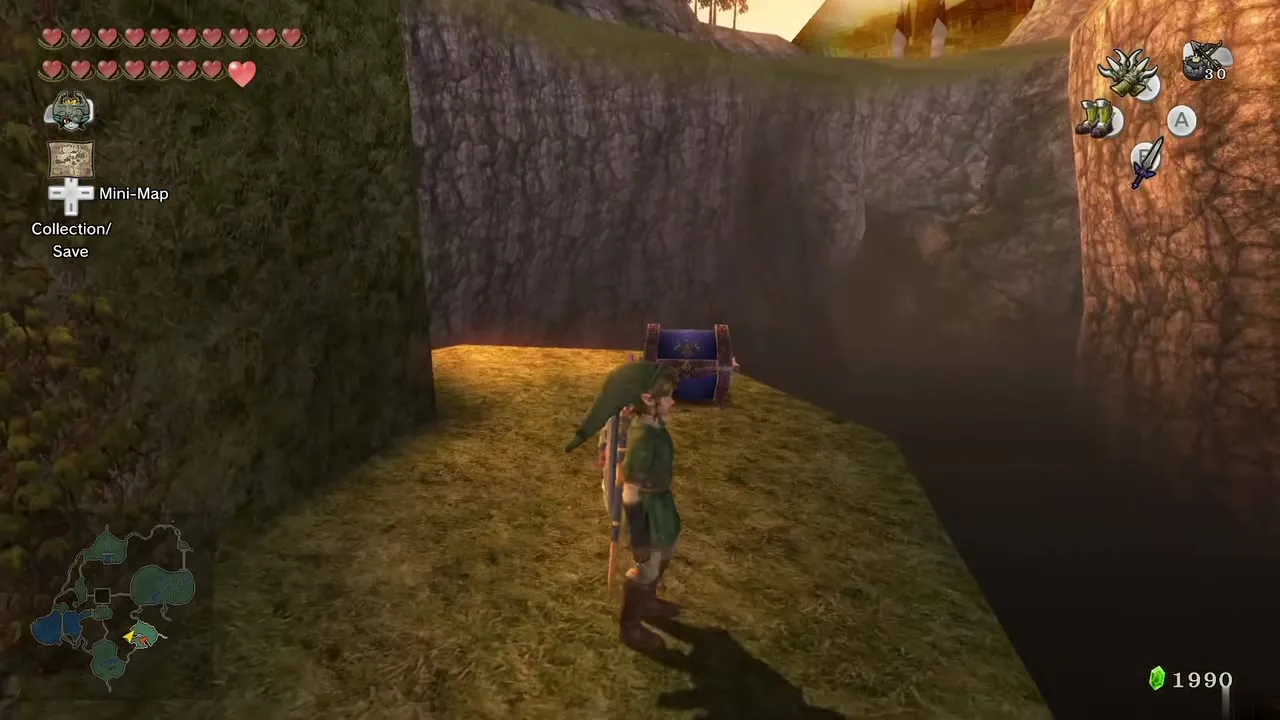
Leave Kakariko by the north exit, bomb the large boulders on the left and climb the ledge behind them. Follow the ramp and platforms to the vines, cross the bridge, shoot the boulder above the second set of vines with a bomb arrow, then climb across and look down on your right for a chest to drop onto. Needs: Bombs, Hero’s Bow (bomb arrows). Form: Human. Chapter: Lanayru Province.
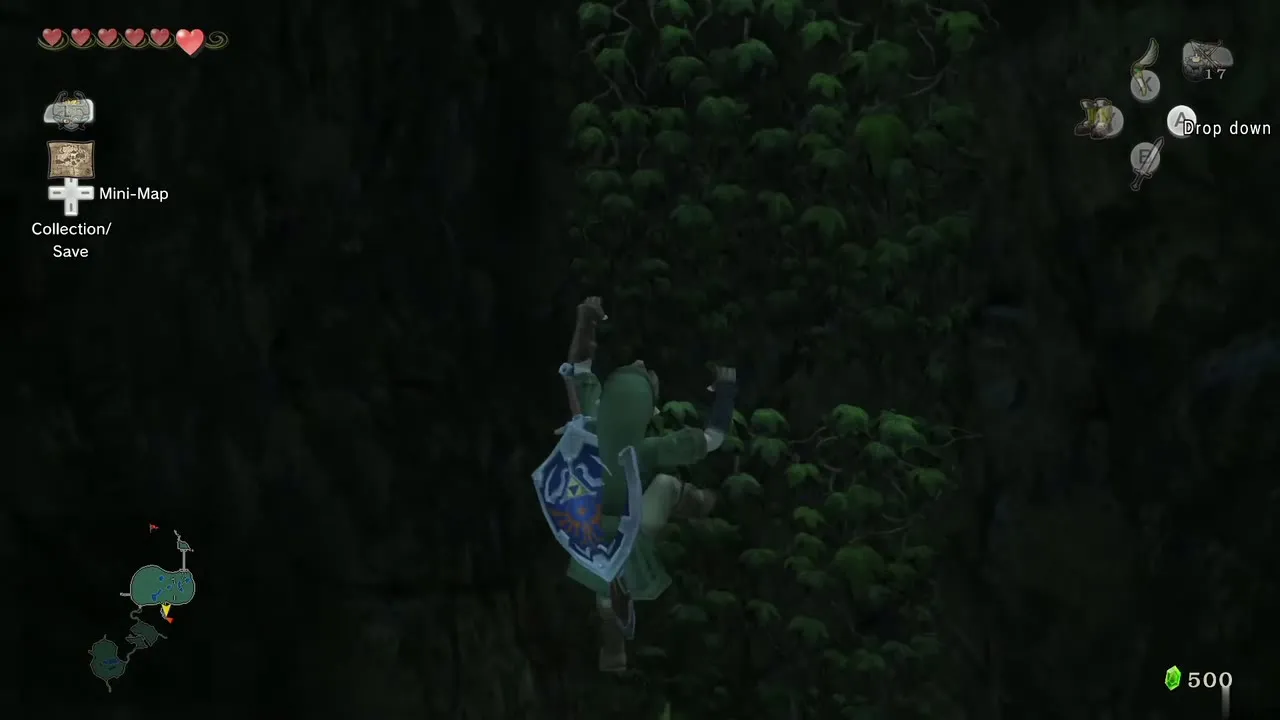
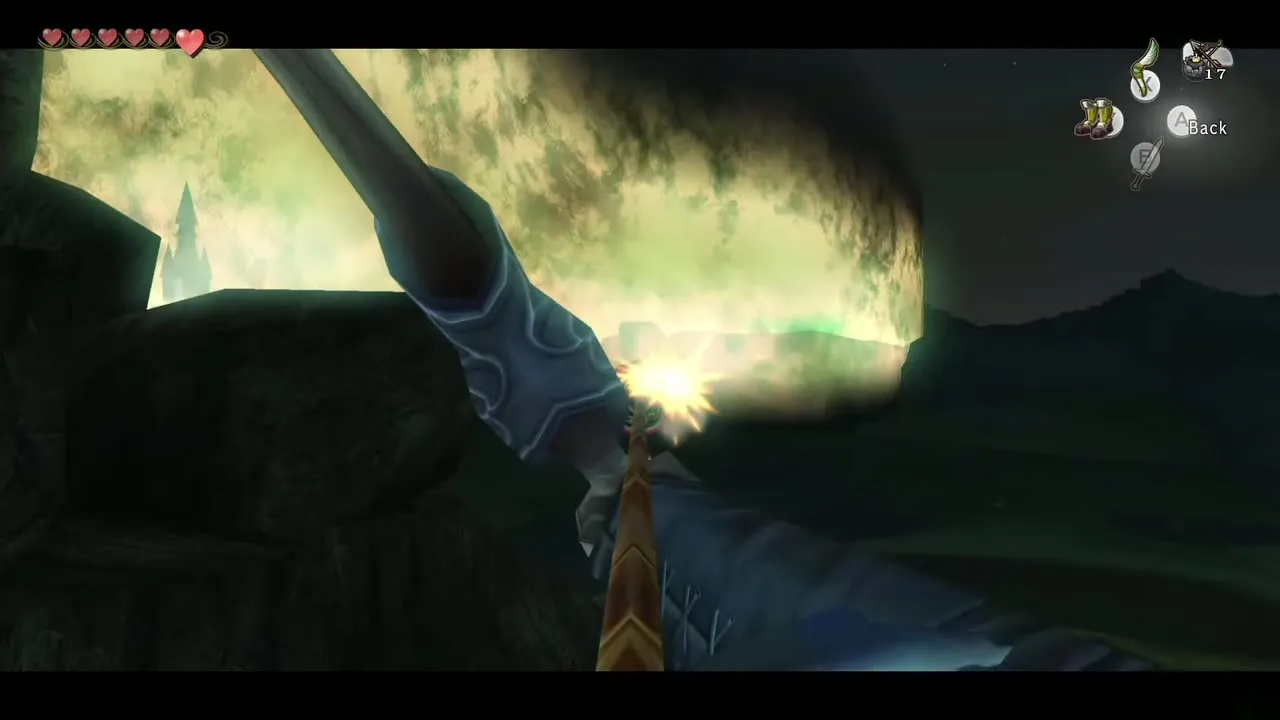
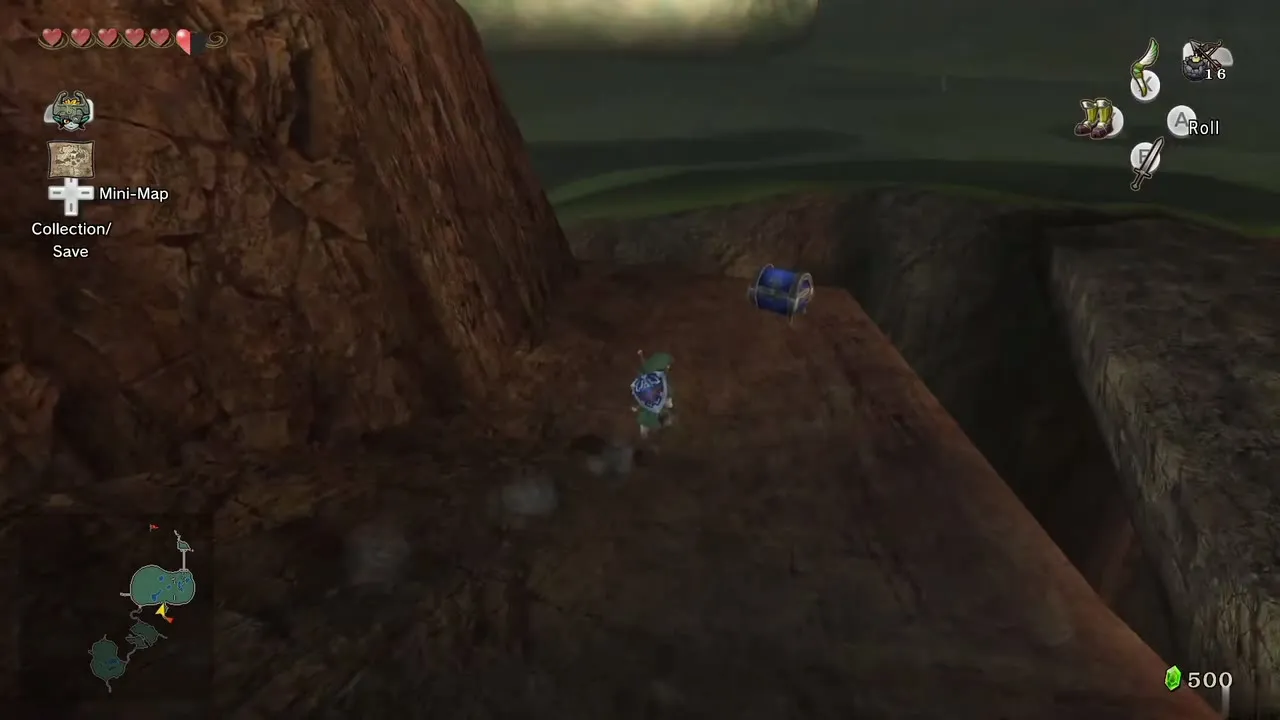
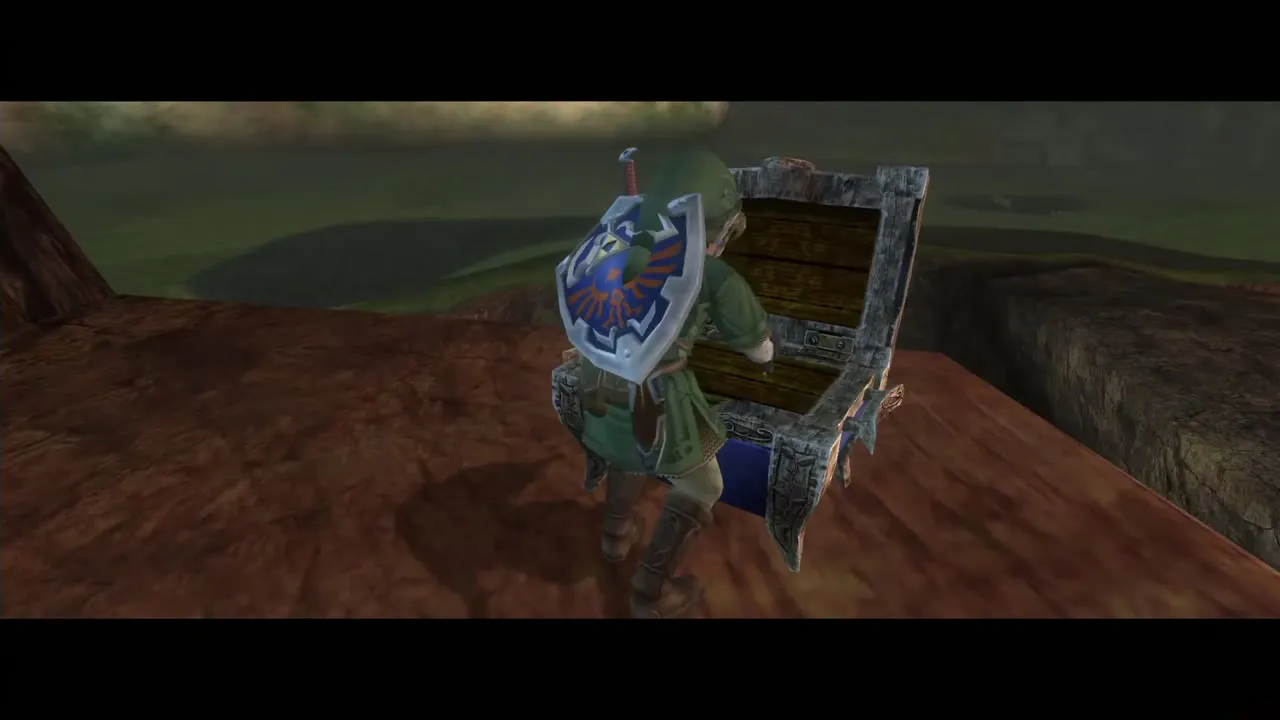
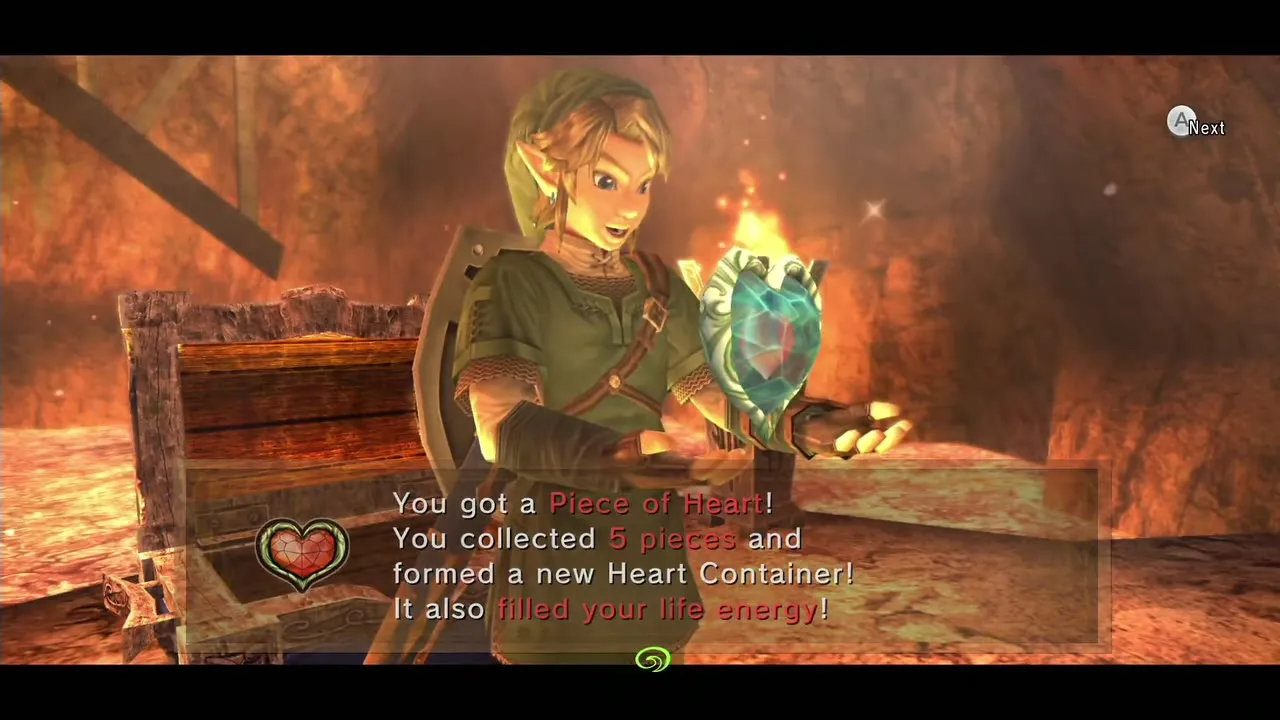
11. Magnetic cave north of the Bridge of Eldin
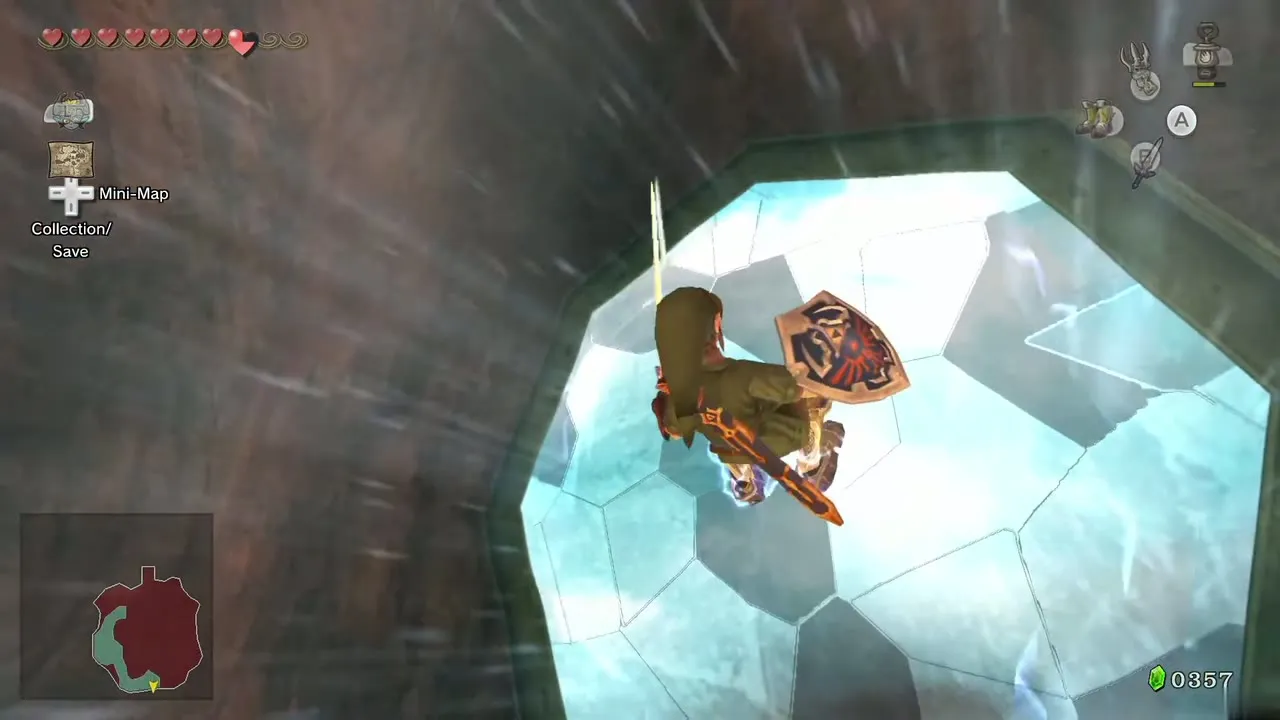
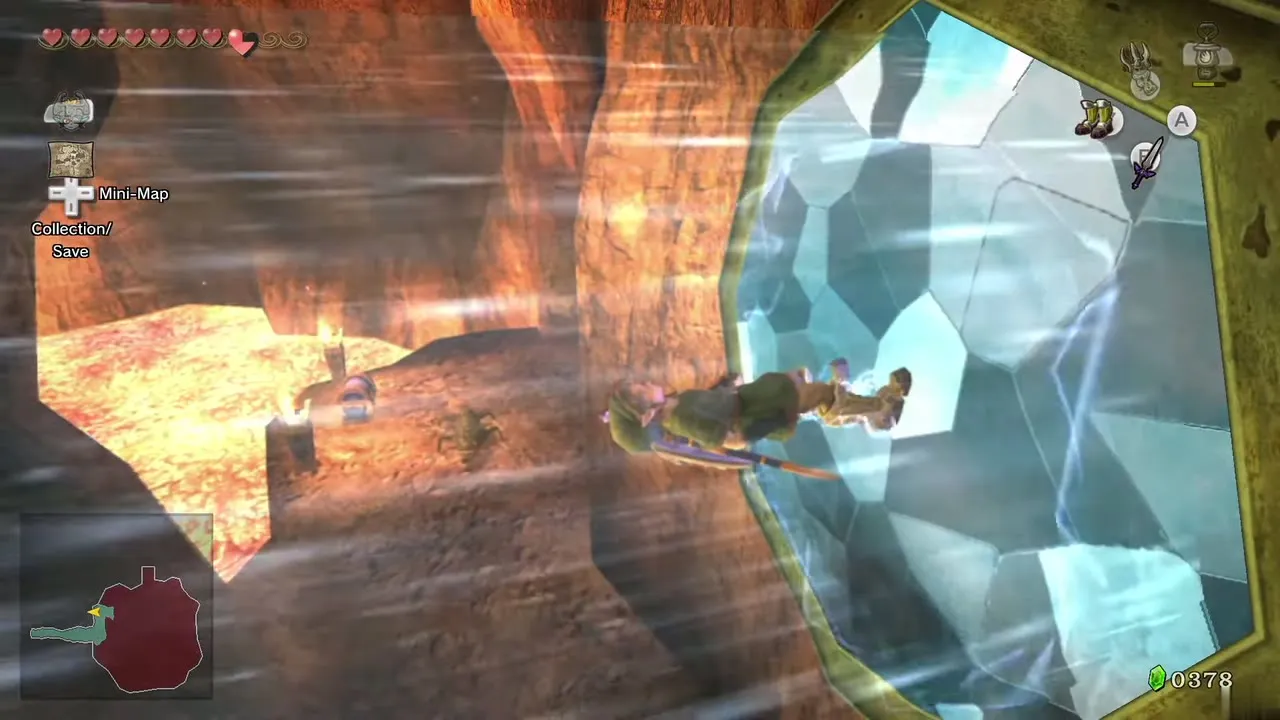
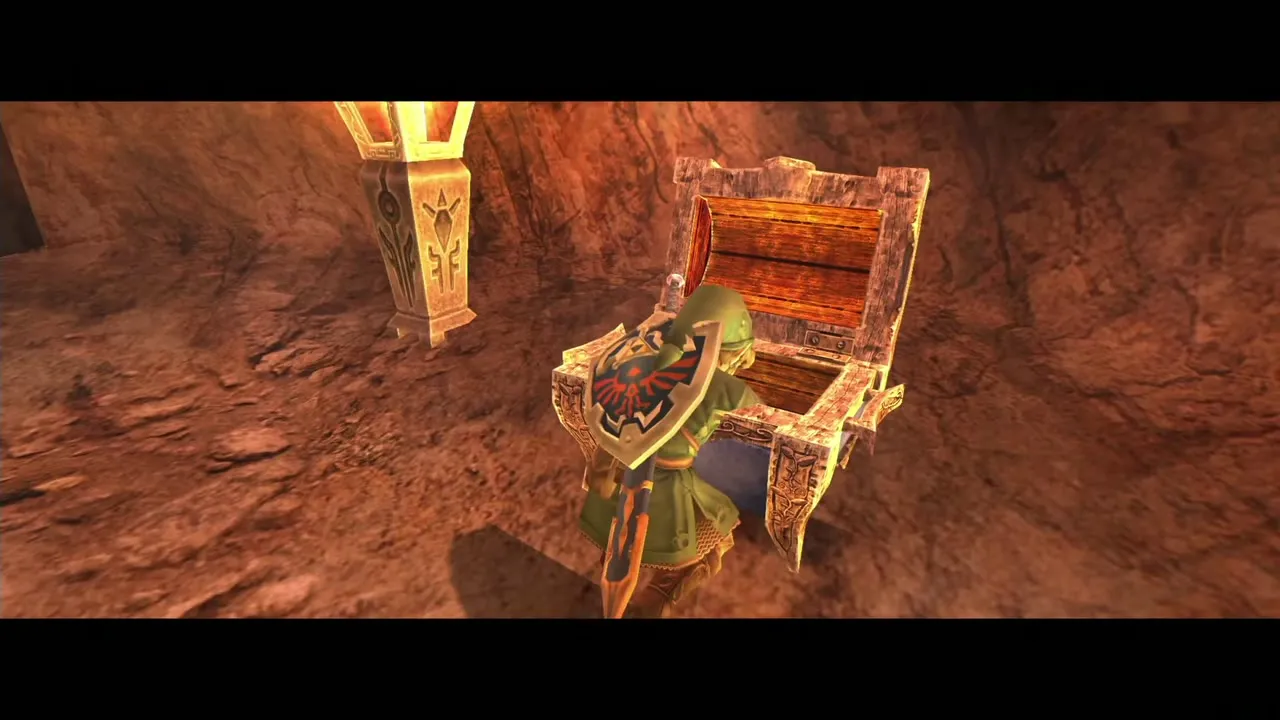
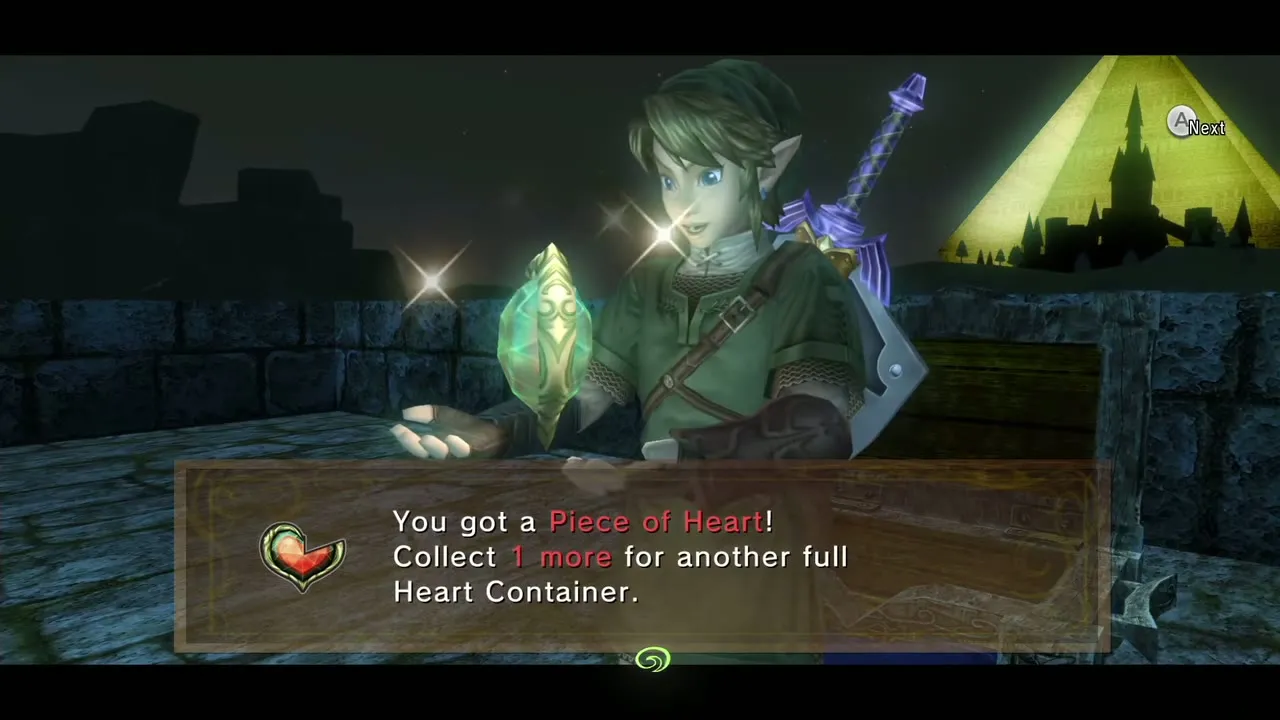
On the north side of the bridge a ledge carries a Clawshot target. Hook it, drop down and follow the path, bombing rocks, to a cave that looks like the Goron Mines. Walk to the end of the ledge, jump and put on the Iron Boots mid-fall to be pulled onto the magnetic wall, walk down to the floor and open the chest. Needs: Clawshot, Iron Boots, Bombs. Form: Human. Chapter: Poe Souls and Malo Mart.
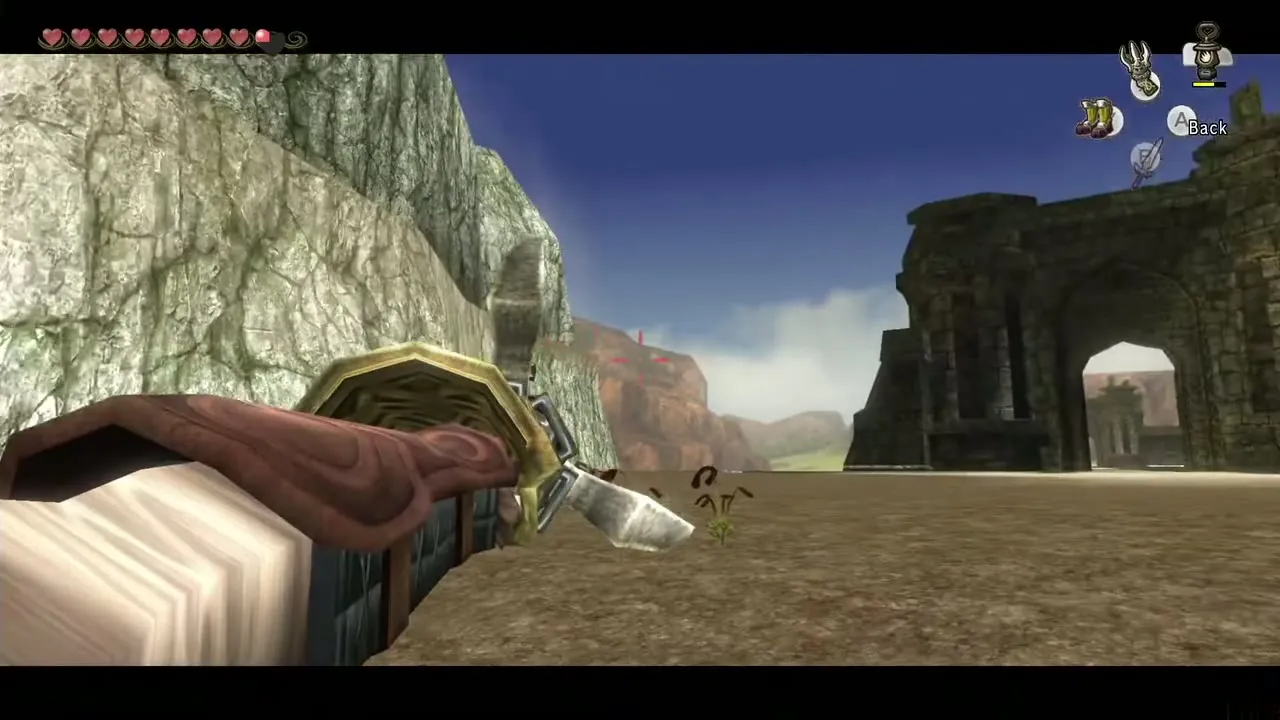
12. Owl Statue tower at the Bridge of Eldin
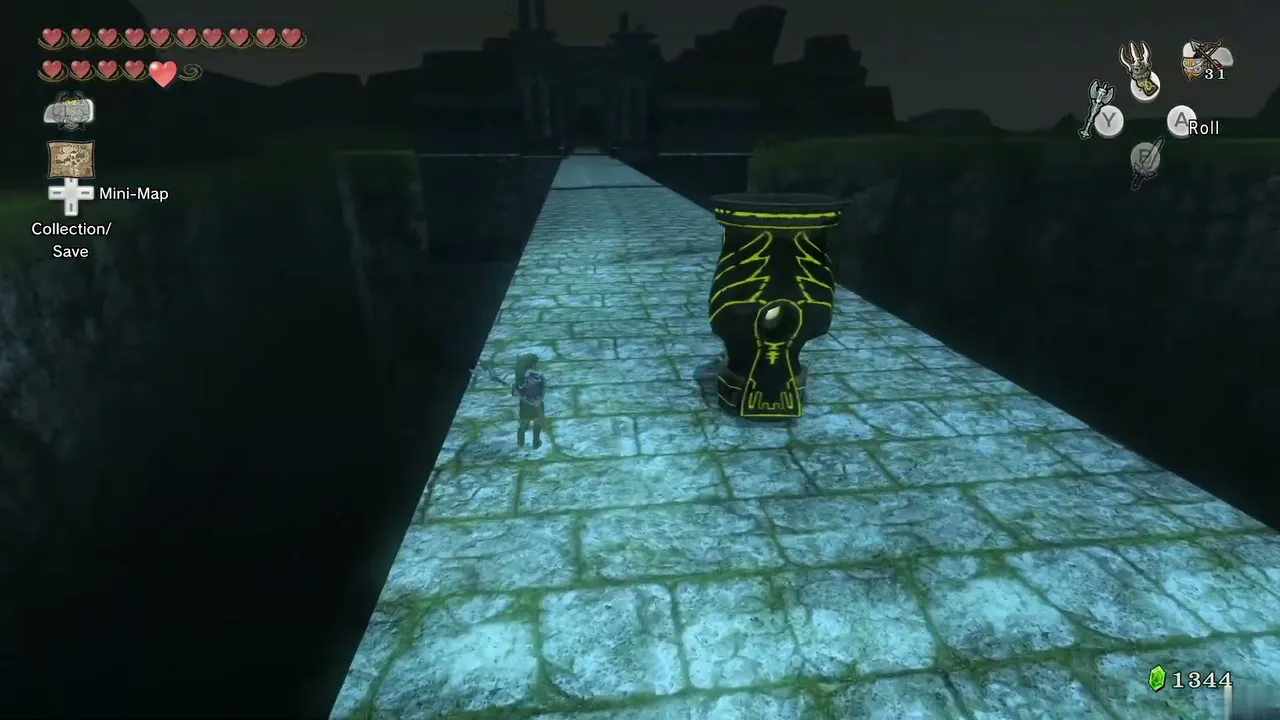
Once the Bridge of Eldin has been restored with the stone slab from the Gerudo Desert, go to its north end and use the Dominion Rod to walk the Owl Statue along the bridge to the south end. Drop it into the gap in front of the ladder at the side of the span, jump onto it, climb the ladder and open the chest at the top. Needs: Dominion Rod (full power), restored Bridge of Eldin. Form: Human. Chapter: Hidden Village.
13. Spinner track north of the Bridge of Eldin
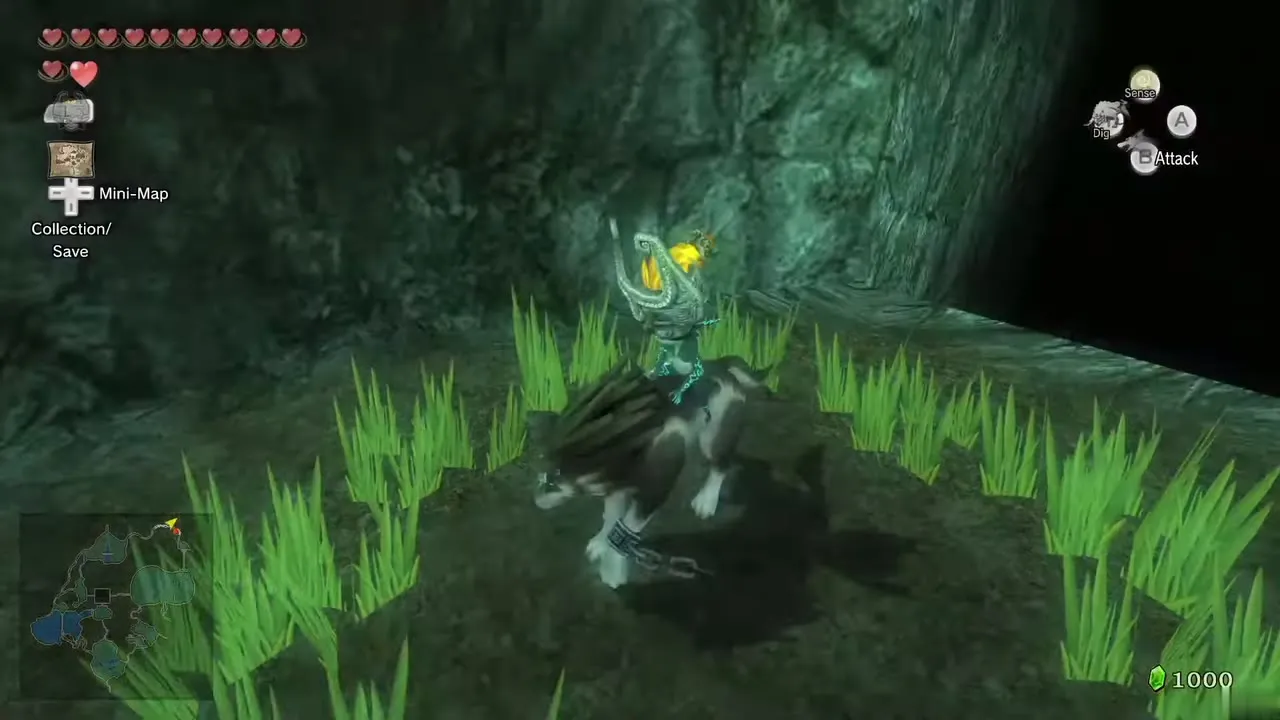
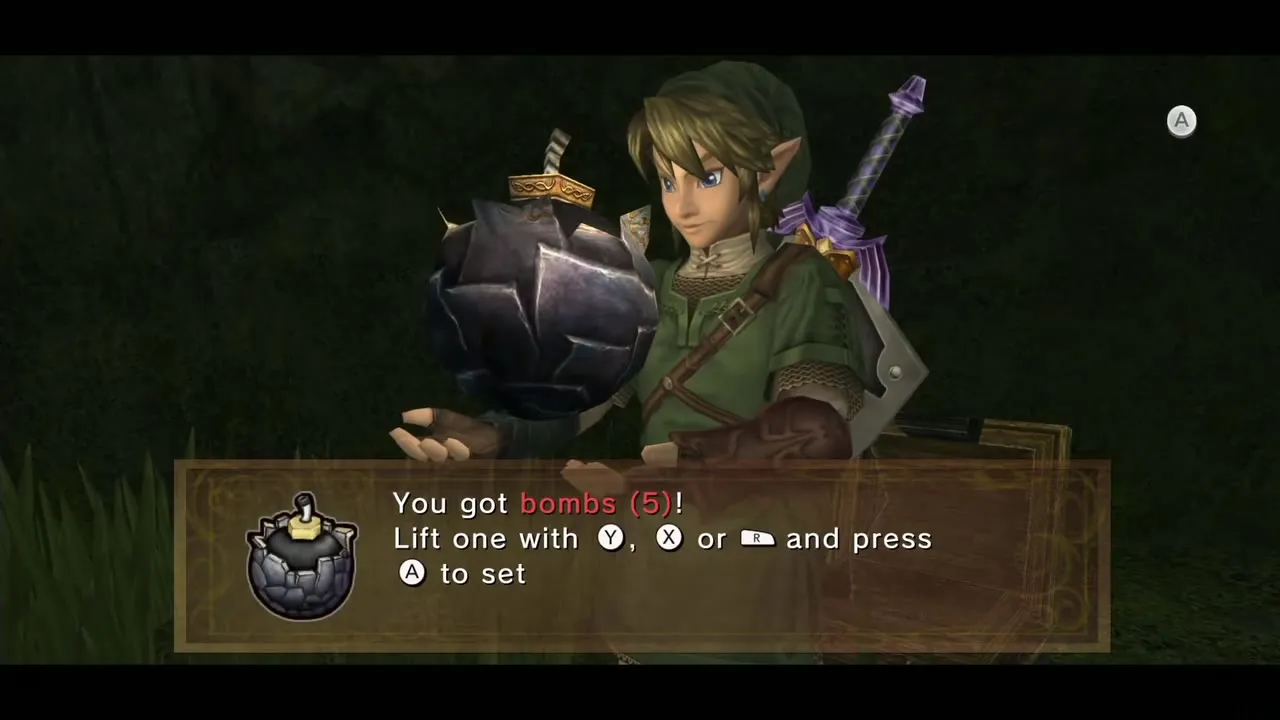
North of the bridge, cross a wooden bridge and take the small side path to a Spinner rail on the wall. Ride it up to the ledge, turn into Wolf Link and dig into the underground room. Defeat the skeletons inside and open the chest (two small chests hold bombs). Needs: Spinner. Form: Human, then Wolf. Chapter: Snowpeak Mountain.
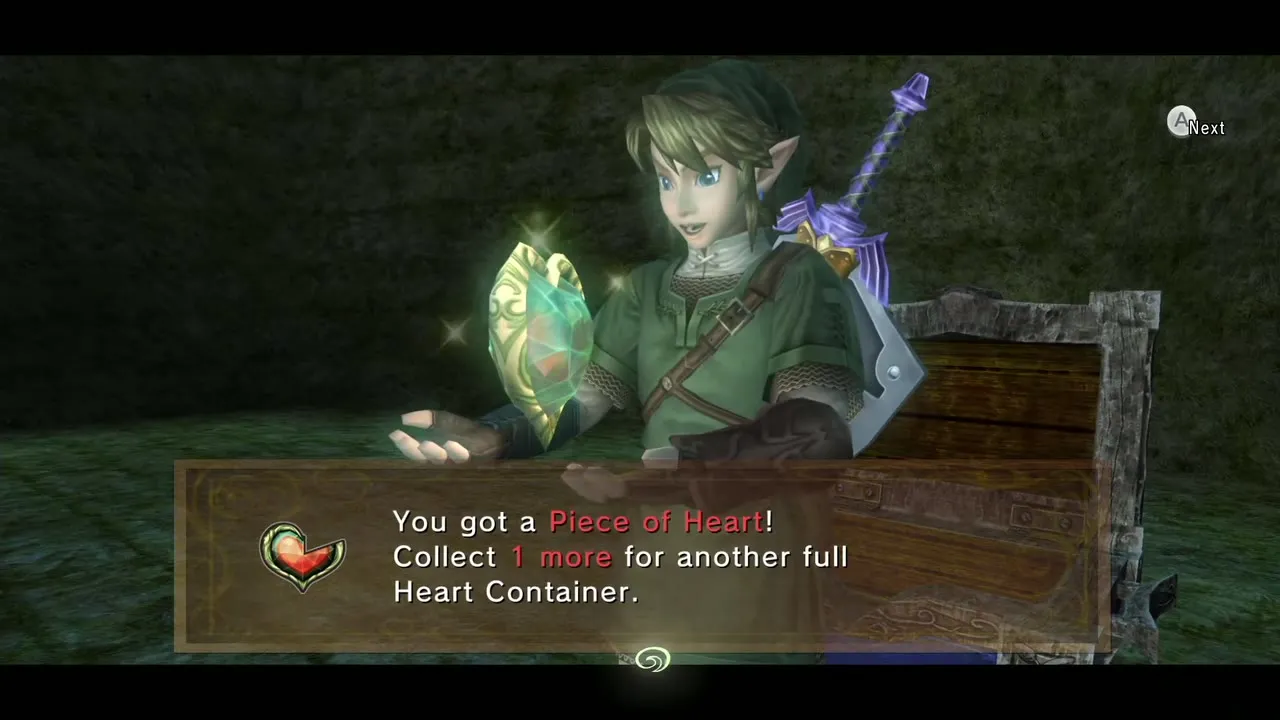
14. Spinner rails north of the Great Bridge of Hylia
On the road north of the Great Bridge of Hylia, bomb the boulders blocking the way toward Lake Hylia. Beyond them a Spinner rail climbs the right-hand wall. Ride it and hop between rails to the top of the hill, where a chest waits. Needs: Spinner, Bombs. Form: Human. Chapter: Snowpeak Mountain.
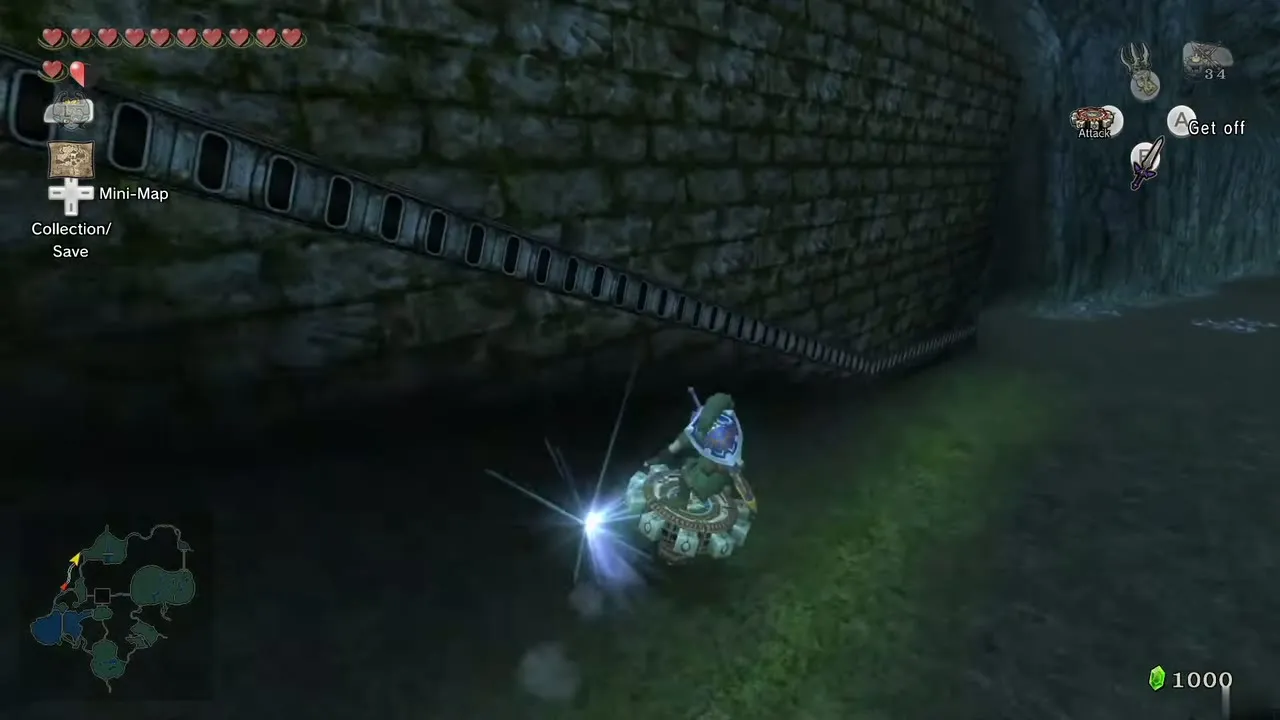
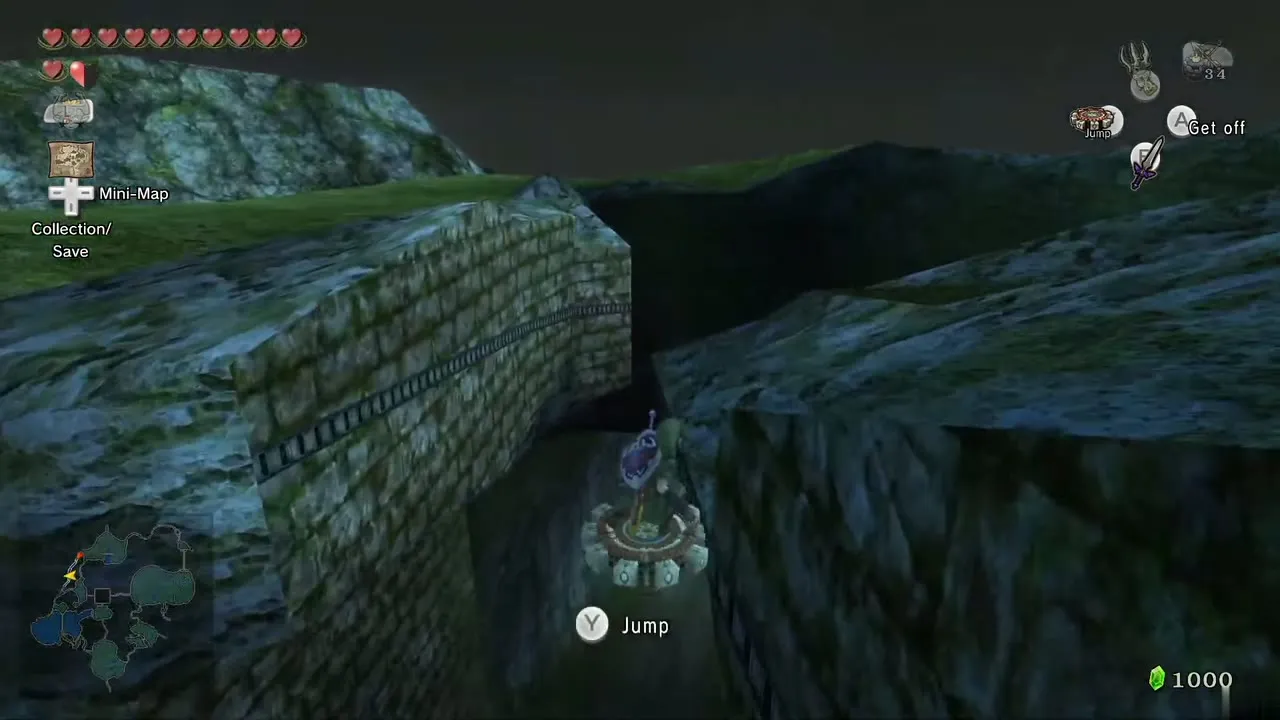
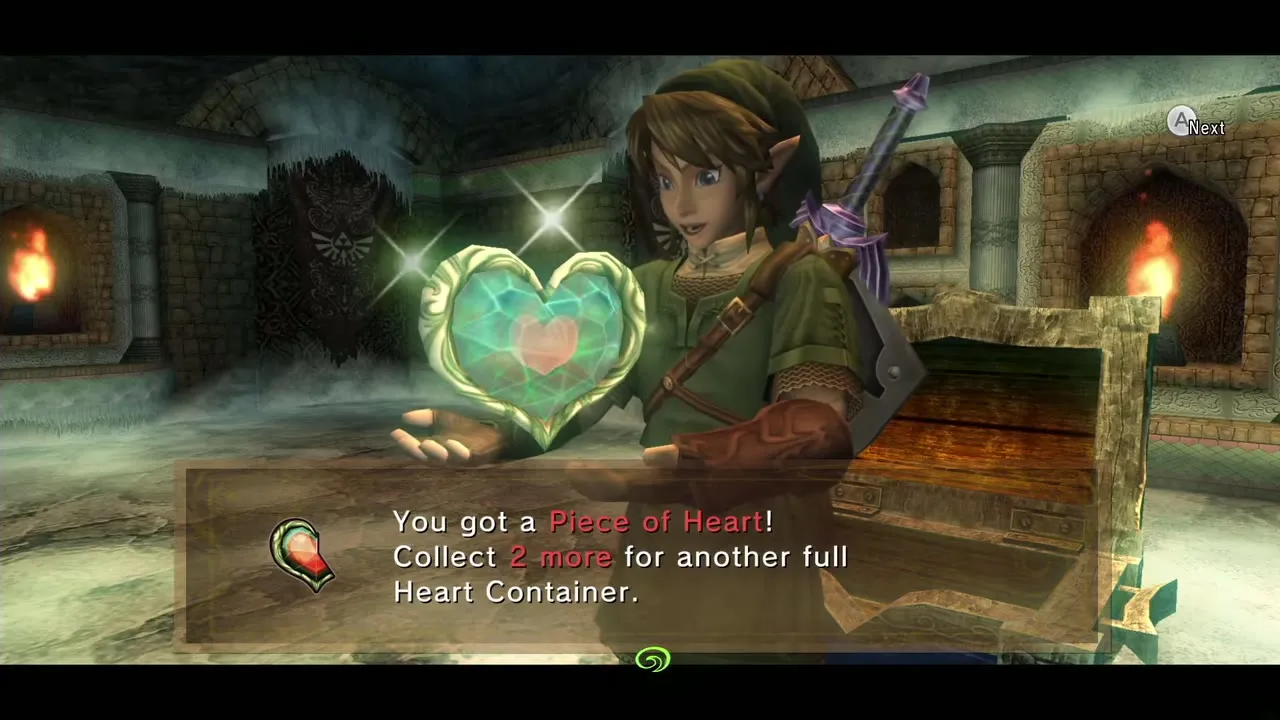
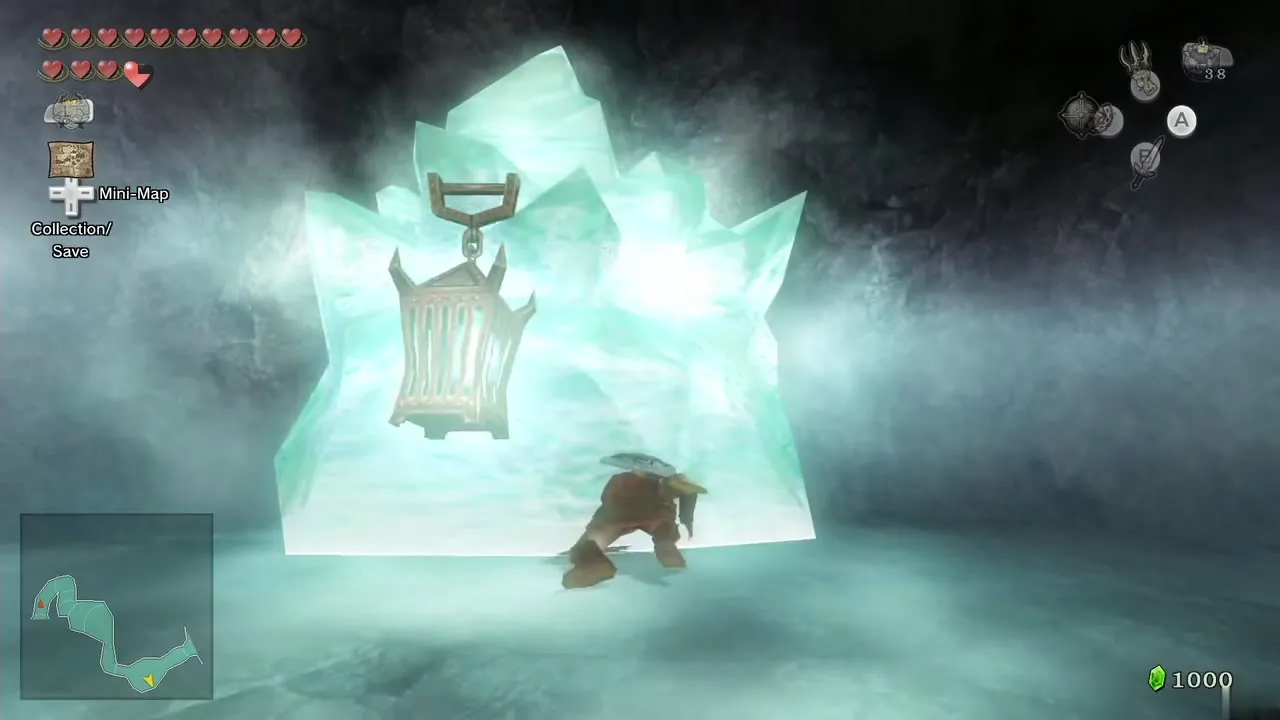
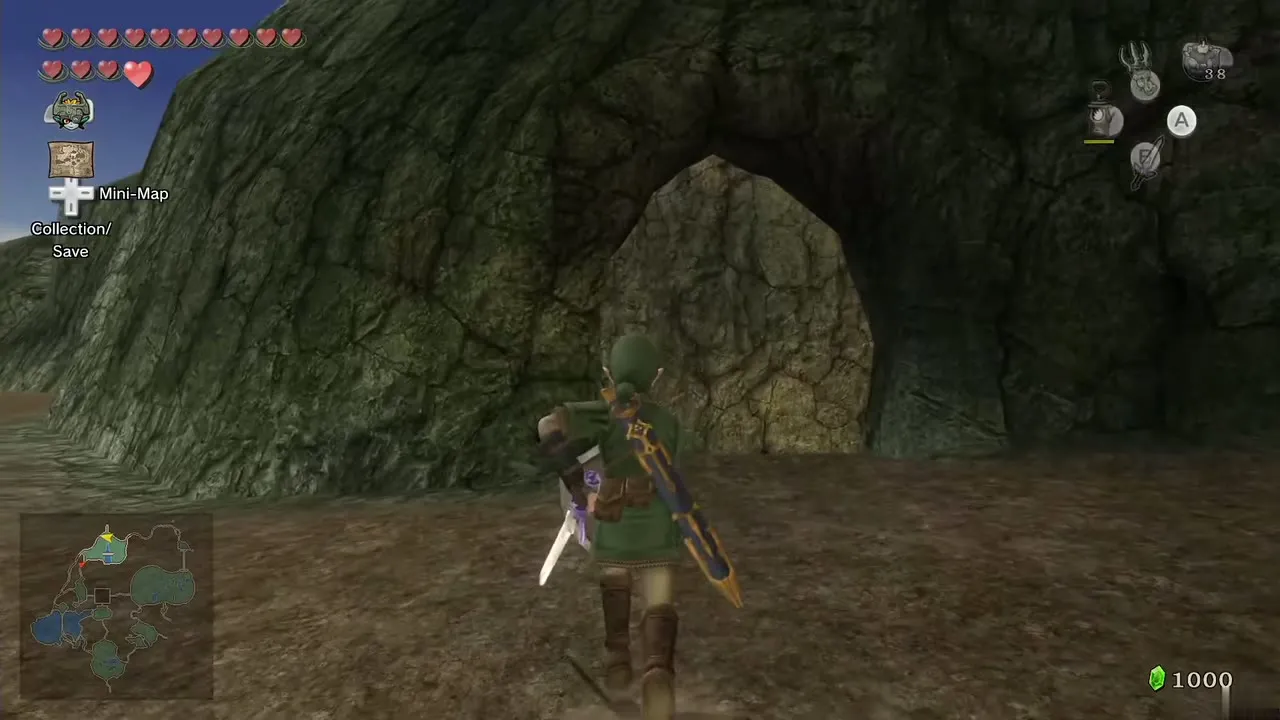
15. Ice-block cave north of Castle Town
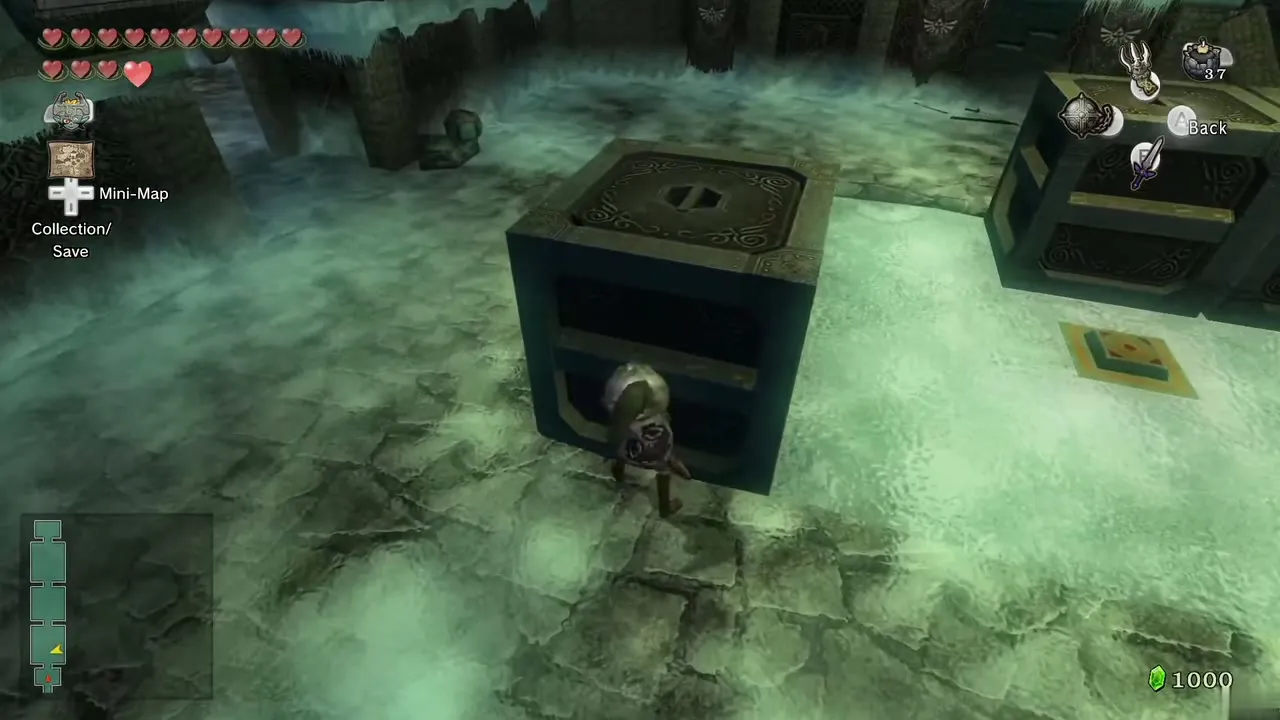
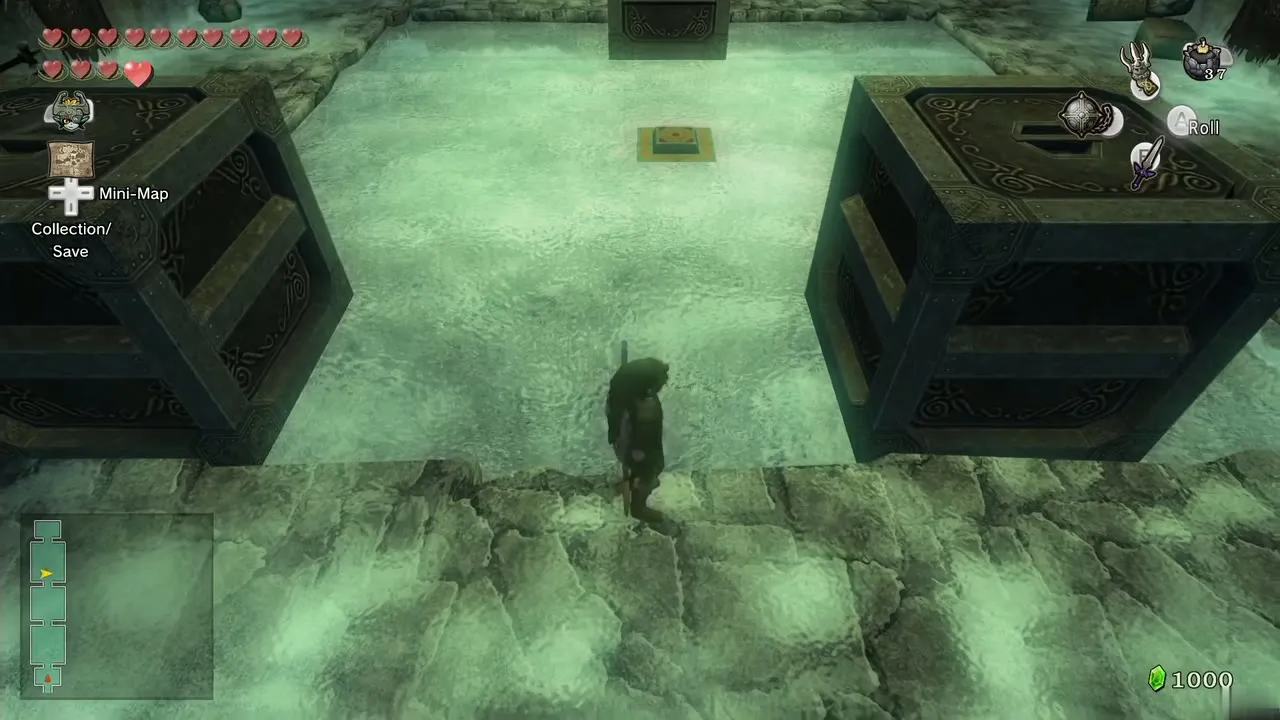
In the rocky country north of Castle Town, set a bomb against the sunken rock in the walled area to open a cave. Smash the ice wall with the Ball and Chain, solve the three sliding-block rooms (each has one switch to feed) and take the piece from the chest in the last room. Needs: Bombs, Ball and Chain. Form: Human. Chapter: Return to the Sacred Grove.
Kakariko Village and Death Mountain
16. Talo’s watchtower archery
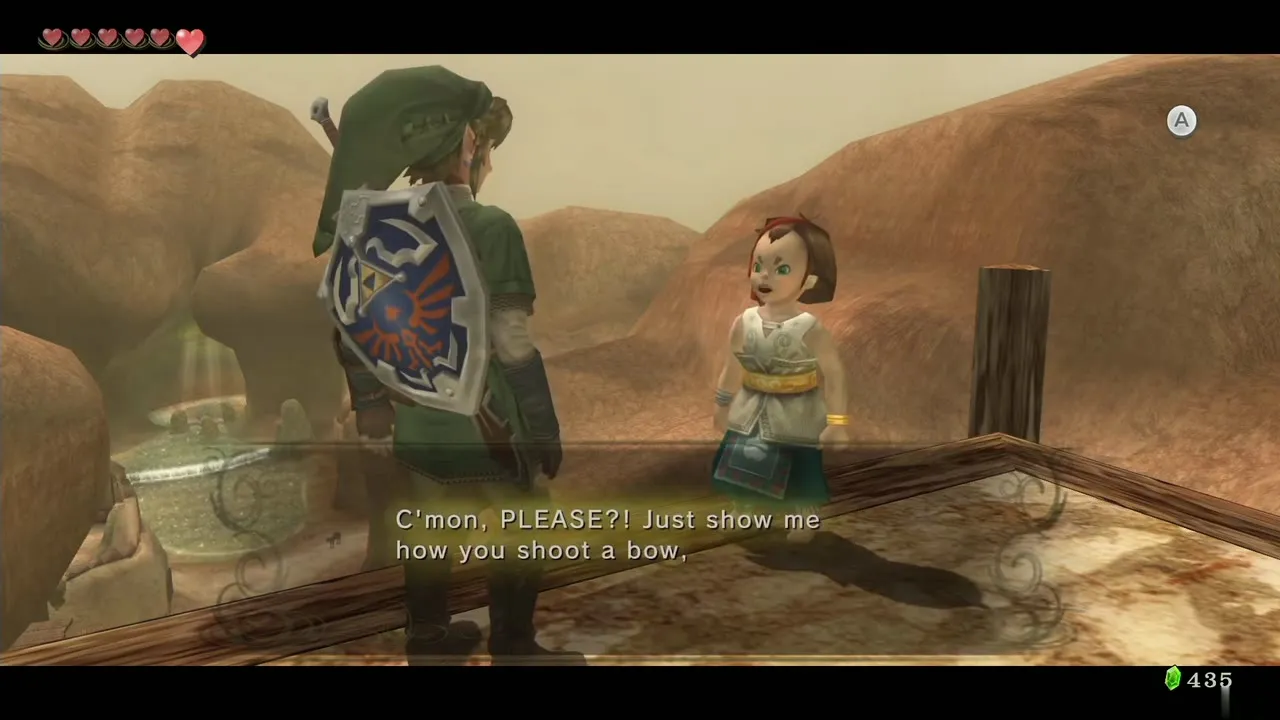
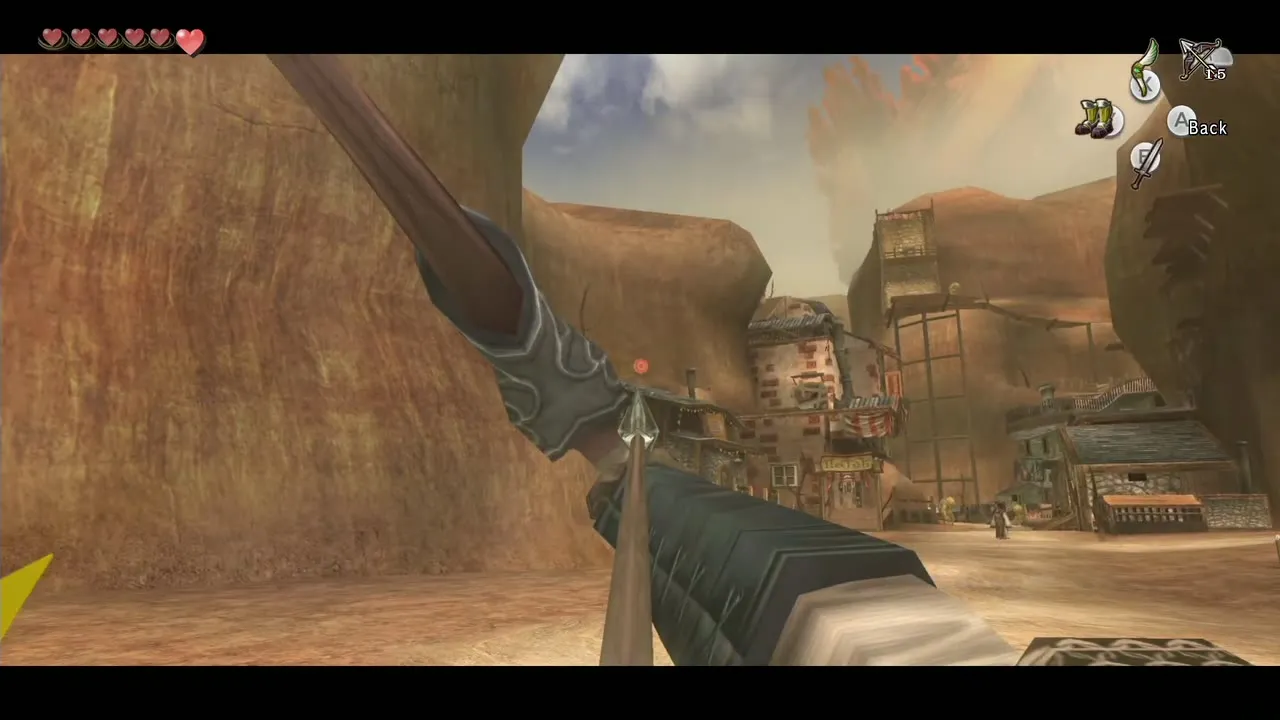
Once the Goron Mines are done, speak to the Goron at the foot of the tallest building in Kakariko and climb the ladder to Talo. He wants a lesson with the bow. You land near the Sanctuary with Malo, shoot two easy targets, then aim at the pole on the corner of the high building. Pull the string all the way back, raise the arrow slightly and let go; Malo hands over the piece. Needs: Hero’s Bow. Form: Human. Chapter: Lanayru Province.
17. Chest at the bottom of the spring
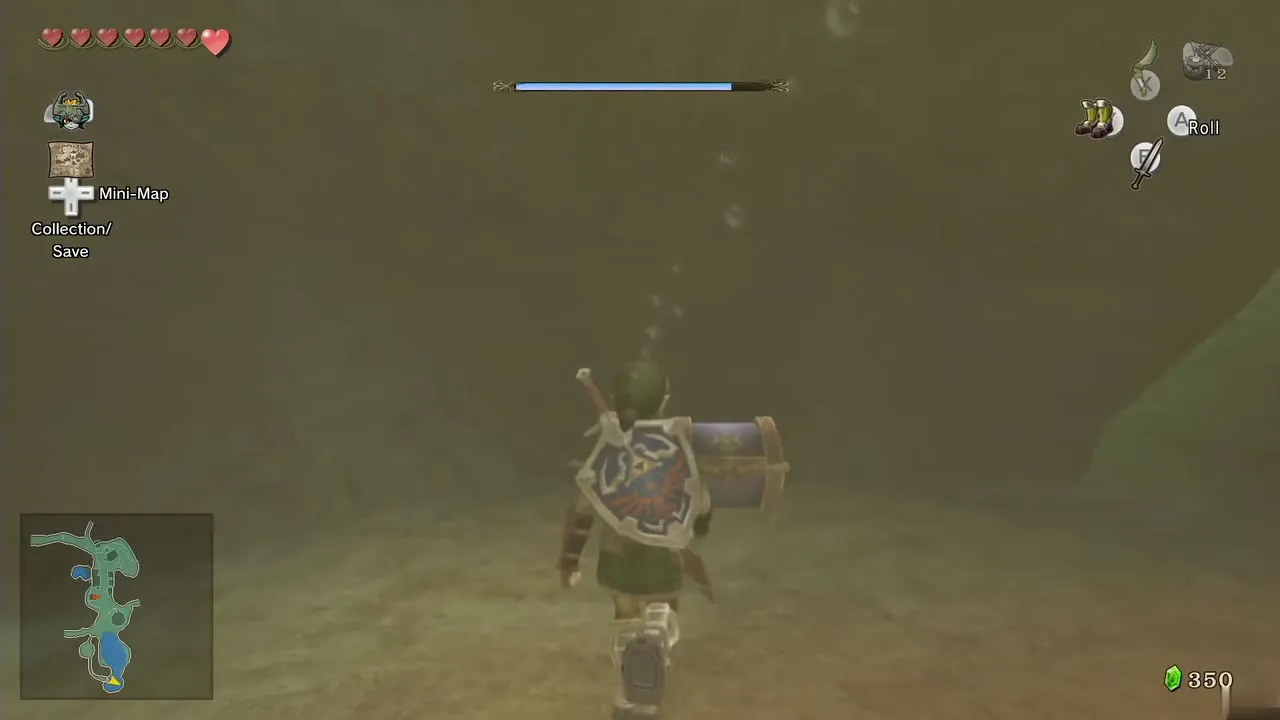
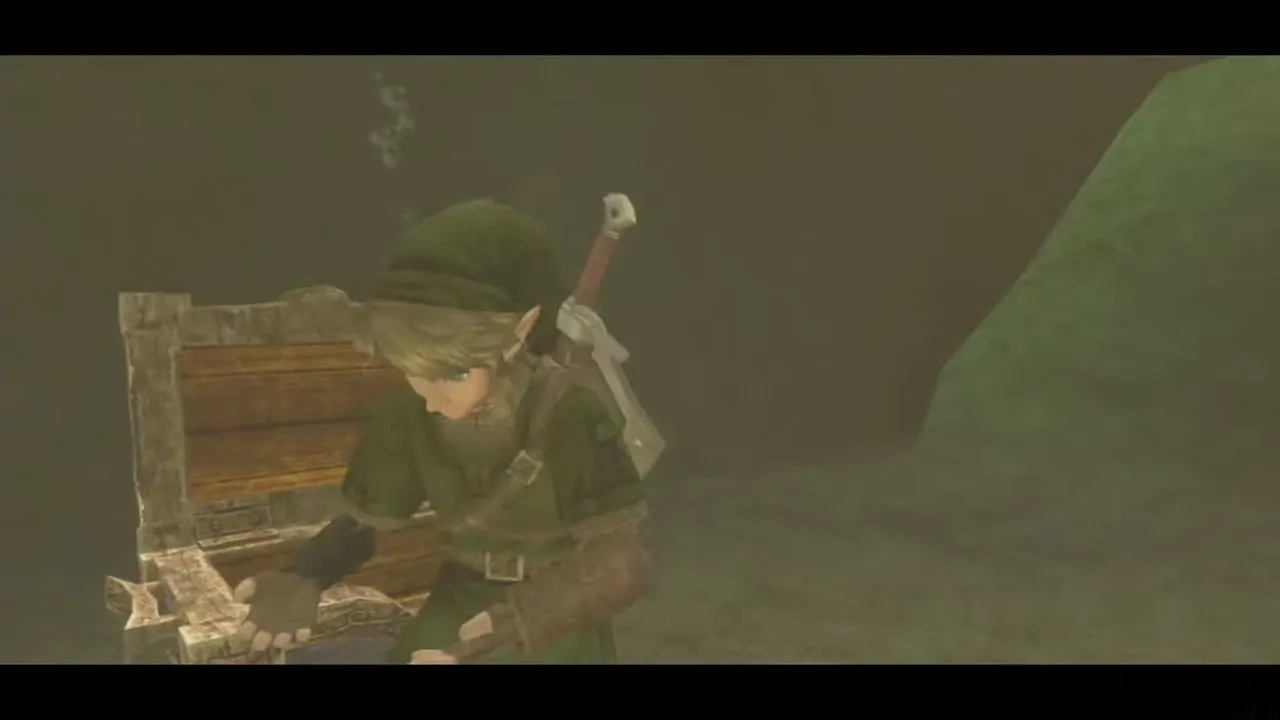
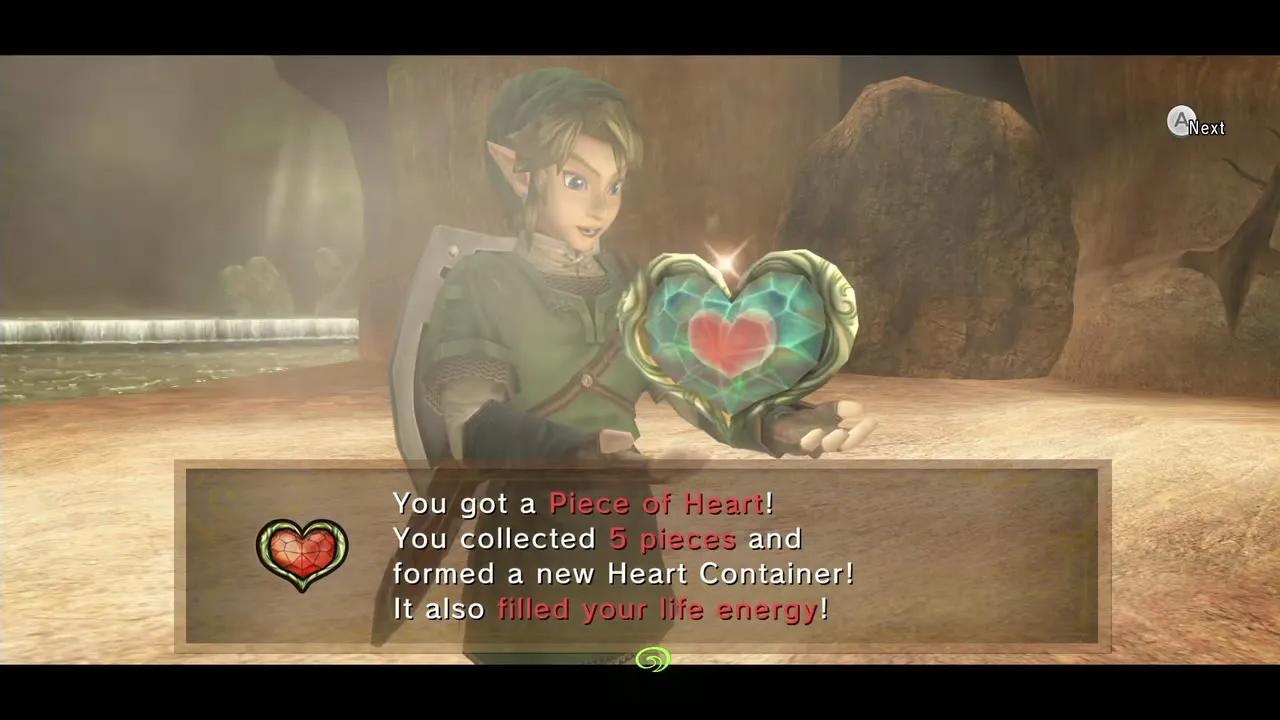
At the south end of the village, bomb the large rock to open a path to a platform above the spring. Jump in wearing the Iron Boots, open the chest on the bottom and swim back up. Needs: Bombs, Iron Boots. Form: Human. Chapter: Lanayru Province.
18. Heart on the slope above the spring
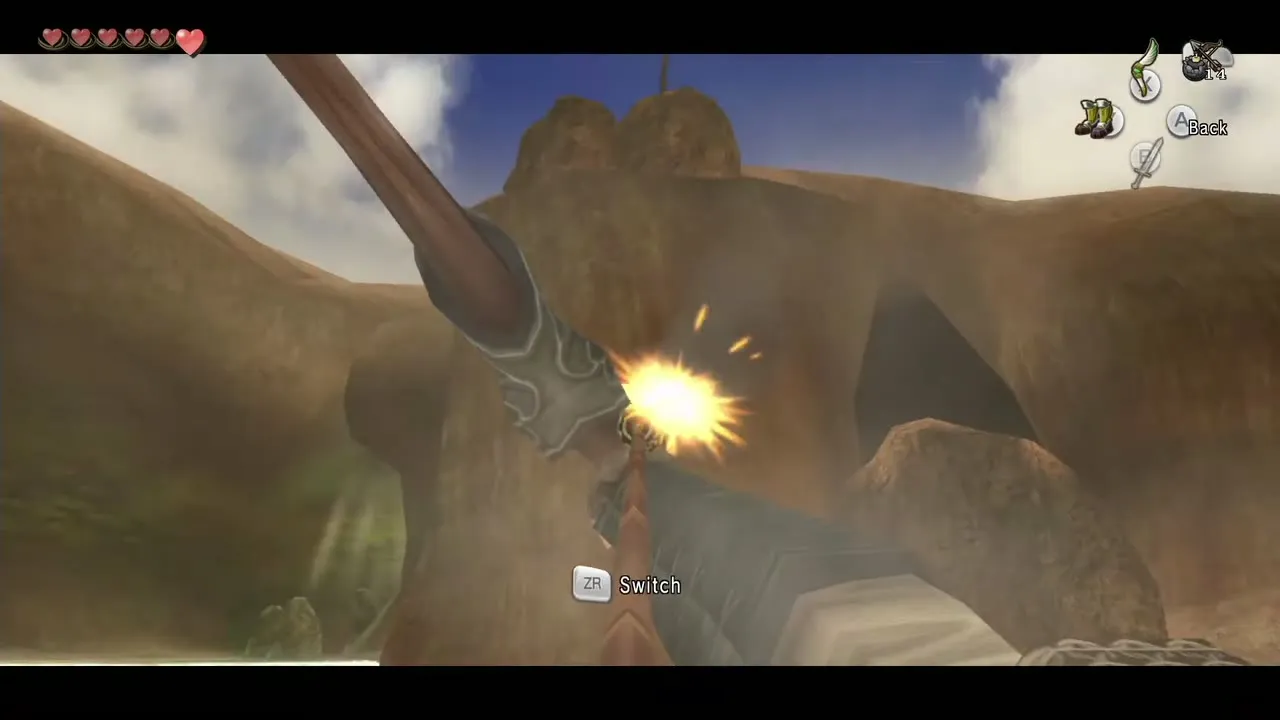
Above the spring, several boulders cover a heart on the slope. Shoot them with bomb arrows, then pull the piece to you with the Gale Boomerang. Needs: Hero’s Bow with bomb arrows, Gale Boomerang. Form: Human. Chapter: Lanayru Province.
19. Hot Spring Water delivery
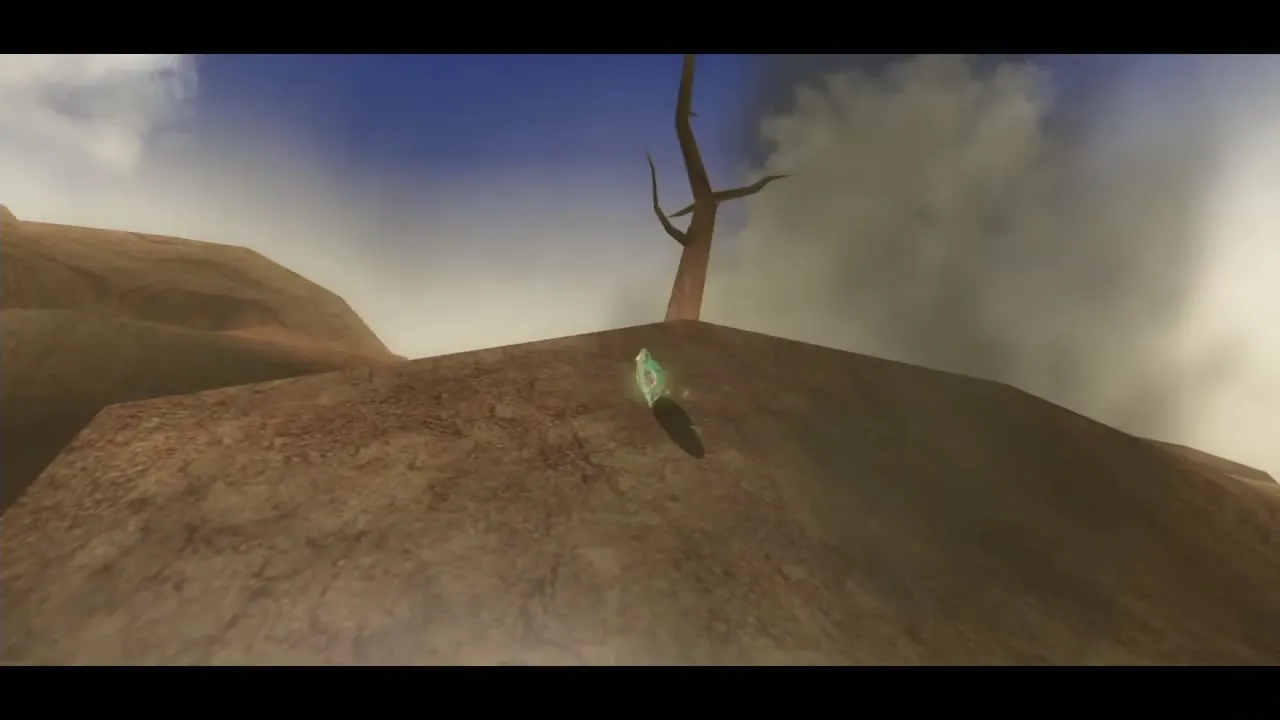
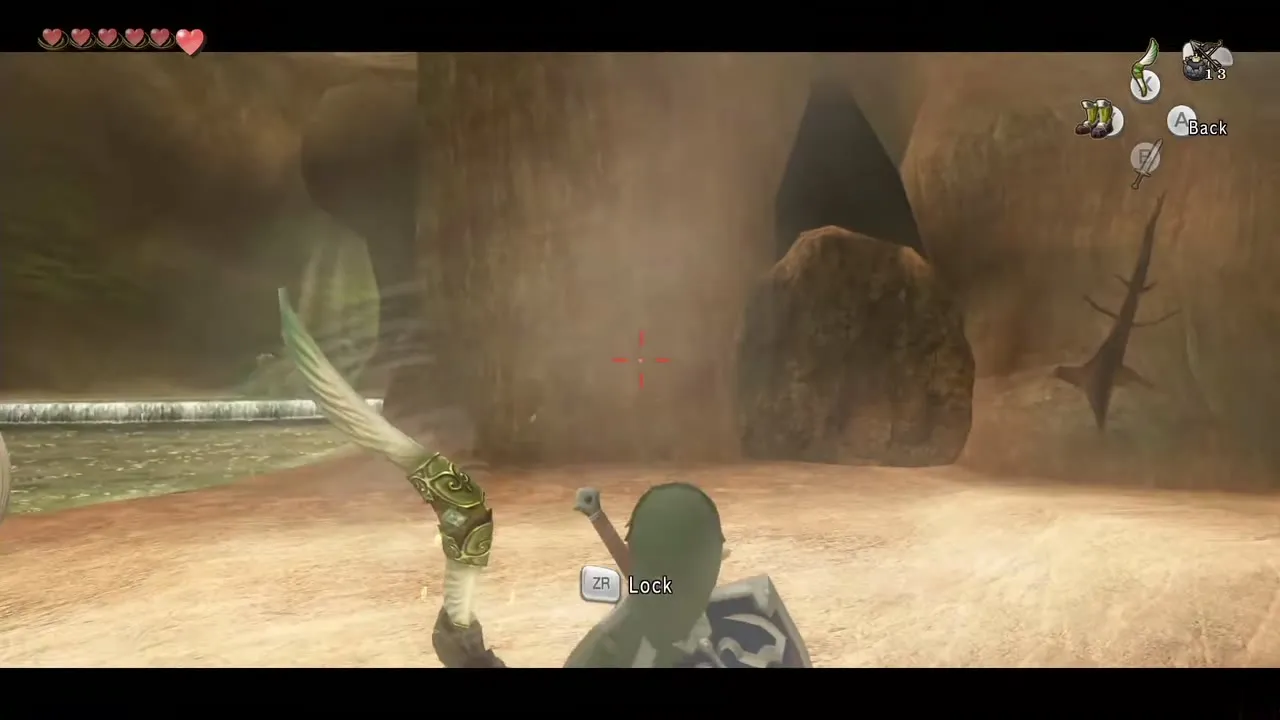
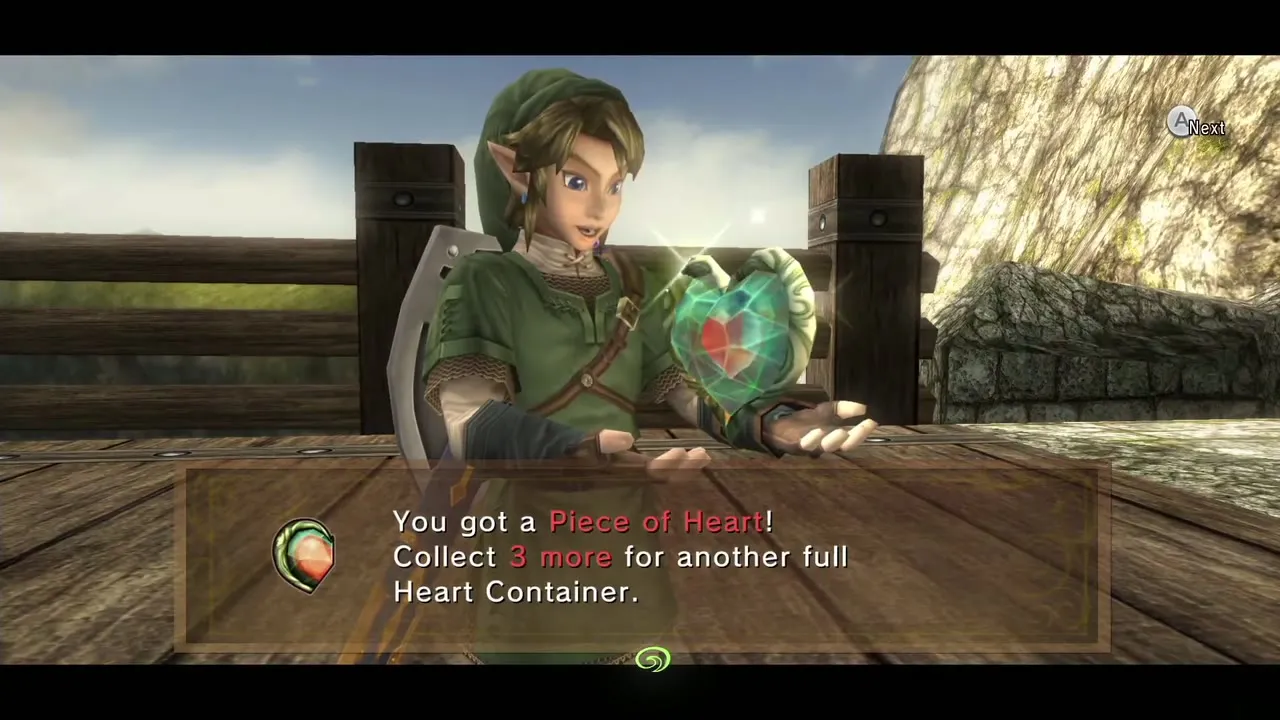
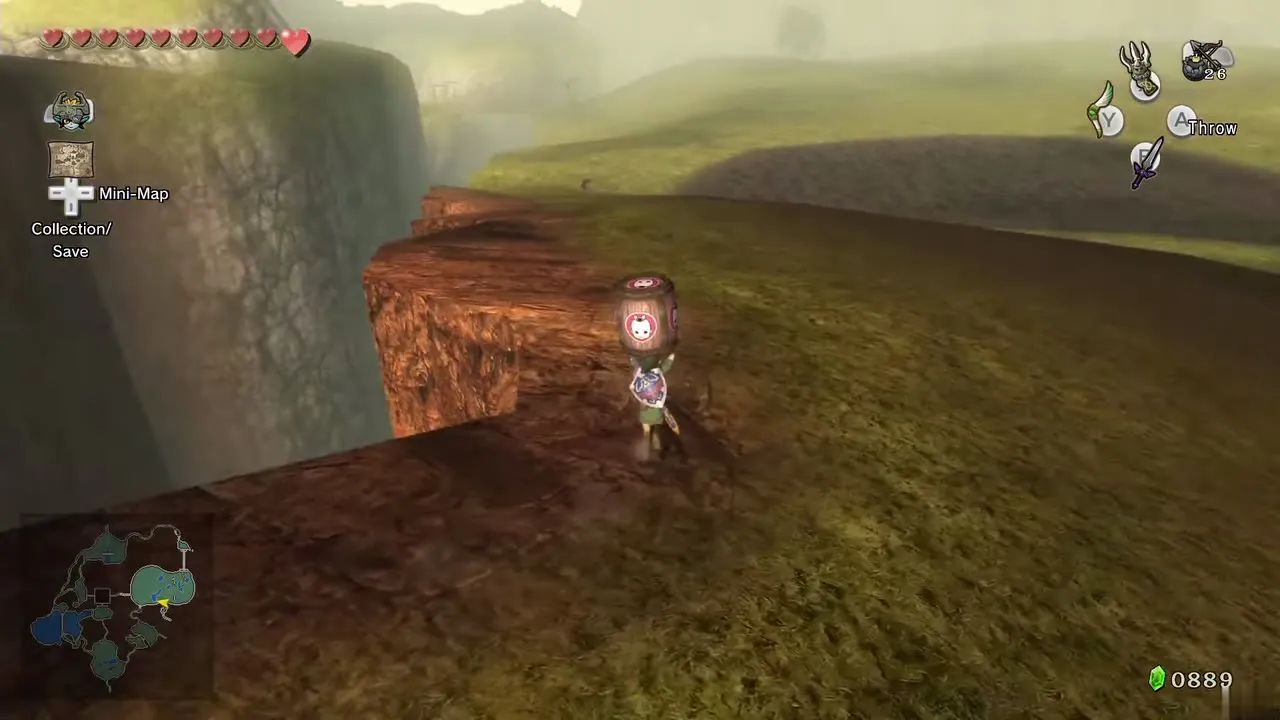
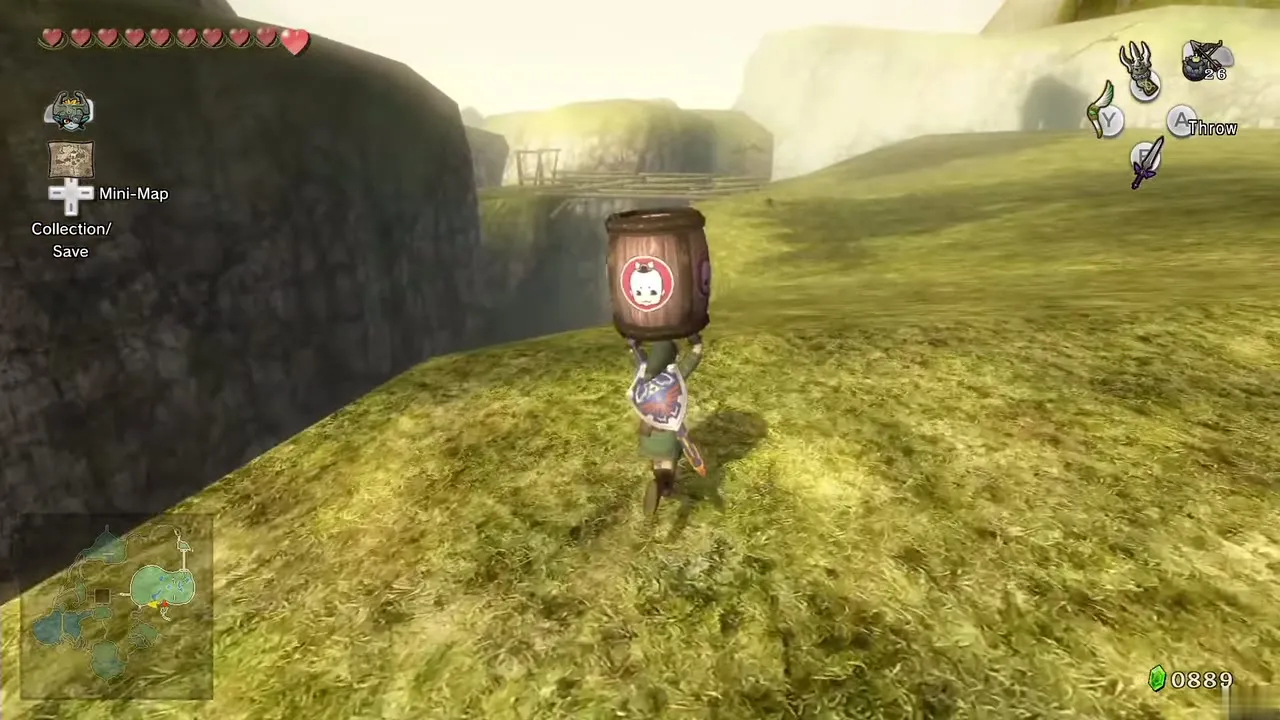
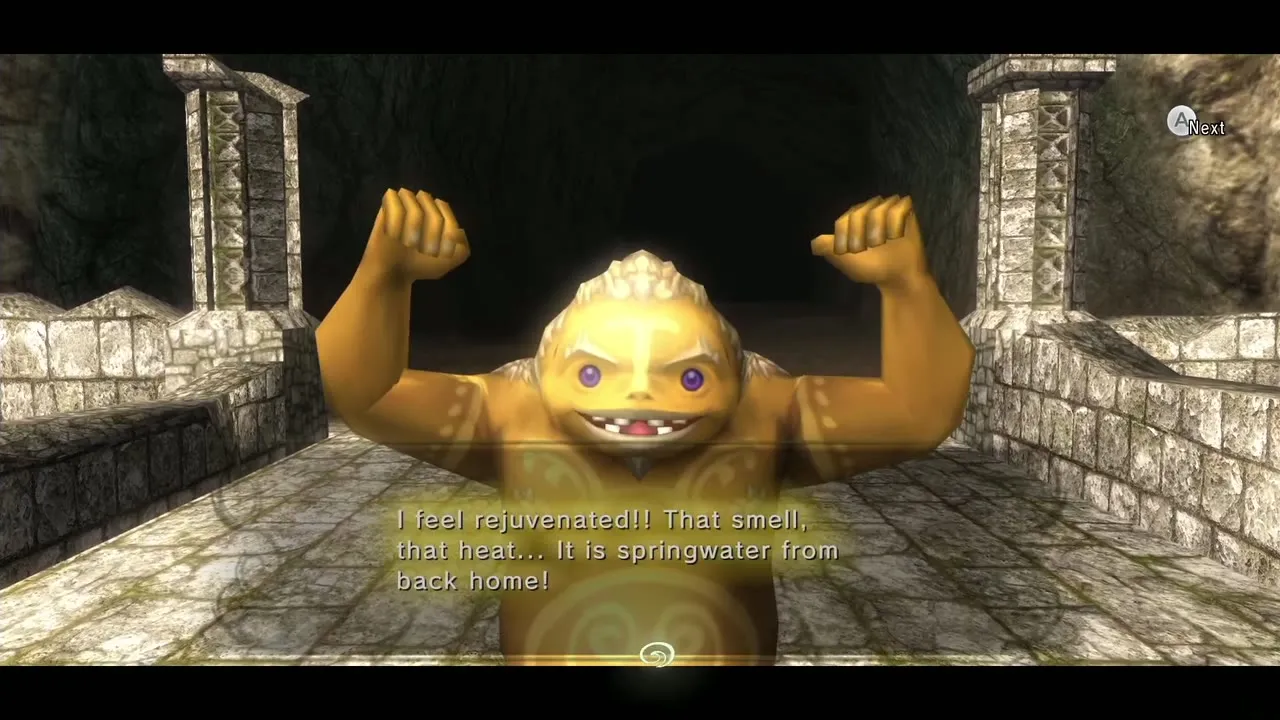
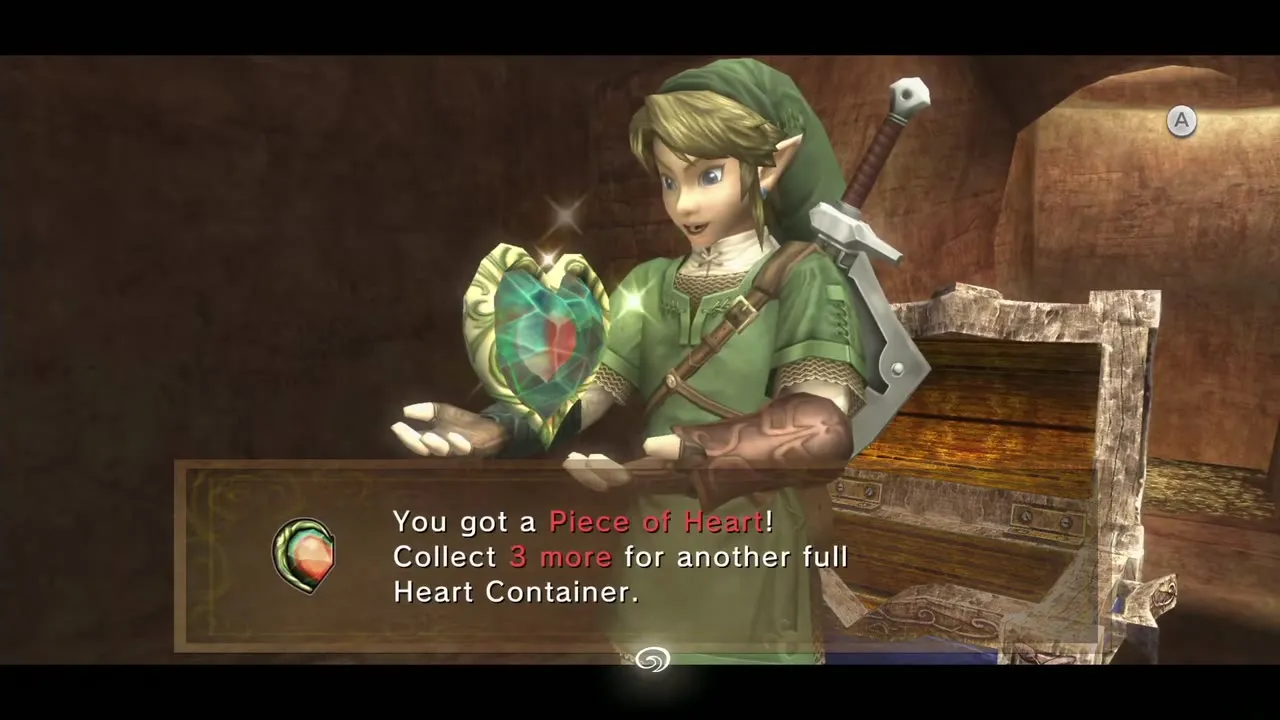
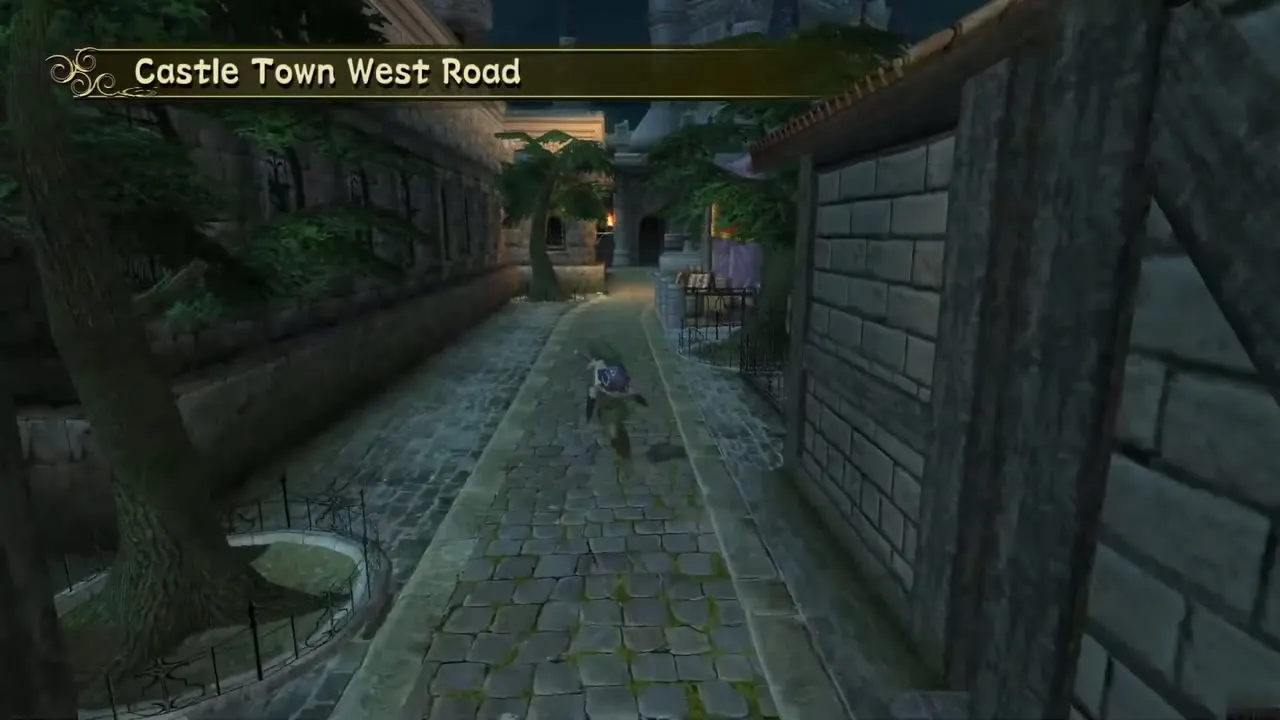
After the Lakebed Temple, donate 1,000 Rupees in total to Malo at the Kakariko Malo Mart. A Goron in Kakariko then lets you carry a barrel of Hot Spring Water. Take it, without dropping it, to the tired Goron waiting outside Castle Town and throw it onto his back. He rewards you with the piece. Avoid enemies on the way: the barrel is fragile. The Goron stands on the bridge that links Castle Town to the field north of Kakariko; follow the map marker. Needs: 1,000 Rupees for Malo Mart; Lakebed Temple cleared. Form: Human. Chapter: Poe Souls and Malo Mart.
20. Ledge cave on the trail
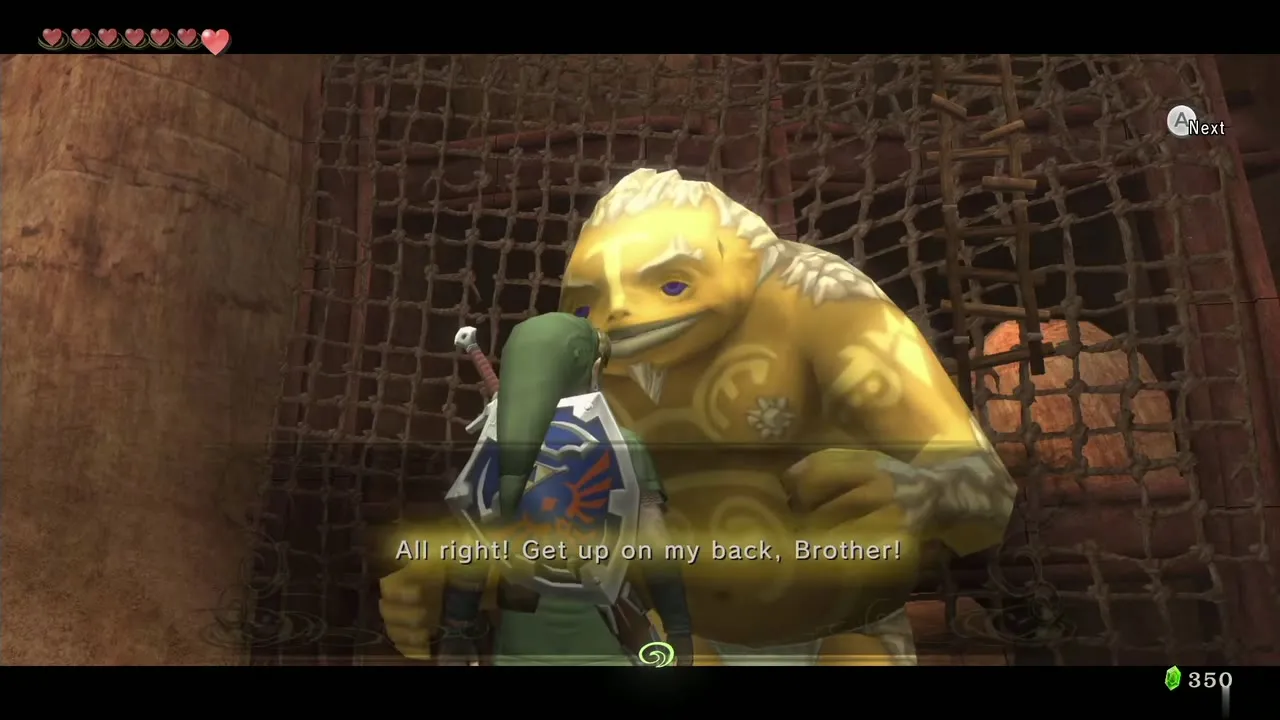
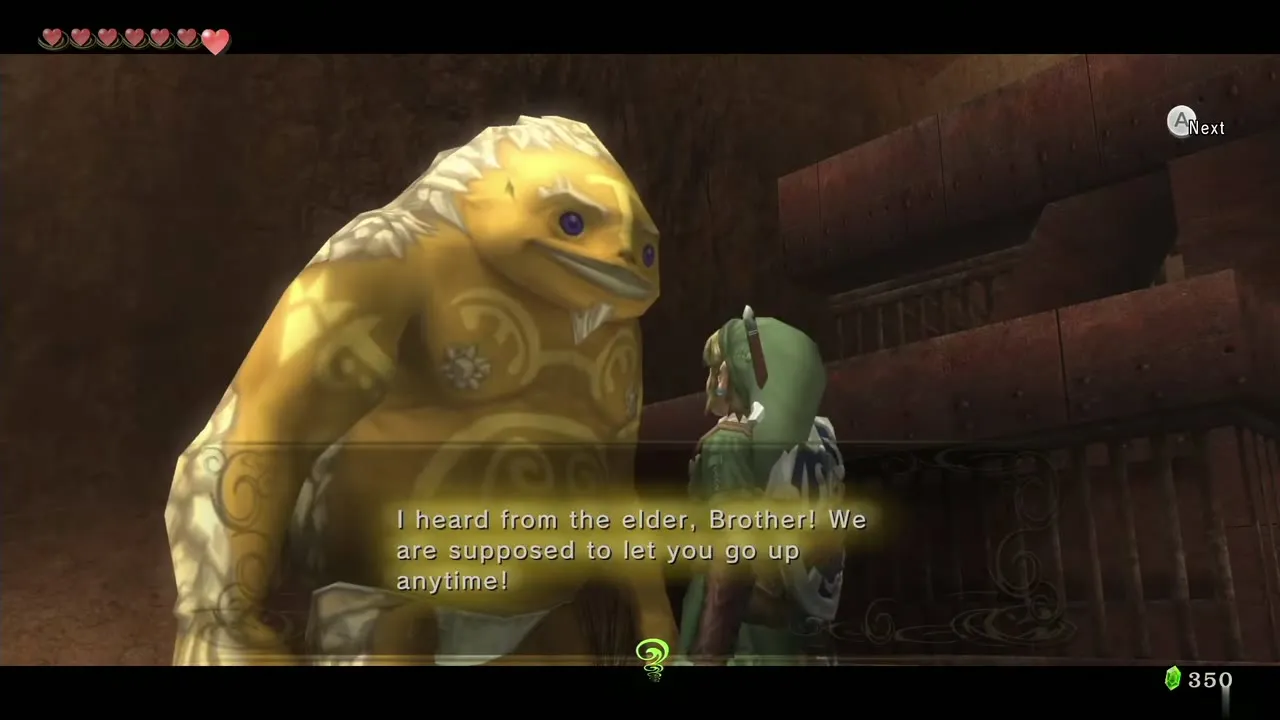
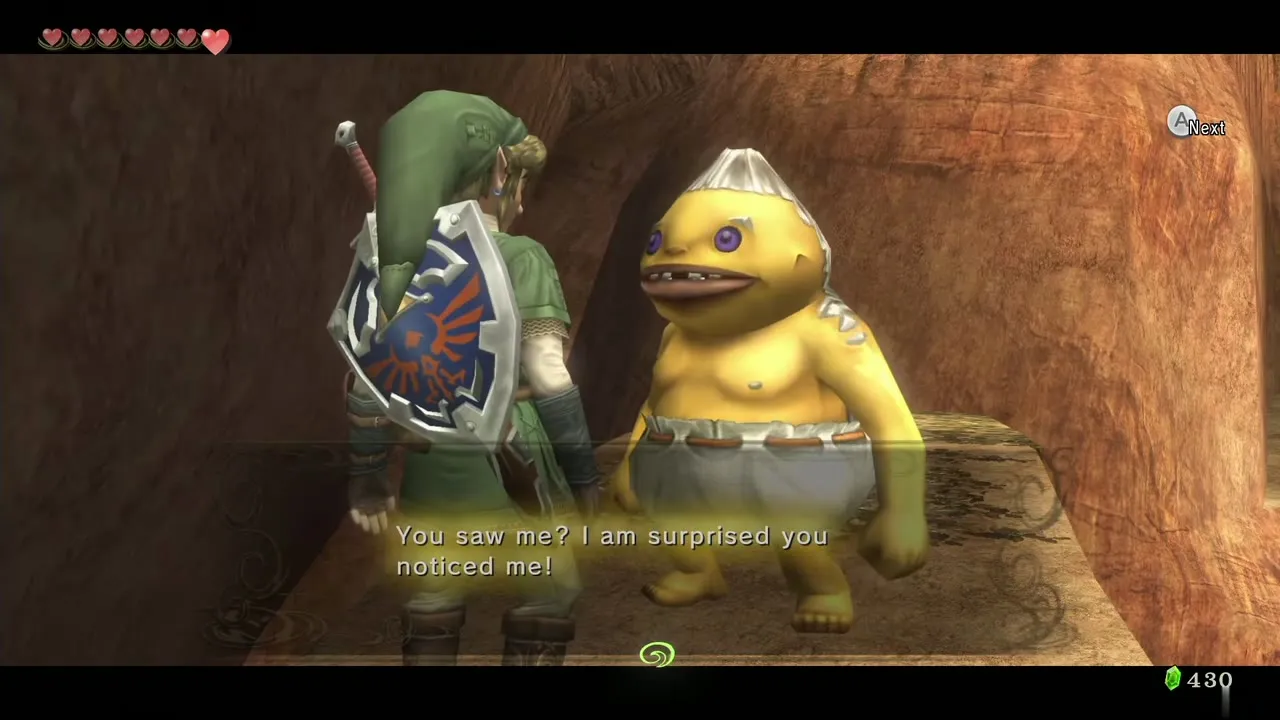
After the Goron Mines, climb the trail from Kakariko and talk to the second Goron you meet. Let him launch you onto the ledge beside the path, follow it until you find an opening in the cliff face, step in and drop down for the chest. Needs: Goron Mines cleared. Form: Human. Chapter: Lanayru Province.
Goron Mines
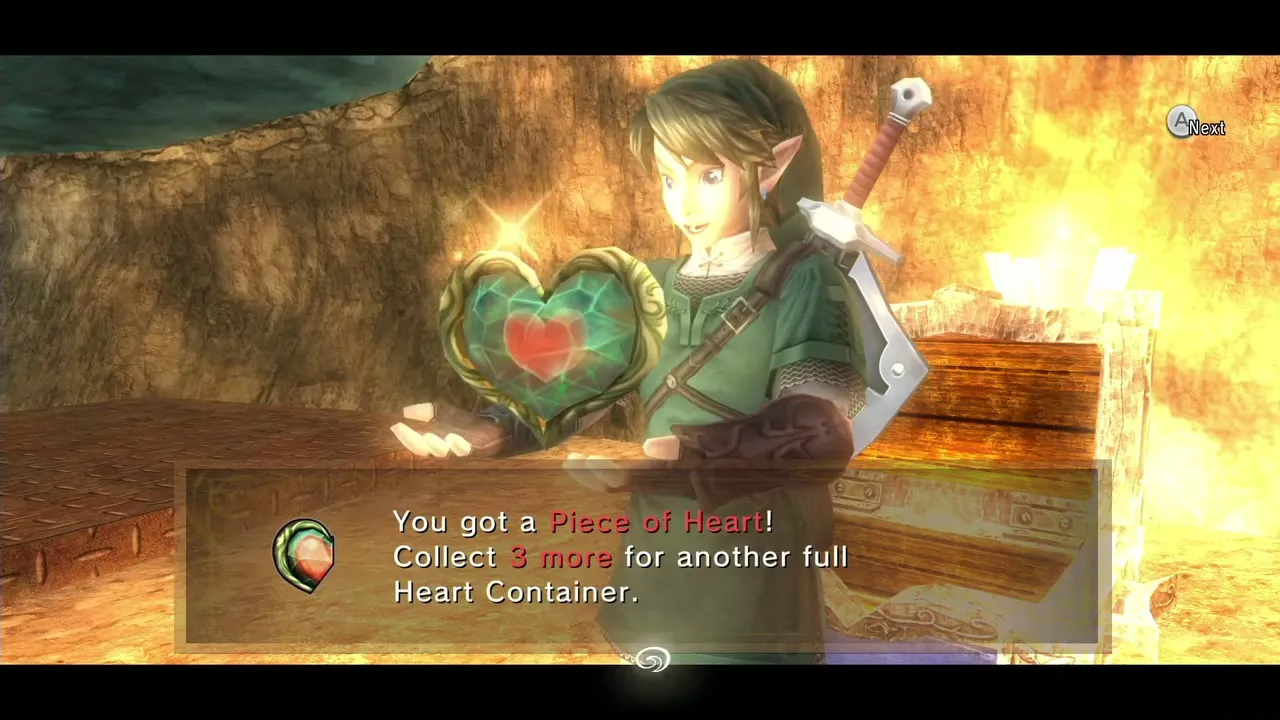
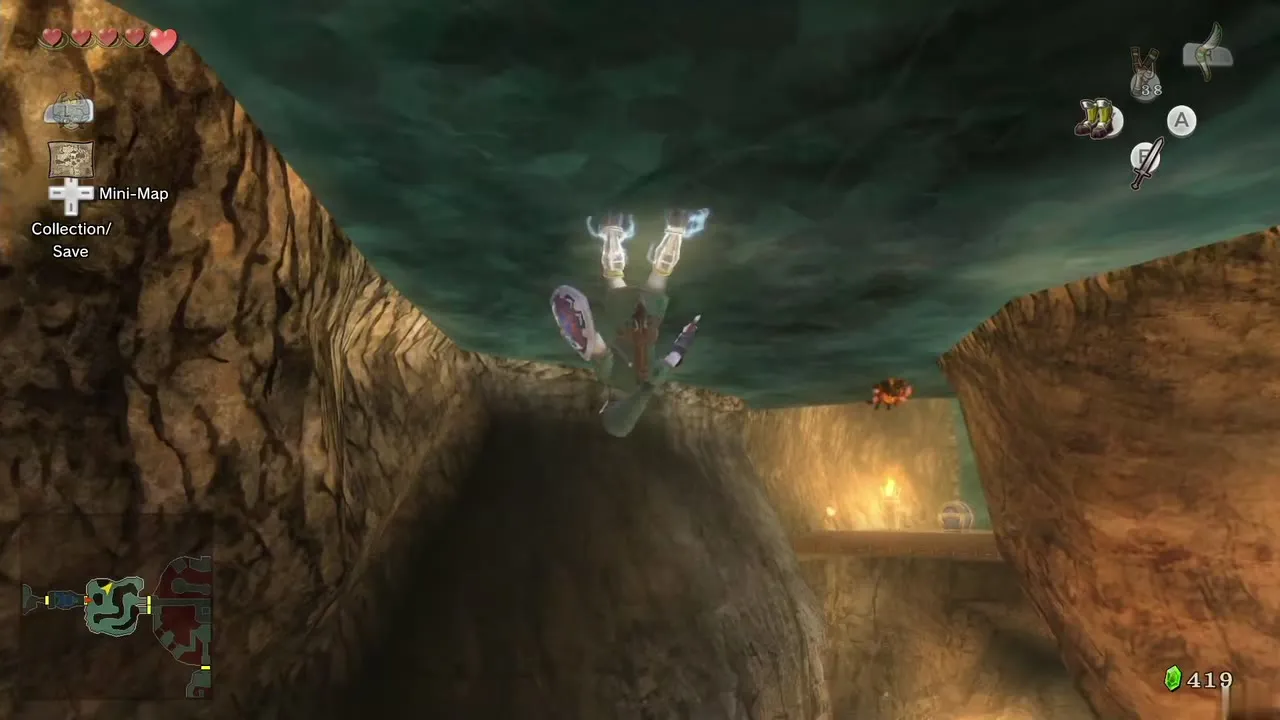
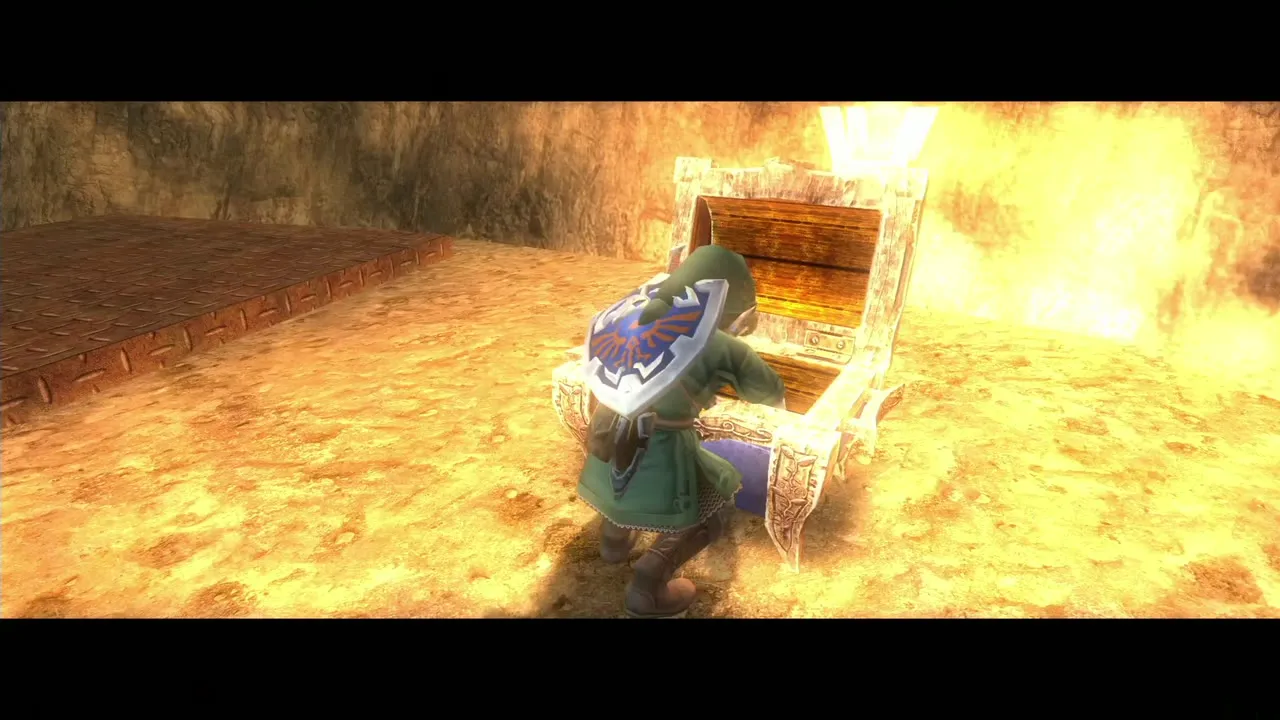
21. Magnetic ceiling chest
After the magnetic wall in the central chamber, step on the floor switch in the Iron Boots to be flung to the ceiling of the next room. Walk to the north-east corner and drop down beside a chest. Needs: Iron Boots. Form: Human. Chapter: Goron Mines.
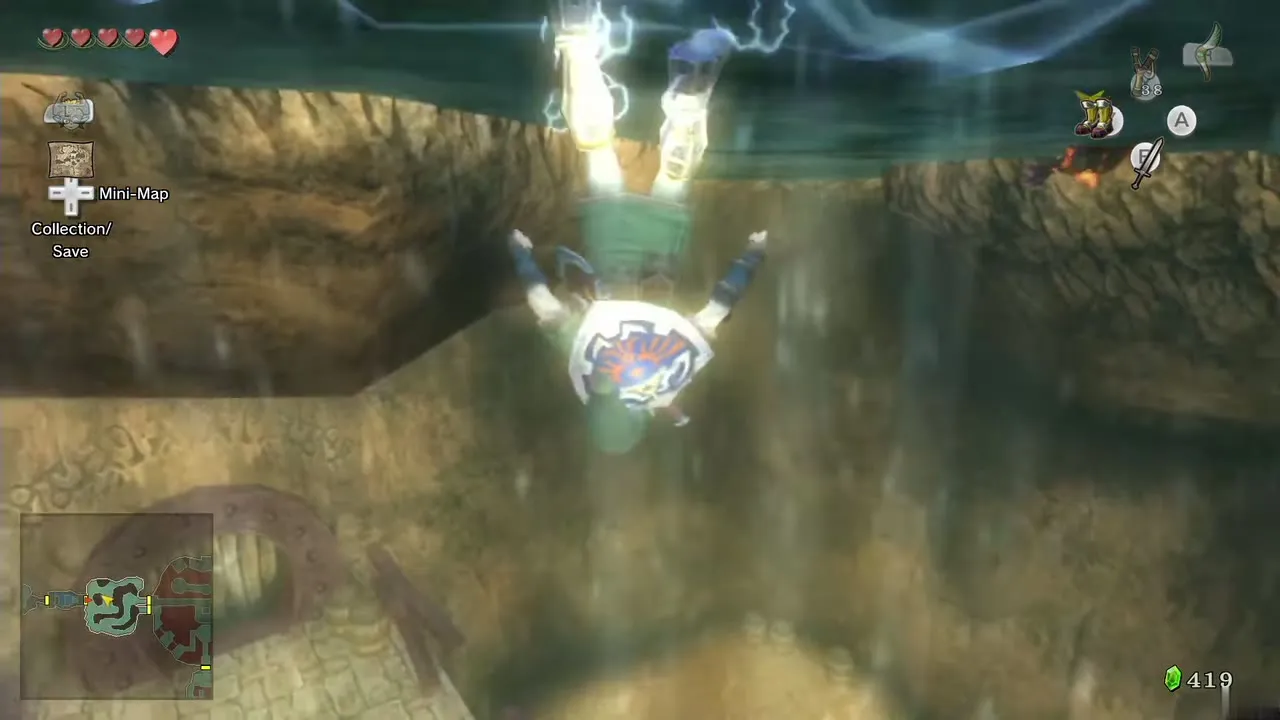
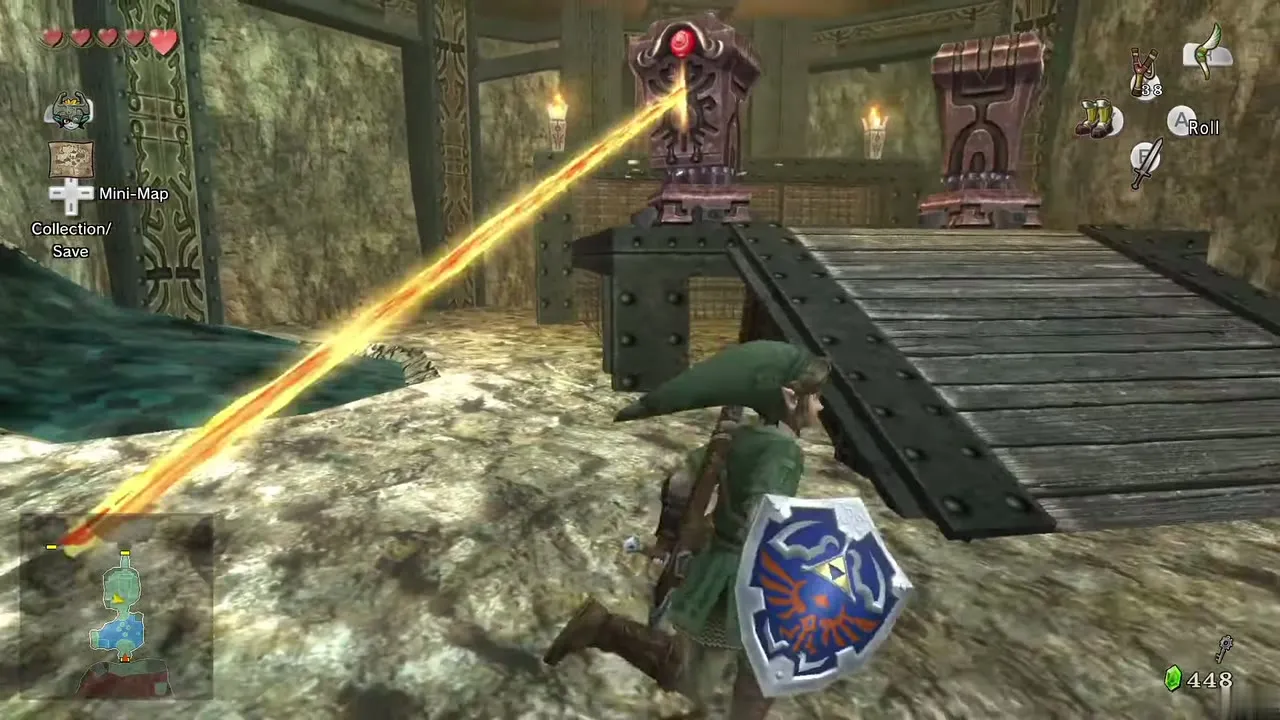
22. Room with the two Beamos
In the room with two Beamos statues, climb the magnetic wall to the south-west corner in the Iron Boots and drop beside the chest. Needs: Iron Boots. Form: Human. Chapter: Goron Mines.
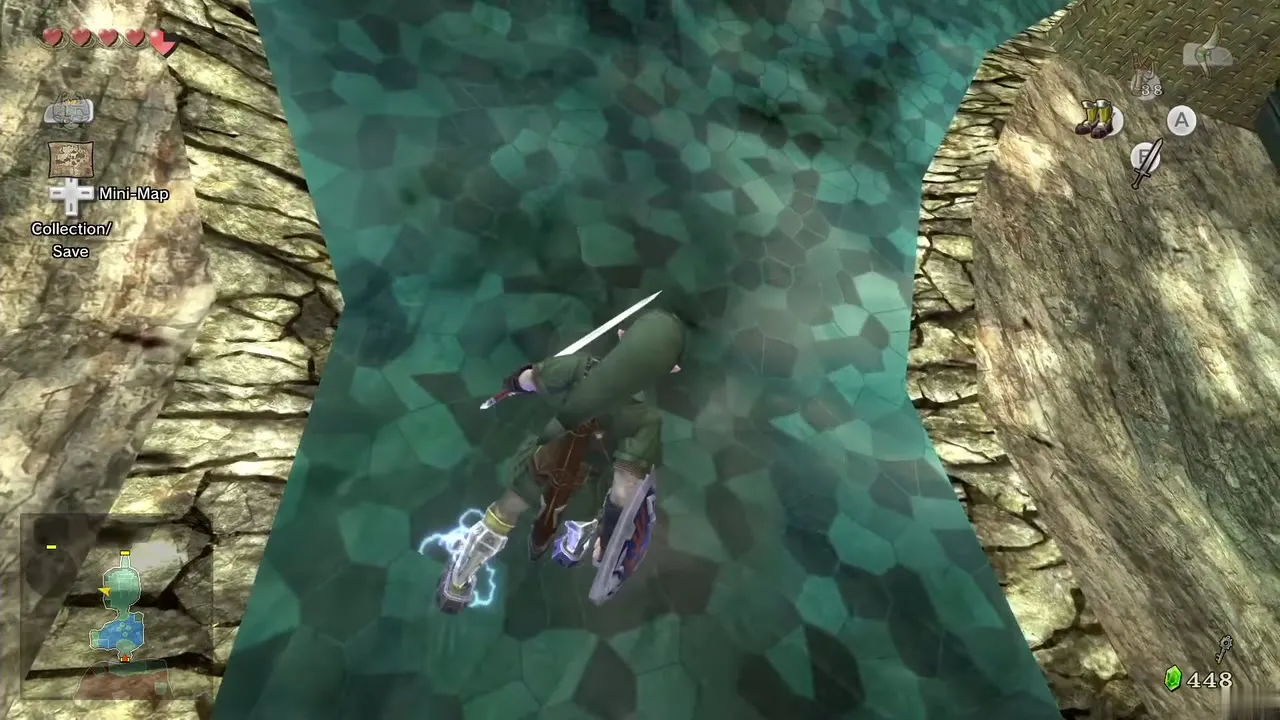
Lake Hylia and the Lakebed Temple
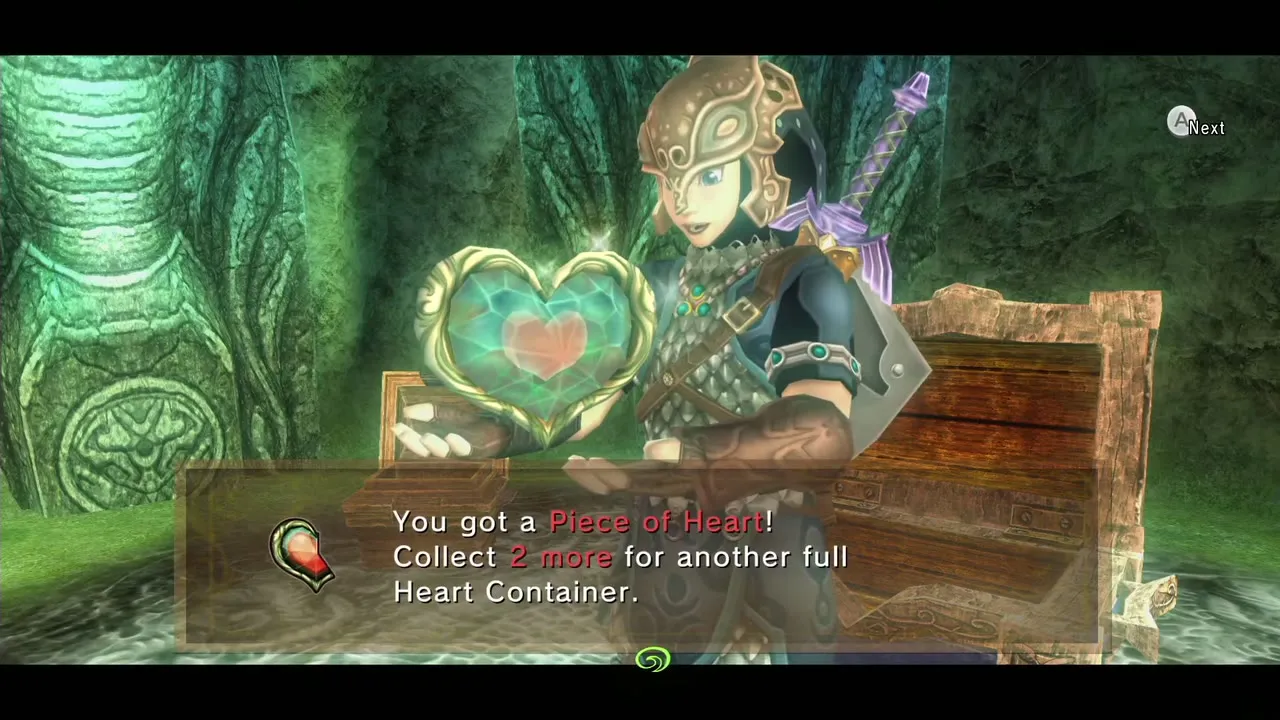
23. Lanayru Spring torch chest
Enter the Spirit Spring cave and use the Clawshot on the vines to climb to the upper ledge. Go through the door at the back, light the two torches and open the big chest. Needs: Clawshot, Lantern. Form: Human. Chapter: Poe Souls and Malo Mart.
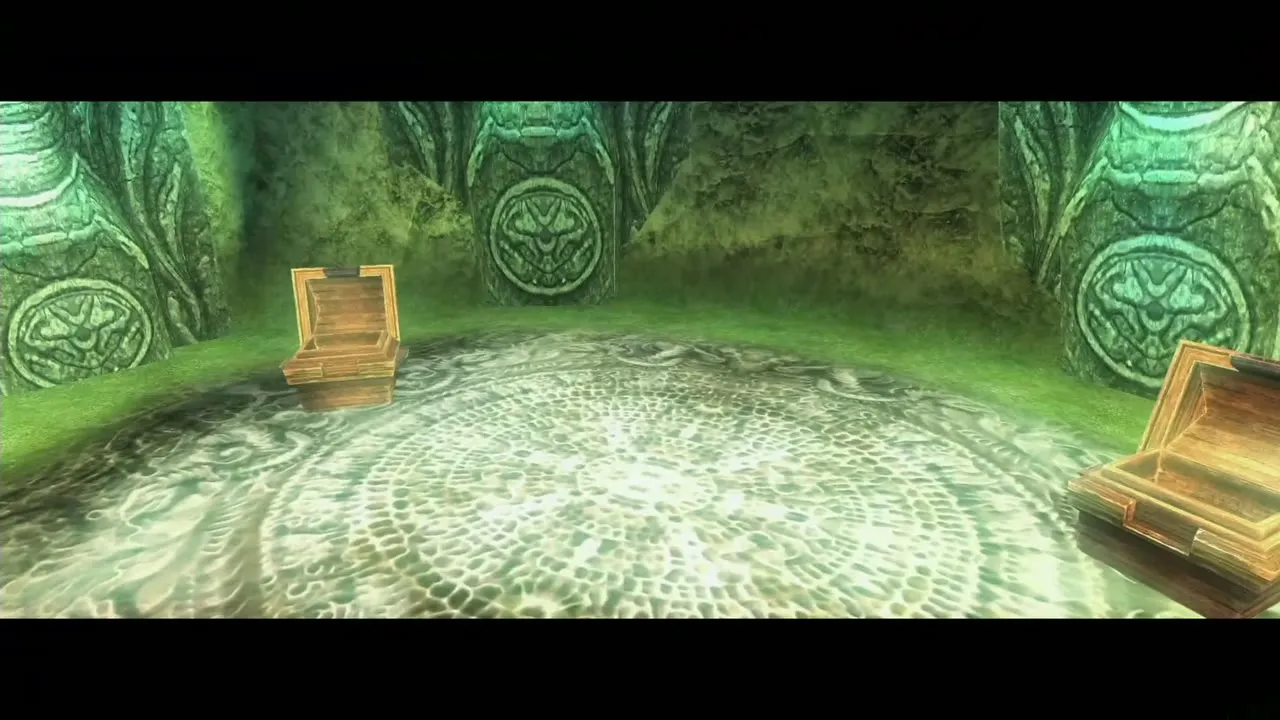
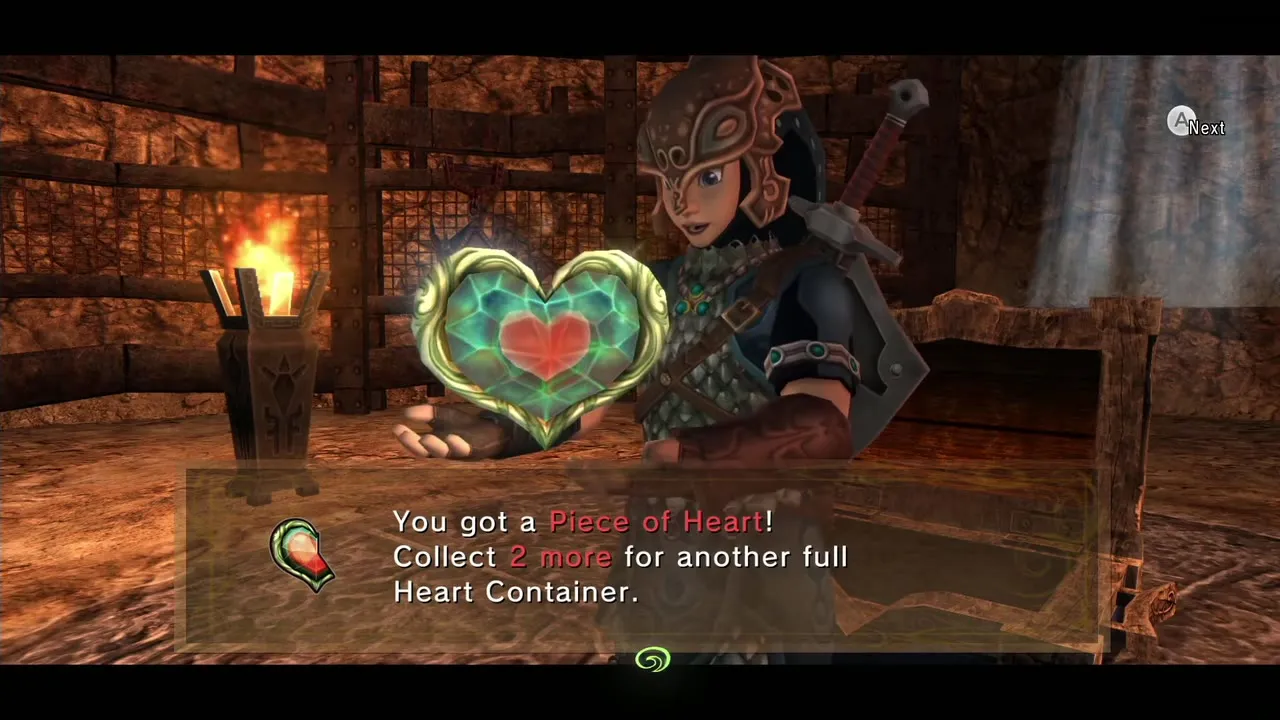
24. Cave south of the Howling Stone
Near the Howling Stone and the watchtower on the south cliff (reached by a ladder), bomb the cracked wall. The cave behind it is dark and made of small rooms, each with two or more bombable rocks: one leads deeper, the others hide enemies or treasure. Bring plenty of bombs and arrows and a full Lantern, and light the torches in the last room for the chest. Three Poes live here too. Needs: Bombs, Hero’s Bow, Lantern. Form: Human. Chapter: Poe Souls and Malo Mart.
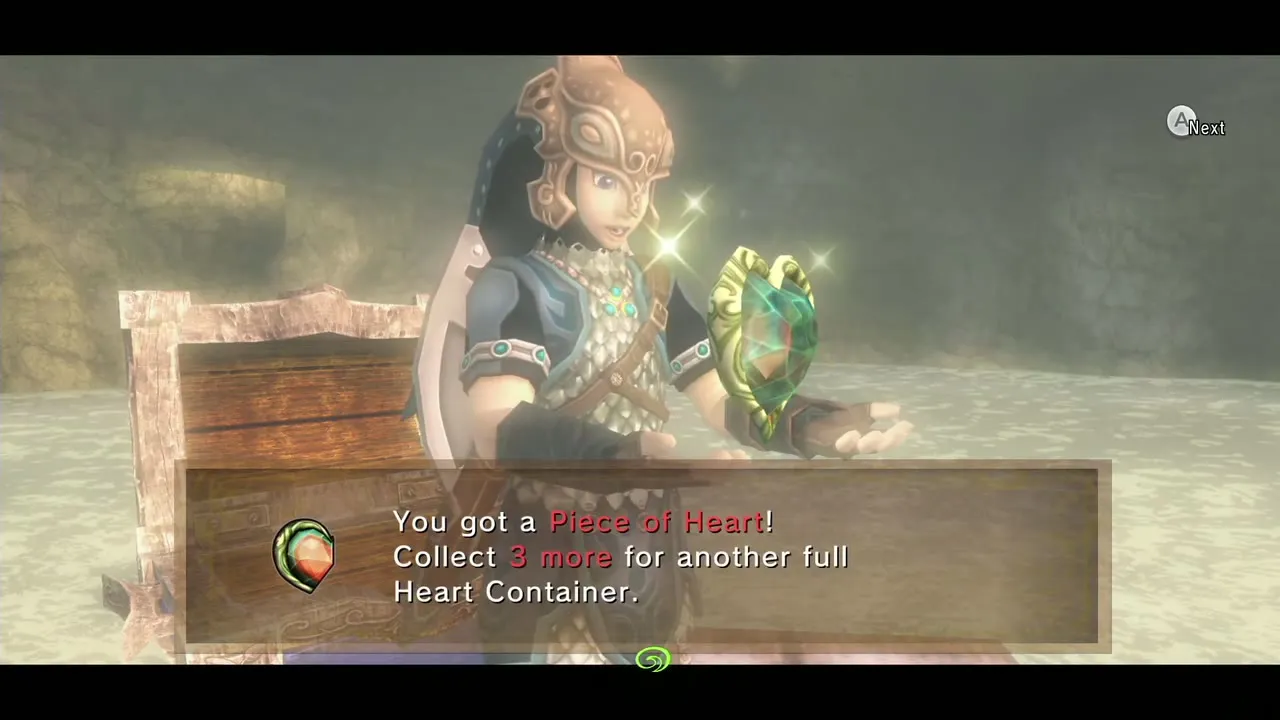
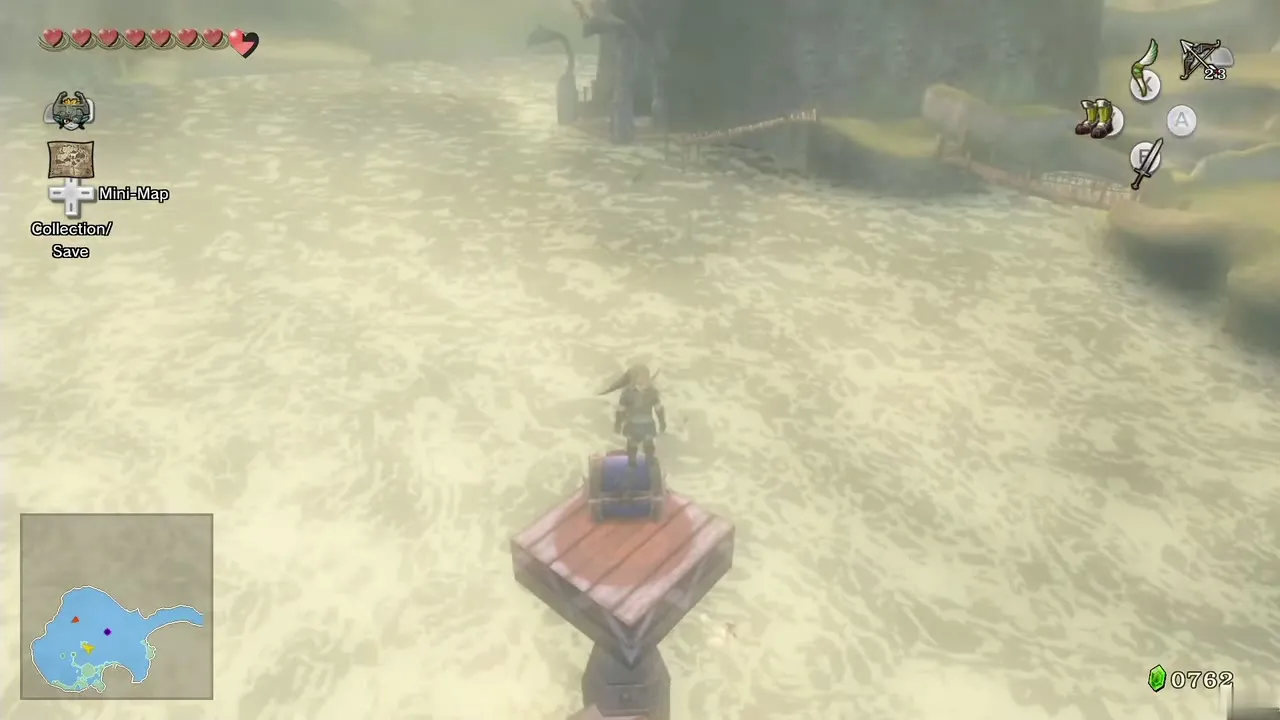
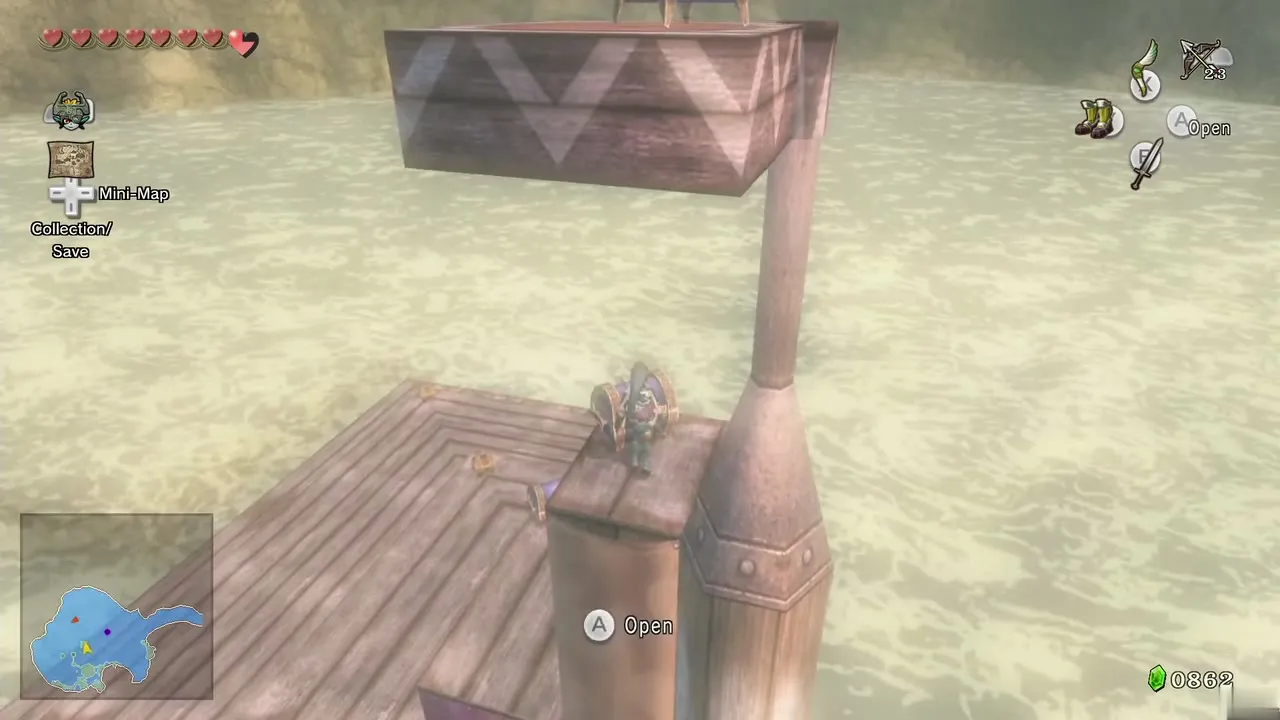
25. Falbi’s Flight-By-Fowl island
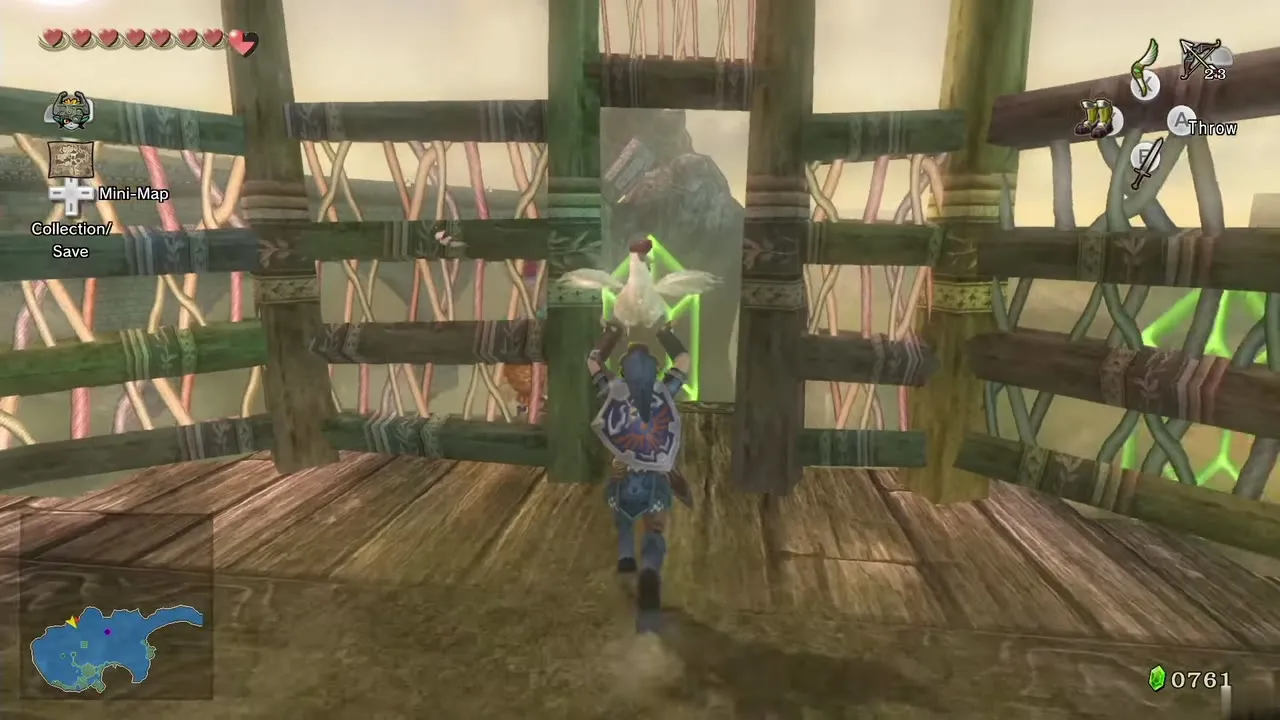
Pay Falbi 20 Rupees, grab a Cucco and glide to the multi-level platform in the middle of the lake. Land on the second tier from the top, the one that does not rotate. The chest on it holds the piece. Needs: 20 Rupees. Form: Human. Chapter: Lake Hylia side quests.
26. Plumm’s fruit game
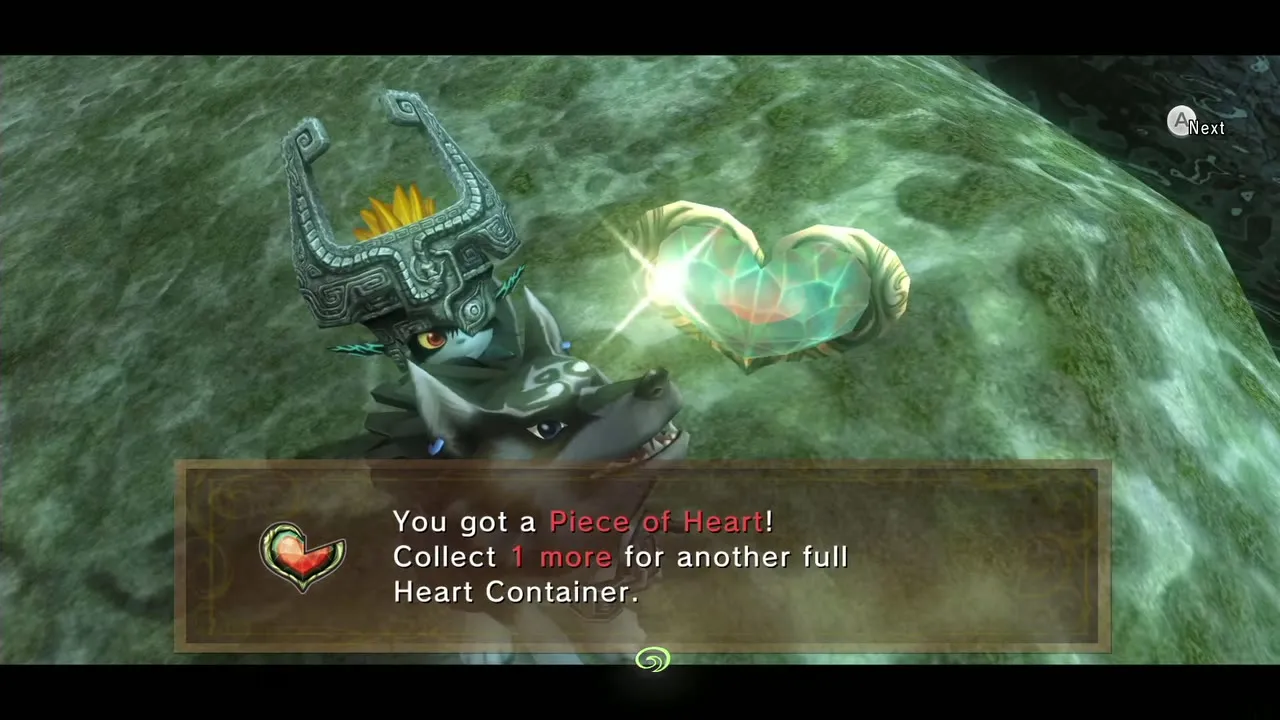
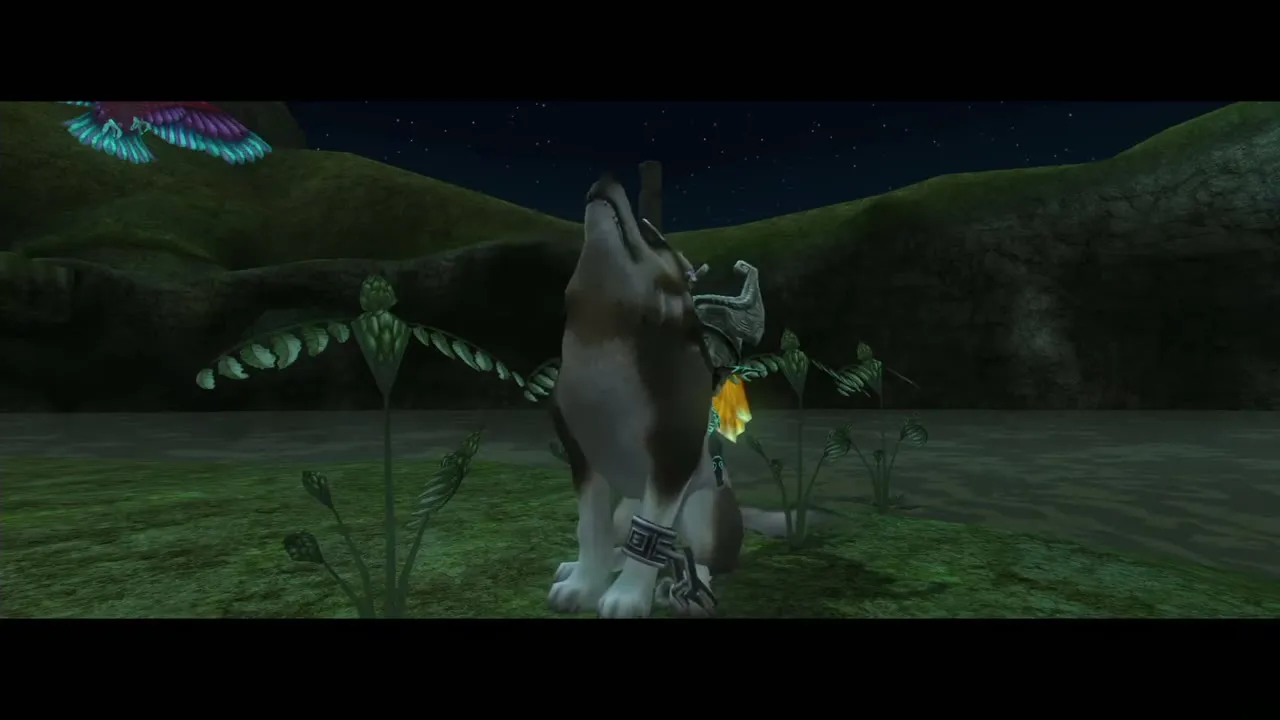
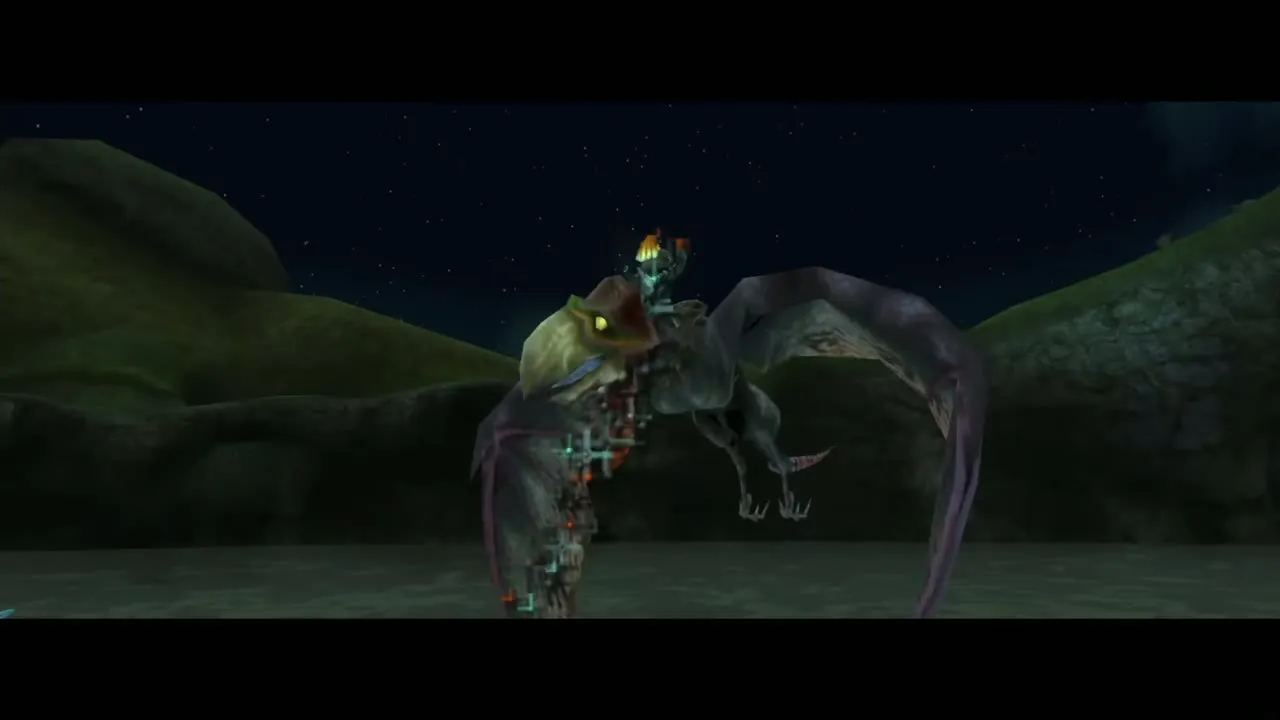
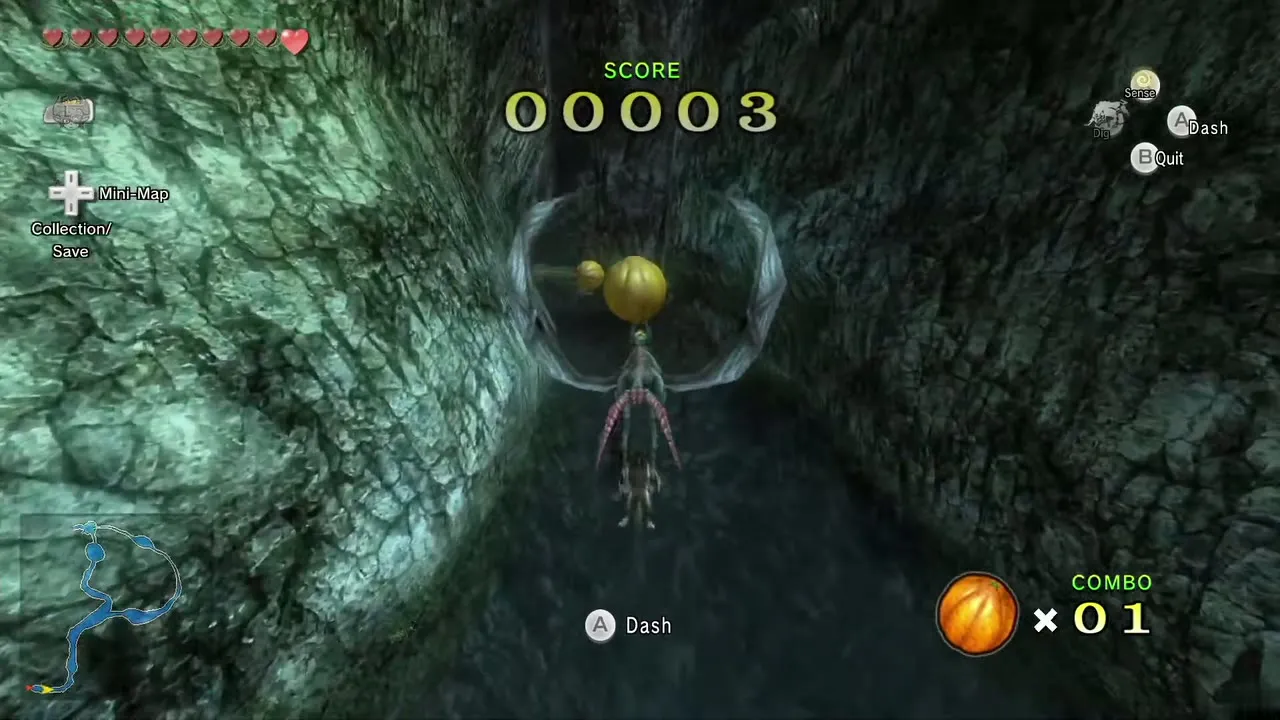
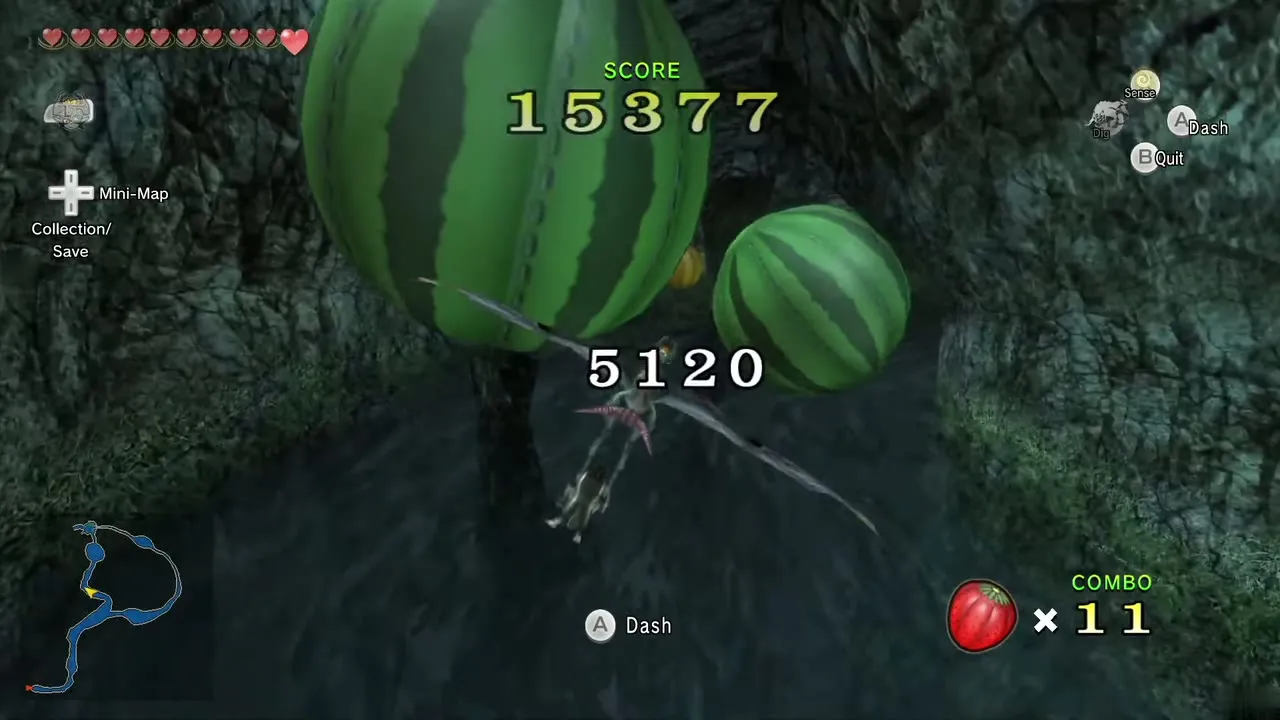
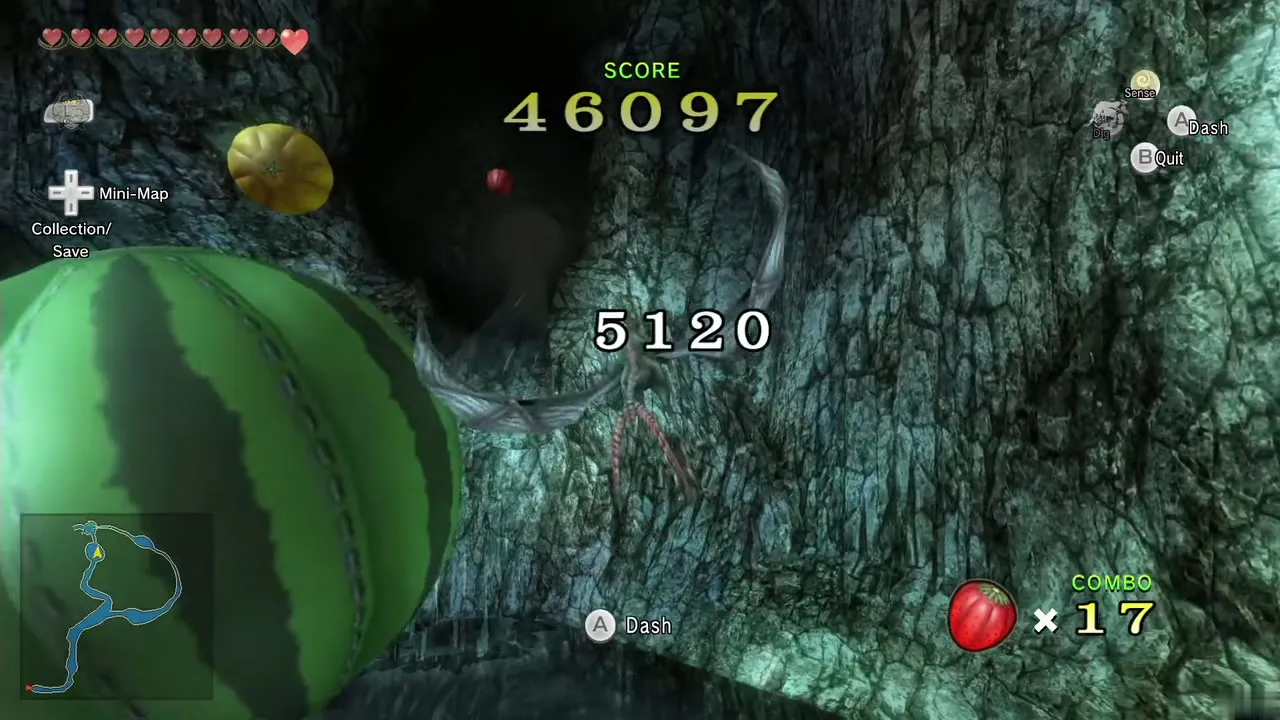
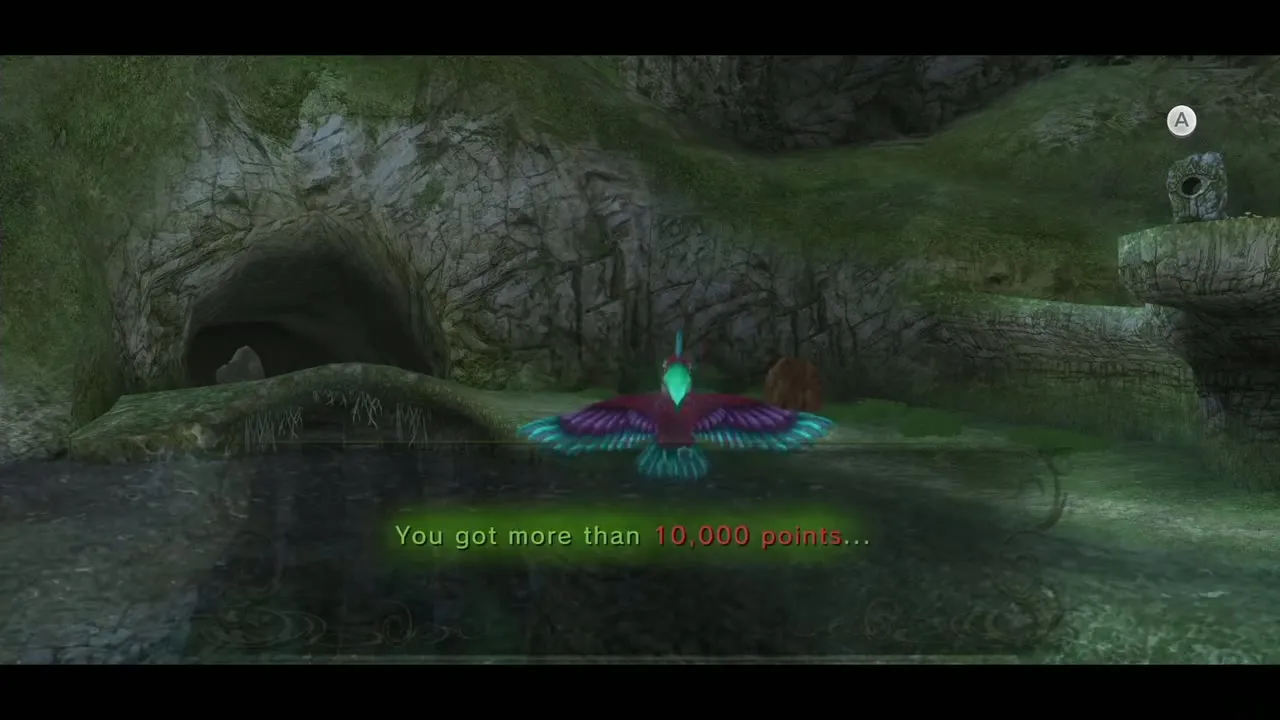
After the Master Sword, find Plumm (on the bridge by Falbi’s or on the south-west shore) as Wolf Link and howl beside the Hawk Grass to call the Twilit Kargarok. In the fruit-popping game, score more than 10,000 points. Matching fruit in a row multiplies your points. The piece is the prize. Needs: Master Sword. Form: Wolf. Chapter: Poe Souls and Malo Mart.
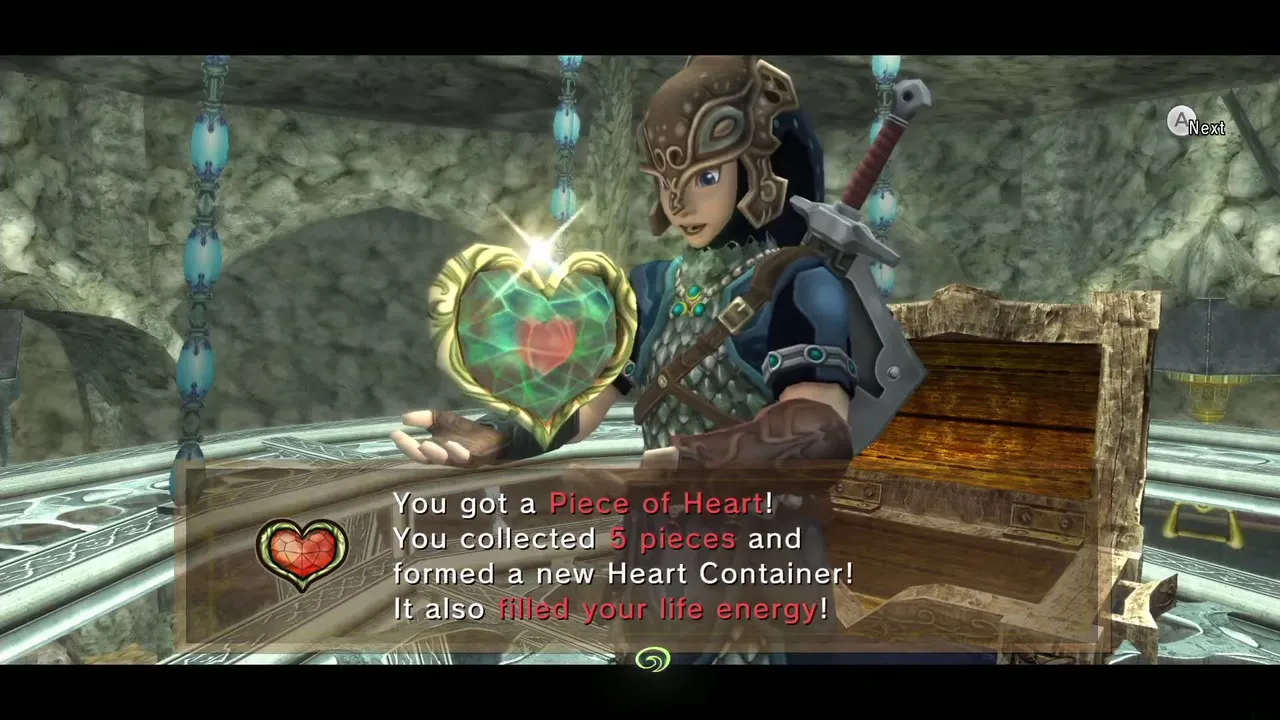
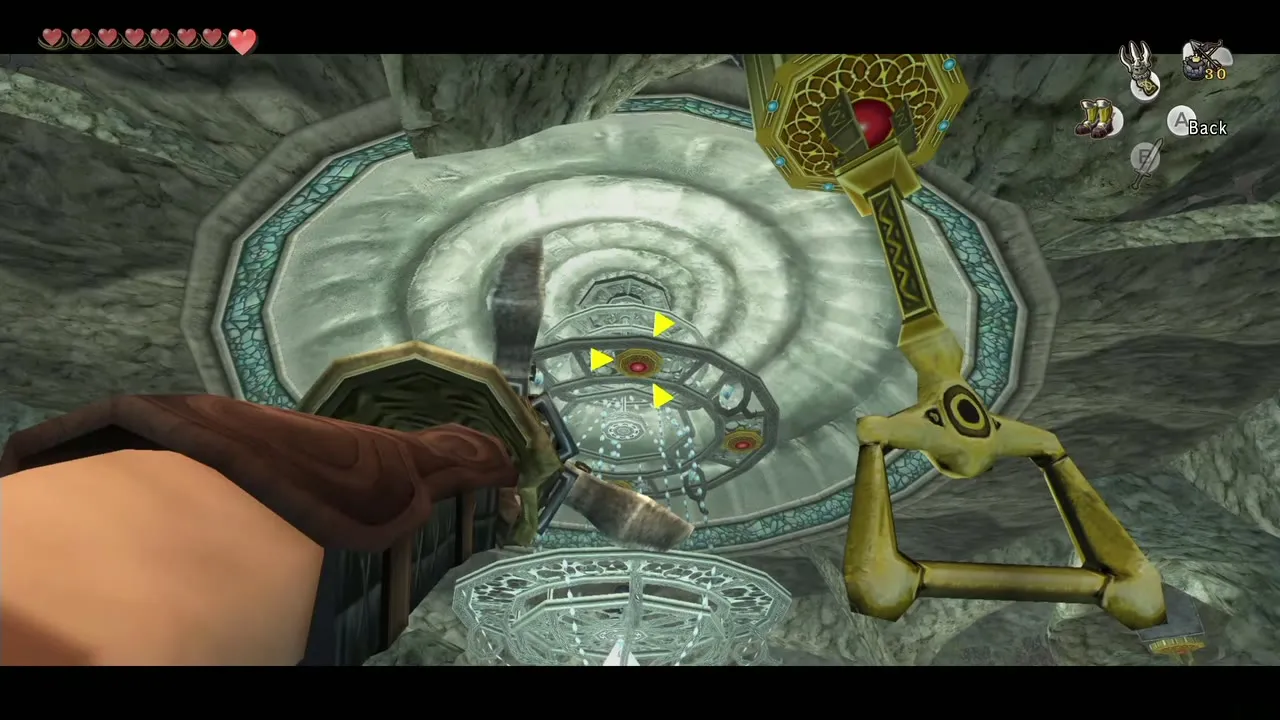
27. Chandelier in the main hall
Climb the stairs in the main hall once the water has risen. Four red targets sit above the big chandelier. Hook one, let go to land on the chandelier and open the chest in the middle. Needs: Clawshot. Form: Human. Chapter: Lakebed Temple.
28. Bridge room with the switch and gate
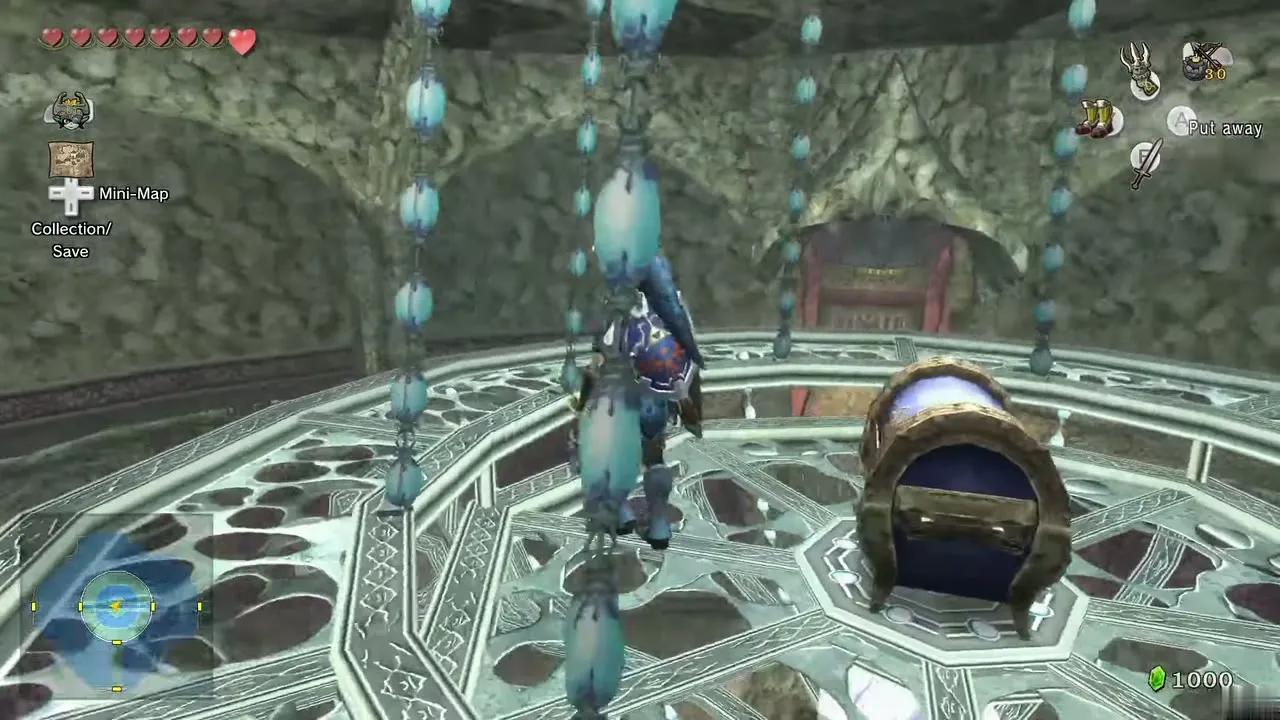
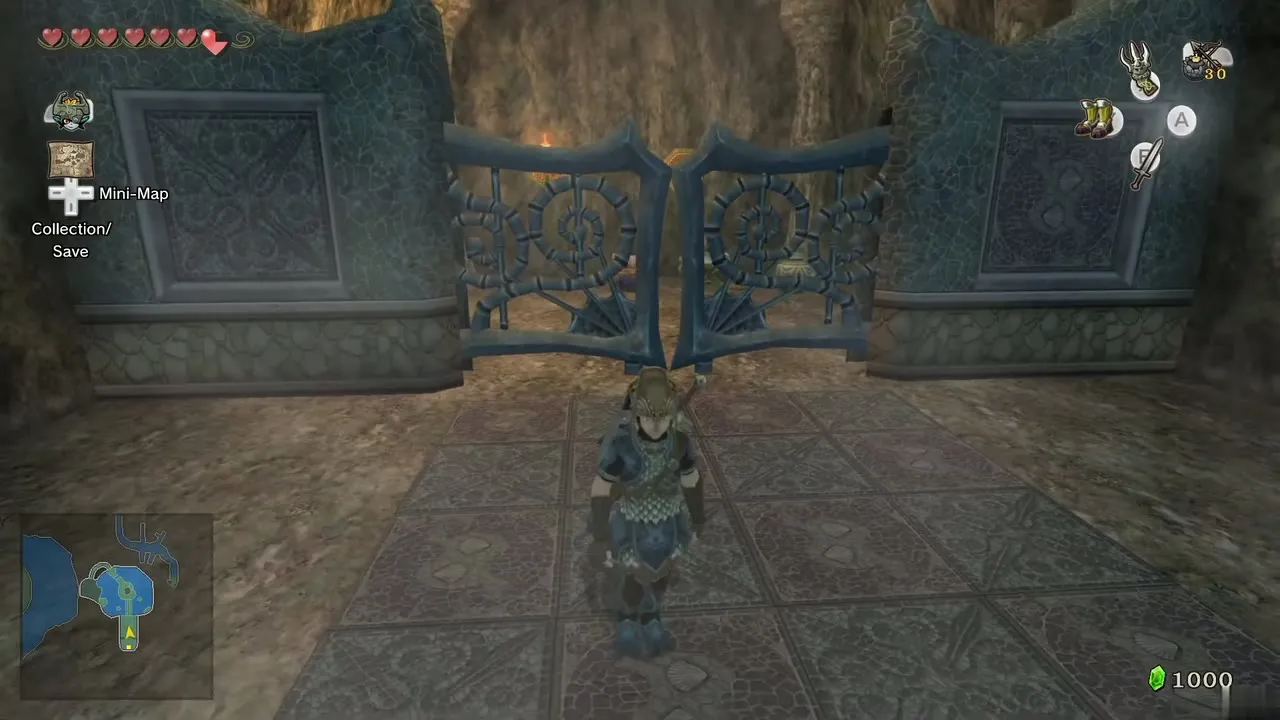
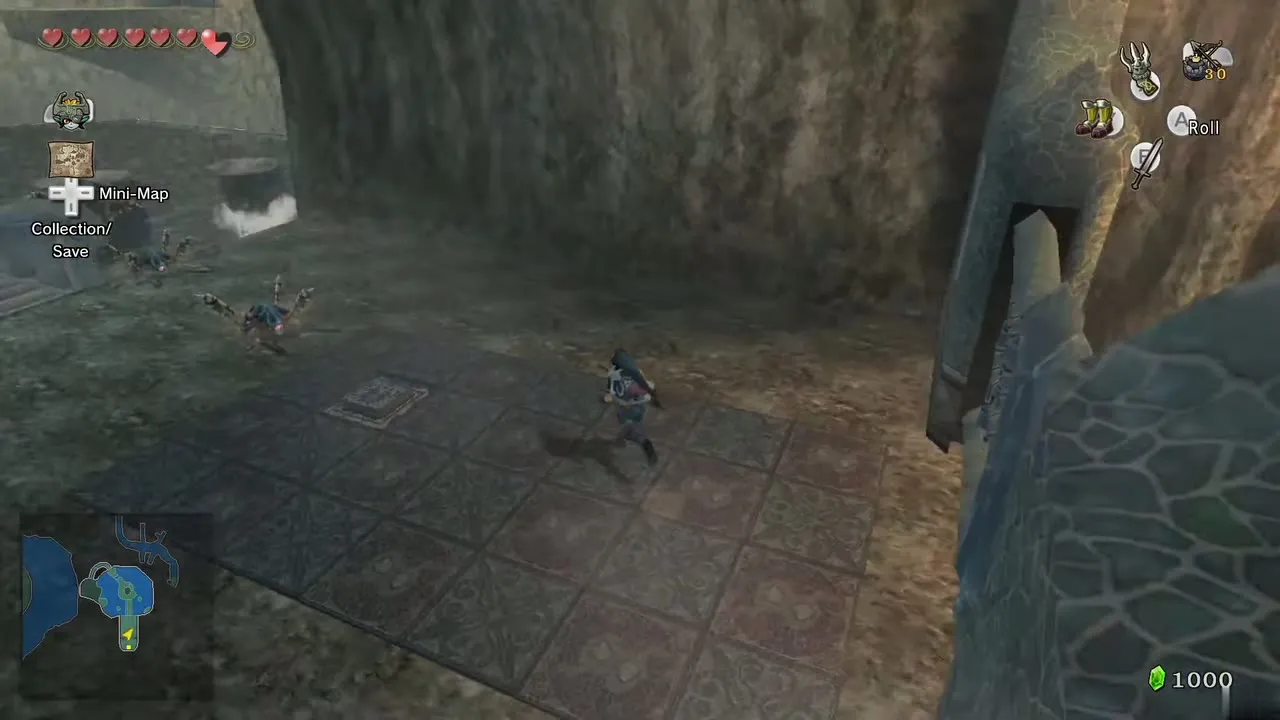
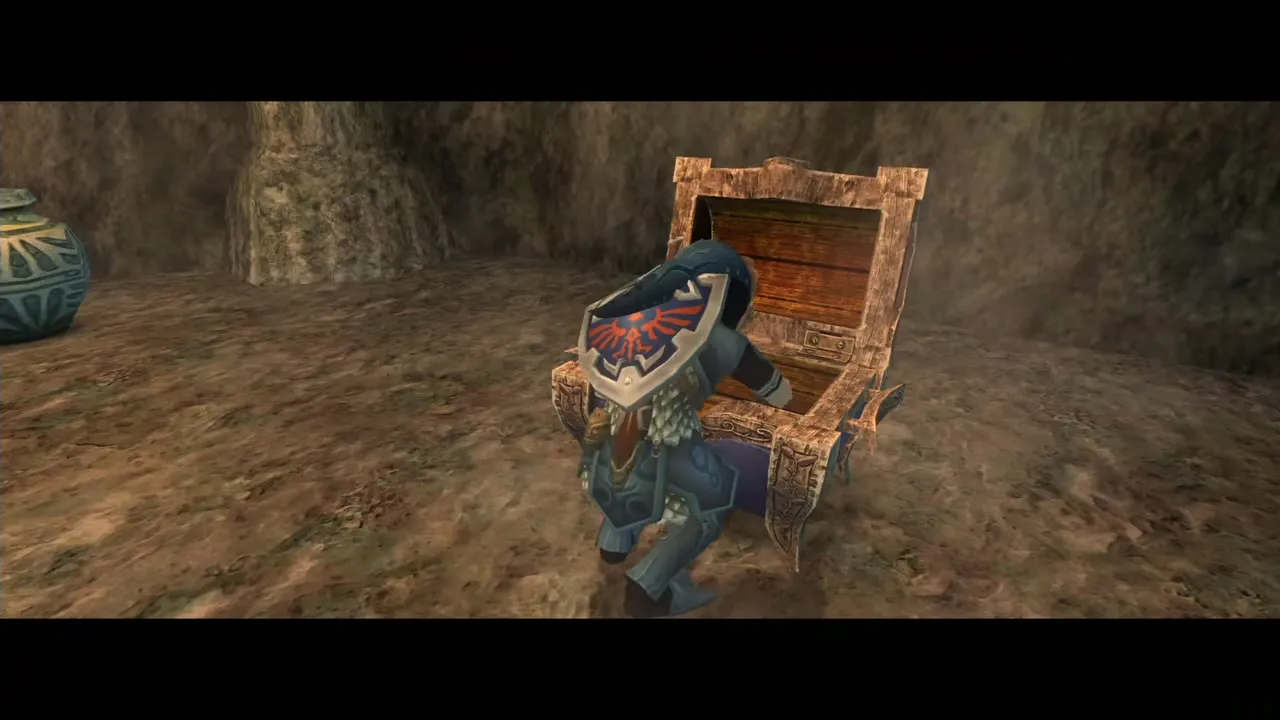
Turn on the waterwheels on floor B2, turn the main-hall staircases so the water flows toward the room you just left, then follow the river to the bridge and the small room beyond. Stand on the floor switch to open the gate, defeat the Lizalfos, then stand on the switch again and Clawshot the target behind the gate for the chest. Needs: Clawshot. Form: Human. Chapter: Lakebed Temple.
Fishing Hole and Castle Town
29. Heart on the big rock
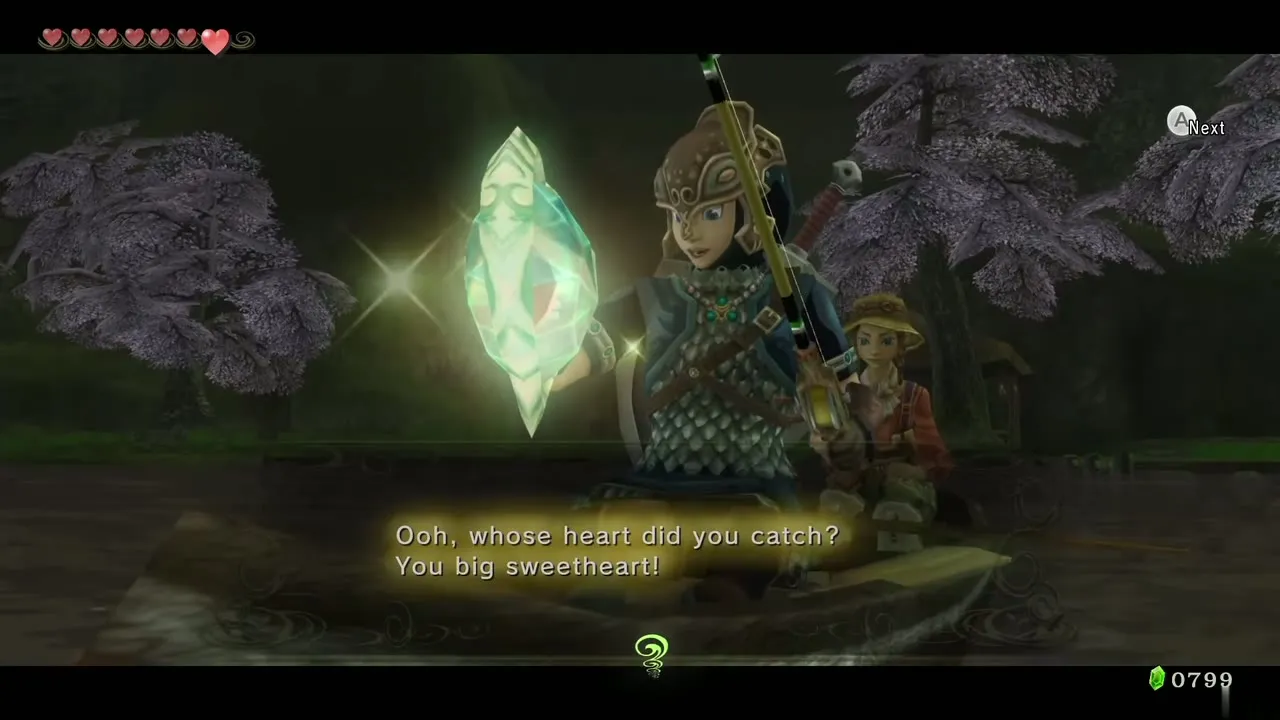
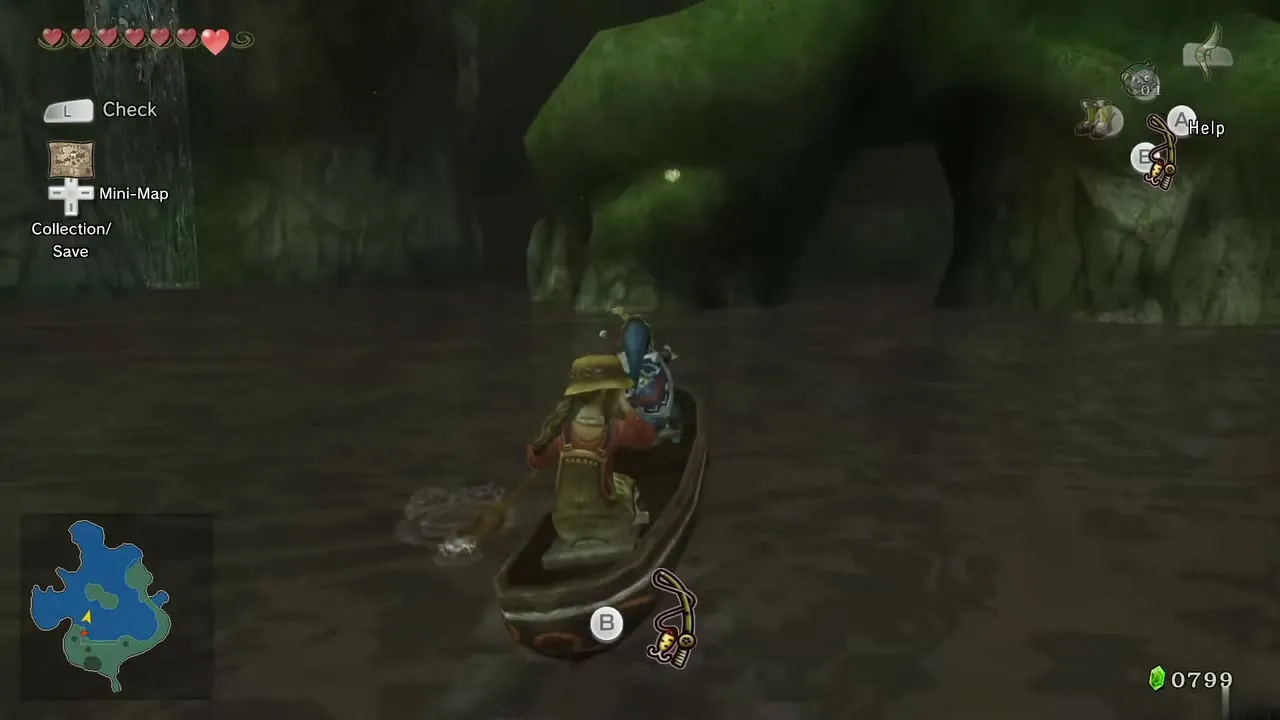
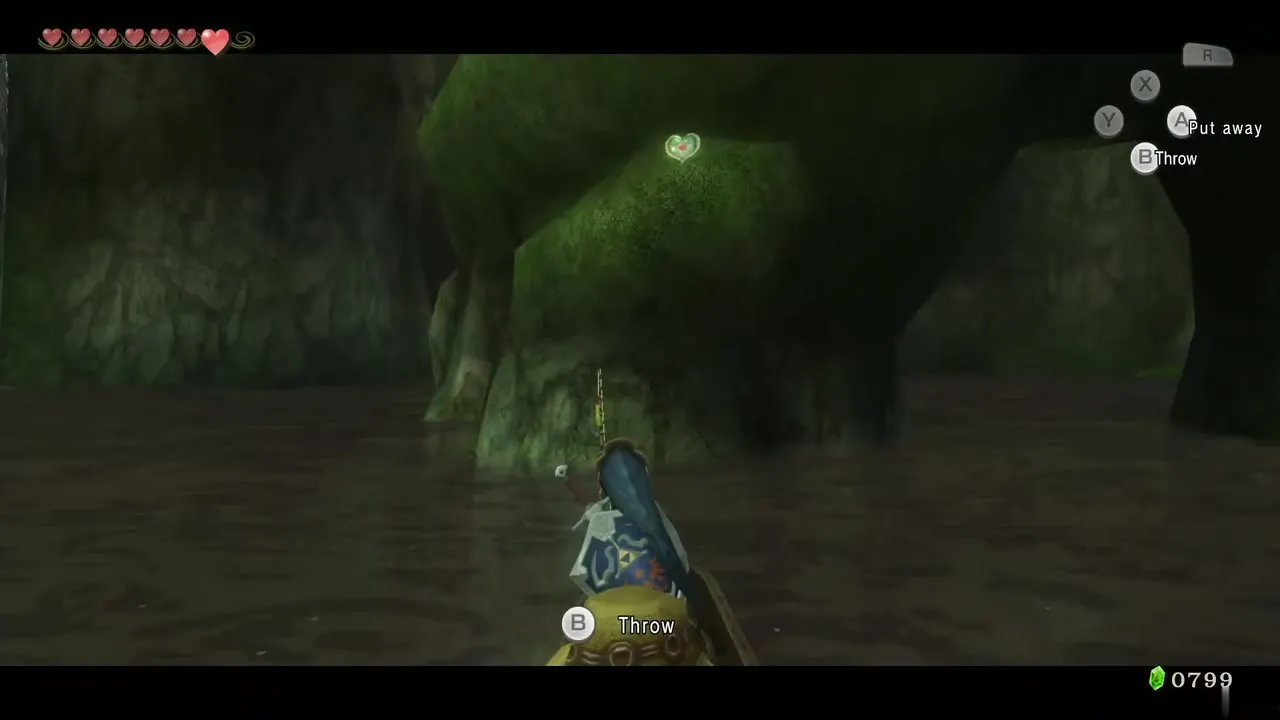
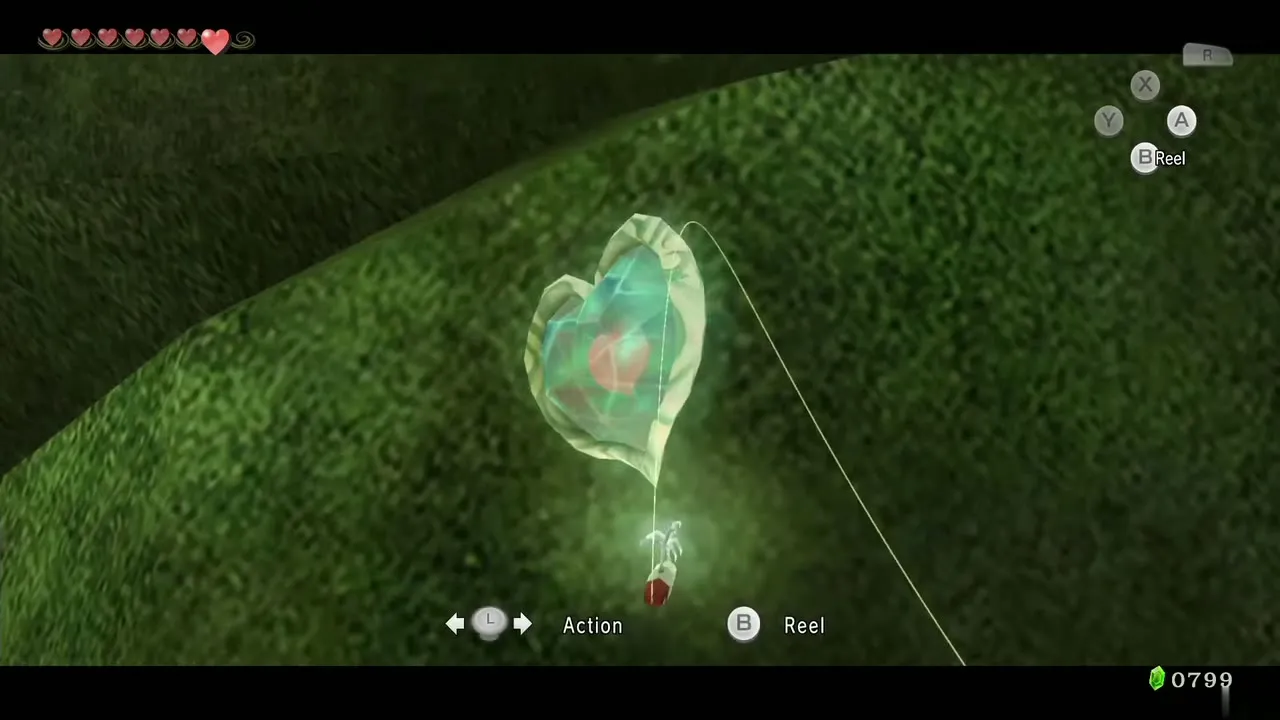
Rent a canoe from Hena and paddle north-east to the large rock in the lake. A piece floats on top. Pull it in with the Gale Boomerang or Clawshot, or reel it in with the Fishing Rod. Needs: Gale Boomerang, Clawshot or Fishing Rod. Form: Human. Chapter: Lake Hylia side quests.
30. Charlo’s donation box
Talk to Charlo, who stands near the west exit of Castle Town, just north of Purlo’s tent, and give him Rupees whenever you have spare. When your donations add up to 1,000 Rupees, he gives you the piece. Needs: 1,000 Rupees in total. Form: Human. Chapter: Lake Hylia side quests.
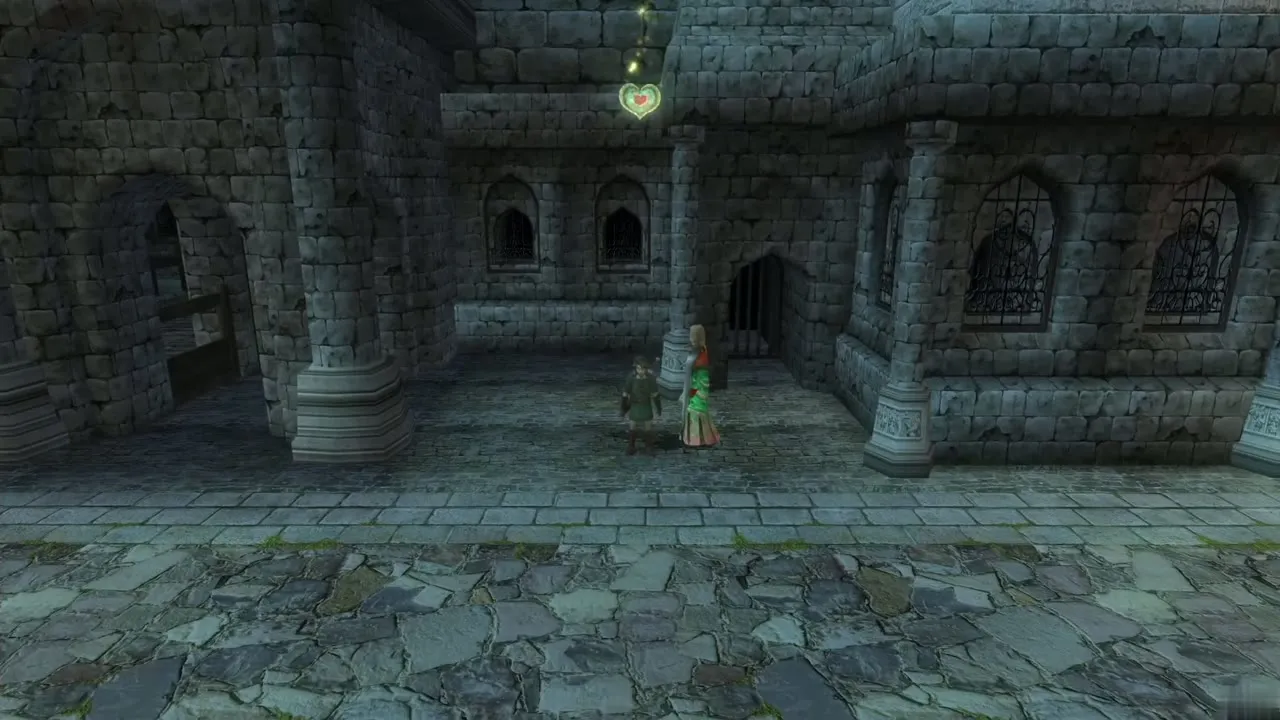
Sacred Grove and the Temple of Time entrance
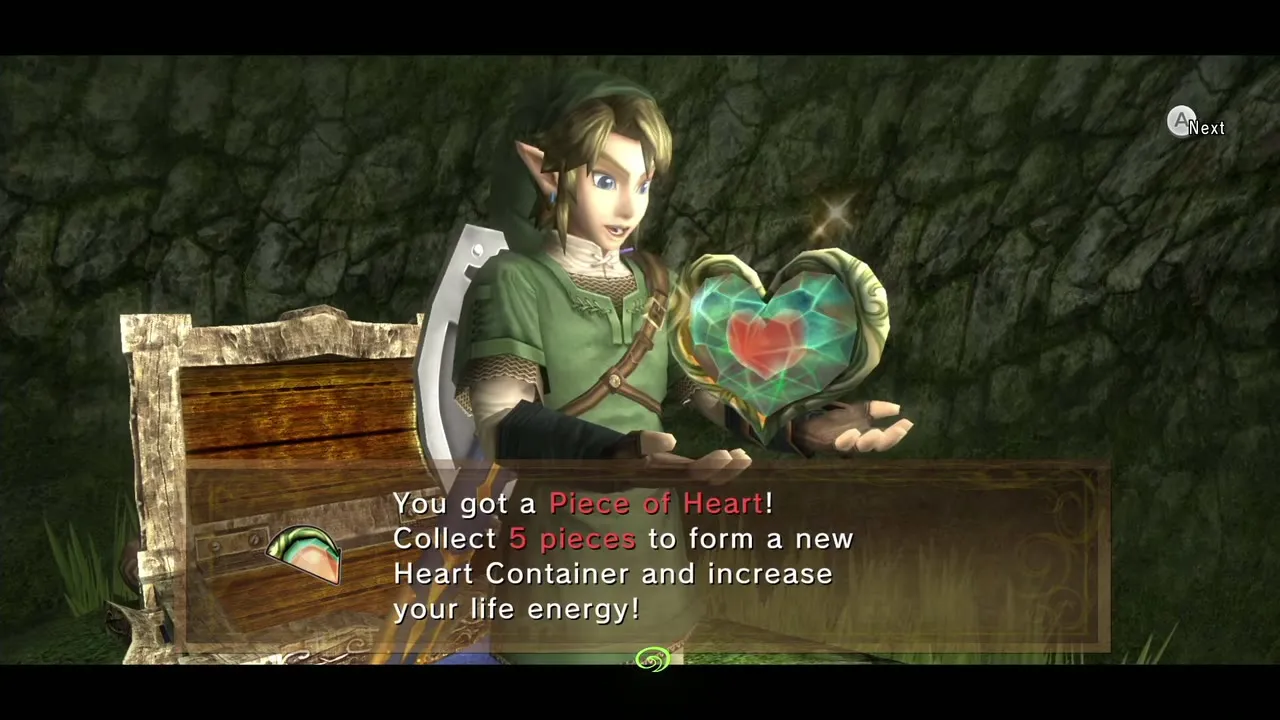
31. Underground chamber beneath the boulder
After defeating the Skull Kid in the circular arena, bomb the large boulder in the middle to reveal a dig spot. As Wolf Link, dig down, switch back and kill every plant and enemy in the cave to make the chest appear. A Poe hovers where the boulder sat. Needs: Bombs. Form: Human, then Wolf. Chapter: Master Sword.
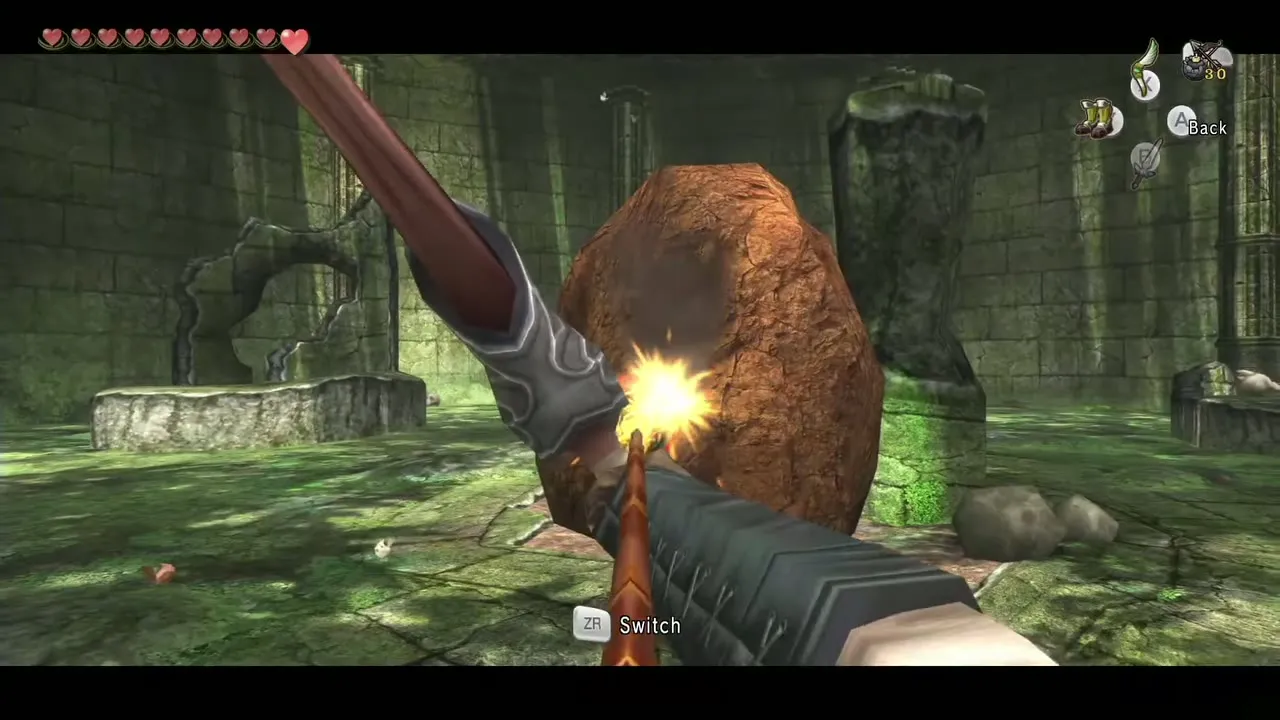
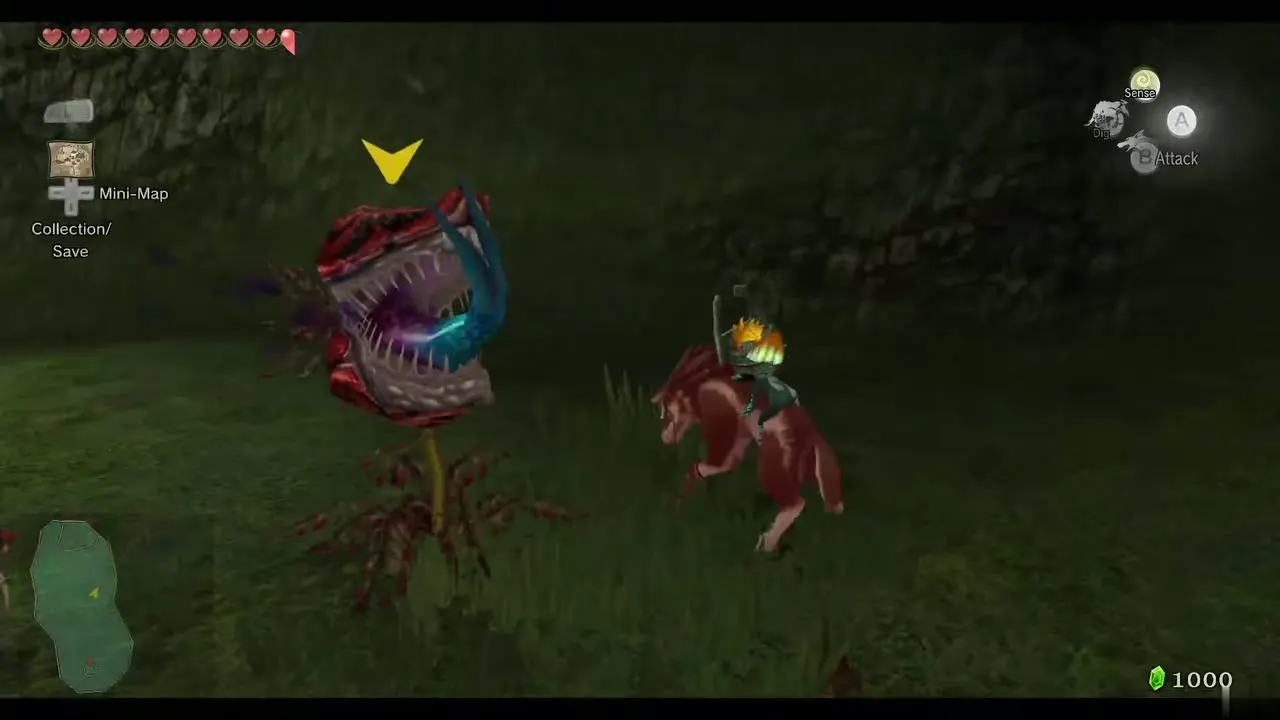
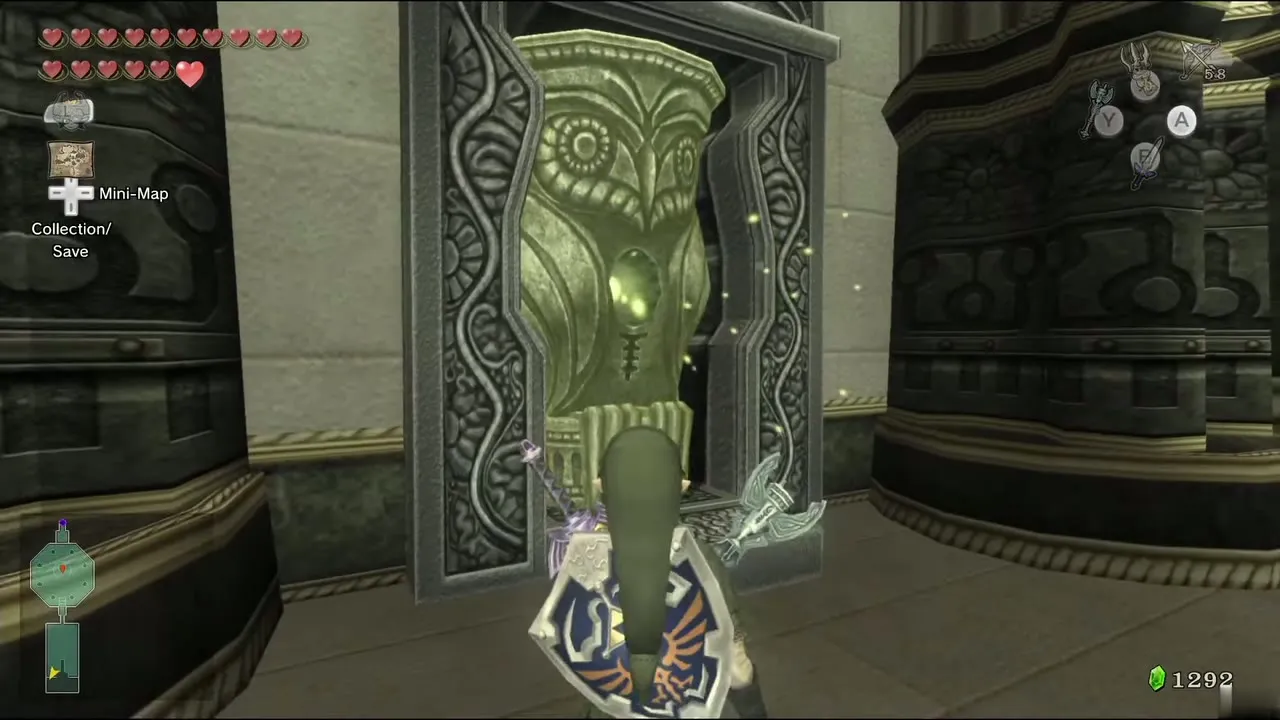
32. Owl Statue at the foot of the stairs
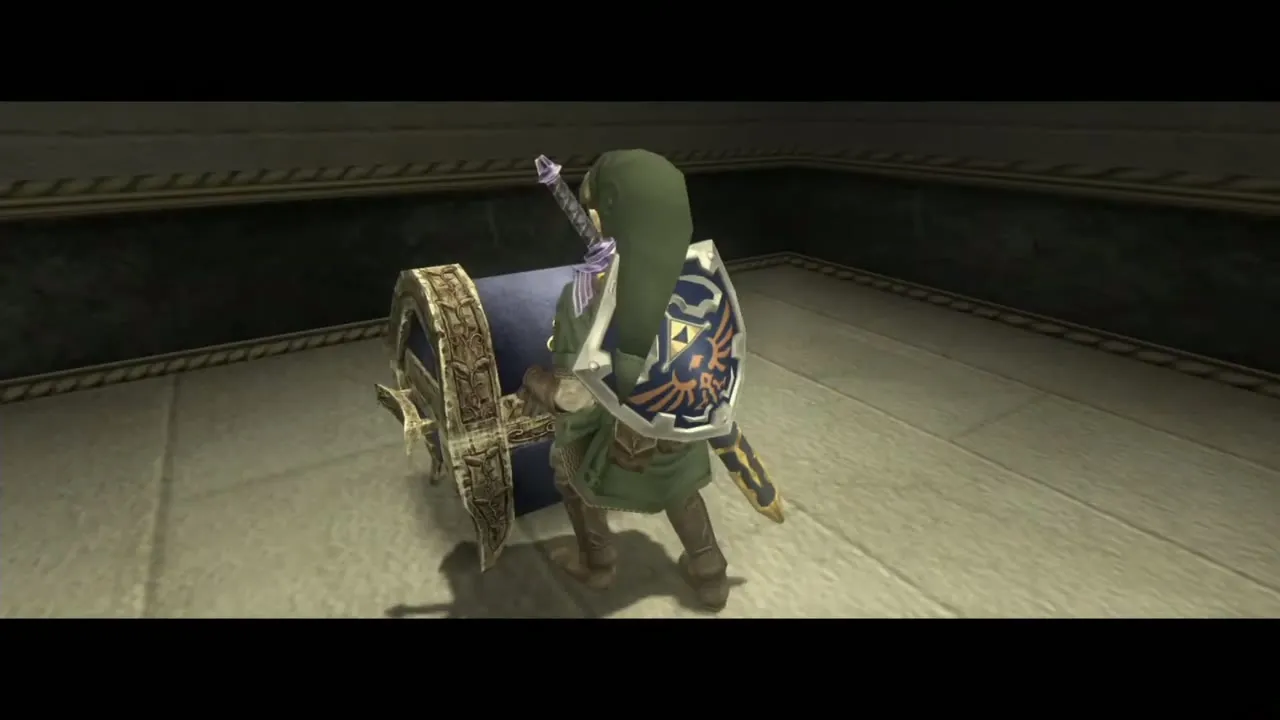
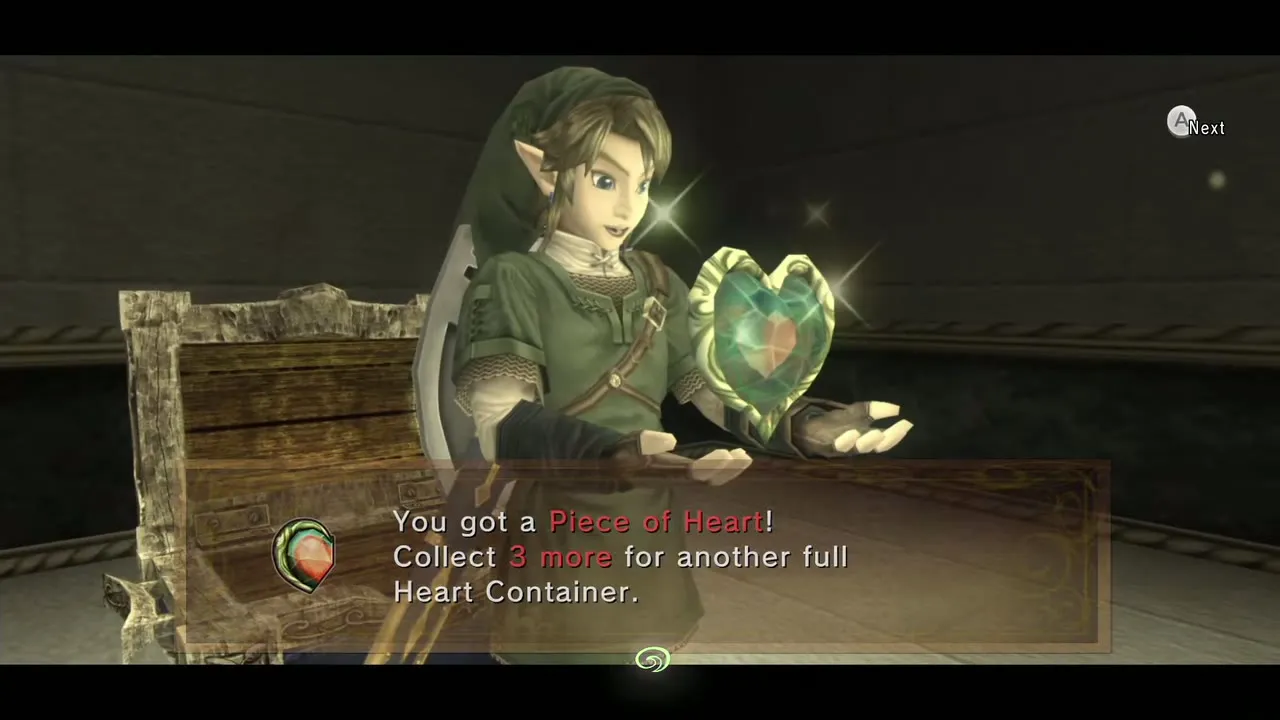
In the Temple of Time entrance area, before you enter the dungeon itself, an Owl Statue stands on each side of the exit. Use the Dominion Rod to move the one on the east side and you uncover an alcove with a chest holding the piece. Needs: Dominion Rod (full power). Form: Human. Chapter: Hidden Village.
Gerudo Desert and the Arbiter’s Grounds
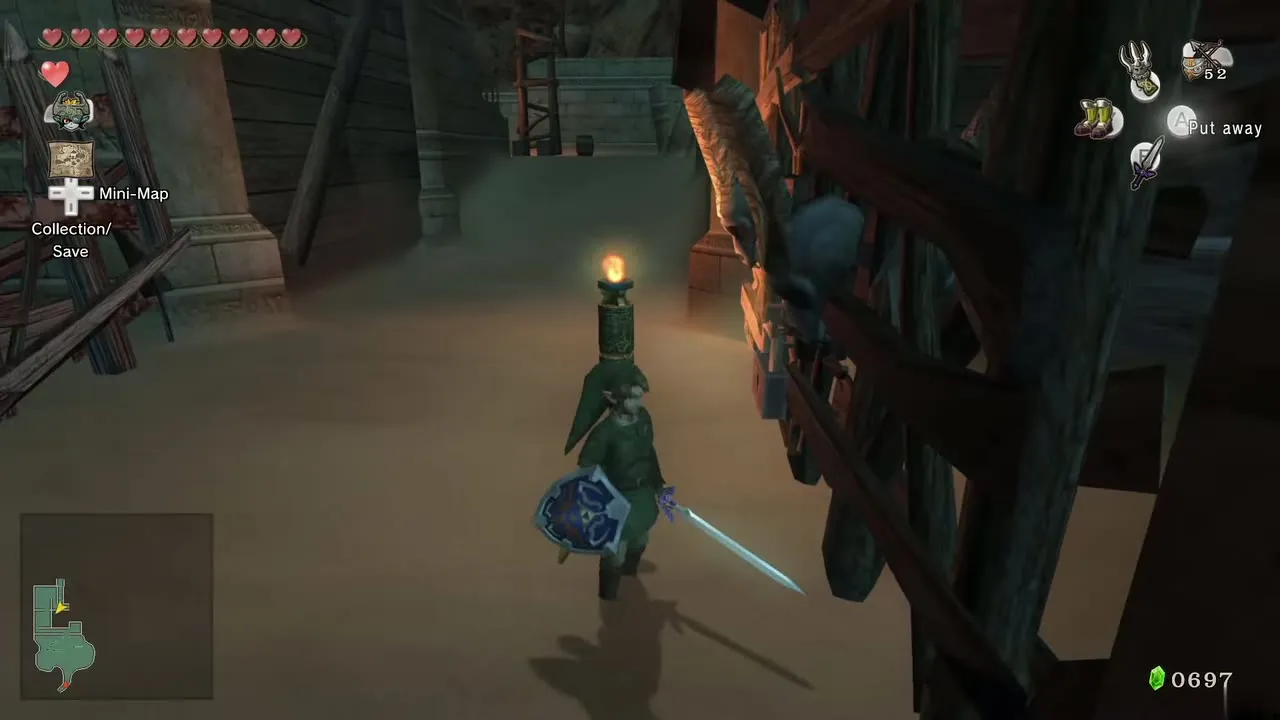
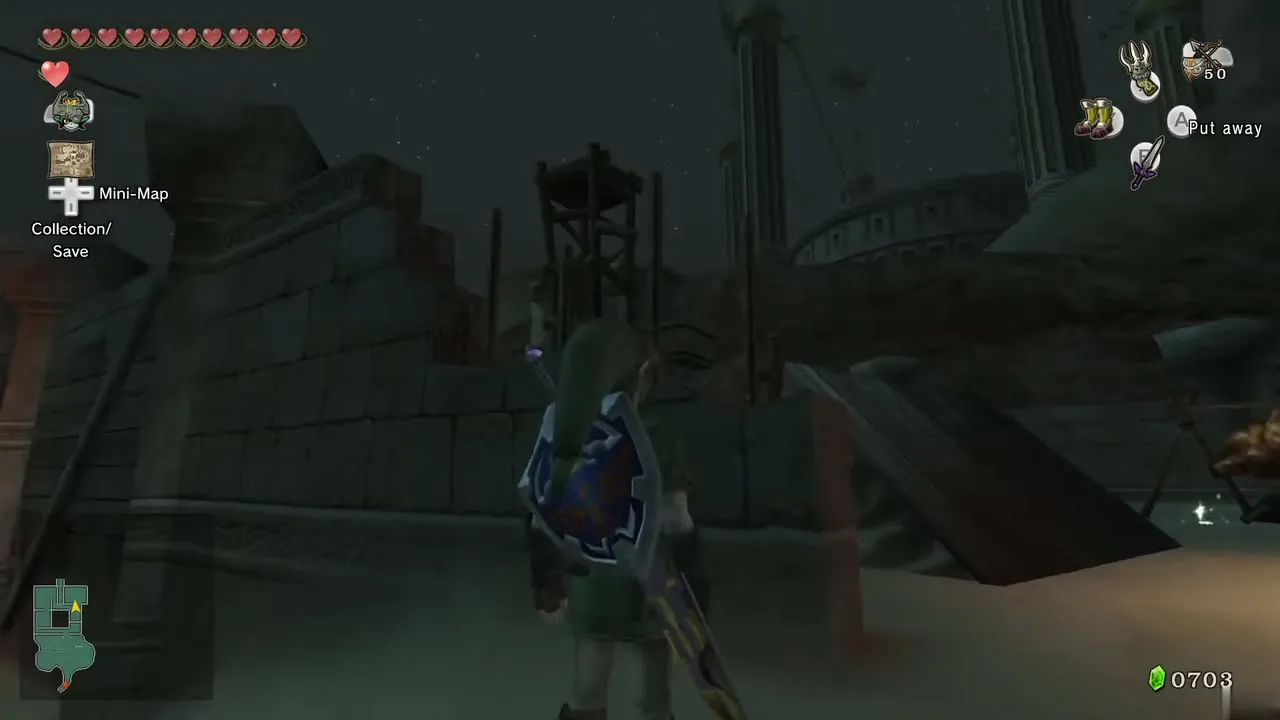
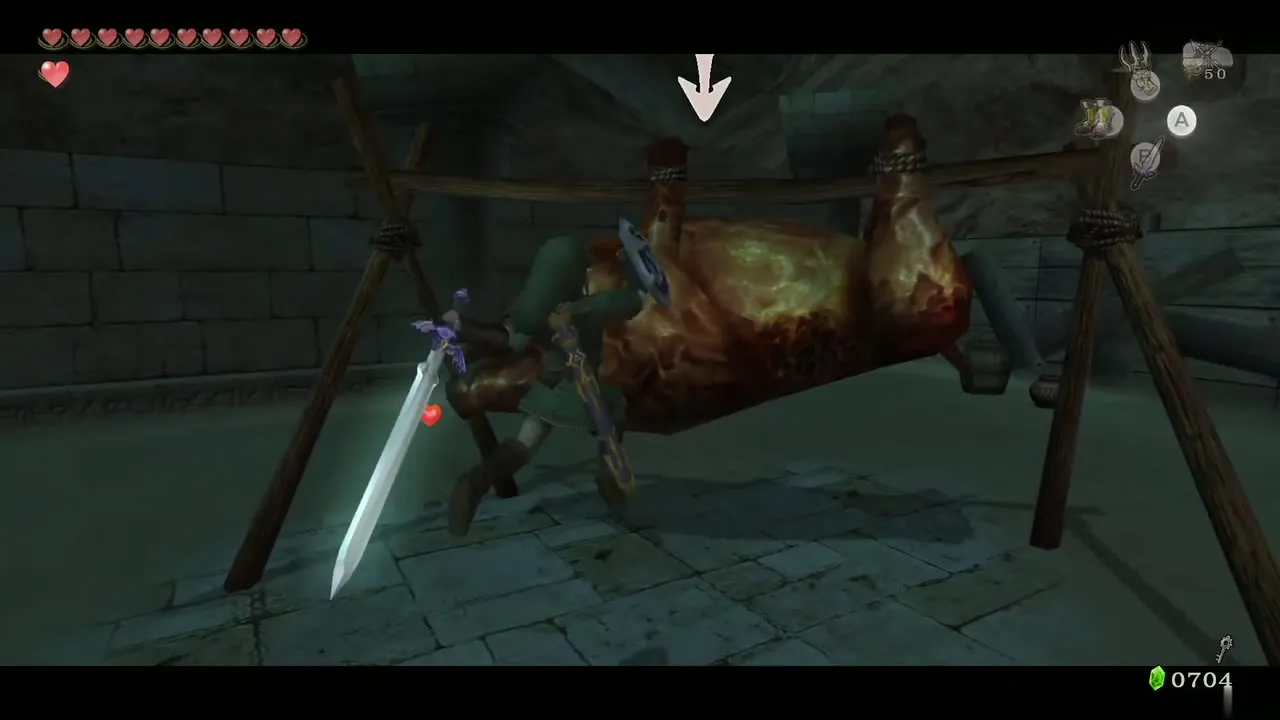
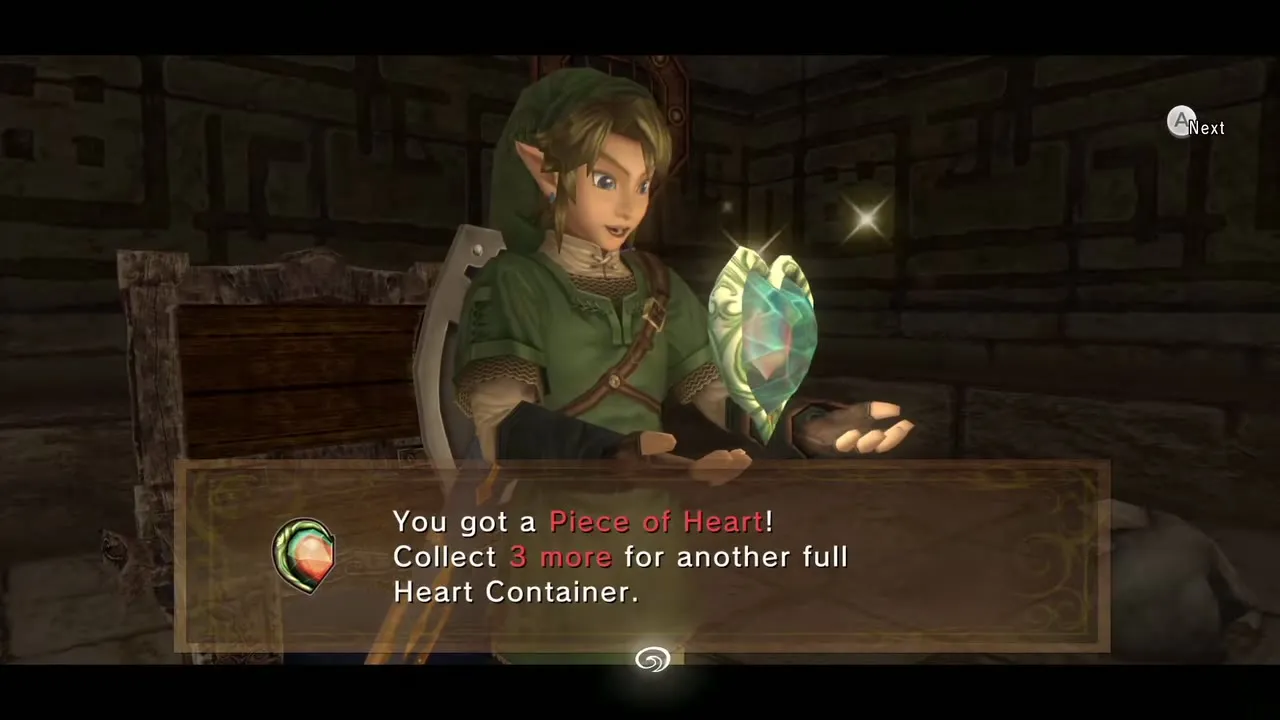
33. Roast Bullbo at the Bulblin Camp
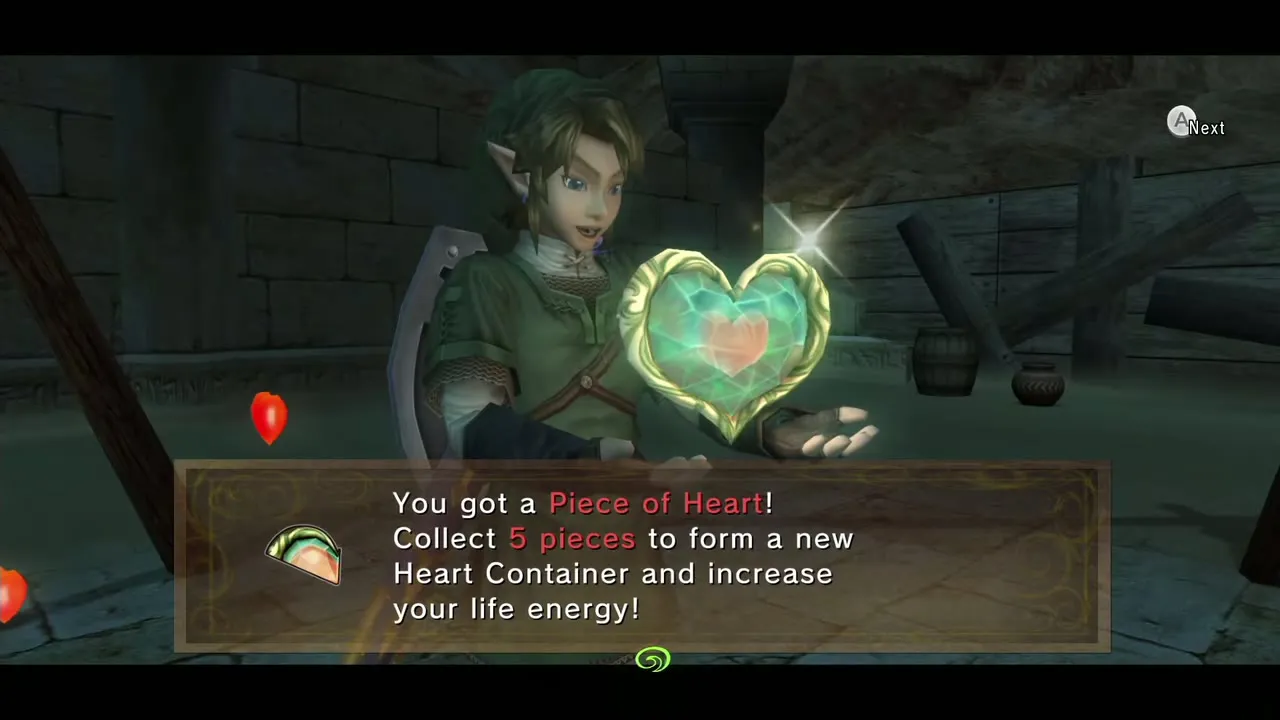
In the camp’s north-east corner a Bulblin roasts a Bullbo over a fire. Hack at the meat with the sword (or bite it as Wolf Link) until it falls apart and a Piece of Heart drops out. Needs: Nothing. Form: Human or Wolf. Chapter: Gerudo Desert.
34. Clawshot target in the Poe chamber
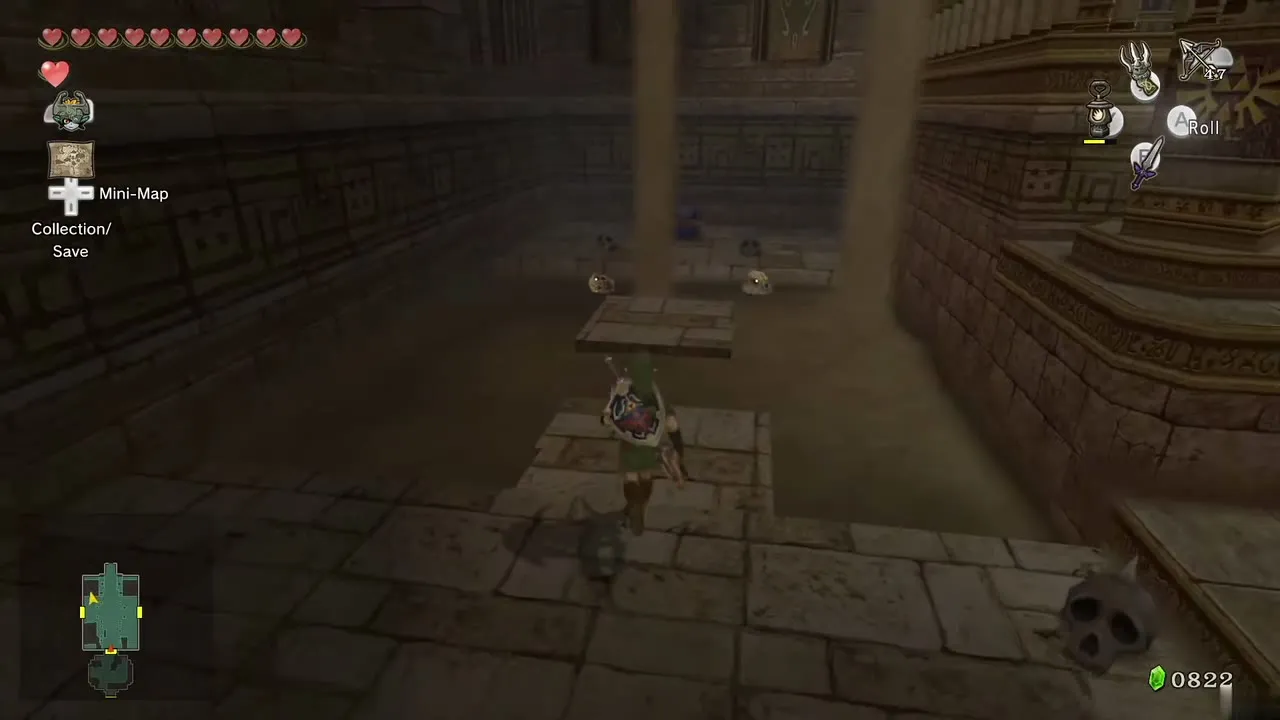
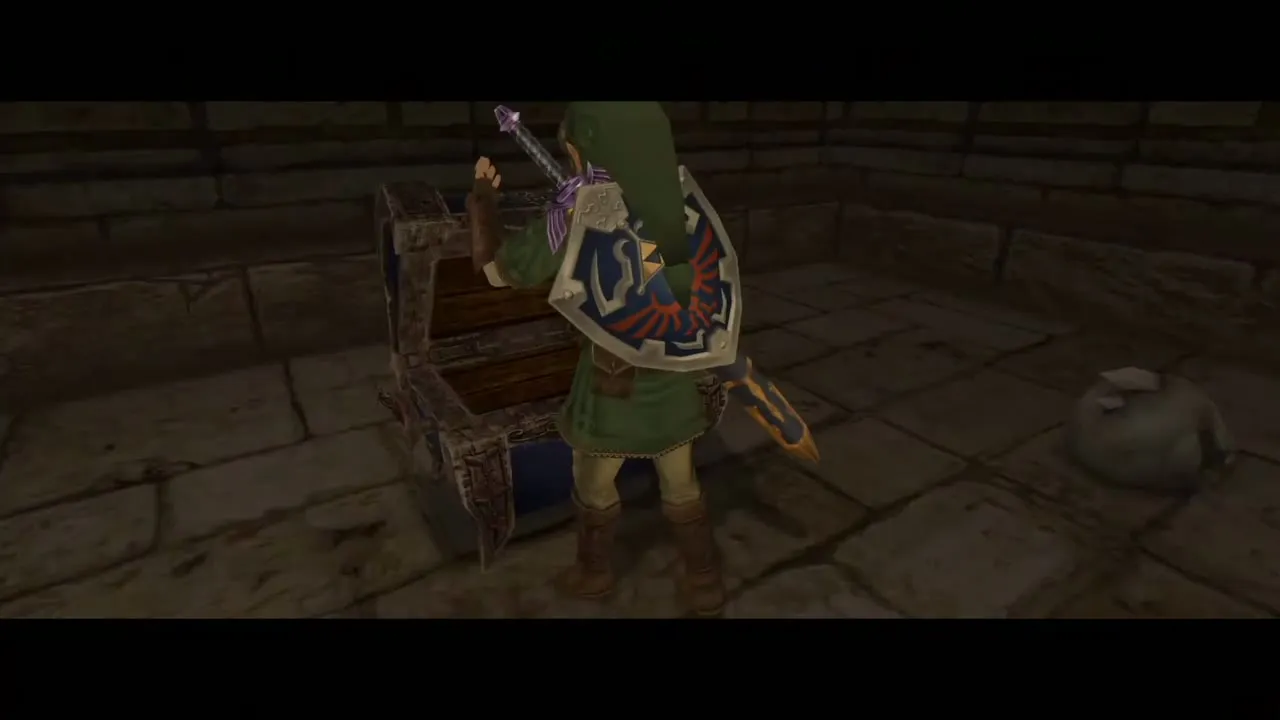
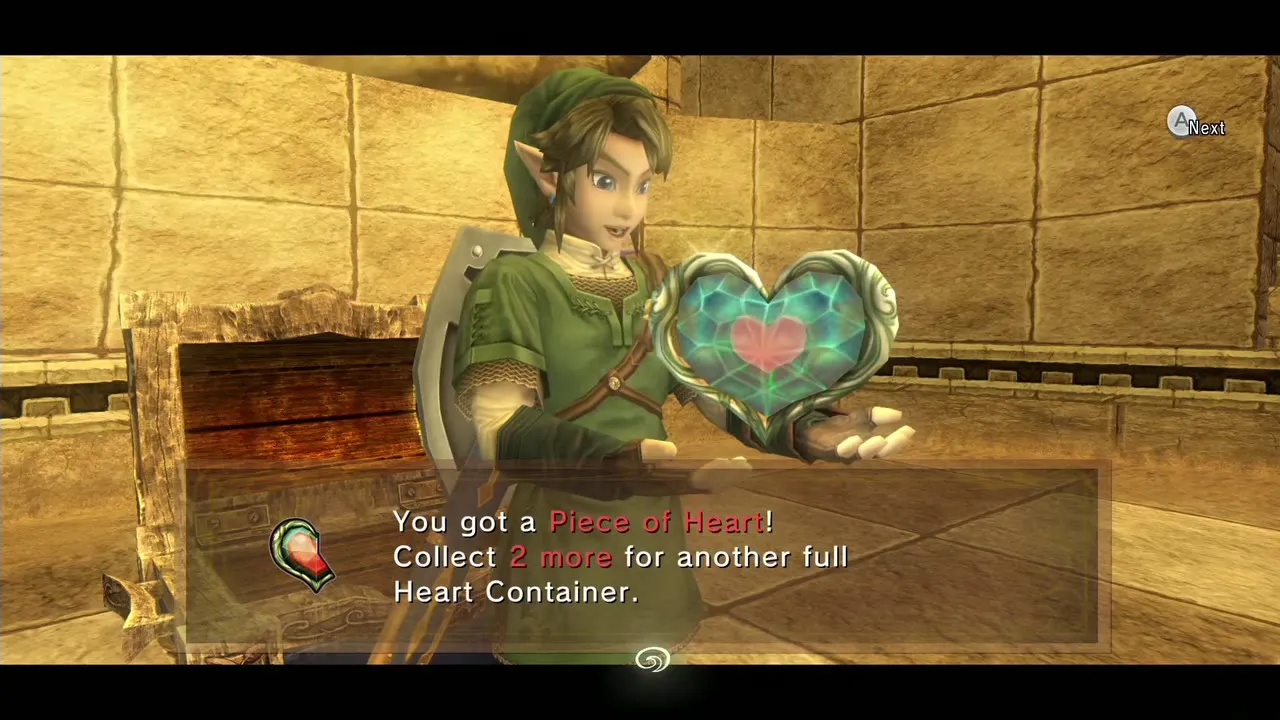
In the big central room where the Poes steal the blue flames, a chest stands on each side of the stairs. The one on the right holds the piece. Clawshot across to it and roll back along the platforms afterwards, or you cannot get back without sinking in the quicksand. Needs: Clawshot. Form: Human. Chapter: Arbiter’s Grounds.
35. Multi-level rail room
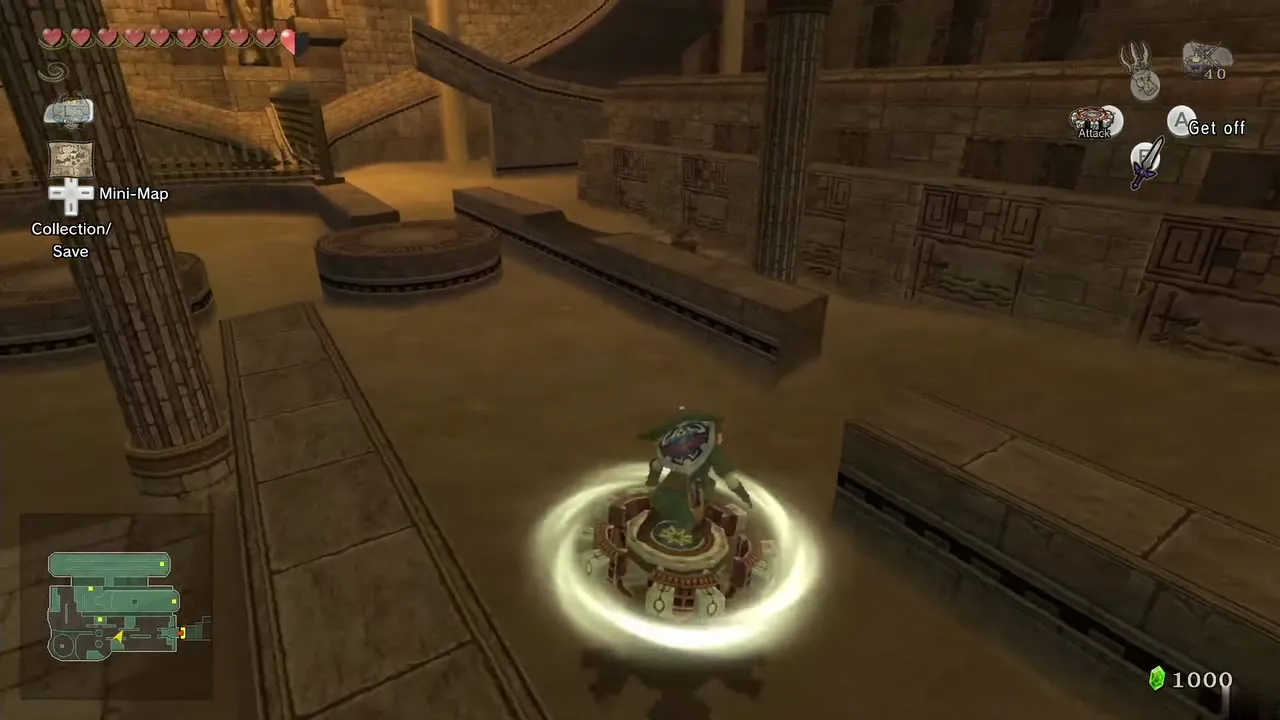
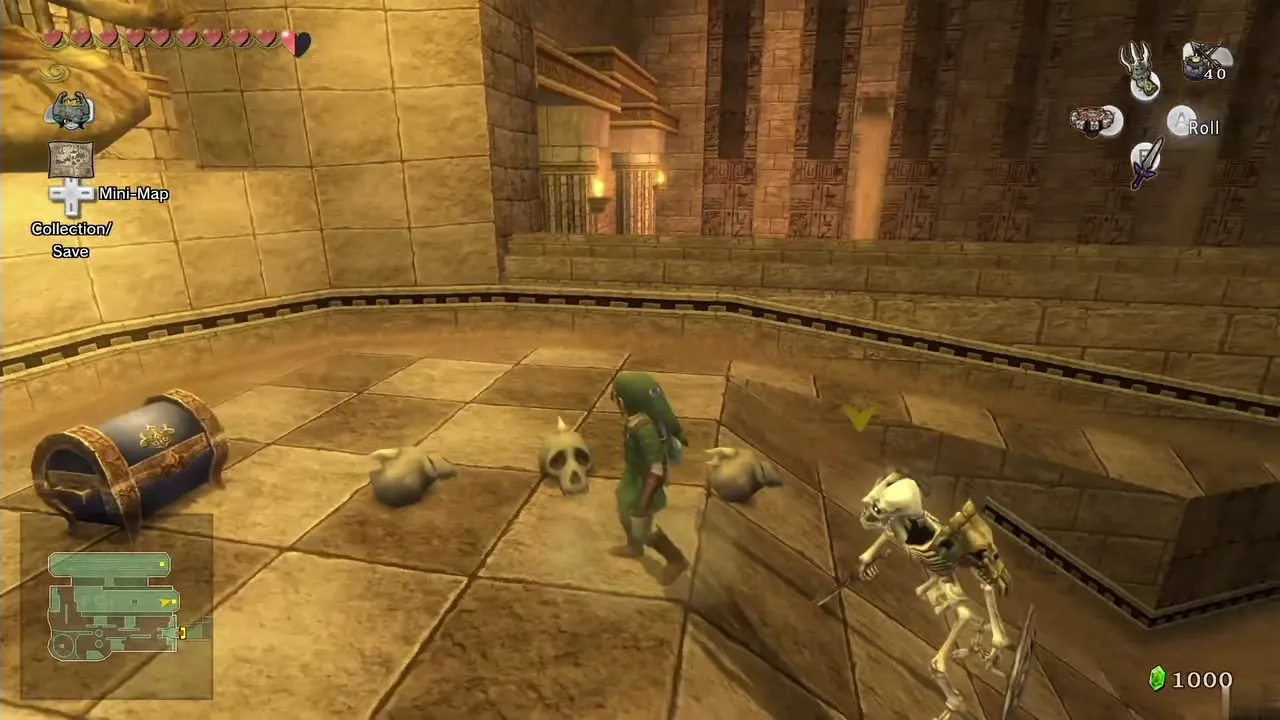
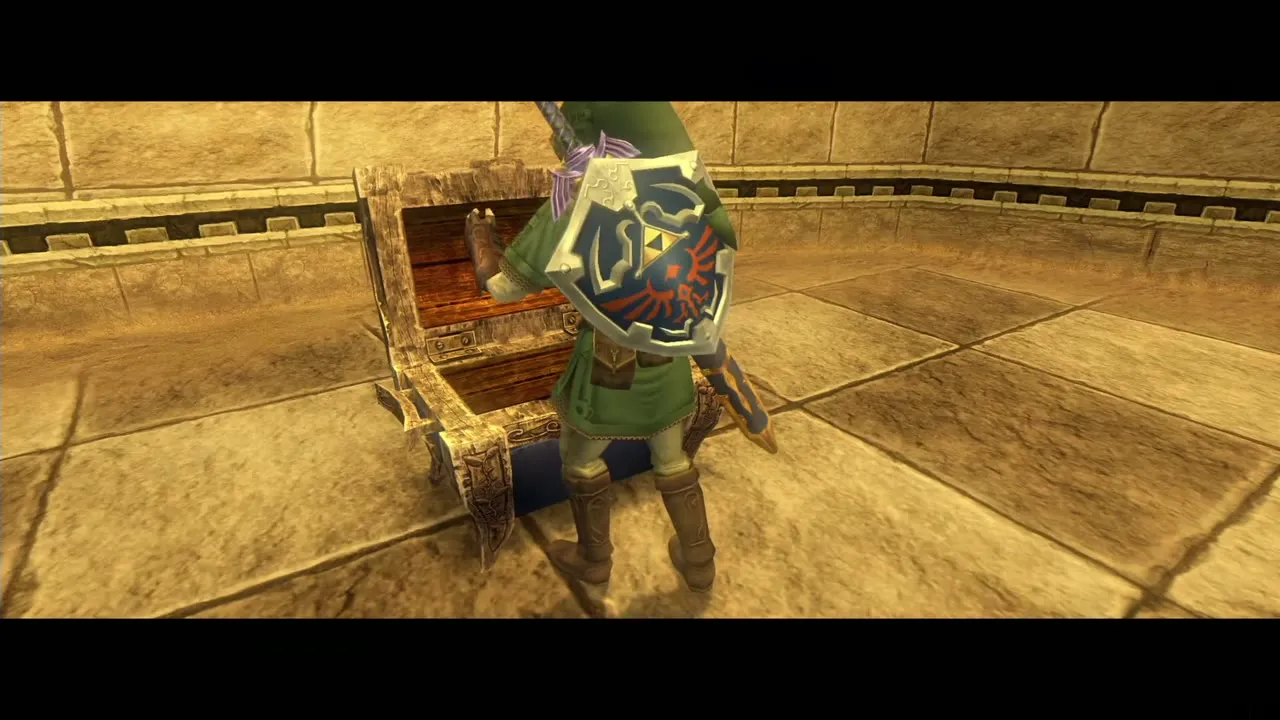
In the room of Spinner rails, the middle level has a rotating spike. Ride on to the far east side, where a Stalfos guards a chest on the upper platform. Defeat it and open the chest. Needs: Spinner. Form: Human. Chapter: Arbiter’s Grounds.
Snowpeak and the Snowpeak Ruins
36. Yeto and Yeta sled races
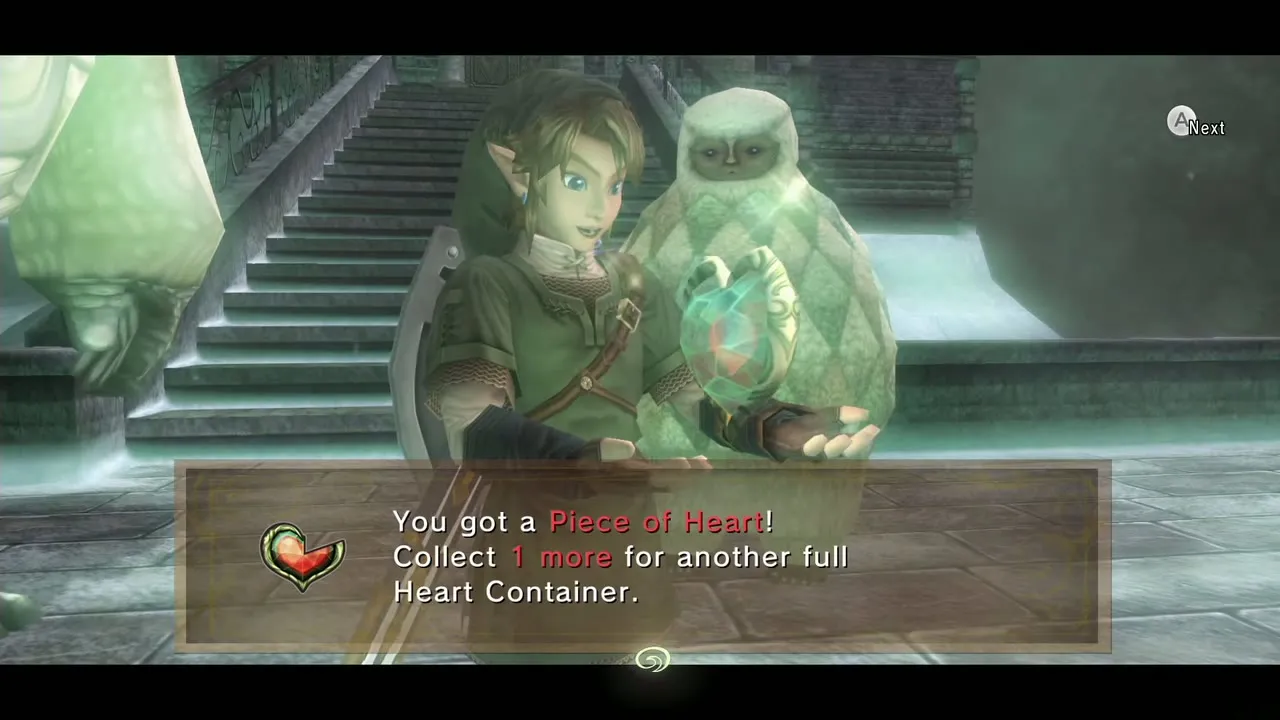
Once the Snowpeak Ruins are cleared, warp to the summit, race Yeto, then come back and race Yeta. She takes a shortcut about two thirds of the way down, so take it too and keep a clean line. Beat her to earn the piece. Needs: Snowpeak Ruins cleared. Form: Human. Chapter: Return to the Sacred Grove.
37. Swinging chandeliers on the second floor
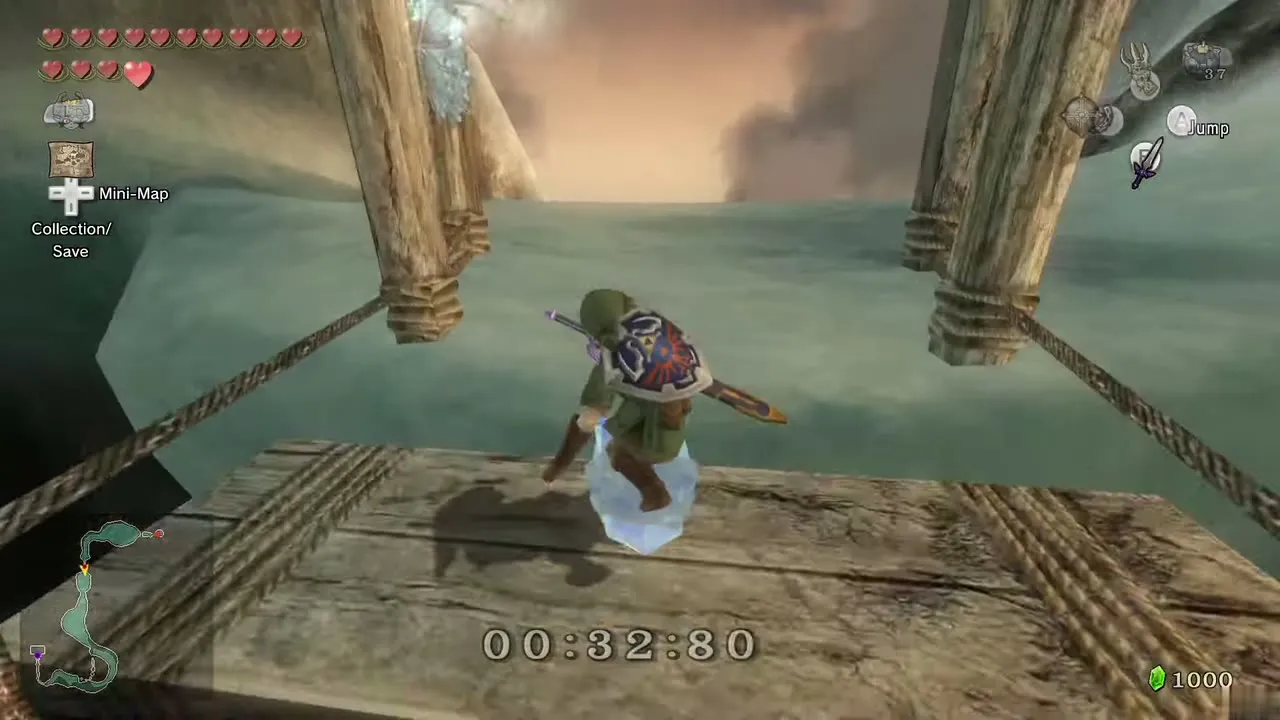
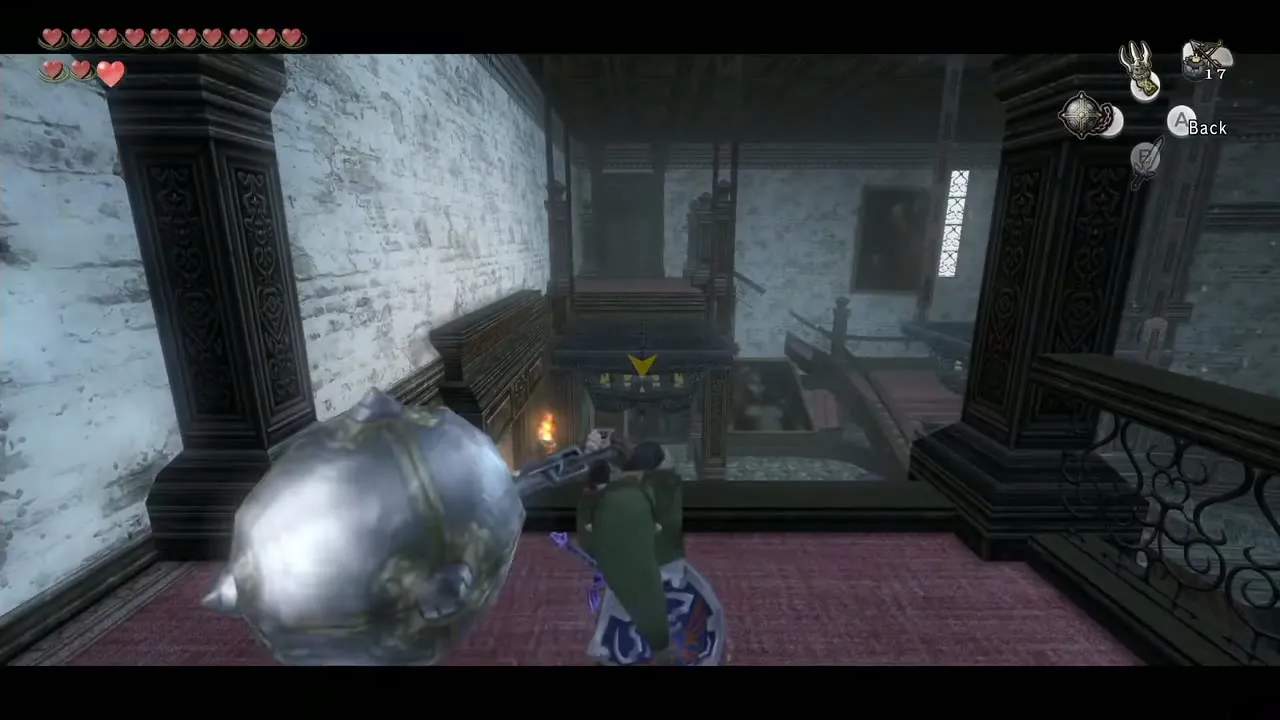
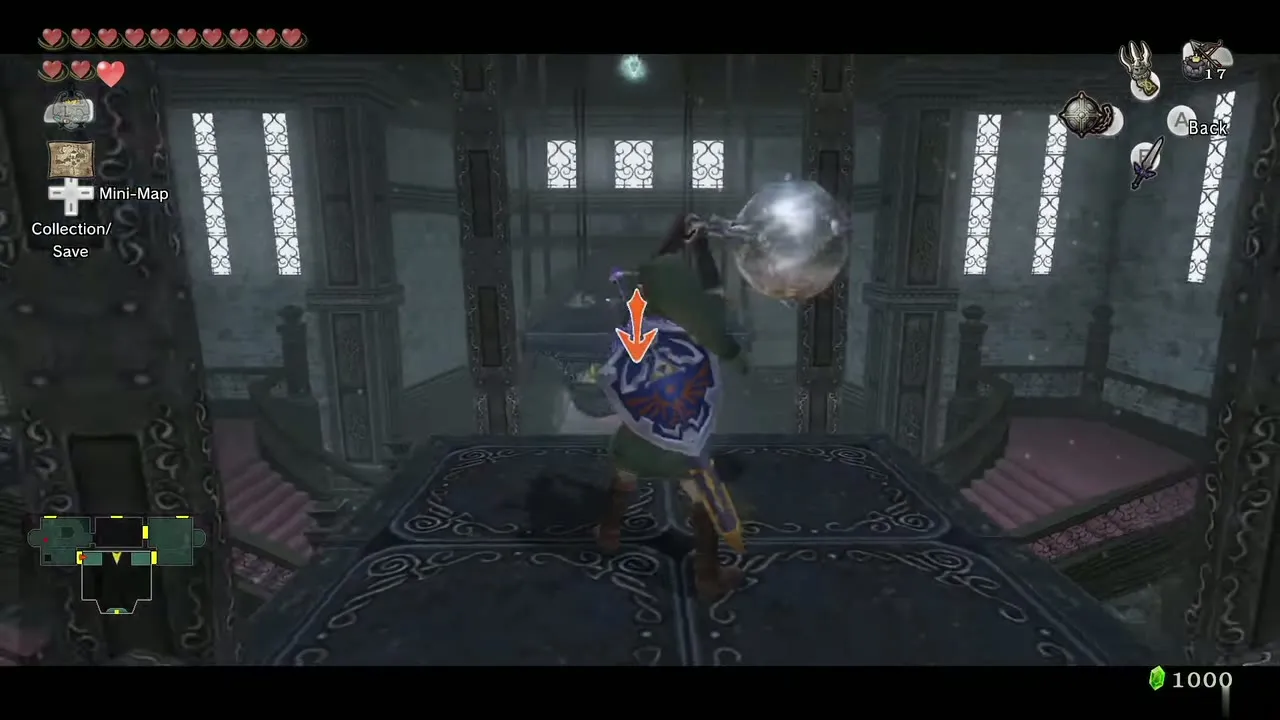
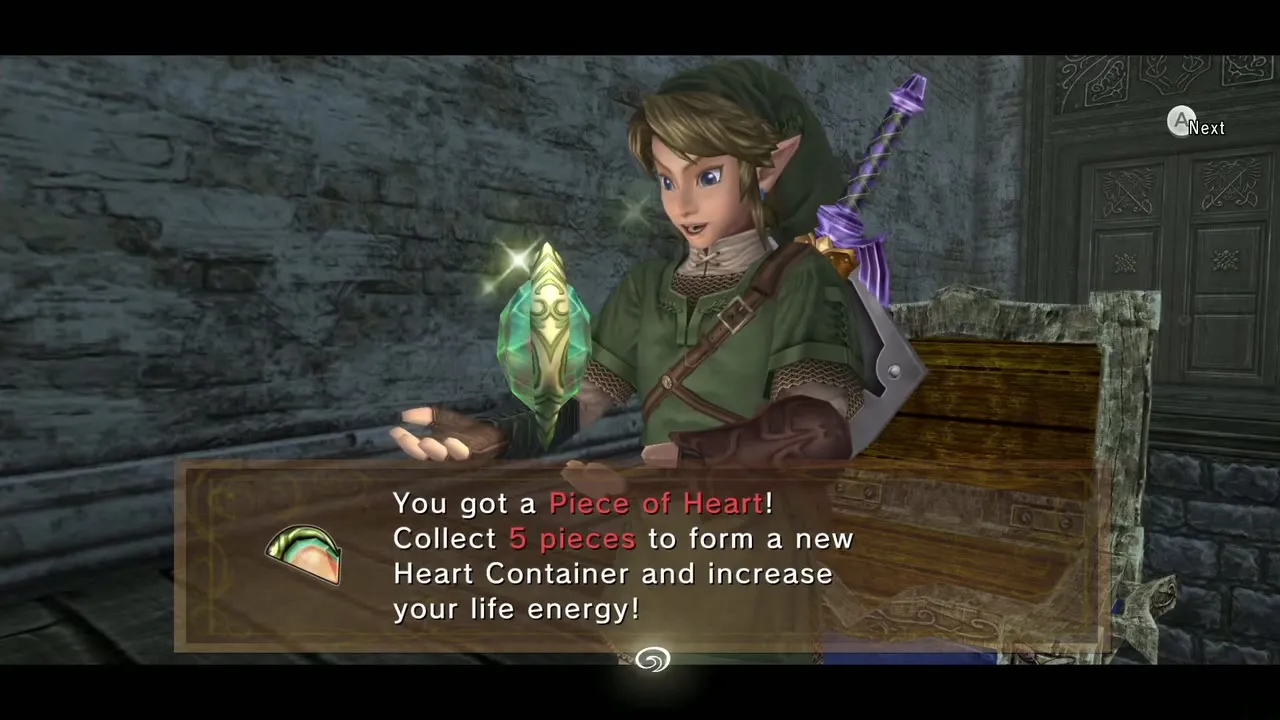
From the entrance room on the second floor, hit the target beside the west door with the Ball and Chain; it opens a way back up if you fall. Jump onto the chandelier, then strike the two chandeliers in a row to the south with the Ball and Chain to swing across to the platform holding the chest. Needs: Ball and Chain. Form: Human. Chapter: Snowpeak Ruins.
38. Cracked floor above the Freezard cages
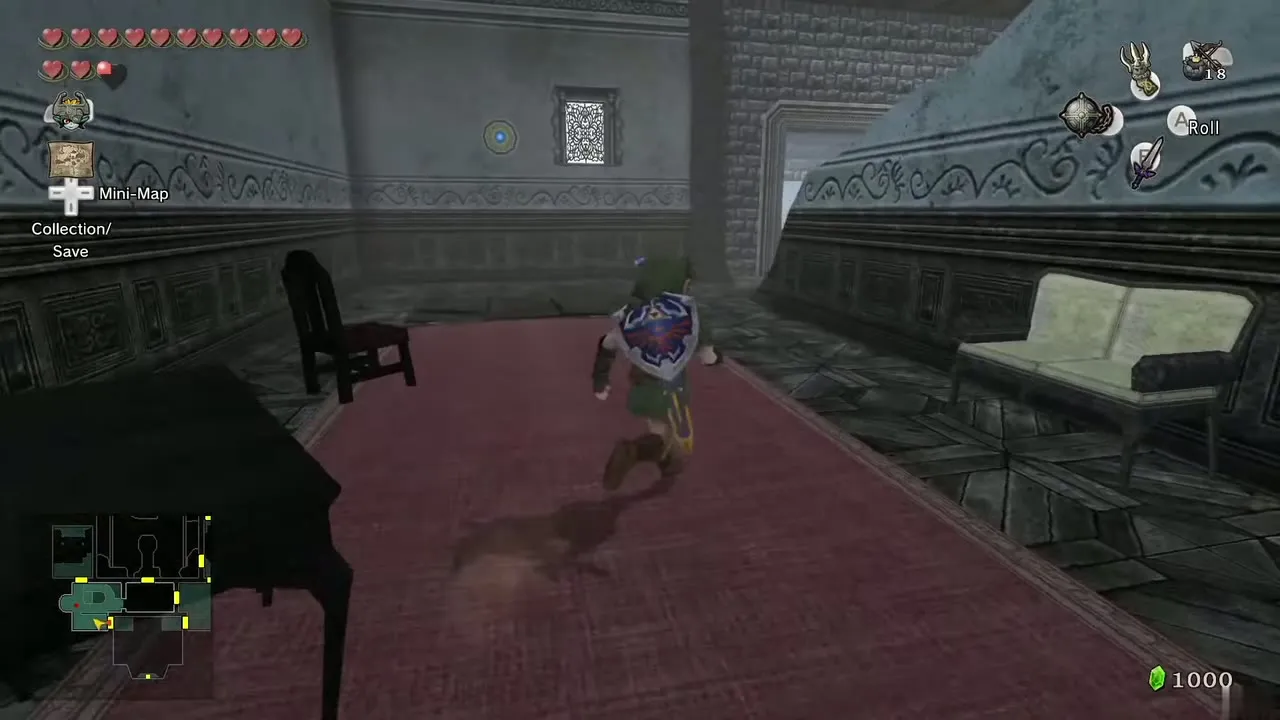
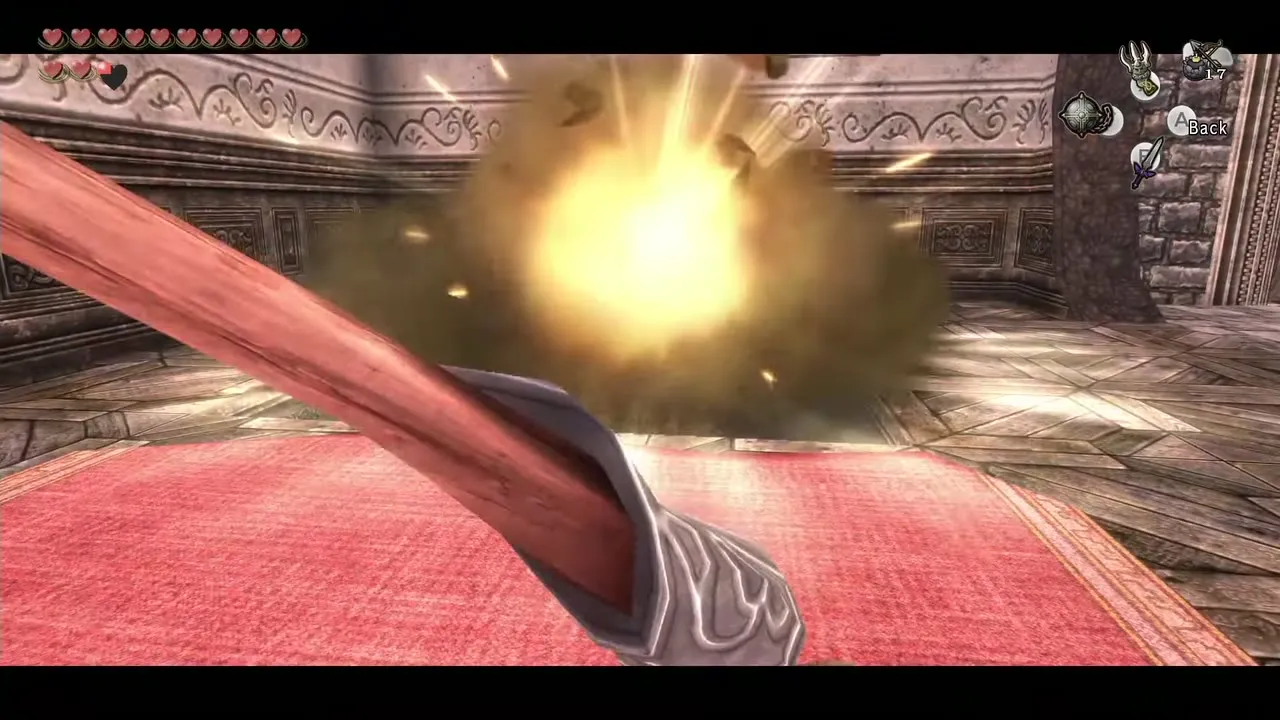
In the south-west room on the second floor, with Freezards in cages and a cannon, the uneven floor at the top near the target is breakable. Blow it up with Bombs or smash it with the Ball and Chain, drop into the hidden room below and open the chest. The target lets you climb back up. Needs: Bombs or Ball and Chain. Form: Human. Chapter: Snowpeak Ruins.
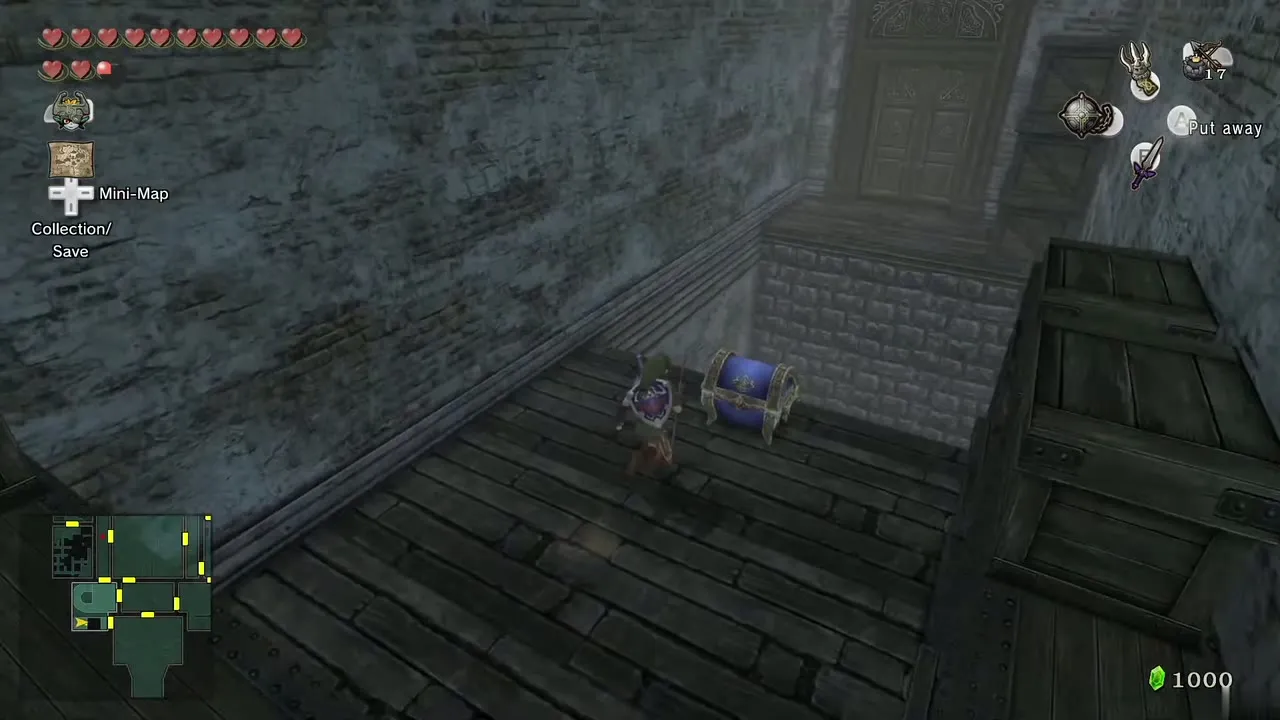
Temple of Time and the Hidden Village
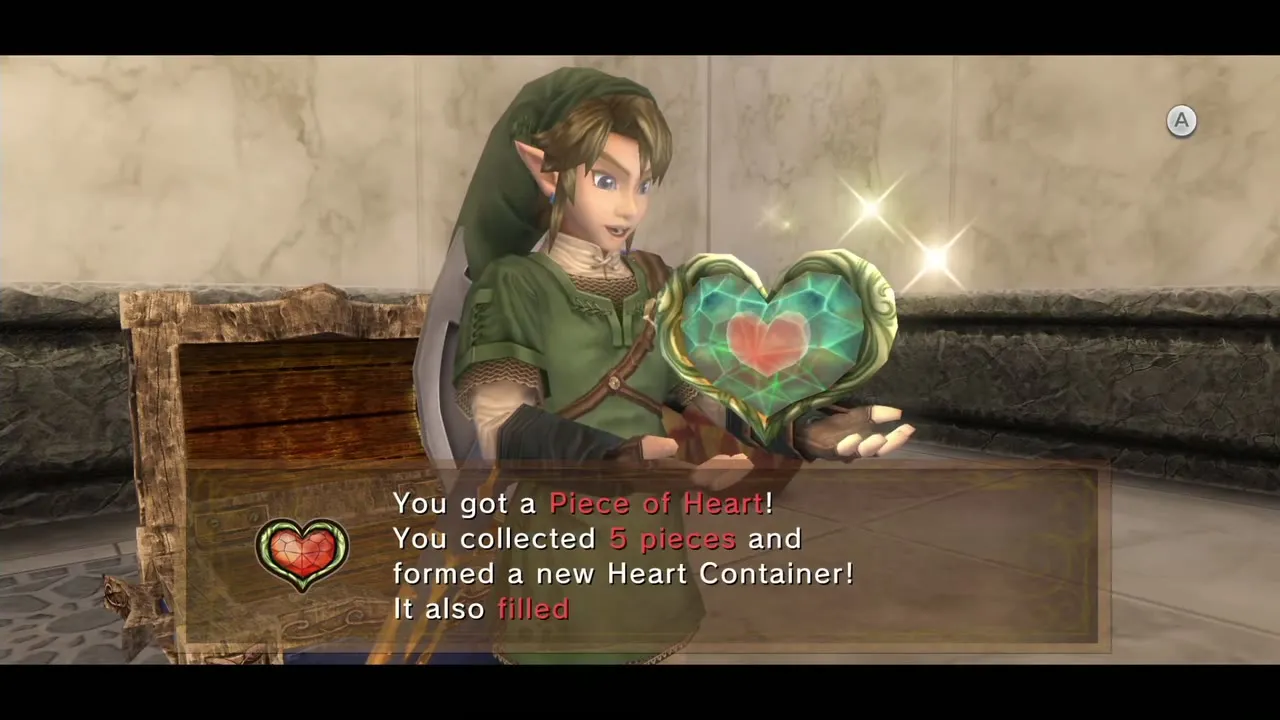
39. Electric barrier room (statue on the switch)
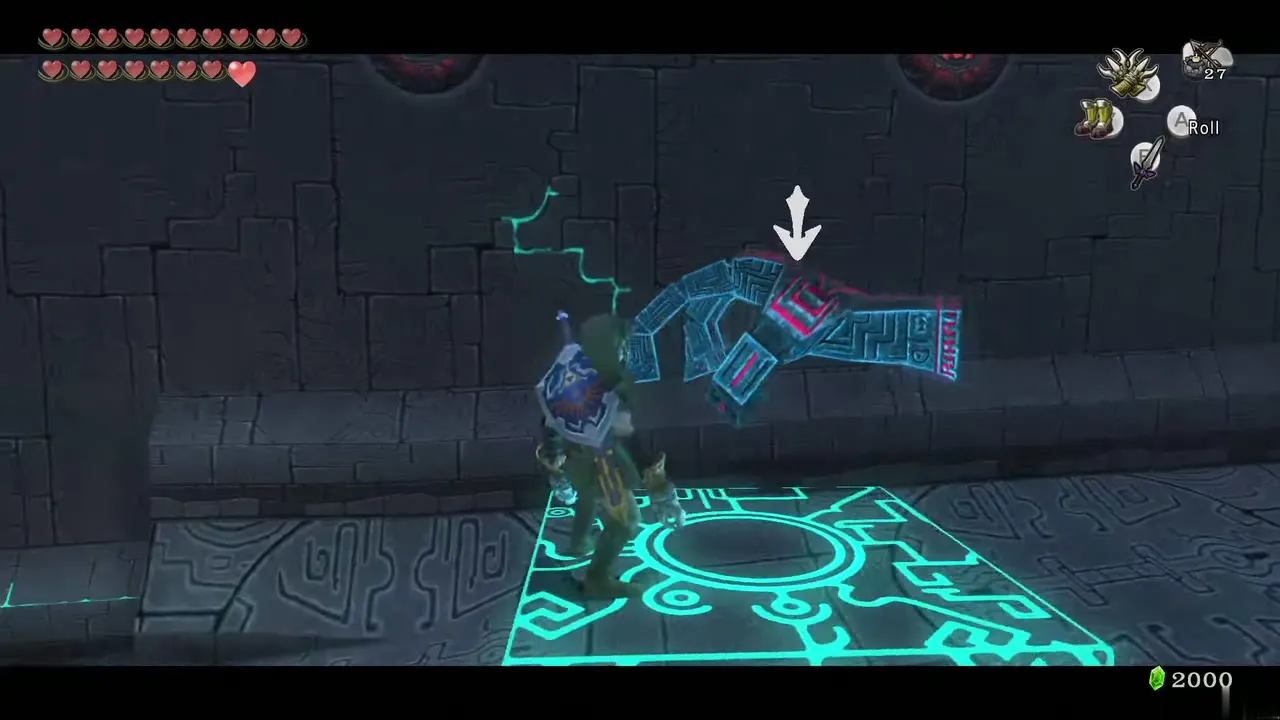
In the room with several Lizalfos and Dinolfos and walls that slide back and forth, a chest sits in a corner behind an electric barrier. Use the Dominion Rod on the large statue or one of the small ones to press the switch on the far side; the barrier drops for a moment and you can reach the chest. Needs: Dominion Rod. Form: Human. Chapter: Temple of Time.
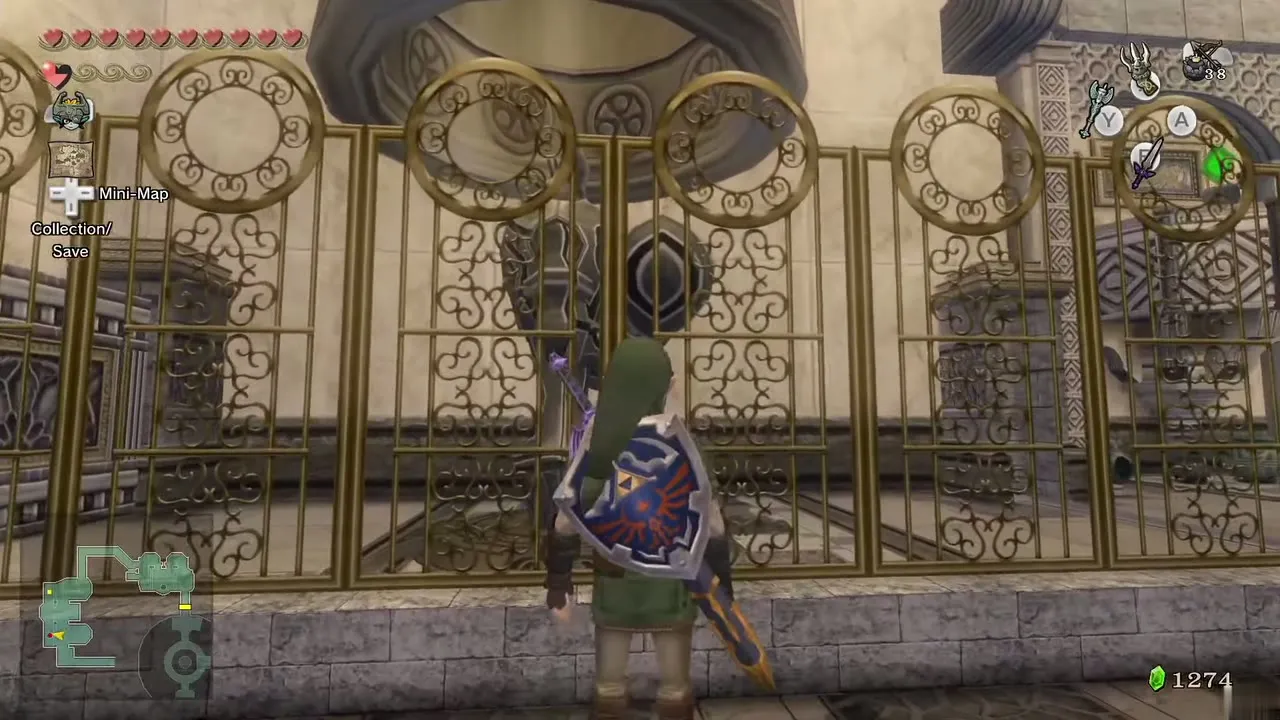
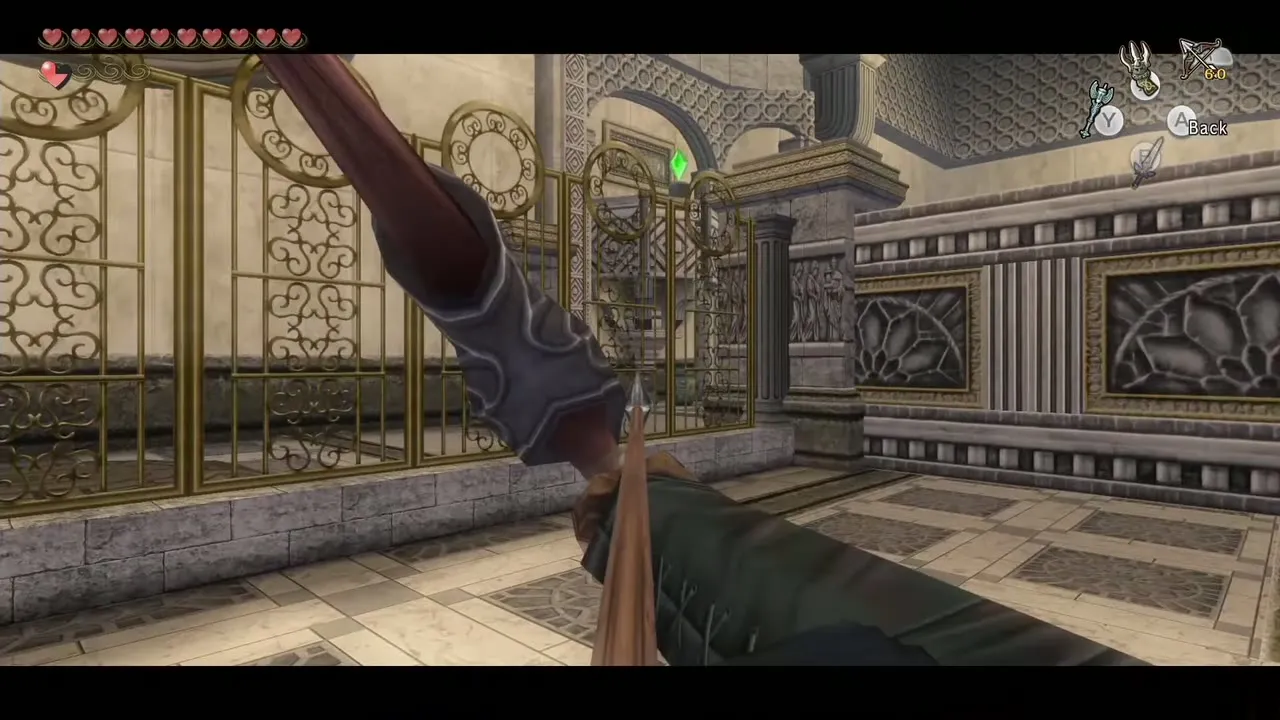
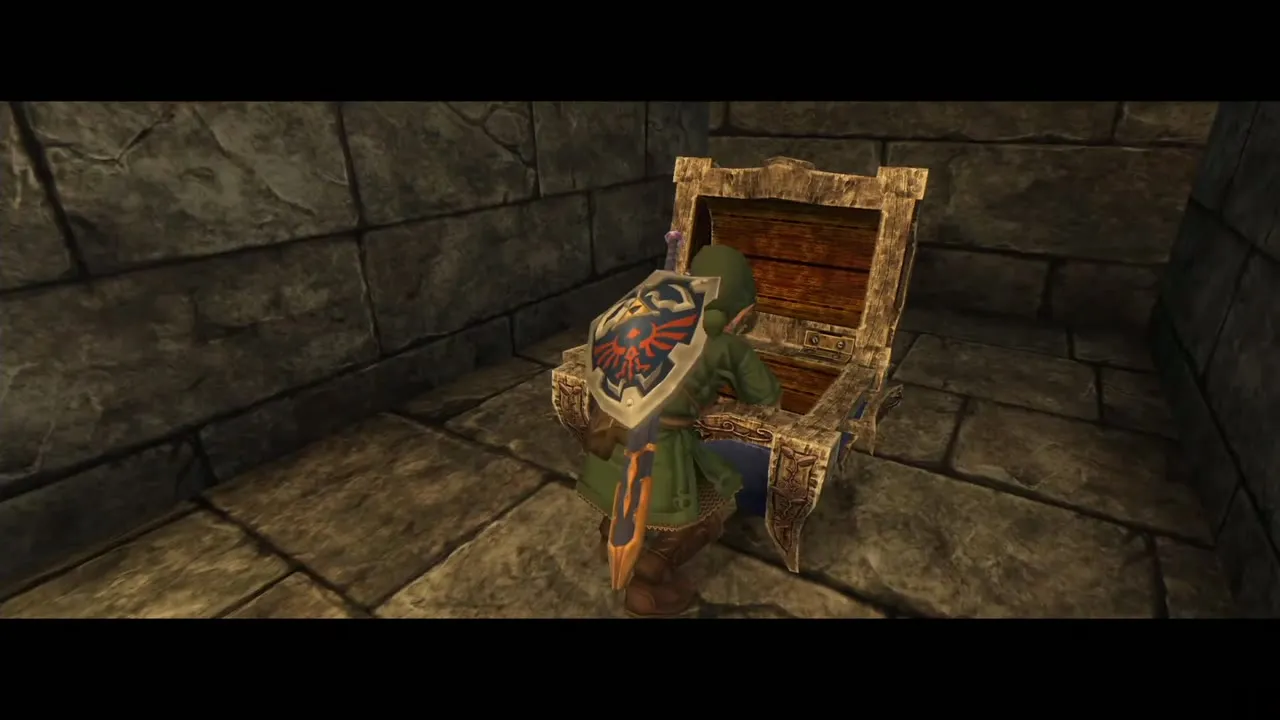
40. Two statues on the rails (floor five)
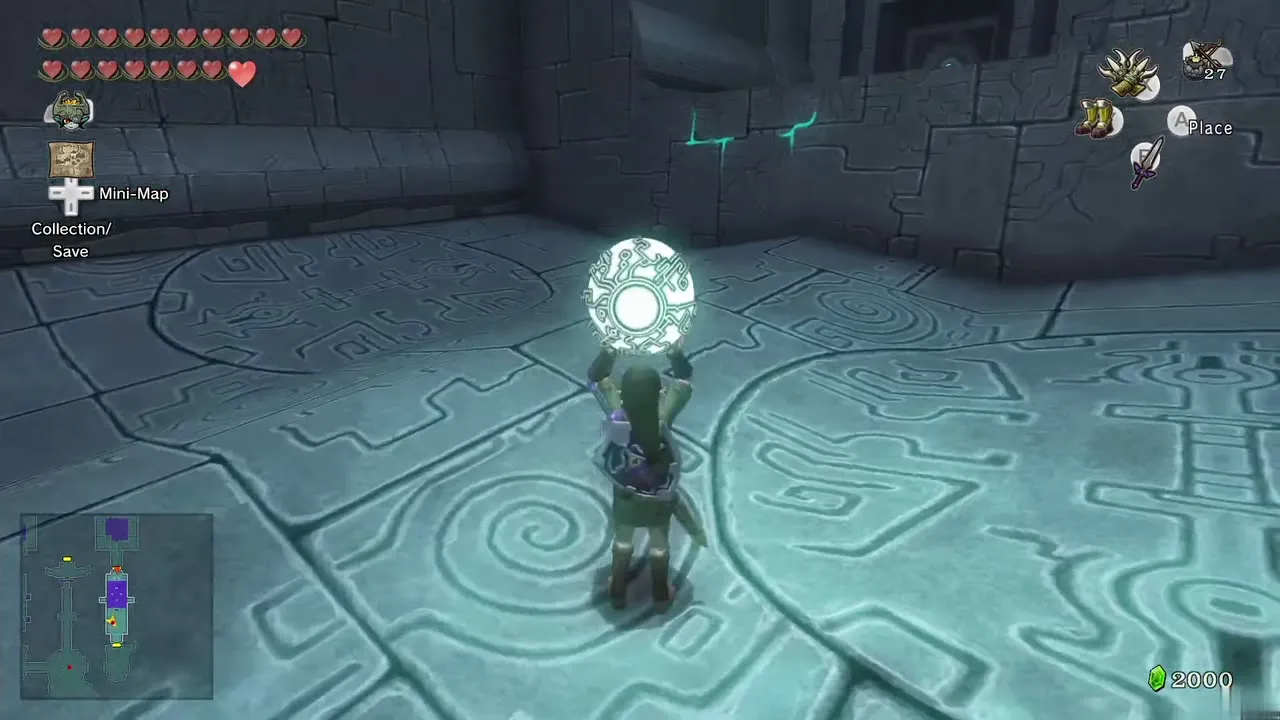
In the room with the rotating mechanism that raises and lowers the platform, collect the small statue at the bottom and another from the middle level, then place them on the floor switches in the south to open the far southern room. Beat the enemies there, walk the small statue from the upper platform down onto one floor switch and a second statue onto the other. When both are pressed, a chest appears in the east alcove. Needs: Dominion Rod. Form: Human. Chapter: Temple of Time.
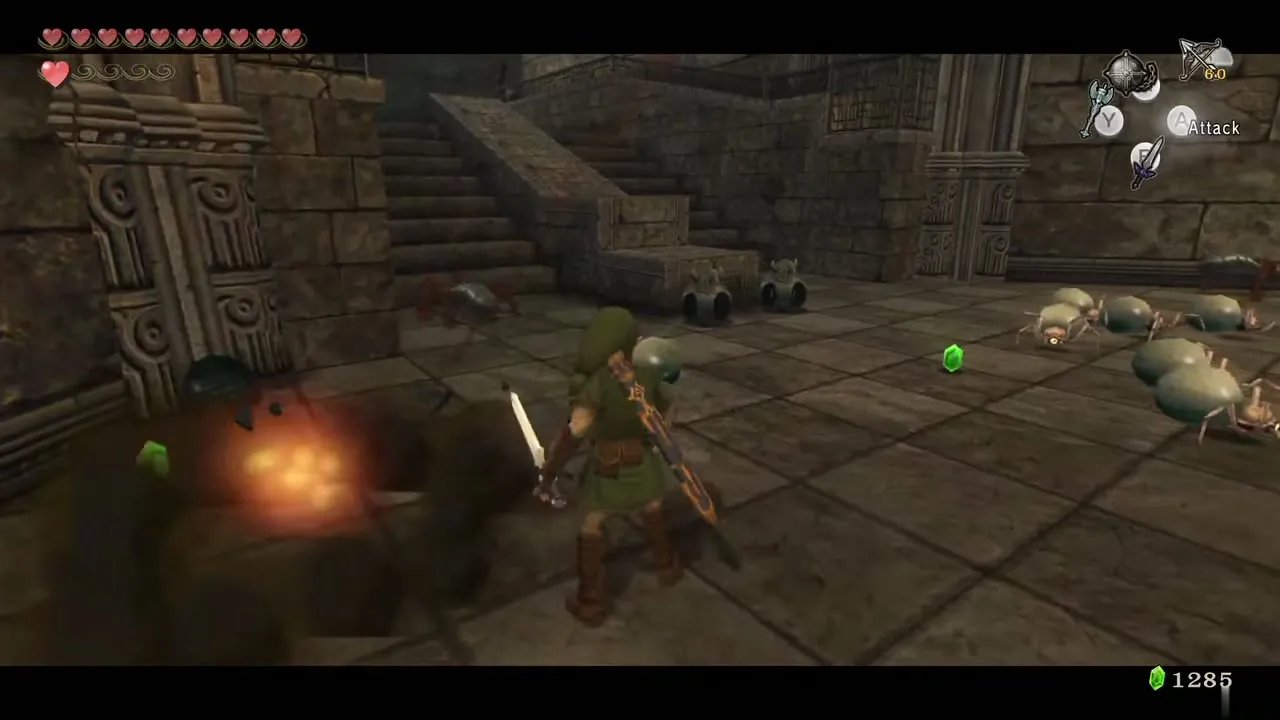
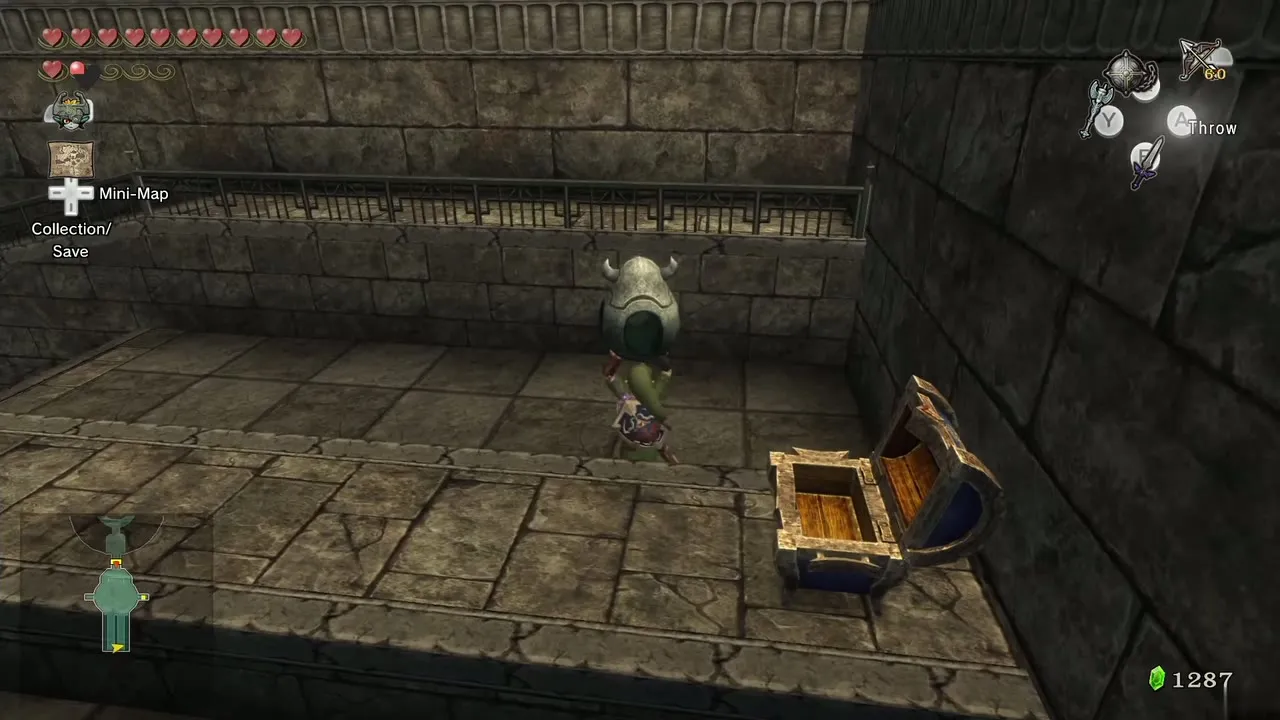
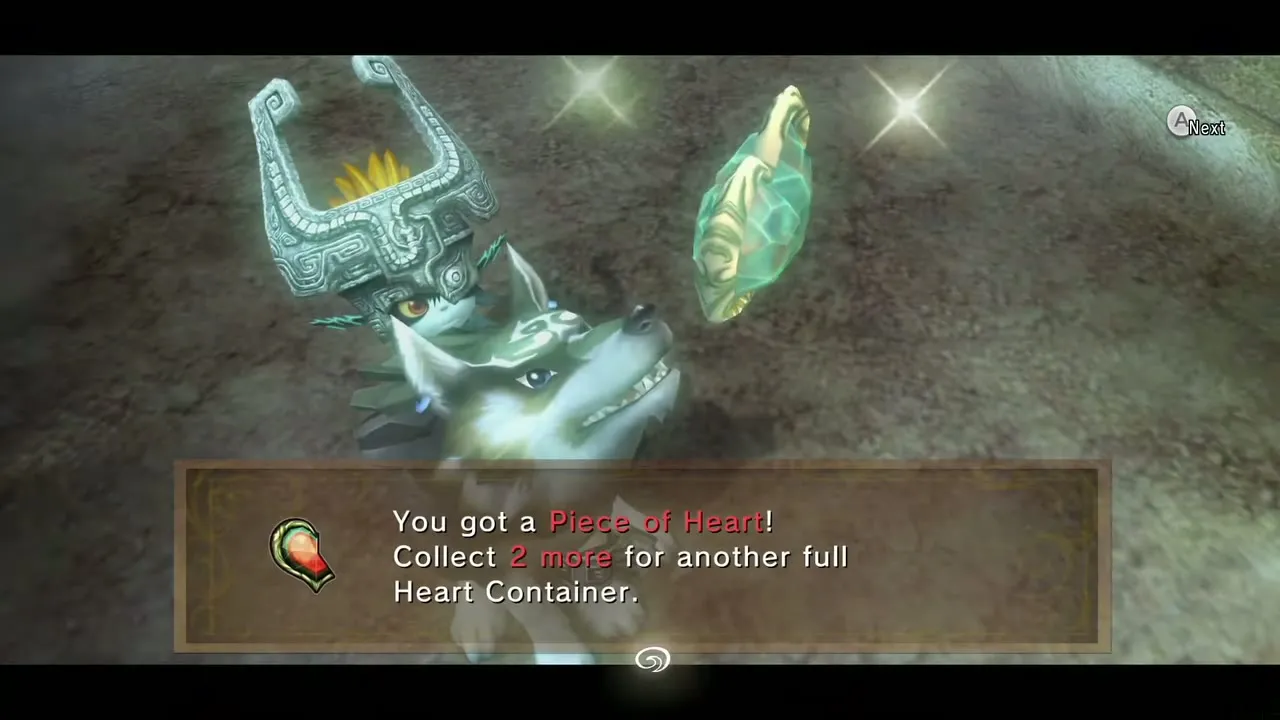
41. Twenty cats for the Cucco Leader
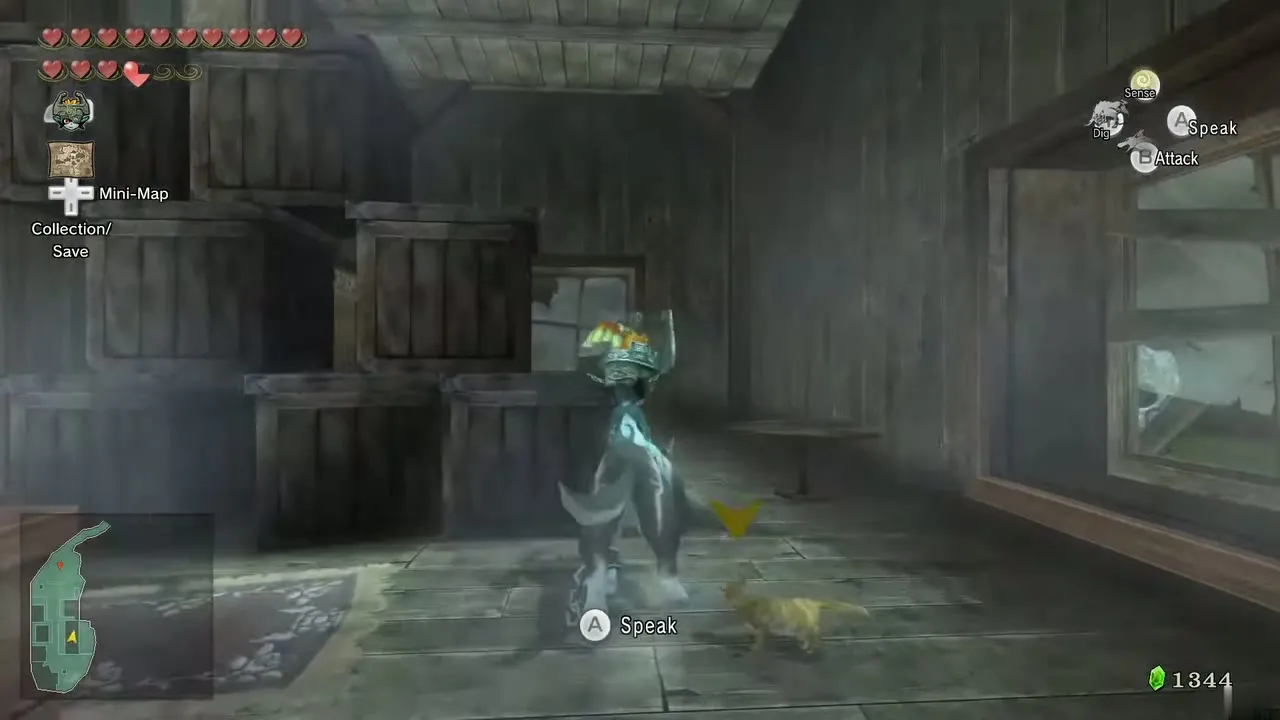
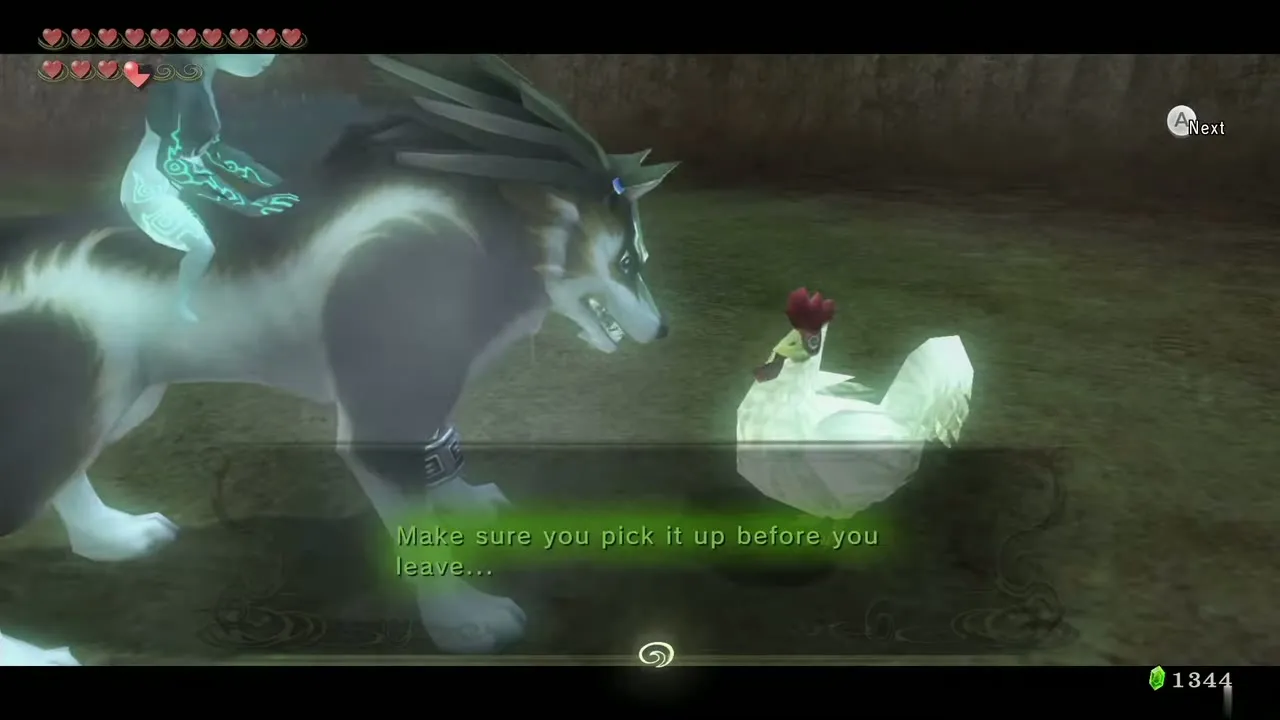
After Ilia’s memory returns, the village fills with cats. Speak to them as Wolf Link and they tell you to find the Cucco Leader, who is inside the large building on the east side (break the glass window to get in). He asks you to play with his flock, which means talking to each one, starting at one end of the village and working to the other. Pick up the piece he leaves behind before you go, or you will have to repeat it. Needs: Ilia’s memory restored. Form: Wolf. Chapter: Hidden Village.
City in the Sky and the Palace of Twilight
42. Circular east room with the big plant
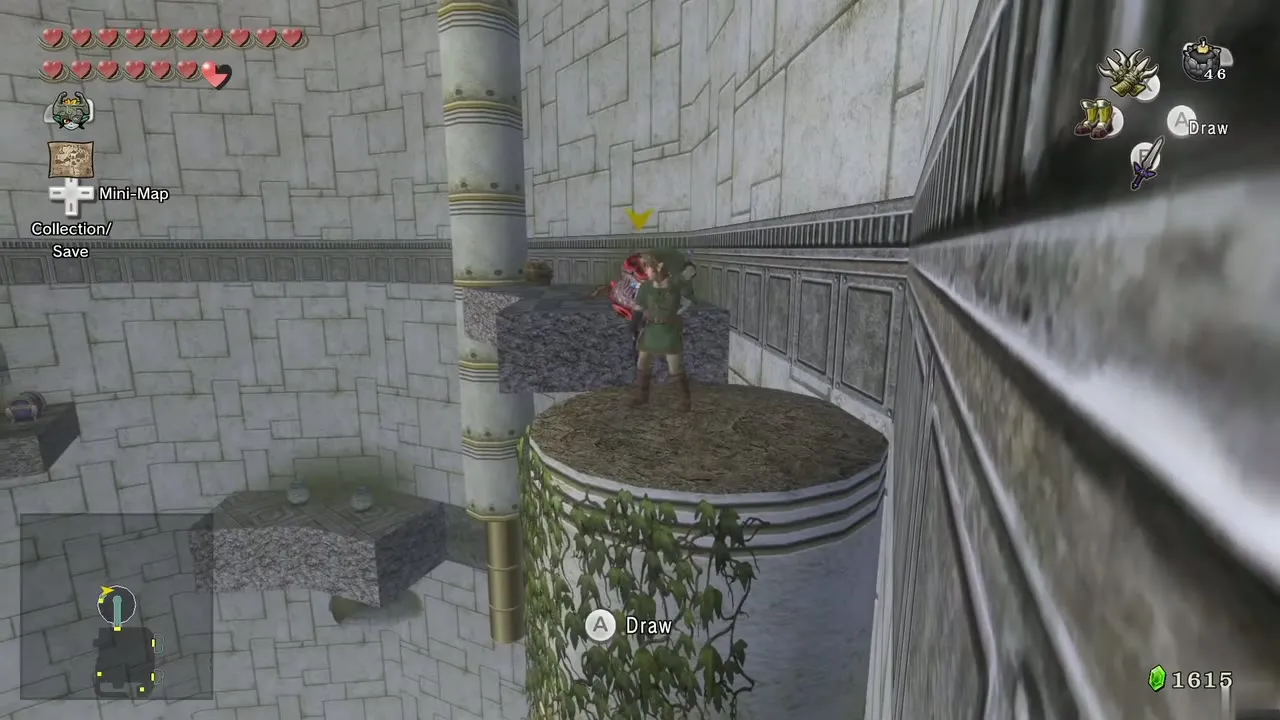
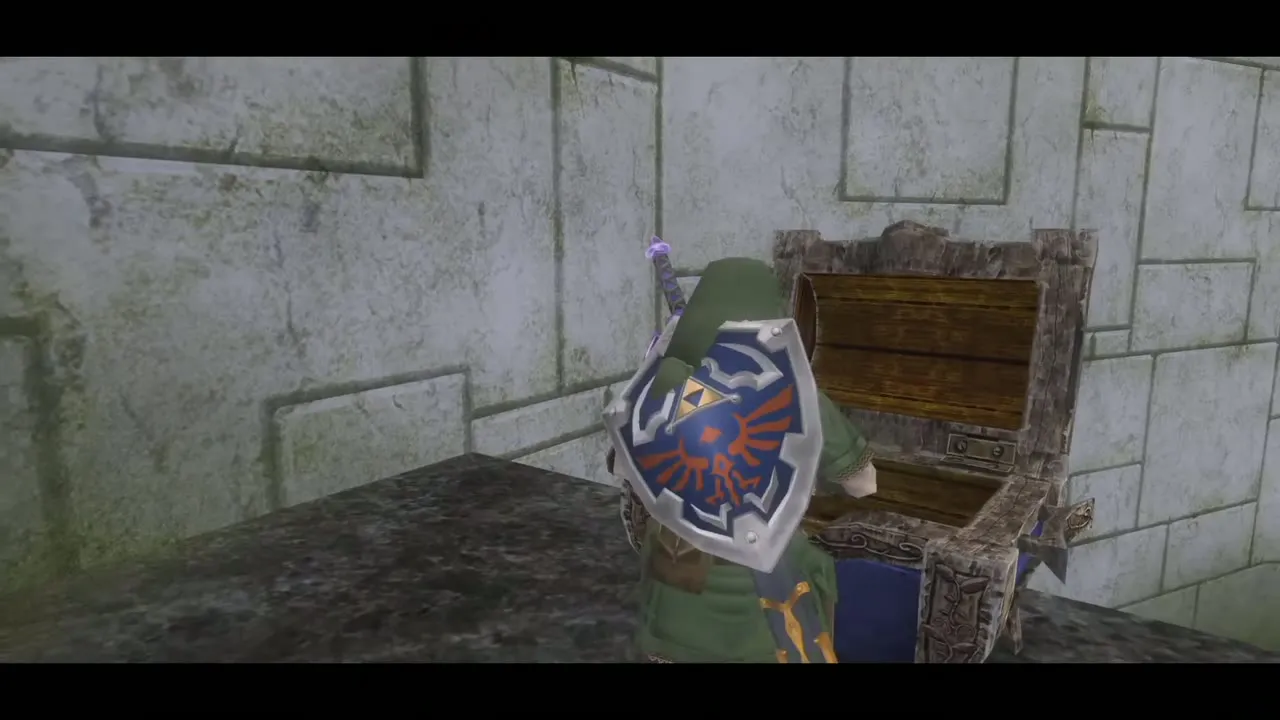
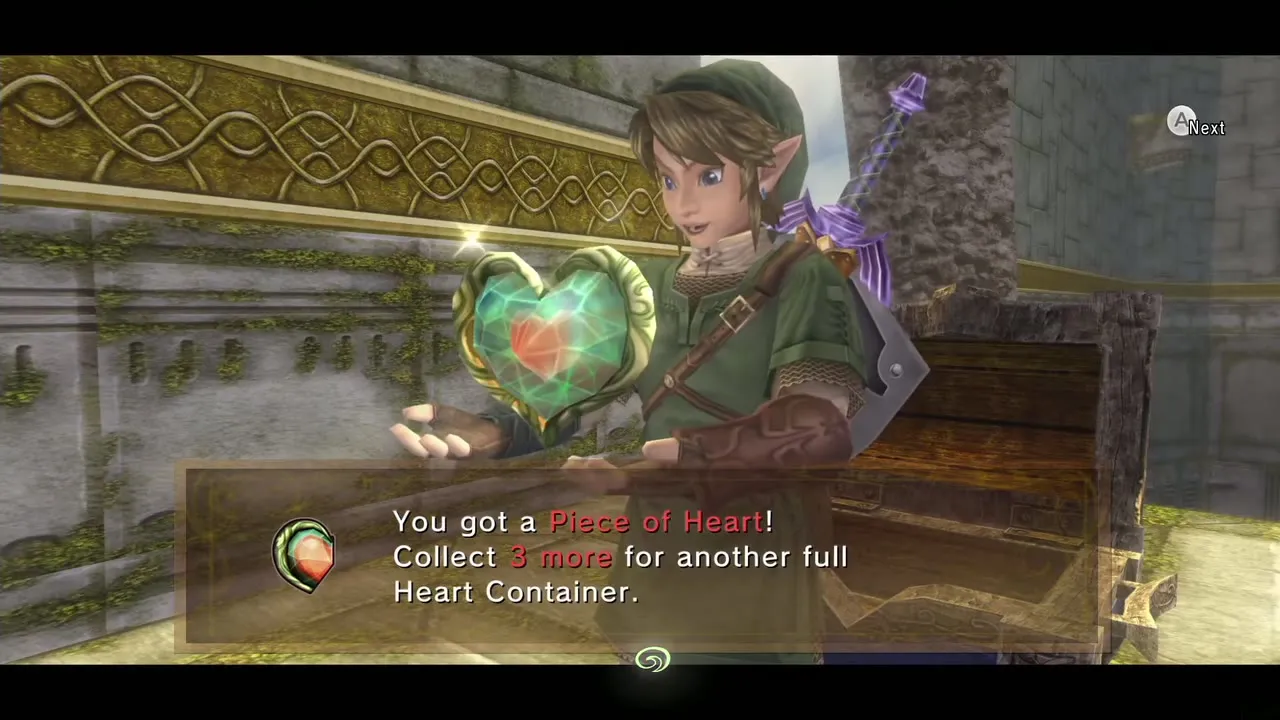
In the tall cylindrical room with the Big Baba at the bottom, climb to the second floor, where the chest shows on your map. Cross the thin platforms past the Baba Serpent to the far west side, shoot the two Keese hanging in the alcove, then grab the wall on your left and shuffle across. Drop down at the end to find the chest. Needs: Double Clawshots. Form: Human. Chapter: City in the Sky.
43. Peahat chain on the outer tower
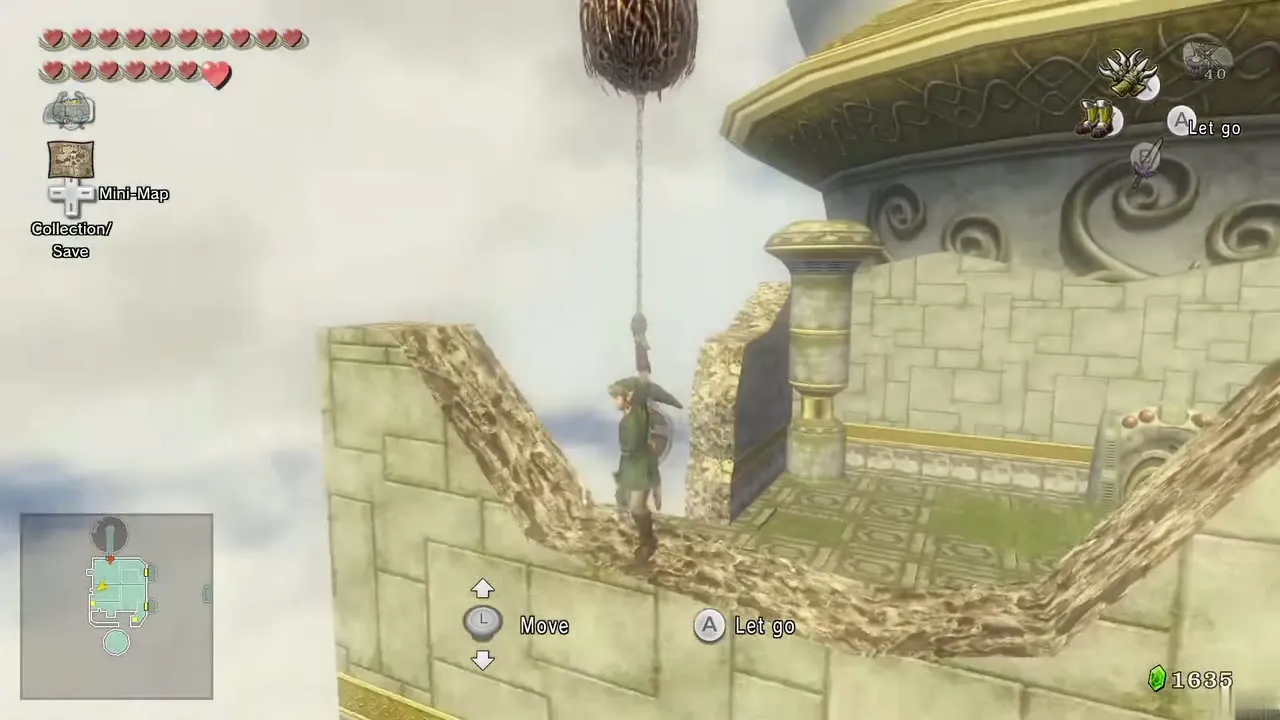
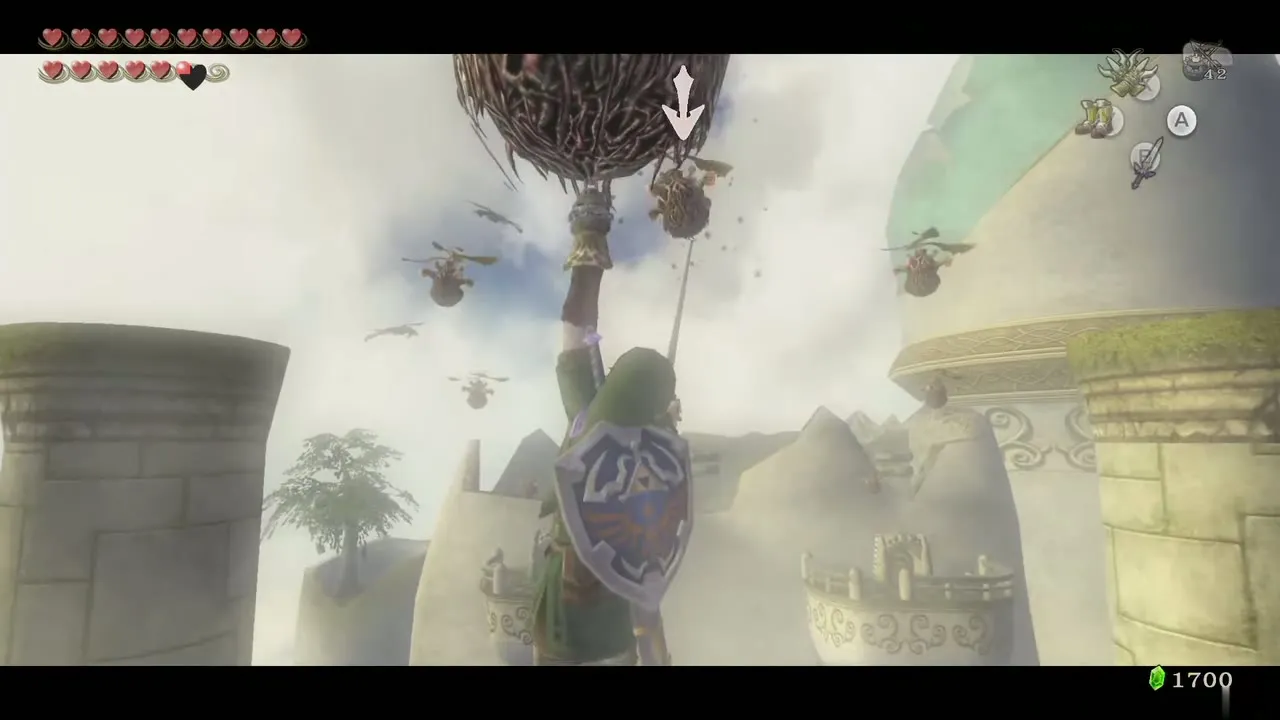
In the southern part of the dungeon on the third floor, a group of Peahats forms a V in an outdoor area. Chain the Double Clawshots along them to the south to reach a platform out of normal reach, where a chest waits. Needs: Double Clawshots. Form: Human. Chapter: City in the Sky.
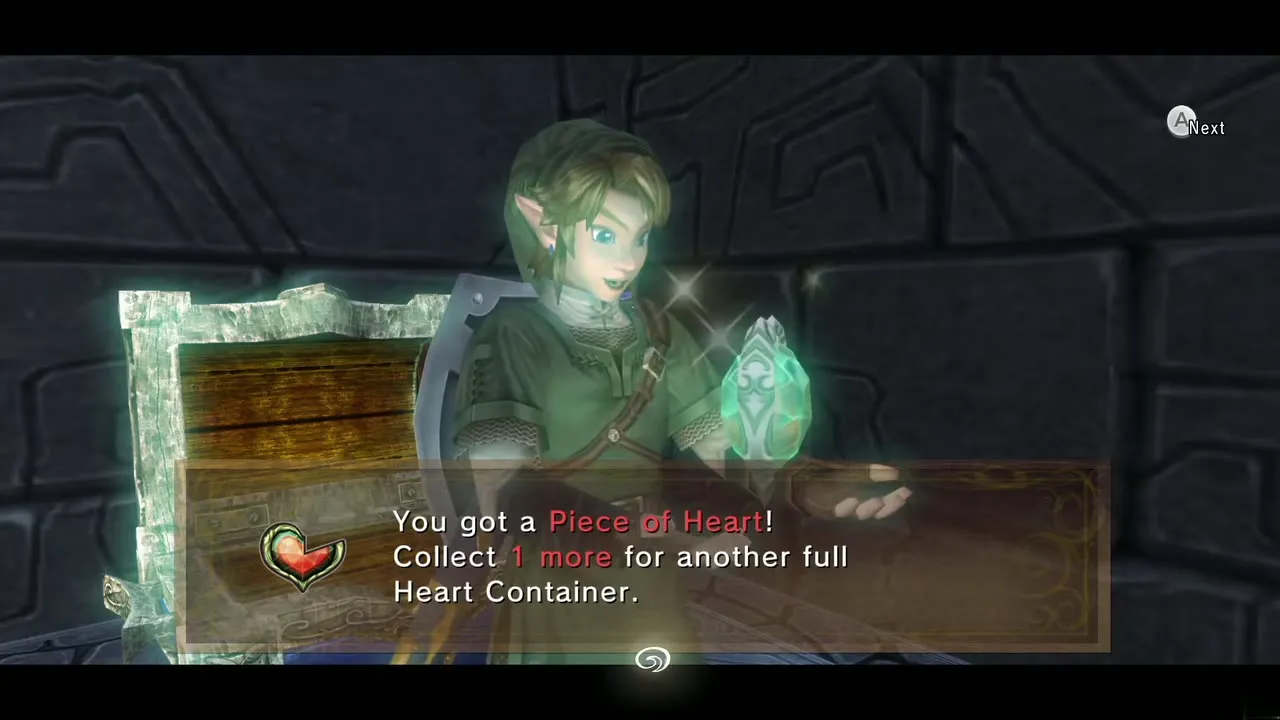
44. Darkfall room in the first wing
In the east wing, four black-fog falls hang in the room. One has an alcove with a chest behind it, marked on your map. Place a Sol near it (or use the Master Sword once it holds light) to clear the fog for a moment, then Clawshot the wall target up to the chest. Needs: Sol or Master Sword with light, Clawshot. Form: Human. Chapter: Palace of Twilight.
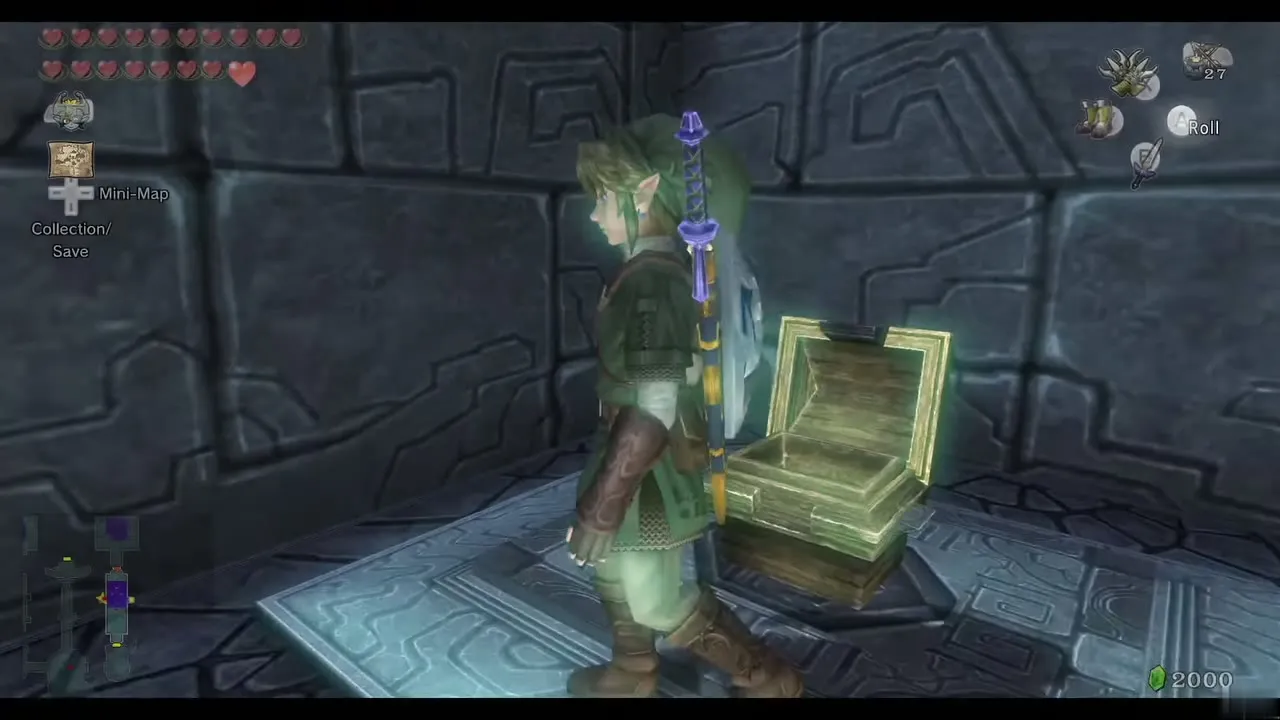
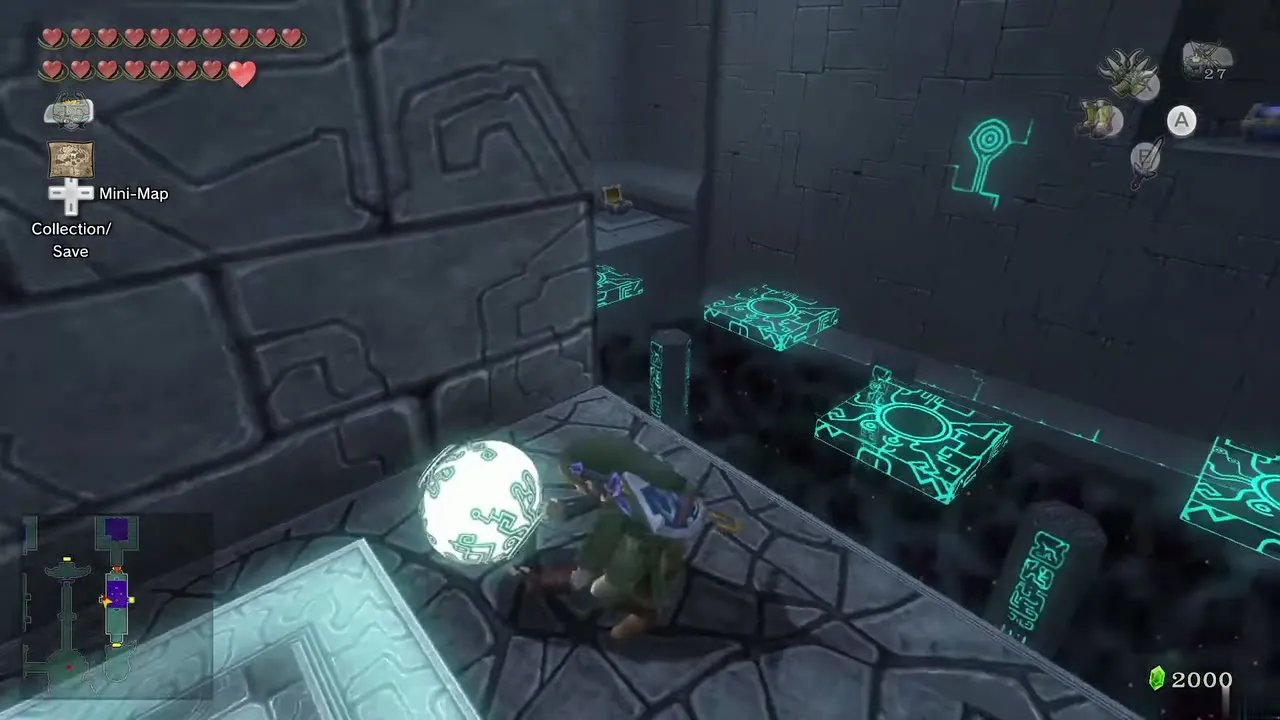
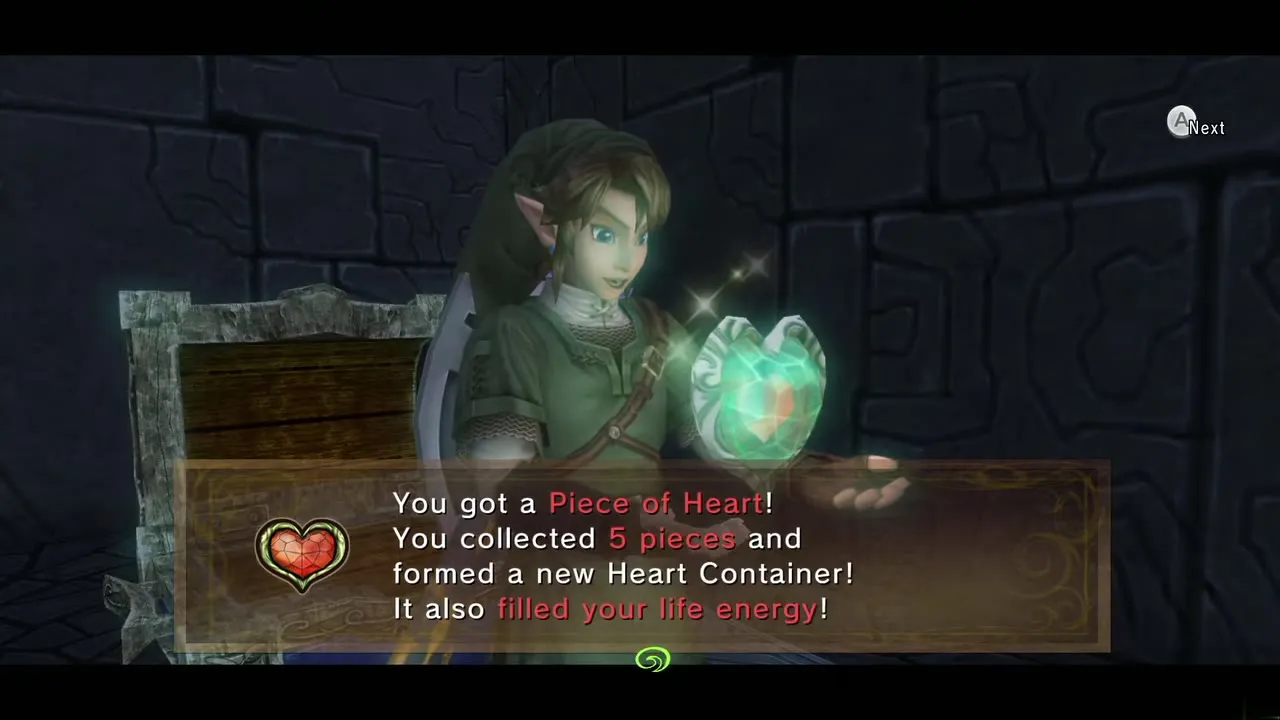
45. Light platforms in the second wing
In the first room of the west wing, a dark orb on the north side of the lower level controls two platforms. Expose it to a Sol (or the light-infused Master Sword) and the platforms rise to the alcoves on each side. The eastern one carries you to the chest with the last piece. Needs: Sol or Master Sword with light. Form: Human. Chapter: Palace of Twilight.
Checklist notes
The pieces you can miss for a long time are the Faron Woods statue (#3), the Bridge of Eldin tower (#12) and the Temple of Time hall statue (#32), because all three wait for the Dominion Rod at full power, and the Kakariko Gorge Double Clawshots chest (#9), which waits for the City in the Sky. Everything else can be collected once you have cleared the Snowpeak Ruins and swept Hyrule Field.
