| Main bosses | 5: Odolwa, Goht, Gyorg, Twinmold and Majora’s Mask (three forms) |
|---|---|
| Temple mini-bosses | Dinolfos and Gekko with Snapper (Woodfall), two Wizzrobes and a pair of Dinolfos (Snowhead), Wart and Gekko (Great Bay), Garo Master, Gomess, two Eyegores and a Wizzrobe (Stone Tower) |
| Other fights | Gerudo Pirate duels in the Pirates’ Fortress, Captain Keeta and two Iron Knuckles in Ikana Graveyard, Big Poes (graveyard and Beneath the Well), the four Poe Sisters in the Spirit House, and in the Ancient Castle of Ikana a Floormaster, a Wizzrobe, two Stalfos guards and the boss Igos du Ikana |
| Moon and rematches | The Twinmold child’s Link dungeon holds a Dinolfos, a Garo Master and an Iron Knuckle; the Secret Shrine in Ikana Canyon replays the Dinolfos, Wizzrobe, Wart and Garo Master |
| Reward per temple boss | A Heart Container and the boss’s Remains; the four Remains call the four Giants |
| Key tools | Hero’s Bow, Fire Arrows, Ice Arrows, Light Arrows, Goron, Zora and Deku Masks, Mirror Shield; the Giant’s Mask and the Fierce Deity’s Mask work only in boss rooms |
Majora’s Mask has four temple bosses and one final boss, and each one is built around the item or mask you win in that temple. Odolwa falls to arrows and the sword, Goht to the Goron Mask and a Fire Arrow, Gyorg to an arrow and the Zora Mask, and Twinmold to the Giant’s Mask. Majora’s Mask, in three forms, is beaten with a sword, a shield and Light Arrows, or with the Fierce Deity’s Mask if you collected every ordinary mask. Beating a temple boss also hands you a Heart Container and the Remains that call a Giant, so none of them can be skipped.
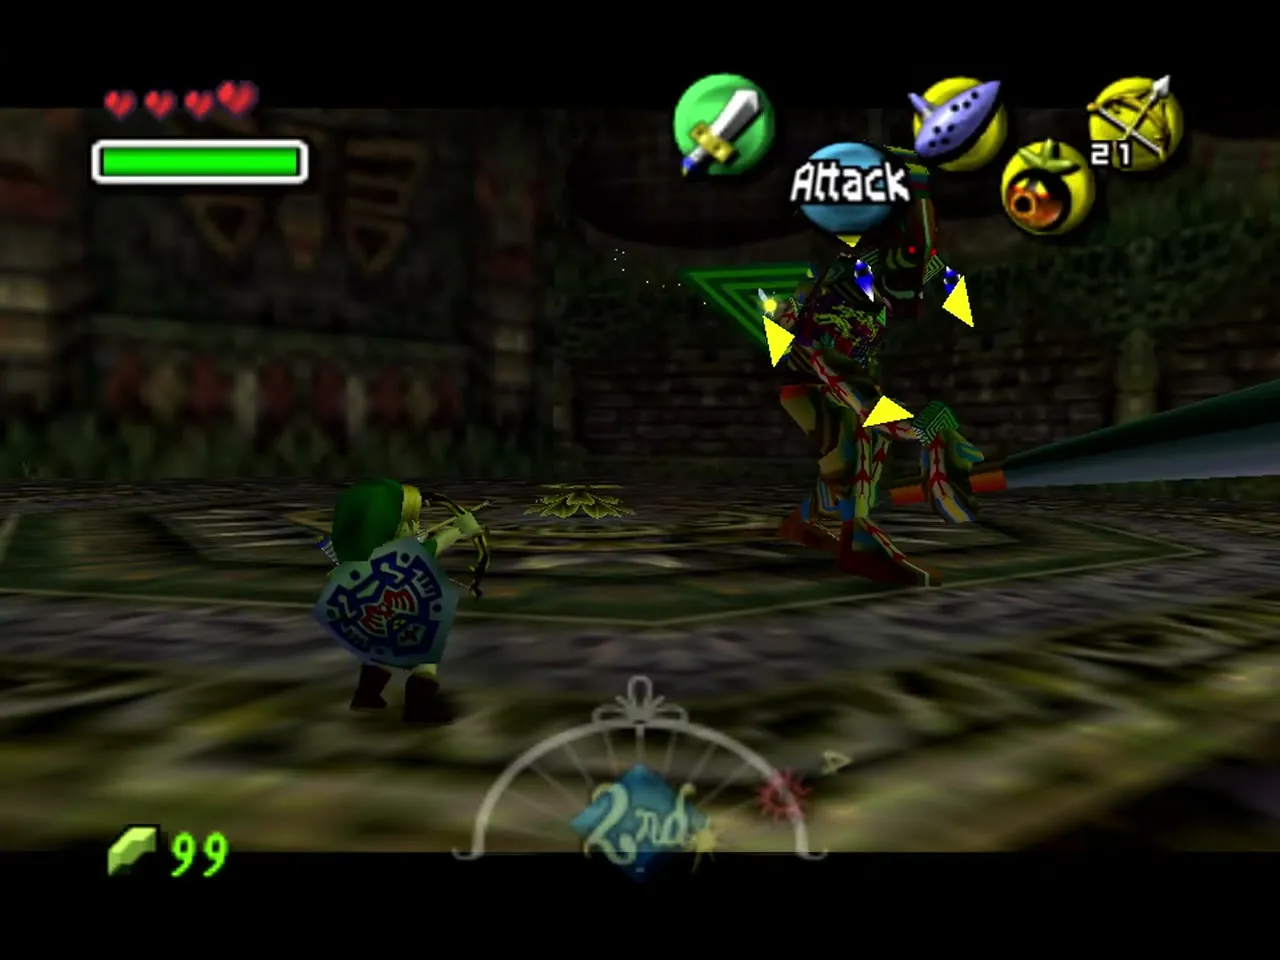
Every temple has the same rhythm: a key item from a mini-boss in the middle of the dungeon, a Boss Key from a second mini-boss, then a boss room that you reach through a door asking whether to go to the lair. Before you go in, refill your hearts, magic and arrows, carry a bottle with a Red Potion or a Fairy, and save at the owl statue if the temple has one. You keep every Heart Container, set of Remains and key item for good, but the Song of Time puts the temples back as they were, so finish a temple before you reset. This page goes temple by temple in the order you play them, with each mini-boss before its boss, then the Ikana mini-bosses and Igos du Ikana, then the Moon.
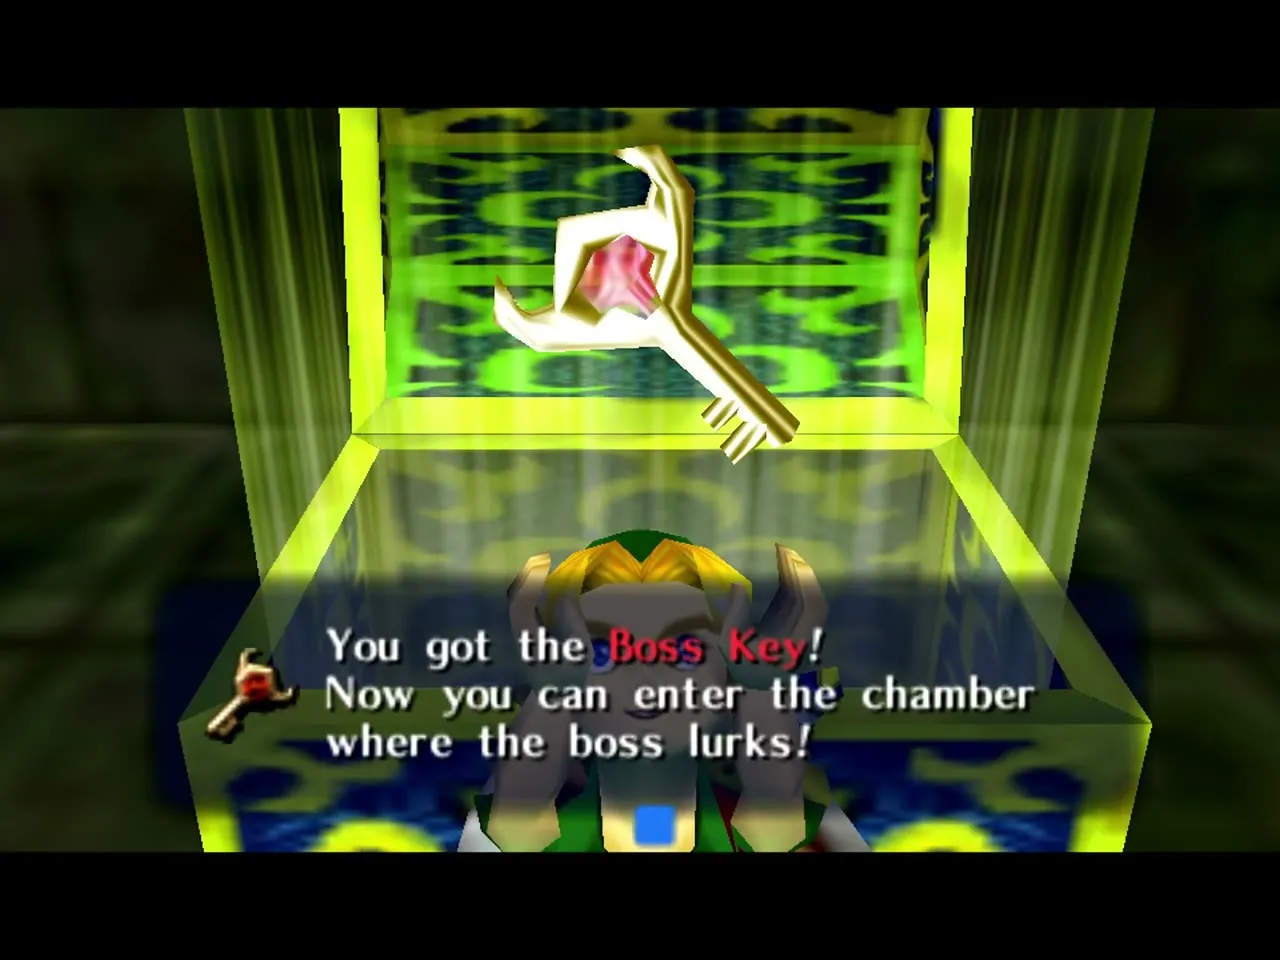
Table of Contents
Boss quick reference
Use this table to check the temple, the weakness and the prize at a glance. The temples are cleared in the order Woodfall, Snowhead, Great Bay and Stone Tower, and the Moon comes last. The full tactics for each fight follow below.
| Boss | Where | Weakness | Reward |
|---|---|---|---|
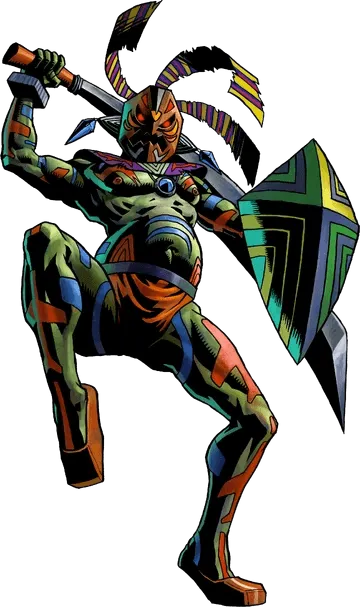 Odolwa | Woodfall Temple | Arrows to stun, then the sword; bombs against his insects | Heart Container, Odolwa’s Remains, Oath to Order |
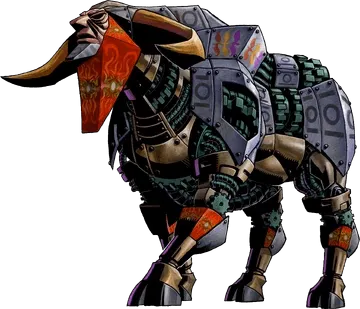 Goht | Snowhead Temple | Fire Arrow to wake him, then the Goron roll | Heart Container, Goht’s Remains |
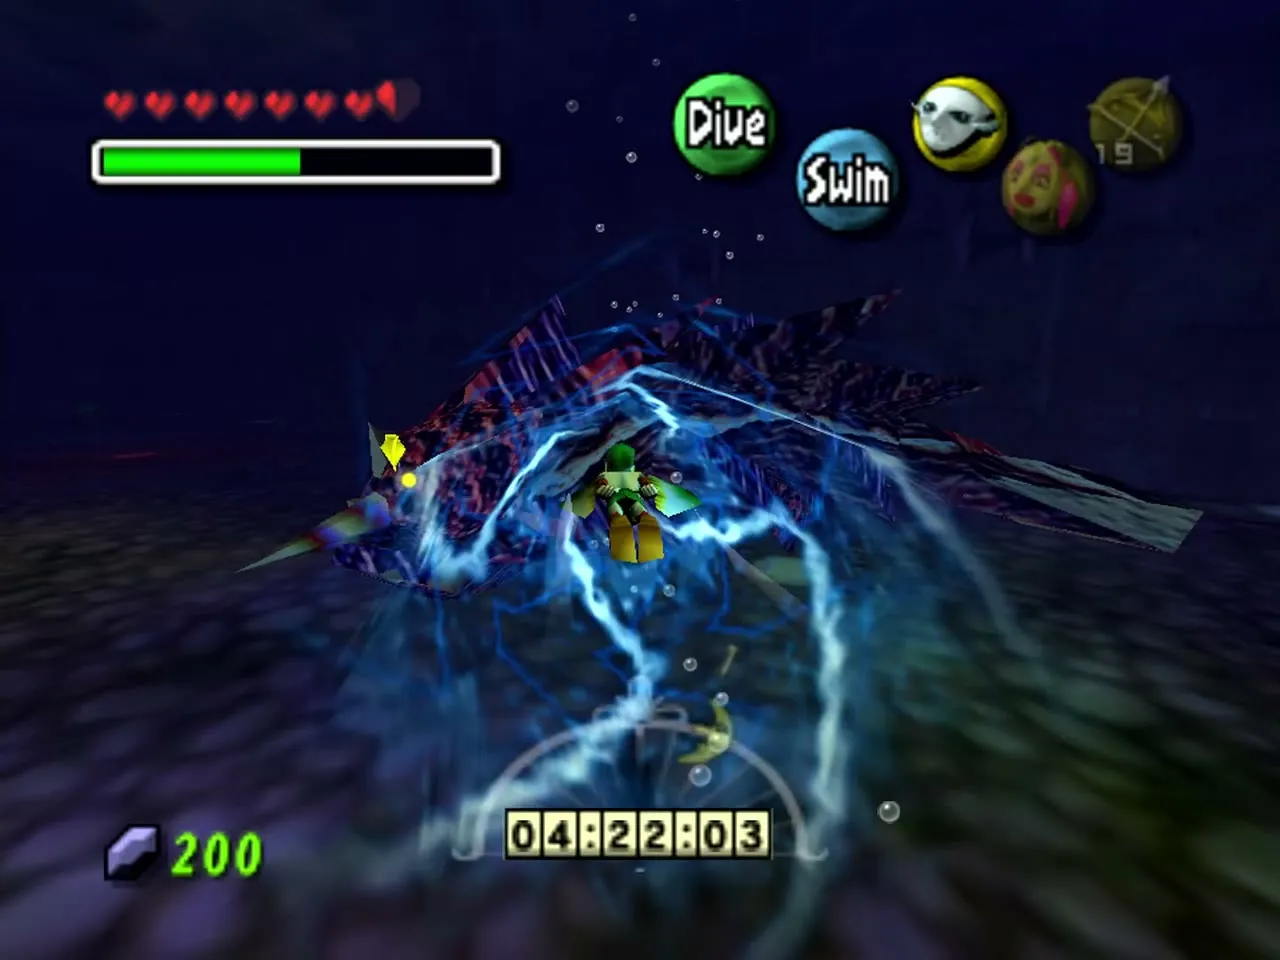
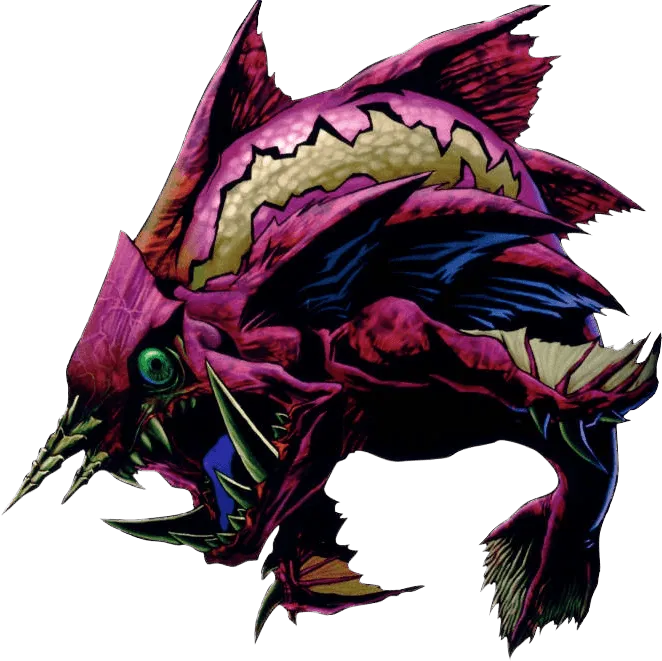 Gyorg | Great Bay Temple | Arrow to stun, then Zora Link in the water | Heart Container, Gyorg’s Remains |
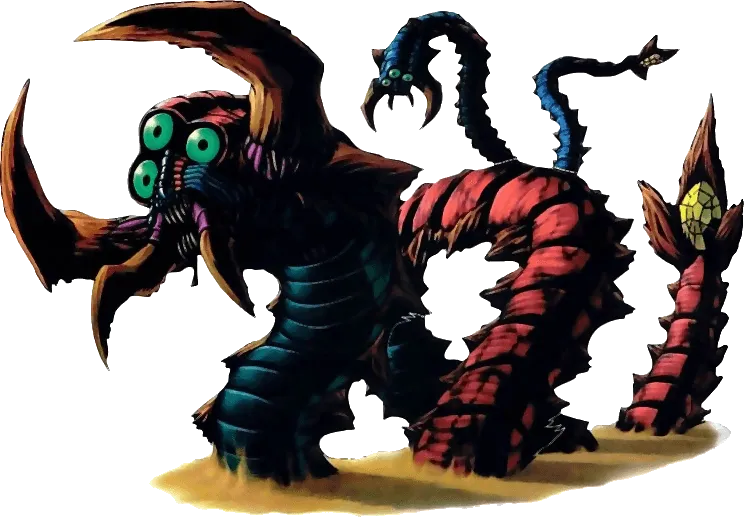 Twinmold | Stone Tower Temple (inverted) | Heads and tails, with the Giant’s Mask | Heart Container, Twinmold’s Remains |
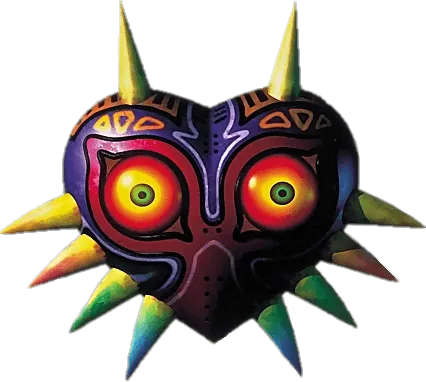 Majora’s Mask | The Moon | Its back, then Light Arrows (or Fierce Deity beams) | The ending |
Mini-boss quick reference
Every dungeon mini-boss guards something you need to go on, and most of the other fights in Termina pay out a mask, a song, a bottle or a Piece of Heart. This table lists them in the order you meet them; each has its own entry further down with the tactics.
| Mini-boss | Where | What you need | Reward |
|---|---|---|---|
 Dinolfos | Woodfall Temple, off the big flower room | Sword, shield, Deku Nuts or bombs | Hero’s Bow |
 Gekko and Snapper | Woodfall Temple, room past the diamond target | Deku Mask, Hero’s Bow, bomb or Blast Mask | Boss Key |
 Wizzrobe (first) | Snowhead Temple, Goron room | Goron Mask, sword or bow | Fire Arrows |
| Dinolfos pair | Snowhead Temple, fourth floor | Goron Mask, sword or Fire Arrows | Stray Fairies 13 and 14 |
| Wizzrobe (second) | Snowhead Temple, fourth floor | Sword or Fire Arrows | Boss Key |
 Wart | Great Bay Temple, beyond the ChuChu room | Hero’s Bow, Hookshot, bombs or Deku Nuts | Ice Arrows |
| Gekko (Mad Jelly) | Great Bay Temple, off the compass room | Ice Arrows, Fire Arrows, sword | Boss Key |
 Garo Master | Stone Tower Temple, upright | Sword and shield, Bunny Hood helps | Light Arrows |
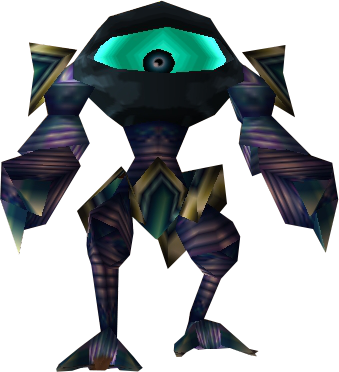 Eyegore (first) | Stone Tower Temple, bridge over the pool | Hero’s Bow | Stray Fairy 7 |
| Wizzrobe | Stone Tower Temple, inverted | Hero’s Bow or Light Arrows | Stray Fairy 11 |
 Gomess | Stone Tower Temple, inverted | Light Arrows, shield, sword | Boss Key |
| Eyegore (second) | Stone Tower Temple, inverted bridge | Light Arrows or arrows | Giant’s Mask |
 Gerudo Pirate duels | Pirates’ Fortress | Hookshot, sword, shield | Access to the Zora eggs |
 Captain Keeta | Ikana Graveyard | Sonata of Awakening, Hero’s Bow | Captain’s Hat |
 Iron Knuckles | Under Ikana Graveyard, Nights 1 and 2 | Captain’s Hat, Fire Arrows (Night 1), Lens of Truth and bombs (Night 2) | Flat and the Song of Storms; a Piece of Heart |
 Big Poes | Under Ikana Graveyard on Night 3; Beneath the Well | Hero’s Bow, empty bottle | Empty Bottle; a Poe for the Gibdo |
 Poe Sisters | Spirit House, Ikana Canyon | Hero’s Bow, 30 rupees | Piece of Heart |
 Igos du Ikana | Ancient Castle of Ikana | Mirror Shield, Fire Arrows, a ReDead-proof mask | Elegy of Emptiness |
Woodfall Temple: Odolwa
Mini-boss: Dinolfos
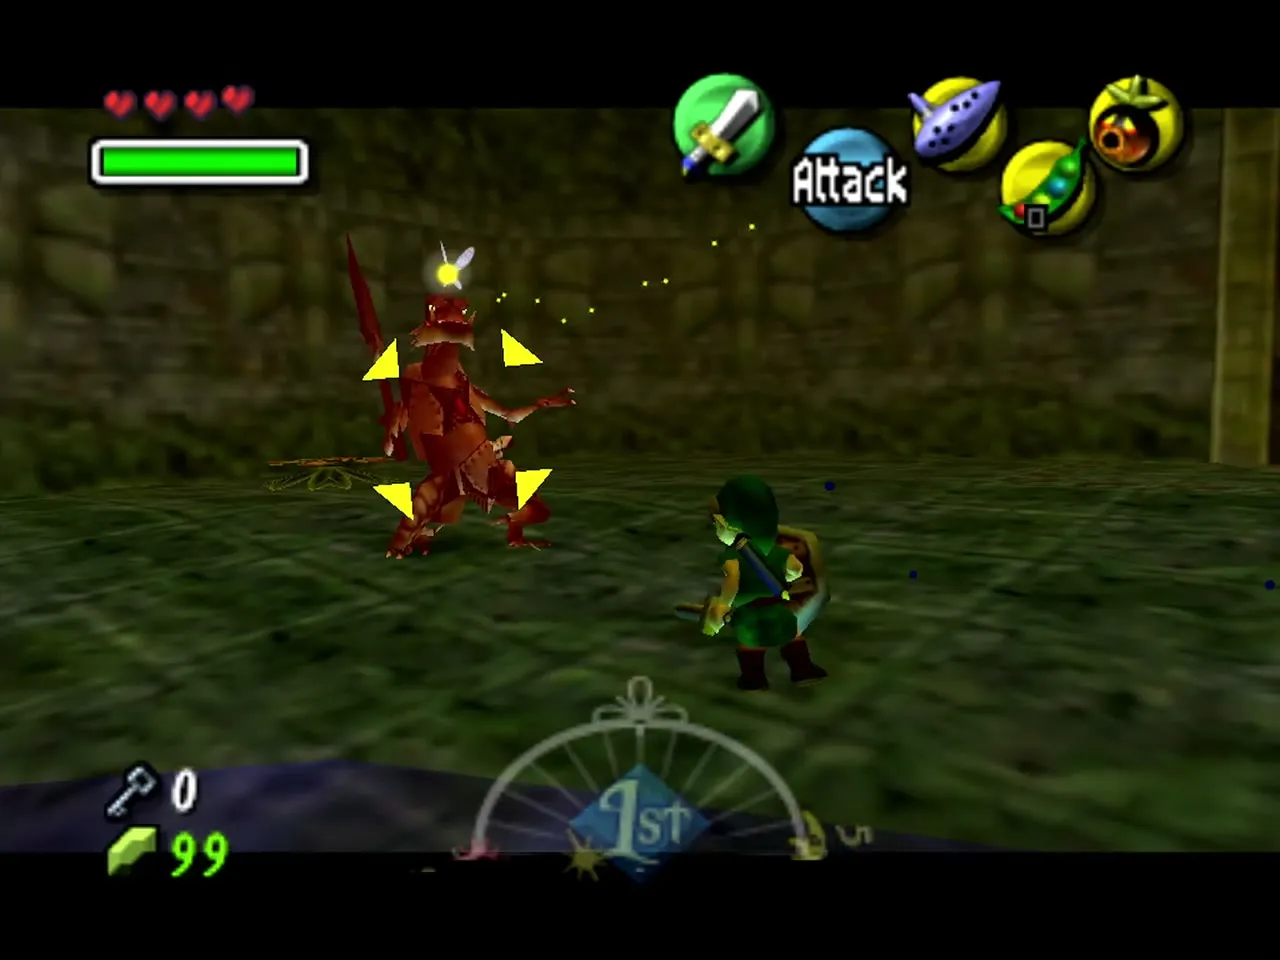
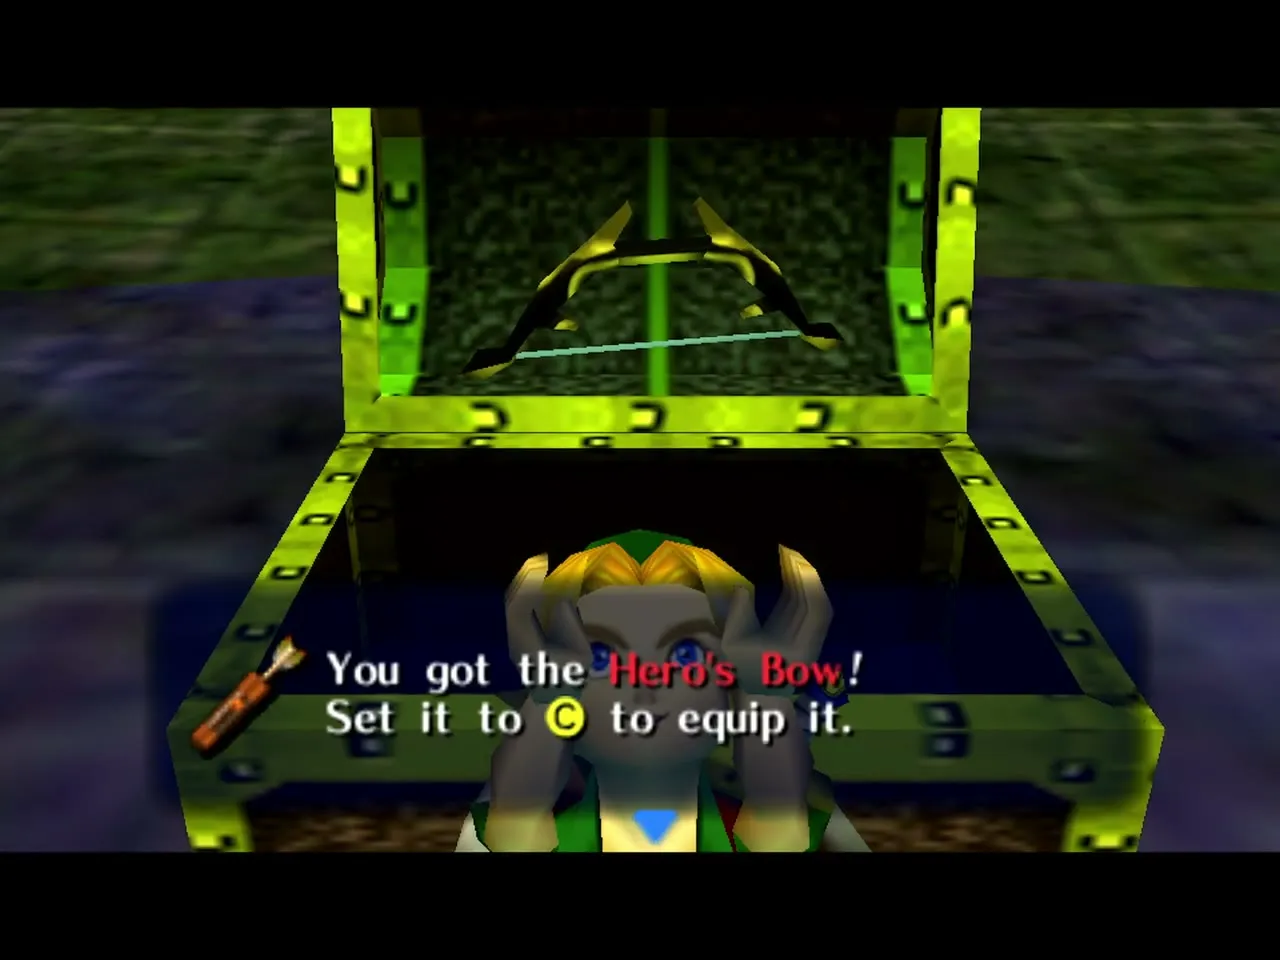
The Dinolfos waits in a room off the big flower room of Woodfall Temple, and the door locks behind you. You need: your sword and shield; Deku Nuts and bombs help too. Stay in Hylian form and raise your shield against its blade, because it leaps at you and can jump behind you before it swings. After you hit it, it spits fire unless you hit it again first, so keep the combo going or backflip away from the flames and roll if you catch alight. A Deku Nut, a bomb blast or Deku Link’s spin stuns it, but Deku Link burns easily, so Hylian form is the safe choice. Reward: a chest opens with the Hero’s Bow and its 30 arrows, the weapon you need against Odolwa and for most of the dungeon.
Mini-boss: Gekko and Snapper
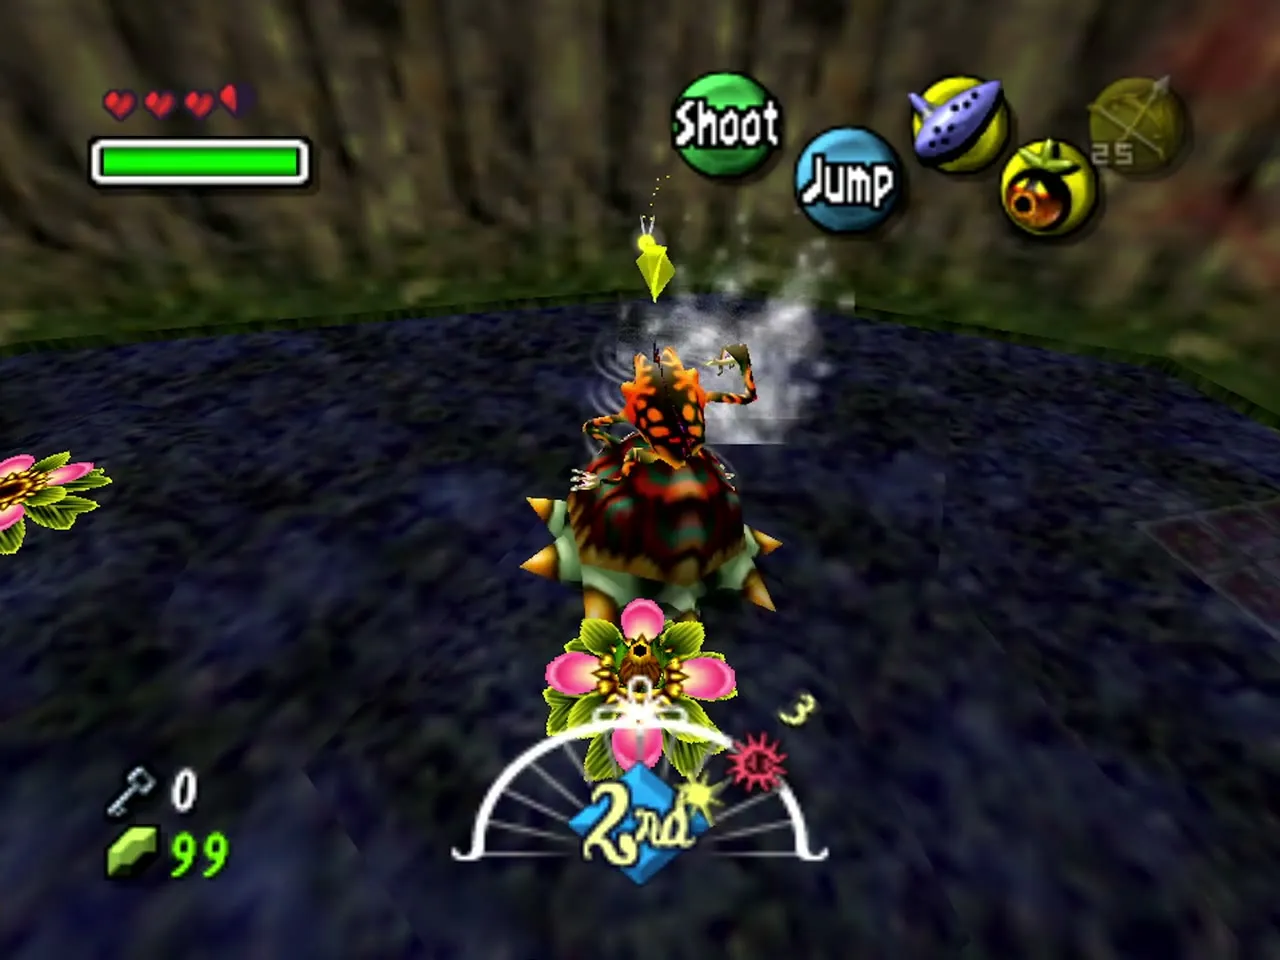
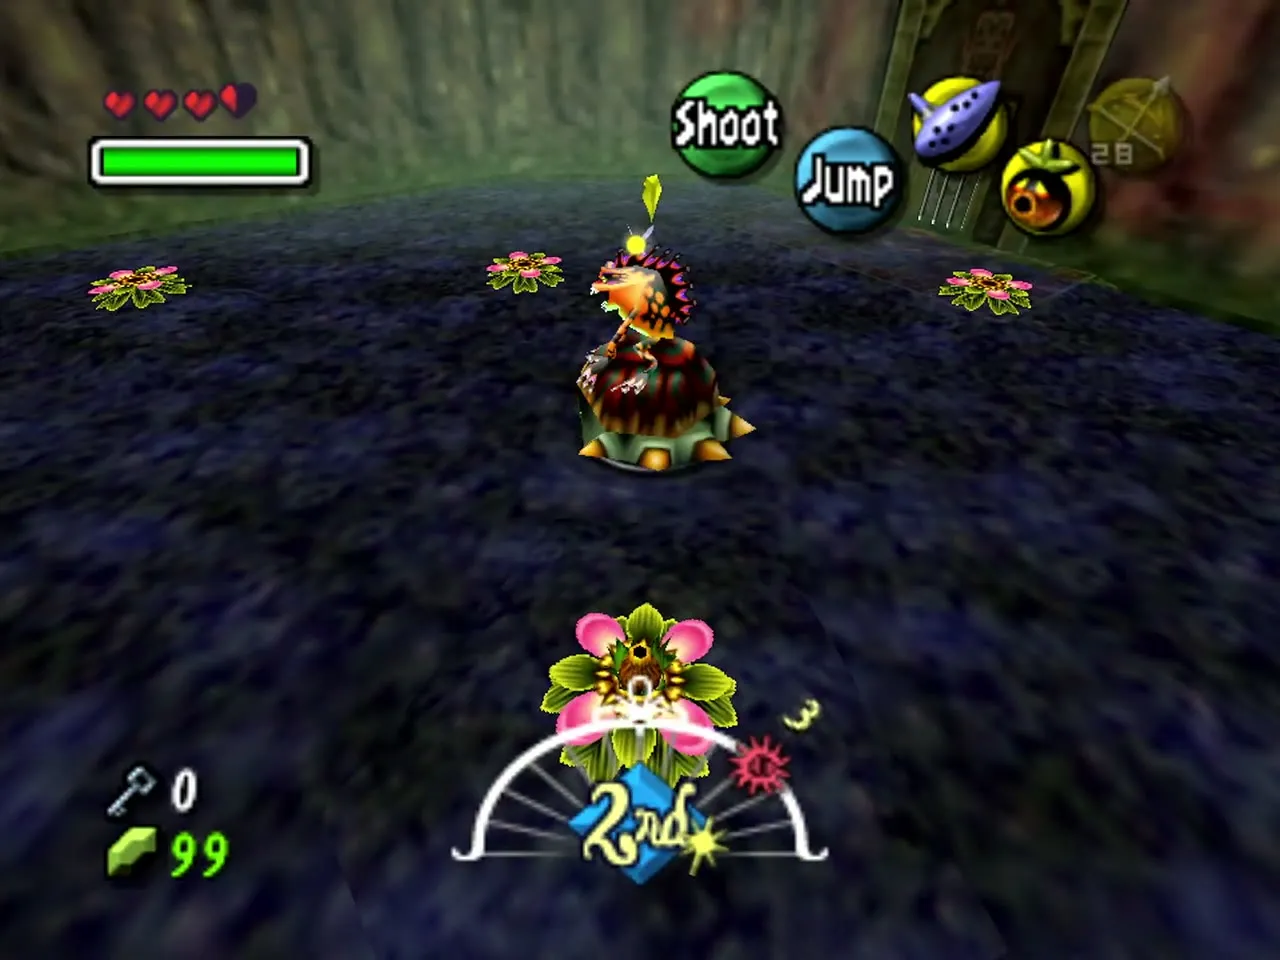
This fight is in the chamber past the eye switch in Woodfall Temple. Once you have the bow, go back to the flower room and shoot the diamond-shaped eye switch with an arrow. The central flower rises, so float across to the far ledge and go through the door, which locks behind you. You need: the Hero’s Bow, the Deku Mask and a bomb or the Blast Mask. In the first phase Gekko fights with its fists: stun it with a Deku Nut or Deku Link’s spin and hit it with the sword a few times. Then it calls a Snapper and rides it, and the Snapper charges around the room too fast to hurt. Flip the Snapper onto its back in one of two ways: as Deku Link, dive into a Deku Flower and pop out when the Snapper passes over it, or set off a bomb or the Blast Mask next to it. Gekko falls off and scrambles up the wall out of melee range, so change back to Hylian Link, lock on and shoot it with an arrow when it stops moving. Repeat until both are beaten. Reward: the door opens and a large chest holds the Boss Key.

Boss: Odolwa
Where: the boss room at the top of Woodfall Temple, through the Boss Door (open it with the Boss Key and answer yes when asked whether to enter the lair). You need: the Hero’s Bow with a full quiver, your sword and shield, and the Deku Mask for the central flower. Odolwa, the Masked Jungle Warrior, drops into the arena when you walk to the middle of the room. Lock on to him and keep moving: he swings his sword in wide arcs, kicks and bumps you if you stand too close, and leaps in with a thrust like your own jump attack. Shield blocks some of the blows.
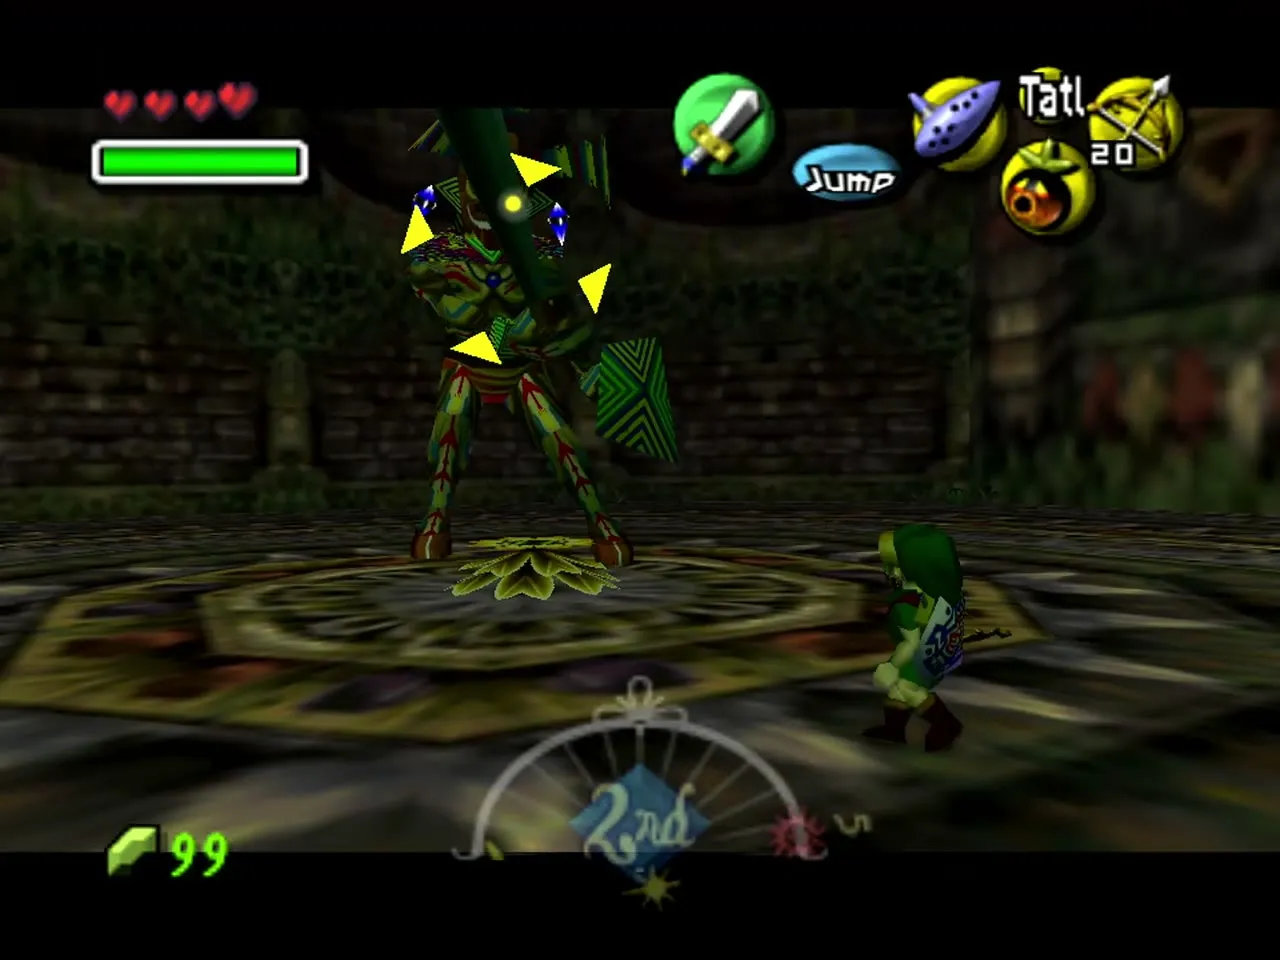
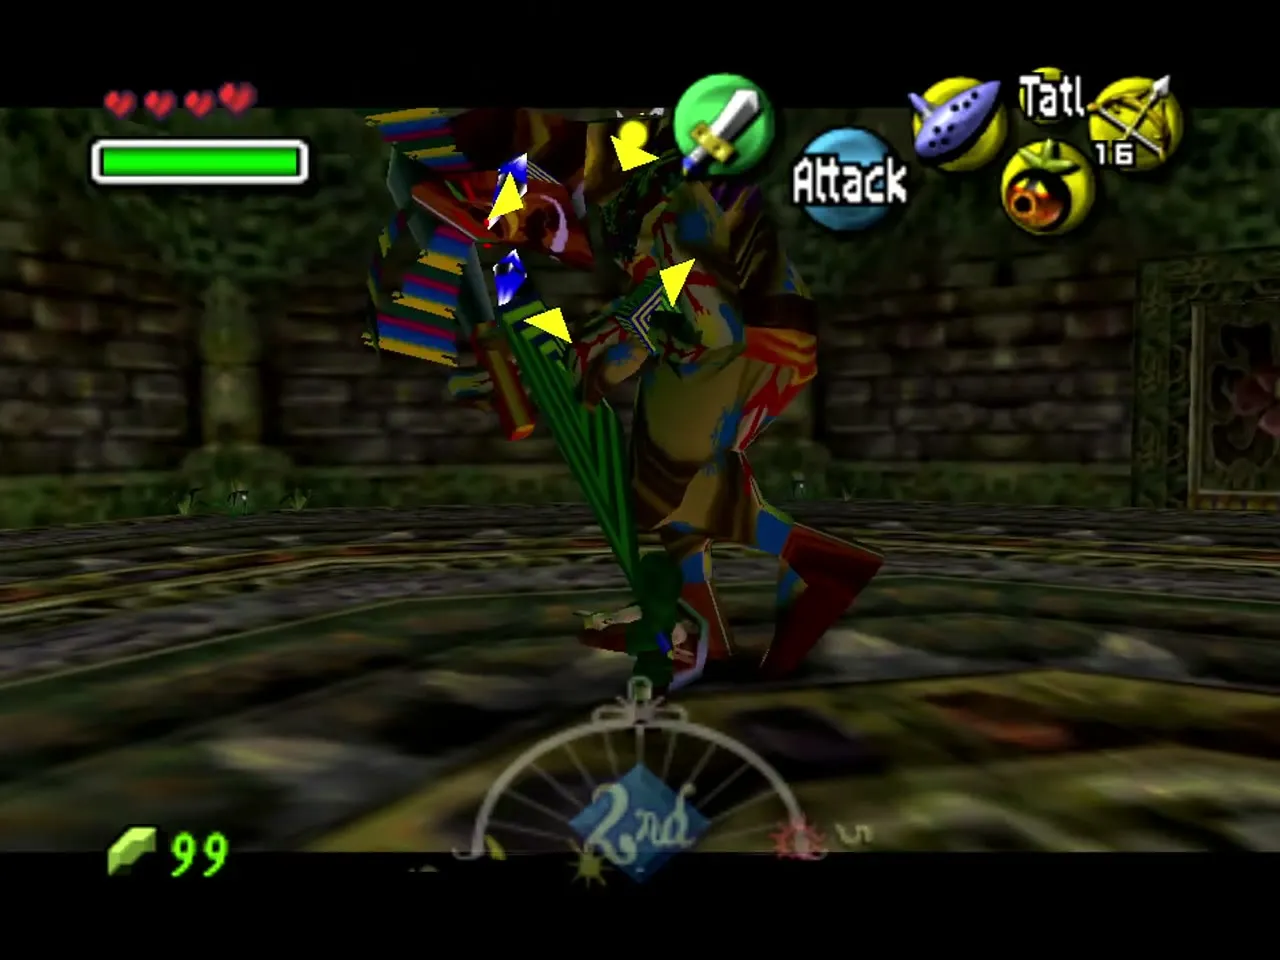
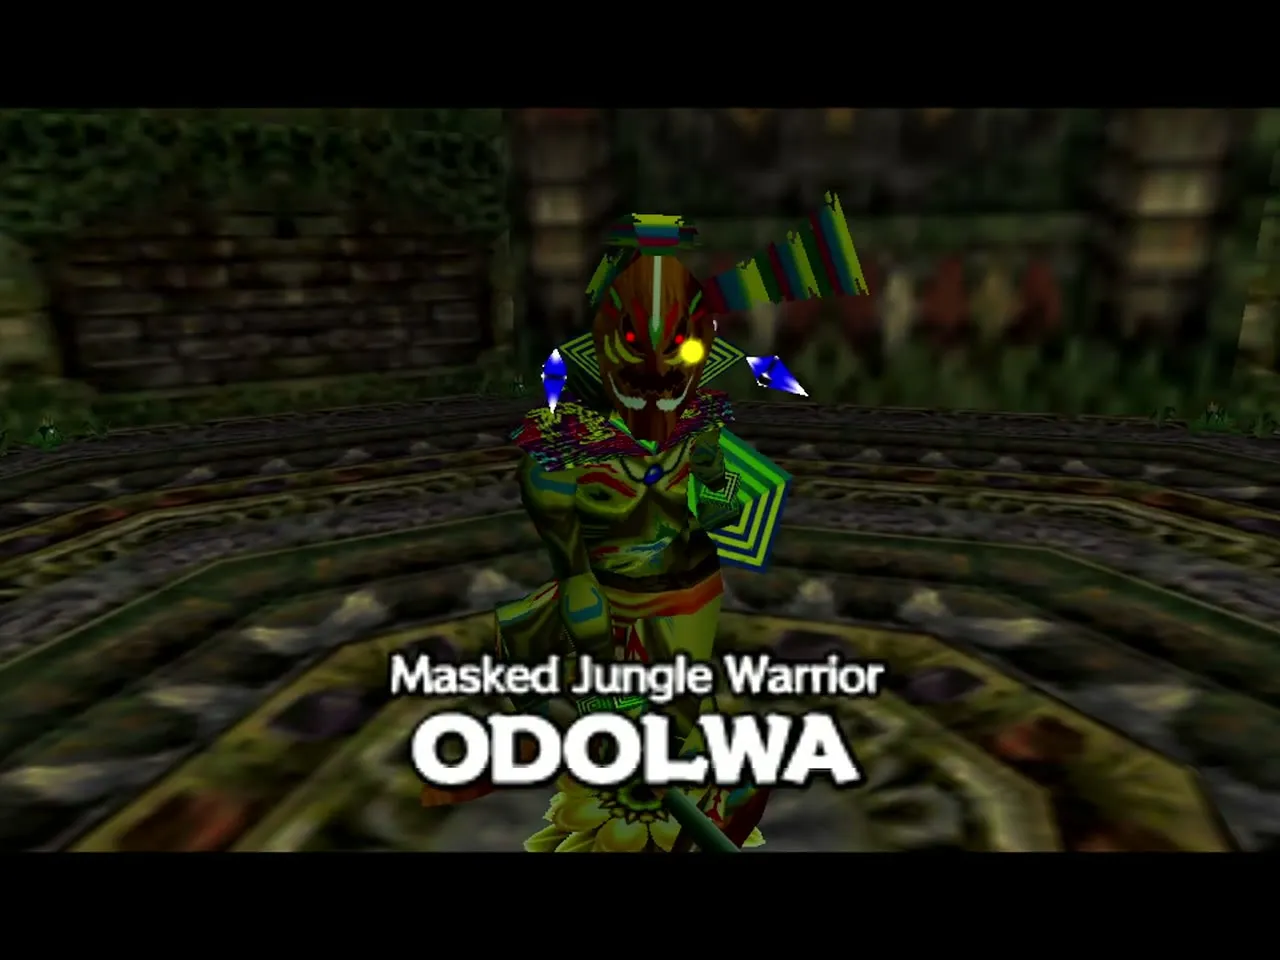
Phase 1, on the ground: shoot an arrow when his guard is down to stun him, then run in and slash his legs until he topples; you can also skip the stun and slash him when he is busy moving. Bomb Flowers grow around the room (they grow back after you pick one), and Deku Nuts stun him too. Phase 2, the dance: now and then Odolwa dances in place and calls spiders and moths to swarm you. This is also when he is easiest to hit, so stun him and cut him down while the insects are around you. Throw a bomb or set off the Blast Mask and the insects fly toward it and die. Spiders often drop hearts, and the bushes and Bomb Flowers refill your arrows and bombs, so you will not run dry.
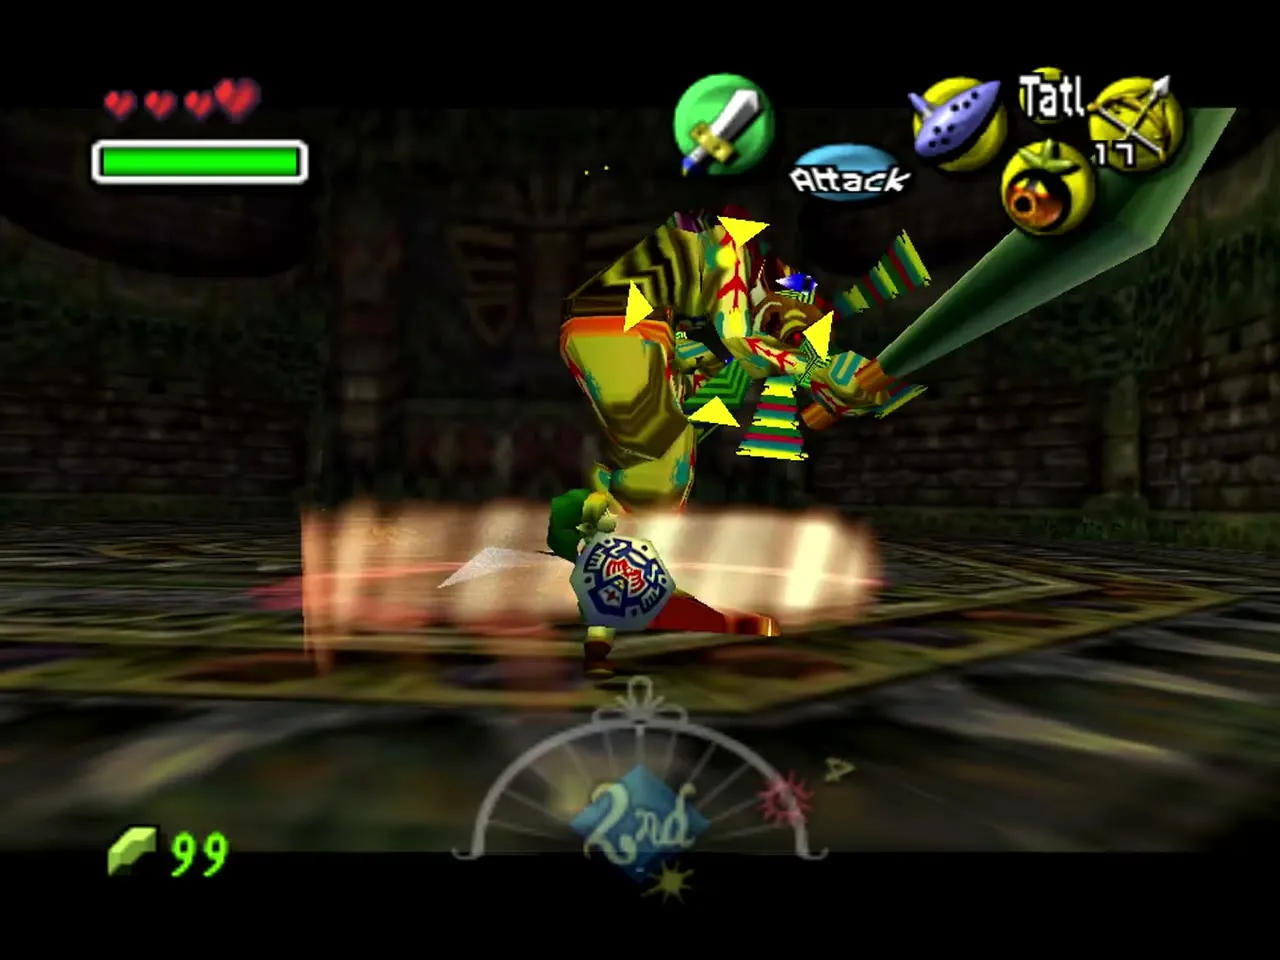
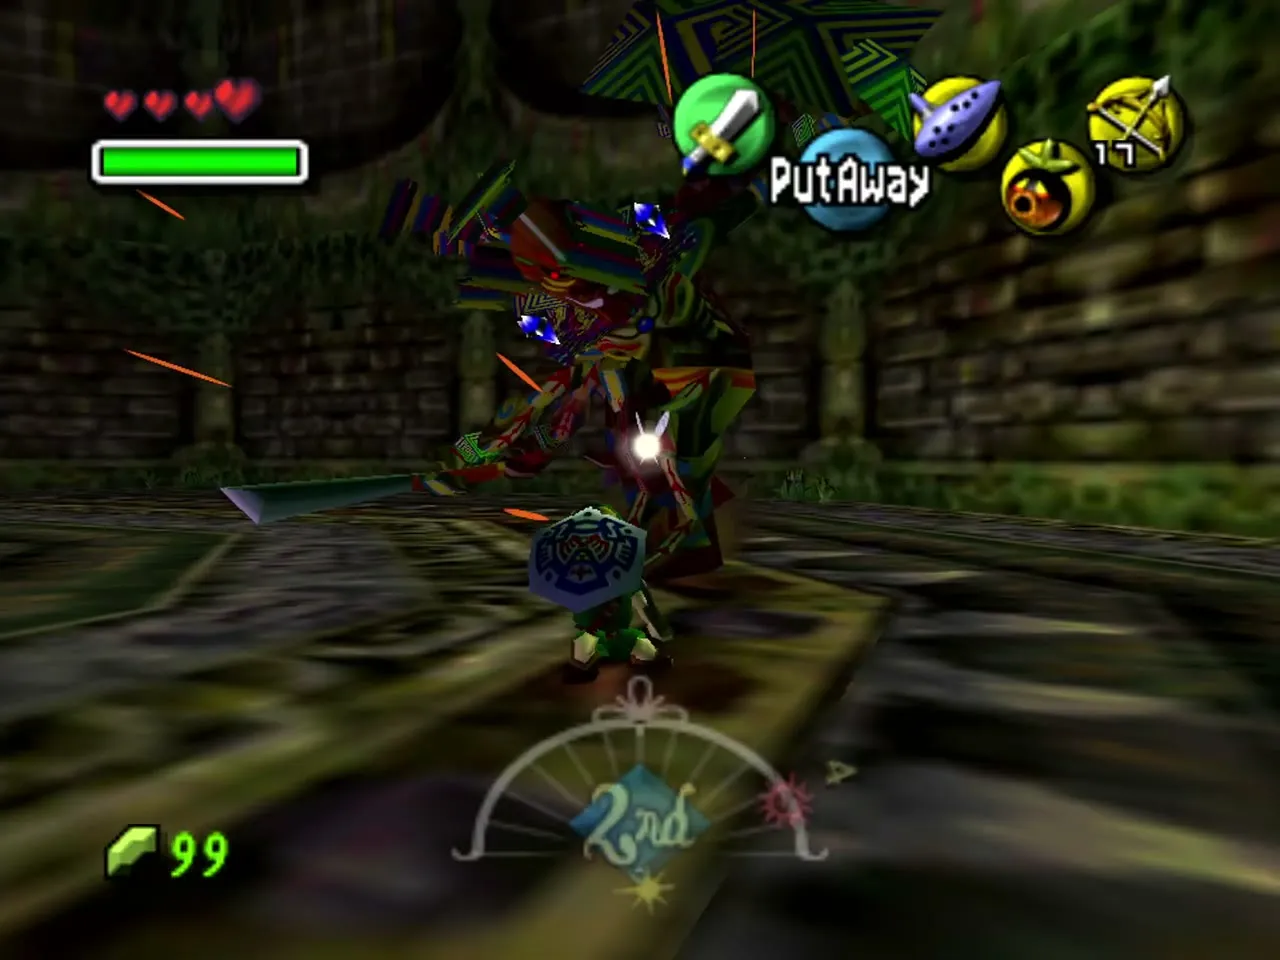
Deku Link option: hide in the Deku Flower in the middle of the room and pop out when Odolwa is above you, or stun him with bubbles and the spin attack. It takes patience but keeps you out of reach of most of his attacks. Keep a Red Potion or fairy in a bottle; with only a few hearts at this point every careless swing hurts.
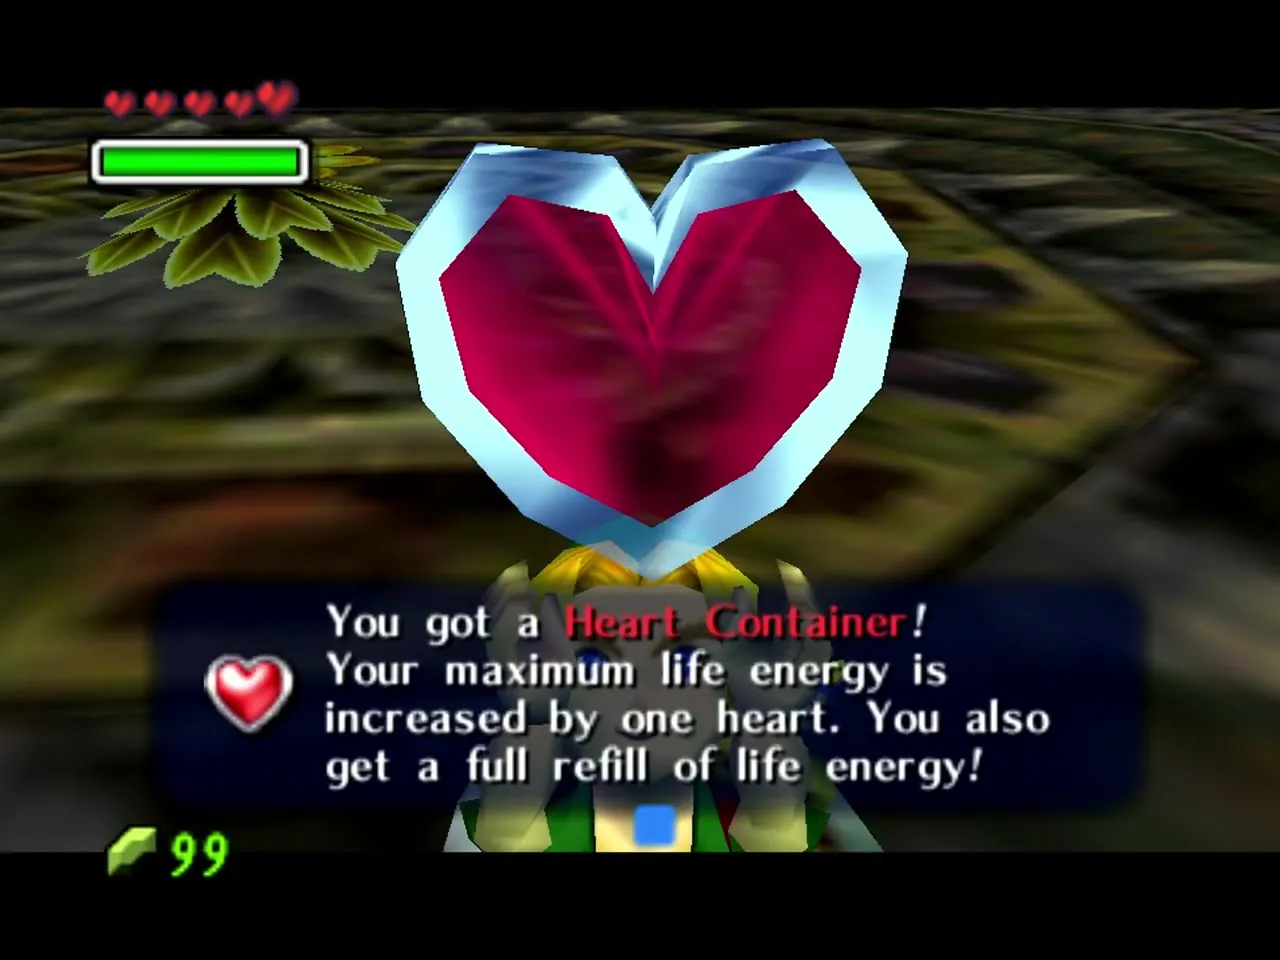
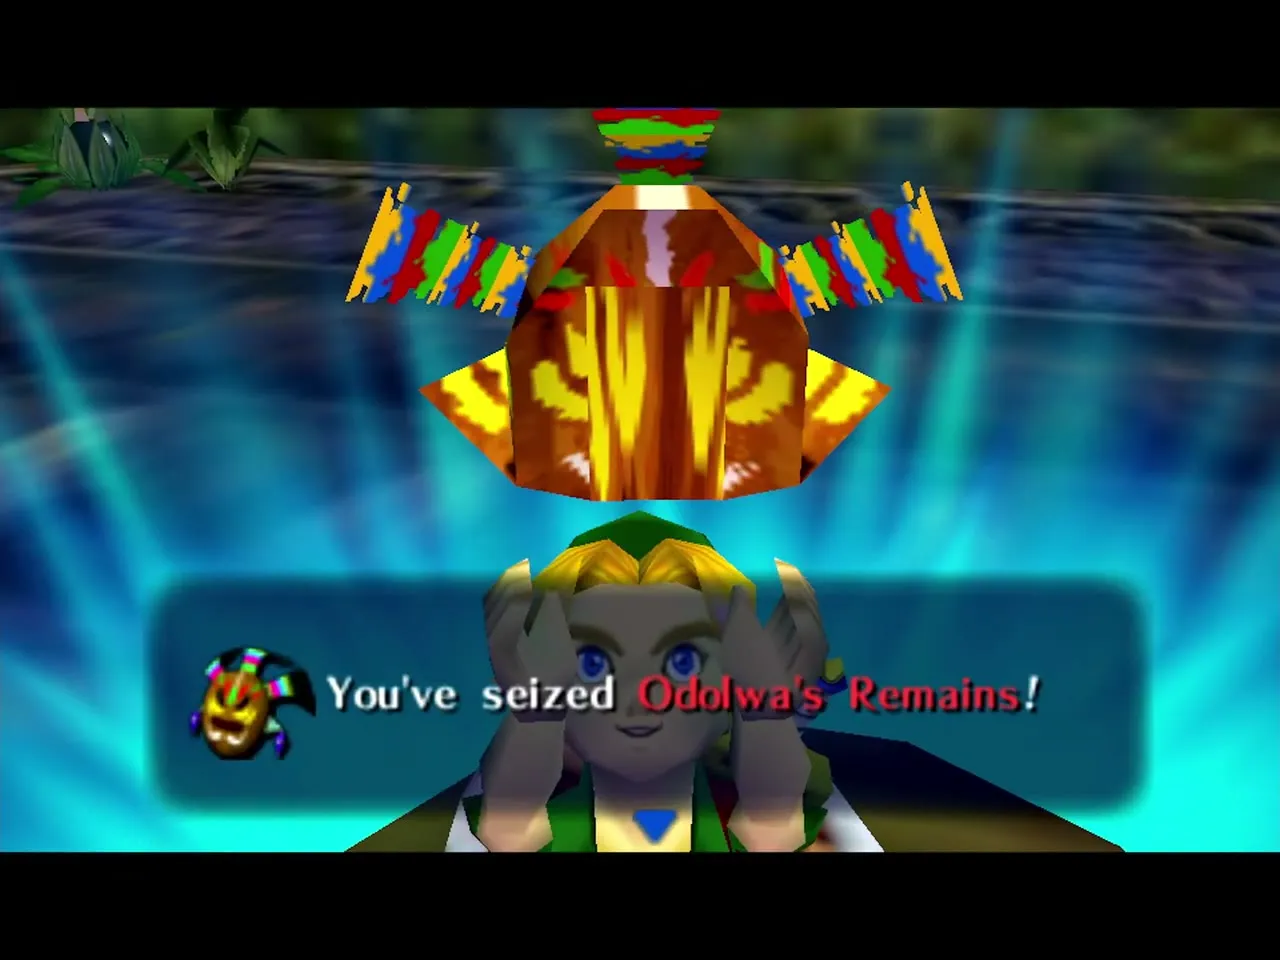
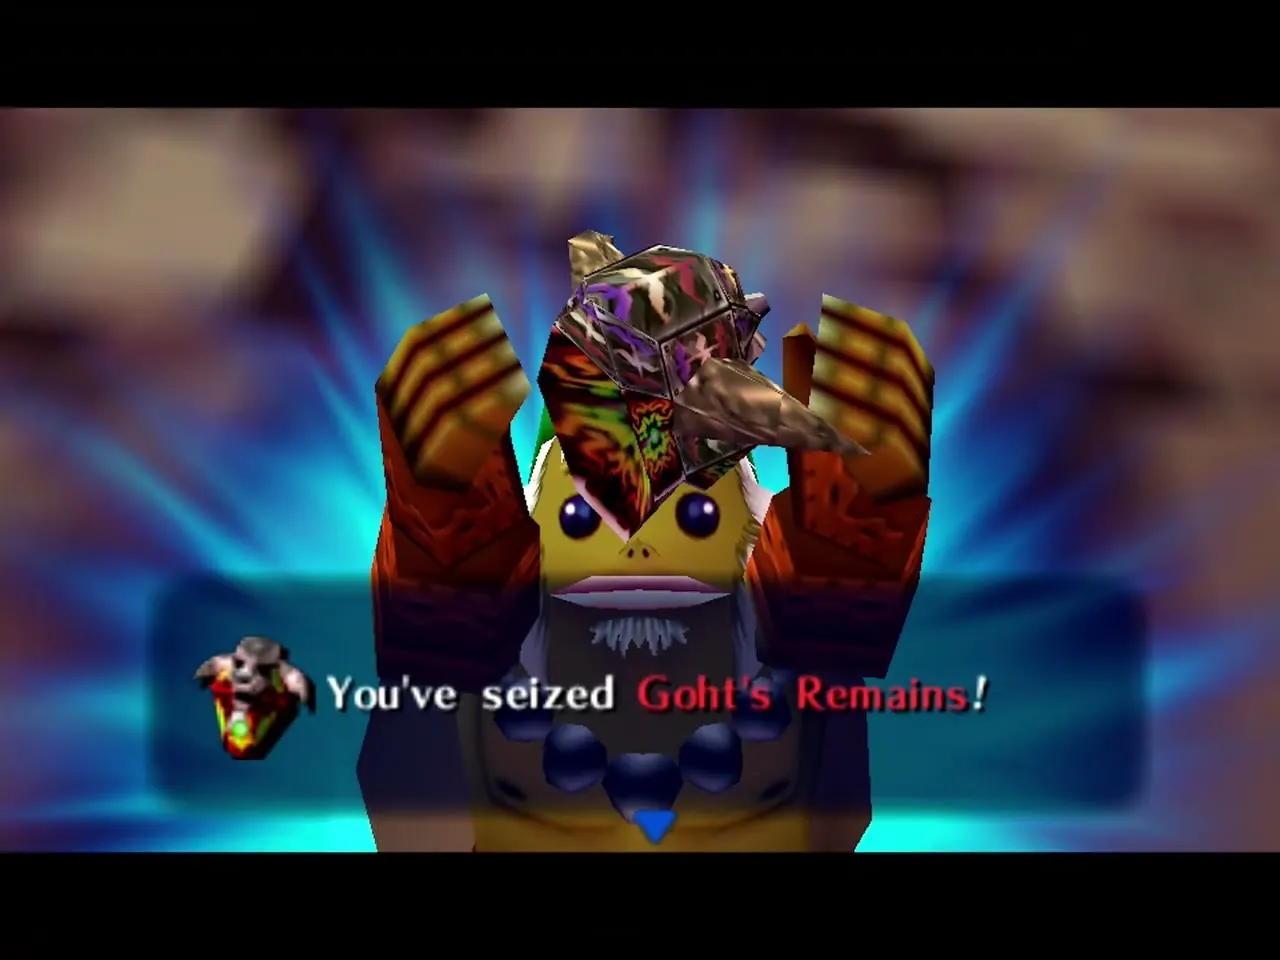
Reward: when he falls you get a Heart Container, then step into the light to take Odolwa’s Remains. The Woodfall Giant appears and teaches you the Oath to Order, which you will play at the Clock Tower at the end of the game. The Deku Princess is still in the temple, so put her in an empty bottle, carry her to the king’s chamber in the Deku Palace and hear her side of the story. After that, the Great Fairy of Power waits for your 15 Stray Fairies, as the Woodfall Temple chapter explains.
Snowhead Temple: Goht
Mini-boss: first Wizzrobe
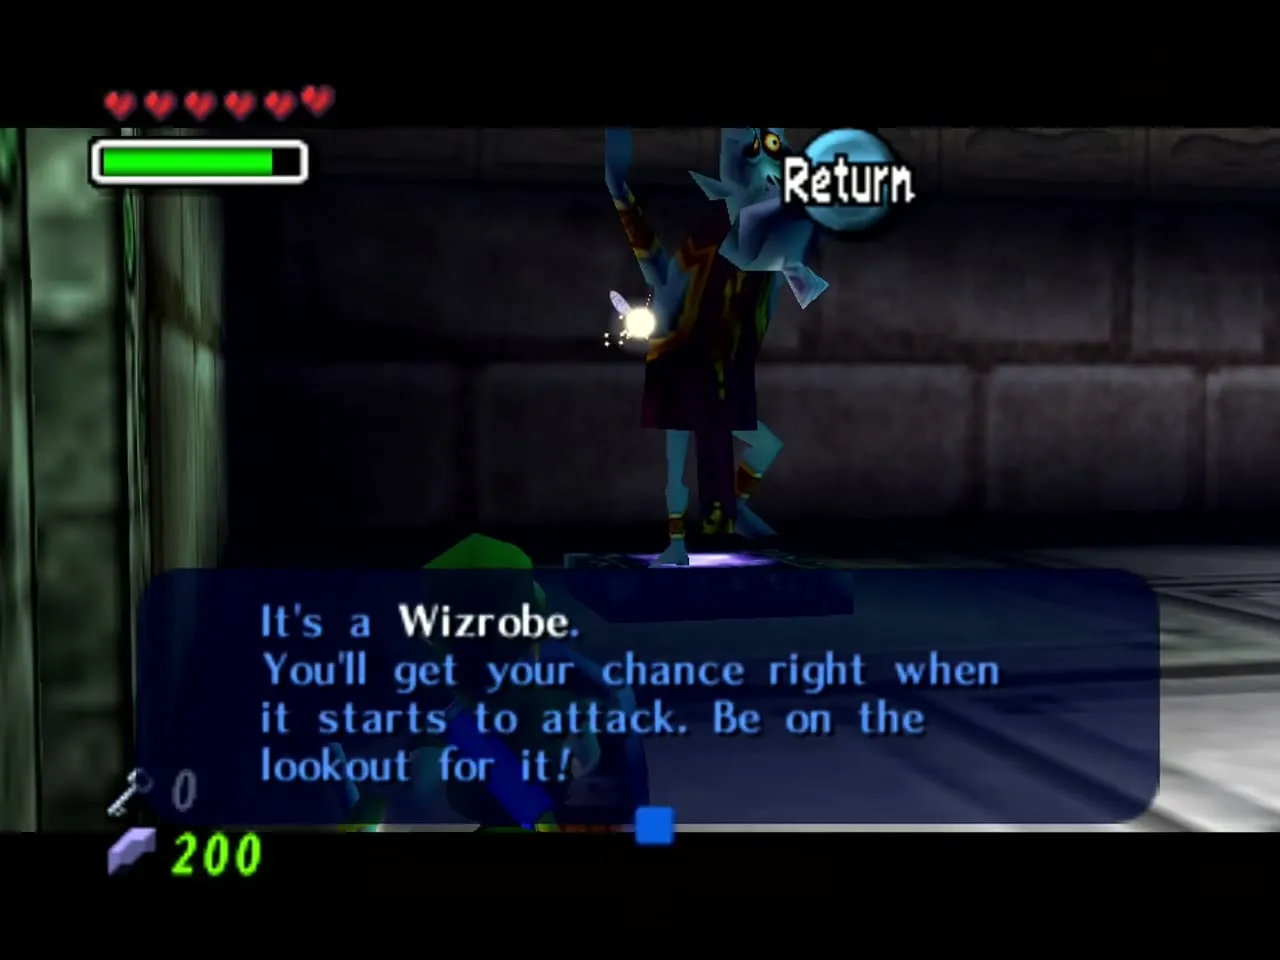
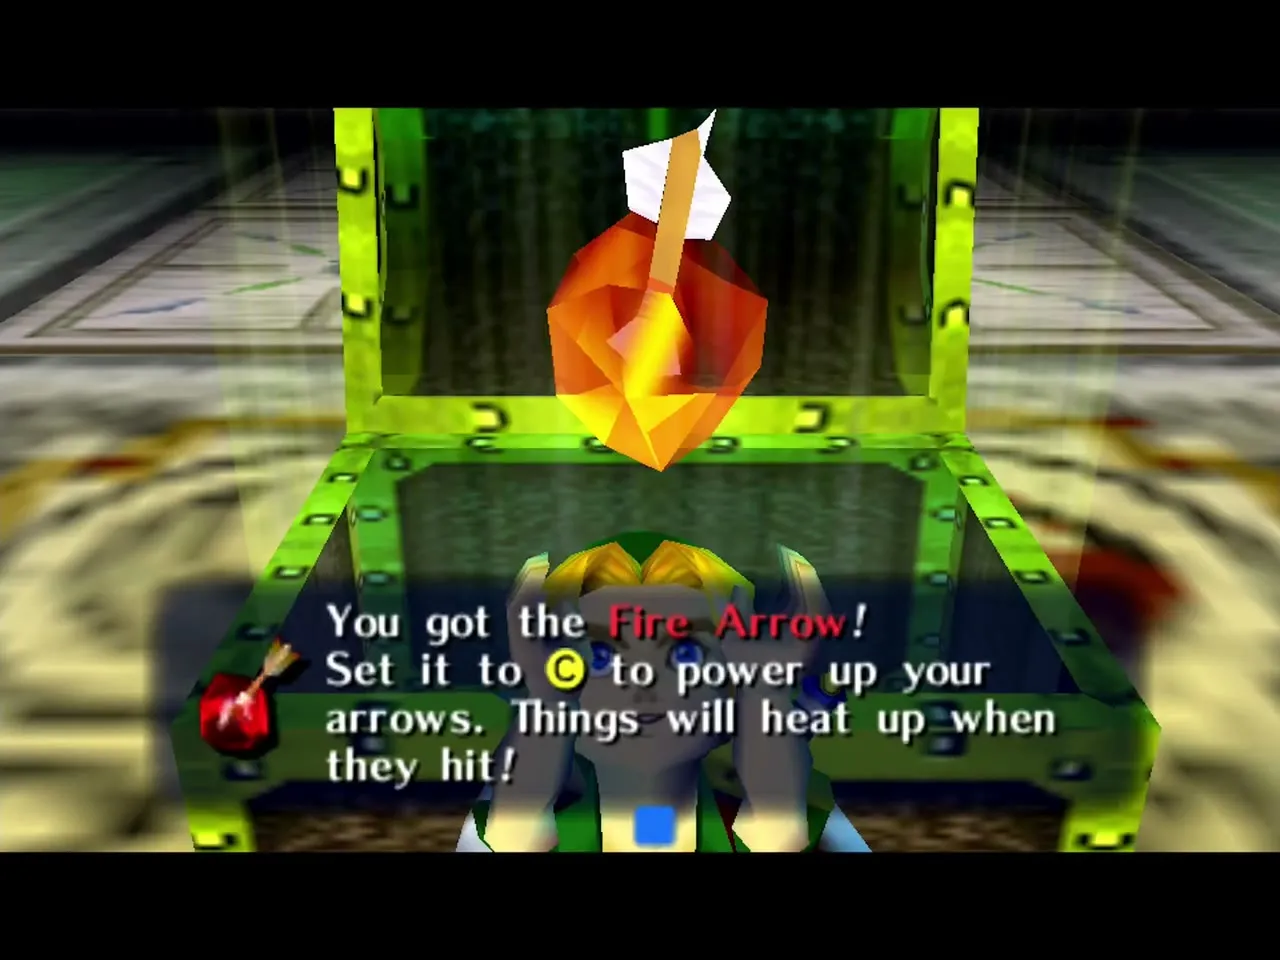
Where: in Snowhead Temple, in a room you reach as a Goron. You need: the Goron Mask to get there, and your sword or the Hero’s Bow for the fight. The Wizzrobe appears inside one of the purple columns of light on the floor, and each time it vanishes it pops up in another. It charges an ice bolt that can freeze you. Do not rush it before it fully appears or it simply teleports away. Stay near the middle and strike with your sword or a Goron punch when it has finished appearing, or shoot it with an arrow when it starts spinning its staff. After a few hits it splits into copies in the other columns; the real one is the one that dances, Tatl highlights it and it shows on the map. Keep hitting that one until it falls. Reward: a chest opens with the Fire Arrows, which melt ice and light far-off torches; each shot costs magic.
Mini-boss: Dinolfos pair
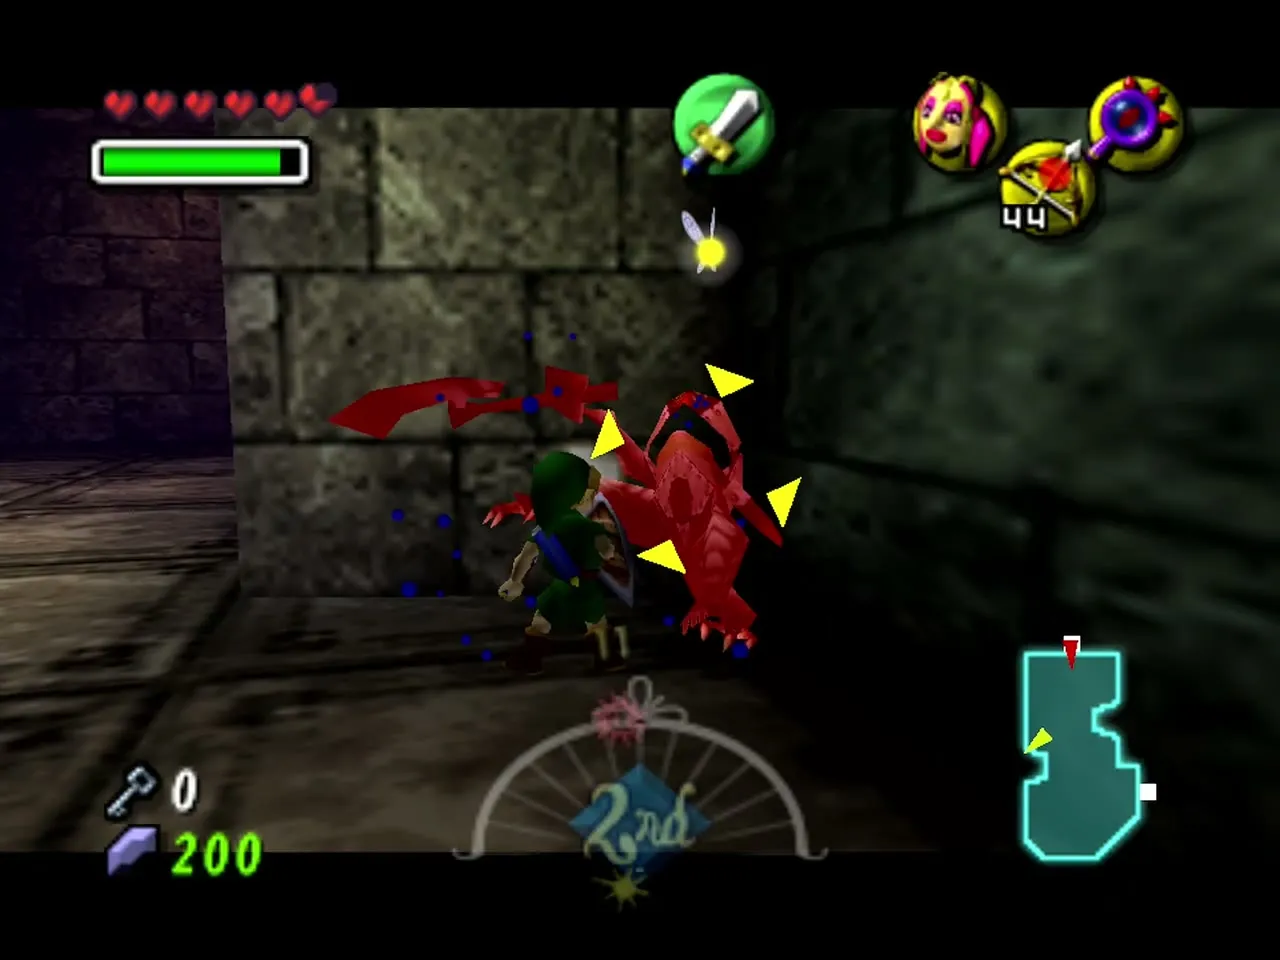
Where: two Dinolfos attack together in a separate room of Snowhead Temple, on the fourth floor. You need: the Goron Mask (punches and the Goron Pound), your sword or Fire Arrows. Fight them one at a time if you can: dodge their fire breath and their jumps, hit one with a Goron punch or get close and use a Goron Pound, and finish it before the other closes in. Each one releases a Stray Fairy when it dies. Reward: Stray Fairies 13 and 14 of the temple, so be sure to collect both before you leave through the door.
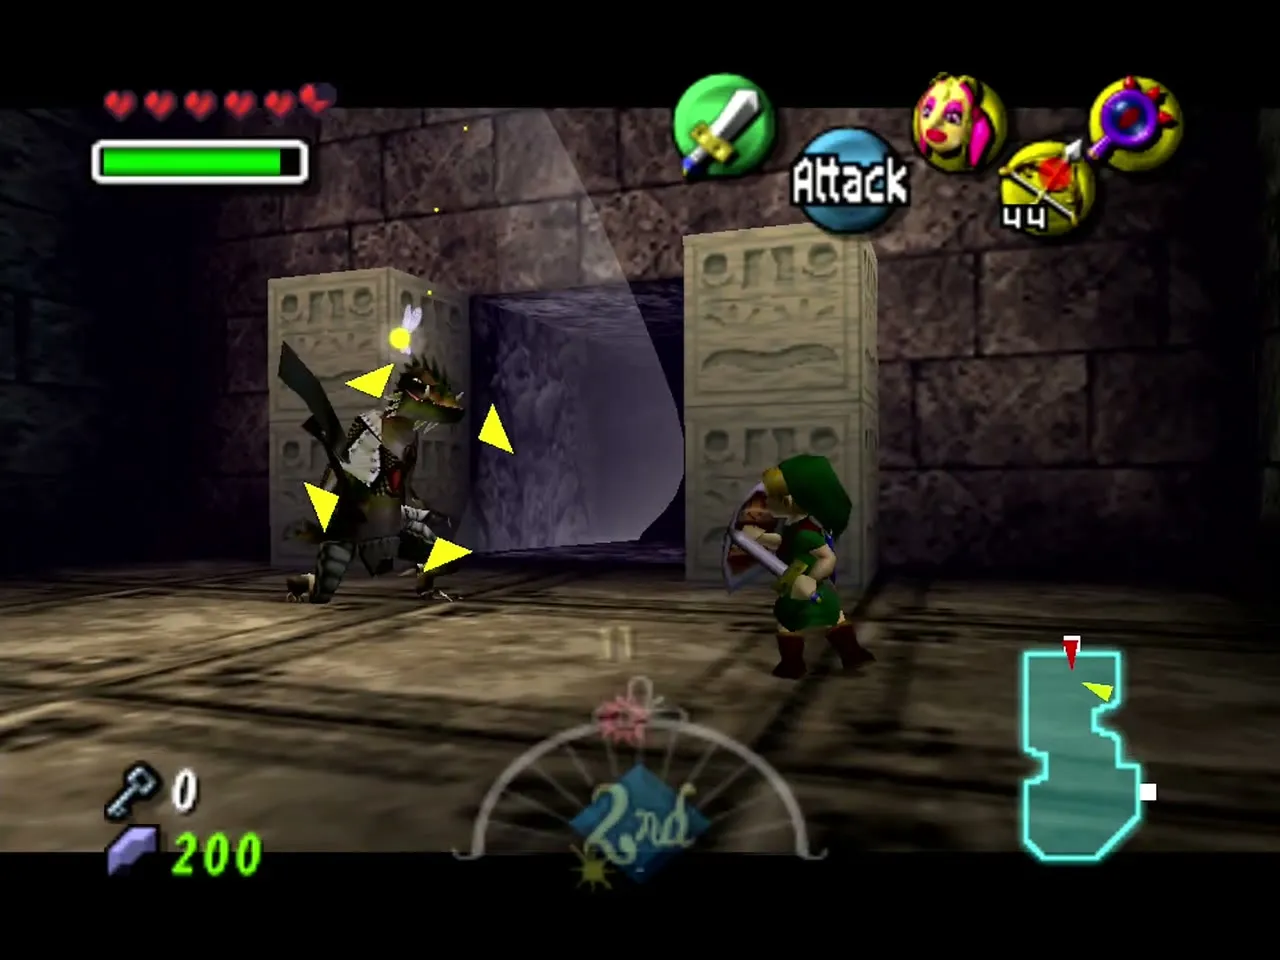
Mini-boss: second Wizzrobe
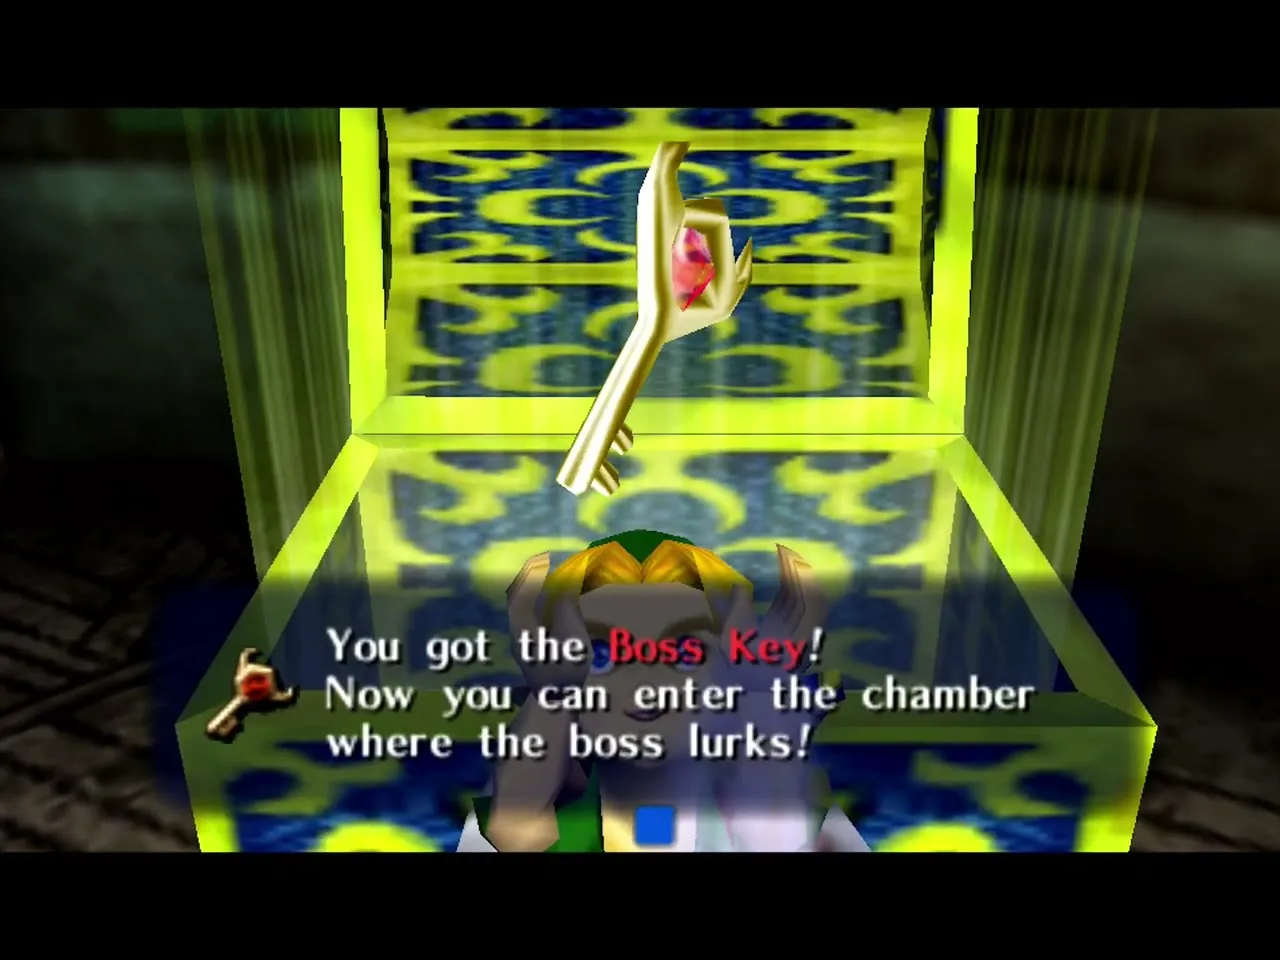
Where: on the fourth floor of Snowhead Temple, guarding the Boss Key chest. You need: the Fire Arrows and the Deku Mask. This Wizzrobe follows the same rules as the first but the room has more columns of light, so it is harder to track: look for the one that dances. Fire Arrows hurt it, and the sword works as well. Reward: the large chest here holds the Boss Key.

Boss: Goht
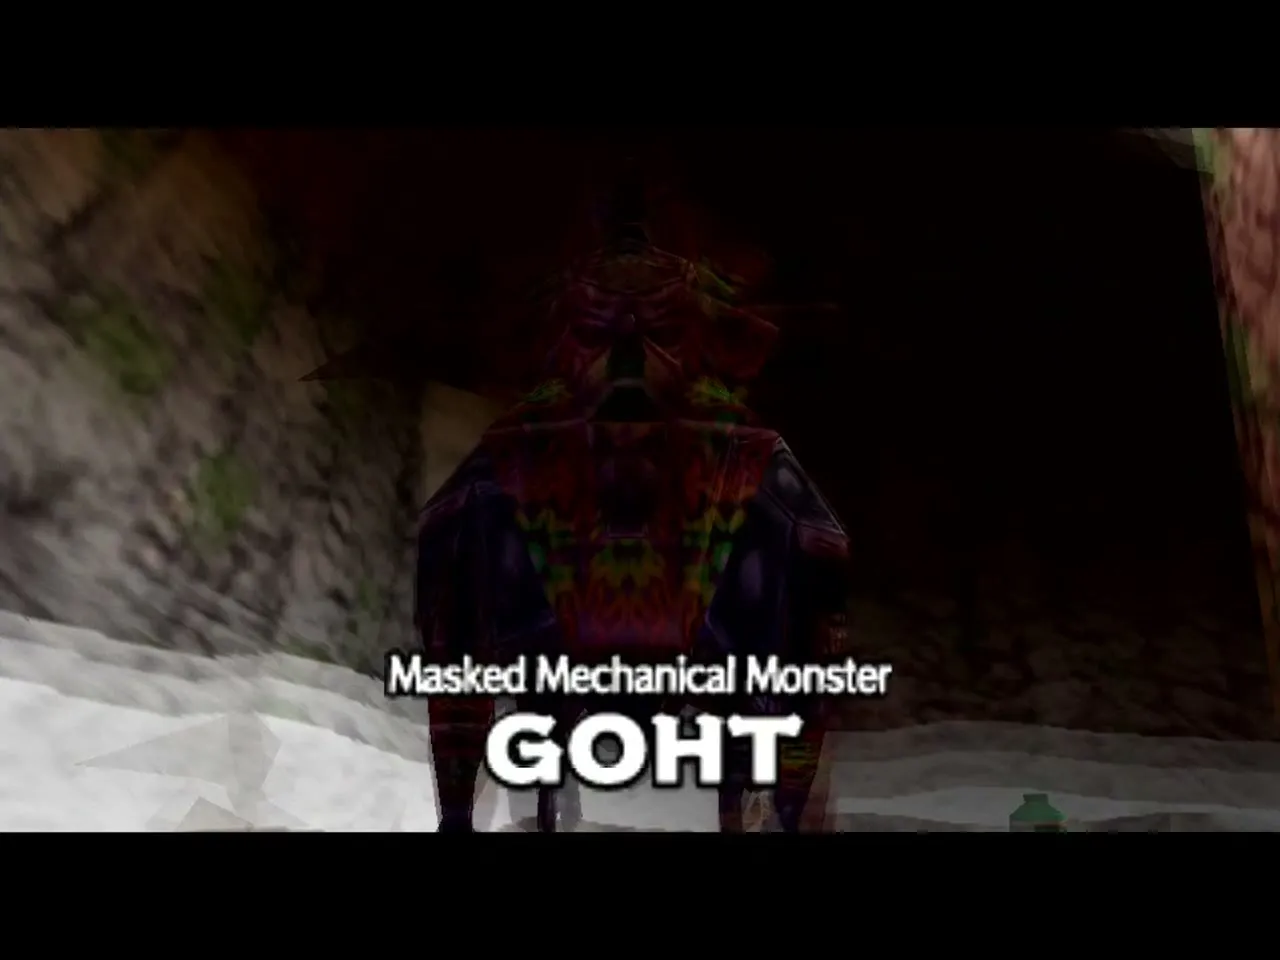
Where: the circular racetrack beyond the Boss Door at the top of Snowhead Temple. You need: a Fire Arrow to start the fight, the Goron Mask, the Hero’s Bow, and as much magic as you can carry. Goht, the Masked Mechanical Monster, is frozen in a block of ice when you enter. Shoot a Fire Arrow at the ice to free it. It charges past you and runs laps of the track, so put on the Goron Mask at once and build up a full-power roll to catch up; spikes come out when you are rolling fast enough to hurt it. Rolling uses magic, so roll through the green jars along the track to refill it; the jars and pots by the entrance refill arrows and come back after a few moments.
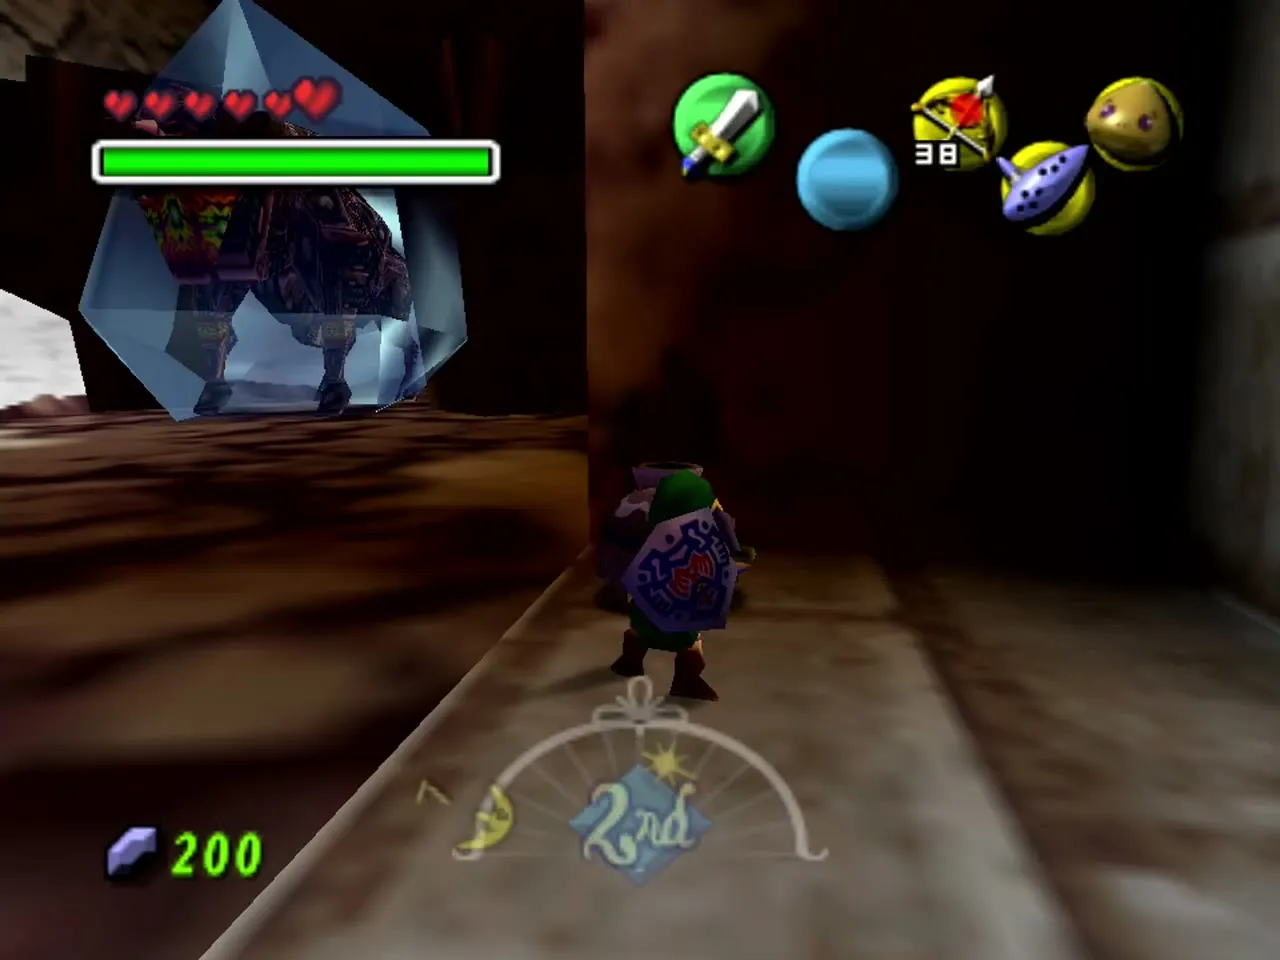
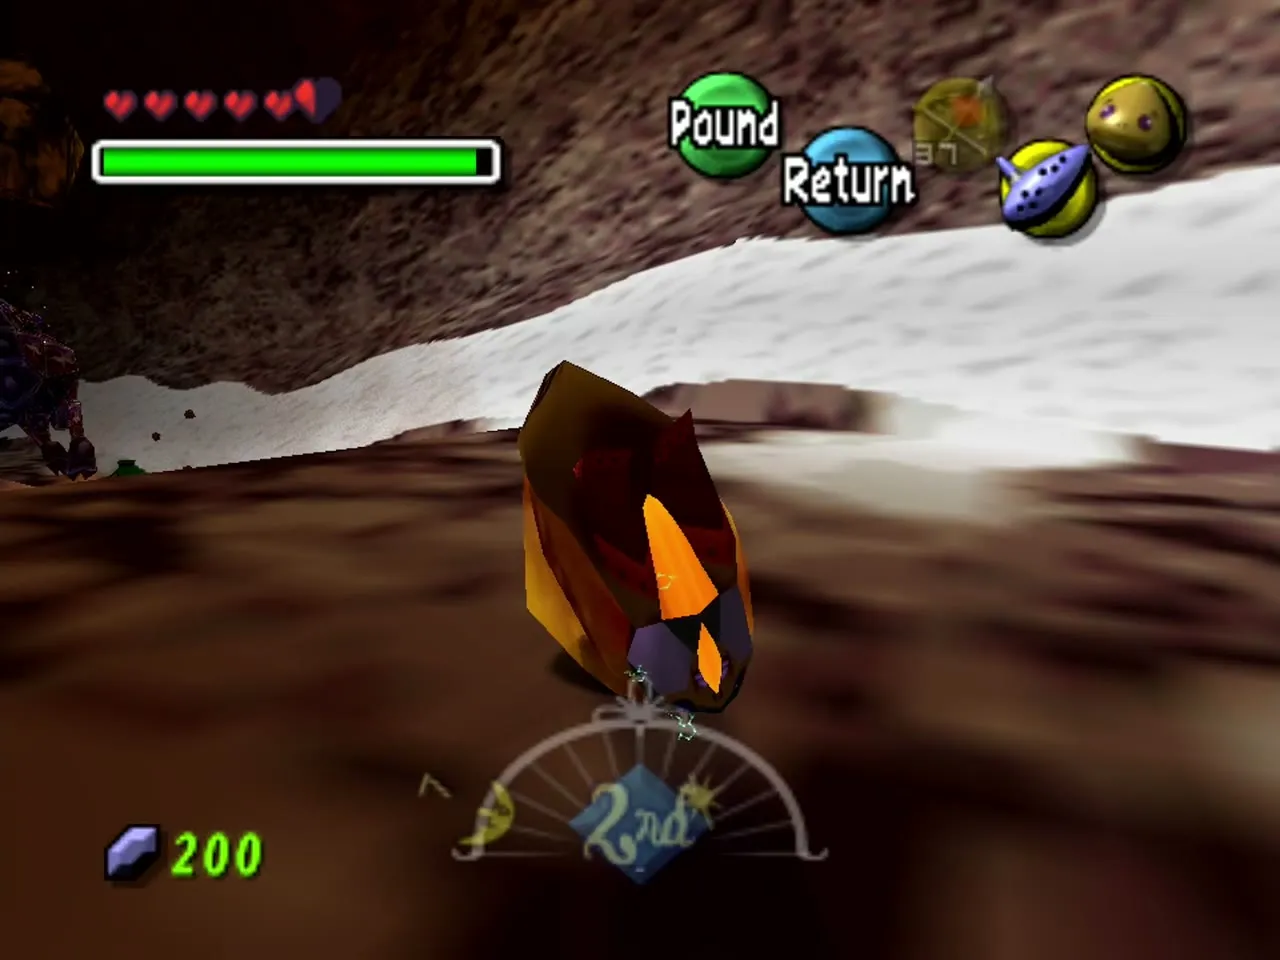
Phase 1, the chase: ram Goht’s legs several times and it staggers and falls on its belly, helpless for a moment while you keep grinding into its body. A better hit is to take a ramp, jump, and land on it from above: that stuns it and lets you strike repeatedly. Phase 2, the mad dash: as it takes damage it speeds up and kicks boulders back at you, stalactites fall in front of you from the ceiling, and electricity crackles along its back, which makes it harder to hit from above. Finally it drops bombs behind it, and a blast stops your roll, so weave around them. If you fall too far behind, Goht stops, turns and fires electric bolts until you close the gap. The slower method also works: stand at the far left of the entrance, where you see it coming early, and shoot arrows at it each time it runs past.
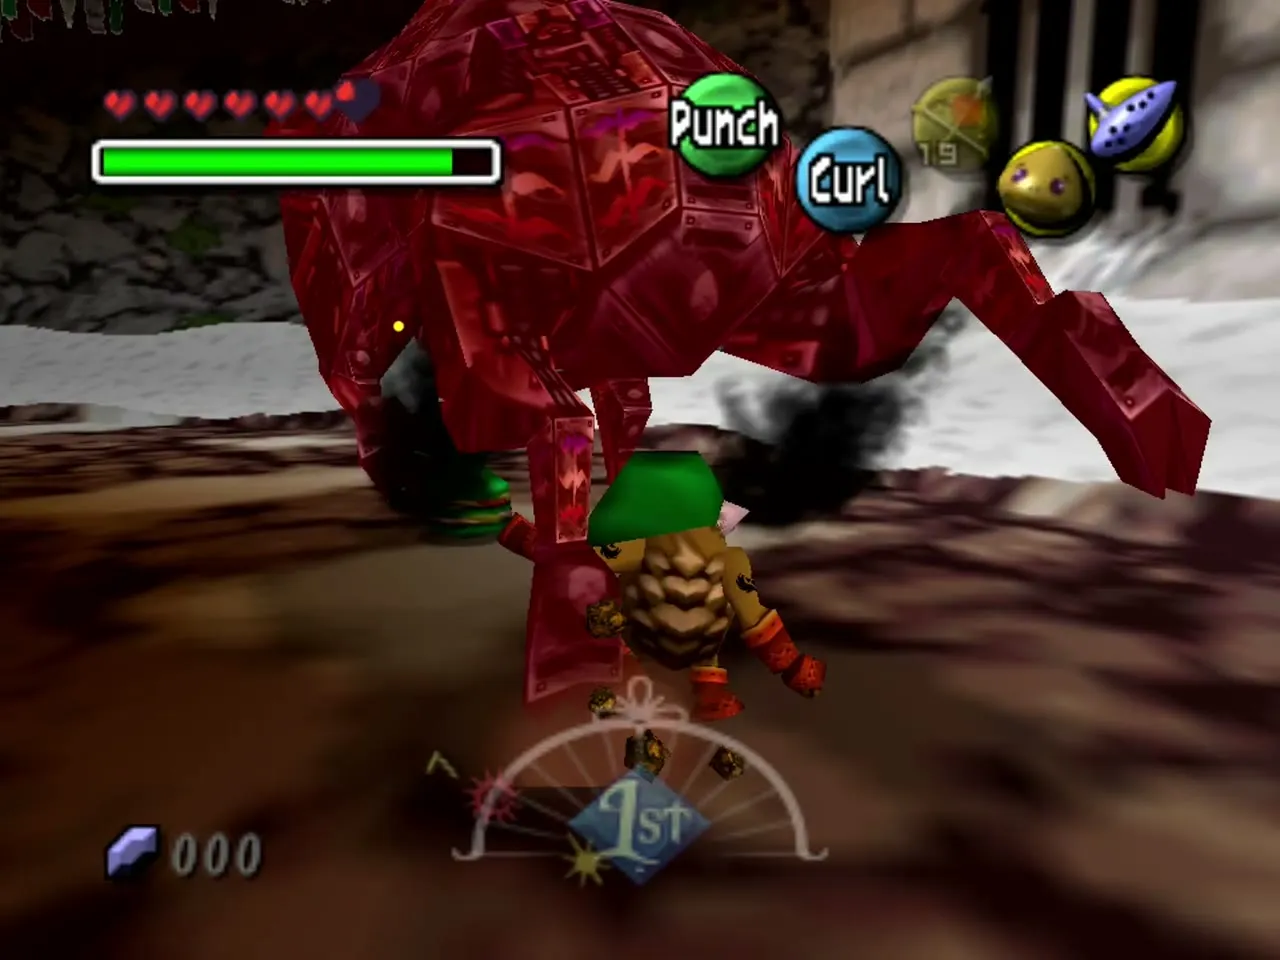
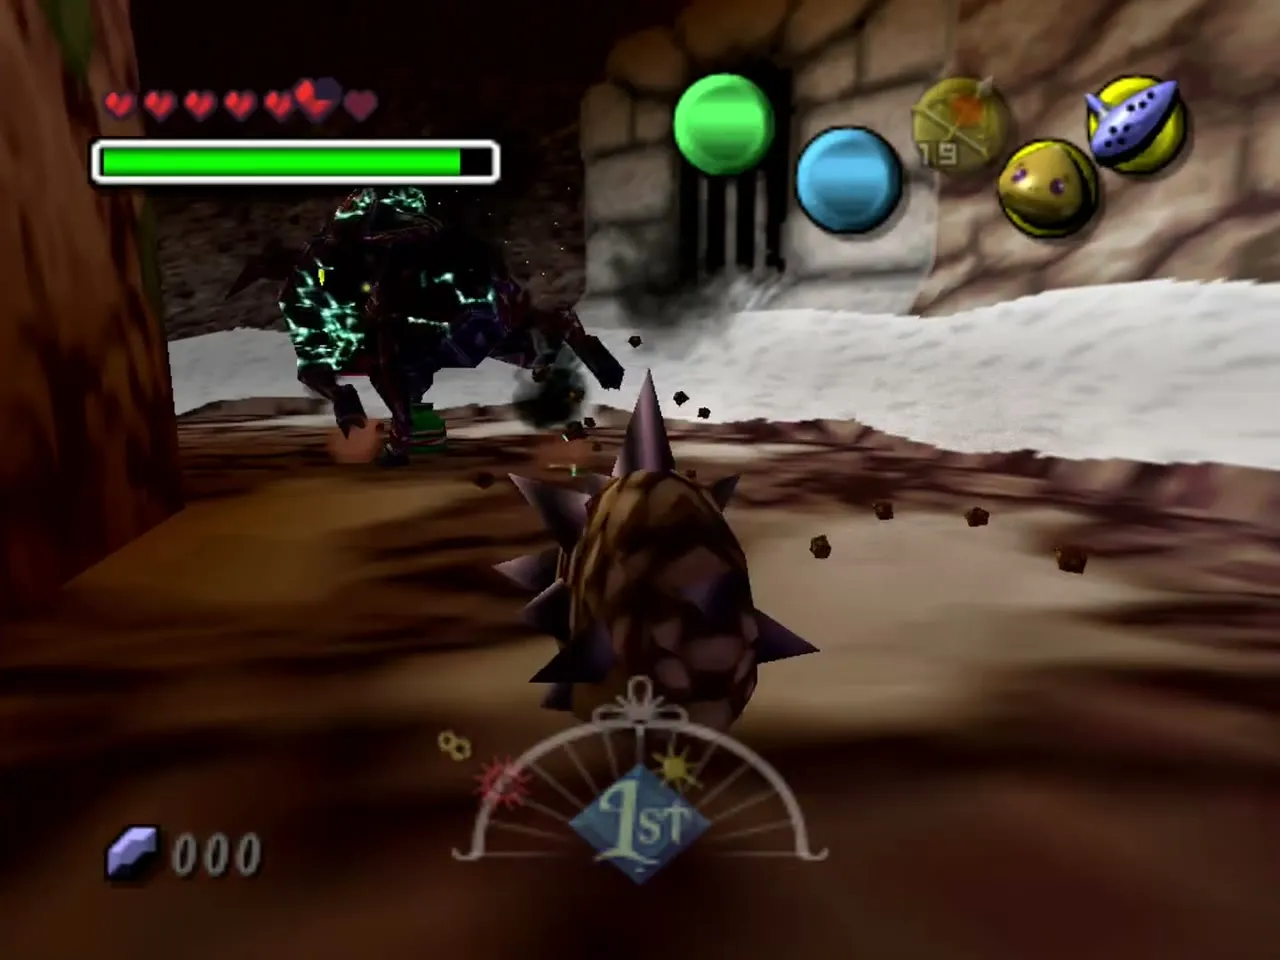
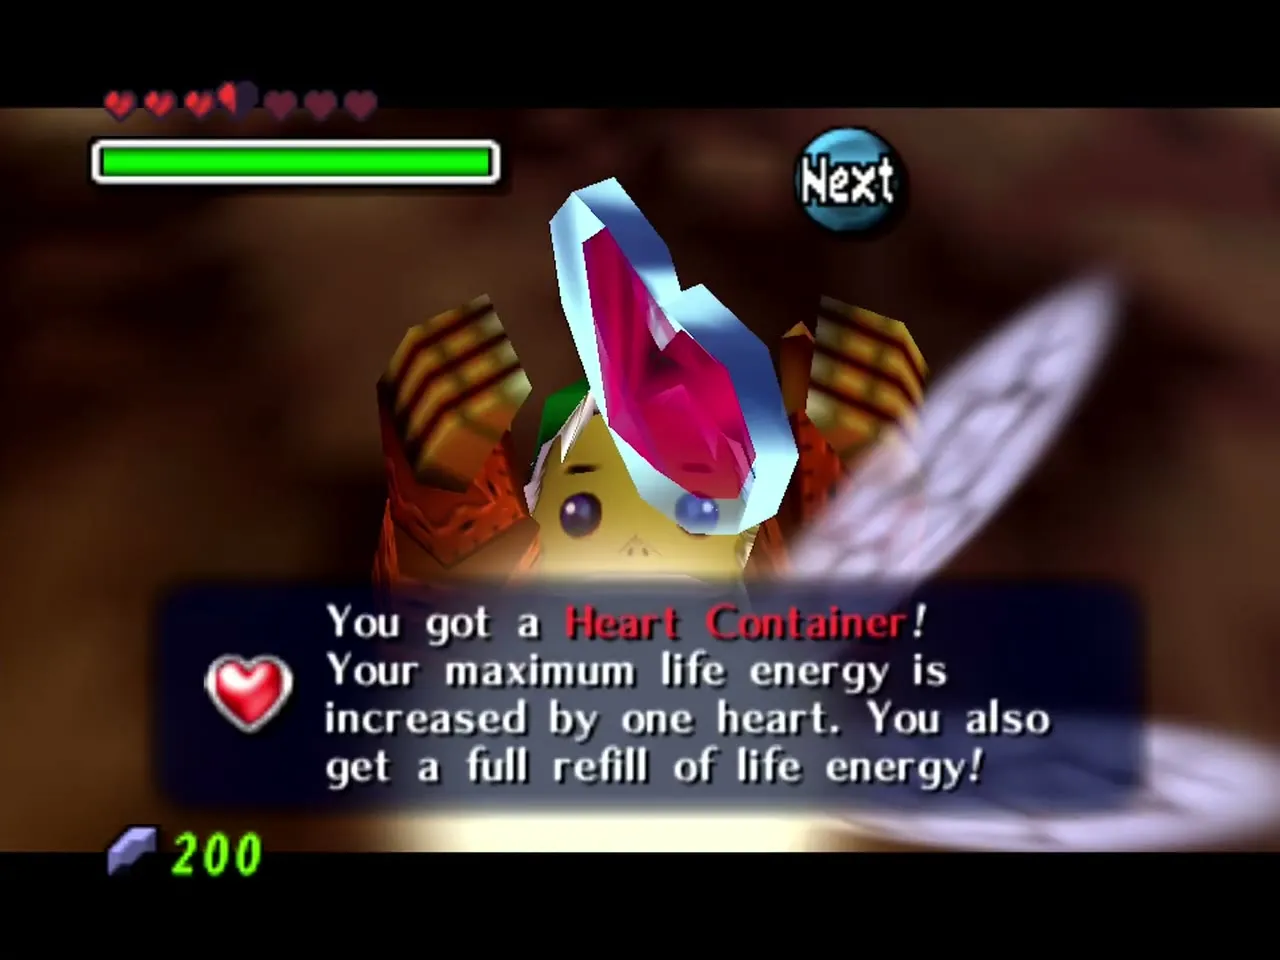
Reward: when it collapses, pick up the Heart Container, then step into the light for Goht’s Remains and the freed spirit. The blizzard ends and spring comes to Mountain Village and the road to Goron Village, where the Goron Race and the Gold Dust bottle become available. The Snowhead region chapter covers the spring tasks.
Pirates’ Fortress: Gerudo Pirate duels
Mini-boss: Gerudo Pirates and Shell Blades
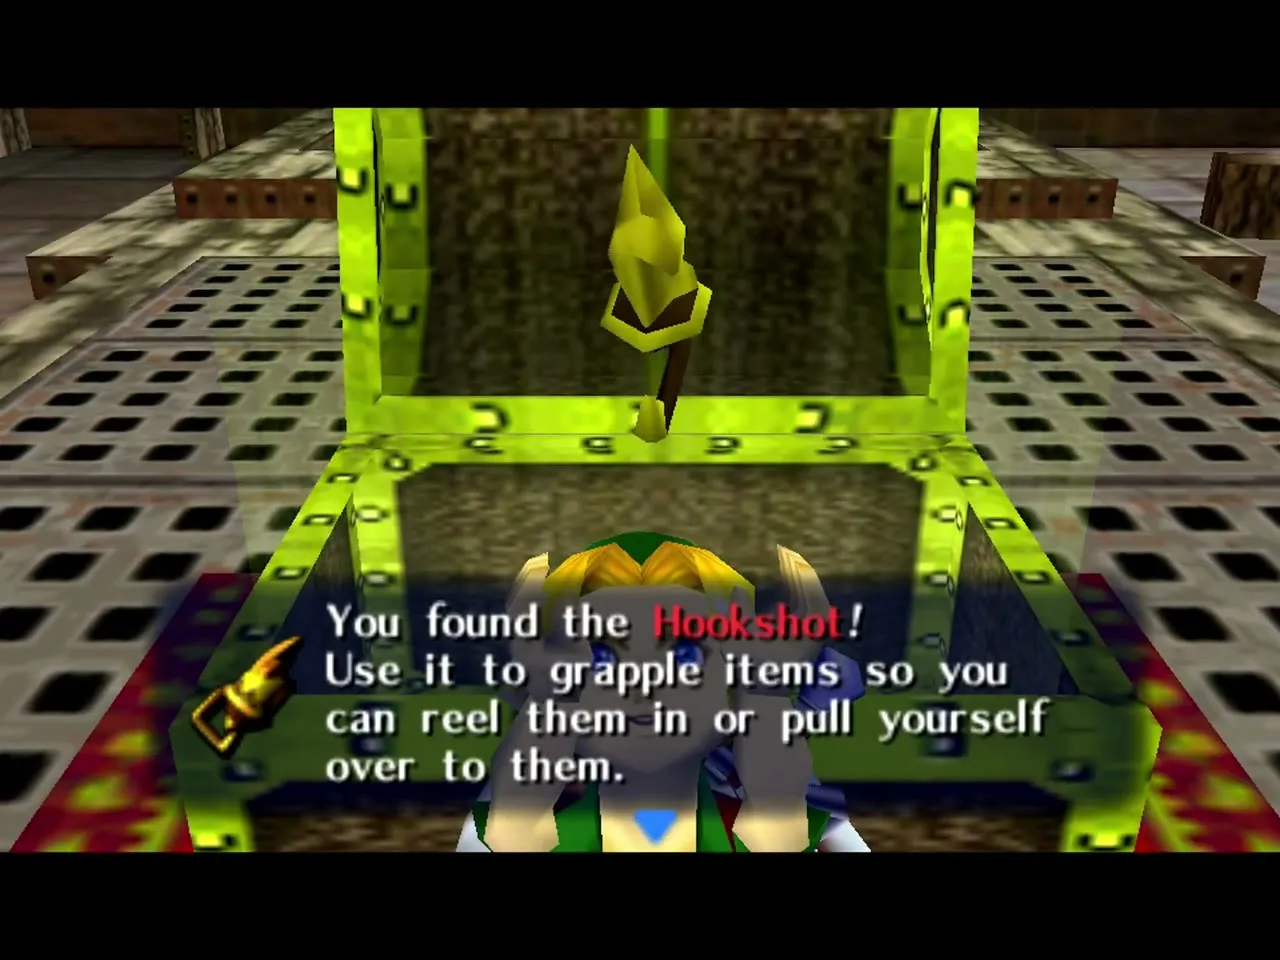
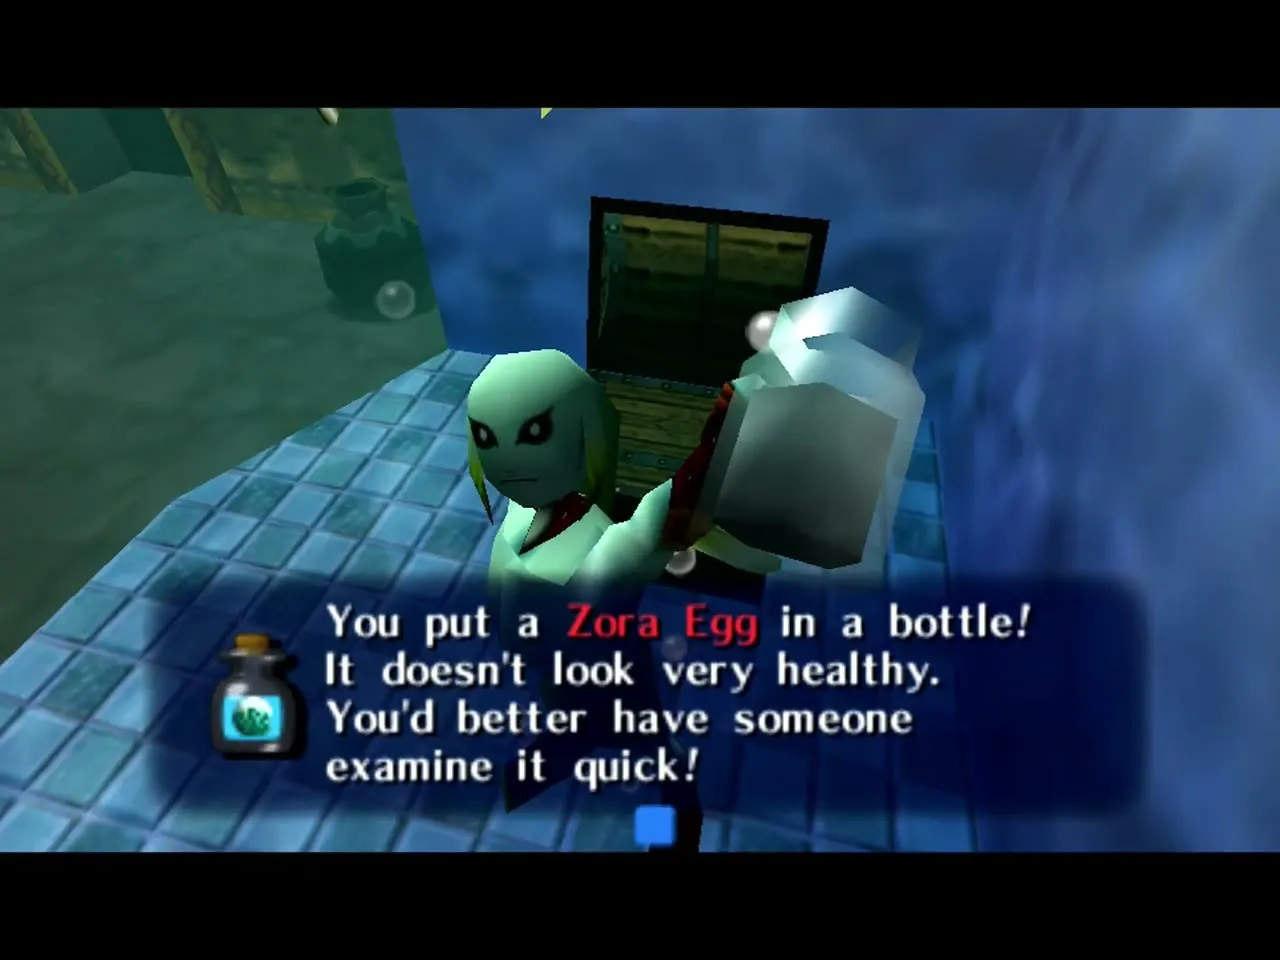
Where: inside the Pirates’ Fortress on the Great Bay coast, which you enter as Zora Link. The guards on the walkways cannot be killed, and anyone who spots you is thrown back outside, so the open parts of the fortress are a stealth section. The real fights happen in rooms behind locked doors, which you reach with the Hookshot once you have taken it from the leader’s chest. Each pirate locks the door behind you and you must beat her to open the way on. You need: the Hookshot, your sword and shield, and the Zora Mask for the tanks afterwards. See the Great Bay region chapter for the whole route.
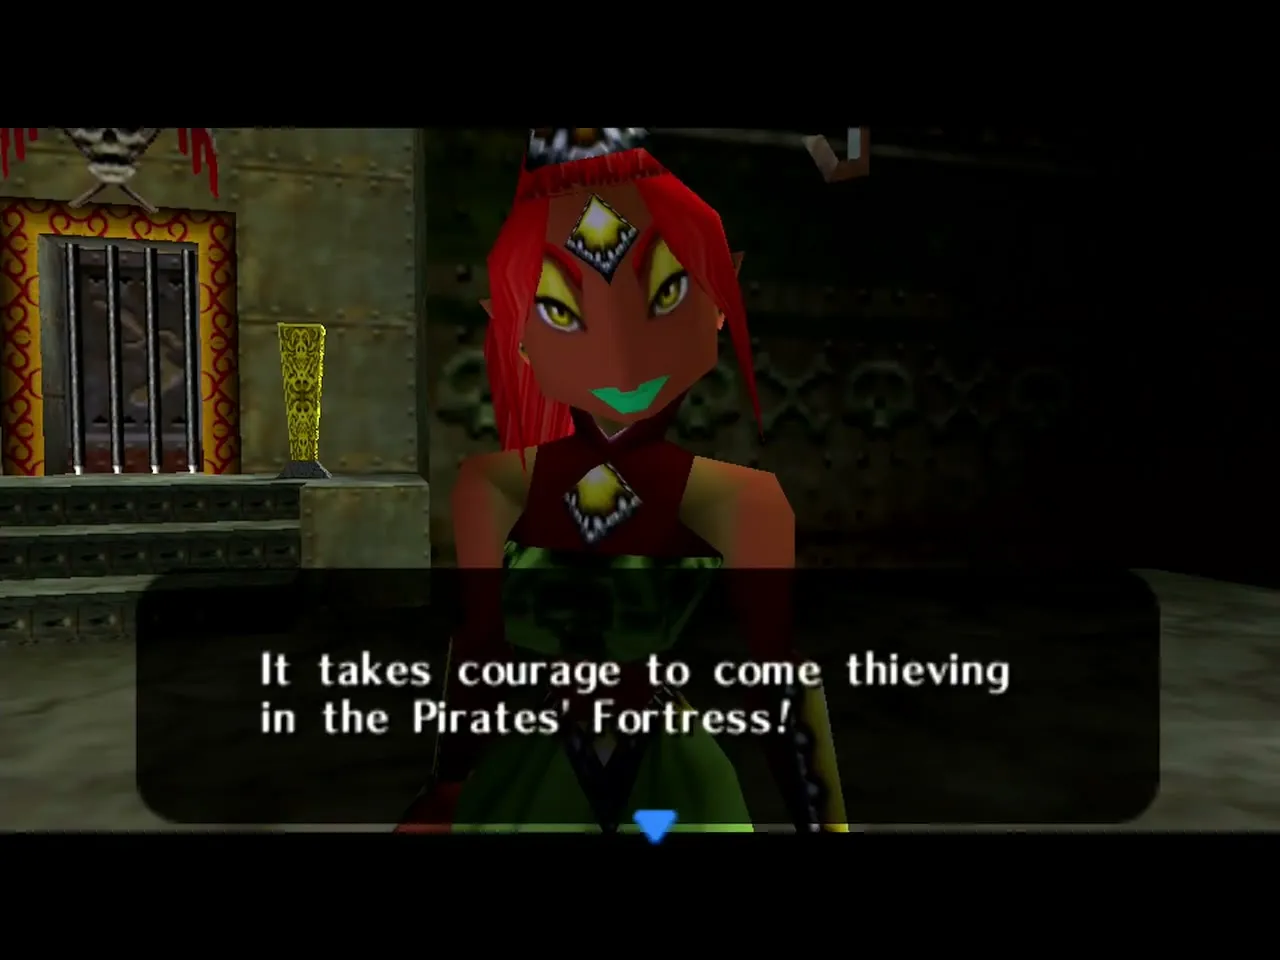
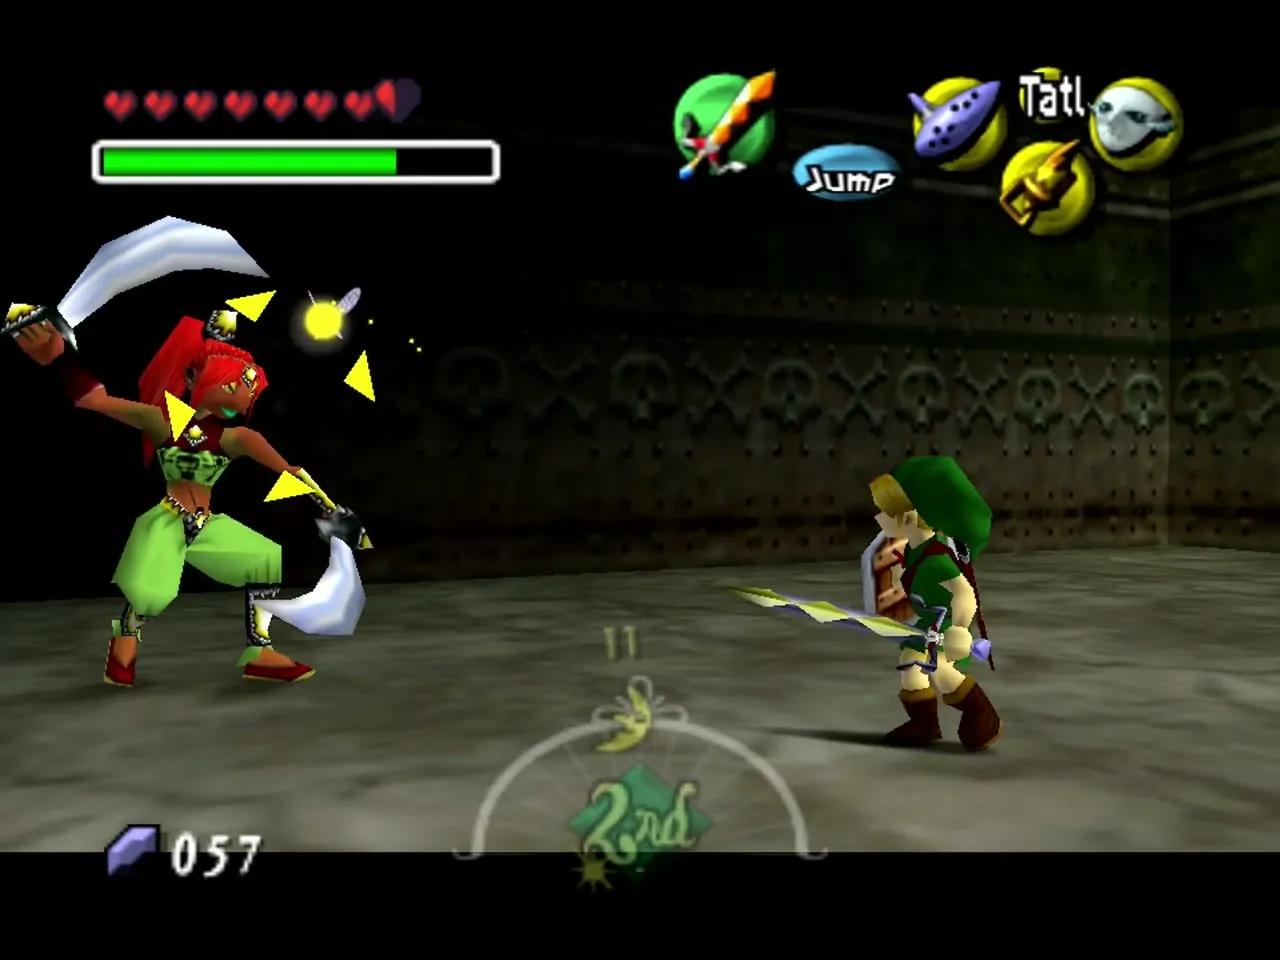
Strategy: the pirate circles you, swinging her sword and making jump attacks, and she can use her two swords to block your slashes. Raise your shield, wait for her to finish an attack and hit her before she can guard again. Do not trade blows blindly: if she knocks you out you are kicked out of the fortress. Reward: the door opens to a tank holding a Zora egg. Hookshot the wooden plank above the water, dive as Zora Link and punch the Shell Blade when it opens its mouth to finish it, then bottle the egg. The last egg is ringed by Desbreko, which you scatter by Hookshotting the biggest one. Take a pictograph of a pirate for the Fisherman while you are there.
Great Bay Temple: Gyorg
Mini-boss: Wart
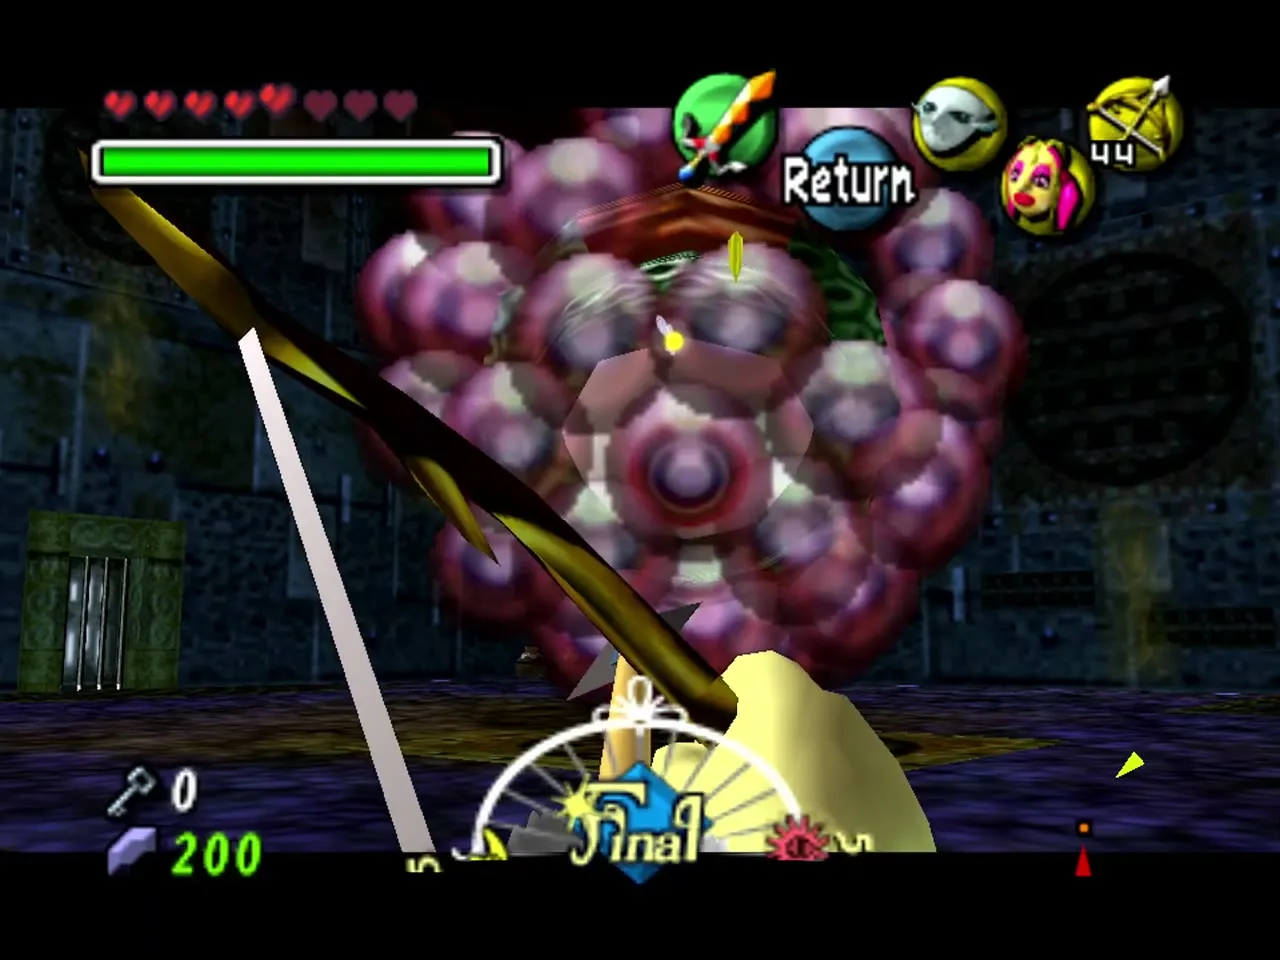
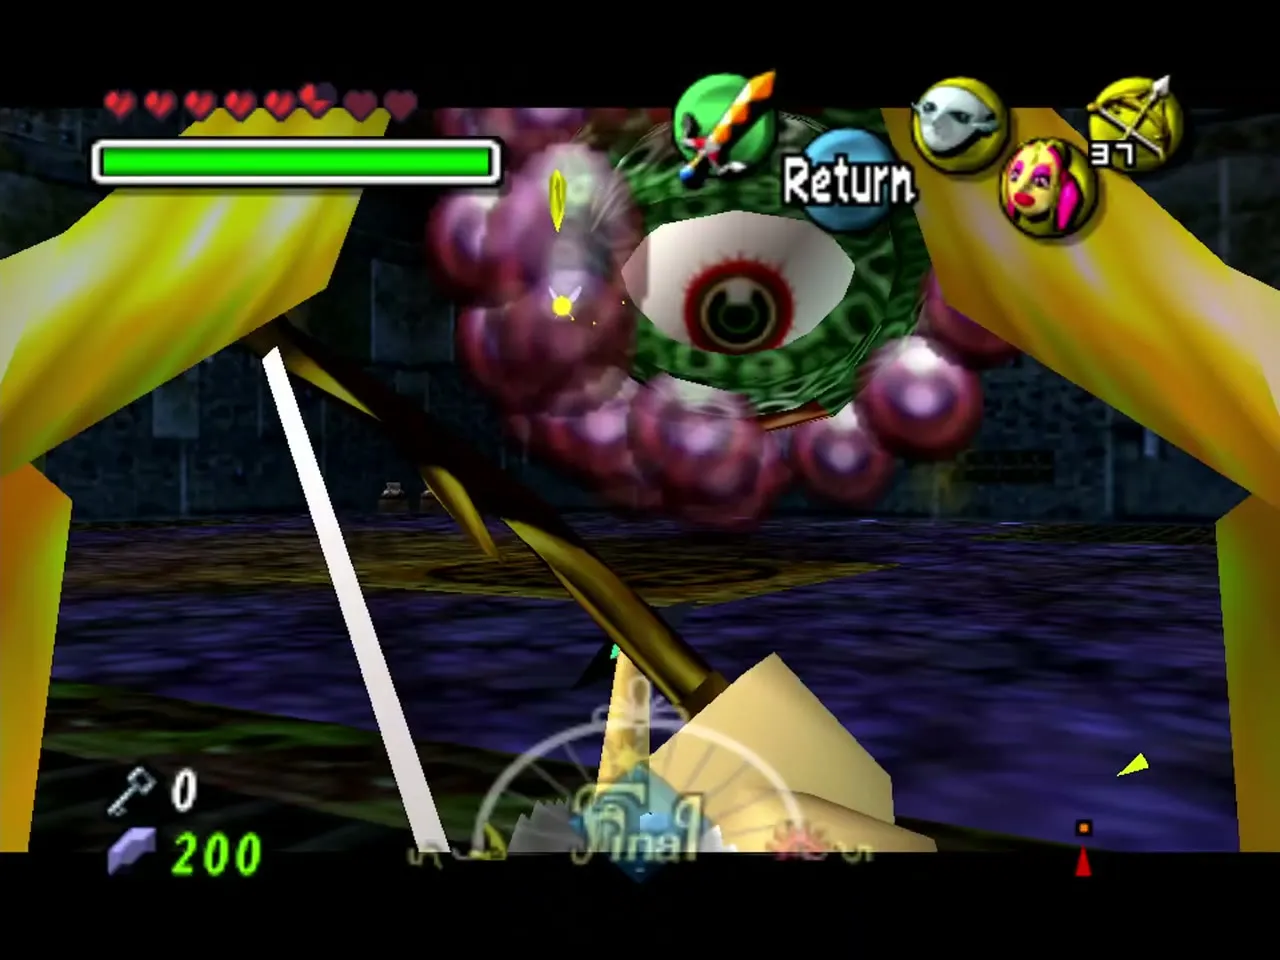
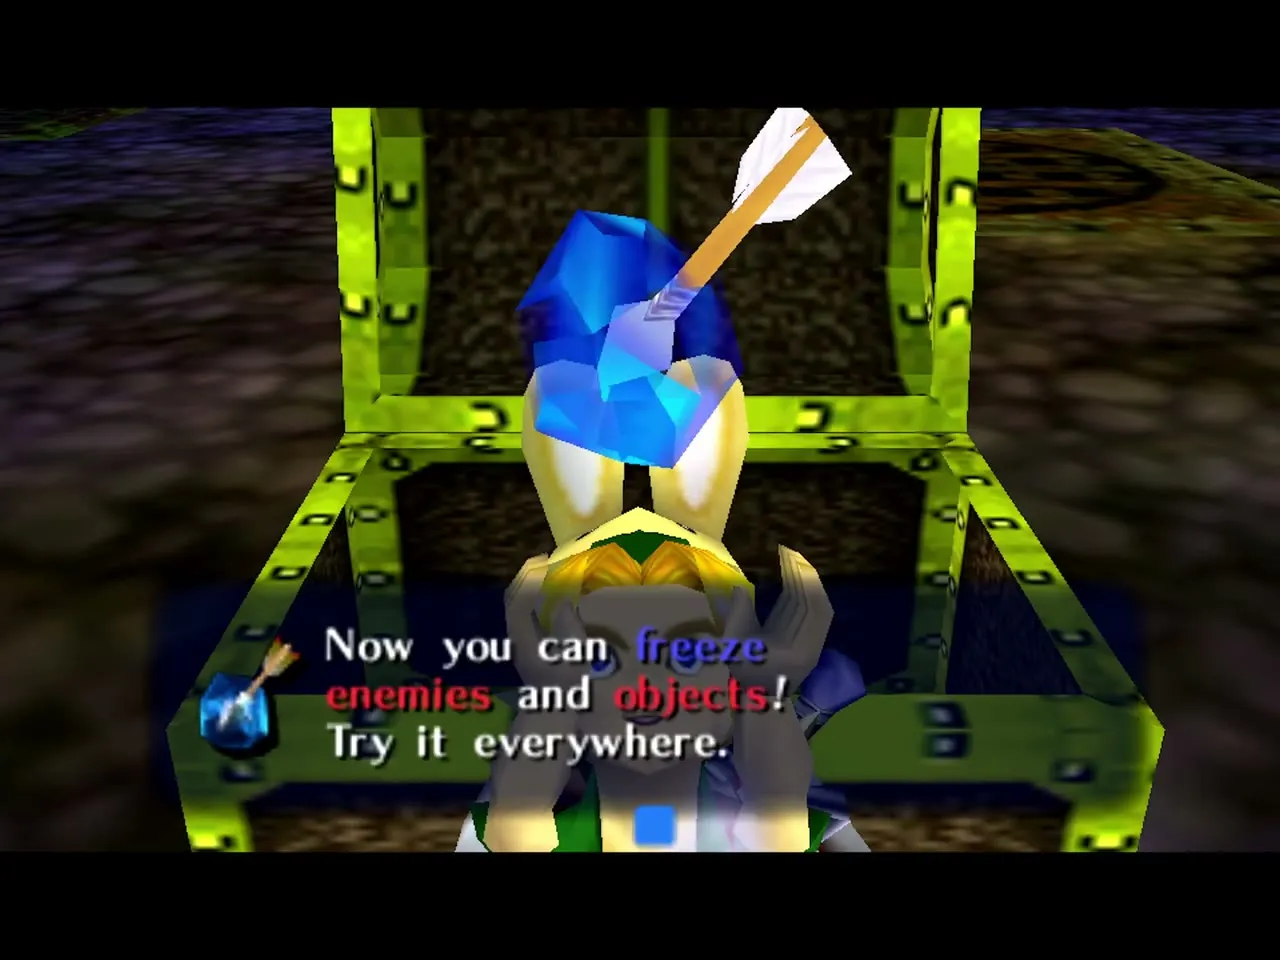
Where: a room in Great Bay Temple, beyond the ChuChu room. Before it is a room of pots and Green ChuChus that respawn a moment after you kill them, so use it to refill arrows and magic. You need: the Hero’s Bow, and the Hookshot, bombs or Deku Nuts to clear its bubbles quickly. Wart hangs from the ceiling, so look straight up to start the fight. Small bubbles with eyes cover its body; knock them off with the Hookshot, a sword swing or arrows (bomb blasts and Deku Nuts clear many at once), and shoot its large central eye whenever you have a clear shot. Once the bubbles are gone, Wart starts to dash at you. Stand in a corner where it cannot reach you and keep shooting its eye when it opens, repeating until it falls. Reward: a chest with the Ice Arrows appears, which you need to freeze water into platforms and to defeat the next mini-boss.
Mini-boss: Gekko
Where: a room off the compass room in Great Bay Temple. You reach it with Ice Arrows and Fire Arrows. You need: Ice Arrows, Fire Arrows, your sword and shield. This Gekko shields itself with a mass of Mad Jelly and flings blobs of it at you, which you can bat away with your sword or shield. Chase Gekko and hit it with your sword, then the jelly gathers into a giant blob and tries to drop on you. Watch the shadow and step out from under it; if the jelly traps you, Gekko attacks until you pop out. While the jelly is gathered, shoot it with an Ice Arrow: it freezes, falls and shatters, leaving Gekko open. Step clear of the falling ice and attack again, and repeat until it is beaten. Reward: the way on opens and leads to the chest with the Boss Key.
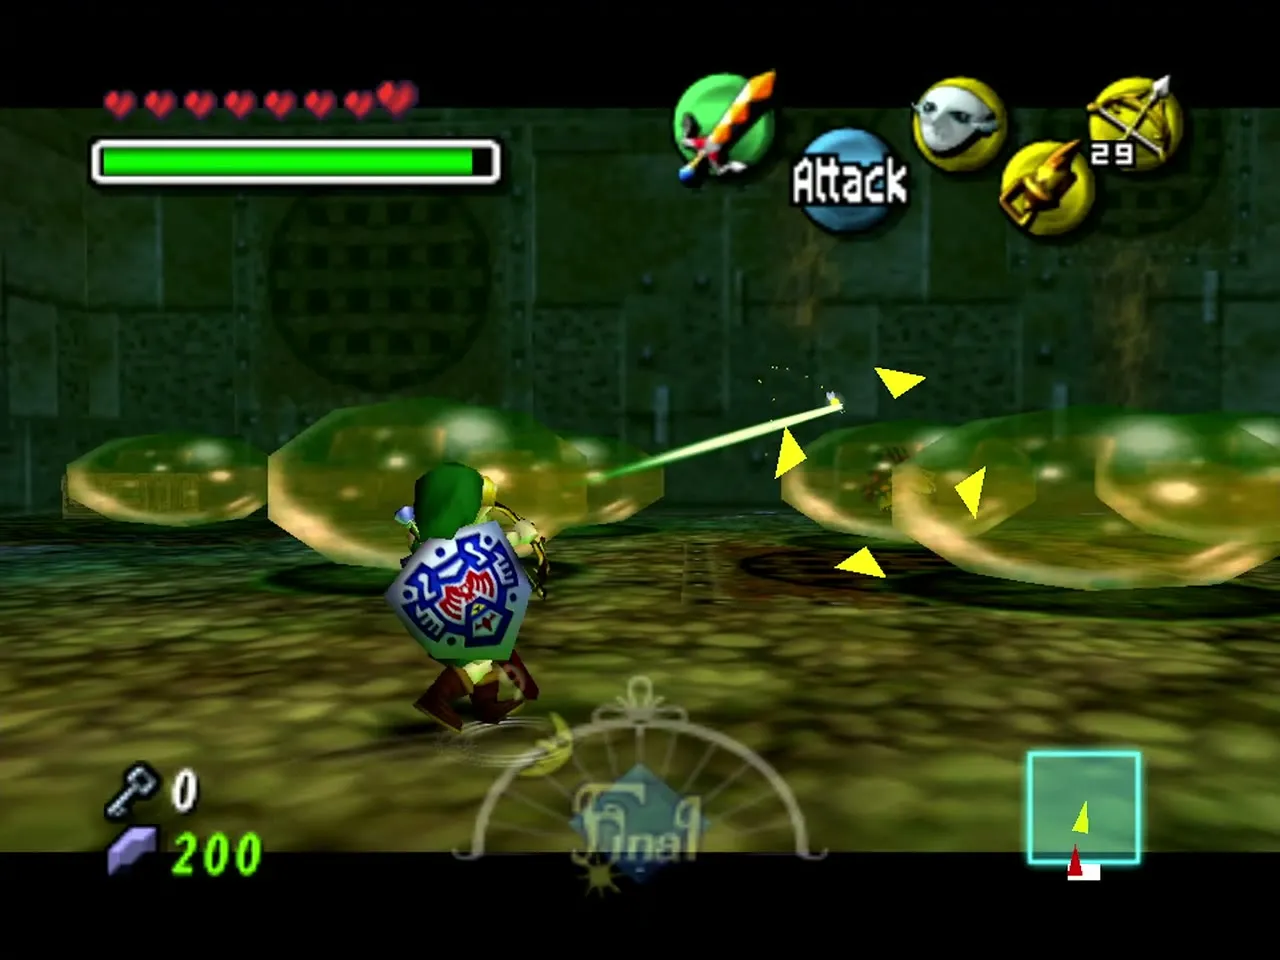
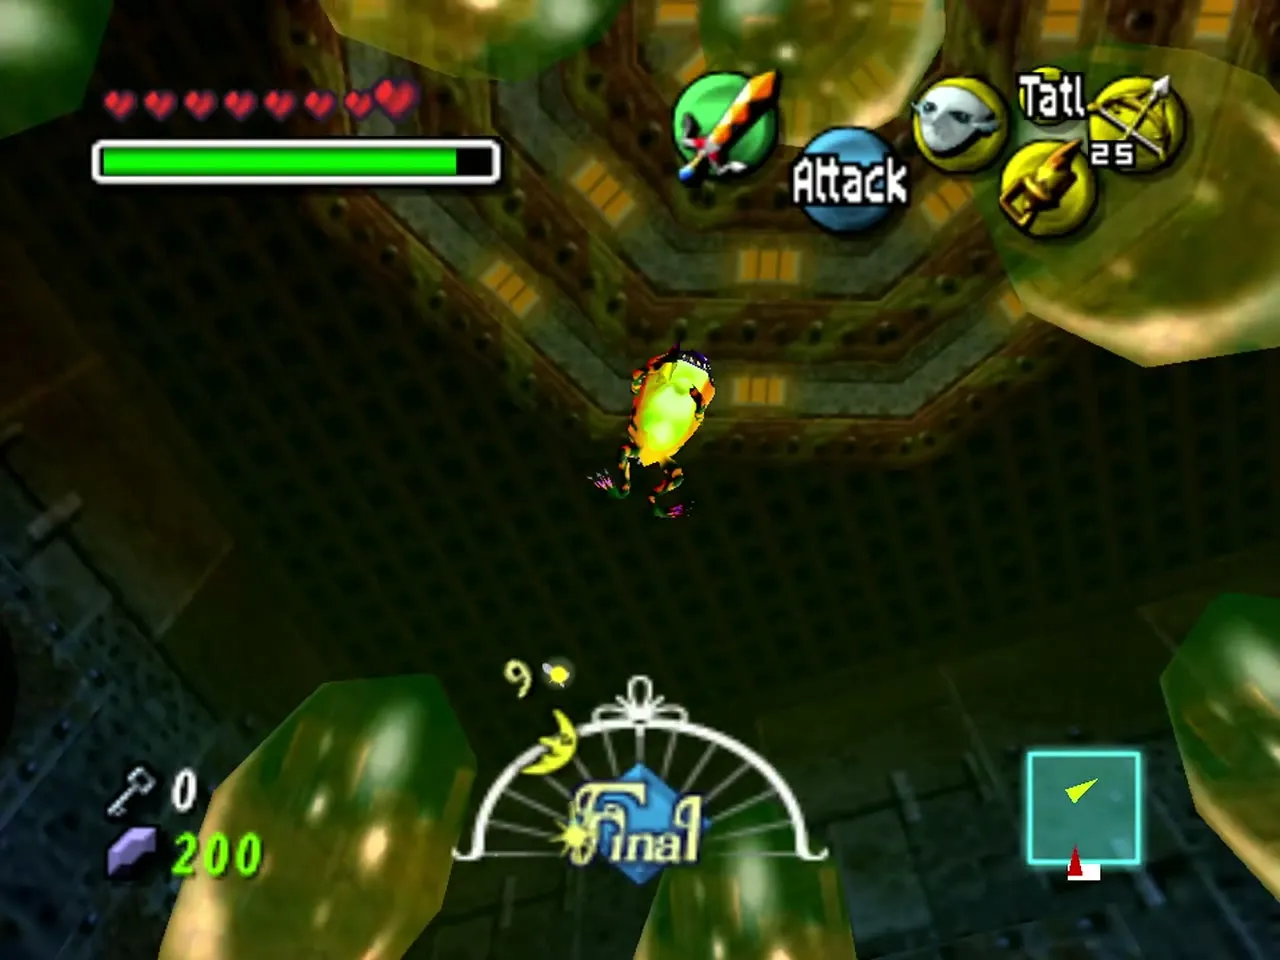

Boss: Gyorg
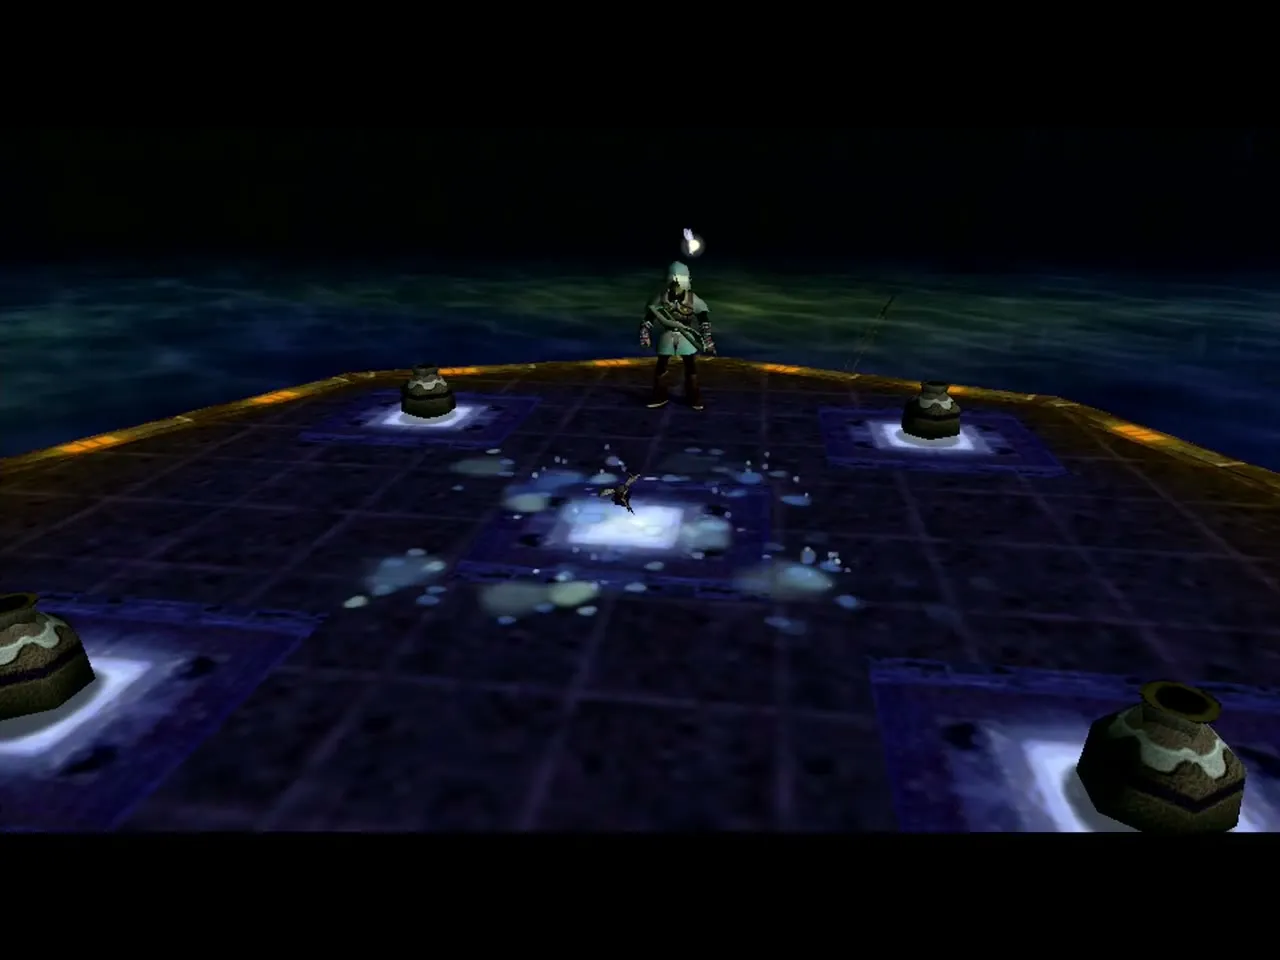
Where: the pool room below the Boss Door of Great Bay Temple. Open the Boss Door with the Boss Key and drop into the pool room beyond. You need: the Zora Mask (electric barrier, fin boomerangs), the Hero’s Bow or Hookshot, and full magic. Gyorg, the Gargantuan Masked Fish, circles a central platform in a large pool. Find it by the bubbles rising to the surface and stay near the middle of the platform. Every so often it rams the platform and makes it shake, which knocks you flat unless you jump backward or sideways at the right moment, and if you stand near the edge you can be shaken into the water. Stay out of the water at first, because Gyorg can swallow and chew you. If you do fall in, change to Zora Link at once and swim back to the platform, jumping out of the water at a steep angle like a dolphin.
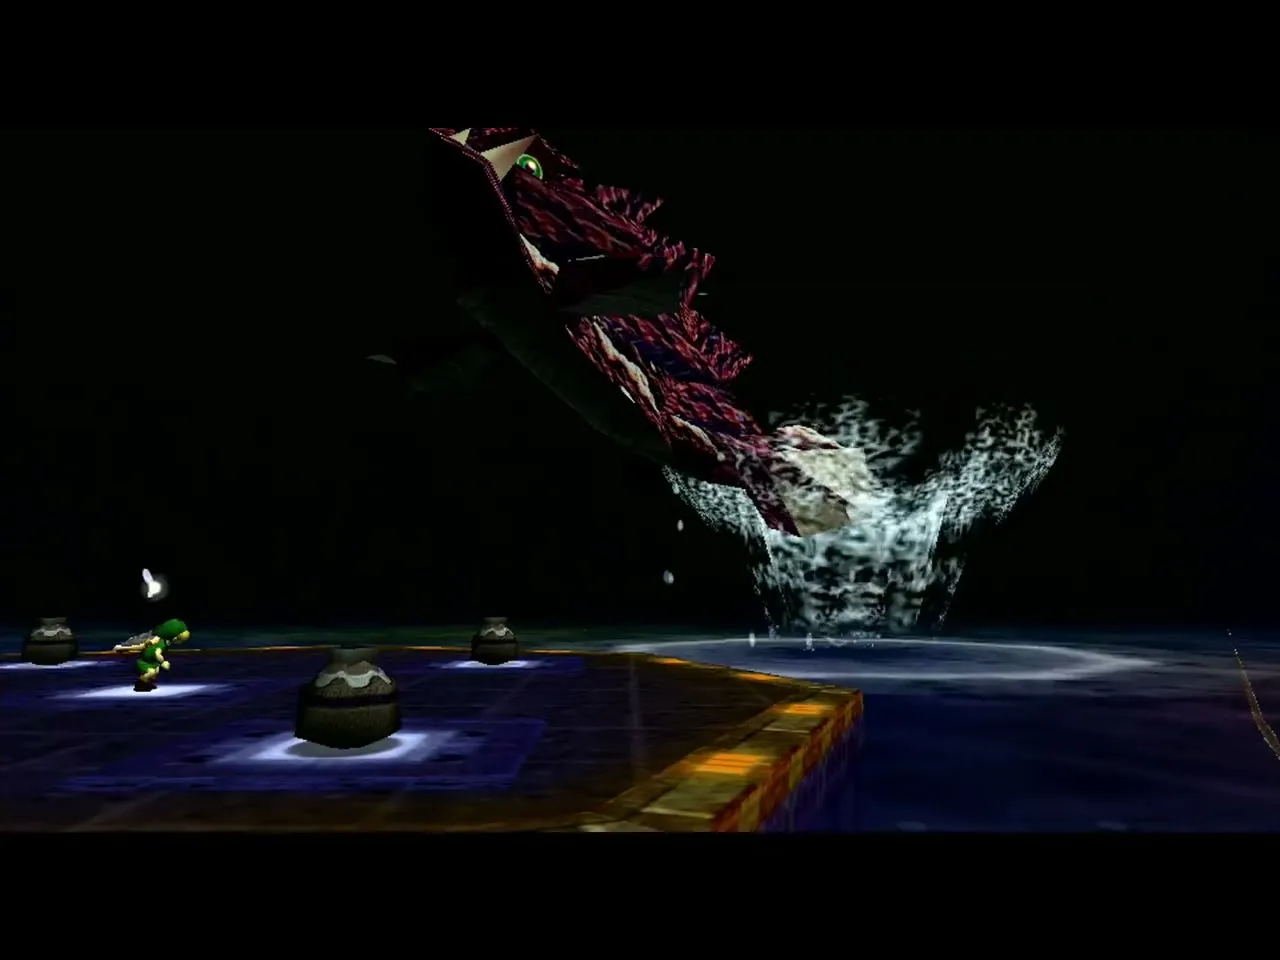
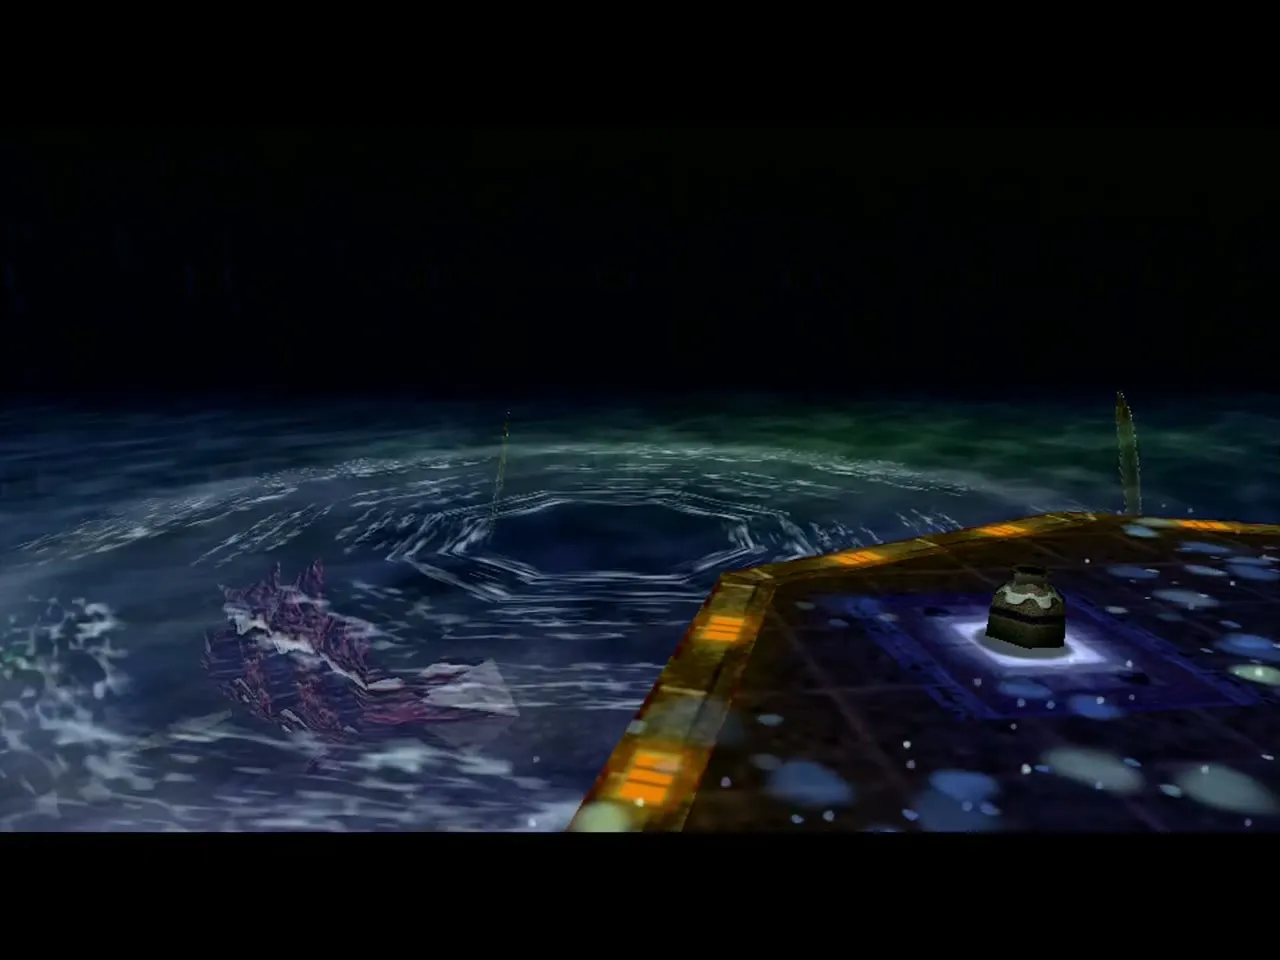
Phase 1, stun and strike: lock on to Gyorg and stun it with an arrow (quickest), the Hookshot or Zora fin boomerangs. While it is stunned, put on the Zora Mask, jump in, hold A to keep swimming and hold R to use the electric barrier on it, then swim straight back to the platform before it recovers. Phase 2, the small fish: after a few hits it spits out a swarm of small Gyorgs. Hold R in the water to clear them with the barrier, which also leaves hearts. Then repeat the stun and strike cycle until it falls.
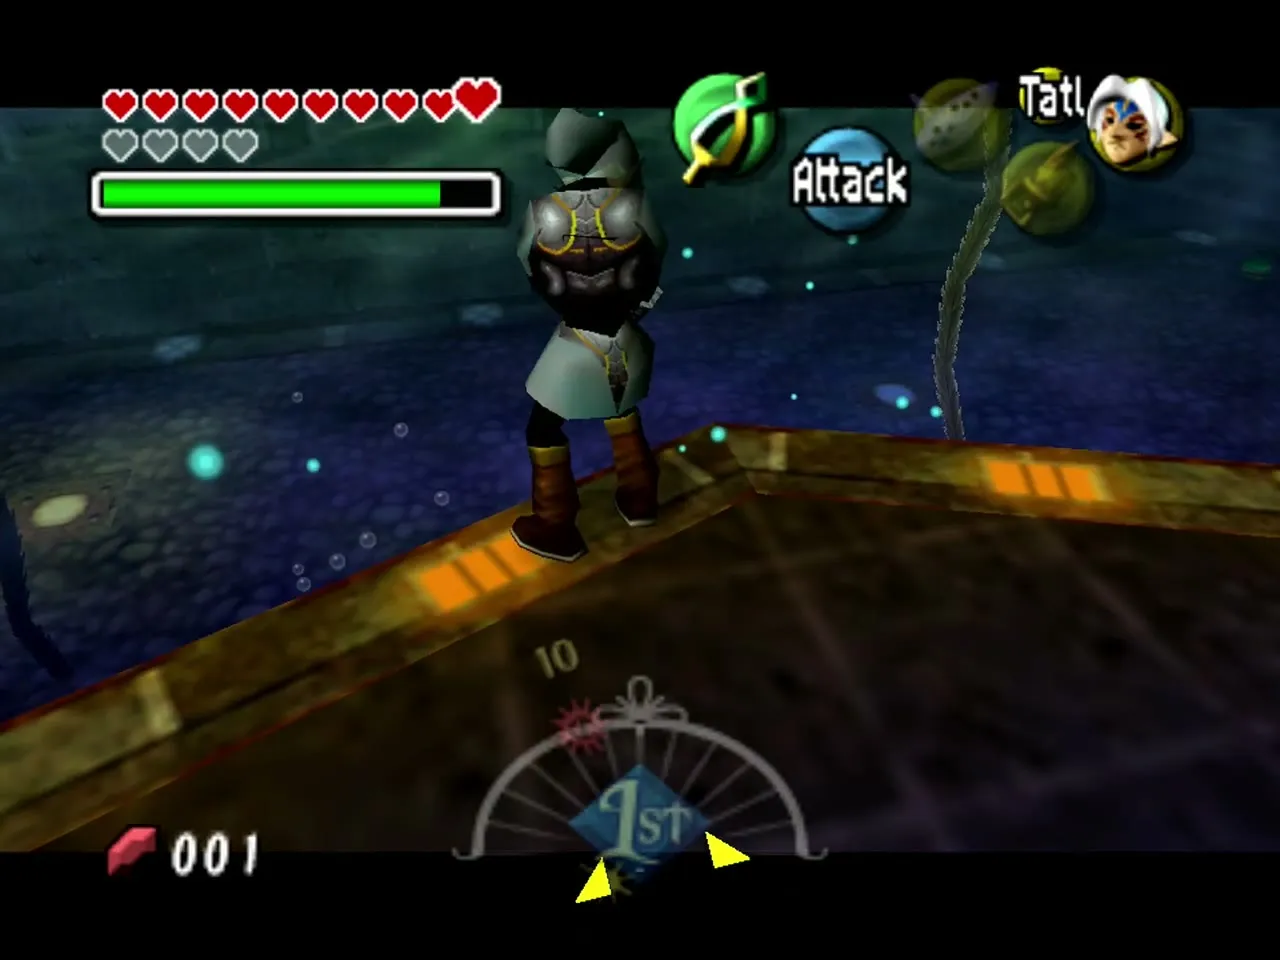
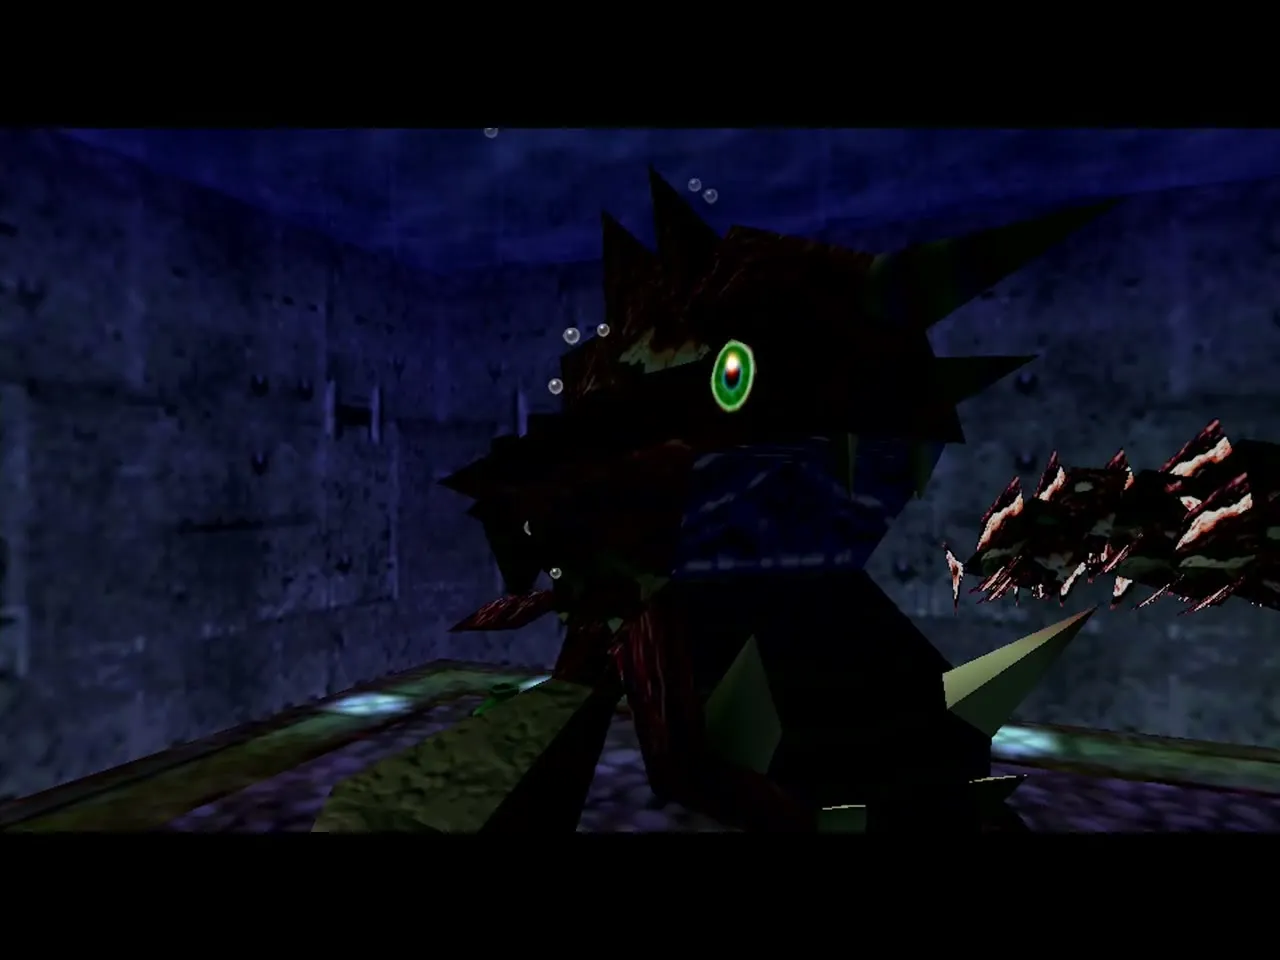
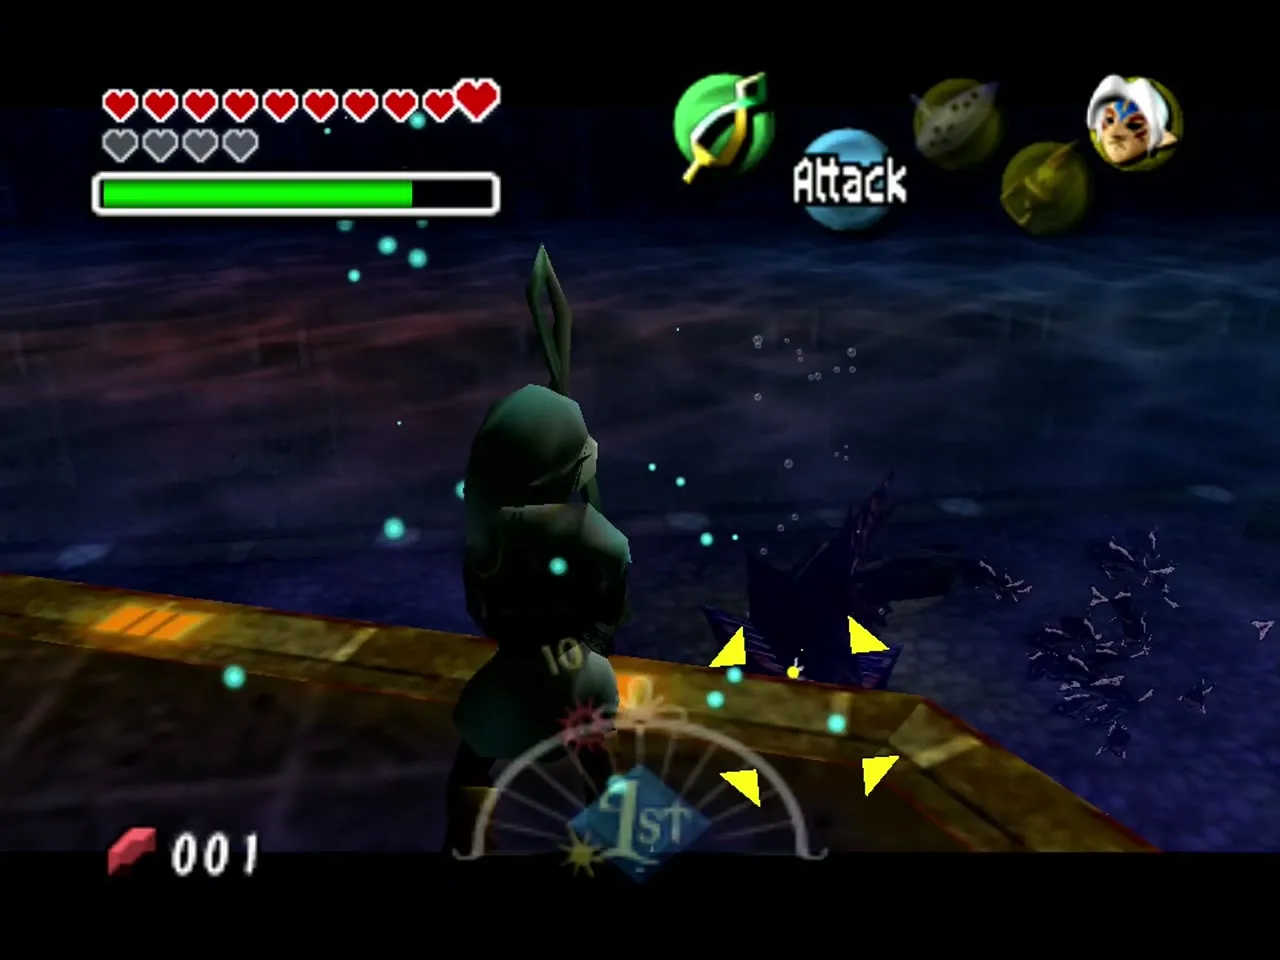
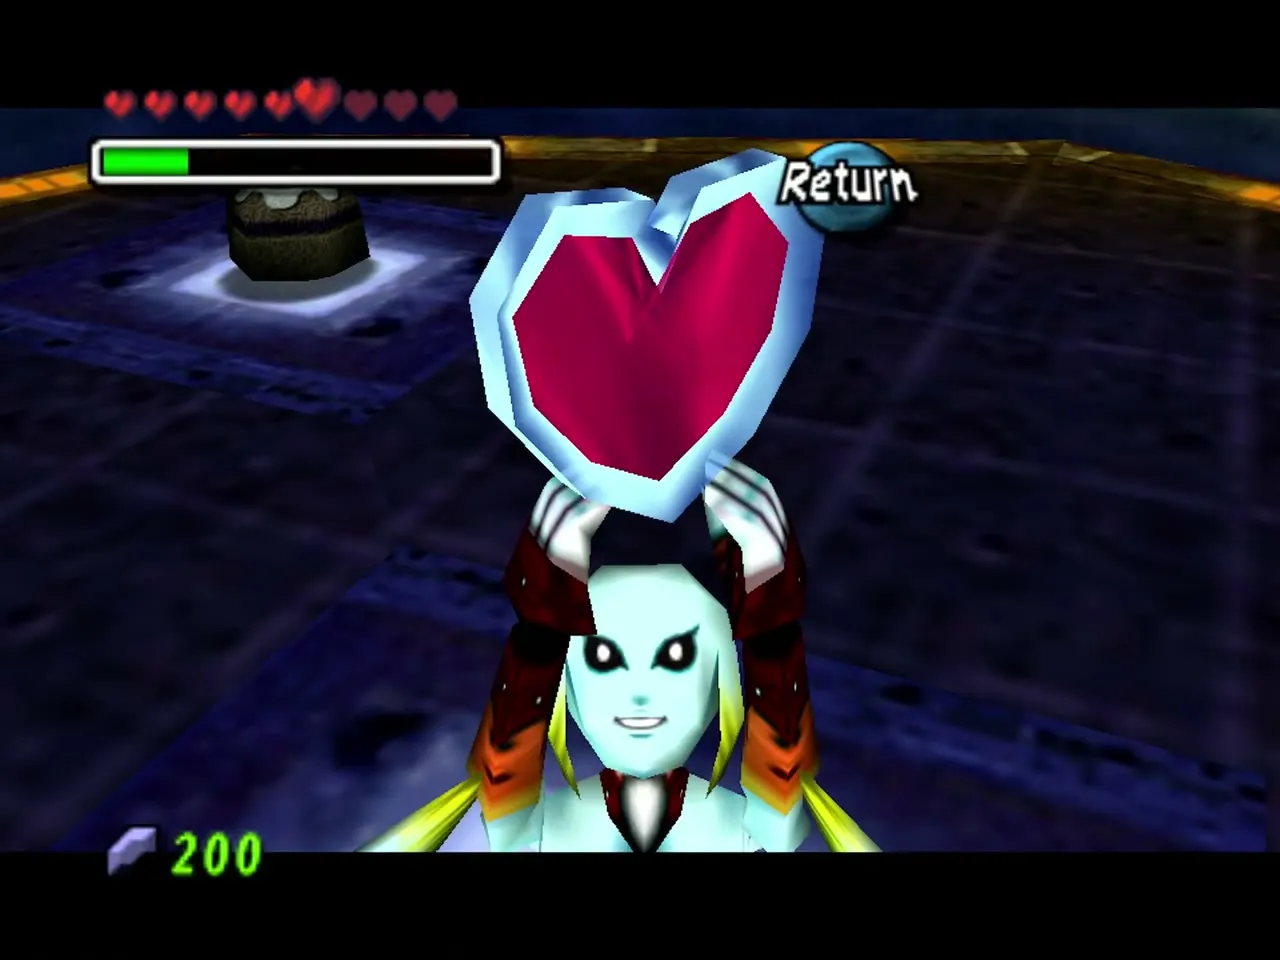
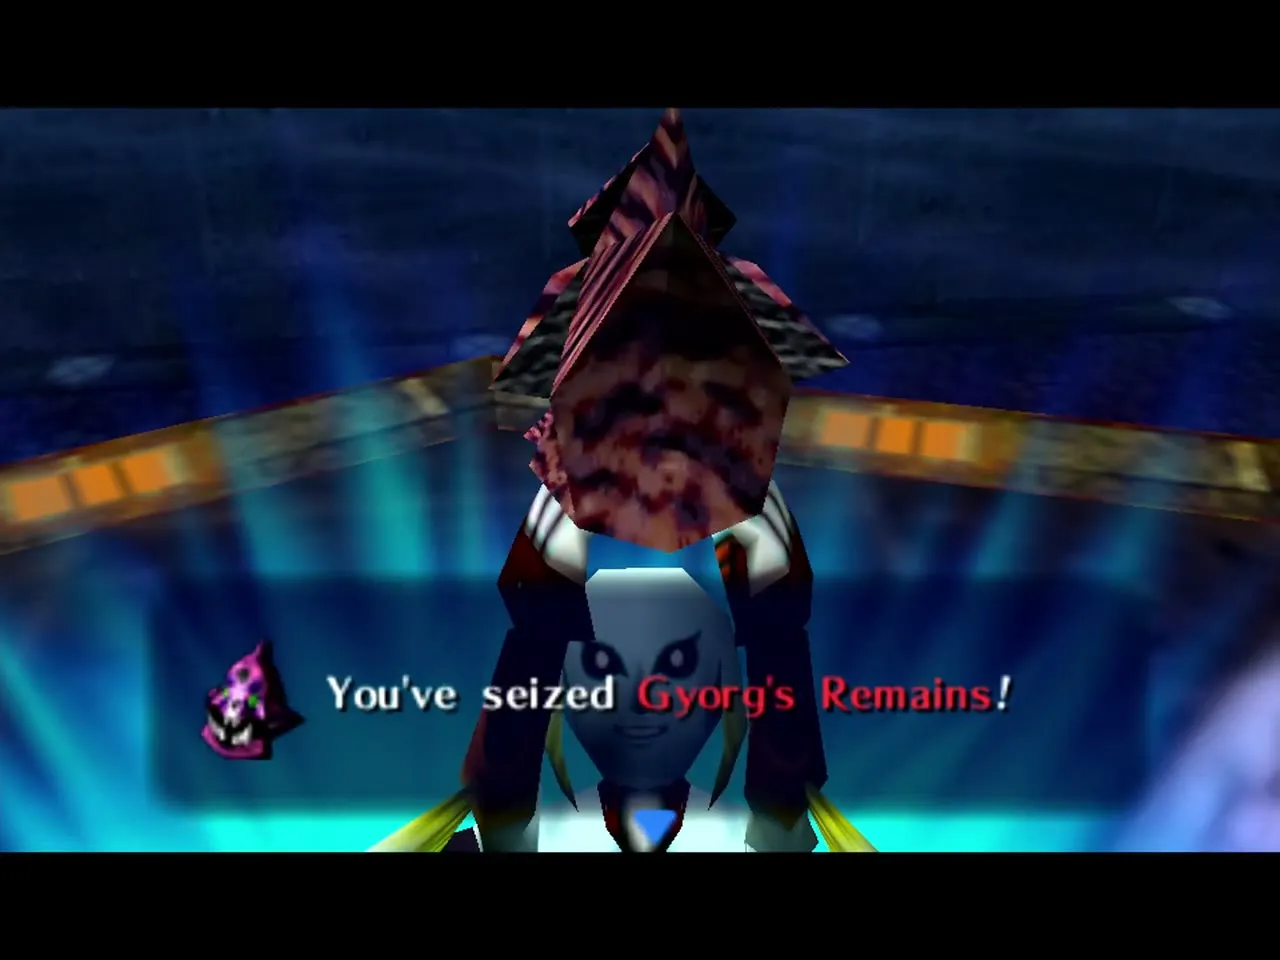
Reward: take the Heart Container and step into the light for Gyorg’s Remains. The giant turtle then drops you at Zora Cape and the Giant is freed. With all 15 Stray Fairies you can then visit the Great Fairy of Courage on a small islet off the Zora Cape beach, who gives you Double Defense, as the temple chapter explains.
Stone Tower Temple: Twinmold
Mini-boss: Garo Master
Where: the first big fight in Stone Tower Temple, while the temple is still upright. You need: your sword and shield; the Bunny Hood is a good idea. The Garo Master attacks with flaming swords and charges at you. Sidestep each charge and hit it while it stands there searching for you. Shielding and countering does not work on it as it does on ordinary Garo. If it vanishes, run: it is about to drop from the ceiling, so watch its shadow when it jumps and strike its back after it lands. It explodes when it falls, so back off. Reward: a chest opens in the middle of the room with the Light Arrows. Those arrows are also what flip the whole temple upside down.
Mini-boss: Eyegore (two)
Where and what you need: both are in Stone Tower Temple and both need the Hero’s Bow. The first Eyegore guards the bridge over the pool, south of the Light Arrow room. Provoke it with an arrow, back away from the rocks it throws, and shoot it when it opens its eye. Repeat until it falls and a chest gives Stray Fairy 7. The second Eyegore, in the inverted part of the temple, fires lasers from its eye, so stand near the edges of the bridge, out of the beams, and beat it the same way (a Light Arrow works too). Reward: its chest holds the Giant’s Mask, which you need for Twinmold and can only wear in the boss room.
Mini-boss: Gomess
Where: the inverted part of Stone Tower Temple, in the room that guards the way to the Boss Key. You need: Light Arrows, your shield and your sword; the Zora Mask helps against the Keese. Gomess is a scythe-wielding bat lord, and Keese surround him, so hit him with a Light Arrow first to scatter them. Keep your shield raised against his scythe swings, and when the glowing orb in his body shows, run up and strike it with your sword, then raise your shield again at once against his counterattack. Repeat arrow, guard, strike and guard until he falls. Reward: the next door opens and a chest holds the Boss Key.
Mini-boss: Wizzrobe
Where: the room after the block puzzle in the inverted Stone Tower Temple. You need: the Hero’s Bow, the Hookshot and the Bunny Hood if you want to dodge. It fights like the Snowhead Wizzrobes. Stay near the middle and shoot it each time it appears; it can also show up on the upper levels, so look around, and Light Arrows are a good answer for those. When it splits, aim at the copy that is dancing. Reward: it leaves a chest holding Stray Fairy 11, which you reach with the Hookshot.

Boss: Twinmold
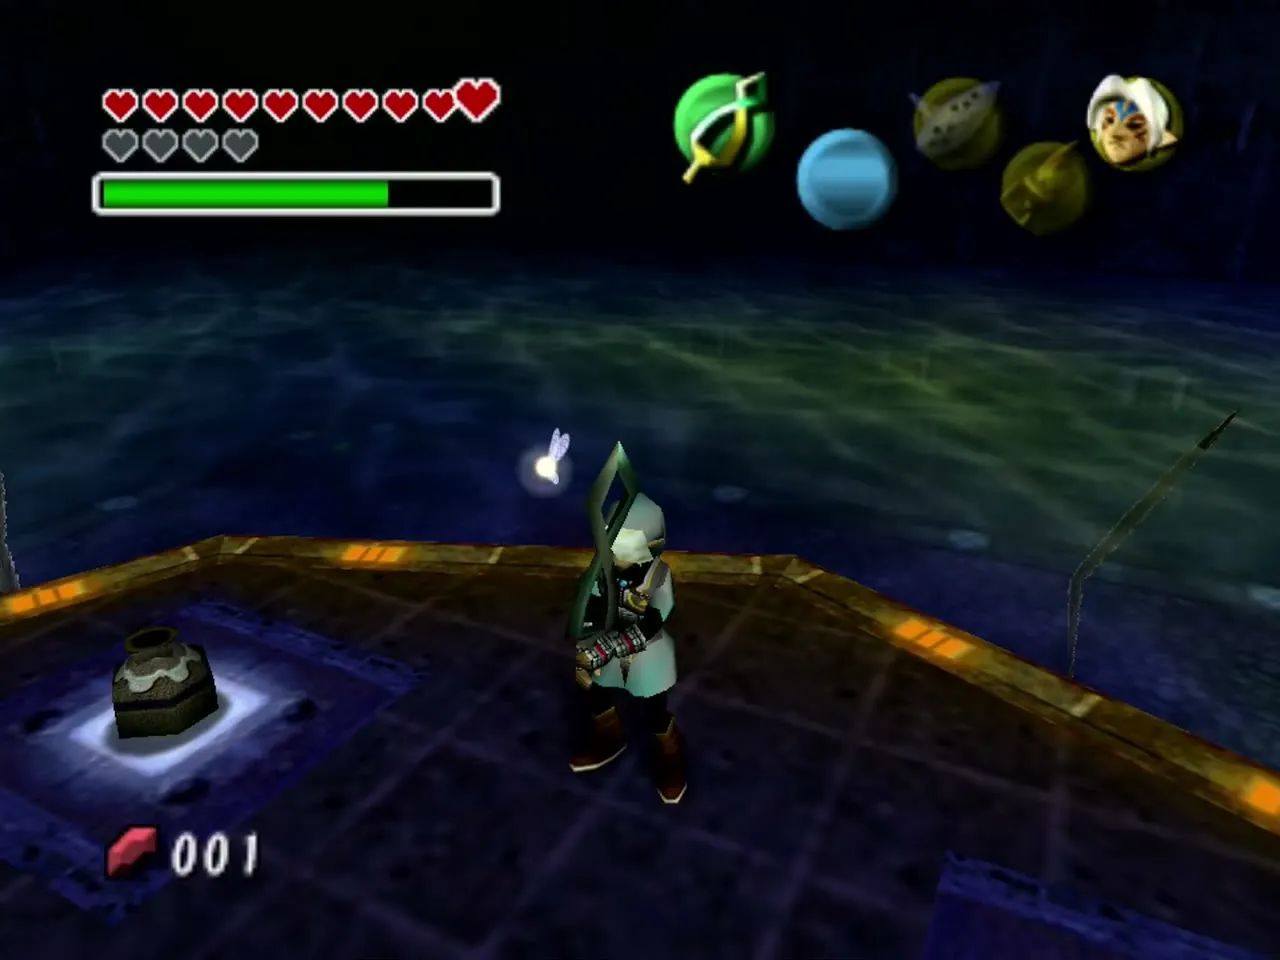
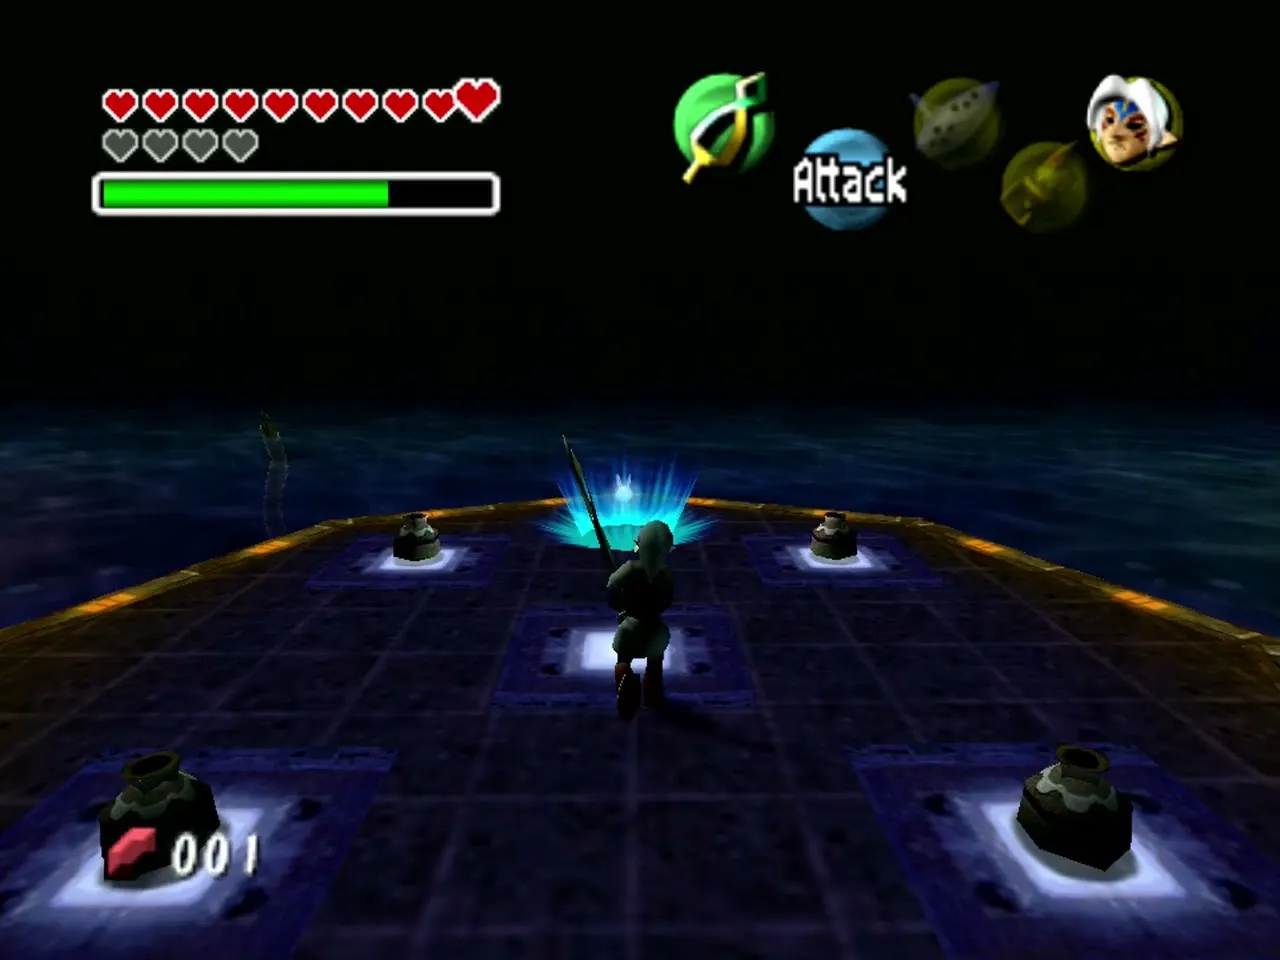
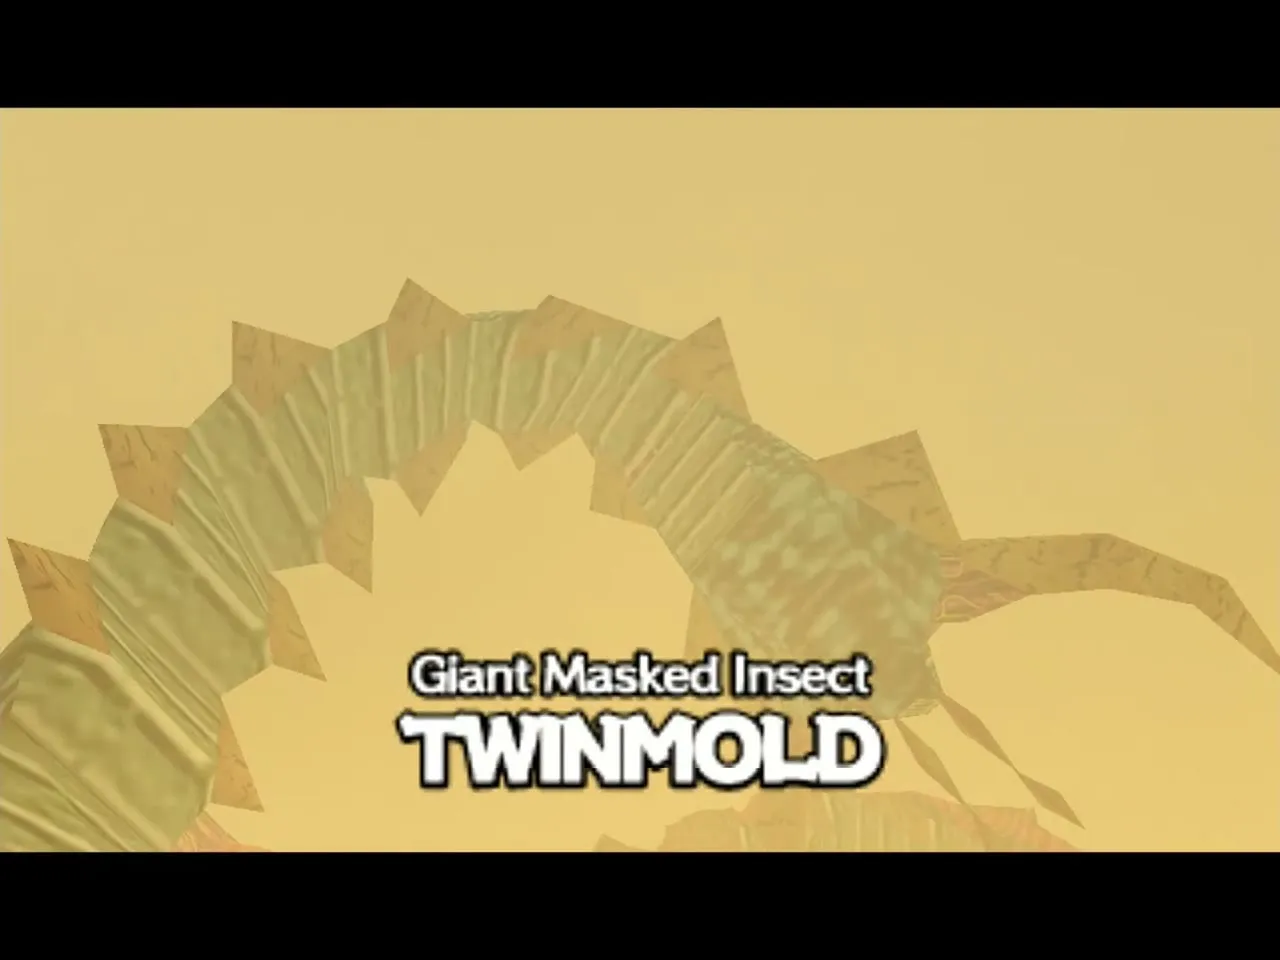
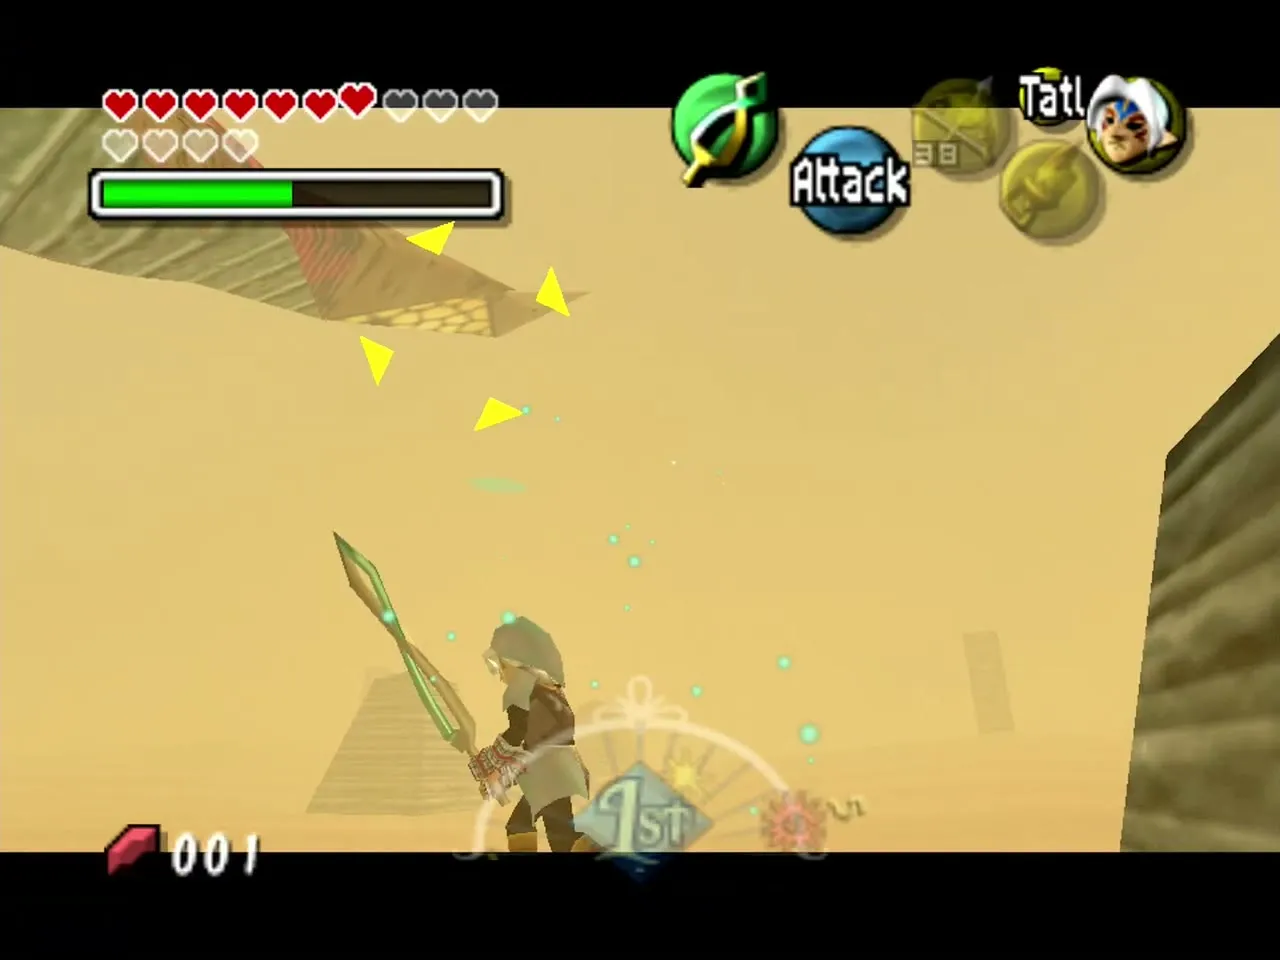
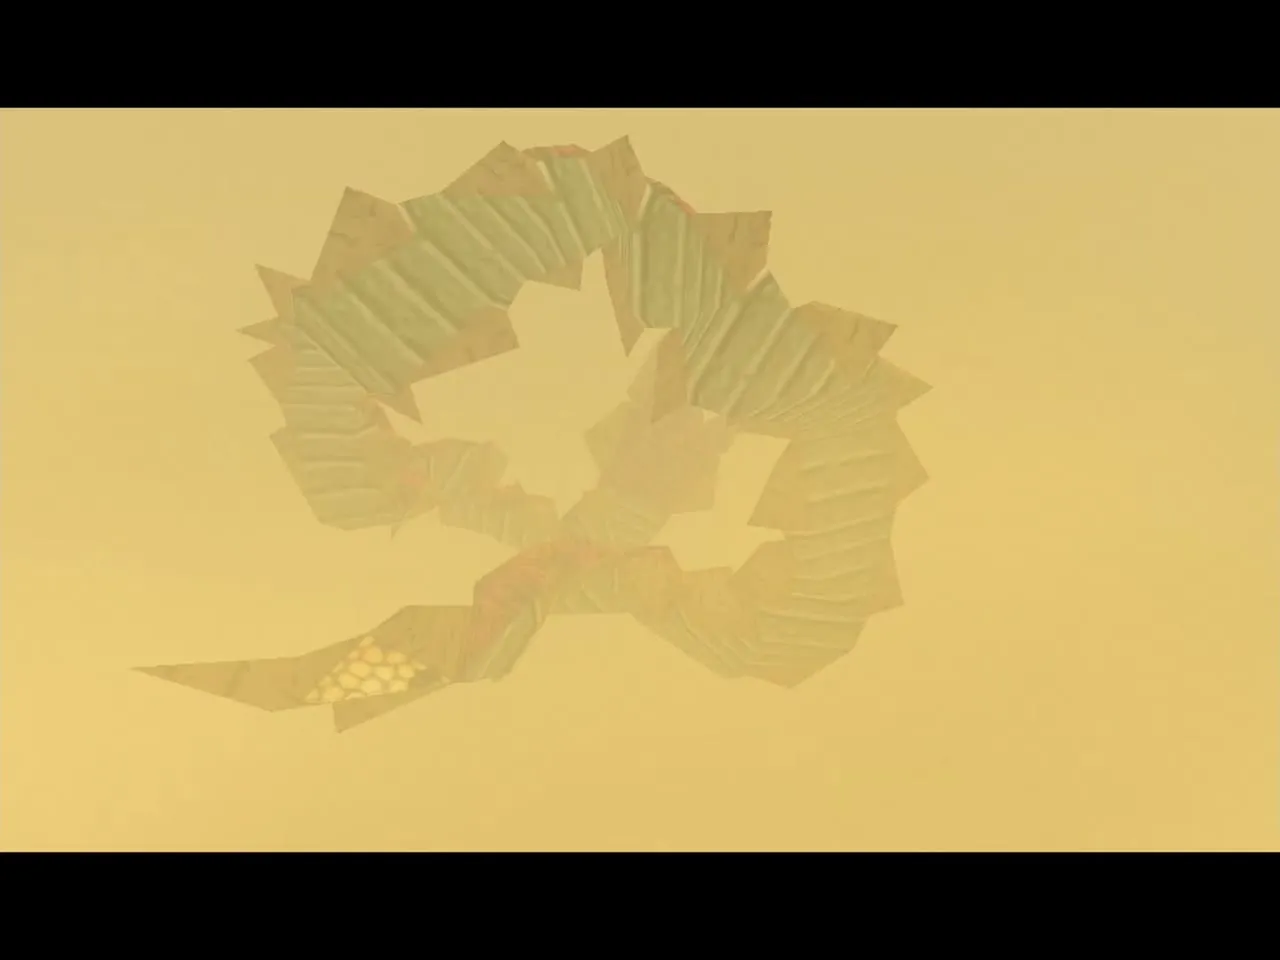
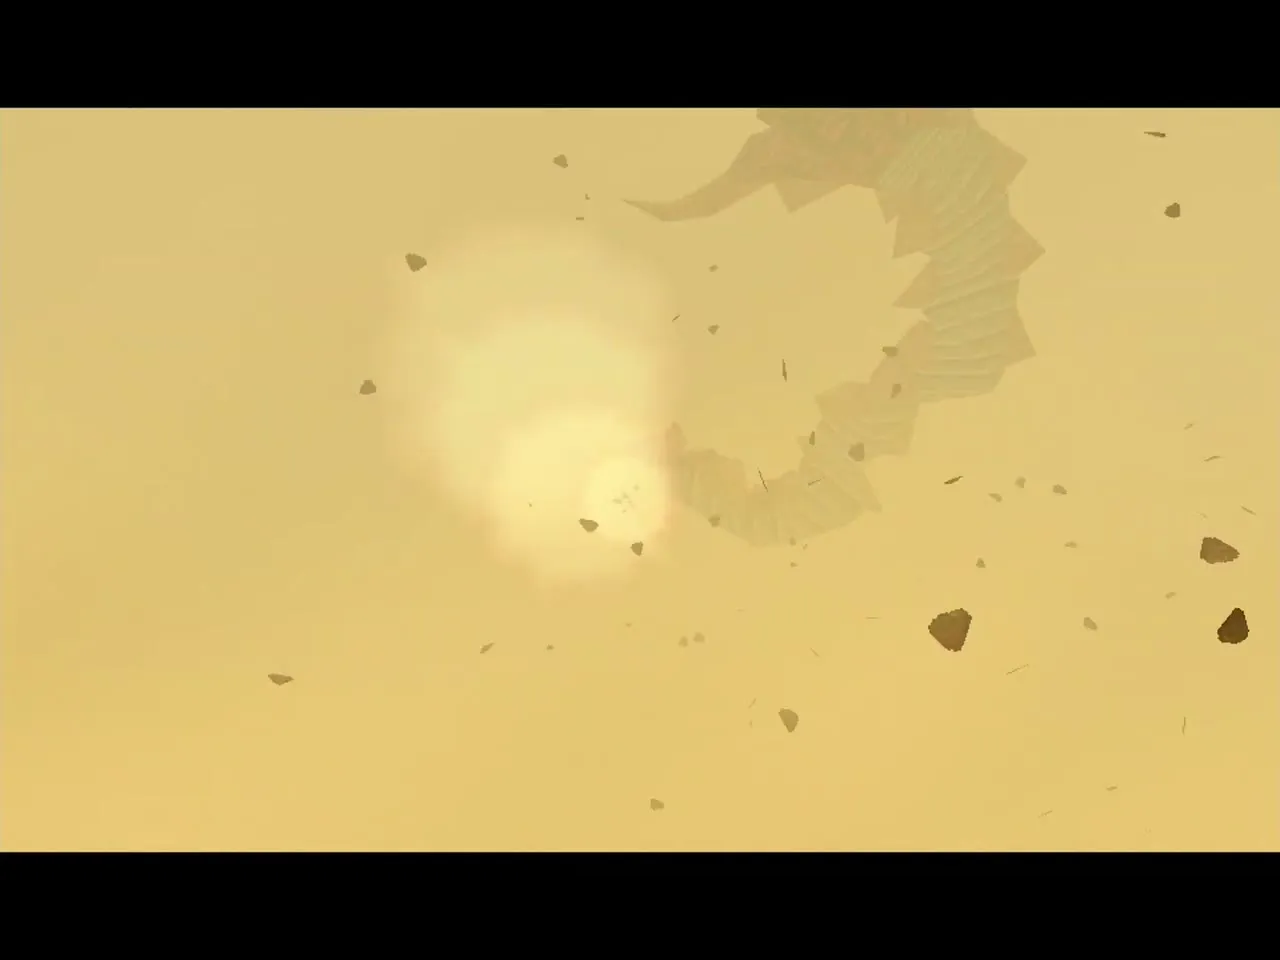
Where: the sandstorm arena below the Boss Door of the inverted Stone Tower Temple. Unlock the door, answer yes at the lair prompt and drop into the hole in the middle of the room. You need: the Giant’s Mask from the second Eyegore, a full magic meter (a bottle of Chateau Romani beforehand gives unlimited magic for the whole cycle), the Bunny Hood, the Hero’s Bow and Light Arrows. Twinmold, the Giant Masked Insect, is a pair of huge sand worms, one red and one blue, that burrow through the sand and burst out to attack. Stay near the rocks and stones of the arena for cover.
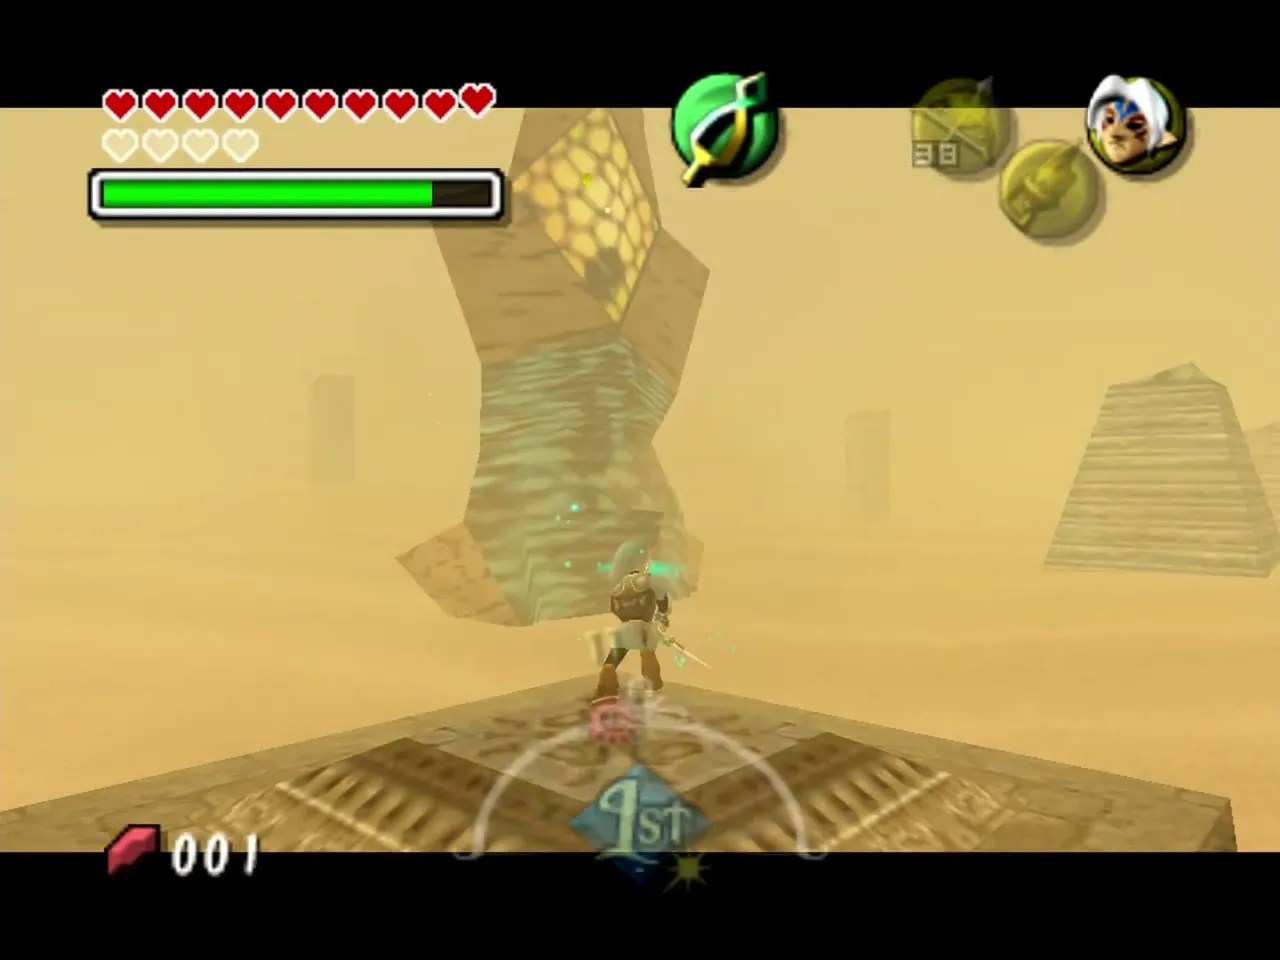
The Giant’s Mask plan: put on the Giant’s Mask and hack at a head or a tail with your sword when it surfaces; Link is now as big as the worms. The mask drains your magic continuously, and Twinmold is the only place you can wear it. Smash the stone structures around the arena to release magic and arrows. If you run out of magic: fight as Hylian Link and shoot arrows or Light Arrows at a head or tail as they pass over you. When the worms swoop low, move out of their way. Reward: when both worms fall, collect the Heart Container and step into the light for Twinmold’s Remains. The Stone Tower Giant is freed and the Moon is next. Do not play the Song of Time yet if you carry Stray Fairies for the Great Fairy of Kindness, who gives the Great Fairy’s Sword.
Ikana Graveyard and Canyon: Keeta, Iron Knuckles, Big Poes and Poe Sisters
Mini-boss: Captain Keeta
Where: Ikana Graveyard, behind the giant skull that blocks an archway. You need: the Ocarina with the Sonata of Awakening, the Hero’s Bow and your sword. Play the Sonata of Awakening in front of the skull to wake Captain Keeta, a skeleton who runs off through the graveyard.
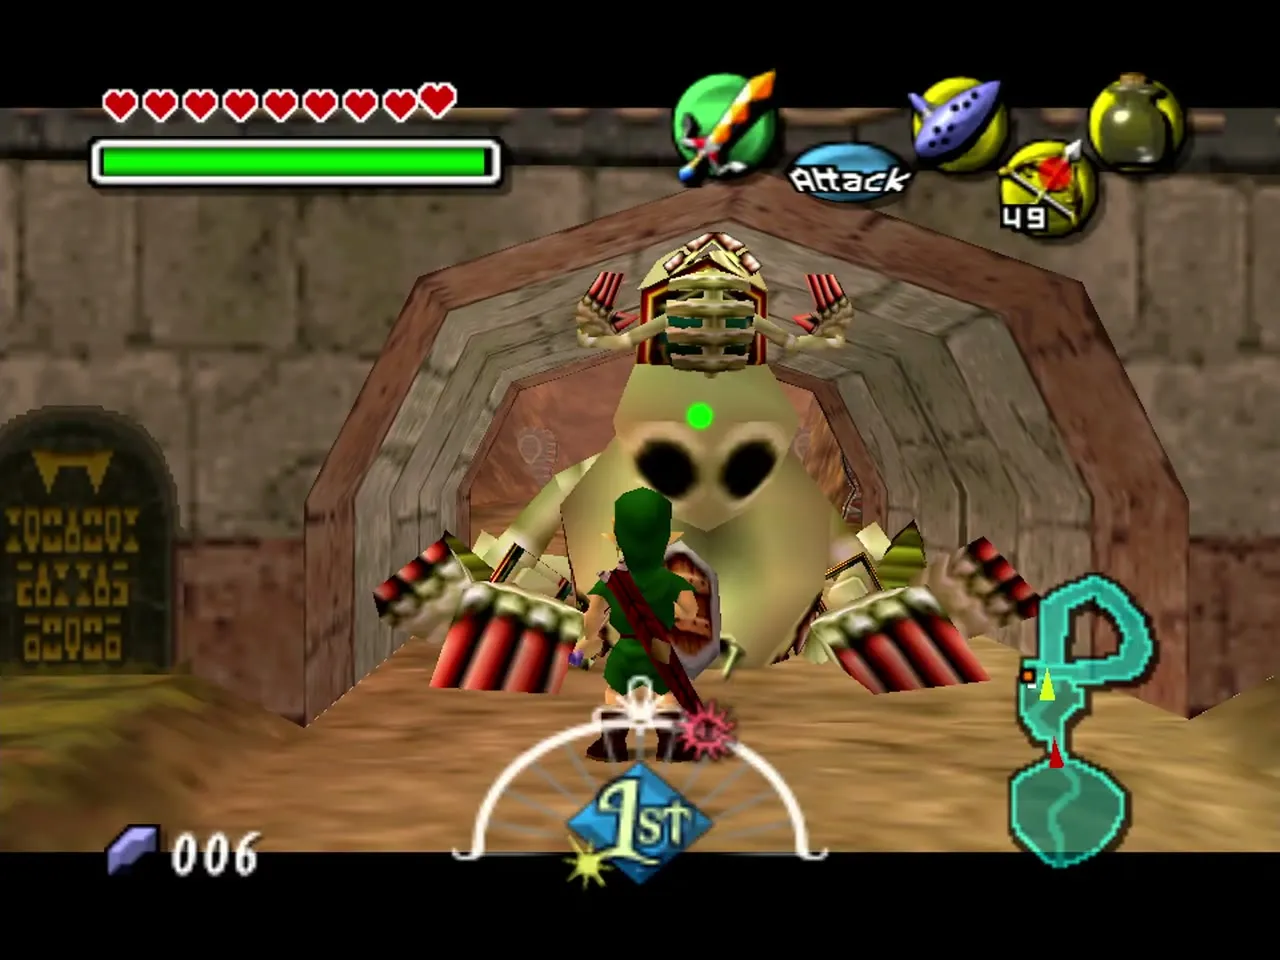
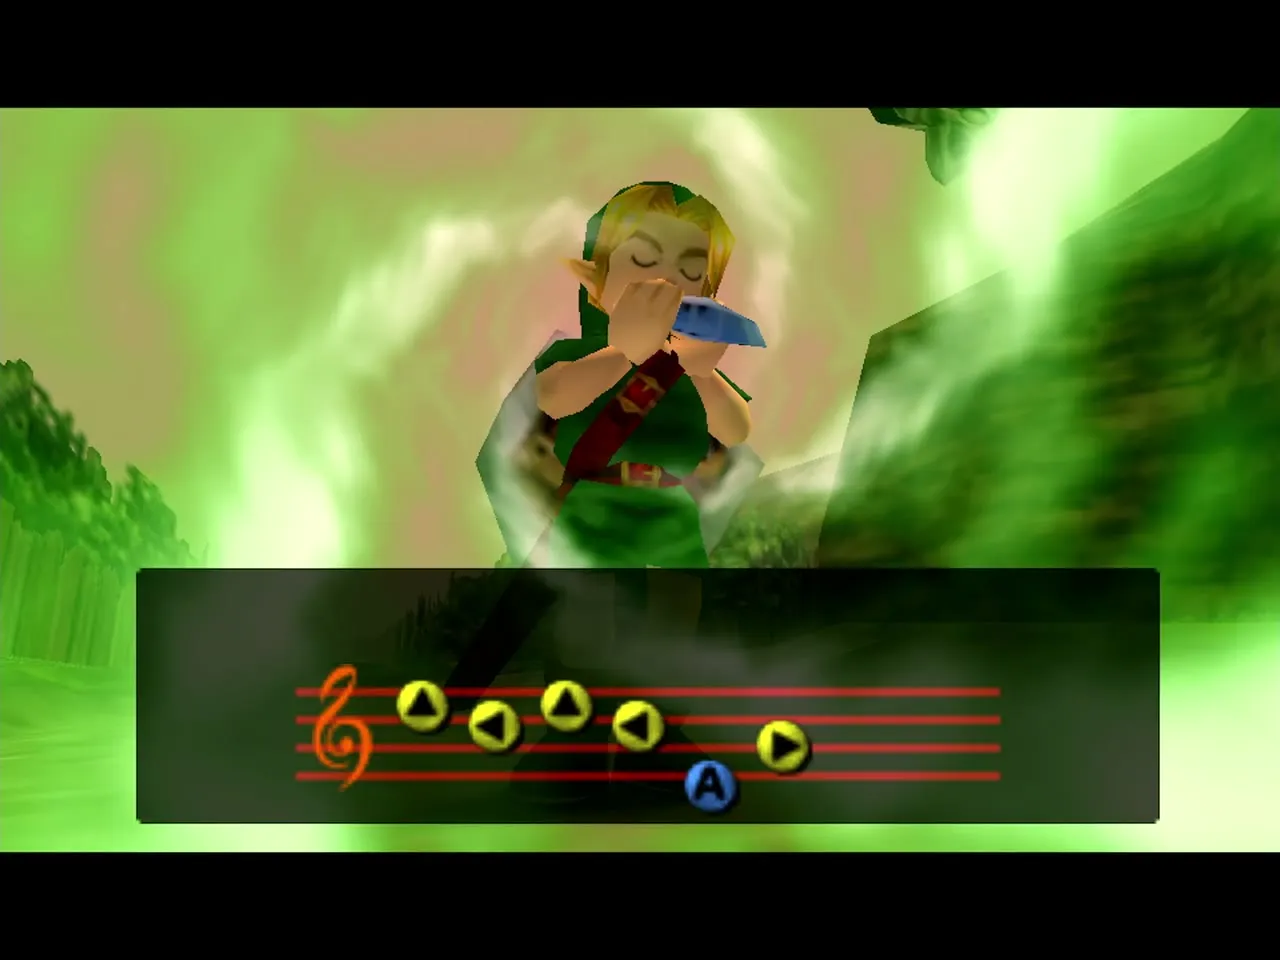
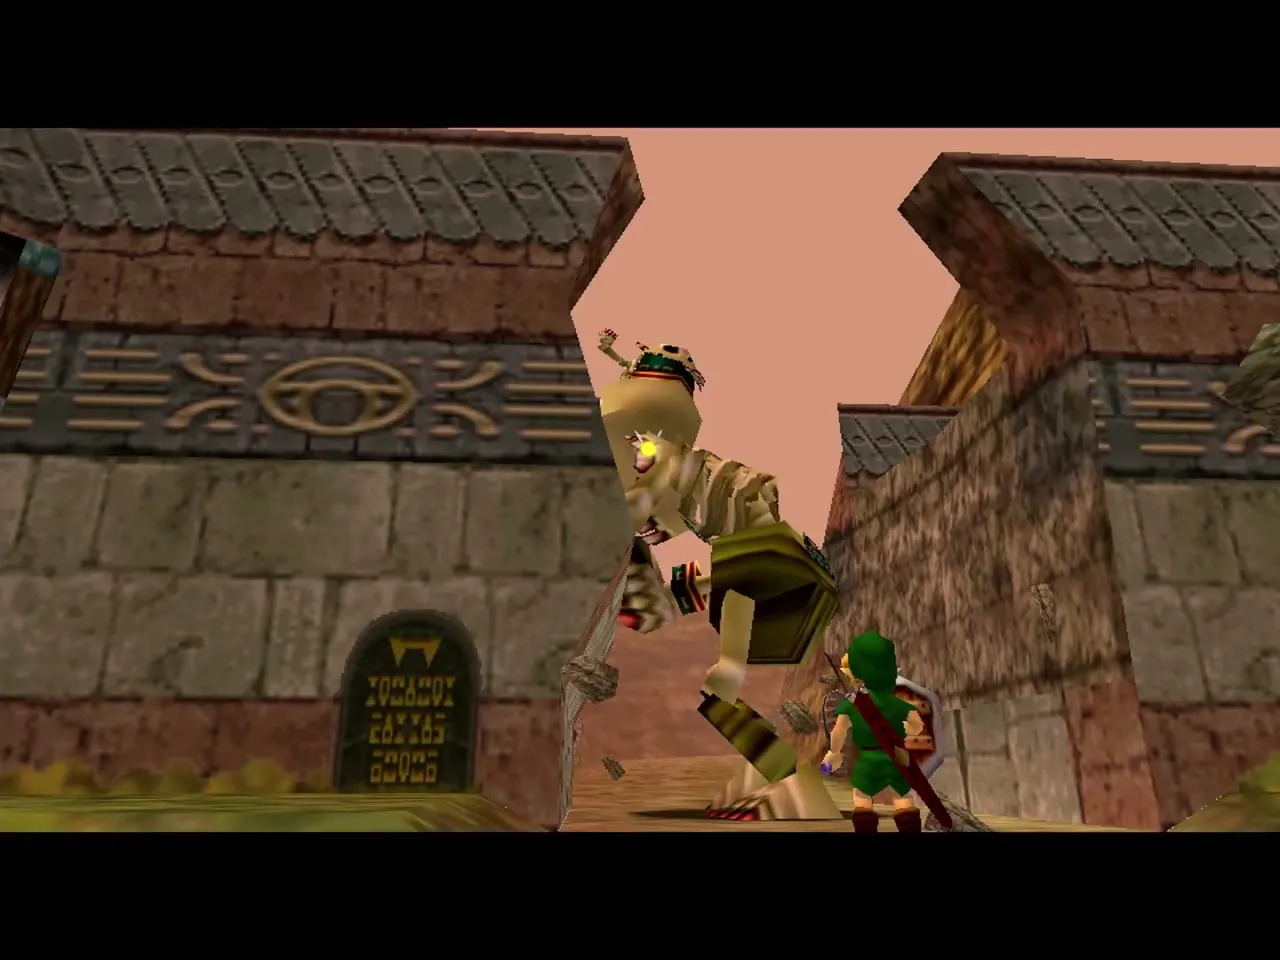
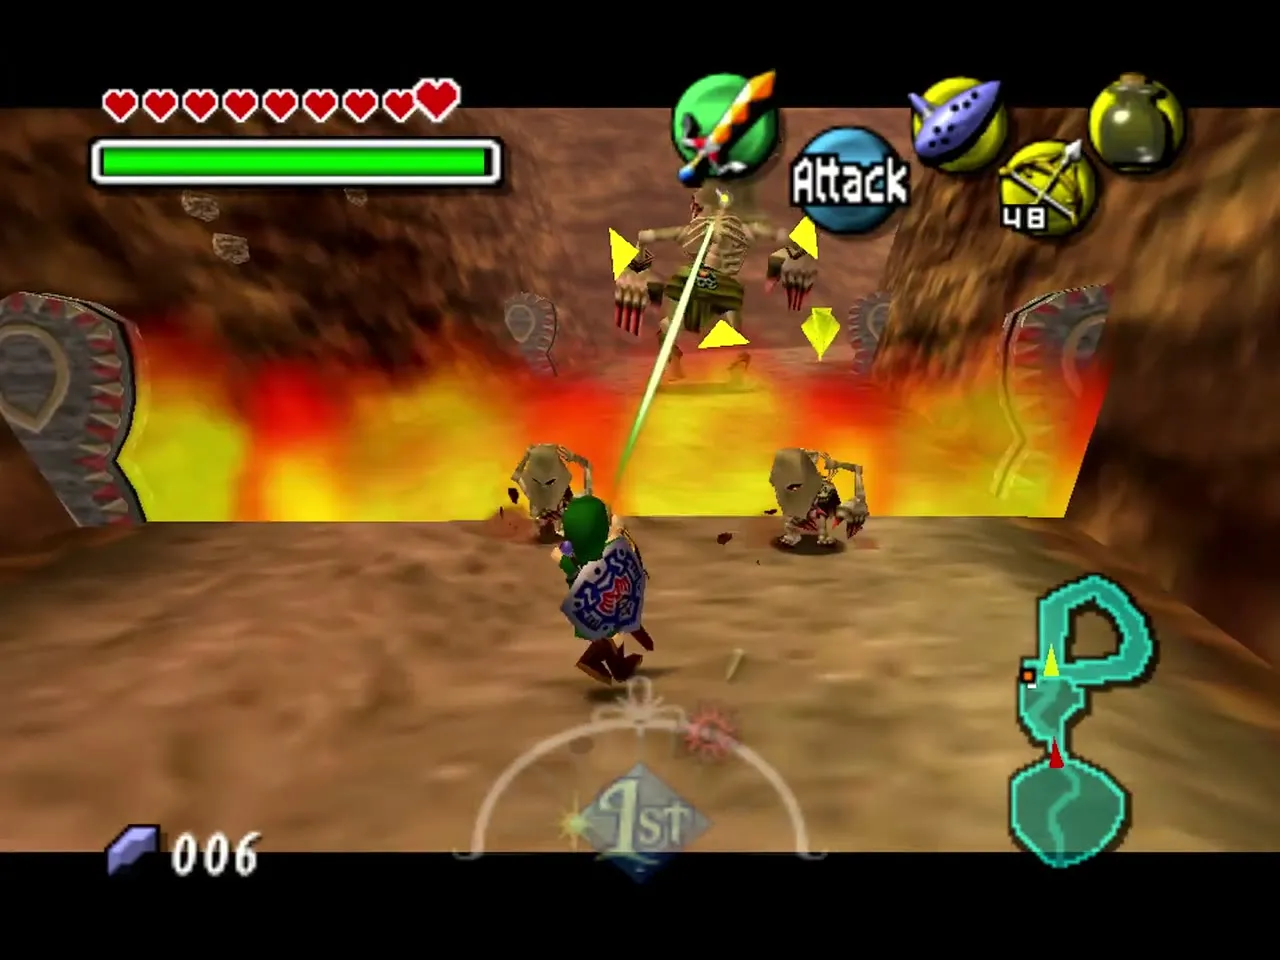
Strategy: chase him and shoot him with arrows to slow him down. Stalchildren rise beside the colored stone structures and raise walls of fire in your way: kill the two of them, wait for the flames to die, then lock on to Keeta and shoot as you advance. If he reaches the top of the graveyard before you have hit him, leave the area and come back to try again. Once an arrow or sword hit lands, the real fight begins in the open: strike his legs, and step aside when his shadow shows where he will jump. Reward: the Captain’s Hat, which makes the Stalchildren obey you (you need that for the graveyard graves) and keeps ReDeads from attacking you.
Mini-boss: Iron Knuckles (two)
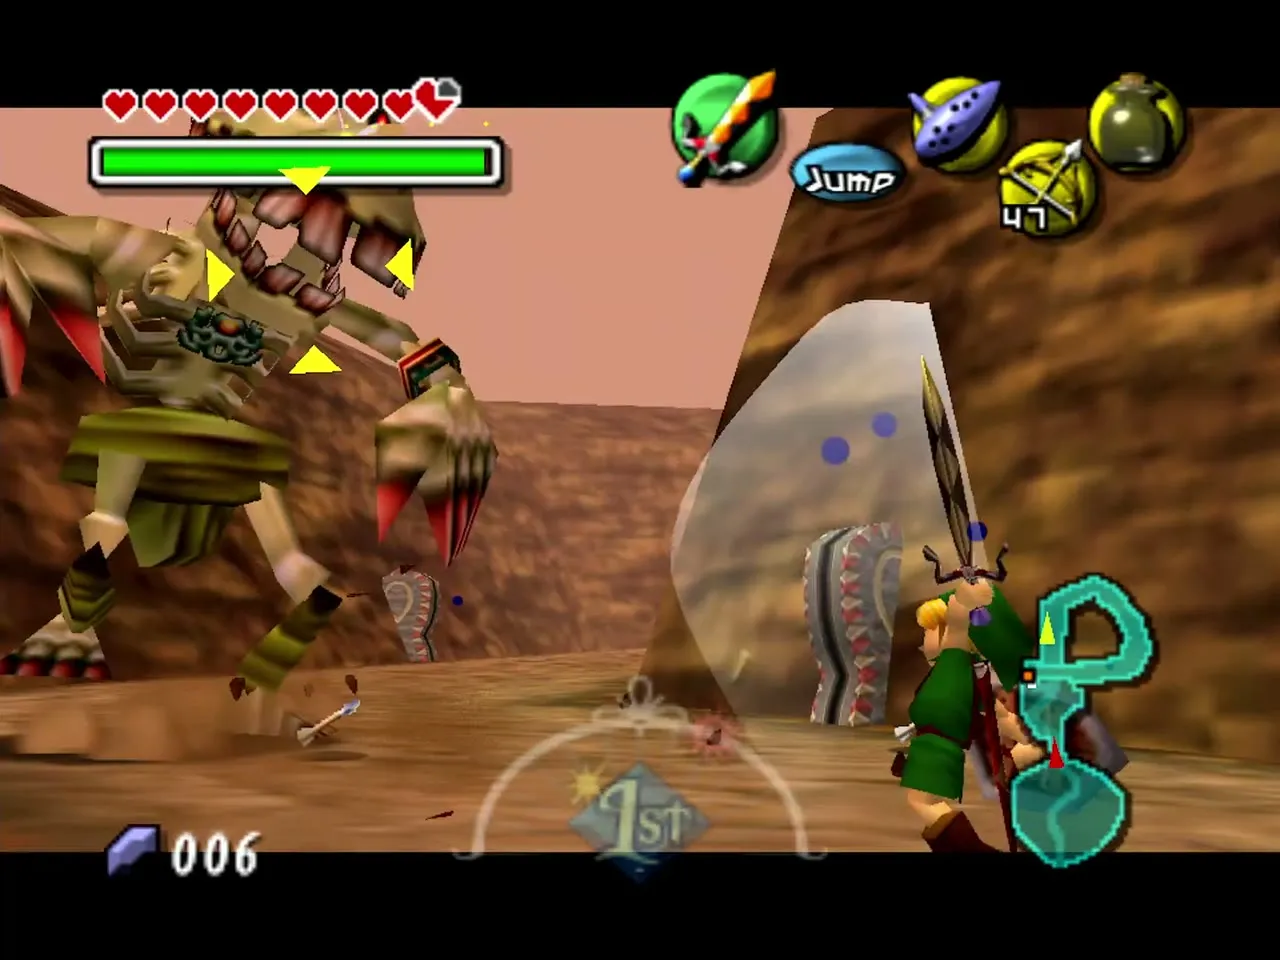
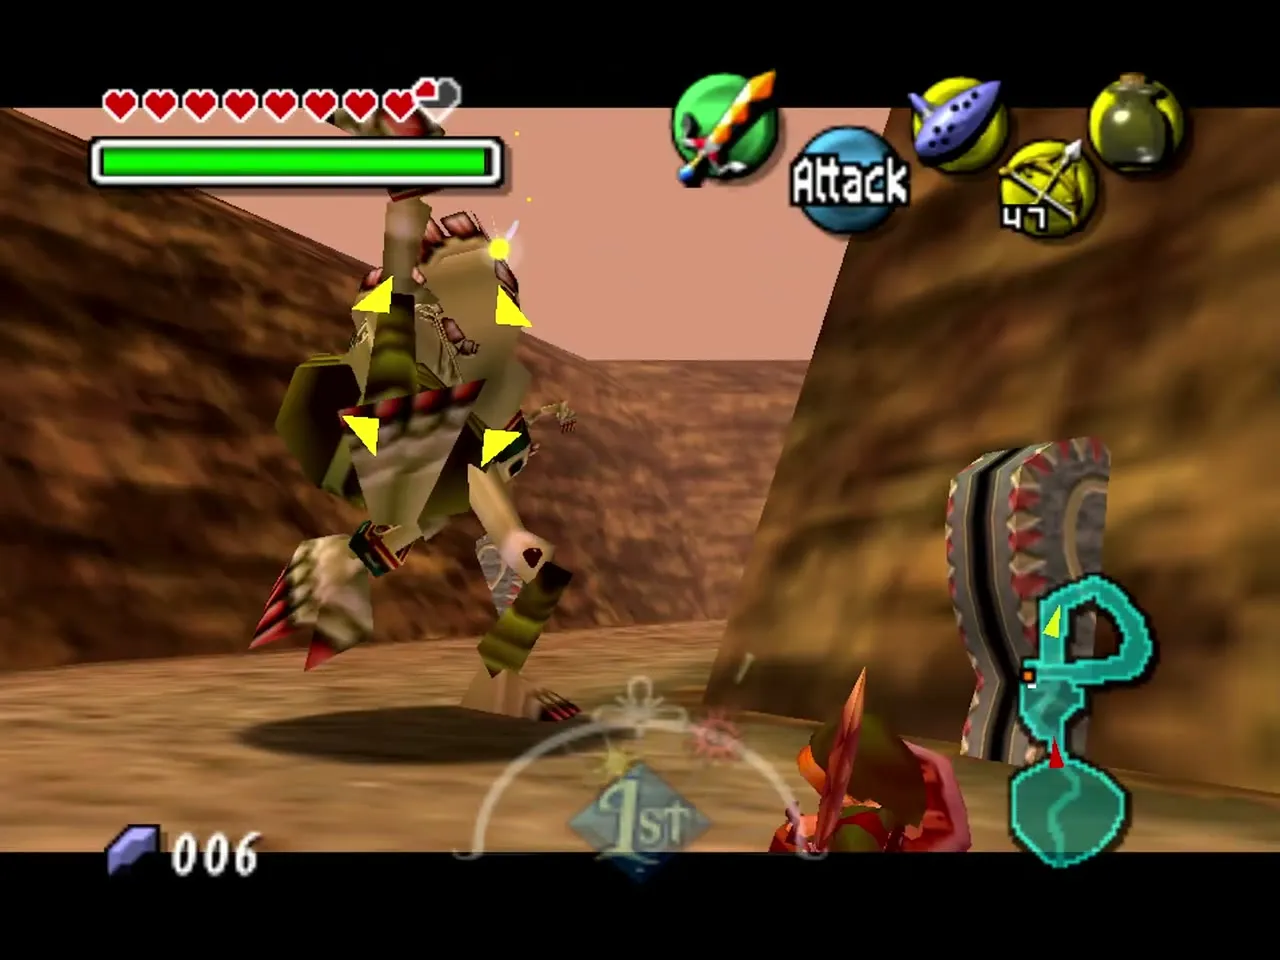
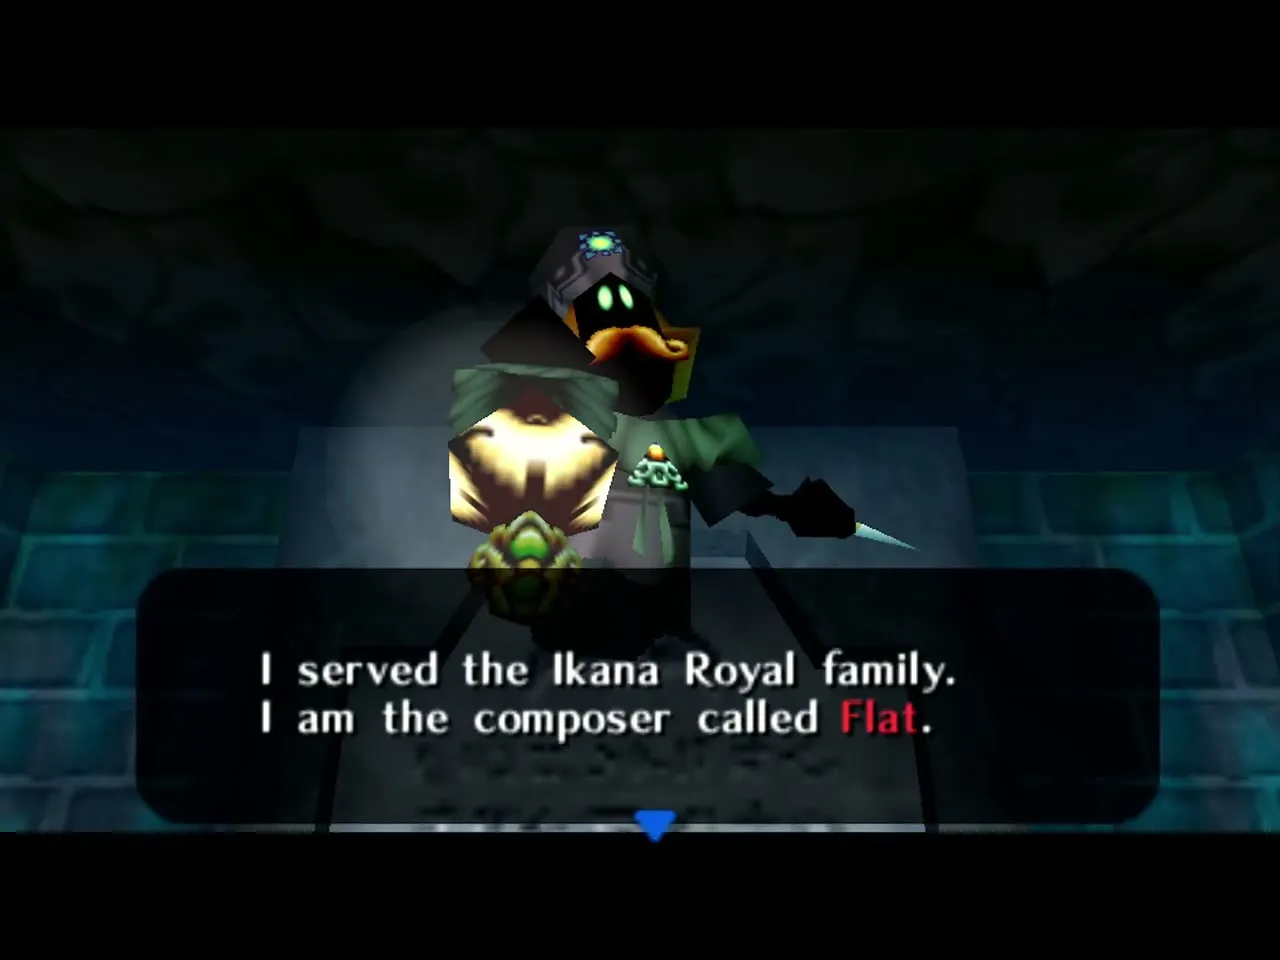
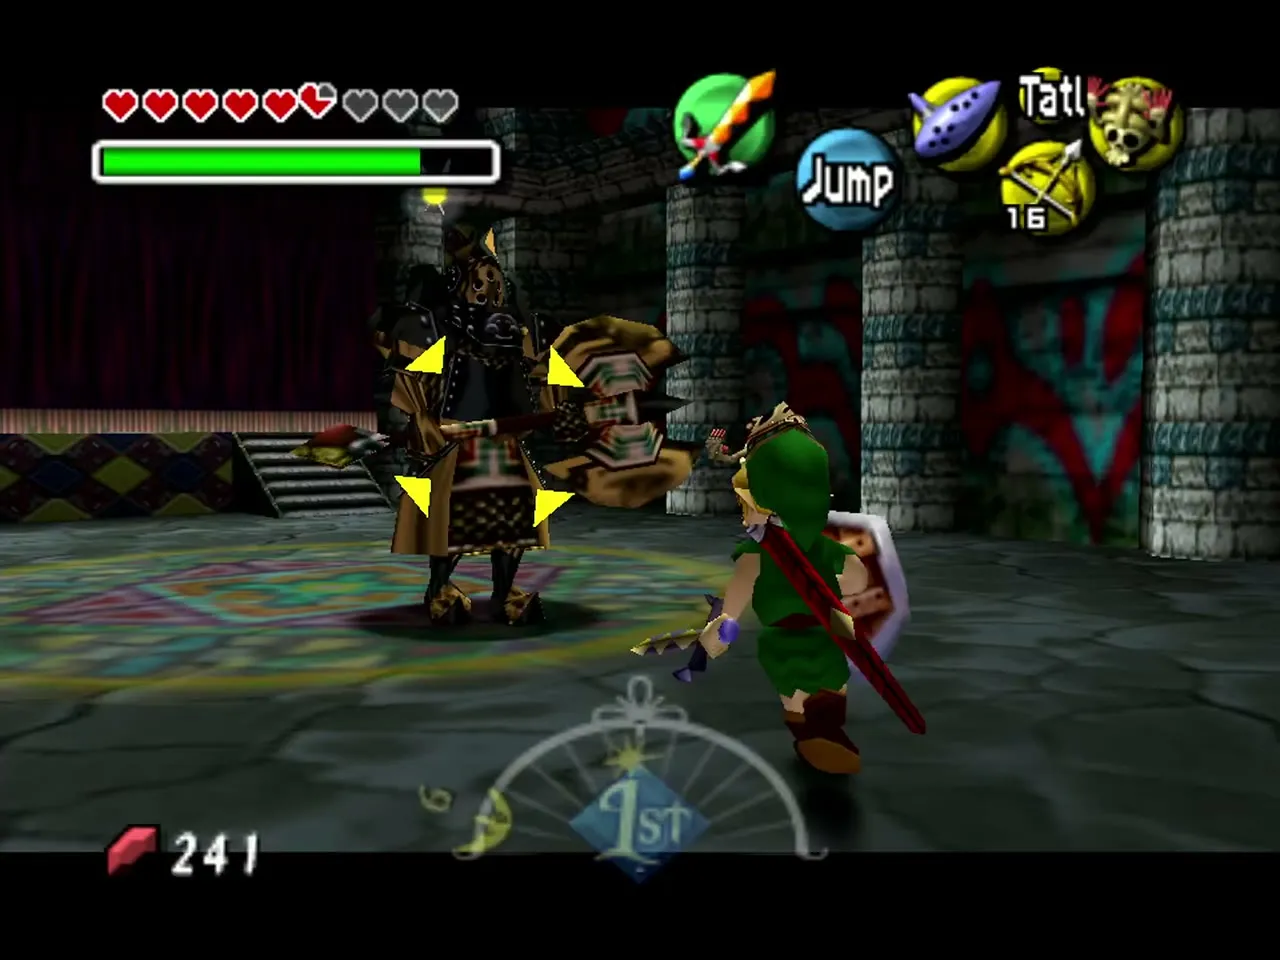
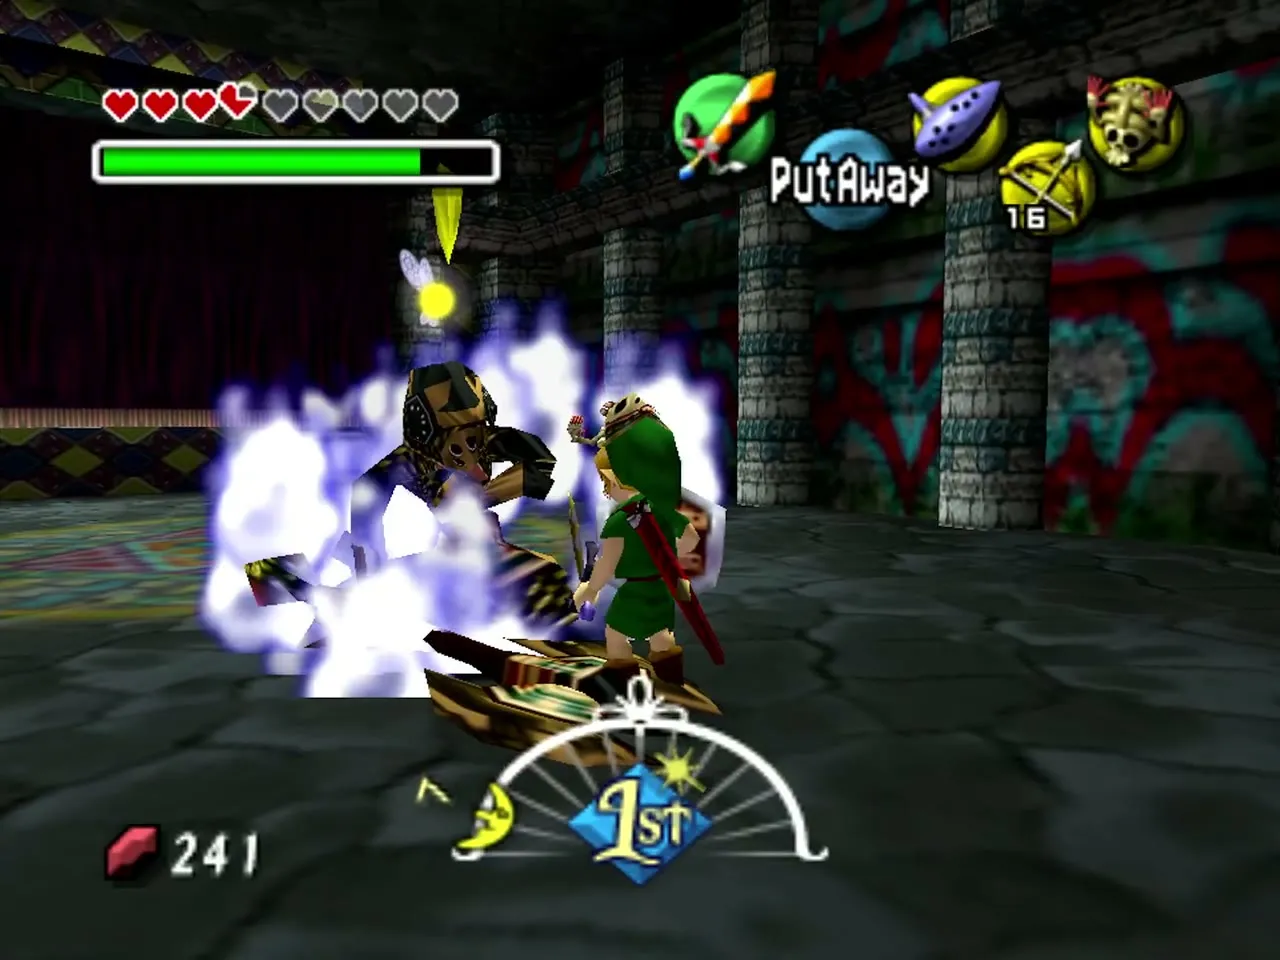
Where: under Ikana Graveyard, at the end of the grave that the Stalchildren open for you with the Captain’s Hat, and it is a different grave each night. Night 1: after the Keese room, light the three torches with Fire Arrows, a door unseals and an Iron Knuckle waits; beat it and the ghost of Flat teaches you the Song of Storms. Night 2: the grave needs the Lens of Truth to see the invisible path and bombs for a cracked wall, and a second Iron Knuckle waits in the chamber beyond; beat it and a chest appears with a Piece of Heart. (A third Iron Knuckle guards a chest of Bombchus in the Twinmold child’s dungeon on the Moon.) You need: the Captain’s Hat, Fire Arrows (Night 1), the Lens of Truth and bombs (Night 2) and a good sword.
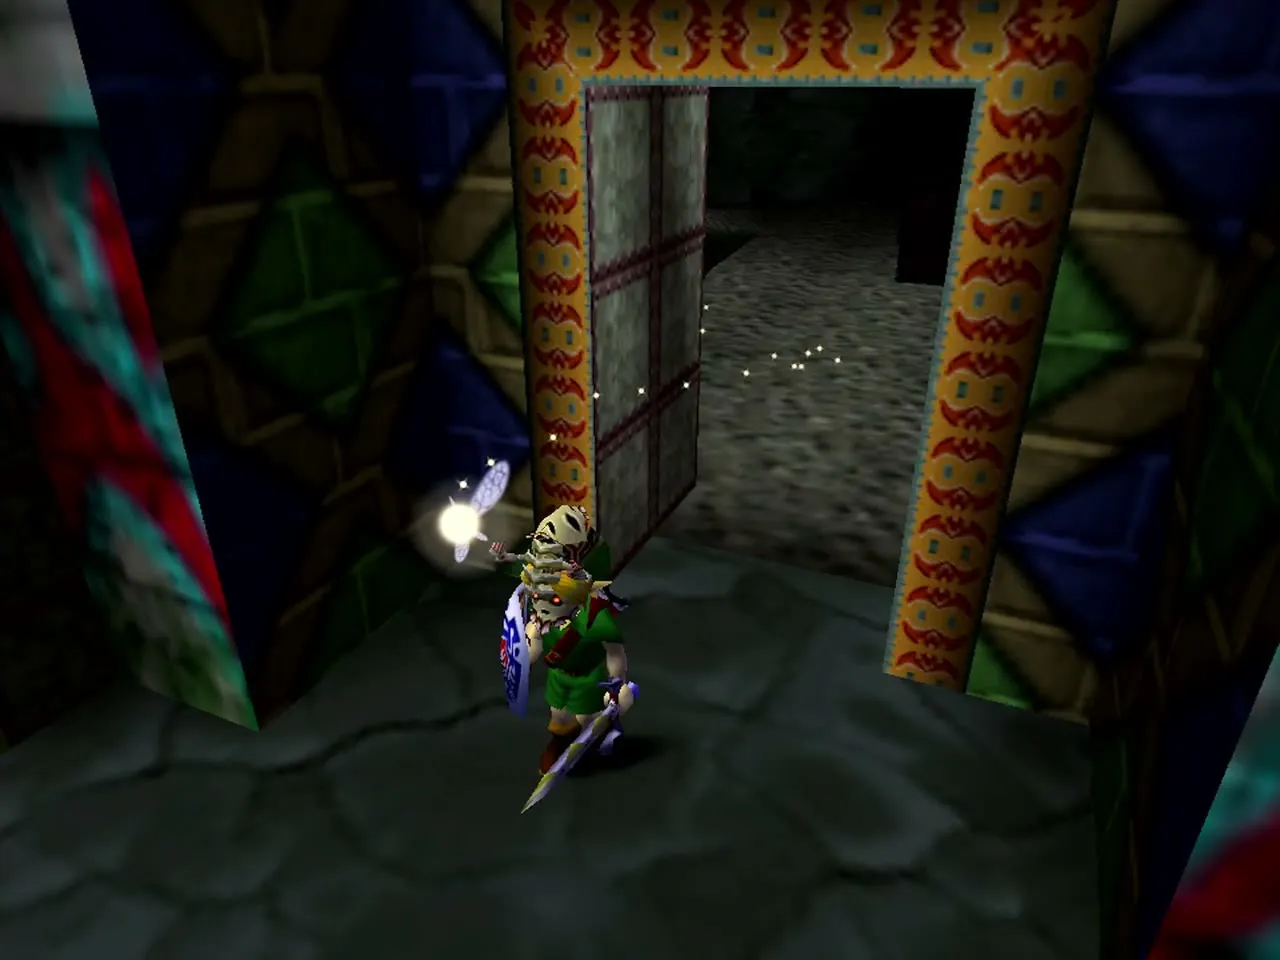
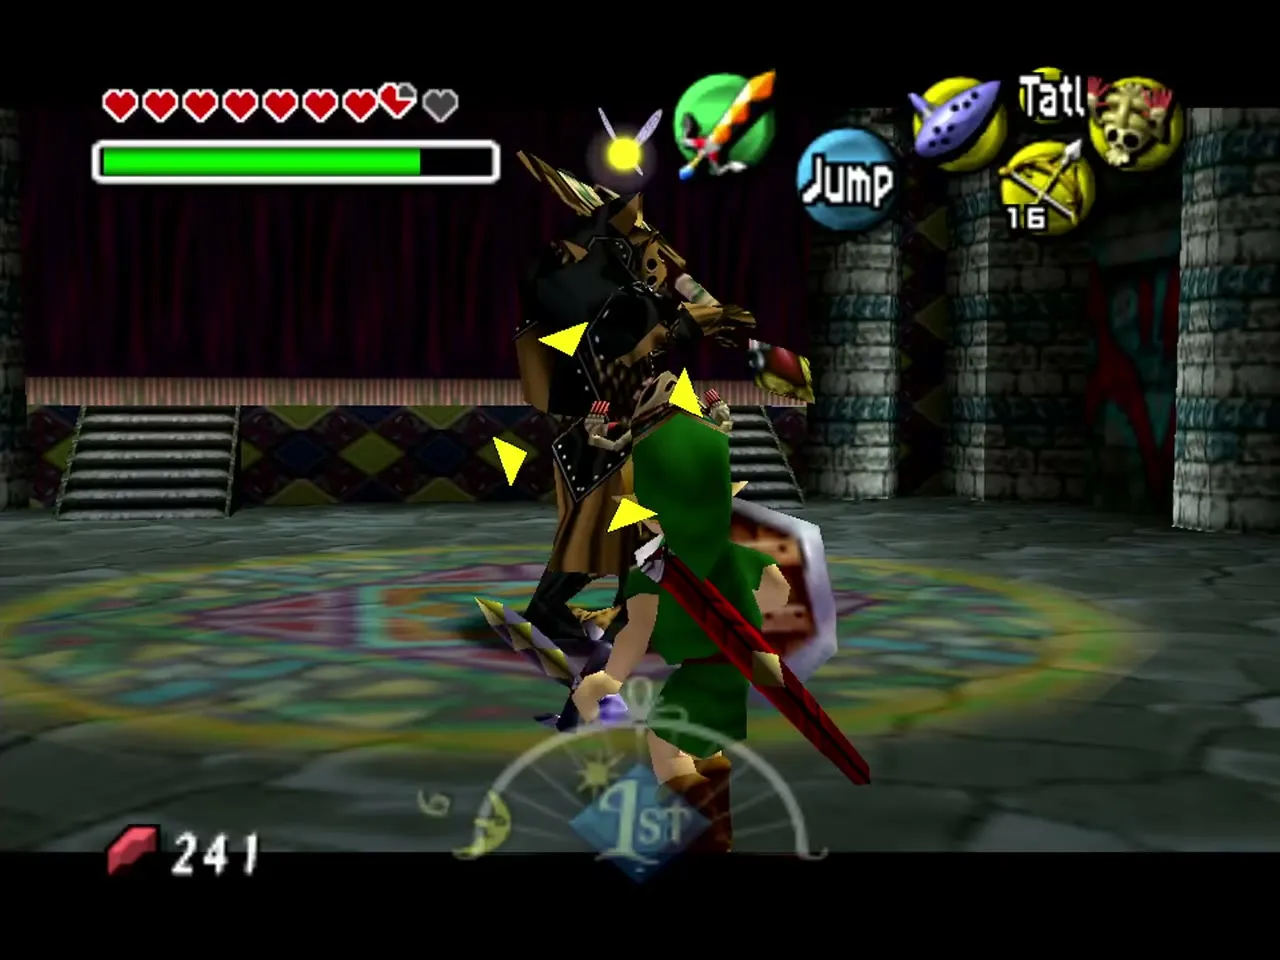
Strategy: hit the sleeping Iron Knuckle once to wake it, then back off, because its huge axe swings wide. Bait one swing, step back, and strike while the axe is stuck in the floor. After a few hits its armor falls off in pieces, and the knight moves faster and hits more often, so dash in, hit once or twice and retreat. The Great Fairy’s Sword makes the Iron Knuckle in the Moon dungeon much quicker.
Mini-boss: Big Poe
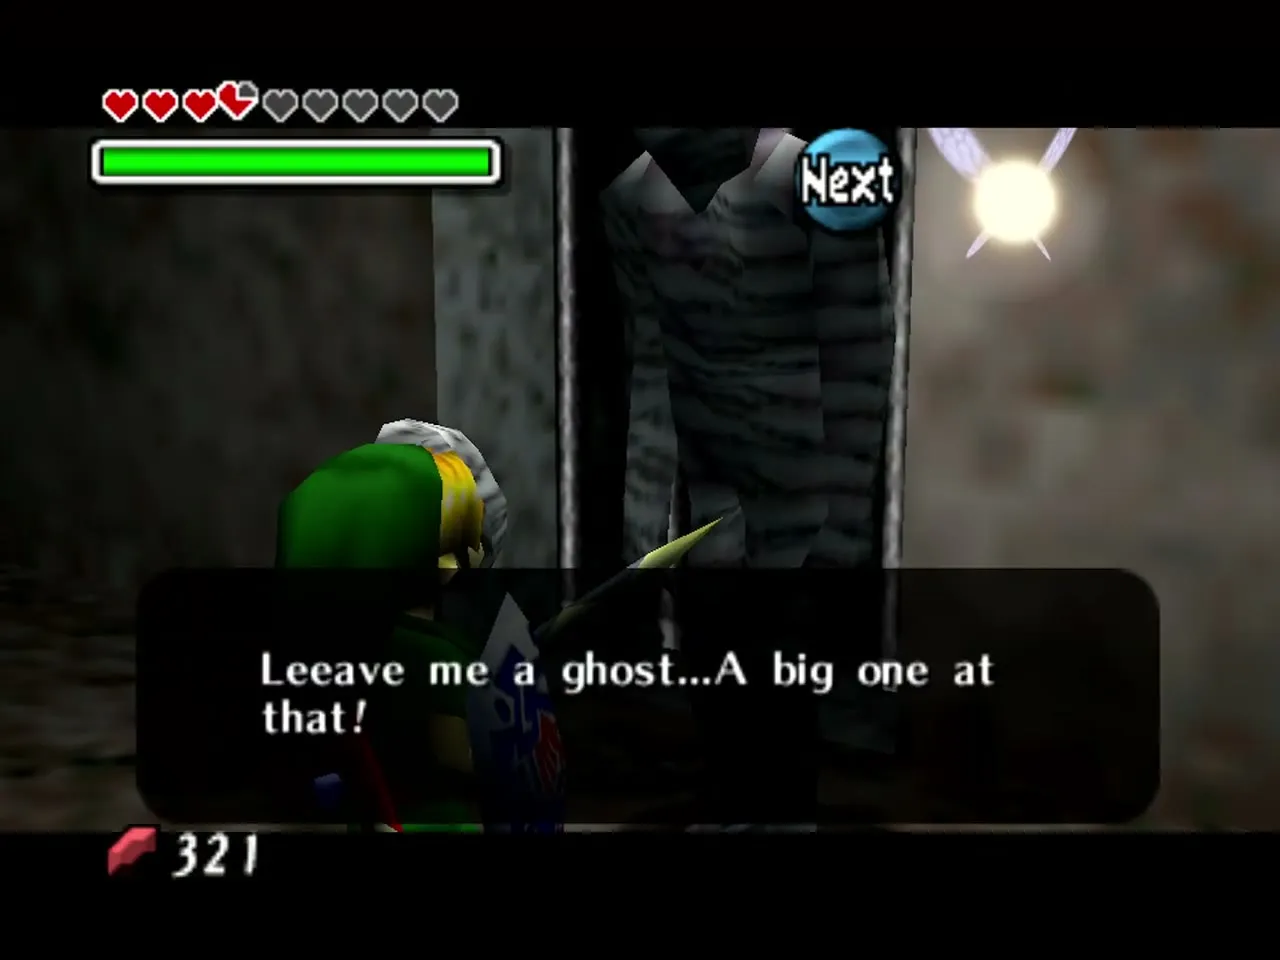
Where: two places. First, under Ikana Graveyard on the third night: wear the Captain’s Hat and ask the Stalchildren to open the grave, and Tatl’s light guides the gravekeeper Dampe to the dig spots. Three of his holes release blue flames, which merge into a Big Poe while Dampe runs away. Second, in Beneath the Well, in the room of blade traps: stand in the middle and a Big Poe appears and charges you. You need: the Hero’s Bow and an empty bottle. On the third night the Poe jumps around and reappears behind you, so turn quickly, shoot it, and keep moving to the side to avoid its charge each time. In the well it works the same way: dodge, shoot as it goes past and repeat until it falls.
Reward: in the graveyard, a chest drops with an empty bottle. In the well, catch the Poe’s spirit in an empty bottle and give it to the Gibdo in the Deku Baba room, who lets you through toward the Mirror Shield.
Mini-boss: the Poe Sisters
Where: the Spirit House, up a path to the left of the Music Box House in Ikana Canyon. You need: 30 rupees and the Hero’s Bow. You have three minutes to defeat all four sisters, and the house’s keeper ends the match if your hearts drop to three or fewer. Hit them as they appear and disappear, and use arrows when they are out of sword range. The last sister, Meg, splits into copies and only the real one can be hurt; arrows work best against her. Reward: a Piece of Heart. The Ikana Canyon chapter has the full approach.
Ancient Castle of Ikana: Igos du Ikana
Mini-boss: Floormaster
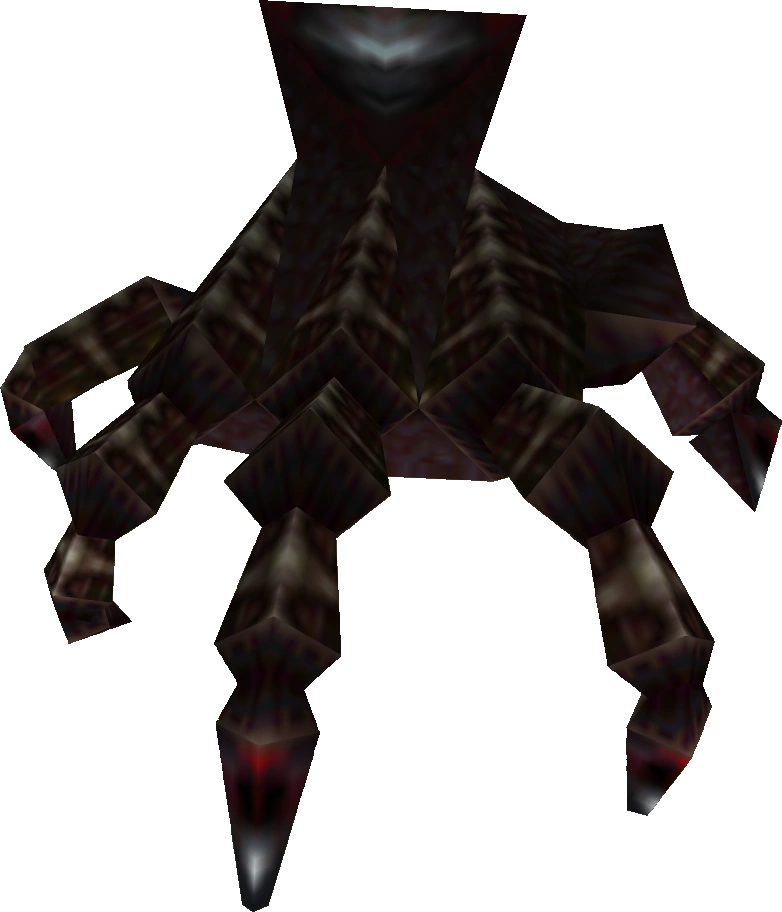
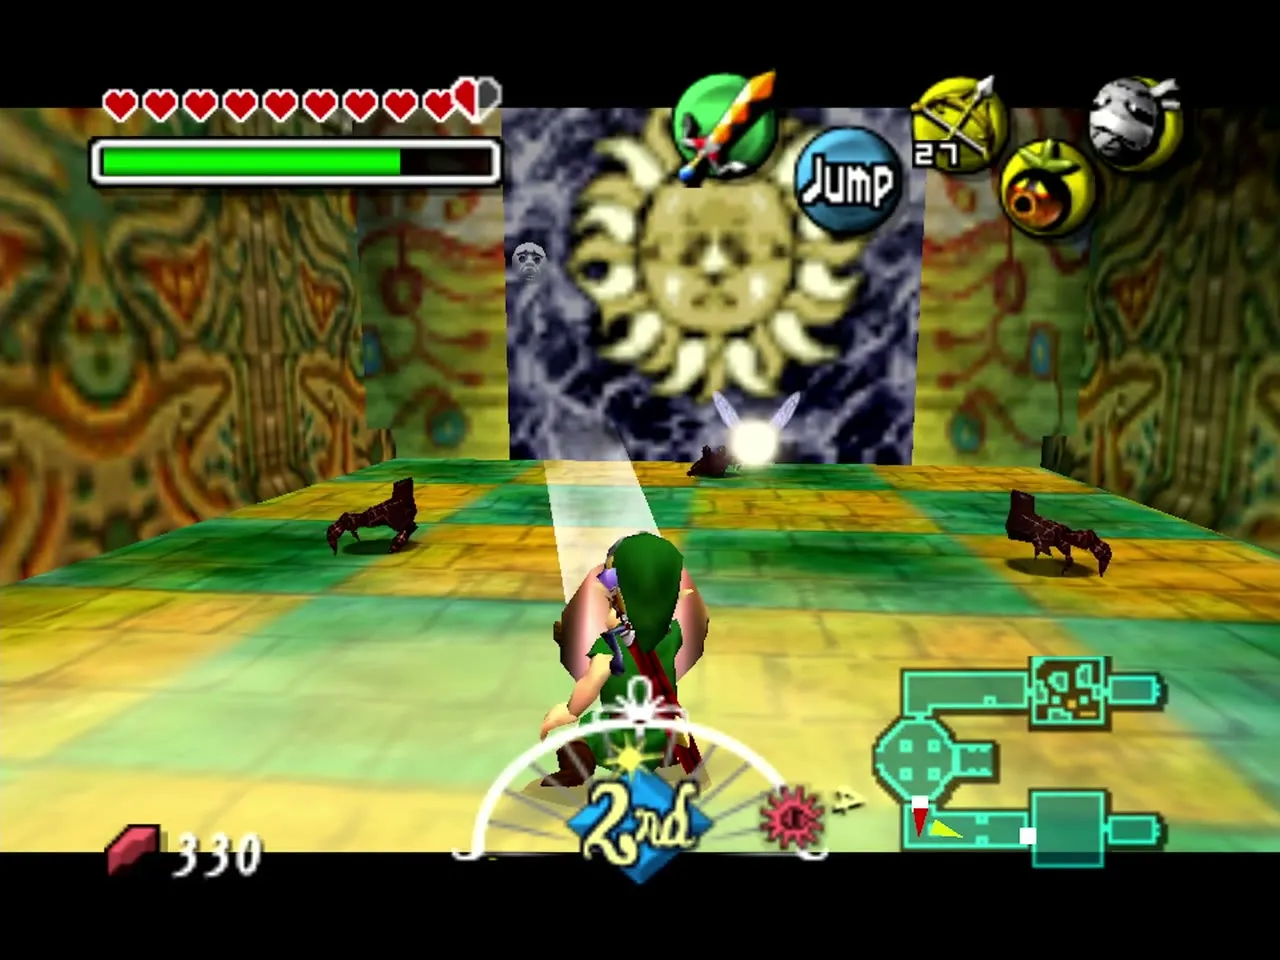
Where: the south wing of the Ancient Castle, in the room where a Floormaster stands before a blue Sun Block. You need: the Mirror Shield, since the light from it burns the Floormaster, and a sword if you have no light. Shine the sunlight onto it, or cut it down with the sword, and three small hands pop out; kill those quickly, with light or the sword, because if they are left alone they grow into full Floormasters. Afterwards bounce the light onto the big Sun Block to open the way and reveal four ReDeads; wear the Gibdo Mask, Captain’s Hat or Garo’s Mask and they only dance.
Mini-boss: Wizzrobe
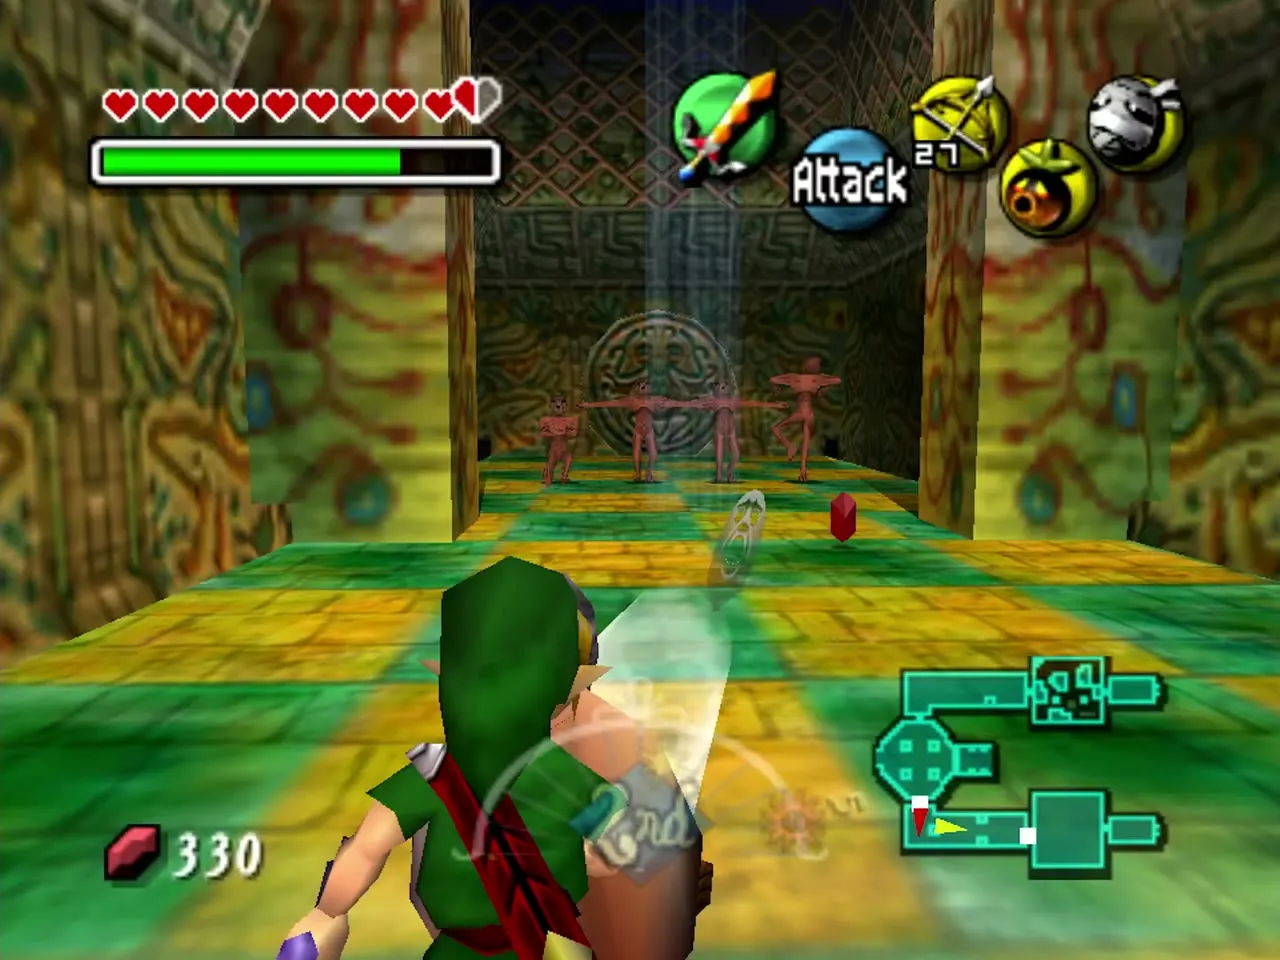
Where: the next room after the Floormaster in the south wing. You need: the Hero’s Bow. Stand in a corner, wait for the Wizzrobe to appear in a column of light and start dancing, then shoot it. After a few hits it splits into copies; only the real one dances, so shoot that one. Keep shooting the real one until it falls.

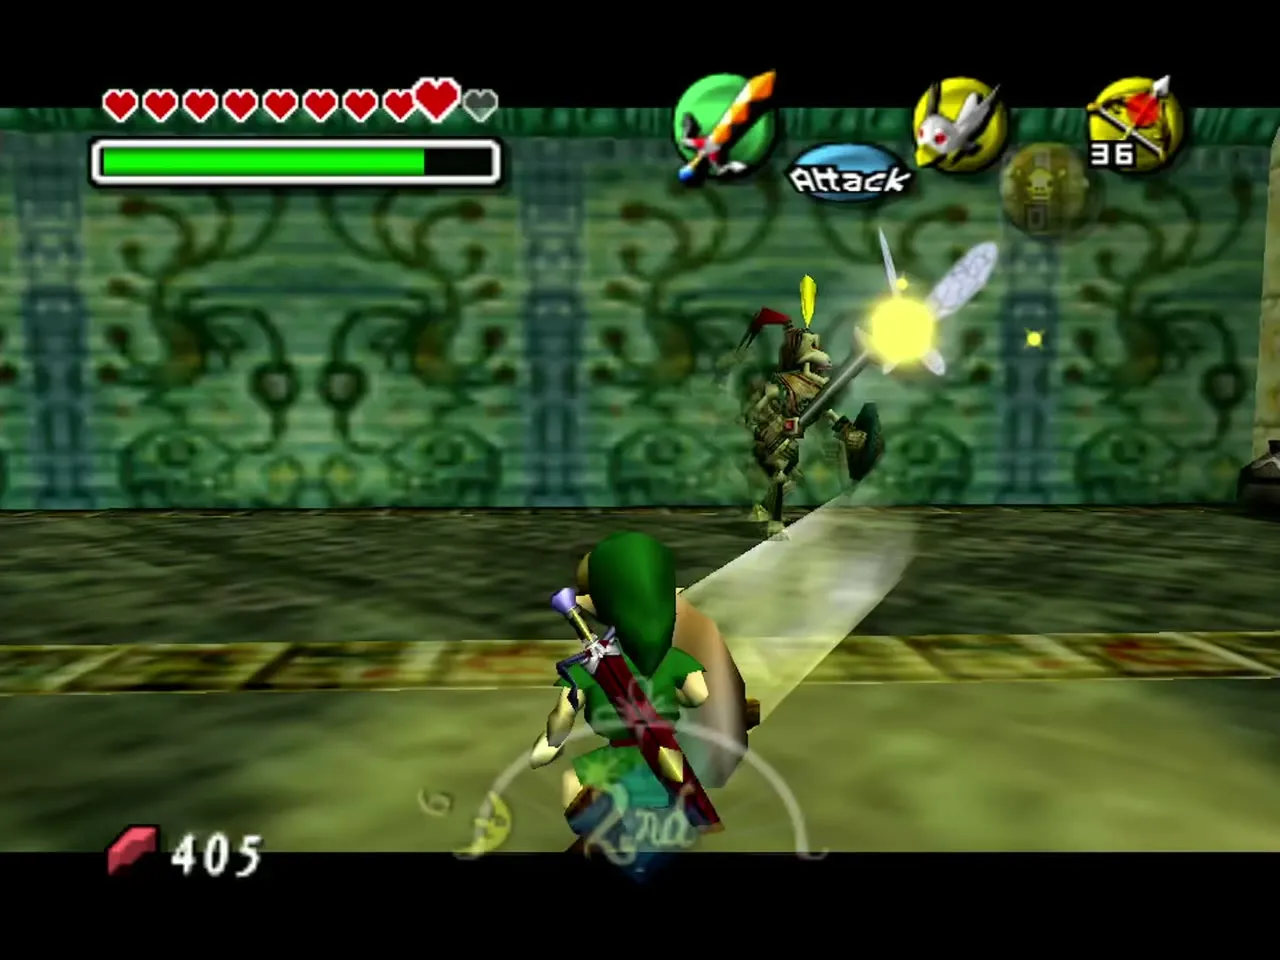
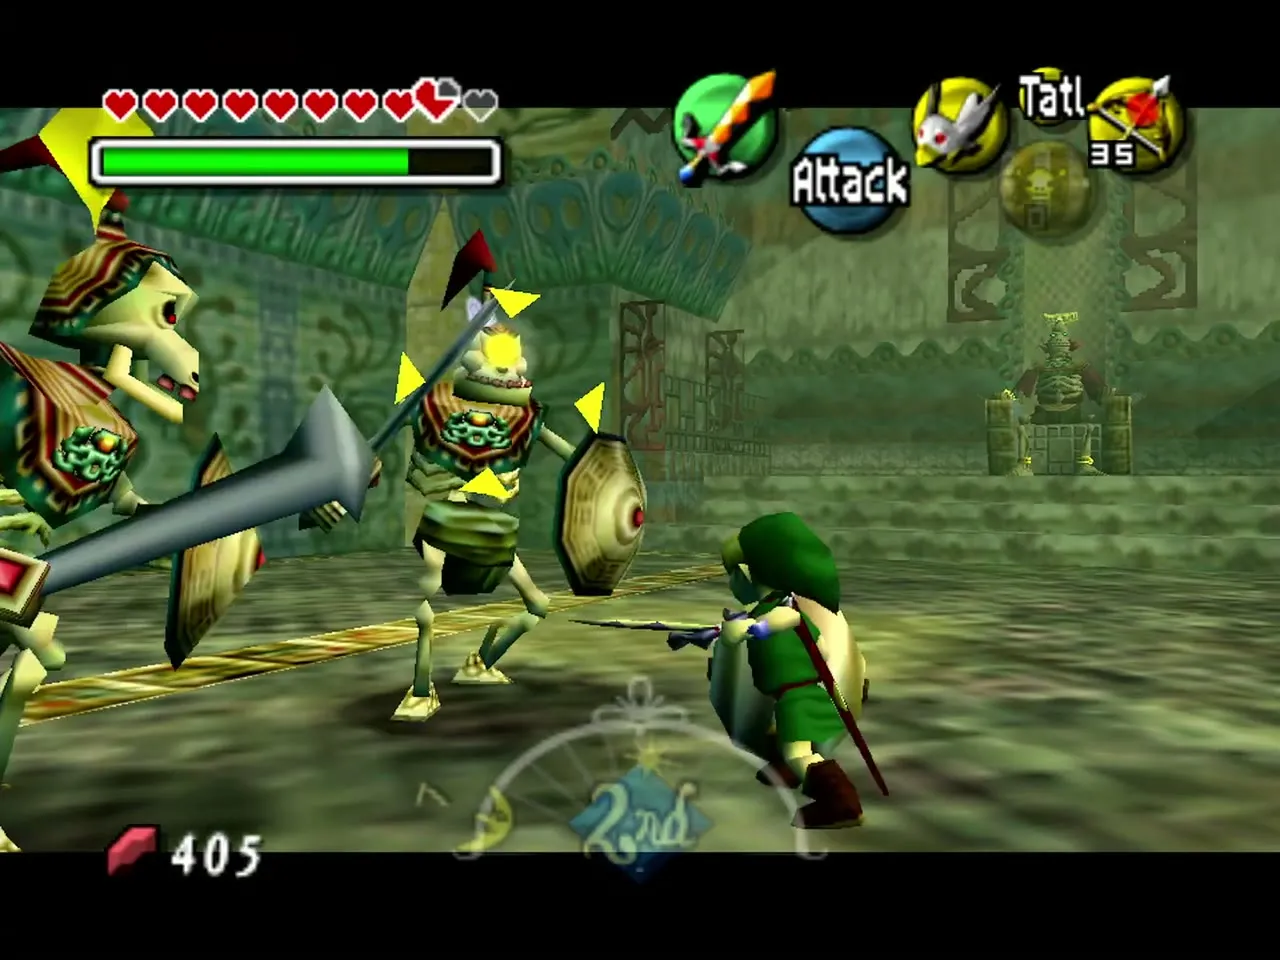
Mini-boss: the two Stalfos guards
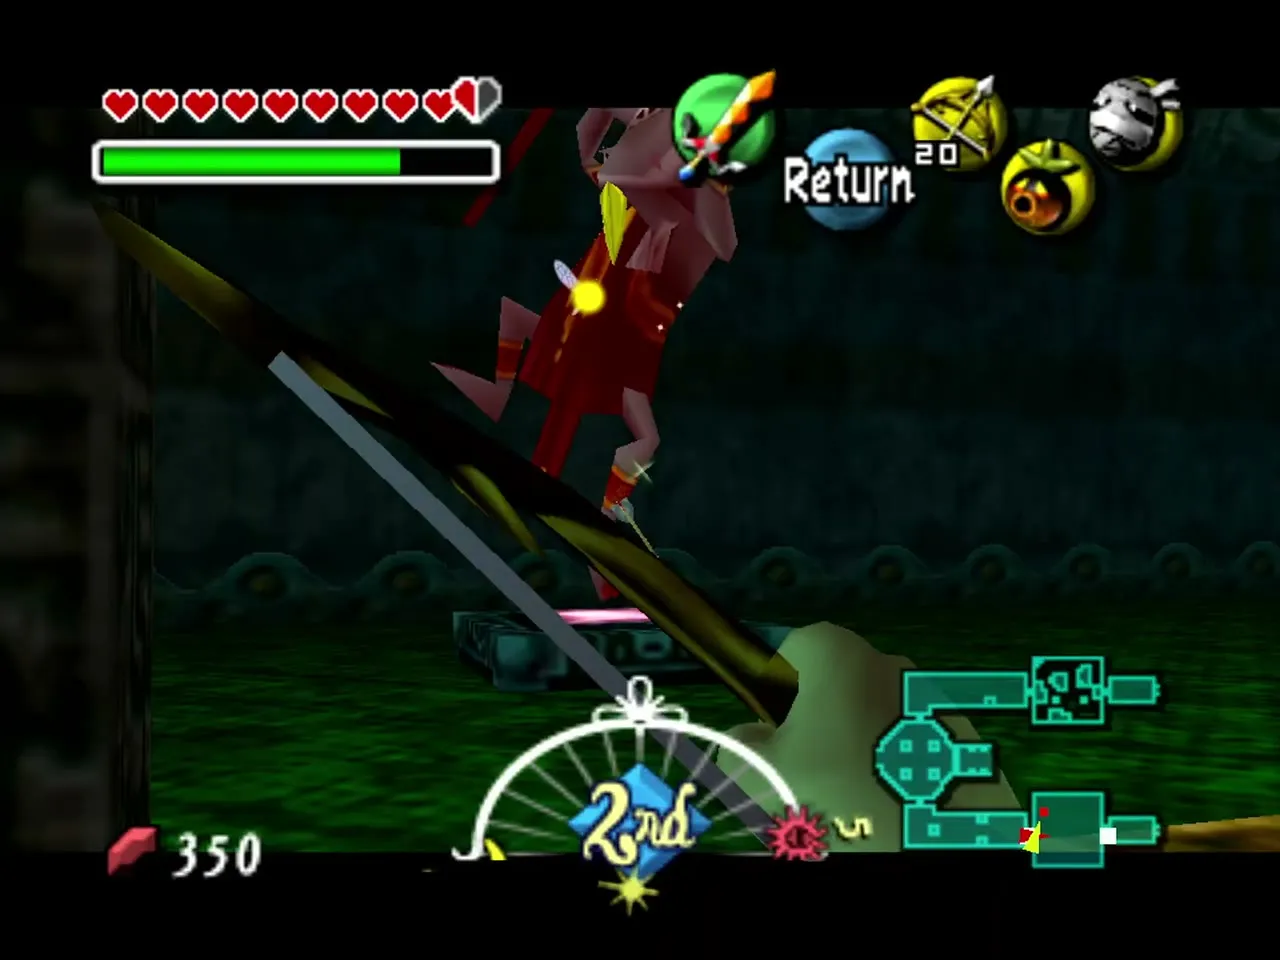
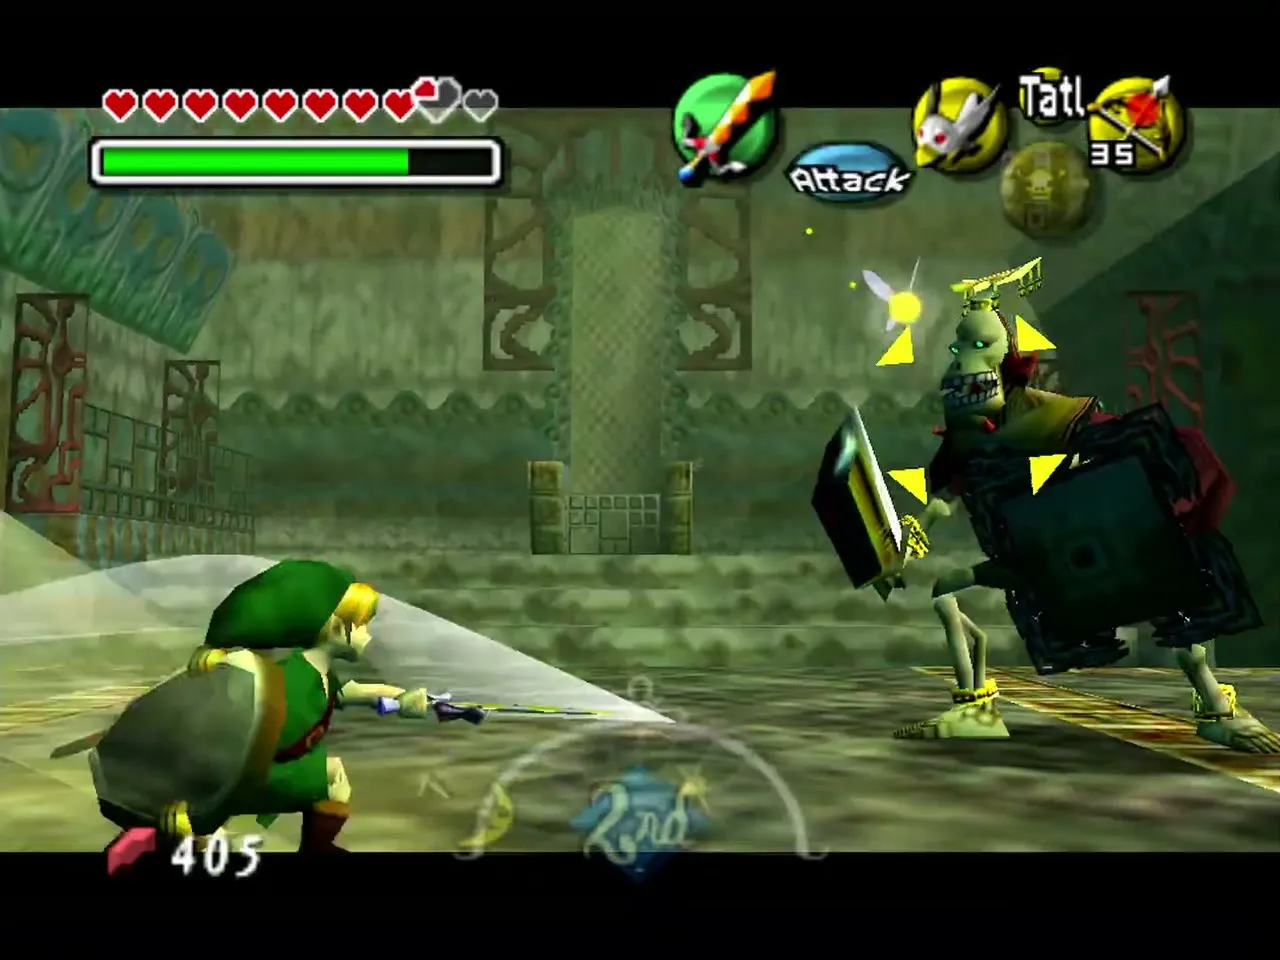
Where: the throne room of the Ancient Castle, which you reach through the south wing and the Sun Block room. You need: the Mirror Shield, Fire Arrows and your sword. The king has drawn the curtains, so shoot Fire Arrows at them to let the light in. Wait for a guard to step up and strike, then hit him while he is open. Keep hitting the guards with ordinary attacks until each falls to the floor, then run into a beam and shine it on the guard while he is still down, or he gets up again. Do this on both guards.
Boss: Igos du Ikana
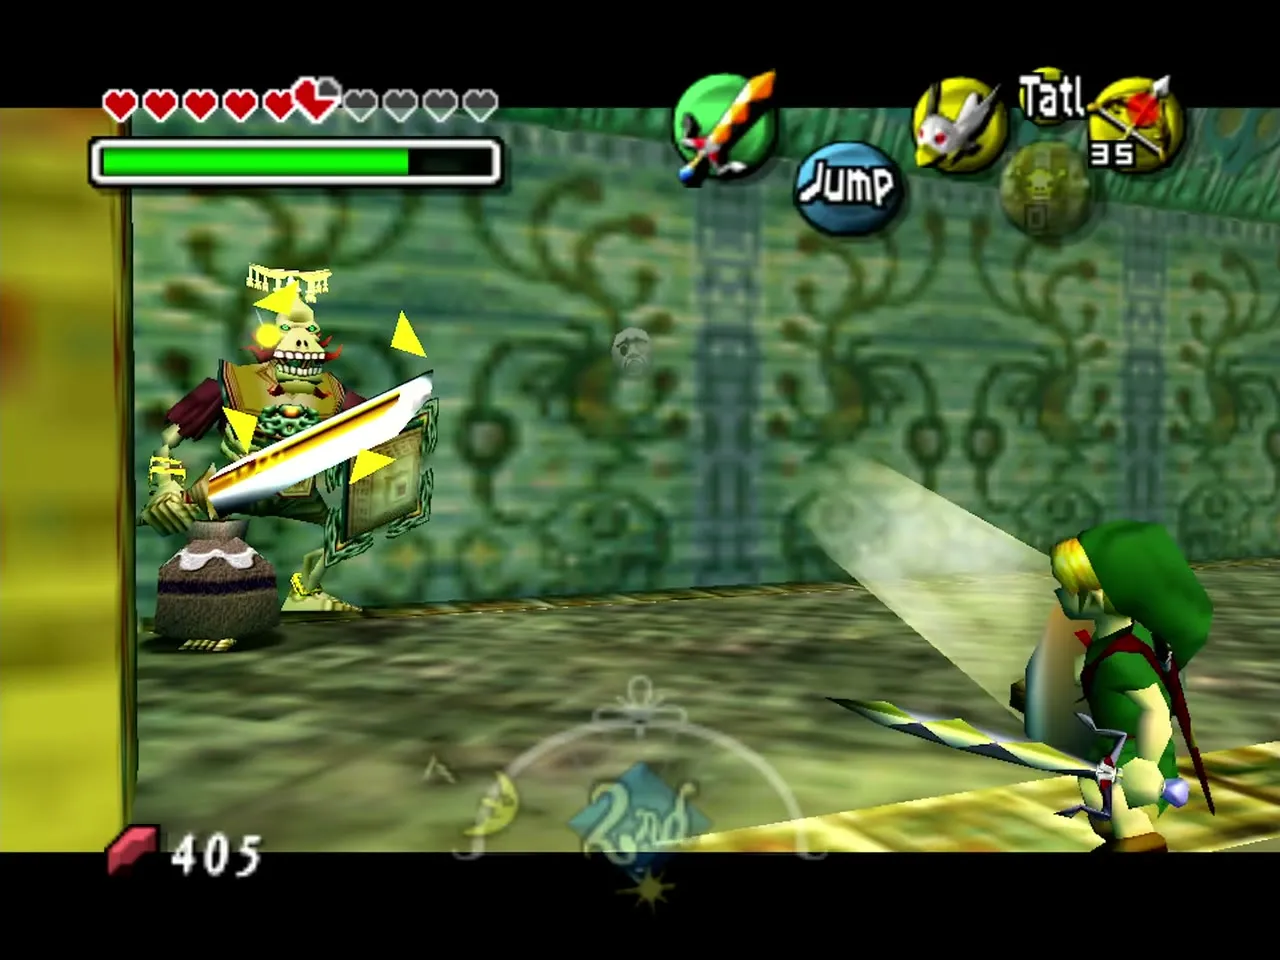
Igos du Ikana is a boss you must beat, because he teaches the Elegy of Emptiness, which you need for Stone Tower Temple. You reach his throne room from Ikana Canyon after Beneath the Well (which gives you the Mirror Shield), bringing Fire Arrows and the Gibdo Mask or another mask that calms the ReDeads. The castle has its own mini-bosses on the way: the Floormaster that light from the Mirror Shield handles best, and the Wizzrobe that you shoot while aiming at the dancing copy.
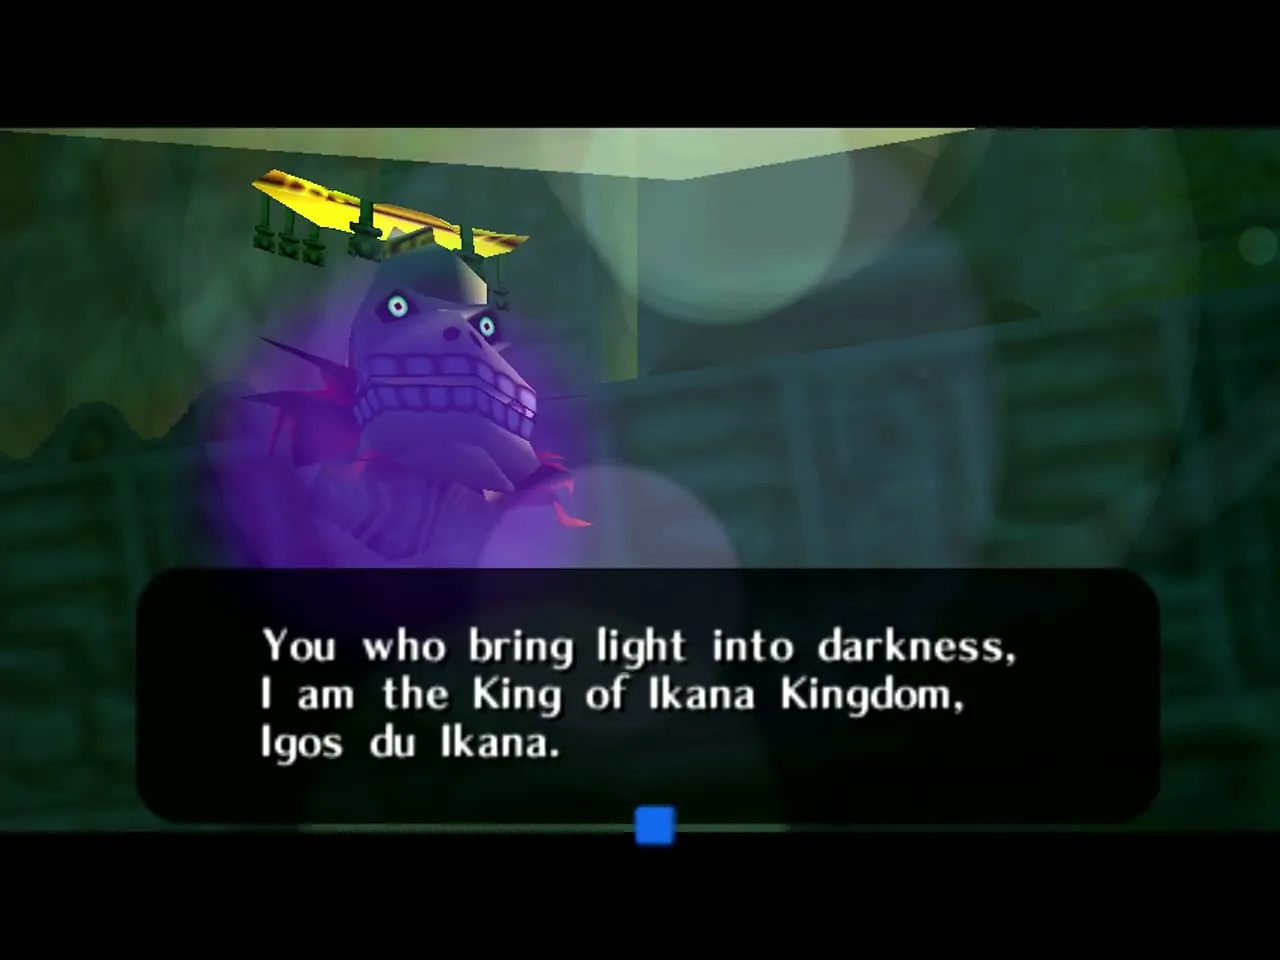
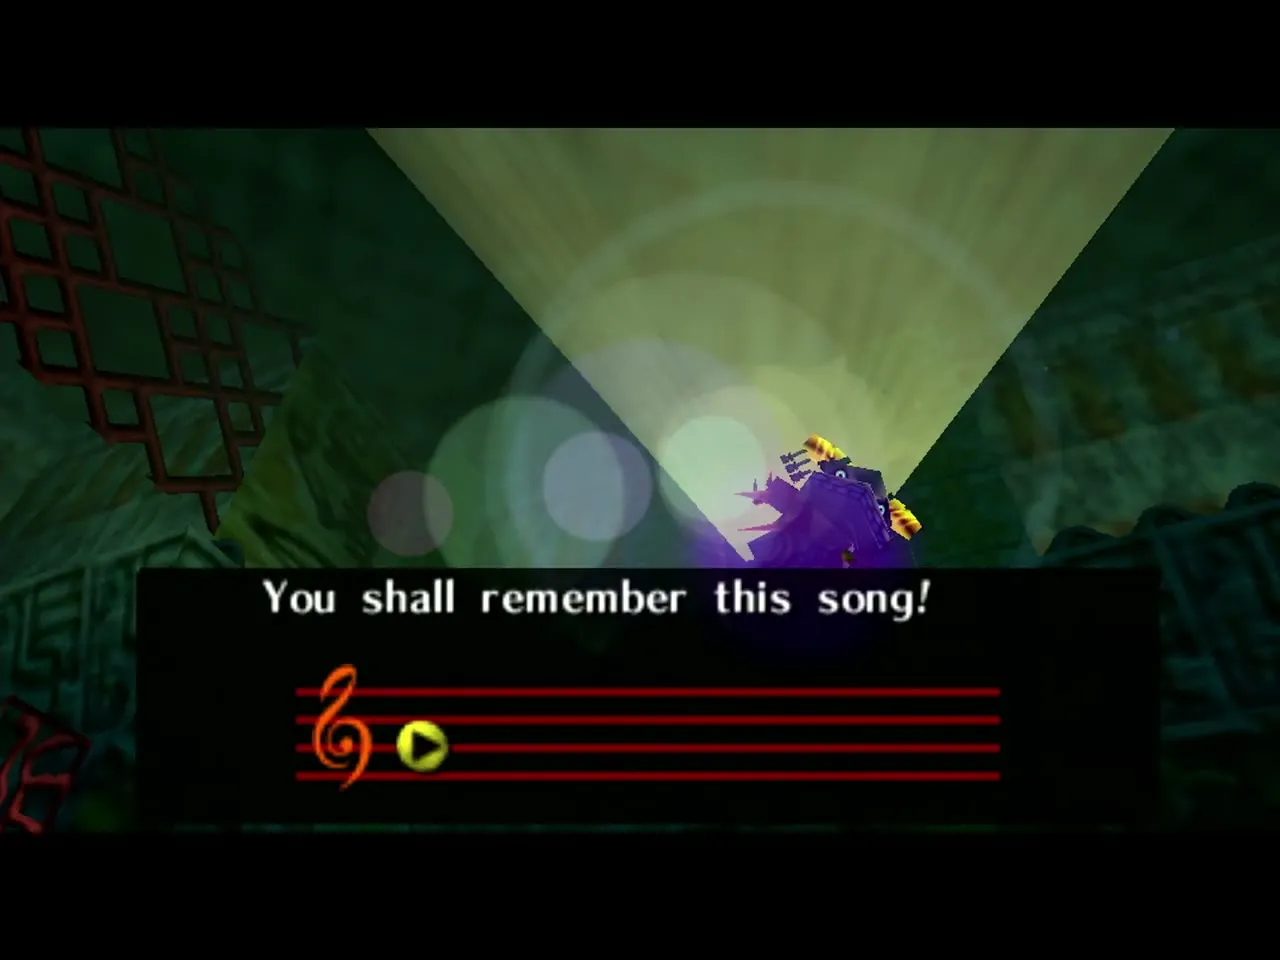
Phase 1, the guards: in the throne room the king darkens the hall with curtains and sends two Stalfos knights, which you beat as described above. Phase 2, the king: then Igos du Ikana himself attacks. He fights with his sword once his two lackeys fall. The game’s hint is to burn away what blocks the light and shine the sacred rays on the king: keep out of his sword range, hit him between swings, and finish him with light from the Mirror Shield. Reward: he teaches you the Elegy of Emptiness, which leaves a statue copy of you on a switch. Play the Song of Soaring to the Ikana Canyon owl statue and head for Stone Tower.
Moon dungeon and Secret Shrine: mini-boss rematches
Link dungeon on the Moon: Dinolfos, Garo Master and Iron Knuckle
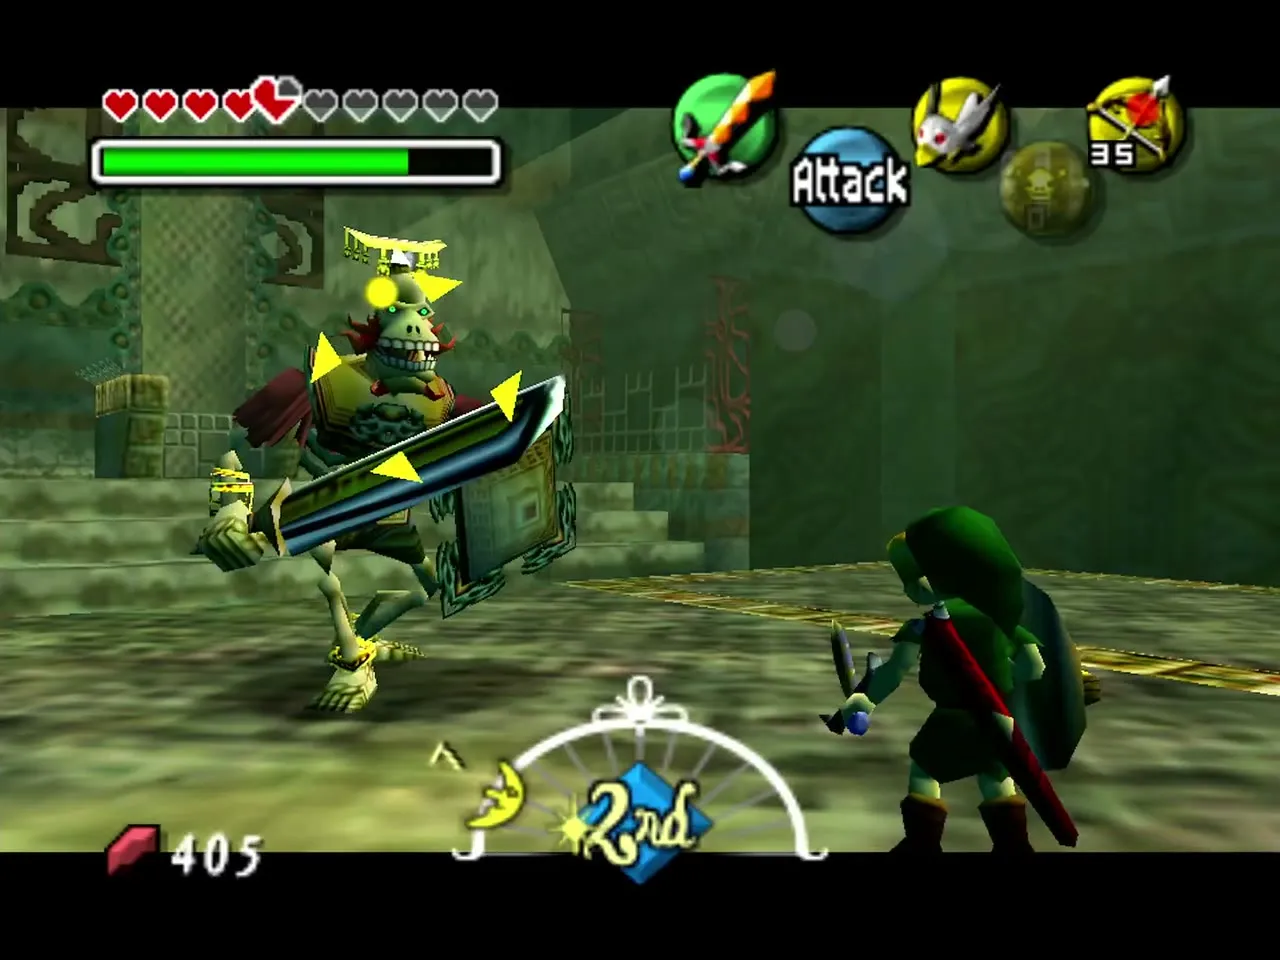
Where: the Twinmold child’s dungeon on the Moon, which costs four masks to enter and four to leave. You need: Hylian Link, the Great Fairy’s Sword (it kills most of these in a few swings), the Hookshot, arrows and Fire Arrows. In the first room a Dinolfos drops from the ceiling; fight it as in Woodfall. The next room holds a Garo Master: sidestep its charge, hit it while it searches for you and run when it vanishes, then turn and strike when it reappears. It explodes when it dies, so back off. Next comes an Iron Knuckle: bait one swing, step back and slash, and dash in and out once its armor falls off. The chest it guards holds Bombchus, which open the cracked wall that leads to the Piece of Heart. The Moon chapter has the route.

Secret Shrine: four rematches
Where: behind the waterfall of the Ikana River, west of the broken bridge in Ikana Canyon. You need: the Hero’s Bow with Light Arrows (shoot the sun mark above the door to open it) and the same tools as in the original fights. Four rooms replay the Dinolfos, the Wizzrobe, Wart and the Garo Master, and each room asks for more hearts than the last, up to 16 for the last. Beating one pays a silver rupee worth 100 rupees, and a chest in the center holds a Piece of Heart once you have beaten the fourth. The Hidden Holes page describes the entrance.
The Moon: Majora’s Mask
Before the fight
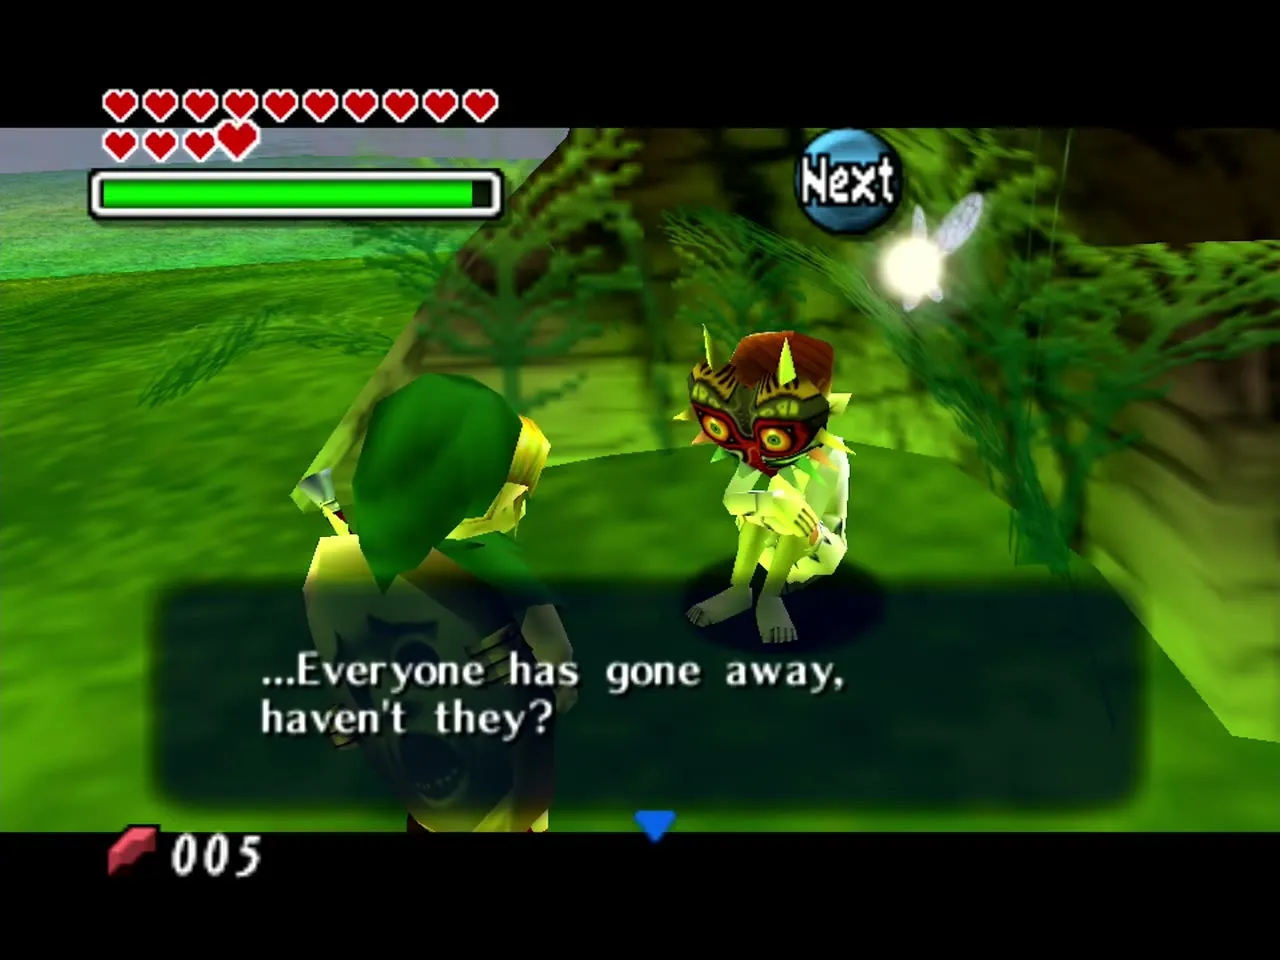
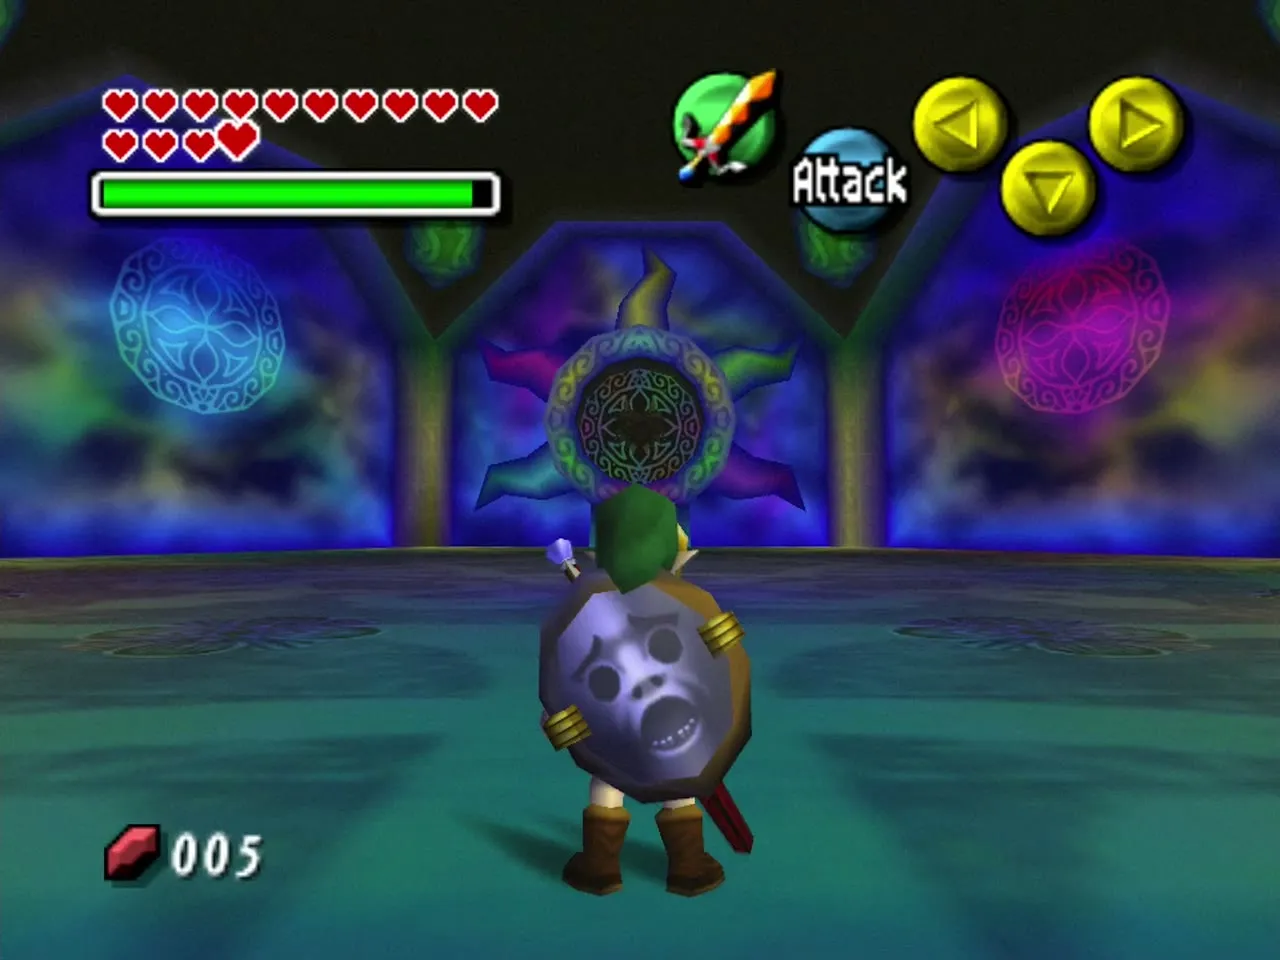
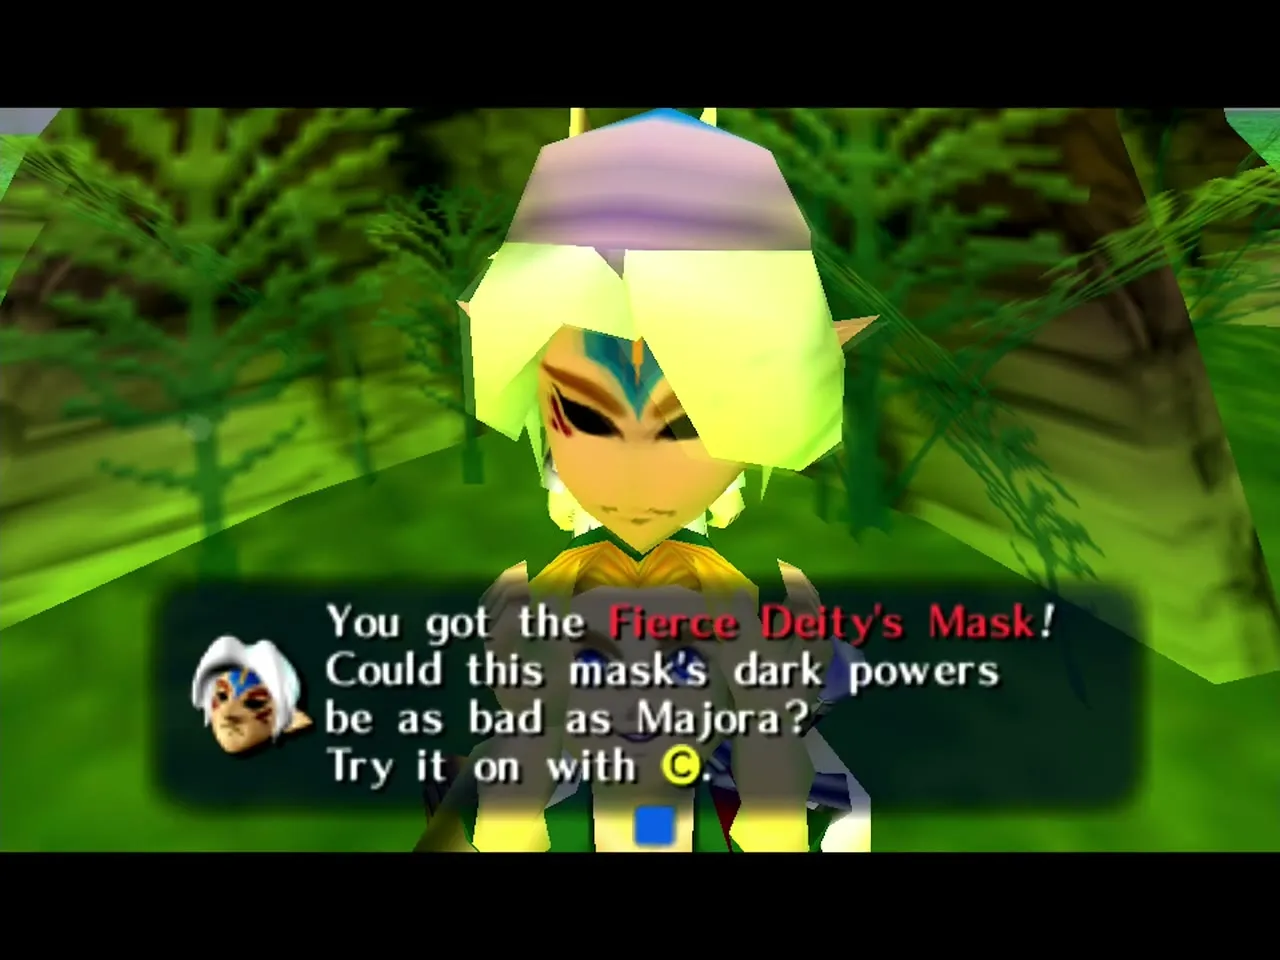
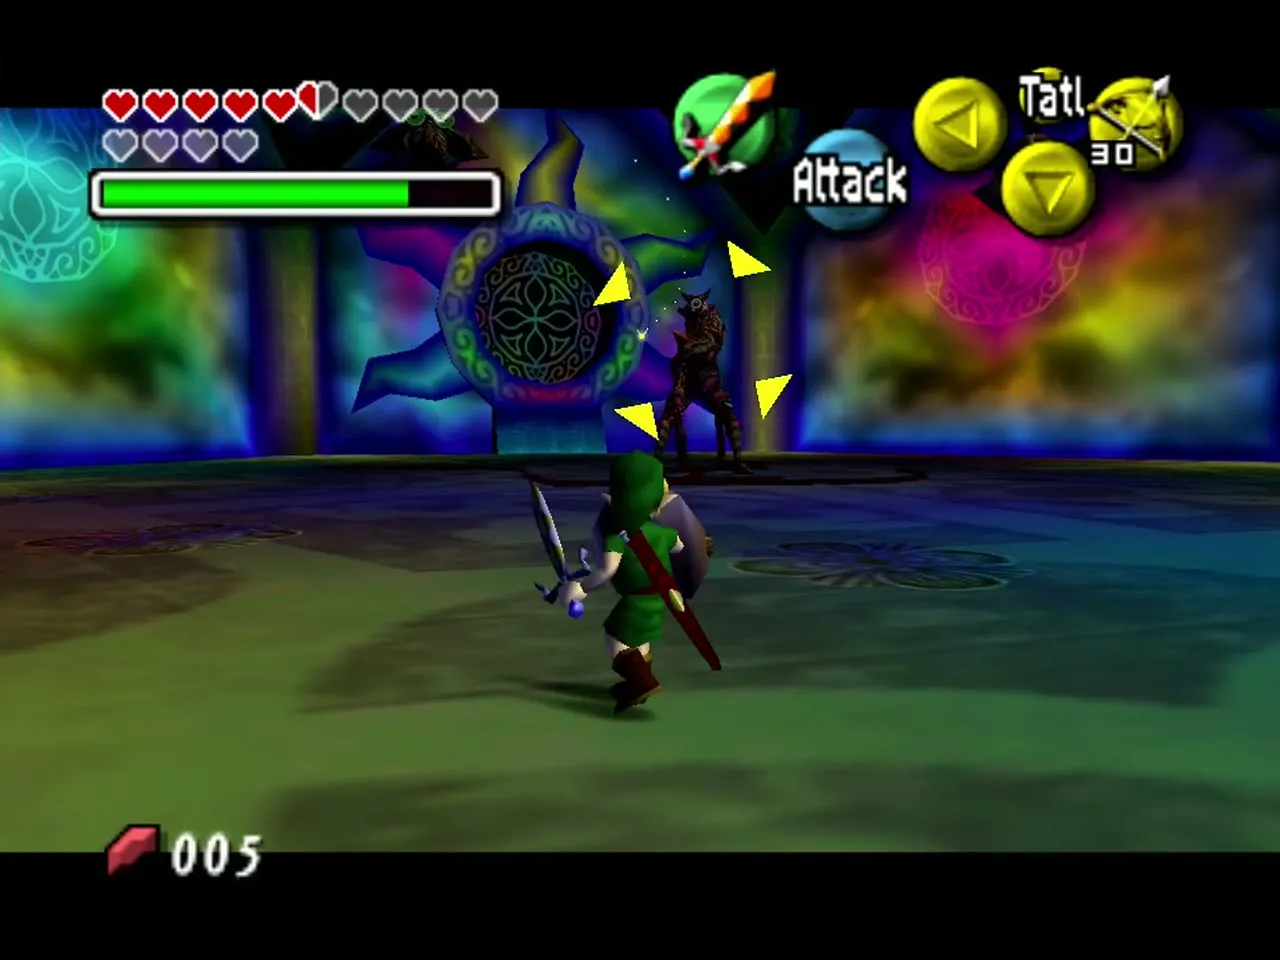
The final fight begins on the Moon when you speak to the child wearing Majora’s Mask under the tree, after the Moon dungeons. If you gave all 20 ordinary masks to the other four children and cleared their dungeons, he gives you the Fierce Deity’s Mask first. Bring a shield, your strongest sword and plenty of arrows; Light Arrows help in the last phase. You need: the Hero’s Bow, Light Arrows with a full magic meter, the Mirror Shield, and a bottle of Red Potion or a Fairy. Hearts and arrows drop from the jars in the arena.
Easy way: the Fierce Deity’s Mask
The Fierce Deity’s Mask can be worn only in boss fights and turns you into a towering warrior whose sword fires beams. Lock on and keep firing sword beams, and the fight goes much faster: the beams hurt each of Majora’s three forms. Without the mask the fight is harder and longer, but still possible. The mask also works against Odolwa, Goht, Gyorg and Twinmold if you want to replay them.

Phase 1: Majora’s Mask
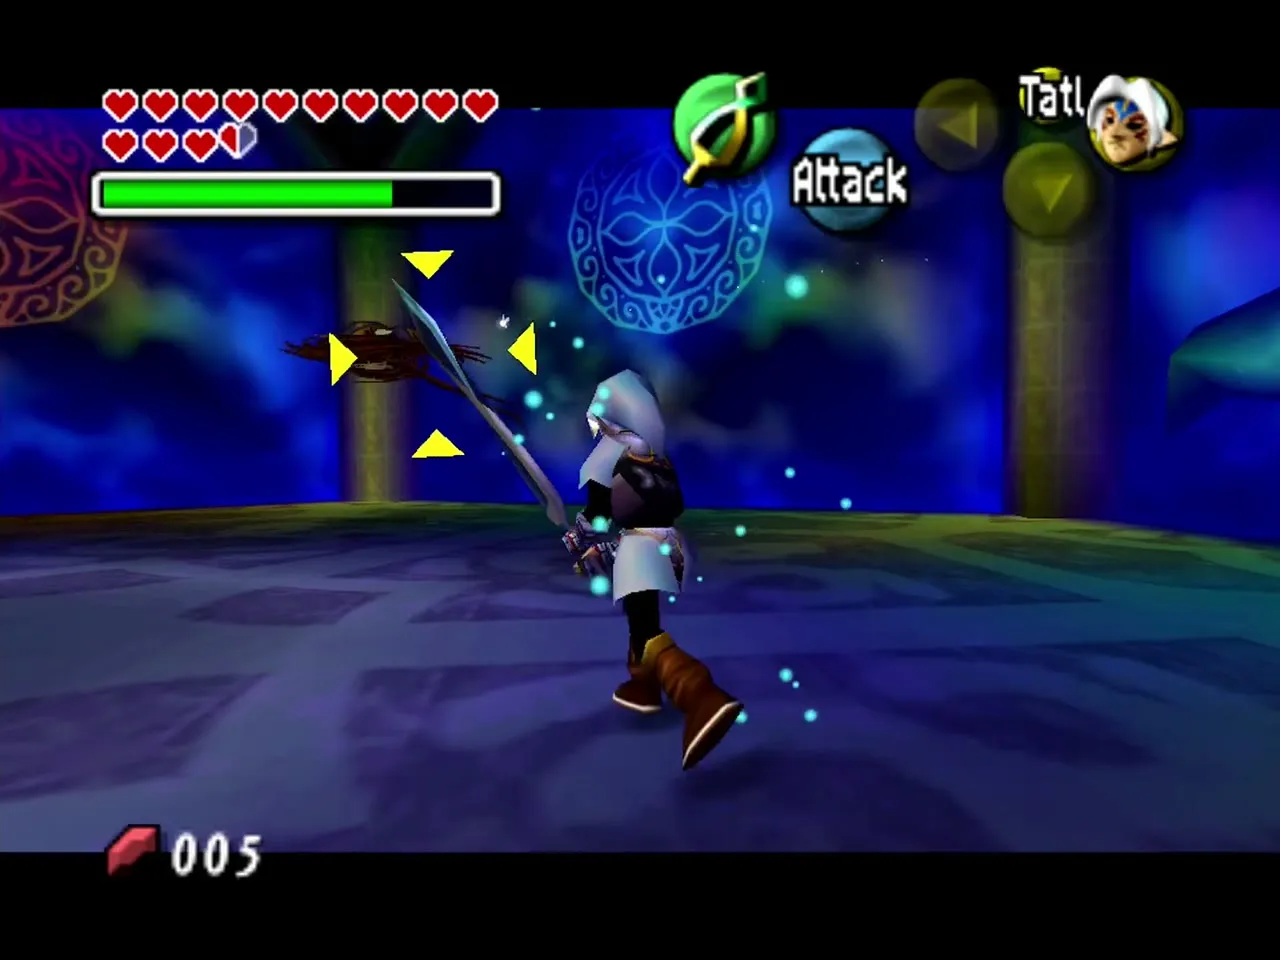
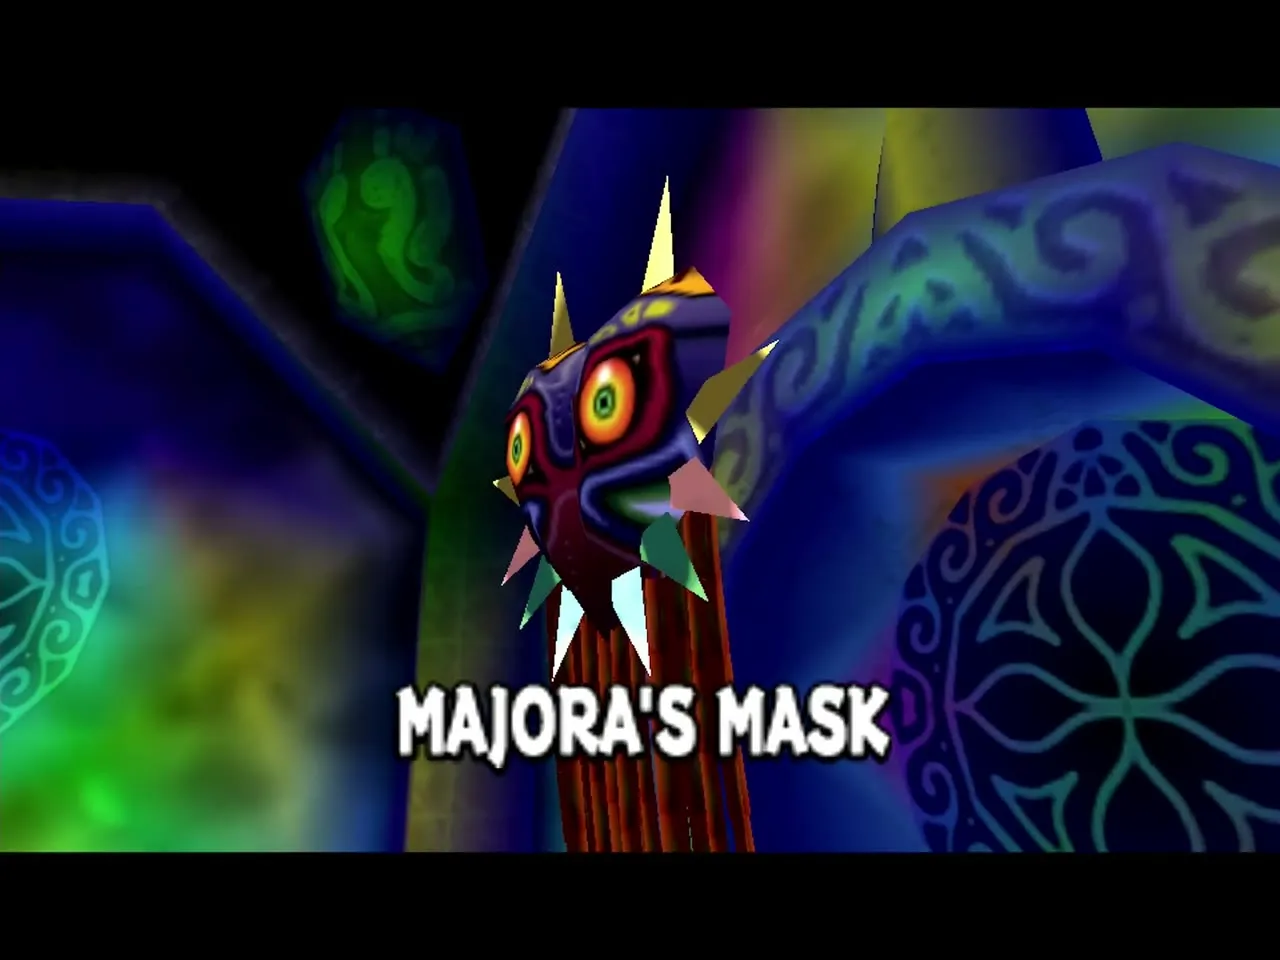
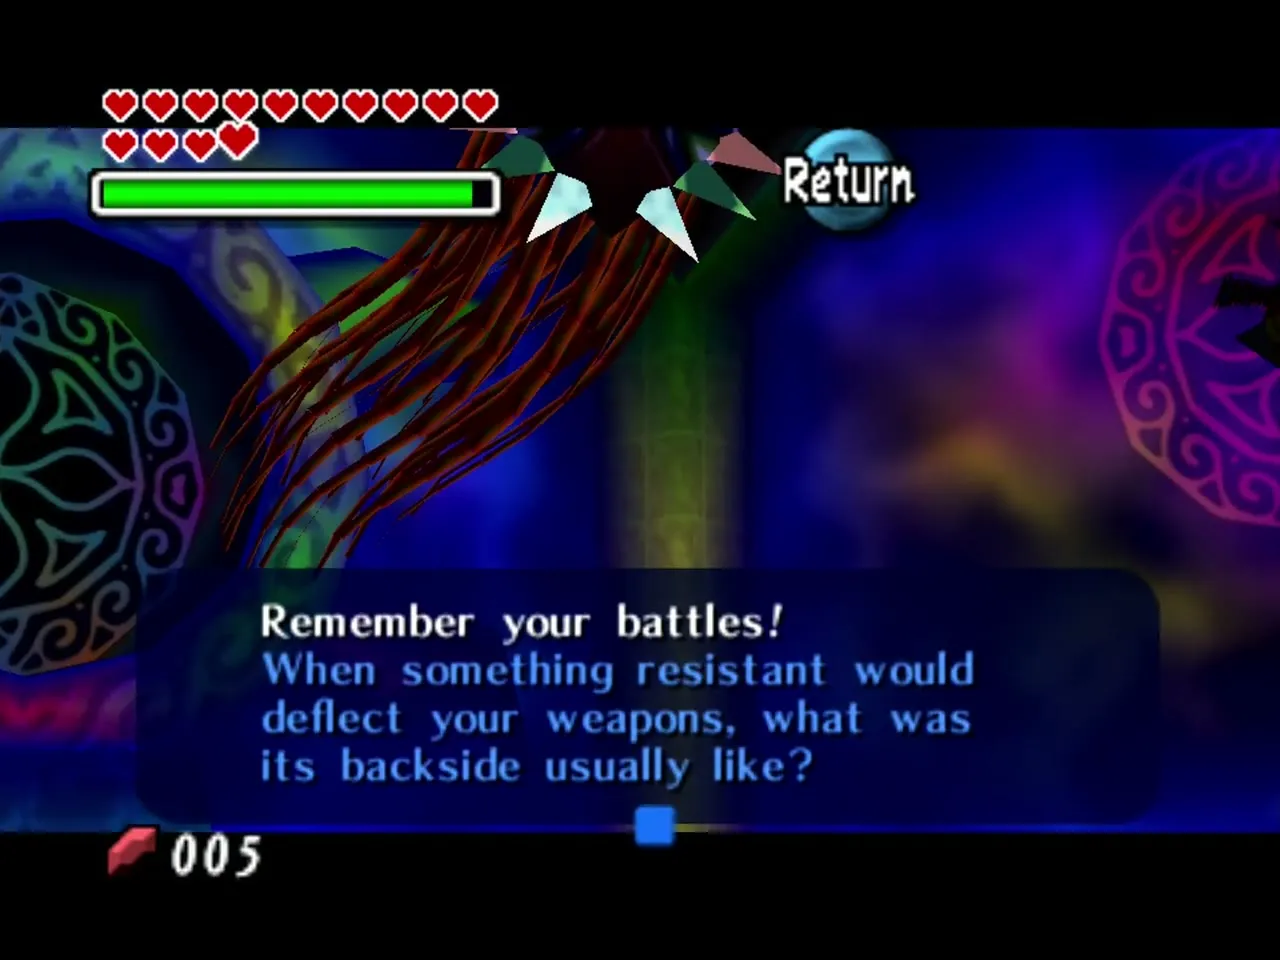
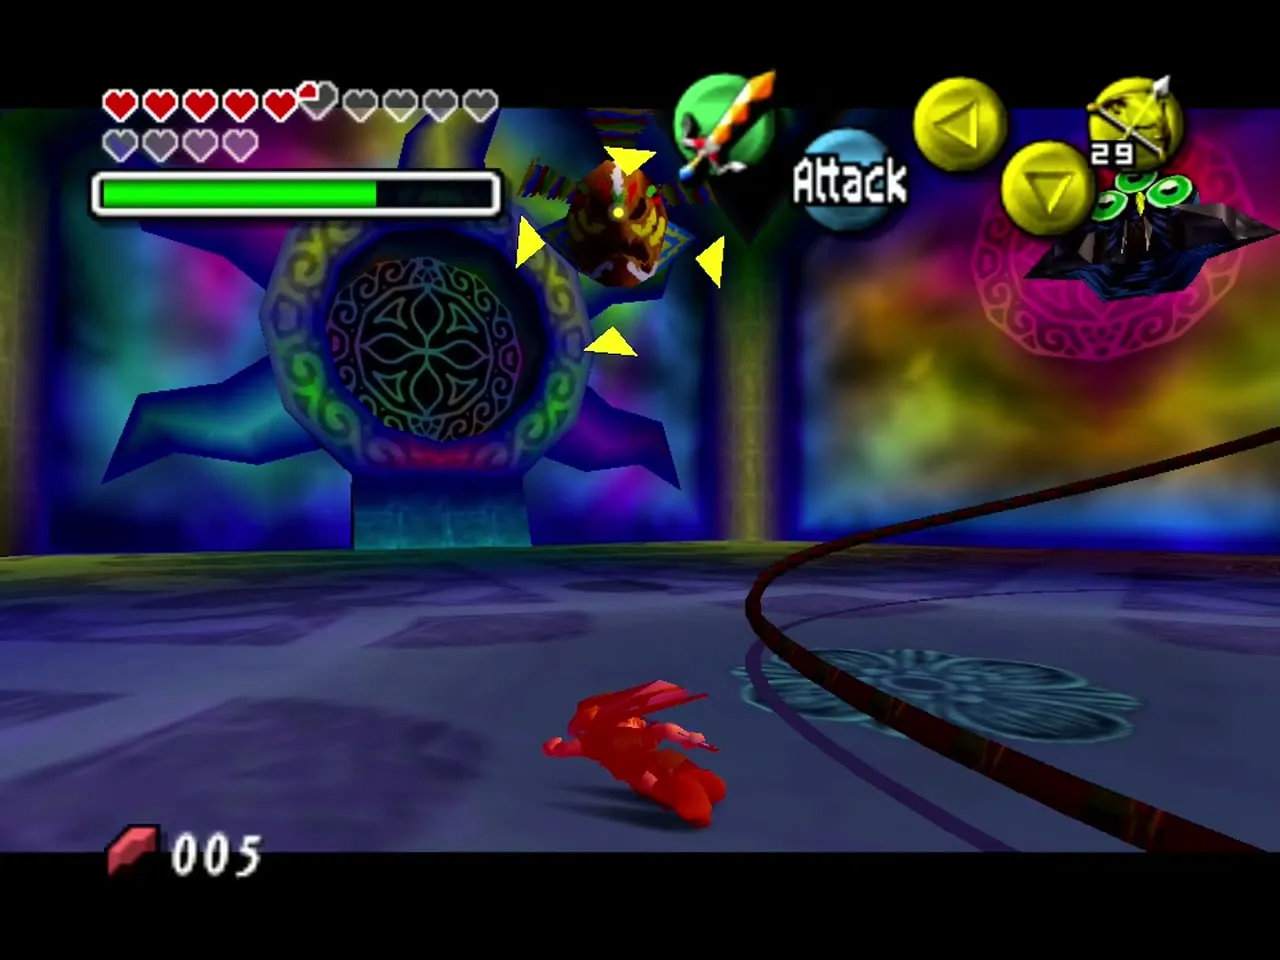
The mask floats and spins with small tentacle-like cords trailing from it, so hold your shield up against its spinning attack and aim for its back, which is the only weak spot. Stand below it and wait for it to start spinning vertically, then shoot an arrow or throw a Zora fin boomerang; if it comes close, a spin attack knocks it back. After a hit it drops to the floor, so rush in and slash. Once it has taken enough damage, the masks of the four temple bosses come out of the wall and float around the arena, firing energy balls at you, so keep moving. Destroy them with a couple of Light Arrows each, and dodge Majora’s laser with side-hops and backflips. Repeat until the mask grows arms and legs.
Phase 2: Majora’s Incarnation
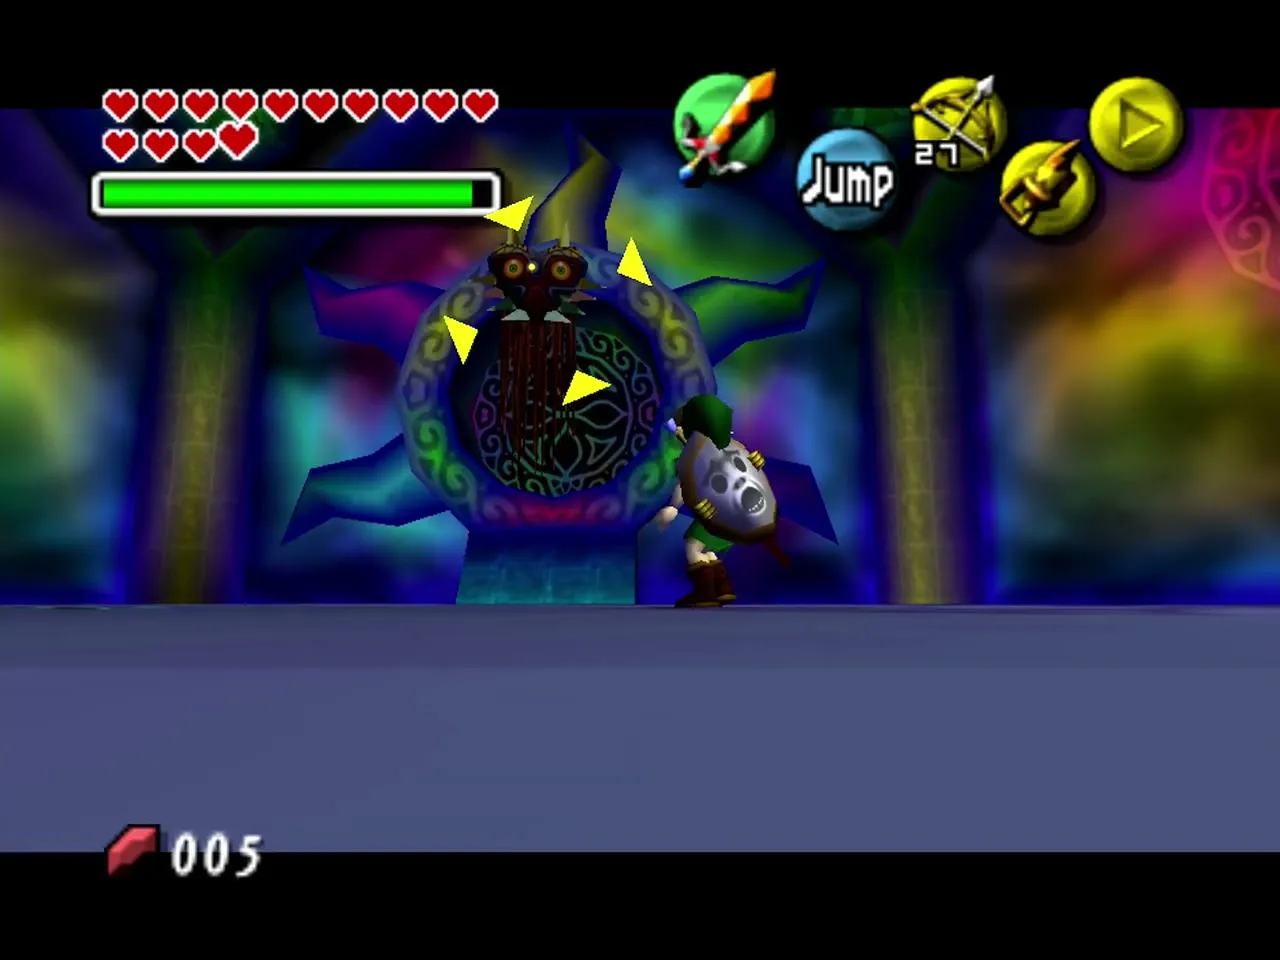
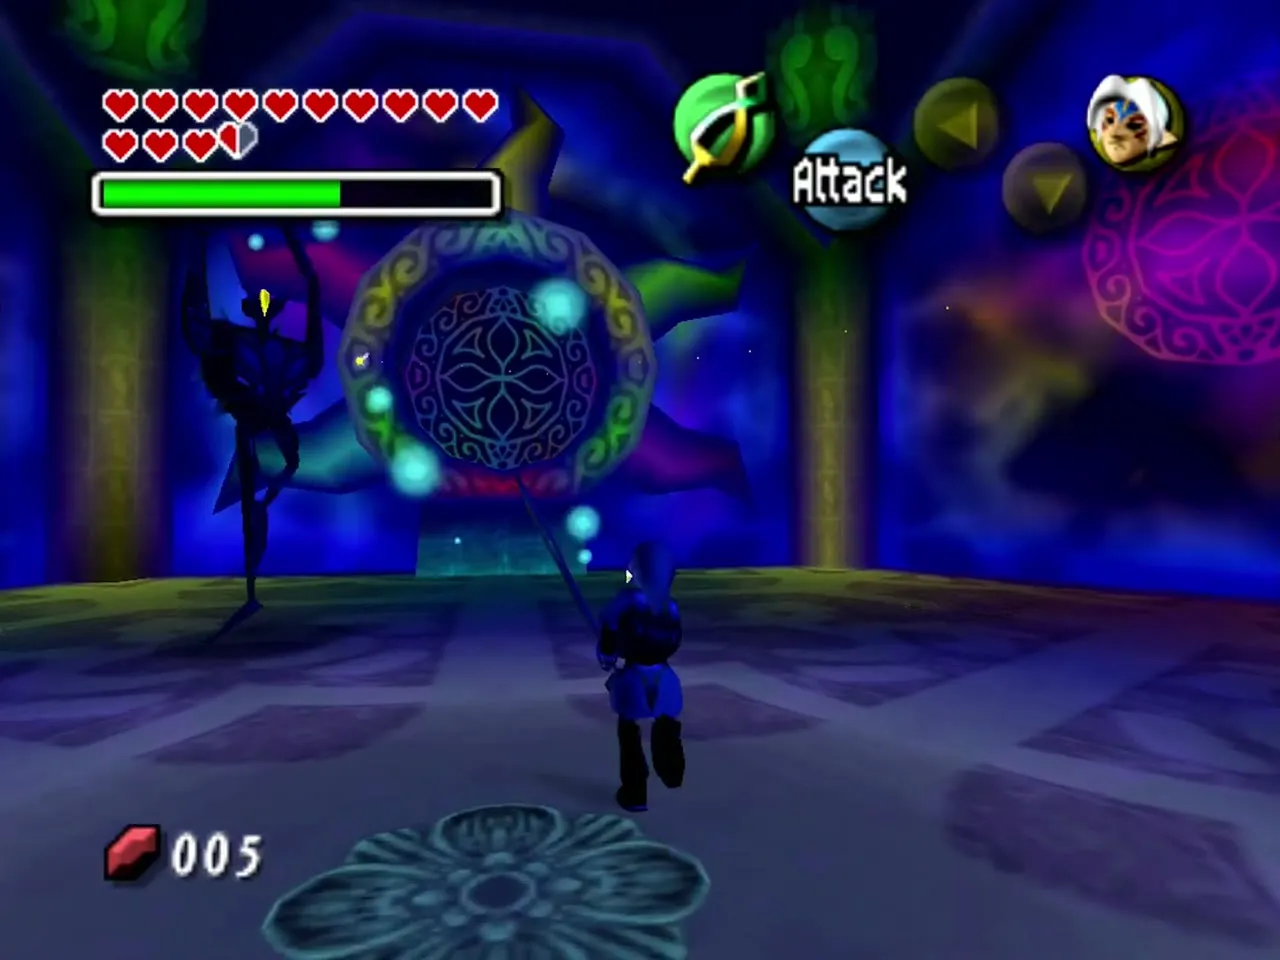
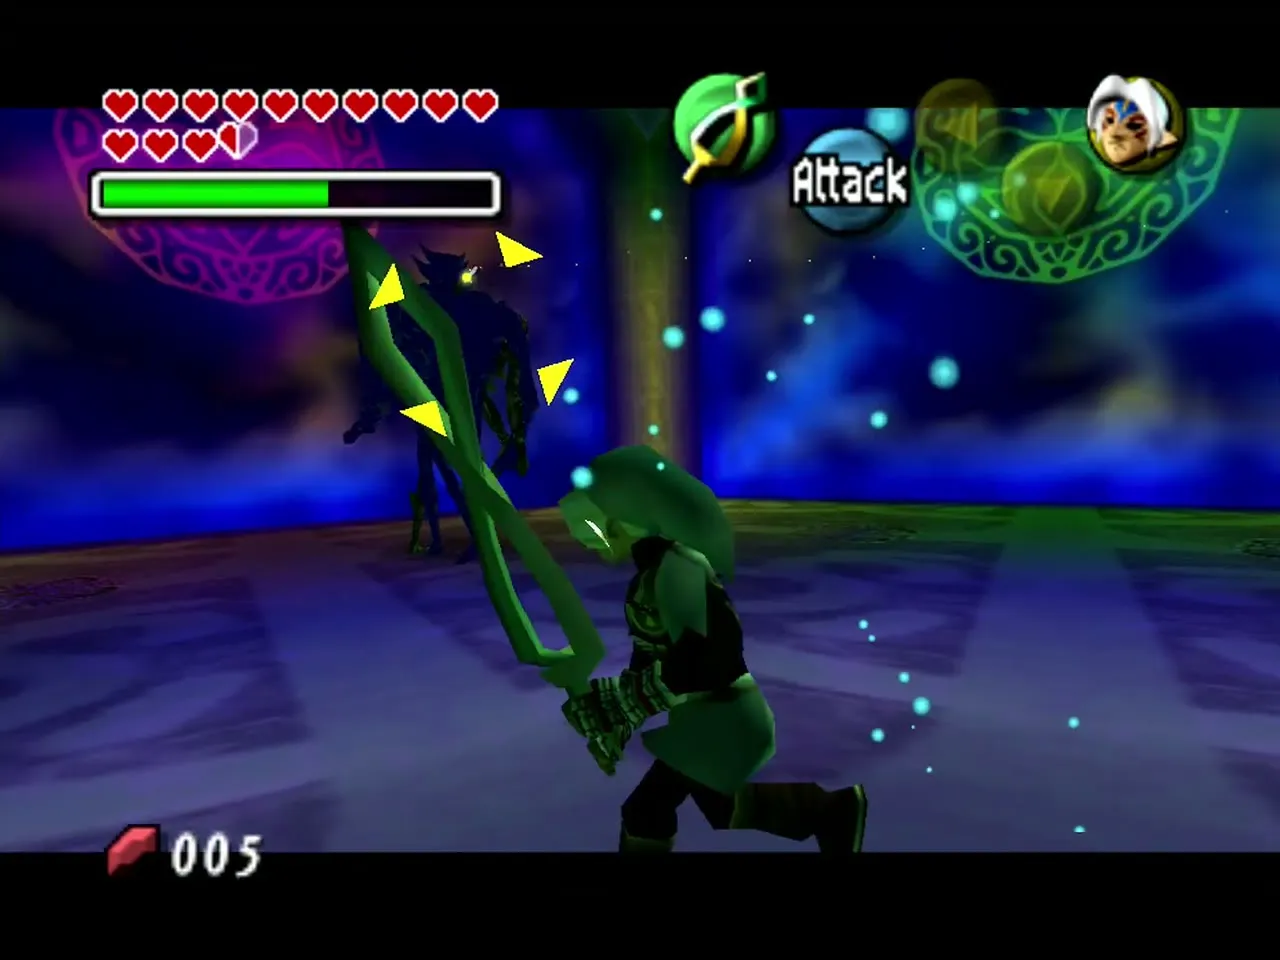
Now the mask has legs and arms, and runs around the arena erratically, stopping to dance. Keep a target lock, stay mobile, and keep your shield raised except when you attack. Stand still with the shield up and strike it when it runs past, or shoot an arrow or a Light Arrow during its slower dance moves to knock it down, then run in and strike with your sword.
Phase 3: Majora’s Wrath
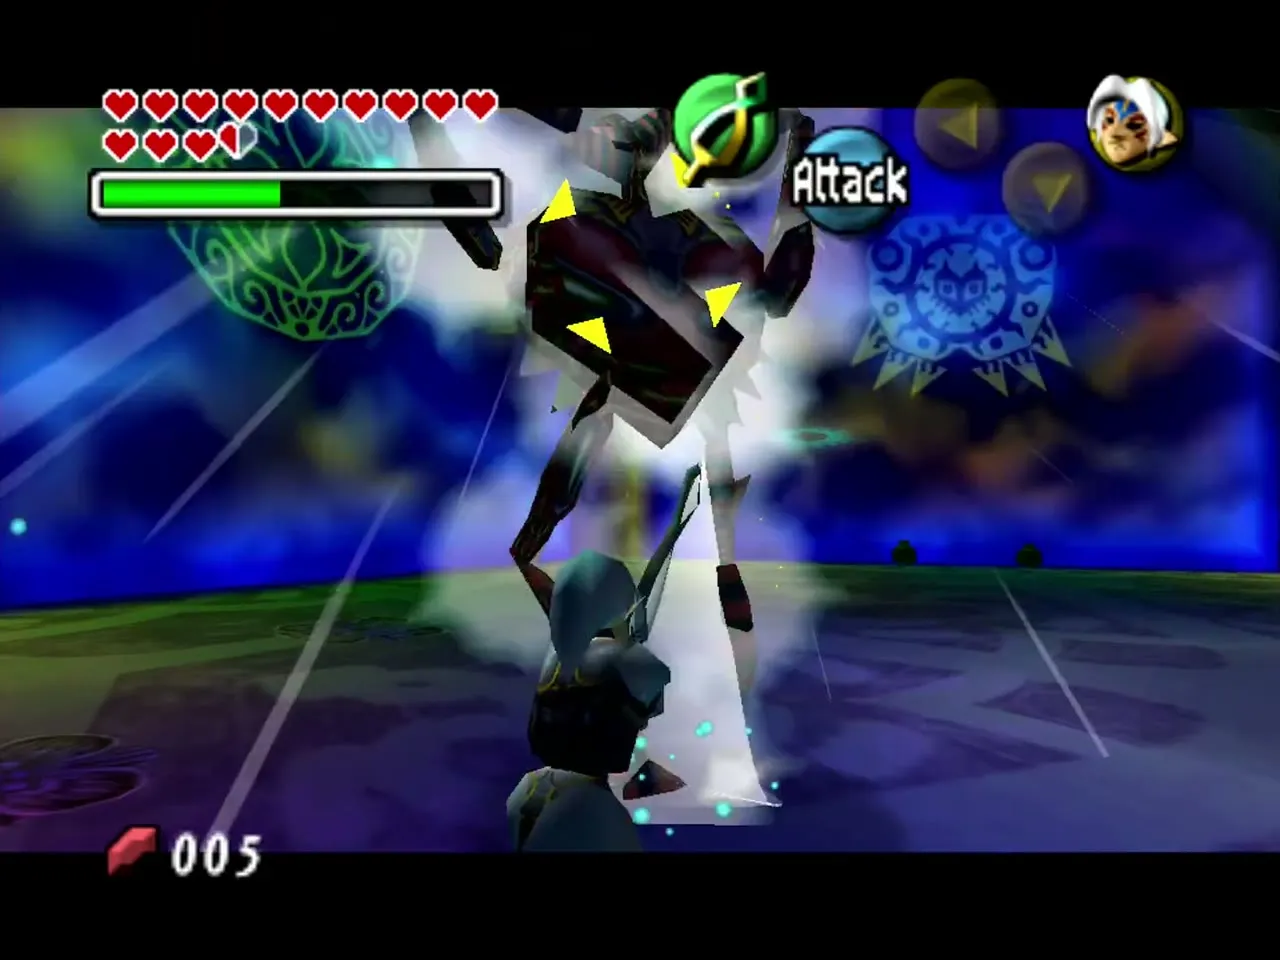
The last form grows a head and powerful arms, and whips with tentacle cords that reach across the whole room and can grab you and throw you. Do not stand too far away, but do not get too close either, because it kicks and can jump backward. It also spins while whipping. Raise your shield to block the whips, and shoot an arrow when it is not attacking to stun it, then close in and strike. Light Arrows hit hard and make this phase much shorter. Expect to need several approaches.
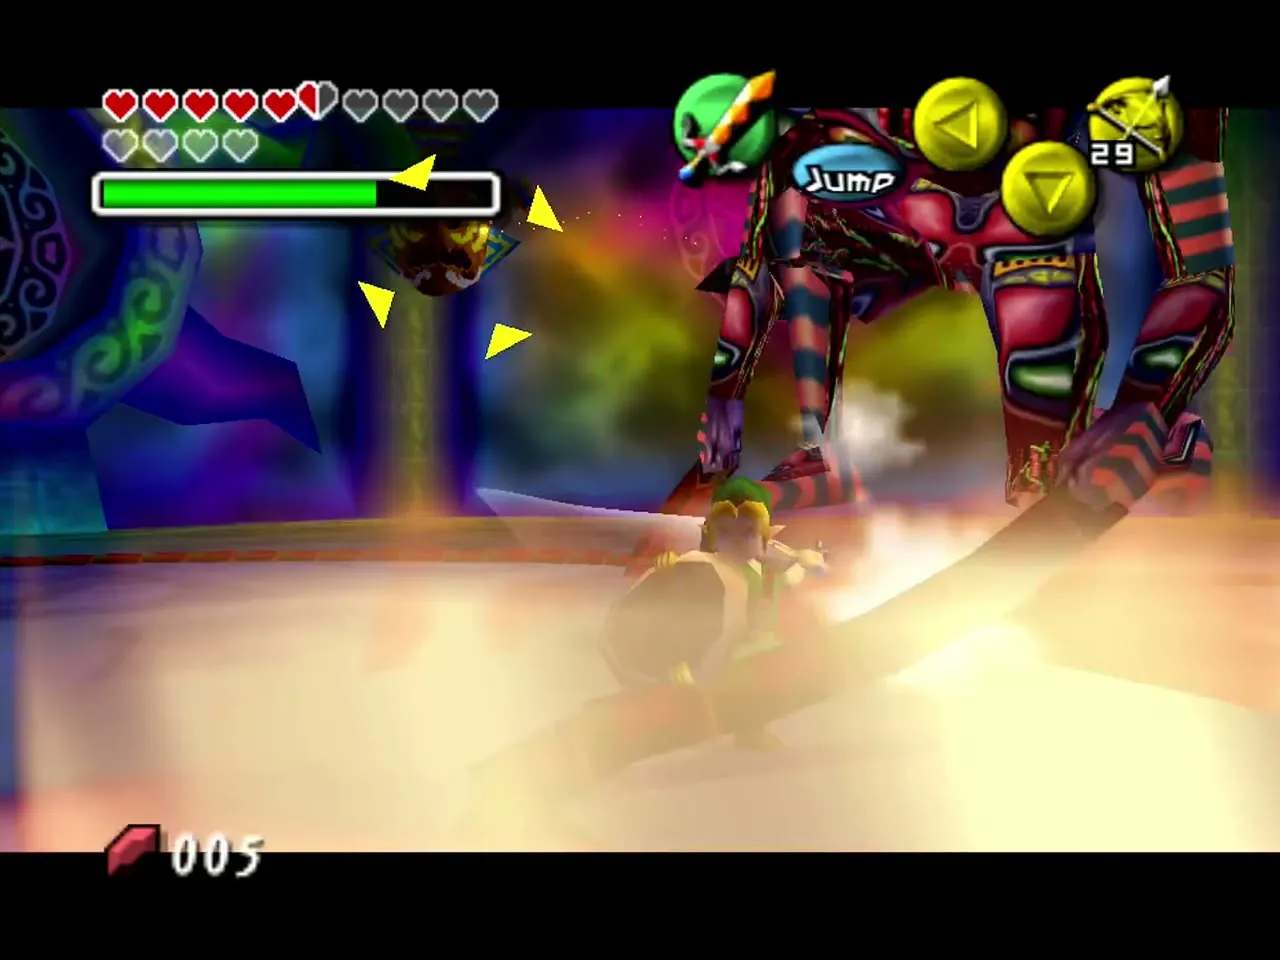
When Majora falls, the Giants return and Skull Kid is freed, and a new day dawns on Termina.