| Bosses in the main quest | 8 (6 palace bosses, Thunderbird and Dark Link in the Great Palace) |
|---|---|
| Crystal reward | One crystal from each of the six palace bosses; the Great Palace has none |
| Helpful spells | Shield, Jump, Reflect, Thunder (Thunderbird only) |
| Sword move that helps most | Downward Thrust (learned in Mido Town), used against Rebonack and on Helmethead |
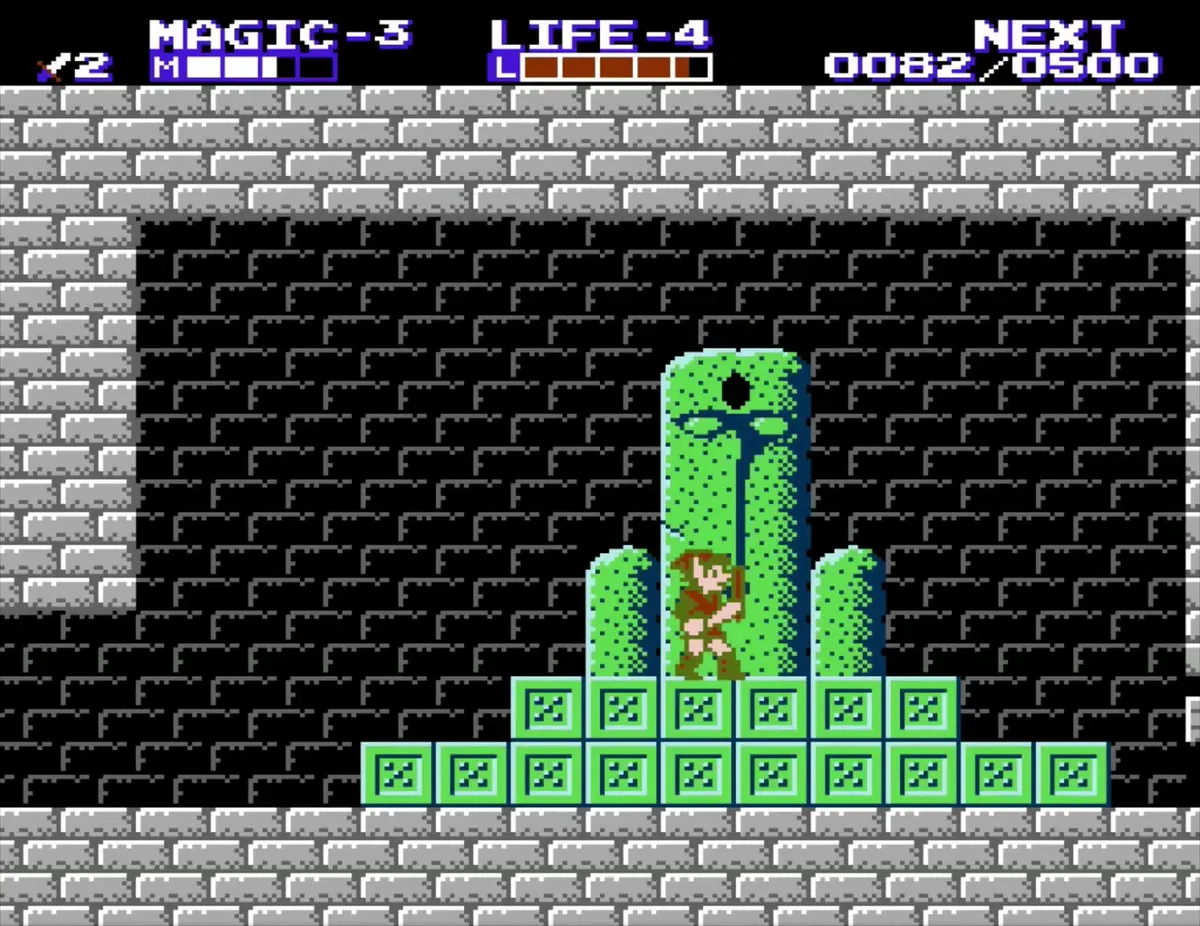
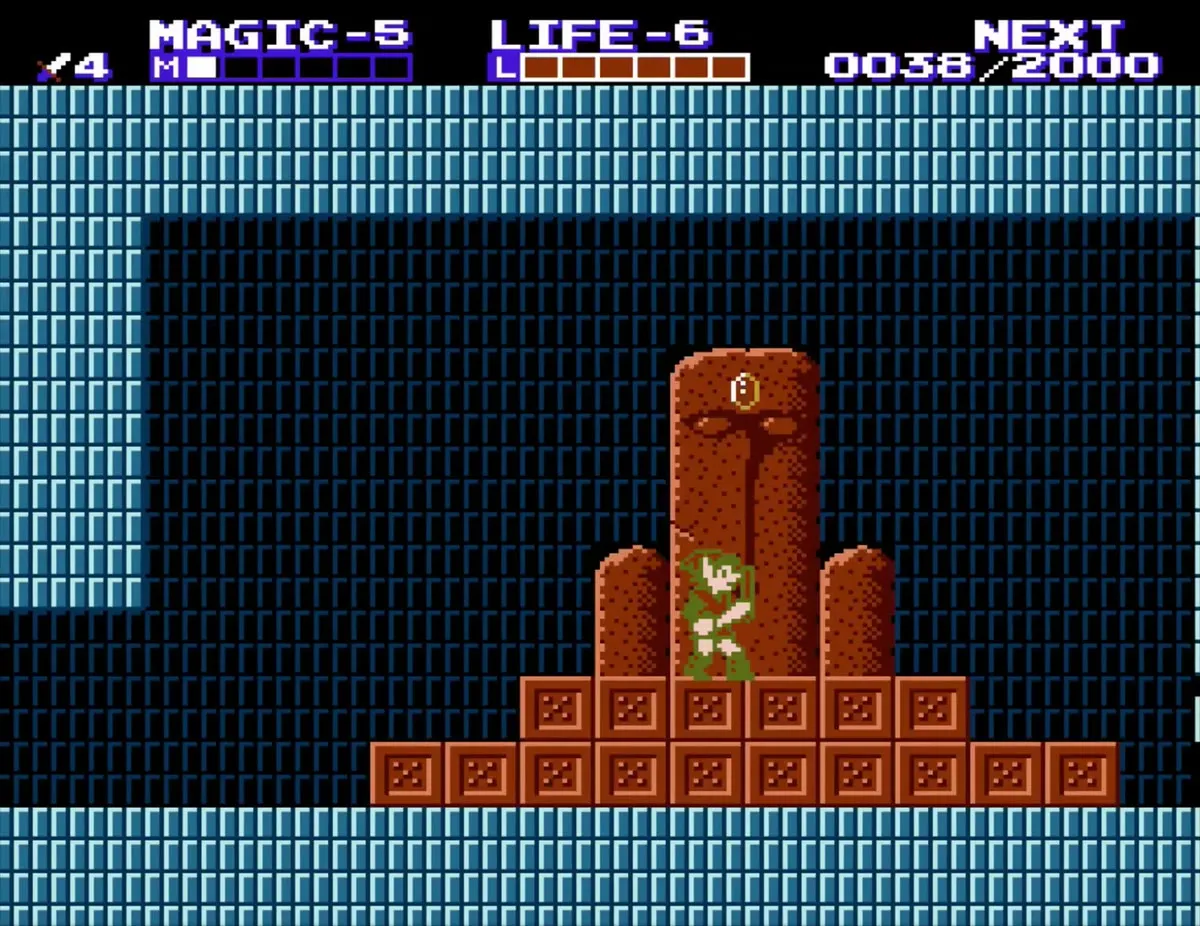
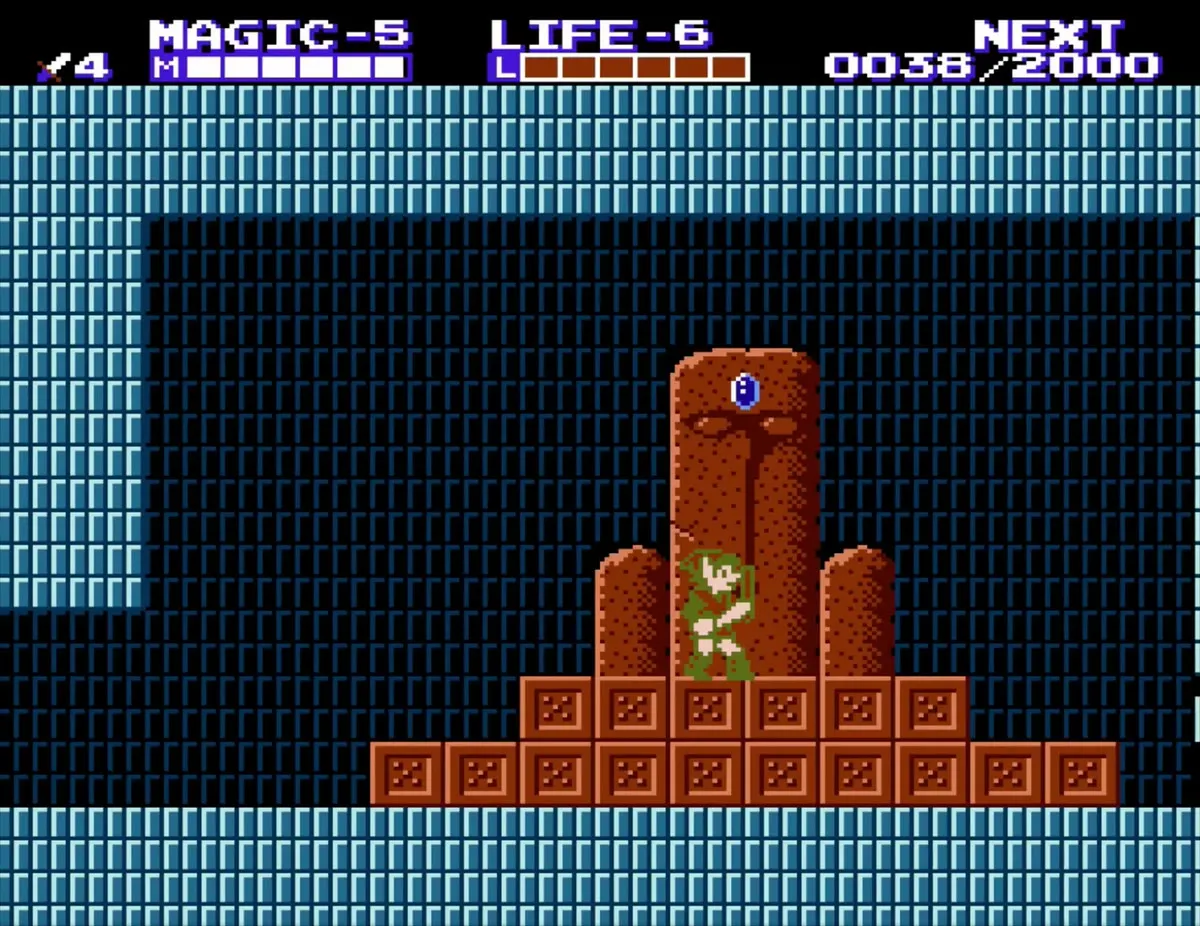
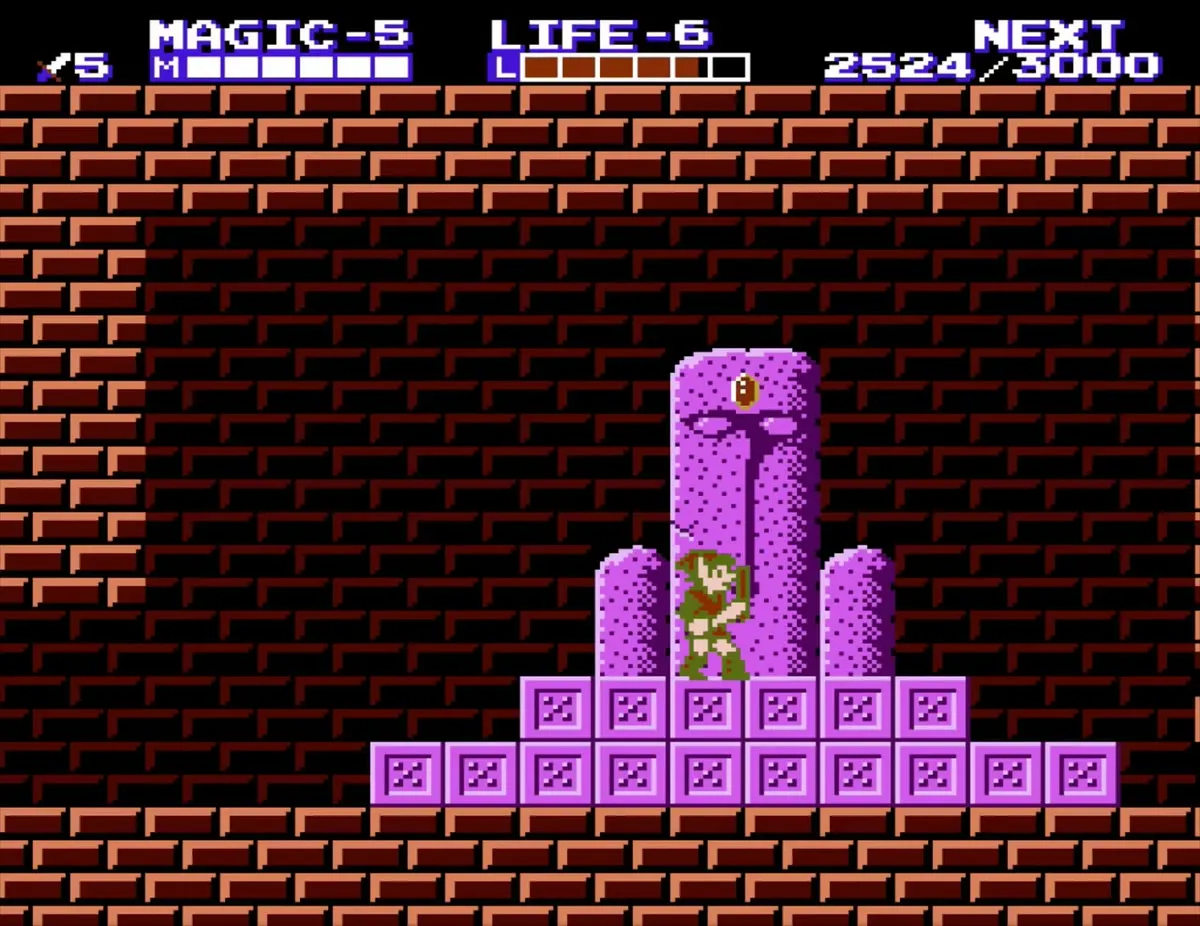
Each palace boss guards one of the six crystals. Beat the boss, walk to the statue and place the crystal to finish the palace. The Great Palace has two bosses: Thunderbird, which must be hit with Thunder before its face can be struck, and Dark Link, the shadow of Link that waits in the last chamber. Defeating Dark Link gets you the Triforce of Courage and ends the game. The EXP column is the reward for each kill.
Table of Contents
Quick reference
| Icon | Boss | Palace | Best way to beat it | EXP |
|---|---|---|---|---|
 | Horsehead | Parapa Palace | Shield spell, then jump and strike the head | 50 |
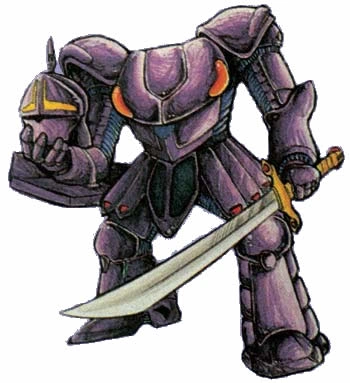 | Helmethead | Midoro Palace | The first two hits knock helmets loose; then hit the head | 200 |
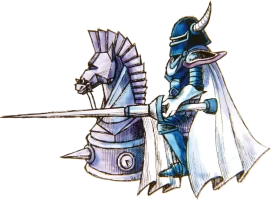 | Rebonack | Island Palace | Downward Thrust on the horse, then fight the rider on foot | 300 |
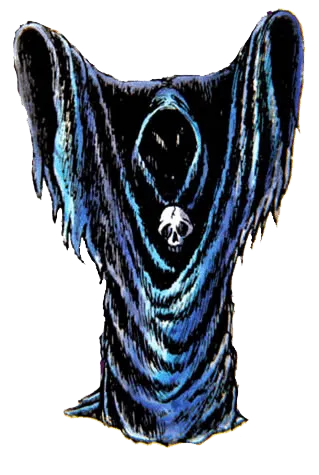 | Carock | Maze Island Palace | Reflect spell, so his magic bounces back | 300 |
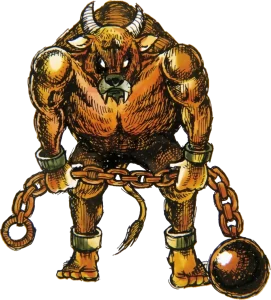 | Gooma | Palace on the Sea | Shield and Jump, leap the ball and chain and stab the body | 500 |
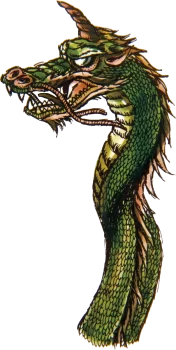 | Barba | Three-Eye Rock Palace | Shield and Jump, strike the head when it rises from the lava | 700 |
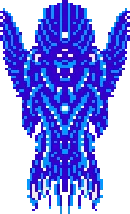 | Thunderbird | Great Palace | Thunder spell to reveal the face, then strike it | 1,000 |
| – | Dark Link | Great Palace, final chamber | Shield spell, crouch in the far left corner and keep stabbing | 0 |
The bosses, palace by palace
Horsehead (Parapa Palace)
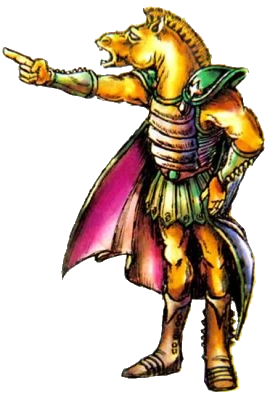
Horsehead guards the end of Parapa Palace. Its body is armored, so only the top of its head can be hurt. Cast Shield before you enter the room, since its mace hits hard. Jump and strike the head, then back away from the mace swing before you land. If you wait on one side of the room it keeps walking toward you, so you can set up each jump. Repeat until it falls. A key drops from the ceiling after the fight, so catch it and open the door to reach the crystal.
Helmethead (Midoro Palace)
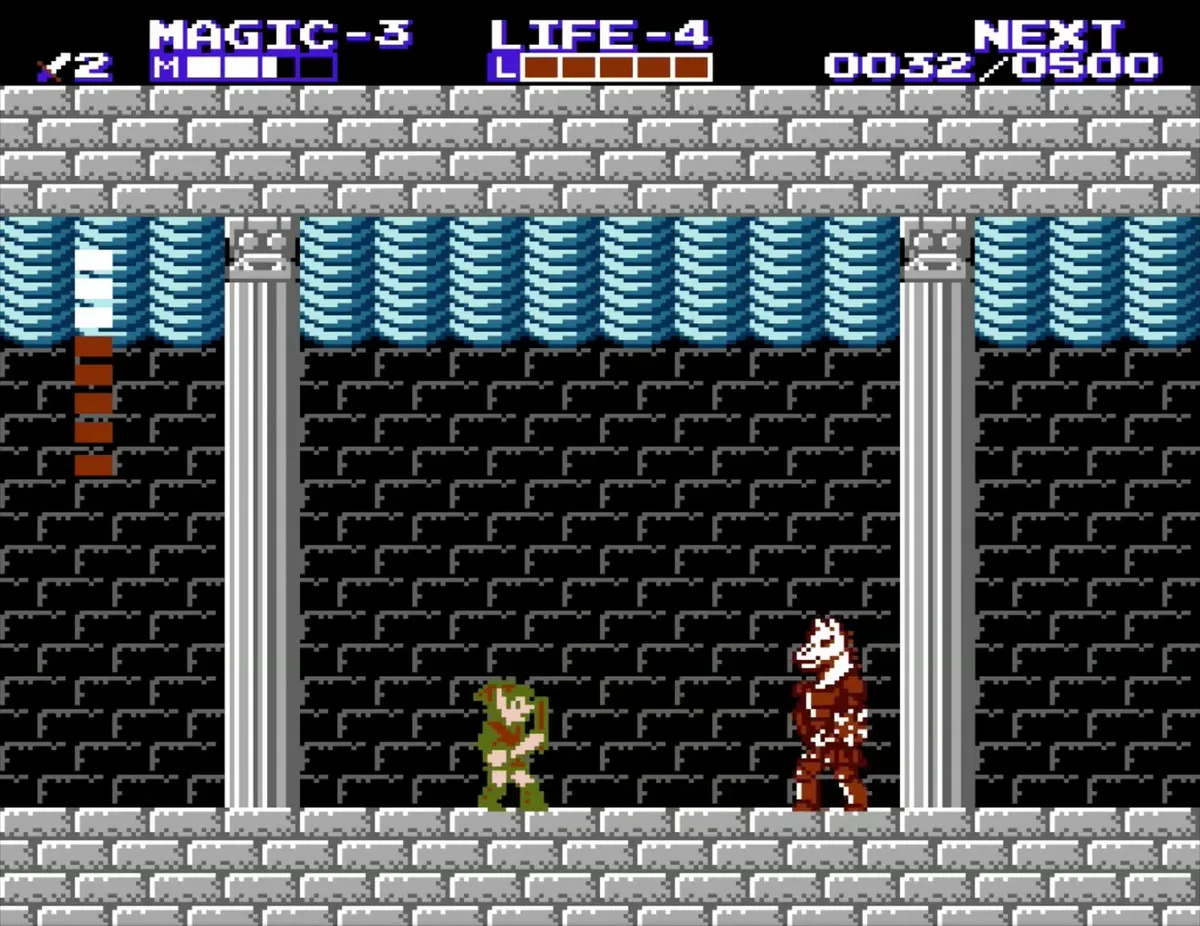
Helmethead is a knight whose helmet comes alive when he is hit. Cast Shield for the shots the loose helmets fire. Jump and strike his head: the first hit knocks one helmet loose, the second hit sends a second helmet flying, and both circle the room firing at you. With both gone his bare head can finally be hurt, so get close and land as many hits as you can before the pattern repeats. A Downward Thrust works on his head if you jump over him. When he falls, take the key that drops and open the door to the crystal statue.
Rebonack (Island Palace)
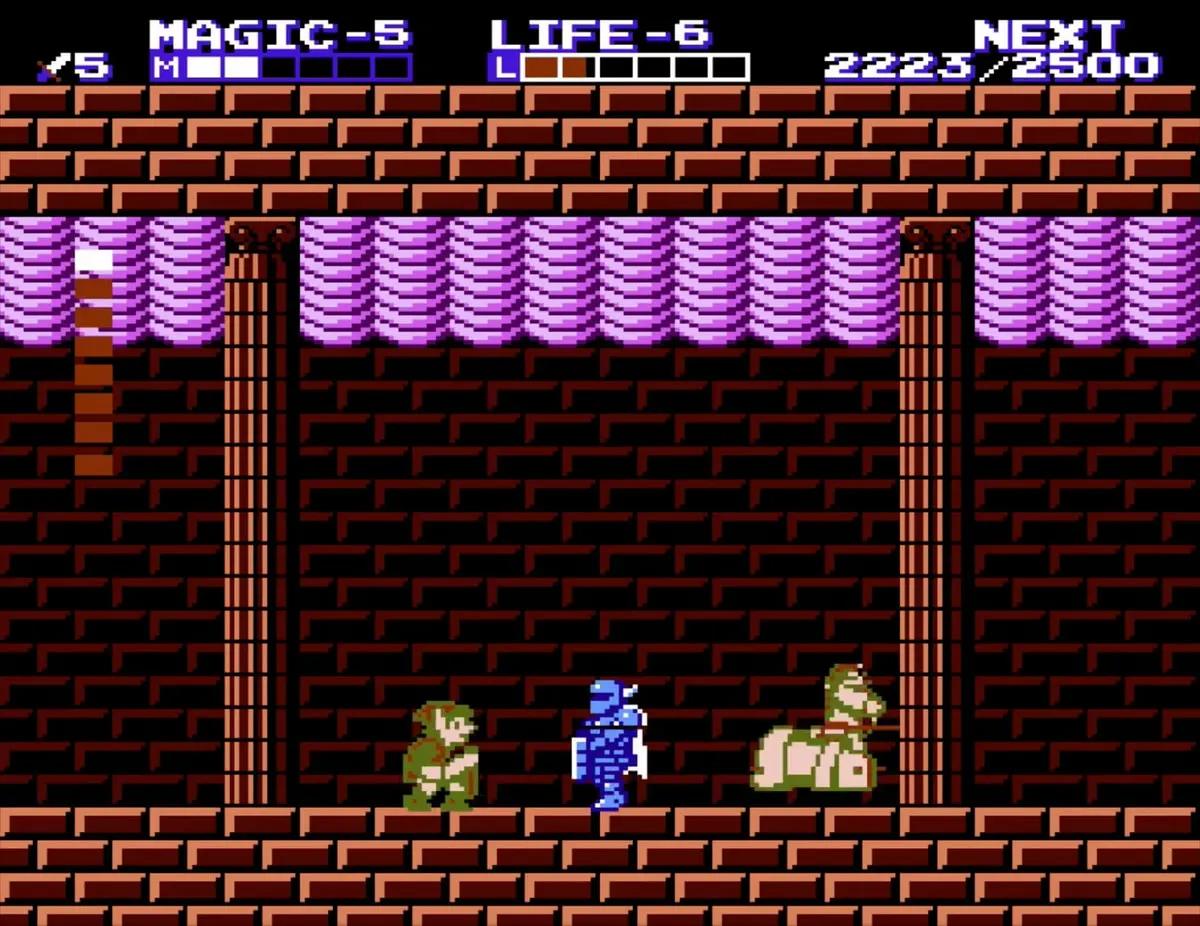
Rebonack is a blue Iron Knuckle riding a ghostly horse. While it is mounted it cannot be hurt, but its horse can: use the Downward Thrust on the horse’s head as it charges at you, or Jump to avoid the charges. You do not have to empty the horse’s life bar before the rider is thrown off. Once it dismounts, fight it like a blue Iron Knuckle on foot with a full life bar of its own. It fires sword beams, a whole flurry of them right after the dismount, so wait the flurry out and strike with jumping stabs to the head. Two more Rebonack appear as mini-bosses in Three-Eye Rock Palace.
Carock (Maze Island Palace)
Carock is a wizard. Swords do nothing to it, and it teleports around the room. You need the Reflect spell first, which you get from Darunia. Cast Reflect, then crouch in either corner facing the middle of the room. Its energy waves bounce back off your shield, and eight reflected hits finish it. Carock rarely appears near the room edges. If your health is low, cast Life while you wait. He is often called the easiest boss in the game.
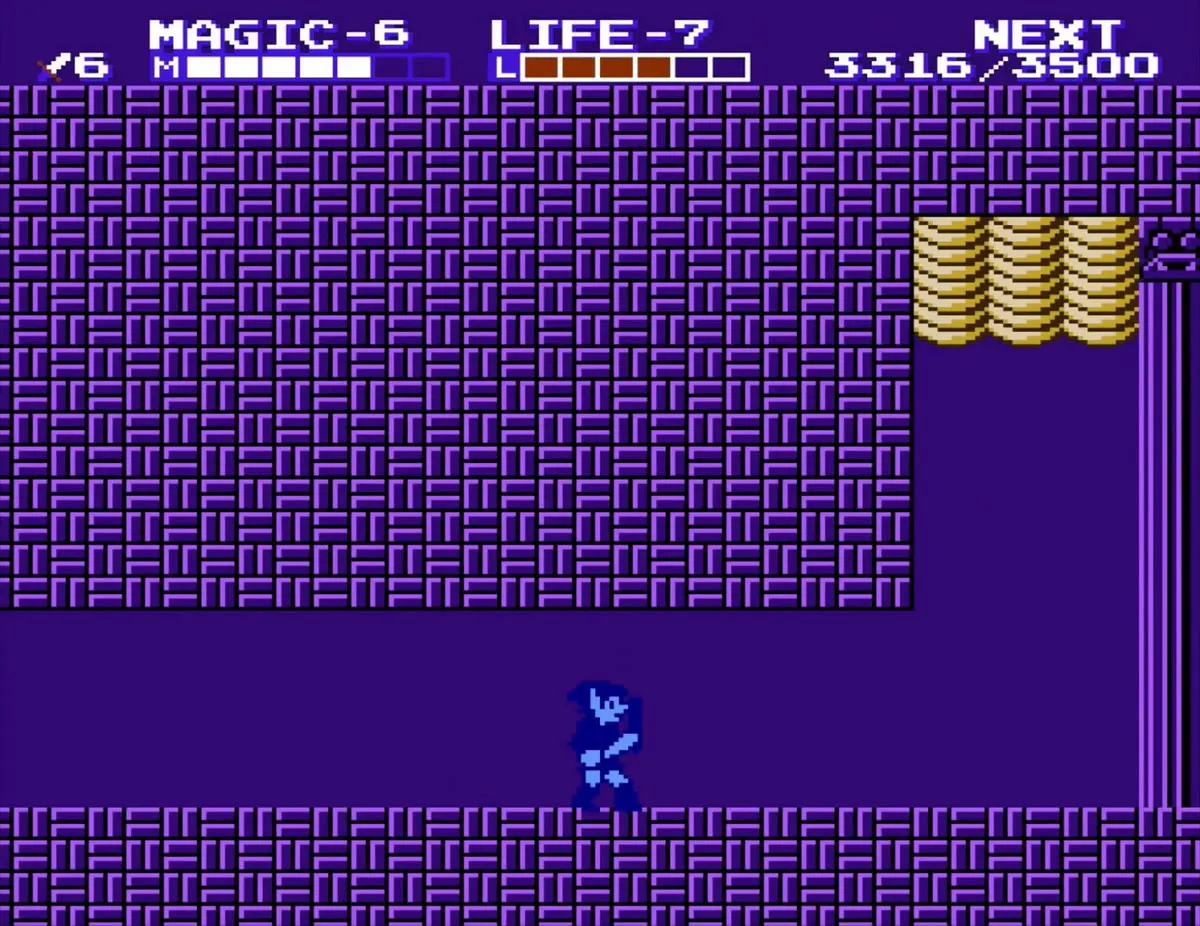
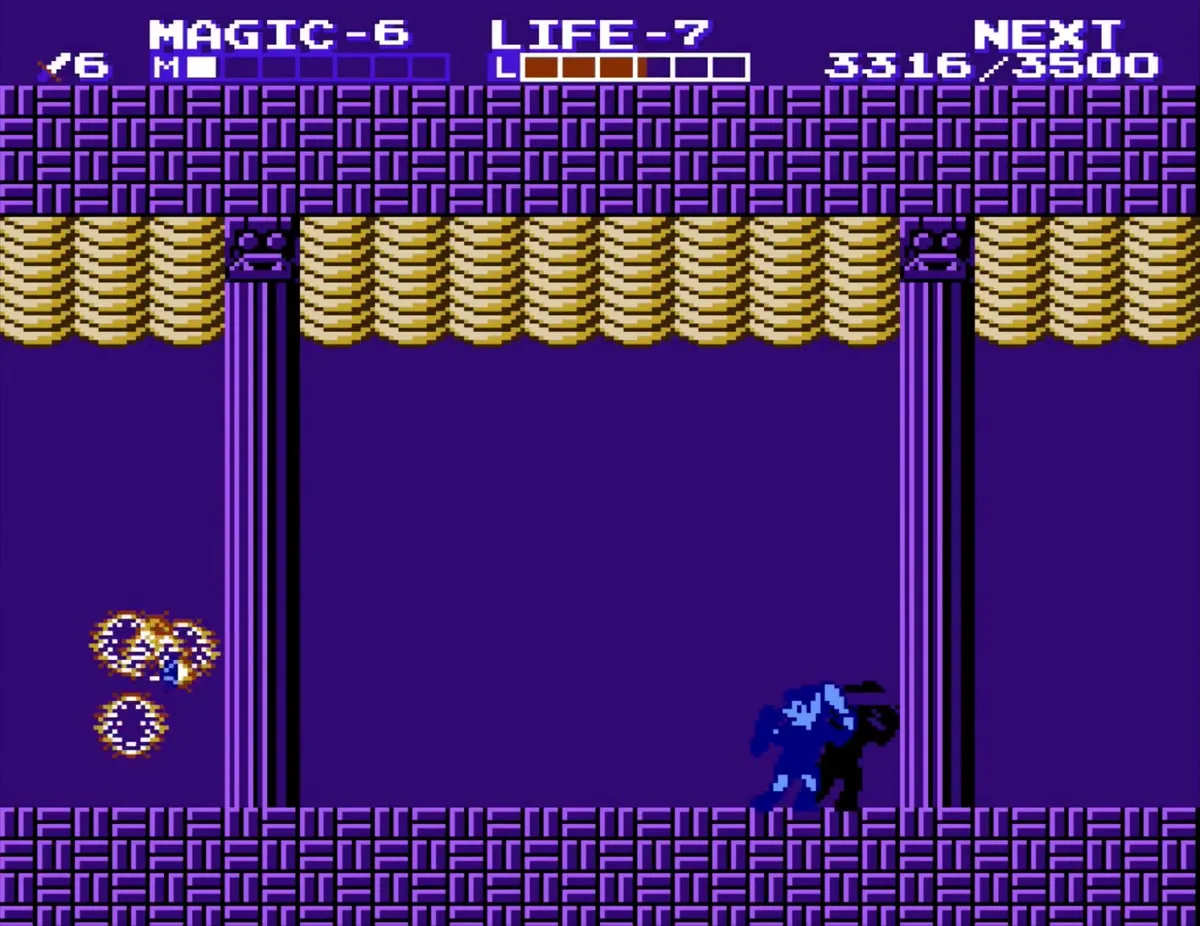
Gooma (Palace on the Sea)
Gooma swings a ball and chain with a long reach. Its head is armored, so aim for the body, and a Downward Thrust is useless except in a narrow timing window. Cast Shield and Jump, wait for the ball to swing, jump over it and stab the belly as you land. If you would rather stay on the ground, dash in, stab low, and retreat before it can throw again; a hit pushes Gooma back and gives you a safe moment. Gooma appears only in the international versions; the Japanese release used a second Helmethead (Jermafenser) in its place.
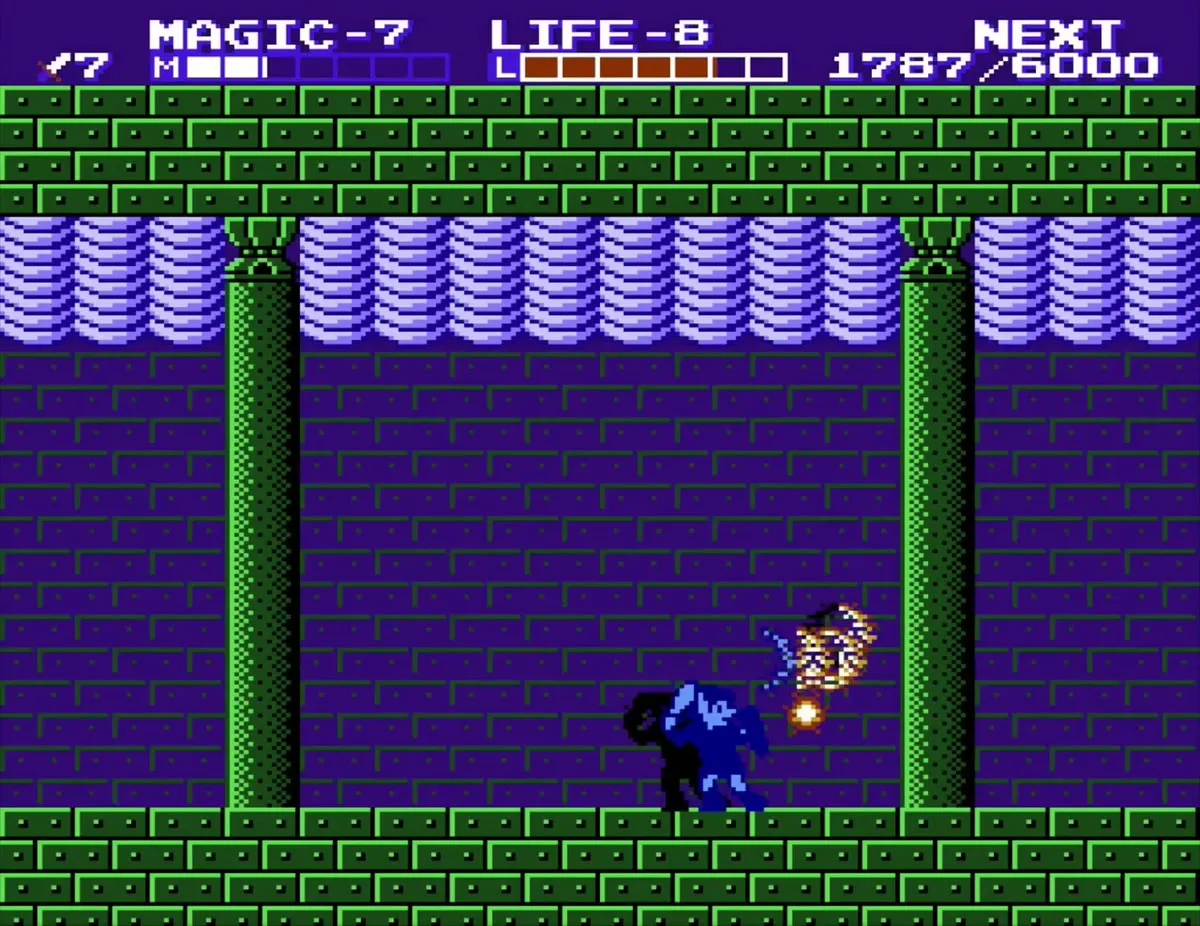
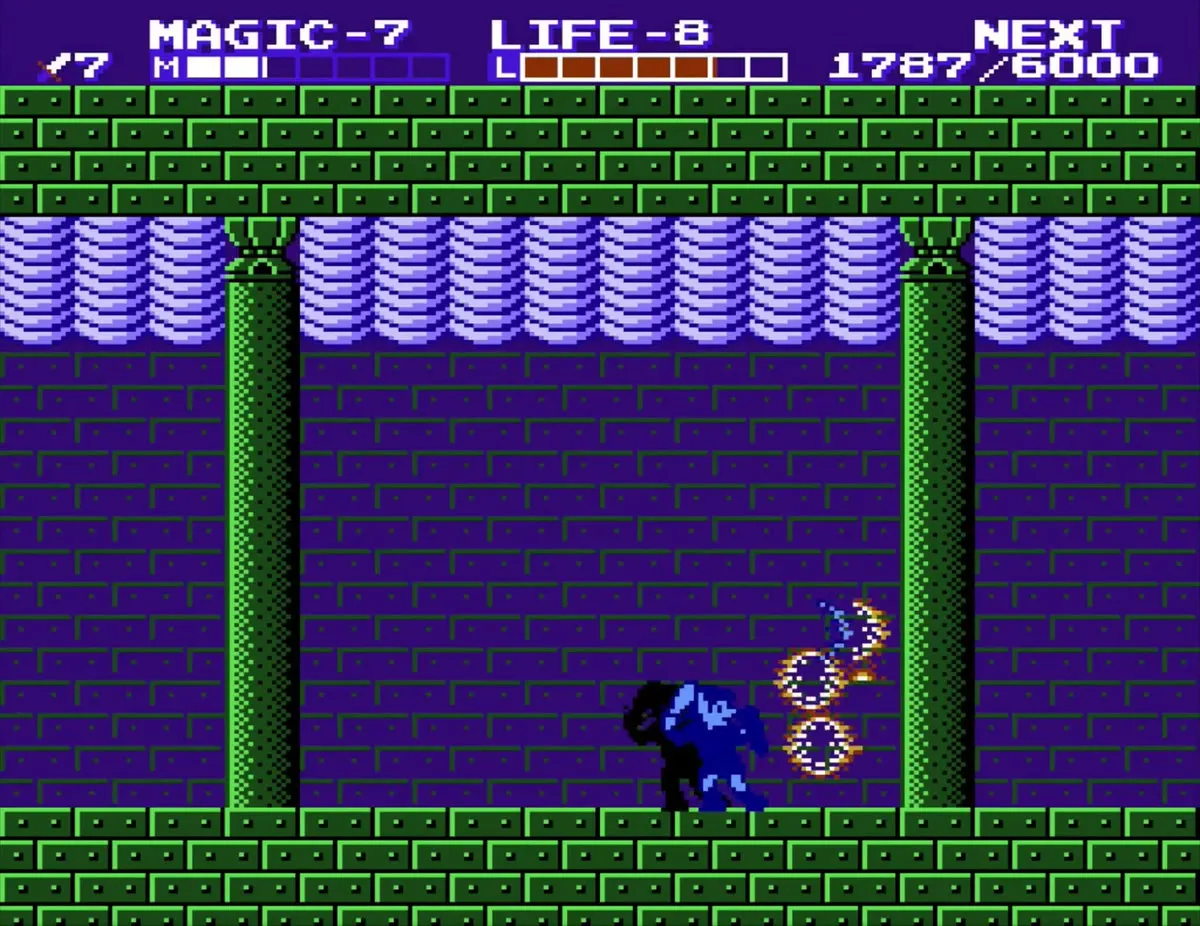
Barba (Three-Eye Rock Palace)
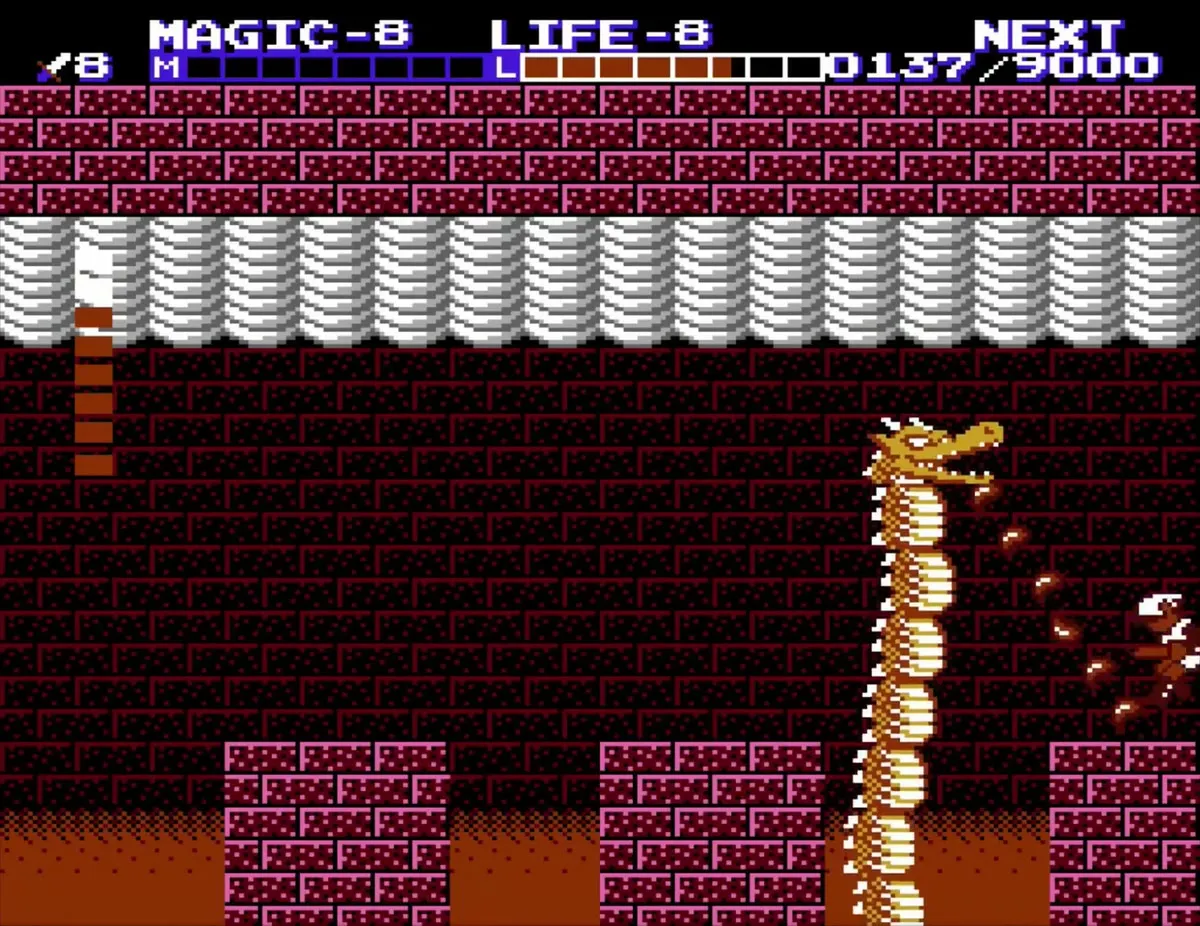
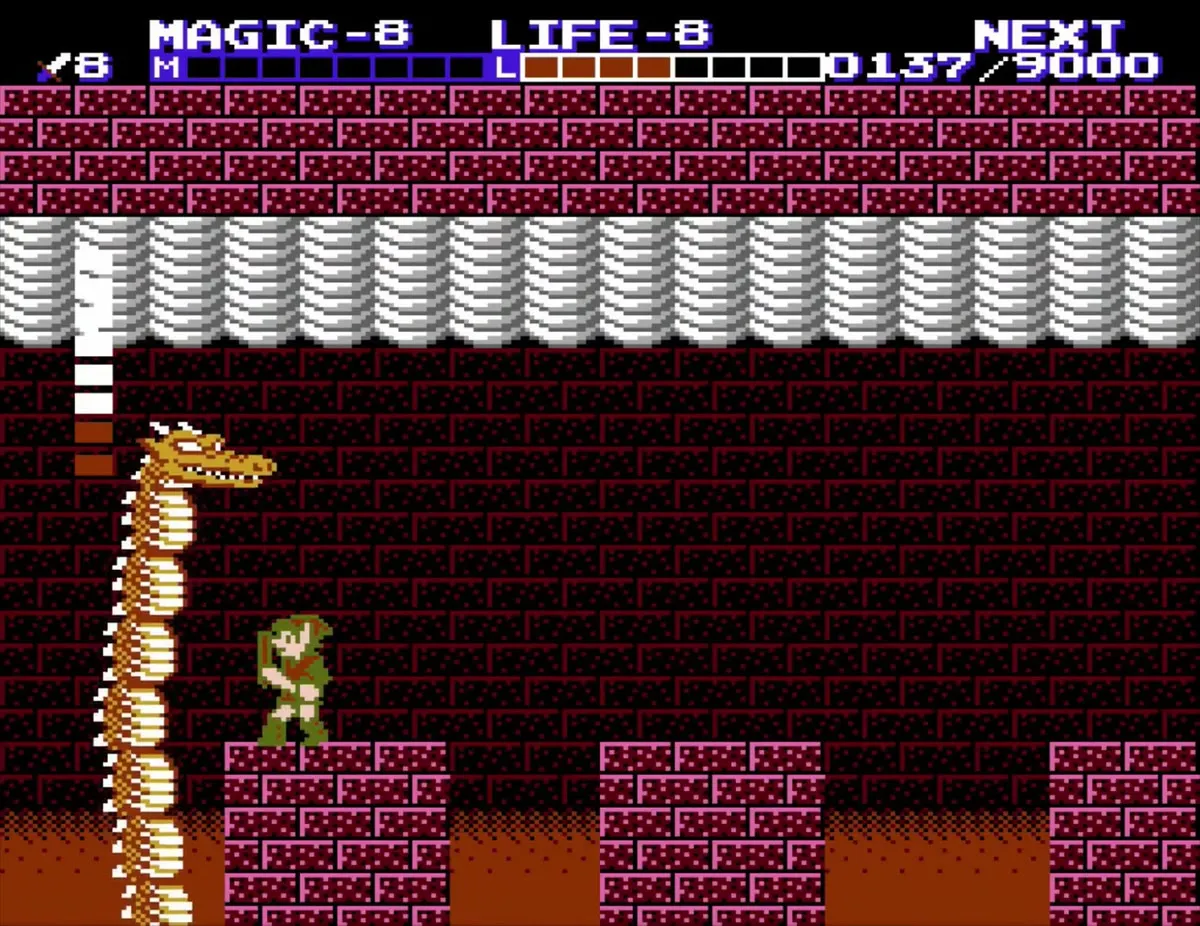
Barba is a dragon that rises out of one of three lava pits at random and breathes a blast of fire before sinking again. Only its head can be hurt. Cast Shield and Jump, then stab the head as it rises or sinks, or jump up to meet it while it hovers. A Downward Thrust works too, but only if you will land on a platform; never try it when Barba rises from the far left pit, because there is nothing safe to land on. The fire can knock you back into the lava, so watch your footing. Once Barba is defeated, take the key that falls and open the door on the left to reach the crystal statue.
Thunderbird (Great Palace)
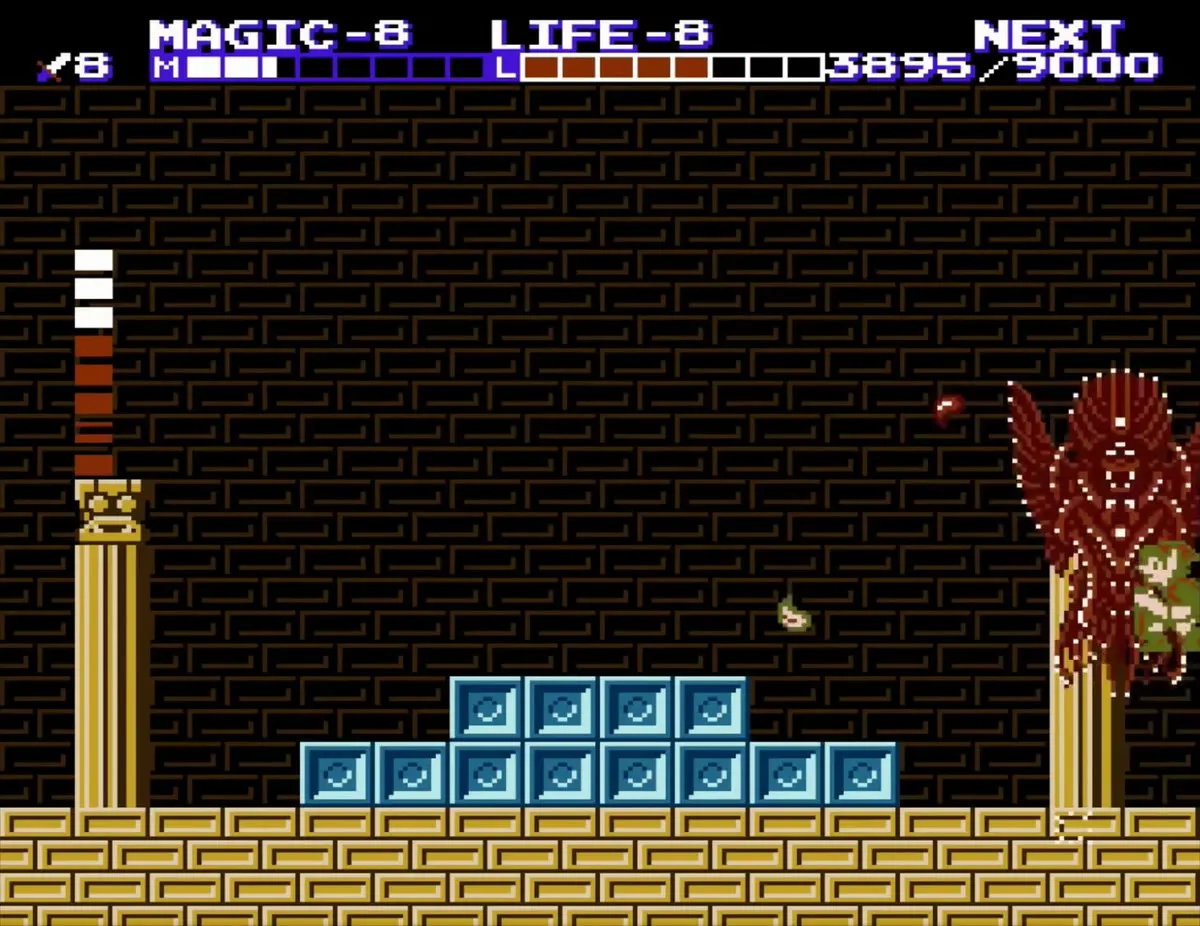
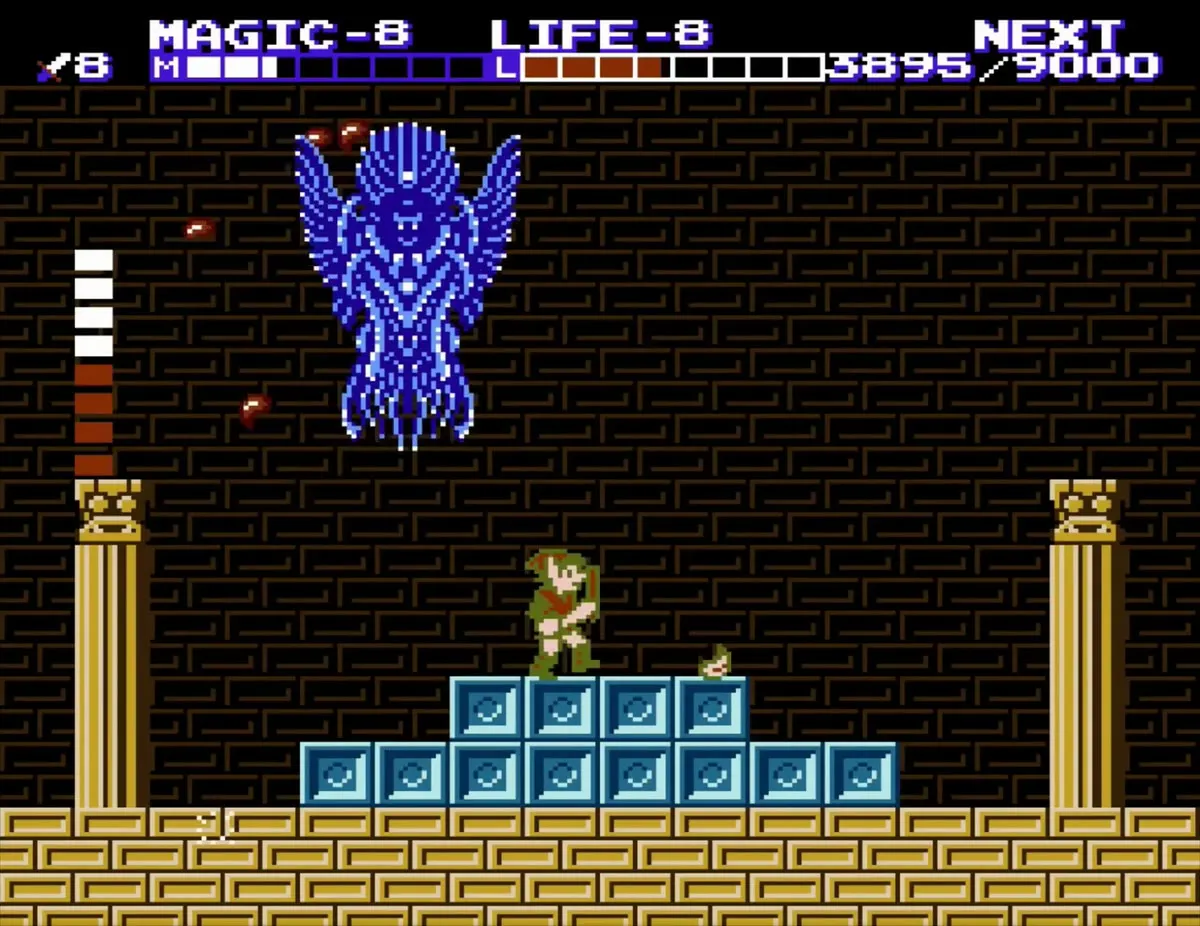
Thunderbird swoops down and attacks with fireballs. It is red and invulnerable until you cast Thunder, which turns it blue and shows its face. Strike the weak point just above the face with your sword while it is blue; jumping helps. After it loses about half its health it throws fireballs twice as fast, and Reflect blocks those. Shield and Jump are worth their cost here, and the fight leaves you short of magic for Life, so arrive with a full meter. Once it is defeated, it leaves behind the key to the final chamber.
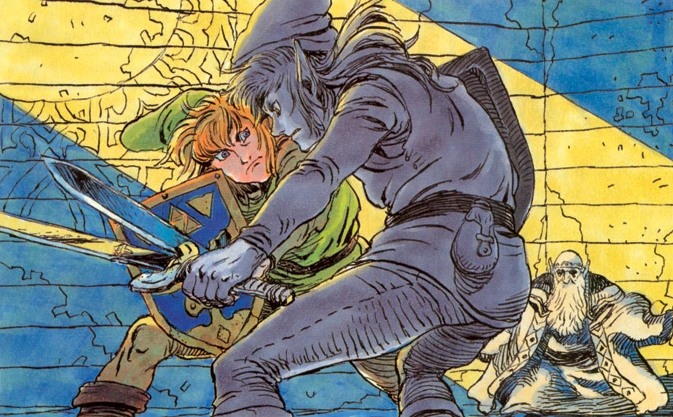
Dark Link (Great Palace, final chamber)
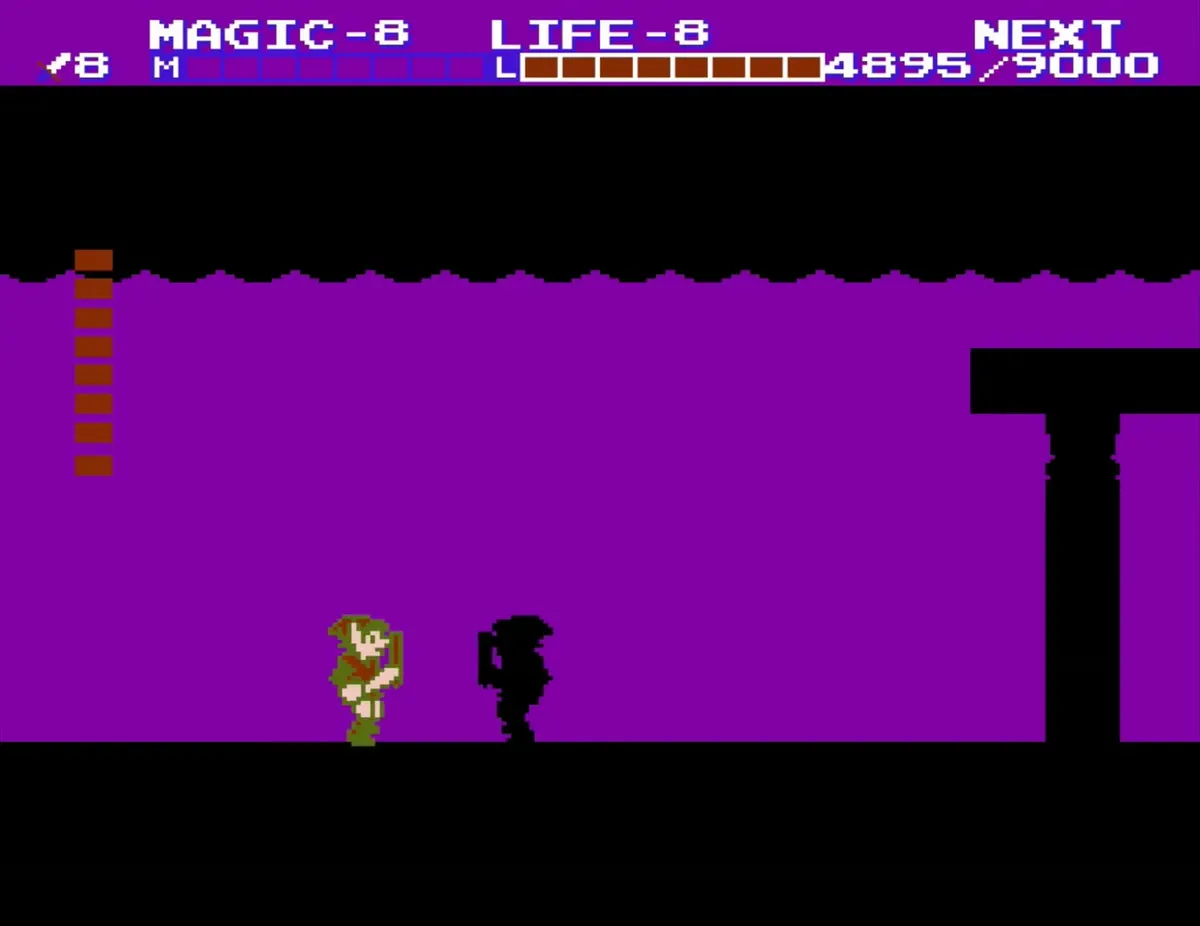
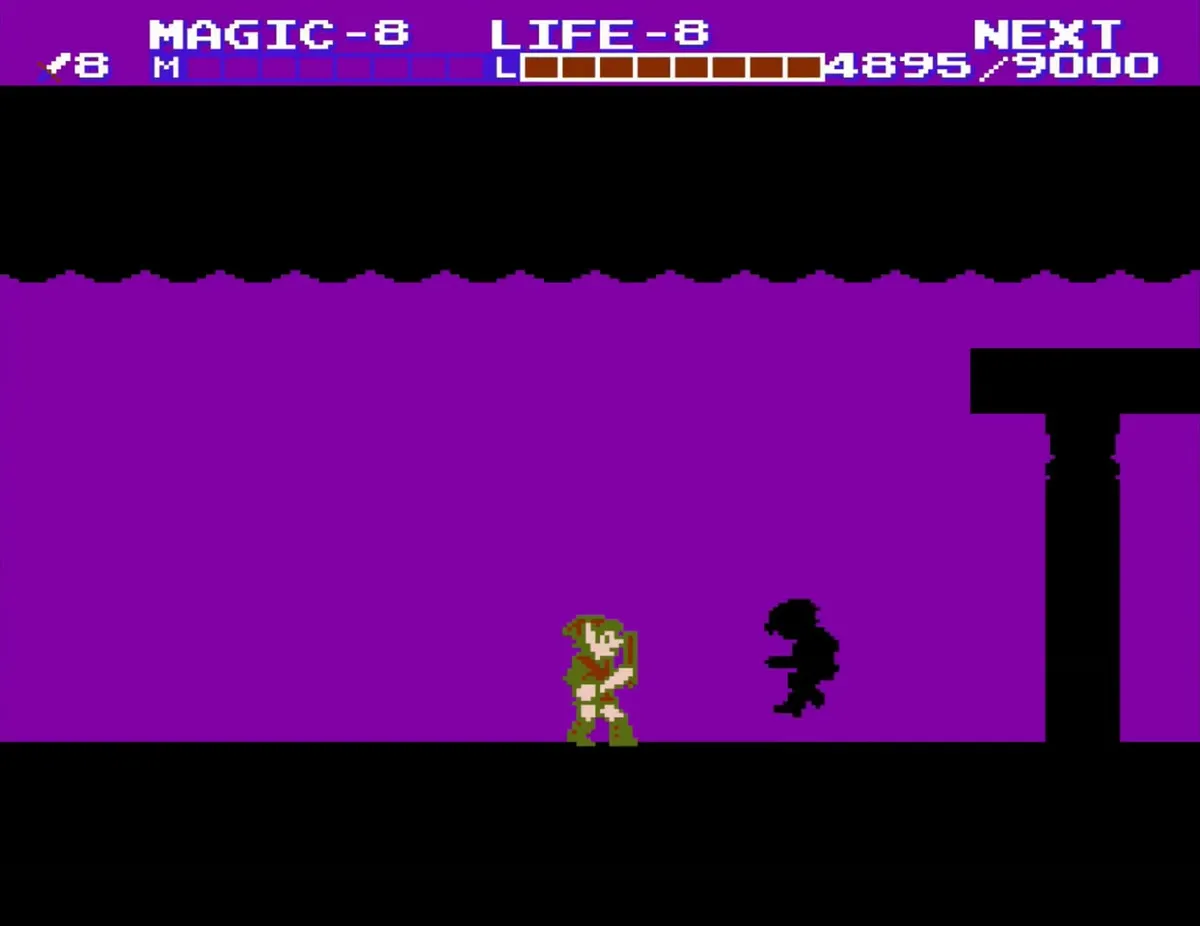
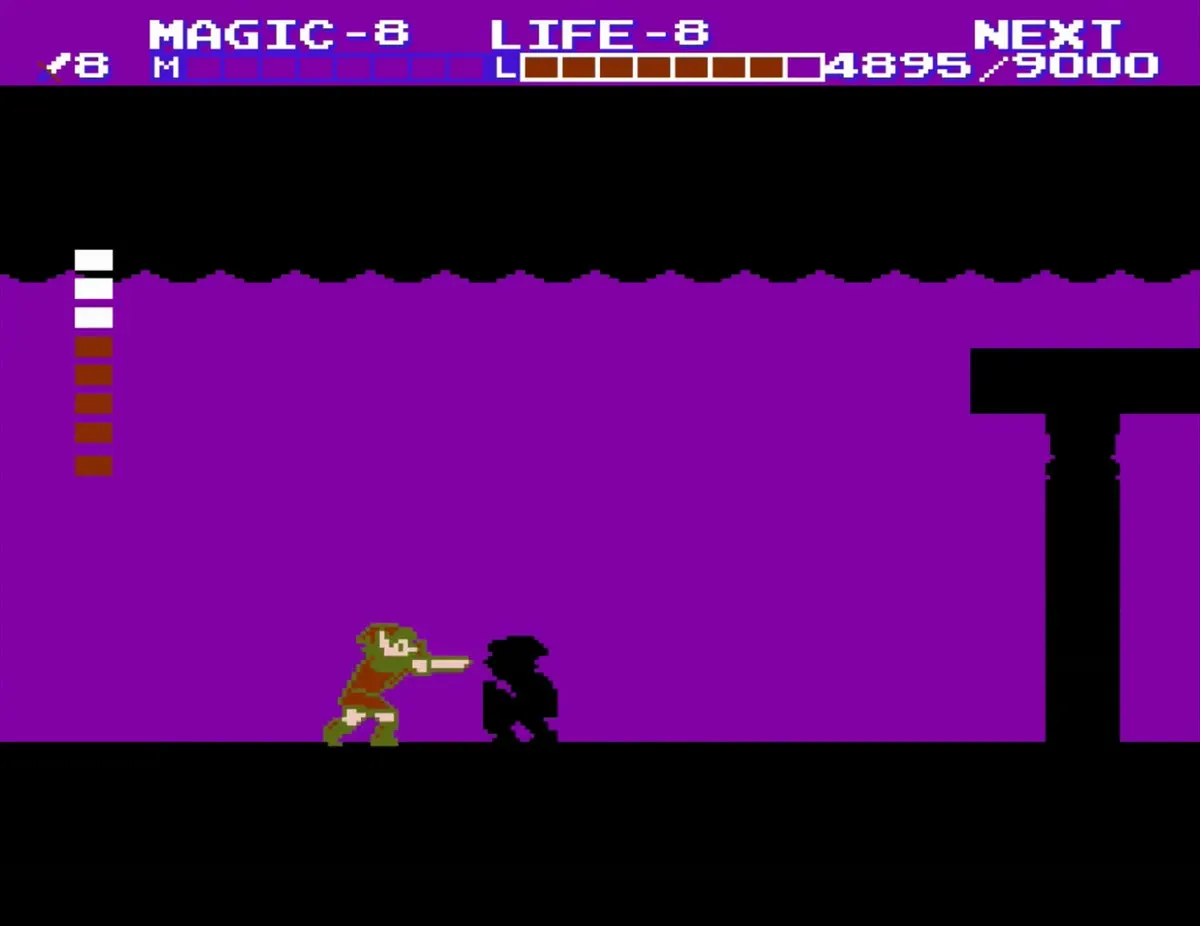
Dark Link copies every move Link makes: it blocks high and low and thrusts constantly, and only its sword can hurt you, not its body. Before the fight a small robed figure shows the Triforce of Courage on a high platform and vanishes; then your shadow steps down. Cast Shield first. The simplest plan is to crouch in the far left corner and keep stabbing toward it as it walks into your sword. You will be hit now and then. You can also leap into it and stab low as you land, before it can adjust. Defeating Dark Link wins you the Triforce of Courage and ends the game.