| Dungeon bosses | 8, each leaving a Heart Container |
|---|---|
| Final bosses | Ganondorf, then Ganon, both needing the Light Arrows |
| Child bosses | Queen Gohma, King Dodongo, Barinade. Each leads to a Spiritual Stone |
| Adult bosses | Phantom Ganon, Volvagia, Morpha, Bongo Bongo, Twinrova. Each leads to a Medallion |
| Mini-bosses | Lizalfos, Big Octo, Dead Hand (x2), Poe Sisters, Flare Dancer, White Wolfos, Dark Link, Iron Knuckle |
Each of the eight dungeon bosses is beaten with the item you find inside its own dungeon, so make sure that item is equipped and your hearts and magic are topped up before you open the boss door. The three child bosses reward a Spiritual Stone, the five adult bosses lead to a Medallion once the Sage awakens, and every one leaves a Heart Container. Ganondorf and Ganon close the game and need the Light Arrows. Stock up on fairies and Blue Potion before the final climb.
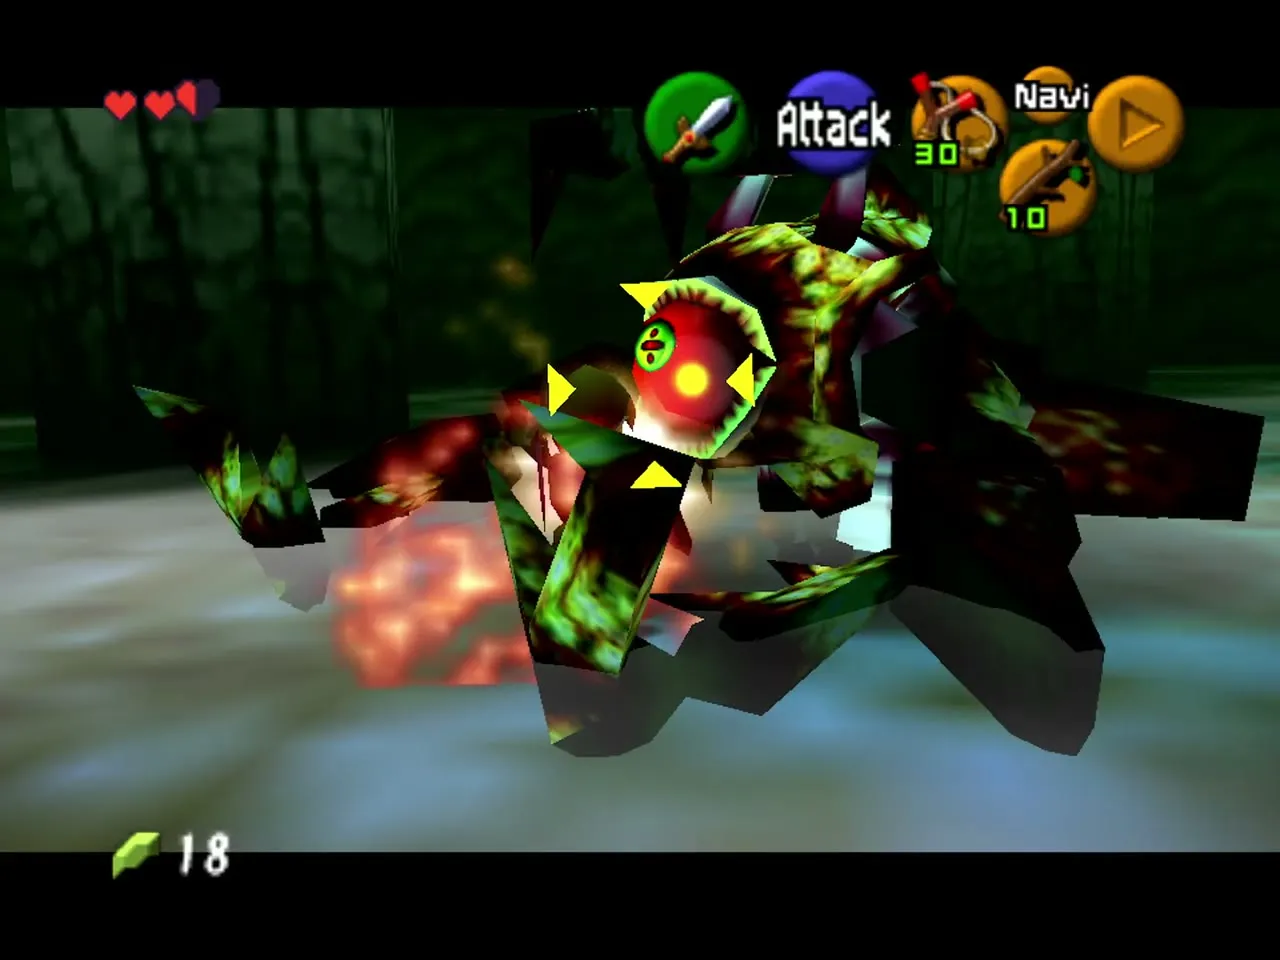
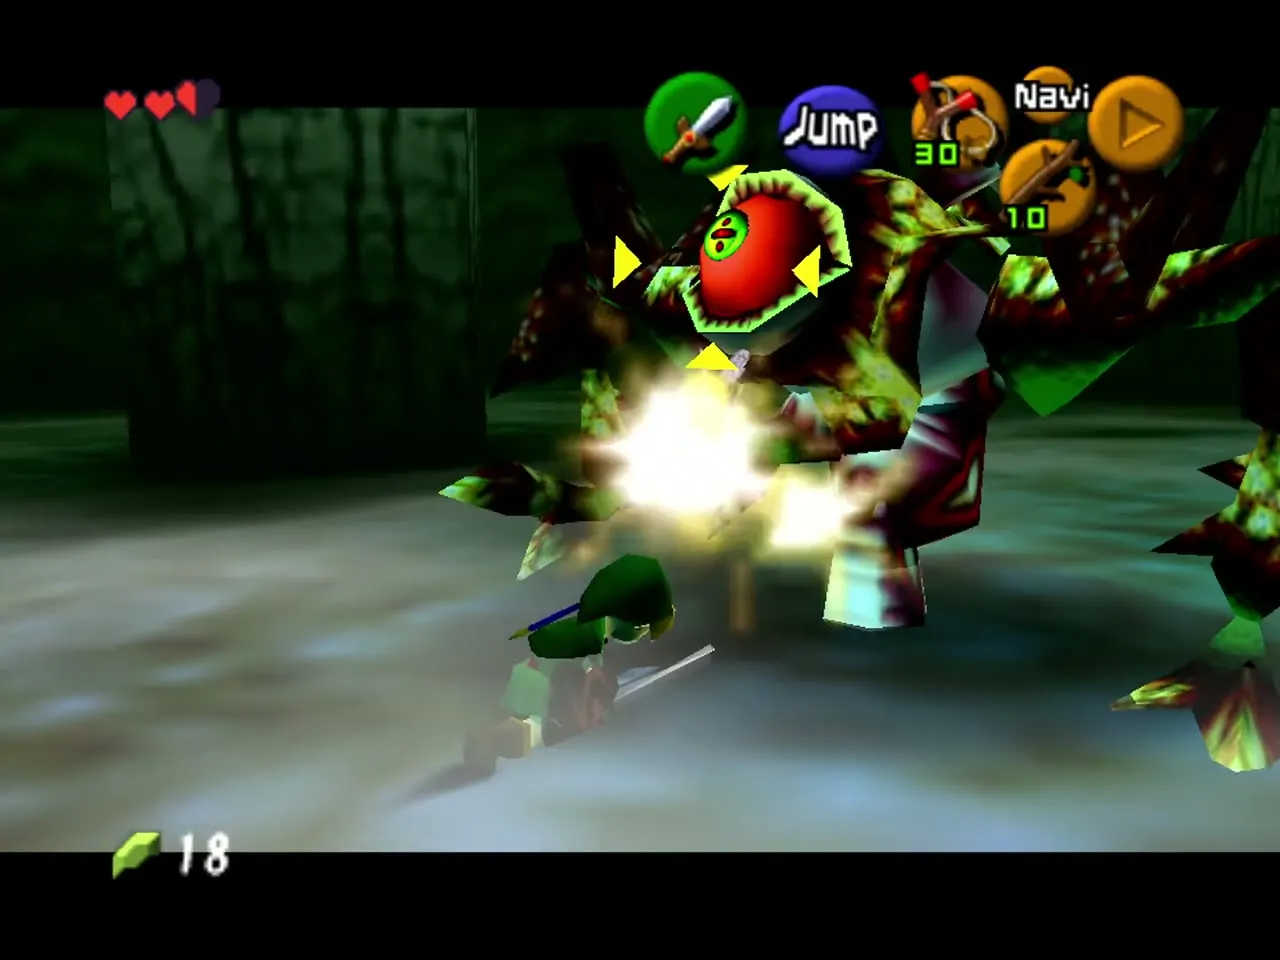
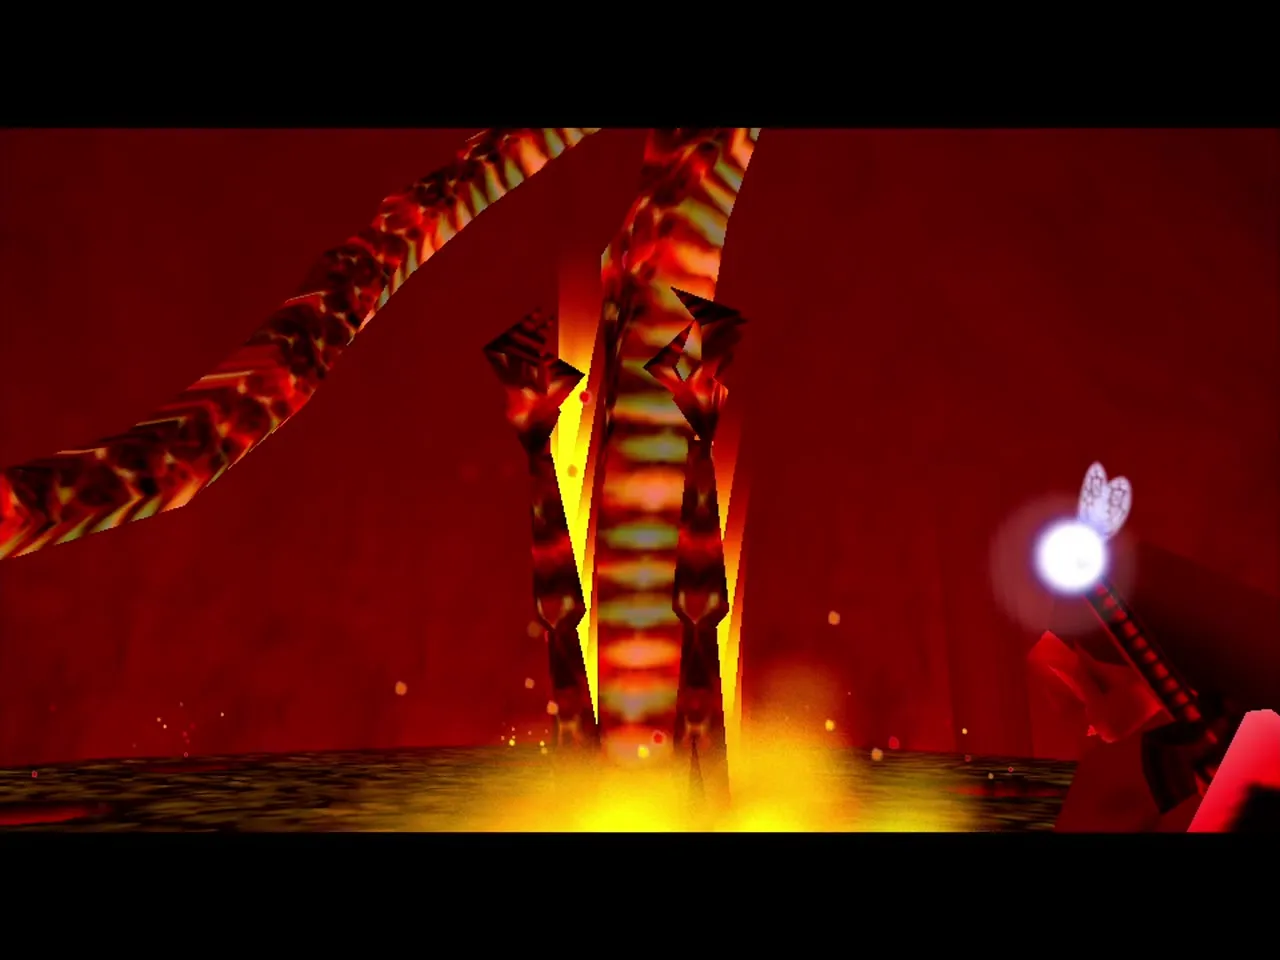
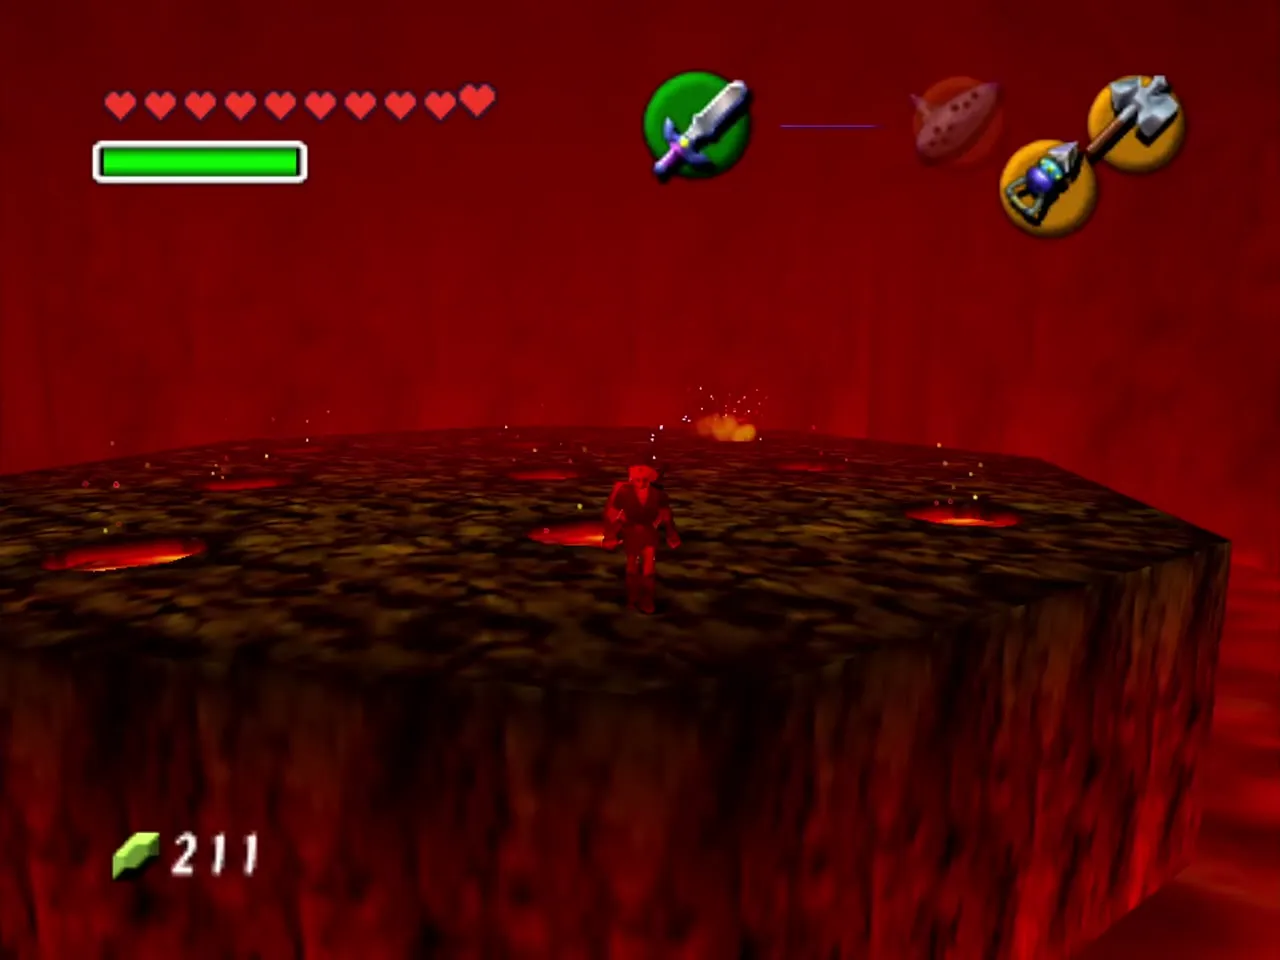
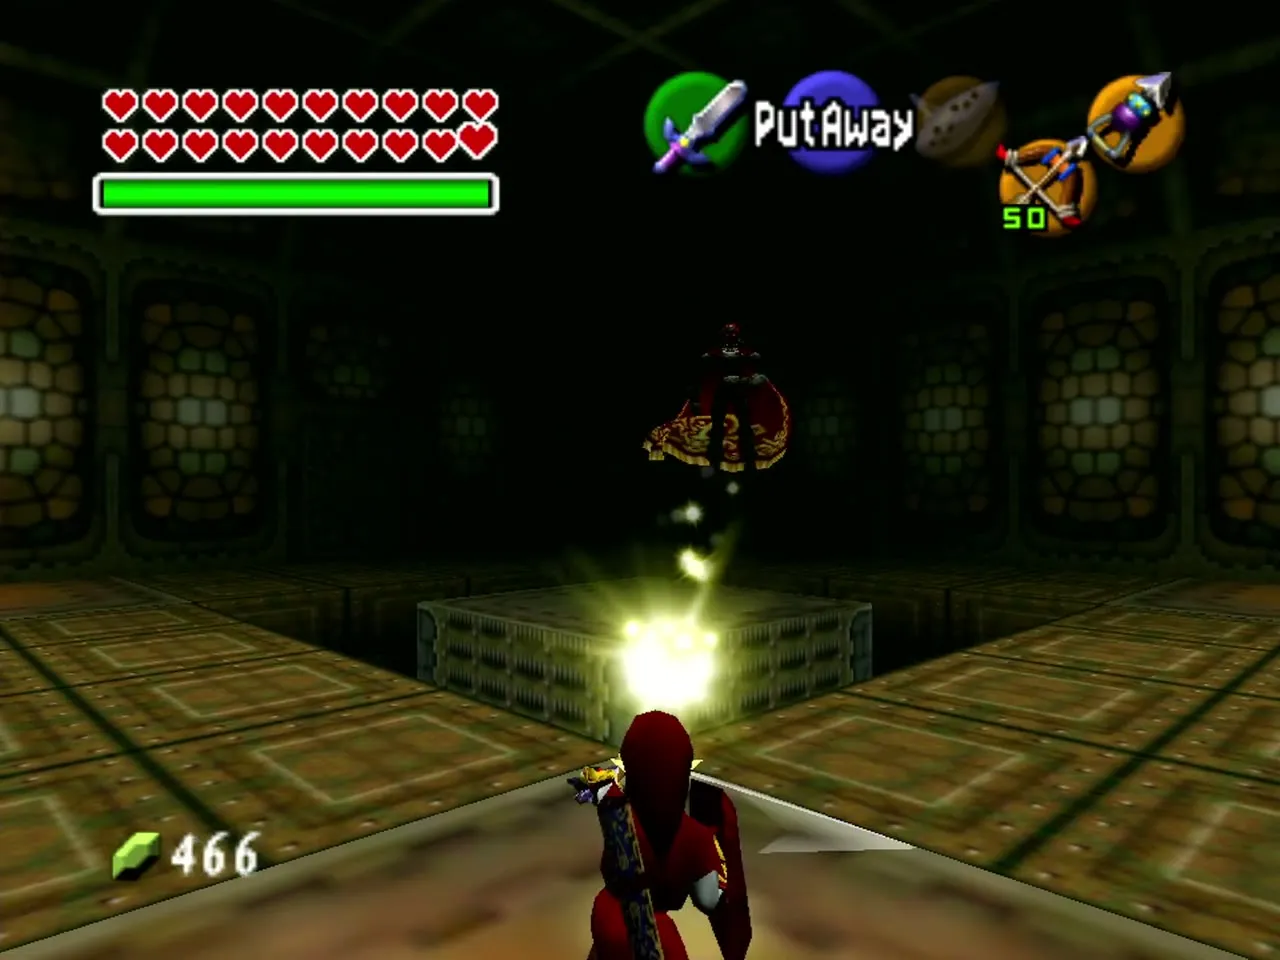
Table of Contents
Dungeon bosses
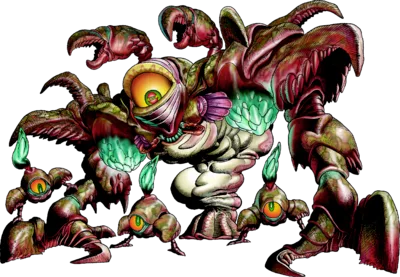
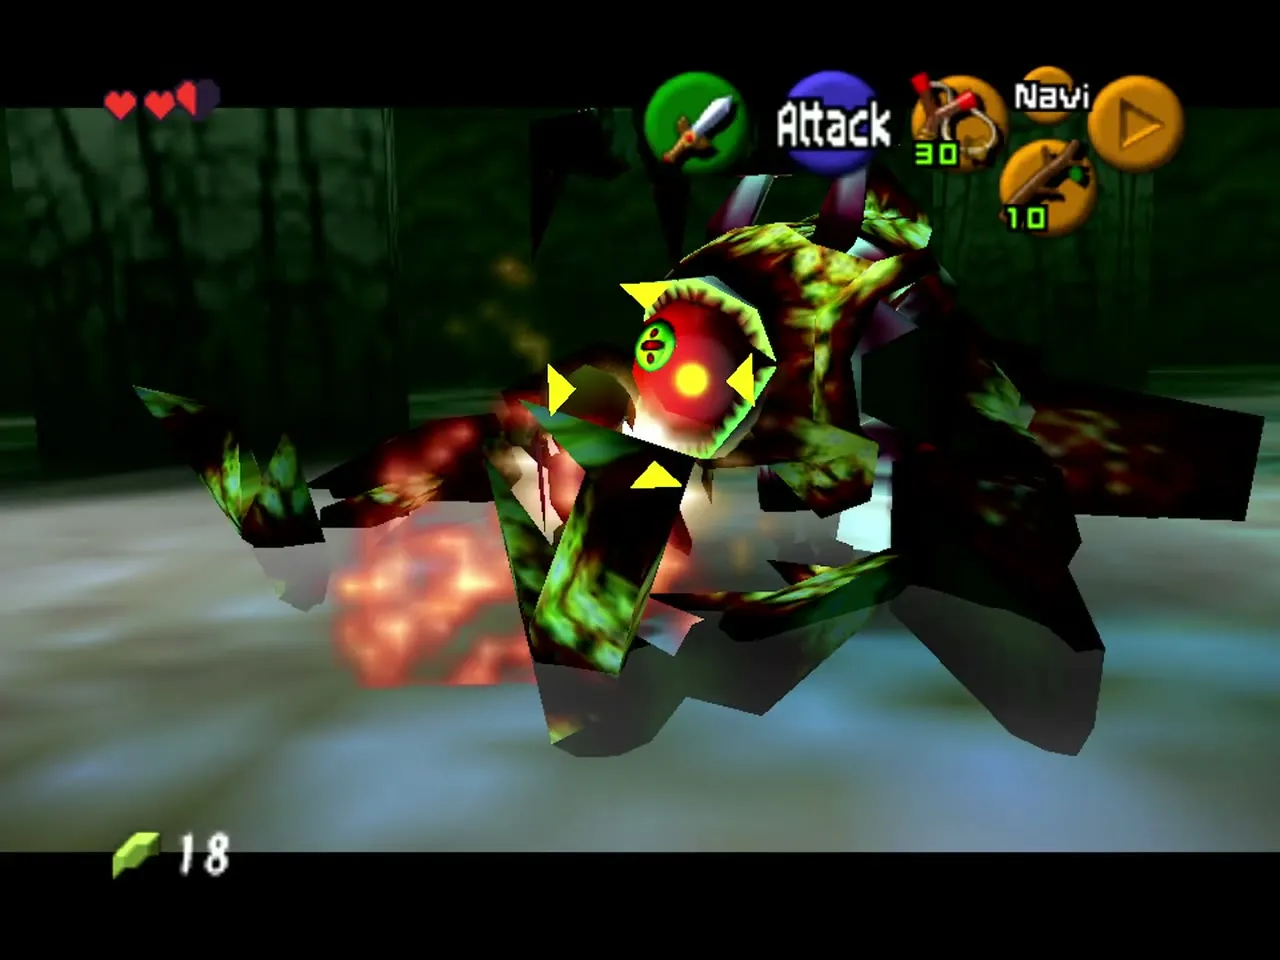
Queen Gohma (Parasitic Armored Arachnid)
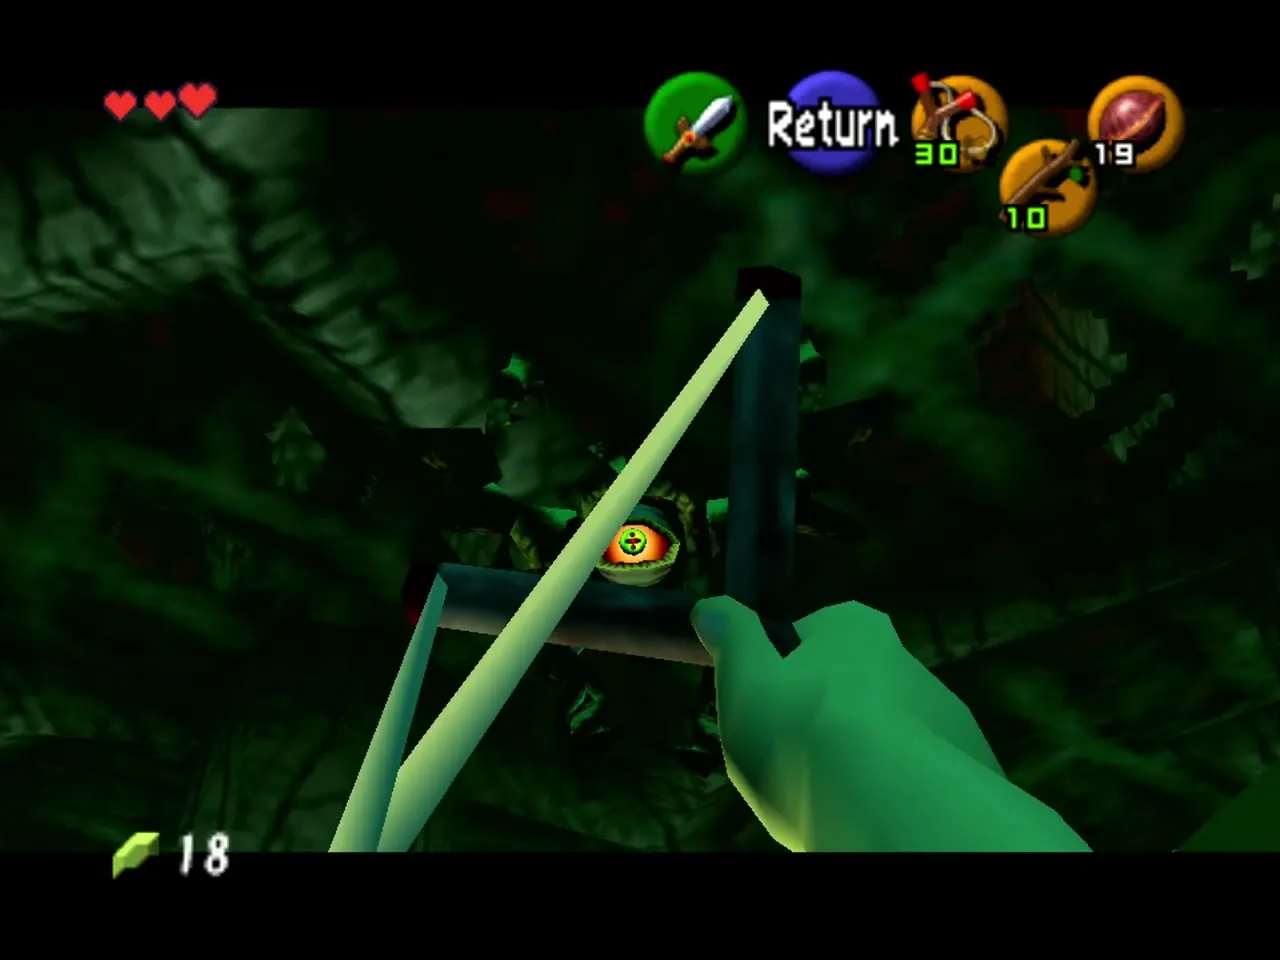
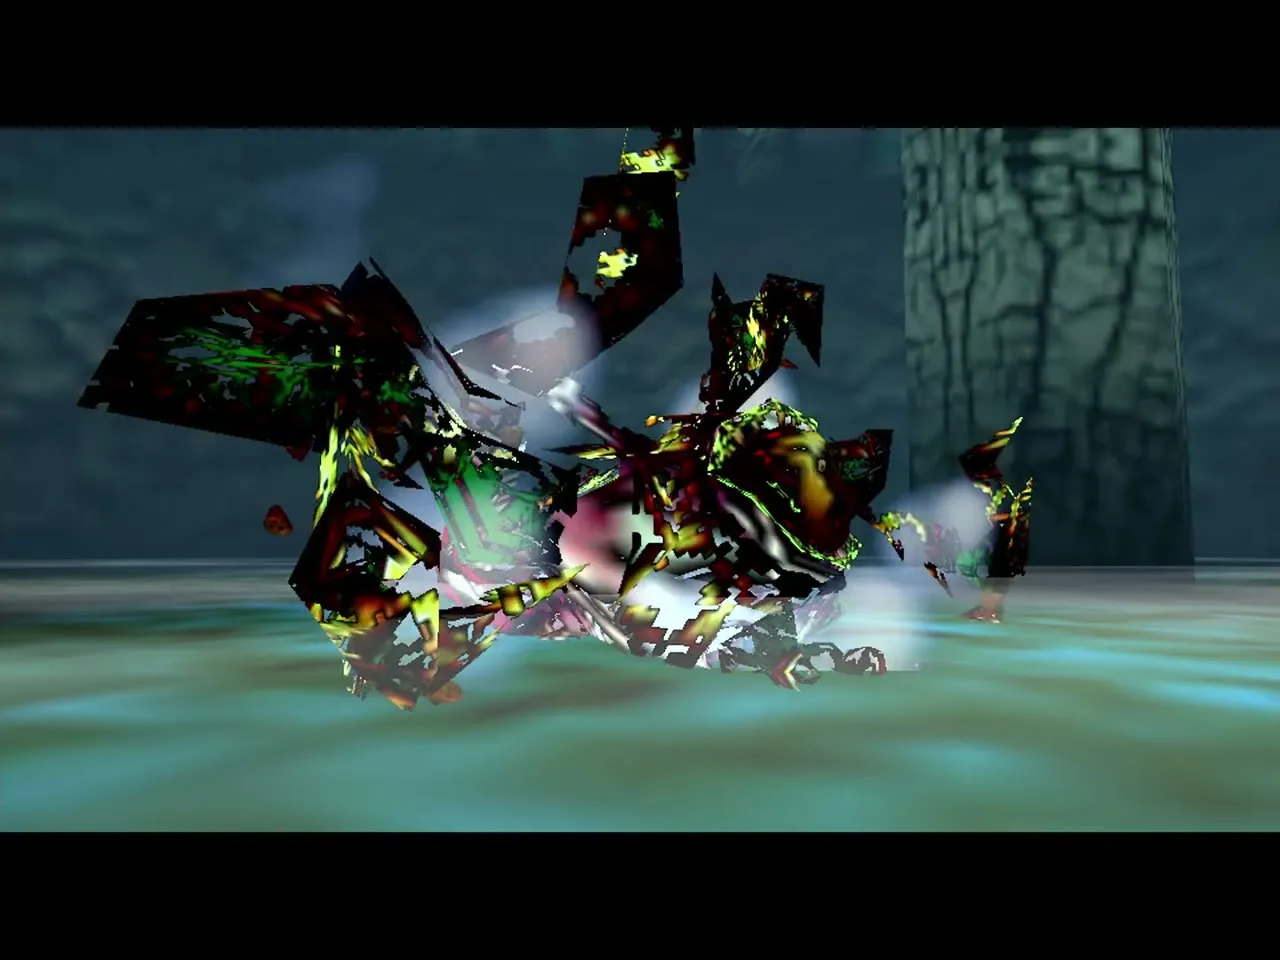
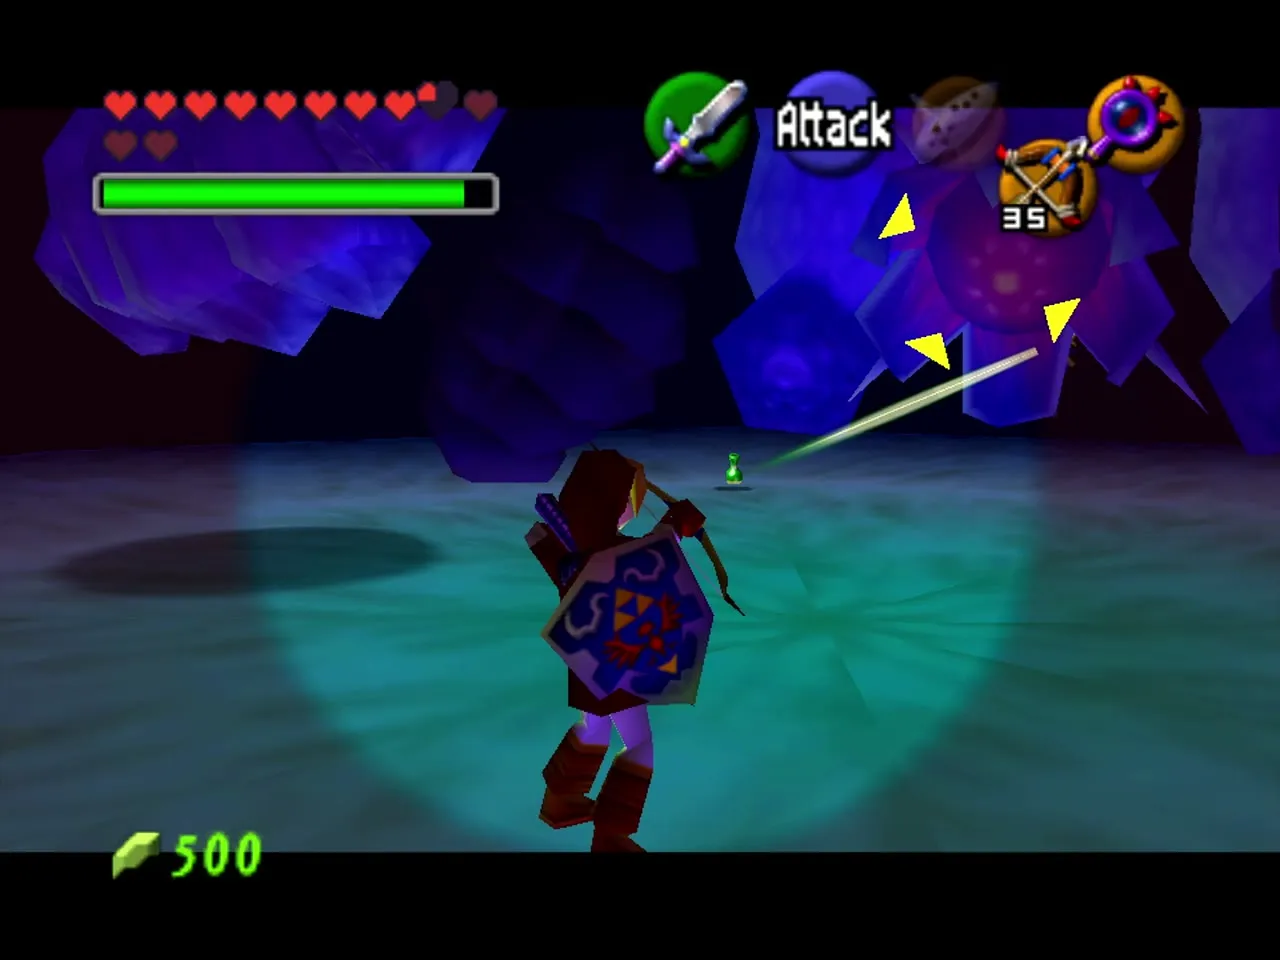
Gohma clings to the ceiling of the boss room and lowers herself to attack. Her eye turns red when it is open to damage. Shoot that eye with the Fairy Slingshot, or throw a Deku Nut, and she drops to the floor stunned. Run in and cut her with your sword, then back away before she recovers. She spawns small larvae from time to time, so clear them out before you fire again. A few rounds finish her. The Great Deku Tree then gives you the Kokiri’s Emerald.
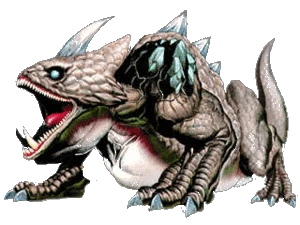
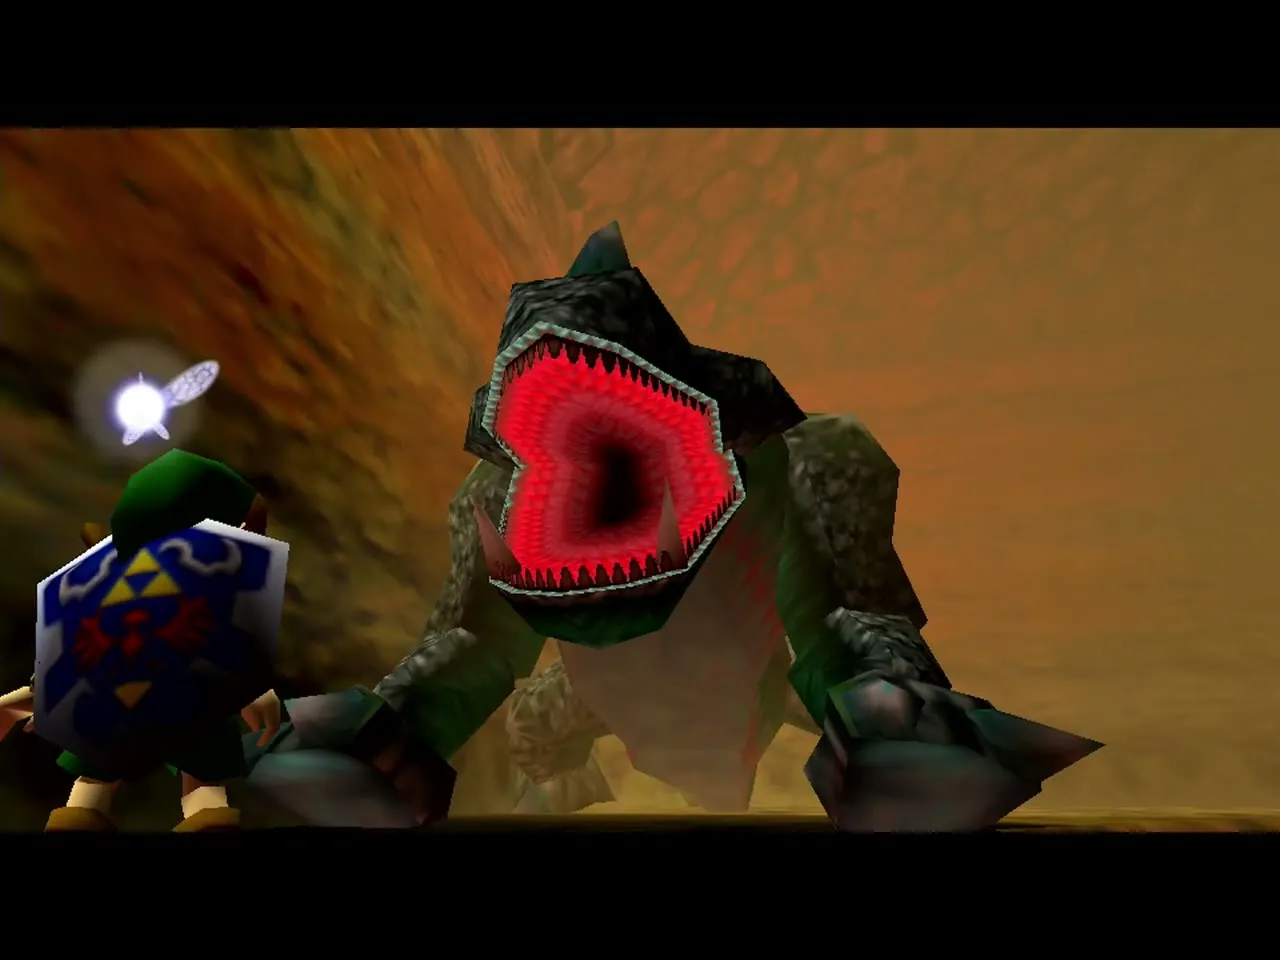
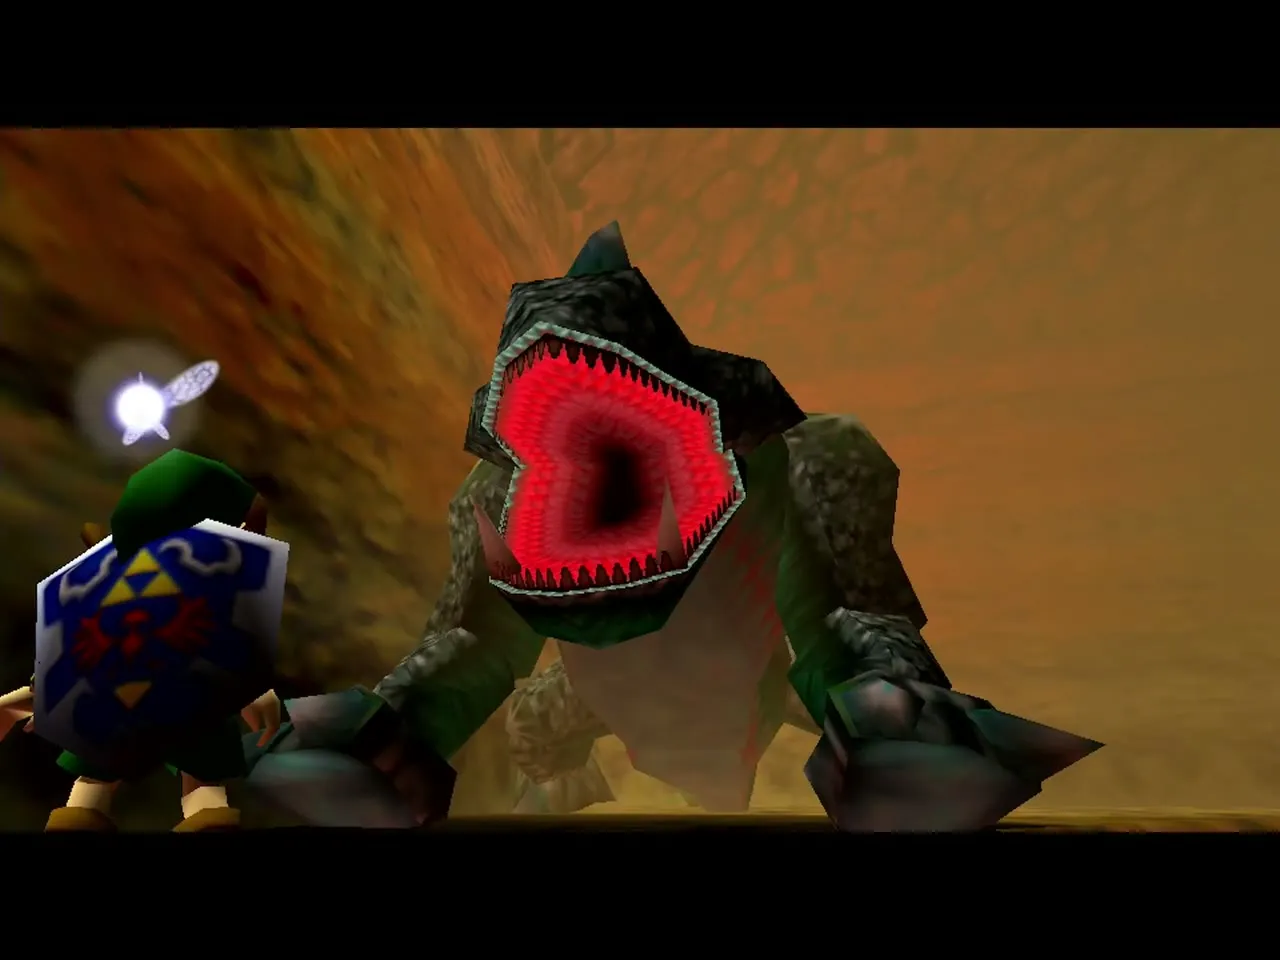
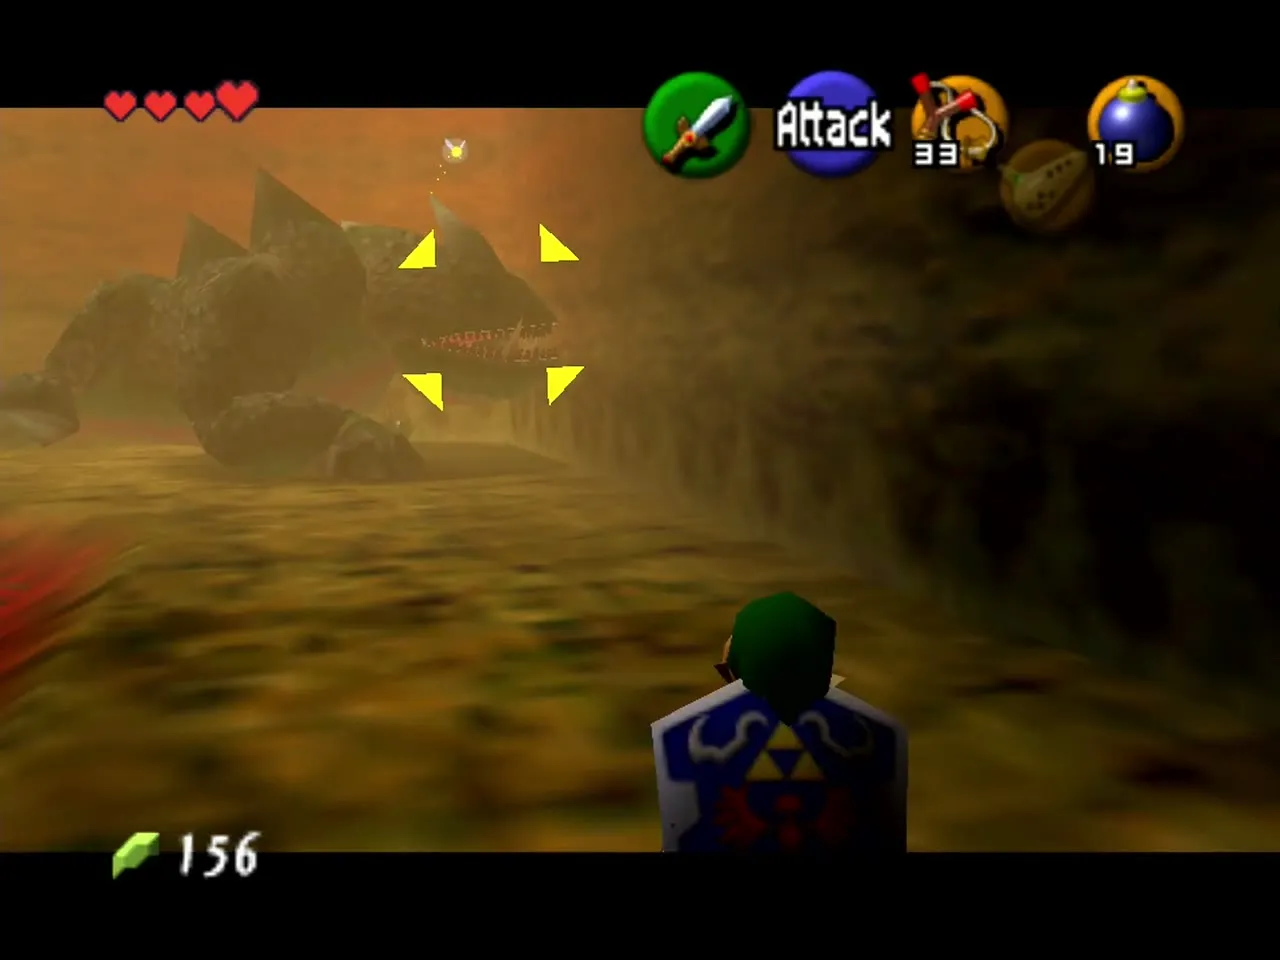
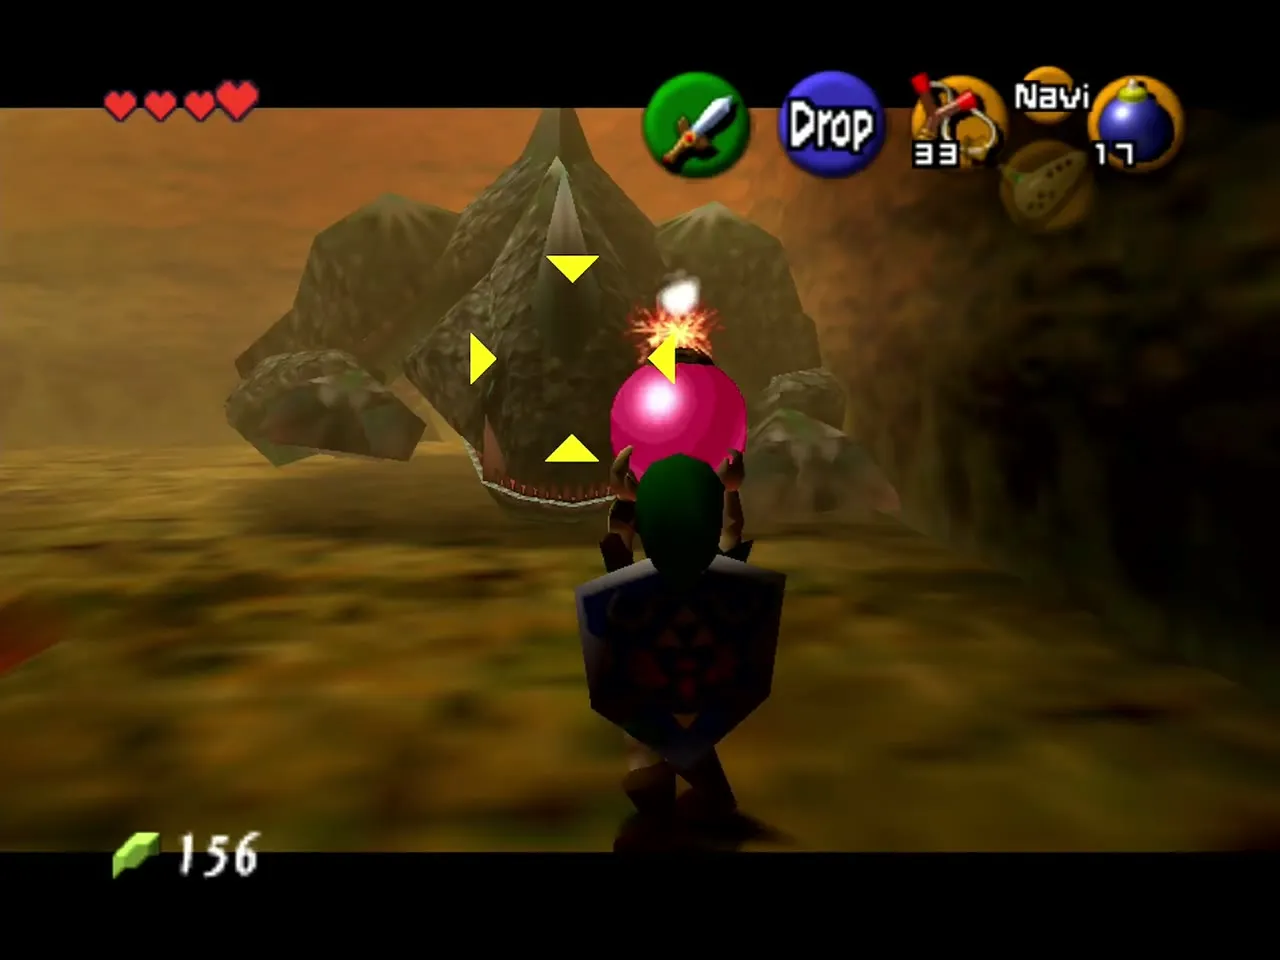
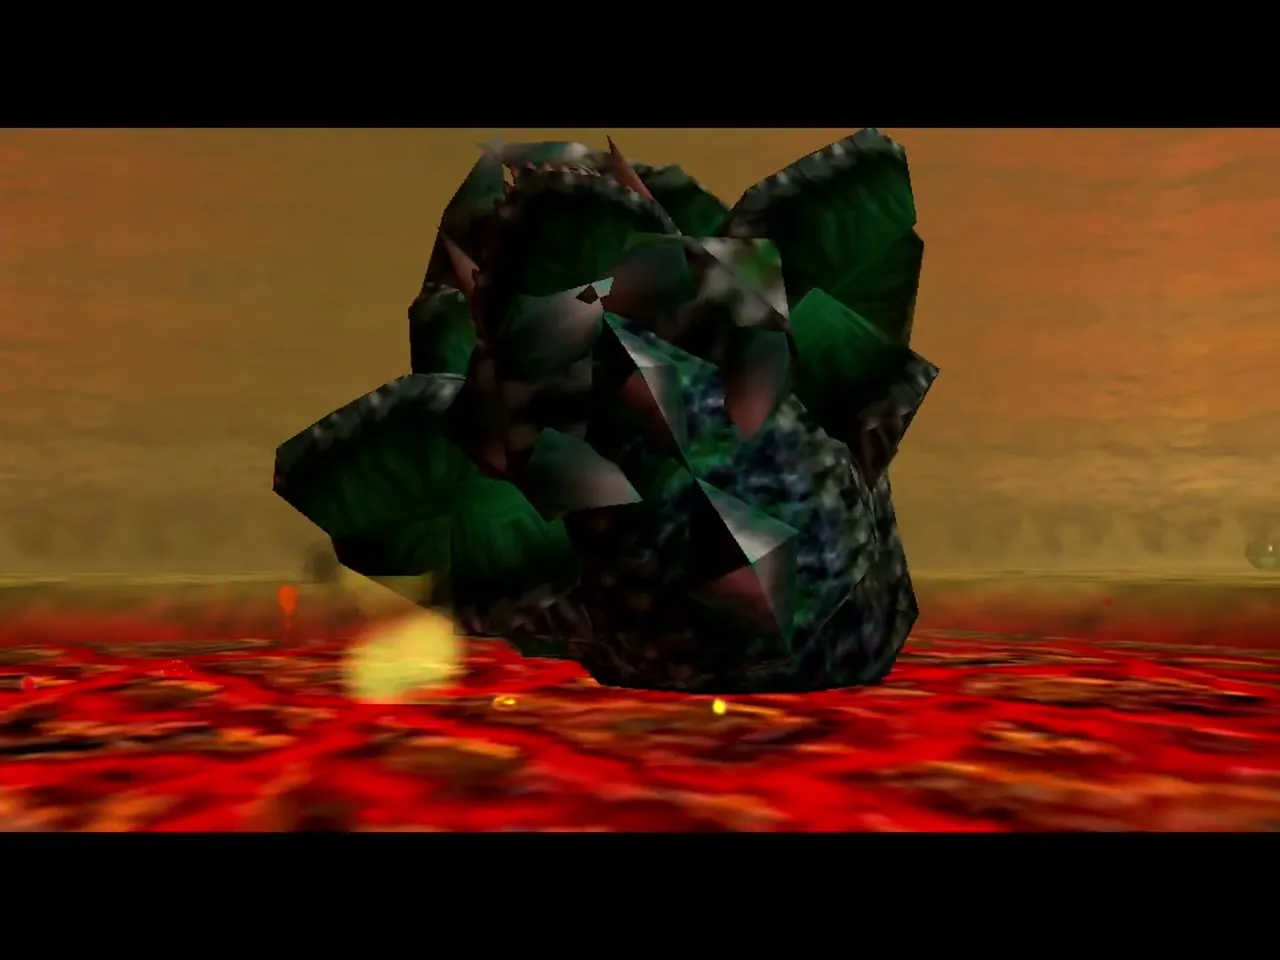
King Dodongo (Infernal Dinosaur)
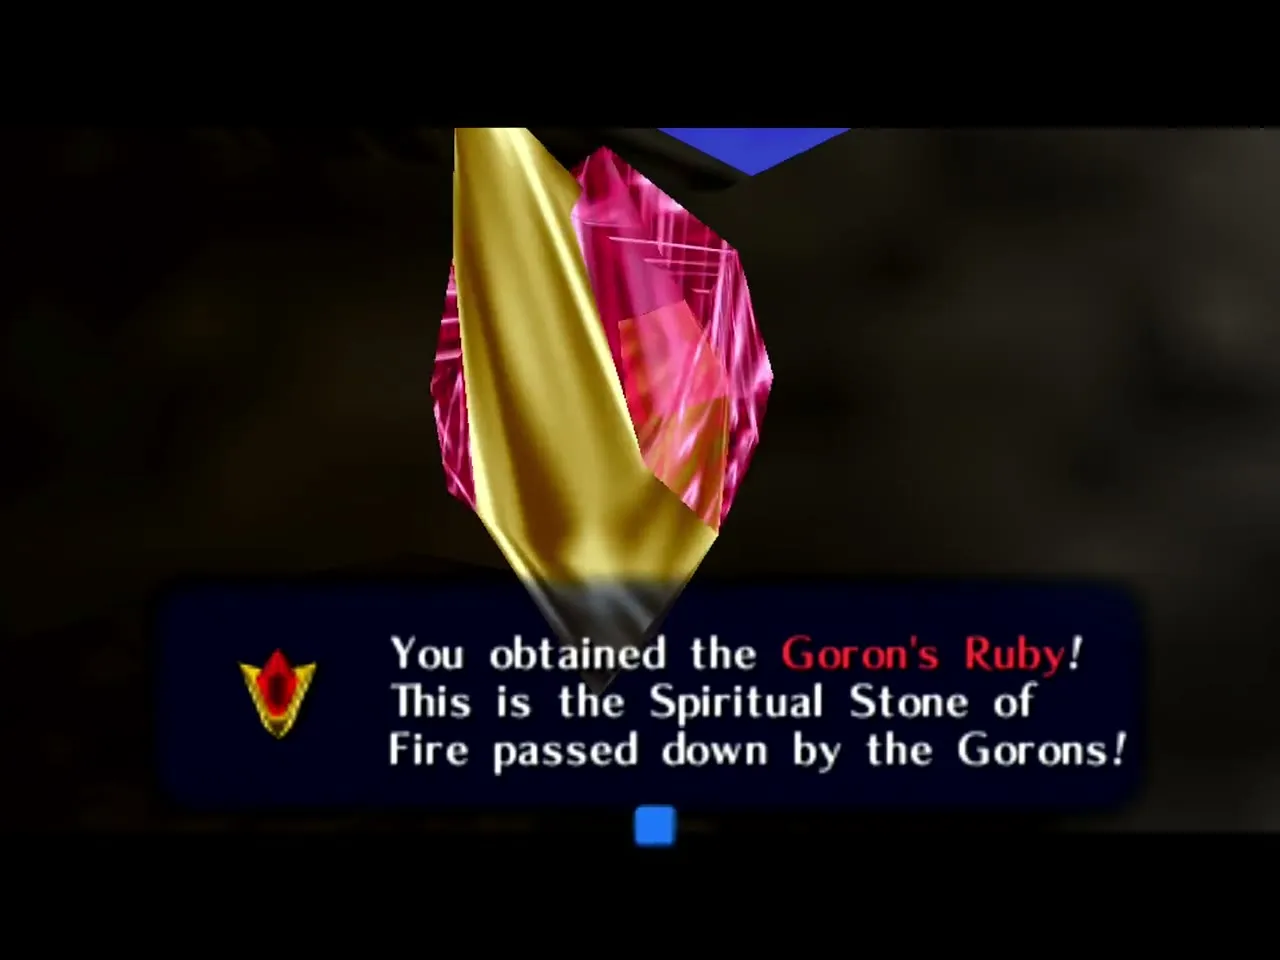
King Dodongo breathes fire and rolls around the arena. He opens his mouth wide before he breathes, and that is the moment to drop a Bomb Flower or a bomb into it. The blast stuns him, and he falls on his back so you can cut his belly. Do it three or four times and he is done. Keep your Hylian Shield out, because his flame burns a Deku Shield. When he curls up and rolls, step to the side and let him pass. Darunia then gives you the Goron’s Ruby.
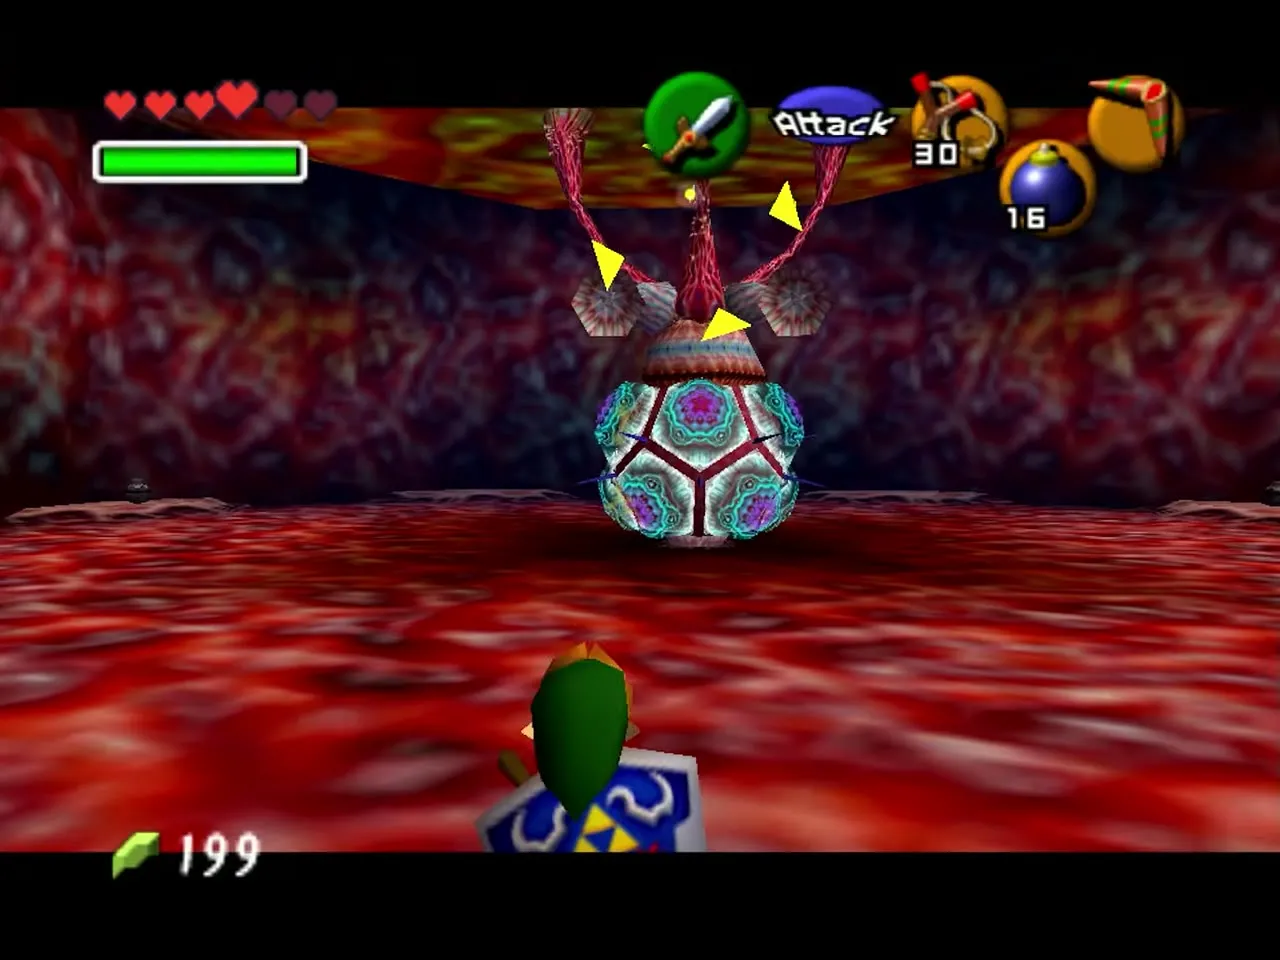
Barinade (Bio-Electric Anemone)
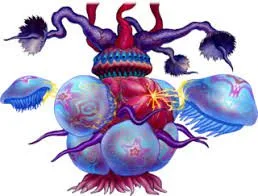
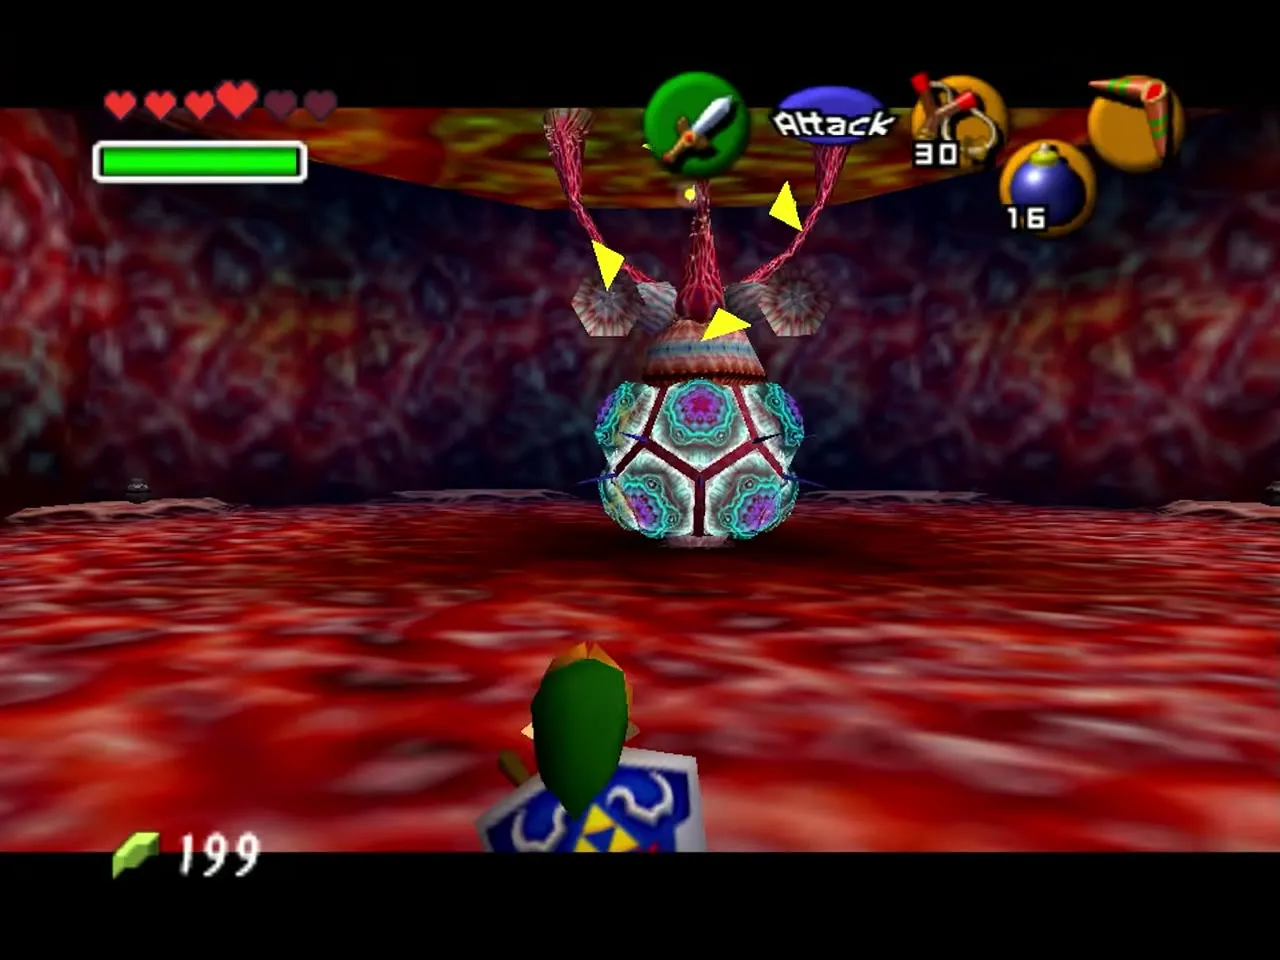
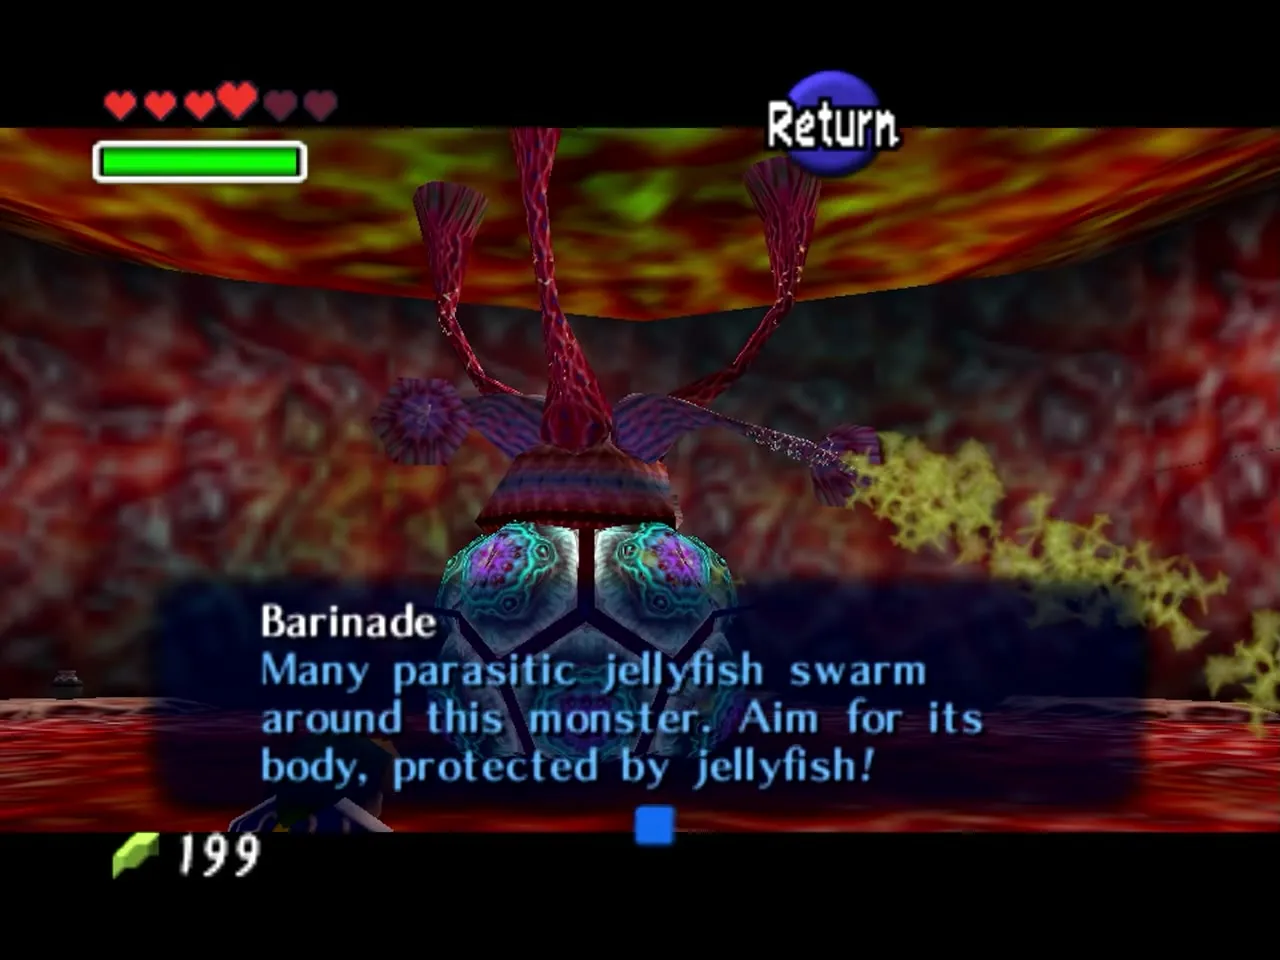
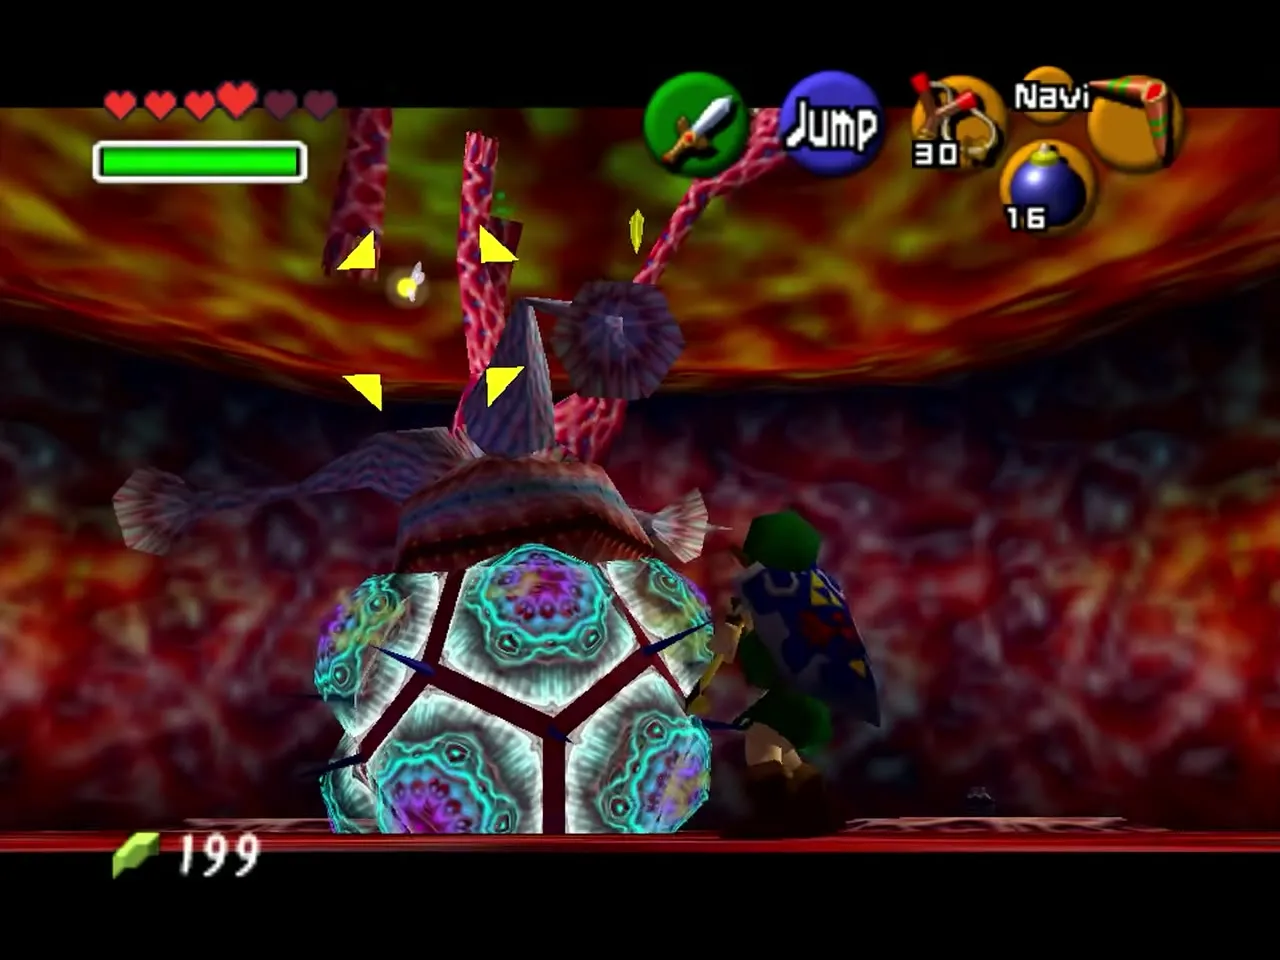
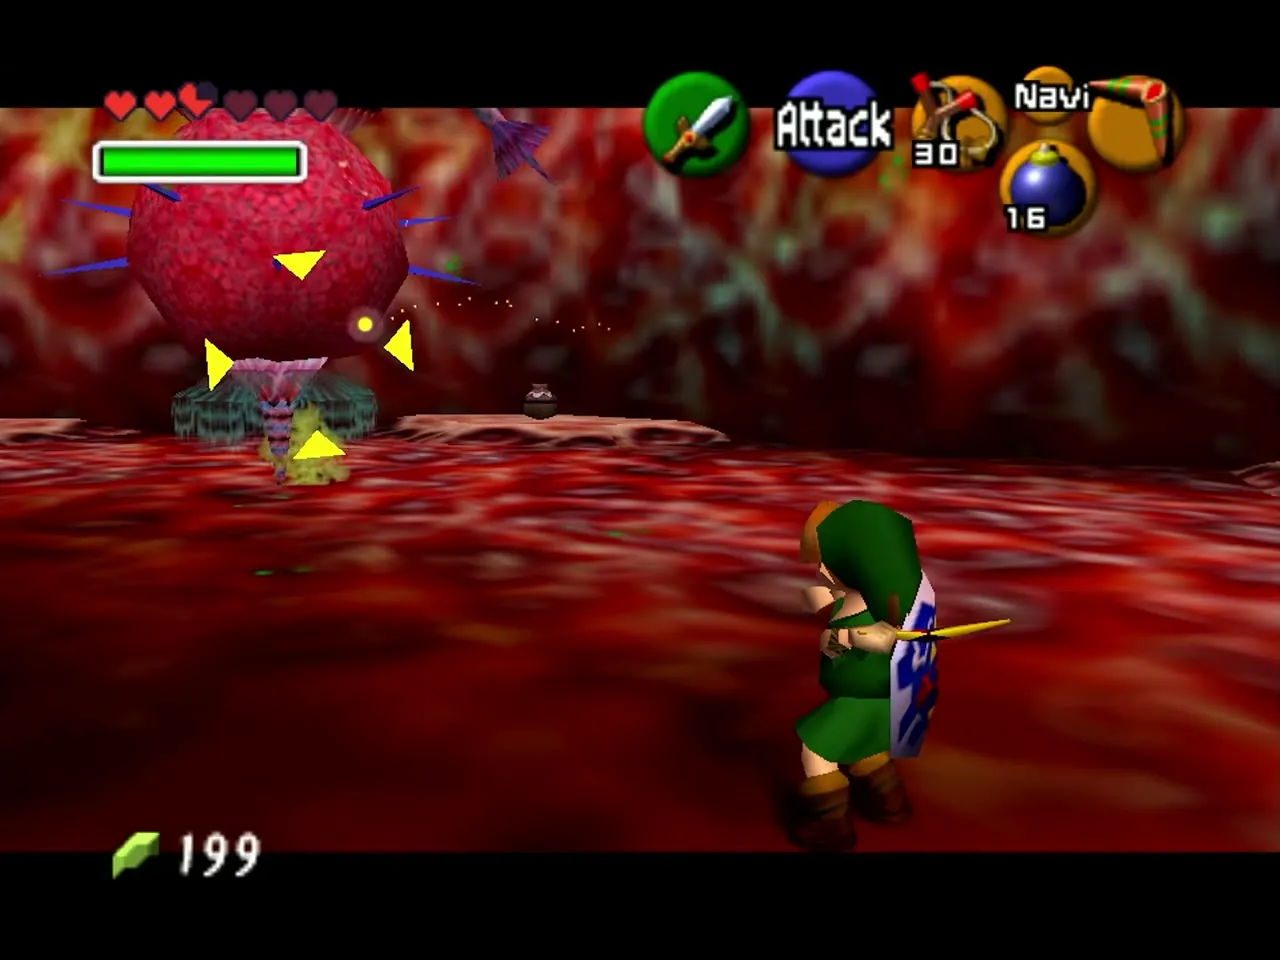
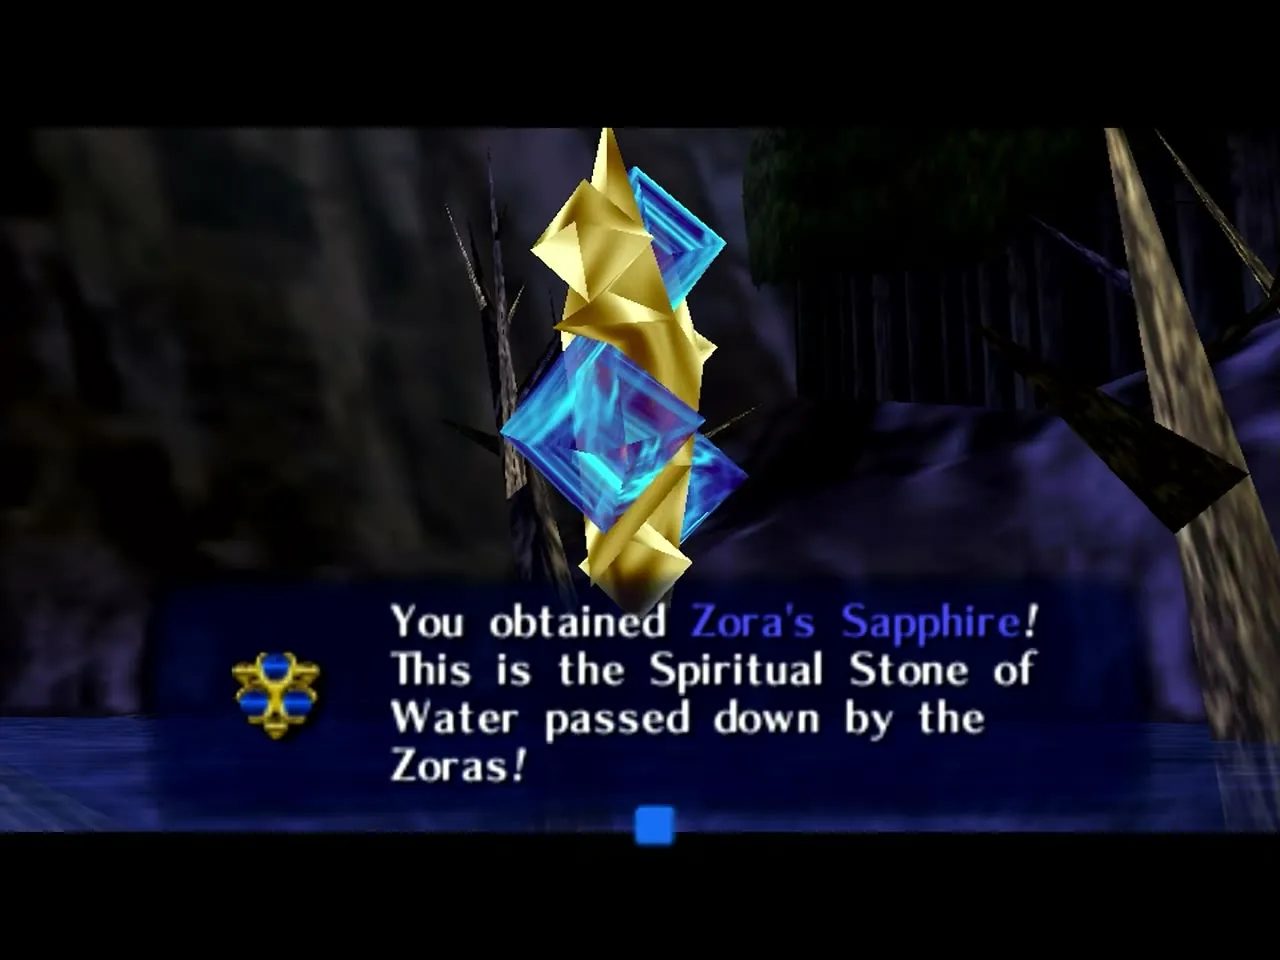
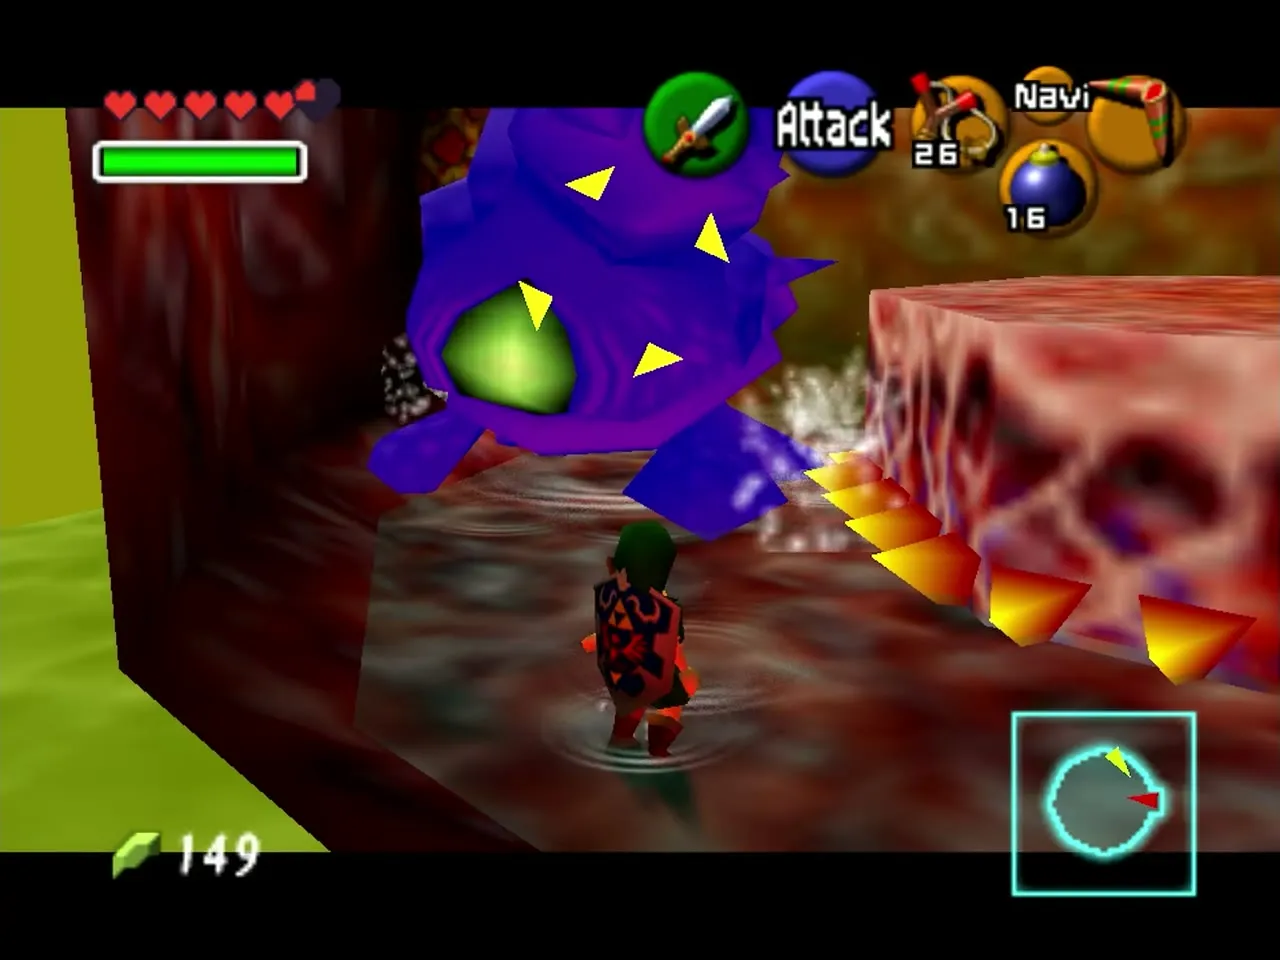
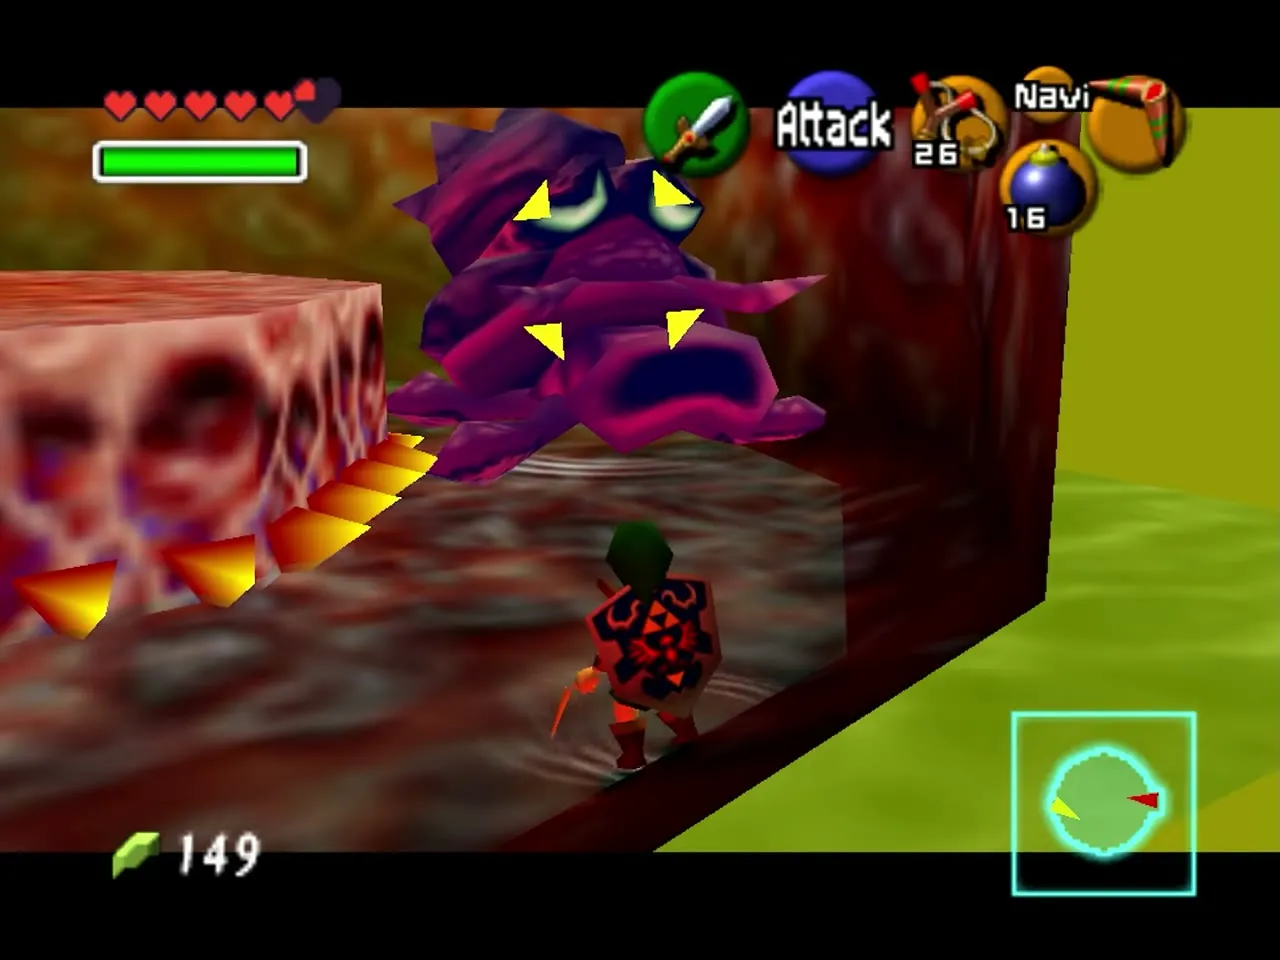
Barinade hangs from the ceiling of Jabu-Jabu’s Belly on tentacles and is guarded by orbiting jellyfish. Throw the Boomerang at the tentacles to cut them, and he drops. The jellyfish are shocking to the touch, so use the Boomerang or Slingshot on them instead of your sword. When he is down and stunned, run in and cut his body. Repeat until he is finished. Ruto gives you the Zora’s Sapphire afterward.
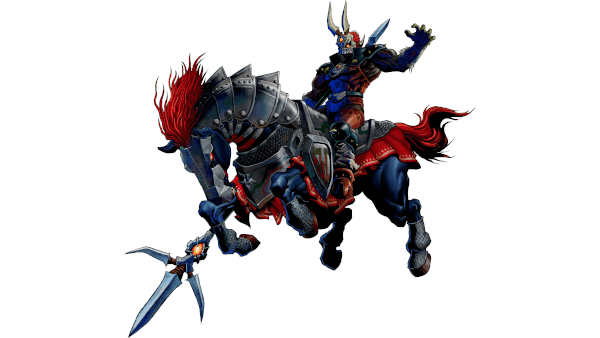
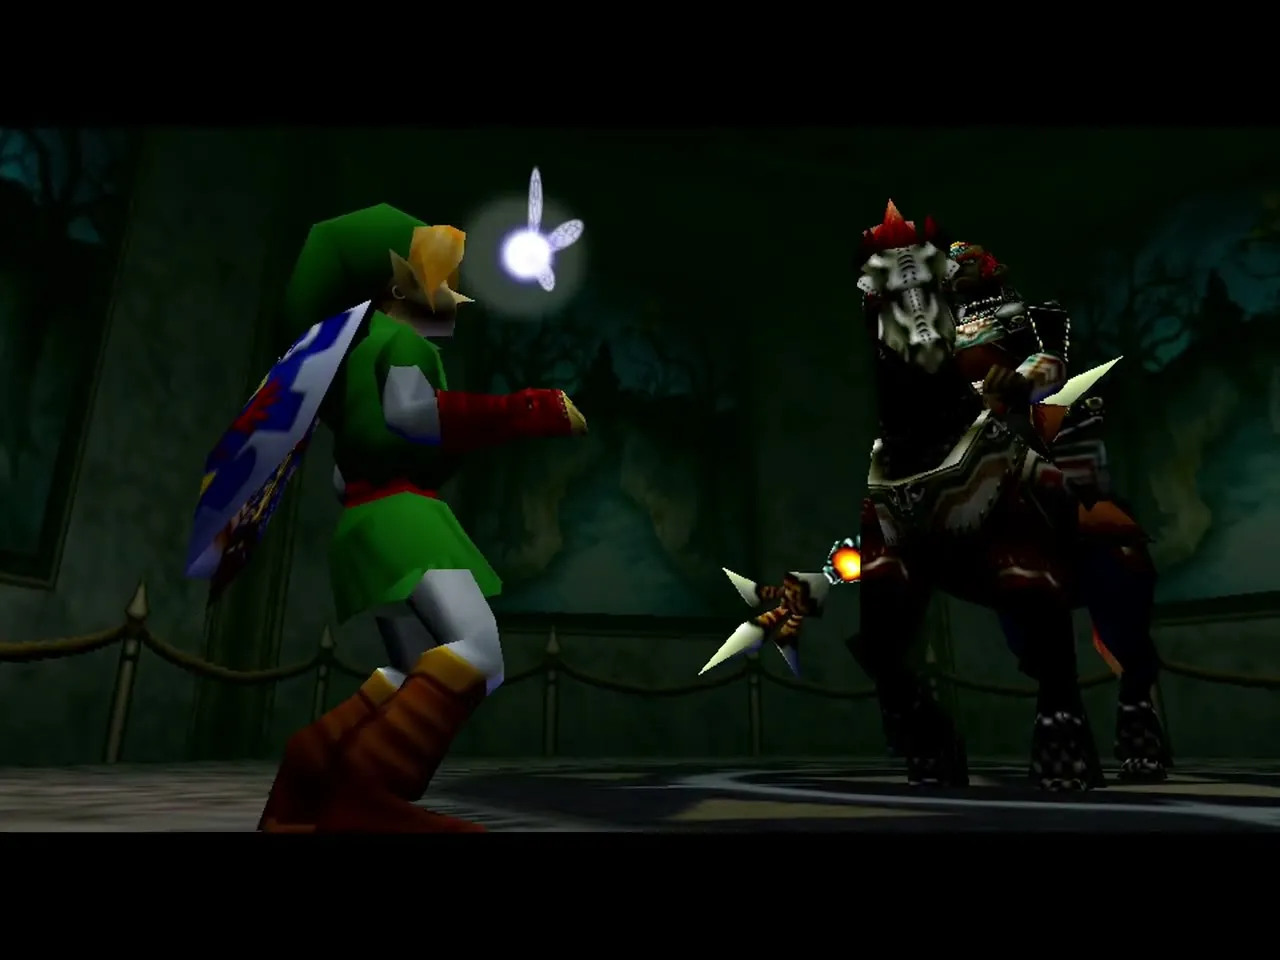
Phantom Ganon (Evil Spirit from Beyond)
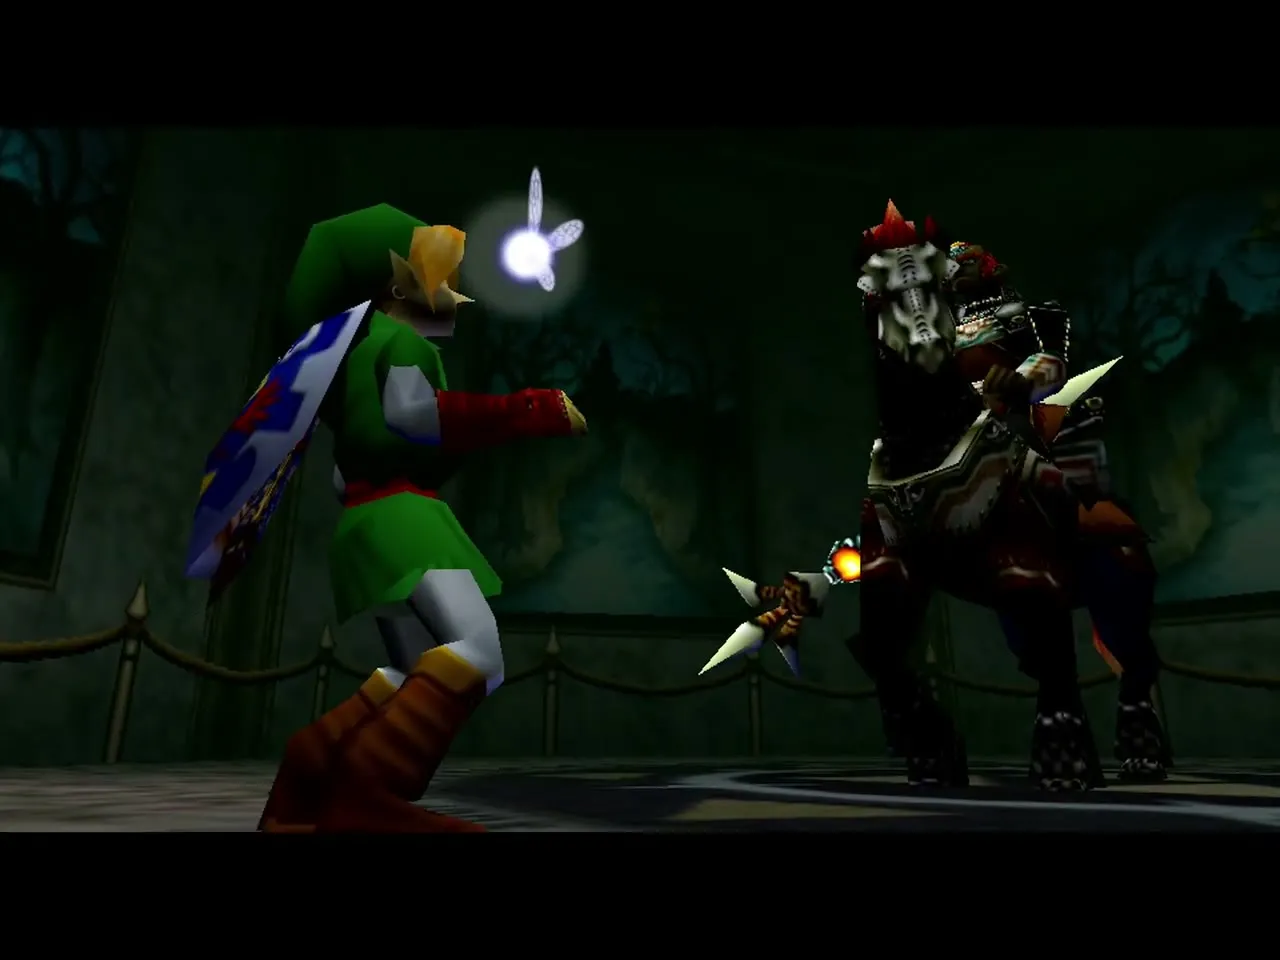
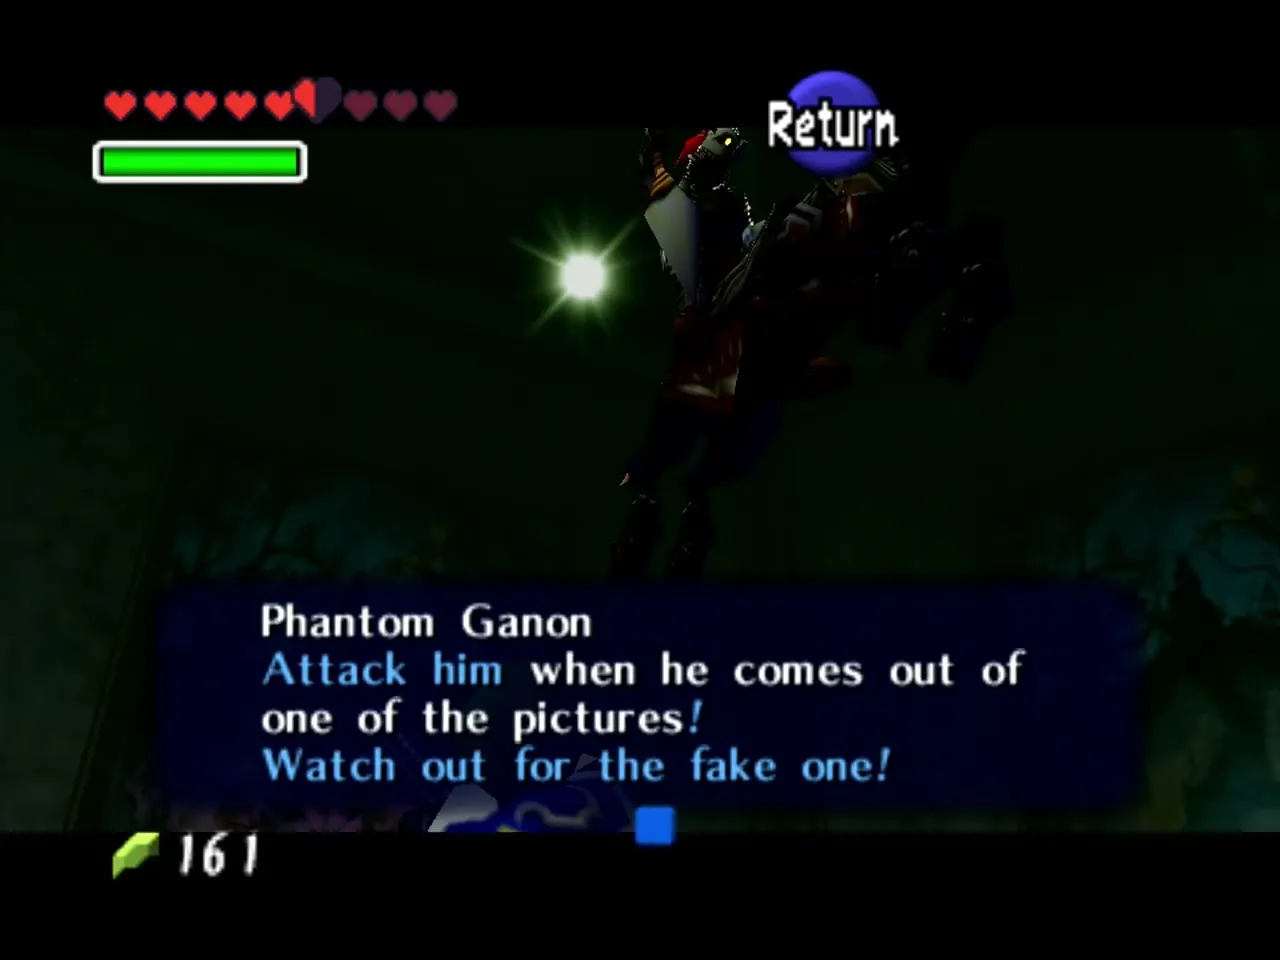
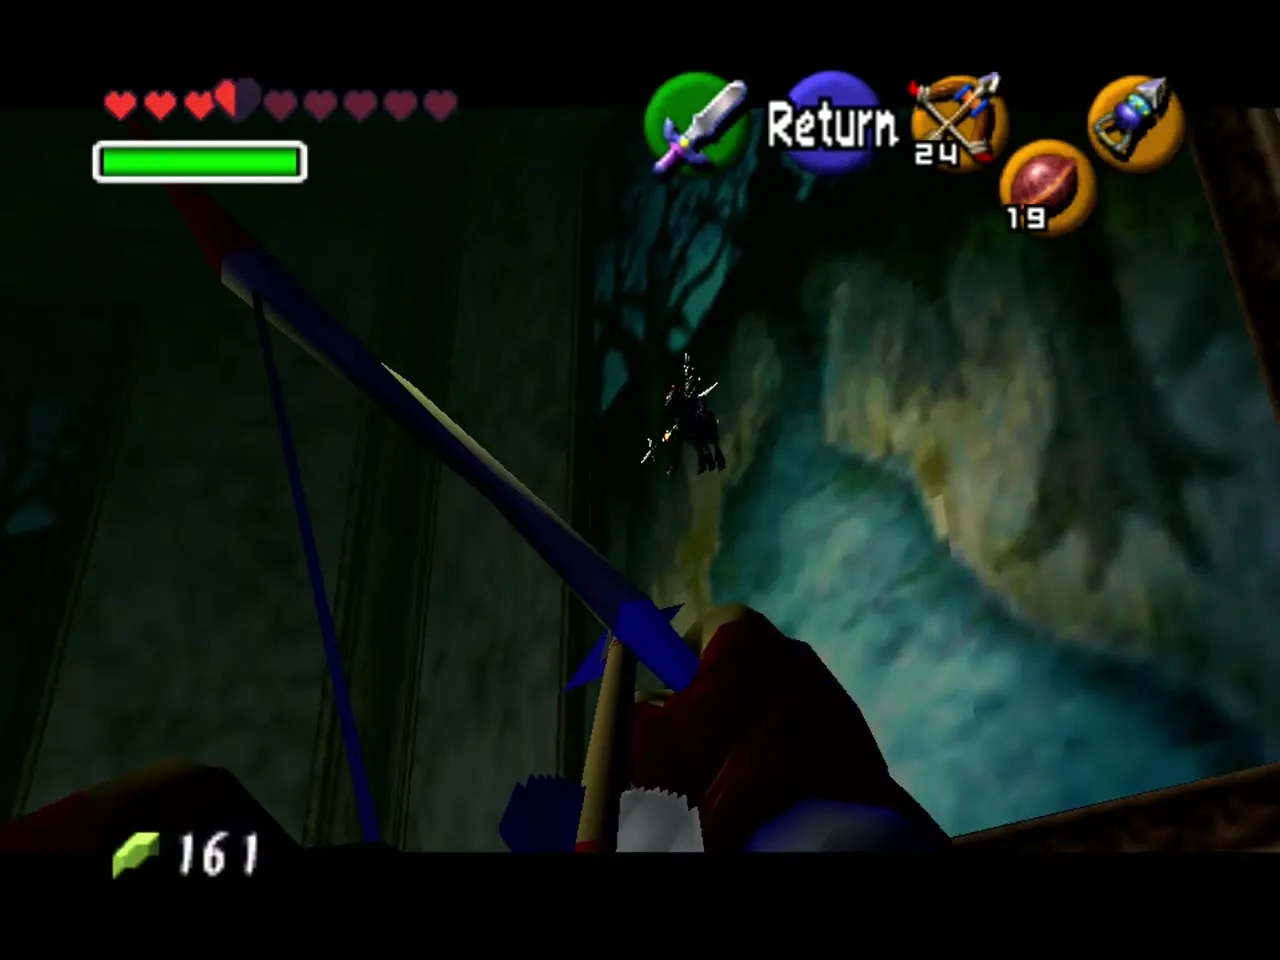
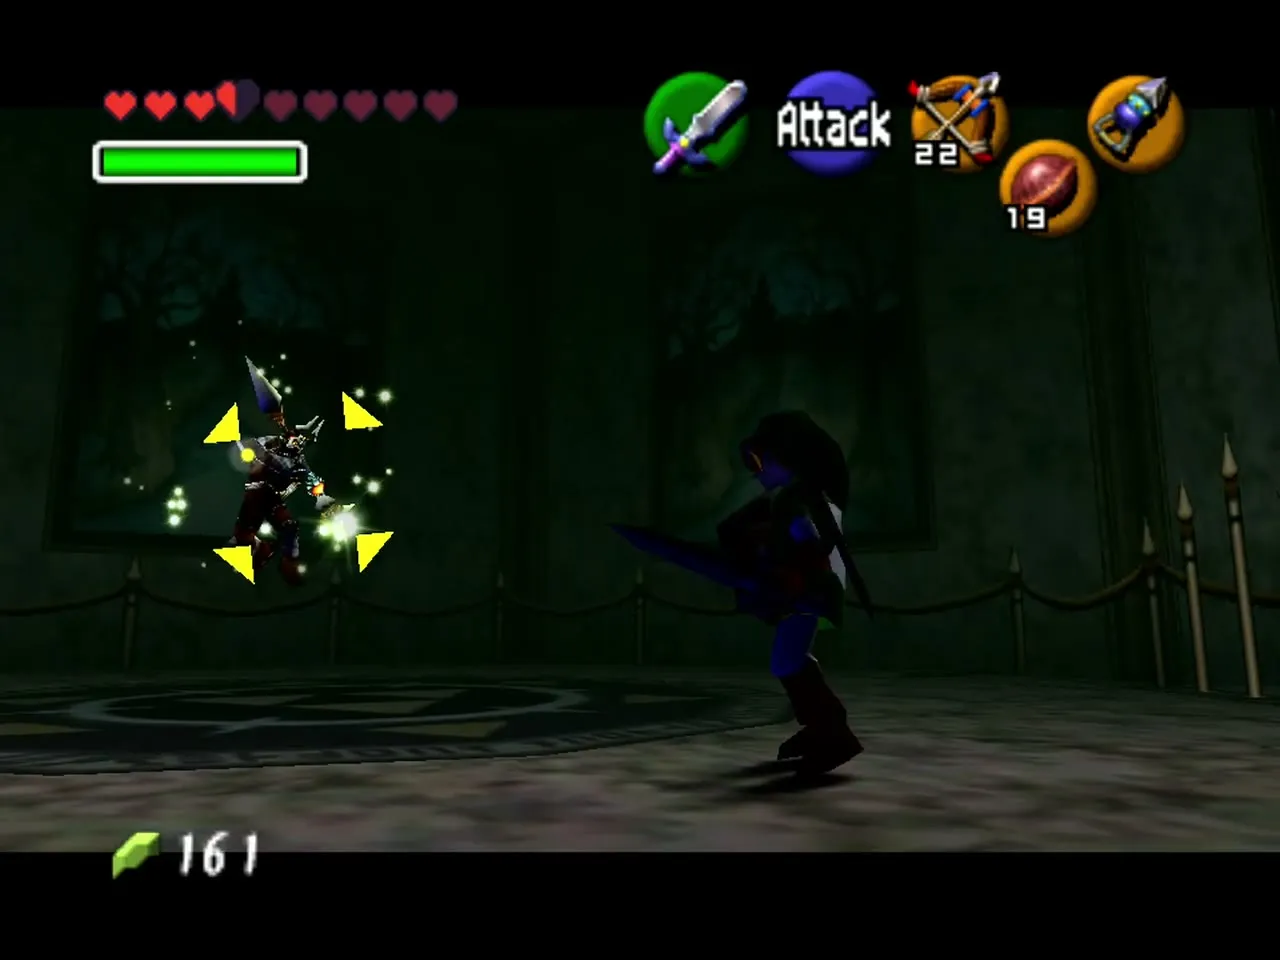
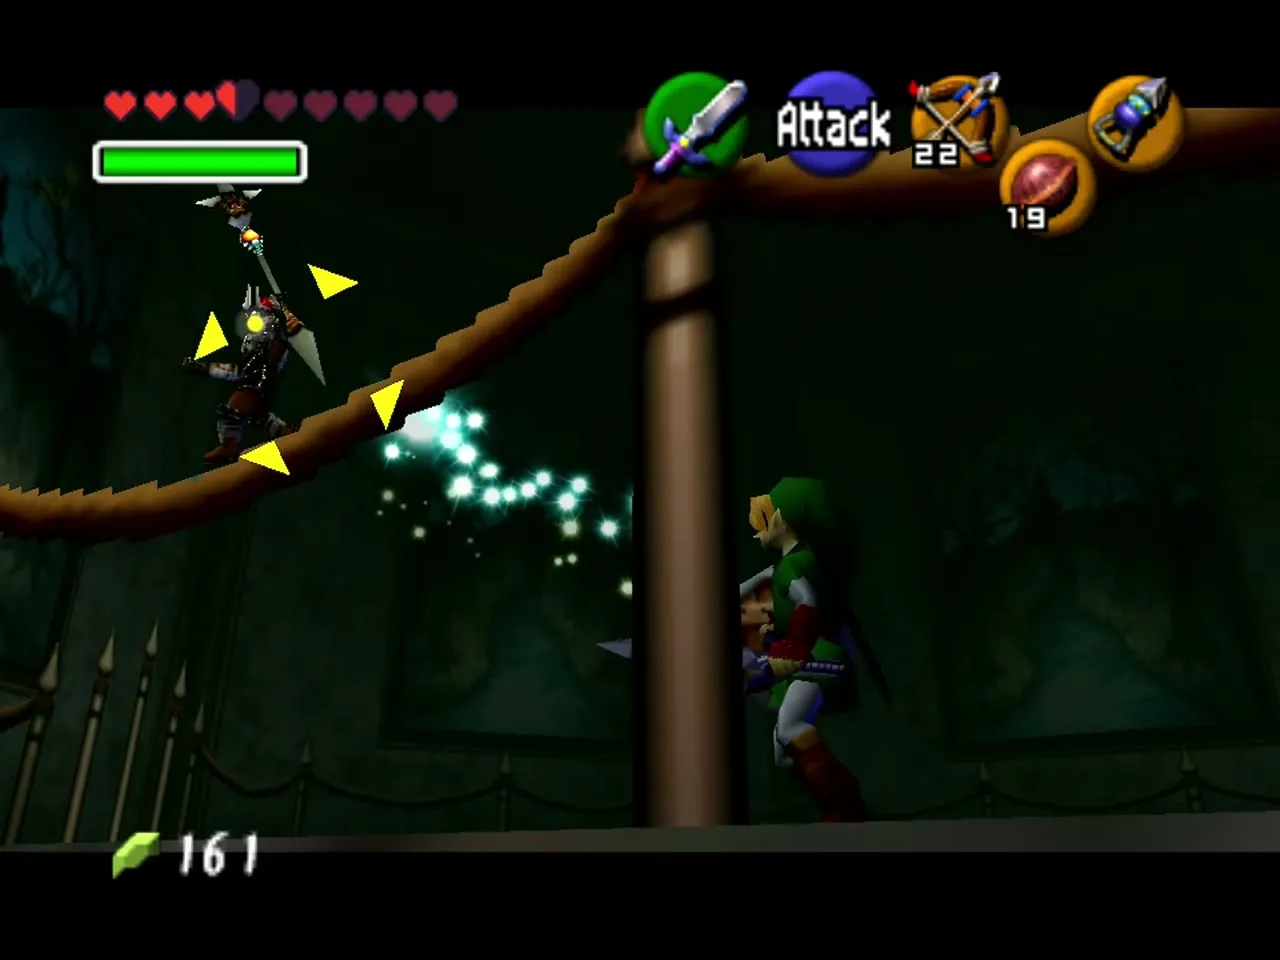
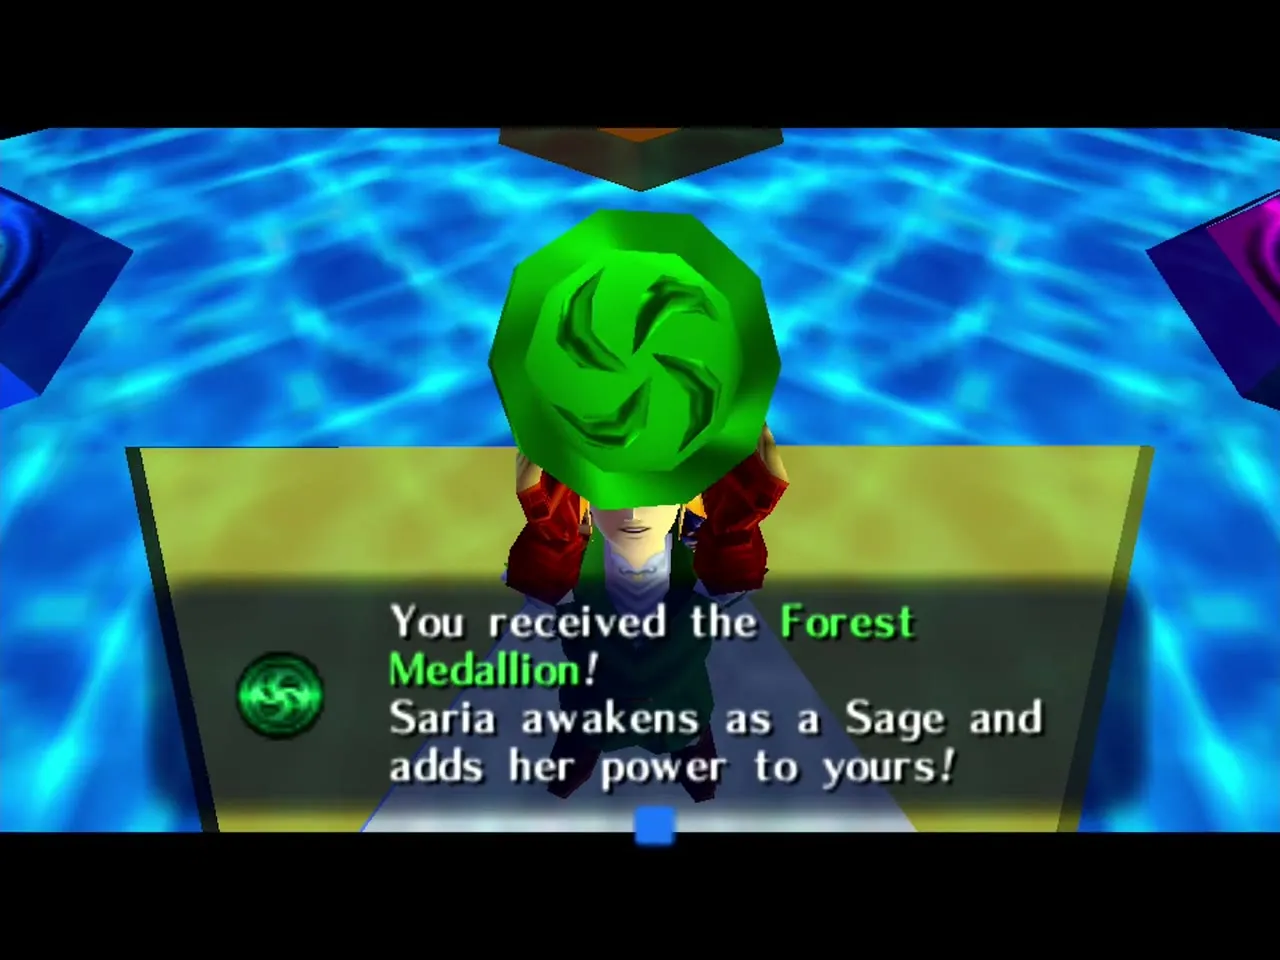
In phase one Phantom Ganon rides out of paintings on the walls, and only one of the riders is real. Lock on to the horseman that stays with you, and shoot him with the Fairy Bow when he comes out of a painting. After a few hits, he falls. In phase two he floats around the room and fires energy balls. Hit each ball back at him with your sword, and keep hitting it back until it stuns him. When he is stunned, run in and cut him. A few rounds finish him, and Saria then gives you the Forest Medallion.
Volvagia (Subterranean Lava Dragon)
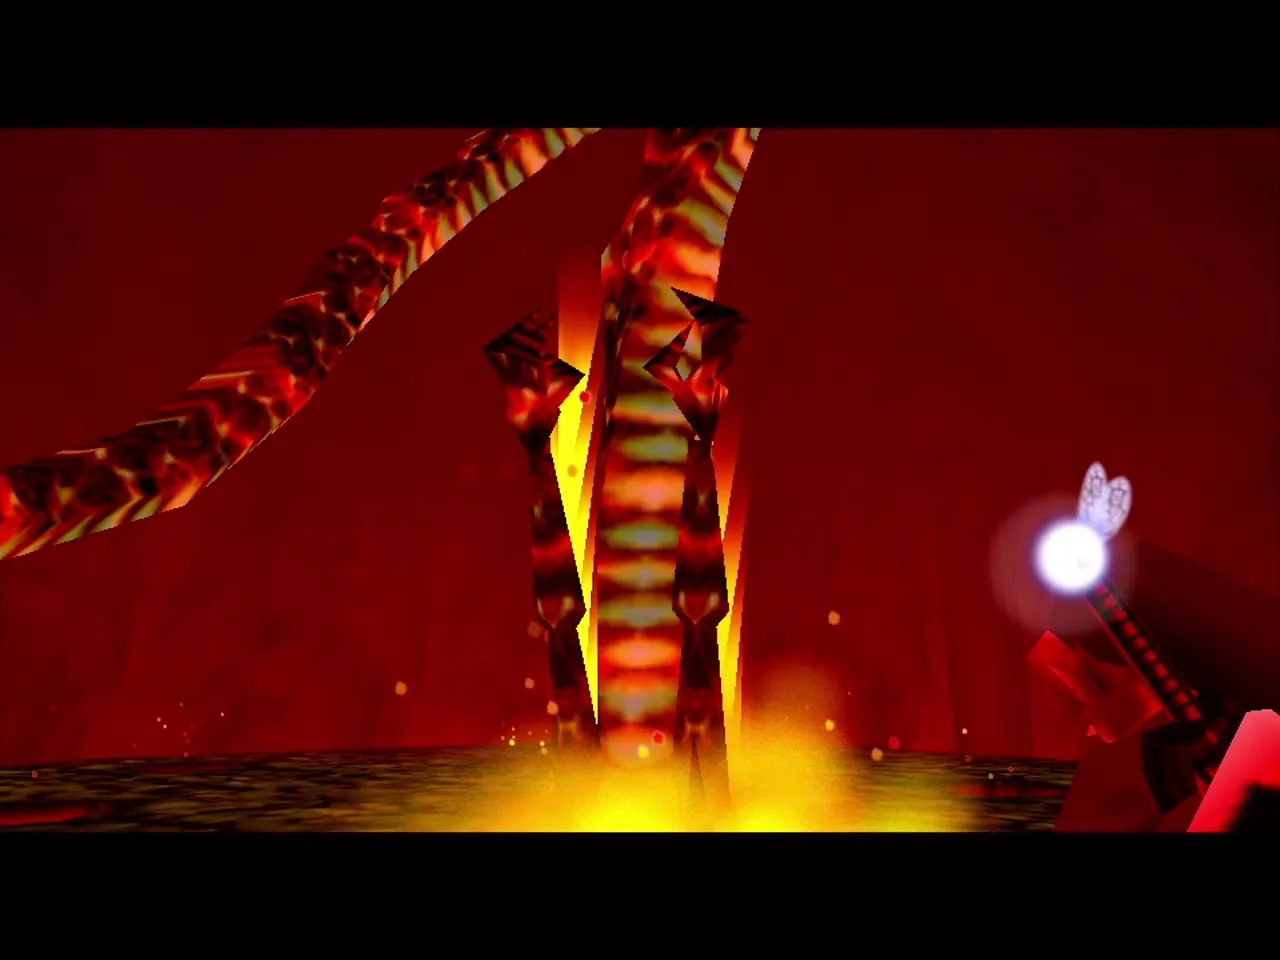
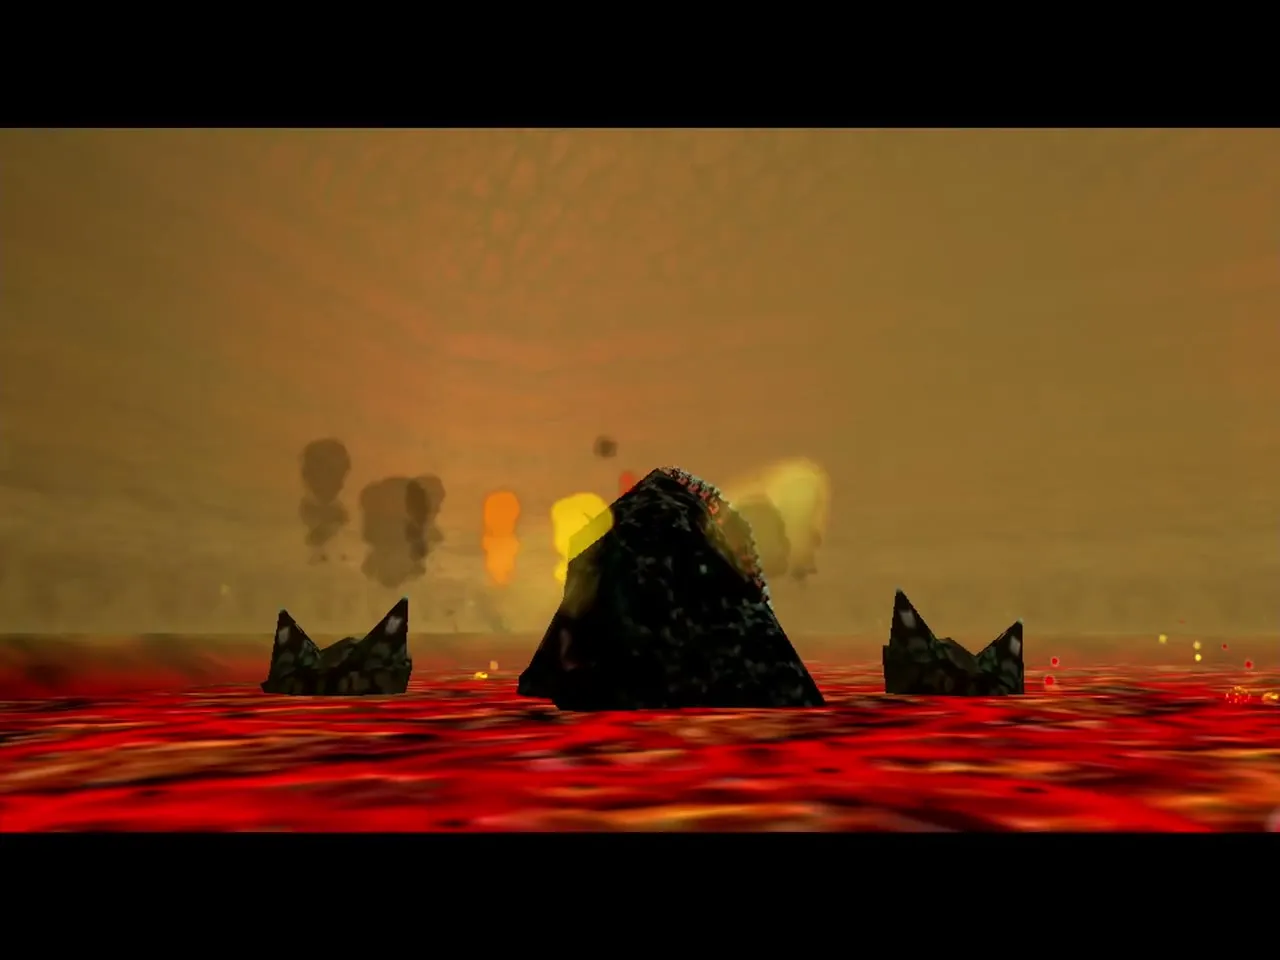
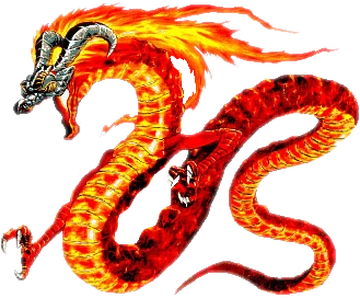
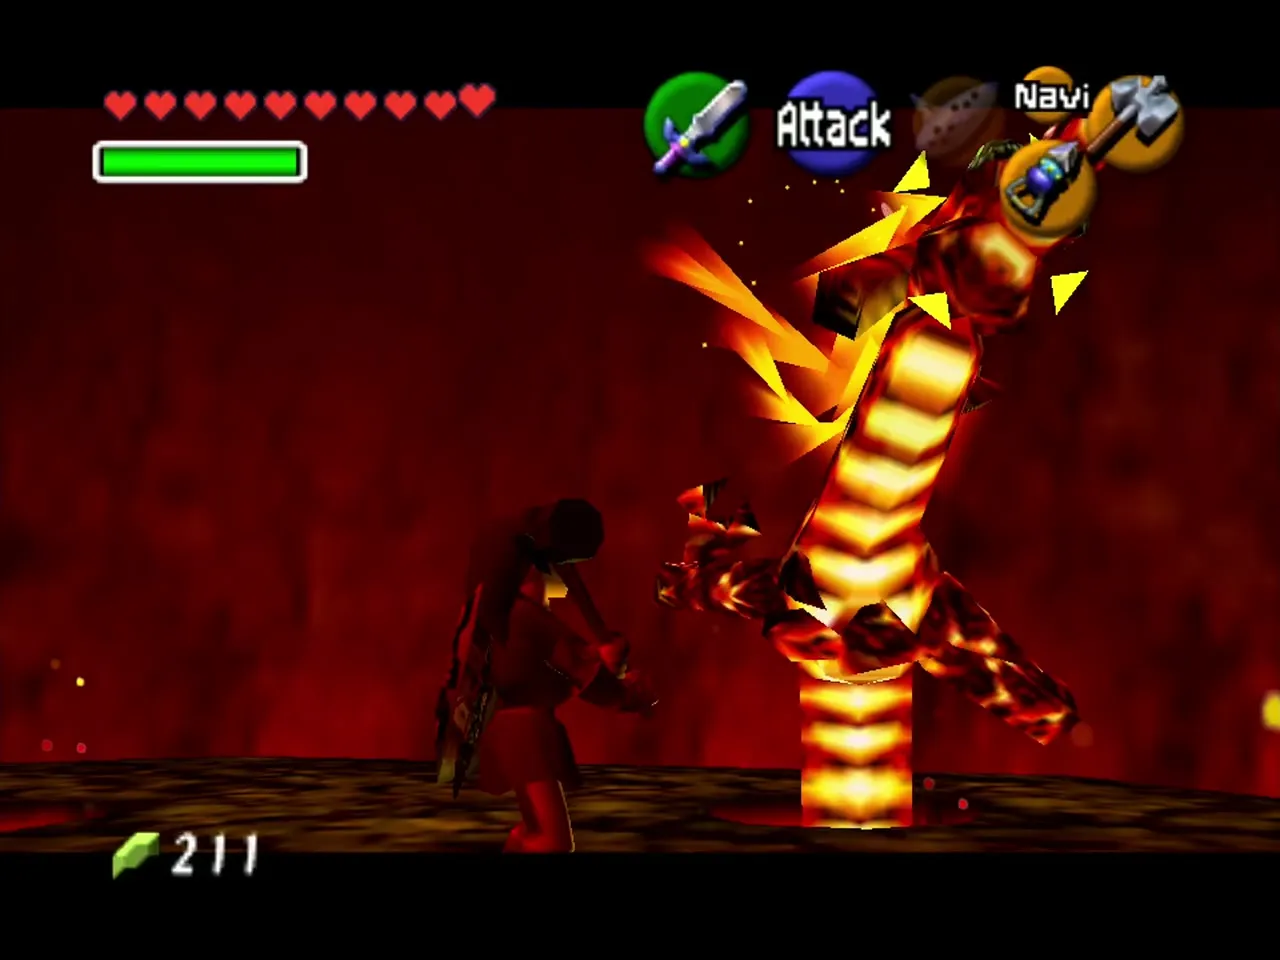
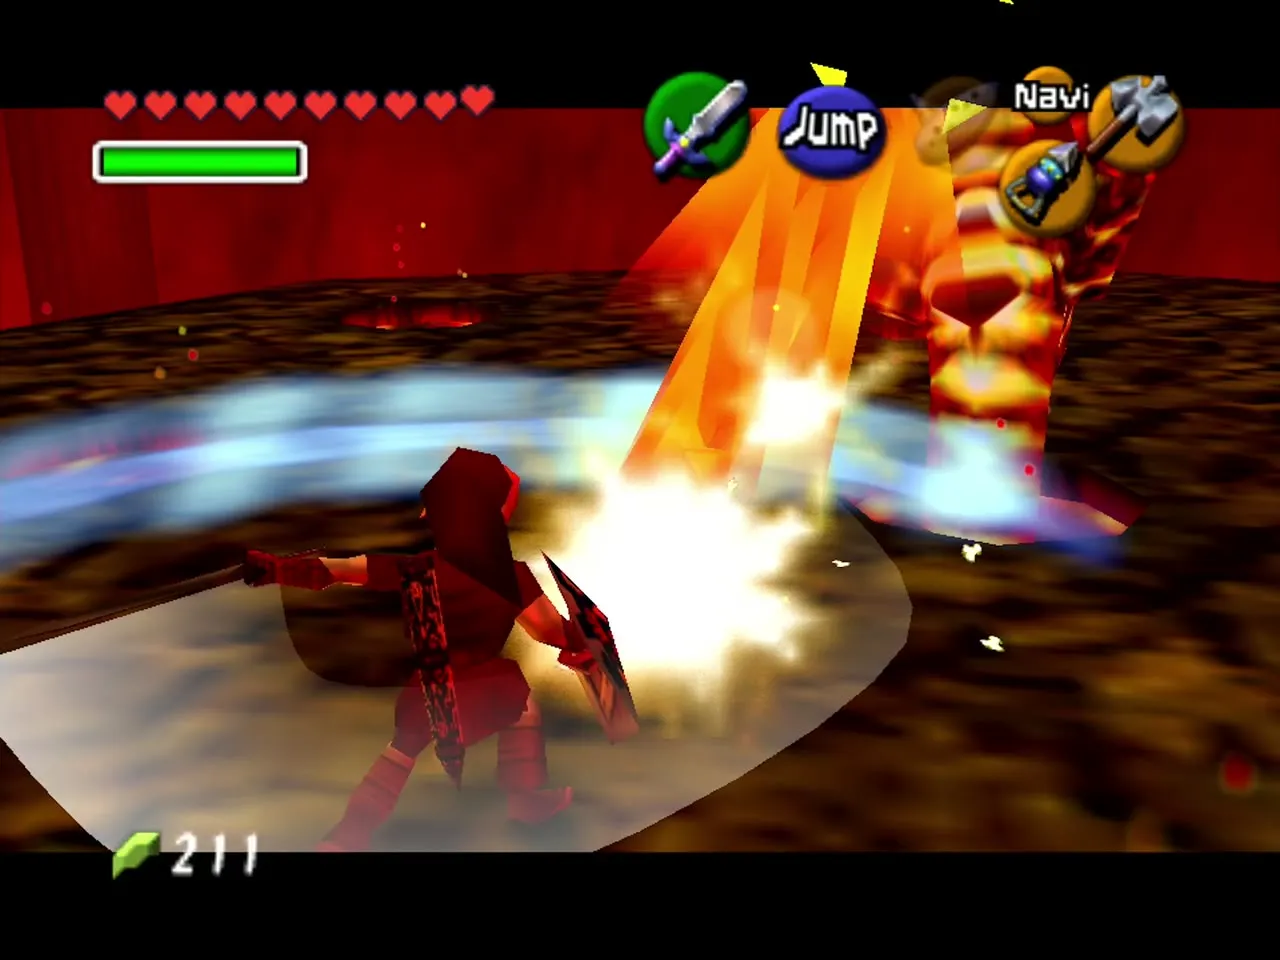
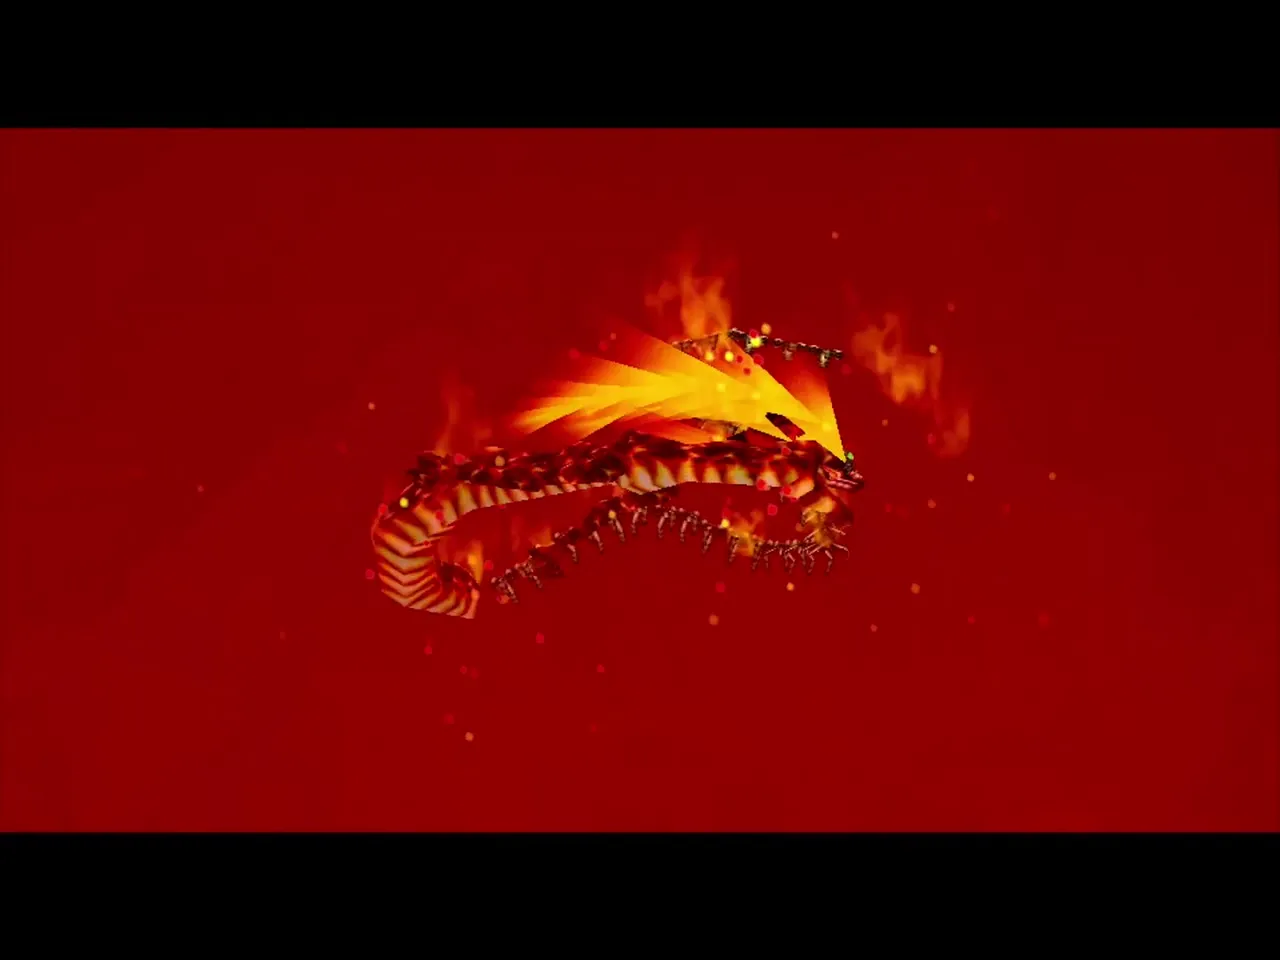
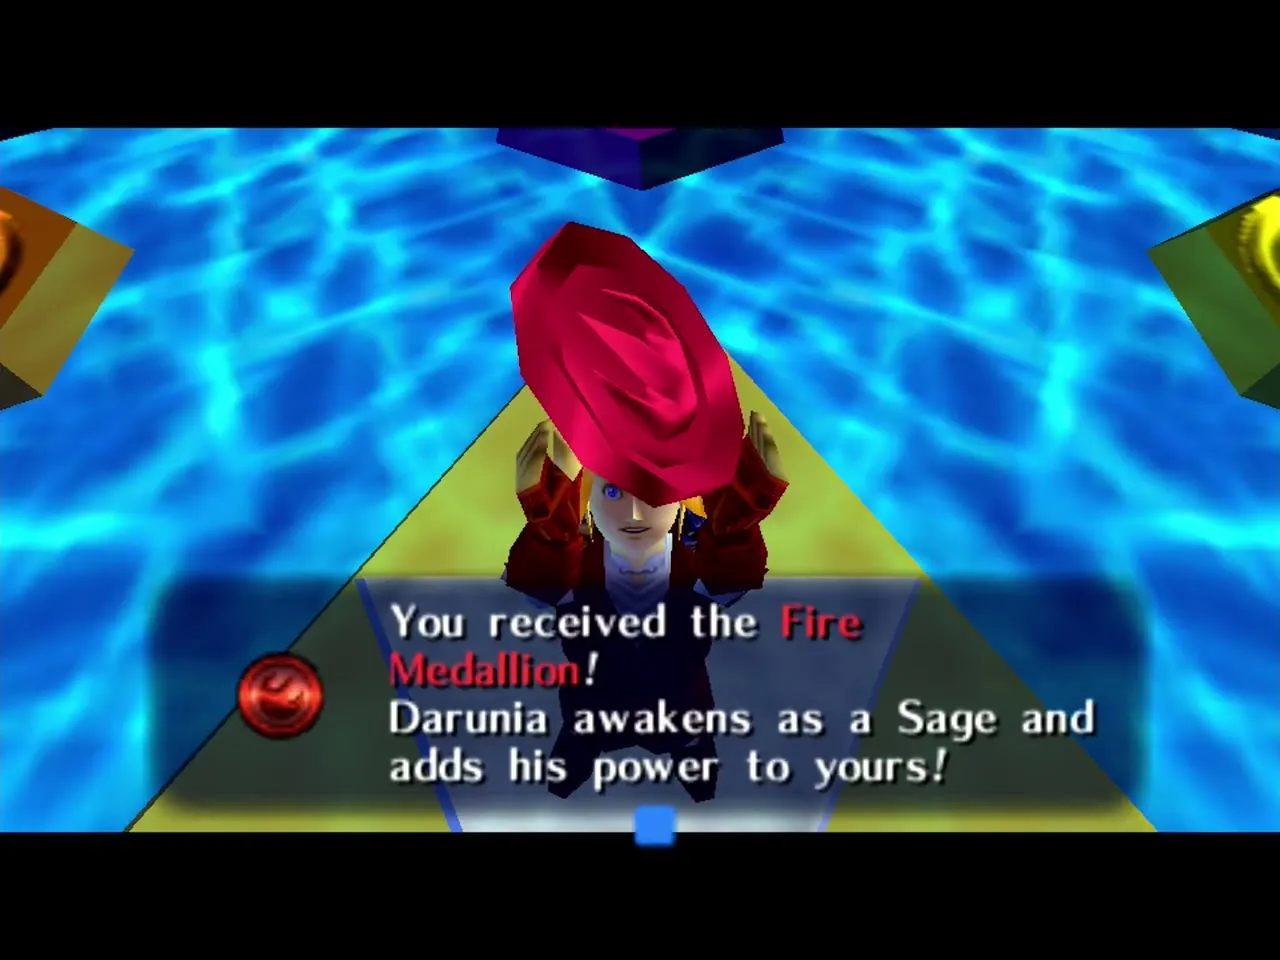
Volvagia pops out of holes in the floor of a lava arena. Wear the Goron Tunic, because the room is hot. When her head rises from a hole, hit it with the Megaton Hammer to stun her, and then cut her with your sword while she is dazed. She also flies, breathes fire, and drops rocks from the ceiling. Watch the shadows on the floor to find where the rocks land. Four or so hits end the fight, and Darunia then gives you the Fire Medallion.
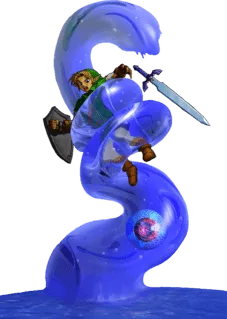
Morpha (Giant Aquatic Amoeba)
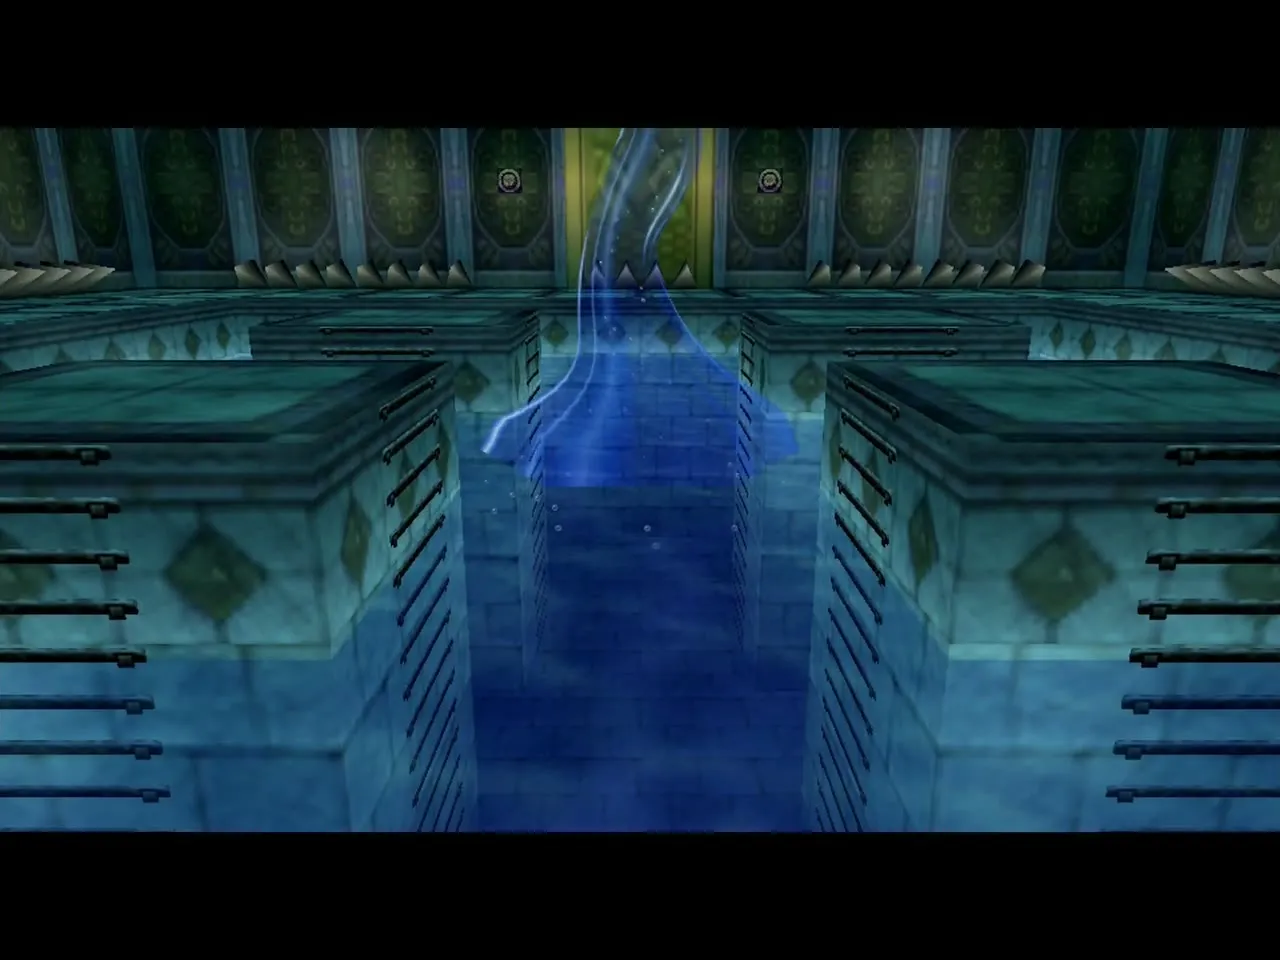
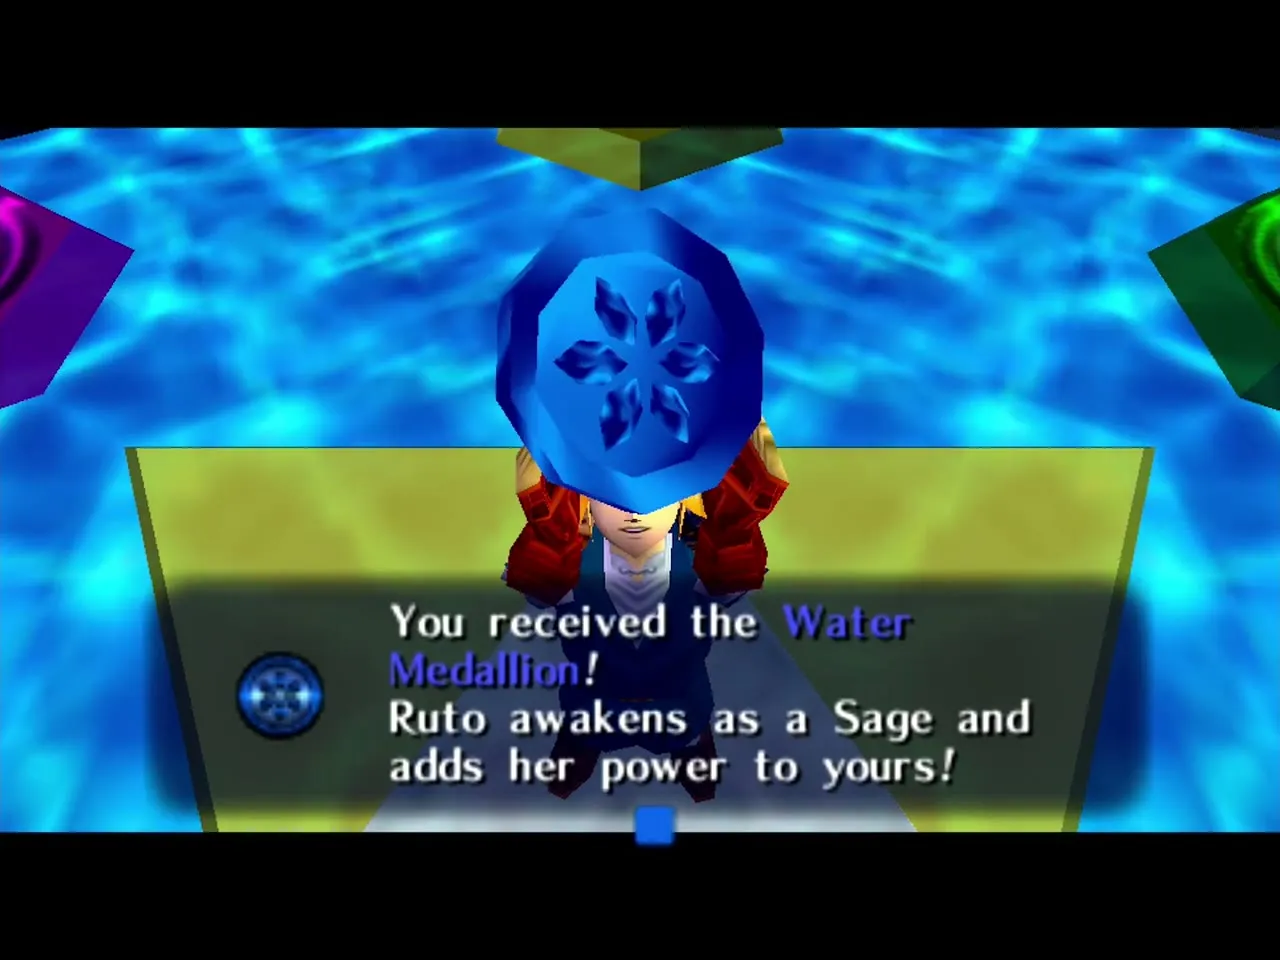
Morpha lives in a pool, and its tentacle reaches out to grab you if you stand near the edge. Shoot the Hookshot or Longshot at the glowing core in the water and pull it out onto dry land. Then cut it while it flops. It returns to the water, so stay back from the edge and repeat. The Iron Boots are not needed. After five or six rounds it bursts, and Ruto becomes the Sage of Water.
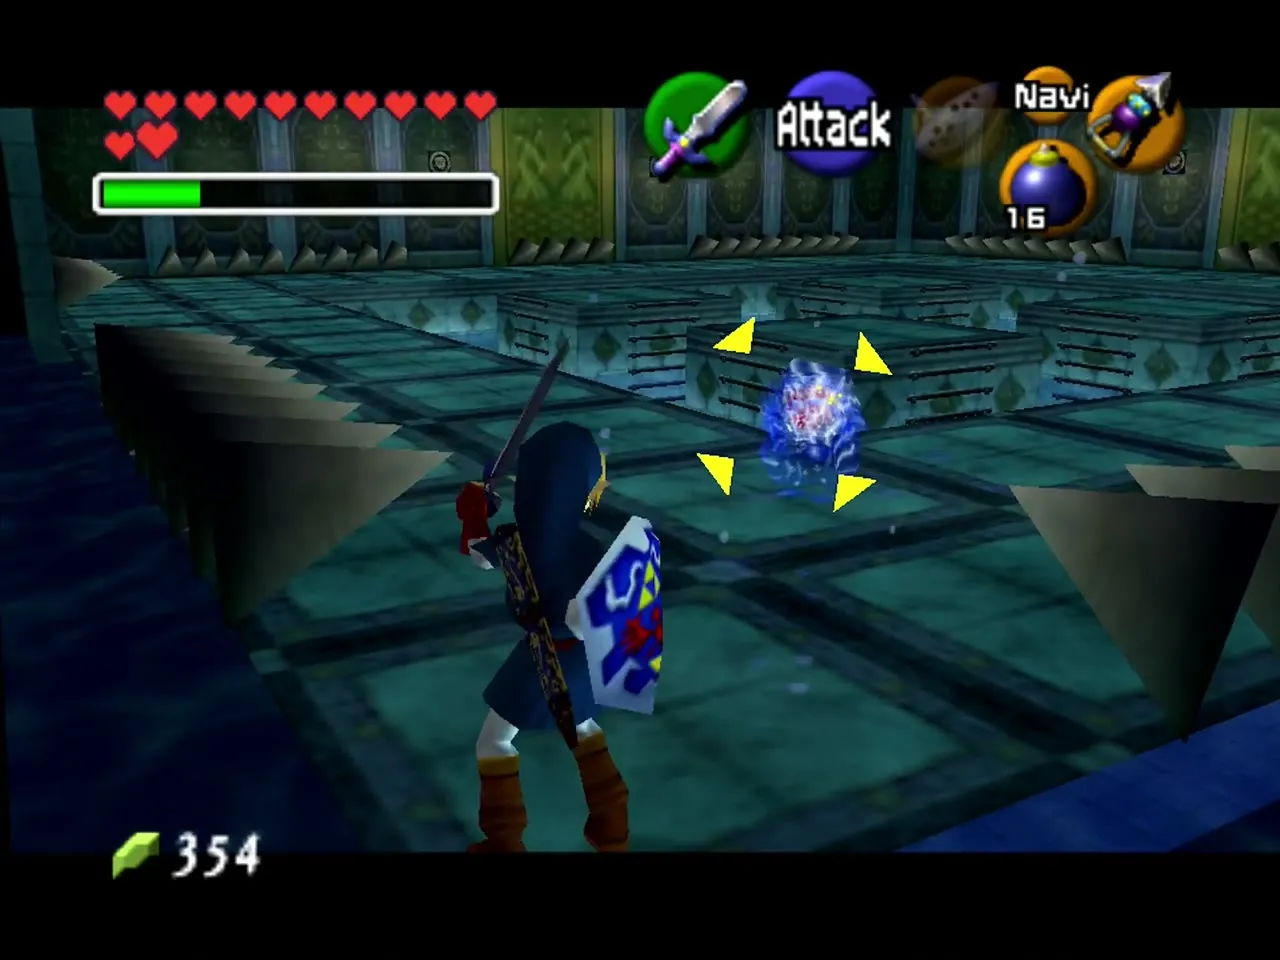
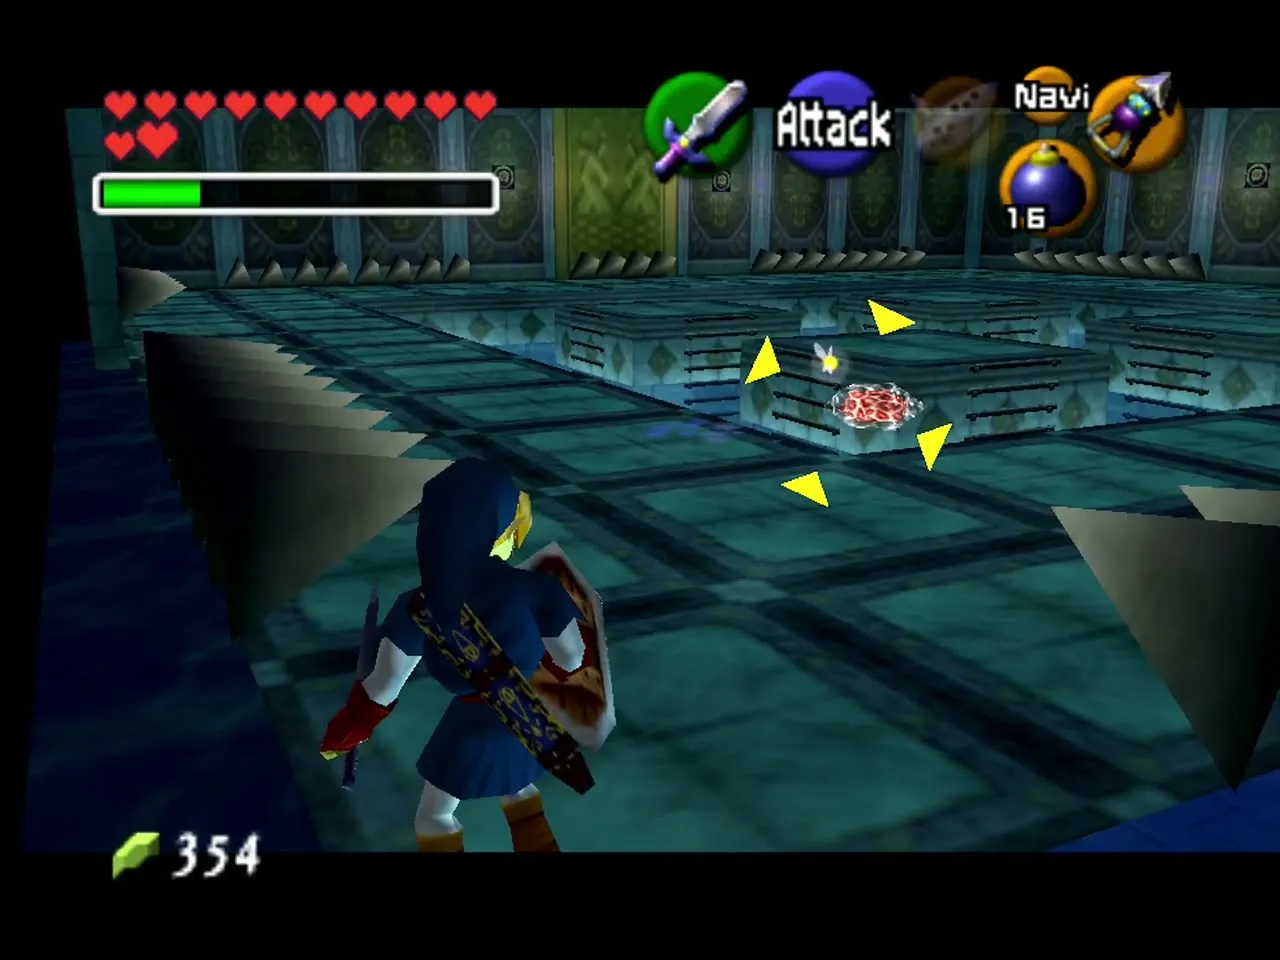
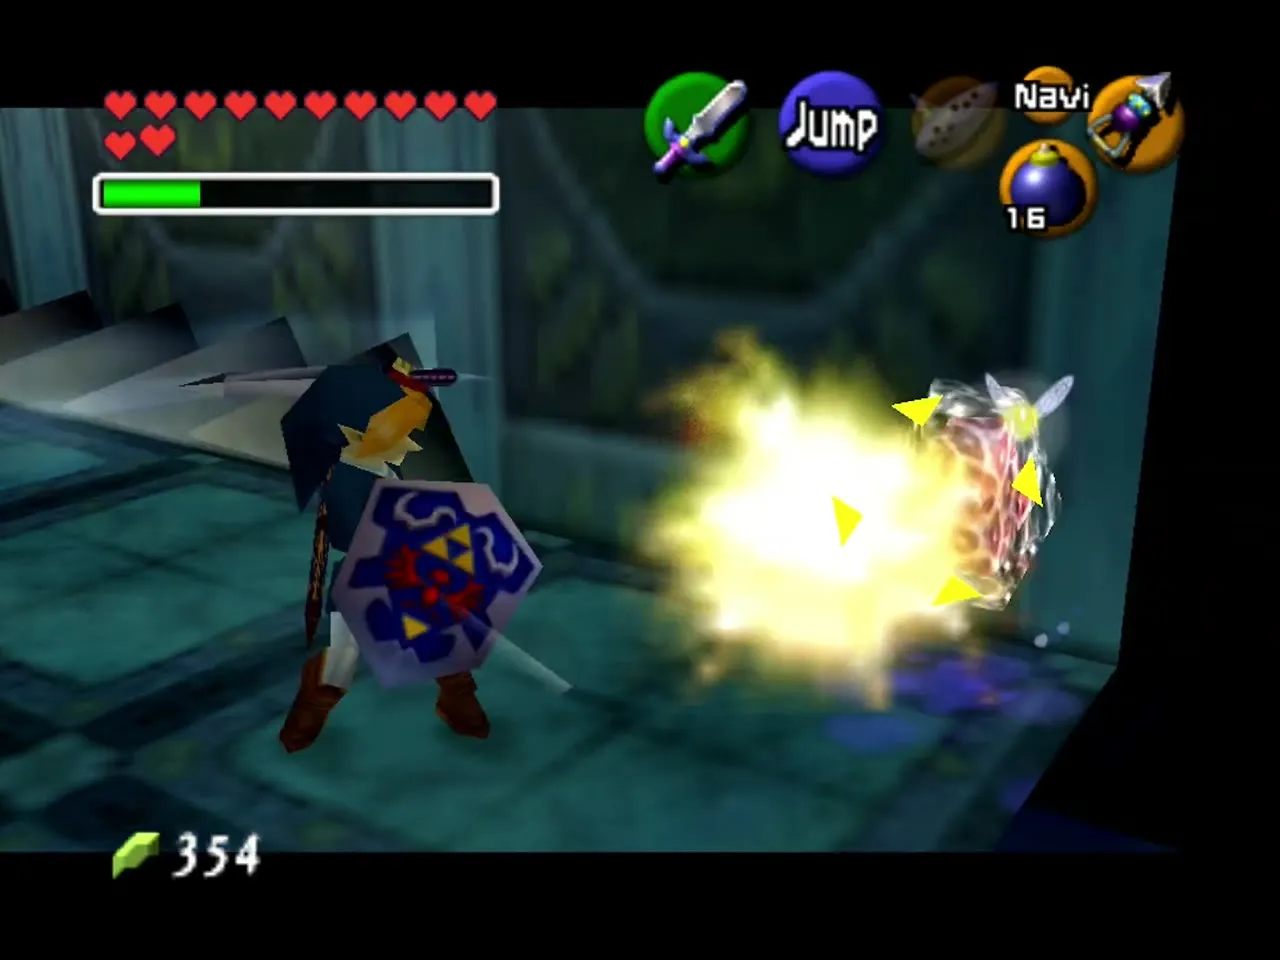
Bongo Bongo (Phantom Shadow Beast)
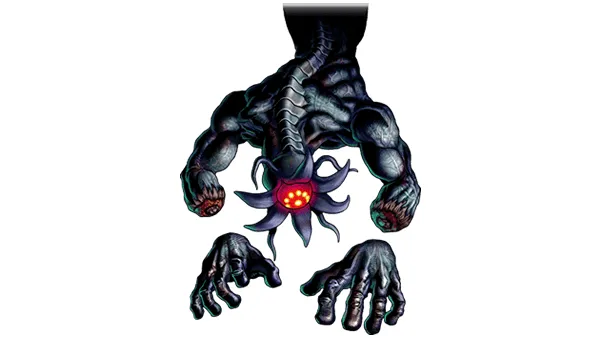
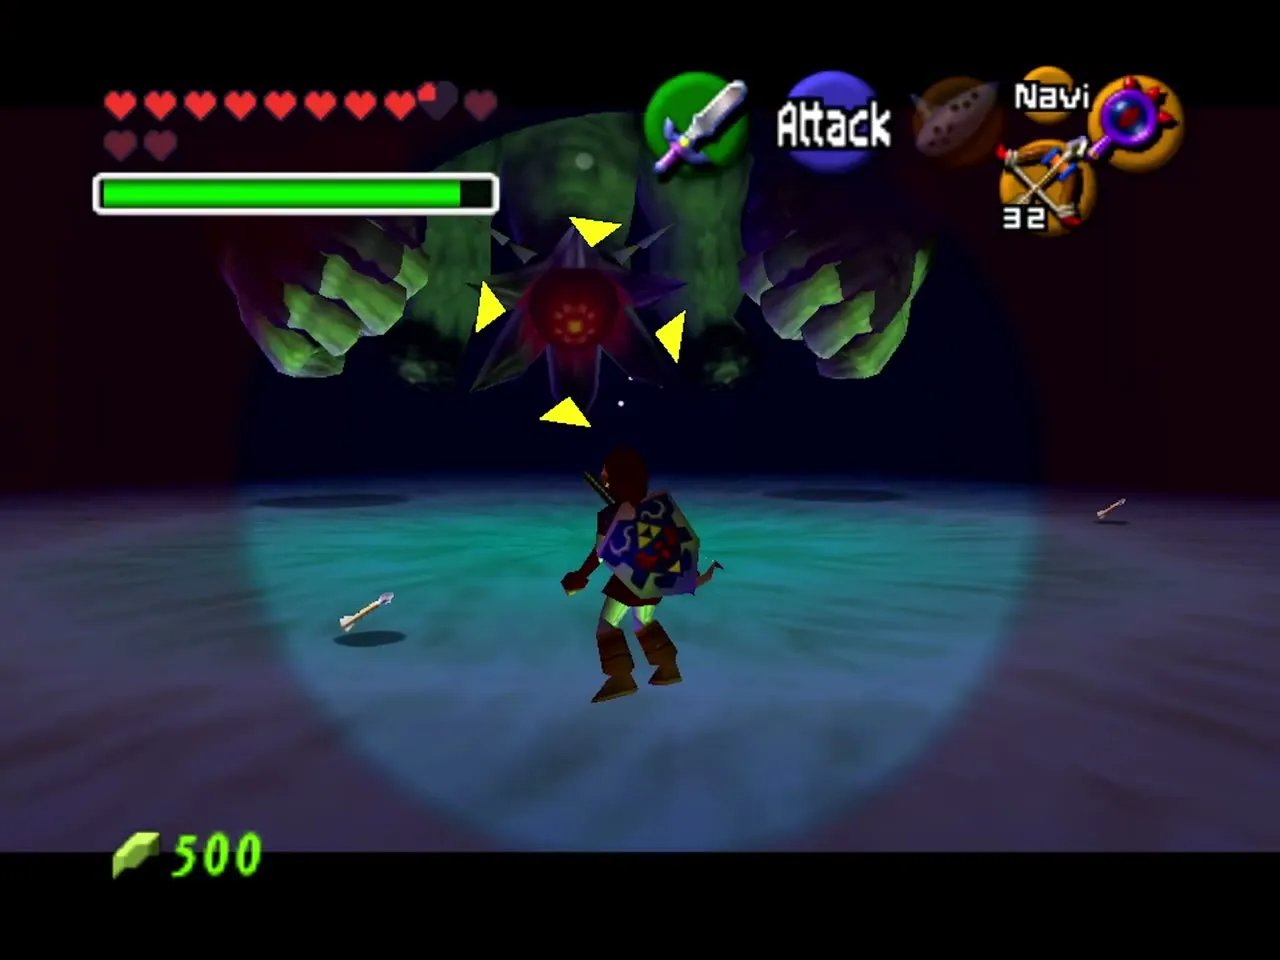
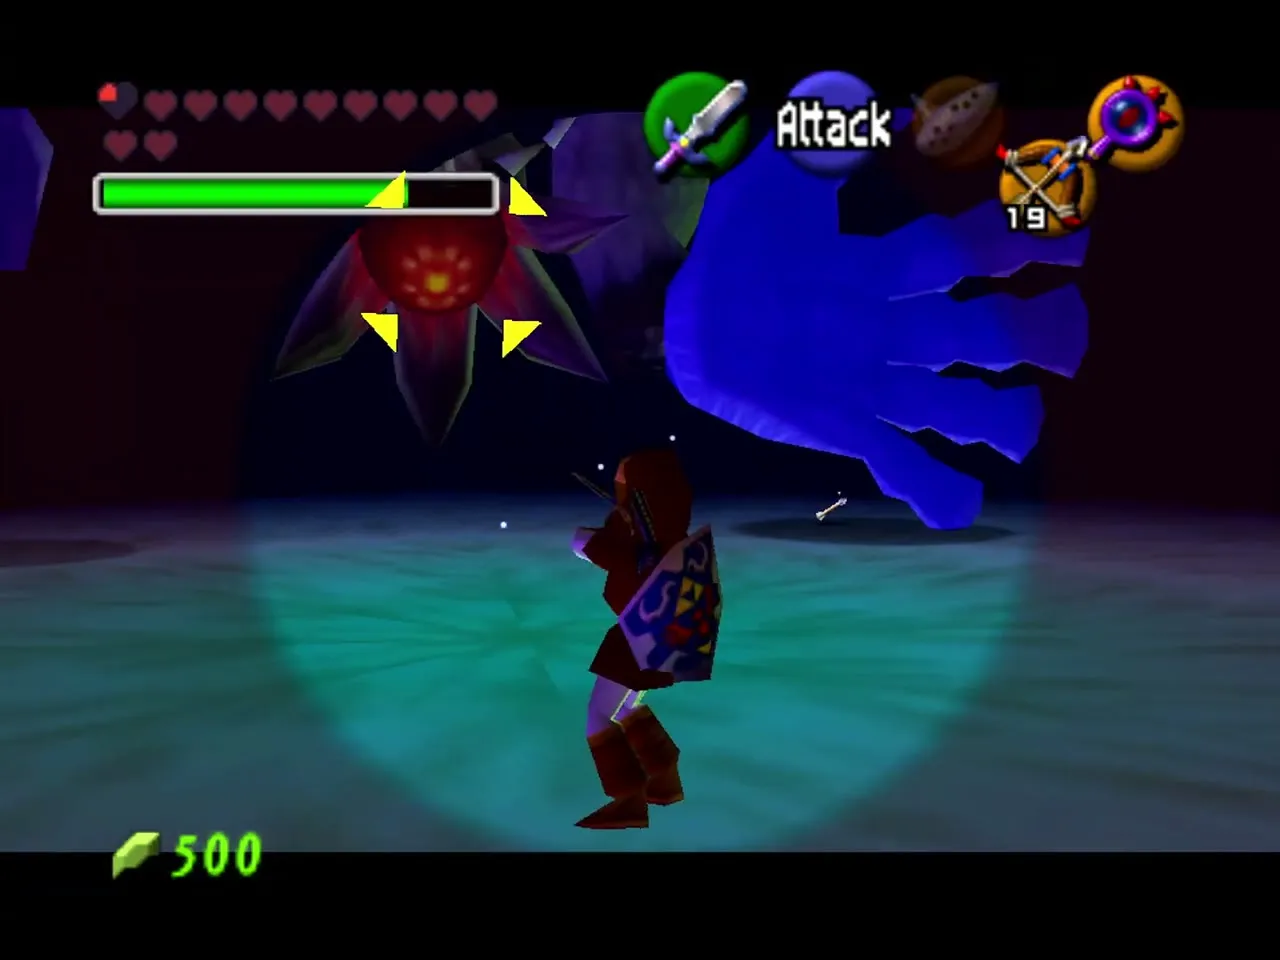
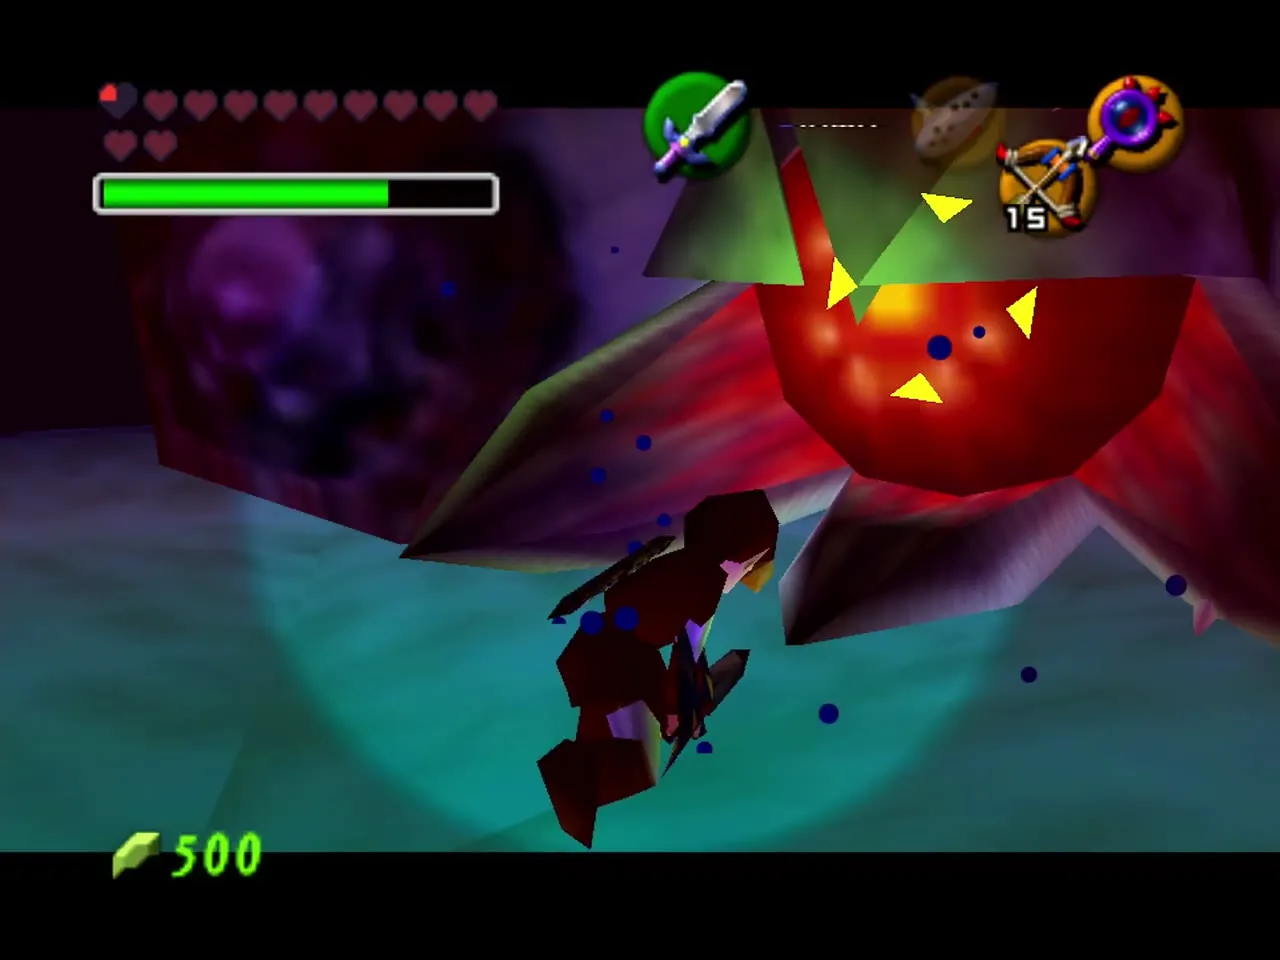
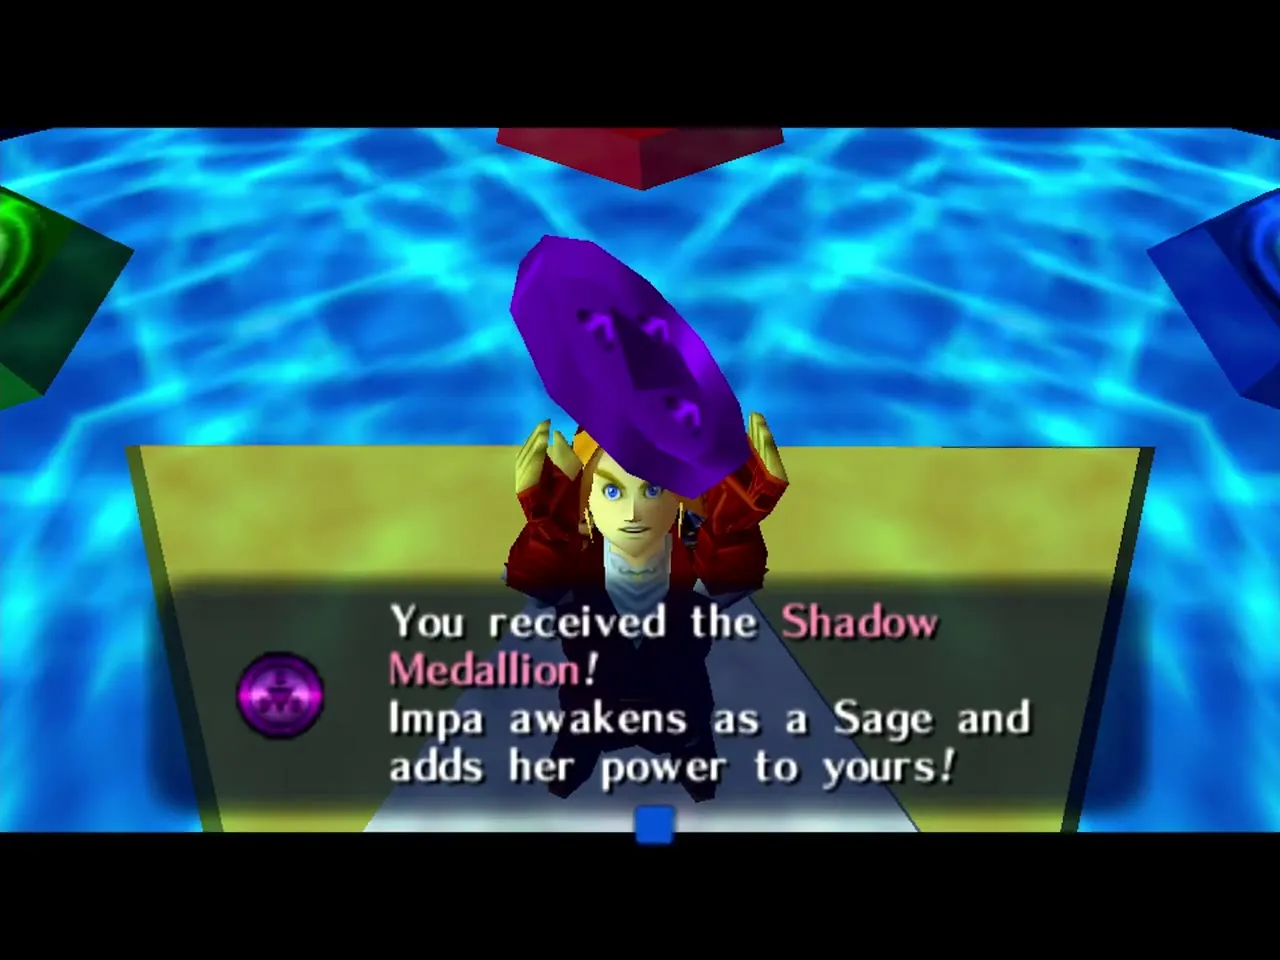
Bongo Bongo plays a drum, and his giant hands slam down at you as you stand on it. Equip the Lens of Truth if the hands fade, and shoot each hand with the Fairy Bow or the Hookshot to stun him. Once both hands are down, his eye is exposed. Shoot or cut the eye while he is stunned. Move around the drum so you are not pinned between the hands. Impa then gives you the Shadow Medallion.
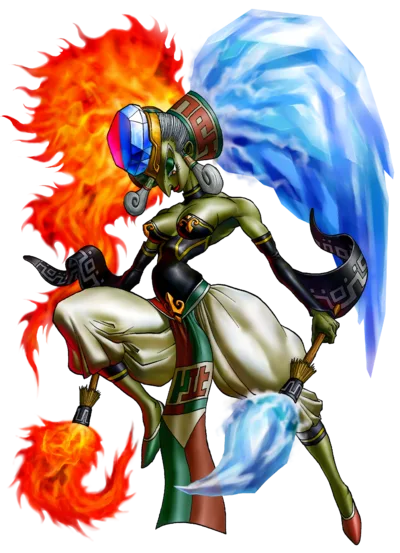
Twinrova (Sorceress Sisters)
The fight has two parts. First, the sisters Koume (fire) and Kotake (ice) fire beams at you. Hold the Mirror Shield up to bounce a beam at the other sister: fire at Kotake and ice at Koume. After a few hits, they merge into Twinrova. Twinrova fires fire and ice in a pattern. Catch three blasts of the same element on the Mirror Shield, and then reflect that charge back at her. She is stunned, so cut her. A few rounds finish her, and Nabooru then gives you the Spirit Medallion.
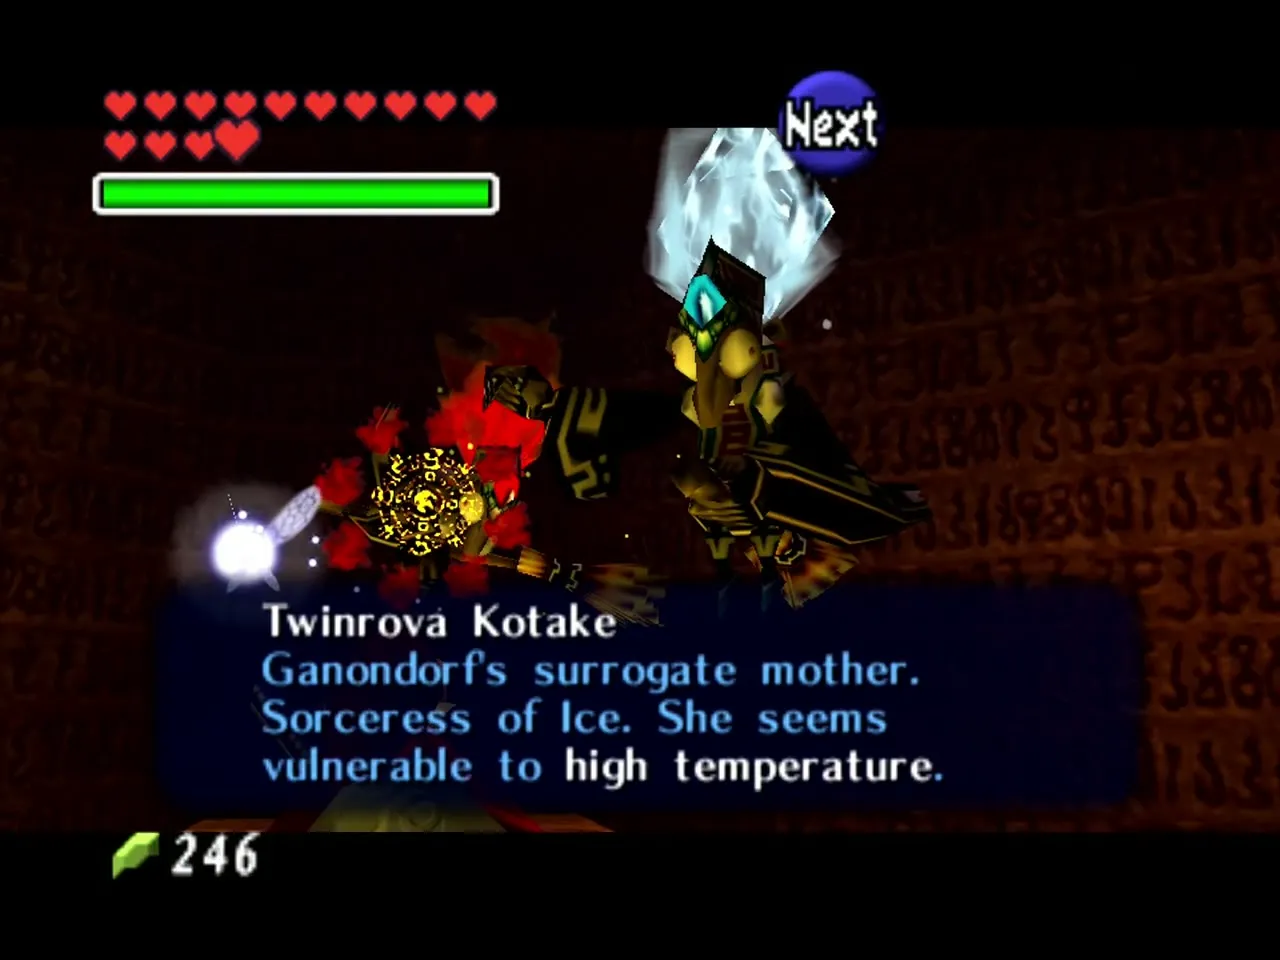
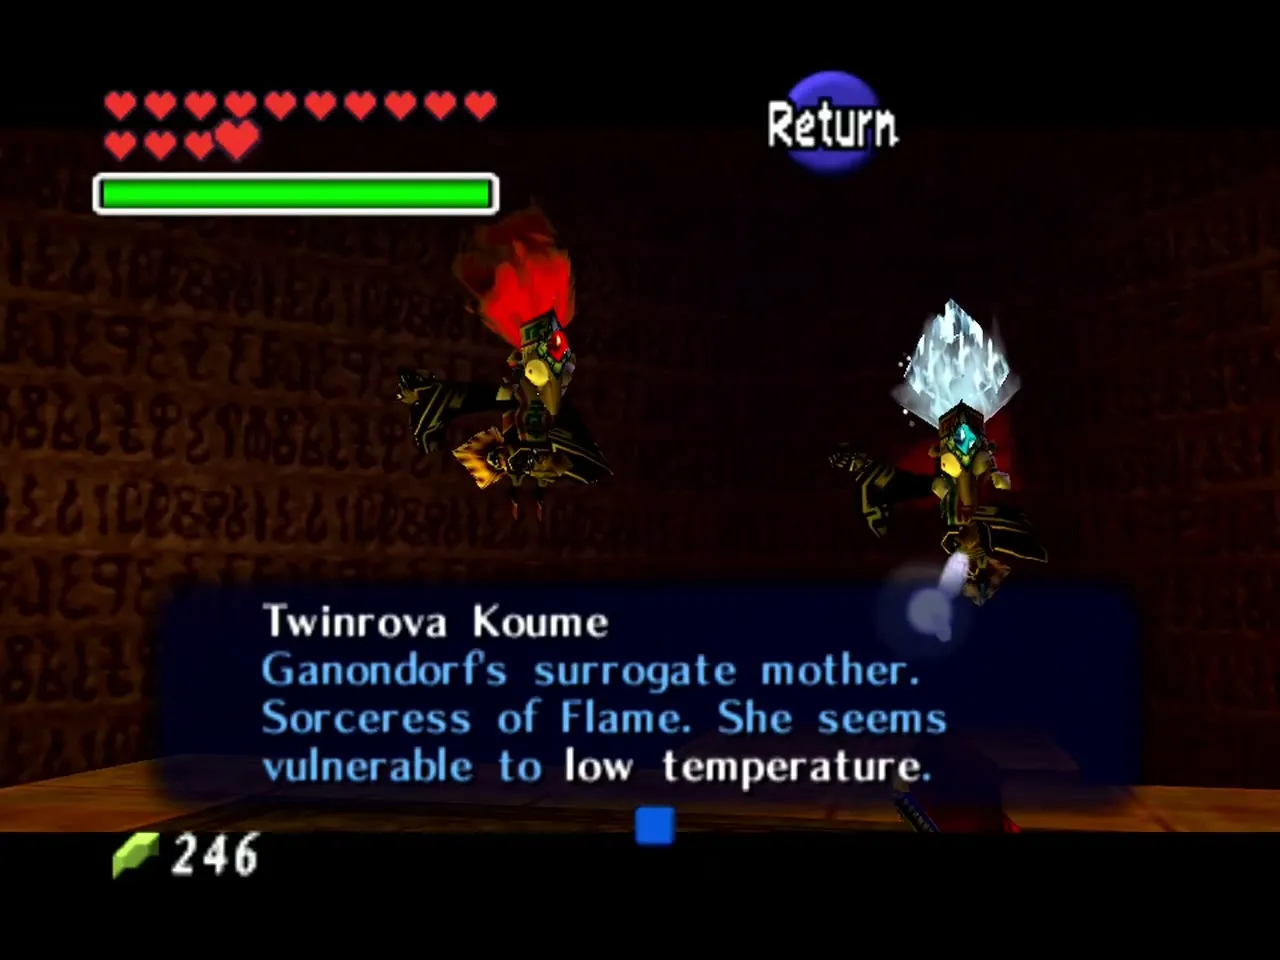
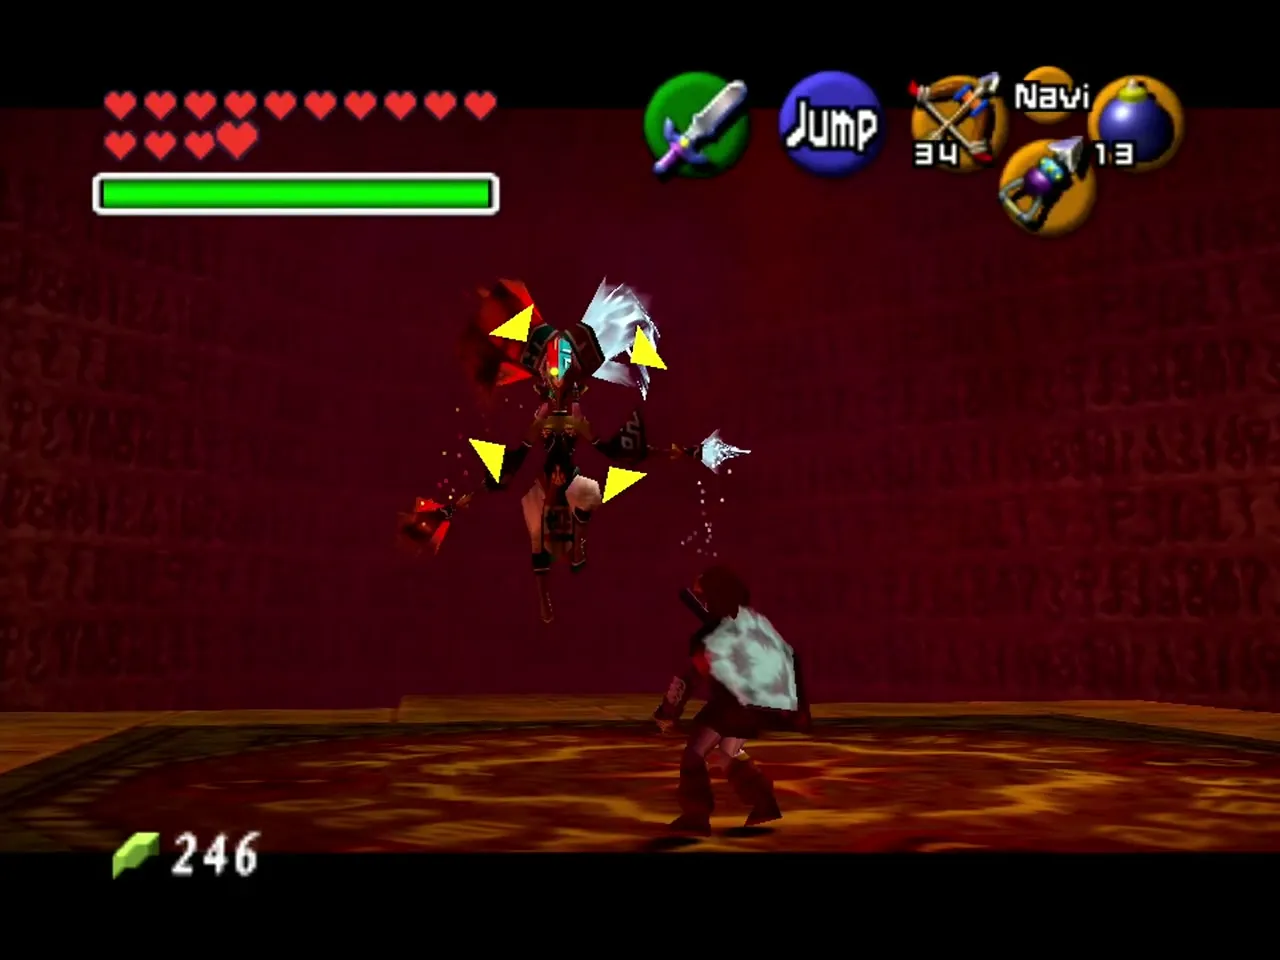
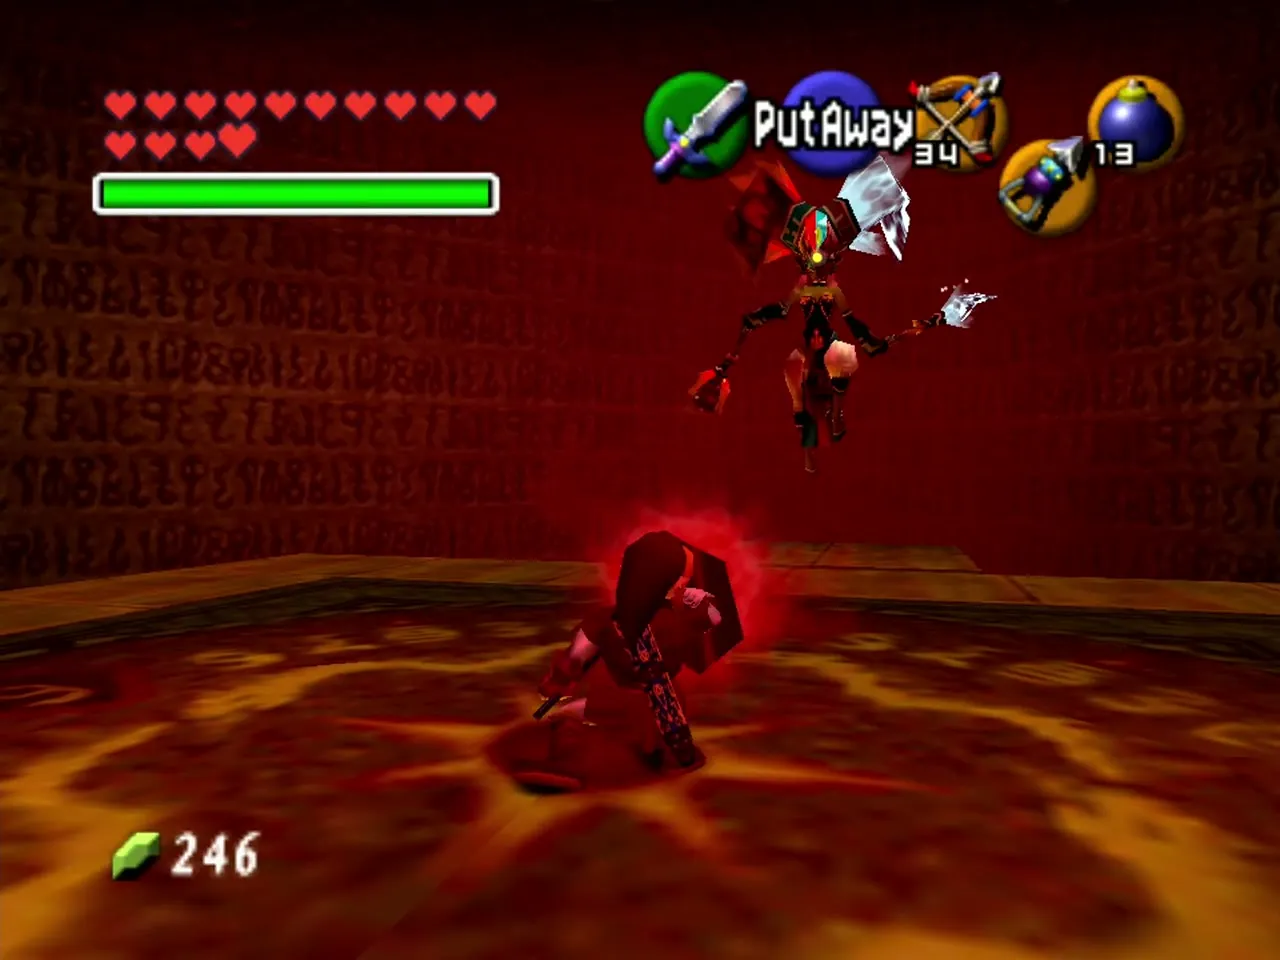

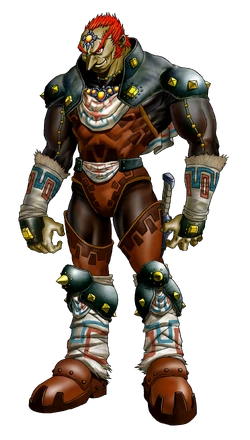
Ganondorf (King of Evil)
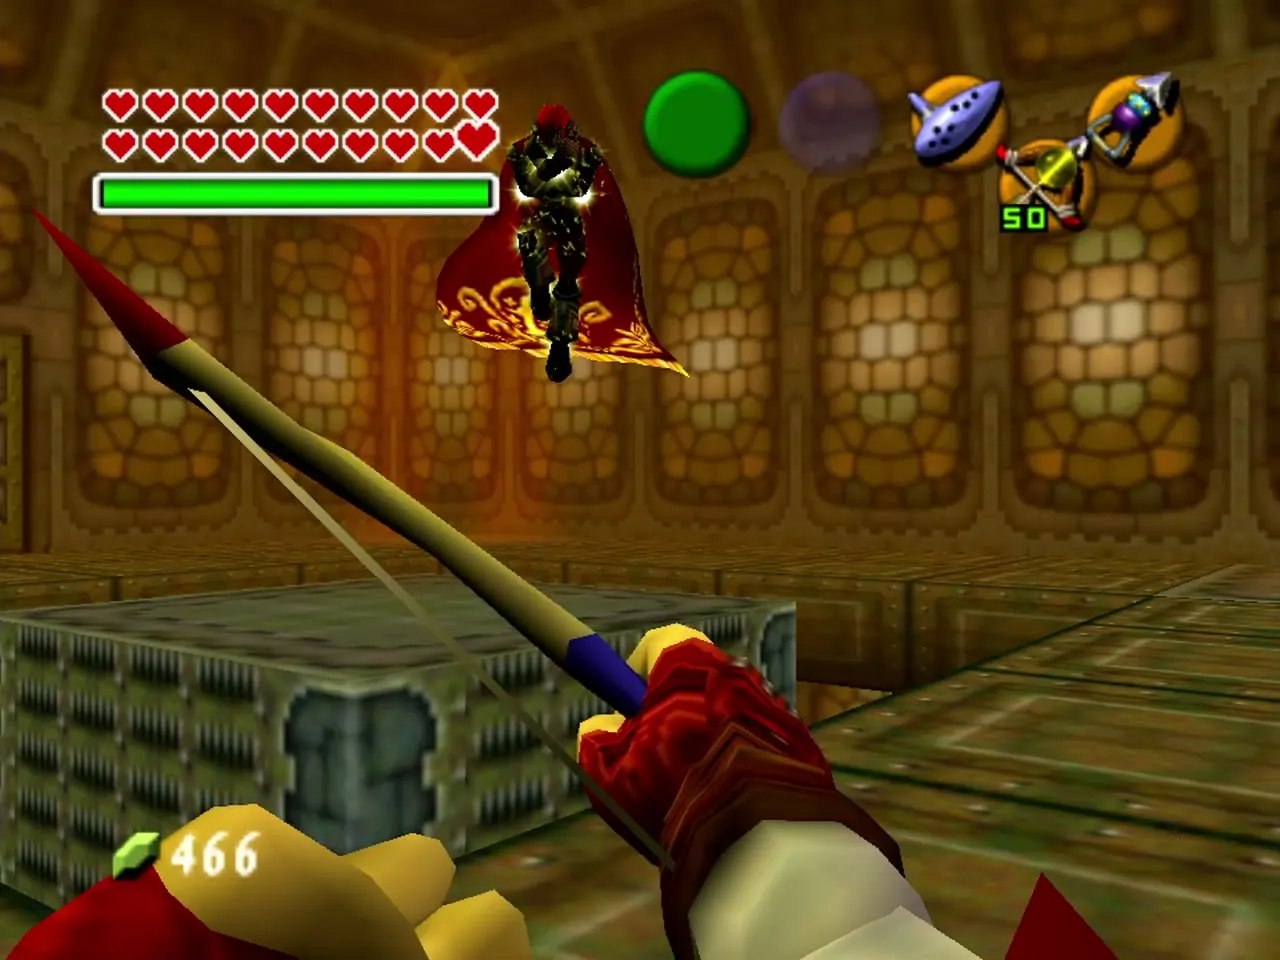
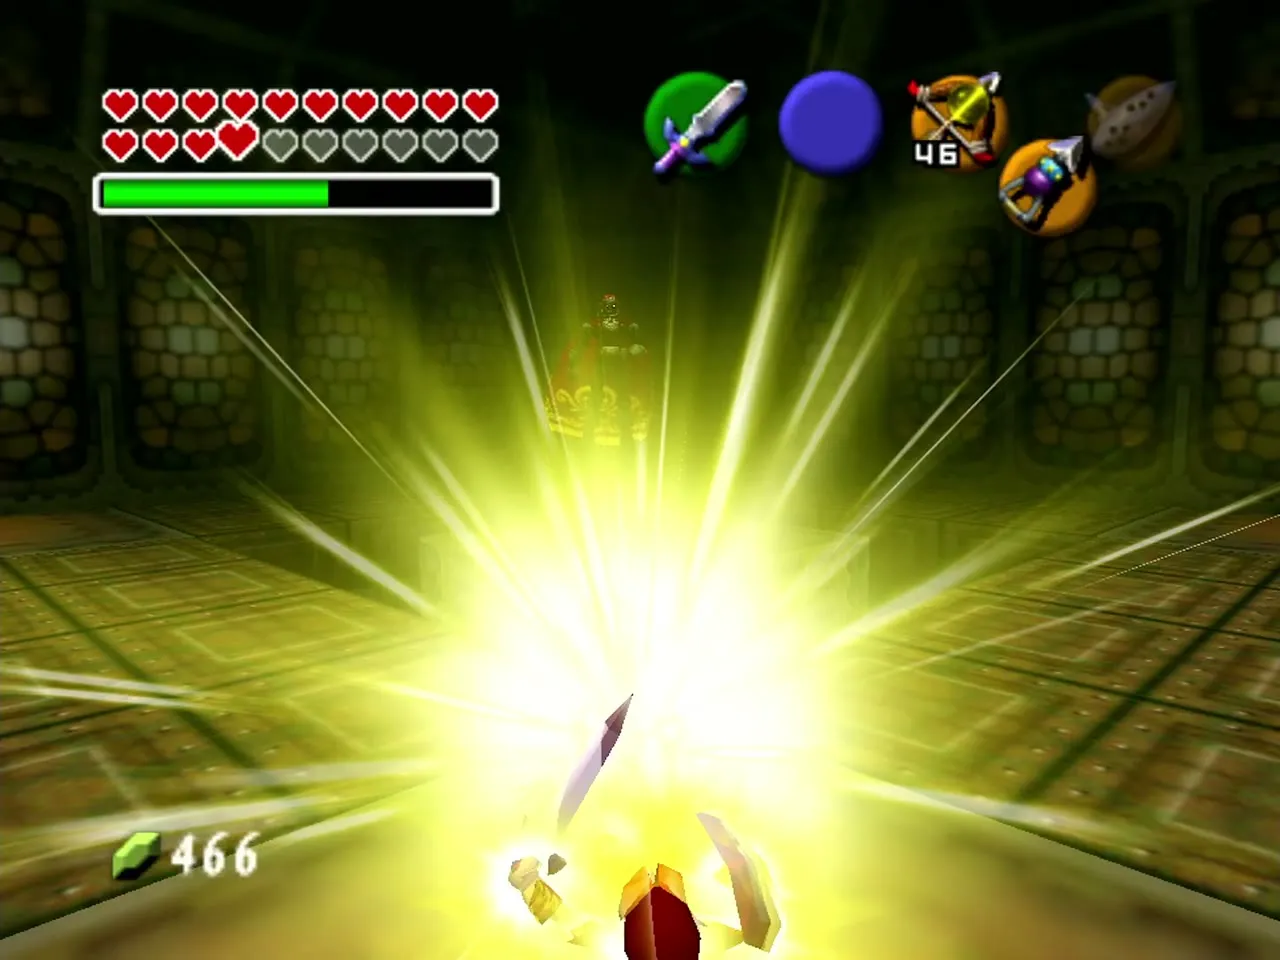
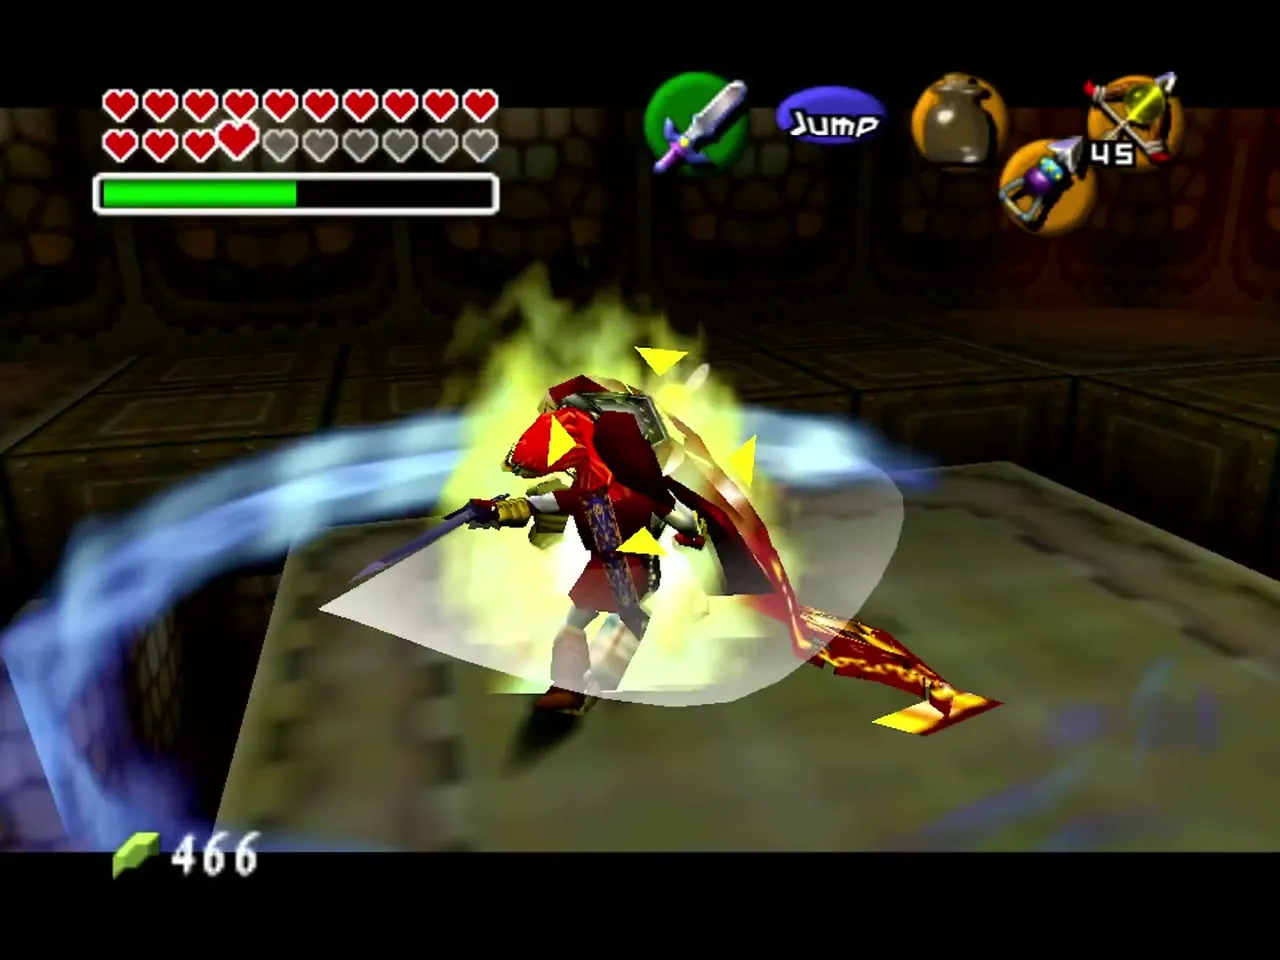
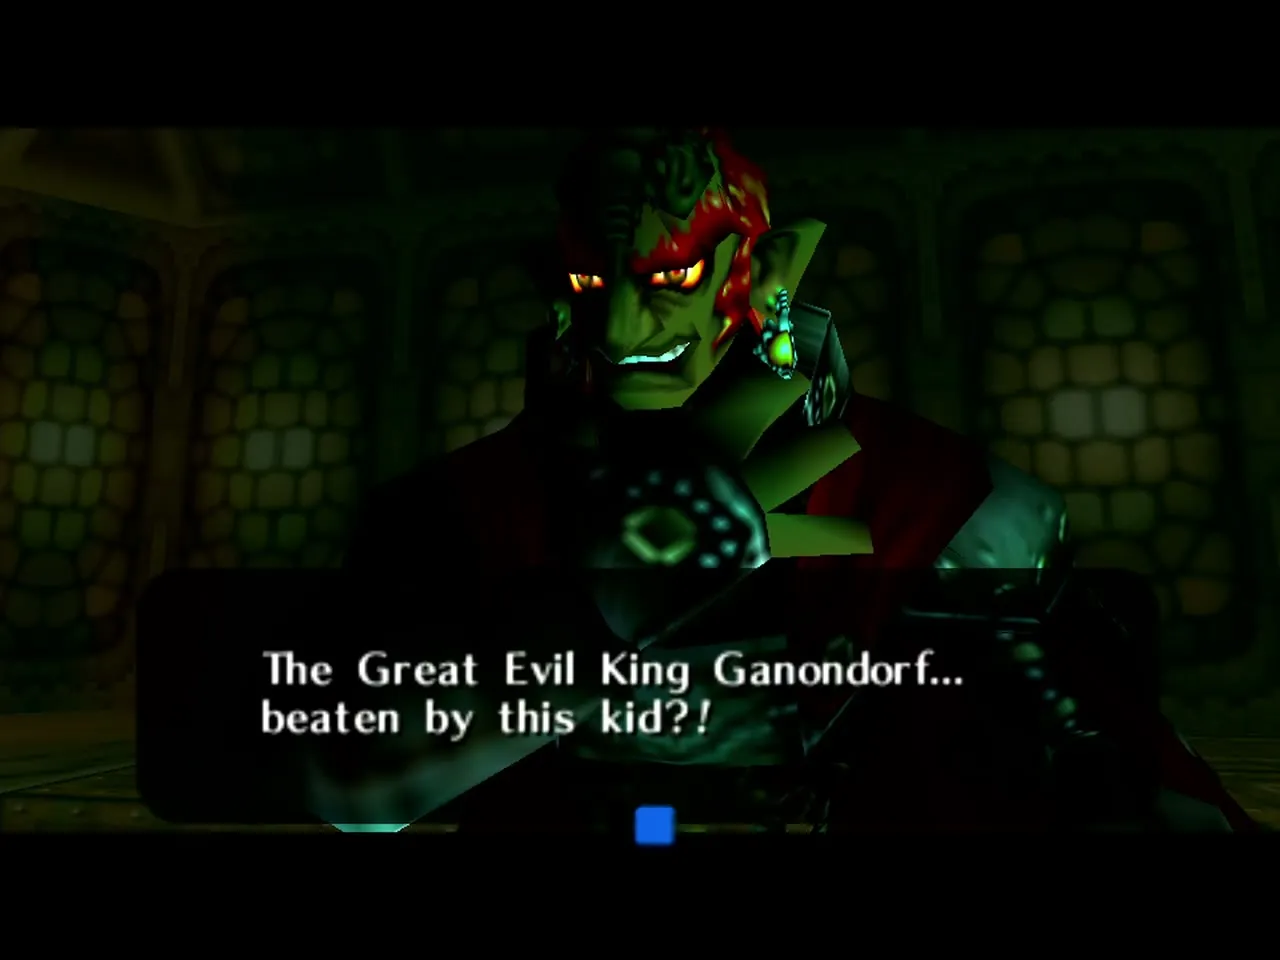
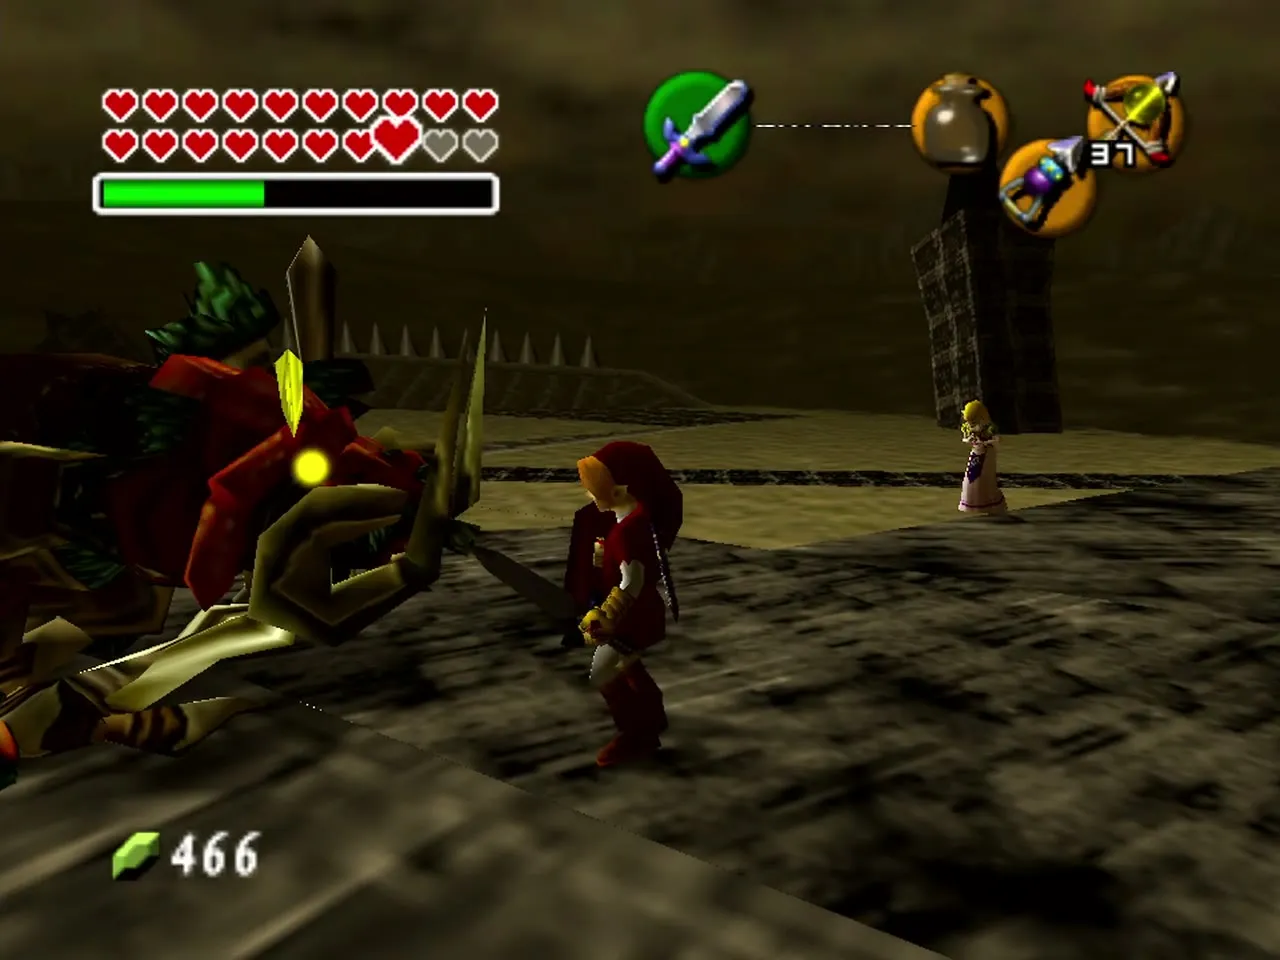
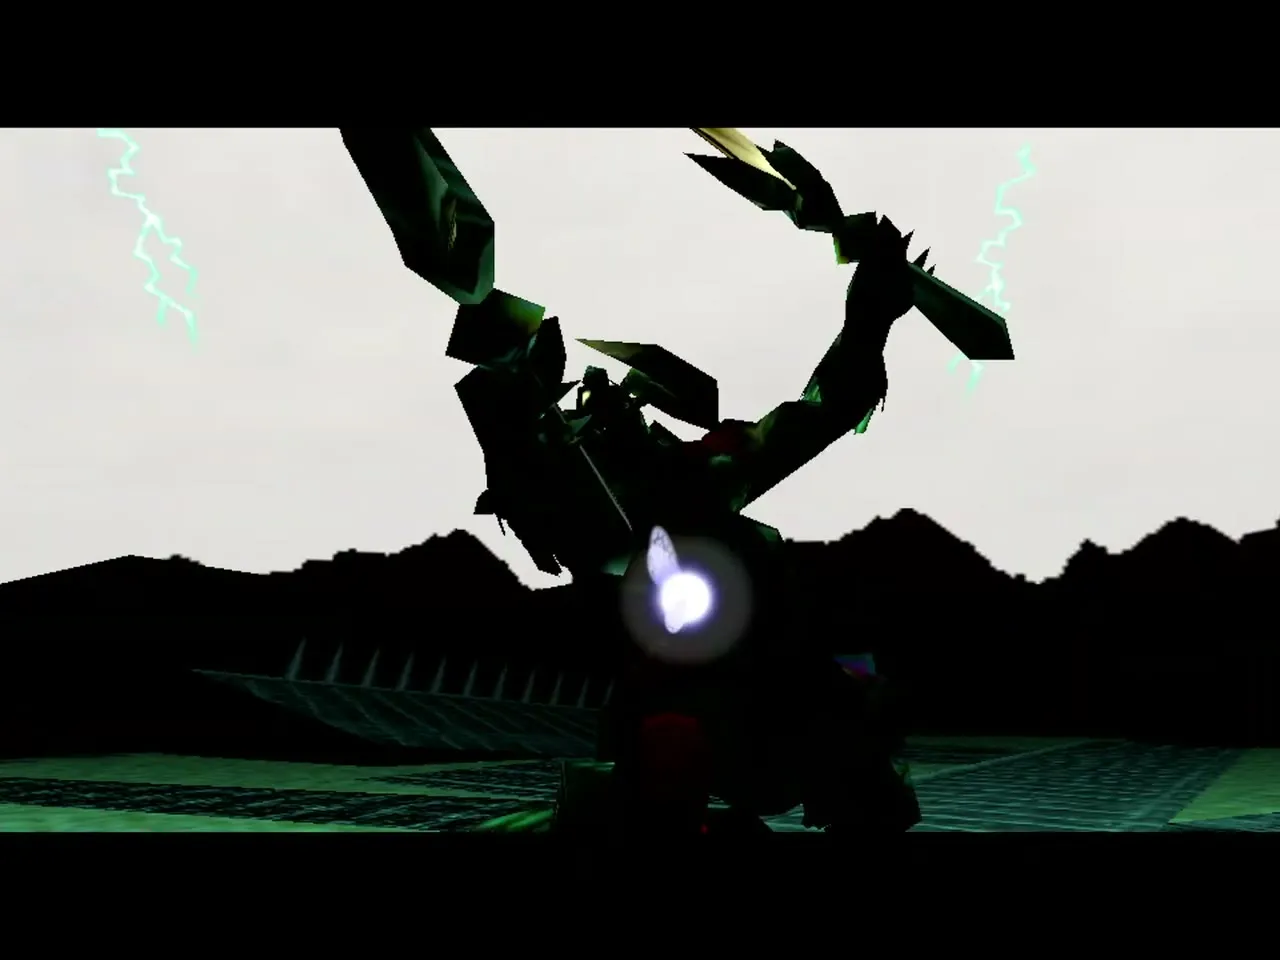
Ganondorf is fought at the top of Ganon’s Tower, after you have used your Boss Key. He floats in the dark and throws energy balls. Hit the ball back at him with your sword and keep hitting it back and forth until it strikes him. He is stunned, so fire a Light Arrow at him. Then run in and cut him. Stay back from his shock waves. You need the Light Arrows with enough magic for the fight, so refill from the Blue Potion if you run low.
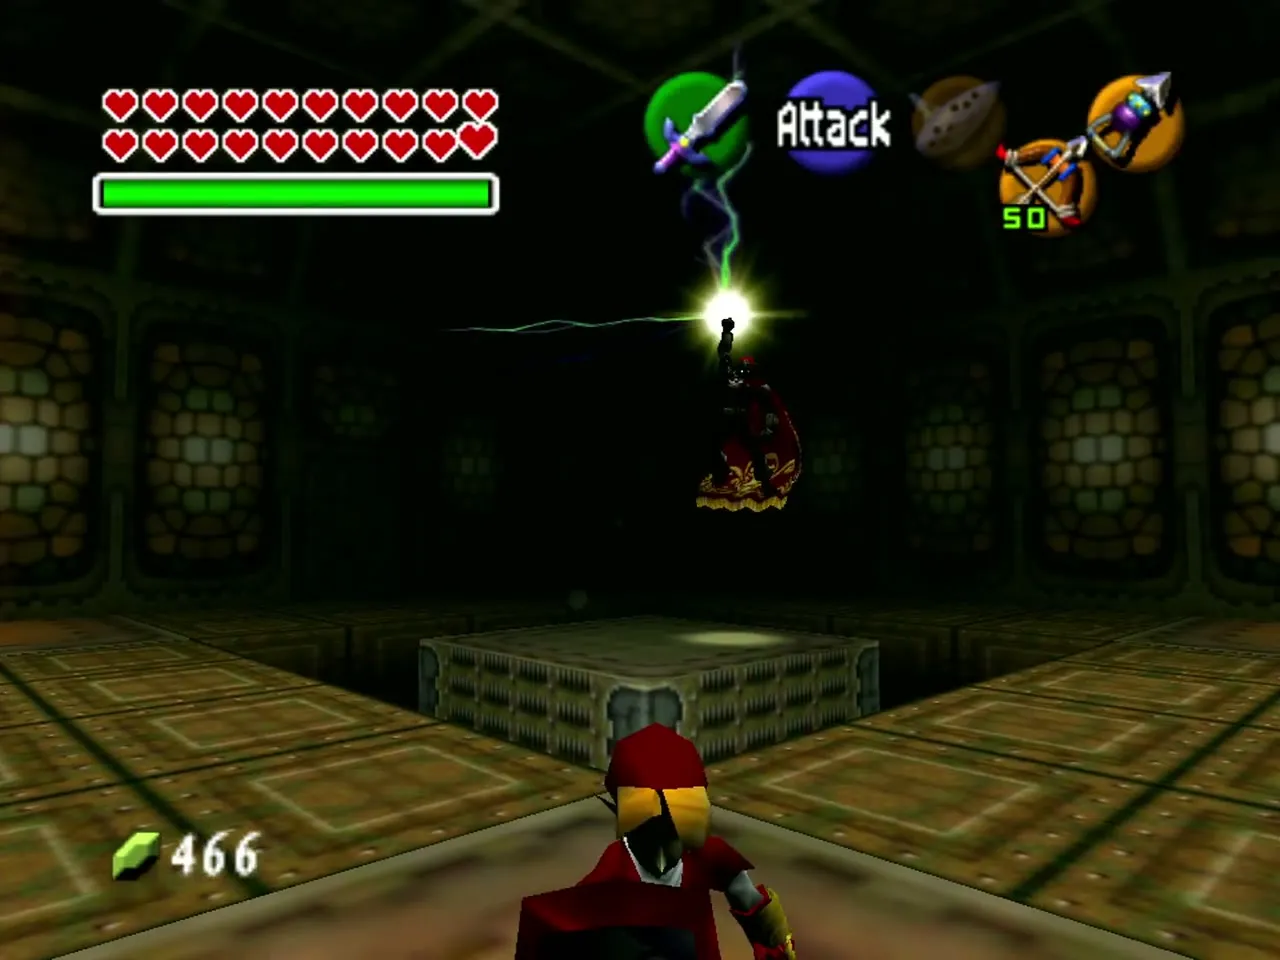
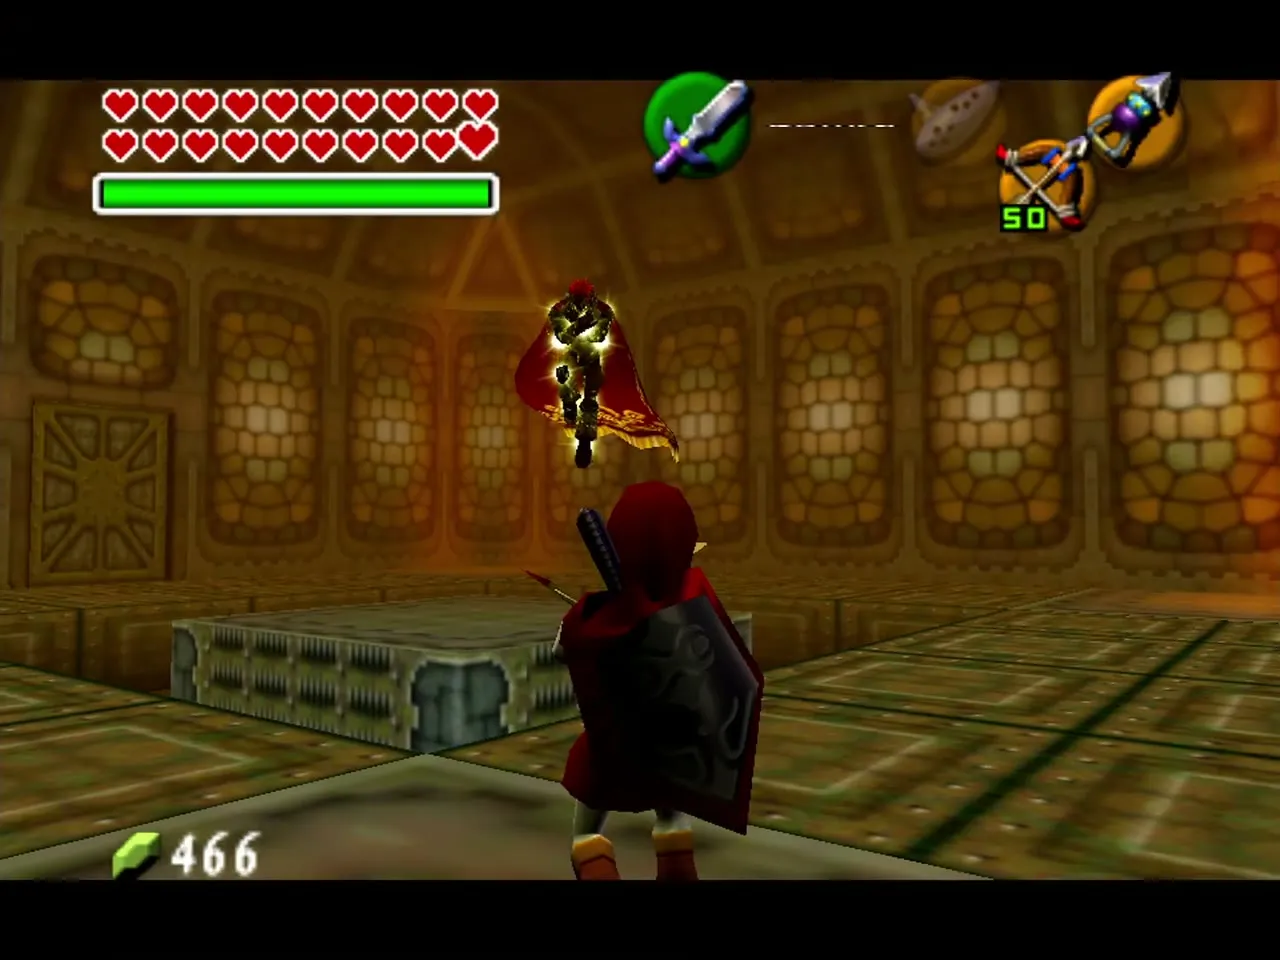
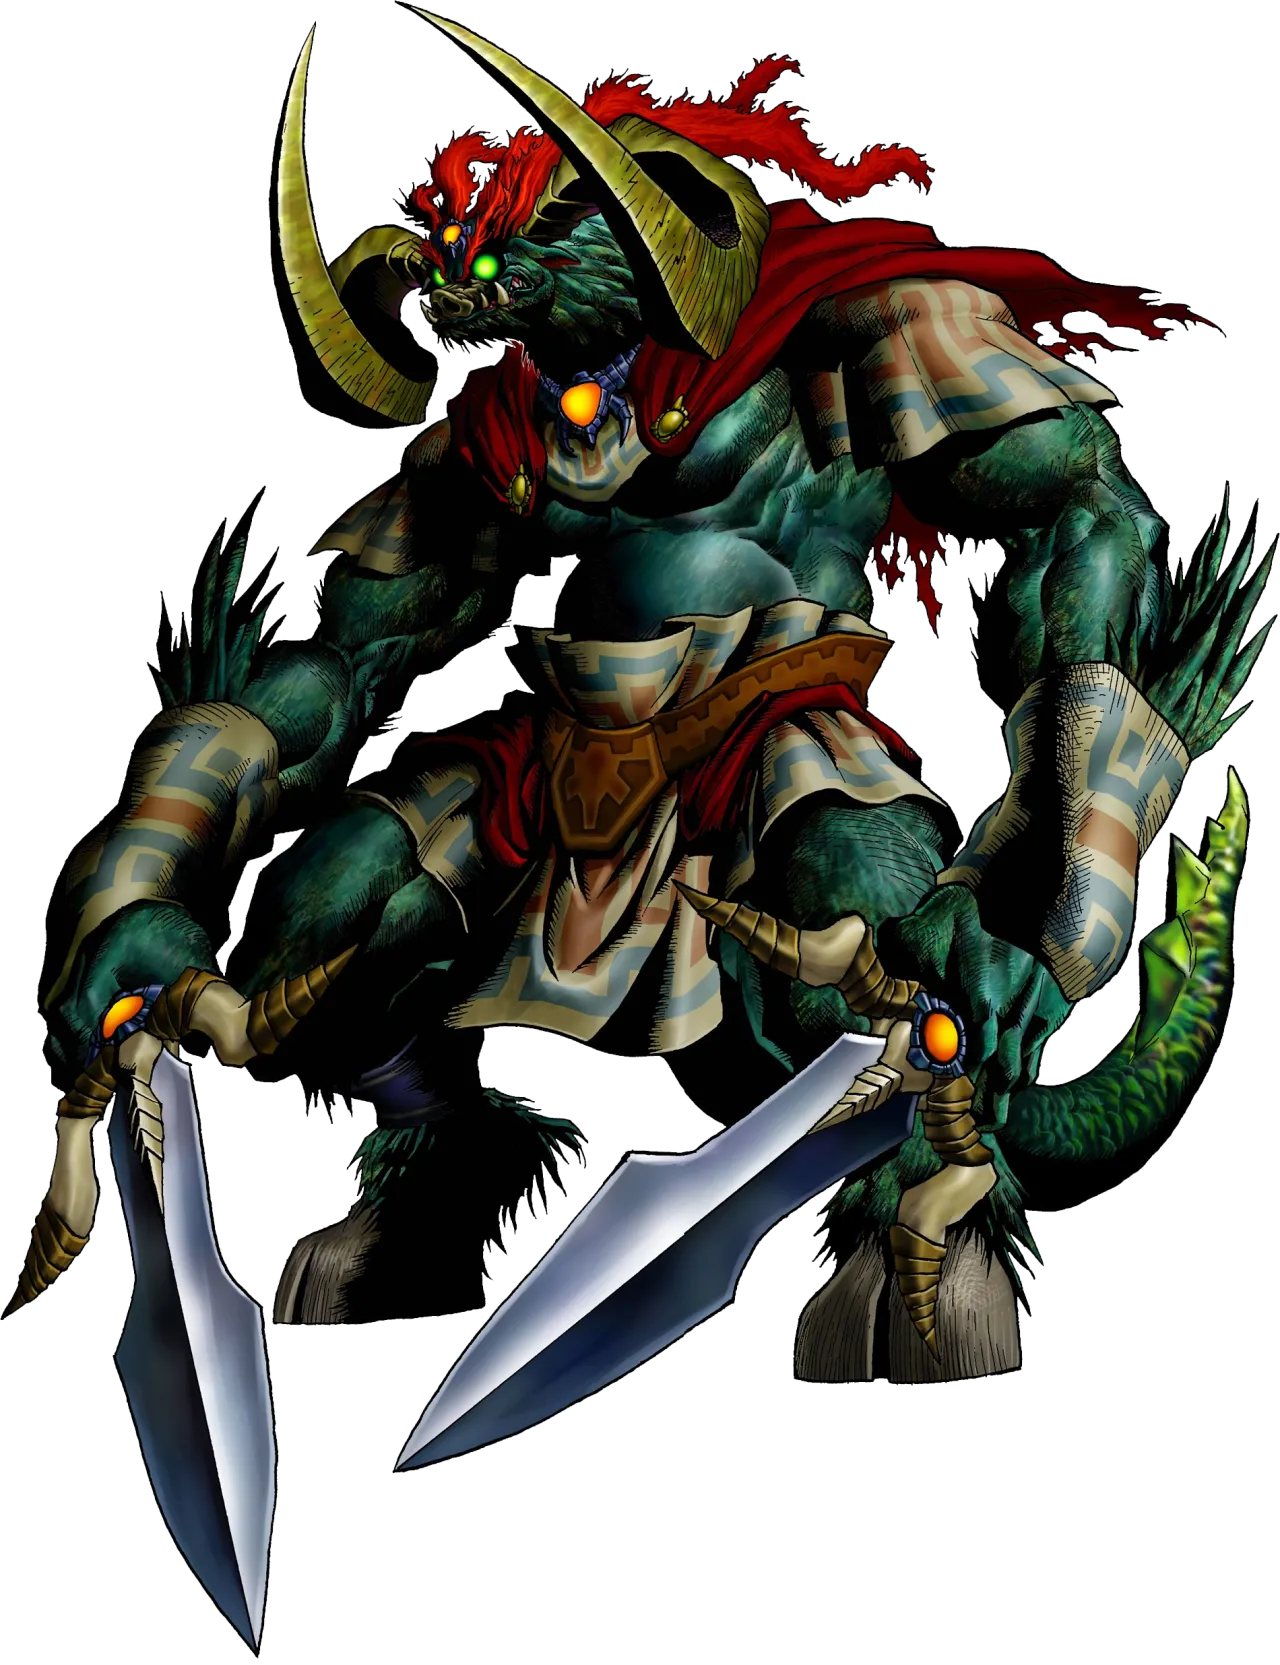
Ganon (King of Evil)
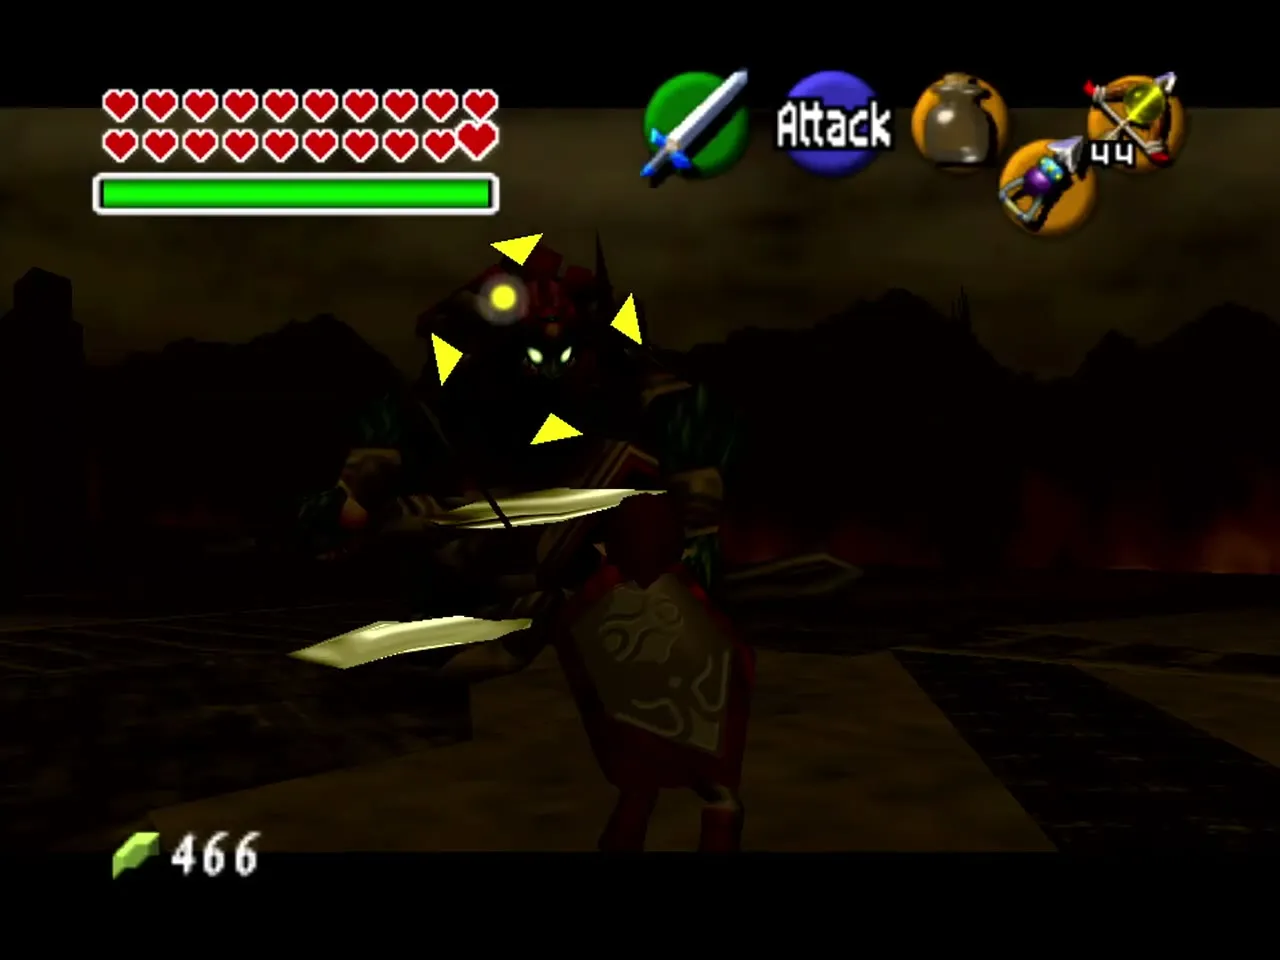
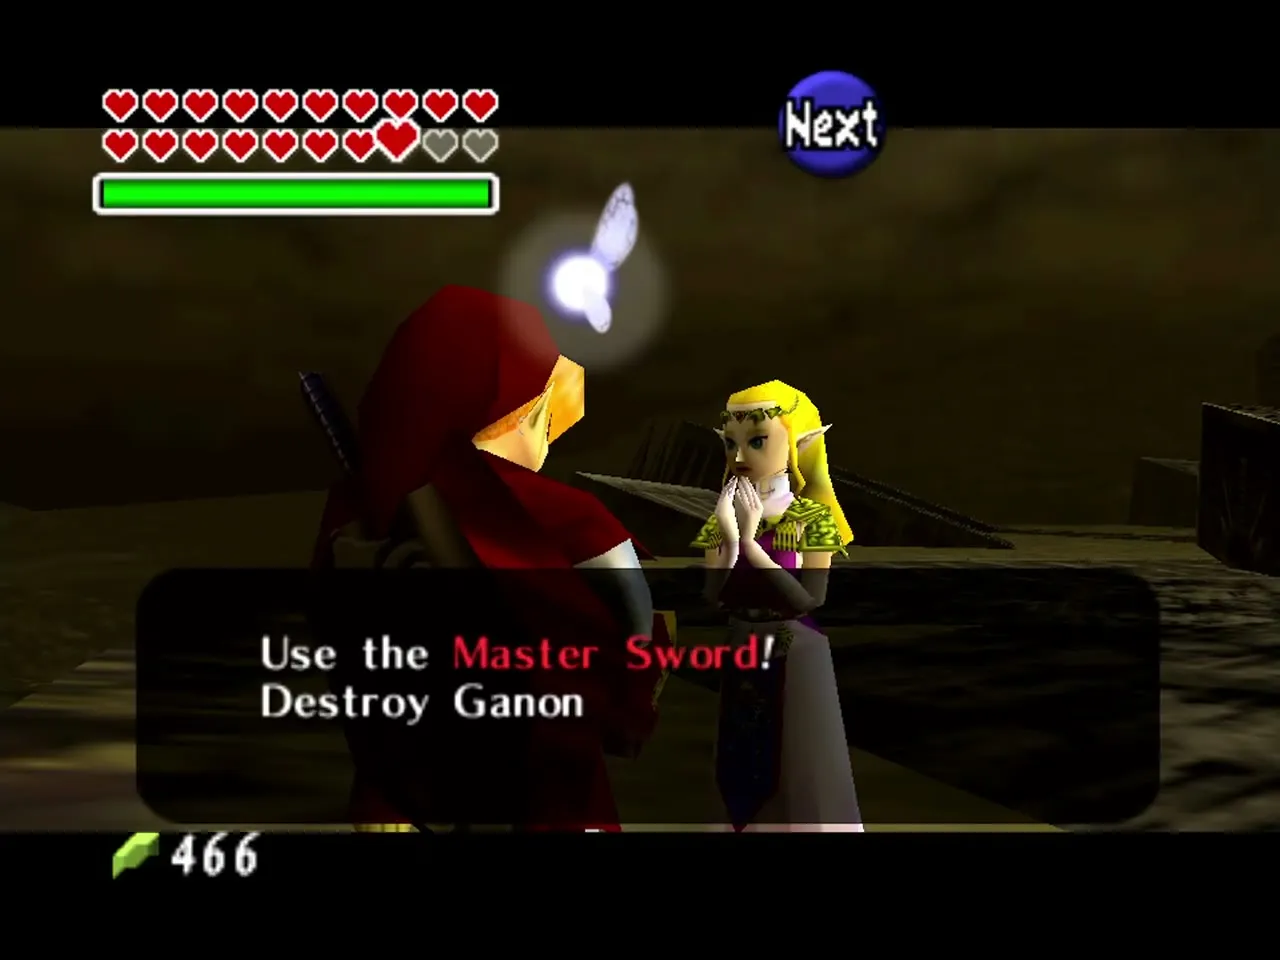
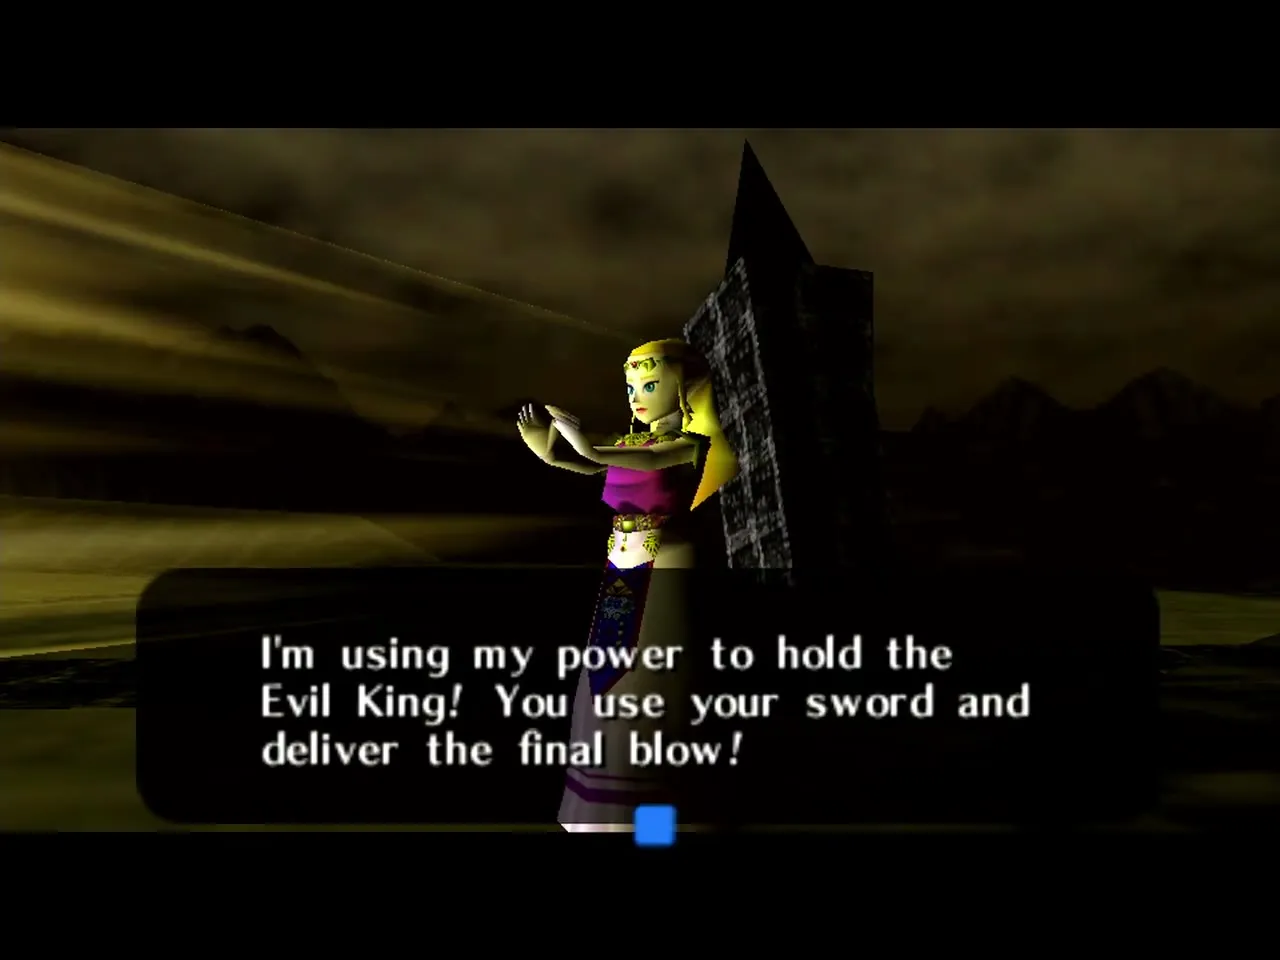
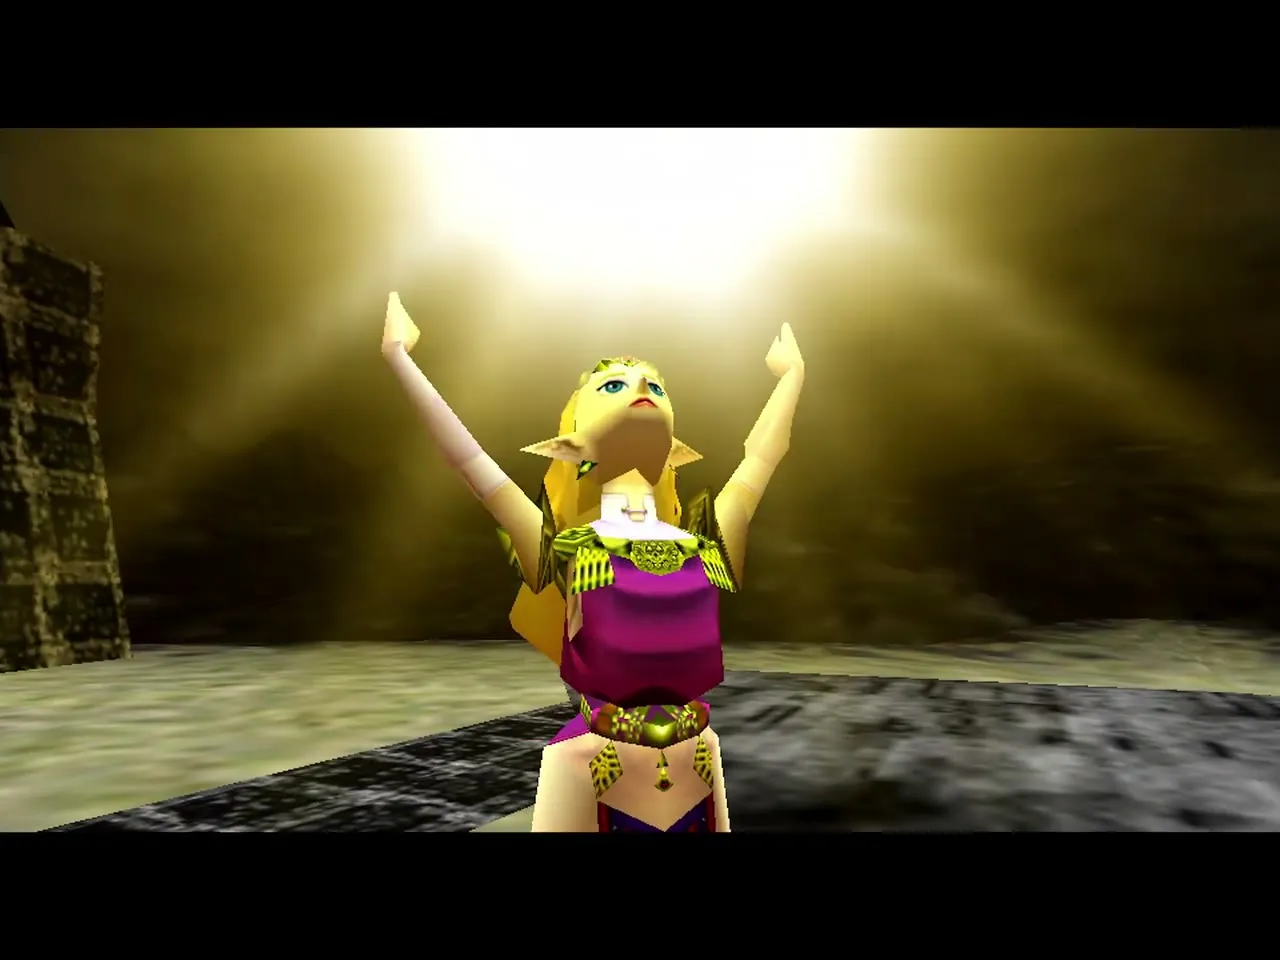
After Ganondorf falls and the tower collapses, you escape the castle and meet Ganon in the ruins. He is a huge beast with a trident. Hit his face with a Light Arrow to stun him, then cut his tail while he is down. Roll out of the way of his swing and keep your distance while he walks toward you. Use the Master Sword, Biggoron‘s Sword or the Giant’s Knife on the tail. If Ganon knocks your sword away, pick it up and carry on. Keep repeating the arrow and the tail attack until he falls. The Sages then seal him away.
Mini-bosses
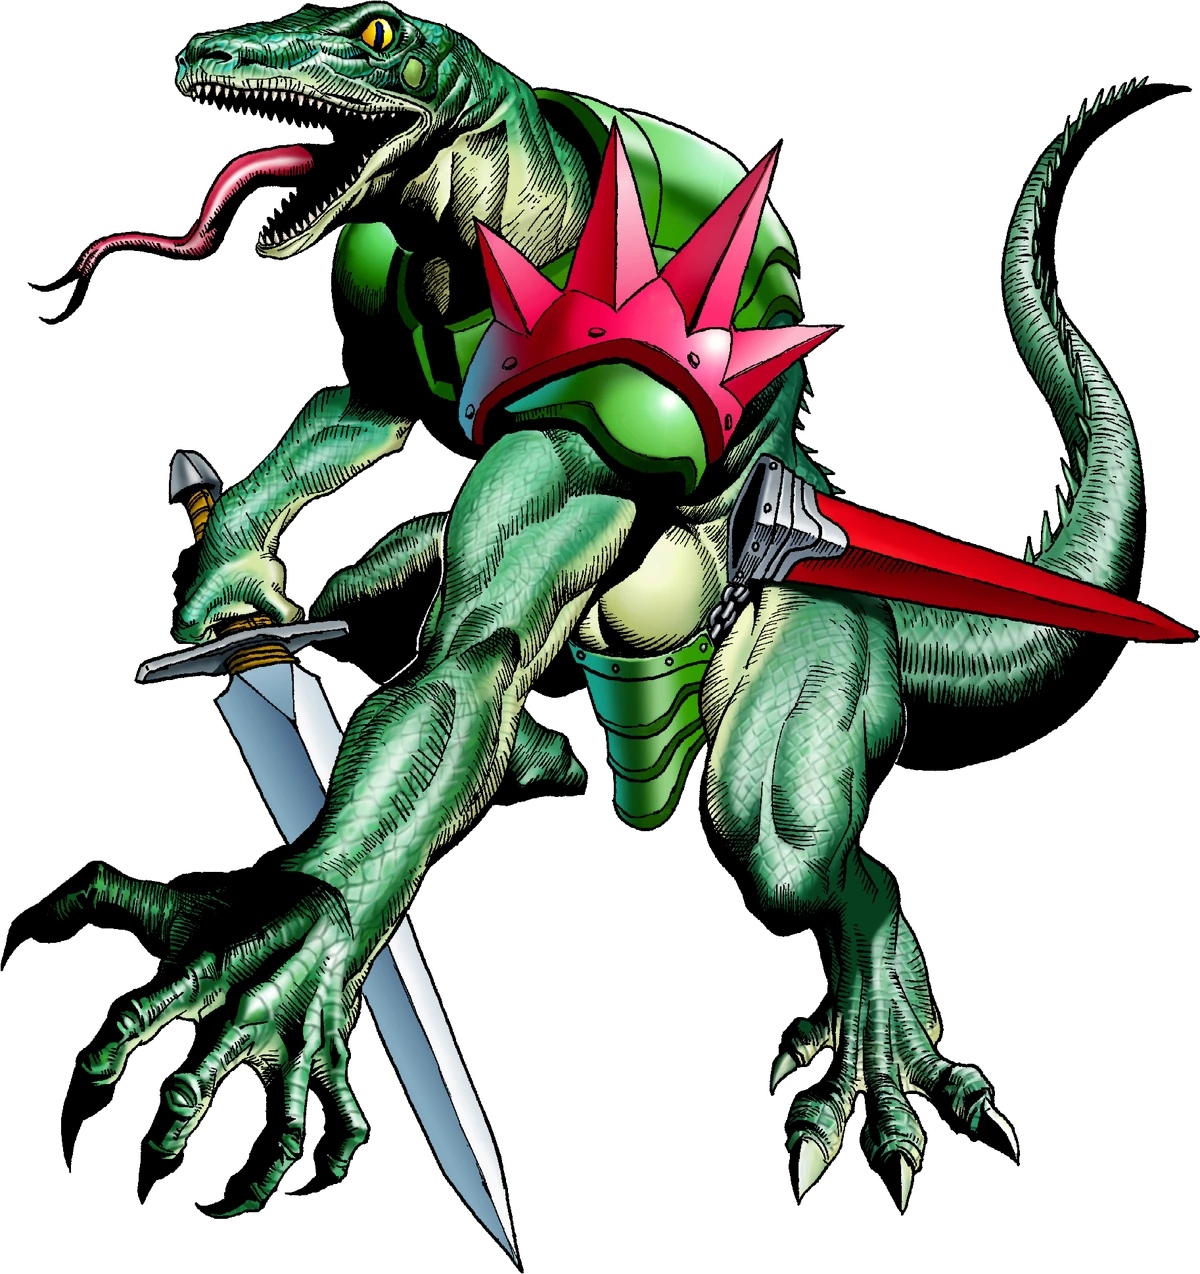
Lizalfos
Where: Dodongo’s Cavern
Useful items: Sword, Hylian Shield
Reward: Opens the way forward
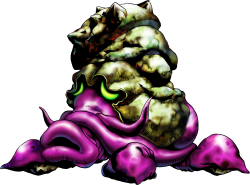
Big Octo
Where: Jabu-Jabu’s Belly
Useful items: Boomerang
Reward: Opens the way to the boss
Dead Hand
Where: Shadow Temple
Useful items: Sword
Reward: Hover Boots
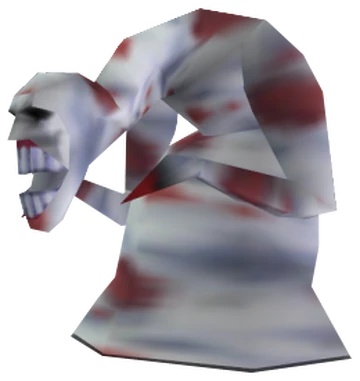
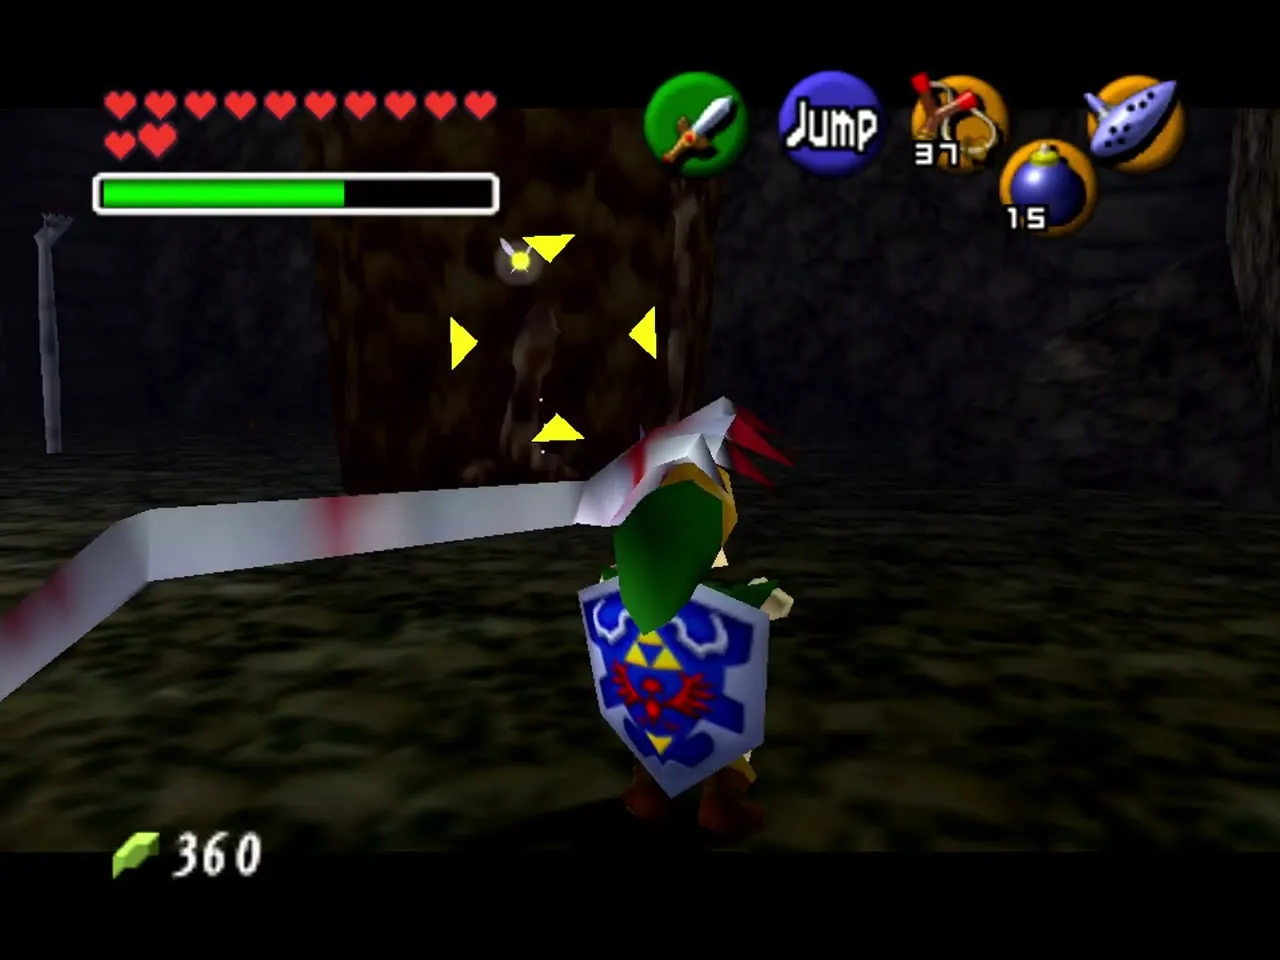
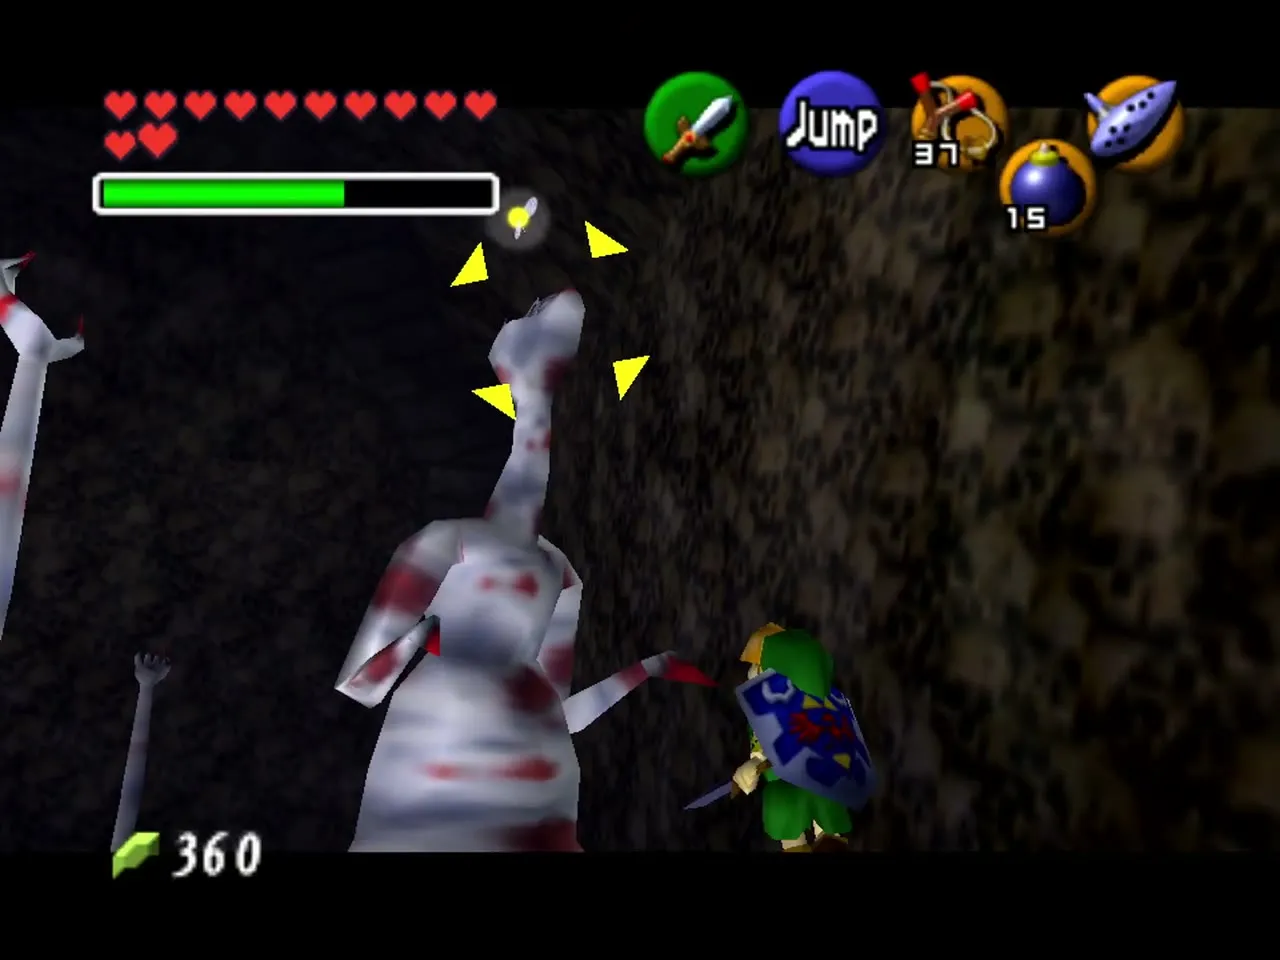
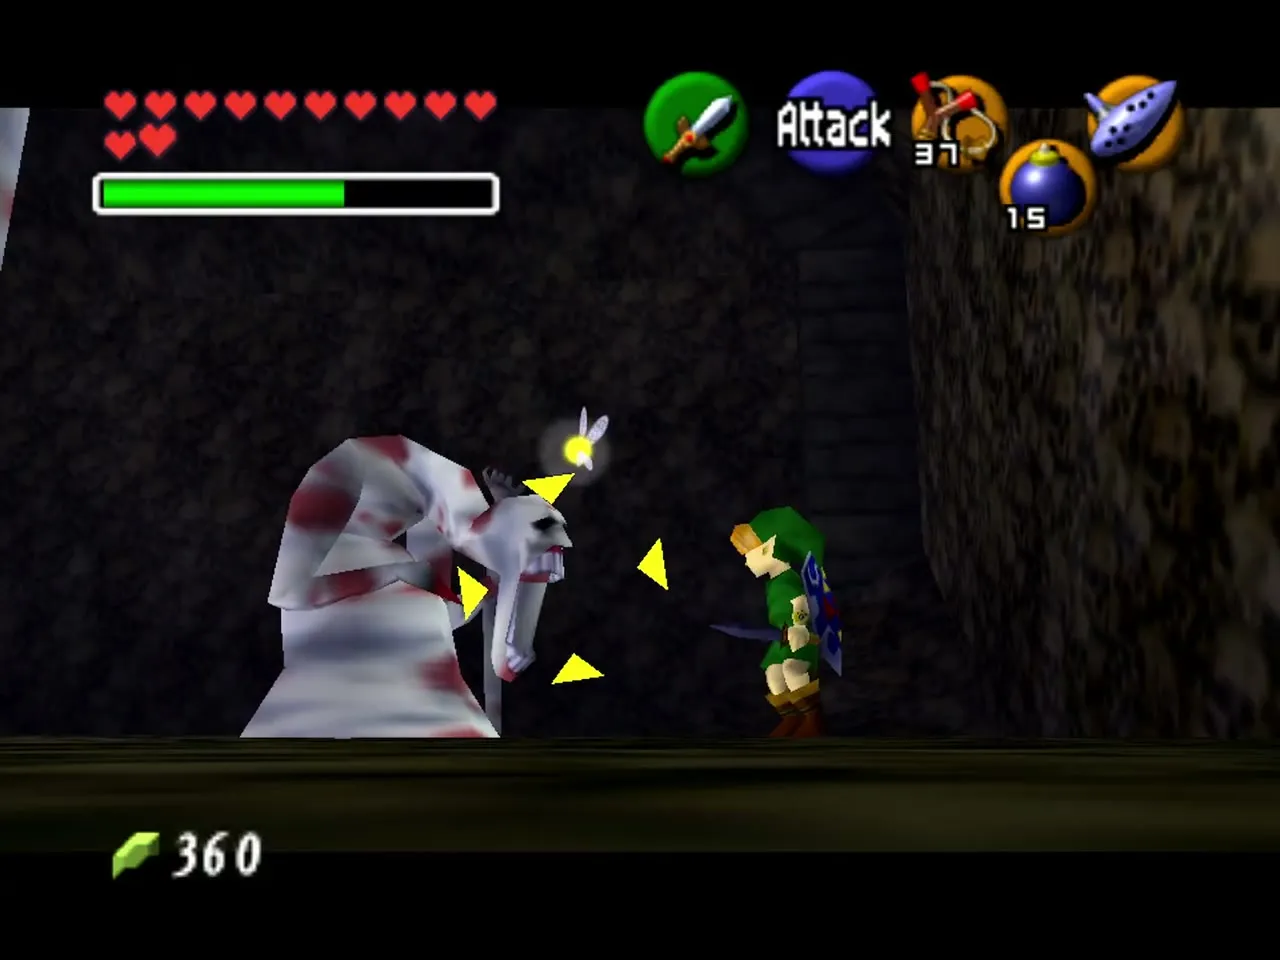
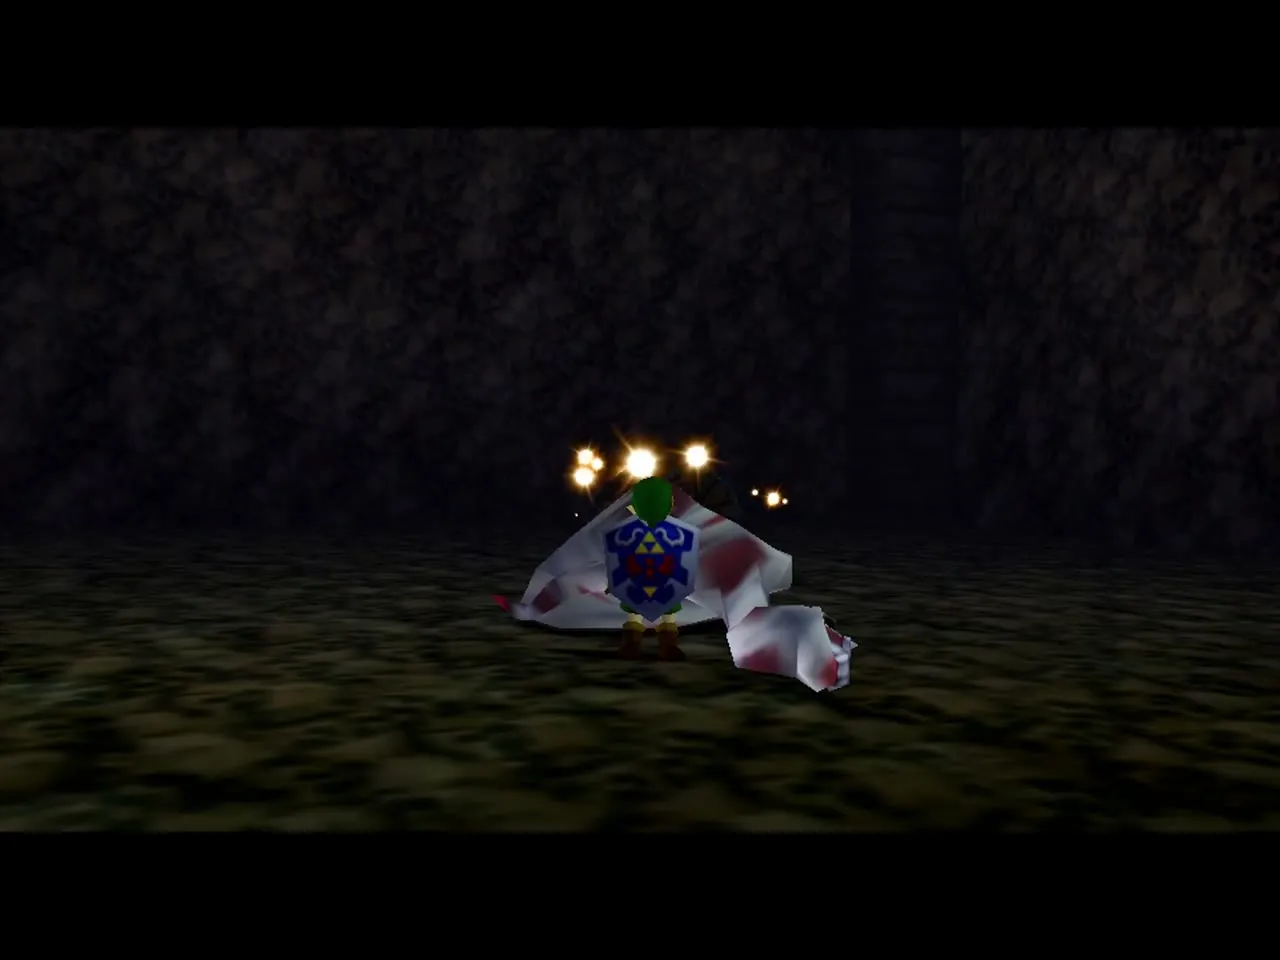
Dead Hand grabs you with his long arms. Press the button repeatedly to break free, then slash the hand attached to his head. The Deku Stick lights up the dark Bottom of the Well fight, and the Shadow Temple version uses the same method.
Poe Sisters
Where: Forest Temple
Useful items: Fairy Bow, sword
Reward: Opens the way forward
Flare Dancer
Where: Fire Temple
Useful items: Sword, Goron Tunic
Reward: Opens the way forward
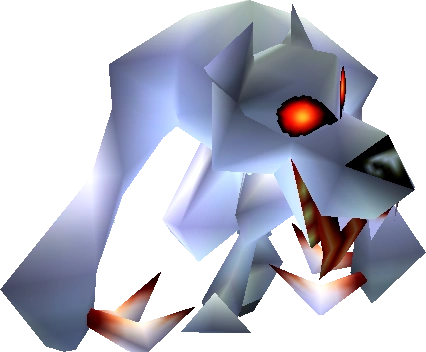
White Wolfos
Where: Ice Cavern
Useful items: Sword
Reward: Iron Boots
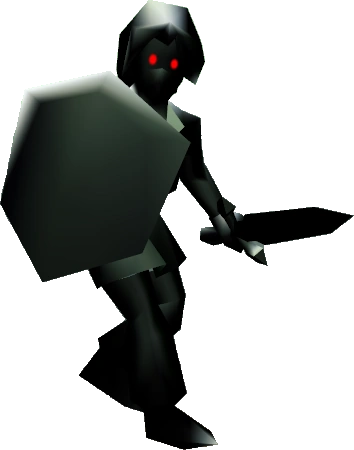
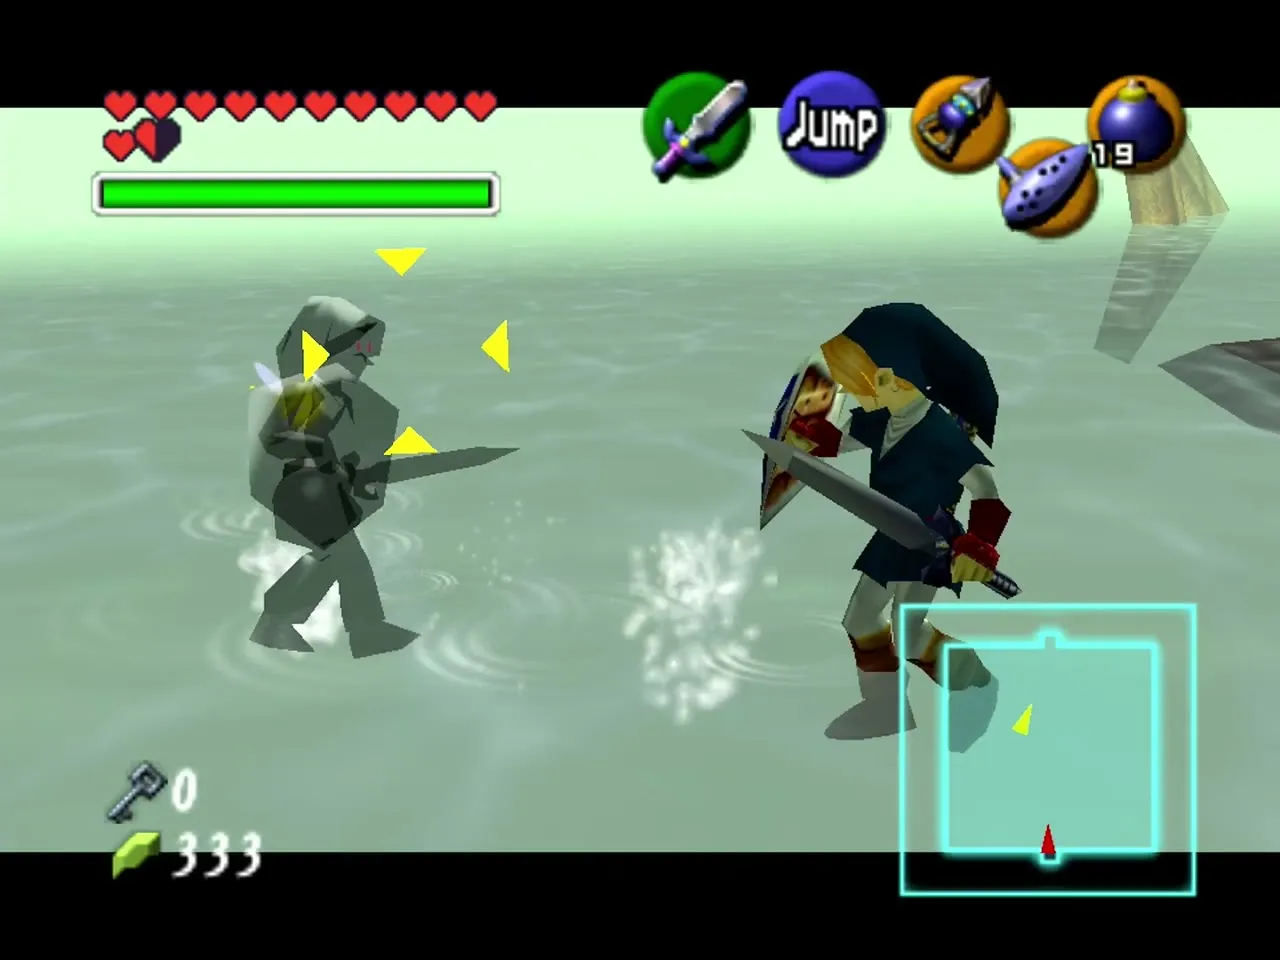
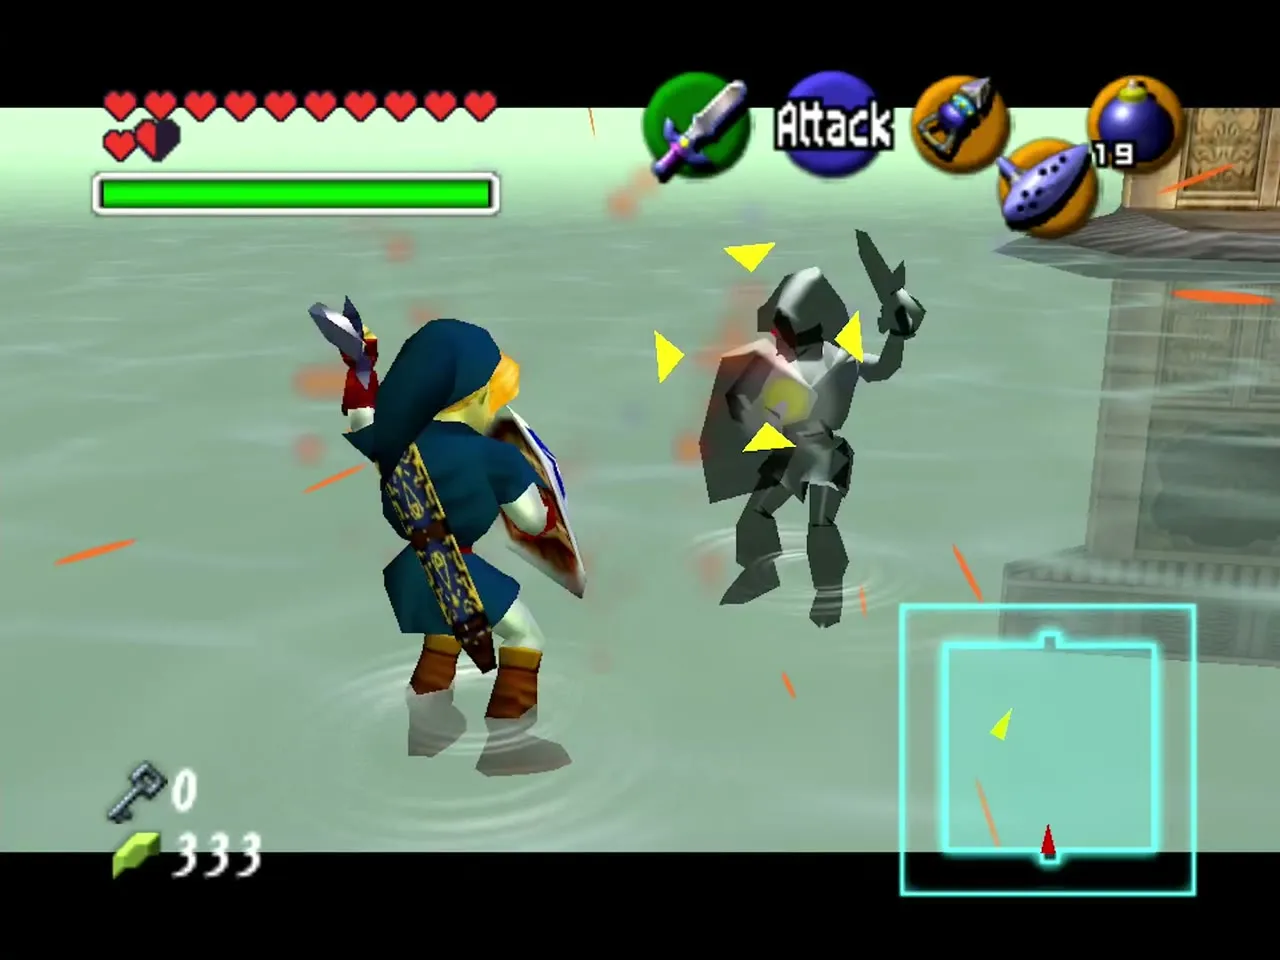
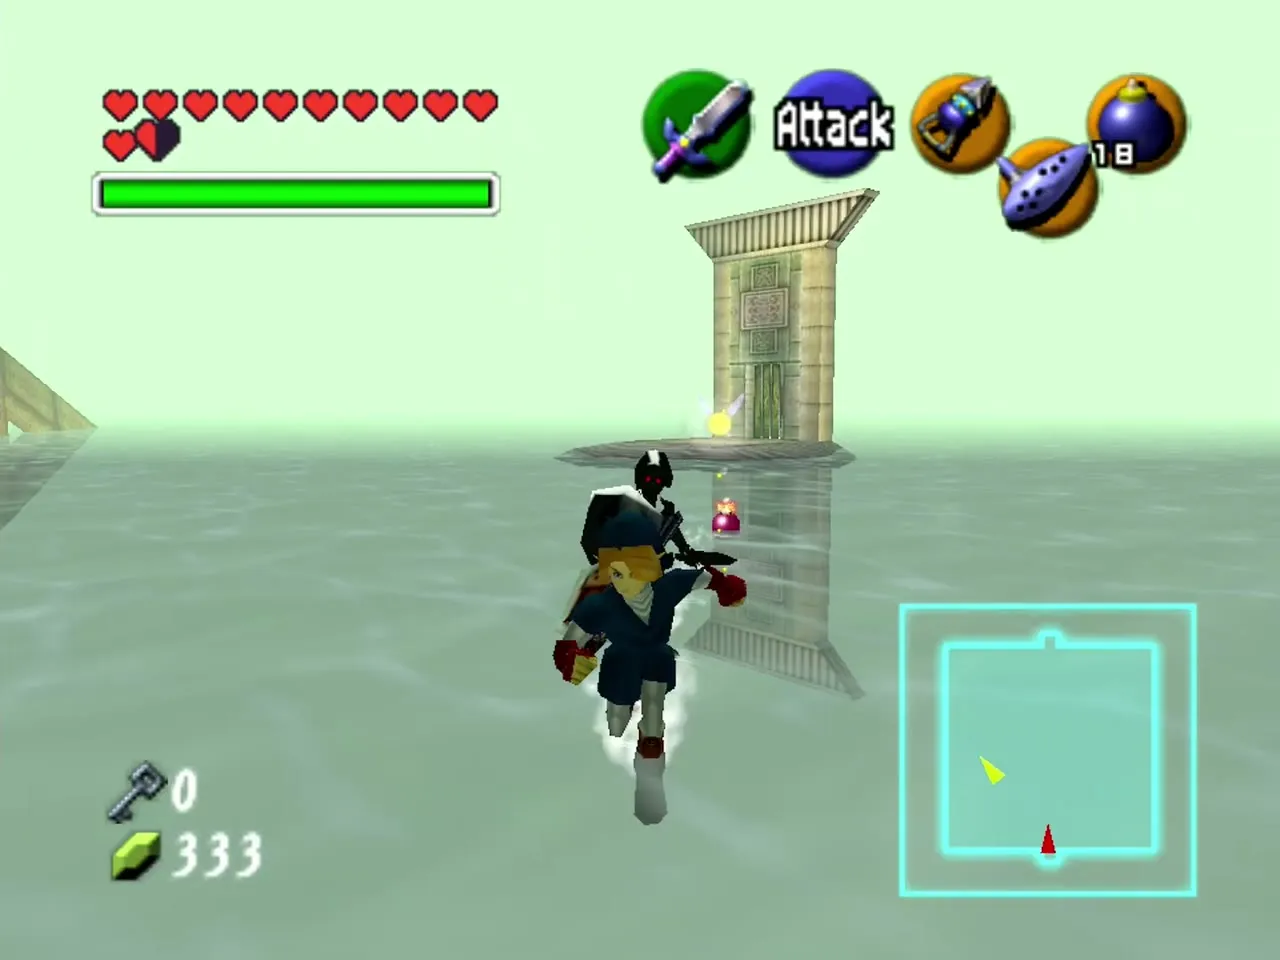
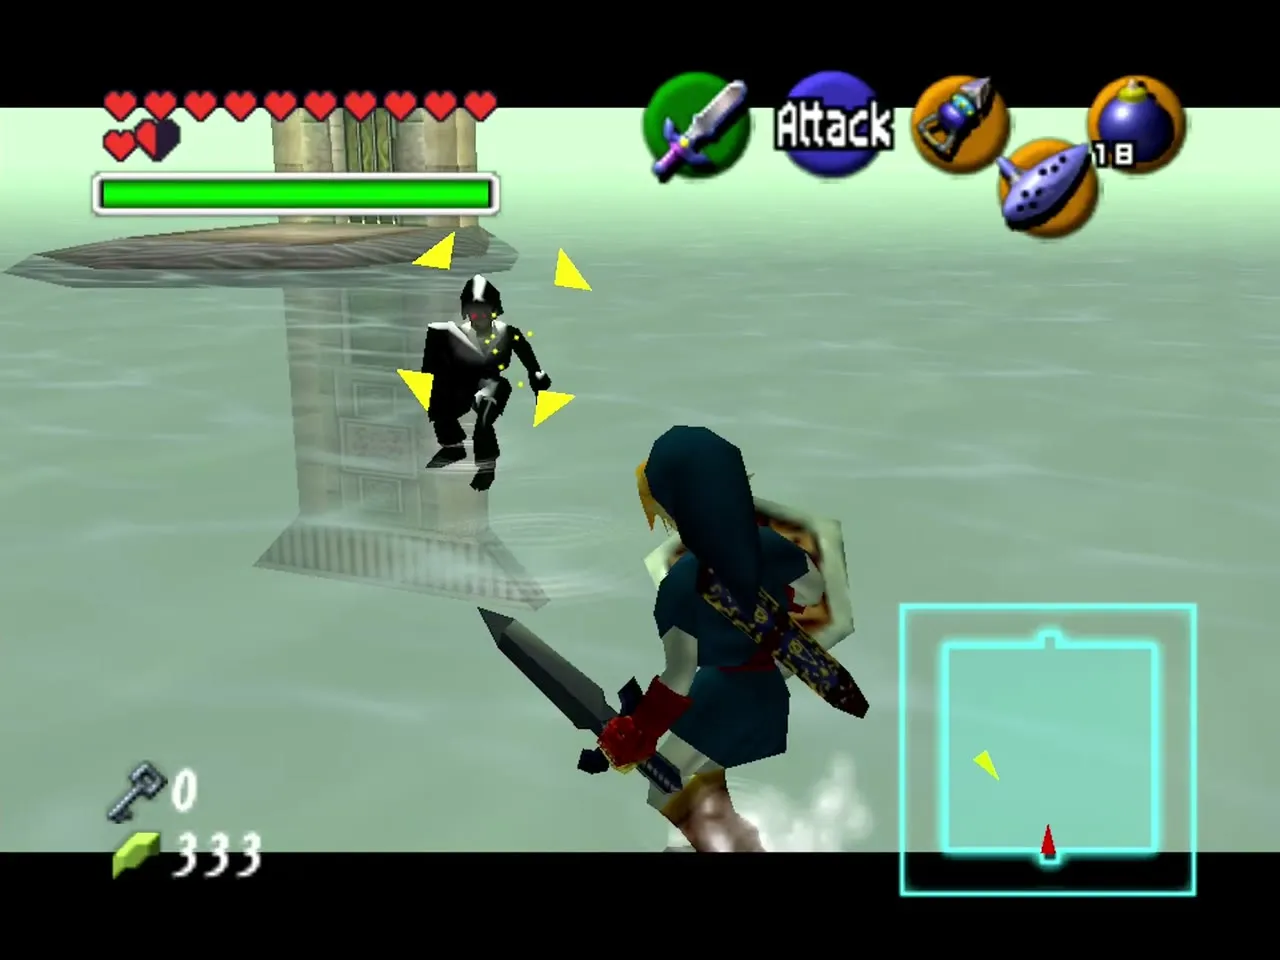
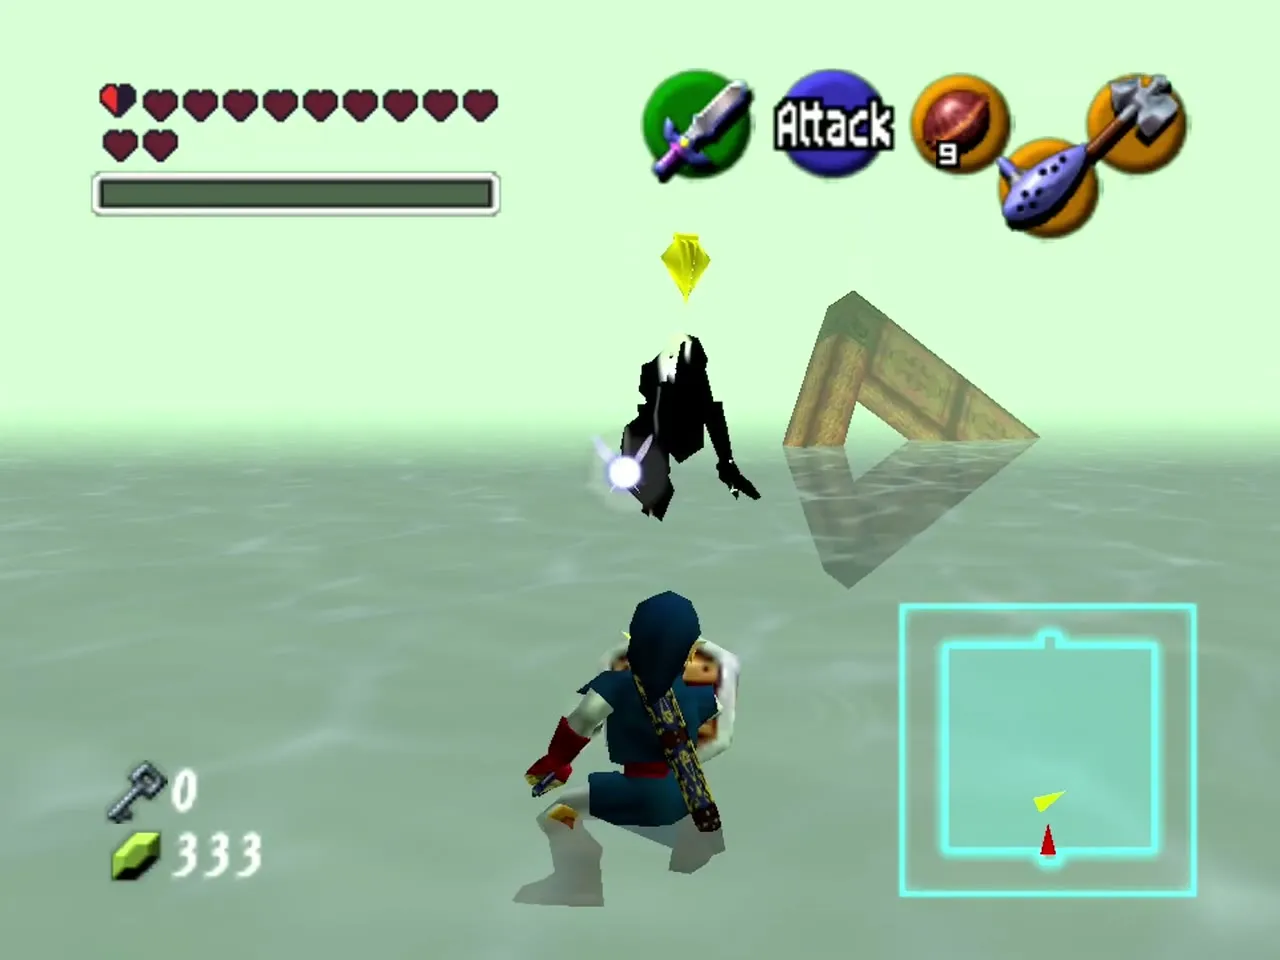
Dark Link
Where: Water Temple
Useful items: Megaton Hammer, Din’s Fire
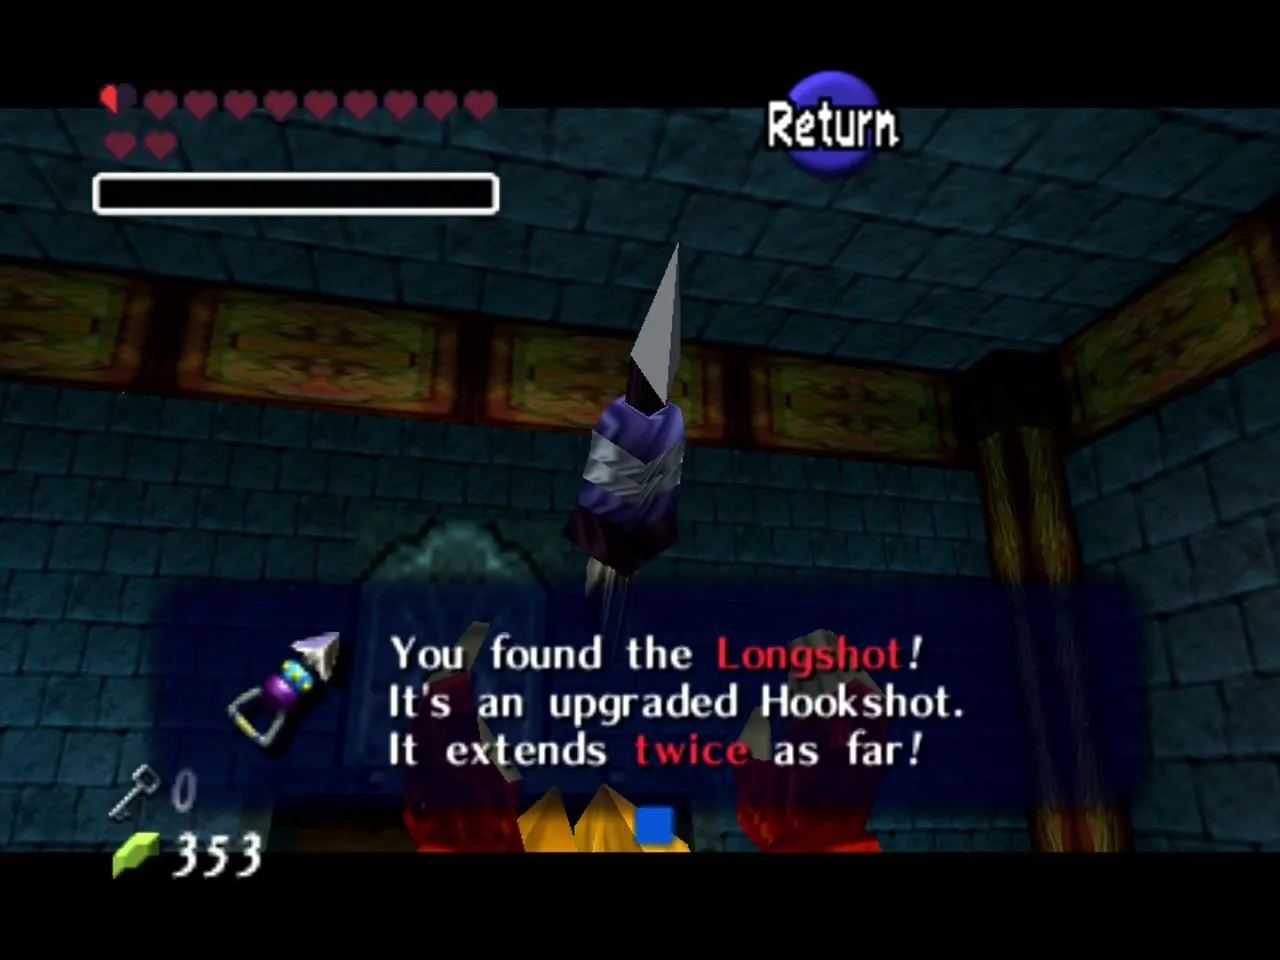
Reward: Longshot
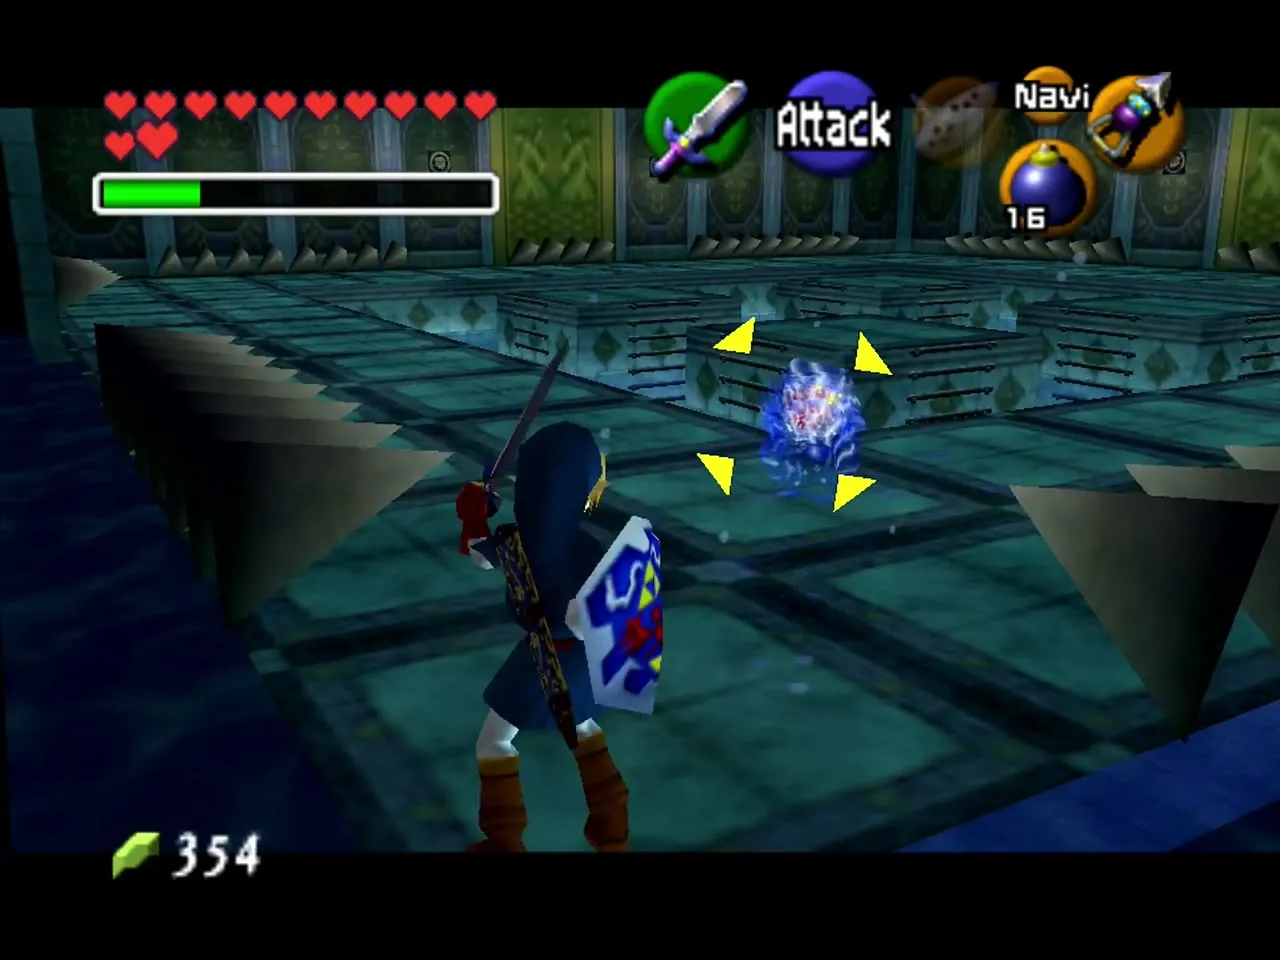
Dark Link copies your moves and blocks sword strokes. The Megaton Hammer or Din’s Fire catches him off guard, and jumping attacks work too. Do not lock on to him, because that makes your attacks easier to read. Once he is down, the chest with the Longshot opens.
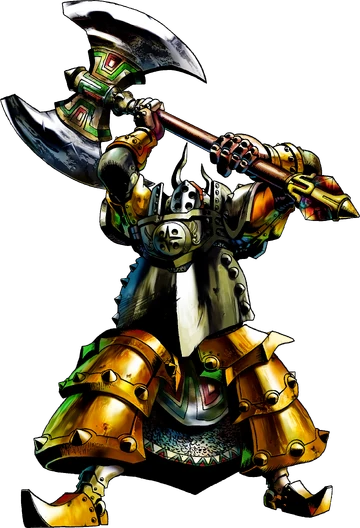
Iron Knuckle (two)
Where: Spirit Temple
Useful items: Sword, Hammer
Reward: Silver Gauntlets and Mirror Shield
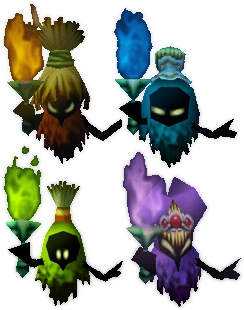
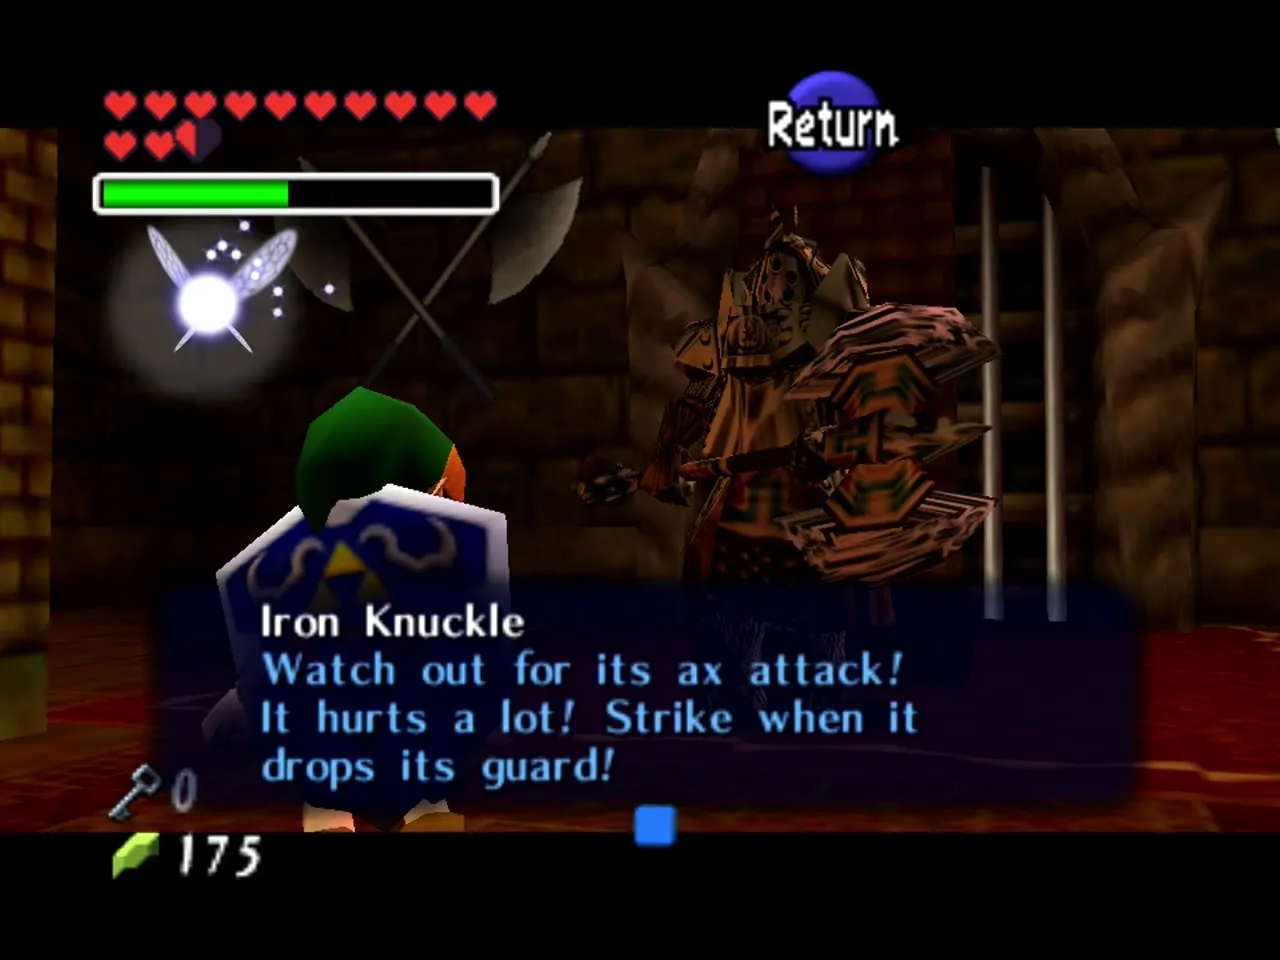
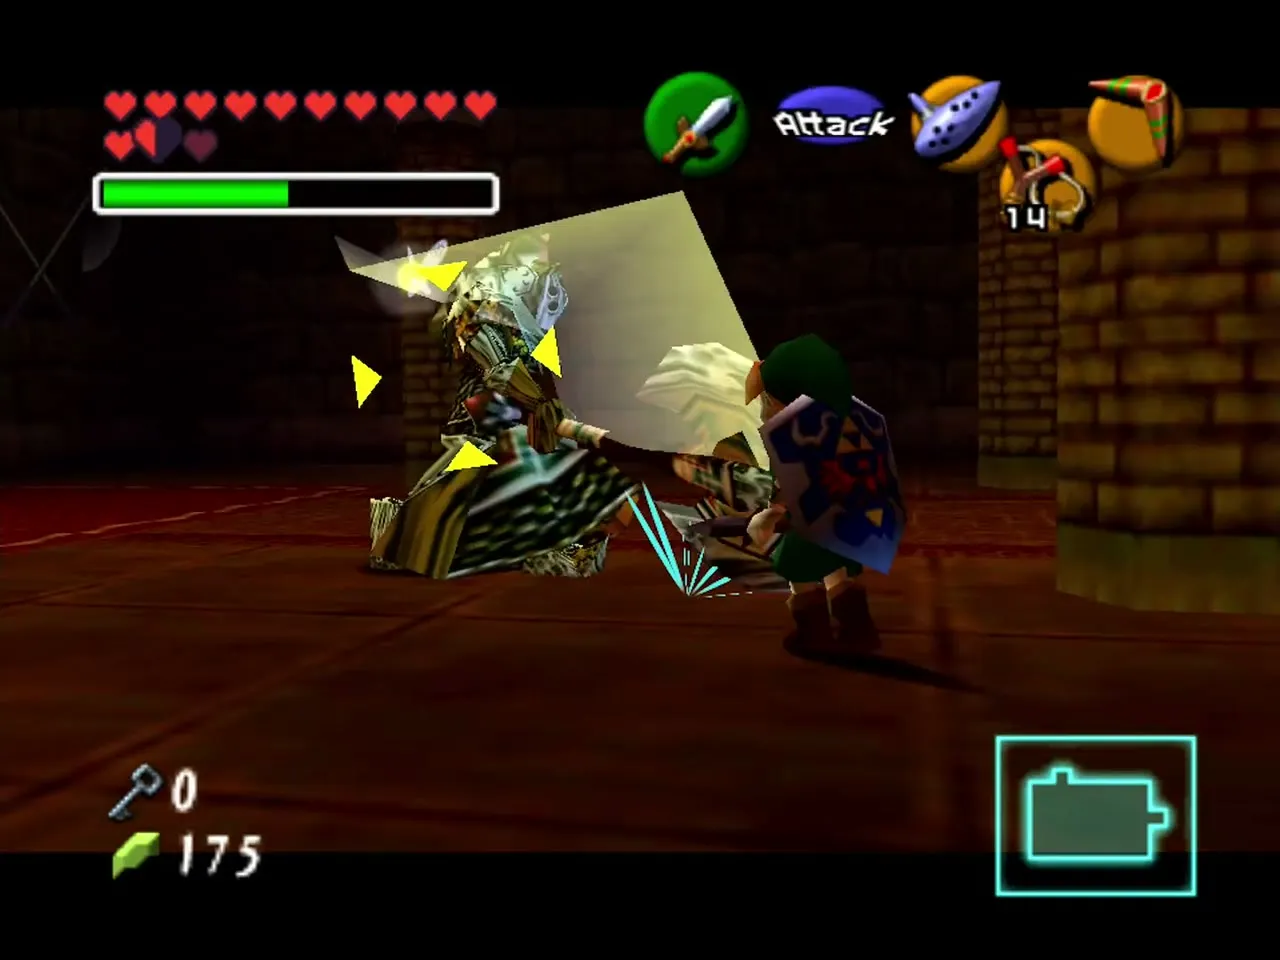
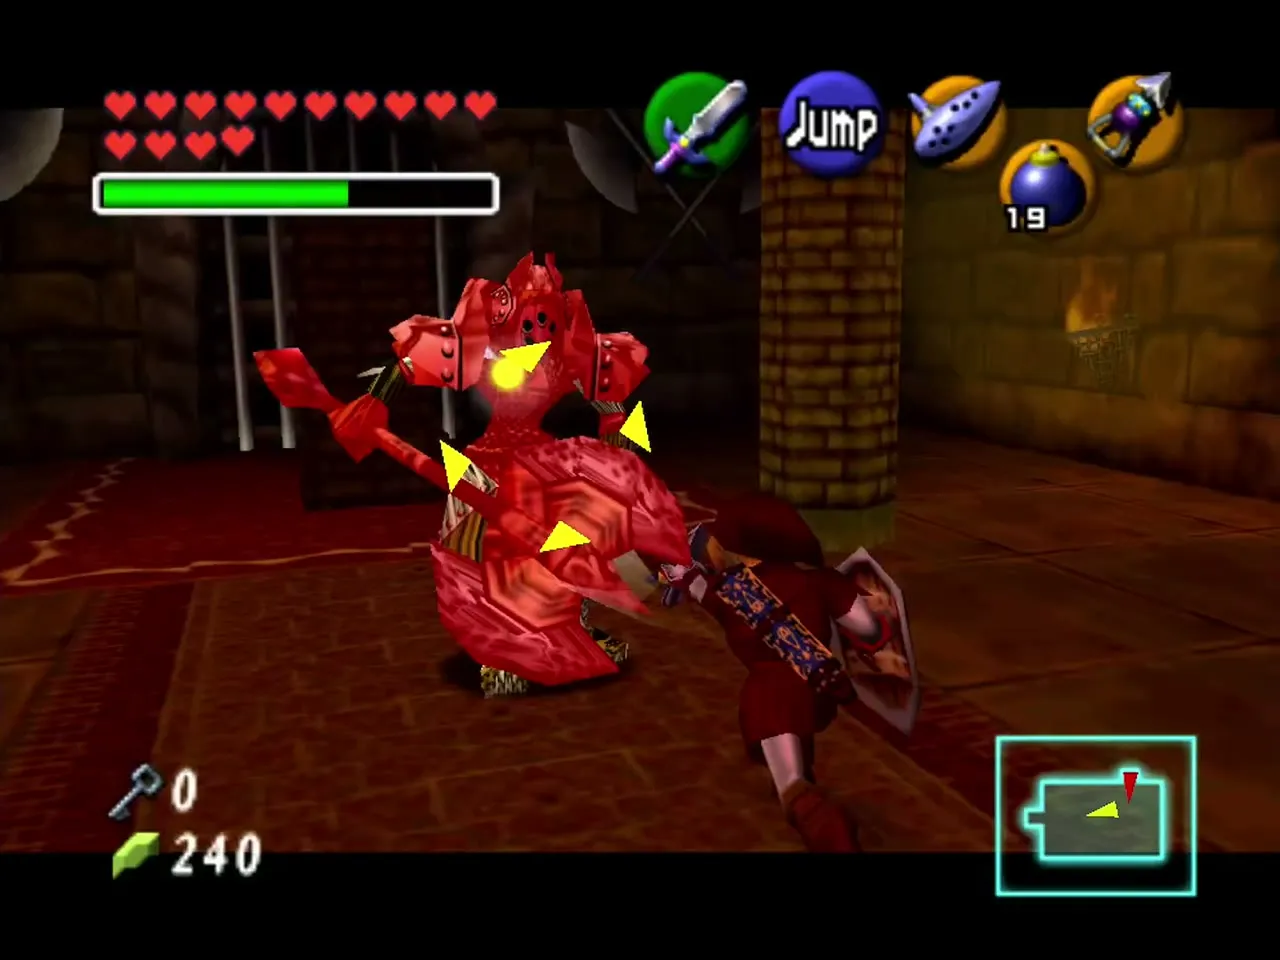
The Iron Knuckle is slow and hits very hard, so back off from his swing and move in for two hits before you retreat. The Megaton Hammer breaks his armor quickly. The Spirit Temple holds two, one near the Silver Gauntlets and one near the Mirror Shield. The Poe Sisters are four ghosts who each carry a torch color, and you defeat them one at a time. Keep your sword out and your bow ready for those that retreat.
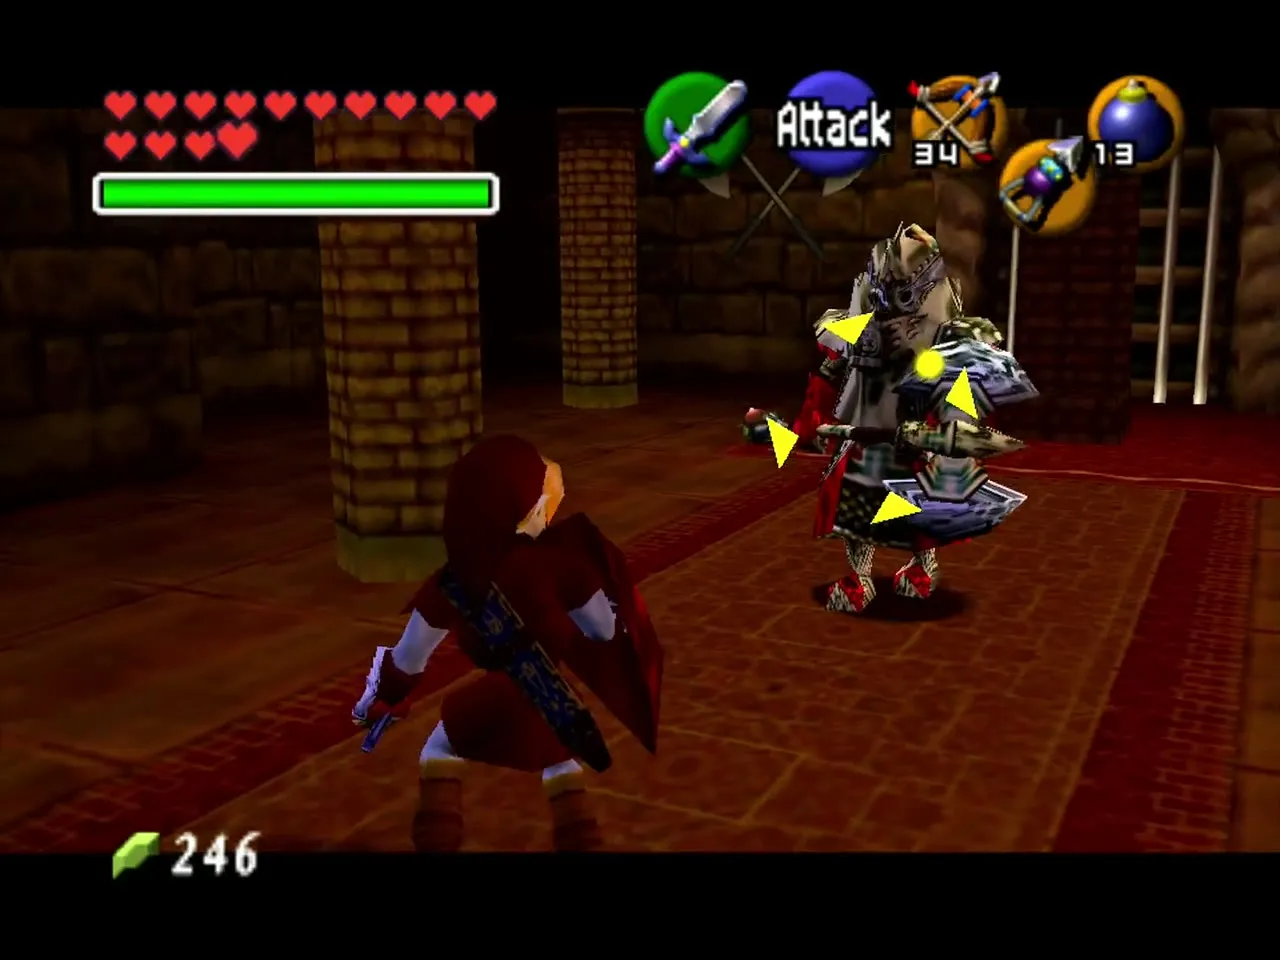
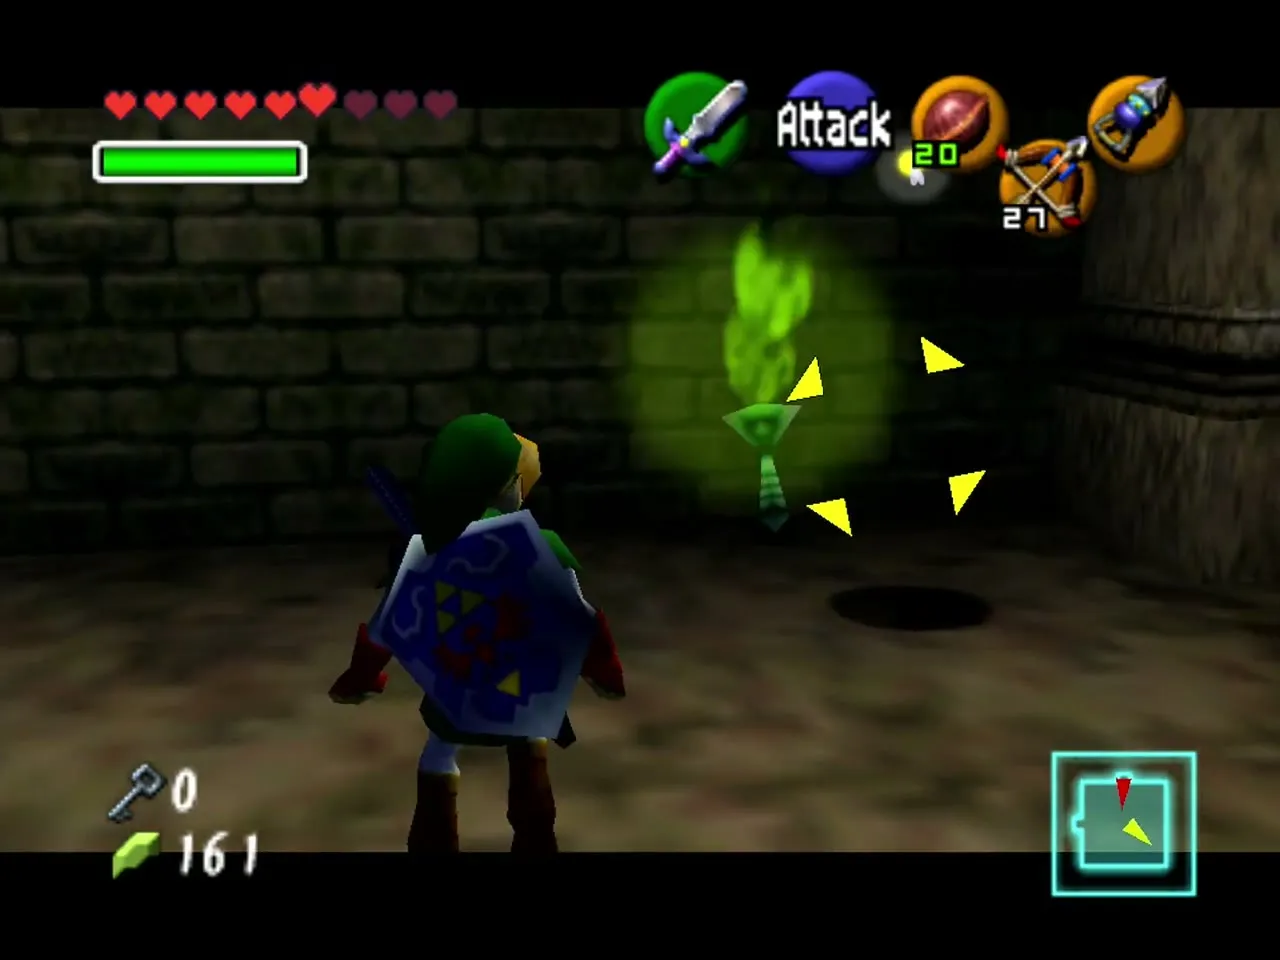
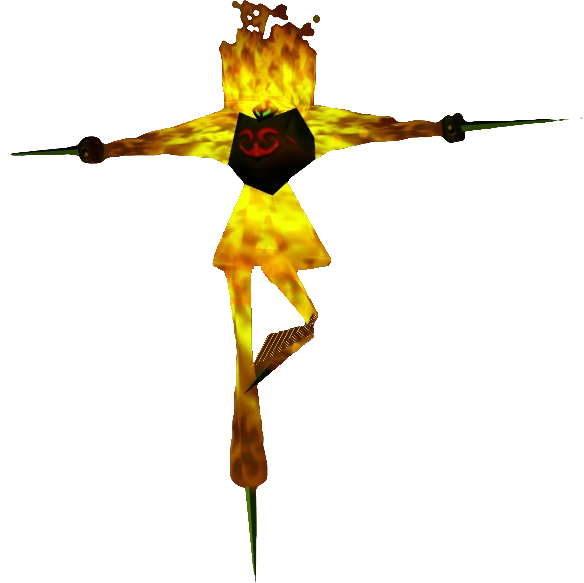
The remaining mini-bosses are simple. Big Octo is a large Octorok in the water, and the Boomerang to the eye stuns it. The Flare Dancer burns you, so keep your distance, wait for it to leave its fire, and cut it. The White Wolfos is a larger Wolfos in the Ice Cavern. Hit it from behind, and keep moving.
Order of the dungeon bosses
The recommended childhood dungeon order is Inside the Deku Tree, Dodongo’s Cavern, then Jabu-Jabu’s Belly. As adult Link, the usual route is Forest Temple, Fire Temple, Water Temple, Shadow Temple, then Spirit Temple. Alternative orders are possible once you have the necessary items and access, so this is a recommended route rather than a strictly required sequence.
See the walkthrough for the full route, Medallions and Spiritual Stones for the rewards, and Enemies for the regular foes in each dungeon.