Table of Contents
Key Items
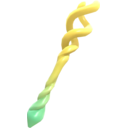
Tri Rod
Use: The rod that makes echoes. “Tri loaned you this mystical rod. With its power, you can echo things you’ve learned.” When Zelda first picks it up, the description says it’s “a mysterious rod the same color as Tri. It’s warm to the touch.” Every echo you learn and summon goes through it.
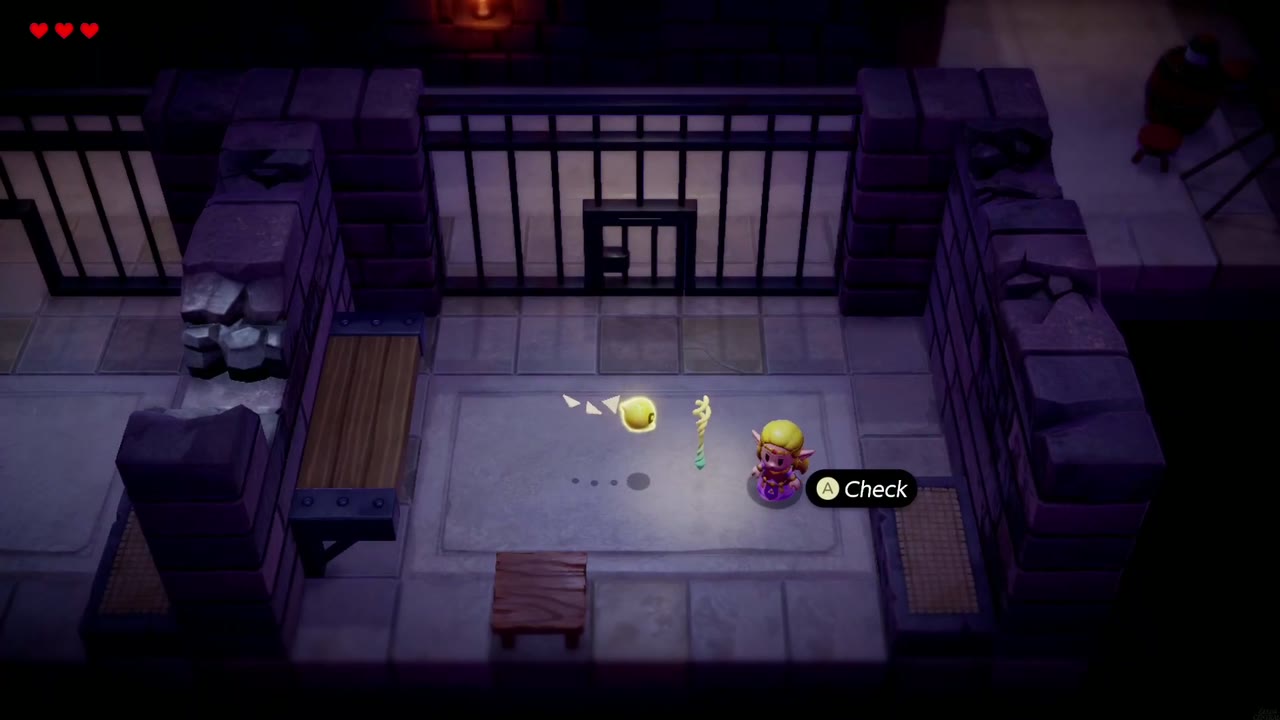
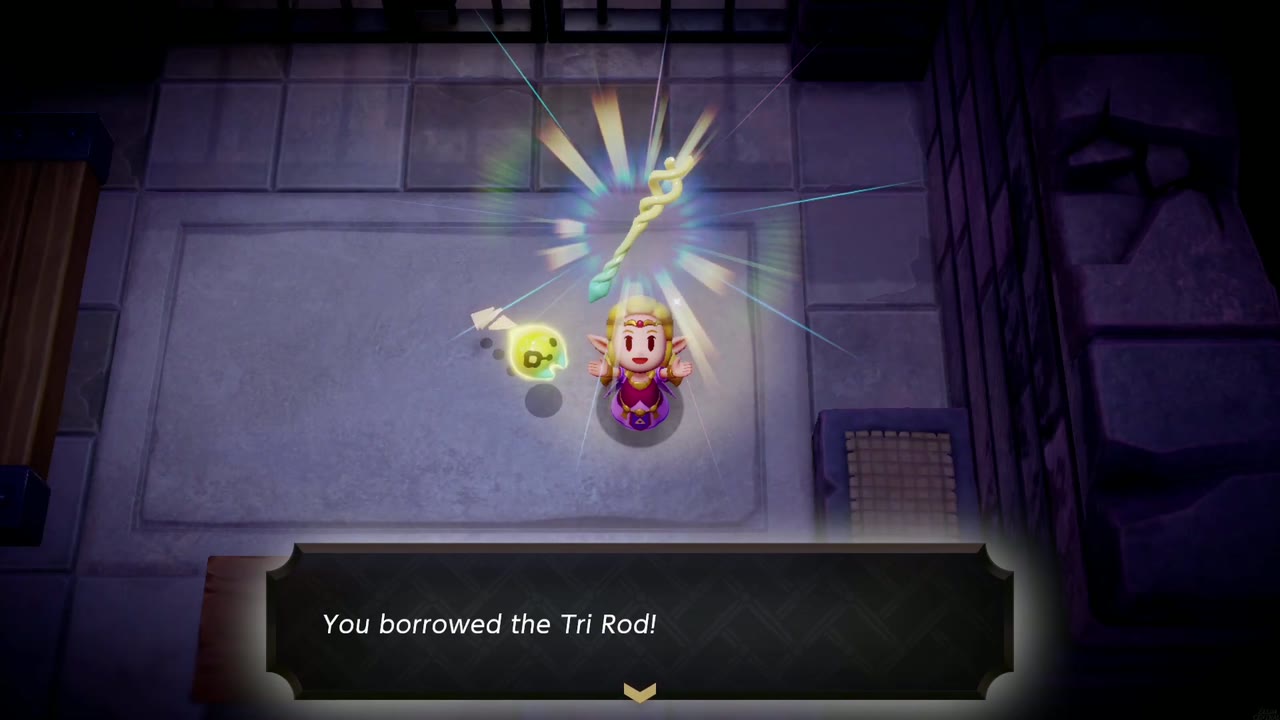
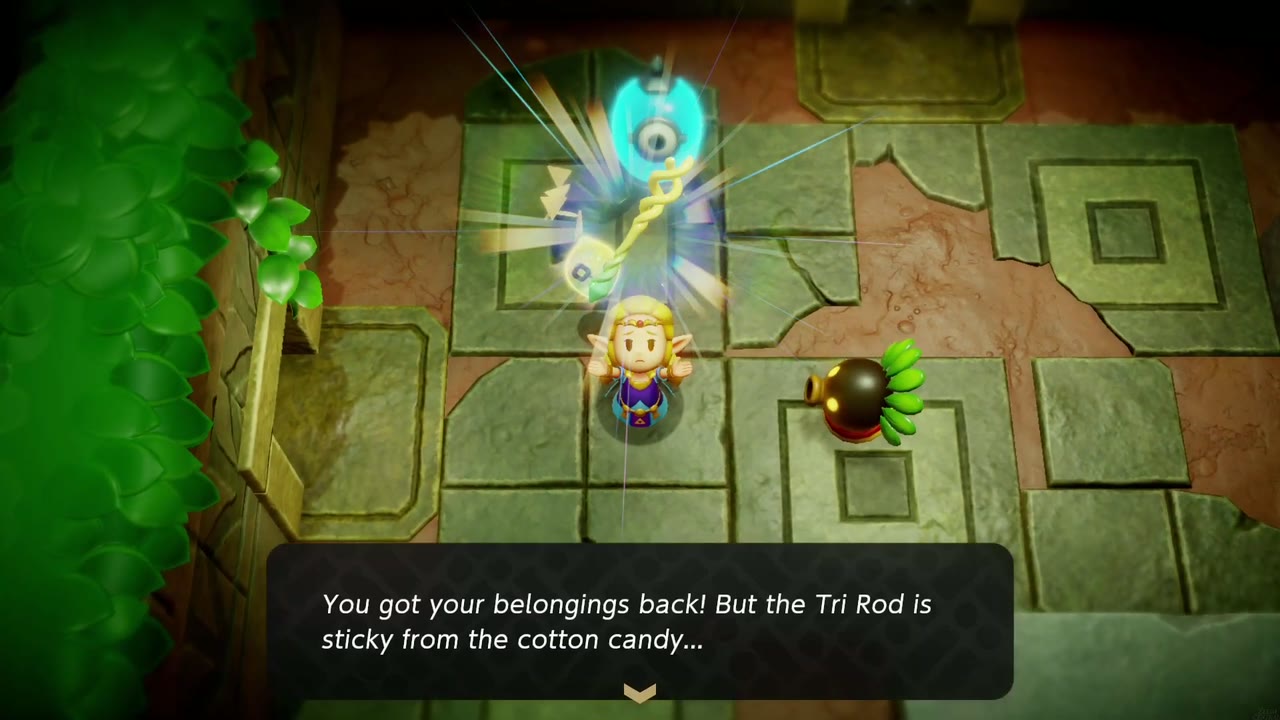
How to obtain: You can’t miss it. During the Prologue, after the impostor king has Zelda thrown into a cell in Hyrule Castle’s underground jail, Tri appears and lends her the rod (“You borrowed the Tri Rod!”). You lose it once: in Faron Wetlands the Deku Scrubs lock Zelda in the Deku Scrub Lockup and take the rod, thinking it’s a cotton-candy stick. Get out of the cell with Bind and the lockup key, then find the Deku guard chewing on it in the last room. He hands it back (“You got your belongings back! But the Tri Rod is sticky from the cotton candy…”).
Tip: Inside the lockup you have no Tri Rod, so no echoes. Bind is the only power you can use until you get it back.
Sword of Might
Use: Link’s sword, which Zelda uses in Swordfighter Form. Swordfighter Form lets her fight like Link while her energy gauge lasts, and it’s the only way through the purple goo that seals some doors. When you pick it up, the game calls it “a mysterious sword”: “It’s the weapon the swordsman in the green tunic had. The name ‘Link’ is engraved on it.” Lueburry made it, and from then on it’s called the Sword of Might.
How to obtain: It’s part of the story in Suthorn Ruins. In the shrine room, defeat the Shadow Link imitation and it leaves the sword behind. Pick it up (“You got a mysterious sword!”), then take the energy that follows (“You got some energy! You feel a mysterious might growing within you.”). This unlocks Swordfighter Form, and Tri has you use it right away on the goo-sealed door.
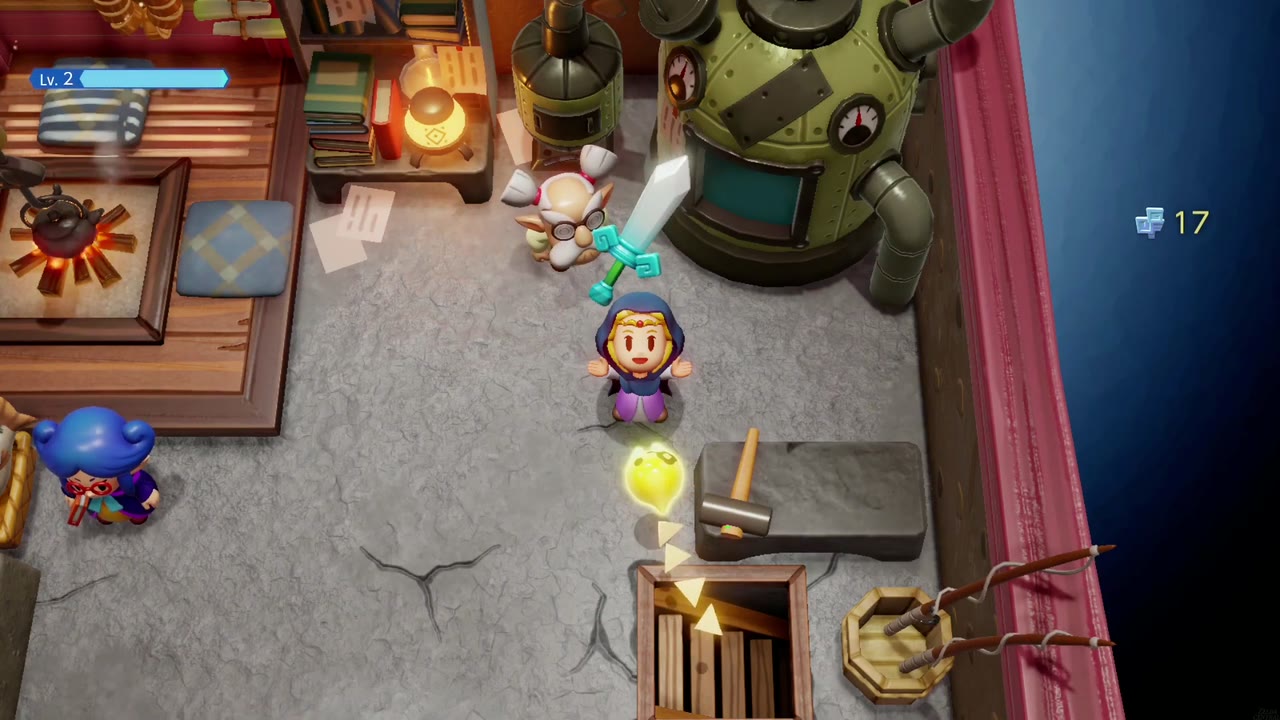
Tip: Lueburry’s machine in his house in Suthorn Forest upgrades the sword with Might Crystals: Lv. 2 costs 10, Lv. 3 costs 20. It’s the best first thing to spend crystals on. See Might Crystals & Upgrades.



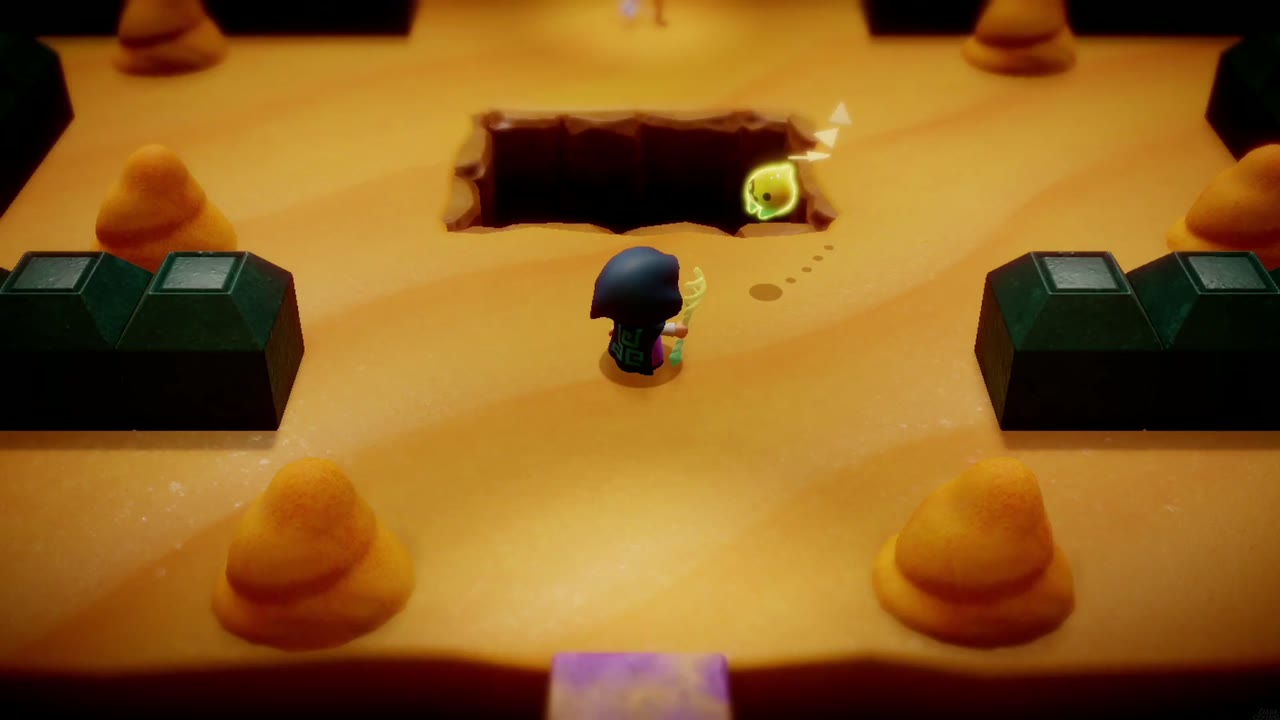
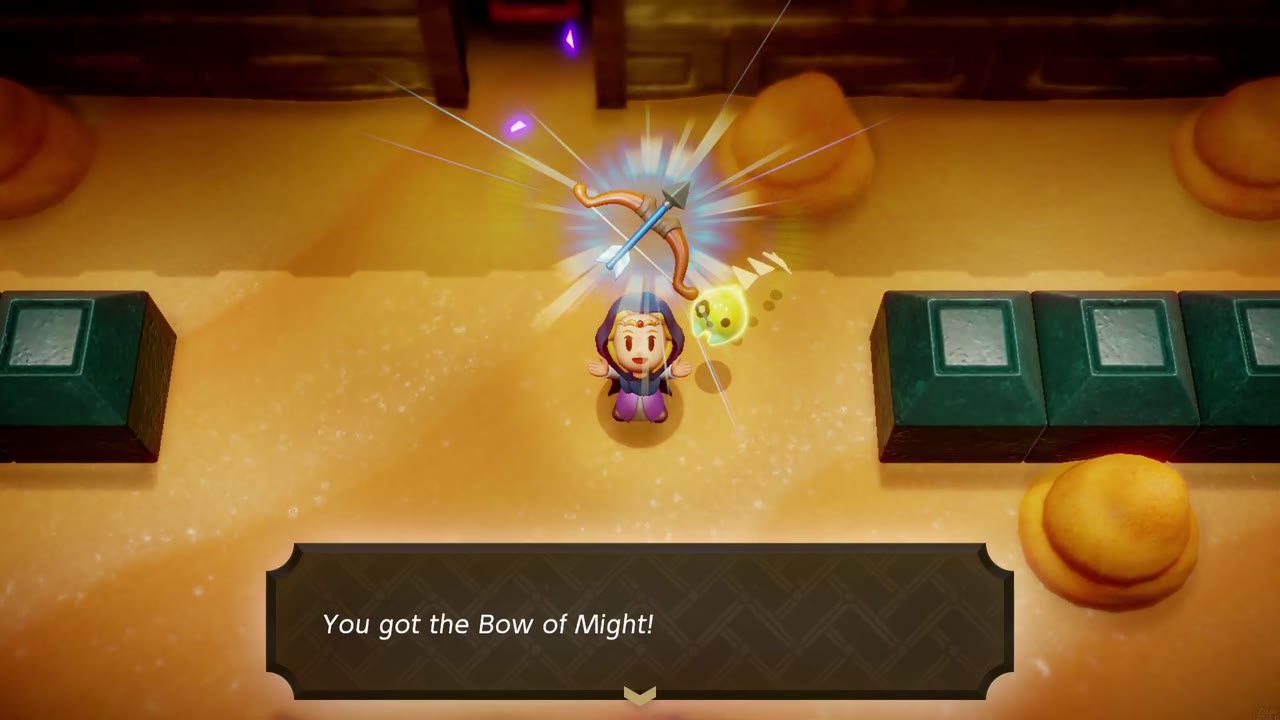
Bow of Might
Use: A ranged weapon for Swordfighter Form: “Now you can fire arrows by pressing X when in swordfighter form.” Use it for enemies you can’t reach with the sword.
How to obtain: Defeat the hostile bow-wielding Link imitation and his copies in Gerudo Sanctum. Pick up the Bow of Might that remains after the fight. It lets Zelda shoot arrows while in Swordfighter Form.
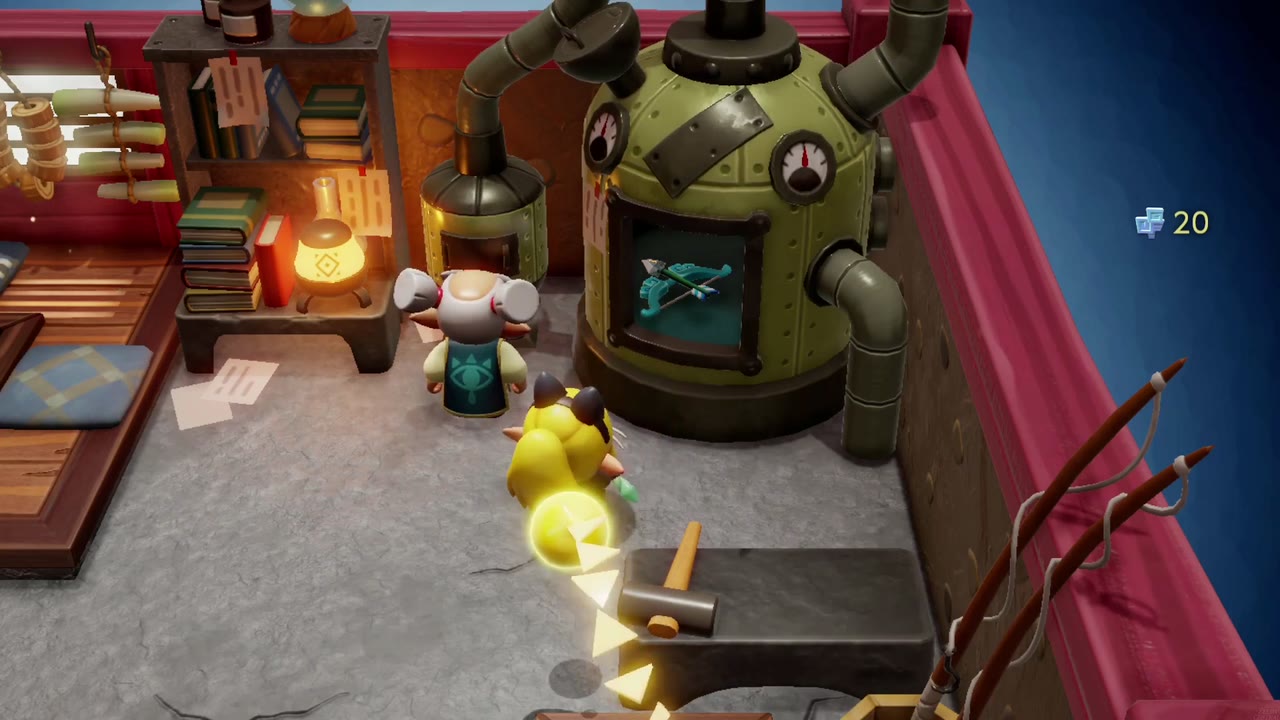
Tip: Lueburry upgrades the bow with Might Crystals (Lv. 2 for 10, Lv. 3 for 20). At Lv. 2 you can hold the button to charge and fire three arrows at once. See Might Crystals & Upgrades.

Bombs of Might
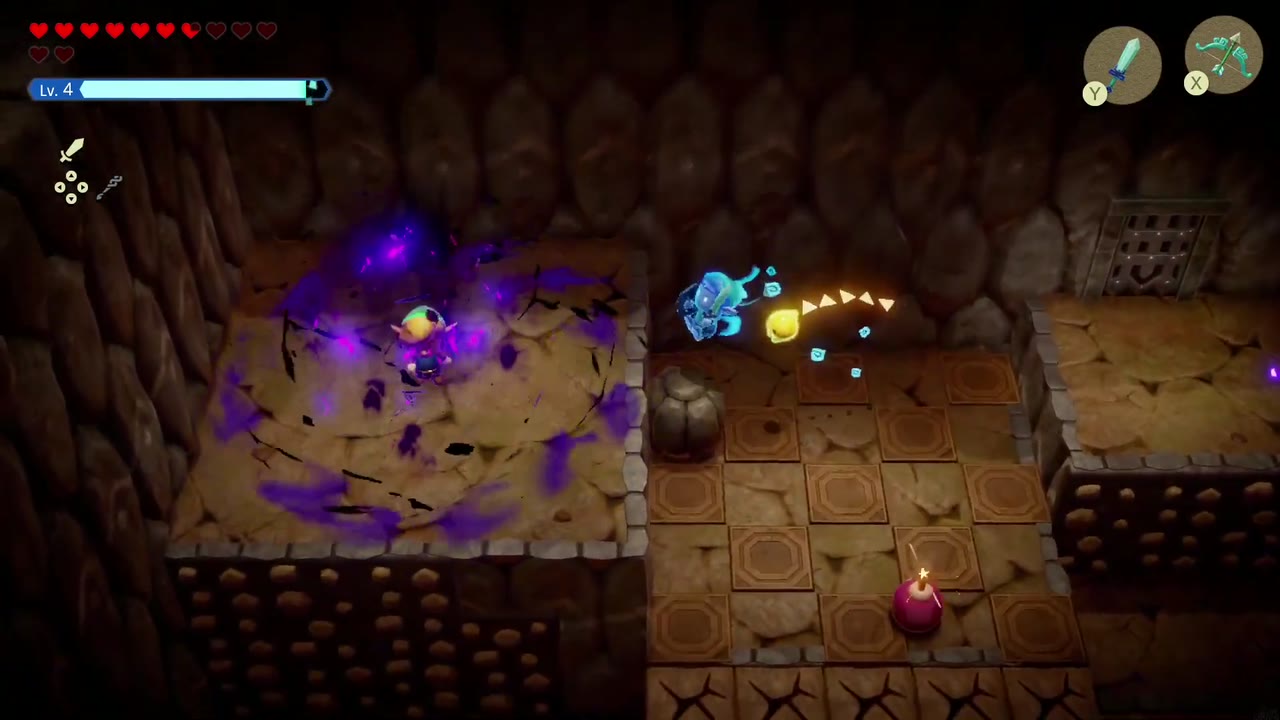
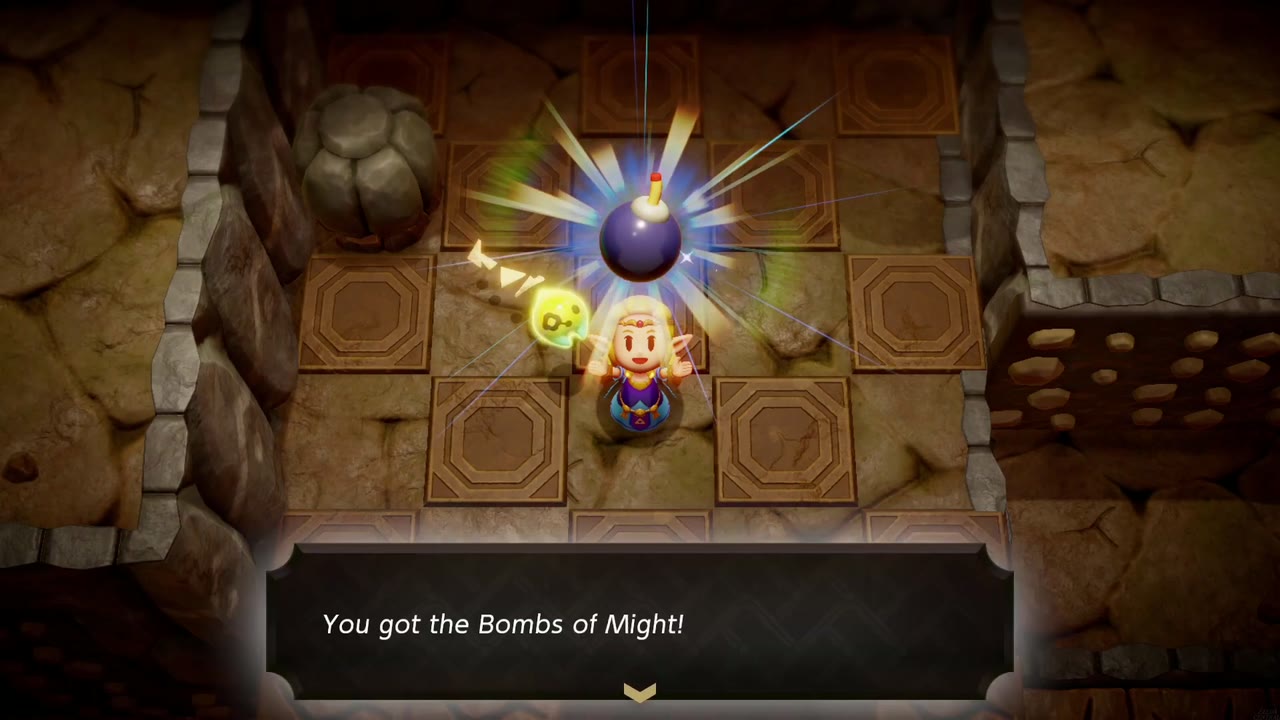
Use: Bombs for Swordfighter Form: “Now you can use bombs by pressing A when in swordfighter form.” Blow up cracked blocks, crates and enemies.
How to obtain: It’s part of the story in Eldin Temple. On 2F, unlock the door beside the Waypoint and shadow Link drops in, throwing bombs across a cracked-tile floor. Switch to Swordfighter Form and keep hitting him. When he dissolves, he leaves the Bombs of Might behind (“You got the Bombs of Might!”). The cracked blocks in that same room have to be bombed to reach the exit.
Tip: Lueburry upgrades the bombs with Might Crystals (Lv. 2 for 10, Lv. 3 for 20). At Lv. 2 you can charge a bomb into a Bombchu that runs along walls and ceilings. See Might Crystals & Upgrades.


Clockwork Key
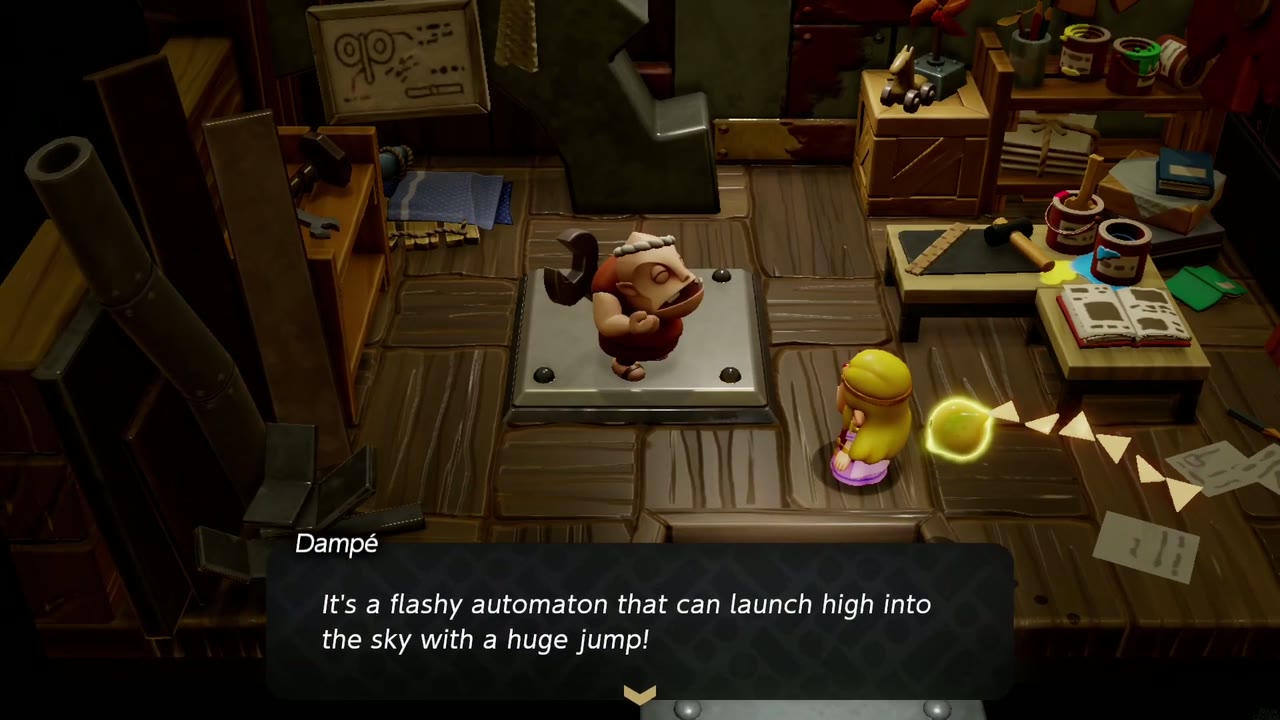
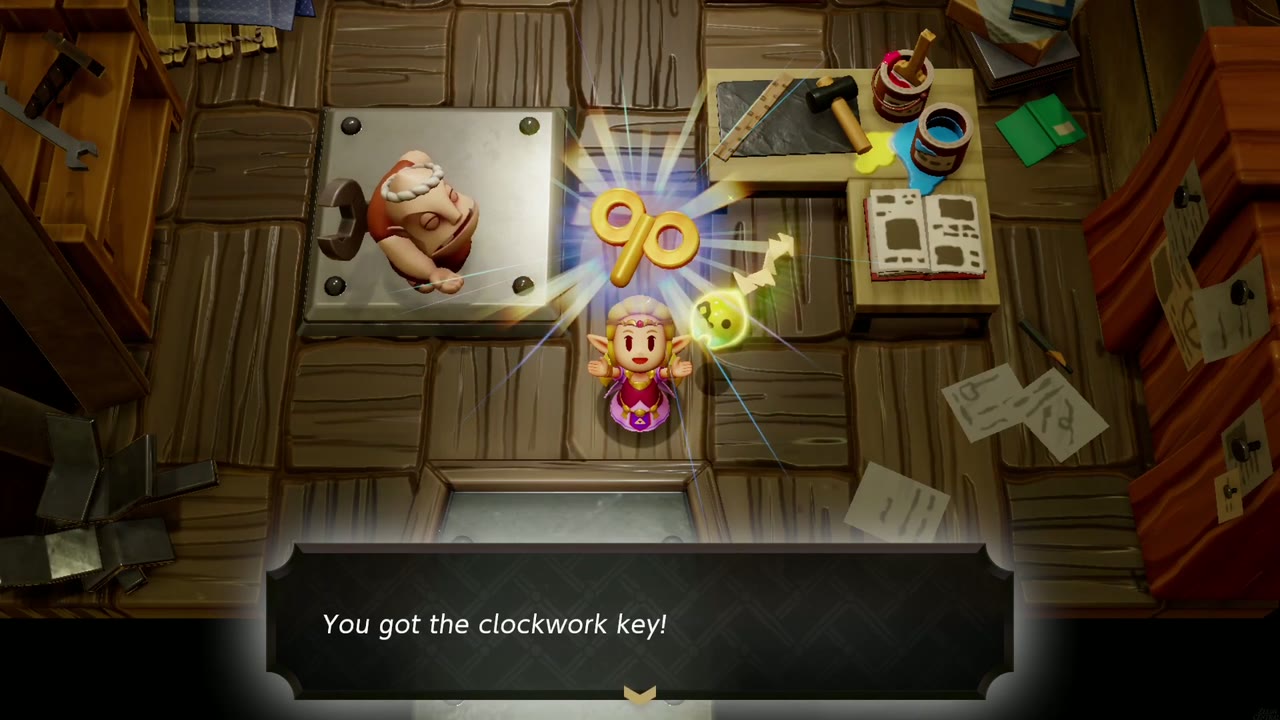
Use: The key that summons and winds up Dampé’s automatons. Dampé: “Use that to wind ’em up. It’s a precious one-of-a-kinder, so don’t go losin’ it.” Hold the summon button to wind an automaton, then let go and it runs until it winds down. With the Goldfinch automaton you can hold it up and wind the key to glide.
How to obtain: Finish the side quest Automaton Engineer Dampé. Defeat the crow that stole Dampé’s key in Hyrule Field, then visit Dampé Studio in Eastern Hyrule Field. He wants “a creature with the big eye” and “something that shoots hot smoke out of its backside,” so summon a Tektite and then a Mothula on the pedestal in his studio. He builds the Techtite and gives you the clockwork key (“You got the clockwork key!”). See All Automatons for the other five.

Lockup Key
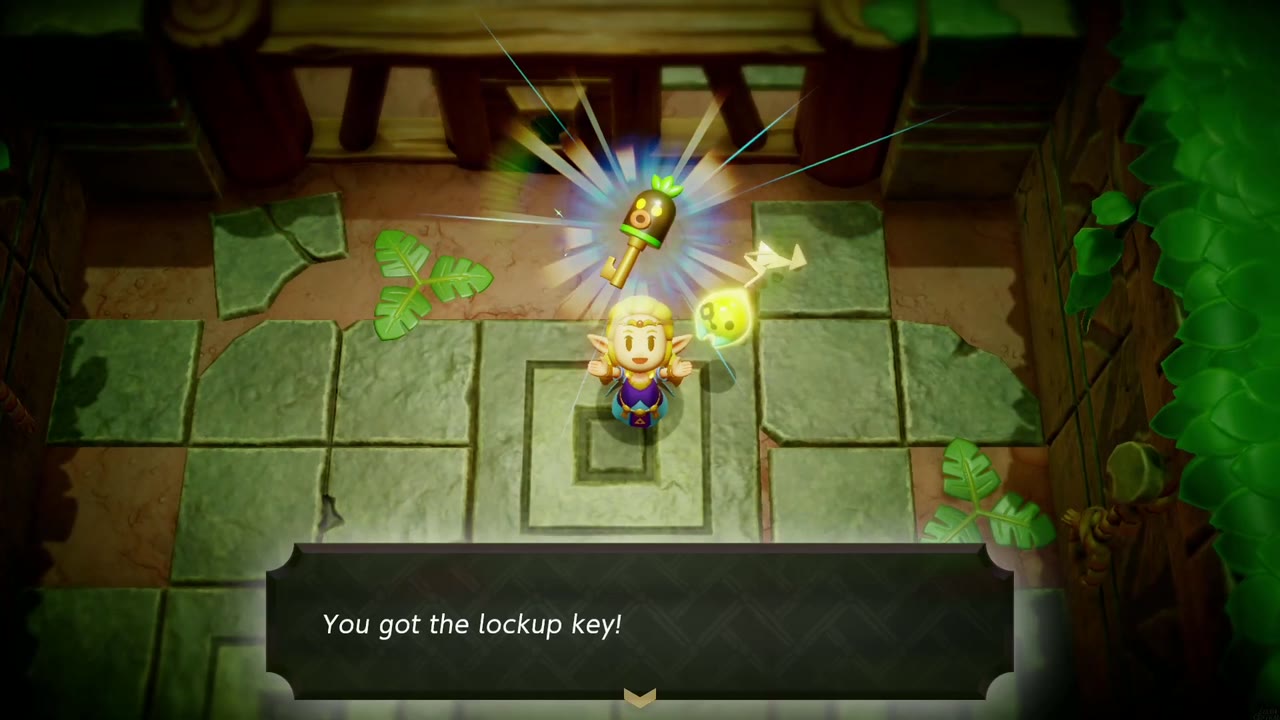
Use: Opens Zelda’s cell door. “The key to the Deku Scrub lockup, where the no-gooders of the Faron Wetlands go.”
How to obtain: It’s part of the story in Faron Wetlands. After you seal the rift at Blossu’s house, the Scrubs throw Zelda into the Deku Scrub Lockup in Scrubton and take her belongings. The key is lying on the floor just outside the bars. Use Bind to pull it into the cell, pick it up (“You got the lockup key!”), then use it on the cell door.

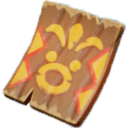
Membership Card for the Sweet Spot
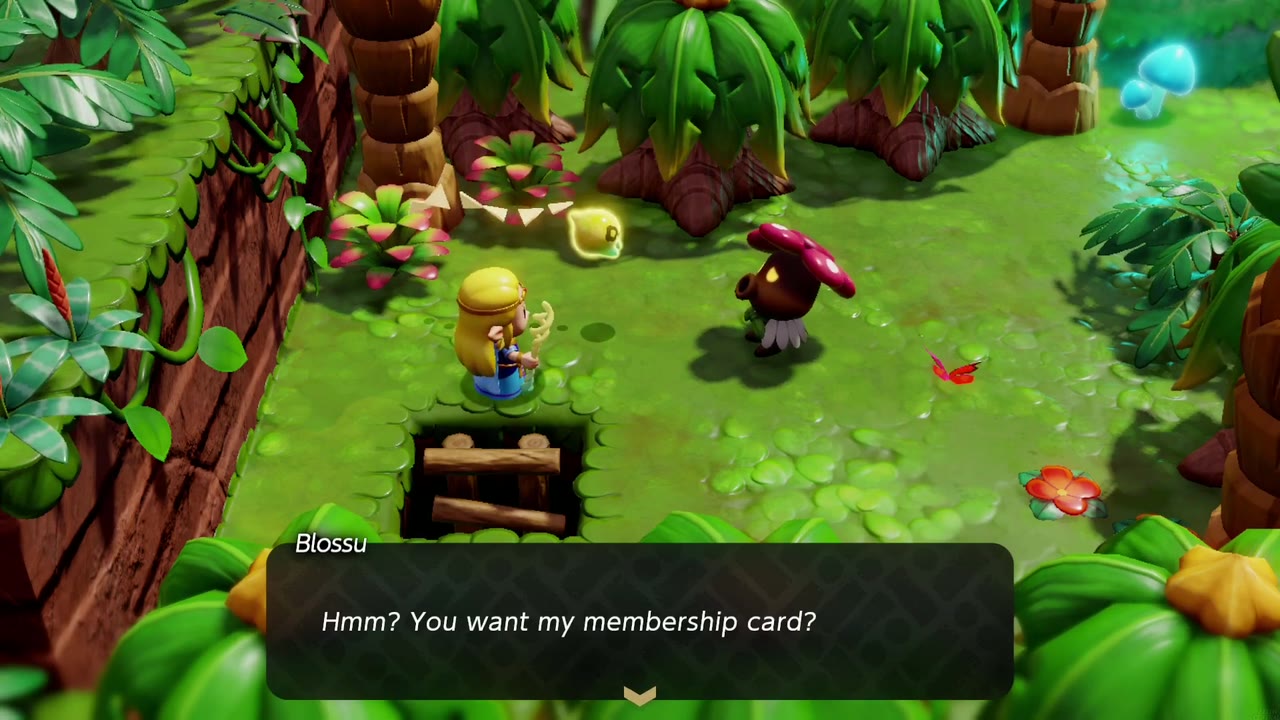
Use: Gets you past the two Deku guards at the Sweet Spot, the members-only treat hall north of Scrubton in Faron Wetlands. “No one goes into the Sweet Spot without a membership card!” The Faron rift is inside, so you need the card to carry on with the story.
How to obtain: It’s part of the story in Faron Wetlands. Blossu, the mushroom-capped Scrub who lives in a southern corner of the wetlands, is a member. Seal the rift on Blossu’s house, escape the Deku Scrub Lockup and get the Tri Rod back. Blossu is waiting outside: “Hmm? You want my membership card?” Now that they have a home to go back to, Blossu hands it over (“You got a membership card for the Sweet Spot!”). Show it to the guards at the gate.
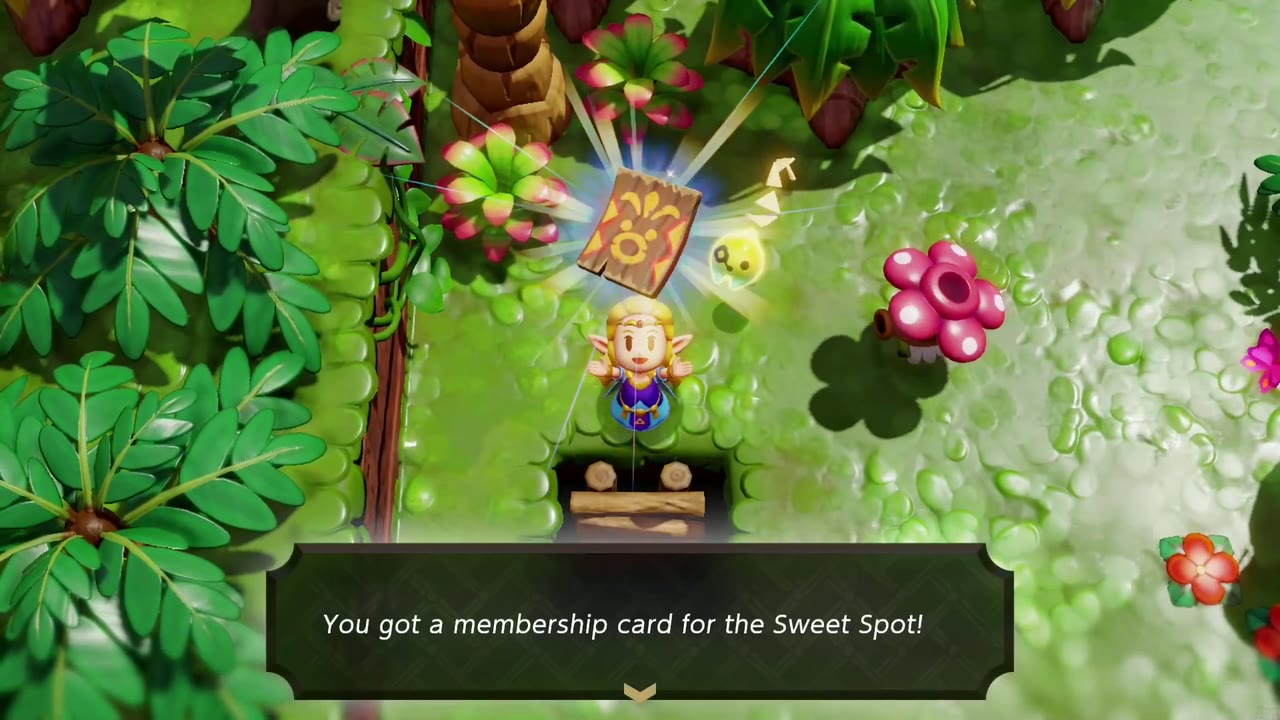

Din’s Sanction, Nayru’s Sanction & Farore’s Sanction
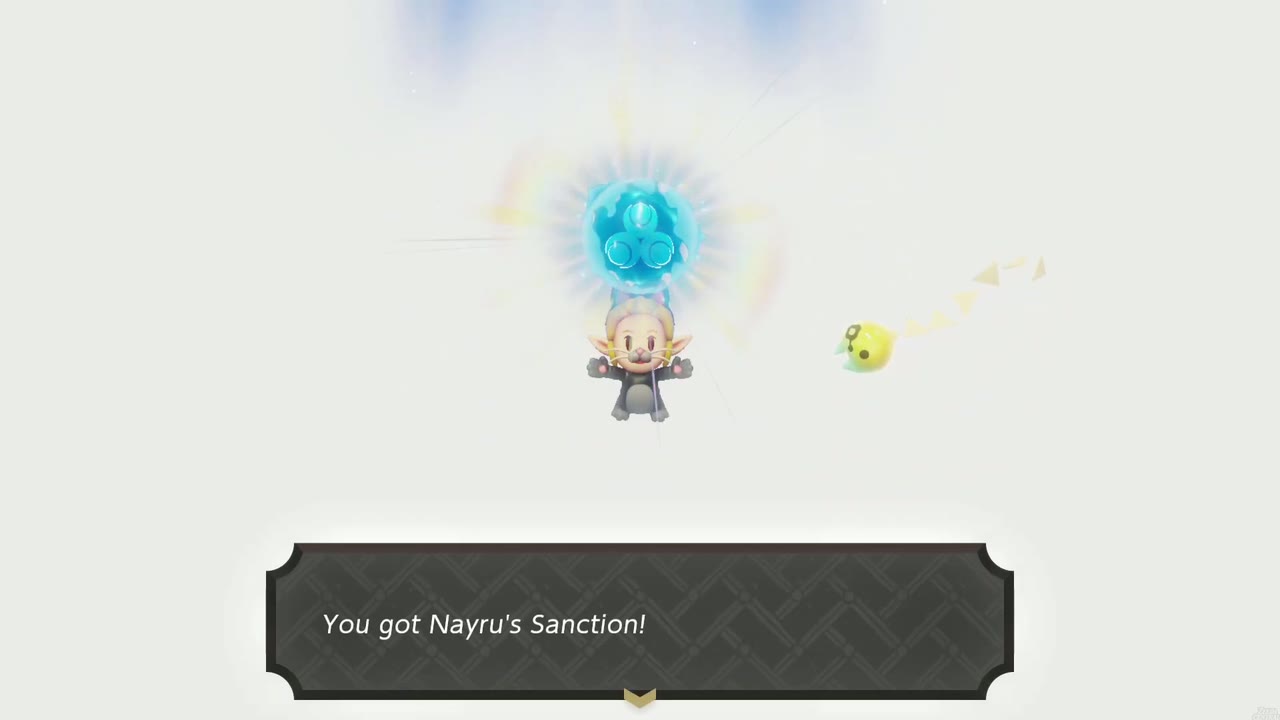
Use: Story items from the three goddesses. Nayru’s reads: “A mystical sanction entrusted to you by the goddess Nayru, given only to those who have proven their wisdom.” You need all three to open the path into the Eternal Forest, because only those sanctioned by the goddesses may pass.
How to obtain: Each goddess gives hers after you beat the boss of her temple:
- Din’s Sanction: beat Volvagia in Eldin Temple on Eldin Volcano.
- Nayru’s Sanction: beat Skorchill in Lanayru Temple on Holy Mount Lanayru. Nayru then tells Zelda about Null.
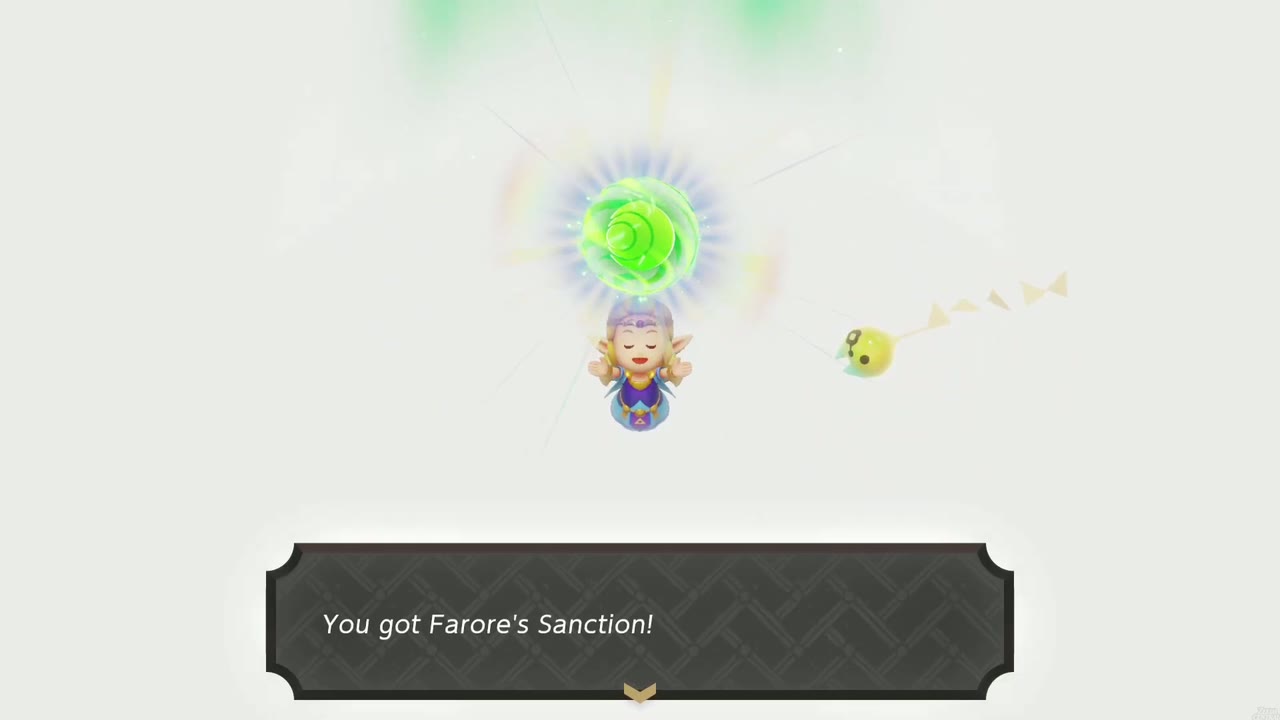
- Farore’s Sanction: beat Gohma in Faron Temple in Faron Wetlands.
The order depends on which region you tackle first. Whichever sanction is your third starts the next main quest, which leads to the Eternal Forest.

Might Crystal
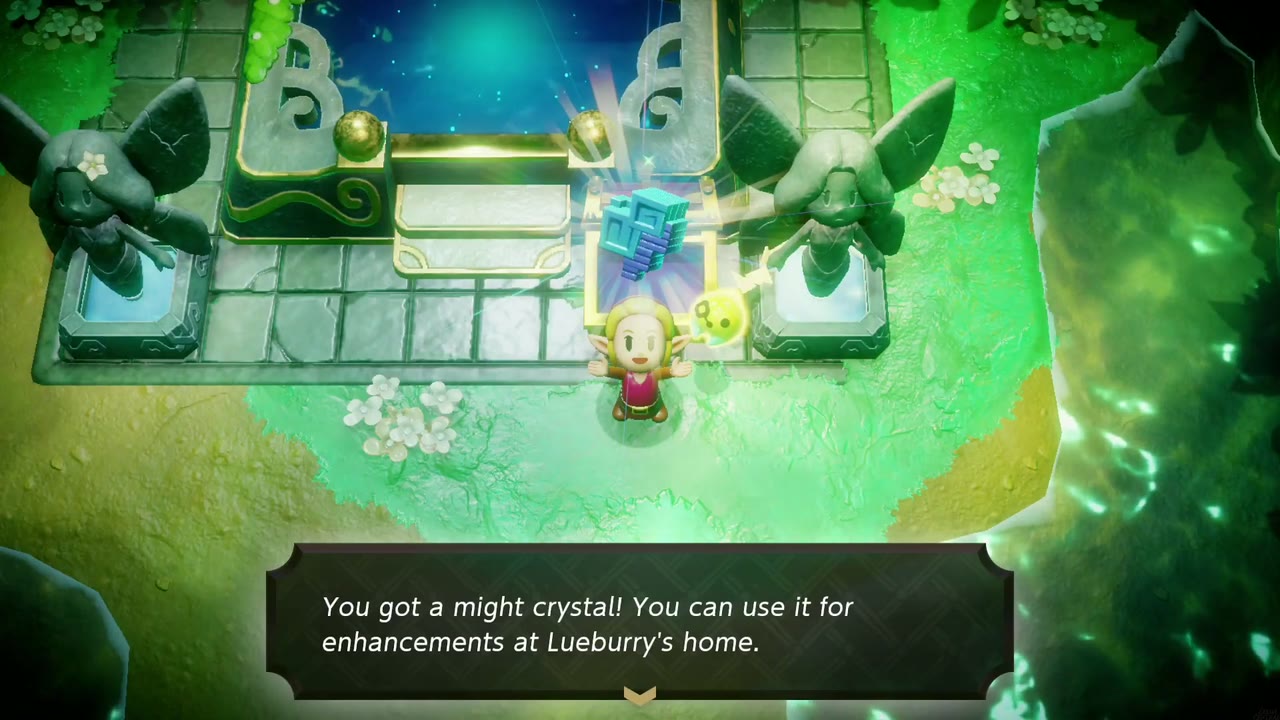
Use: “A crystal infused with a strange power. It can be used for upgrades at Lueburry’s.” Trade them at the machine in Lueburry’s House in Suthorn Forest to power up the Sword, Bow and Bombs of Might and your Swordfighter energy gauge.
How to obtain: There are 150. Tri gives you some after every boss and every rift you mend, and the rest are in chests, hidden overworld spots, side quests and minigames. Until you first meet Lueburry, the game calls them “unusual crystals”; they count toward the same total. See All Might Crystal Locations & Upgrades.


Piece of Heart & Heart Container
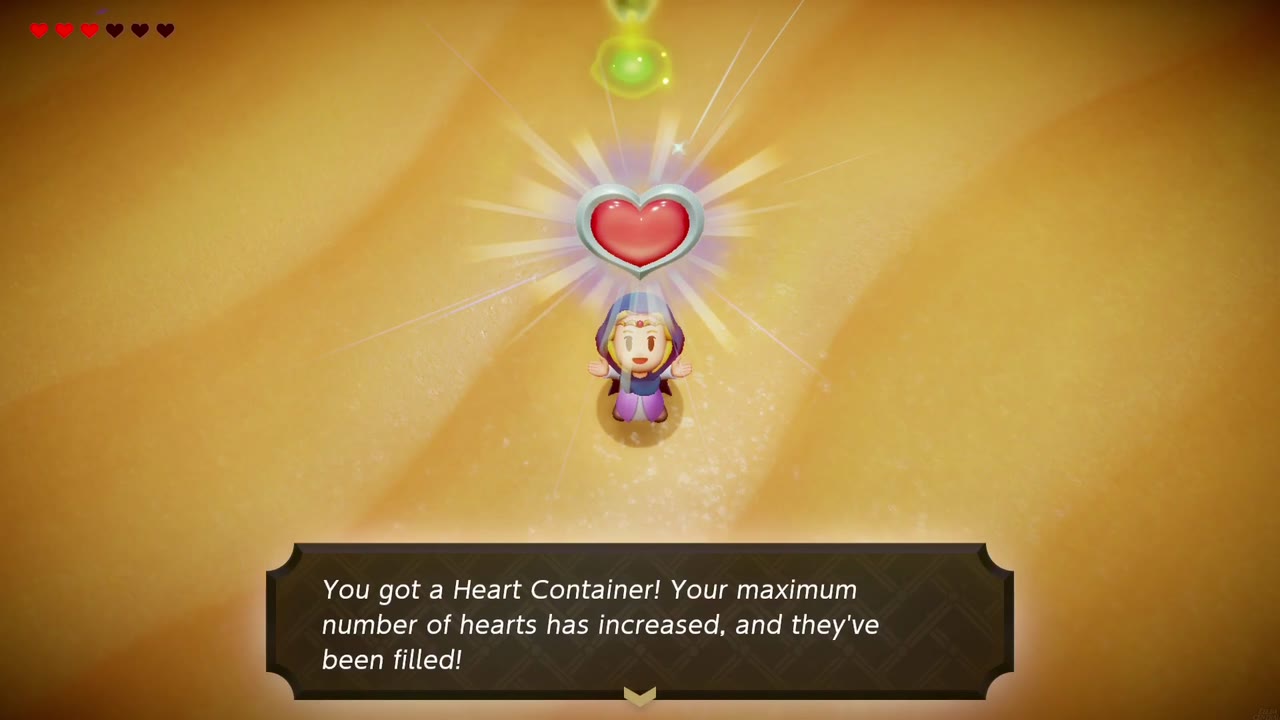
Use: Both raise Zelda’s maximum hearts. Piece of Heart: “Collect four and your maximum number of hearts will increase.” Heart Container: “Your maximum number of hearts has increased, and they’ve been filled!”
How to obtain: Each of the seven dungeon bosses drops a Heart Container. There are 40 Pieces of Heart spread across Hyrule (chests, hidden spots, side quests, minigames and shops), which add 10 more hearts. With the 3 you start with, the maximum is 20 hearts. See All Heart Pieces & Heart Containers.

Stamp Cards
Use: Cards for Stamp Guy’s Stamp Rally. Check a stamp stand and it adds a stamp to your current card. Each card holds five stamps, and when it’s full Stamp Guy gives you a reward and the next card.
How to obtain: Stamp Guy gives you the first stamp card the first time you check a stamp stand. In order, the cards are the first stamp card, the exciting stamp card, the thrilling stamp card, the exhilarating stamp card and the final stamp card. Their rewards are 10 containers of fresh milk, 3 golden eggs, a Fairy Bottle, 5 monster stones, and the Stamp Suit for finishing the rally. There are 25 stands. See All Stamp Stand Locations.


Dungeon Items: Dungeon Map, Small Key & Big Key
Use: These items only work in the dungeon where you find them.
- Dungeon Map: “Now you can see the dungeon layout and this area of the Still World.”
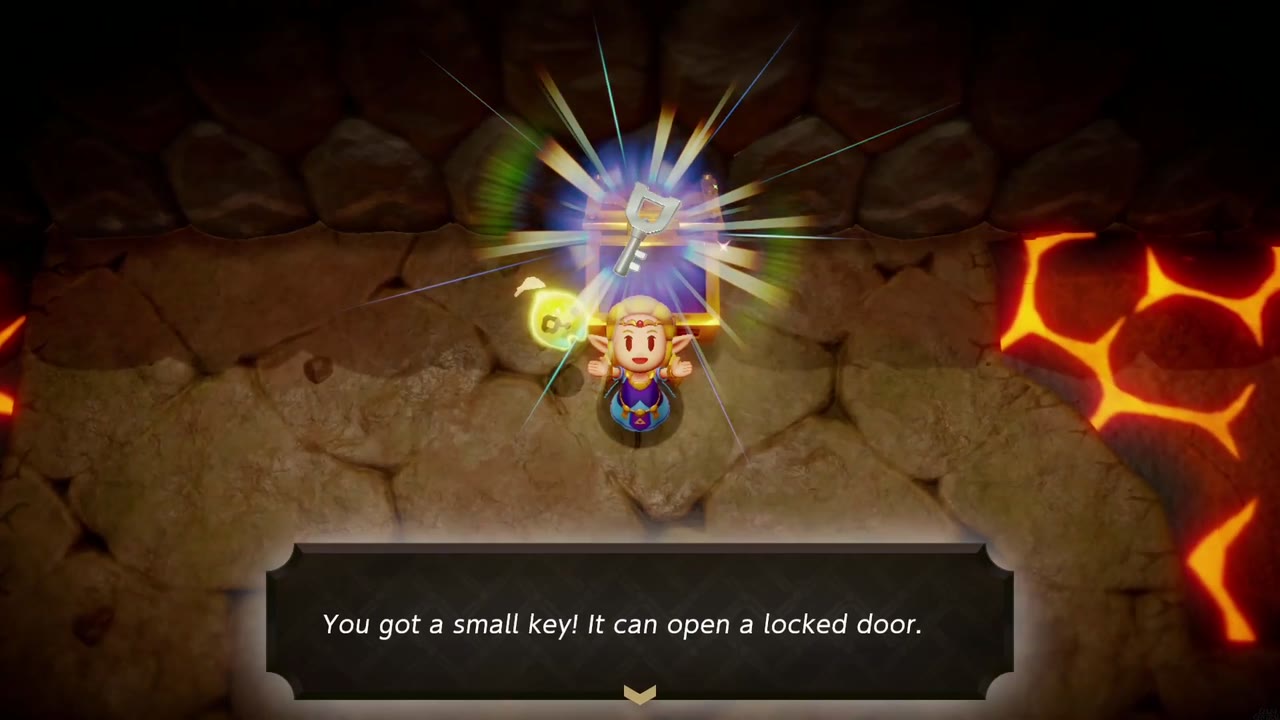
- Small Key: “It can open a locked door.” Each key opens one locked door in that dungeon.
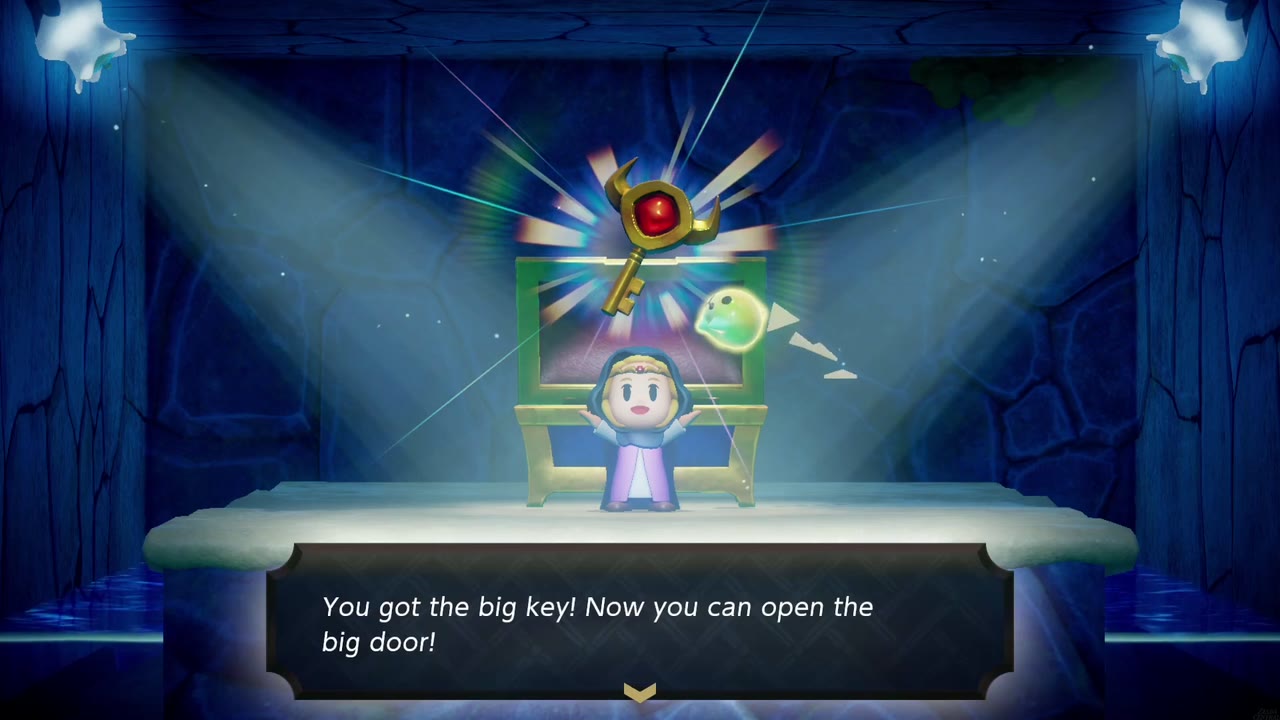
- Big Key: “Now you can open the big door!” It opens the boss door.
How to obtain: Open the chests inside each dungeon. The Big Key sits in a big ornate chest; in Faron Temple it comes from a chest that rises out of a flower after the plant mini-boss. Each dungeon’s walkthrough page says where its map and keys are.

Fairy Bottles

Fairy Bottles
Use: A bottle holds one fairy that saves you from defeat: “If you lose all your hearts, the fairy will fly out of the bottle and heal you.” When you catch one, the game says “The fairy will automatically restore some hearts if you run out!” There’s nothing to select. As long as a bottle has a fairy in it, it works automatically. There are four Fairy Bottles, and each one holds its own fairy.
How to fill one: “Fairies love these sturdy bottles and will jump right inside.” Two ways:
- Catch a wild fairy. Reach a fairy while you have an empty bottle and it goes straight in. The first one is in a pond in Suthorn Forest; dive to reach it. The Fairy Flower and Fairy Fragrance accessories make fairies appear more often when you cut grass or other plants.
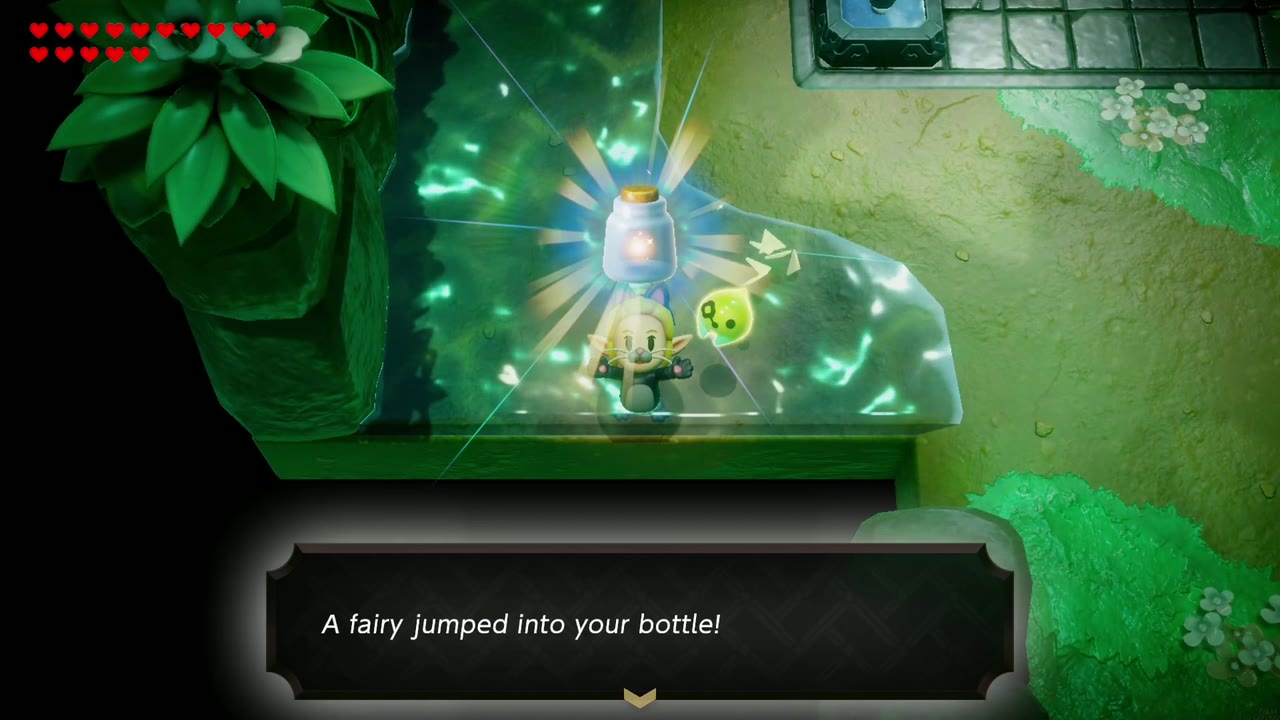
- Visit the Great Fairy Shrine at Lake Hylia. Walk in with an empty bottle and a fairy jumps into it (“A fairy jumped into your bottle!”).
Tip: Fill every bottle before a boss fight. With all four full, you can run out of hearts four times before it counts.


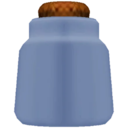
Fairy Bottle #1: Suthorn Forest Cave
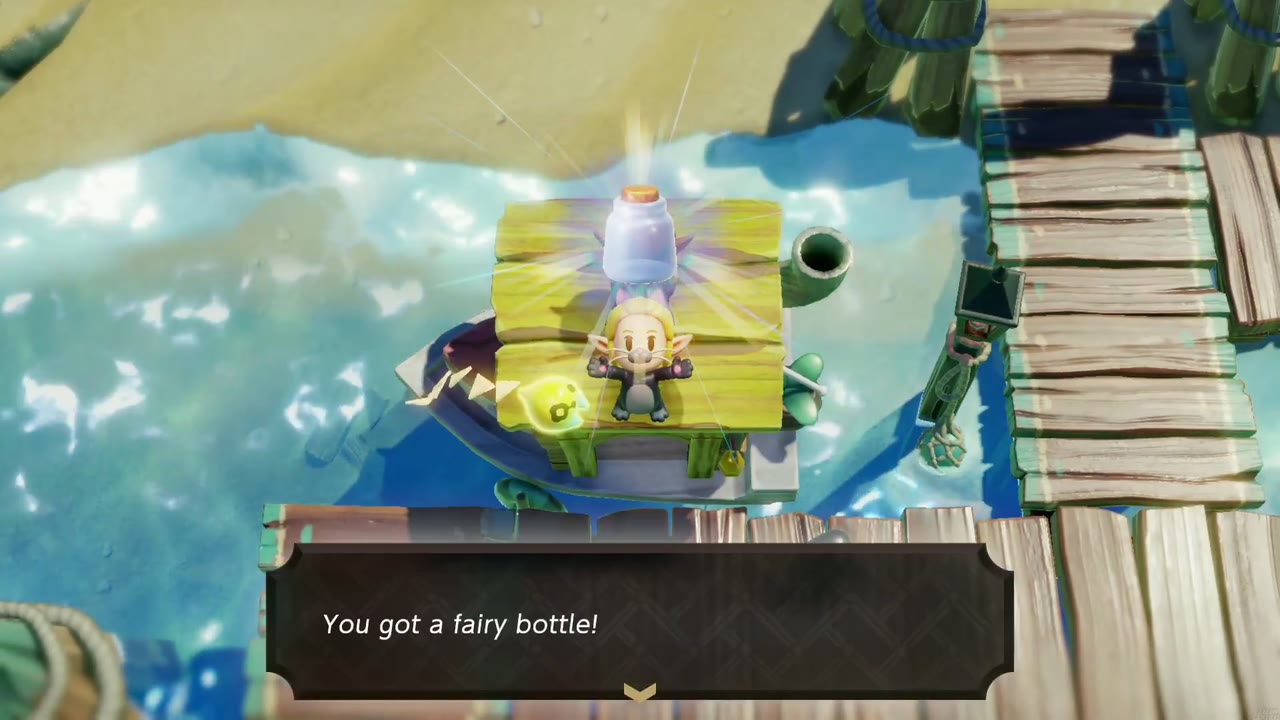
How to obtain: Early in Suthorn Forest, a cave sits beside a pond. Inside, fire Zols crawl through a red-rock cave. Defeat one to learn the Ignizol echo, then summon it to burn down the field of tall grass that blocks the way. The chest behind it holds the bottle (“You got a fairy bottle!”). Later in the forest, past the Caromadillo cave, dive into a pond to catch your first fairy in it.


Fairy Bottle #2: Cuccos on the Loose
How to obtain: It’s the reward for the side quest Cuccos on the Loose in Kakariko Village, at the foot of Eldin Volcano. The woman who keeps the cucco pen beside the little pond has lost her five cuccos. Pick each one up where it’s wandering in the village and carry it back into the pen. When all five are home, she gives you the bottle at the pen gate (“You got a fairy bottle!”).
Tip: Her parting advice works: lift a cucco over your head and jump from a high place to glide.

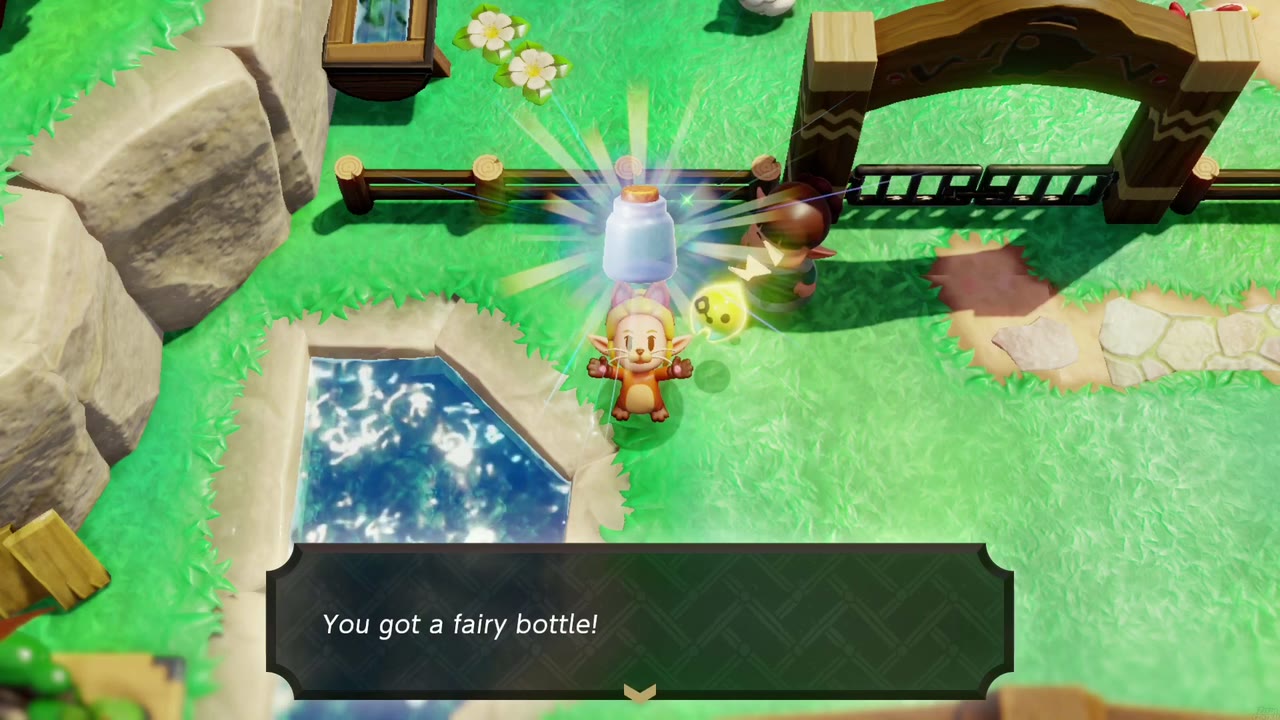
Fairy Bottle #3: Stamp Rally (third card)
How to obtain: It’s the reward for filling the third stamp card, the thrilling stamp card, so you need 15 stamps in total. When you press the fifth stamp on that card, Stamp Guy parachutes in and hands over the bottle (“You got a fairy bottle!”), then gives you the exhilarating stamp card. Any stand can be your 15th, because each one fills the next empty circle. See All Stamp Stand Locations.

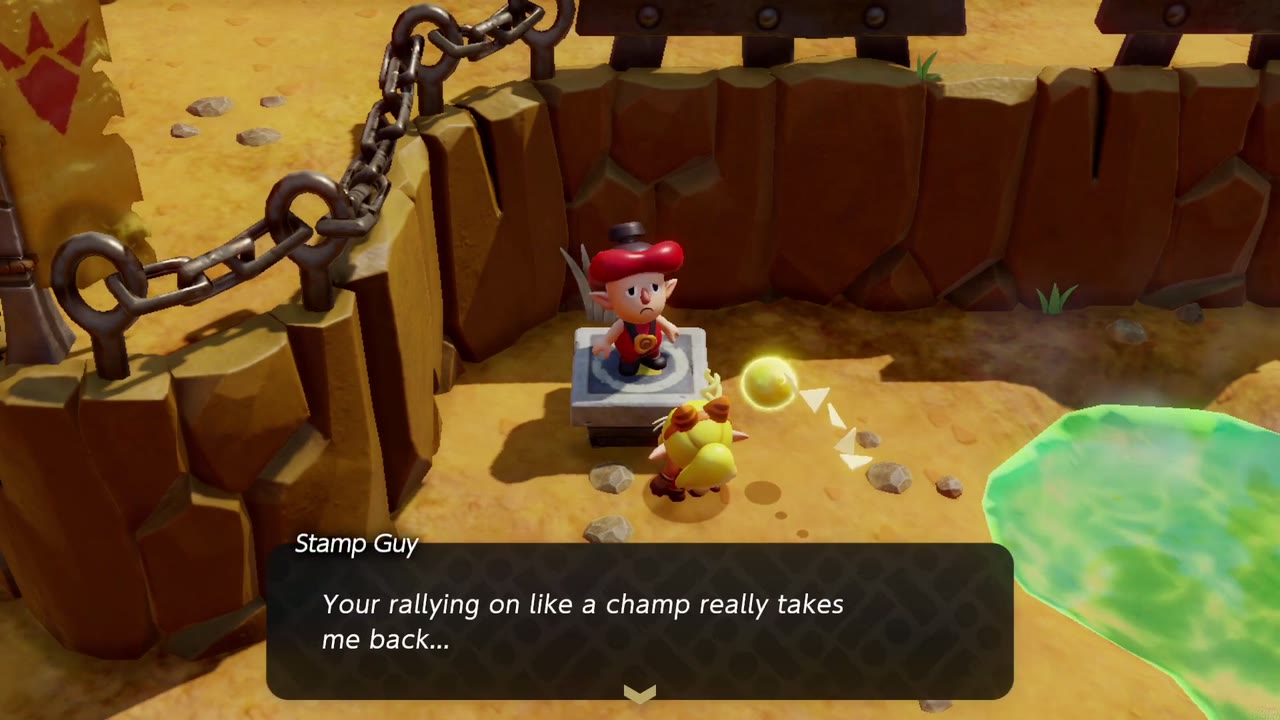
Fairy Bottle #4: The Zappy Shipwreck
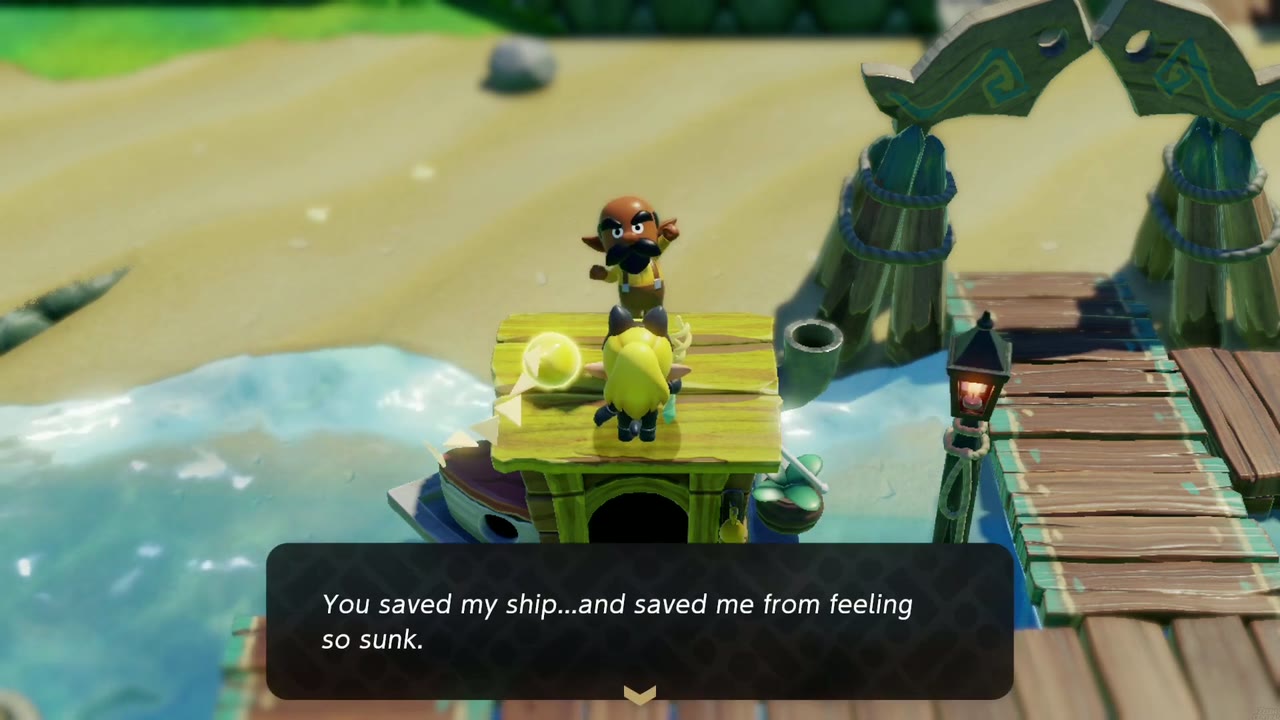
How to obtain: It’s the reward for the side quest The Zappy Shipwreck in Jabul Waters. Swim out to the wrecked ship on the rocks in the southwest waters and work your way down to its electrified bottom room. Beat the giant electric jellyfish there (it also drops a Piece of Heart). Then talk to the sailor on his boat at the Seesyde Village dock and he gives you the bottle (“You got a fairy bottle!”).
Tip: You don’t need to talk to the sailor first. If you’ve already cleared the wreck, one trip to the dock gets you the bottle. Then stop at the Great Fairy Shrine at Lake Hylia to fill it.
Accessories
Accessory Slots
Use: Accessories only work while they are equipped, and the number you can wear at once is limited. Zelda starts with a single accessory slot. Each visit to the Great Fairy adds one more, up to five.
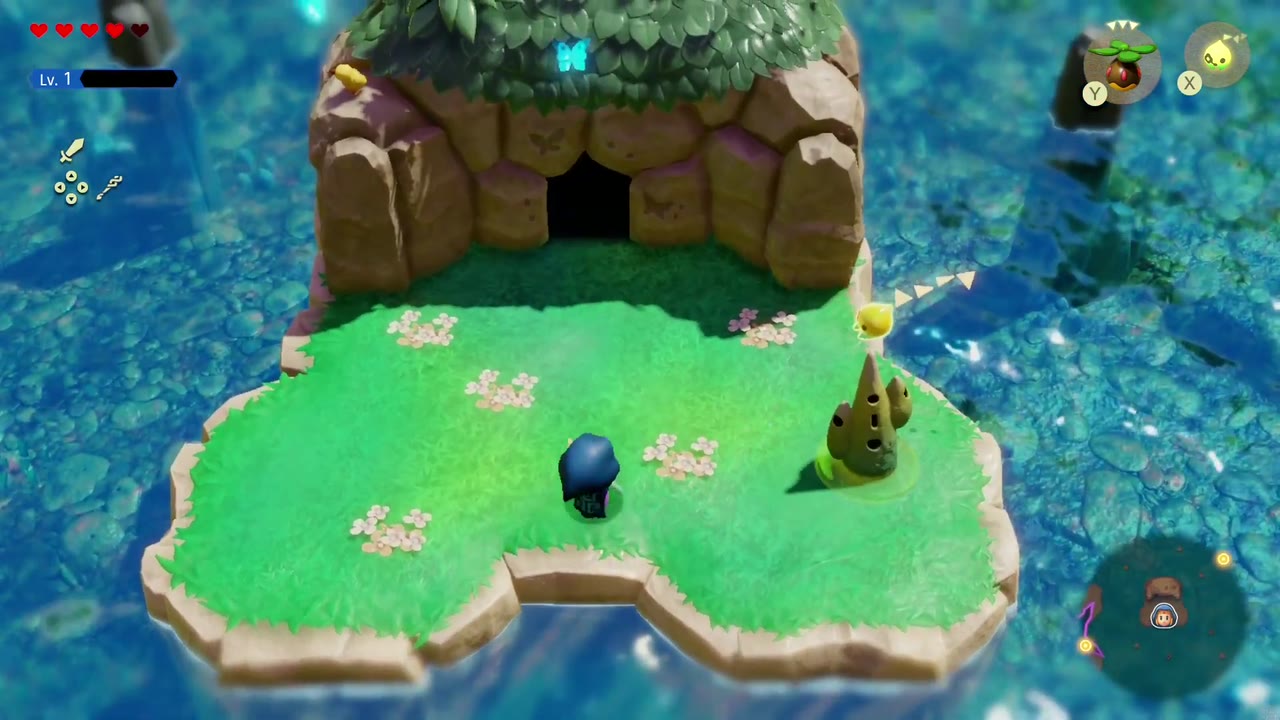
How to obtain: Go to Lake Hylia, south of Eastern Hyrule Field. Swim out to the small grassy island with a cave mouth in its rock face. Entering the cave saves the spot as a warp point, so later visits are a quick warp away. Inside is the Great Fairy Shrine. Wake the Great Fairy, choose “Make me more stylish!” and pay her up front: 100 rupees for the first extra slot (“Your accessory limit has been raised by one!”), then 300, then 500, and finally 1,000 rupees, which she says “will have to be the last time.” That’s 1,900 rupees for all four, giving five slots. The same shrine later starts The Great Fairy’s Request.
Tip: The first two upgrades cost only 400 rupees together and you can reach the shrine early on, so get them before you start buying shop accessories.


Zora’s Flippers
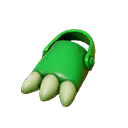
Use: Swim Speed Up. “These flippers resemble Zora fins. You can swim faster while wearing them.”
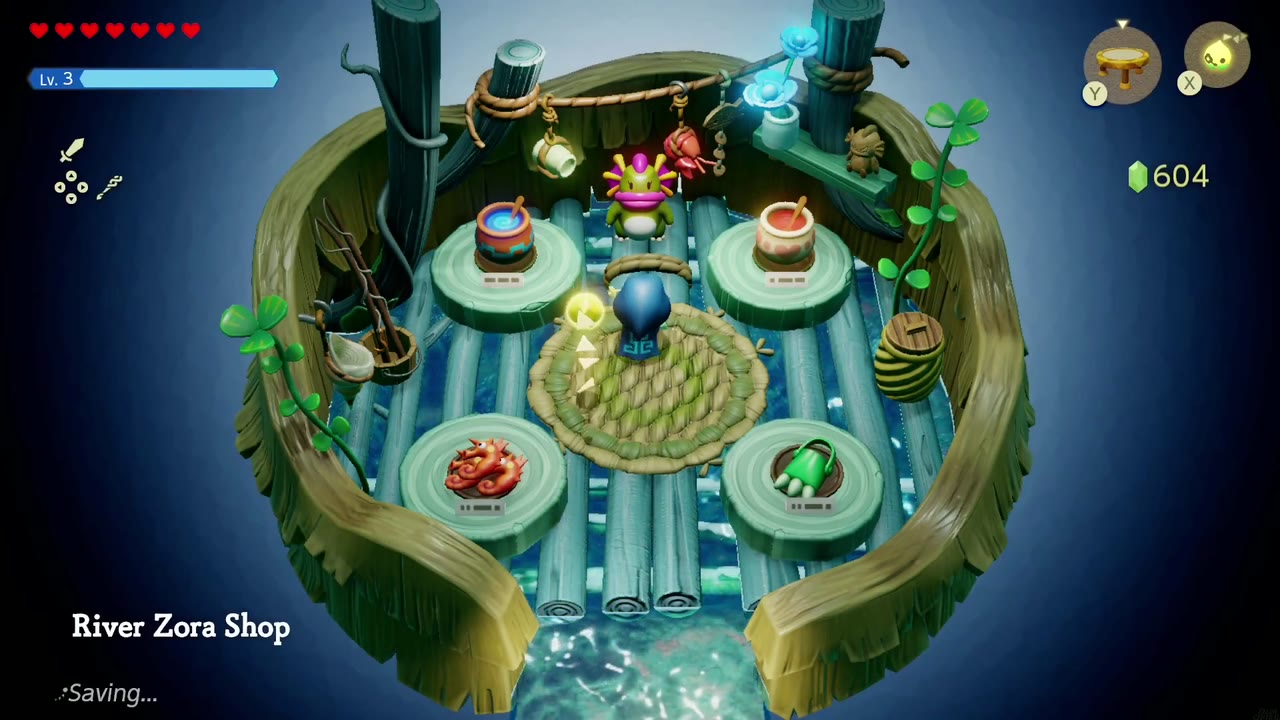
How to obtain: Buy them for 350 rupees at the River Zora Shop, the shop hut in River Zora Village in Jabul Waters.
Tip: Jabul Waters is mostly water, so they’re worth buying as soon as you arrive. They make you faster but don’t let you stay under longer; that’s the Zora Scale.


Zora Scale
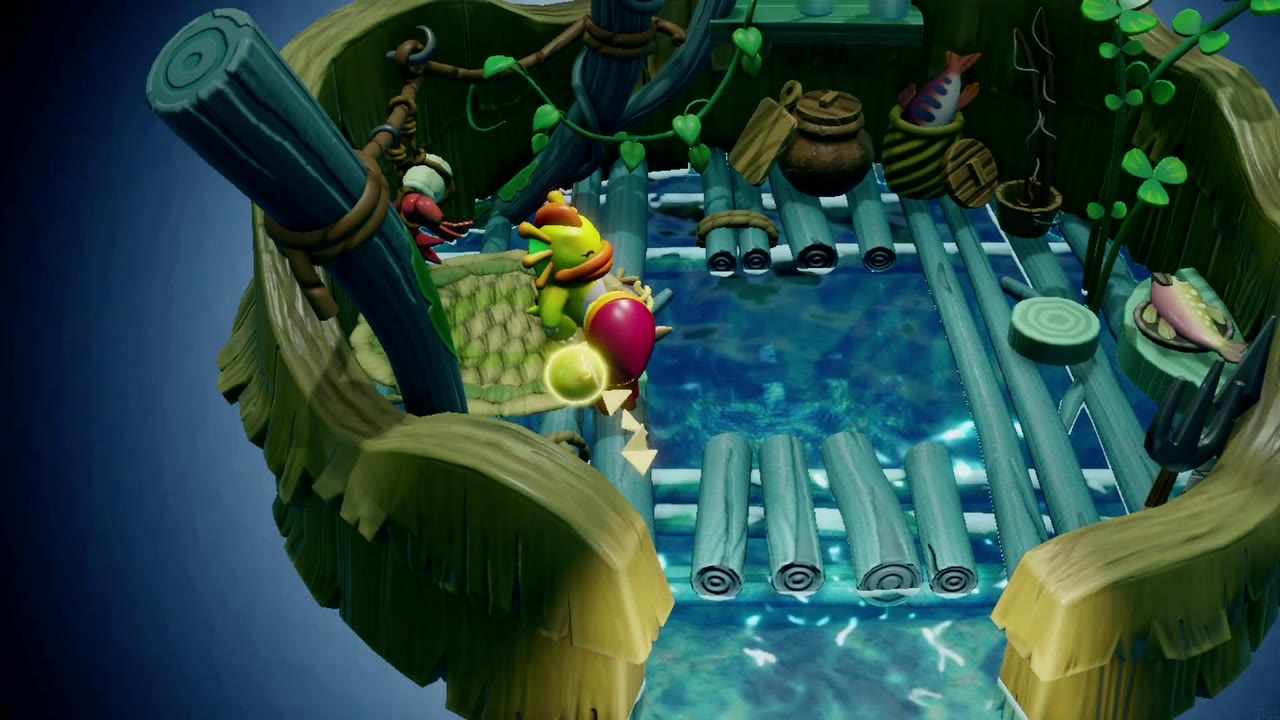
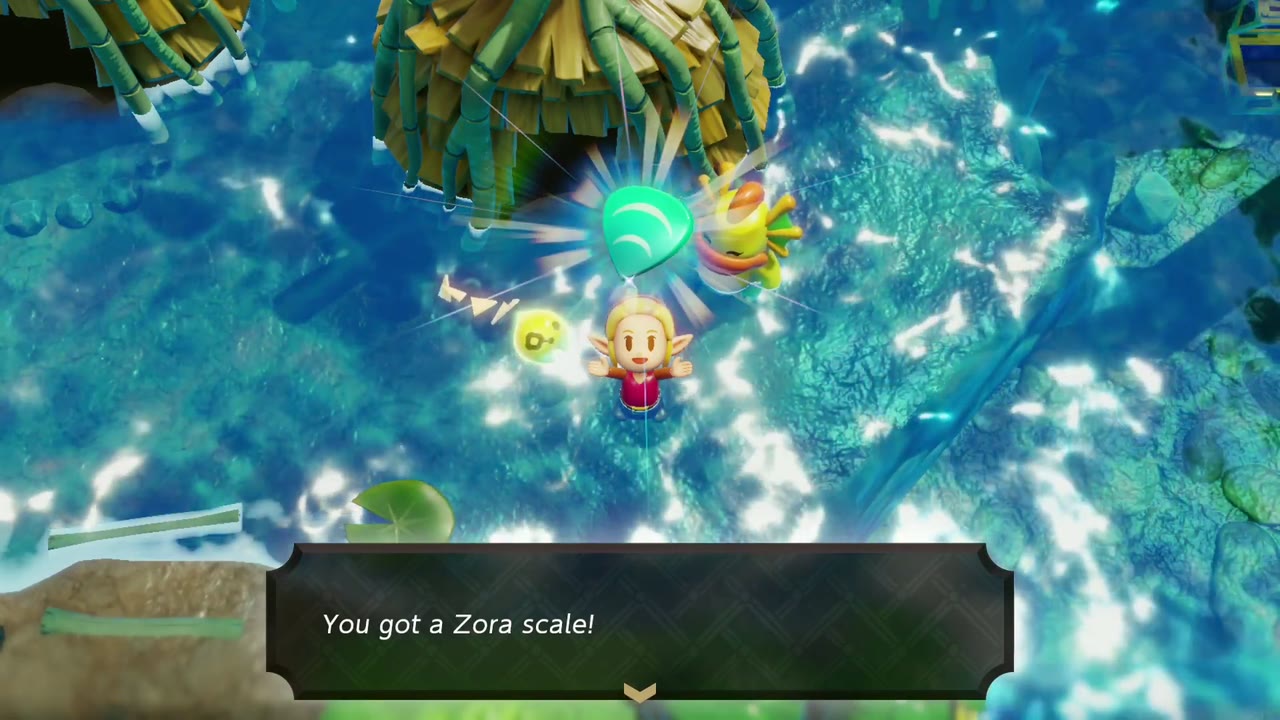
Use: Dive Time Up. “It’s a charm made with secret Zora methods, and it enables the wearer to hold their breath for longer underwater.”
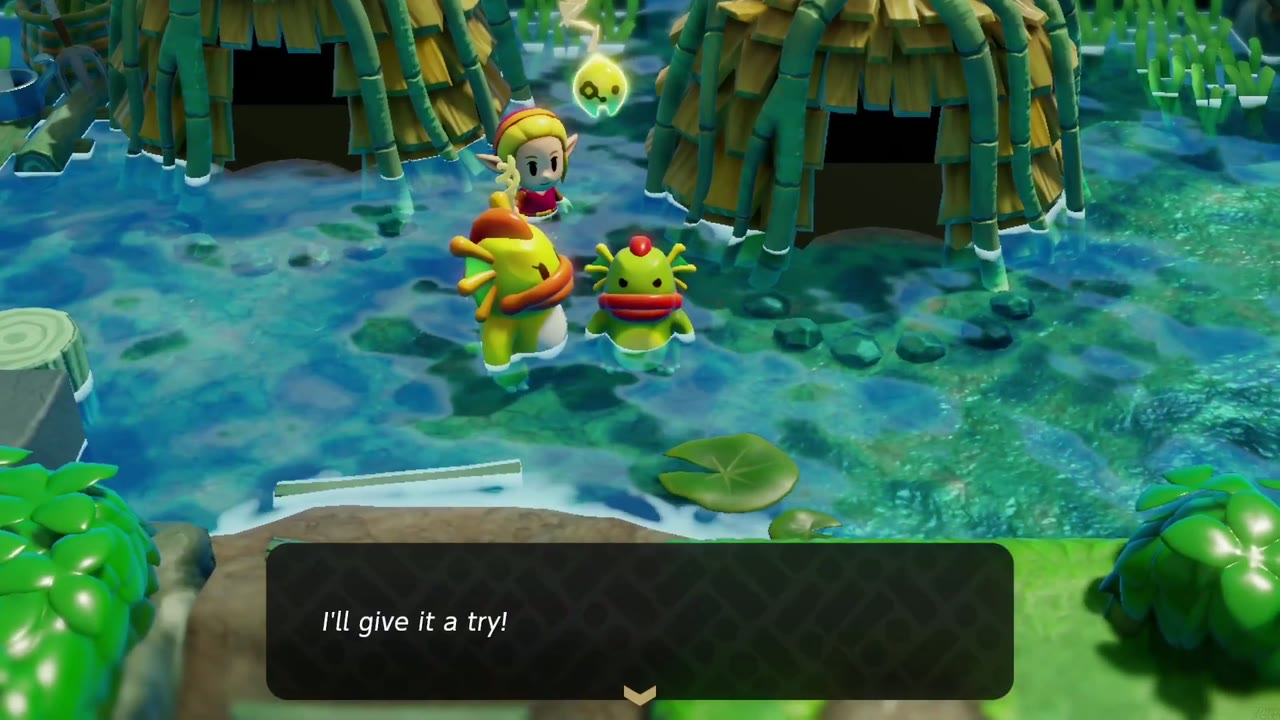
How to obtain: It isn’t sold anywhere. It’s the reward for the side quest The Zora Child’s Fate in River Zora Village: summon the three monsters the boy’s mother asks for into the pool in her hut (a Tangler, a Bombfish, then a Biri). She makes her son a scale so he can swim, then gives you the same charm.
Tip: Wear it for long dives and underwater passages; pair it with Zora’s Flippers if you have a spare slot.
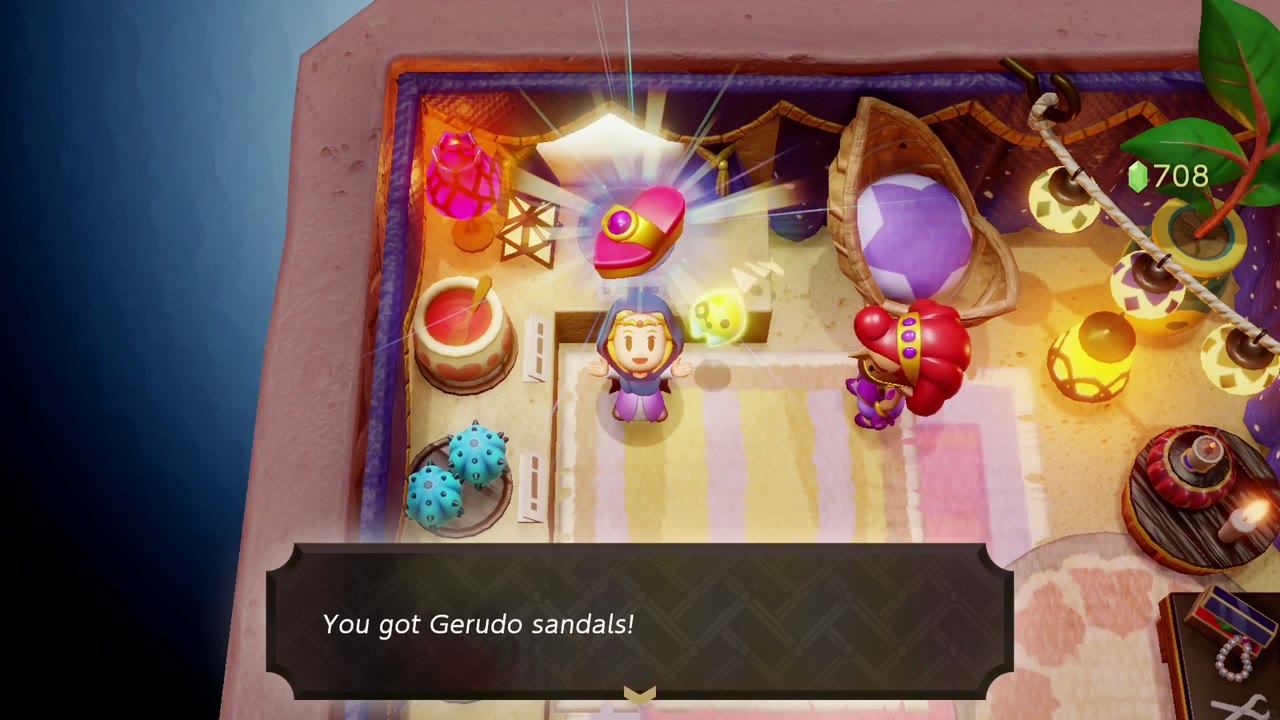
Gerudo Sandals
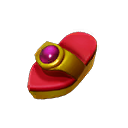
Use: Quicksand-Proof. “Wear these traditional desert sandals to prevent yourself from sinking in quicksand.”
How to obtain: Buy them for 400 rupees at the Gerudo Shop in Gerudo Town, Gerudo Desert.
Tip: You may not have 400 rupees on your first visit to Gerudo Town; come back for them once you can afford them.


Gold Sash
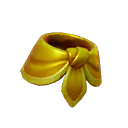
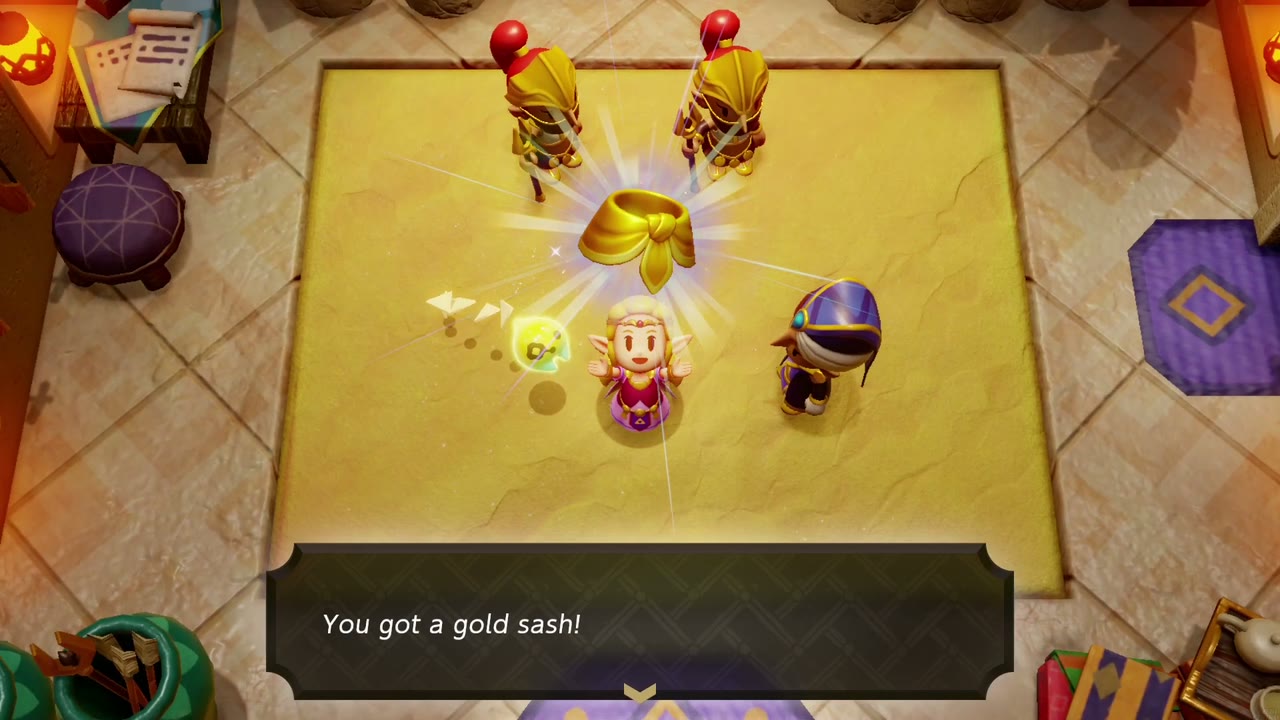
Use: Windproof. “This useful waistcloth woven with golden thread will protect you from being windblown.”
How to obtain: Reward for the side quest Wild Sandstorms. Talk to the two soldiers in the Gerudo Palace training room in Gerudo Town, then go out past the Oasis into the desert sandstorm and defeat the Lanmola. Report back to the training room and Lady Facette hands you the Gold Sash.
Tip: The Lanmola also drops a Piece of Heart, so grab it before you head back.

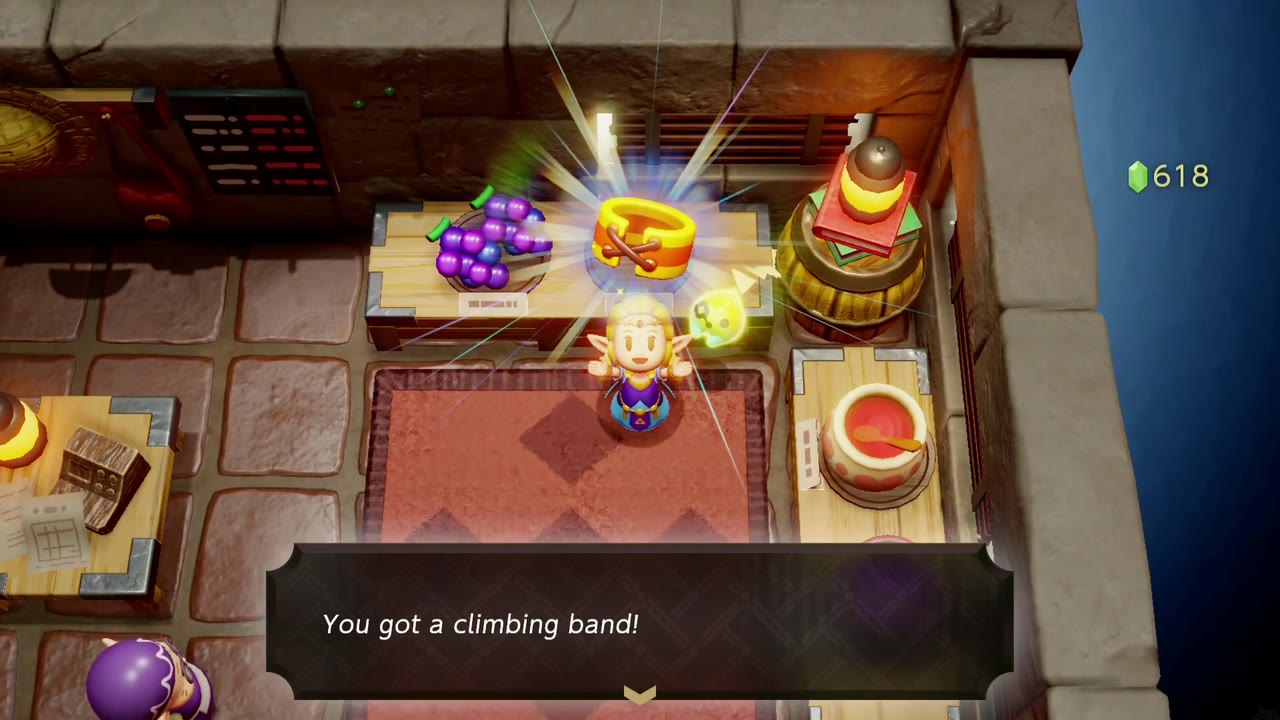
Climbing Band
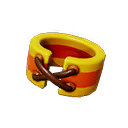
Use: Wall-Climb Speed Up. “This leather band protects your wrist, helping you climb ladders and rock walls faster.”
How to obtain: Buy it for 500 rupees at the Kakariko Village Shop (see Eldin Volcano for Kakariko Village). The shop has only one.


Goron’s Bracelet
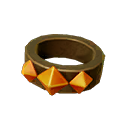
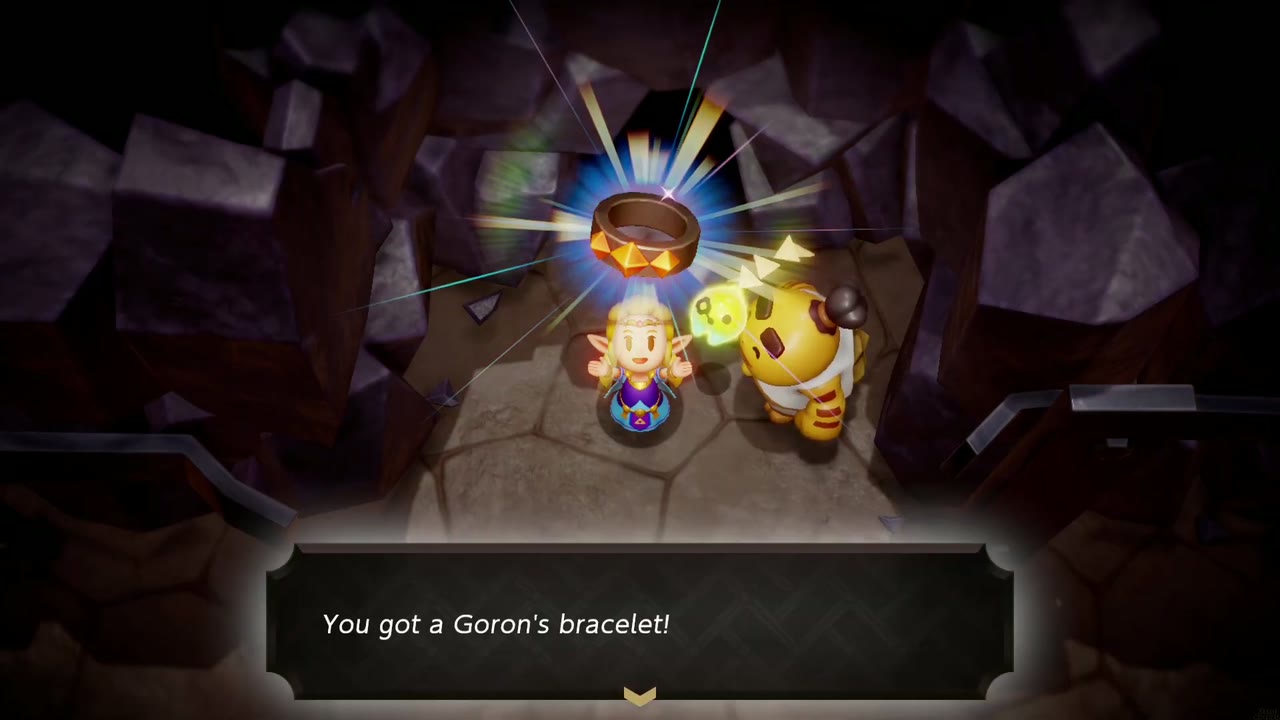
Use: Carry Speed Up. “It’s a Goron treasure that grants great strength. While you’re wearing it, you can carry things faster.”
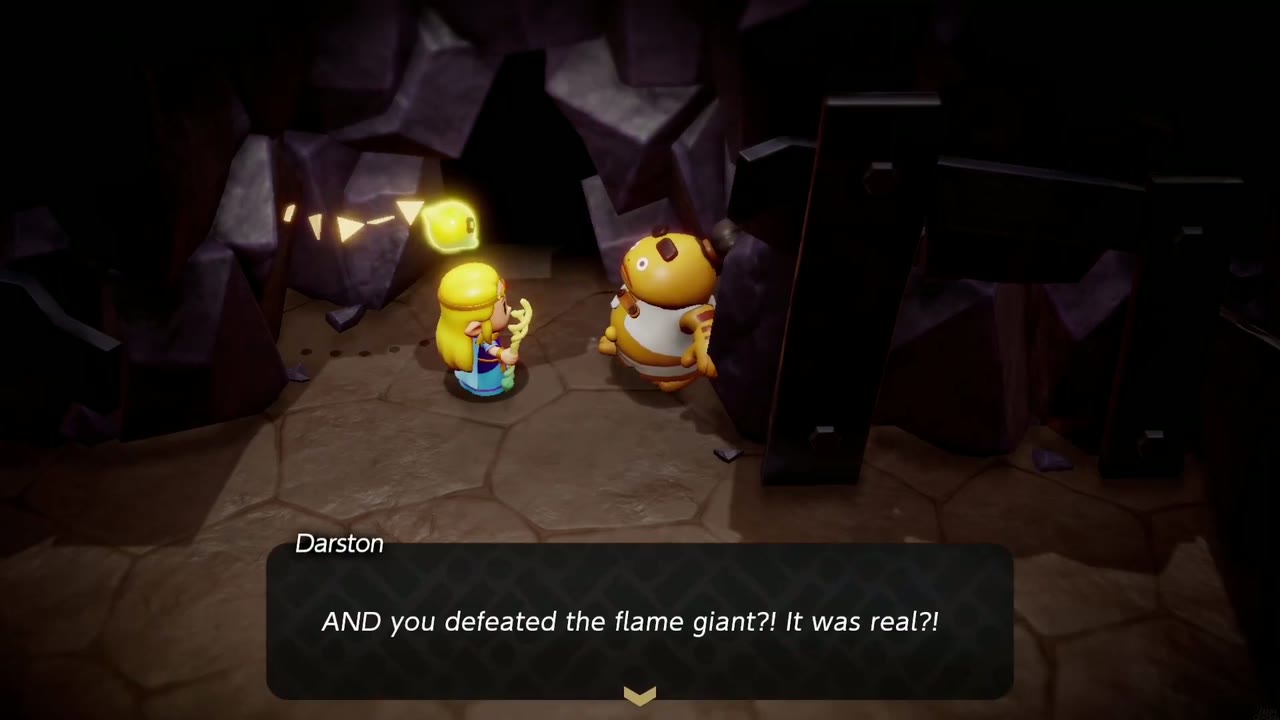
How to obtain: Reward for the side quest A Mountainous Mystery, available after Eldin Temple. Meet Chief Darston in Summit Cave on Eldin Volcano, fight through the cave and defeat the flame giant (put out its flames with Water Block echoes). Take the blue warp out and Darston gives you the Gorons’ heirloom bracelet.
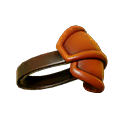
Spin Brace
Use: Knockback Spin. “Wearing this sturdy but light shoulder pad will enable you to knock back foes you hit with a spin.”
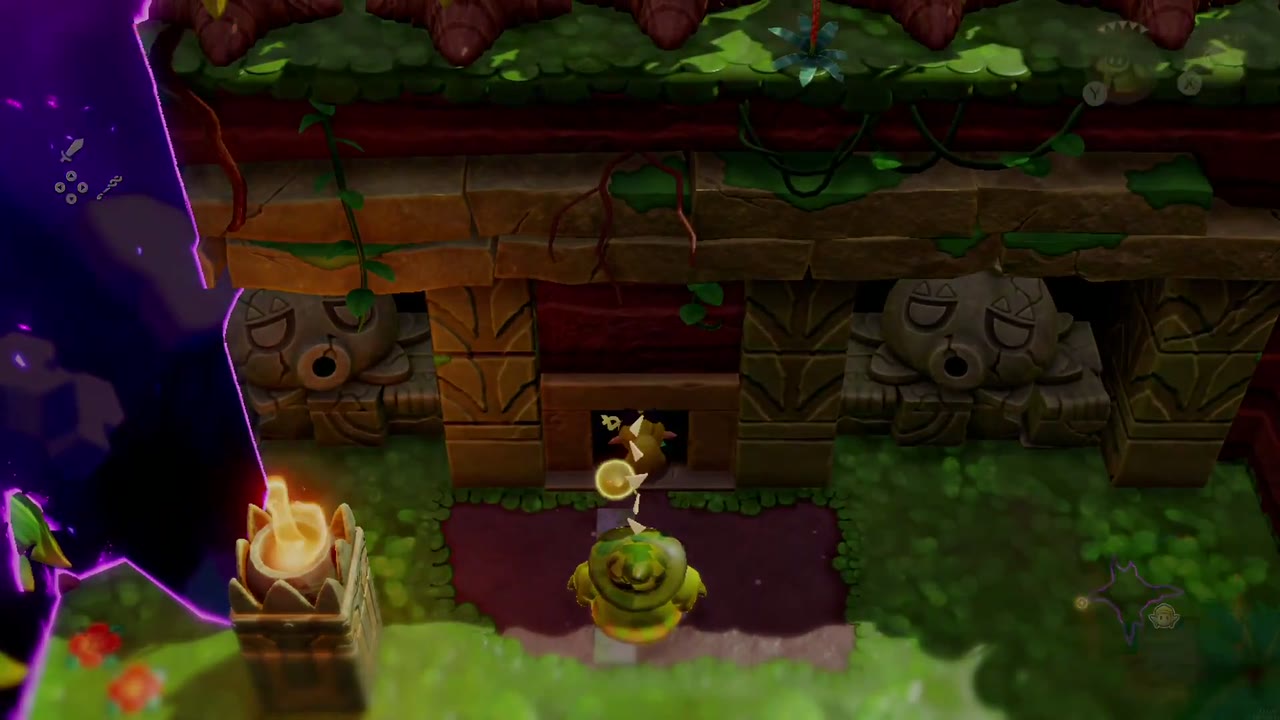
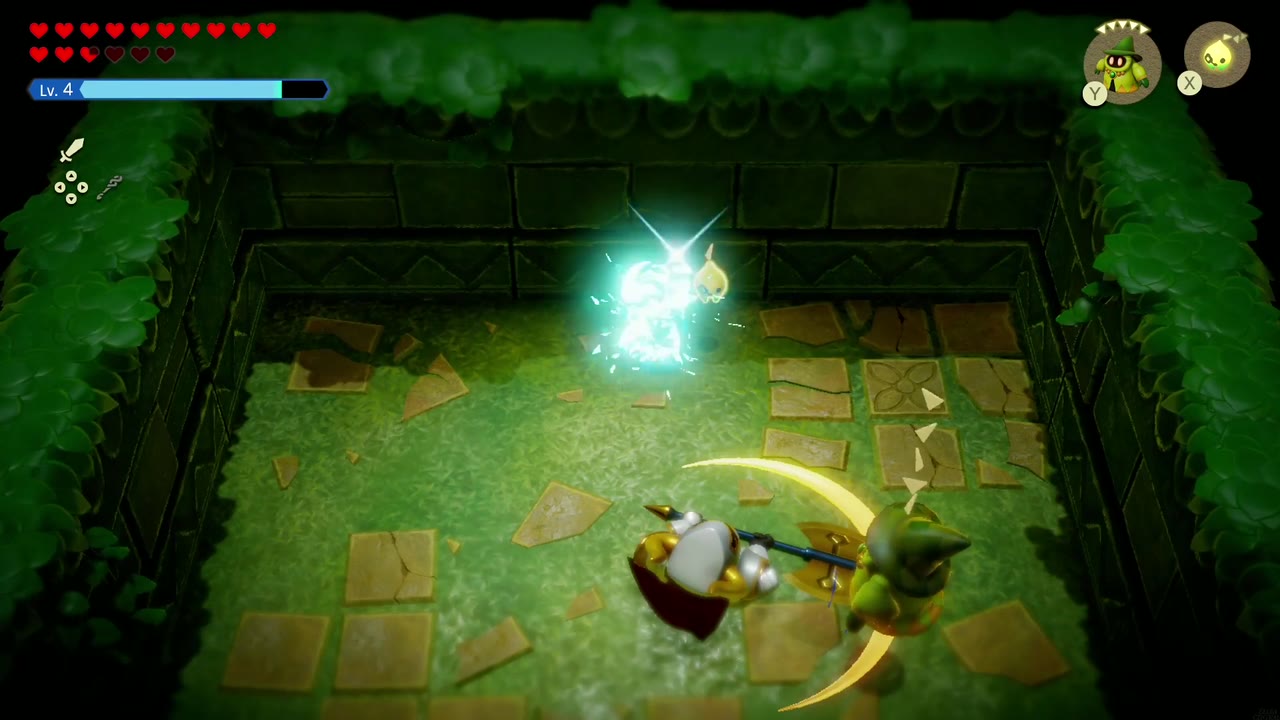
How to obtain: In a stone ruin in Faron Wetlands, on the way to Scrubton. The entrance has carved faces and stands beside a rift, with a lit torch in front. Cross the room of narrow walkways over pits, climb through the side-view chamber with Beamos, and in the mossy room at the end defeat the Darknut Lv. 3. A chest then appears with the Spin Brace.
Tip: Beating that Darknut also teaches you the Darknut Lv. 3 echo.

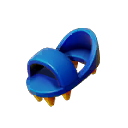
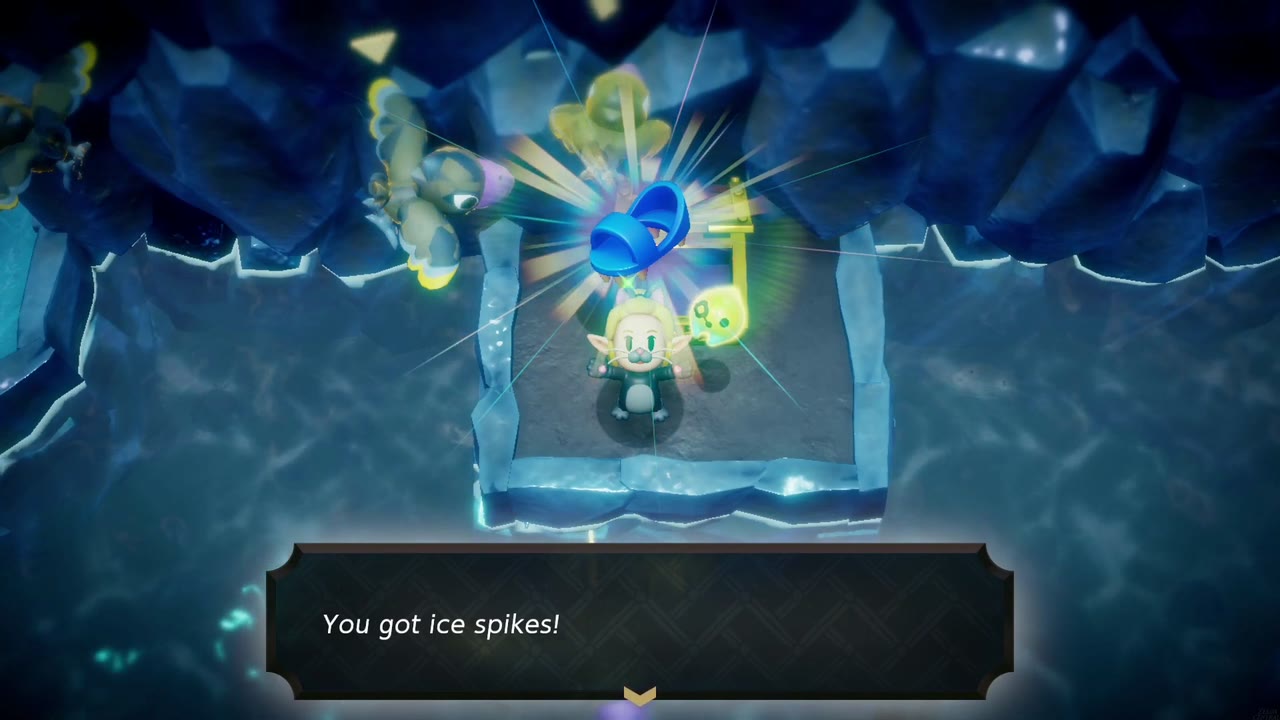
Ice Spikes
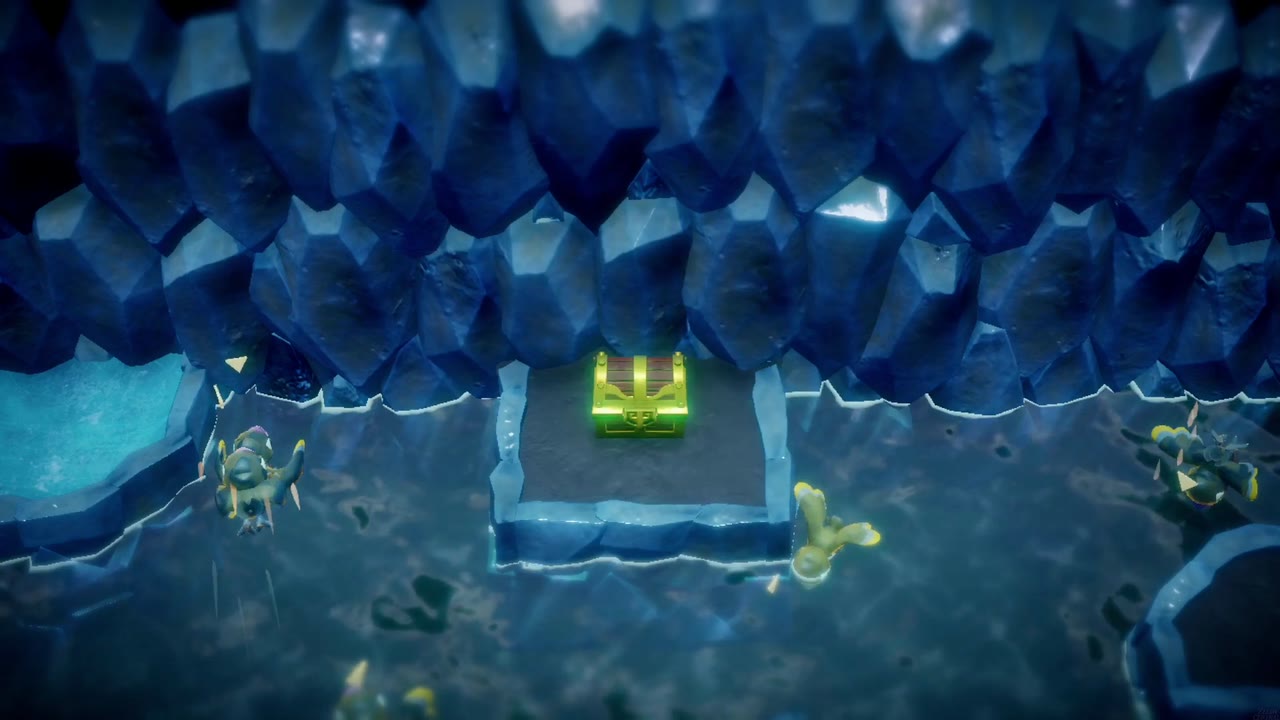
Use: Slip Reduction. “This footwear has spikes that stick into the ice. Wear them to prevent slipping.”
How to obtain: In an ice cave on the way up Hebra Mountain; the entrance is in the rock face past the snowy forest clearing. Get through the room of Tektites, then swim across the flooded room of Ice Octos and Freezards to a chest on a raised platform.
Tip: Put them on right away; the rest of the climb is full of ice.
Frog Ring
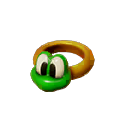
Use: Jump Height Up. “This ring is imbued with the spirit of a frog and enables the wearer to jump higher.”
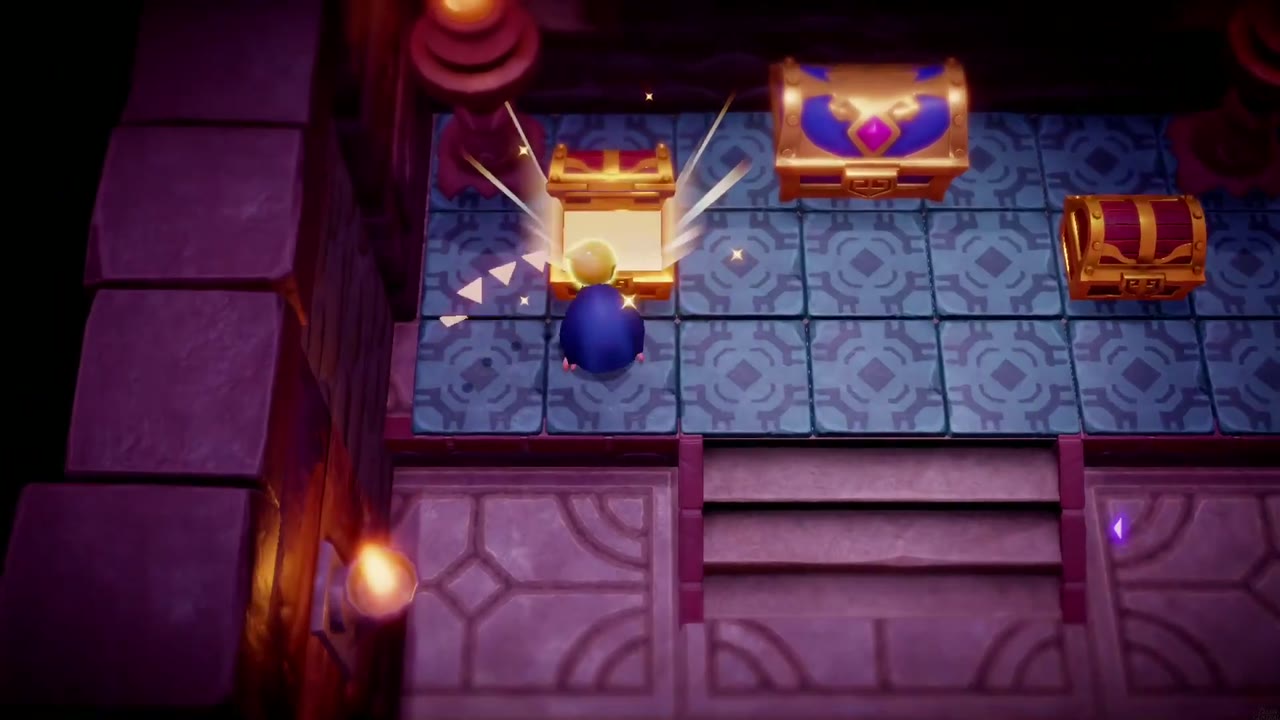
How to obtain: In Stilled Hyrule Castle, in the three-chest treasure room on B2. The left chest holds the Frog Ring; the right one has a Golden Egg and the big center chest the Big Key.

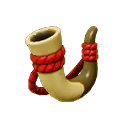
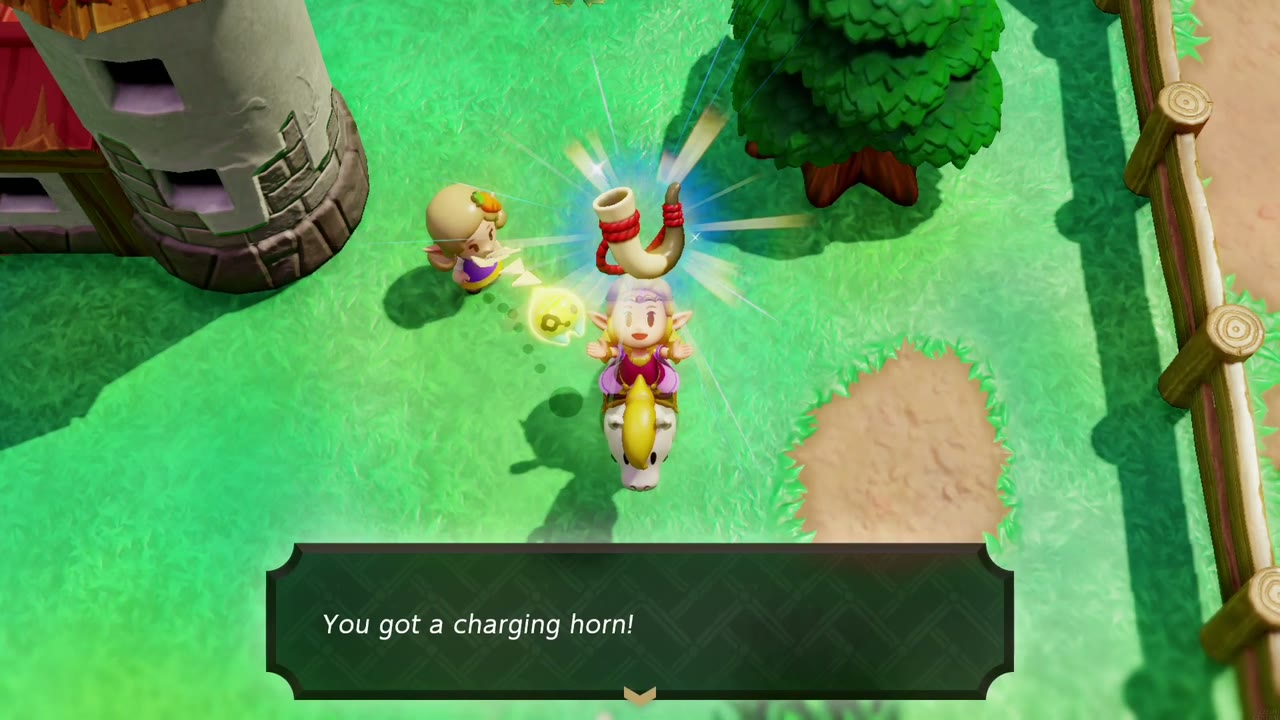
Charging Horn
Use: Horse Attack Up. “Wear this charm made of strong horn while riding horses to power up their charges.”
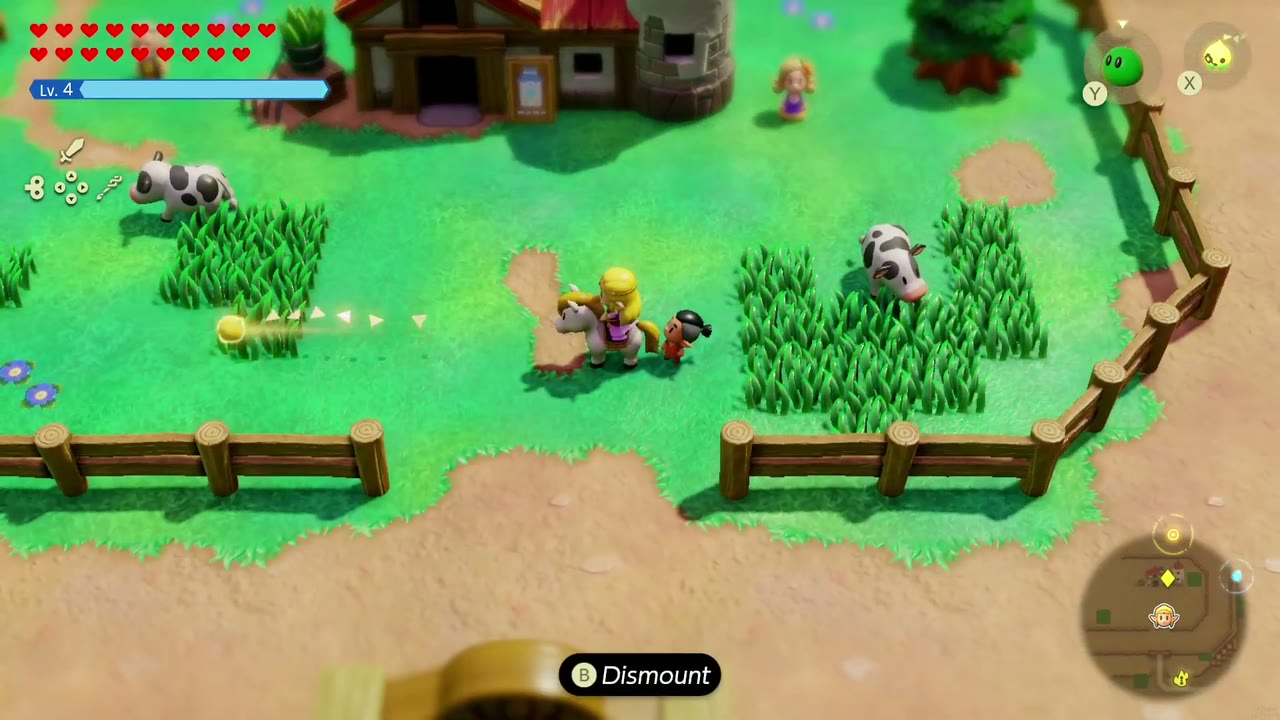
How to obtain: At Hyrule Ranch, ride the long course of the Flag Race and beat the master time of 40 seconds. The ranch girl beside the ranch house runs the races once you’ve finished Runaway Horse.

Stone Anklet
Use: Knockback Reduced. “If you wear this heavy anklet, it will stabilize your footing and reduce knockback.”
How to obtain: Buy it for 400 rupees at the Hyrule Castle Town Shop (see Hyrule Castle).


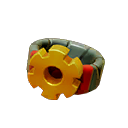
Clockwork Bangle
Use: Winding Speed Up, so your automatons wind up faster.
How to obtain: Sold by Dampé at Dampé Studio in Eastern Hyrule Field once he has built all six automatons (start with Automaton Engineer Dampé). It costs 5 Monster Stones rather than rupees.
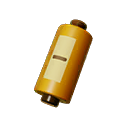
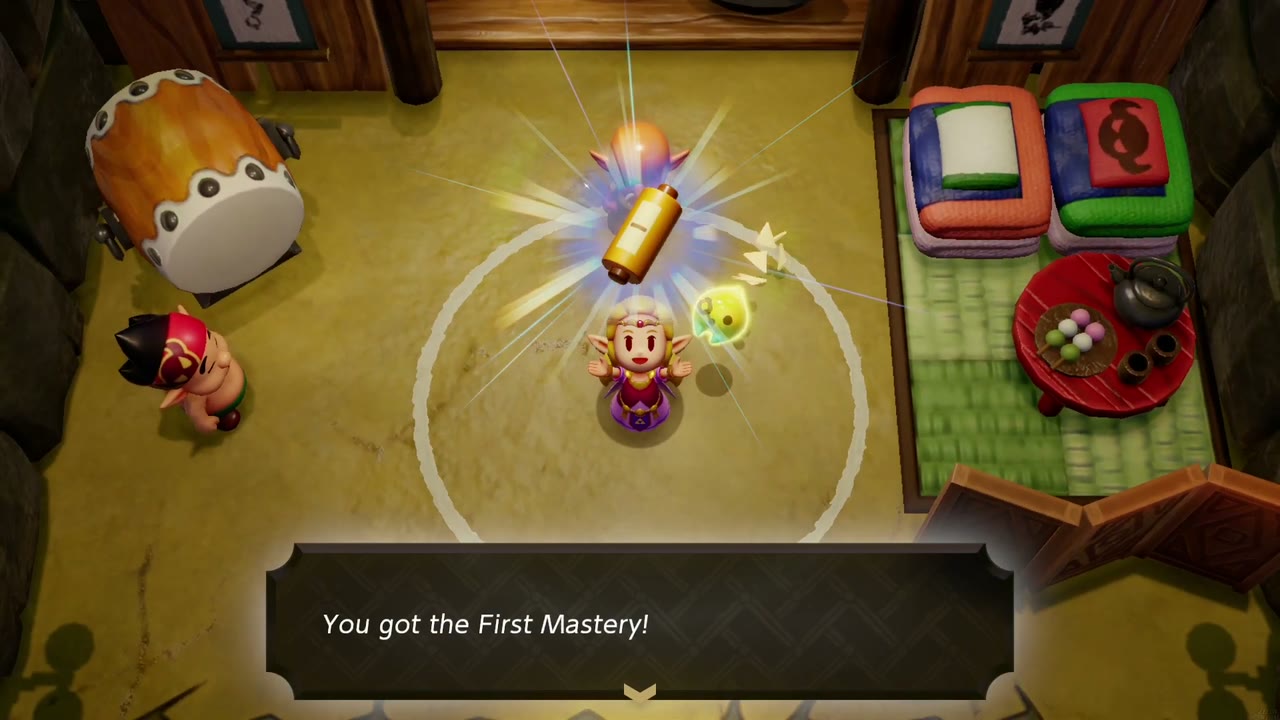
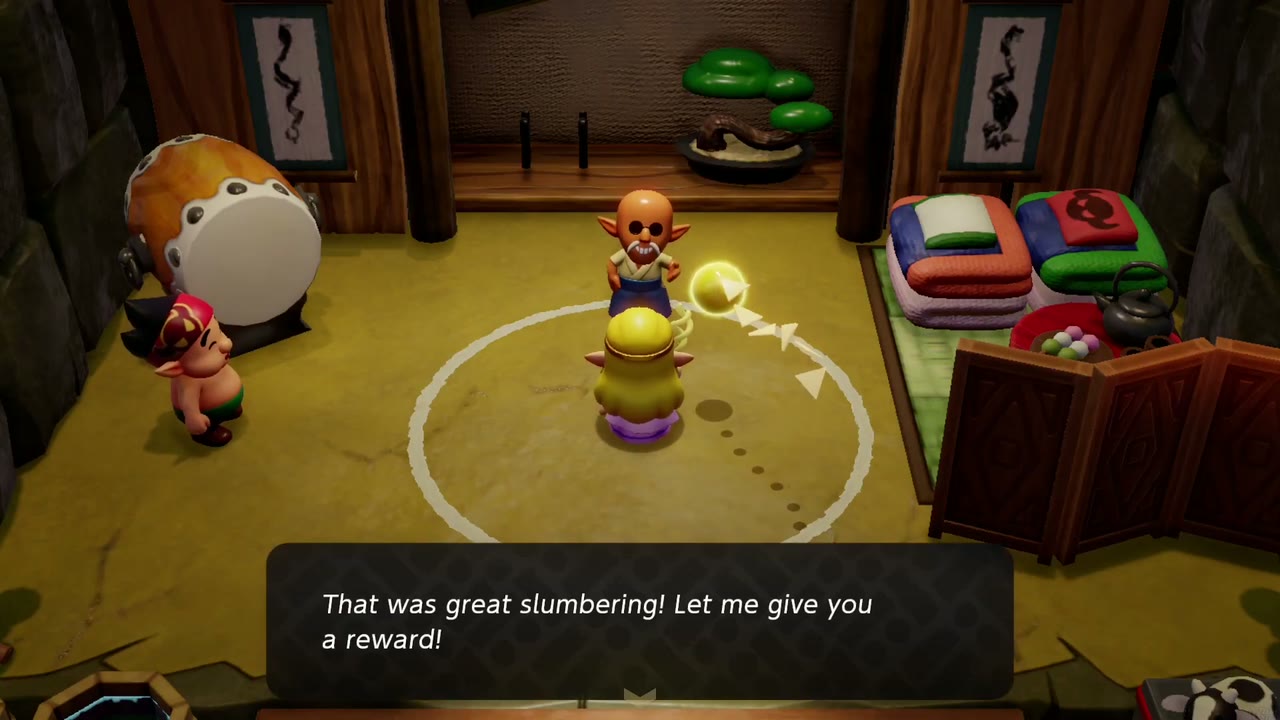
First Mastery
Use: Energy Consumption Reduced Lv. 1. On screen: “It’s a scroll of Shisho’s extremely…specific teachings. Equip it to slightly slow energy loss when you’re in swordfighter form.”
How to obtain: Go to the Slumber Dojo in Kakariko Village (the building with the red gate and banners) and sign up with the dojo master, Shisho; training is free. Pass 4 of his dream trainings and he hands over the First Mastery. See the Slumber Dojo section of the minigames guide for every training and its goal time.
Tip: Shisho’s rewards keep coming: the Heirloom Katana after 6 passed trainings, the Second Mastery after 8 and the Final Mastery after 14.


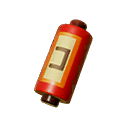
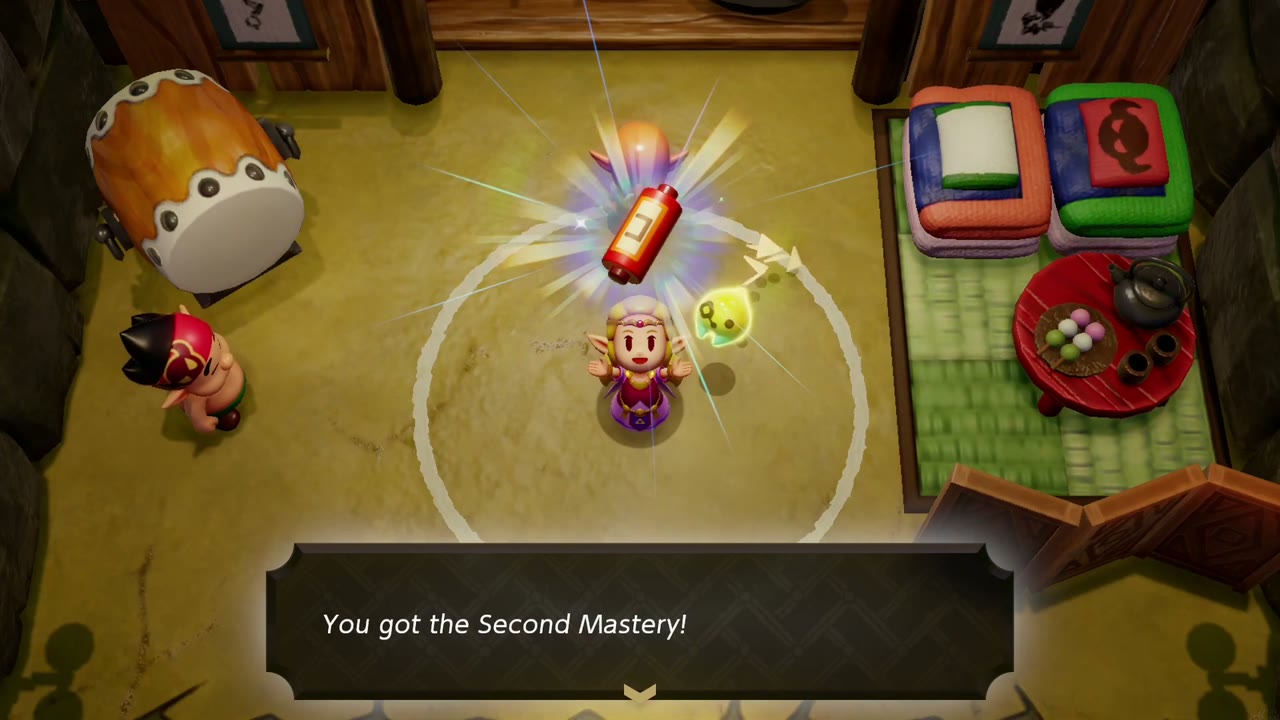
Second Mastery
Use: Energy Consumption Reduced Lv. 2. On screen: “This is a scroll of Shisho’s more interesting teachings. Equip it to really slow energy loss in swordfighter form.”
How to obtain: Keep training at the Slumber Dojo in Kakariko Village. Shisho gives you the Second Mastery when you have passed 8 trainings. Details on each training are in the minigames guide.
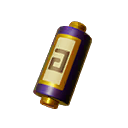
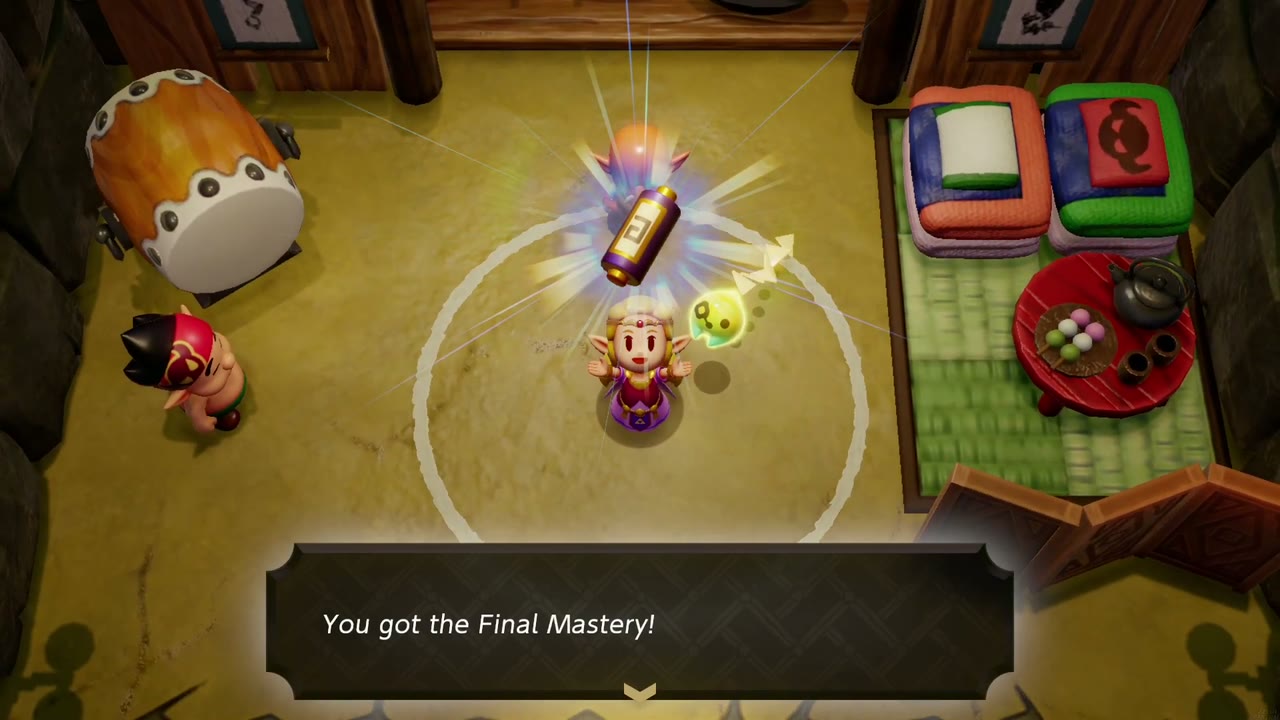
Final Mastery
Use: Energy Consumption Reduced Lv. 3. On screen: “This is a scroll of Shisho’s greatest teachings. Equip it to slow energy loss in swordfighter form even more.”
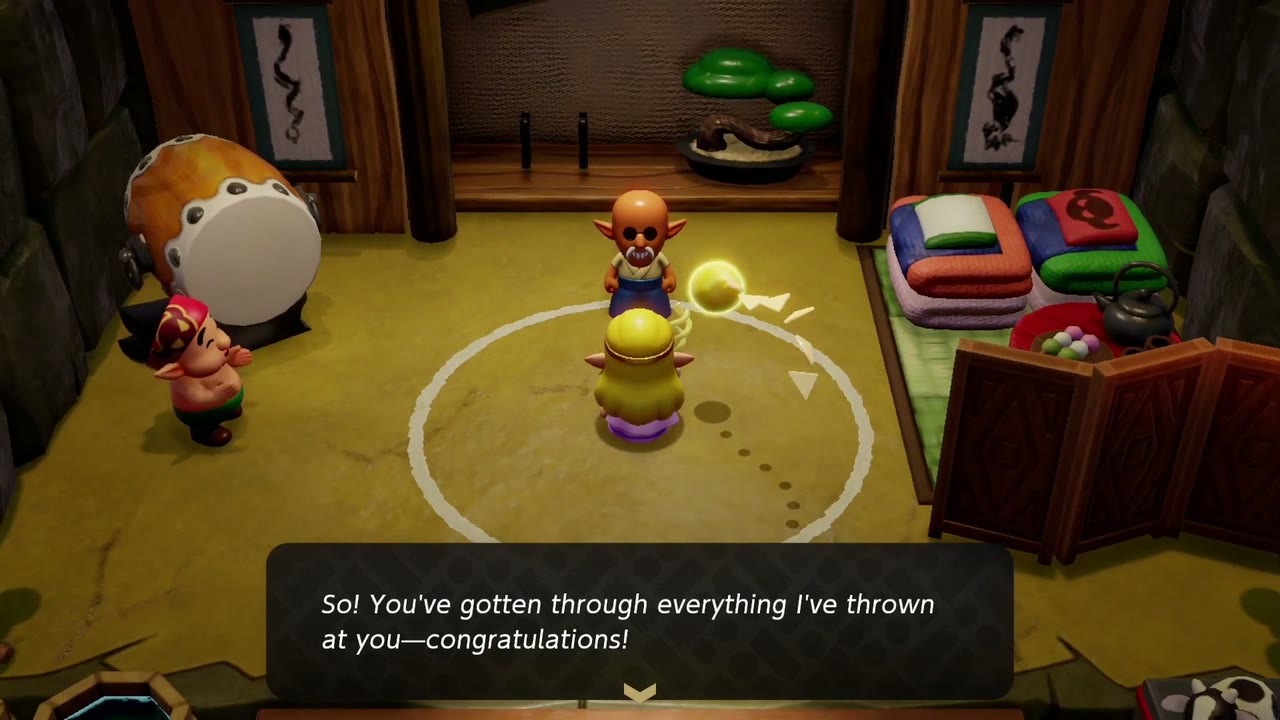
How to obtain: Pass 14 trainings at the Slumber Dojo in Kakariko Village. Shisho congratulates you for getting through everything he has thrown at you and hands over the Final Mastery. The later trainings include long boss-rush dreams, so bring strong echoes; the minigames guide lists them all.


Might Bell
Use: Might Crystal Detection. On screen: “This lovely bell was made by the Great Fairy and rings when it senses a might crystal nearby.”
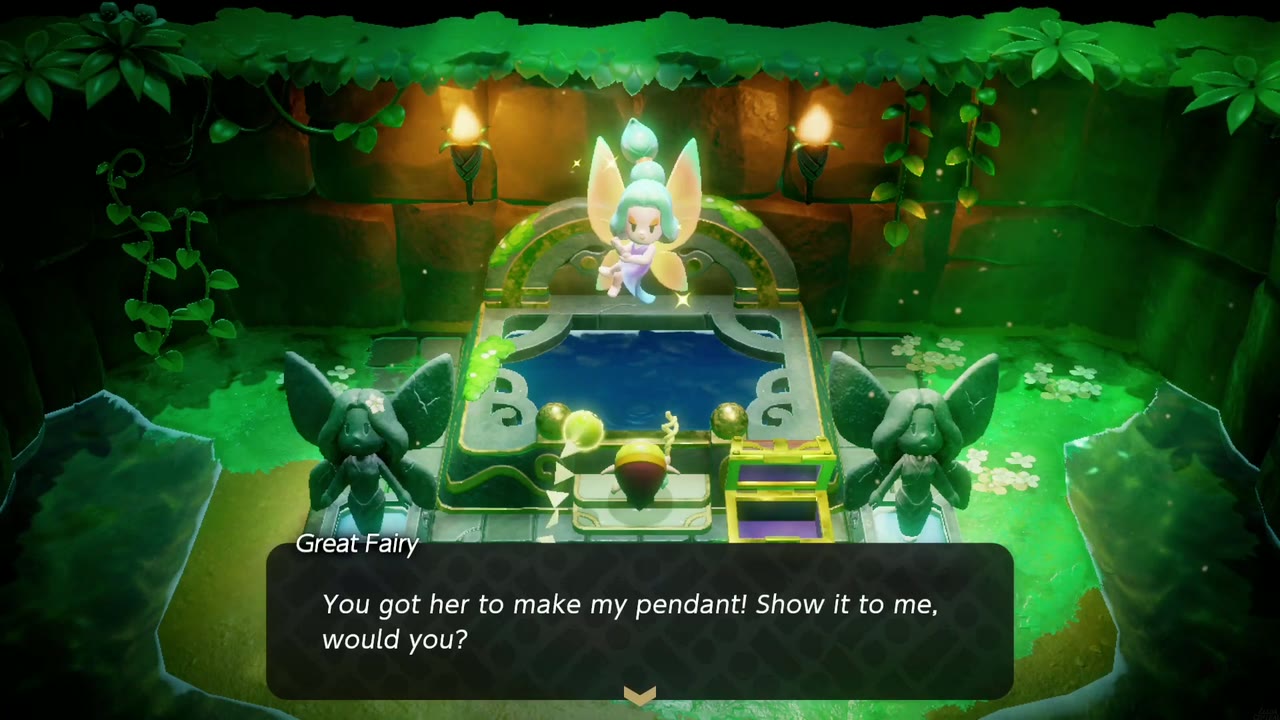
How to obtain: Reward for The Great Fairy’s Request. Open the chest beside the fountain in the Great Fairy Shrine on its islet in Lake Hylia to start the quest. The Great Fairy wants a pendant from the artisan at the Gerudo Shop in Gerudo Town, who needs a magma stone (from the Lizalfos Burrow north of Goron City) and a floral seashell (traded for an unfortunate smoothie in Sea Zora Village). Bring the finished pendant back to the shrine and the Great Fairy gives you the Might Bell.
Tip: Wear it while hunting the last few crystals on the Might Crystals page.


Heart Pin
Use: Heart Appearance Up. On screen: “This hairpin has a distinctive heart design. It makes hearts appear a little more often.”
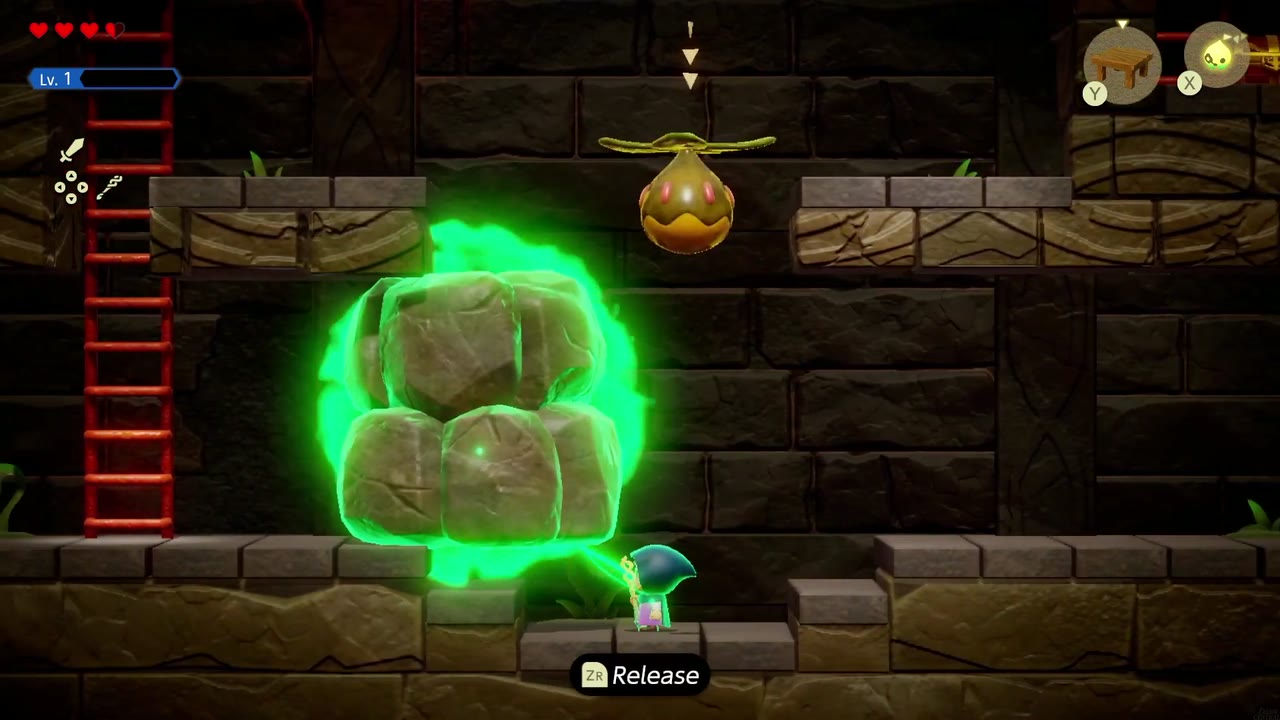
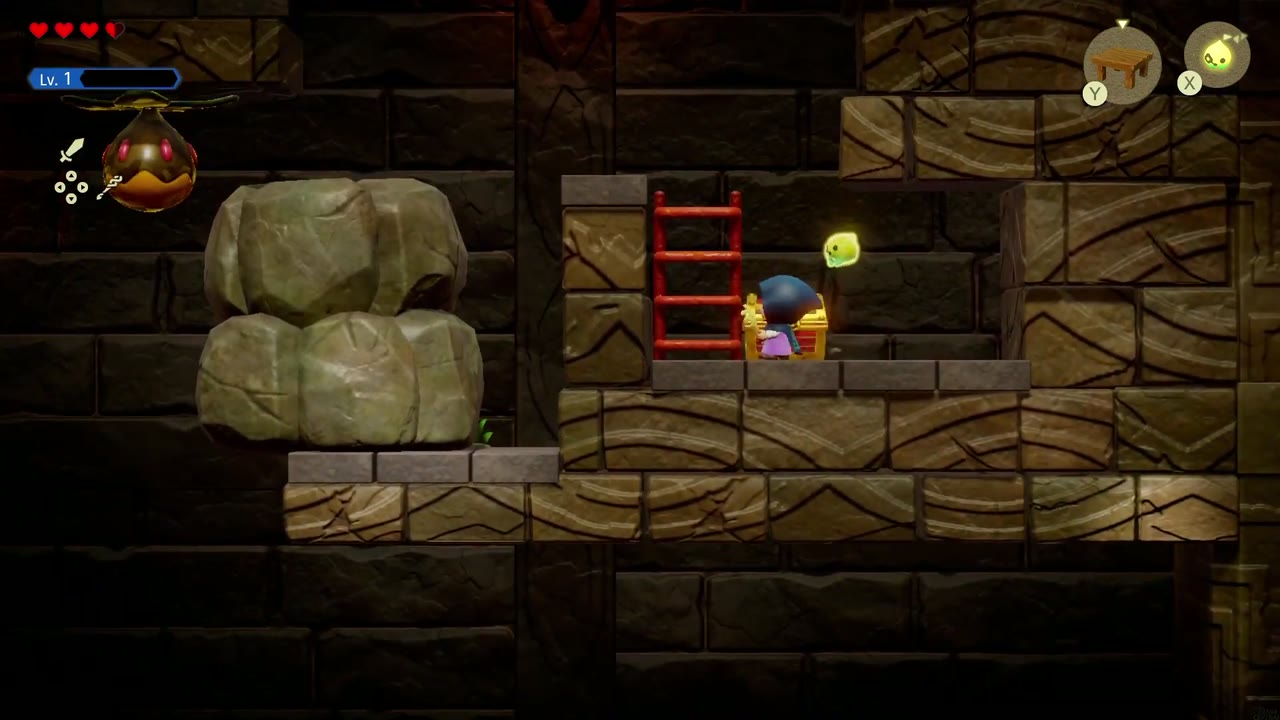
How to obtain: Your first accessory, in Suthorn Ruins. In the side-view room just past the Shadow Link fight, a chest sits on a high ledge to the right of a ladder, with a boulder on the floor below. Summon a Peahat over the boulder, Bind the boulder and climb the ladder so the boulder rises with you, then release it on the upper ledge, step onto it and open the chest. Opening it brings up the Equipment tutorial: accessories are worn from the + menu under Equipment.


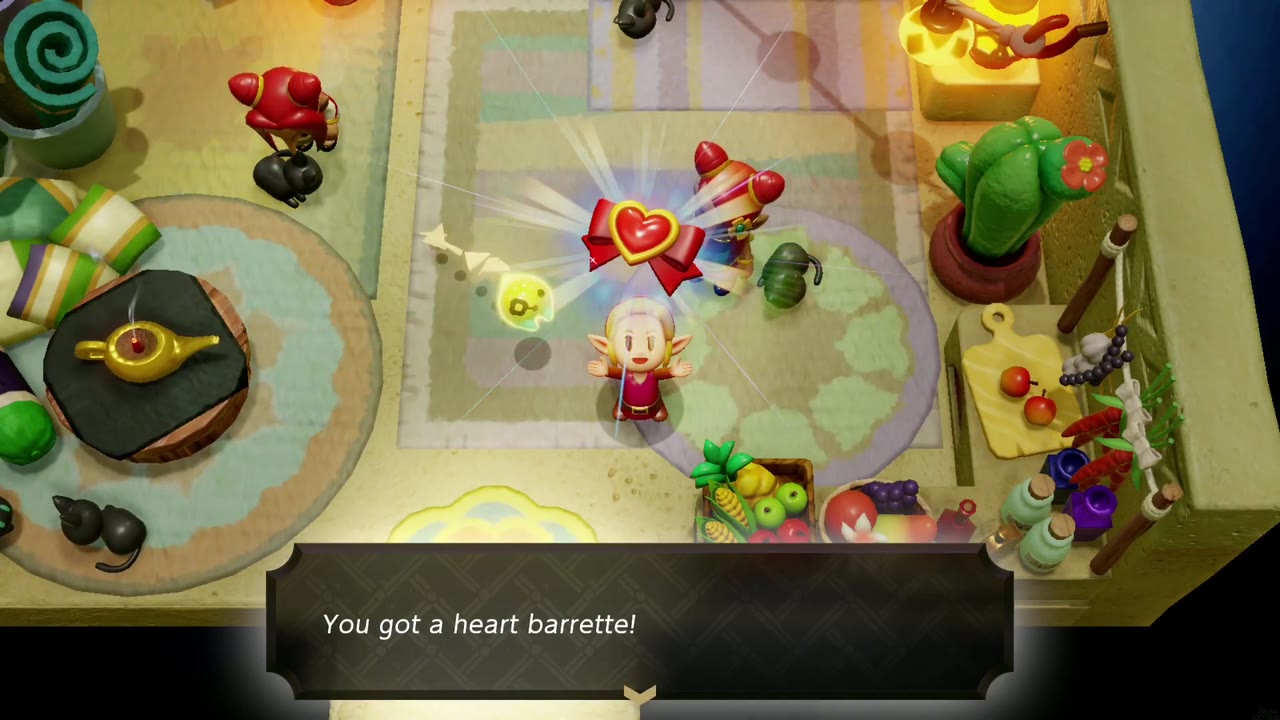
Heart Barrette
Use: Heart Appearance Up +, the stronger partner of the Heart Pin. On screen: “This fancy barrette has a heart motif. It makes hearts appear more often.”
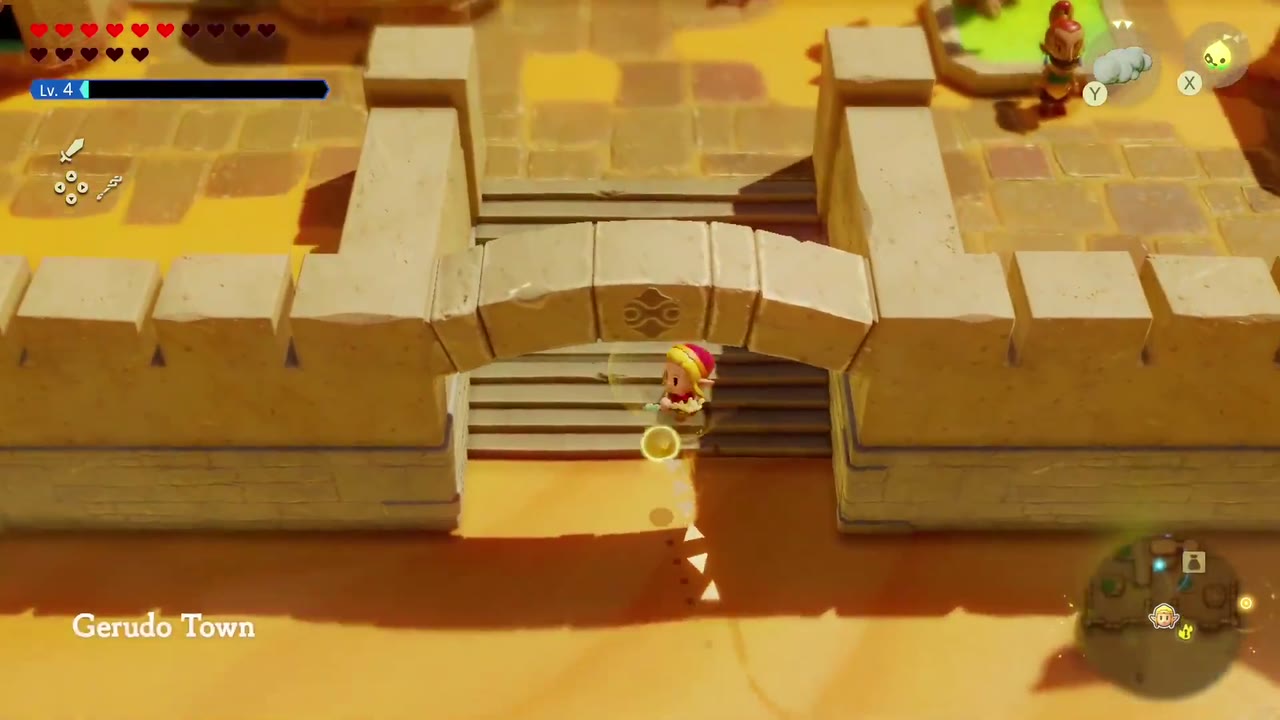
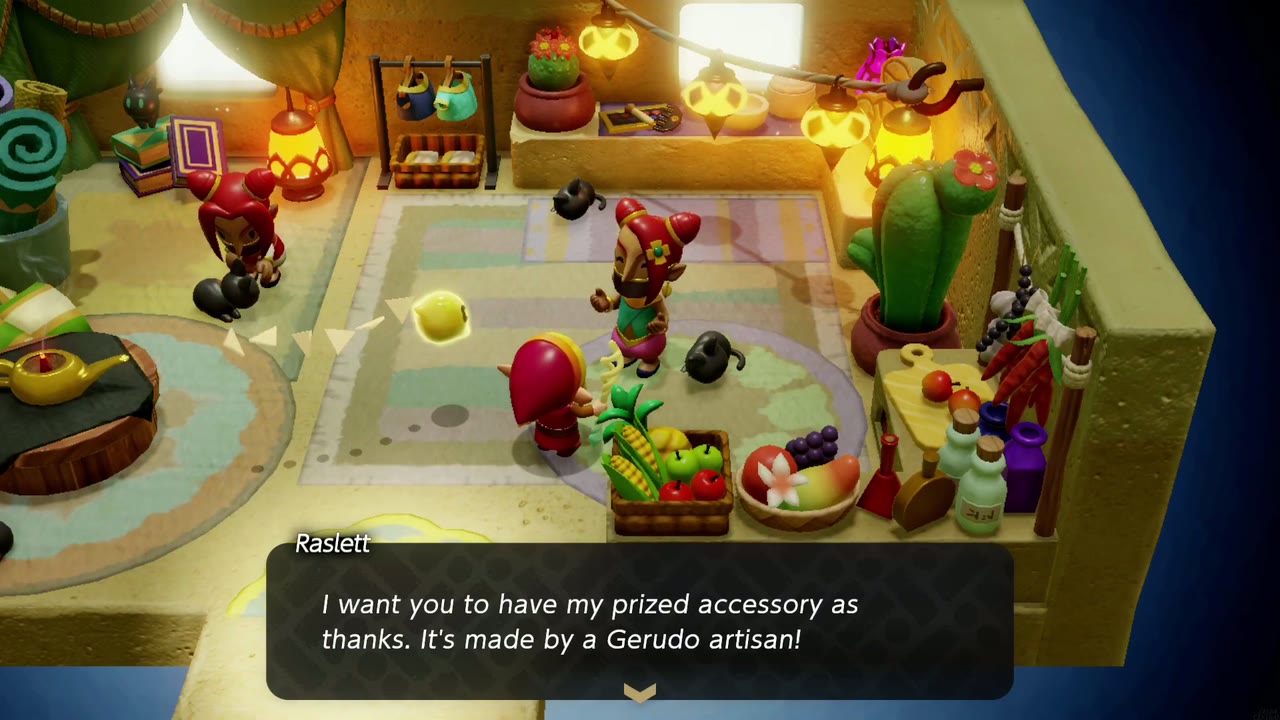
How to obtain: Reward for Beetle Ballyhoo. Once the desert’s rifts are gone, talk to the Gerudo soldier Raslett in Gerudo Town; she invites you into her house and asks you to destroy the beetle mounds in a cave northeast of town. Break every mound in the side-view sand cave, then return to Raslett’s house. She gives you her prized accessory, made by a Gerudo artisan.

Silver Brooch
Use: Rupee Appearance Up. On screen: “You can wear this high-quality jewelry to make rupees appear a little more often when you break objects or defeat monsters.”
How to obtain: A hidden chest in River Zora Village, Jabul Waters. On a grassy ledge with purple flowers beside the village huts, look for a round, cracked patch in the rock wall. Summon a Bombfish echo, pick it up and place it against the cracked patch; the blast opens a nook with the chest inside.



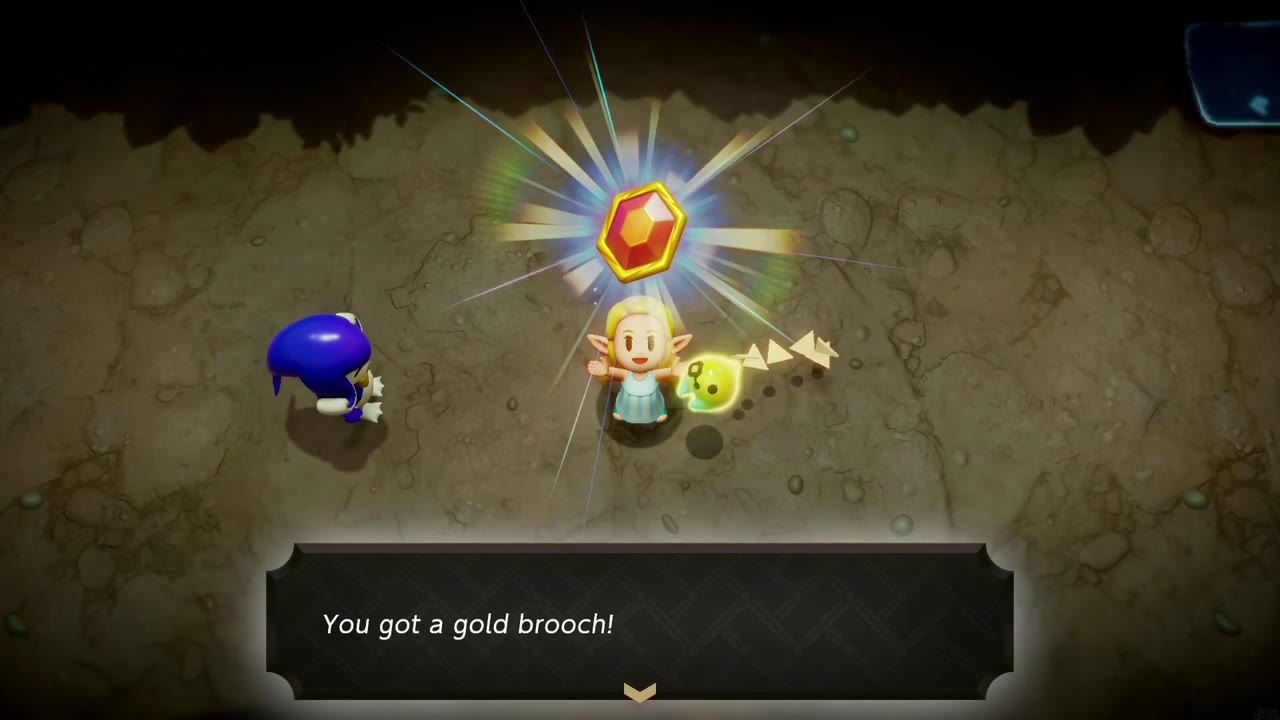
Gold Brooch
Use: Rupee Appearance Up +, the stronger partner of the Silver Brooch. On screen: “Wear this exceptional jewelry to make rupees appear more often when you break objects or defeat monsters.”
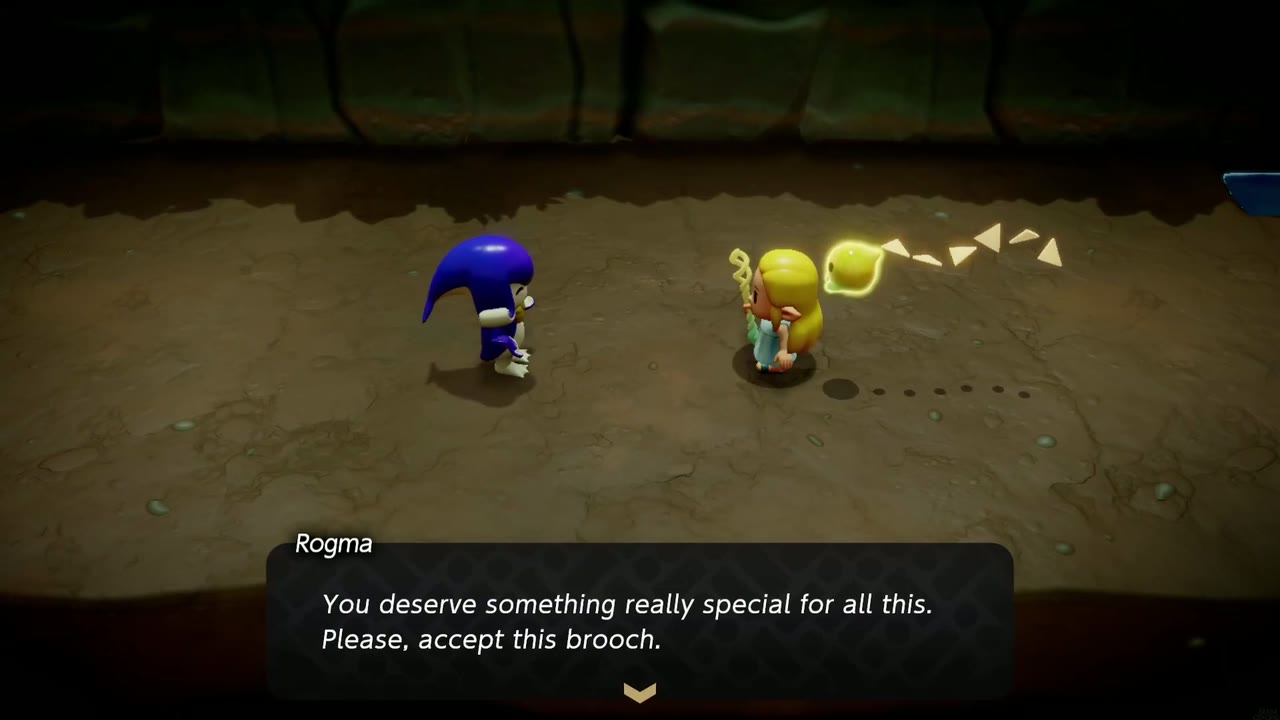
How to obtain: Reward for Secret Chief Talks. Rogma, on an islet in Zora Cove just outside Sea Zora Village, is worried about Chief Kushara. Ask around River Zora Village, find Tellum hiding in the bushes east of the village on Zora River, then swim to the cave in Zora Cove where the two chiefs meet in secret. Once the misunderstanding is cleared up, Rogma gives you the Gold Brooch in the cave.

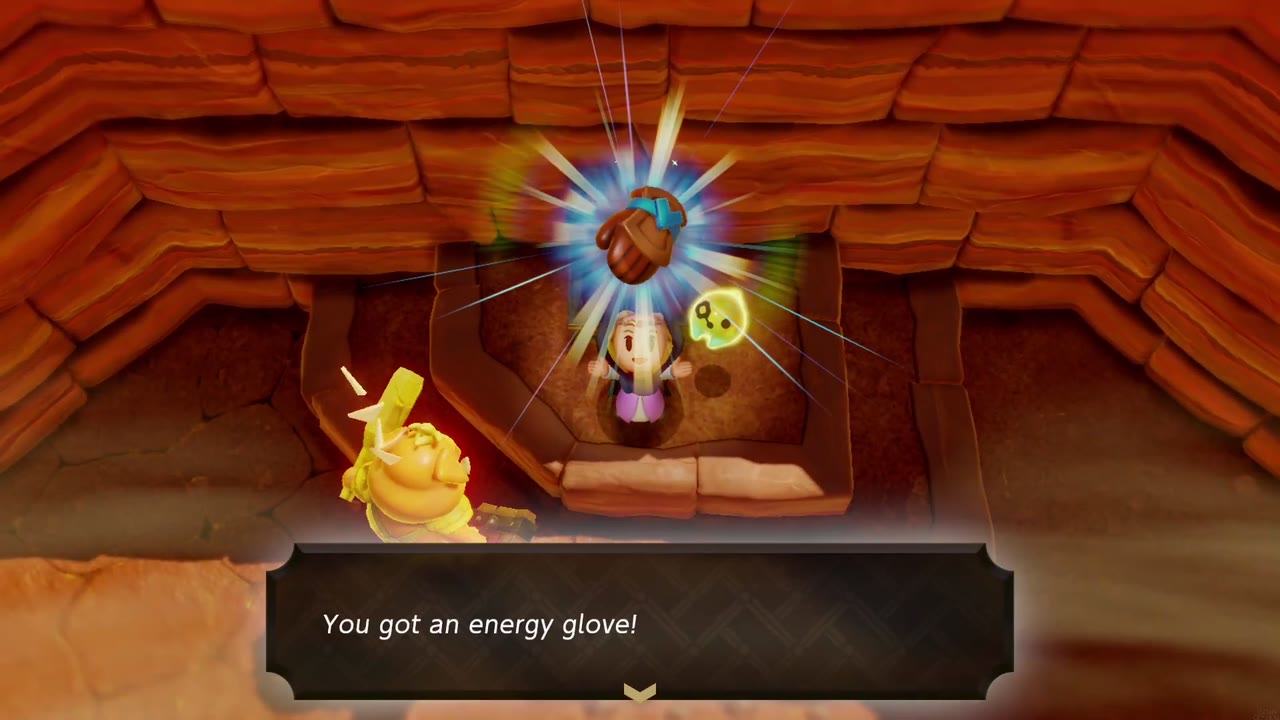
Energy Glove
Use: Extra Energy Appearance Up. On screen: “You’re not sure what this glove is made of. It increases the likelihood that more energy will appear when you defeat dark monsters.”
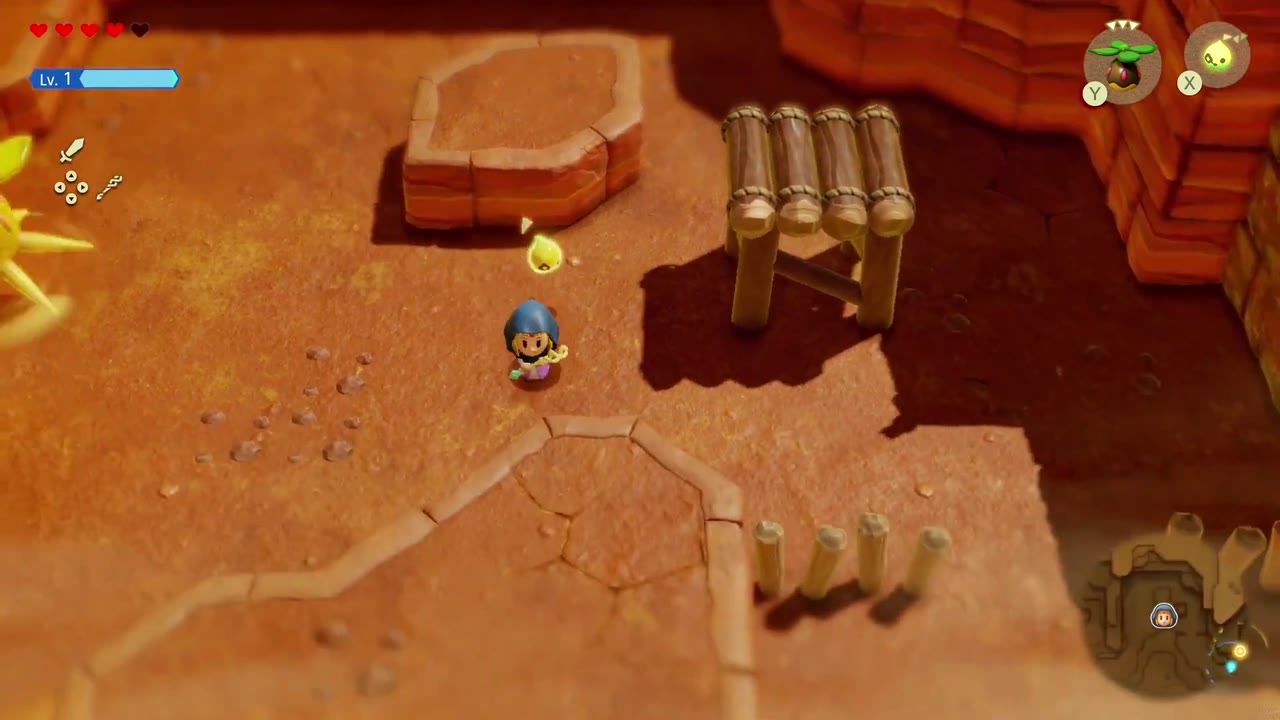
How to obtain: A chest in the red-rock canyon of Gerudo Desert. From the cactus-shaped Waypoint Stone between two palms, head past the stone gateway with two braziers beside the rift and into the canyon of log platforms and wooden stakes. Peahats, Moblins and Lv. 2 Boarblins (club and boomerang) guard it. Fight through to the sunken nook at the end of the canyon, where the chest holds the Energy Glove.
Tip: Defeating the Boomerang Boarblin Lv. 2 here lets you learn its echo.

Energy Belt
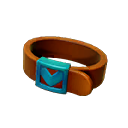
Use: Extra Energy Appearance Up +, the stronger partner of the Energy Glove: more energy appears when you defeat dark monsters.
How to obtain: Its location is listed as a cave in the eastern part of Hebra Mountain, guarded by a Moblin Lv. 3. We have not yet confirmed the exact spot or the on-screen description, so check this entry again later.
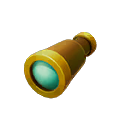
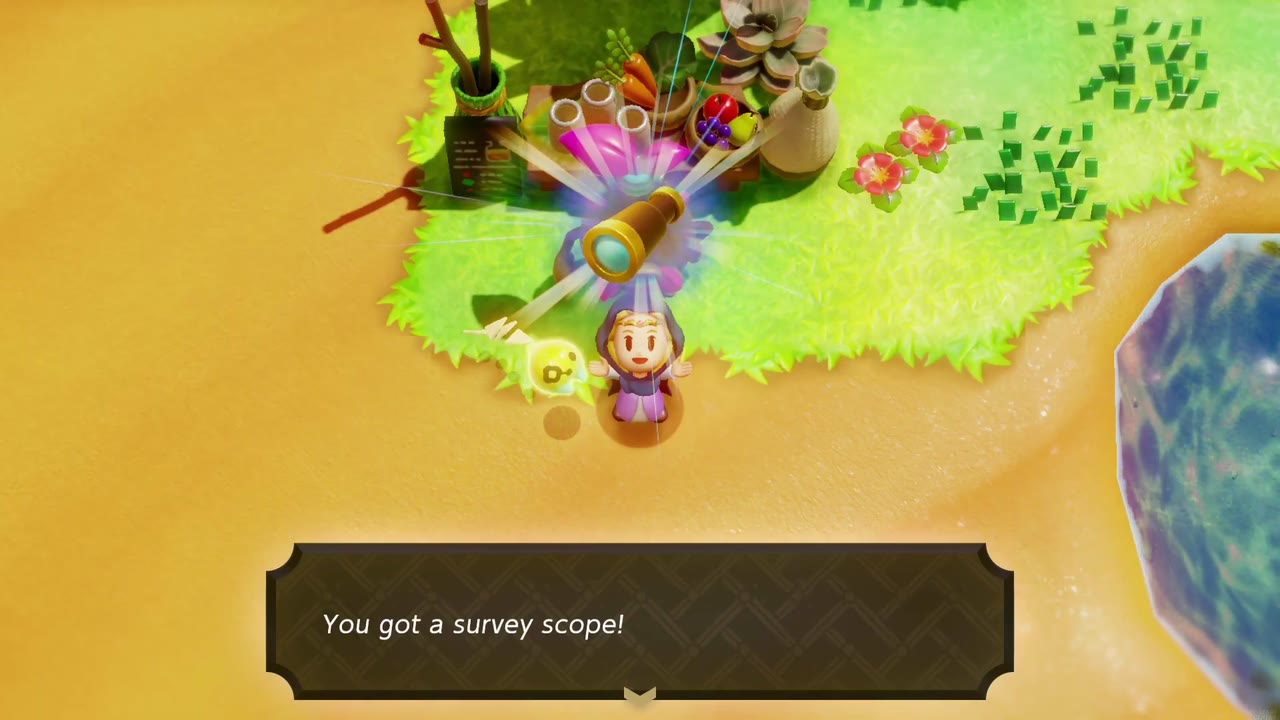
Survey Scope
Use: Material Appearance Up. On screen: “This special spyglass makes smoothie ingredients and monster stones appear a little more often when you break objects or defeat monsters.”
How to obtain: Reward for Recipes, Please! Have the Business Scrub at the Smoothie Shop by the Gerudo Desert oasis blend your first drink and he asks you to invent 10 new recipes. Each new combination costs 10 rupees plus its two ingredients; a pair you have never blended shows as “???” in the ingredient menu. At ten, he rewards you for expanding the shop’s menu with the Survey Scope. Ingredient tips are on the smoothies page.


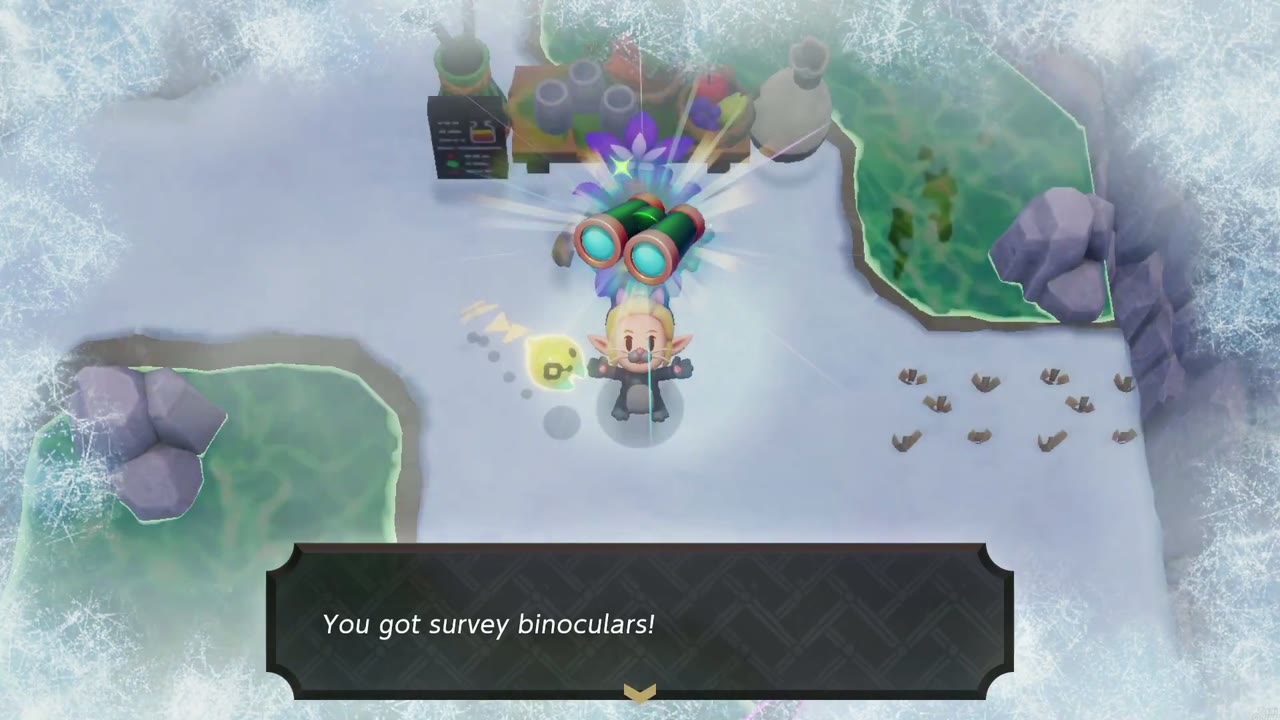
Survey Binoculars
Use: Material Appearance Up +. On screen: “These field glasses make smoothie ingredients and monster stones appear more often when you break objects or defeat monsters.” They replace the Survey Scope rather than taking a new slot.
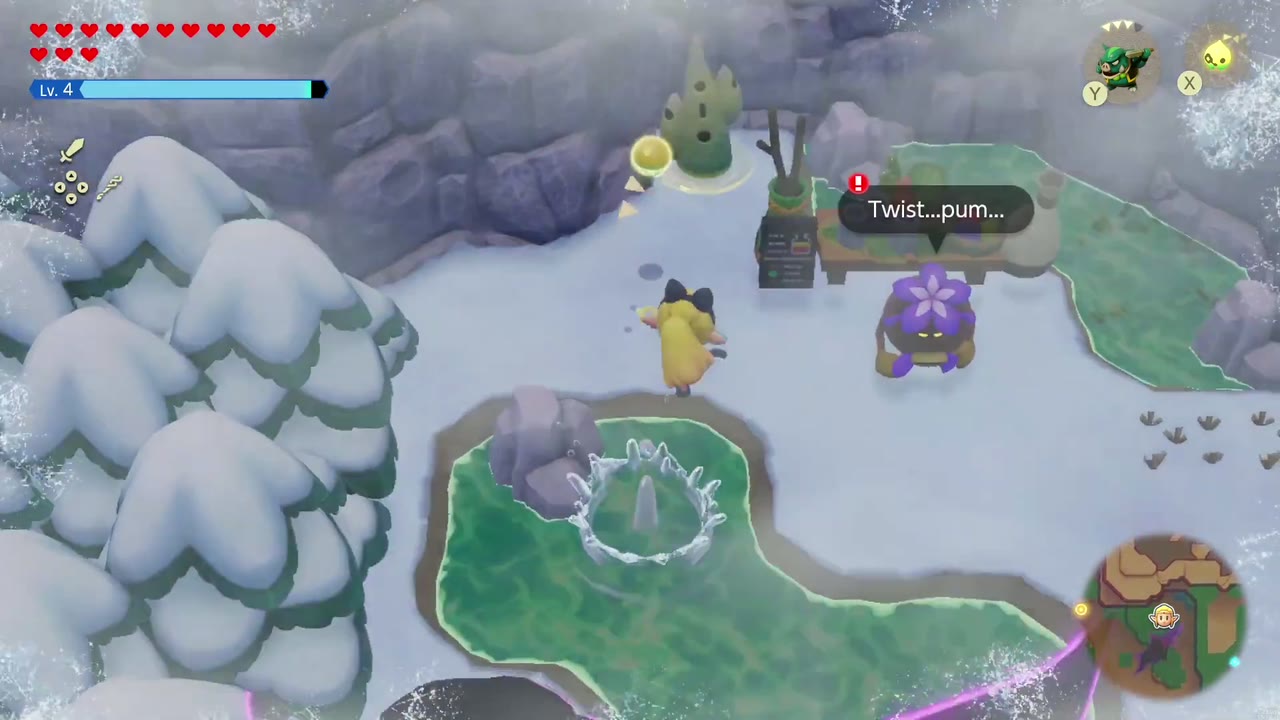
How to obtain: Finish Recipes, Please! After the Survey Scope, the scrubs ask for 20 more new recipes. The upgrade is handed over by the Business Scrub on Hebra Mountain, who opens his Smoothie Shop in a snowy nook beside a rift once you give him a Twisted Pumpkin (Getting It Twisted). Keep blending new combinations there and he offers to “go ahead and upgrade that scope we gave you before”, turning it into the Survey Binoculars.

Fairy Flower
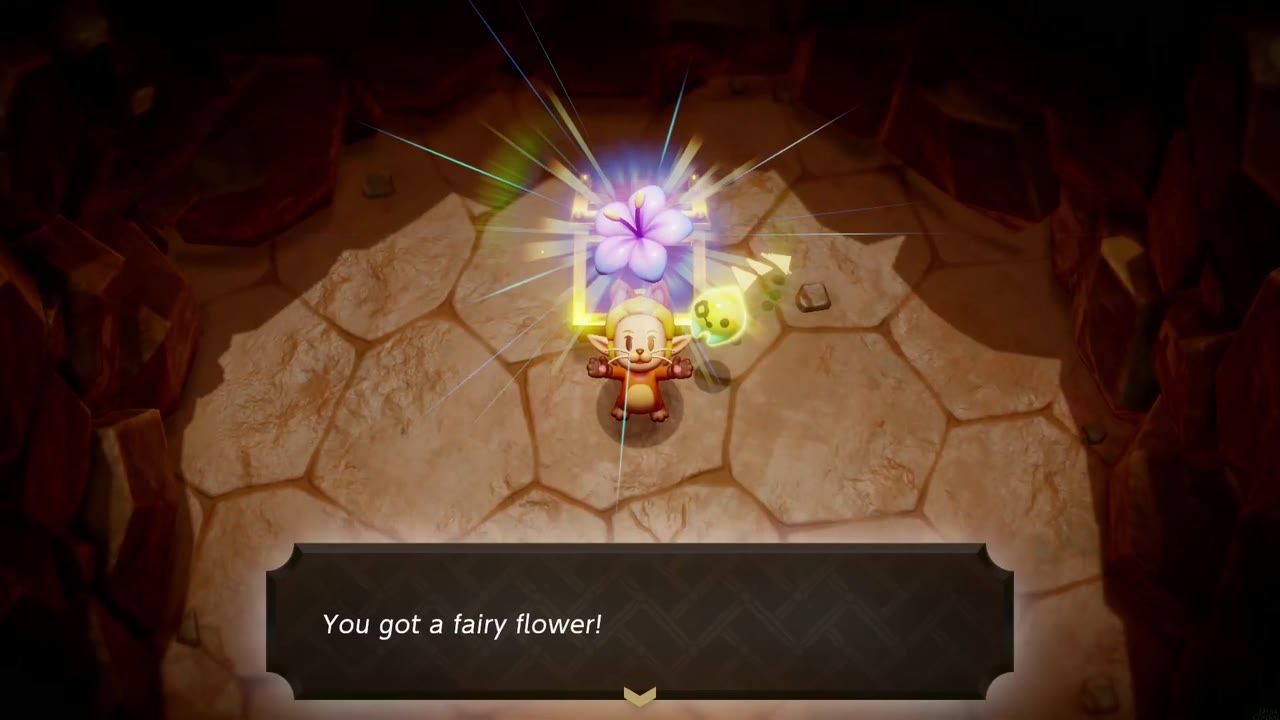
Use: Fairy Appearance Up. On screen: “Wear one of these lovely and fragrant flowers to make fairies occasionally appear when you cut grass or other plants.”
How to obtain: A chest in a small cave on the Eldin Volcano Trail (Eldin Volcano). Activate the Waypoint Stone partway up the trail, follow the narrow rock trench beside it and drop into the hole at its end. The chest sits in the middle of the small cave below.


Fairy Fragrance
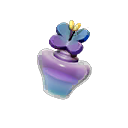
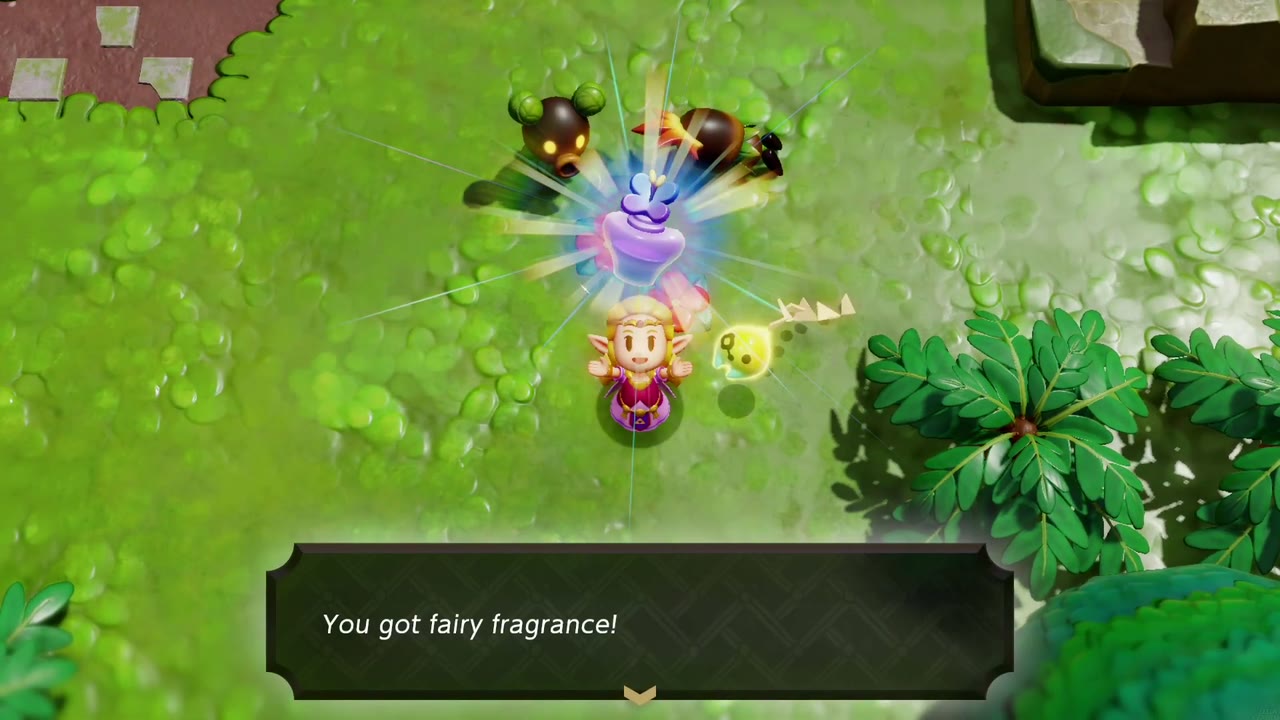
Use: Fairy Appearance Up +, the stronger partner of the Fairy Flower. On screen: “Wear this cologne made of fairy flowers to make fairies appear a bit more often when you cut grass or other plants.”
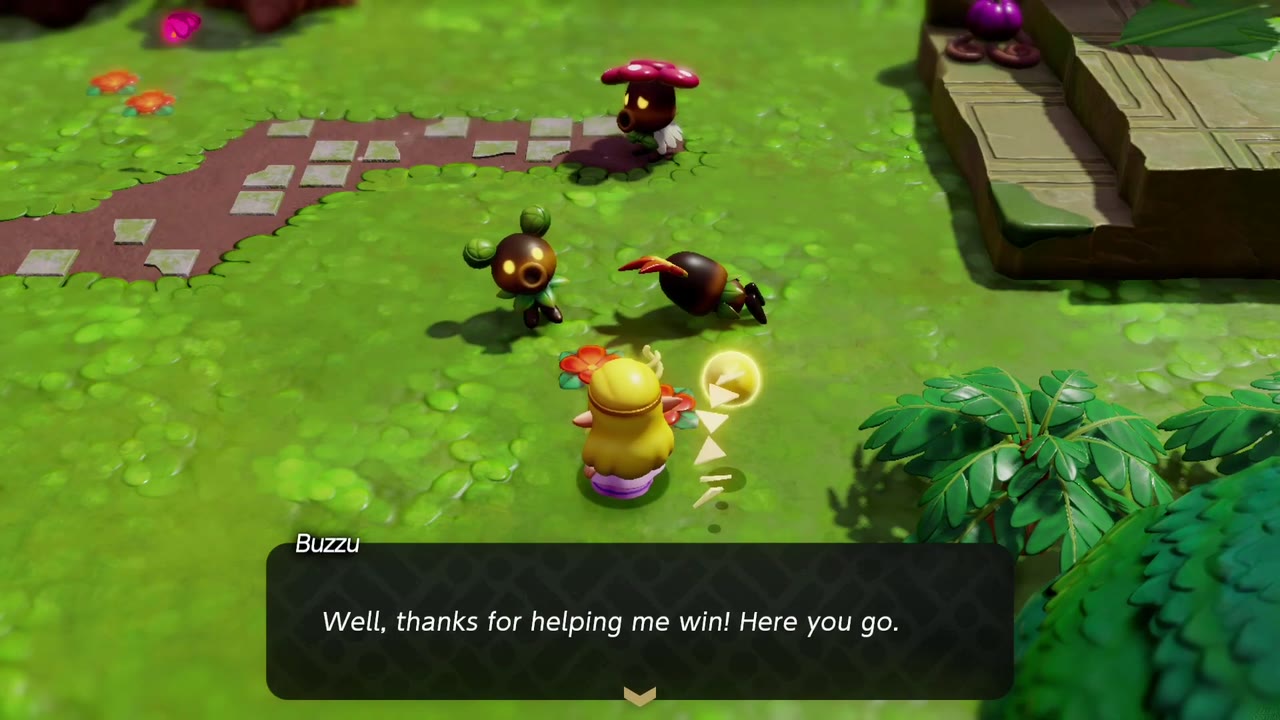
How to obtain: Reward for Looking for Bempu in Scrubton, Faron Wetlands. Beat Bempu at hide-and-seek: each round he gives a hint naming a landmark and hides underground right next to it, so pull him out with Bind. After the fourth round Bempu and Buzzu make up, and Buzzu thanks you for helping him win with the Fairy Fragrance.
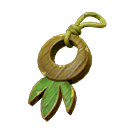
Ancient Charm
Use: Damage Reduced. On screen: “This enchanted object from long ago reduces the damage you suffer while wearing it.”
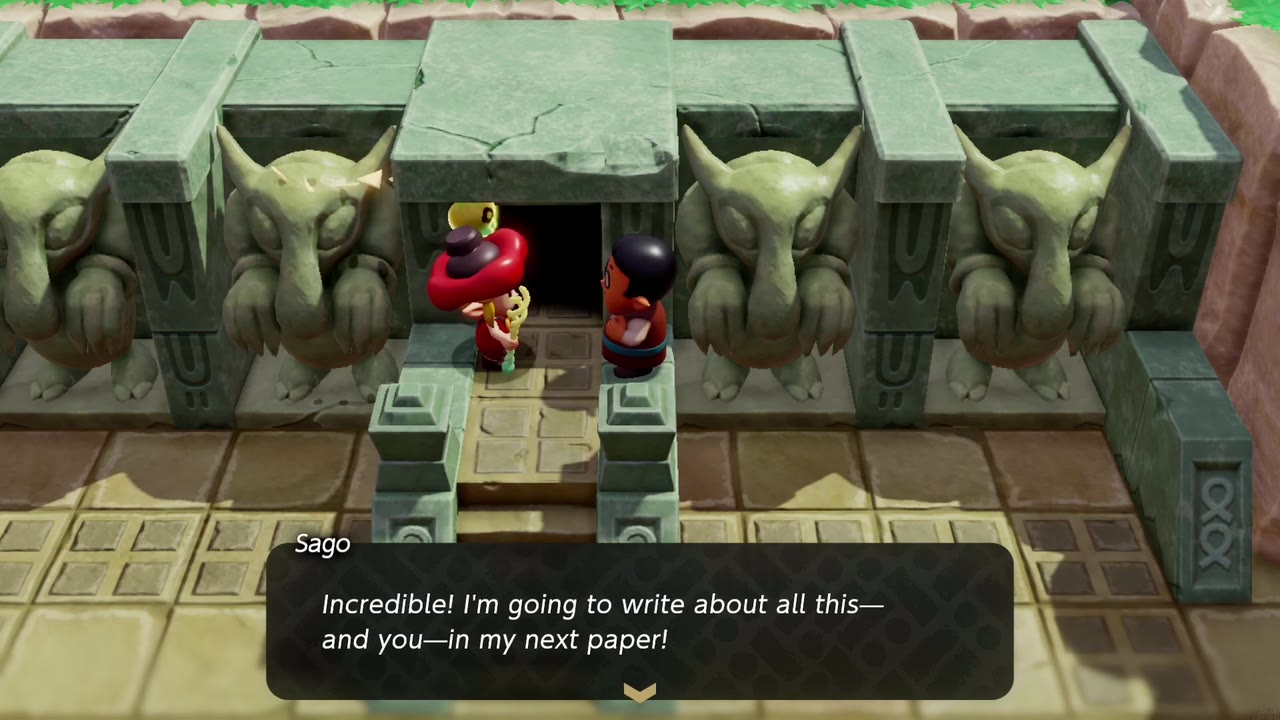
How to obtain: Reward for Let’s Play a Game. Talk to the archaeologist Sago at the entrance of the Eastern Temple in Eastern Hyrule Field, then clear the temple: guide Sparks into the yellow switch blocks and defeat Smog in the last room. Take the warp portal back out and talk to Sago, who gives you the charm, “an artifact I found in the Faron Wetlands.”
Tip: Hold on to it: the Deku Scrub in Scrubton can later turn it into the Curious Charm.

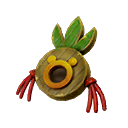
Curious Charm
Use: Damage Reduced +. On screen: “The spells on this unusual memento greatly decrease damage for its wearer.”
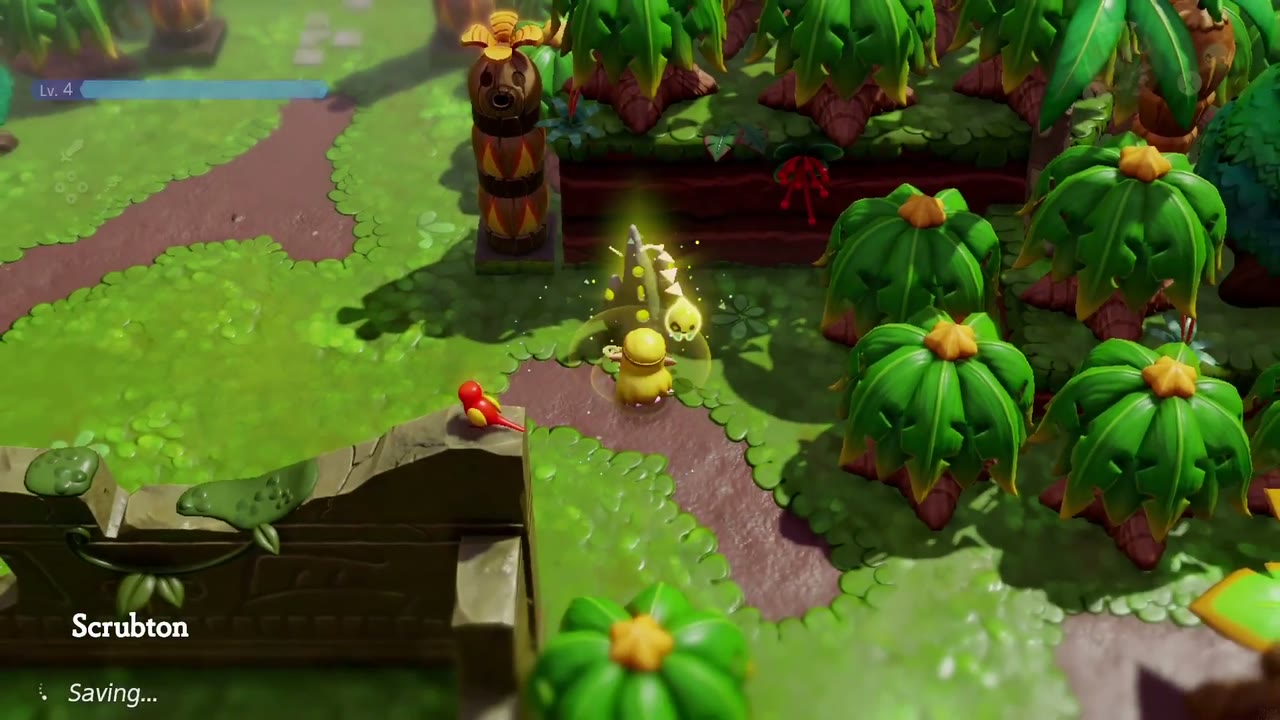
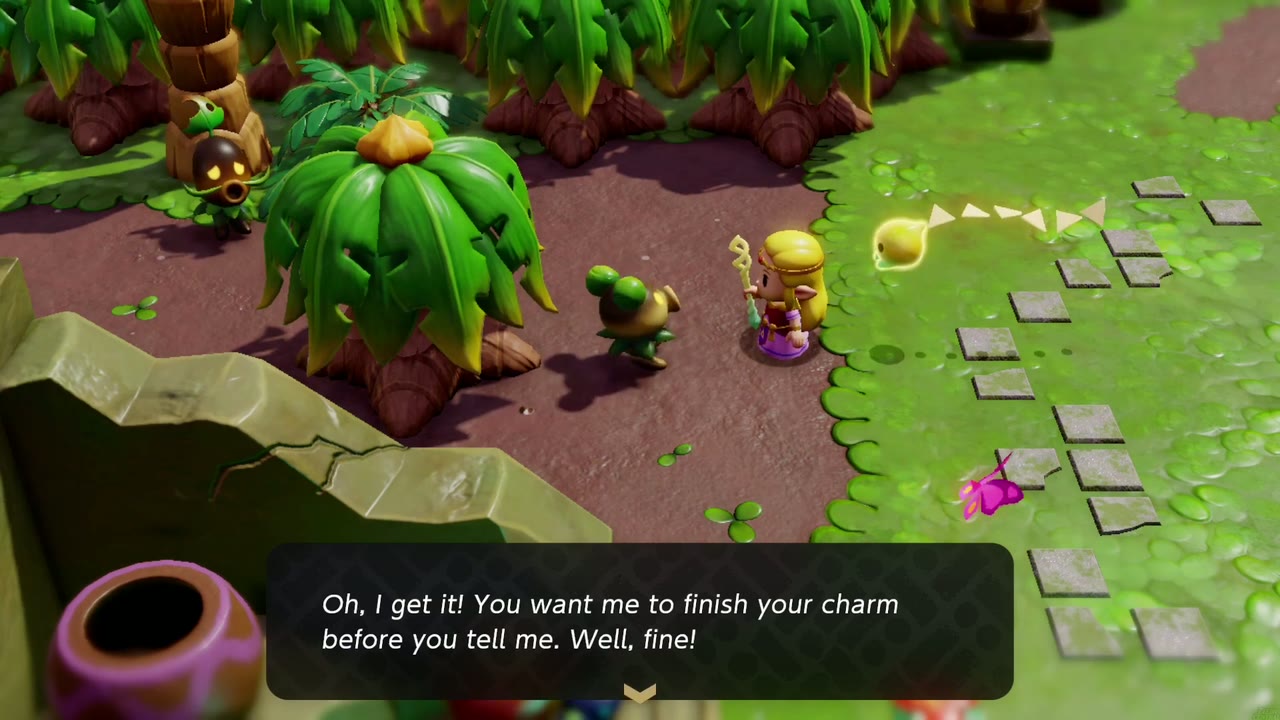
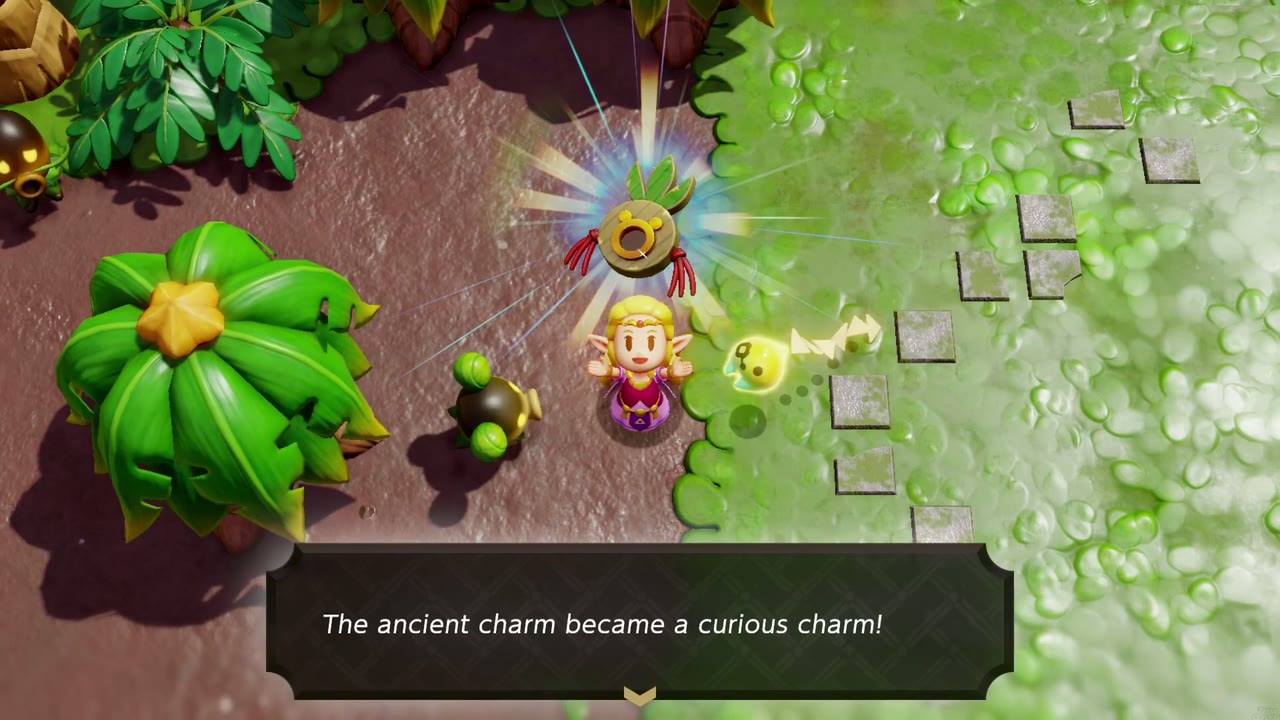
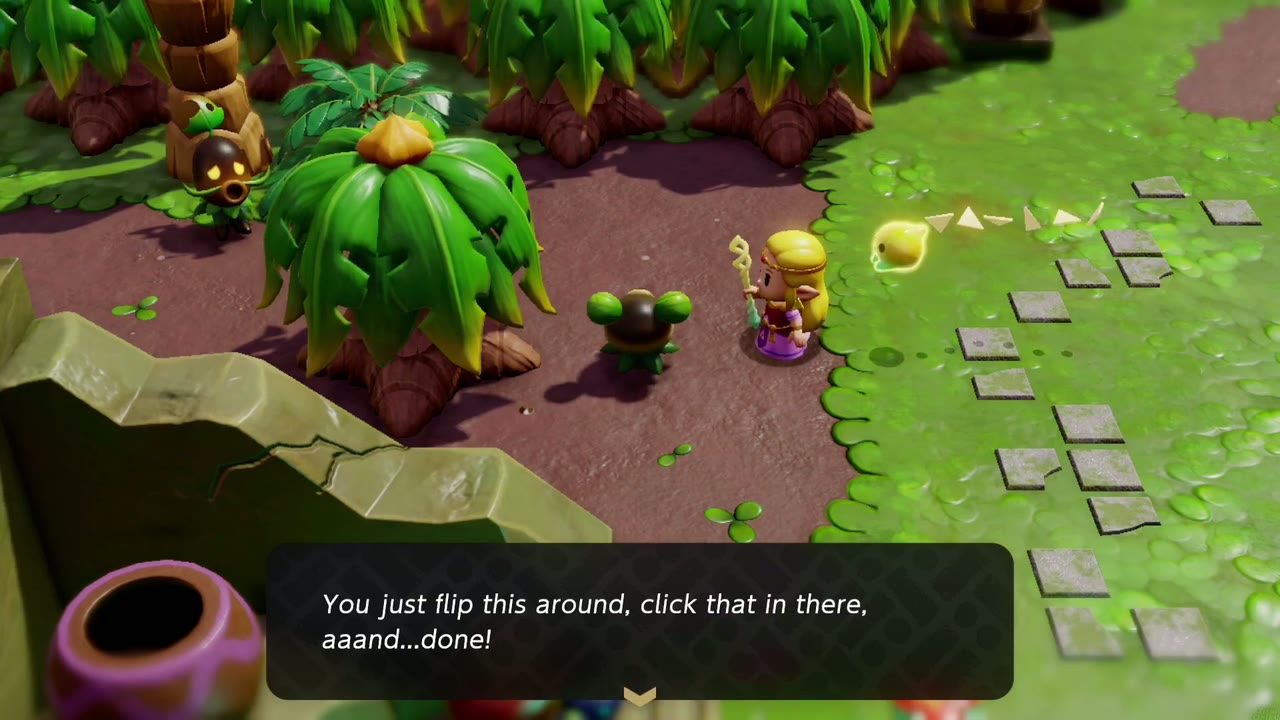
How to obtain: Upgrade the Ancient Charm through Cotton-Candy Hunt. In Scrubton, tell the Deku Scrub who is loyal to cotton candy that you like cotton candy better, then follow his lead to the Hidden Ruins south of Scrubton and defeat Smog there. Report back: the scrub spots your charm (“That’s a charm. Used to be all the rage in Scrubton.”), finishes it for you, and the Ancient Charm becomes the Curious Charm. Do Let’s Play a Game first so you have the Ancient Charm to upgrade.
Upgrades and stronger pairs
Upgraded in place: two accessories are improved rather than replaced by a second item. The Business Scrubs of Recipes, Please! upgrade the Survey Scope (Material Appearance Up) into the Survey Binoculars (Material Appearance Up +), and the Scrubton Deku Scrub in Cotton-Candy Hunt finishes the Ancient Charm (Damage Reduced) into the Curious Charm (Damage Reduced +). In both cases the old accessory is gone and the new one takes its place.
Separate, stronger pairs: these are two different accessories, and you keep both. The second of each pair has the stronger effect, marked with a “+”: Heart Pin (Heart Appearance Up) and Heart Barrette (Heart Appearance Up +); Silver Brooch (Rupee Appearance Up) and Gold Brooch (Rupee Appearance Up +); Energy Glove (Extra Energy Appearance Up) and Energy Belt (Extra Energy Appearance Up +); Fairy Flower (Fairy Appearance Up) and Fairy Fragrance (Fairy Appearance Up +).
The Slumber Dojo’s three scrolls work the same way: the First, Second and Final Mastery are separate accessories with Energy Consumption Reduced Lv. 1, Lv. 2 and Lv. 3.

Quest & Trade Items
Lovely Pendant
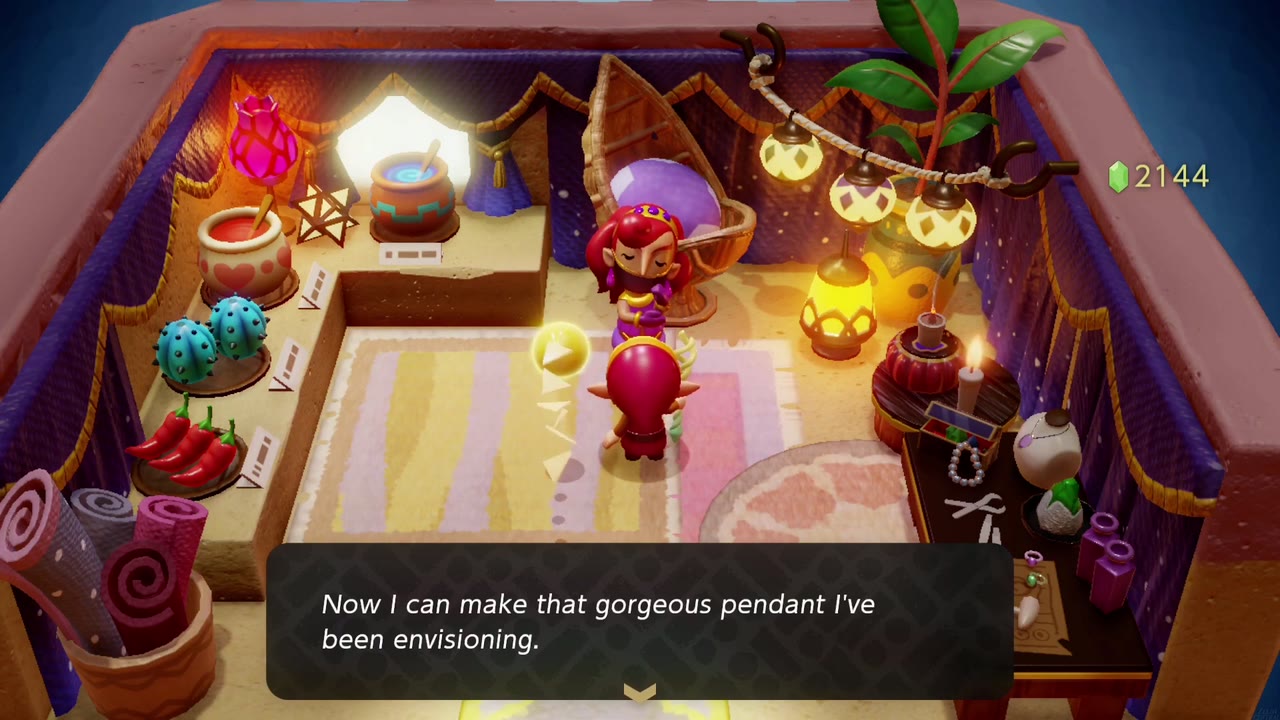
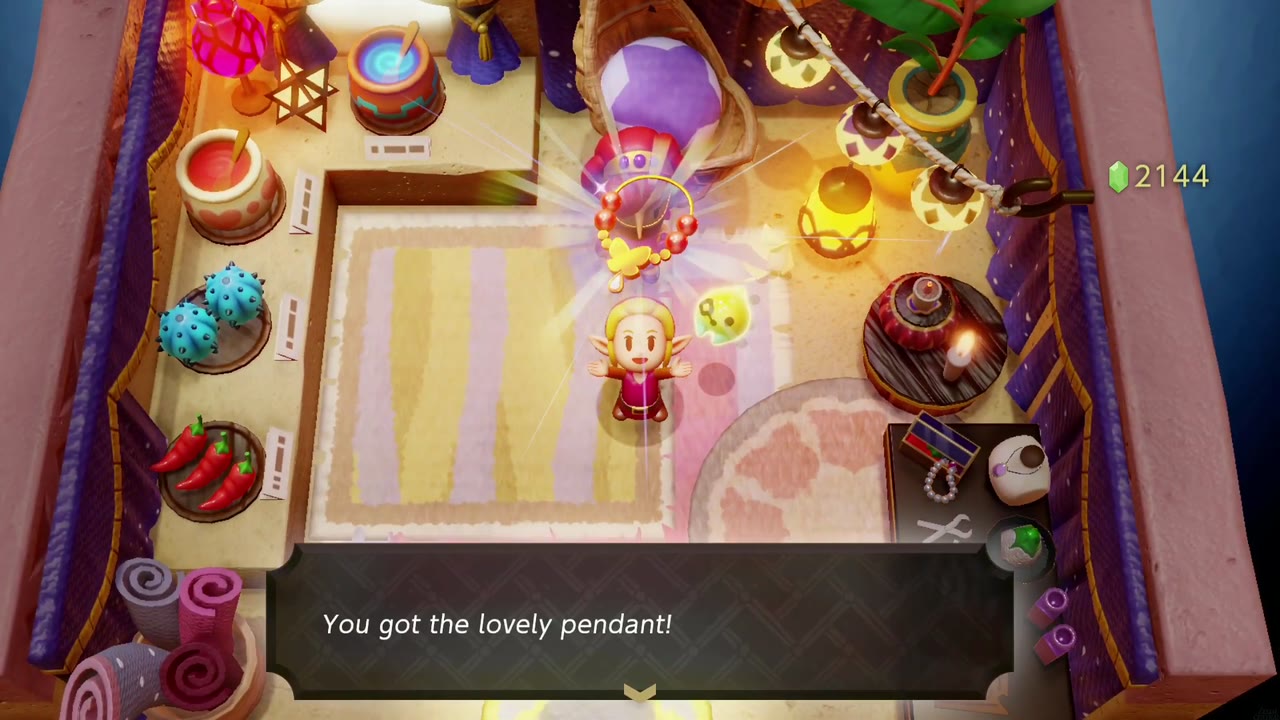
Use: “This custom pendant was made for the Great Fairy. You should bring it to her.” Show it to the Great Fairy at Lake Hylia to finish The Great Fairy’s Request; she rewards you with the Might Bell, which rings when a Might Crystal is nearby.
How to obtain: Start the quest by opening the chest in the Great Fairy Shrine on the Lake Hylia islet. Then bring the Floral Seashell and the Magma Stone to the artisan in the Gerudo Shop in Gerudo Town. She crafts the pendant on the spot.
Floral Seashell
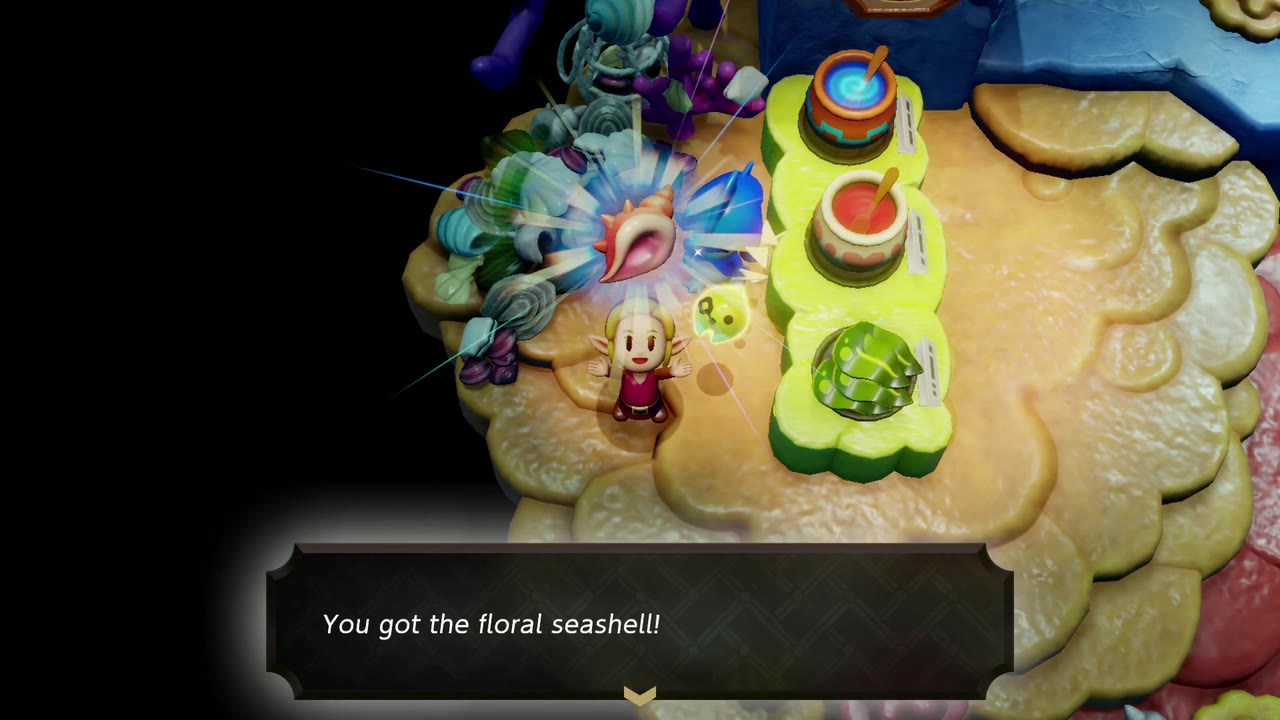
Use: “It’s material for the pendant the Great Fairy wanted. You should take it to the Gerudo artisan.” One of the two materials for the Lovely Pendant in The Great Fairy’s Request.
How to obtain: A Sea Zora collector in Sea Zora Village owns it and trades it for an Unfortunate Smoothie. Ask a Business Scrub at any Smoothie Shop for a pair of ingredients that doesn’t match a recipe, such as Rock Salt + Rock Salt (see Smoothies). Bring the smoothie down to the collector. He drinks it, calls it rancid mud, and gives you the shell.


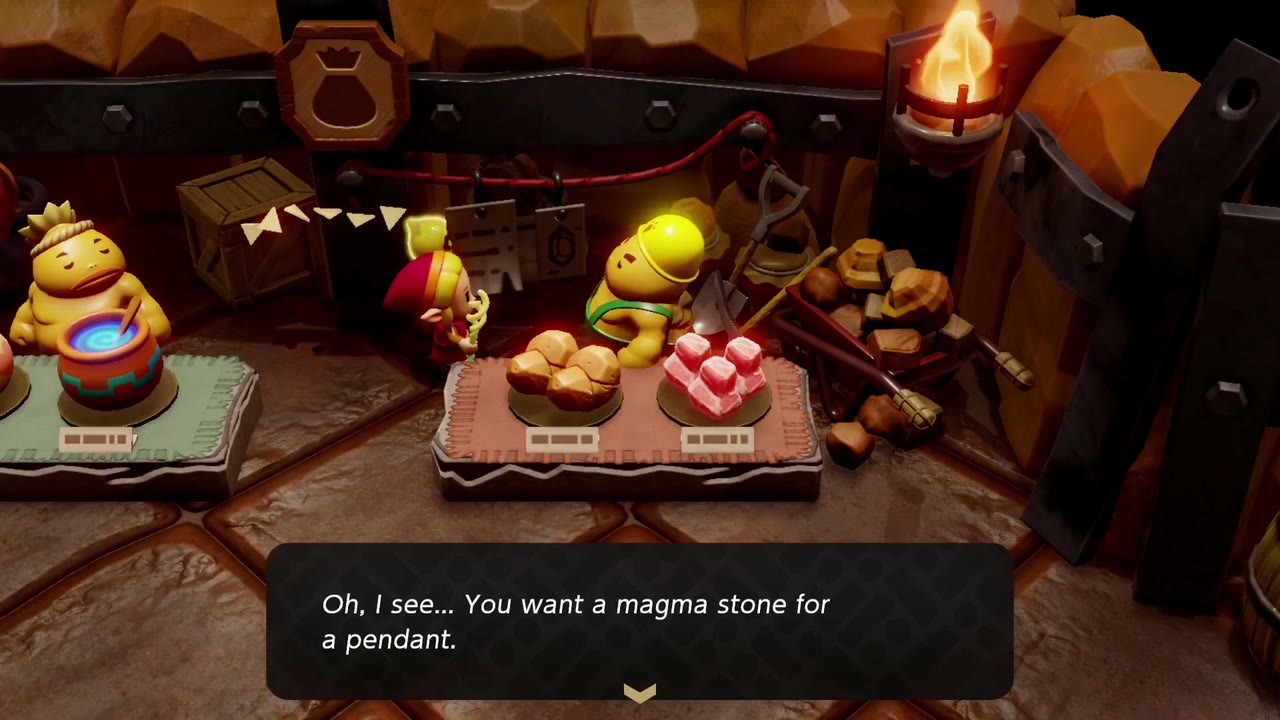
Magma Stone
Use: “This is material for the pendant the Great Fairy wanted. You should take it to the Gerudo artisan.” The second material for the Lovely Pendant in The Great Fairy’s Request.
How to obtain: Ask the mineral seller at the Goron City shop. He says magma stones come from the cave by the lava lake north of Goron City, but Lizalfos have taken it over. Cross the lava north of the city and fight through the Lizalfos Burrow. Once you clear out the Lizalfos at the back, a Goron digs out the stone and gives it to you.

Blastpowder Soil
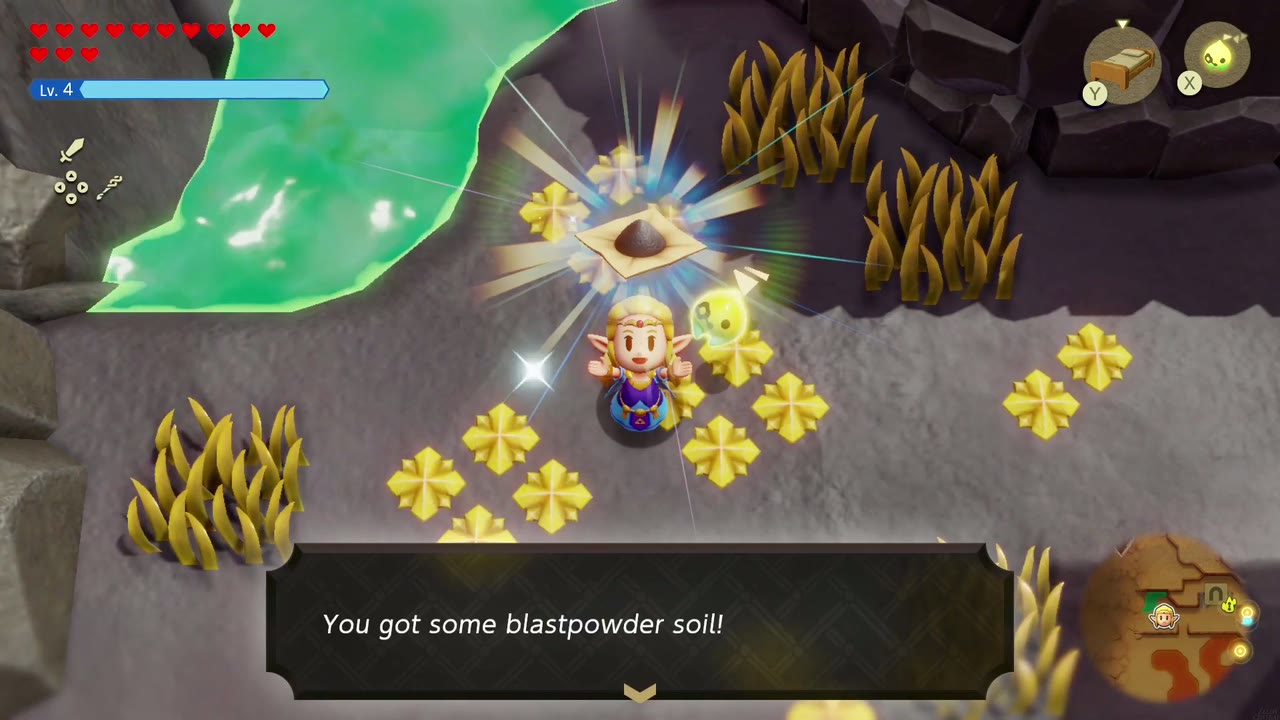
Use: “It’s a material used in fireworks to make vibrant colors. You should bring it to the fireworks artist in Goron City.” Hand it to Basa to finish The Fireworks Artist. She pays 50 rupees and teaches you the Firework echo, which Dampé later needs for the Tocktorok automaton (see Automatons).
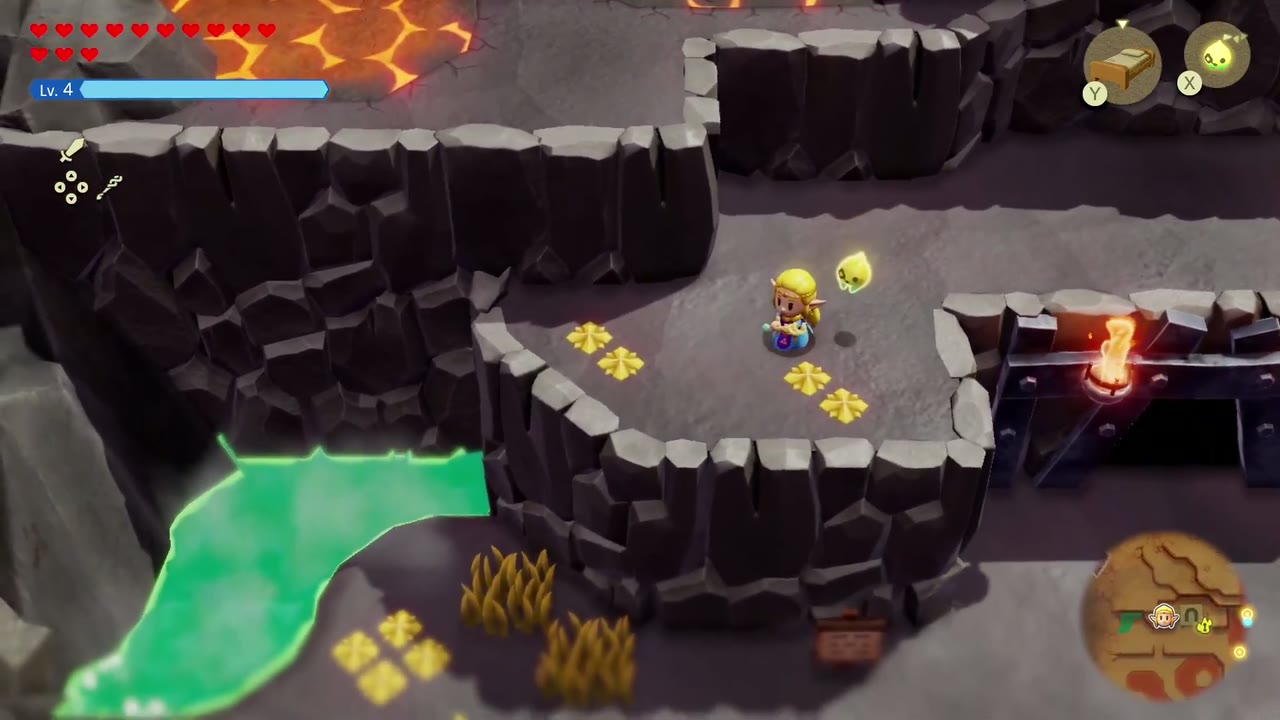
How to obtain: Talk to Basa in her house in Goron City to start the quest. Then climb higher up Eldin Volcano and look for a ledge covered in golden flowers. Pick up the sparkling spot among the flowers.

Happy Clover
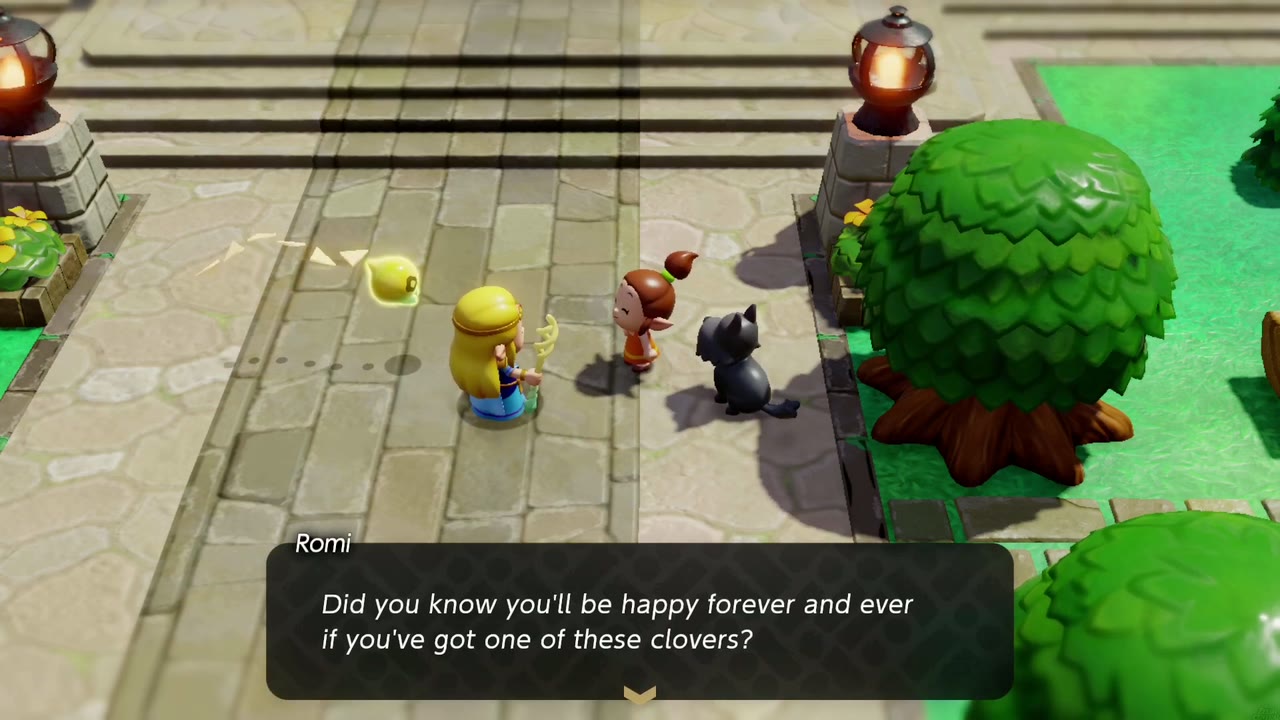
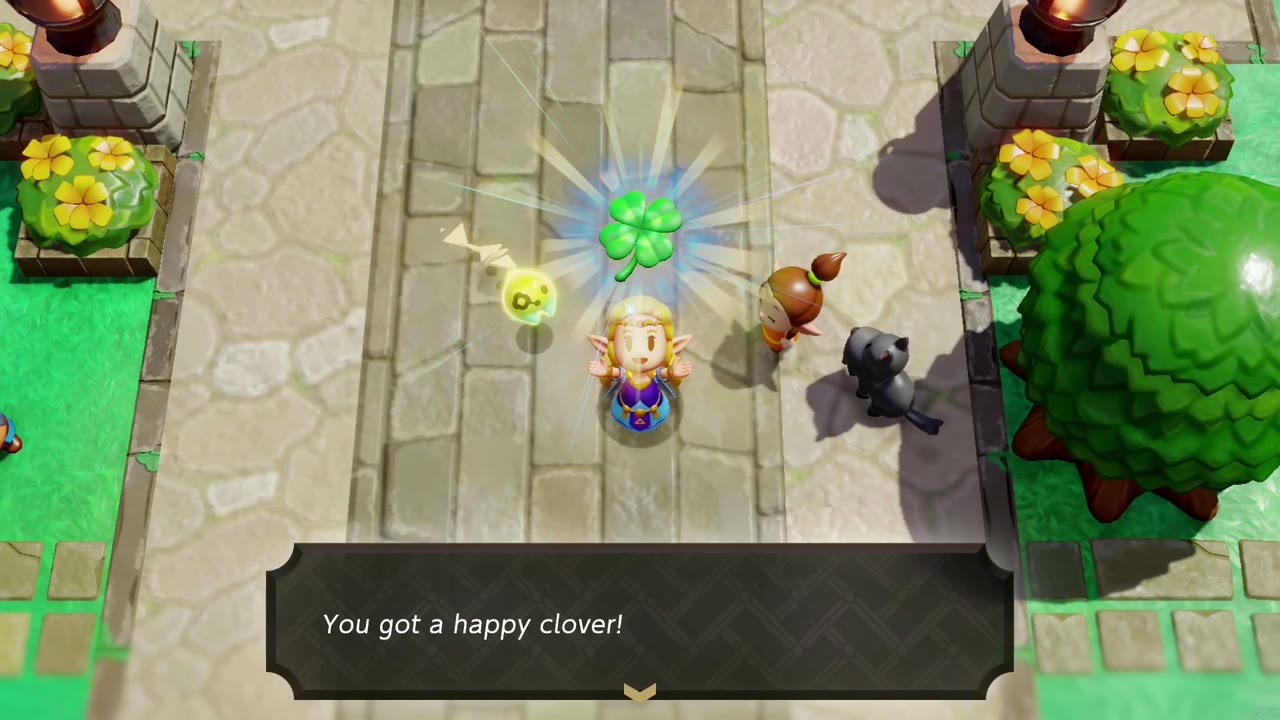
Use: “A girl in Castle Town gave you this four-leafed plant. You should take it to the king of Hyrule.” Giving it to the King in the Throne Room starts the search for Romi in From the Heart, which ends with the Customary Attire.
How to obtain: Leave Hyrule Castle after the Faron Wetlands chapter. Just outside the castle in Hyrule Castle Town, Romi (the girl with the black dog) shows you her four-leaf clover and gives it to you.

Steel Trap
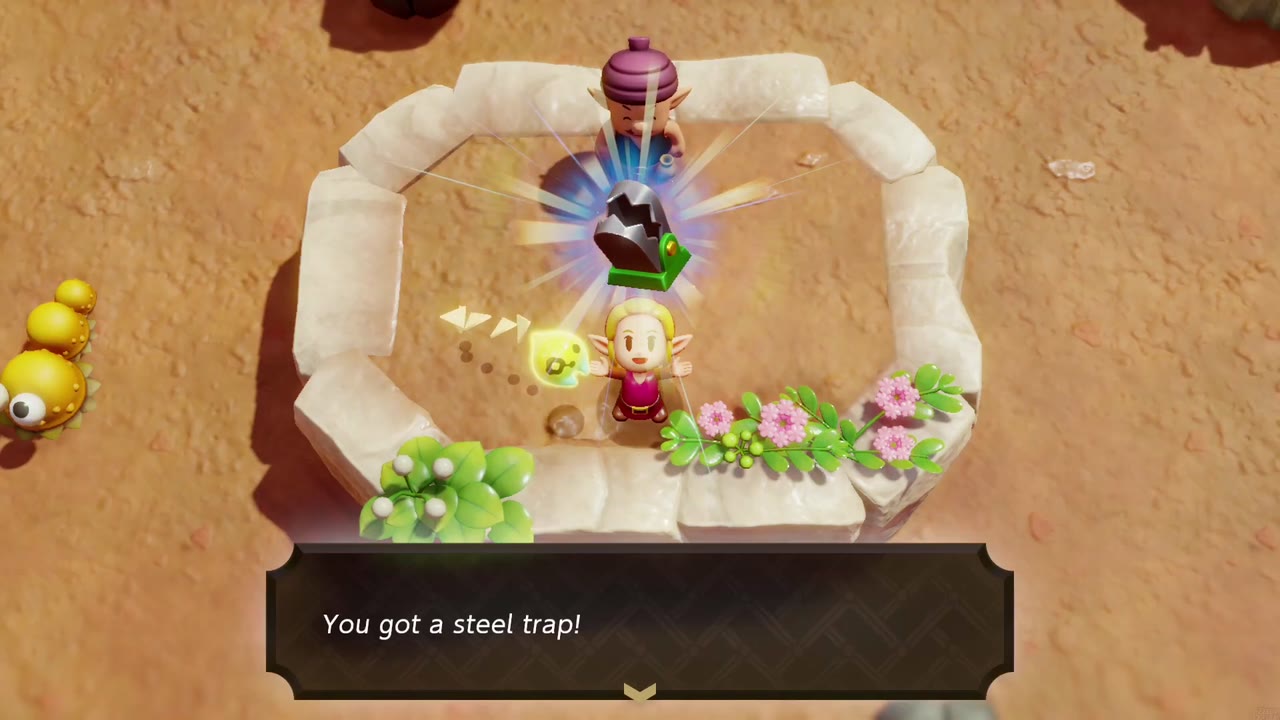
Use: “This broken trap still has sharp, pointy teeth. It’s too dangerous to use in this state.” Give it to Dampé during Endless Stomach! so he can build the High-Teku Baba automaton (see Automatons).
How to obtain: It is the special one-time bonus of the Acorn Gathering game in the rocky canyon maze of Western Hyrule Field (10 rupees a try; 16 acorns, goal time 1:00). Collect every acorn in a “lightning fast” time; 32.36 seconds was fast enough. See Minigames.

Prismatic Music Box
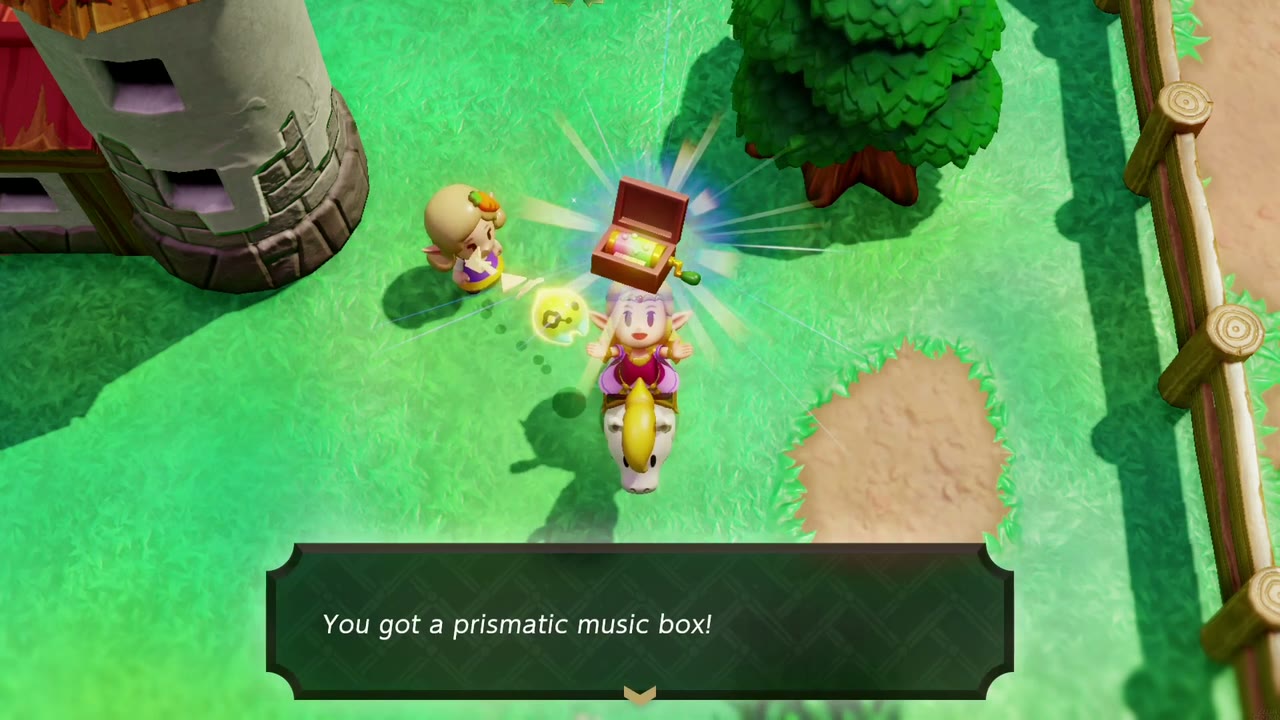
Use: “This music box has a lovely, seven-colored cylinder and plays beautiful, bright tones.” Give it to Dampé during Performance Artist! to get the Gizmol automaton (see Automatons).
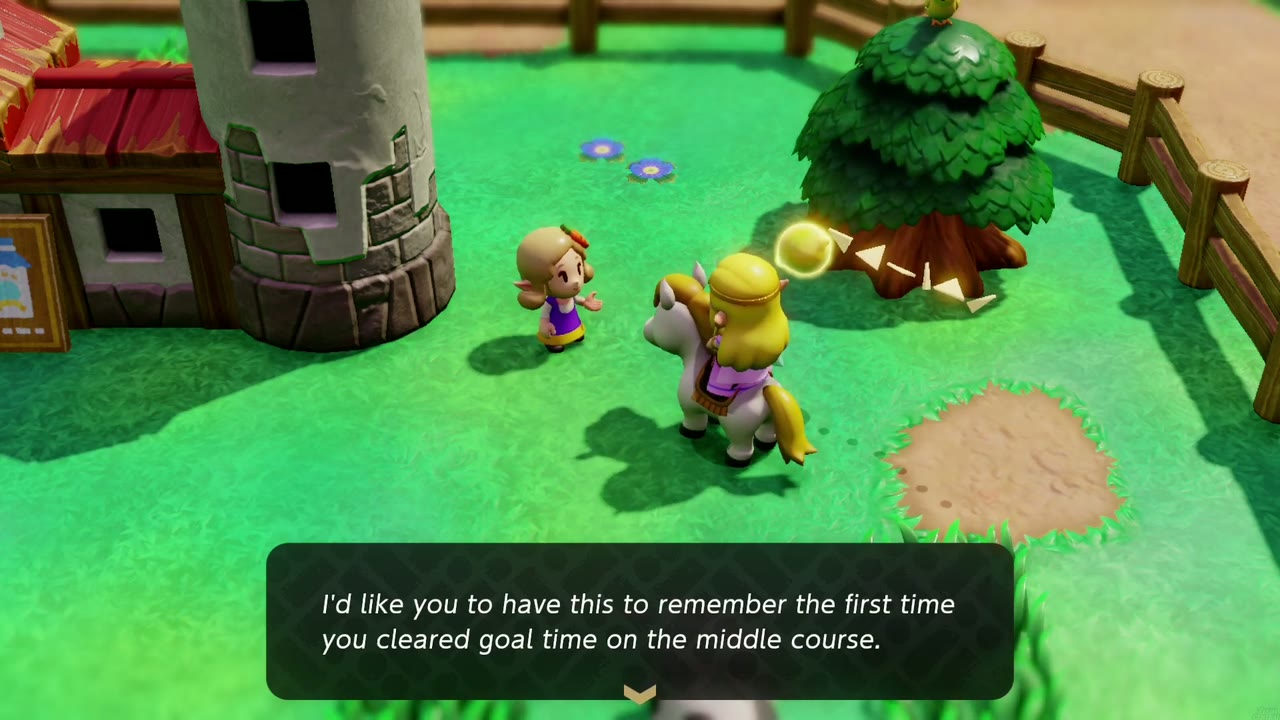
How to obtain: Hyrule Ranch’s prize for the first time you beat the 25-second goal time on the middle Flag Race course (5 flags, in order). The rancher hands it over as “our ranch’s treasure.” See Minigames.
Tip: Finish under 20 seconds and you become master of the middle course. That earns a Piece of Heart, which you can collect in the same race as the music box.
Heirloom Katana
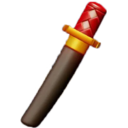
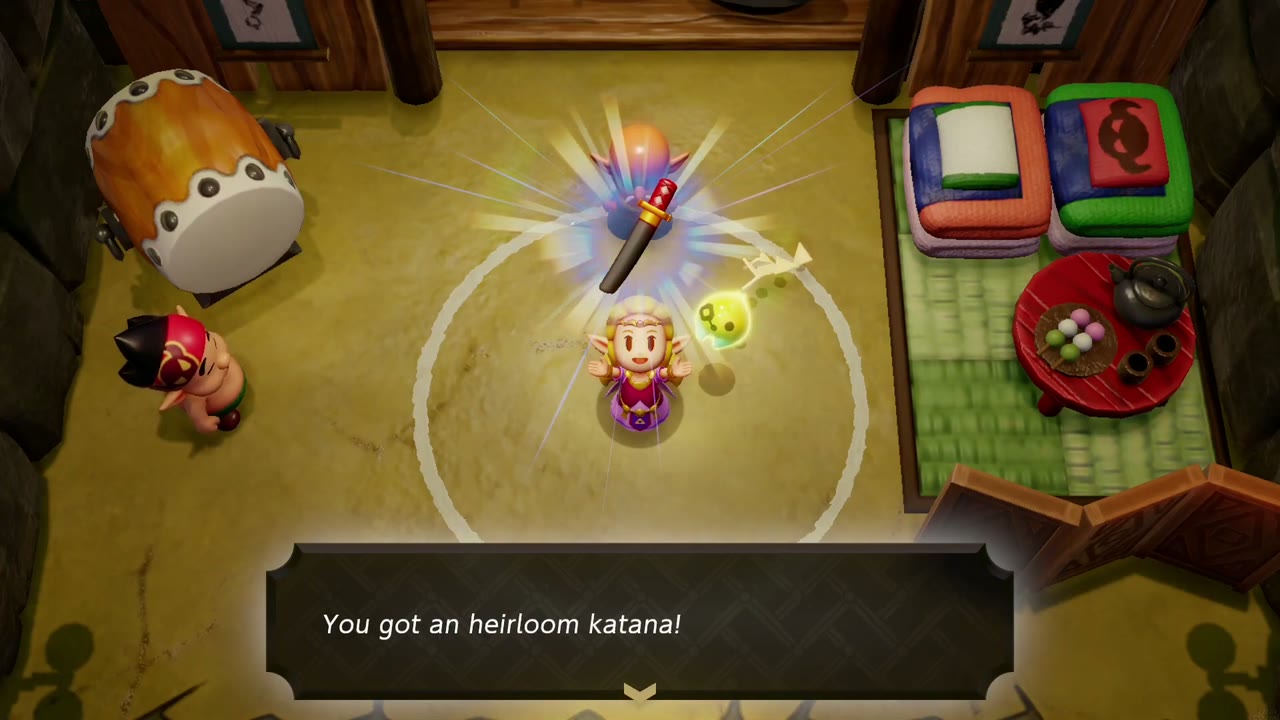
Use: “Supposedly, this katana is so sharp it can cut through anything. It was just collecting dust in the Slumber Dojo!” Give it to Dampé during Chop ’em in Two! to get the Roboblin automaton (see Automatons).
How to obtain: The master of the Slumber Dojo in Kakariko Village gives it to you after you pass 6 trainings. See Minigames.


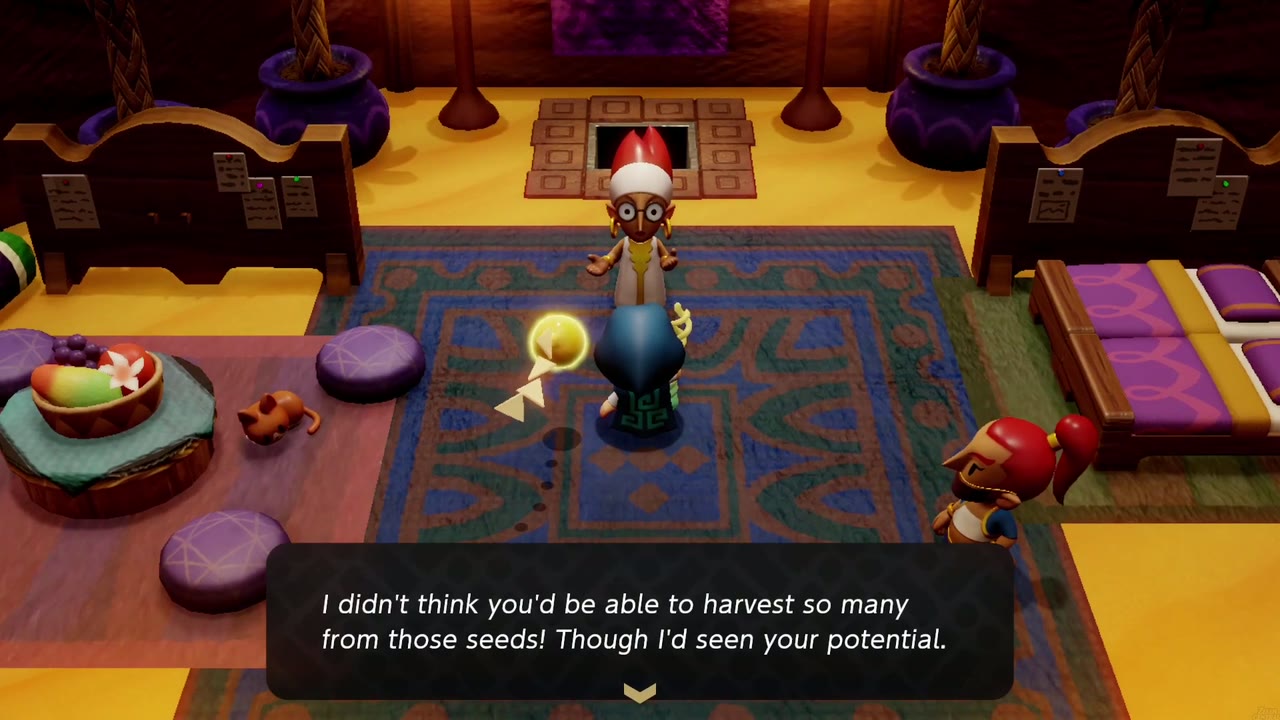
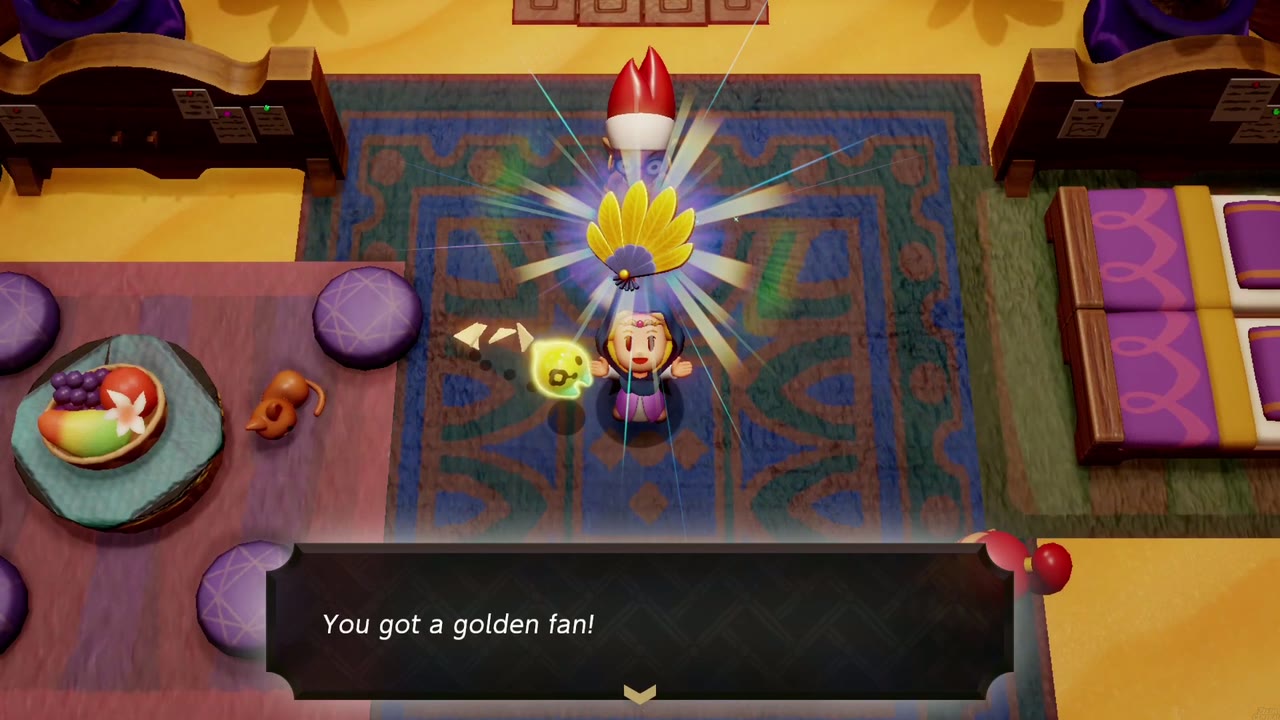
Golden Fan
Use: “Just holding this glimmering fan made with golden feathers makes you feel glamorous!” Give it to Dampé during Get Rich Quick! to get the Goldfinch automaton (see Automatons).
How to obtain: At the Tough Mango Plant Lab by the Gerudo Desert oasis, play Mango Rush (10 rupees) on vibrant seeds and harvest 50 or more mangoes. The researcher gives you the fan, which he won long ago at a dancing tournament. See Minigames.
Ingredients & Materials
Bubble Kelp
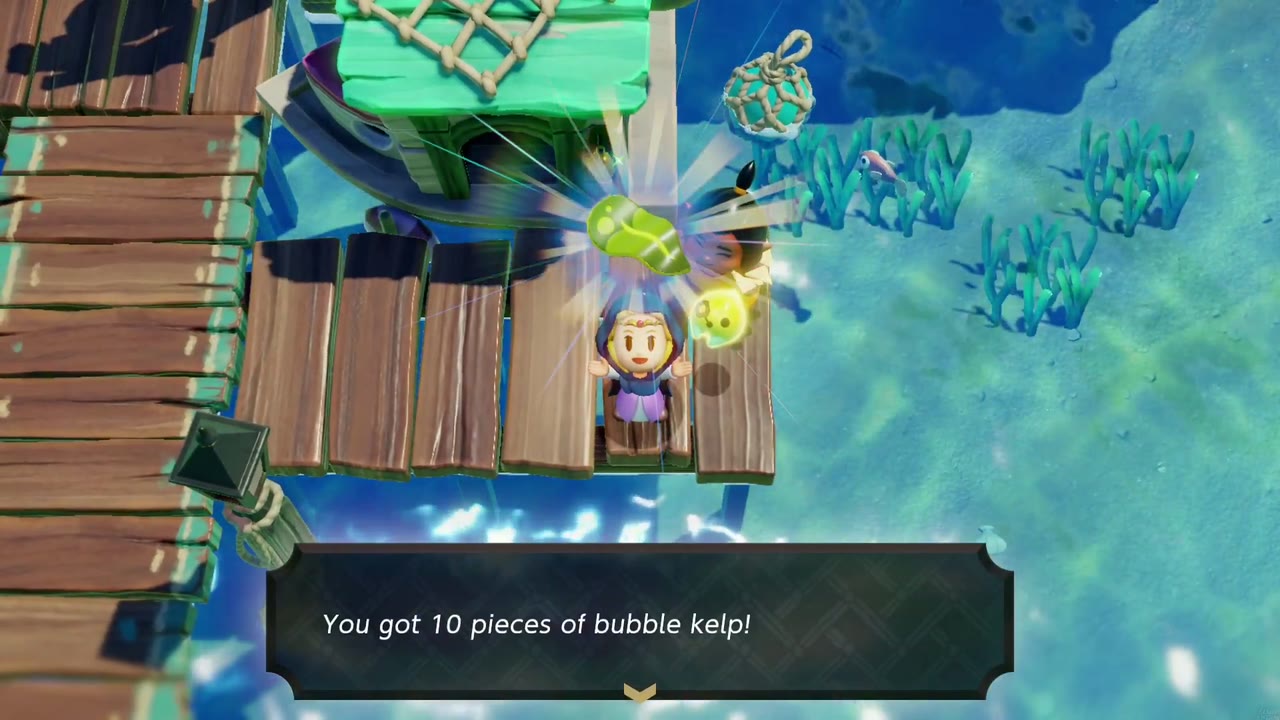
Use: “An especially flavorful seaweed. When used in a drink, it enables the drinker to hold their breath longer when underwater.” It leads to Dive Time Up drinks such as the Bubble Smoothie (Bubble Kelp + Bubble Kelp); see Smoothies. You also need three for Out of Bubble Kelp, which opens the Zora Cove Smoothie Shop. Sells for 5 rupees.
How to obtain: It comes from the sea around Jabul Waters. The mother on the Seesyde Village pier gives you 10 pieces for Deliver the Grilled Fish.


Riverhorse
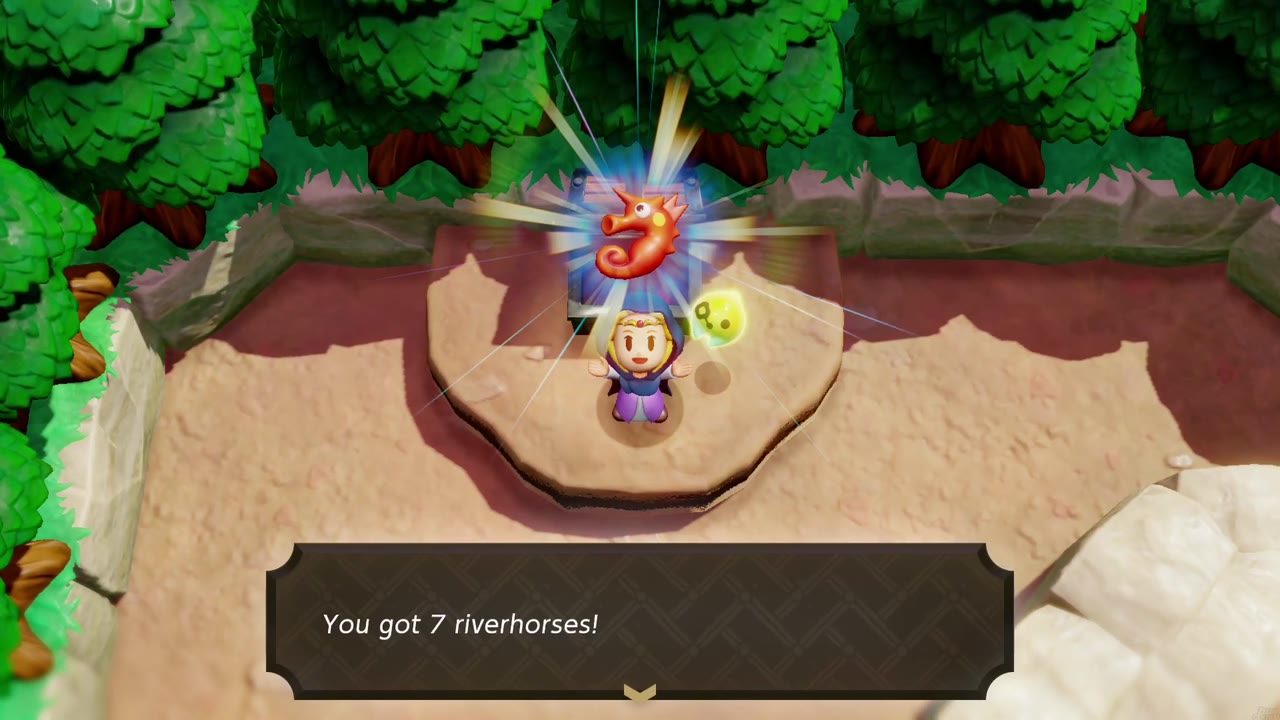
Use: “These creatures have distinctive mouths. You can’t use them in their current form.” Blended, it gives Swim Speed Up drinks such as the Rapid Smoothie (Riverhorse + Riverhorse); see Smoothies.
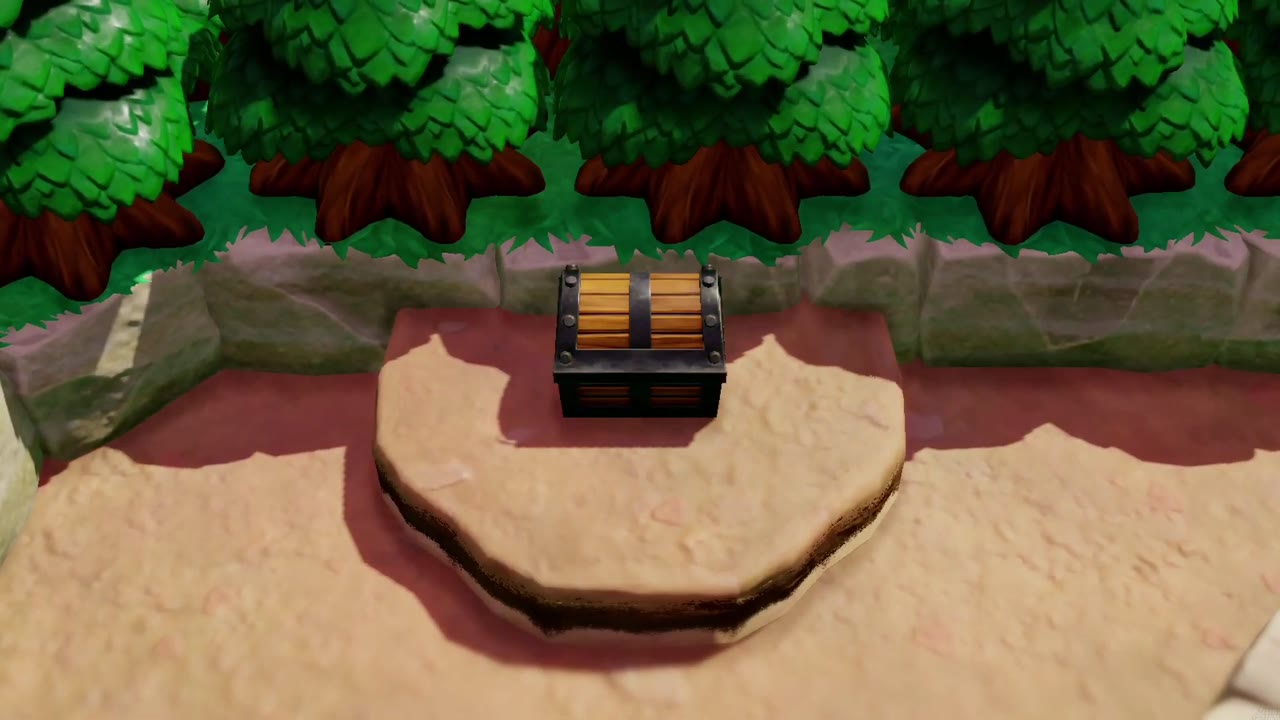
How to obtain: Found in chests. One sits on a raised platform in a walled clearing in Eastern Hyrule Field (7 riverhorses) and another is in the Jabul Waters forest. A River Zora on a boat out at sea gives 10 as a reward.

Refreshing Grapes
Use: “Grapes with a rich fragrance and a strong flavor. When used in a drink, they boost the healing effect to the drinker.” They are the base of the heart-restoring Refreshing smoothies (see Smoothies). Sells for 8 rupees.
How to obtain: A chest on the wooden lookout of the Moblin camp in Eastern Hyrule Field holds 10 bunches. An old man in Kakariko Village also gives 10 as a reward. You’ll find more as pickups around Hyrule Ranch and elsewhere.


Electro Apple
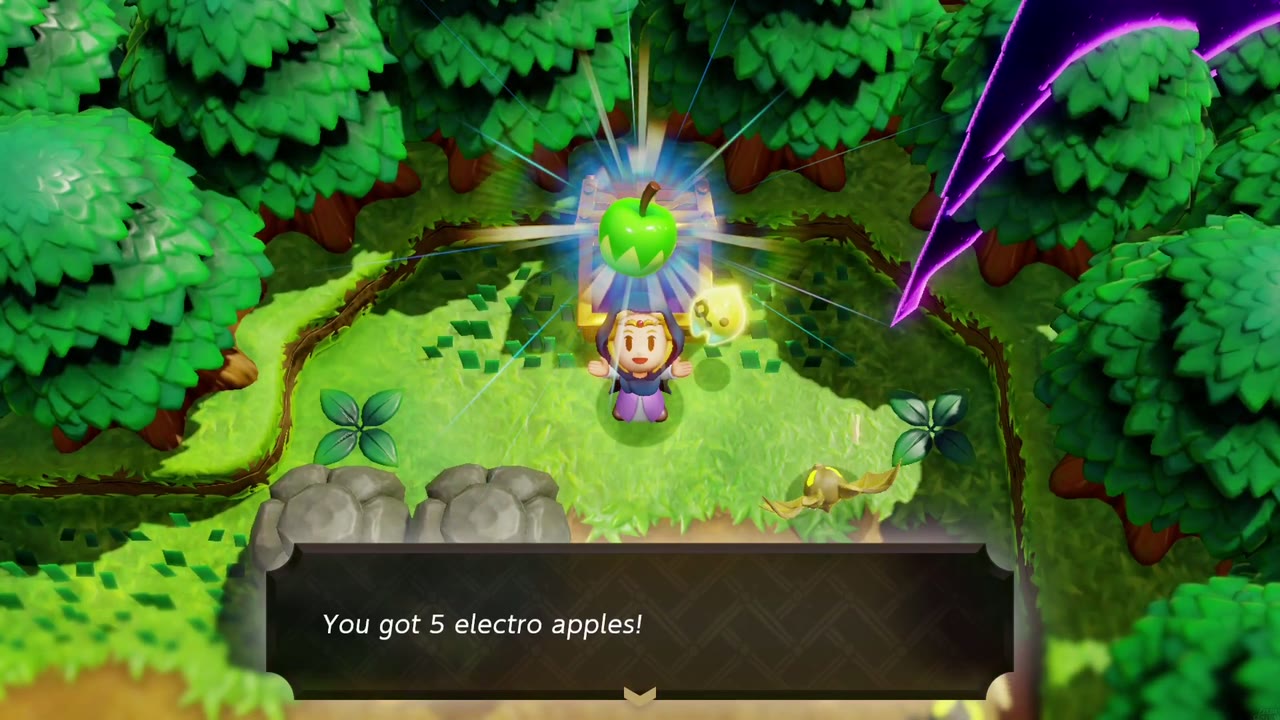
Use: “A juicy apple with a slight electric tingle. When used in a drink, it grants the drinker resistance to electricity.” It leads to Lightning-Proof drinks such as the Apple Smoothie (see Smoothies). Sells for 6 rupees.
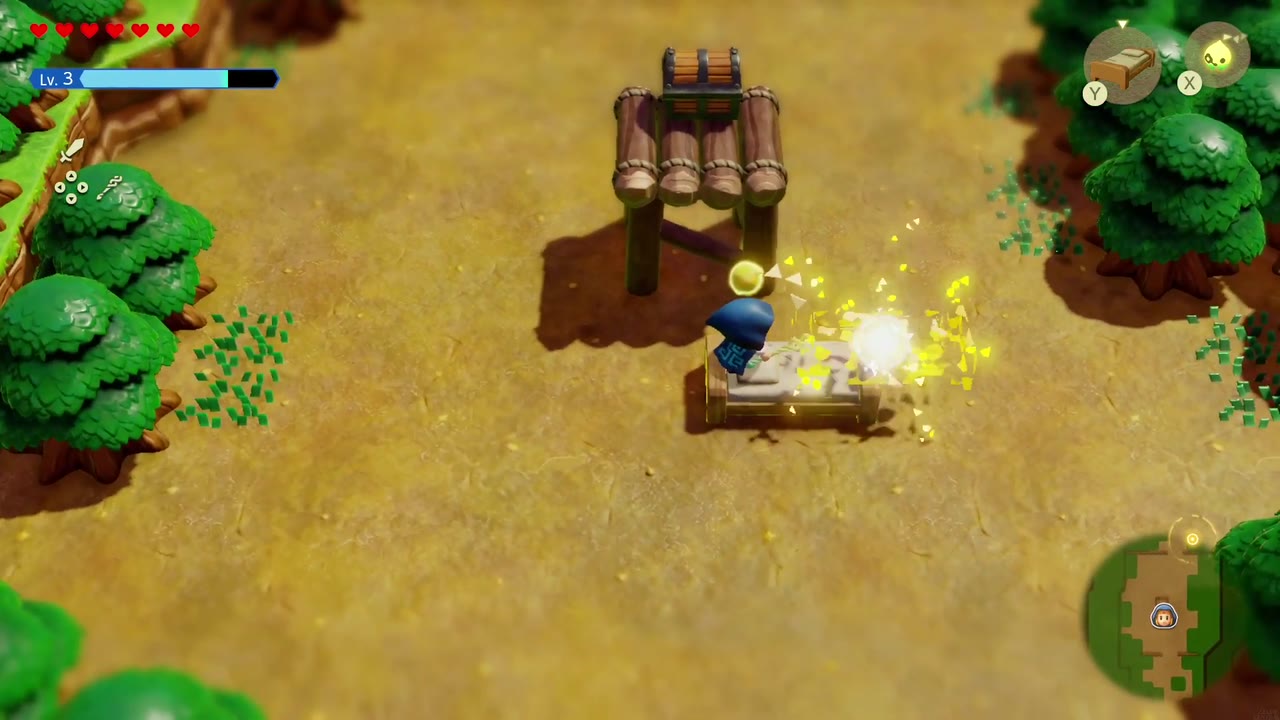
How to obtain: A chest in Suthorn Forest holds 5. A chest behind the log barrier in Hyrule Field, reached with Water Blocks, holds 10. You’ll also pick them up in Suthorn Ruins. The Scrubton scrub in The Mythical Deku Snake asks for three.

Warm Pepper
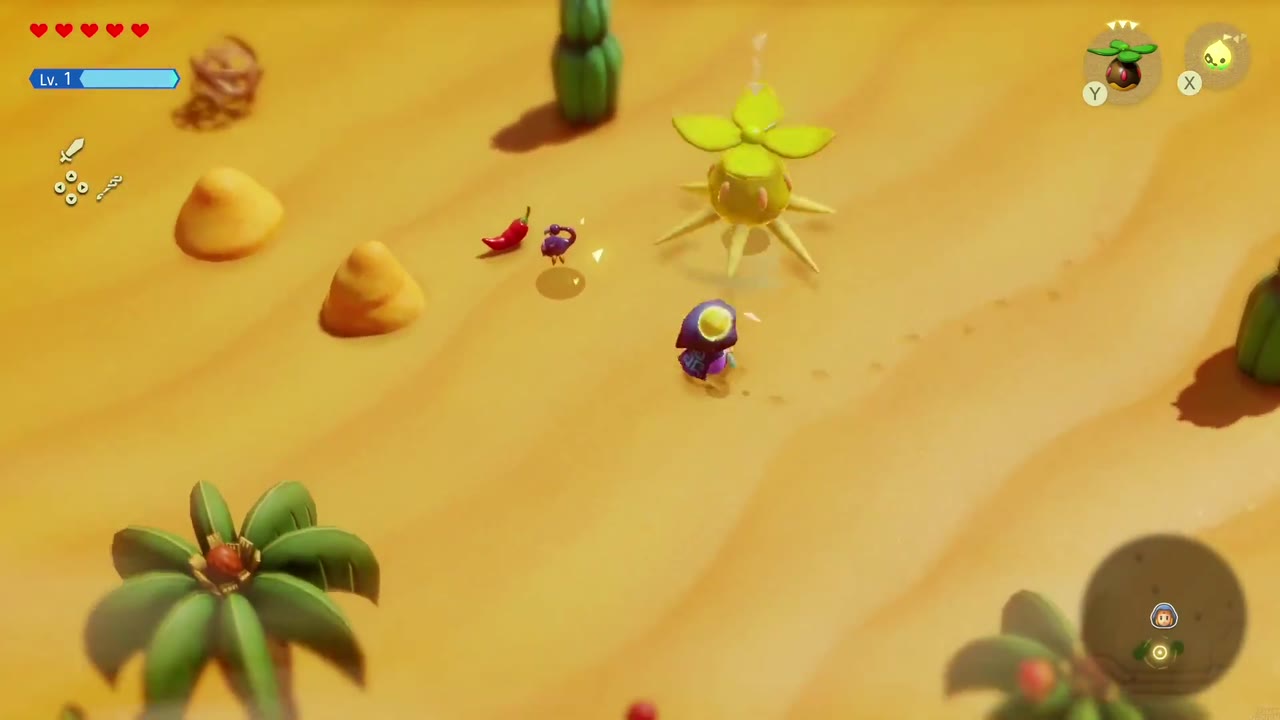
Use: “Key ingredient in Gerudo cooking. When used in a drink, it grants the drinker resistance to cold.” It leads to Chill-Proof drinks such as the Warm Smoothie (see Smoothies), which you’ll want on Hebra Mountain. Sells for 10 rupees.
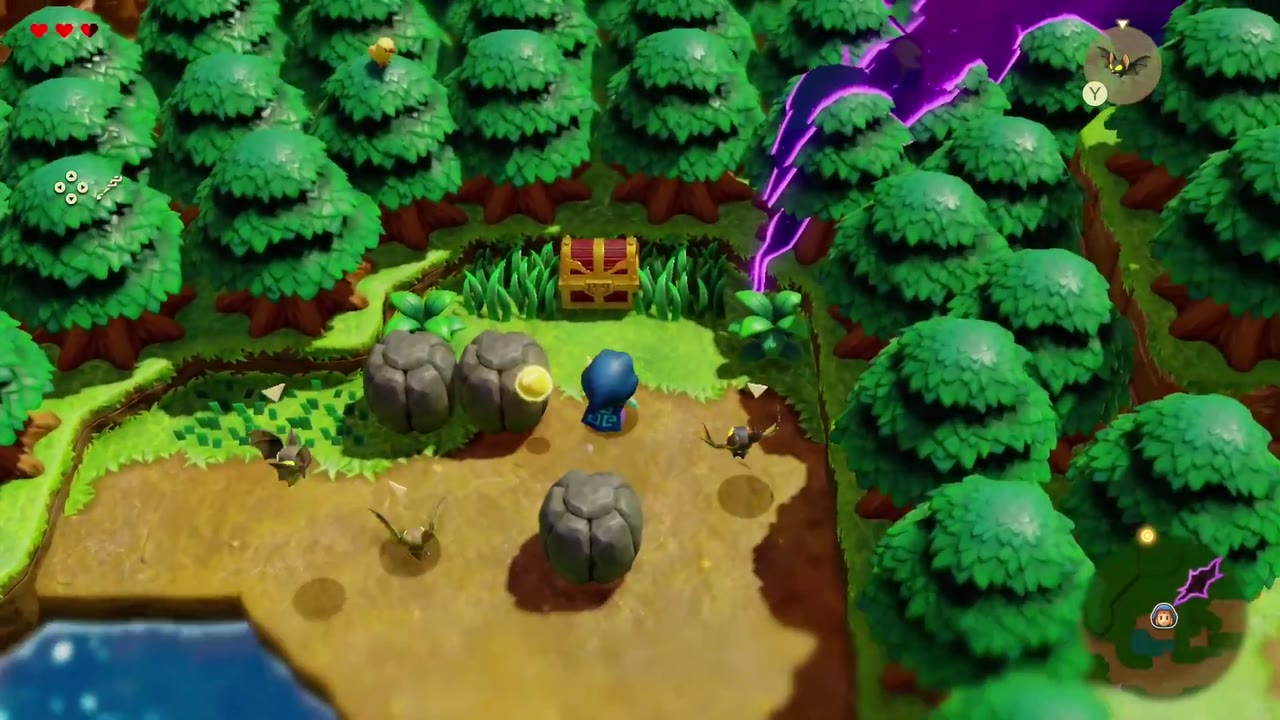
How to obtain: Monsters in the Gerudo Desert drop it. A chest under a log platform in the desert’s red canyon holds 5, and a chest in Stilled Hebra Mountain holds 3. The riverside Acorn Gathering in Hyrule Field gives one for a faster time (see Minigames).

Floral Nectar
Use: “Sweet nectar with a floral scent. When used in a drink, it boosts the effects of other ingredients.” Two make a Sweet Smoothie, and it adds to many Sweet recipes (see Smoothies). Sells for 6 rupees.
How to obtain: Buy it at the Suthorn Village Shop for 30 rupees. Chests also hold it, such as 5 jars in a flower meadow in the overworld and 3 in an underwater side-scrolling cave in Hyrule Field.


Fresh Milk
Use: “Sweet and refreshing milk of the highest quality. When used in a drink, it boosts the healing effect to the drinker by a lot.” It goes into the strongest healing smoothies, such as the Milky Sweet Smoothie (see Smoothies). Sells for 10 rupees.
How to obtain: The spooked Gerudo in Gerudo Town gives you 10 containers for Tornado Ghost?. The Stamp Guy gives another 10 once you have found five of his stamp stands (see Stamps). A chest in a small cave on Suthorn Prairie also holds some.



Chilly Cactus
Use: “Cool, bittersweet cactus enjoyed as a dessert. When used in a drink, it grants the drinker resistance to fire.” It leads to Fire-Proof drinks such as the Cactus Smoothie (see Smoothies), which help on Eldin Volcano. Sells for 6 rupees.
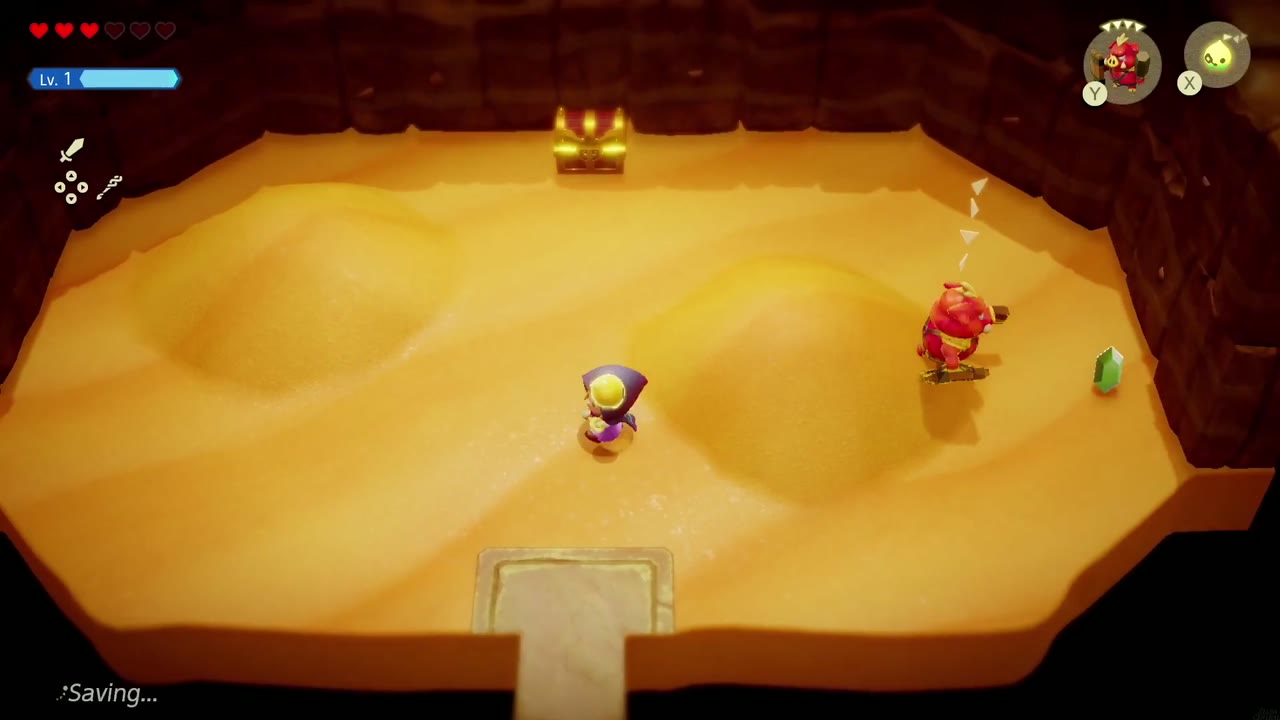
How to obtain: A chest in a sandy cave arena in the Gerudo Desert holds 10, and a side-room chest in the Gerudo Palace treasury holds another 10. Gerudo Tag Training in Gerudo Town rewards you with 6.

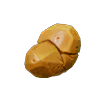
Rocktato
Use: “Potato with rock-hard skin. When used in a drink, it grants the drinker a boost to wall-climbing speed.” It leads to Wall-Climb Speed Up drinks such as the Climbing Smoothie (see Smoothies). Sells for 5 rupees.
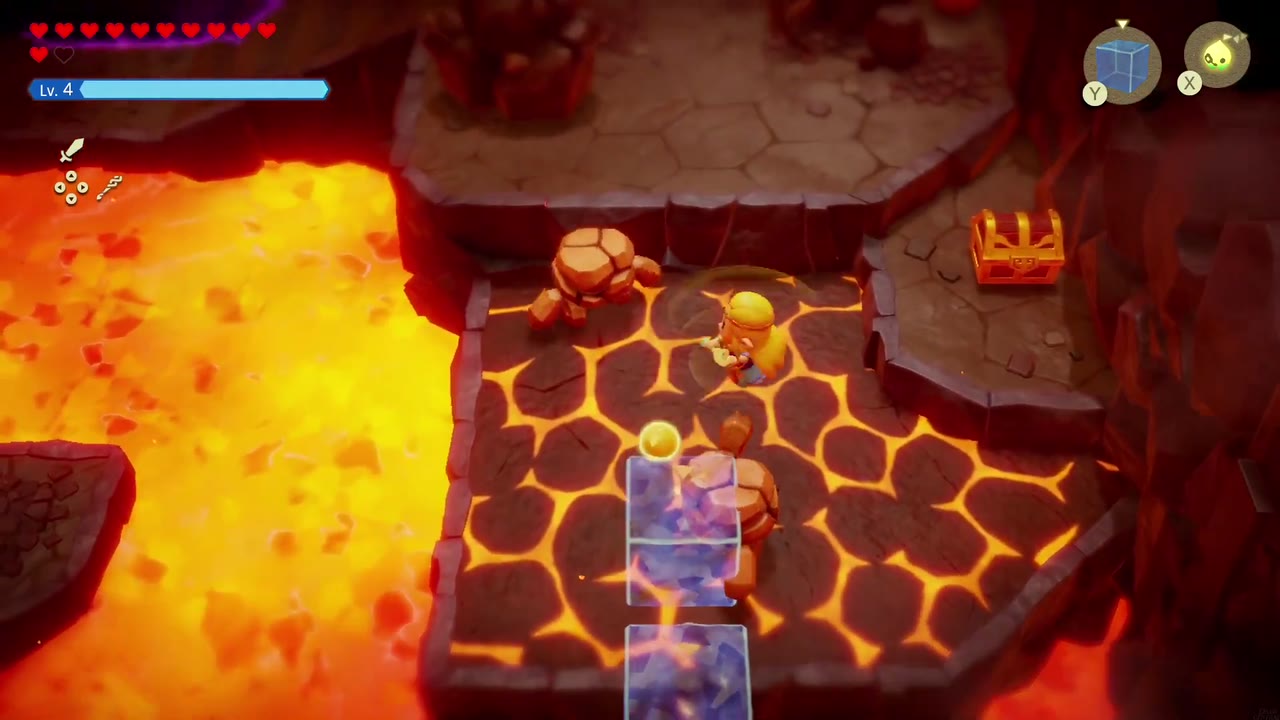
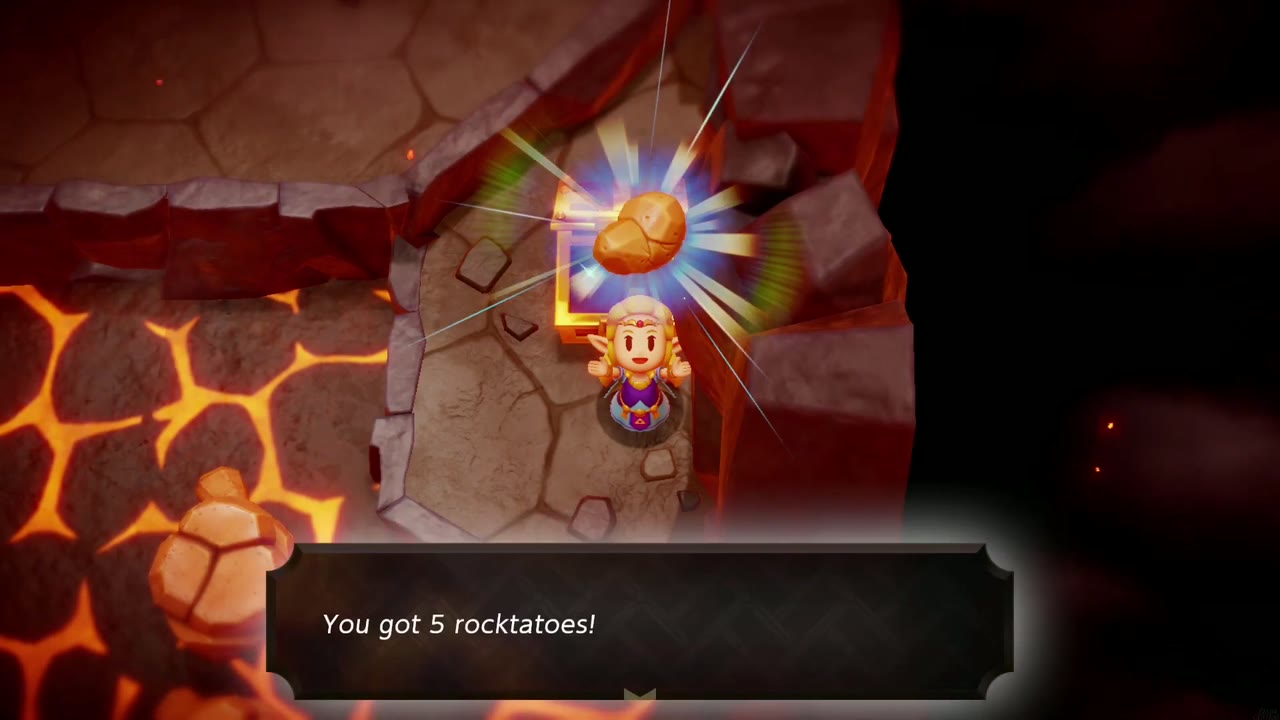
How to obtain: Look in chests around Eldin Volcano. One in a cave on the Eldin Volcano Trail holds 5, one in Rock-Roast Quarry holds 5, and more are in the Lizalfos Burrow and Stilled Eldin Volcano.
Rock Salt
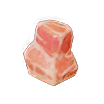
Use: “A clump of salt that crystallized over a long time. When used in a drink, it restores some of the drinker’s energy.” It adds energy recovery to the Salted smoothies (see Smoothies). Sells for 6 rupees.
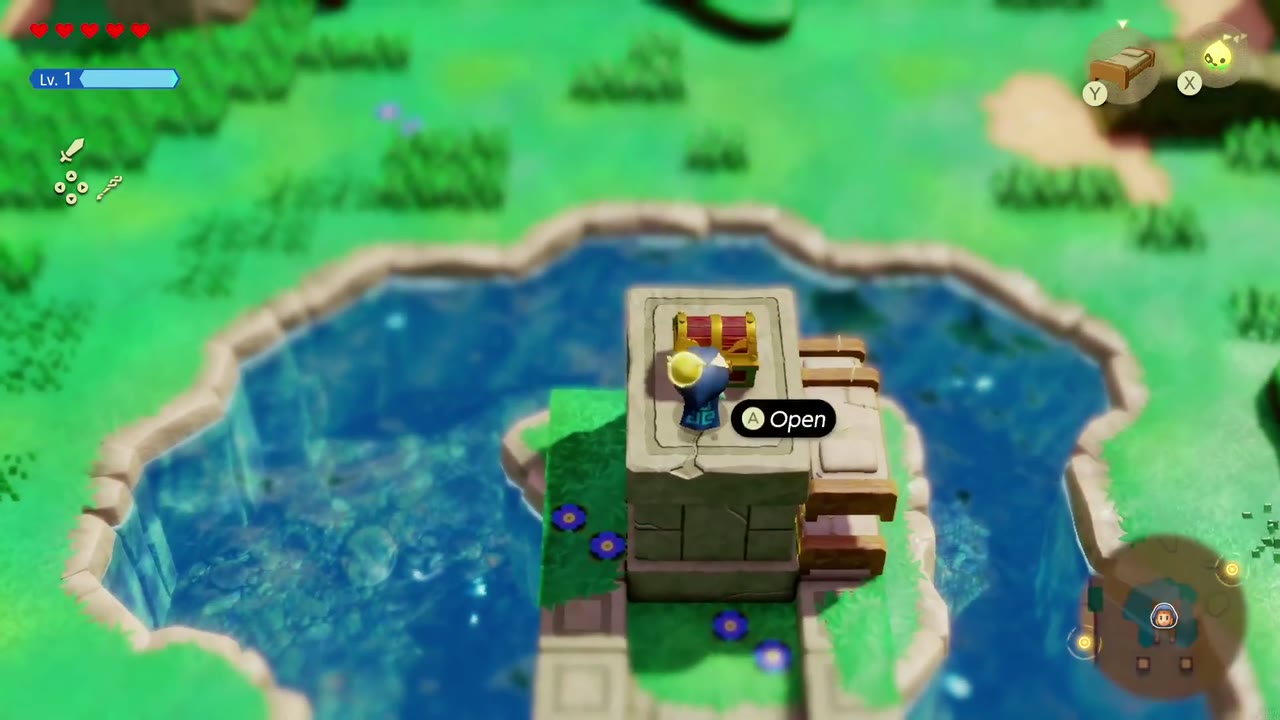
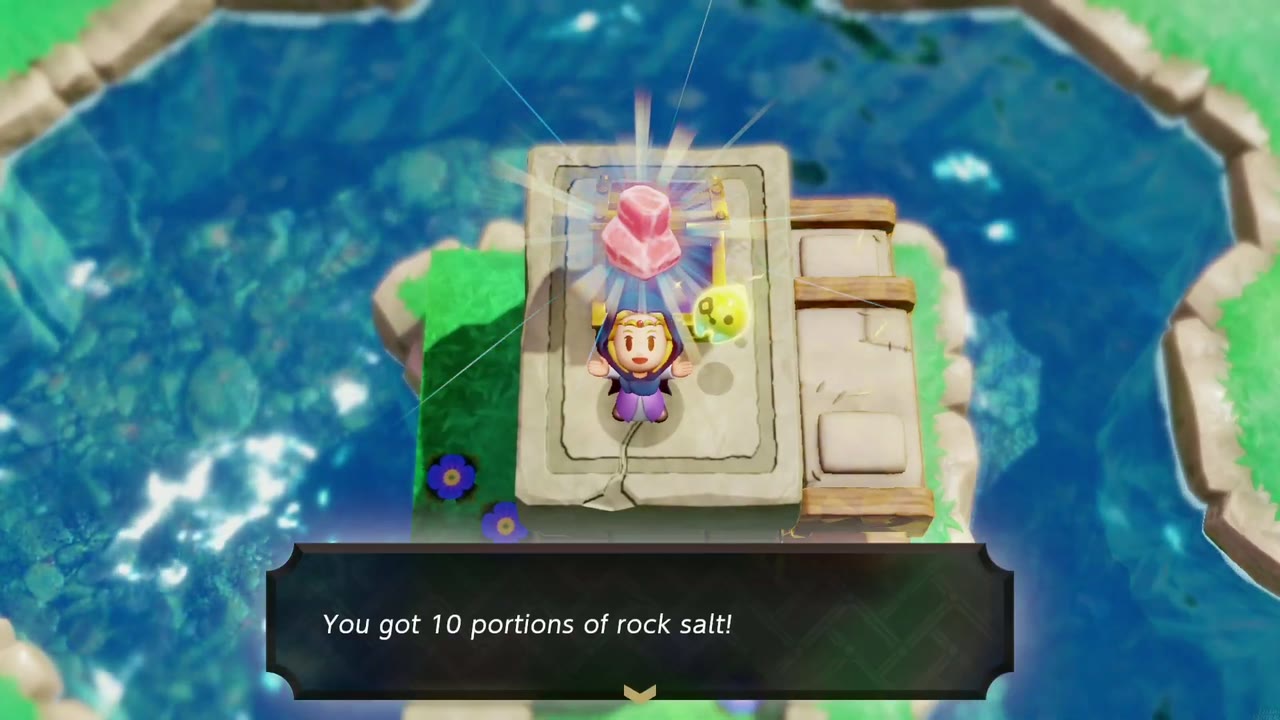
How to obtain: A chest on a stone pillar in a pond among the pillar ruins near Suthorn Prairie holds 10 portions. Reach it with echoes such as the Wooden Box, Crawltula and Old Bed. You’ll pick up more on the Eldin Volcano Trail. The Acorn Gathering in the Western Hyrule Field canyon maze gives it as a prize for a fast time (see Minigames).

Radiant Butter
Use: “Butter fermented in such a way as to make it shine brightly. When used in a drink, it makes the drinker glow for a time.” It leads to Glow drinks such as the Radiant Smoothie, which help in dark places (see Smoothies). Sells for 10 rupees.
How to obtain: A chest in Stilled Hyrule Castle Town holds 7 portions, and Suthorn Ruins has more. Slumber Dojo trainings in Kakariko Village also give 7 as a prize (see Minigames).


Twisted Pumpkin
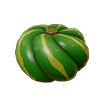
Use: “Pumpkin that grew in a twisted shape. When used in a drink, it grants the drinker faster key-winding speed.” It leads to the Twisty (winding speed) drinks for automatons (see Smoothies and Automatons). You need one in Getting It Twisted to open the Hebra Mountain Smoothie Shop. Sells for 10 rupees.
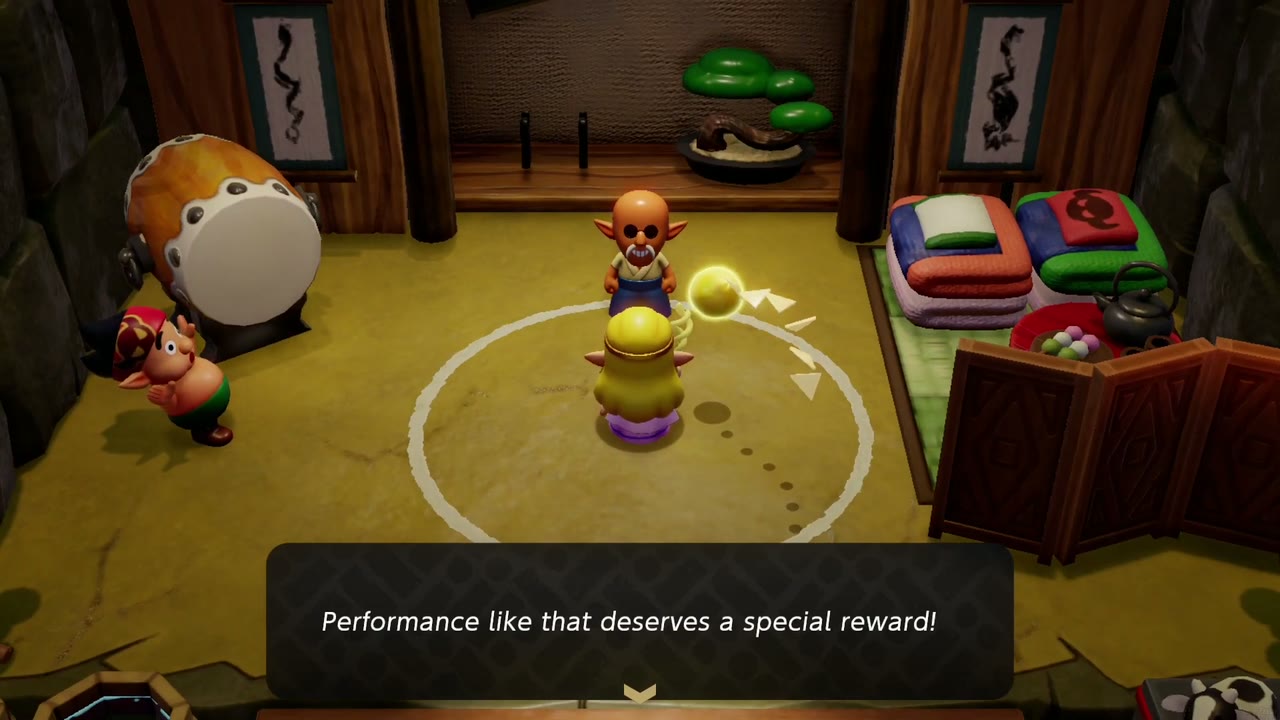
How to obtain: Dampé gives you 5 when you first visit his studio for Automaton Engineer Dampé. A chest in Eldin Temple holds 8, and Hebra Mountain has more. Slumber Dojo training prizes include 7.

Monster Guts
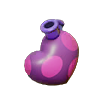
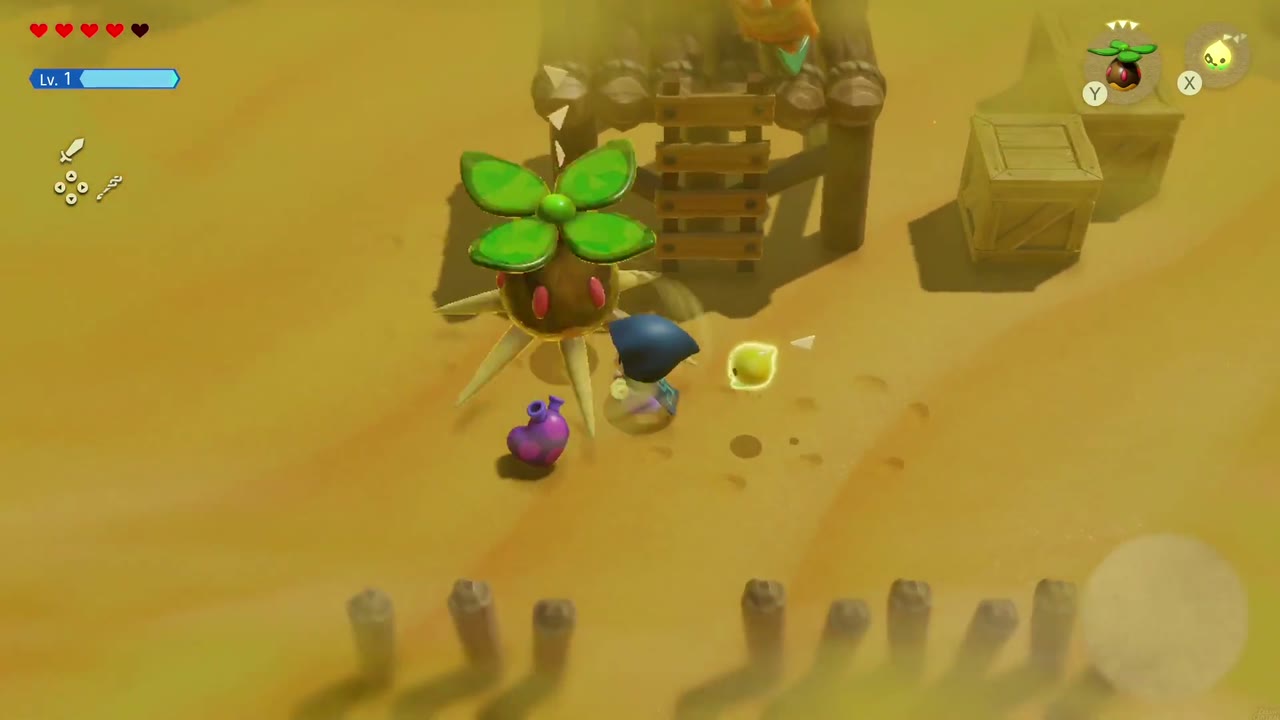
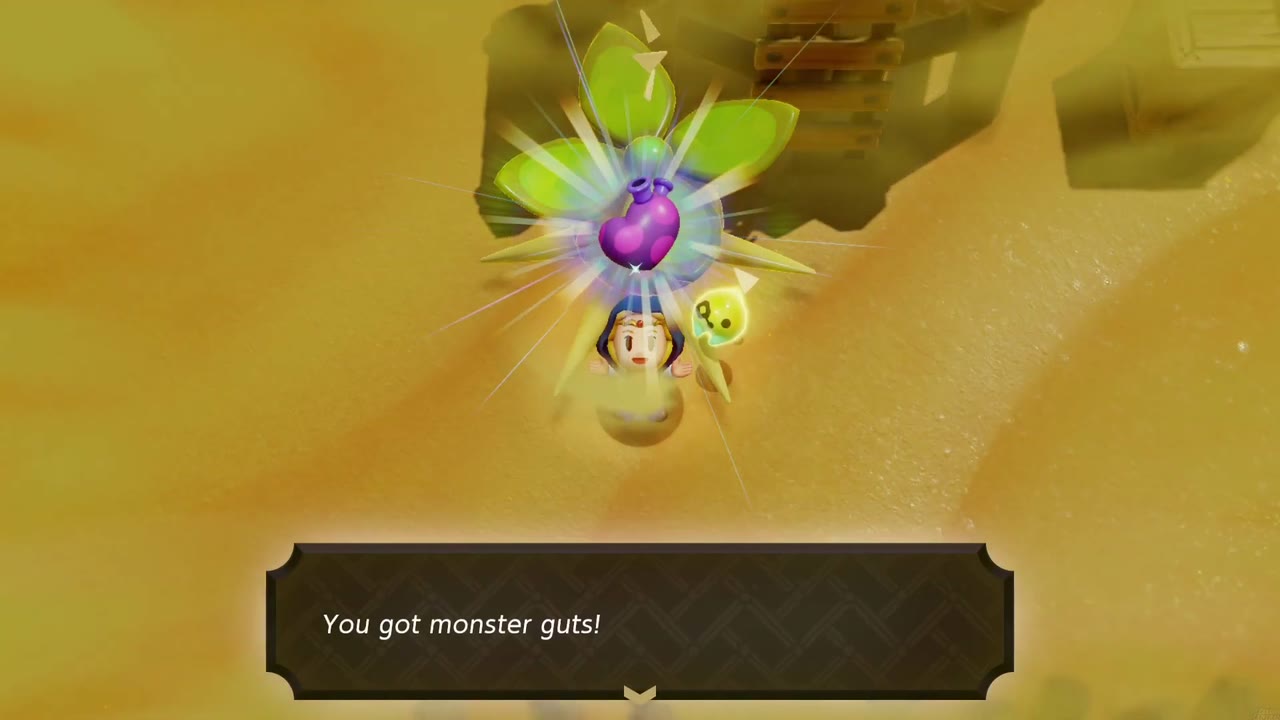
Use: “Material dropped by defeated monsters. When used in a drink, they may produce stronger effects for the drinker.” Pair them with a buff ingredient to brew a Potion whose effect lasts 5 minutes, for example Monster Guts + Warm Pepper makes a Piping-Hot Potion (see Smoothies). Sells for 20 rupees.
How to obtain: Monsters sometimes drop them, as early as the Gerudo Desert. A chest among the ice blocks in a Hebra Mountain ice cave holds 6 handfuls.
Monster Fang
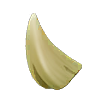
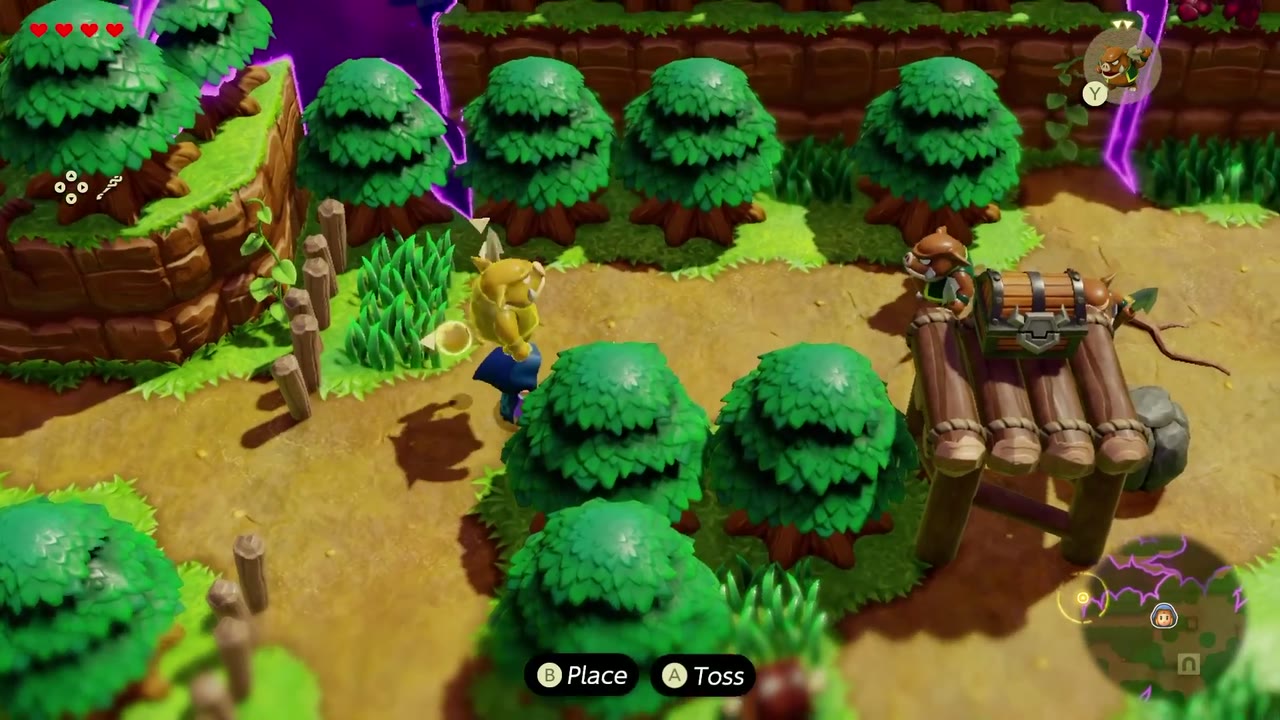
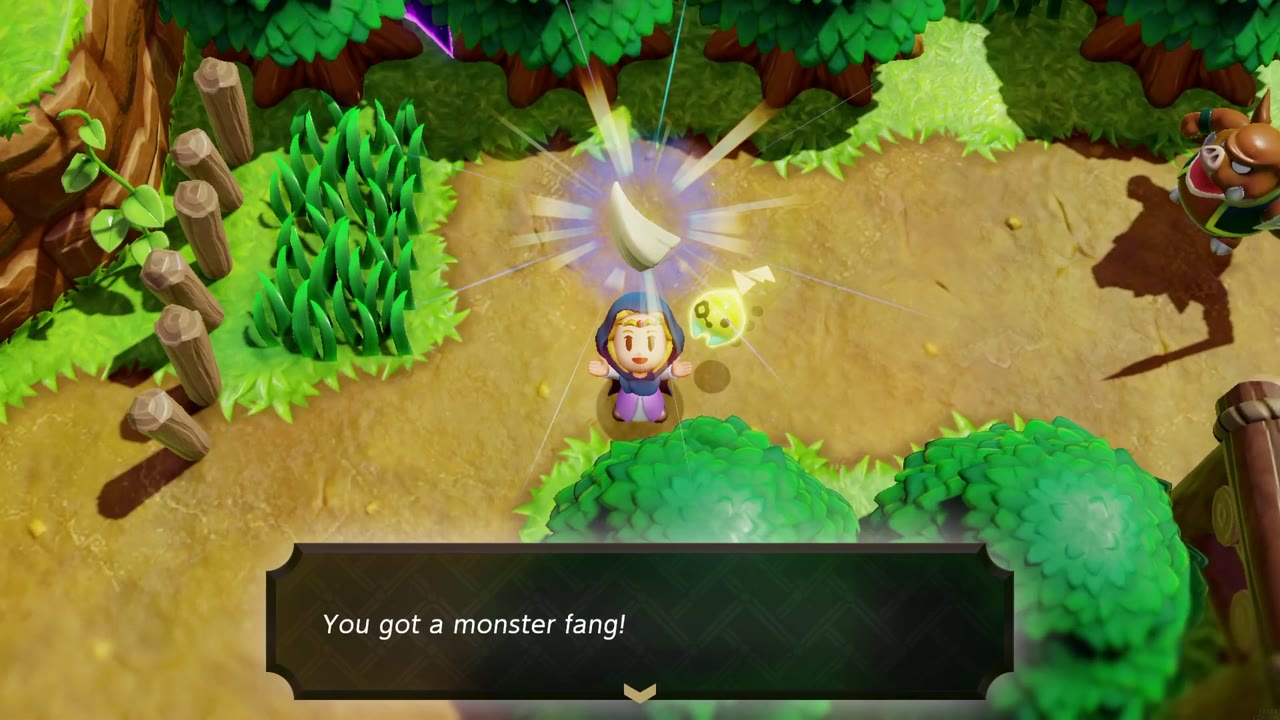
Use: “A high-quality tooth dropped by defeated monsters. When used in a drink, it may produce stronger effects for the drinker.” Like Monster Guts, it turns a buff ingredient into a long-lasting Potion, for example Monster Fang + Radiant Butter makes a Radiant Potion (see Smoothies). Two fangs alone only make an Unfortunate Smoothie. Sells for 20 rupees, so extras are good money.
How to obtain: Moblins and other monsters drop them from the start in Suthorn Forest. A chest in Stilled Hyrule Castle Town holds 5.
Tough Mango
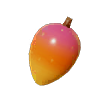
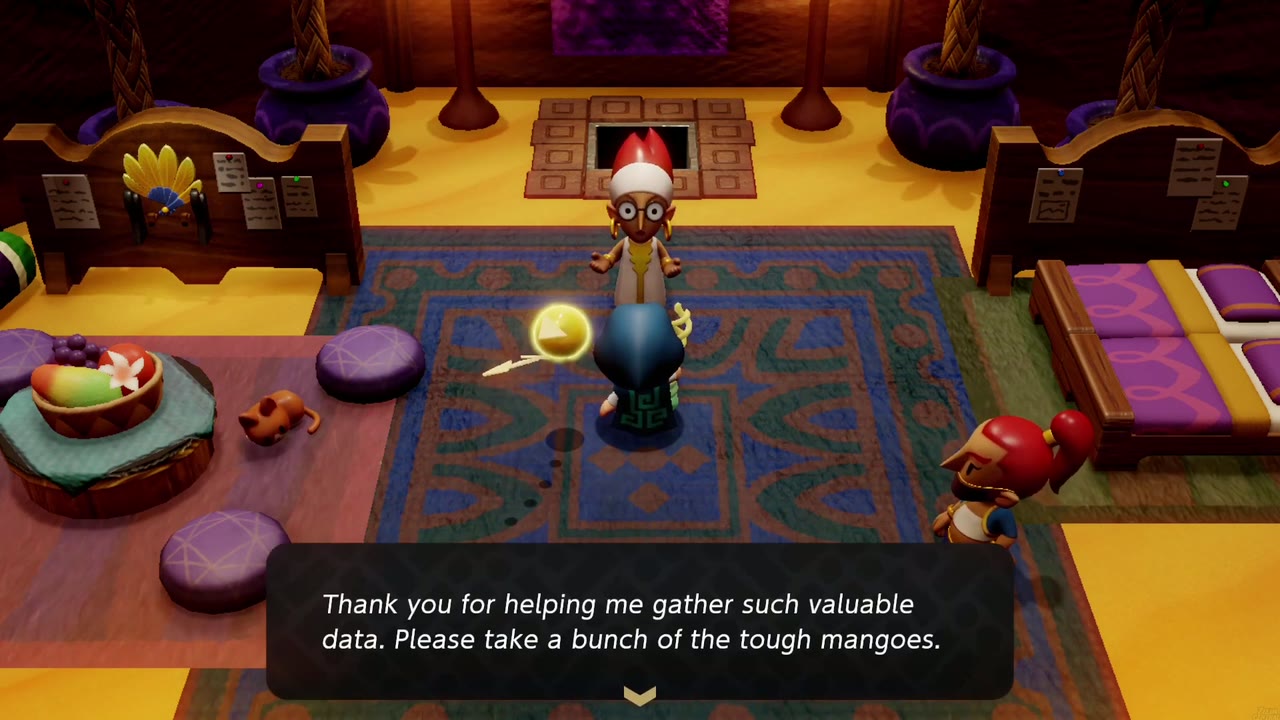
Use: “This item can be used to recover hearts but is more effective when mixed into a drink.” It leads to Damage Reduction drinks such as the Tough Smoothie (Tough Mango + Tough Mango); see Smoothies.
How to obtain: Play Mango Rush at the Tough Mango Plant Lab by the Gerudo Desert oasis (10 rupees a round). Every successful round pays out tough mangoes, from 5 for a first clear up to 12 on later rounds (see Minigames).

Golden Egg
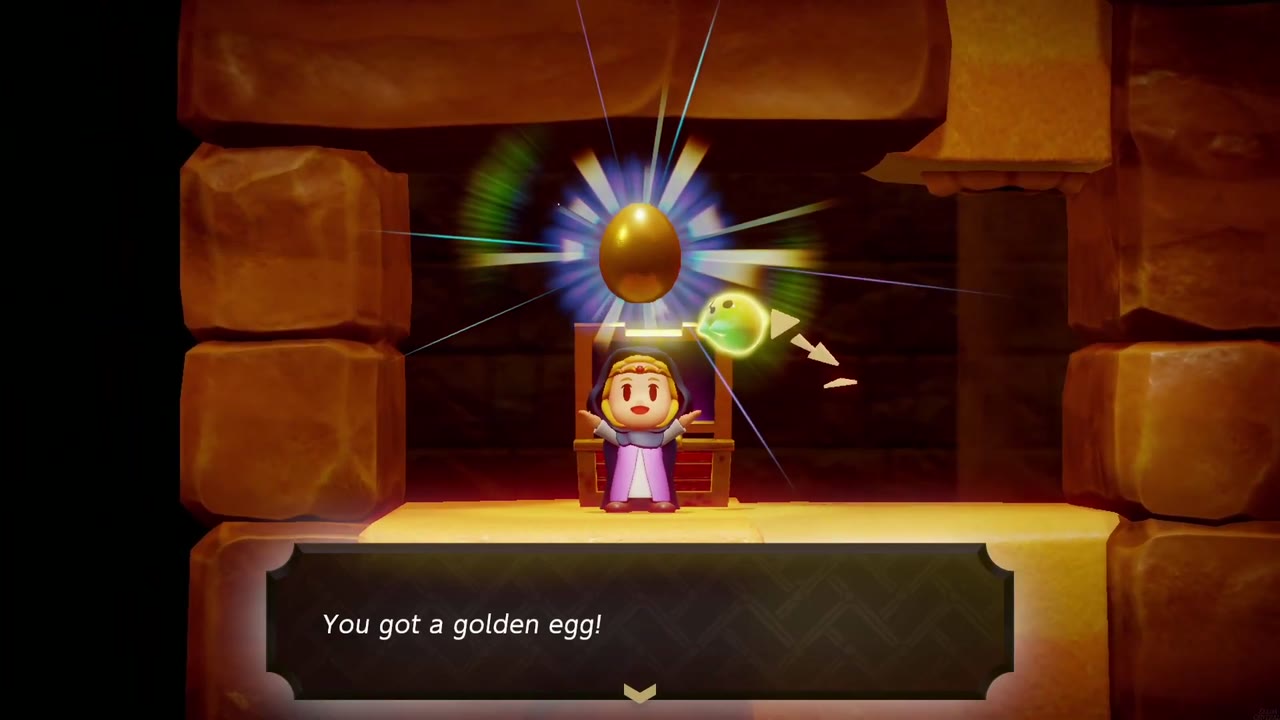
Use: “Rare egg with a golden gleam. When used in a drink, it may greatly boost the effect of other ingredients.” Mix it in to make Golden smoothies that heal more and buff for longer (see Smoothies). Sells for 150 rupees.
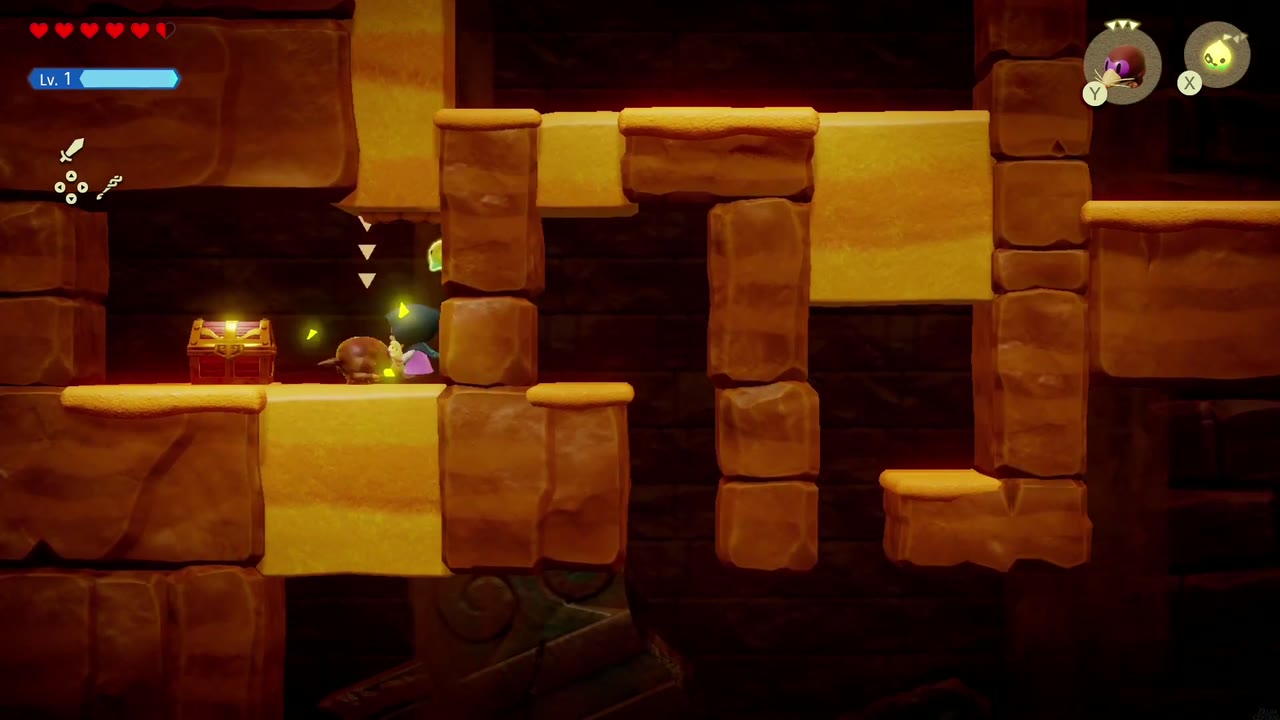
How to obtain: Look for chests in caves and dungeons, such as the Ancestor’s Cave of Rest, Gerudo Sanctum, Suthorn Ruins, a Bombfish cave in Jabul Waters and Jabul Ruins. Slumber Dojo prizes include 2, and the Business Scrub gives 10 when you complete his whole recipe book in Recipes, Please!.

Monster Stone
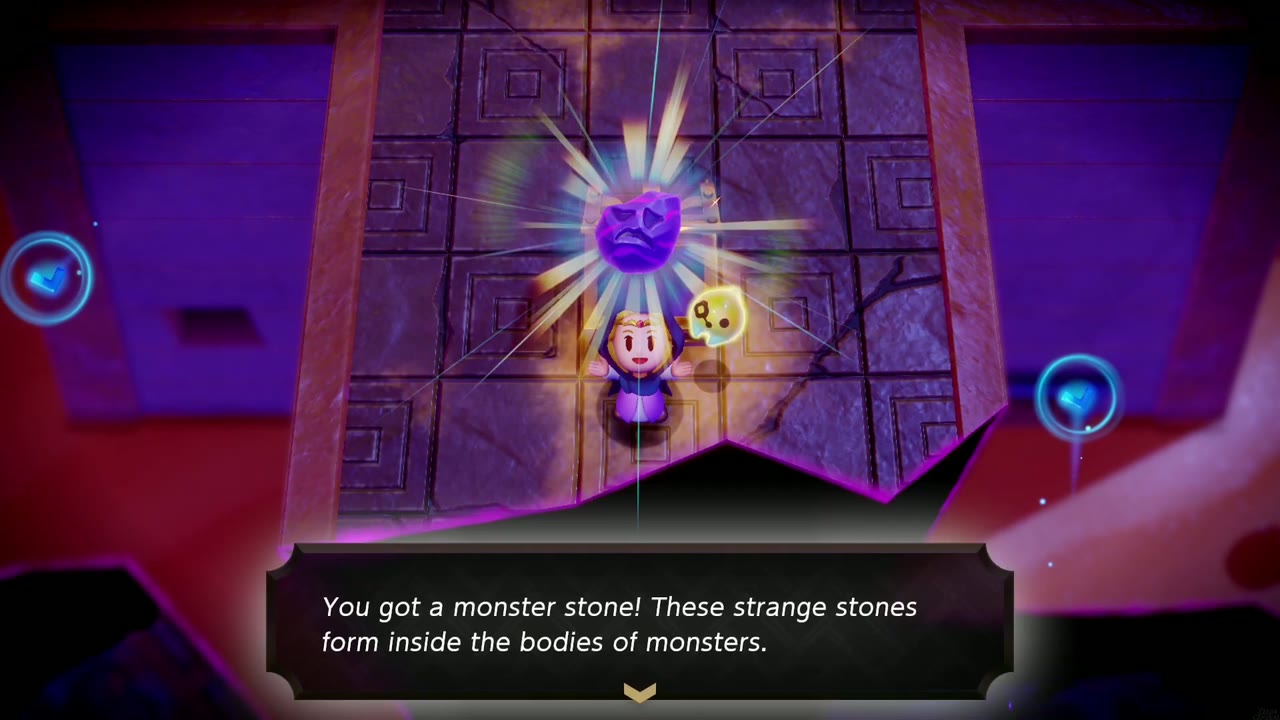
Use: “Strange stones that form in monster bodies. They’re considered a collectible among enthusiasts.” They aren’t a smoothie ingredient. Dampé accepts them instead of rupees to repair a broken automaton (see Automatons). Sells for 5 rupees.
How to obtain: Monsters drop them, and many chests hold one, including in Stilled Gerudo Sanctum, a stone circle in Hyrule Field, Stilled Hyrule Castle and the Hidden Ruins in Faron Wetlands. Quests also give them, such as 3 for Precious Treasure and 2 for The Mythical Deku Snake, along with some Slumber Dojo prizes.
Tip: The Survey Scope, later upgraded to the Survey Binoculars, makes monster stones and smoothie ingredients appear a little more often.