Entering the Dragon’s Belly: The Initial Steps
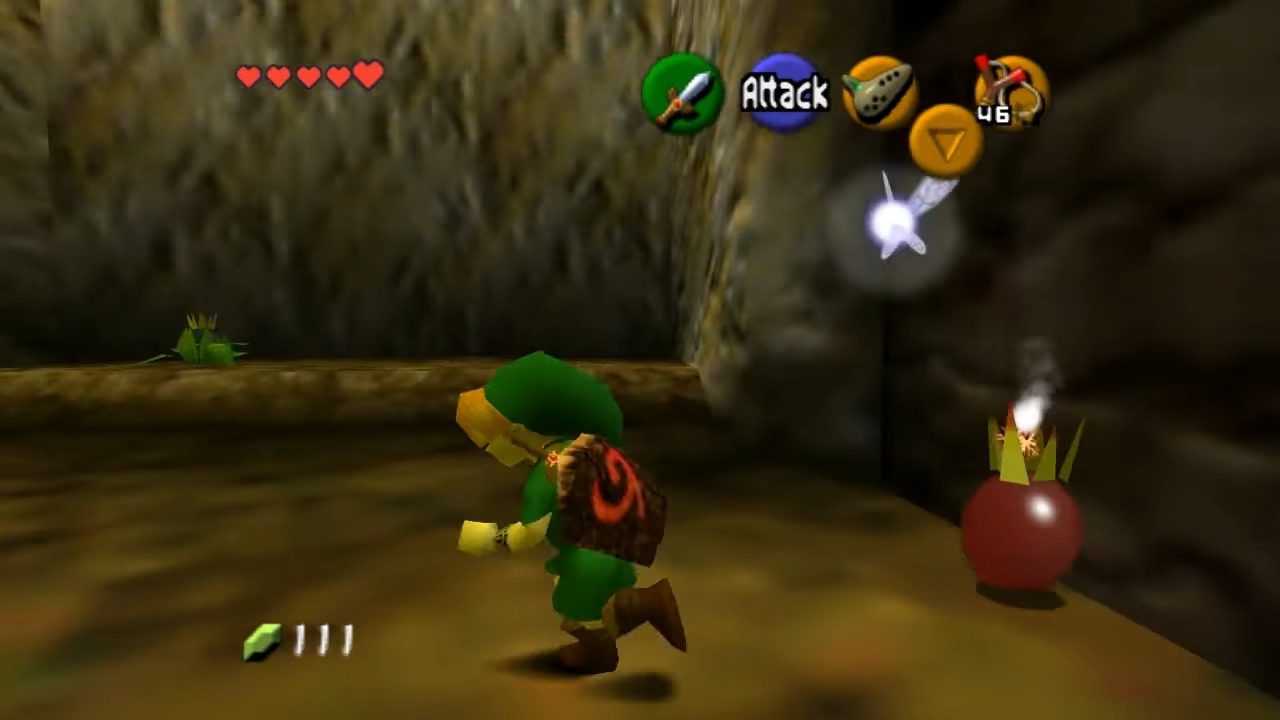
There’s a cracked wall waiting for you just inside the cave’s mouth. Grab a Bomb Flower and give it the same treatment you did at the entrance to fully enter Dodongo’s Cavern.
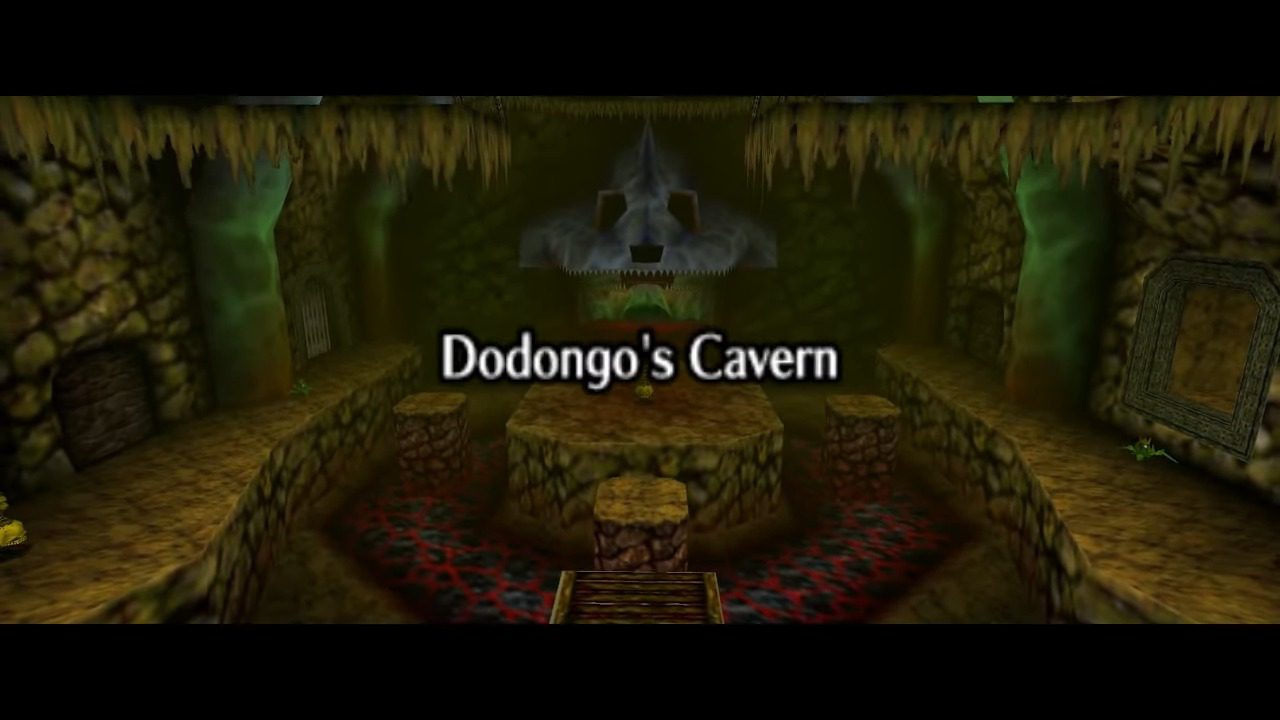
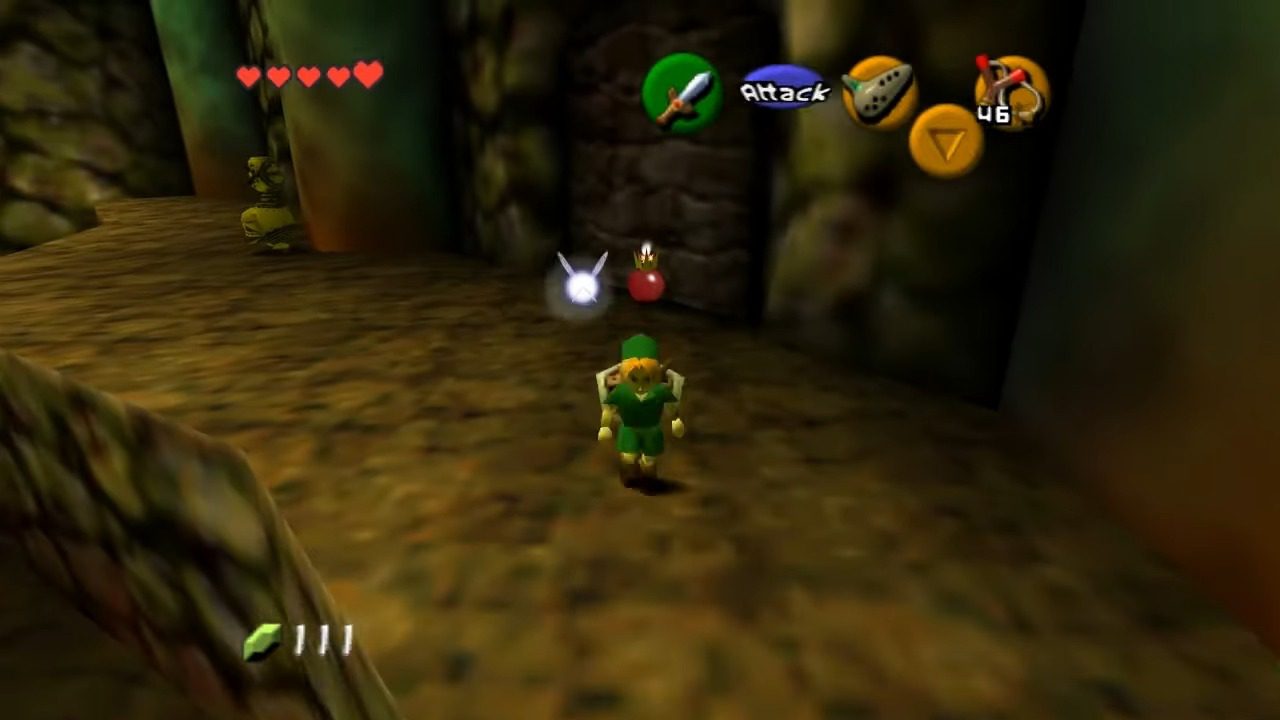
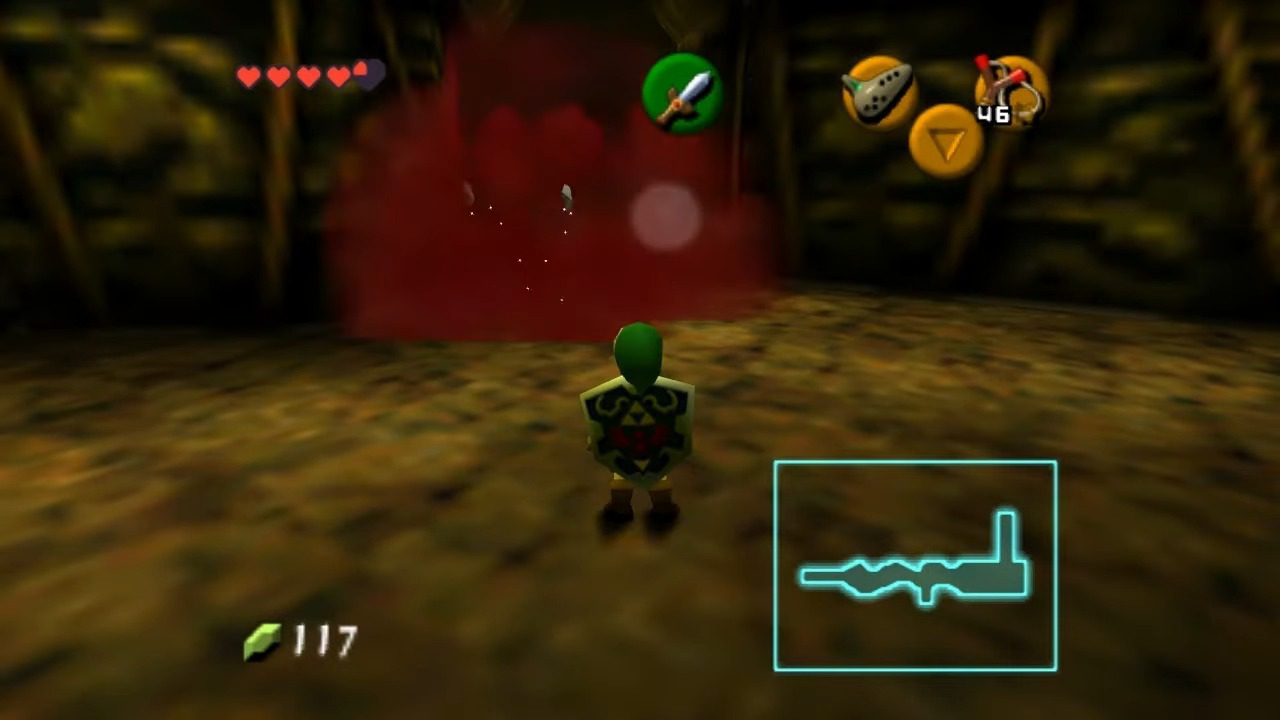
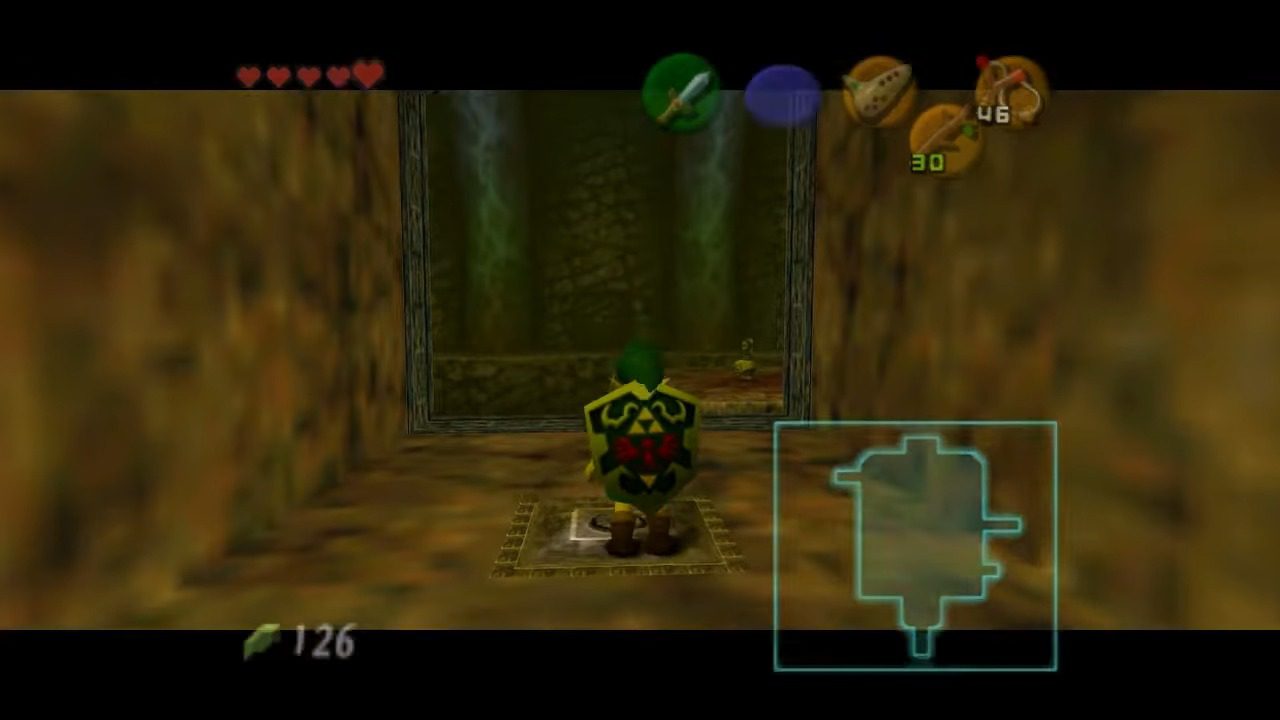
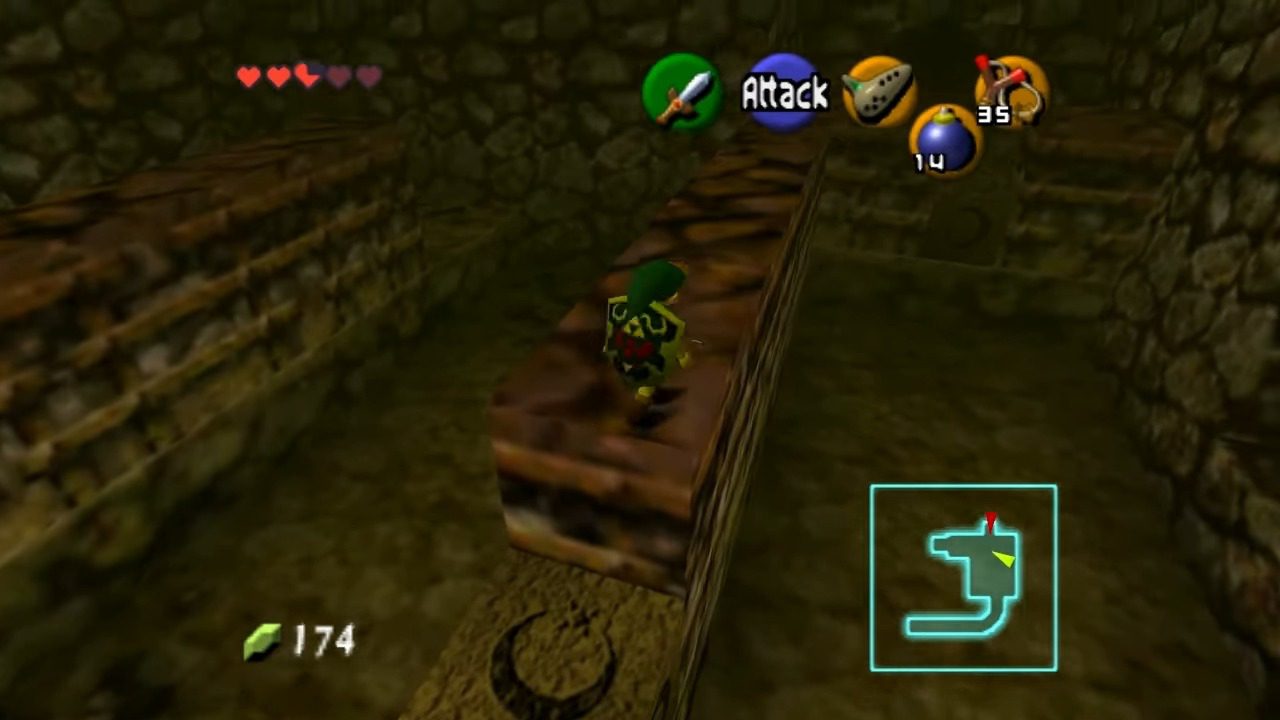
Now that you’re truly inside, prepare for some heat! The first main chamber is a vast, lava-filled space with various platforms scattered around. That molten rock isn’t just for show; touching it will definitely ruin your day, so watch your footing! You’ll immediately notice a new type of enemy: the Beamos. These are stationary statues with a big, menacing eyeball on top. They might look harmless, but if you linger in their line of sight, they’ll unleash a laser beam. You can either try to avoid their gaze or take them out with a well-placed bomb or Bomb Flower. To get to the left side of the room, you have a couple of options. You can either jump across the middle platform, being mindful of the Beamos’ watchful eye, or you can stick to the edge on the left side, hugging the wall near the lava, and follow it around to a ladder leading up. This early choice of paths hints that there might be different ways to navigate the dungeon, perhaps with some secrets hidden along the less obvious routes.
2. The Quest for Knowledge: Getting the Dungeon Map
Alright, let’s get our bearings. Head over to the left side of this fiery chamber. Remember that Bomb Flower we saw earlier? There should be another one conveniently located here. Snag it! Now, start scanning the nearby walls. You’re looking for something that seems a little… off. Maybe a crack, or just a texture that doesn’t quite match the rest.
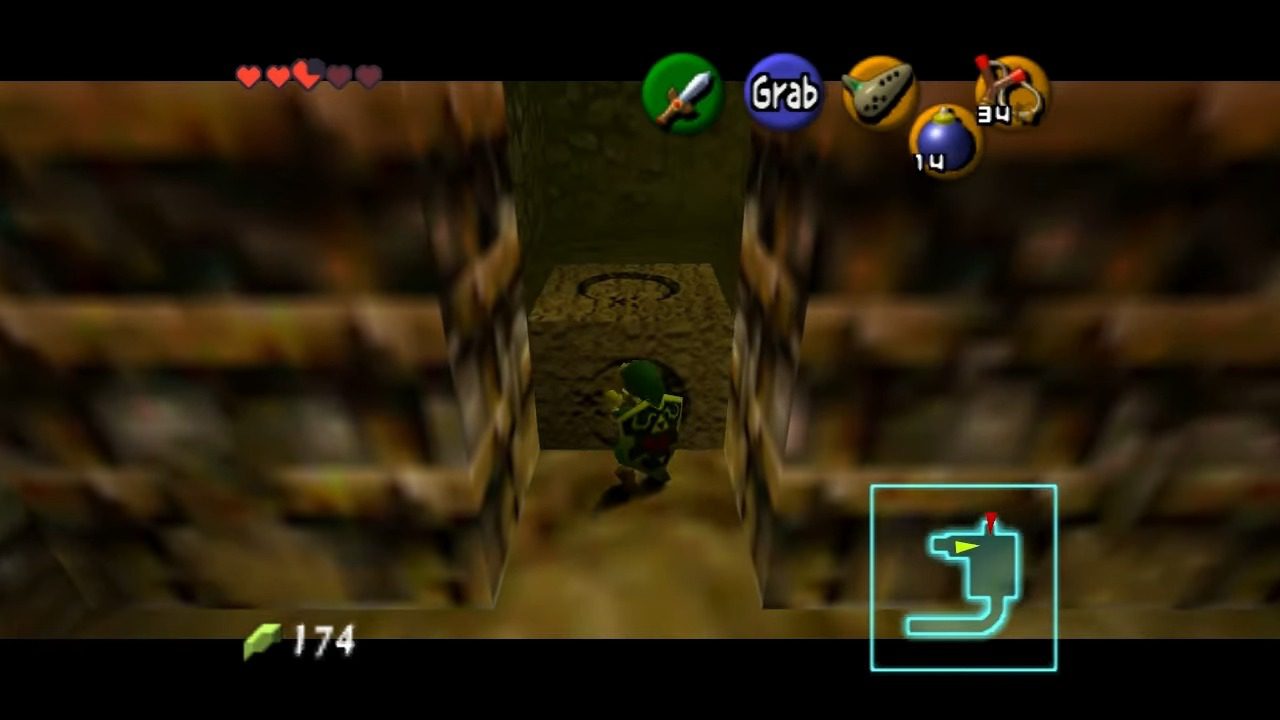
Once you spot the suspicious-looking wall, it’s time for another explosive renovation. Toss that Bomb Flower you’re holding right at it. Kaboom! A hidden passage will be revealed. Step inside this newfound area, and you’ll likely see a treasure chest. Go ahead and open it up. Inside, you’ll find the Dungeon Map!
3. Unlocking the Path: Finding the First Key (and Beyond)
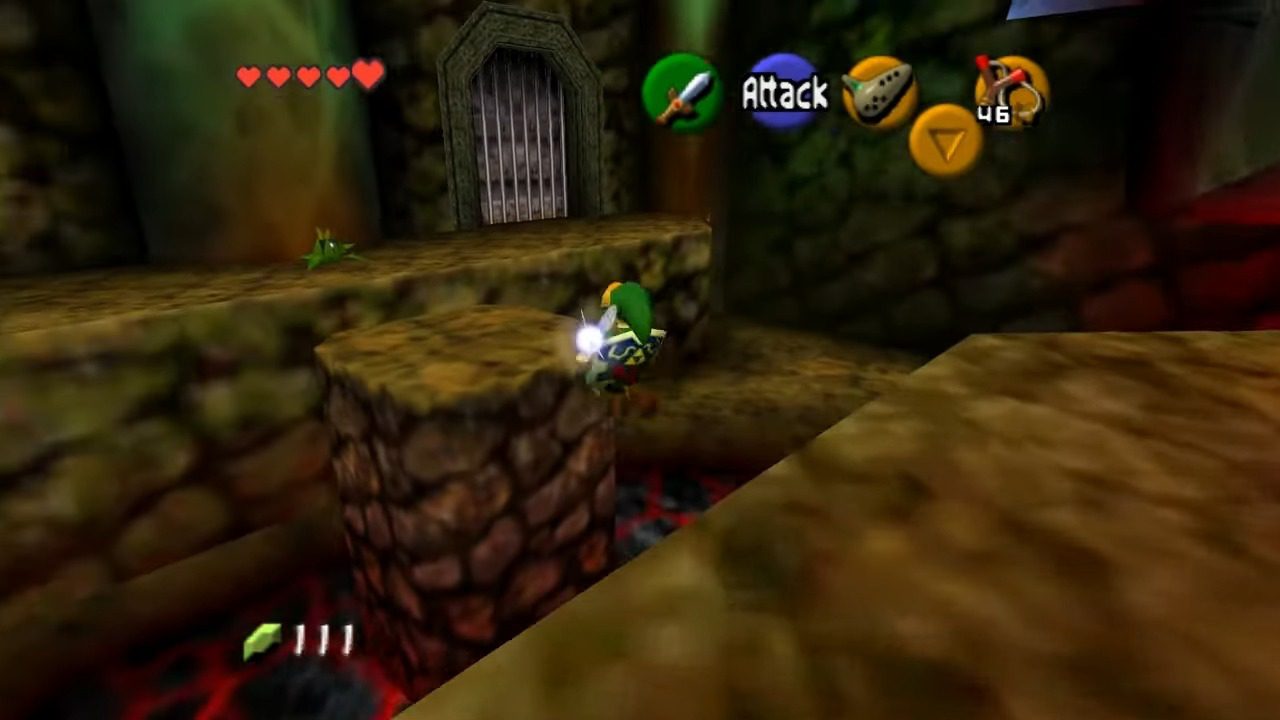
After you’ve snagged the Dungeon Map, make your way back to the main lava-filled room. Your next objective is to reach the opposite side. Remember those paths we talked about? You can either brave the middle platform, keeping a wary eye on that laser-shooting Beamos, or take the slightly safer route along the left edge and up the ladder. Both paths will eventually lead you to the other side. Once you make it there, pick up a Flower Bomb and throw it at the Beamos to defeat it. Then, pick up another Flower Bomb and blow up the suspicious looking wall on right side.
4. Into the Depths: Exploring the Baby Dodongo Corridor
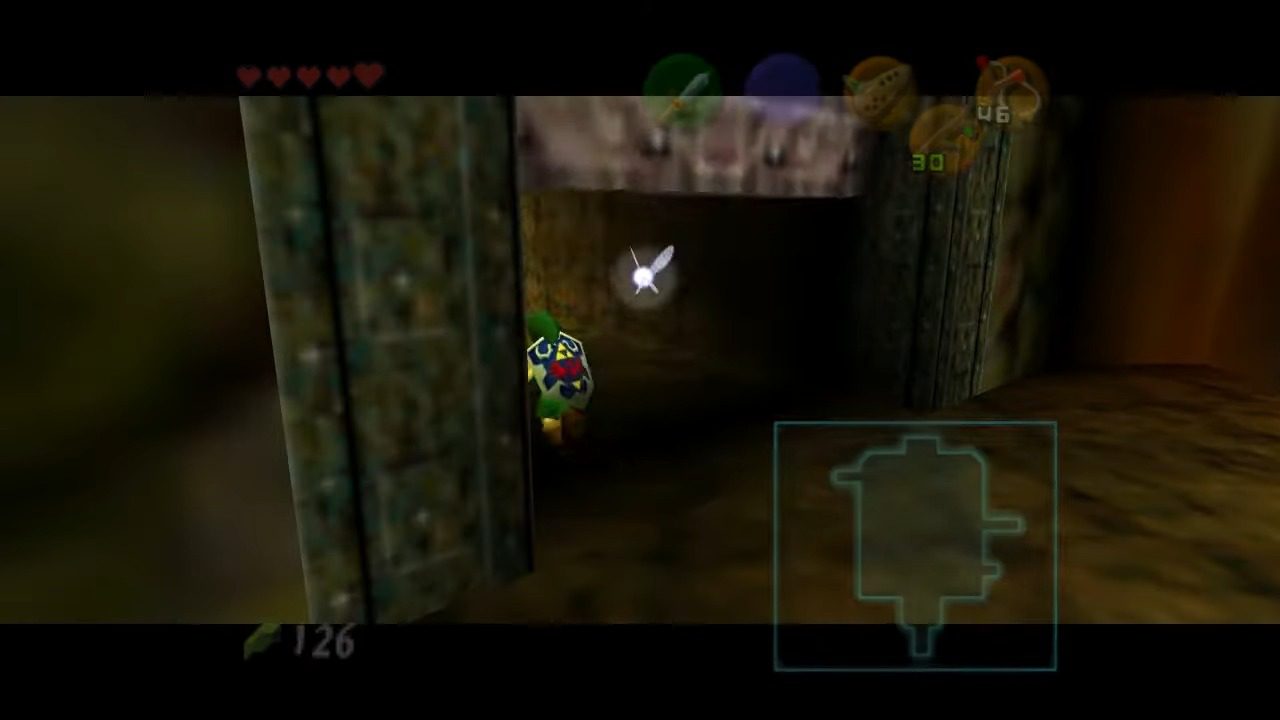
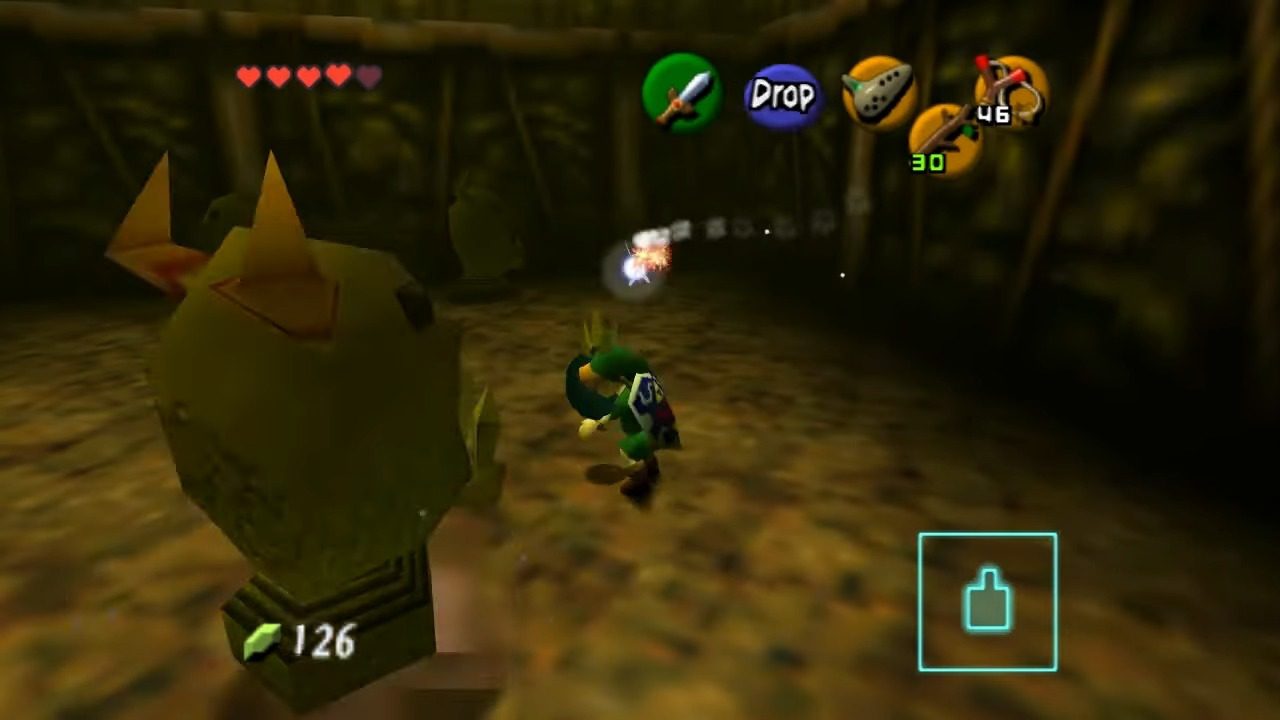
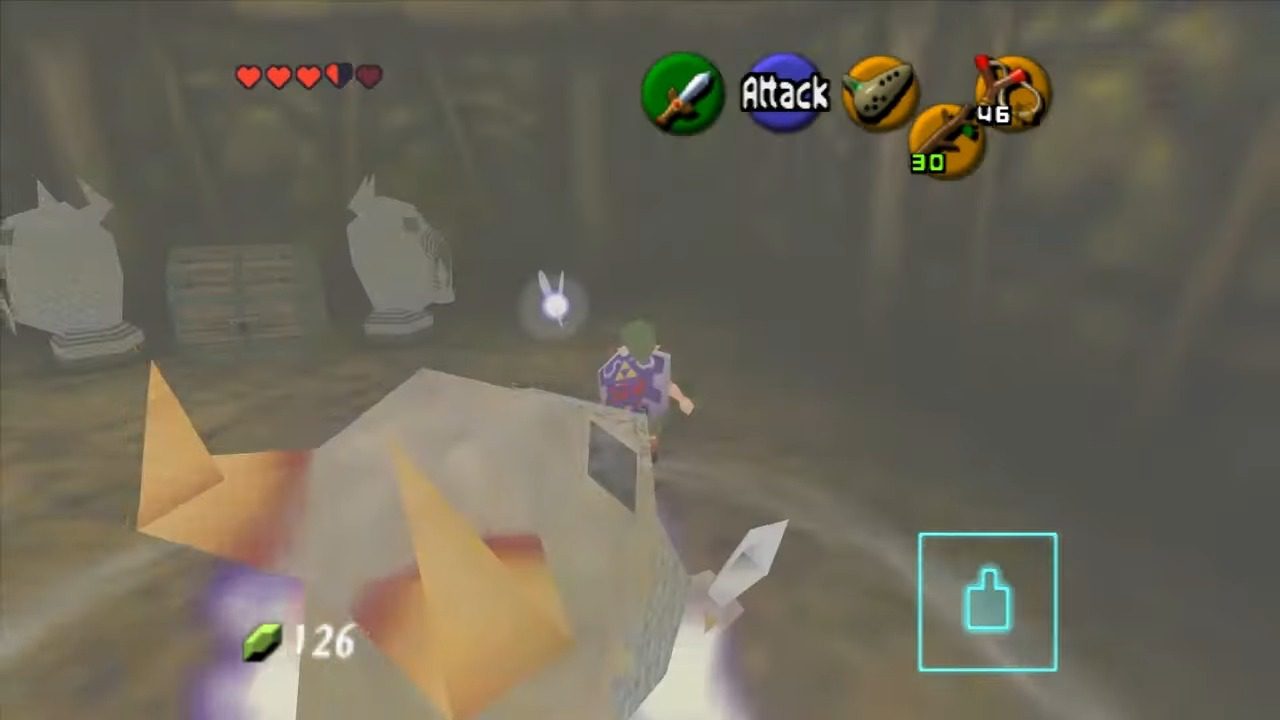
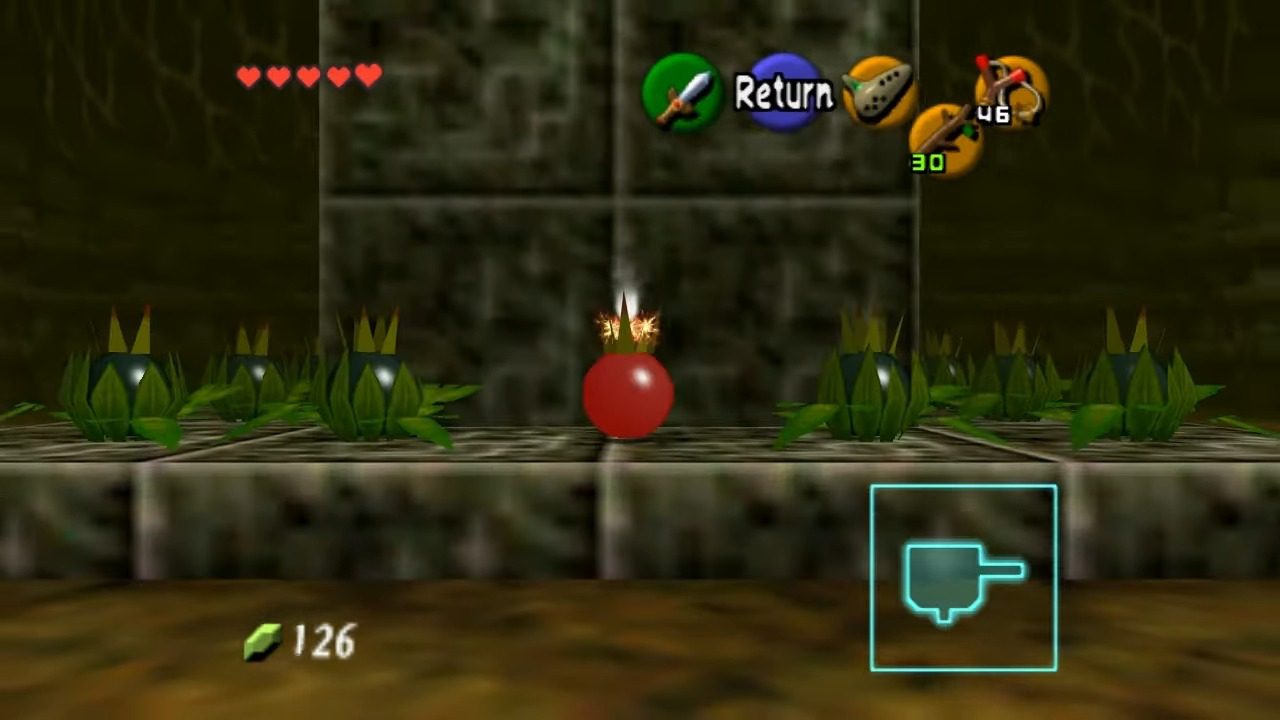
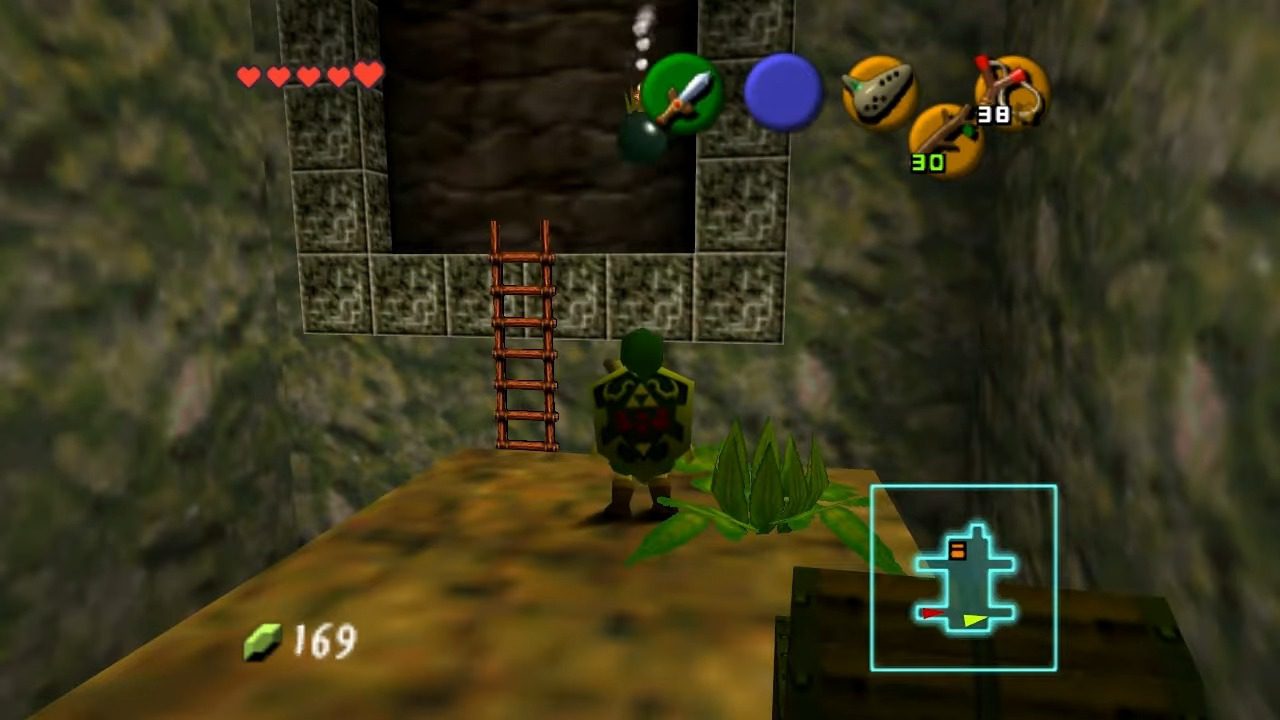
Blast through that wall, and you’ll find yourself in a new corridor. But don’t get too comfortable, because you’re about to meet some smaller, but equally volatile, inhabitants: the Baby Dodongos. These little guys might look cute (in a lizard-like way), but they’re essentially walking bombs! They’ll try to jump at you, but a single swipe of your trusty sword will turn them into active explosives. So, give them a whack and then quickly back away before they go boom!
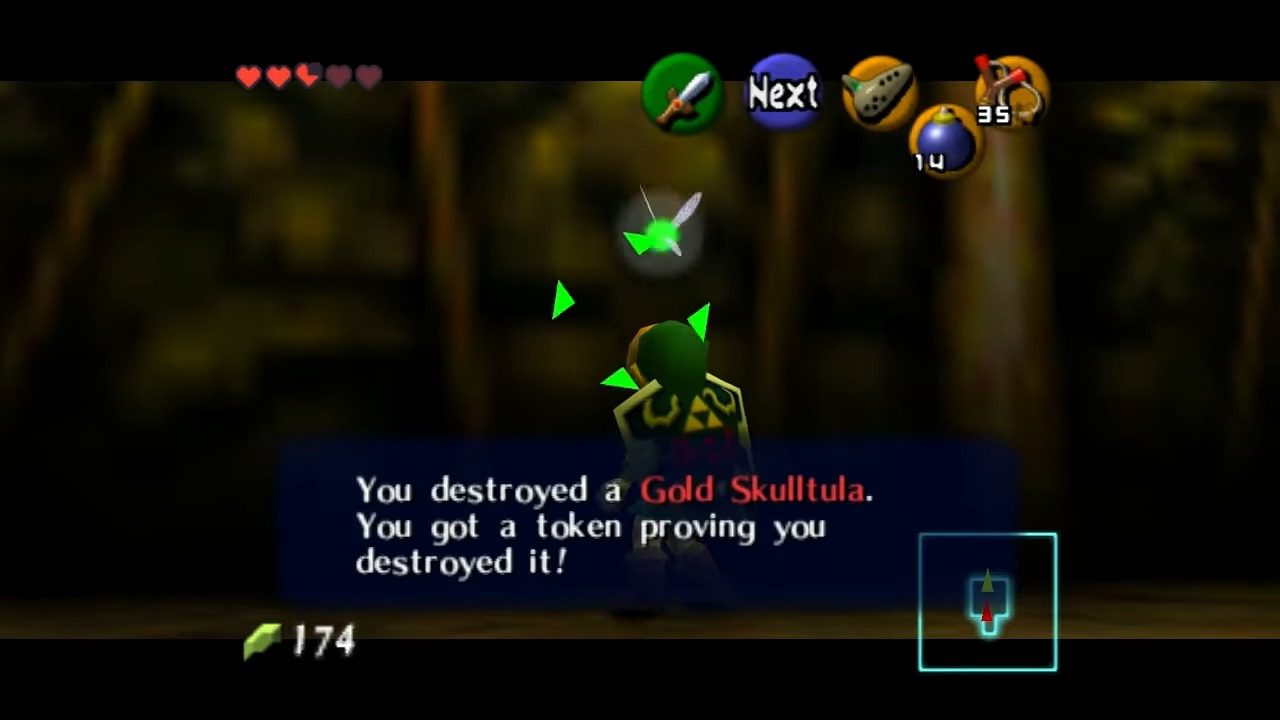
Lure one of these newly introduced Baby Dodongos over to that cracked wall to the right of this room and let it detonate, you’ll blast open a hidden path leading to a Gold Skulltula. Make sure to take out the Skulltula and the Keese that might be lurking in there, and then perform a jump slash (lock-on and attack while jumping) to reach the Golden Skull Token.
5. Facing the Lizalfos: A Test of Skill
ou’ll likely spot it near a closed door. This is a classic Zelda puzzle: the switch needs to be held down to keep the door open . Simply stepping on it won’t do the trick, as it will rise back up as soon as you move.
To solve this, you’ll need to find a weight. Look around the corridor, and you should see a dormant Armos statue . Your task is to carefully maneuver this statue onto the switch. Push or pull it until it’s directly on top of the switch. With the weight now holding the switch down, the door ahead will open, allowing you to continue your exploration. You’ll find yourself in a small hallway with a couple of Keese fluttering about. These bat-like creatures are more annoying than dangerous, so take them out with a quick shot from your Slingshot or a well-timed sword swing.
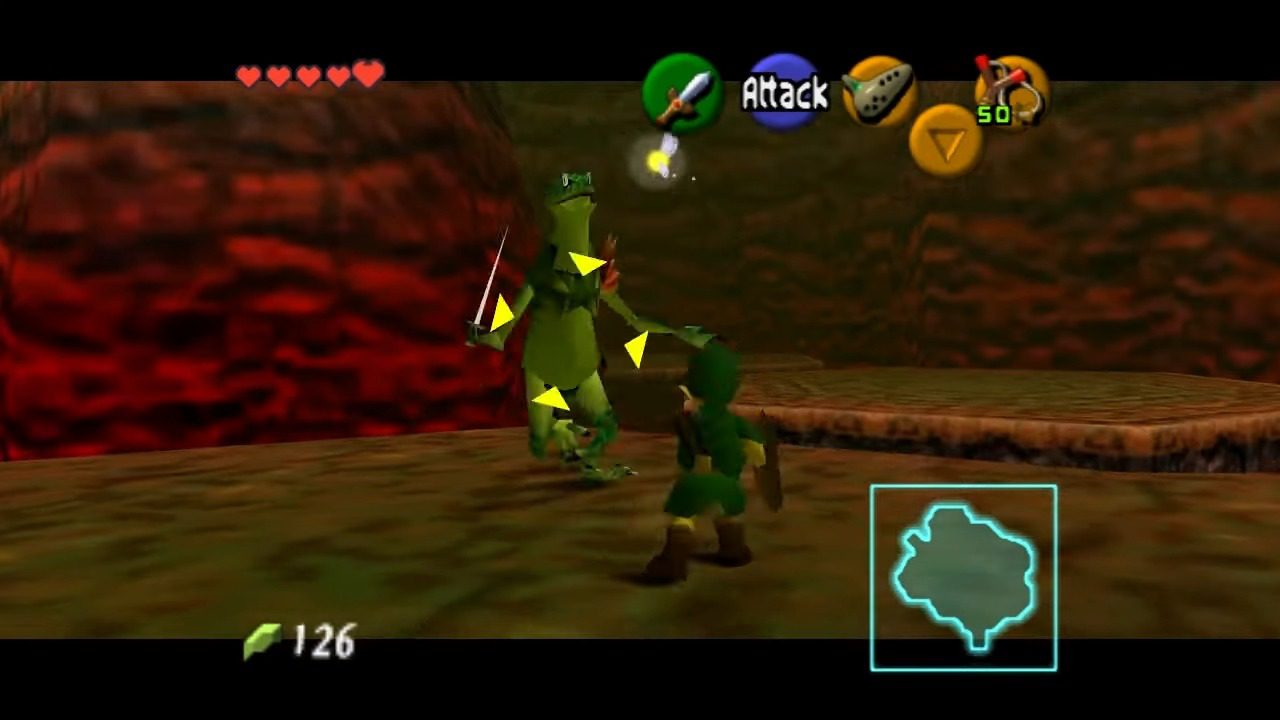
The next room will pit you against two Lizalfos. These lizard warriors are a step up in terms of difficulty compared to the previous enemies. They’re quicker and their attacks pack more of a punch. They’ll usually come at you one at a time, which makes the fight a bit more manageable. The key to victory here is to Z-target them, keep your shield raised to block their attacks, and then strike with your sword during their brief moments of vulnerability after they attack. If you need them, there are hearts hidden in pots on the last platform across from the door you entered. This platform can also be a good spot to fight them, as they can only approach from one direction, giving you a tactical advantage. Just be careful not to fall off! Defeating both Lizalfos will cause the door to the next area to unlock. These encounters are great for honing your combat skills and getting you ready for the tougher challenges ahead.
6. Lighting the Way: A Fiery Puzzle
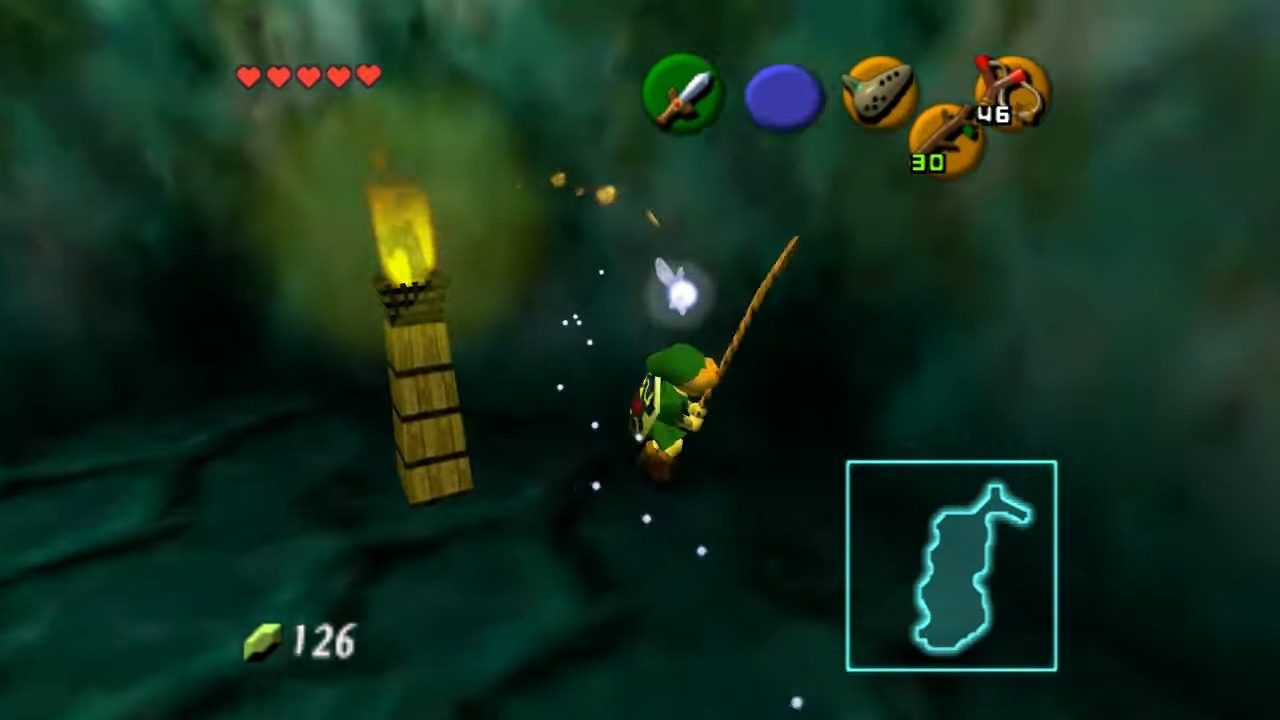
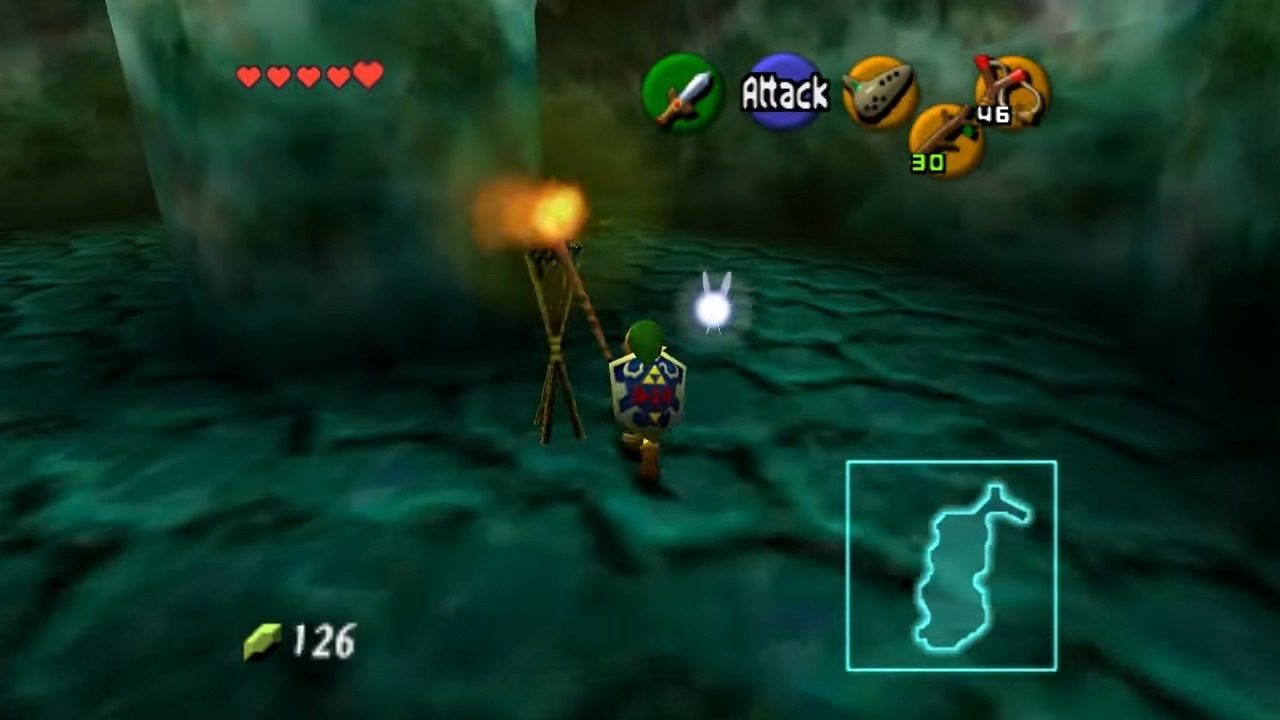
The path forward will likely lead you into a room with several unlit torches. You might also notice a switch on the floor nearby that temporarily opens a door somewhere in the room. This is a classic Zelda puzzle that requires you to bring some light to the situation. First, you’ll need to find a source of fire. If you just came from the Lizalfos room, there might be a lit torch there. If not, keep an eye out in this new room. Once you spot a lit torch, equip your Deku Stick and light it by standing near the flame. Now, quickly run around the room and light all the unlit braziers. Deku Sticks don’t stay lit forever, so you’ll need to be quick about it! Successfully lighting all the torches will trigger a mechanism, usually unlocking the door that was previously sealed. These light-based puzzles are a staple in Zelda games, encouraging you to think about how to manipulate fire and the environment to progress.
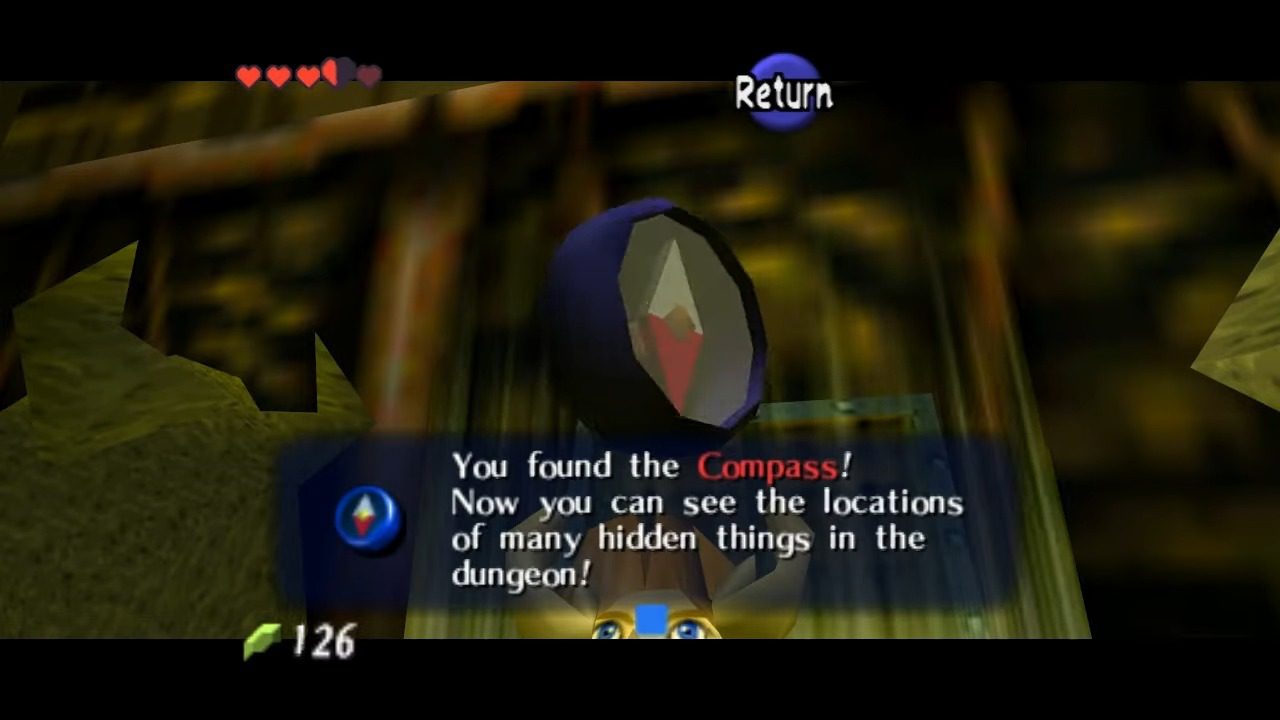
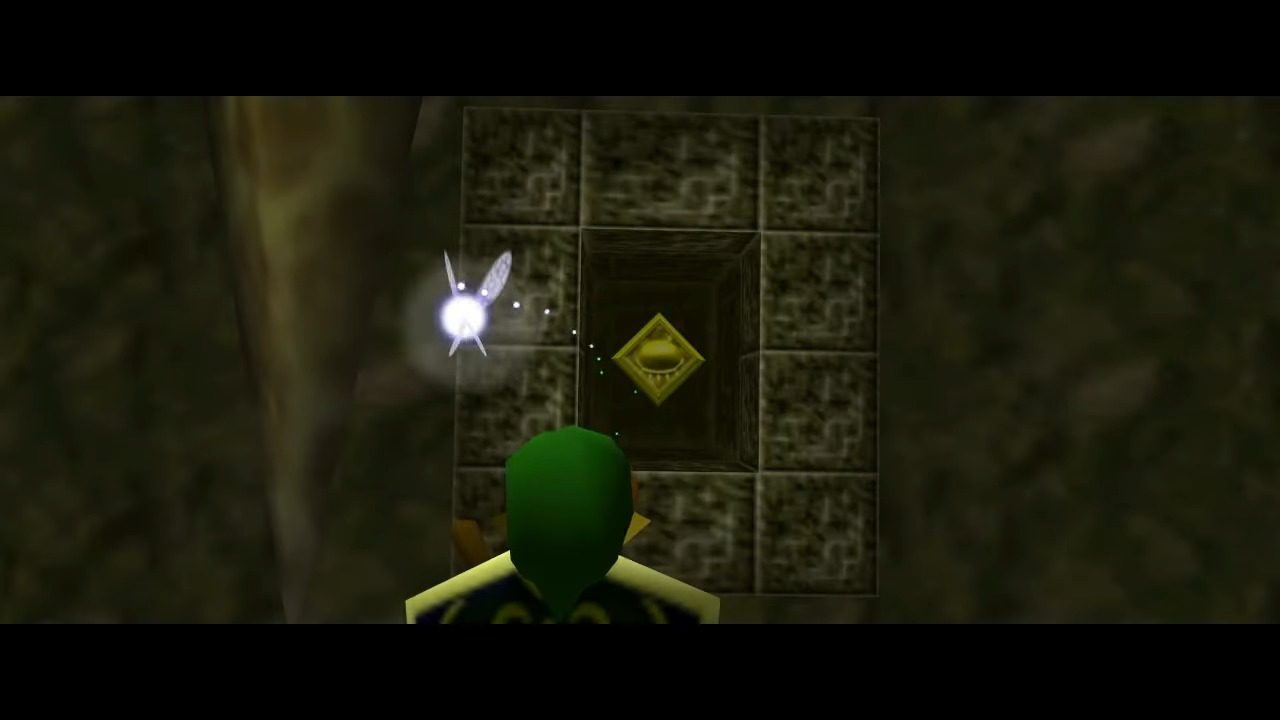
7. The Armos Encounter and the Compass
Passing through this newly opened doorway will lead Link to a small, elevated alcove that overlooks the main chamber of the room. Within this alcove, a switch can be found situated on the ground. The purpose of this switch is to act as a secondary trigger, unlocking the true path forward. Specifically, this door is situated to the right of the area where the Dungeon Map was previously obtained.
Now, keep an eye out for a wall that looks a little different from the others – perhaps a cracked texture or a slightly darker color. You guessed it – it’s another bombable wall! Plant a Bomb Flower and blast it open.

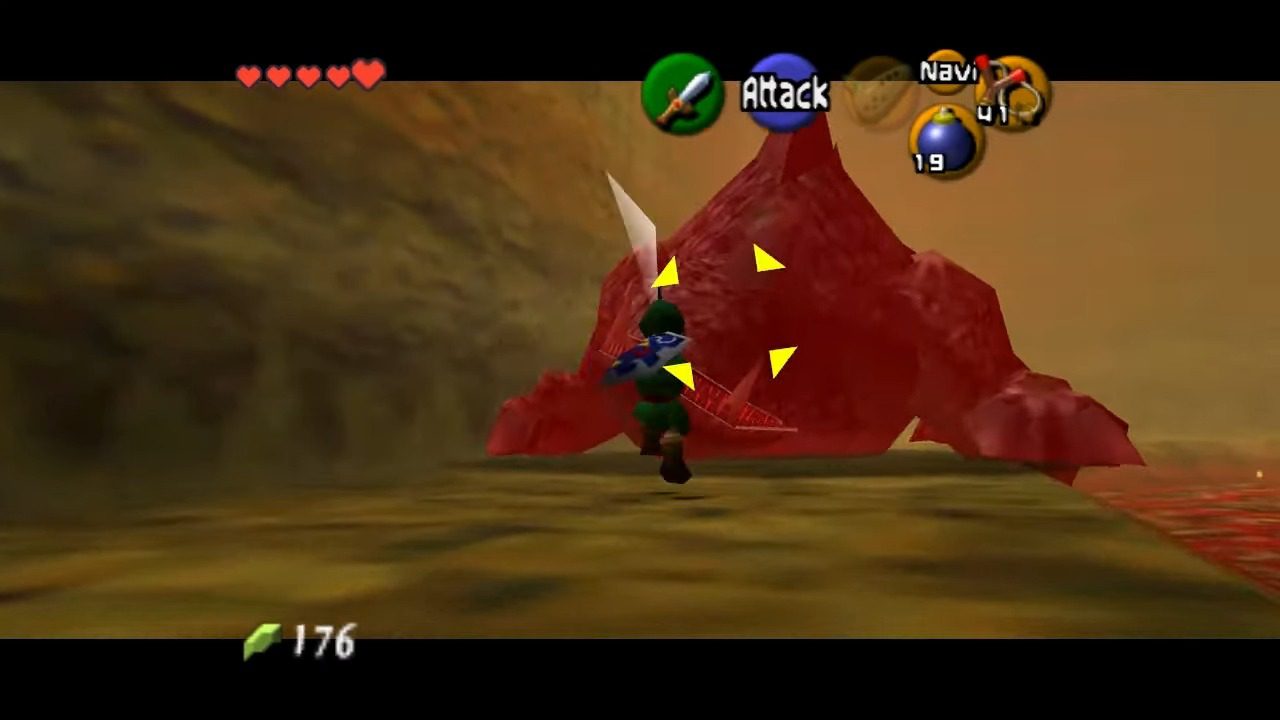
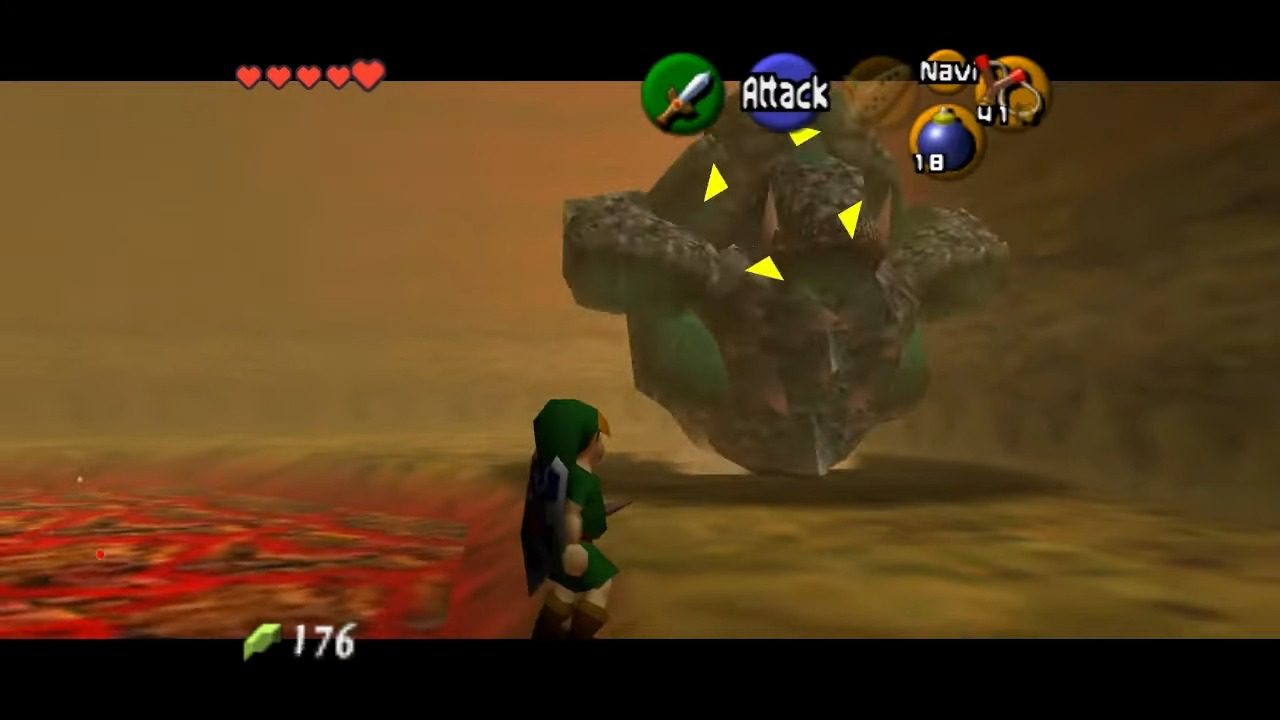
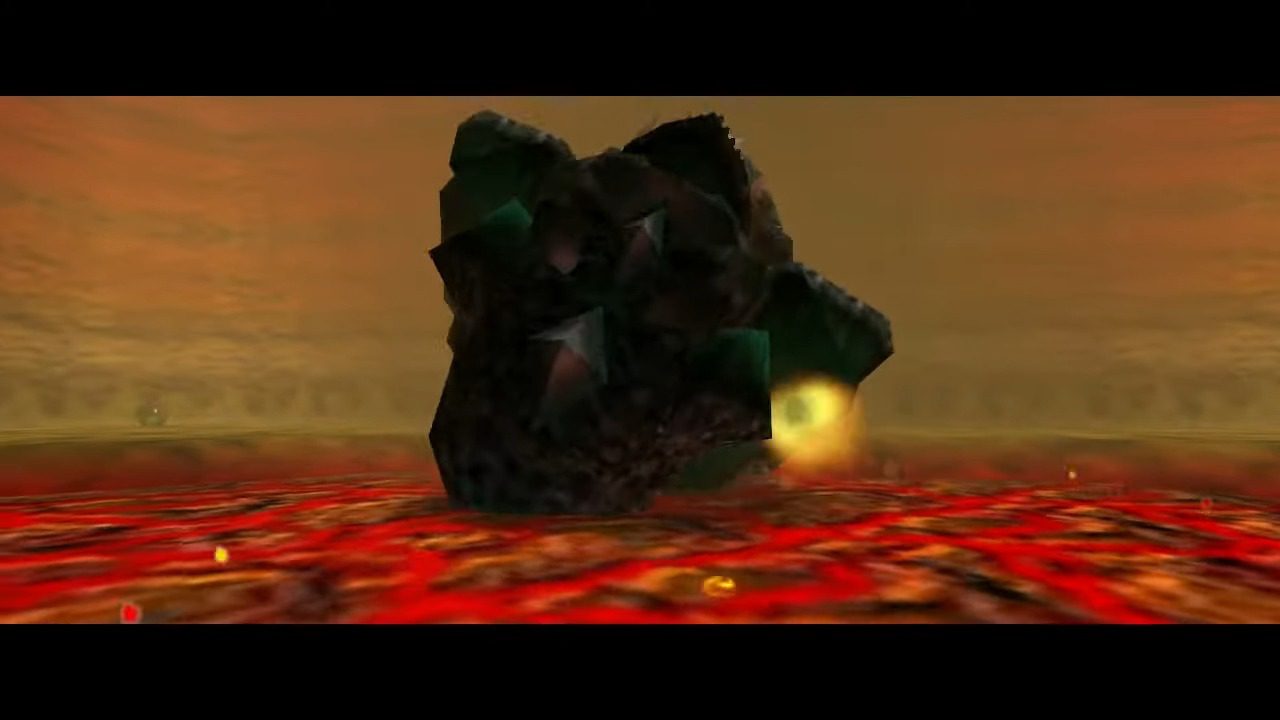
Behind this hidden passage, you’ll likely find three Armos statues surrounding a treasure chest. But here’s the catch: one of these statues is actually alive and will attack you. To deal with the active Armos, grab a nearby Bomb Flower and throw it at the center statue. Quickly dodge out of the way when it starts hopping towards you. Keep hitting it with Bomb Flowers until it starts flashing red, indicating it’s about to explode. Once the Armos is defeated, the other two statues will remain dormant. Now, you can safely open the treasure chest and claim your reward: the Compass! With the Compass in hand, you’ll now be able to see the locations of all the treasure chests within Dodongo’s Cavern on your map.
8. Reaching New Heights: The Upper Levels
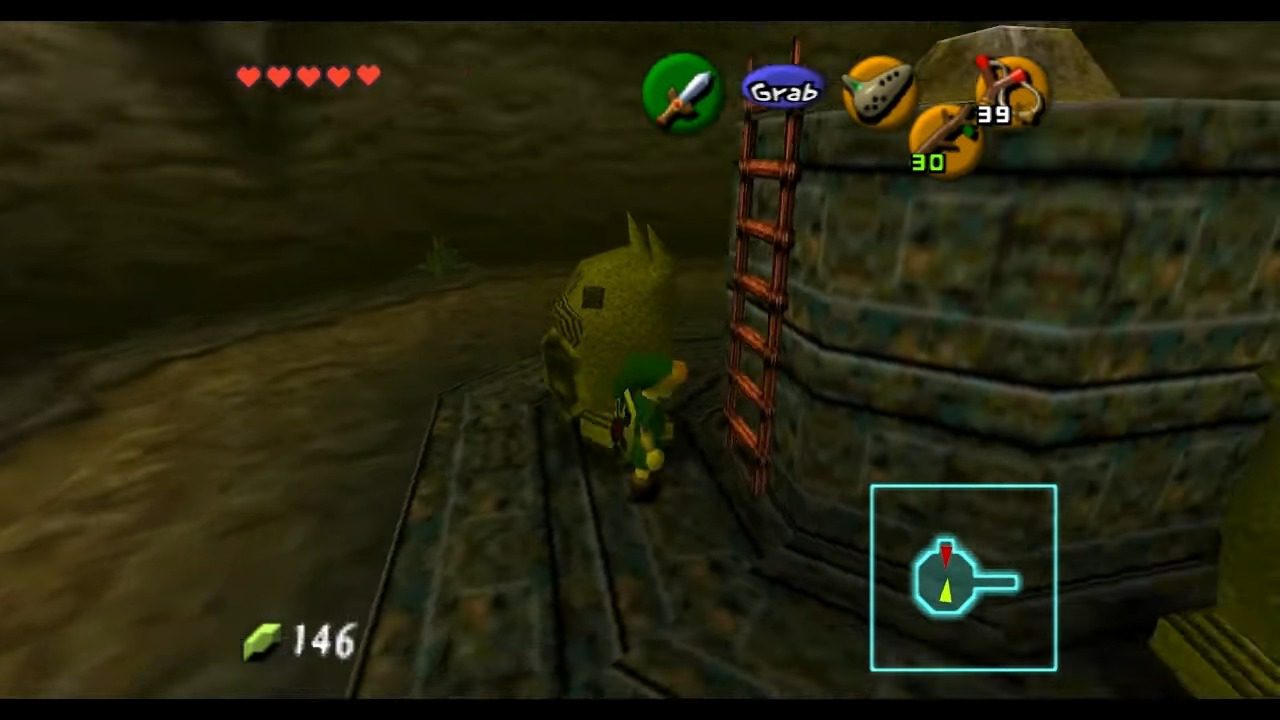
After acquiring the Compass, head back to the room where you encountered the Armos blocking the ladder. Place a flower bomb in the middle of the flower bomb rows to lower the stairway. Climb up the newly formed stairs and look for a Gold Skulltula on the vines near the door leading to the second floor. Shoot it down with your Slingshot and then collect the token.
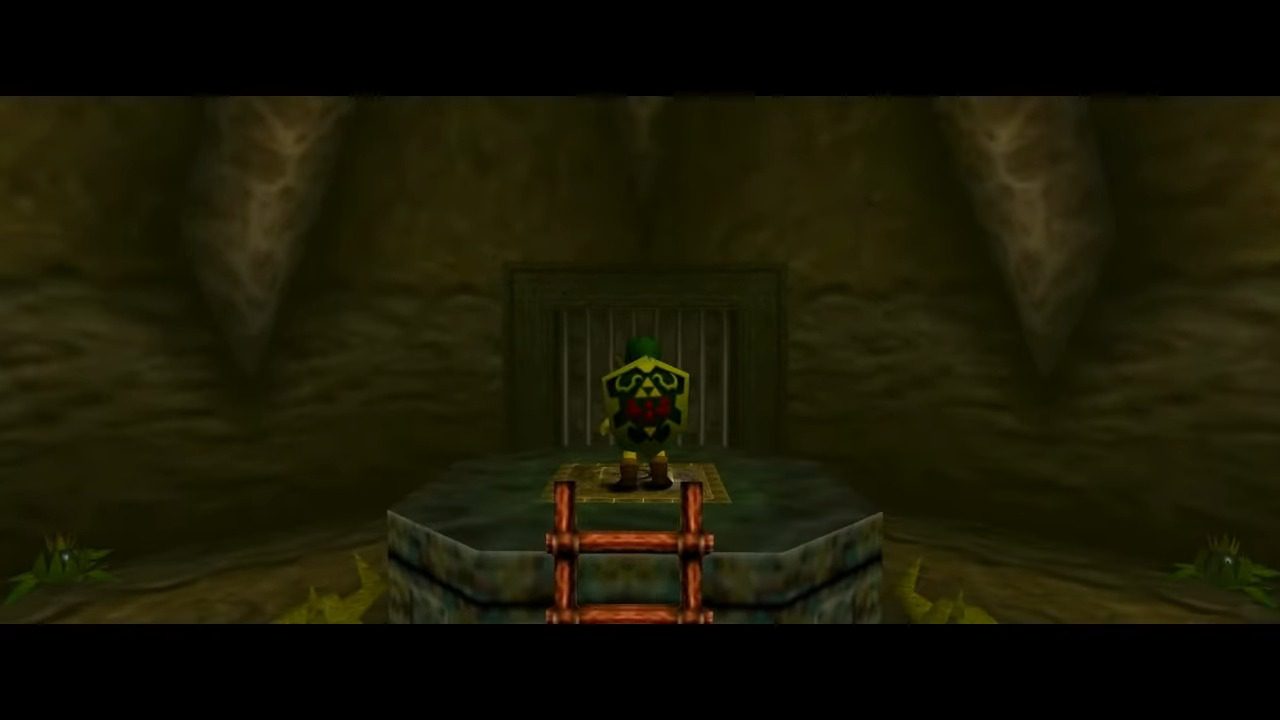
Proceed through the door behind you after grabbing the Gold Skulltula. You’ll enter a room with Armos conveniently blocking a ladder. Simply walk up to it and pull it out of the way to clear your path. Climb up, and you should find a switch waiting for you. Step on it to unlock the door and proceed to the next area.
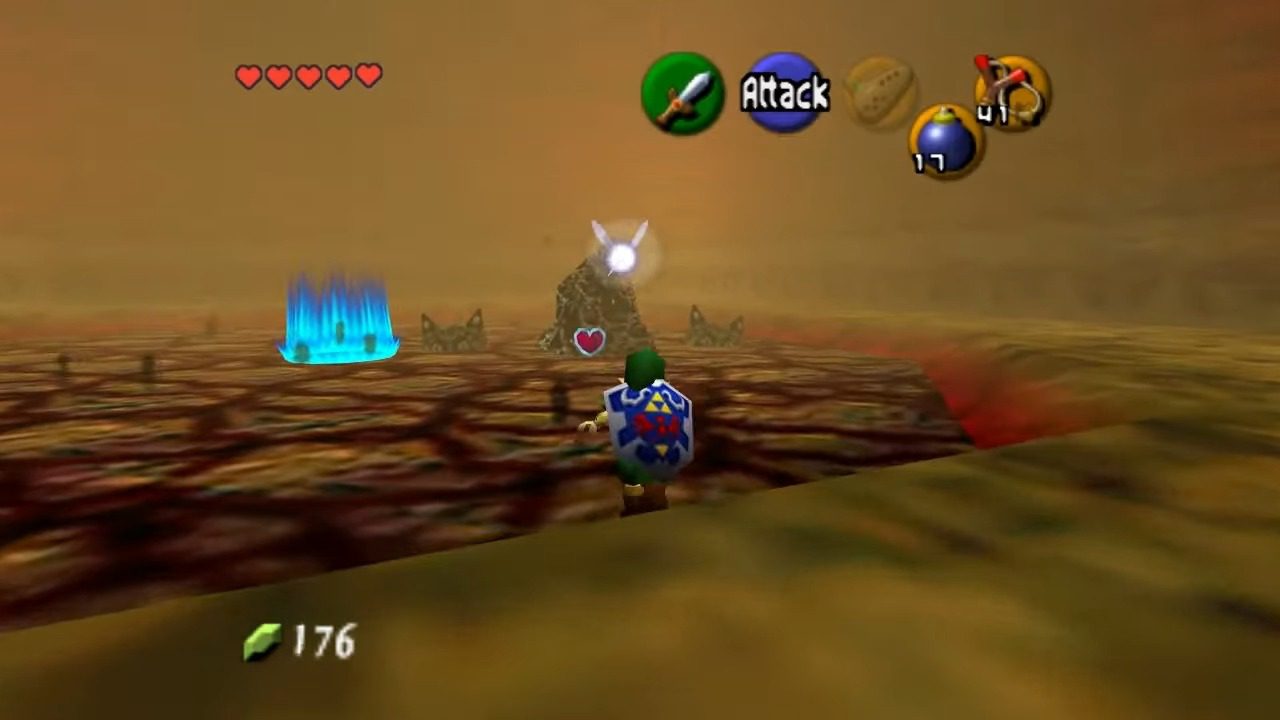
You’ll find yourself back in the main chamber, but this time you’ll be high above the lava on a suspended wooden bridge. This change in perspective highlights the verticality of the dungeon and offers a new vantage point. However, don’t get too caught up in the view, as there are some pesky Fire Keese flying around. These fiery bats can be a nuisance, so try to take them out with your Slingshot before they cause you any trouble while you’re crossing the narrow bridge. Begin crossing the bridge and jump the gap in the middle. Proceed to the other side.
9. Navigating Traps and Getting the Bomb Bag
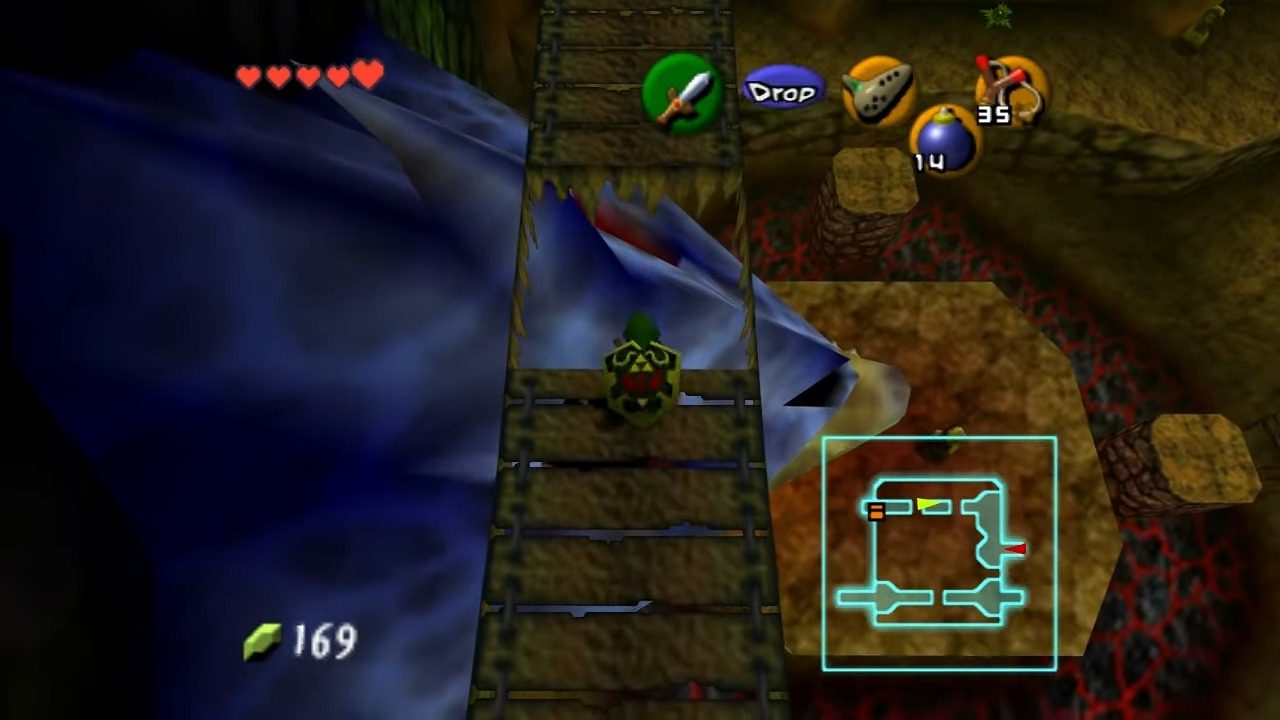
The wooden bridge will lead you to a room filled with a rather unpleasant surprise: sliding floor spikes known as Blade Traps. These traps move back and forth across the floor, and stepping on them will cause damage. You’ll need to carefully time your movements to avoid getting poked.
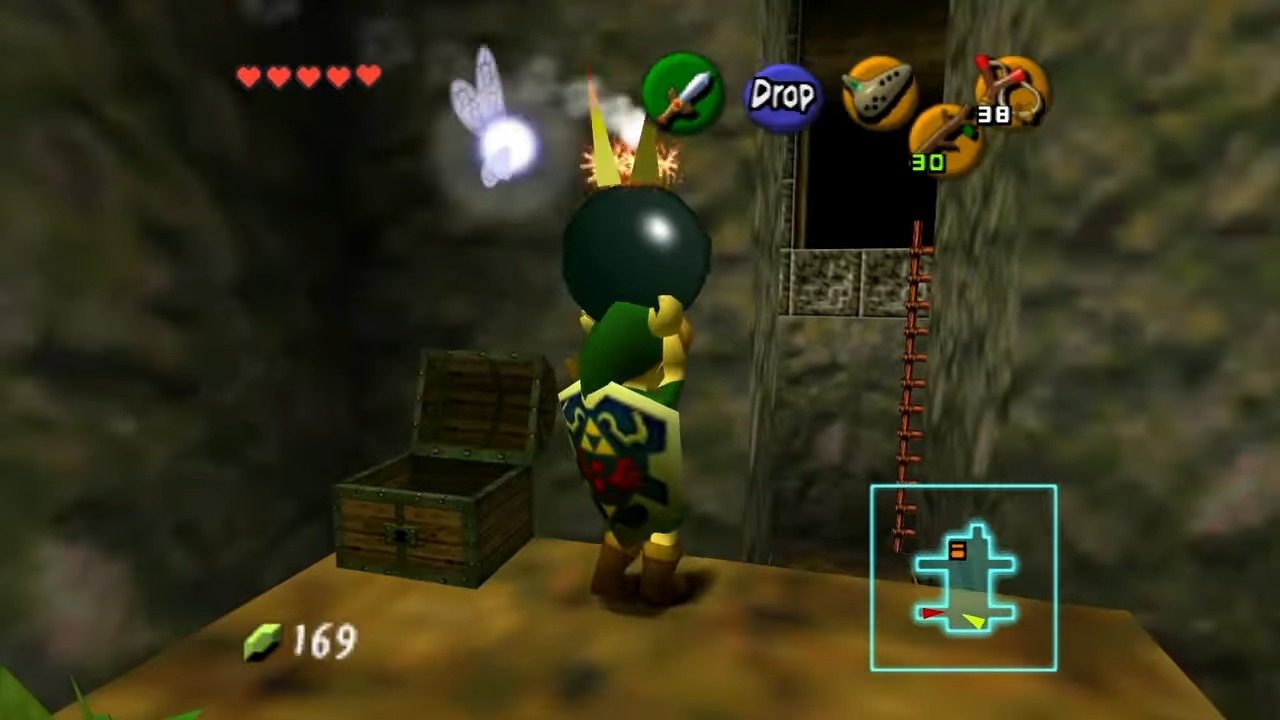
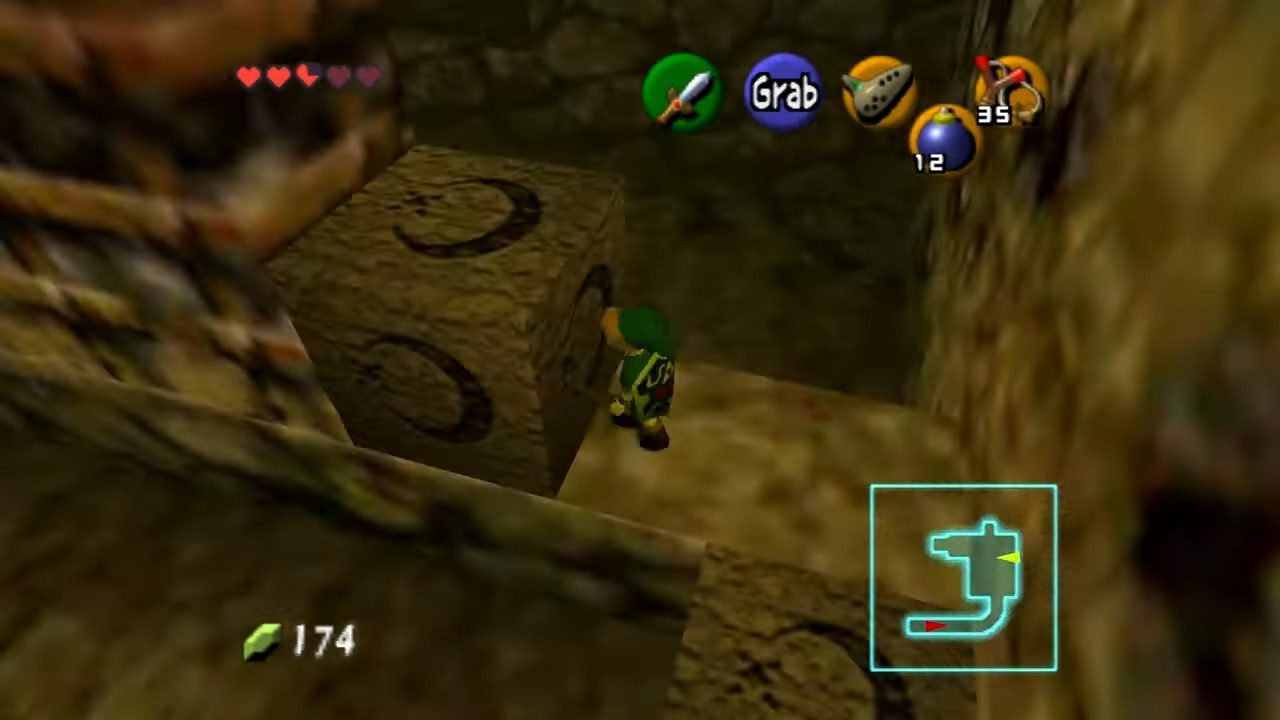
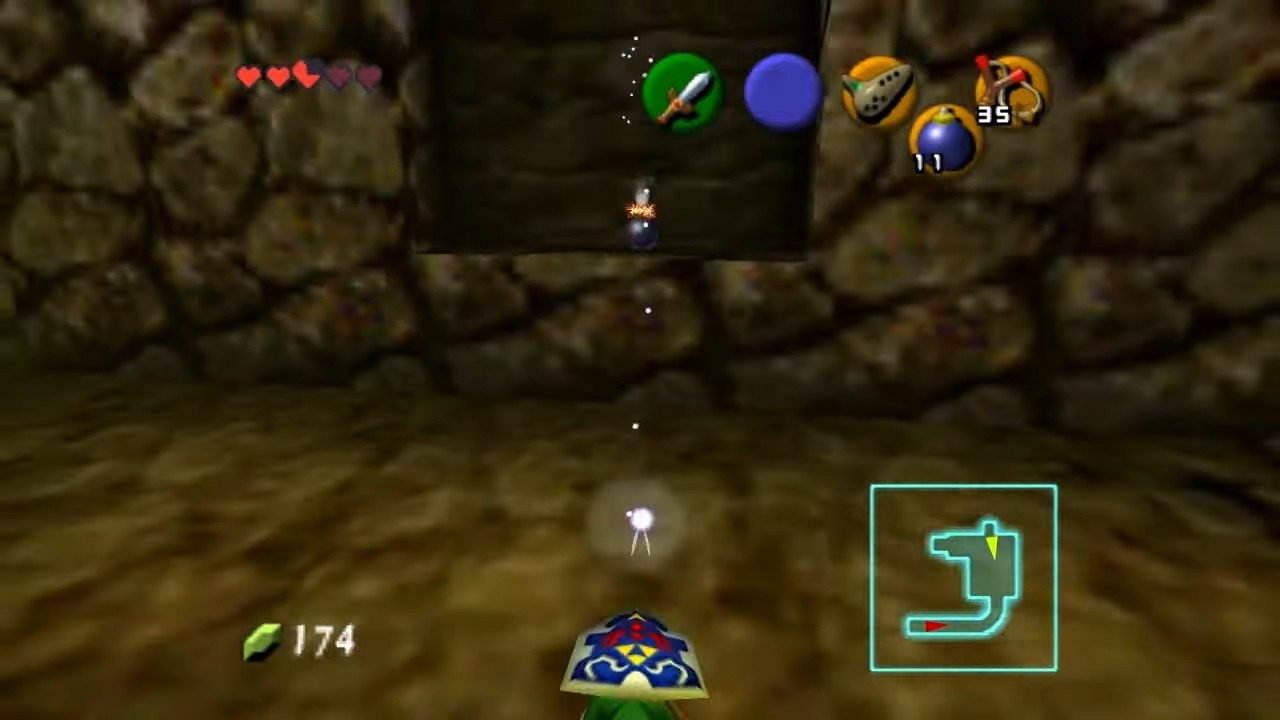
From the ladder, jump over the first Blade Trap. Then, wait for the next one to move out of your way before making your way across to the opposite ladder. This requires patience and good timing. Once you’re on the other side, you’ll see a block. Push or pull this block so you can use it to jump onto the nearby ladder and climb up to the platform above. Up here, you’ll find another Bomb Flower. Pick it up and carefully time your throw so that it explodes right next to the cracked wall on this platform. It might take a few tries to get the timing right, so don’t get discouraged if you miss the first few times. Perseverance is key!
Once the wall is open, head through the newly created opening. You’ll see a circle of fire blocking your path. Look up and you’ll spot an eye switch above the flames. Use your Slingshot to shoot the eye, and the fire will disappear. Proceed through the now-clear path.
In the next area, you’ll fight two Lizalfos again. Defeat them both and proceed onwards.

The next room has more fire platforms and even more eye switches to shoot. There’s one directly ahead. Shoot it with your slingshot and jump to the newly available pillar. From that pillar, look to your left to find another one tucked away in a niche on the left wall. After extinguishing all the flames, cross to the other side of the room.
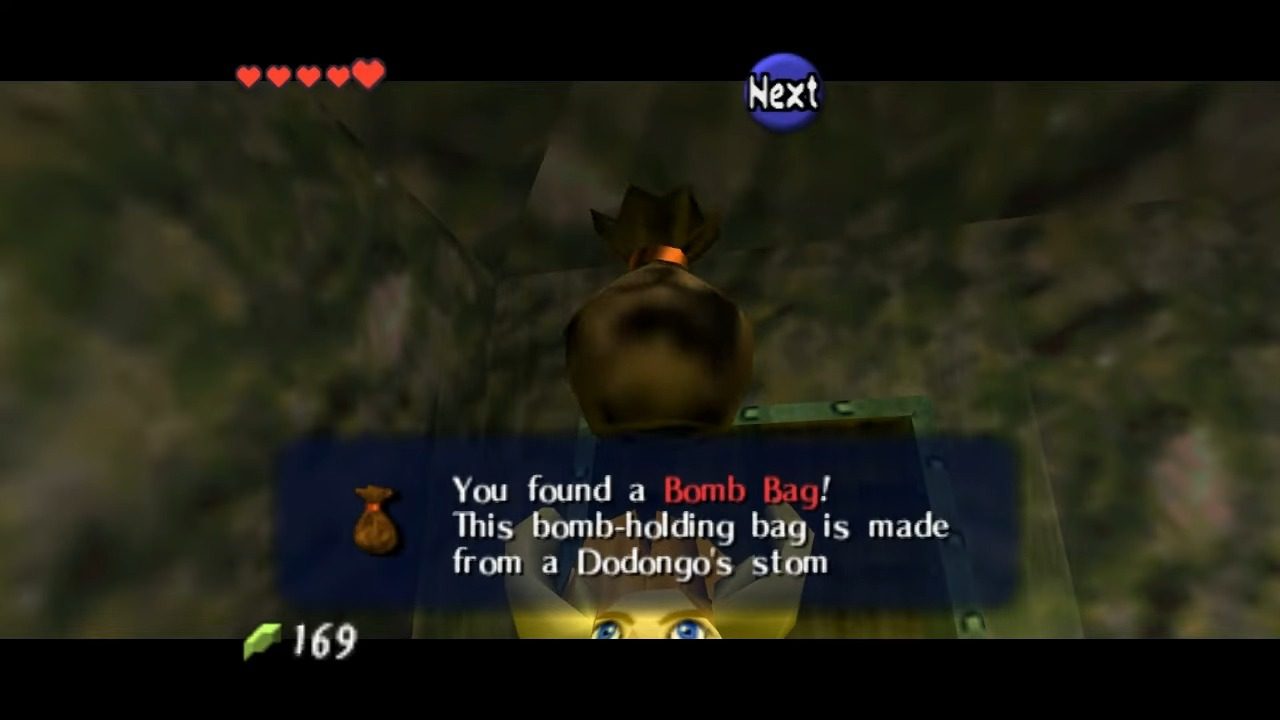
As you enter the next room, you’ll see a treasure chest on the right. Open it up, and you’ll receive the Bomb Bag! Now you can carry your own supply of bombs, which will be essential for the challenges ahead.
10. Reaching the Mini-Boss
Proceed forward to find a switch immediately in the next area. Stepping on the switch will activate a moving platform, extending it all the way to the top level of the central room. This creates a much easier route to the upper parts of Dodongo’s Cavern. Turn to your right and you’ll see the wooden bridge stretching out over a massive Dodongo skull.

11. To the King’s Lair: The Path to King Dodongo
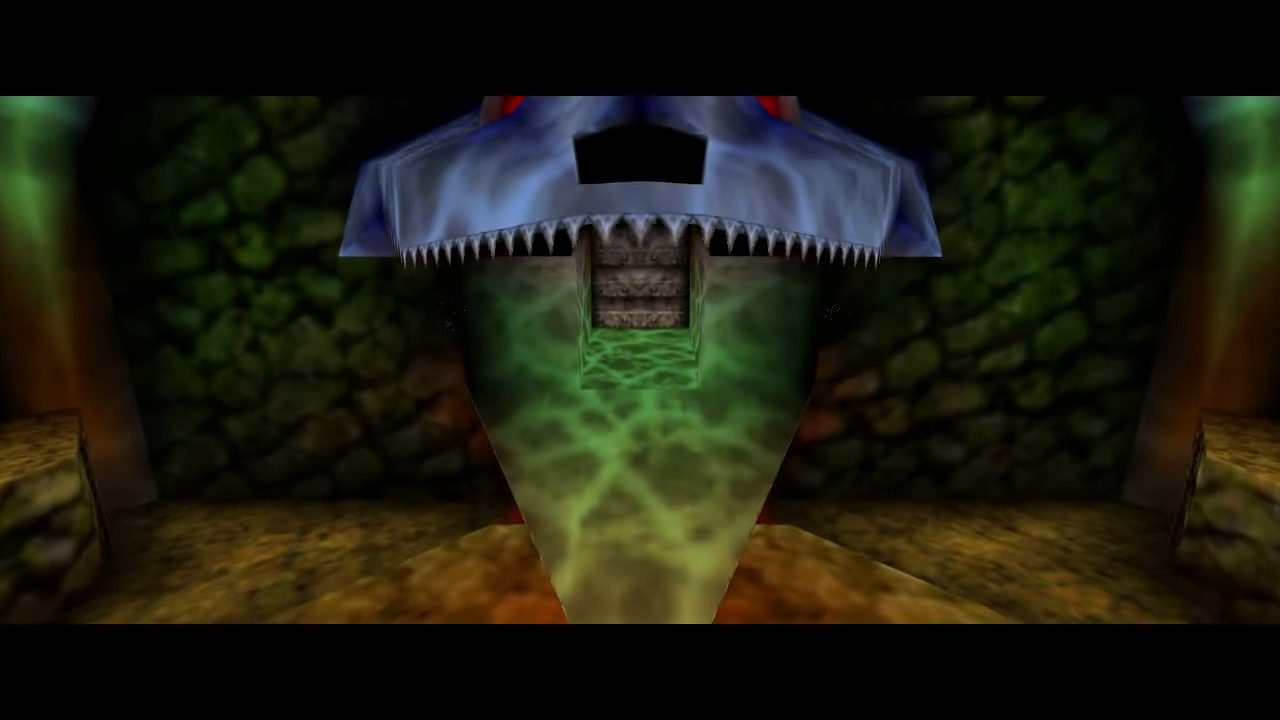
Now that you have the Bomb Bag, it’s time to put it to good use. Head onto the wooden bridge that spans the giant Dodongo skull. As you walk across, you’ll notice two distinct gaps in the bridge. These are your target. With your Bomb Bag equipped, drop or throw bombs down these gaps, aiming for the eye sockets of the giant skull. Keep bombing those eyes until they both glow a menacing blood red, and the skull’s massive mouth creaks open. This is your cue to proceed. Drop down to the lower level and bravely step into the gaping maw of the Dodongo skull.

Upon venturing through the opened jaws, adventurers will find themselves within a new chamber with a switch positioned directly in its center. A small ledge can be observed situated on the right side of the room, ascend it. Head down the hall way and in the next room, climb over the block to the right and use a bomb to blow up the wall located there. On the other side of the wall, you’ll find an Armos blocking a Gold Skulltula. Defeat the Armos and collect it.
Head back to the room and climb the wall with the blocks you jumped over before collecting the Skulltula. Walk the top of the wall and jump off the other side.
From where you land, you can push the block behind you to the level below and find pots with a Great Fairy inside.
From here, head to northwest corner to specific object into view: a block positioned near the edge of another ledge. Push the block off the ledge, making it to fall into the main area of the switch room below. Descend from the ledge, locate the dropped block drag across the room to hole containing the central switch to open the door.


In the next room, blow up the distinctly discolored square on the floor with a bomb to reveal a hole, collect the bombs from the nearby chest, and drop down the hole. Prepare yourself for King Dodongo!
12. The Final Showdown: Defeating King Dodongo
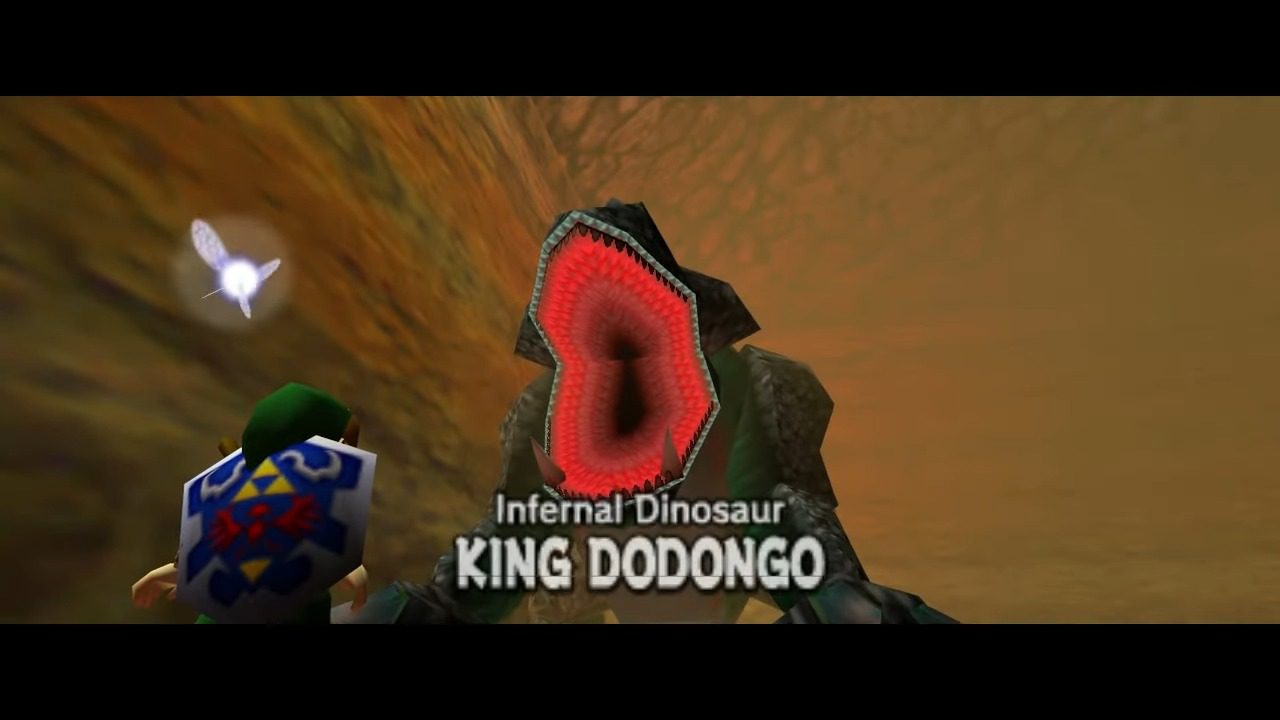
You’ve entered the boss chamber. This is a circular arena with a large pool of lava in the center, leaving you with only a narrow path around the edge to maneuver. This limited space will make the upcoming fight with King Dodongo even more intense.
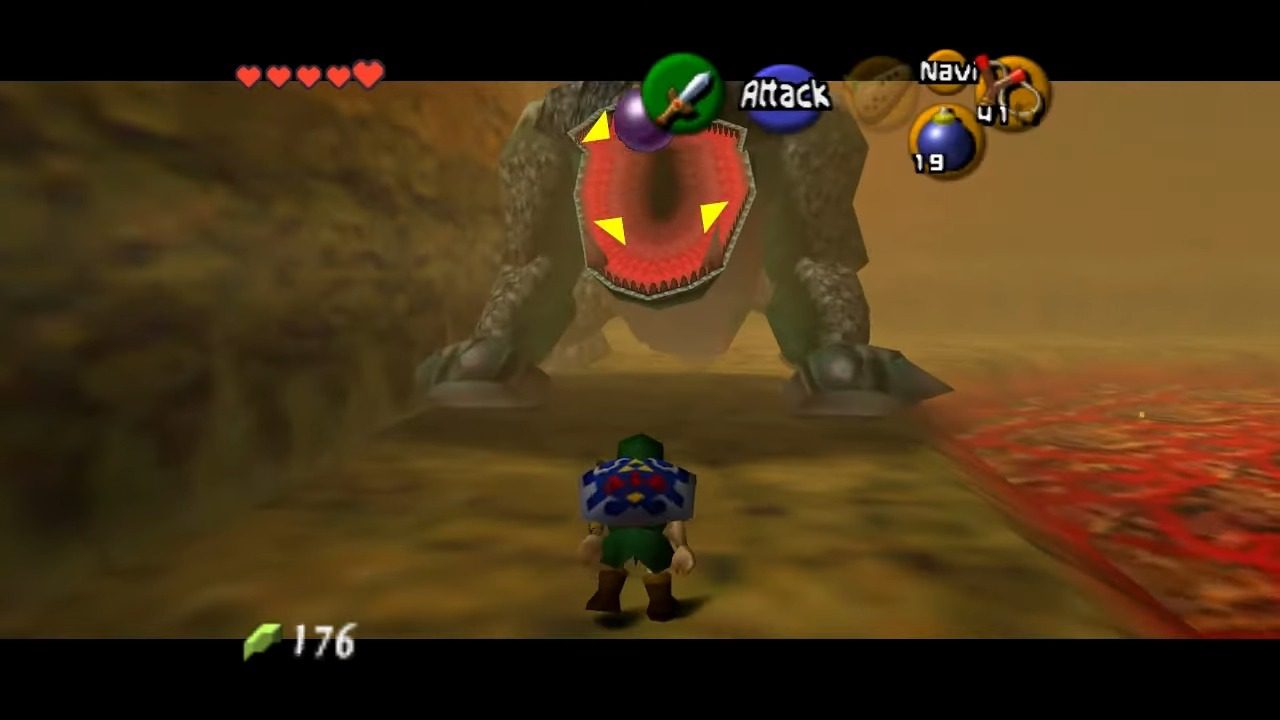
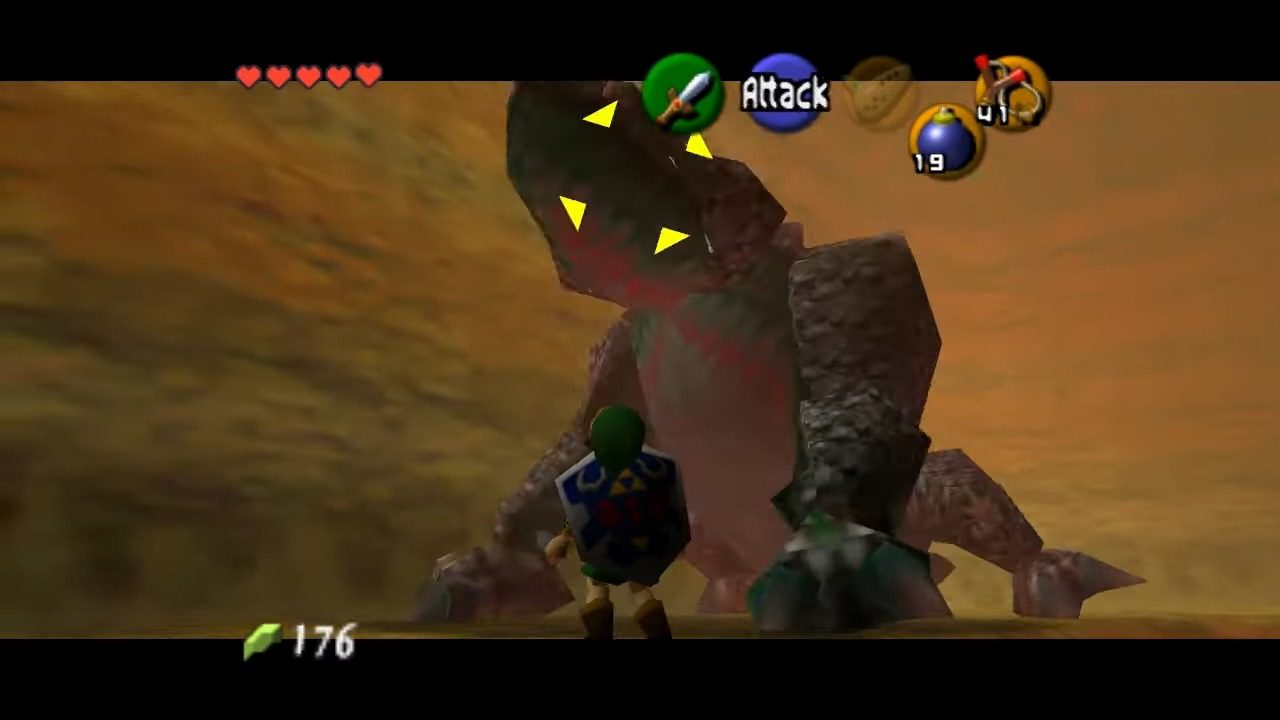
King Dodongo has a very specific attack pattern that you can exploit. He will periodically inhale deeply and then unleash a powerful stream of fire. This is your golden opportunity! While he’s inhaling, quickly lock on and throw a bomb directly into his open mouth. If your timing is right, the bomb will detonate inside him, stunning the giant lizard and causing him to fall onto his back. This is your chance to strike! Rush over to his head and unleash a flurry of sword attacks.
After a few moments, King Dodongo will get back on his feet, and you’ll need to repeat this process. Watch for his inhalation, toss another bomb, and then attack his vulnerable head. Keep repeating this strategy, and eventually, you’ll defeat the fiery King Dodongo! This boss fight is all about timing and using the boss’s own attack against him.
15. Conclusion: You Did It! Mastering Dodongo’s Cavern
Fantastic work, hero! You’ve successfully navigated the fiery corridors of Dodongo’s Cavern, outsmarted its traps, defeated its formidable inhabitants, and even managed to collect a good chunk of its hidden secrets. You stood toe-to-toe with King Dodongo and emerged victorious. Consider this a major step towards saving Hyrule! You’ve proven your bravery and your puzzle-solving skills. Now, onwards to the next adventure!
