So, you’ve just witnessed that epic growth spurt, and Link is now all grown up! A vast new world filled with mysteries and challenges stretches before us. Our immediate goal? The enigmatic Forest Temple. But before we even think about stepping into that shadowy domain, we’ve got some essential groundwork to cover.
Think of this guide as your trusty companion, walking you through every crucial step to ensure we snag every collectible and miss absolutely nothing on our path to 100% completion of the game.
Before we even consider entering the Forest Temple, there are a few key tasks we need to accomplish. These aren’t just optional side quests; they are vital for our journey and for achieving that sweet 100% completion.
We need to secure our loyal steed Epona, establish a convenient warp point using the Scarecrow Song, and acquire the indispensable Hookshot – a tool that will quickly become our best friend, not just in the temple, but throughout our entire adventure.
Taming the Wild Steed: Getting Epona as Adult Link
First things first, let’s talk about getting around Hyrule in style. Several accounts indicate that to ride Epona as Adult Link, you must first have learned Epona’s Song as Young Link. Assuming you’ve already befriended Malon and learned her tune during your childhood adventures, we can proceed. If not, remember that you might need to revisit this after completing the Forest Temple by traveling back in time.
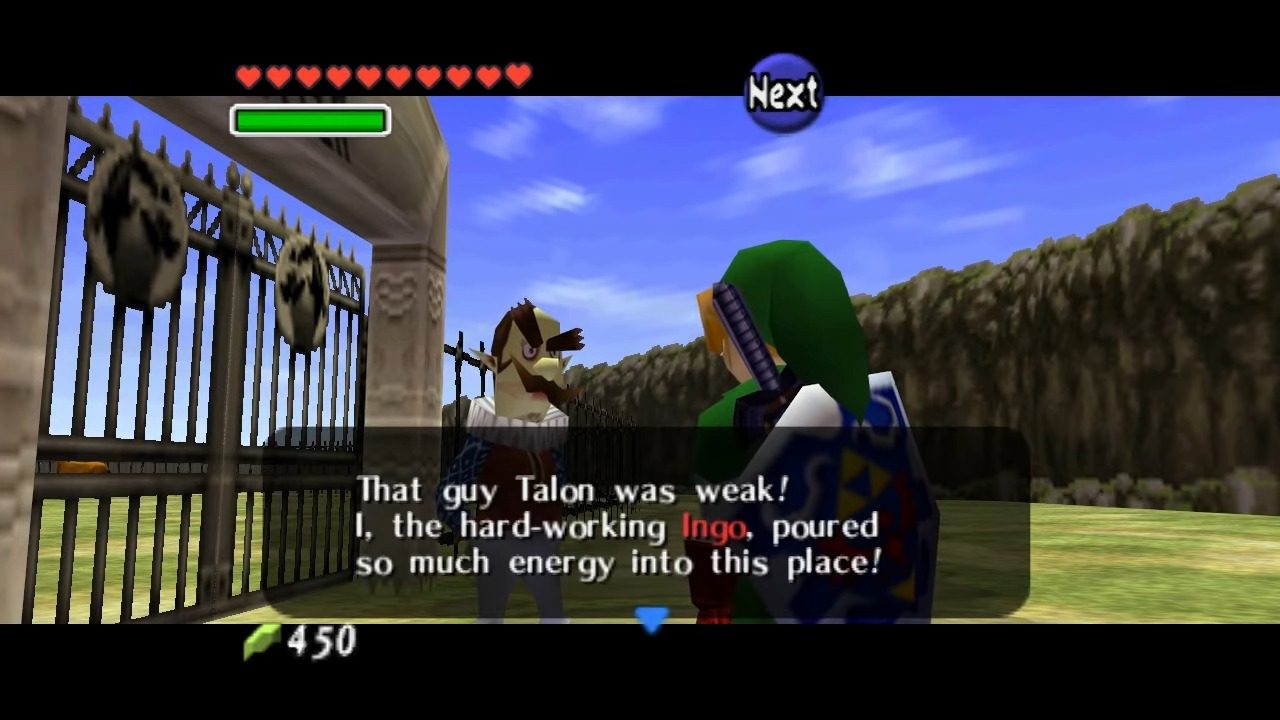
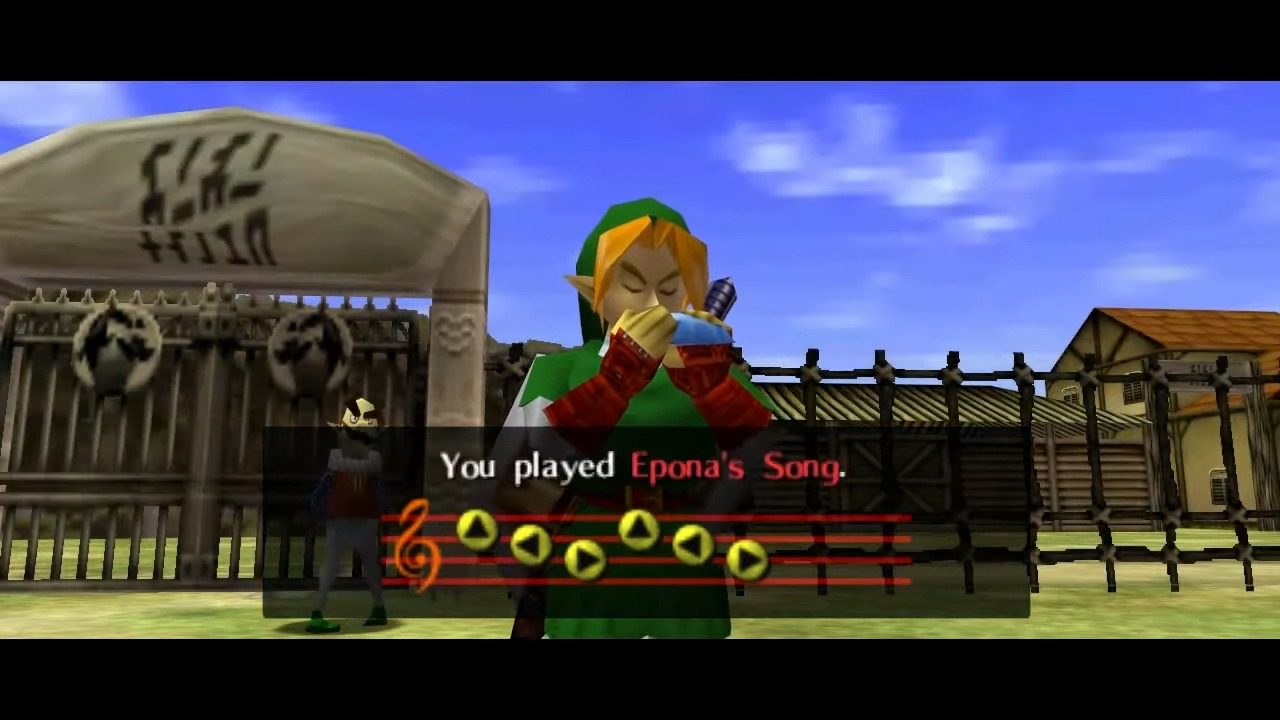
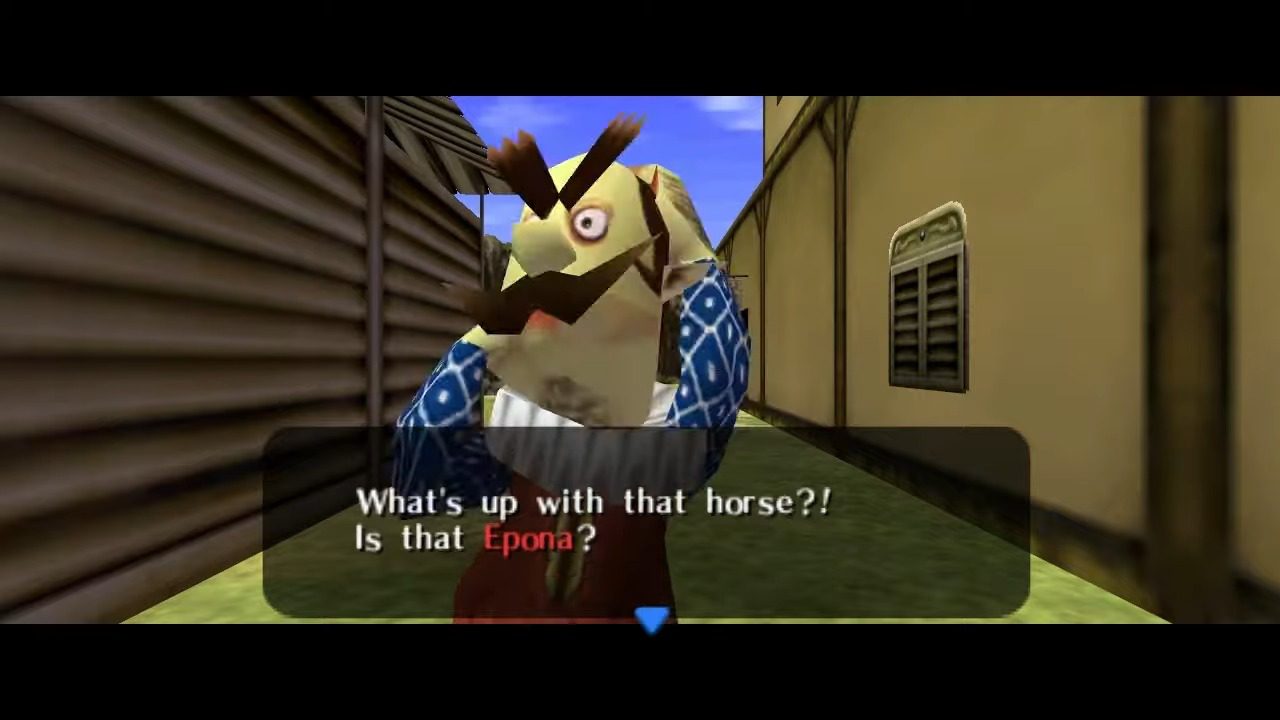
Our first stop is Lon Lon Ranch, located in the heart of Hyrule Field. Once there, seek out Ingo, who seems to have taken over the ranch’s management. Engage in a conversation with him and agree to pay the 10 Rupees he asks to ride one of the horses in the corral. Now, instead of mounting one of the slower horses Ingo provides, pull out your trusty Ocarina and play Epona’s Song. Your magnificent mare will instantly recognize the melody and come galloping towards you. Take this opportunity to familiarize yourself with riding Epona.
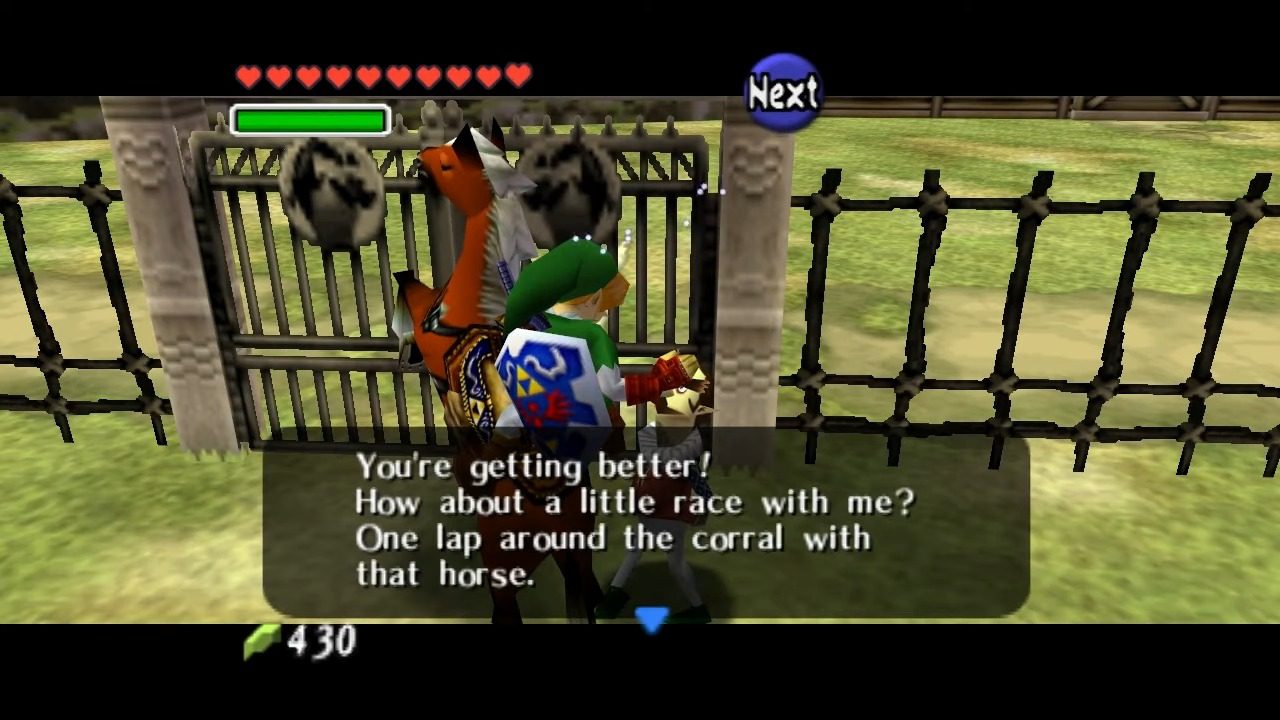
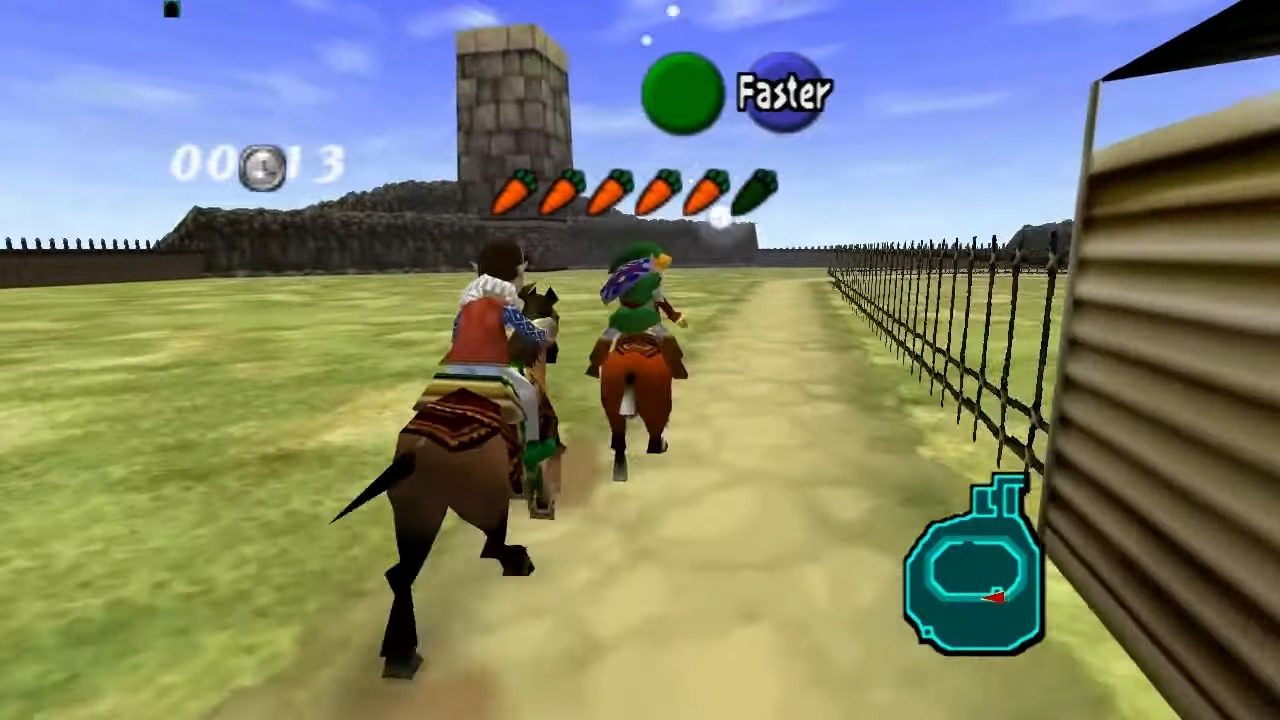
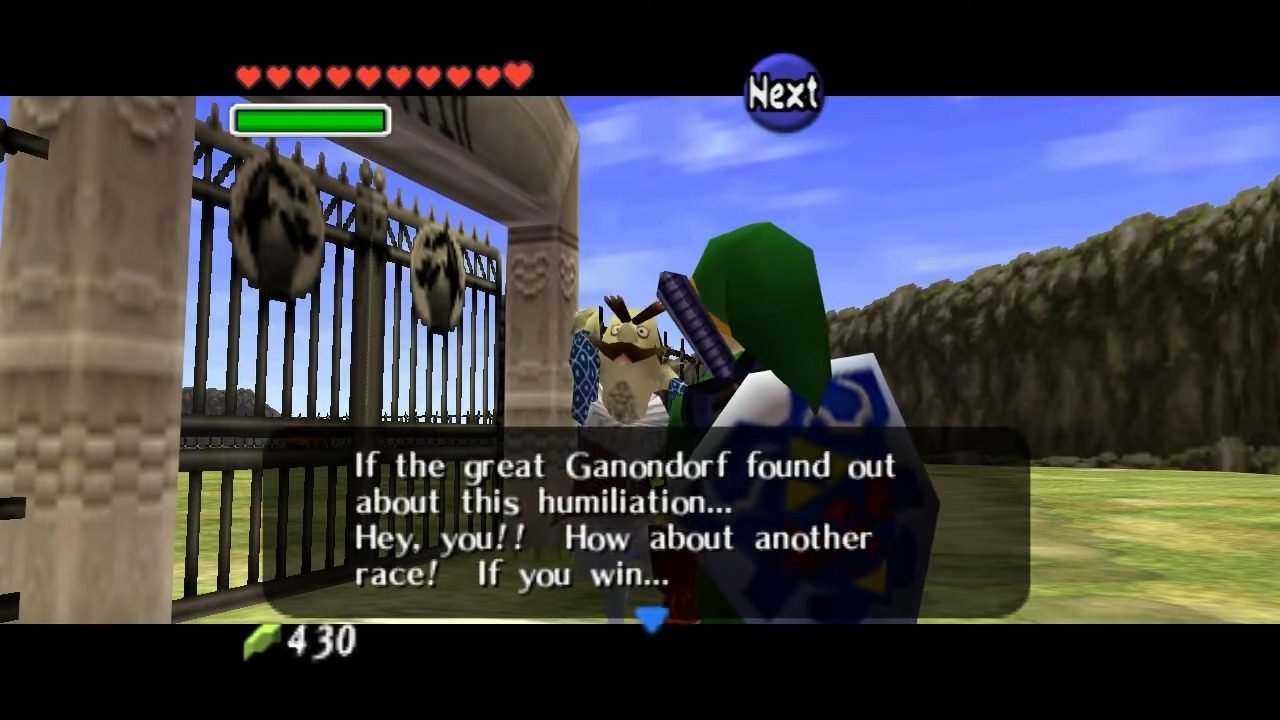
Once you’re feeling confident in the saddle, target Ingo while still mounted on Epona and challenge him to a race. He’ll propose a wager of 50 Rupees, which you should readily accept. During the race, try to maintain the inside track, and use your carrots (activated by pressing ‘A’) strategically, especially when you need a burst of speed towards the finish line. Don’t hesitate to try and block Ingo if he attempts to overtake you. Victory in this first race will undoubtedly irk Ingo, and he’ll immediately challenge you to a second race. This time, the stakes are much higher – the ownership of Epona herself!
Accept this crucial second challenge. This race will be more challenging as Ingo will be more aggressive in trying to cut you off. Stick to the inside track, continue to use your carrots wisely, and be careful not to let him force you into the fence, which will slow Epona down. Winning this second race will finally secure Epona as your permanent companion.
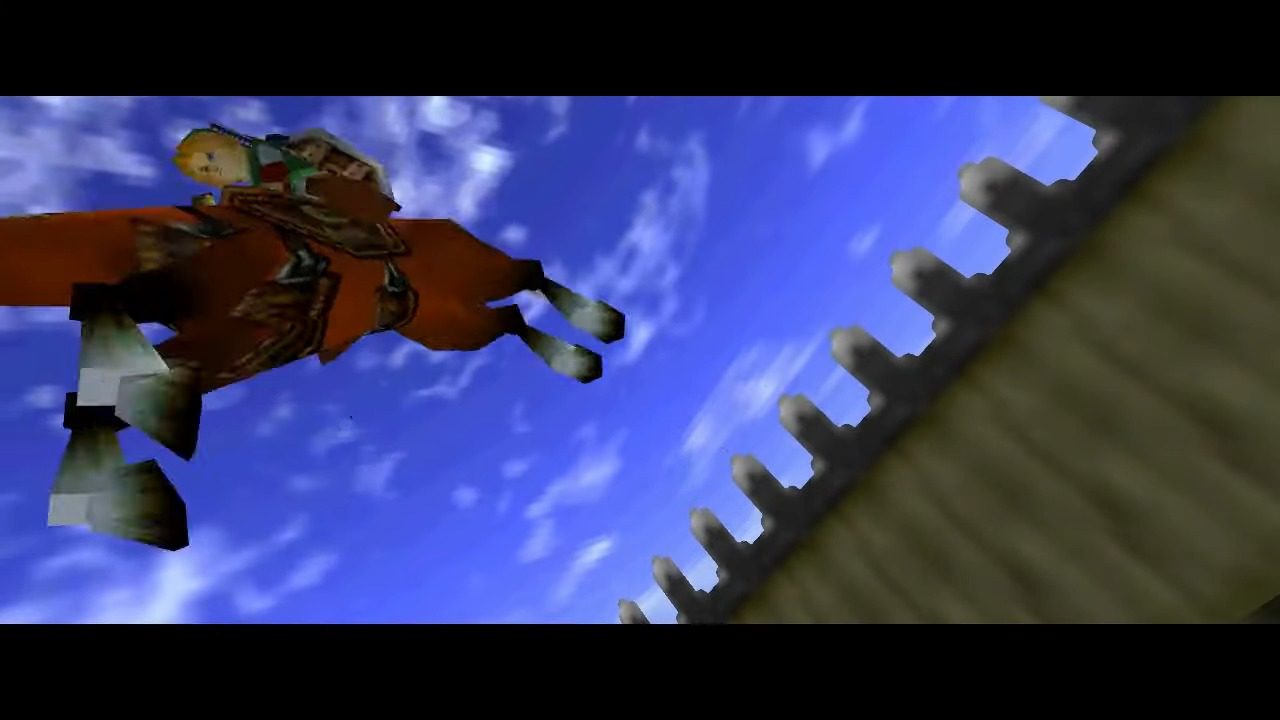
As a final act of spite, Ingo will lock you inside the ranch. However, this won’t hold us back for long. Simply build up Epona’s speed and jump over any of the fences or even the main gate to make your triumphant escape from Lon Lon Ranch.


Setting Your Tune: The Scarecrow Song Setup
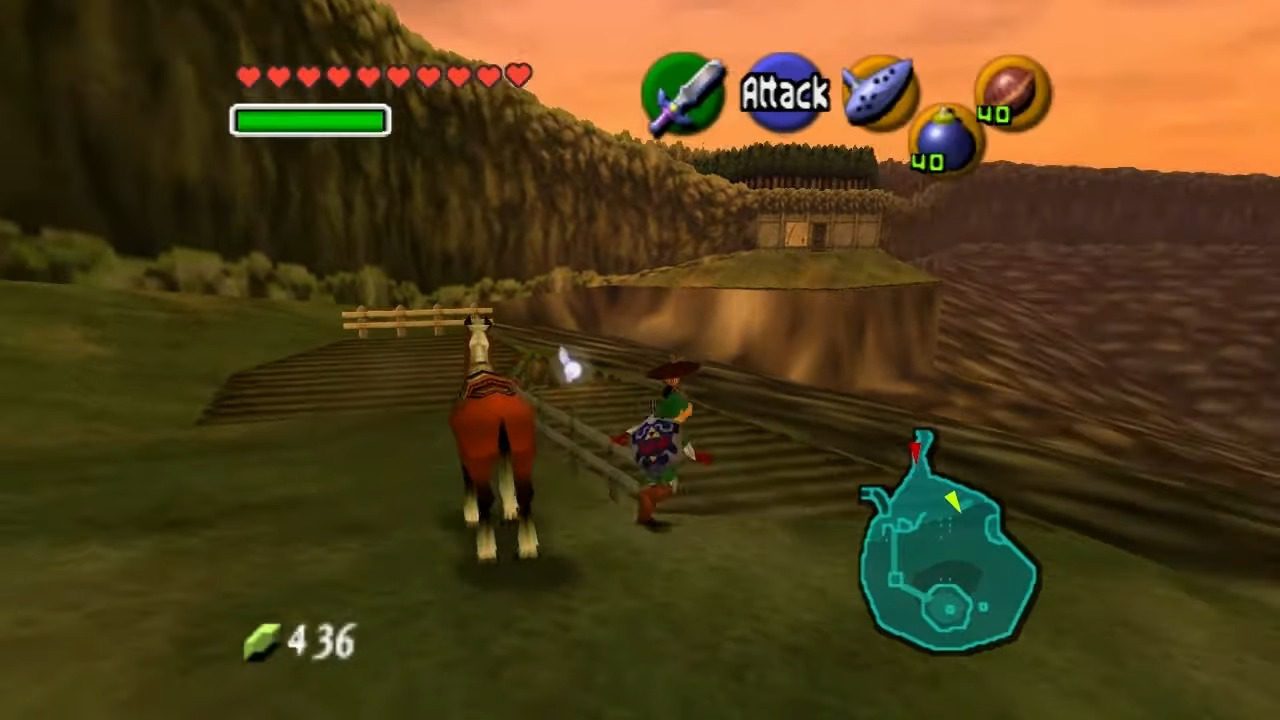
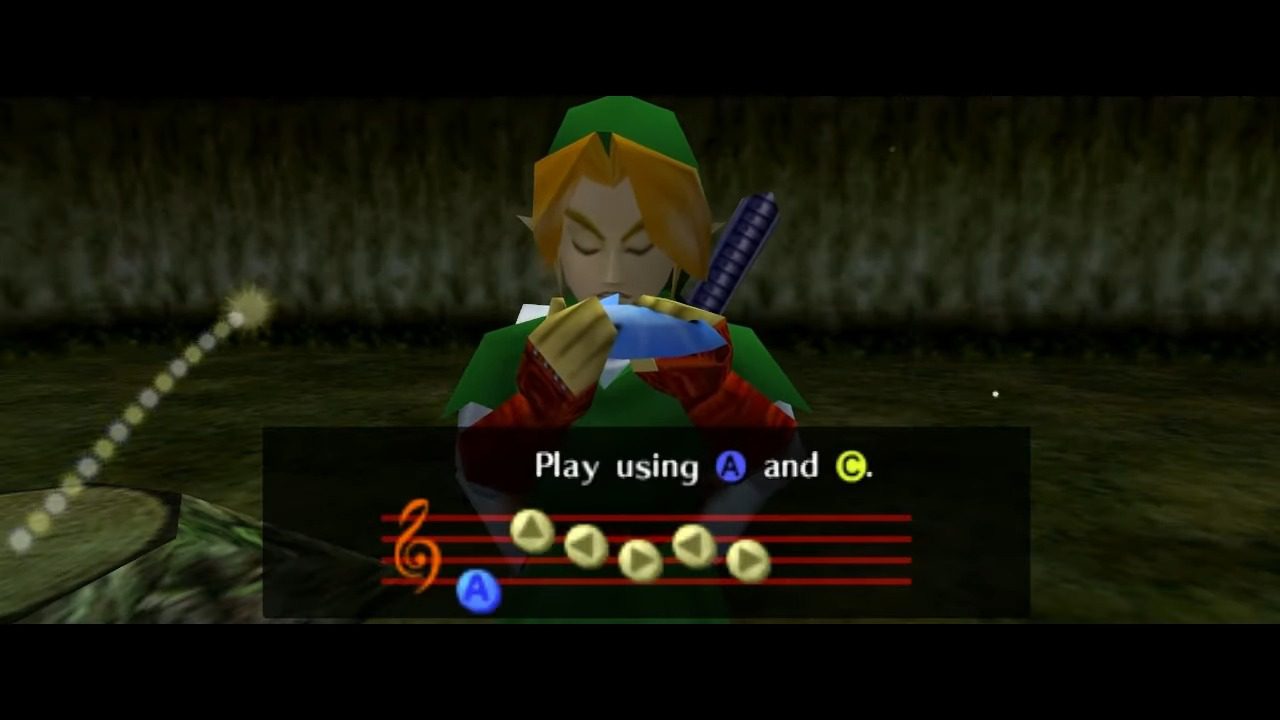
Next up, let’s make sure we have a handy way to reach certain out-of-the-way places. The Scarecrow Song is the key to this, and its setup is a bit unique. Remember that as Young Link, you had the opportunity to create your own eight-note melody by playing your Ocarina for Bonooru, one of the scarecrows at Lake Hylia. Now, as Adult Link, we need to return to Lake Hylia to activate this song. Make your way to Lake Hylia from Hyrule Field. Epona can jump the fences at the entrance.

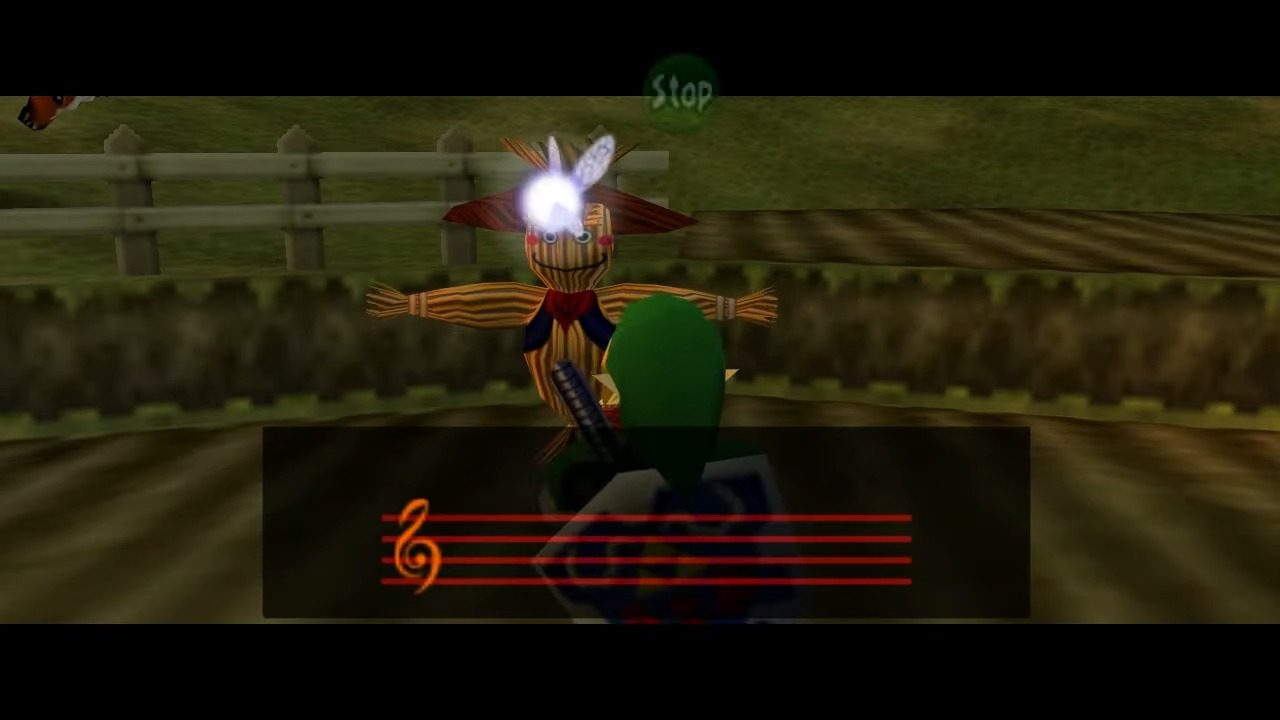
Head towards the northeast part of the area, where you’ll find two scarecrows standing near some small fences. Bonooru is the scarecrow located at the bottom. Stand directly in front of him, pull out your Ocarina of Time, and play the exact same eight-note song you composed as Young Link. If you’ve played the correct tune, Bonooru will recognize it and confirm that his friend Pierre will now appear to assist you in specific locations throughout Hyrule. Keep in mind that the Scarecrow Song won’t work just anywhere.
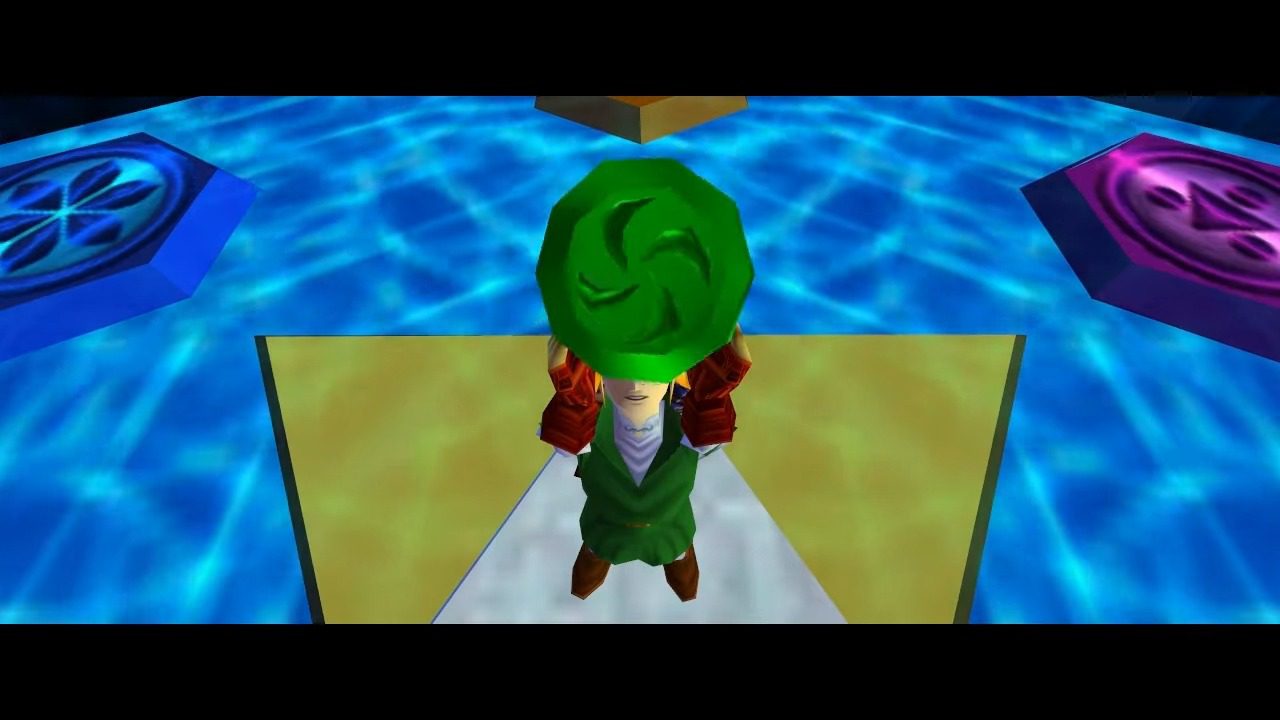
Navi will provide a visual cue by turning green in specific spots where you can summon Pierre. We’ll need to keep an eye out for these opportunities as we explore the Forest Temple. If, for any reason, you’ve forgotten the melody you created, you’ll need to travel back in time as Young Link and speak to Bonooru again. He can either remind you of the song or even allow you to change it. This highlights how the ability to travel through time is crucial for achieving a complete playthrough.
Grappling Goodies: Obtaining the Hookshot
Our final preparation before tackling the Forest Temple involves acquiring a very useful item: the Hookshot. The research indicates that this is found in Dampé’s Grave, located in the Kakariko Village Graveyard, and can only be obtained as Adult Link. Getting it requires us to participate in a rather unique challenge with Dampé’s ghost.
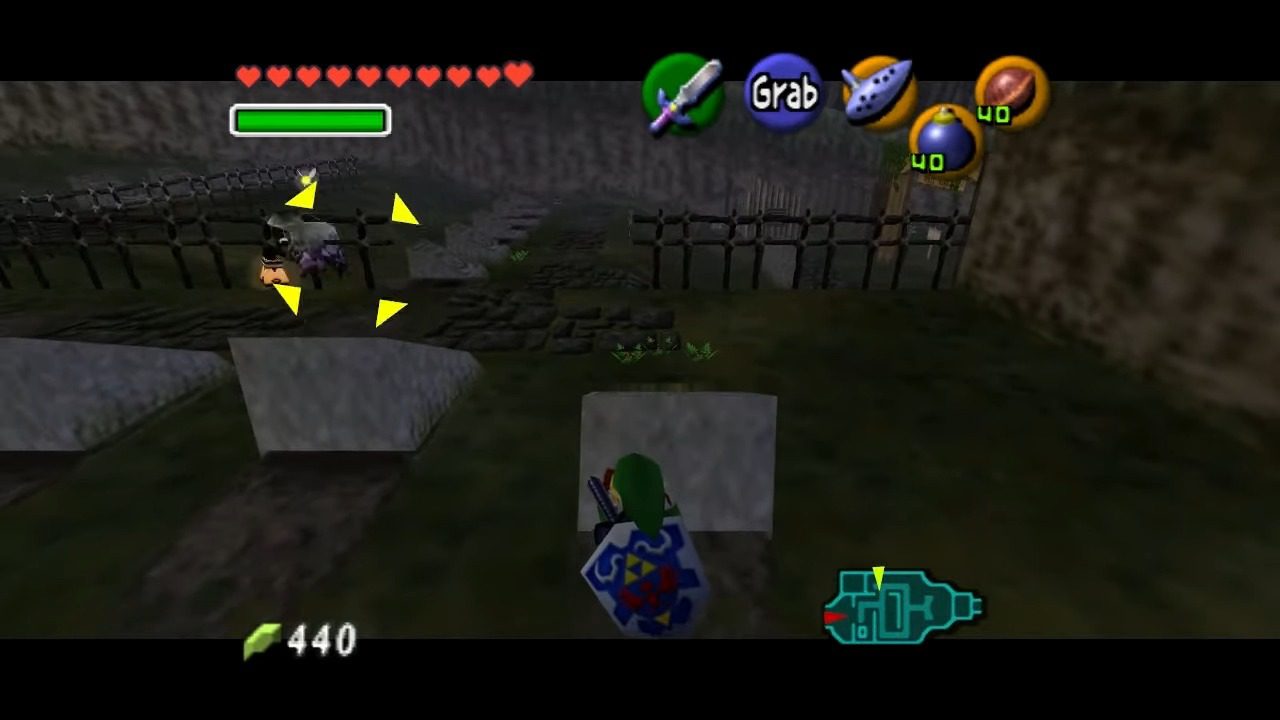
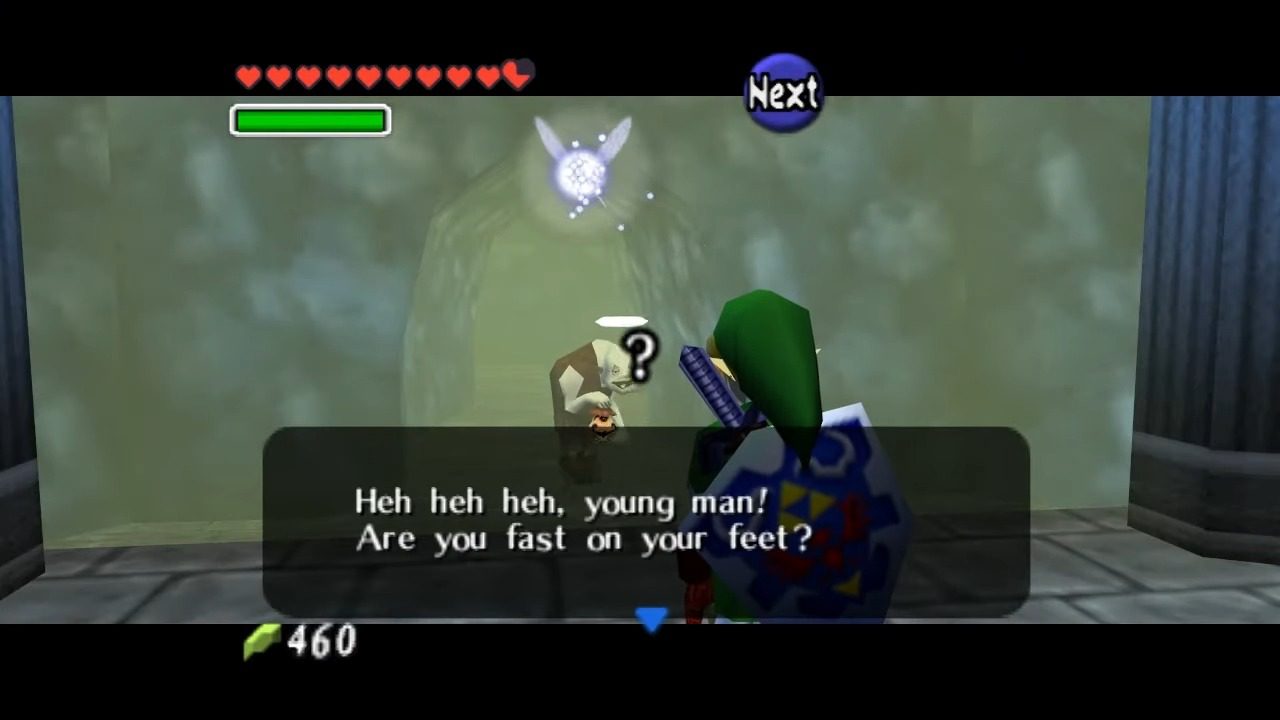
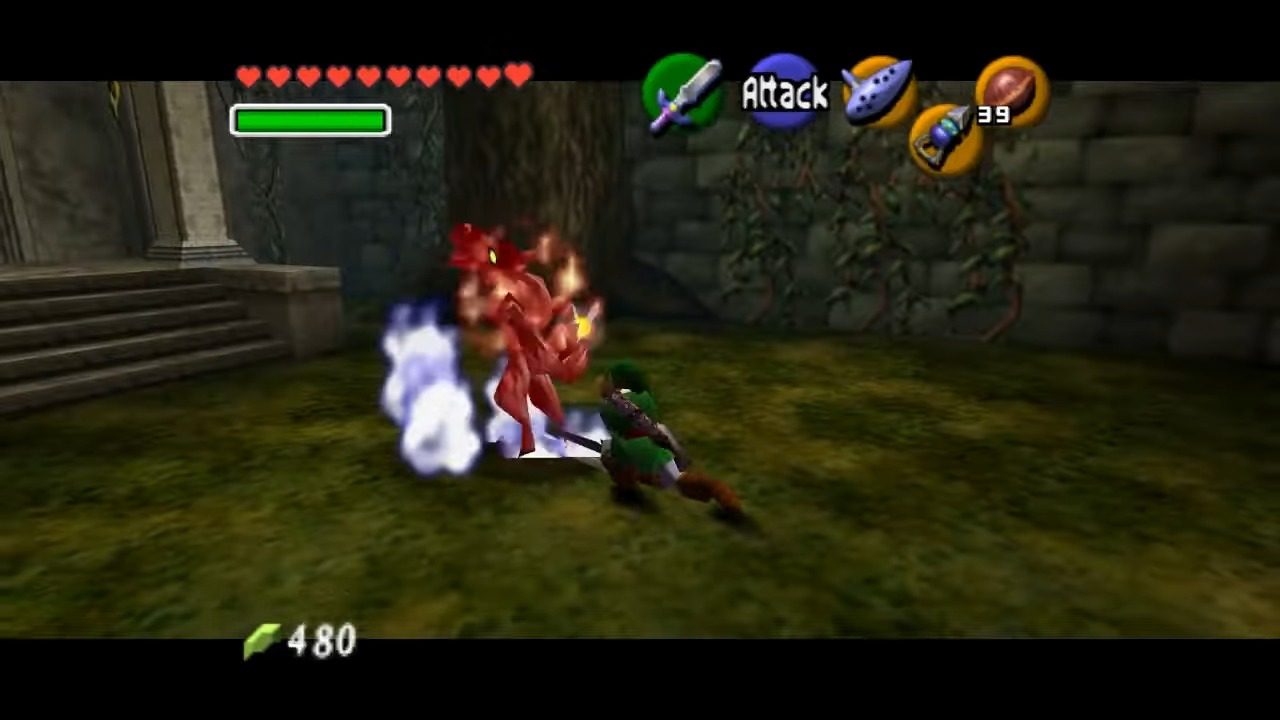
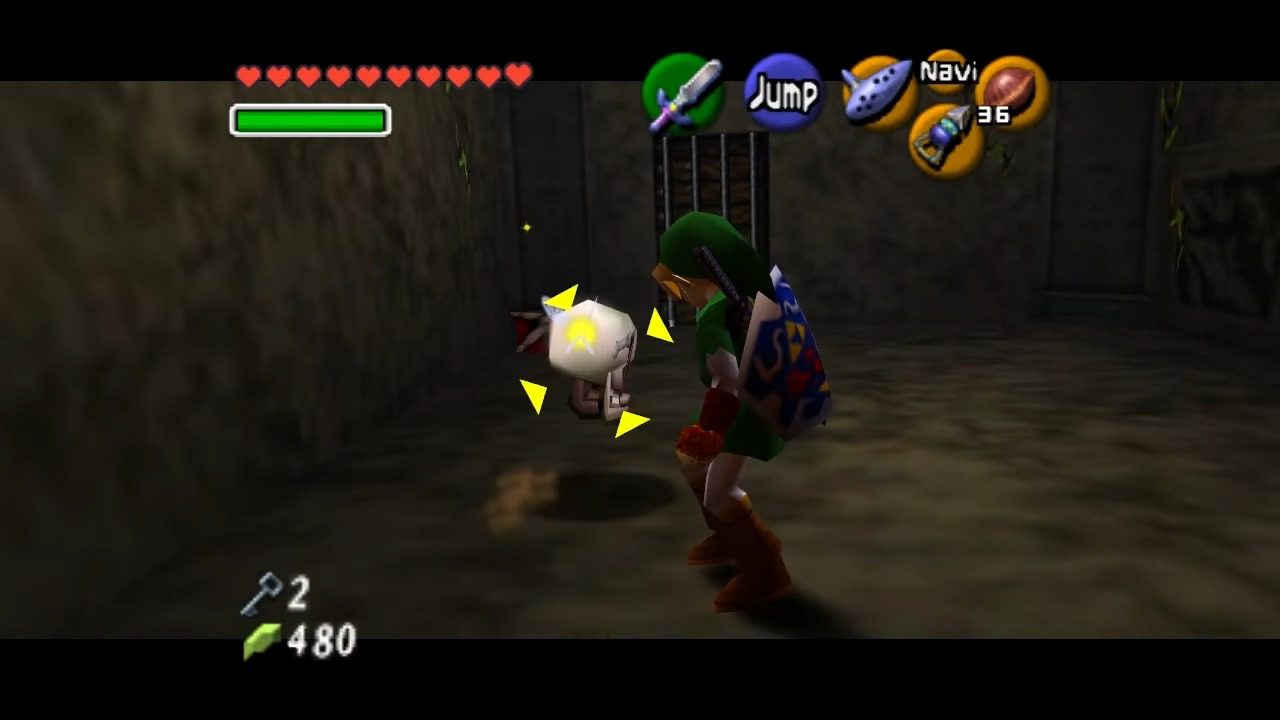
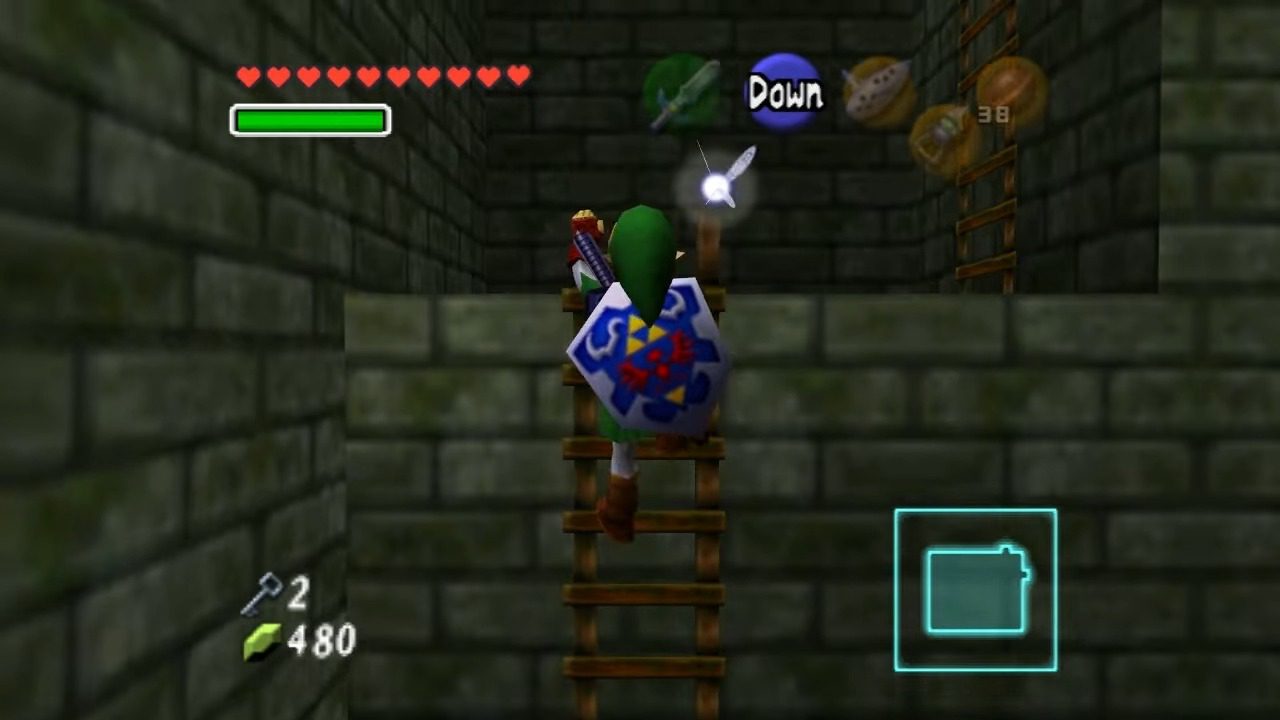
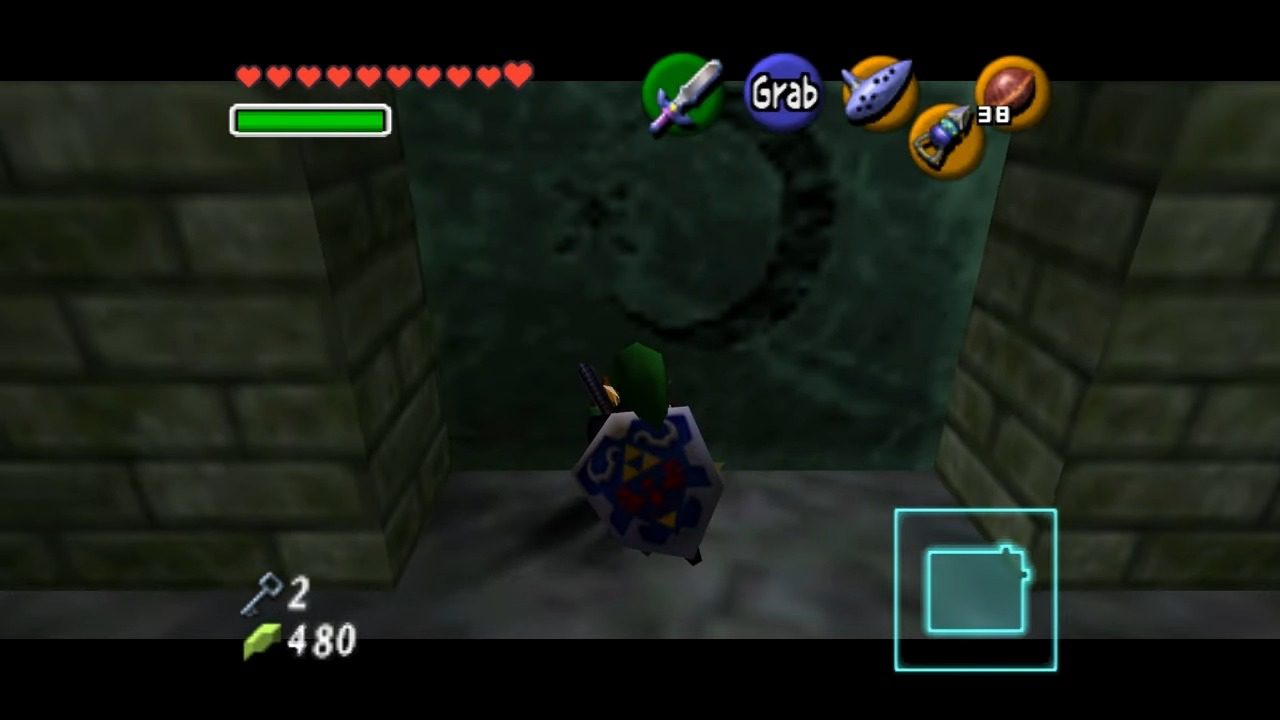
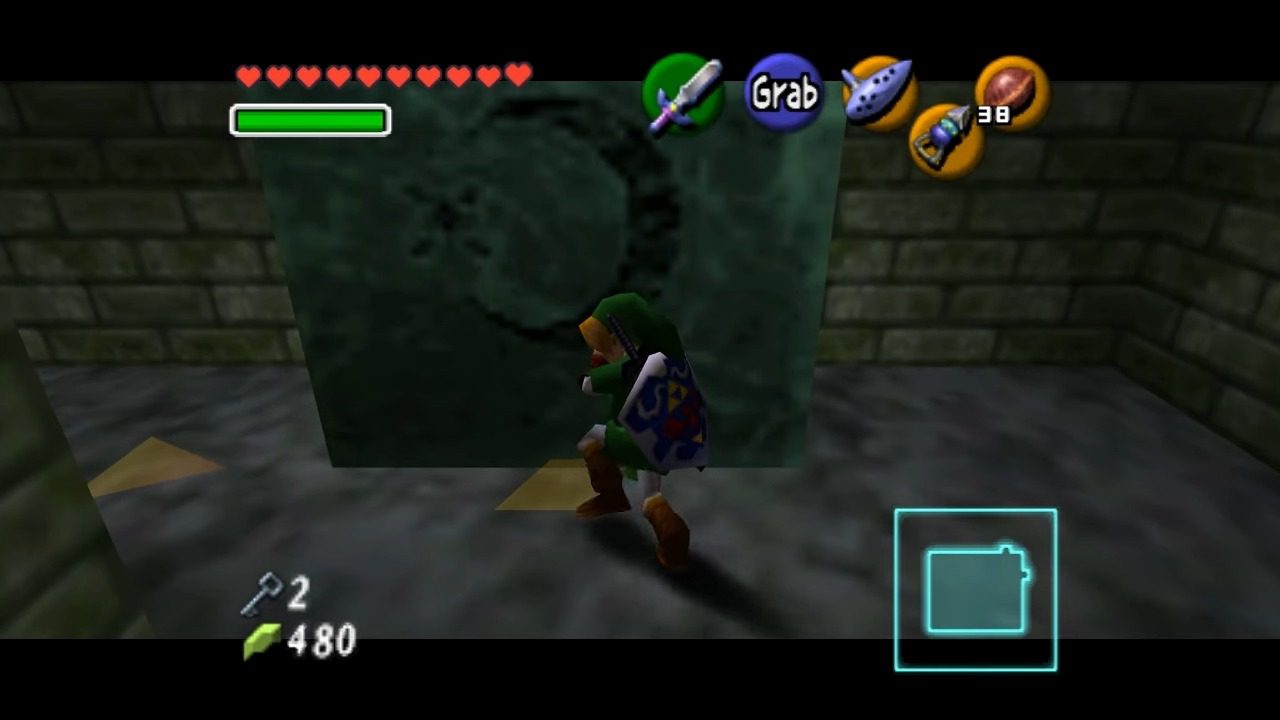
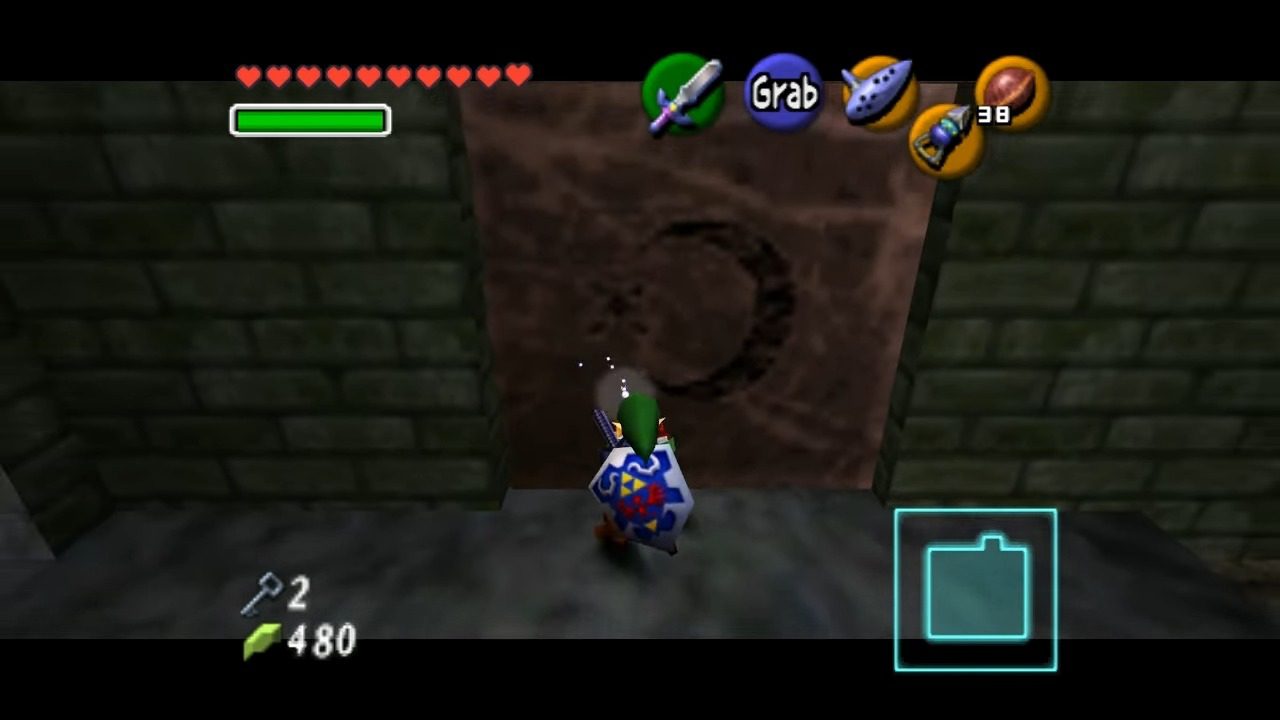
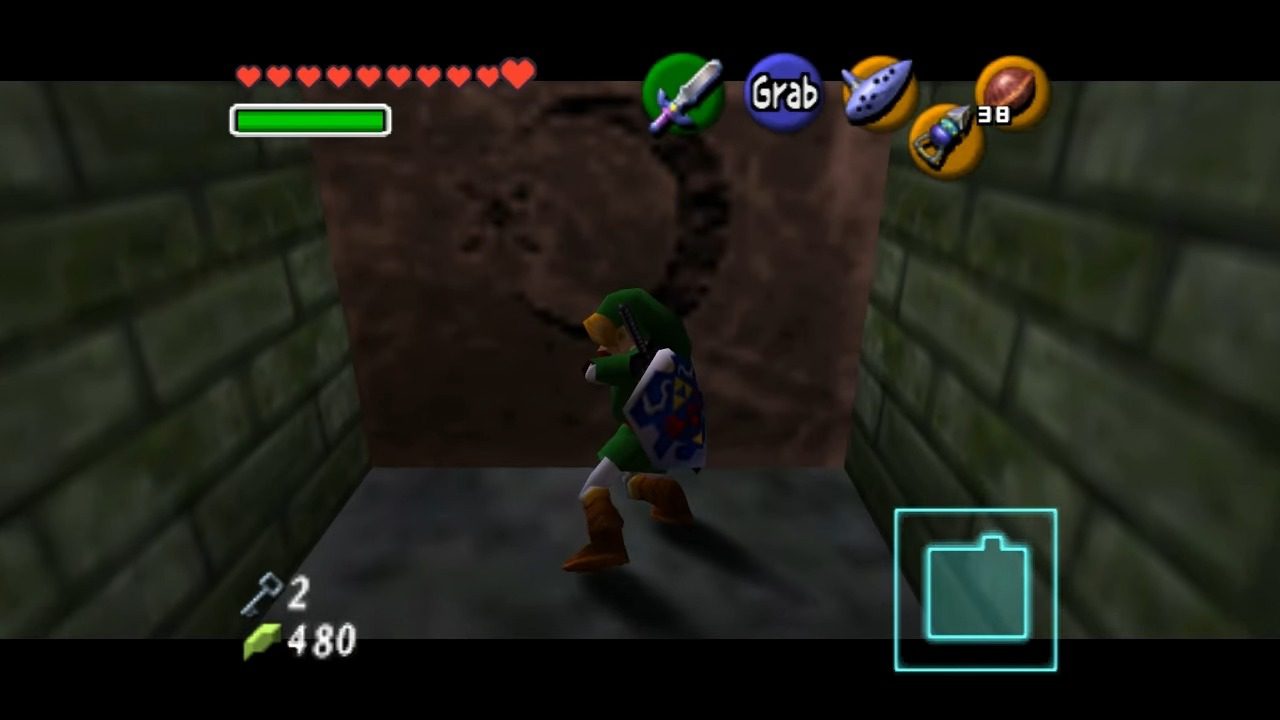
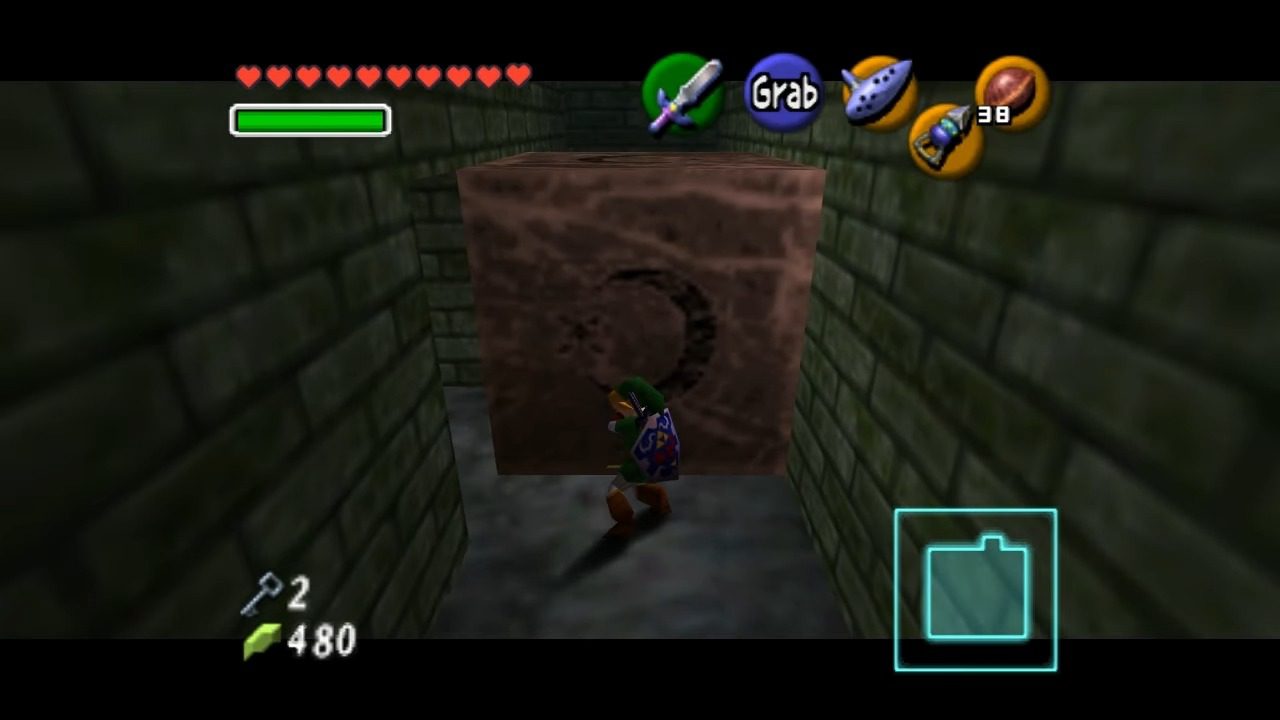
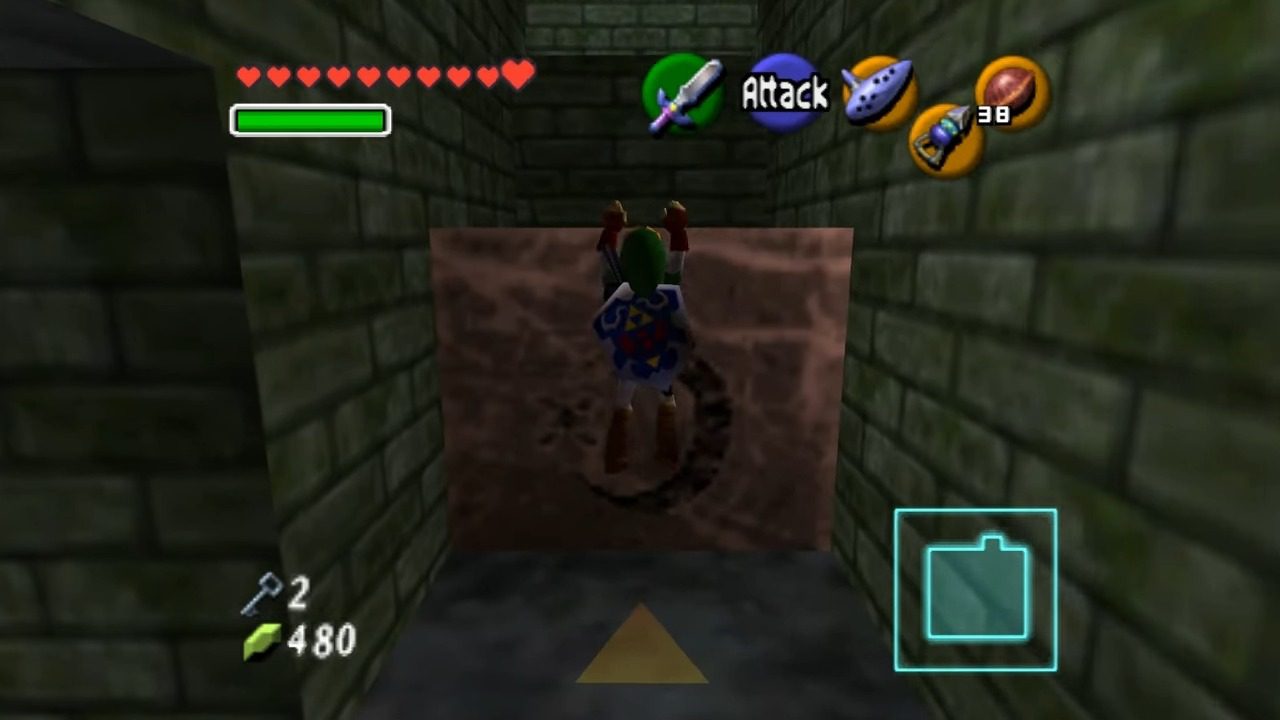
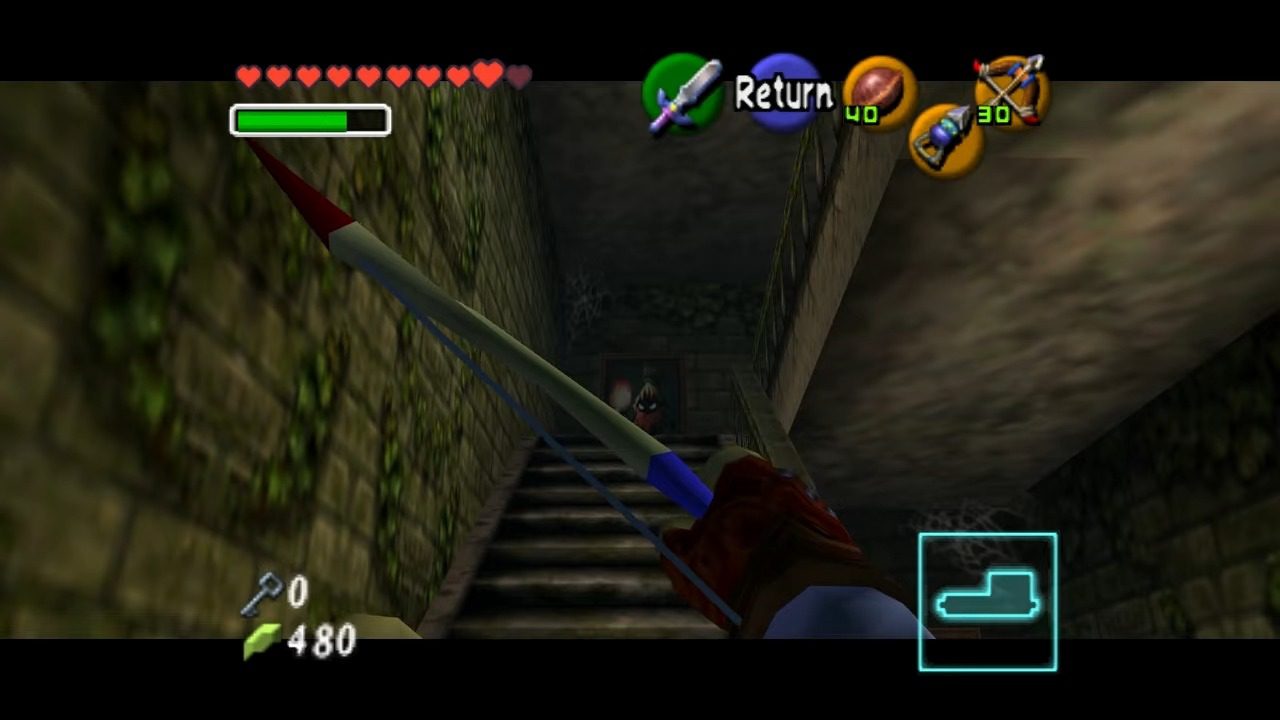
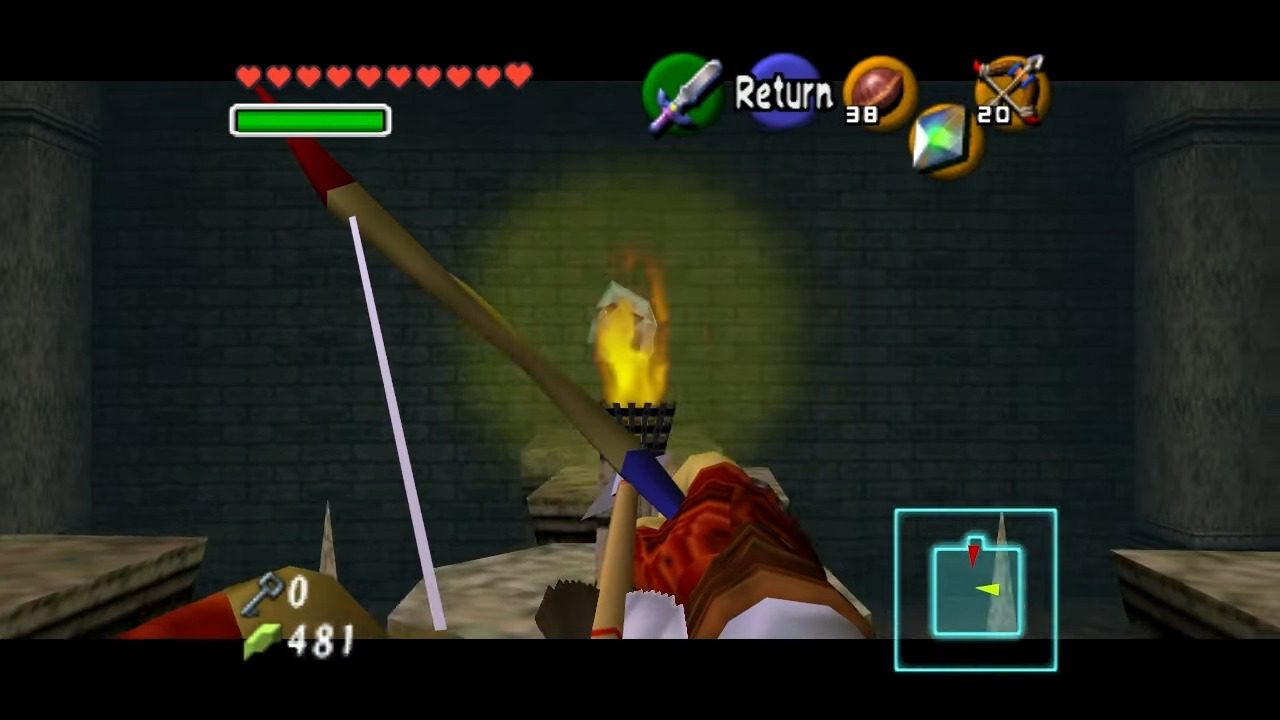
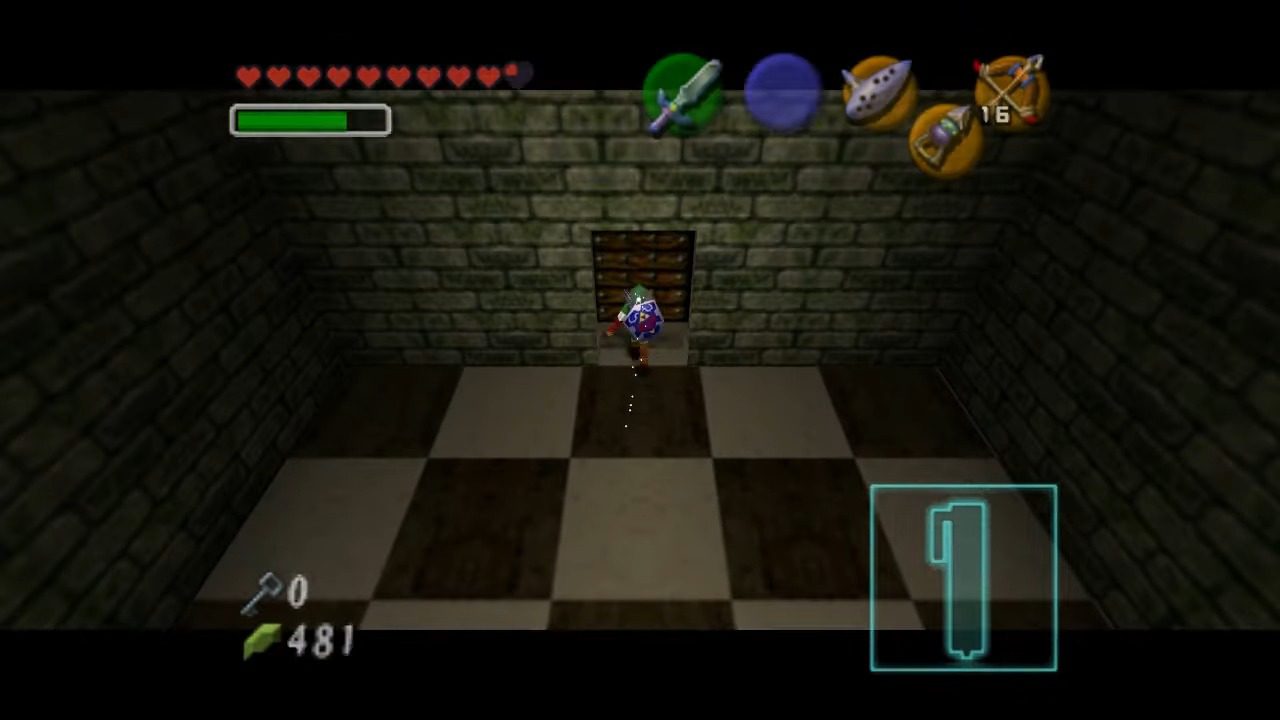
Travel to Kakariko Village and head towards the graveyard. On the left side of the graveyard, look for the leftmost grave that has a circle of flowers in front of it. As Adult Link, approach this grave and pull it back to reveal a secret hole. Without hesitation, jump down into the darkness. Inside the hidden passage, you’ll encounter the spectral form of Dampé, the former gravekeeper. Initiate a conversation with him, and he will challenge you to a race through his crypt.

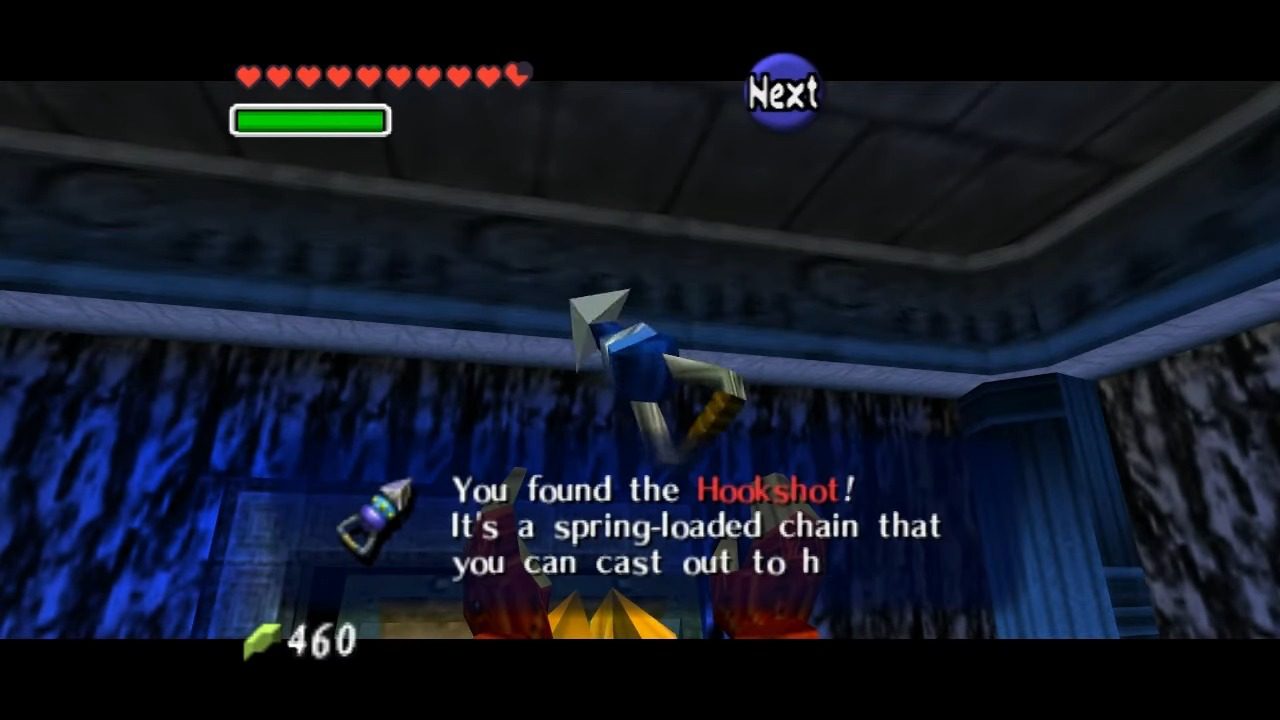
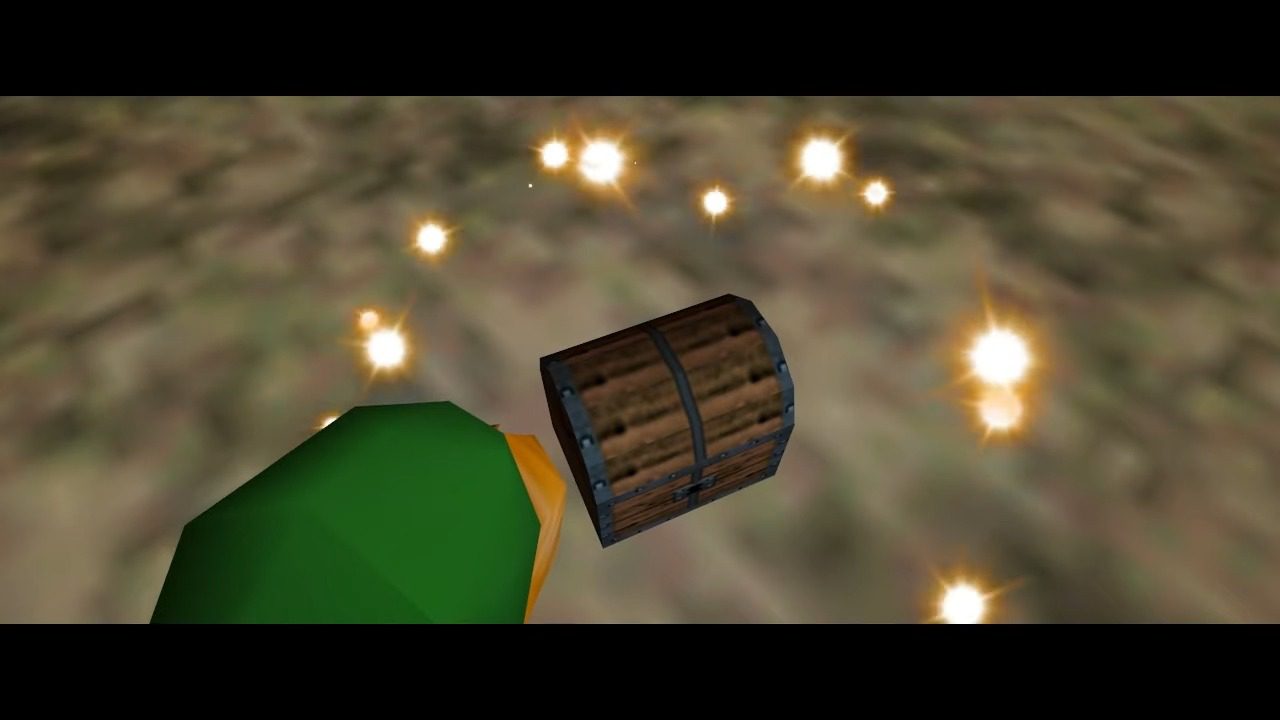
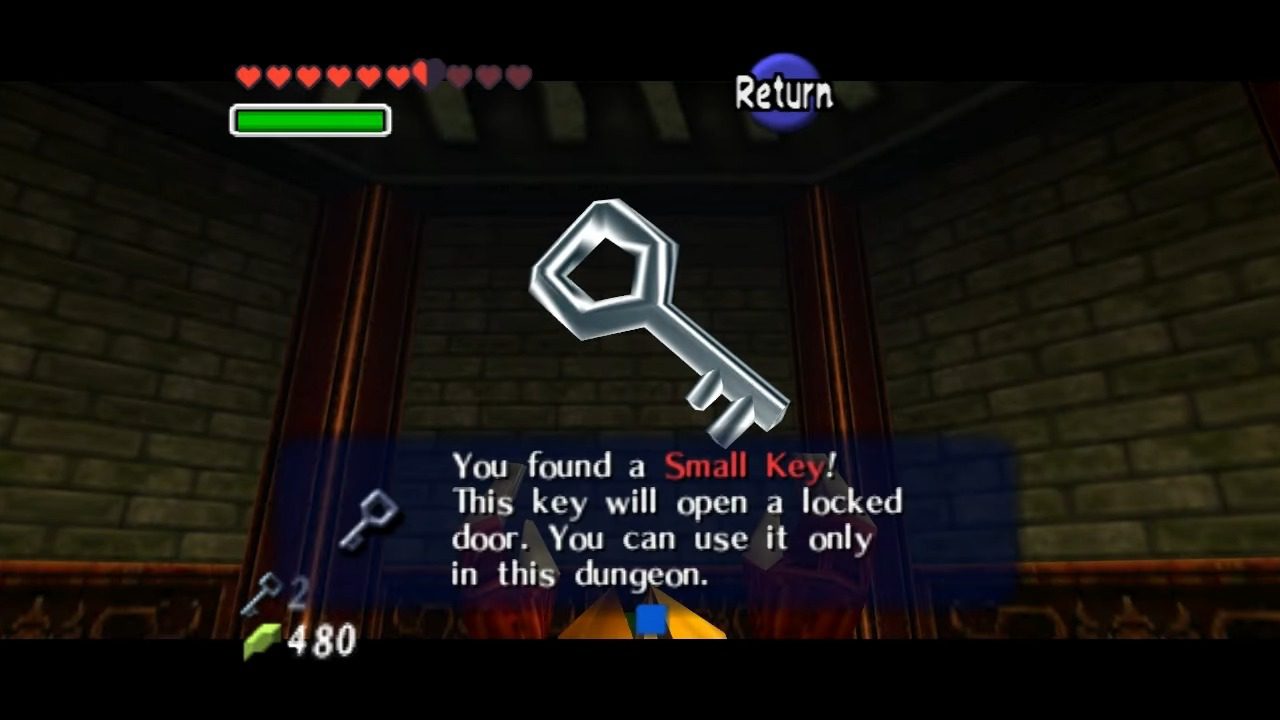
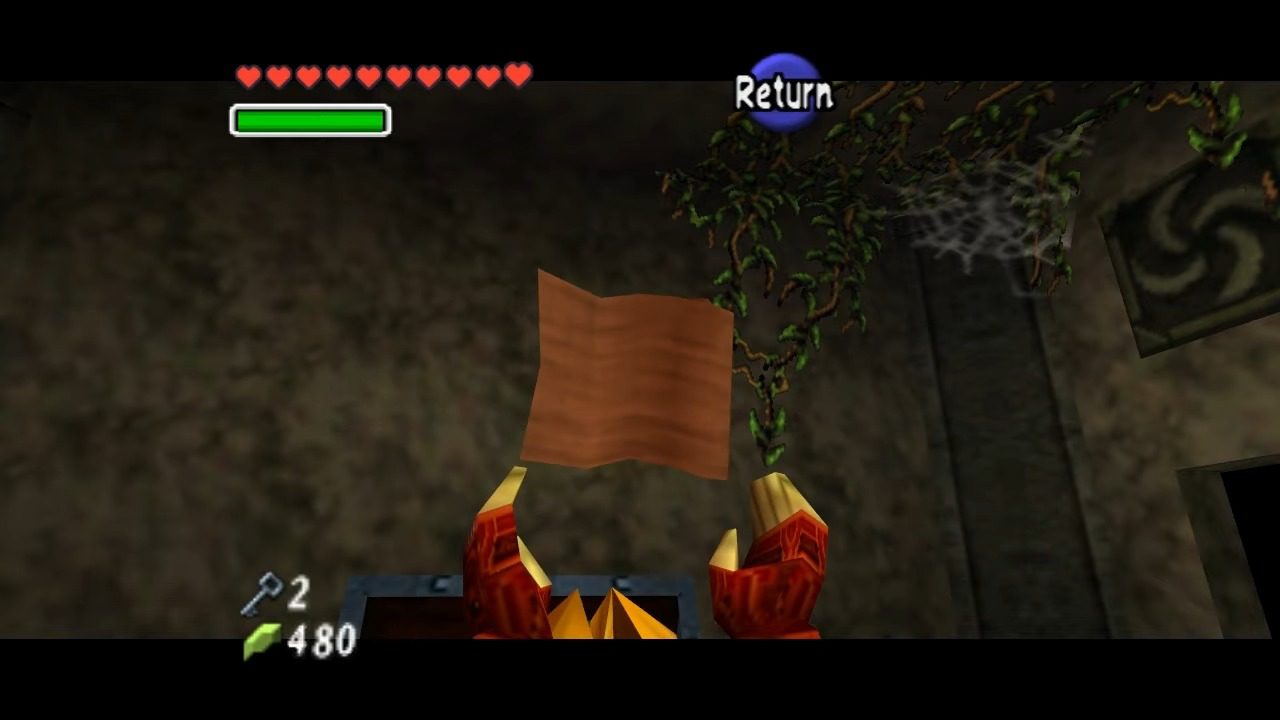
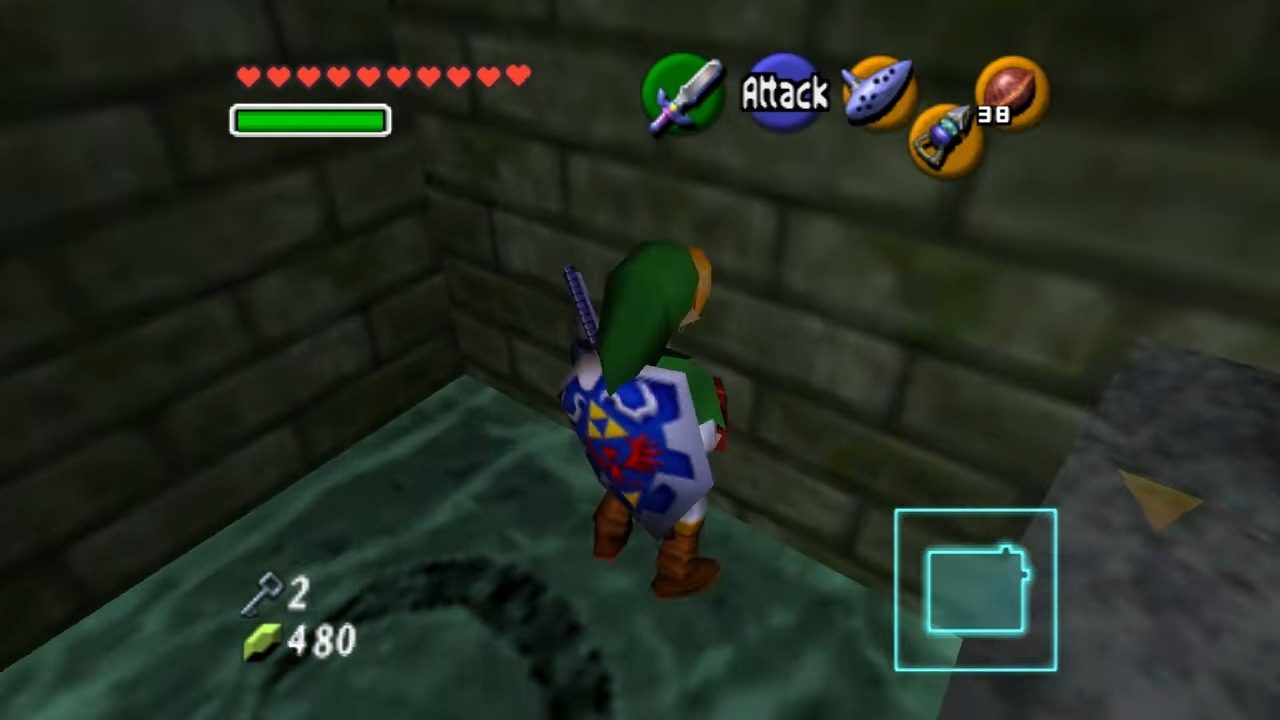
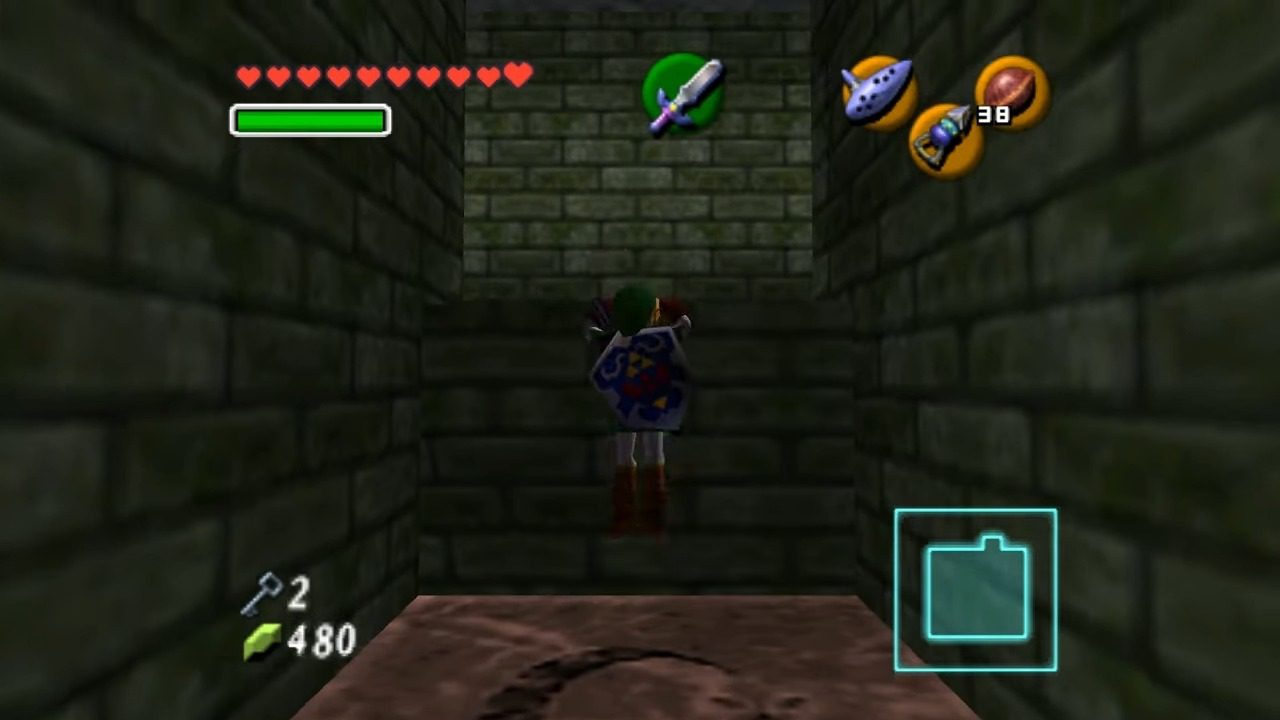
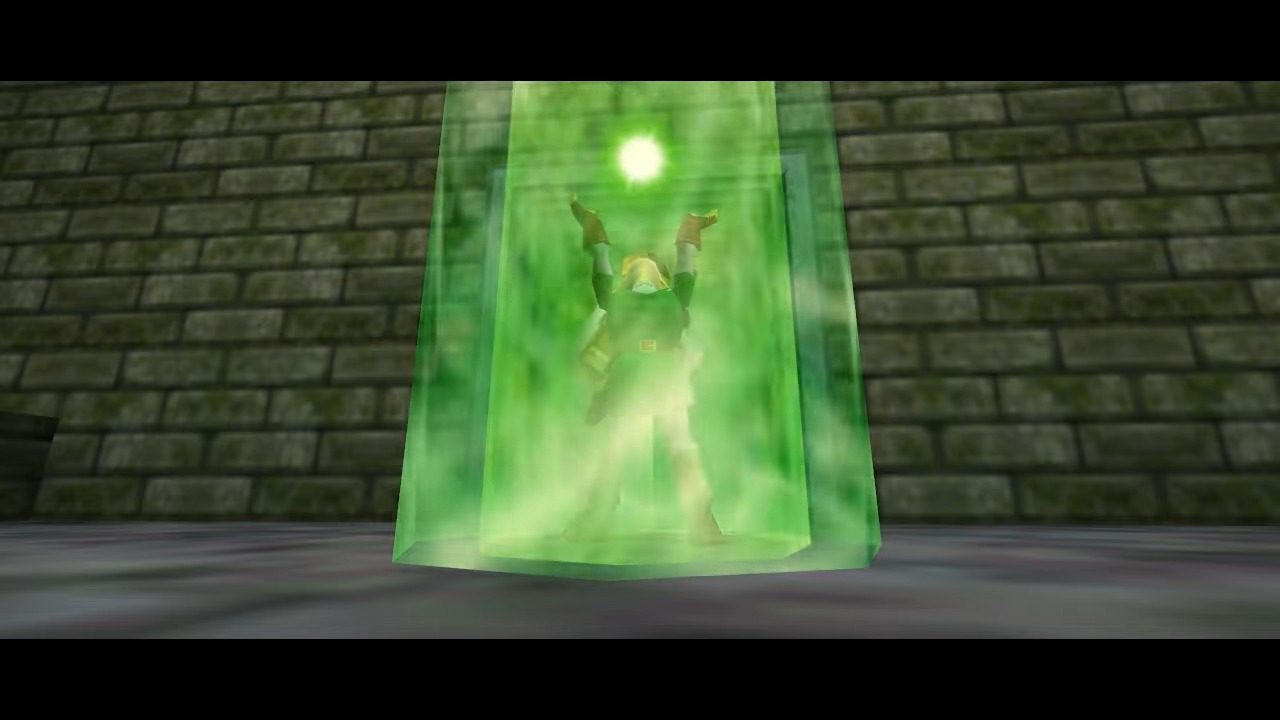
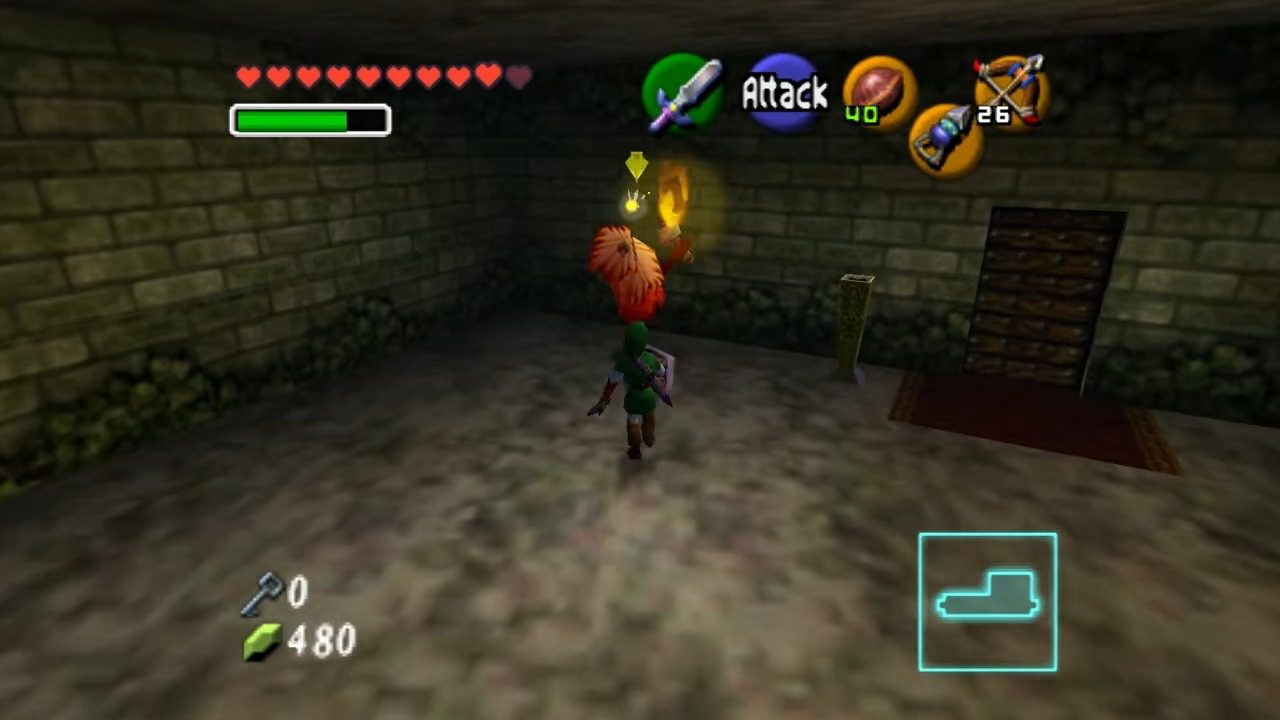
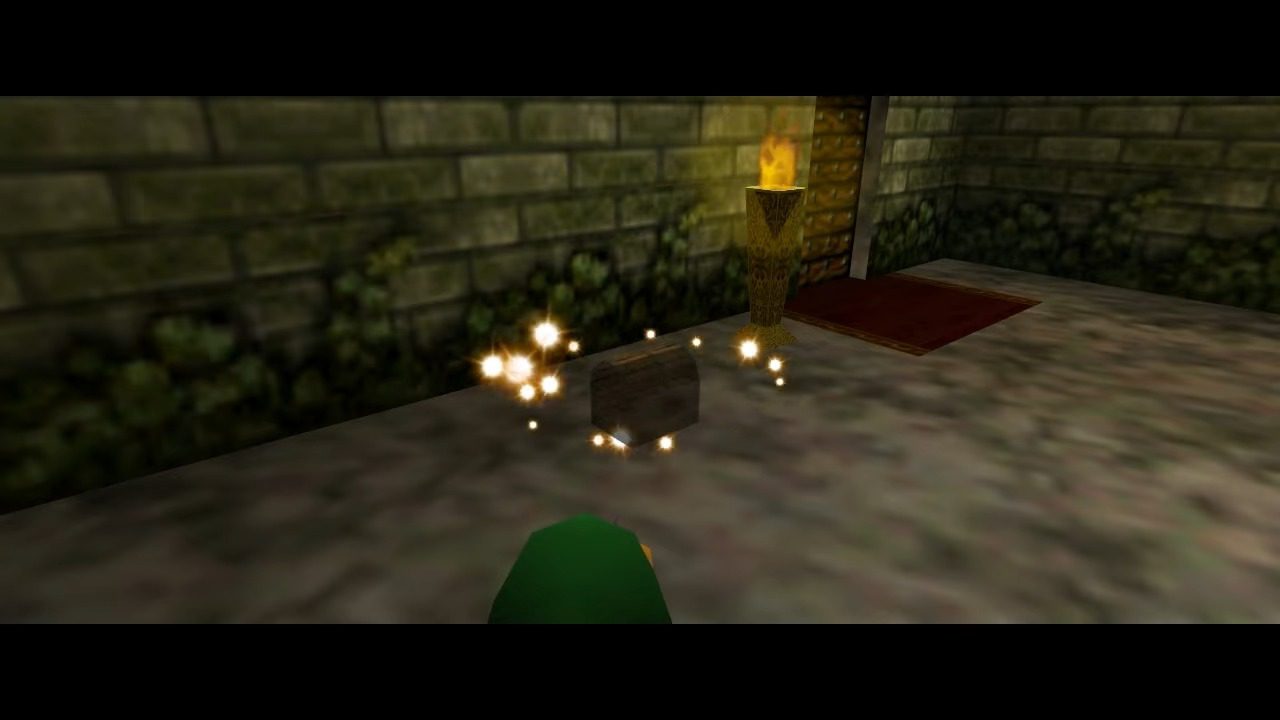
Accept his ghostly challenge. Now, you’ll need to follow Dampé closely as he navigates the winding tunnels. He leaves behind a trail of flames, which can serve as a guide if you lose sight of him. The path involves a series of turns and directions. If you manage to keep pace with Dampé and reach the end of the crypt, he will reward you by allowing you to open a treasure chest. Inside this chest, you’ll find the invaluable Hookshot. It’s also interesting to learn that Dampé apparently buried the Hookshot simply because he enjoyed it so much and didn’t want anyone else to have it.

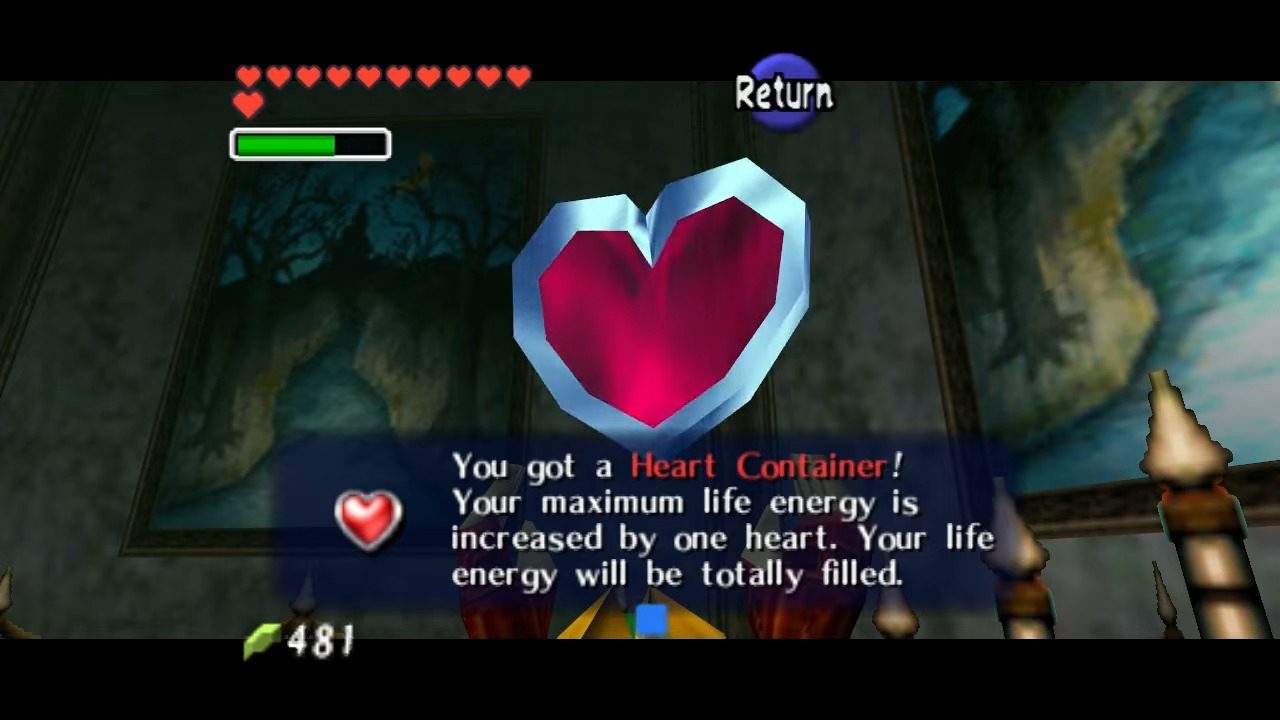
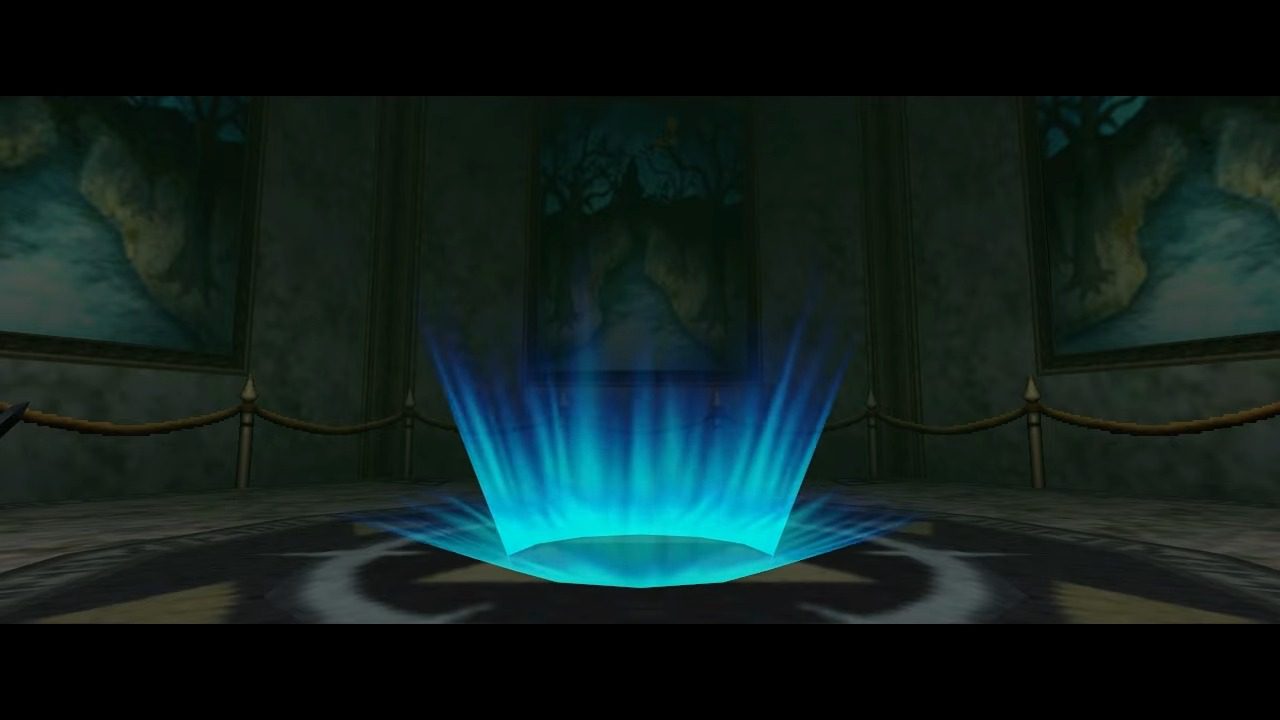
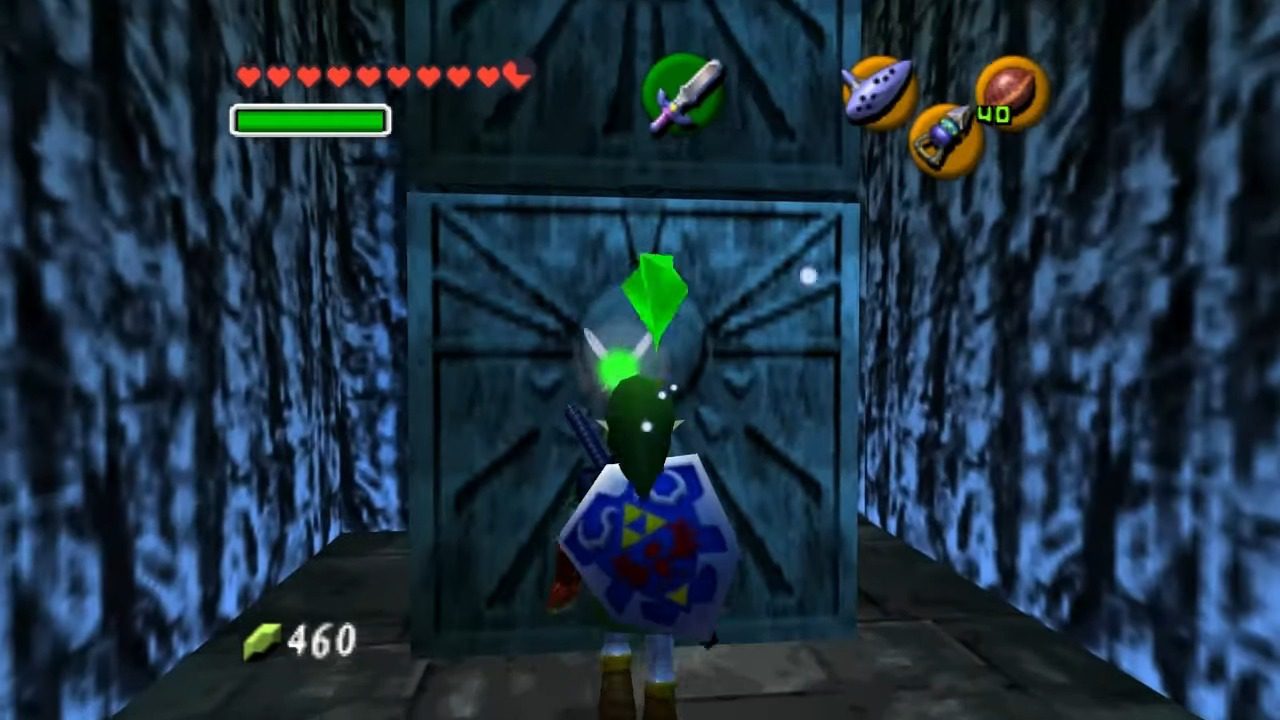
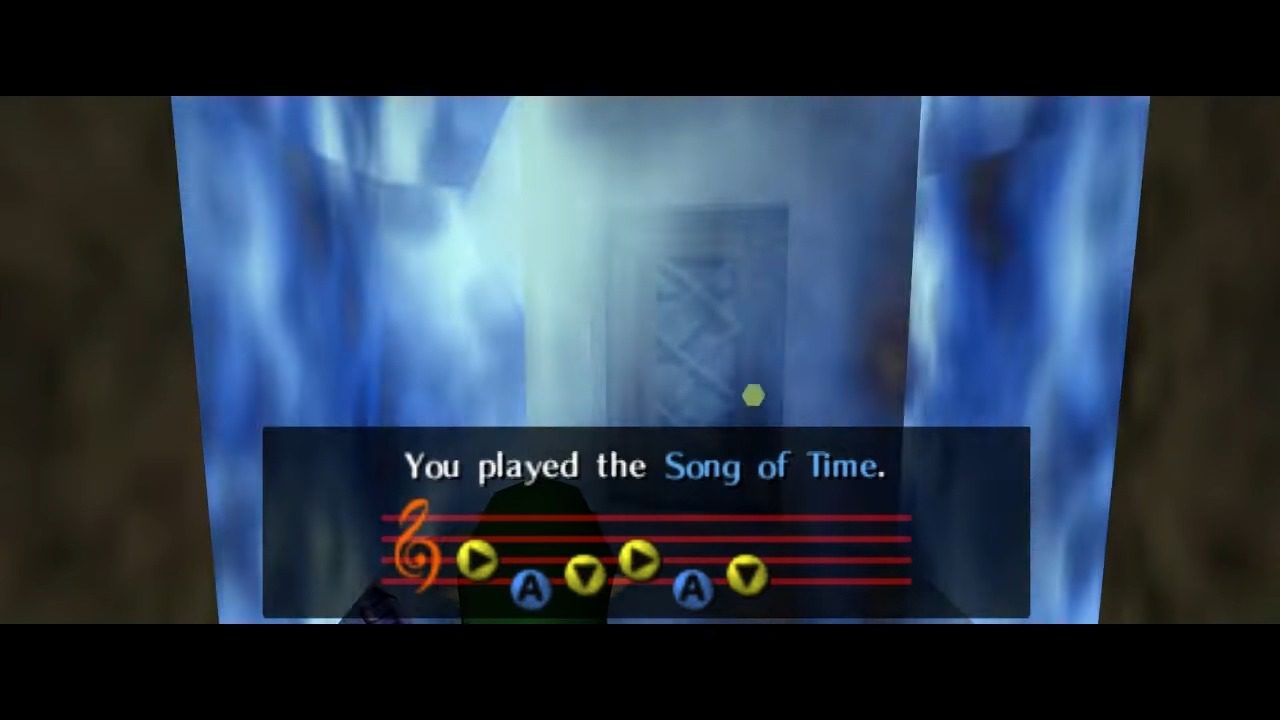
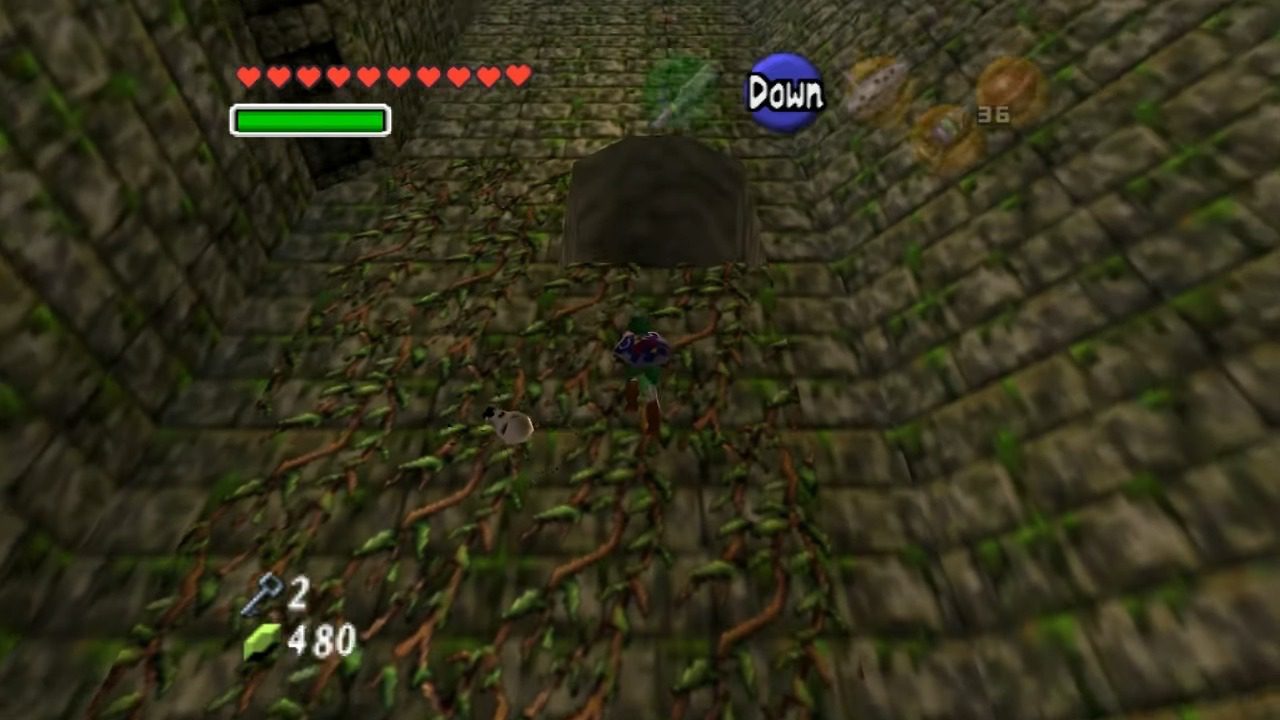
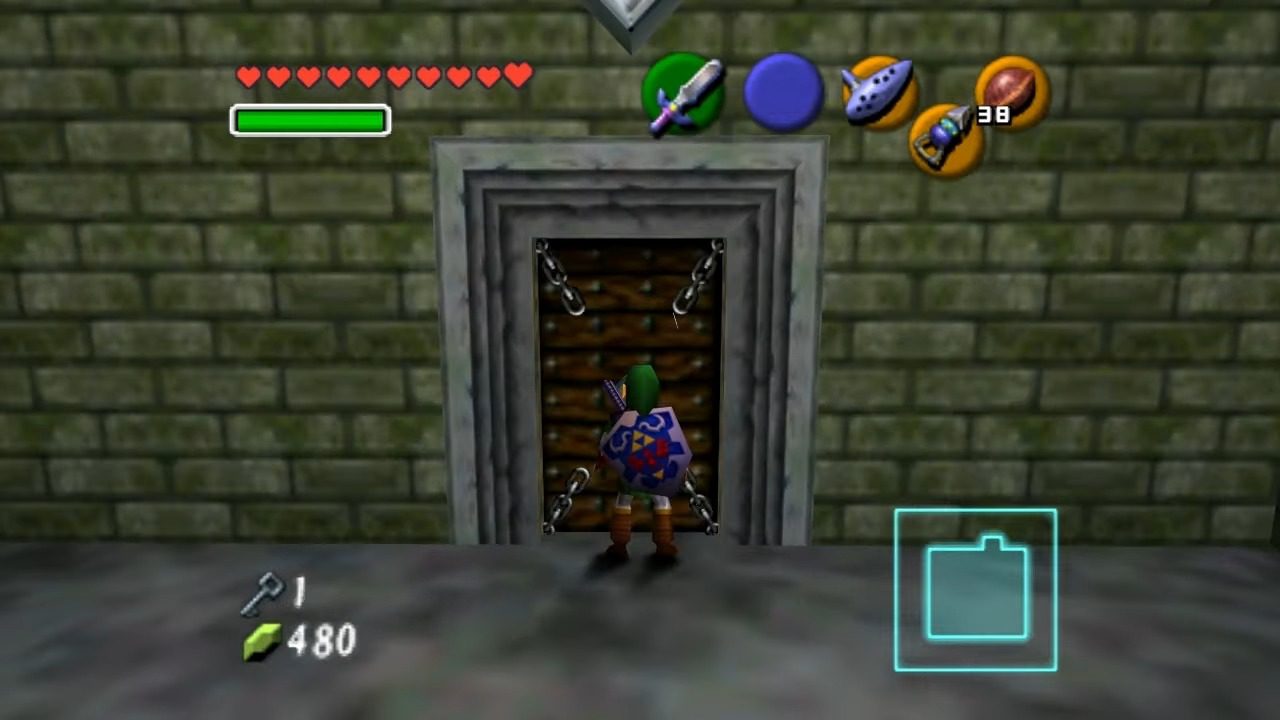
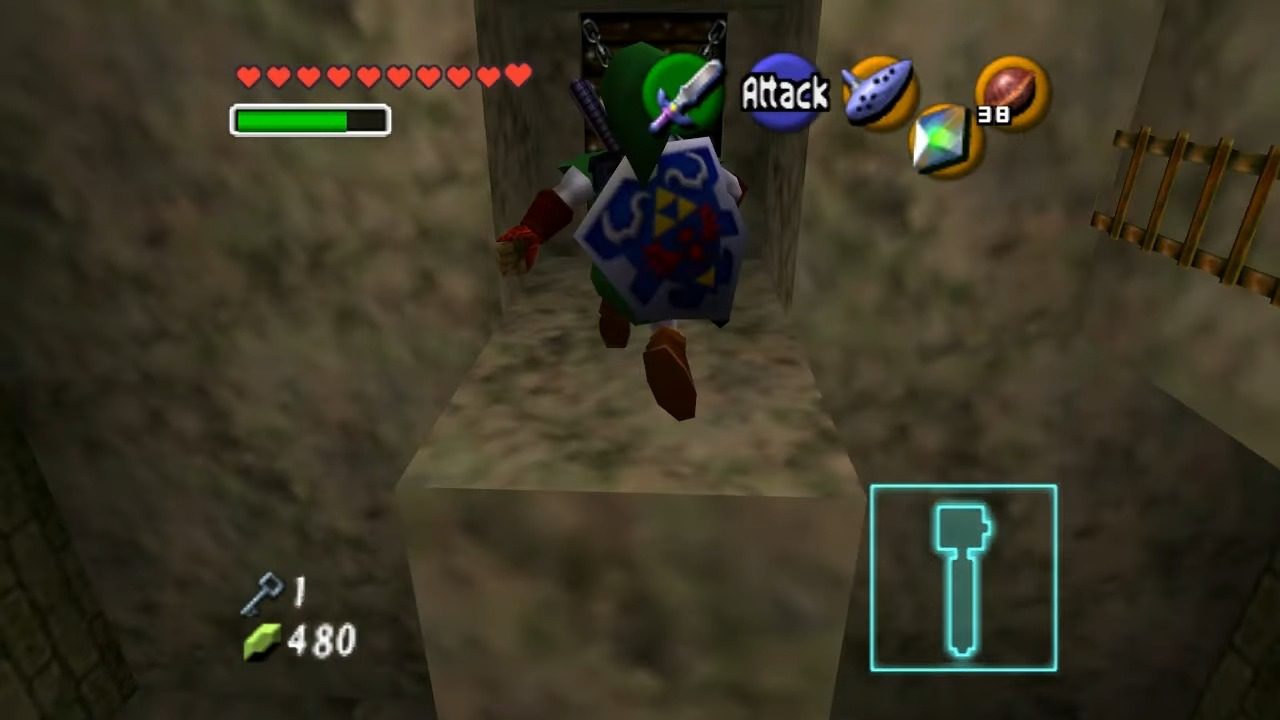
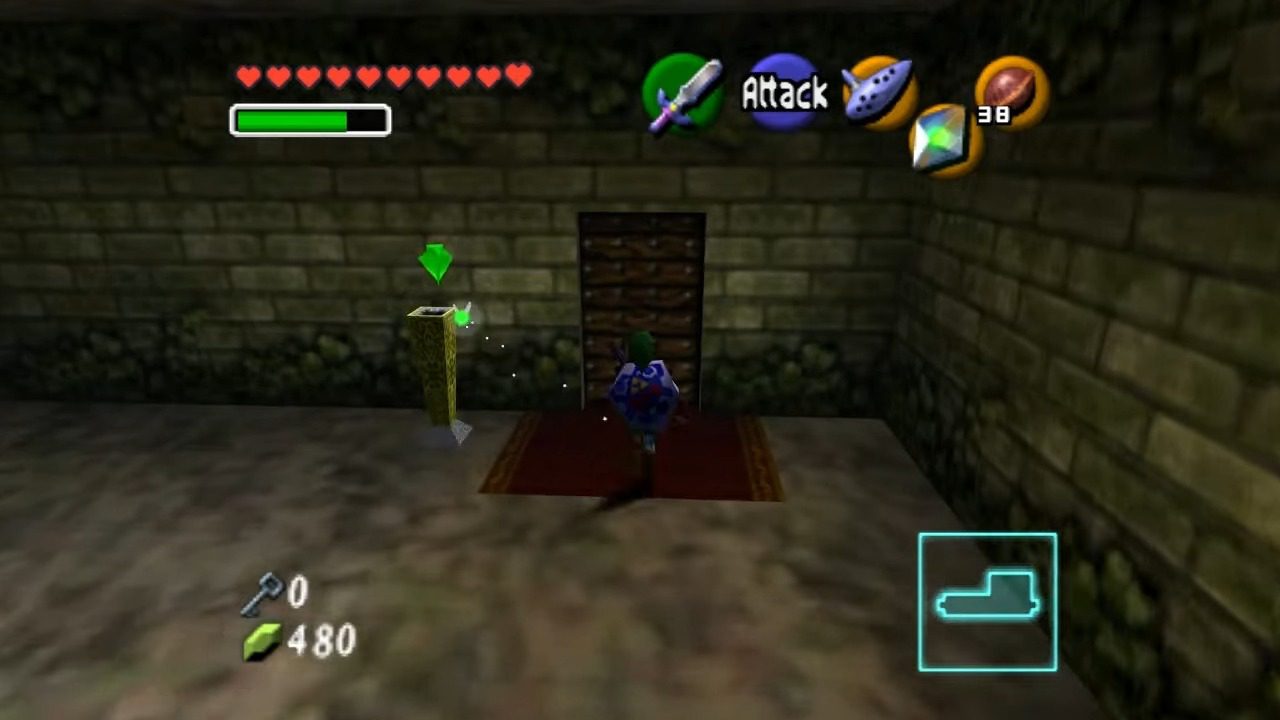
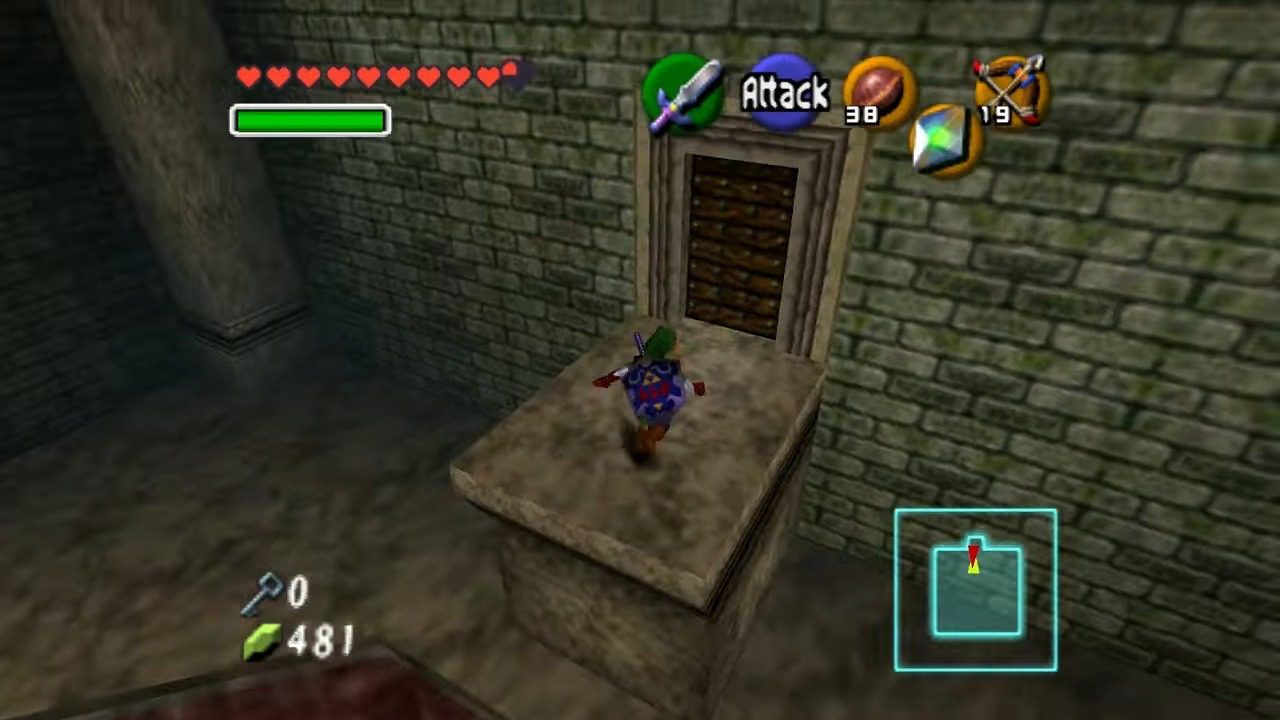
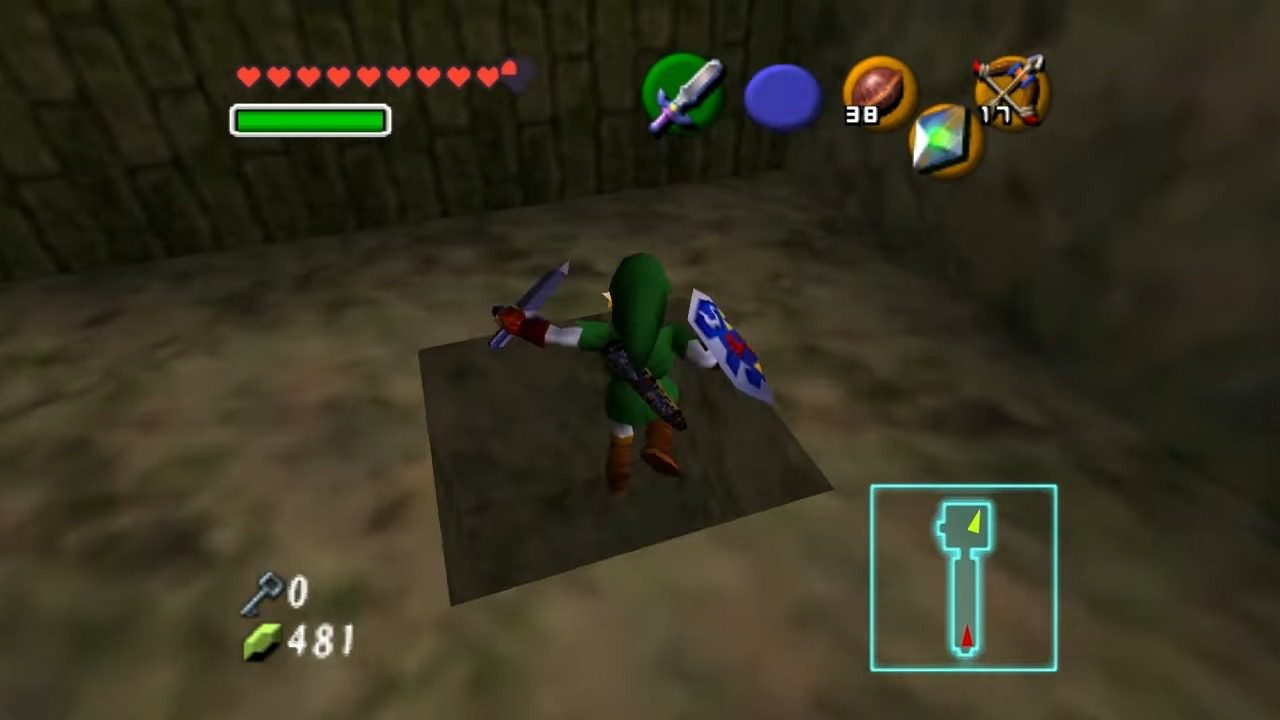
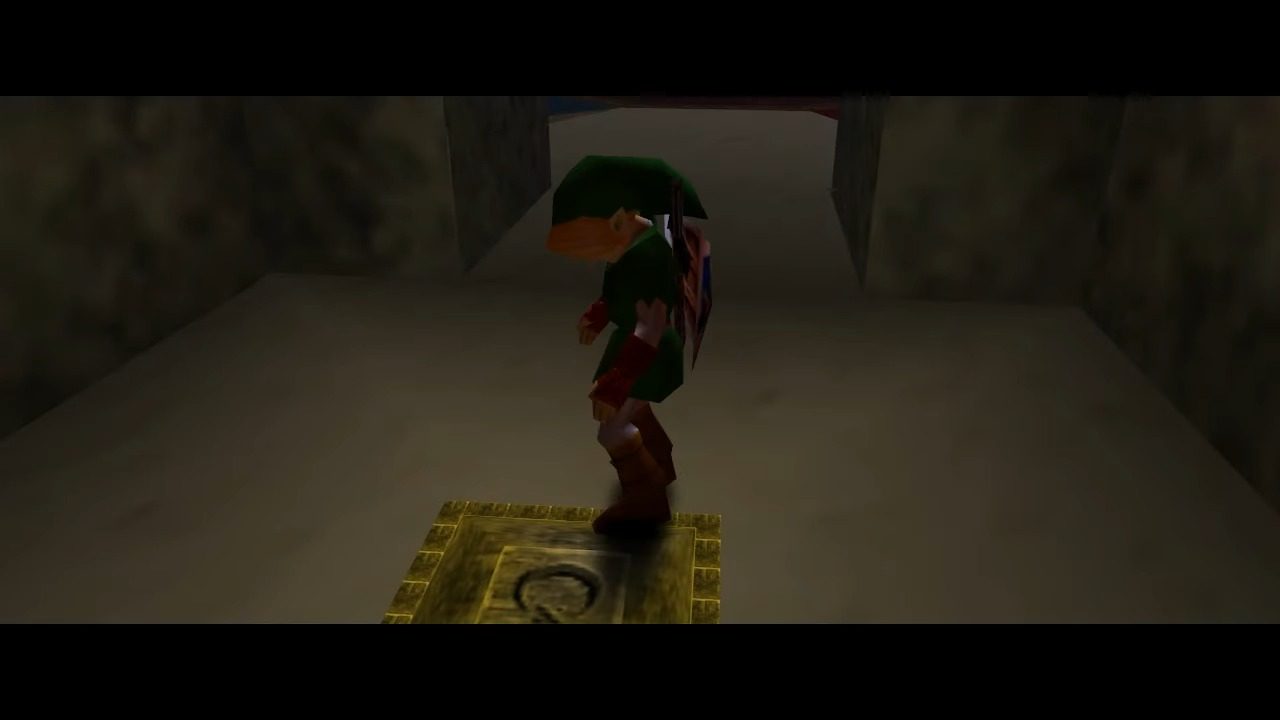
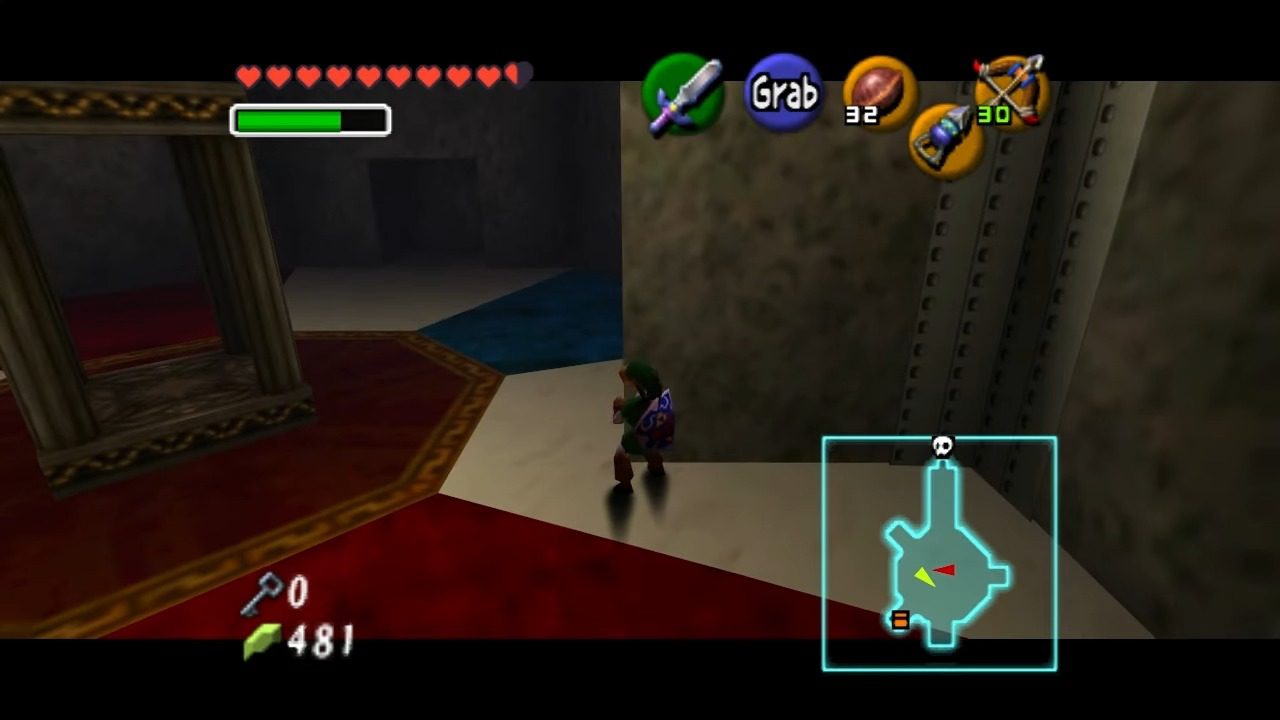
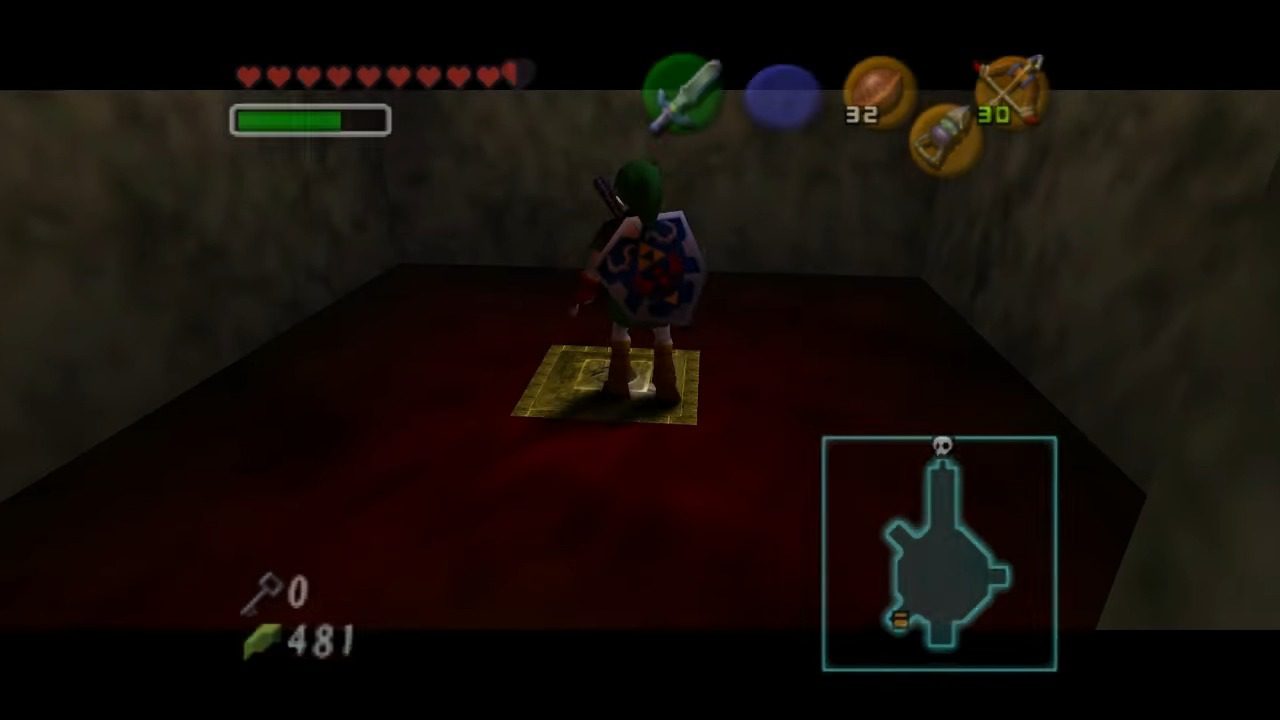
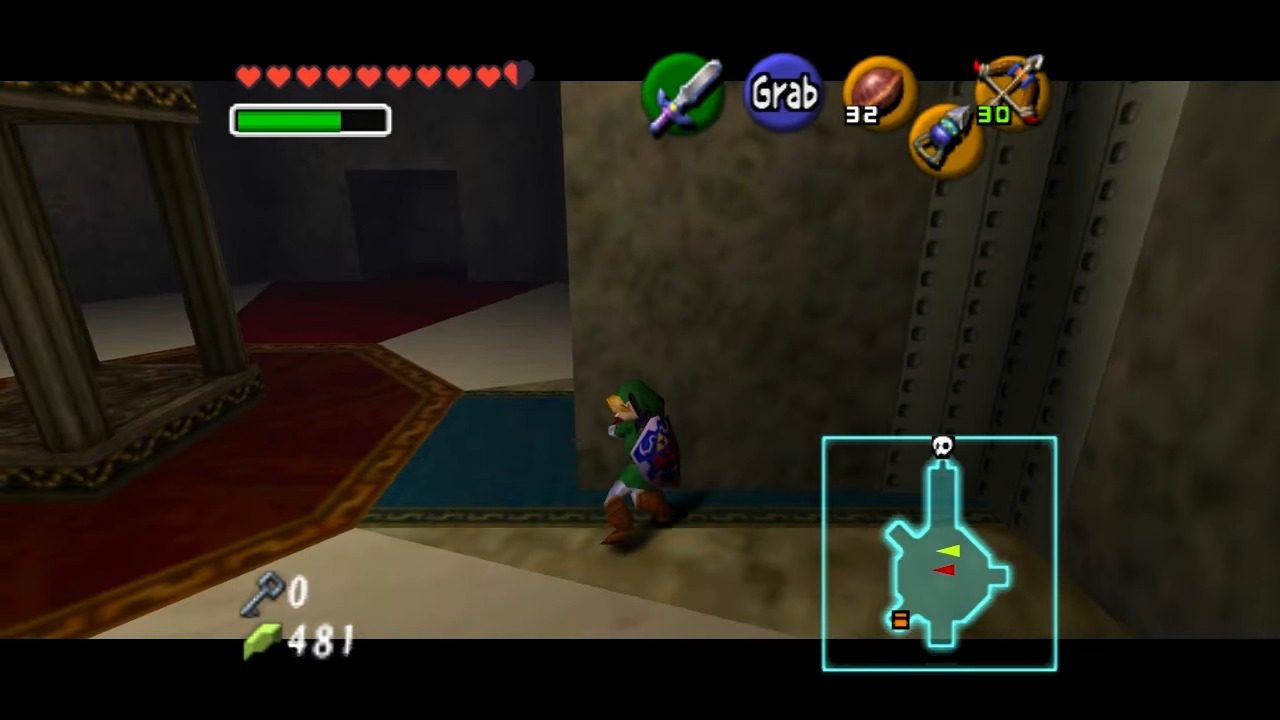
Navigate through the doorway behind the chest that contained the Hookshot to discover blue blocks preventing you from going further. Play the Song of Time to remove the blocks proceed forward to exit into the Windmill. From where you enter, use the Hookshot and pull the Heart Piece to your right to yourself.


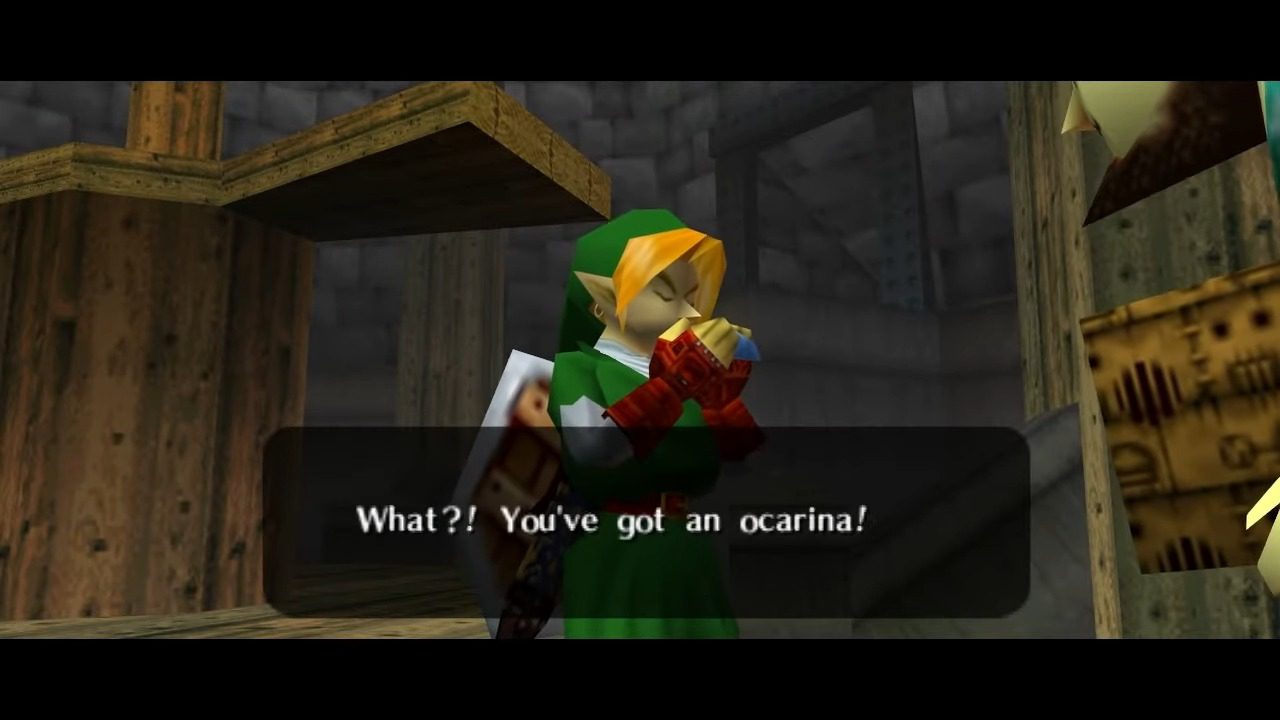
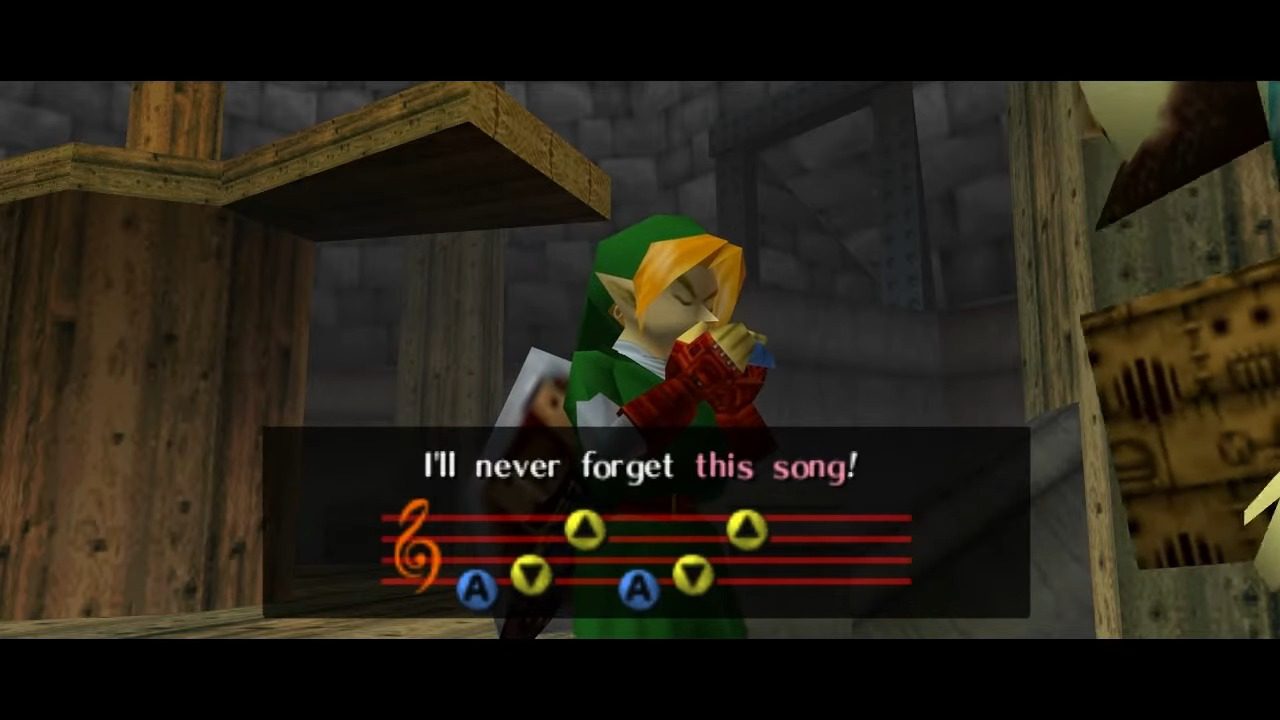
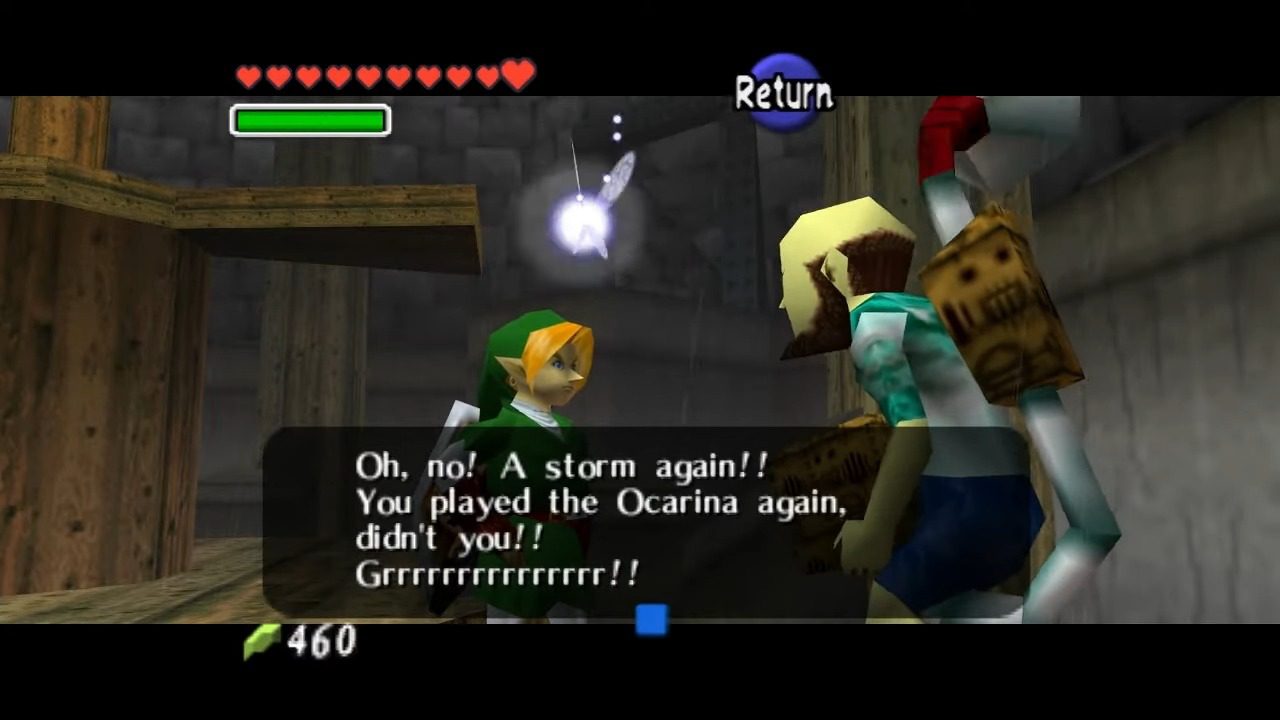
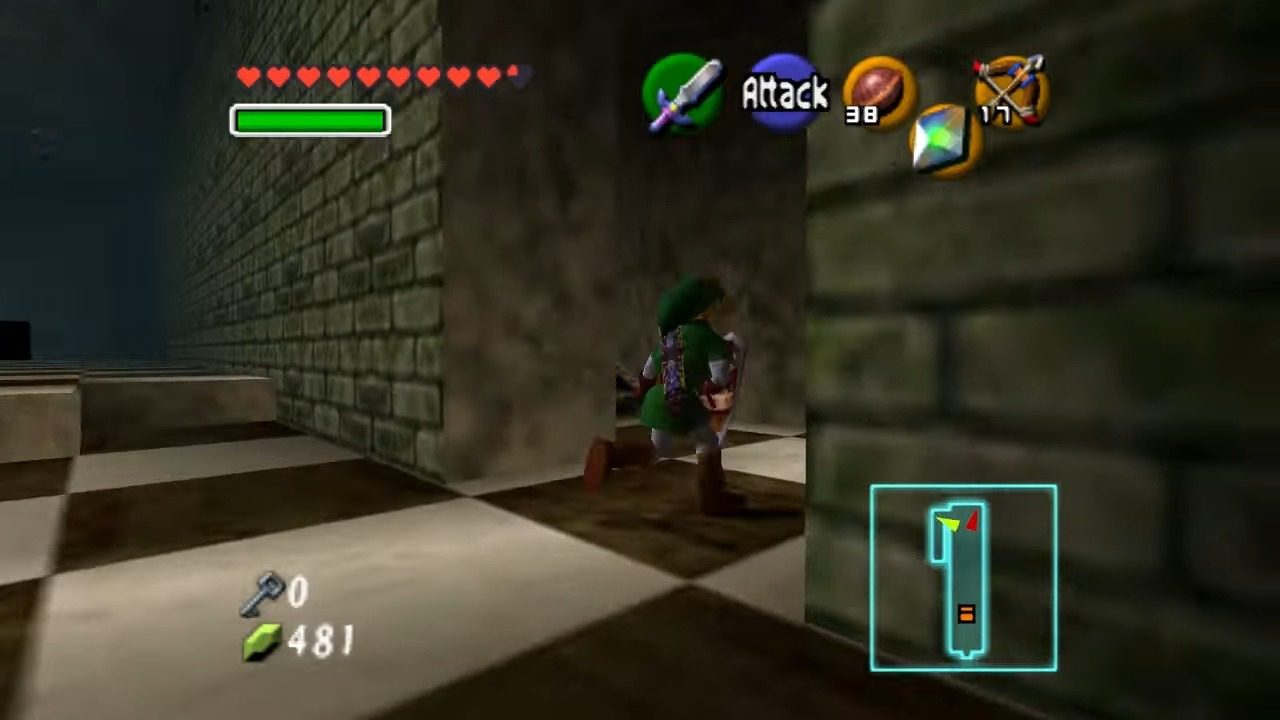
While you’re in the Windmill, drop below to the The Phonogram Man and pull out your Ocarina of Time in front of him. Play the Song of Storms.
Into the Woods: The Forest Temple Walkthrough
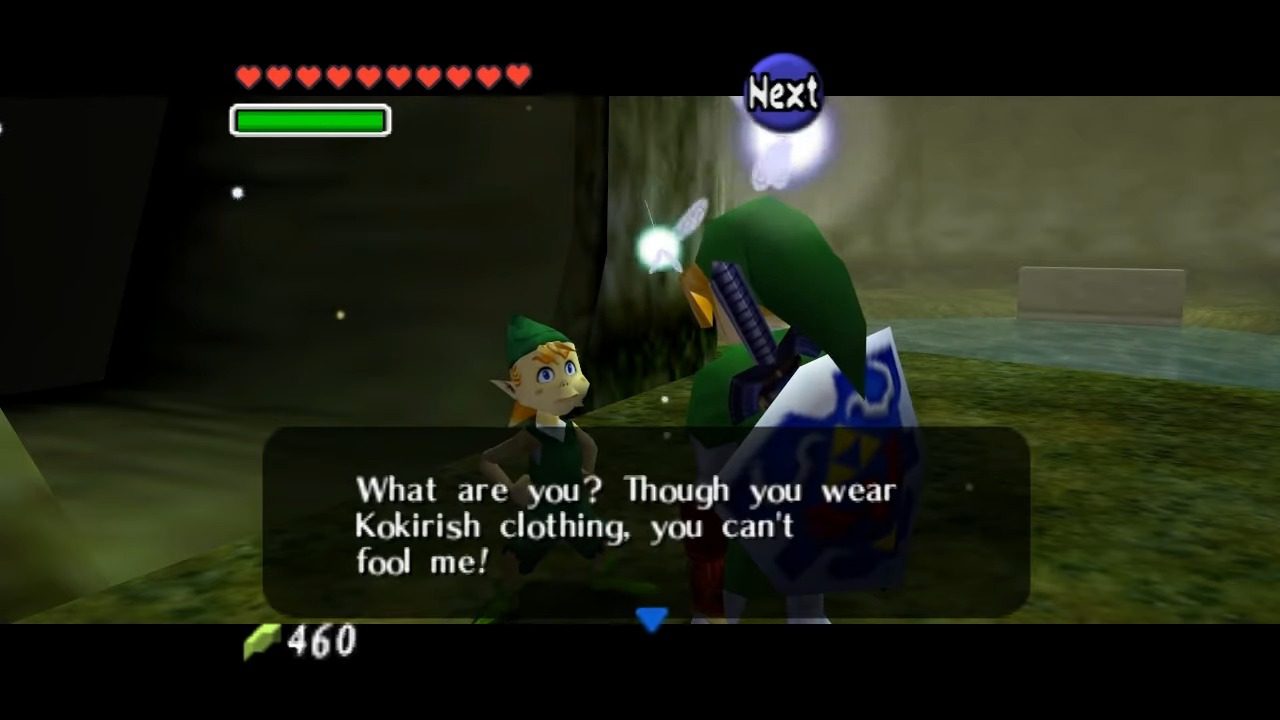
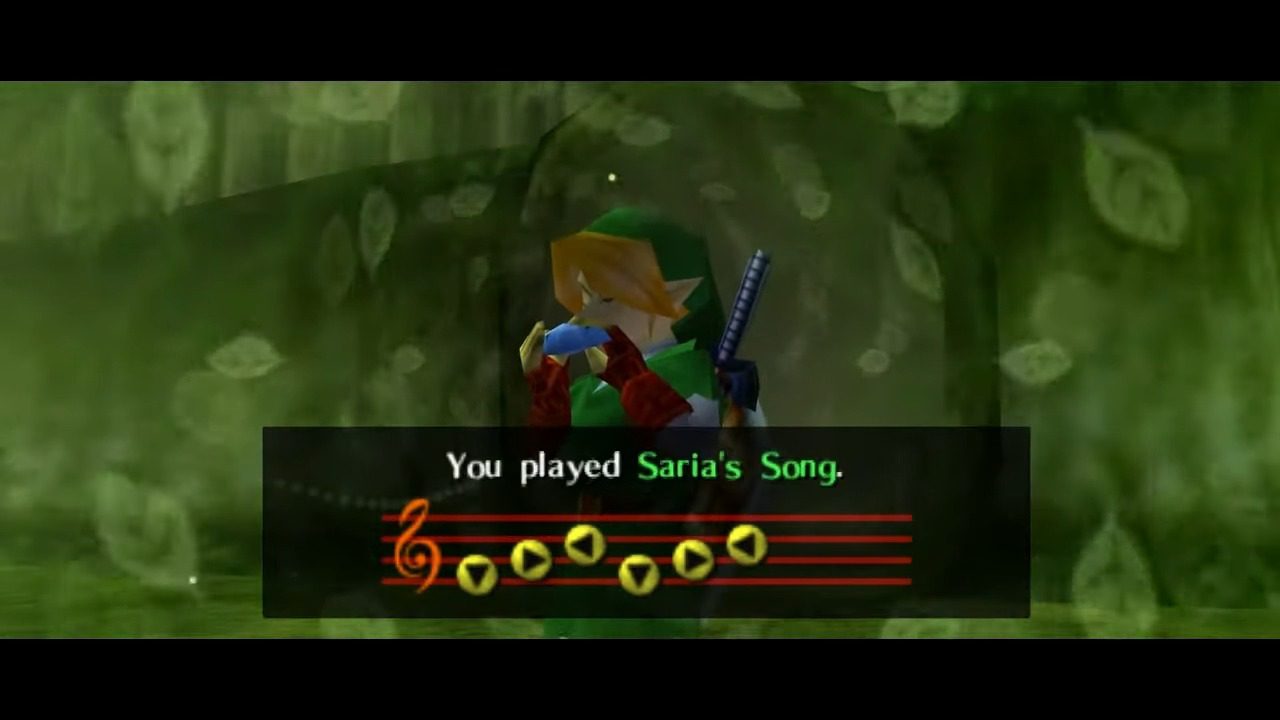
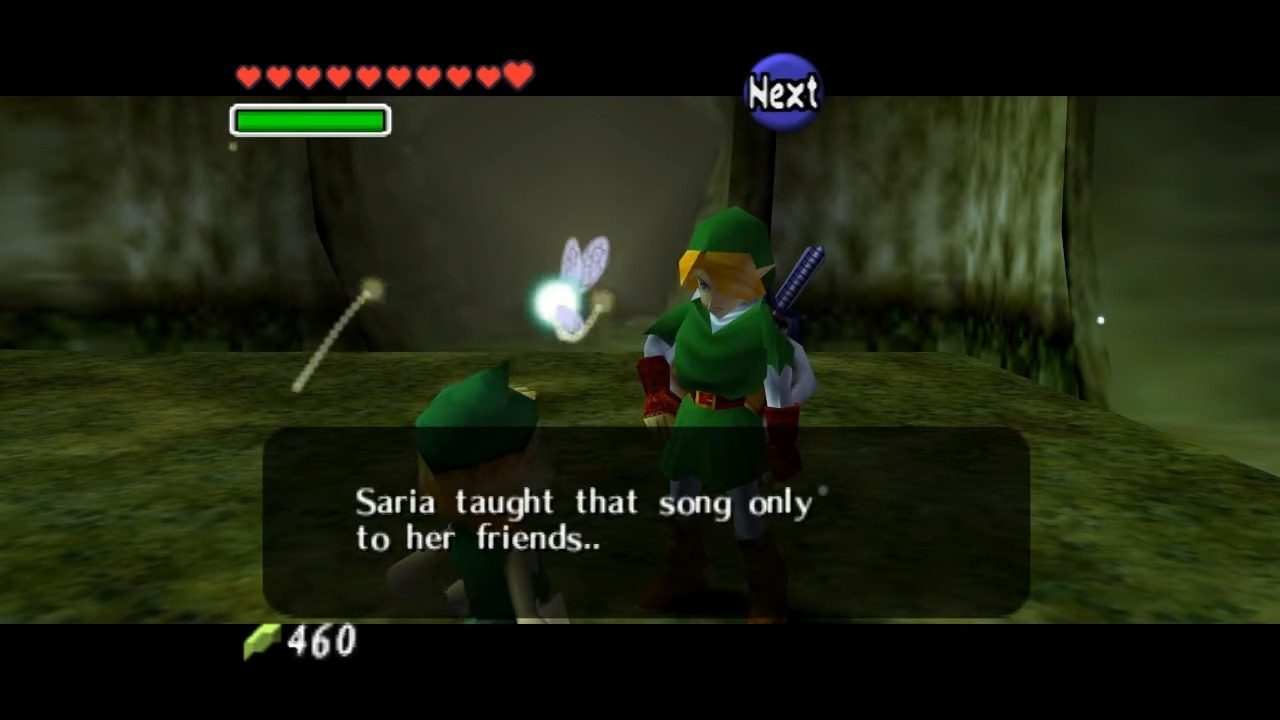
With Epona ready, our Scarecrow Song set, and the Hookshot firmly in our inventory, we are finally prepared to face the mysteries of the Forest Temple. Make your way to Kokiri Forest, your childhood home. Enter the Lost Woods and take this path: Right, Left, Right, Left, Straight, Left, Right. When you encounter Mido blocking your path, play Saria’s Song and he’ll move out of the way.
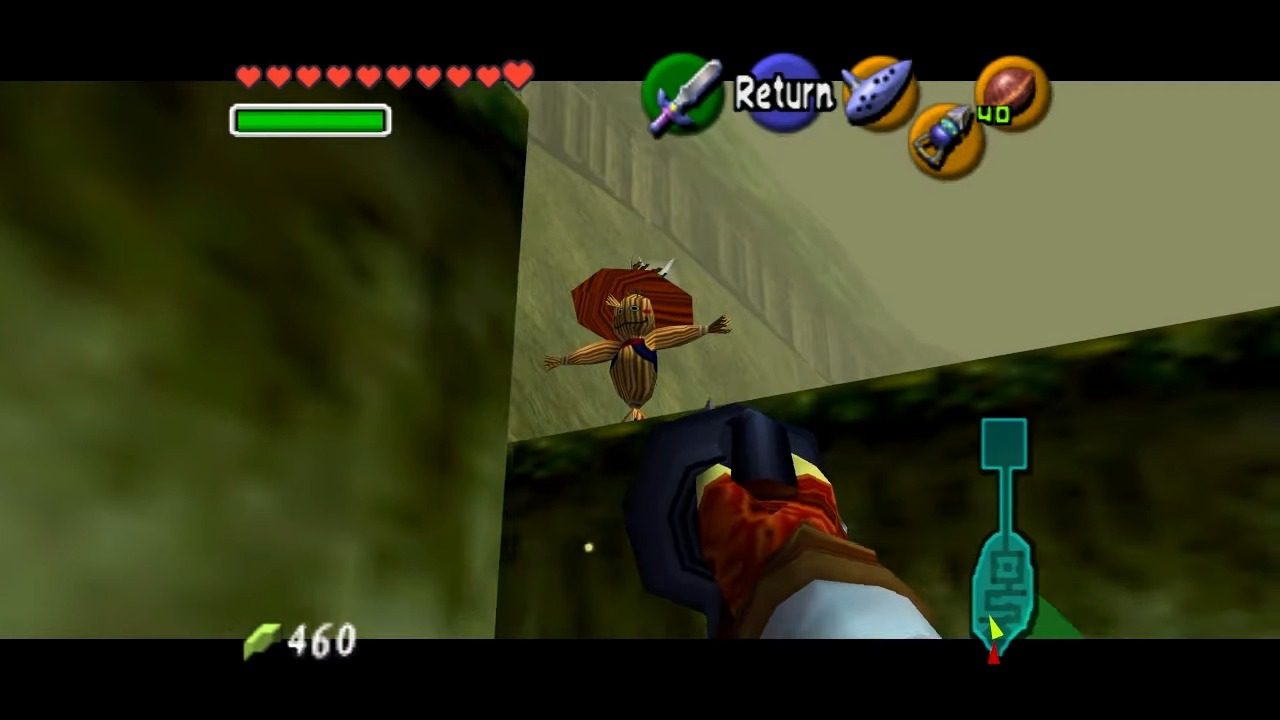
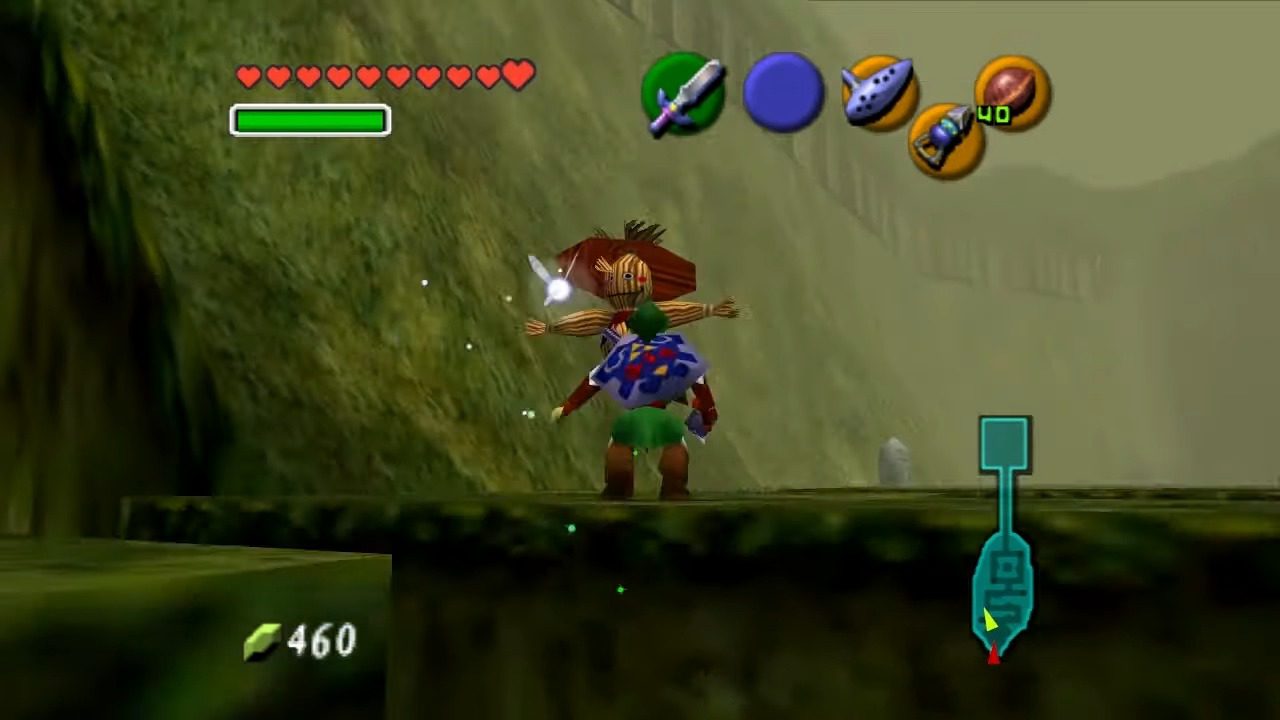
Upon entering the Sacred Forest Meadow, you’ll face a series of narrow pathways patrolled by Moblins, large pig-like creatures. At the maze’s entrance, before confronting any Moblins, observe Navi turning green and flying to a ledge above. Stand beneath this point and play the Scarecrow’s Song. Pierre will appear on the ledge. Use your Hookshot to latch onto Pierre, pulling yourself up and effectively bypassing the maze below. This grants direct access to the area leading to the Forest Temple entrance.
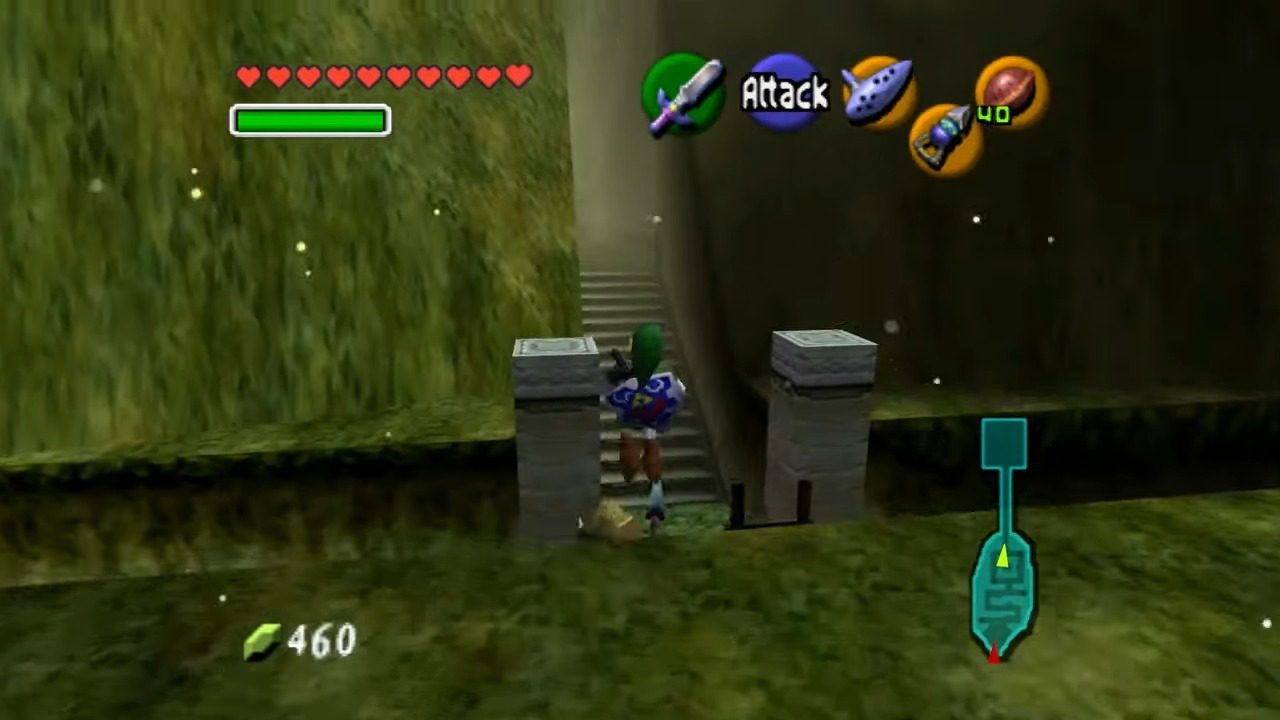
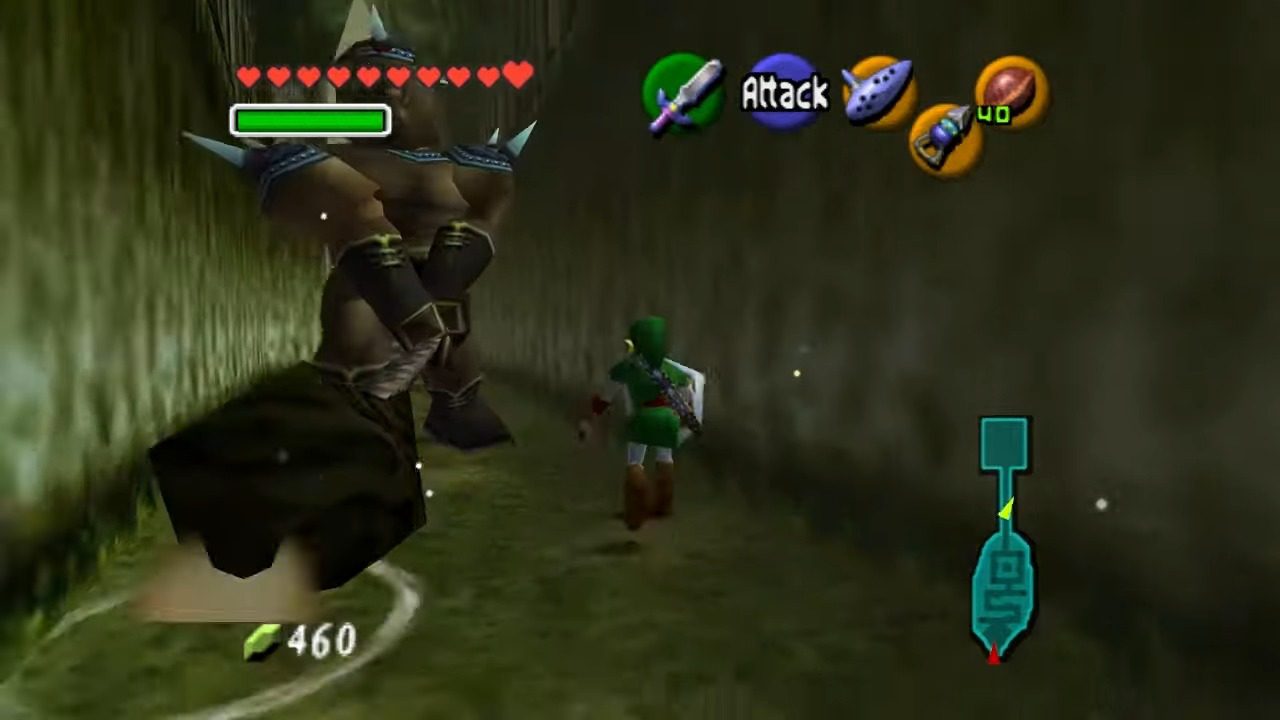
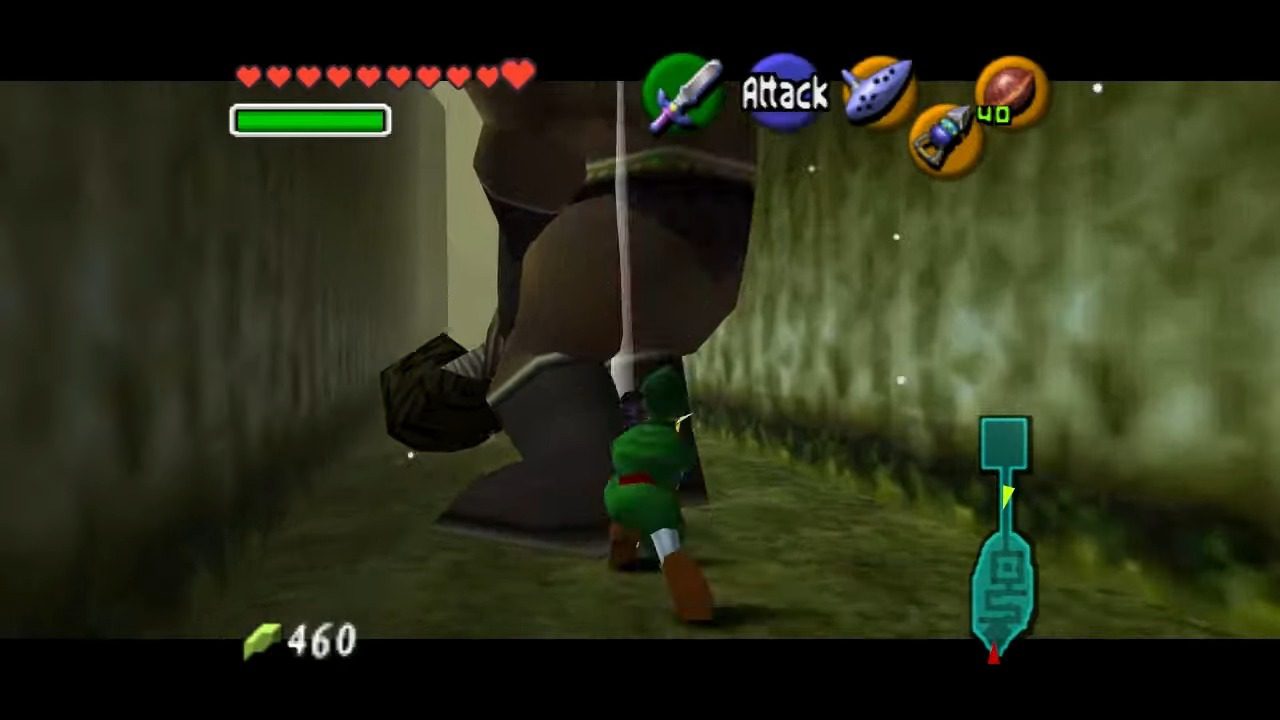
At the end of the maze, you’ll encounter a Club Moblin, a larger foe wielding a massive club that sends shockwaves when slammed into the ground. Observe the direction of its attacks and move accordingly to avoid the shockwaves. Approach cautiously and attack when there’s an opening, or use ranged weapons to maintain distance.
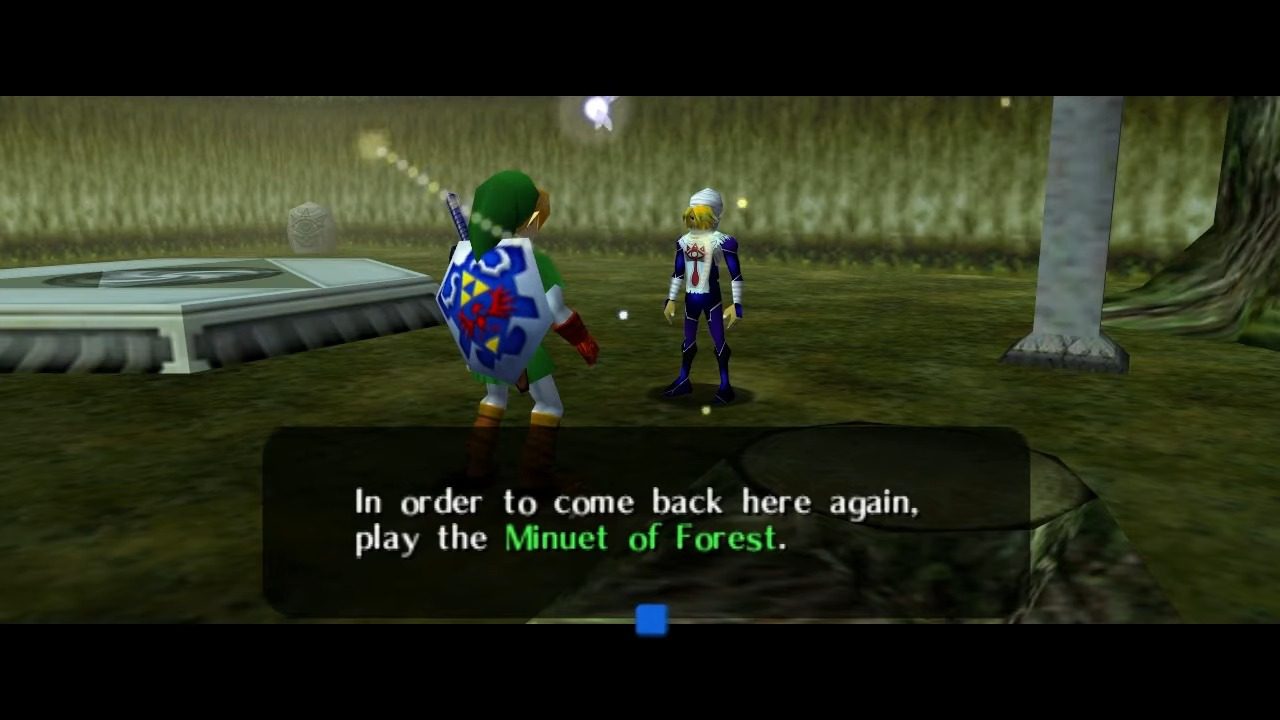
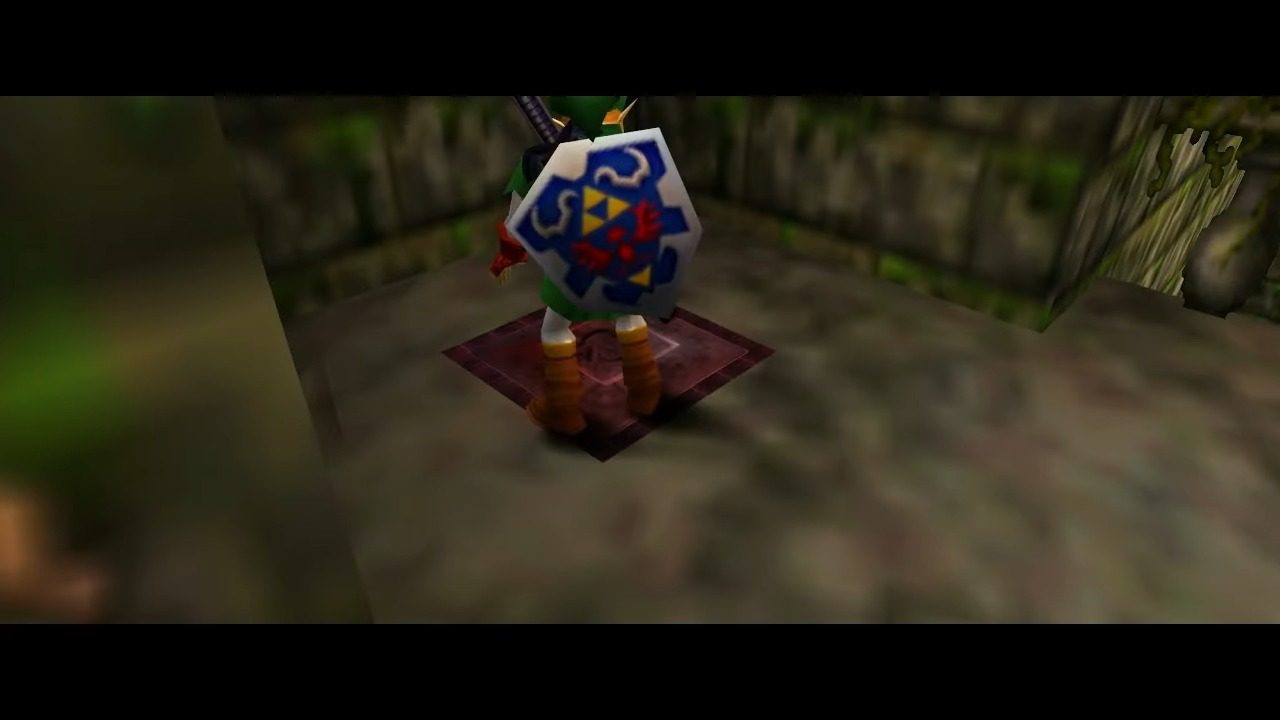
After overcoming the Club Moblin and ascending the stairs, you’ll find yourself in a clearing where Sheik appears. Sheik will teach you the Minuet of Forest, a melody that allows you to warp directly to the Sacred Forest Meadow in the future, facilitating easier access.
Entering the Forest Temple
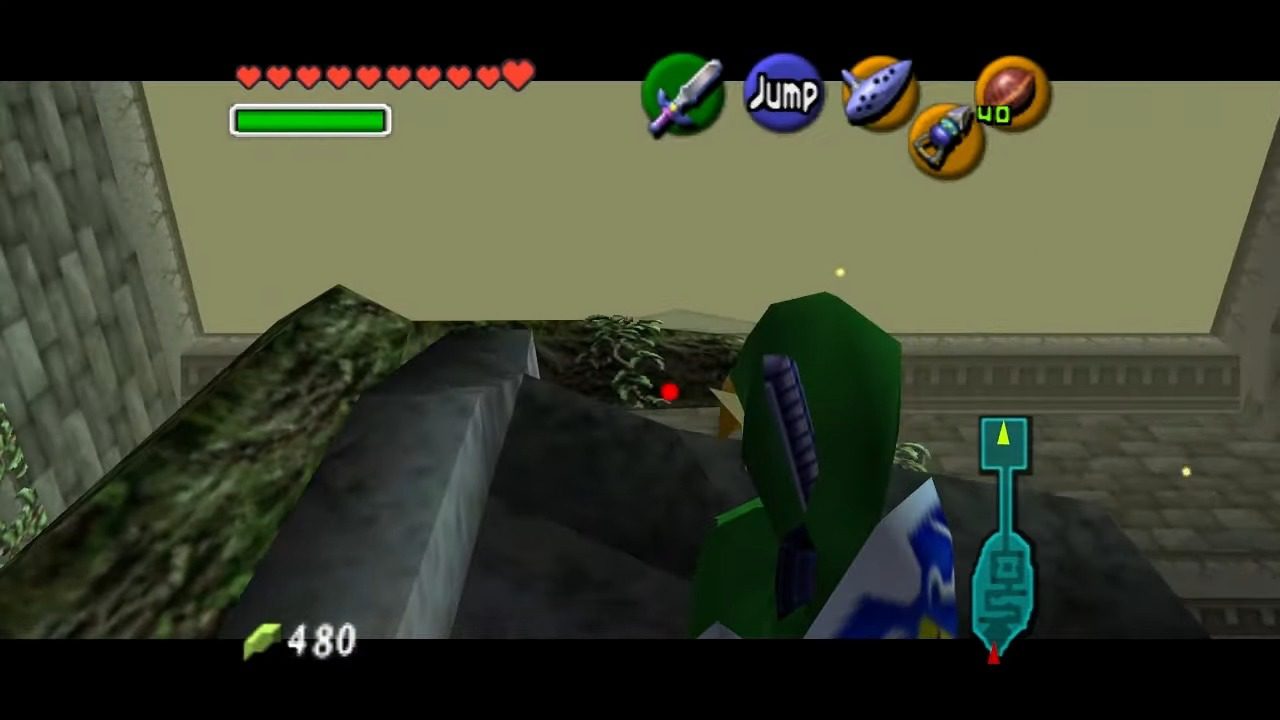
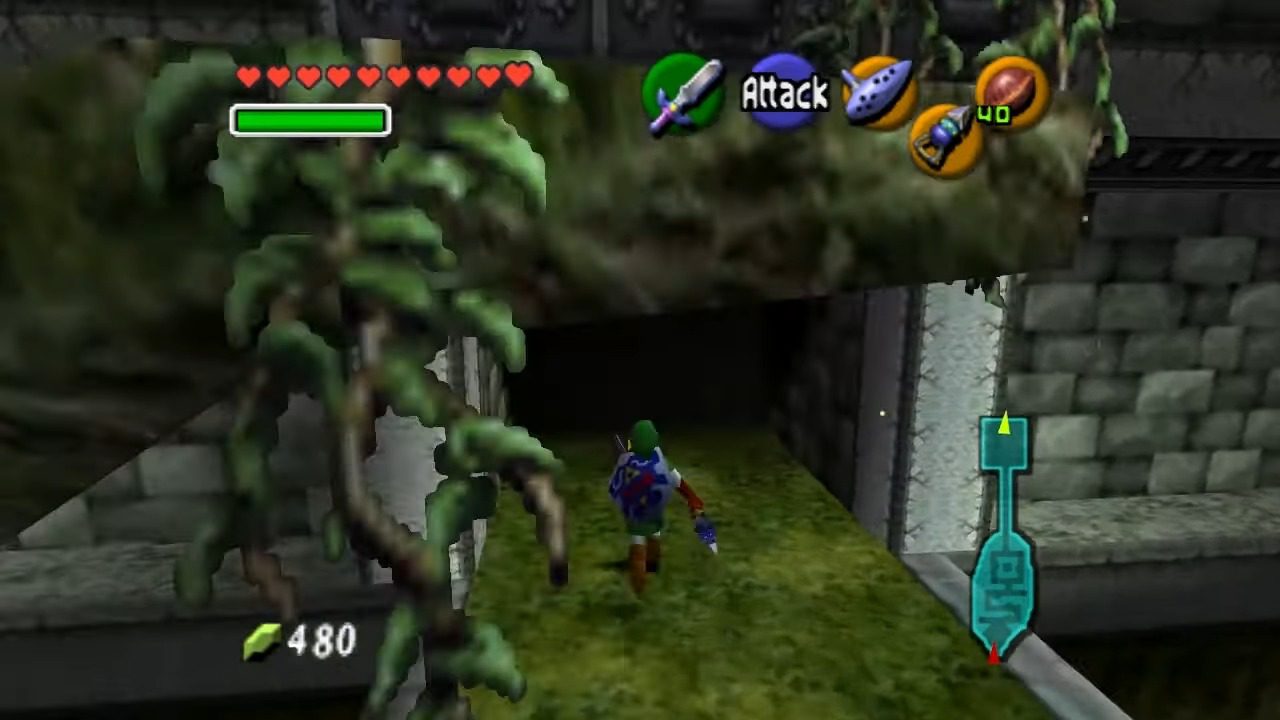
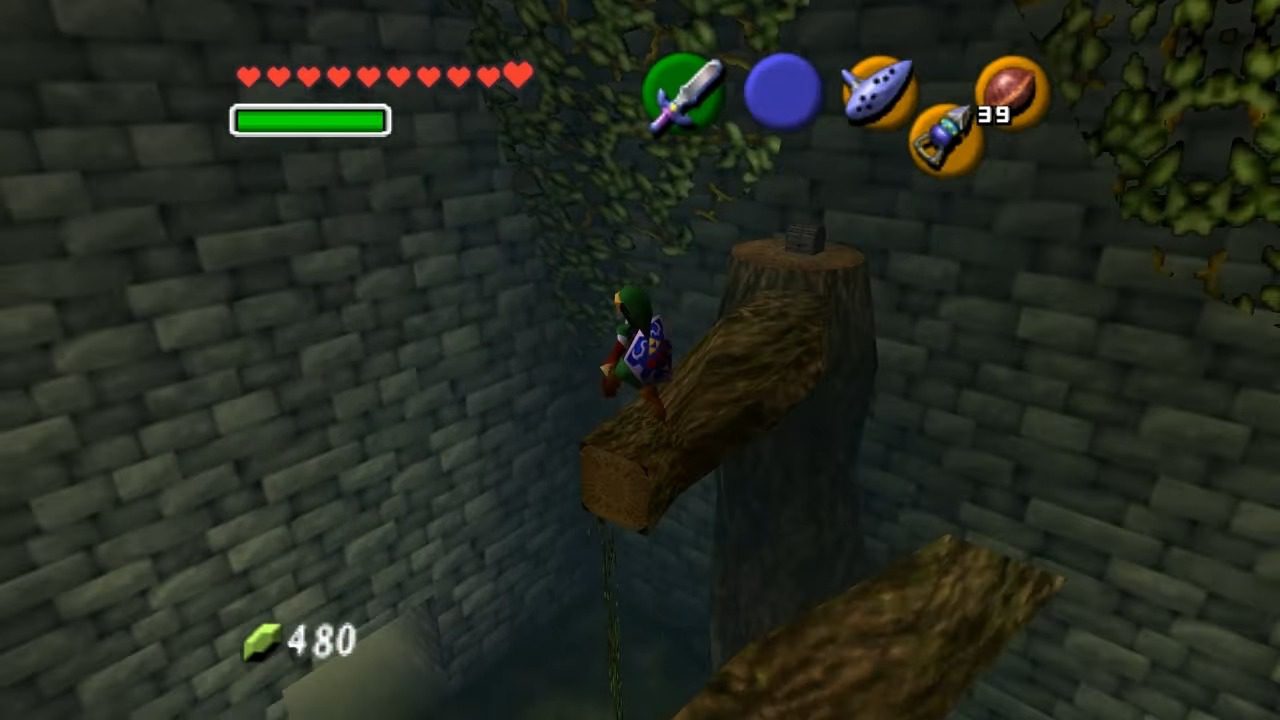
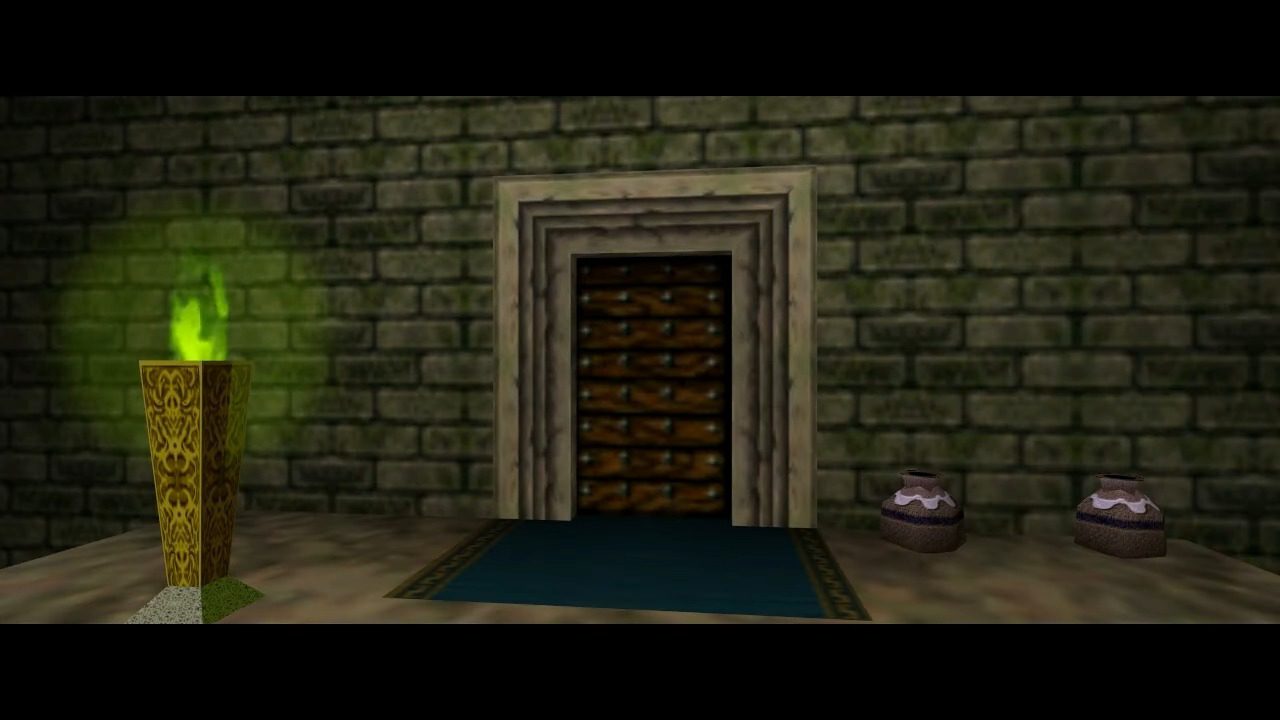
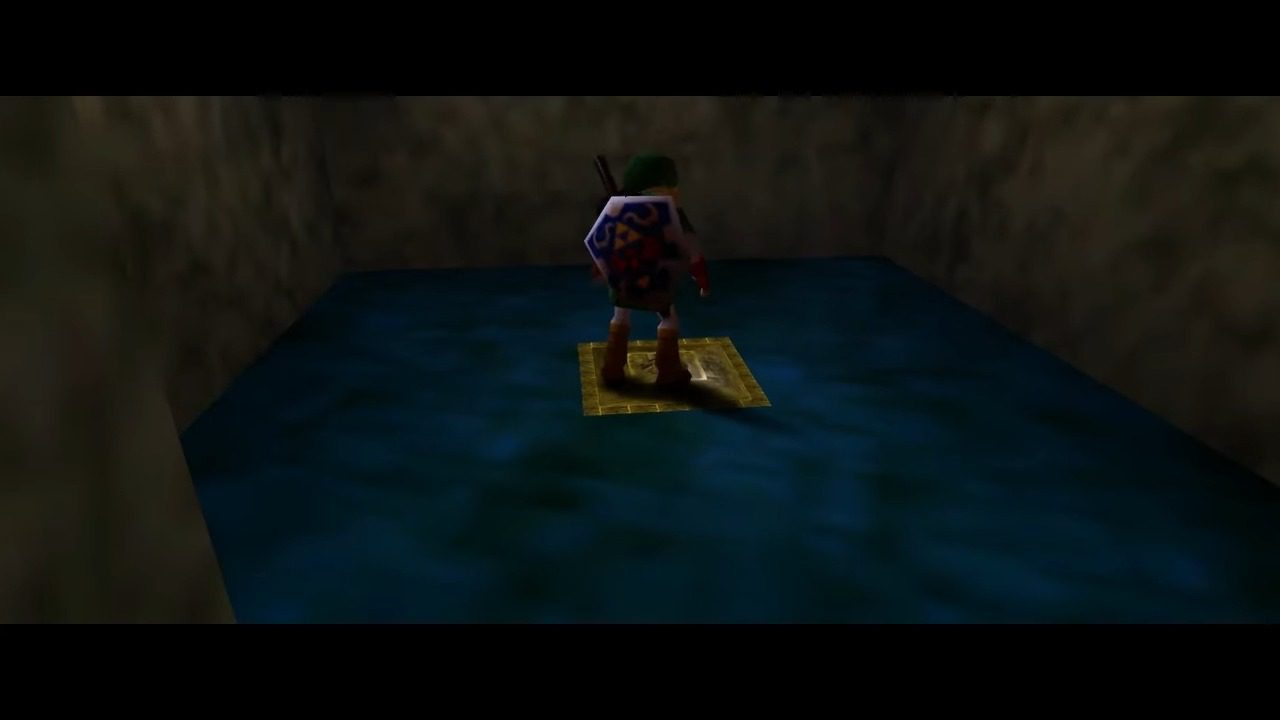
With the Minuet of Forest learned, turn your attention to the entrance of the Forest Temple. The doorway is situated on a raised platform that is inaccessible by conventional means. Locate the tree branch extending over the platform. Use the Hookshot to grapple onto the branch, pulling yourself up to the entrance. Once on the platform, proceed through the doorway to enter the Forest Temple, where new challenges and adventures await.
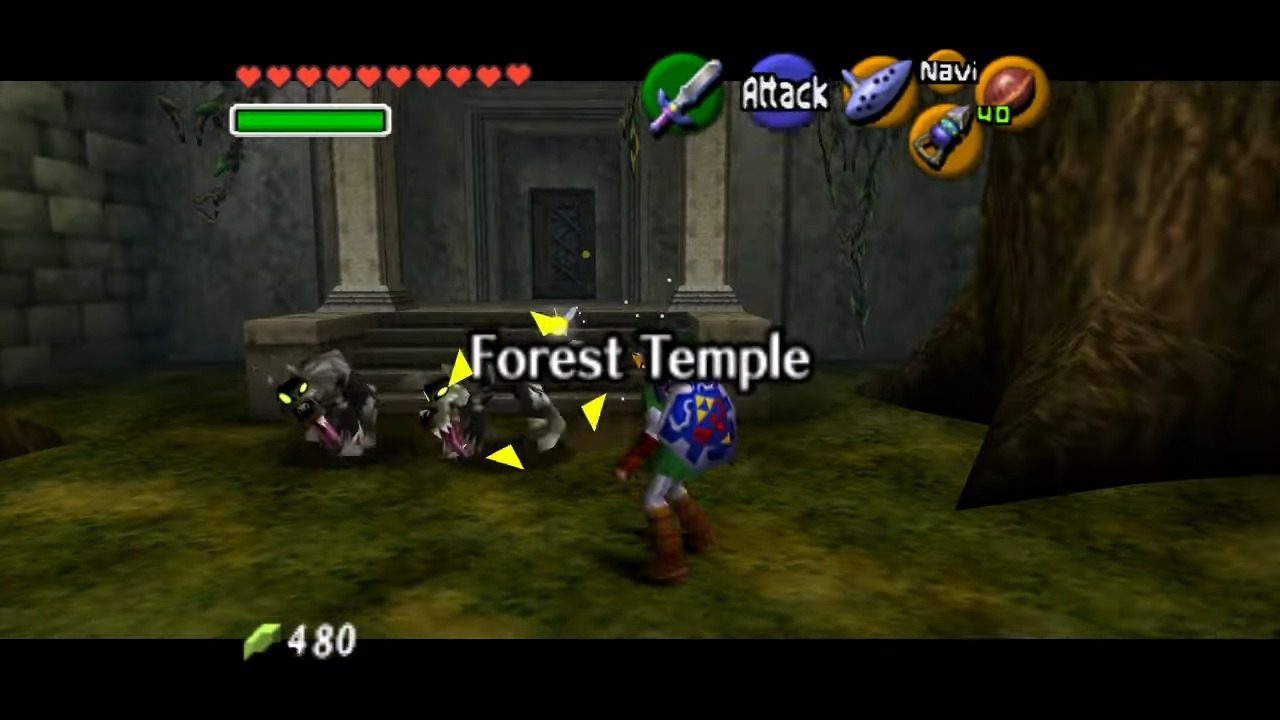
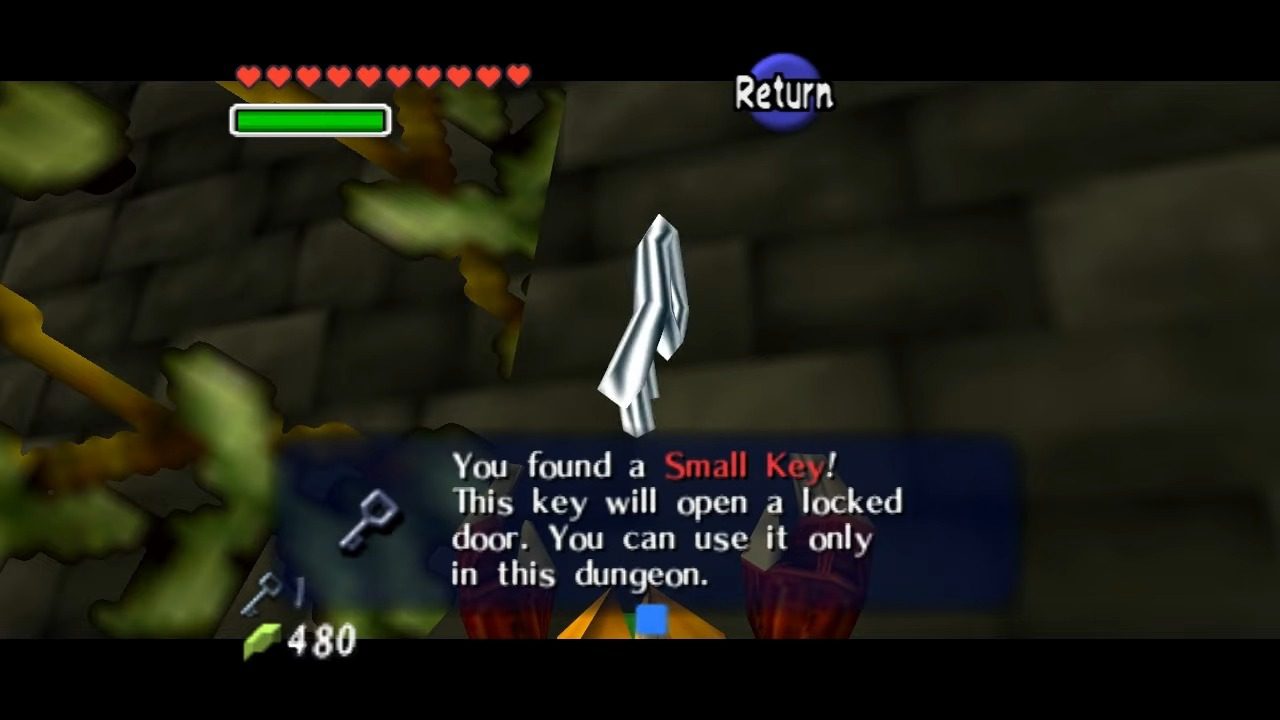
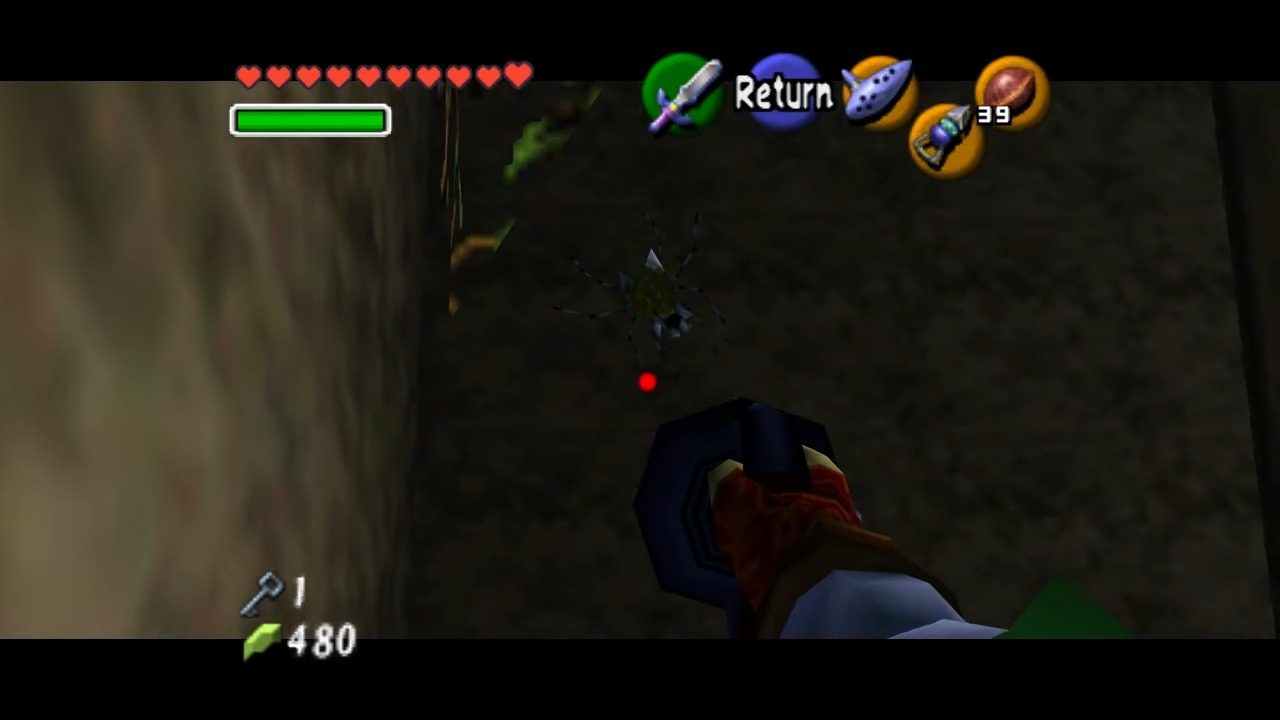
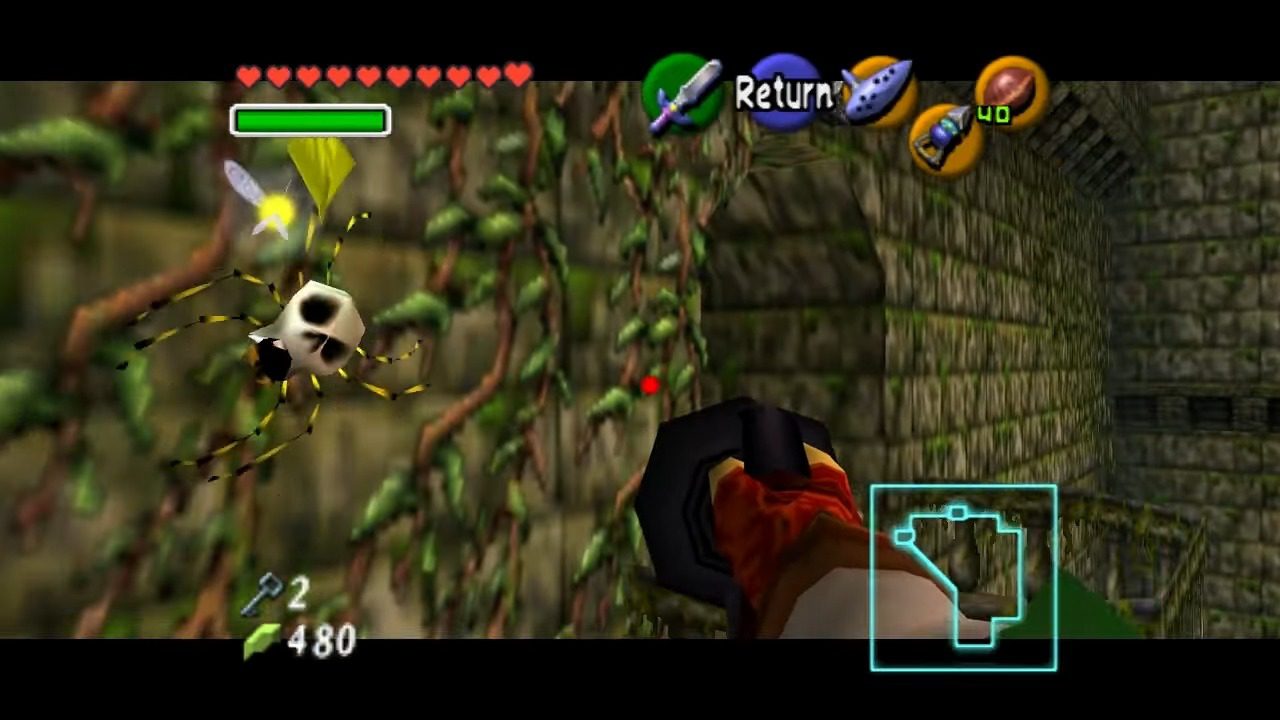
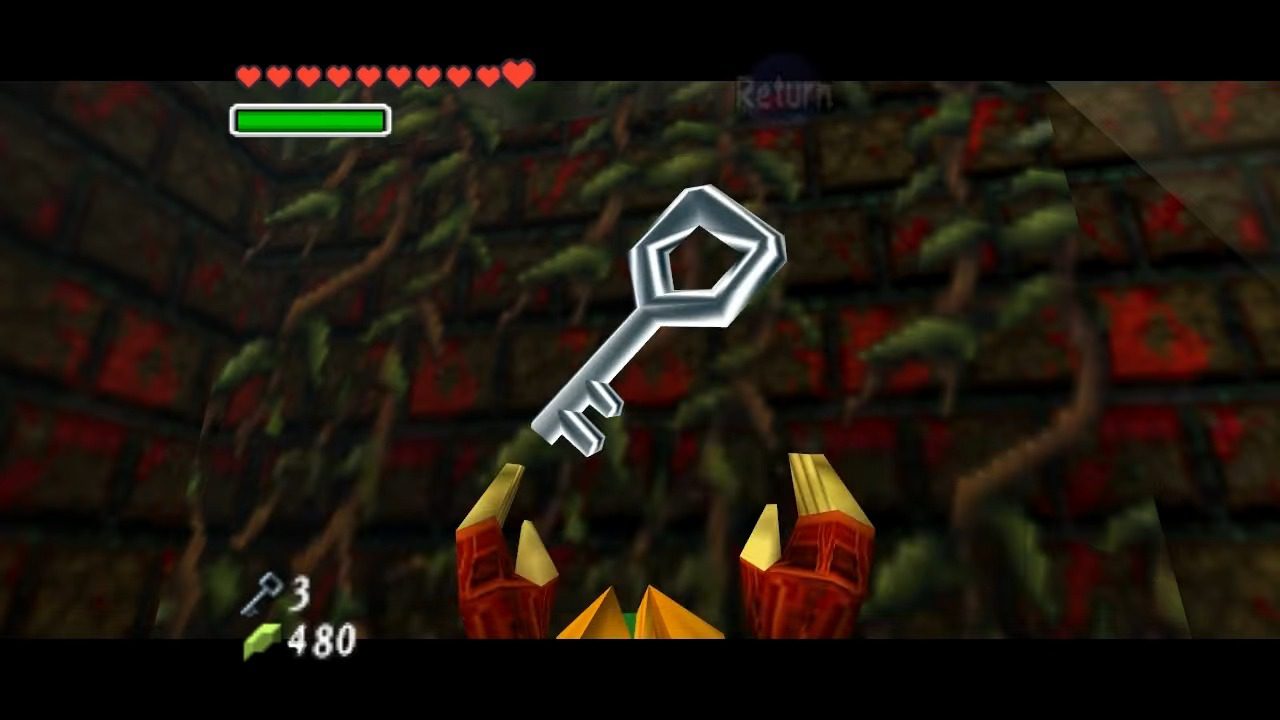
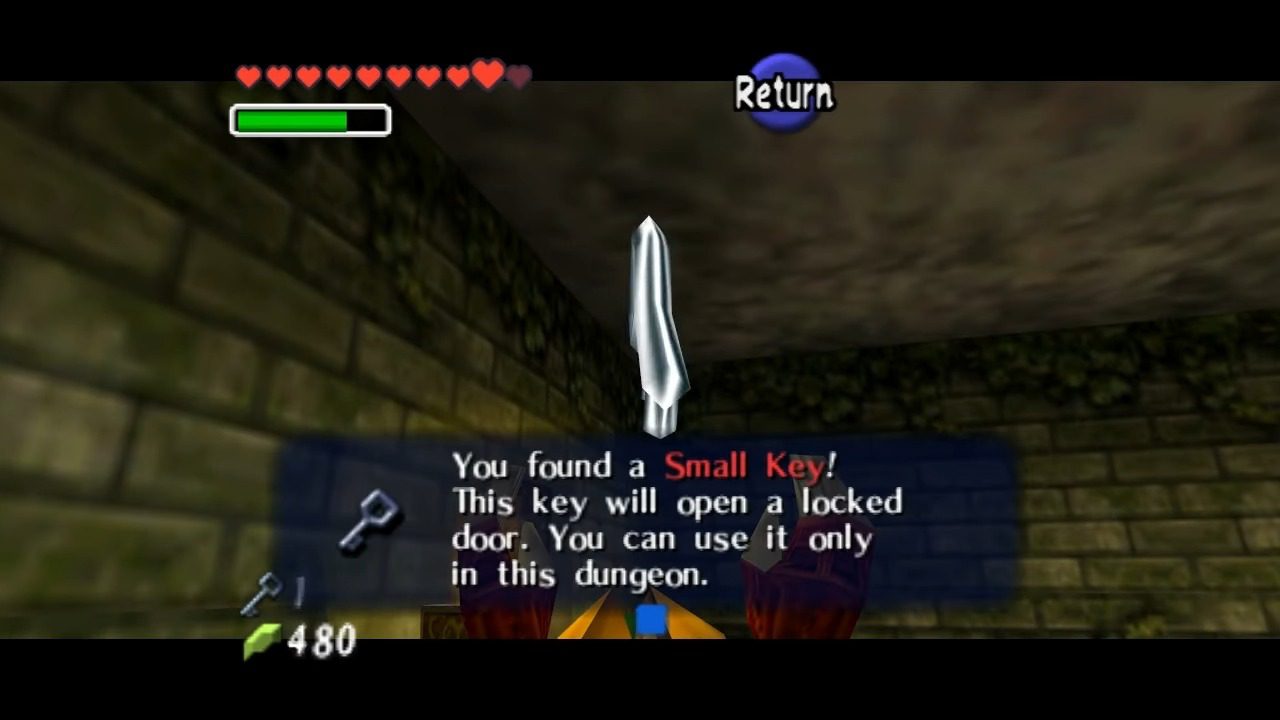
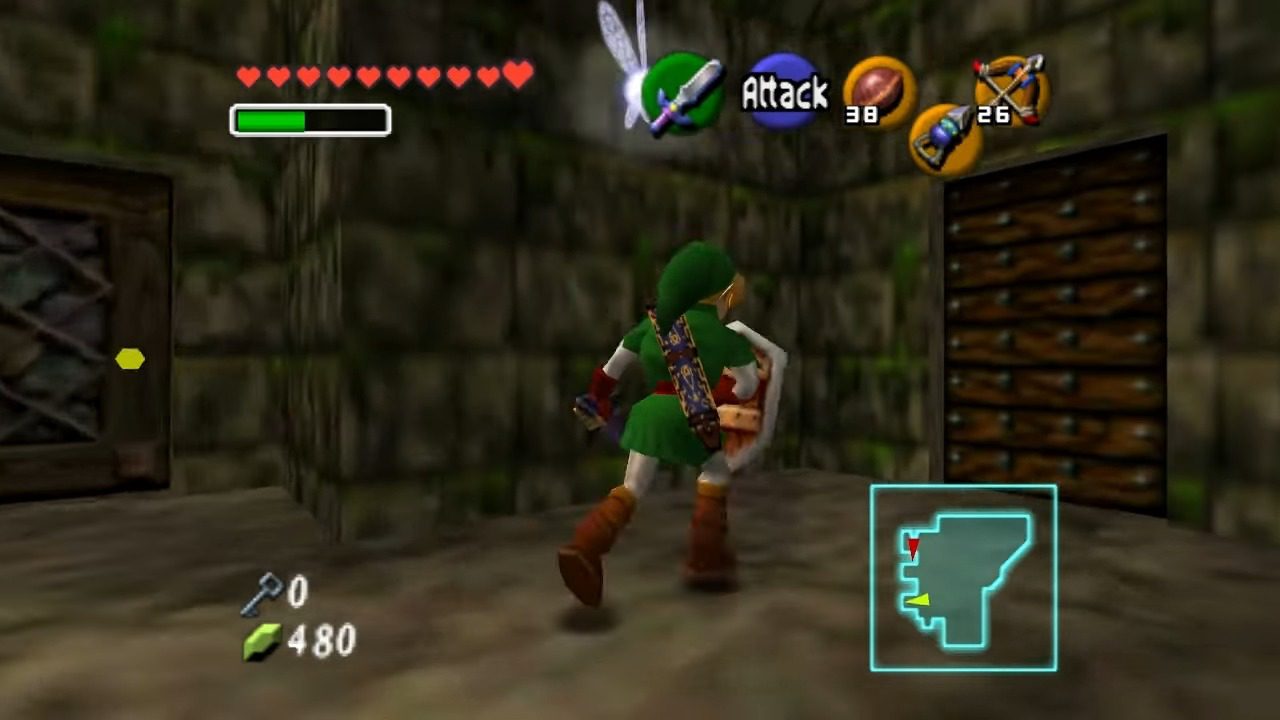
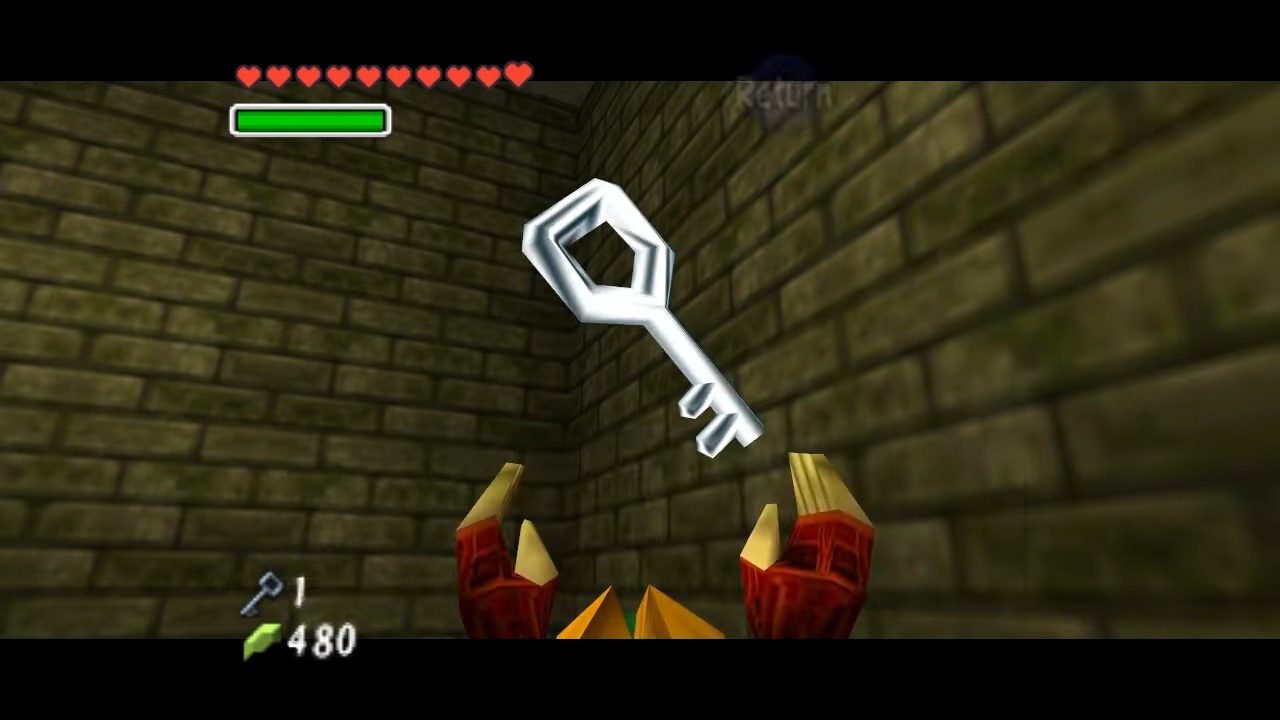
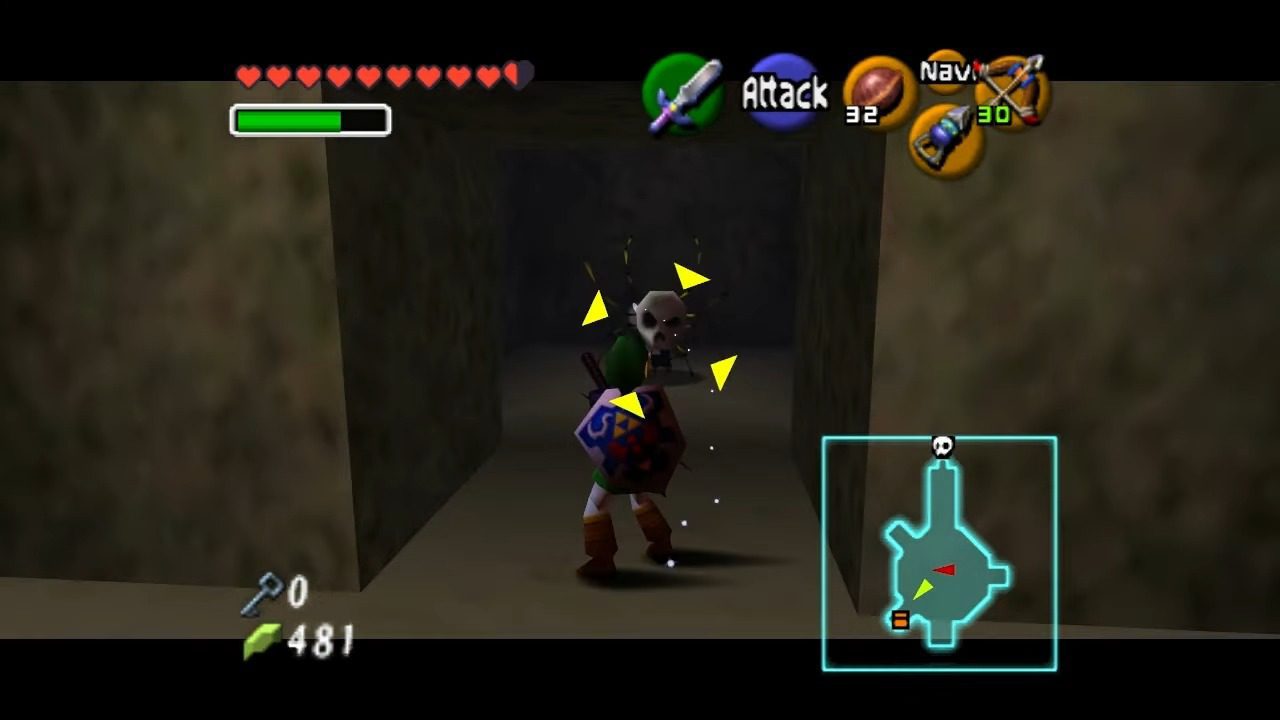
Upon entering the temple, you’ll immediately be confronted by two Wolfos in the entrance room. Use your preferred combat techniques to defeat these initial guardians. Take note of the vines on the right side (facing the entrance). Climb these vines, and at the top, use your Hookshot to reach a chest located on the other side of the room. Inside, you’ll find your first Small Key. While you’re on these vines, keep an eye out for a Gold Skulltula perched high up. Use your Hookshot to defeat it and collect Gold Skulltula #59.
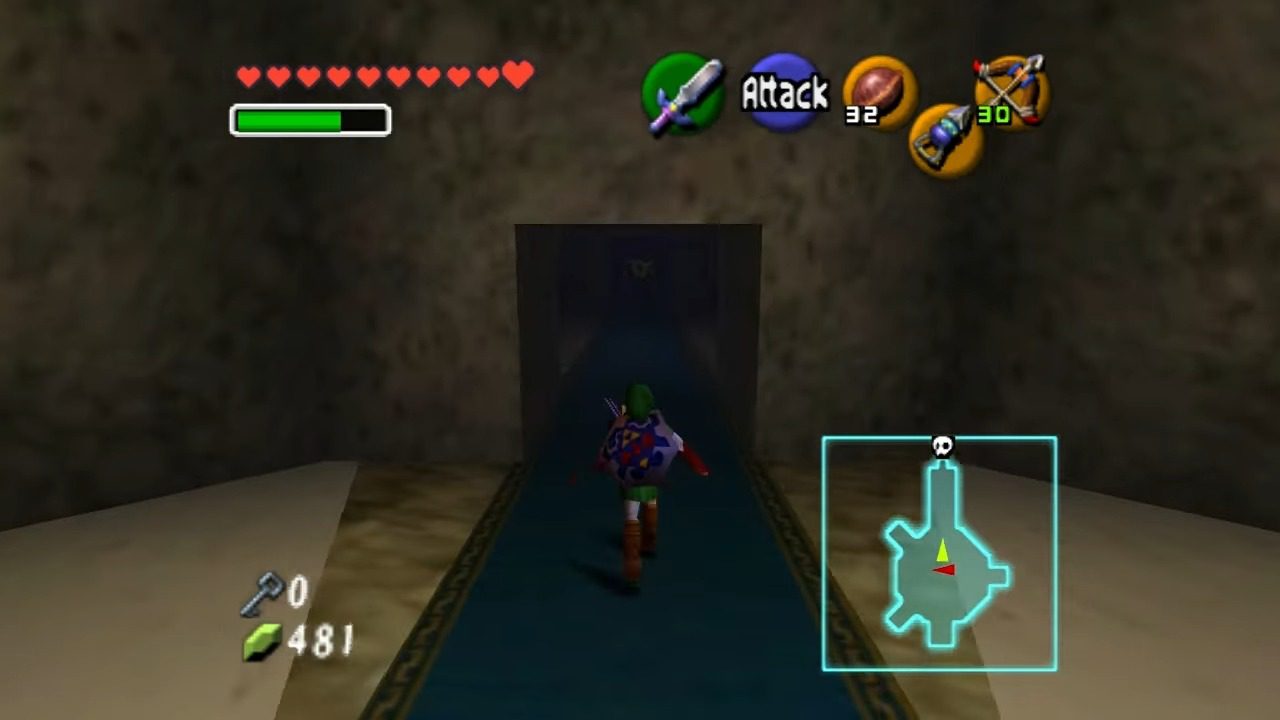
Main Hall Exploration
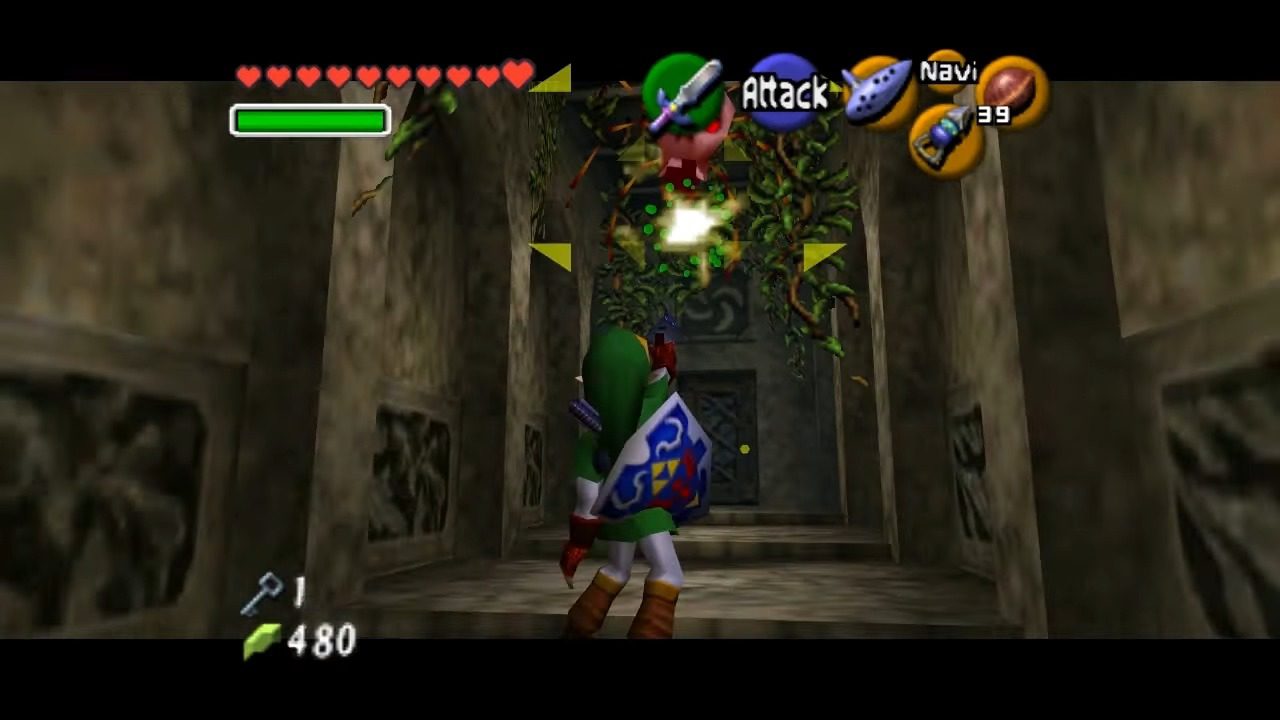
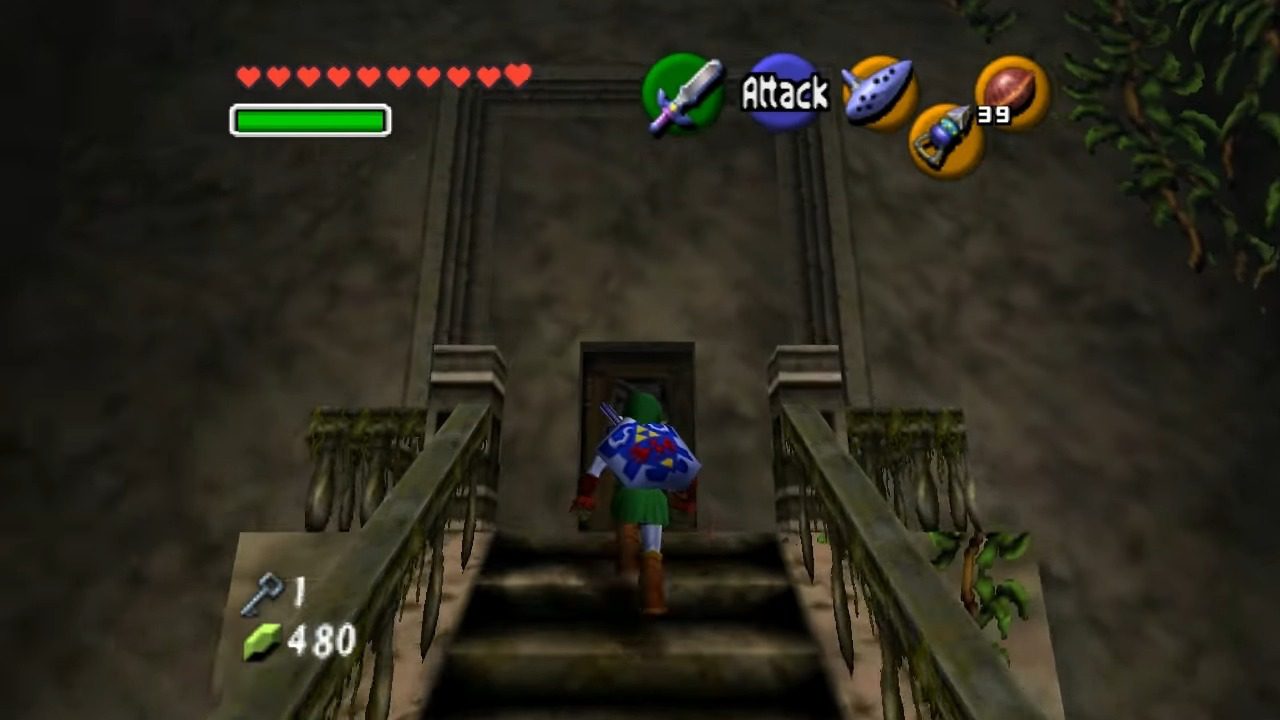
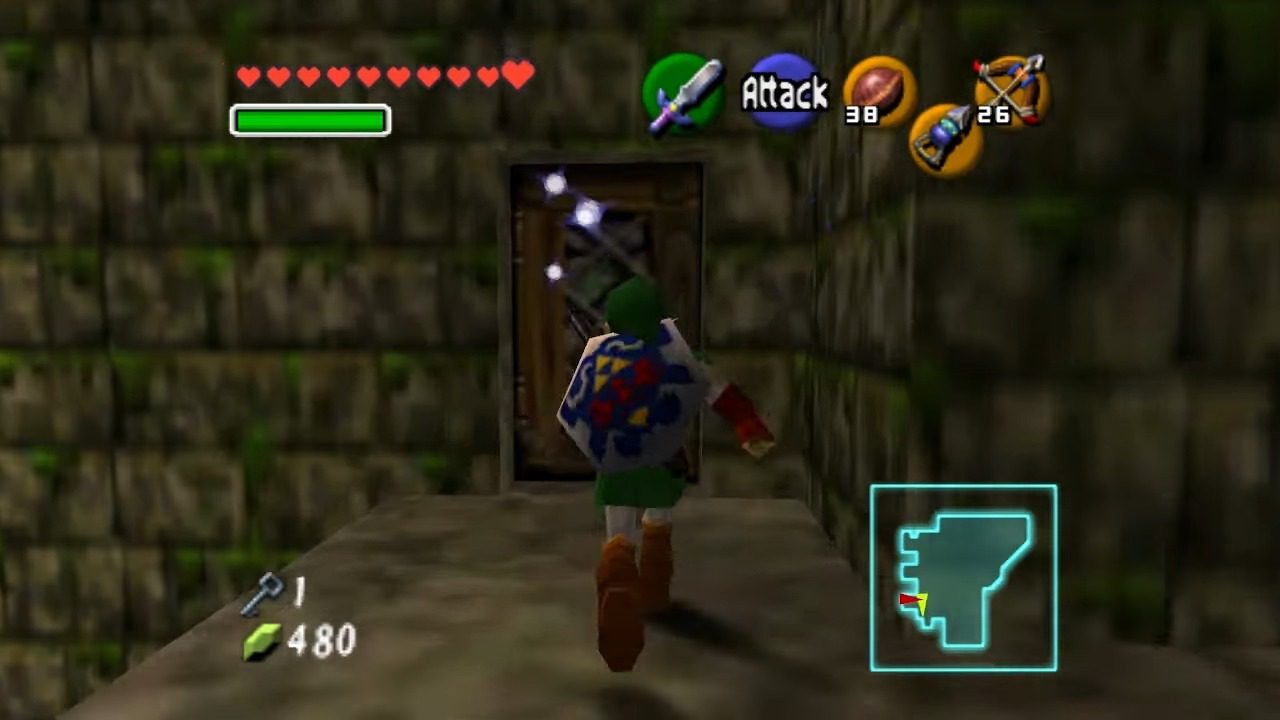
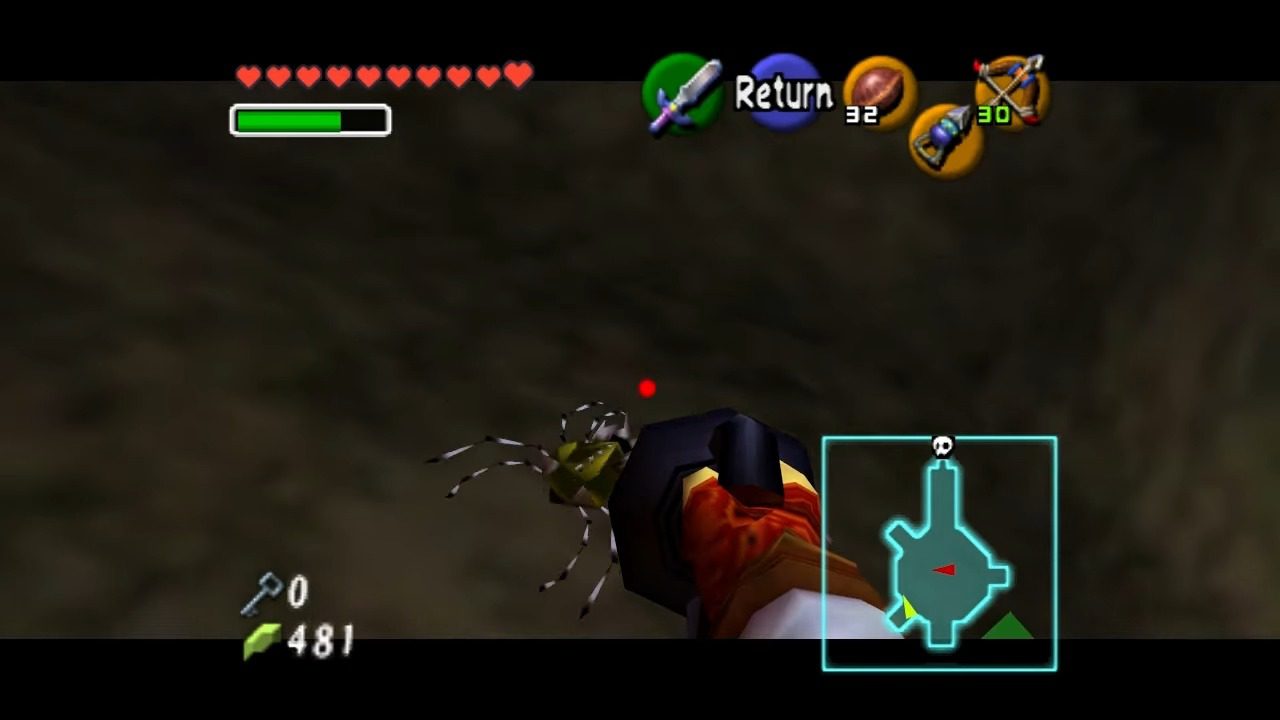
Proceed through the door into the next area, an entry hallway, where a Large Skulltula will be blocking your path. A well-aimed strike, perhaps with your newly acquired Hookshot, should take care of it. Beyond this hallway lies the Grand Hall, a spacious, multi-level chamber that will serve as our central point of navigation throughout the temple. Now, from the Grand Hall, head through the door directly in front of you. In this next room, you’ll spot Gold Skulltula #60 clinging to the wall on the right side of the door. Eliminate it.
Acquiring Essential Items
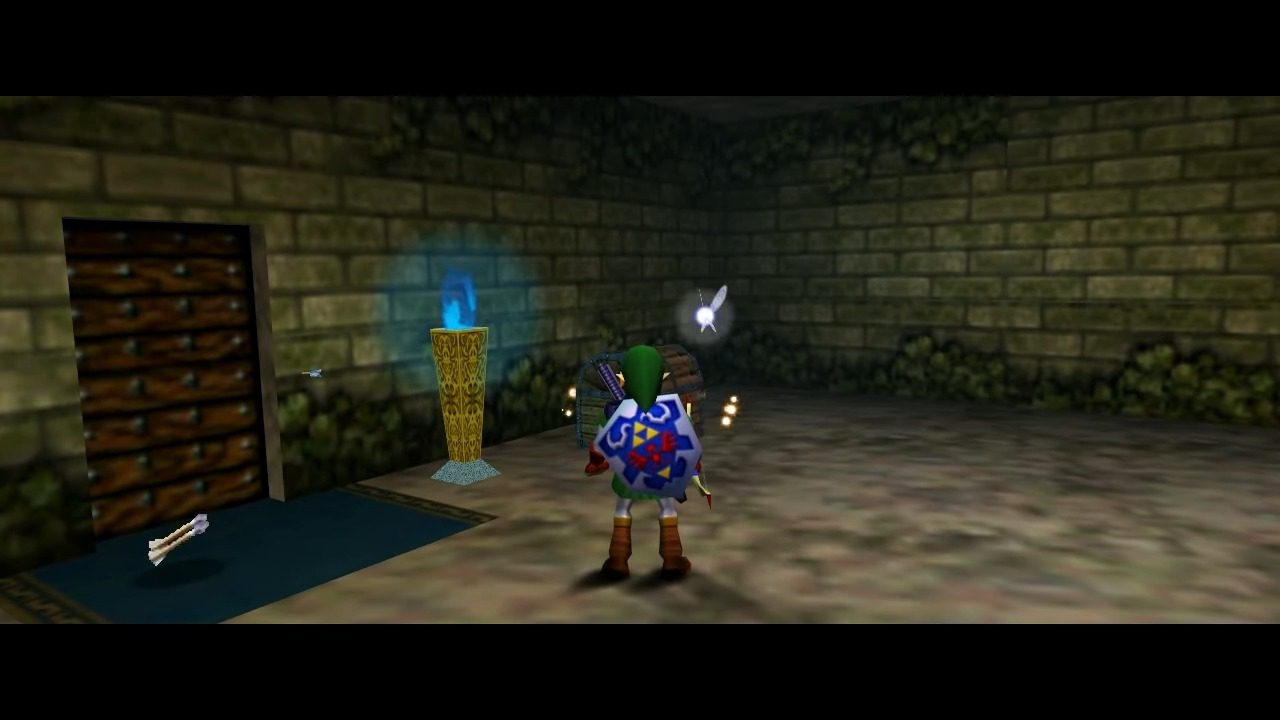
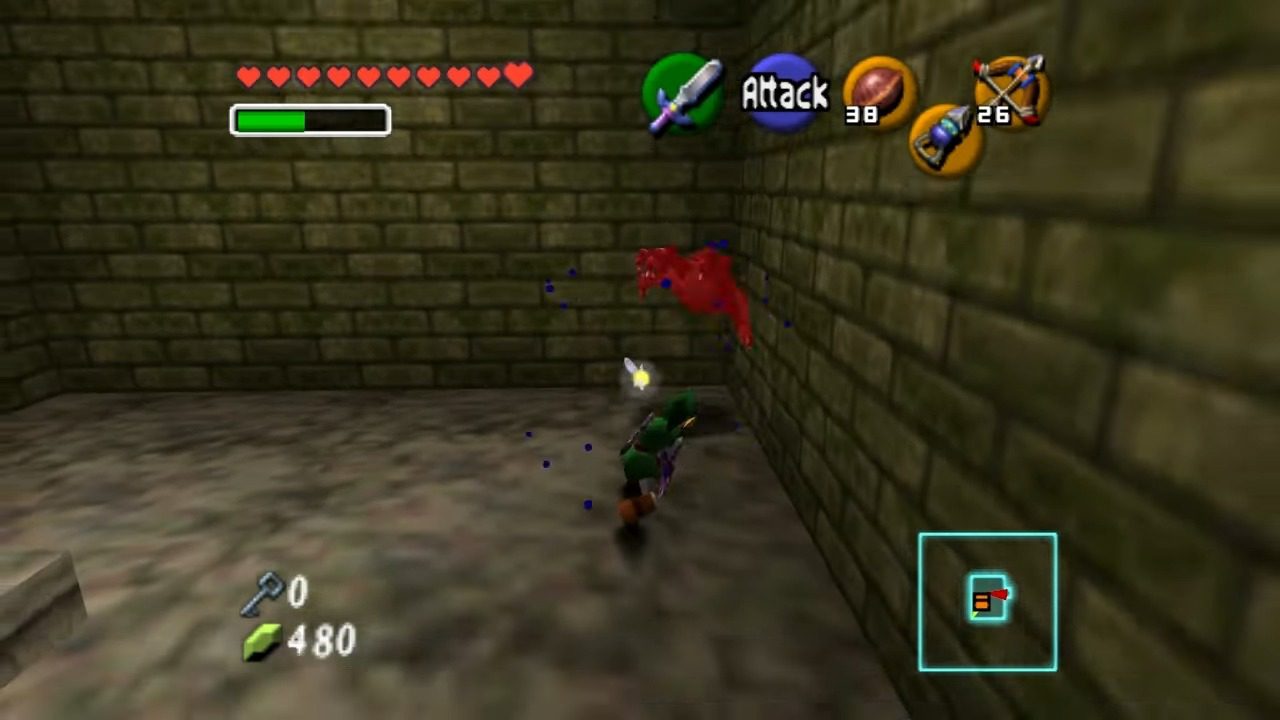
Continue through the door, and you’ll encounter a Blue Bubble. Defeat it by either using your shield to touch it or grounding it with the Hookshot, followed by a sword attack. Upon its defeat, a treasure chest will appear containing the Dungeon Map. Enter the next room, where you’ll face a pair of Stalfos. Be cautious not to fall into the lower level of this room. Defeat both Stalfos, and you’ll be rewarded with a Small Key.

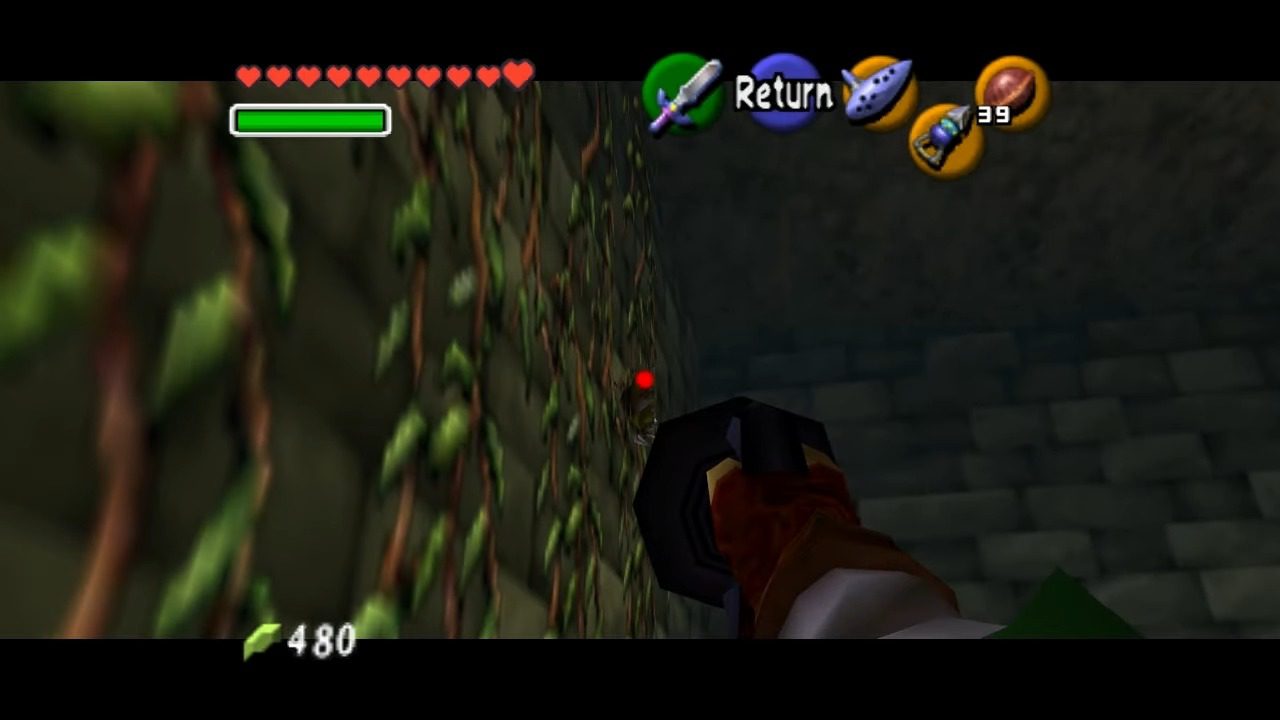
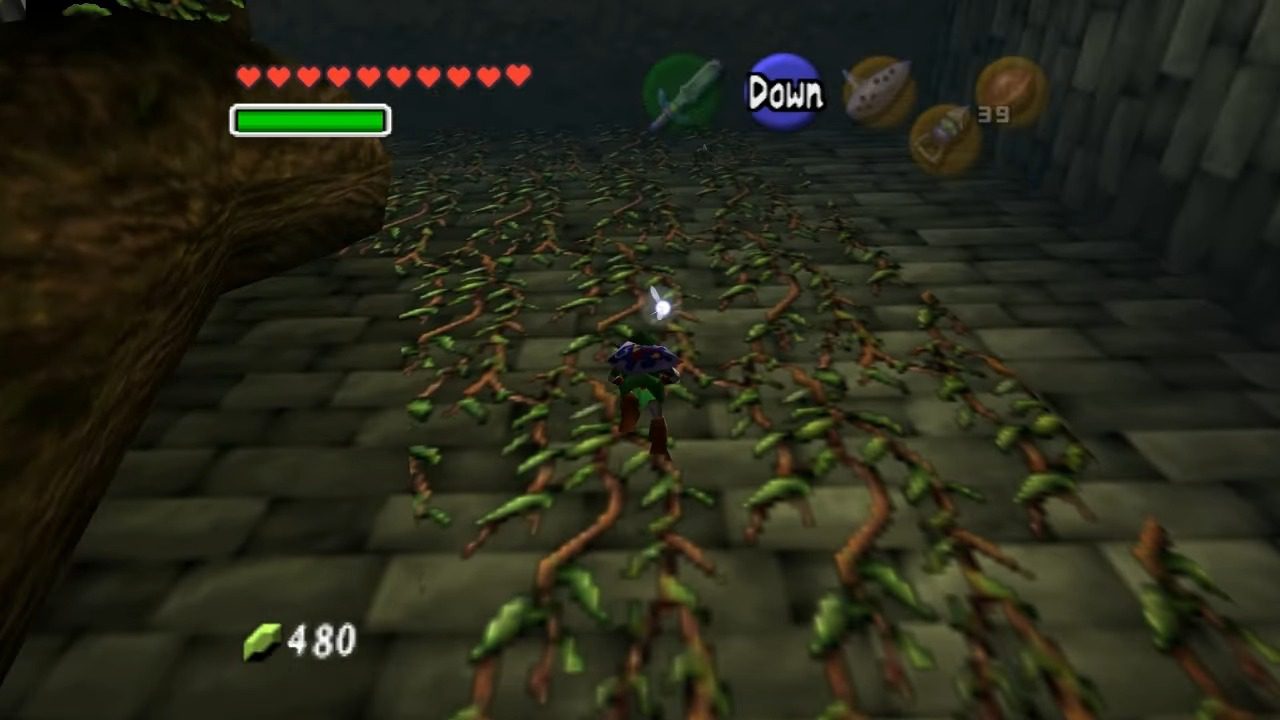
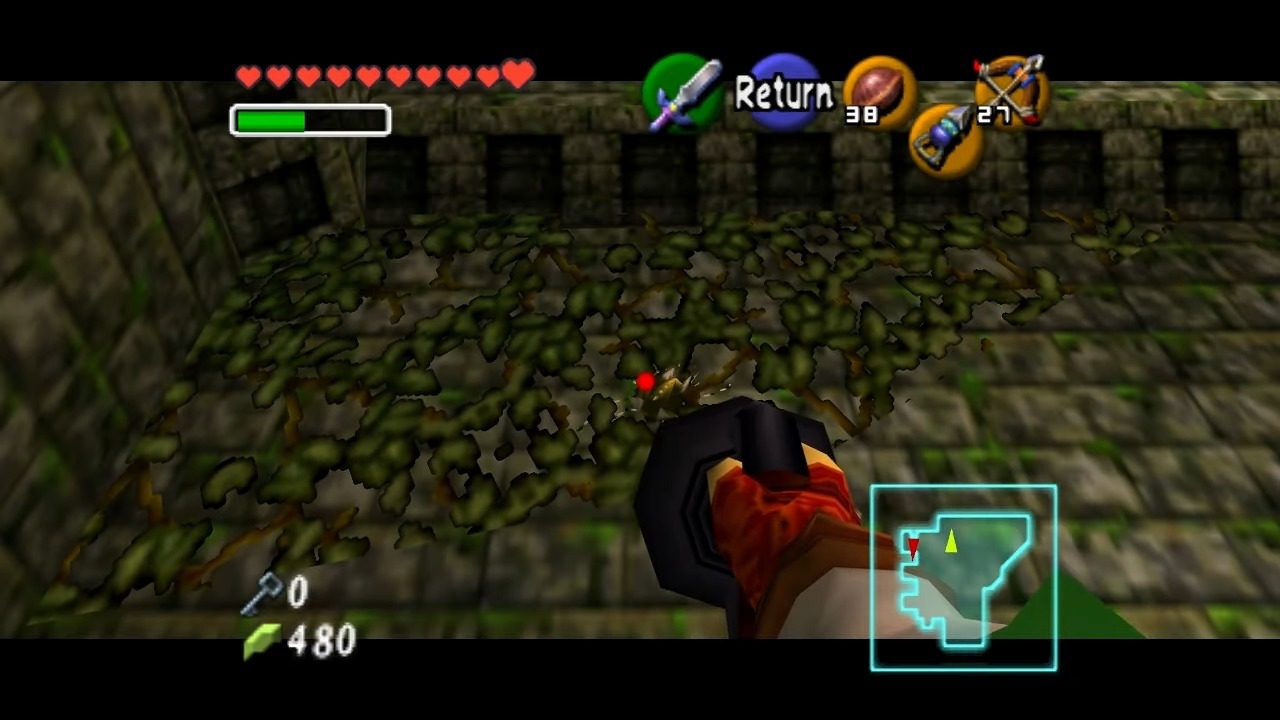
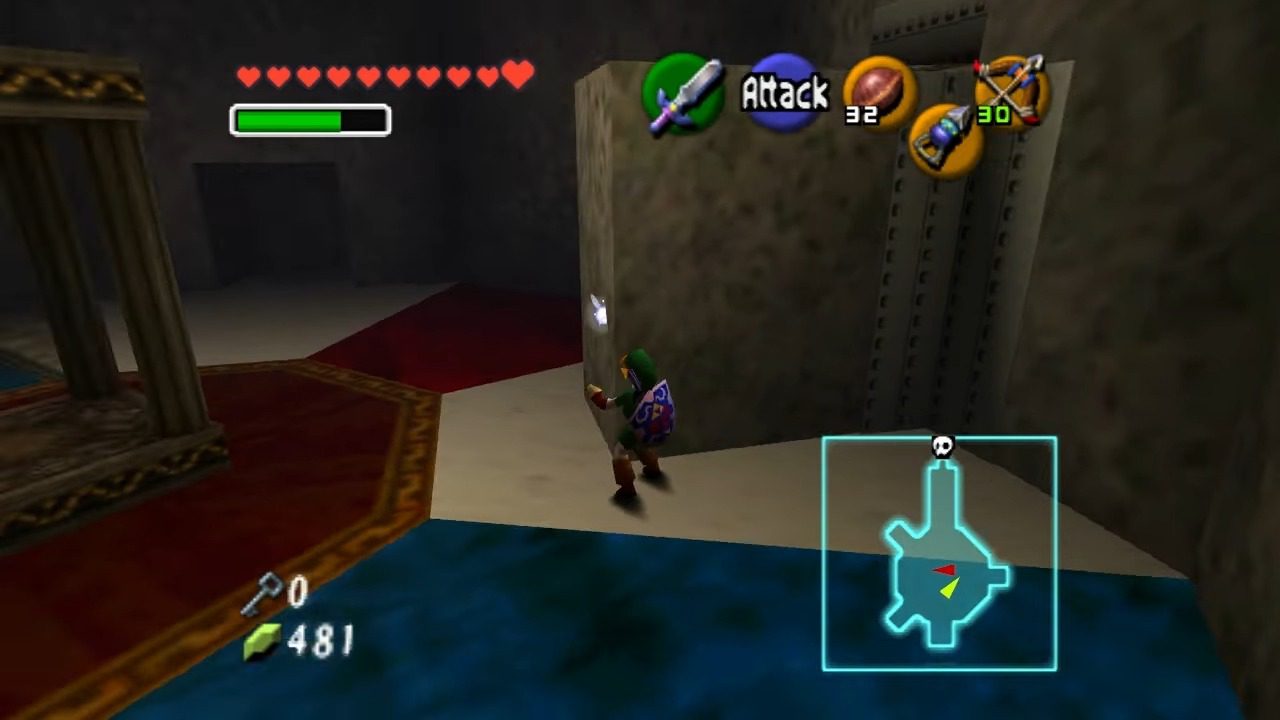
Return to the Grand Hall and locate the blue block situated in the corner to your right. Play the Song of Time to make the block vanish, revealing a previously hidden door. Pass through this door and ascend the vines on the right side, all the way to the top. Use your Hookshot to clear any Skulltulas that might be in your way.

At the summit of the vines, proceed through the door and defeat the lone Blue Bubble you encounter. This will open the path to the next area and a chest will appear. Open the chest for the Dungeon Map.
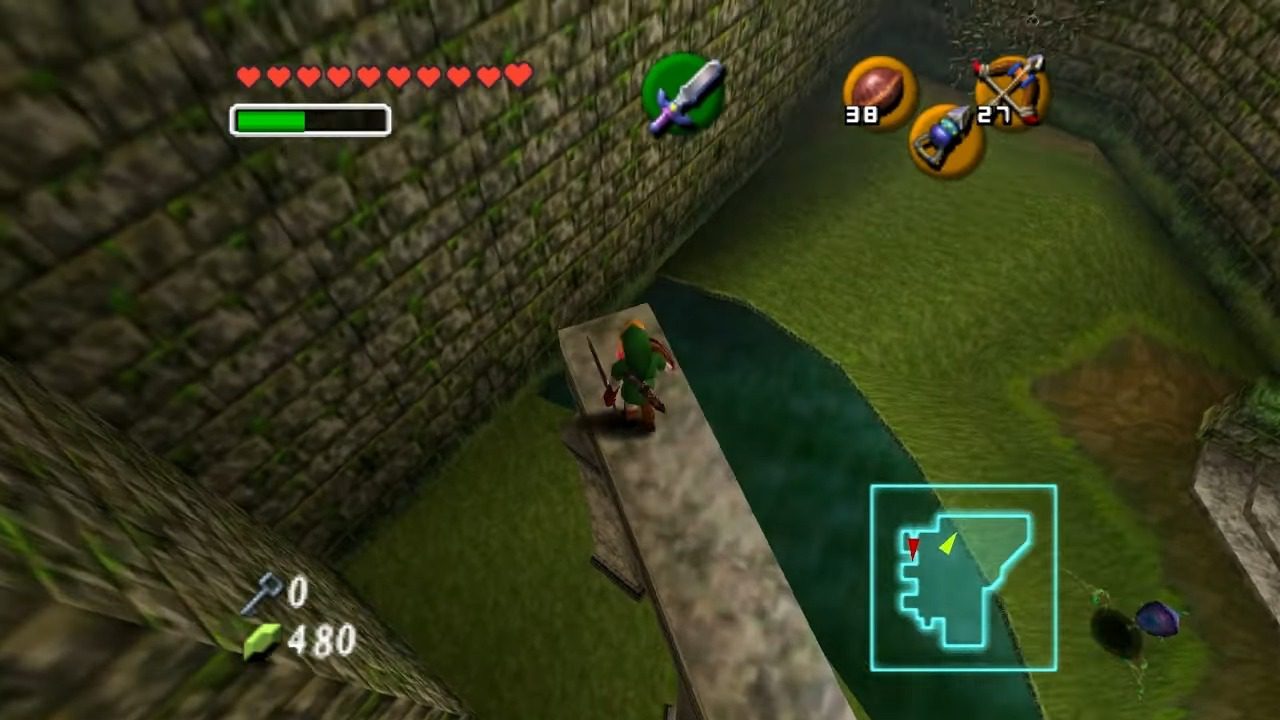
You’ll find yourself on a balcony. Look to your left, jump on top of the rail of the balcony you are current on, and fire your Hookshot at the target positioned above the balcony. This action will activate a red switch. Step on it to drain the water from the nearby well.
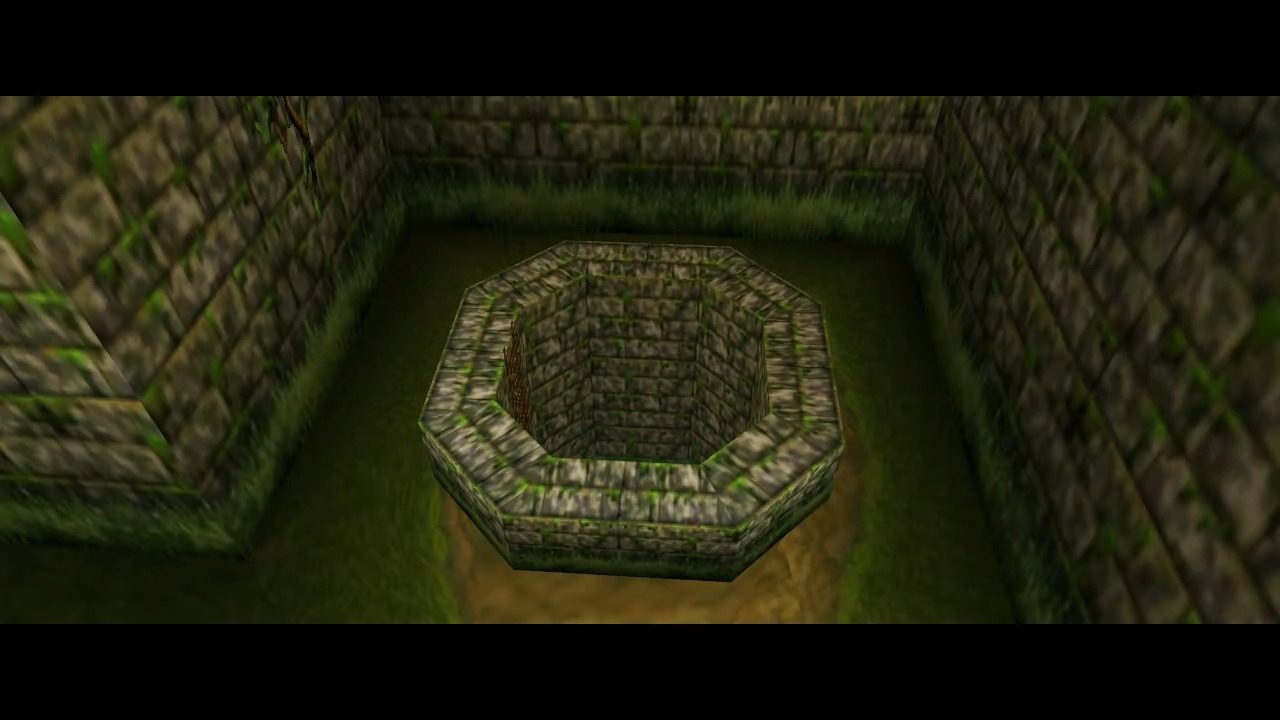
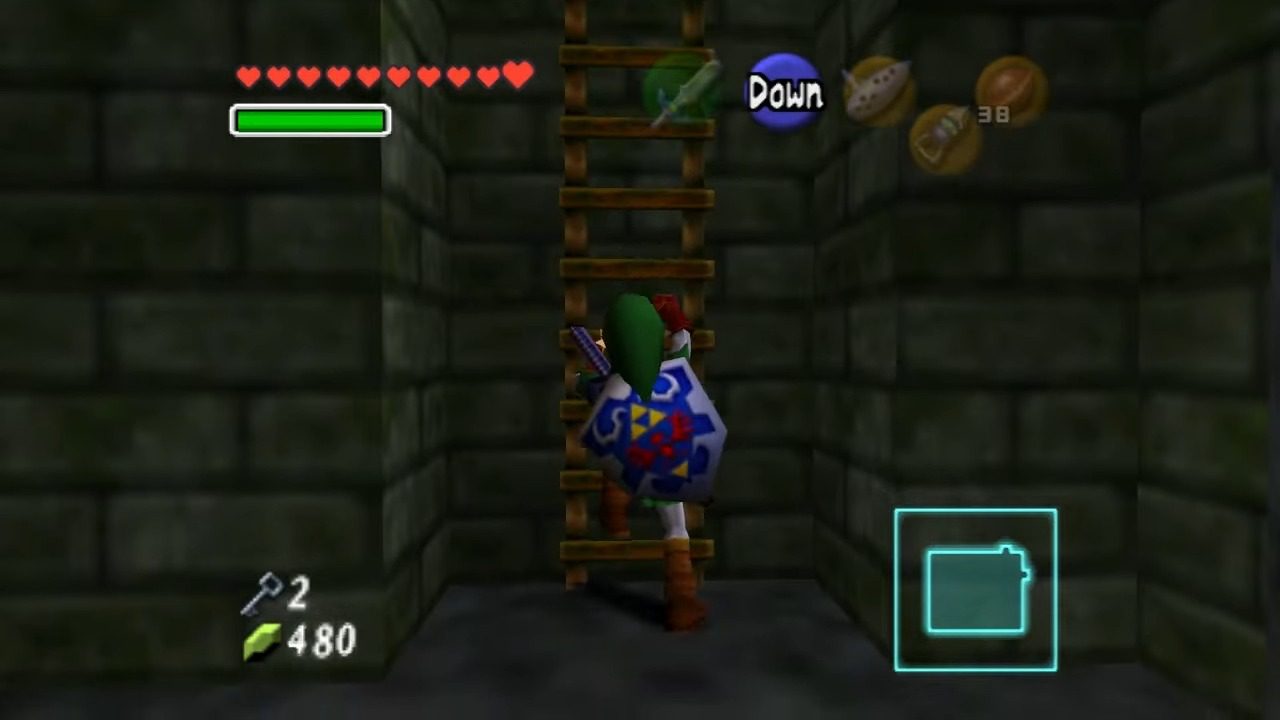
Now, carefully jump off the balcony to the ground below. Descend the ladder into the well and follow the short tunnel to discover a chest holding another Small Key.
In this area, specifically in the room on the west side (the drained well room), use your Hookshot to target a small chest located on an elevated platform. Reaching this chest will allow you to collect Gold Skulltula #62, which is on the wall. There’s a similar room on the east side of the temple that also contains a Gold Skulltula. Look for it on a small “island” in the water and retrieve Gold Skulltula #61.
Solving Key Puzzles
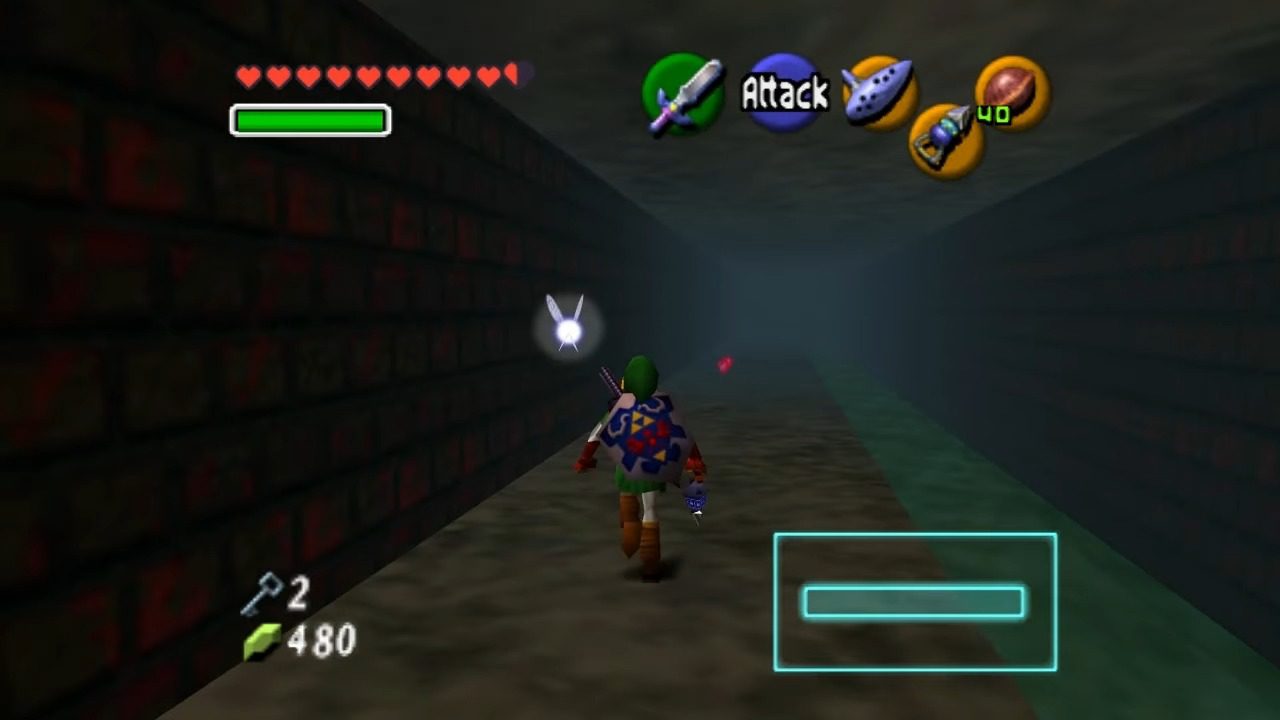
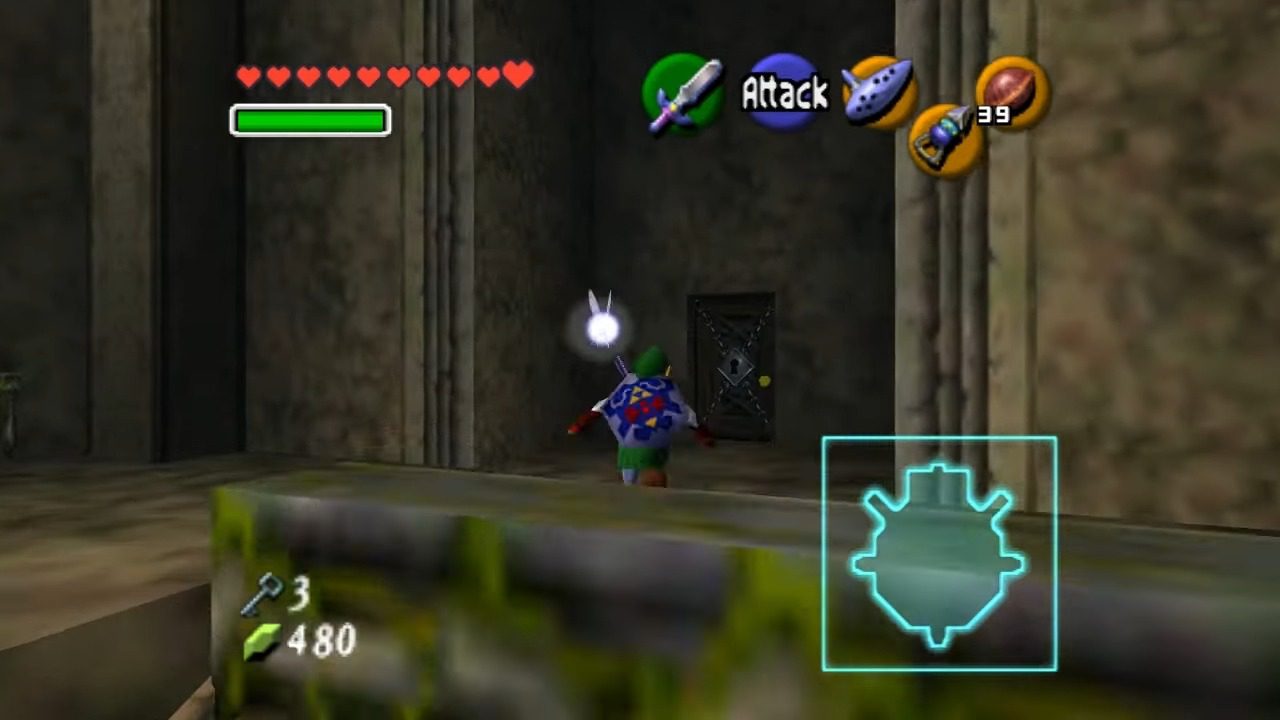
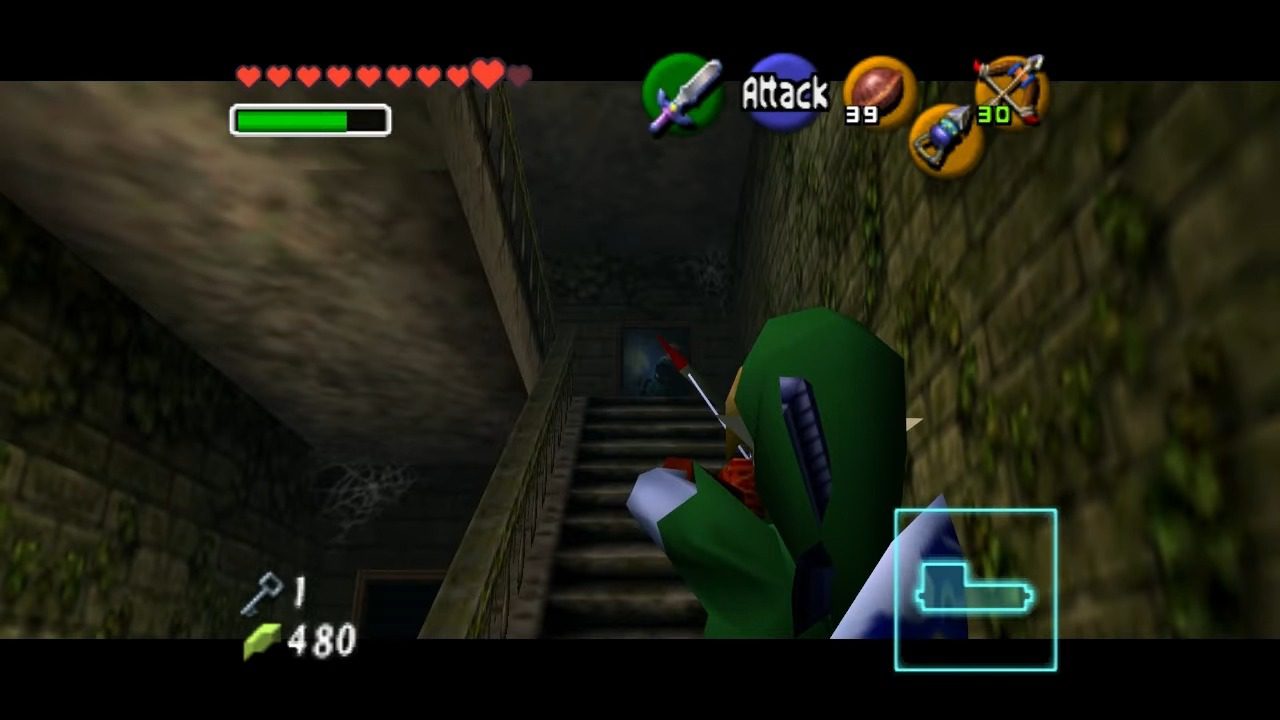
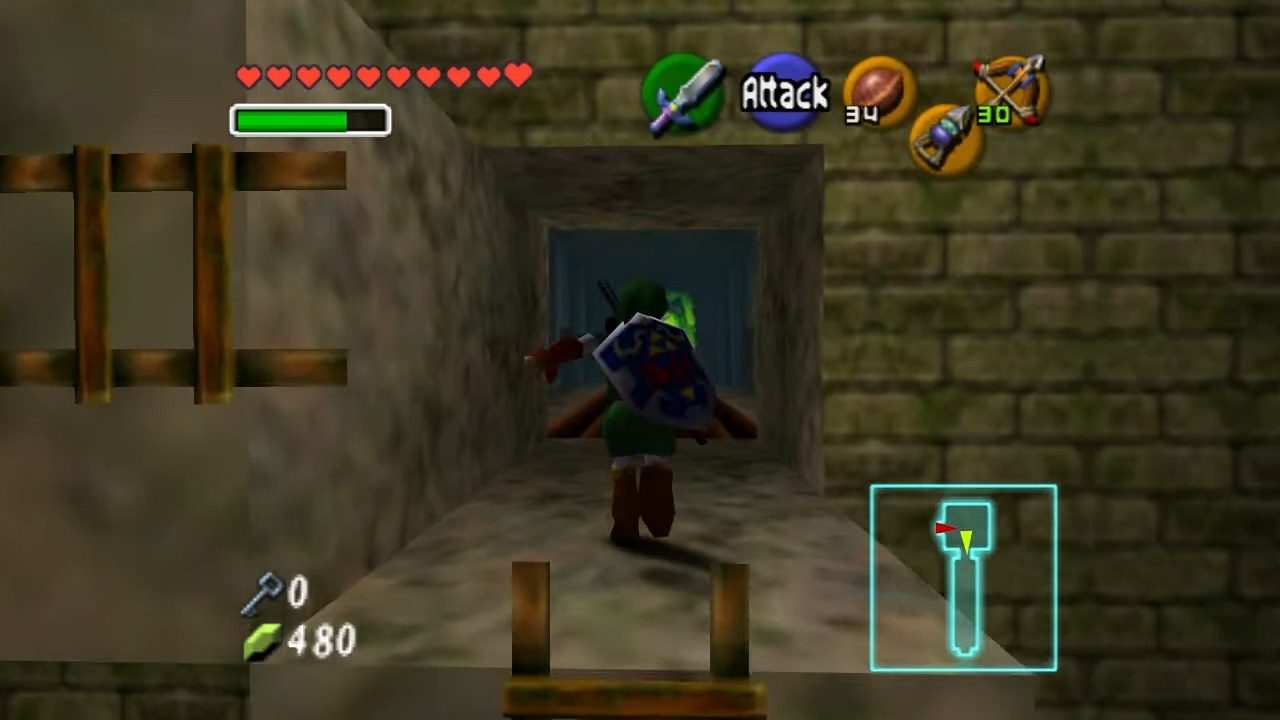
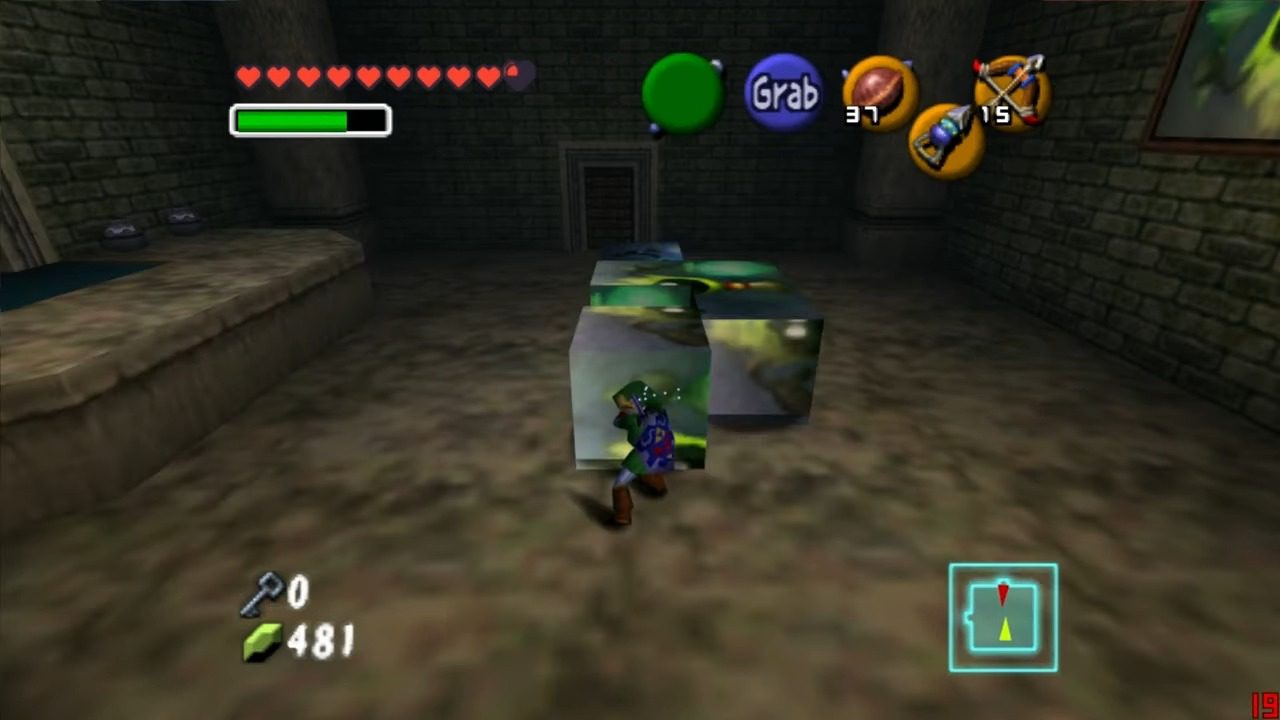
Climb back up the vines and return to the Grand Hall. Use one of your Small Keys to unlock the door located up the stairs to your right. Defeat the Skulltula in the subsequent room and proceed further. After eliminating the Blue Bubble in this area, climb the ladders to reach the second floor. Following the arrows painted on the ground, move the blue block as close as possible to the large square indentation on the floor. You’ll likely need to pull it first, then push it. Navigate through the tunnel where the block was initially located, take a right, and continue pushing the block until it fits snugly into the indentation. Locate the ladder in the hallway where you first encountered the blue box and climb up. Push the red block until it reaches the wall. Return to the blue block and use it to hoist yourself up to the next level. Continue pushing the red block down the hallway until it locks into its designated spot. Use this red block to climb up, and then take a right at the end of the hallway.

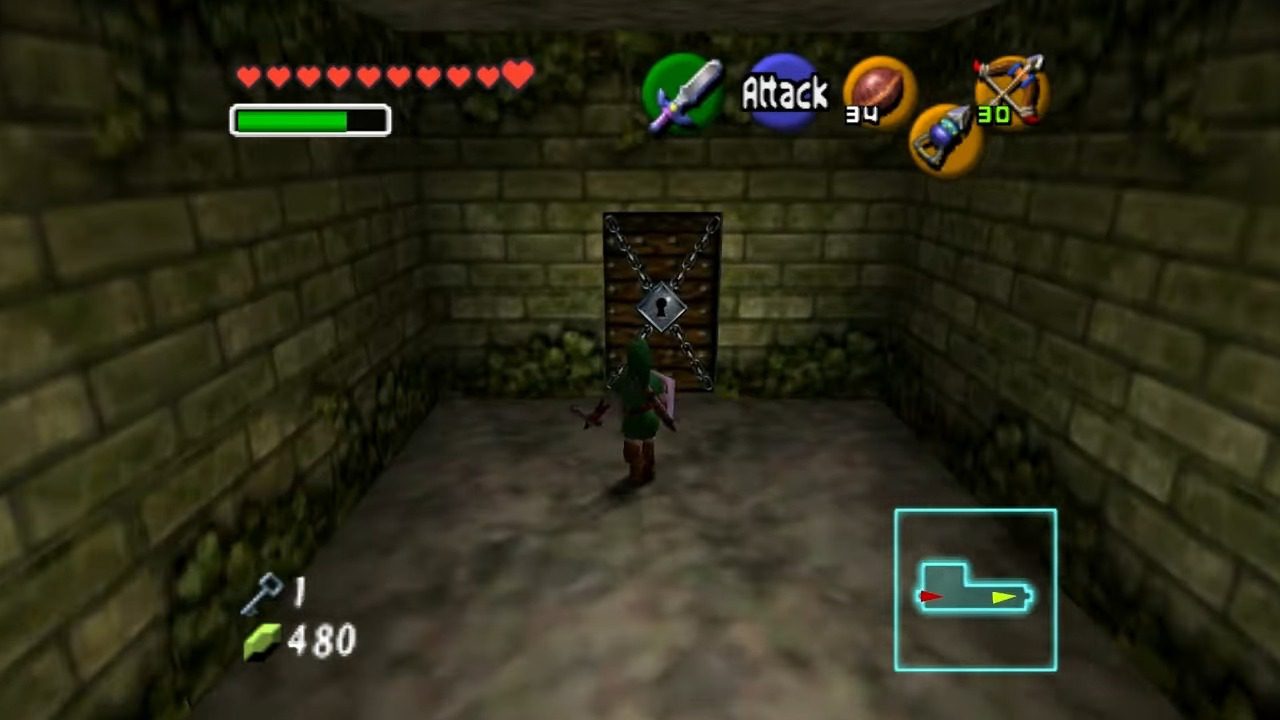
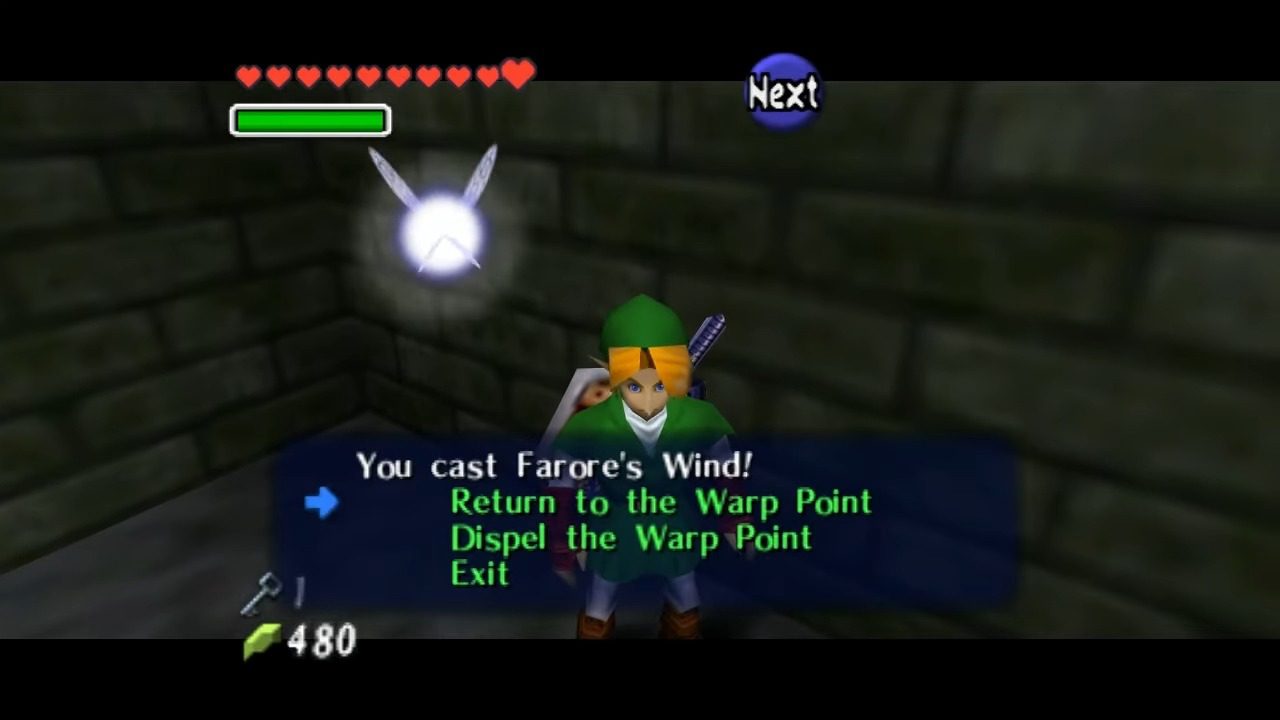
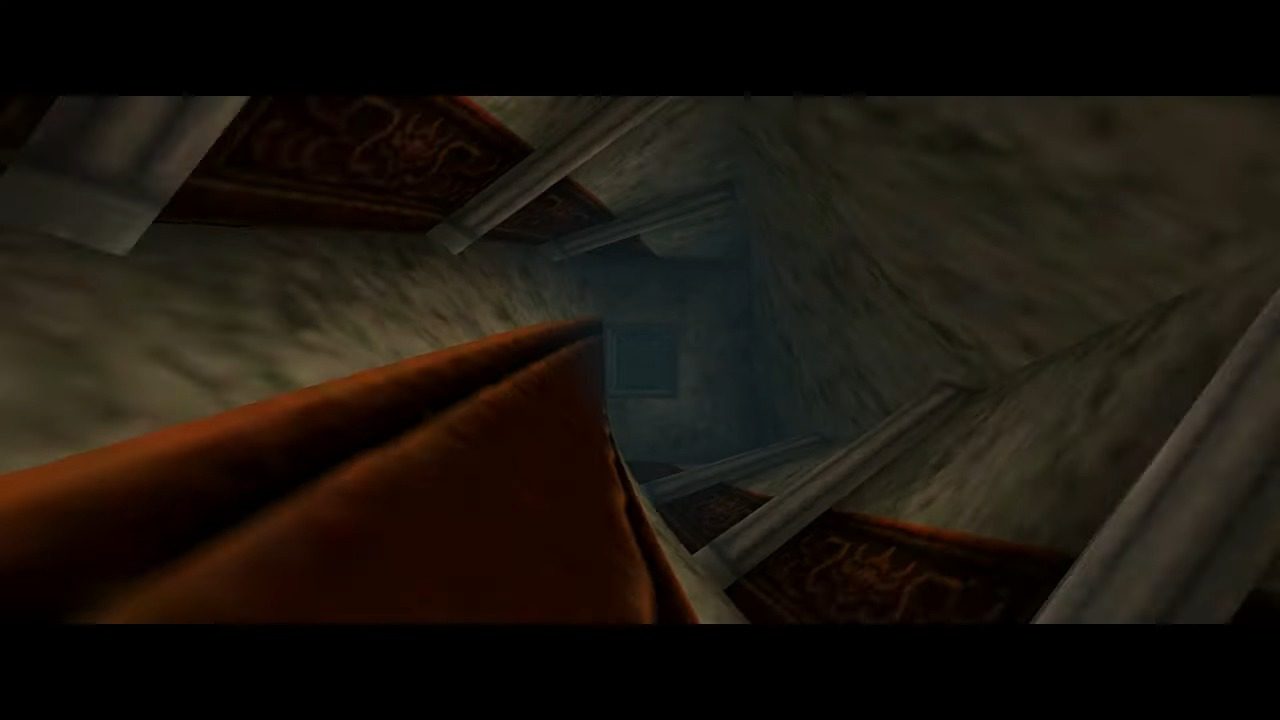
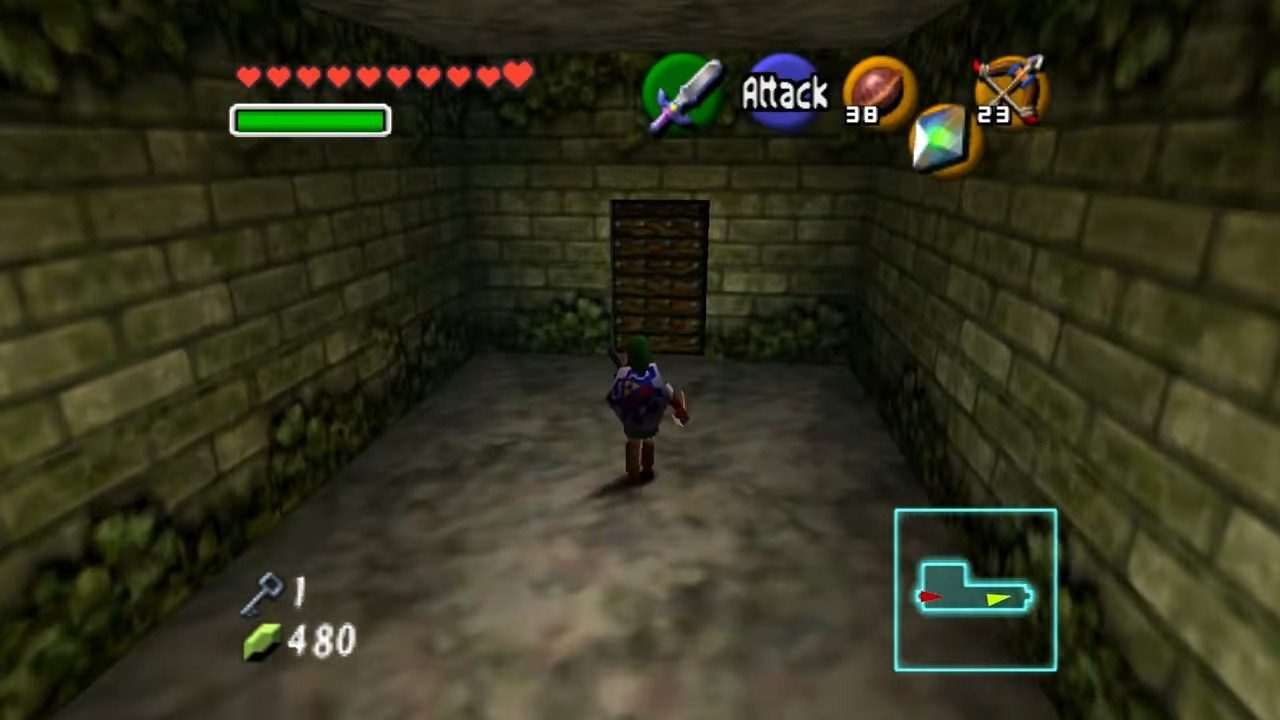
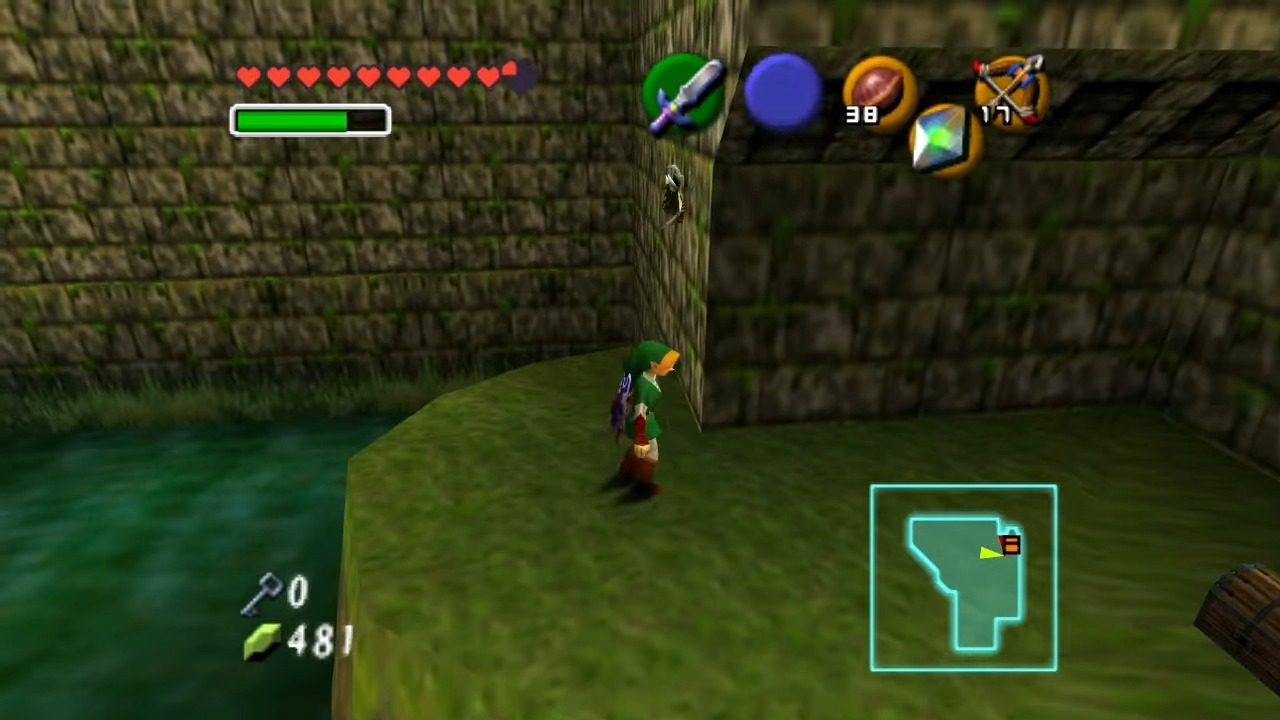
Climb the ladder and defeat the two Blue Bubbles you encounter. Use Farore’s Wind to create a Warp Point at this location to quickly return here later. Unlock the nearby door (ignore the eye above it for now) and proceed down the twisted corridor. In the next room, quickly jump across the platforms to avoid the menacing Wall Masters and unlock the door on the other side.
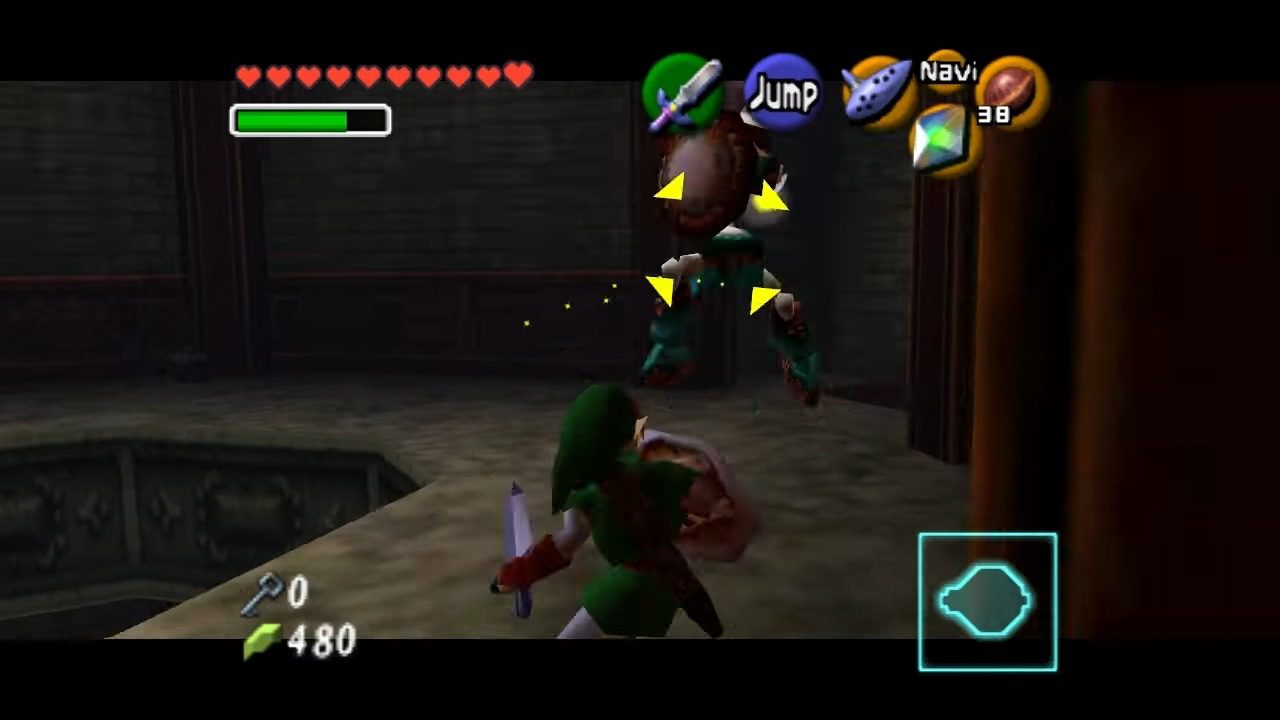
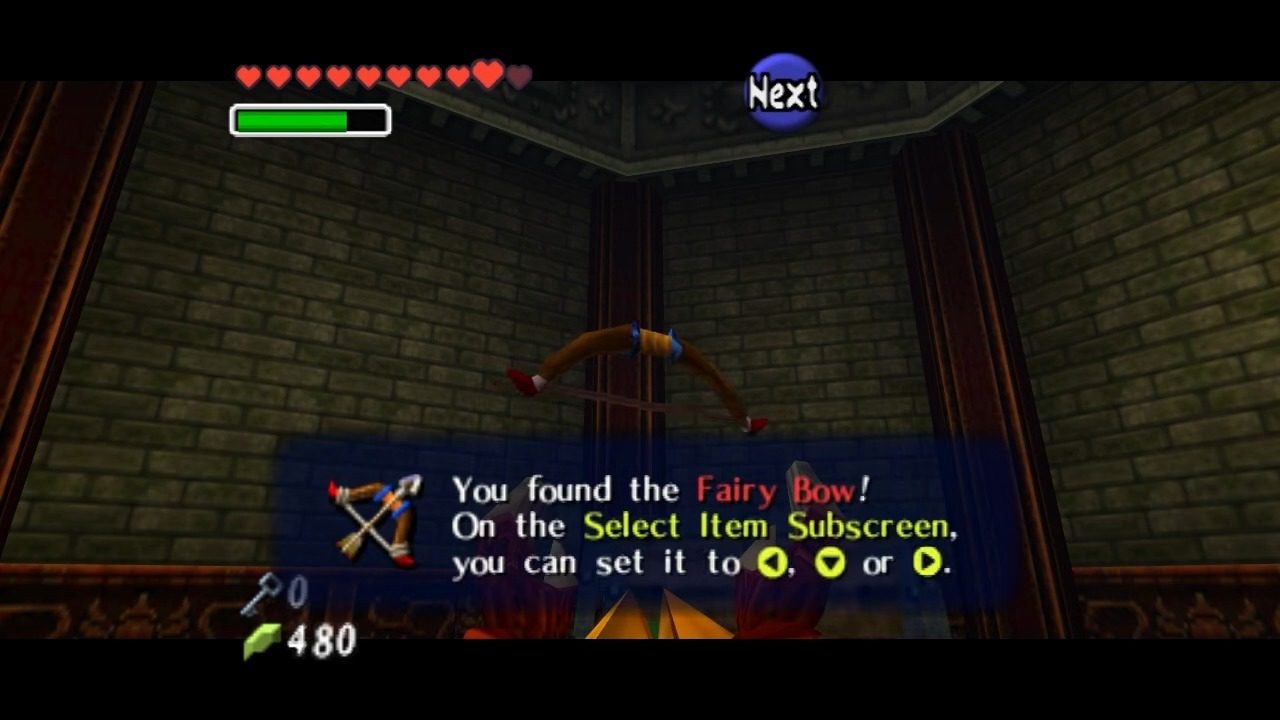
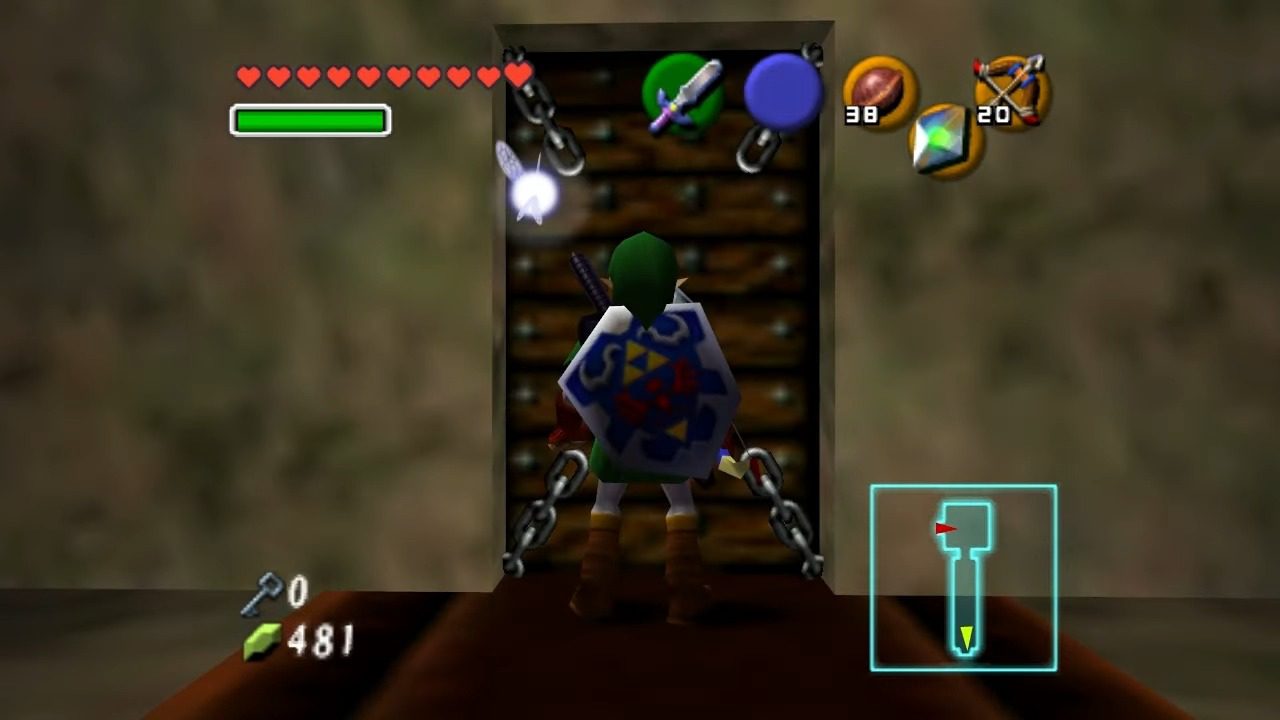
Descend the stairs and enter the door. Here, you’ll face a lone Stalfos. Upon its defeat, two more will appear. Exercise caution to avoid falling into the room below. Defeat these skeletal warriors, and as a reward for your bravery, you’ll receive the Fairy Bow.
Defeating the Poe Sisters
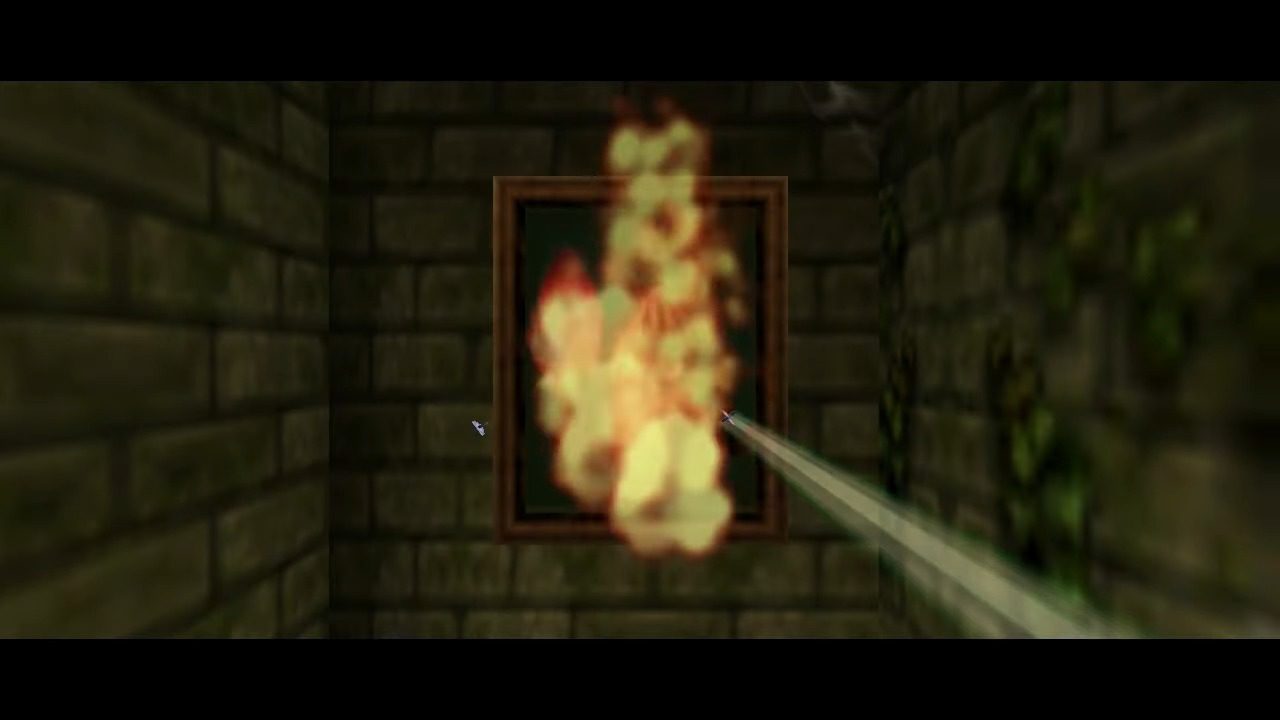
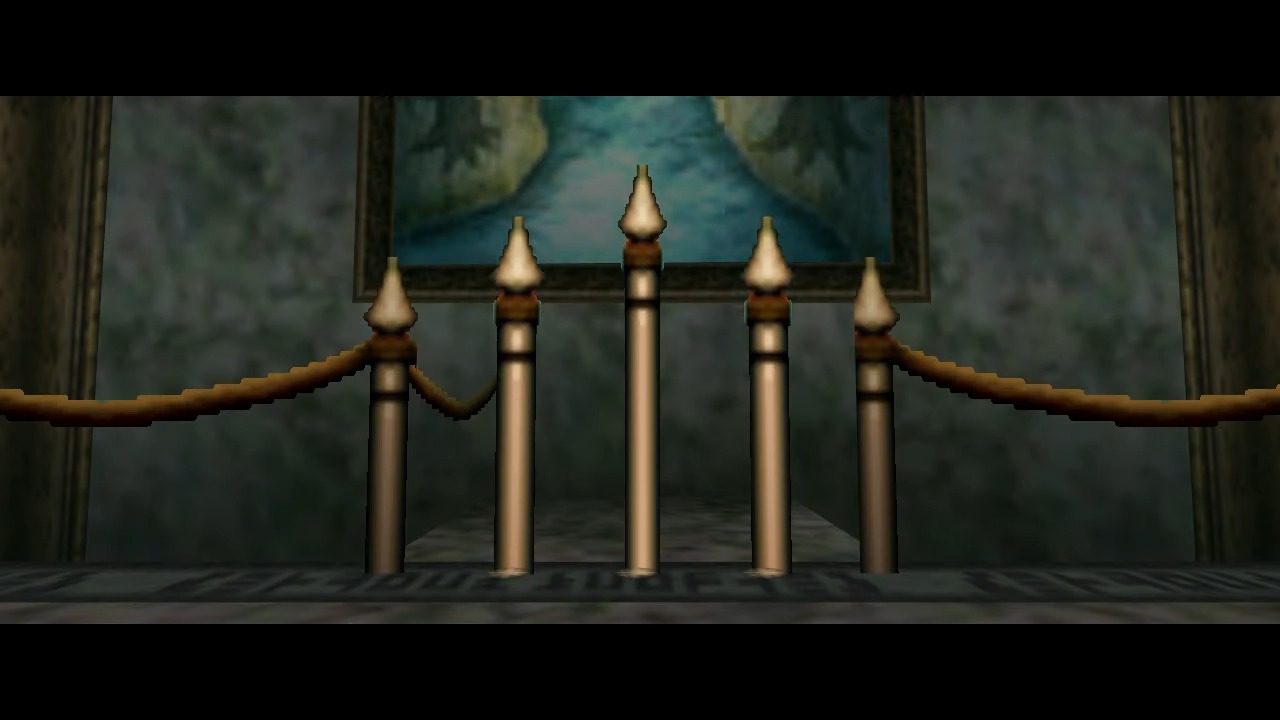
Enter the door to the right of the chest. Here, you’ll find three paintings featuring a Red Poe. You’ll find yourself facing three paintings along the steps. Shoot each picture that depicts the Red Poe until the Poe is finally released from the last painting.
Descend the stairs and prepare to battle the first Poe sister. Lock onto her and shoot her with your bow (or strike her with your sword) only when she is fully visible. Block or evade her spinning attack. Using a Deku Seed can make her reappear instantly. Claim the Small Key from the treasure chest that appears.
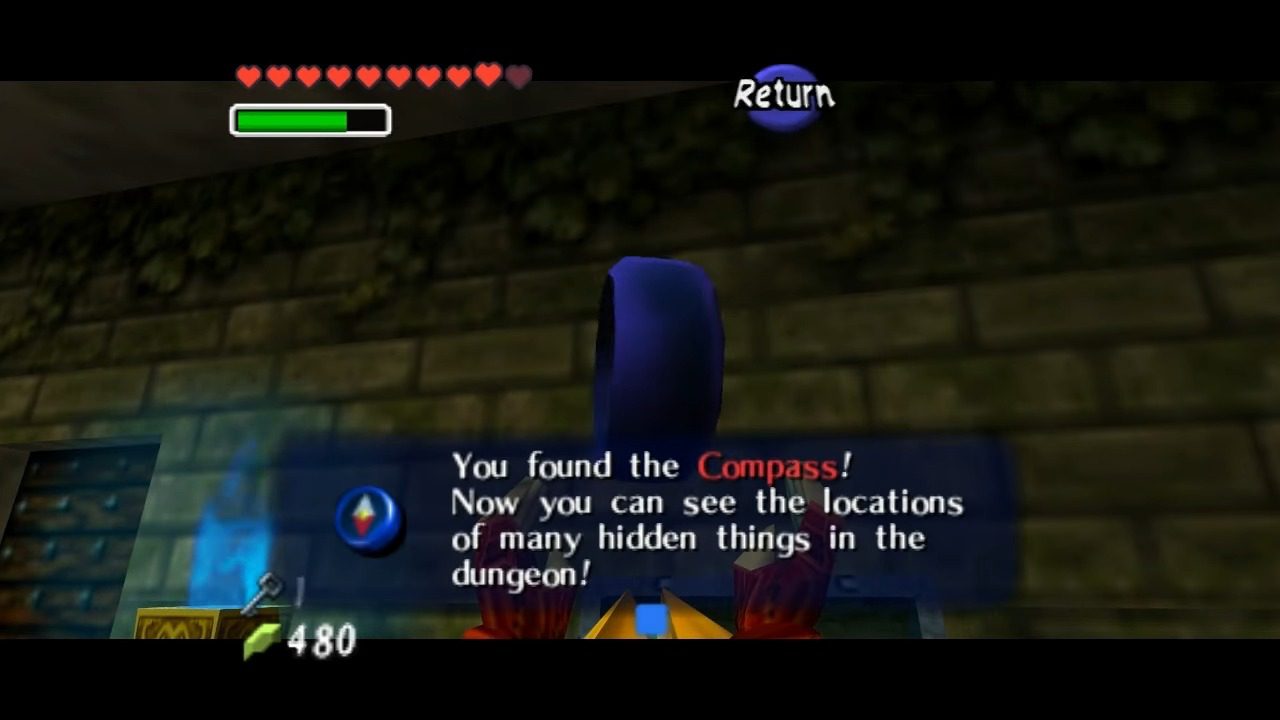
Return to the room where you fought the Stalfos and exit the room through the door opposite the one you entered. Here, you’ll find three paintings featuring a Blue Poe. Employ the same strategy you used for the Red Poe sister to release and defeat her. Upon her defeat, a flame will return to the central chamber, and a treasure chest containing the Compass will materialize.
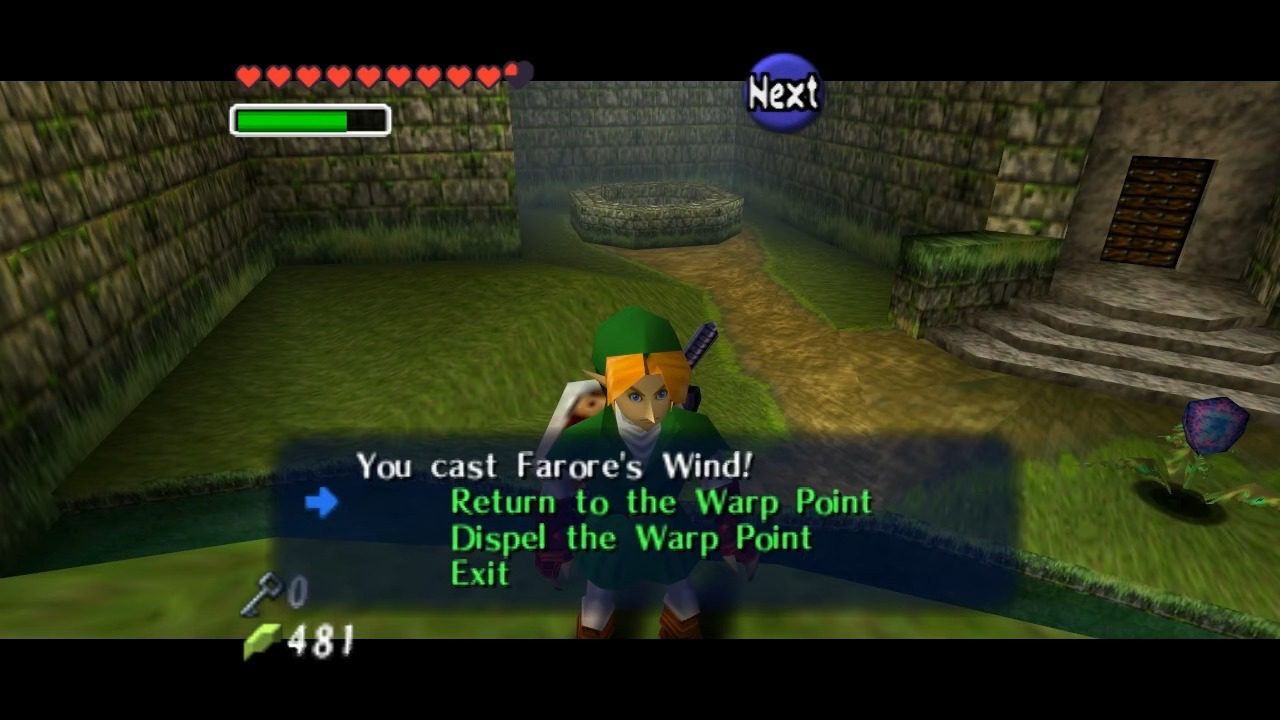
Head upstairs and unlock the door at the top and enter it. In the next room, leap towards the opening to the hallway on your right. Here, you’ll encounter stationary Bubble enemies. Eliminate them with arrows. Use Farore’s Wind just before the locked door to warp to the Warp Point we placed earlier.
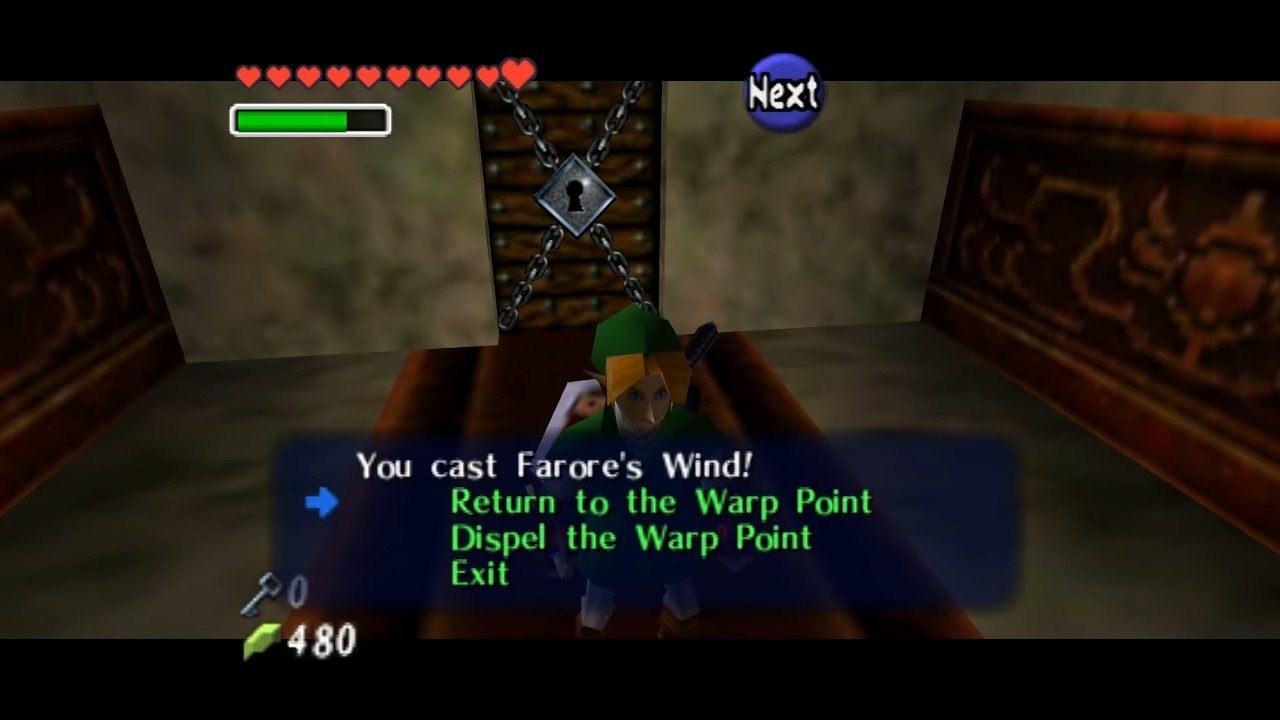
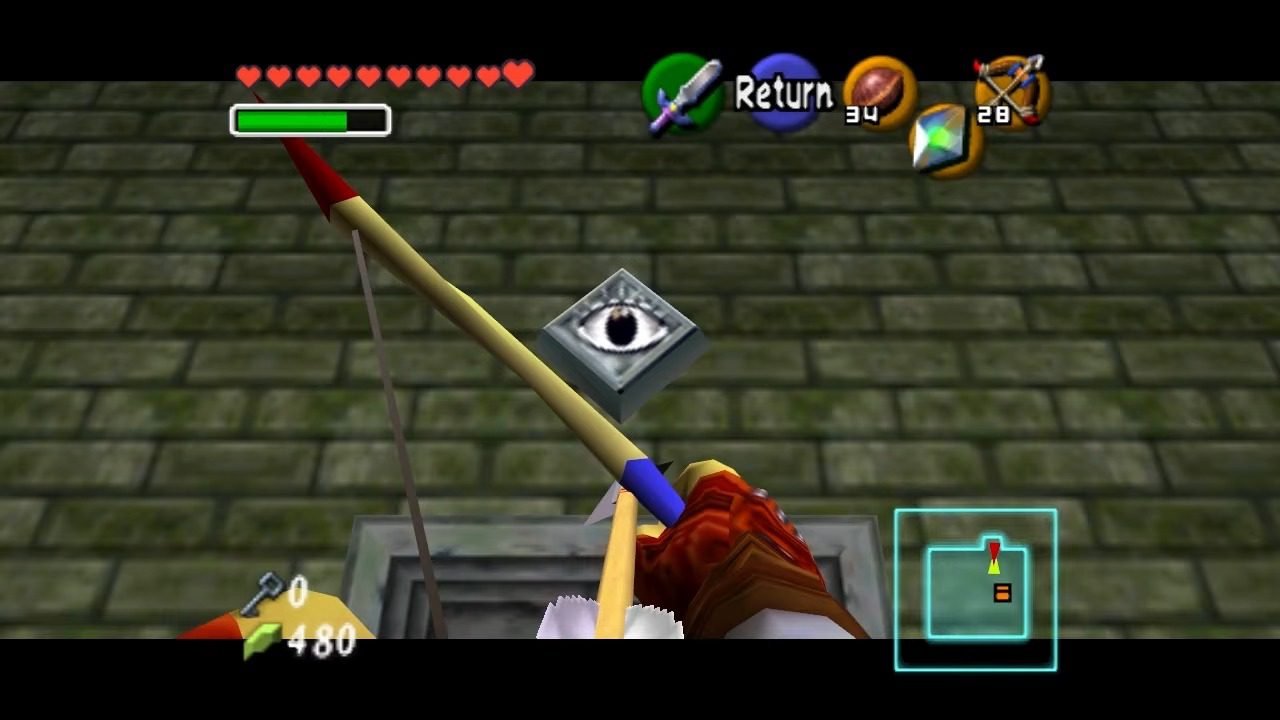
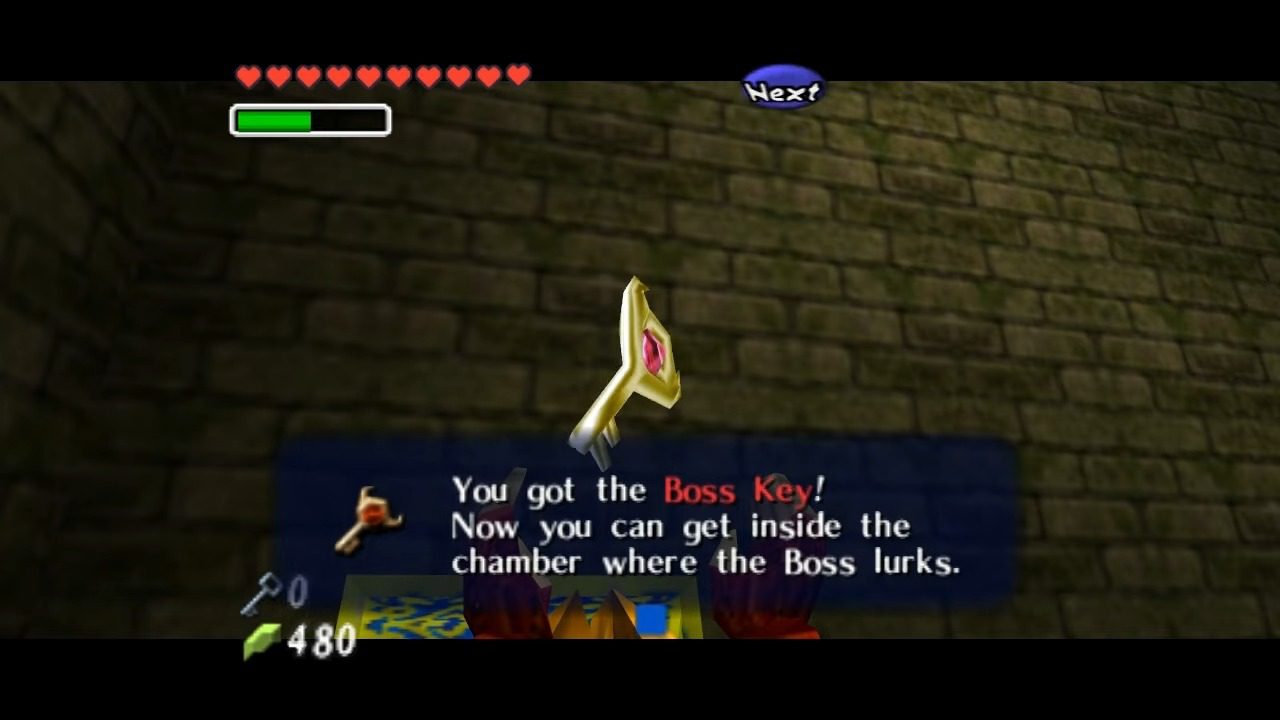
Upon your return to the Warp Point. Recreate your Warp Point again with Farore’s Wind again at this location to return here quickly in the future. Shoot the eye above the door with your bow. This will correct the alignment of the hallway. Cross the now level hallway and enter the room to find a distinctive gold and blue treasure chest. This chest holds the Boss Key.

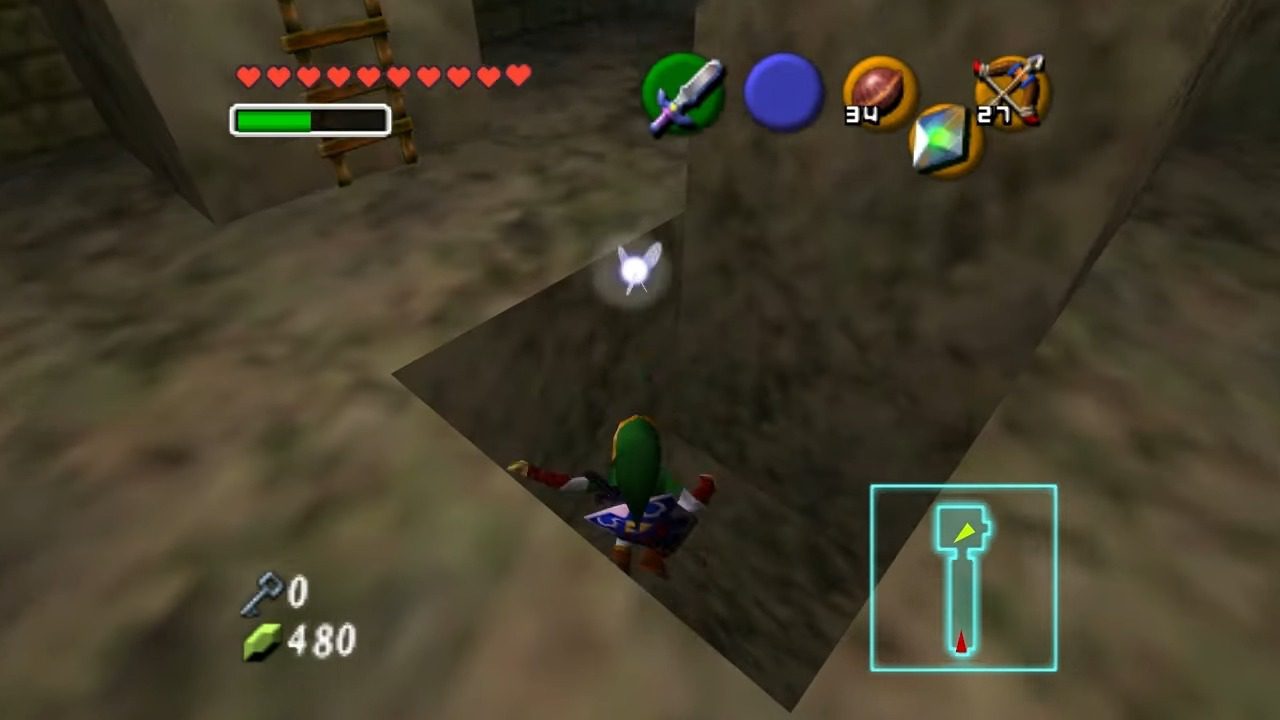
After retrieving the key, jump down the nearby hole and eliminate the enemies you encounter to unlock the door. This will lead you to a ledge overlooking a room you’ve visited before. Jump to the neighboring narrow ledges with Hearts and use the Hookshot to defeat and claim the Gold Skulltula.
Proceed through the dungeon door in the alcove near the wooden door and defeat the Floormaster. Once defeated, the Floormaster will split into three smaller versions. Be cautious, as they can drain your health and even reform. Once you’ve dealt with all of them, open the treasure chest to obtain another Small Key.
Exit this room and go through the door on your right to return to a familiar area. Use Farore’s Wind to warp to the Warp Point we created earlier at the top. Alternatively, If you don’t have Farore’s Wind, climb up to the entrance of the twisted hallway. Shoot the eye once more to twist the hallway again and proceed through it.
Return to the location where you fought the Blue Poe and continue through the now unlocked door. Go through the locked door, jump across the spinning platforms, and use Din’s Fire on the frozen eye. If you don’t have Din’s Fire, you can alternatively circle around the platform, align your arrow with the flame and the frozen eye, and shoot to melt the ice. The eye will close, and the hallway will twist once more.
Run through the hallway and jump down the hole located in the northeast corner of the room. You’ll land in a room with a tiled floor. Observe the ceiling, noting the holes in it. Before proceeding past the ceiling, there’s a Gold Skulltula nearby. Turn around and head up the stairs on the other side of the wall. Exit through the door at the top of the stairs.
You’ll enter onto a ledge in a familiar room. Use Farore’s Wind and create a Warp Point at this location. With the Warp Point in place, drop down to the area immediately below. Defeat and claim the Gold Skulltula there. After claiming the Gold Skulltula, use Farore’s Wind again to warp back to the Warp Point you created at the to the top.

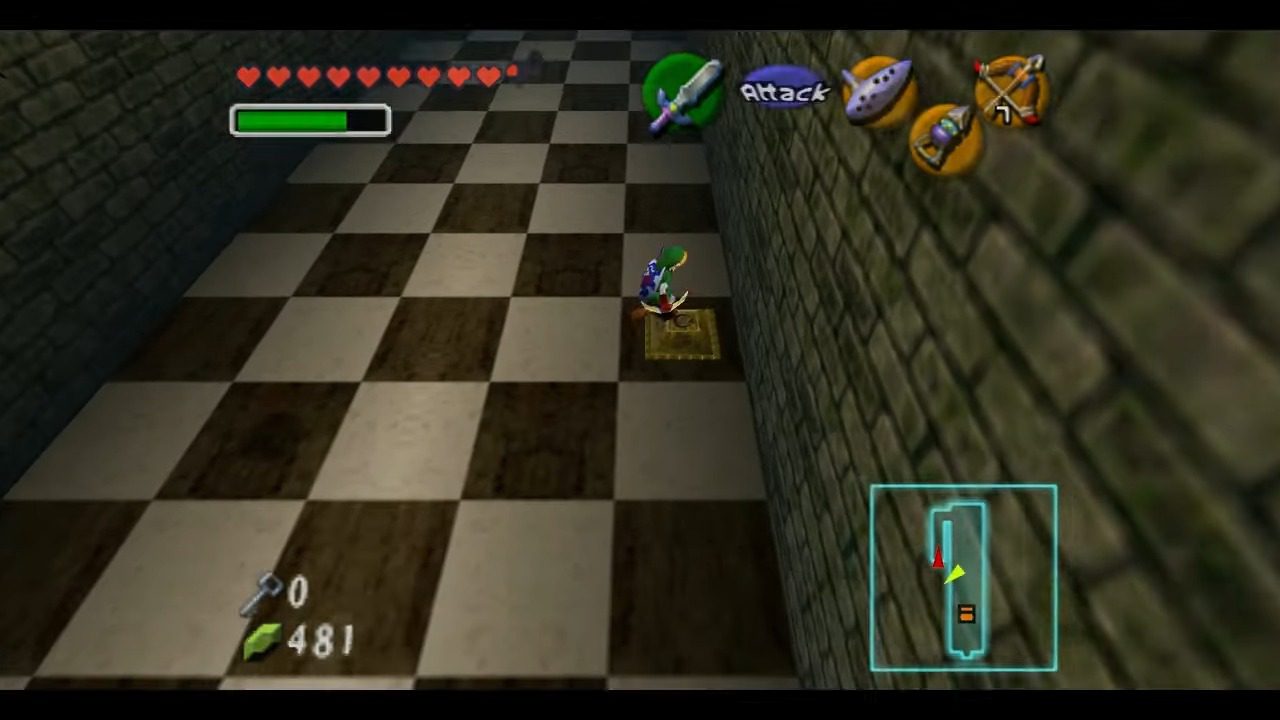
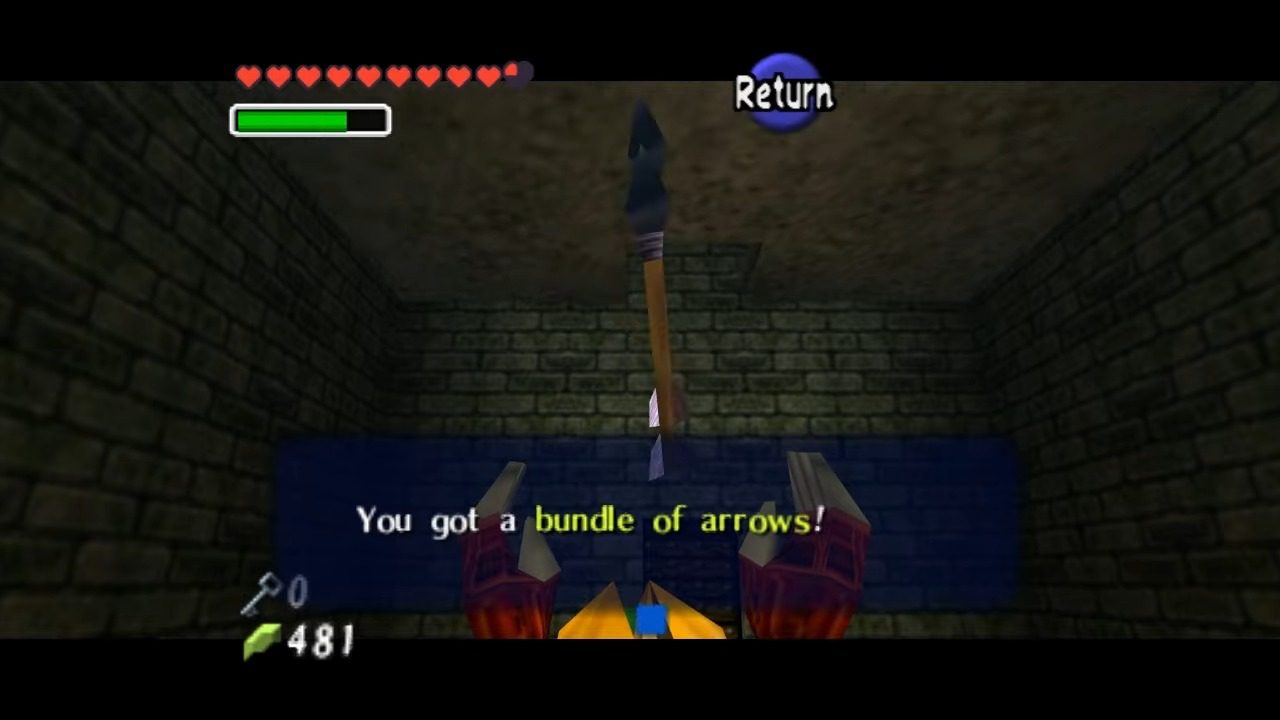
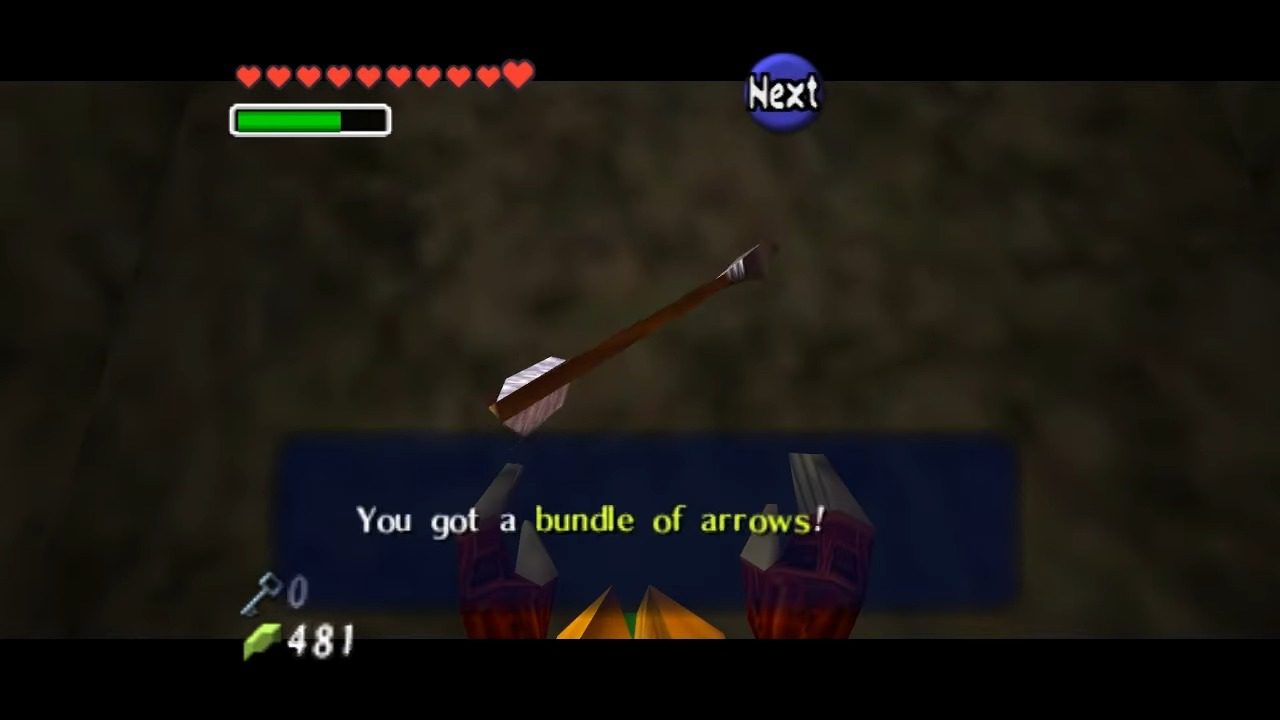
Return back to the room with the falling ceiling. Let the ceiling drop once, and then immediately run to the tile with the switch on it, carefully avoiding the Skulltulas that fall from above. You might want to eliminate them with arrows beforehand. Then, run to the tile to the left of the chest, which contains arrows. Let the ceiling drop one more time, and then quickly run to the door.
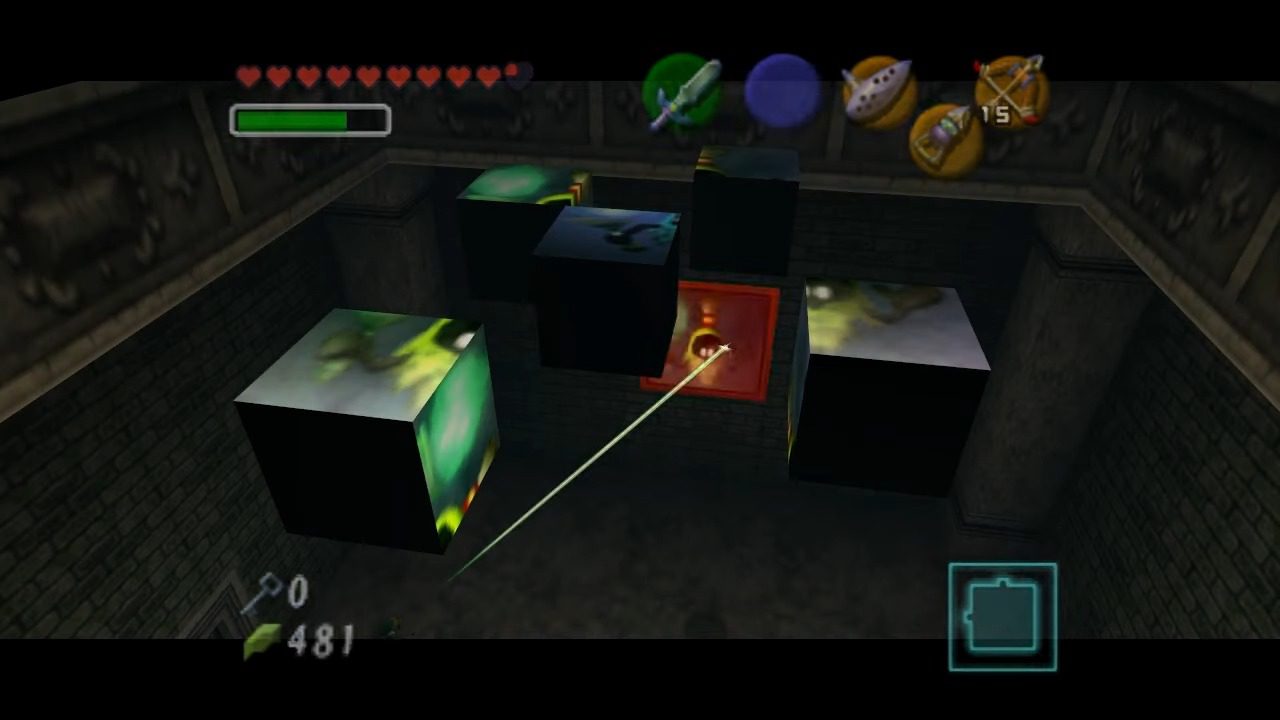
Shoot the painting depicting the green Poe. Blocks will fall from the ceiling. You’ll have one minute to push these blocks together to recreate the image of the big painting. One of the blocks, colored blue, is extra, so push it off to the side. After successfully piecing the blocks together, the Green Poe will appear. Defeat it and go through the door.
Shoot down the Skulltula on the ceiling in the next room and proceed through the door. Jump off the balcony to engage in battle with the final Poe Sister. This Poe has the ability to create clones of herself. The real Poe can be identified by the twirl she performs each time she appears. Lock onto the real Poe and fire an arrow at her. Repeat this process five times to defeat her. With all the flames now returned to the central chamber, the elevator in the center of the room will become active again. Use it to descend to the room below.
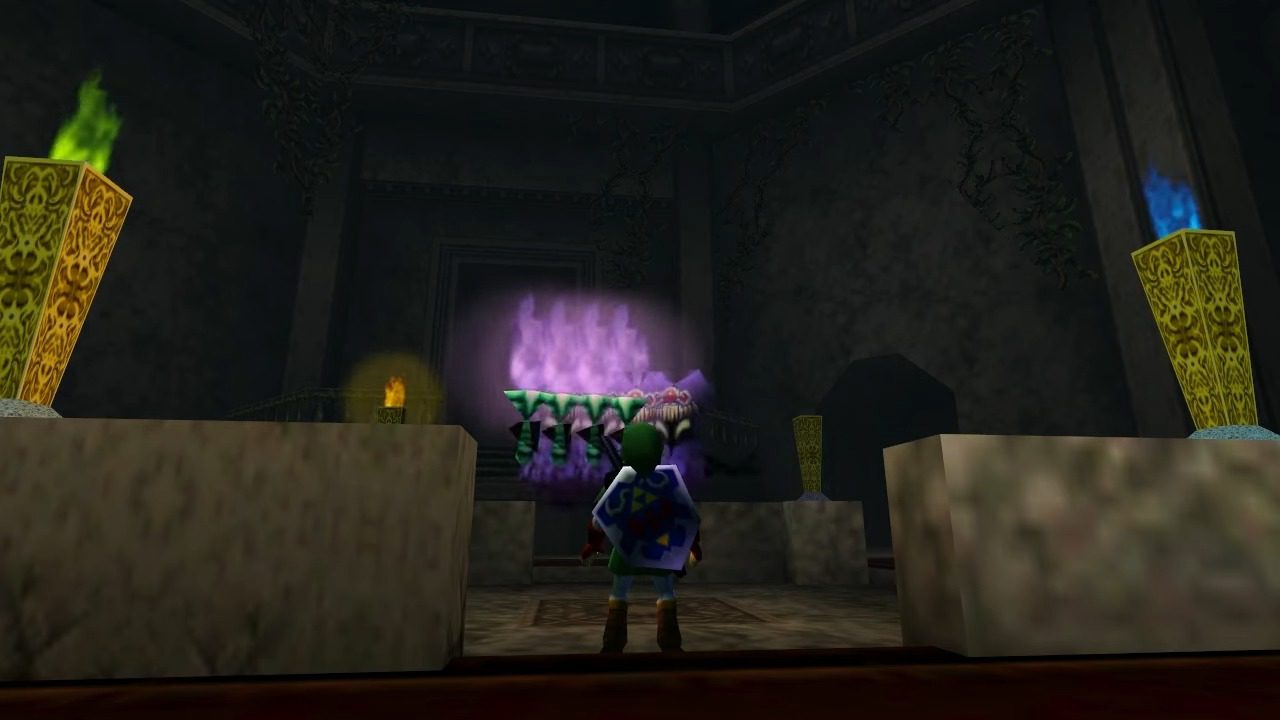
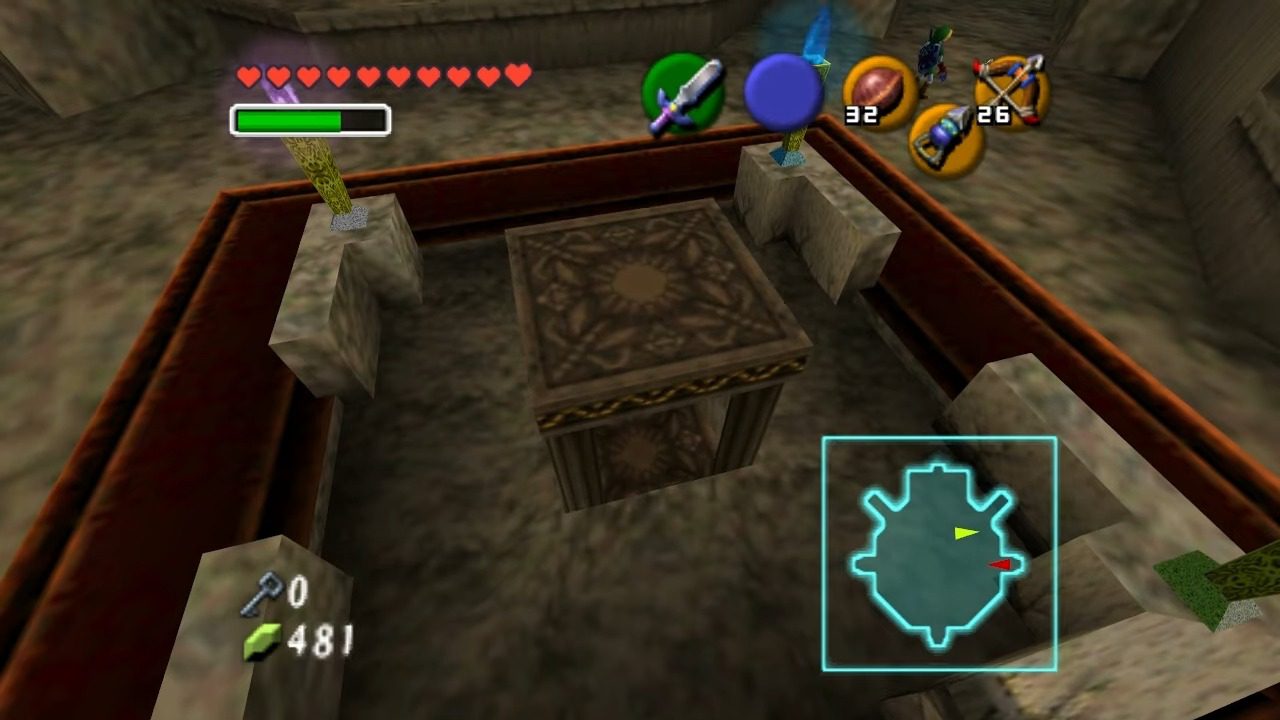
You’ve now reached the chamber of the dungeon boss: Phantom Ganon. Push a pillar counter-clockwise once to reveal a hidden switch. Press it. Rotate the room counter-clockwise again to uncover another switch. Press this one as well. Continue rotating the room in the same direction to open a previously concealed room. Inside, you’ll find a Skulltula with a chest containing arrows and Gold Skulltula #63 on the wall. Push the pillar counter-clockwise one last time.
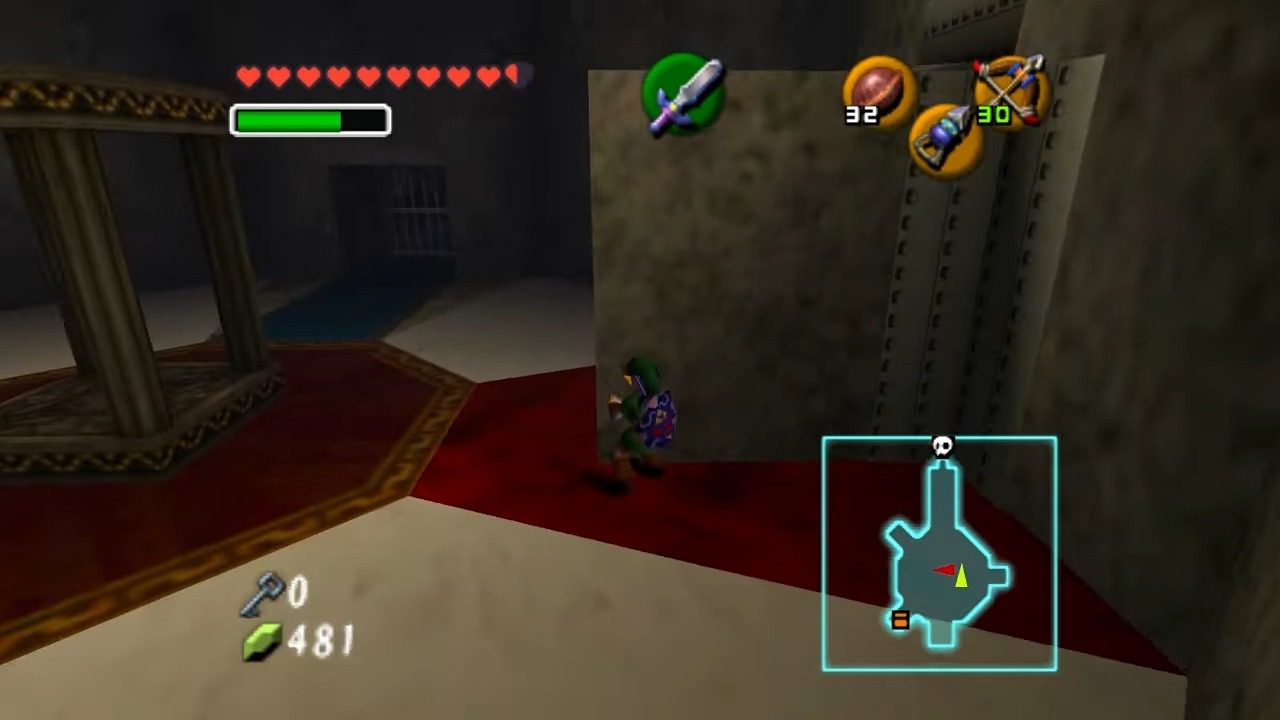
That last push revealed the final switch. Press it to open the gate leading to the Boss’s Chamber. Proceed through the large locked door. Walk up the stairs and towards the center of the room. As you attempt to return, the gate will close.
Boss Battle: Phantom Ganon


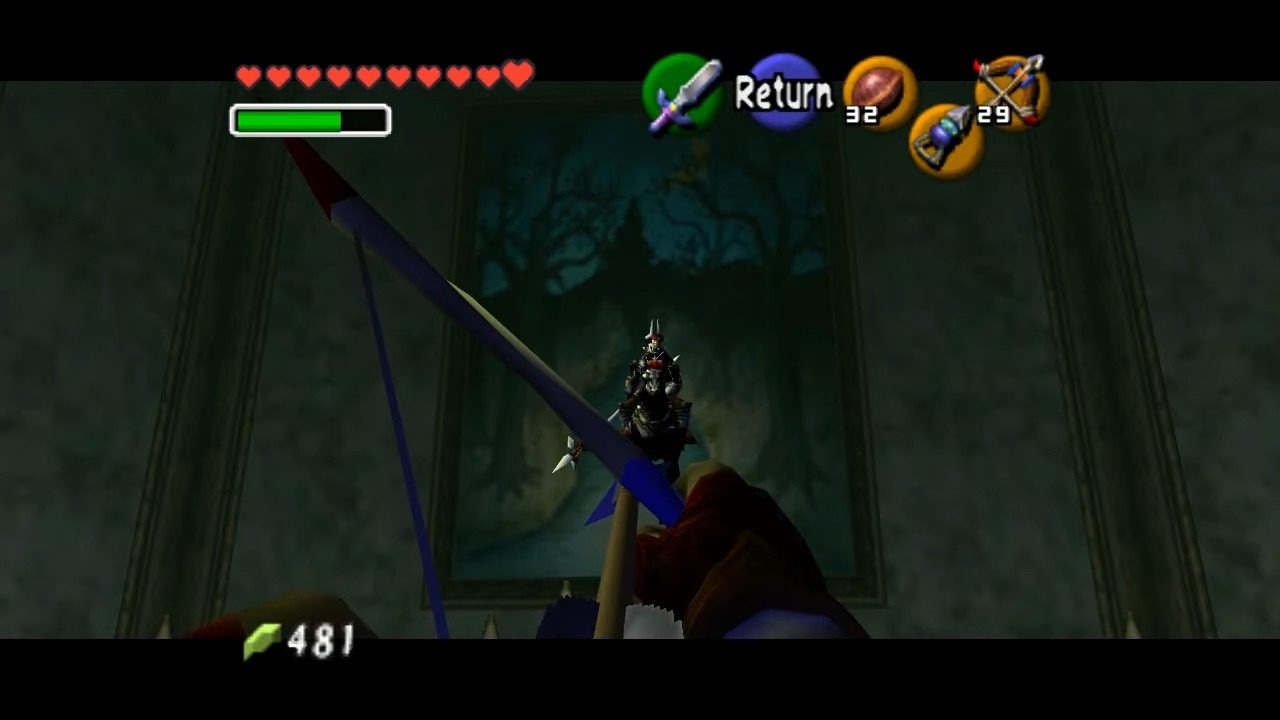
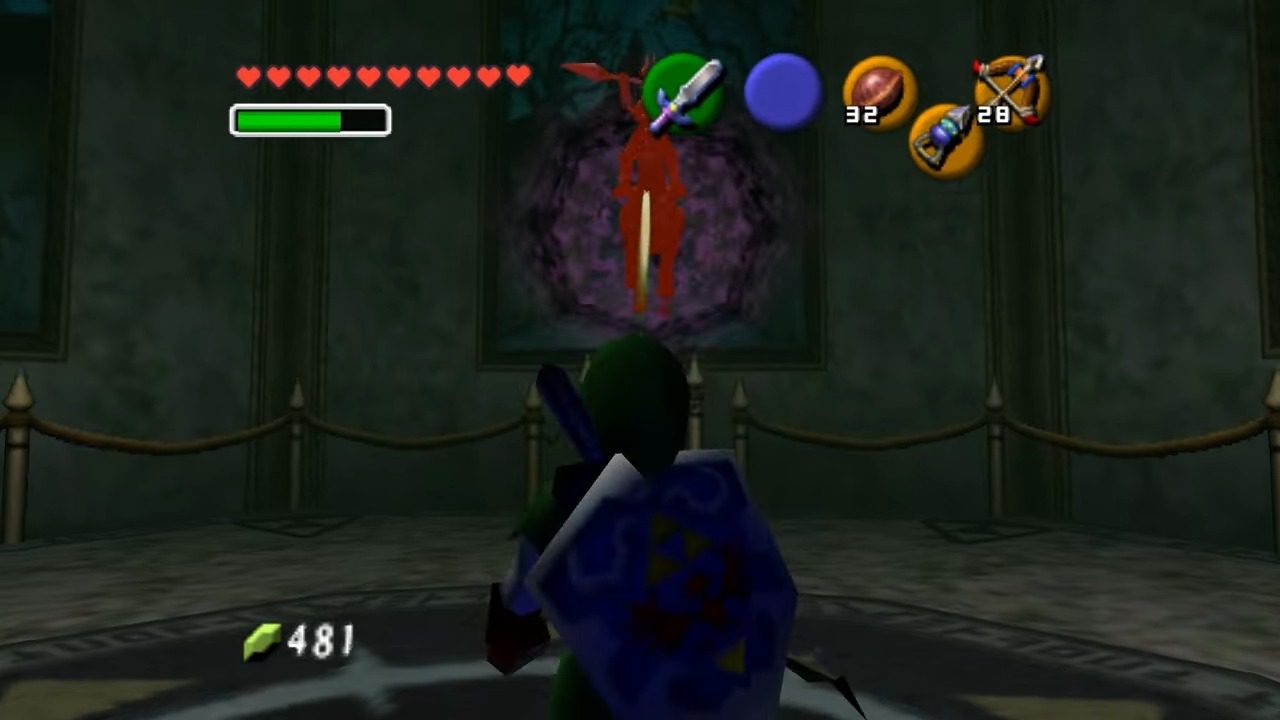
Phase One: The Equestrian Assault
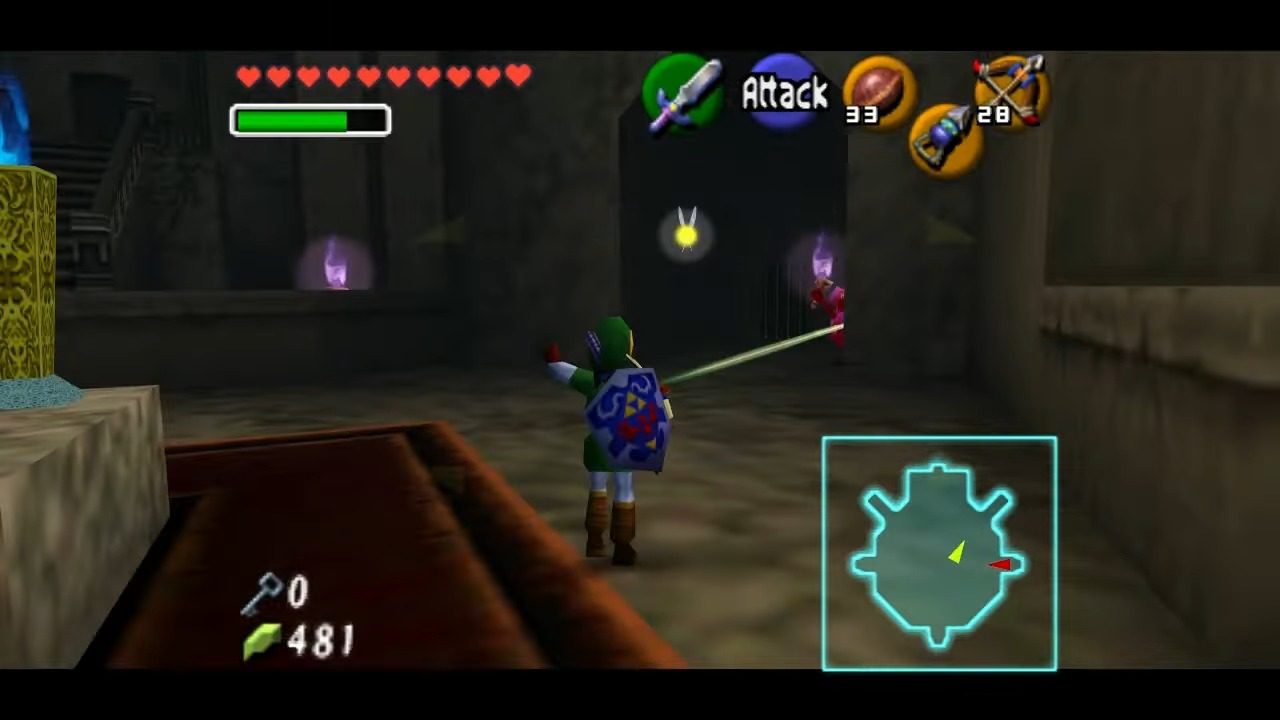
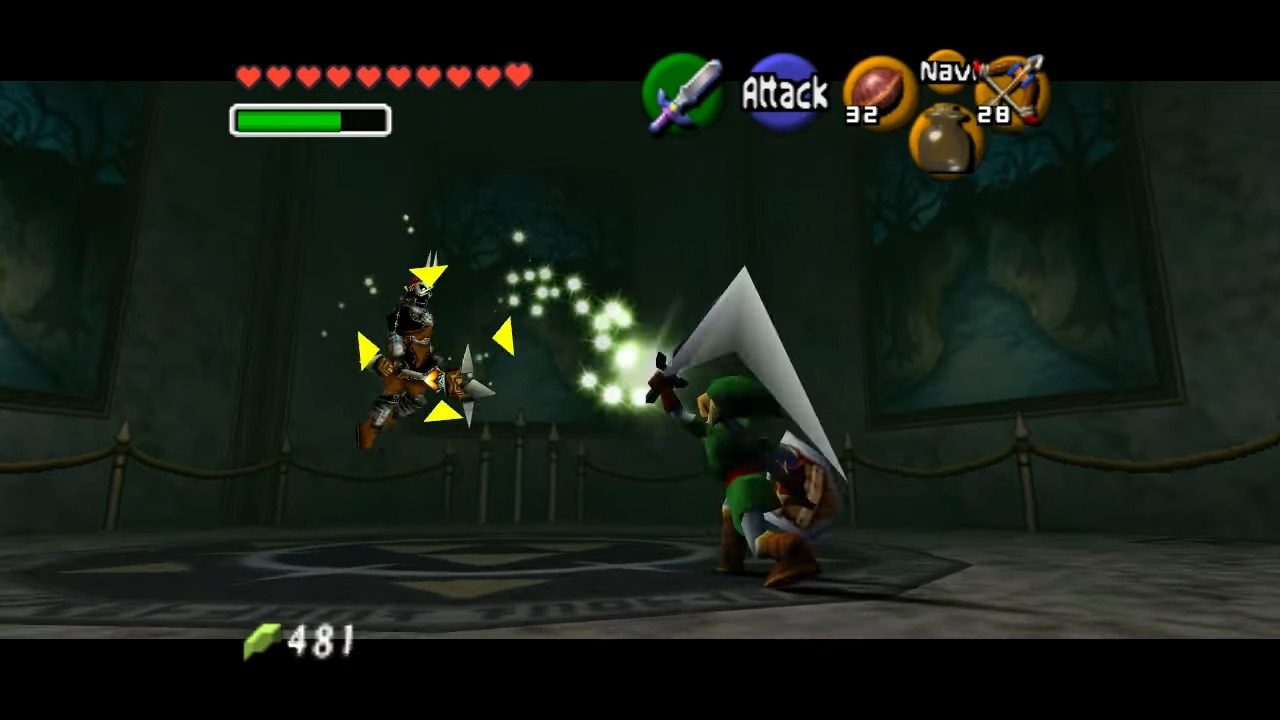
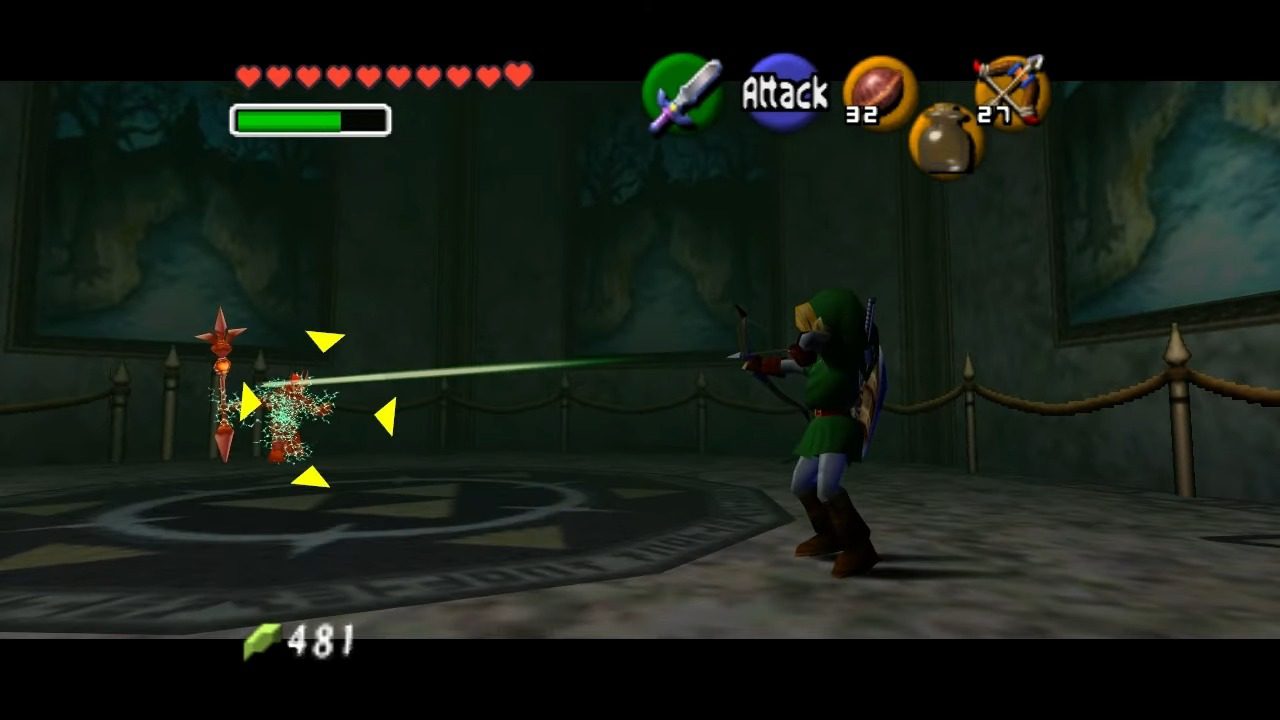
Upon entering the boss chamber, Phantom Ganon will retreat into one of the surrounding paintings. Position yourself centrally and monitor the artworks closely. You’ll notice multiple images of Phantom Ganon approaching; however, only one is genuine. The authentic Phantom Ganon emits a brighter glow and emerges from a painting with a distinctive purple portal. As he leaps out, promptly draw your Fairy Bow and release an arrow before he lands. If you miss, be prepared to evade his ensuing electric attack by moving to the room’s corners. After successfully hitting him three times, Phantom Ganon will dismount, transitioning to the next phase.
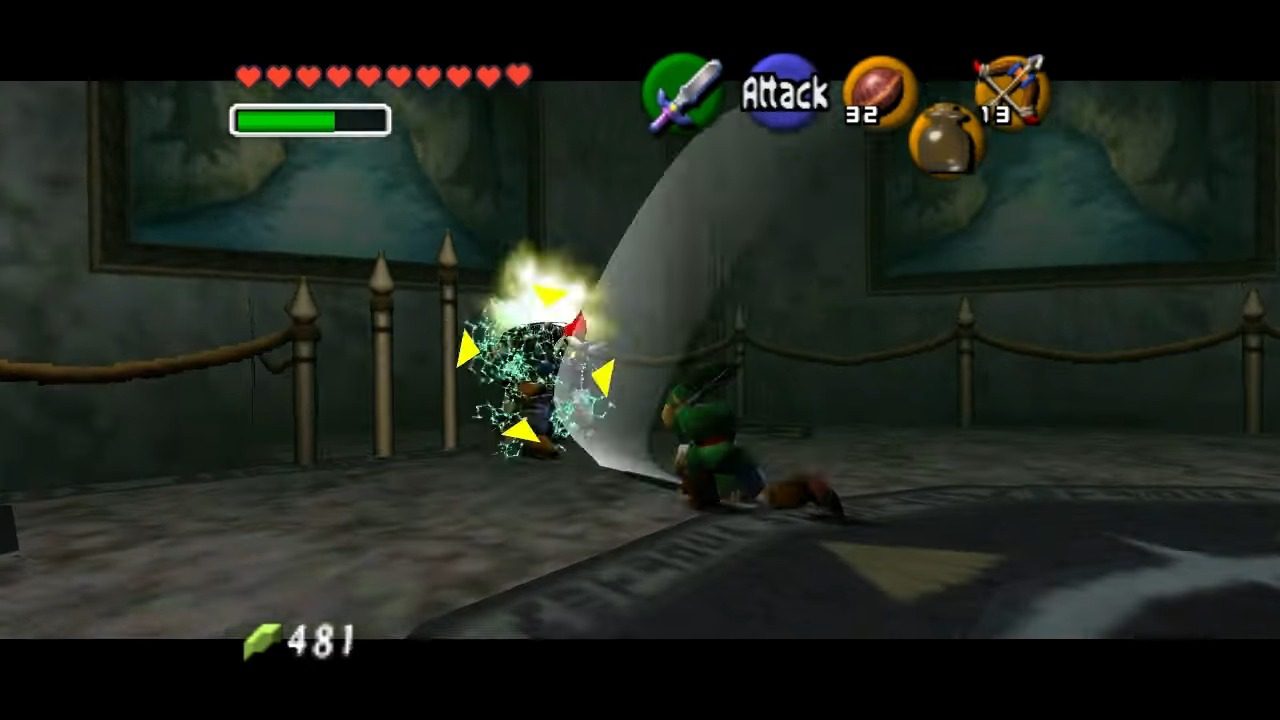
Phase Two: The Aerial Duel
Now airborne, Phantom Ganon will hover and cast energy balls toward you. Engage in a “tennis” match by using your sword to deflect these projectiles back at him. Timing is crucial, as he may volley the energy multiple times before being struck. Some players have discovered that an empty bottle can also be used to reflect his magic, adding a unique twist to the encounter. Once hit, Phantom Ganon will be stunned and descend to the ground. Seize this opportunity to close in and unleash a flurry of sword attacks. Be cautious of his charge attack when he twirls his staff; it inflicts significant damage. Maintain this strategy—deflecting his magic and capitalizing on his stunned moments—until you vanquish him.
Alternative Strategies and Tips
- Utilizing the Hookshot: If you find yourself low on arrows during the first phase, the Hookshot can be used as an alternative to damage Phantom Ganon as he emerges from the paintings. However, its shorter range requires you to be closer to the paintings, increasing risk.
- Resource Management: Before entering the boss chamber, ensure you have a sufficient supply of arrows and health-restoring items. Breaking pots in the room may yield additional resources if needed.
- Practice Makes Perfect: The timing for deflecting energy balls can be challenging. Practice patience and observe Phantom Ganon’s patterns to improve your reaction time.
Onward to Adventure!
Congratulations, fellow hero! You have successfully conquered the perplexing puzzles and defeated the spectral guardians of the Forest Temple. With the Forest Medallion now in your possession, you are one step closer to fulfilling your destiny and saving Hyrule! Take a moment to celebrate your victory, perhaps by giving Epona a well-deserved treat. But don’t rest for too long, as new challenges and fiery trials await us in the next chapter of our quest!