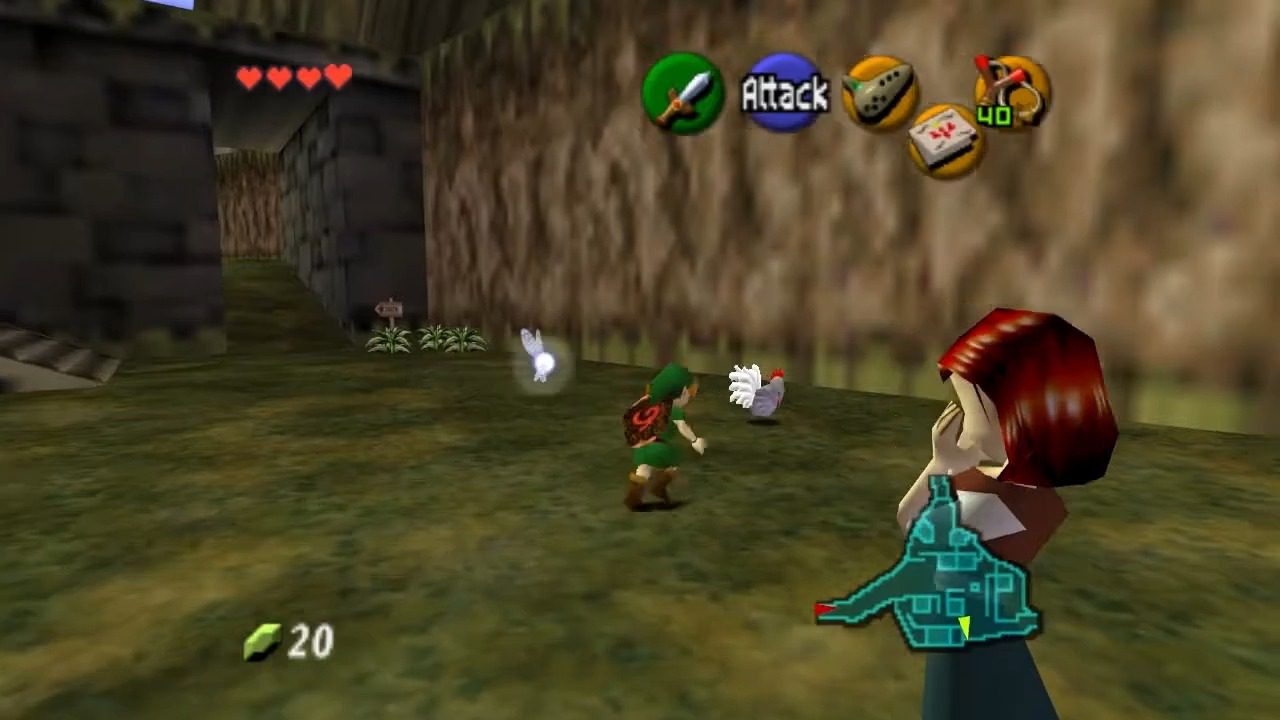
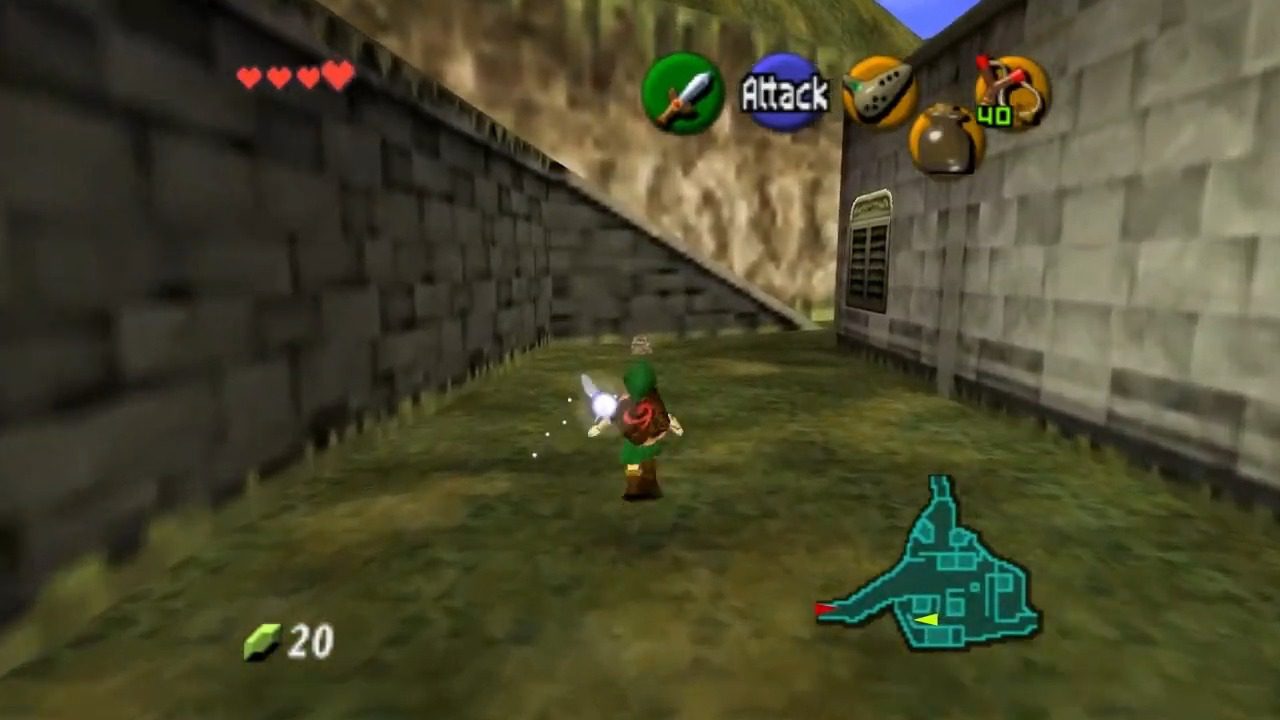
Entering during the daytime, Kakariko Village is a bustling place with several interesting characters and opportunities for side quests. One of the first people you’ll encounter is the Cucco Lady, a woman standing near the entrance to the Graveyard who seems quite distressed. She will explain that her seven Cuccos (chickens) have wandered off and asks for your help in returning them to the pen.
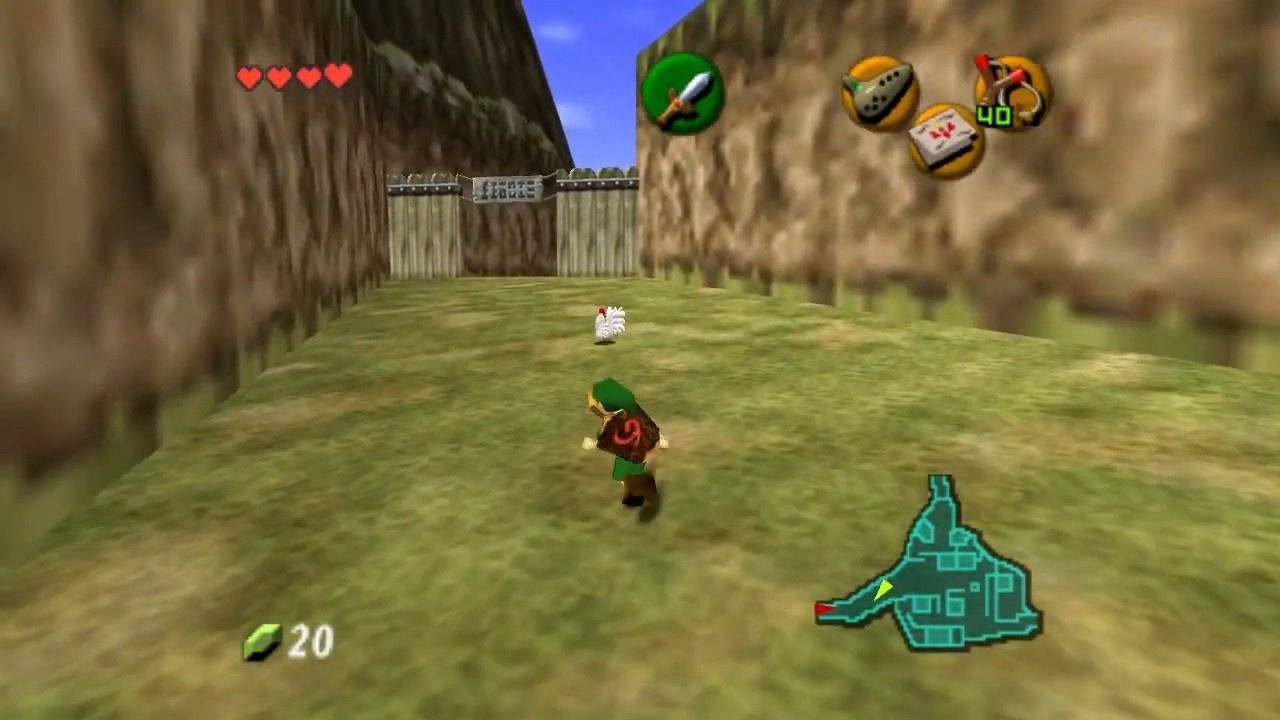
Locating all seven Cuccos requires exploring the entire village:
- Location #1: This Cucco is easily found between the Cucco Lady and the entrance to the Graveyard.
- Location #2: You’ll find this Cucco on a ledge next to the Skulltula House in the center of the village. You can either grab another Cucco and jump off the higher ledge of the unfinished building to float over to it, or use your Slingshot or a Deku Nut to knock it down and then grab it.
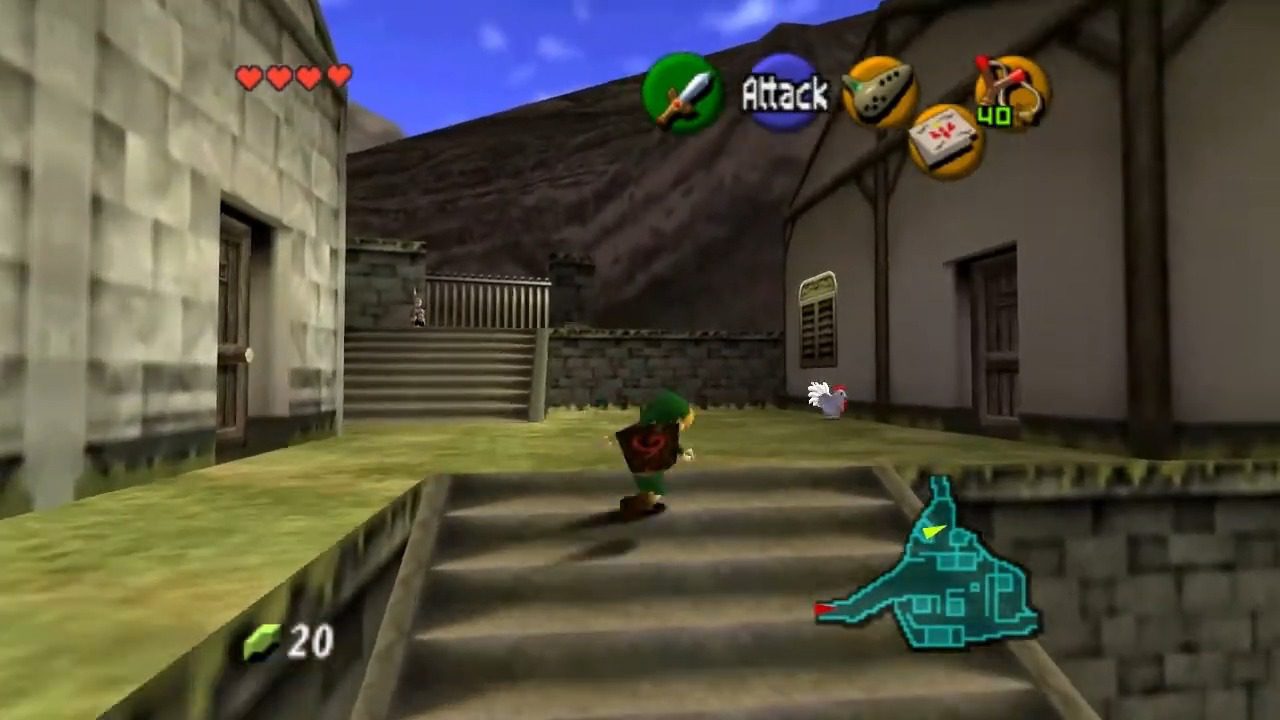
- Location #3: This Cucco is located right at the entrance to the village.
- Location #4: Look for a wooden crate near the stairs that lead up to the upper area of Kakariko Village. Roll into the crate to break it open and reveal the hidden Cucco.
- Location #5: This Cucco is standing right in front of the guard at the entrance to the Death Mountain Trail, near the ramp.
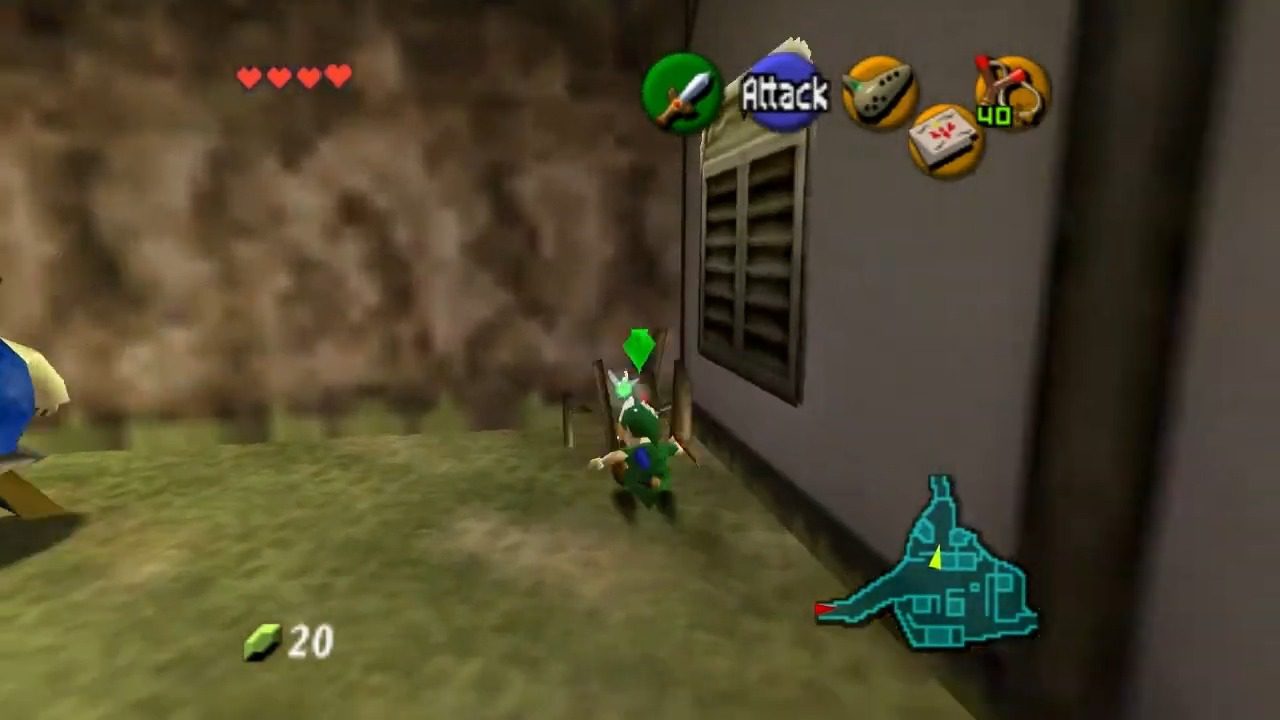
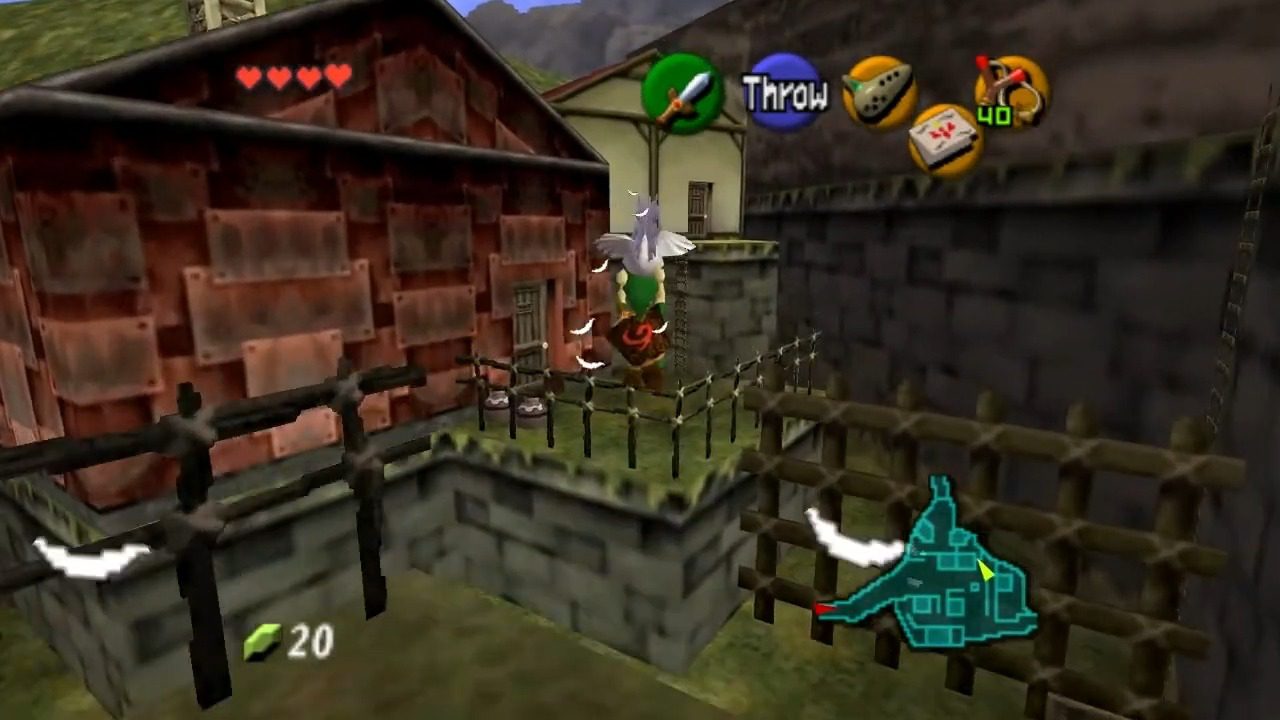
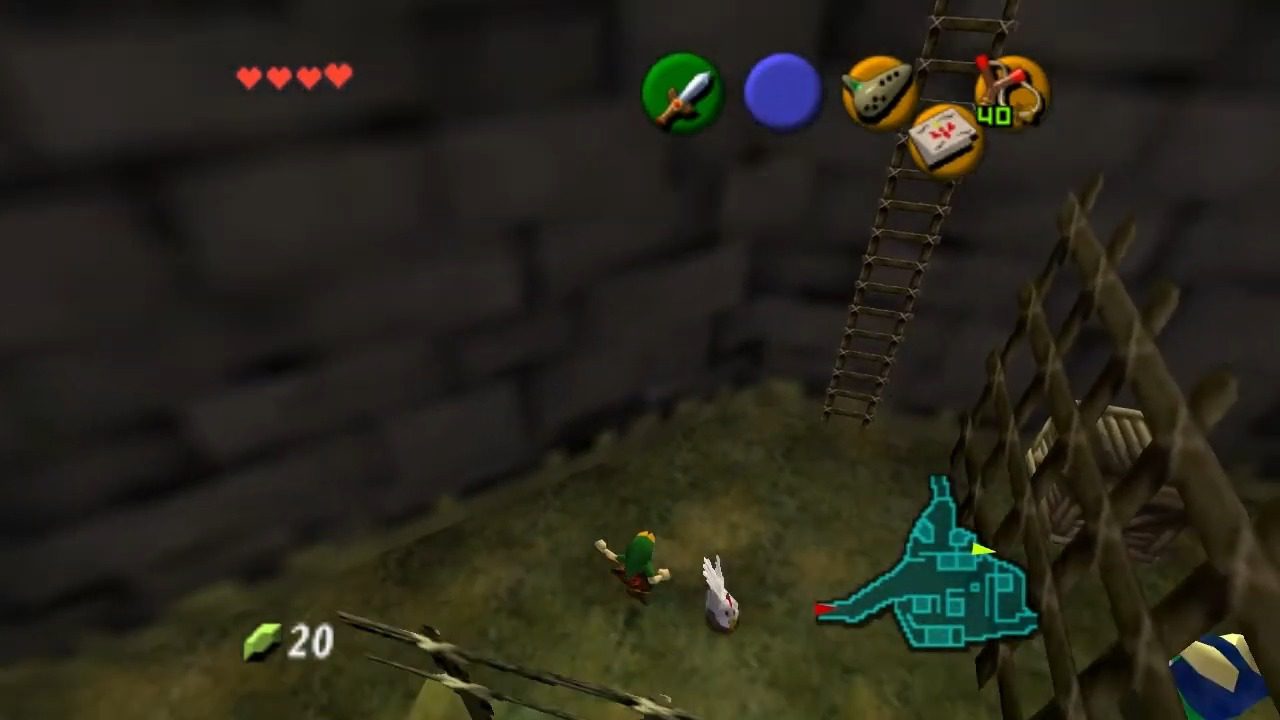
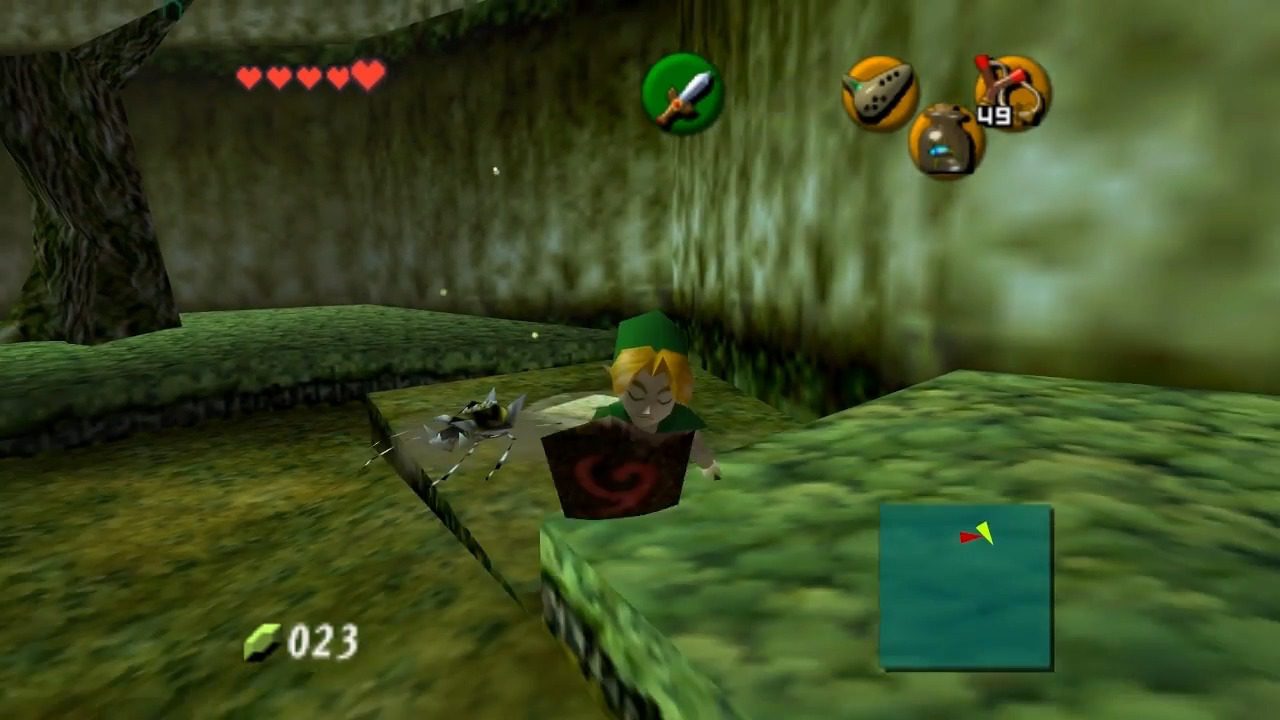
- Location #6: This Cucco is in the lower part of the secret area at the northeast corner of the village. To reach this area as a child, you can either grab a Cucco and walk up the ramp leading to the windmill entrance, then leap off the ledge at an angle to land on the skinny fence on the left, or climb to the top of the lookout tower in the center of town, Z-target the center of the village, and side jump to the left to land on a fence, allowing you to jump down into the secret area. The Cucco is near a hole, so be careful not to fall in. You might need to throw this one over the fence to get the next one first.
- Location #7: Once you’re in the secret area at the northeast part of town, climb up the ladder to find the last unsuspecting Cucco. With this one in hand, you can actually fly all the way back to the Cucco Lady.
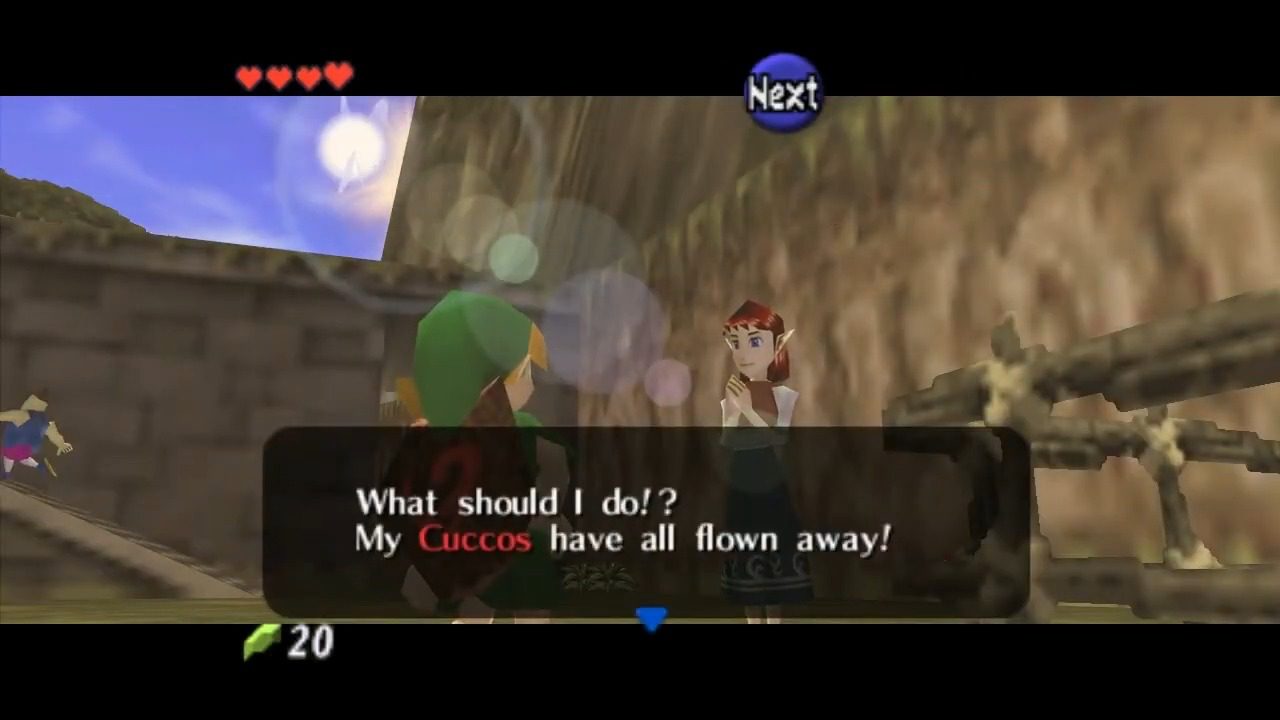

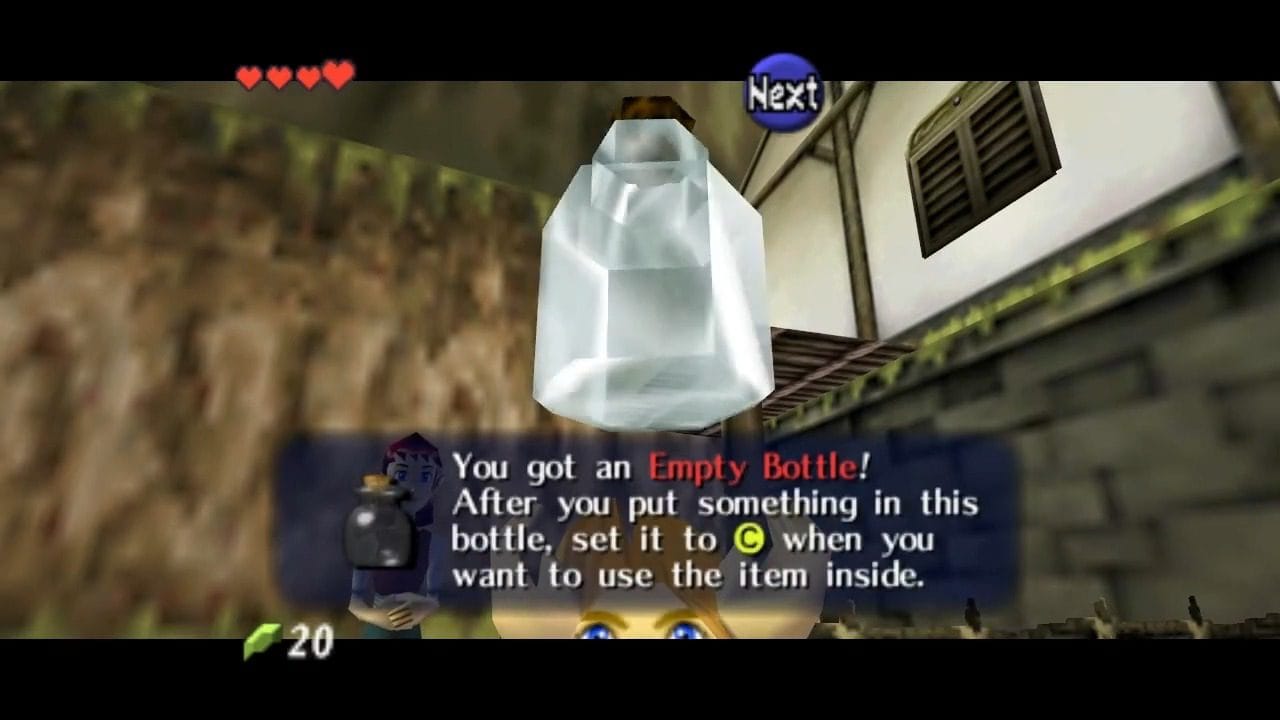
Successfully reuniting all seven Cuccos with the Cucco Lady will earn you a valuable Empty Bottle as a reward.
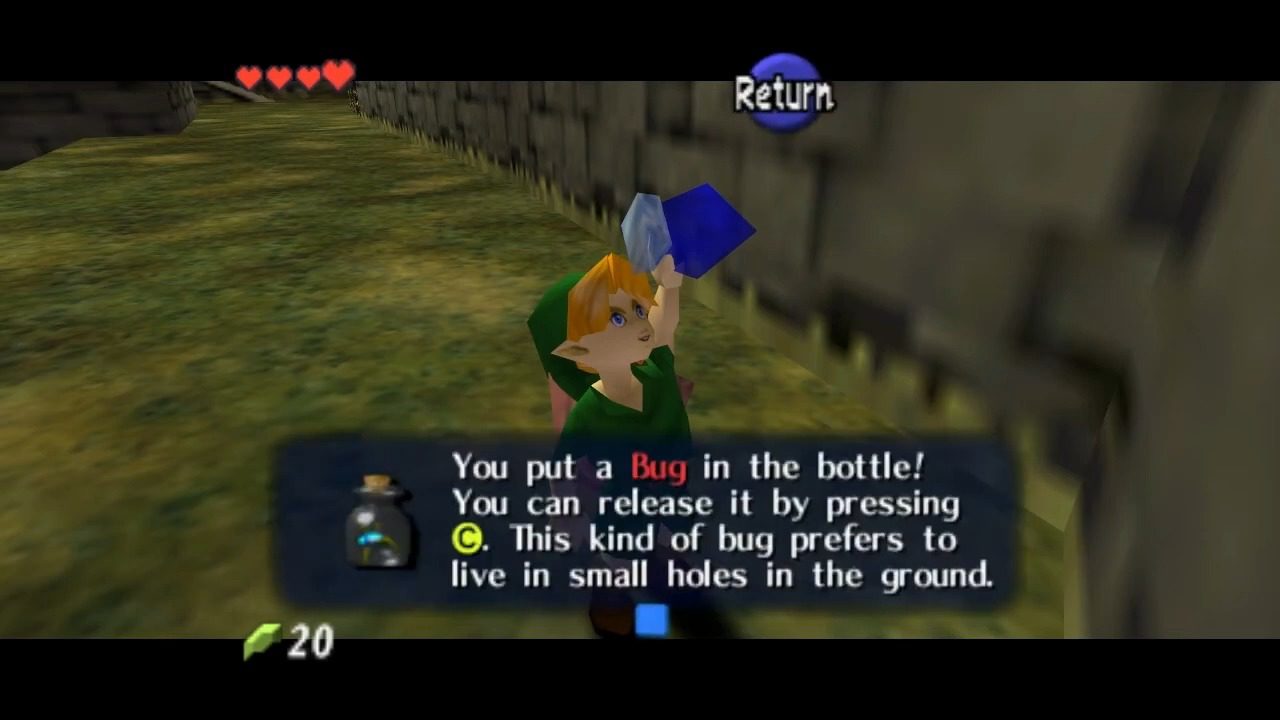
Having assisted the Cucco Lady, head west and pick up the stone to reveal bugs beneath. Catch one of the bugs with your newly acquired bottle.
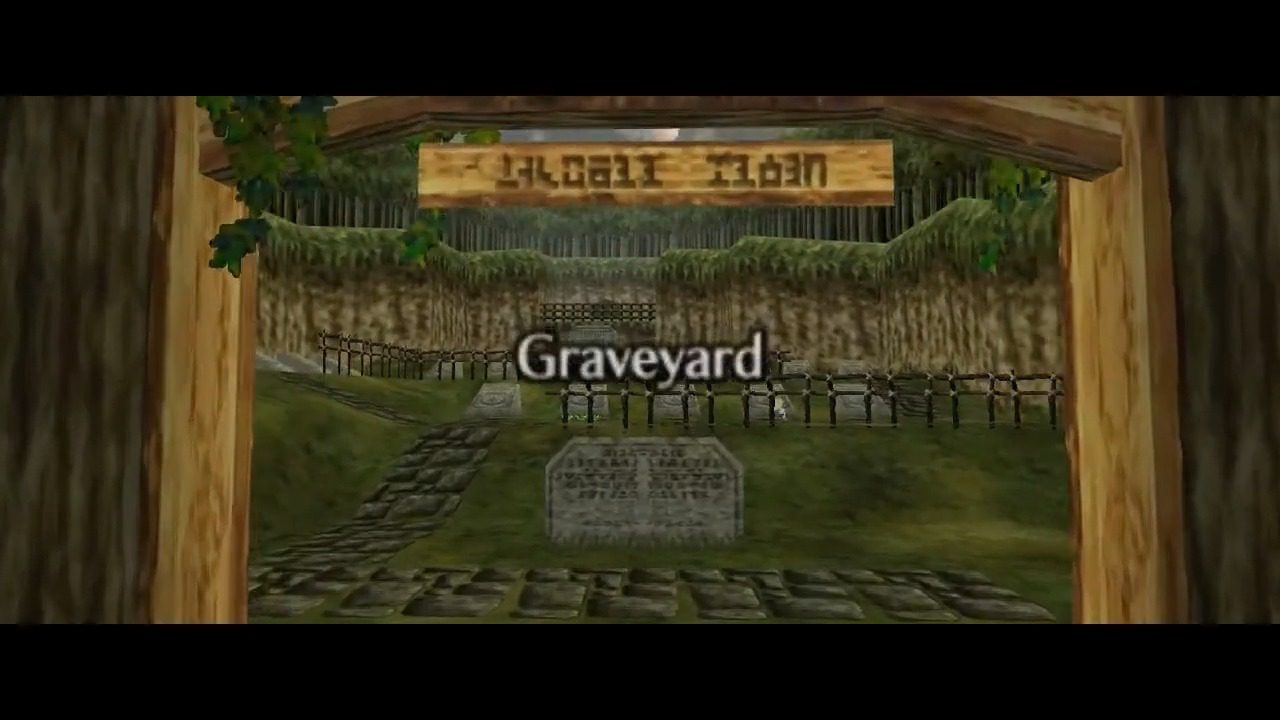
From there, head east and venture into the Kakariko Graveyard, located conveniently next to the Cucco pen. Wait until the cloak of night has fallen upon the village (you can expedite this process by using the Sun’s Song, which you will learn shortly). Seek out the largest tombstone situated at the back, distinguished by the Triforce symbol etched upon it. Stand on the Triforce emblem in front of this grand tomb and play Zelda’s Lullaby on your Ocarina.
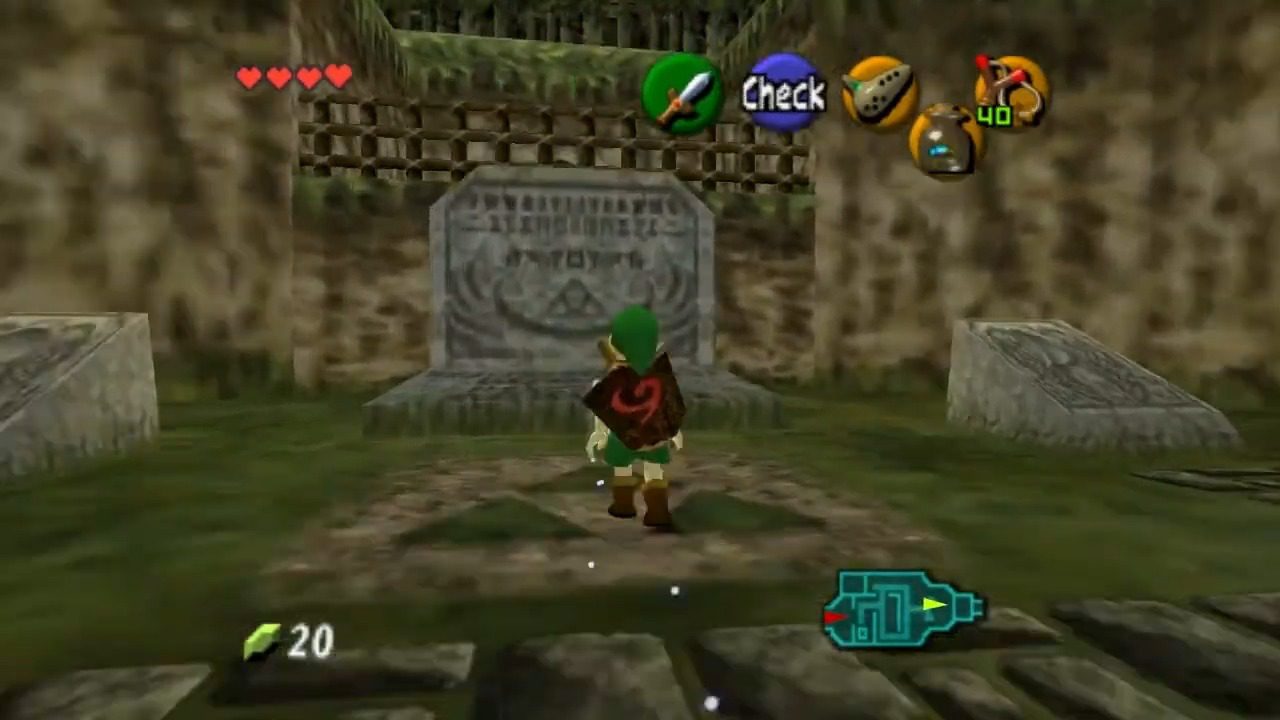

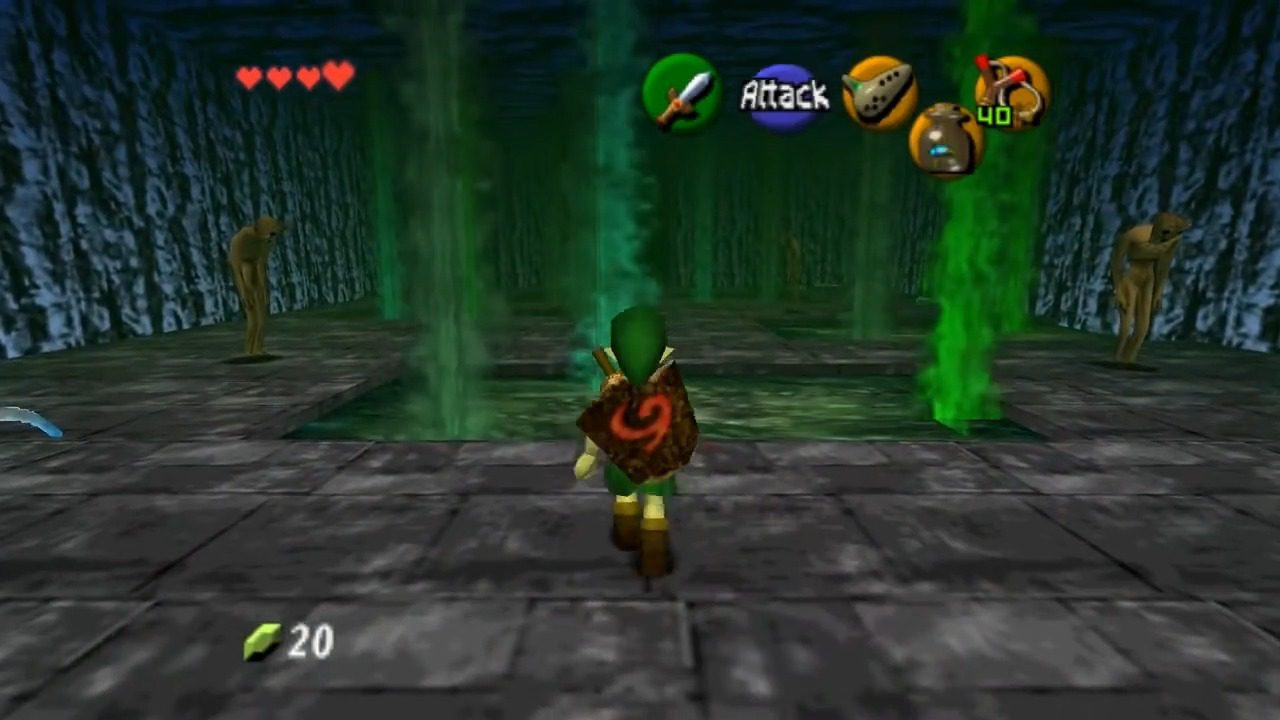
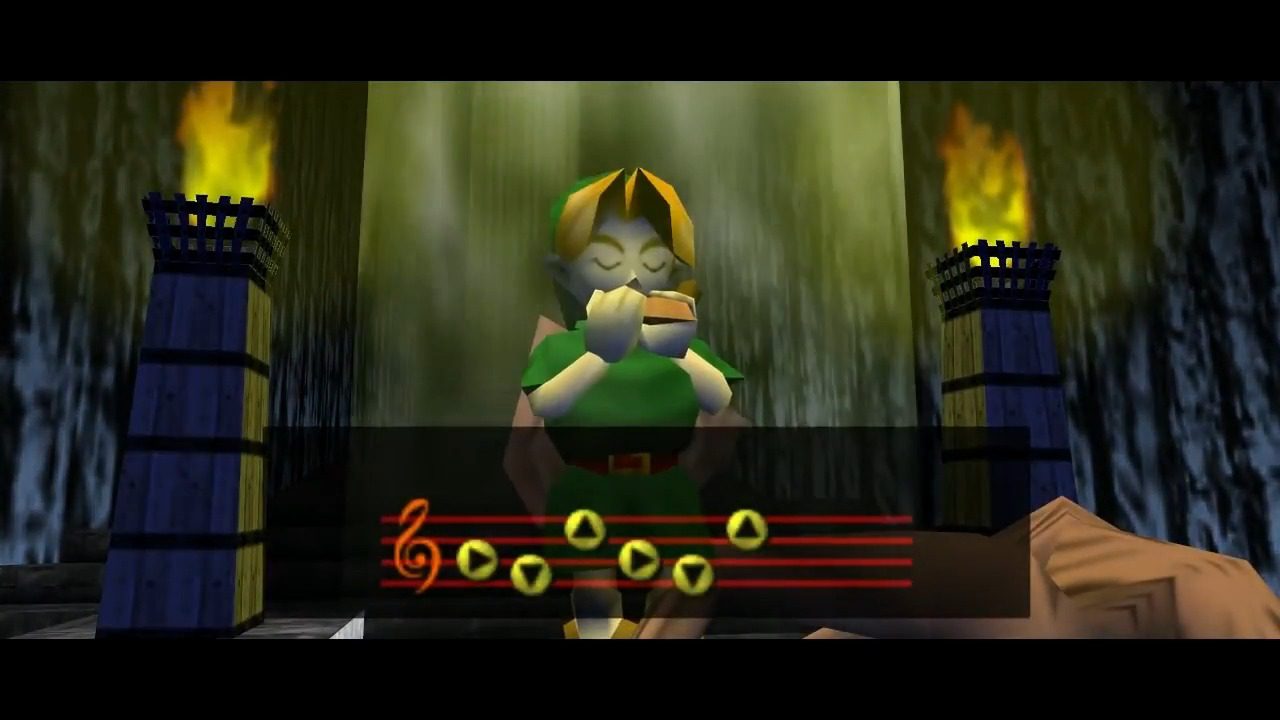
This melodic act will trigger the opening of the Royal Family’s Tomb. Enter the tomb and navigate through its corridors. In the initial chamber, defeat the Keese (bat-like creatures) to unlock the passage forward. Proceed cautiously through the subsequent room, avoiding the grasp of the unsettling ReDeads (zombie-like enemies). In the final chamber, you will discover a large stone tablet bearing an inscription. Examine this tablet to learn the notes of the Sun’s Song. This newly acquired melody can instantly shift the time of day, and it possesses the power to temporarily stun the menacing ReDeads and Gibdos.
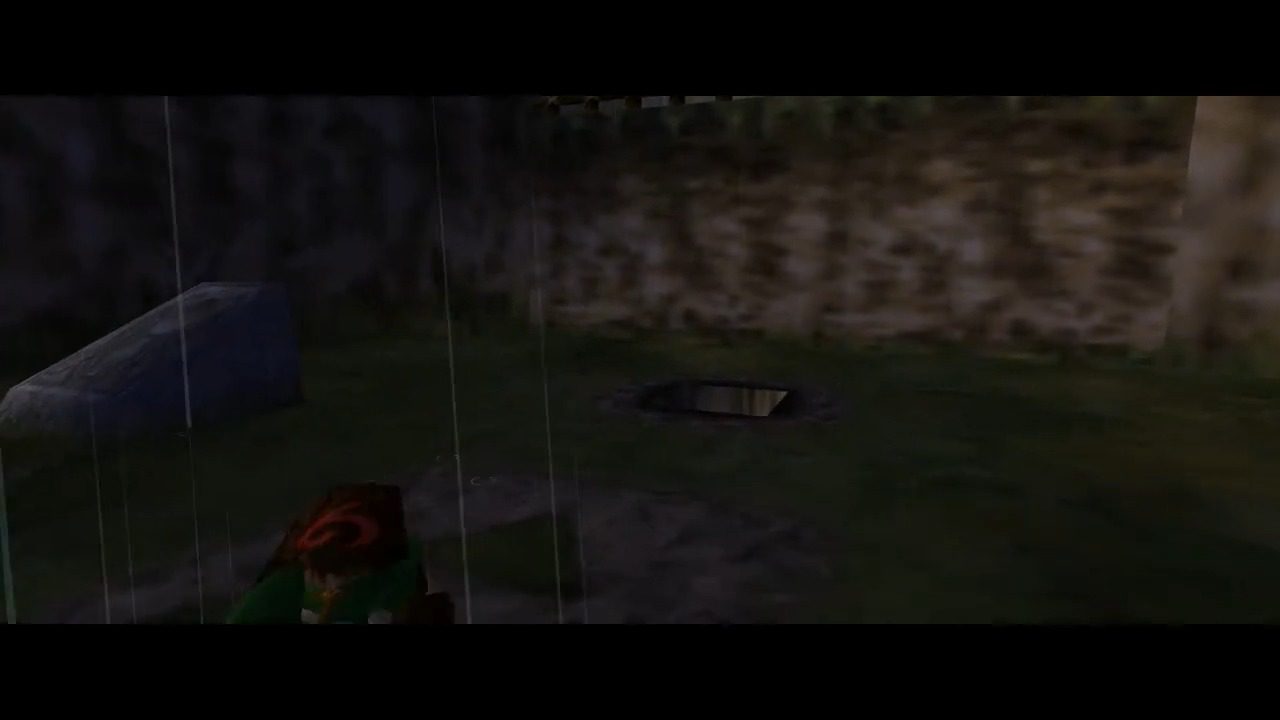

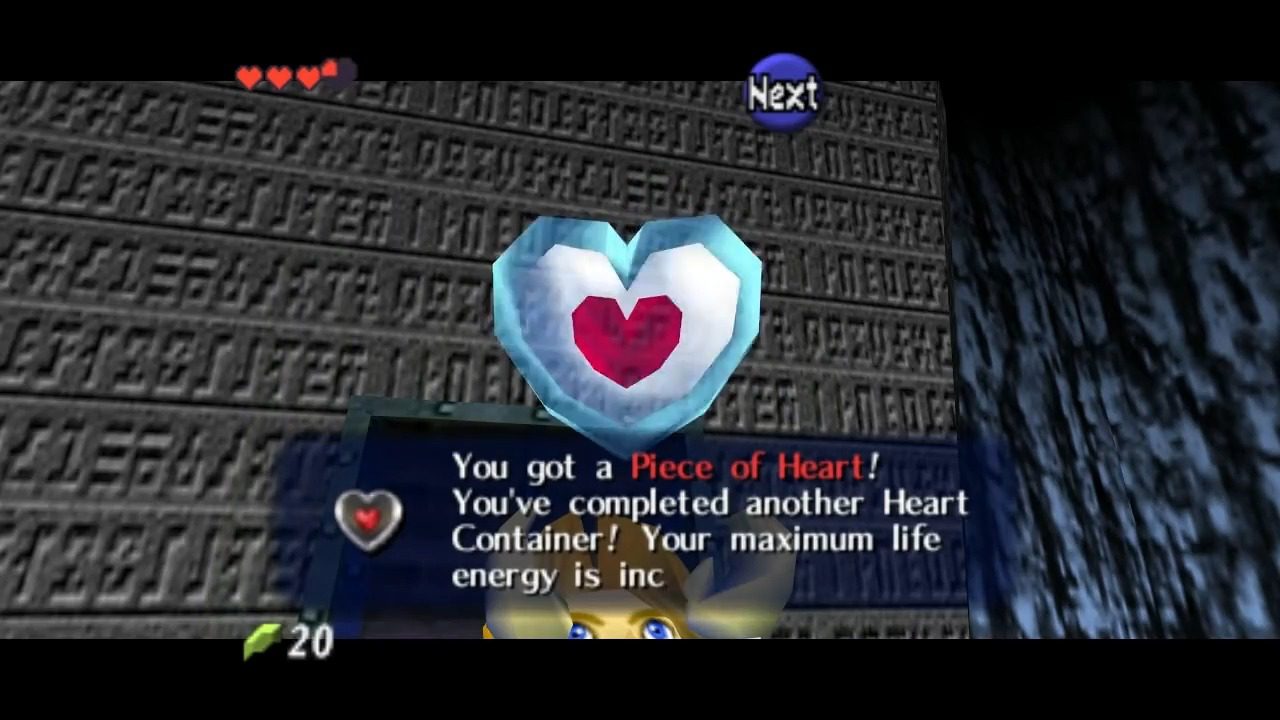
Locate the top row of smaller tombstones and pull back the fourth tombstone from the right. This will reveal yet another hole. Enter it, defeat the ReDead, and play the Sun’s Song. This will cause a treasure chest to appear, containing a valuable Heart Piece.

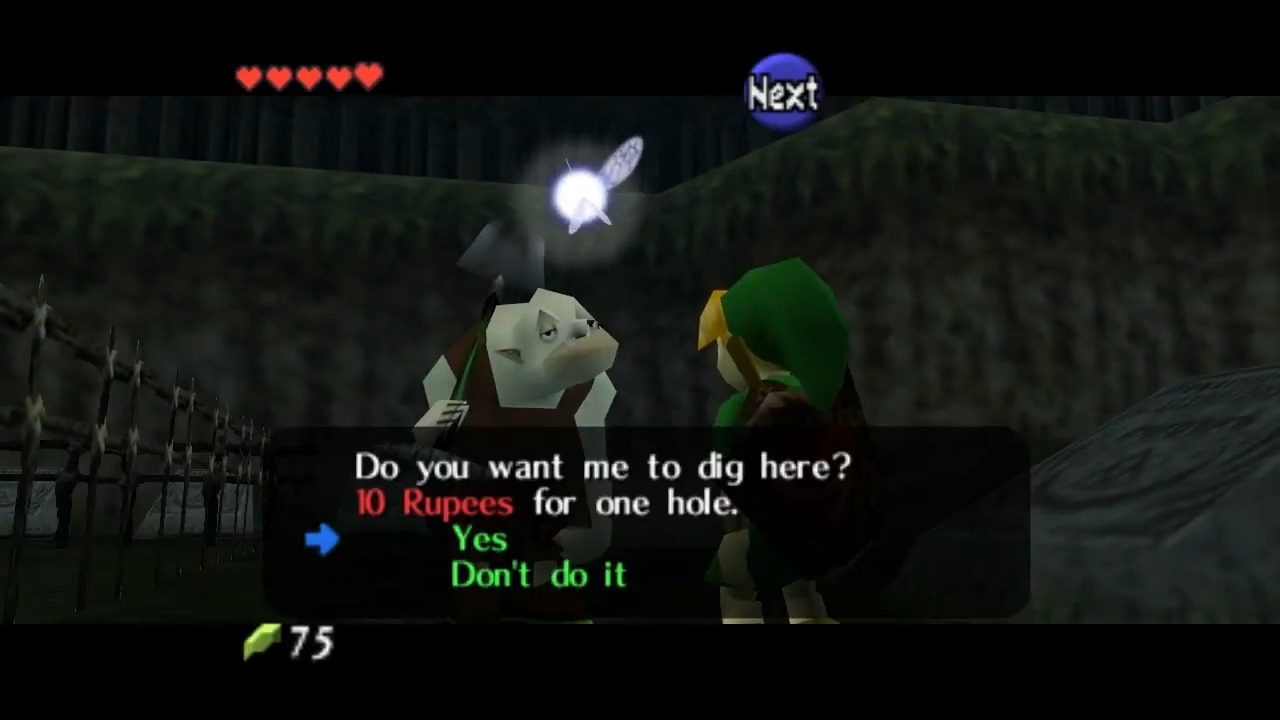
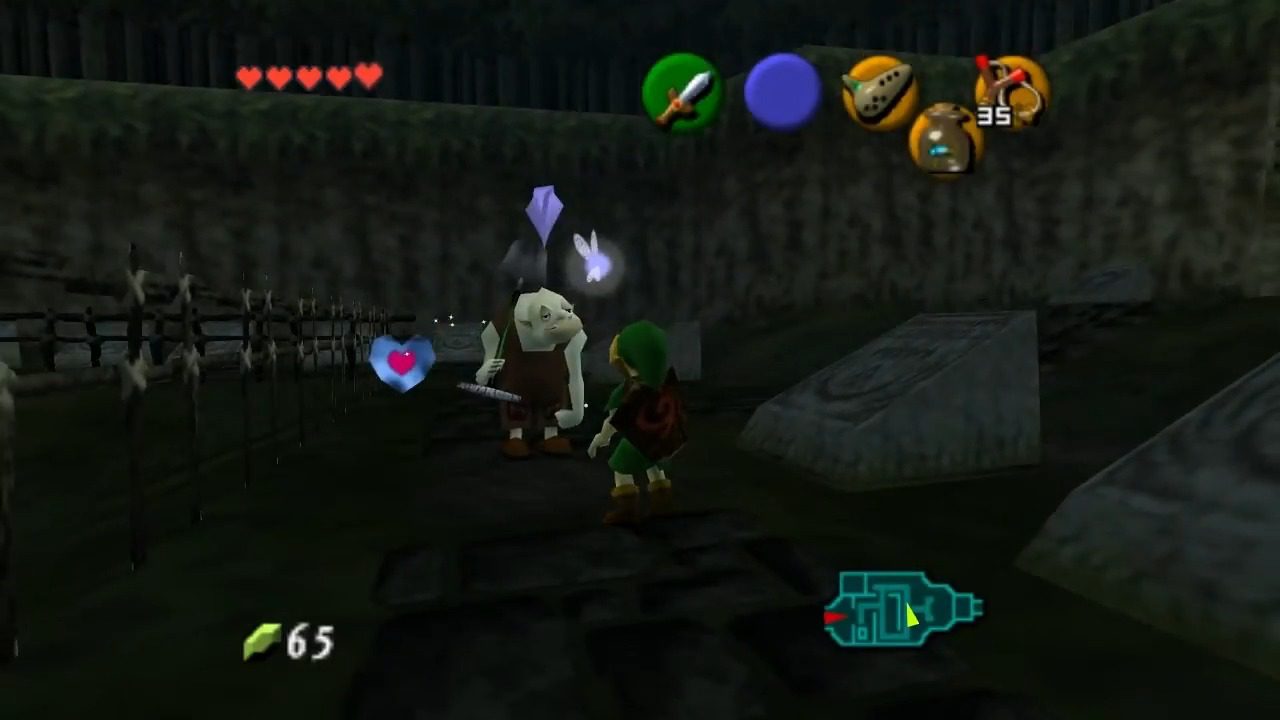
In the Kakariko Graveyard, between the hours of 6 PM and 9 PM, you can encounter Dampé, the village’s enigmatic gravekeeper, as he patrols the grounds. Engage in conversation with him to partake in his “Heart-Pounding Gravedigging Tour” for a modest fee of 10 Rupees. Dampé will randomly dig in various patches of soft soil. While most of his excavations will yield Rupees, there is a chance that he will unearth a coveted Piece of Heart. It is important to note that this is a random occurrence, so you might need to try your luck multiple times to obtain this valuable reward.
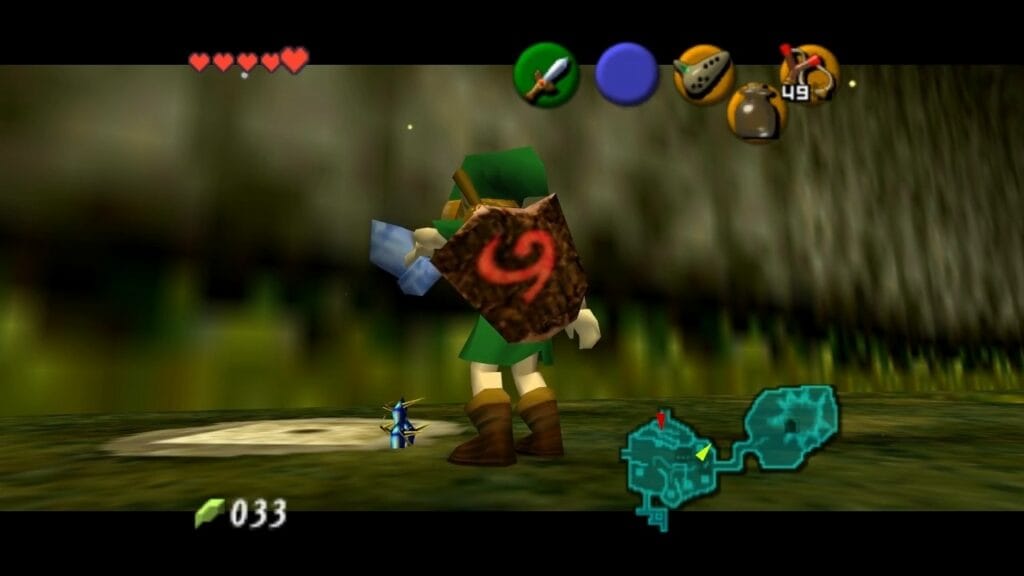
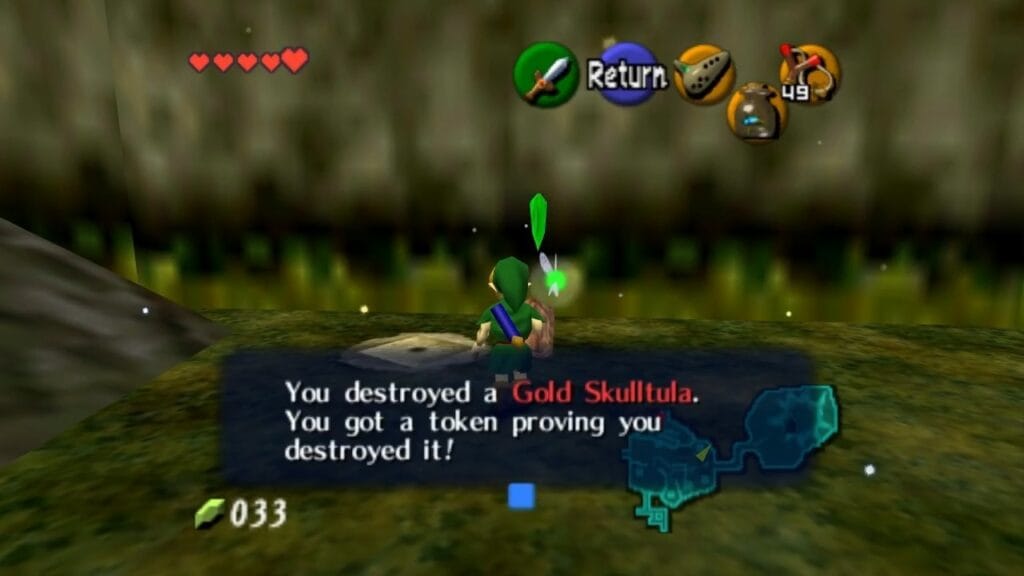
Lastly, look for a patch of soft soil to the left in the graveyard – using a Bottle of Bugs here will coax out another Gold Skulltula. Ironically, multiple bugs will fall out of the bottle, even though we just caught one earlier, so when you use the Bottle of Bugs, catch one to replace it.
Head back into Kakariko Village. At nighttime, this Gold Skulltula appears on the building that is currently under construction in the center of the village.

At nighttime, roll into the large tree located straight ahead from the village entrance to make this Skulltula drop down.

At nighttime, you can find this Gold Skulltula on the side of the house that is closest to the gate leading towards Death Mountain.

This Gold Skulltula appears near the top of the tall lookout tower in the center of the village at nighttime. Shoot it down with your Slingshot and then climb the ladder to collect the token.

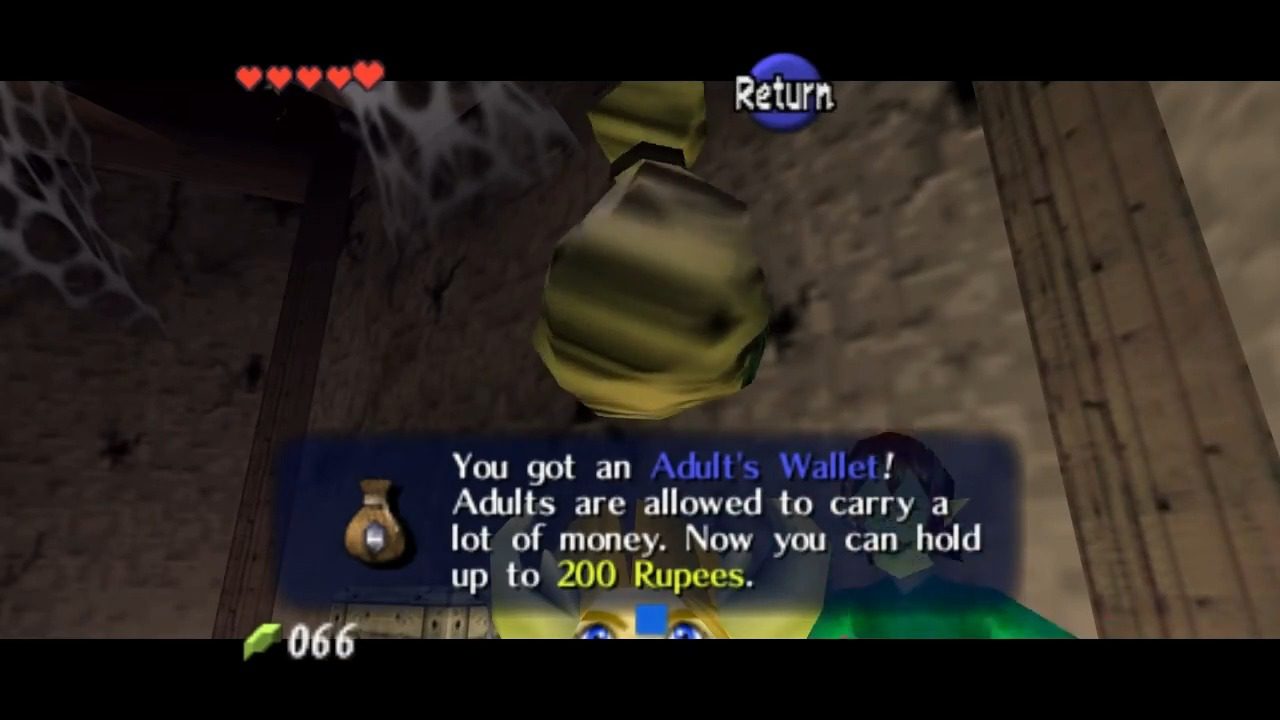
If you’ve been following our guide up until this point and/or you have over 10 Gold Skulltulas, head to the House of Skulltula and collect the Adult’s Wallet from the guy that appears.
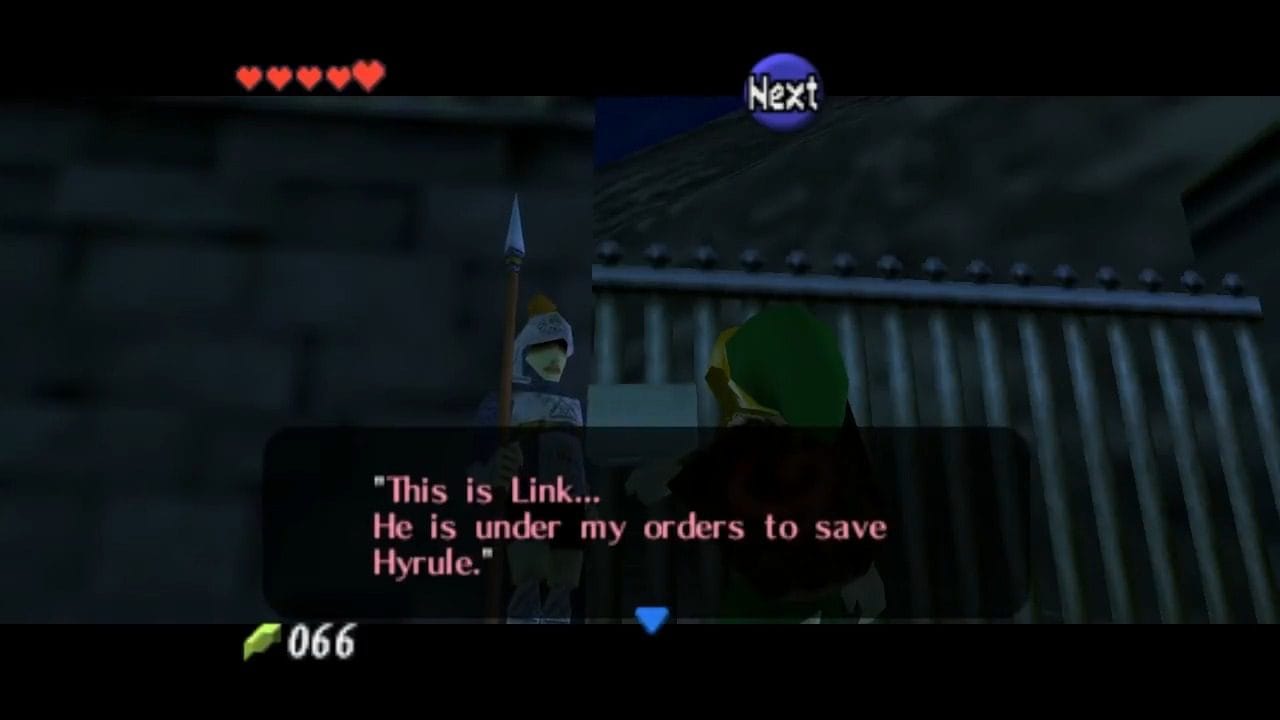
Head to the gate to Death Mountain. The guard stationed there is your first point of contact, and he won’t just let anyone pass through to Death Mountain. To gain access, you’ll need to show him Zelda’s Letter, proof of the princess’s orders for you to save Hyrule. Upon presenting the letter, the guard will humorously acknowledge the princess’s request and grant you passage. He might even offer some friendly, albeit slightly sarcastic, advice about equipping a proper shield for the volcanic conditions ahead and suggest checking out the Bazaar in Hyrule Castle Town for a discount on a Hylian Shield.
This letter not only grants the bearer permission to traverse the path towards Death Mountain but also acts as a key to unlocking certain beneficial activities within Hyrule Market itself. Notably, it facilitates the opening of the Happy Mask Shop and unlocks the potential for a valuable discount at the Bazaar.
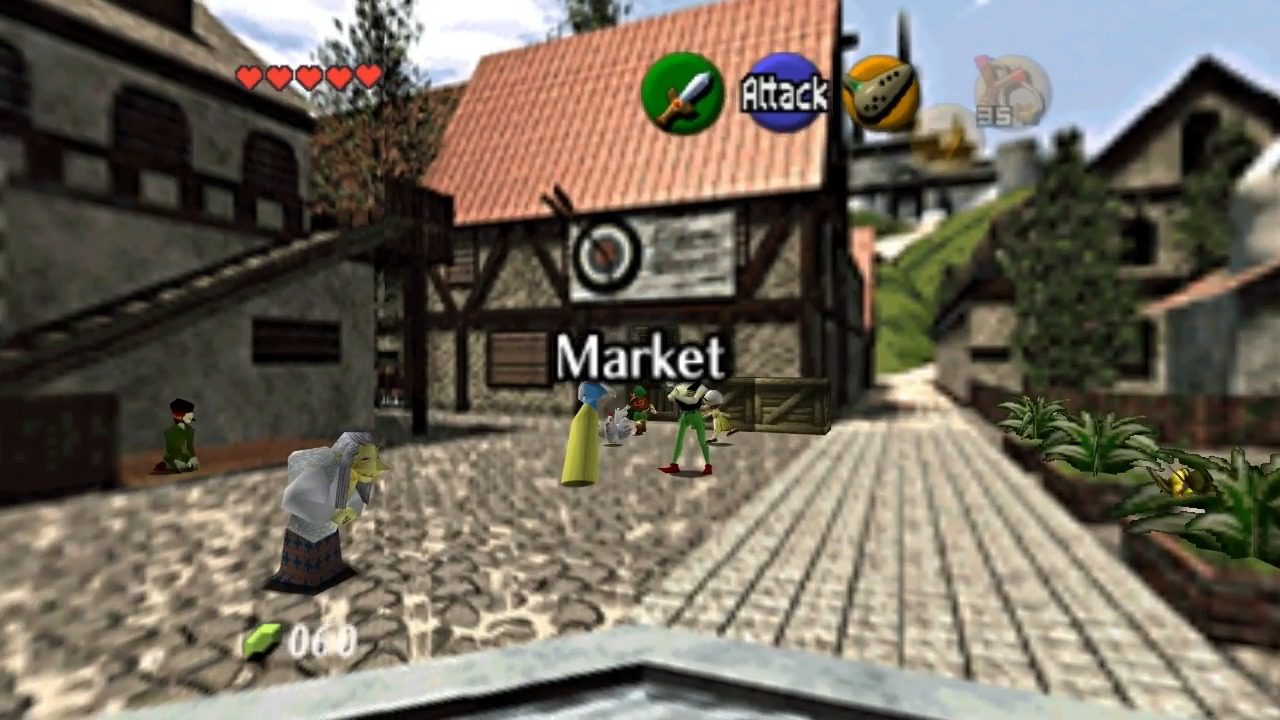
Make your way to Hyrule Castle Market. Enter the guardhouse. One particular crate, located in the back of the room in close proximity to the guard, will reveal a hidden Gold Skulltula. Defeat the creature to obtain its token.

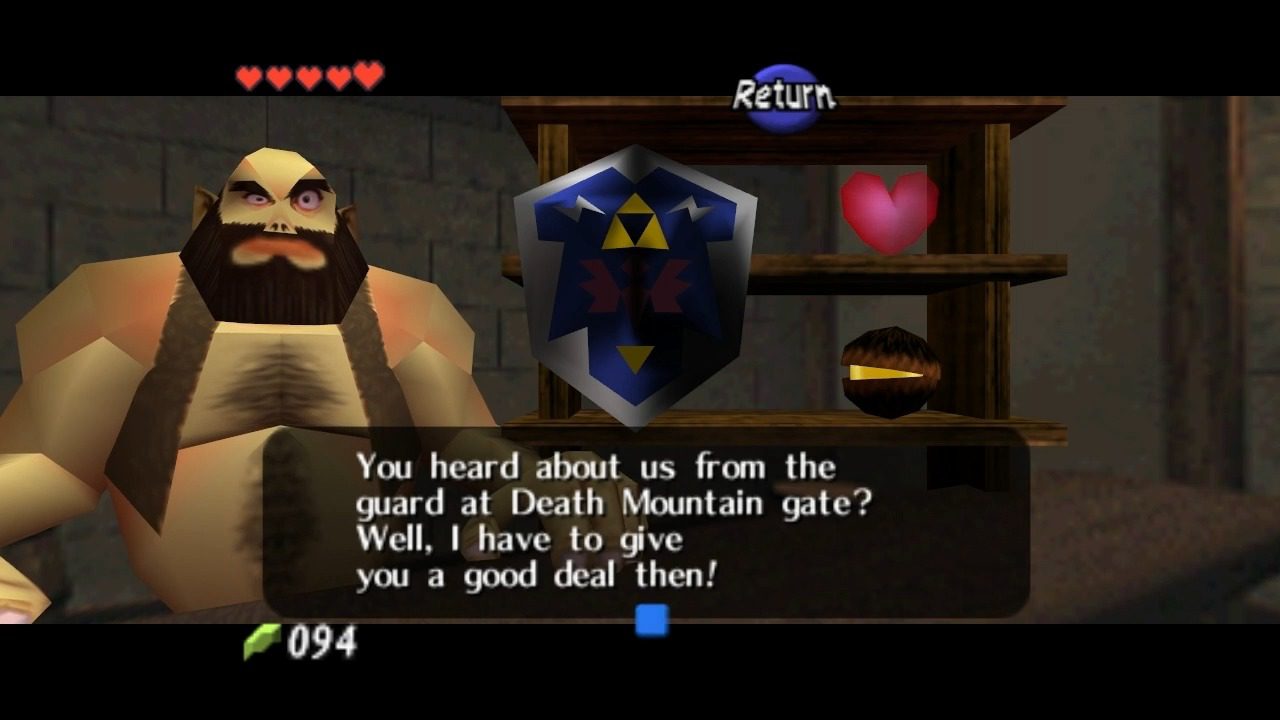
The Bazaar, the primary establishment for acquiring the indispensable Hylian Shield, is situated in the heart of Hyrule Market’s central plaza. The robust Hylian Shield can be purchased for the sum of 80 Rupees. This shield offers superior protection compared to the initial Deku Shield and, crucially, provides vital defense against fire-based attacks, a prevalent hazard in the fiery domain of Death Mountain.
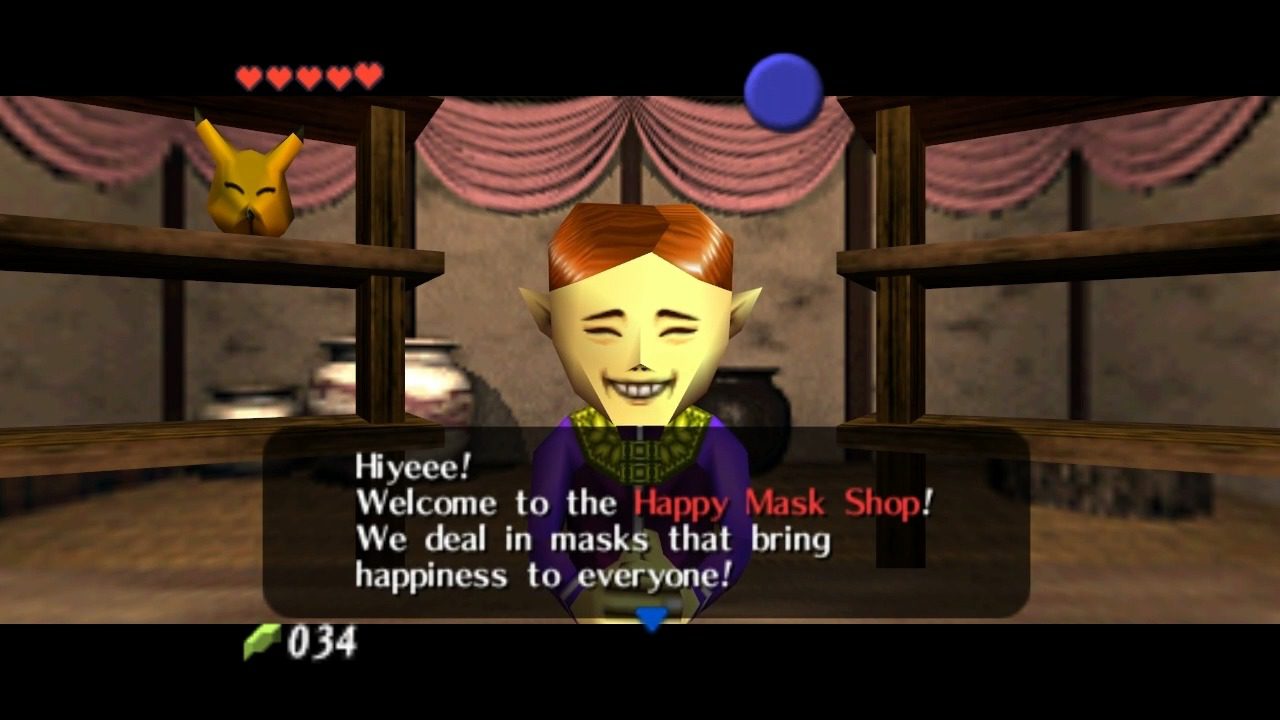
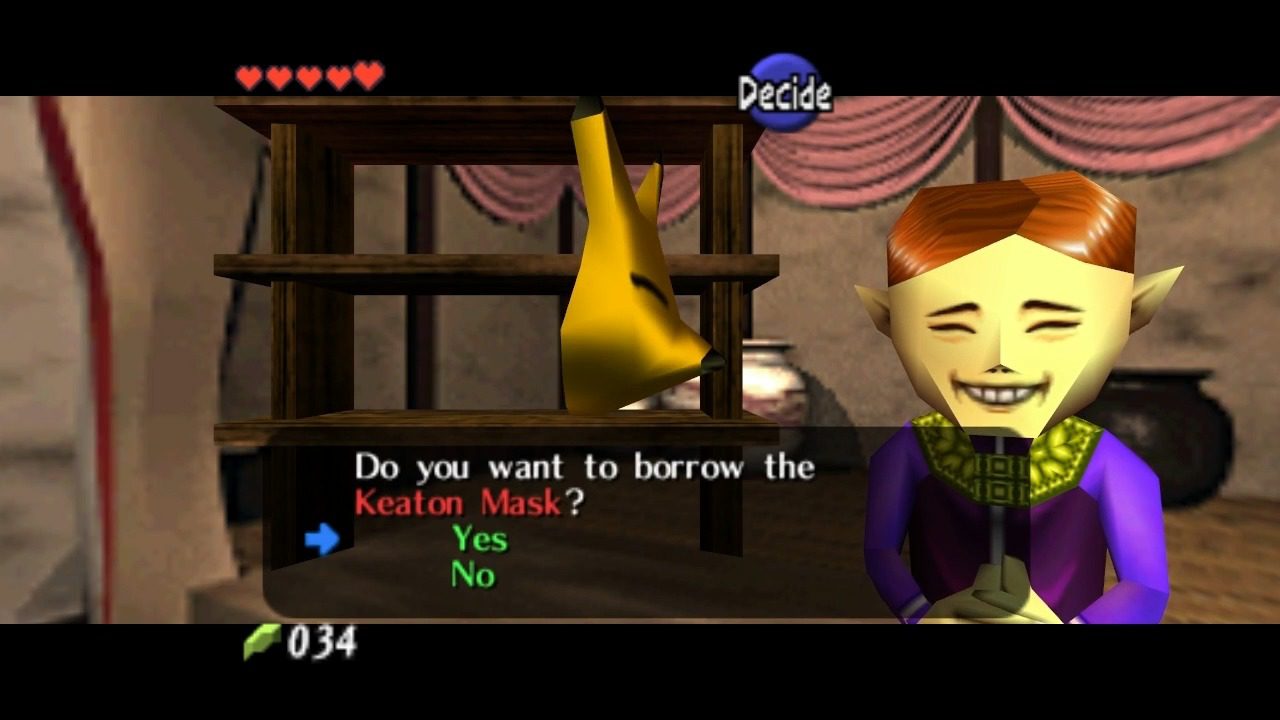
The whimsical Happy Mask Shop can be found in the eastern part of Hyrule Market, situated along the path leading towards the imposing Hyrule Castle. Look for a distinctive building adorned with a large, cheerful mask, a clear indication of the unique services offered within. Upon entering the Happy Mask Shop, you will be greeted by the enigmatic Happy Mask Salesman. He will introduce the shop’s unique system: adventurers can borrow masks to sell to the various inhabitants of Hyrule. The first mask available for borrowing is the Keaton Mask, which requires a borrowing fee of 10 Rupees. This mask is designed to resemble the elusive Keaton, a fox-like creature known for its cunning and often sought after by children.
With the Keaton Mask now in your possession, the next step involves a short journey to Kakariko Village. With the Keaton Mask equipped, engage in conversation with the Death Mountain Trail Gatekeeper once more. He will immediately recognize the popular Keaton Mask and reveal that his own son has been particularly eager to acquire one. He will gladly purchase the mask from you for 15 Rupees, resulting in a small profit of 5 Rupees after repaying the borrowing fee.

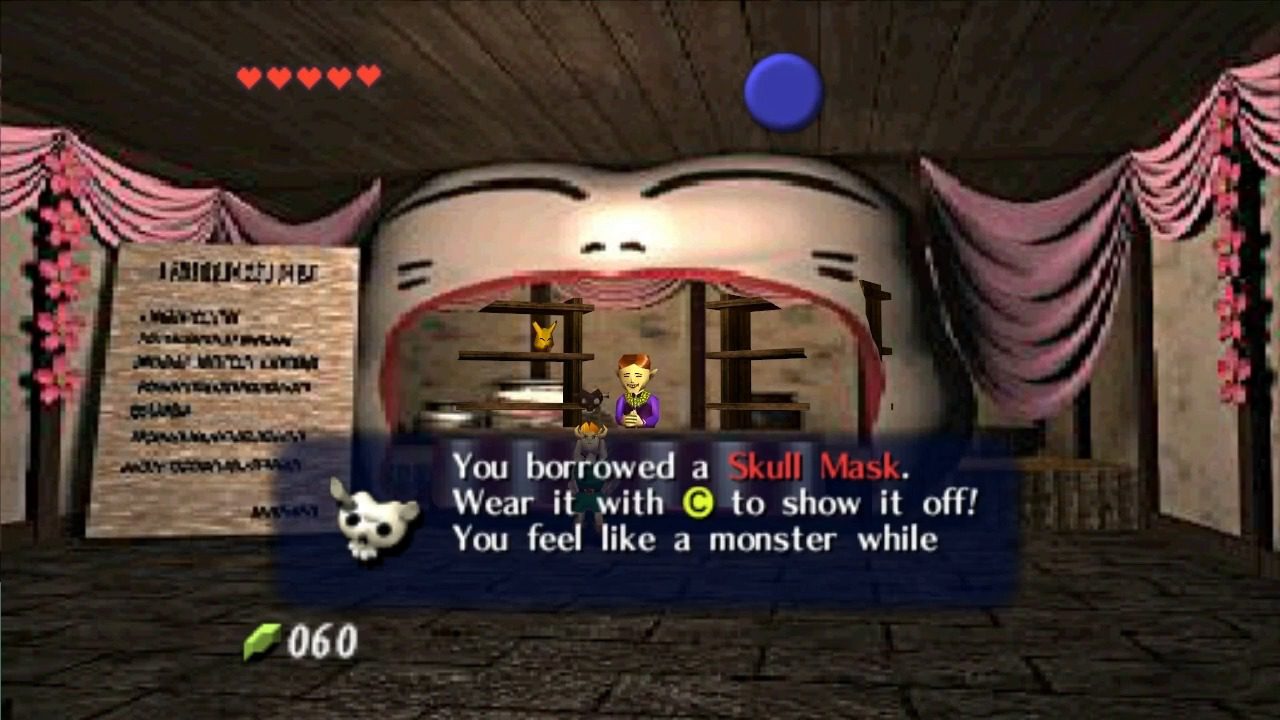
Head back to the Mask Shop to give the shop owner his cut and borrow the Skull Mask.

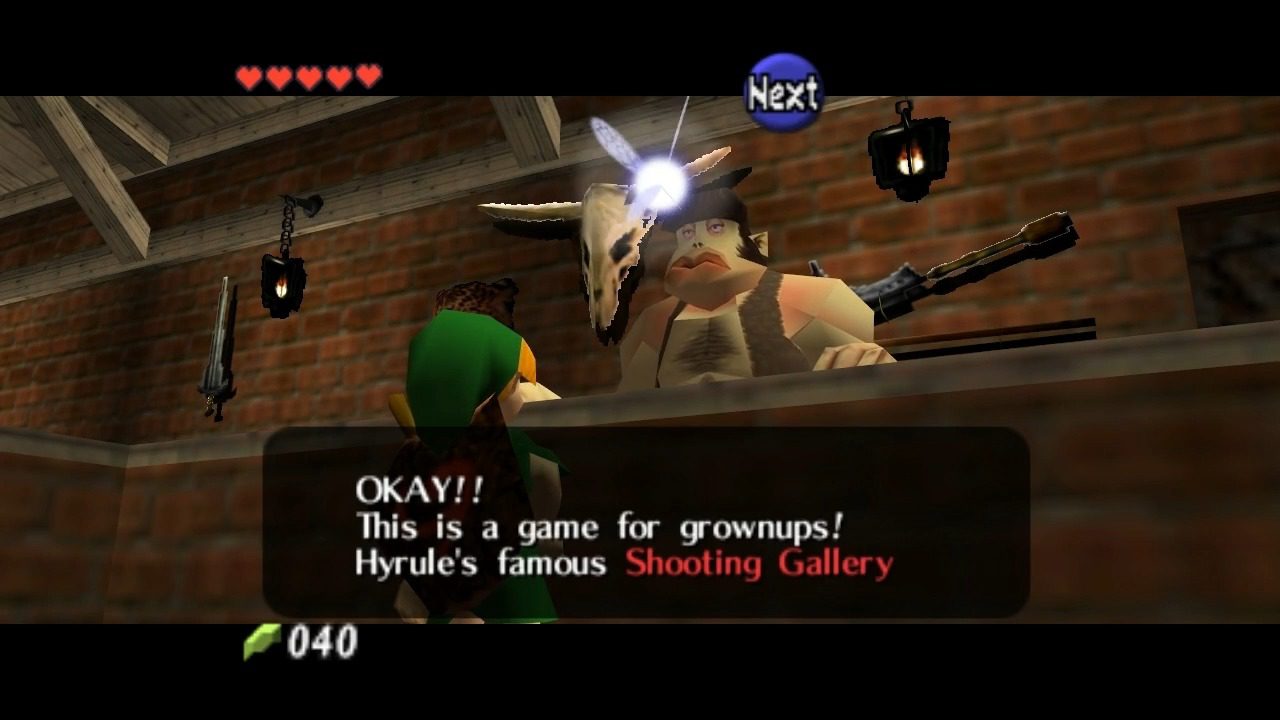
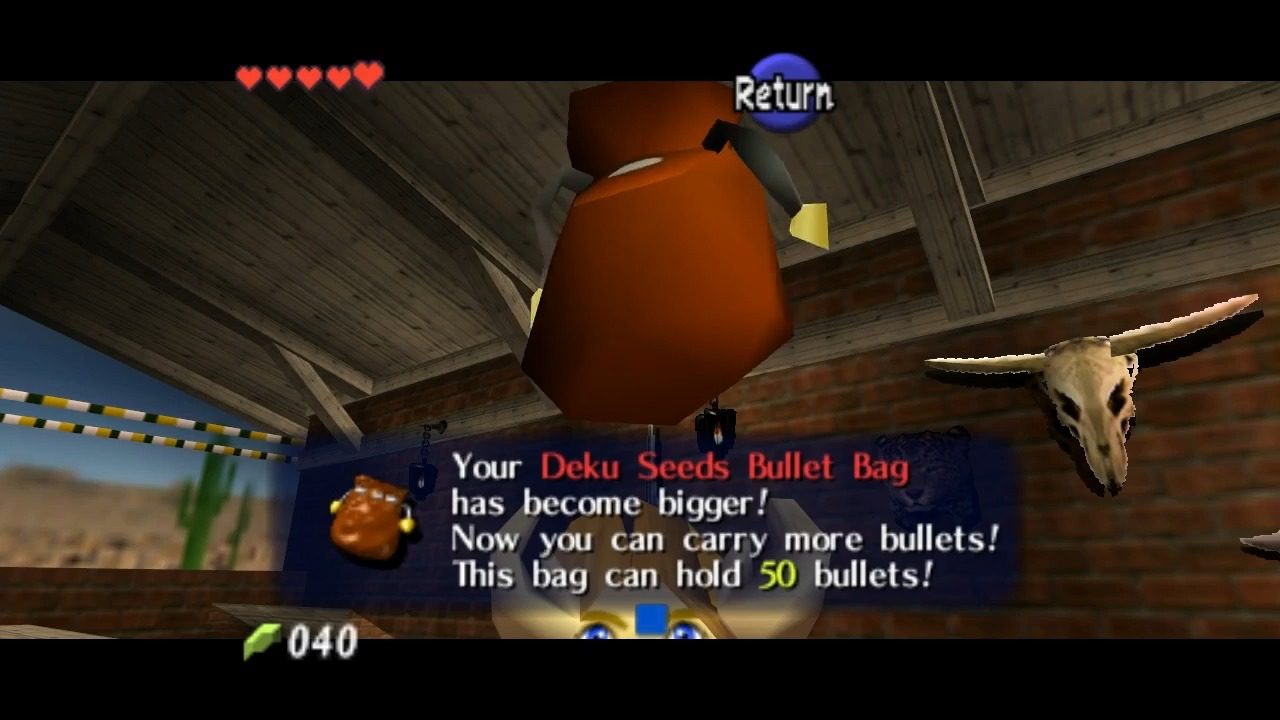
Located in the lively town square of Hyrule Market, the Shooting Gallery offers an engaging mini-game that also yields a useful upgrade. For a fee of 20 Rupees, participants are challenged to use their Slingshot to accurately hit ten rupee targets that appear within a limited timeframe. Successfully hitting all ten targets will result in the reward of the Big Deku Seed Bullet Bag, which increases the Slingshot’s maximum ammunition capacity from 30 to 40.
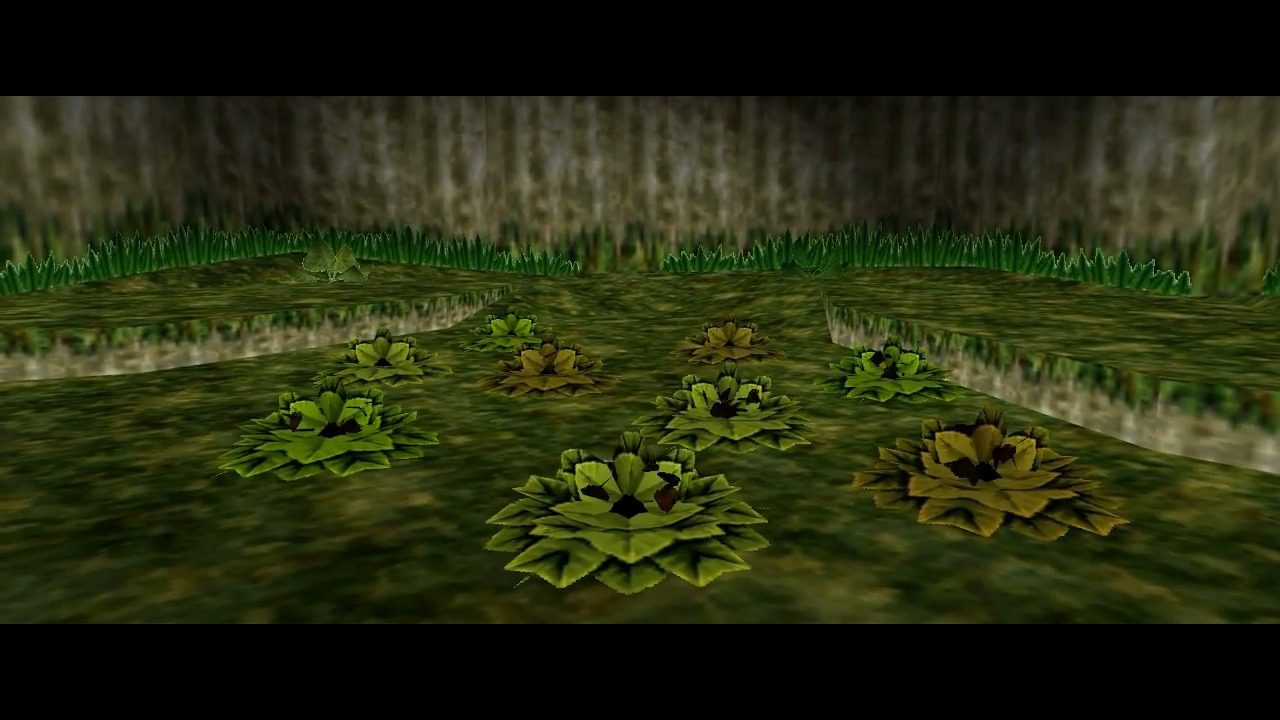
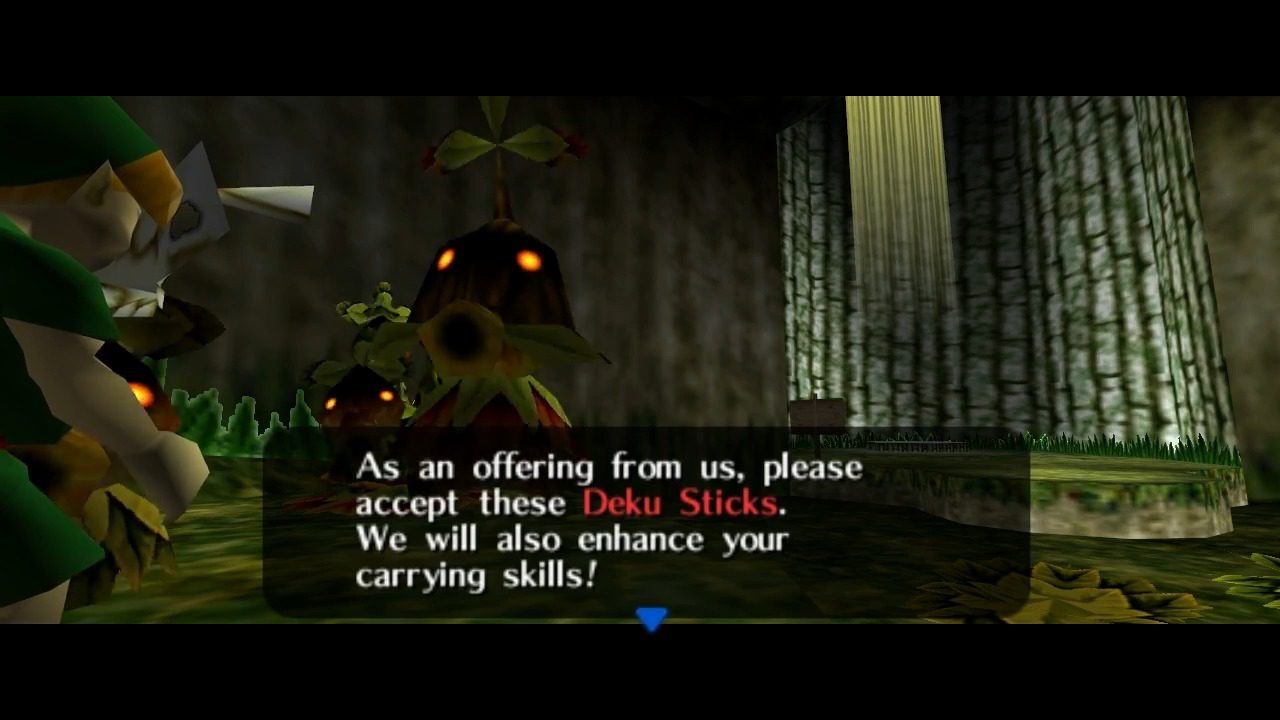
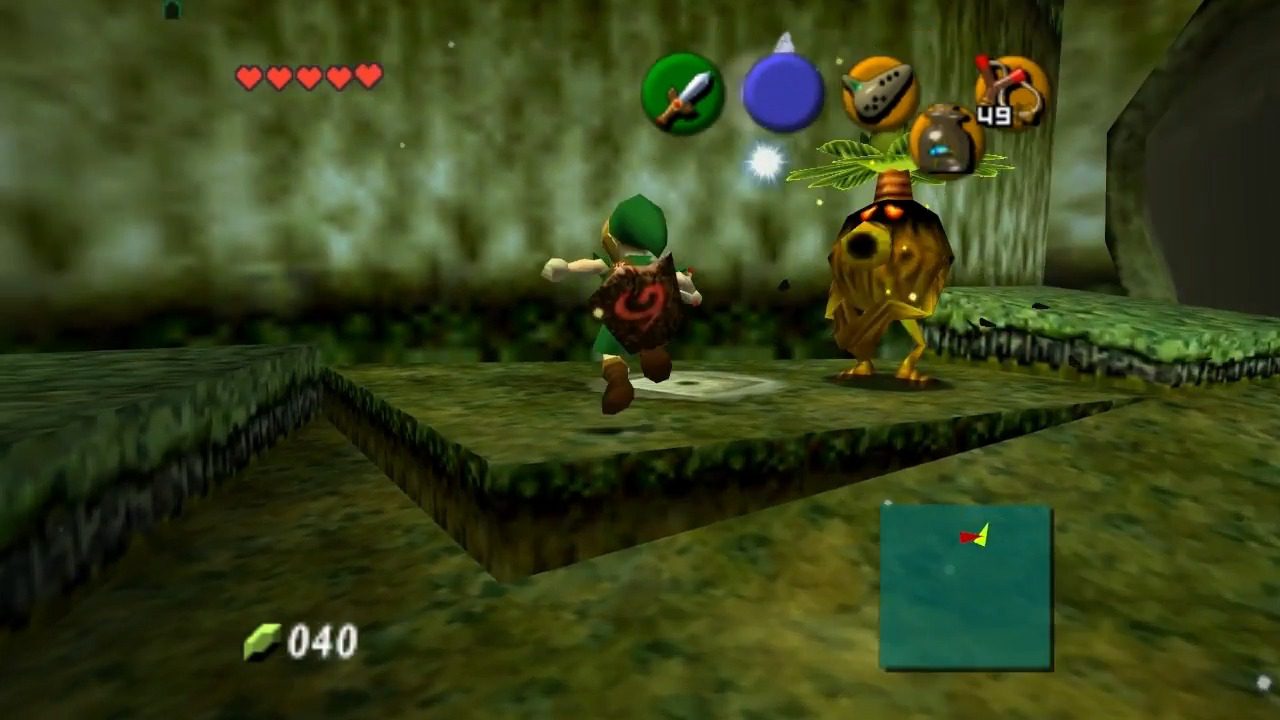
Head to the Lost Woods. From the entrance of the Lost Woods. Go right, left, right, left into an area with a circle of butterflies and a small patch of dirt—this is the Deku Theater. Walk to the center of the dirt patch while wearing the Skull Mask. Upon wearing the mask, the Deku Scrubs will emerge from the ground. They will reward you with the first Deku Stick Upgrade (allowing you to carry 20 sticks).

Heading out of the hole, defeat the deku merchants and throw some bugs into the soft soil patch to the left. Defeat and collect the Gold Skulltulta that appears.

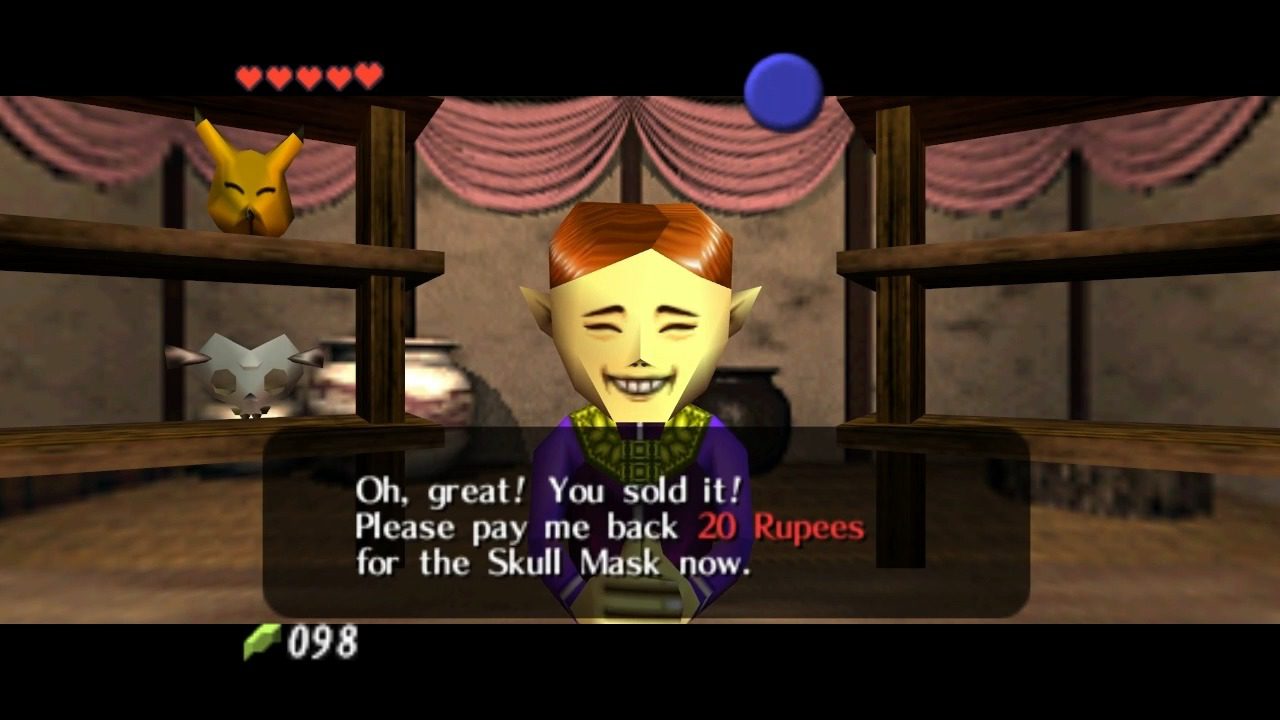
Head back to the entrance of the lost woods and take a left. Stand on top of the stump while wearing the Skull Mask and speak with the skull kid. Sell the Skull Mask to him.

Leave the Lost Woods to Kokiri Forest. Behind the Kokiri Shop that originally sold you the Deku Shield, there is a Soft Soil Patch. Drop some bugs into it. Defeat and Collect the Gold Skulltula that appears.
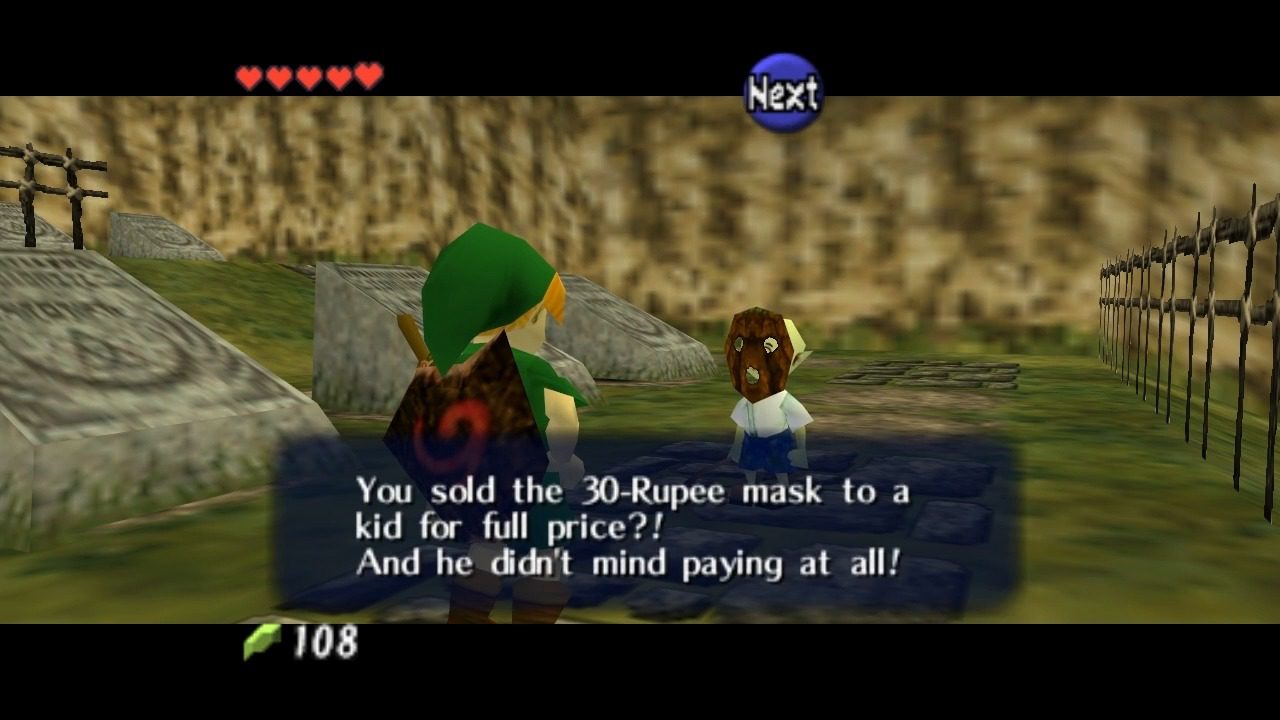
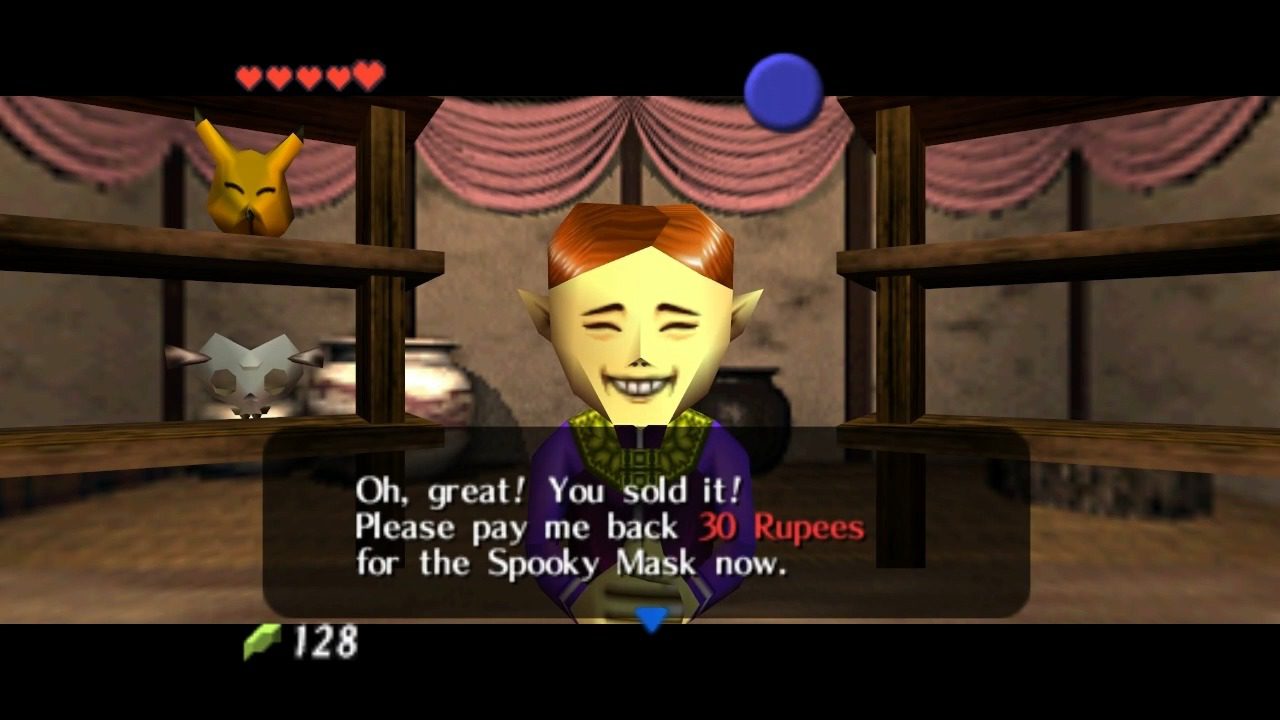
Navigate back to Hyrule Castle Market and the Happy Mask Shop. Pay the mask guy for the Skull Mask and borrow the Spooky Mask.
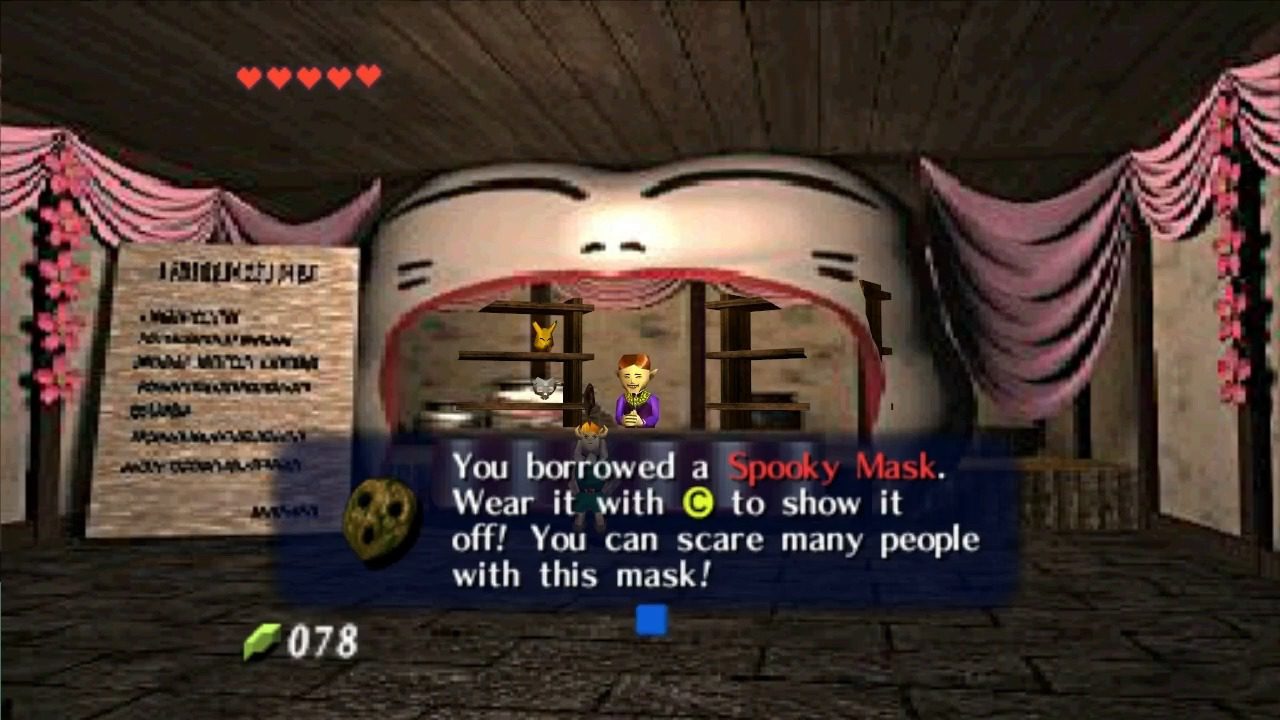
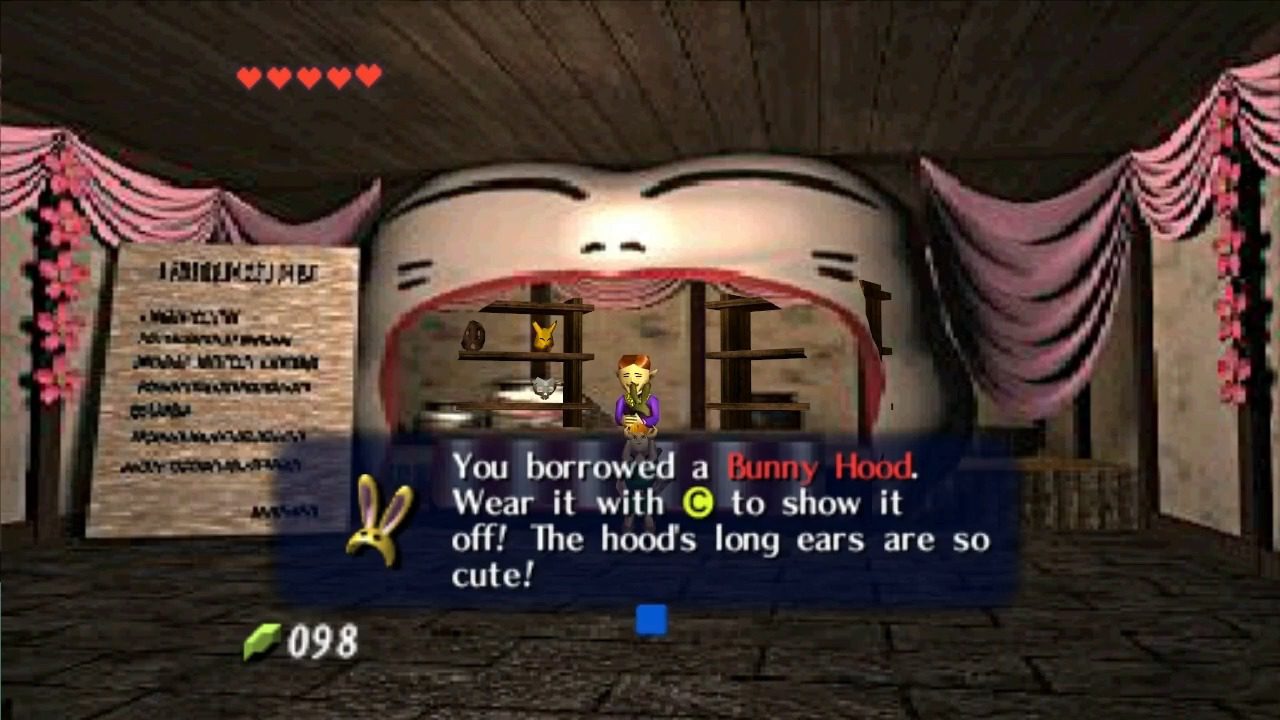
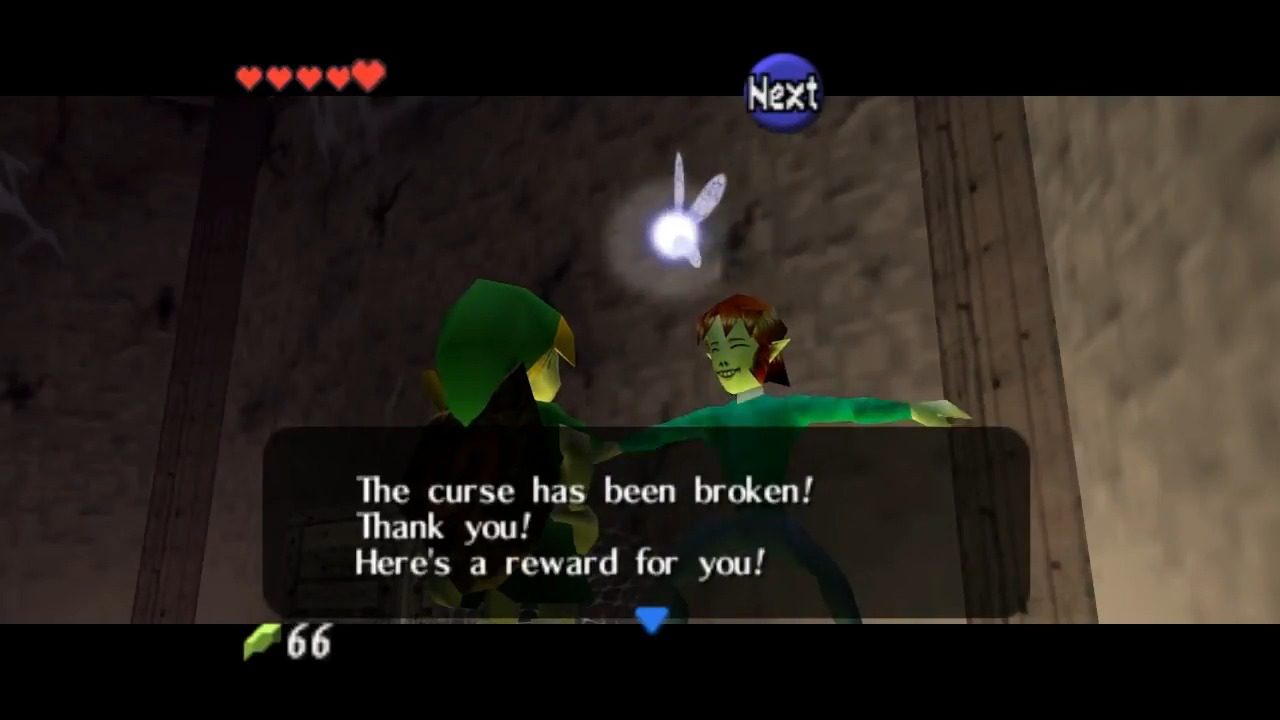
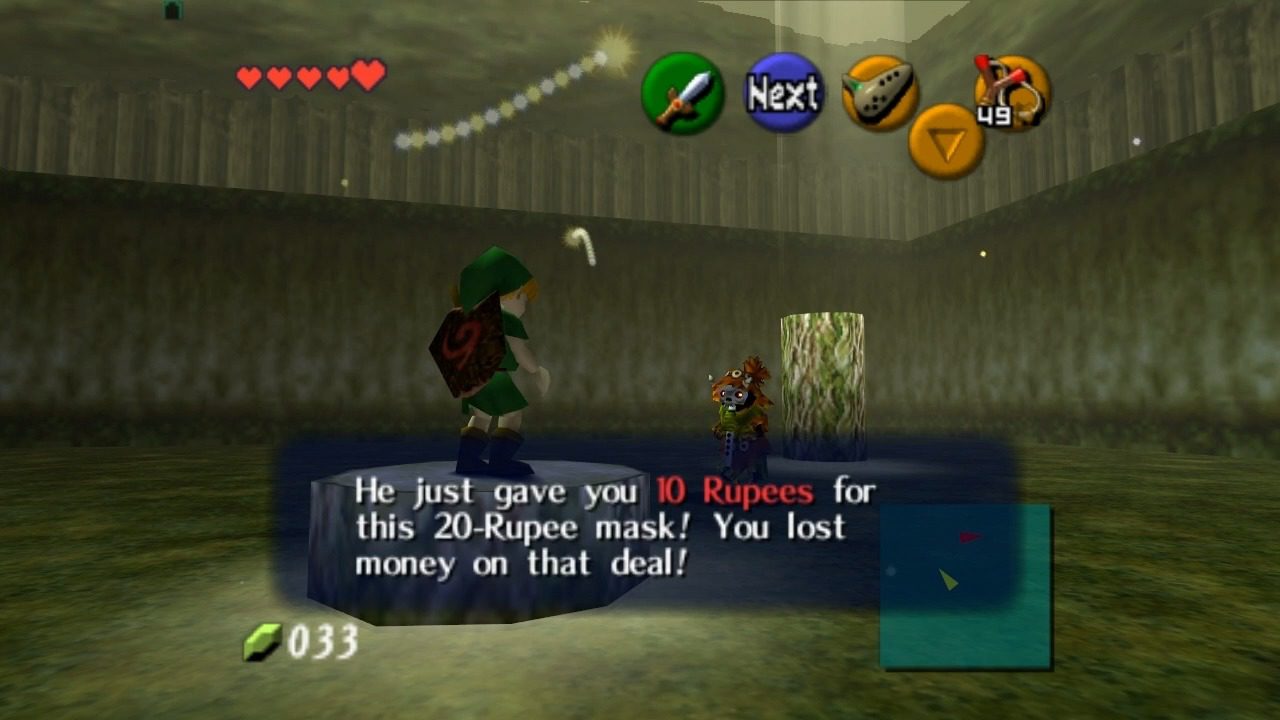
Now, head to the Kakariko Graveyard during the daytime and speak with the child while wearing the Spooky Mask. Sell it to him and return to the Happy Mask Shop. Borrow the Bunny Hood.