


Seismic Talus
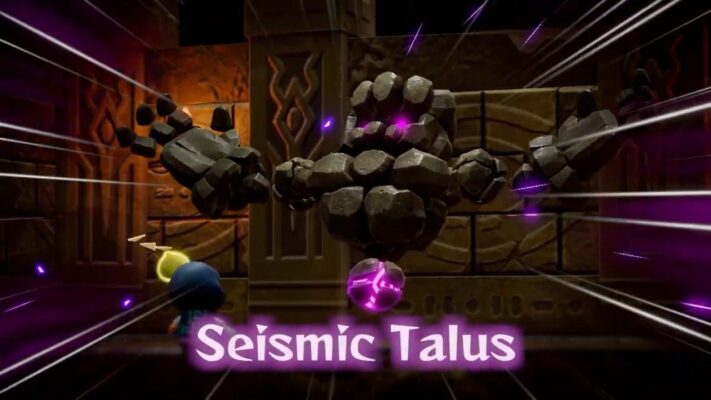
Location: Suthorn Ruins
Strategy:
- The Seismic Talus is a massive rock creature with a glowing purple weak point.
- Avoid its spinning and punching attacks by strafing around the arena.
- Summon a Darknut Echo to distract and attack the Talus.
- When the Talus exposes its weak point, transform into Swordfighter Form and attack it directly.
- Repeat this process through its phases, noting that in the final phase, the Talus glows red and becomes more aggressive.
Vocavor

Location: Jabul Ruins
Strategy:
- Vocavor is a large aquatic creature that uses whirlpools and projectiles.
- Swim around to avoid whirlpools and wait for Vocavor to tire.
- When it rests, use Swordfighter Form to attack the blue sacks on its back.
- In later phases, Vocavor drains water from the arena, limiting mobility.
- Use the Water Block Echo to create platforms, allowing access to Vocavor’s weak points.
Gohma

Location: Faron Temple
Strategy:
- Gohma is a giant spider that alternates between wall-climbing and ground phases.
- When on the wall, it shoots webs and spawns baby Gohmas.
- Summon Ignizol Echoes to handle webs and minions.
- Wait for Gohma to expose its back eye and shoot it with your bow to knock it down.
- On the ground, use Swordfighter Form to attack its main eye.
- Repeat these tactics until Gohma is defeated.
Mogryph

Location: Gerudo Sanctum
Strategy:
- Mogryph is a giant mole that burrows and charges at Zelda.
- Summon Sand Piranha Echoes to deal damage while it’s underground.
- Trick Mogryph into charging into statues to stun it.
- Use Swordfighter Form to attack while it’s stunned.
- In the second phase, Mogryph gains wings and creates quicksand.
- Avoid tornadoes and wait for it to land, then repeat the stun and attack strategy.
Ganon

Location: Hyrule Castle
Strategy:
- Ganon blocks frontal attacks and uses teleportation and lunges.
- Dodge his lunges to create attack opportunities.
- Summon strong Echoes like a Level 2 Darknut for assistance.
- In later phases, Ganon summons Fire Keese and energy orbs.
- Deflect energy orbs back at him to stun and attack.
- Maintain mobility to avoid being overwhelmed by minions.
Final Boss – Null

The game’s mechanics and your ability to collaborate with Link are tested in the final confrontation with Null, which is a multi-phase battle. To navigate and overcome this climactic encounter, follow this in-depth guide. Before the Battle, make sure Zelda has unlocked at least four accessory slots to maximize buffs. Stock up on high-quality smoothies, especially those made with Golden Eggs or Floral Nectar, to provide substantial healing during the fight. Equip and be ready to summon your most potent Echoes, such as Level 3 Darknut or Lynel, to assist in battle.
Phase 1
In Phase 1, you will engage in an arena battle with Link. Null’s Attacks include an Arm Slam with Shockwave. To dodge this attack, move laterally to evade the incoming shockwaves. After a slam, use Bind on Null’s claw to expose its tendons. By pulling the arm, Link can perform a spin attack to sever the limb. Repeat this process to sever all three arms. With Null incapacitated, summon your strongest Echoes and attack its core. During the transition, Null retreats into the walls, causing its arms to emerge randomly.
Phase 2
Phase 2 involves a Wall Assault. Null hides and attacks through wall-mounted arms. The arms create hazardous miasma zones on the floor. Use Bind to pull arms protruding from walls, allowing Link to destroy them. Stay clear of miasma pools while managing arm attacks. Continue this process until Null re-emerges.
Phase 3
In Phase 3, prepare for an Underwater Pursuit. Equip Zora’s Flippers and Zora Scale to enhance underwater mobility and breath-holding capacity. Null conjures Vocavors that generate whirlpools and projectiles. Deploy Echoes like Level 3 Lizalfos or Chompfin, capable of underwater combat. Use Bind on Null’s tentacles to expose weak points for Echo attacks. Monitor Zelda’s breath meter and replenish it with air bubbles as needed. Avoid whirlpools and projectiles while focusing on offensive maneuvers. After sufficient damage, Null creates a portal, returning to the original arena.
Phase 4
Phase 4 is the Final Arena Showdown. Null now wields six arms, increasing its attack range. It also summons previous bosses like Seismic Talus, Mogryph, Ganon, Skorchill, and Gohma to aid in battle. Continue using Bind to expose and sever Null’s arms with Link’s assistance. Deploy Echoes strategically to counter summoned bosses. Stay mobile to evade combined assaults from Null and its summons. After severing all arms and managing summons, launch an all-out attack on Null’s core.
General Tips
Regularly summon and resummon Echoes to maintain offensive pressure and divert attention from Zelda. Keep a close eye on health and use smoothies proactively to prevent sudden defeats. Adapt to changing environments and Null’s tactics, adjusting strategies accordingly.