
Collecting all 44 Pieces of Heart is one of The Legend of Zelda: The Wind Waker‘s most rewarding side quests. Whether you’re exploring dense caves, mastering minigames, salvaging deep-sea wrecks, or helping windfall residents with heartfelt favors—every piece brings you closer to Link’s true potential. This guide lists every Heart Piece in the exact order you’ll encounter them during our complete walkthrough, with clear descriptions of where to find them, what you need to do, and player-friendly tips to streamline your journey. No reordering, no confusion—just practical paths and insider advice.
Dive in, power up, and discover every beating piece of Hyrule’s heart!
Table of Contents

Heart Piece #1: Hidden Area of the Fortress
Location: Forsaken Fortress (A1)
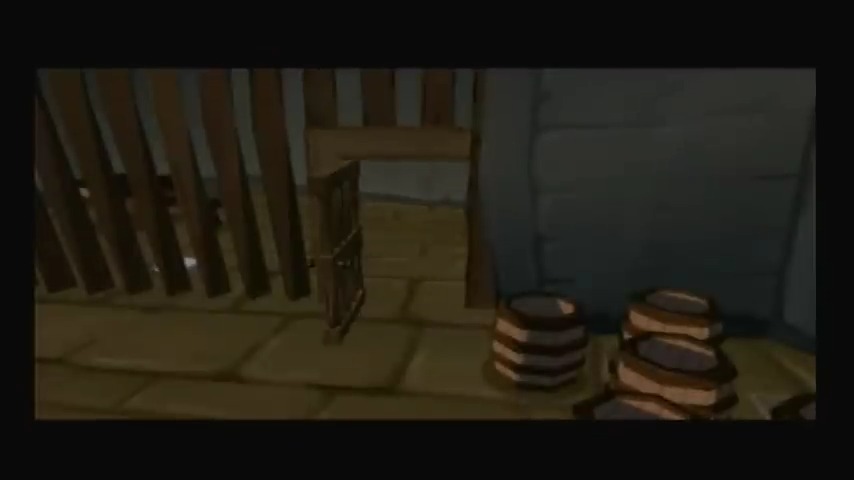
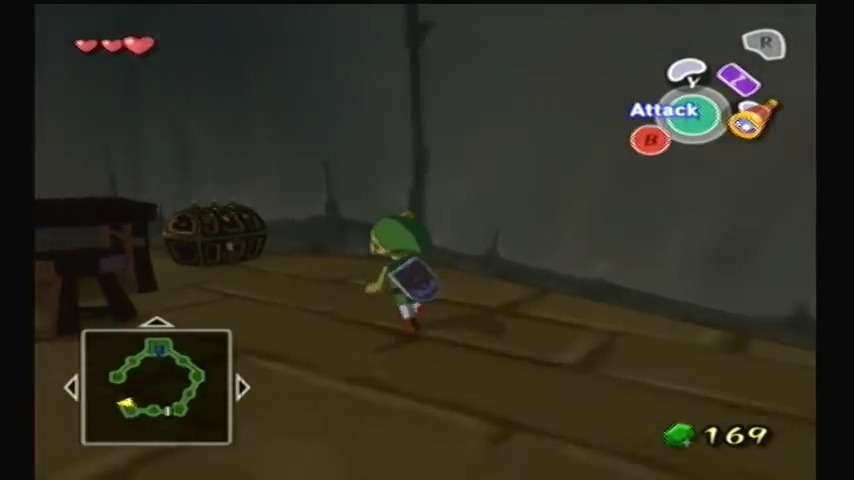
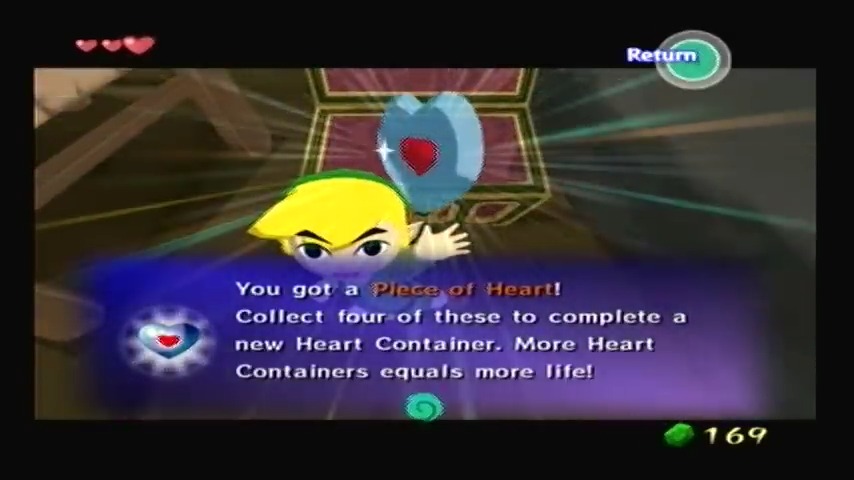
How to Get: Early in the game, let Link get caught by a searchlight Moblin on purpose to be thrown into a jail cell. Inside the cell, move the barrels aside and step on the hidden floor switch to unlock the adjacent prison cell. Enter the newly opened cell to find a treasure chest holding the Piece of Heart. Tip: Getting captured is the easiest way to access this secret area, so don’t worry if you trigger the alarm – it actually helps you reach the prize!


Heart Piece #2: Salvatore’s “Sinking Ships”
Location: Windfall Island (D2)
How to Get: Play the Battleship-style minigame run by Salvatore in the Windfall Island arcade. Pay the fee and attempt to sink all three squids (ships) in 24 cannonball shots or fewer. If you manage to blast all the squid targets, Salvatore awards you a Piece of Heart on your first win.
Tip: There’s some luck involved in finding the squids. Try firing in a pattern to narrow down their location, and remember you can play multiple times (at 10 Rupees per try) until you win.


Heart Piece #3: Reward from the Killer Bees side quest
Location: Windfall Island (D2)
How to Get: After arriving on Windfall, visit the schoolhouse and speak with Mrs. Marie. Agree to her request to deal with the troublemaking Killer Bees. The four children will challenge you to a game of hide-and-seek around town. Track down all four kids (check behind trees, buildings, and other sneaky spots) and catch them. Once all the Killer Bees are found and tagged, they’ll admit defeat. Talk to Mrs. Marie again, and the grateful teacher rewards Link with a Piece of Heart for reining in her students. Tip: One child hides up a tree – roll into it to shake him down!


Heart Piece #4: Pawprint Isle Secret Cave
Location: Pawprint Isle (E2)
How to Get: Sail into the small circular isle at Pawprint Island’s center and crawl through the tunnel to drop into an underground cave. Inside, defeat all the Red ChuChu enemies that appear. Once you’ve cleared the cavern of ChuChus, a treasure chest materializes. Open it to claim the Heart Piece. Tip: Red ChuChus aren’t tough individually – use quick sword strikes or even the Boomerang to dispatch them in groups. The chest appears only after all enemies are gone.


Heart Piece #5: Mail Box Reward
Location: Star Island (B1)
How to Get: After completing the Forbidden Woods dungeon and having Farore’s Pearl in hand, Link is free to explore the Great Sea before tackling the next dungeon. Upon leaving Forest Haven, check the mailbox for a surprise reward: the postal service delivers a Piece of Heart as thanks for rescuing Makar.



Heart Piece #6: Five-Star Isles Secret Submarine
Location: Five-Star Isles (G7)
How to Get: In the archipelago of the Five-Star Isles (far southeast of the map), there is a submarine hidden among the seastacks. Sail around the area to locate the submarine and climb aboard. Entering the sub triggers an enemy gauntlet – several Wizzrobes (or other baddies) will attack inside. Defeat all the enemies within the sub’s interior. Once they’re vanquished, a ladder will drop down, granting access to a higher platform in the sub where a treasure chest appears. Pop open the chest to claim your Piece of Heart.
Tip: Wizzrobes can be pesky, as they summon additional enemies (like Keese or miniblin reinforcements). Take out the Wizzrobes first – a few arrows or a boomerang hit will do. If Moblins or Bokoblins spawn, handle them after. Bringing along the Hero’s Bow makes this much easier, as you can snipe Wizzrobes from afar. Clear the sub completely so you don’t miss out on the chest reward.




Heart Piece #7: Angular Isles Block Puzzle
Location: Angular Isles (E7).
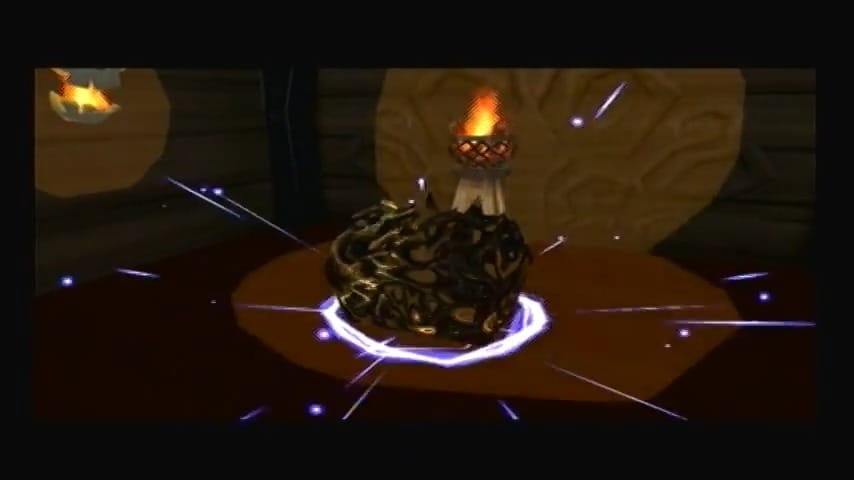
How to Get: No special items are required beyond patience and Link’s muscles. Hop ashore at Angular Isles and you’ll notice a series of large block platforms. Push and pull the blocks to create a usable staircase to the top of the larger island. This is essentially a sliding block puzzle in 3D – move the lower blocks so that you can climb up each level. Once you reach the highest platform, you’ll find a treasure chest waiting. Open it to claim your Piece of Heart.
Tip: If you get stuck, leave the island area and come back to reset the blocks. Work on building a staircase up one side by stacking blocks like steps. The puzzle isn’t timed, so take your time planning each move.


Heart Piece #8: Treasure Chart #15
Location: Great Sea near Angular Isles (E7).
How to Get: This Heart Piece is hidden in the sea and revealed by Treasure Chart #15. First, you’ll need to obtain Chart #15 – it can be acquired from the Private Oasis (by completing the Cabana Deed side quest for Mrs. Marie). Once you have Chart #15, sail to the Angular Isles region. Use the Sea Chart to pinpoint the location marked on Chart #15 and look for the glowing ring on the ocean’s surface. Use the Grappling Hook to salvage the sunken chest containing the Heart Piece.
Tip: The special charts like the Island Hearts Chart (from a Great Fairy) can help by marking which quadrants still have Pieces of Heart. Also, ensure you’ve properly deciphered Chart #15 at Tingle’s if needed (in Wind Waker HD, charts are read automatically). Align your boat so that the island’s features match the chart, then haul up the treasure.



Heart Piece #9: Seagull Retrieval on Headstone Island
Location: Headstone Island (C7).
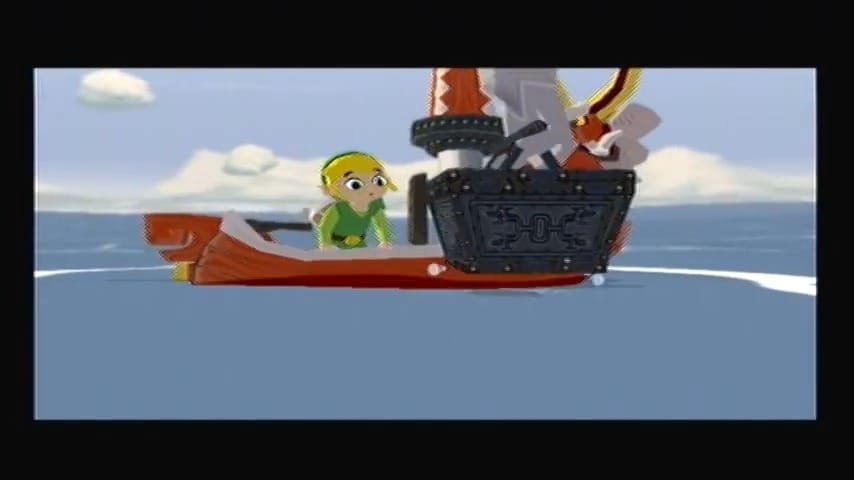
How to Get: This Piece of Heart sits atop Headstone Island’s highest peak, out of Link’s normal reach. Sail to Headstone (which you’ll visit during the Earth Temple quest) and bring a Hyoi Pear. On the island’s shore, equip a Hyoi Pear to attract a seagull and take control of it. Fly the seagull all the way to the top of Headstone Island’s craggy spire. The Piece of Heart is visible up there – simply have the seagull fly into the Heart Piece to pick it up. Once the seagull grabs it, the Heart Piece will drop down to the ground near Link. Cancel control of the seagull and climb up to collect your prize.
Tip: Steer clear of any Kargarocs or Peahats in the area while flying – if the seagull is hit, you’ll lose control. This can technically be done as soon as you can sail freely with Pears (after obtaining the pearl from Dragon Roost), but if you wait until you’re heading to the Earth Temple, you’ll be right there to claim it.


Heart Piece #10: Salvaged from Treasure Chart #23
Location: Great Sea near Diamond Steppe Island (A6)
How to Get: Treasure Chart #23 is your key to this heart piece. You can win Chart #23 back at Windfall Island (it’s the second prize in Salvatore’s Squid minigame, or found via another quest). Once you have Chart #23, sail to the Diamond Steppe Isle region. Open your charts and align your position to the spot marked on Chart #23. Use the Grappling Hook to haul up the sunken chest when you’re over the correct spot. Link will pull up a Piece of Heart from the depths as his reward.
Tip: Diamond Steppe is in the northwest quadrant. The Ghost Ship Chart (if obtained) can also show treasure locations, but using the specific Treasure Chart is most precise. Salvaging can be done day or night – at night the glow is more visible on the dark ocean.


Heart Piece #11: Hyoi Pear puzzle on Needle Rock Isle
Location: Needle Rock Isle (A5)
How to Get: On this small island, you’ll see a conspicuous treasure chest engulfed in flames on a high pillar. To extinguish the fire, you must hit a switch perched atop a tall rock spire – something only a seagull can reach. First, ensure you have a Bait Bag with a Hyoi Pear. Stand on Needle Rock Isle and release a Hyoi Pear to take control of a seagull. Fly the seagull up to the tall spire and hit the orange switch on top. This will douse the flames around the chest. Return control to Link, then simply climb up and open the chest to claim the Heart Piece.
Tip: Beware of Kargarocs (winged enemies) in the area – they will attack your seagull. You might want to eliminate any flying enemies around the isle before using the Hyoi Pear. Also, position Link such that the seagull can easily reach the height of the switch (use the nearby hills as launch points).


Heart Piece #12: Greatfish Isle Glide
Location: Greatfish Isle (B4)
How to Get: After story events, Greatfish is left desolate and rainy, but it hides a Heart Piece on a far-off rock pillar. Begin at Greatfish Isle’s main landmass and climb to the highest point along the spiral cliffs. Look northwest with your telescope or just by sight – across the water is a skinny rock spire with a small ledge (and a withered Korok tree, if you’ve triggered that side quest). Change the wind direction to the northwest, equip your Deku Leaf, and float from Greatfish’s cliff toward that distant ledge. If you have enough Magic power, you’ll land on the ledge and find a cave entrance. Open the chest inside the little grotto to receive the Piece of Heart.
Tip: This is a long glide, so upgrade your Magic Meter at Two-Eye Reef beforehand if possible, or make sure to have full magic. You can also drink Green Potion or Grandma’s Soup for magic restoration. Time your jump with a gale if one is blowing upward at Greatfish to get extra lift.





Heart Piece #13: Six-Eye Reef Secret Submarine
Location: Submarine near Six-Eye Reef (D4)
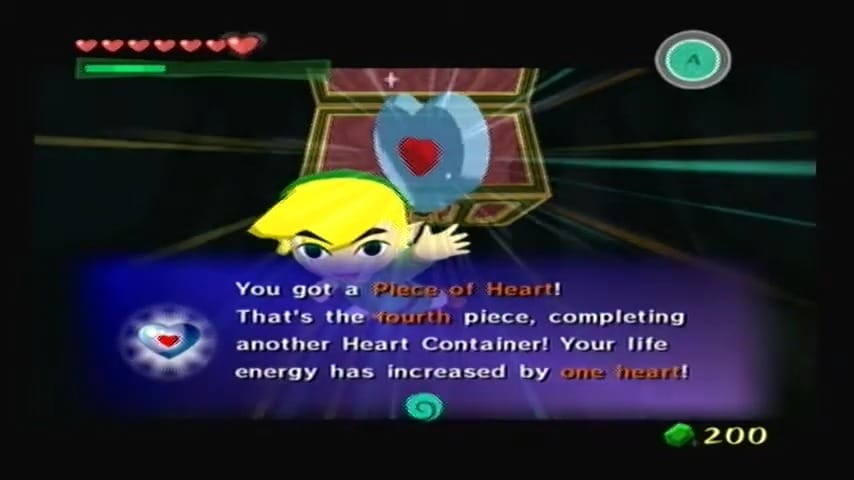
How to Get: Look around the perimeter of Six-Eye Reef for an anchored submarine. Sail up alongside and hop aboard the floating sub. Enter it to find a mini gauntlet: several Moblins (or other enemies) are patrolling inside. Defeat all the enemies within the submarine’s hold. Once the coast is clear, a ladder drops down (or a door opens) leading to a treasure chest. Open the chest to collect the Heart Piece.
Tip: Use bombs or a bow from the submarine’s entrance to soften up tougher enemies like Moblins. If you get overwhelmed inside, you can exit and re-enter to reset the fight. Clearing all foes is the only way to make the chest appear, so don’t leave any Moblin standing!


Heart Piece #14: Earned from Orca’s training
Location: Outset Island (B7).
How to Get: Test your swordsmanship with Orca, the elderly warrior on Outset. After you have obtained the Hero’s Sword, visit Orca and agree to his training duel. The challenge is to hit Orca as many times as you can without being hit more than 3 times yourself. To earn the Heart Piece, you must land 500 strikes on Orca before the sparring session ends. It’s a tough endurance test, but if you succeed, Orca will reward your skill with a Piece of Heart.
Tip: Stay just out of Orca’s reach and use the parry attack (press A when prompted) to quickly rack up hits without retaliation. Orca will occasionally counter – be ready to dodge to avoid losing the streak. Bringing a potion or using Grandma’s Elixir Soup beforehand can help, since the soup doubles your attack power until you take damage, cutting the required hits in half.


Heart Piece #15: Cannon Turrets near Stone Watcher Island
Location: Stone Watcher Island (C5).
How to Get: Sail around to the eastern side of Stone Watcher Island and you’ll spot a wooden enemy lookout platform offshore. This tall platform has several Bokoblin-operated cannons mounted on it. Use your ship’s cannon (or Bombs) to destroy all the turrets on the platform. Once every cannon is blasted to bits, a treasure chest will spawn atop the platform. Climb the ladder onto the platform and open the chest to claim your Heart Piece.
Tip: Keep moving to avoid the cannons’ fire. You can sail in a circle around the platform while shooting to systematically take out each turret. After the cannons are gone, you may still need to defeat any Bokoblins left if they’re guarding the chest. Approach carefully, or simply climb up once the coast looks clear.


Heart Piece #16: Won by defeating a Big Octo
Location: Tingle Island (C3)
How to Get: As you explore the Great Sea, watch for flocks of seagulls circling above the water – this signals a Big Octo lurking below. In the waters around the Seven-Star Isles, find the seagulls and sail into the swarm to trigger a battle with a Big Octo. Quickly attack its many eyes using the Boomerang (target multiple eyes at once) or arrows until the giant squid is defeated. Once it goes down, a ring of light will appear on the ocean surface. Use the Grappling Hook to salvage the treasure from the defeated Big Octo – the chest hauled up contains a Piece of Heart.
Tip: Having the Boomerang (from Forbidden Woods) makes this fight much easier, as you can lock on to up to five eyes and hit them in one round. Also, consider obtaining the Octo Chart from a Great Fairy to locate all Big Octos on the map.


Heart Piece #17: Cannon-Shooting on Spectacle Island
Location: Spectacle Island (C2).
How to Get: In the daytime, sail to Spectacle Island and speak with the Game Operator there (who looks a lot like Salvatore). Pay 50 Rupees to play the Barrel Shooting mini-game. The goal is to hit five moving barrel targets using the ship’s cannon within 10 shots. Practice your aim and timing – if you manage to destroy all five targets within the limit, you win a Piece of Heart as the first prize.
Tip: Lead your shots a little ahead of the moving barrels and try to hit the farther barrels first (they’re smaller and trickier). With some practice (and Rupees), you’ll nail all targets and claim your reward.


Heart Piece #18: Match-maker Side Quest
Location: Windfall Island (D2)
How to Get: This piece is the heartfelt result of playing matchmaker. After completing the Lenzo pictograph side quest involving the two singles, wait a day or two (or use the Song of Passing) to see the fruits of your labor. You’ll find Linda (the girl in the orange dress) and Anton (the gentleman who strolls around town) having become a happy couple, often chatting near the café or harbor. Speak to them and they’ll thank you for bringing them together by giving you a Piece of Heart.
Tip: To initiate this quest, you must snap a photo of Linda and Anton looking at each other (when Anton walks by Linda) and show it to Lenzo as part of his three photo tasks. After that, fast-forward time and find the newly formed couple. This quest can be completed once you have the Deluxe Picto Box and have freed Tingle to enable the photo side quests.


Heart Piece #19: Treasure Chart #11
Location: Great Sea near Crescent Moon Island (E1)
How to Get: Treasure Chart #11 is found inside Dragon Roost Cavern on your first visit. Once you have the chart (and the Grappling Hook from the dungeon), sail to Crescent Moon Island. Open your Sea Chart and align your boat with the location marked on Treasure Chart #11. When you see the bright ring of light on the water, use the Grappling Hook to salvage the sunken treasure. Pull up the chest and open it to obtain the Heart Piece.
Tip: Sail slowly as you approach the spot – when the light ring is right off your bow, that’s the perfect time to hit the salvage button. You can also use the Treasure Chart map to position yourself exactly over the X.


Heart Piece #20: Won by defeating a Big Octo
Requirements: Seven-Star Isles (F1)
How to Get: Another giant squid is lurking out there! Whenever you find a flock of seagulls congregating in one spot over the ocean, sail toward them to encounter a Big Octo. Engage the creature by swiftly popping all of its eyes using your Boomerang or arrows. Once you destroy the Big Octo’s eyes and defeat it, a ring of light appears on the surface. Use the Grappling Hook to salvage the treasure from the depths – it will be a Piece of Heart.
Tip: Acquiring the Boomerang from Forbidden Woods beforehand is highly recommended, as you can lock on and hit multiple eyes in one go. If you have the Big Octo Chart (obtained from a fairy), you can locate exactly which sectors have Big Octos to ensure you chase down the one holding the Heart Piece.


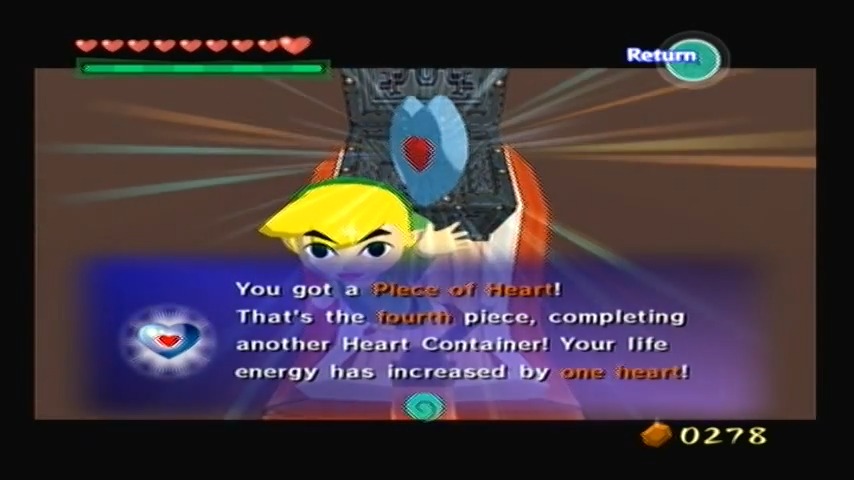

Heart Piece #21: Mail from Hoskit’s girlfriend
Location: Dragon Roost Island (F2) & Mailbox.
How to Get: Collect Golden Feathers from enemies (Kargarocs commonly drop them) and bring 20 of these to Hoskit, the Rito guard on the second floor of Dragon Roost Island’s mail center. Hoskit is interested in impressing his girlfriend with these feathers. Give him 20 Golden Feathers and he’ll reward you with 100 Rupees on the spot and promise to mention you to his beloved. The real reward comes later: after some time, check any mailbox. You’ll find a letter from Hoskit’s girlfriend thanking you for helping him; enclosed with the letter is a Piece of Heart.
Tip: An easy way to farm Golden Feathers is to use the Grappling Hook on Kargarocs (the bird-like monsters) before defeating them. Many Kargarocs can be found around Dragon Roost Cavern and on islands like Dragon Roost or Flight Control Platform. Ensure you have 20 in your Spoils Bag, then deliver them all at once to Hoskit. Afterward, simply play a song or travel to make a day pass if the letter doesn’t arrive immediately.


Heart Piece #22: Mail from Baito’s mother
Location: Dragon Roost Island (F2) & Mailbox.
How to Get: Enter the Dragon Roost mail center (first floor) and speak to Koboli to play the letter sorting minigame. The first time, you’ll just earn Rupees. After a successful round of at least 25 letters sorted, Koboli will mention hiring a new sorter, the part-timer Baito. Come back later and you’ll find Baito on the job. Help Baito by sorting at least 25 letters again to impress him. After that, exit and check a mailbox when you return to the Great Sea. Baito’s mother will have sent a thank-you letter, overjoyed that her son found employment, with a Heart Piece attached.
Tip: Sorting 25+ letters is easier with practice – focus on one letter at a time and memorize the box positions. After you get the initial letter of thanks from Baito’s mom (which contains the Piece of Heart), any further improvement just yields more Rupees. So, you only need to achieve the 25-letter target twice (once to get Baito hired, and once while Baito is working).


Heart Piece #23: Flight Control Platform First Prize
Location: Flight Control Platform (G2).
How to Get: This is essentially a second chance at the Bird-Man Contest. If you participated earlier and didn’t quite beat the record to win the Heart Piece, you can return later with improved abilities. After clearing some dungeons (and perhaps obtaining the Magic Meter upgrade), revisit the Flight Control Platform. Pay to enter and this time aim to fly an even longer distance by catching all the updrafts. Upon surpassing the required distance record, you’ll secure the Heart Piece as the prize. (If you already won the Piece of Heart on a previous attempt, you won’t get another one here – only Rupees as a consolation for subsequent wins.)
Tip: Use this contest as an opportunity if you missed the heart piece earlier. The key is maximizing your hang time: ensure the wind is at your back (adjust with the Wind’s Requiem) and try to hit every updraft. Having the Magic Meter doubled and even wearing the Magic Armor (to prevent magic loss, Wind Waker HD only) can help extend your flight.


Heart Piece #24: Beneath the Rock on Bomb Island
Location: Bomb Island (F5).
How to Get: Once you have Bombs, sail to Bomb Island and detonate the large rock in its center to uncover a secret cave entrance. Drop inside and stun the Magtails lurking within. Push or toss their bodies onto the pressure switches—some are surrounded by flames. Once both switches are activated, the fire blocking the chest will extinguish. Open the chest to claim a Piece of Heart.
Tip: Magtails can be tricky—when they curl into armored balls, simply walk into them to stun. Carry them carefully onto the switch and you’re set. One hit or push into the fiery switch from a distance (like with a nearby bomb or Moblin body) works too.


Heart Piece #25: Treasure Chart #31
Location: Windfall Island (D2) photograph quest & Great Sea near Forest Haven (F6)
How to Get: This piece requires a little photography work. On Windfall Island, after getting the Deluxe Picto Box, speak to the man by the dock at night. He yearns to see a full moon picture. Wait for a night with a full moon (use the Song of Passing to cycle nights if needed) and snap a clear pictograph of the full moon in the sky. Show this pictograph to the man by the dock, and he’ll reward you with Treasure Chart #31. Now, take that chart and sail to the coordinates near Forest Haven (the chart will mark a spot in the sea). Use your Grappling Hook to salvage the treasure indicated by Chart #31. The salvaged chest contains the Piece of Heart.
Tip: The lunar cycle in Wind Waker is about 4 nights long. The full moon phase occurs after the gibbous phase. If the moon isn’t full, play the Song of Passing twice for the next night. Make sure your pictograph is in color (Deluxe Picto Box) or the man won’t accept it. Once you have Chart #31, treat it like any other treasure chart hunt. This quest effectively ties a Windfall side activity to a heart piece out at sea, so don’t forget to actually go get the treasure after earning the chart!


Heart Piece #26: Treasure Chart #33
Location: Five-Star Isles (G7)
How to Get: After acquiring the Deluxe Picto Box, take a colored pictograph of Minenco (the lady outside the Chu Jelly Juice shop on Windfall Island). She’ll reward you with Treasure Chart #33. With the chart in hand, sail to the Five-Star Isles. Watch the water for the glowing ring, then use the Grappling Hook to pull up the sunken chest—that’s your Heart Piece.
Tip: The Isles are in the far southeast of the Great Sea. This piece is only obtainable after you’ve shown Minenco her picture and claimed the chart.


Heart Piece #27: Under Giant Rock on Star Island
Location: Star Island (B1)
How to Get: You’ll need Bombs for this one. Sail to Star Island once you have the Bombs and blow up the large boulder on top of the island. The explosion reveals a hidden hole – drop down into the underground arena. Inside, Link must defeat waves of enemies (Bokoblins and Miniblins) to make a chest appear. Open the chest that spawns after the battle to obtain the Piece of Heart.
Tip: Lure the enemies together and use spin attacks or Bombs to hit multiple foes at once. Clearing them quickly will spawn your prize chest.



Heart Piece #28: Nightly Auction on Windfall Island
Location: Windfall Island (D2) Auction House at the Rich Mansion.
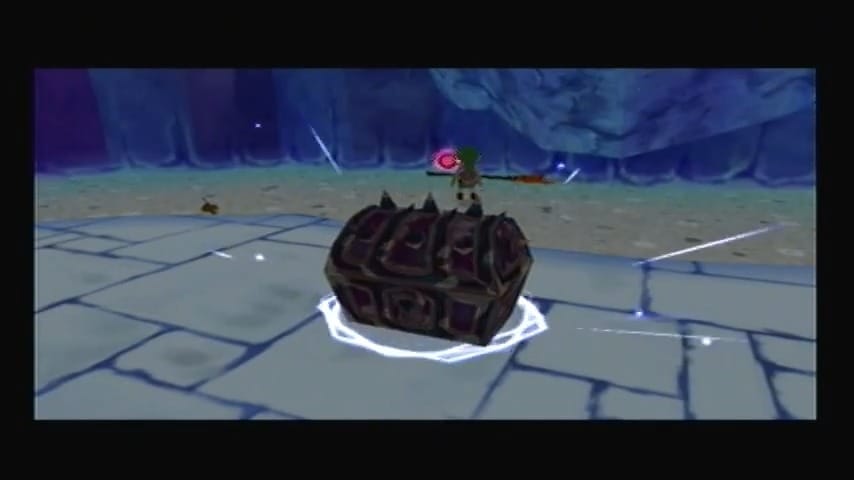
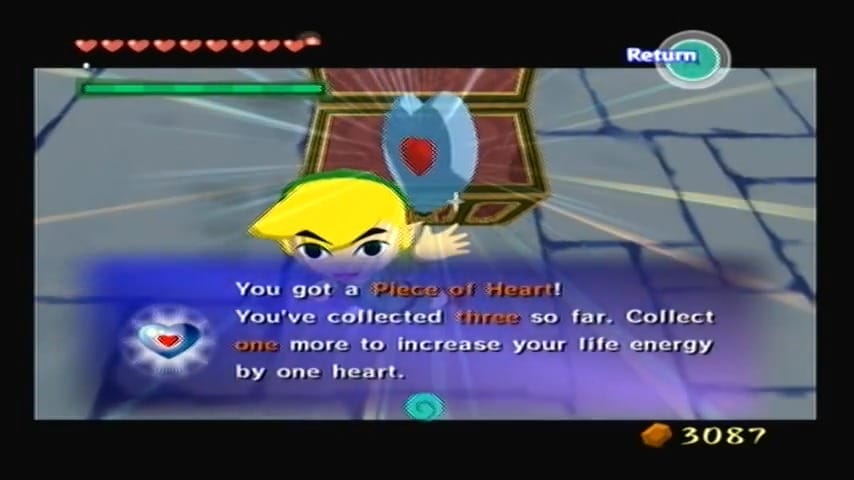
How to Get: After dark on Windfall, enter the Auction House (the big mansion with the red door, formerly the rich man’s house). Talk to Zunari or the doorman to join the auction. The auction prizes are random each night, cycling through items like Treasure Charts, joy pendants, etc., and one of them is a Piece of Heart. Keep participating nightly until the Piece of Heart comes up for bidding (if it’s not the item of the night, you may need to win or quit and return). Once the Piece of Heart is the auction item, you’ll need to bid aggressively to win it. Use the tactic of waiting until the final seconds and then making a large bid to stun the other bidders. If you outbid everyone when time runs out, you win the Heart Piece.
Tip: Have a hefty sum of Rupees on hand (at least 300) to be safe, as bids can escalate quickly. A good strategy is to intentionally overbid by 10+ Rupees with about 5–10 seconds left; this shocks the NPC bidders and they’ll be unable to respond for a few seconds, often enough for the clock to expire. The auction begins only at night, so use the Song of Passing to switch time if needed.

Heart Piece #29: Plant Town Flowers from Zunari
Location: Windfall Island (D2)
How to Get: After completing the Forsaken Fortress the second time and returning the Joyous Volunteer (the teacher’s) joy pendants, you can undertake a town beautification quest. Purchase Town Flowers from Zunari (after you initiate the merchant’s oath trading sequence) or the stall merchants, and start placing them in the various empty decorative stands around Windfall. There are 14 plant stands/pedestals scattered across the island. Your goal is to fill all of them with some kind of flower or decoration (they don’t all have to be Town Flowers; you can trade up for Exotic Flowers, Sea Flowers, etc., but Town Flowers are cheapest). Once all pedestals have been filled with decorations, find the man in the orange suit sitting on a bench (Garrickson). Speak with him after sprucing up the town, and he’ll express his delight at the beautiful scenery and hand over a Piece of Heart as thanks.
Tip: This quest involves the merchant trading sequence. You can simplify it by buying 14 Town Flowers at Zunari’s shop (after initiating the quest with the Goron traders) and simply placing those 14 flowers in all the spots. It costs 10 Rupees per flower, so 140 Rupees total. The pedestals are located around the main plaza, near the bomb shop, by the dock, etc., so explore thoroughly to find and fill each one.


Heart Piece #30: Beedle’s Special Shop Ship
Location: Rock Spire Isle (B3), Beedle’s Special Shop Ship.
How to Get: After you’ve progressed a bit, Beedle will send you his Beedle’s Chart in the mail, showing the location of his special shop ship (marked with a helmet icon). Sail to Rock Spire Isle and look for Beedle’s unique shop boat. Board it to browse his premium wares. He sells a Piece of Heart here for a whopping 950 Rupees. Save up and purchase the Heart Piece from Beedle’s Special Shop Ship. It’s a one-time limited item, so once you buy it, it’s gone (and yours forever).
Tip: You’ll likely need the Biggest Wallet (5000 Rupee capacity) to afford this comfortably. Participate in Rupee-rich activities like Treasure Charts hunting or the Savage Labyrinth to build up funds. Also, Beedle’s Special Shop hours are generous – he’s usually around whenever you visit Rock Spire. Don’t confuse this with the normal Beedle ships; look for the one with Beedle wearing a helmet on your sea chart.


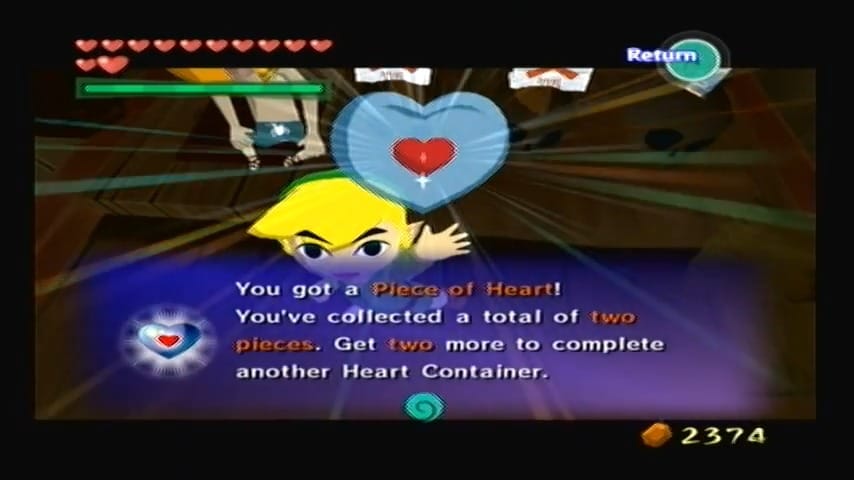

Heart Piece #31: Warships Near Rock Spire Isle
Location: Great Sea near Rock Spire Isle (B3).
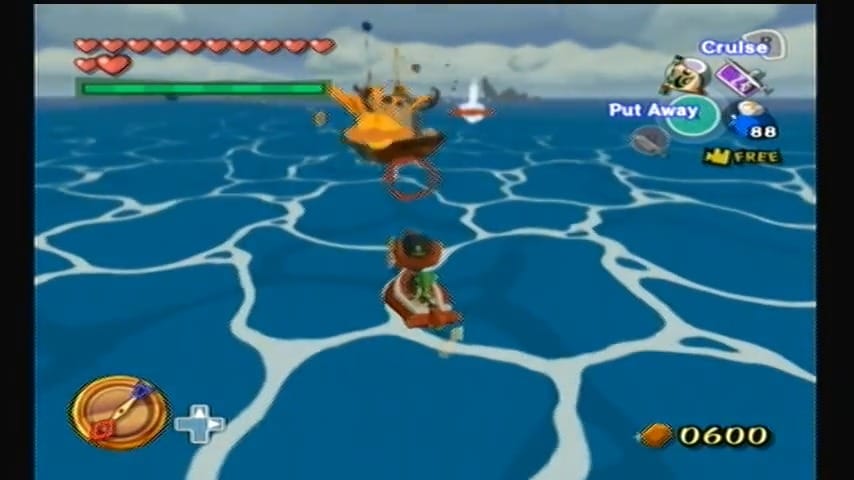
How to Get: As you sail around Rock Spire Isle, you’ll encounter two enemy Warship boats (the golden cannon boats) guarding the waters. Equip your Bomb Cannon on the King of Red Lions and engage these warships. Destroy both of the warships with well-aimed cannon fire. Each warship leaves behind a glowing treasure ring where it sank. Use the Grappling Hook to salvage the treasure from both spots. One of the salvaged chests will contain a significant Rupee amount, and the other holds a Piece of Heart.
Tip: It helps to have the Bomb Cannon upgrade from the pirates and maybe even the Bow to pick off any long-range pests. Circle the warships so their shots miss, and fire bombs in a slight leading fashion to hit them. After they’re destroyed, sail slowly to position over the treasure rings – you don’t want to miss these sunken goodies. If you have the Light Ring Chart, it can help identify where treasures are at night, but the rings should be clearly visible in daylight too.



Heart Piece #32: Treasure Chart #30
Location: Pawprint Isle (E2)
How to Get: Head to the Tower of the Gods dungeon and look for the optional room west of the main scale puzzle—you’ll spot a cracked floor panel with a wind symbol on it. Place a Bomb there to break it, then step on the exposed platform and play the Wind’s Requiem to summon a chest. Defeat the two Armos Knights that appear, then open the chest to acquire Treasure Chart #30.
With the chart in hand, sail to Pawprint Isle (in sector E2 of the Great Sea). Steer your ship slowly over the spot indicated by the chart until you see a shimmering light ring on the water’s surface. Use your Grappling Hook to fish up the chest—it contains Heart Piece #32.
Tip: The glitchy cracked floor is easy to miss—if you’ve crossed the scale room, you’ve gone too far. Listen for the hollow sound when walking—Bombing the cracked tile always reveals the chest. At Pawprint’s salvage spot, sail slowly and patiently to get that light ring centered in your bow; timing the Grappling Hook pulley early helps ensure you grab the treasure before drifting away.


Heart Piece #33: Treasure Chart #4
Location: Great Sea near Southern Fairy Island (D6).
How to Get: Treasure Chart #4 can be acquired from Beedle’s Special Shop Ship (it costs 900 Rupees, so purchase it if you haven’t already). Once you have Chart #4, sail to the area around Southern Fairy Island. Open your Sea Chart and find the spot marked by Chart #4 in that quadrant. When you reach the correct location on the open sea, use the Grappling Hook to dredge up the treasure. The chest brought to the surface will contain a Piece of Heart.
Tip: Southern Fairy Island is the one with a giant shell-like dome. Align your ship with recognizable landmarks on the chart – the X on Chart #4 will guide you. This piece is easiest to get after you’ve obtained the chart and upgraded your wallet (since the chart is pricey). It’s a straightforward salvage operation once that’s done.


Heart Piece #34: Treasure Chart #38
Location: Great Sea near Three-Eye Reef (A4)
How to Get: Treasure Chart #38 is typically won at the Windfall Island auction or found during a side quest. Once you have Chart #38, set sail for Three-Eye Reef’s vicinity. Use the treasure map to locate the exact spot marked with an X. Use the Grappling Hook to fish out the sunken chest at that location. The chest pulled from the depths will hold a Piece of Heart.
Tip: Chart #38 itself might have been obtained from the auction house or a platform chest, so make sure you’ve collected it before hunting this piece. If you’re having trouble lining up the salvage, sail around Three-Eye Reef’s perimeter slowly – the ring of light should appear when you’re close. This piece can be grabbed at any time after you have the chart, even before tackling the later dungeons.


Heart Piece #35: Shop Guru Statue Trade Sequence
Location: Greatfish Isle (B4)
How to Get: This lengthy side quest involves trading goods between the traveling merchants across the Great Sea. Start by forming a merchant’s oath with Zunari on Windfall (he gives you the Town Flower). Then trade the Town Flower to the Goron merchant on Greatfish Isle for a Sea Flower. Continue the trades: exchange the Sea Flower for an Exotic Flower (also on Greatfish), then take the Exotic Flower to Bomb Island’s merchant for the Sickle Moon Flag, trade that for the Fountain Idol, bring the Fountain Idol to Mother & Child Isles for the Big Sale Flag, trade back at Greatfish for the Hero’s Flag then the Postman Statue, go to Mother & Child again for the Shop Guru Statue, and finally deliver the Shop Guru Statue to the Goron on Greatfish Isle. He will reward you with a Piece of Heart for completing the full trading sequence. (You also get a Postman Statue back as a souvenir.)
Tip: Keep track of the trading path or use a guide – it’s easy to lose track of which merchant wants which item. This quest requires sailing all over the map, so having the Ballad of Gales (warp song) will speed things up tremendously. The payoff is worth it, as you also unlock the Magic Armor by visiting Zunari after these trades.


Heart Piece #36: Forest Water Challenge
Location: Various islands (must water 8 withered saplings within time limit).
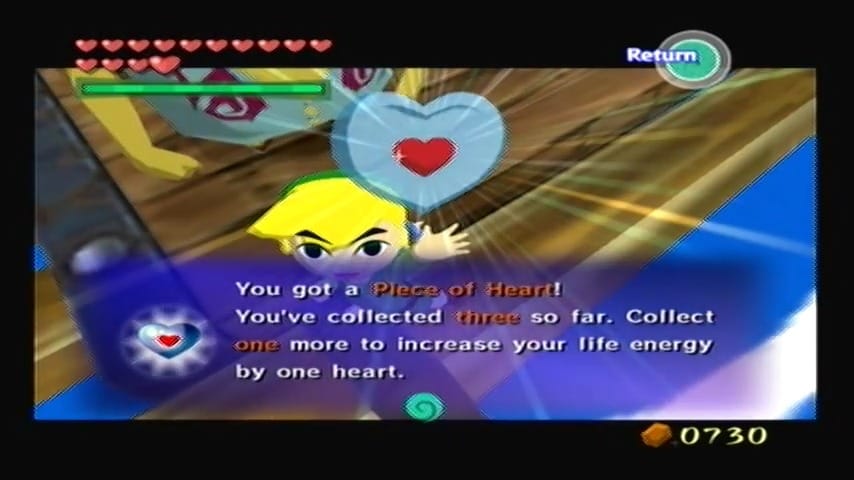
How to Get: After completing the Forbidden Woods dungeon, you can undertake the Forest Water Challenge. First, speak to the Great Deku Tree in Forest Haven to learn about the Koroks’ planted trees (he marks them on your Sea Chart). Collect Forest Water in an empty bottle from the Forest Haven’s spring – once you scoop it up, a 20-minute countdown begins (30 minutes in Wind Waker HD) before it loses its potency. Within that time, you must sail to and water all eight withered Korok saplings scattered on various islands: Star Island, Cliff Plateau Isles, Shark Island, Greatfish Isle, Needle Rock Isle, Private Oasis, Eastern Fairy Island, and Mother & Child Isles. Plot a fast route, often using the Ballad of Gales warp to jump between regions. When you pour the Forest Water on the final tree before time expires, all eight trees will flourish and the last one will yield a Heart Piece as gratitude.
Tip: The clock keeps ticking in menus and on sea charts, so plan your route beforehand. A common strategy is to warp to Southern Fairy Island (for Shark Island), then warp to Greatfish, then Mother & Child (for star), etc. – find an efficient loop. Each tree will give visual feedback (greener leaves) when successfully revived. Save Needle Rock and Private Oasis (E5) for a single warp (Tower of the Gods for Oasis, then sail to Needle Rock) since they’re close. Completing this within the limit can be tense, but if done correctly you’ll finish with a bit of time to spare and a new Heart Piece in hand.

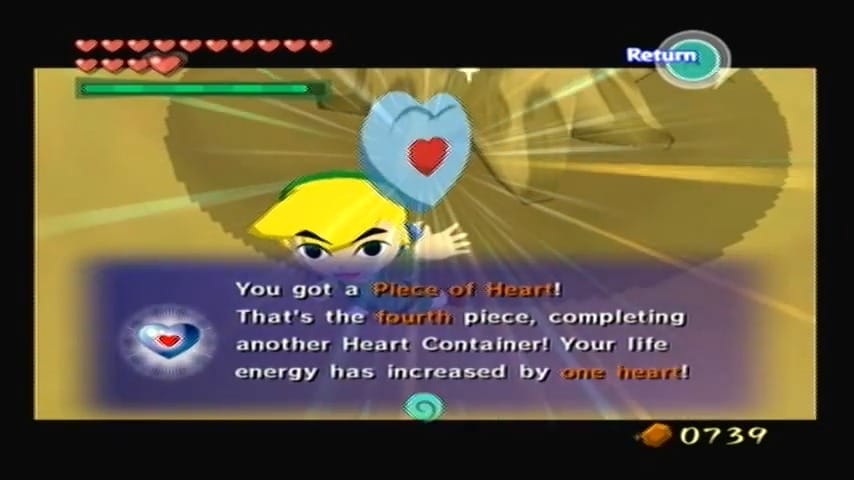

Heart Piece #37: Reigniting Windfall’s Lighthouse
Location: Windfall Island (D2)
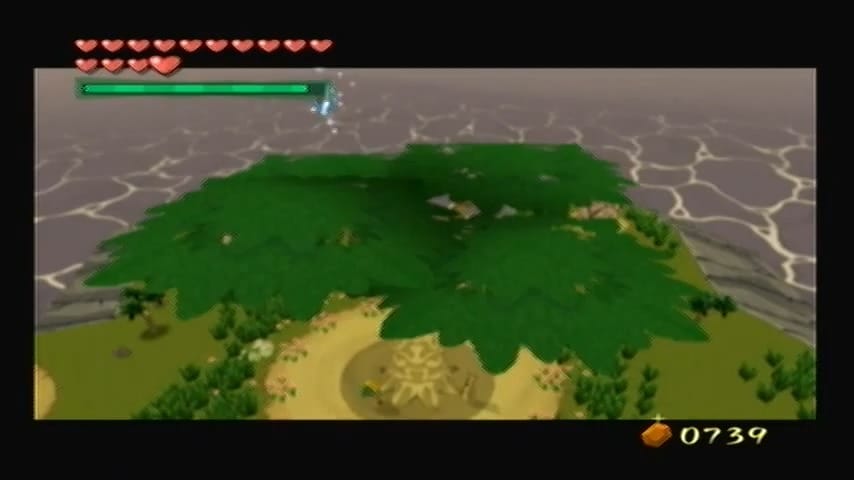
After you’ve restored power to Windfall Island’s lighthouse—which requires using the Fire Arrows to light the beacon at the top of the windmill—a small treasure chest appears on the rocky isle behind the Bomb Shop. That chest holds one Piece of Heart (Heart Piece #38), but there’s a second reward tied to this same quest that’s easily missed.
Once the beacon is lit, hop off the moving gondola and head down to the Windfall docks. Near the stone ramparts or pier, you’ll find Garrickson, the man in the yellow cap who often wanders the town’s lower areas. Speak with him, and in his excitement about the lighthouse shining once more, he’ll offer you a Piece of Heart as thanks for your efforts. This is your Heart Piece #37, a separate reward from the lighthouse chest.
Tip: If Garrickson doesn’t give you the heart piece right away, try leaving the area and returning, or play the Song of Passing to shift the time of day. Make sure the lighthouse is visibly shining before you speak to him. He won’t offer the reward unless the beacon has been re-lit.
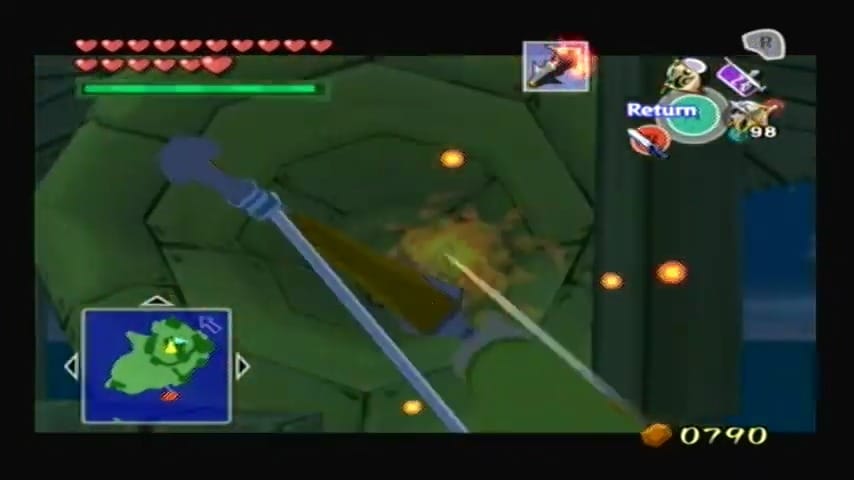


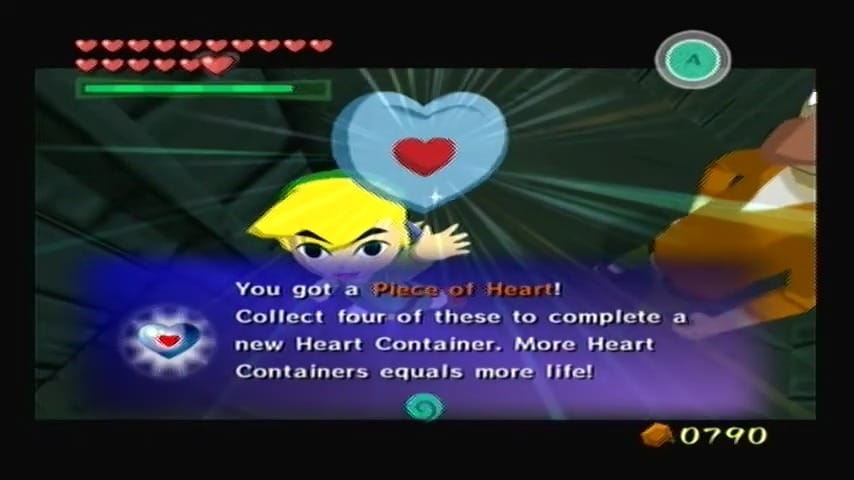

Heart Piece #38: Windfall Lighthouse Restored
Location: Windfall Island (D2) Lighthouse atop the Bomb Shop.
How to Get: Once you have the Fire Arrows (acquired after the Tower of the Gods from the Fairy Queen on Mother & Child Isles), you can rekindle Windfall’s lighthouse. First, go to the ladder on the side of the windmill (behind Salvatore’s game building) during the day and climb up to activate the switch at the top, which starts the Ferris wheel rotating. Next, at night, ride the moving gondola platform up to the lighthouse lamp housing carrying your Fire Arrows. When you reach the top of the rotation, face the lighthouse lamp and shoot a Fire Arrow into the glass orb to ignite it. The lighthouse will shine once more, and a chest will appear on a tiny isle across the water behind the bomb shop. Drop down or sail to that small rocky isle and open the chest to claim the Heart Piece.
Tip: If the windmill isn’t moving, you likely need to hit the switch at its base (climb up the wooden ladder at the base of the lighthouse during the day). The chest only appears at night when the lighthouse is lit.
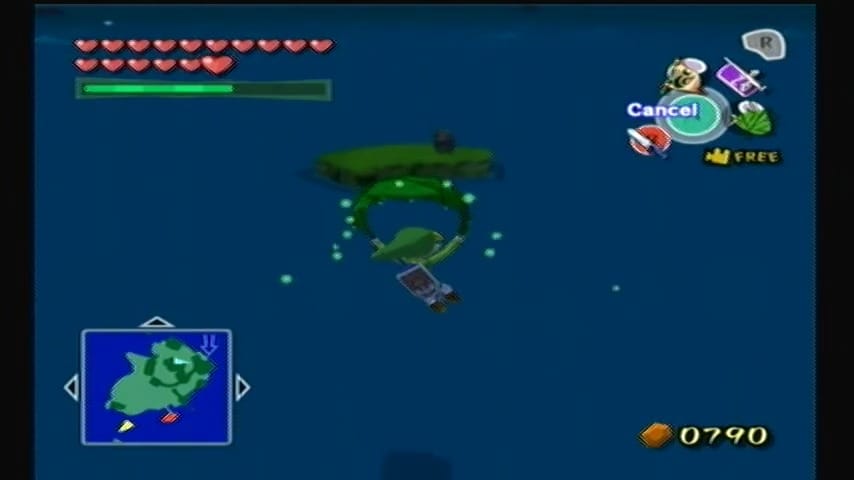


Heart Piece #39: Maggie’s Letter Side Quest
Location: Windfall Island (D2) Maggie’s Father’s House and Cafe.
How to Get: After the second Forsaken Fortress visit, Maggie (the formerly poor girl) has returned to Windfall and now lives in the rich mansion with her ecstatic father. Enter the mansion (auction house by day) and go upstairs to find Maggie. She’ll ask you to deliver a Love Letter to the postbox for her (it’s addressed to Moblin “Moe,” her pen-pal). Take Maggie’s Letter and drop it into a red postbox in town (it costs 5 Rupees postage). Leave and re-enter the area or wait a bit – you’ll witness the Rito postman, Ilari, arguing with Maggie’s father about a “Moblin’s Letter” in the mailbox. Follow the postman to the café (above Zunari’s shop) and talk to him. He’ll hand you Moe’s Letter (the Moblin’s response meant for Maggie). Deliver this letter to Maggie back at the mansion. Sit through a humorous scene with her overprotective father, and at the end Maggie will reward Link with a Piece of Heart for helping her reunite with her beloved through correspondence.
Tip: Make sure you have rescued Maggie from the Forsaken Fortress (this happens automatically with the story) and that you’ve triggered the nighttime events on Windfall (play Song of Passing if needed to get the sequence to start). If the postman isn’t appearing, try talking to Maggie again and then checking the mailbox in front of the mansion. Also, choosing polite or neutral dialogue options during the argument scene isn’t necessary – just don’t skip following the postman. The father won’t give the letter to you; only by speaking to the Rito at the café will you get Moe’s Letter.
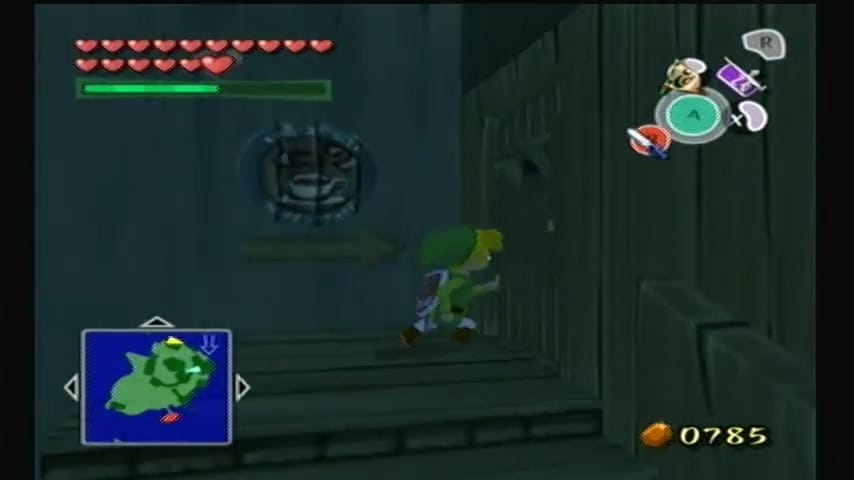


Heart Piece #40: Treasure Chart #2
Location: Great Sea near Rock Spire Isle (B3). Chart points to near Five-Star Isles (G7).
How to Get: Treasure Chart #2 is acquired by helping the rich man on Windfall (Maggie’s father) after giving him 20 Skull Necklaces, or during a story event after Forsaken Fortress (he essentially gives you the chart as a reward). Once you have Chart #2, set sail for the region just south of Rock Spire Isle. Open Chart #2 and locate the marked spot in the ocean. Use the Grappling Hook to salvage the treasure from that spot. Haul up the chest and open it to find a Piece of Heart.
Tip: If you haven’t gotten Treasure Chart #2 yet, here’s how: Gather 20 Skull Necklaces (common drops from Moblins), then talk to Maggie’s father at his mansion at night after you’ve rescued Maggie. Give him the 20 Skull Necklaces and he’ll fork over Treasure Chart #2 (believing there’s a treasure that will make him rich again). After that, follow the chart’s map to the treasure. Like all salvaging missions, use the map and the glowing ring as guides, and slow down as you approach the X spot.


Heart Piece #41: Filthy Giant Pig on Outset Island
Location: Outset Island (B7)
How to Get: Remember that black pig from the start of the game? It’s grown huge! Once you have the Power Bracelets (to lift heavy objects), return to Outset Island. In the pig pen near your house, you’ll find the enlarged pig (often nicknamed “Biggie” or just the black pig). Pick up this hefty pig (Link will struggle hilariously) and carry it all the way across the wooden bridge to the eastern half of Outset. On the hillside there, look for patches of dark, soft soil. Put the pig down on one of these patches and throw some All-Purpose Bait on the ground. The pig will eagerly sniff and start digging. Continue this on the various patches until the pig unearths a Piece of Heart. Typically, the correct spot is the patch of dirt to the right after crossing the bridge, near a palm tree. Once the pig digs up the shining treasure, grab it to collect your Heart Piece.
Tip: The pig can be very slow to carry. Use the Hurricane Spin (if you have it) to move faster, or just be patient walking it over to the patches. Be careful not to drop the pig off a ledge or into water. If you lose grip, just slowly herd it back to the patch you want. Also, the pig might need multiple bait drops; have a few bait portions handy. When the pig finds something, you’ll see Rupees or, in this case, the Piece of Heart pop out of the ground.


Heart Piece #42: Treasure Chart #20
Location: Great Sea near Bomb Island (F5).
How to Get: Treasure Chart #20 is found inside the Earth Temple (in a secret room where you must defeat all Floormasters). After clearing the Earth Temple, make sure you have that chart, then sail to Bomb Island. Chart #20 will mark a spot in the sea around Bomb Island. Cruise around that area and look for the ring of light on the surface of the water. Use the Grappling Hook to retrieve the treasure from below. The sunken chest will contain a Piece of Heart.
Tip: Bomb Island is the island with a big hollow volcano-like top in the southern region. If you’re having trouble pinpointing the treasure, align the chart so that Bomb Island’s drawing overlaps with the island itself and use nearby islands as reference points. In Wind Waker HD, you can simply look at the GamePad map which shows your boat relative to the X. In the GameCube version, rely on visual cues and the chart’s coordinates. Either way, once you’re directly above the treasure, you’ll fish up your heart piece reward.


Heart Piece #43: Obtained by salvaging the treasure indicated by Treasure Chart #5
Location: Great Sea near Thorned Fairy Island (G4).
How to Get: Treasure Chart #5 is found in the Wind Temple (after solving a basement puzzle with Makar). Once you have Chart #5, sail to Thorned Fairy Island. Check Chart #5 for the treasure location and sail around Thorned Fairy Island until you spot the glowing ring on the water’s surface. Use the Grappling Hook to pull up the treasure chest. Inside is a Piece of Heart waiting for you.
Tip: Thorned Fairy Island is the one encircled by rocky spikes. You might have opened its fairy fountain with a Skull Hammer earlier, but that’s unrelated to the heart piece. Focus on the sea around it. As always with salvage operations, use the treasure chart to align your boat – the X on the chart should be just under your boat icon. Haul up the chest as soon as the prompt appears to secure the heart piece.


Heart Piece #44: Reward for clearing the entire Savage Labyrinth on Outset Island (50th floor)
Location: Outset Island (B7), Savage Labyrinth (final floor).
How to Get: If you thought going 30 floors down was tough, steel yourself for the full 50-floor challenge. Enter the Savage Labyrinth on Outset (under the stone head on the eastern hill, opened with Power Bracelets) and prepare to fight through all 50 levels of enemies. Enemies get progressively harder in the second half (Floormasters, Darknuts, Wizzrobes, etc.), so bring your best gear.

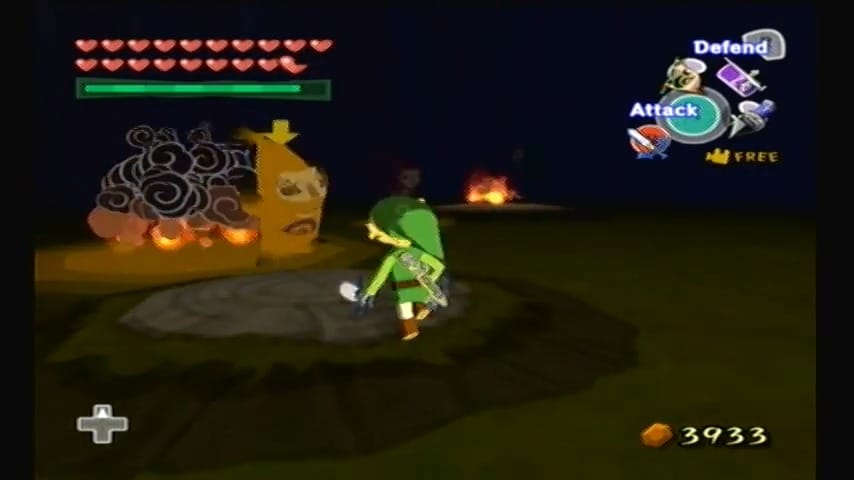
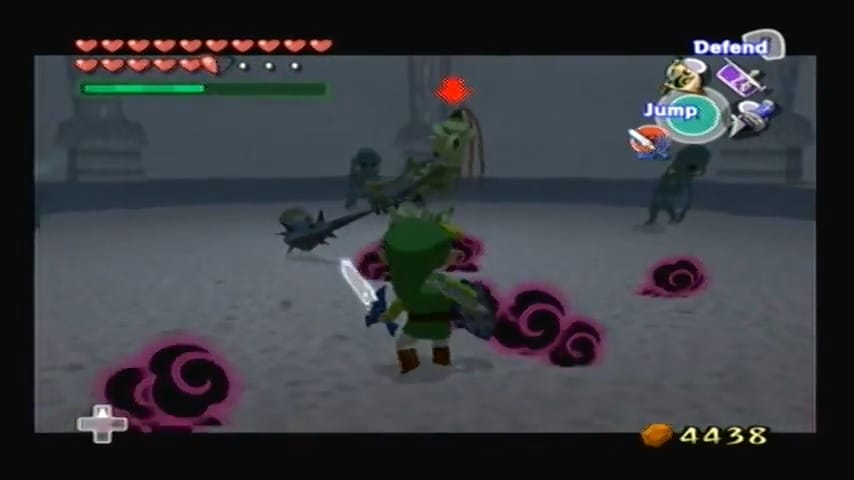
At the very bottom (floor 50), you’ll find the final reward. In the original GameCube version, a treasure chest on floor 50 holds a Piece of Heart. (In the HD version, floor 50 instead grants the Hero’s Charm, and the corresponding Heart Piece is moved to a different chart, but for a comprehensive run you should still clear it.) Upon opening the chest, you’ll receive the Heart Piece – congratulations on conquering one of the toughest challenges in the game!
Tip: This is a grueling endurance test. Come fully stocked with at least two fairies or potions, and consider using Grandma’s Elixir Soup for double damage (take one dose at floor 30 after grabbing that heart piece, then continue). Utilize advanced tactics: use the Mirror Shield to stun ReDeads and Chus, Bombs to quickly clear groups of Miniblins, and the Master Sword’s power to take down Darknuts efficiently. Every 10 floors or so, you get a brief breather with jars containing health and magic. Lastly, if you have the Magic Armor (in the original game), you could use it sparingly to avoid damage on the trickiest floors – just watch your Rupee count. Enduring all 50 floors is no easy feat, but that final Piece of Heart is the perfect prize for your triumph.


