Welcome to your resource for understanding the wide array of tools, weapons, and collectibles Link uses during his adventures across Hyrule and Lorule. Mastering Link’s inventory is key to overcoming puzzles, defeating enemies, and ultimately saving both worlds. This guide covers the essential items and equipment you’ll encounter.
Ravio’s Shop: Your Source for Essential Tools
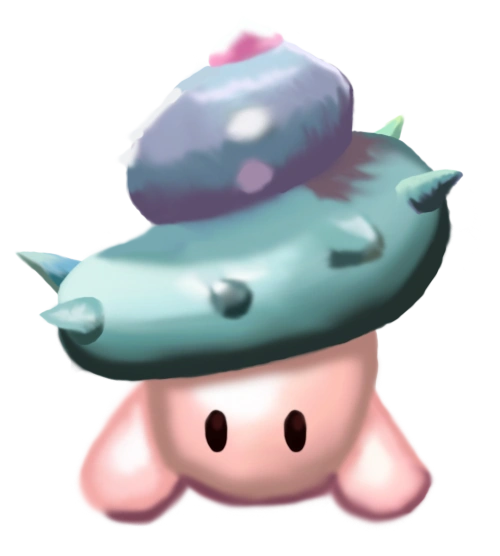
Early in the adventure, the mysterious merchant Ravio sets up shop in Link’s house. He offers a selection of crucial items, initially for rent. Renting is cheap, but be warned – falling in battle means Ravio reclaims his items! Thankfully, you can later purchase each item permanently for a higher Rupee cost. These purchased items can also be upgraded into more powerful “Nice” versions by finding lost Maiamais and returning them to Mother Maiamai.
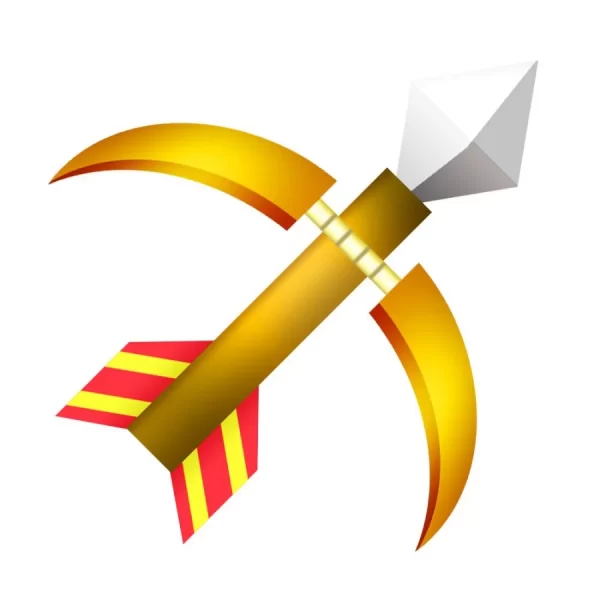
Bow
A standard ranged weapon. You’ll need to buy or find arrows separately. Upgrades to the Nice Bow, firing three arrows at once.
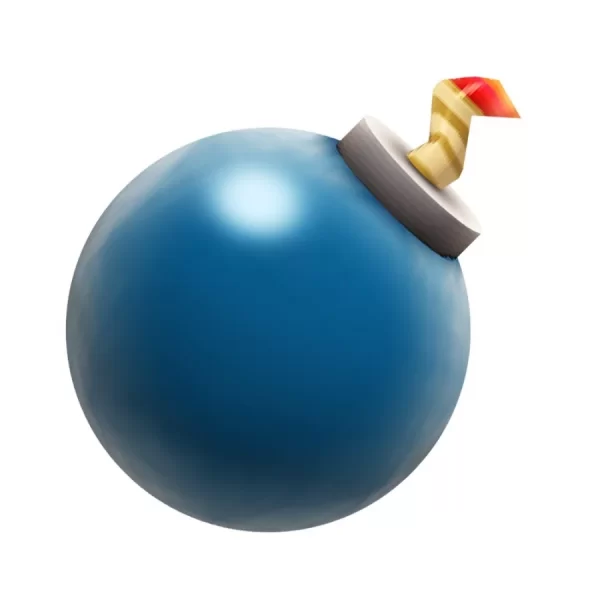
Bombs
Used for blasting open cracked walls and damaging enemies. A dungeon-crawling staple.
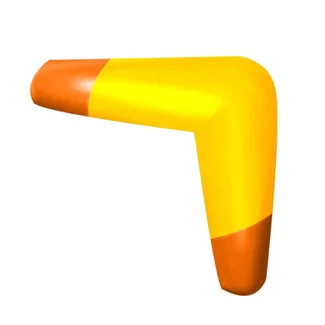
Boomerang
Can stun enemies and retrieve distant items like Rupees or hearts. Upgrades to the Nice Boomerang, which travels faster and farther.
Hookshot
Allows Link to grapple onto wood surfaces to cross gaps or stun foes. Upgrades to the Nice Hookshot, which travels faster and deals damage.
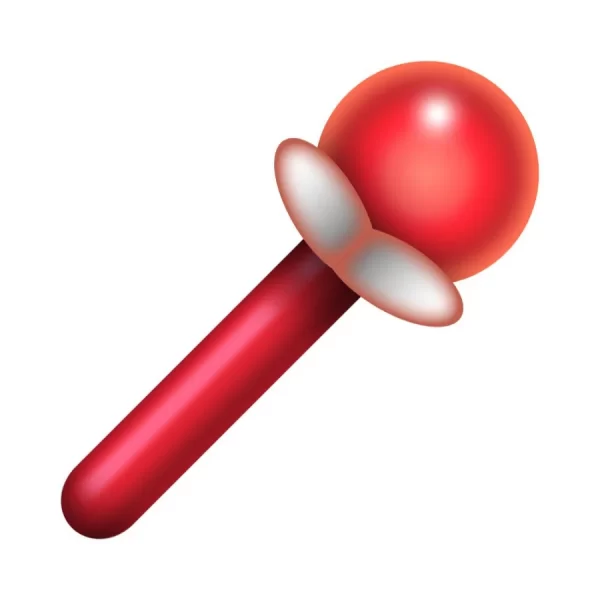
Fire Rod
Unleashes fireballs to light torches or burn enemies. Uses the energy gauge. Upgrades to the Nice Fire Rod, firing a larger, more powerful blast.
Ice Rod
Shoots ice that can freeze enemies or create temporary platforms on water or lava. Uses the energy gauge. Upgrades to the Nice Ice Rod, creating four ice blocks instead of one.
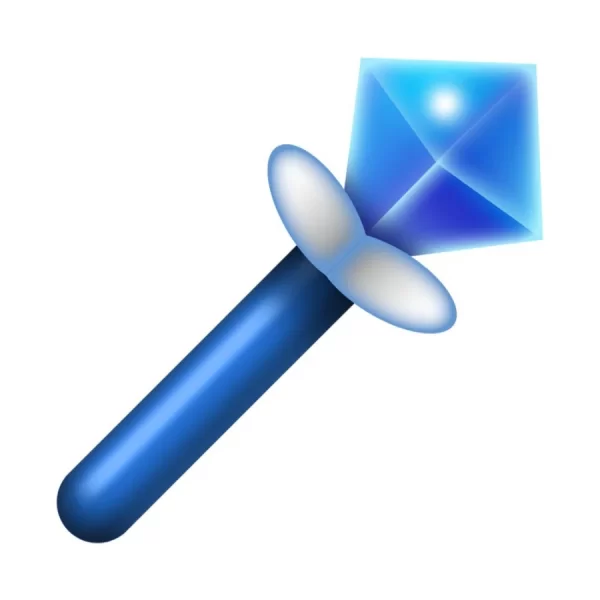
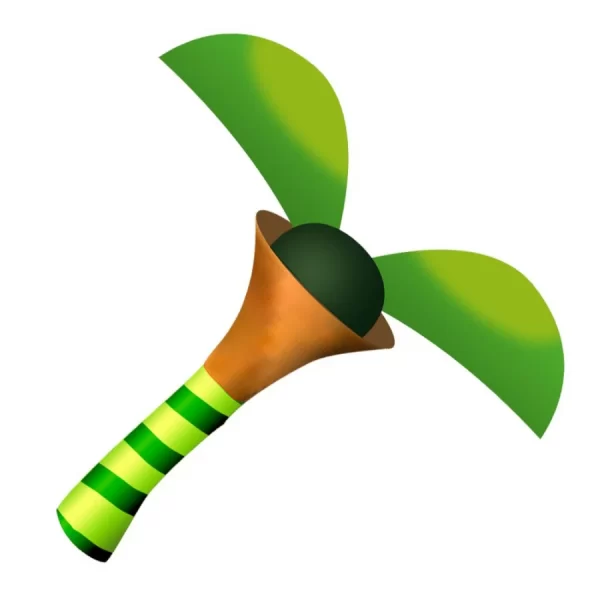
Tornado Rod
Lifts Link into the air, stunning nearby enemies and helping to clear small obstacles or cross gaps. Uses the energy gauge.
Hammer
Pounds stakes, flips certain enemies, and breaks rough terrain. Uses the energy gauge. Upgrades to the Nice Hammer, creating a larger shockwave.
Weapons and Shields: The Core Combat Gear
Link’s primary tools for offense and defense evolve throughout the game.
Swords
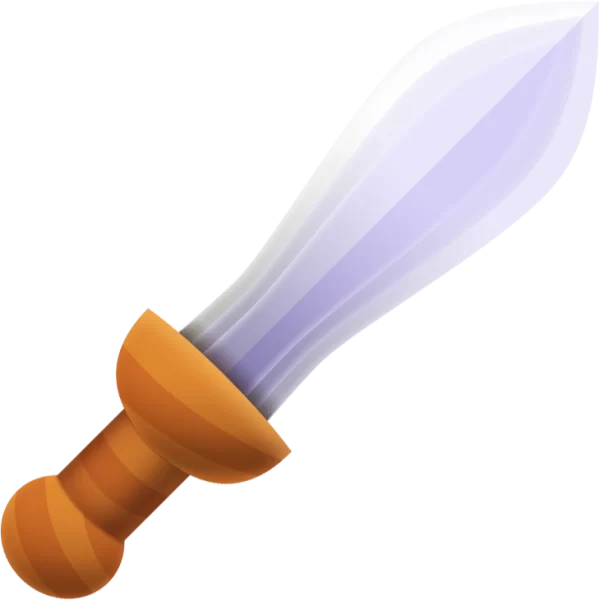
Forgotten Sword
Link’s initial blade, received near the start of the game.
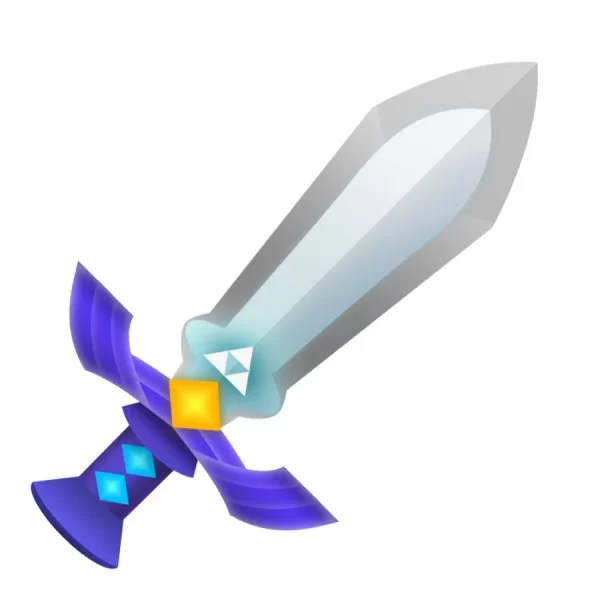
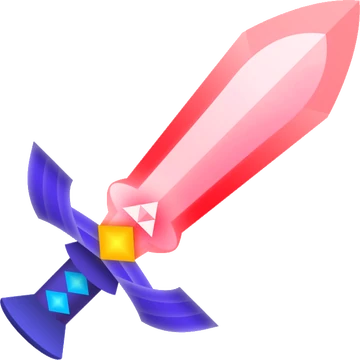
Master Sword
The legendary Blade of Evil’s Bane, obtained from its pedestal in the Lost Woods after collecting the three Pendants of Virtue. Much stronger than the starting sword.
Tempered Sword (Master Sword Level 2)
Forged by the Hyrule Blacksmith using two pieces of Master Ore, dealing even greater damage.
Golden Sword (Master Sword Level 3)
The blade’s ultimate form, requiring two more pieces of Master Ore and the skills of the Lorule Blacksmith. Offers the highest attack power.
Shields
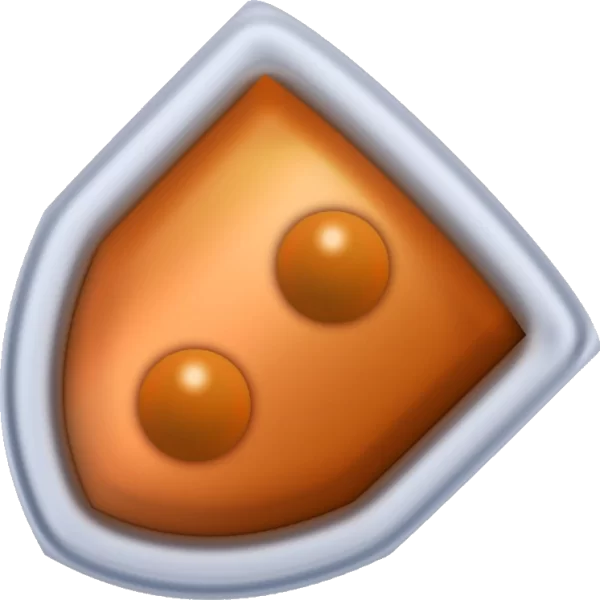
Shield
A basic wooden shield purchased from shops. Blocks simple projectiles and melee attacks.
Hylian Shield
A durable metal shield found in the Turtle Rock dungeon. Blocks nearly everything, including magical beams and fire.
Armor: Tunics for Protection
Link can find upgraded tunics that significantly reduce the damage he takes.
Green Tunic
Link’s standard attire, offering no defensive bonus.
Blue Mail
Halves the damage Link receives. Found within the Swamp Palace.
Red Mail
Provides the best protection, quartering incoming damage. Found within Lorule Castle.
These items are essential for navigating the complex environments of Hyrule and Lorule.
Ravio’s Bracelet
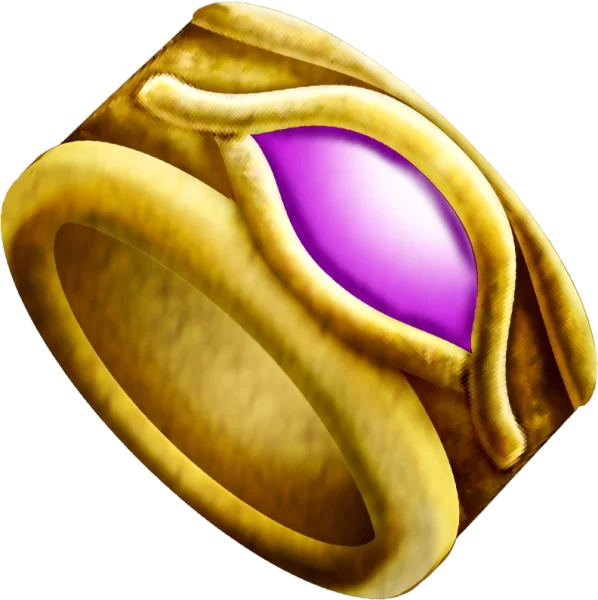
Received early from Ravio, this critical item grants Link the ability to merge into walls as a 2D painting, fundamental for puzzle-solving and reaching new areas.
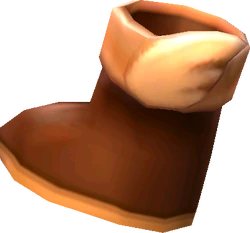
Pegasus Boots
Awarded after catching the elusive Shady Guy near Kakariko Village. Allows Link to dash at high speed, useful for crossing distances quickly, ramming objects, and traversing certain hazards.
Zora’s Flippers
Grants the ability to swim in deep water. Obtained after completing the quest involving the Zora Queen and the Smooth Gem.
Power Glove
Lets Link lift small, light-colored rocks. Given by Rosso the Miner after clearing the Tower of Hera.
Titan’s Mitt
An upgrade to the Power Glove, found in the Desert Palace. Allows Link to lift the large, dark-colored boulders blocking many paths.
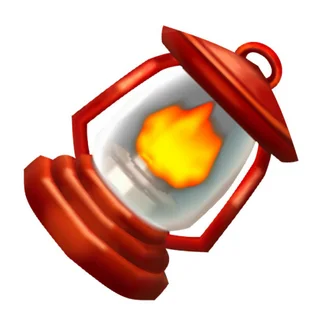
Lantern
Illuminates dark areas. Found early in the game within Hyrule Castle’s secret passage. Uses the energy gauge while active.
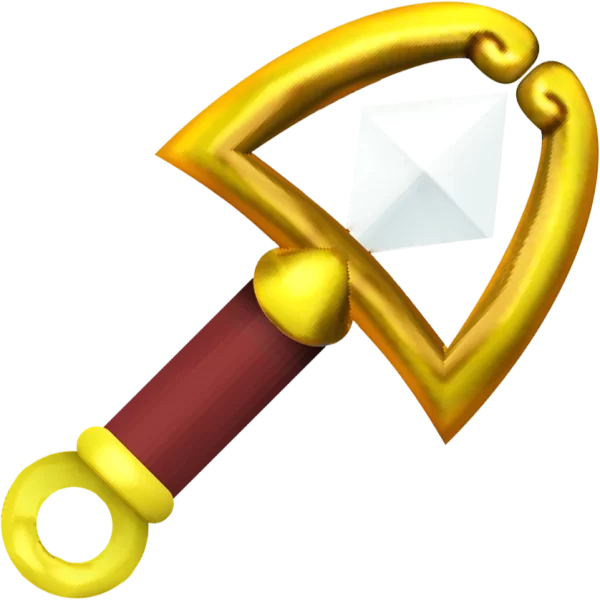
Sand Rod
Creates temporary rising pillars of sand on sandy surfaces, needed to cross gaps or reach higher ledges in specific areas. Acquired after finishing the Thieves’ Hideout dungeon. Uses the energy gauge.
Bug Net
Used primarily to catch bees and fairies. Purchased in Kakariko Village. Can also be used offensively after obtaining the Bee Badge.
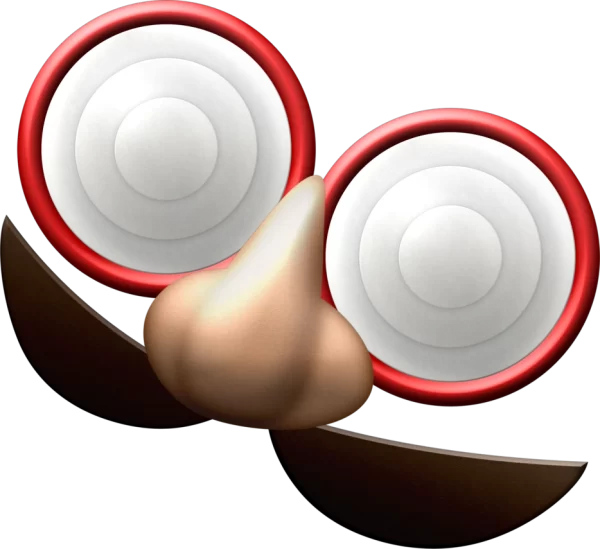
Hint Glasses
Allows Link to see Hint Ghosts, which provide gameplay clues in exchange for Nintendo 3DS Play Coins. Obtained from the Fortune Teller.
Capacity, Consumables, and Enhancements
These items help Link carry resources, recover health or magic, and improve his abilities.
Bottles
Extremely versatile containers. Find up to five throughout the worlds to hold potions, fairies, milk, bees, or even quest-related items.
Potions & Milk
Brewed at the Witch’s House or purchased. Red Potion restores health, Blue Potion restores health and magic (requires Letter in a Bottle quest), Yellow Potion temporarily increases invincibility frames after taking damage, and Purple Potion damages all enemies on screen. Milk, from a mini-game, restores five hearts.
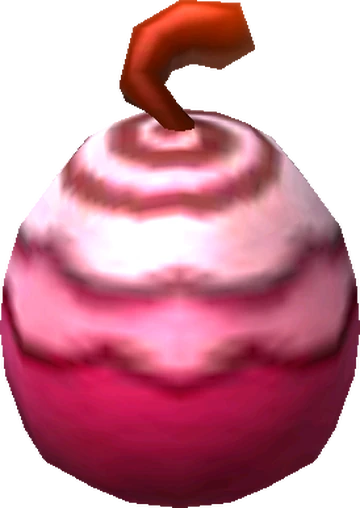
Scoot Fruit
A helpful fruit found occasionally in dungeons. Use it to instantly warp back to the dungeon entrance.
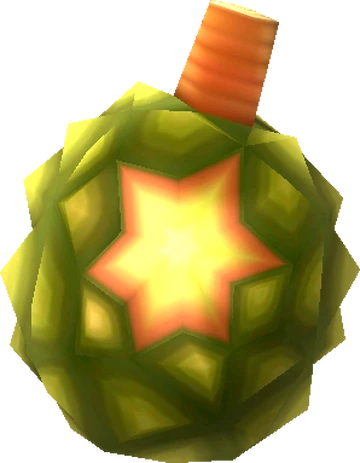
Foul Fruit
Another dungeon find. Throw it to temporarily stun most enemies.
Arrows
Ammunition required for using the Bow. Can be found or purchased in bundles.
A valuable find in the Ice Ruins that permanently increases Link’s energy gauge capacity.
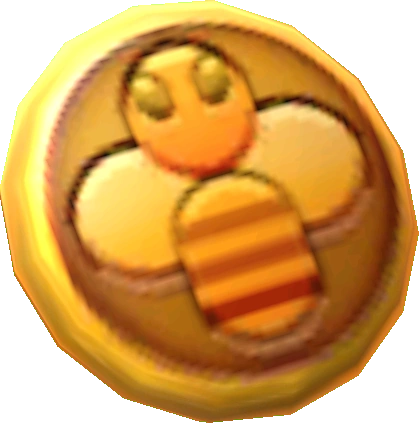
Bee Badge
Awarded by the Bee Guy for showing him a Golden Bee. Pacifies wild bees and enhances the Bug Net’s combat effectiveness.
Master Ore
Four pieces of this rare material are hidden in Lorule’s dungeons, needed by the Blacksmiths to temper the Master Sword twice.
Key Quest Progression Items
These items are crucial for advancing the main storyline.
Pendants of Virtue
Three sacred pendants (Courage, Power, Wisdom) required to prove Link’s worthiness and draw the Master Sword. Found in specific Hyrule dungeons.
Portraits of the Sages
After the midpoint of the game, Link must rescue the seven sages trapped within paintings inside Lorule’s dungeons to gain access to the final confrontation.
Smooth Gem
A large gem needed to restore the Zora Queen to her proper size, allowing Link to receive the Flippers.
Letter in a Bottle
Found near Lake Hylia, this initiates the questline allowing the Witch to brew the powerful Blue Potion.
Collectibles and Resources
Gathering these provides passive benefits, upgrades, or currency.
Heart Pieces
Find these hidden fragments throughout both worlds. Every four pieces collected form a new Heart Container, increasing Link’s maximum life energy. There are 28 pieces in total.
Lost Maiamais
100 baby Maiamais are hidden across Hyrule and Lorule. For every 10 returned to Mother Maiamai, she upgrades one of Link’s purchased Ravio items. Finding all 100 yields the Nice Bow upgrade.
Monster Parts
Guts, Tails, and Horns dropped by enemies. Used primarily for brewing potions at the Witch’s House, or can be sold for Rupees.
Golden Bee
A rare, valuable bee found occasionally. Needed for the Bee Badge and sells for a high price. Can be caught with the Bug Net.
Rupees
The currency of Hyrule and Lorule. Found everywhere – in chests, dropped by enemies, under grass or skulls. Used for purchasing items, renting Ravio’s gear, playing mini-games, and more.
By effectively utilizing this wide range of items, equipment, and gear, you’ll be well-prepared to face any challenge A Link Between Worlds throws your way. Good luck exploring Hyrule and Lorule!


