





















| Enemy types | 28 in the NES game: 10 in the overworld and 18 in the dungeons |
|---|---|
| Colour variants | Most enemies come in a red and a blue version; the blue one is the stronger of the two |
| Hazards, not monsters | Falling rocks on Death Mountain, traps in dungeon rooms and stone statues that fire at you |
| Hearts | Damage is listed in half hearts (1/2) and full hearts; a Blue Ring halves it and a Red Ring cuts it to a quarter |
The Legend of Zelda has 28 enemy types across the overworld and the nine dungeons, plus a few hazards that work like enemies. Most of them drop hearts, rupees, bombs or a Clock when defeated, and the strongest ones only appear in the later levels. Learn which ones hit hard, which need a Magical Shield and which die to a single arrow, and the rest of the game gets much easier.
Table of Contents
Quick reference
| Icon | Enemy | Colours | Where you meet it | Damage to Link | Best way to beat it |
|---|---|---|---|---|---|
 | Octorok | Red, blue | Overworld, on land and in water | Half a heart (rock) | Any weapon; block the rocks with your shield. |
 | Tektite | Red, blue | Overworld, including mountains and cliffs | Half a heart (contact) | Sword, sword beam, bombs, candle or arrows. The Magical Boomerang only stuns it. |
 | Leever | Red, blue | Overworld, deserts and beaches | Half a heart (red), 1 heart (blue) | Strike when it comes up out of the ground. |
 | Peahat | One type | Overworld, deserts and mountains in the northeast | Half a heart (contact) | It cannot be hurt while spinning. Hit it when it lands. |
 | River Zora | One type | Overworld lakes and rivers | Half a heart (fireball) | The Magical Shield blocks the fireball. Land two quick hits before it dives. |
 | Moblin | Red, blue | Overworld forests and plains, including the Lost Woods | Half a heart (red), 1 heart (blue) | The basic shield blocks its spears. The blue one takes more hits. |
 | Lynel | Red, blue | Death Mountain | 1 heart (red) or 2 hearts (blue) by contact; 2 hearts from sword beams | Only the Magical Shield stops its beams. The blue one takes 6 hits with the Wooden Sword, the red one 4. |
 | Armos | One type | Overworld, in small groups beside paths and stairs | 1 heart | Any item defeats it. The boomerang stuns it. Touching it from below always hurts you. |
 | Ghini | Two kinds | The western graveyard | 1 heart (contact) | Only the first Ghini in an area can be hurt. Defeating it removes the others on screen. |
 | Rock | Hazard | Death Mountain, falling from the cliffs | Half a heart | It cannot be killed or blocked. Dodge it. |
 | Zol and Gel | Grey Zol, black Gel | Dungeons | 1 heart (Zol); half a heart (Gel) | A strong hit kills a Zol without splitting it. Weaker hits split it into two Gels. |
 | Keese | Blue | Dungeons, especially dark rooms | Half a heart | Any weapon kills it, and the boomerang works too. Keese never drop items. |
| Vire | Blue | Dungeons | 1 heart | The Magical Sword, a Silver Arrow or a bomb kills it outright. Weaker hits split it into two Keese. |
 | Stalfos | One type | Dungeons, such as Level 1 and Level 7 | Hurts on contact | One sword strike is enough, even with the Wooden Sword. |
 | Goriya | Red, blue | Dungeons, including the Level 1 group that gives you the boomerang | Half a heart (contact), 1 heart from the boomerang | Block the boomerang with your shield when you are not attacking. Blue ones are tougher. |
 | Wallmaster | One type | Dungeon walls | Half a heart, and it sends you back to the entrance | Defeat it quickly, before it grabs you. |
 | Rope | Red, flashing | Dungeon rooms | Half a heart | It charges when it lines up with you. Stay off its row and column. |
 | Moldorm | One type | Dungeons | Half a heart | Each hit shortens it. Defeat it once and it never returns. |
 | Gibdo | One type | Dungeons | 1 to 2 hearts | It takes several hits. It is slow but keeps coming at you. |
 | Pols Voice | One type | Dungeons | 2 hearts | One arrow kills it. Swords need about ten hits from the Wooden Sword. |
 | Like Like | One type | Dungeons, such as Levels 4, 6 and 9 | 1 heart, and it eats your Magical Shield | Strike it from inside its grip before it takes the shield. |
 | Darknut | Red, blue | Dungeons | 1 heart (red), 2 hearts (blue) | Hit it from the side or the back. Bombs work well in tight spots. |
 | Wizzrobe | Red, blue | Levels 6 and 9 | Magic blasts, which the Magical Shield blocks | Attack from a distance with sword beams or bombs. Blue ones pass through walls. |
 | Lanmola | Red, blue | Level 9 only | 2 hearts | Attack the tail first. The head can only be hurt once the rest of the body is gone. |
 | Patra | Groups | Level 9 only | 2 hearts | Defeat the ring of small eyes first. Only the sword can hurt them. |
 | Bubble | One type (two in the Second Quest) | Dungeons | No damage, but it stops your sword for a while | It cannot be killed. Keep your distance and wait for the sword to return. |
 | Trap | One type | Corners of dungeon rooms | Half a heart | It cannot be destroyed. Step out of its path when it lines up with you. |
 | Stone Statue | Fixed in the room | Dungeon walls | Fires at you when you come close | Stay out of its line of fire as you pass. |
Overworld enemies
Octorok
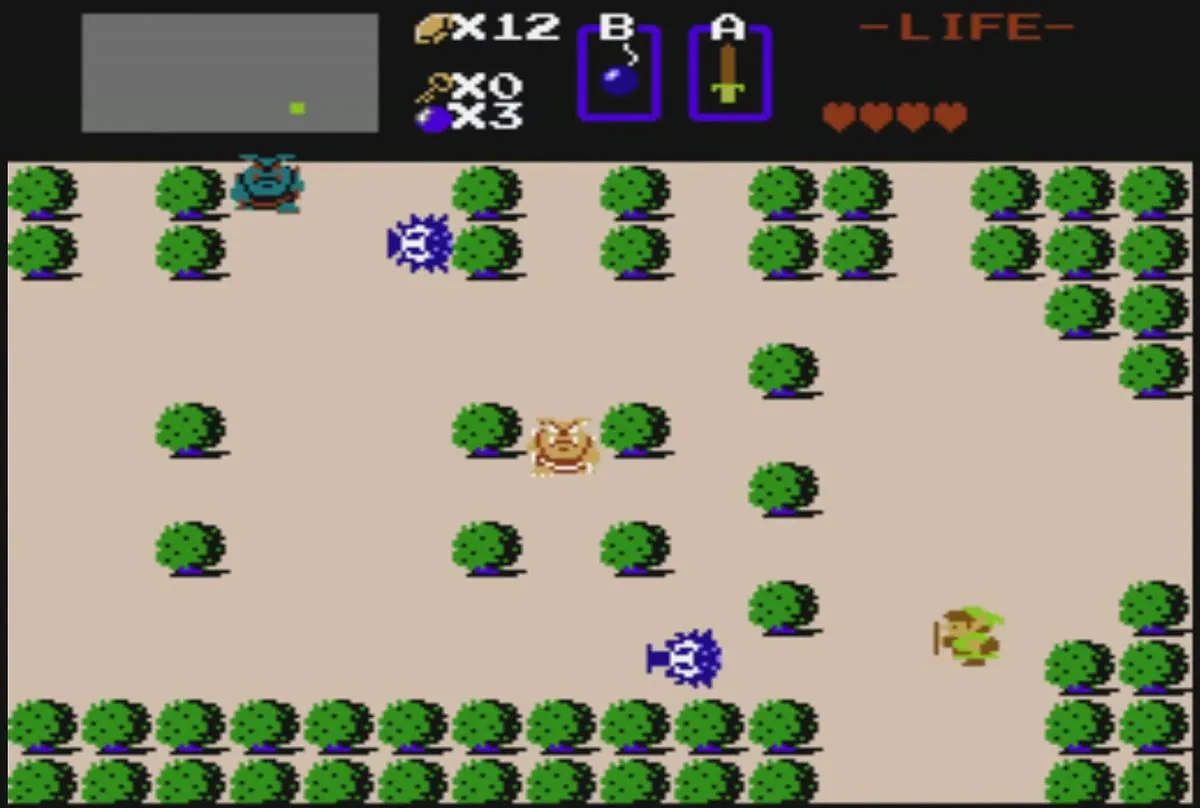
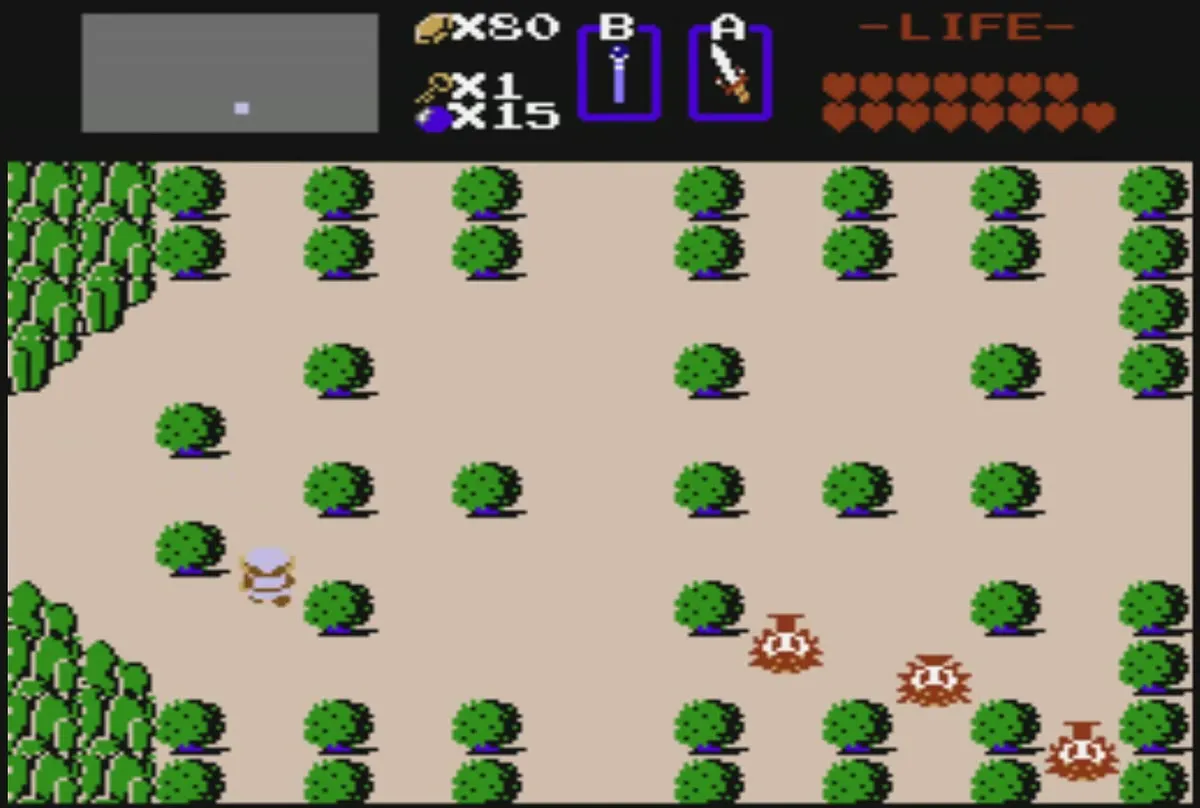
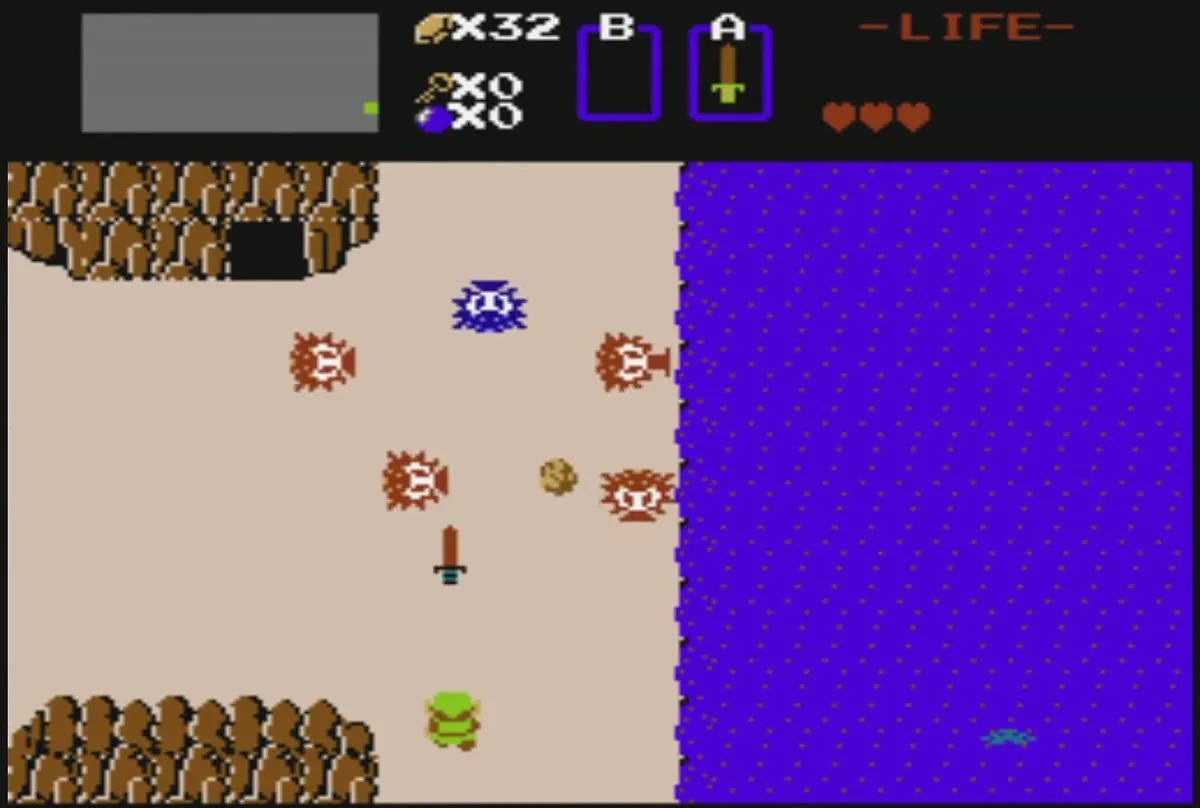
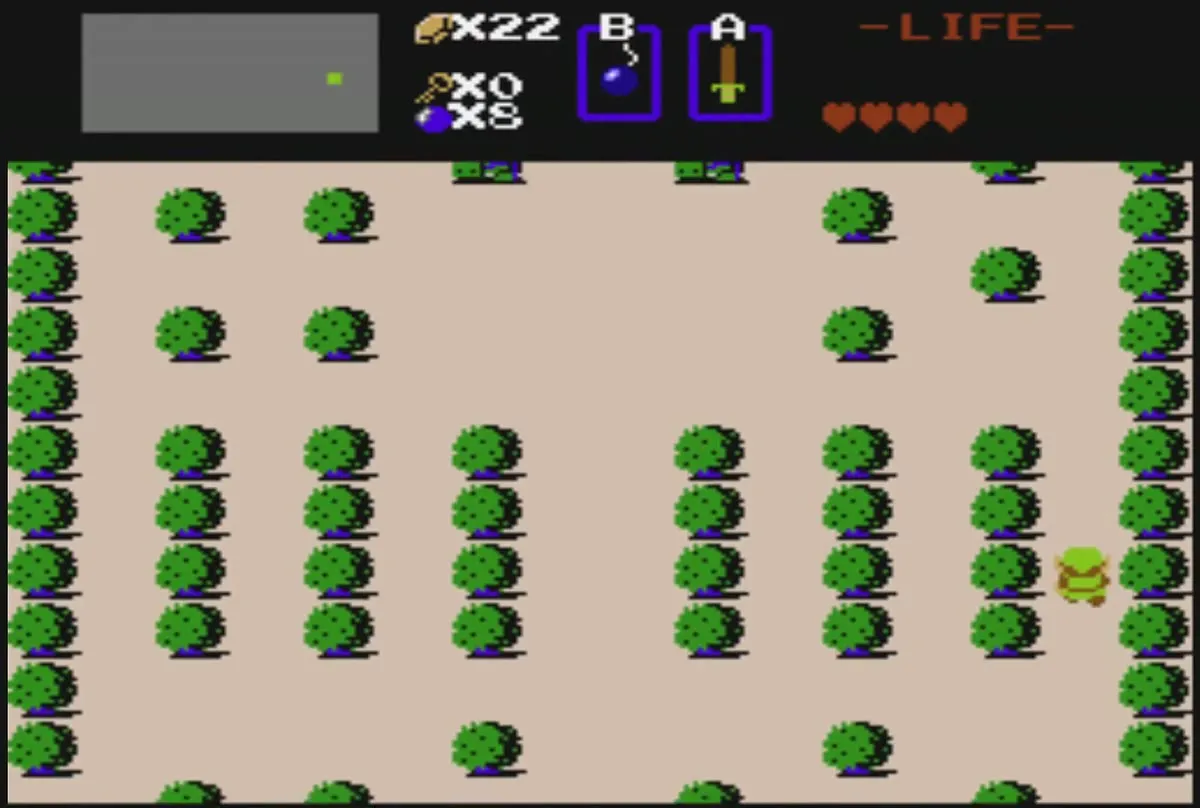
Octoroks wander aimlessly around Hyrule and fire rocks in the four main directions. You meet them early, often near the start, and the red ones are the weak version. Blue Octoroks are tougher and move less predictably. Face a rock and your shield will stop it, so keep the shield up when you walk toward them.
Tektite
Tektites jump in random directions and can cross mountains and cliffs that Link cannot walk over. The red ones jump more often than the blue ones. Sword beams, bombs, the candle and arrows all defeat them, and the Magical Boomerang only stuns one for a moment. Expect the red ones to drop a heart, a fairy or a rupee.
Leever
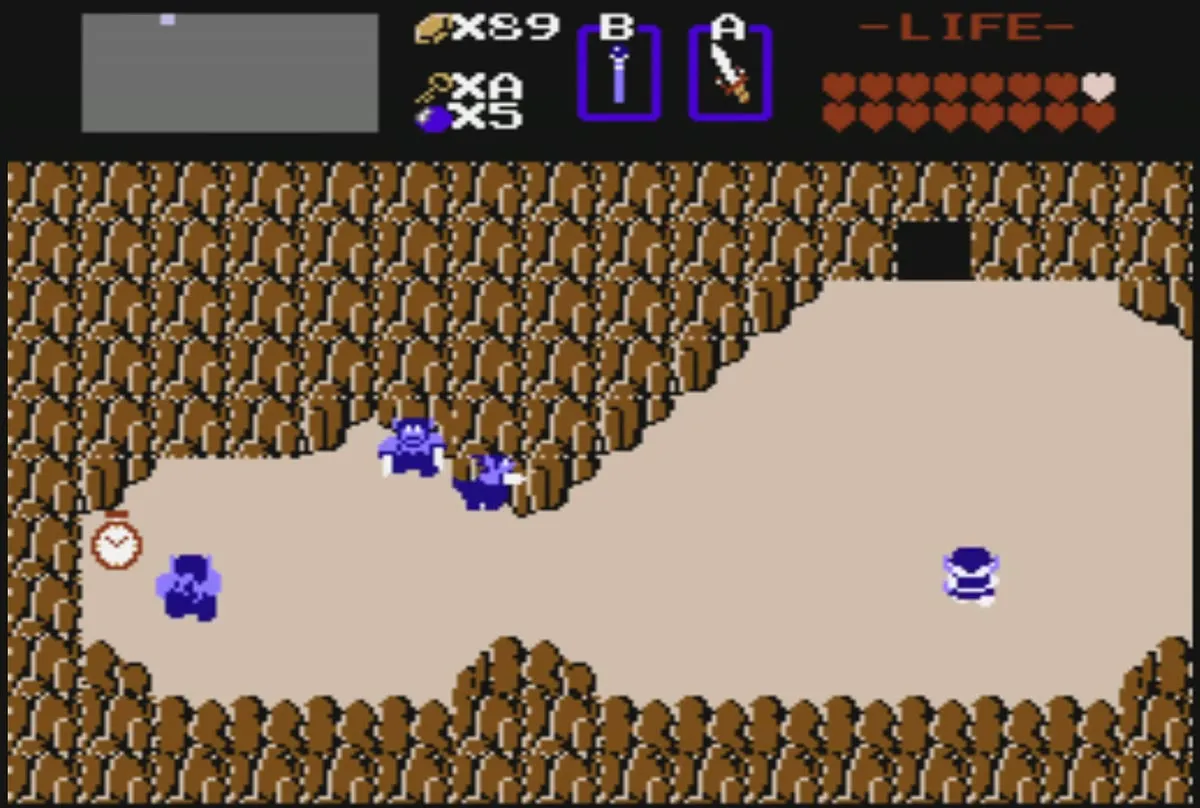
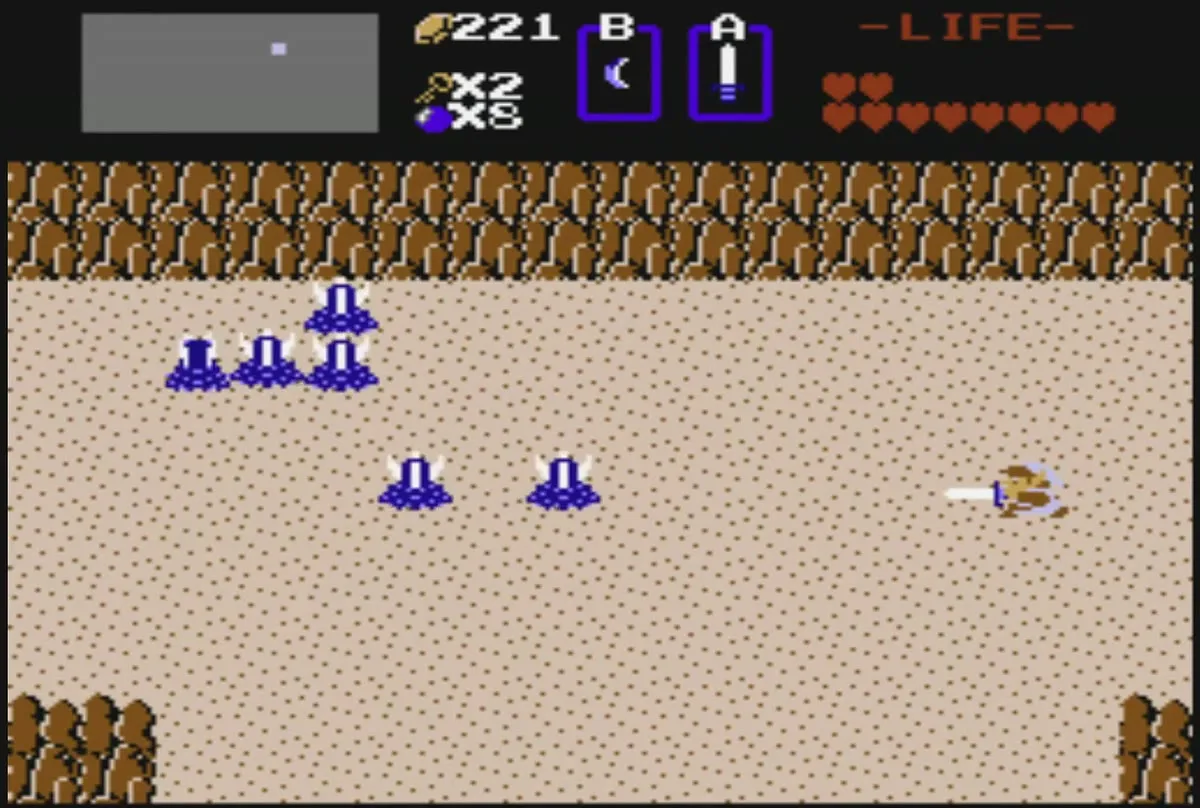
Leevers live under the sand in deserts and along beaches. They surface, spin toward you and dive again. The red Leever does little damage. The blue one hurts more and reappears at random, so keep moving and strike when it rises.
Peahat
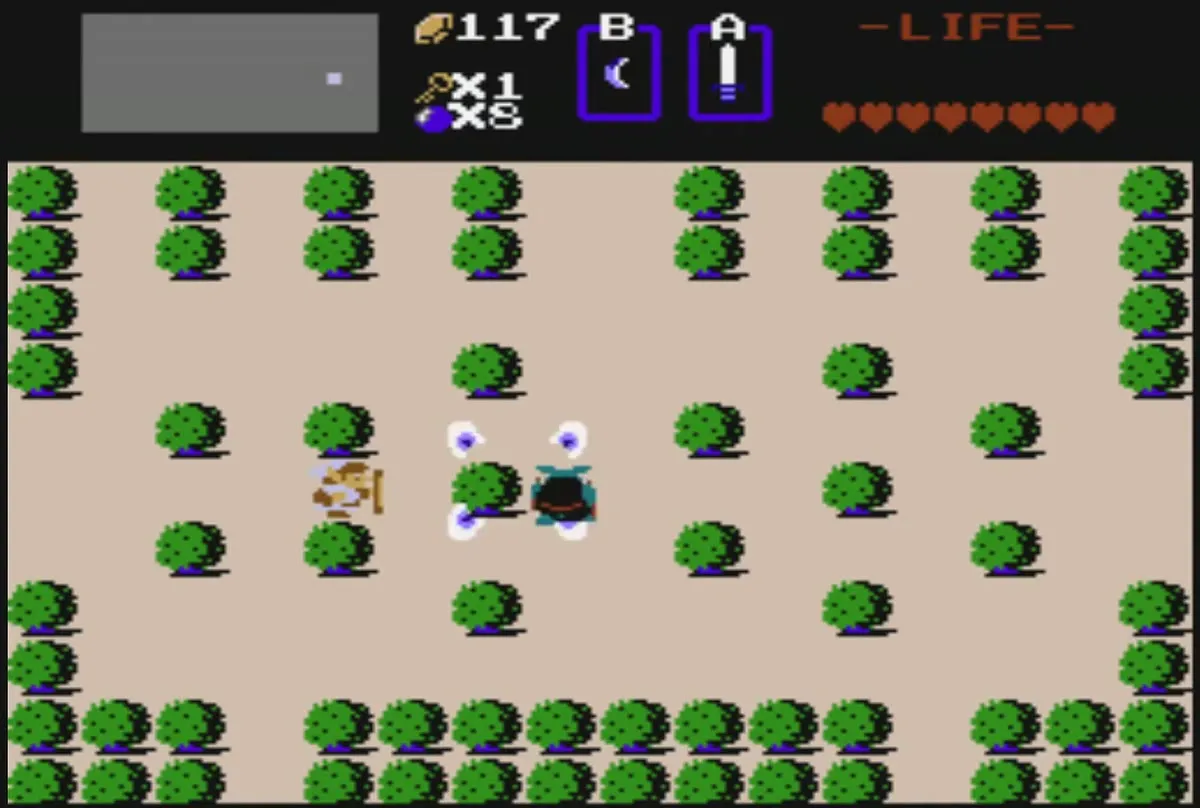
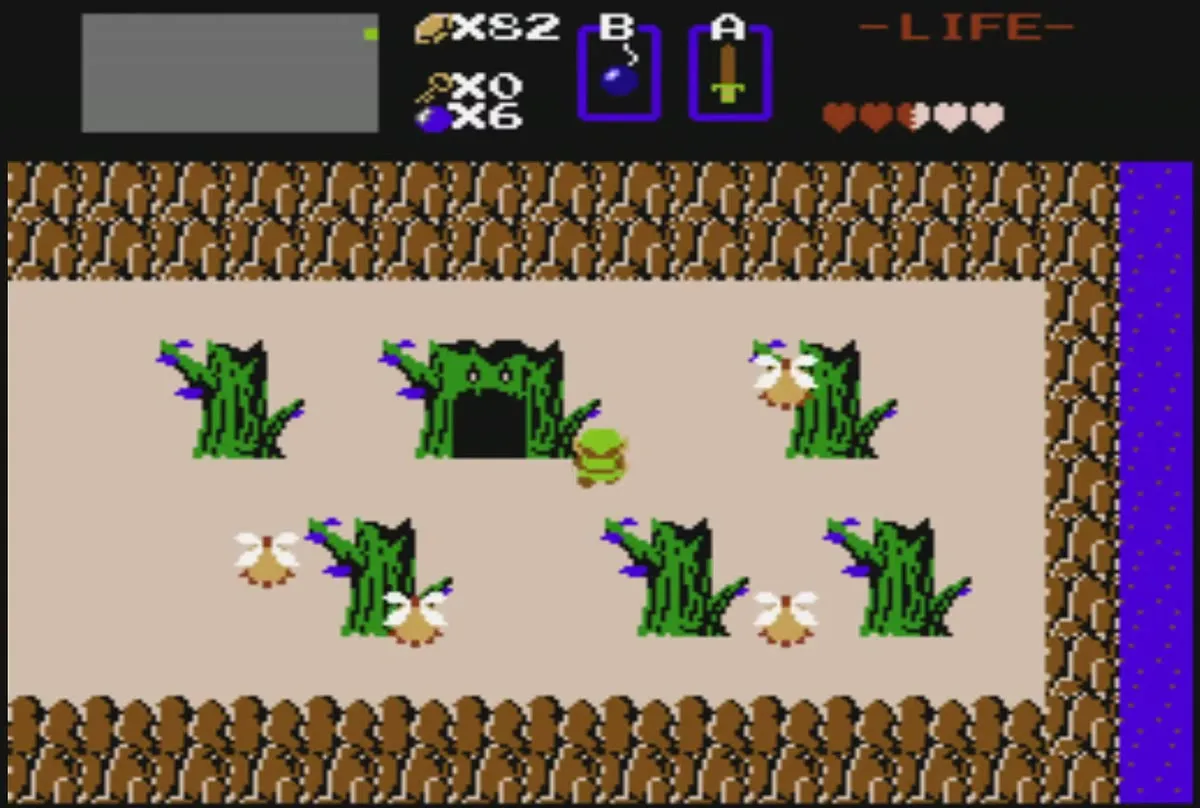
A Peahat looks like a spinning flower. While it is flying it cannot be damaged at all. It only stops to rest for a moment, and that is the moment to hit it. Peahats travel in small groups and mostly stay in the deserts and mountains of the northeast, with a few near the Lost Woods.
River Zora
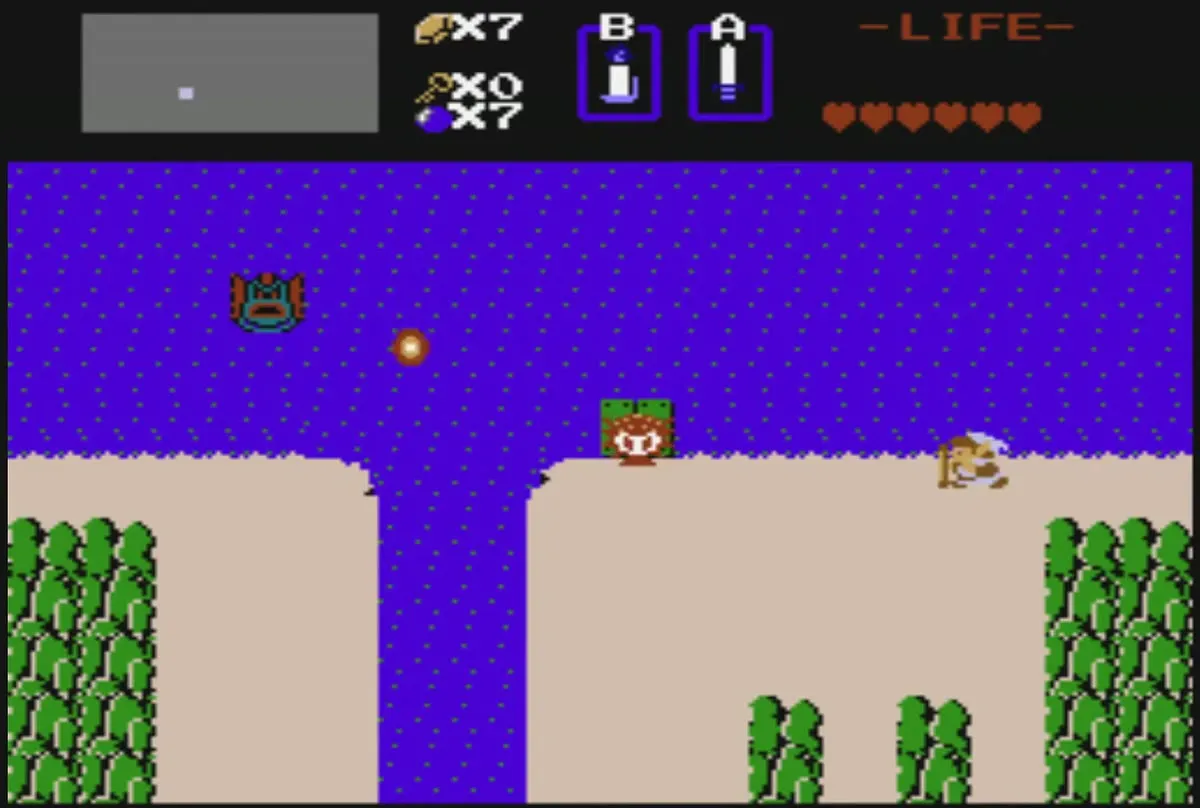
River Zora live in the lakes and rivers of the overworld, and the bridge to Level 1 is guarded by one. They rise out of the water to spit a fireball, which takes half a heart and can only be stopped by the Magical Shield. A single hit with the Wooden Sword does not finish one off. If it dives before you land a second hit, it heals, so strike twice in quick succession.
Moblin
Moblins guard the forests and plains, including the Lost Woods, and throw spears that look like arrows. The basic shield blocks those spears. Red Moblins are the weaker version, while blue Moblins take more hits to defeat. Friendly Moblins in some hidden caves hand out rupees instead of attacking.
Lynel
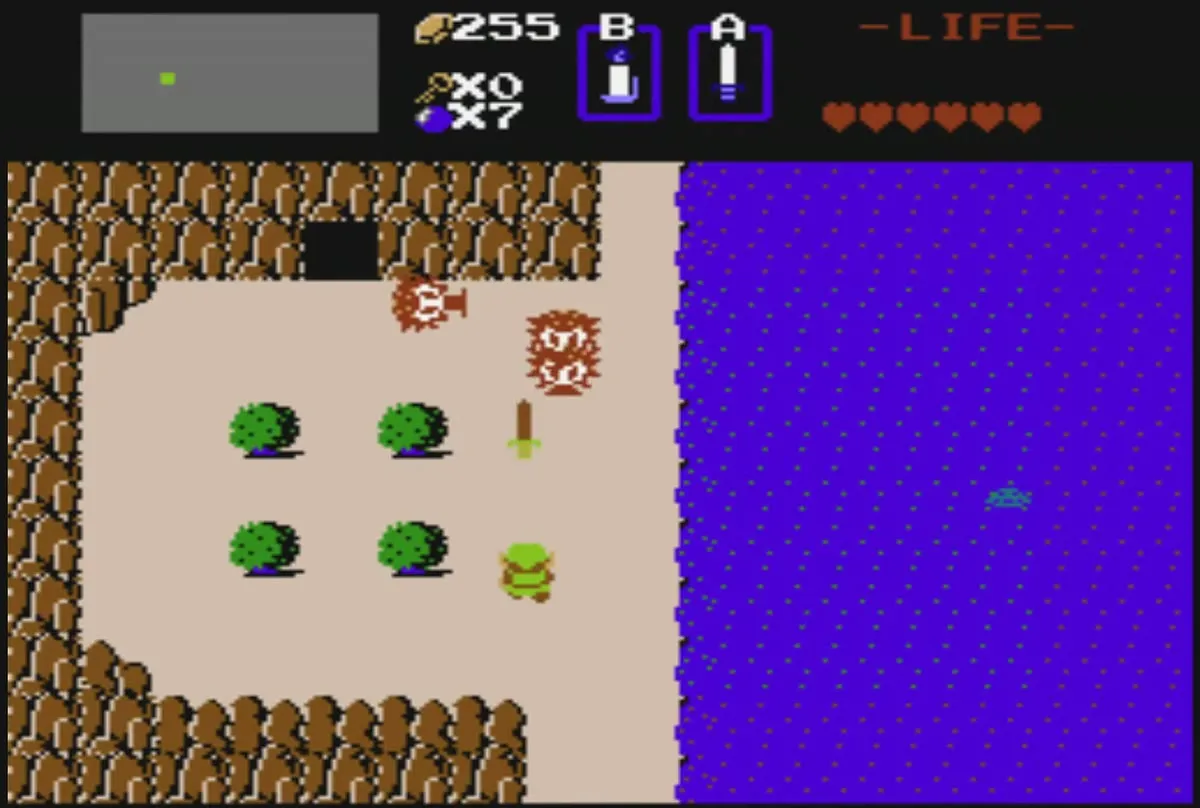
Lynels are centaur-like beasts that guard Death Mountain. They fire sword beams that the Wooden Shield cannot stop, so you need the Magical Shield for them. The red Lynel takes 4 hits from the Wooden Sword and the blue one takes 6. Both can drop a heart, a fairy, a rupee, a clock or bombs.
Armos
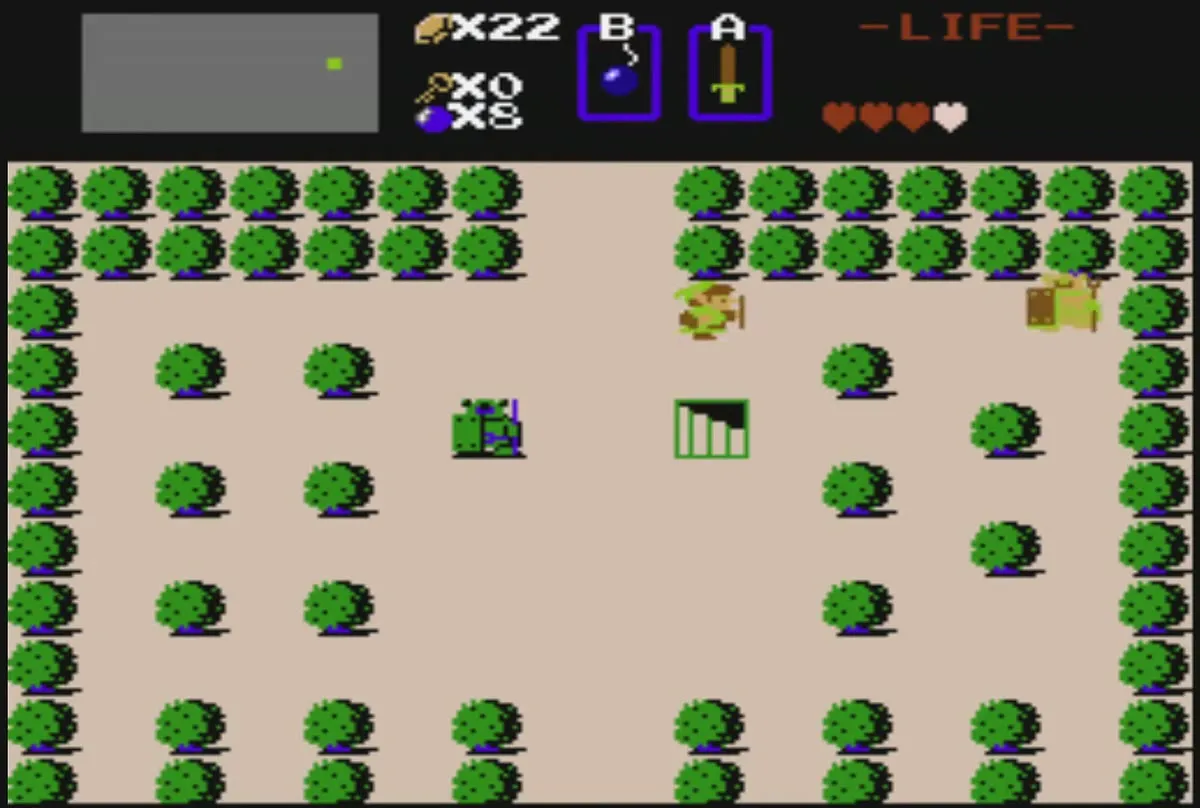
Armos look like armoured statues standing in small groups. They stay still until you touch them, then they start moving quickly around the screen. Any weapon or item defeats an Armos, and the boomerang stuns one long enough to slip past. Some Armos hide staircases that lead to rupee caves and shops, so touching one can also open a secret. Armos never drop anything.
Ghini
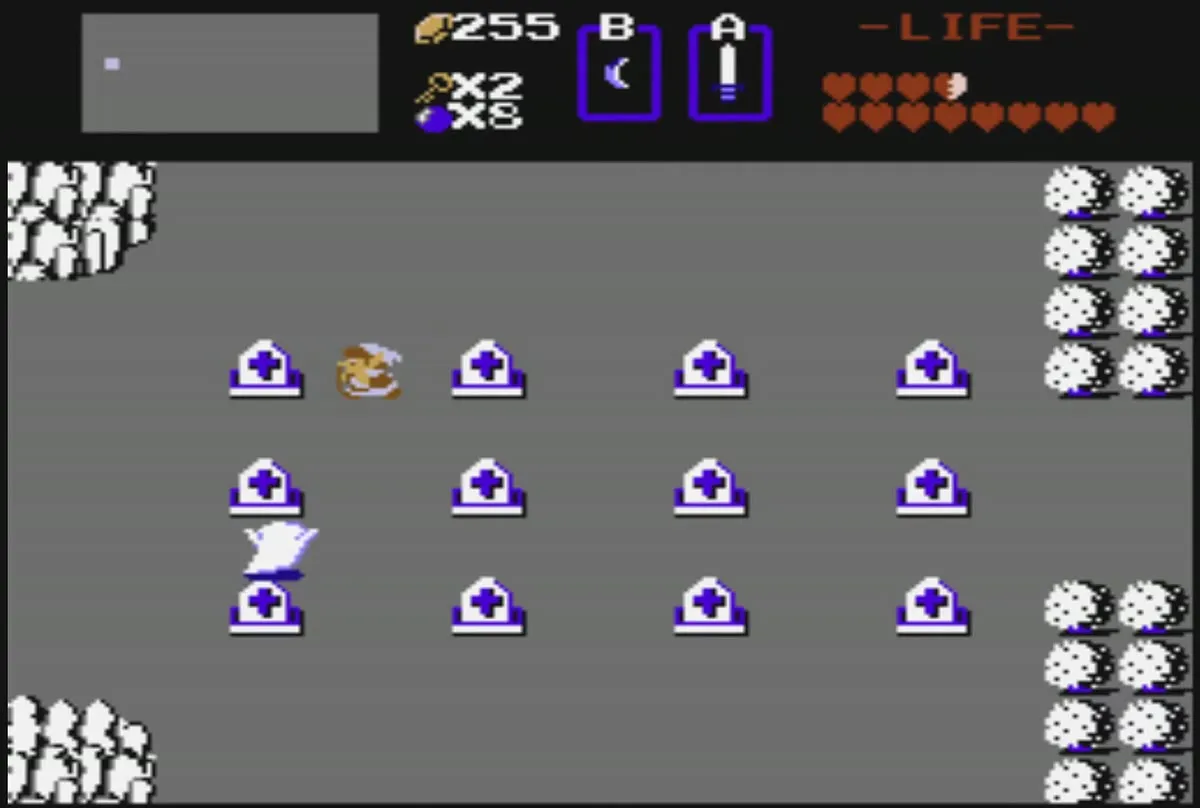
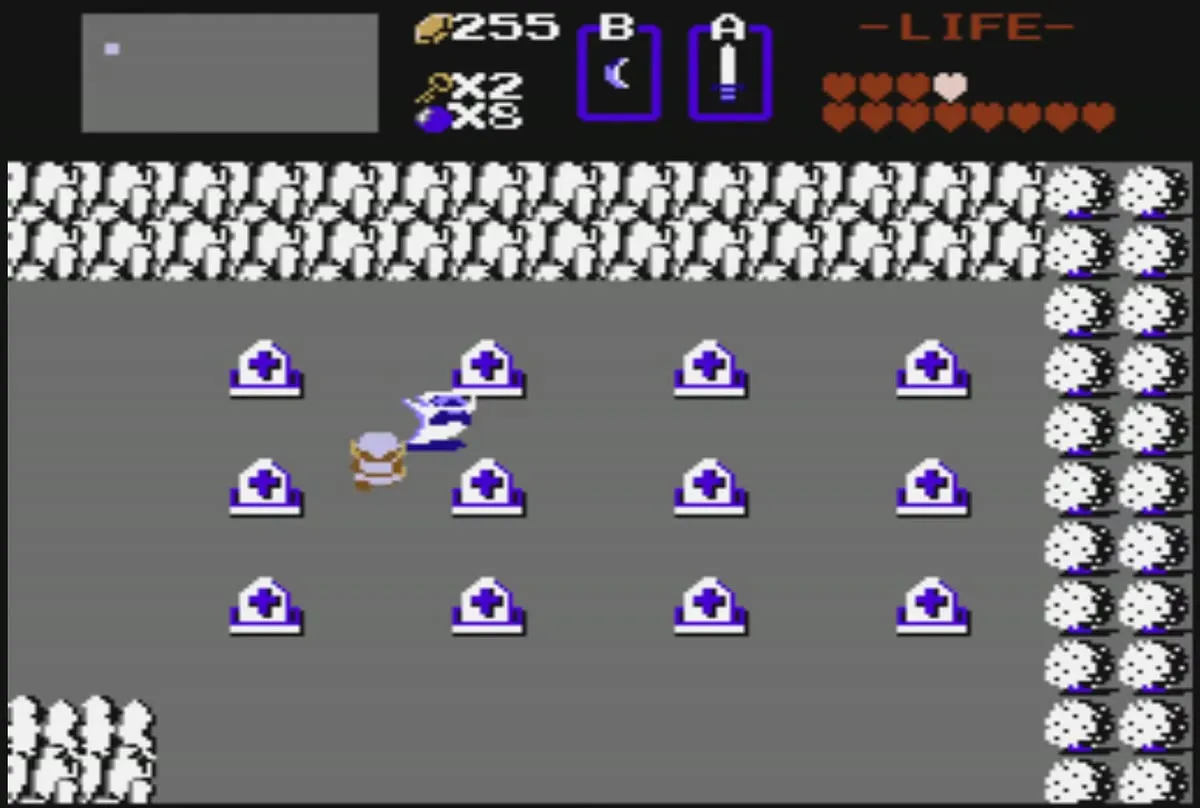
Ghinis haunt the graveyard. Each area has one Ghini that you can hit, and the other Ghinis on screen all disappear when it dies. Touching tombstones makes new Ghinis appear, and those cannot be hurt. Each Ghini deals about one heart on contact. Defeat the one that was there from the start and the rest of the screen clears with it.
Rock
Falling rocks are a hazard rather than an enemy. They tumble down the cliffs of Death Mountain in groups of three, and they cannot be killed or blocked.
Dungeon enemies
Zol and Gel
The grey Zol is a blob that hits for one heart on contact. A weak hit splits it into two smaller black Gels. Gels barely hurt, and the boomerang defeats them. A sword that does two or more damage kills a Zol without splitting it. Zols are hard to see in dark rooms because they blend into the floor.
Keese
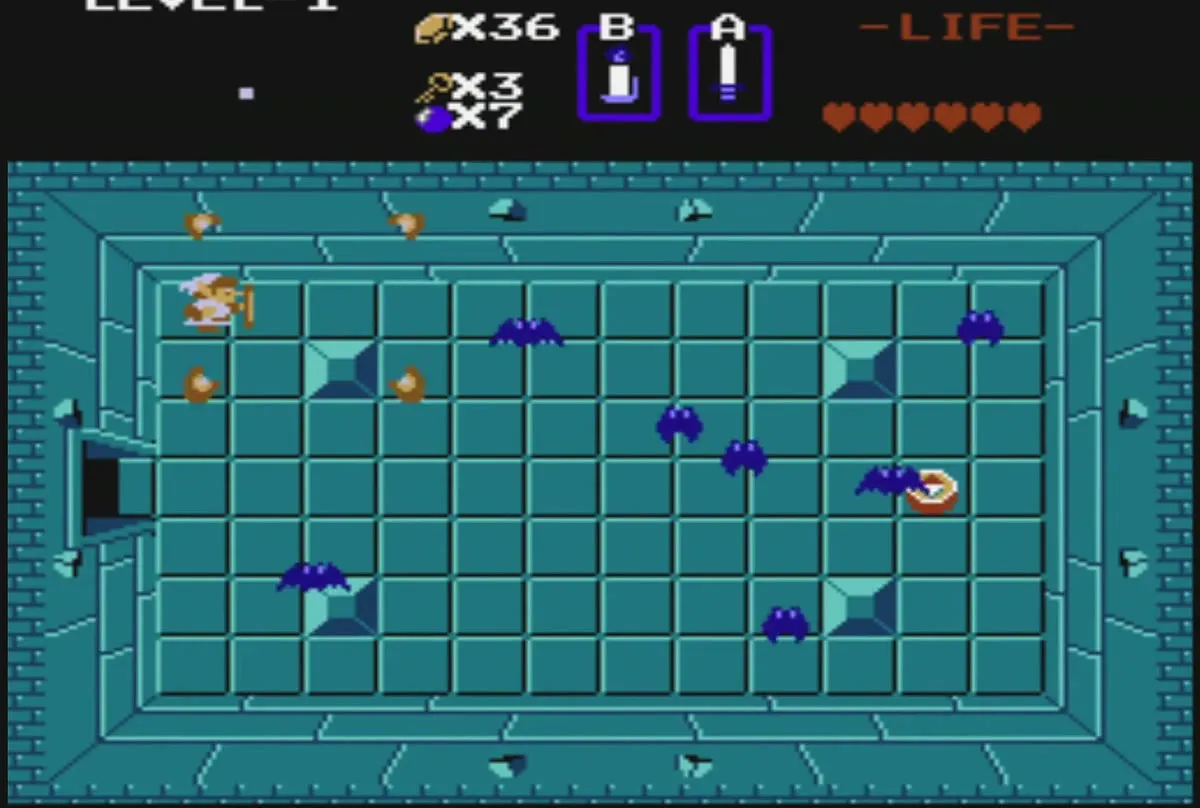
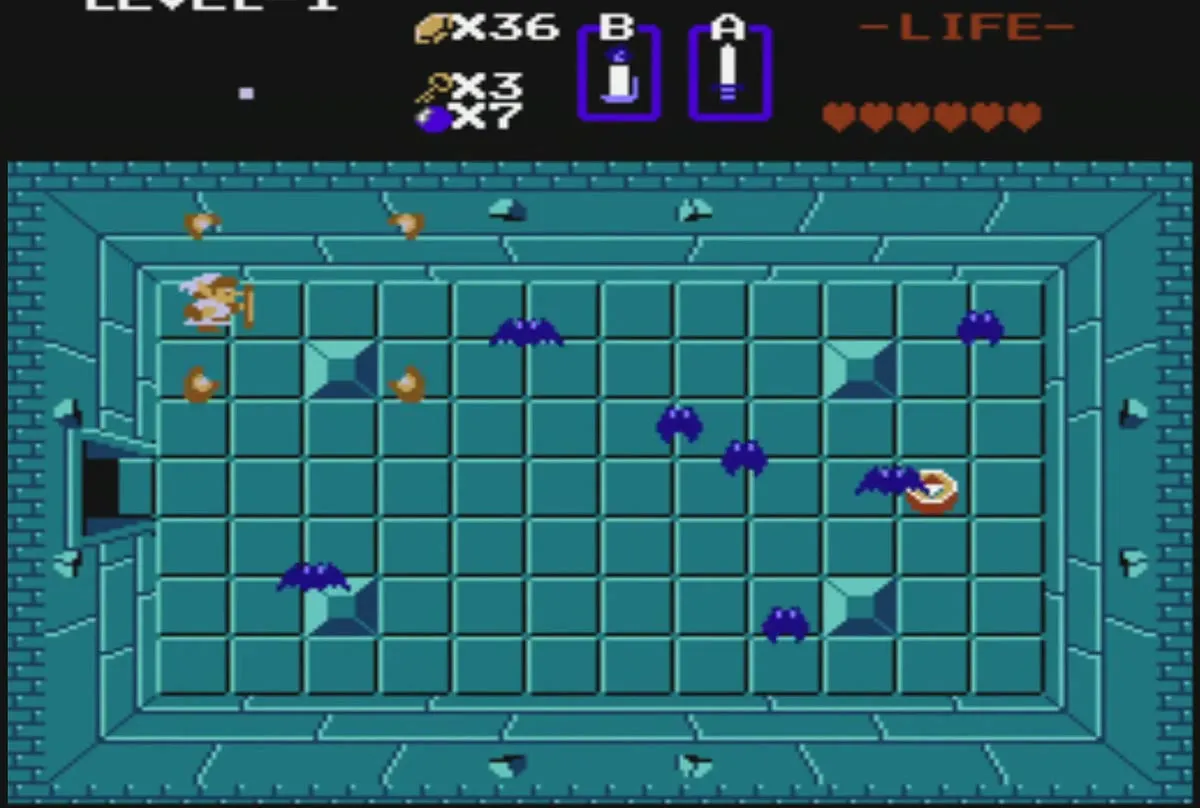
Keese are blue bats that zoom around dungeon rooms and sometimes rest against the walls. Any weapon kills them, including the sword, the bow, the candle and the boomerang. They never drop items. Dark rooms are often full of them, so keep a steady pace.
Vire
Vires are large blue winged demons that bounce around. Only a strong hit, such as the Magical Sword, a Silver Arrow or a bomb, defeats a Vire outright. Any weaker hit splits it into two red Keese, and if you leave the room and come back, the Vire returns because it was never truly killed.
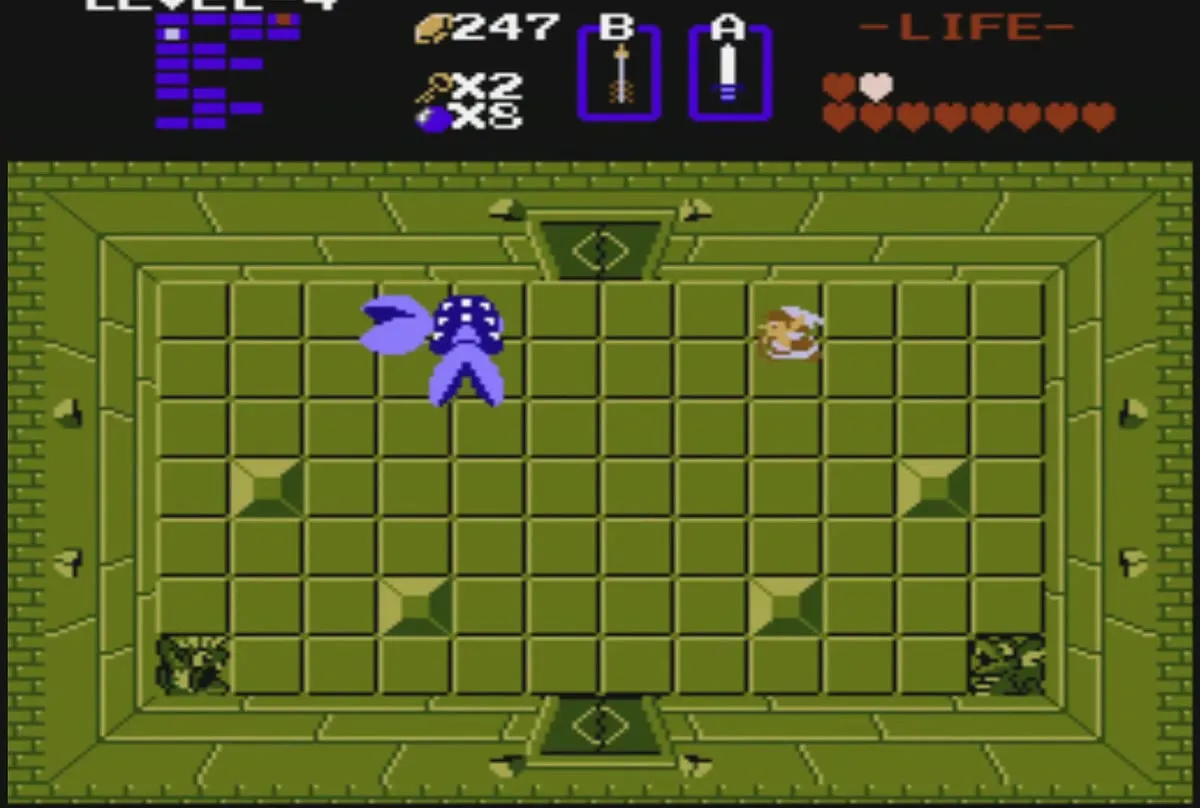
Stalfos
Stalfos are skeletons that carry a sword in each hand. They wander dungeon rooms and hurt you when they touch you. One sword strike defeats one, even with the Wooden Sword. In the Second Quest they can fire sword beams, which makes them harder to approach.
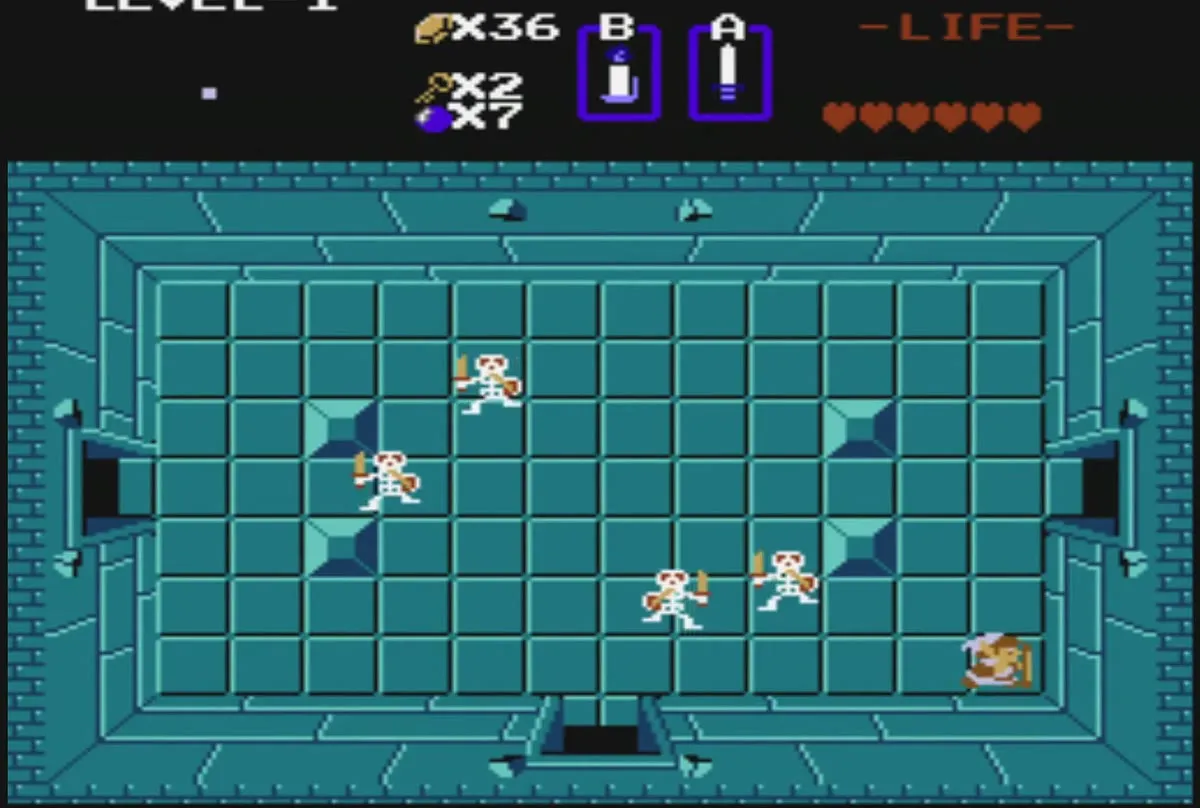
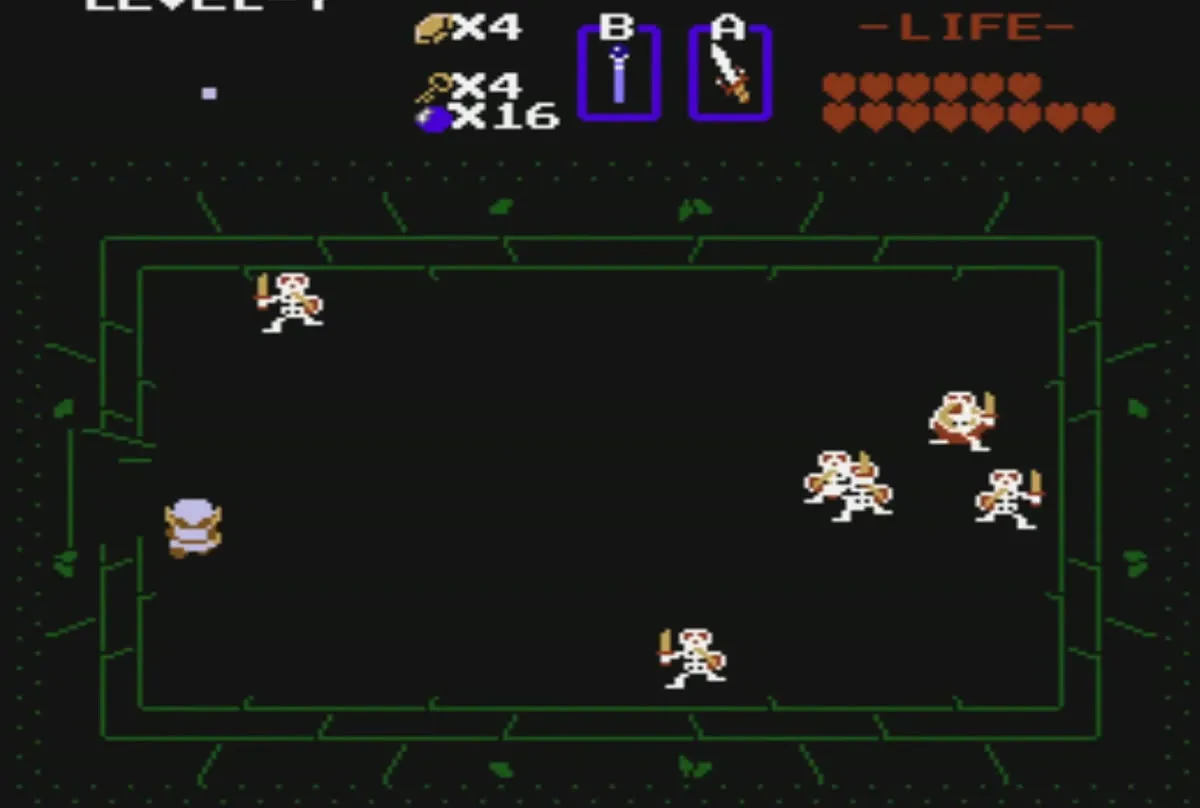
Goriya
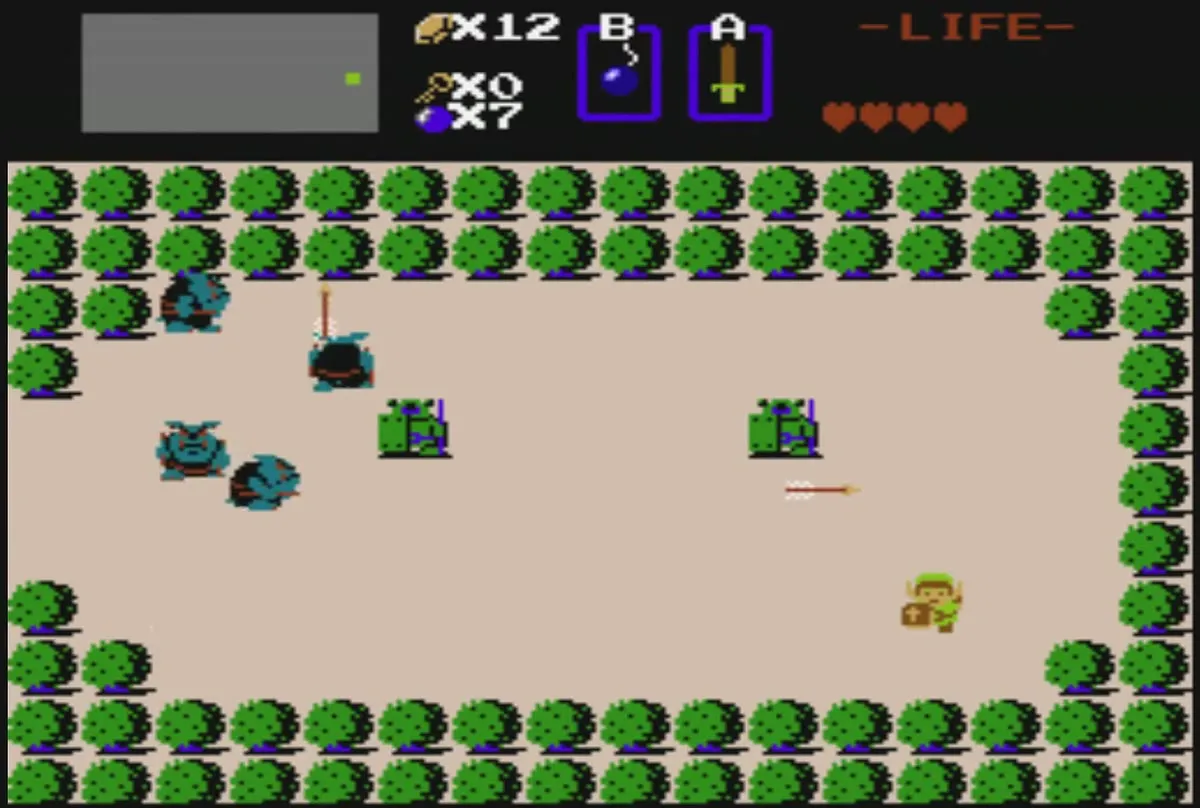
Goriyas are goblin-like rats that throw boomerangs. Red Goriyas come in groups of three or more. In Level 1, defeating a group of them gives you the boomerang. The boomerang does one heart of damage and comes back, so you have to watch both the outgoing and the returning throw. A hungry Goriya in some levels will not move until you give it food from a shop.
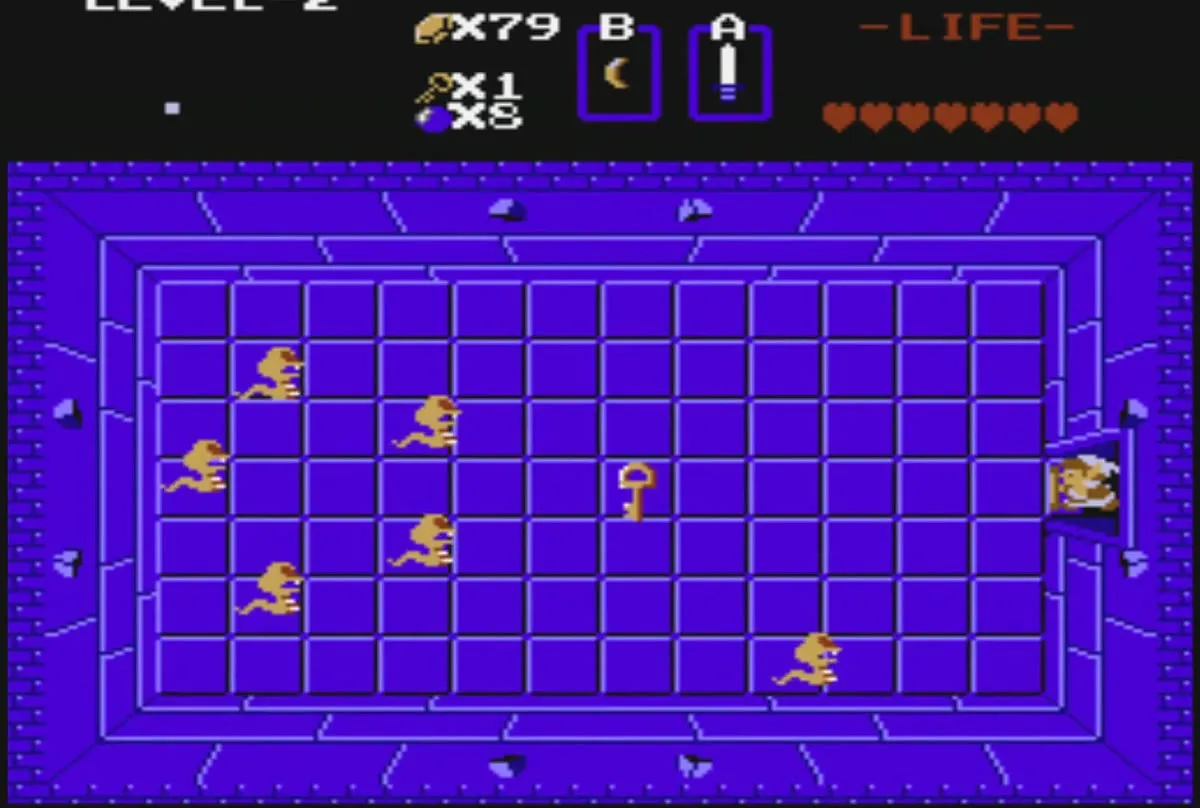
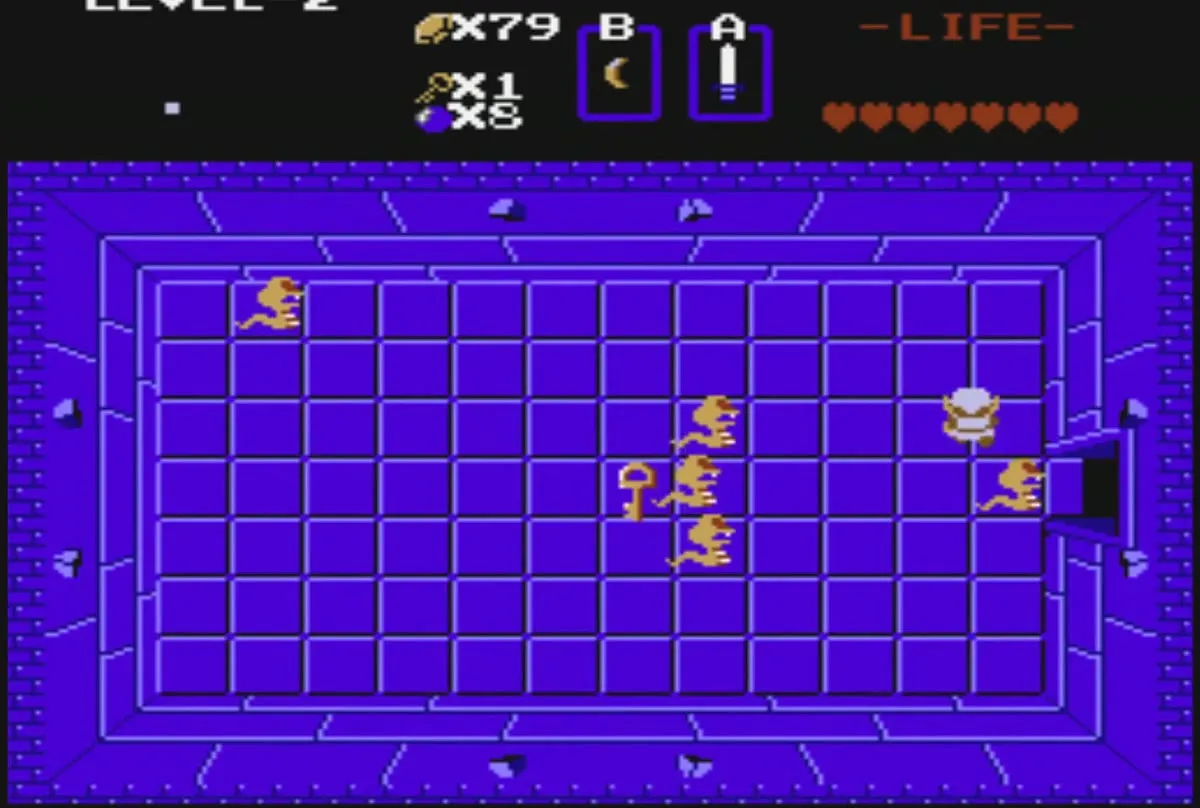
Wallmaster
A Wallmaster is a hand that comes out of a dungeon wall. If it grabs Link, it drags him back to the dungeon entrance, and he has to walk the level again. It does half a heart of damage. Defeat it quickly before it catches you.
Rope
Ropes are snakes that sit still until Link lines up with them, then charge in a straight line. They deal half a heart of damage. Keep off their row and column. In the Second Quest the flashing Ropes take more hits.
Moldorm
A Moldorm is a long worm that slithers around in a random pattern. Each sword hit shortens its body, and it is gone once you defeat it. It does half a heart of damage, and it drops a heart, a fairy or a rupee.
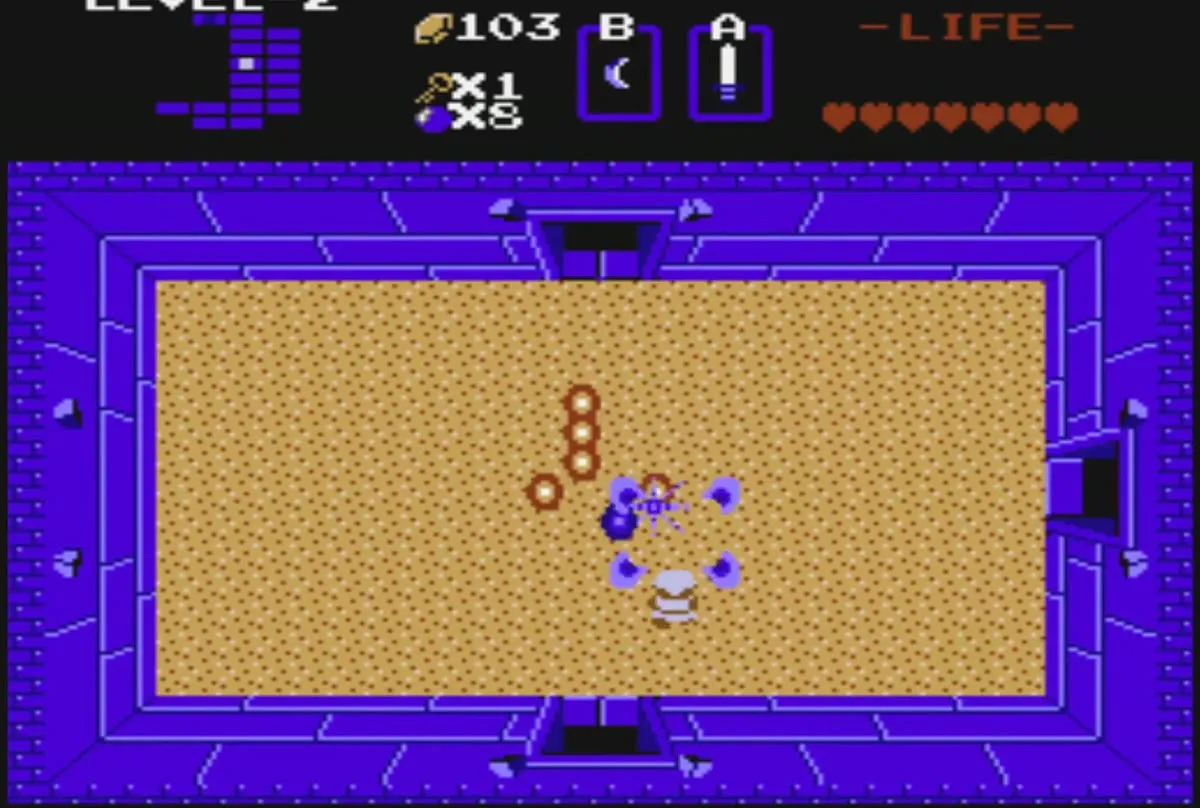
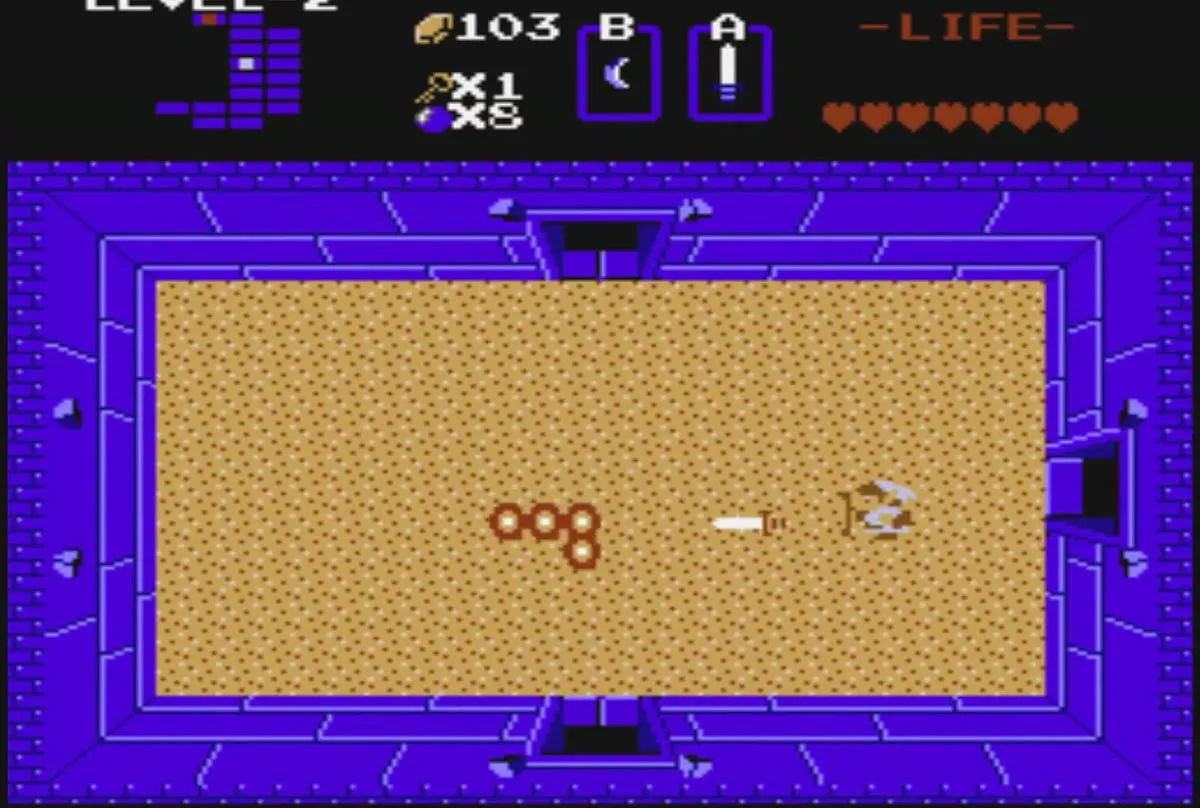
Gibdo
Gibdos are mummies that keep walking toward you. They take several hits to defeat, and their attacks do one to two hearts. Keep moving and do not let them corner you in a narrow room.
Pols Voice
Pols Voices are rabbit-like ghosts with large ears that bounce around rooms and deal two hearts when they touch you. They are very hard to hit with a sword, but a single arrow kills one. On the Famicom, they were also weak to sound fed into the second controller.
Like Like
Like Likes are tube-shaped monsters that eat the Magical Shield. They do one heart on contact and appear in small groups in later levels. Once a Like Like grabs you, strike it from the inside before it takes your Magical Shield. If it eats the shield, you fall back to the Wooden Shield.
Darknut
Darknuts are armoured knights with shields. The front of them cannot be hurt, so attack from the side or the back. The red Darknut does one heart of damage and the blue one does two. Bombs are useful in cramped corridors, and the Magical Rod also works against them.
Wizzrobe
Wizzrobes are hooded wizards that teleport around a room and fire magic blasts. Only swords and bombs hurt them, and the Magical Shield blocks their magic. Sword beams let you hit them from a distance. Blue Wizzrobes can move through walls and fire more often than red ones.
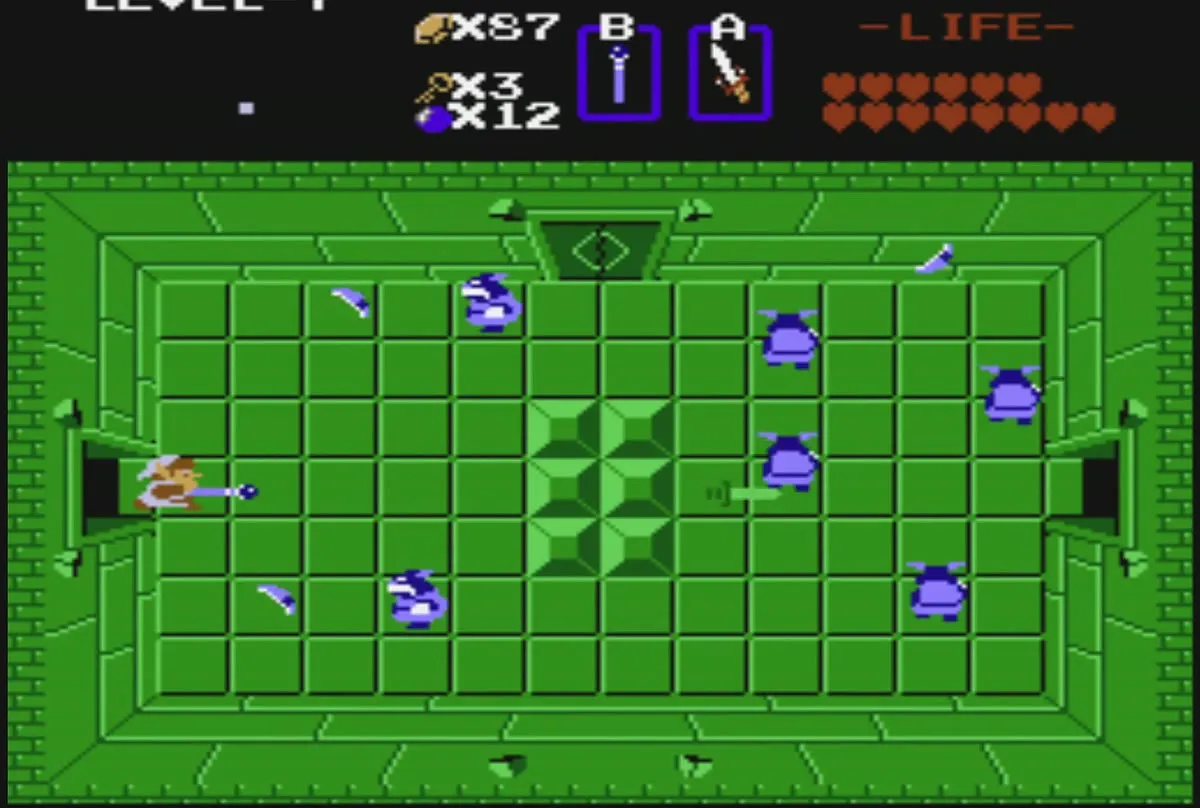
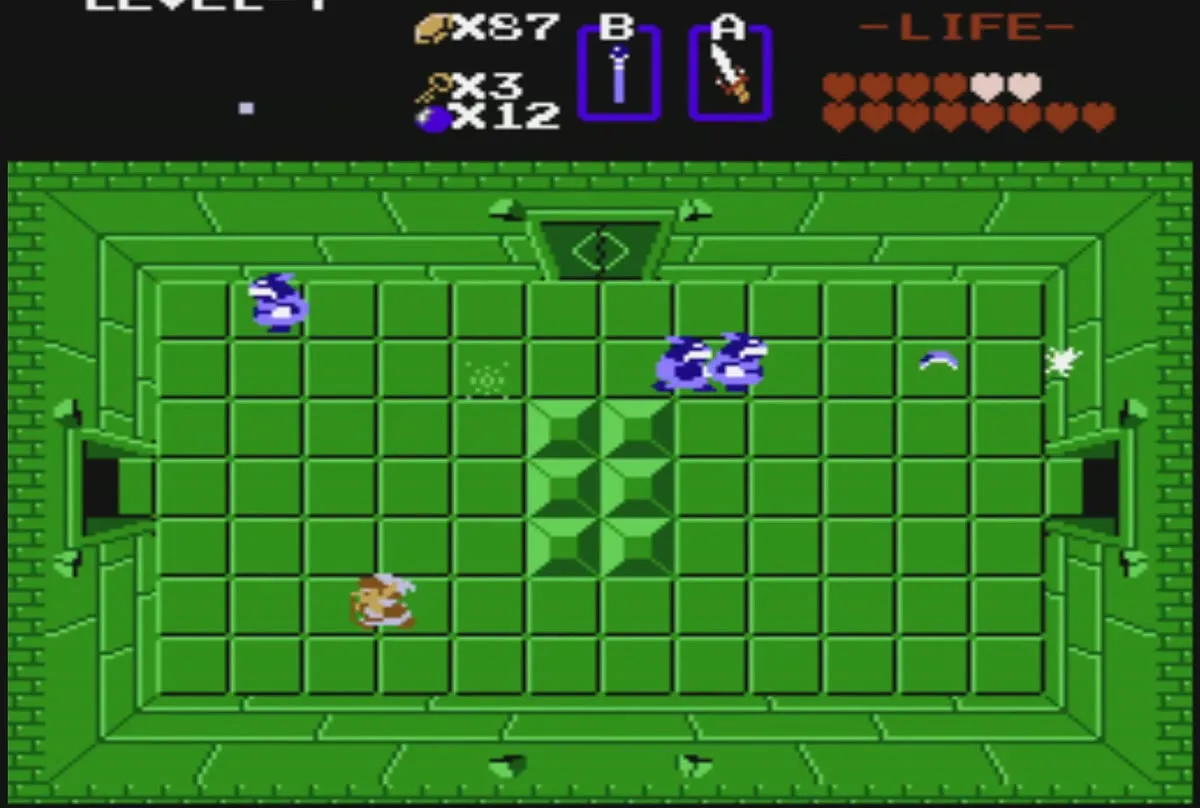
Lanmola
Lanmolas are fast centipedes that only appear on Level 9. They deal two hearts of damage. Hit the tail until the body is short enough for you to reach the head, because the head cannot be hurt before that. The blue Lanmola is faster than the red one.
Patra
Patras are groups of flying eyes on Level 9. A ring of small eyes circles a larger central eye, and the centre cannot be hurt until the ring is cleared. The ring moves in two patterns: one expands and contracts across the room, and the other spins like a gyroscope. Only the sword can damage them.
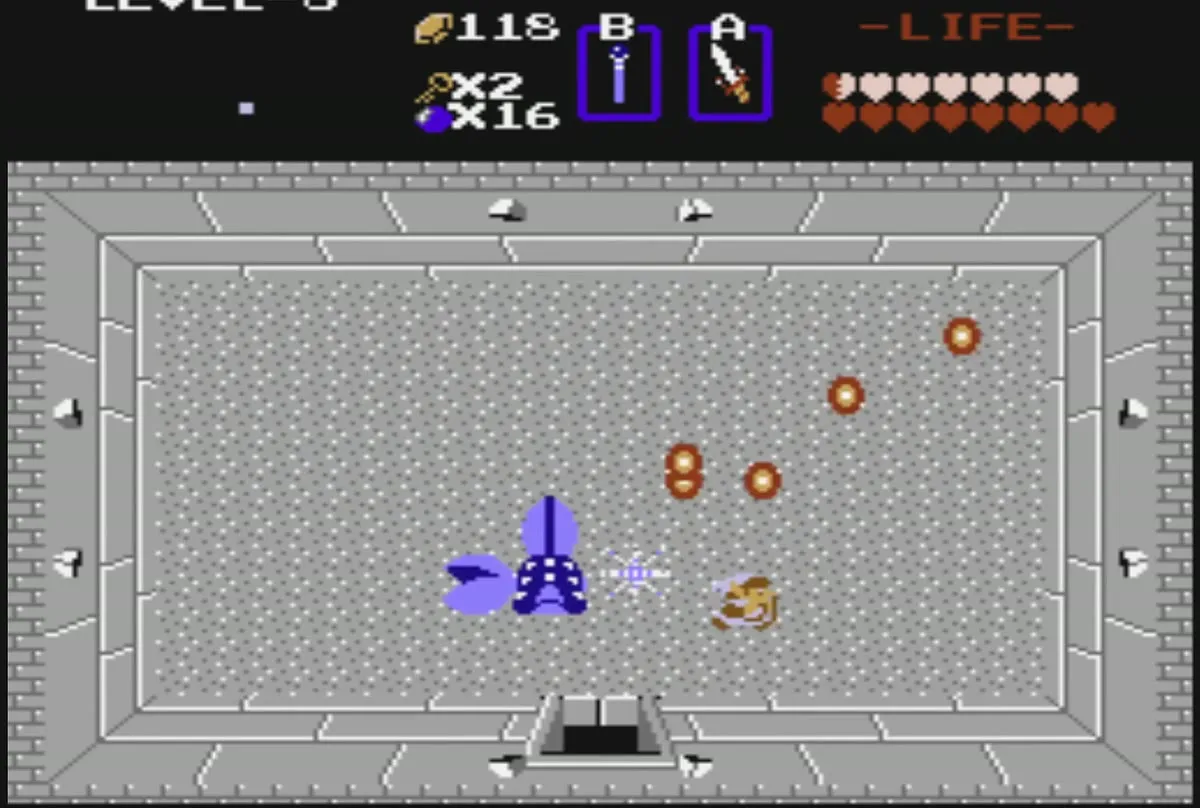
Bubble
Bubbles are flaming skulls that cannot be harmed. They do no damage, but touching one stops you from using your sword for a short time. In the Second Quest there are red and blue Bubbles: a red one stops your sword until you touch a blue one.
Trap
Traps are spiked blocks at the corners of dungeon rooms. When you line up with one, it slides toward you and then slowly returns. They cannot be destroyed, so the only defence is to step out of their line.
Stone statues
Stone Statue
Stone Statues are tall rock monoliths that stand in dungeon rooms. Some breathe fire. They attack when you come close, so pass them at a distance and keep your shield up while you move through their room.
How many hits each enemy takes
These counts are in Wooden Sword hits. Halve them for the White Sword and quarter them for the Magical Sword, and round up. Where there are two numbers, the first is the red version and the second is the blue one.
| Enemy | Wooden Sword hits | Damage to Link without a ring |
|---|---|---|
| Octorok | 1 / 2 | Half a heart |
| Tektite | 1 | Half a heart |
| Zora | 2 | Half a heart |
| Moblin | 2 / 3 | Half a heart / 1 heart |
| Leever | 2 / 4 | Half a heart / 1 heart |
| Armos | 3 | 1 heart |
| Lynel | 4 / 6 | 1 heart / 2 hearts |
| Ghini (the one that can be hurt) | 9 | 1 heart |
| Keese, Gel, Zol | 1 | Half a heart, half a heart, 1 heart |
| Stalfos, Wallmaster, Vire | 2 | Half a heart, half a heart, 1 heart |
| Goriya | 3 / 5 | Half a heart to 1 heart |
| Darknut | 4 / 8 | 1 heart / 2 hearts |
| Gibdo | 7 | 2 hearts |
| Like Like | 9 | 1 heart |
| Pols Voice | 10 (or one arrow) | 2 hearts |
| Wizzrobe | 4 / 10 | 1 heart up to 4 hearts by the blast |
| Moldorm | 12 | Half a heart |
| Lanmola | 20 / 32 | 2 hearts |
Keese, Gels and Armos never drop anything. Blue Octoroks, Tektites and Moblins can drop bombs, and Dodongos you finish with a sword (after a bomb stuns them) always drop bombs. For everything else, expect a rupee, a heart, a Clock, a fairy or bombs at random, and do not rely on a particular enemy for a specific item.
