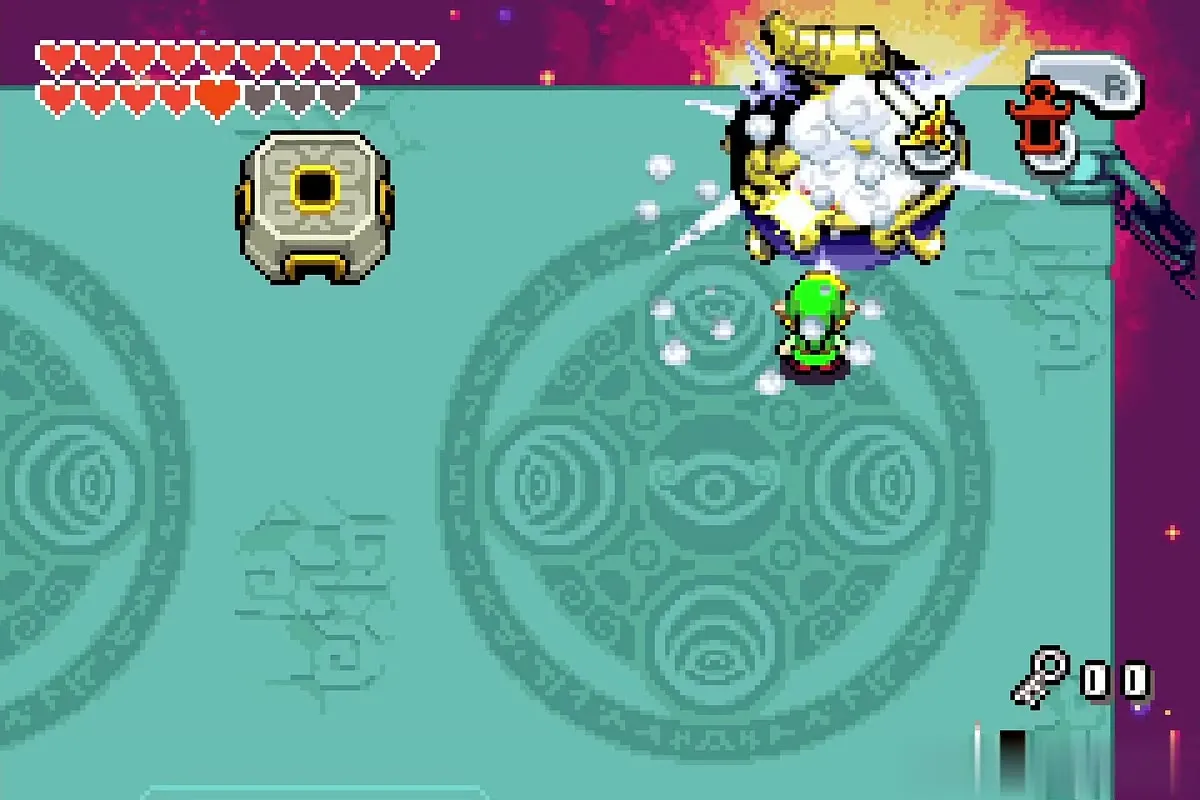
| Bosses | 8 fights: Big Green Chuchu, Gleerok, Mazaal, Big Octorok, Gyorg Pair, and Vaati in three forms (Reborn, Transfigured, Wrath) |
|---|---|
| Mini-bosses | Madderpillar (Deepwood Shrine), Big Blue Chuchu (Temple of Droplets) and the three Darknuts in Dark Hyrule Castle; the Cave of Flames, Fortress of Winds and Palace of Winds have none |
| Rewards | A Heart Container from each of the first five bosses, a dungeon Element from four of them, and the Ocarina of Wind from the Fortress of Winds |
| Requirement | Each boss door is opened with the dungeon’s Big Key; the final fight needs the Four Sword |
Every boss in The Minish Cap has one dungeon item that beats it: suck the Big Green Chuchu with the Gust Jar, flip Gleerok’s shell with the Cane of Pacci, shoot Mazaal’s hands with the Bow, reflect the Big Octorok’s boulders and burn it with the Flame Lantern, and split into clones to hit the Gyorg Pair’s eyes. Vaati’s three forms mix all of those. The quick reference below lists each fight, and the sections after it explain the pattern, the safe spots and the reward.
Table of Contents
Quick reference

Big Green Chuchu, Deepwood Shrine
What you need: Smith’s Sword, Gust Jar
Reward: Heart Container, Earth Element

Gleerok, Cave of Flames
What you need: Sword, Cane of Pacci
Reward: Heart Container, Fire Element
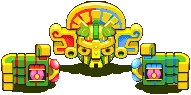
Mazaal, Fortress of Winds
What you need: Sword, Bow, Mole Mitts
Reward: Heart Container, Ocarina of Wind (no Element)
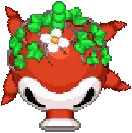
Big Octorok, Temple of Droplets
What you need: Small Shield, Flame Lantern
Reward: Heart Container, Water Element
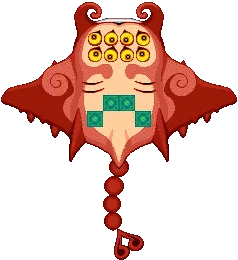
Gyorg Pair, Palace of Winds
What you need: Sword, Roc’s Cape, clone ability
Reward: Heart Container, Wind Element

Vaati Reborn, Dark Hyrule Castle
What you need: Four Sword, Gust Jar
Reward: Leads straight into form two

Vaati Transfigured, Dark Hyrule Castle
What you need: Four Sword, Bow (Light Arrows)
Reward: Zelda can be freed
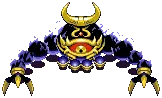
Vaati’s Wrath, Hyrule Castle courtyard
What you need: Four Sword, Cane of Pacci, Flame Lantern, Gust Jar
Reward: The ending
The dungeons and their Elements are covered on the Elements page, and the keys that open every boss door are listed in Dungeon Maps, Compasses and Keys.
Deepwood Shrine

Mini-boss: Madderpillar
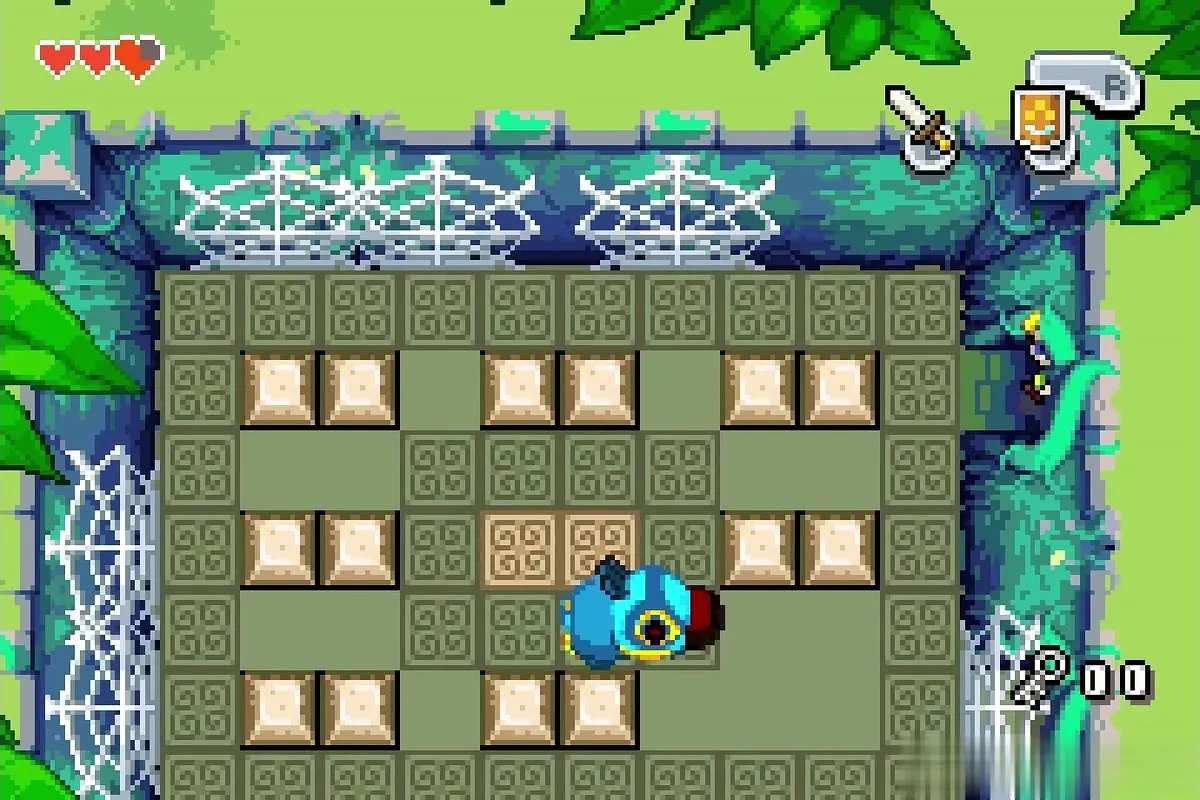
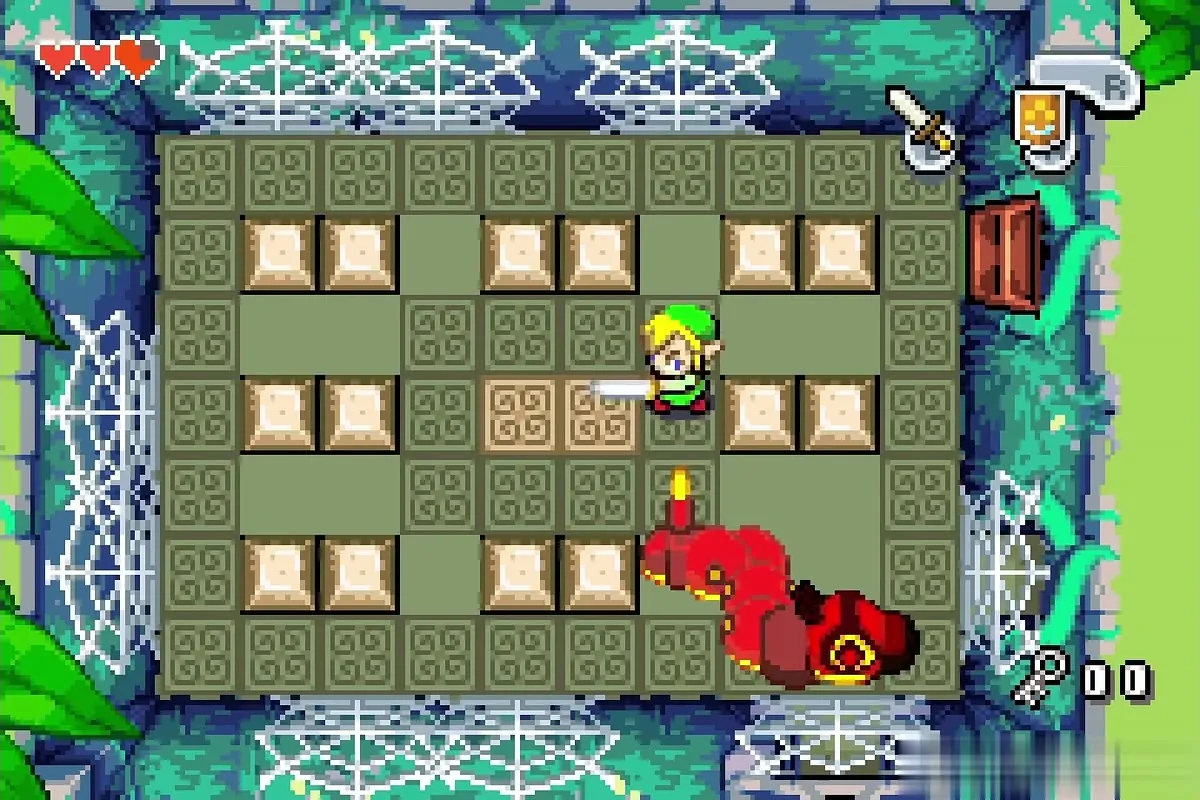
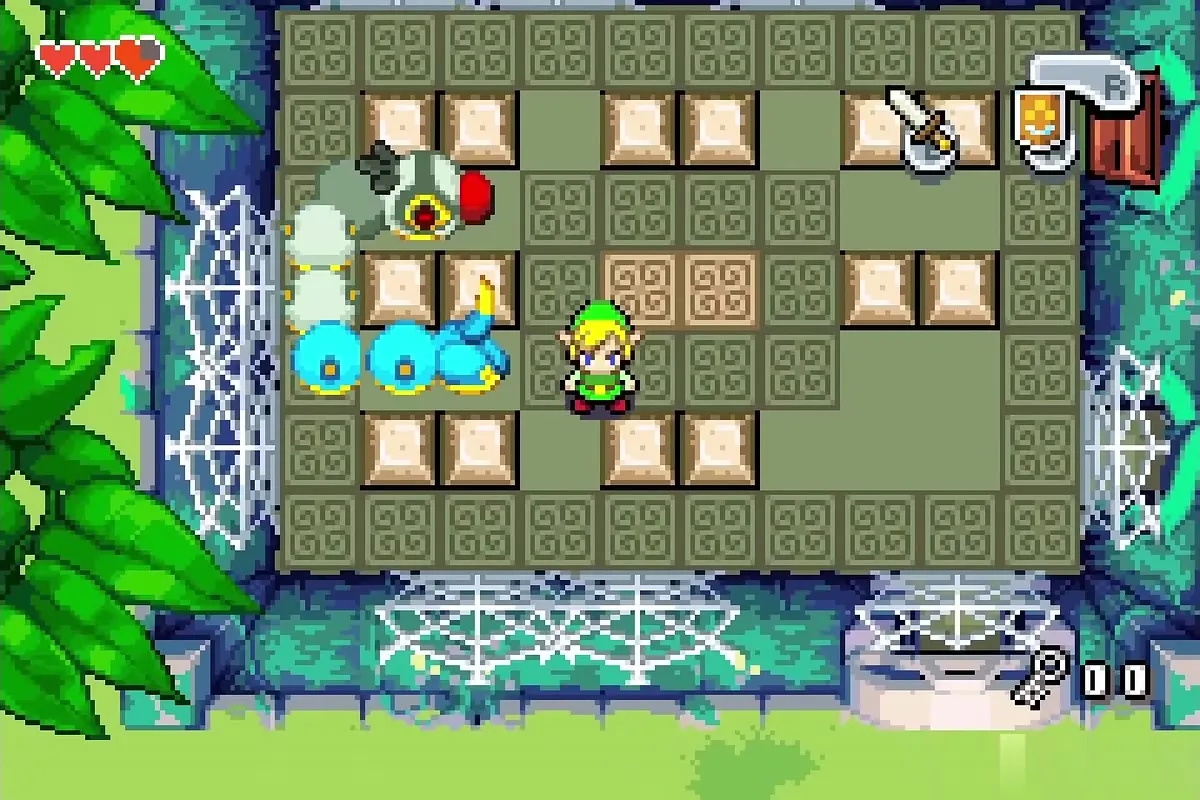
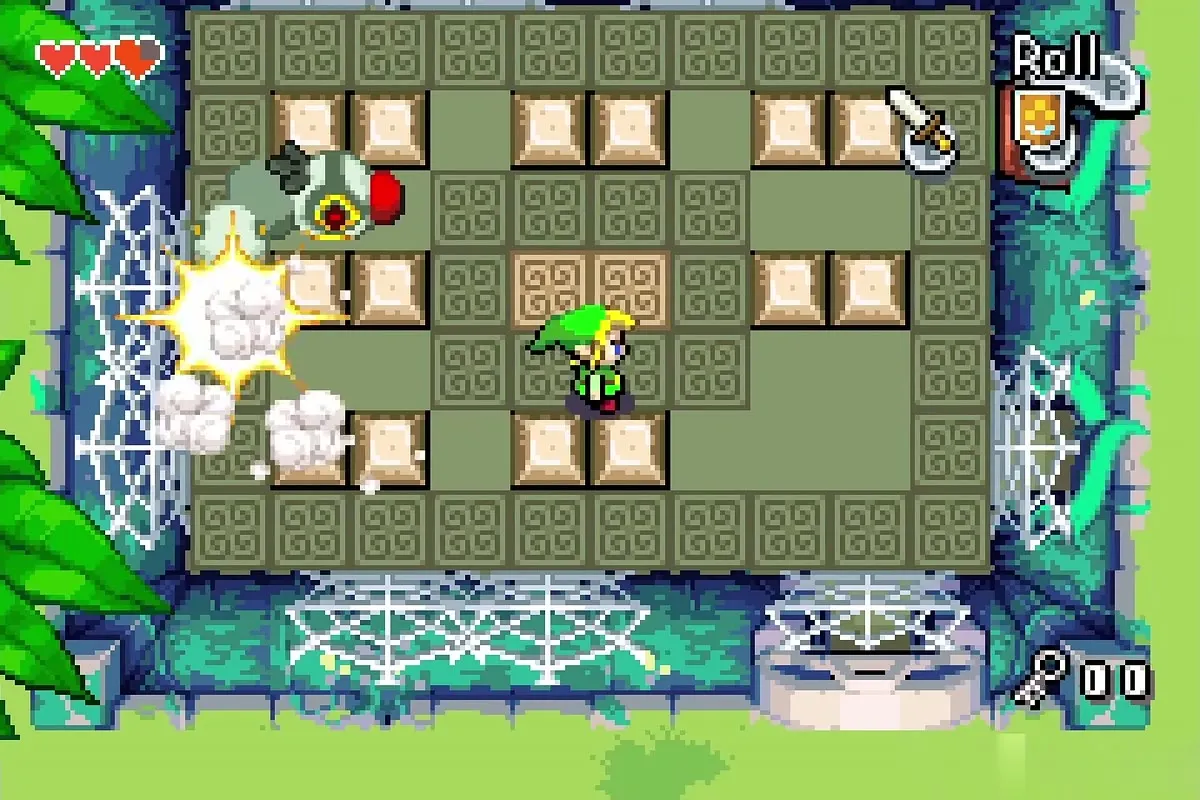
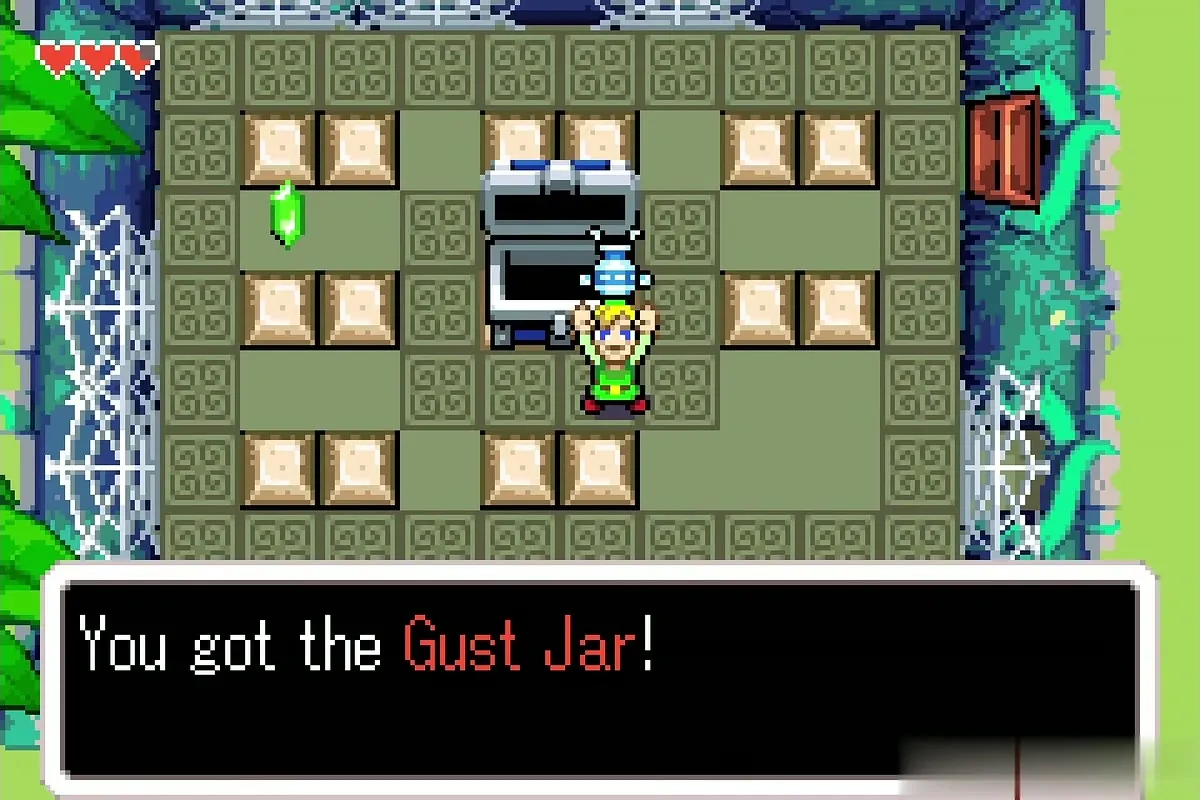
Behind the locked door in the northwest corner is a round room with a bouncing, centipede-like Madderpillar. It rushes around and ricochets off the cobwebs on the walls. Hit its red nose with the sword as it comes at you, and the tail opens to show a heart-shaped weak point. Run to the tail and slash it until it closes. When the Madderpillar turns red it cannot be hurt, so dodge until it calms down. Repeat until it collapses and a chest with the Gust Jar appears.

Boss: Big Green Chuchu
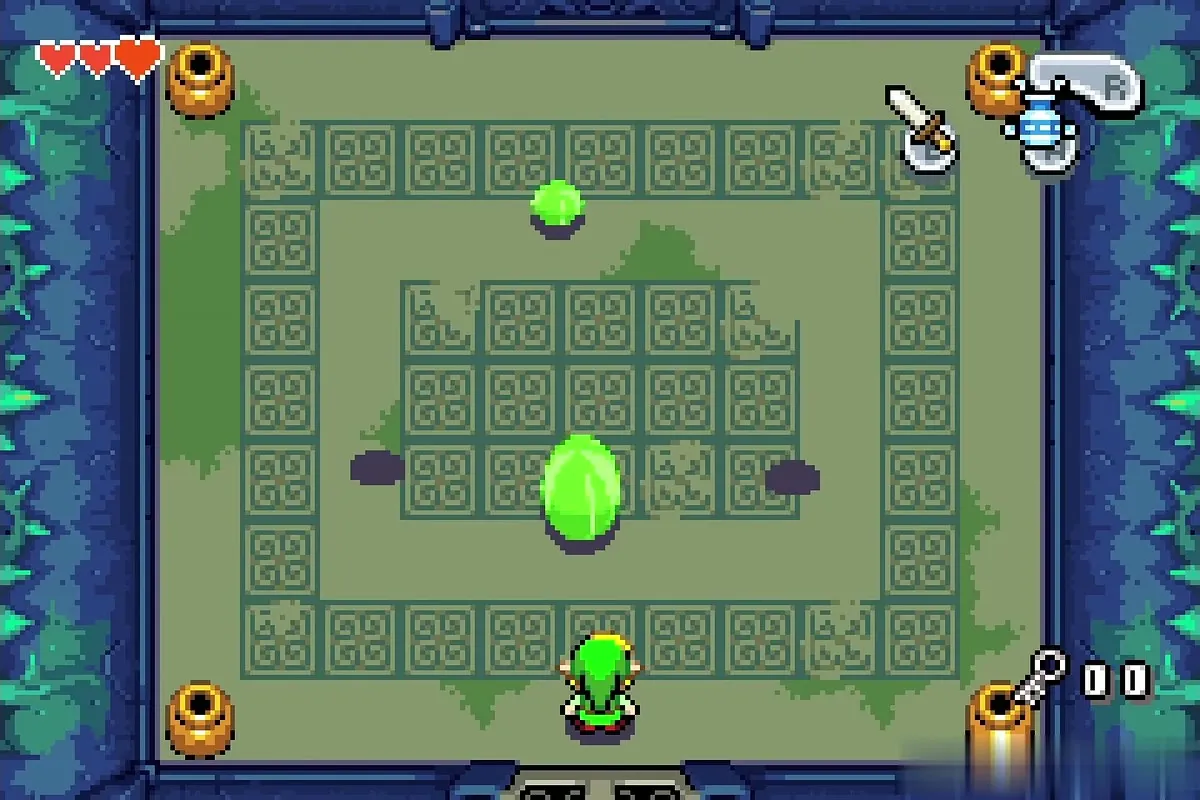
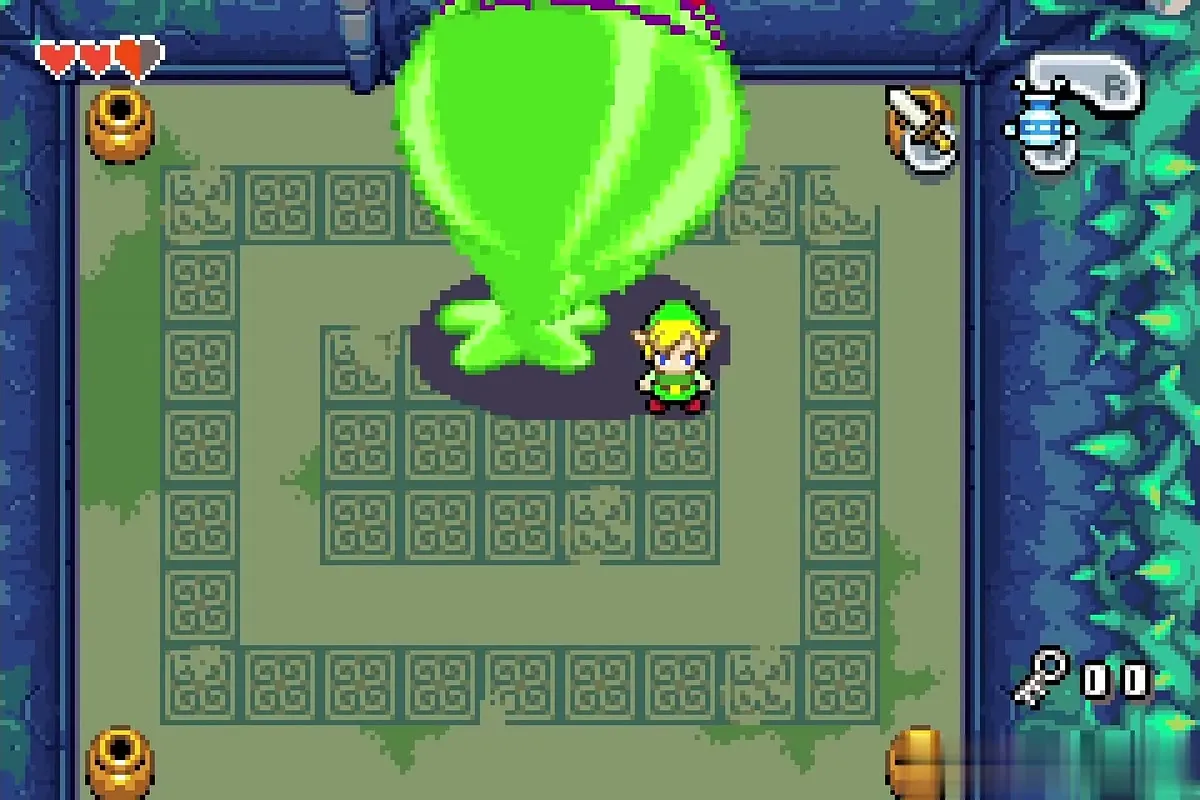
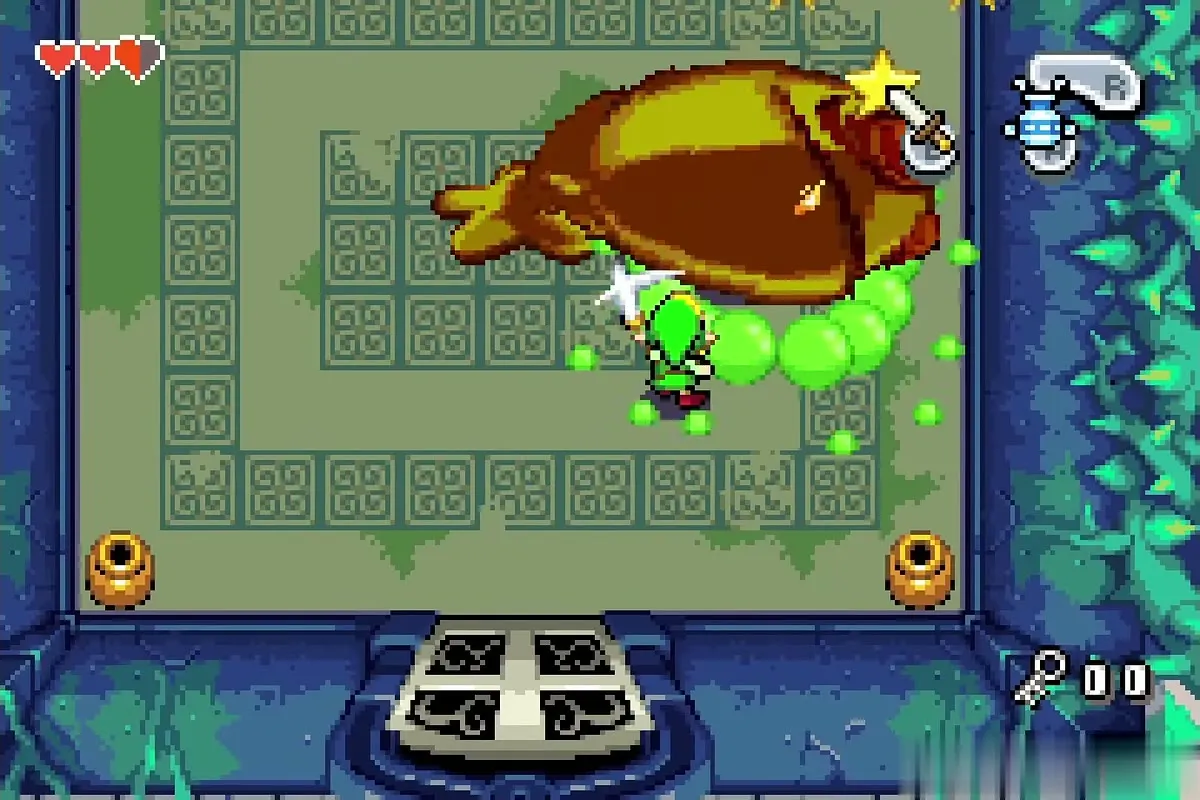
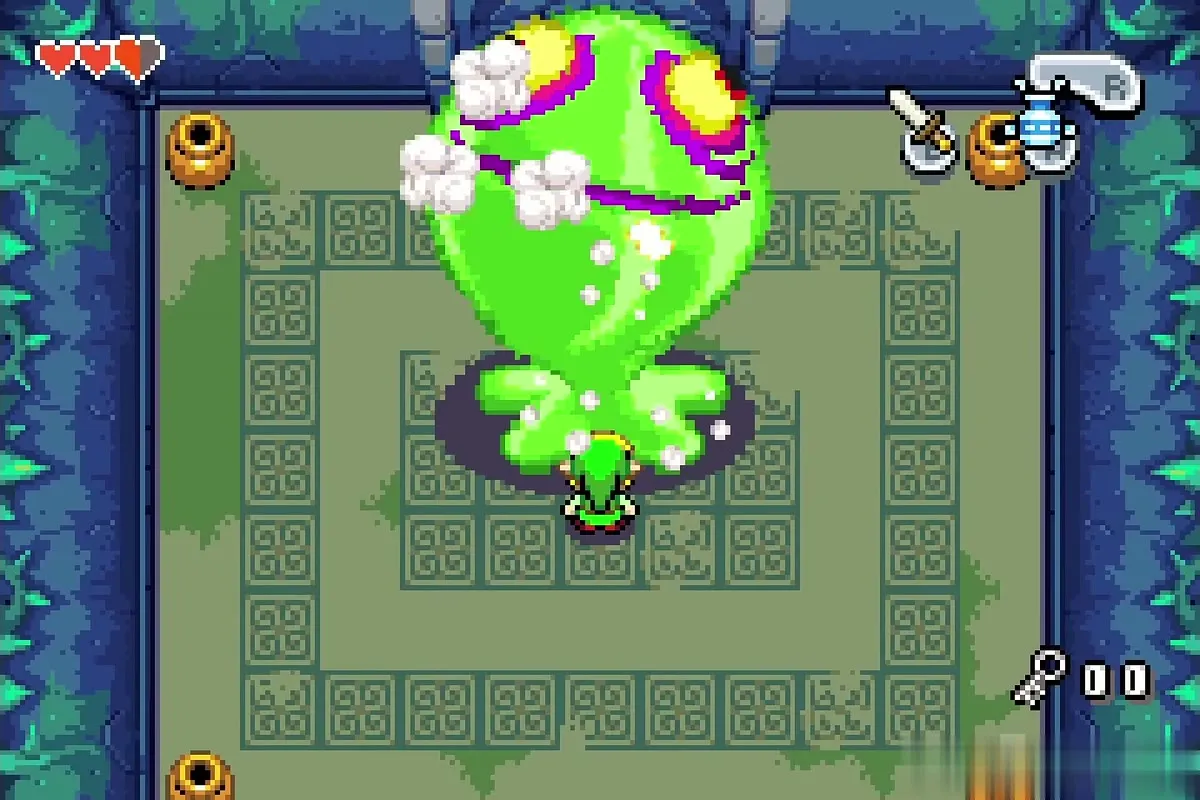
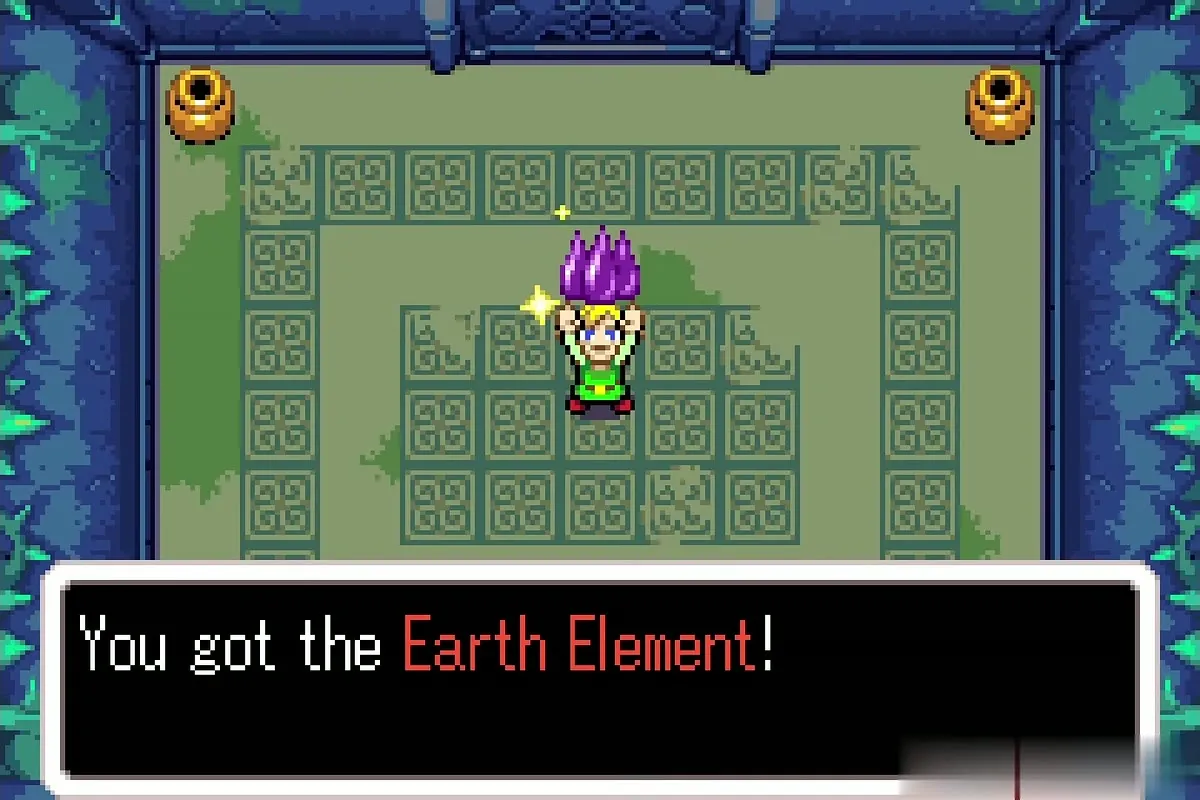
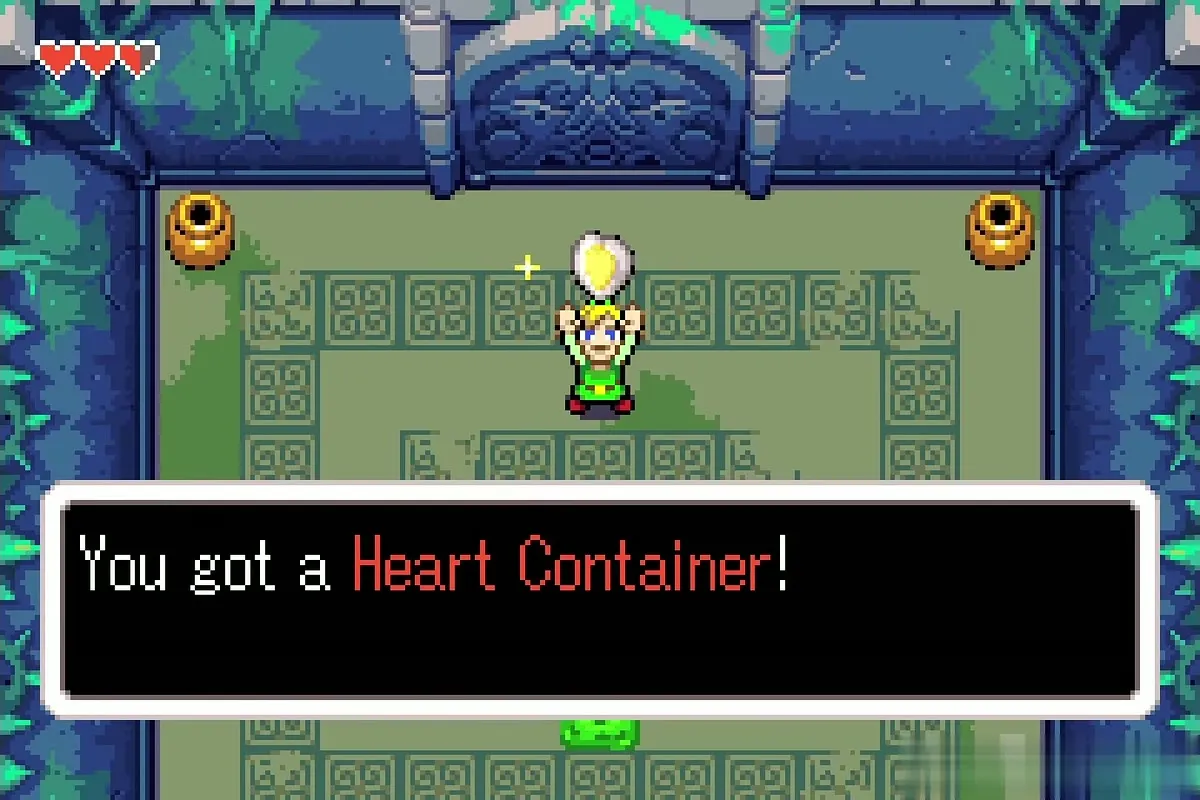
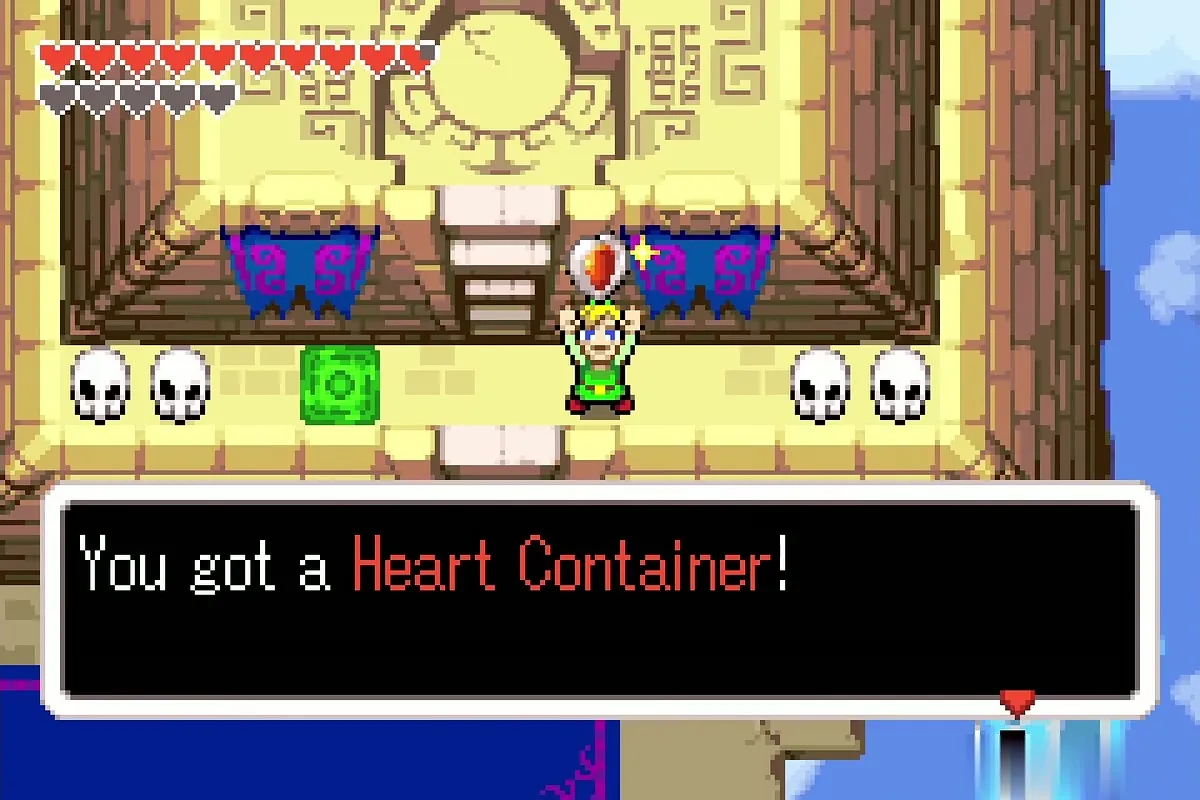
The boss arena is a bare round room with four pots that hold hearts. The Big Green Chuchu slides at you, then starts jumping and lands on the spot where you stand, so watch its shadow and step aside. Hold the Gust Jar on its base: the jelly shrinks, and once it is small enough the boss topples onto its side. Run in and slash the head as many times as you can before it rights itself. Each cycle it jumps more often, so keep the Jar steady, and a few knockdowns finish it. The Heart Container and the Earth Element drop when it bursts. The full route is in the Deepwood Shrine walkthrough.
Cave of Flames

Boss: Gleerok
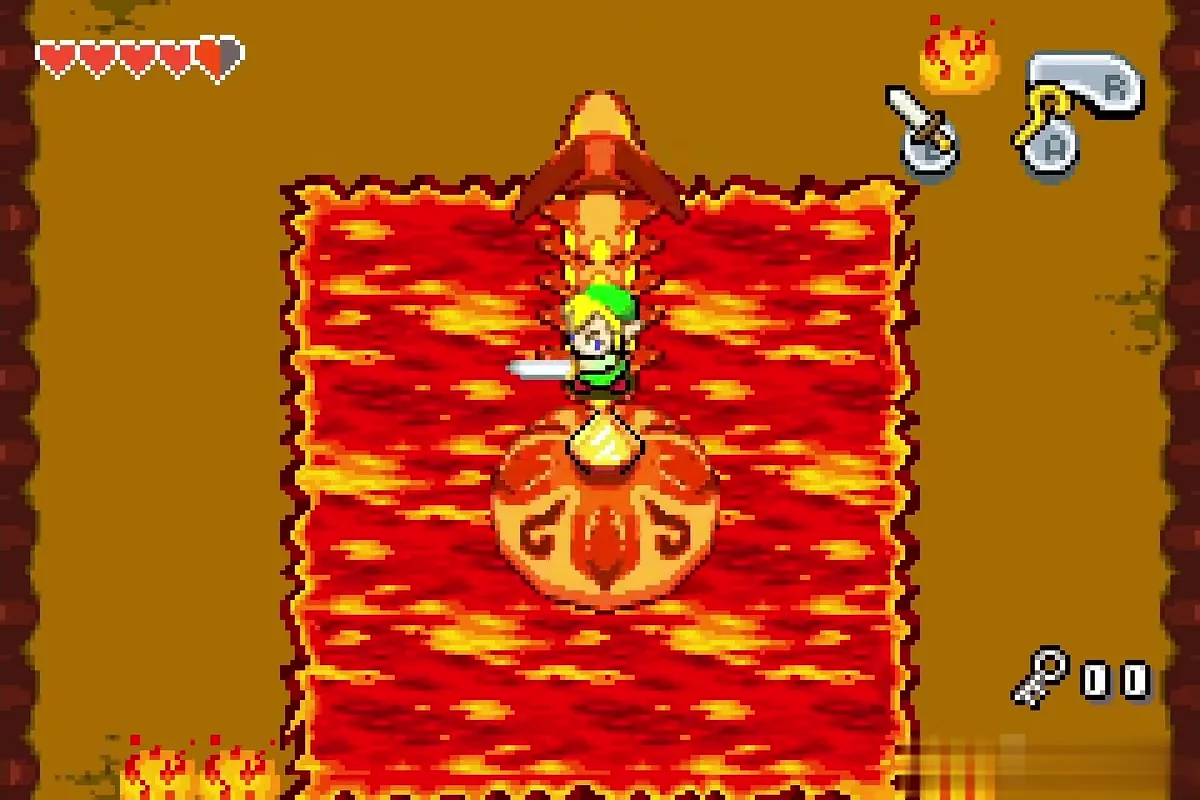
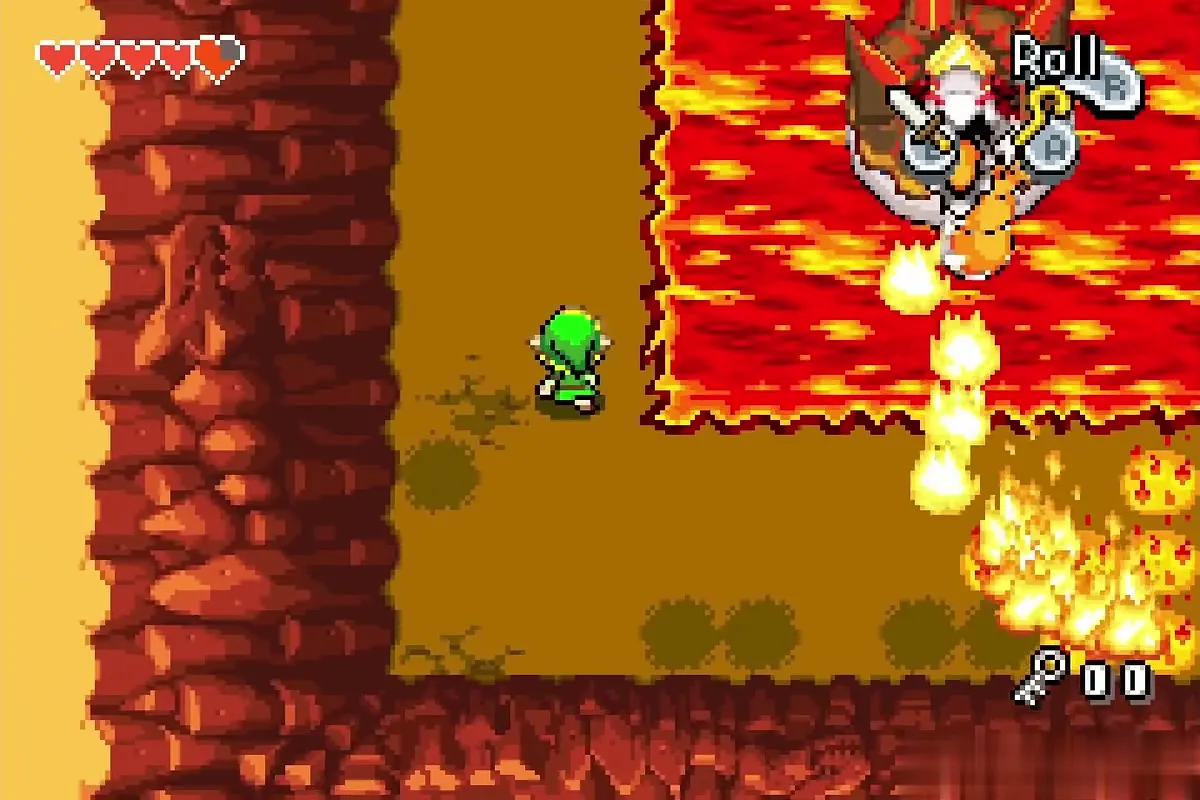
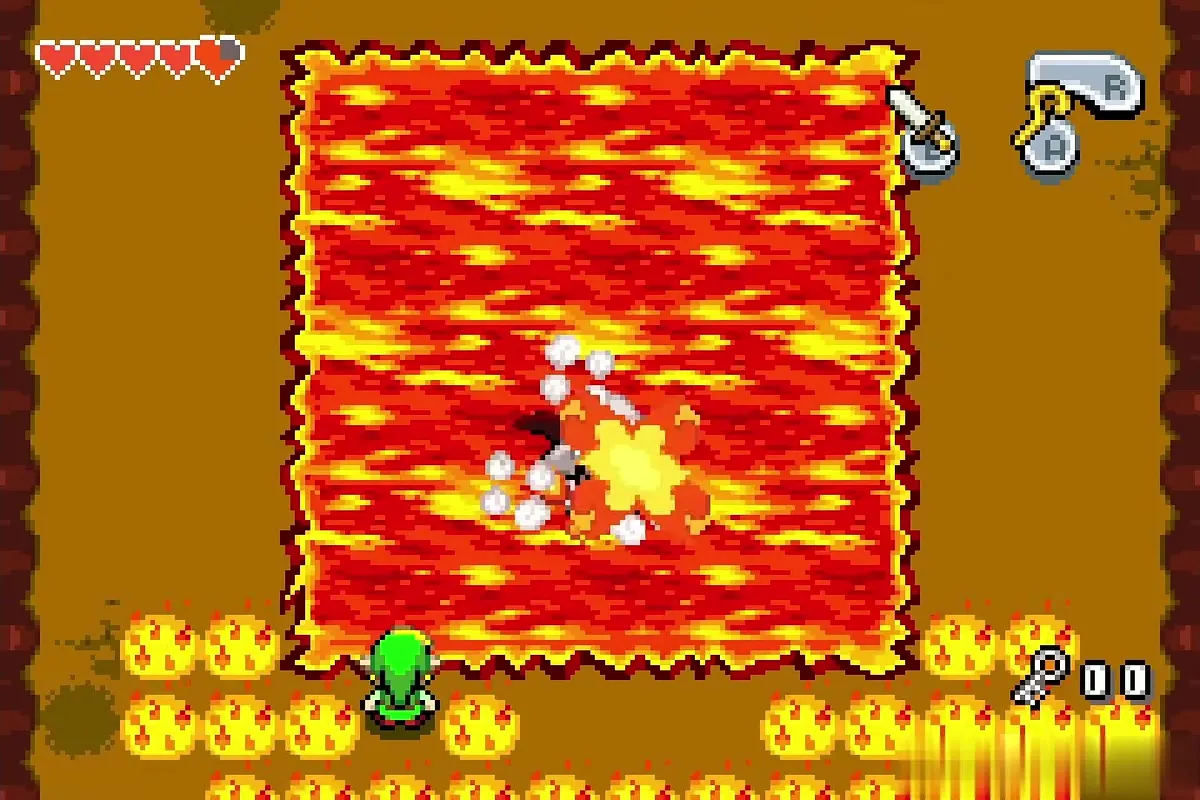
Gleerok is a lava dragon that rises from a pool in the middle of the arena and spits fireballs, so keep moving around the edge. When its shell is not glowing, hit the shell from the side or back with the Cane of Pacci to flip it. The neck collapses, so run up the neck onto its back and slash the yellow jewel as often as you can. When the back starts shaking, jump off. Gleerok sinks and rocks fall from the ceiling.
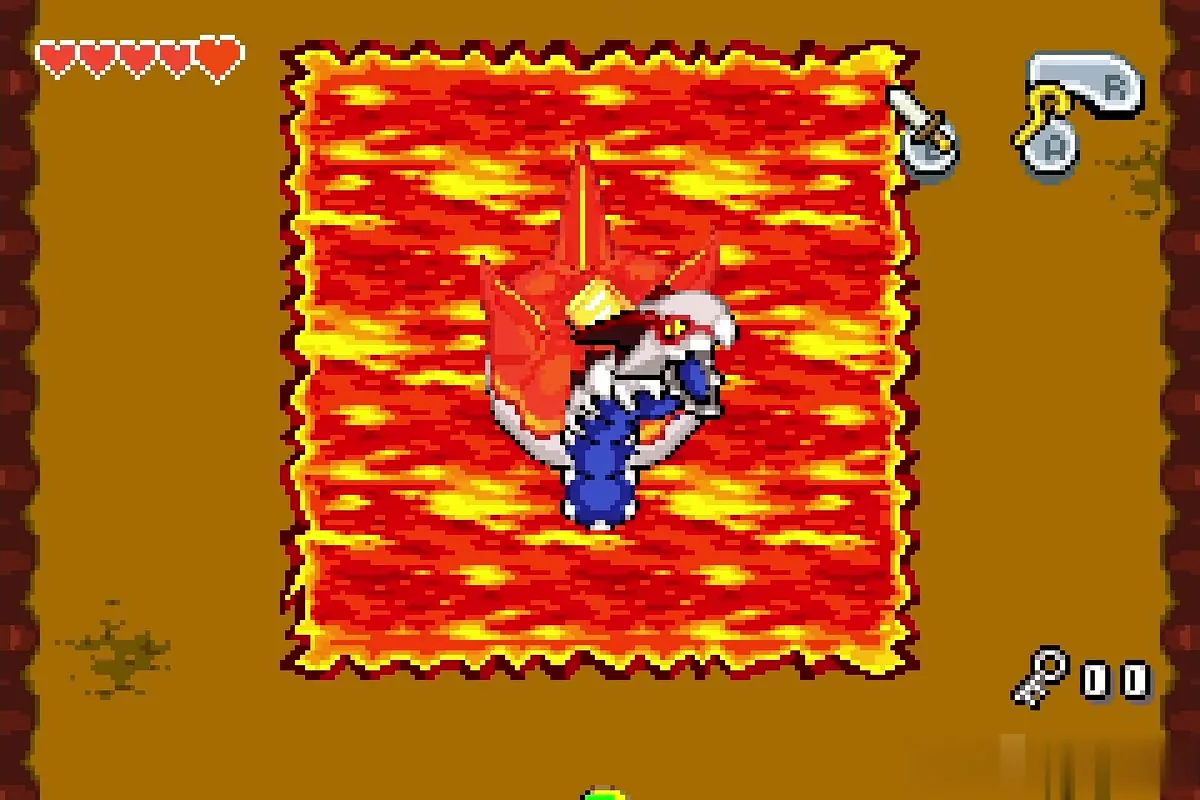
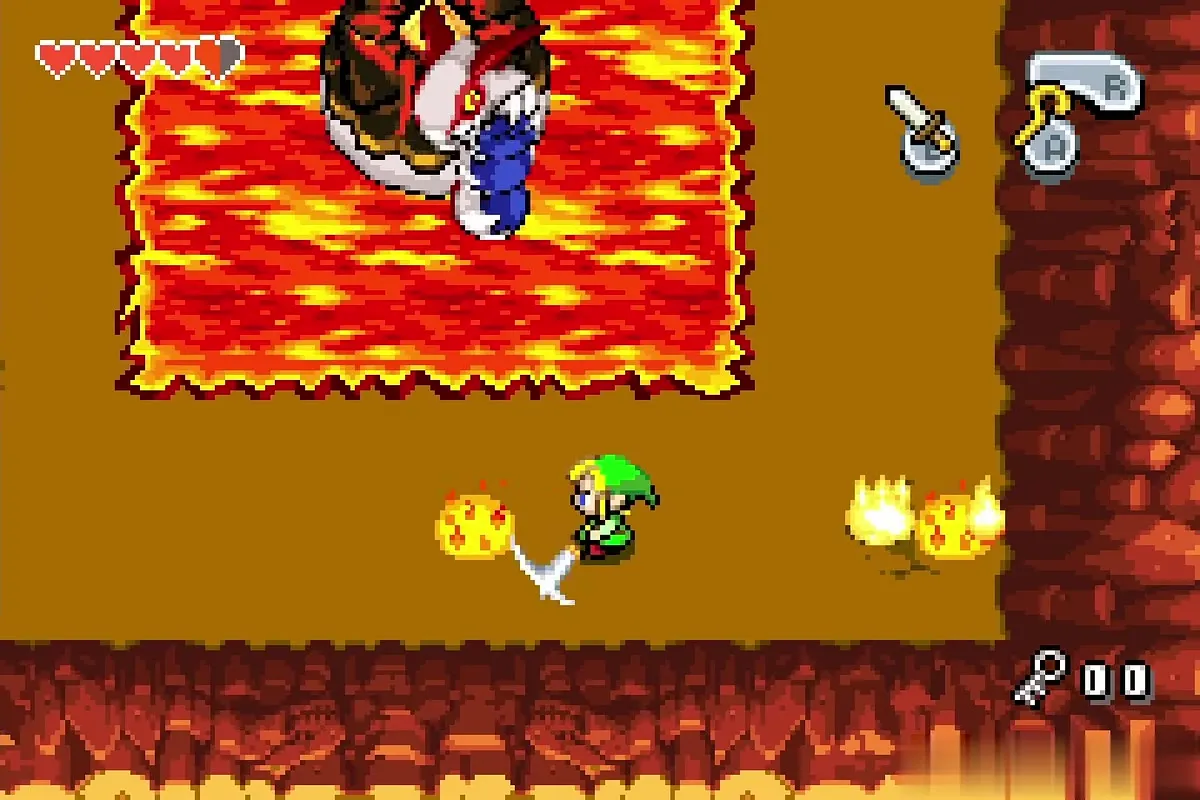
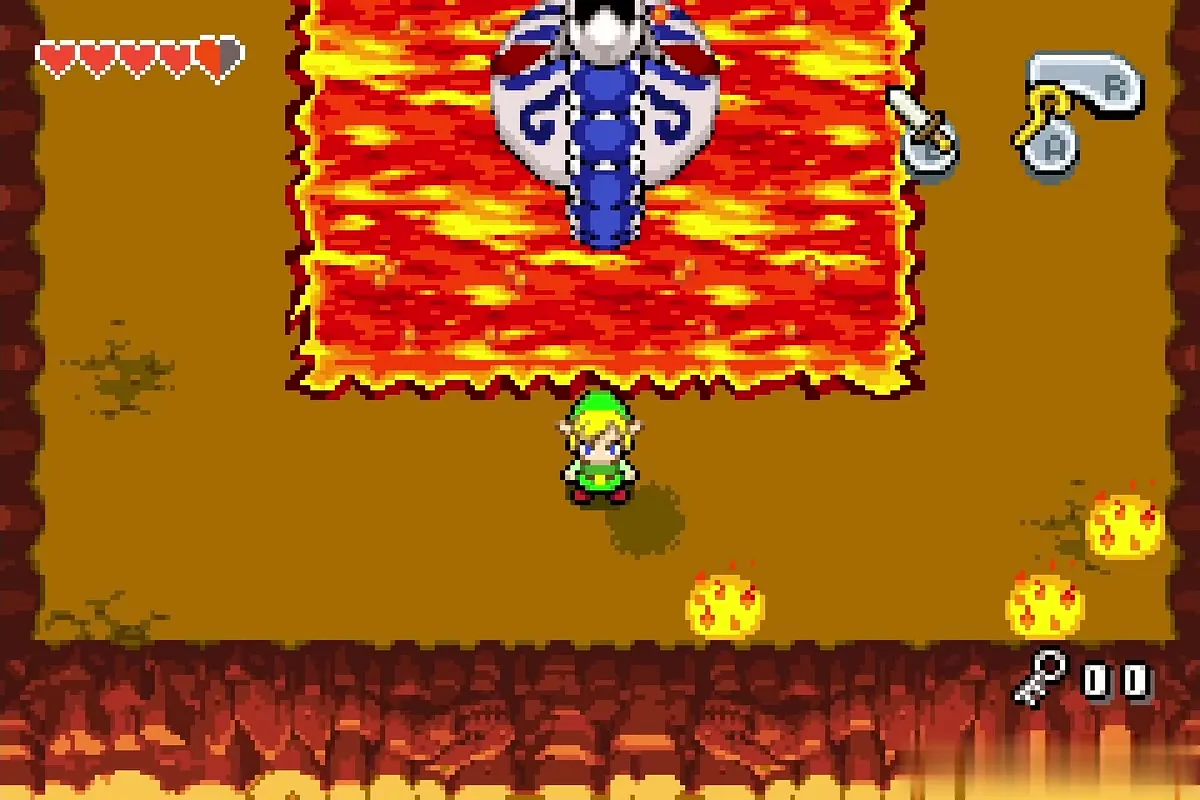
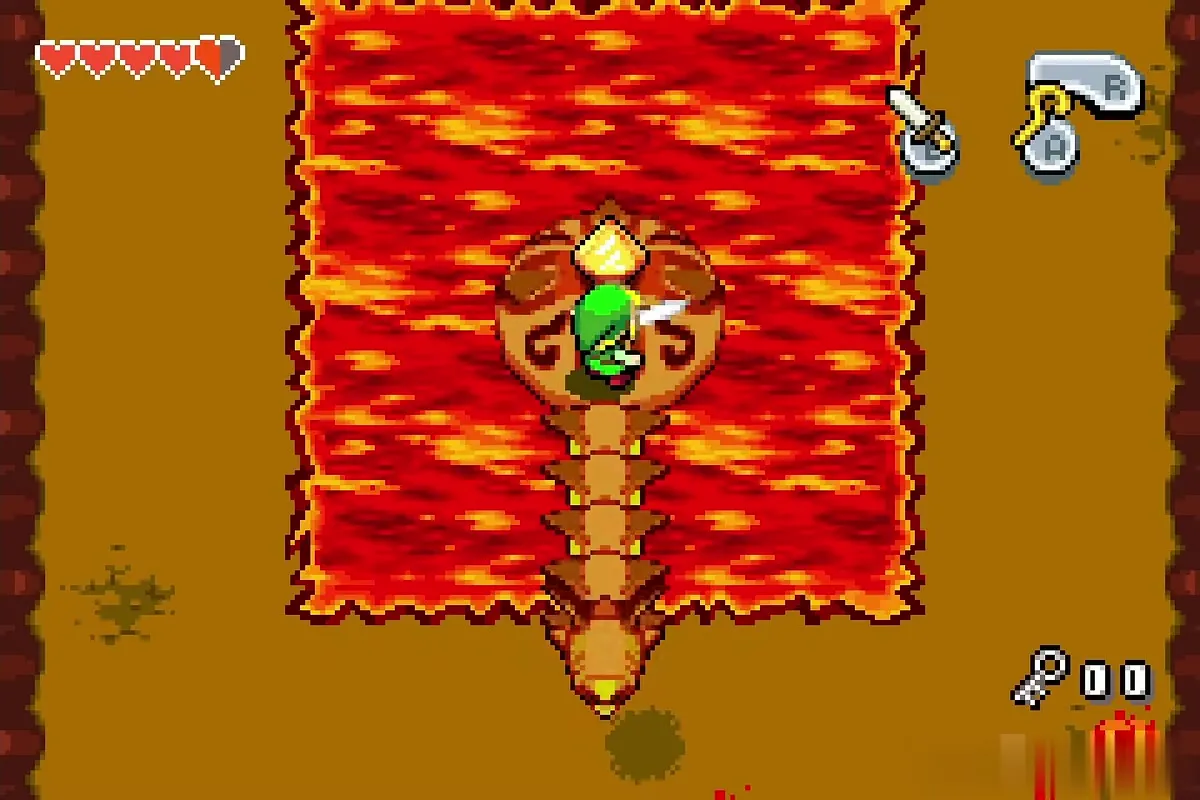
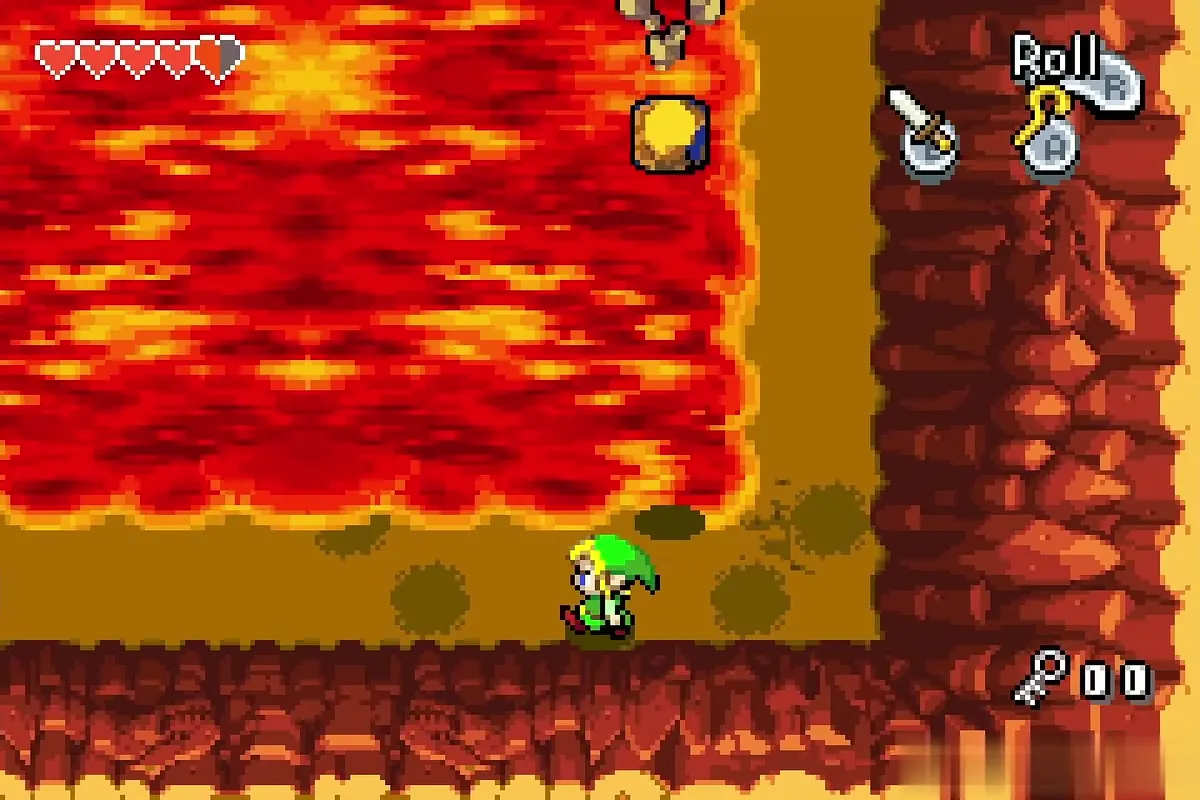
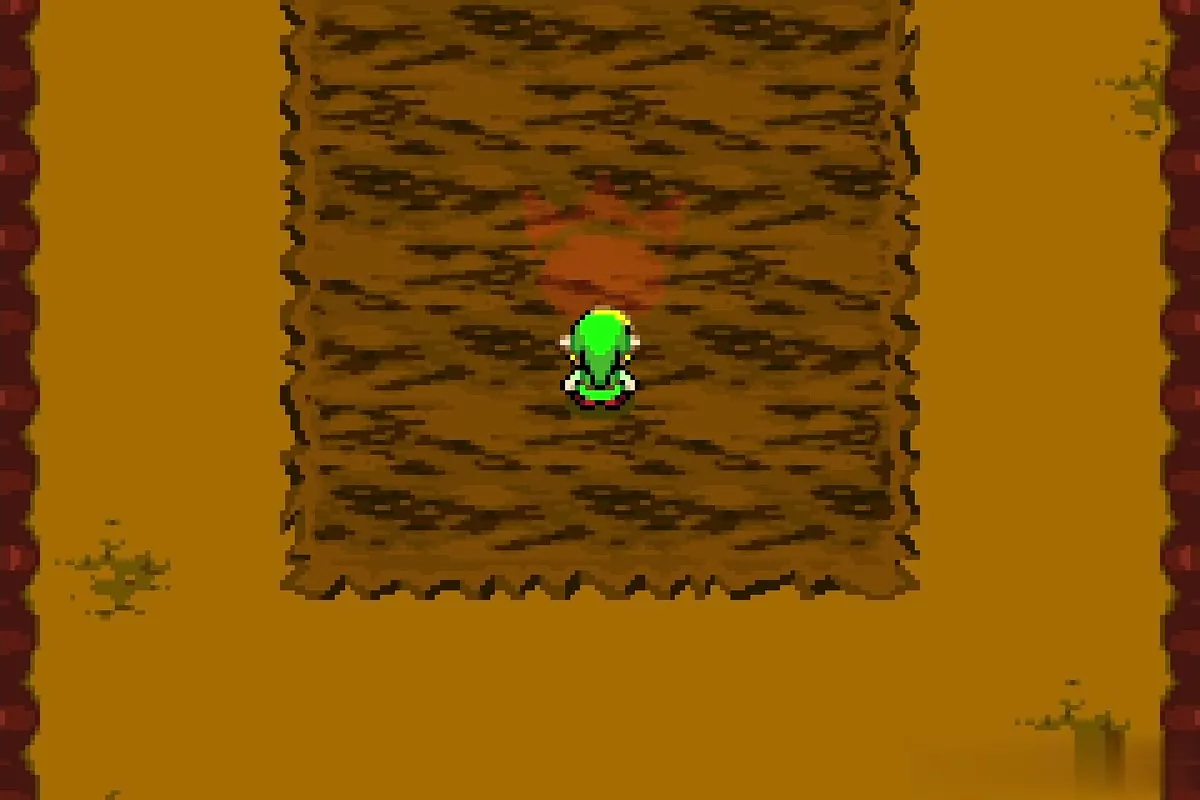
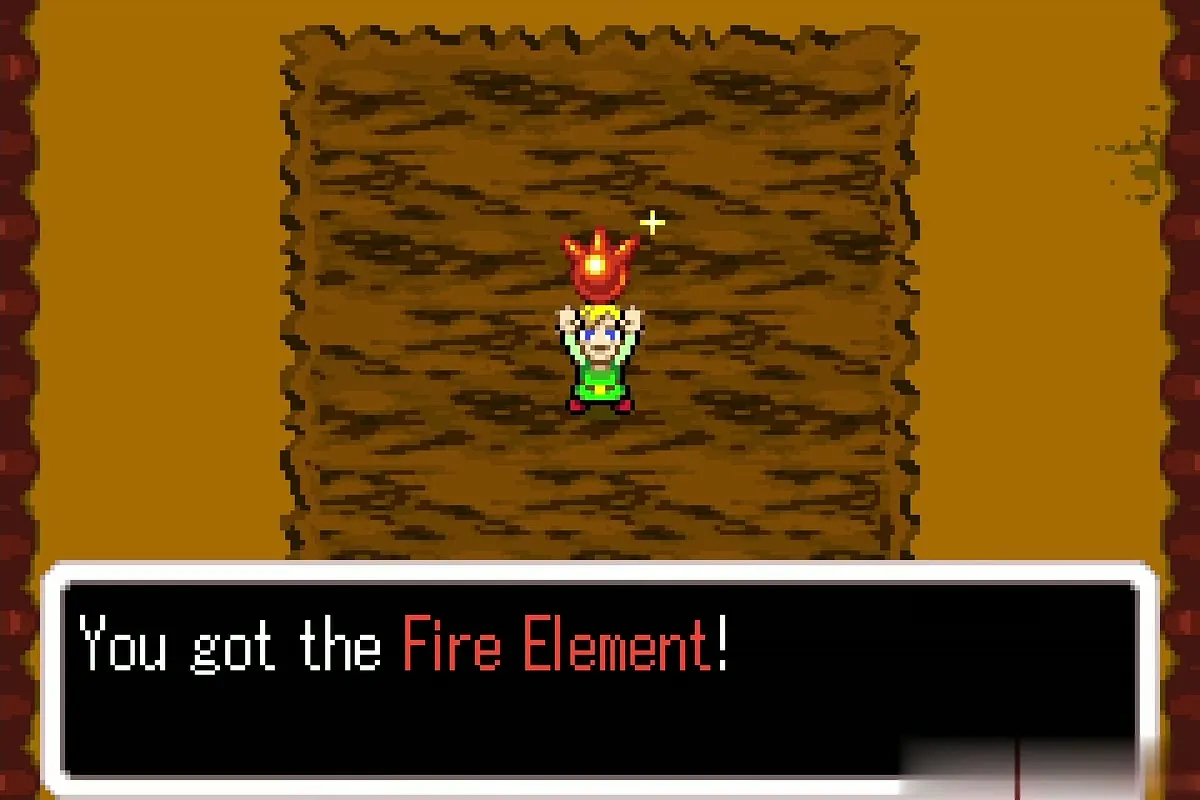
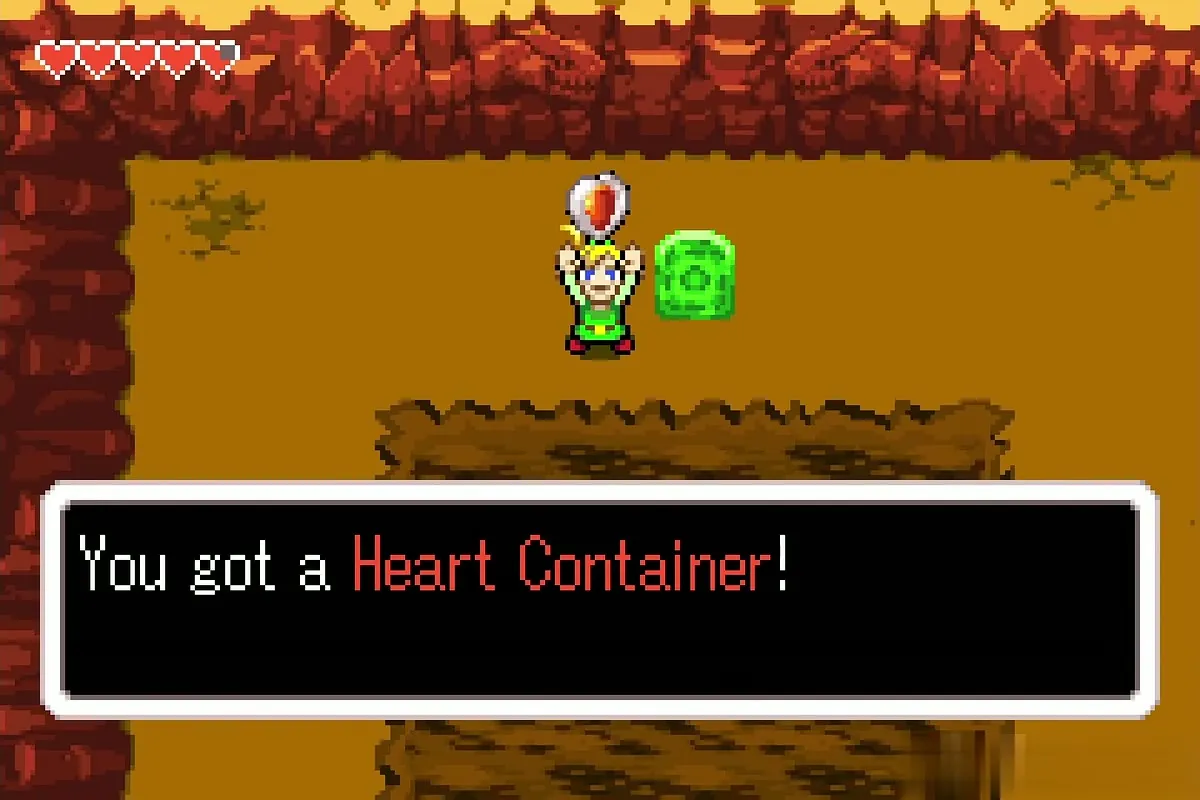
Each round it returns faster, with a bigger lava pool and a jet of flames across one side of the arena. Never stand in front of it when it takes a deep breath, and stay by a wall while the pool spreads. Repeat the flip and slash routine until the jewel breaks. The lava hardens, the Fire Element comes down and a Heart Container appears to the north. See the Cave of Flames walkthrough.
Fortress of Winds

Boss: Mazaal
Mazaal is a stone head with two floating hands, each with an eye in the palm. Shoot the eye of the resting hand with an arrow, then slash it until the hand stops moving, while dodging the other hand’s smashes and grabs. With both hands down, the head falls to the floor.
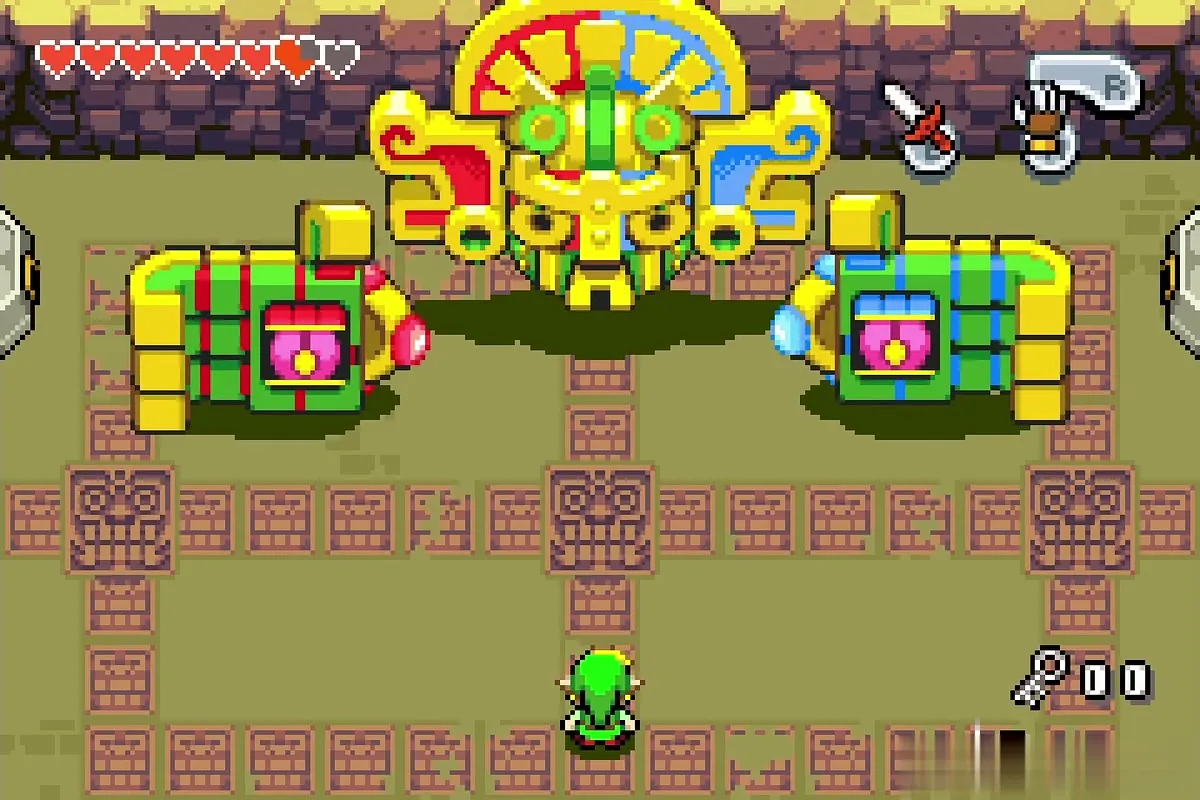
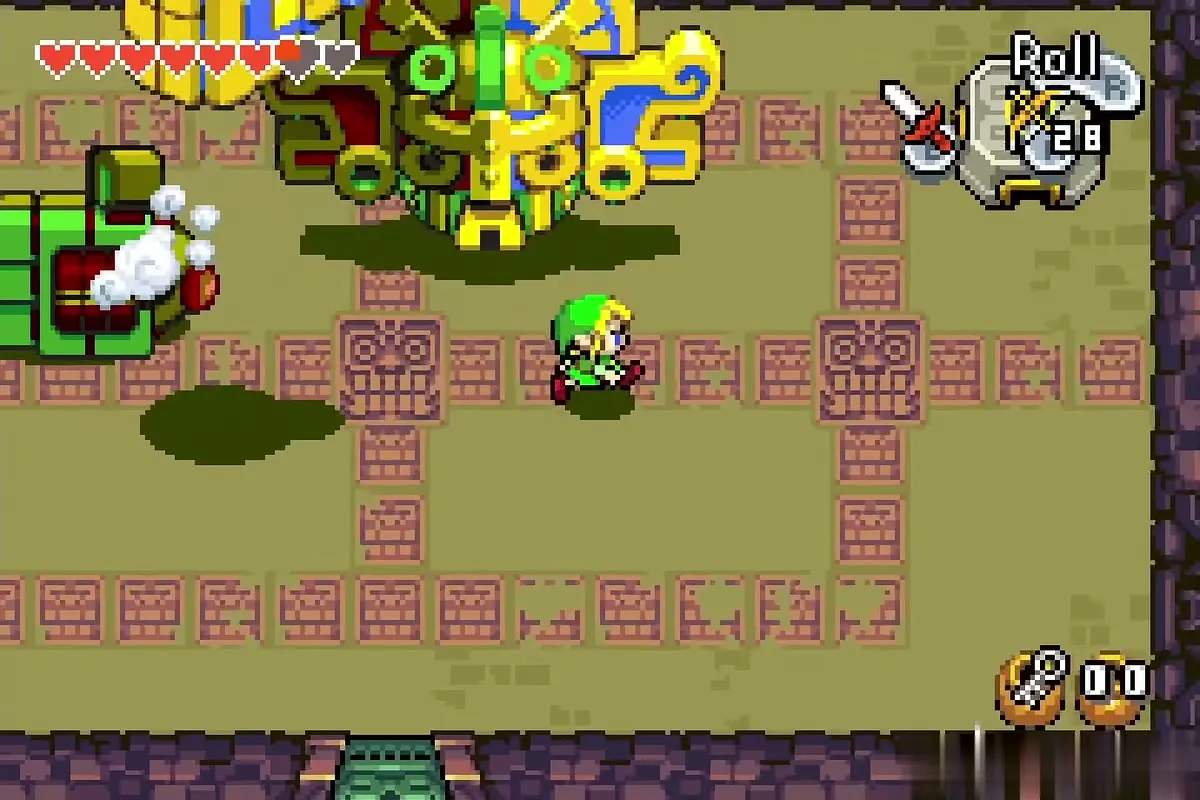
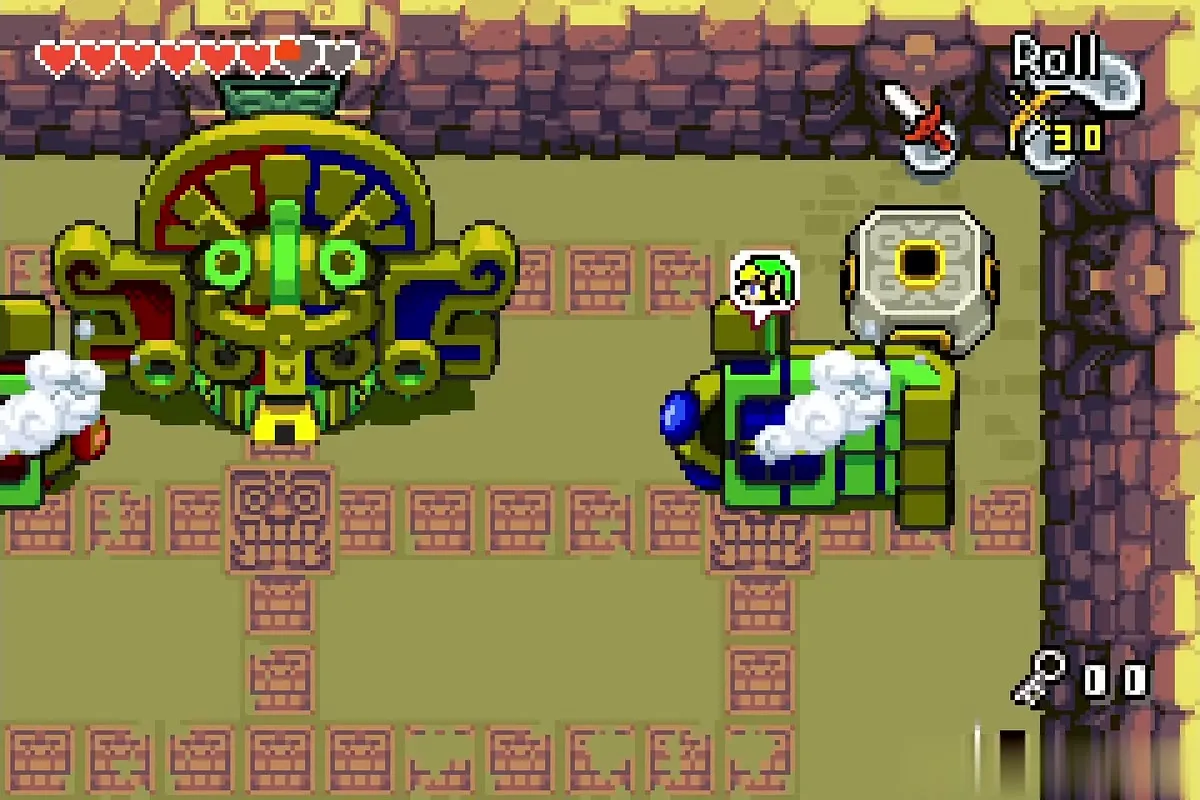
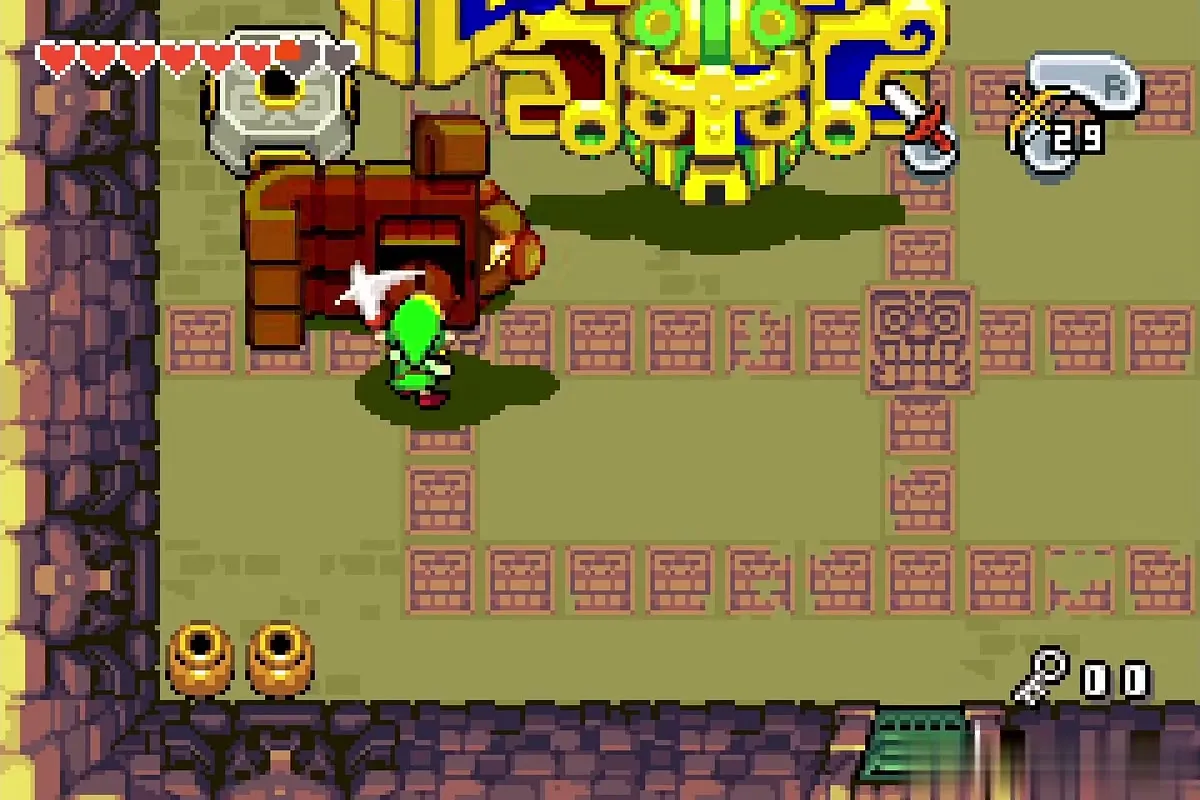
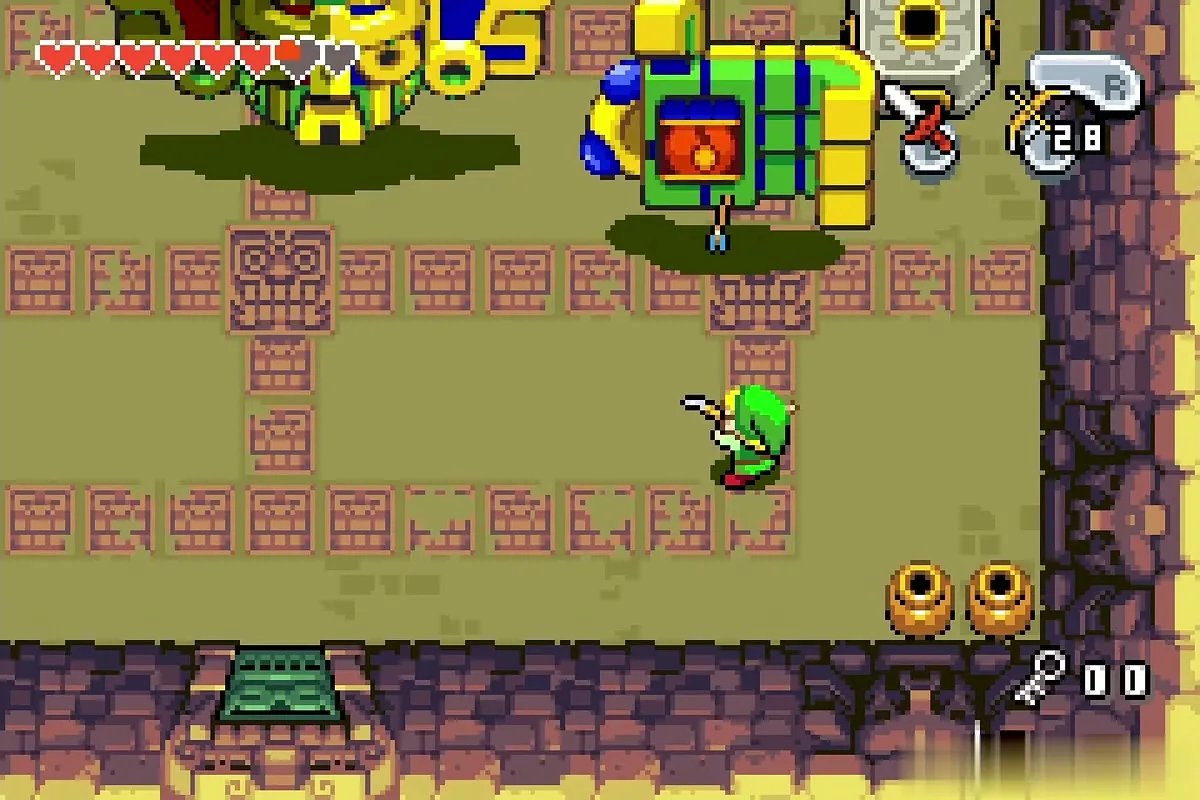
Step on the Minish Portal in the upper corner of the room to shrink, walk in through the mouth and slash the glowing pillar with an eye inside the head. After a few hits you are pushed out. Grow back, shoot the hands again (they move more often now) and enter a second time. This time the pillars are buried under sand, so dig with the Mole Mitts until the flashing pillar appears. Mazaal also fires a beam that can shrink or shock you; stand a little off to one side of the head. A third trip inside destroys the last pillar and Mazaal explodes.
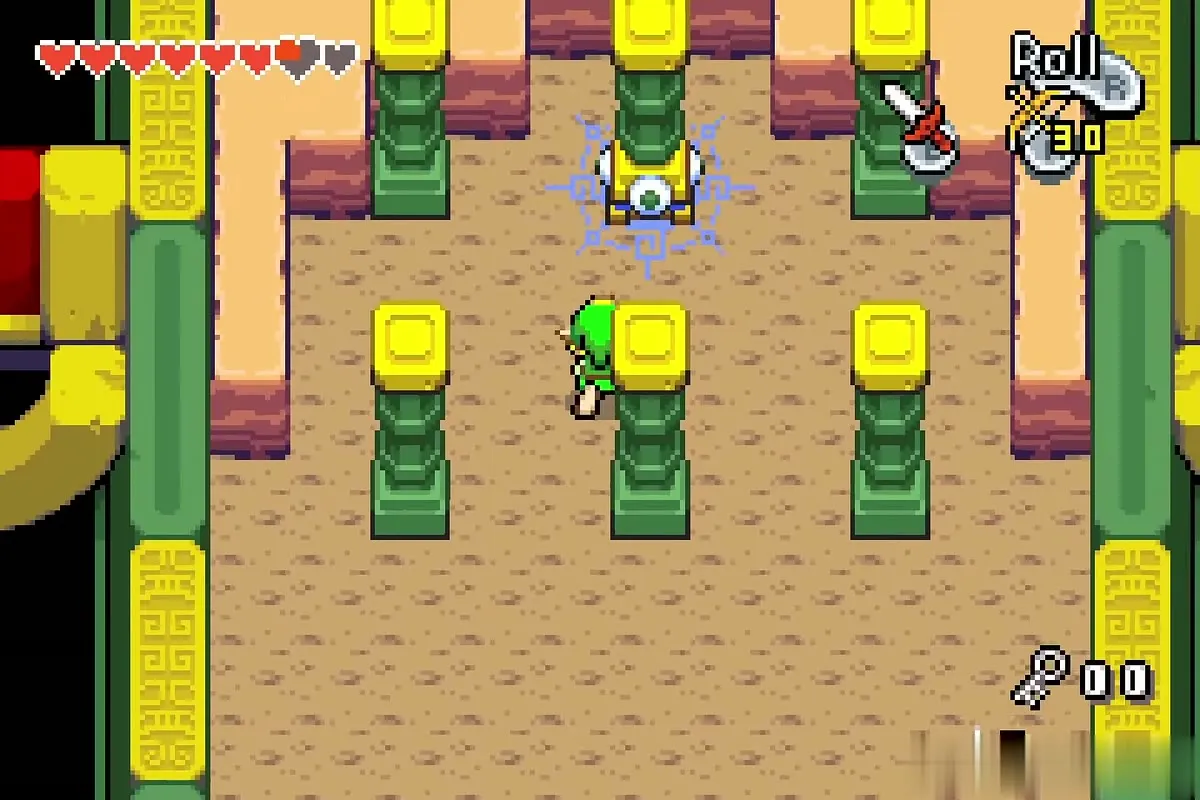
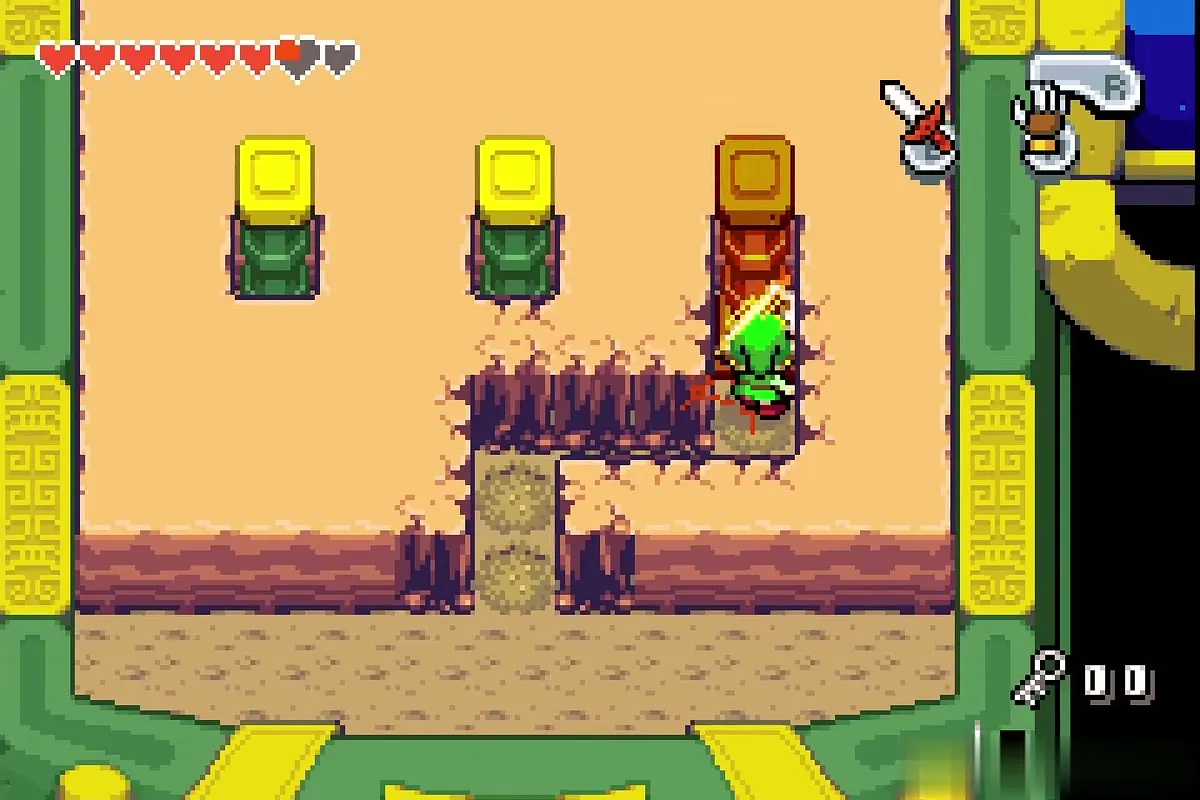
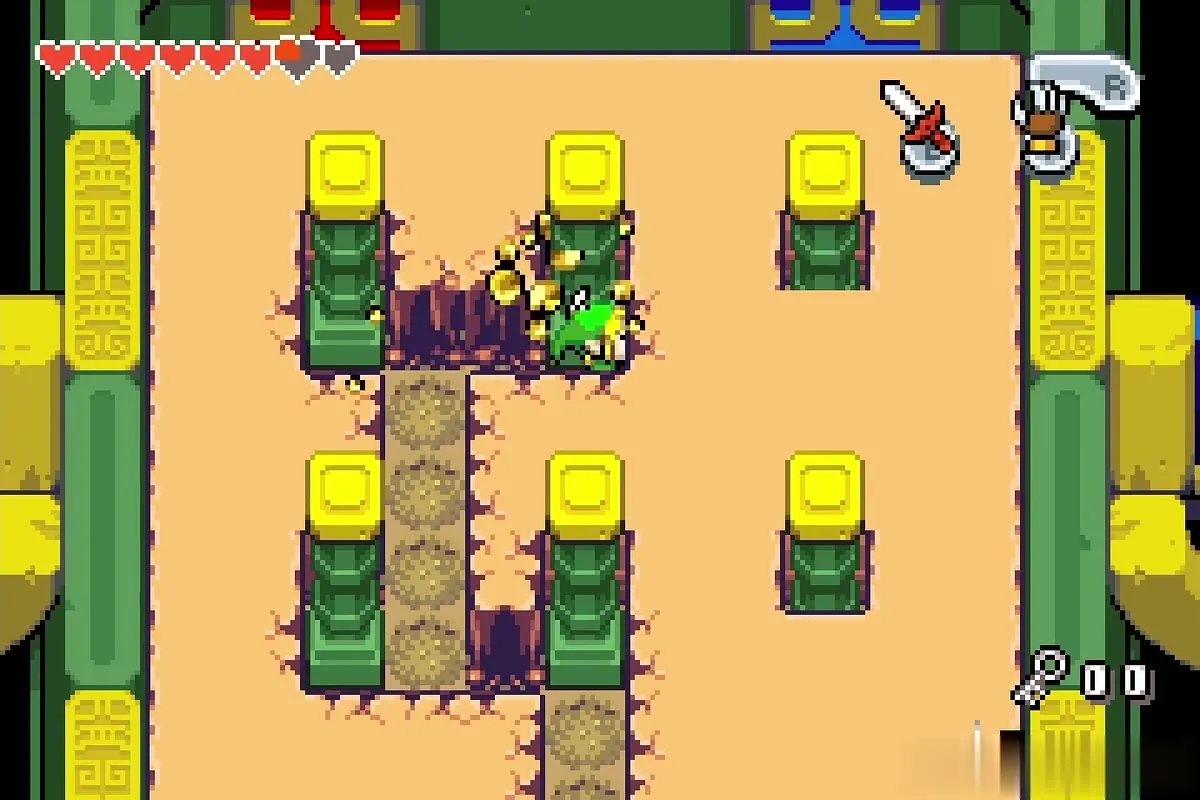
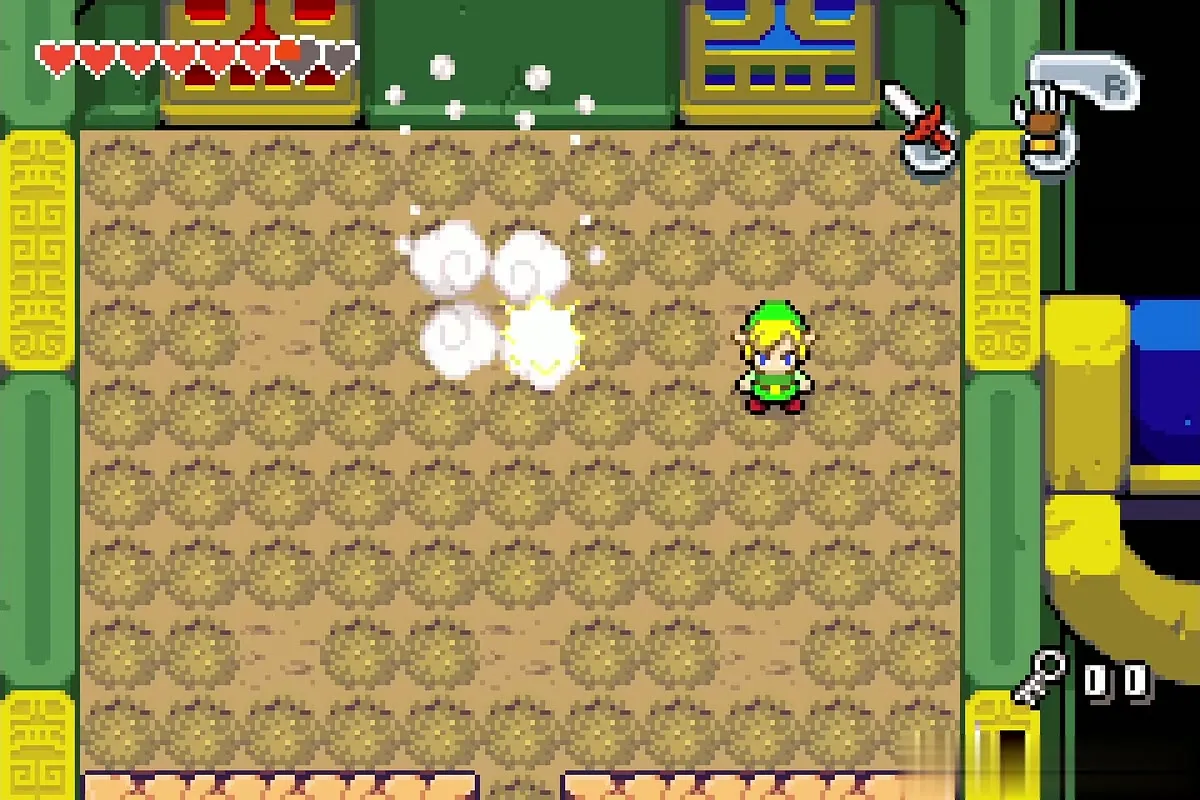
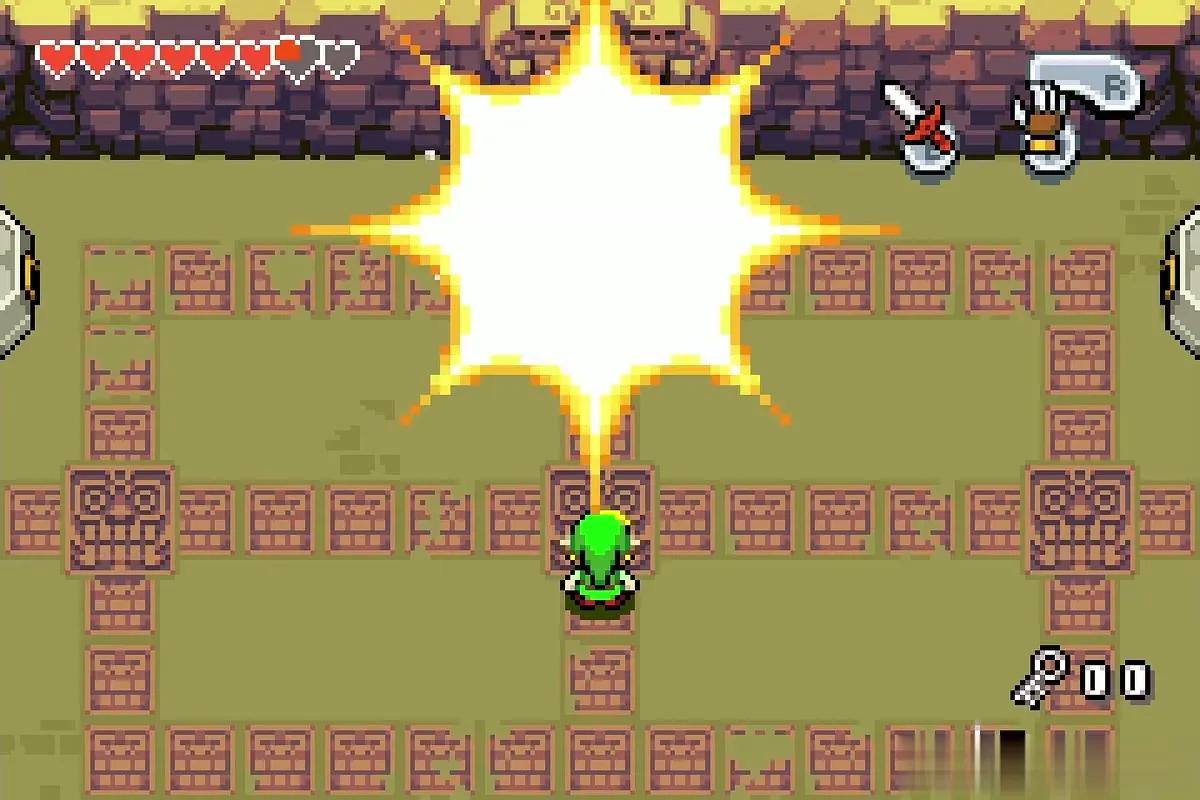
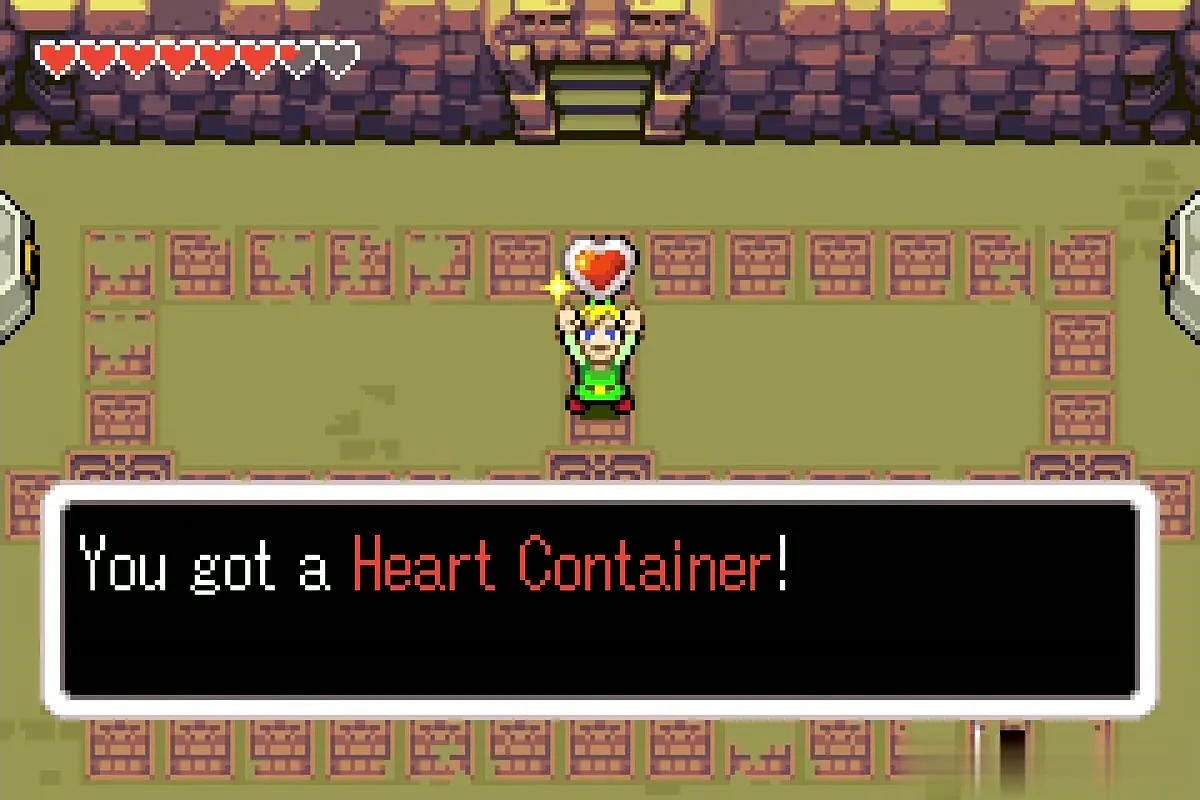
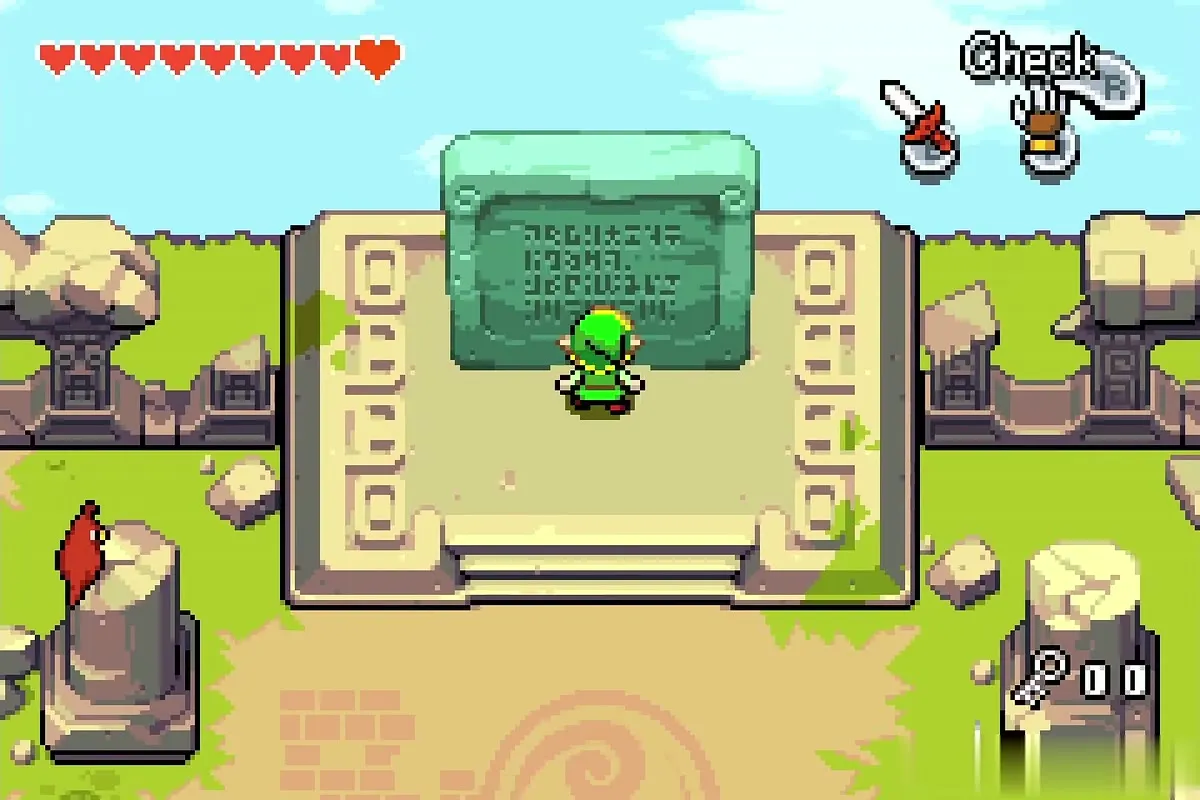
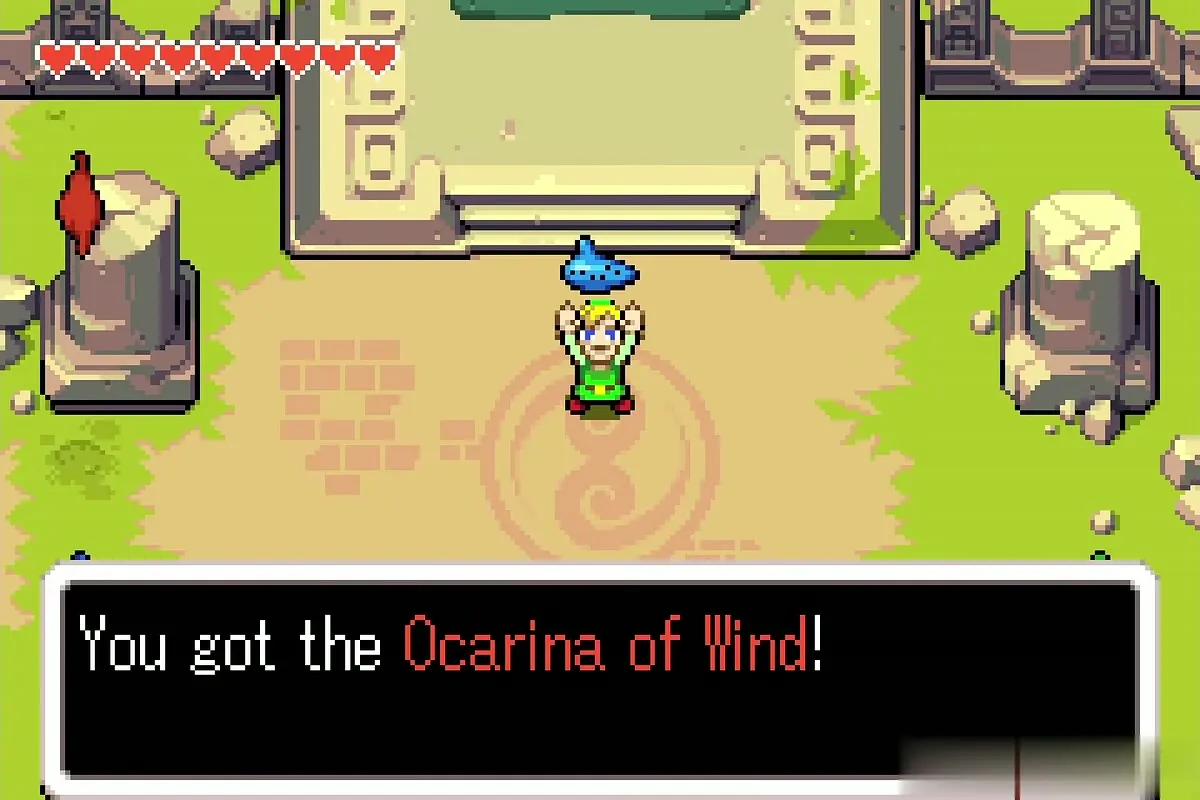
The reward is a Heart Container, and the tablet beyond the boss room gives you the Ocarina of Wind. There is no Element here. See the Fortress of Winds walkthrough.
Temple of Droplets
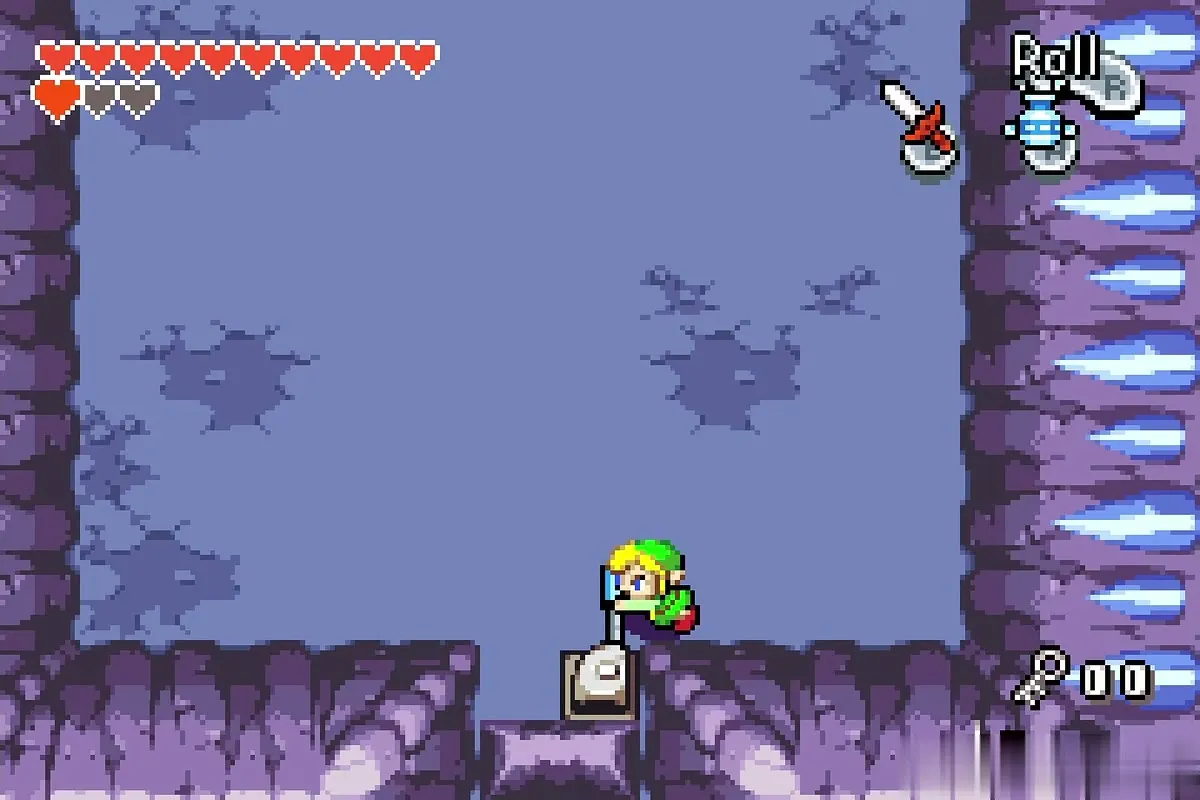
Mini-boss: Big Blue Chuchu
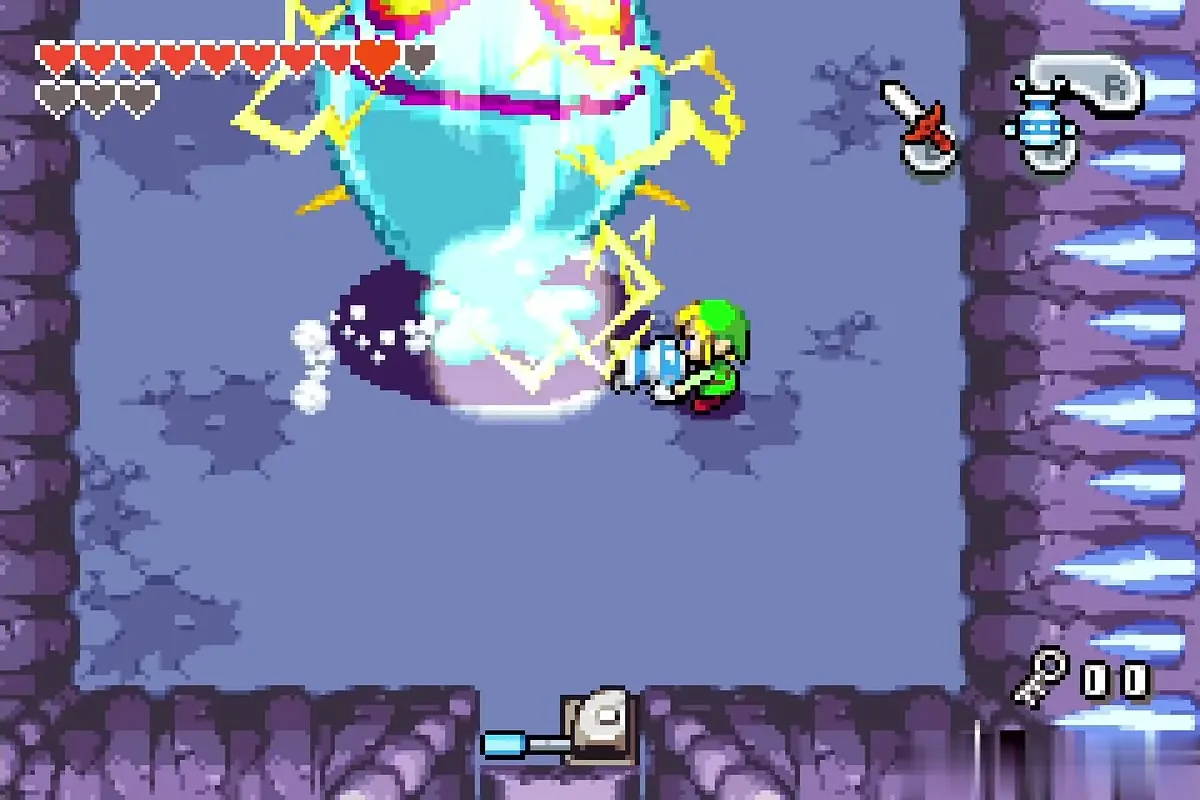
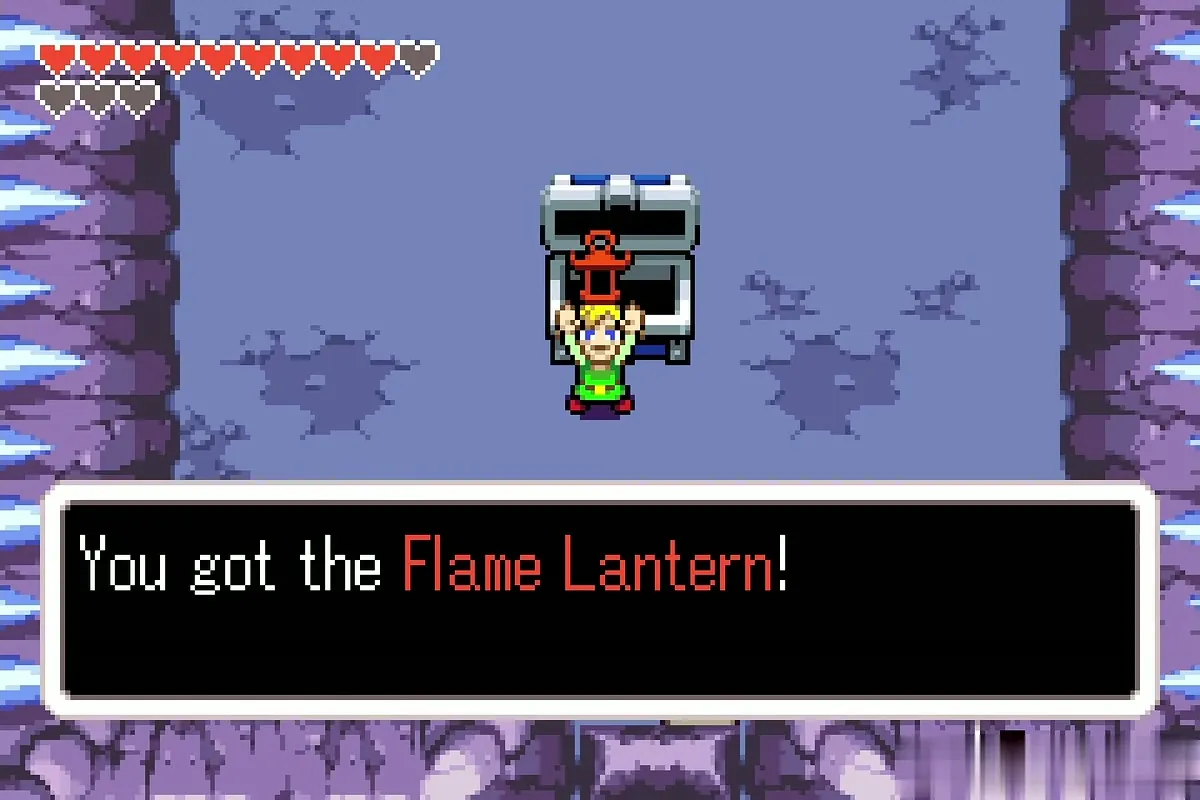
Pull the lever at the bottom of the room: a skylight opens, icicles fall and the gate shuts, so the Big Blue Chuchu is the only way out. Keep moving to avoid the icicles. While the Chuchu is crackling with electricity, stay clear; when the sparks fade, pull its base with the Gust Jar so it topples and slash it. Repeat each time its sparks stop. A big chest then holds the Flame Lantern.
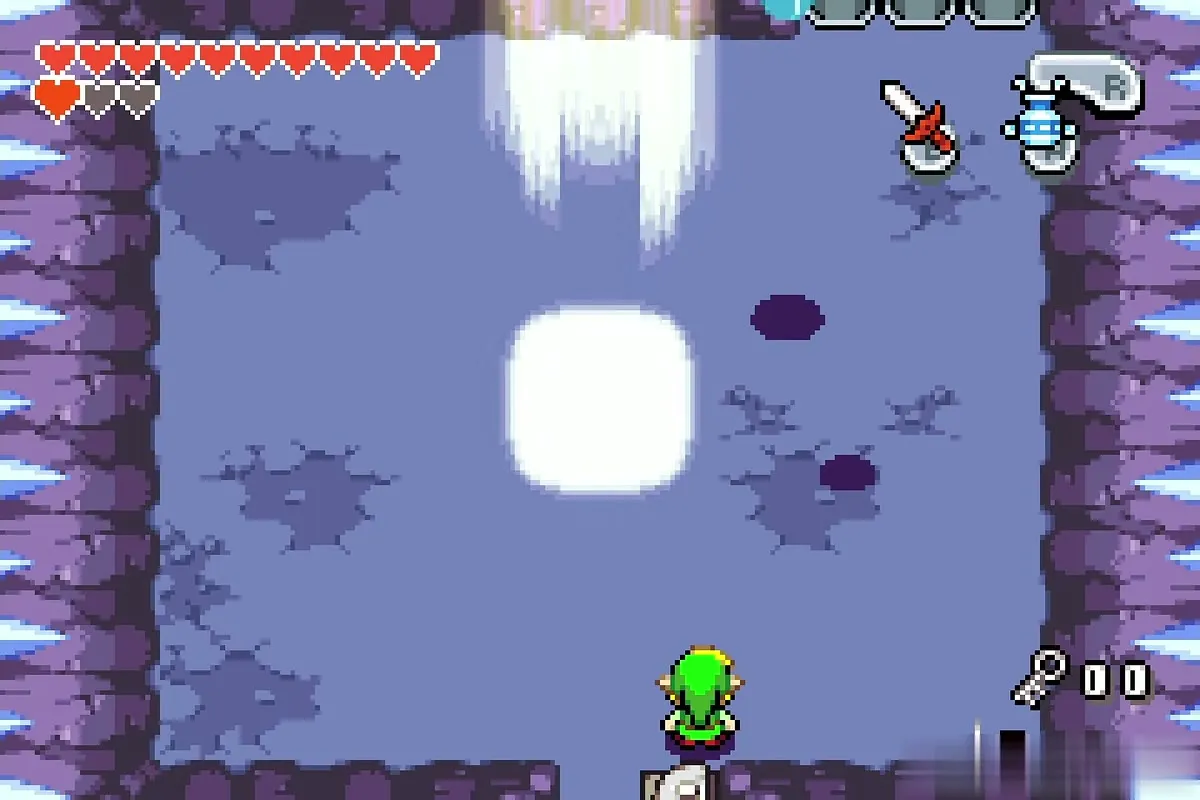
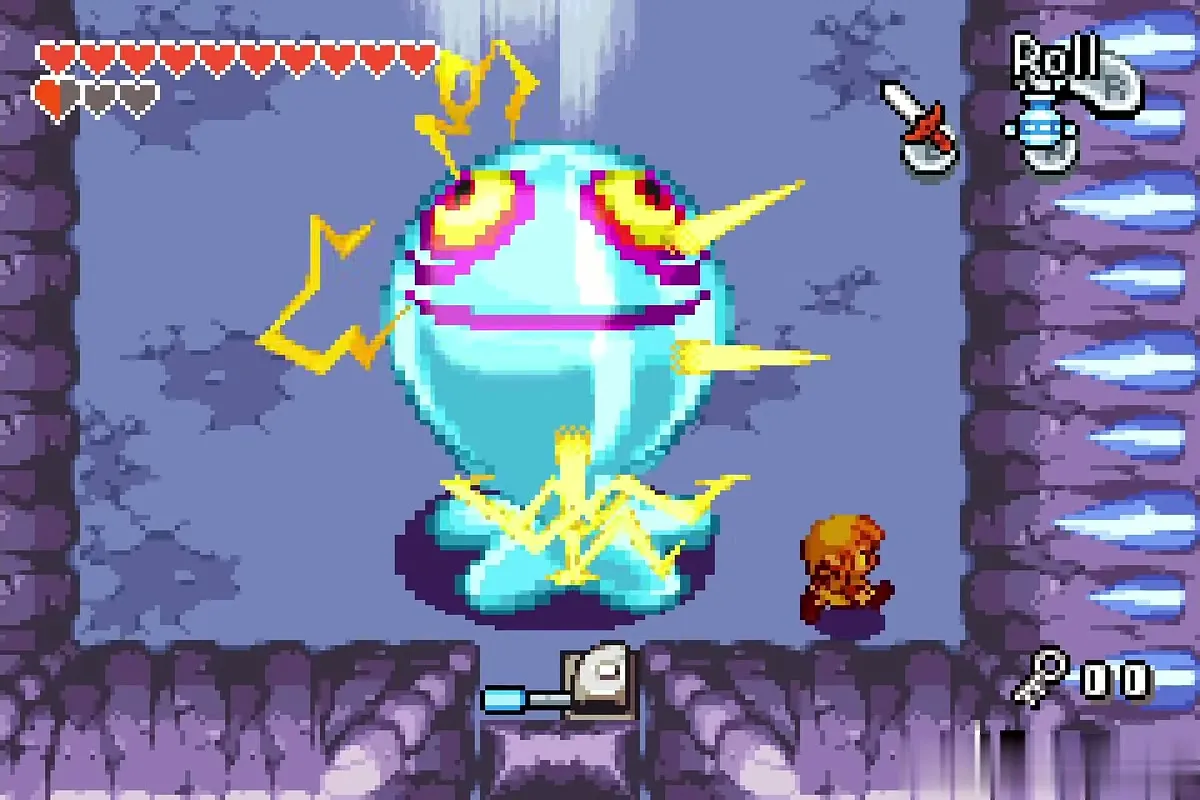
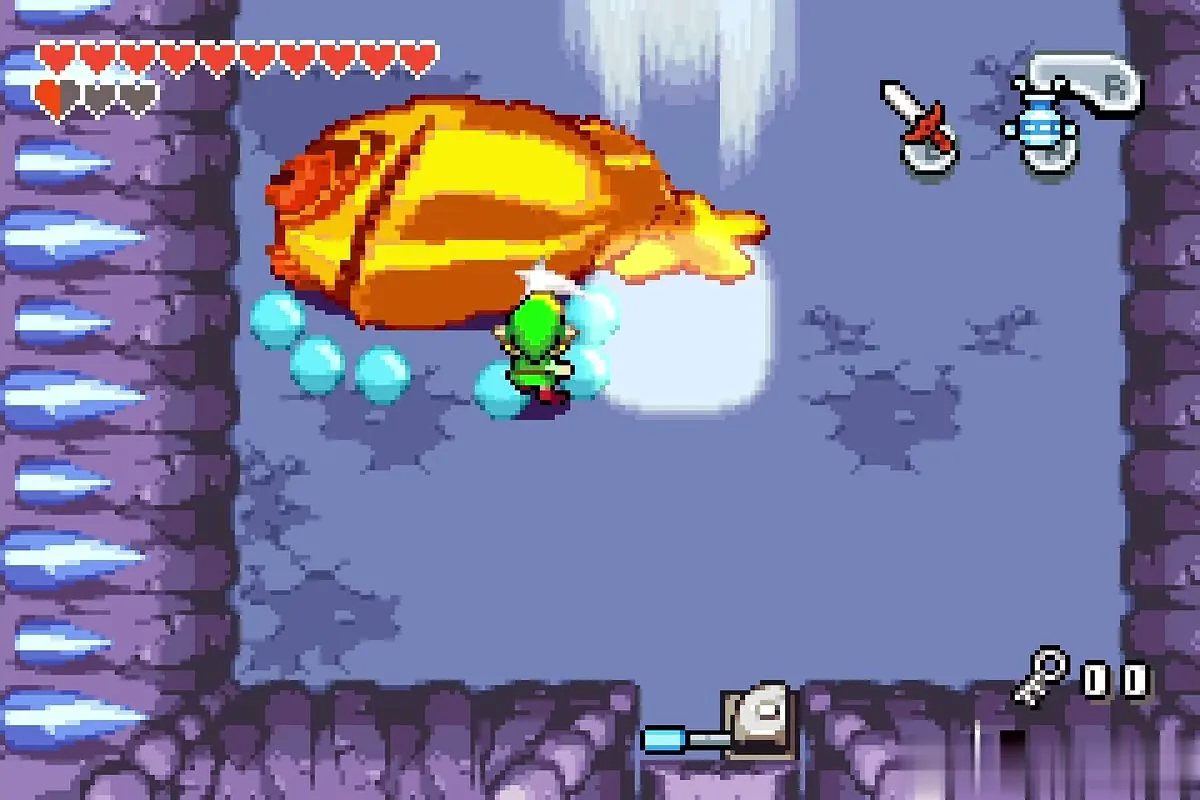

Boss: Big Octorok
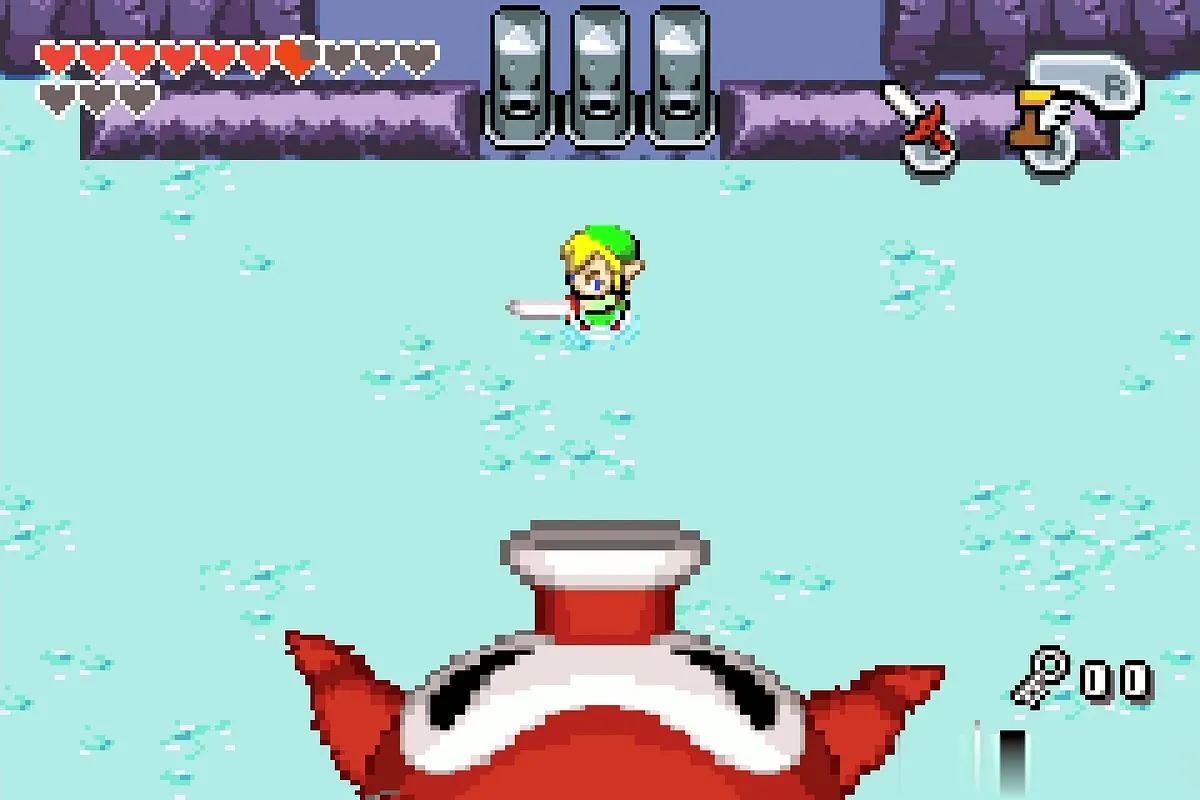
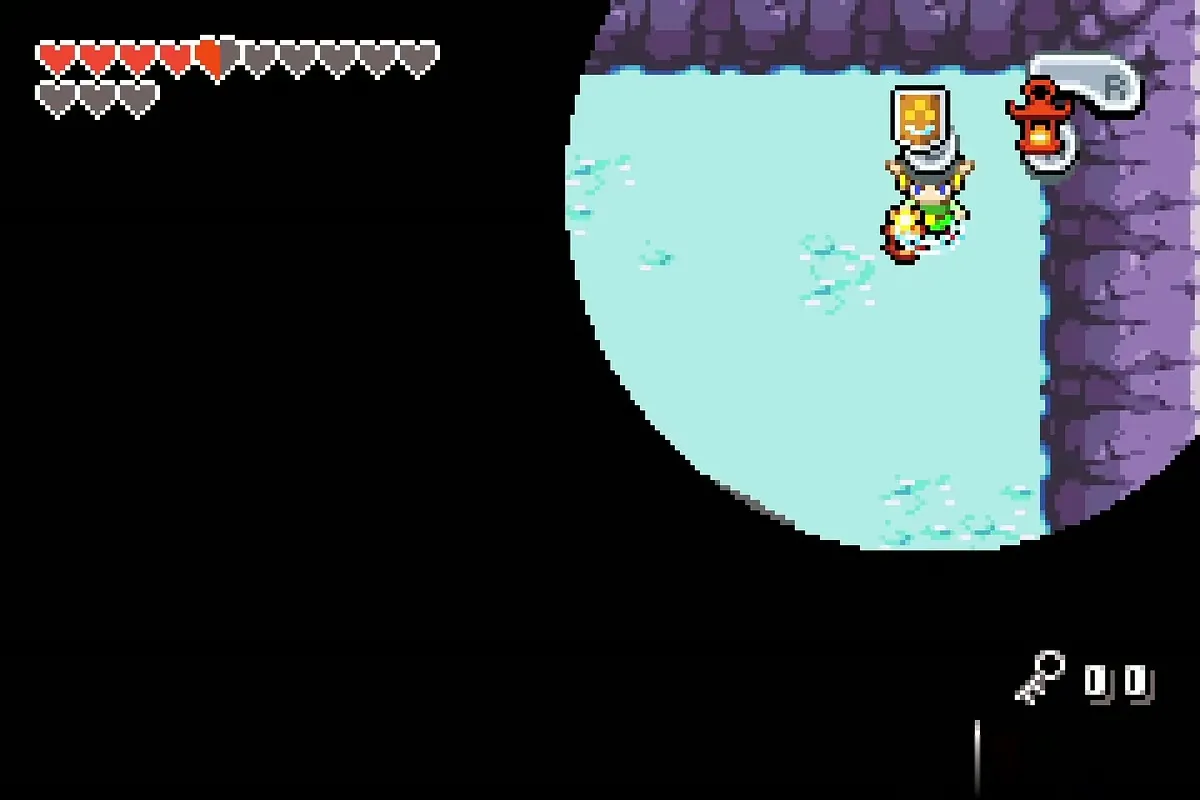
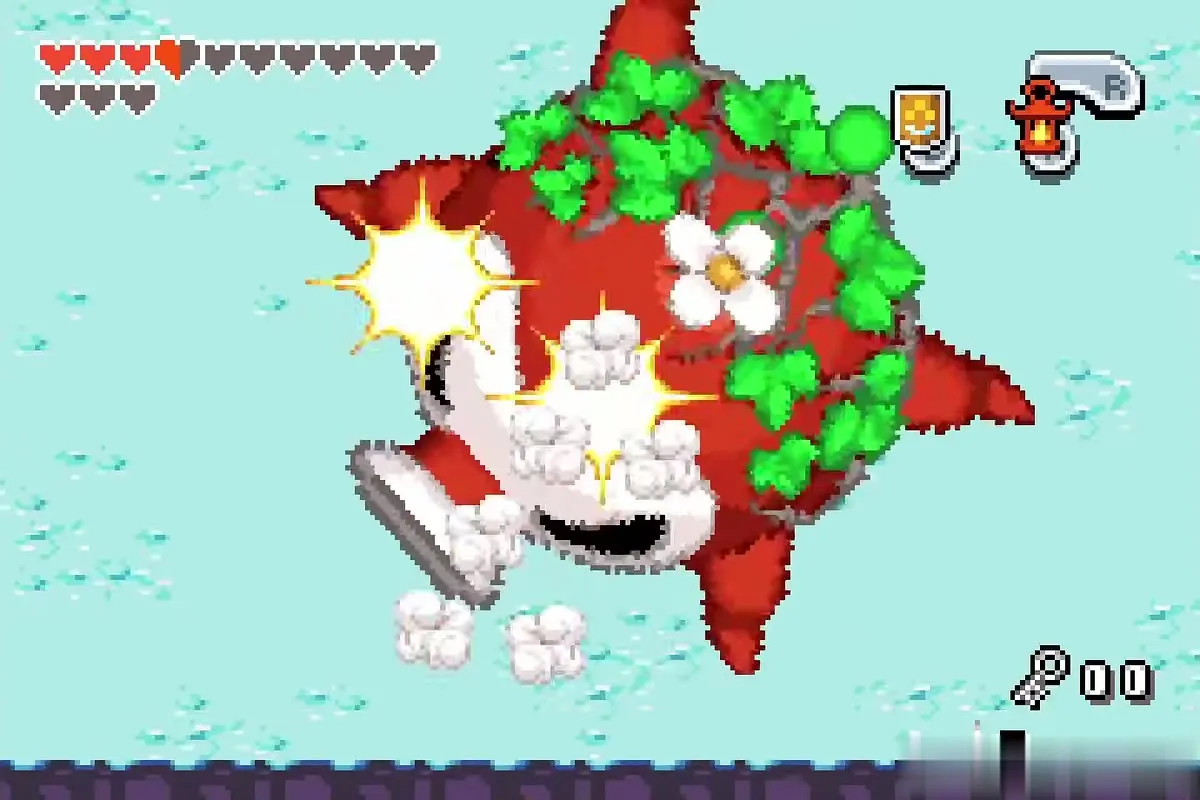
Equip the Small Shield and the Flame Lantern. The Big Octorok spits boulders; raise the shield to bounce each one back, and after the third hit it is stunned and the floor freezes. A withered plant grows on its back: light the Lantern and set it on fire. The Octorok thaws and crashes into the wall, so run from the falling rocks. It can also suck you in, so keep your distance.
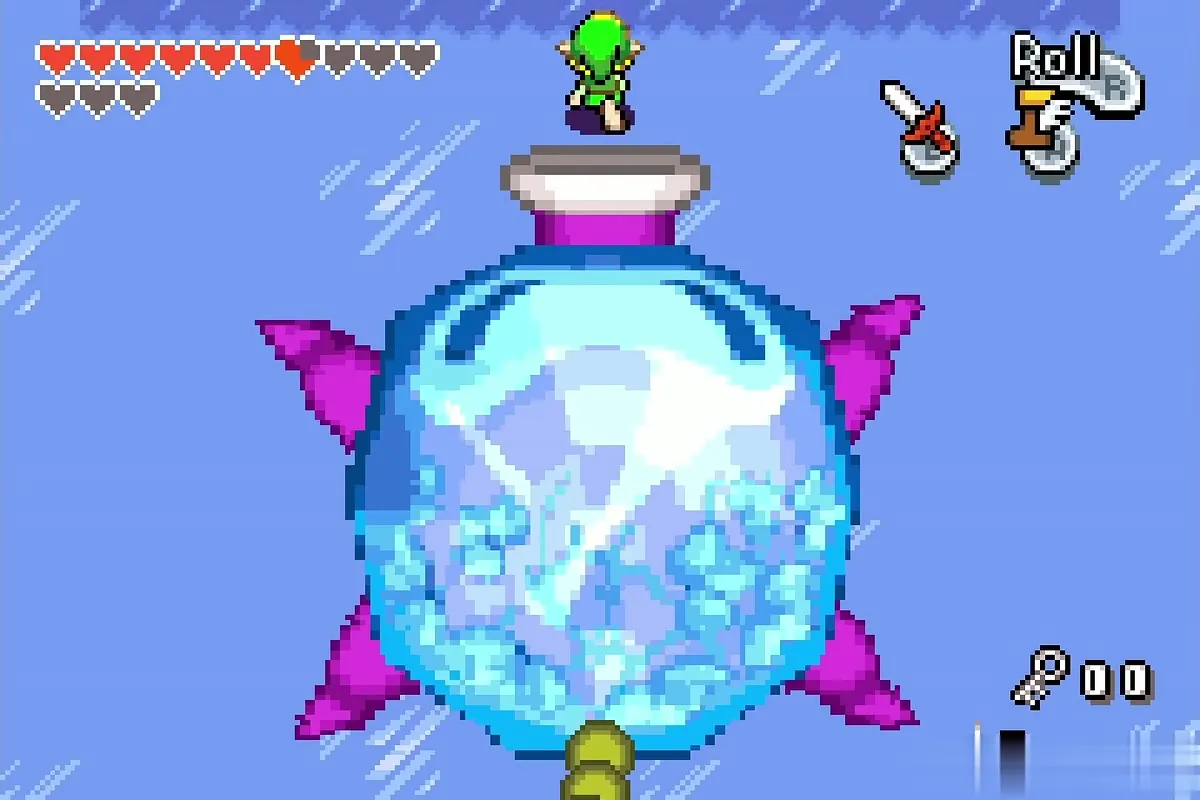
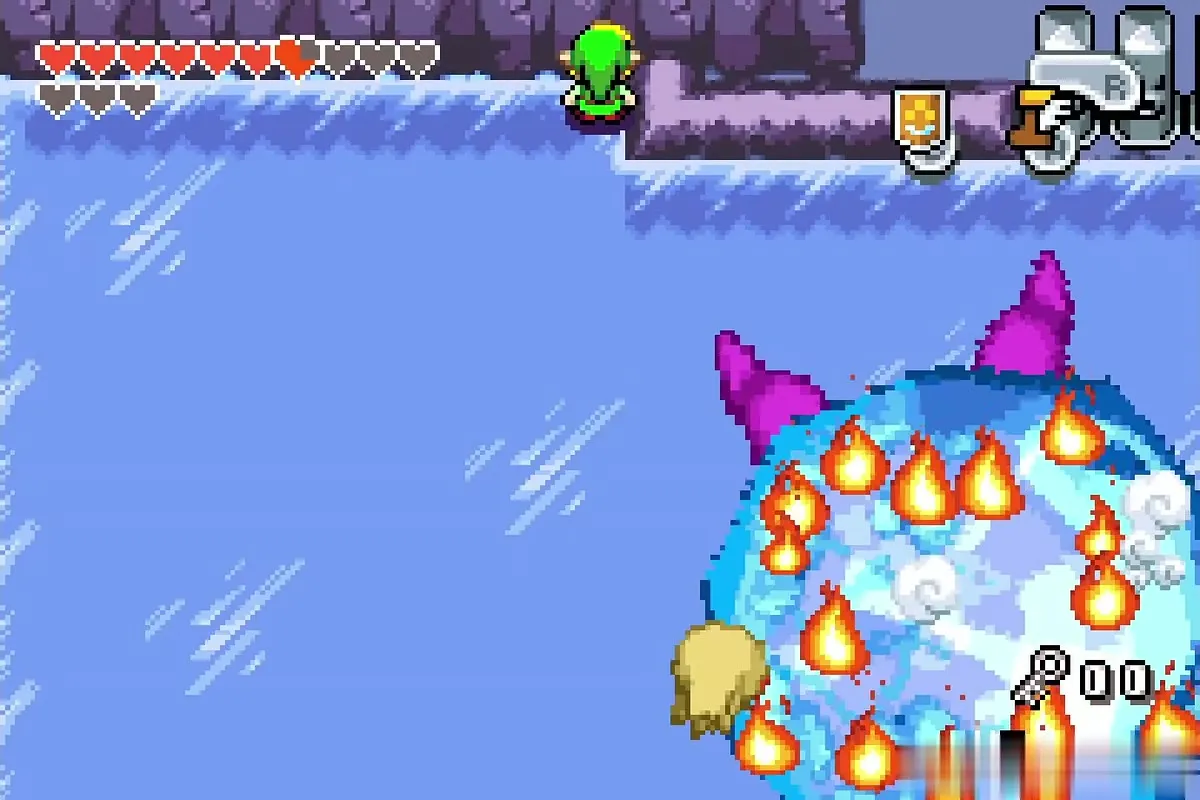
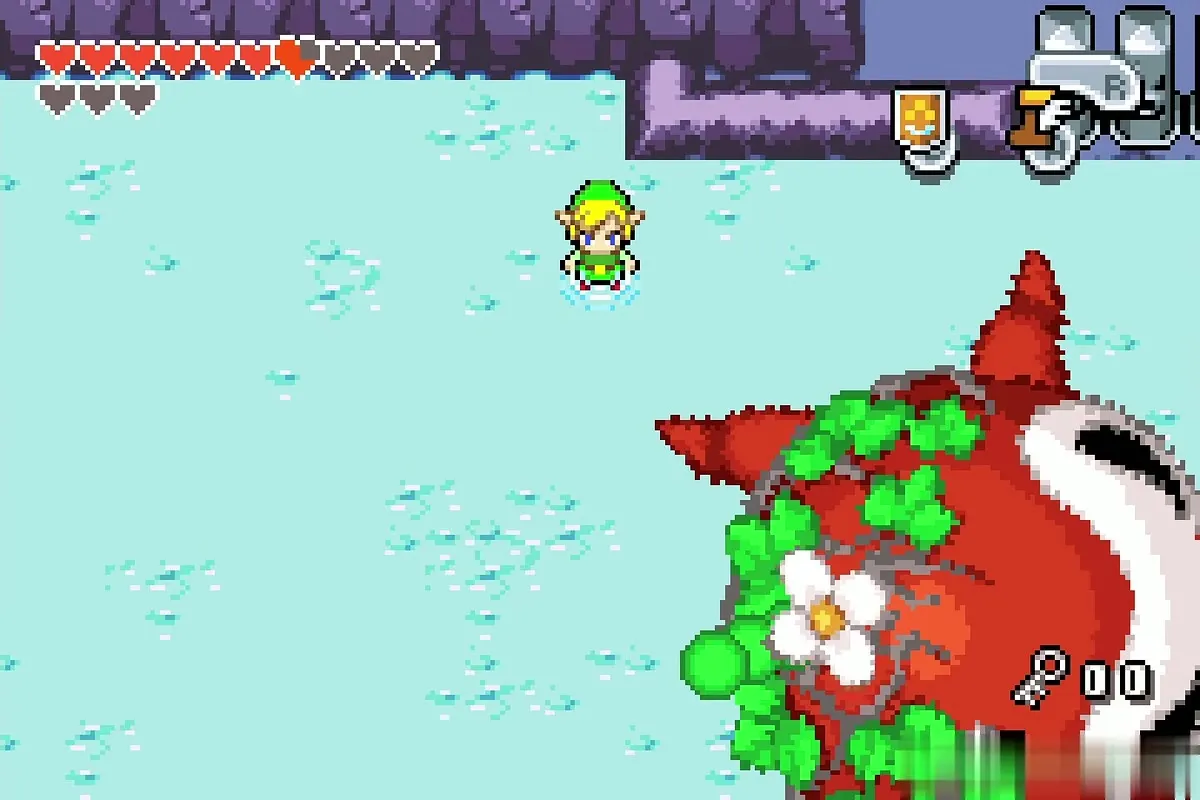
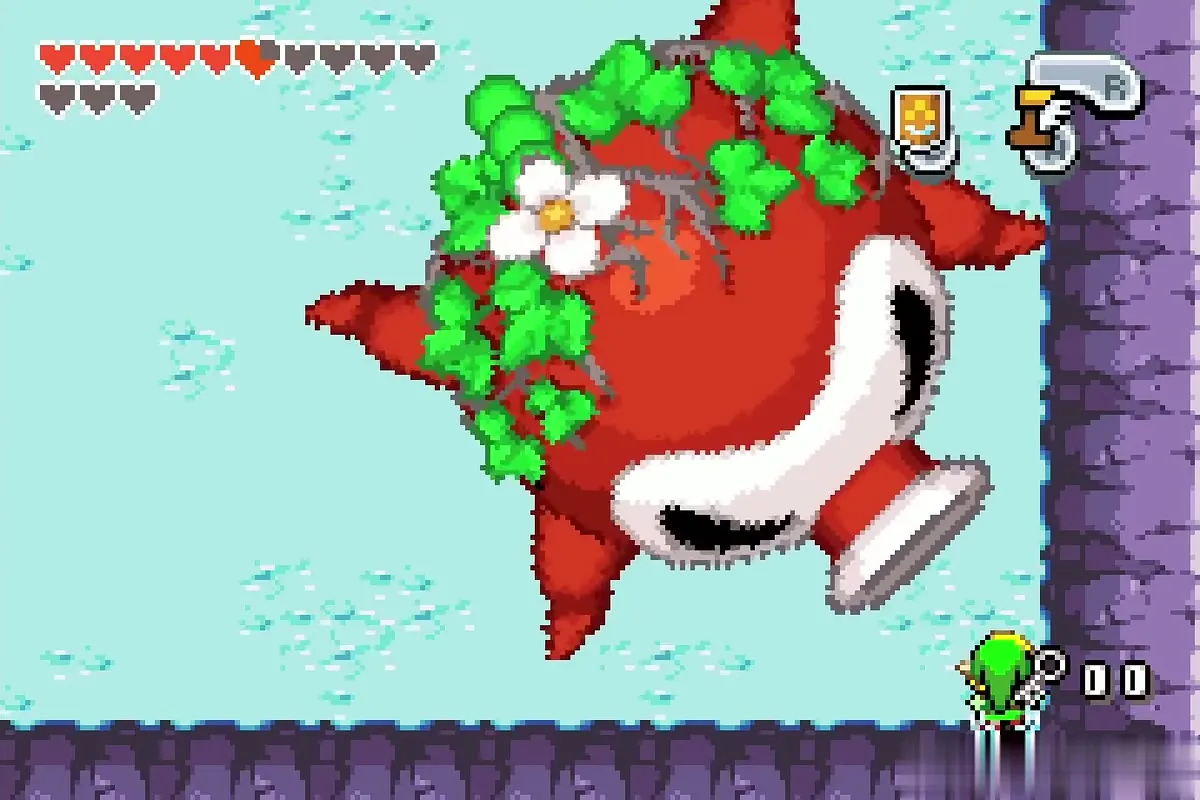
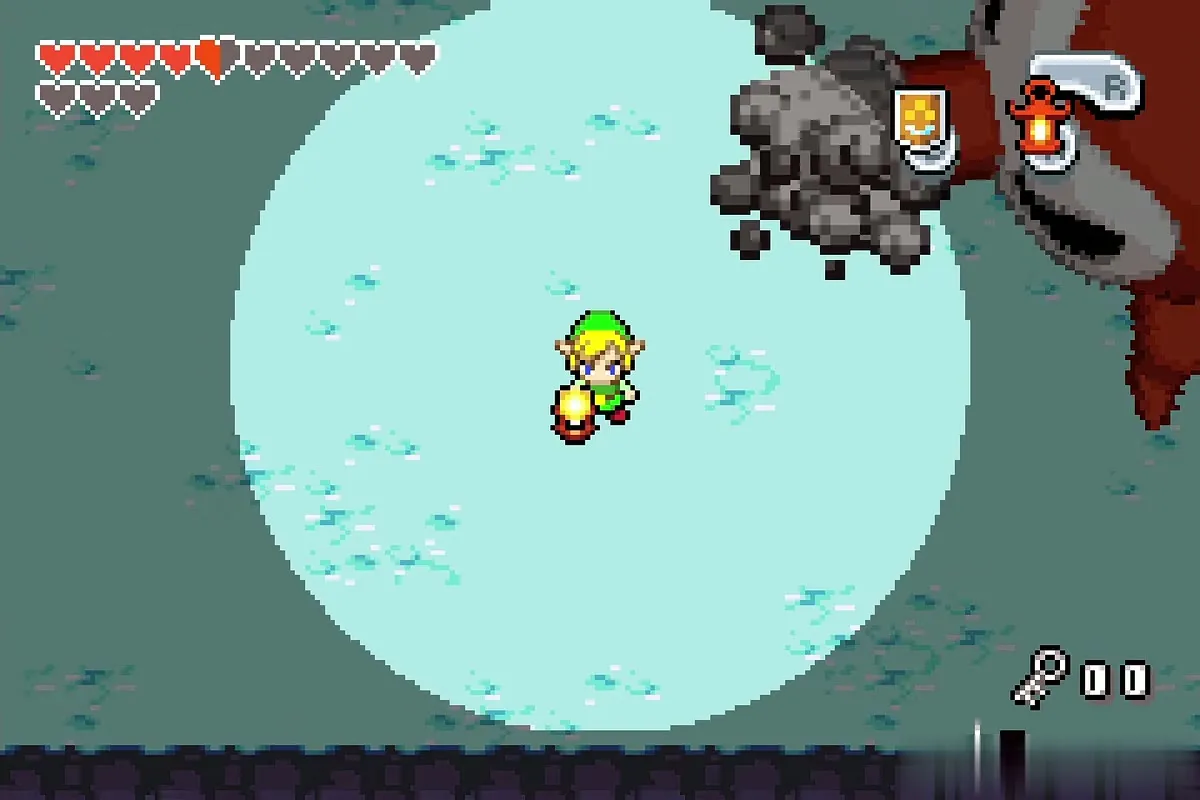
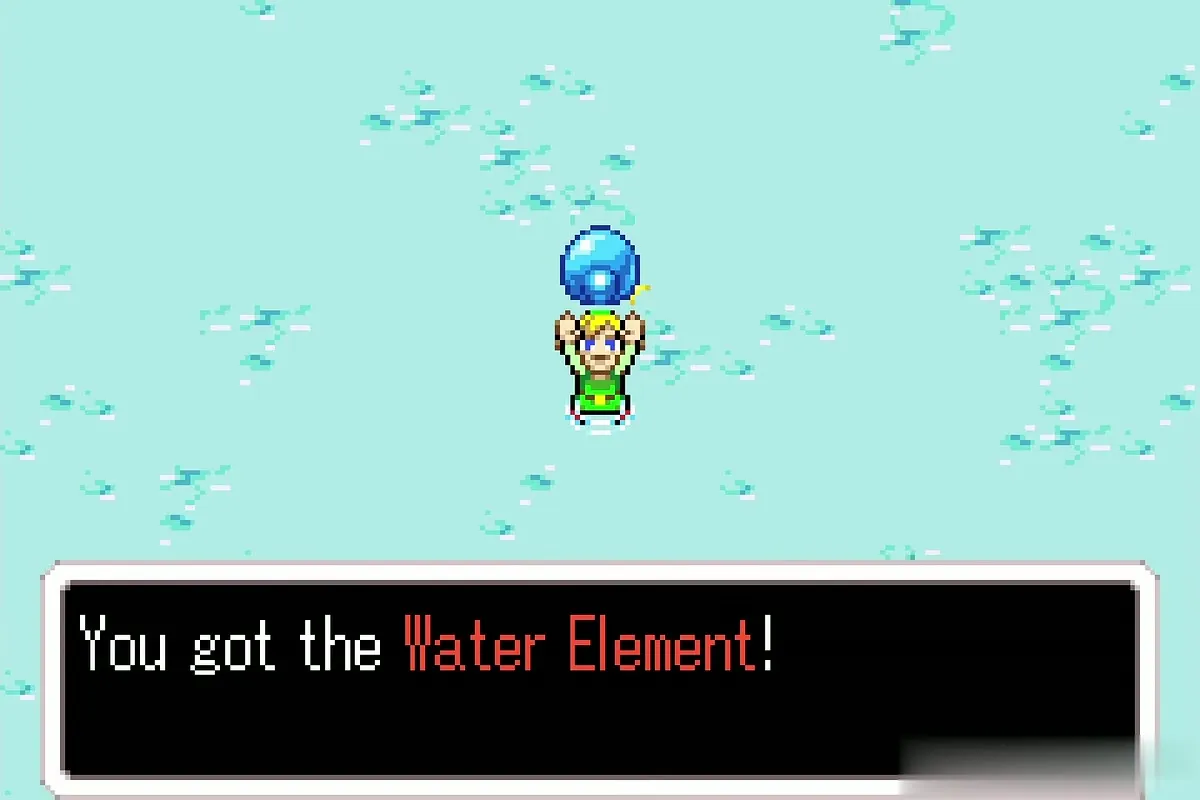
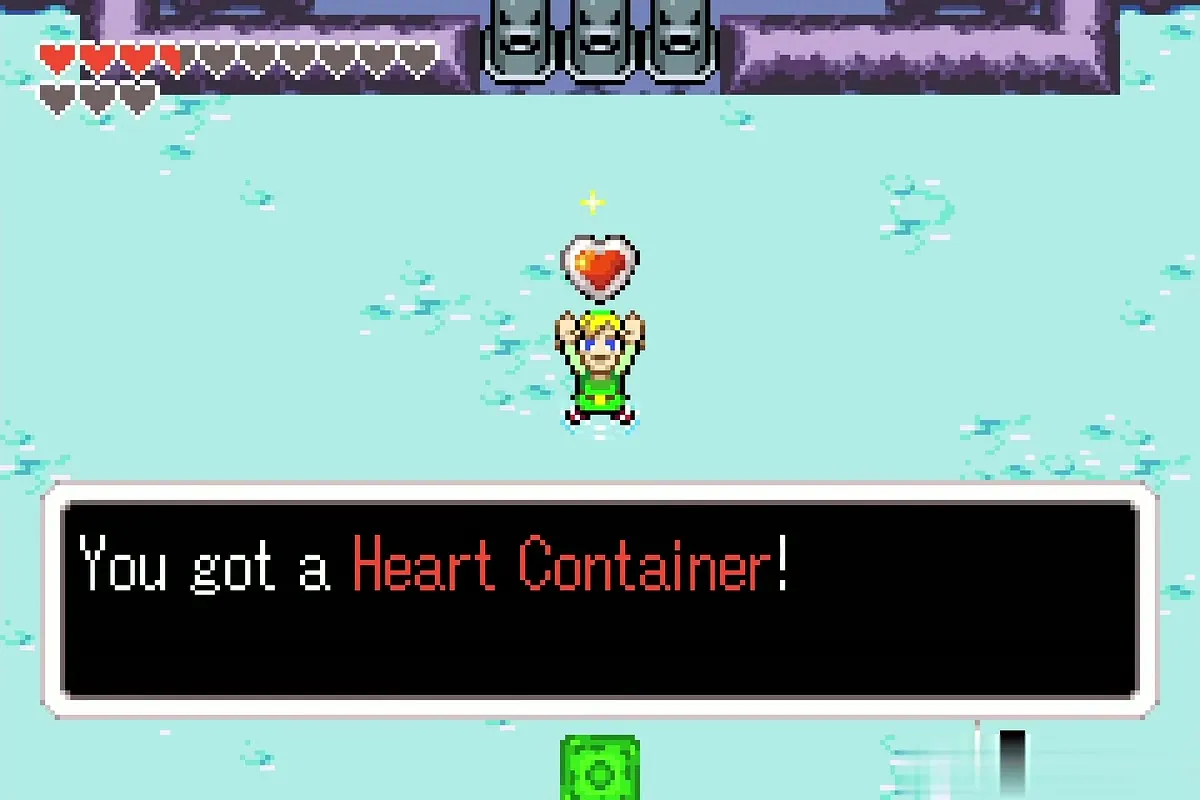
Repeat the shield rounds. Late in the fight it spits ink and the room goes dark, so keep the Lantern lit to see it, deflect the last boulders and burn the plant again. It bursts and spits out the Water Element, and a Heart Container follows. See the Temple of Droplets walkthrough.
Palace of Winds

Boss: Gyorg Pair
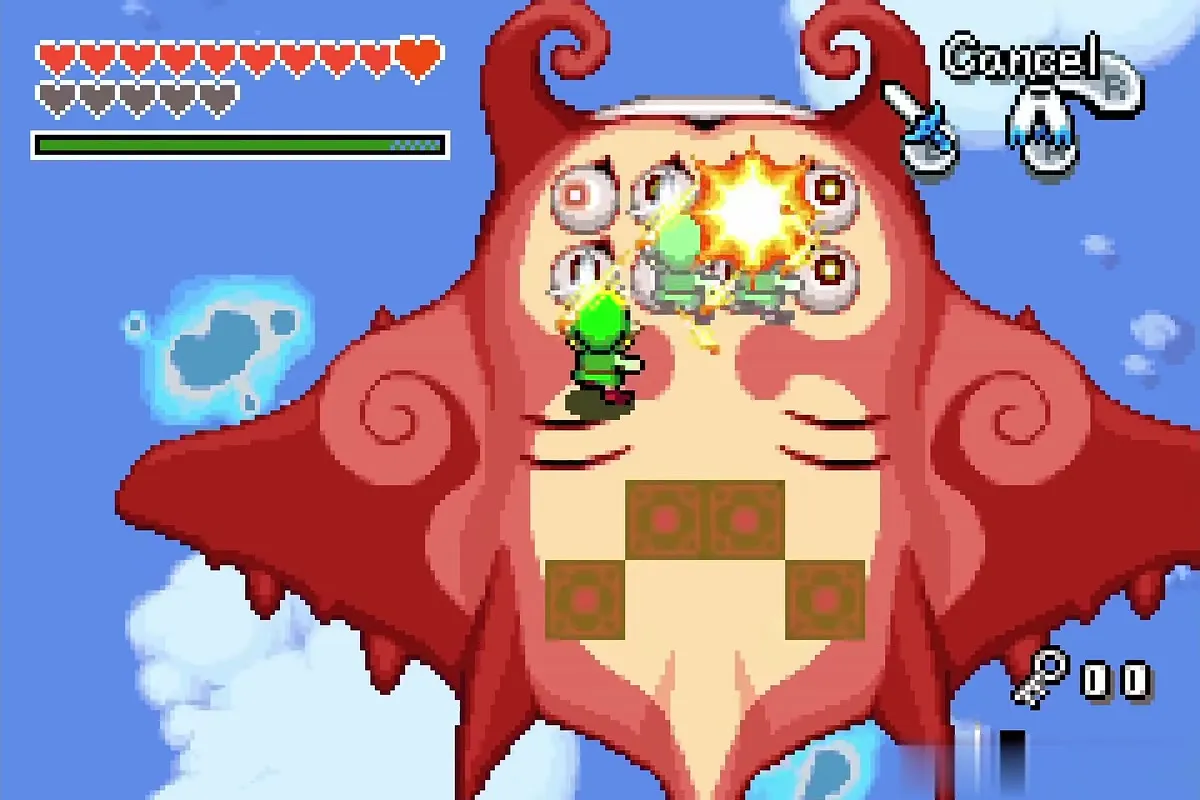
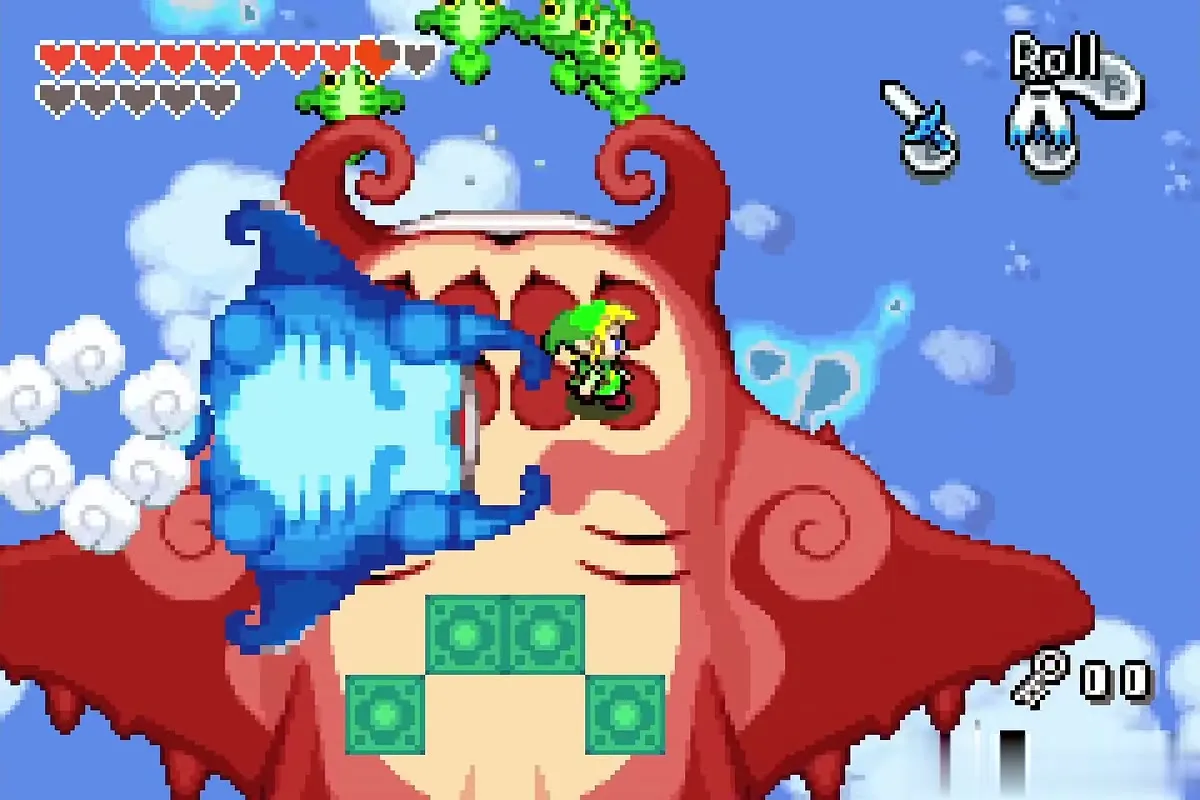
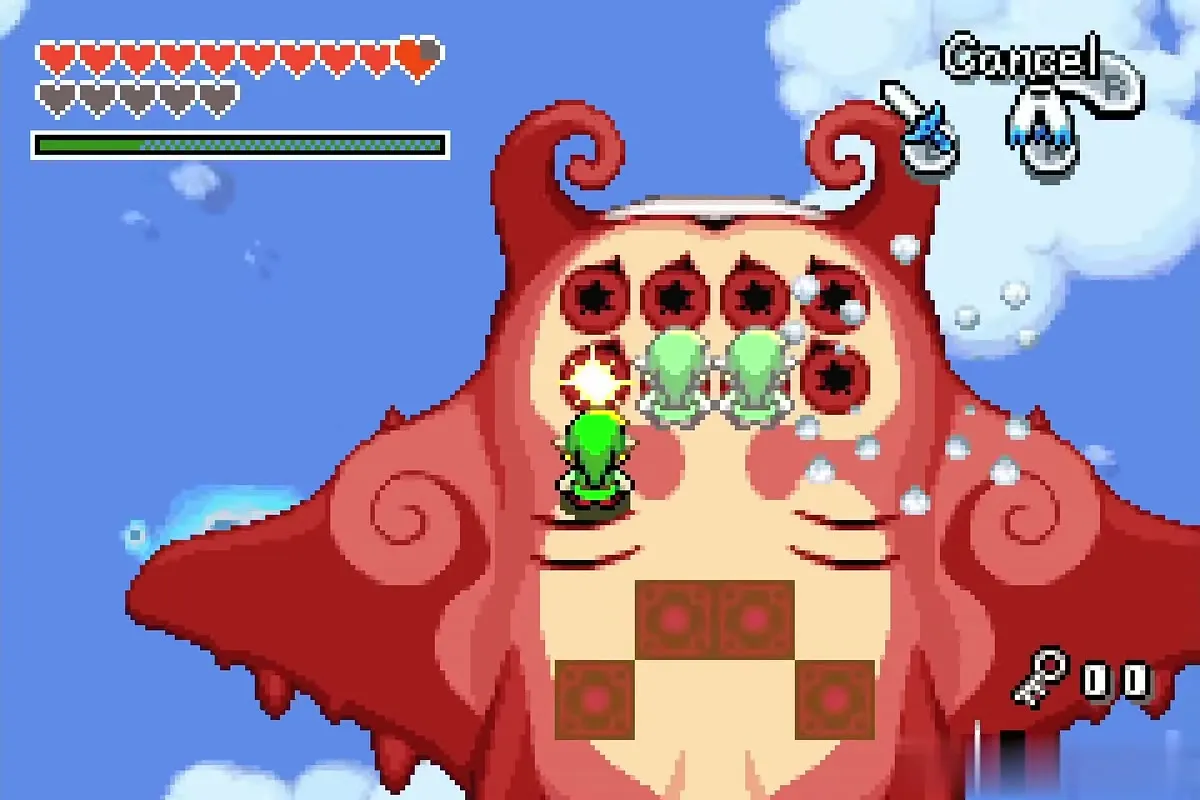
The fight takes place in the sky on two giant creatures. You start on the blue Gyorg, whose tail is dangerous, so stay clear of it. When the red Gyorg flies close, jump across to its back with Roc’s Cape.
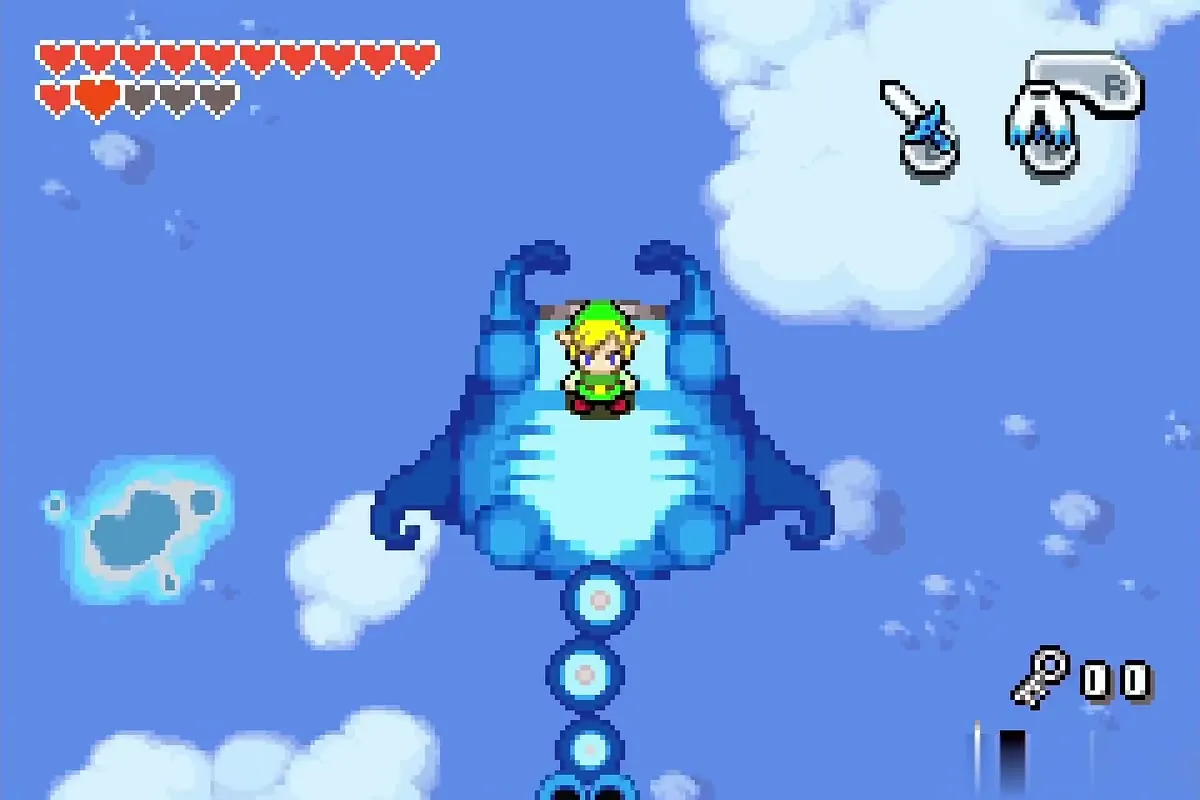
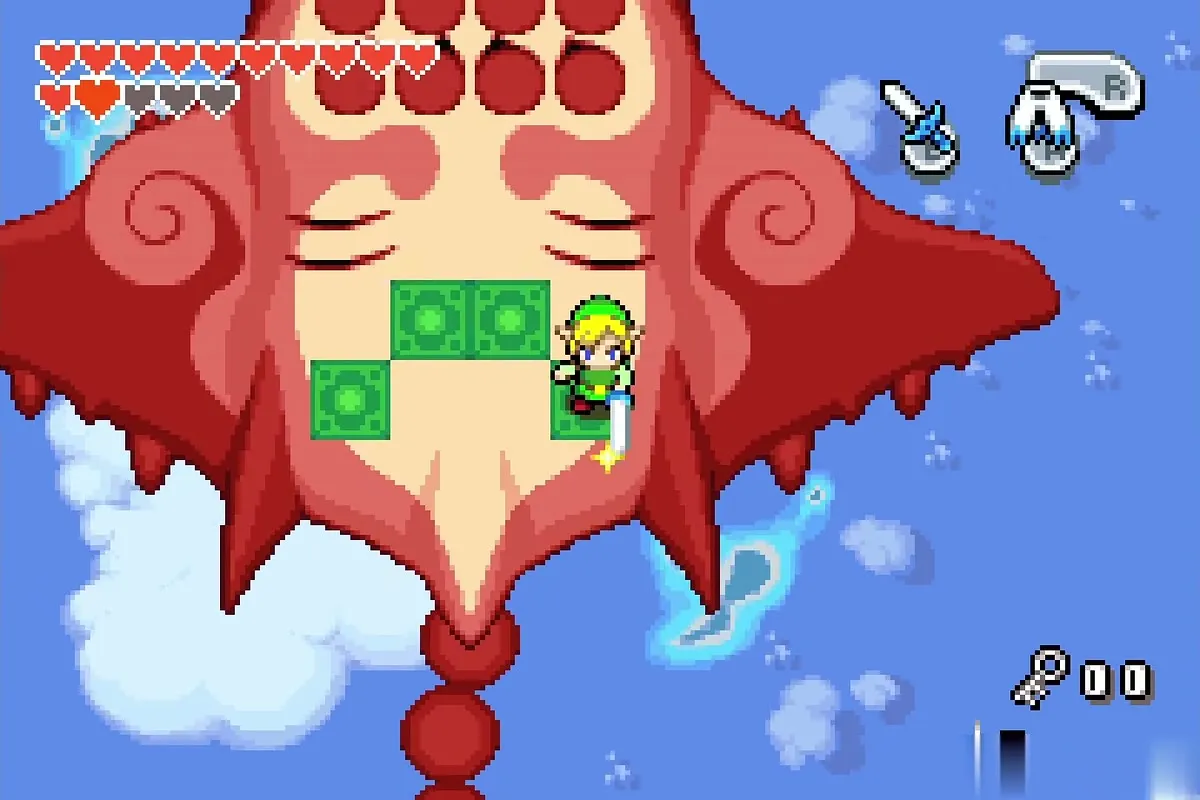

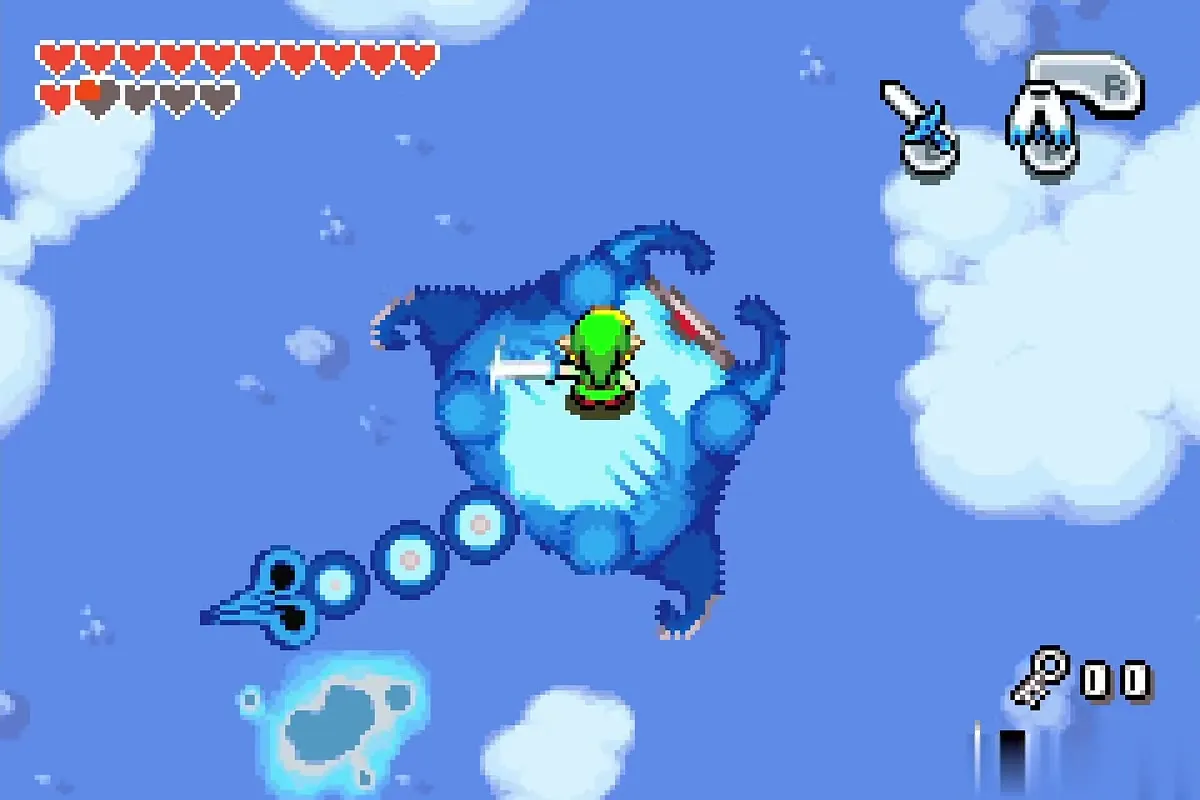
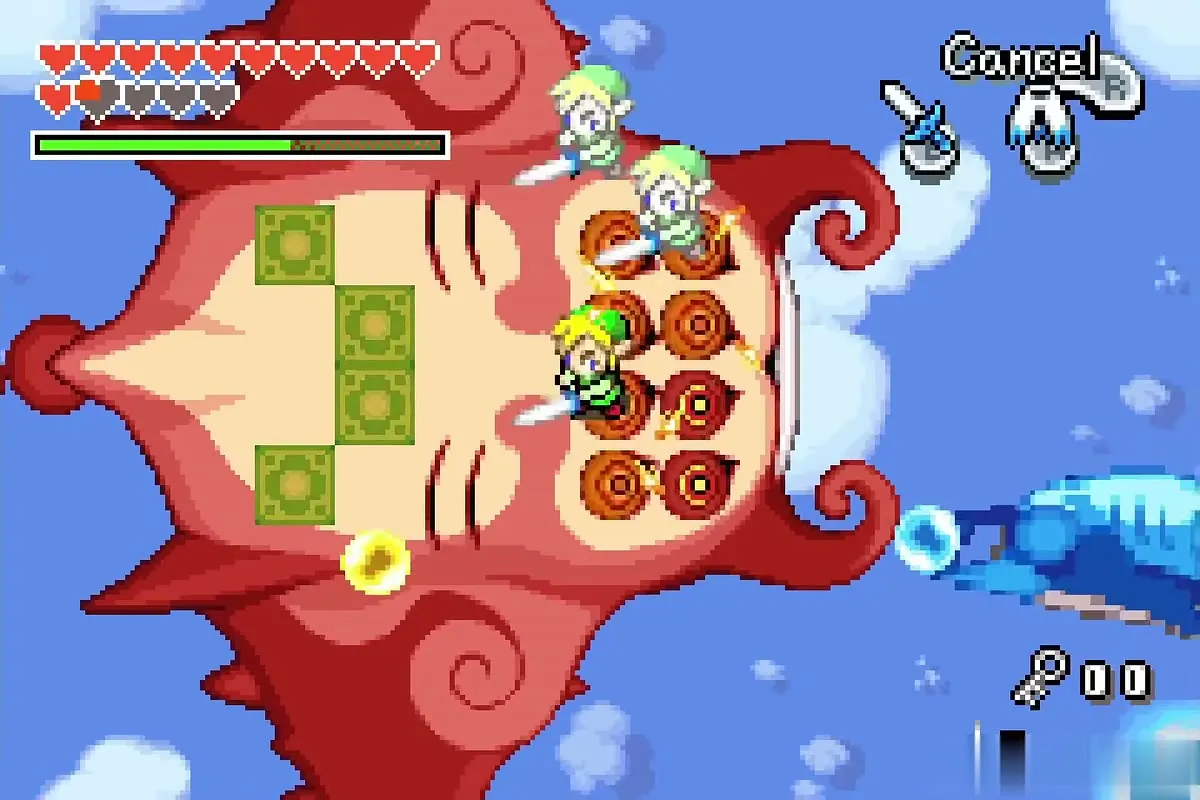
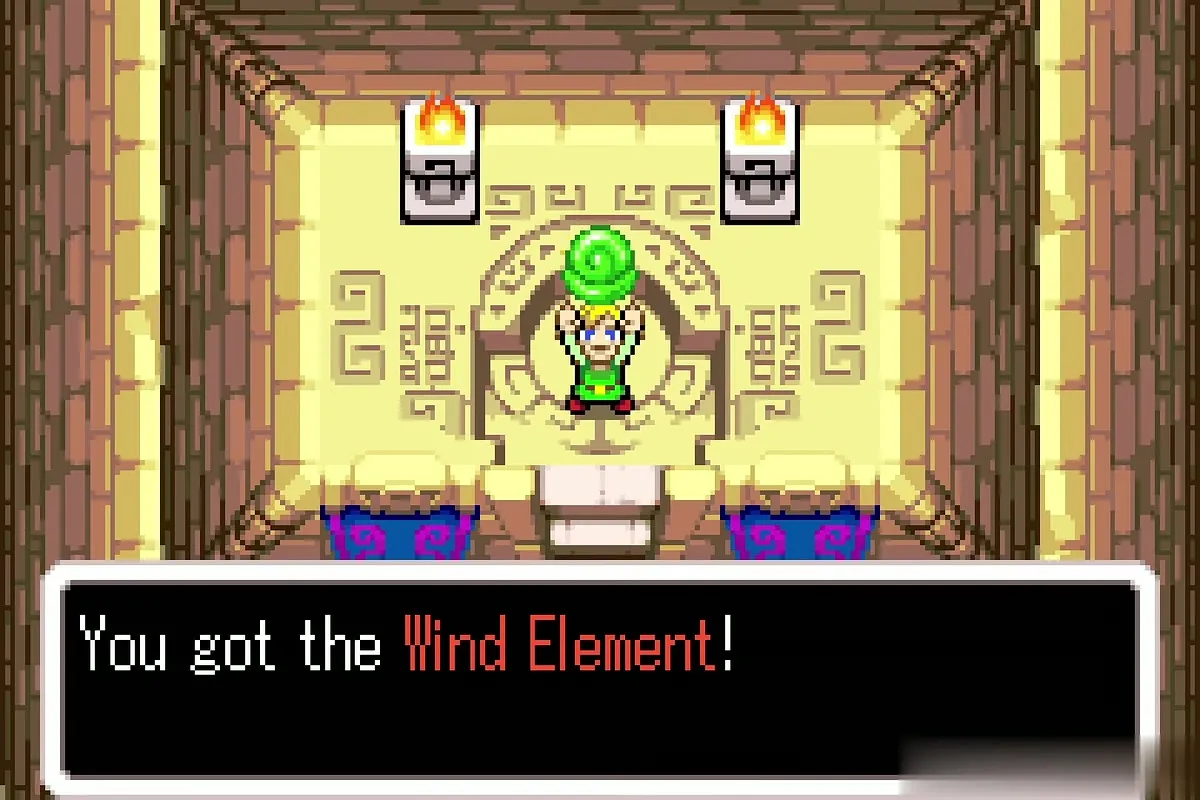
On the red Gyorg, stand near the glowing tiles on its back, charge the sword and split so your clones strike the eyes together; they must hit them in the formation the eyes show. When the eyes burst it flies off and the blue one returns. Small green Gyorg spawn during the fight and drop hearts. Alternate between the two until the last eye pops. You land in the Wind shrine and take the Wind Element and a Heart Container. See the Palace of Winds walkthrough.
Dark Hyrule Castle
Mini-boss: the three Darknuts
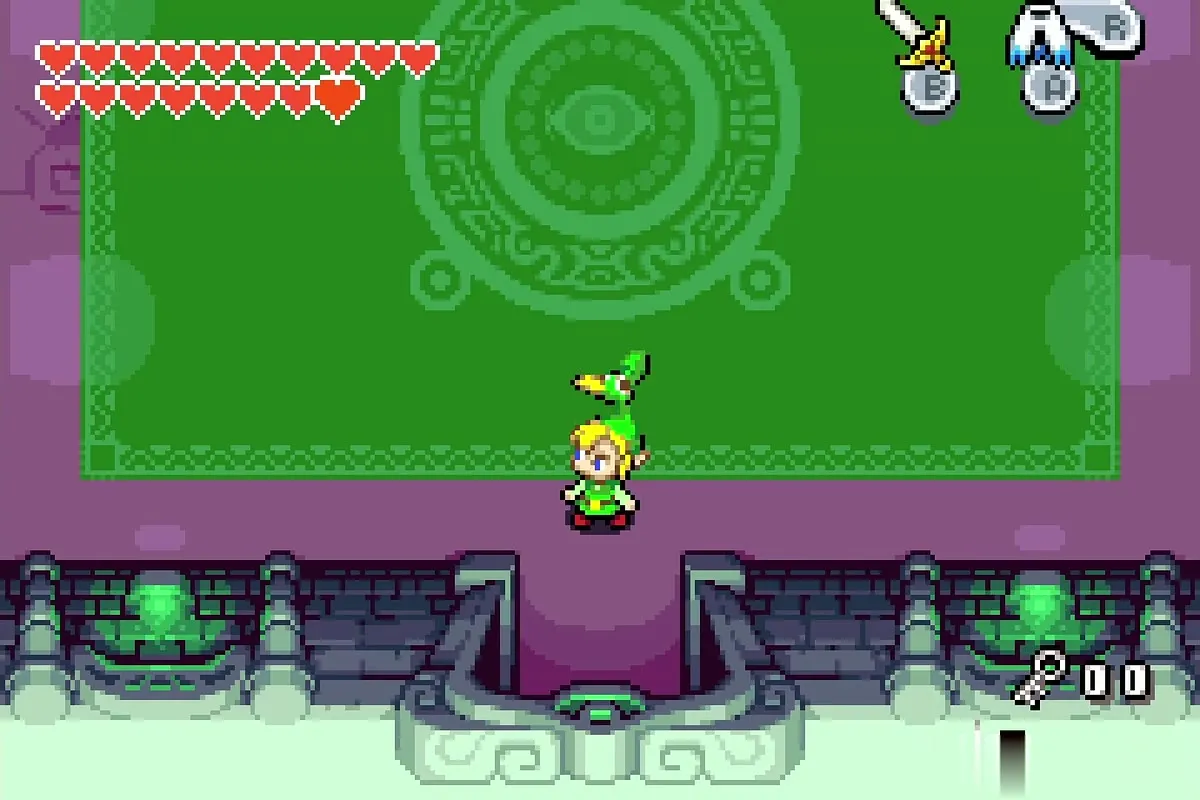
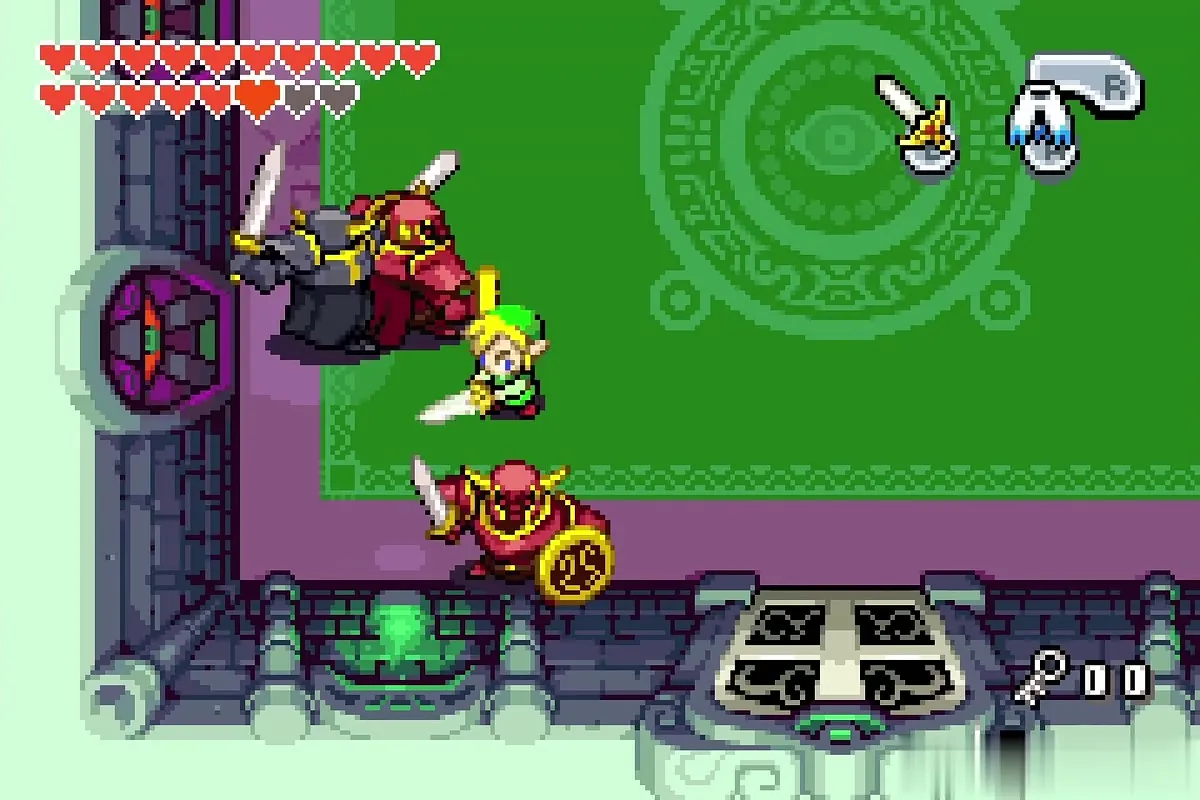
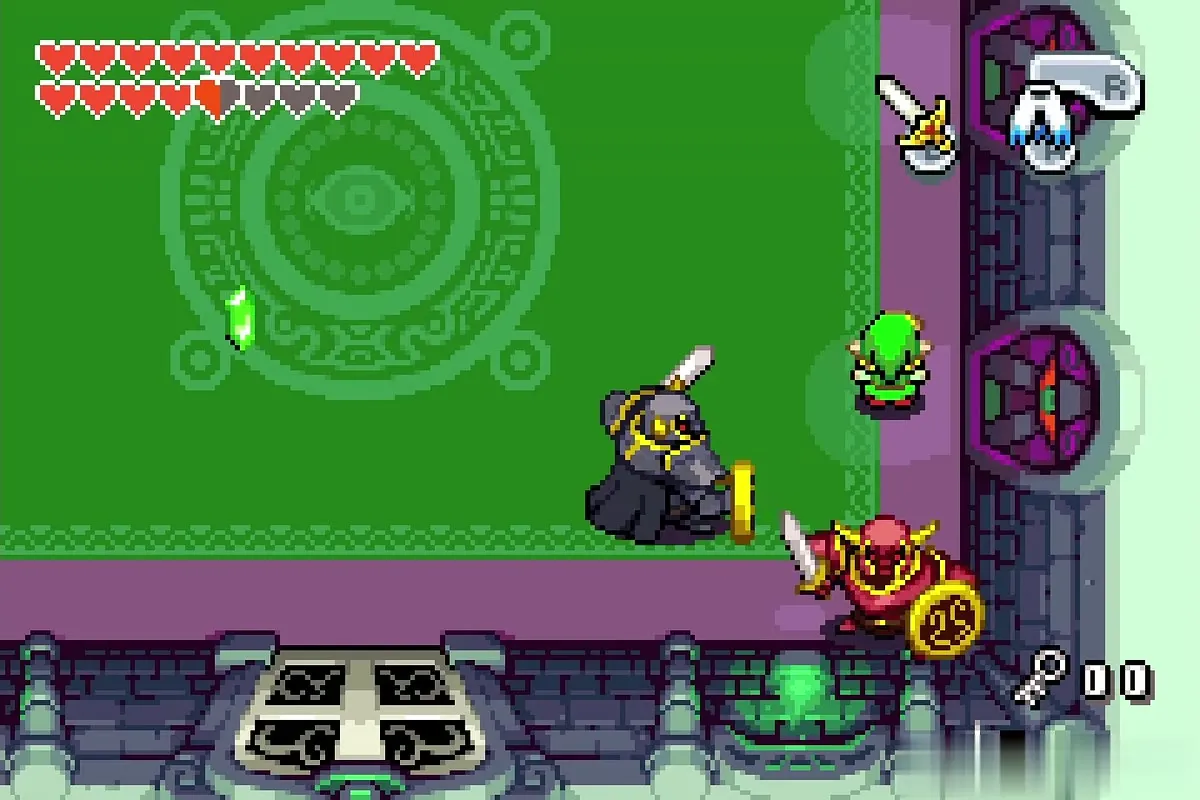
Past the Keaton room and a bell that tolls as Vaati’s time runs out, a green carpet room holds two red Darknuts and a black Darknut. Beat all three before the third chime. Put your back against a wall so only one can reach you, hit each from behind and use Spin Attacks when surrounded; Roc’s Cape or a bomb helps you slip past or stun them. Stairs then lead up to Vaati’s chamber. See the Dark Hyrule Castle walkthrough.
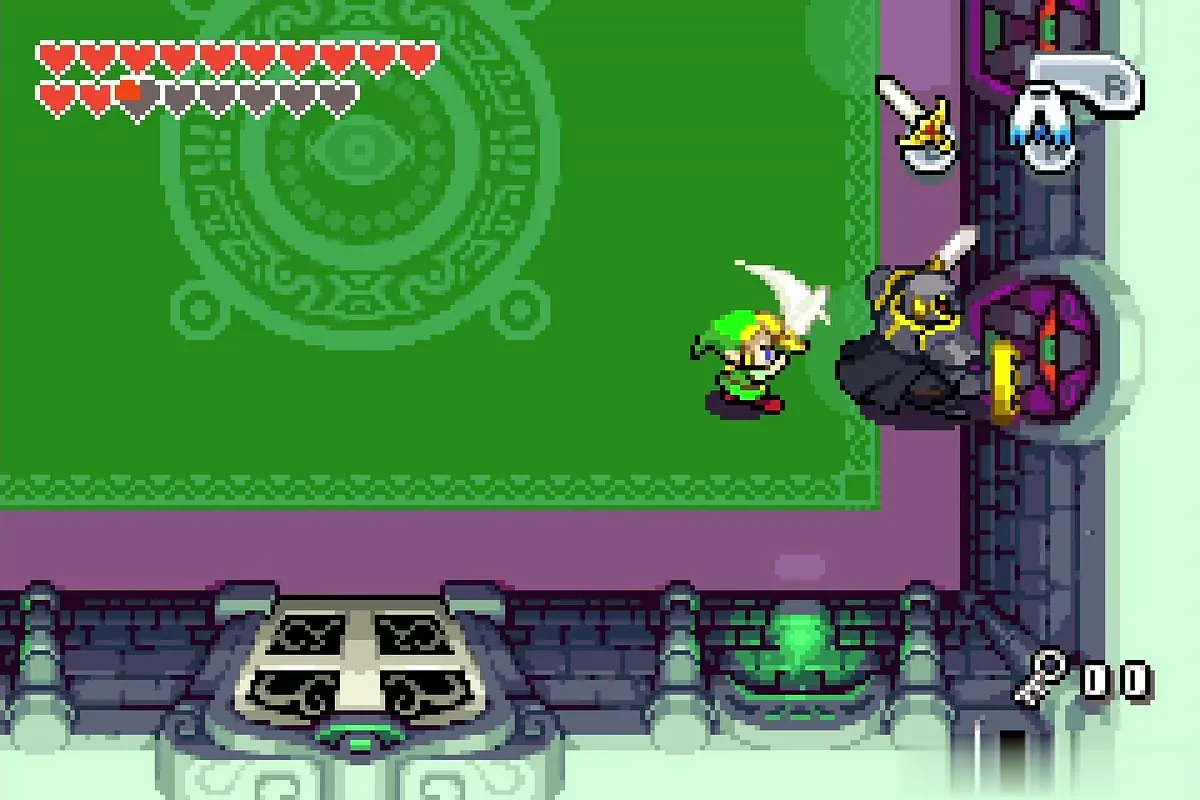
Vaati: all three forms
The first two forms run back to back as one continuous fight, the castle escape gives the only chance to refill hearts and arrows (pots in a side room), and the last form takes place in the courtyard. Arrive with full hearts. The full sequence, the ending and the save that unlocks the last figurines are in the Vaati final boss walkthrough.

Vaati Reborn
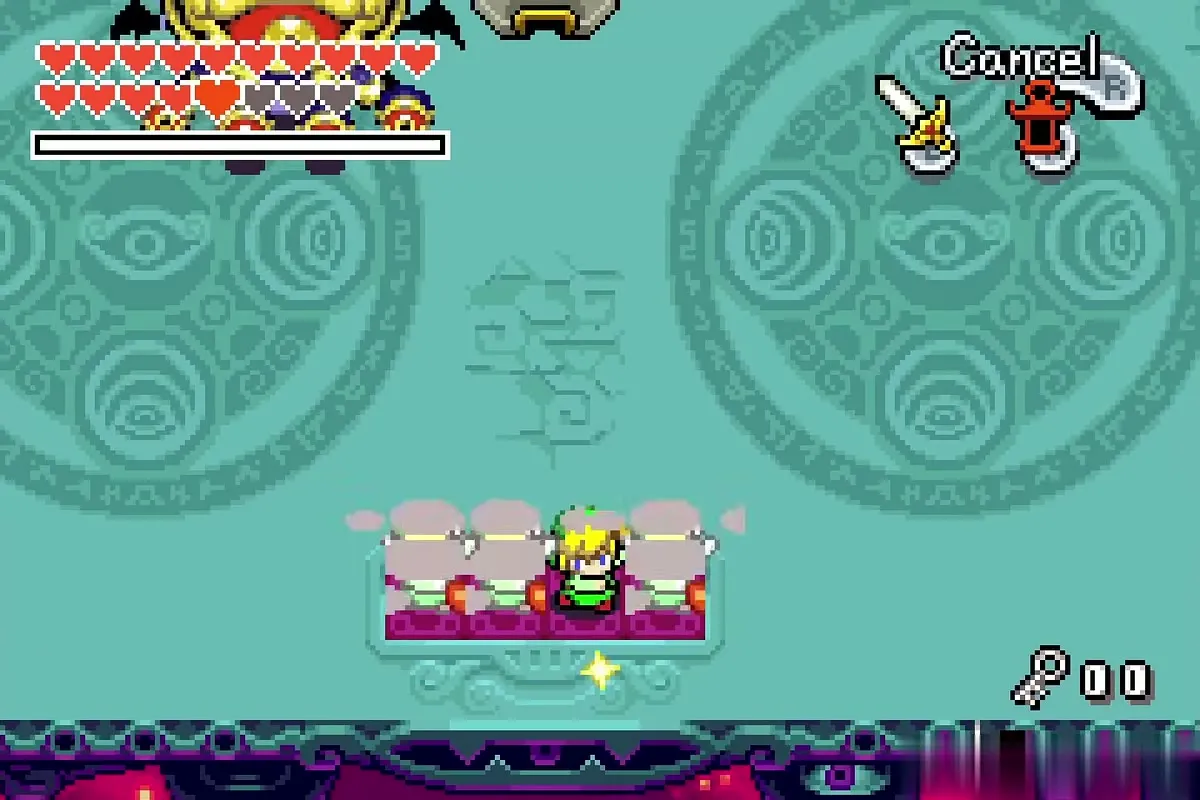
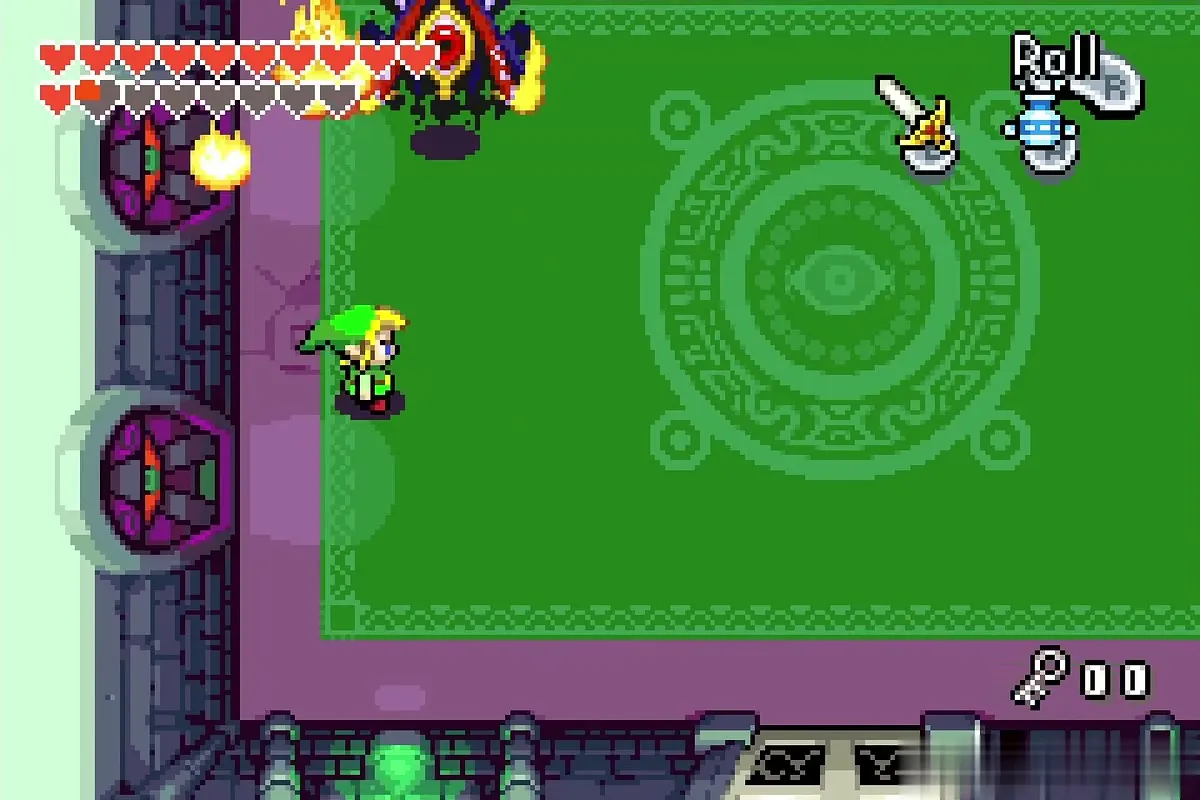
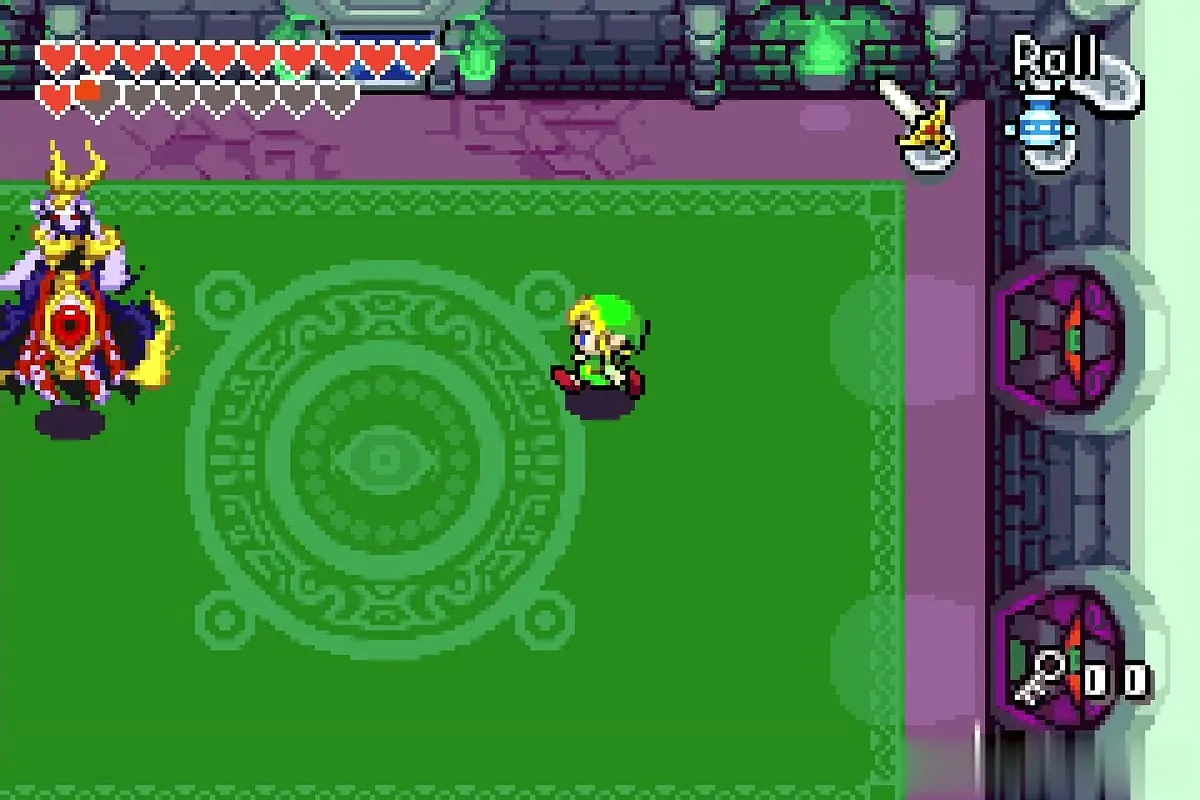
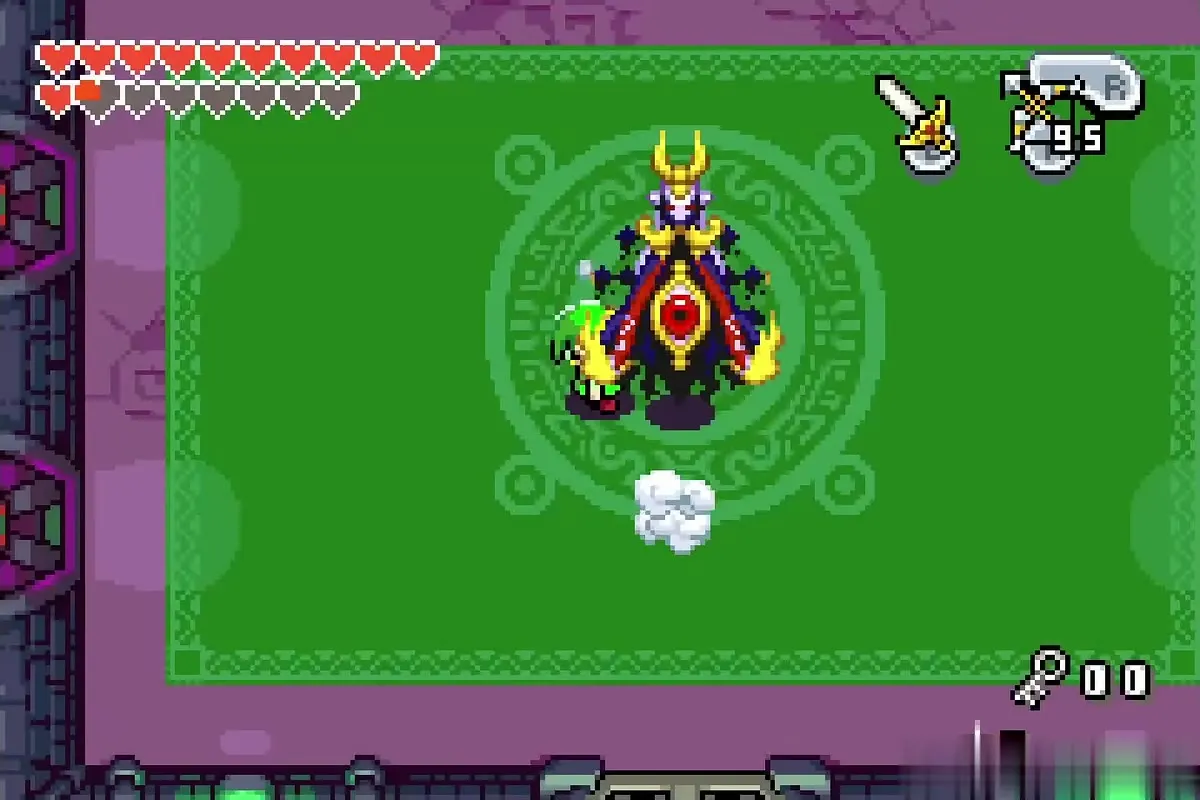
Put the sword and the Gust Jar on your buttons. Vaati opens with fireballs that knock you back, so keep moving and roll. After a volley, two small eyes orbit him; slash both before they vanish, or he fires a slow black energy ball that follows you (roll around it or pull it in with the Jar). Then an eye opens on his body: slash it as often as you can. Afterwards four eyes appear above him and each fires a beam straight down, so never stand beneath one.
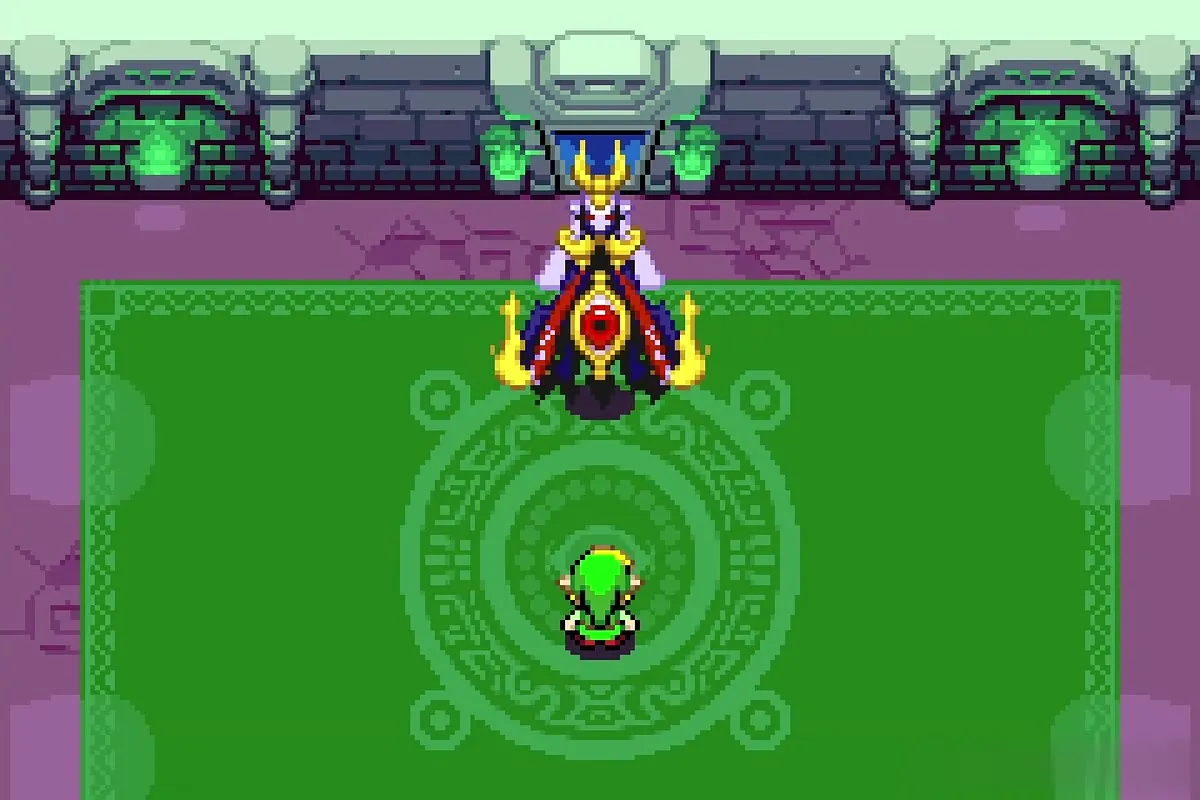
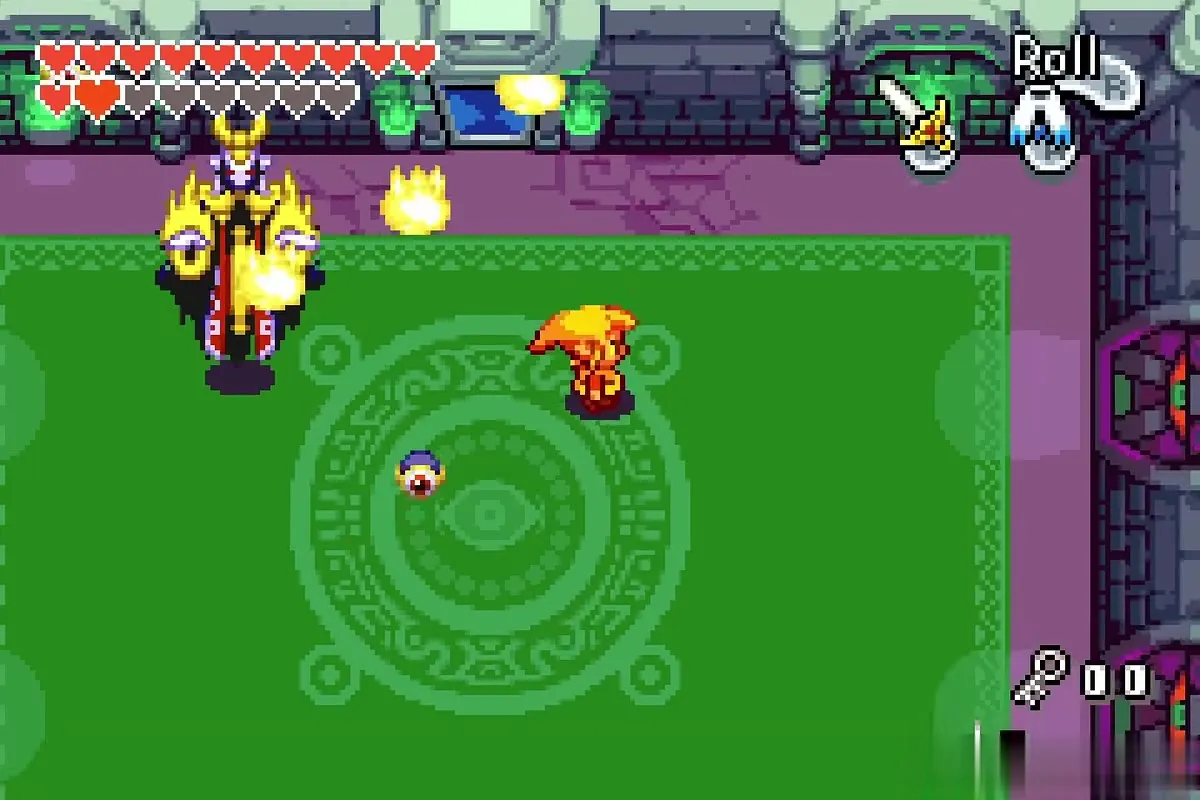
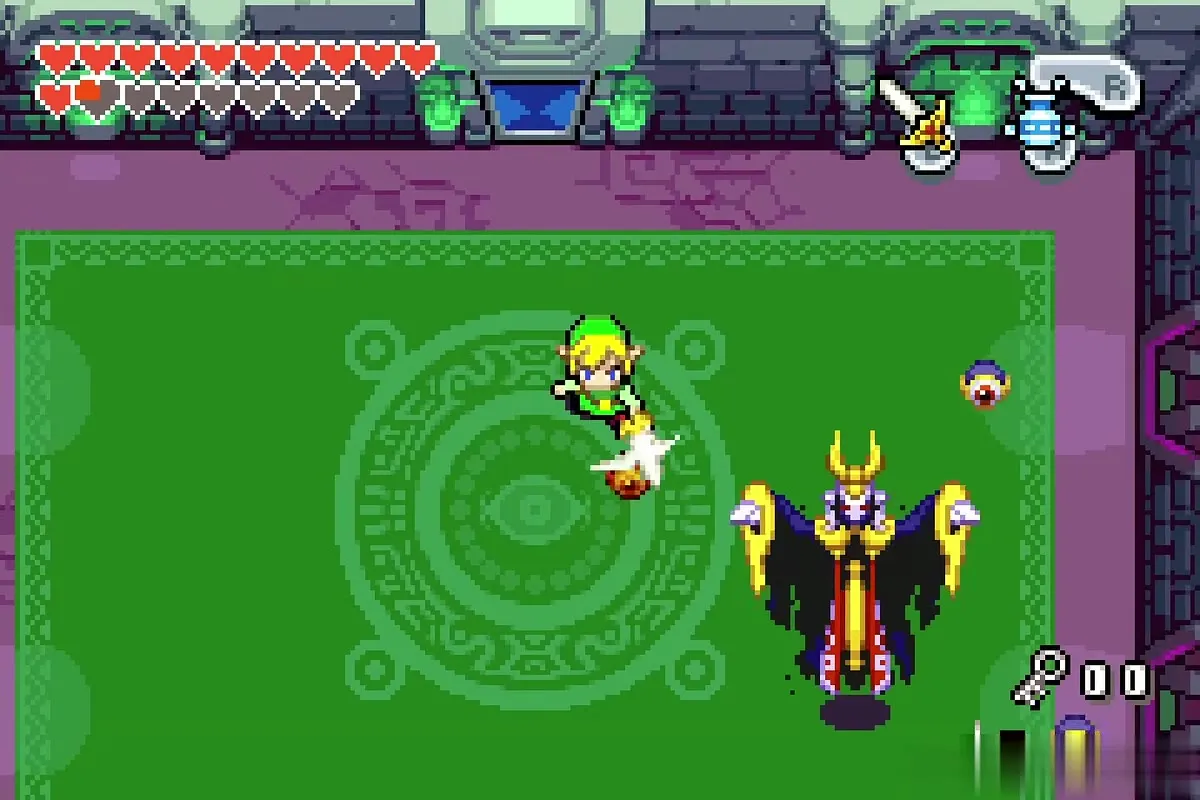
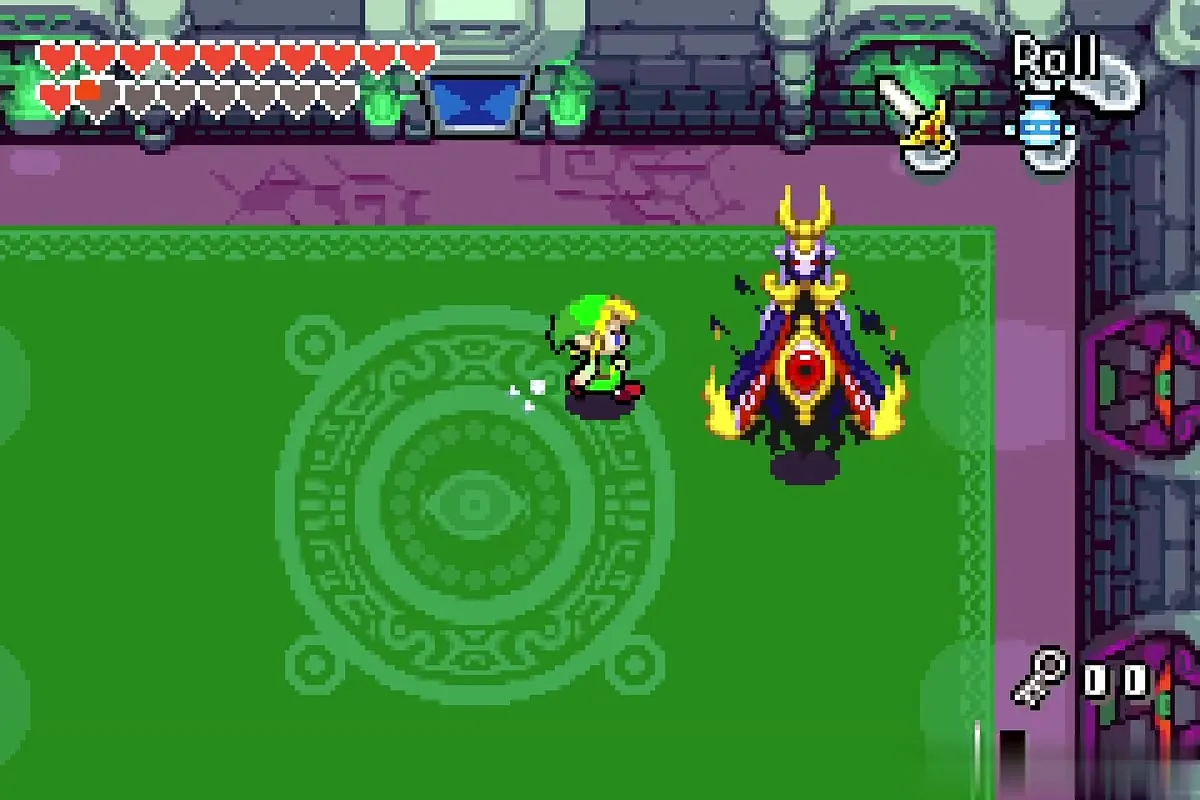
In later rounds a black shroud covers the eyes. Pull it off with the Gust Jar and slash them as before. Eventually Vaati teleports around the room and can land on you, so keep moving and hit the body eye when he settles. Repeat until he falls.
Vaati Transfigured
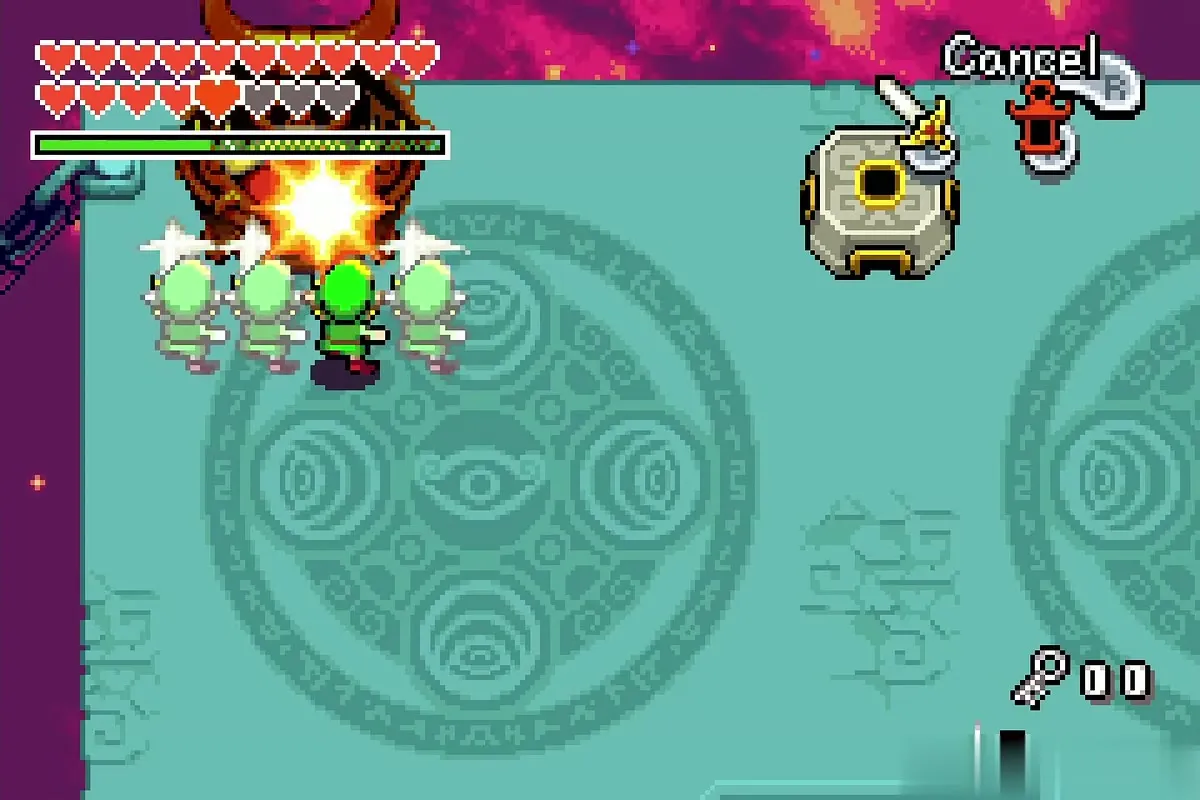
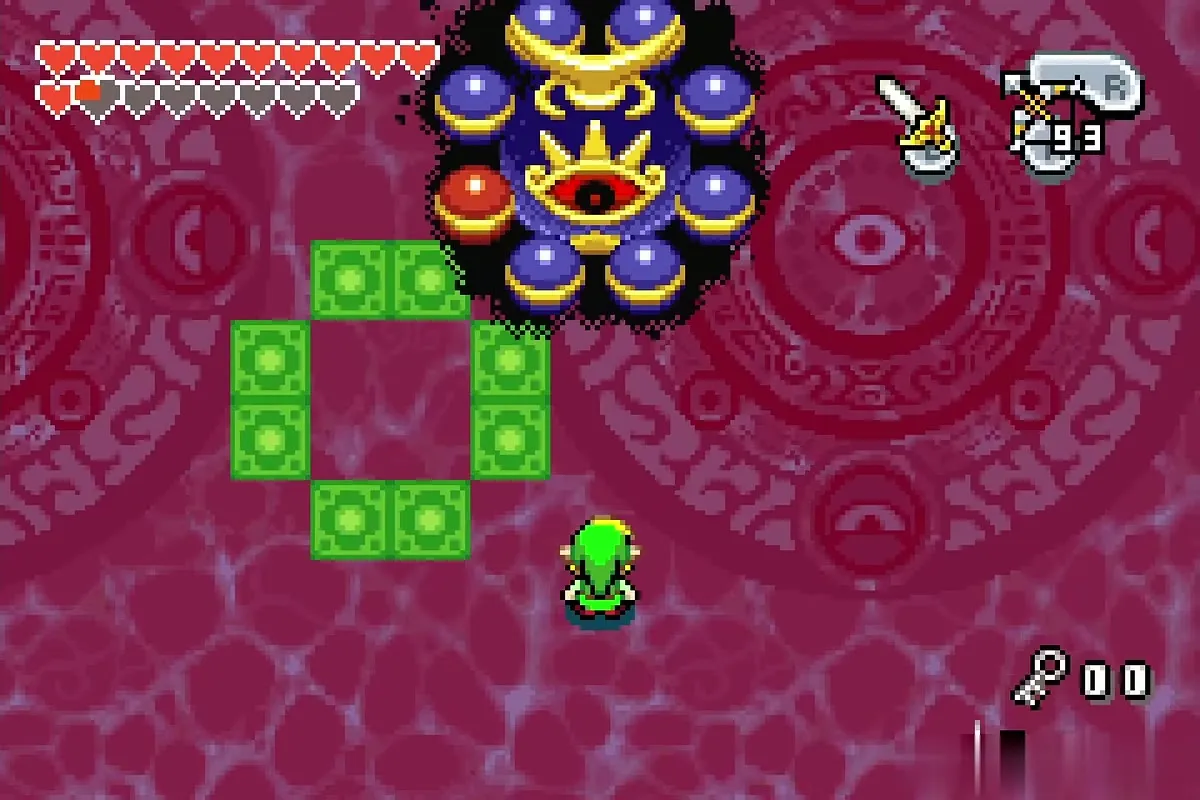
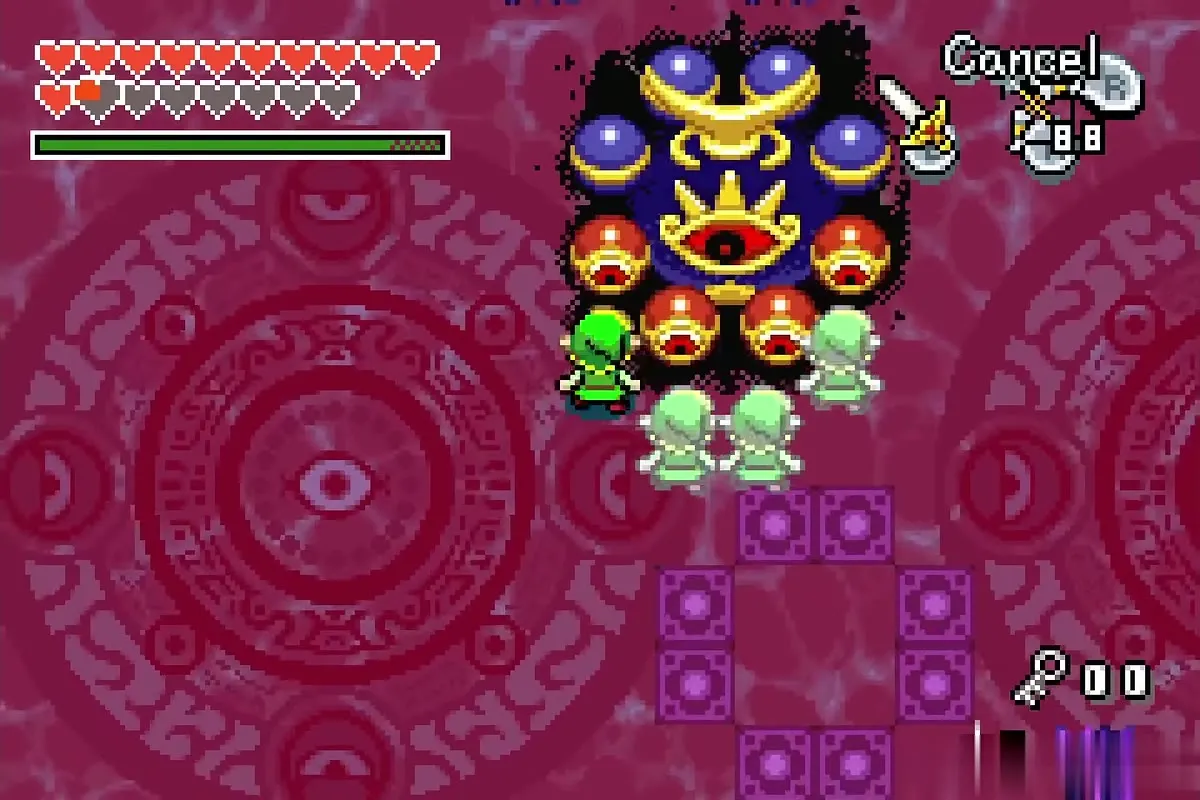
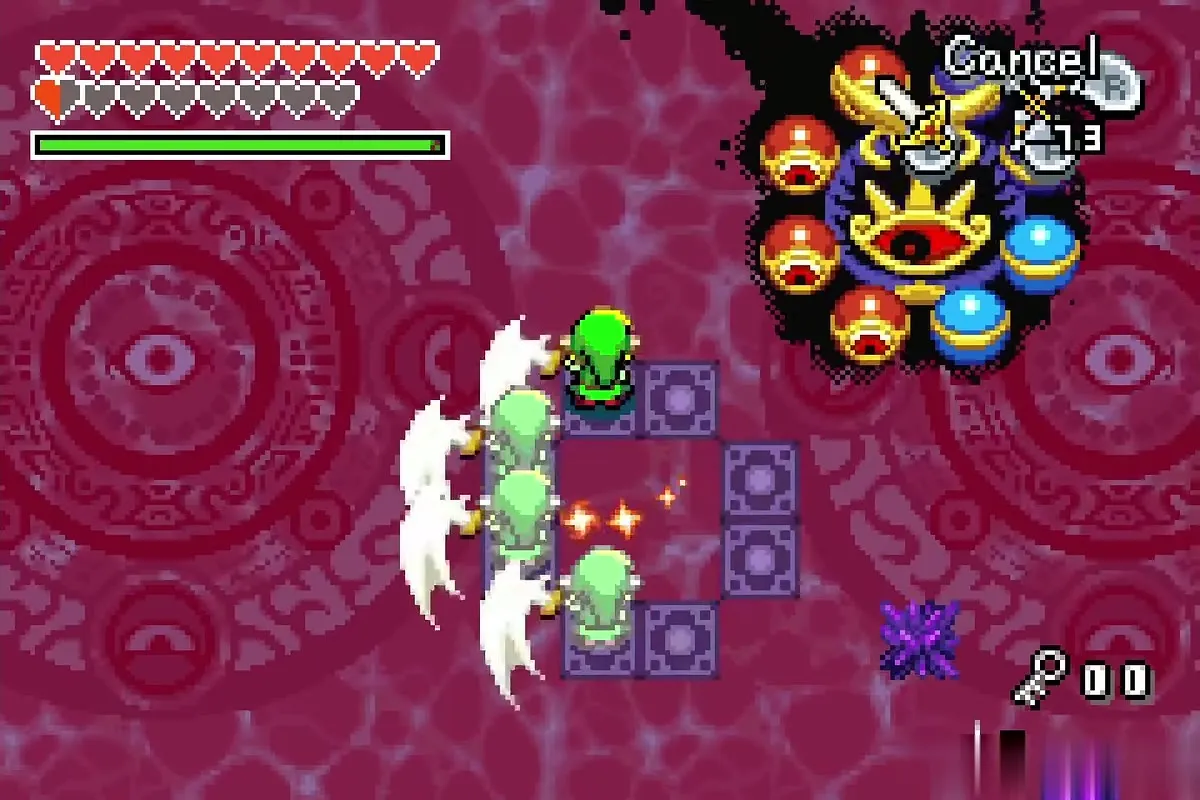
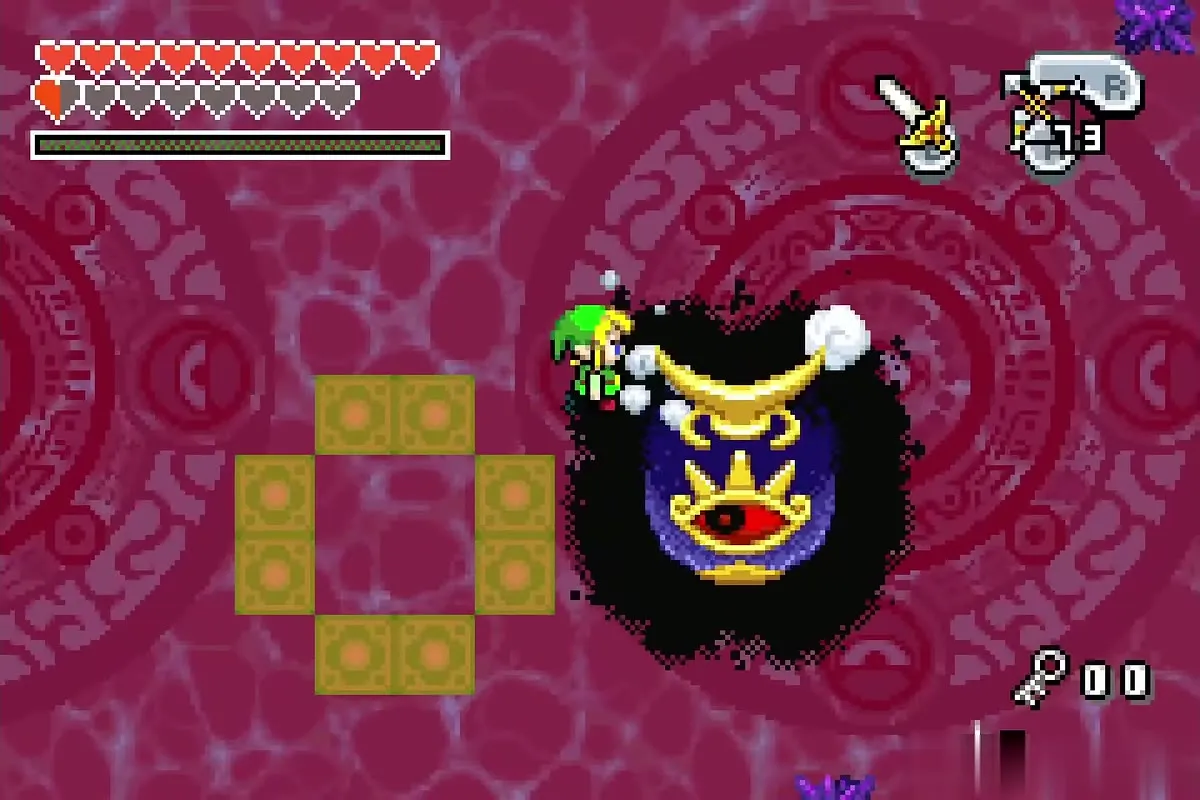
Vaati becomes a huge eye ringed by eight orbs, drifting around a red arena and throwing spiked rocks, dropping stones and firing electricity. Slash the spiked rocks when they land for arrows and hearts. With the Bow, shoot the outer orbs: each turns red, revealing an eye, or light blue. Four are red, always side by side on the right, left or bottom of the ring.
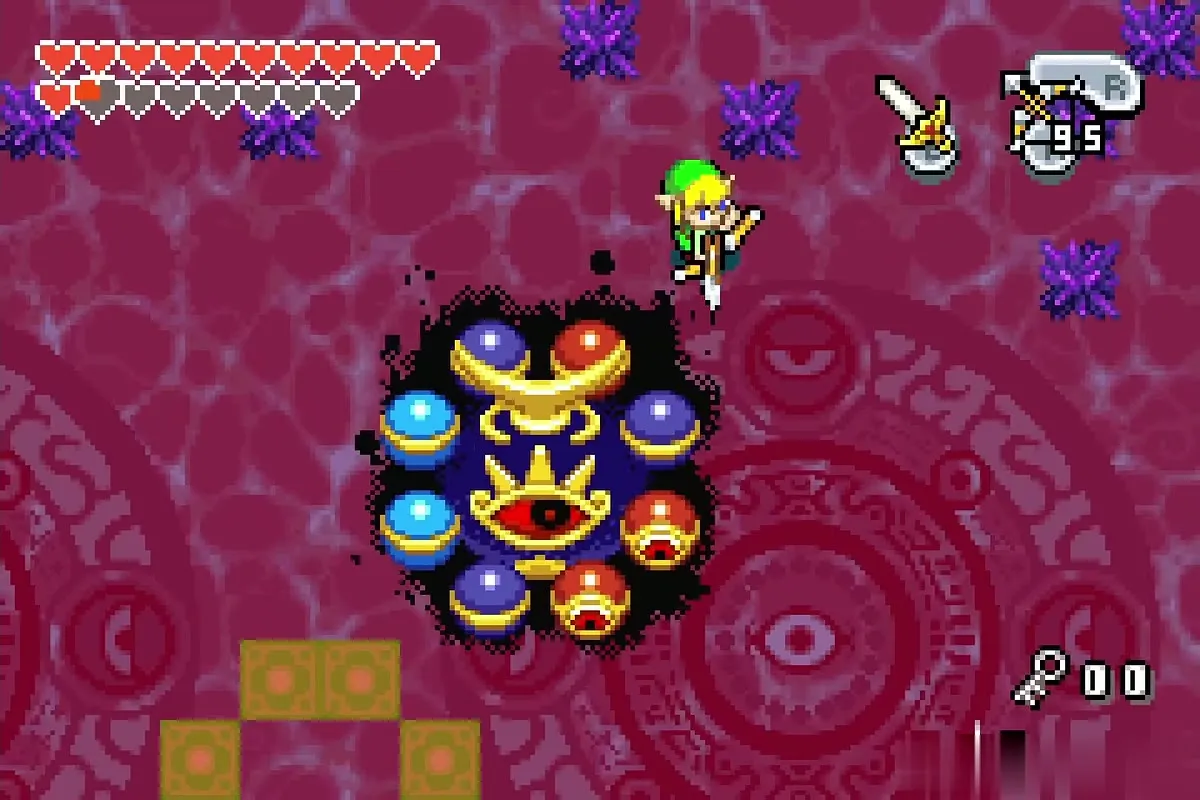
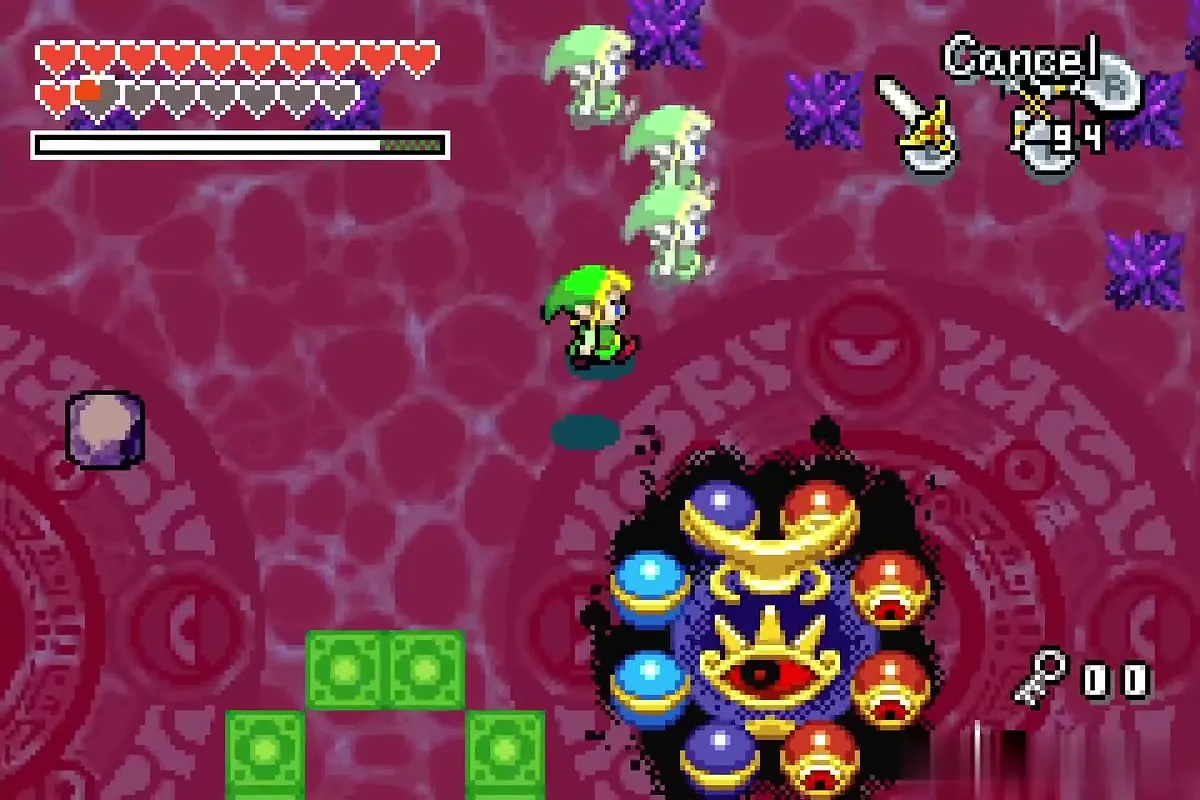
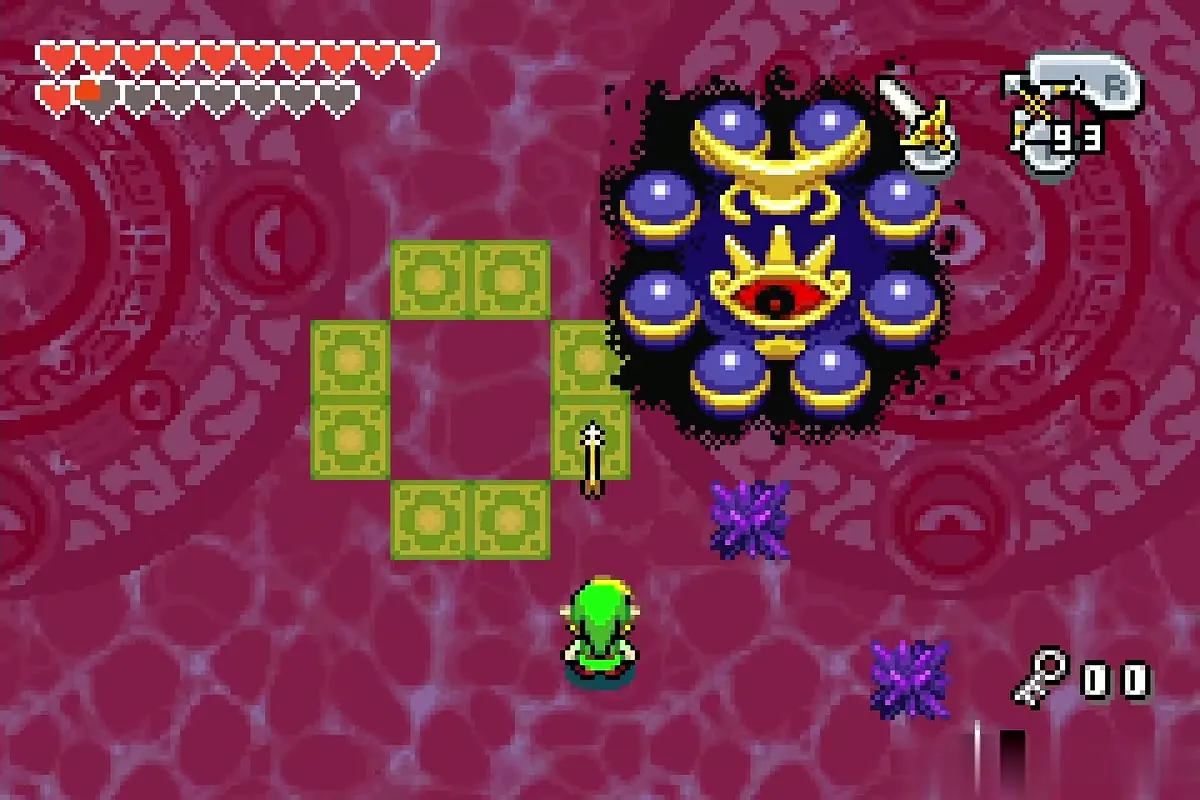
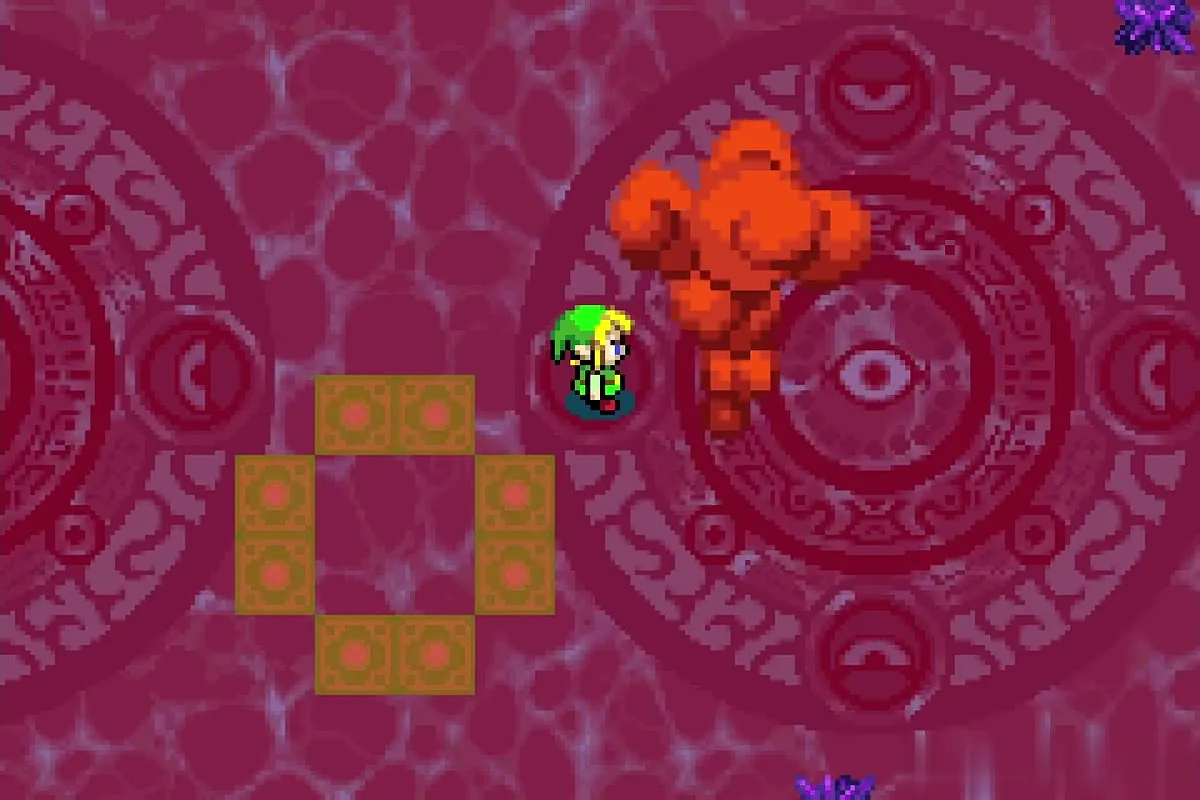
Coloured blocks appear on the floor. Charge the sword and split, place your clones on the blocks in the same layout as the four red eyes and hit them all at once. Then strike Vaati’s body while it is exposed. Repeat with a new layout each round until he bursts in orange smoke.
Vaati’s Wrath
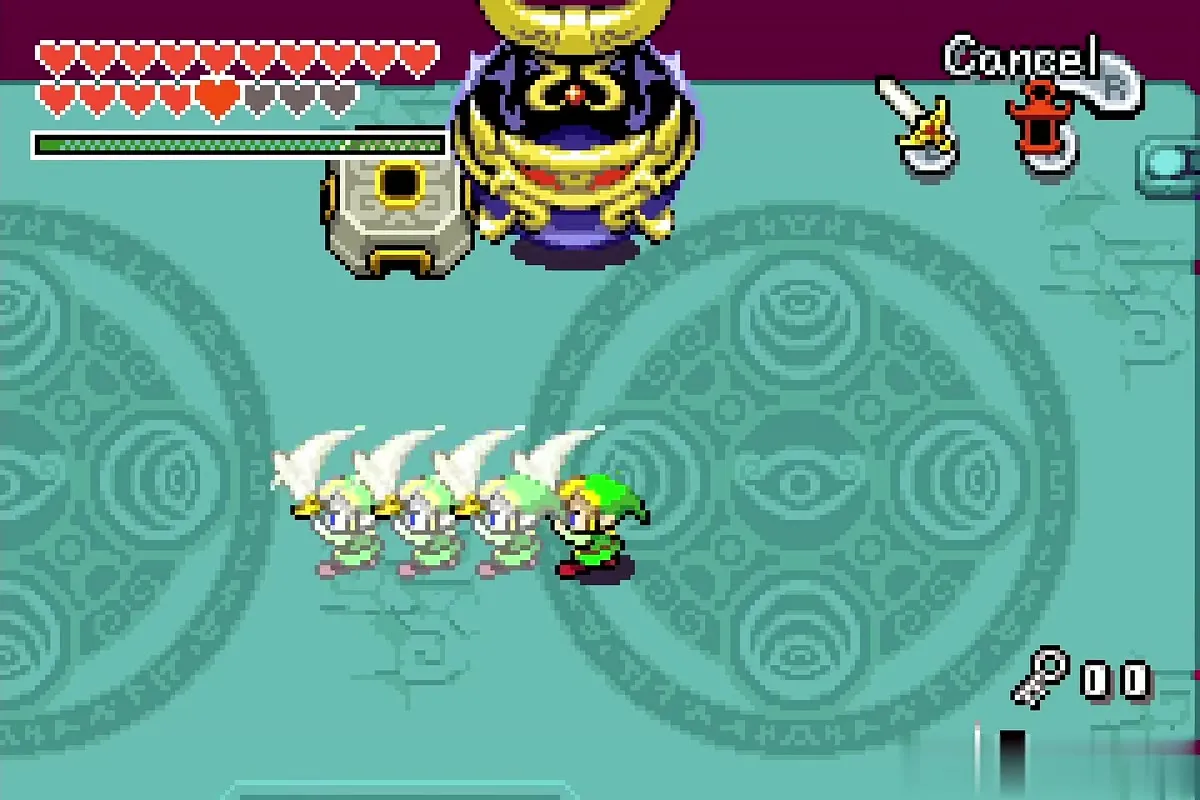
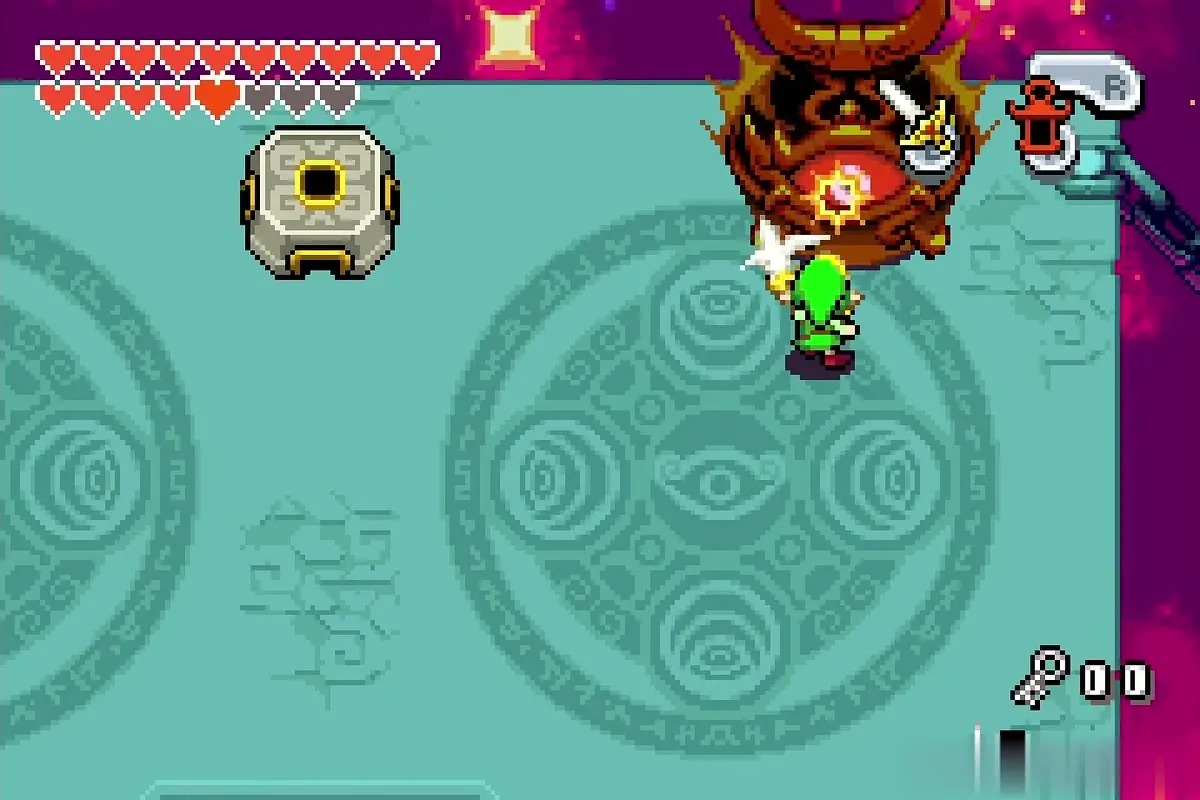
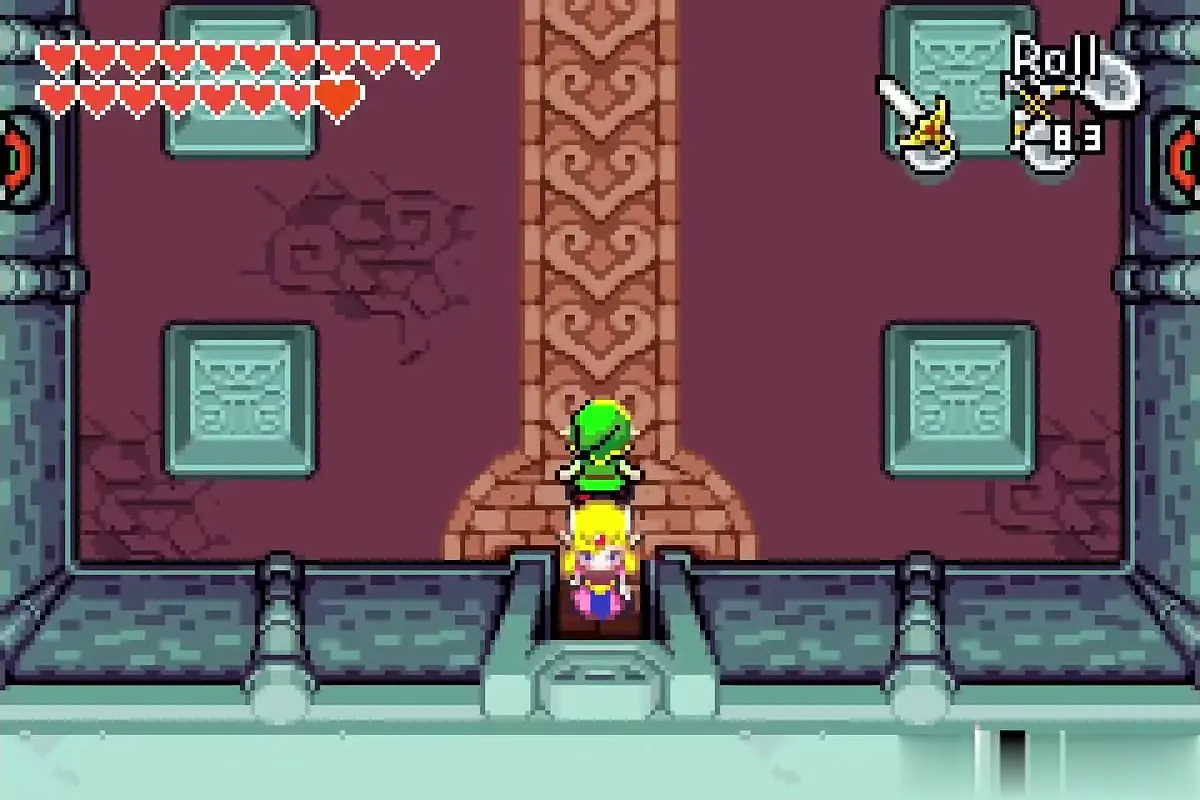
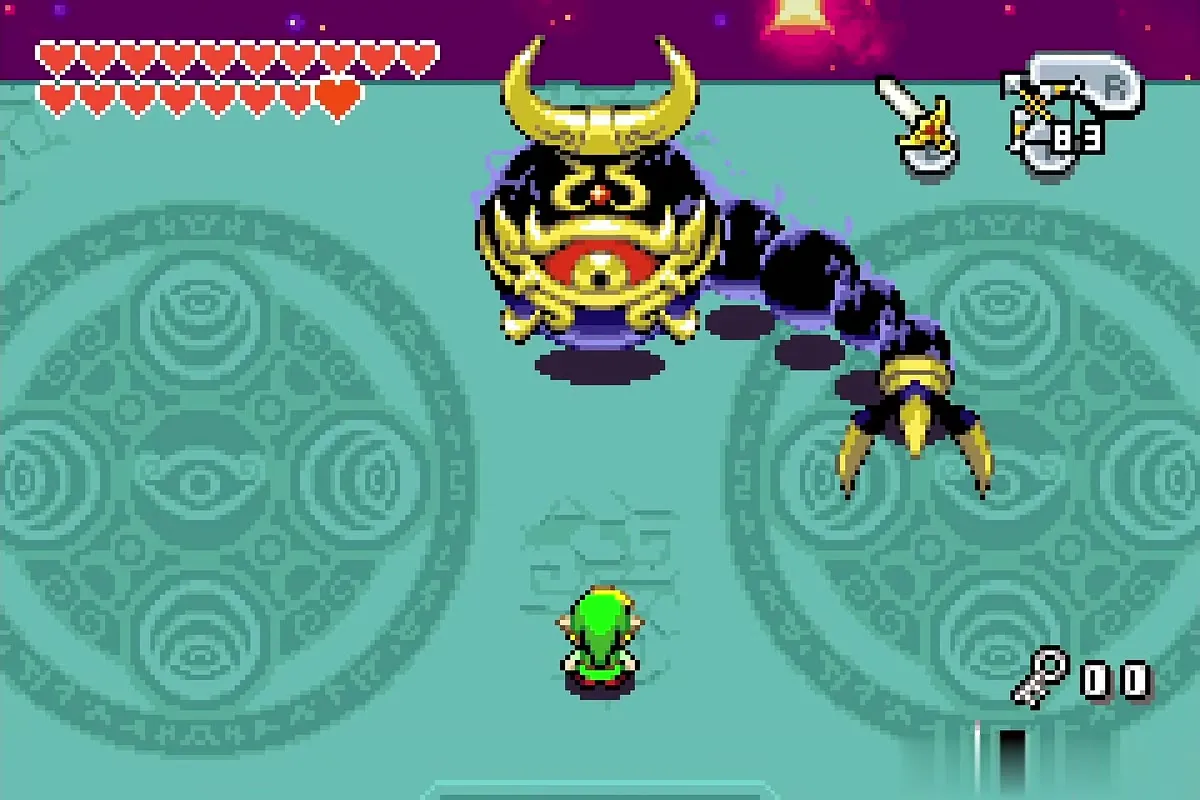
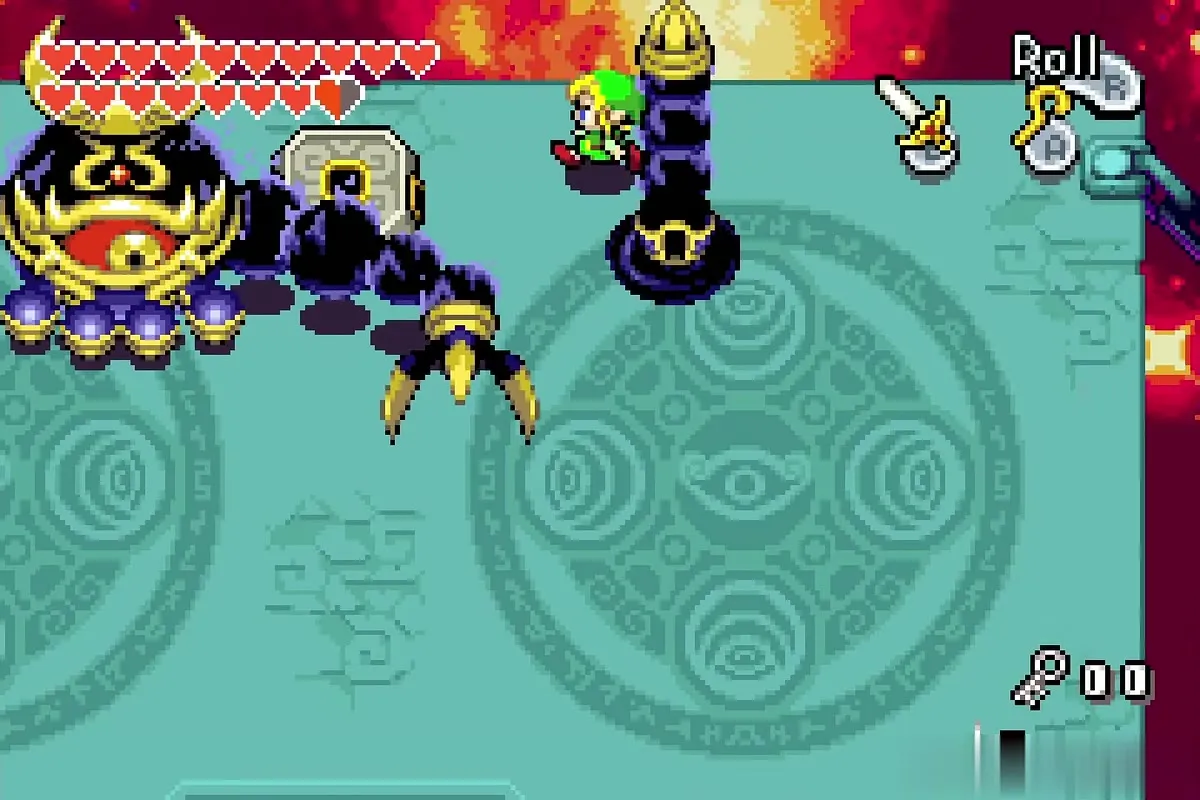
Free Zelda with a Spin Attack at her statue and lead her out through the escape route; the courtyard fight begins. Vaati’s Wrath has two clawed arms and four small eyes, and its electricity balls are fast and stun you. Equip the sword and the Cane of Pacci. When an arm thrusts from the ground, flip it with the Cane, stand on the pedestal beside it to shrink and walk in. Inside, one eye looks a different way from the rest: slash it until the arm shatters. The second arm is pitch dark, so bring the Flame Lantern to find the odd eye.
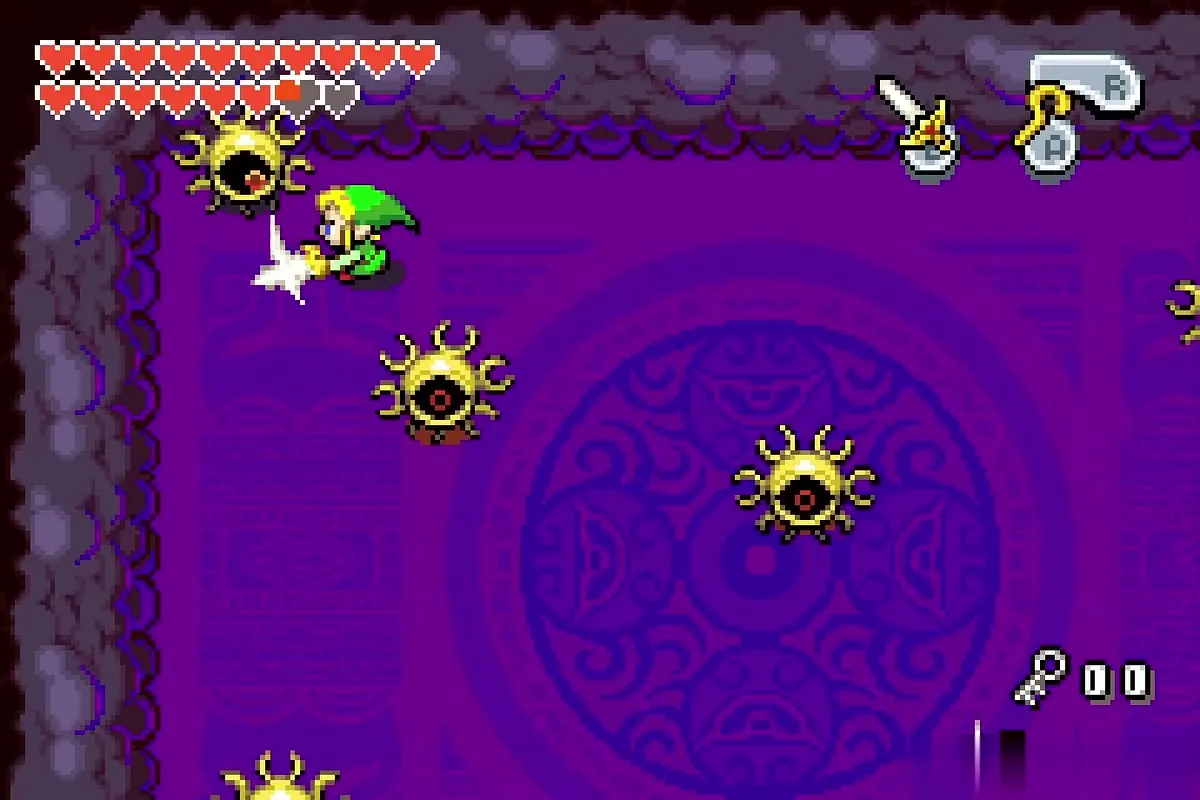
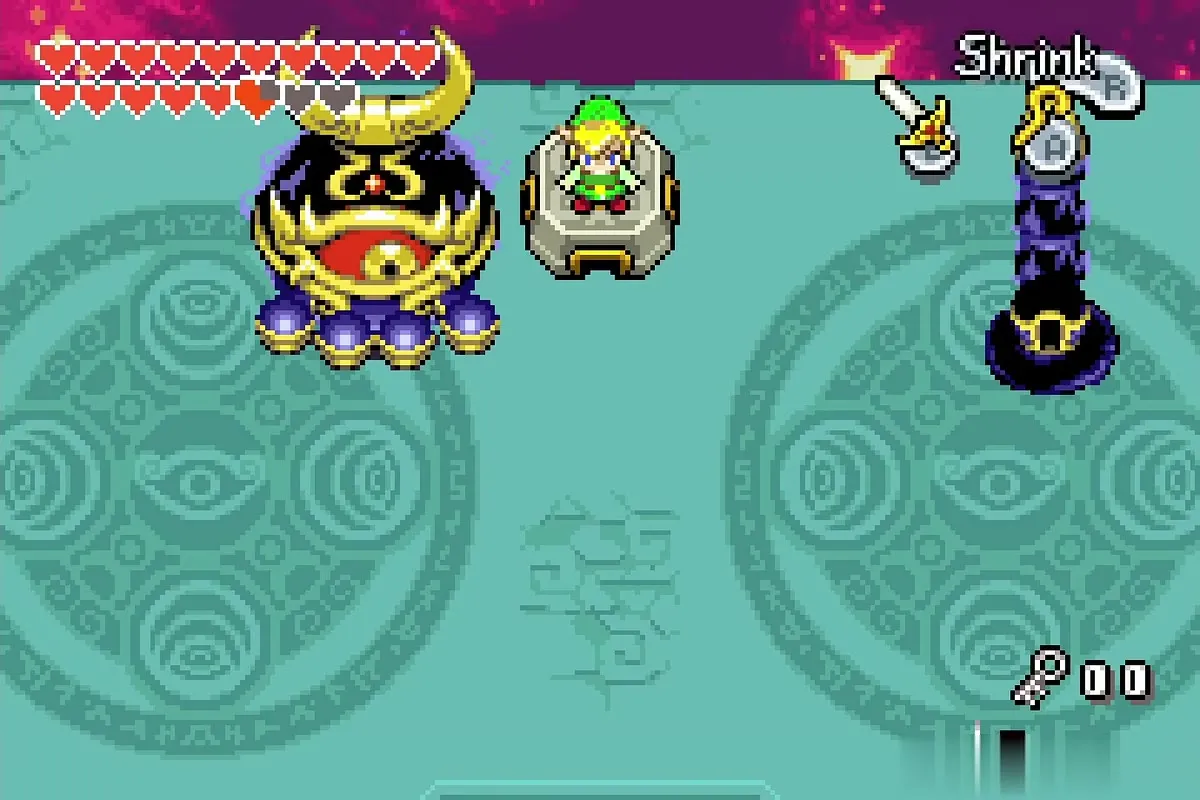
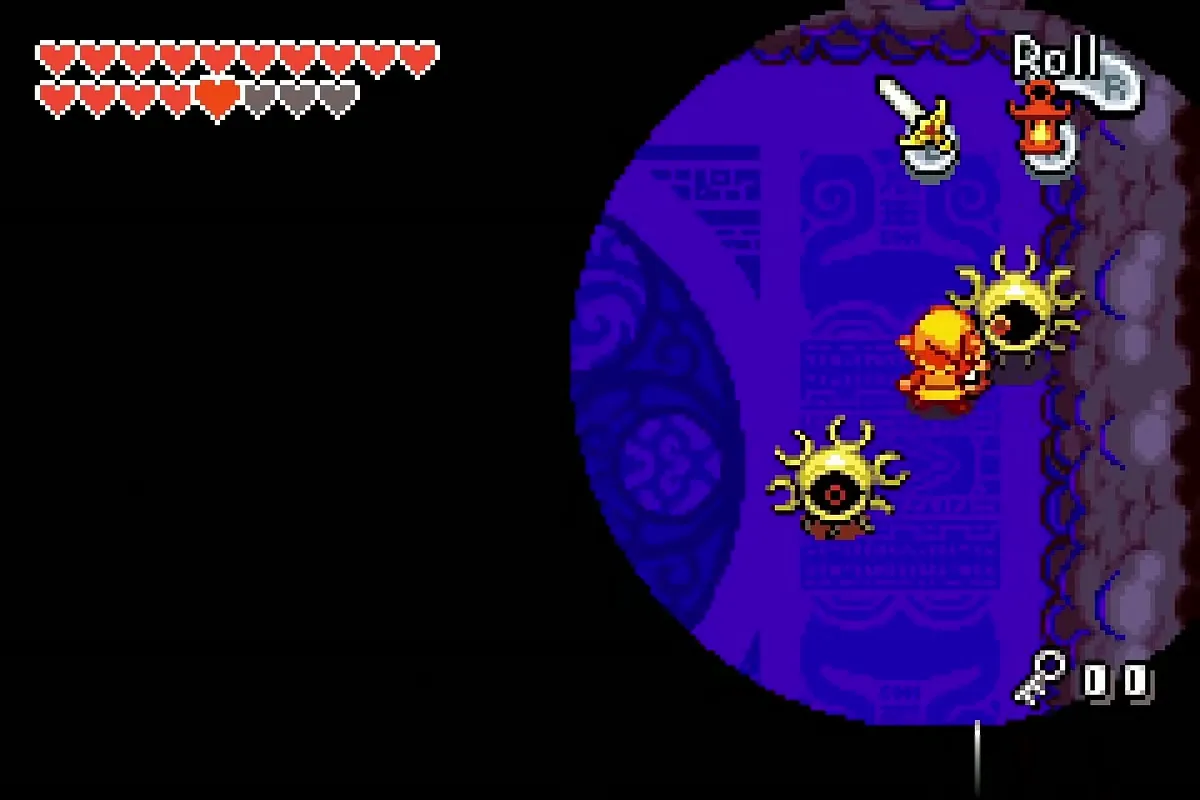
With both arms gone, split into four clones, stand in front of the four small eyes and swing just as a ball reaches you to send it back and break the eye. Pull in black balls with the Gust Jar. Then slash Vaati’s body and repeat until he is defeated.