
























| Dungeon items | Whirlwind, Boomerang, Whip, Bow and Arrows, Sand Wand (one per temple), then the Bow of Light from the Sand Temple boss |
|---|---|
| Swords | 2: the Recruit’s Sword (Russell) and the Lokomo Sword (Anjean) |
| Shields | 2: the Shield (80 to 200 rupees in shops) and the Shield of Antiquity (10 stamps) |
| Upgrades | 3 bomb bags (10, 20 and 30 bombs) and 3 quivers (20, 30 and 50 arrows) |
| Potions | Red (6 hearts, 100 rupees), Purple (8 hearts, 150) and Yellow (all hearts, 200) |
| Scrolls | 2: Sword Beams (50 rabbits) and the Great Spin Attack (20 stamps) |
| Money matters | Beedle’s Air Shop cards cut prices by up to 50 percent; treasure sells at the Linebeck Trading Company |
Spirit Tracks hands you one new tool in each of the five temples, and the rest of your gear comes from side quests, shops and mini-games. The two upgrade lines are easy to miss: bomb bags and quivers each come in three sizes, and the bigger sizes come from mini-game prizes or, for the 30-arrow quiver, one expensive purchase. Everything below is grouped the way you meet it, with the exact price or condition for each item.
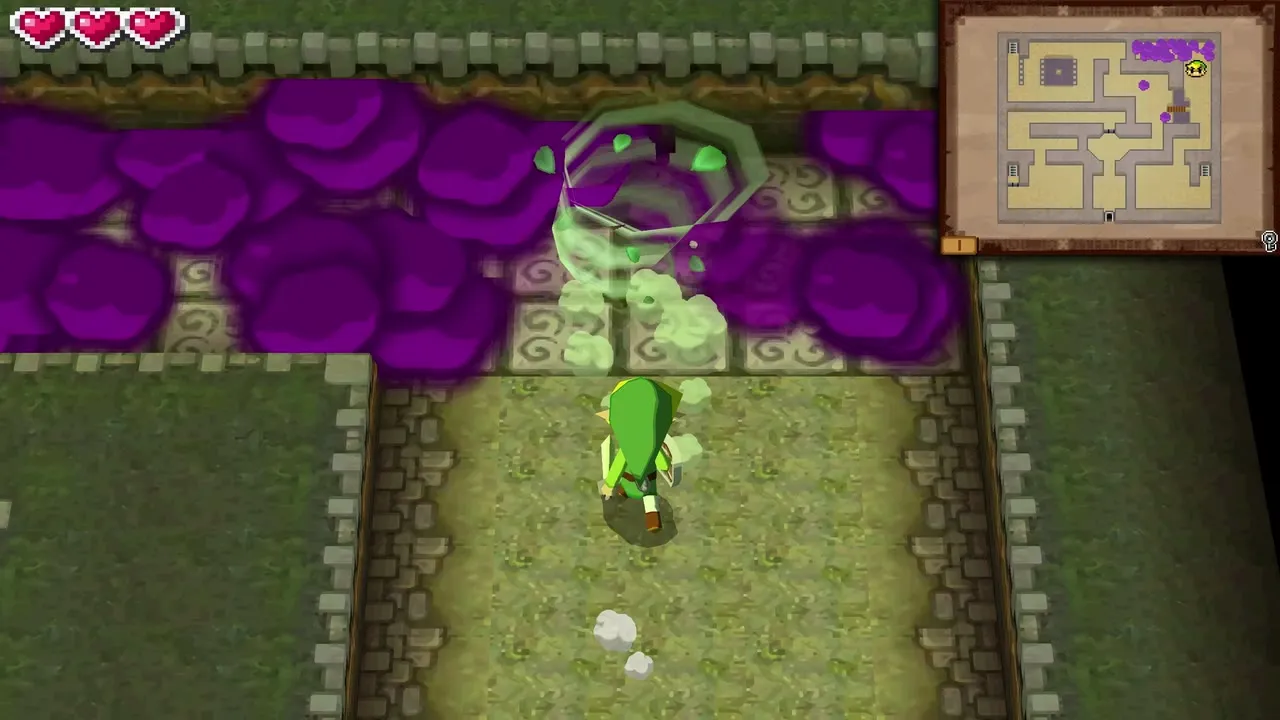
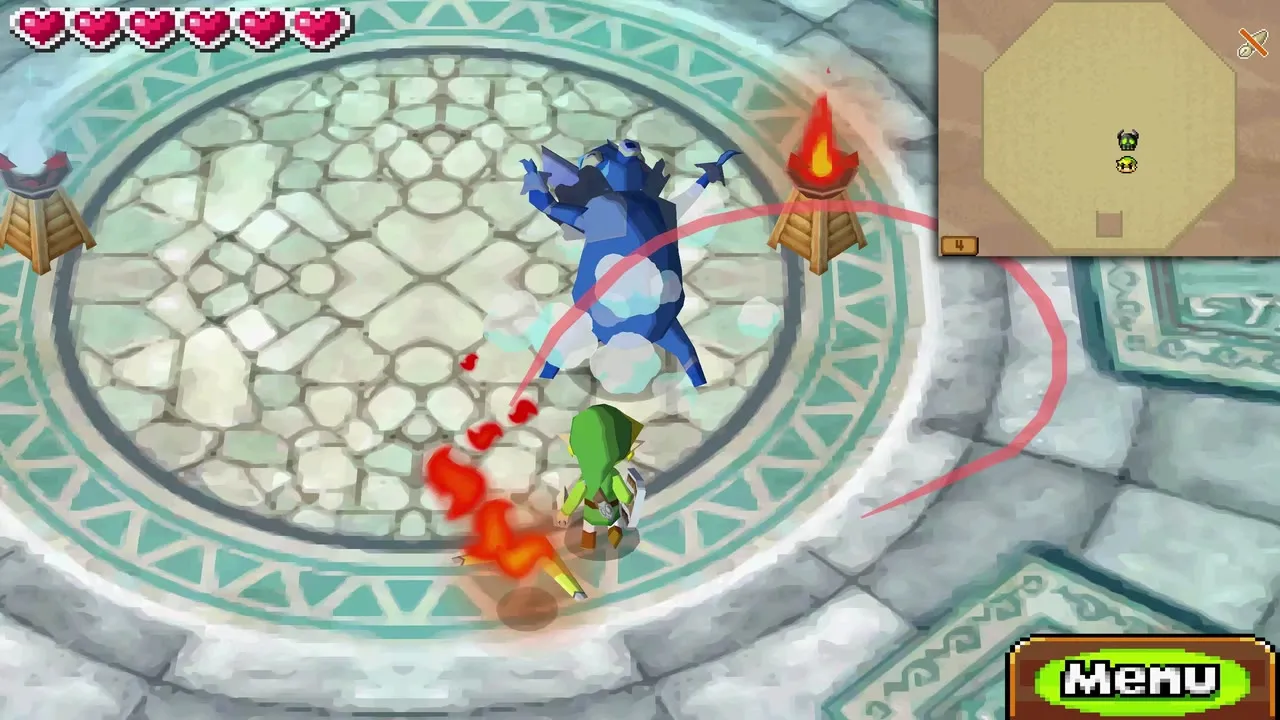
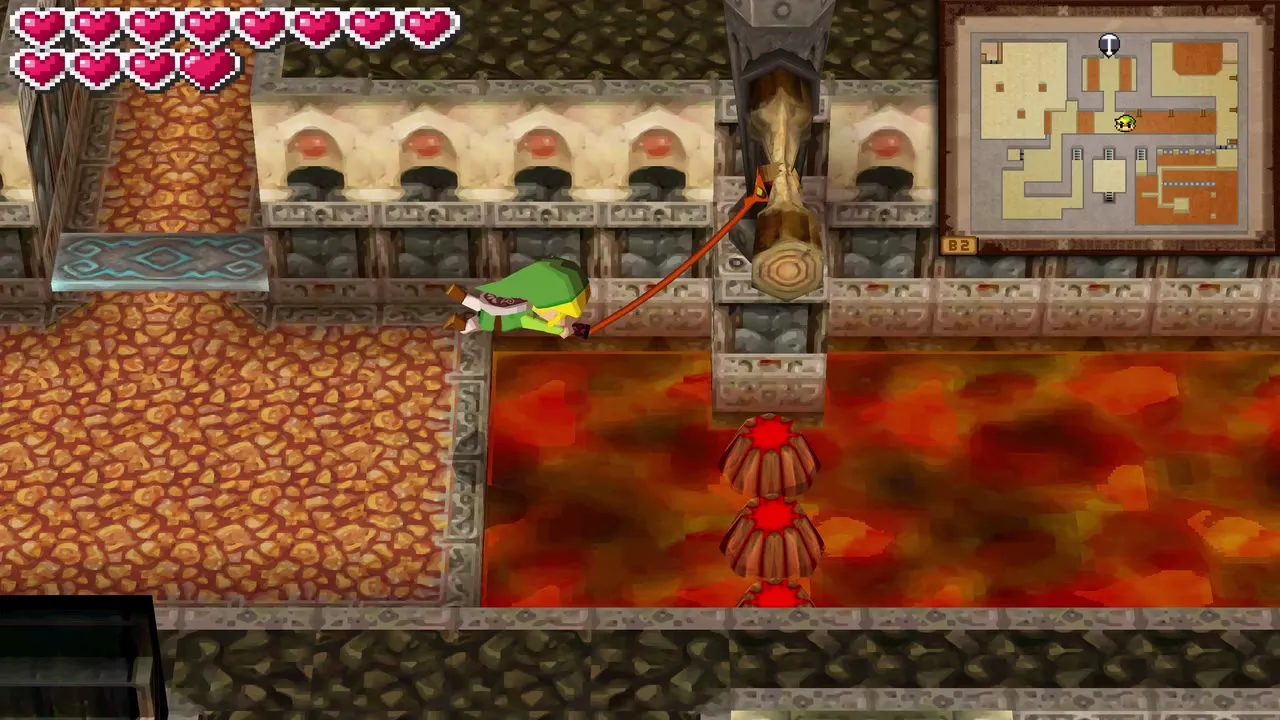
Table of Contents
Item quick reference
| Item | Where you get it | What it does |
|---|---|---|
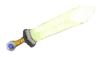 Recruit’s Sword | Captain Russell, Hyrule Castle | Your only blade until the end of the Sand Temple |
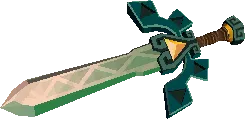 Lokomo Sword | Anjean, after the Sand Temple | Stuns Phantoms without Tears of Light |
 Shield | Shops, 80 to 200 rupees | Blocks attacks; Like Likes can eat it |
 Shield of Antiquity | Niko, for 10 stamps | A shield Like Likes cannot swallow |
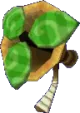 Whirlwind | Forest Temple | Blows gusts when you blow into the microphone |
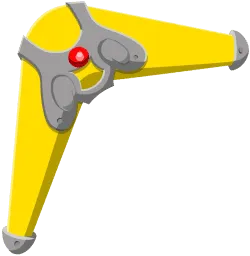 Boomerang | Snow Temple | Follows a path you draw; carries fire and ice |
 Whip | Ocean Temple | Swings you across gaps and steals shields |
 Bow and Arrows | Fire Temple | Shoots enemies and eye switches |
 Sand Wand | Sand Temple | Raises sand into walls and platforms |
 Bow of Light | Sand Temple, after Skeldritch | Charges into Light Arrows |
 Spirit Flute | Princess Zelda, Hyrule Castle | Plays the game’s songs |
 Bombs | Beedle’s Air Shop (with the first bag) | Breaks walls and hits far switches |
 Bomb Bags | Beedle, Whip Race, Take ‘Em All On! | Holds 10, 20 then 30 bombs |
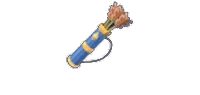 Quivers | Bow, Goron Country Store, Pirate Hideout | Holds 20, 30 then 50 arrows |
 Red Potion | Shops, 100 rupees | Restores 6 hearts |
 Yellow Potion | Goron Country Store, 200 rupees | Restores every heart |
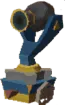 Cannon | Alfonzo, after you take him home | Fires on the train and smashes boulders |
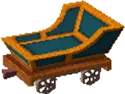 Freight Car | Kagoron, Goron Village | Carries cargo for deliveries |
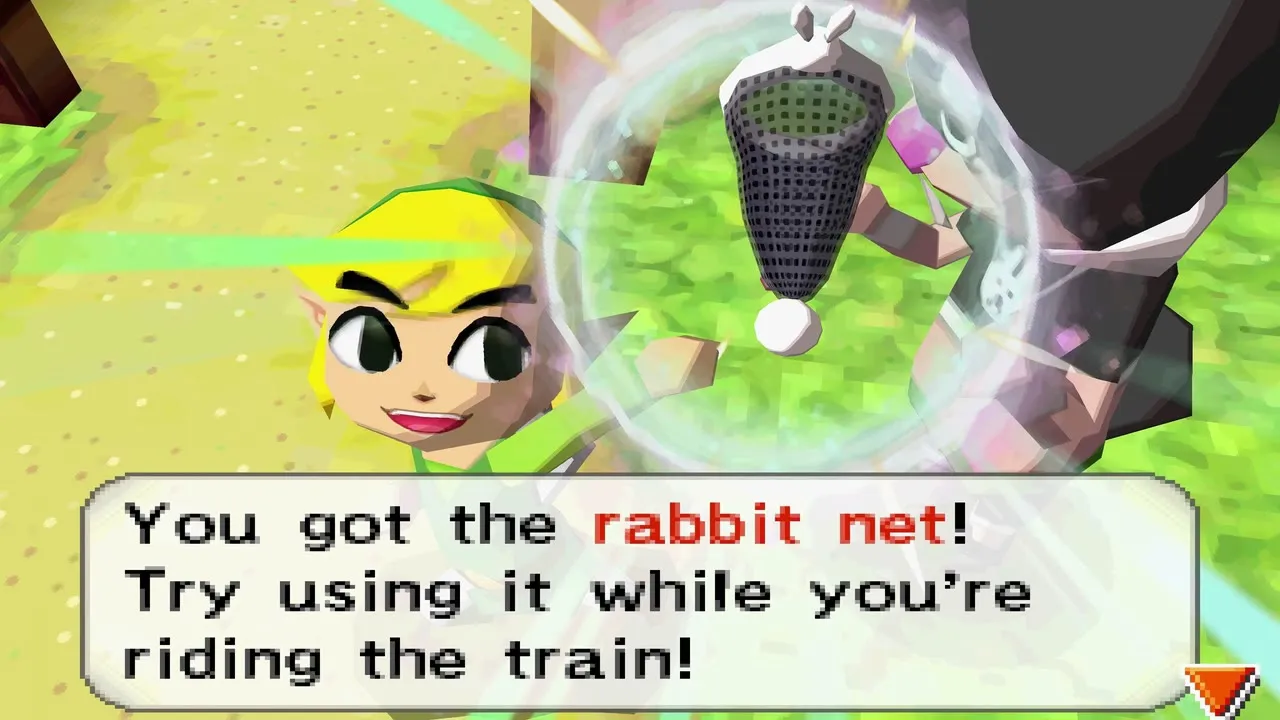
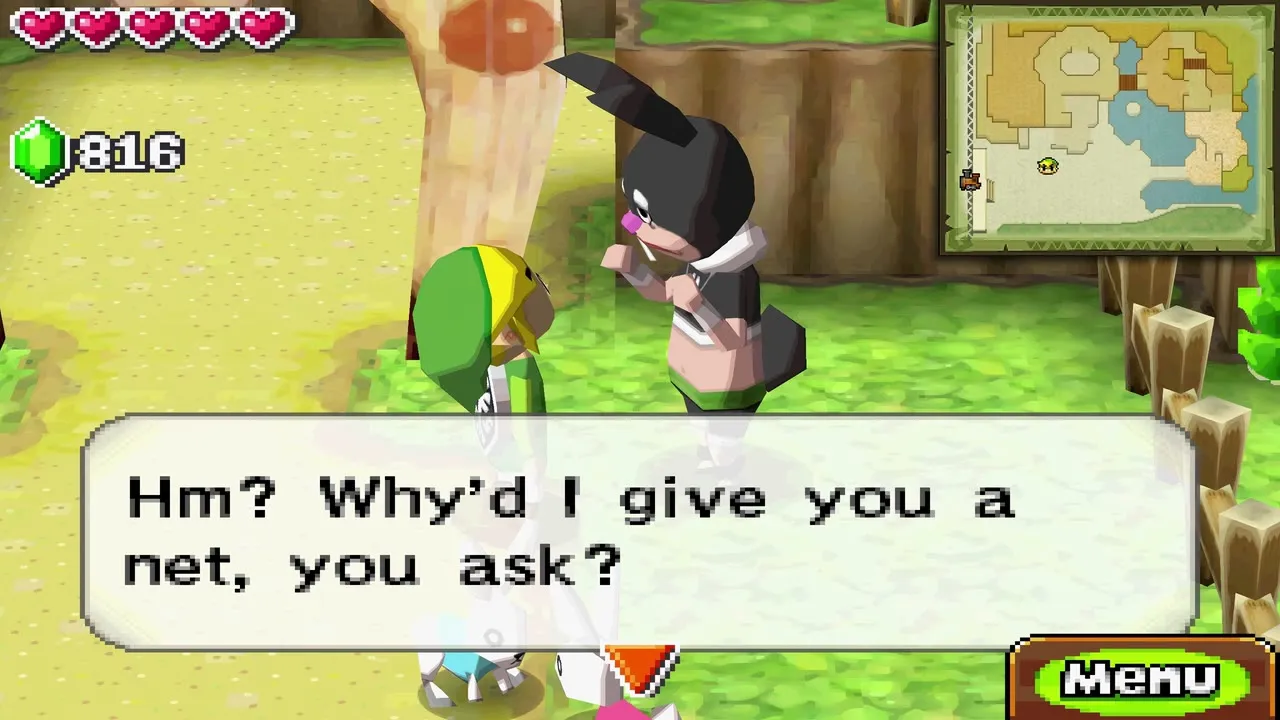
 Rabbit Net | Bunnio, Rabbitland Rescue | Catches rabbits from the train |
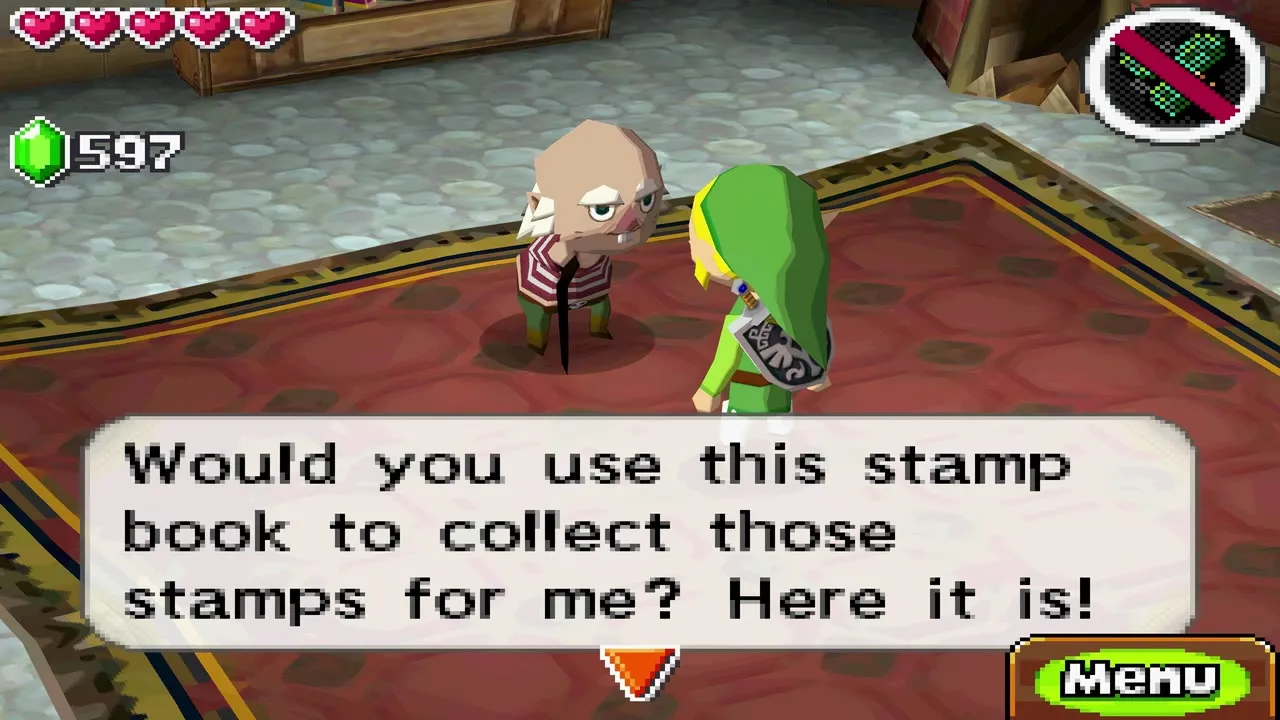
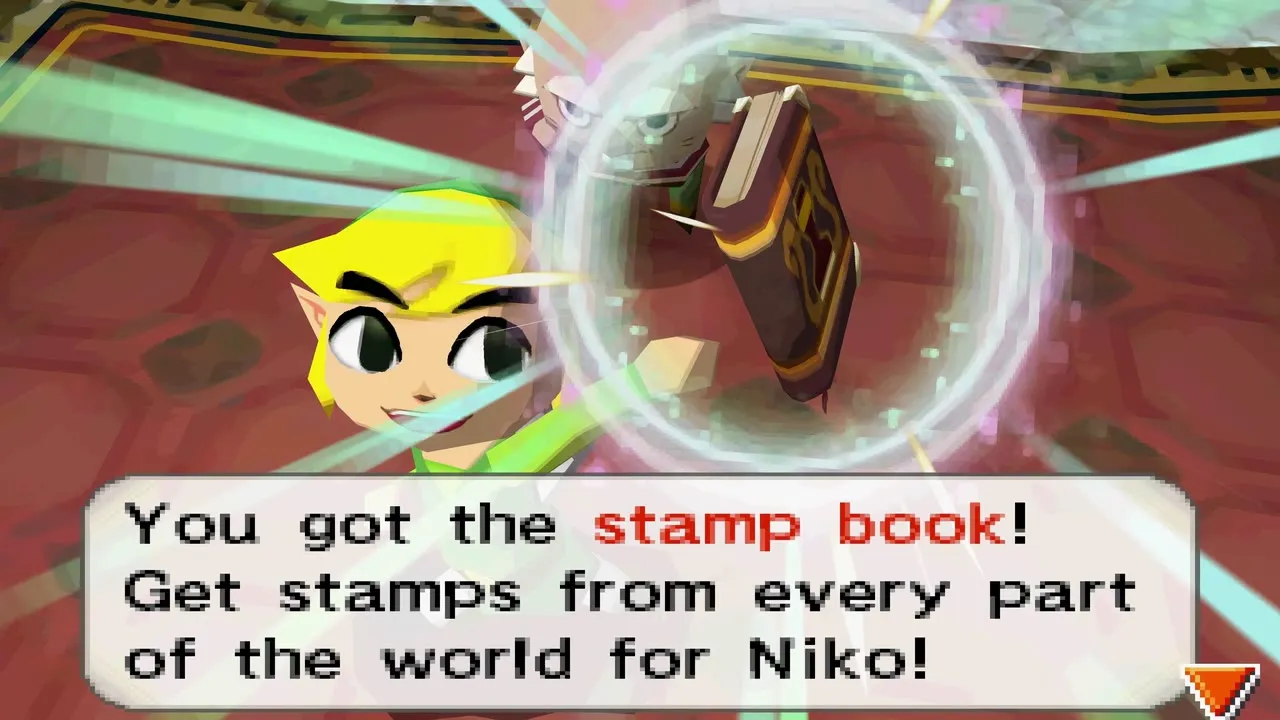
 Stamp Book | Niko, after you take Alfonzo home | Collects the 20 stamps |
 Swordsman’s Scroll 1 | Bunnio, for all 50 rabbits | Sword Beams at full health |
 Swordsman’s Scroll 2 | Niko, for all 20 stamps | Great Spin Attack |
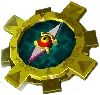 Compass of Light | Tower of Spirits, last climb | Reveals the tracks to the Dark Realm |
Swords and shields
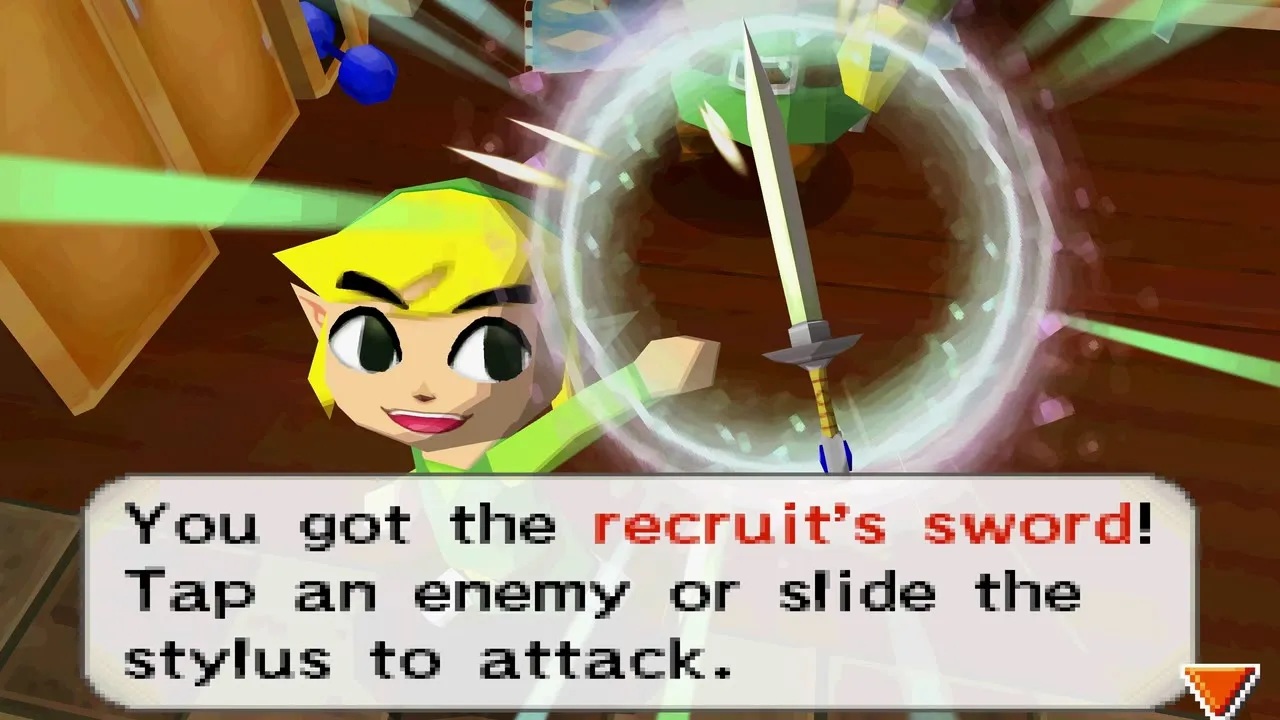
Recruit’s Sword
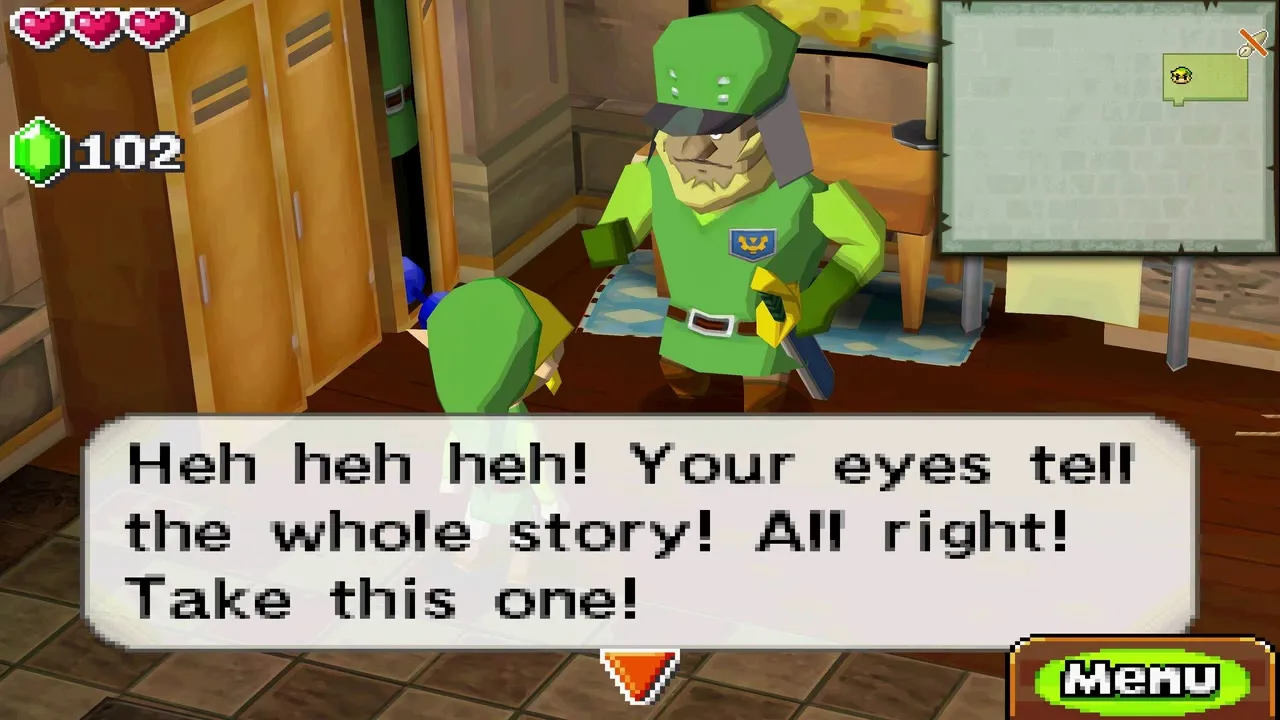
Captain Russell gives you this sword in the training room of Hyrule Castle once you pass his basic sword exercise during the escape, and it is your only blade until Anjean hands you the Lokomo Sword. Use it to slash, to flip switches and to snatch dropped items. Russell also trains you in targeted, side and spin attacks.
Lokomo Sword
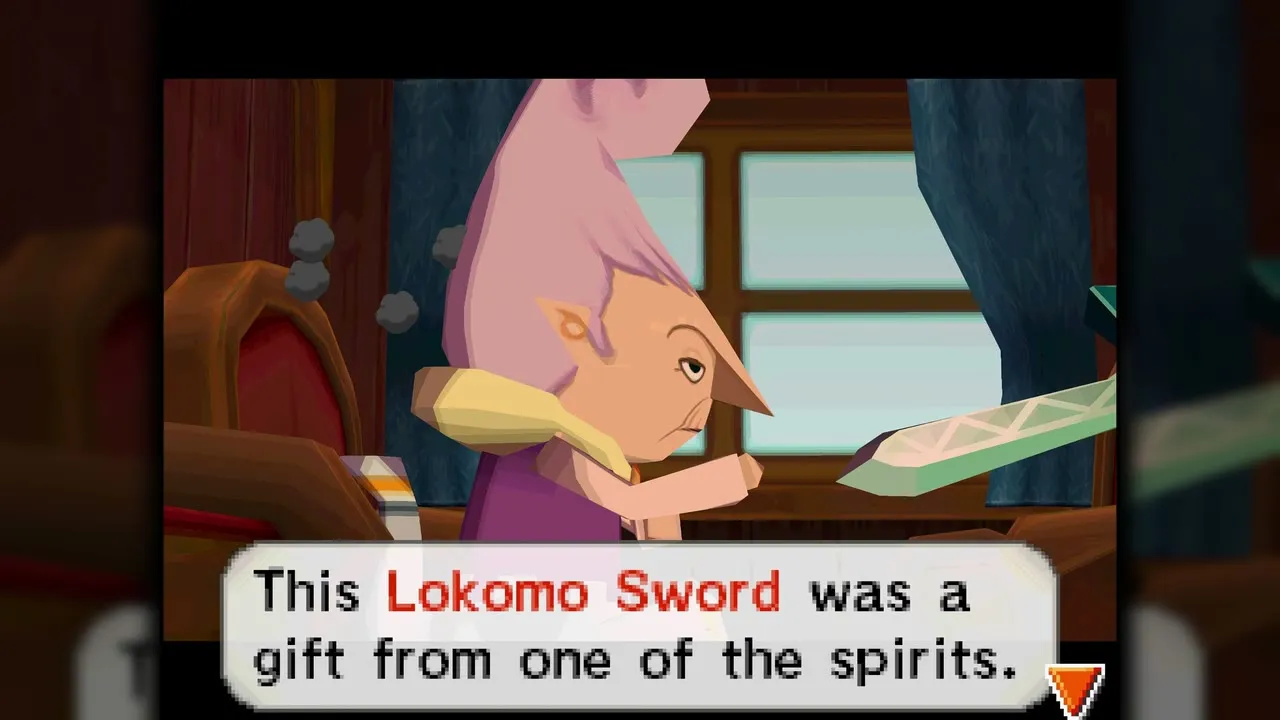
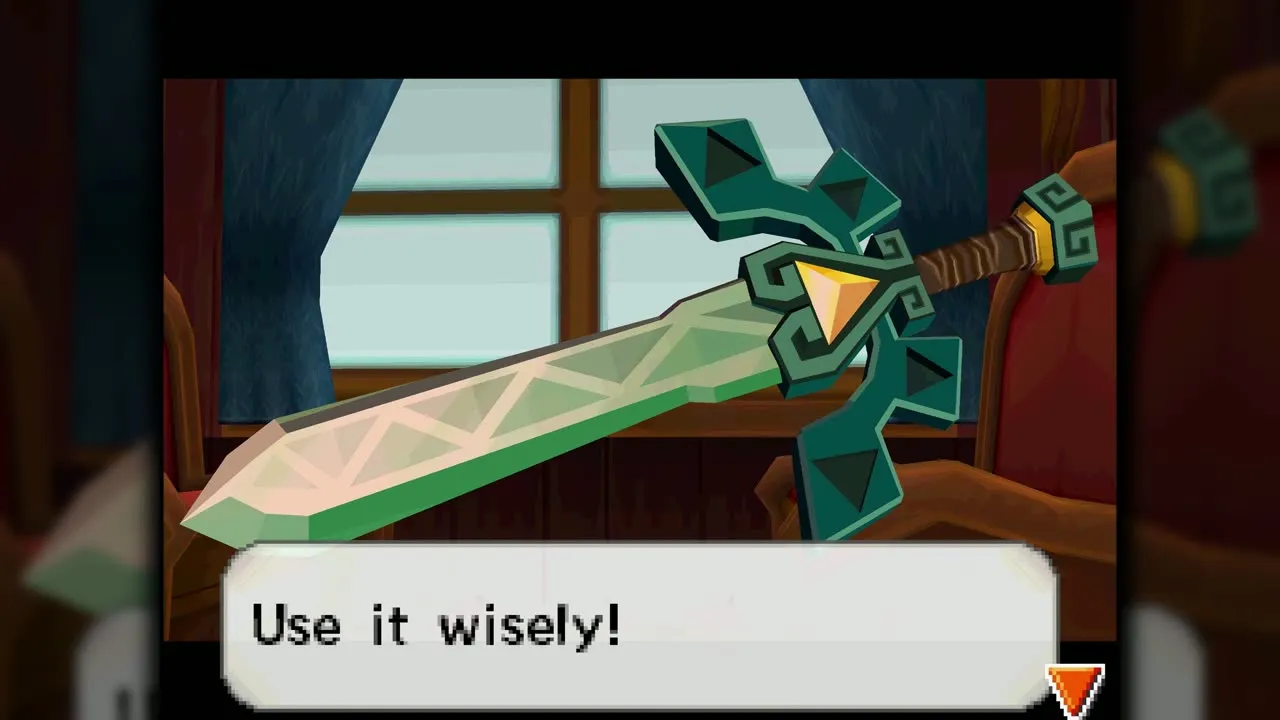
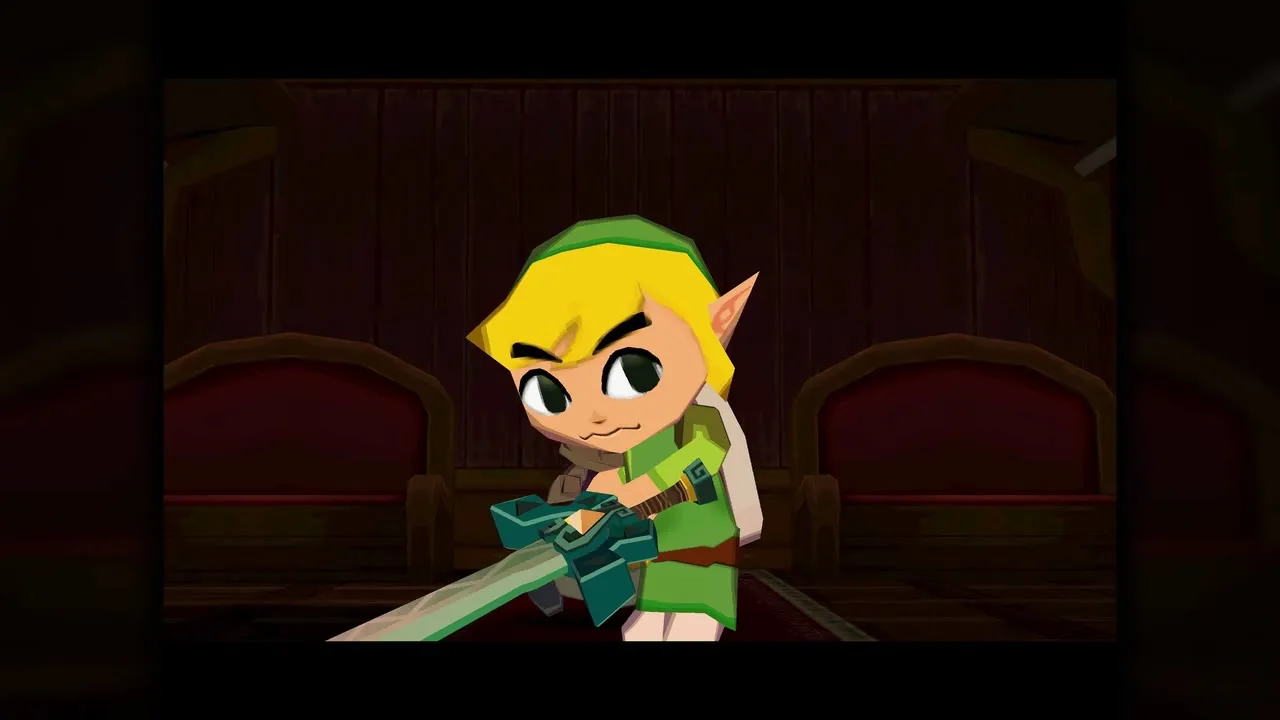
Anjean gives you this sacred blade aboard the Spirit Train after you and Zelda collect the Bow of Light in the Sand Temple. It was given to the Lokomo as a gift, and the Spirits of Good once used it against evil creatures. It stuns Phantoms without any Tears of Light, and it is the weapon that finishes Malladus in the last fight.
Shield
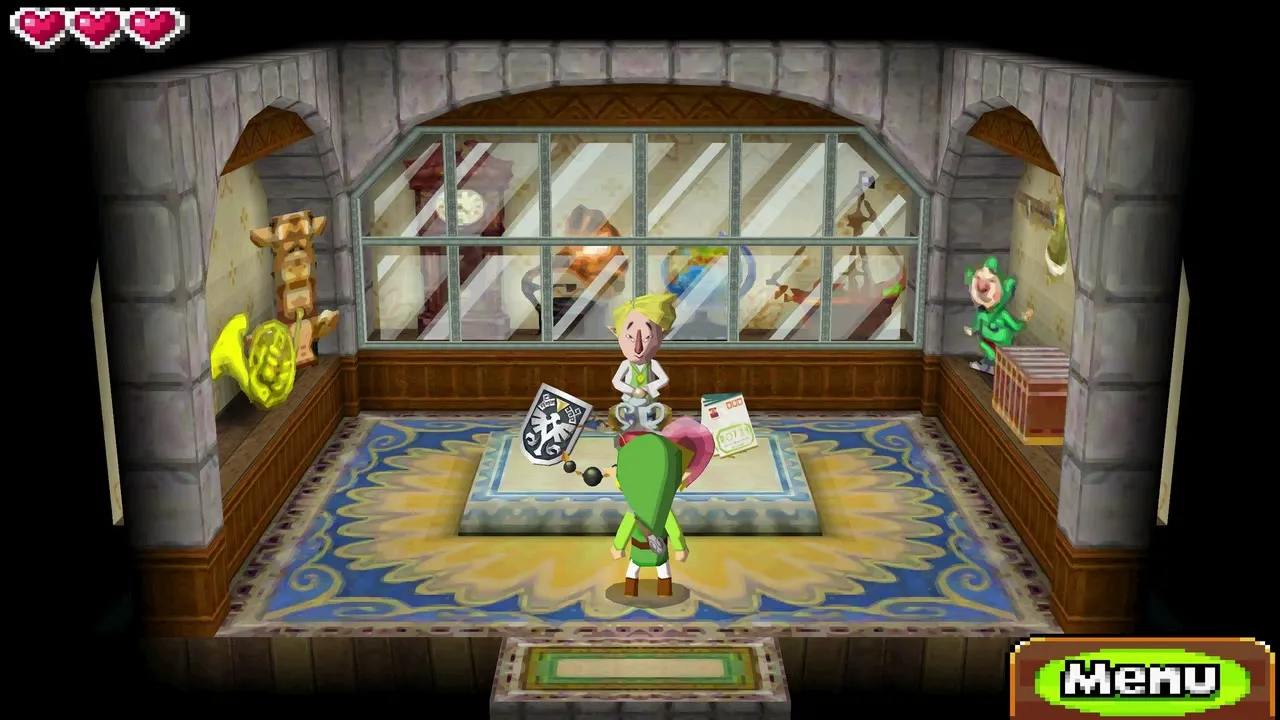
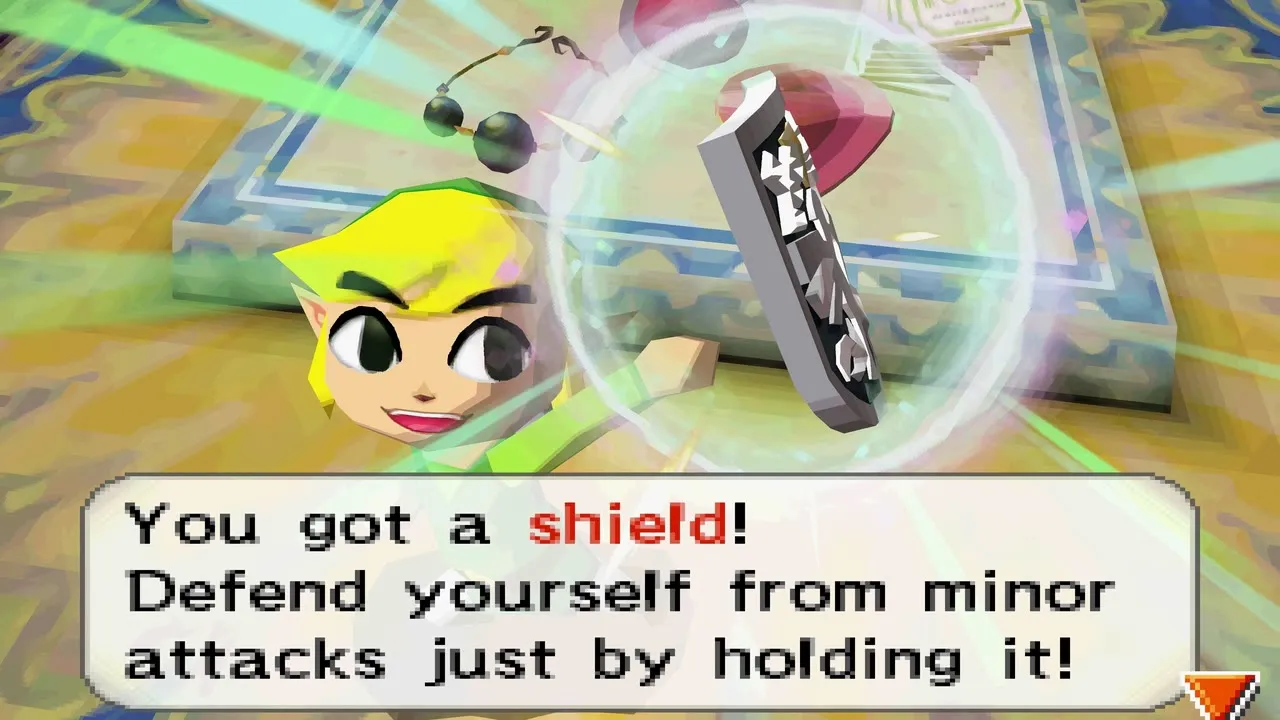
The Castle Town Shop, near the town’s north exit, is the first place to buy a shield, for 80 rupees. Other shops charge more: the Anouki General Store asks 150, the Goron Country Store 200, and Linebeck’s company sells a replacement for 100 rupees. Like Likes can swallow a shield, so carry some spare rupees.
Shield of Antiquity
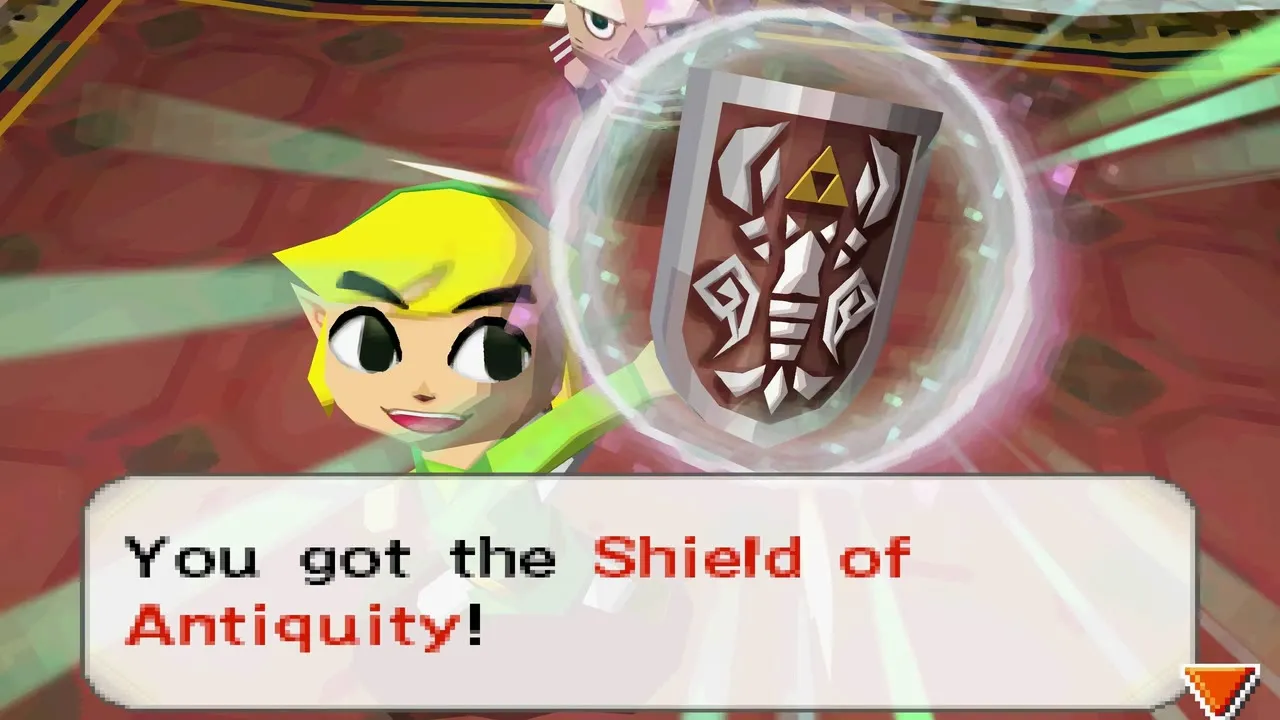
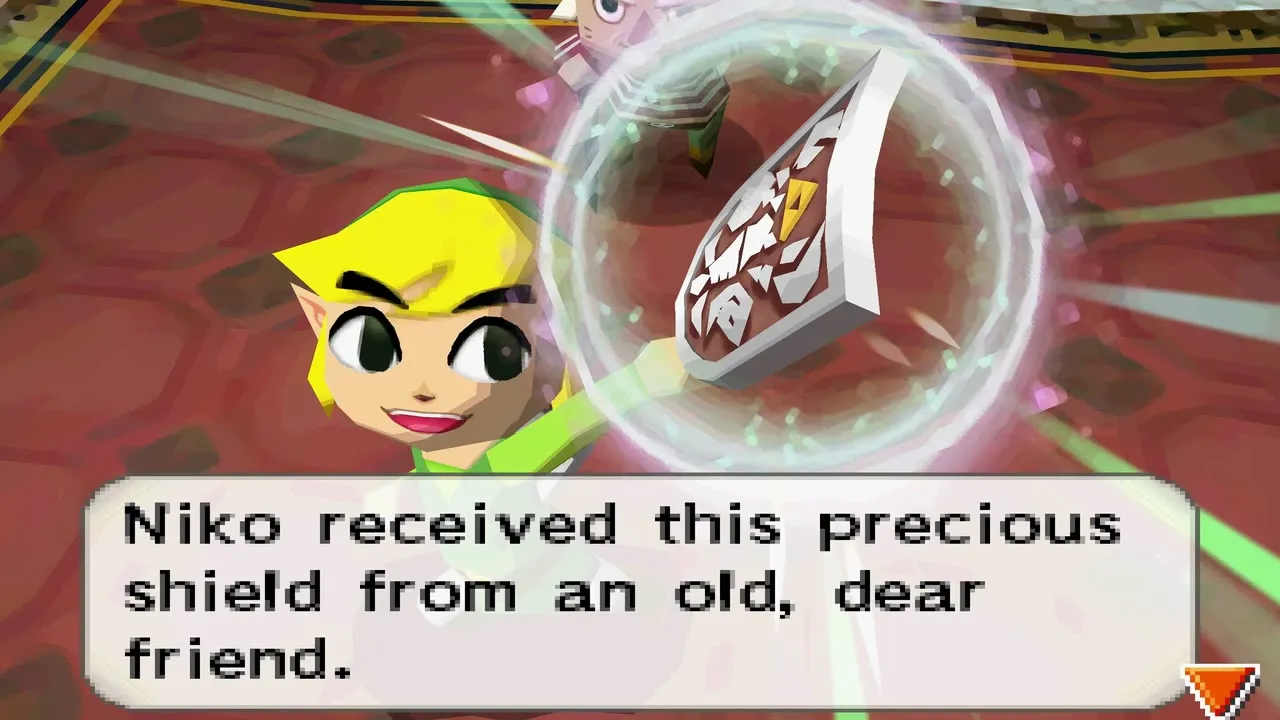
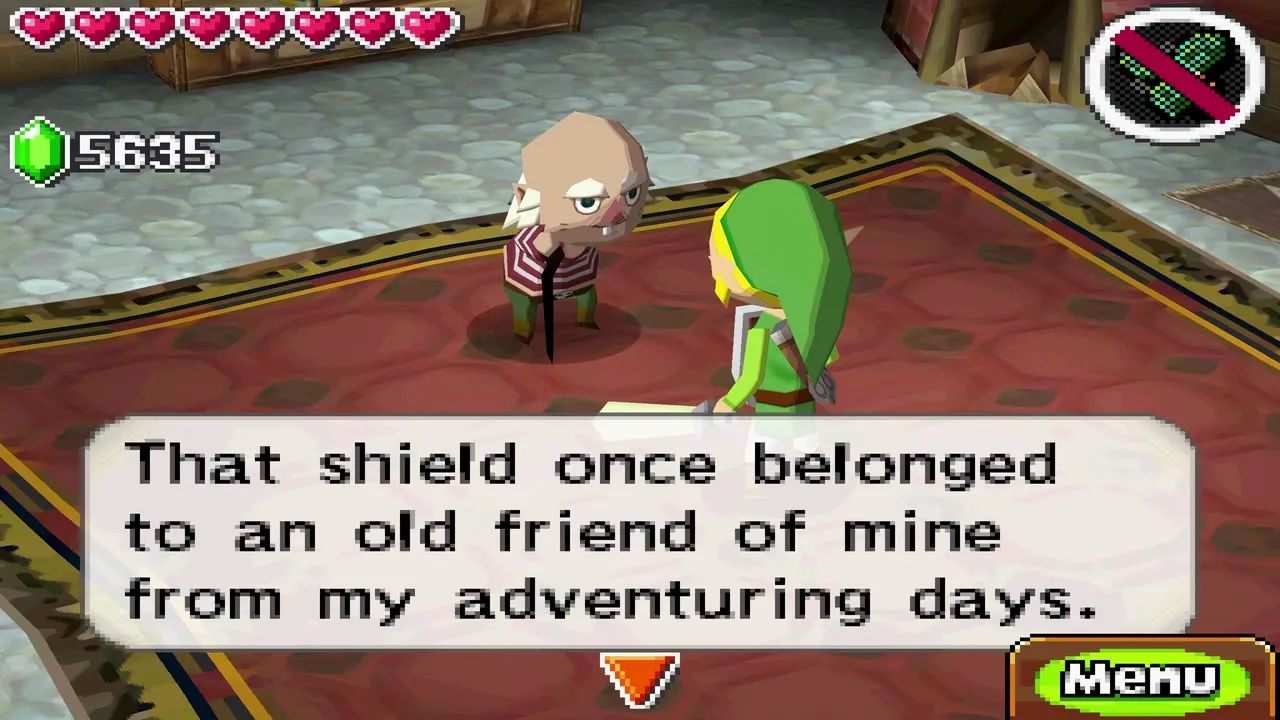
Niko gives you this wooden shield when you show him 10 stamps in the Stamp Book. It once belonged to a hero of long ago, and Like Likes cannot swallow it. After that you can swap between it and the standard shield at Niko’s house in Aboda Village. The full stamp list is on the stamp station page.
Dungeon items
Whirlwind
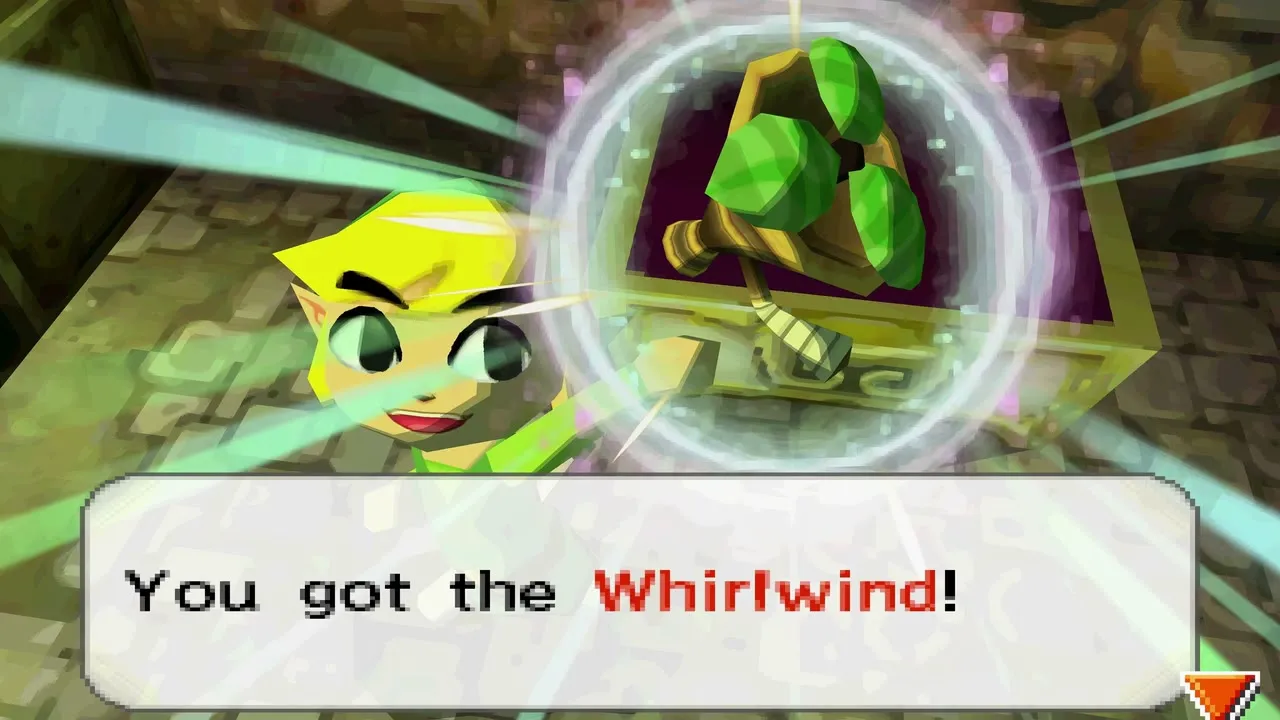
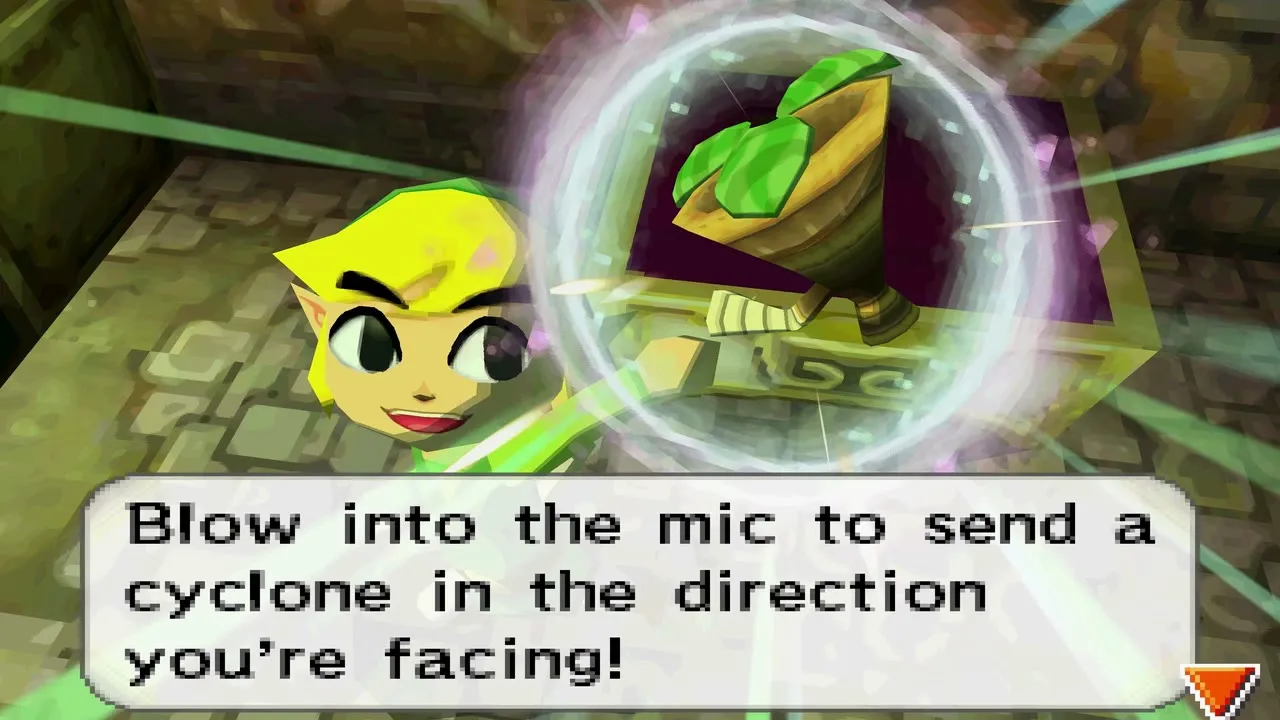
The Whirlwind is the dungeon item of the Forest Temple. Aim with the stylus and blow into the DS microphone: the longer you blow, the farther the gust travels. It stuns light enemies, pulls small items such as keys toward you, blows poison gas away, puts out torches and can send Phantom Zelda flying across short gaps.
Boomerang
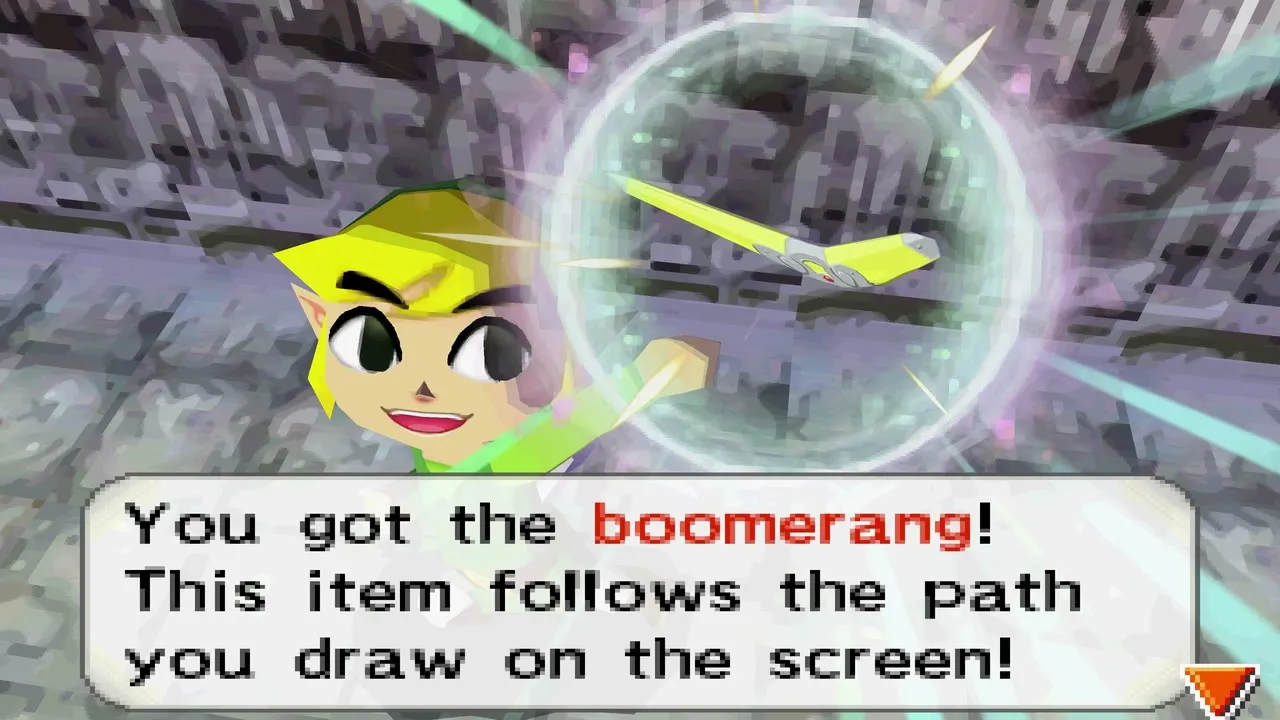
The Boomerang is the prize of the Snow Temple. Draw a line with the stylus and it follows it, hitting several targets in order if you plot them all. It stuns enemies, hits far switches, picks up faraway items, passes through fire to light torches and through ice to freeze water. It also beats Fraaz.
Whip
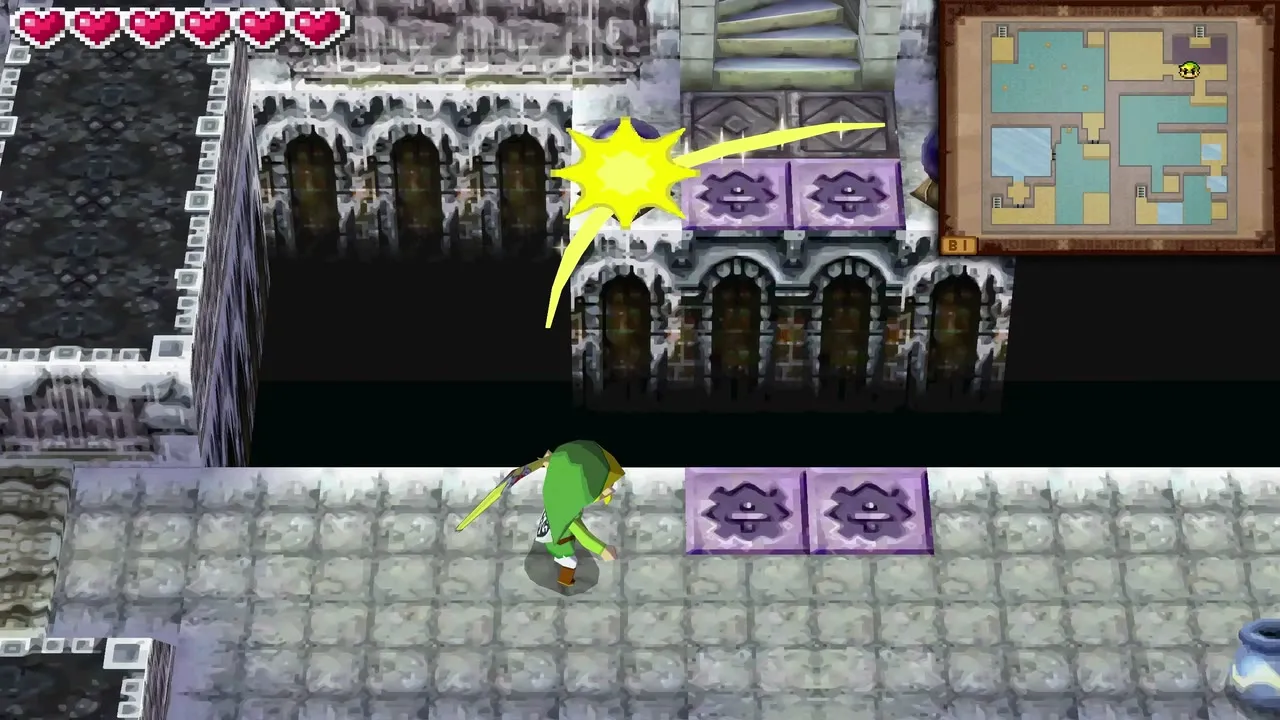
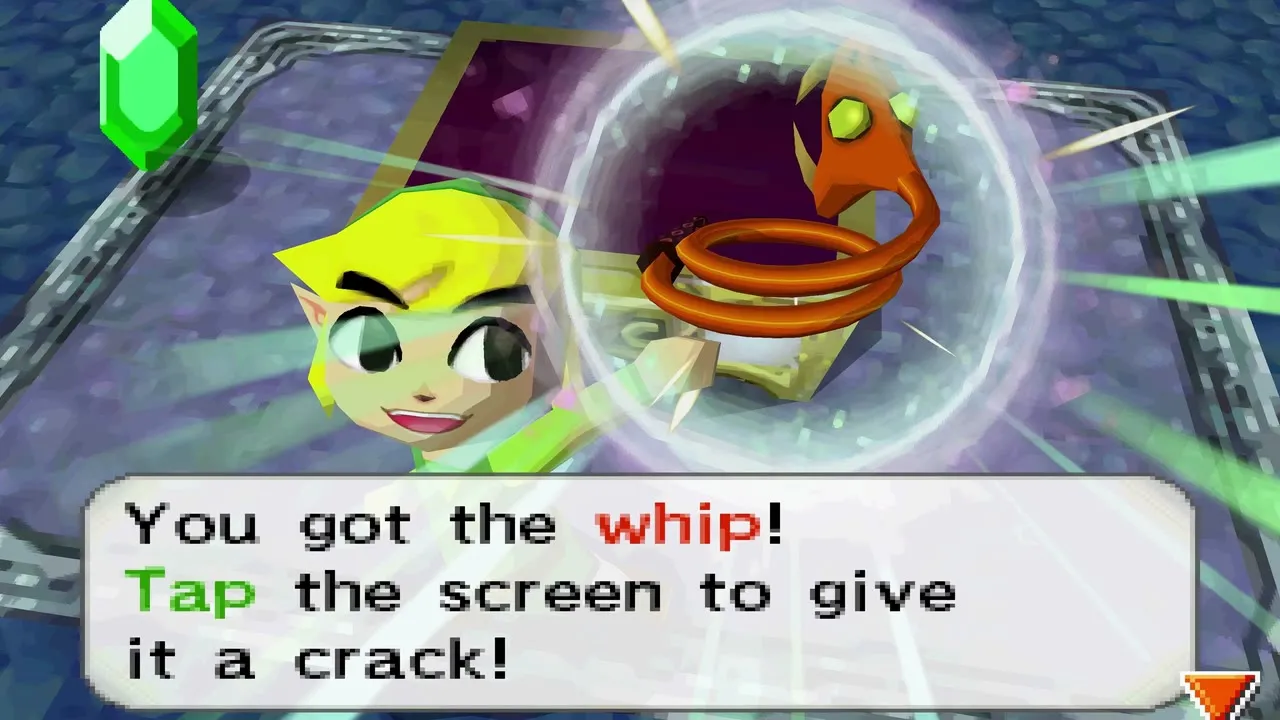
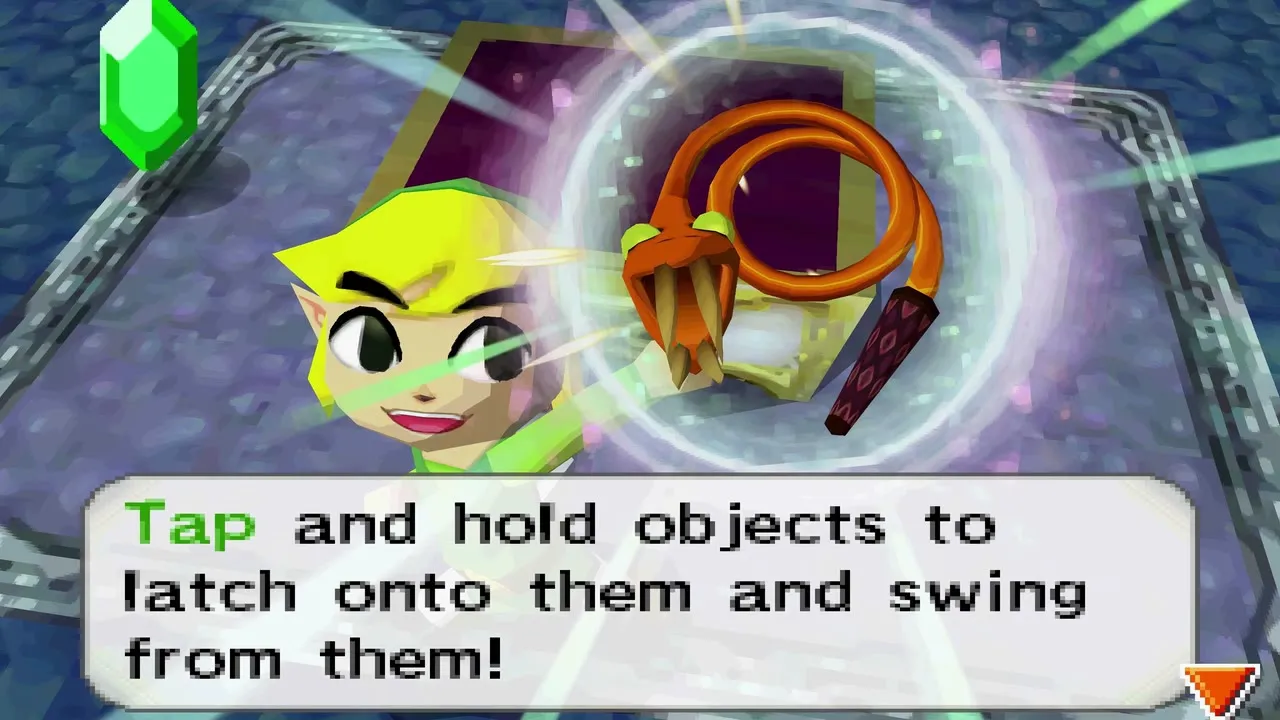
A Snapper mini-boss in the Ocean Temple drops the Whip into your hands. Tap a wooden post and hold to latch on and swing across gaps, snatch shields and helmets from enemies, grab flying propellers and hit switches. It also unlocks the Whip Race in Whittleton, which pays out a bomb bag and several treasures.
Bow and Arrows
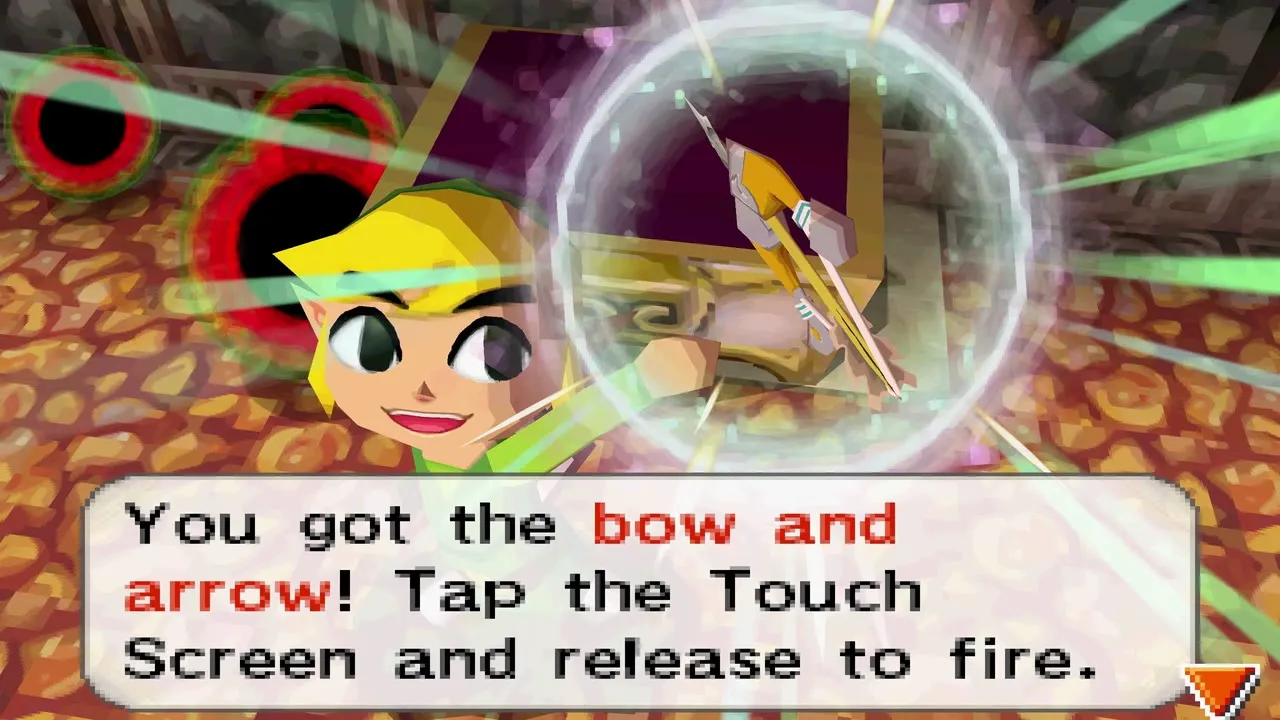
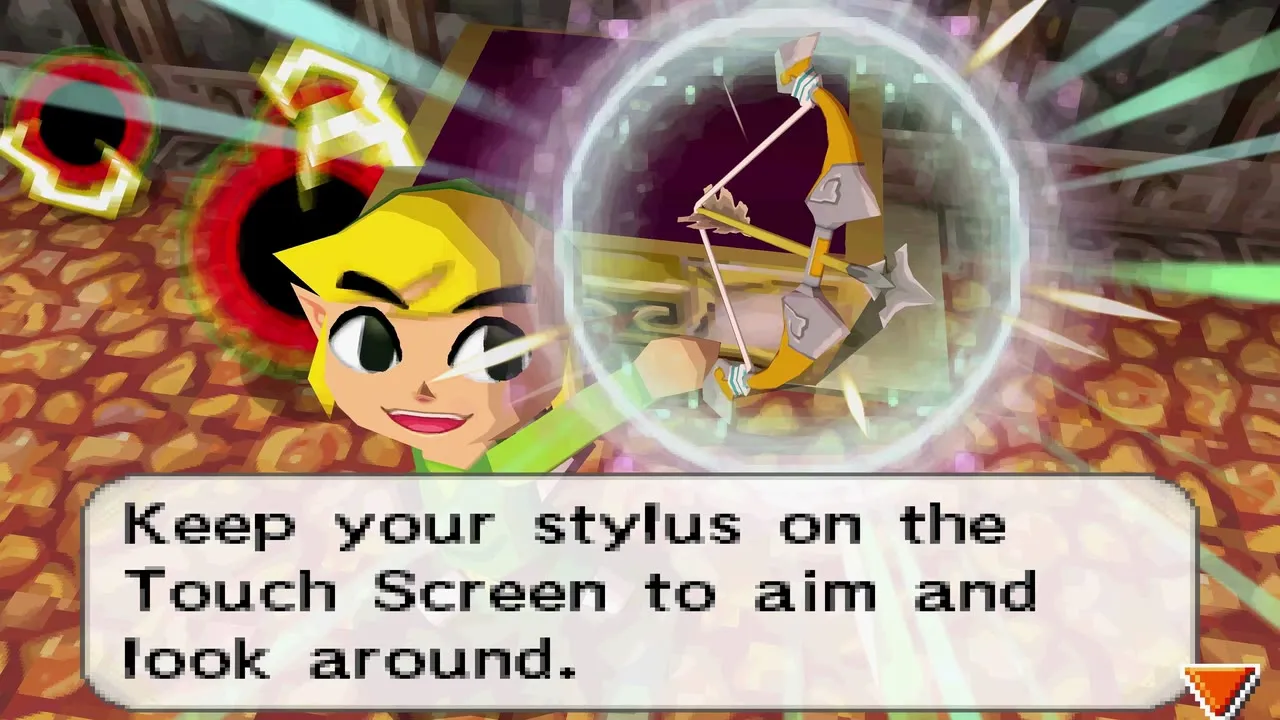
You open a chest in the Fire Temple to get the Bow and Arrows after defeating the Heatoise mini-boss. Tap the touch screen, aim and release. The bow hits eye switches and distant enemies. You start with a 20-arrow quiver.
Sand Wand
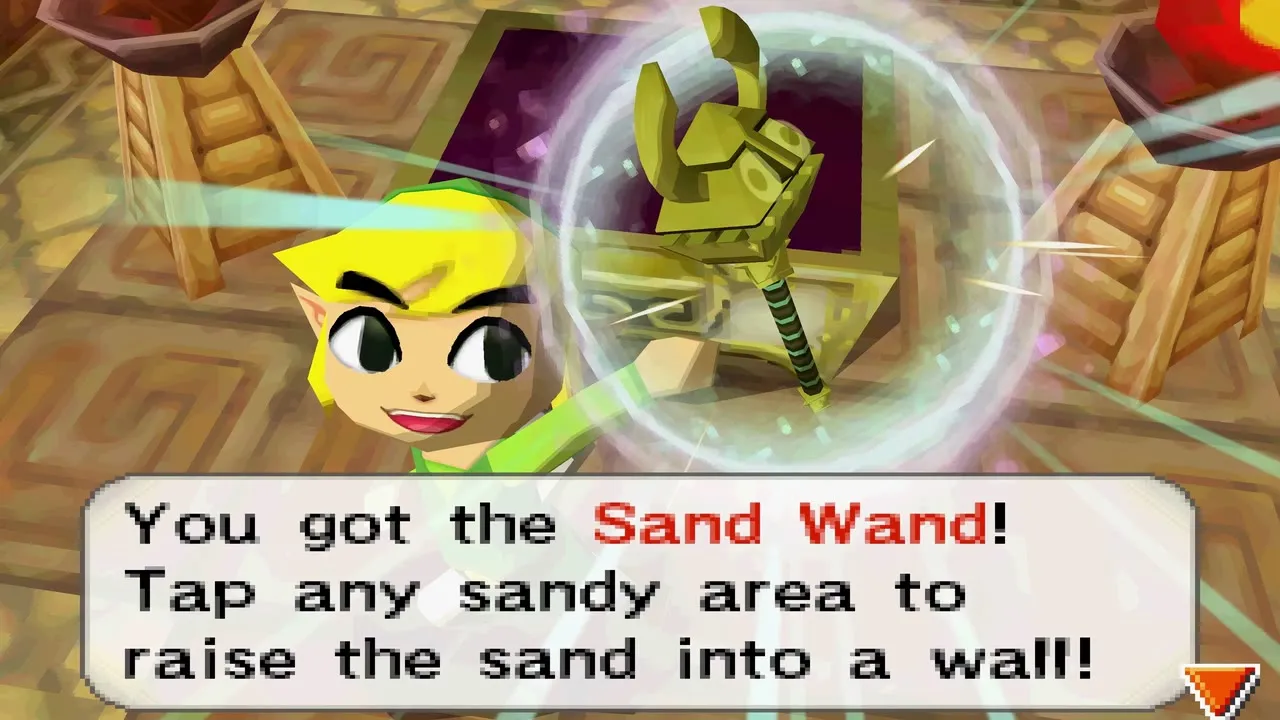
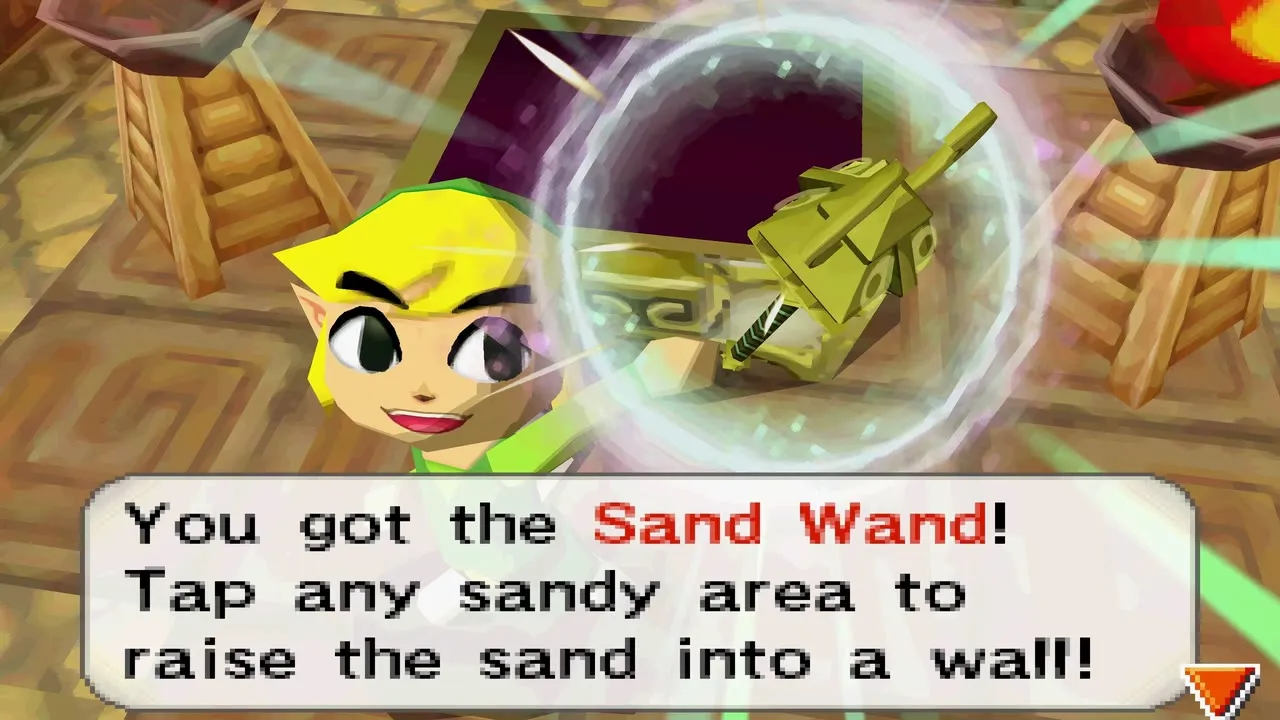
On the third floor of the Sand Temple, defeat three Stalfos Warriors to claim the Sand Wand. Tap sand to raise a wall that lasts about four seconds, or tap sand under yourself to climb. It rolls boulders, flips block puzzles, traps enemies, uncovers buried items and lets Phantom Zelda cross sand without sinking.
Bow of Light
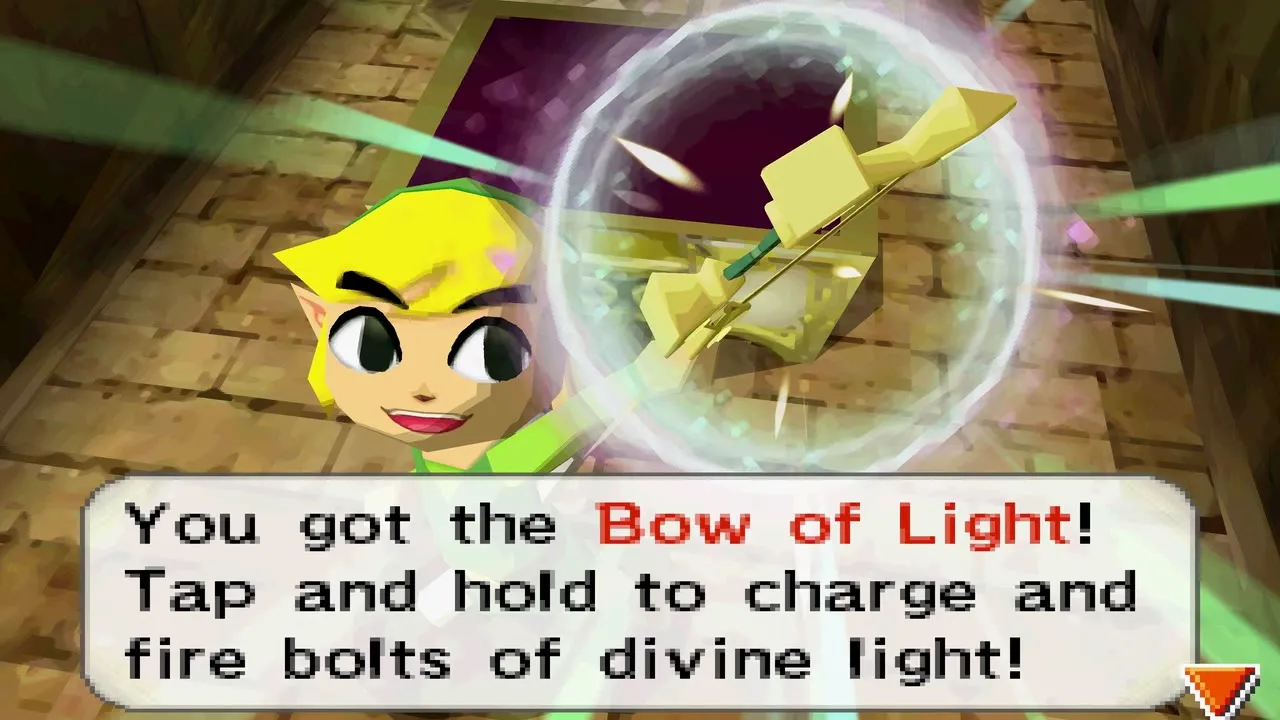
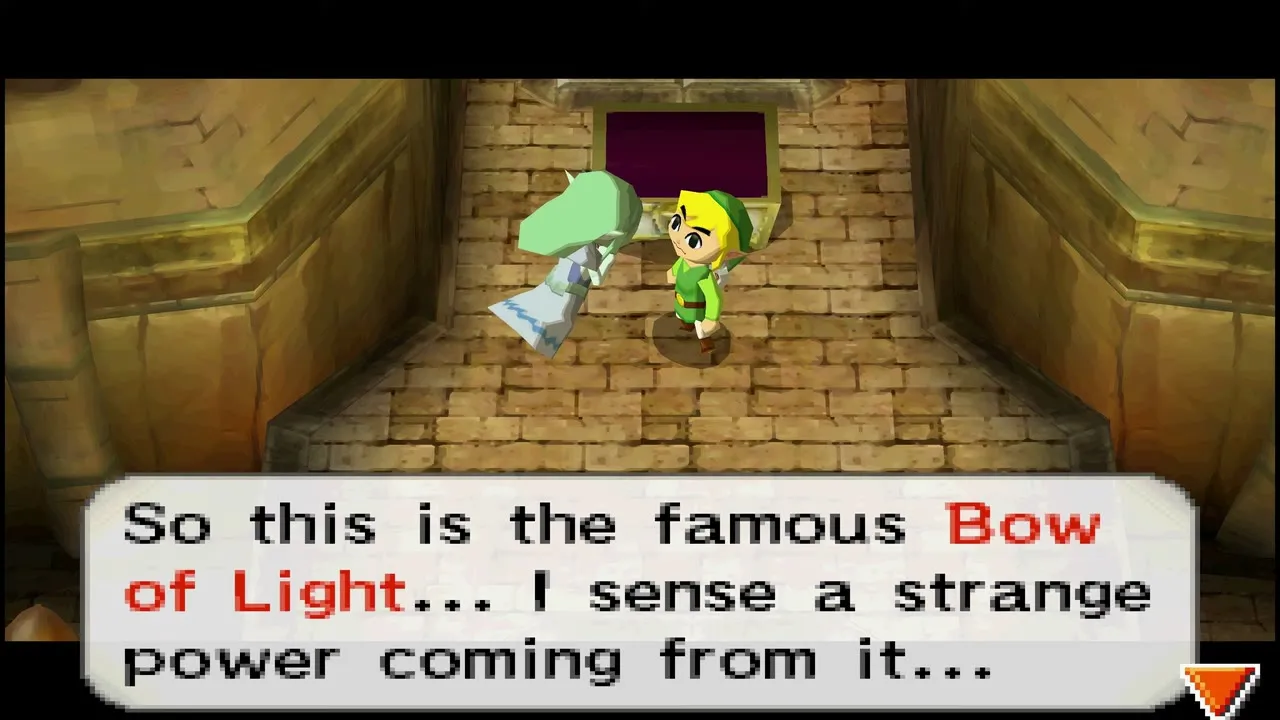
The Bow of Light waits in a lower room of the Sand Temple, down a stairway that opens once Skeldritch is beaten. Hold the stylus to charge a shot into a Light Arrow. It opens golden eye switches and is vital in the finale, where you and Zelda use it to drive Malladus out and break his defenses.
Other tools
Spirit Flute
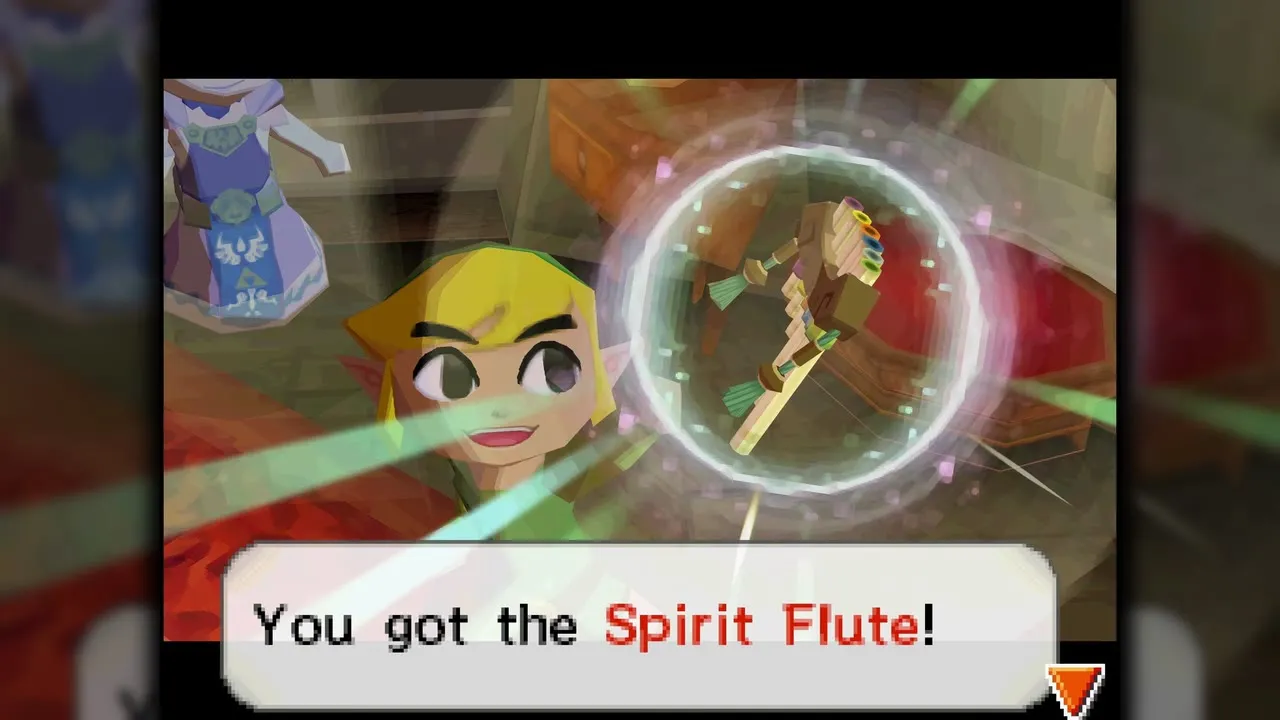
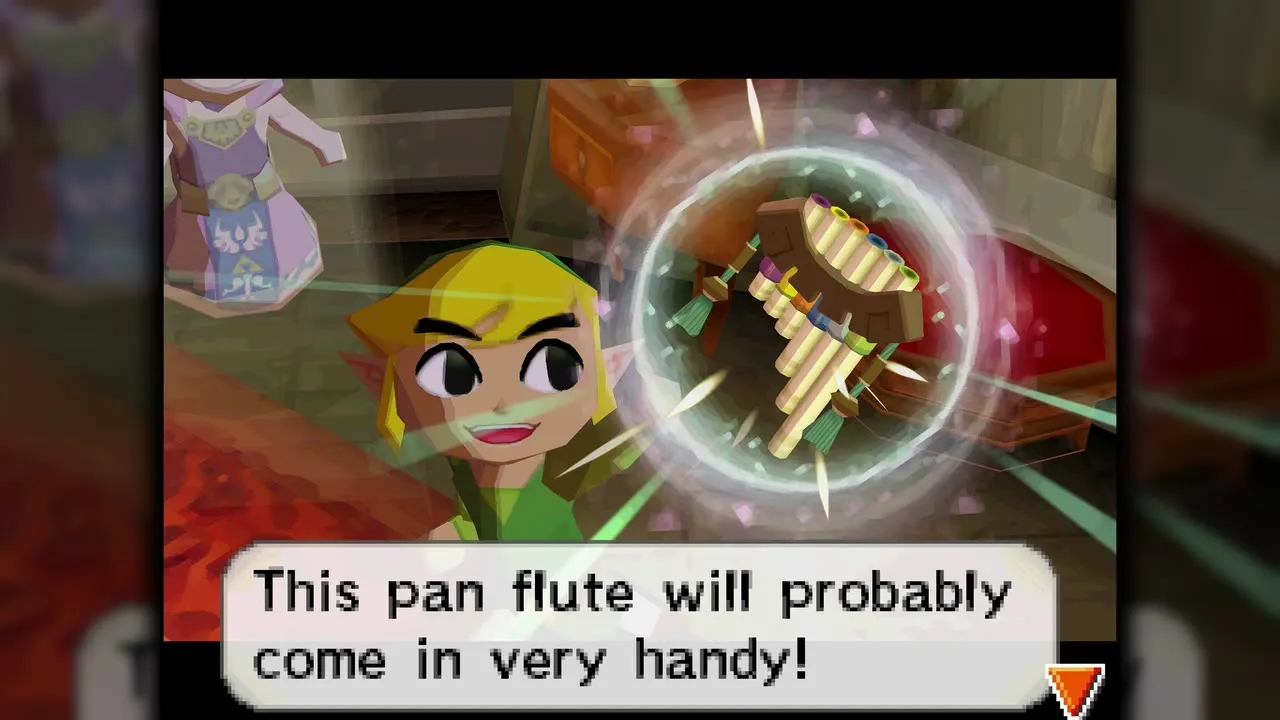
Zelda hands you the Spirit Flute in Hyrule Castle, early in the first chapter. Drag the stylus across the notes while blowing into the microphone. It plays five songs you learn, namely Awakening, Healing, Discovery, Light and Birds, plus duets with the Lokomo to restore each realm’s tracks. Details are on the flute songs page.
Bombs
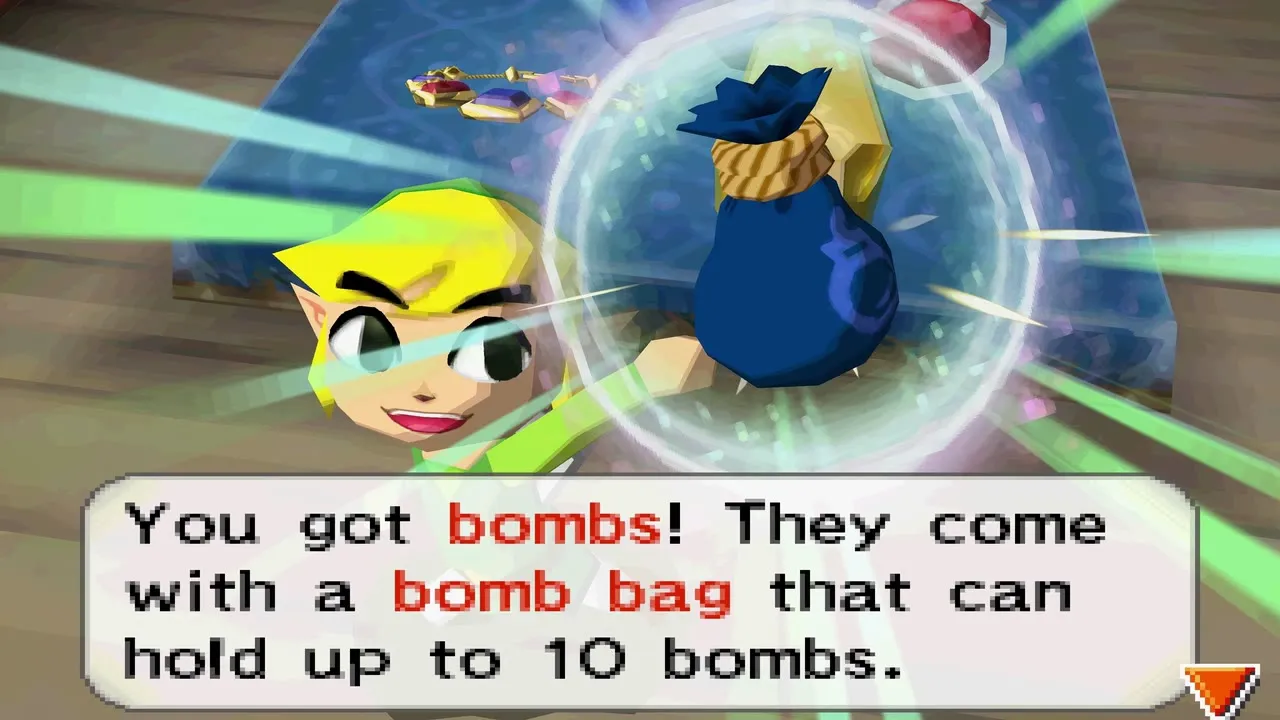
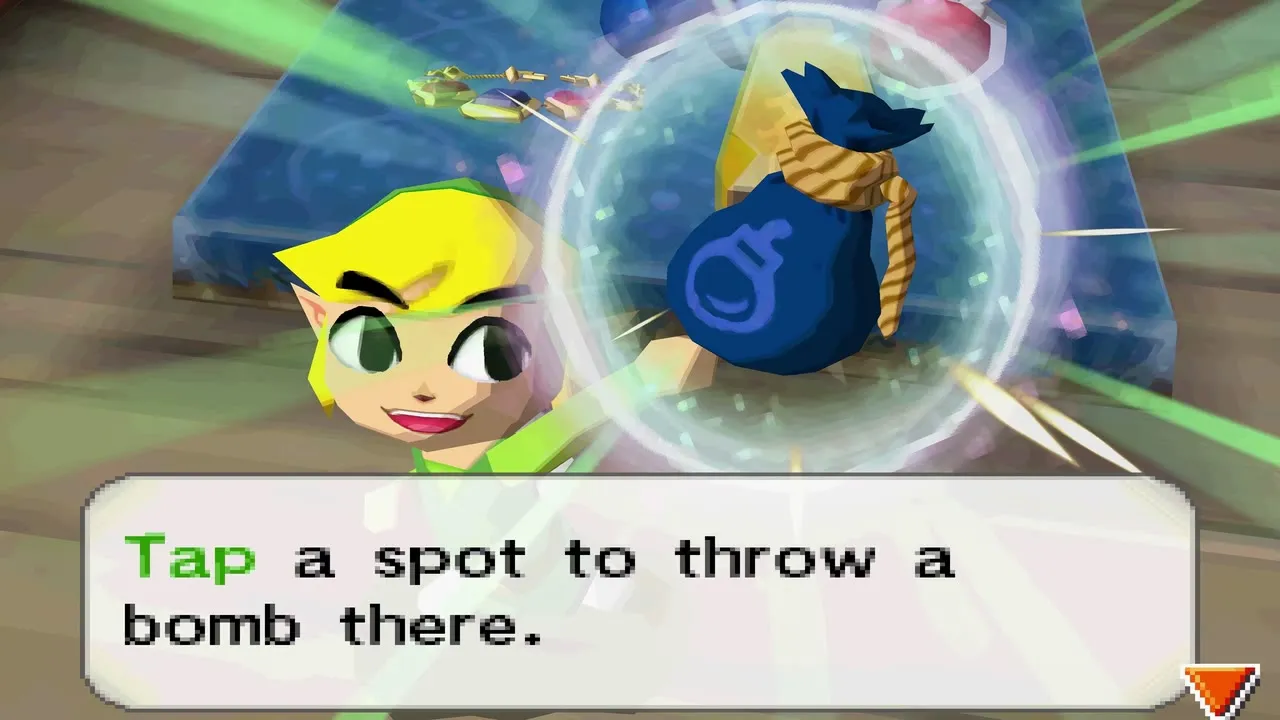
Bombs arrive with your first bomb bag from Beedle’s Air Shop. Throw them to break cracked walls, defeat enemies and hit distant switches. Beedle sells 10 bombs for 100 rupees, Kogane’s Shop in Papuchia Village charges 150, and the Goron Country Store 200. The Spirit Train’s cannon fires bombs of its own, which do not come from your bag.
Cannon
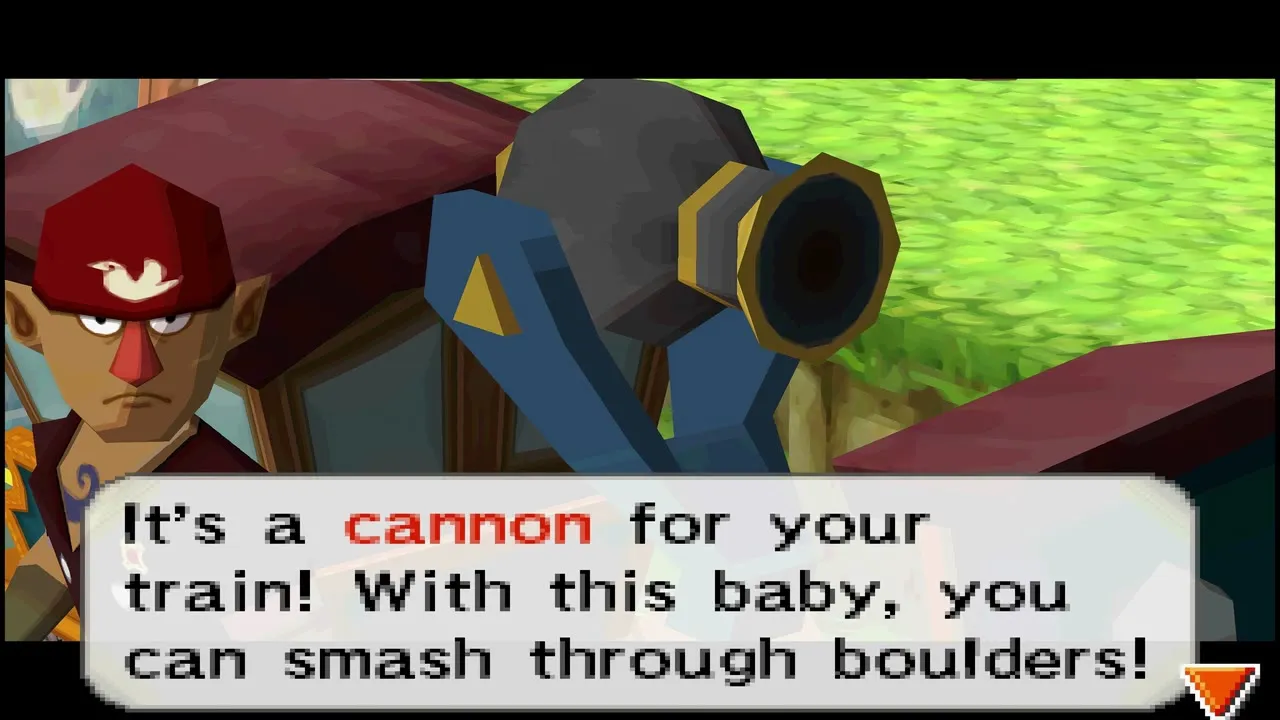
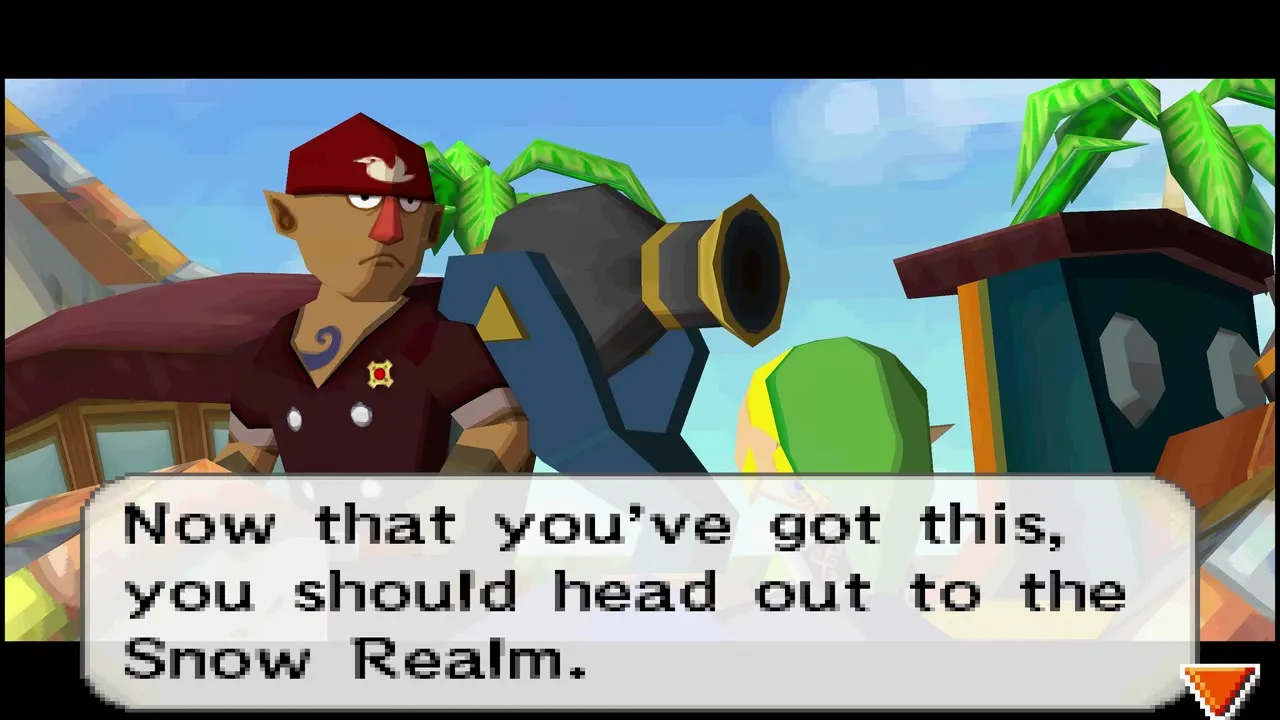
Bring Alfonzo from Castle Town back to Aboda Village and he fits a cannon to the Spirit Train. Tap around the train on the touch screen to fire; it shatters boulders, drives off armored trains and uncovers hiding rabbits. The free Practical Cannon is the first of eight cannons you can swap in.
Freight Car
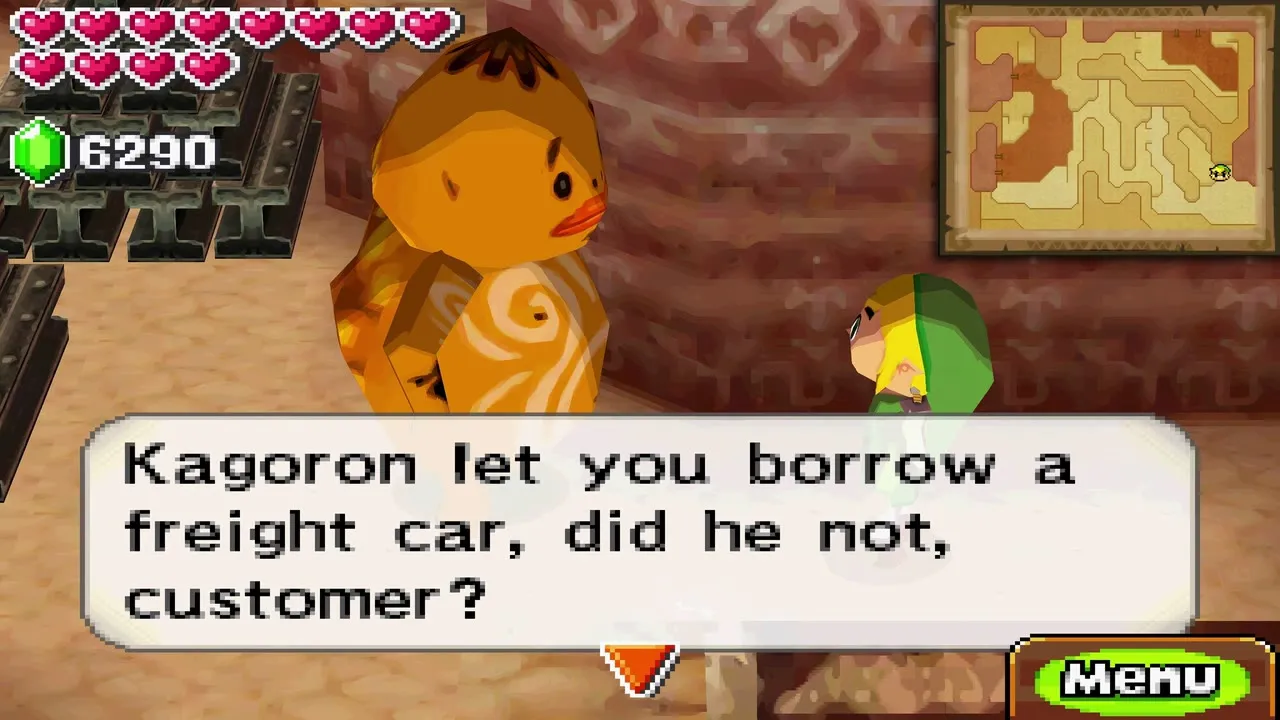
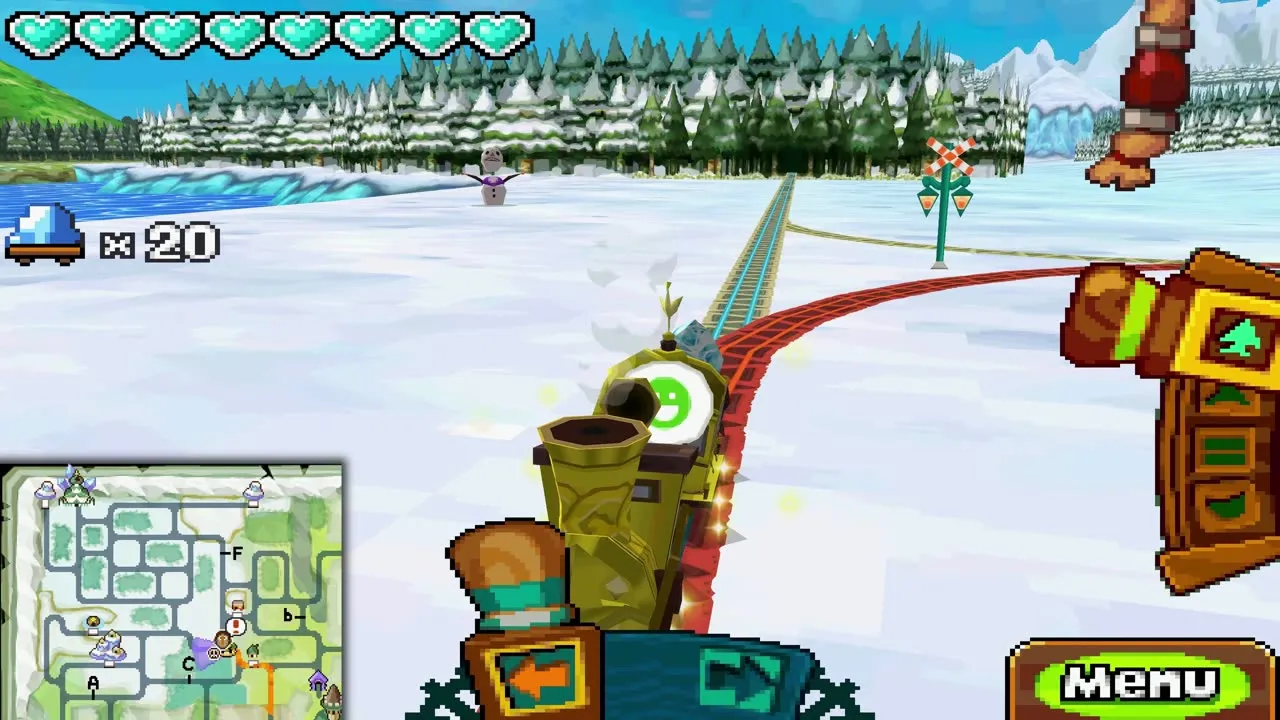
Kagoron in Goron Village lends you a freight car once you reach the Fire Realm. It lets you haul cargo between stations; the list is under Cargo further down this page. The car is damaged by enemy hits and by travel time, depending on the load.
Potions
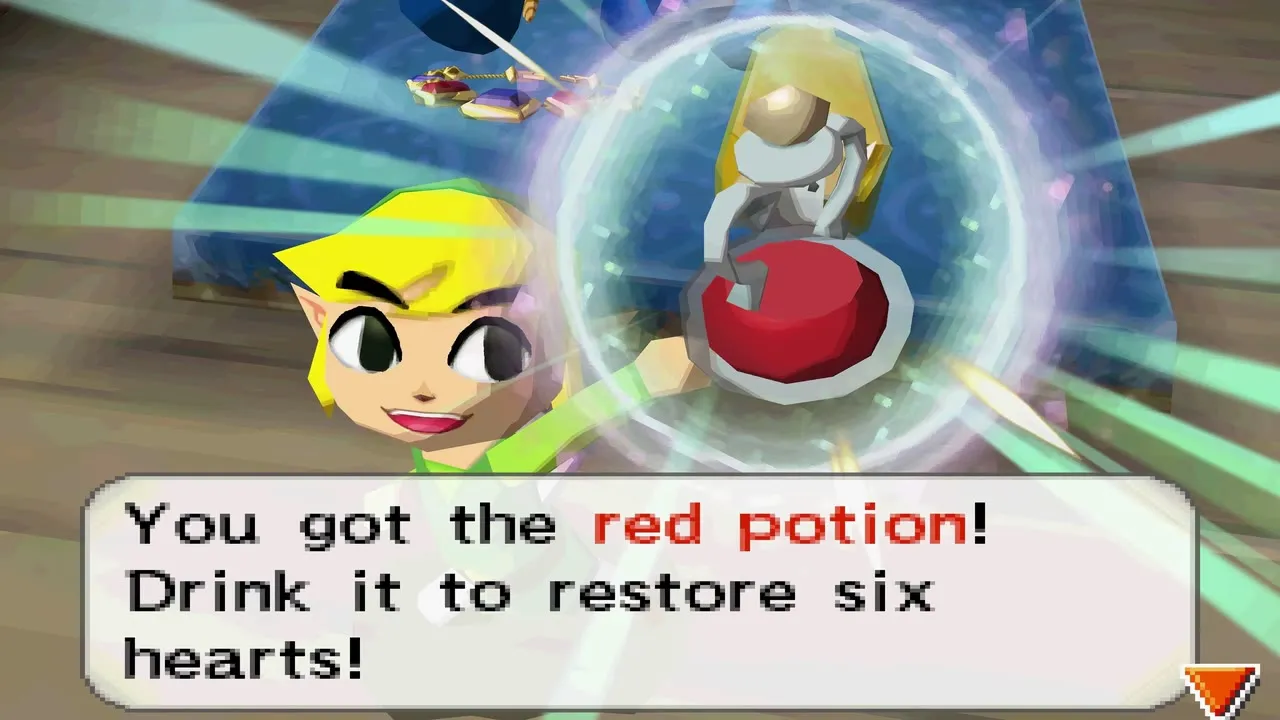
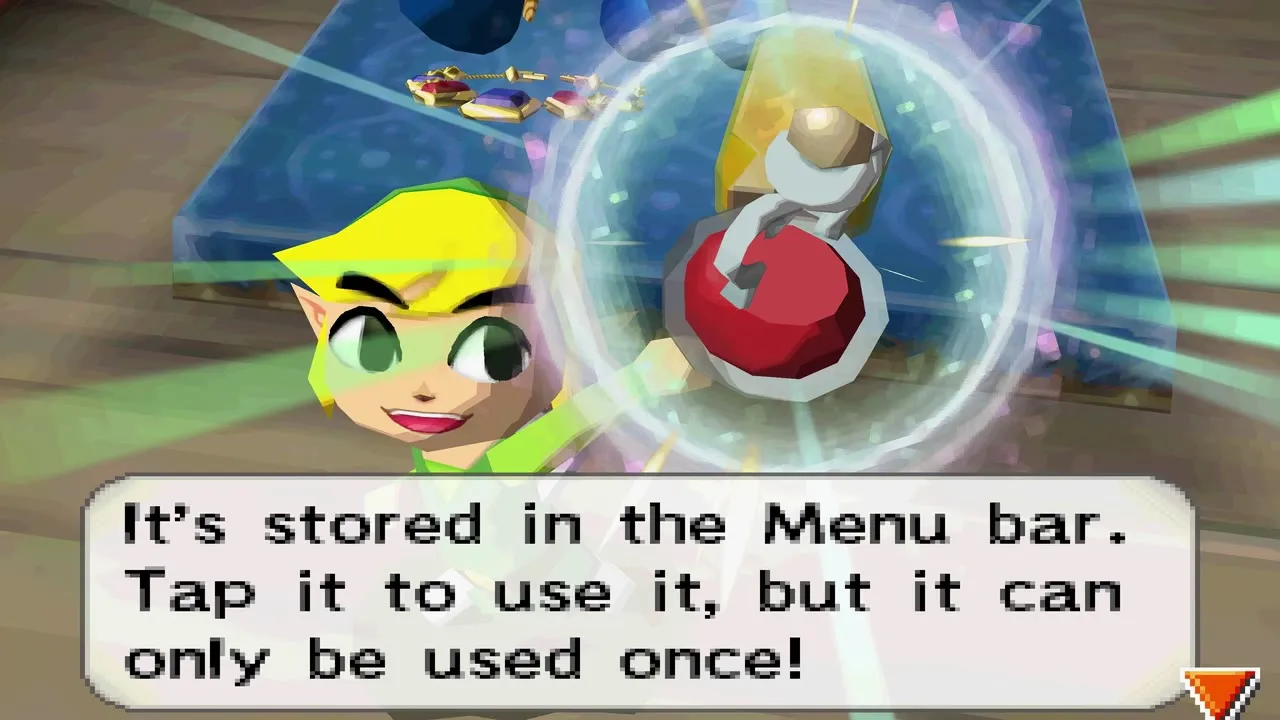
Potions come ready to drink and sit in the menu bar: you cannot collect bottles in this game, and each potion works once.
Red Potion
Restores six hearts and costs 100 rupees. Buy it at the Castle Town Shop, the Anouki General Store or Beedle’s Air Shop, where your membership level lowers the price to 90, 80, 70 or 50.

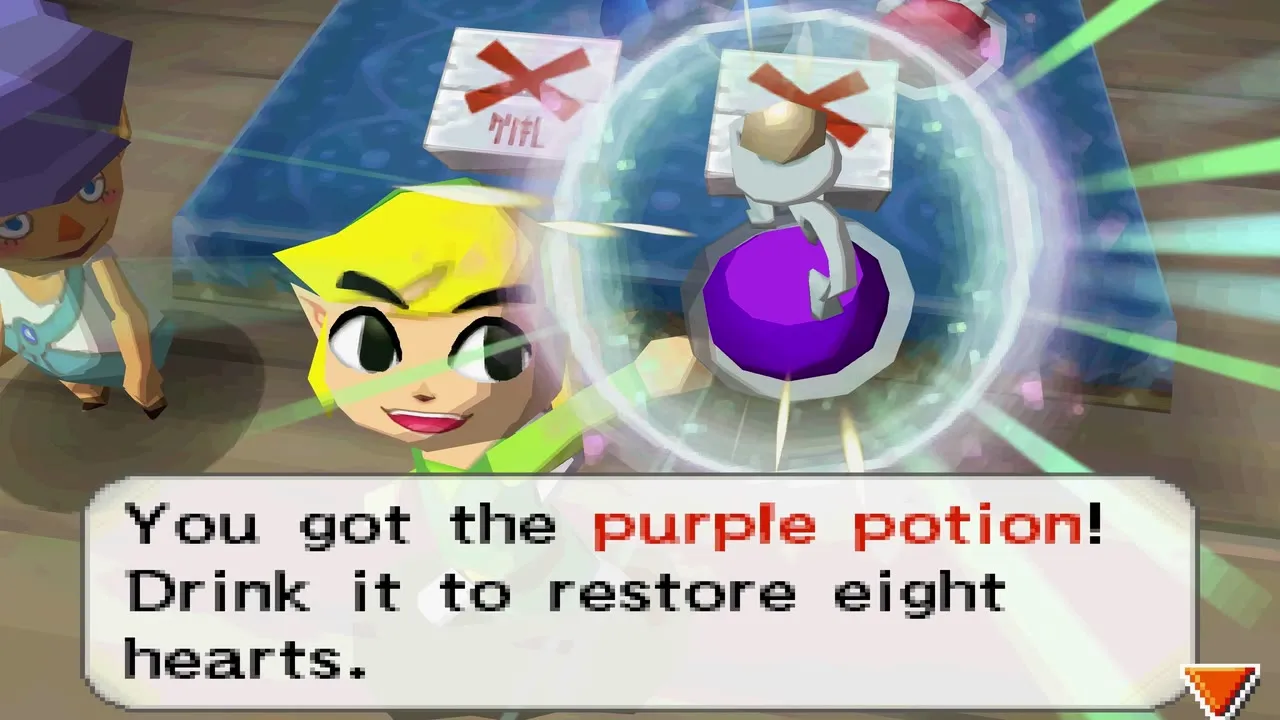
Purple Potion
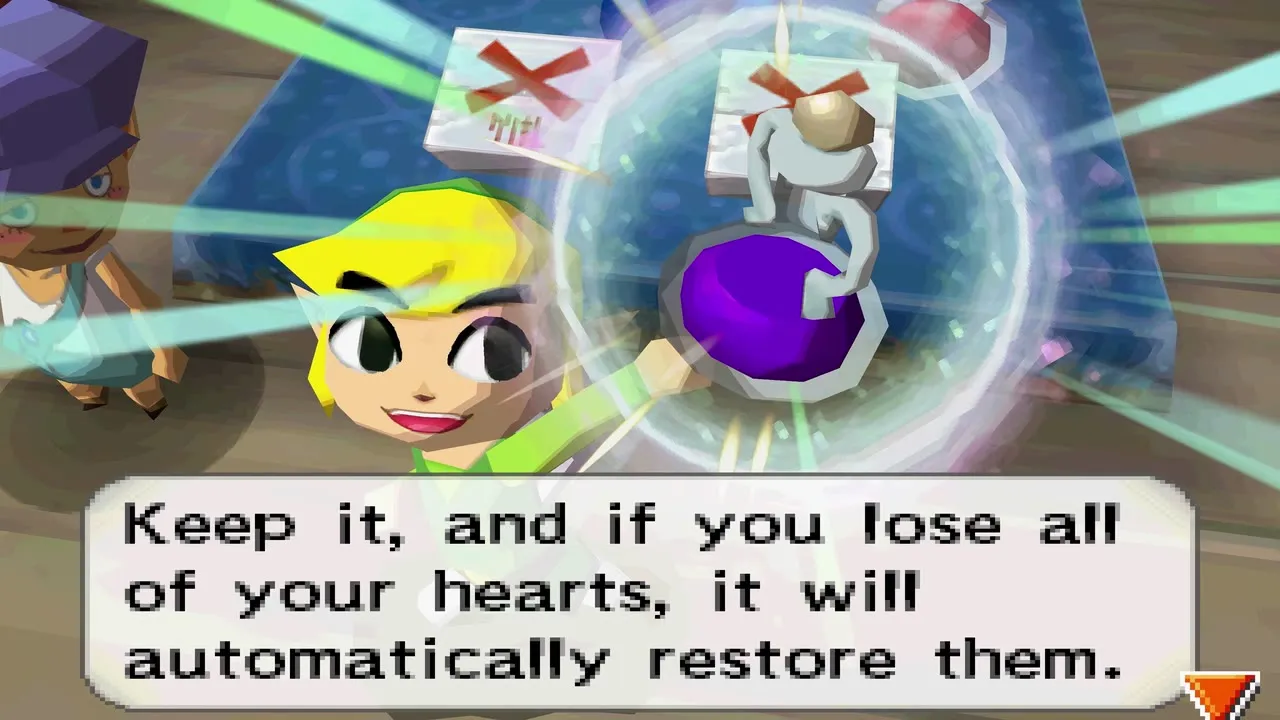
Restores eight hearts for 150 rupees. If you run out of hearts with one in the menu bar, it revives you automatically, like a fairy in other games. Beedle stocks it once you have bought the first bomb bag, and you can also buy it from the Anouki General Store, Goron Country Store and Kogane’s Shop.
Yellow Potion
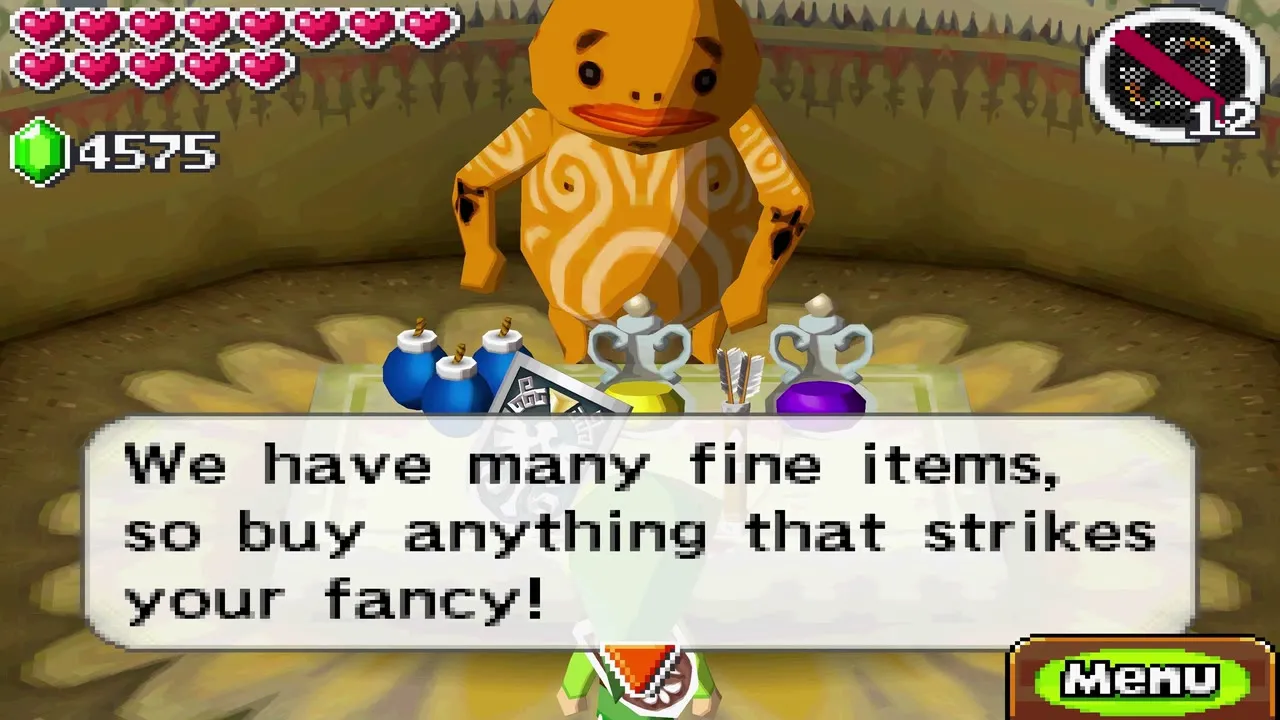
Restores every heart and costs 200 rupees at the Goron Country Store. Stock up before the final chapters, because the Dark Realm has no shops.
Bomb bag and quiver upgrades
Bomb Bags
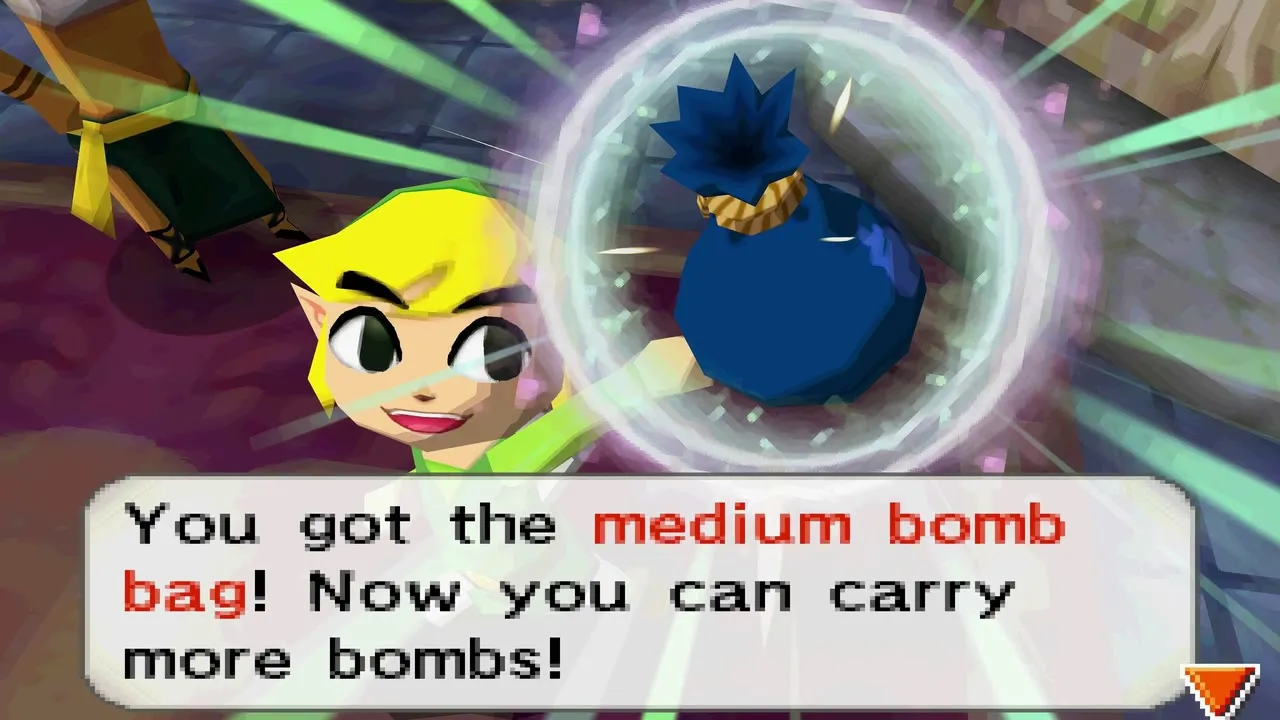
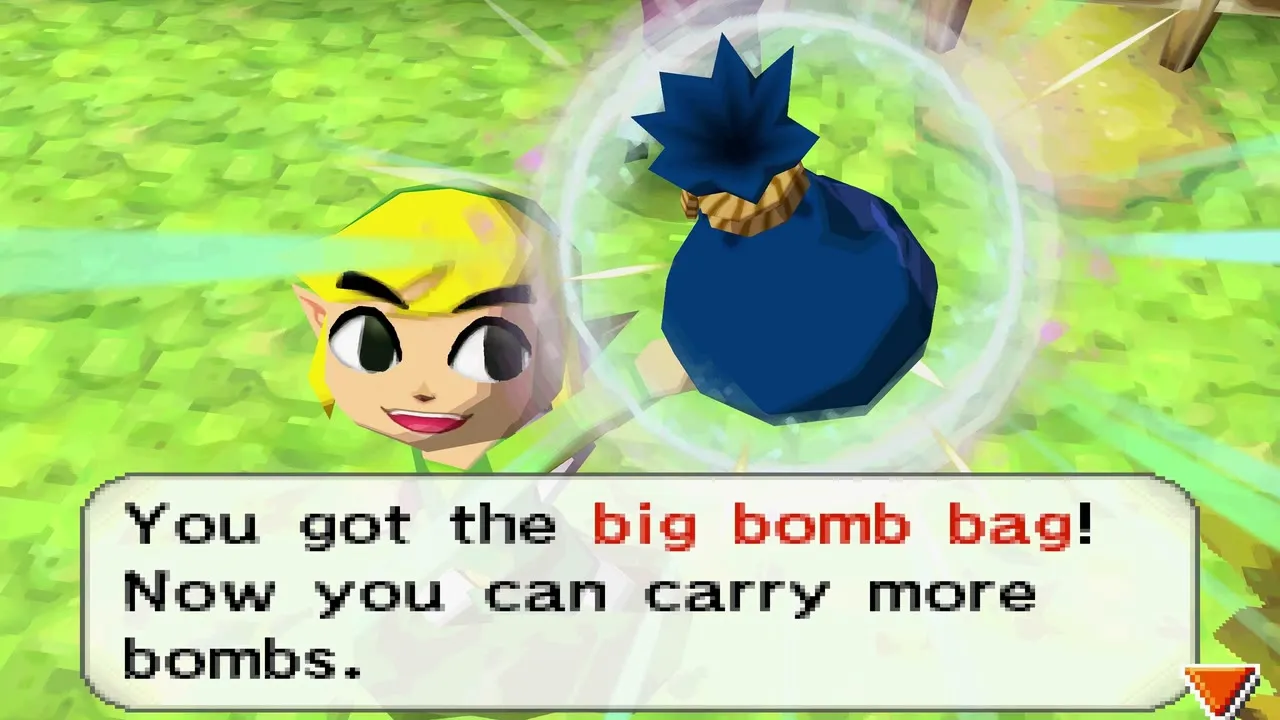
There are three bags, and you can collect them in any order. The first bag you get holds 10 bombs, the second holds 20 and the third holds 30. Beedle’s Air Shop opens after the Snow Temple, and the other two bags open after the Ocean Temple.
| Source | Where | Requirement |
|---|---|---|
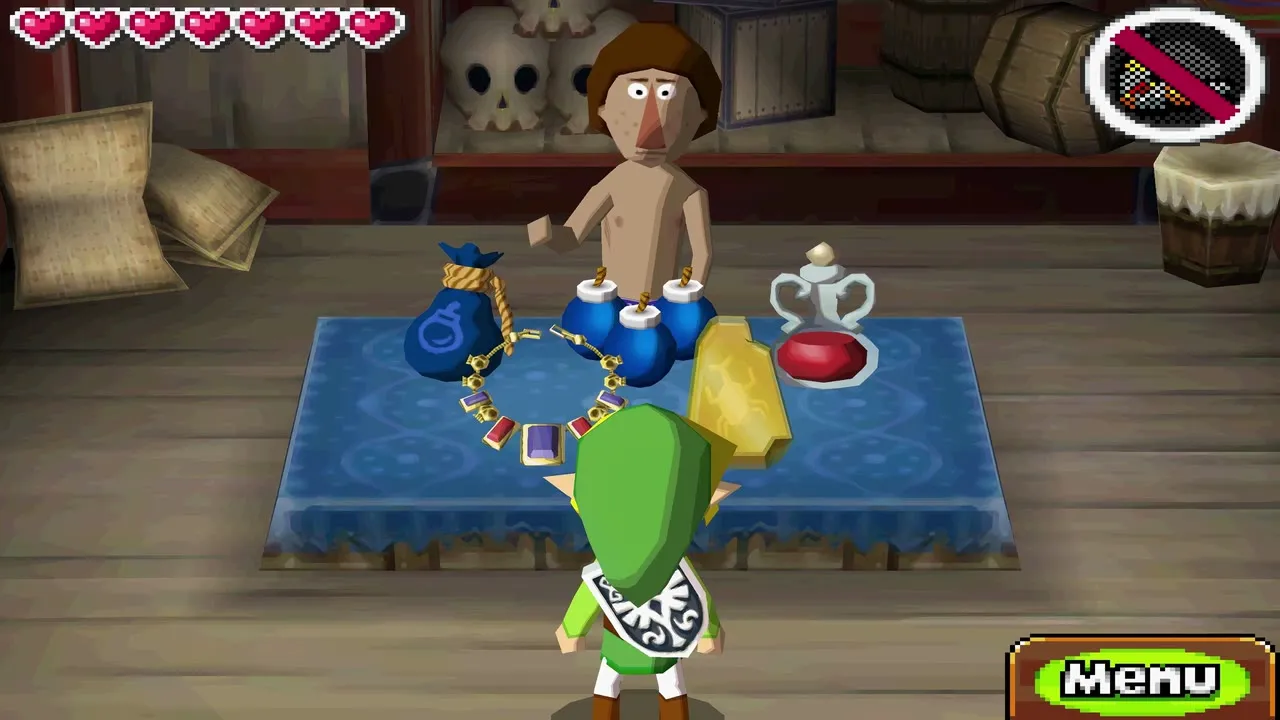
| Bomb Bag | Beedle’s Air Shop | Buy it for 500 rupees; Beedle sells bombs only once you own a bag |
| Race prize | Whip Race, Whittleton | Beat the course record, a time of about 1:30 or better; faster runs win better prizes (entry is 50 rupees and you need the Whip) |
| Challenge prize | Take ‘Em All On!, Castle Town | Clear Level 2 (50 rupees; opens after the Ocean Temple) |
Quivers
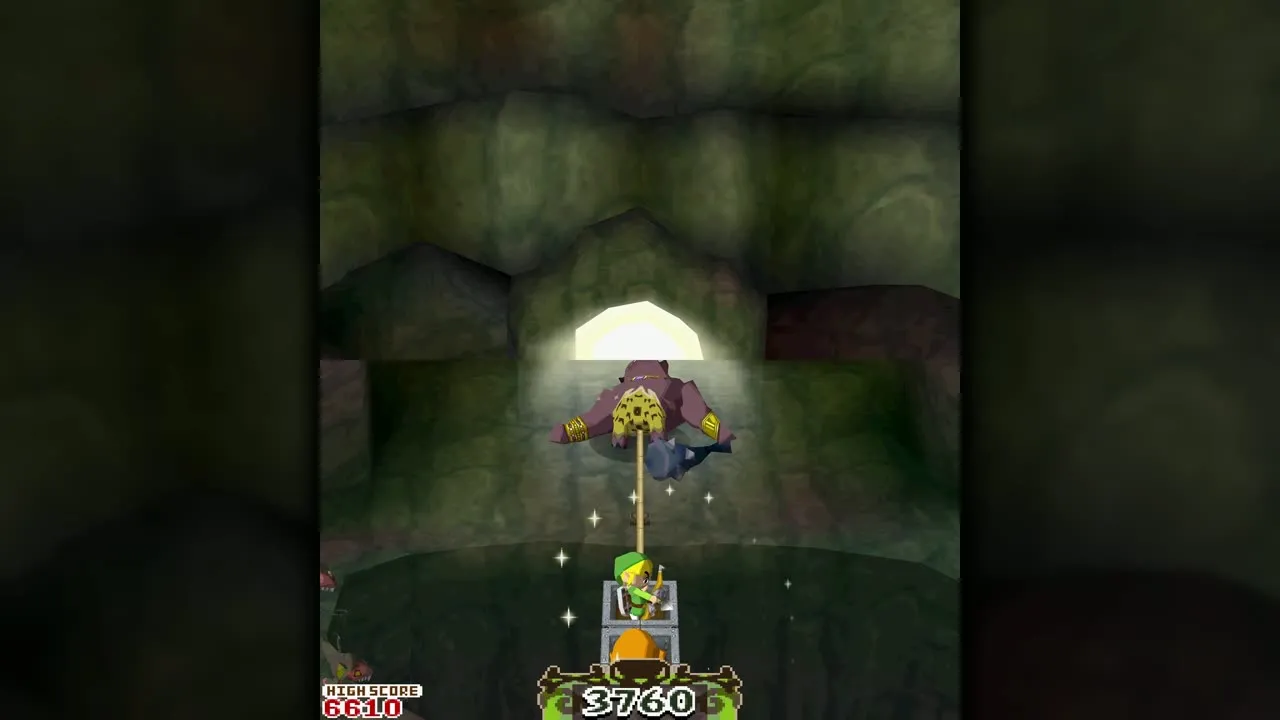
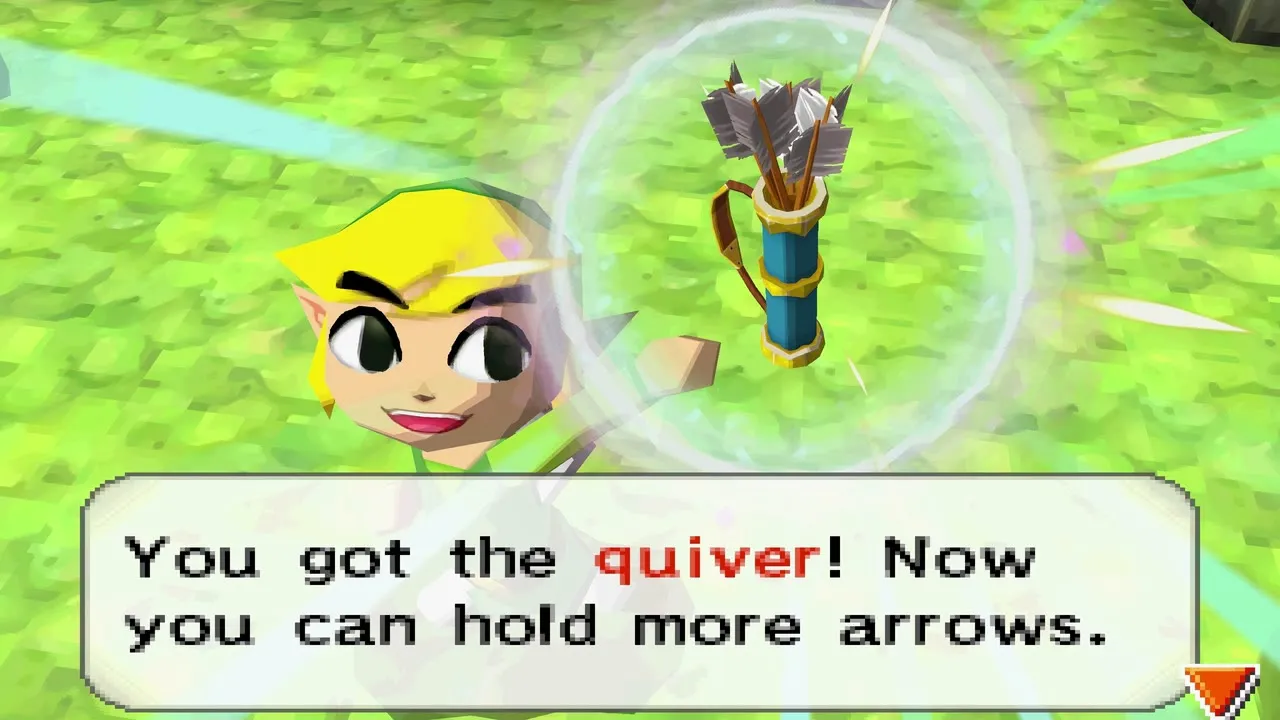
The 20-arrow quiver comes with the Bow in the Fire Temple. Once the Fire Temple is cleared, the Goron Country Store sells a 30-arrow quiver for 2,000 rupees, a one-time purchase after which the shelf sells Prize Postcards. The 50-arrow quiver is a reward in the Pirate Hideout shooting mini-game: score between 3,000 and 3,999 points on a replay (4,000 or more earns a Heart Container instead). The hideout opens once the Fire Temple is cleared and you earn Niboshi’s Force Gem in Papuchia Village, as described on the mini-games page.
Collection items
Rabbit Net
Bunnio gives you the Rabbit Net at Rabbitland Rescue in the Forest Realm. When your train cannon hits a boulder or barrel hiding a rabbit, the net comes out automatically and you have 10 seconds to drop it on the hopping rabbit. Rewards for rescued rabbits are on the rabbit page.
Stamp Book
After you bring Alfonzo home, Niko gives you the Stamp Book. Each of the 20 stamp stations adds a stamp with the date. Rewards: the Shield of Antiquity at 10 stamps, the Engineer’s Clothes at 15 and the second Swordsman’s Scroll at 20.

Recruit Uniform and Engineer’s Clothes
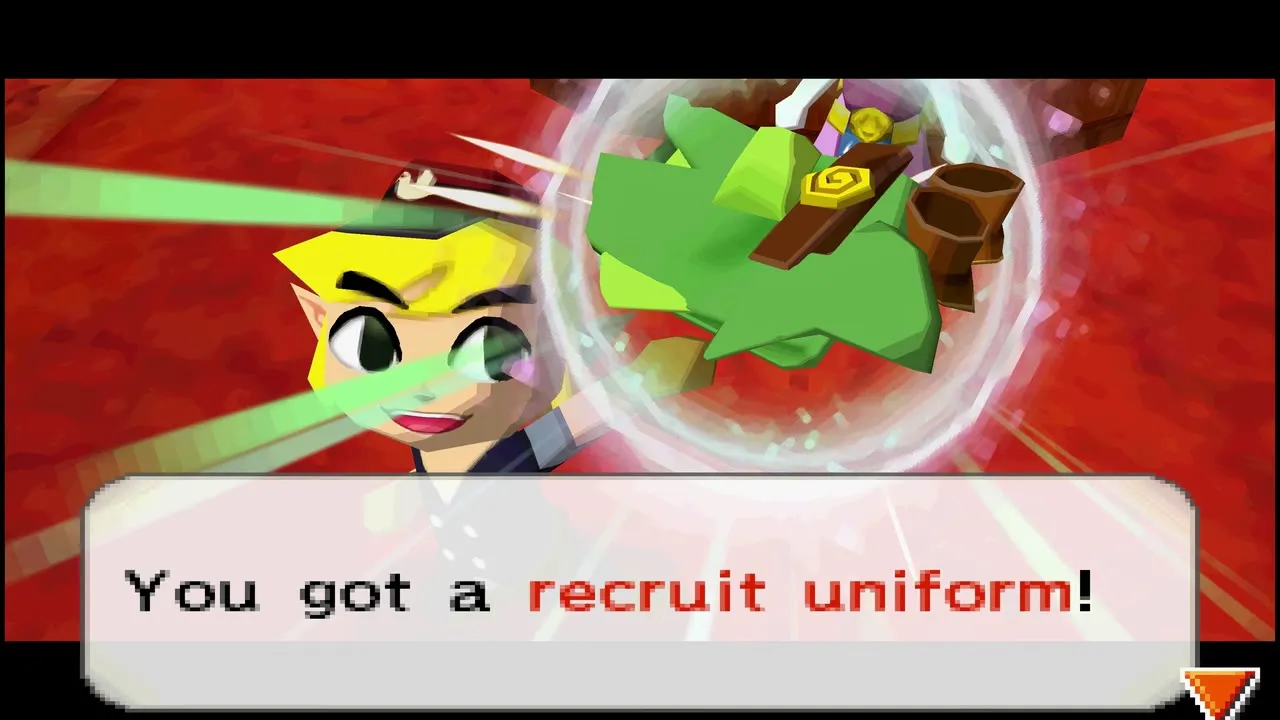
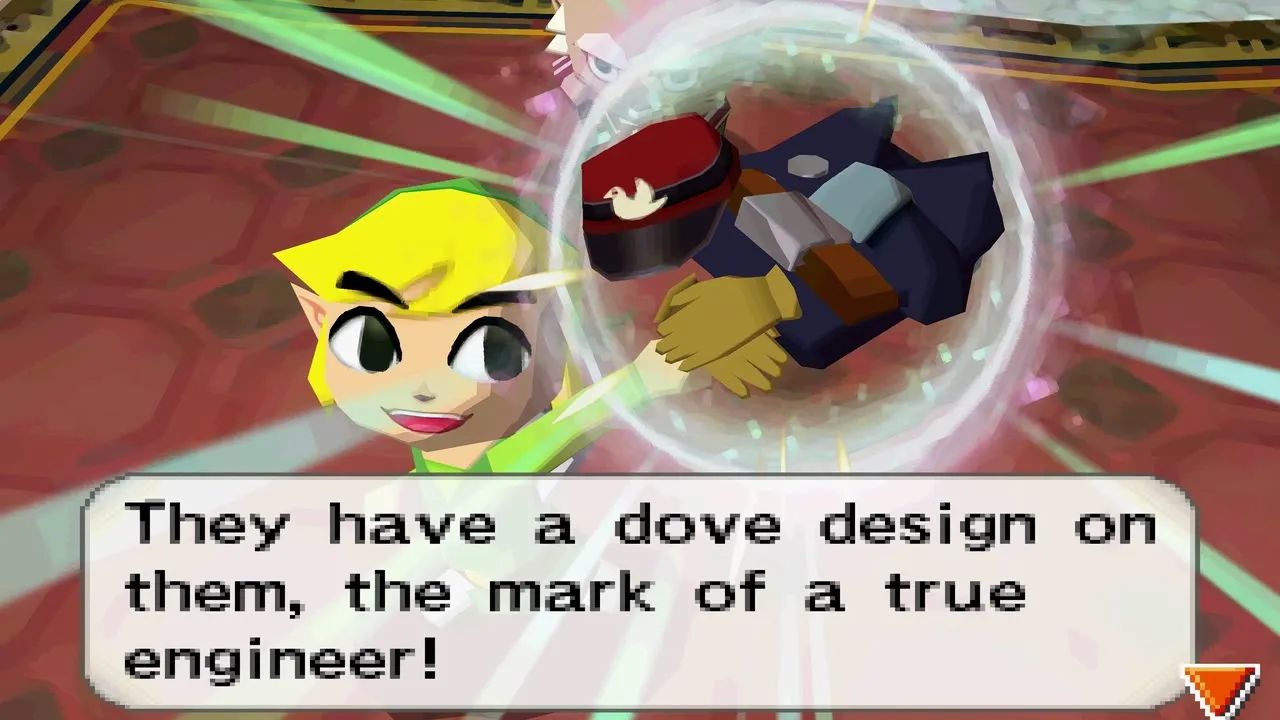
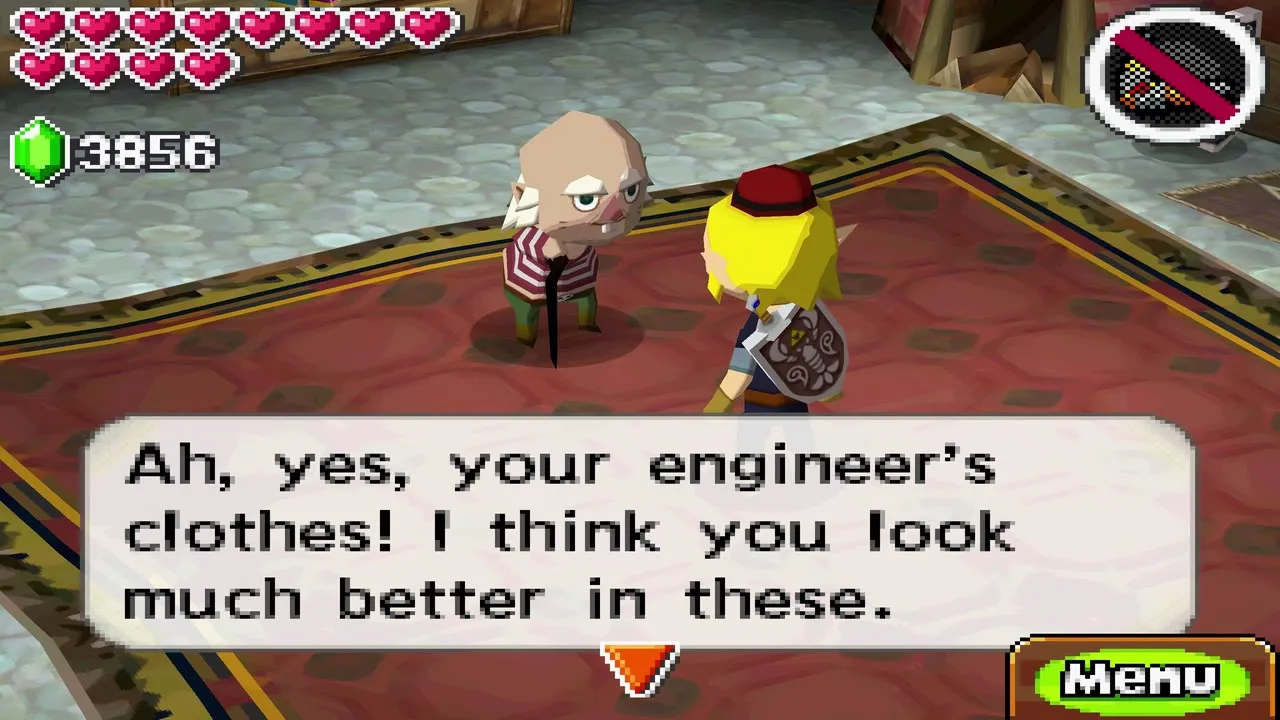
You begin in the Engineer’s Clothes, then Zelda hands you a Recruit Uniform to slip past the castle guards. The outfits change nothing in battle. Once you hold 15 stamps you can talk to Niko to wear the red-hatted Engineer’s Clothes again, and afterwards you can switch between the two outfits whenever you like.

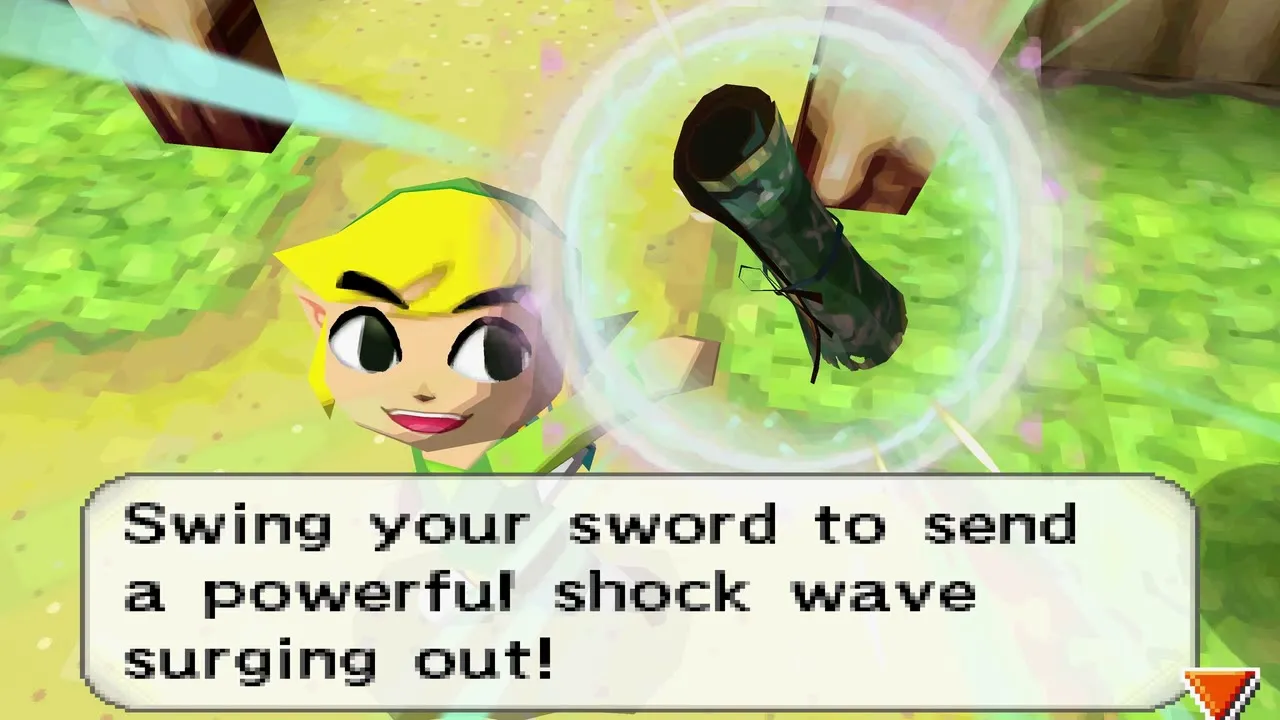
Swordsman’s Scroll 1
Catch all 50 rabbits and bring them to Bunnio to receive this scroll. It lets the Lokomo Sword fire sword beams, but only while your hearts are full.
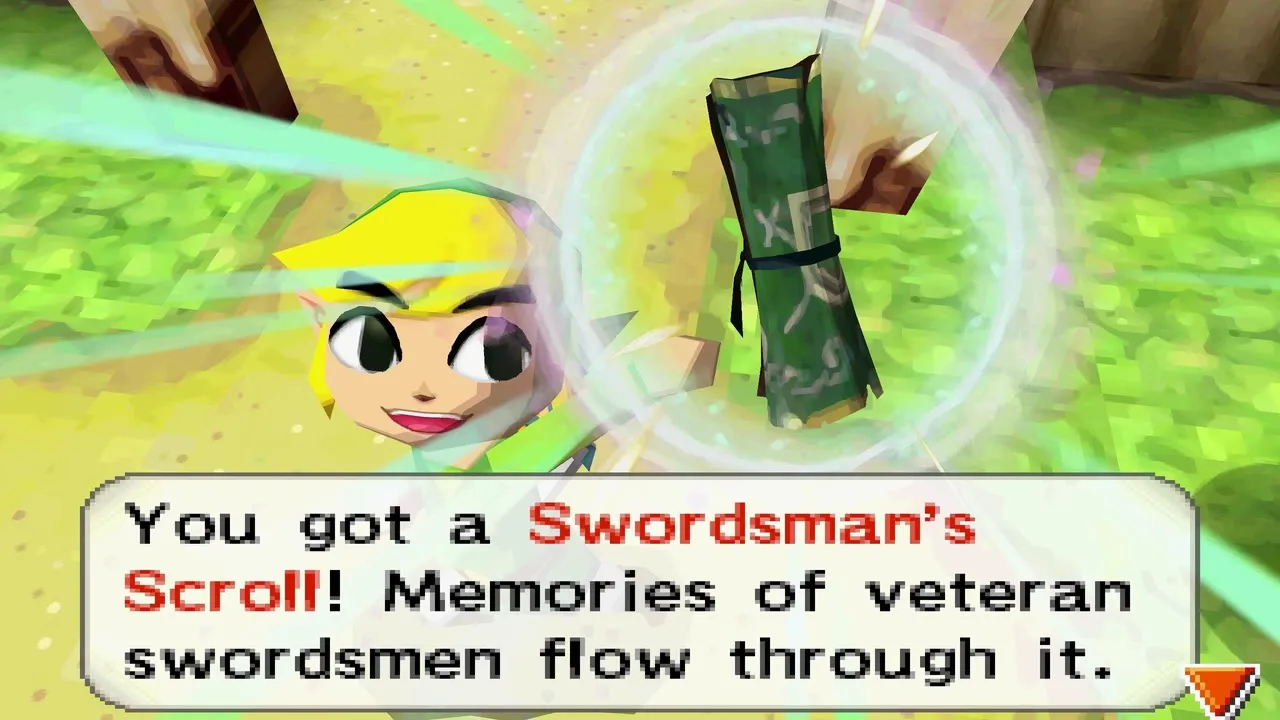
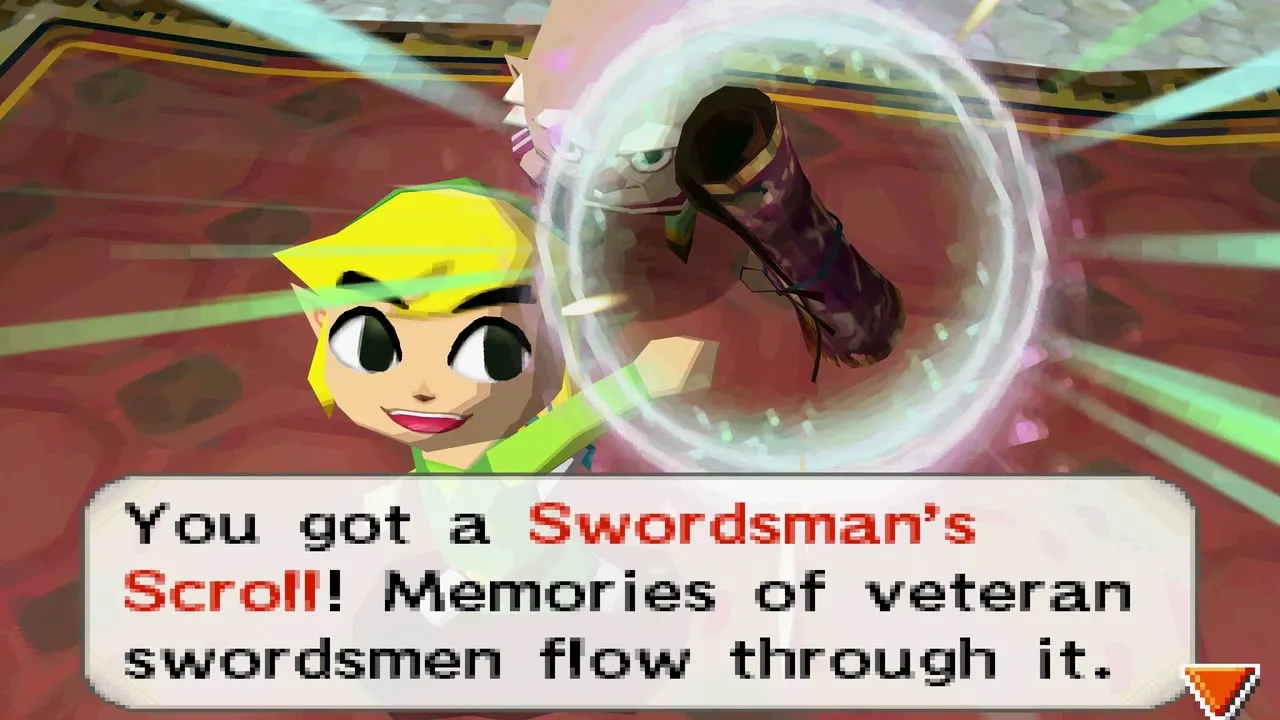
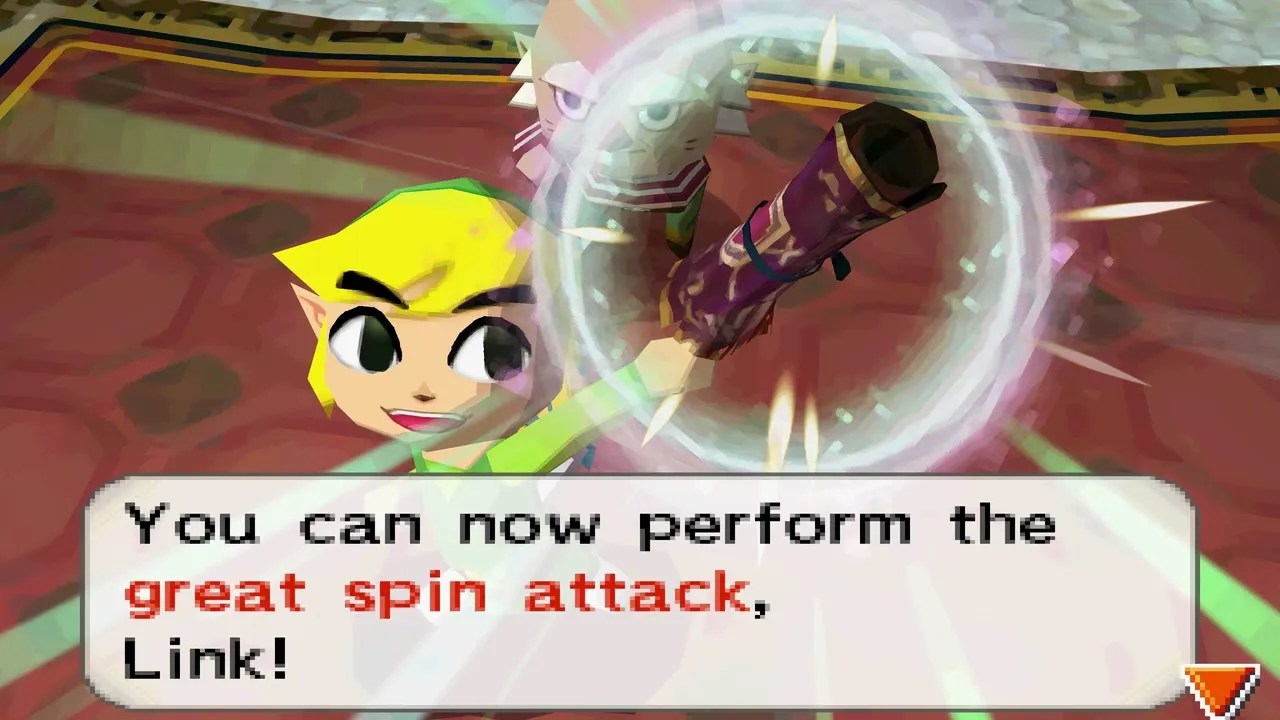
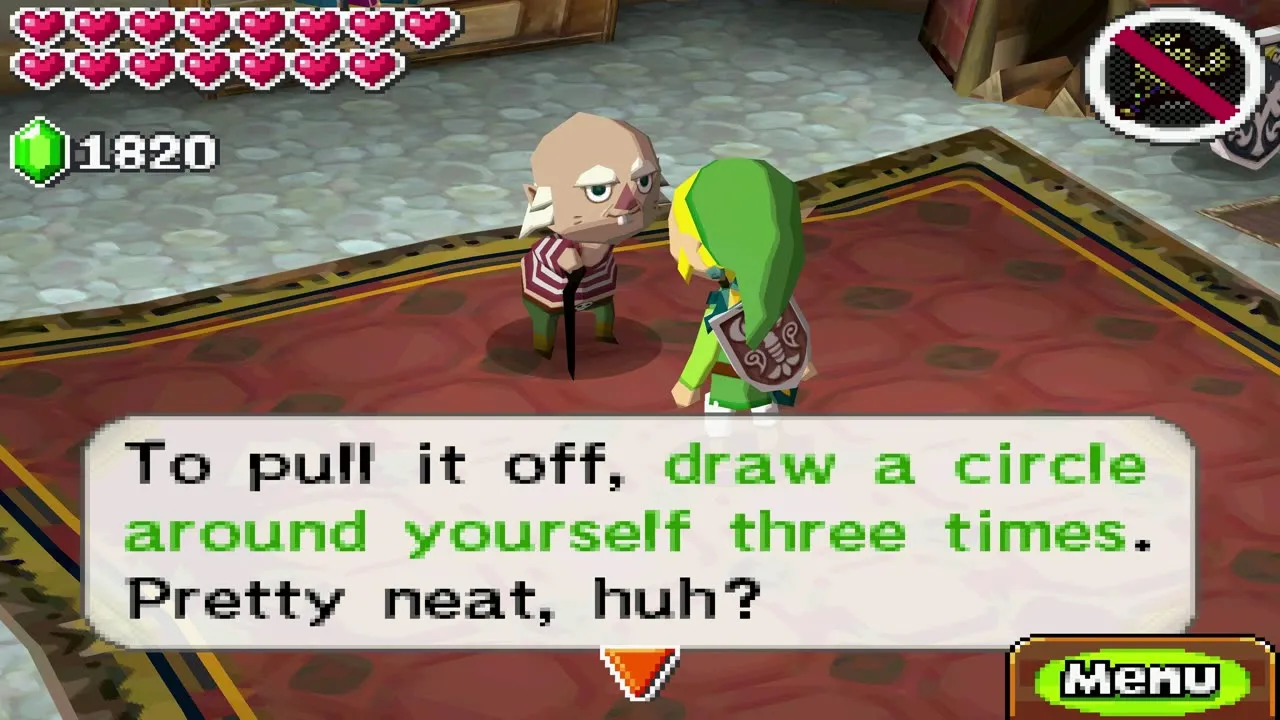
Swordsman’s Scroll 2
Fill all 20 spaces in the Stamp Book and show Niko the finished book. The scroll teaches the Great Spin Attack, a stronger version of the spin attack.

Beedle’s Member Cards
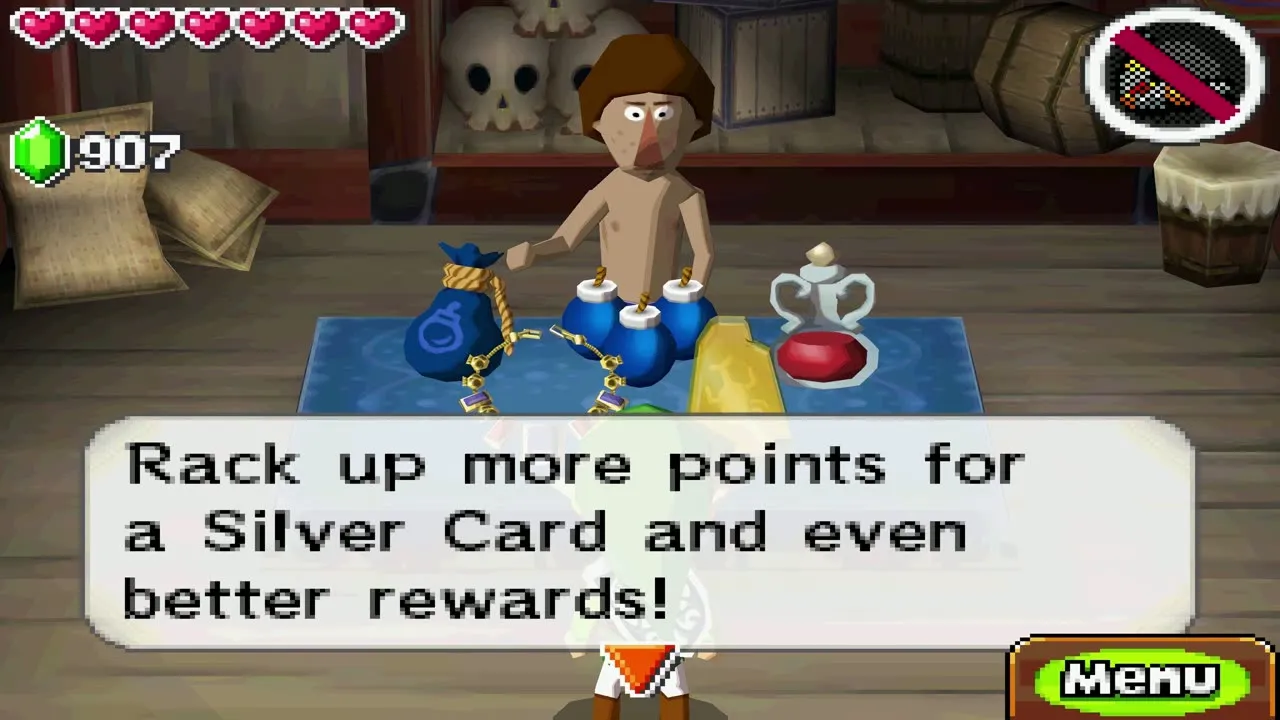
Beedle’s Air Shop opens after the Snow Temple, and he offers membership for 100 rupees on your first purchase. You earn one point for every 10 rupees you spend, and each new card is awarded as your points pass its mark.
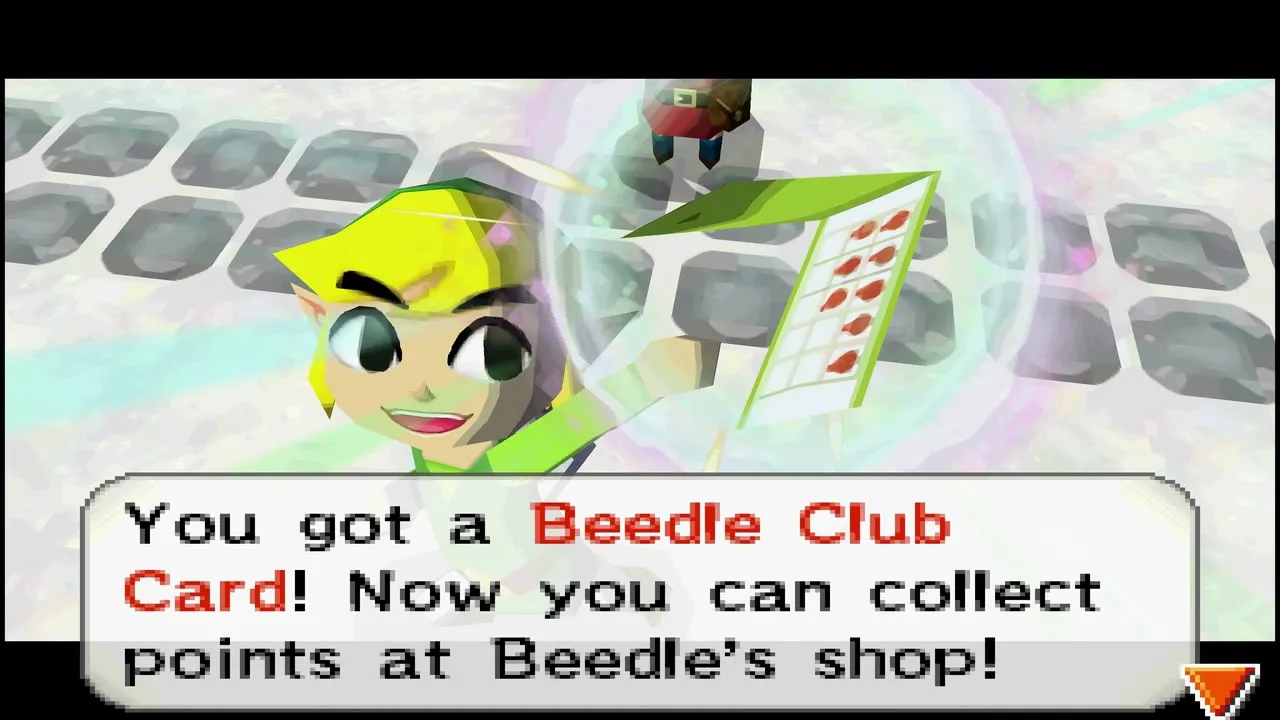
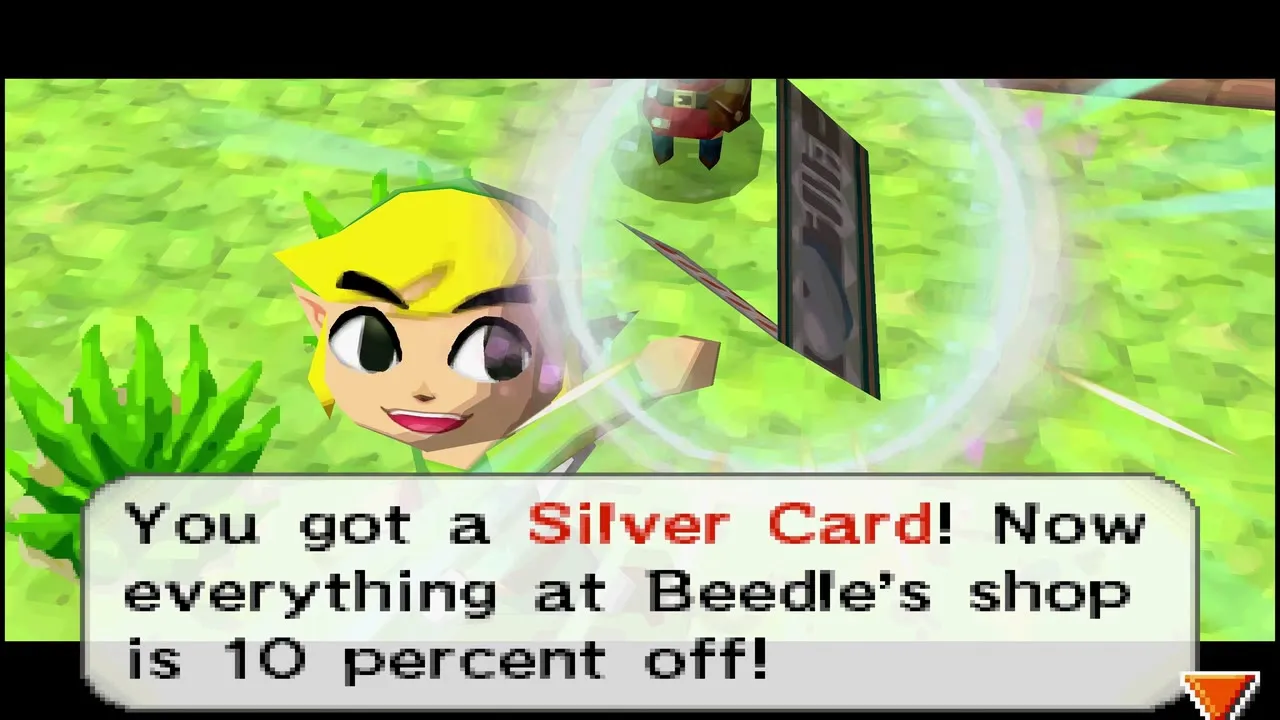
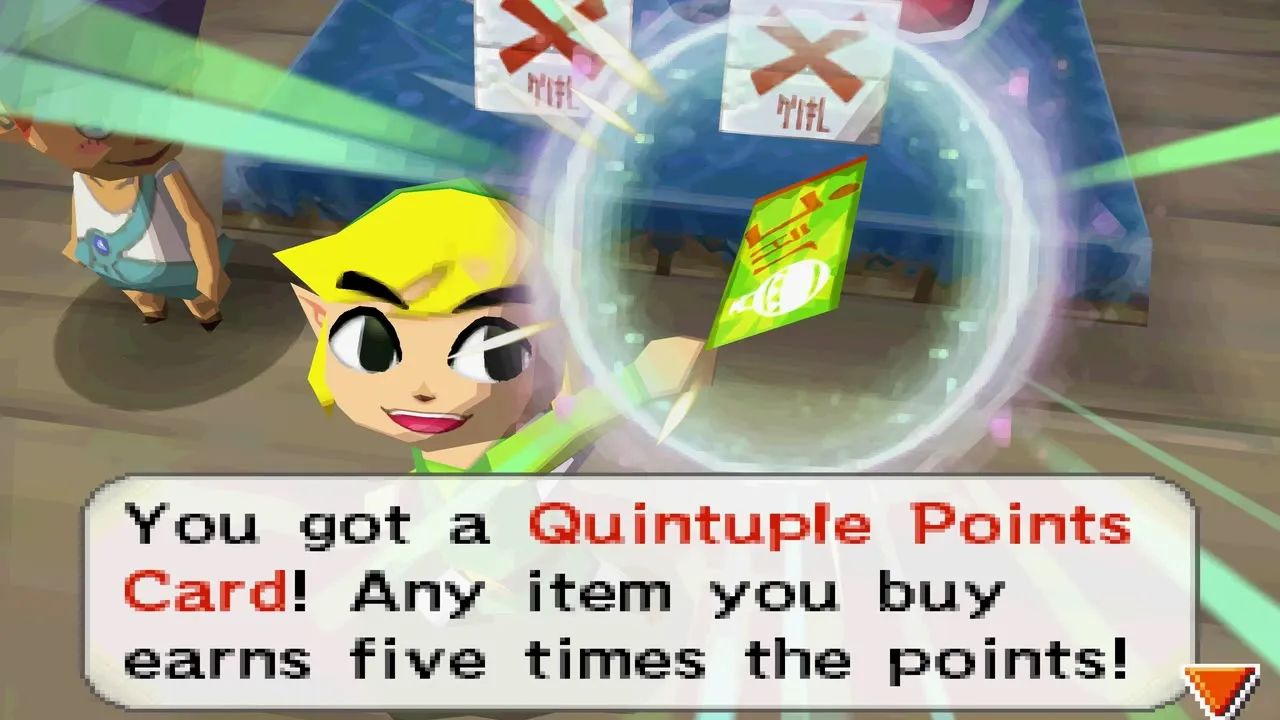
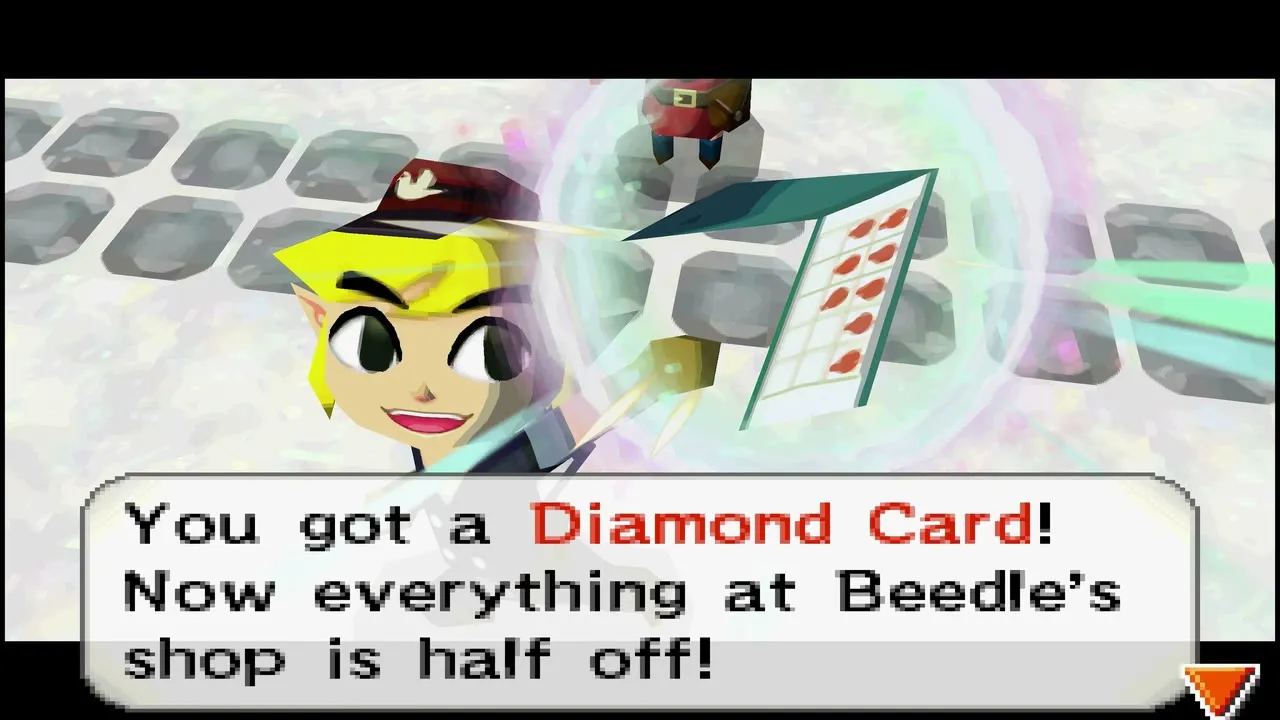
| Card | Points | Discount | Reward |
|---|---|---|---|
 Club Card | Join for 100 rupees | None | Starts the points |
 Silver Card | 200 | 10% |  Freebie Card (one free item) |
 Gold Card | 500 | 20% |  Heart Container |
 Platinum Card | 1,000 | 30% |  Quintuple Points Card (five times the points) |
 Diamond Card | 2,000 | 50% |  Regal Ring |

Prize Postcards
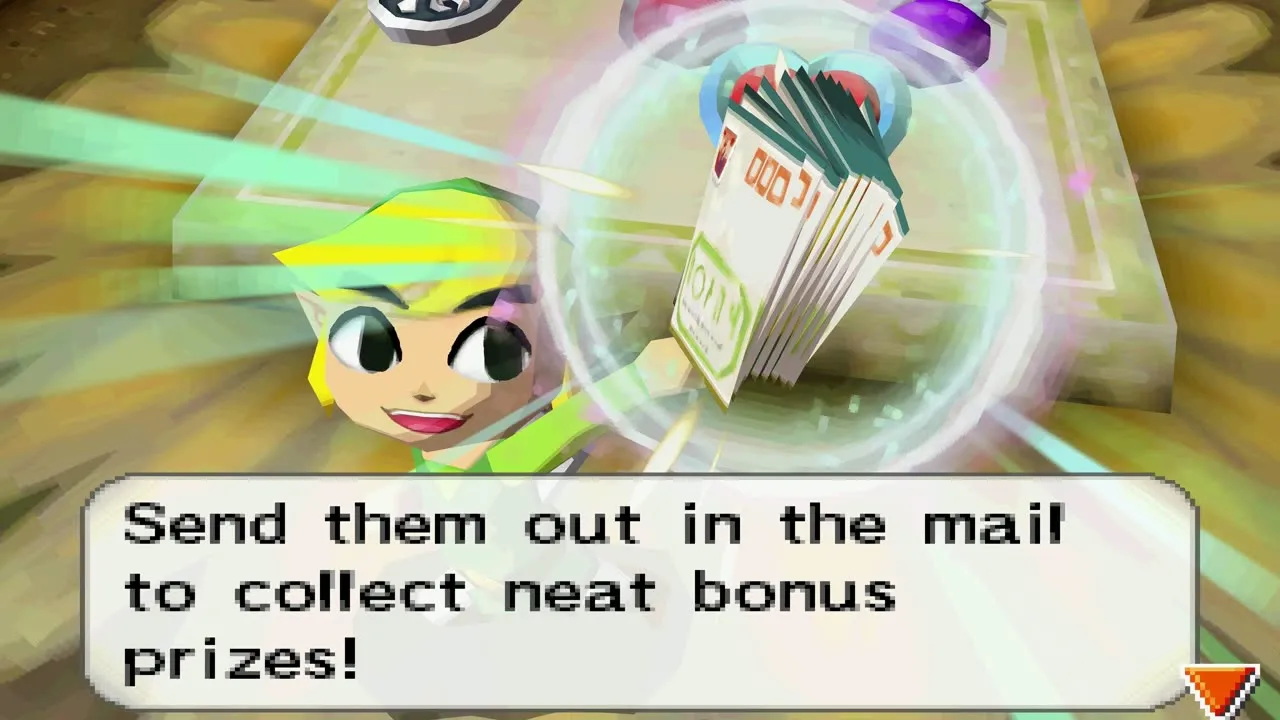
Shops sell packs of 10 Prize Postcards for 100 rupees. You can mail up to 20 a day in a mailbox. After midnight the postman tells you the result, and prizes include treasure.
Story items

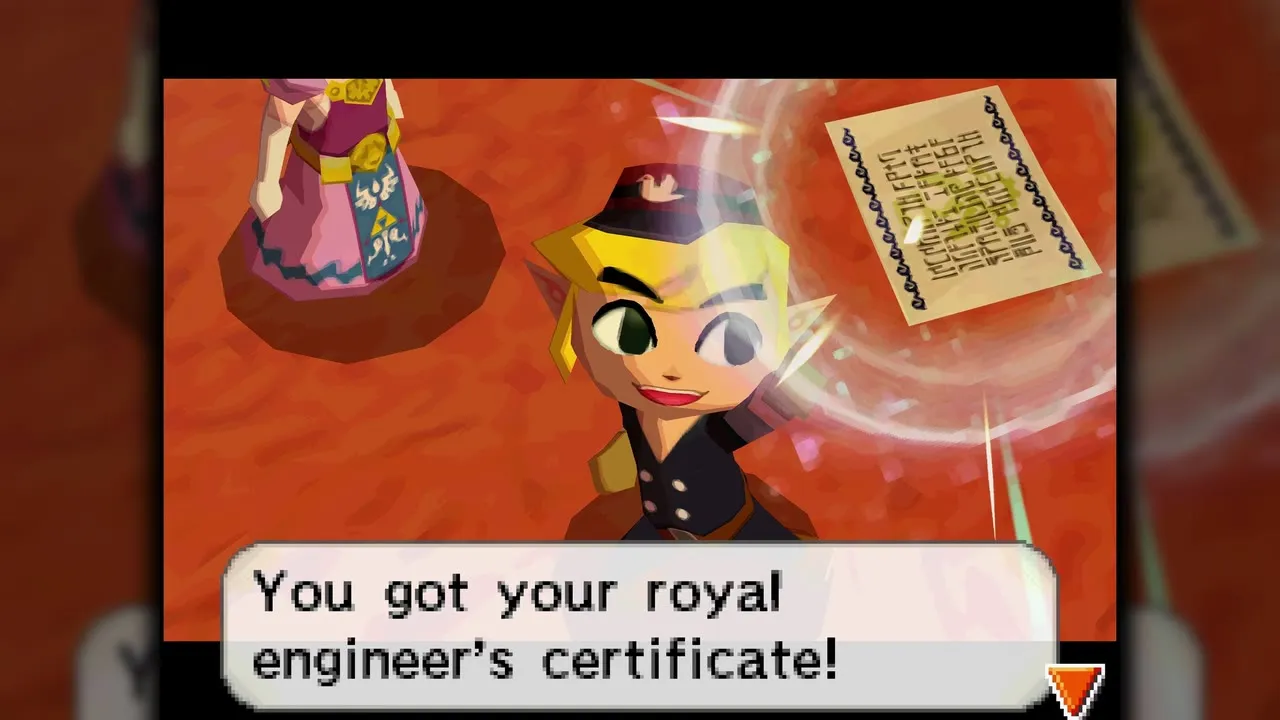
Royal Engineer’s Certificate
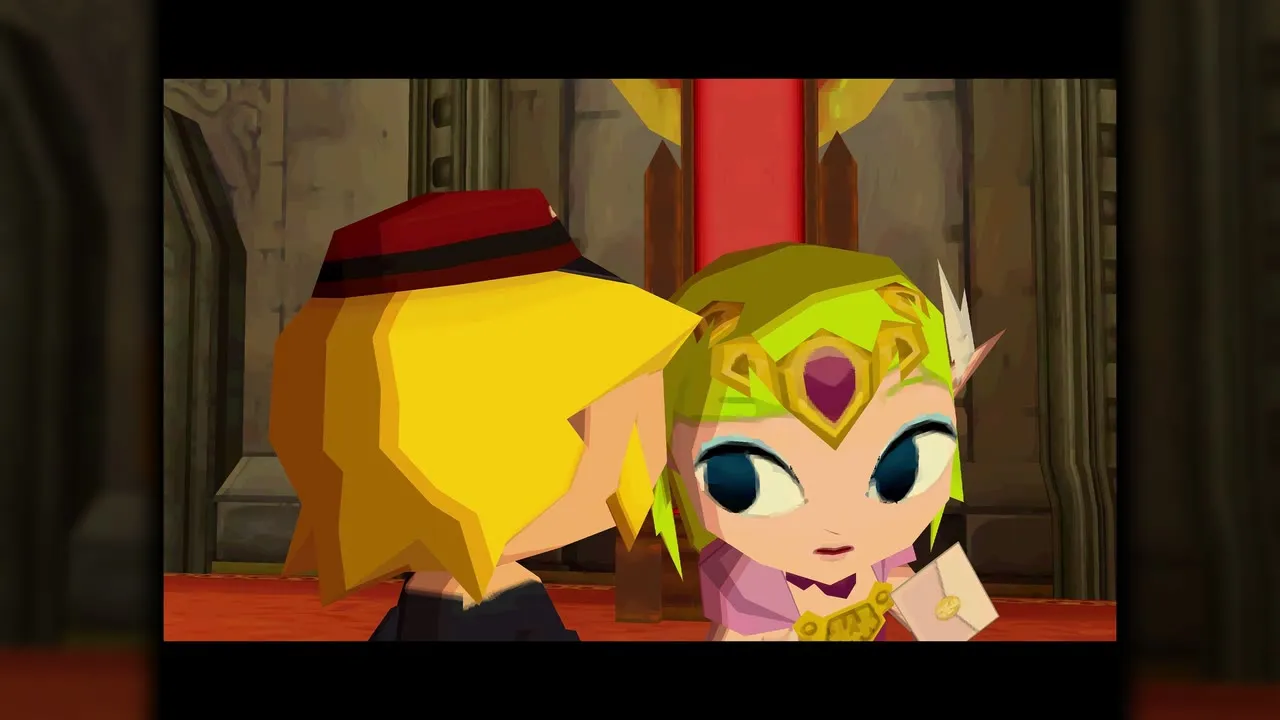
Zelda gives you this at the graduation ceremony in the throne room of Hyrule Castle. It names you a Royal Engineer. Zelda’s letter follows, asking you to meet her in secret.

Rail Maps
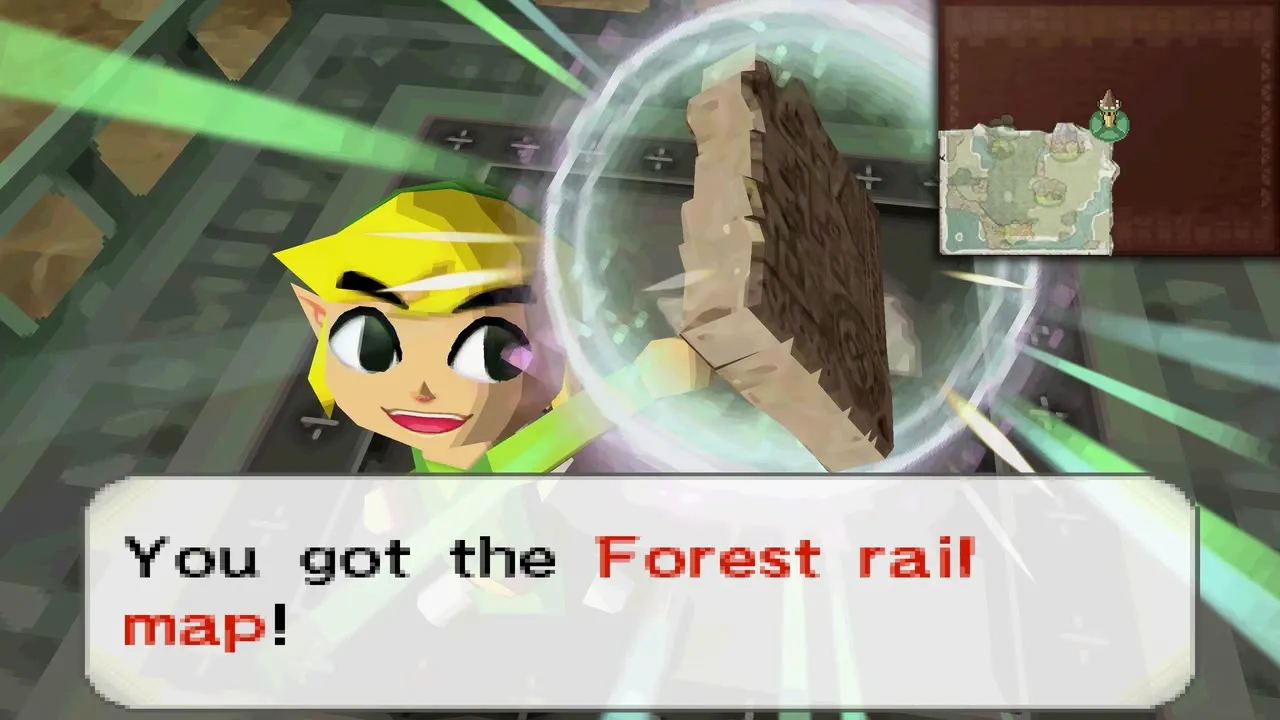
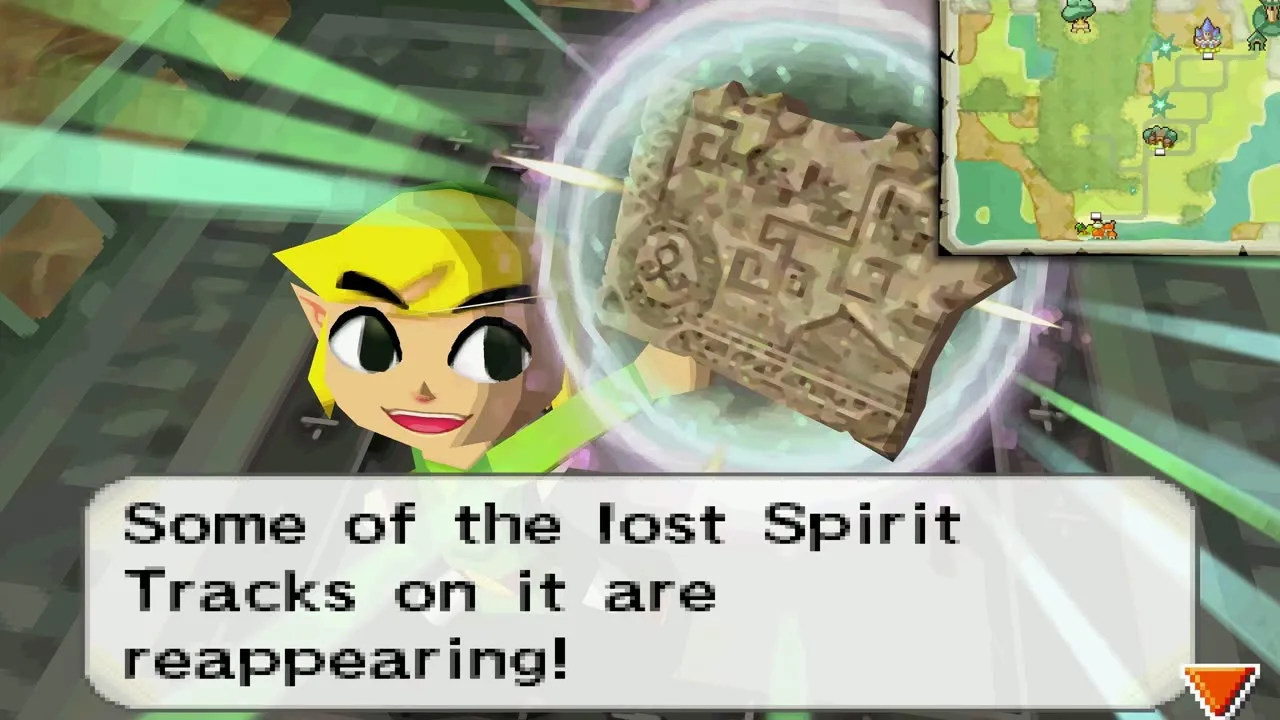
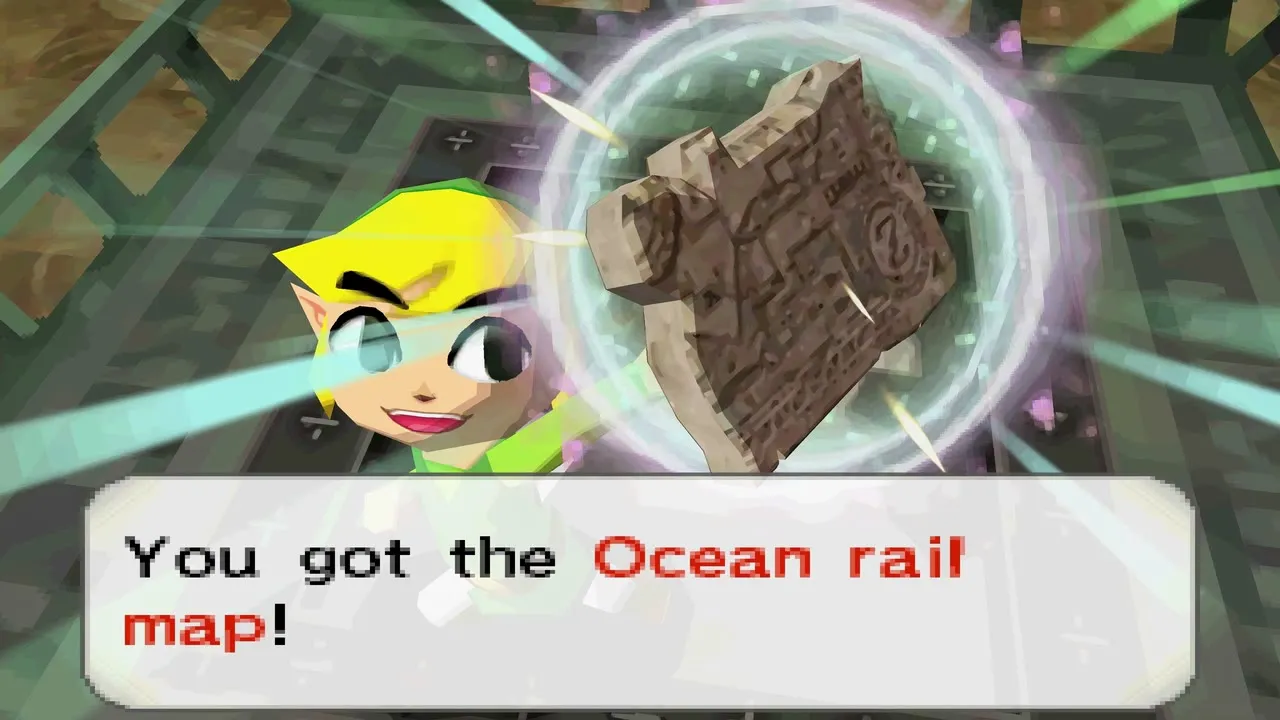
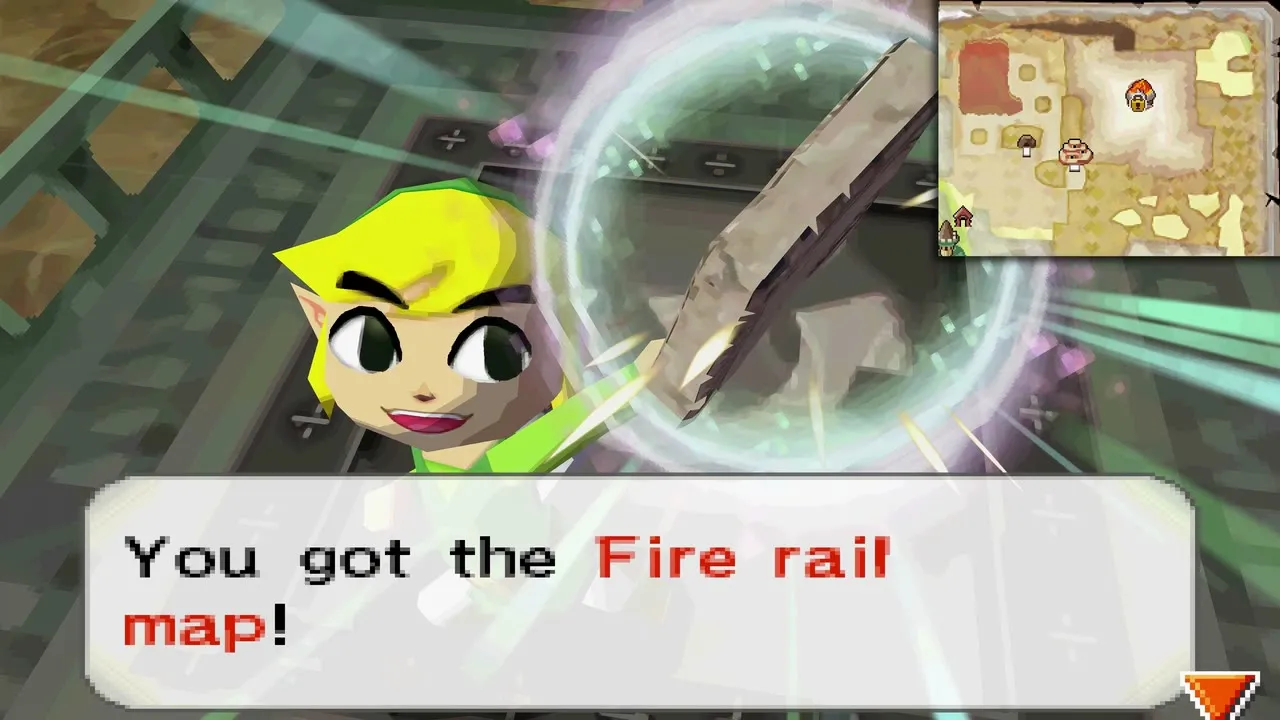
Four rail maps sit in the Tower of Spirits: Forest, Snow, Ocean and Fire, one for each climb. Each one makes part of a realm’s lost tracks reappear. The matching chapters are floors 1 to 3 and the later Tower chapters.

Tears of Light
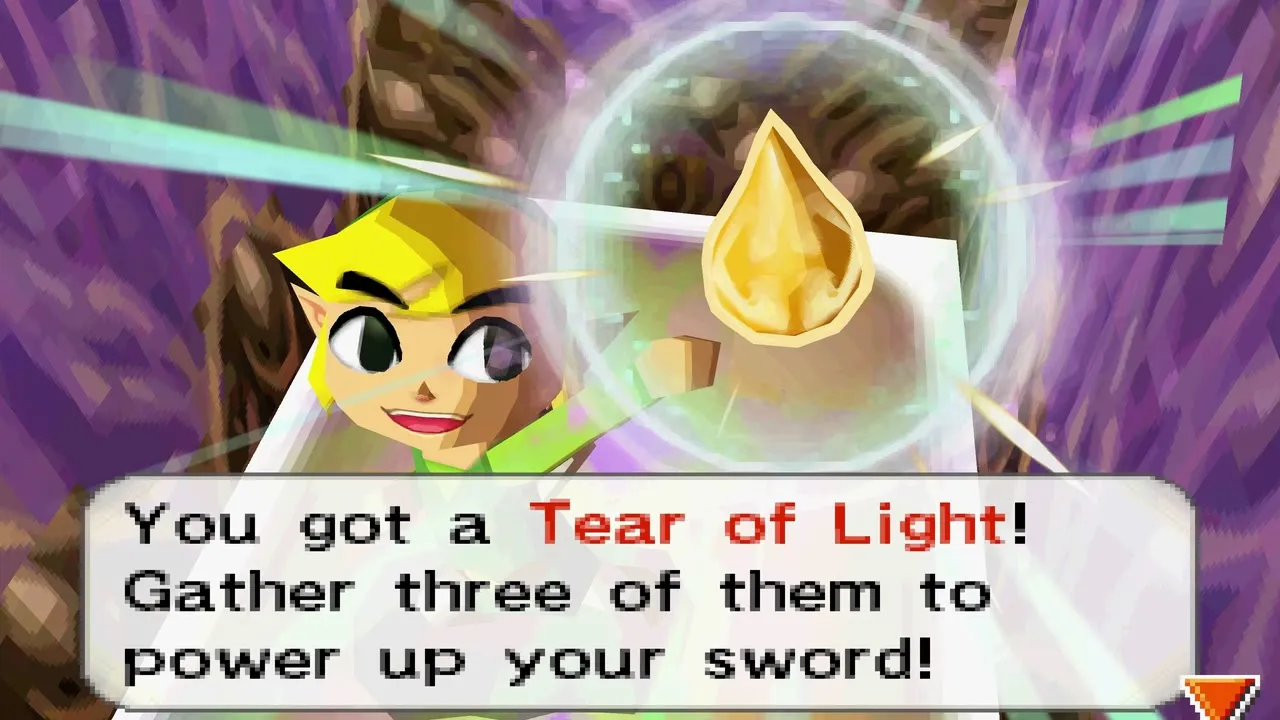
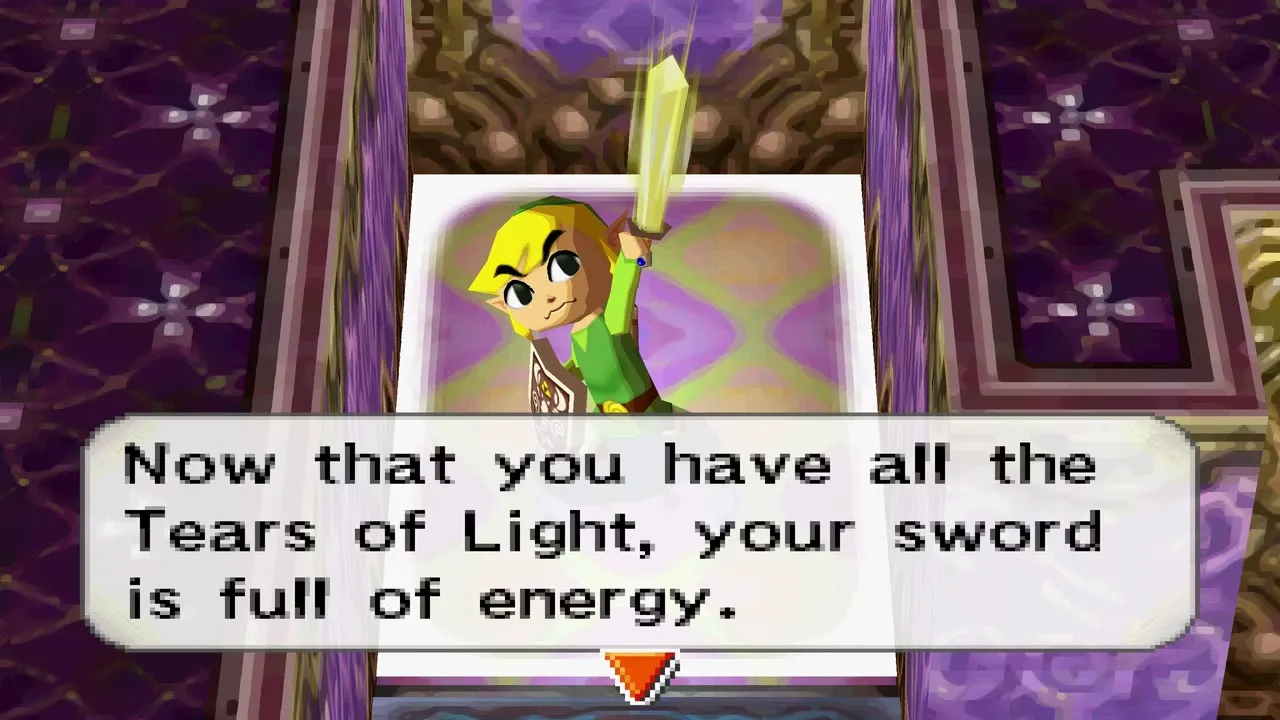
Tears of Light are found in the Tower of Spirits, three on each of the first five climbs. Collect them to charge your sword, then slash a Phantom so Zelda can possess it. Once you own the Lokomo Sword you no longer need them in the Tower, and eight more are scattered through the Dark Realm.
Compass of Light
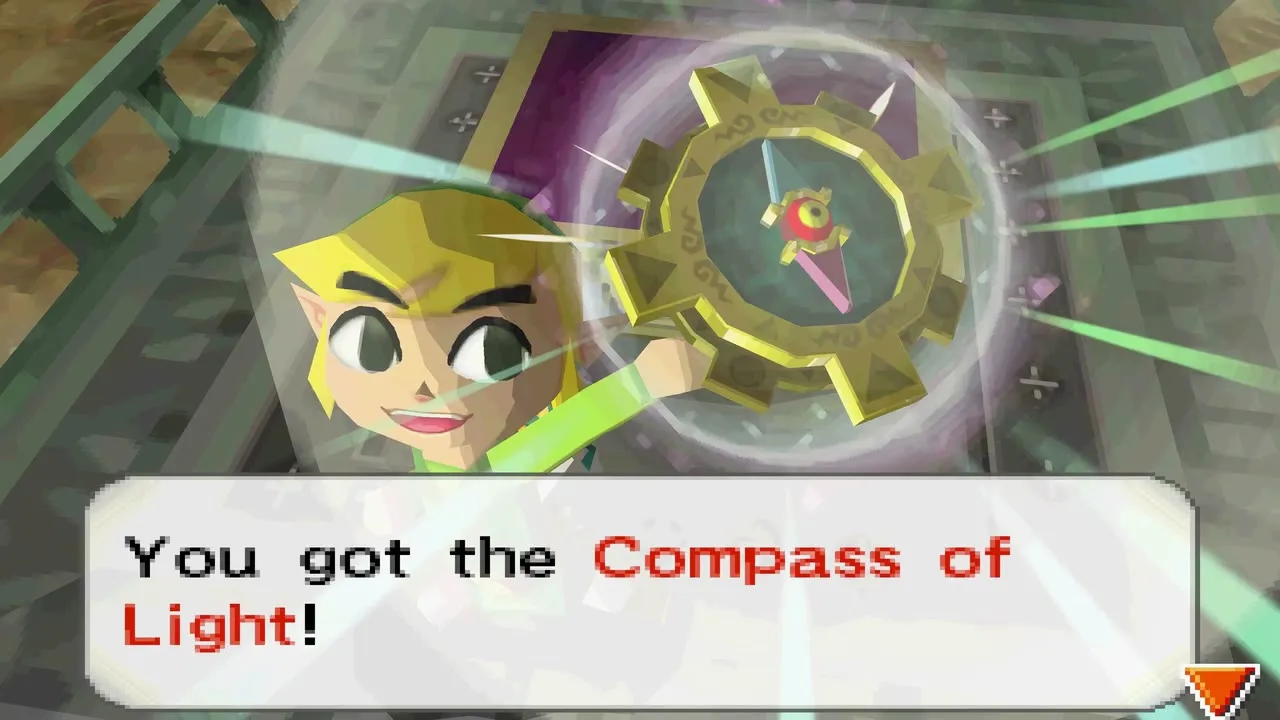
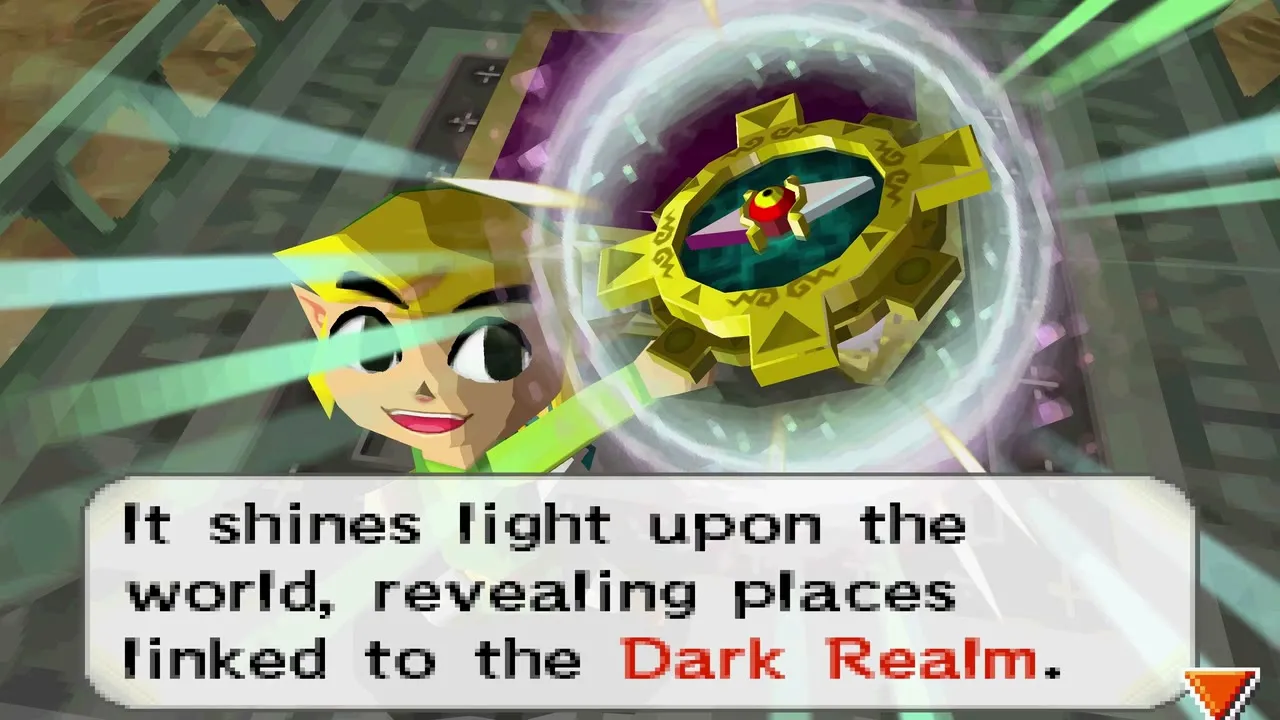
You find the Compass of Light in a chest on floor 24 of the final Tower of Spirits climb, reached by a hidden stretch of track beneath the altar. It shows the tracks that lead west of Aboda Village to the Dark Realm. The last Tower chapter has the route.
Cargo for the freight car
Cargo is bought at one station and delivered to another for a Force Gem or a prize. It spoils or breaks if enemies hit the train, and some of it melts, cools or fades during a long trip.
| Cargo | Where to buy | Price | Amount | Use |
|---|---|---|---|---|
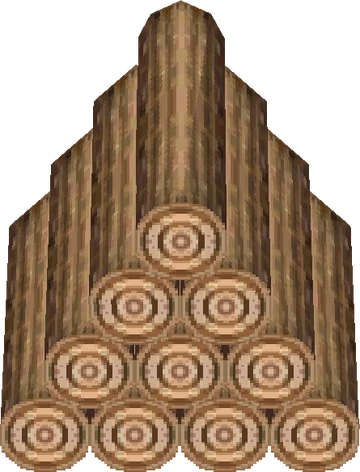 Lumber | Whittleton, Forest Realm | 50 | 10 | Yeko’s delivery to Anouki Village (a Force Gem; he wants 15, so make two loads) |
| Cuccos | Castle Town | 50 | 5 | Harry’s delivery to Aboda Village (10, in two trips) and Rael’s delivery to the Sand Sanctuary (5); each earns a Force Gem |
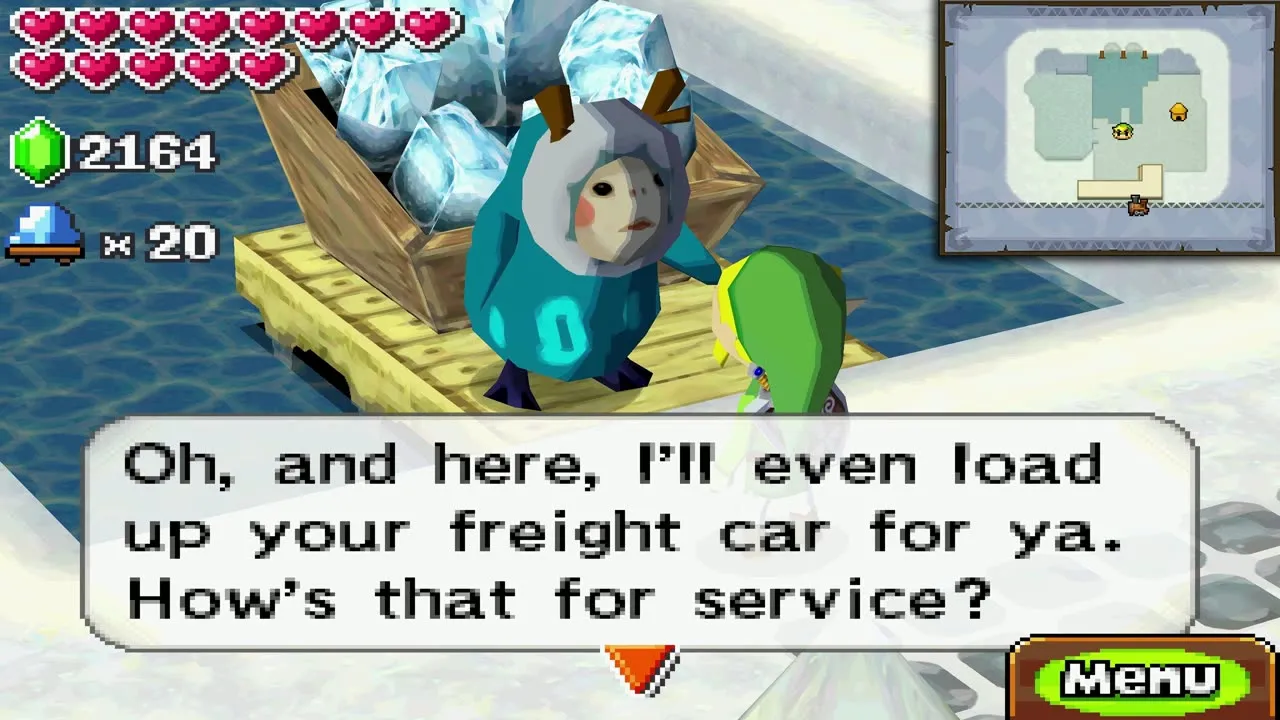
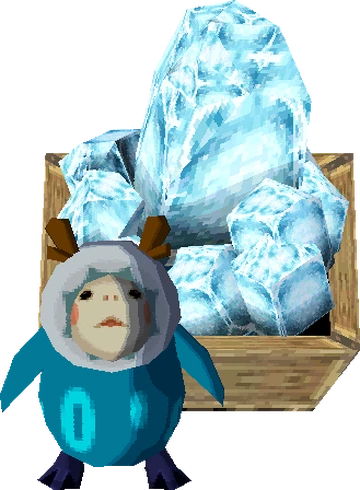 Mega Ice | Wellspring Station, Snow Realm | 100 the first time, then 50 (often less if you haggle) | 20 | The Gorons’ request and Niboshi’s delivery to Papuchia (Force Gems); stays frozen only inside the Snow Realm |
| Fish | Papuchia Village, Ocean Realm | 50 | 20 | Lucia’s delivery to Hyrule Castle Town (a Force Gem) |
 Vessel | Papuchia Village (the Wise One) | 300 | 1 | Steem’s delivery to the Snow Sanctuary (a Force Gem) |
 Goron Iron | Goron Village smithy, Fire Realm | 100 | 20 | Mash’s delivery to Whittleton (a Force Gem); stays hot only in the Fire Realm |
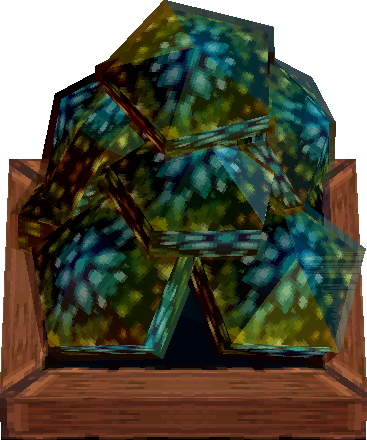 Dark Ore | Dark Ore Mine, Fire Realm | 200 | 10 | Linebeck III’s delivery to the Trading Post (a Force Gem) |
The full list of Force Gem requests is on the Force Gems page.
Shop prices
Six shops sell the items above, and prices differ a lot between them, so it pays to buy shields at Castle Town and potions at Beedle’s with a card.
| Shop | Stock |
|---|---|
| Castle Town Shop | Shield 80, Red Potion 100, Prize Postcards 100, two random 300-rupee treasures |
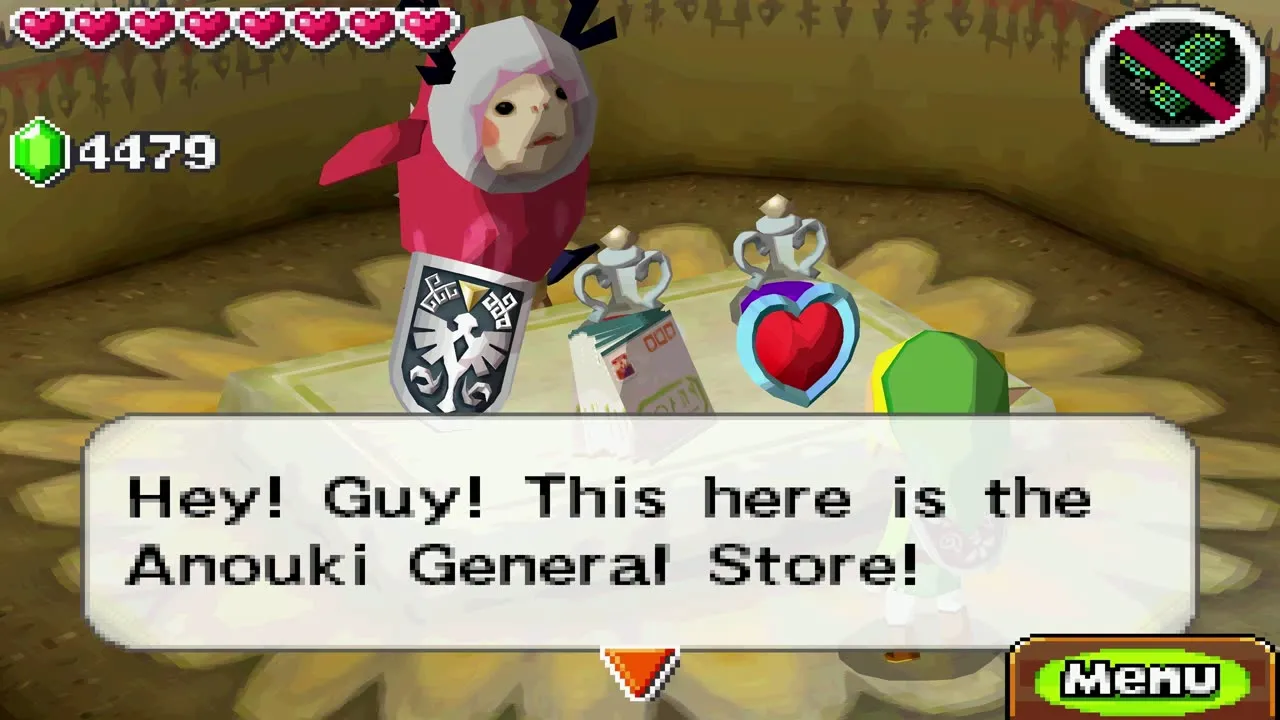
| Anouki General Store (Snow Sanctuary) | Shield 150, Red Potion 100, Purple Potion 150, Prize Postcards 100, Heart Container 2,000 (once), then a random 300-rupee treasure |
| Goron Country Store (Goron Village) | 10 Bombs 200, Yellow Potion 200, Purple Potion 150, Shield 200, Quiver upgrade 2,000 (once), then Prize Postcards 100 |
| Kogane’s Shop (Papuchia Village) | 10 Bombs 150, plus arrows and potions |
| Beedle’s Air Shop | Bomb Bag 500, 10 Bombs 100, Red Potion 100, Purple Potion 150, one treasure at 300 and one at 1,000 (all cut by your card) |
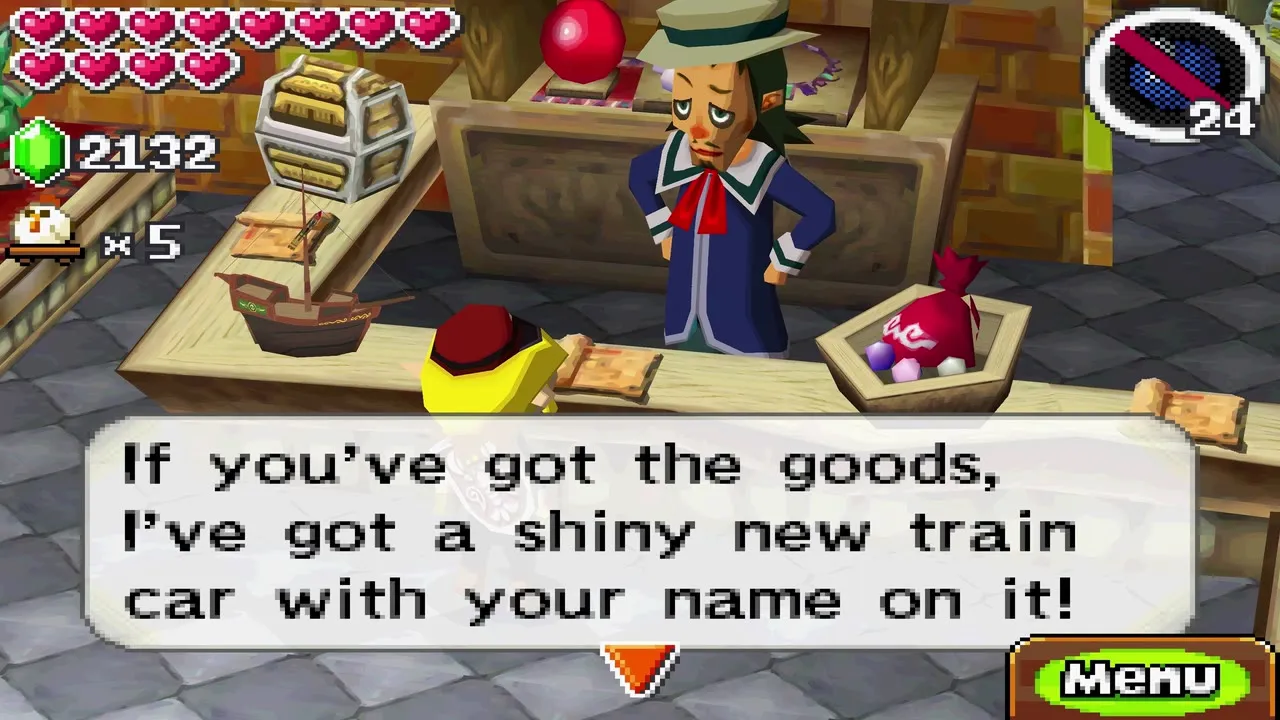
| Linebeck Trading Company | Replacement Shield 100, train cars for treasure, buys treasure |
Treasure values and where to find each piece are on the treasures page, and the 100% route is in the completion checklist.
