| Bosses | 12 boss fights: Yuga (Eastern Palace and Hyrule Castle), Margomill, Moldorm, Gemesaur King, Knucklemaster, Stalblind, Arrghus, Dharkstare, Grinexx, Zaganaga and the final Yuga Ganon |
|---|---|
| Mini-bosses | One in most dungeons, plus the four mini-bosses and the extra soldier in Lorule Castle |
| Rewards | Each of the ten dungeon bosses drops a  Heart Container; Margomill and Moldorm also guard a Pendant, and each Lorule boss guards a Sage’s painting |
| Key tools | Sword, wall merging and the item you found in that dungeon |
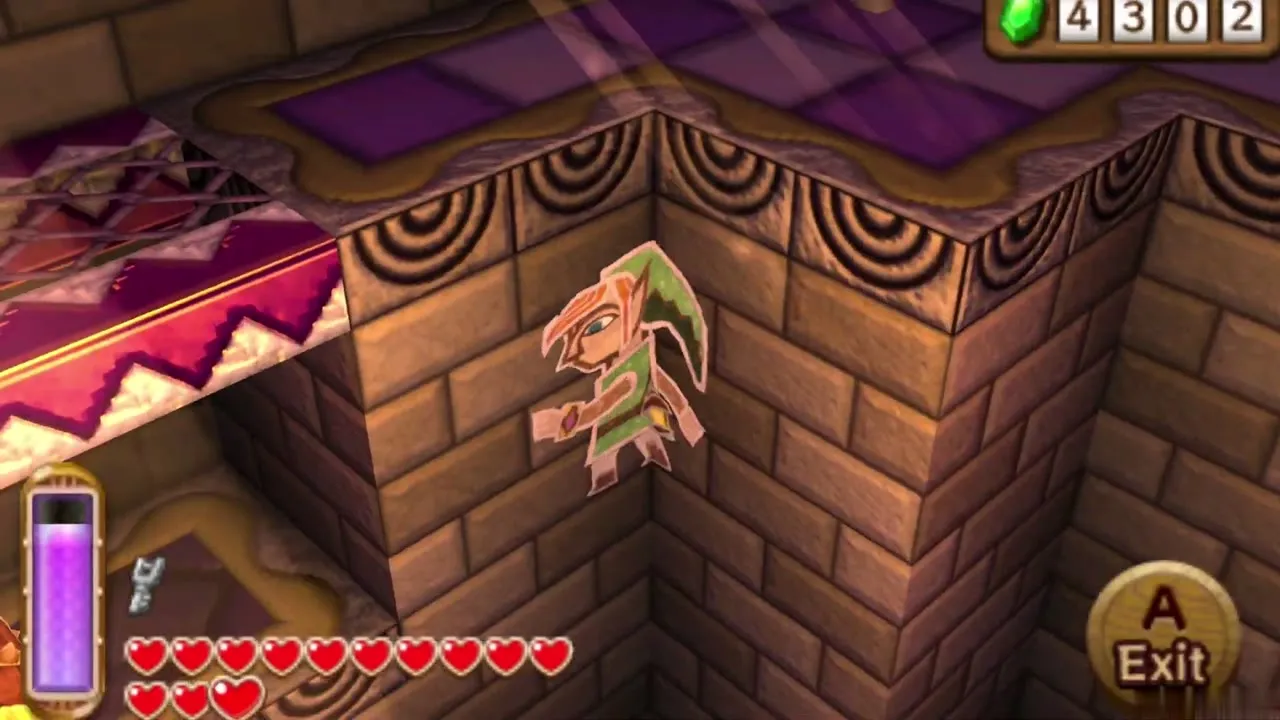
Every boss in this game is beaten by using the dungeon’s own item together with your wall-merging ability. Most fights have two or three phases that repeat the same pattern faster, so learn the first phase and the rest follows. Bring full hearts for the sword beam, fill your bottles with Fairies or Potions, and rent the right items from Ravio before you go in. The sections below follow the order of the story.
| # | Boss | Where | What you need |
|---|---|---|---|
| 1 | 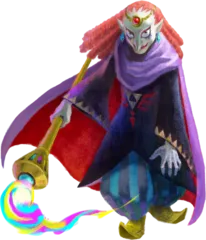 Yuga | Eastern Palace |  Bow |
| 2 | 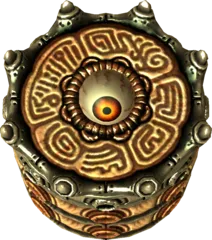 Margomill | House of Gales |  Tornado Rod, Sword;  Hammer or Bow help |
| 3 | 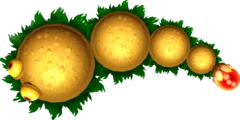 Moldorm | Tower of Hera | Sword |
| 4 | Yuga | Hyrule Castle |  Master Sword |
| 5 | 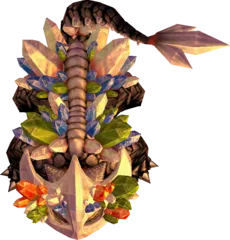 Gemesaur King | Dark Palace |  Bombs,  Lamp |
| 6 | 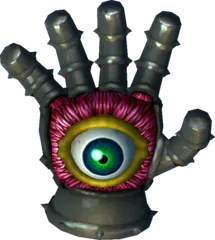 Knucklemaster | Skull Woods | Sword, wall merging |
| 7 | 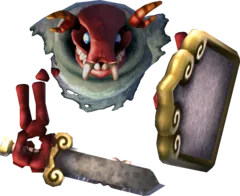 Stalblind | Thieves’ Hideout | Sword, wall merging |
| 8 | 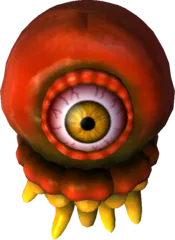 Arrghus | Swamp Palace |  Hookshot |
| 9 | 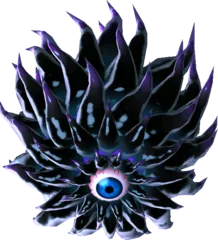 Dharkstare | Ice Ruins |  Fire Rod |
| 10 | 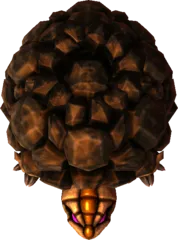 Grinexx | Turtle Rock |  Ice Rod |
| 11 | 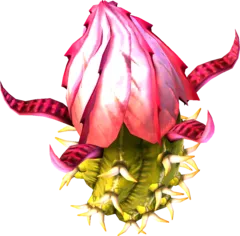 Zaganaga | Desert Palace |  Sand Rod |
| 12 | 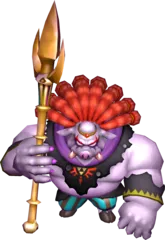 Yuga Ganon | Lorule Castle, Throne Room | Sword, wall merging,  Bow of Light |
Table of Contents
Hyrule bosses
Yuga (Eastern Palace)
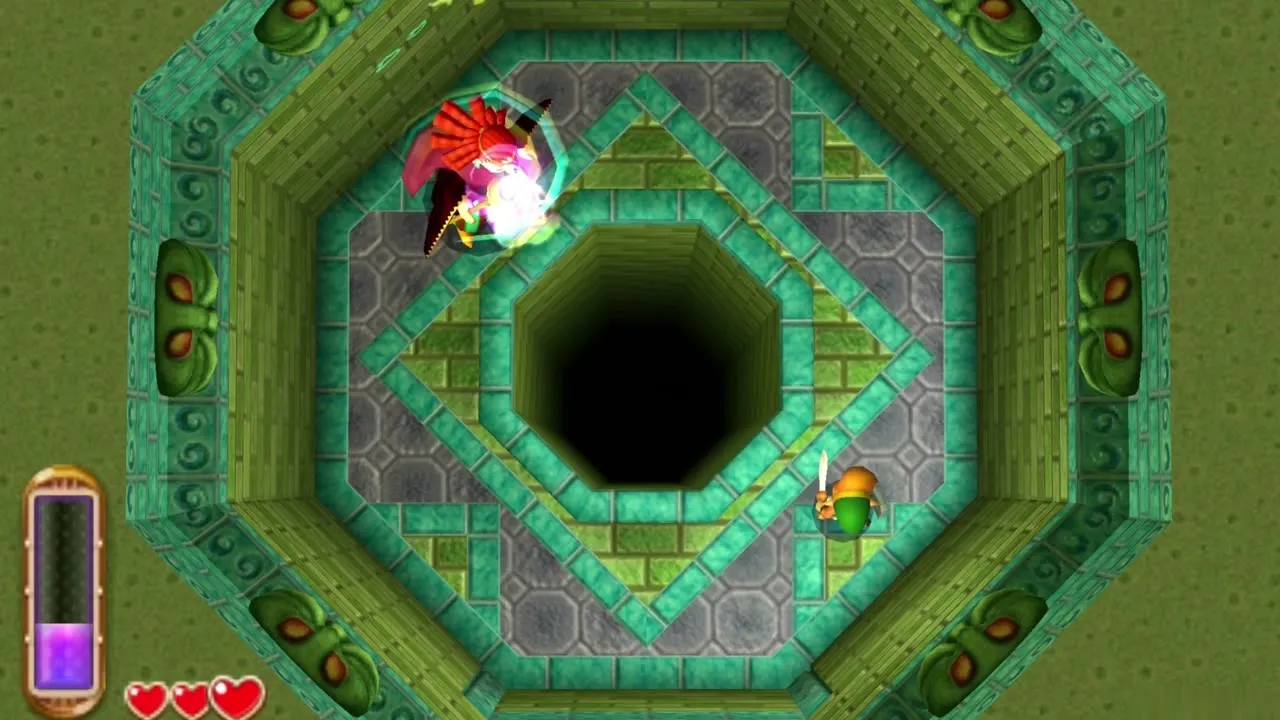
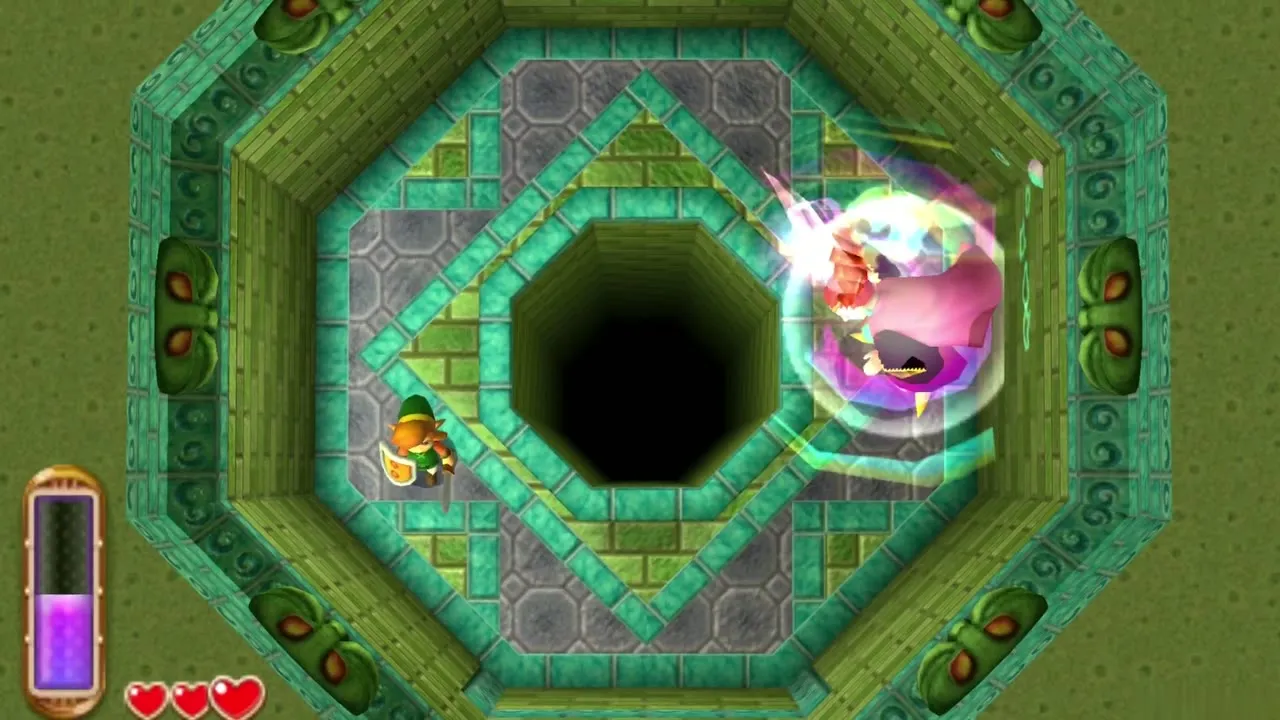
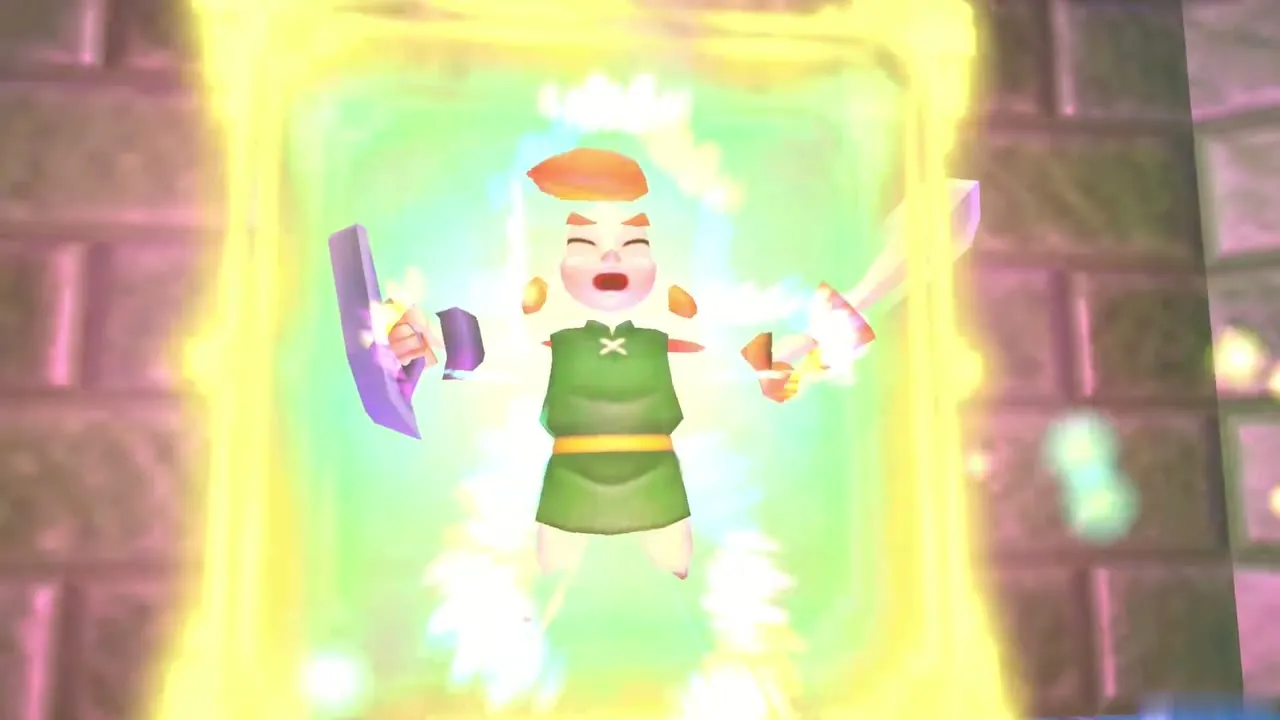
The first boss waits at the end of the Eastern Palace, right after he paints Osfala. Yuga throws energy balls and ducks into the wall whenever you close in, so chasing him is pointless. Shoot him with the Bow instead: an arrow stuns him, and that is your moment to run up and slash. When he slips into the wall and crawls around the room, stand opposite the spot where he will drop out and fire as he emerges. Late in the fight he gets quicker and harder to read, but the plan does not change. He leaves a Heart Container behind, then turns you into a painting. Ravio’s Bracelet frees you, and from then on you can merge with walls.
Heedles (House of Gales mini-boss)
Heedles are the mini-boss of the House of Gales. They are tougher than the dungeon’s ordinary enemies and stand between you and the boss door, so clear them with the Sword before you head for the top.
Margomill
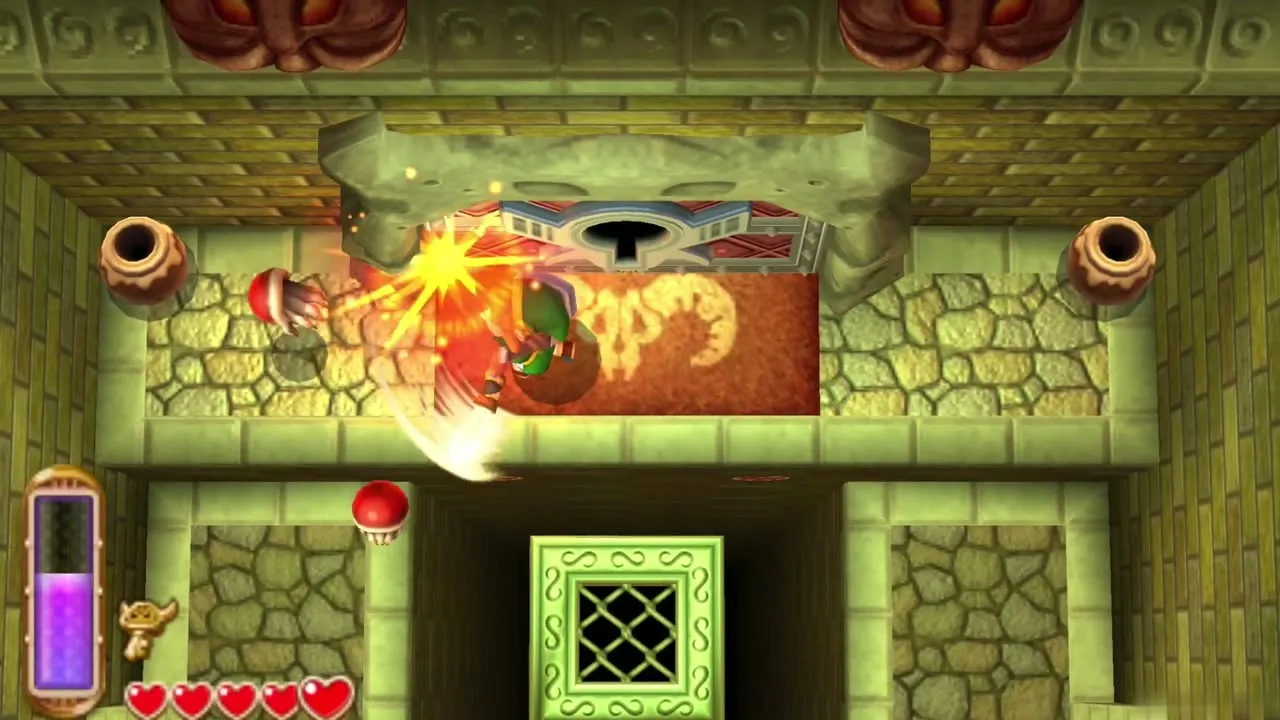
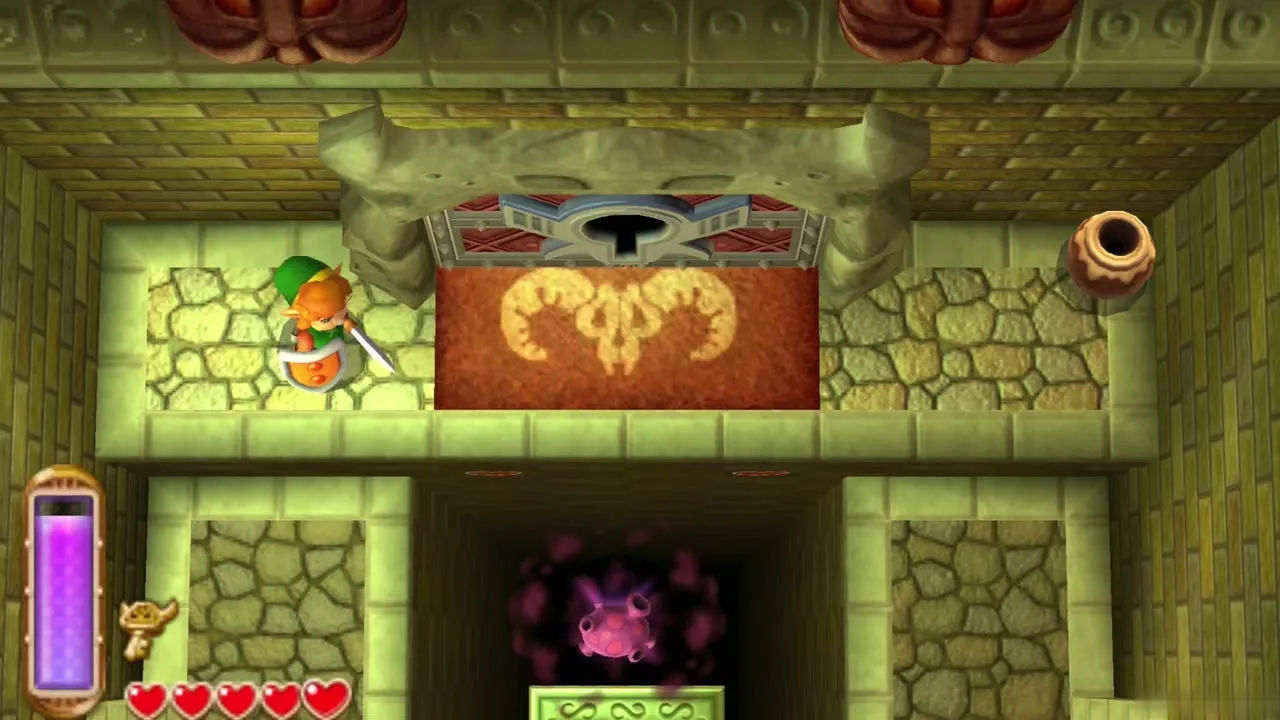
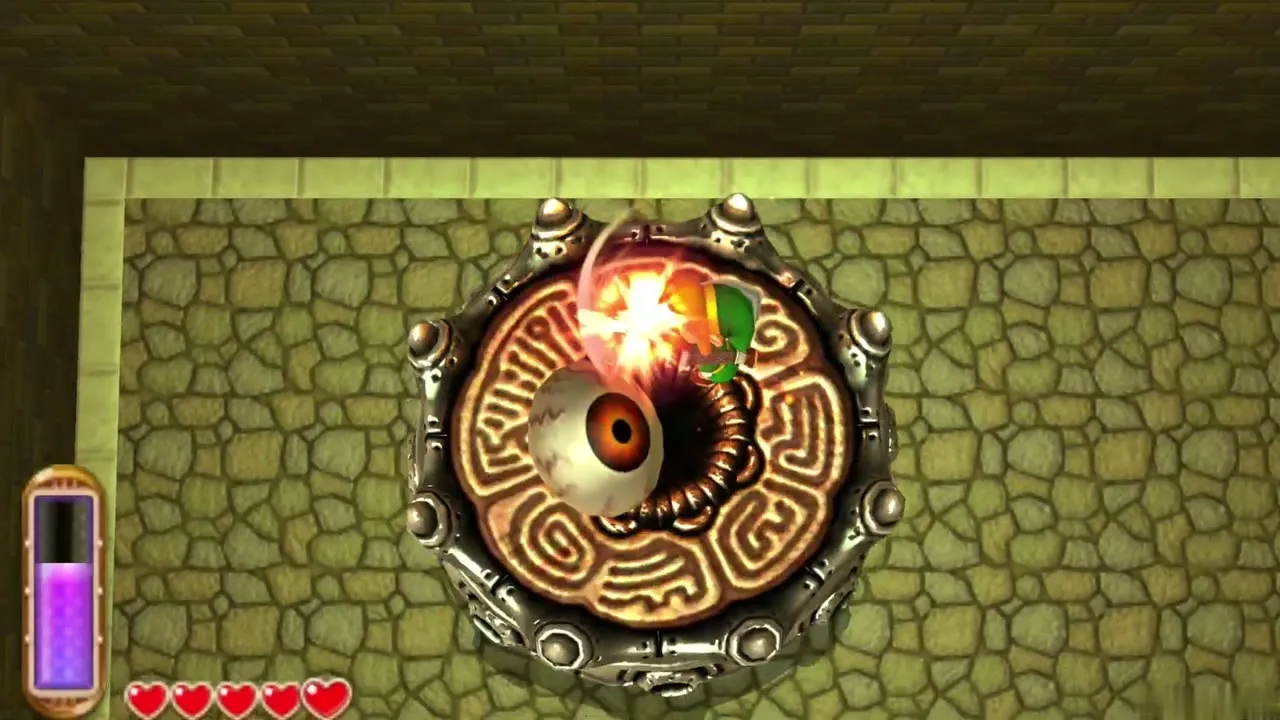
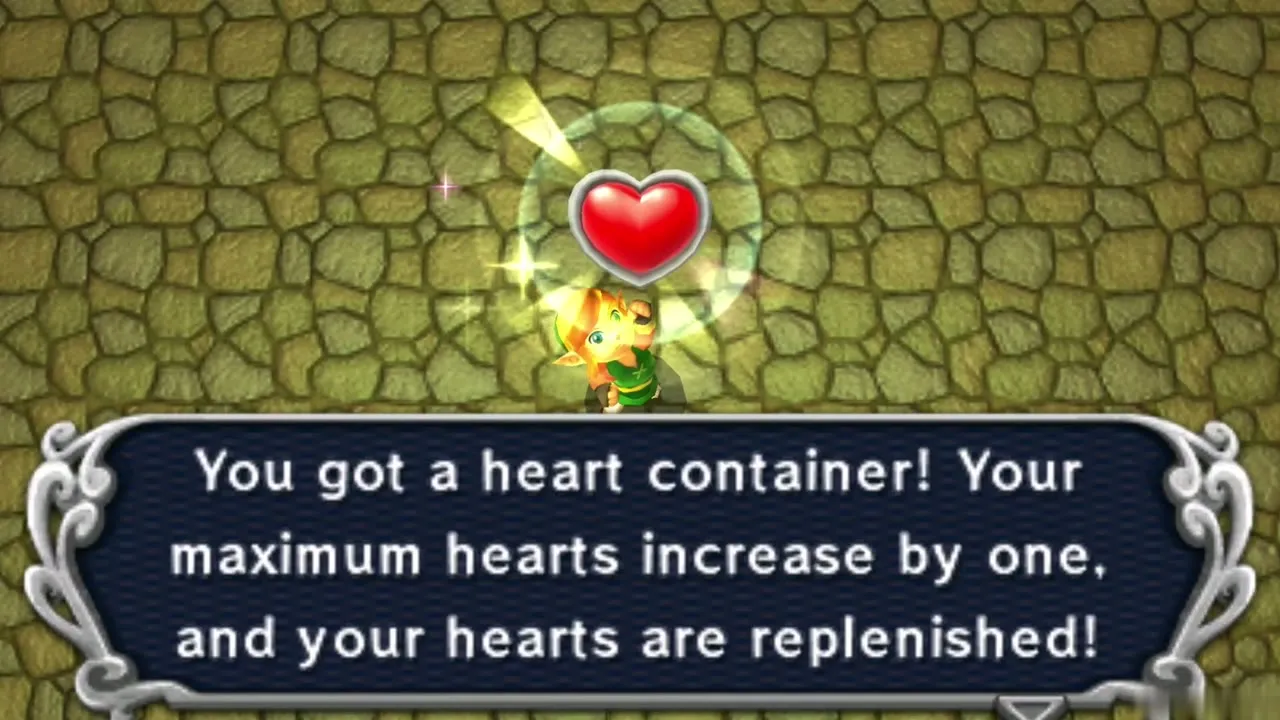
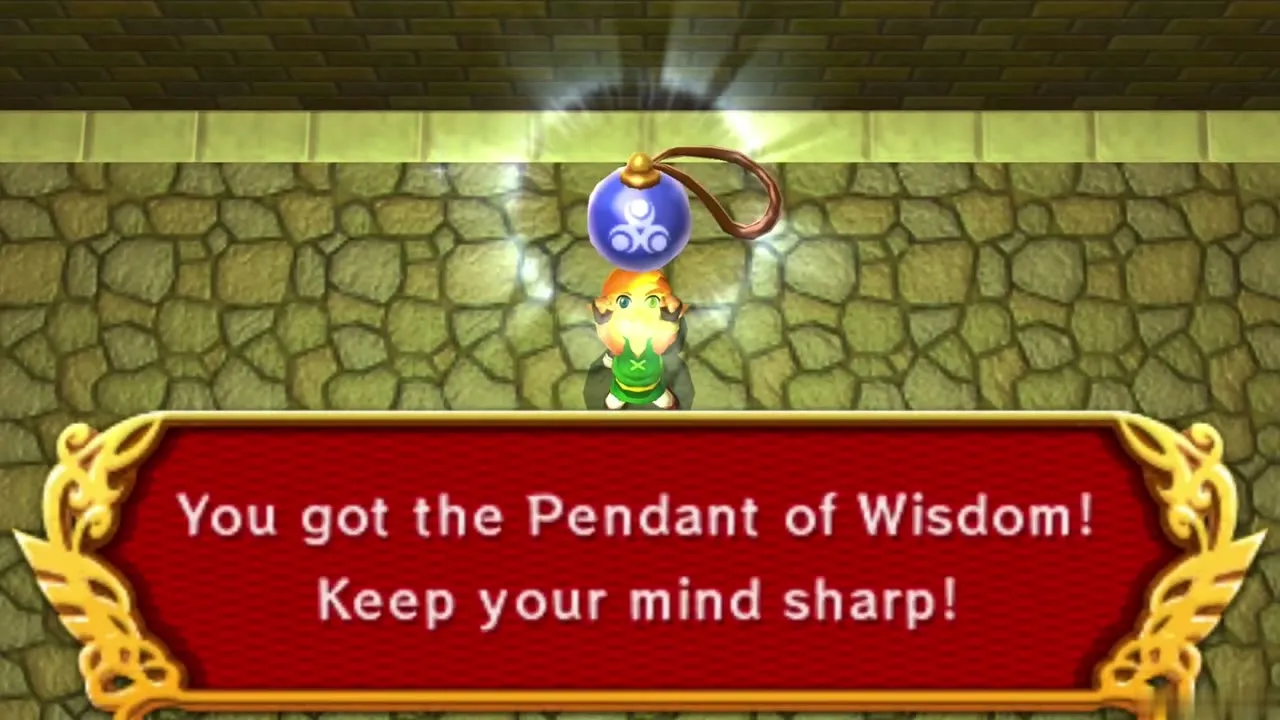
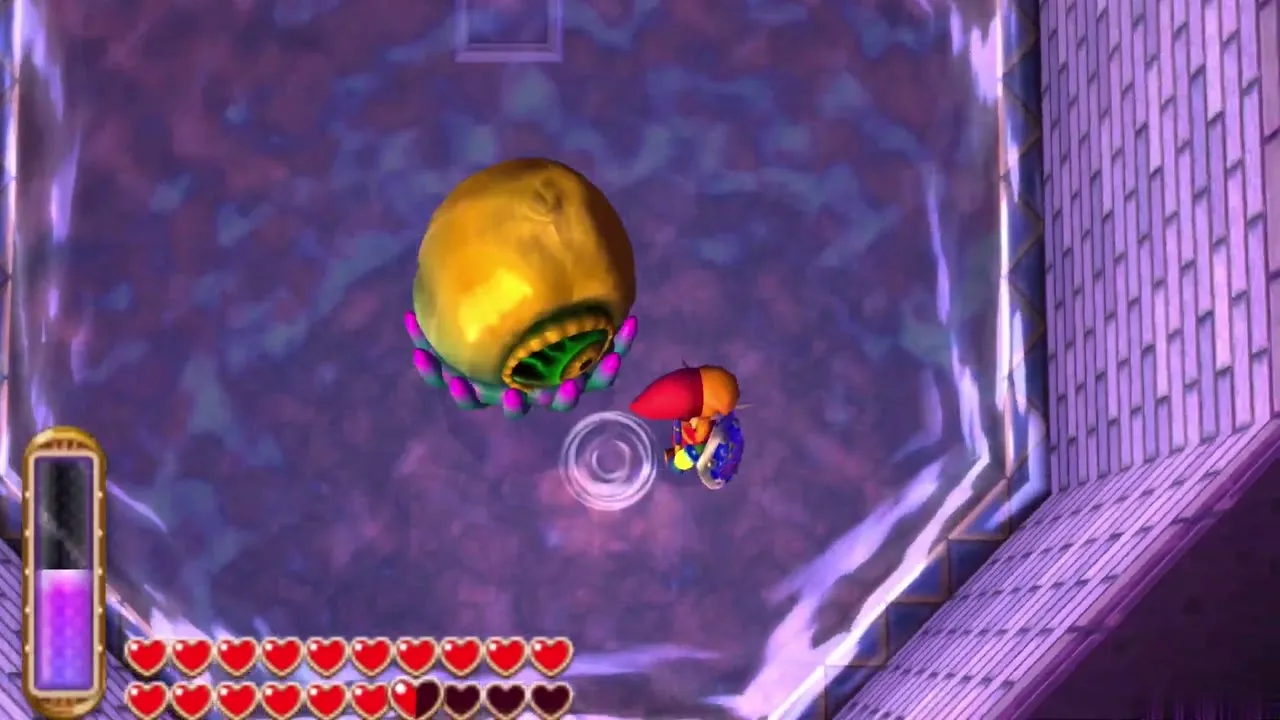
Margomill is a giant eye mounted on stacked, turning platforms, and you fight it on a rectangular floor ringed by a bottomless pit. It spins around the room and can shove you into the pit by touch or with gusts of wind from its body. Use the Tornado Rod to jump up onto it and slash the eye. After a few hits it adds two layers that lift the eye out of reach and shut it. Break those layers with the Sword, Hammer or Bow and the eye opens again. A few more hits and it grows four layers and moves much faster. Break those as well, then finish the eye. You earn a Heart Container and the Pendant of Wisdom.
Moldorm
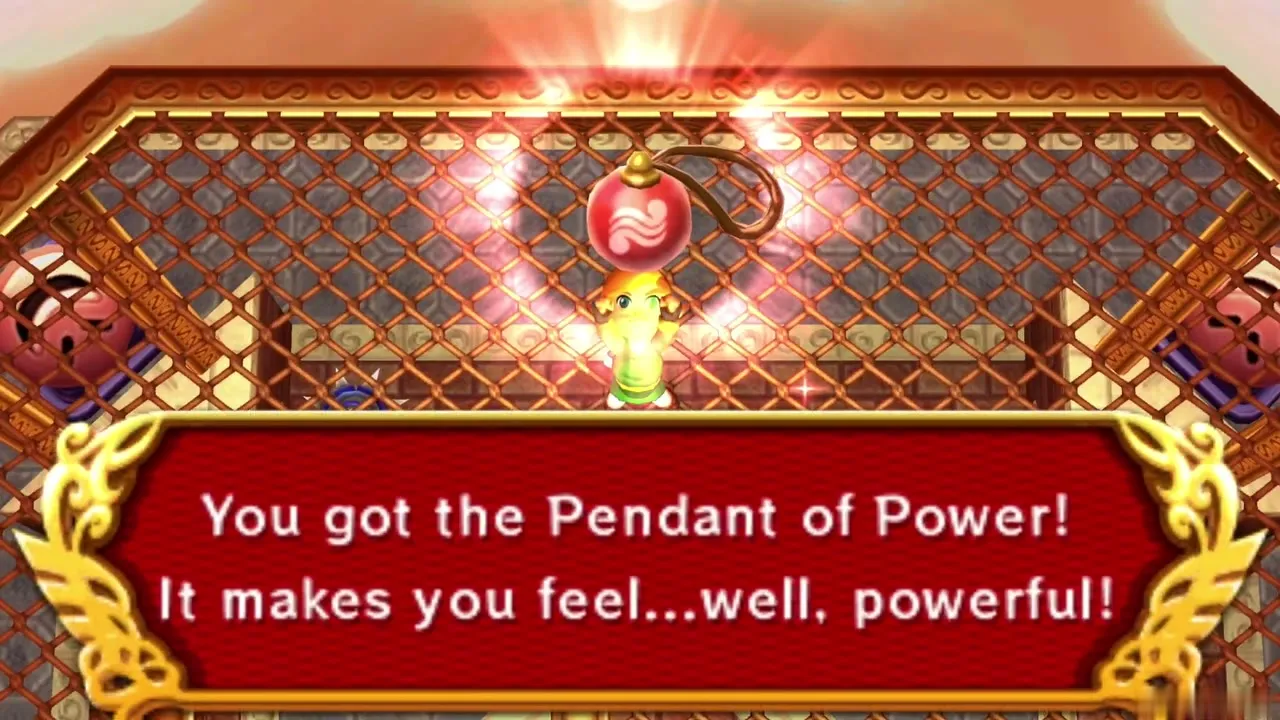
The Tower of Hera boss is the classic Moldorm from A Link to the Past. It slides around a platform above a pit, trying to bump you off, and the only weak point is the tip of its tail. Each hit turns it redder, and each hit also bounces you back, so strike and then step away from the edge. If you do fall, you land on the floor below with hearts nearby, and the damage you dealt stays, so climb back up and carry on. Defeating it gives you a Heart Container and the Pendant of Power.
Yuga (Hyrule Castle)
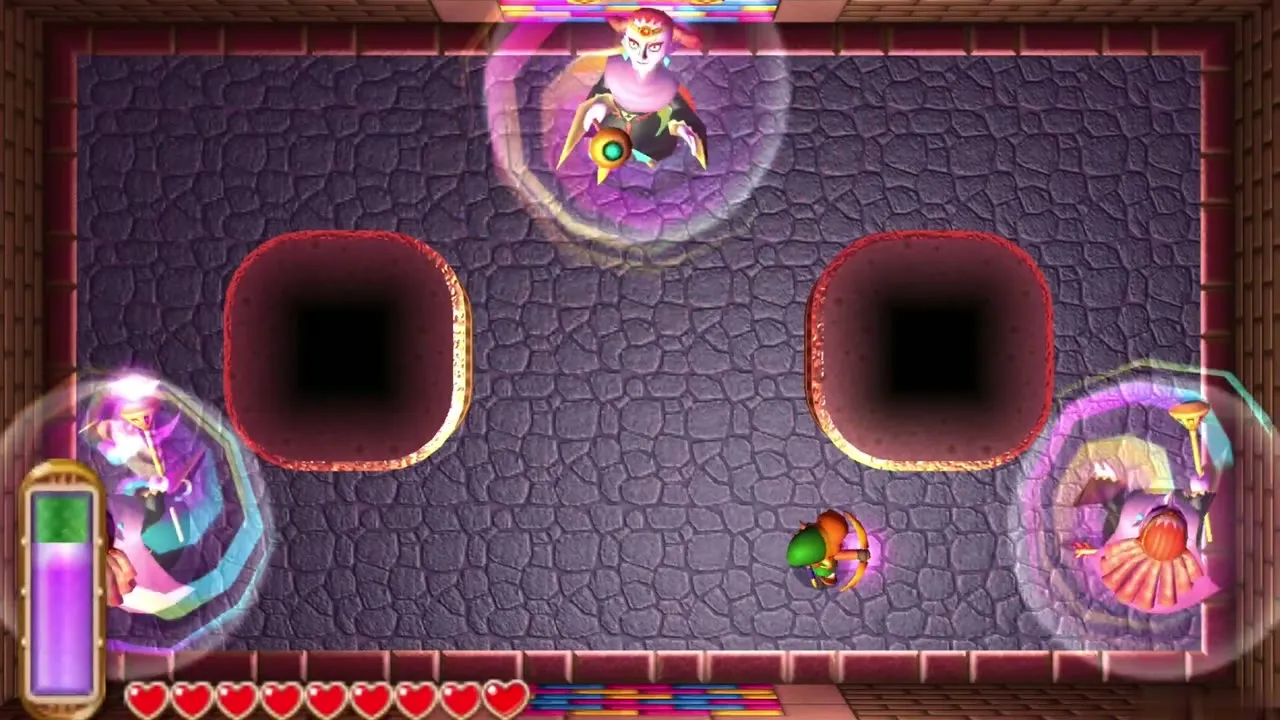
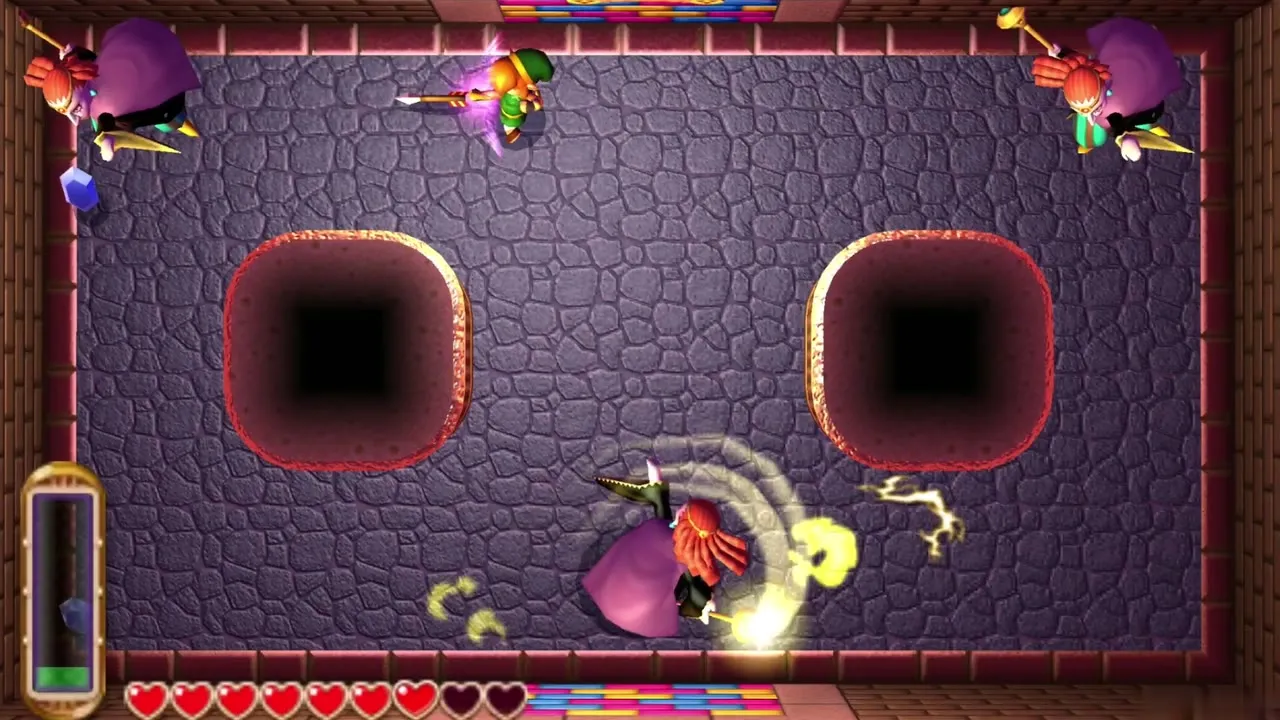
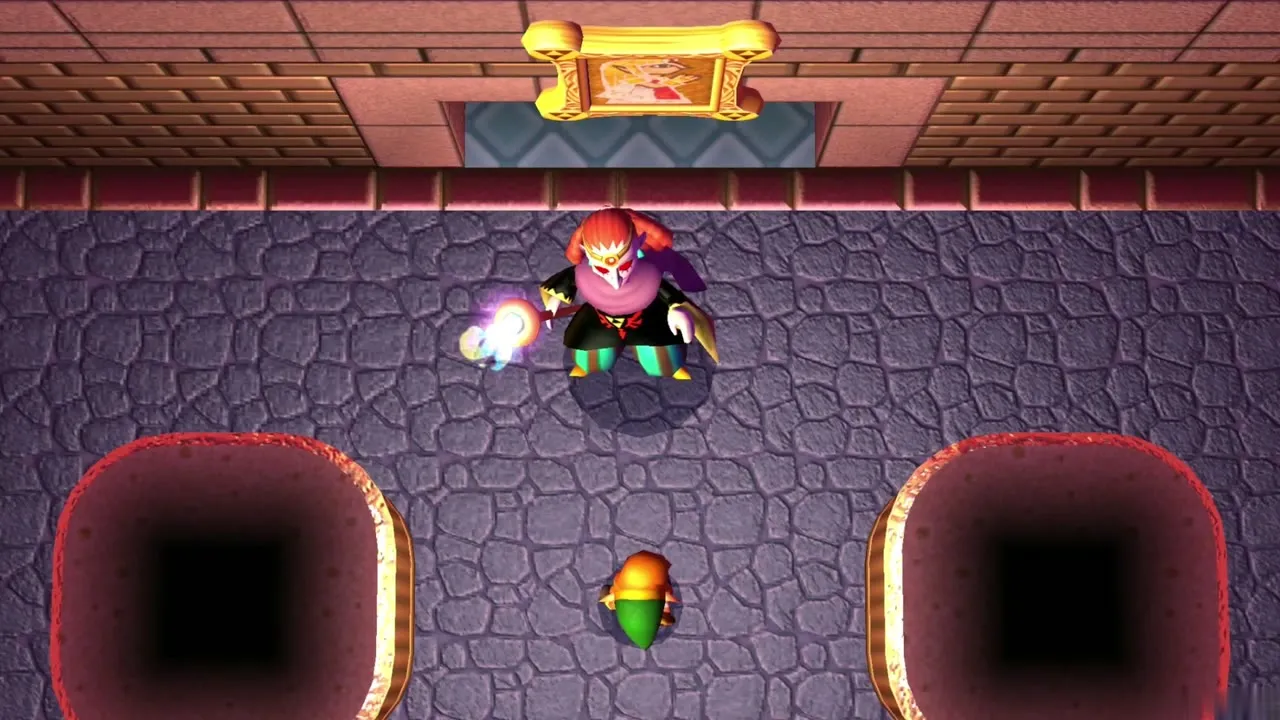
At the top of Hyrule Castle, after you get past the Ball and Chain Soldier on the way up, Yuga returns with two copies of himself. All three cast spells, and standing between the pillars keeps you out of their path. The real Yuga is the one with the glowing staff. Hit him to stun him, then slash. Hit a copy and it turns into a Soldier while the real Yuga answers with a strong spell. As he weakens he becomes faster and less predictable and his spells cover more ground. When he flees, the way to Lorule opens through the crack in the wall behind the curtain in Zelda’s office. This fight gives no Heart Container.
Lorule bosses
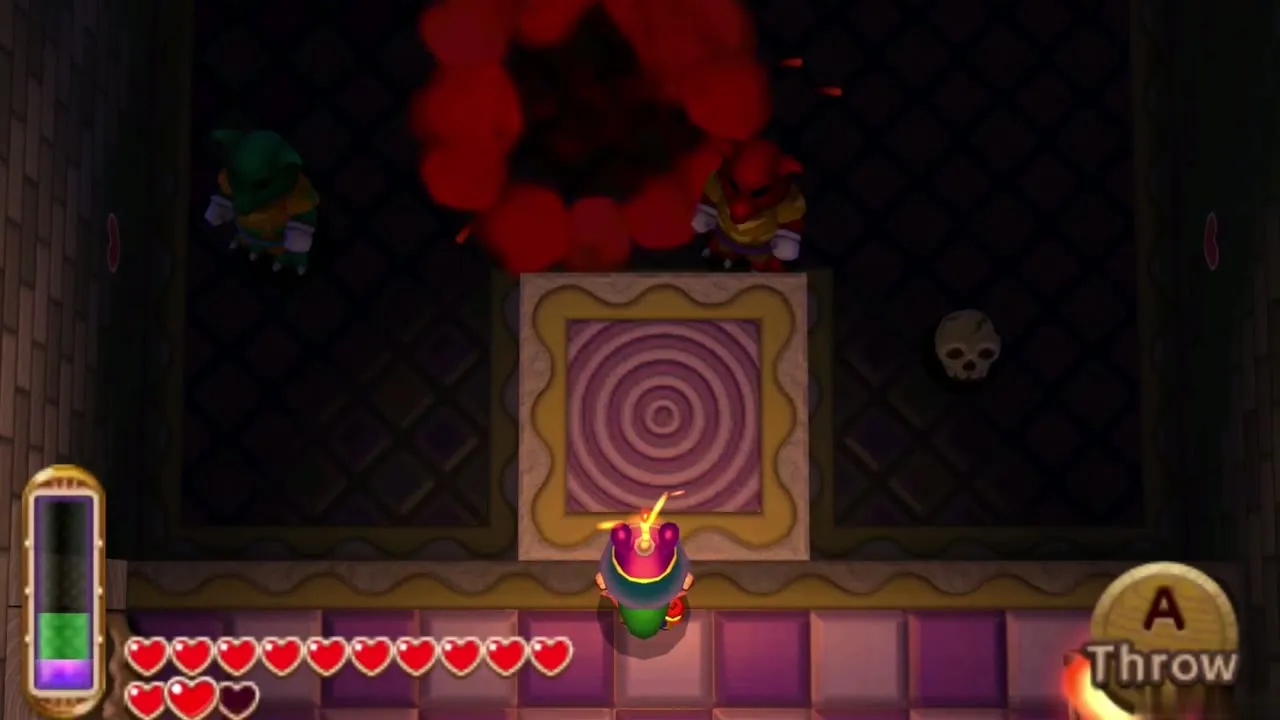
Green and Red Goriyas (Dark Palace mini-boss)
The Dark Palace mini-boss is a pair of Goriyas, one green and one red. They guard the way on and hit harder than ordinary enemies, so fight them with the Sword and heal before the boss.
Gemesaur King
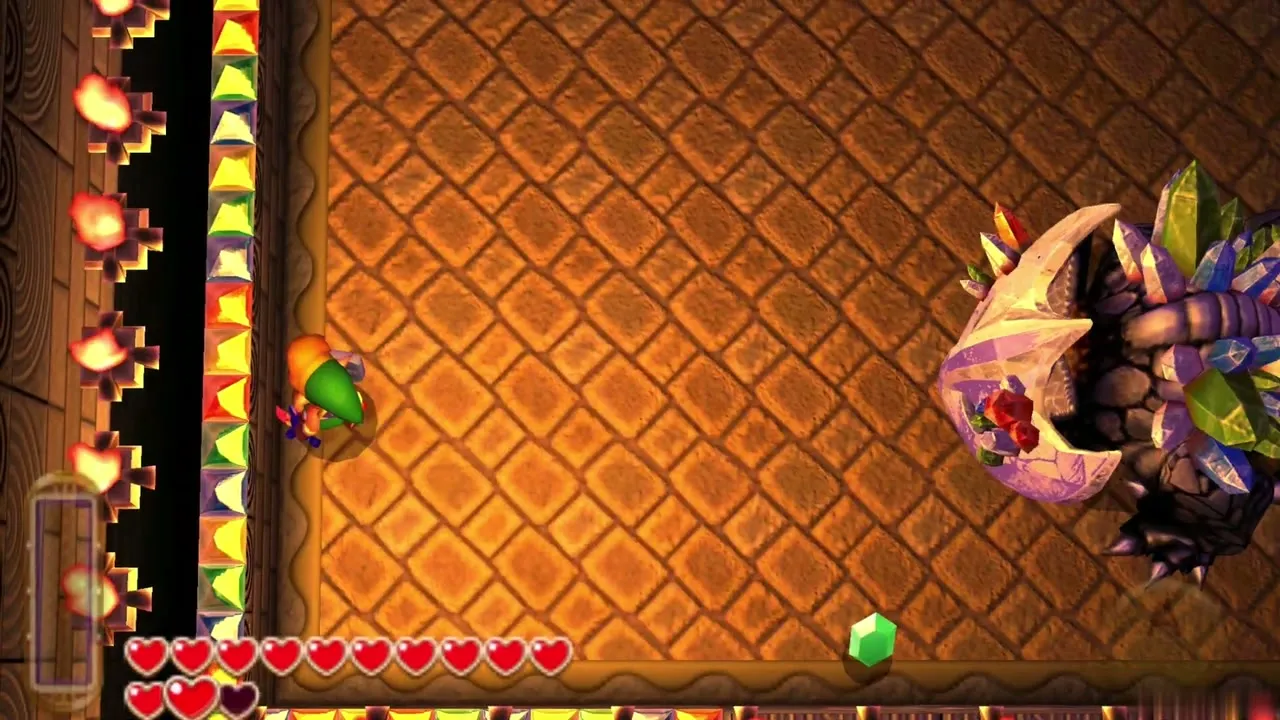
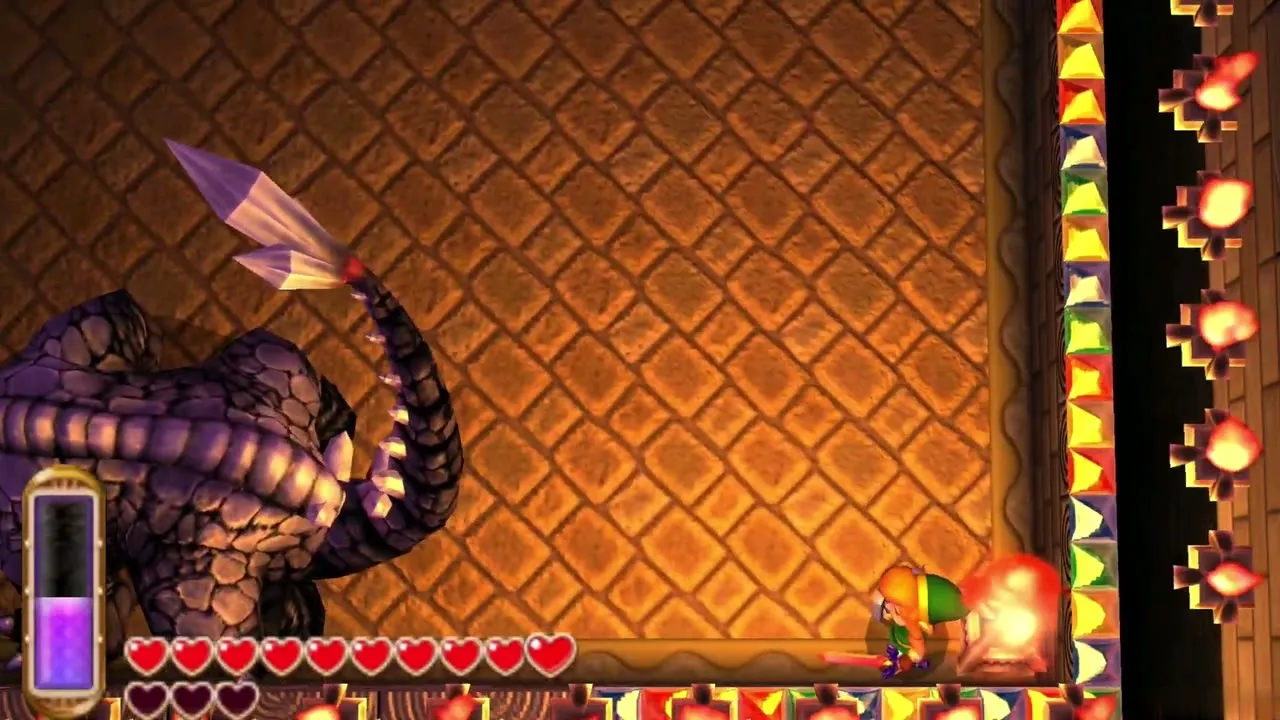
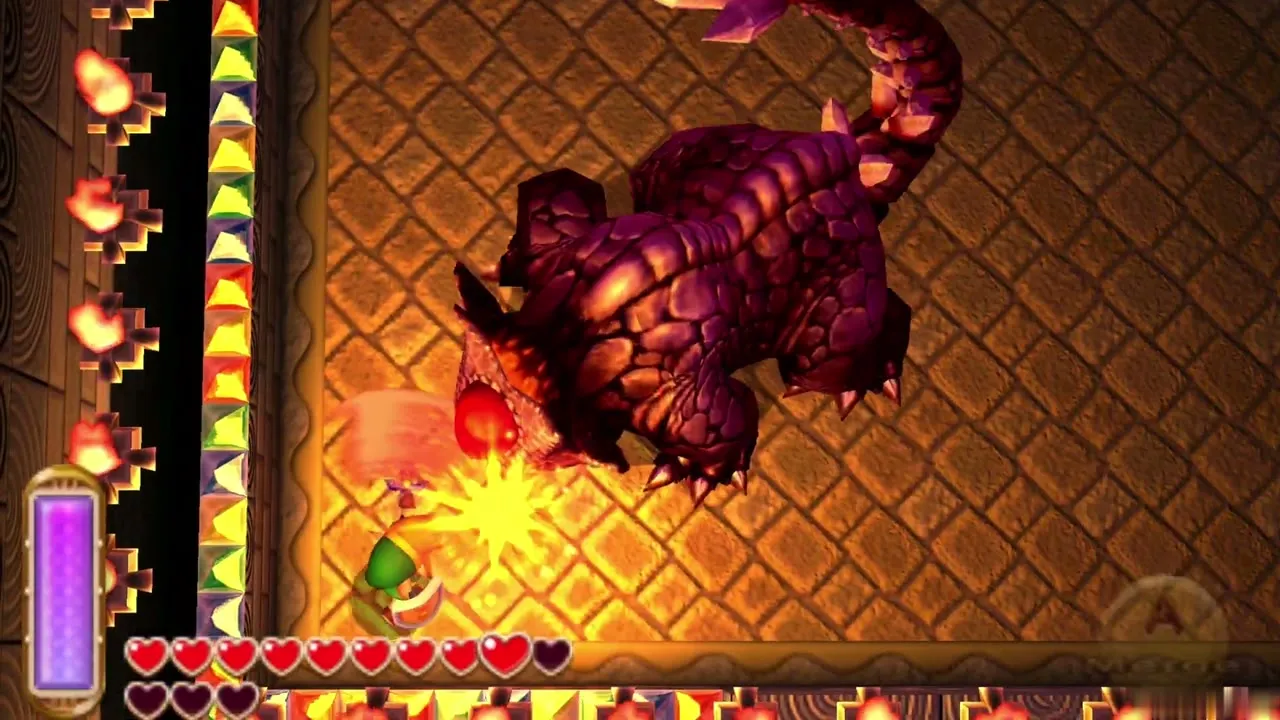
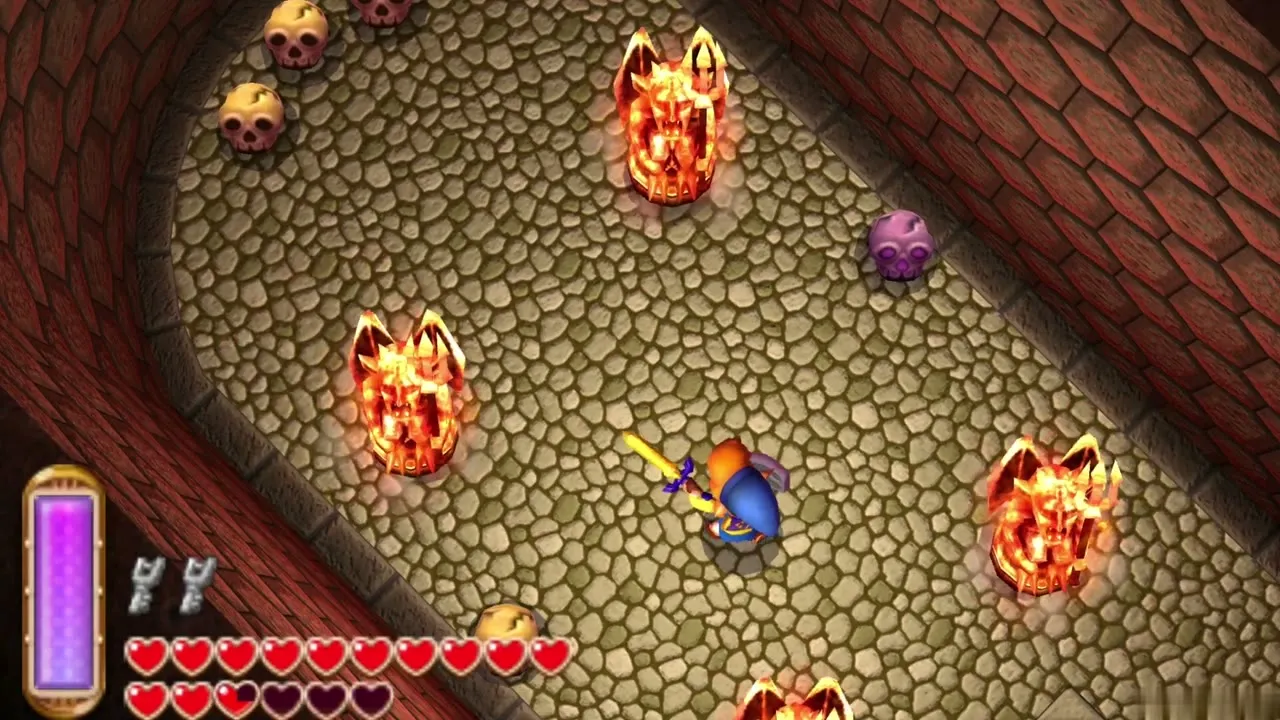
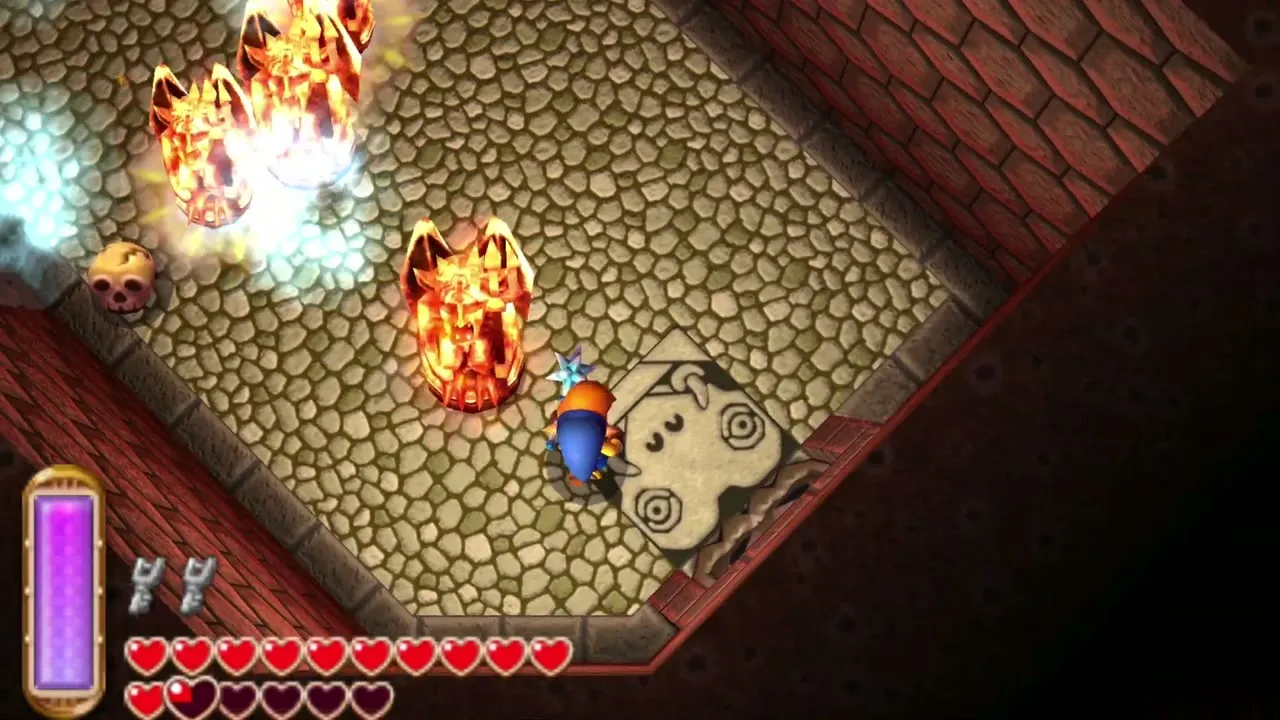
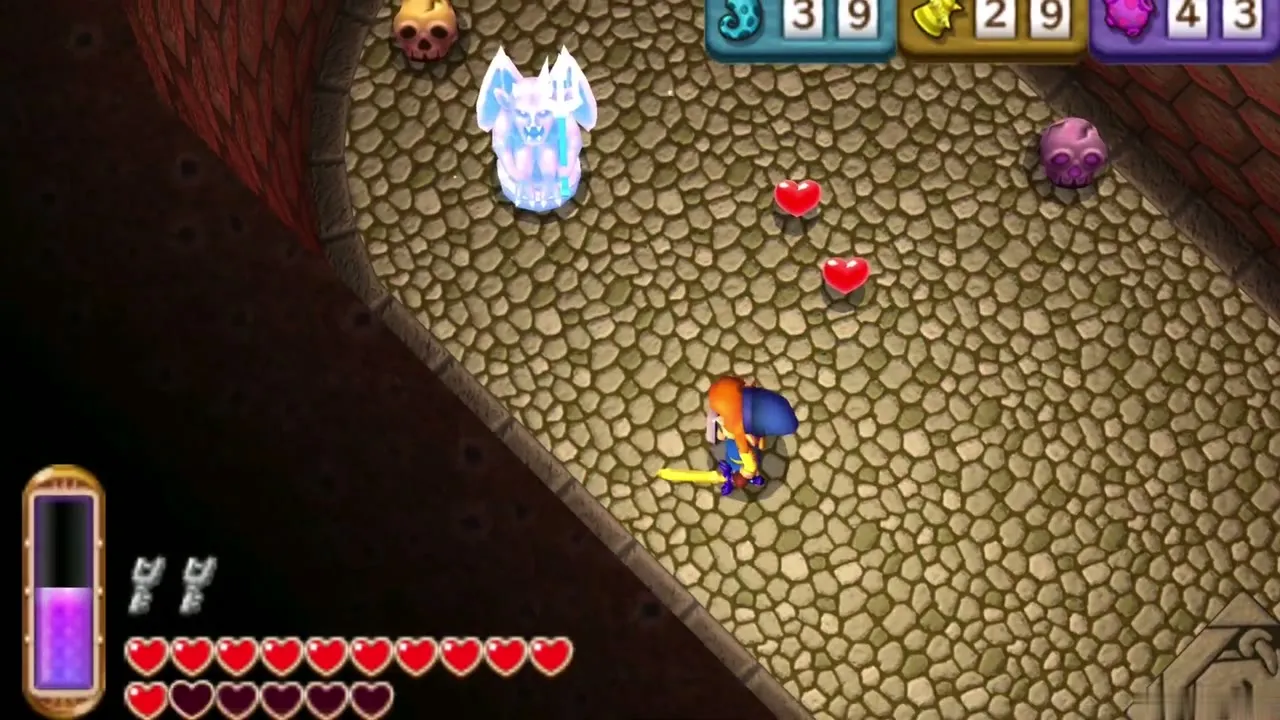
Light the two braziers in opposite corners of the room with the Lamp and the Gemesaur King drops from the ceiling. It wears a mask and armour studded with crystals, stalks you around the room and now and then whips its tail to shoot a spread of crystals. Only Bombs thrown at the mask hurt it (the skulls lying about work too, but weakly), and each crystal you knock off turns into a Rupee. Once the mask and armour fall away, aim for the throbbing spot on its head. It is faster now and shoots five crystals at once. After several hits it roars and snuffs out every light, becoming a ghostly shape that dashes around the edge of the room. Relight both braziers, merging into the wall to stay clear, and it turns solid again so you can attack. Beating it gives a Heart Container and uncovers Gulley’s painting.
Knucklemaster
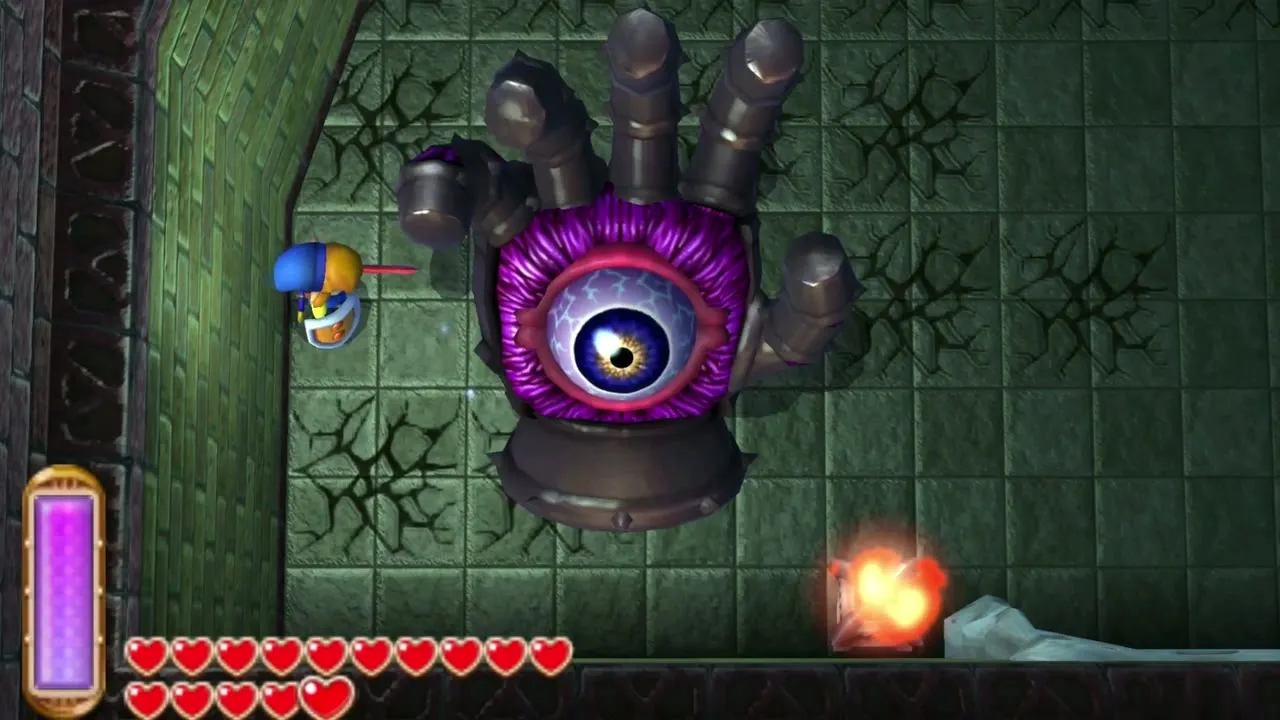
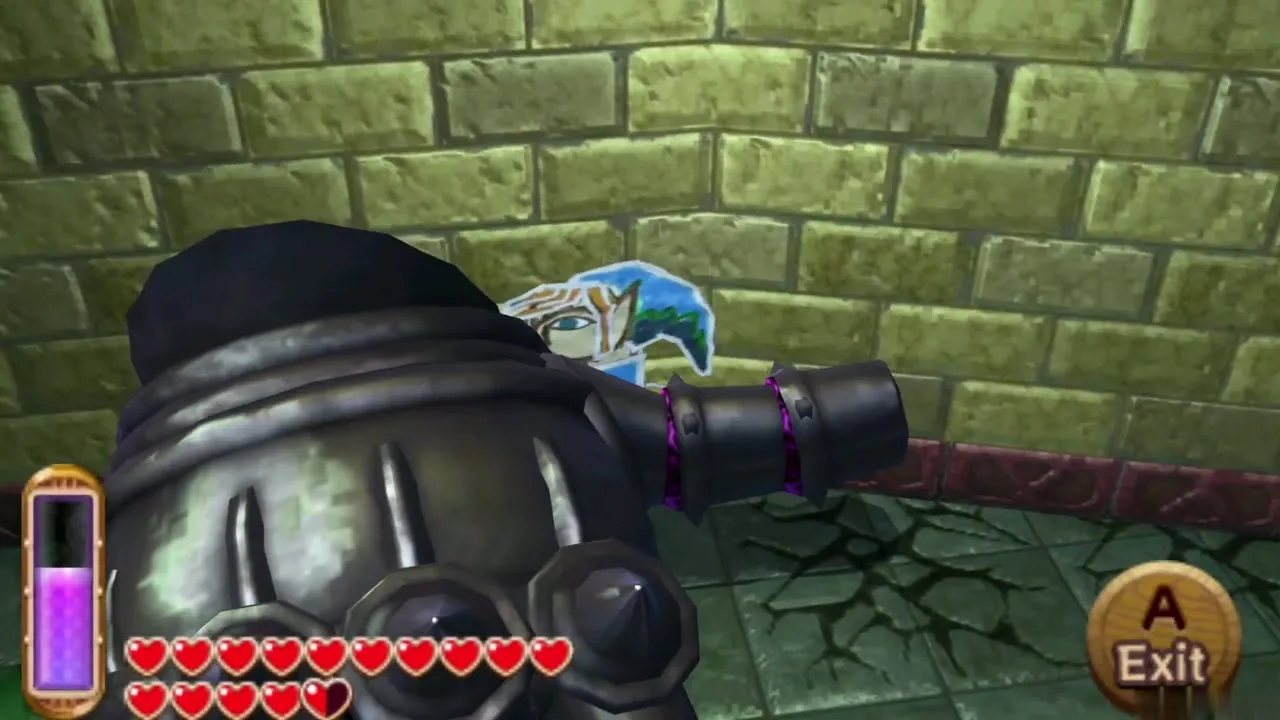
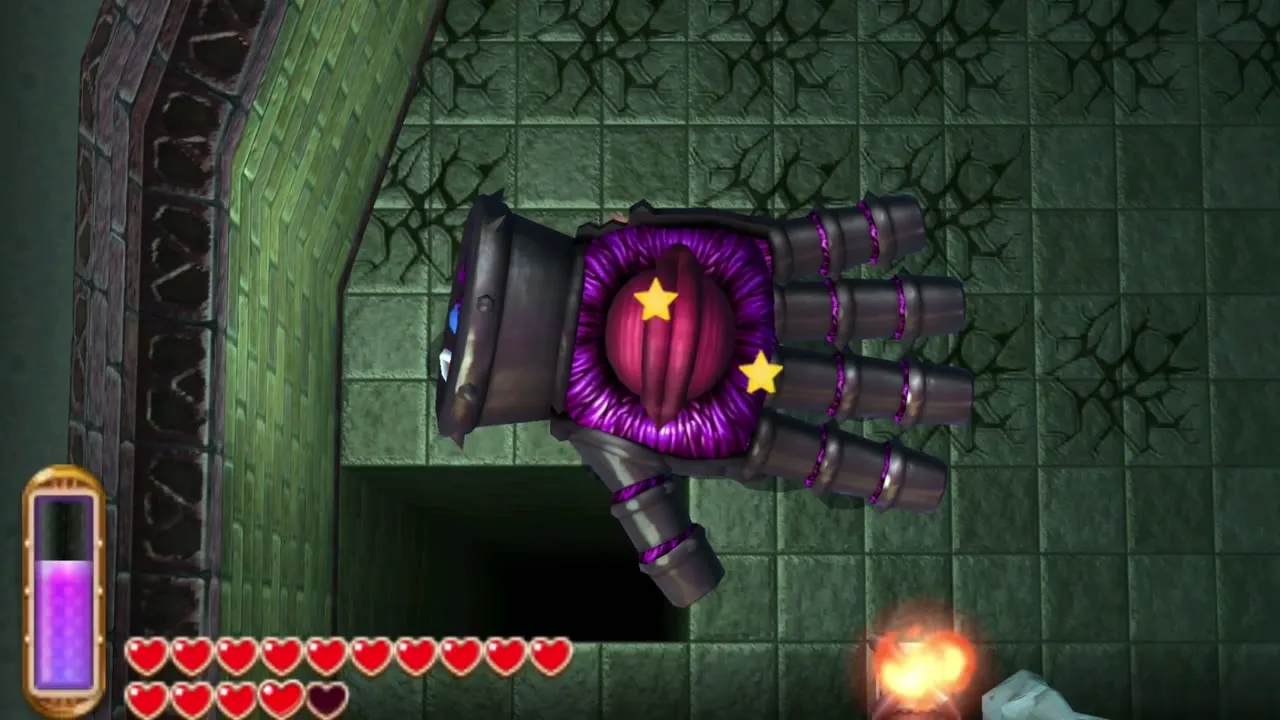
Knucklemaster is a metal glove with an eye in its palm. Its main attack is clenching into a fist and ramming you. Merge into the wall just before it arrives and it smashes into the wall and is stunned, leaving the eye open for a hit. After it recovers it pounds the floor again and again, breaking the weaker tiles, so keep moving or merge again. When it has taken enough damage it changes colour and attacks more often, but the same trick still works. Beat it for a Heart Container and a path to Seres’s painting.
Red Eyegores (Thieves’ Hideout mini-boss)
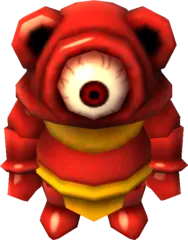
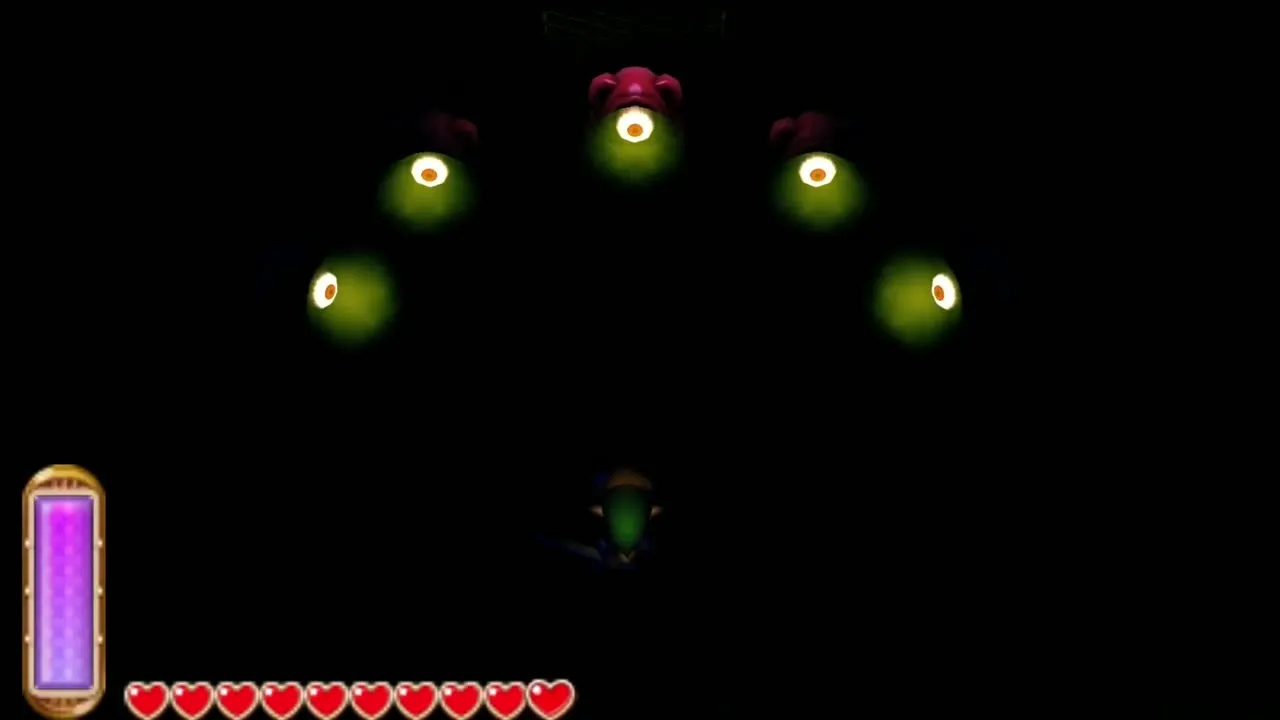
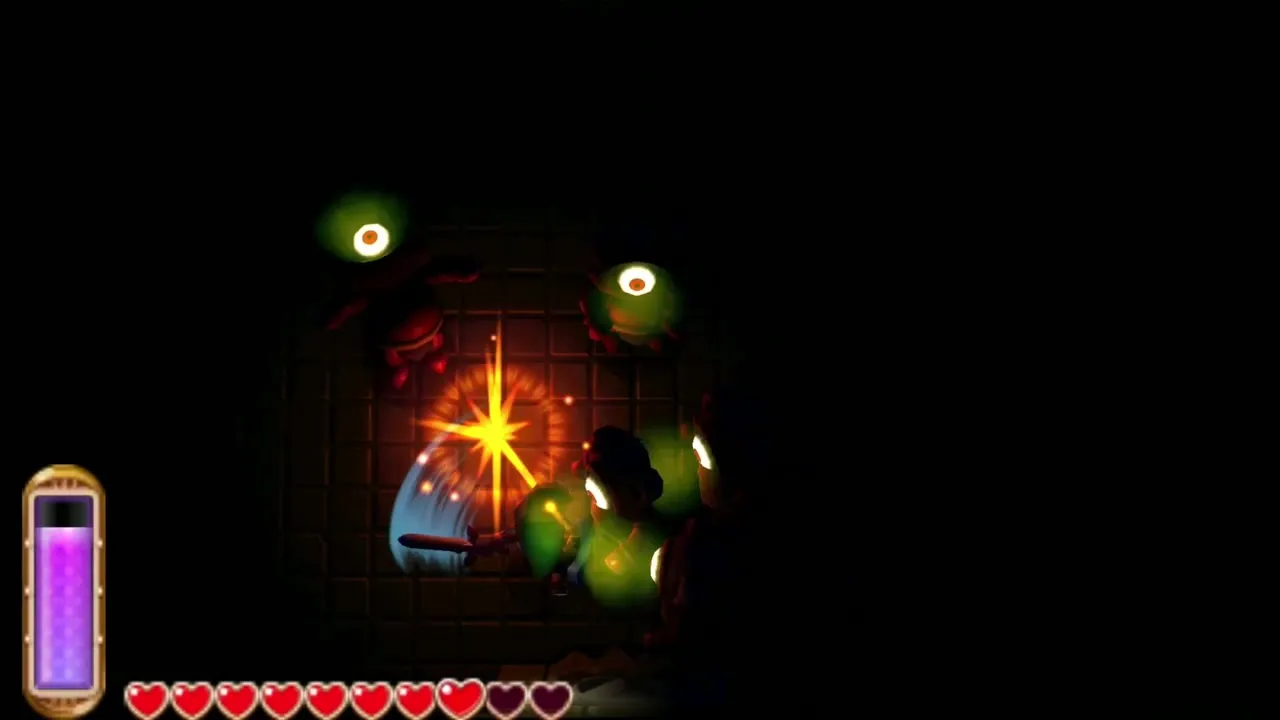
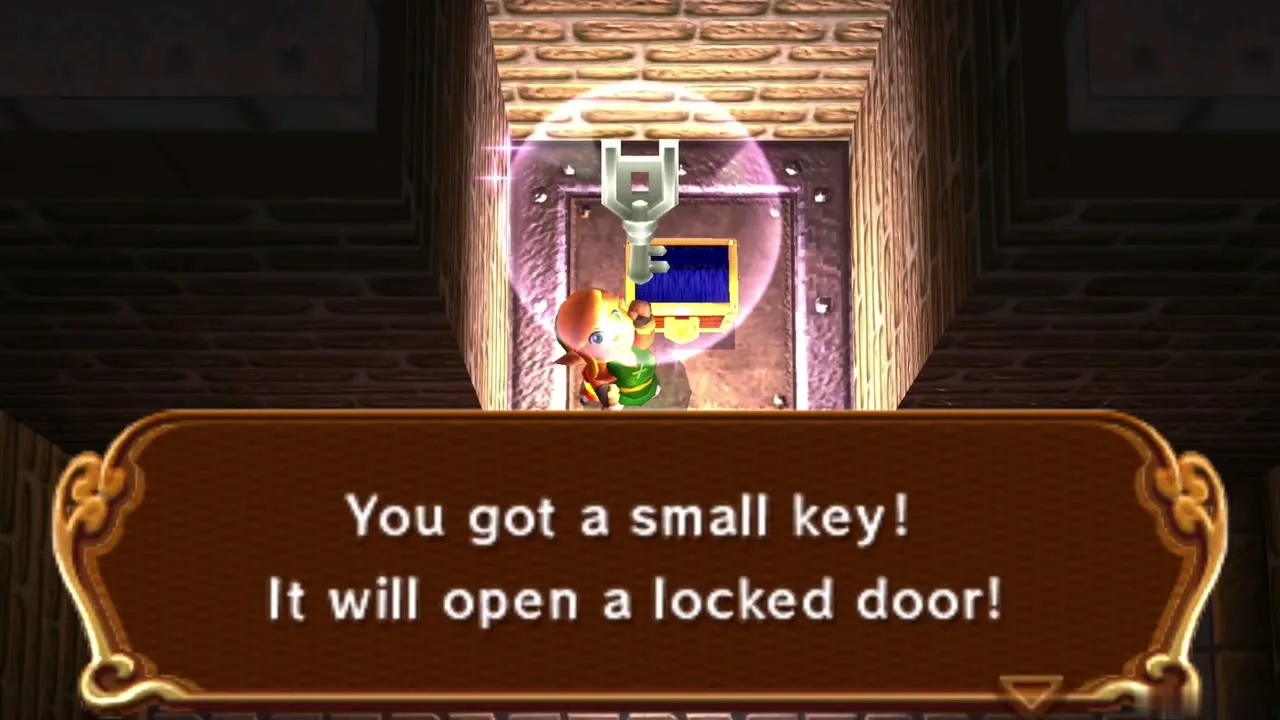
A dark room in the Thieves’ Hideout holds a group of Red Eyegores. Light the room with the Lamp so you can see them, then defeat them with the Sword to receive the dungeon’s only Small Key.
Stalblind
Stalblind fights on a platform ringed by a bottomless pit, armed with a big sword and shield. The bridge rises behind you as you step on, so the Thief Girl stays outside and you are alone. At first he keeps his shield up against everything. Make him raise it, then merge into its face; he loses track of you and drops his guard, so step out and slash his back. He pushes you away with a burst of dark magic. Each repeat changes his swings, until he strings several quick swipes together.
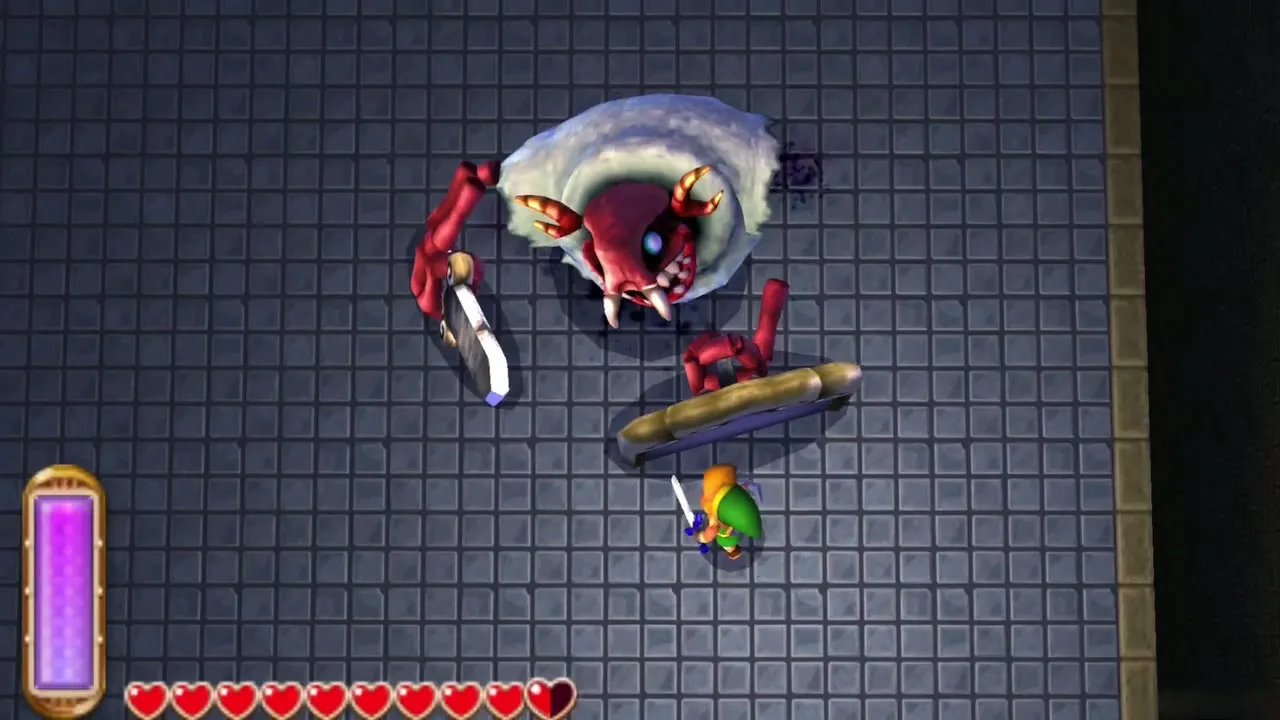
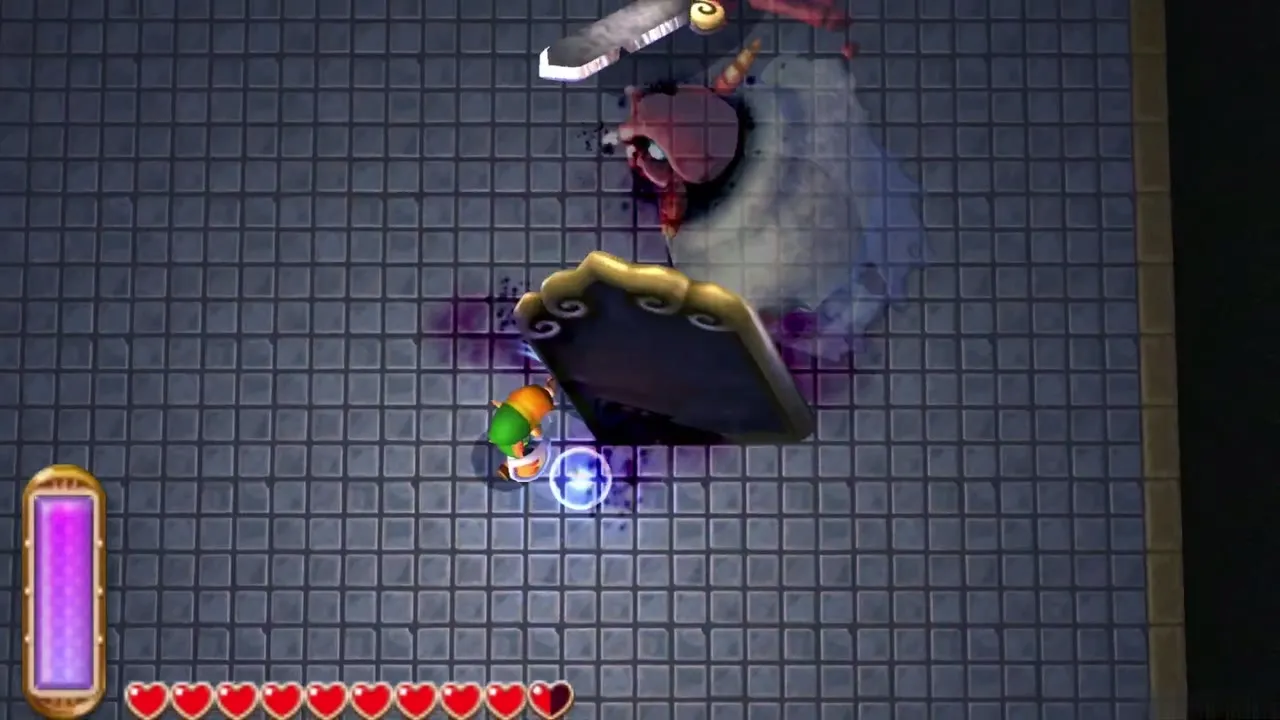
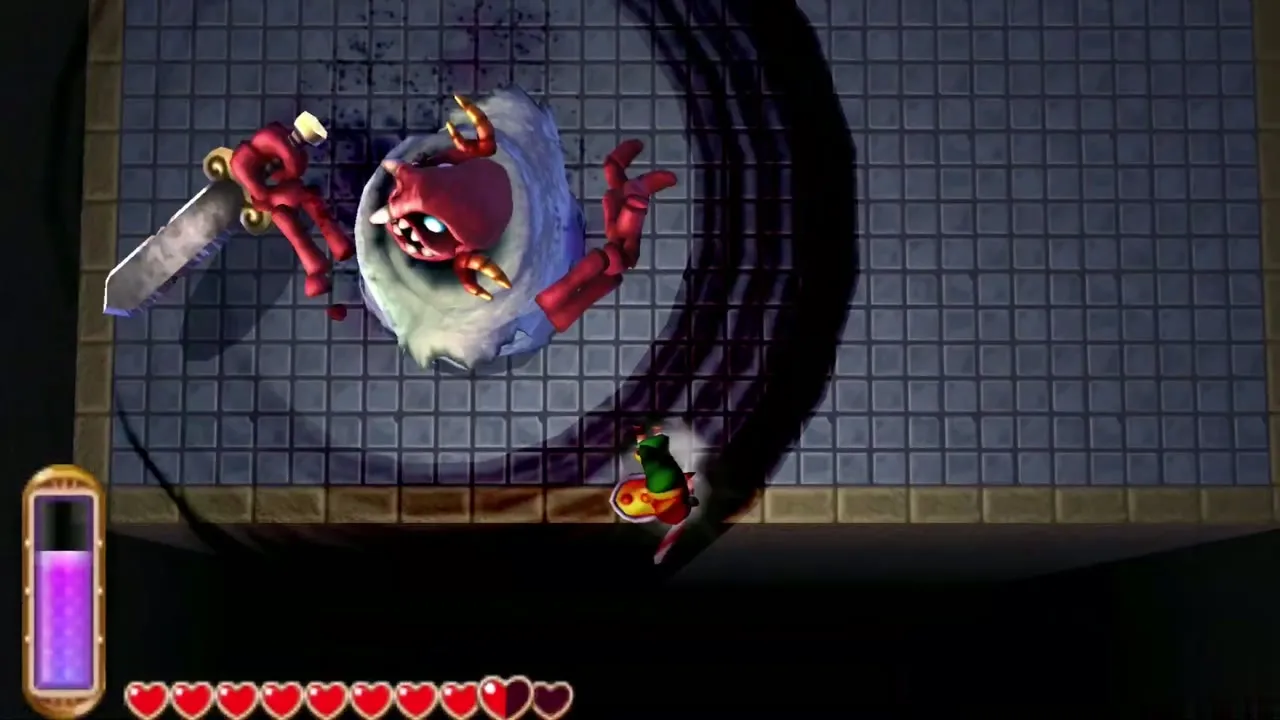
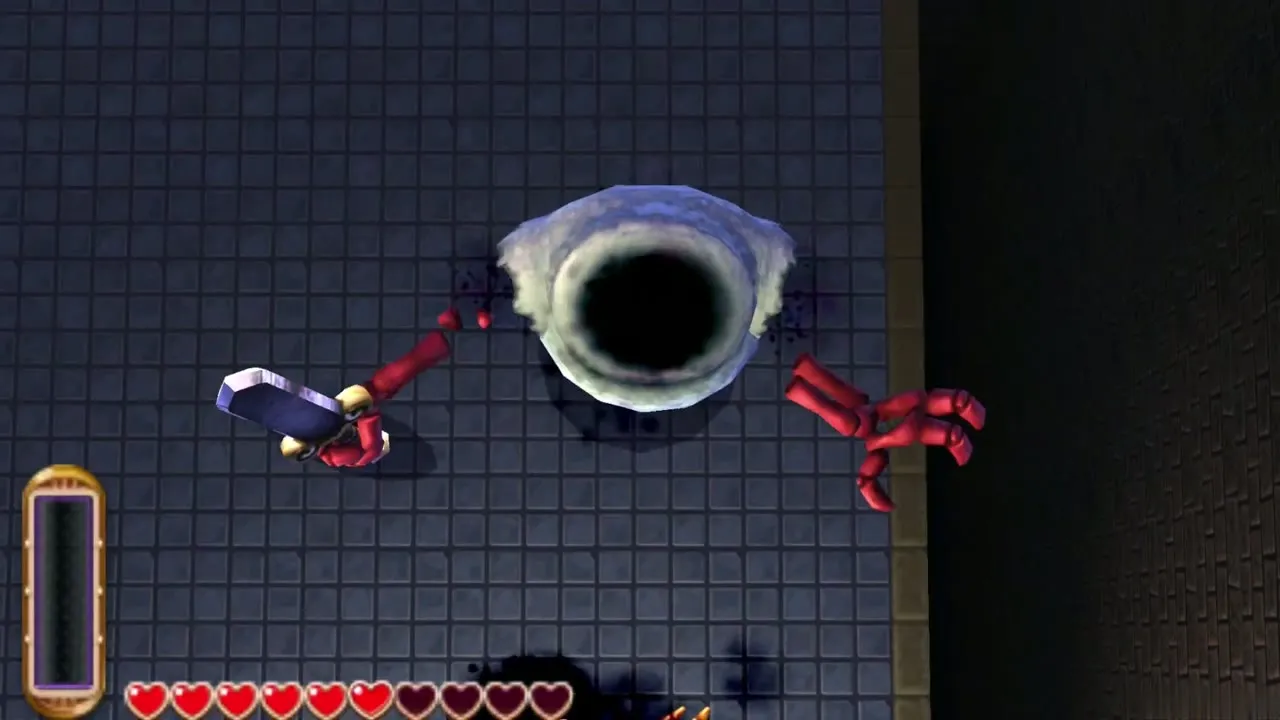
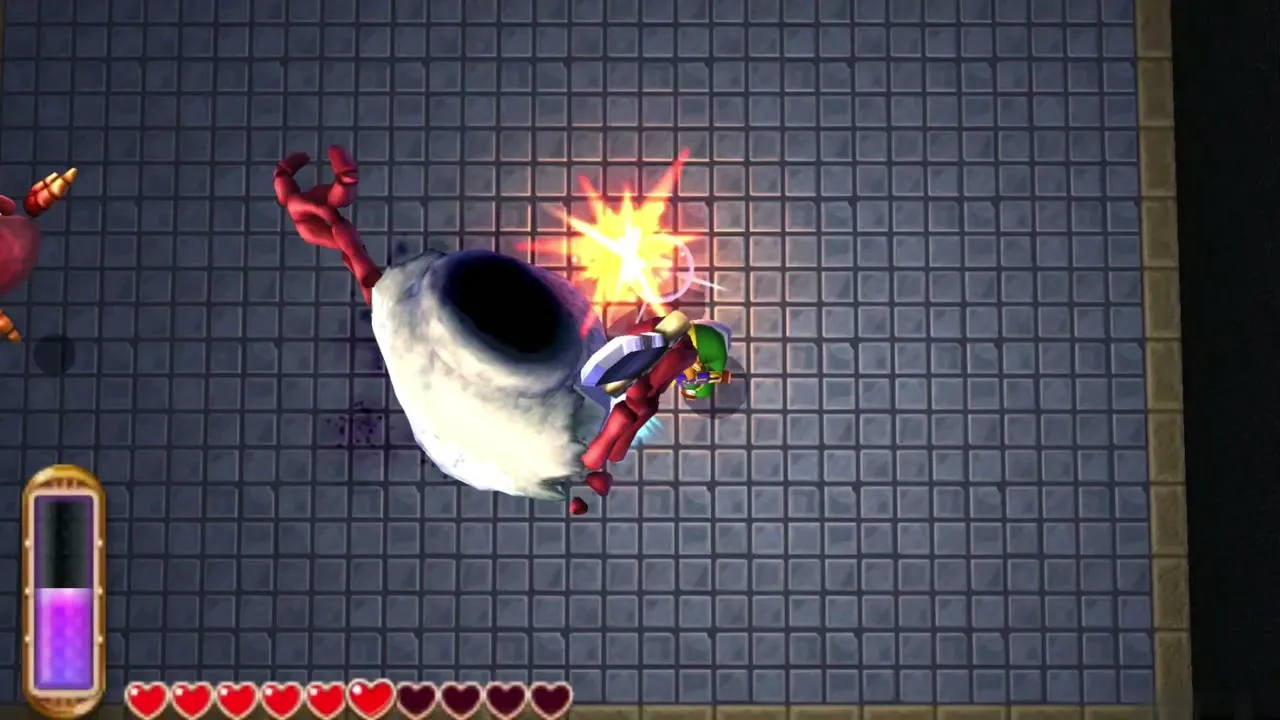
After the third time he tosses the shield aside. Now he is faster, his downward slashes can stick in the floor if they miss, and he sometimes spins wildly as he chases you. Dodge the slash or the spin, then hit him while he is open. In the last phase his head flies off and keeps firing dark magic while his body swings quickly at you. Avoid both and strike the body until it falls. Afterwards the Thief Girl leads you to a house outside Thieves’ Town, where a Heart Container and Osfala’s painting wait.
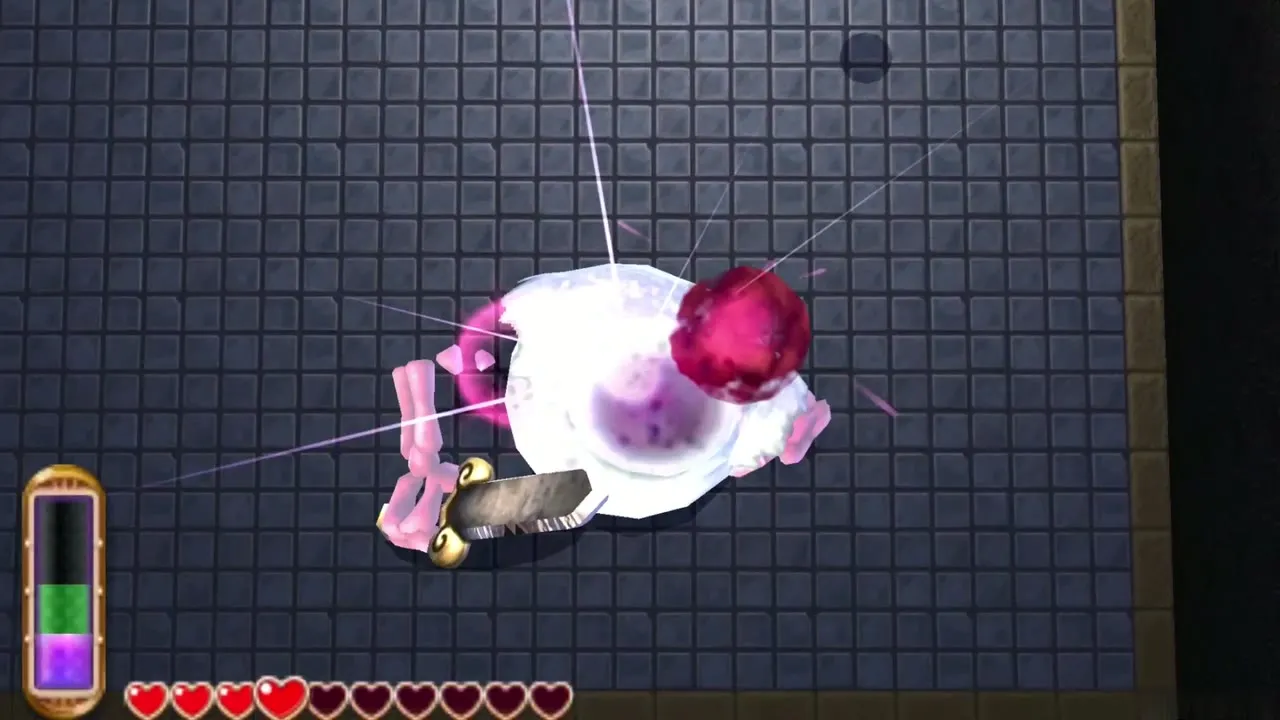
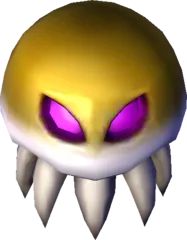
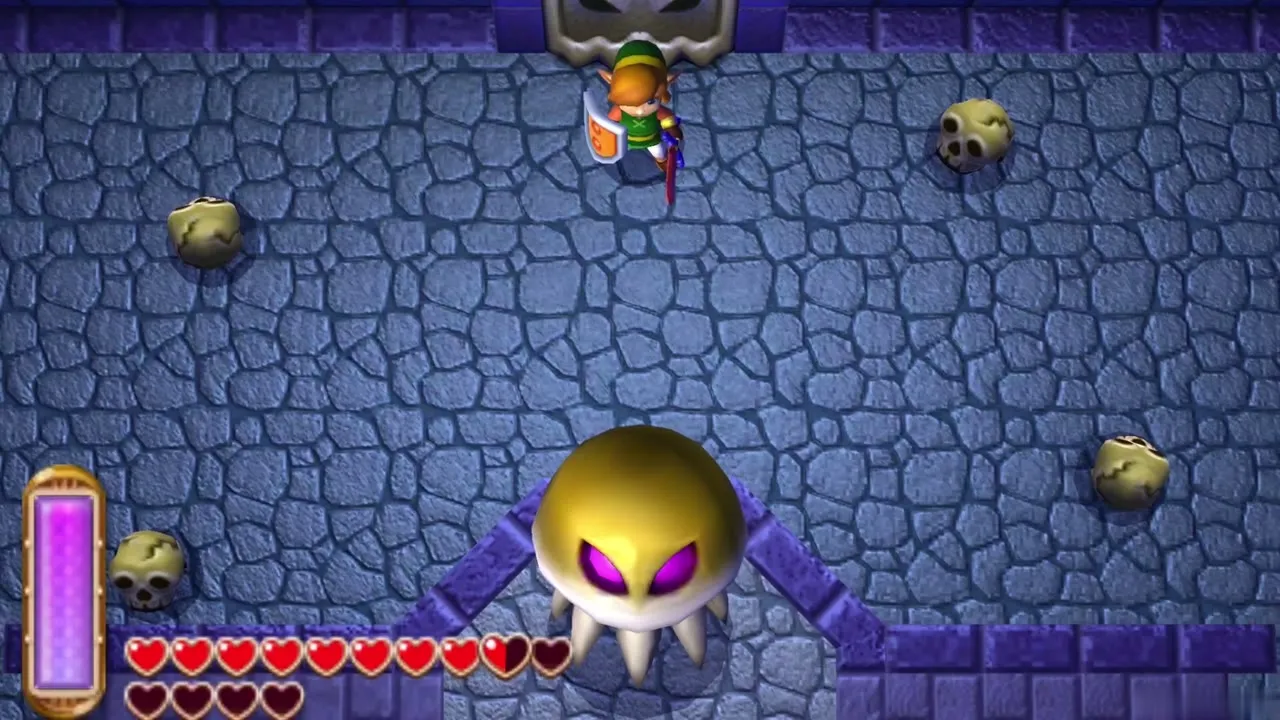
Gigabari (Swamp Palace mini-boss)
The Swamp Palace mini-boss is a large Bari. It takes more hits than the common kind, and when it dies it splits into many small Biri, which you can strike or shoot before they sting you.
Arrghus
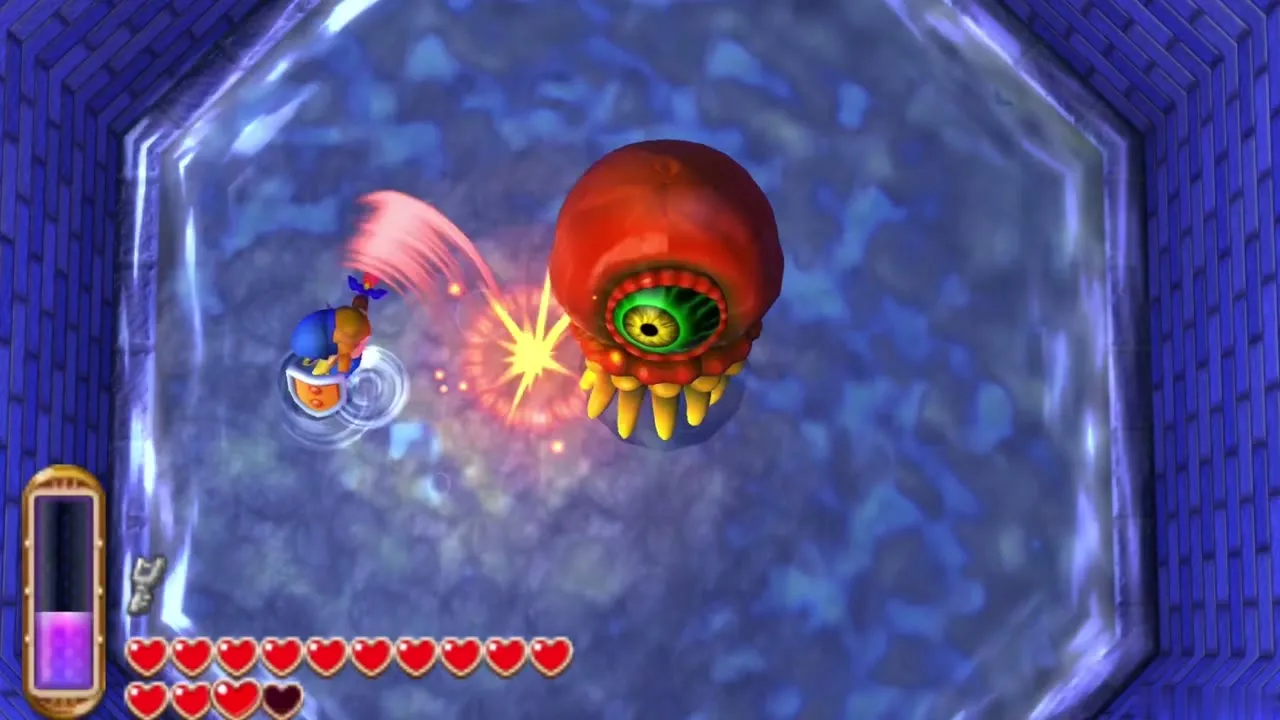
Arrghus floats inside a cloud of small eyes. Use the Hookshot to pull one loose, then cut it down before it flies back; some also dive at you, so sidestep them. When they are all gone its own eye opens, and it starts crashing down at you and firing laser beams that boil the water where they hit. Keep clear of the blasts and attack whenever it lands. You receive a Heart Container and Oren’s painting.
Big Pengator (Ice Ruins mini-boss)
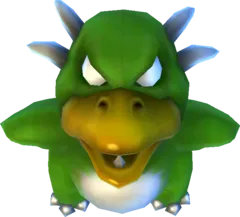
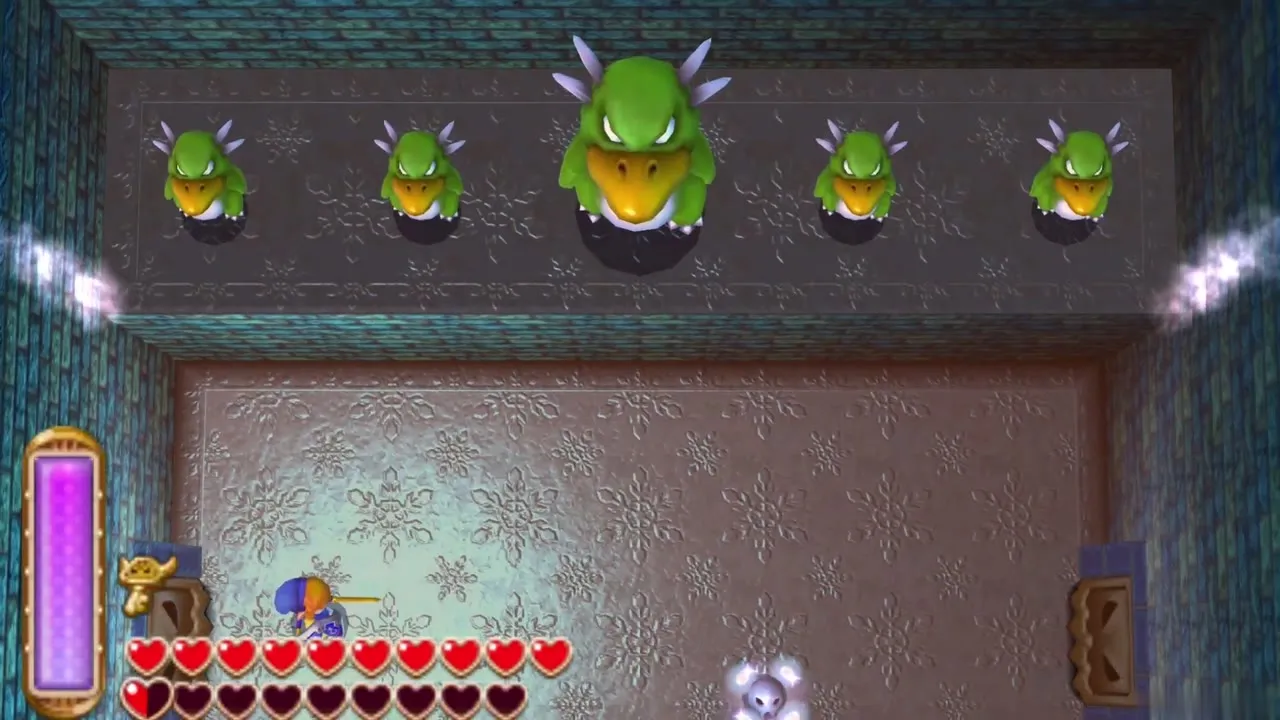
In the Ice Ruins a Big Pengator comes with a horde of normal-sized Pengators. Defeat them all and a portal opens that links their room to the dungeon entrance.
Dharkstare
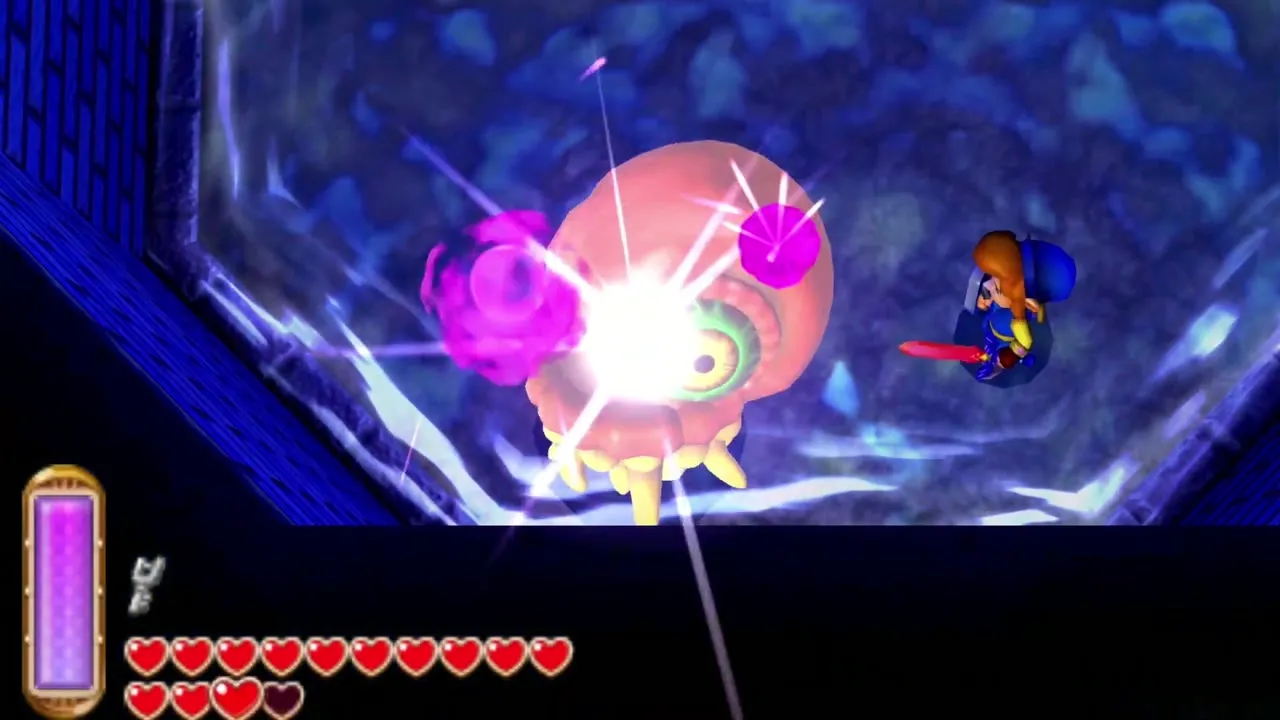
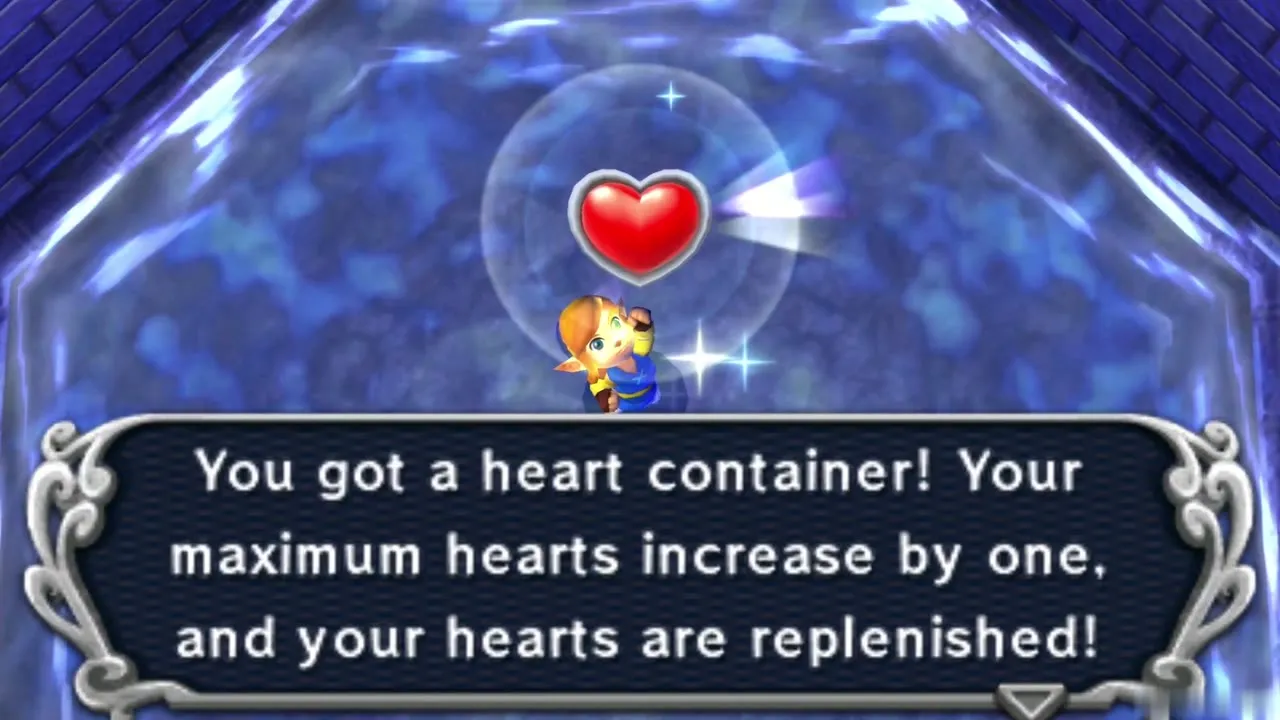
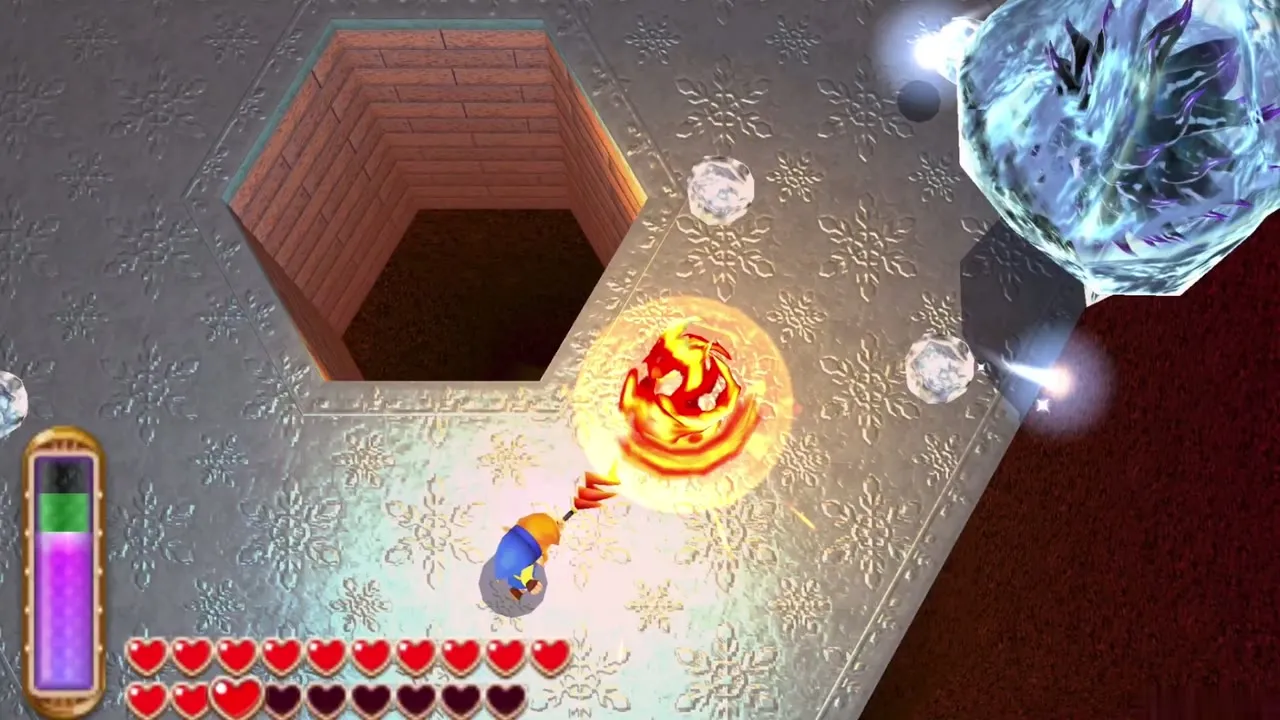
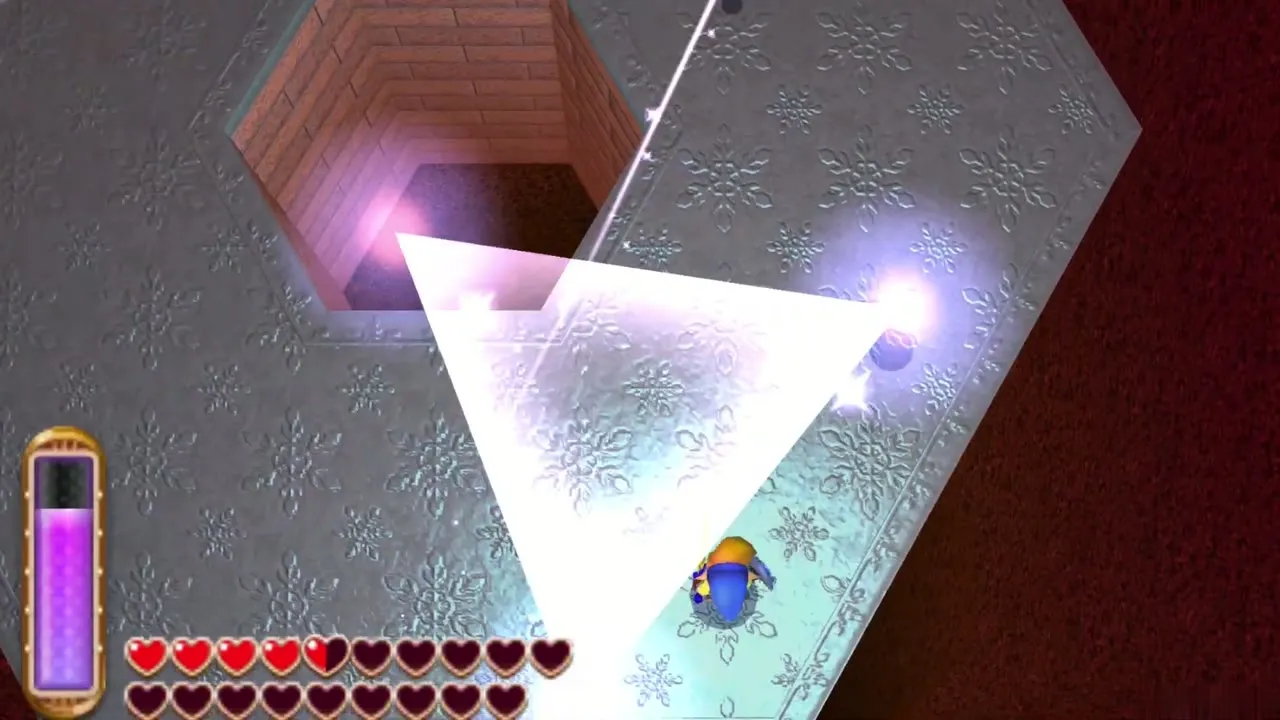
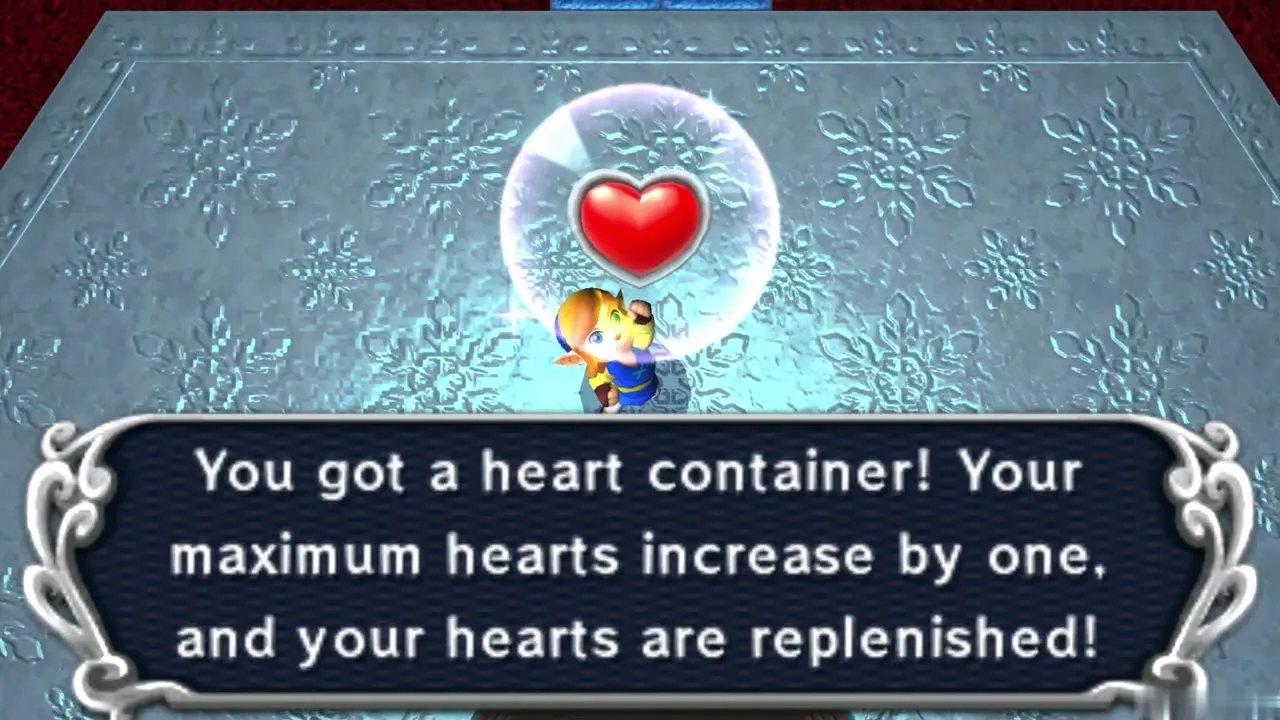
Dharkstare is wrapped in ice and drifts around a hexagonal frozen platform. It rams you and shoots three ice orbs that form a freezing triangle around you, so get out of it fast. While the ice is on, only the Fire Rod hurts it. Three hits melt the shell, and it drops and flails about trying to get away; hit it with the Fire Rod or the Sword. It then vanishes and reappears in the middle with fresh ice. Late in the fight its eye turns red, it speeds up and makes two freezing triangles at once. You get a Heart Container, and a way across to Rosso’s painting.
Fire Gimos (Turtle Rock mini-boss)
In Turtle Rock you face one large and four small Fire Gimos. Striking one directly with the Sword hurts you too, so freeze each with the Ice Rod first and then hit it while it is frozen.
Grinexx
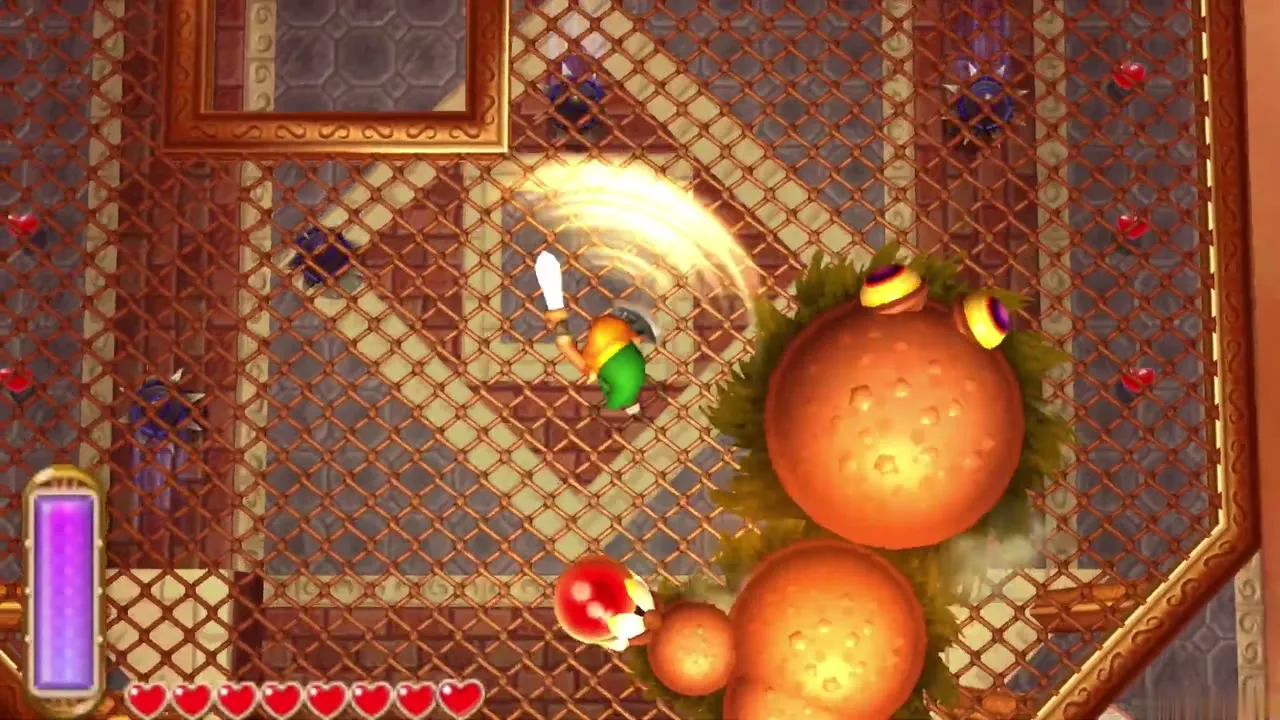
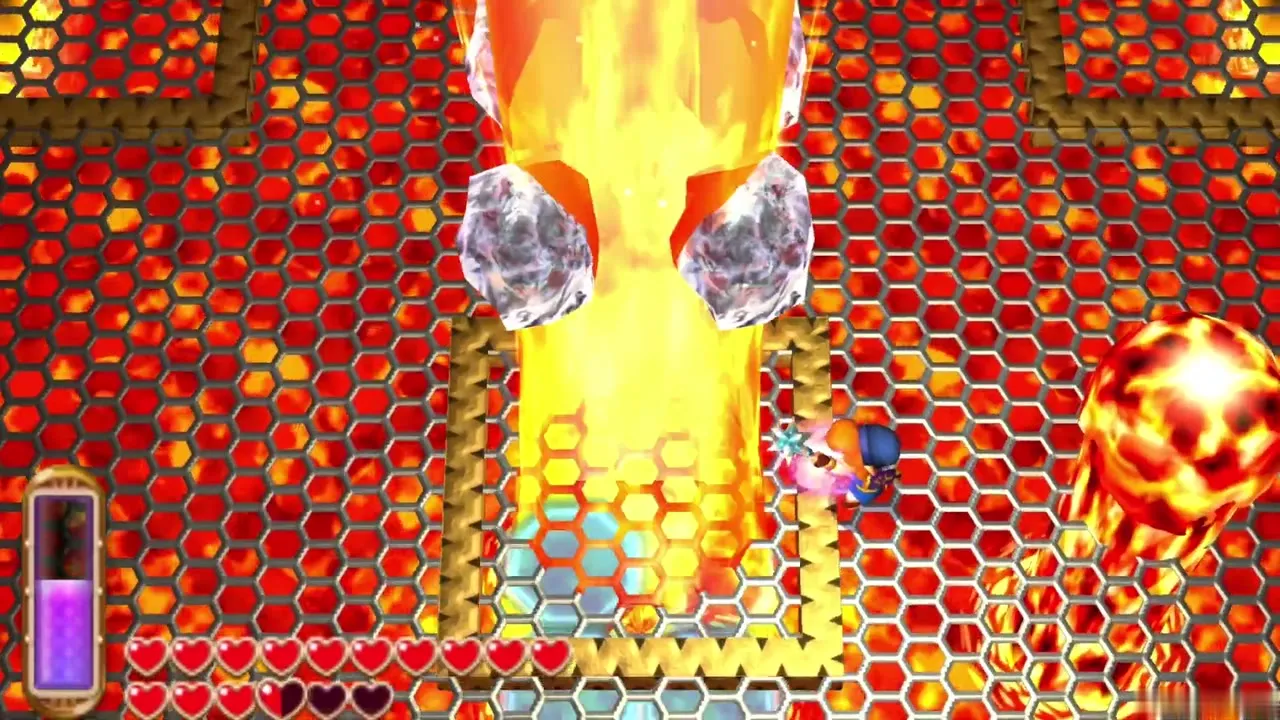
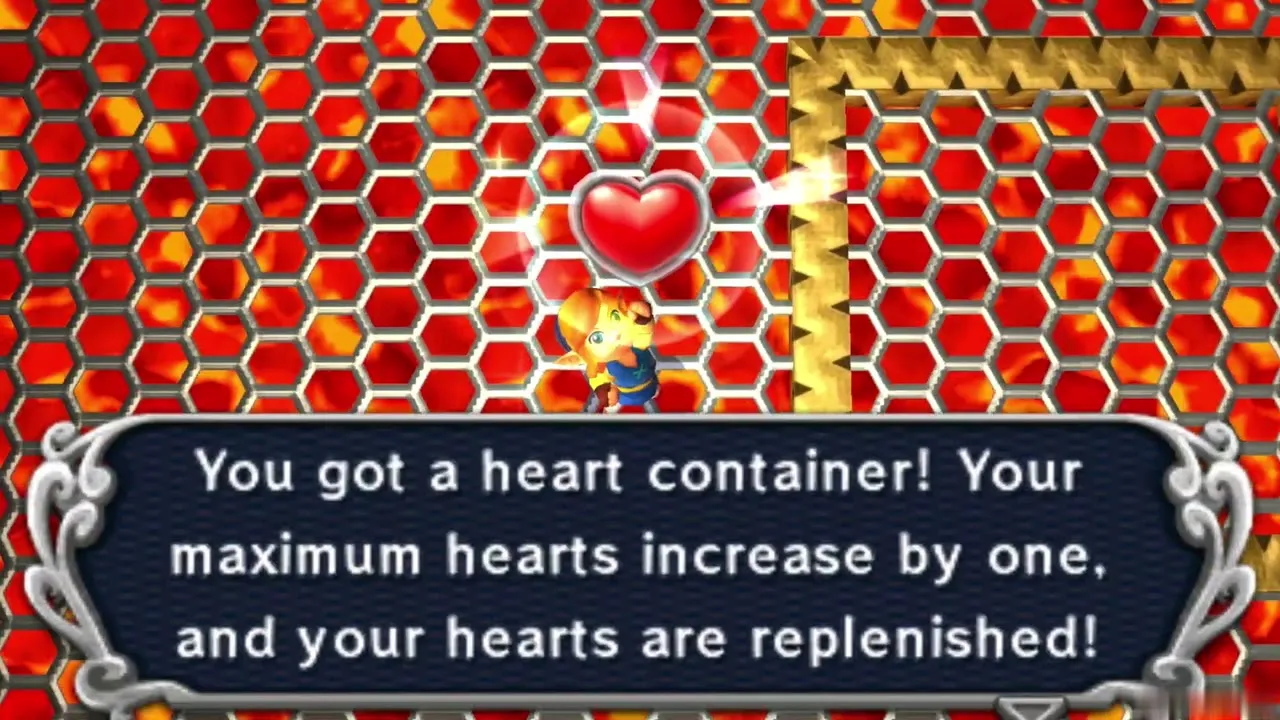
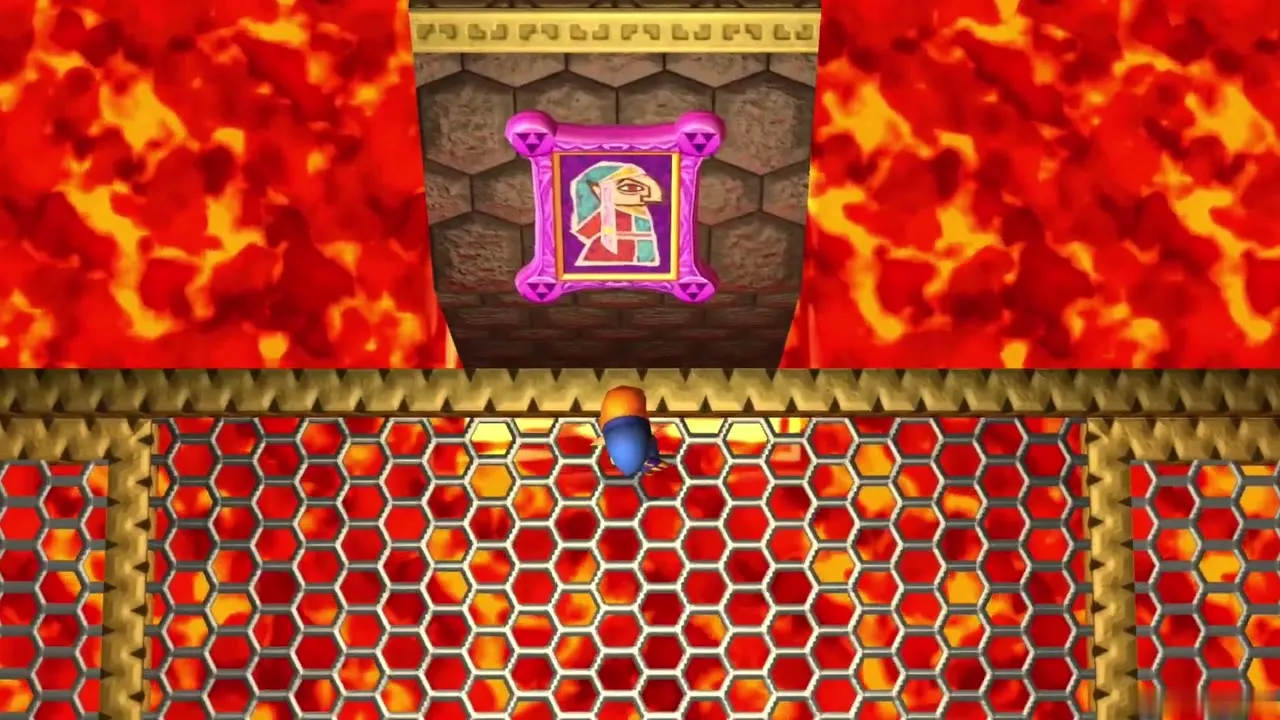
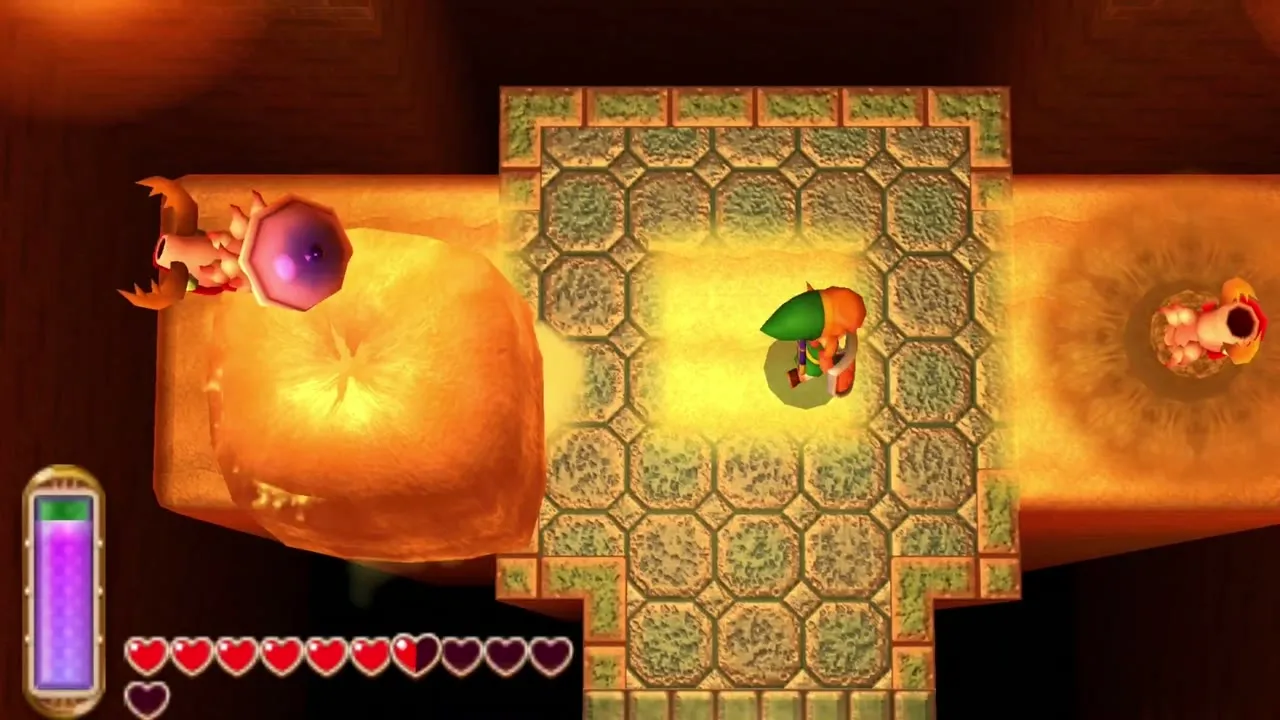
You stand on a metal grate over a pool of lava, with bigger holes in the middle and at the corners. Grinexx swims underneath and sends lava up through the grate. Use the Ice Rod through the large holes to hit it as it passes beneath. After enough hits it leaps onto the grate and the holes close. Now hit its head with the Sword. It stretches its neck to bite, and also tucks into its shell either to explode or to spin around the room. The Shield blocks its direct attacks, but you need the Hylian Shield to withstand the explosion. A Heart Container and Impa’s painting follow.
Flying Tiles and Devalants (Desert Palace mini-boss)
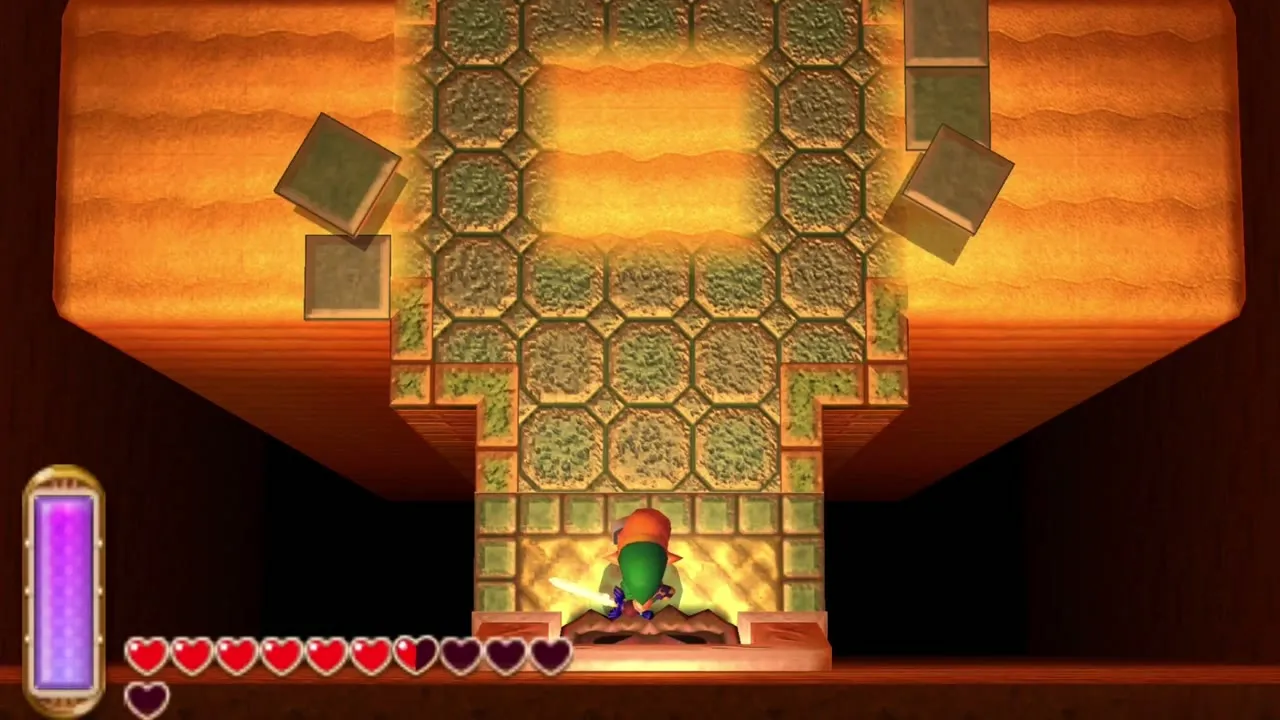
On the way to the boss, 32 Flying Tiles attack you in a row, followed by two Devalants. Hold up your shield against the tiles and cut down the Devalants with the Sword.
Zaganaga
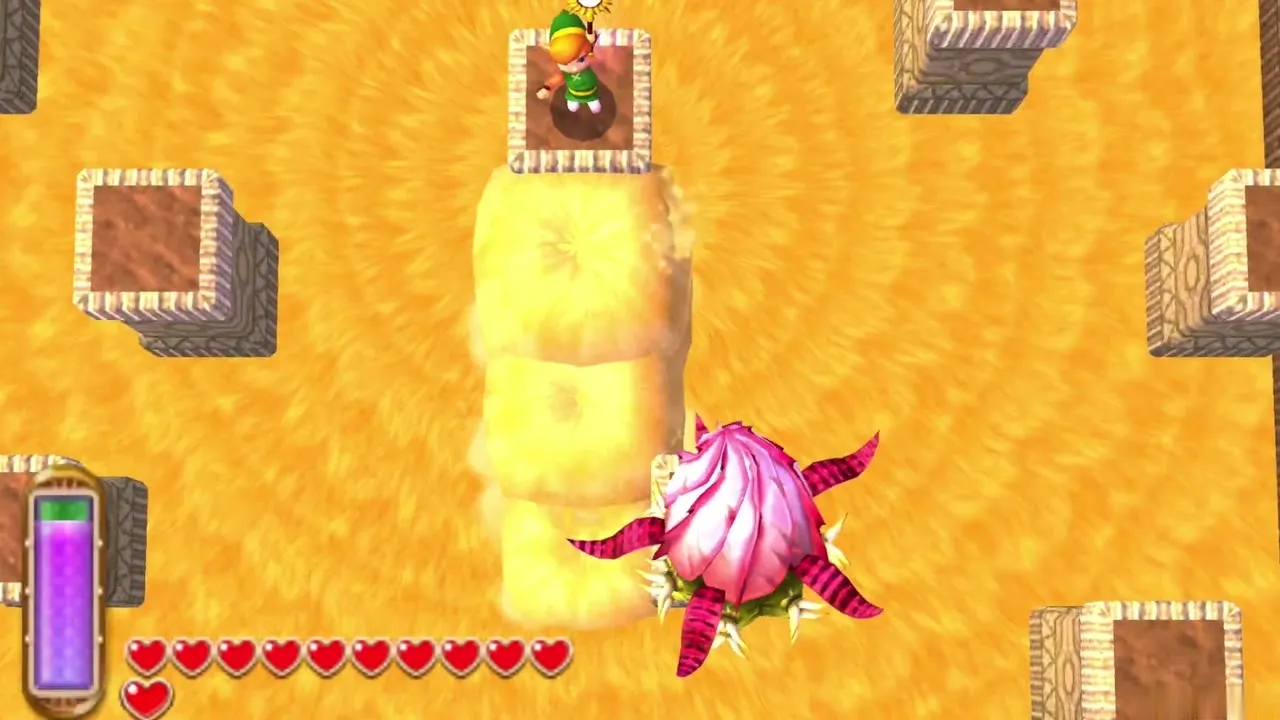
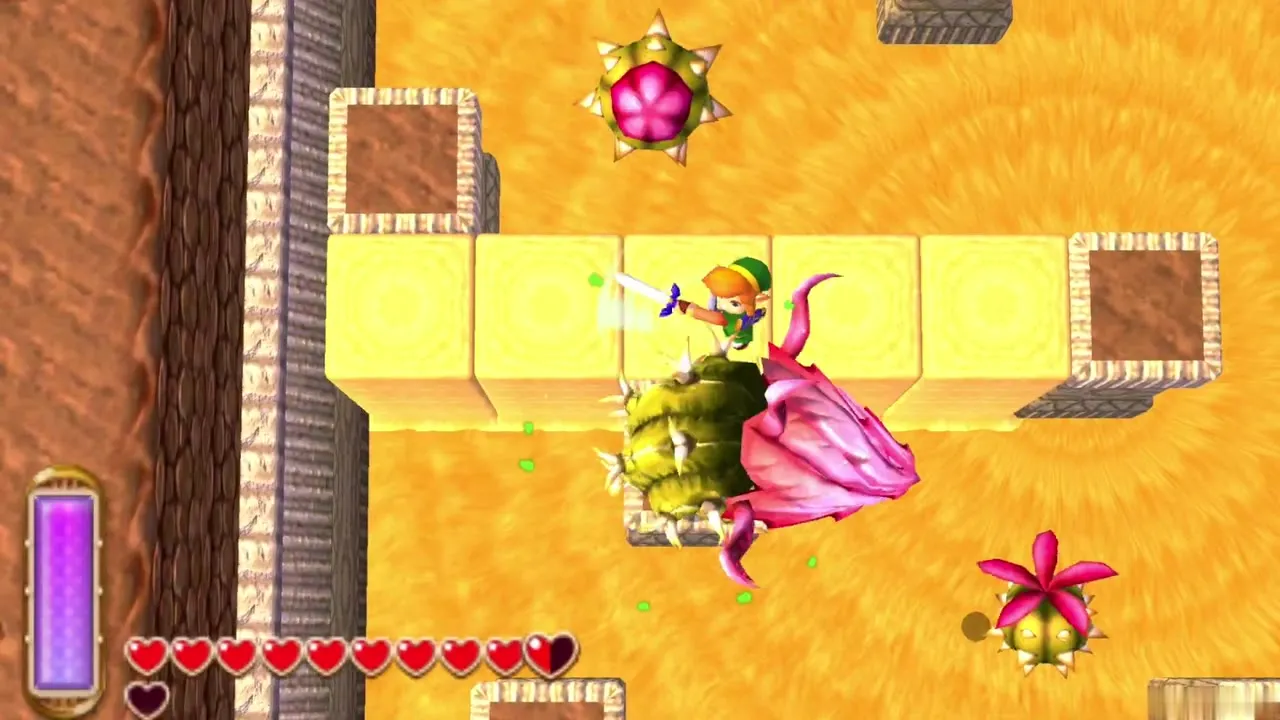
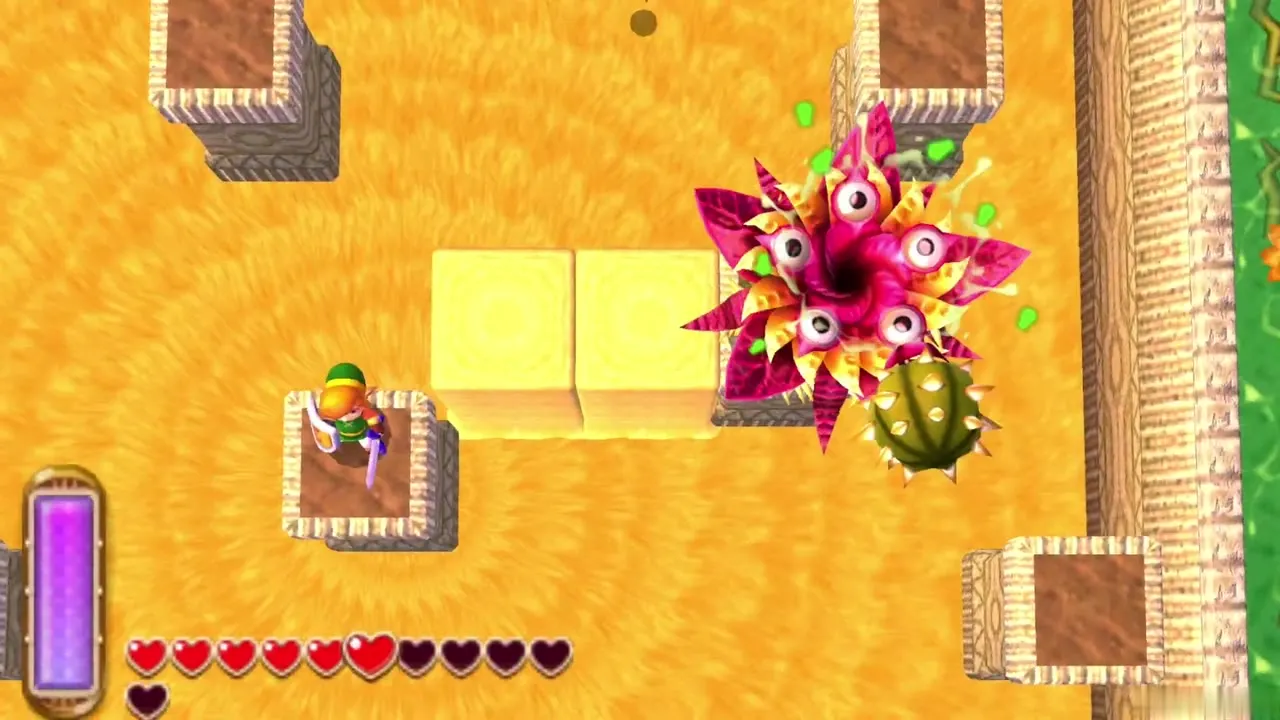
You fight this plant monster in a sand pit with eleven stone pillars, using the Sand Rod to raise bridges between them. Zaganaga burrows under the sand and bursts up on one of the pillars. Bridge across, then slash it. It releases Peahats that try to knock you into the sand; one Sword hit kills each. After enough damage its petals flare open to show eyes, it moves faster, releases more Peahats and fires a steady stream of sand. Keep moving with the Sand Rod to outrun the stream. When it falls, a hutch opens and reveals a Heart Container and Irene’s painting.
Lorule Castle bosses
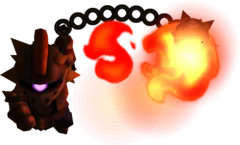
Lorule Ball and Chain Soldier (Lorule Castle mini-boss)
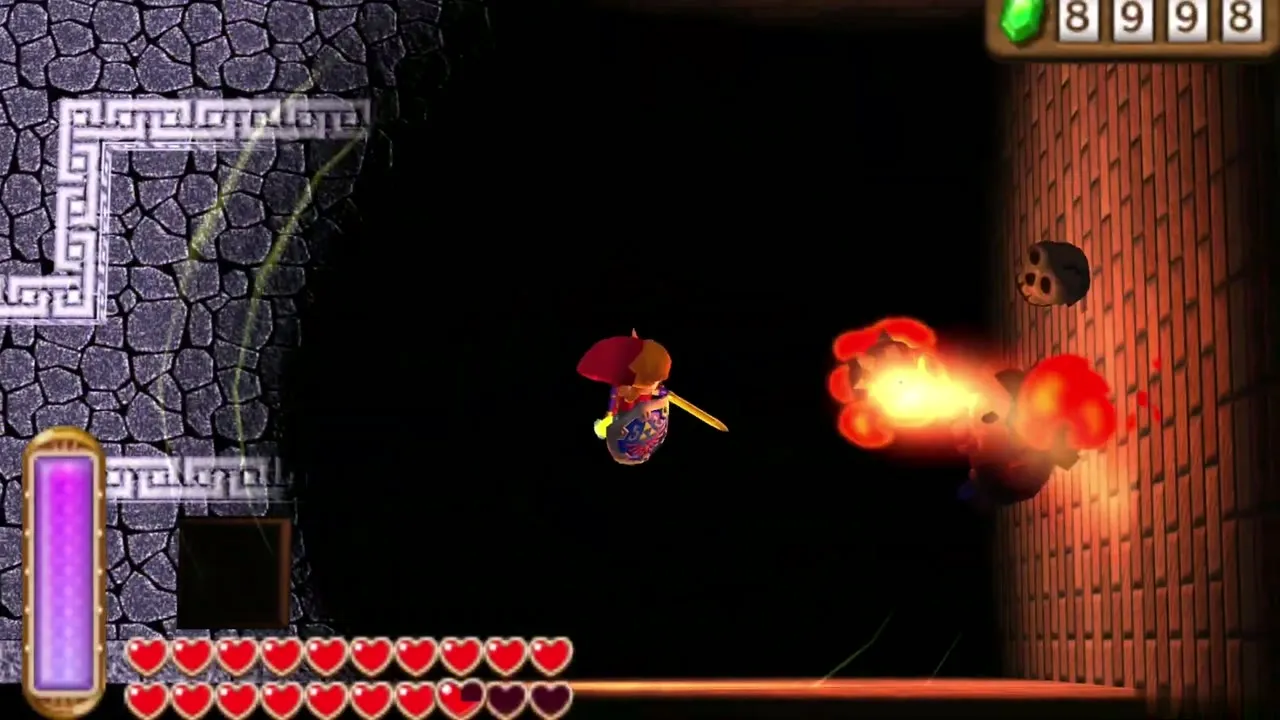
A fire-wielding Lorule Ball and Chain Soldier guards the stairs to the second floor of Lorule Castle. A second one waits in a room on 4F. Dodge the swinging ball and strike when it is open.
Purple Moldorm (Lorule Castle mini-boss)
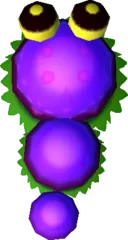
Behind a Small Key door at the end of a bomb maze, a purple Moldorm slides around a small room. Strike its tail, as before.
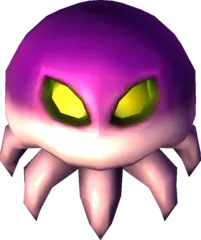
Purple Gigabari (Lorule Castle mini-boss)
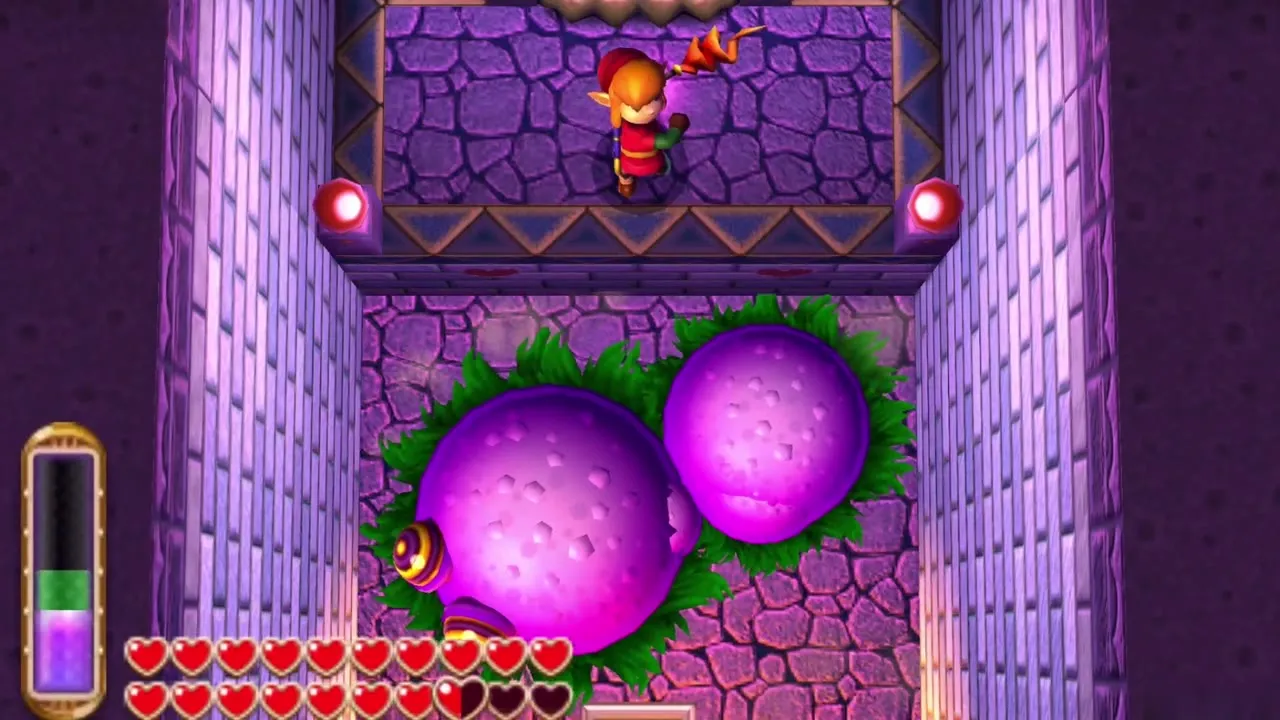
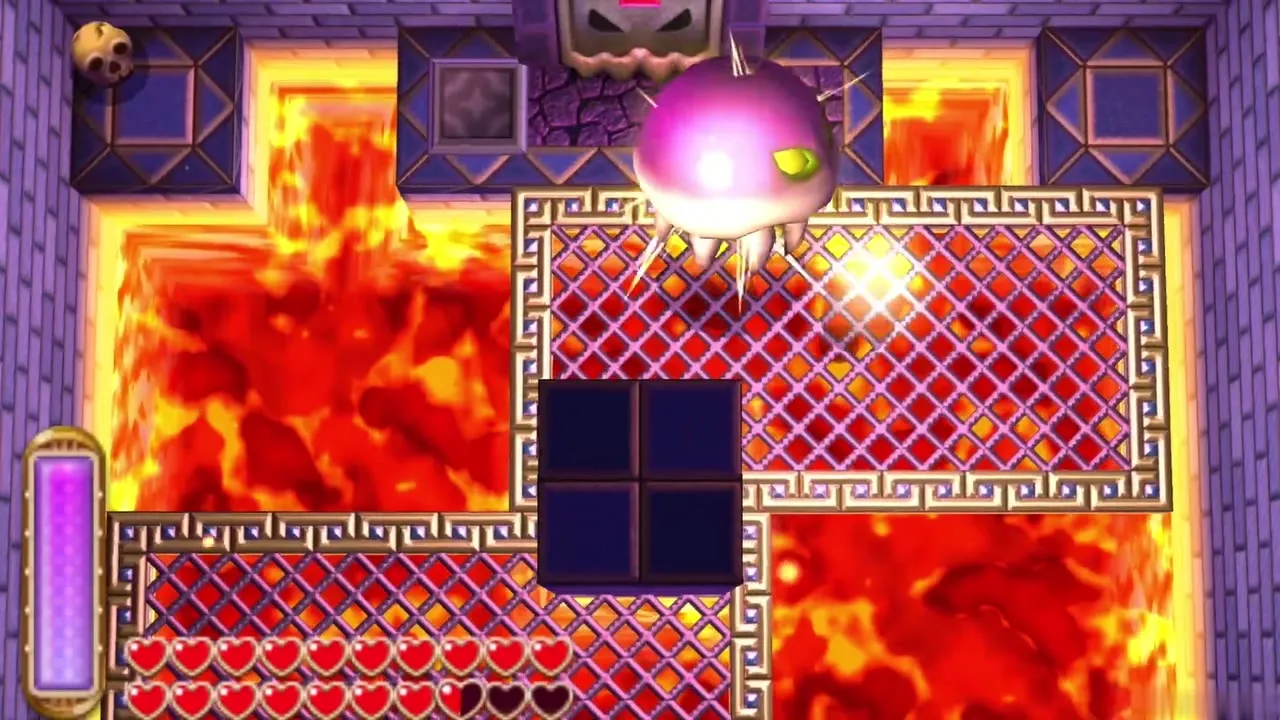
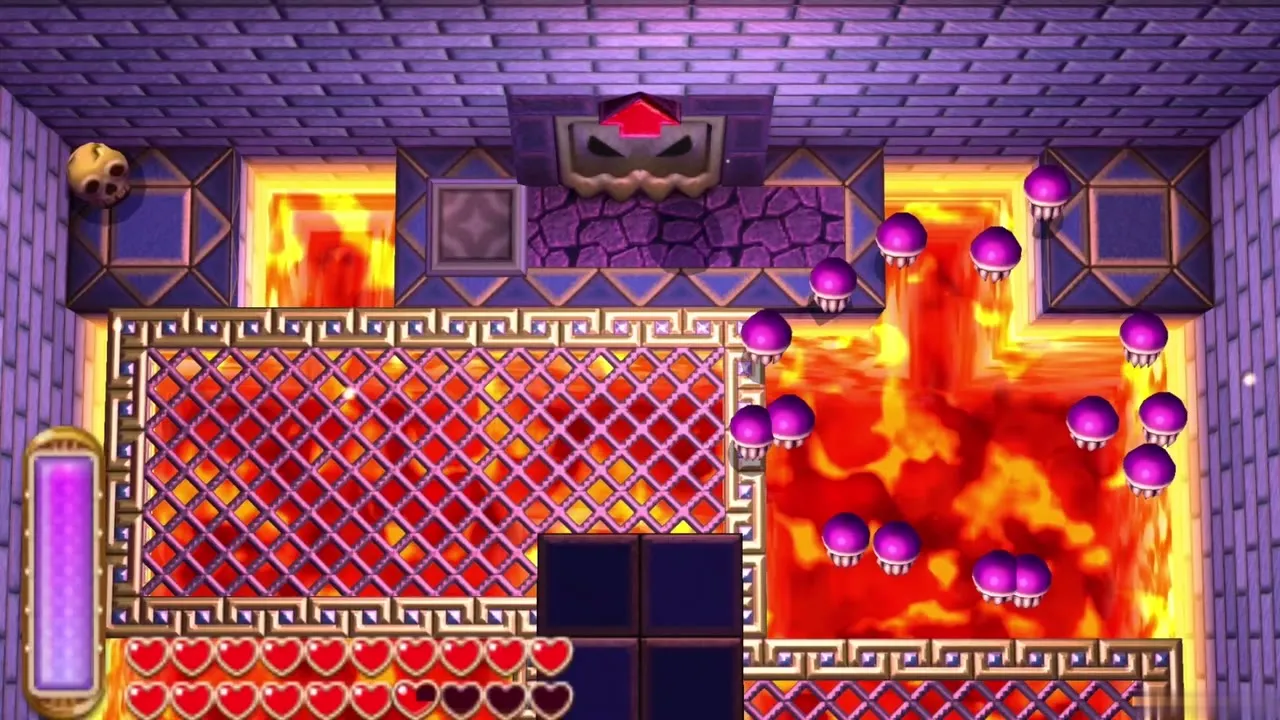
The lava room holds a purple Gigabari. It behaves like the Swamp Palace version and splits into small Biri when it falls.
Yellow Arrghus (Lorule Castle mini-boss)
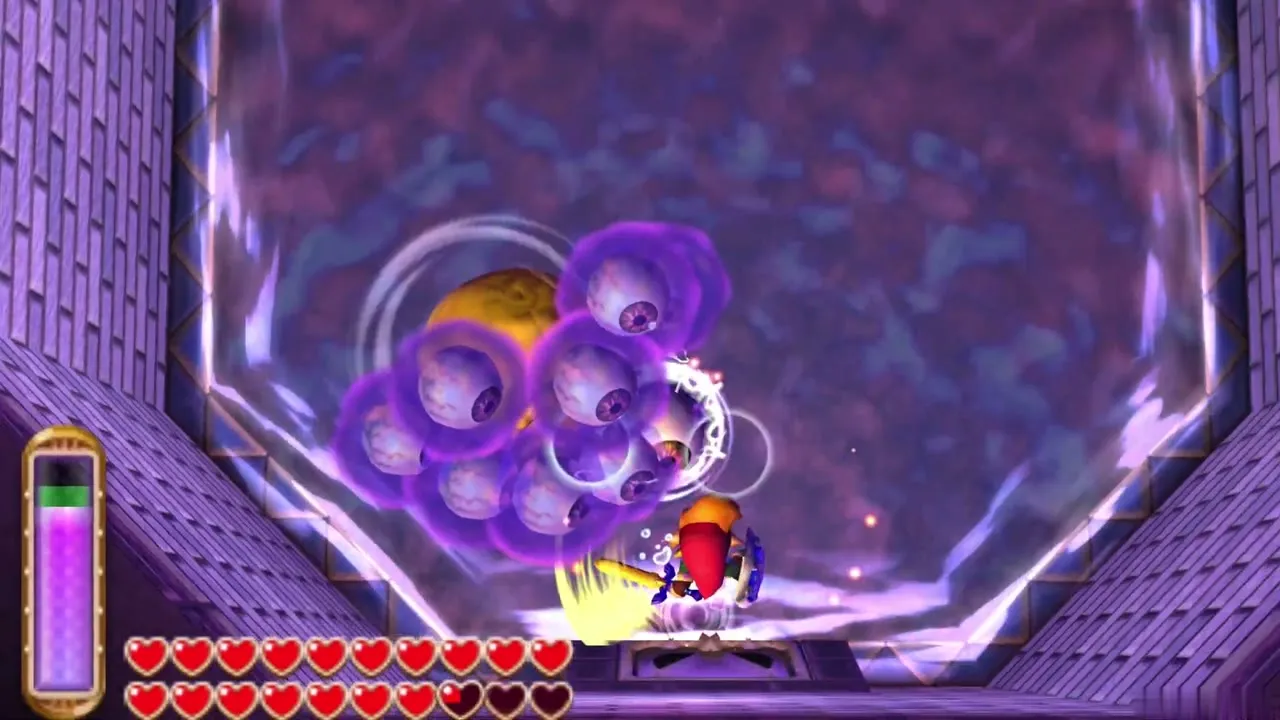
The last of the four is a yellow and blue Arrghus. Pull its eyes away with the Hookshot, then slash its body as you did in the Swamp Palace.
Yuga Ganon
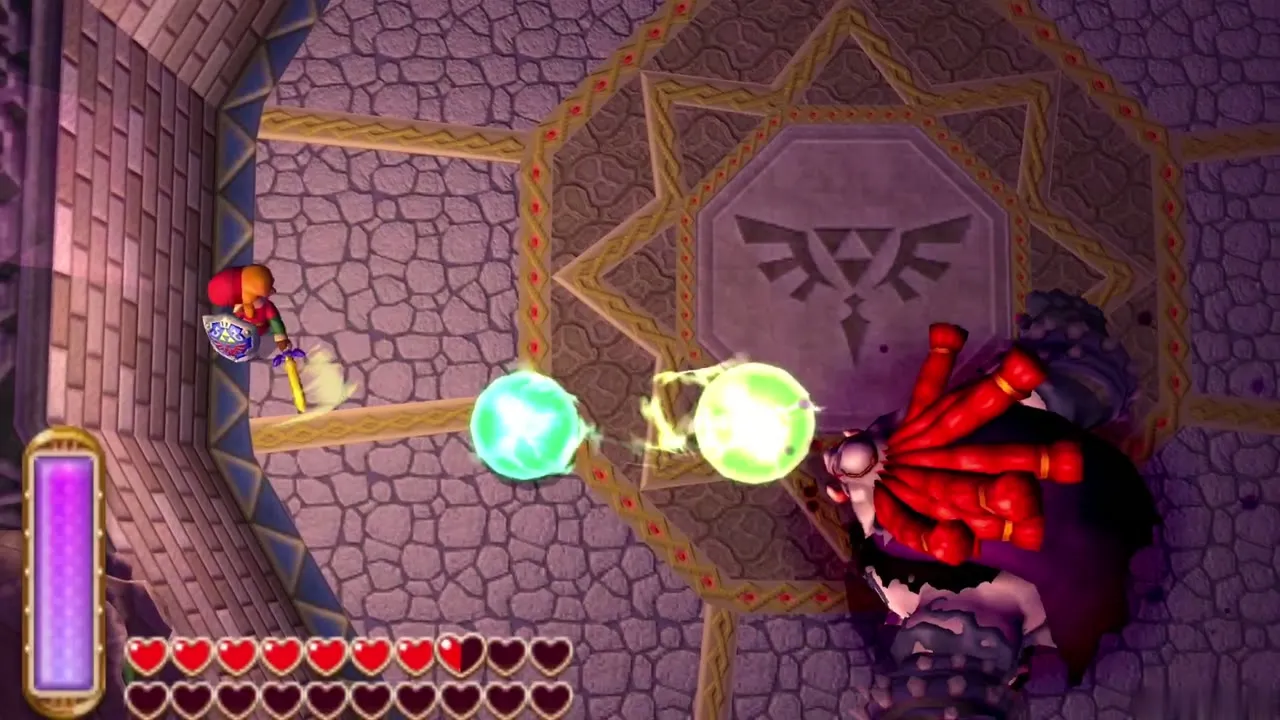
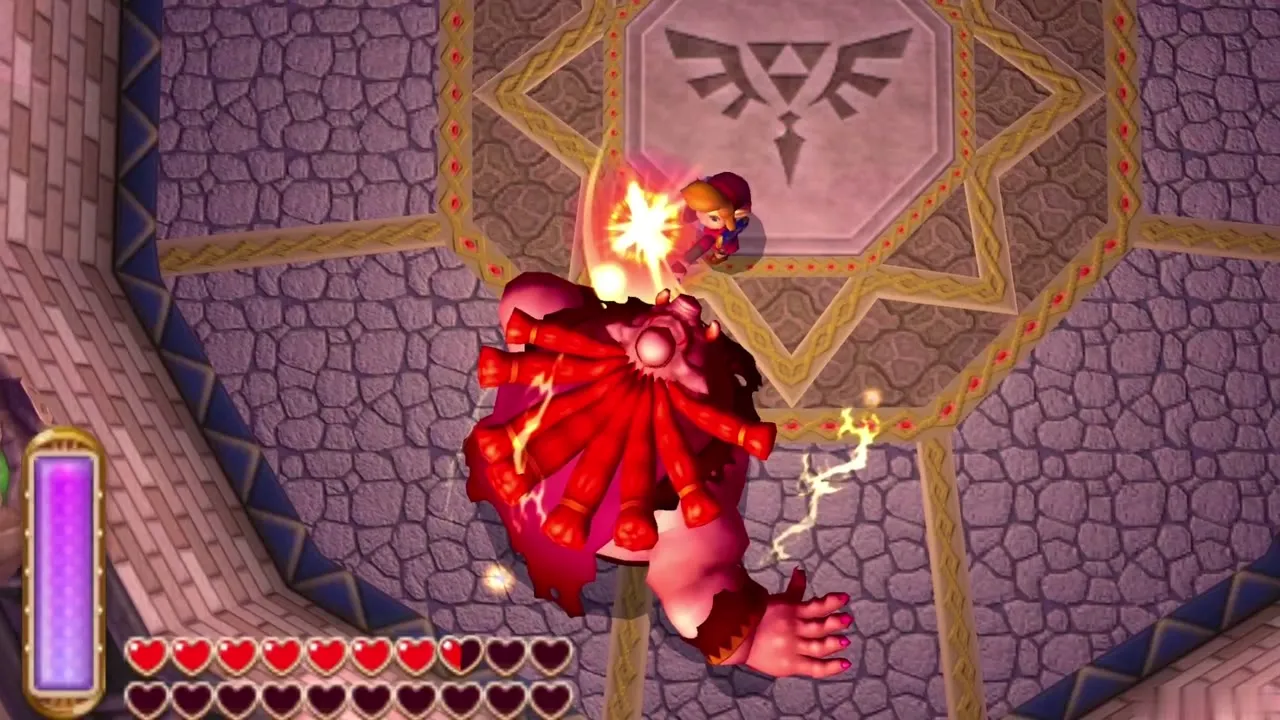
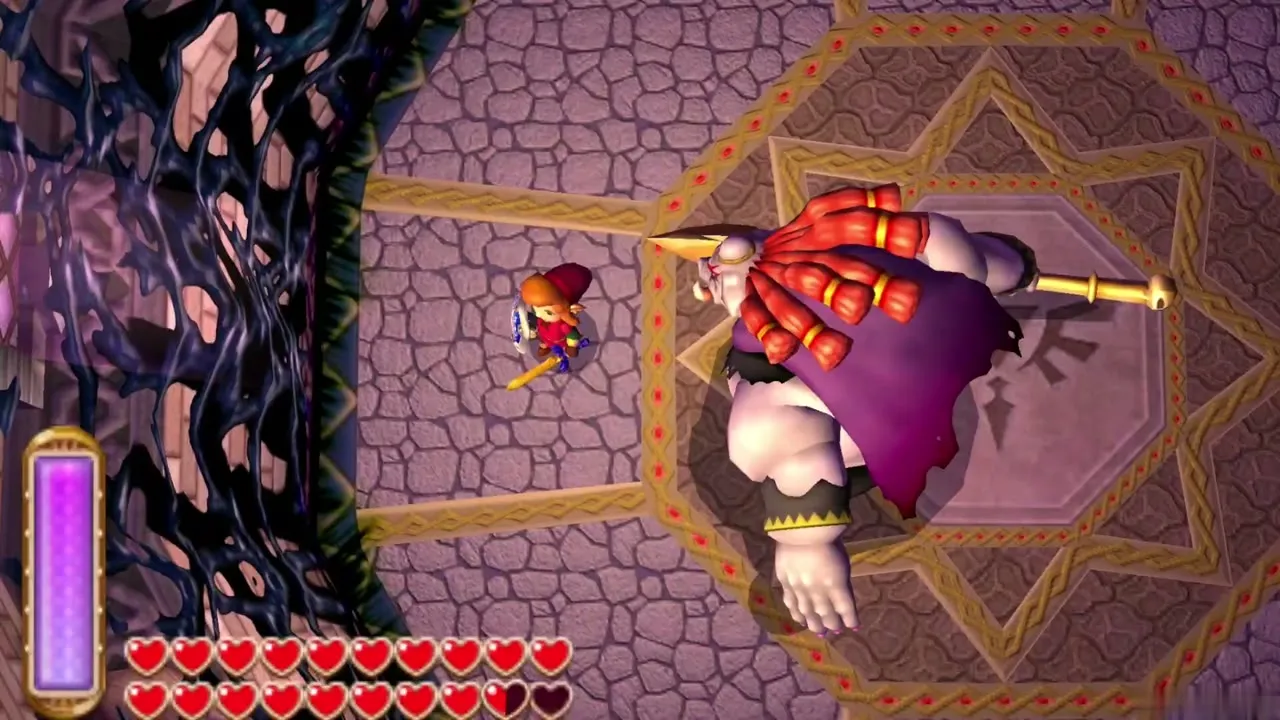
The final boss has two phases. In the first, Hilda has cast a ring of dark magic around the room, so you cannot merge. Yuga Ganon warps around the arena more often as he is hurt, and attacks with thrusts and slashes of his Trident. Dodge, then hit him from behind. Later he throws the Trident and sometimes warps out of the room to drop energy balls on you, so keep running.
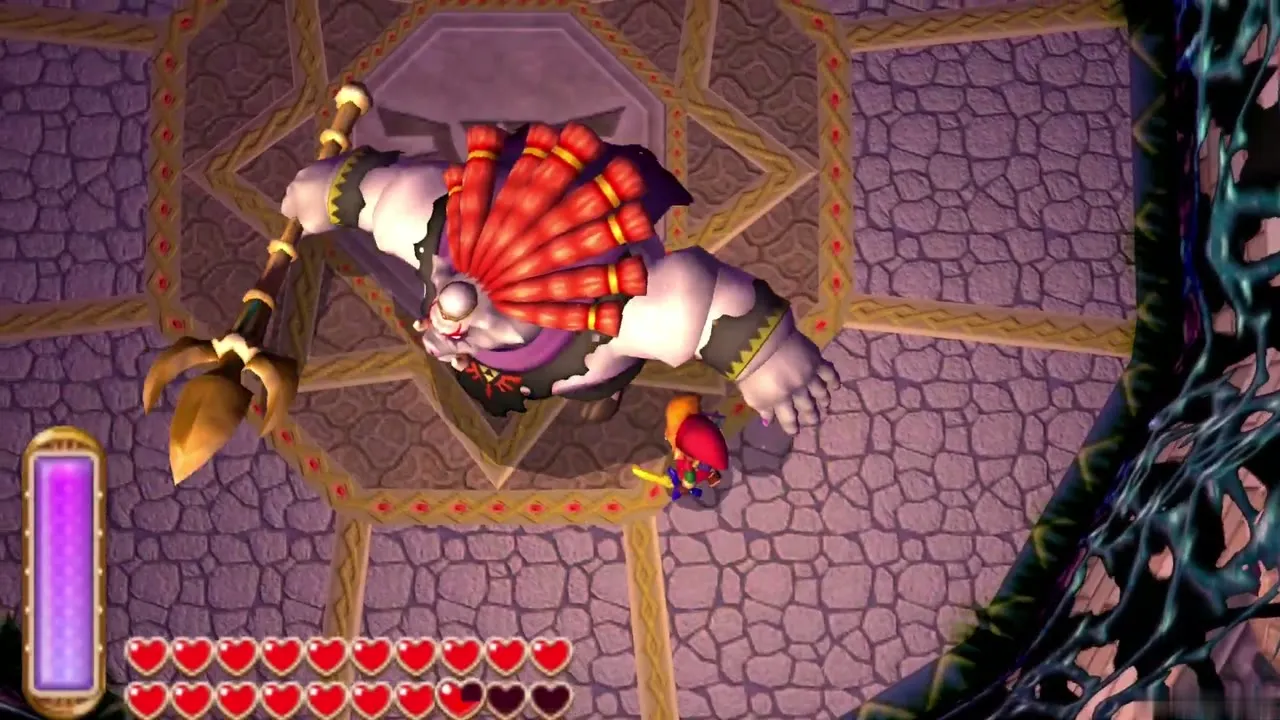
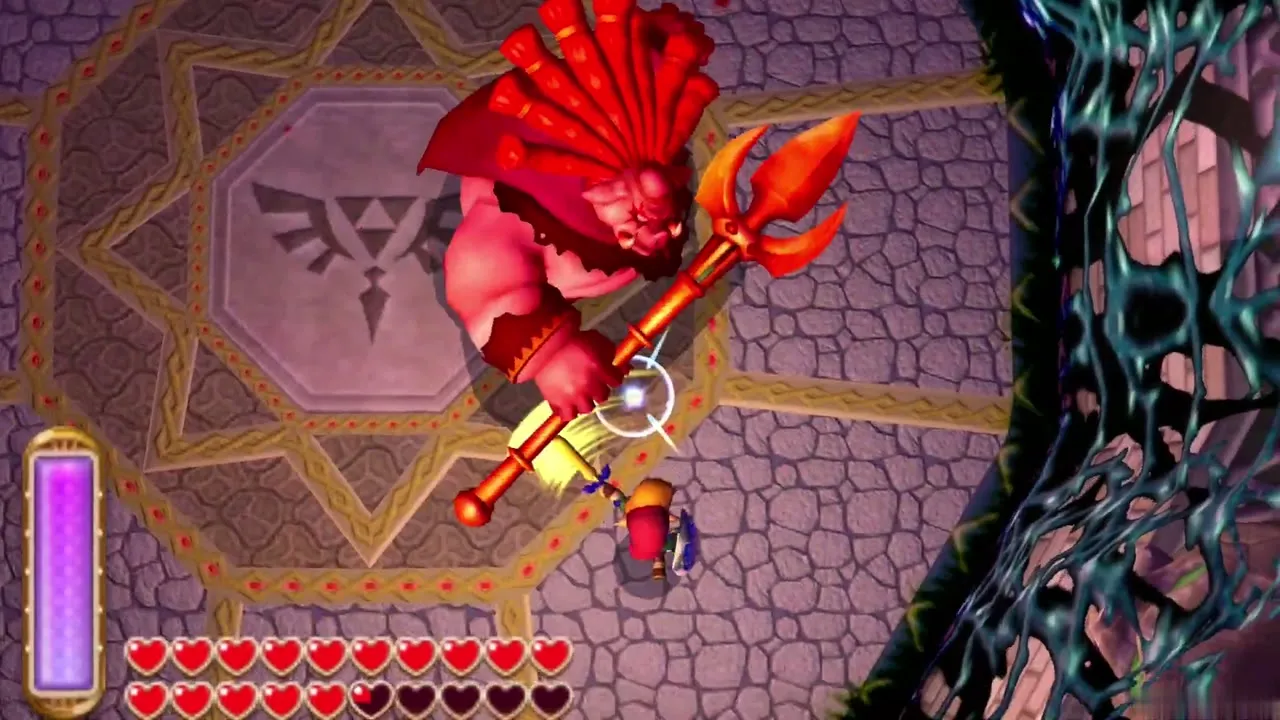
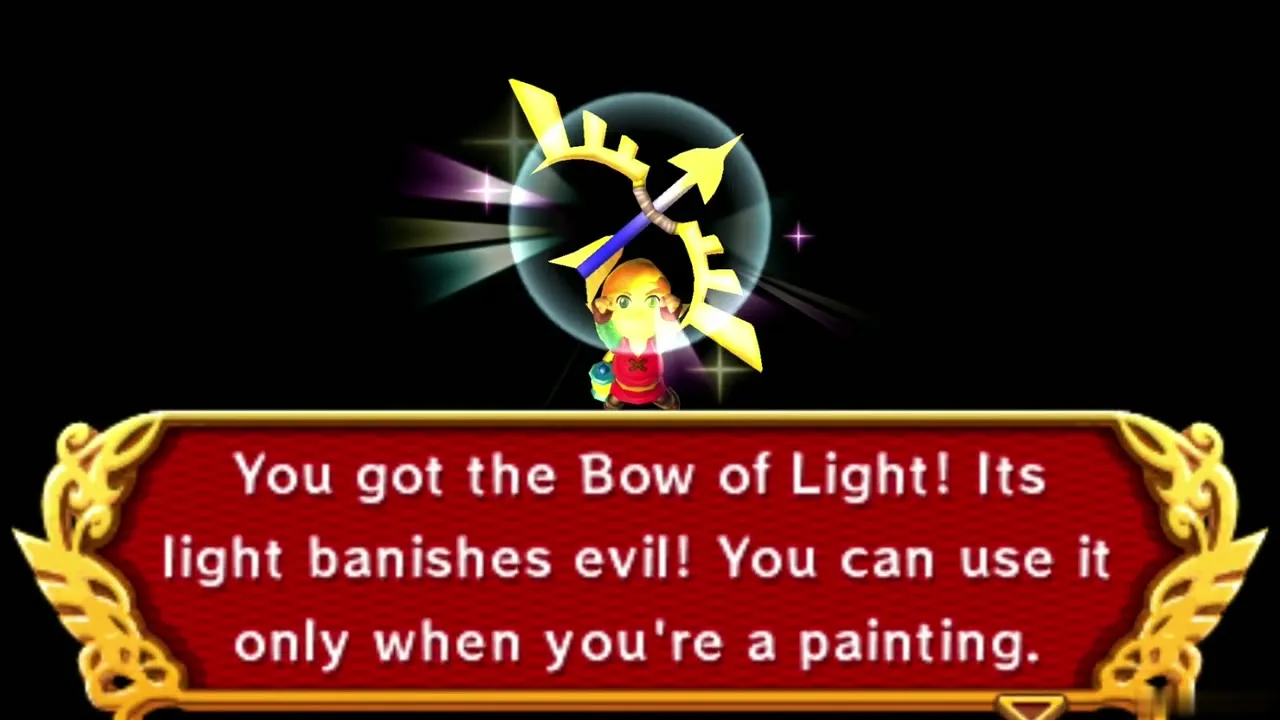
In the second phase he turns Hilda into a painting and absorbs her and the Triforce of Wisdom. After his first assault, Zelda speaks to you and gives you the Bow of Light, which fires only while you are merged into a wall. He throws a blue energy ball that you must knock back with the Sword or Net, in a game of Dead Man’s Volley. When it hits him he is stunned and sinks into the wall. Merge into the wall and shoot him with a Light Arrow; he blocks it and exposes his back, so step out, merge again behind him and shoot him in the back. That knocks him out of the wall for sword slashes, and fireballs then burst from the walls. Repeat this three times in all. The second time, he charges you after the first arrow, so step out and back in quickly. The third time he blocks everything and turns too fast, so shoot the arrow along the wall away from him and it will still hit him. Finish him with the Sword. Winning does not give a Heart Container.