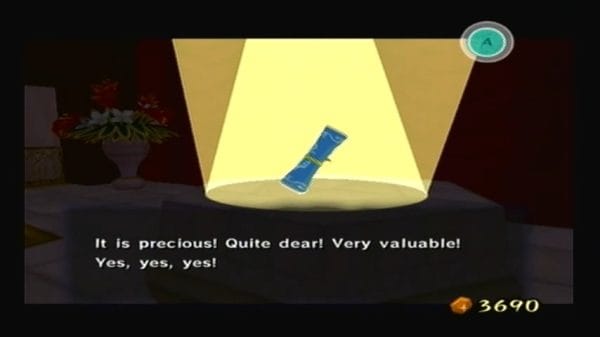
Treasure Charts mark locations on the Great Sea where sunken treasure chests can be salvaged using the Grappling Hook. A glowing spot appears on the water surface at the correct location when you are nearby. Standard Treasure Charts (1-41 listed here) primarily reward Rupees, though a few yield other charts or even a Piece of Heart. They are distinct from Triforce Charts, Special Charts (like those leading to Great Fairy locations), or the IN-credible Chart (HD version).
Table of Contents

Treasure Chart #1
Acquisition Location: Forbidden Woods (Forest Haven, F6)
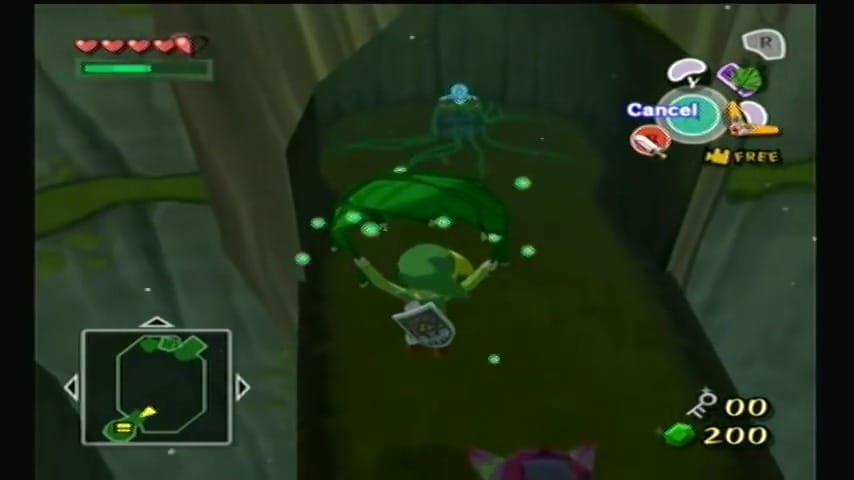
How to Obtain: In the second room of the Forbidden Woods dungeon, use Baba Buds (propeller flowers) to reach the highest wooden platform. Use the Boomerang to destroy the eyeball plants encasing the chest, then glide over with the Deku Leaf to open it.


Treasure Location: Private Oasis (E5)
Reward: 200 Rupees (Silver Rupee)


Treasure Chart #2
Acquisition Location: Windfall Island (D2)
How to Obtain: After rescuing Aryll, visit the rich man’s house on Windfall. Speak to Maggie’s Father upstairs and give him 20 Skull Necklaces (dropped by Moblins) to receive the chart.


Treasure Location: Rock Spire Isle (B3)
Reward: Heart Piece #40


Treasure Chart #3
Acquisition Location: Forest Haven (F6)
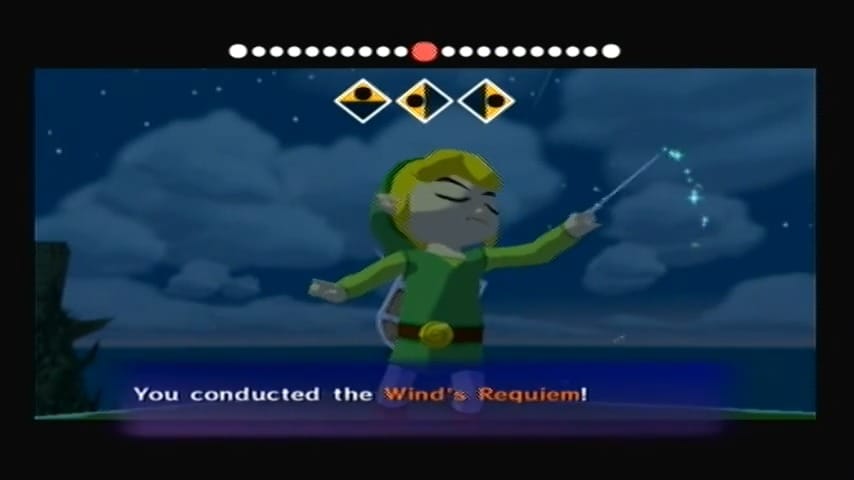
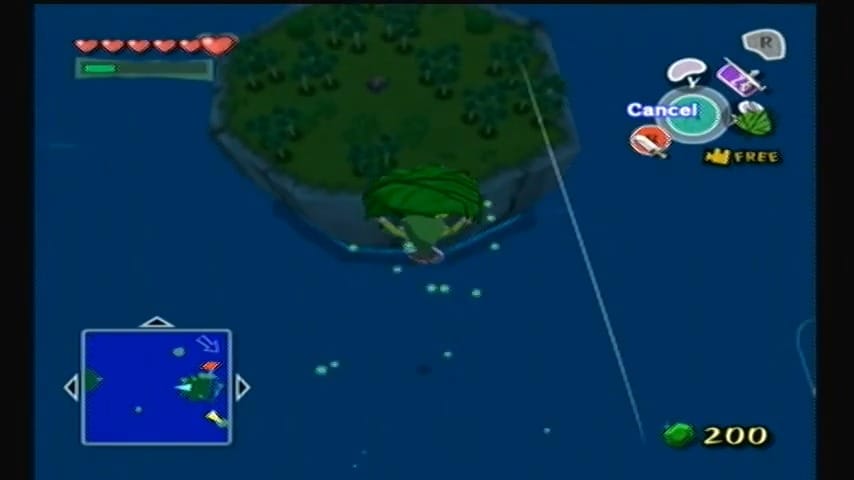
How to Obtain: Inside Forest Haven, use the Baba Buds to launch up near the top of the great tree. Exit through the highest opening. From that ledge, play the Wind’s Requiem to set the wind southeast, then leap and glide with the Deku Leaf to a far-off small island with a chest. Open it to get the chart.

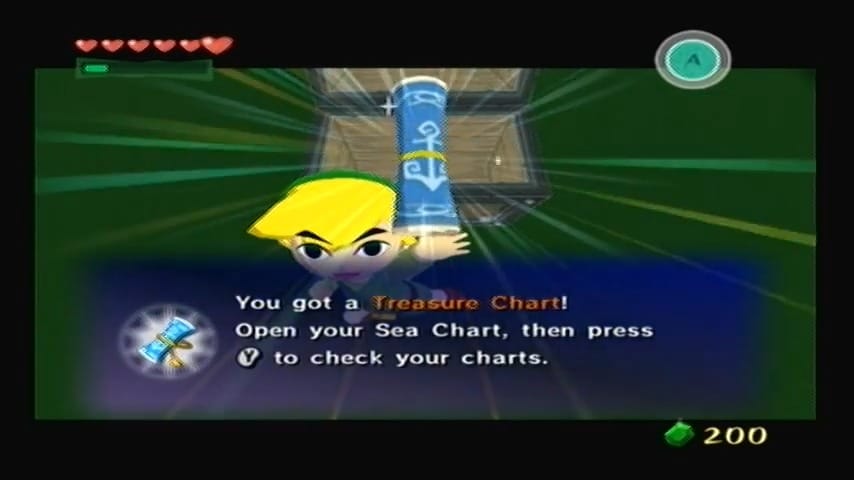
Treasure Location: Eastern Fairy Island (E3)
Reward: 200 Rupees (Silver Rupee)


Treasure Chart #4
Acquisition Location: Rock Spire Isle (B3) – Beedle’s Shop Ship
How to Obtain: Find Beedle’s special floating Shop Ship near Rock Spire Isle. Purchase Treasure Chart 4 for 900 Rupees.


Treasure Location: Southern Fairy Island (D6)
Reward: Heart Piece #33


Treasure Chart #5
Acquisition Location: Wind Temple (Gale Isle, D1)
How to Obtain: Deep in the Wind Temple (floor B1), in the third-to-last room before the boss, defeat every enemy in the chamber (including any that appear hidden). Once all enemies are vanquished, a chest spawns containing the chart.


Treasure Location: Thorned Fairy Island (G4)
Reward: Heart Piece #43


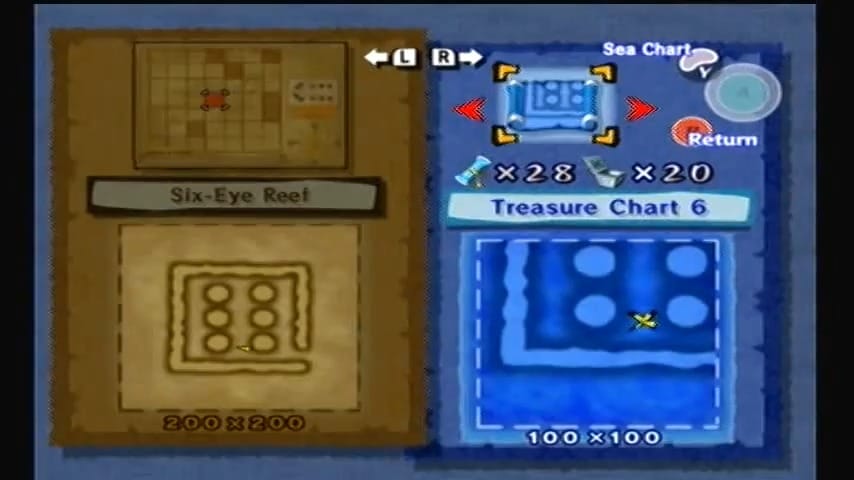
Treasure Chart #6
Acquisition Location: Tower of the Gods (E4)
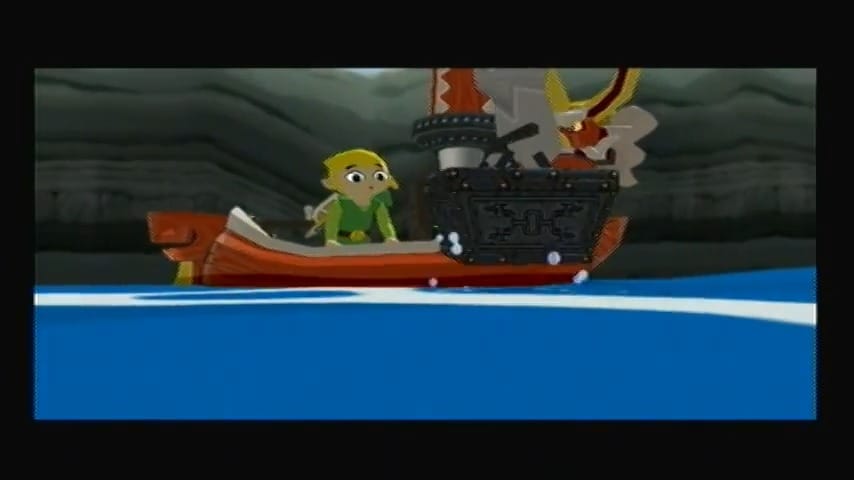
How to Obtain: In the Tower of the Gods, go to the room where the Compass is found. Shoot the eye switch on the wall with an arrow to make a chest appear, then open it to obtain the chart.


Treasure Location: Six-Eye Reef (D4)
Reward: 200 Rupees (Silver Rupee)


Treasure Chart #7
Acquisition Location: Windfall Island (D2)
How to Obtain: Play Salvatore’s “Sinking Ships” minigame (the squid battleship game) on Windfall. Win the game twice; on your second win, you’ll be rewarded with the chart.


Treasure Location: Star Island (B1)
Reward: 200 Rupees (Silver Rupee)


Treasure Chart #8
Acquisition Location: Horseshoe Island (A7)
How to Obtain: Complete the “golf” puzzle on Horseshoe Island by using the Deku Leaf to guide the three nuts into all the holes. This opens a hole at the end of the island. Drop down into the cave and defeat the Winged Mothula and its two smaller companions (use the Boomerang or sword). Once the enemies are defeated, a chest appears containing the chart.


Treasure Location: Western Fairy Island (A3)
Reward: 200 Rupees (Silver Rupee)


Treasure Chart #9
Acquisition Location: Crescent Moon Island (E1)
How to Obtain: Sail to the small submarine near Crescent Moon Island. Enter the submarine and defeat all the Miniblin enemies inside. Once all enemies are defeated, a ladder will drop, granting access to a chest that holds the chart.


Treasure Location: Horseshoe Island (A7)
Reward: 200 Rupees (Silver Rupee)


Treasure Chart #10
Acquisition Location: Crescent Moon Island (E1)
How to Obtain: Find the Treasure Chart chest plainly visible on Crescent Moon Island. It’s guarded by two Blue ChuChus – defeat or avoid them and open the chest in the center of the island to get the chart.


Treasure Location: Tingle Island (C3)
Reward: 200 Rupees (Silver Rupee)


Treasure Chart #11
Acquisition Location: Dragon Roost Cavern (Dragon Roost Island, F2)
How to Obtain: After obtaining the Grappling Hook in Dragon Roost Cavern, backtrack to the dungeon’s entrance area. On the first floor, from the main lava room, go west into a side room. Defeat the Bokoblins there and enter the first door on the left. Use the Grappling Hook on the overhead pole to swing across a gap to a ledge with a chest. Open it to obtain the chart.


Treasure Location: Crescent Moon Island (E1)
Reward: Heart PIece #19


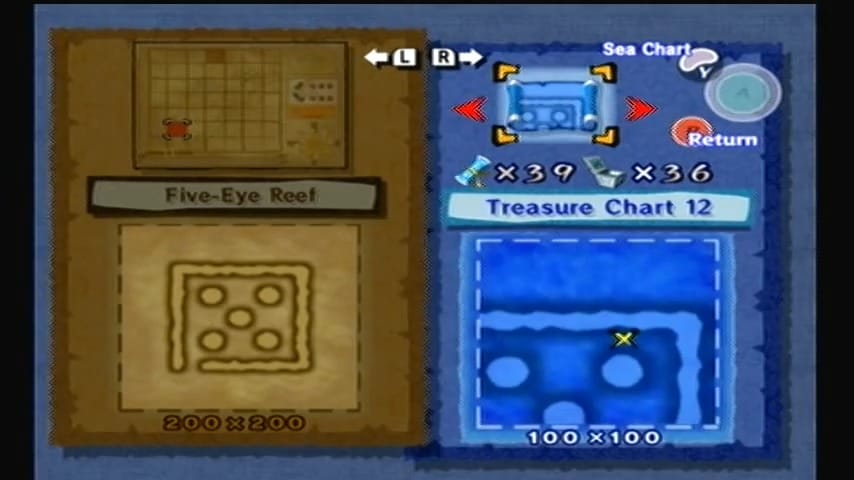
Treasure Chart #12
Acquisition Location: Earth Temple (Headstone Island, C7)
How to Obtain: In the Earth Temple’s basement (B2), enter the large mirror chamber. Bomb a cracked portion of the western wall to reveal a hidden room. Inside, three Stalfos will attack. Use Bombs and the Sword to defeat all three Stalfos, which causes a chest to appear containing the chart.


Treasure Location: Five-Eye Reef (B6)
Reward: 200 Rupees (Silver Rupee)


Treasure Chart #13
Acquisition Location: Two-Eye Reef (D7)
How to Obtain: After obtaining the cannon (Bombs) from Forsaken Fortress, sail to Two-Eye Reef. Destroy all the Warships and Cannons inside the reef. Once the coast is clear, a treasure chest will appear on a high platform in the reef’s center. Use the Deku Leaf to float from the rim of the reef (or the Hookshot, if available) to reach the chest. Open it to get the chart.


Treasure Location: Overlook Island (G1)
Reward: Secret Cave Chart (Shows locations of secret caves)


Treasure Chart #14
Acquisition Location: Headstone Island (C7) – Submarine
How to Obtain: Find the submarine floating just north of Headstone Island. Enter the submarine and defeat all the enemies inside. In particular, watch out for Rats (use your Boomerang or arrows to take them out). Clearing all enemies unlocks a ladder to the upper area where a chest holds the chart.


Treasure Location: Tower of the Gods (E4)
Reward: 200 Rupees (Silver Rupee)


Treasure Chart #15
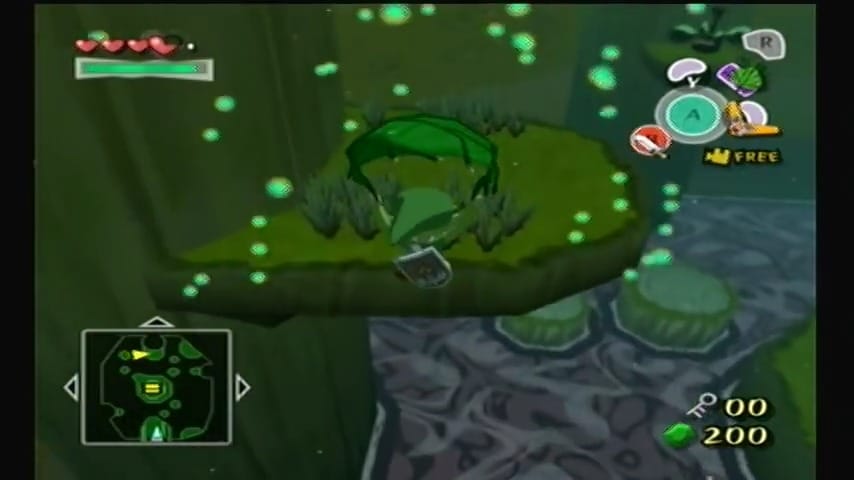
Acquisition Location: Forbidden Woods (Forest Haven, F6)
How to Obtain: On the basement floor of Forbidden Woods, find the optional room north of the central chamber. Inside, there’s a large hollow tree stump with a spiky Boko plant inside it. From a higher ledge, toss a Bomb into the open top of the hollow tree to destroy the plant. Jump down into the stump (now a hole) and open the chest in the jail cell area to get the chart.



Treasure Location: Angular Isles (E7)
Reward: Heart Piece #8



Treasure Chart #16
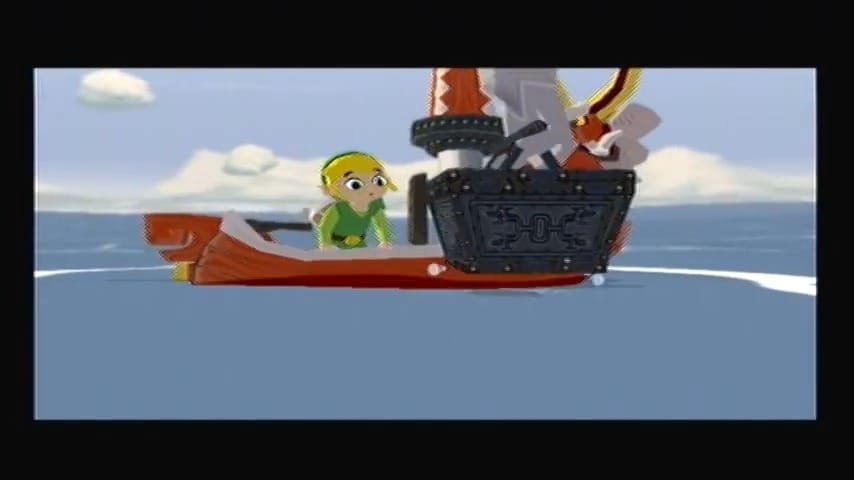
Acquisition Location: Seven-Star Isles (F1)
How to Obtain: Near Seven-Star Isles, locate the two tall lookout platforms at sea. Defeat all the Wizzrobes on these towers (they may summon additional enemies). Once all Wizzrobes are defeated, a chest appears on one of the platforms containing the chart.


Treasure Location: Shark Island (C6)
Reward: Silver Rupee worth 200 Rupees.


Treasure Chart #17
Acquisition Location: Spectacle Island (C2)
How to Obtain: Go to Spectacle Island during the daytime and play the cannonball shooting game (run by Salvatore). Win the target shooting mini-game twice; on your second win, you will be awarded the chart.


Treasure Location: Ice Ring Isle (E6)
Reward: 200 Rupees (Silver Rupee)


Treasure Chart #18
Acquisition Location: Windfall Island (D2) – Auction House
How to Obtain: At night, participate in the Windfall Island auction at the Rich Mansion. One of the items up for bid will be a Treasure Chart (with a very low starting bid of 5 Rupees in the GameCube version). Win the auction for that chart to obtain it.
Treasure Location: Windfall Island (D2) – Same sector
Reward: 1 Rupee (Green Rupee) in the GameCube version


Treasure Chart #19
Acquisition Location: Four-Eye Reef (A2)
How to Obtain: After acquiring the cannon, sail to Four-Eye Reef and destroy all the Warships and Cannons guarding it. Once cleared, a chest appears. Use the Deku Leaf or Hookshot to reach the elevated central platform where the chest spawned and open it to claim the chart.


Treasure Location: Flight Control Platform (G2)
Reward: Island Hearts Chart (Shows islands containing Pieces of Heart)


Treasure Chart #20
Acquisition Location: Earth Temple (Headstone Island, C7)
How to Obtain: In the Earth Temple’s first basement (1F/B1), there is a foggy room with several Floormasters and a locked door (this is the room where picking up a small key chest clears the fog). After obtaining that small key, defeat all the Floormasters in the now-clear room. When the last Floormaster is defeated, a chest appears containing the chart.


Treasure Location: Bomb Island (F5)
Reward: Heart Piece #42


Treasure Chart #21
Acquisition Location: Cyclops Reef (C4)
How to Obtain: Sail to Cyclops Reef after acquiring Bombs and destroy all the Warships and Cannons inside. A treasure chest will appear high in the reef. Climb onto the reef’s ledges and use the Deku Leaf to float to the chest (or Hookshot up if a tree or hook point is available). Open the chest to get the chart.


Treasure Location: Cyclops Reef (C4) – Same sector
Reward: Light Ring Chart (Shows locations of light rings for rare treasure)


Treasure Chart #22
Acquisition Location: Northern Fairy Island (C1)
How to Obtain: Look for a submarine northwest of Northern Fairy Island. Enter the submarine and navigate through the interior using the hanging ropes. Swing across the gaps to reach the back room of the sub. Open the chest in the final area to obtain the chart.


Treasure Location: Spectacle Island (C2)
Reward: 200 Rupees (Silver Rupee)


Treasure Chart #23
Acquisition Location: Windfall Island (D2)
How to Obtain: Play the Windfall “Sinking Ships” minigame (Salvatore’s Squid-Hunt). Achieve a win using fewer than 20 cannonballs. If you manage this efficient victory, you’ll be rewarded with the chart. (This prize is given for the expert score after you’ve already won the basic prizes.)


Treasure Location: Diamond Steppe Island (A6)
Reward: Heart Piece #12


Treasure Chart #24
Acquisition Location: Windfall Island (D2)
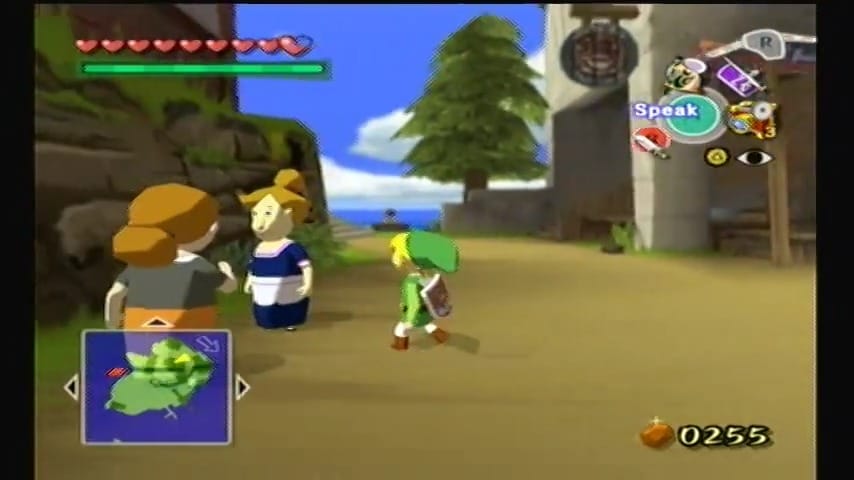
How to Obtain: (Deluxe Picto Box required). First, overhear the gossiping women on Windfall talk about Lenzo’s love life. Next, at night, climb up to the Windfall windmill (activate the ferris wheel if needed) and glide with the Deku Leaf onto Lenzo’s balcony (second-floor door of the Picto Shop). Inside, crawl through the crawlspace in the wall to reach an upper balcony overlooking Lenzo. Wait for Lenzo to meet with the lady Minenco and snap a pictograph of them conversing. Finally, return in daytime and show this photo to the gossiping women near Zunari’s shop. They will reward you with the chart for clearing up the “mystery woman” rumors.


Treasure Location: Northern Fairy Island (C1)
Reward: 200 Rupees (Silver Rupee)


Treasure Chart #25
Acquisition Location: Cliff Plateau Isles (G6)
How to Obtain: On Cliff Plateau Isles, drop down into the hole on the first small island. You’ll enter a cave area with small platforms in water. Hop across the floating platforms, avoiding or cutting the vine traps. Defeat a Boko Baba to create a Baba Bud and use it to propel up to a higher ledge. Continue forward and use a Fire Arrow (or a lit Deku Stick) to burn the wooden planks blocking a cave opening. Glide with the Deku Leaf to that now-open opening and step into the shiny updraft, which will transport you to a hidden area above. In this hidden area, open the chest near the Korok (Aldo) to obtain the chart.


Treasure Location: Forsaken Fortress (A1)
Reward: 200 Rupees (Silver Rupee)


Treasure Chart #26
Acquisition Location: Six-Eye Reef (D4)
How to Obtain: Clear out all the Warships and Cannons inside Six-Eye Reef using your cannon. Once all enemies are defeated, a chest will appear on a high platform in the middle of the reef. Use the Hookshot on a tree or wall inside the reef to pull yourself up to the upper ledge, then glide with the Deku Leaf to the platform with the chest. Open it to get the chart.


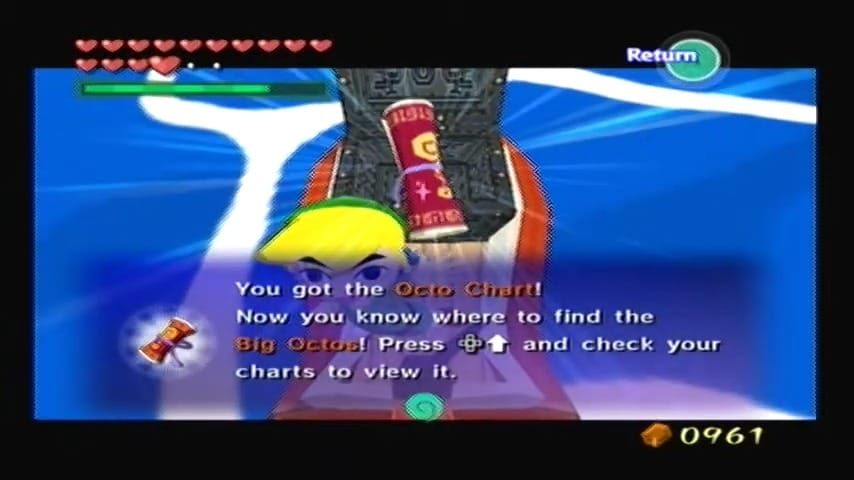
Treasure Location: Northern Triangle Island (D3)
Reward: Octo Chart (Shows locations of Big Octos)



Treasure Chart #27
Acquisition Location: Private Oasis (a.k.a. Cabana, E5)
How to Obtain: On Private Oasis, go to the back side of the Cabana house. Use the Hookshot on the palm tree atop the ledge behind the house to pull yourself up (alternatively, you can climb onto the rear wall and use the Deku Leaf to glide to the ledge). On this high ledge behind the Cabana, open the chest to find the chart. (Note: You need access to the Cabana – either by obtaining the Cabana Deed or bypassing the door – to explore the island freely.)


Treasure Location: Star Belt Archipelago (G3)
Reward: 200 Rupees (Silver Rupee)


Treasure Chart #28
Acquisition Location: Horseshoe Island (A7)
How to Obtain: (Requires completion of Chart 8’s puzzle). After you sink the nuts in all the holes for Chart 8’s puzzle, a chest spawns on a tall pillar at the end of Horseshoe Island. Change the wind direction (play the Wind’s Requiem) to line up with the chest, then leap off and glide with the Deku Leaf to land next to it. Open the chest to get Treasure Chart 28.


Treasure Location: Needle Rock Isle (A5)
Reward: 200 Rupees (Silver Rupee)


Treasure Chart #29
Acquisition Location: Windfall Island (D2)
How to Obtain: This chart is hidden in Lenzo’s upstairs study on Windfall. First, activate the windmill (at night) and ride the ferris wheel gondola. Glide with the Deku Leaf to land on Lenzo’s balcony (the same entry used for Chart 24). Enter the door and you’ll find two chests in the attic. Open the chest on the left to collect the chart.


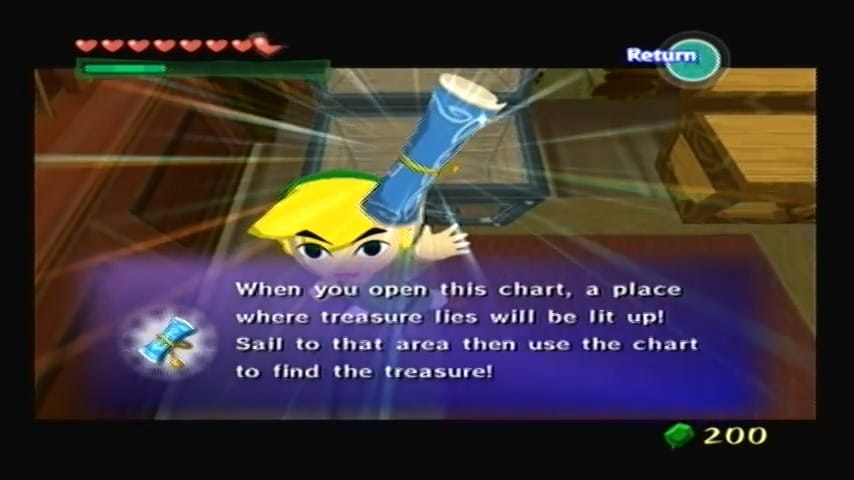
Treasure Location: Mother & Child Isles (B2)
Reward: 200 Rupees (Silver Rupee)


Treasure Chart #30
Acquisition Location: Tower of the Gods (E4)
How to Obtain: In the Tower of the Gods, go to the western room adjacent to the big scale puzzle (this is the optional room along the path of the northern Armos statue). In this room, place a bomb on the cracked floor tile that has a wind symbol. After the floor breaks, stand on the revealed wind crest and play the Wind’s Requiem. This summons a chest, but two Armos Knights will also spawn – defeat them. Open the newly appeared chest to claim the chart.


Treasure Location: Pawprint Isle (E2)
Reward: Heart Piece #32


Treasure Chart #31
Acquisition Location: Windfall Island (D2)
How to Obtain: After obtaining the Deluxe Picto Box, wait for a night when the moon is full. Use the Song of Passing if necessary to get a full moon. Take a clear pictograph of the full moon in the night sky. Then, during daytime, find the pessimistic man named Kamo (sitting on the steps by the auction house) and talk to him until he mentions wanting to see a pictograph. Show him the photo of the full moon. Impressed by the reminder of “love,” he will reward you with the chart.


Treasure Location: Forest Haven (F6)
Reward: Heart Piece #25


Treasure Chart #32
Acquisition Location: Three-Eye Reef (A4)
How to Obtain: Use your cannon to take out all the Cannons and Warships inside Three-Eye Reef (again, this is only possible after getting Bombs from Forsaken Fortress). After clearing the enemies, a chest appears high on the reef wall. Walk along the inner ledges of the reef and use the Deku Leaf to glide to the chest’s platform. Open it to obtain the chart.


Treasure Location: Boating Course (F7)
Reward: Sea Hearts Chart


Treasure Chart #33
Acquisition Location: Windfall Island (D2)
How to Obtain: With the Deluxe Picto Box in hand, speak to the stylish woman Minenco (standing outside the potion shop) during the day. She’s self-conscious and wants to see how she looks. Stand a short distance away and take a pictograph of Minenco (make sure she is centered and facing you). Then show her the pictograph of herself. Flattered and delighted by the photo, she will give you the chart.


Treasure Location: Five-Star Isles (G7)
Reward: Heart Piece #26


Treasure Chart #34
Acquisition Location: Great Sea (No fixed coordinate)
How to Obtain: Locate the Salvage Corp, a group of three traveling treasure hunters in a tiny boat somewhere on the Great Sea (they often appear randomly, for example around islands like Greatfish Isle). Sail up to their boat and speak with the leader of the Salvage Corp. As a token of friendship, they will gift Link this treasure chart.


Treasure Location: Eastern Triangle Island (F4)
Reward: 200 Rupees (Silver Rupee)


Treasure Chart #35
Acquisition Location: Wind Temple (Gale Isle, D1)
How to Obtain: In the Wind Temple’s basement (B2), after defeating the Wizzrobe mini-boss, you’ll enter a room with five weak floor tiles. Wear the Iron Boots and stomp through (or use the Skull Hammer on) all five breakable sections of floor. This will cause several enemies to ambush (Miniblins and perhaps Floor Masters). Defeat every enemy that appears after breaking the floors. Once the room is clear, a chest will materialize. Open it to obtain the chart.


Treasure Location: Islet of Steel (B5)
Reward: 200 Rupees (Silver Rupee)


Treasure Chart #36
Acquisition Location: Ice Ring Isle (E6)
How to Obtain: After using a Fire Arrow to melt the ice covering Ice Ring Isle, make your way around the perimeter of the island. You’ll find a Treasure Chest frozen solid on an outer ledge. Shoot it with a Fire Arrow to thaw the ice, then open the chest to get the chart.
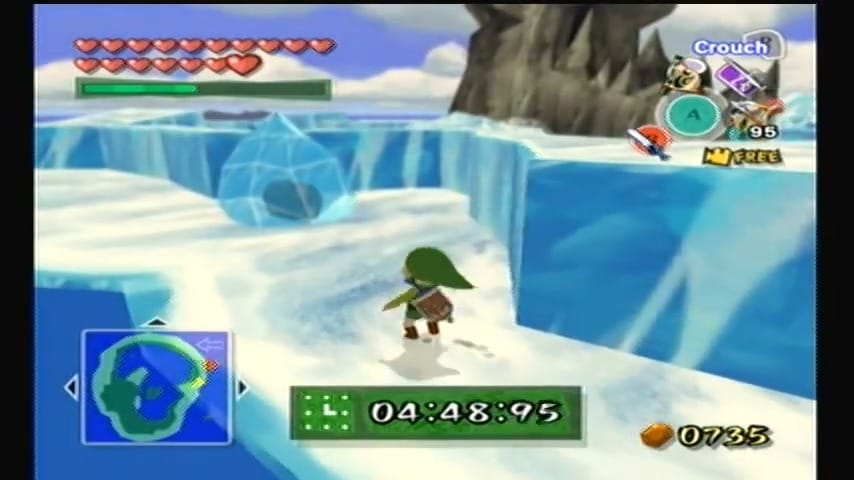


Treasure Location: Bird’s Peak Rock (G5)
Reward: 200 Rupees (Silver Rupee)


Treasure Chart #37
Acquisition Location: Rock Spire Isle (B3)
How to Obtain: At Rock Spire Isle, use your ship’s cannon or Bombs to blast away the two large boulders blocking the path on top of the island. Once the rocks are destroyed, hop across the gap and enter the revealed cave. Inside the cavern, use a Deku Stick or fire arrows to light the two unlit torches. This will summon a swarm of Keese (bats). Defeat all the Keese to make a chest appear. Open it to claim the chart.


Treasure Location: Fire Mountain (F3)
Reward: 200 Rupees (Silver Rupee)


Treasure Chart #38
Acquisition Location: Windfall Island (D2) – Auction House
How to Obtain: Return to the Windfall nightly auction after obtaining Chart 18. A second treasure chart will eventually come up for auction (this one has a higher starting bid, around 60 Rupees). Win this auction as well to obtain Chart 38.
Treasure Location: Three-Eye Reef (A4)
Reward: Piece of Heart #34


Treasure Chart #39
Acquisition Location: Dragon Roost Cavern (Dragon Roost Island, F2)
How to Obtain: In Dragon Roost Cavern’s second floor, go to the room on the south side of the central lava chamber (near the bridge over the lava lake). In this room, several Bokoblins hide inside large jars. Defeat all the Bokoblins, then light any unlit torches in the room (use a Deku Stick or Fire Arrow). Lighting the torches causes a treasure chest to appear. Open it to get the chart.


Treasure Location: Dragon Roost Island (F2)
Reward: 200 Rupees (Silver Rupee)


Treasure Chart #40
Acquisition Location: Southern Fairy Island (D6)
How to Obtain: Around Southern Fairy Island are two wooden lookout platforms over the water. Use your cannon to destroy all the mounted Cannons on these watchtowers. After dispatching the enemies, climb one of the platforms and use the Deku Leaf to glide across to the other tower, where a chest has appeared. Open the chest to obtain the chart.


Treasure Location: Headstone Island (C7)
Reward: 200 Rupees (Silver Rupee)


Treasure Chart #41
Acquisition Location: Five-Eye Reef (B6)
How to Obtain: Clear out all the Warships and Cannons inside Five-Eye Reef using Bombs. Once the reef is safe, a treasure chest will spawn in the central area. Use the Deku Leaf to float from the reef’s perimeter to the chest (you may also climb inside the reef structure or use Hookshot points if available). Open it to receive the final chart.


Treasure Location: Four-Eye Reef (A2)
Reward: Great Fairy Chart (Shows locations of Great Fairies)


