


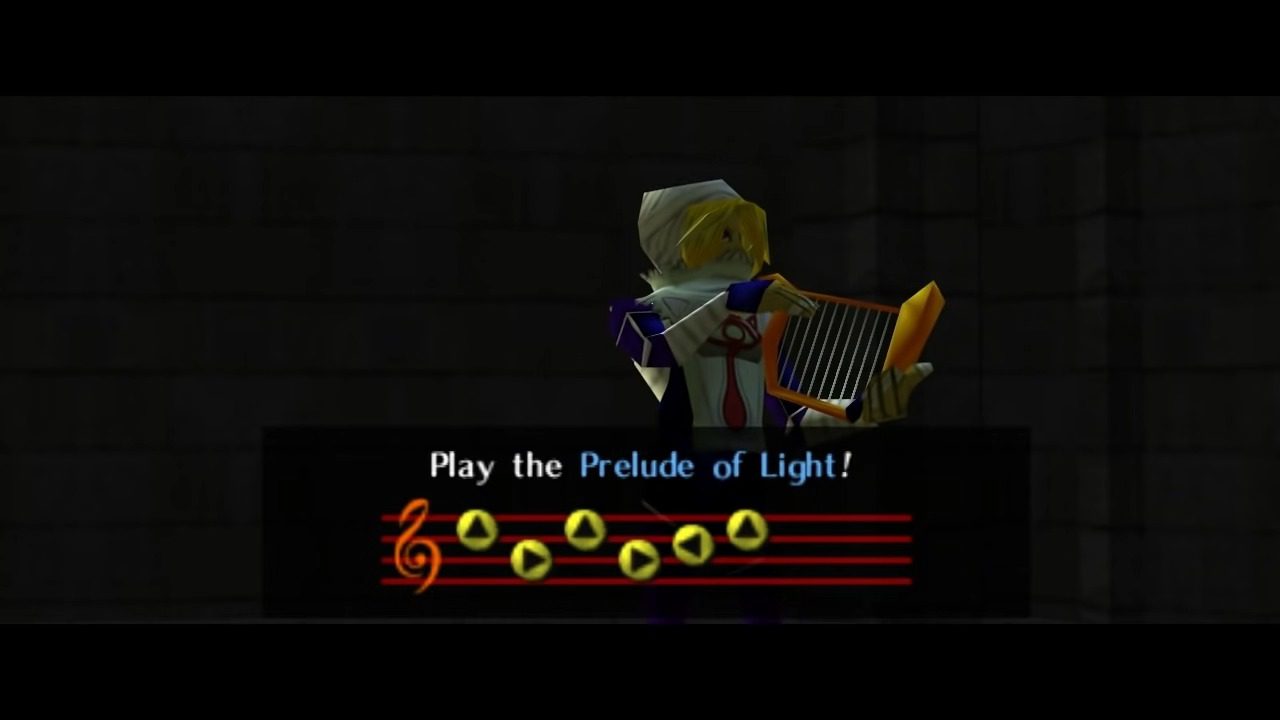
With the Water Medallion secured and the Prelude of Light learned, your journey takes you back to familiar grounds: Kakariko Village. Use the Prelude of Light to warp directly to the Temple of Time. After the significant events that transpire there, your focus shifts back to the troubles plaguing Kakariko Village. You might recall a peculiar, locked well in the center of the village. It’s time to investigate what secrets lie beneath.
Kakariko Village – Preparing for the Well
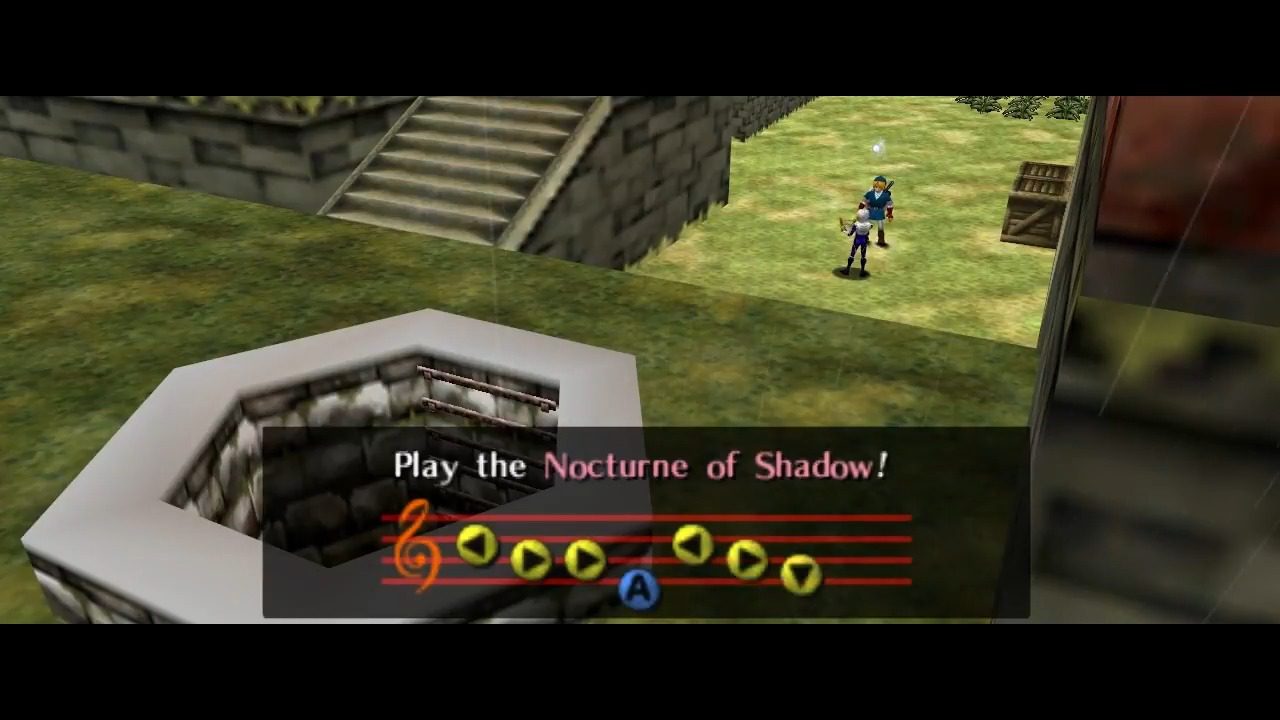
Time to leave the sunny shores of Lake Hylia and head back to Kakariko Village. Once you arrive as Adult Link, make sure you trigger a cutscene with Sheik. She’ll teach you the Nocturne of Shadow. While this song doesn’t immediately help us with collectibles in this area, it’s absolutely crucial for accessing the Shadow Temple later on, which is definitely on our 100% completion checklist.
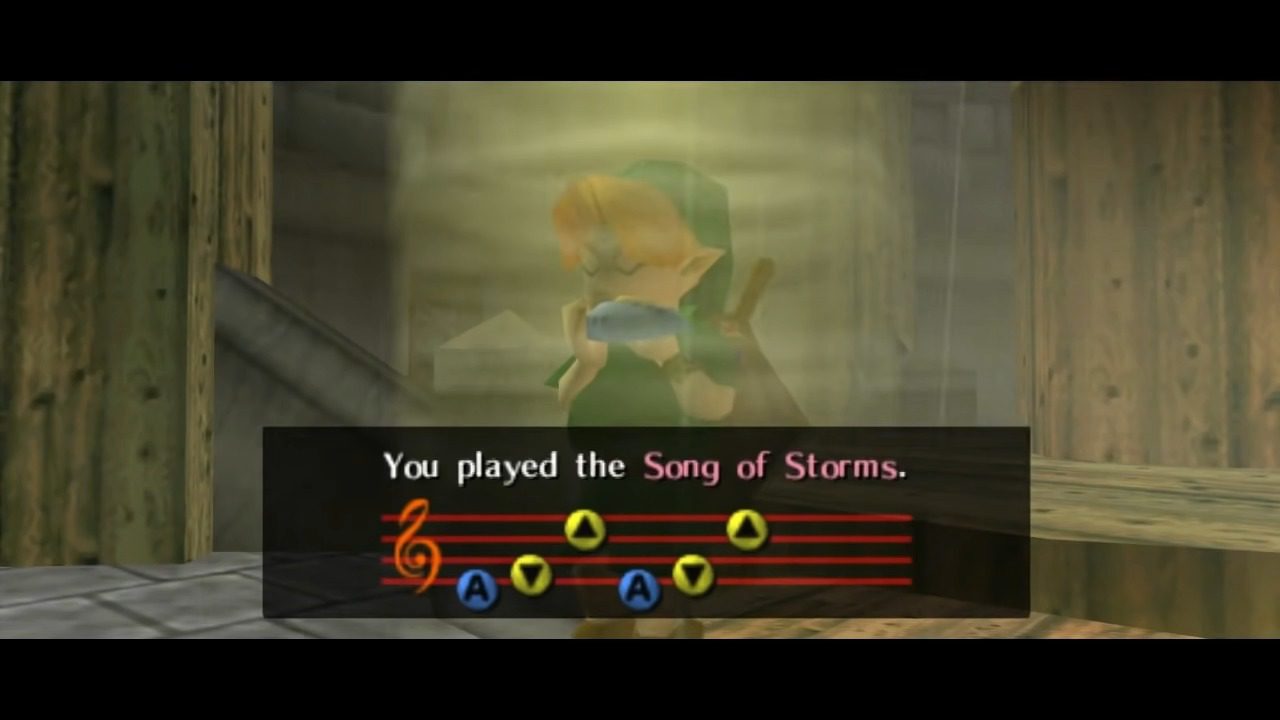
If you didn’t pick up the Song of Storms earlier, head to the windmill in Kakariko Village and chat with Guru Guru, the guy obsessively playing his music box. As Adult Link, show him your Ocarina, and he’ll teach you the Song of Storms. This isn’t just a catchy tune; it’s key to draining the well and unlocking other secrets throughout Hyrule.
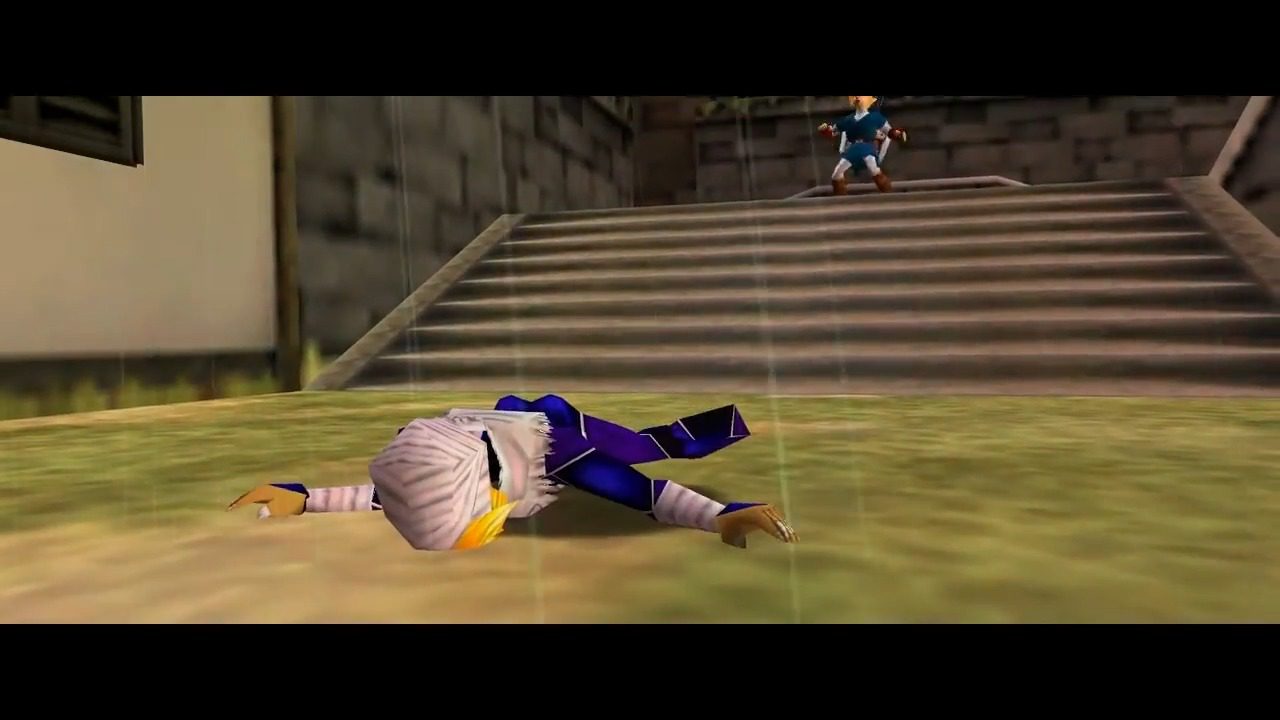
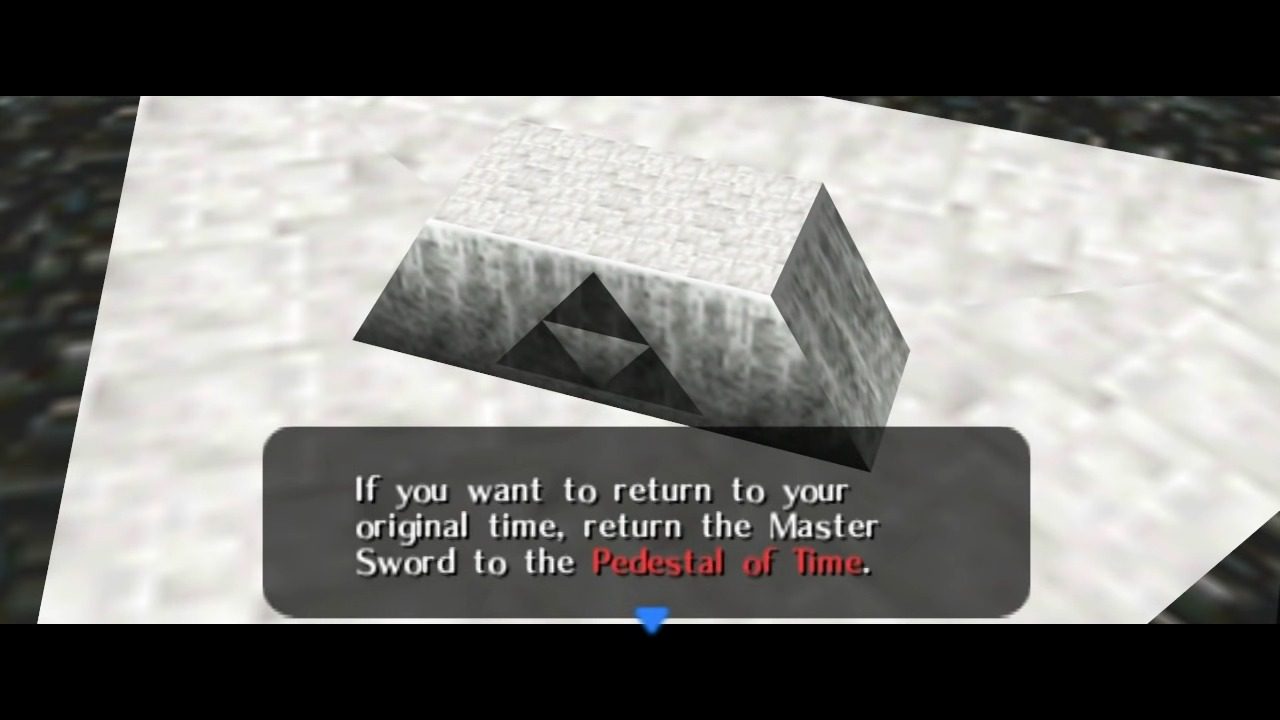
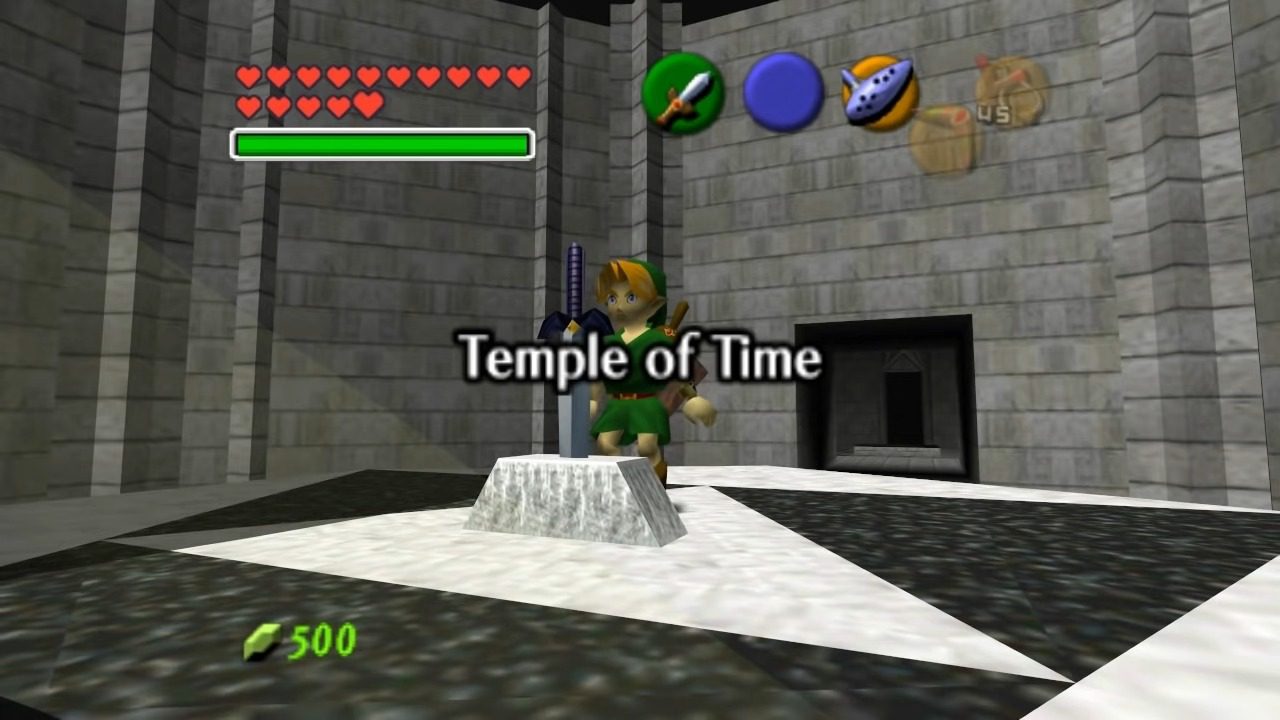
Now for the magic trick. To drain the well, we need to become Young Link again. Head back to the Temple of Time and place the Master Sword back in its pedestal.
Play the Nocturne of Shadow to warp to the Kakariko Graveyard as your younger self. Go back to the windmill and play the Song of Storms inside. You’ll hear the water level outside the windmill dramatically decrease – that’s our cue to explore the Bottom of the Well! This whole process of switching between adult and child Link highlights a core mechanic in the game, where certain actions and areas are only accessible to one or the other.
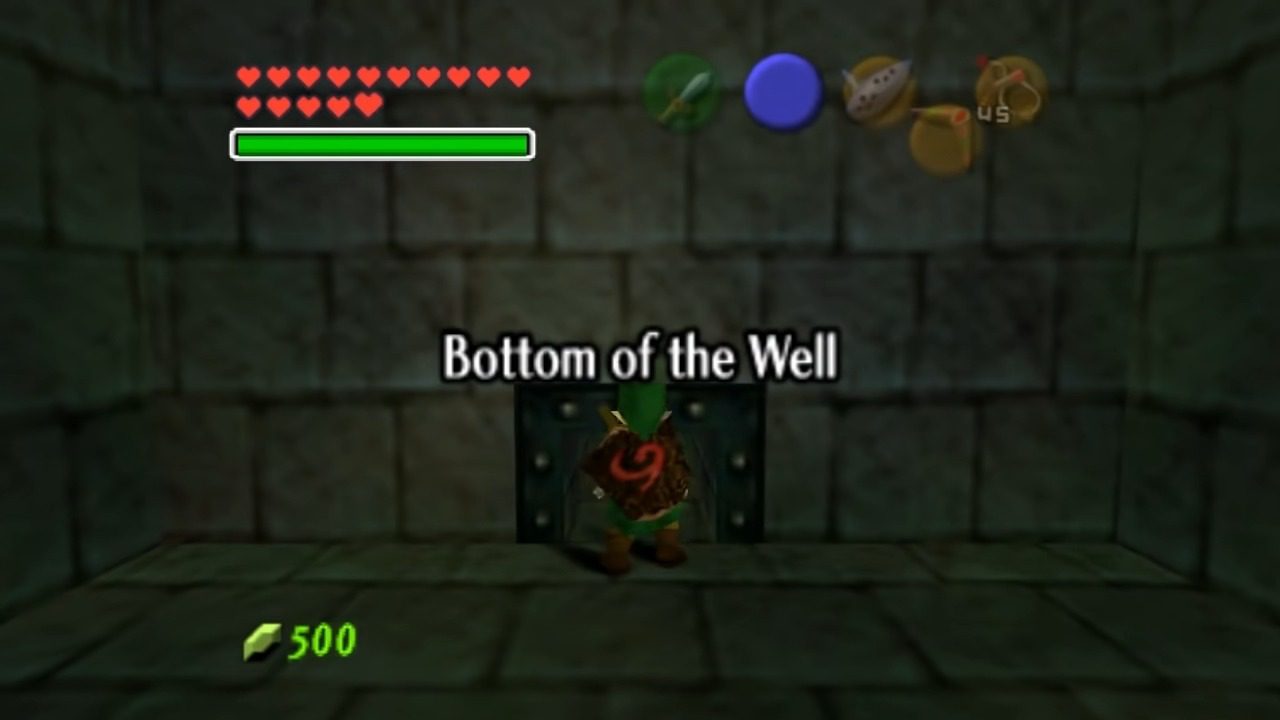
Bottom of the Well
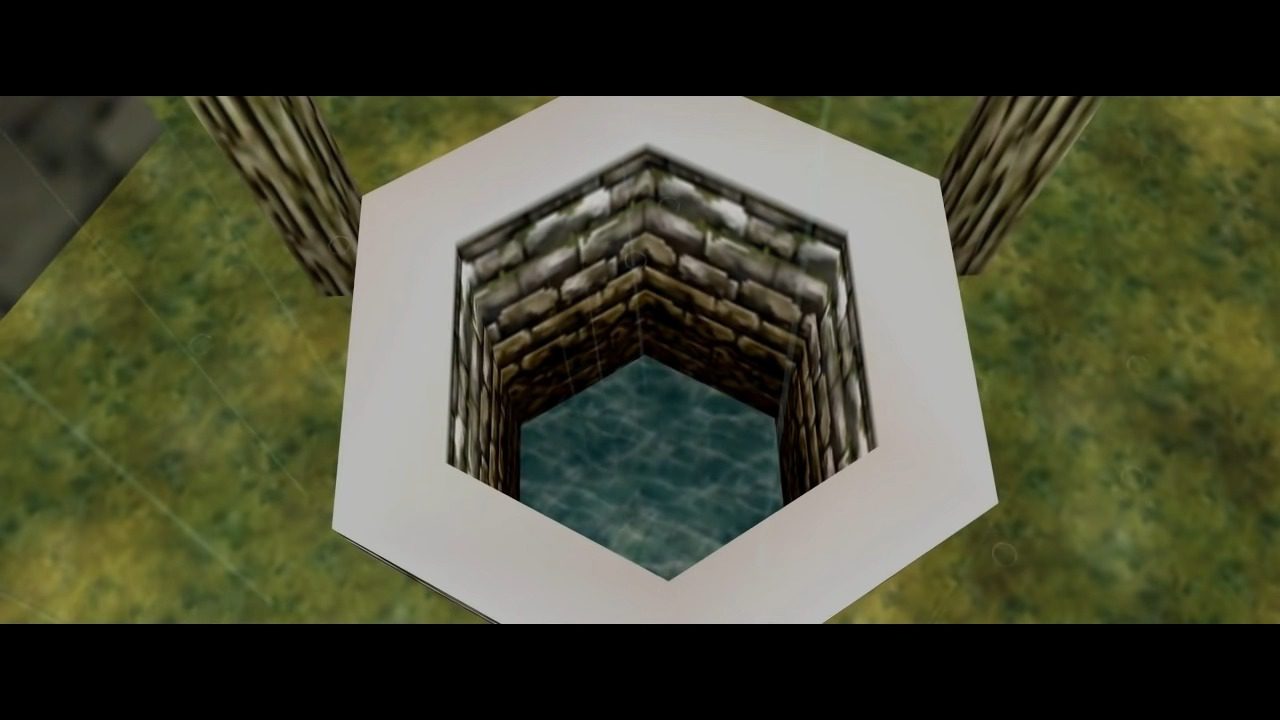
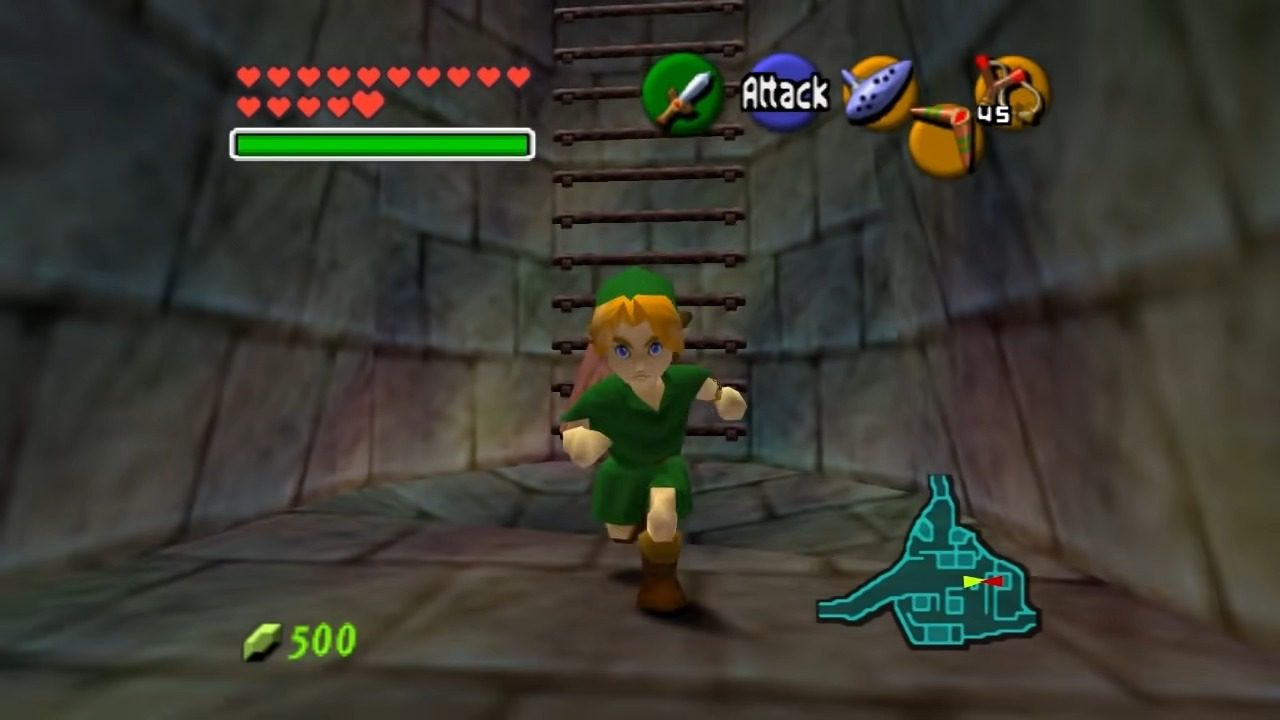
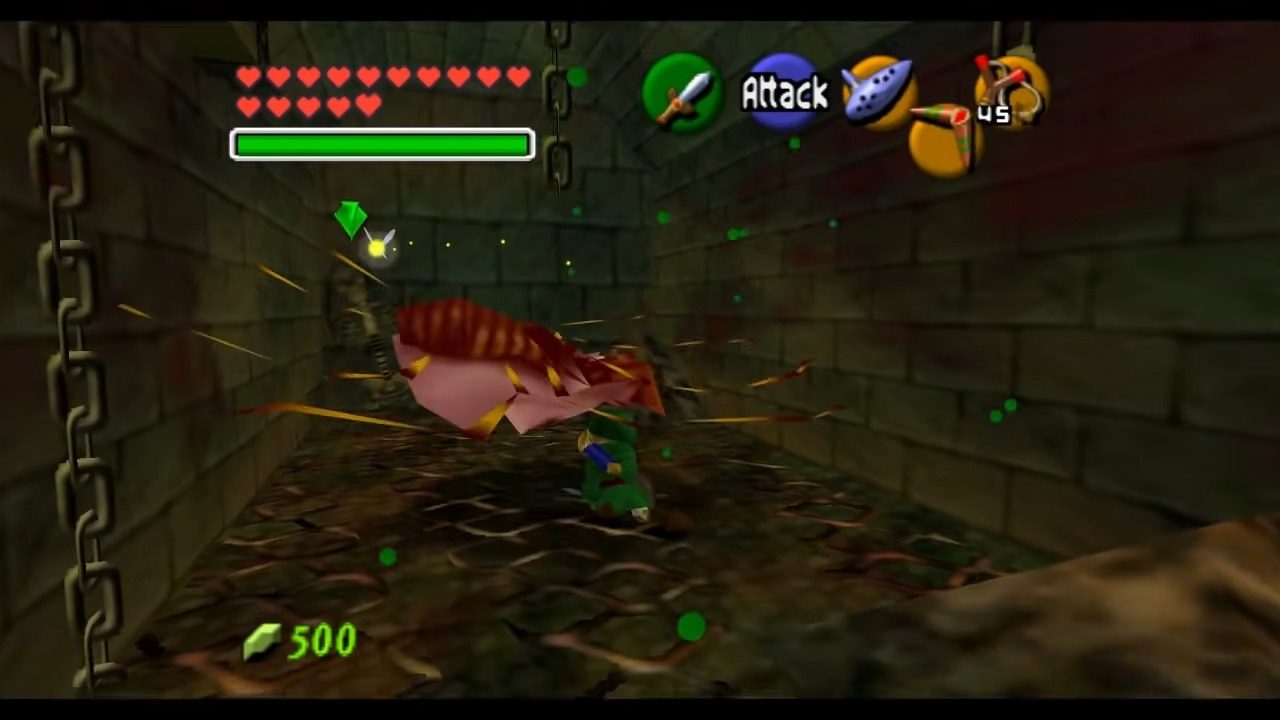
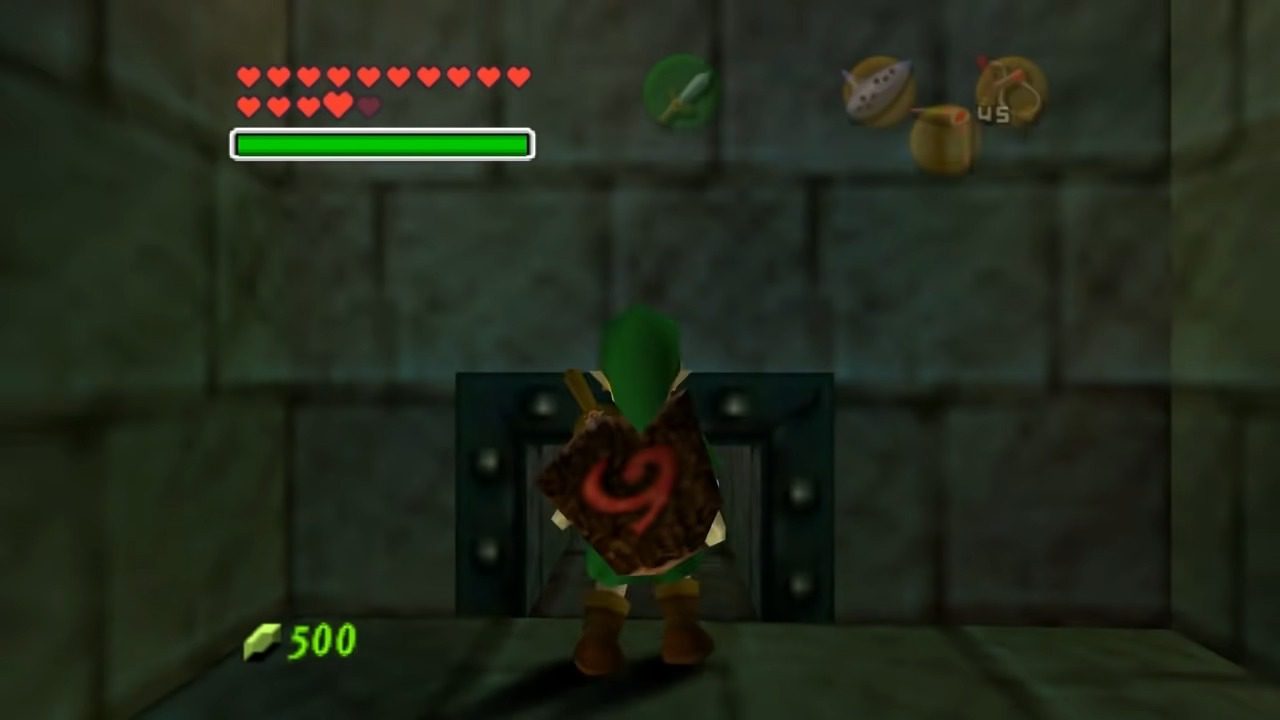
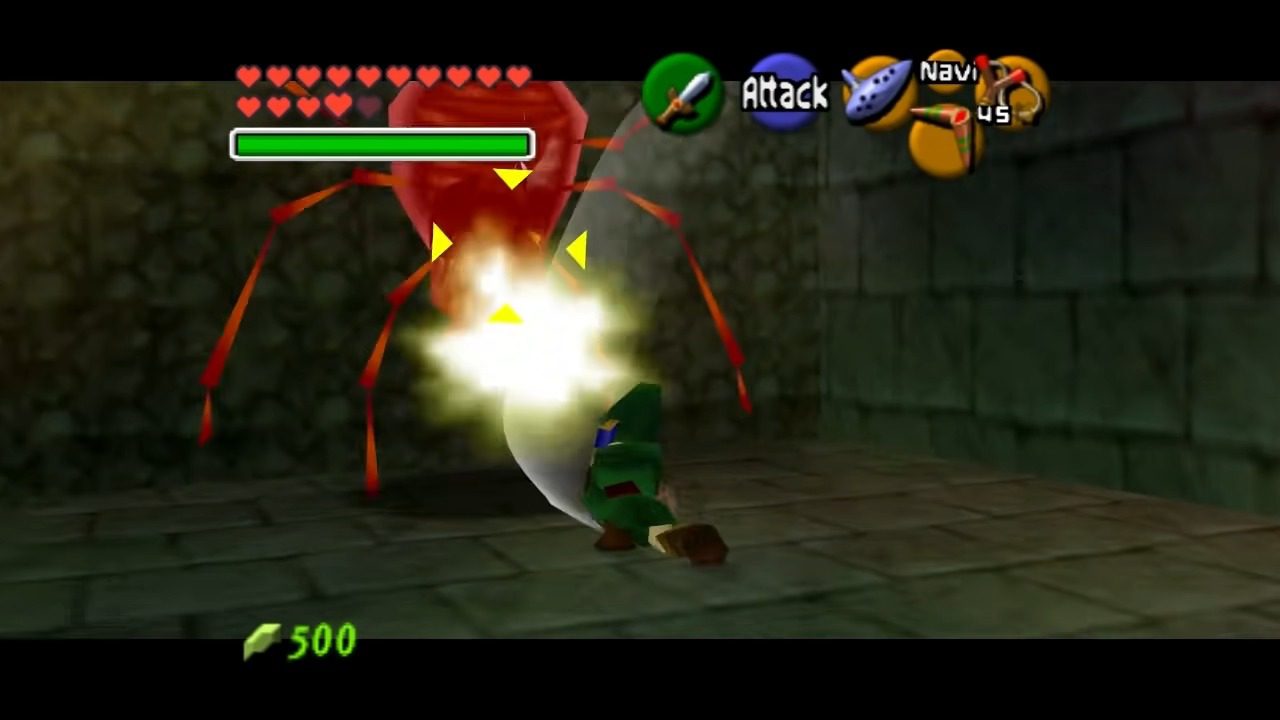
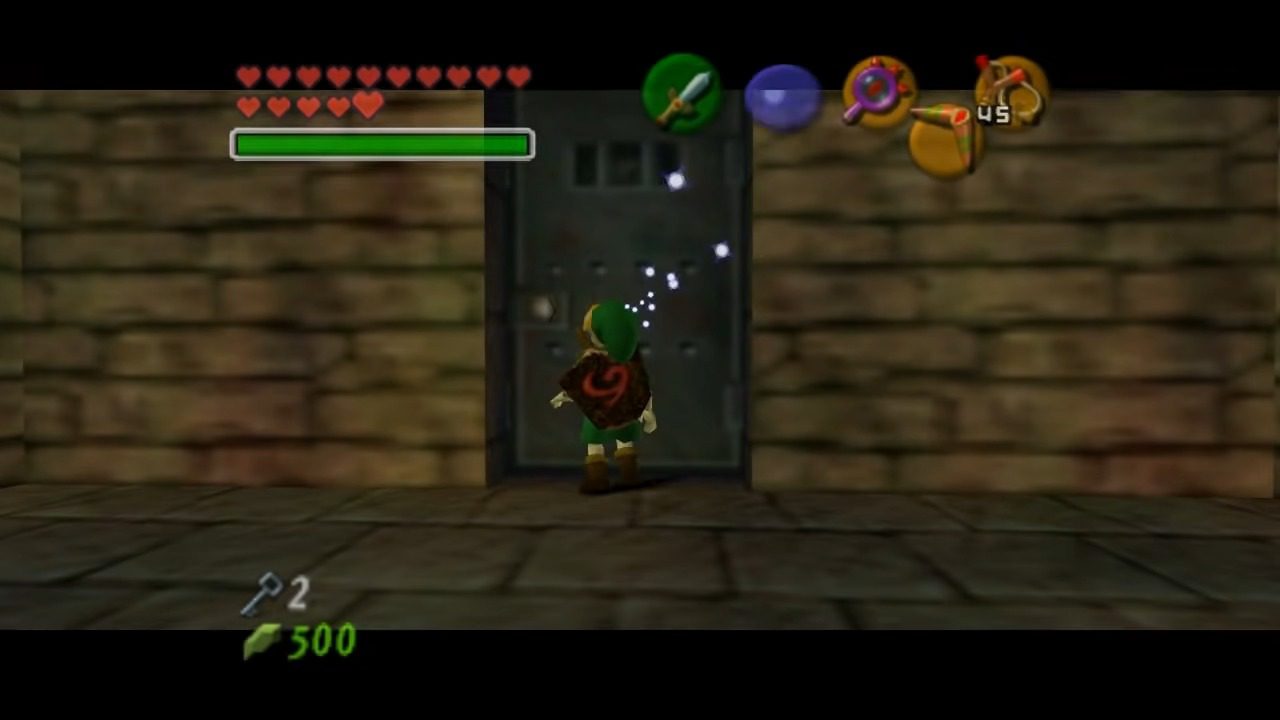
Head outside the windmill, and you’ll see the well has completely drained. Climb down the ladder into the darkness below. As soon as you drop in, be on the lookout for a Big Skulltula hanging from the ceiling in the entry room. Take it out before it causes any trouble. Crawl through the hole and descend the next ladder.
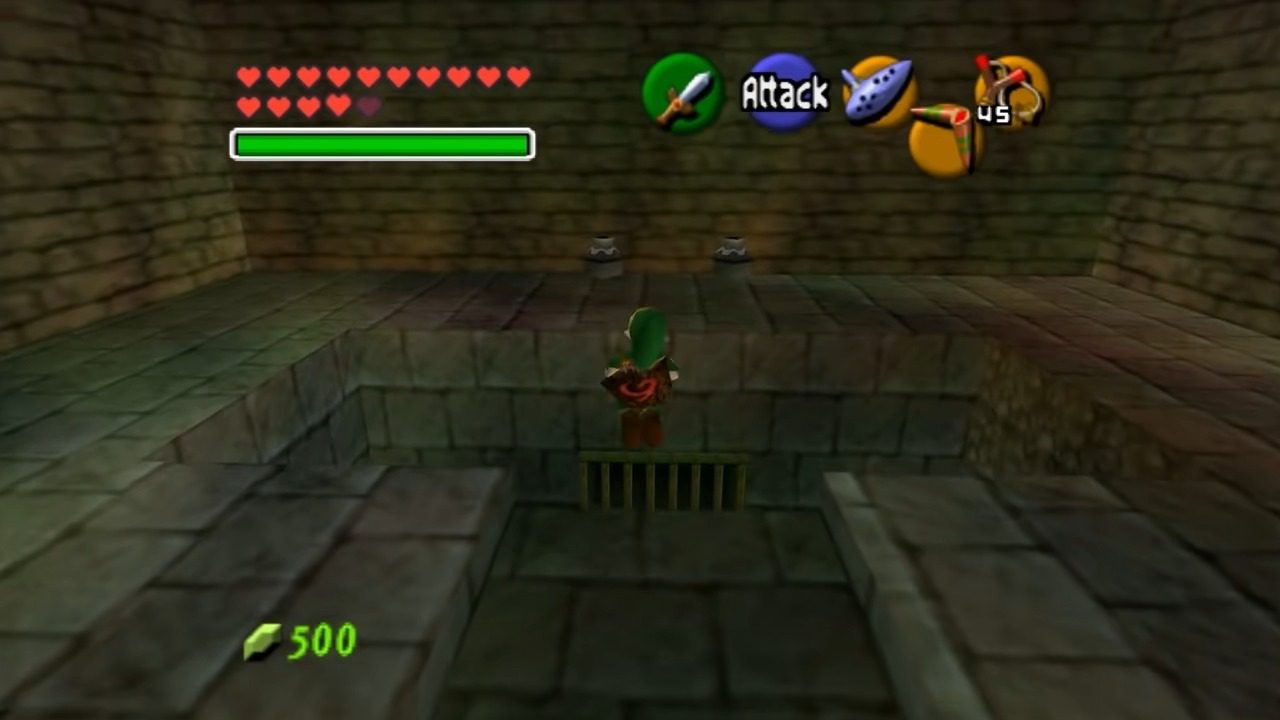
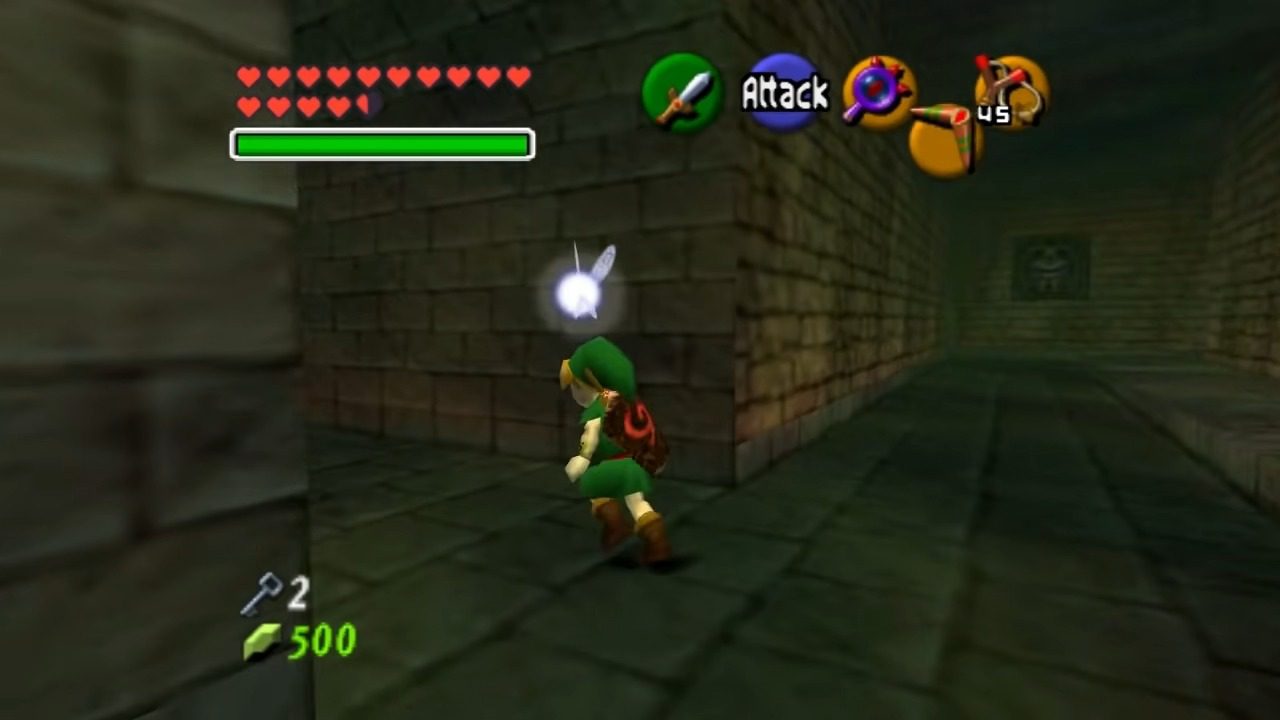
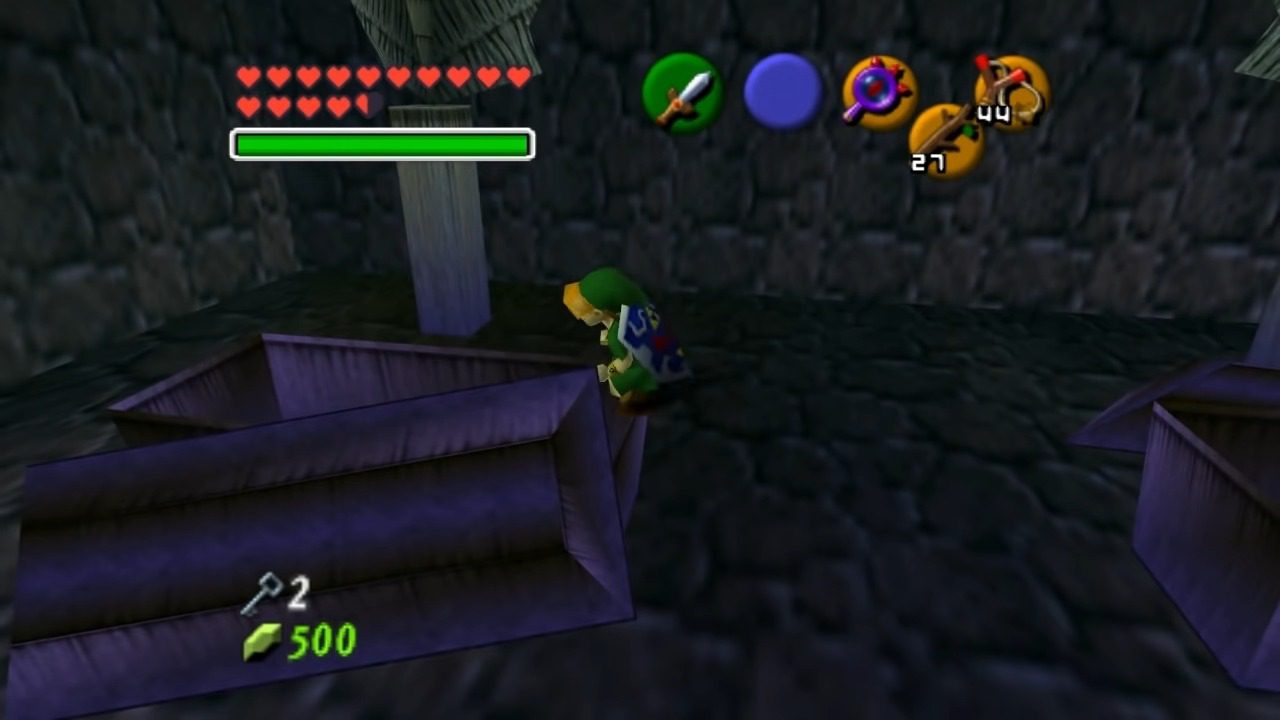
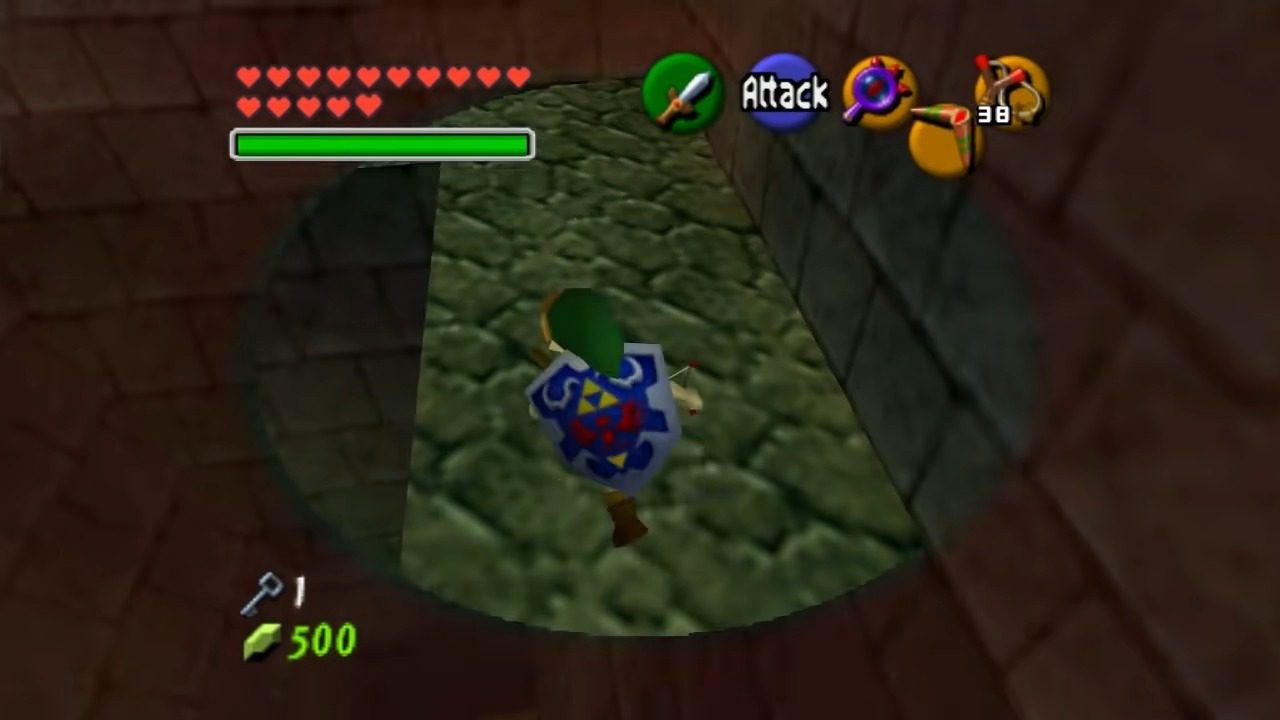
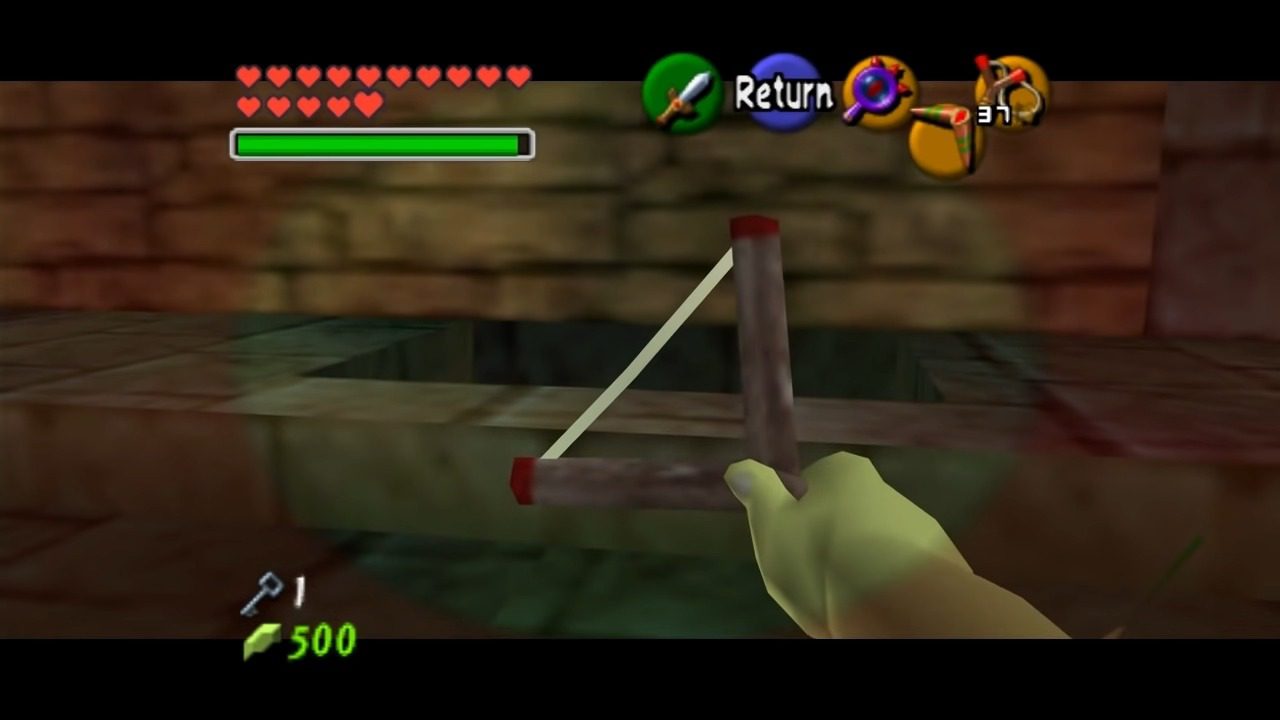
You’ve now entered the main room of the Bottom of the Well. This area has a peculiar doughnut shape with a hidden central section. Watch your step, as there are several pits scattered around that will drop you into the basement. The layout of this main room is intentionally confusing, and you’ll soon find that the Lens of Truth is your best friend here.
Our primary goal in this dungeon is to obtain the Lens of Truth. To get it, follow the small stream of water to your right or the waterway to your left. This path will help you avoid some of the initial pitfalls. You’ll eventually reach a Triforce symbol painted on the ground. Stand on it and play Zelda’s Lullaby. This will drain the water from the dungeon entirely. Now, head back to where you first entered the main room. You’ll see a small pit that wasn’t there before. Jump down into it and crawl through the small hole.
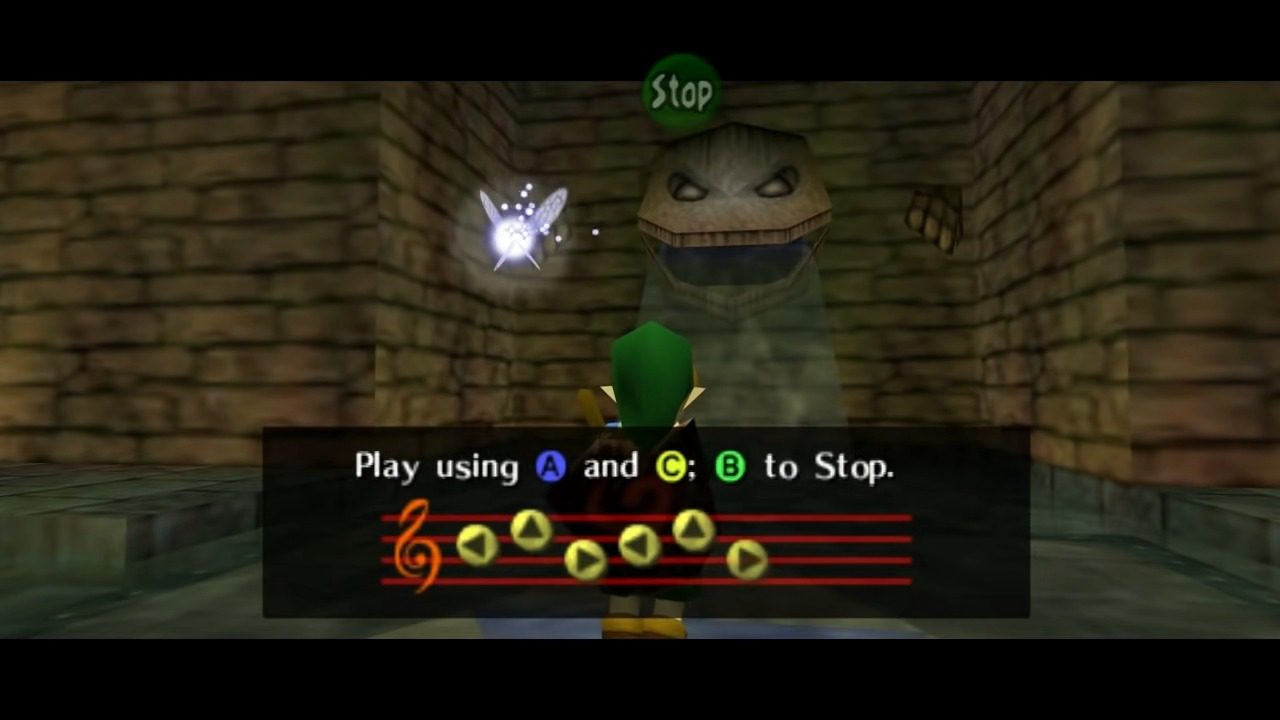
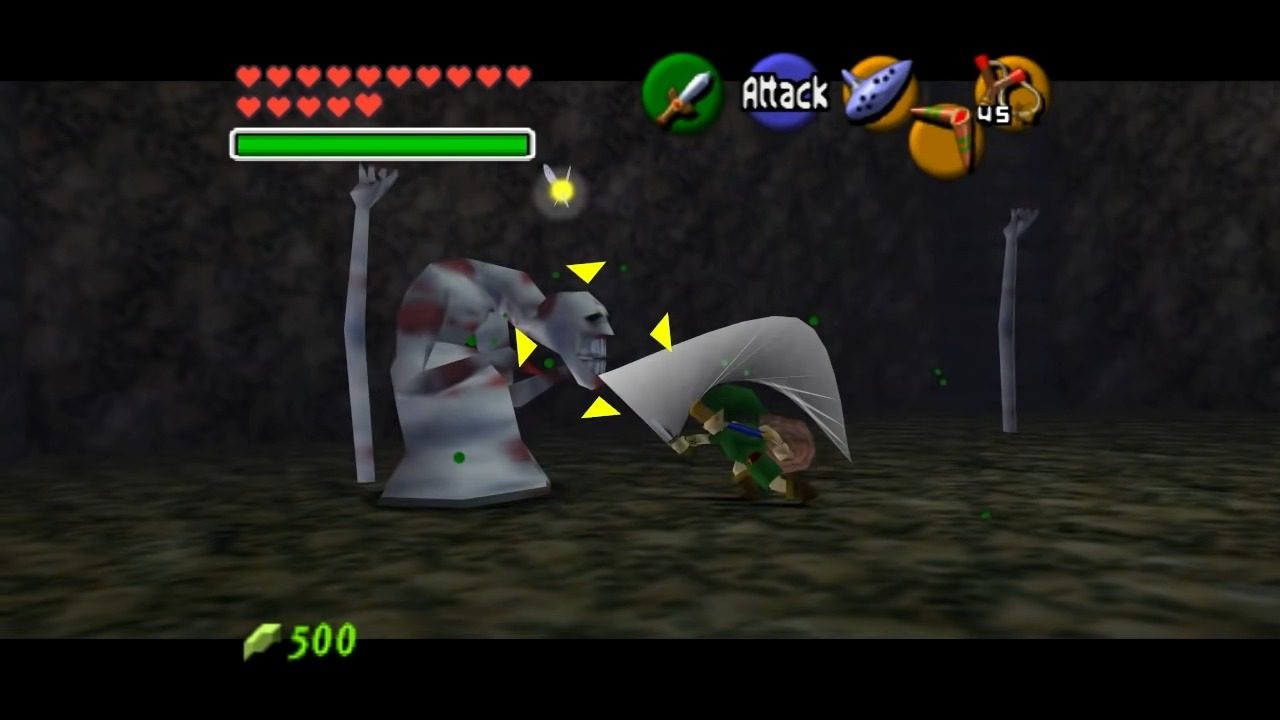
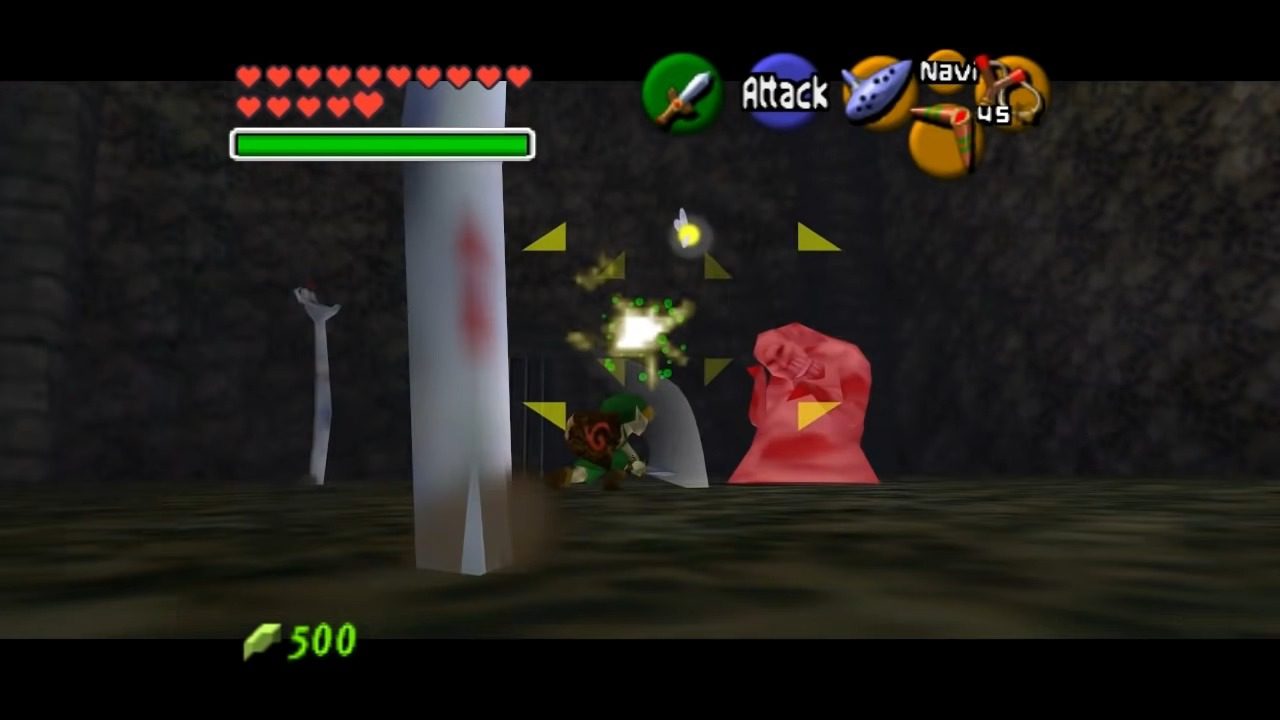
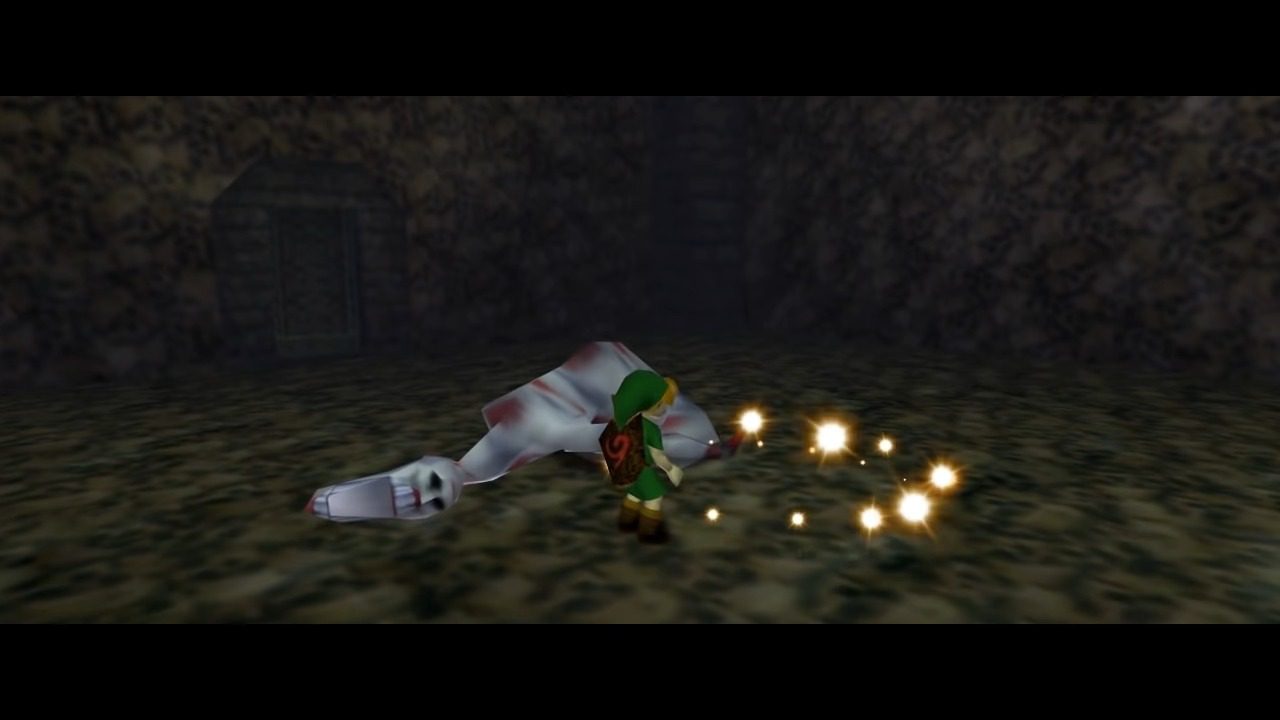
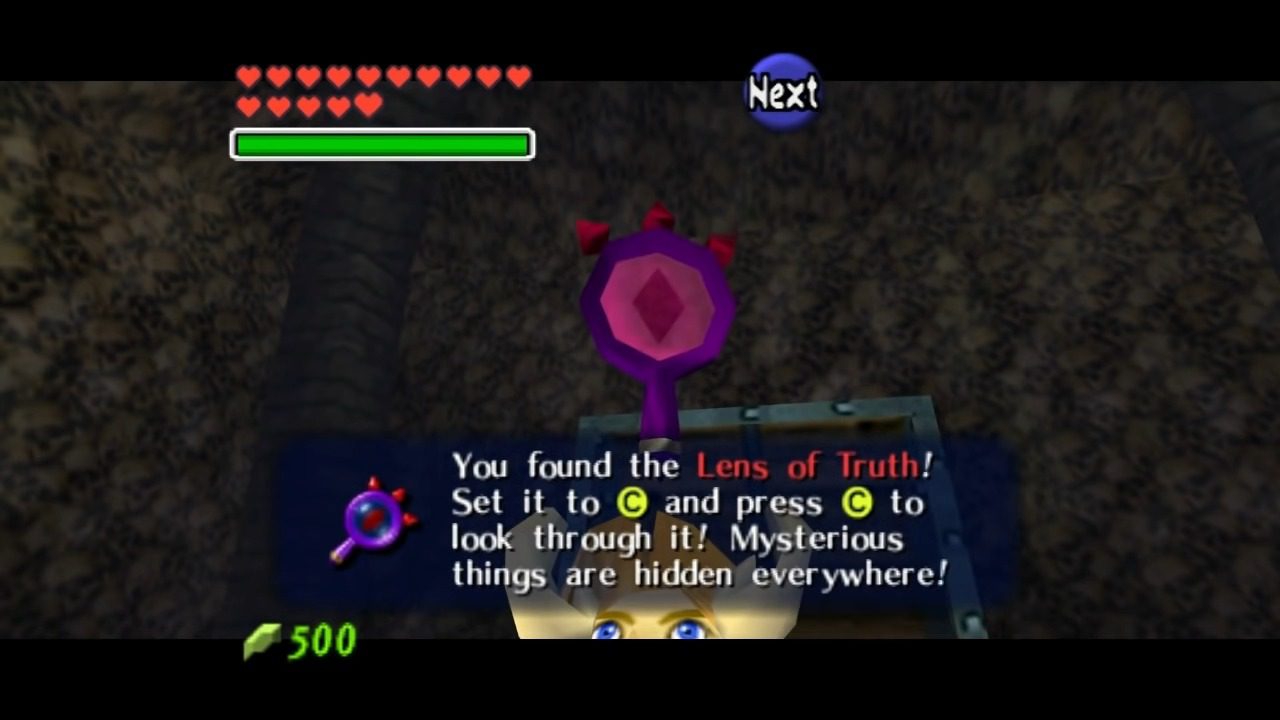
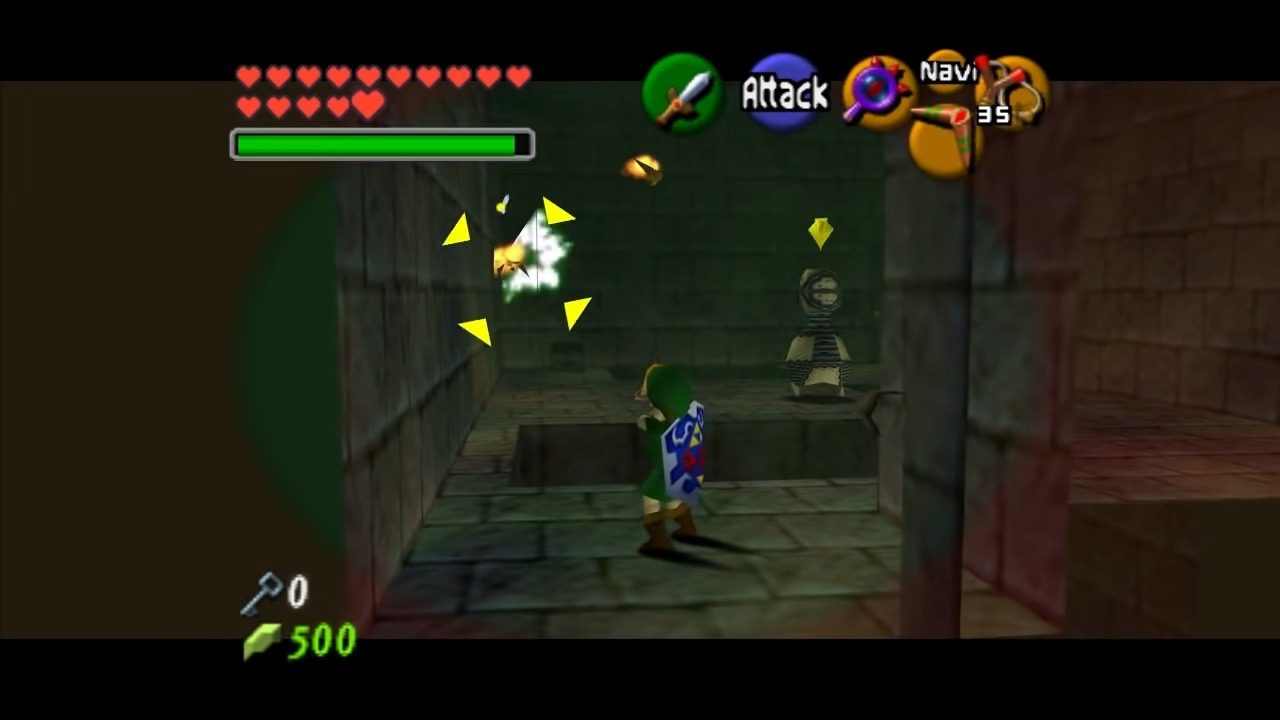
Climb the vines on the other side and go through the door. This leads to the infamous Dead Hand Room. Prepare for a creepy encounter with the Dead Hand mini-boss. Let one of its many hands grab you, and then rapidly press the A and B buttons to break free. Once you’re loose, slash at its head until it’s defeated. With the Dead Hand gone, a large chest will appear containing the Lens of Truth! This item is absolutely crucial for seeing hidden elements in this dungeon and beyond.
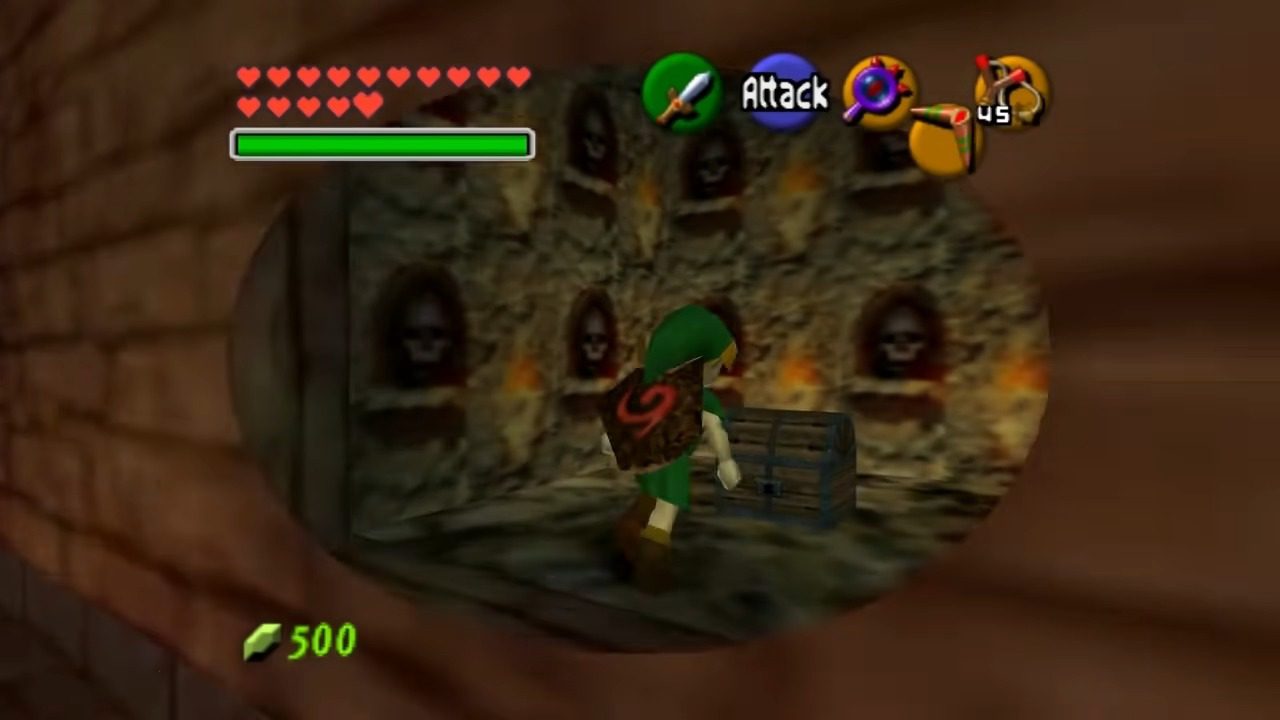
Now, let’s hunt down those Small Keys. You’ll need three in total. From the main room entrance, take the path going counter-clockwise. Keep an eye on the inside wall, and you’ll find a small room with a chest containing your first Small Key. You might need to peek with the Lens of Truth to see the path clearly.

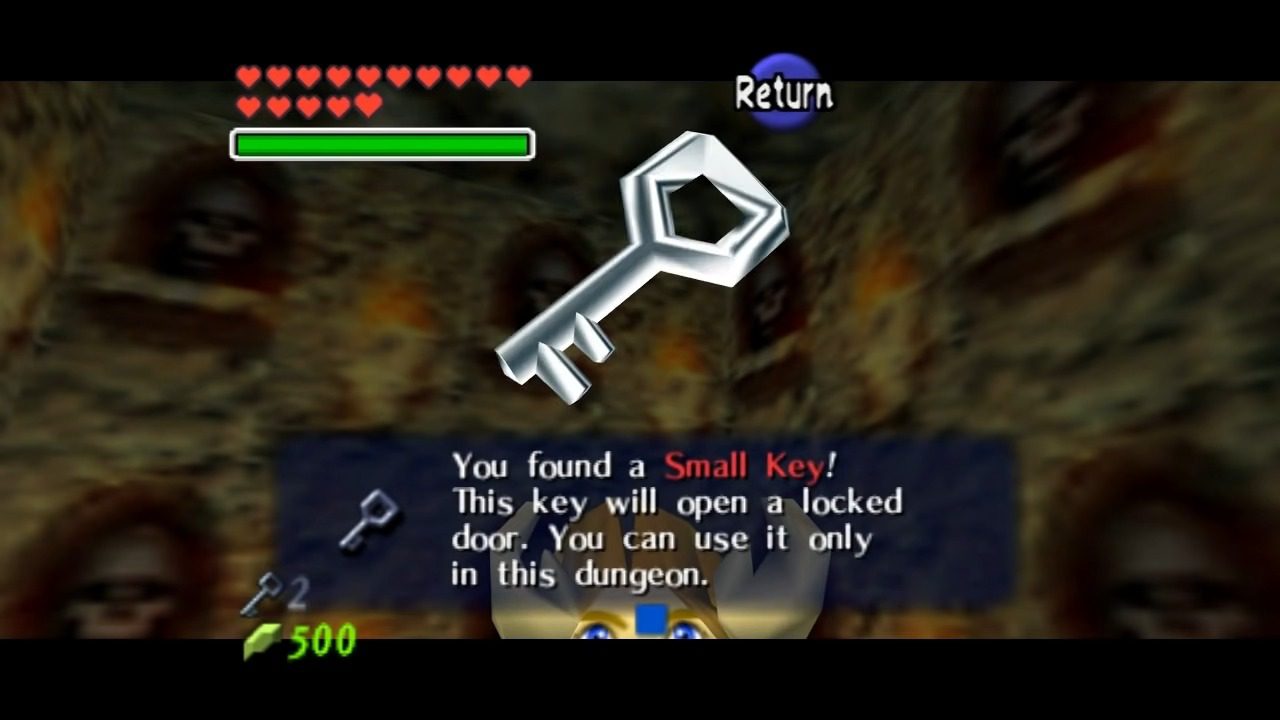
For the second Small Key, go back to the main room entrance and head clockwise. You’ll soon find another small room with a chest holding the key.

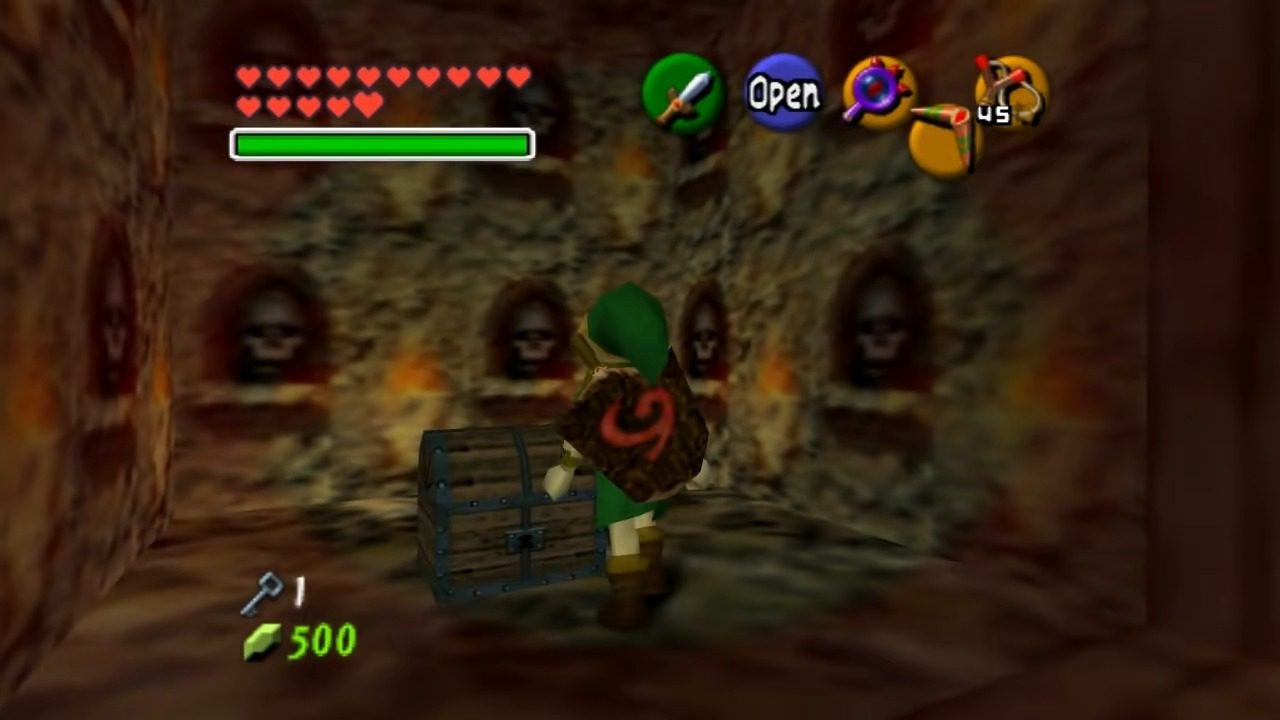
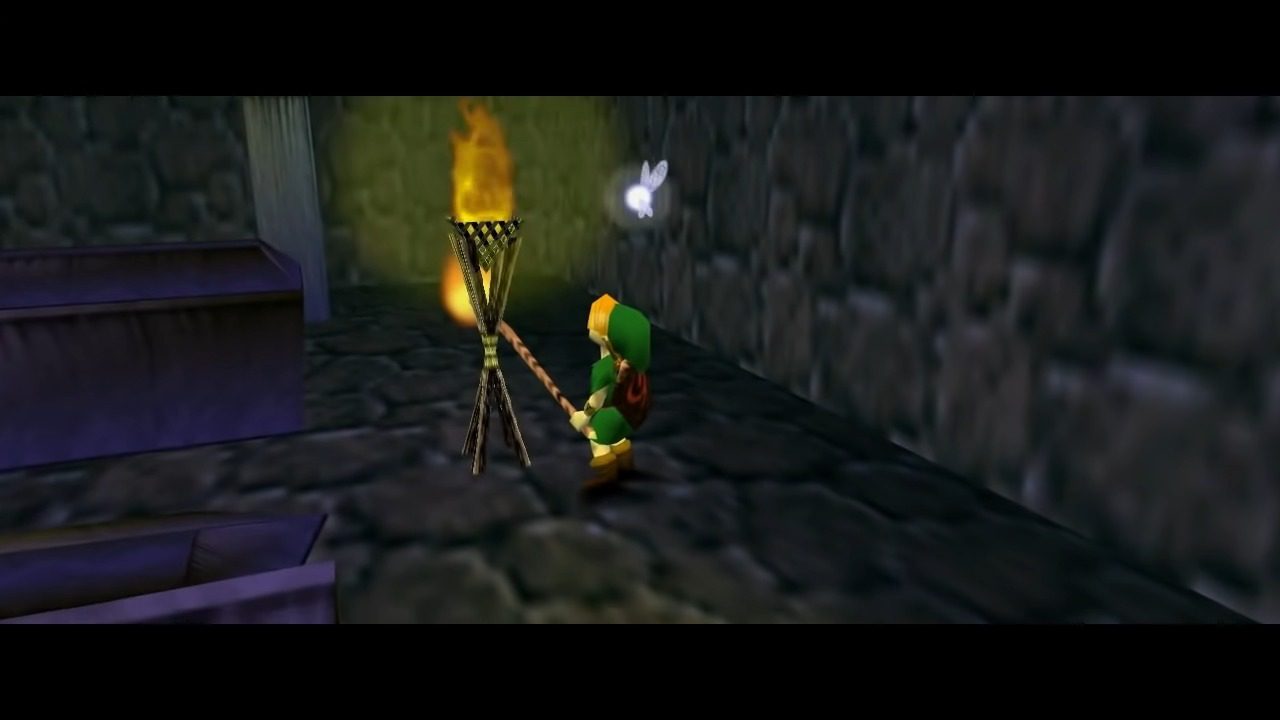
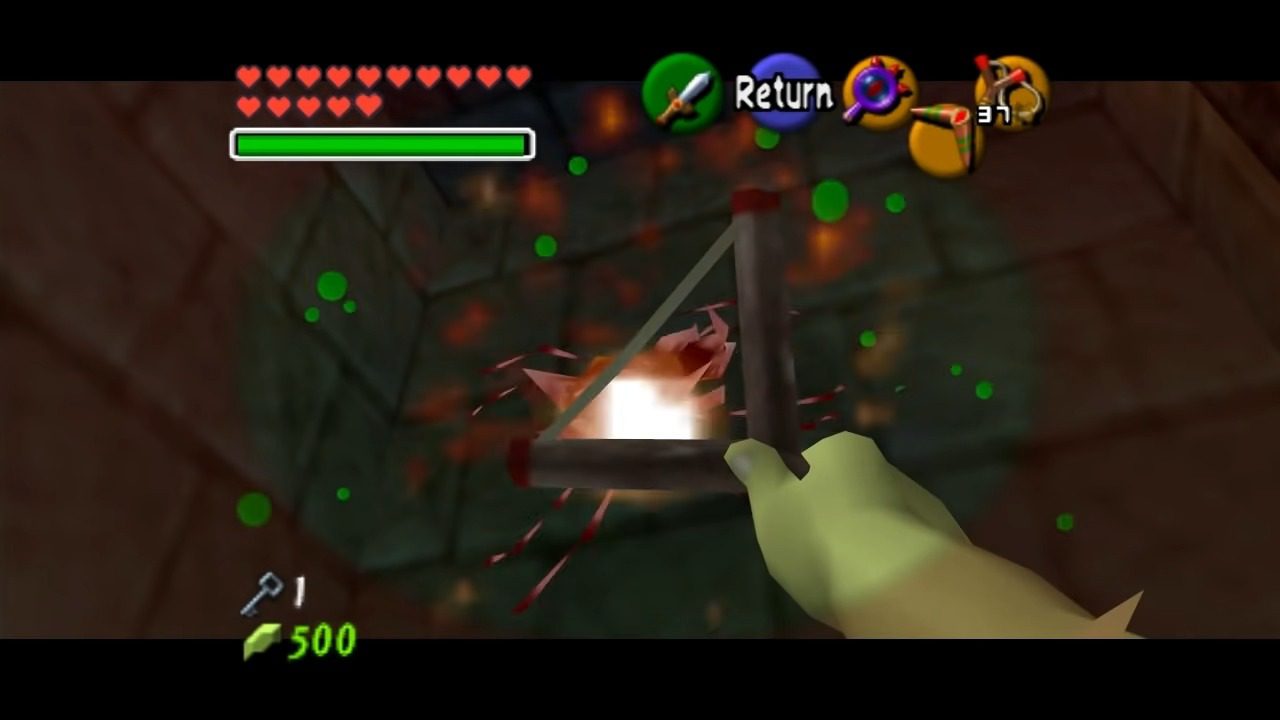
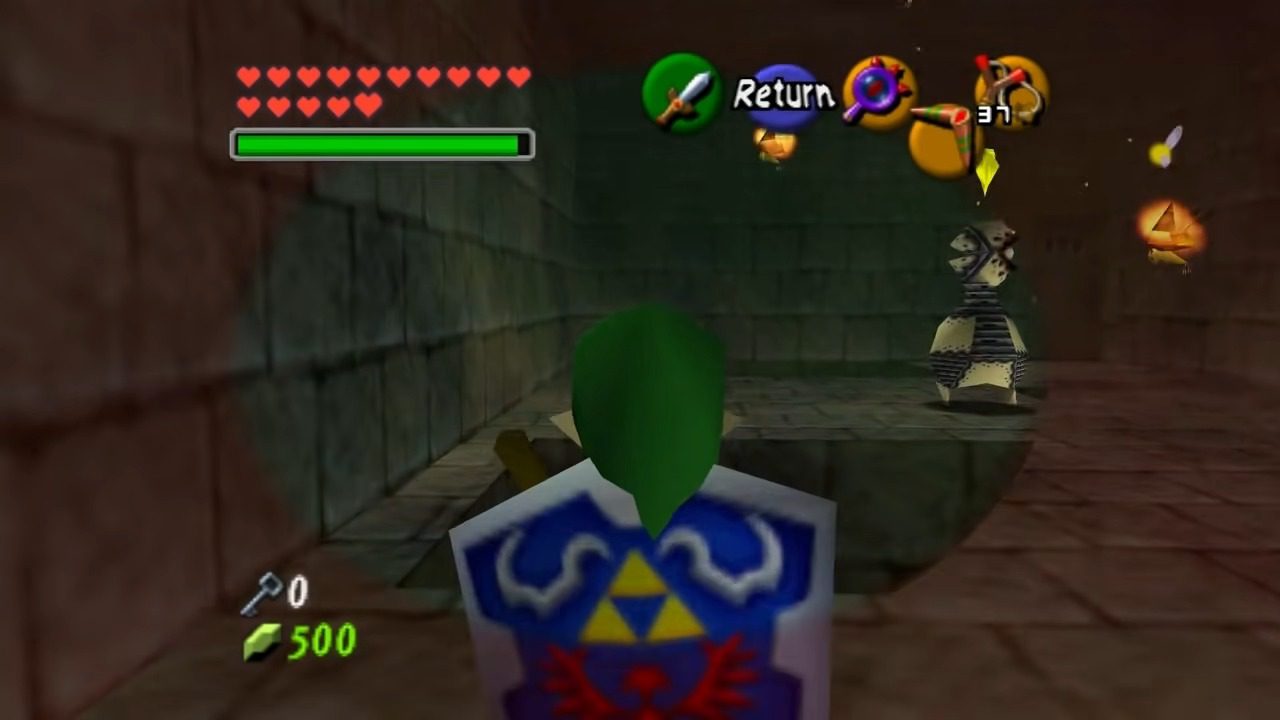
For the third and final Small Key, head to the westernmost part of the dungeon. You’ll find a room with six coffins and torches. You’ll encounter a Gibdo in here – you can stun it with the Sun’s Song if it gives you trouble. Light the torch in the southwestern corner of the room using a Deku Stick. This will open the coffin in front of it, revealing the third Small Key.

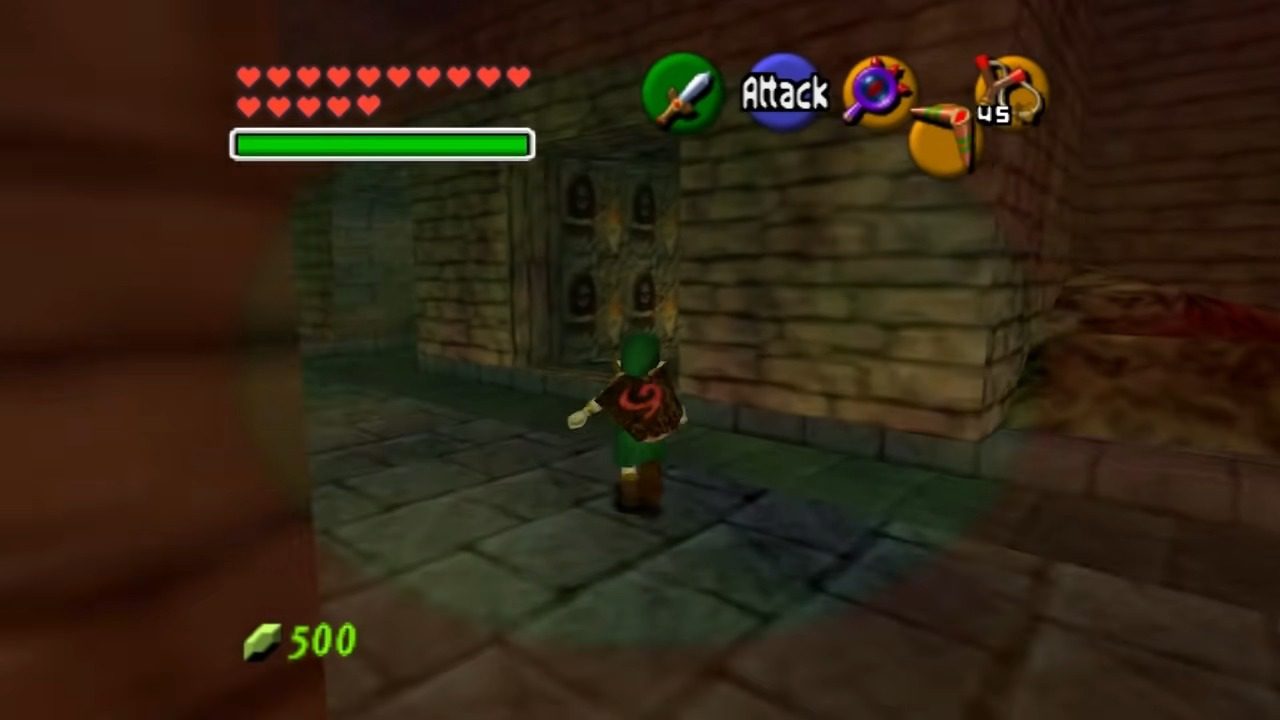
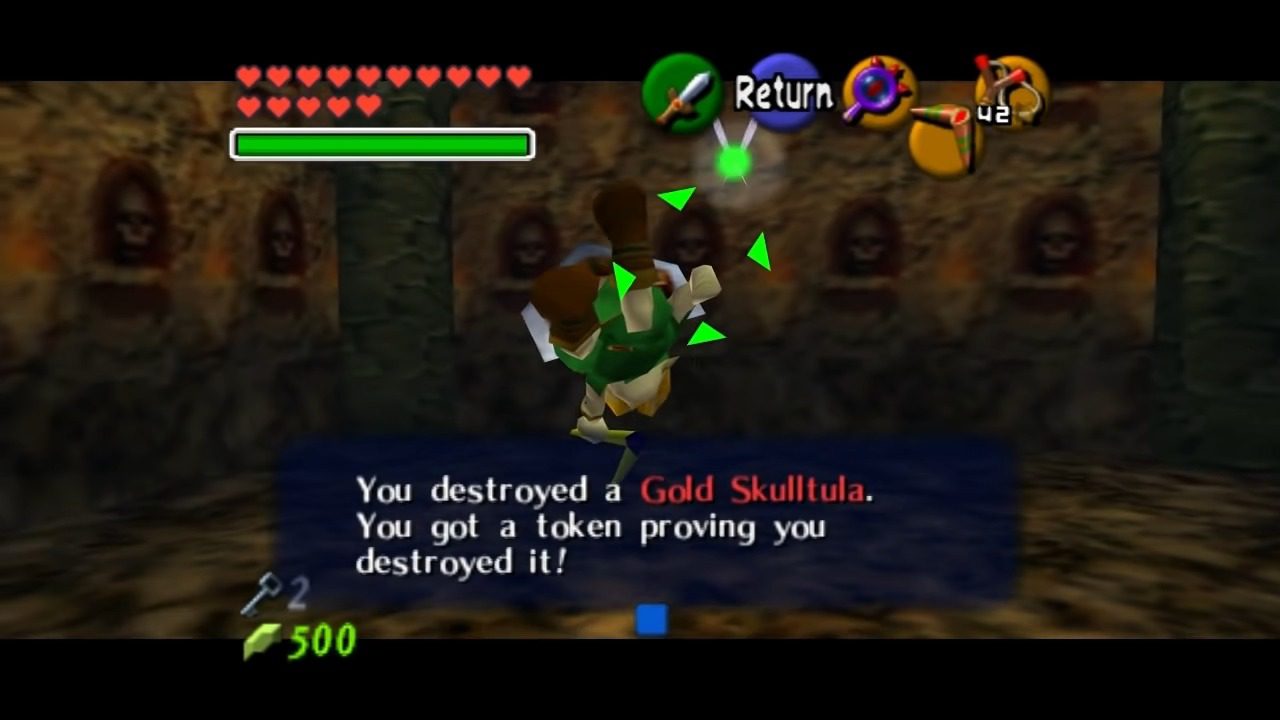
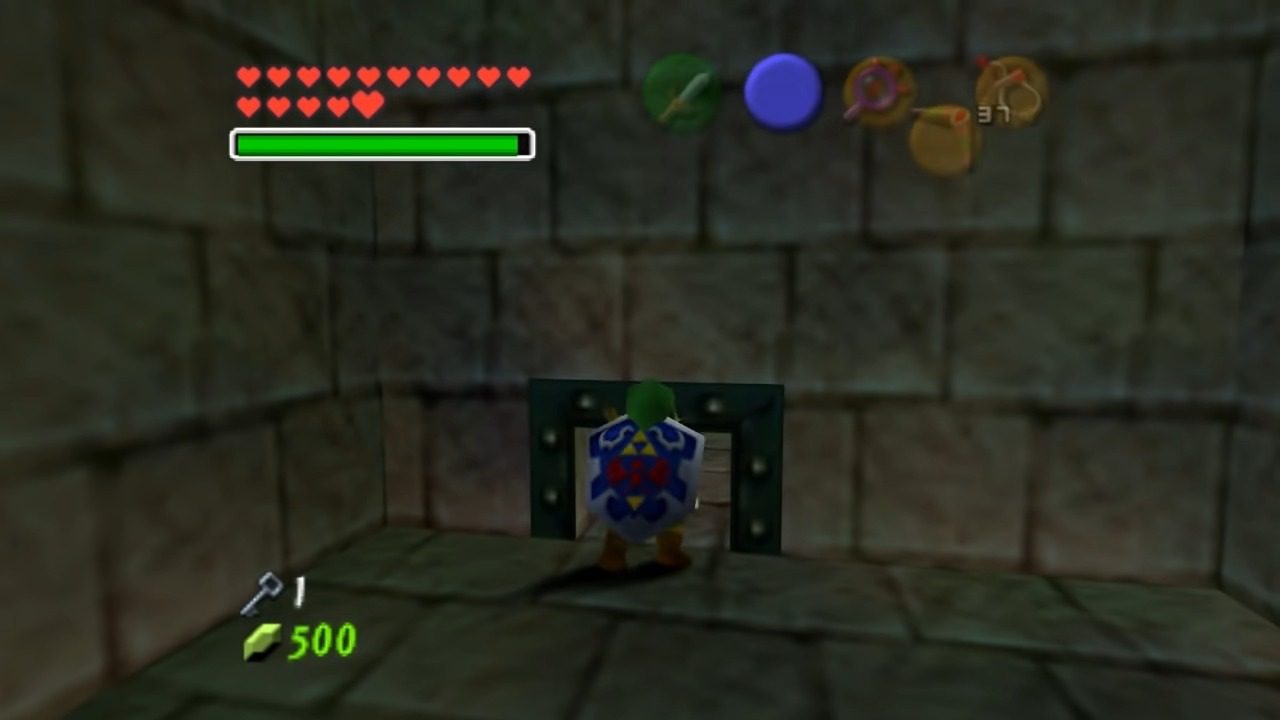
Time for some Gold Skulltula hunting! In the central area of the main room (the one with the wooden X on the floor), look for a locked door in the northwest corner. Use one of your Small Keys to open it. Inside, you’ll find a Gold Skulltula clinging to the wall. Take it down and grab the token.

Next, in the opposite corner of the same central area, you’ll find another locked door. Use another Small Key to unlock it. Be extremely careful in this room, as there are invisible pits waiting to trap you. Use your Lens of Truth to reveal the hidden walkway and claim the Gold Skulltula.
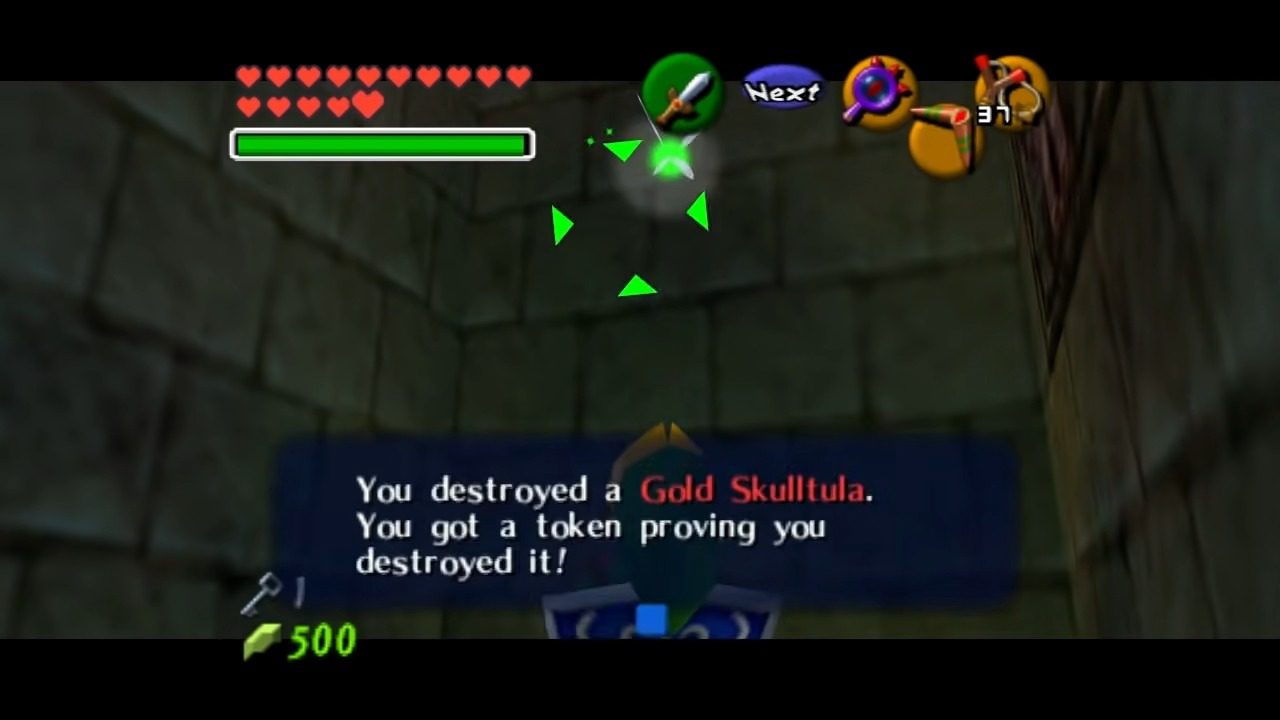
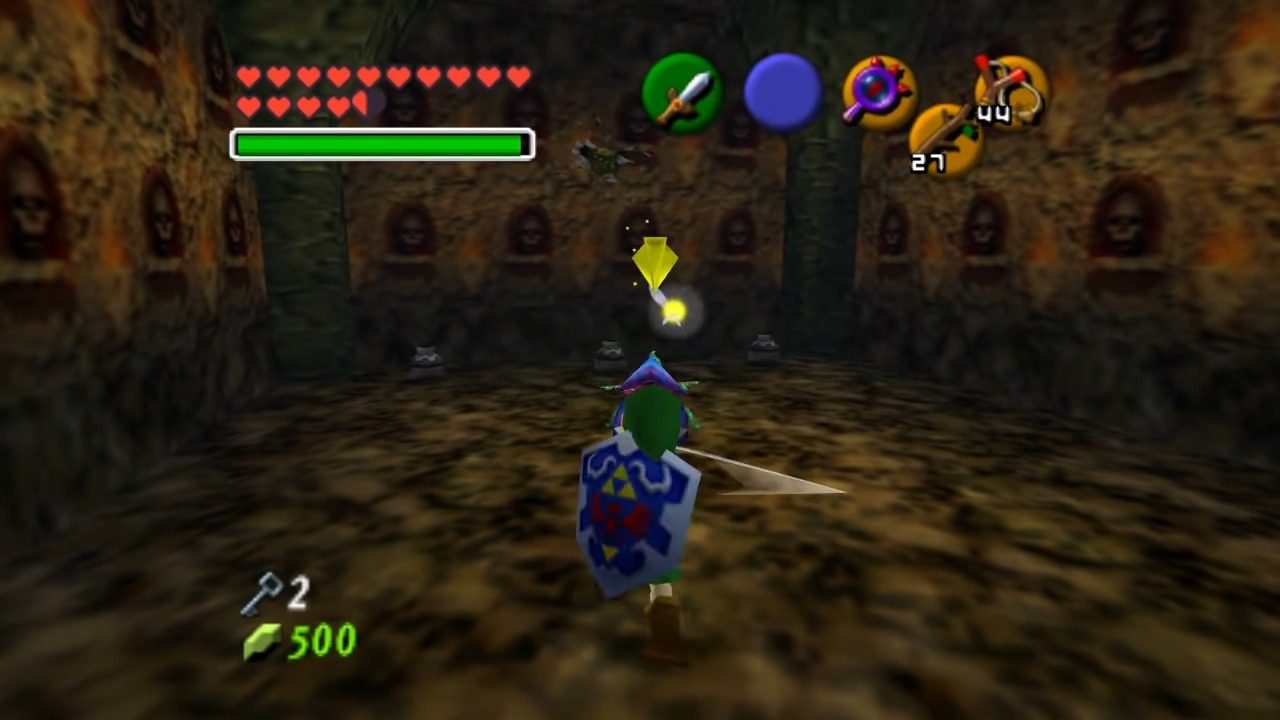
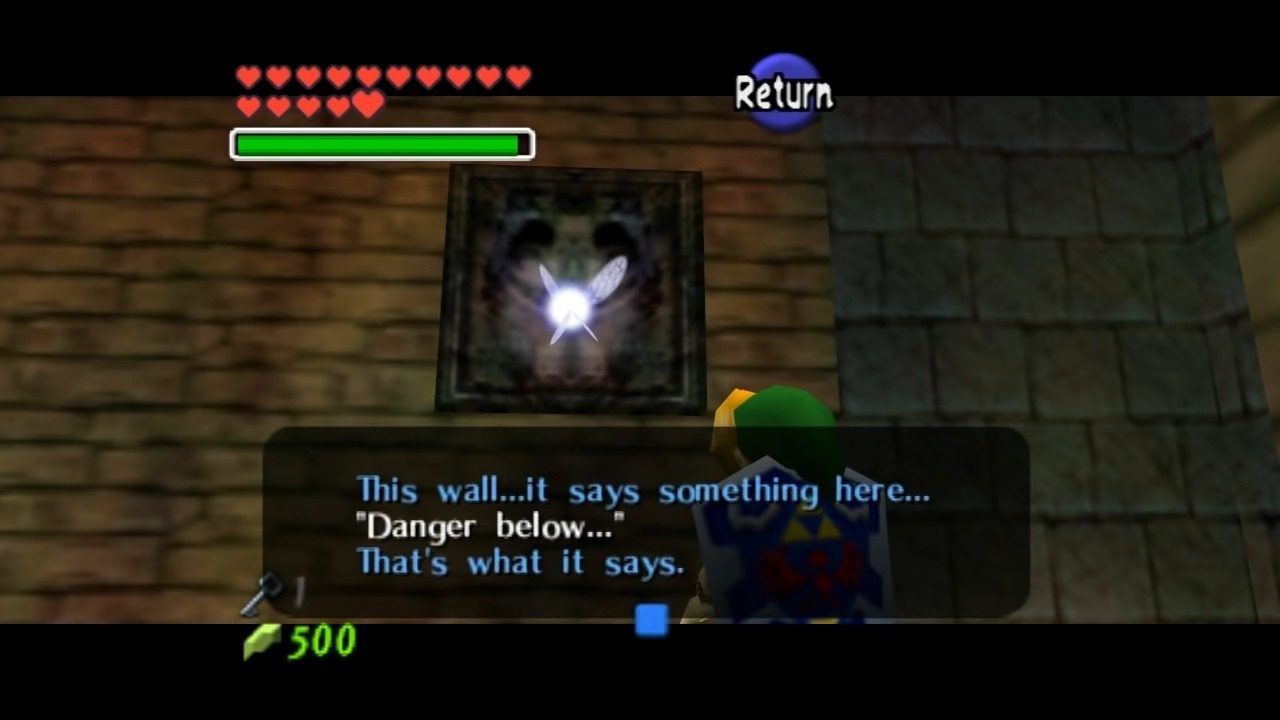
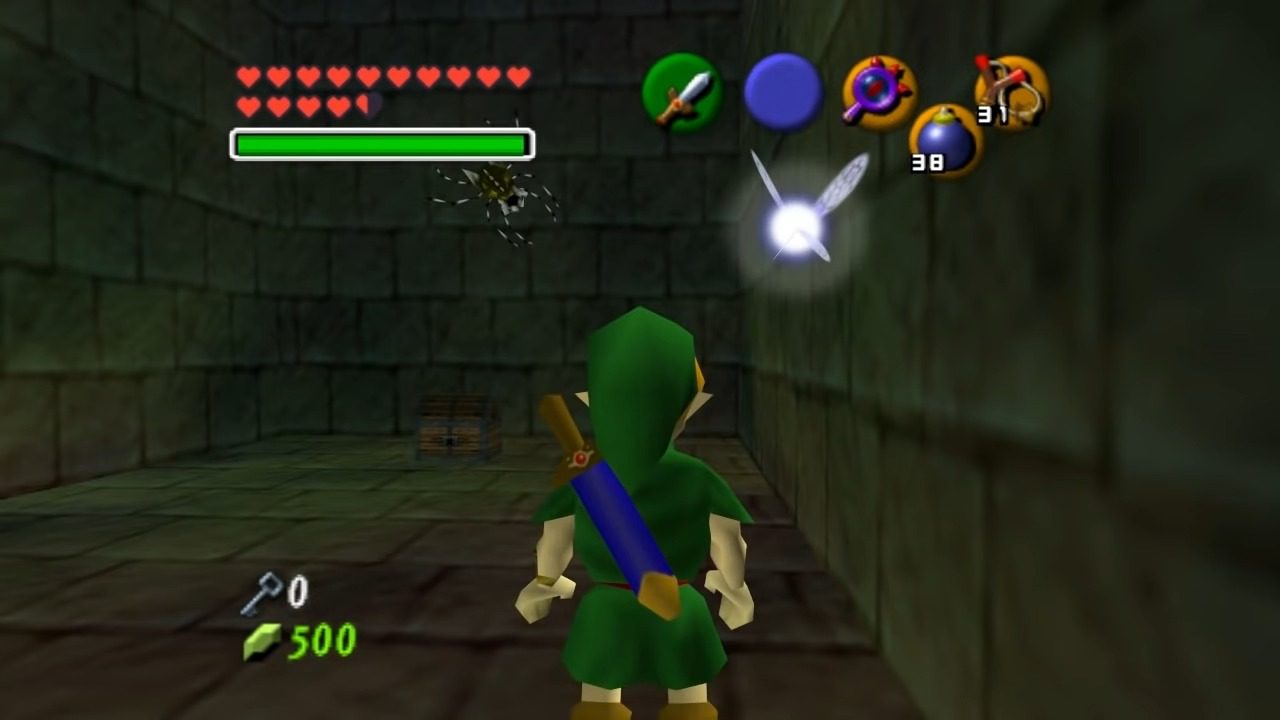
Next, on the path that surrounds the central room, find the painting that says “Danger Below,” and use your Lends of Truth to reveal the path below. Drop down and crawl through the crawlspace into the next room. Be extremely careful in this room, as there are invisible pits waiting to trap you. Use your Lens of Truth to navigate safely. You’ll have to defeat all the enemies in this room – that includes some Fire Keese and a Beamos. Once they’re gone, proceed cautiously into the next room, where you’ll face a Like Like. The Gold Skulltula is in this very room.
Post-Well Cleanup
Even though we’ve technically “completed” the Bottom of the Well, there are still some collectibles in the surrounding areas that are now easily accessible thanks to the Lens of Truth and the Song of Storms.
First, let’s head back to Hyrule Market. Wait until nighttime (play the Sun’s Song if needed) and enter the Treasure Chest Shop in the Hyrule Marketplace. Pay the 10 Rupee fee to play the game. Now that you have the Lens of Truth, you can easily see which chest holds the Small Key in each room. Make your way through all the rooms, and the chest in the very last one will reward you with a Heart Piece.


Now, let’s return to adult-hood.
