


Ocarina of Time 100% Completion Walkthrough Table of Contents
Child Link’s Journey
- Kokiri Forest: Obtaining the Kokiri Sword and Deku Shield
- Inside the Great Deku Tree: First dungeon and defeating Queen Gohma
- Hyrule Field and Castle: Meeting Princess Zelda
- Kakariko Village & Hyrule Market: Exploring the village and starting side quests
- Death Mountain Trail & Goron City: Accessing Goron City
- Dodongo’s Cavern: Second dungeon and defeating King Dodongo
- Death Mountain, Goron City, and Hyrule Market: Optional side quests for 100% completion.
- Zora’s River and Domain: Meeting Princess Ruto
- Inside Jabu-Jabu’s Belly: Third dungeon and defeating Barinade
- Transition to Adulthood: Retrieving the Master Sword and becoming Adult Link
Adult Link’s Quest
- Lon Lon Ranch: Obtaining Epona: Challenging Ingo to races and winning Link’s loyal horse.
- Forest Temple: Defeating Phantom Ganon
- Fire Temple: Defeating Volvagia
- Ice Cavern: Obtaining the Iron Boots
- Water Temple: Defeating Morpha
- Bottom of the Well: Obtaining the Lens of Truth
- Shadow Temple: Defeating Bongo Bongo
- Gerudo Fortress: Rescuing carpenters and accessing the desert
- Spirit Temple: Defeating Twinrova
- Ganon’s Castle: Overcoming trials and defeating Ganondorf and Ganon
Leaving the Forest: Grabbing a Collectable
Gold Skulltula #65
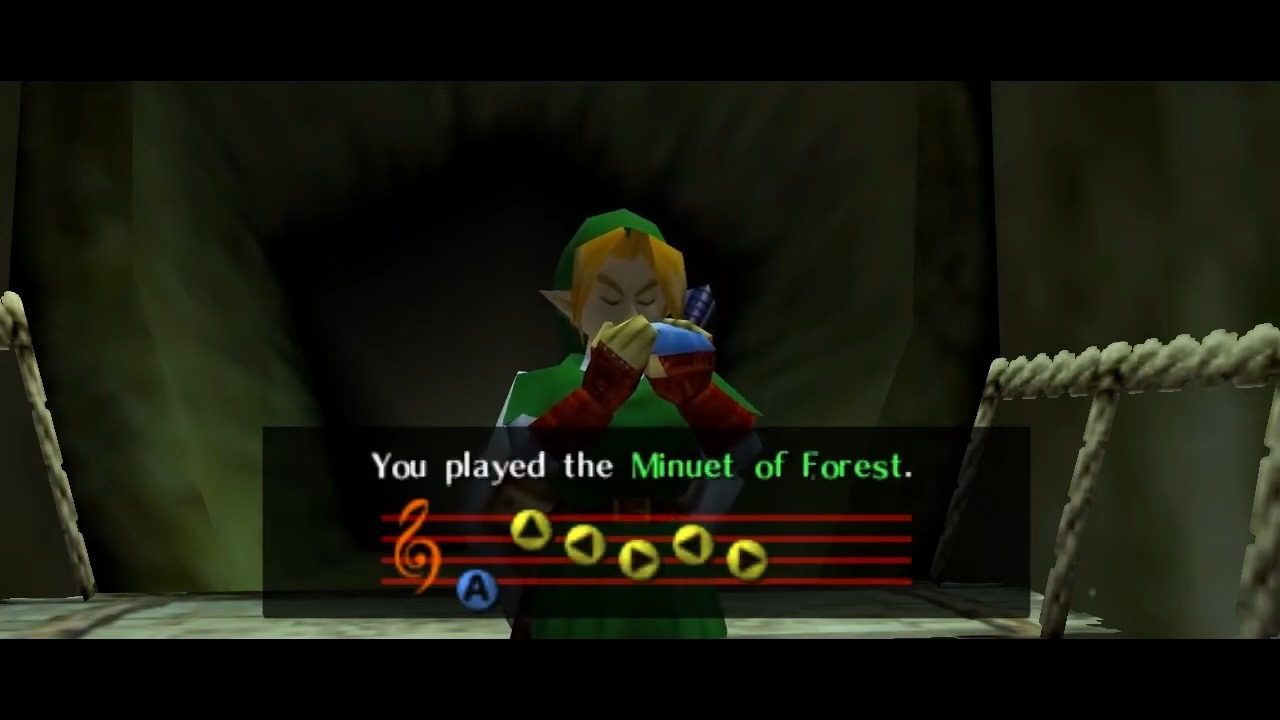
The first order of business involves a swift return to the Sacred Forest Meadow. Upon leaving Kokiri Forest after the Forest Temple’s completion, the Ocarina should be brought forth to play the Minuet of Forest. This warp song, a melody learned from Sheik within the very meadow that is the destination, allows for instantaneous travel to the Triforce Pedestal situated just outside the Forest Temple. Upon arrival to the Sacred Forest Meadow, play the Sun’s Song to advance to night.

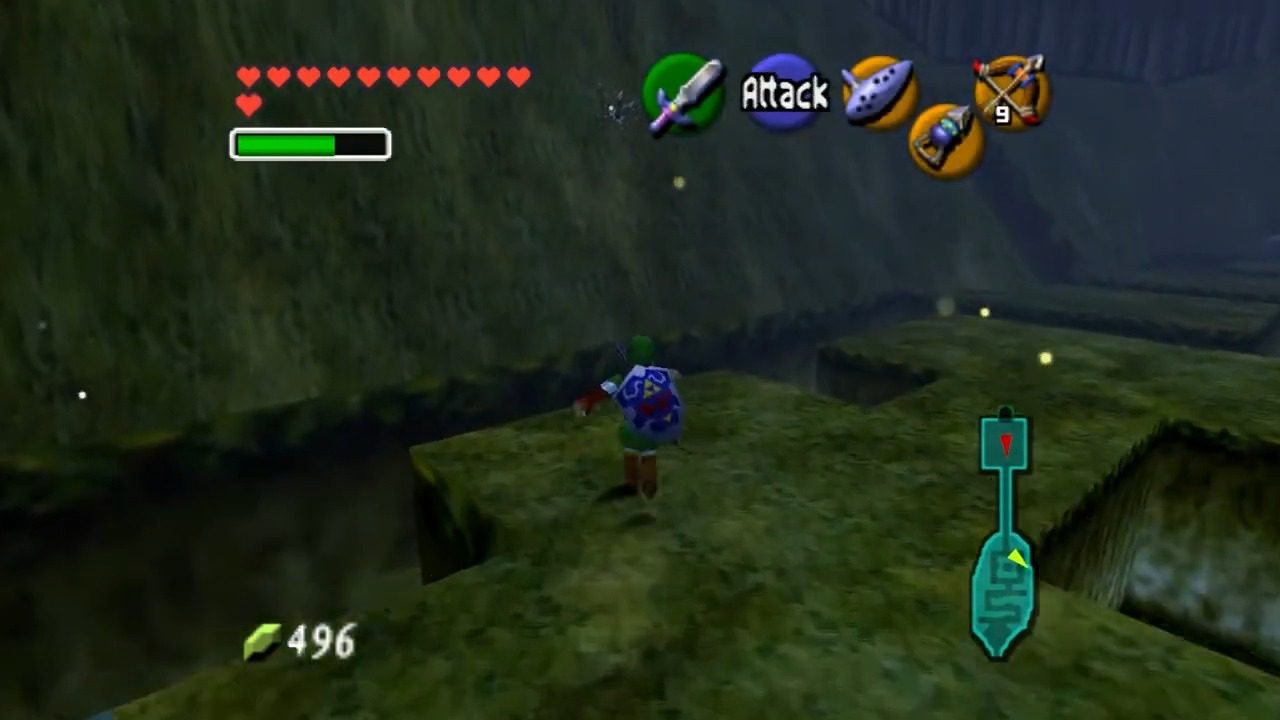
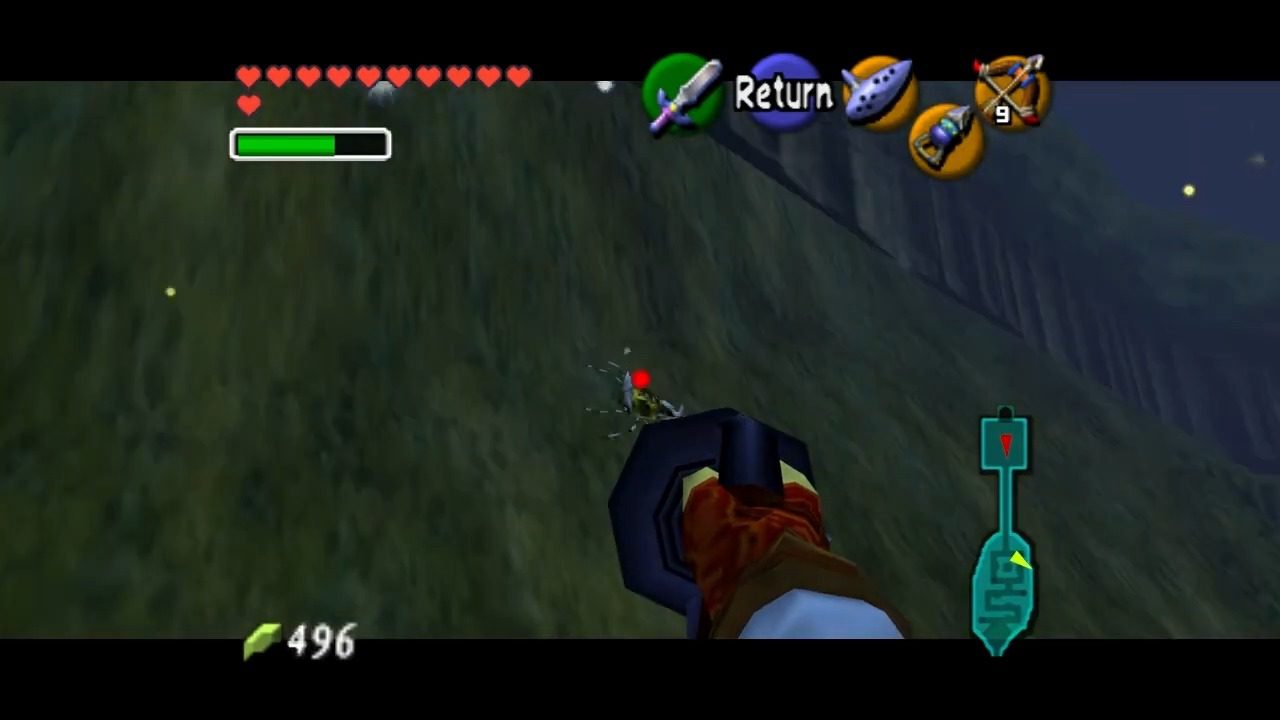
Once back in the Sacred Forest Meadow, the pursuit of collectibles continues with a search for a Gold Skulltula. Head down the path to the Sacred Forest Meadow maze and up the ladder within the meadow. On the left wall of the area containing the maze is Gold Skulltula #65. Defeat and collect it with your hookshot.
Fire Temple Preparation: Obtaining the Goron Tunic
Leaving the Sacred Forest Meadow, the next destination is Goron City. Leave the Sacred Forest Meadow and walk directly across to the entrance of Goron City.
Gold Skulltula #66
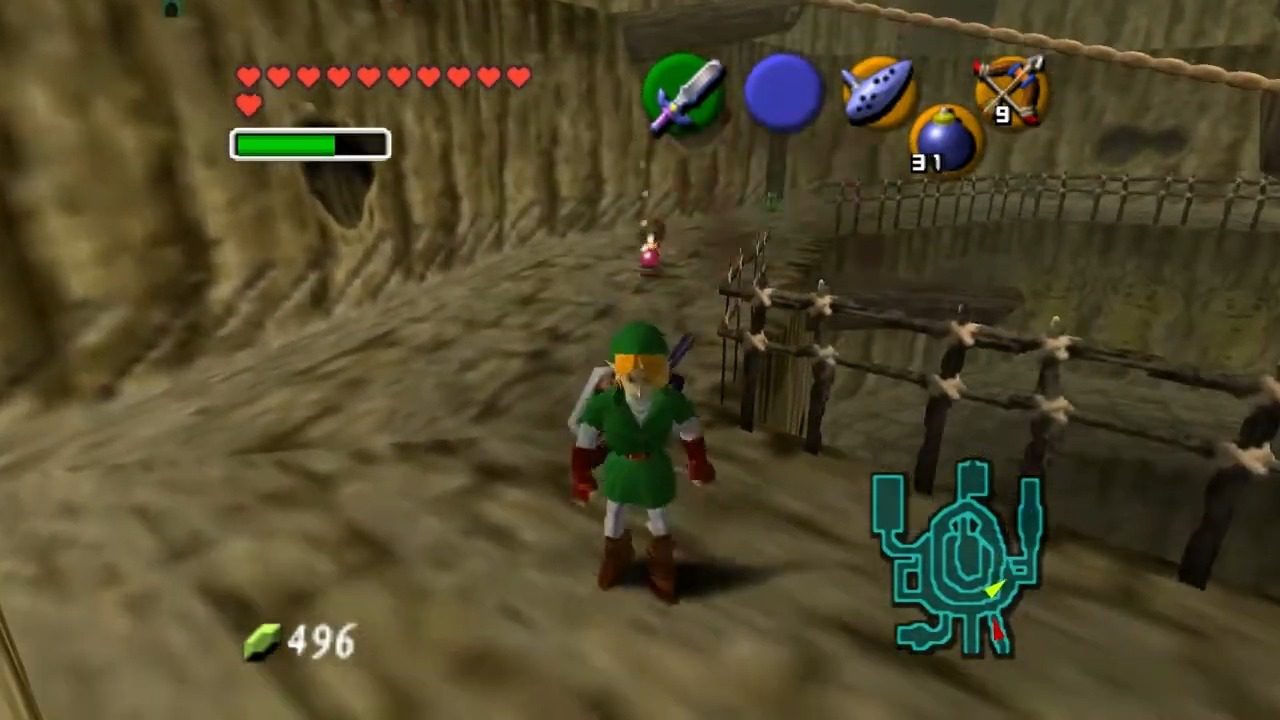
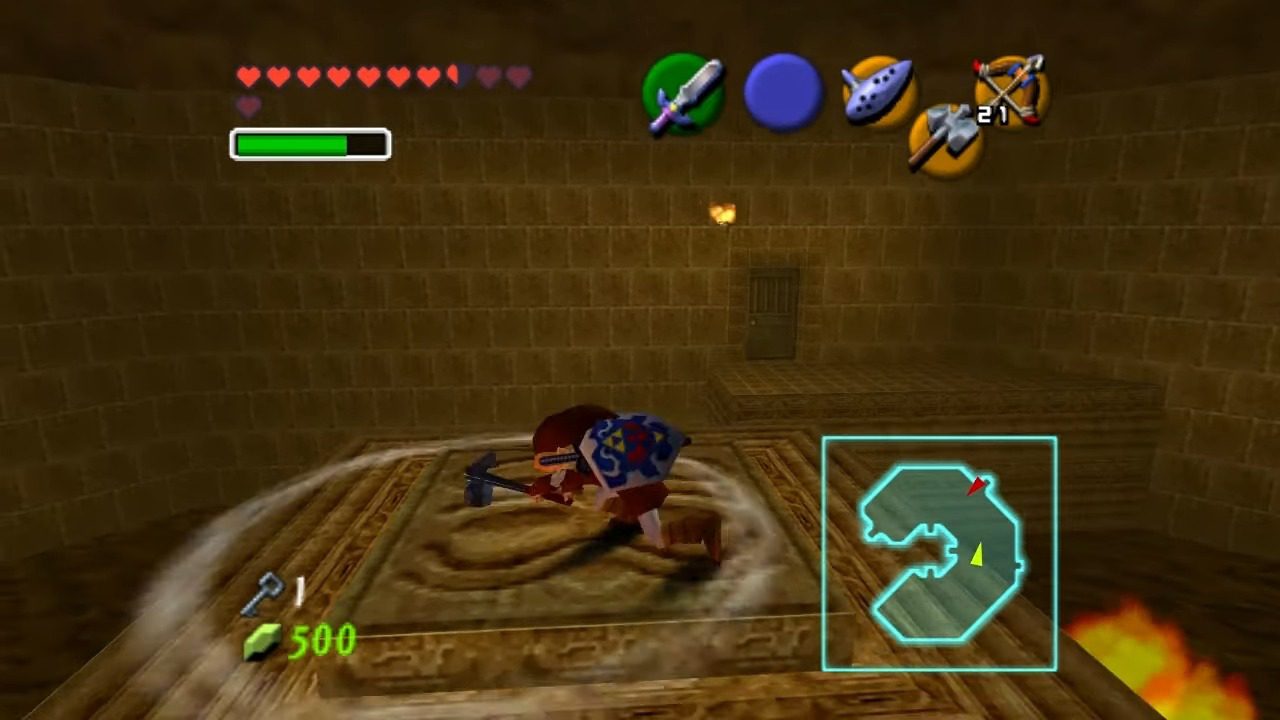
Upon arrival at Goron City, the objective is to reach the summit, specifically the central platform where the Goron Ruby once rested. It is here that the distinct scratching sound of another Gold Skulltula is likely to be heard. As indicated, the Hookshot is the necessary tool to claim this prize. Aiming at the backside of the stone pillar on the platform will secure the token for Gold Skulltula #66.

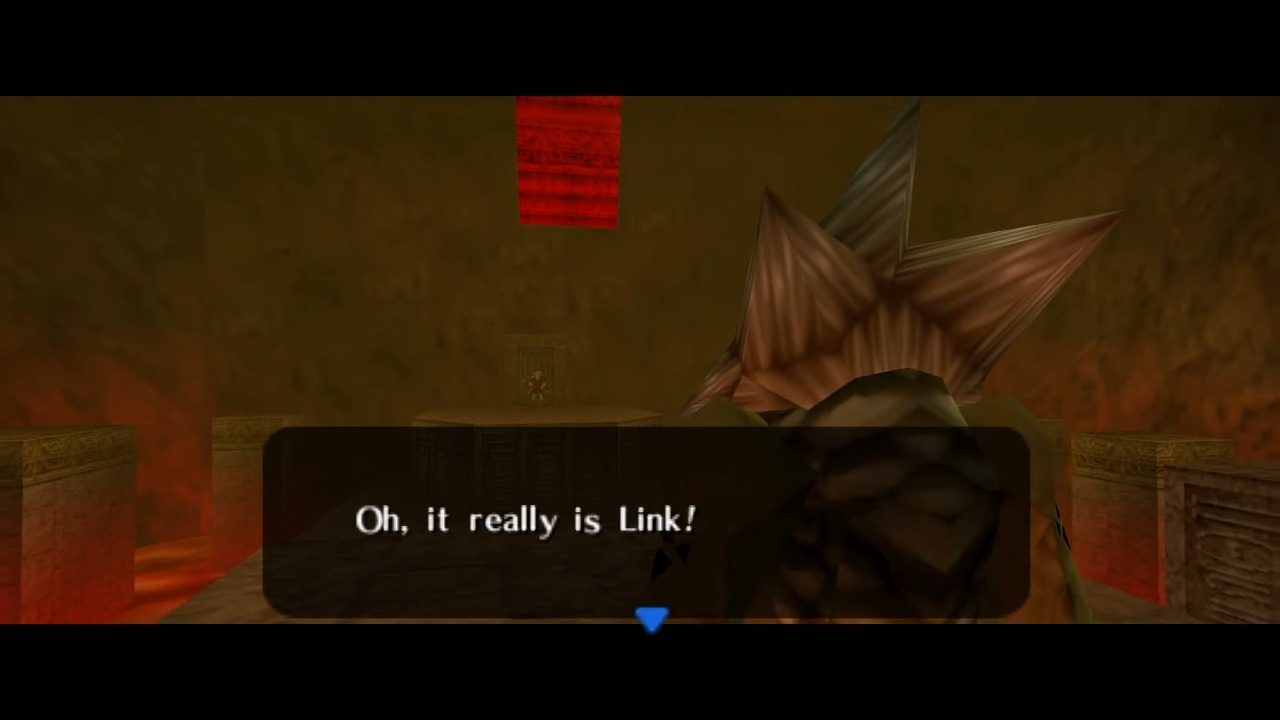
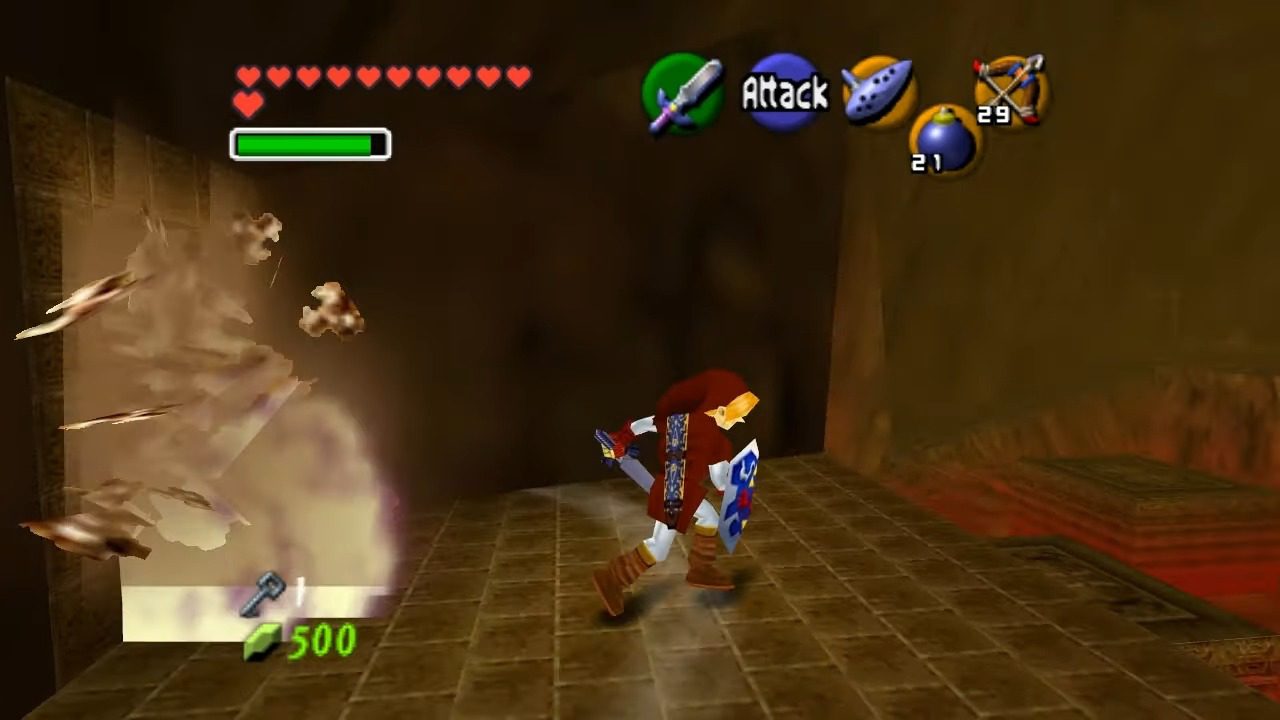
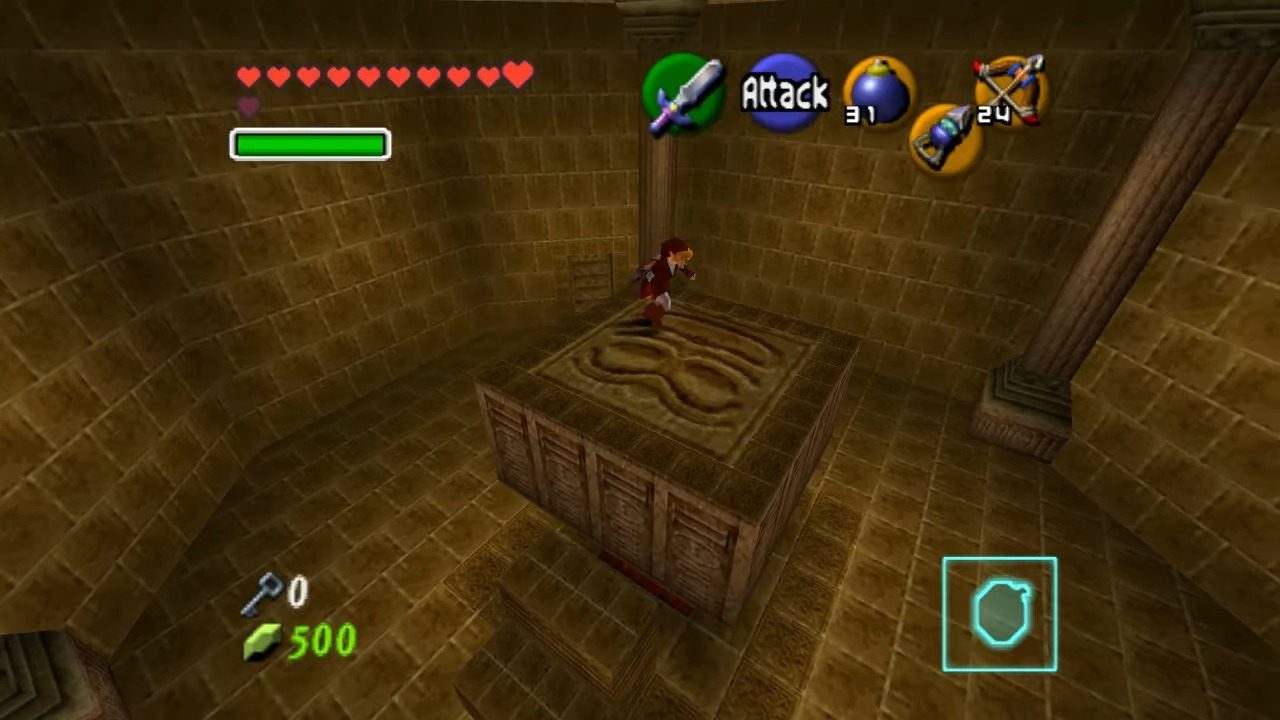
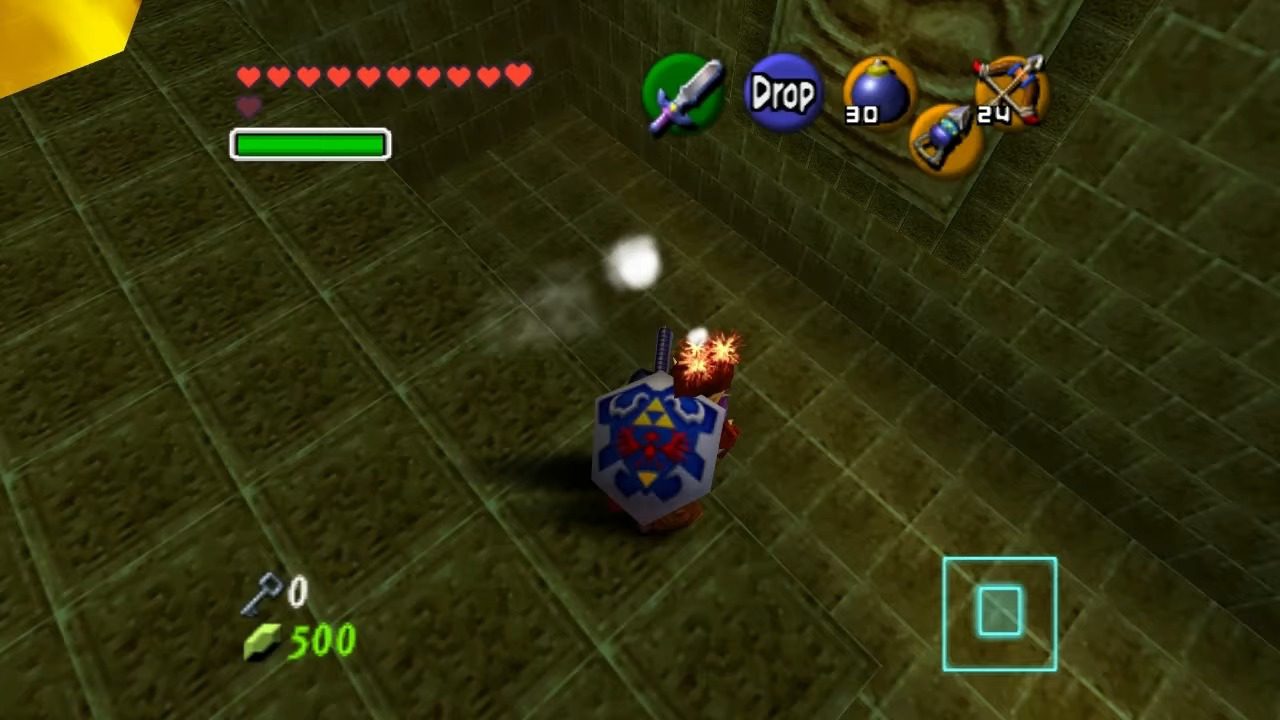
The next crucial step in preparing for the Fire Temple is acquiring the Goron Tunic. To obtain it, the small Goron rolling around on the second level of Goron City must be located. This energetic individual is Darunia’s son, also named Link. The method to halt his rolling involves strategically placing a bomb in his path.
The resulting explosion will stop him, and after a brief conversation, he will recognize the player and bestow the Goron Tunic as a reward. The Goron Shop also offers the Goron Tunic for 200 Rupees, serving as a contingency should the initially acquired tunic be lost.


Item: Goron Tunic
A heat-resistant tunic made by Gorons. Lets Link withstand extreme heat, especially inside Death Mountain’s crater and the Fire Temple.
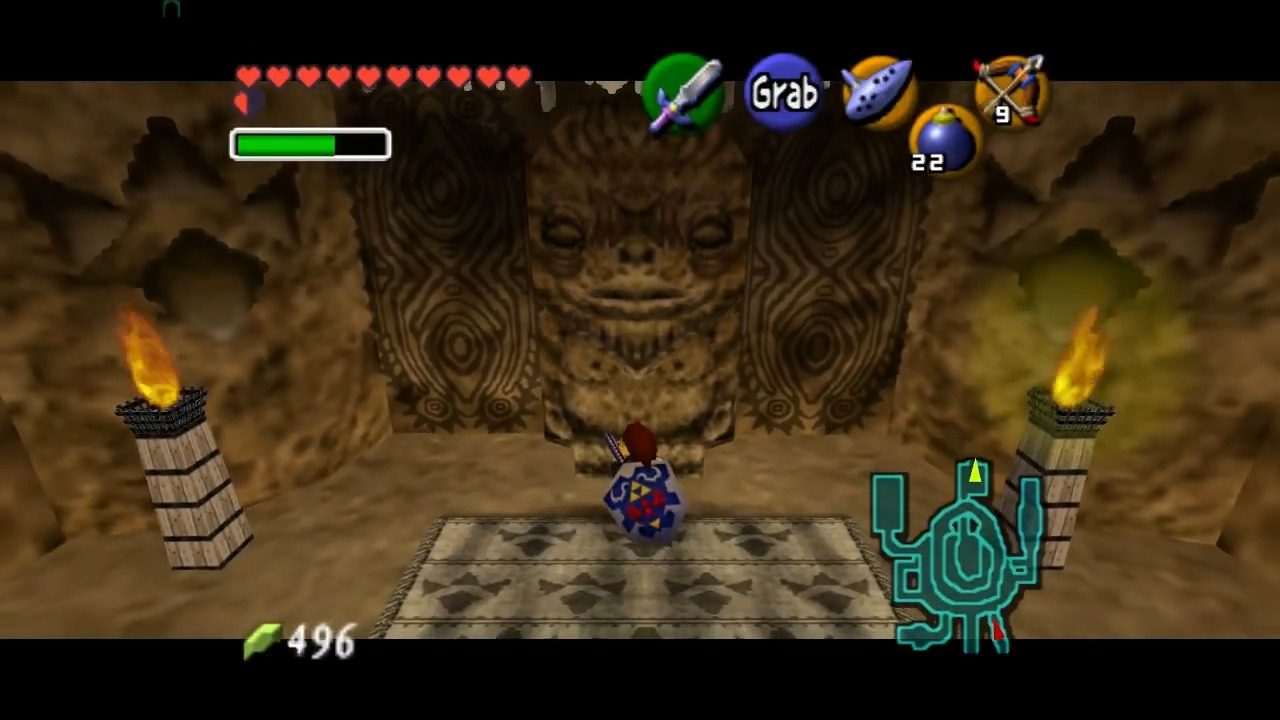
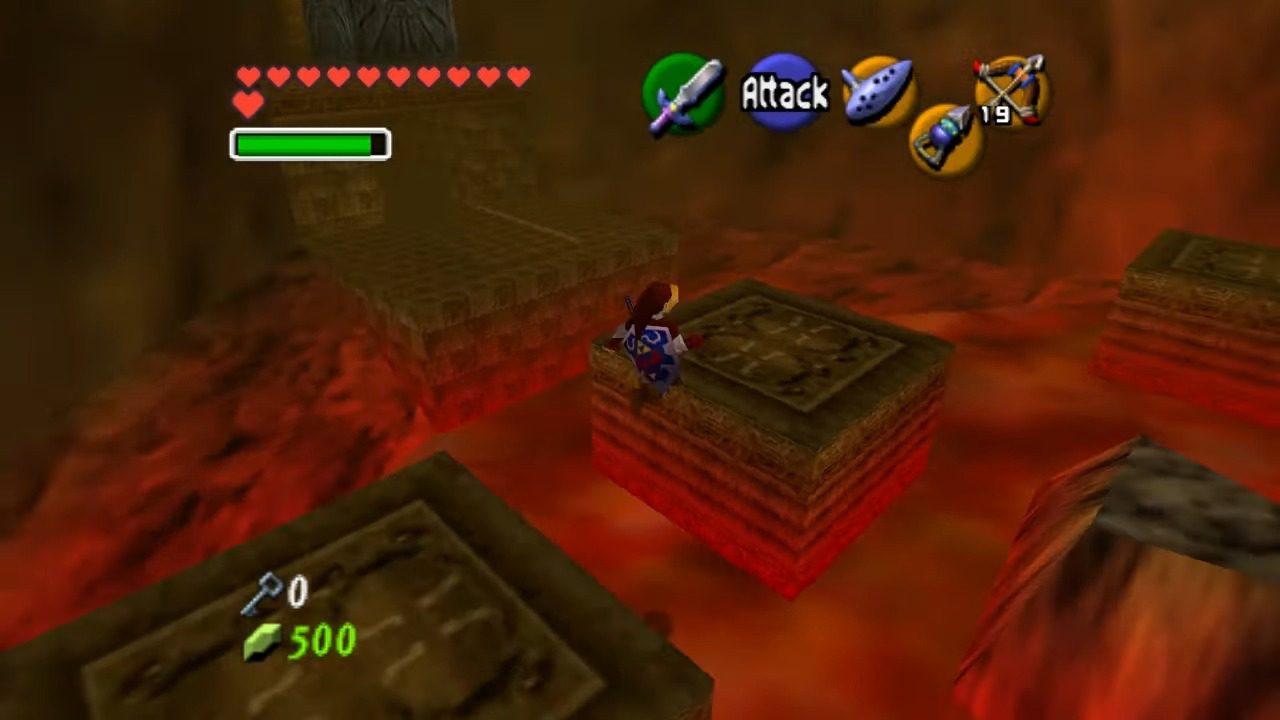
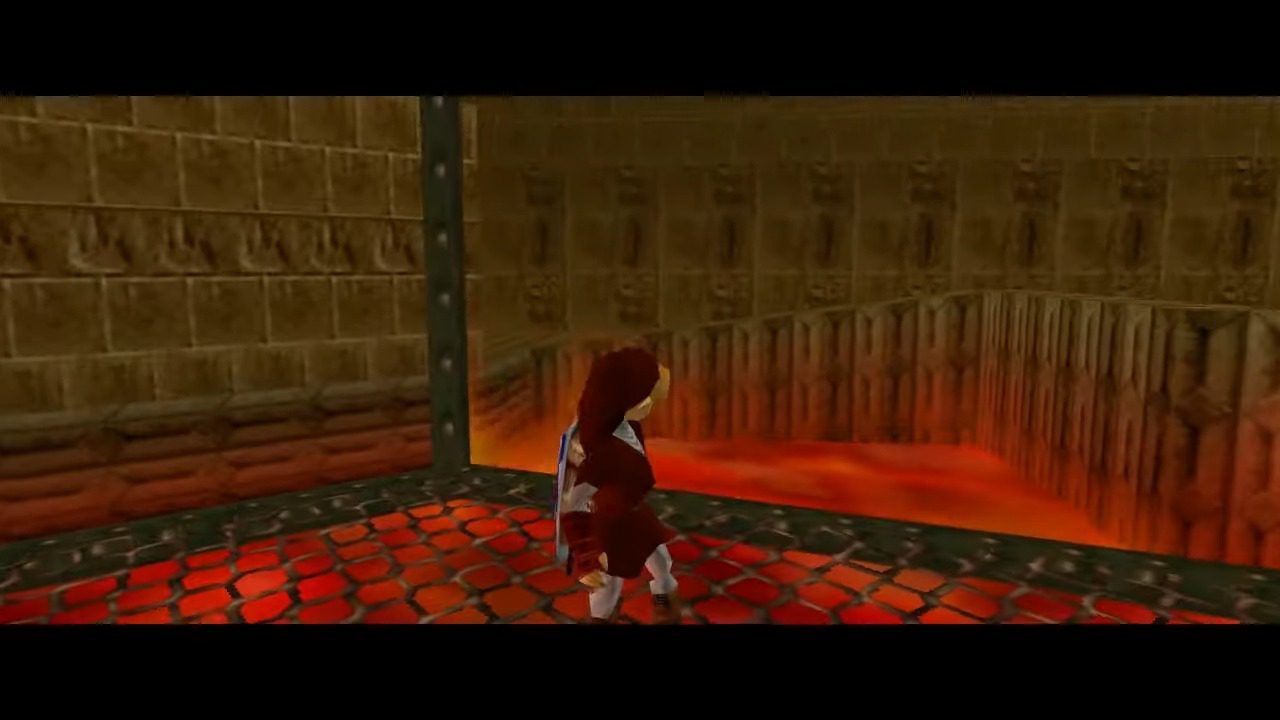
The next step involves locating Darunia’s room, situated within one of the buildings on the lower level of Goron City (excluding the shop). Inside, at the back of the room, stands a large statue. Approaching it will change the action prompt to “Pull”. Pulling the statue back will reveal a secret passageway leading directly into the smoldering Death Mountain Crater. Upon entering Death Mountain Crater, the intense heat necessitates the immediate equipping of the Goron Tunic. Without it, survival in this volcanic environment is impossible.
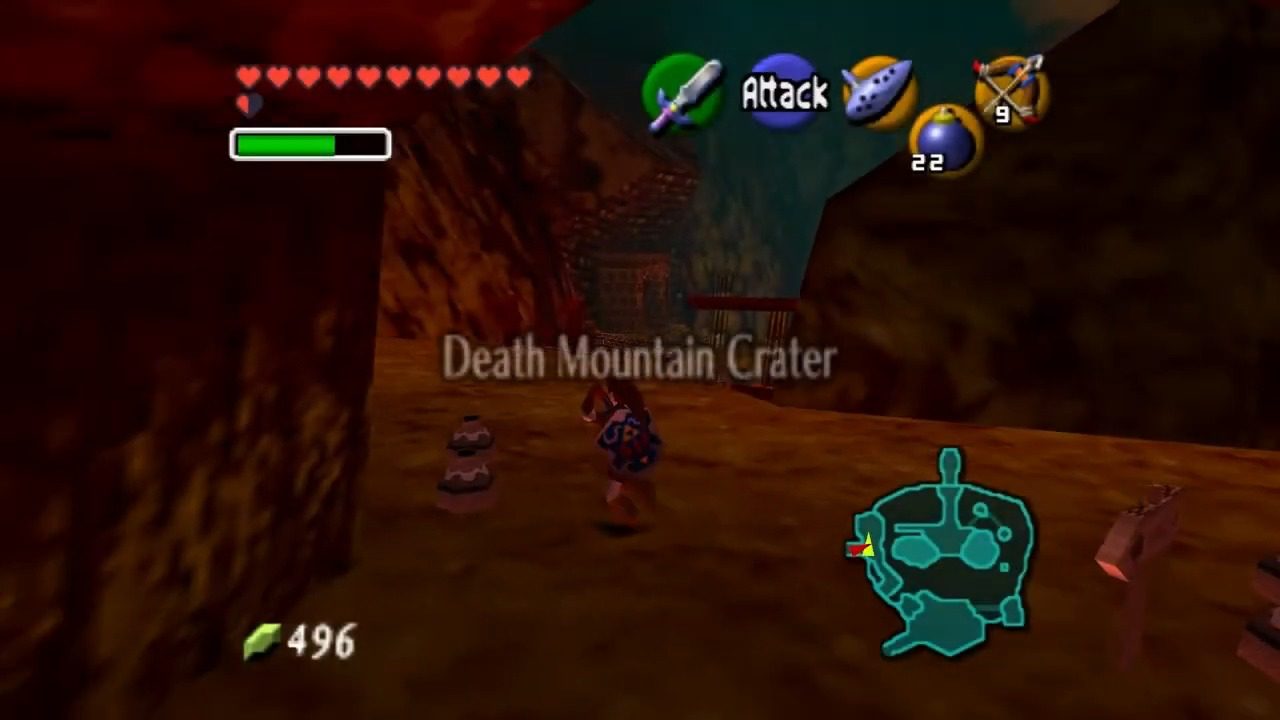
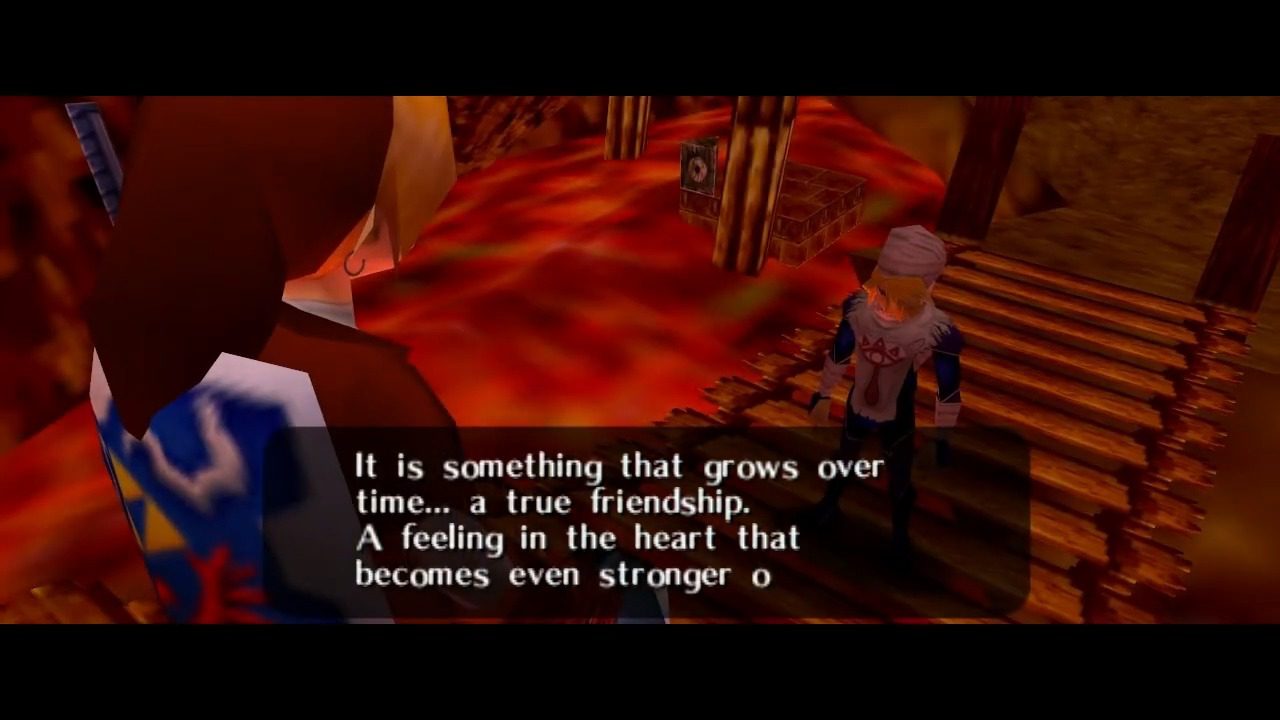
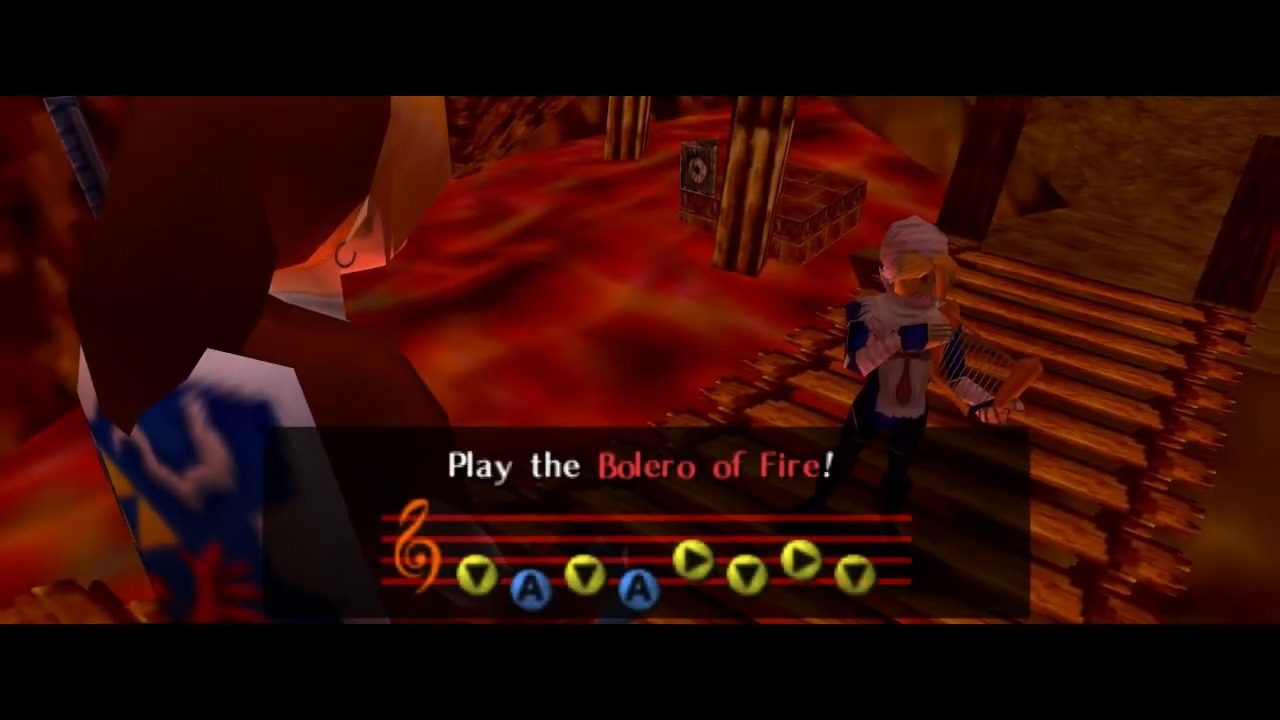
Navigating through Death Mountain Crater towards the Fire Temple, a broken bridge will soon come into view. This obstacle requires the use of the Hookshot. Aiming for a wooden post or a stable section of the bridge on the opposite side will allow for safe passage across the chasm. Upon crossing, a familiar figure will appear: Sheik. In their characteristic manner, Sheik will offer further guidance and impart a new song, the Bolero of Fire. This melody grants the ability to warp directly to Death Mountain Crater in the future.
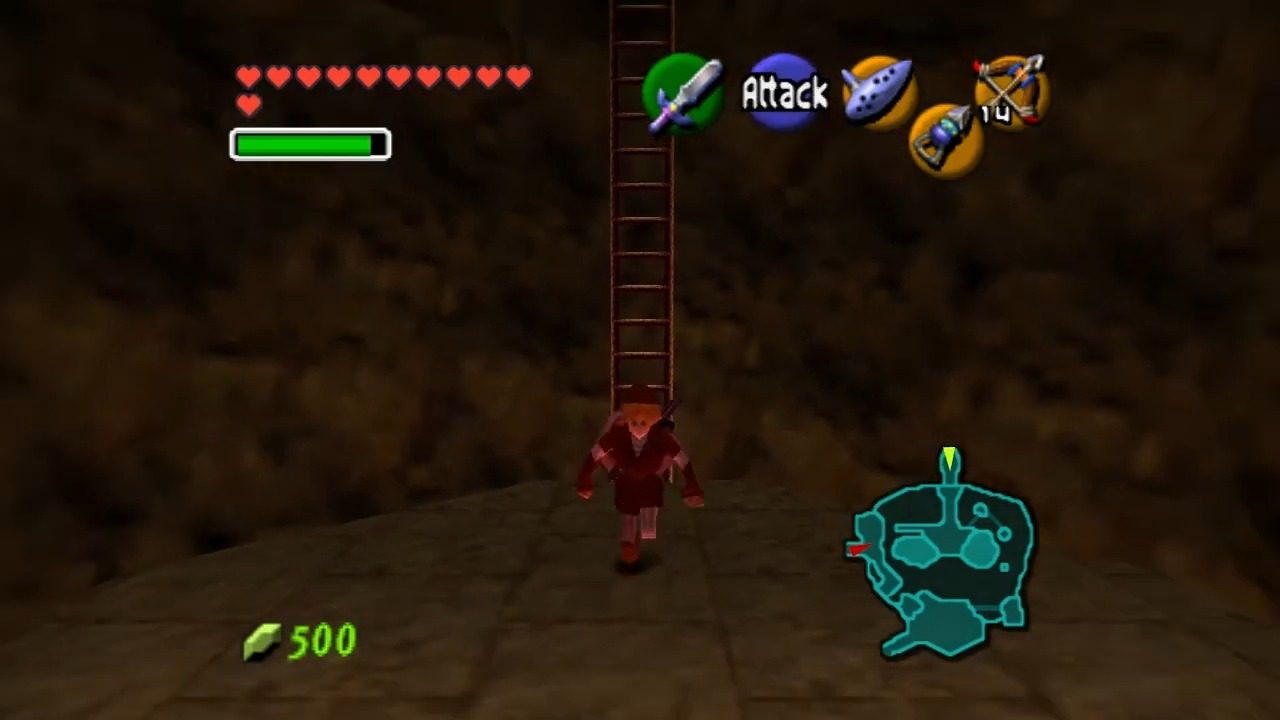
Now, the entrance to the Fire Temple is just a short climb down a long ladder to your left after you cross the bridge.
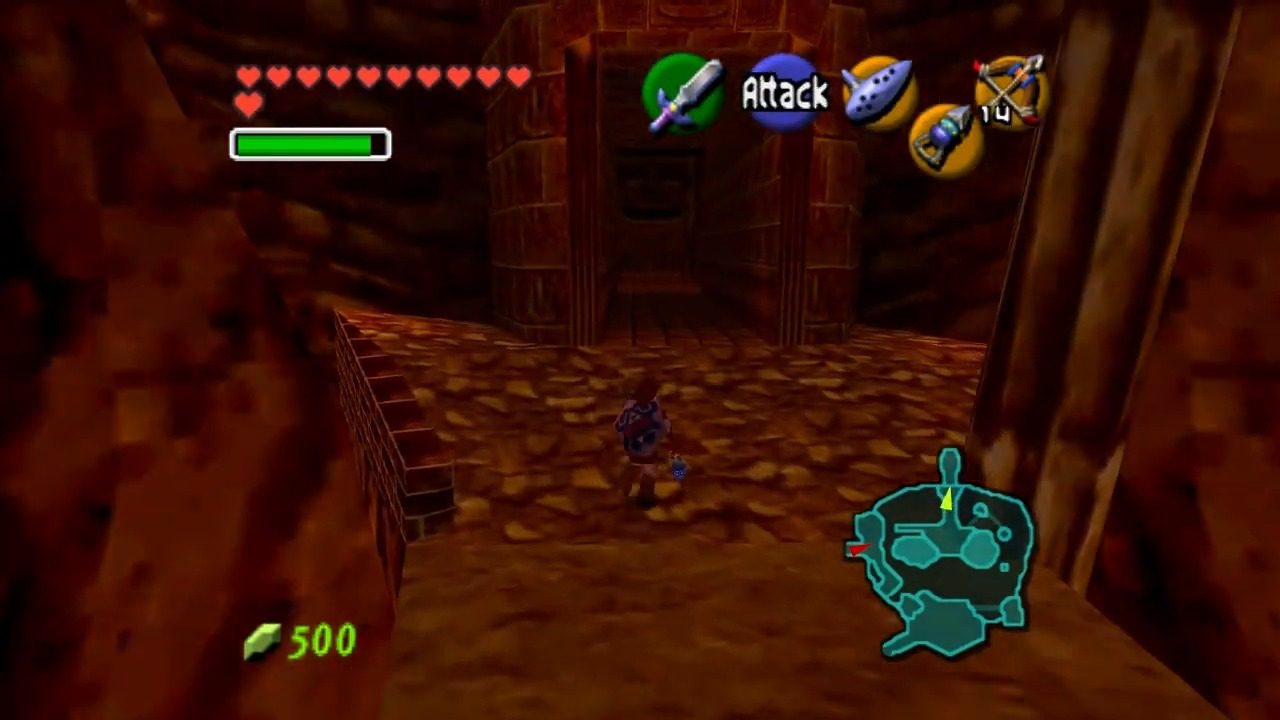
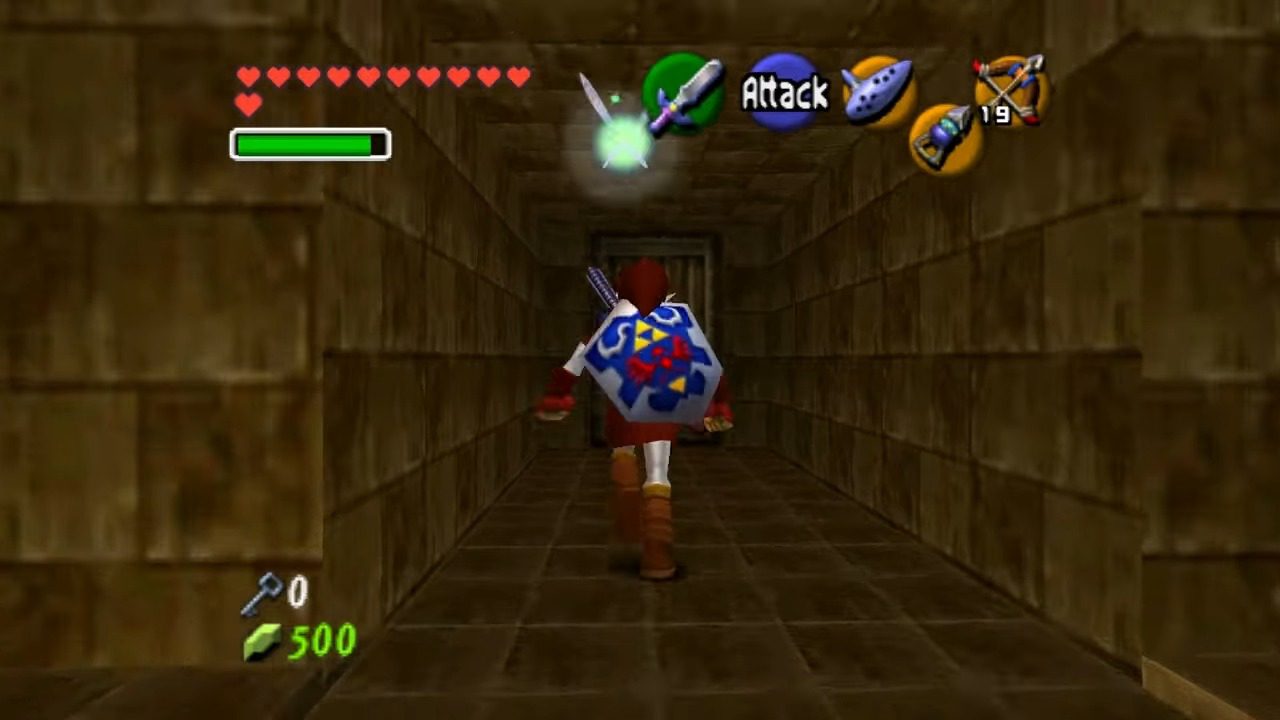
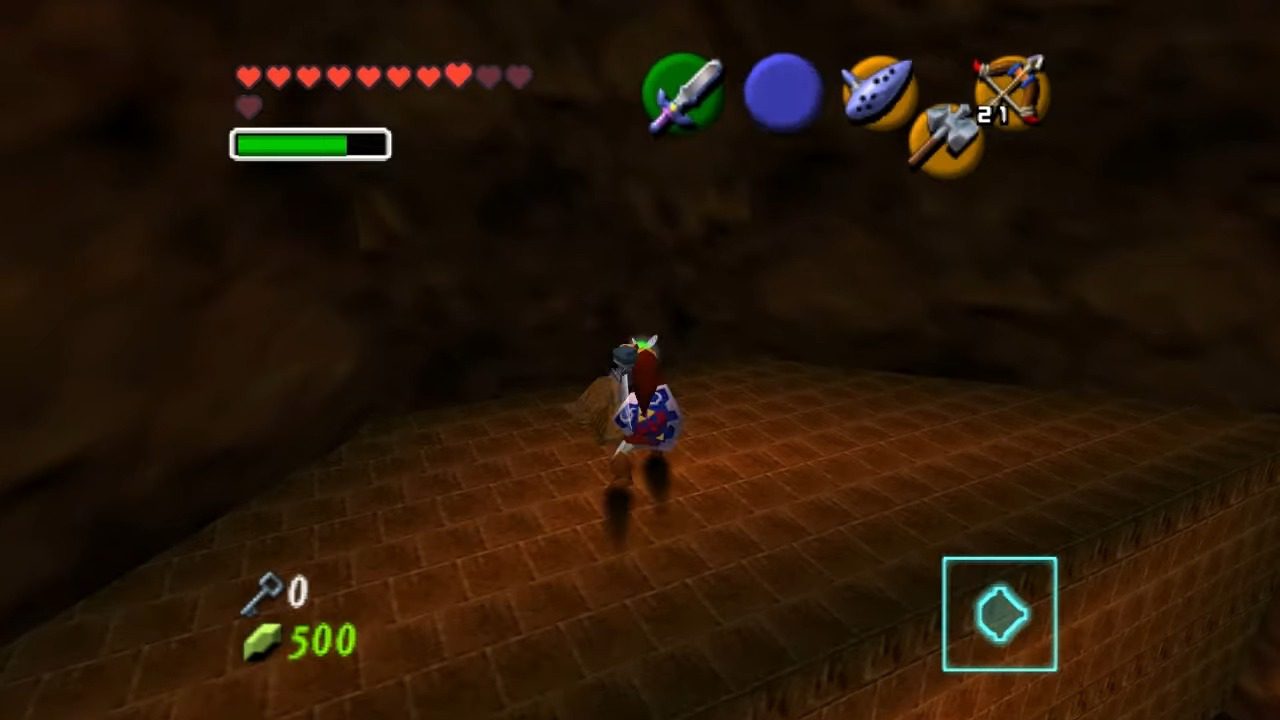
Initial Explorations and First Freed Gorons
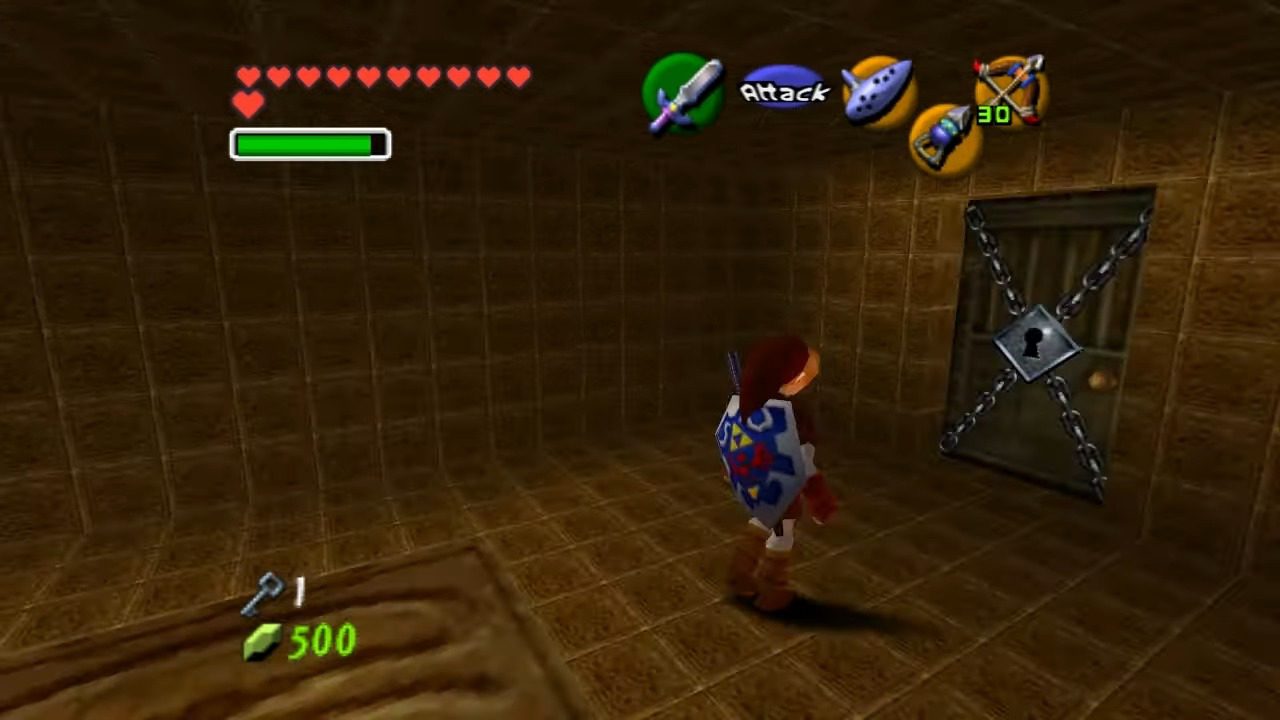
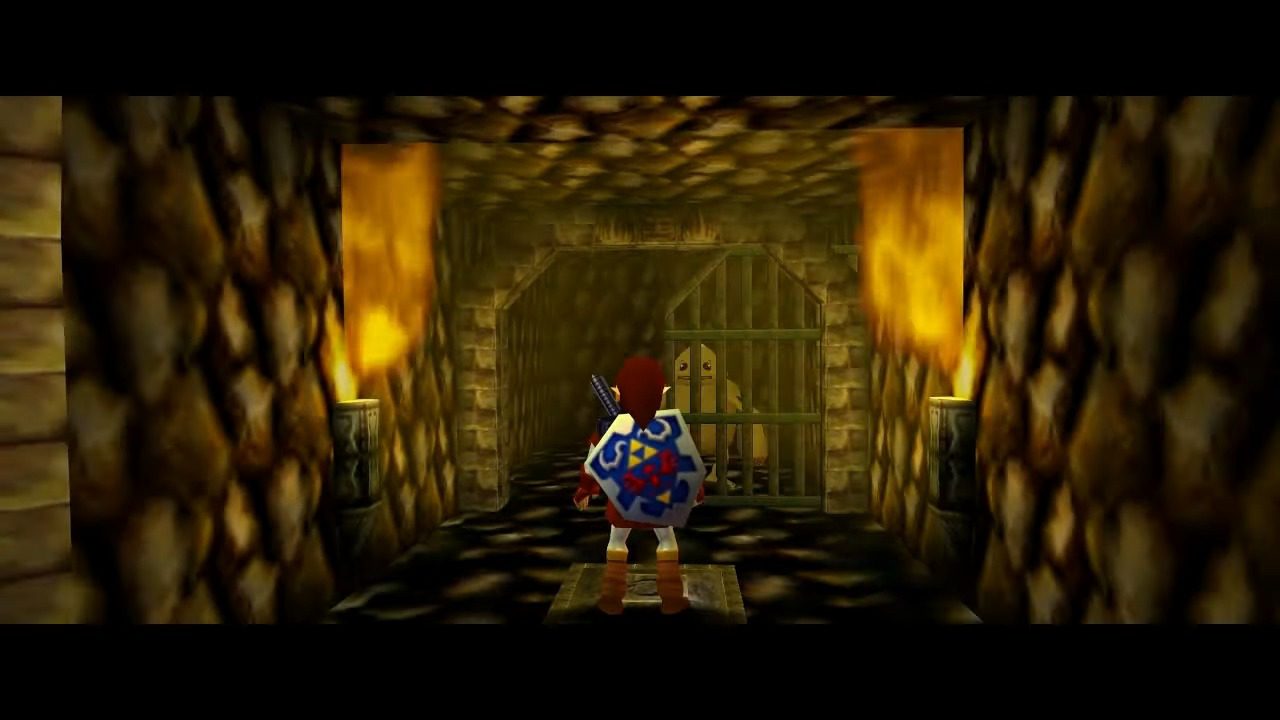
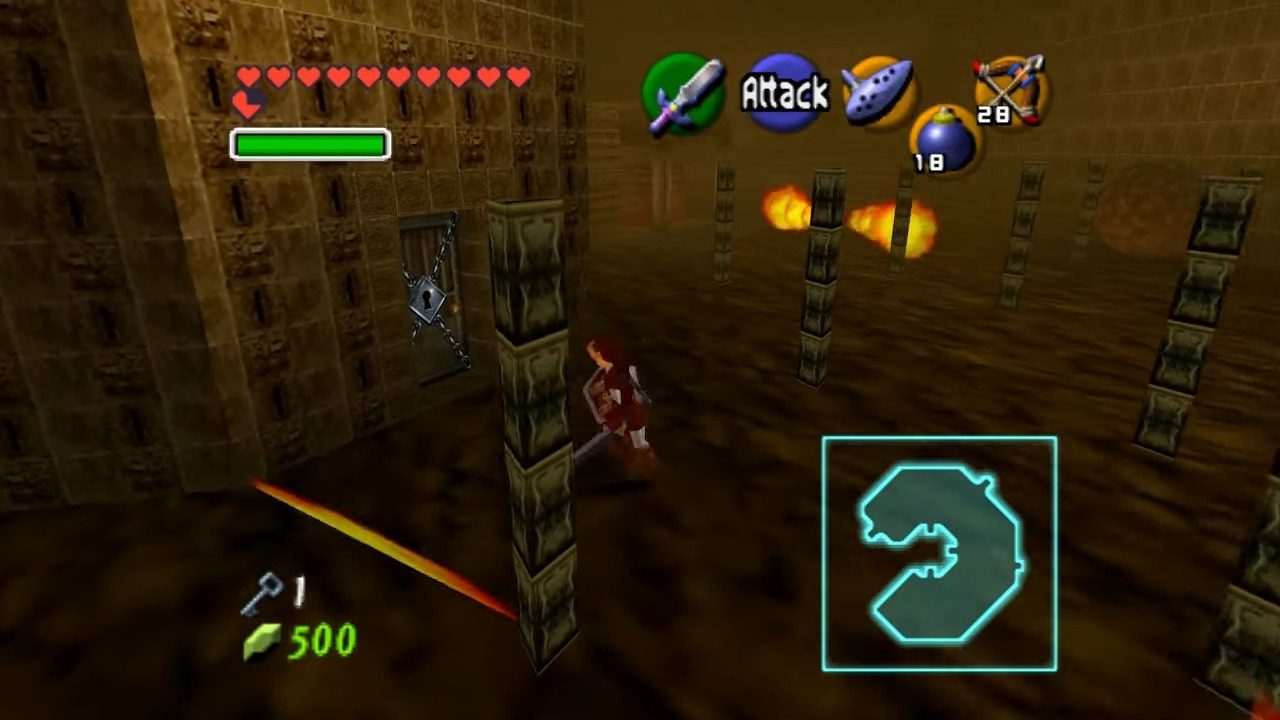
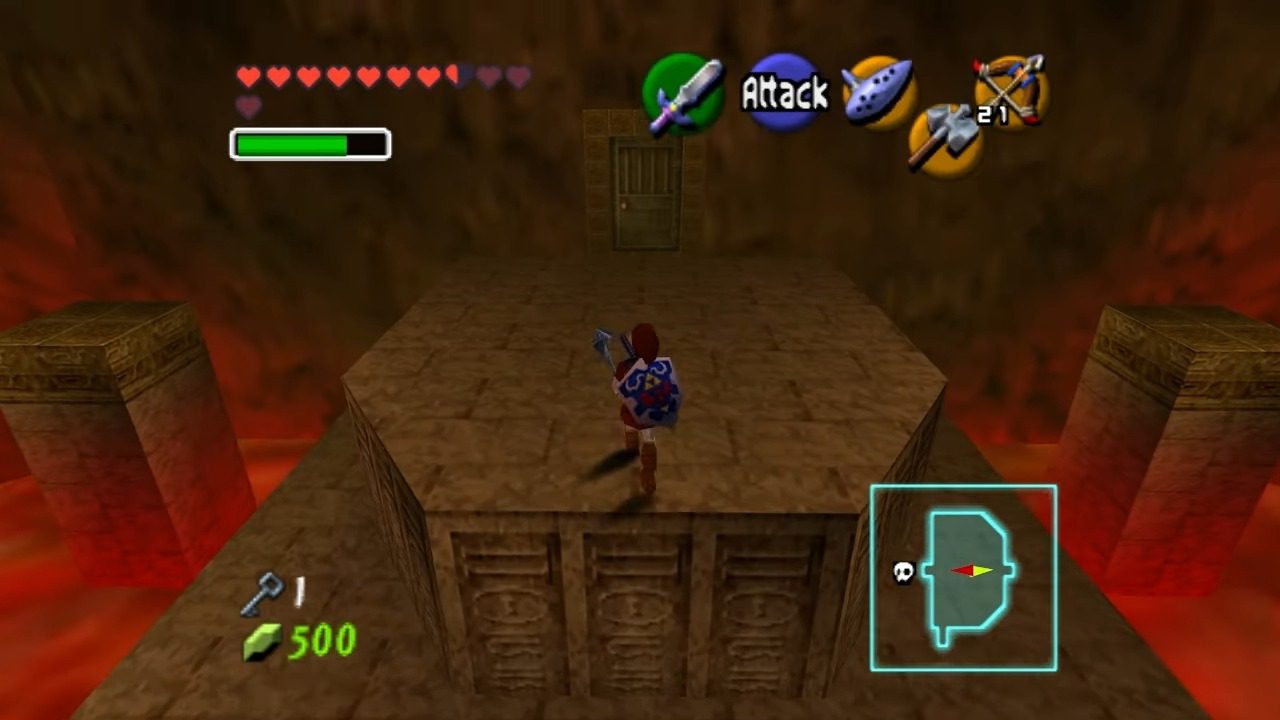
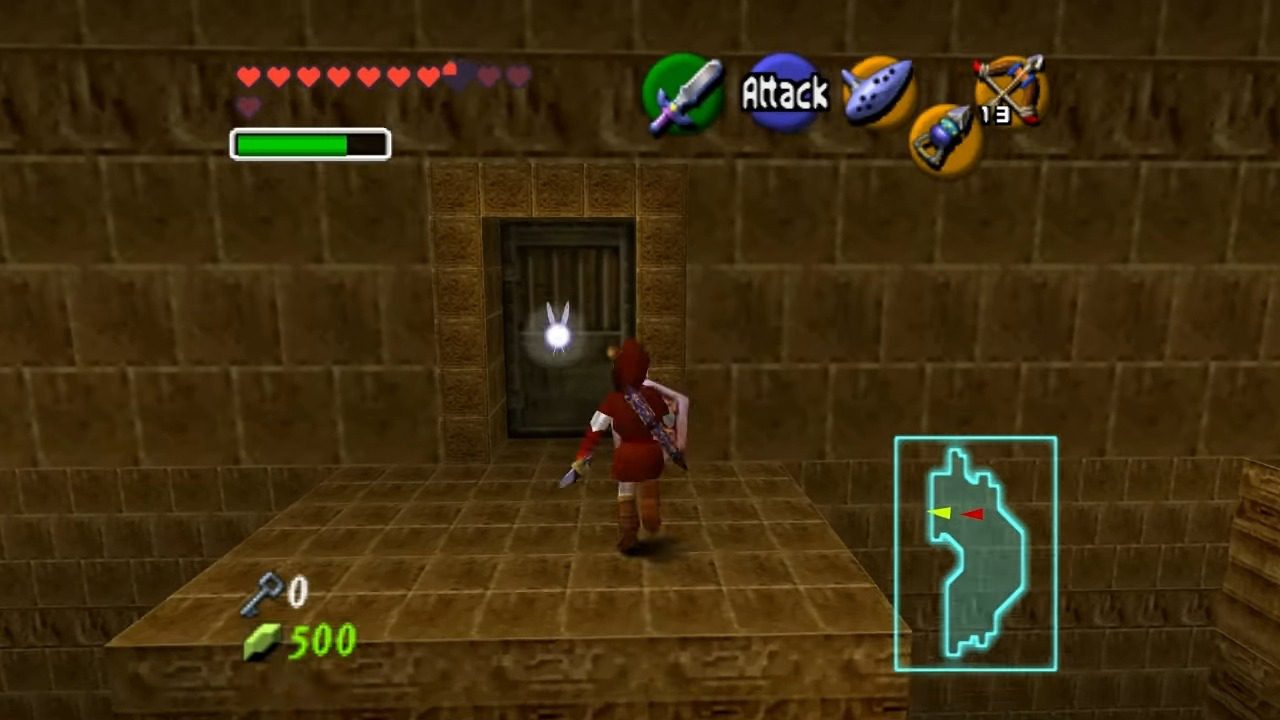
As soon as you step into the temple, blaze up those stairs right in front of you and jam through the door on the left. You’ll immediately bump into our old buddy Darunia. He’s pretty stressed about Ganondorf turning his fellow Gorons into dragon chow for some nasty beast called Volvagia. He’ll then bolt into the boss door like he’s got a rocket strapped to his back. Don’t sweat that door for now, though; we can see it, but we can’t touch it yet. That’s just how these dungeons roll sometimes – gotta tease you with the final boss right off the bat.
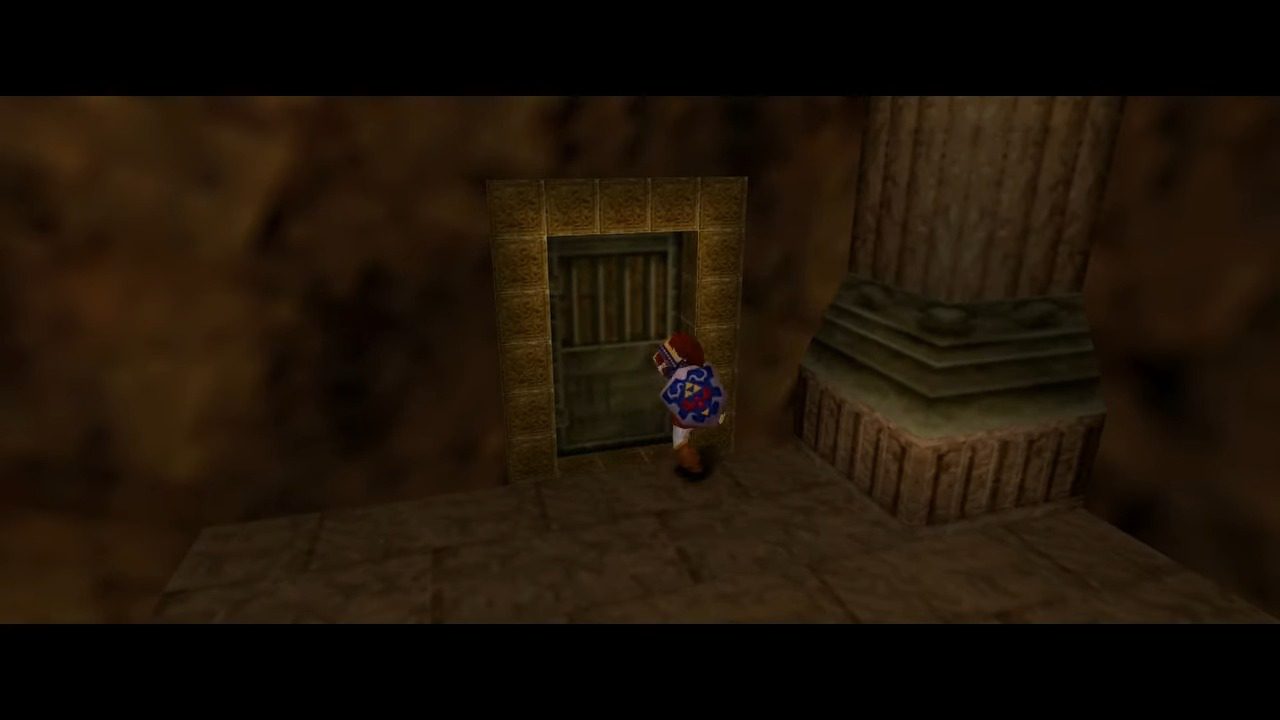
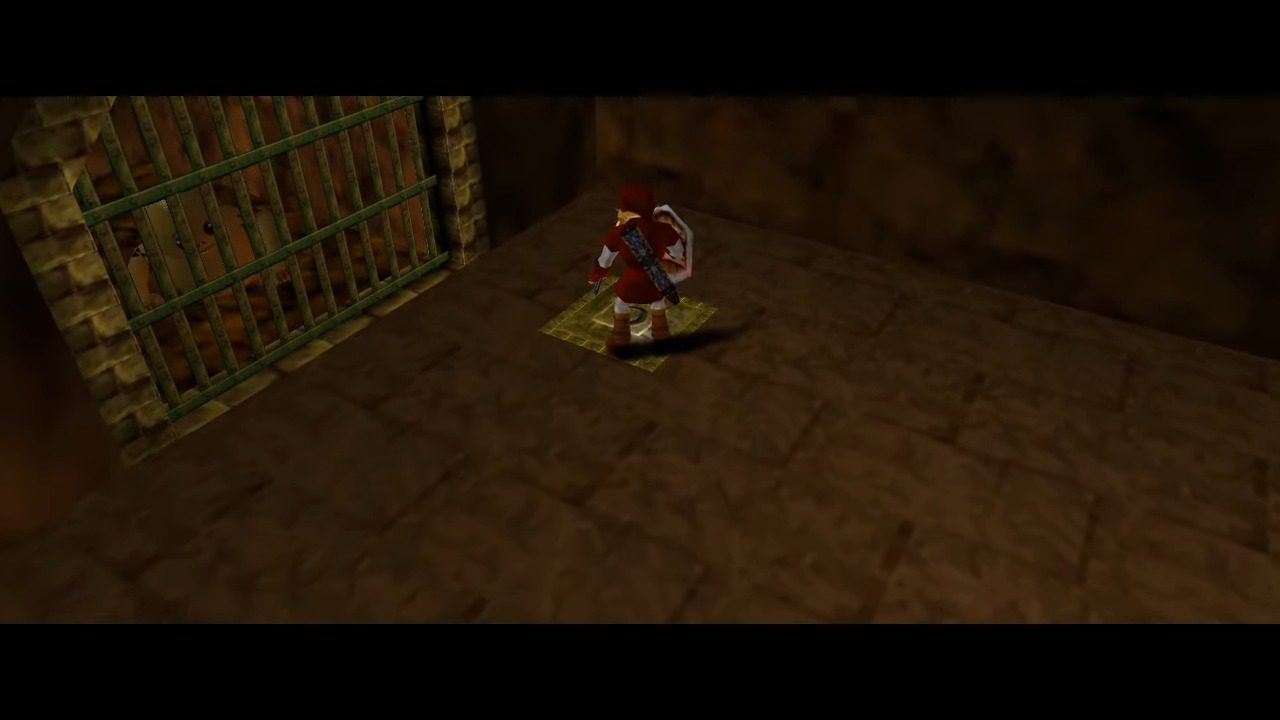
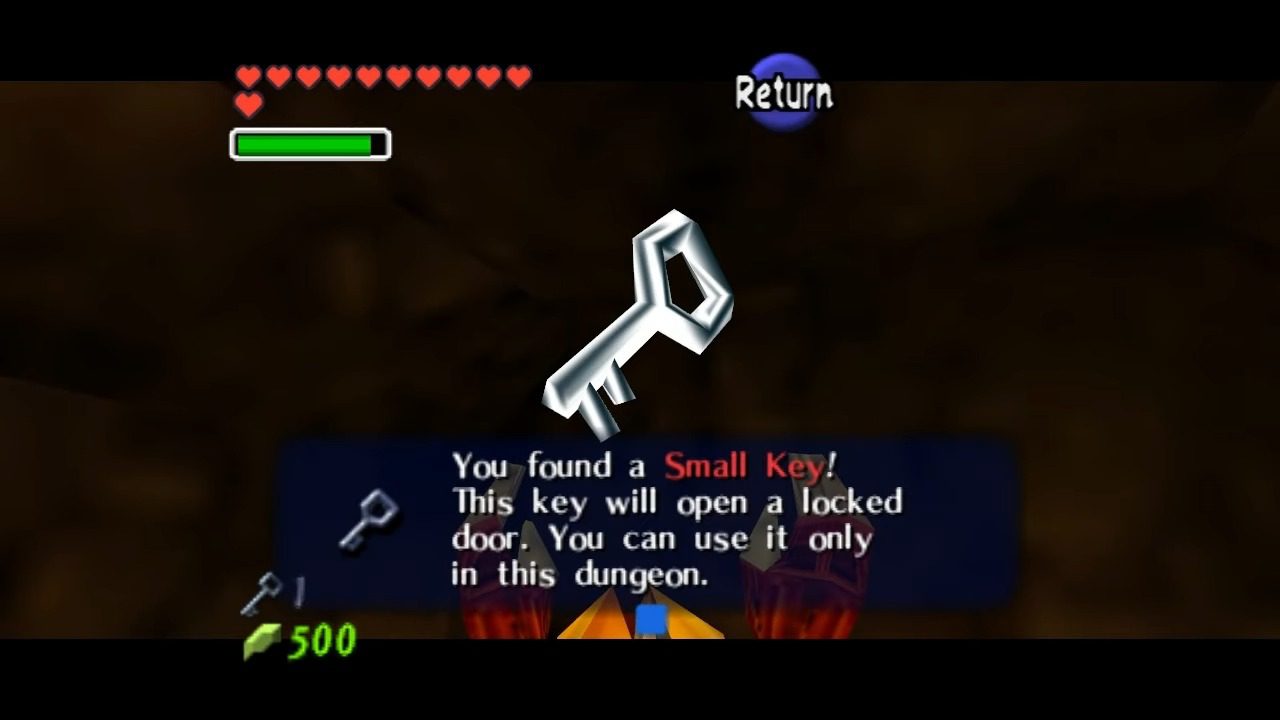
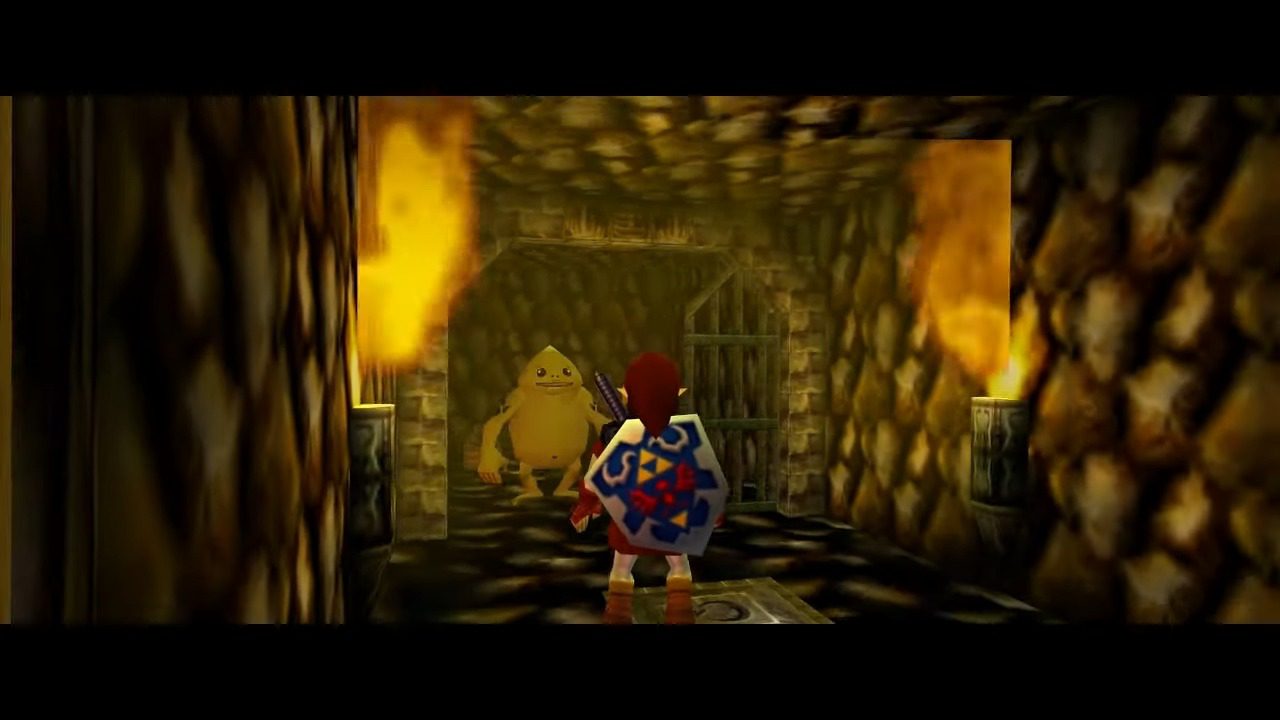
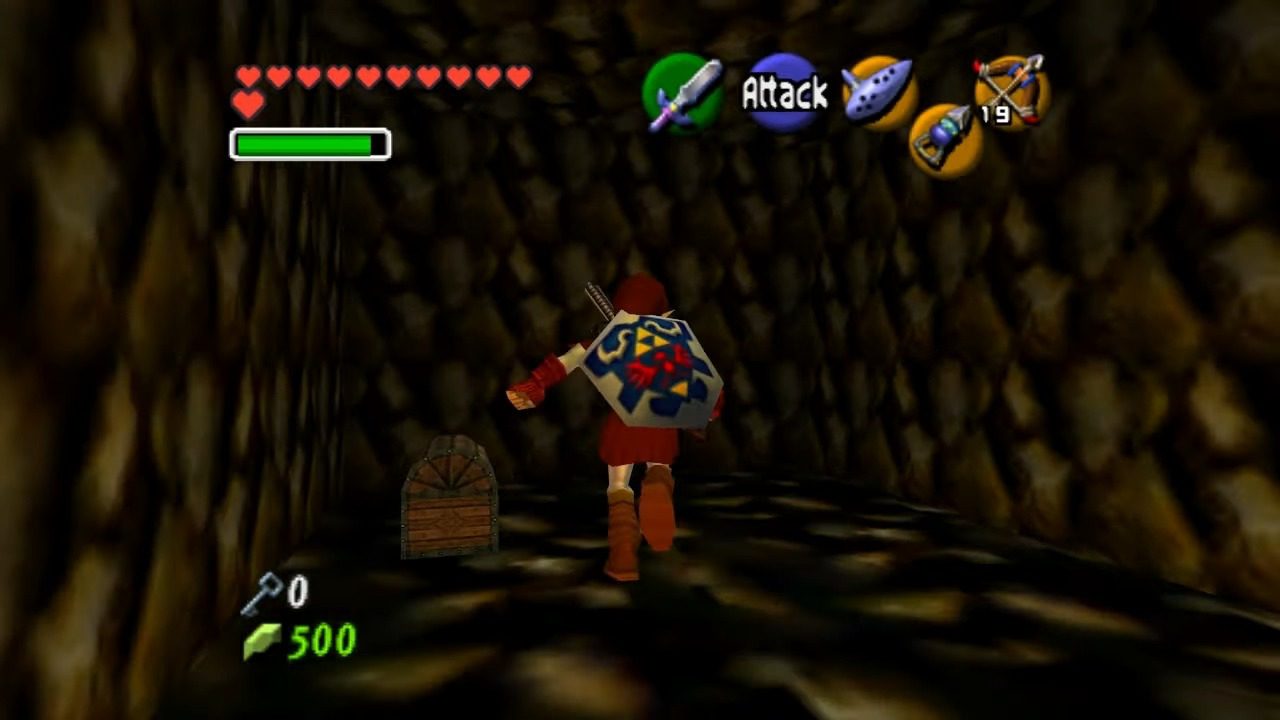
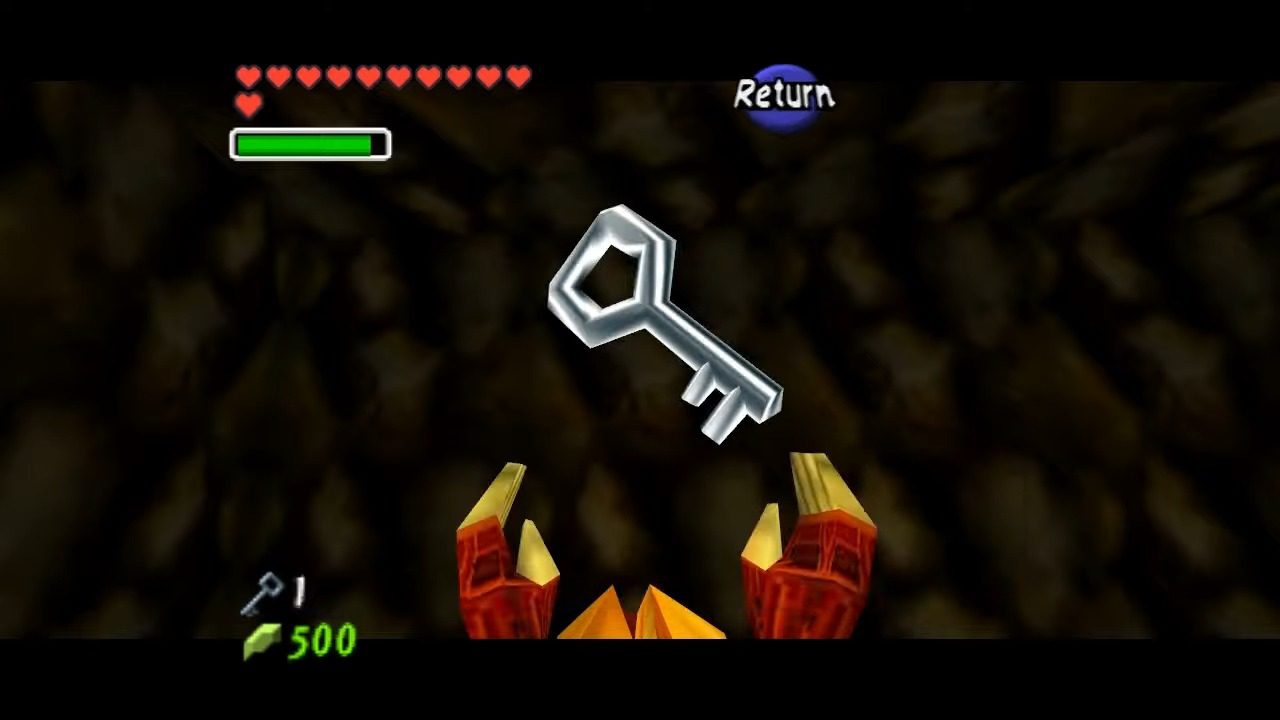
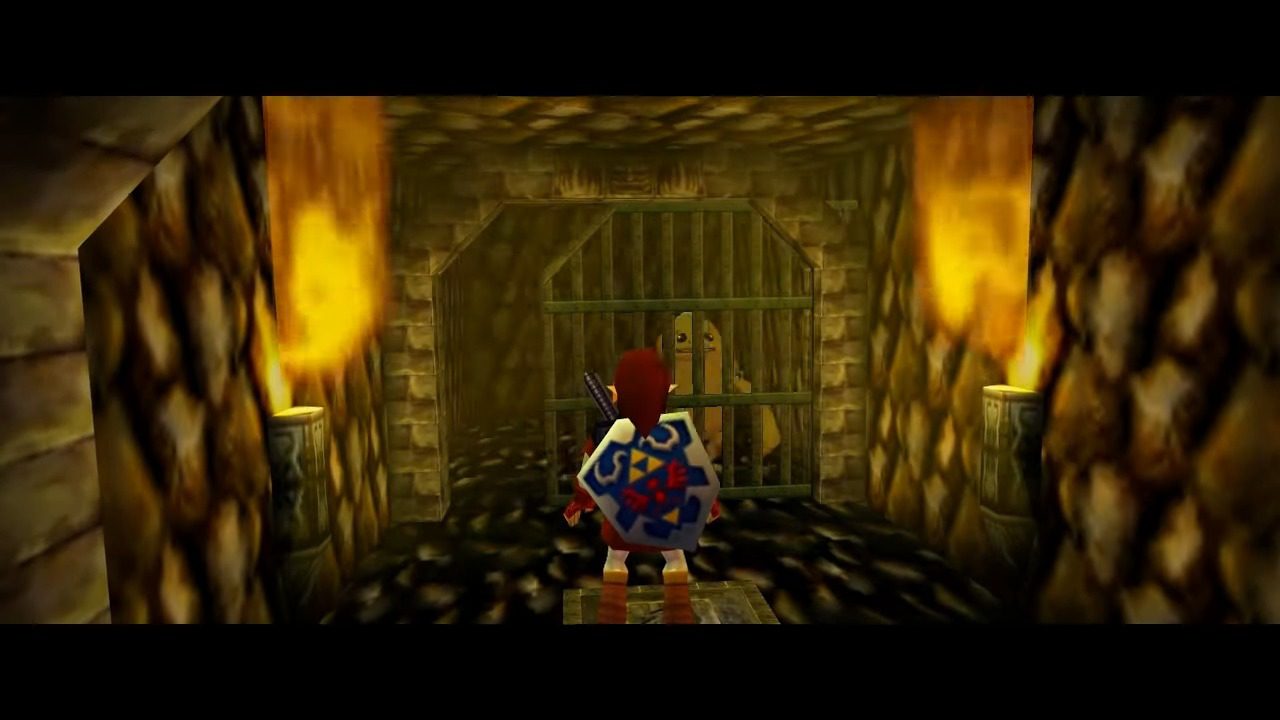
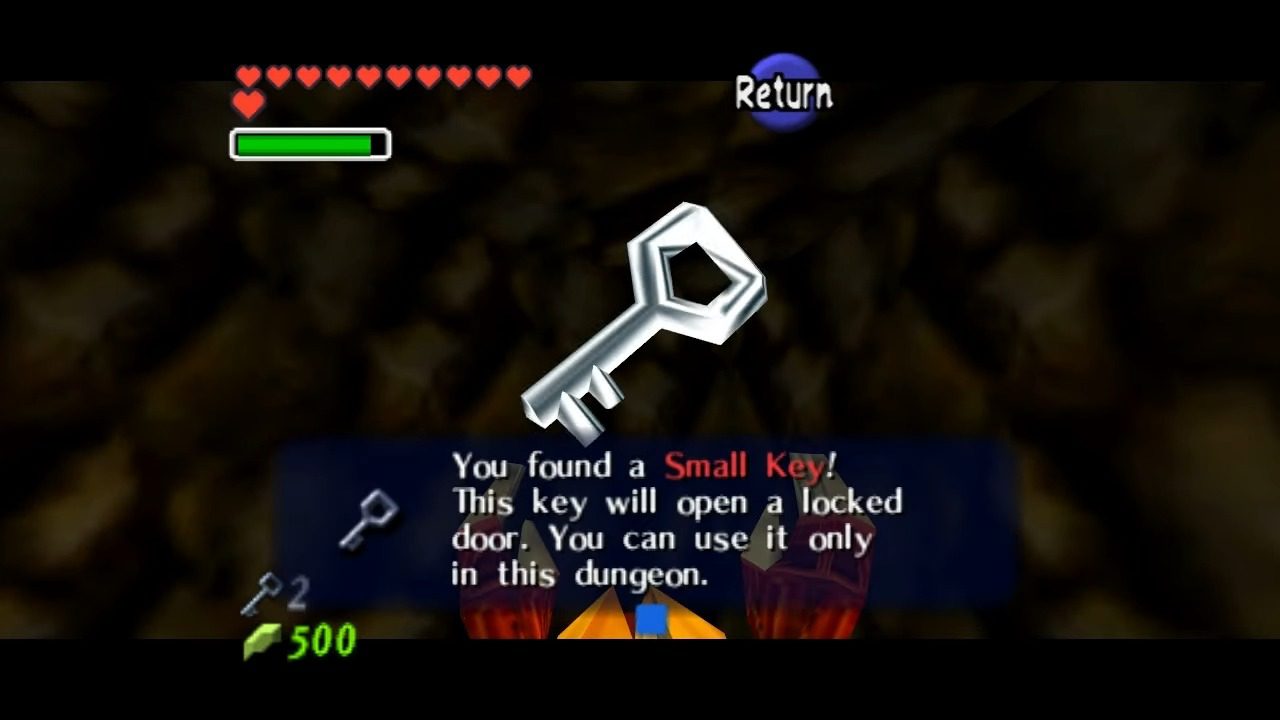
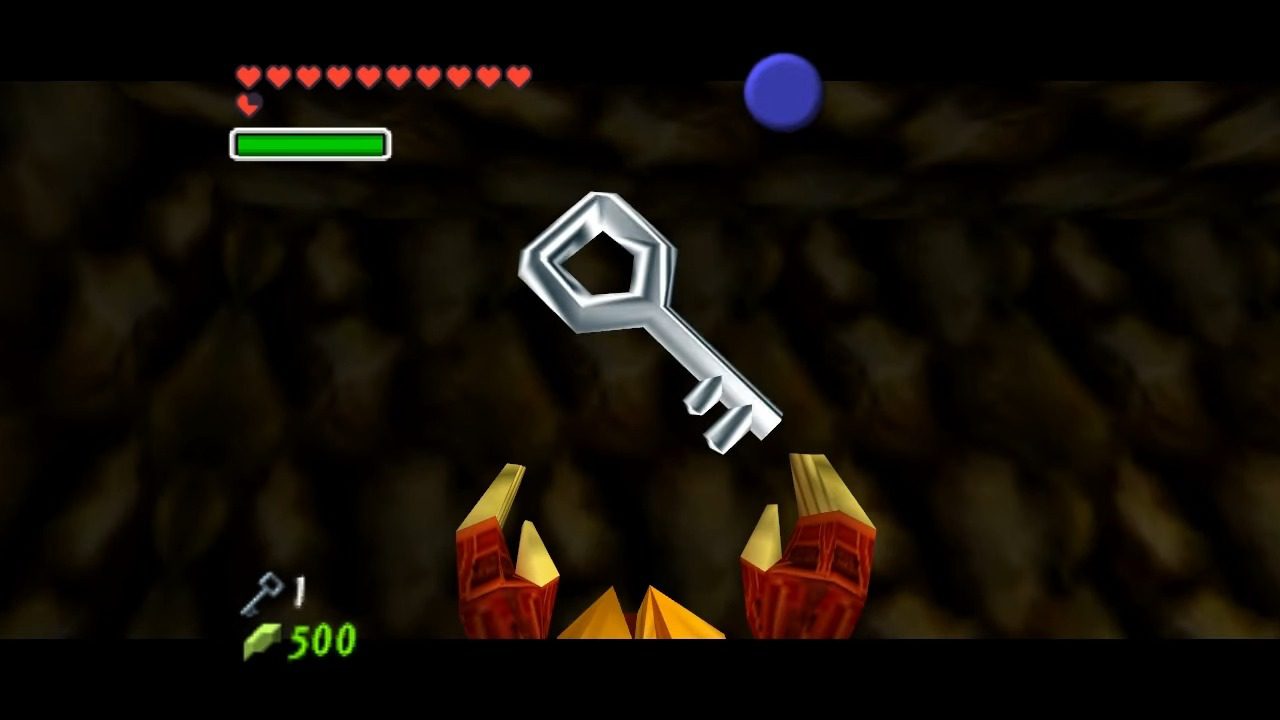
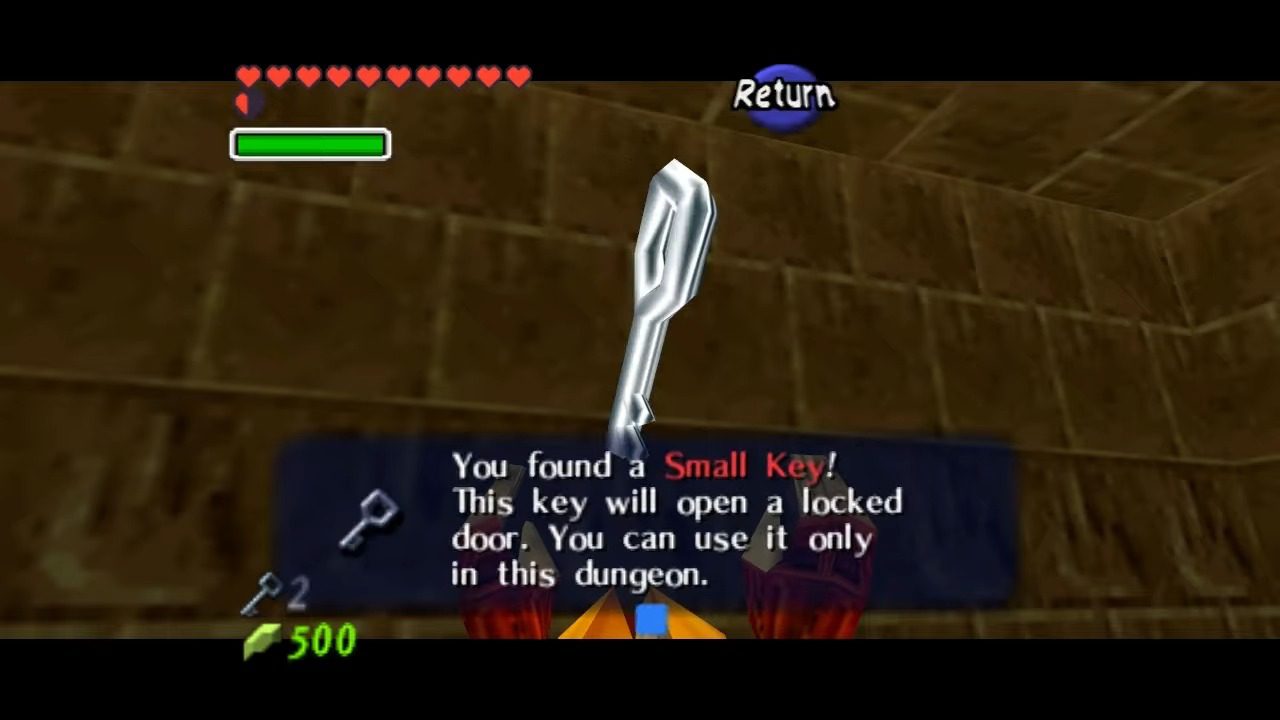
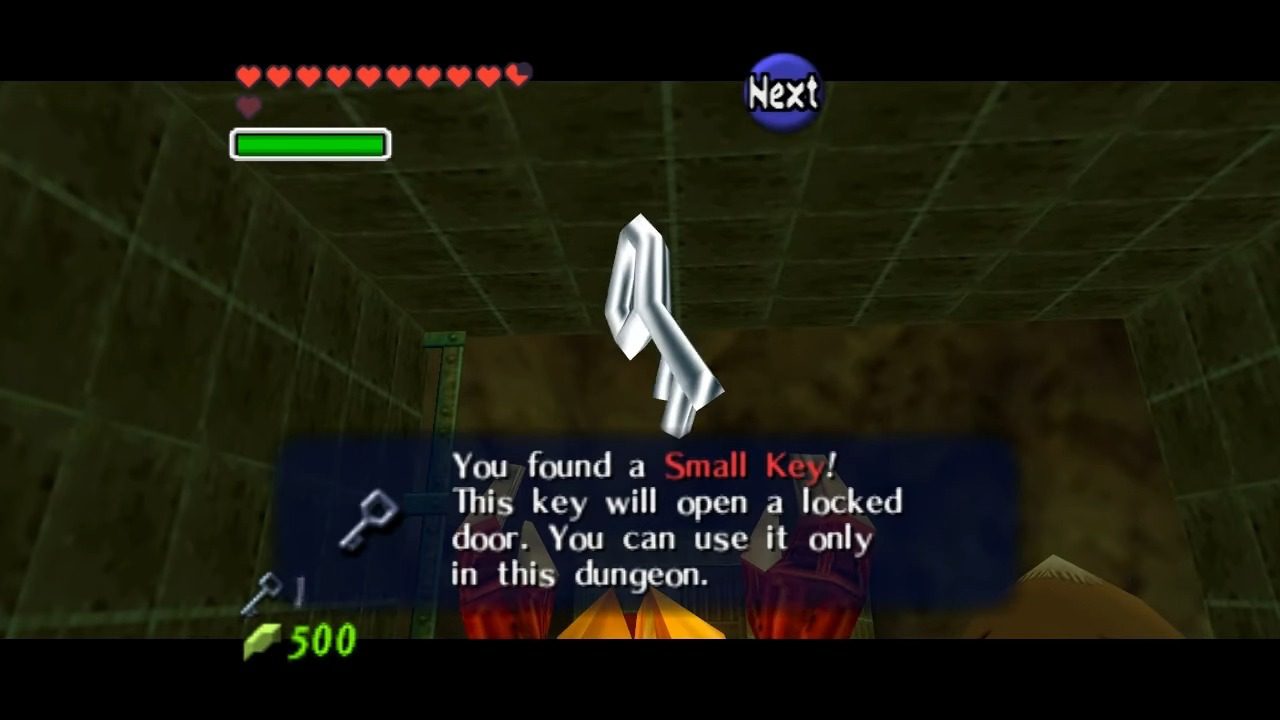
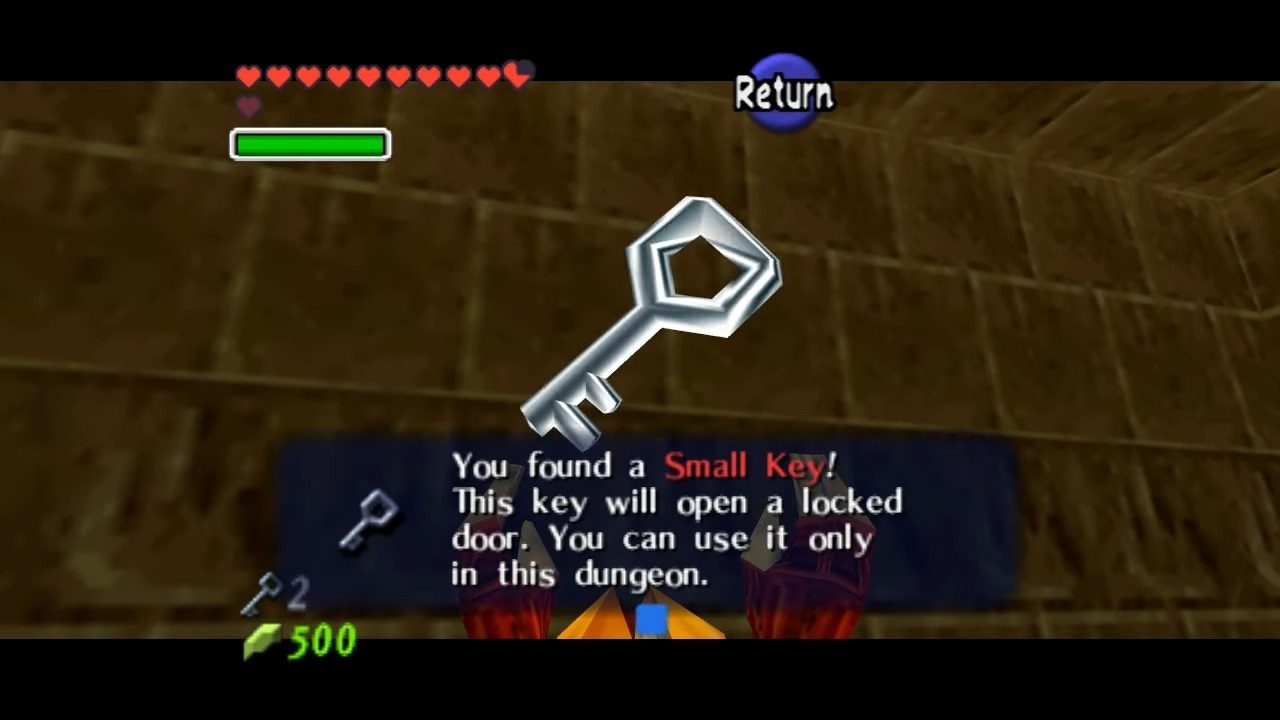
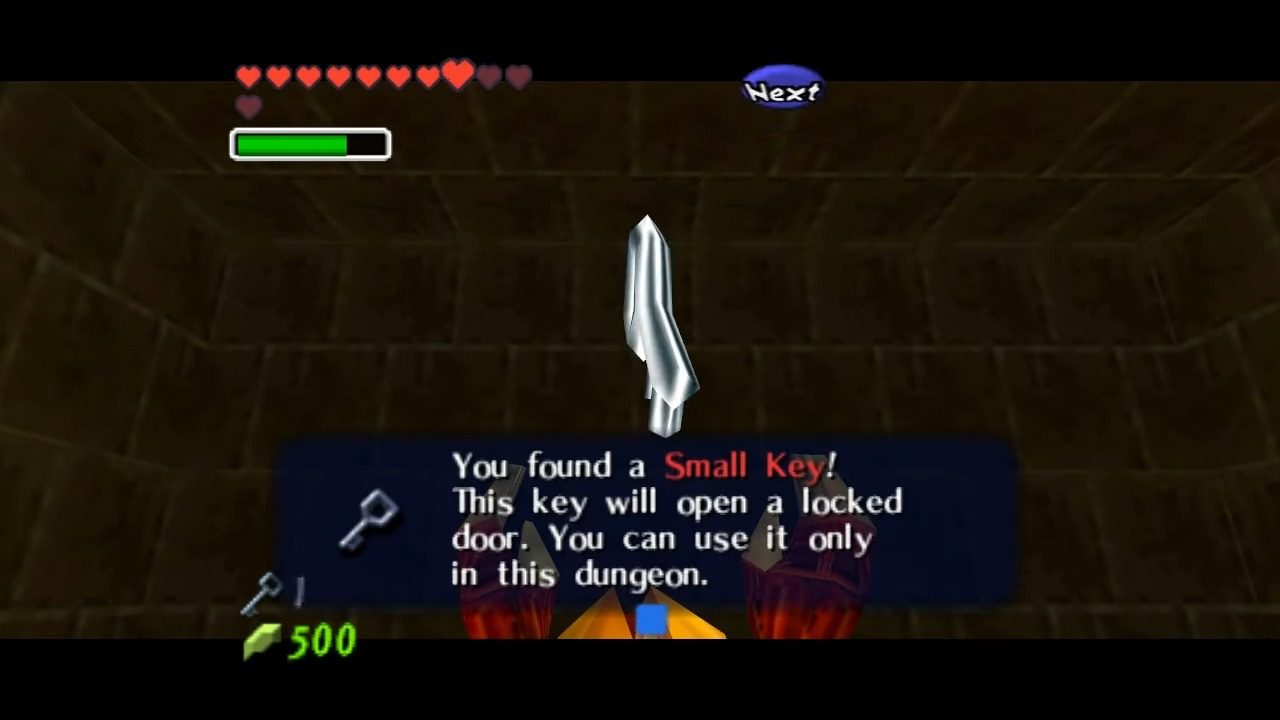
Our first order of business is to free Darunia’s buddies. Check out the left side of the room. You can hop onto that pillar, then the next one, and finally land on the platform. See that button chilling outside the cell? Go stand on it. The door will creak open, and you’ll set a Goron free. These guys are pretty grateful and often have some handy tips for navigating this fiery mess. This first freed Goron will likely give you a heads-up about something in the temple’s ceiling. Now, keep your eyes peeled behind where you just freed him. There should be a chest there holding a Small Key. Snag that – we’re going to be needing a bunch of these to unlock doors as we go.

Mapping the Molten Maze: Getting the Dungeon Map
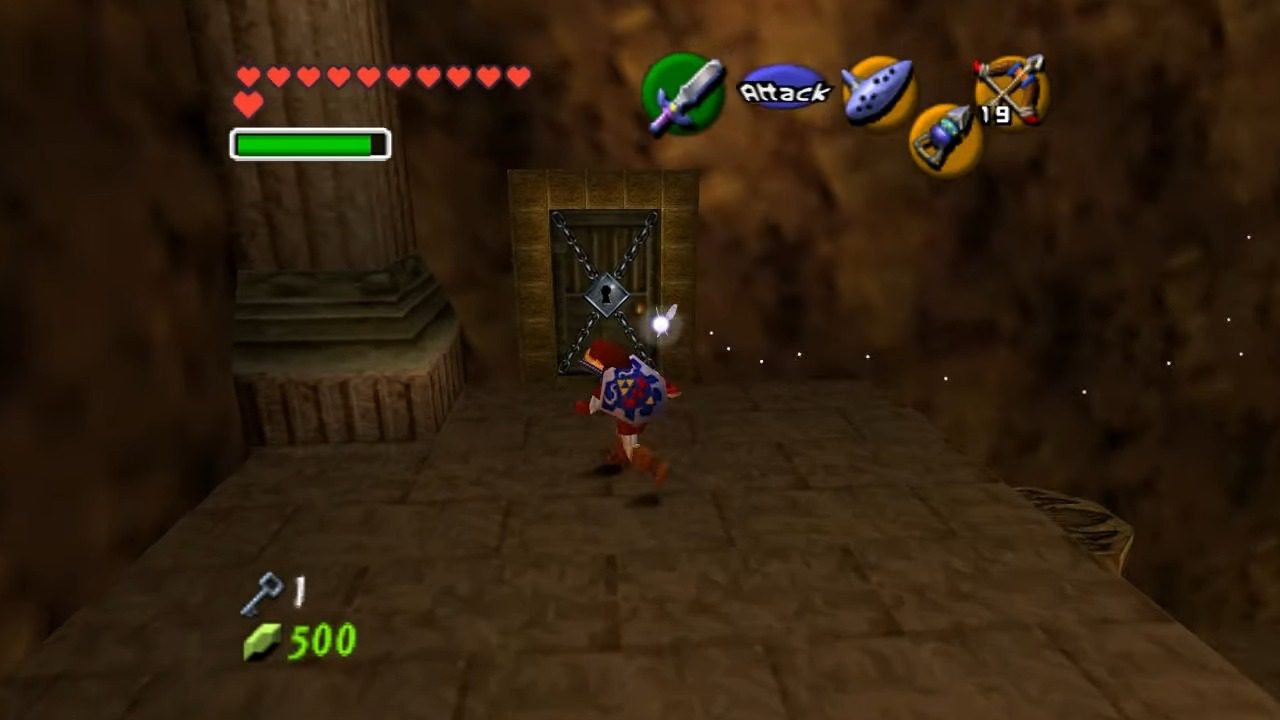
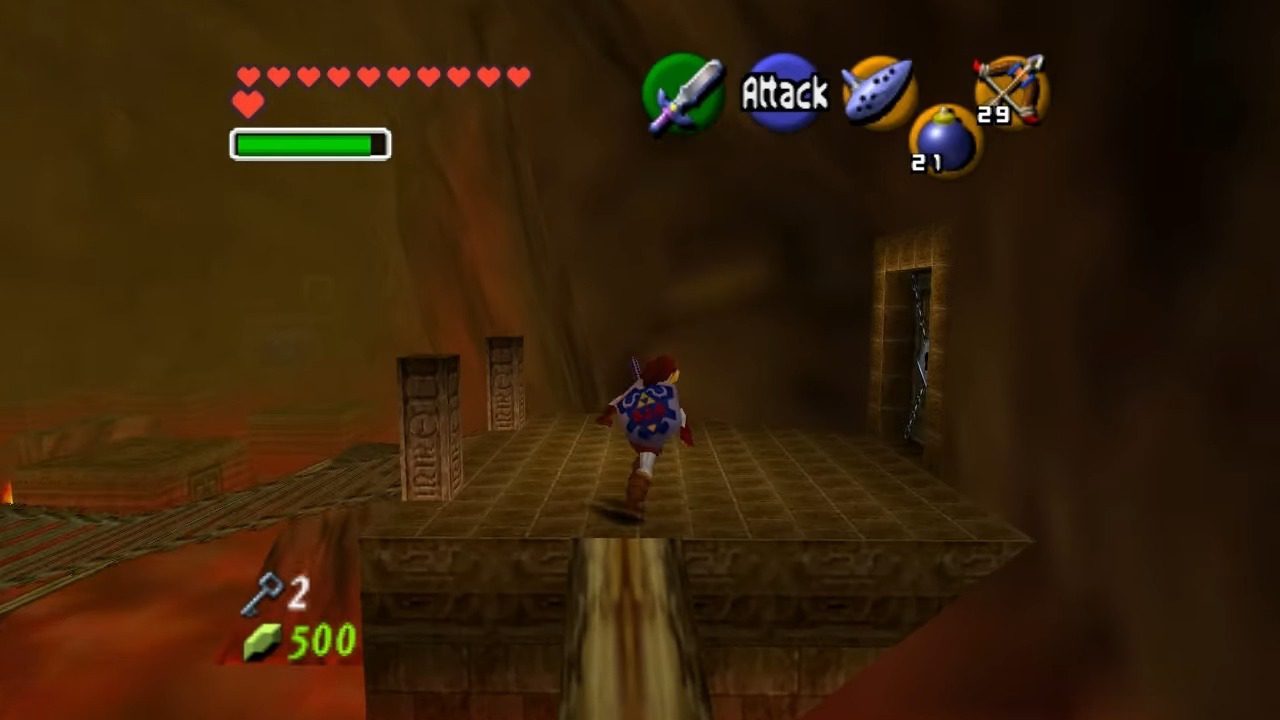
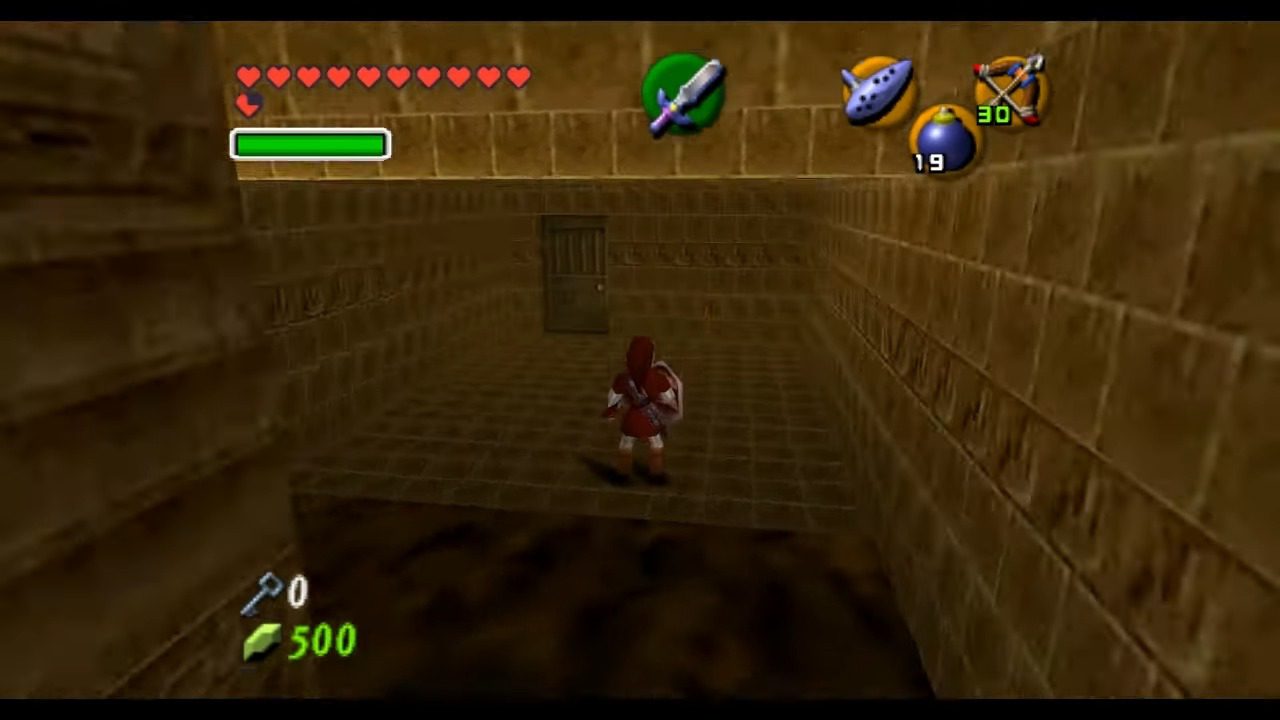
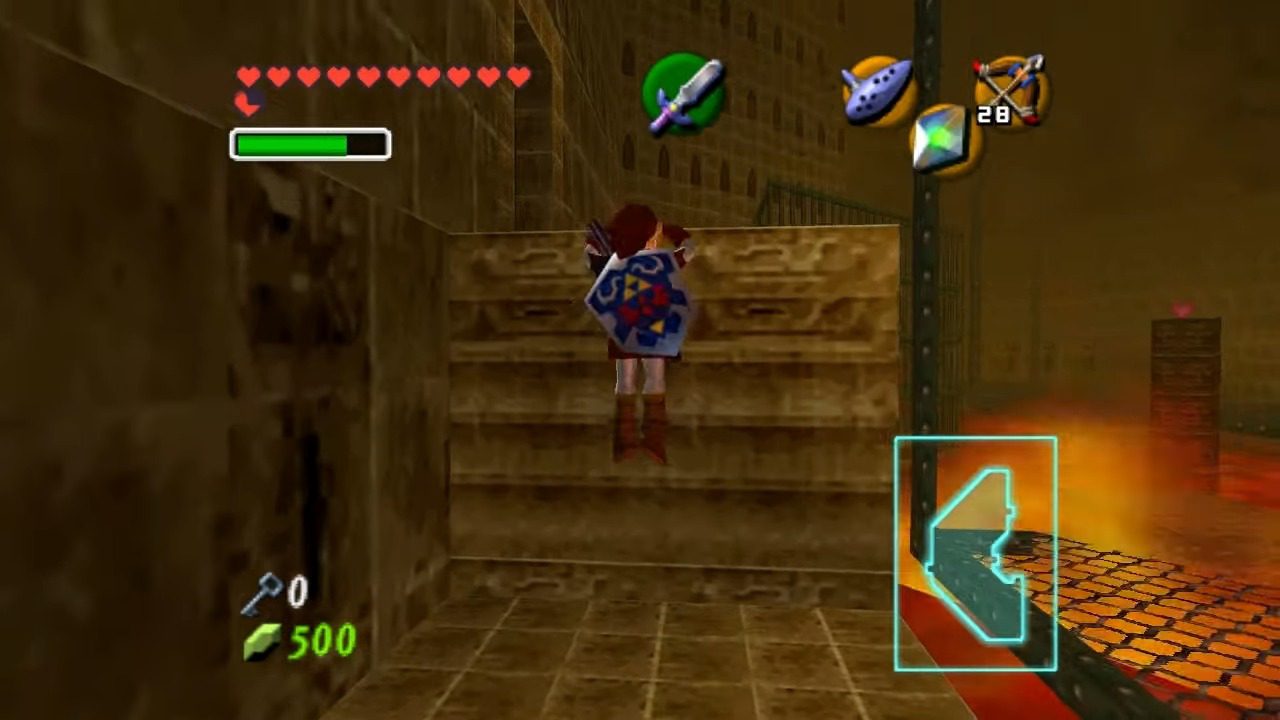
Alright, with our first Small Key in hand, head back to the entrance area and look for the locked door across the hall. Use that key and step into the Fire Temple’s central room. Trust me, you’ll know it when you see it – it’s a massive chamber practically glowing red with heat. Jump across the rocks on the north side of this room until you reach the other side. Look for a lower door and go through it. You’ll find another Goron locked up. Hit the switch nearby to set him free, and as a reward, he’ll give you yet another Small Key.
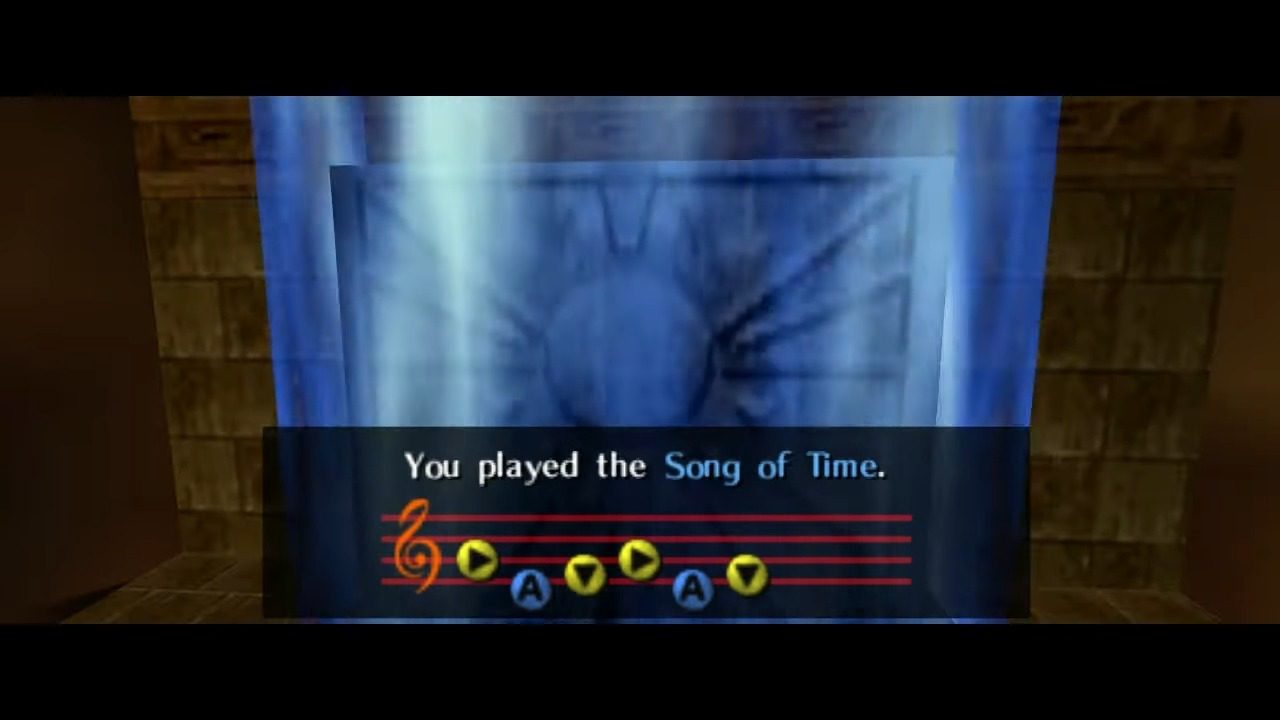
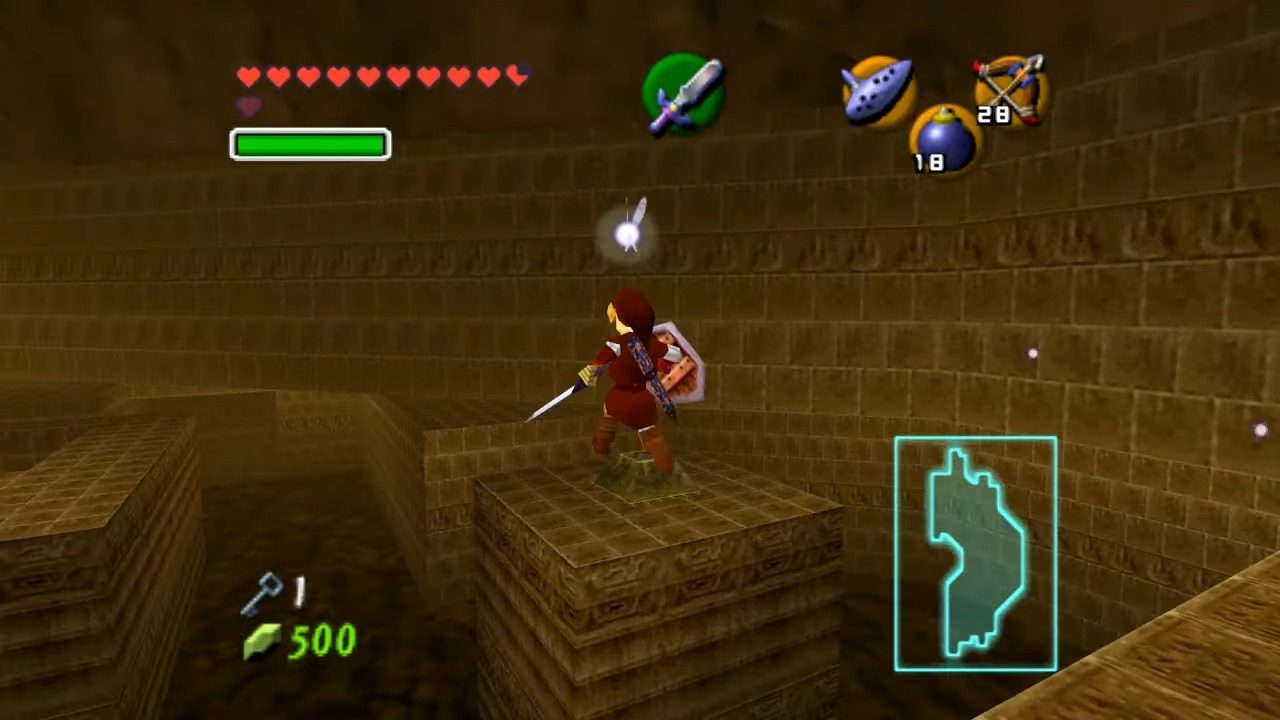
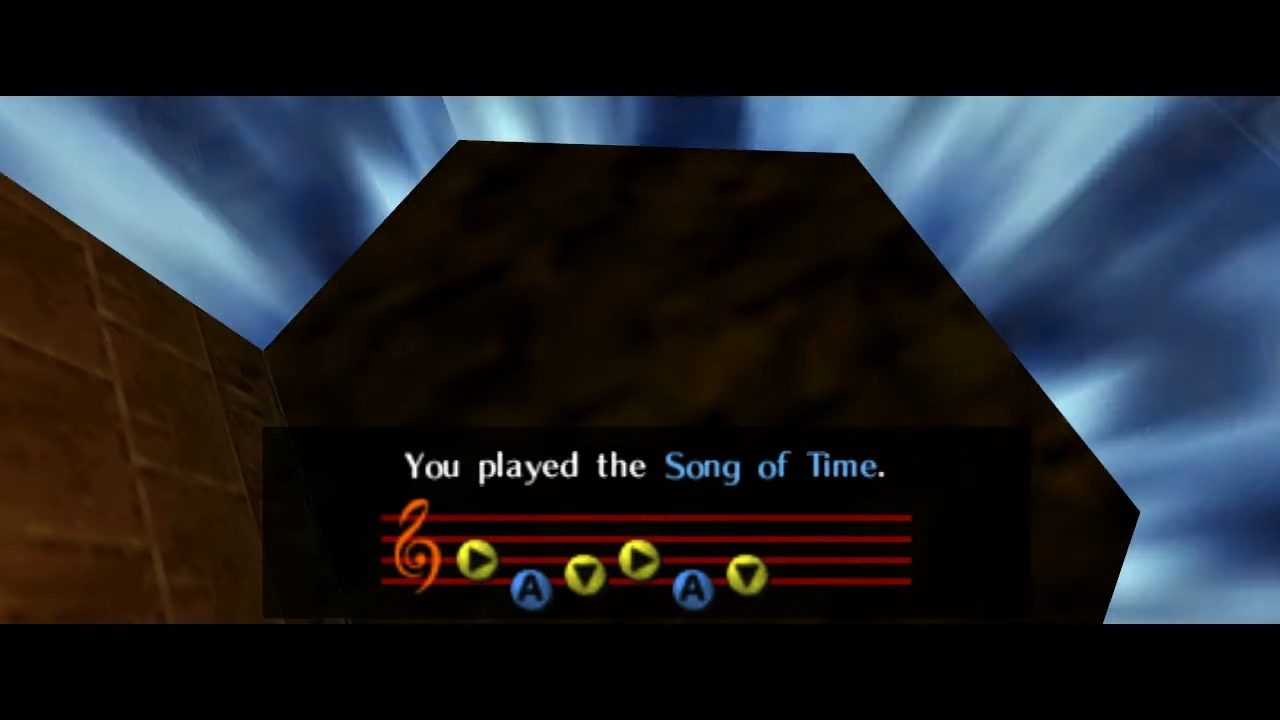
Leave this area to the Fire Temple’s central room and immediately look up at the end of the hallway. You should spot a blue Time Block hanging around. Remember how these work? Bust out your Ocarina and play the Song of Time. This will make the block shift down to the lower level. Use this newly positioned block to jump up and reach that high doorway.
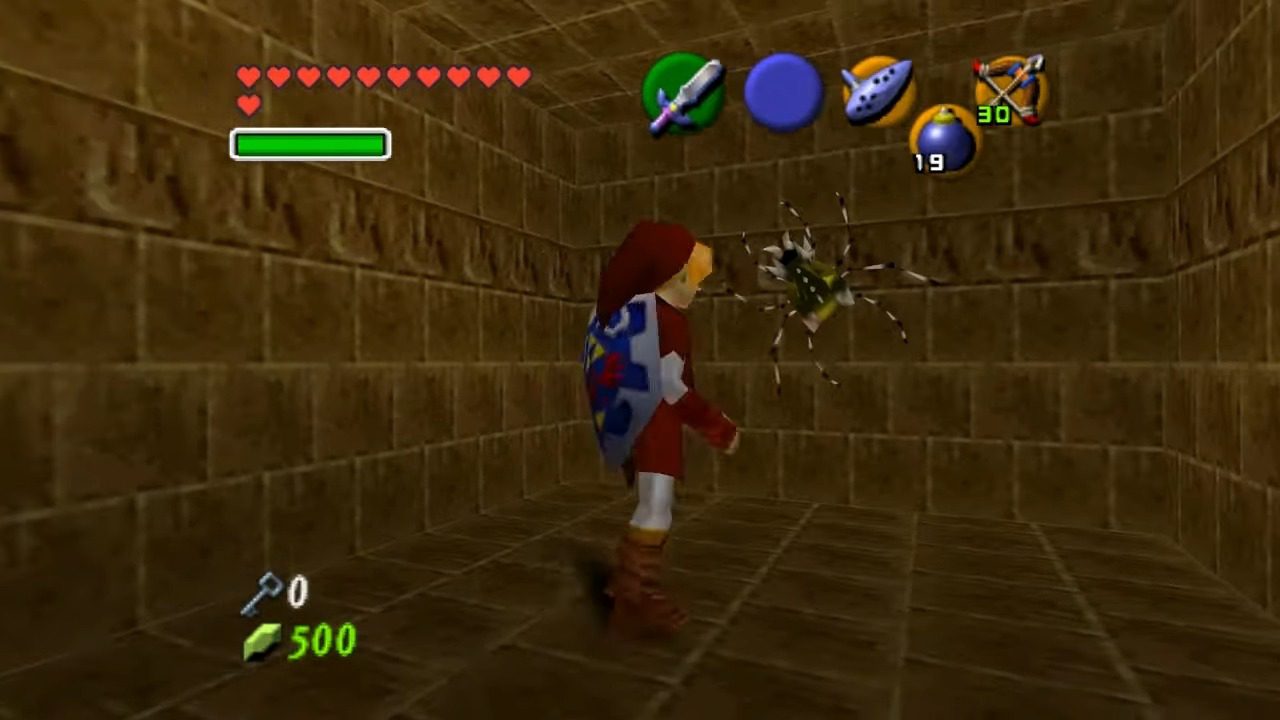
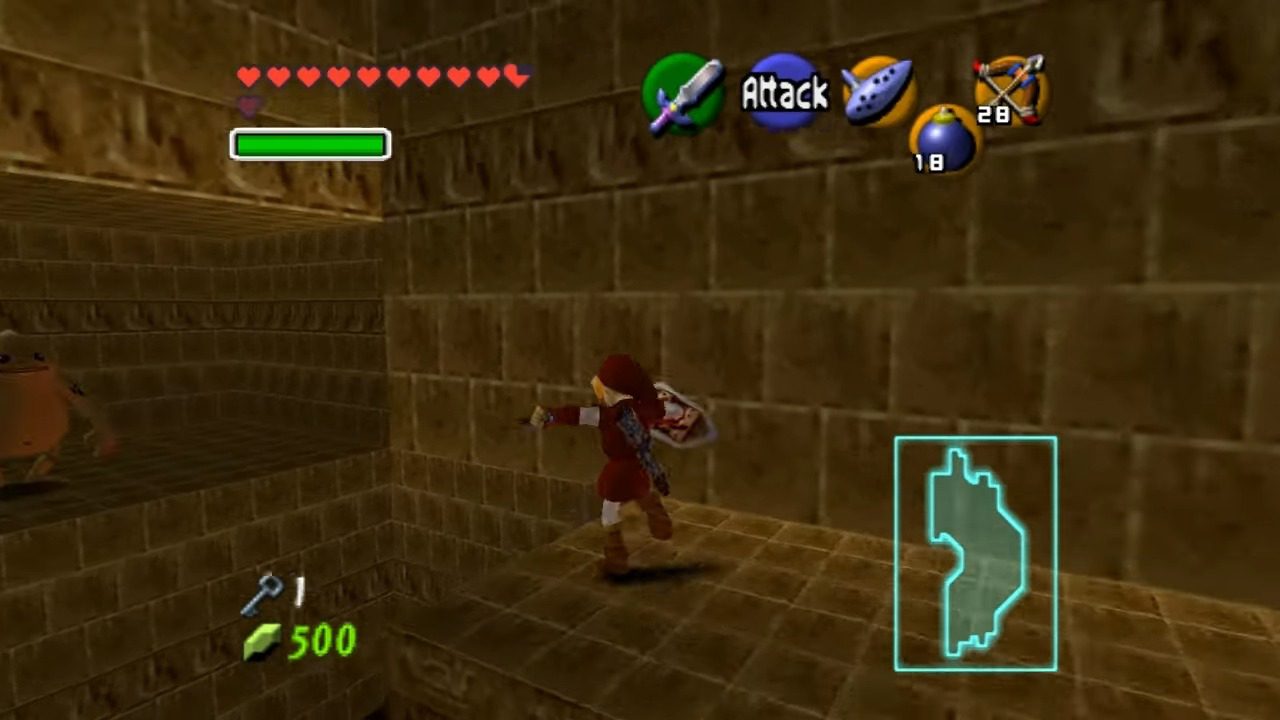
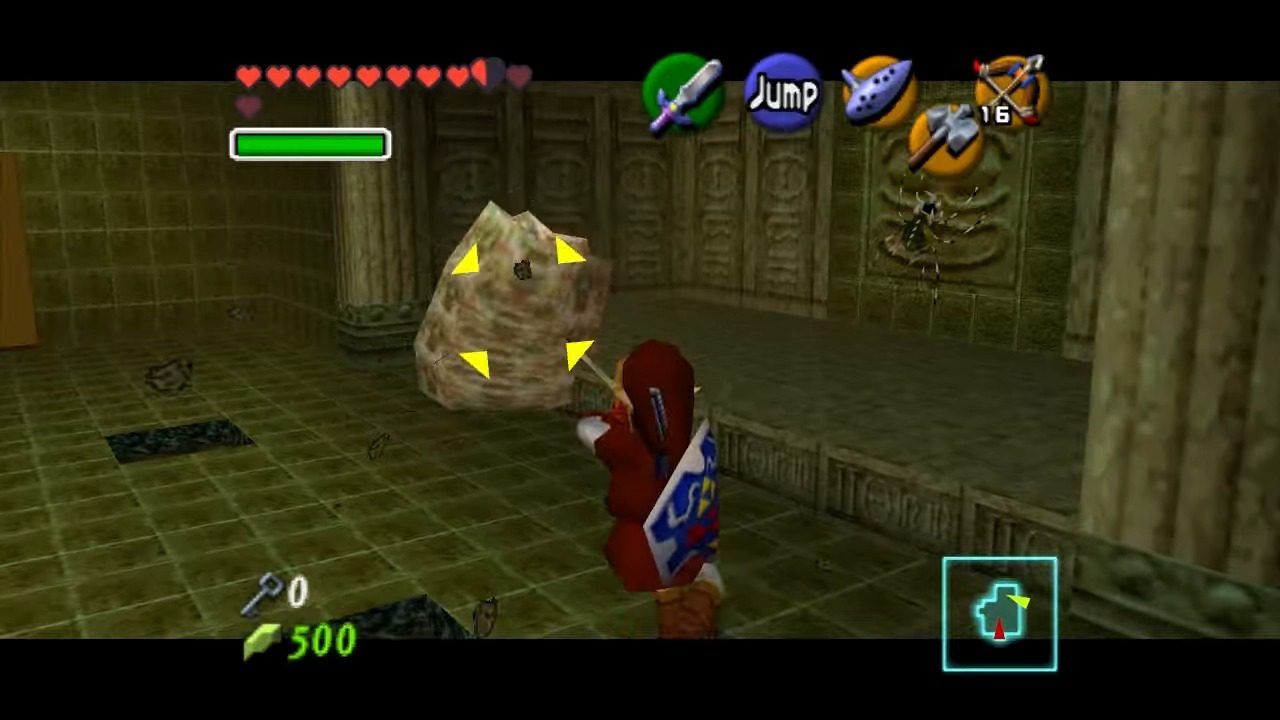
Step inside, but be ready for some funky floor action! These tiles are alive, so just hold up your shield to block their attacks or slice them with your sword. You’ll also have to deal with a pesky Like-Like enemy. Take it down with your weapon of choice.
Gold Skulltula #67
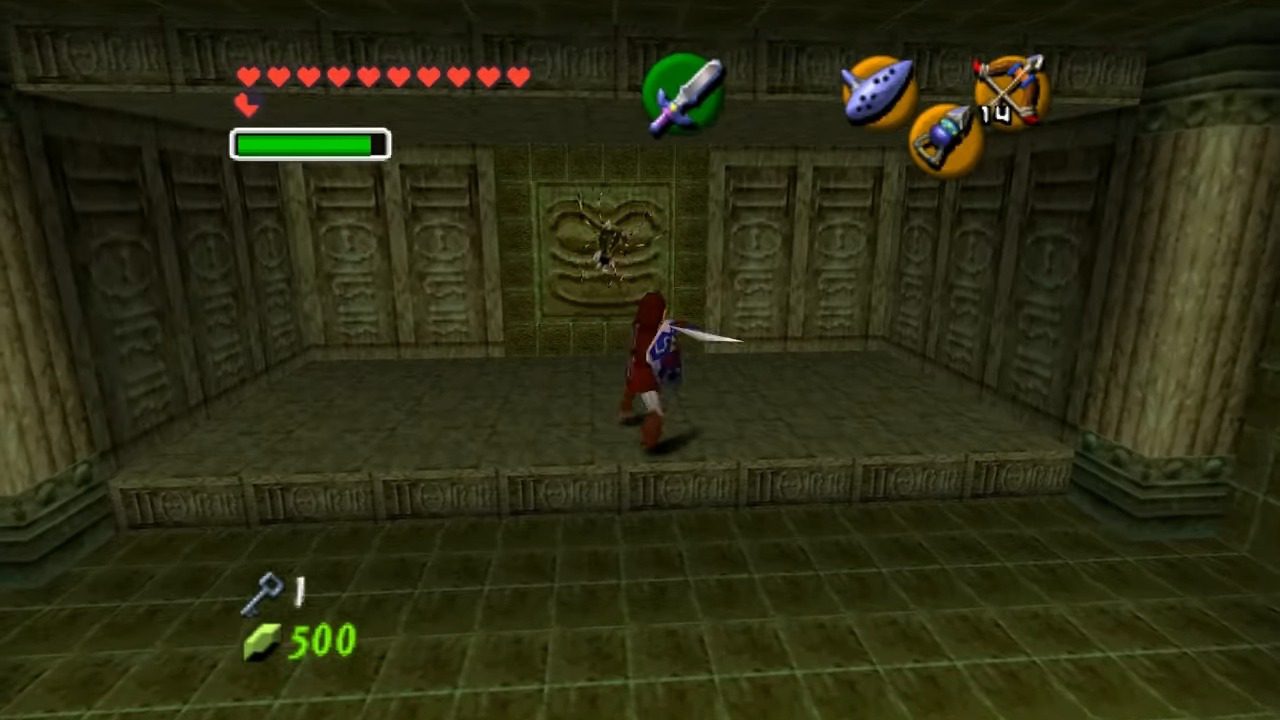
Once the tiles and Like-Like are gone, scan the back wall. You should see a Gold Skulltula #68 clinging to it. Defeat it and claim it.

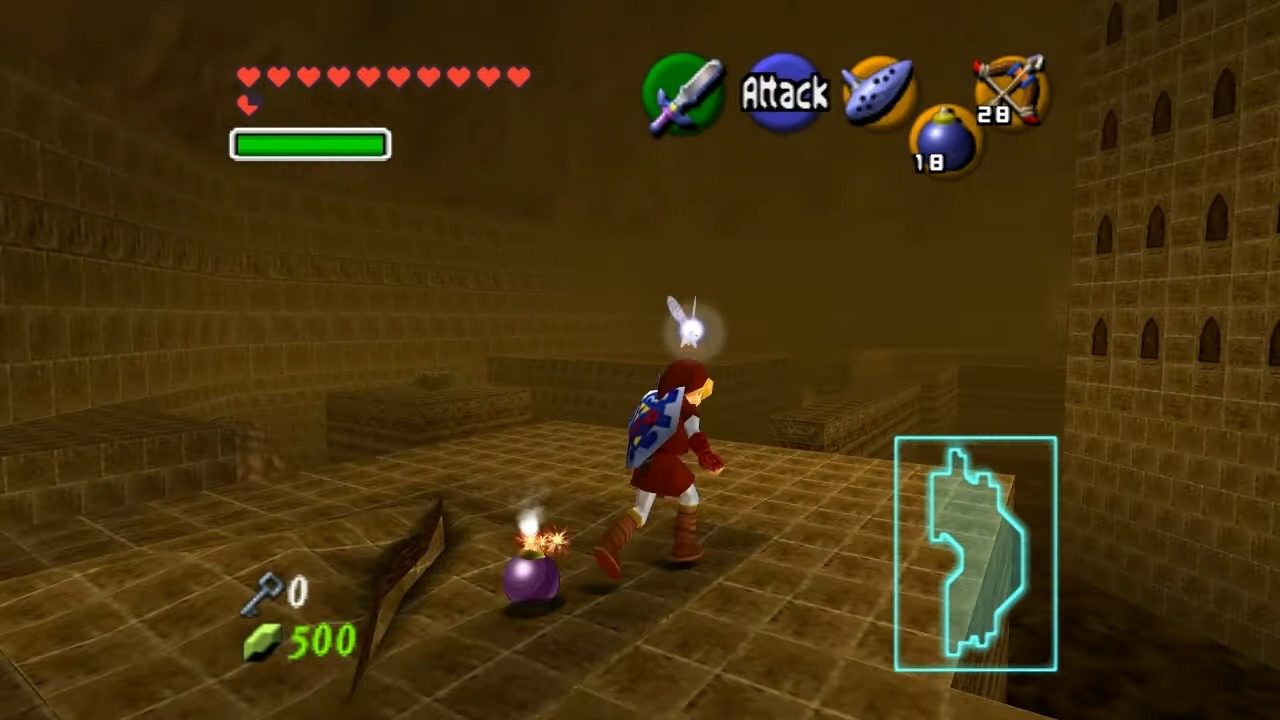
Our next target is the south side of this fiery expanse. Start hopping across those rocky platforms until you reach a doorway. You’ll probably notice some weird-looking blocks blocking your way. No problem, just whip out some Bombs and blast them out of existence. Head through the newly cleared path, and you’ll stumble upon another jail cell. Free the Goron inside, and he’ll be so happy he’ll hand over another Small Key.
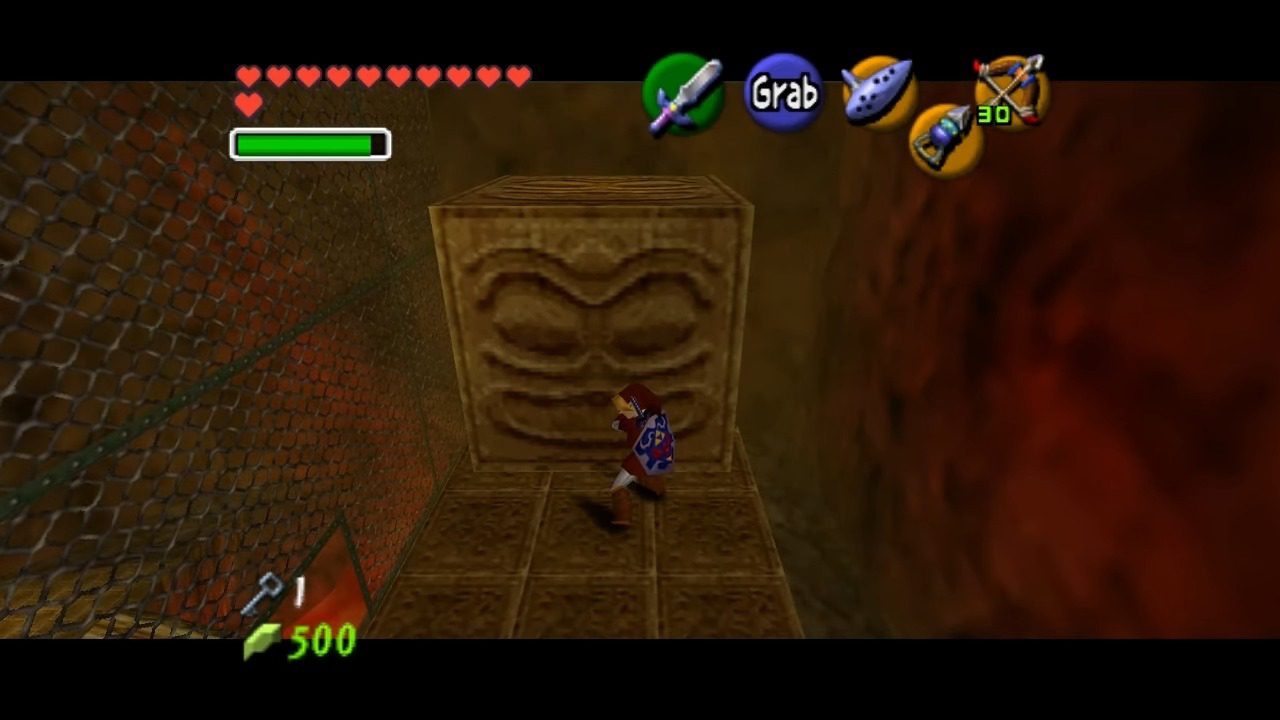
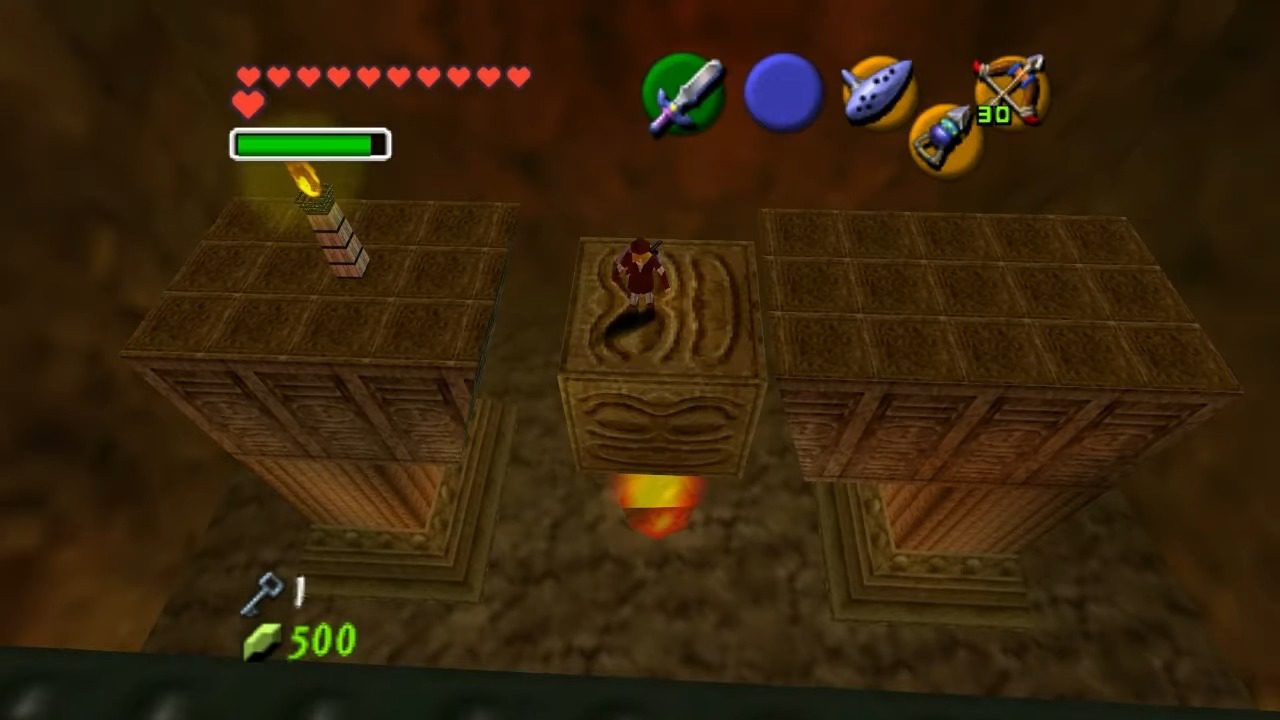
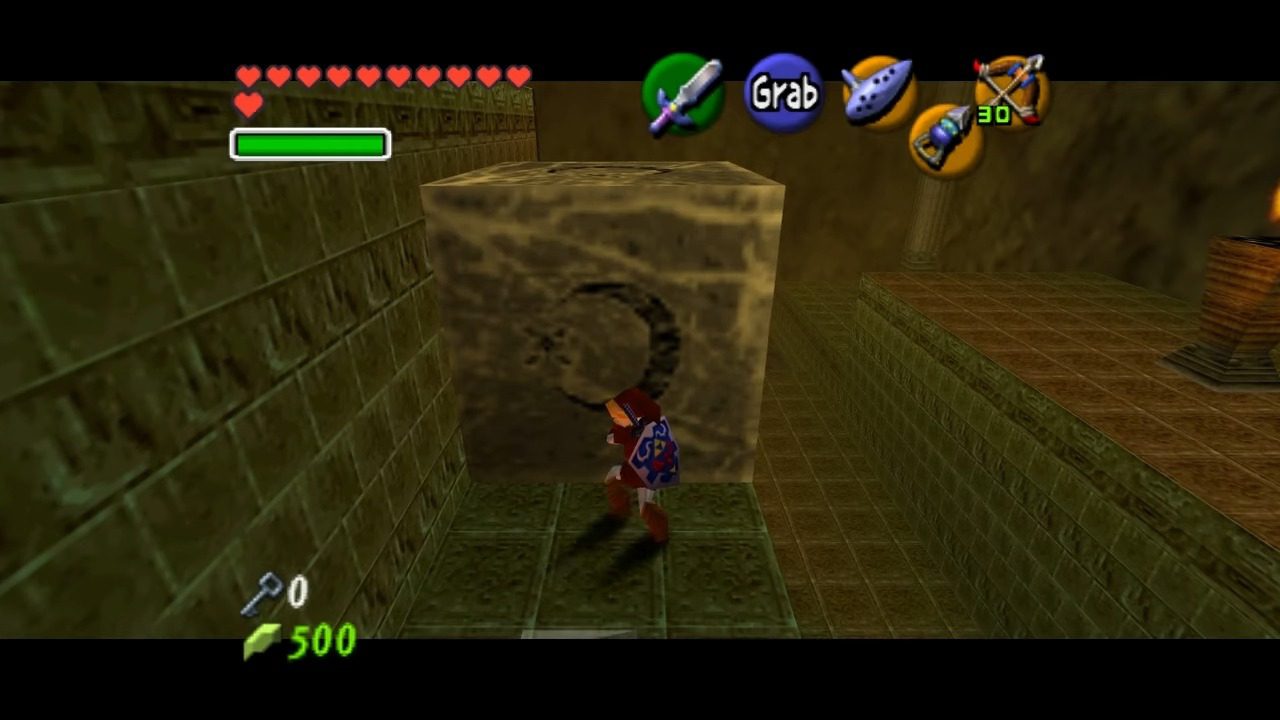
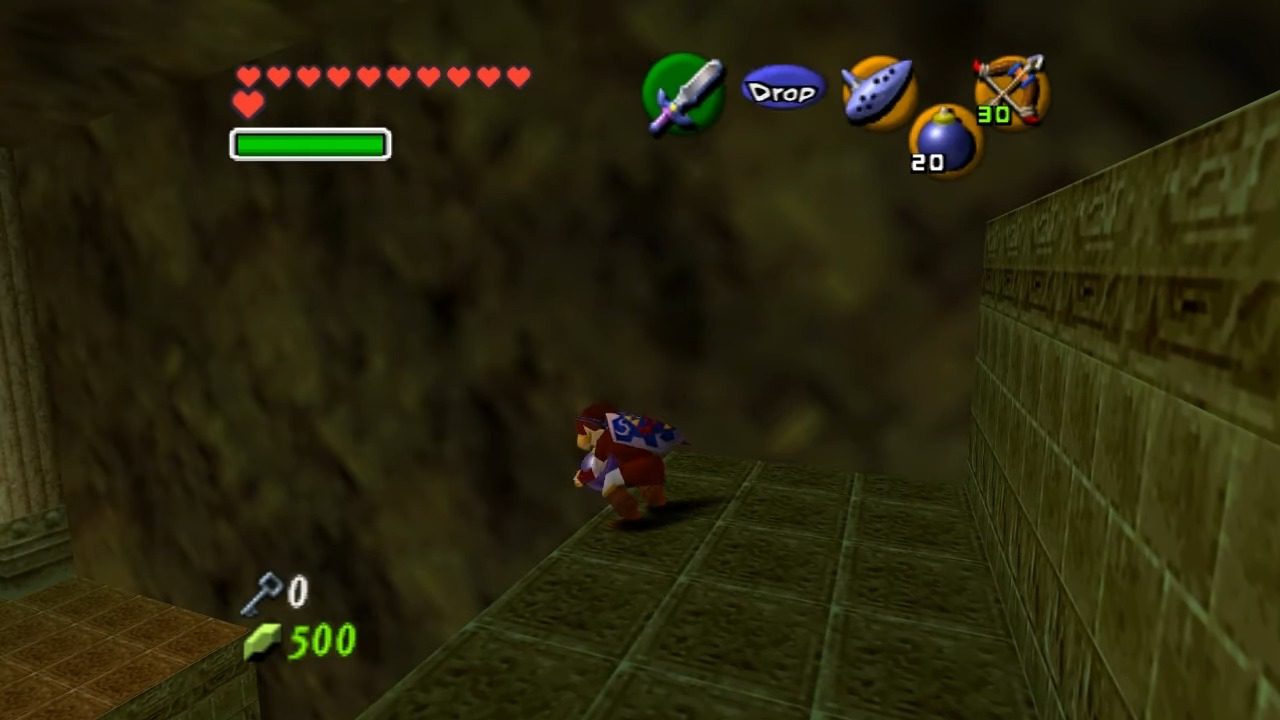
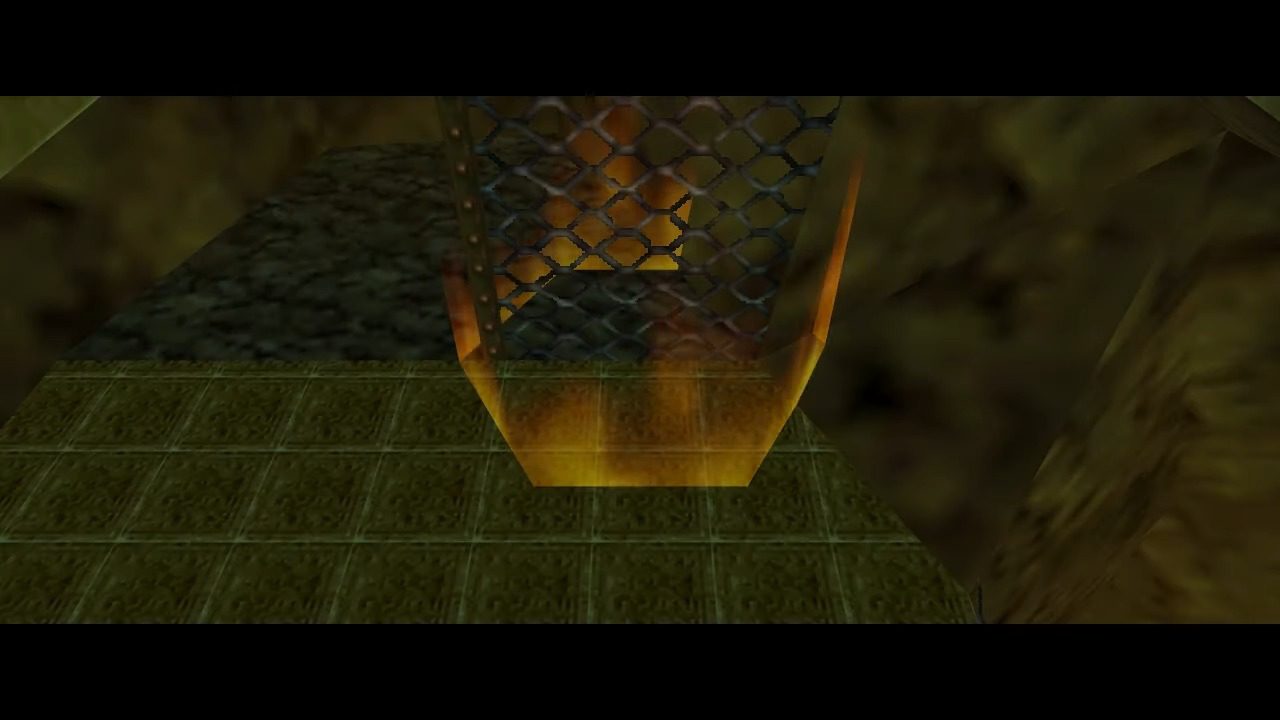
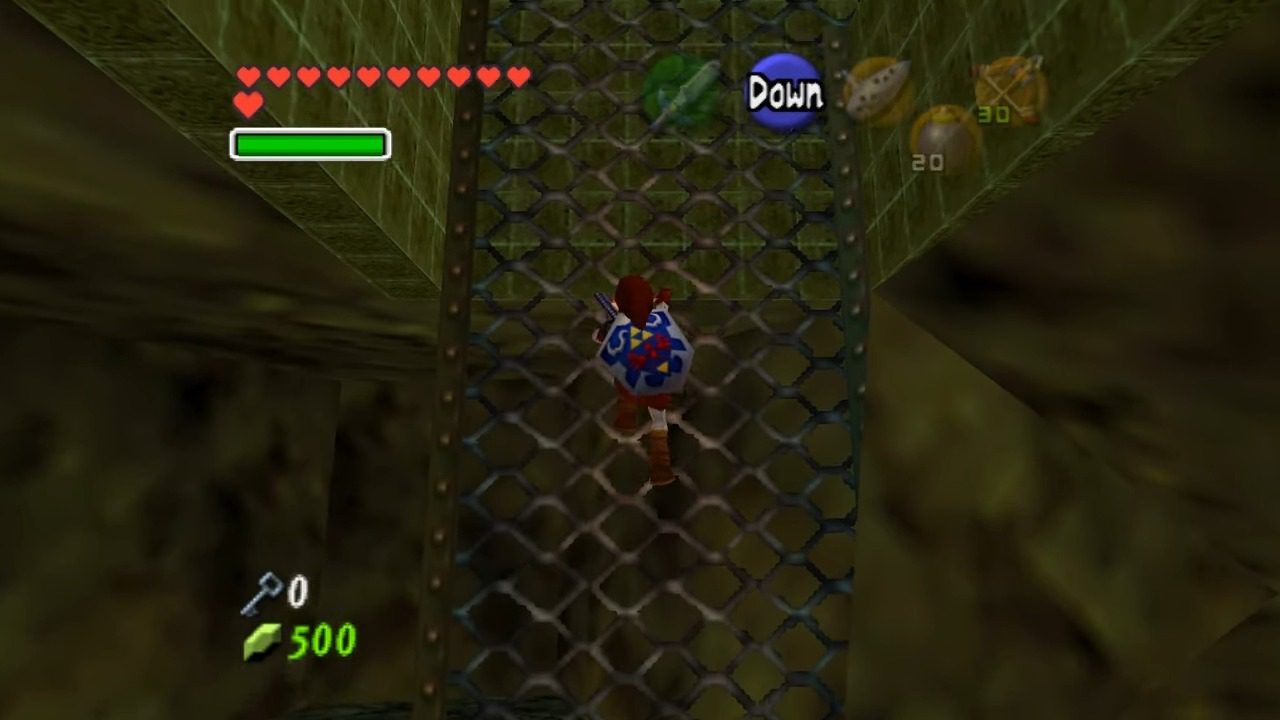
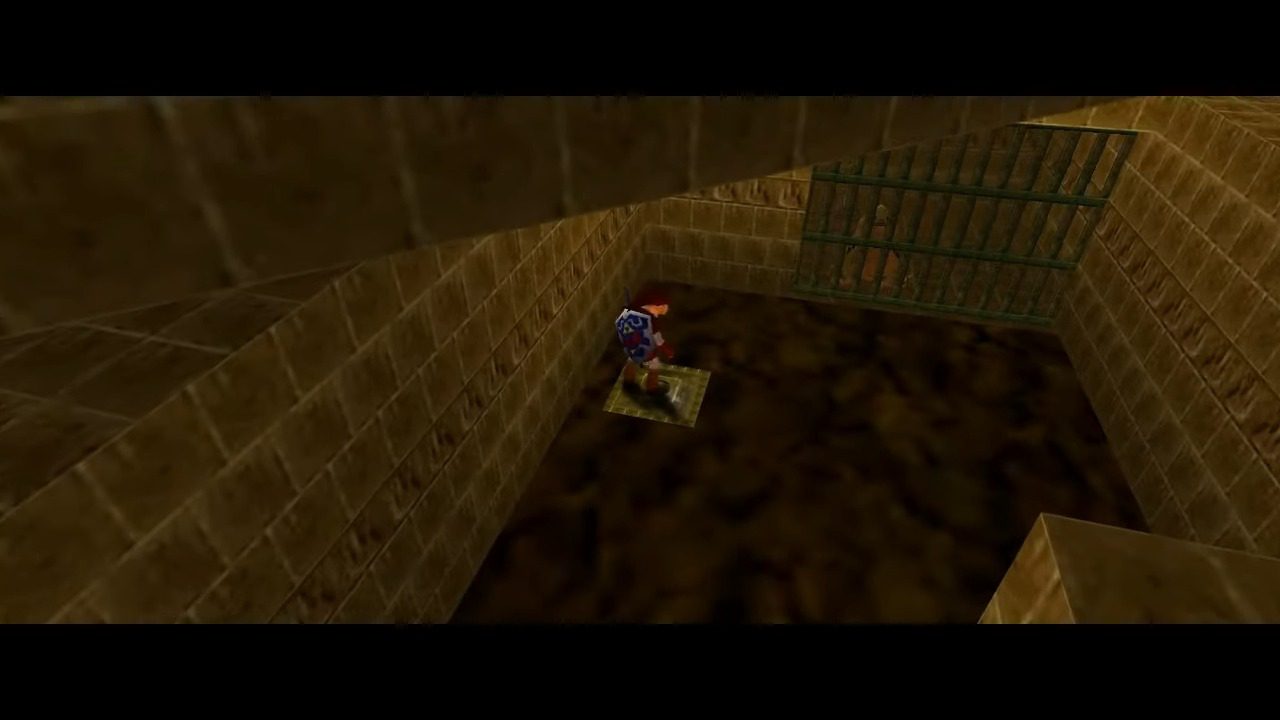
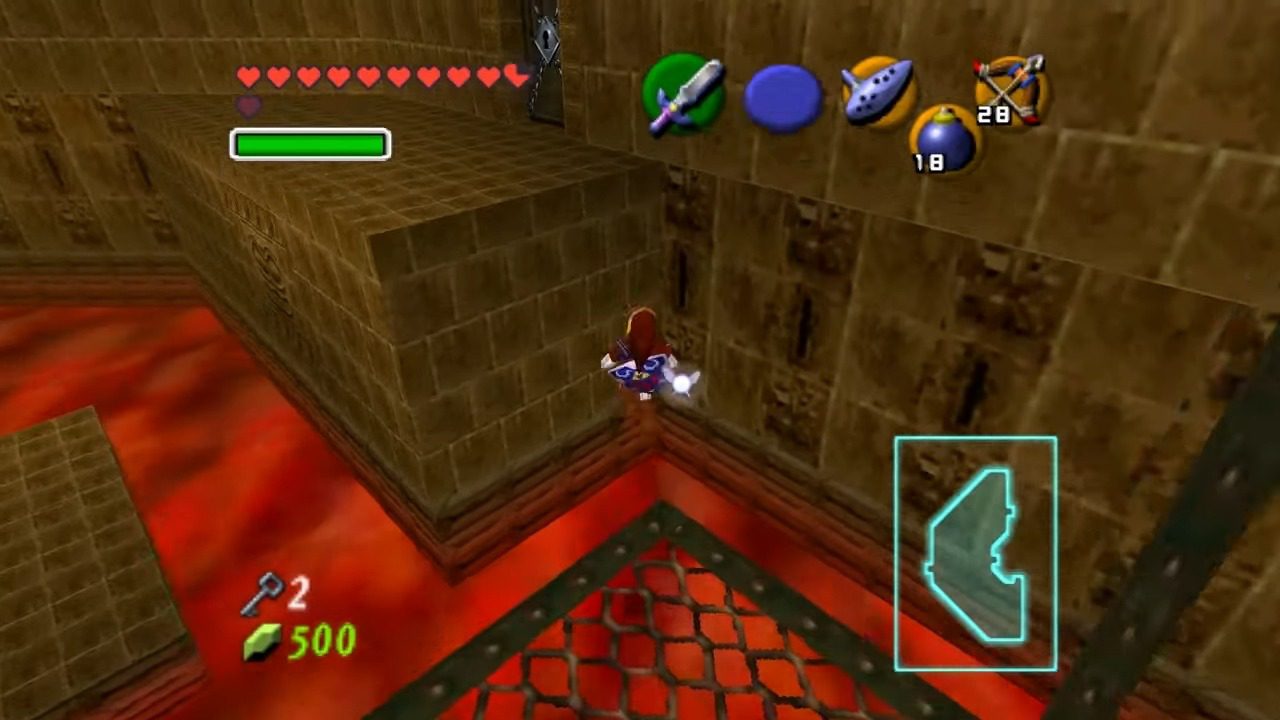
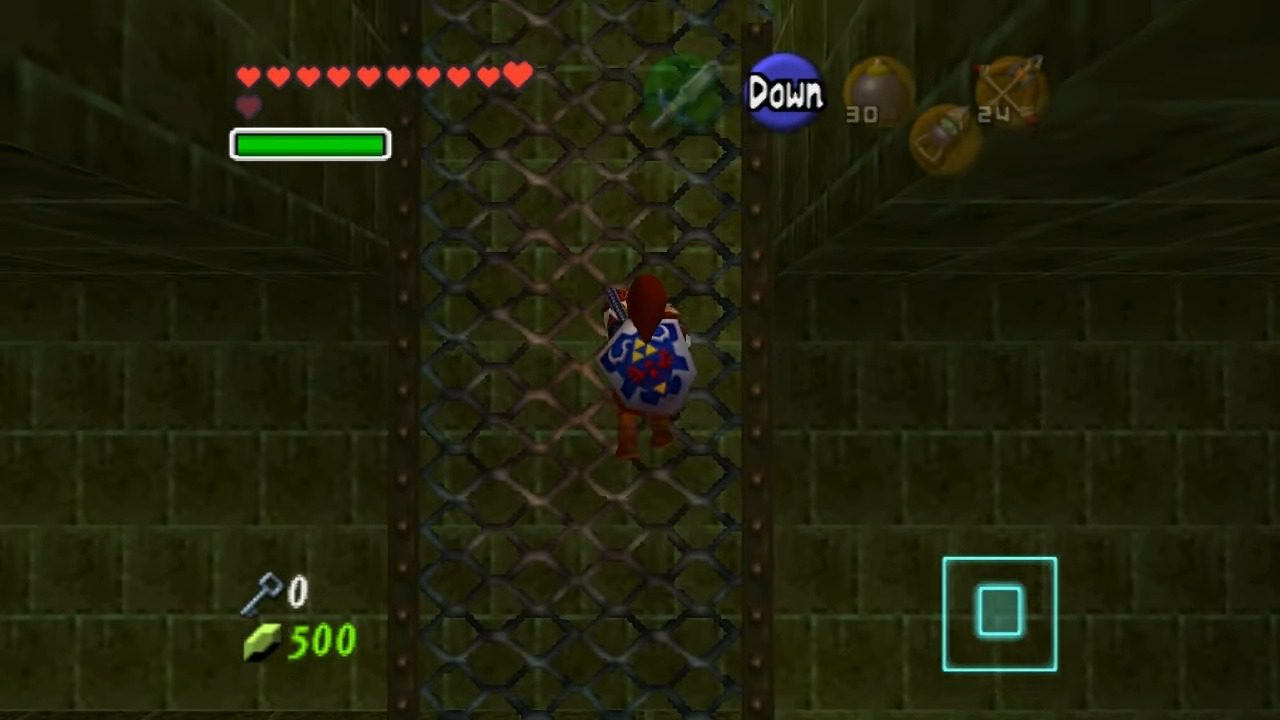
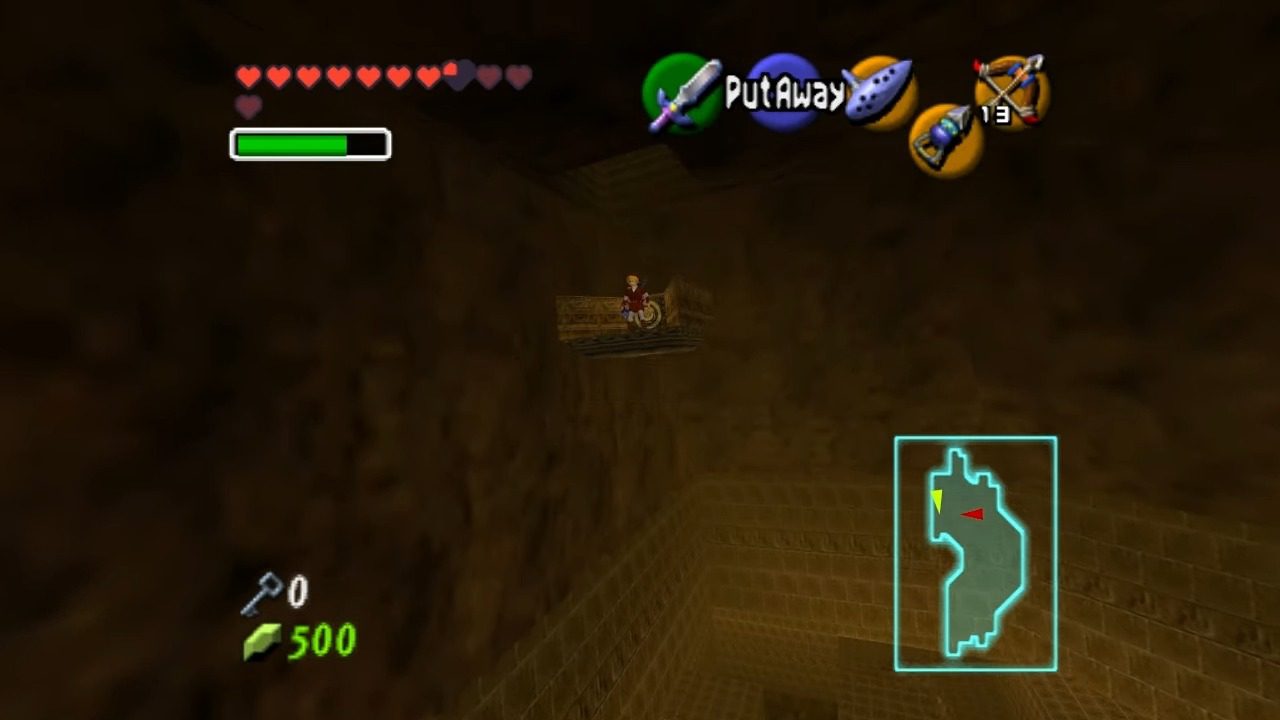
Alright, back to the main central room. Look for an eastern doorway and use one of your Small Keys to open it. You’ll find a wooden plank – slide down it to enter a caged area. Now, spot that metal fencing? Climb up it and leap onto the pillars in the center of the room. Alternatively, you pull Hookshot as soon as you enter to the top of the cage and climb over. See that block with a face on it? Push it onto the lava geyser below. Voila! Instant flaming elevator! Hop on and ride it up through the ceiling to a new room. Head through the locked door you find here using another Small Key.
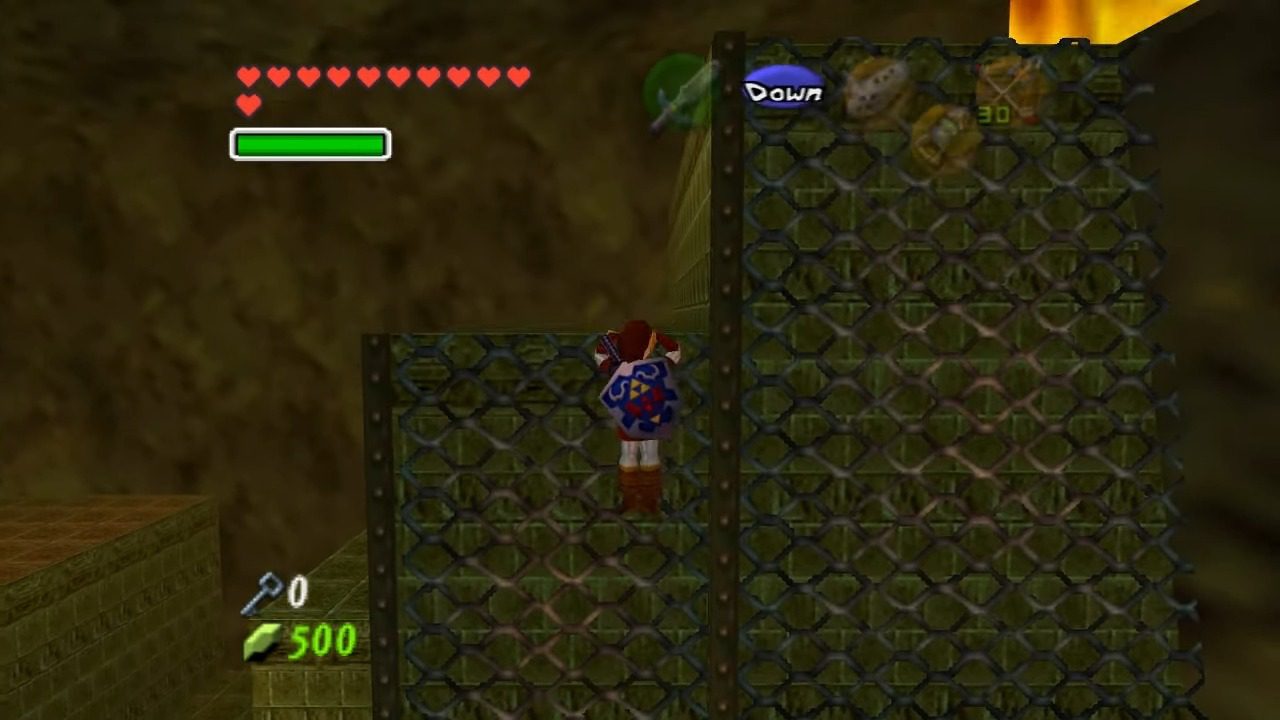
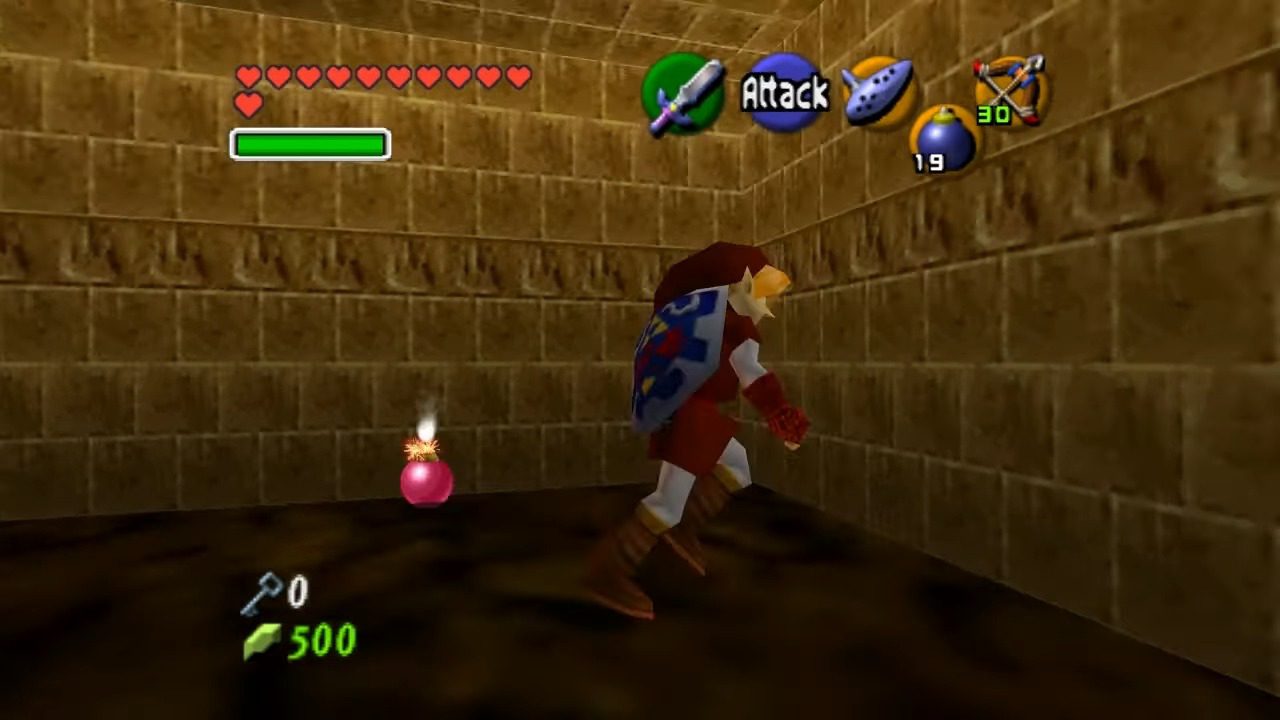
You’re now in what some call the Fire Slug Room. Ignore the caged Goron for the moment; we can’t help him just yet. Instead, look to your left and climb up the ledges, taking out those annoying Torch Slugs as you go. Keep climbing until you spot a crystal switch across the way. We’ll get to that later. For now, look around for a large block and push it off the ledge so it lands in a slot on the ground level. Now, climb onto the grate near the flames. Get a Bomb ready and toss it to hit that crystal switch. Quickly climb the grates to get away from the flames that just disappeared.
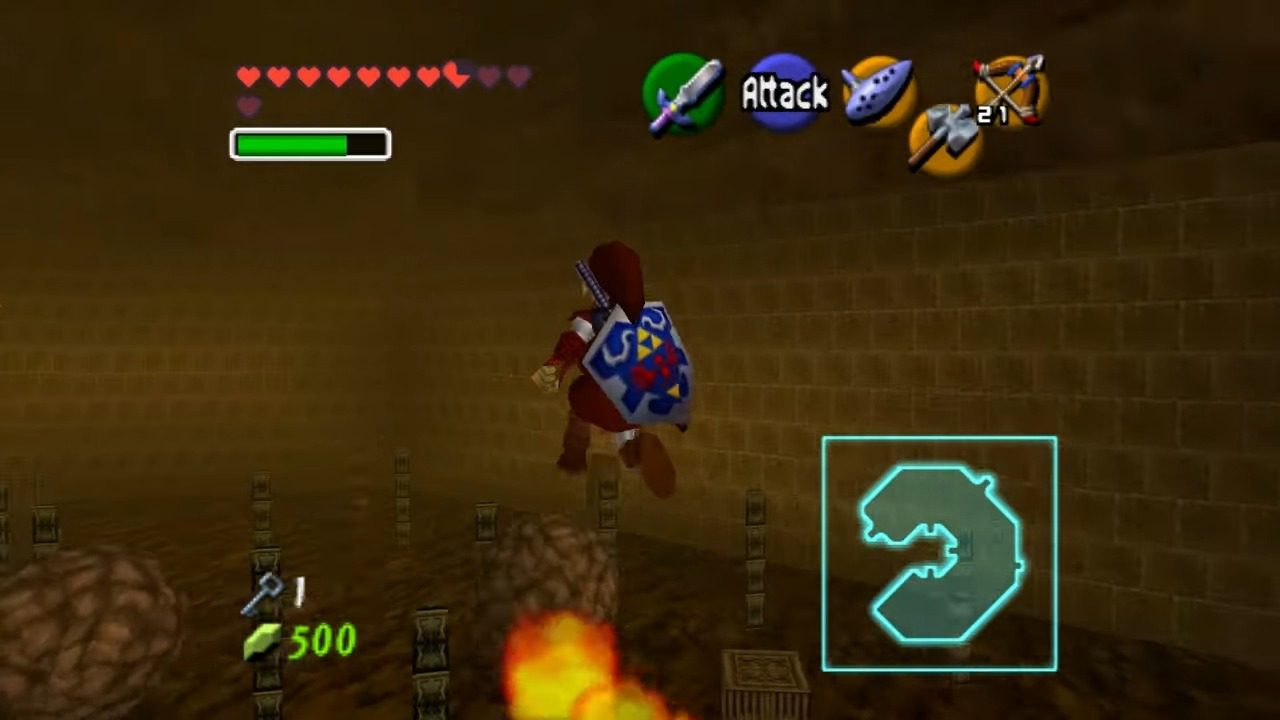
You’ll now find yourself in a maze with rolling boulders. The camera will shift to a top-down view, so navigate carefully.
Gold Skulltula #68
Follow the outer wall on the right side. Listen closely – you might hear the skittering of a Gold Skulltula. If you do, try slashing the wall. If it sounds different, kind of hollow, that means it’s bombable. Plant a Bomb to reveal a fake wall and claim Gold Skulltula #68.
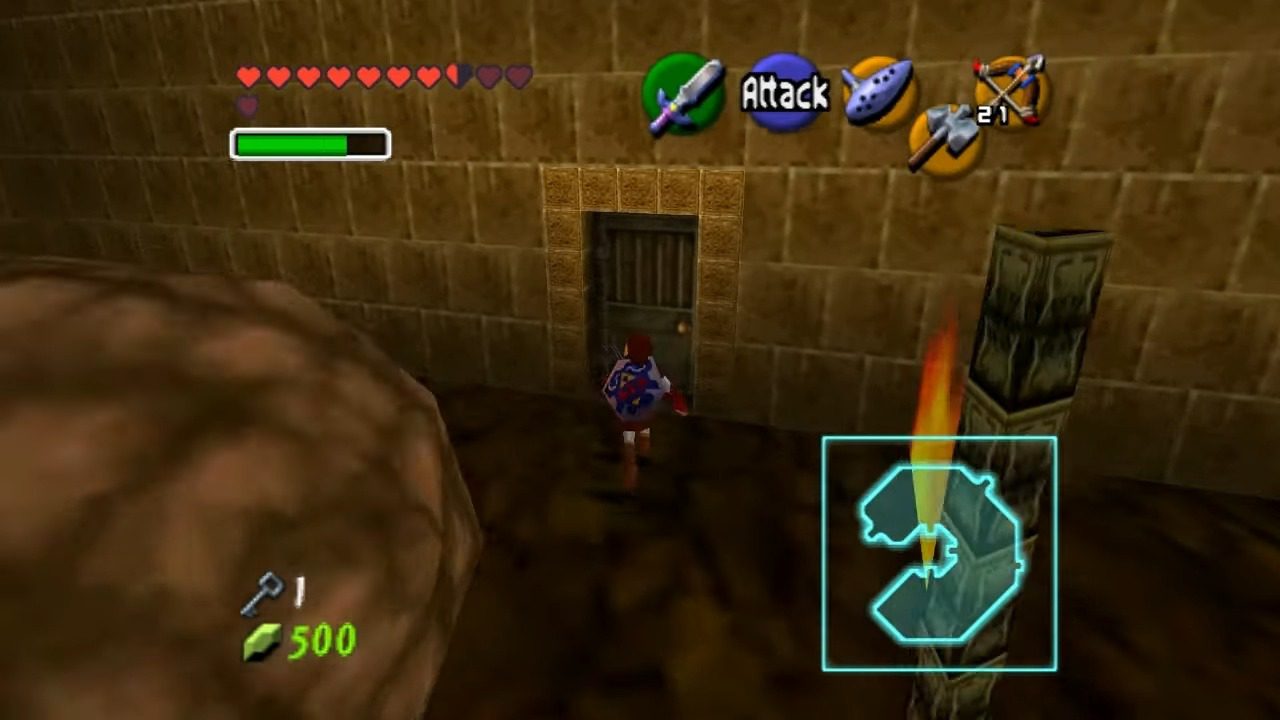
Keep going along the wall, make two right turns, and you’ll find another door leading to a dark hallway. Inside, you can free yet another Goron and grab another Small Key.
Stick to the outer wall on the right side, dodging those pesky boulders, until you stumble upon a switch. Step on it to free another Goron. He’ll warn you about some tricky Door Mimics and hand over another Small Key.
Continue following the outer wall until you spot a locked door. Use one of your Small Keys to open it.

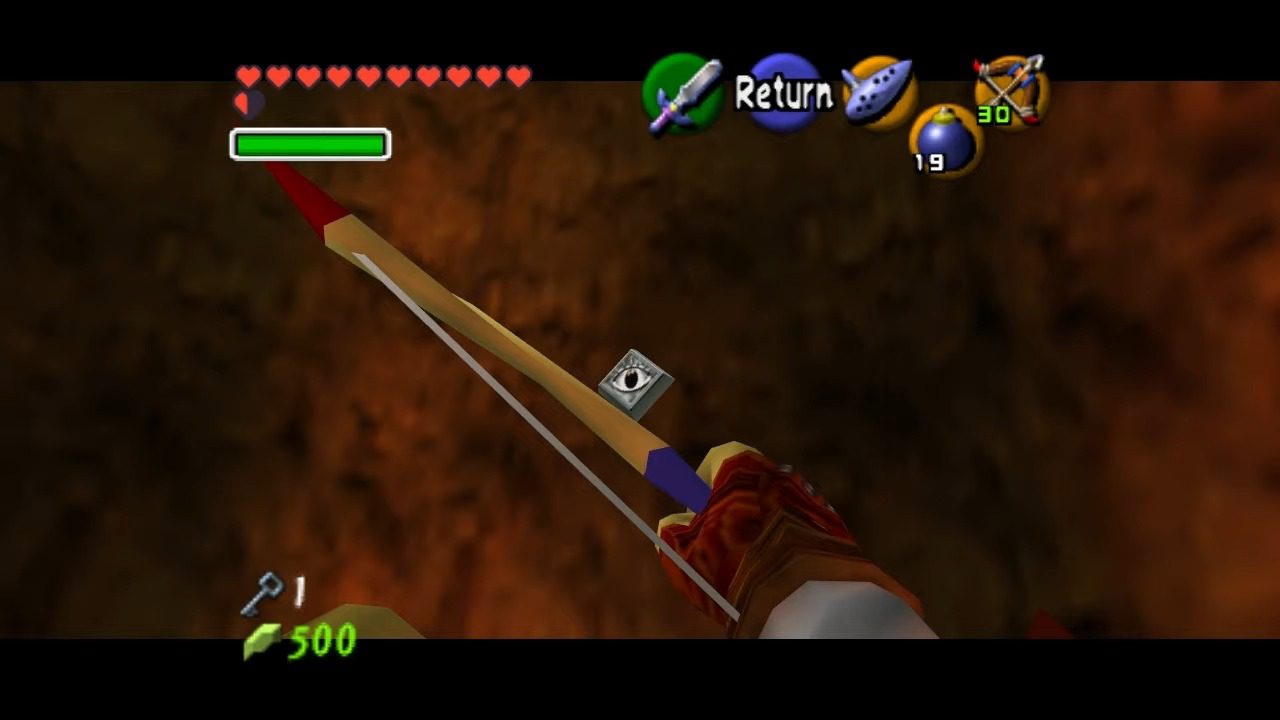
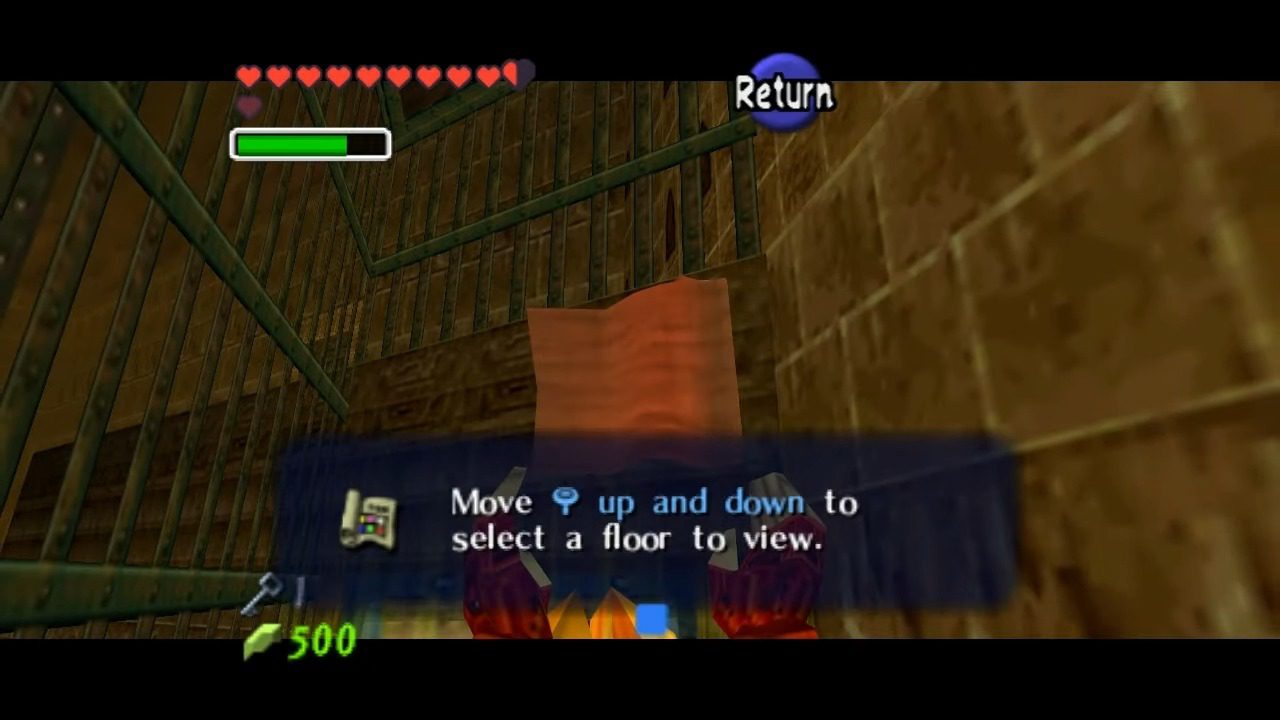
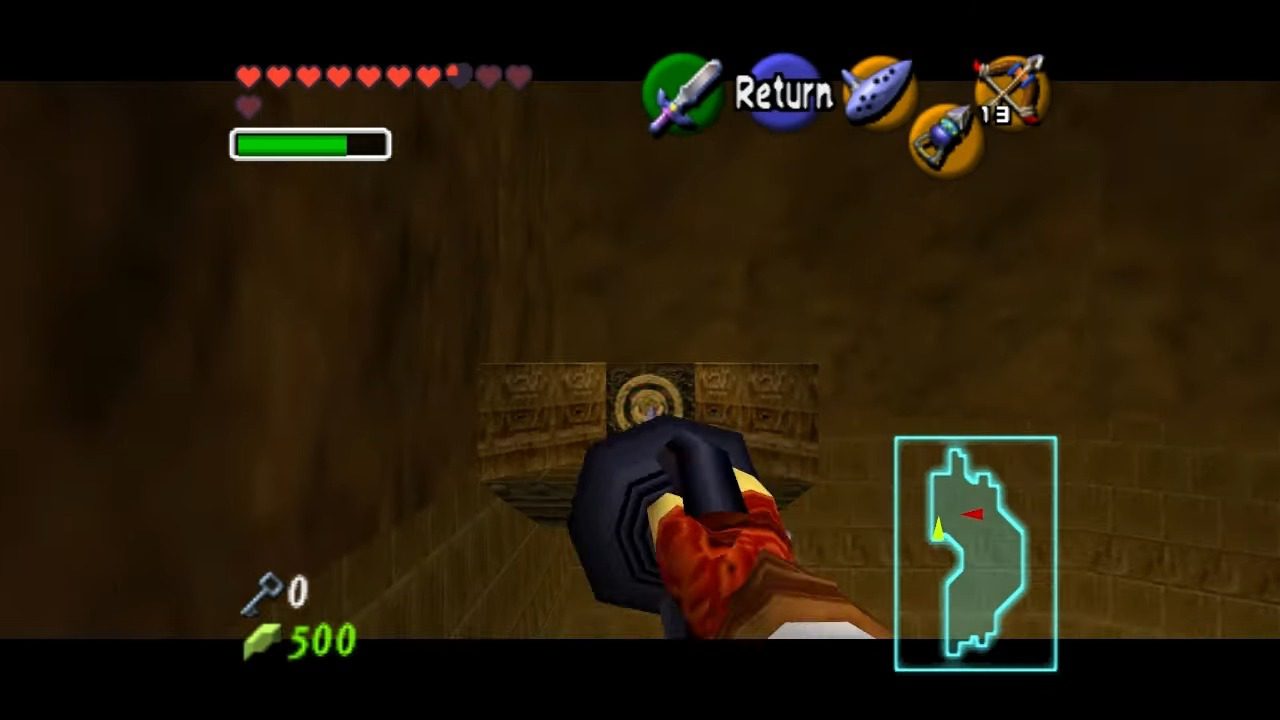
Inside, you’ll see a narrow bridge suspended over a flame geyser. Look up and shoot the silver eye switch above the barred door. This will unlock the door on the right. Go through it and open the chest to finally get your hands on the Dungeon Map.
Finding Our Way
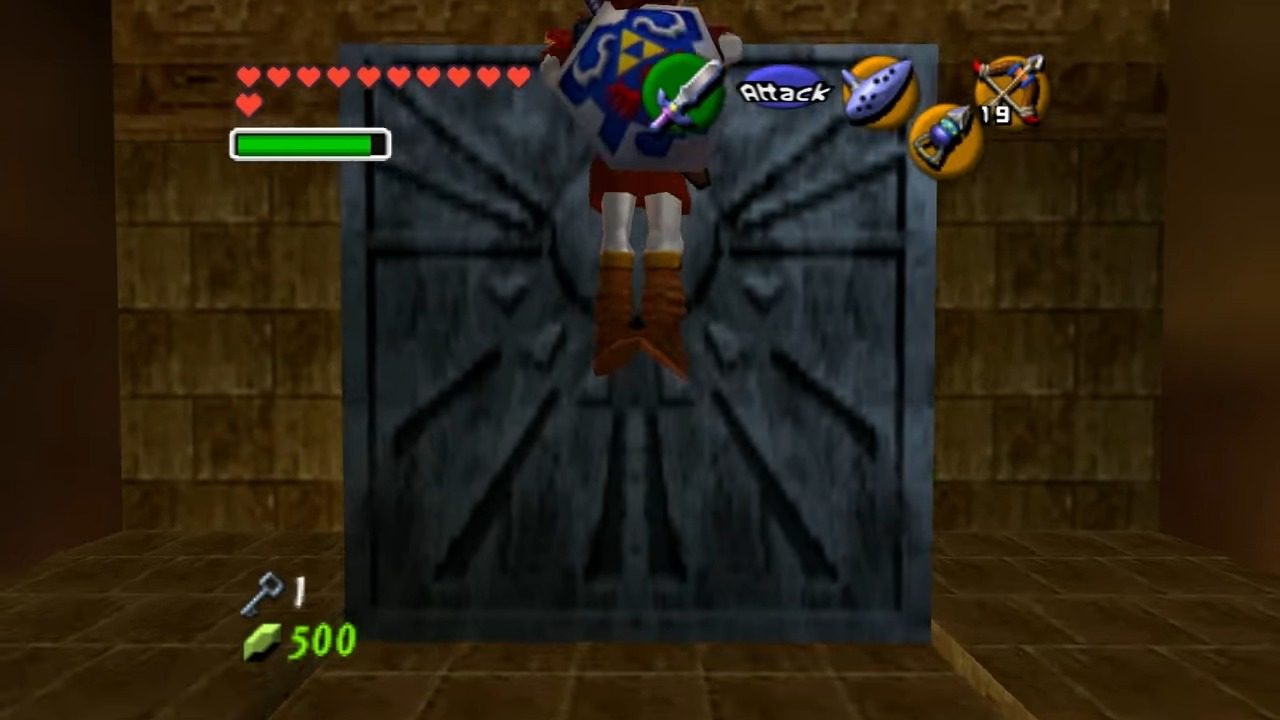
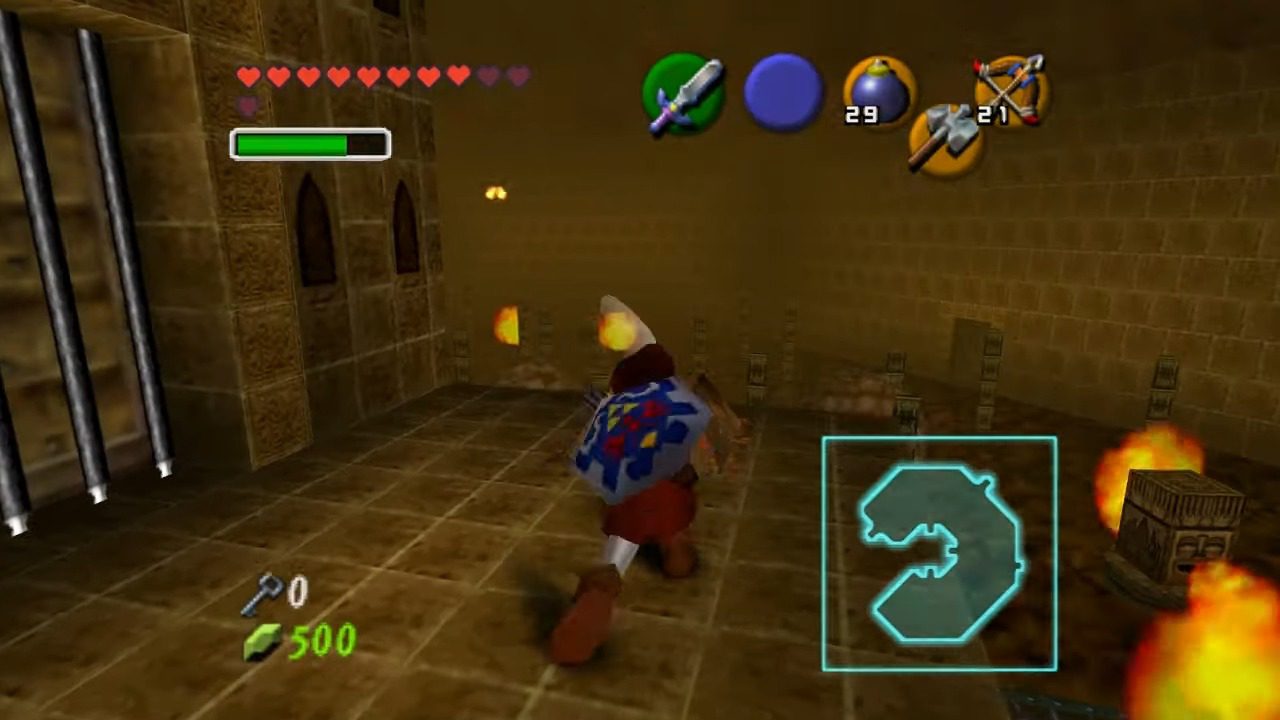
Alright, map in hand, let’s backtrack to that small room with the narrow walkways we used to get to the eye switch. Take the other locked door here. Brace yourself, because you’re about to enter the Flaming Wall of Death… Room. As soon as you step onto the platform, a massive wall of fire will start chasing you!. Sprint across those narrow stone and metal gratings, dodging the annoying Red Bubbles, and make it to the door at the other end.
Return to the room with the scarecrow. See that platform with a Torch Slug on it? Hop over there and bomb the cracked floor. Drop down into the hole. Follow the path until you find a switch. Step on it to free a Goron you saw earlier and grab the Small Key from the chest behind him. This also opens up a shortcut, which is always nice.
Climb back up to the upper level of the boulder maze. Head to the center of the crescent-shaped room and you’ll find another switch. Push it, and another cell will open on the other side of the room. Go over to the freed Goron and snag the Small Key he leaves behind.
The Megaton Hammer and Creating a Path to the Boss
Back in the invisible fire wall maze, look for another locked door on the south side of the room. Use a Small Key to unlock it. In this next room, you’ll see Navi get that tell-tale green glow near a platform. Head back into the main invisible fire wall maze. Navigate to the north side and along the outer wall. You should find a switch that temporarily disables a wall of flames.
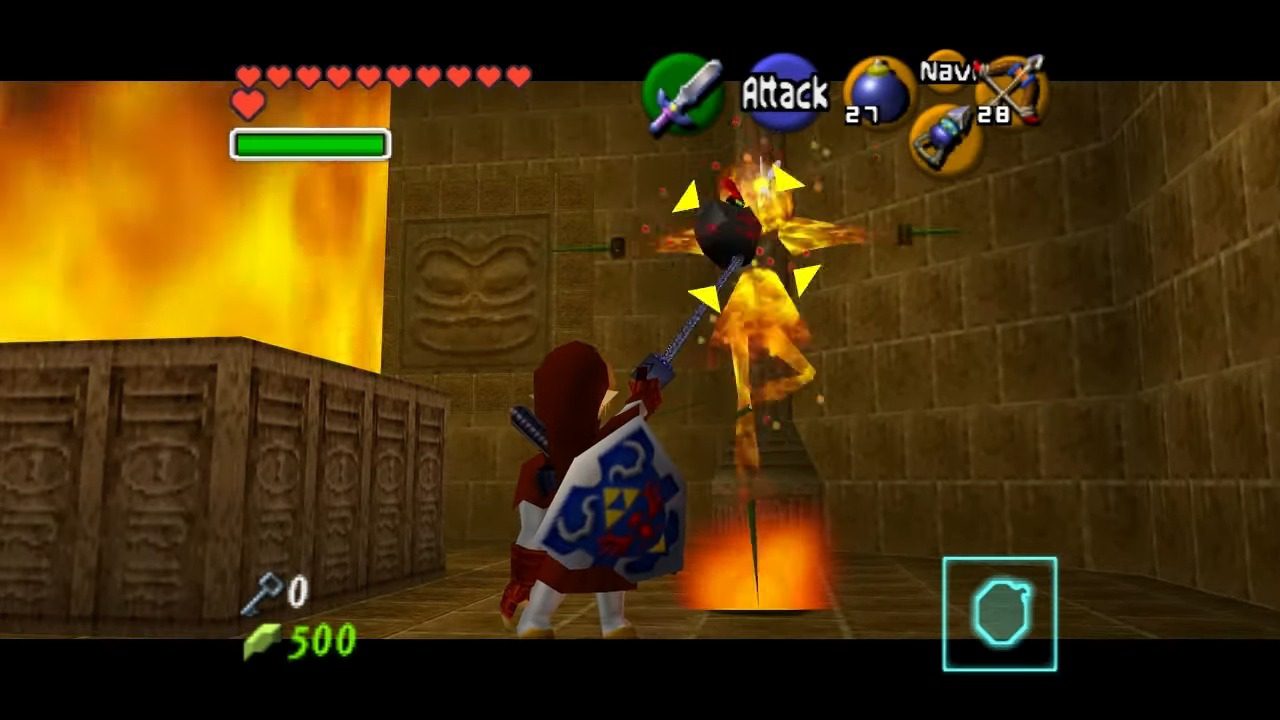
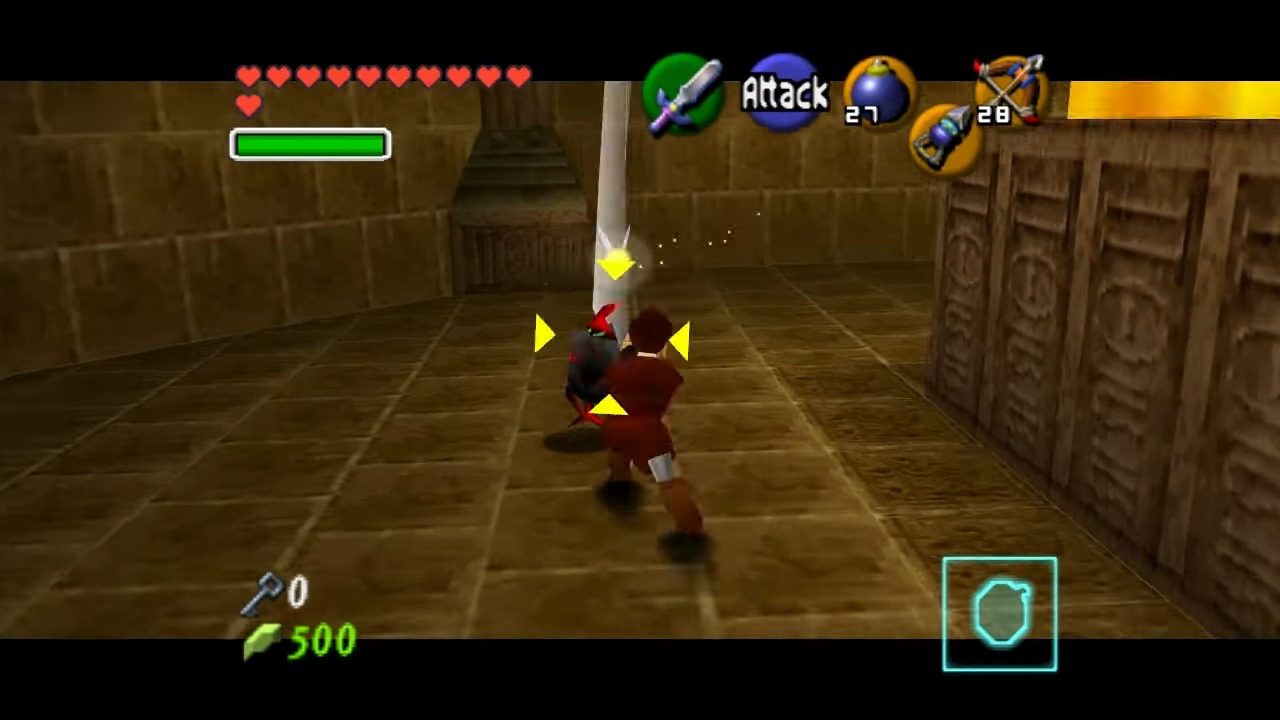
Go through the door at the end of the crescent-shaped area. You’ve just entered the lair of a mini-boss: the Flare Dancer. This fiery foe is a bit of a showman, spinning around invulnerably at first. To bring him down, you need to target him while he’s twirling and nail him with either a Bomb or your trusty Hookshot. This will extinguish his flames, leaving behind a vulnerable black torso. Now’s your chance! Hack away at it with your sword. Keep repeating this until the flashy dancer is defeated.
Once he’s down, the platform where the flames were will activate. Hop on for a ride to a higher floor. Up here, you’ll see more flames blocking your path. Look around for a crystal switch and use a Bomb to hit it. This will grant you safe passage up to a spiral room with a pit.
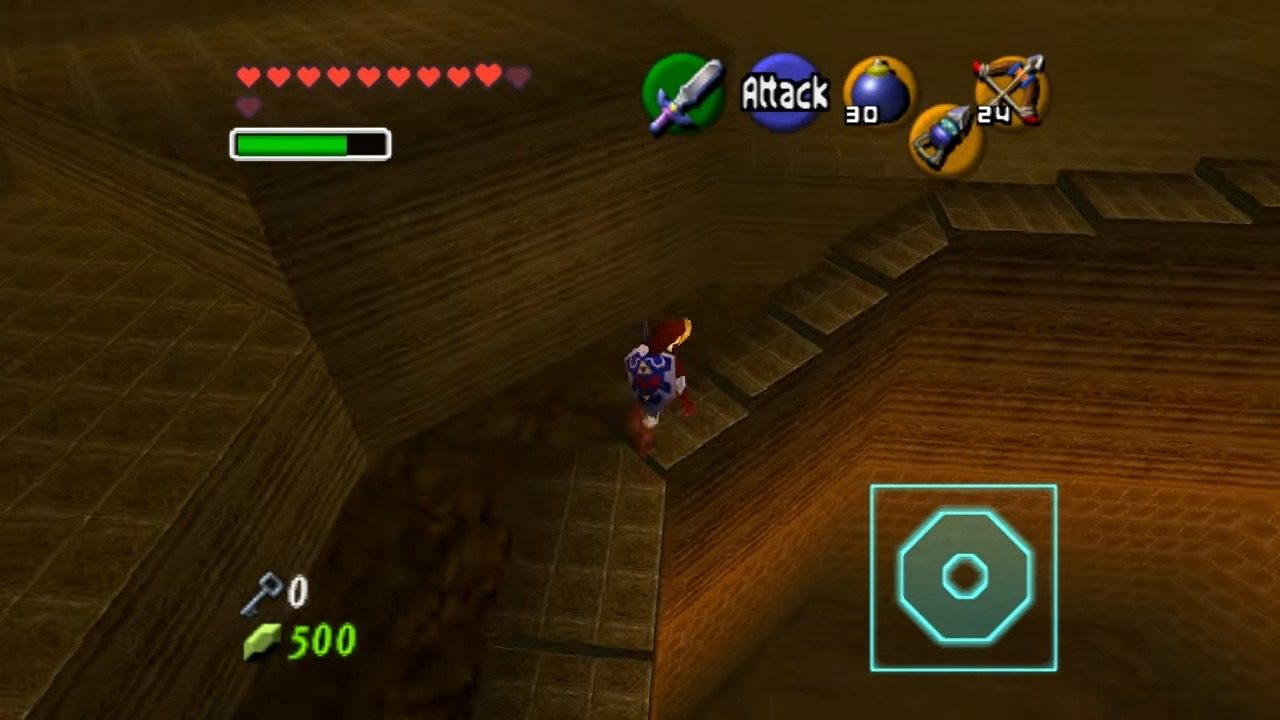
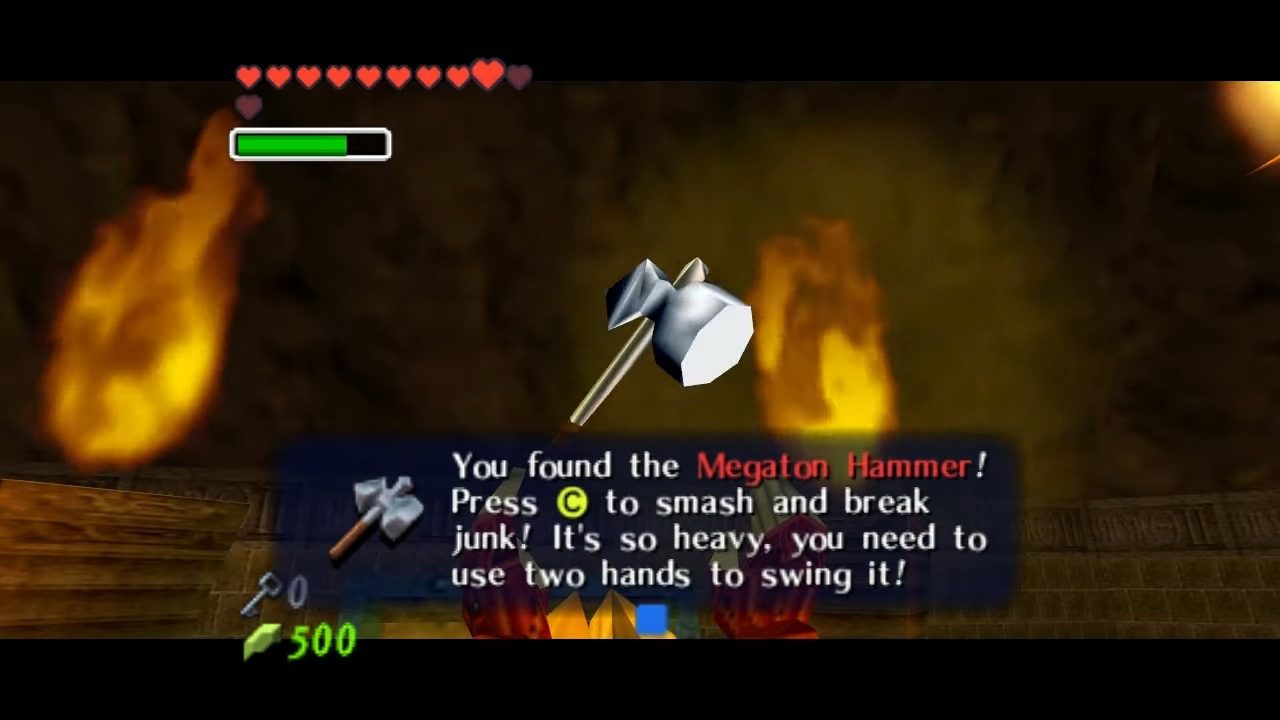
In the center of this room, you’ll find a switch. Hit it, then quickly move along the inner wall of the pit to reach a giant chest. Inside awaits the mighty Megaton Hammer! This heavy-hitting tool is crucial for what lies ahead.
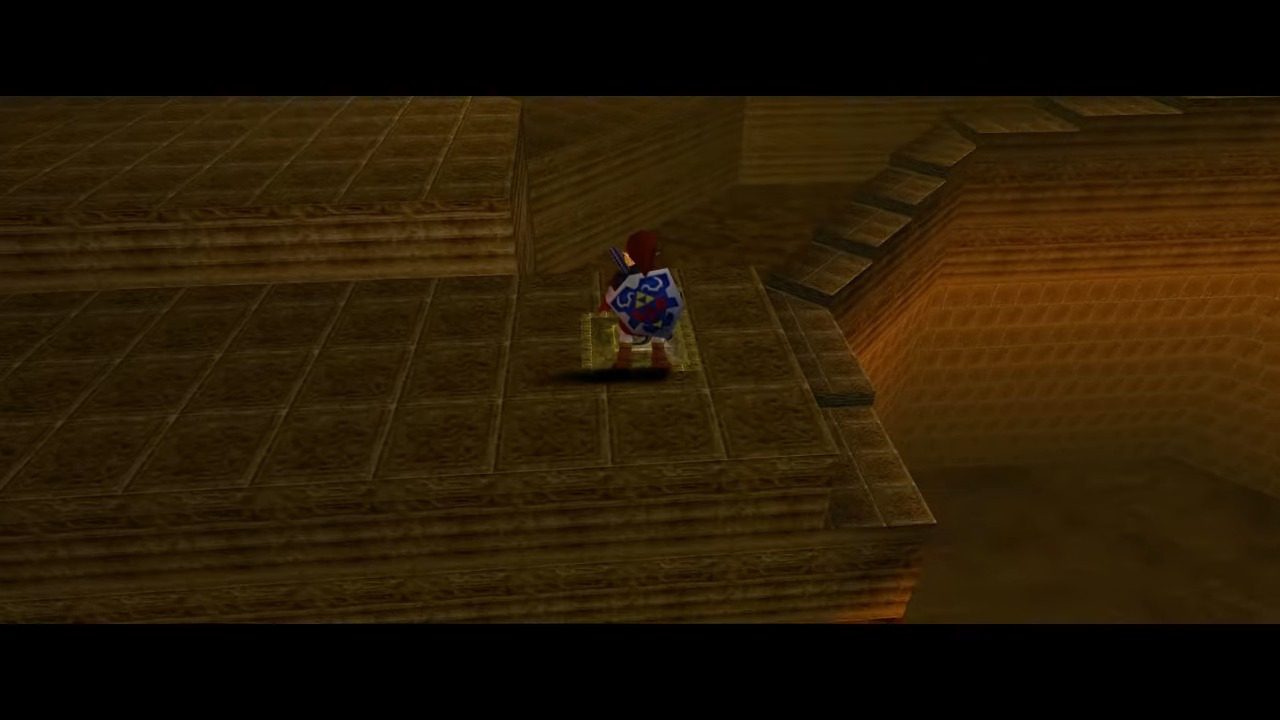
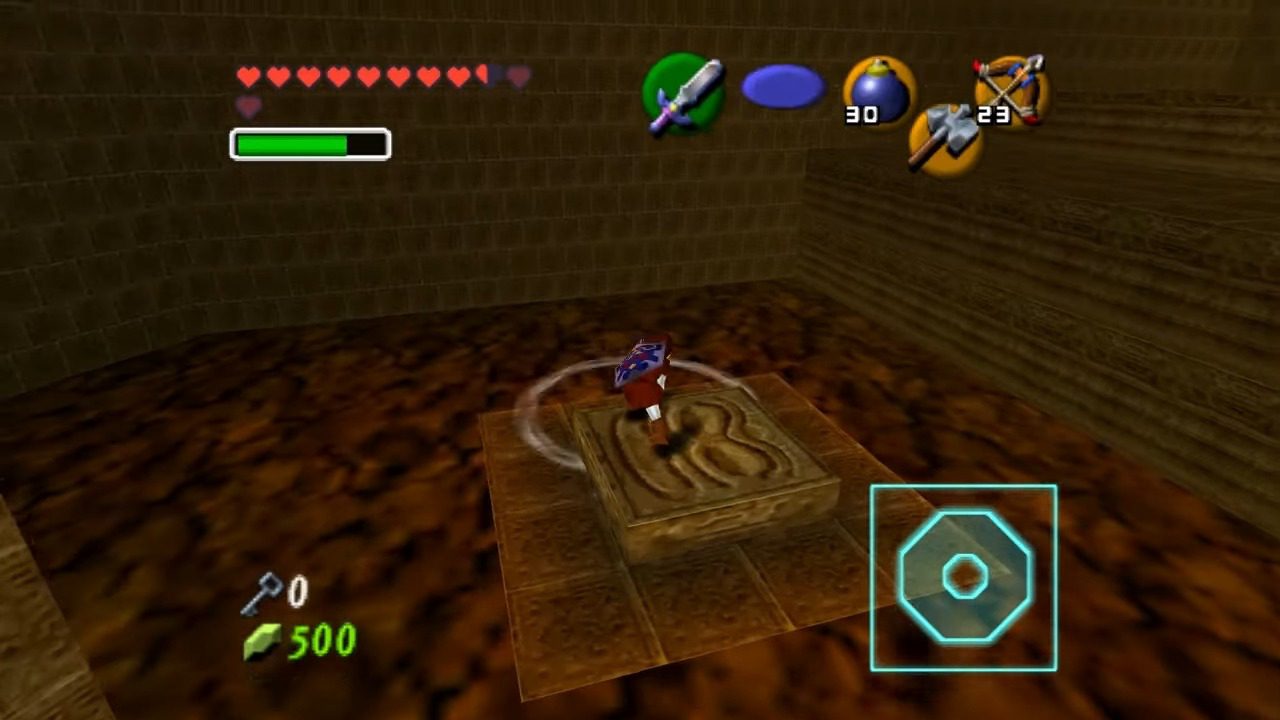
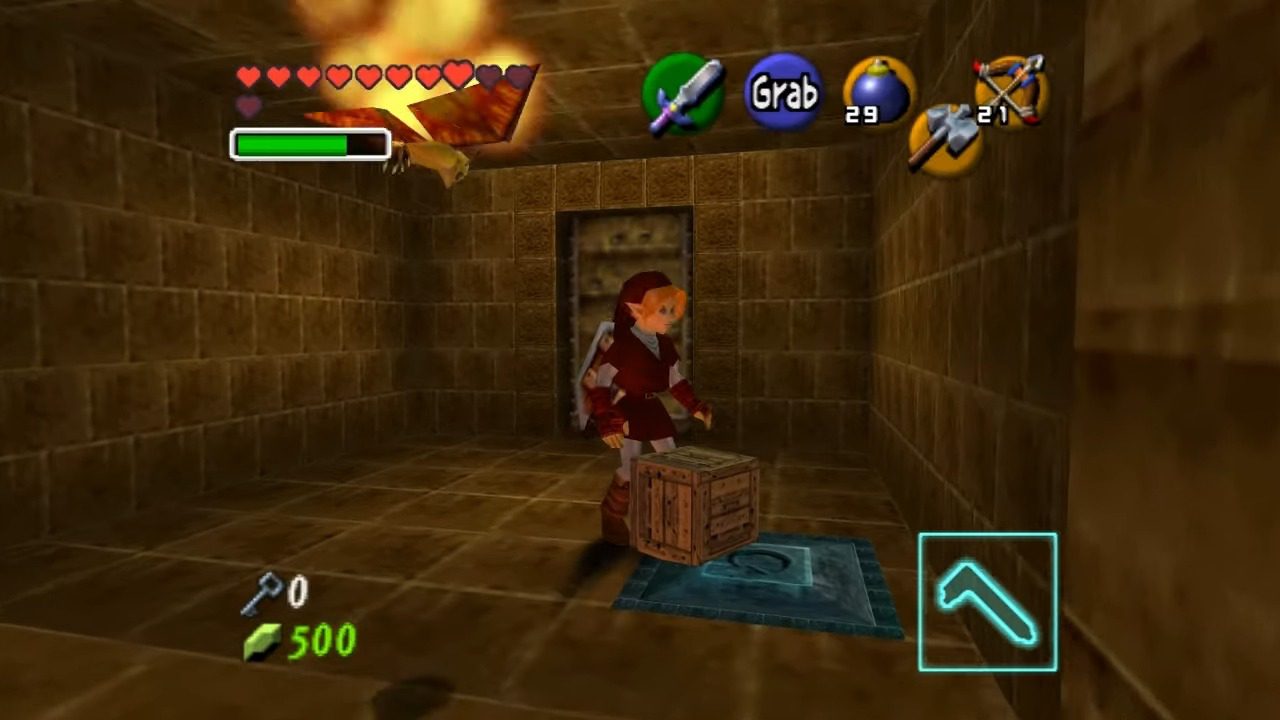
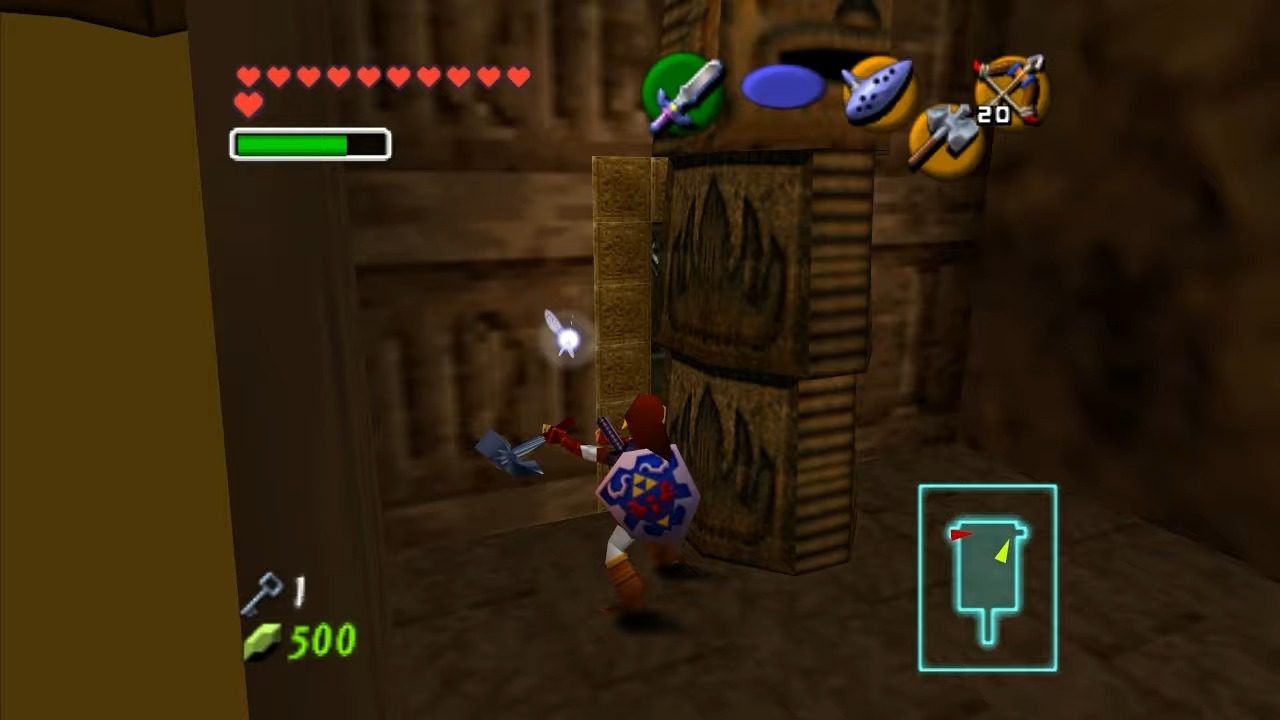
Hop down from the platform with the chest and look for a face tile on the ground nearby. Give it a good whack with your new hammer. This will create a hole in the floor. Drop down into it. You’ll find yourself facing a totem pole blocking a door. Time for some demolition! Use the Megaton Hammer to smash each section of the totem, clearing the way. Head through the now open door. In this new room, you’ll spot a tile sticking out of the floor.
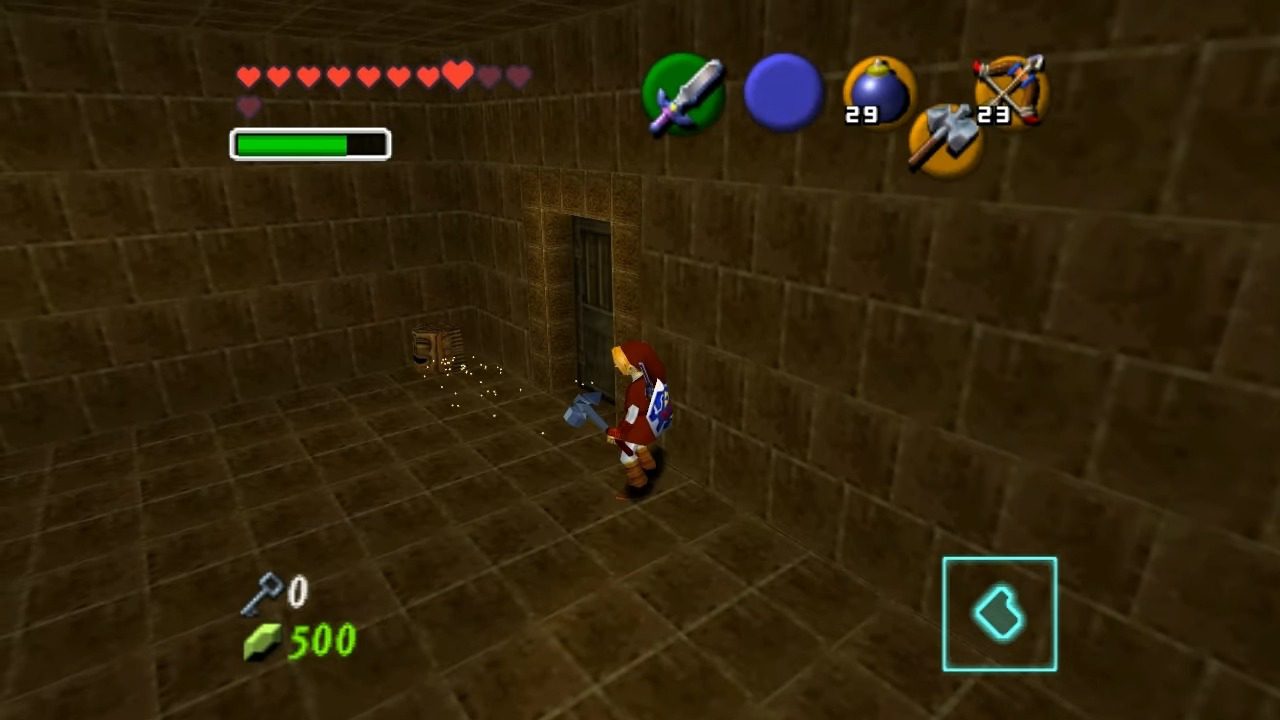
Give it another satisfying smash with the Hammer to create a set of stairs leading down to a door. See those crates in the room? Grab one and drop it onto the pressure switch to keep the door open. Go through the door. Guess where we are? Back in the invisible fire wall maze!
Climb onto the platform in the center of the room and use the Megaton Hammer on the rusty switch. This will unlock another door. Play the Song of Time to relocate the blue block in this area. Hop across the gap using it and you’ll find another rusty switch. Give it a good hammering. This will free another Goron down below and open a chest containing a Small Key. Exit this small room and look for a face tile surrounded by a pillar structure in the main fire maze room. Pound that tile with the Hammer to lower the large ceiling pillar you might have noticed earlier. This hammer is definitely making things happen around here!

Climb the blue block and exit through the door above the Goron’s now-open cage to invisible fire wall maze. From the top large, conspicuous pillar, jump to your left into the fire maze and enter the door against the wall. This room contains the Compass.

Leave back to the invisible fire maze area and navigate to the pillar in the center. Climb to the top of the platform overlooking the pillar. Equip the Megaton Hammer and strike the pillar forcefully. This action will cause the pillar to descend, creating a direct path to the lower level where the boss door is located. From there, backtrack to the Fire Temple entrance.
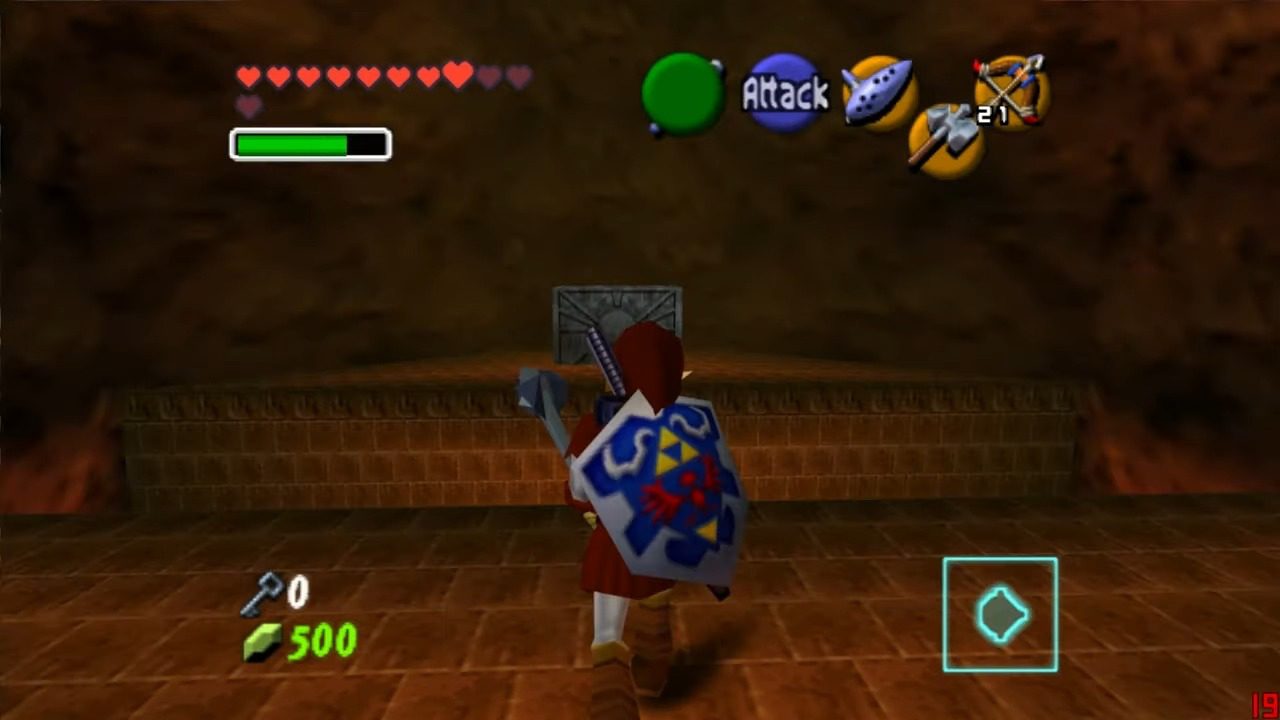
Once you’re there, head downstairs to the tribal statue on the right side of the entrance room. Whack each tier of the statue with the Megaton Hammer. This will reveal a locked door. Use your last Small Key to open it. Step inside to face a hallway filled with Fire Keese and Torch Slugs. Take them all out to unlock the next room. This next room is crawling with more flying tiles and another pesky Like-Like. Defeat them all, and then look on the back wall for a Gold Skulltula.

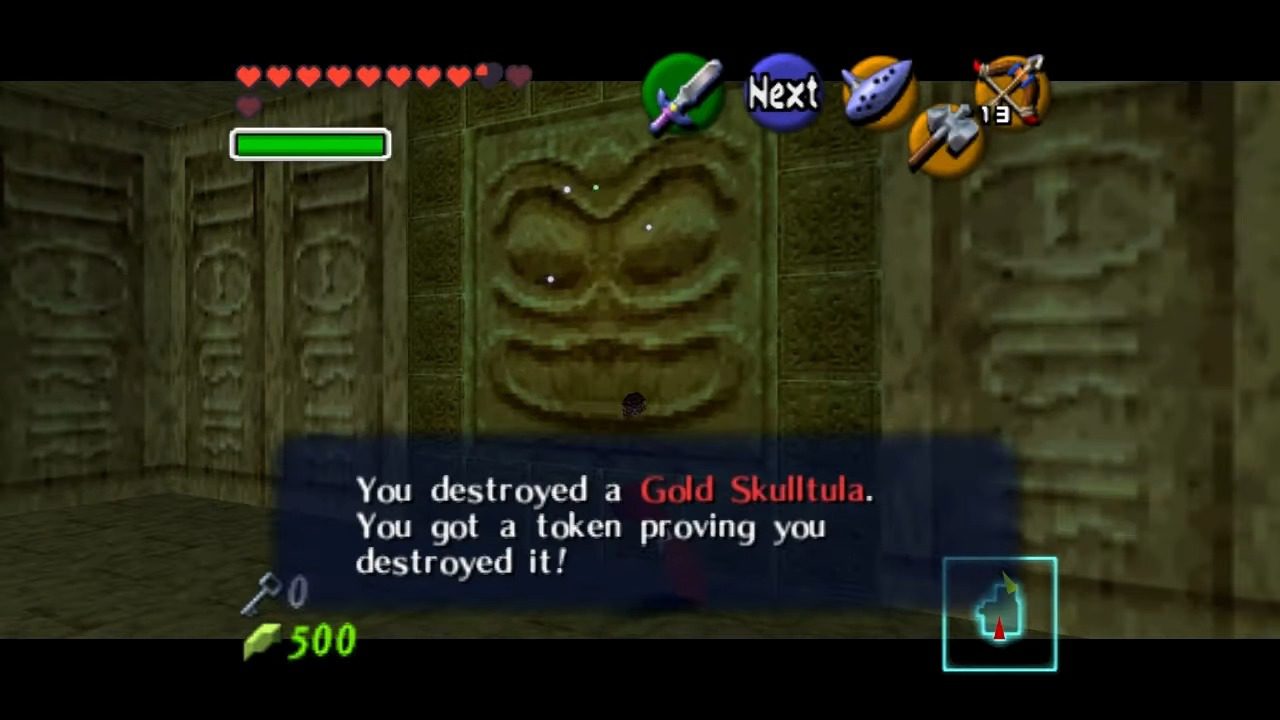
Enter the door on the left to face yet another Flare Dancer mini-boss. Use the same strategy as before: Hookshot or bomb away the flames, then attack with your sword. A chest will appear after you defeat it containing some handy Bombs.


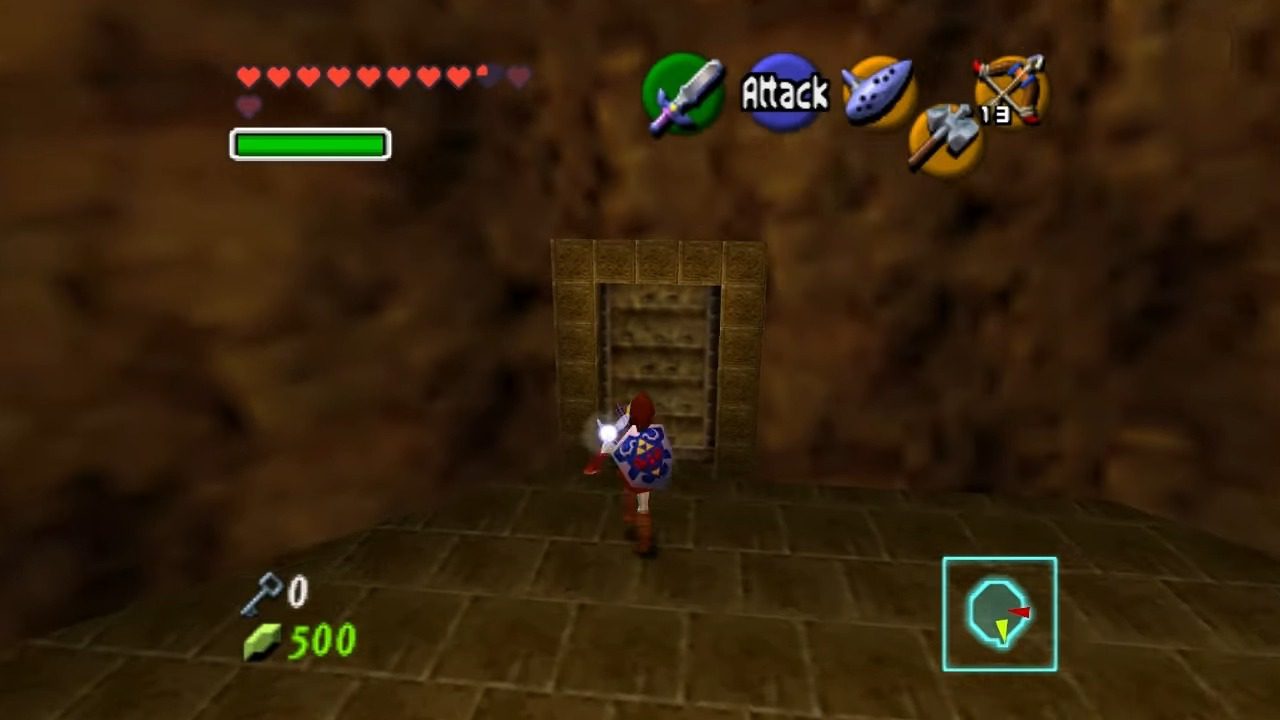
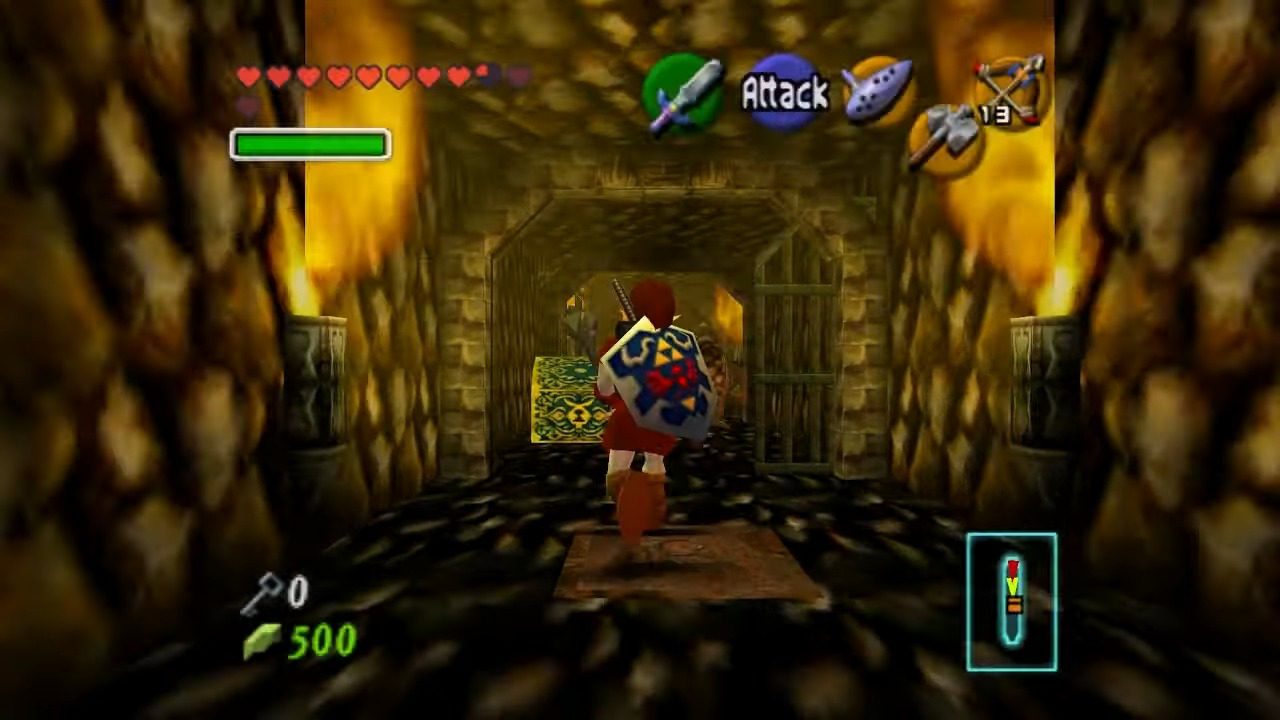
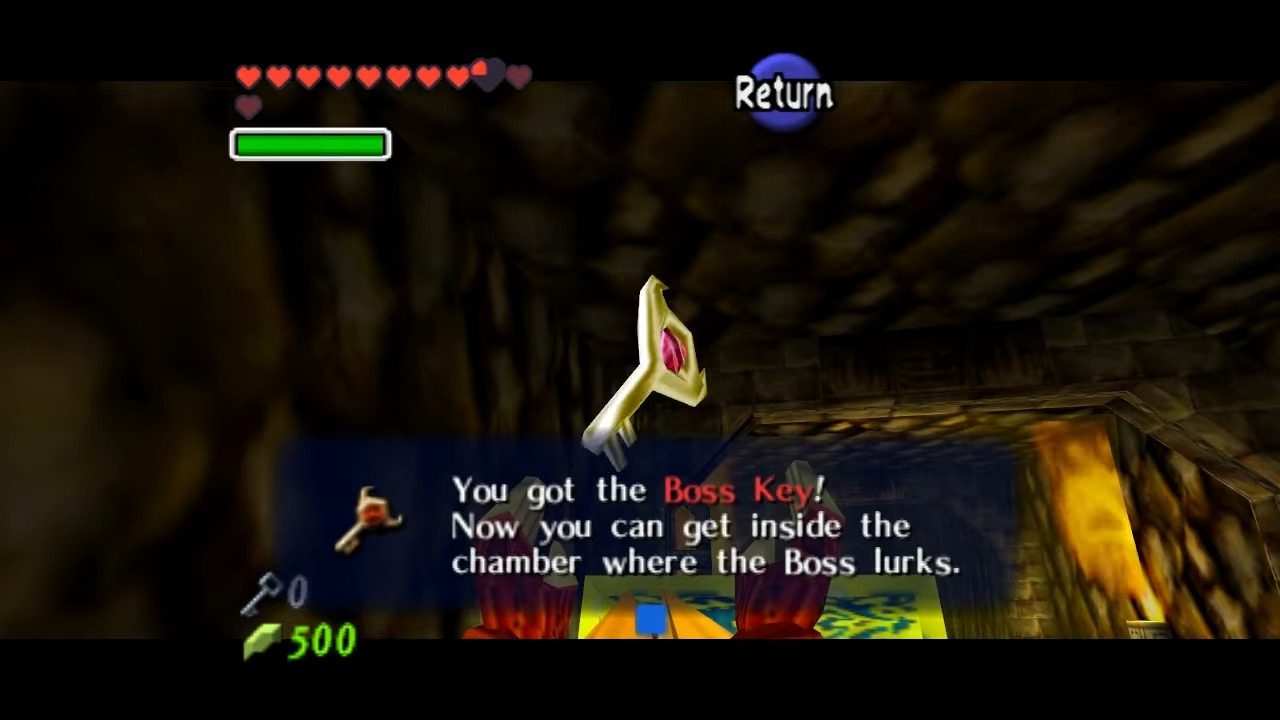
Go through the door to the south to find and free the final Goron. In this room, you’ll also find a larger chest containing the Boss Key! Now, return to the room where you first met Darunia. That large pillar in the center should now be lowered, creating a perfect bridge leading straight to the boss door.
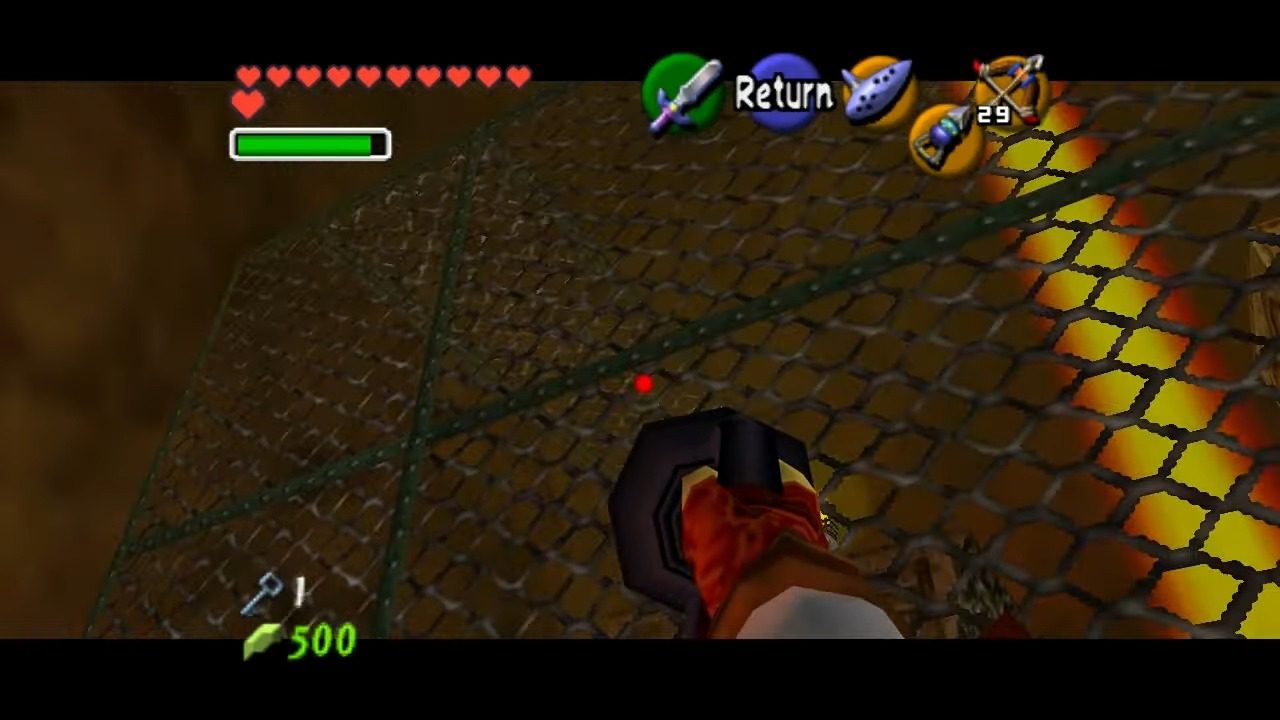
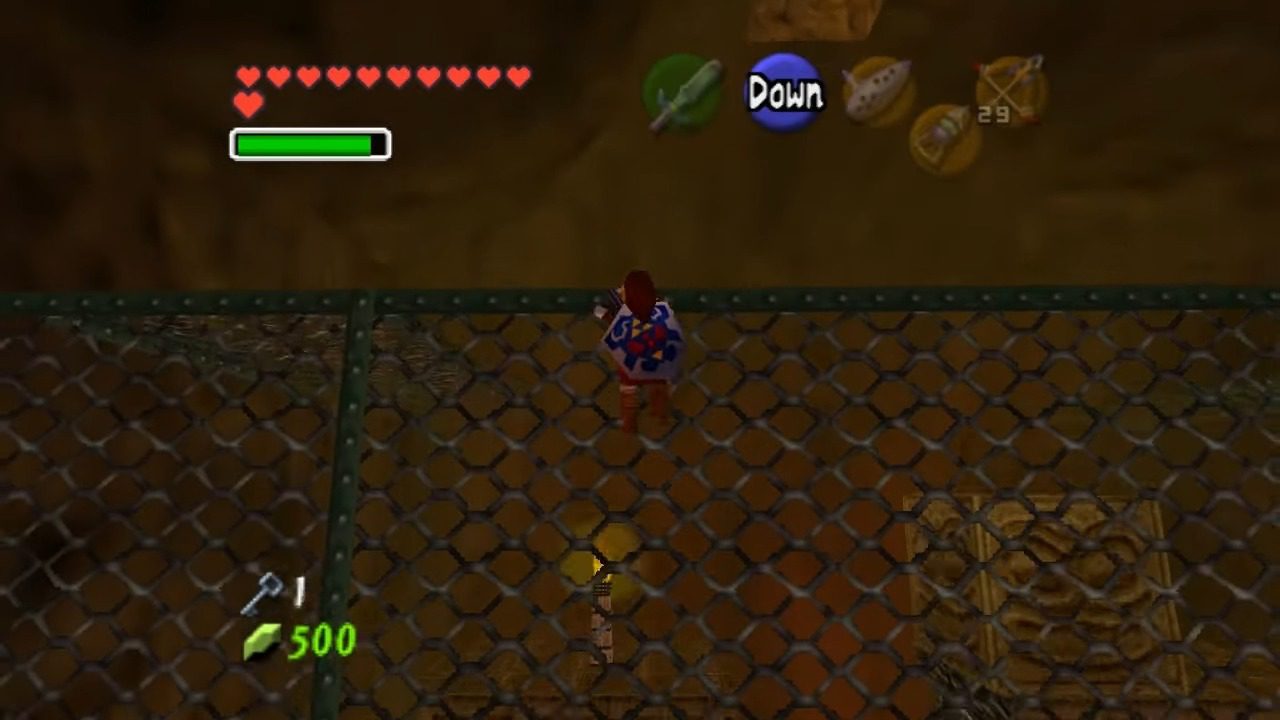
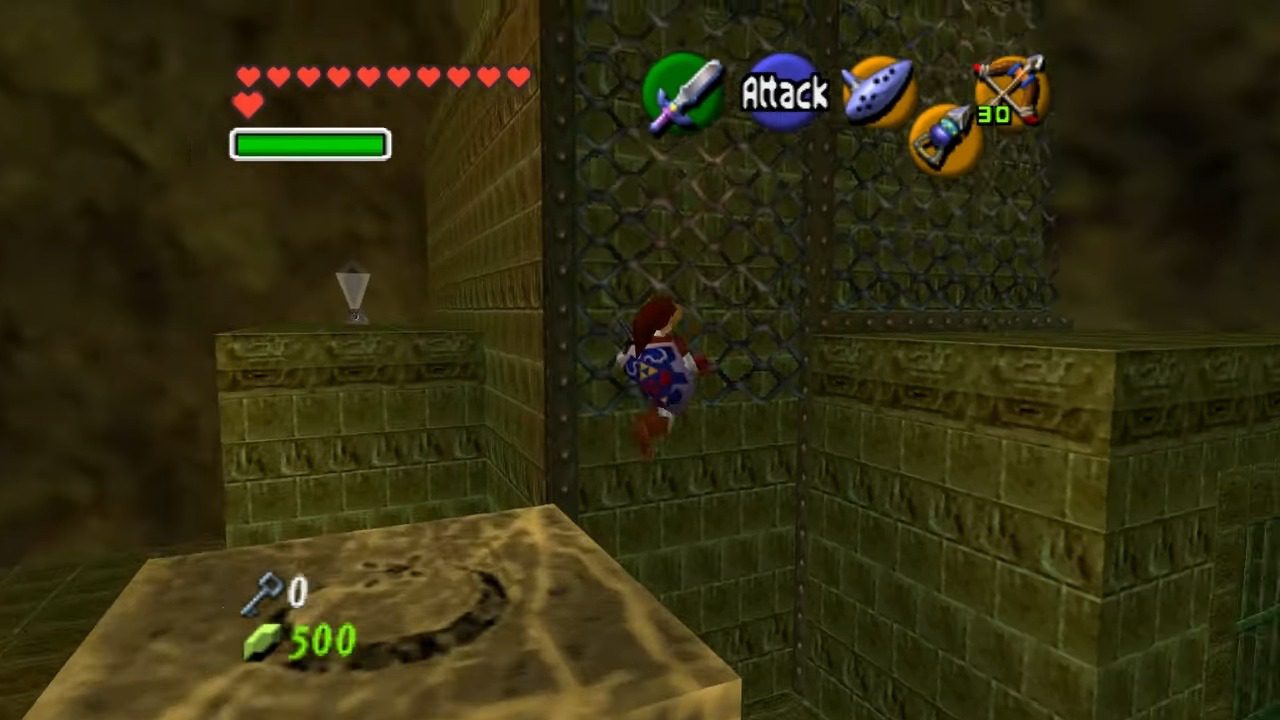
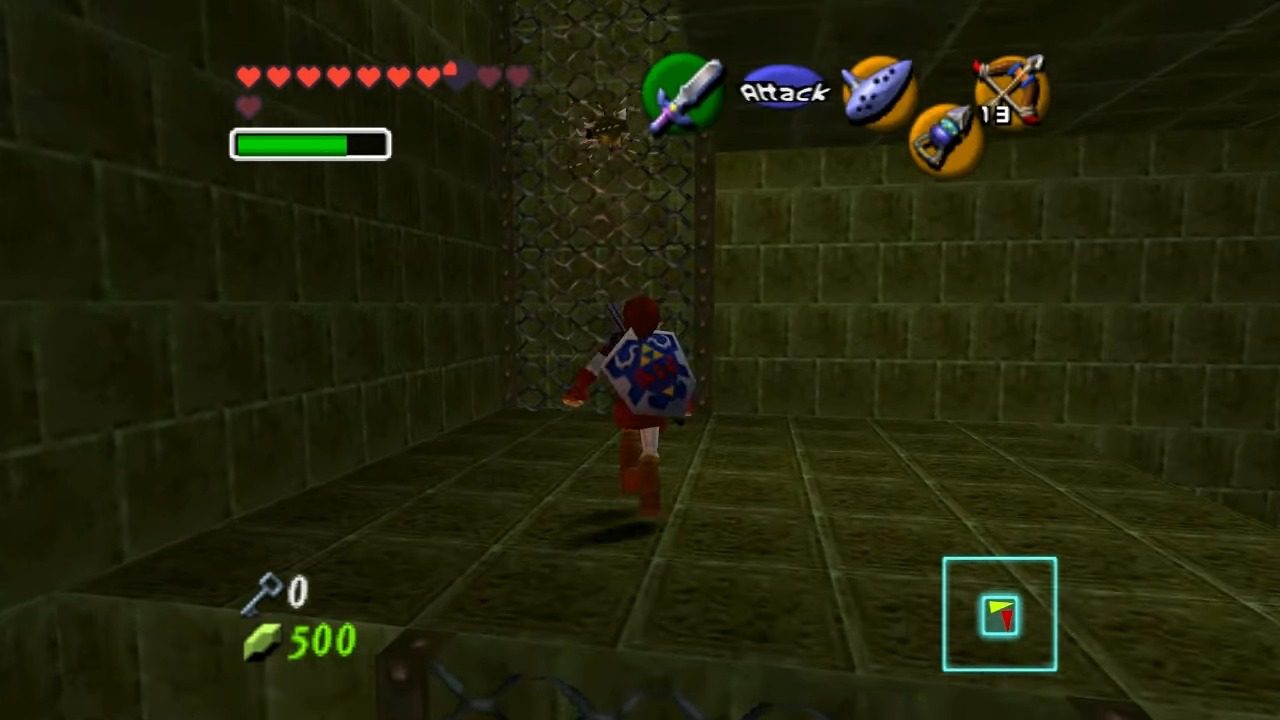
Head to the room containing the boss chamber and use Farore’s Wind to create a Warp Point. Navigate to the upper level of the boulder maze’s northwest wall. You should see a ledge above where Navi will suddenly get excited and turn green. This is your cue to play the Scarecrow’s Song. Remember that tune? It’ll summon our pal Pierre the scarecrow. Hookshot up to him, then turn around and you’ll see a small platform behind you. Hookshot to that too. This will magically lift you up to a secret room. Inside, clinging to the chain-link walls, is Gold Skulltula.


Head back out the door, and you should immediately hear another Gold Skulltula nearby. Go straight forward and then turn left. You’ll find Gold Skulltula #66 chilling on the wall above a large hole. Use your Hookshot to reel in that token. While you’re up here, look around for a chest at the top – it contains a Huge Rupee!

Confronting the Dragon: Reaching Volvagia
Now that we have all the Gold Skulltulas, use Farore’s Wind to teleport back to the Warp Point we created earlier. With the Boss Key finally in our possession, head back to the room where you first met Darunia and cross that newly formed bridge to the ominous boss door. Take a deep breath, make sure you’re fully healed, and if you’ve got any fairies in bottles, now’s the time to have them ready. We’re about to face the fiery terror of Volvagia!


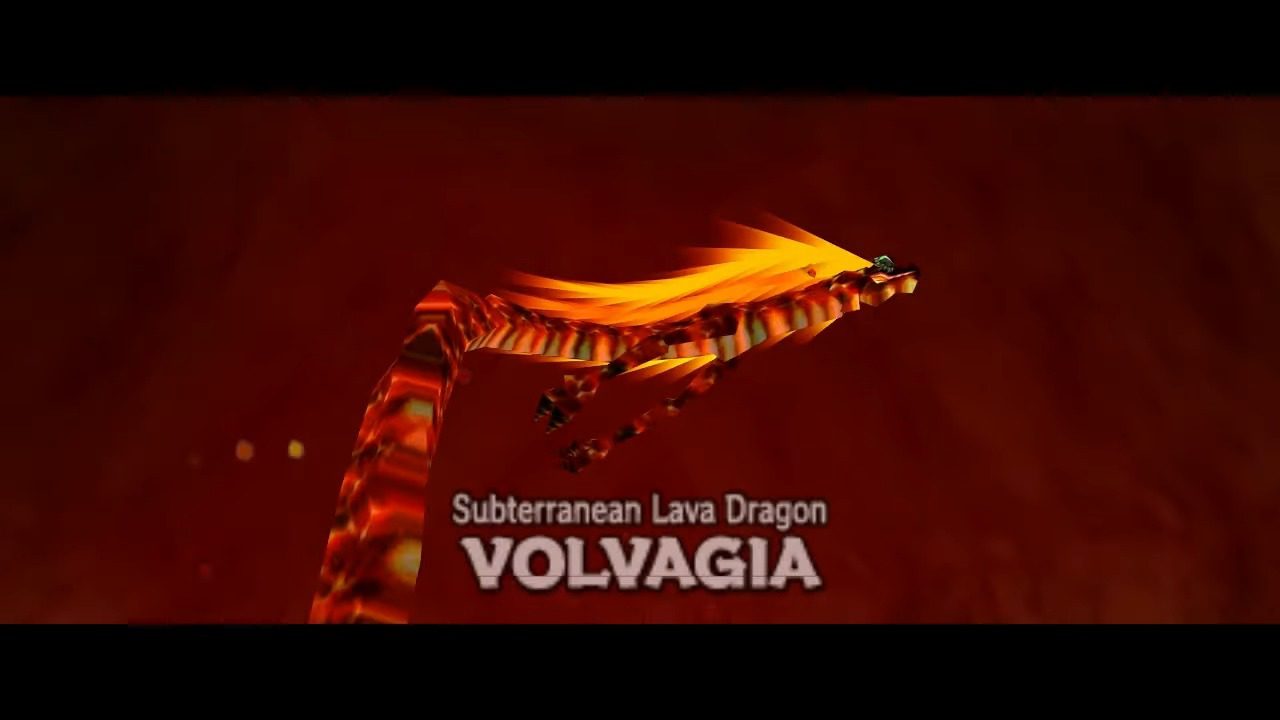
Volvagia: The Fire Temple Boss
This massive beast has a few tricks up its fiery sleeves. It’ll try to knock down flaming rocks from the ceiling, so keep an eye on the shadows to avoid getting hit. It’ll also take to the skies and breathe fire, which you can often dodge by staying near the hole it emerged from. But the main attack you need to watch for is when it sticks its head out of one of the nine lava pits, ready to either breathe fire or take a bite out of you.
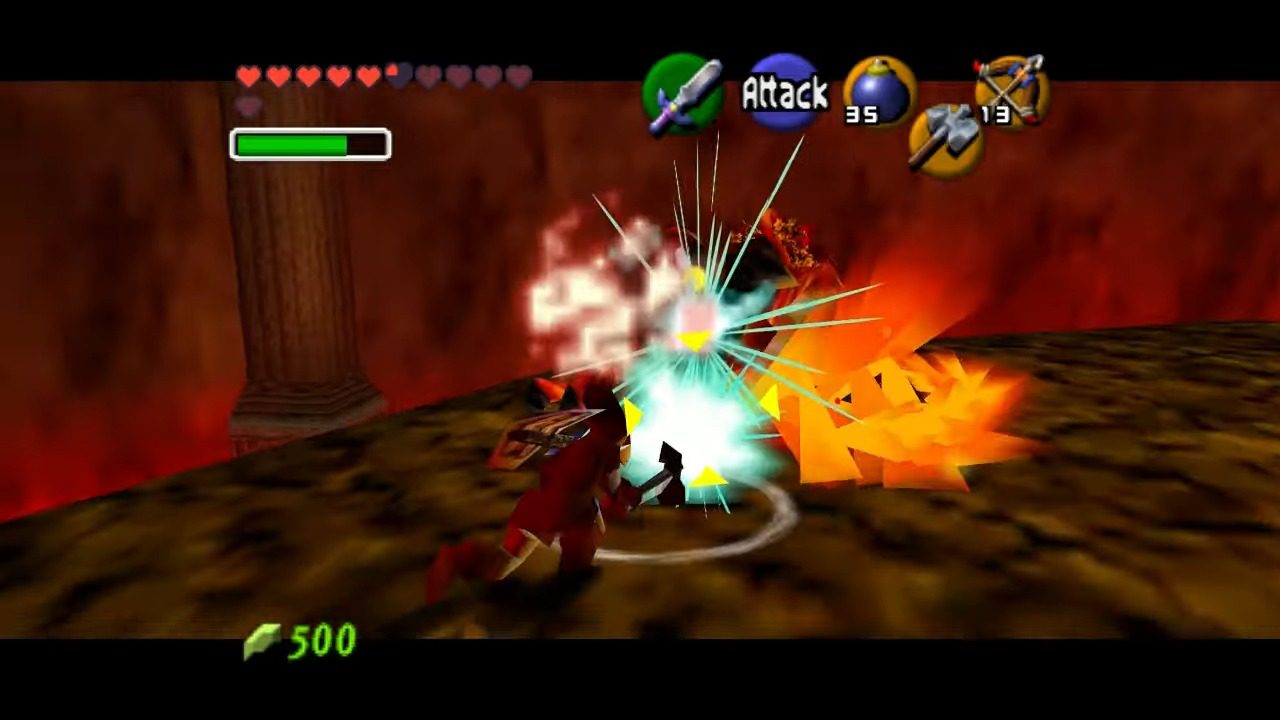
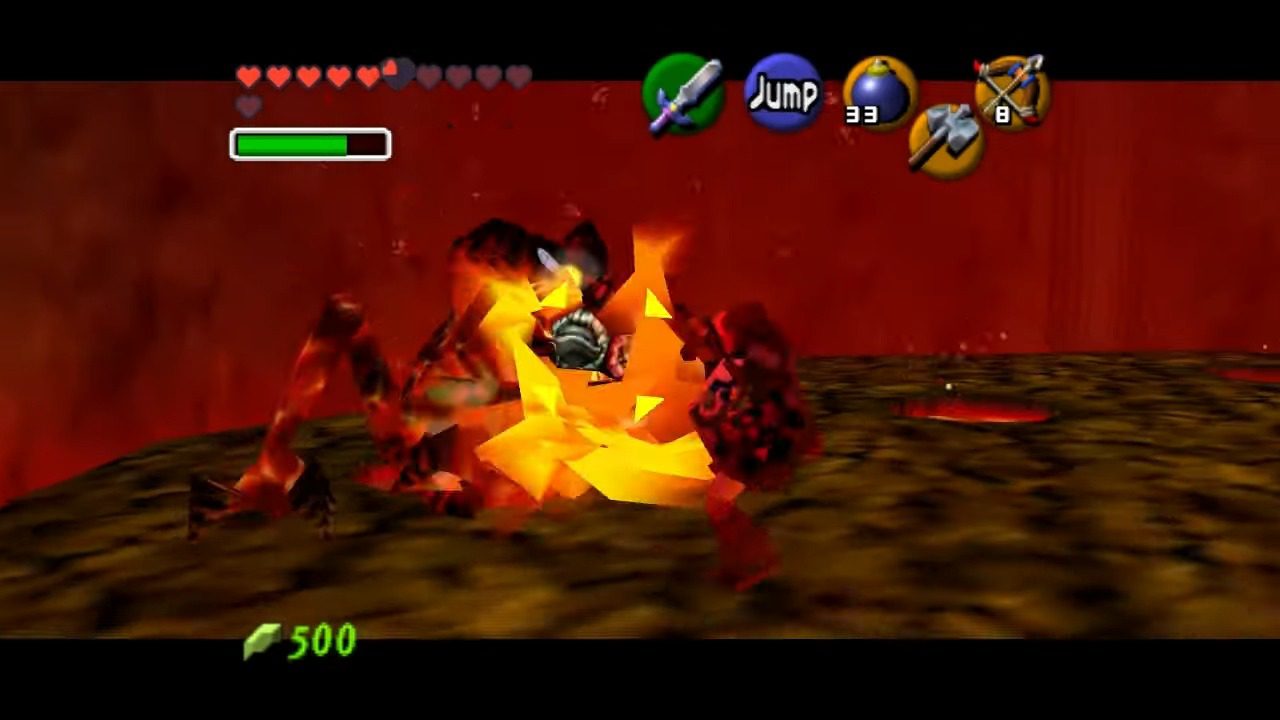
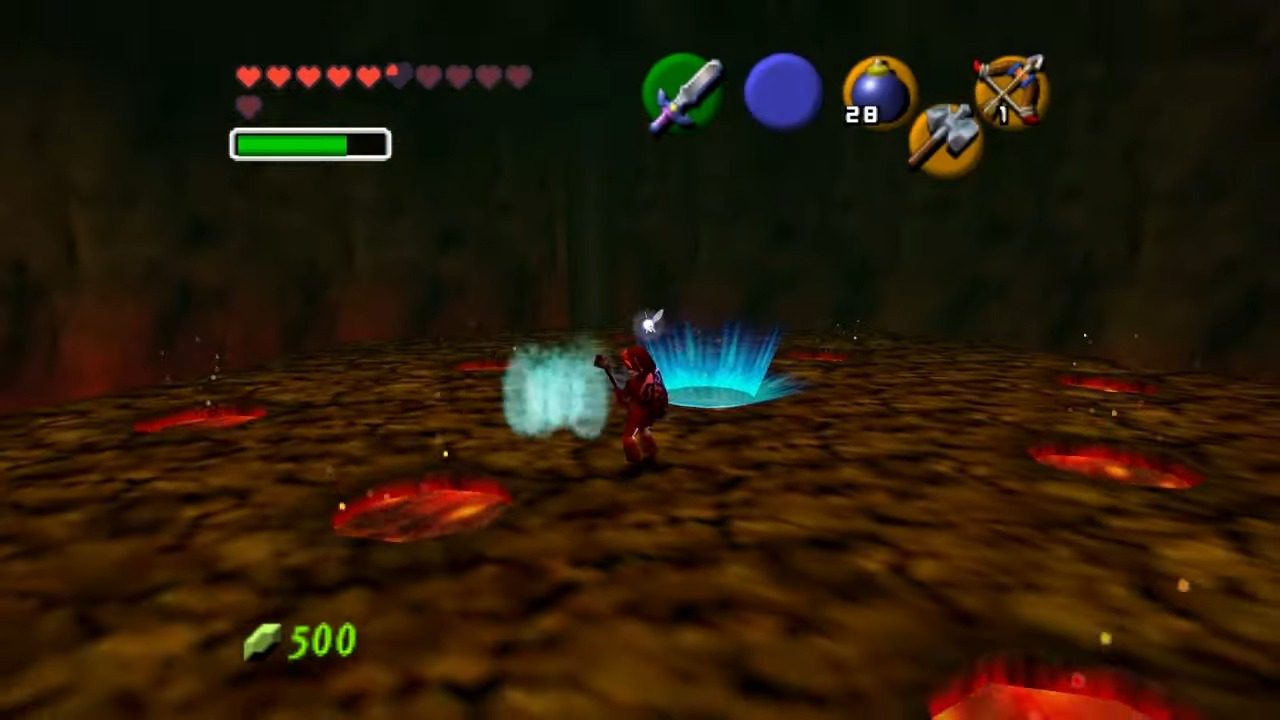
This is where our trusty Megaton Hammer comes into play. You’ll notice a small stream of lava bubbling up from one of the pits – that’s your cue!. Quickly run over to that spot, dodging any fire breath, and as soon as Volvagia’s head pops out, give it a good whack with the Hammer. This will stun the dragon, giving you a precious few seconds to slash at its head with your sword. You might even be able to squeeze in another hammer blow! After a few hits, Volvagia will retreat into the lava and then take to the air, flying around and breathing more fire.
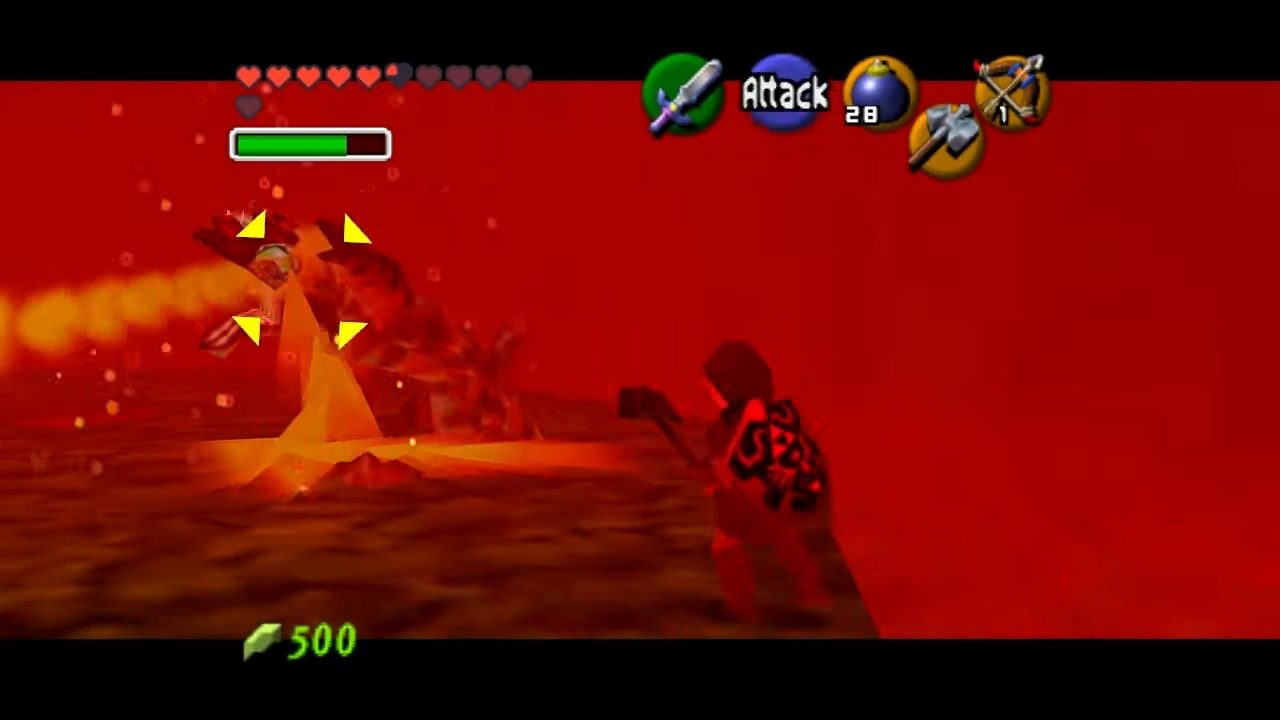
Lock on to it and use your shield to block the flames, or try hitting it with your Hookshot or arrows while it’s flying. Eventually, it’ll dive back into another lava pit. Be warned, this sneaky dragon might try to fake you out by showing lava in a few different pits before actually popping its head out. The pattern is often two fake appearances before the real one. Just be patient and watch carefully. Keep repeating the process of hammering its head when it emerges from the correct pit and then following up with sword attacks. With enough persistence, you’ll send this fiery beast back to the underworld!
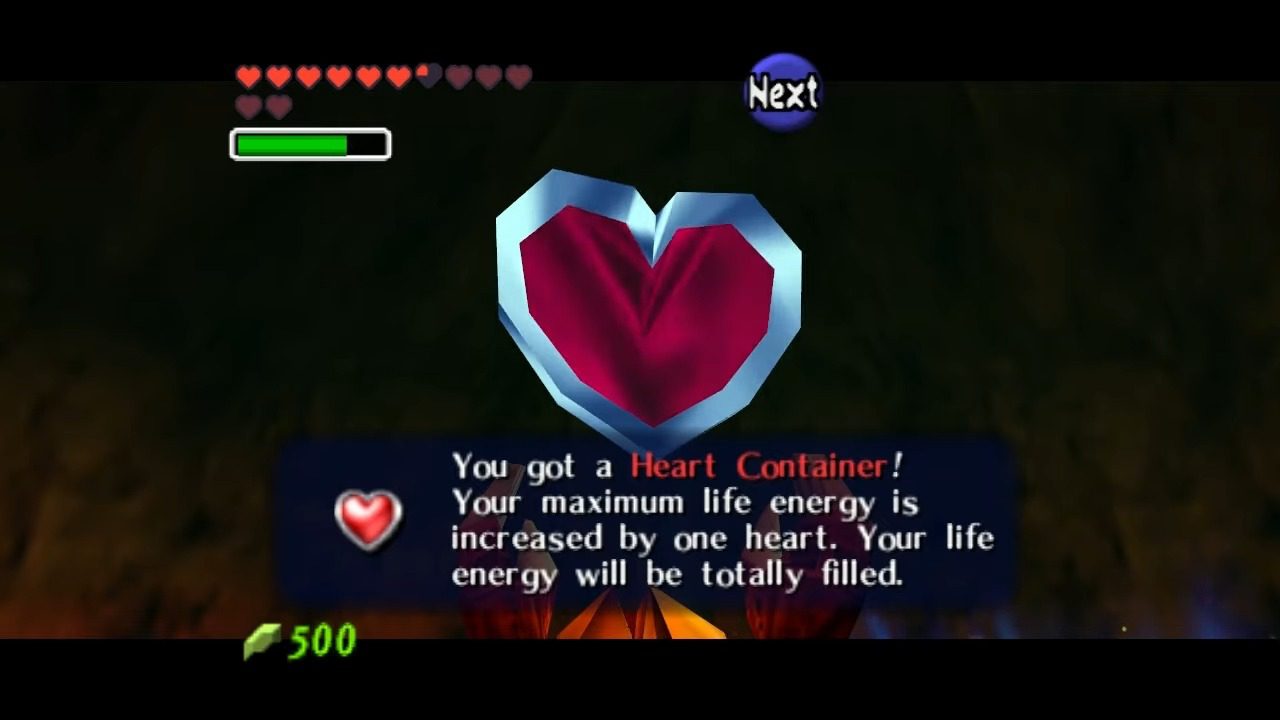
Victory and Beyond
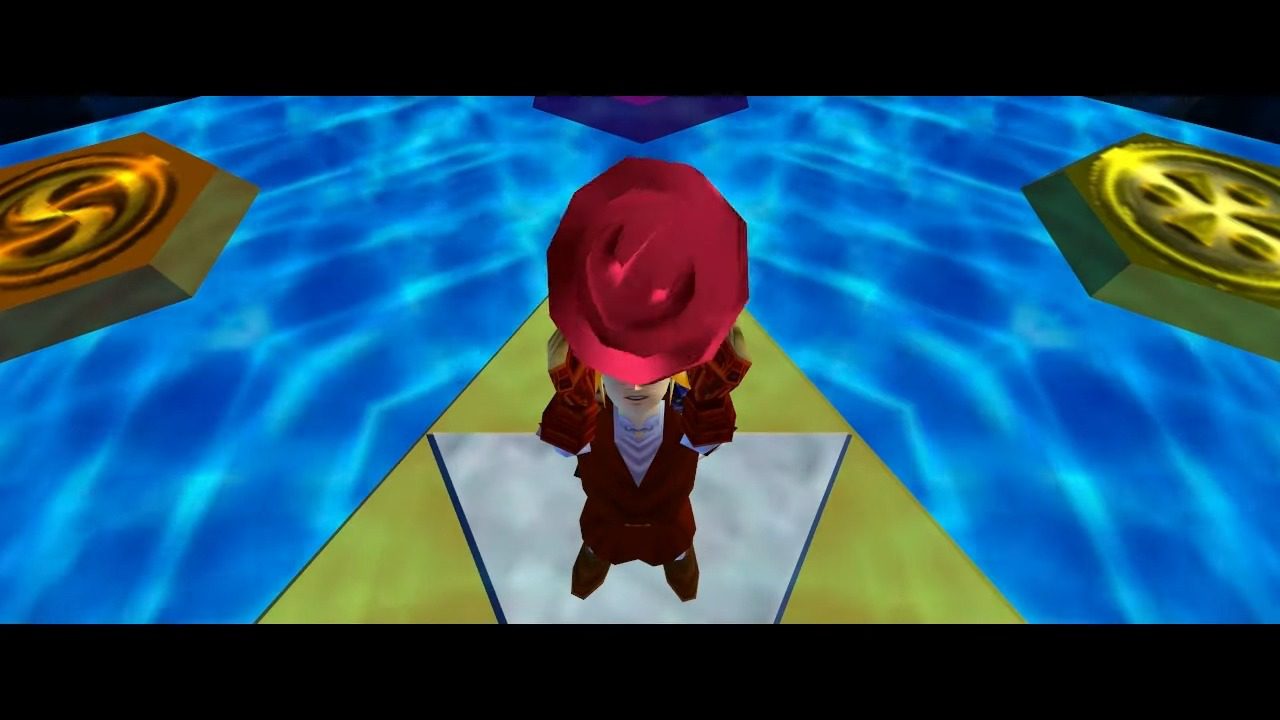
With Volvagia vanquished, you’ll be rewarded with a well-deserved Heart Container, adding another notch to your health bar. A portal of light will appear. Step into it to be transported to the Sacred Realm, where you’ll finally meet Darunia in his true form as the Sage of Fire. He’ll bestow upon you the Fire Medallion, another crucial step on your quest to save Hyrule.
Congratulations, you’ve conquered the fiery depths of the Fire Temple! Now, take a breather and get ready for whatever challenges await you next!