Ocarina of Time 100% Completion Walkthrough Table of Contents
Child Link’s Journey
- Kokiri Forest: Obtaining the Kokiri Sword and Deku Shield
- Inside the Great Deku Tree: First dungeon and defeating Queen Gohma
- Hyrule Field and Castle: Meeting Princess Zelda
- Kakariko Village & Hyrule Market: Exploring the village and starting side quests
- Death Mountain Trail & Goron City: Accessing Goron City
- Dodongo’s Cavern: Second dungeon and defeating King Dodongo
- Death Mountain, Goron City, and Hyrule Market: Optional side quests for 100% completion.
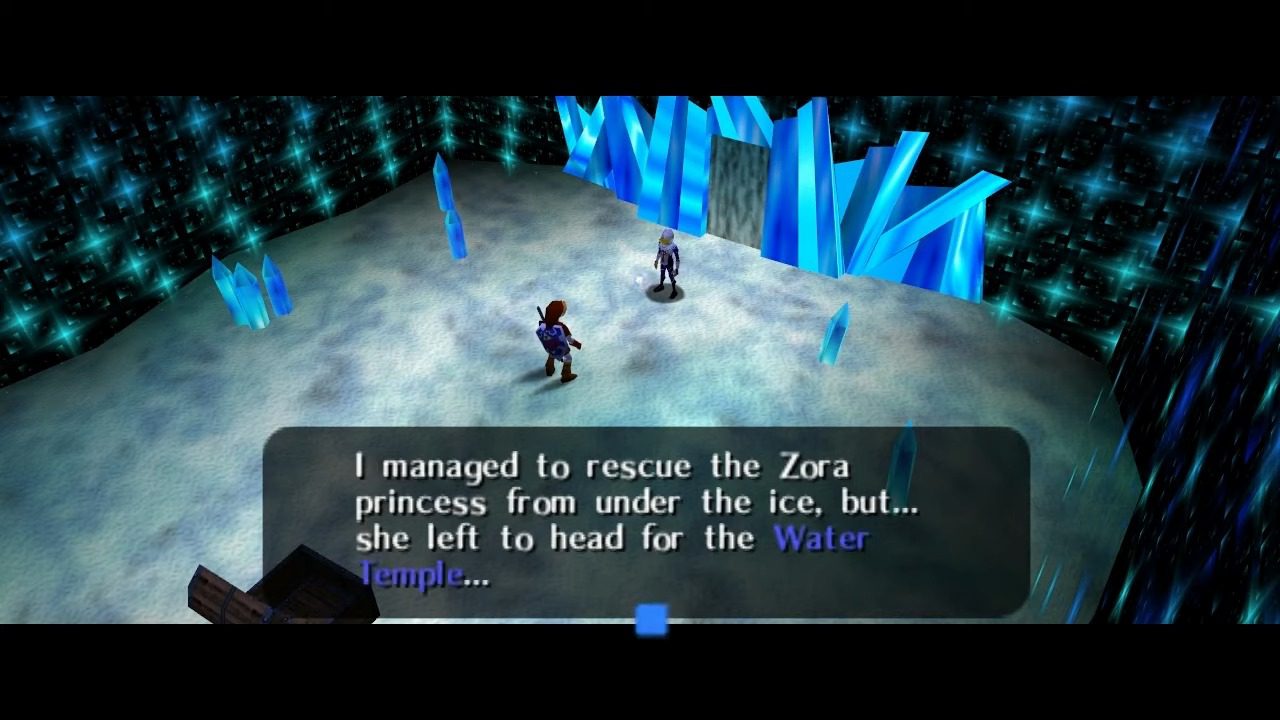
- Zora’s River and Domain: Meeting Princess Ruto
- Inside Jabu-Jabu’s Belly: Third dungeon and defeating Barinade
- Transition to Adulthood: Retrieving the Master Sword and becoming Adult Link
Adult Link’s Quest
- Lon Lon Ranch: Obtaining Epona: Challenging Ingo to races and winning Link’s loyal horse.
- Forest Temple: Defeating Phantom Ganon
- Fire Temple: Defeating Volvagia
- Ice Cavern: Obtaining the Iron Boots
- Water Temple: Defeating Morpha
- Bottom of the Well: Obtaining the Lens of Truth
- Shadow Temple: Defeating Bongo Bongo
- Gerudo Fortress: Rescuing carpenters and accessing the desert
- Spirit Temple: Defeating Twinrova
- Ganon’s Castle: Overcoming trials and defeating Ganondorf and Ganon
Picking Up the Trail: Great Fairy, Heart Piece, & Skulltula Roundup

Death Mountain Great Fairy: Energy Upgrade
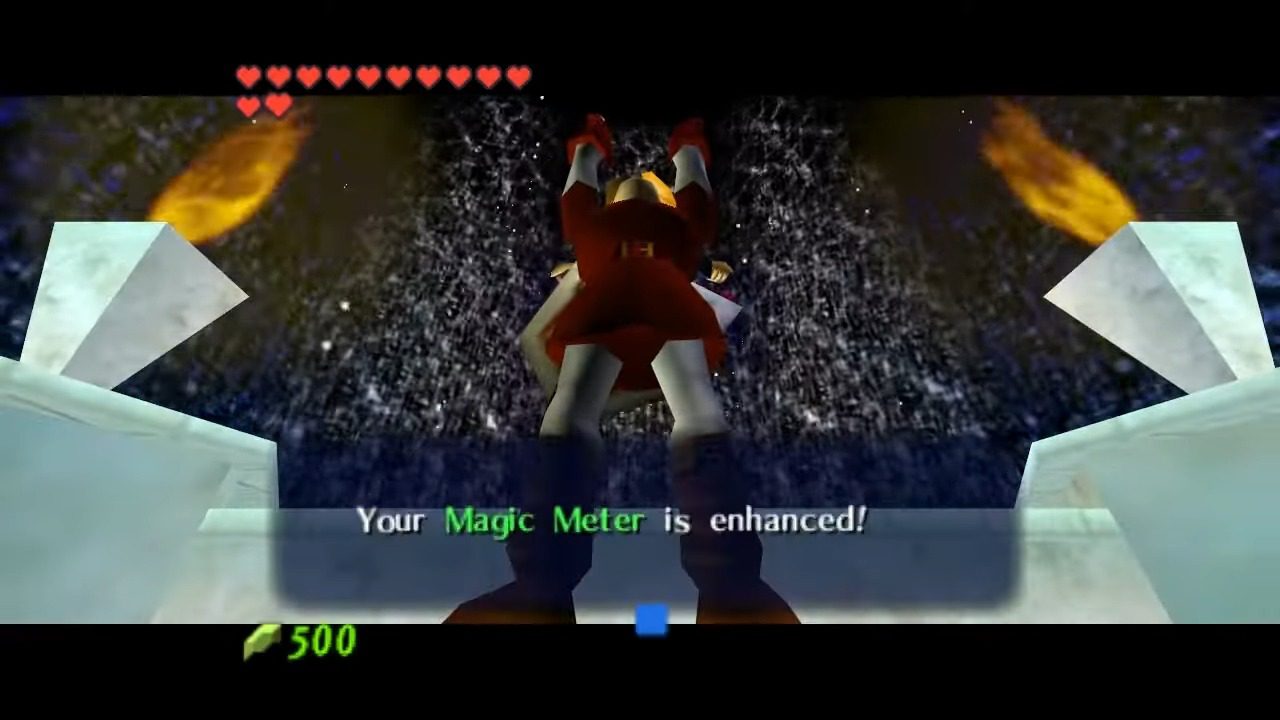
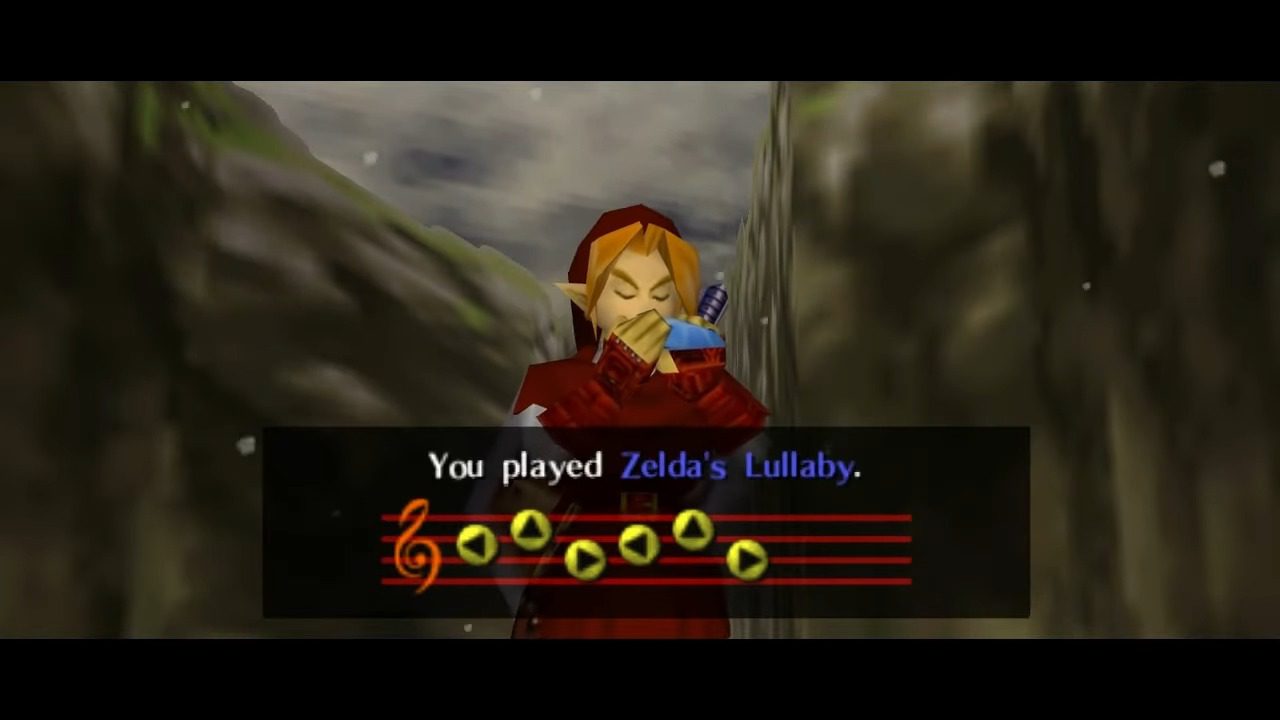
After defeating Volvagia, you will spawn near the Death Mountain Crater warp point. From the warp point, cross the broken bridge using your Hookshot. To your right, you’ll notice two large boulders obstructing a pathway. Equip the Megaton Hammer obtained from the Fire Temple. Strike each boulder twice to shatter them, revealing the entrance to the Great Fairy’s Fountain. Step inside and stand on the Triforce symbol. Play Zelda’s Lullaby on your ocarina to summon the Great Fairy. Upon her appearance, the Great Fairy will double your Magic Meter, allowing you to use magical abilities more extensively.
Gold Skulltula
Proceed up Death Mountain Trail towards the summit. Near the area where boulders previously fell during your childhood journey, you’ll find a large boulder that cannot be destroyed with bombs. Use the Megaton Hammer to break this boulder, revealing a Gold Skulltula behind it. Remember, Gold Skulltulas only appear at night, so playing the Sun’s Song to change between day and night can be effective.

Gold Skulltula
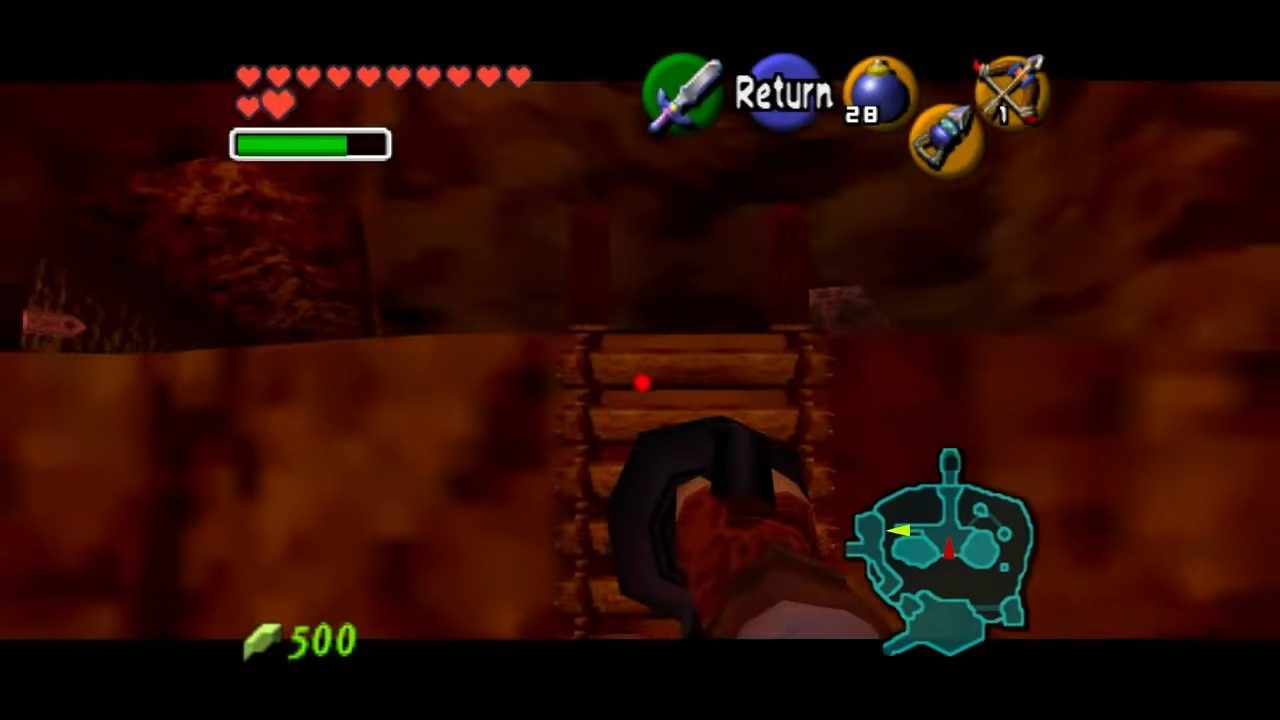
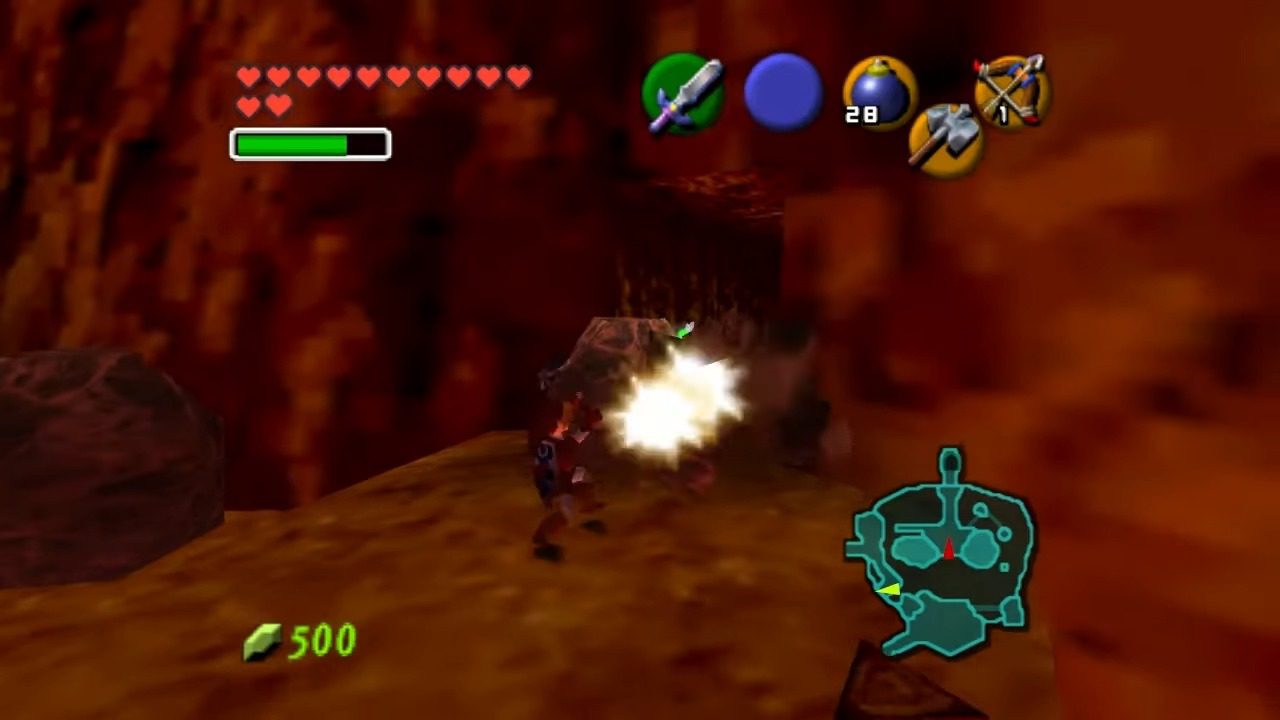
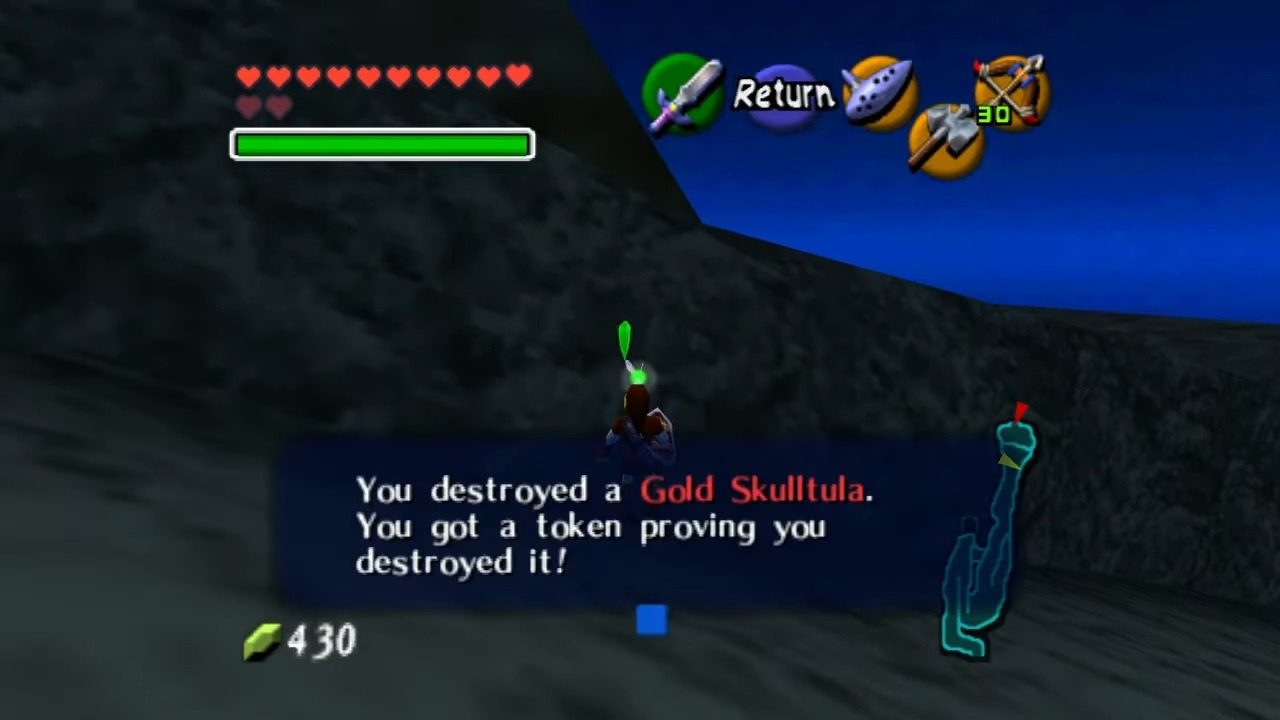
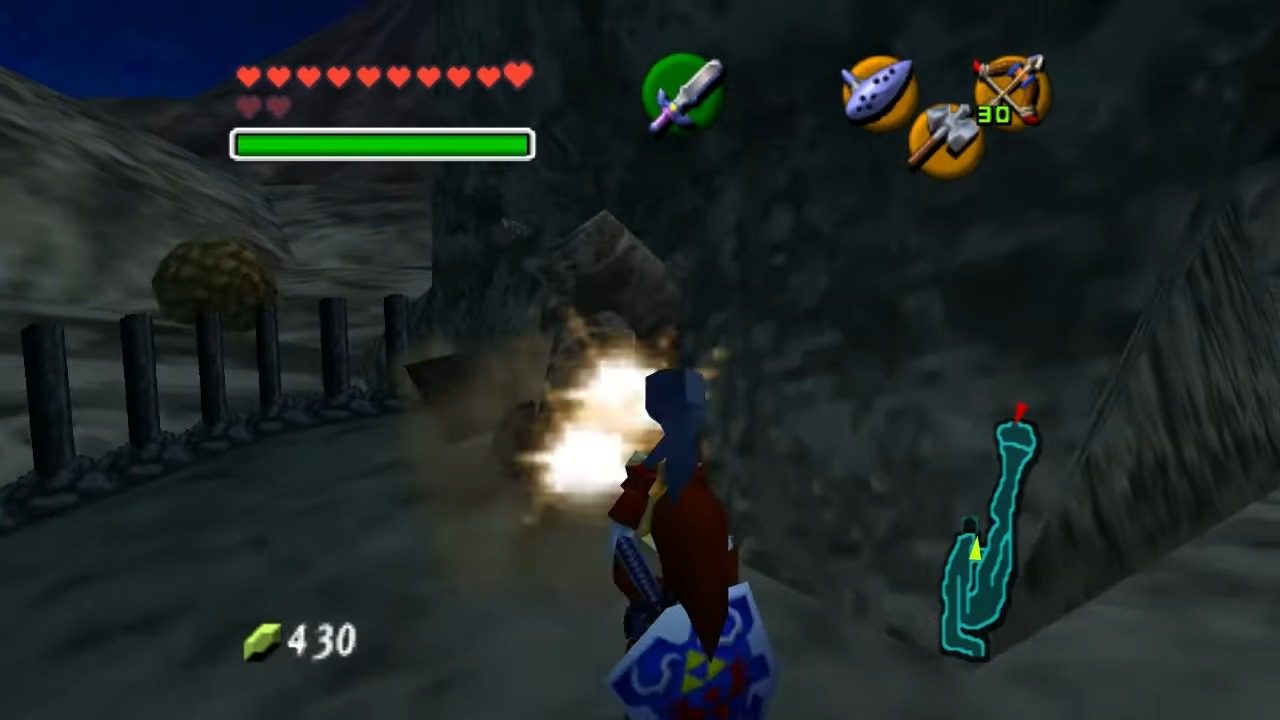
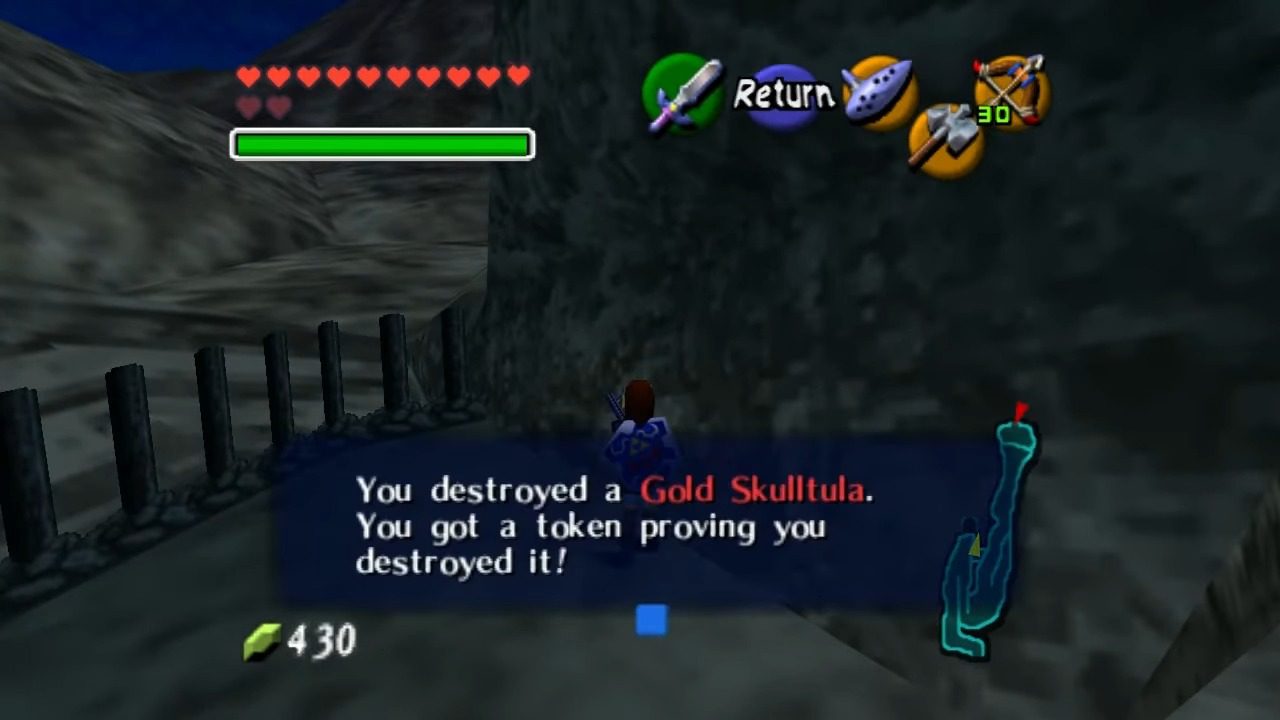
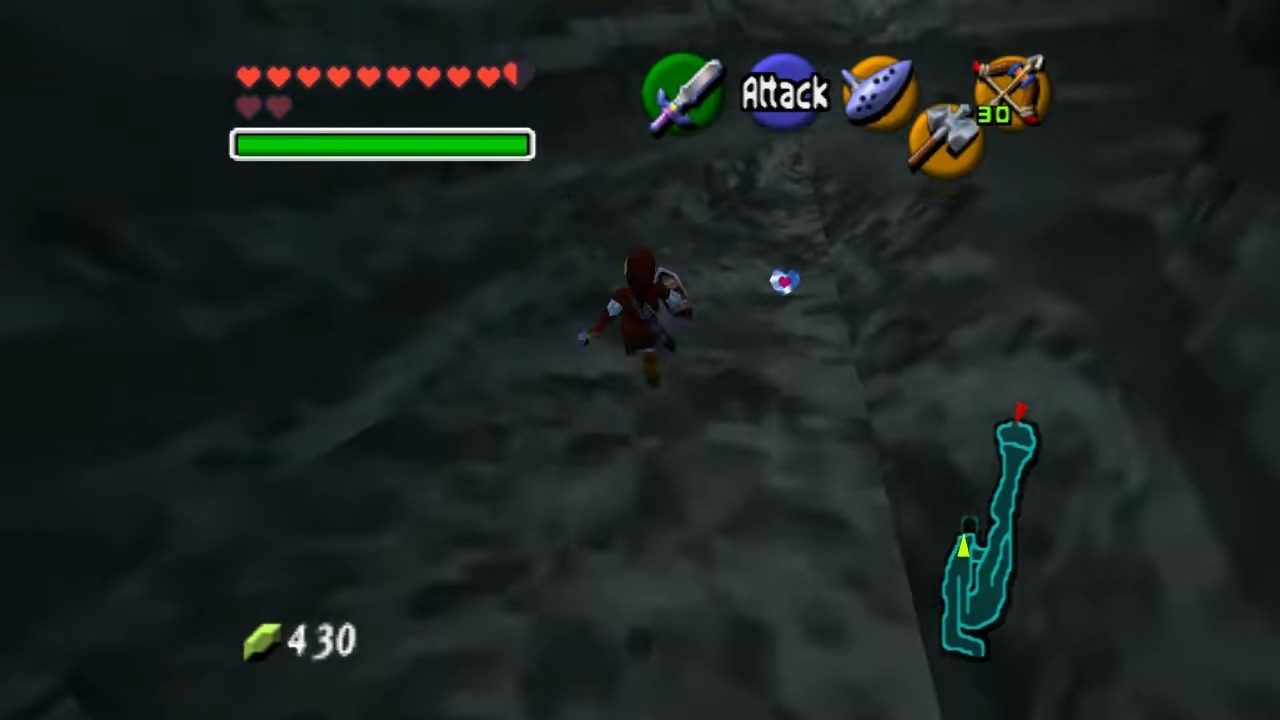
Head to the area above the entrance to Dodongo’s Cavern on Death Mountain Trail. Near the bomb flower used to open Dodongo’s Cavern as a child, you’ll find a large boulder. Use the Megaton Hammer to smash this boulder, revealing a Gold Skulltula.

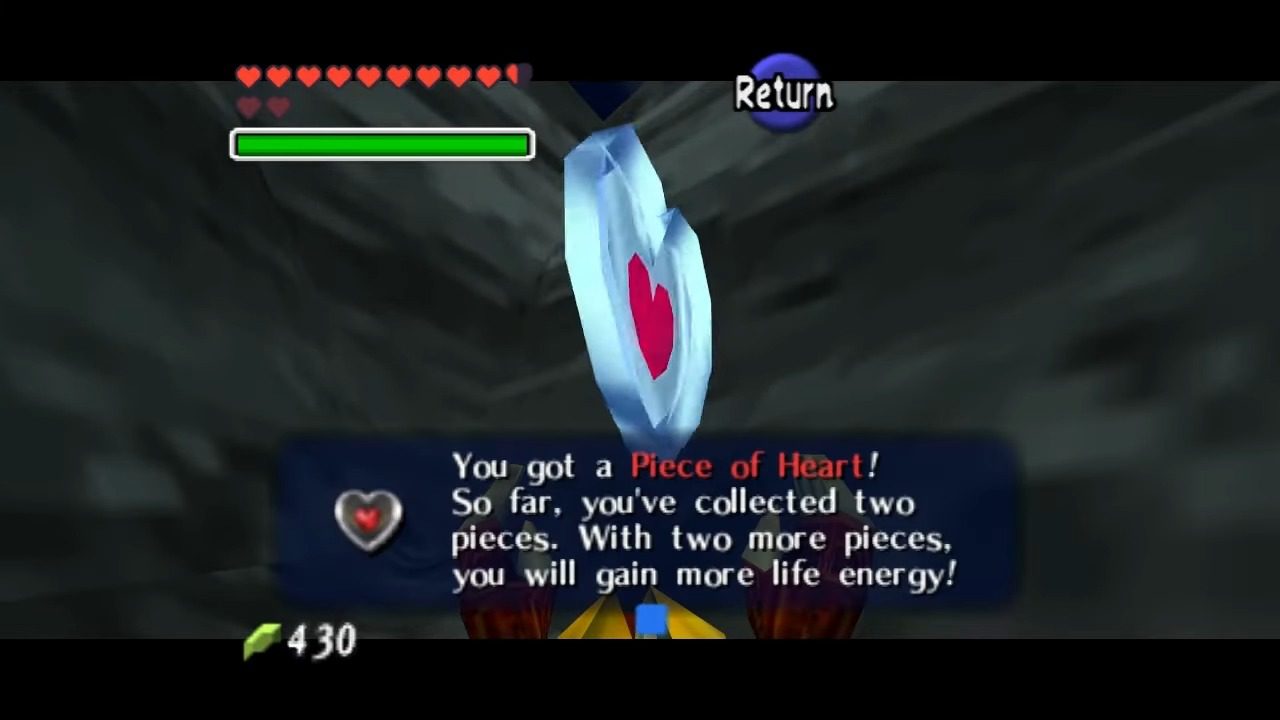
Heart Piece
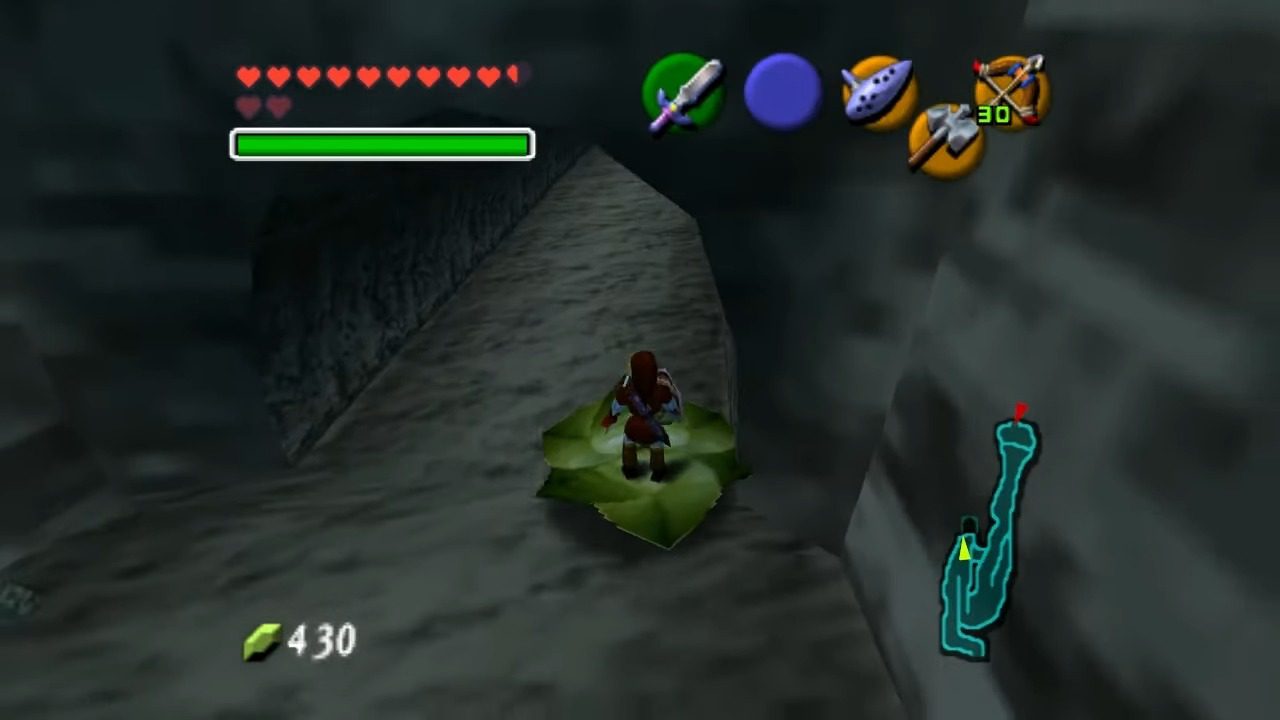
If you’ve been following our guide up until this point, the Magic Bean you planted in the soft soil as a child at Dodongo’s Cavern’s entrance should now be a ridable plant. Ride it up and quickly jump to the ledge above to access the Heart Piece.
Gold Skulltula
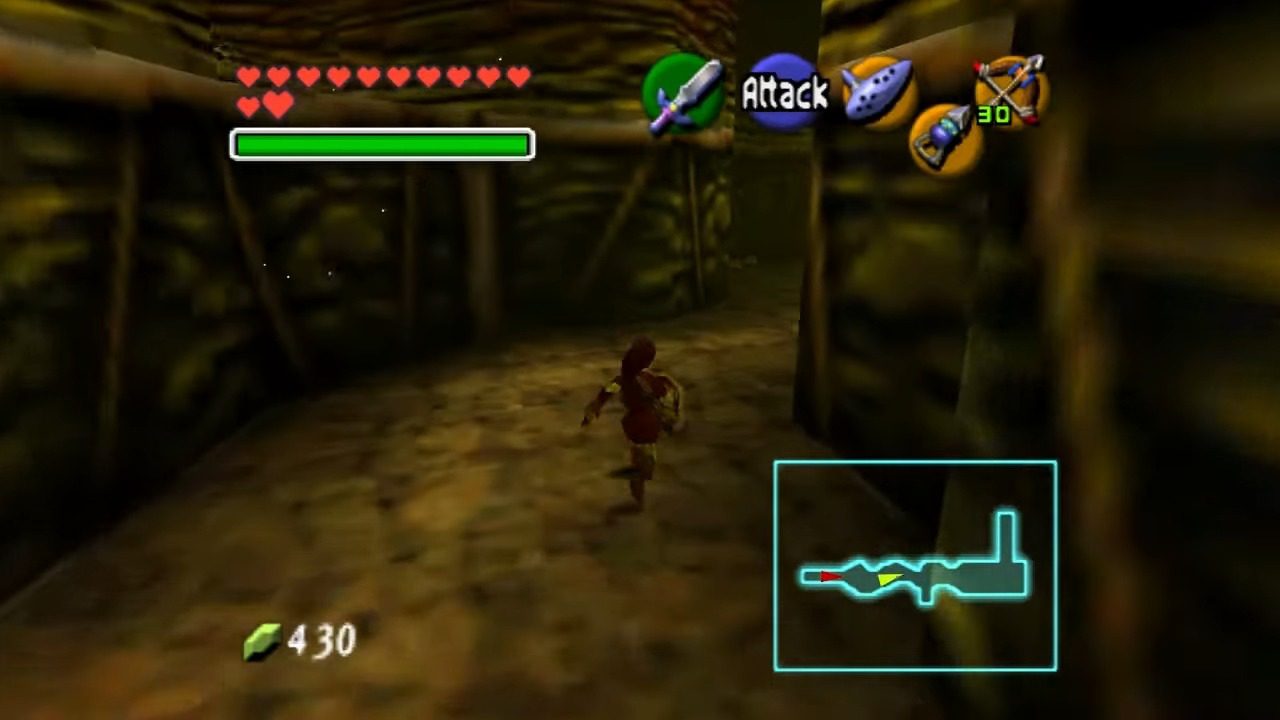
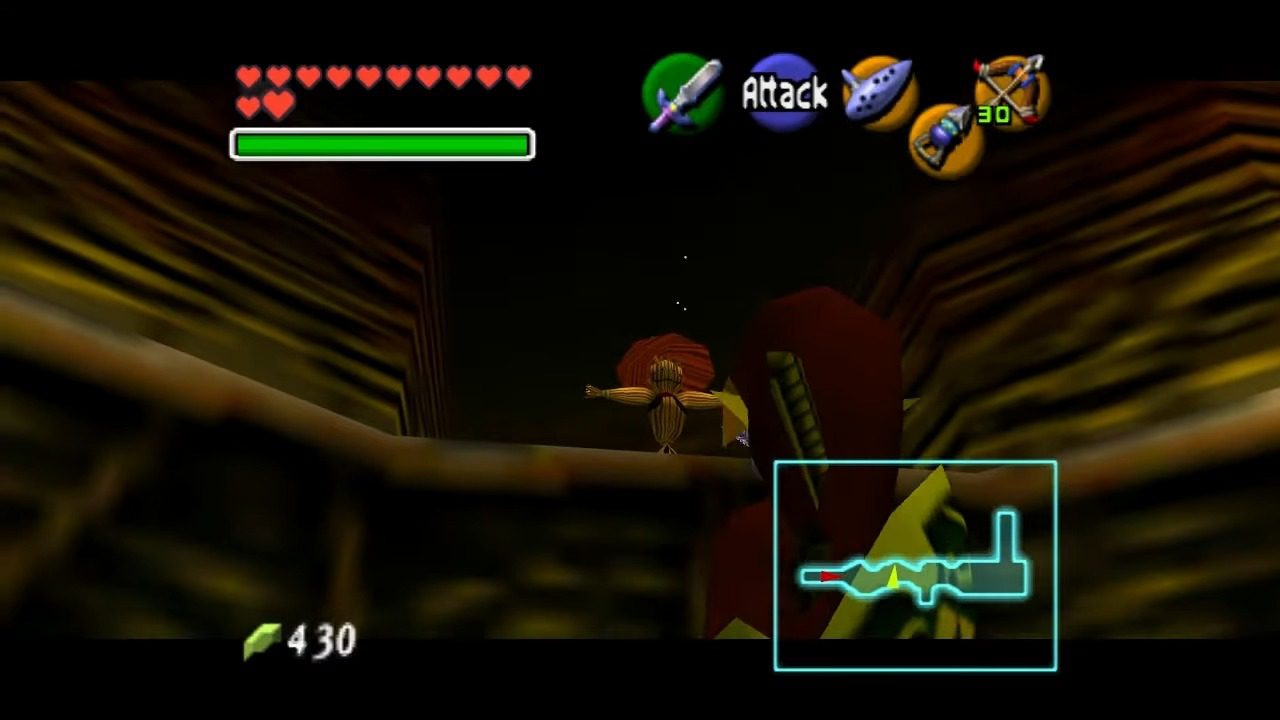
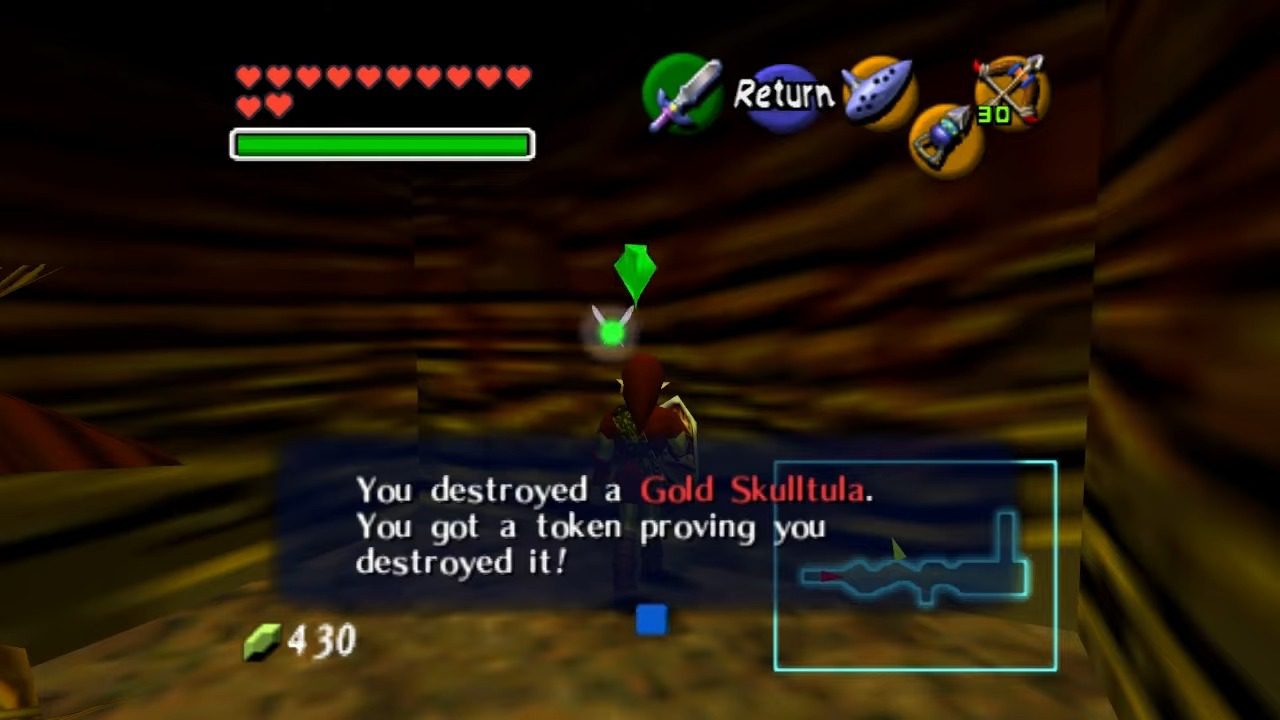
Enter Dodongo’s Cavern. From the main chamber, proceed through the door on the southeast side, leading to the room inhabited by Baby Dodongos. In this room, observe Navi turning green and flying toward a high ledge, indicating a spot where the Scarecrow’s Song can be used. Stand beneath the area where Navi reacts and play the Scarecrow’s Song to summon Pierre. Use the Hookshot to grapple onto Pierre, elevating you to the upper ledge. Once on the ledge, you’ll find the Gold Skulltula; defeat it and collect the token.
Heart Piece
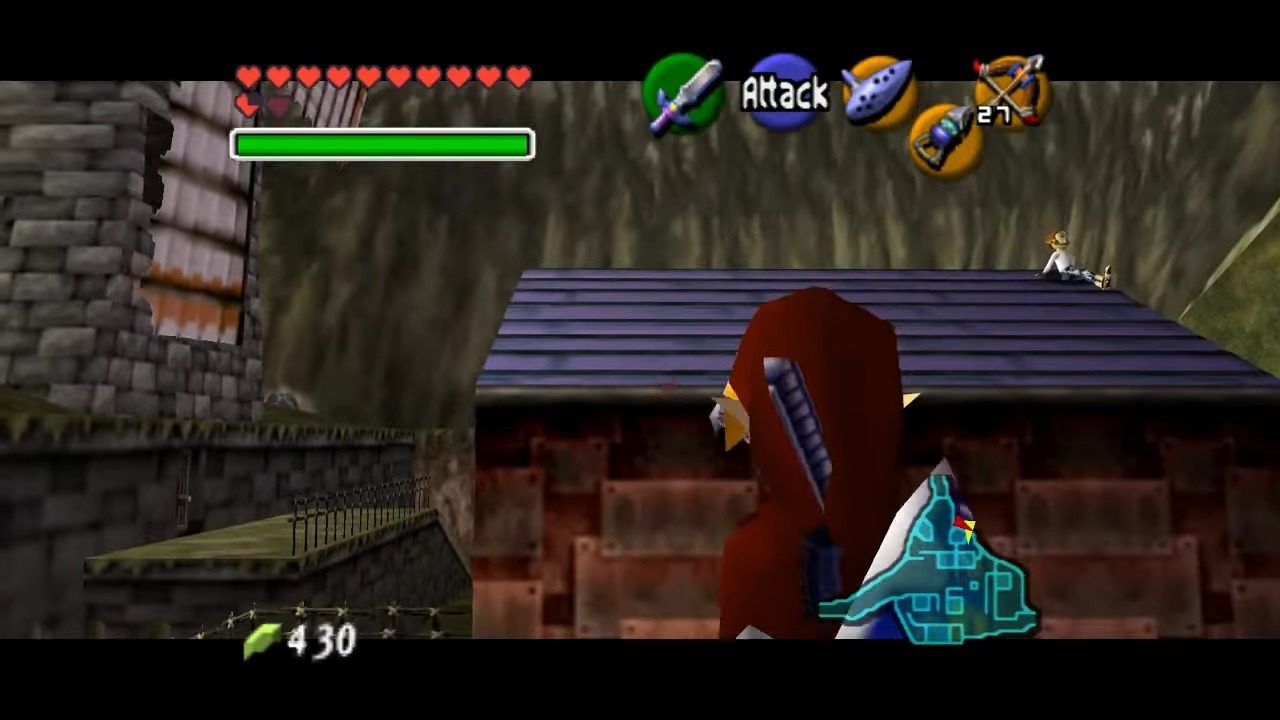
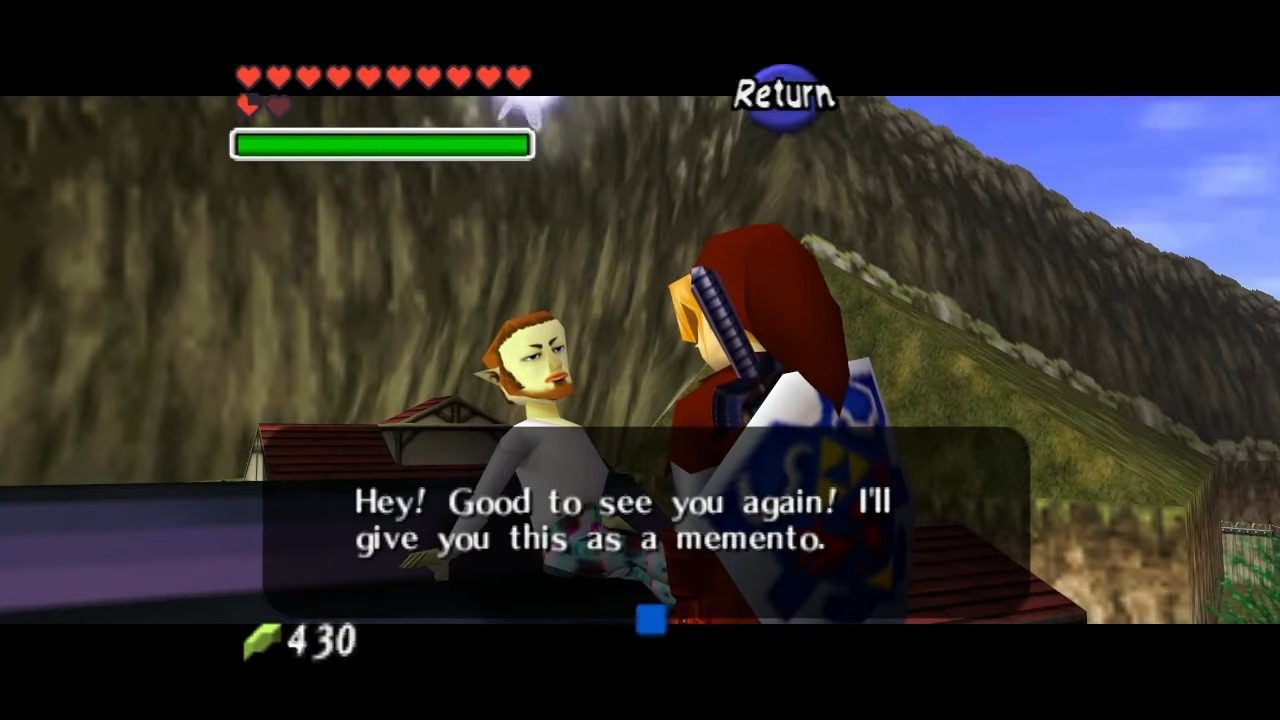
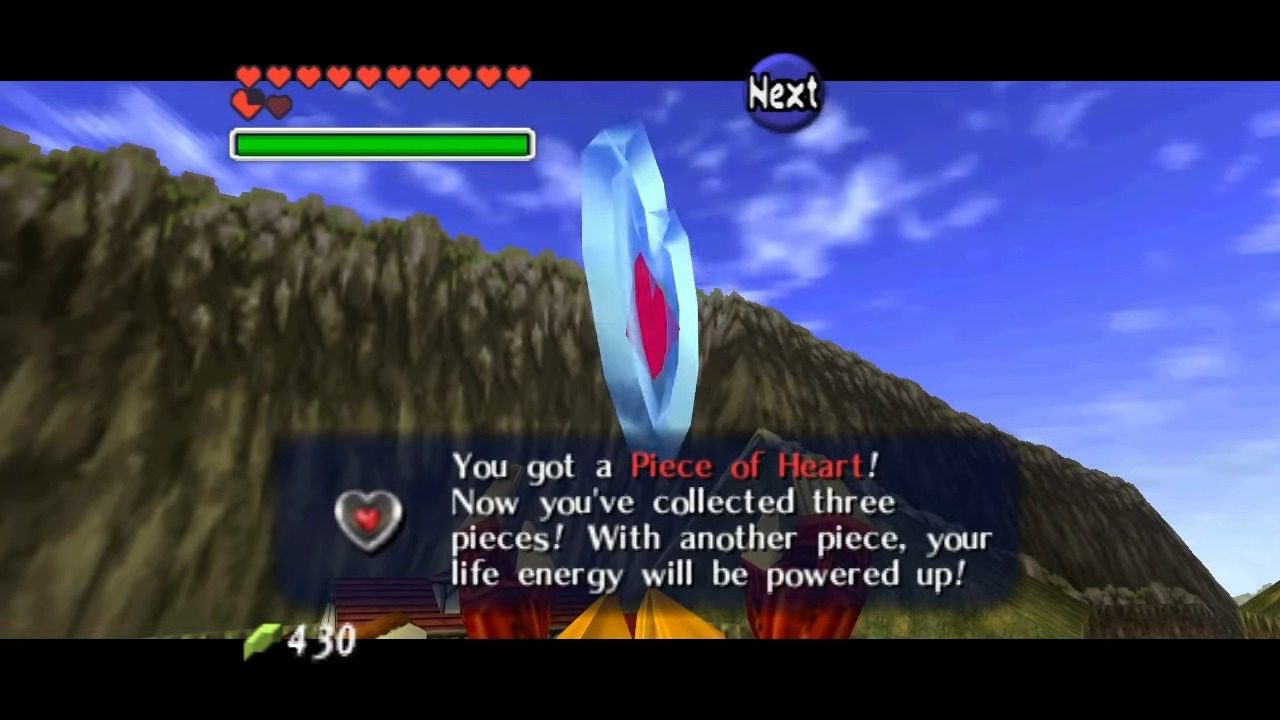
In Kakariko Village, run through the potion shop and out the back. Aim and use the Hookshot to grapple onto the nearby roof where the man is sitting. Once on the roof, speak to the man, and he will reward you with a Piece of Heart.

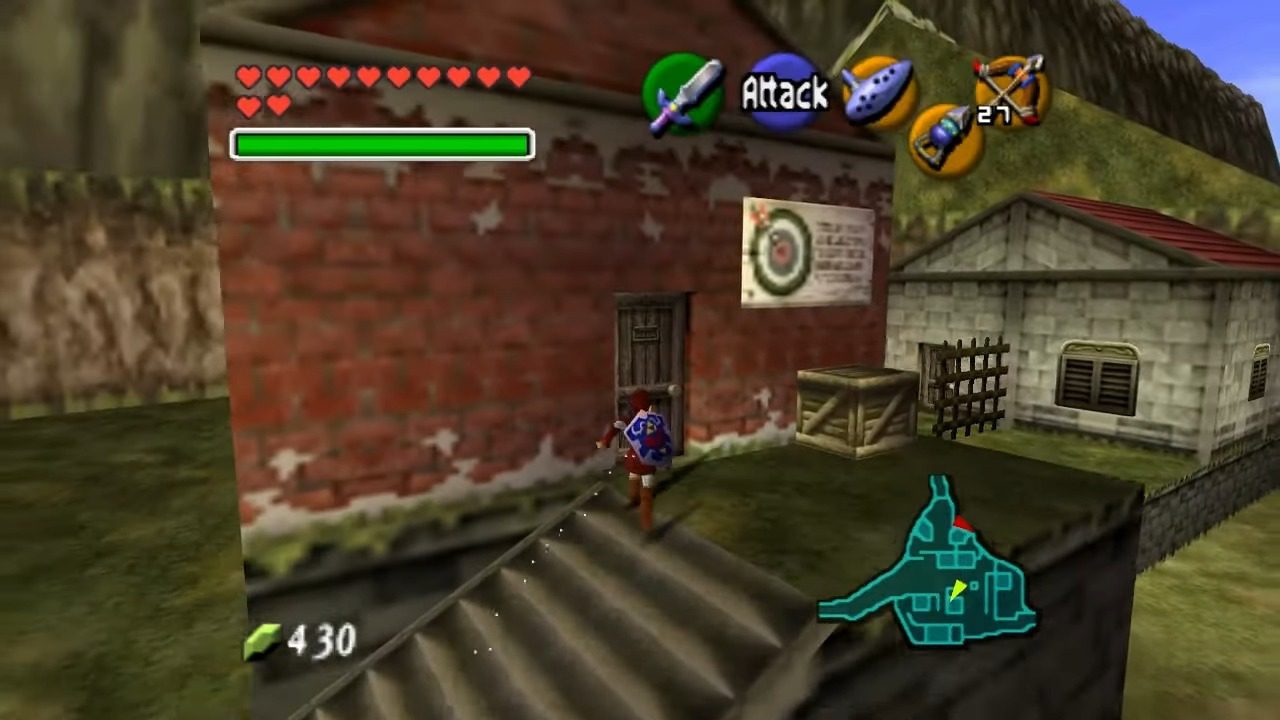
Quiver Upgrade: Kakariko Village Shooting Gallery
The Shooting Gallery is situated in Kakariko Village, inside the building that was under construction during Link’s childhood. After Ganondorf’s takeover, the original proprietor relocated here from Hyrule Castle Town.
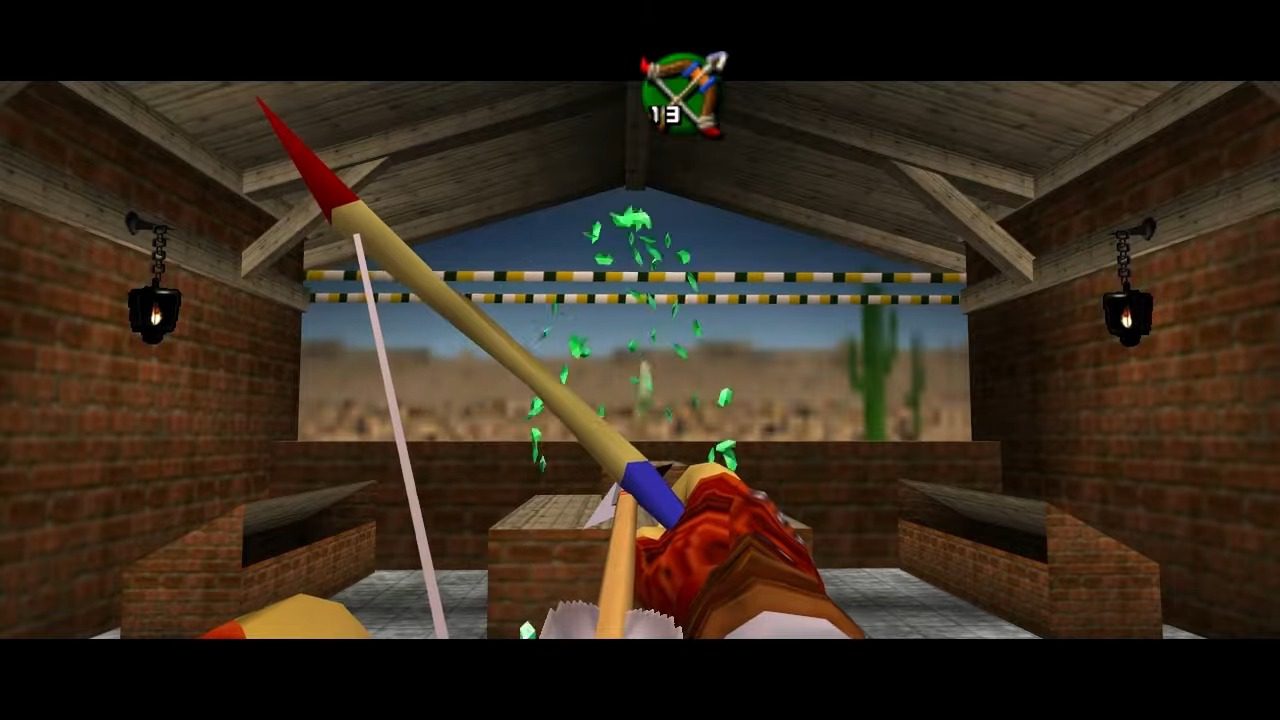
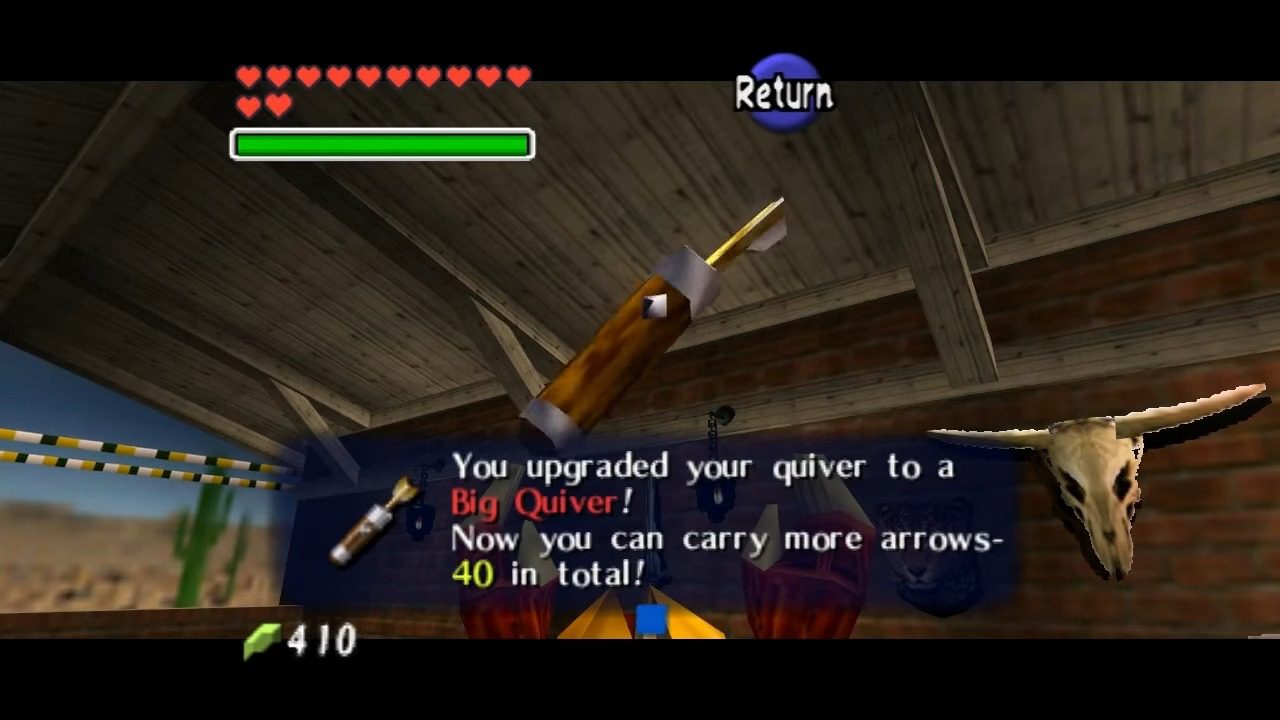
Shoot all ten Rupee-shaped targets using the Fairy Bow. You have fifteen arrows to hit the ten targets. Unlike the fixed sequence in the child version, the adult Shooting Gallery presents targets in random order, requiring quick reflexes and adaptability. A perfect score earns a Quiver upgrade, increasing your arrow capacity.
Heart Piece
If you have been following our guide up to this point and/or have 50 Gold Skulltulas collected, grab your Heart Piece reward from the Gold Skulltula house.

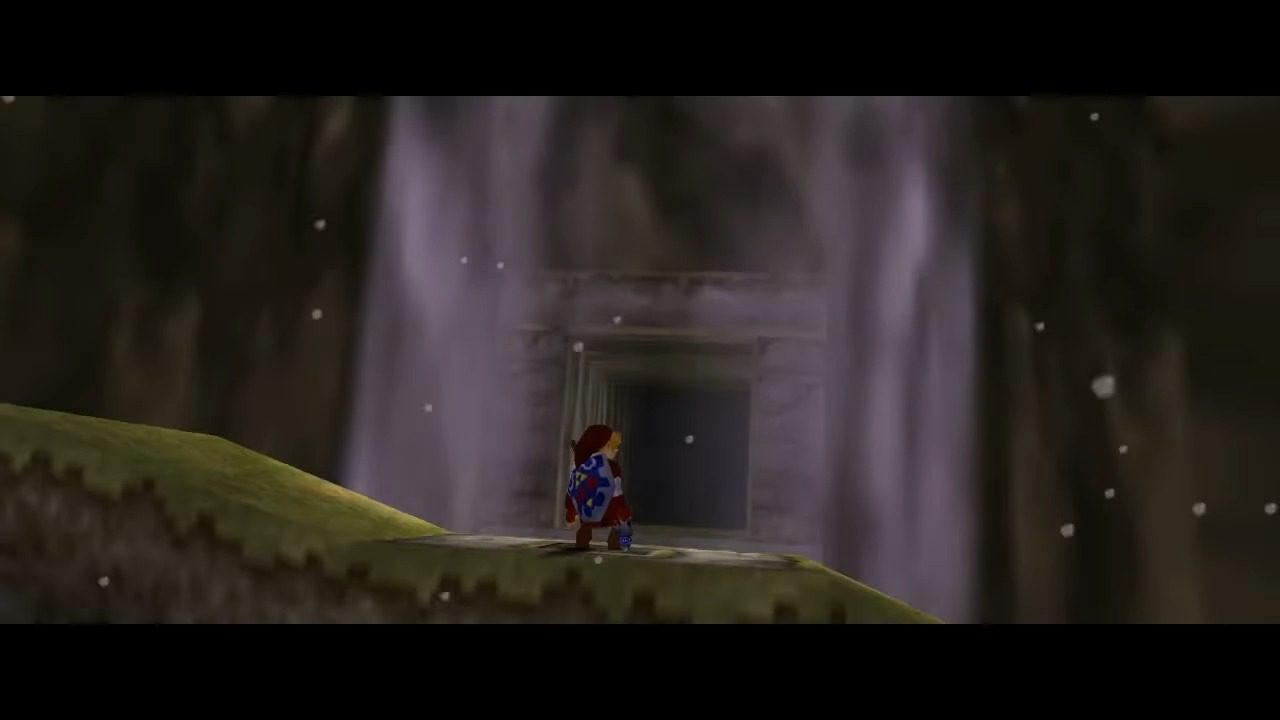
Venturing North: Locating the Ice Cavern in the Frozen Zora’s Domain
If you pay close attention to Navi, your ever-present guide, she’ll likely mention an arctic wind blowing from Zora’s River. This is our next destination.
Gold Skulltula
Approximately midway through Zora’s River, on the valley wall. At night, navigate to the central area of Zora’s River. Look for the Gold Skulltula on the wall. Use the Hookshot to defeat it and retrieve the token.
Gold Skulltula
Proceed along Zora’s River toward Zora’s Domain. Before crossing the wooden bridge, look up at the wall to find the Gold Skulltula. Use the Hookshot to defeat it and claim the token.
You’ll eventually reach the familiar sight of the waterfall that once cascaded into Zora’s Domain. This iconic landmark, now a frozen monolith, is our gateway. Head towards the grating situated right in front of this colossal icefall. This is where your musical talents come into play. Dust off your Ocarina and play the timeless melody of Zelda’s Lullaby. As if by magic (or rather, ancient Zora enchantment), the frozen waterfall will part, creating an opening for you to jump through. It’s a classic Zelda moment, and it marks our official entry into the frozen Zora’s Domain.
Zora’s Domain
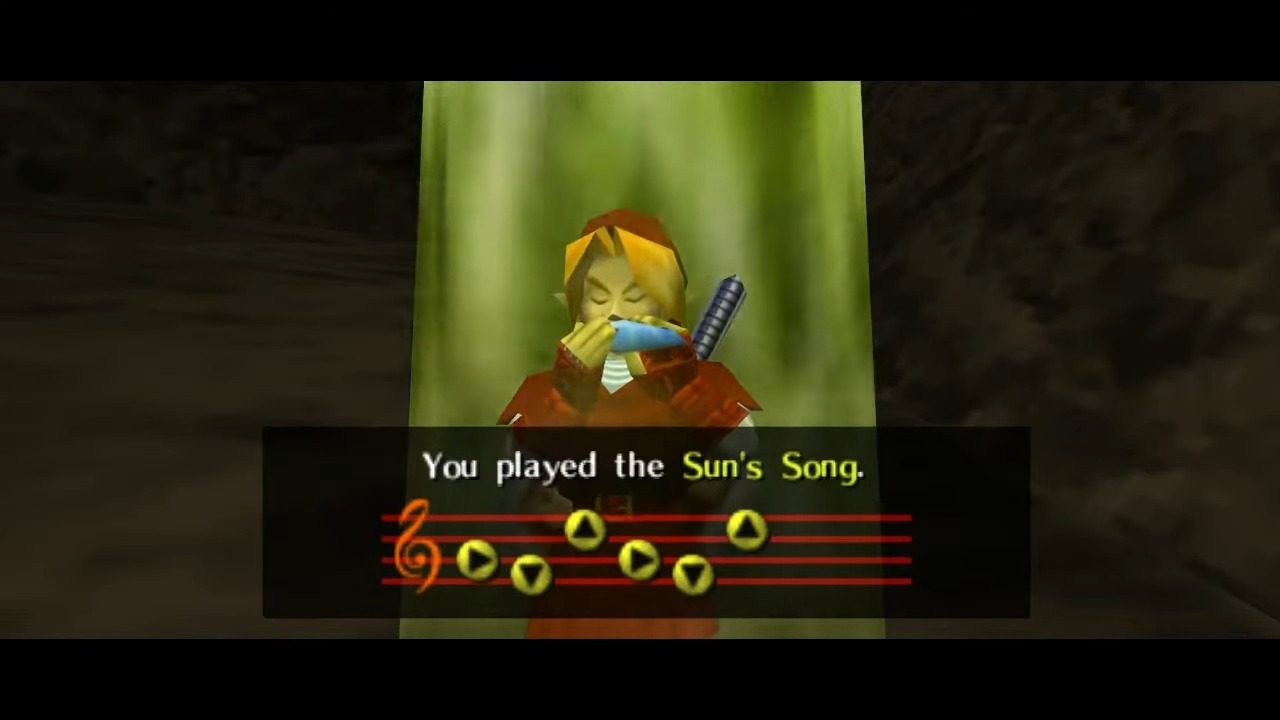
Alright, you’ve successfully navigated the frozen waterfall and are now standing in the icy expanse of Zora’s Domain. Let’s immediately get down to business and snag a Gold Skulltula. This one requires a bit of timing, so make sure it’s nighttime in the game. If the sun is still shining, just play the Sun’s Song on your Ocarina to fast-forward to night.
Gold Skulltula
Now, look way up to the very peak of the frozen waterfall. You should be able to spot a telltale golden glow – that’s our first Skulltula in this area. To claim this token, you’ll need to make your way through King Zora’s chamber.
He’s the big guy frozen solid in a block of red ice – can’t miss him. Take the exit to the left of his icy prison. Follow the path until you reach the edge of the platform that overlooks the vast frozen waterfall. Turn to your left, equip your trusty Hookshot, aim carefully at the Gold Skulltula, and thwack! The Gold Skulltula is yours for the taking.
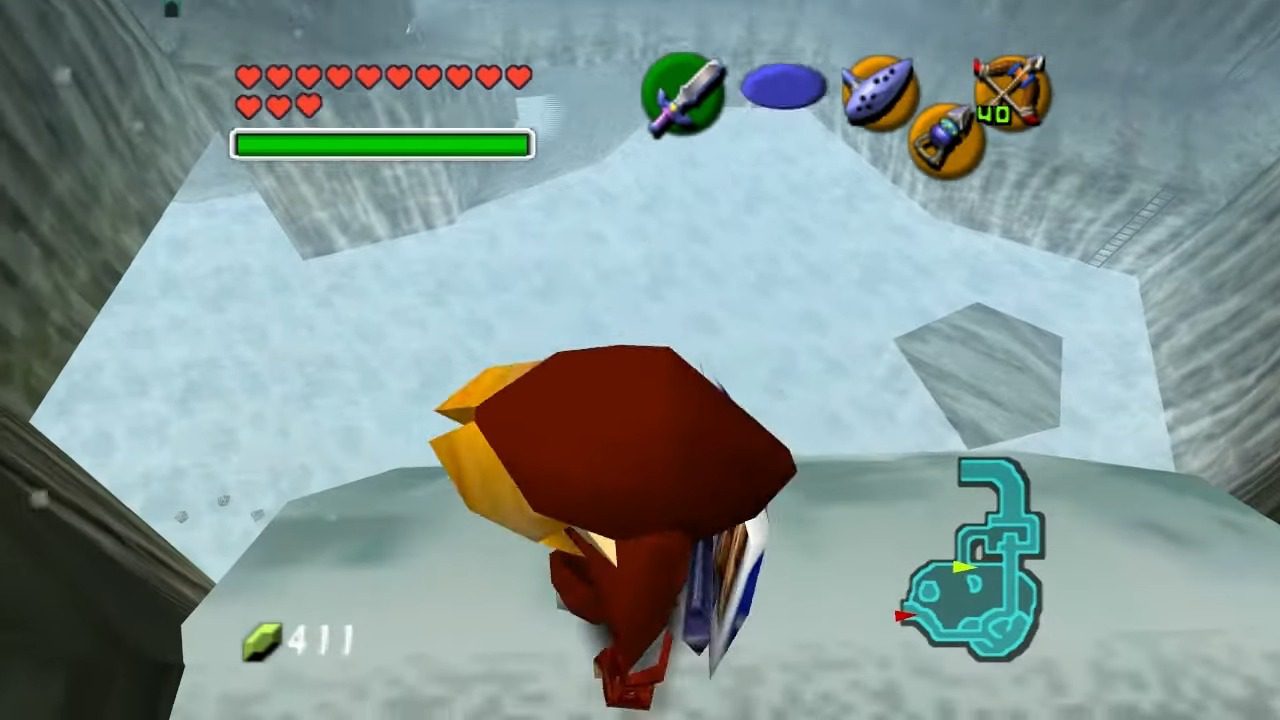
Alright, with our Skulltula hunt in the Zora region mostly wrapped up, let’s focus on our main objective: reaching the Ice Cavern. From the main area of Zora’s Domain, where King Zora is encased in his icy tomb, head through his chamber and out to Zora’s Fountain. You’ll immediately notice the change – the once vibrant fountain is now a frozen landscape, with ice formations replacing the water.
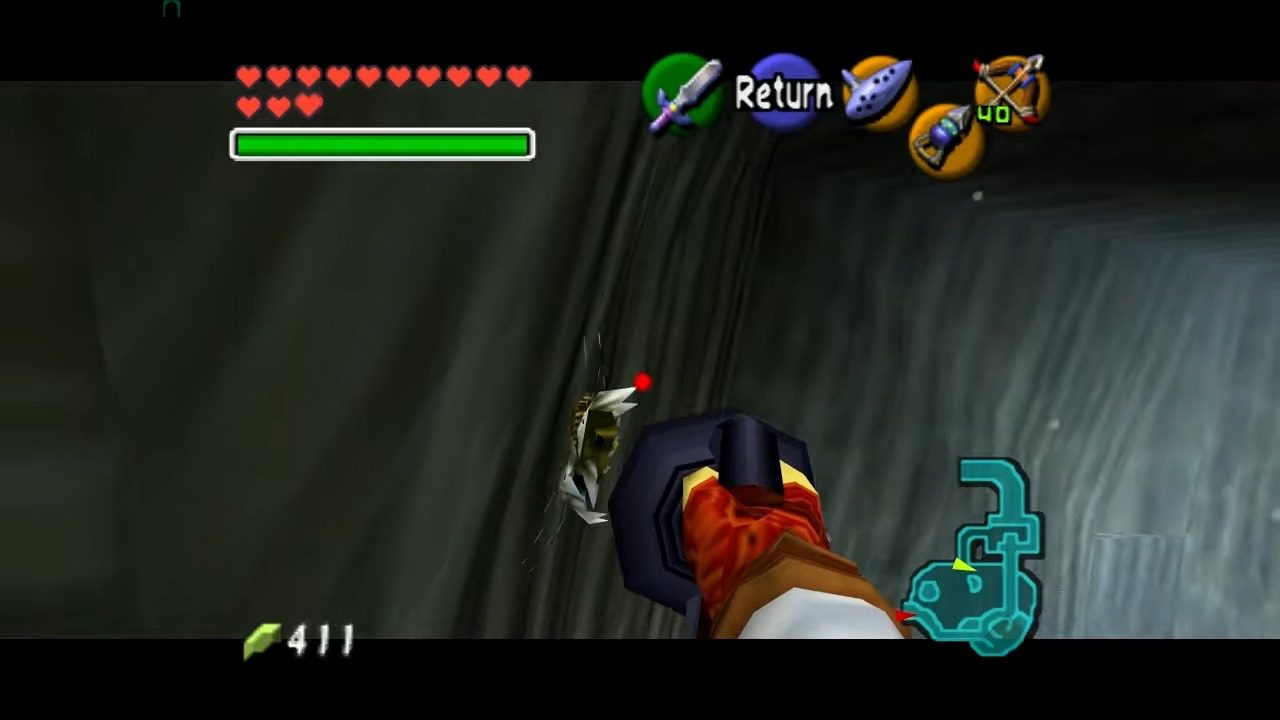
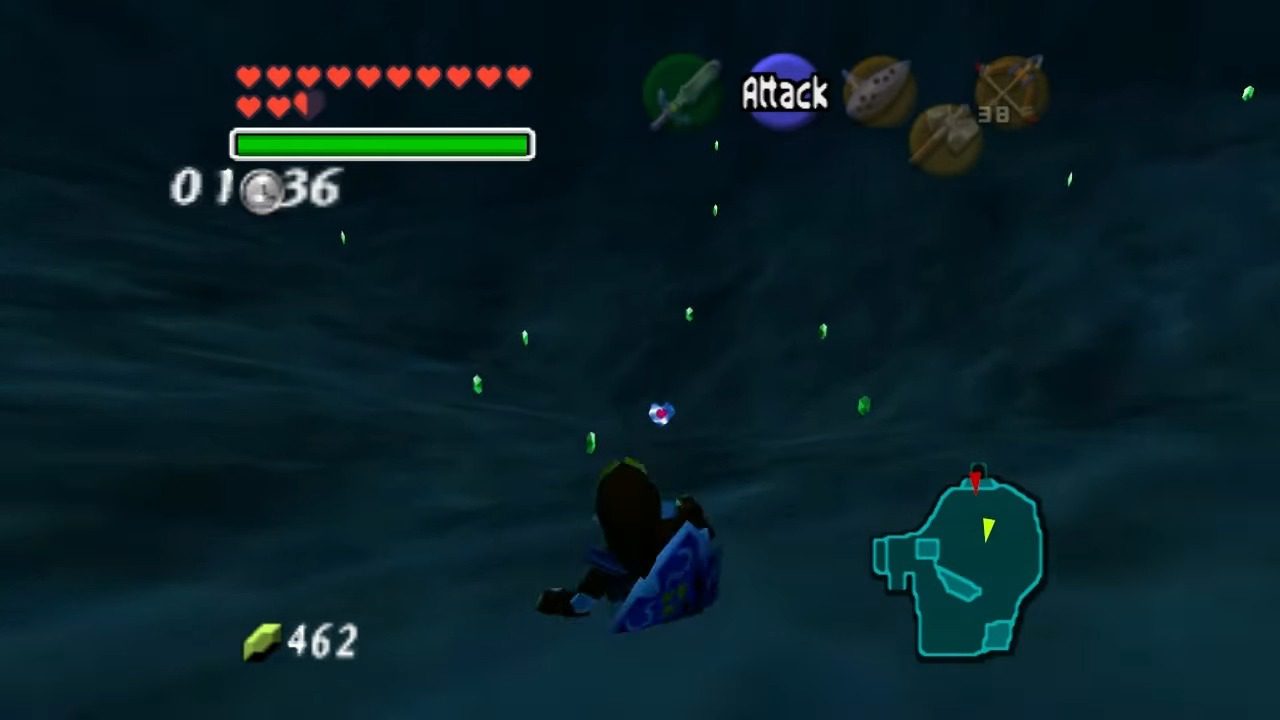
Our path forward involves navigating this frozen fountain. Step onto the altar where the magnificent Jabu-Jabu once resided. From there, you’ll need to jump onto the series of floating icebergs that now dot the area. These platforms are your stepping stones to the other side. As you hop across the ice, be mindful of the Octoroks that inhabit this frozen space.
They’ll still try to take potshots at you, but thankfully, their attacks are easily avoided as long as you keep moving. No need to waste time fighting them; our goal is to reach the Ice Cavern, so let’s keep our momentum going.
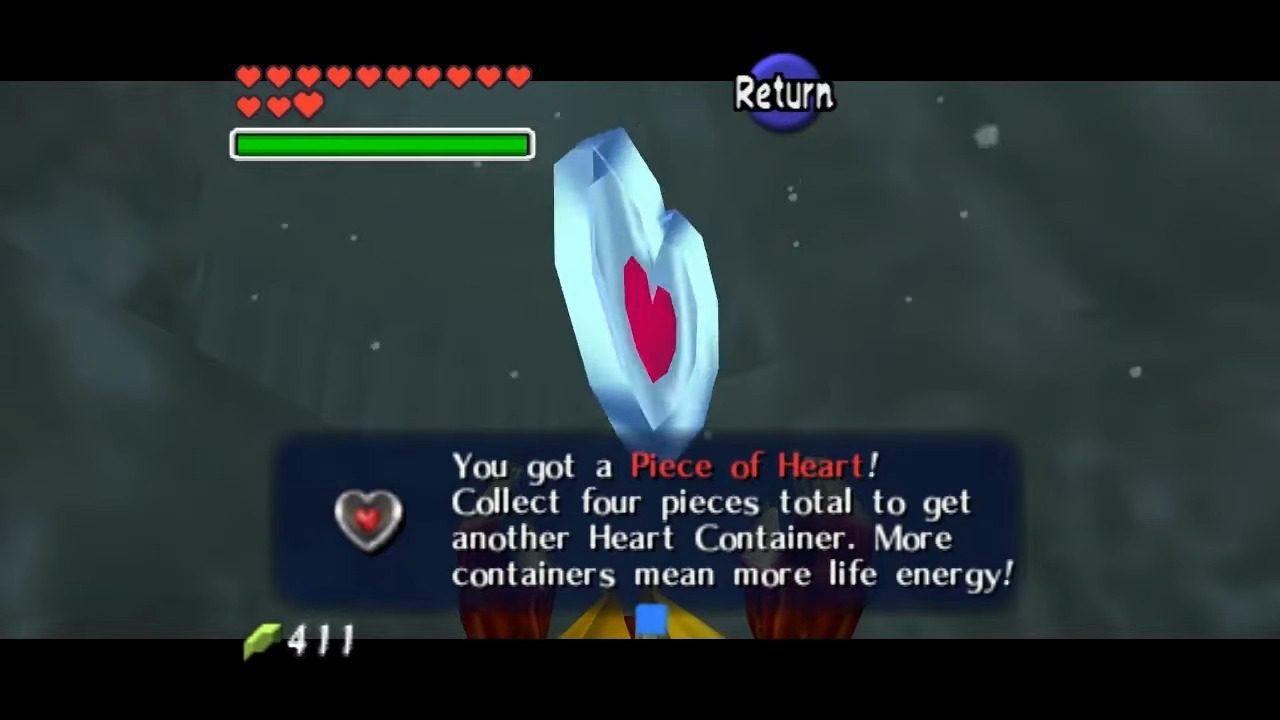
Heart Piece
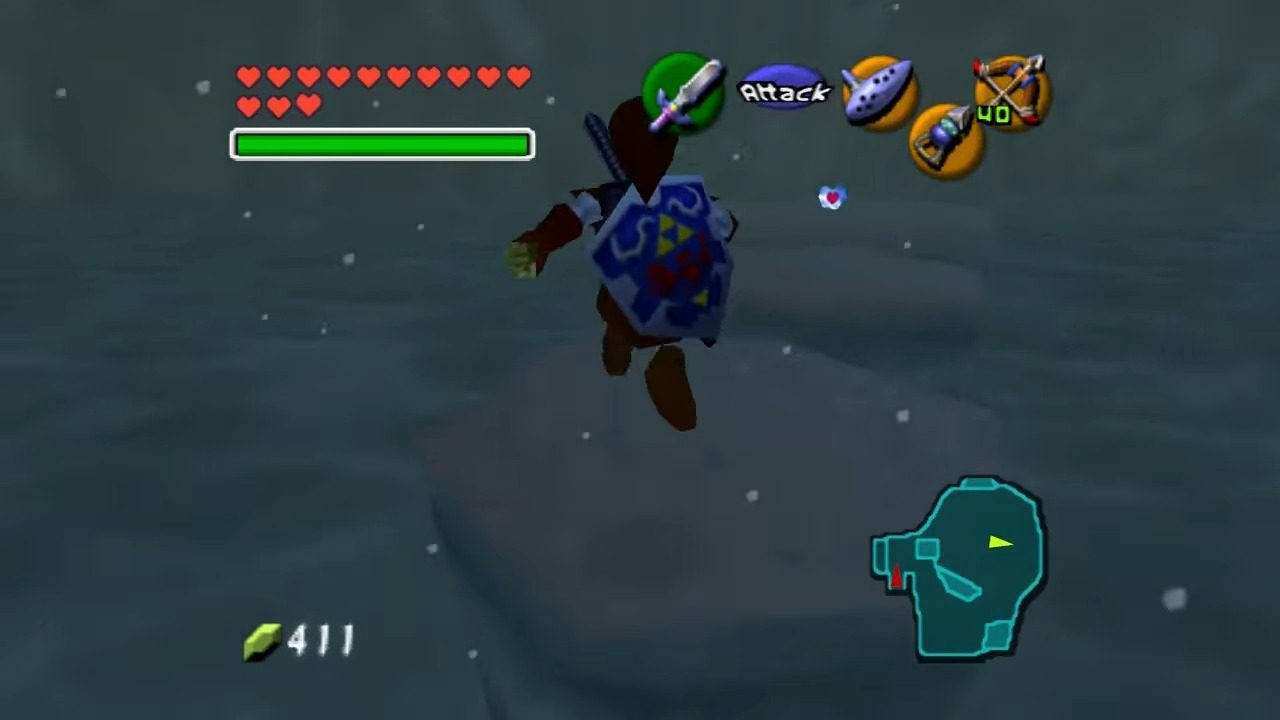
While you’re carefully making your way across the icy platforms, keep an eye out to your right. You should spot a Heart Piece sitting enticingly on a lone iceberg. This one requires a bit of finesse. You’ll need to wait for the smaller ice platforms to spin around and get close enough for you to make a jump. Be precise, as the ice is quite slippery!
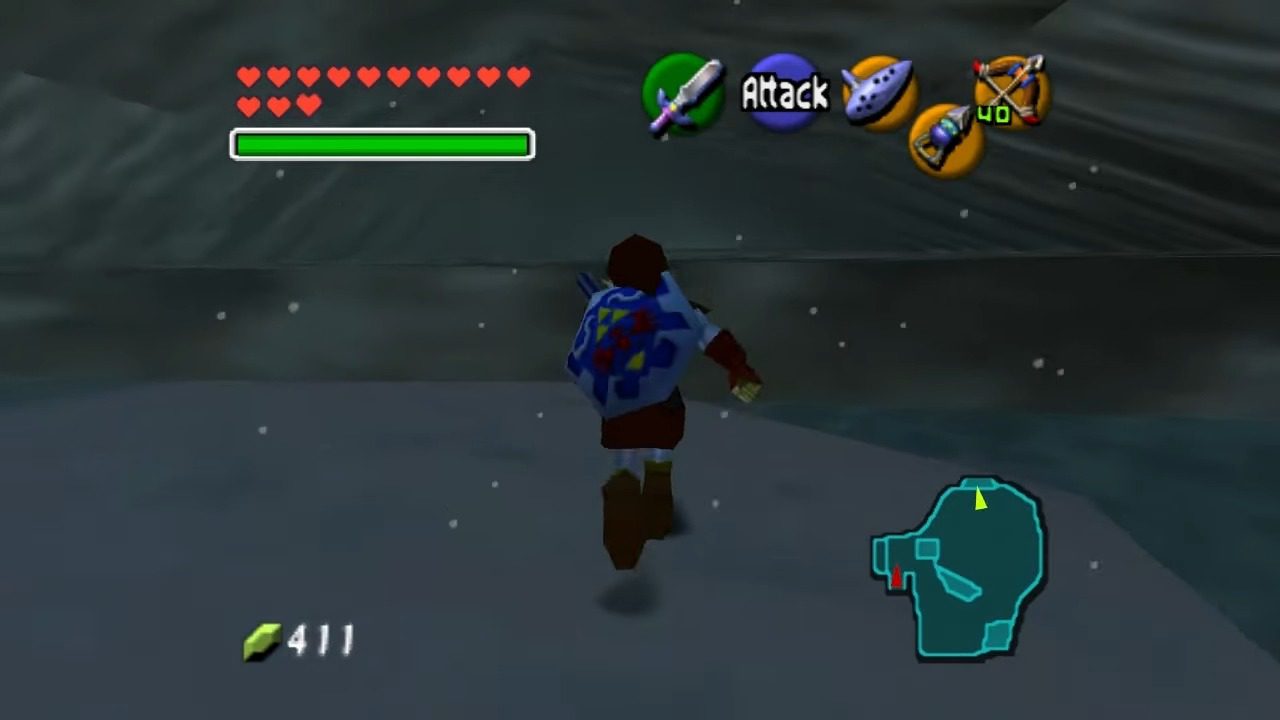
Continue your icy traverse. You’ll encounter three spinning platforms in a row. The trick here is to maintain a steady pace and jump across them without hesitation. If you linger too long, the spinning might throw you off. The final platform after these spinning ones will be stationary. From this stable platform, get a good running start and leap towards the cavern entrance, which you should now be able to see on the opposite side. Grab onto the ledge and pull yourself up. Congratulations, you’ve successfully reached the entrance to the Ice Cavern!
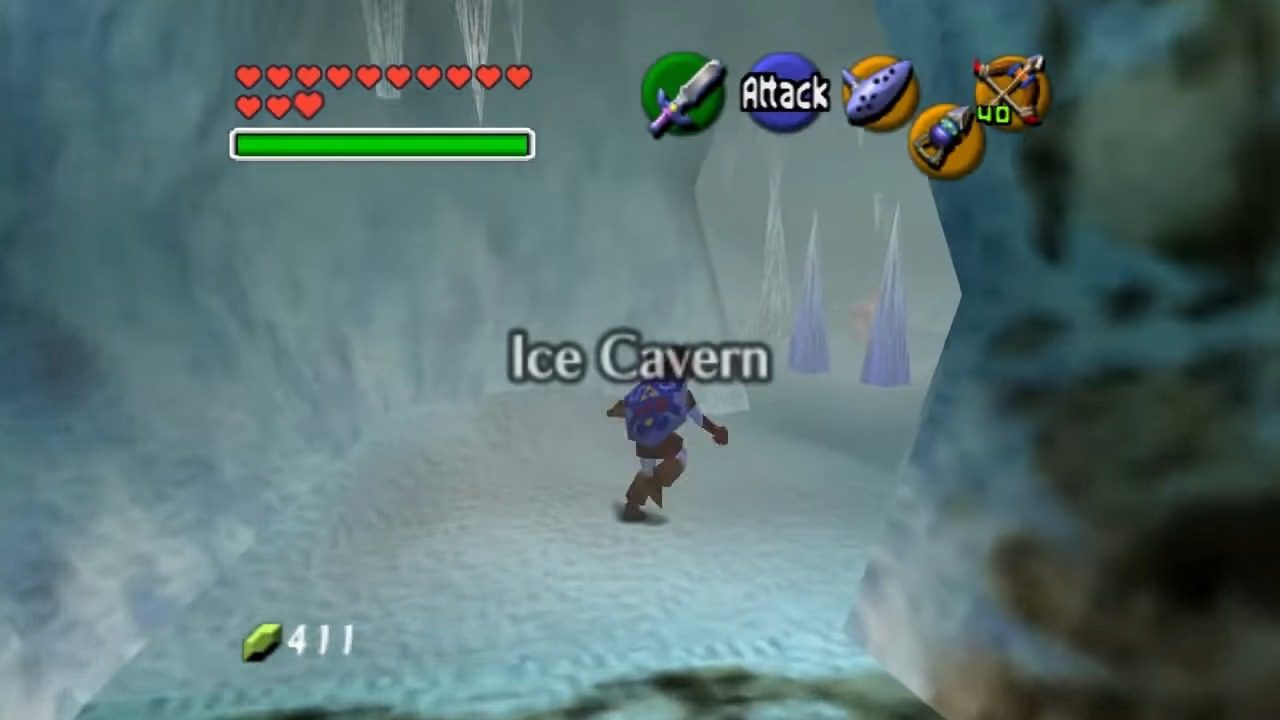
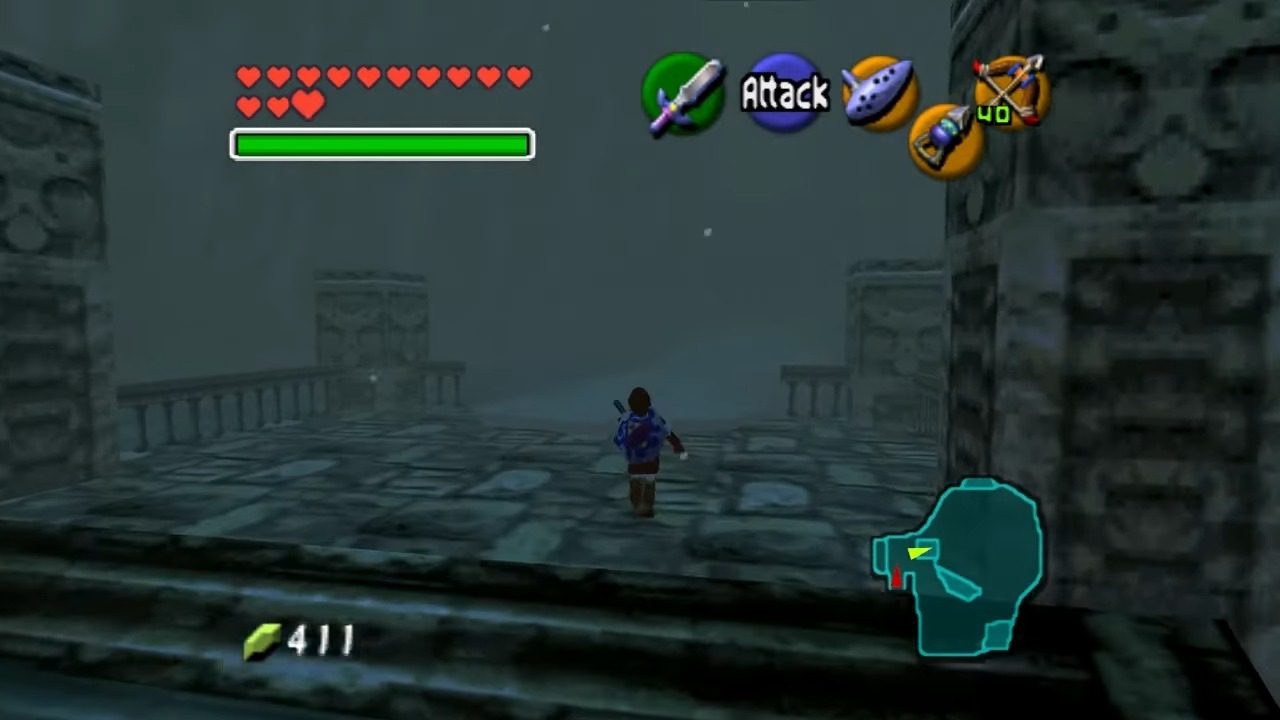
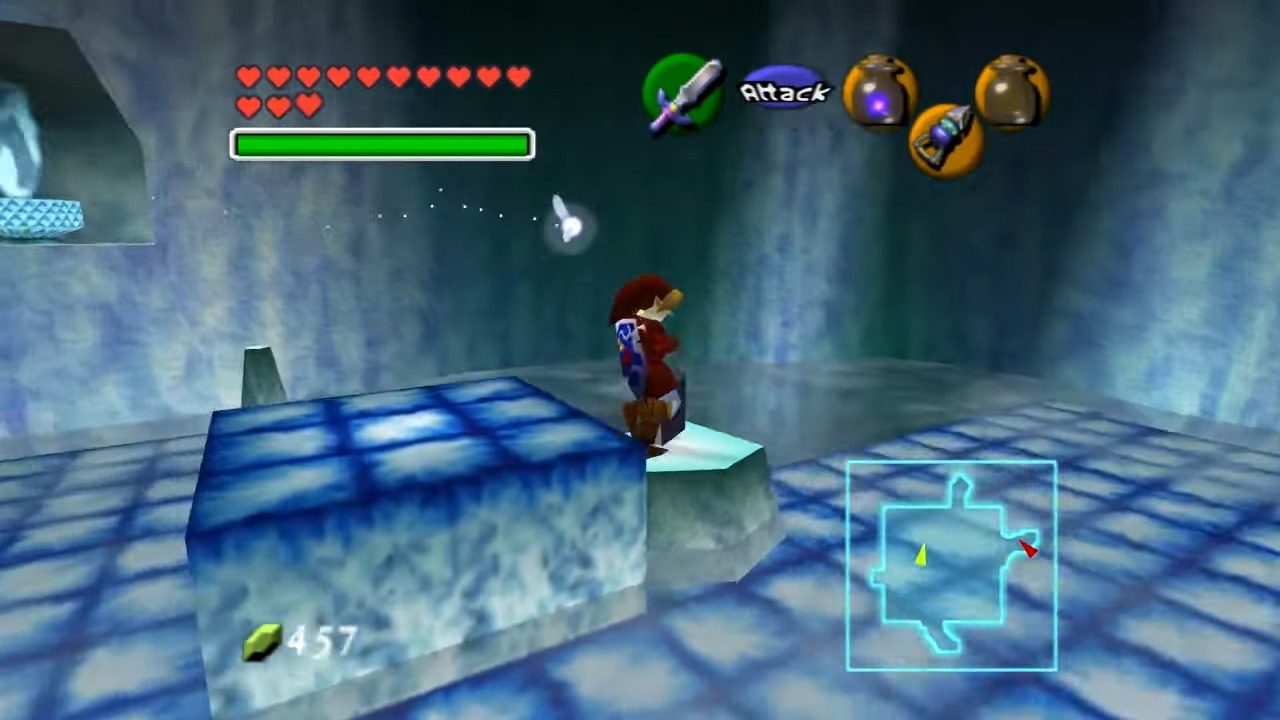
Chilling Adventures: Ice Cavern Exploration
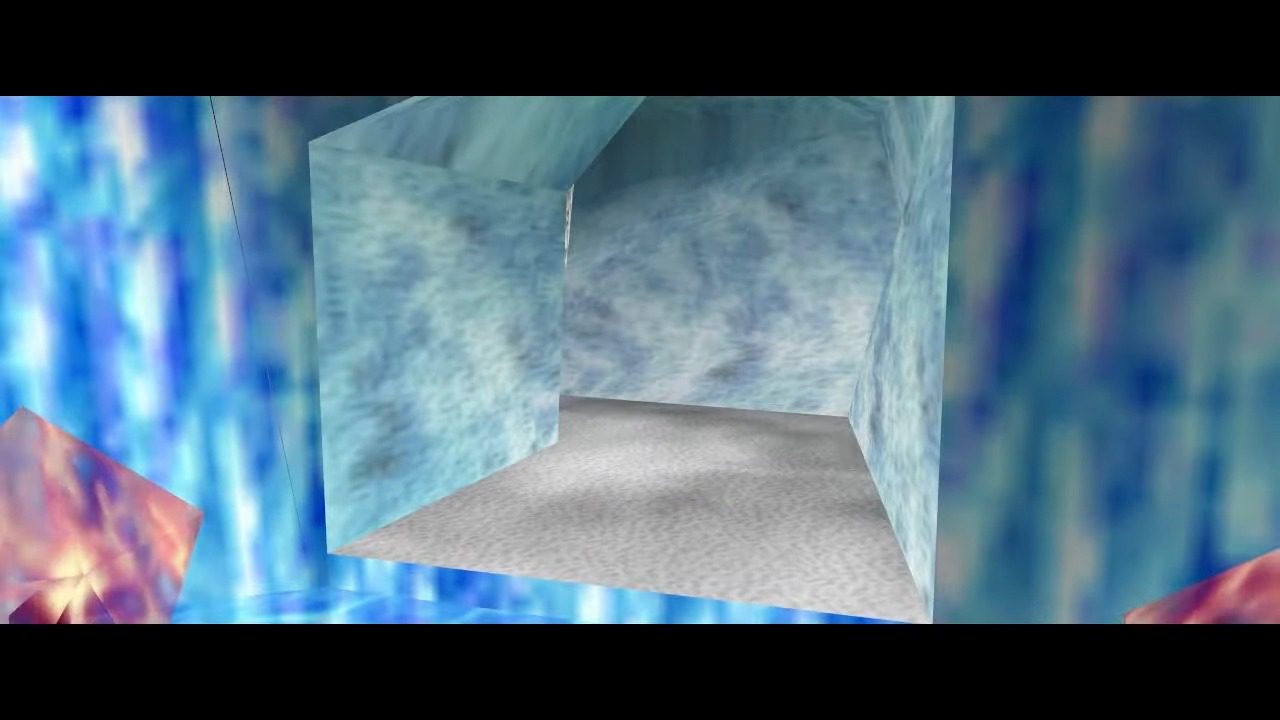
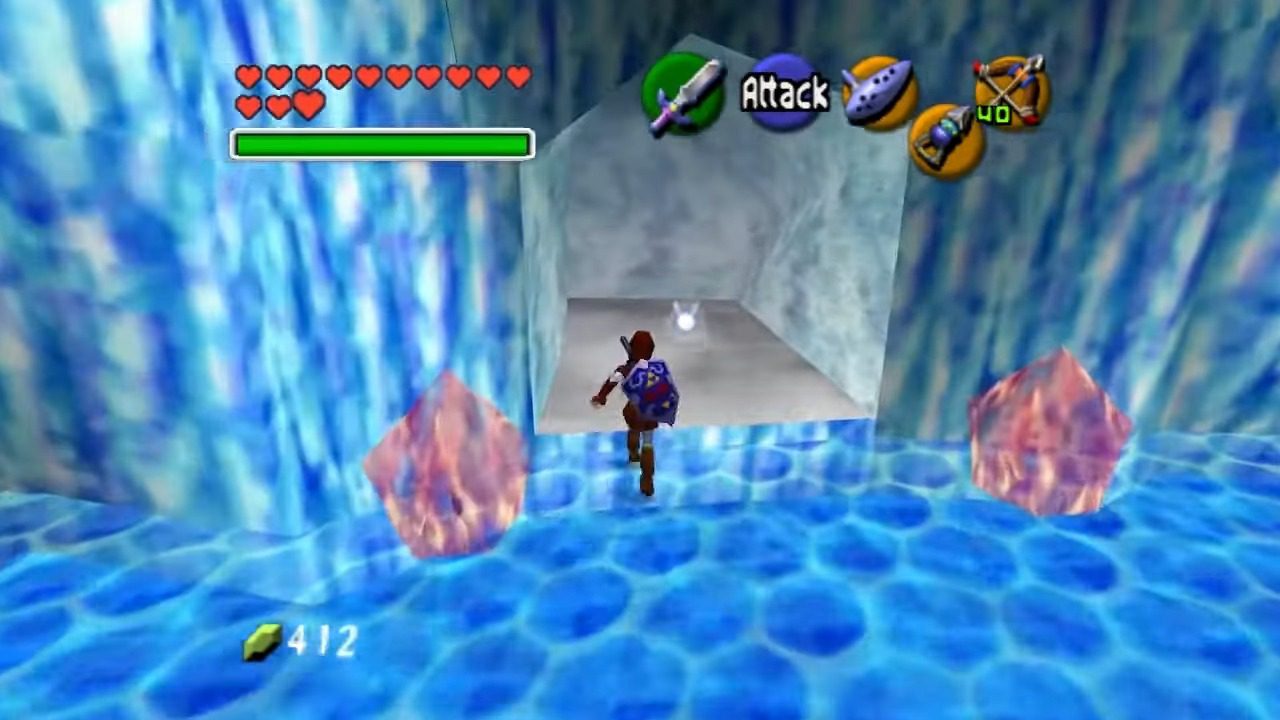
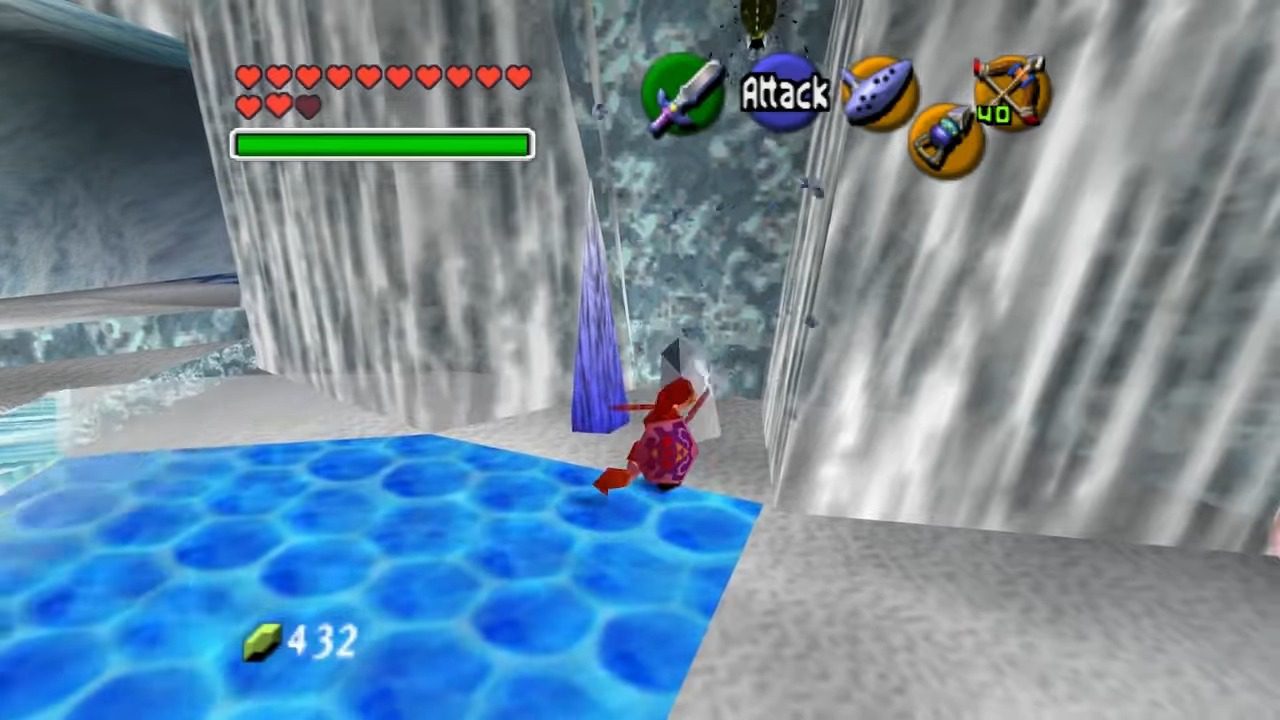
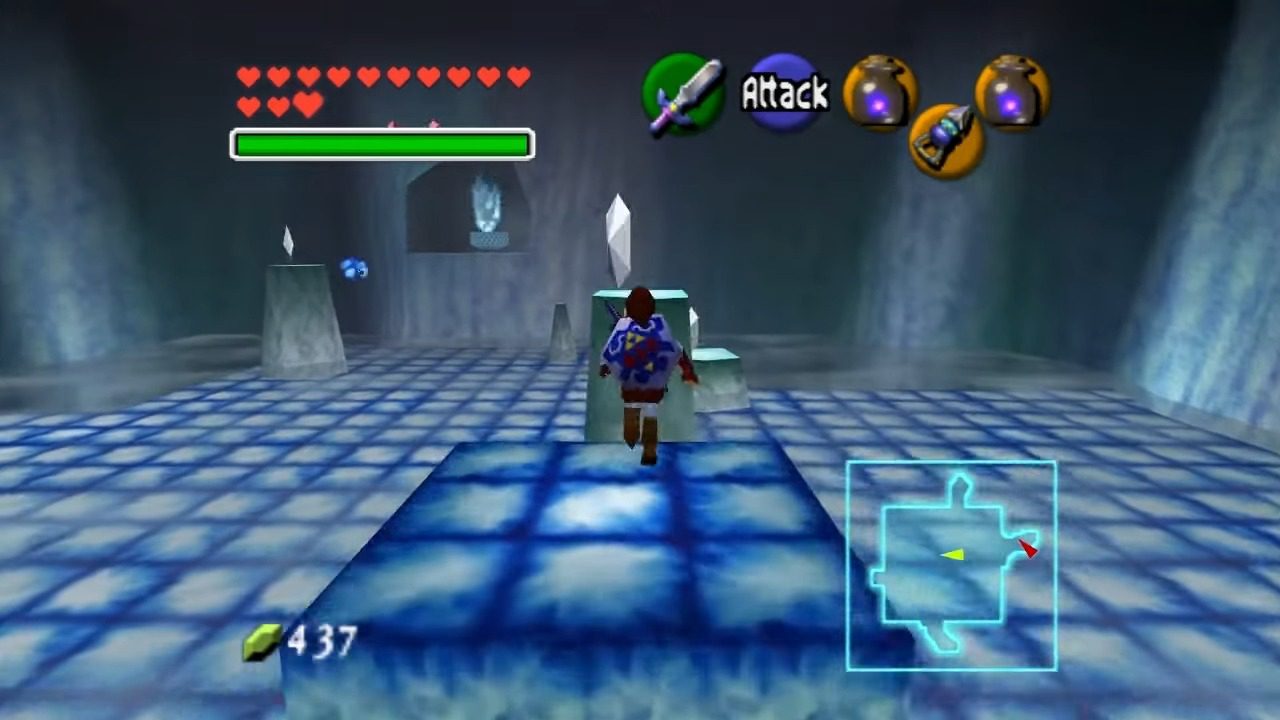
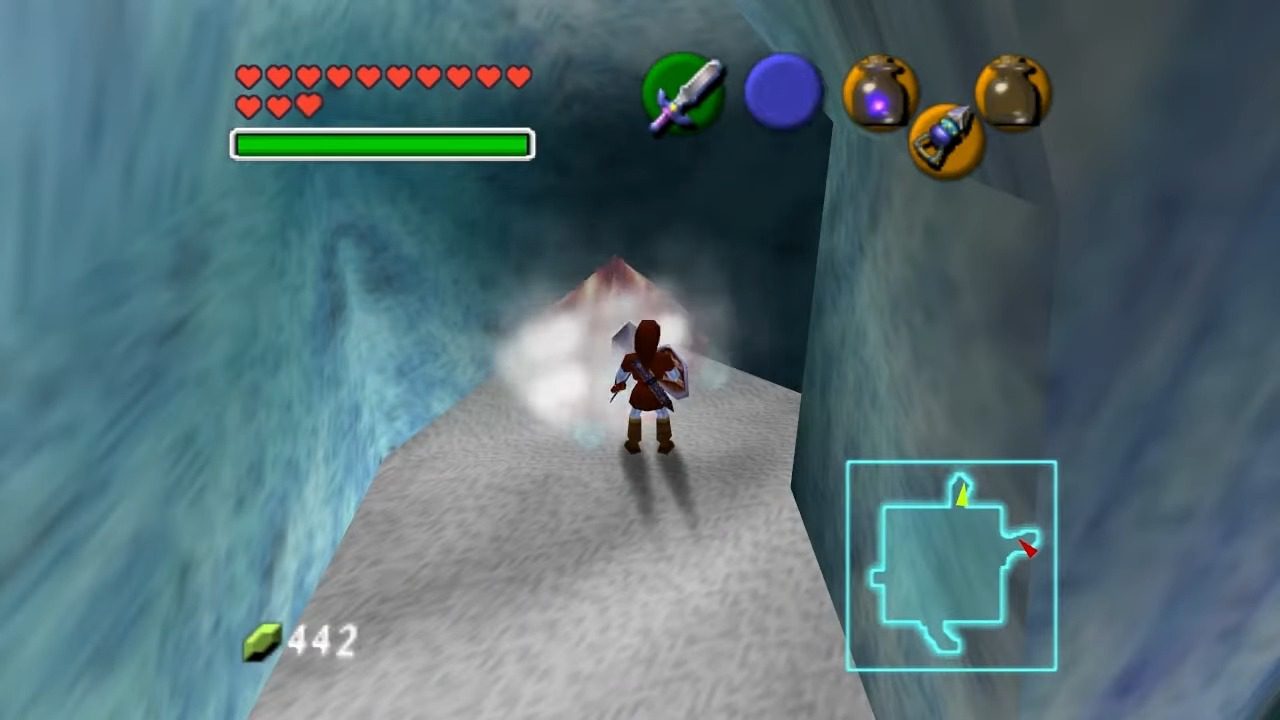
Step inside the Ice Cavern, and you’ll immediately be greeted by a chilly atmosphere. The first area is a narrow, icy hallway. Your path will be obstructed by sharp stalagmites, so go ahead and slash them with your sword to clear the way. As you proceed, keep your ears peeled for any “icy noises.” This sound is your warning that a stalactite is about to fall from the ceiling, so keep moving to avoid an unexpected bonk on the head.
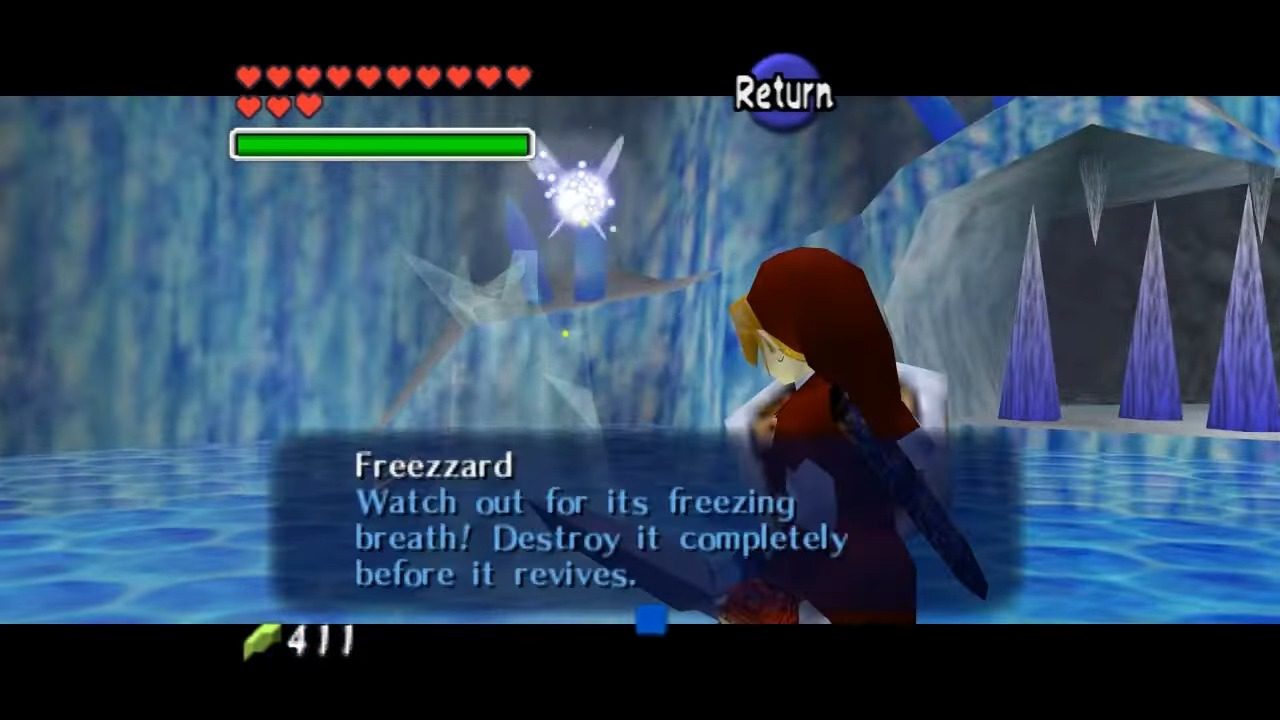
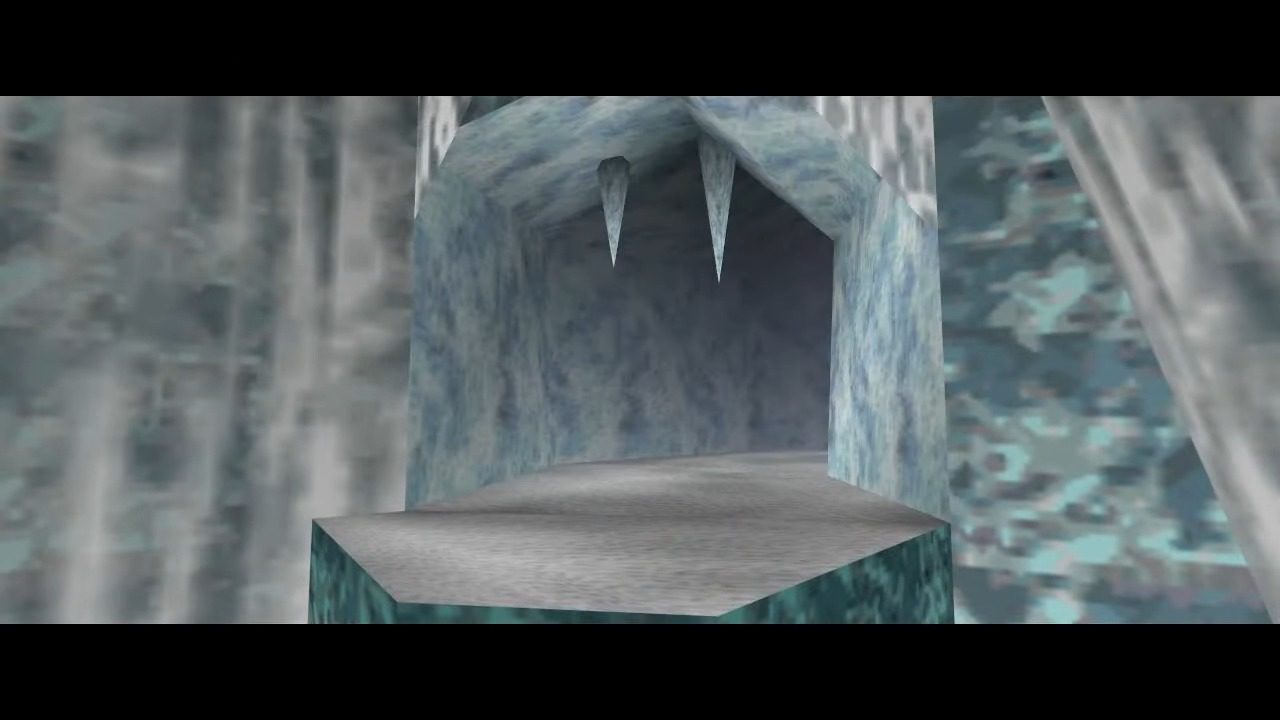
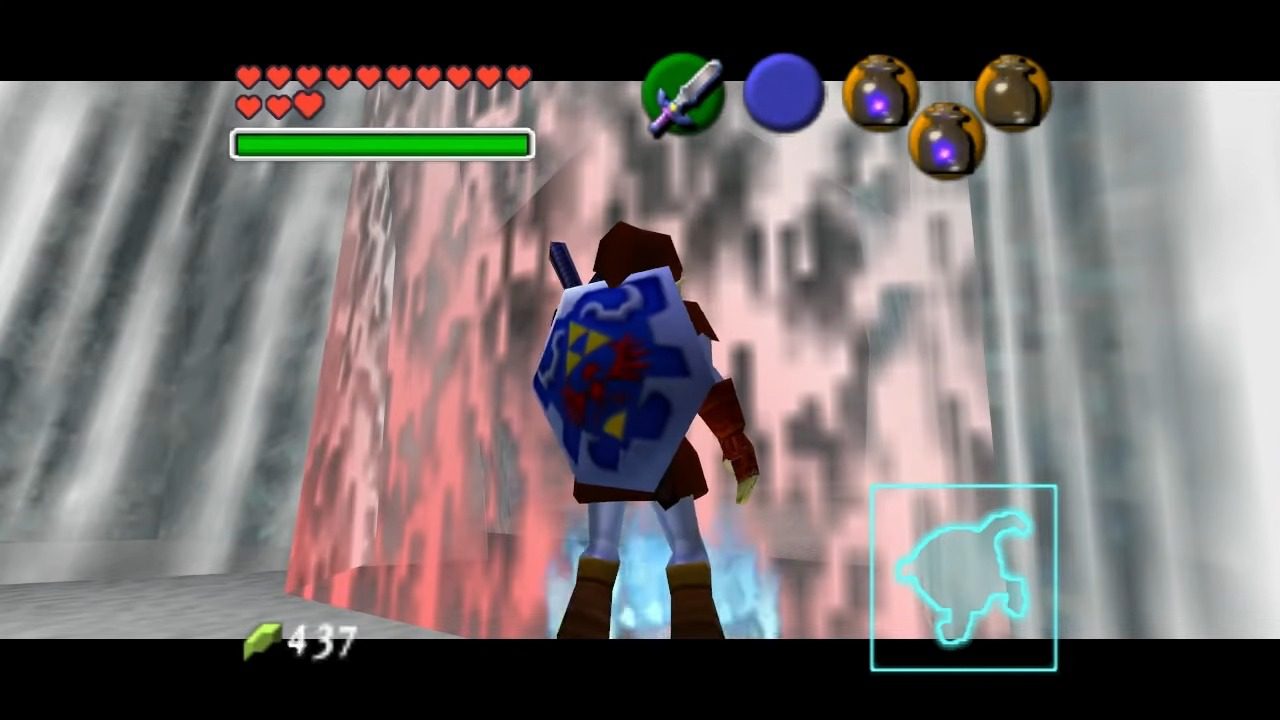
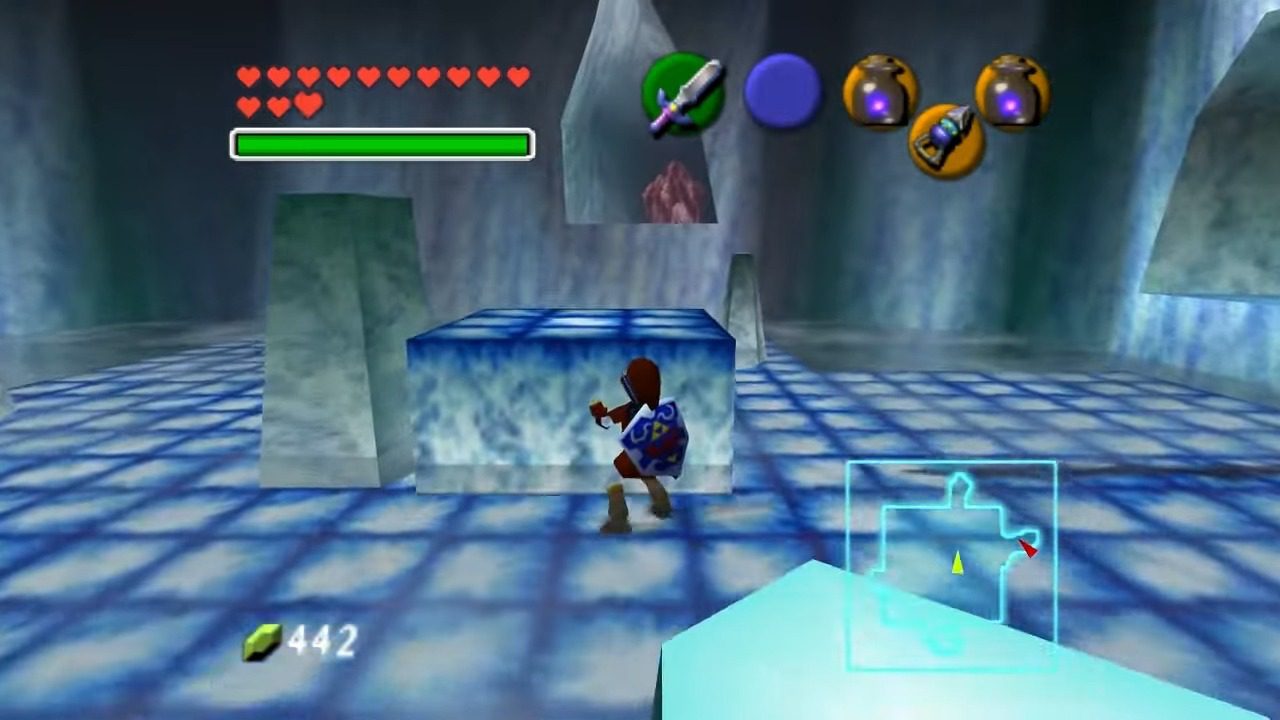
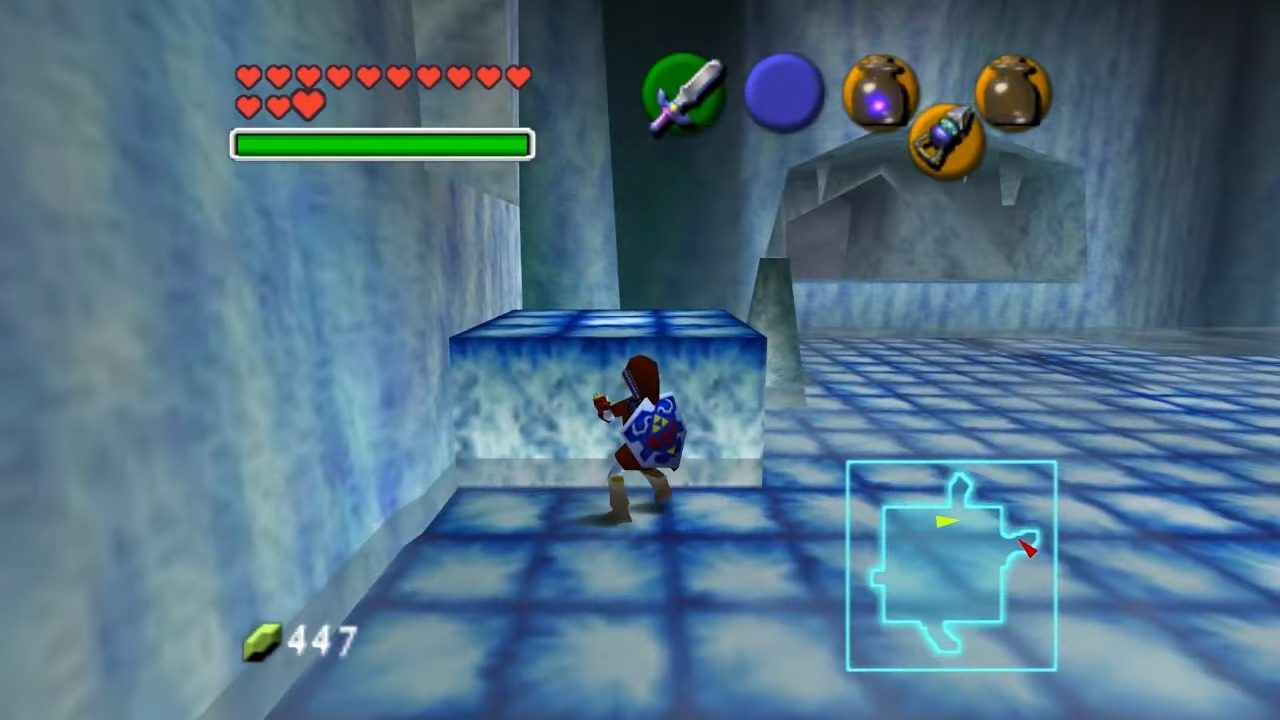
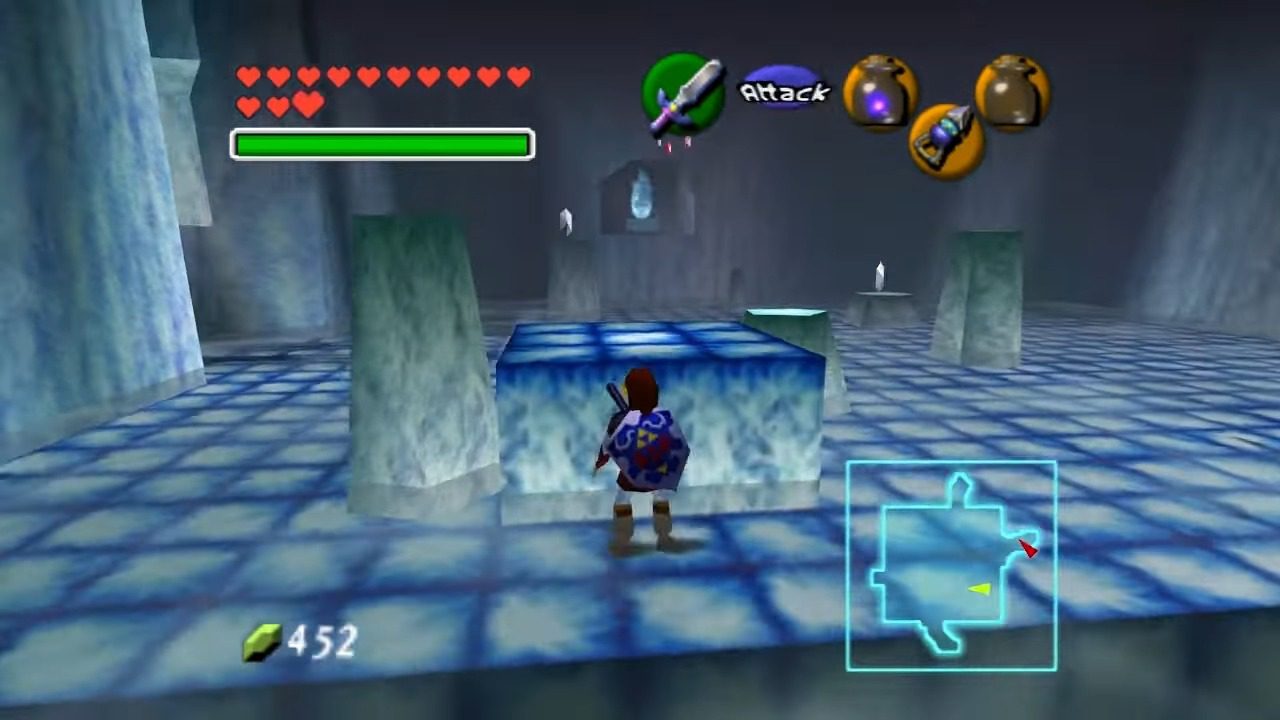
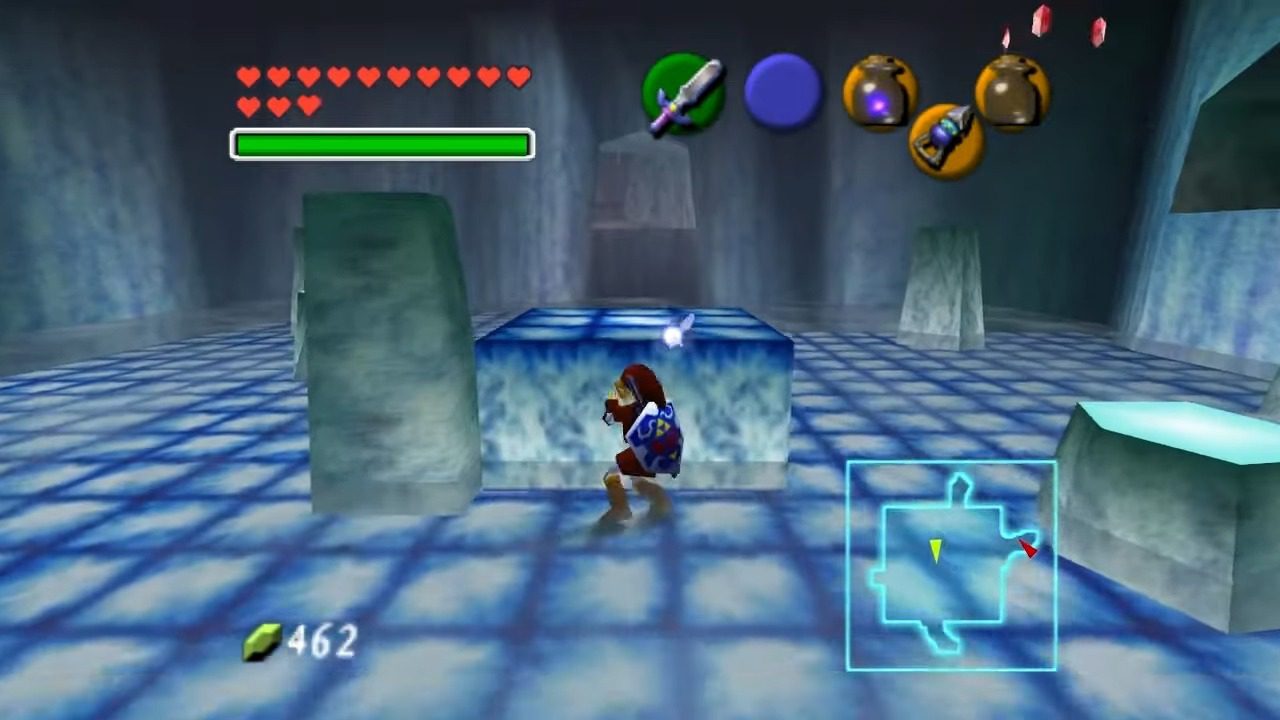
This initial hallway will lead you into a larger, circular chamber – the Freezard Cavern. As the name suggests, you’ll encounter Freezards here. These pesky enemies have the annoying ability to freeze you solid with their icy breath, so be cautious. You’ll also notice a Blade Trap ominously circling the room, and there’s even an invisible one, so watch your step. To progress, you’ll need to defeat all four Freezards in this room. If you’re looking for a quick solution, a blast of Din’s Fire can take them out effectively. Once all four are defeated, the icy bars blocking the next hallway will magically lift. This passage is easily identifiable by the two formations of red ice flanking its entrance. Remember that red ice – it’ll be important later.
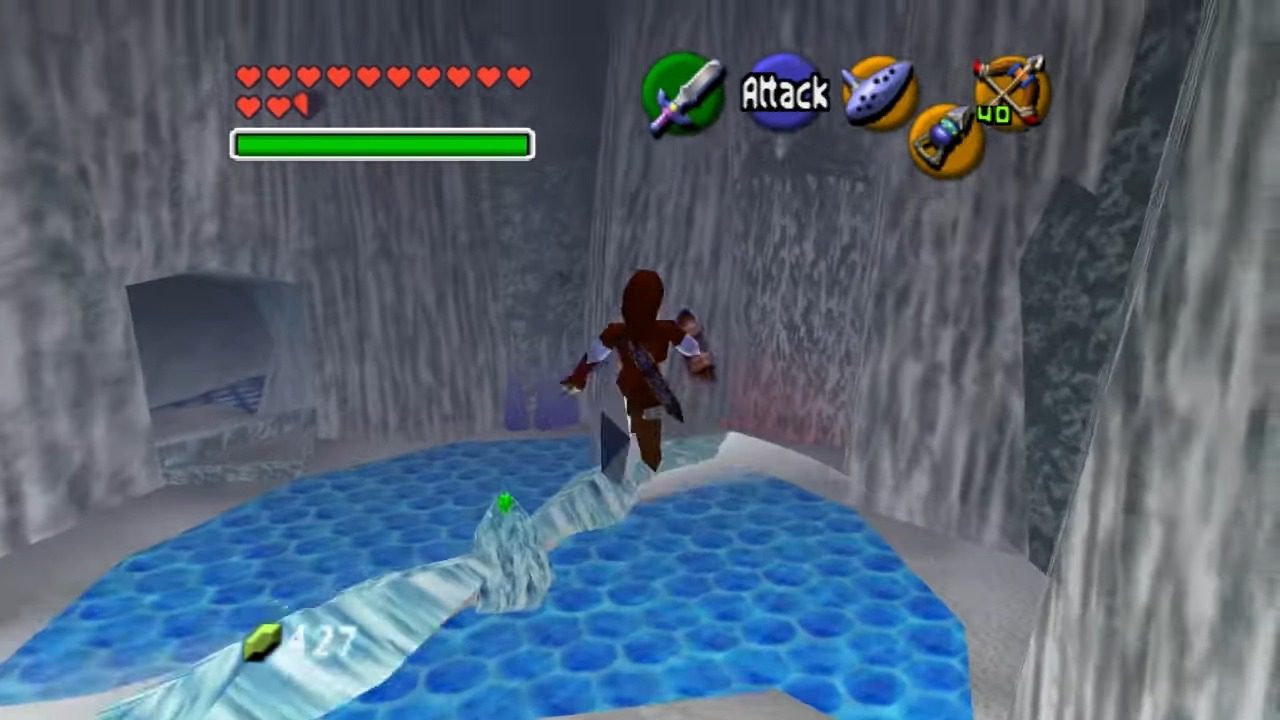
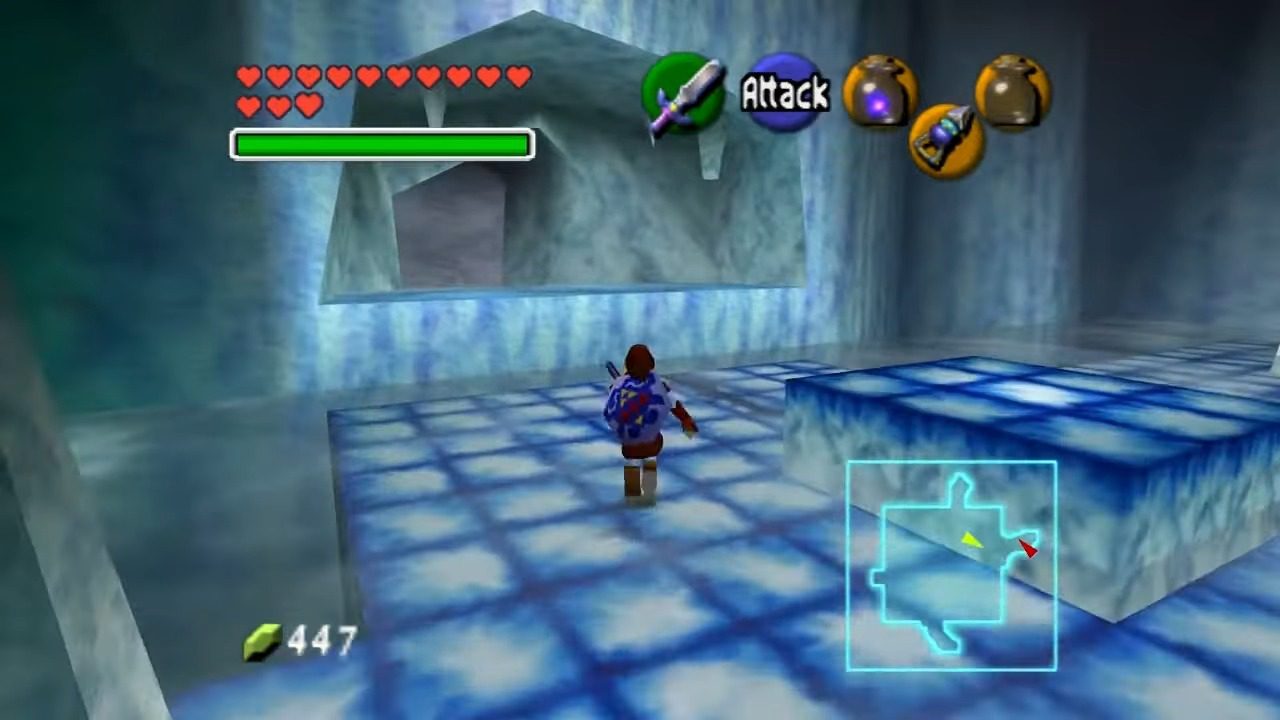
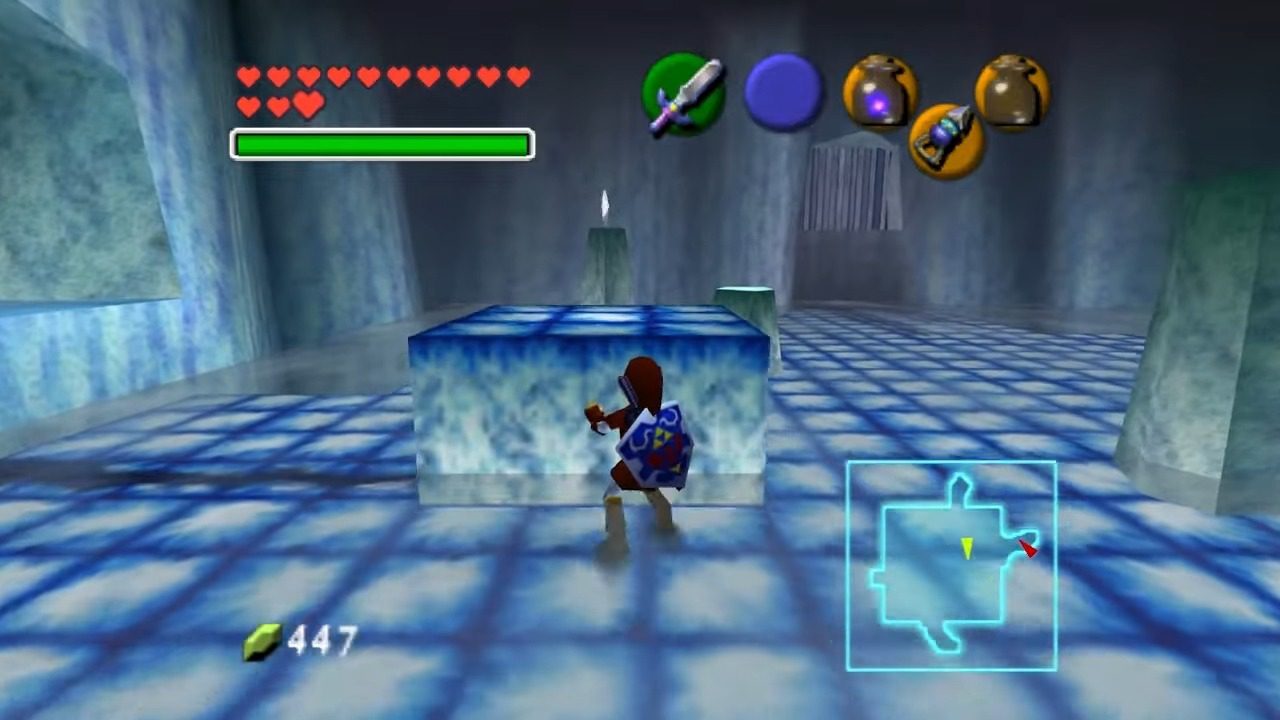
The next area is another short hallway, but don’t let your guard down. There’s another stalactite poised to drop, this time right before a cluster of stalagmites. Break through the stalagmites and continue onward. Keep an eye out for jars in this hallway – they might contain some much-needed recovery hearts to replenish your health.
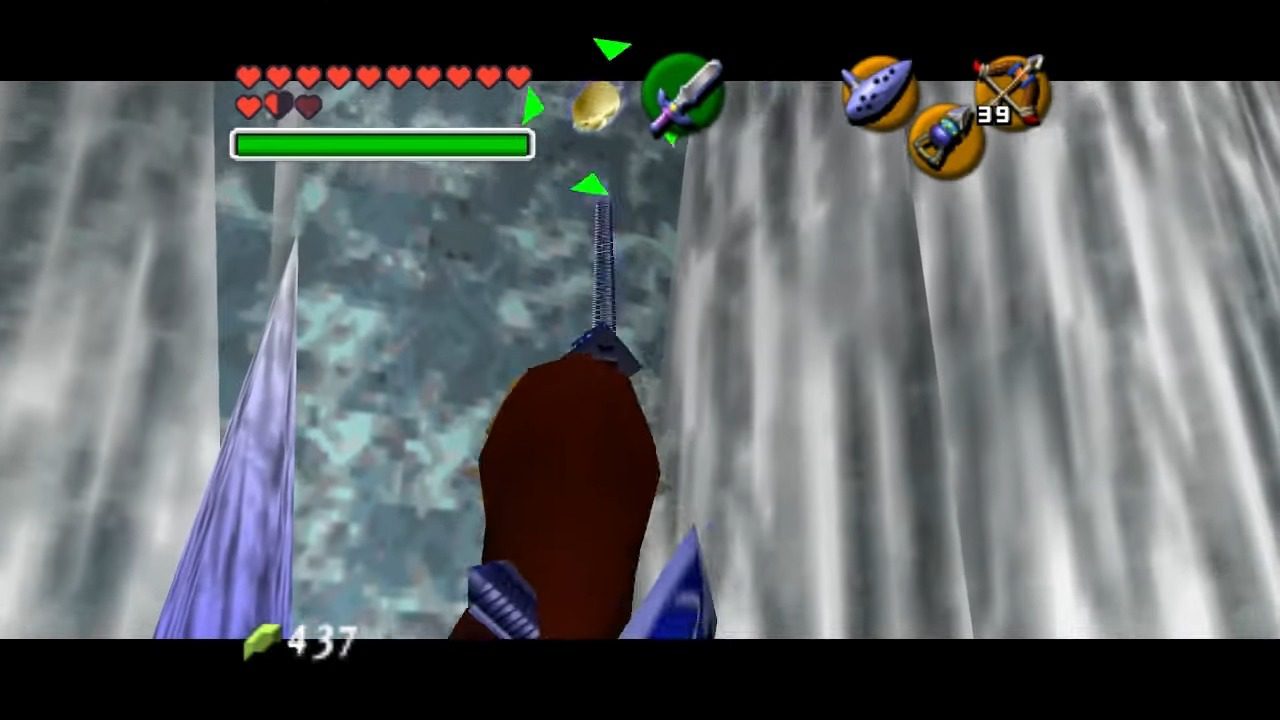
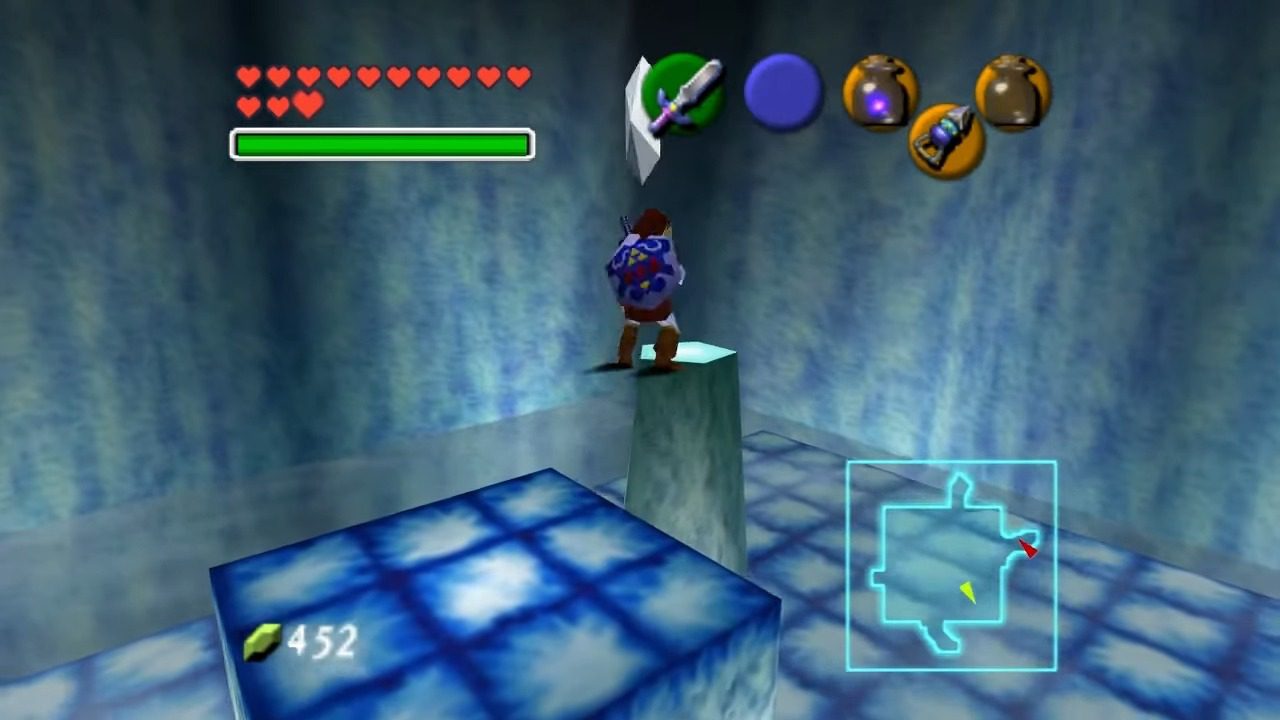
You’ll then enter a large, circular room dominated by a giant spinning ice blade in the center – aptly named the Spinning Blade Room. Your objective here is to collect five Silver Rupees scattered throughout the room. Collecting all of them will unlock the next door. Here’s where to find them: one is located behind some stalagmites along the left wall as you enter. Another is in the center of the room, requiring you to carefully navigate around the spinning blade (you can duck by holding the R button to avoid getting hit). The third Silver Rupee is suspended in mid-air above the spinning blade; you’ll need to climb the nearby ledges and make a jump to reach it. The fourth can be obtained by jumping off the ledge near the barred door. The final Silver Rupee is tucked away behind three stalagmites in the corner. Make sure you grab them all!
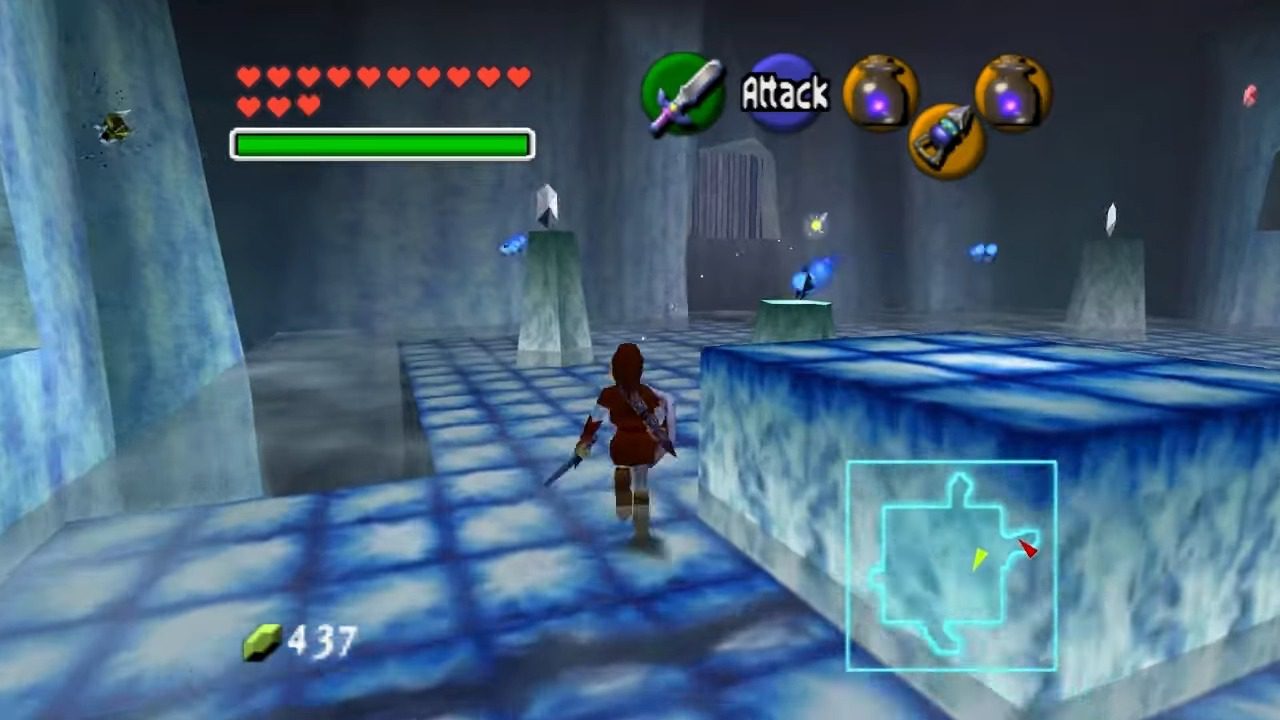
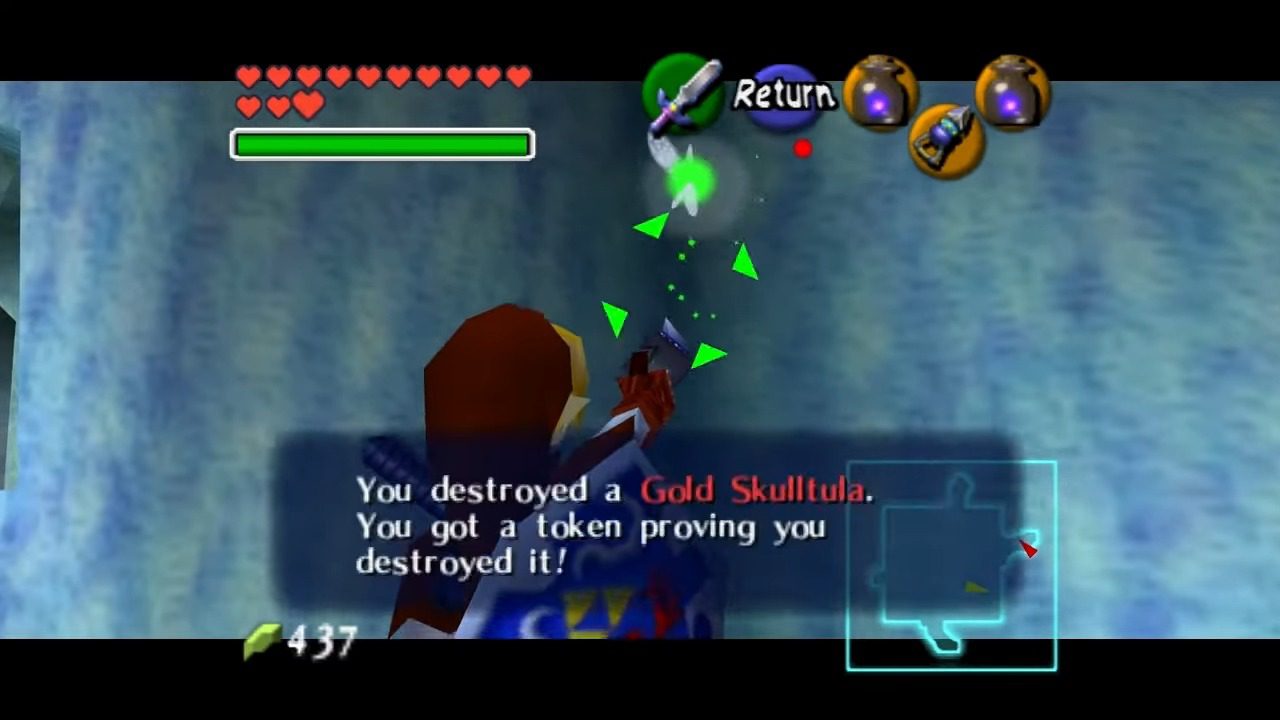
Gold Skulltula
Look high up on the wall, directly above where that last rupee was. Equip your Hookshot and add this token to your growing collection.
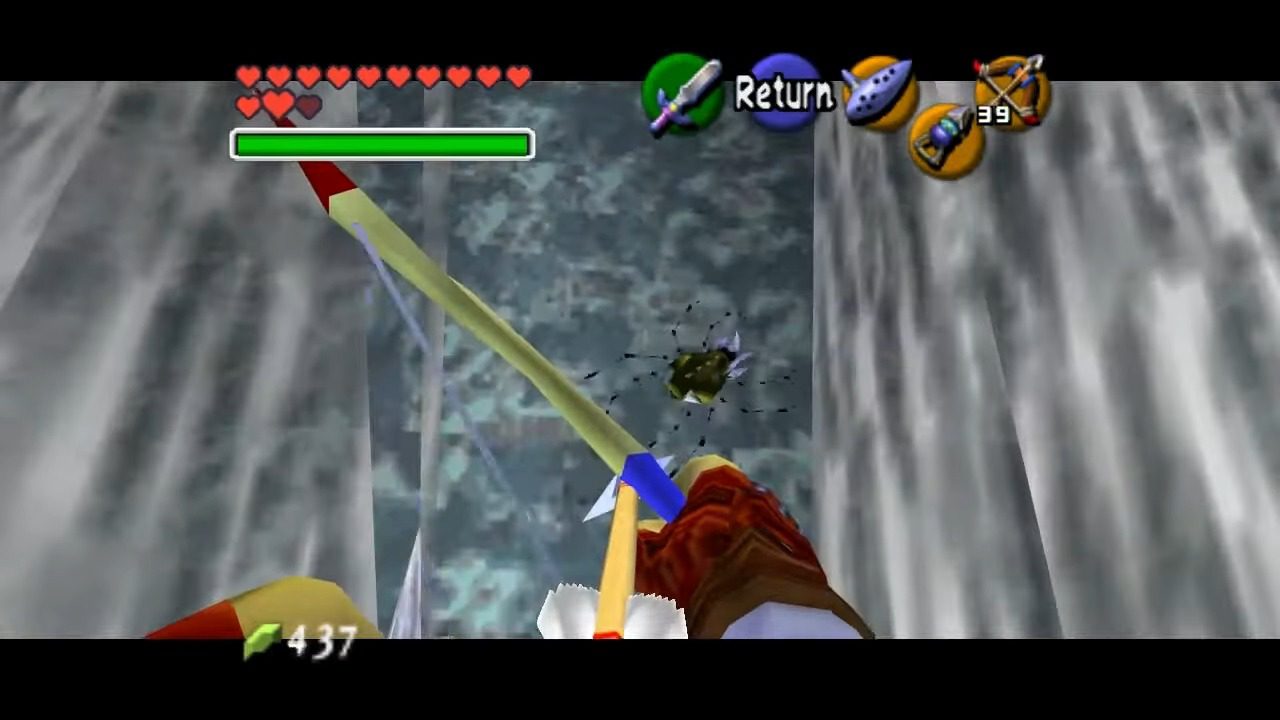
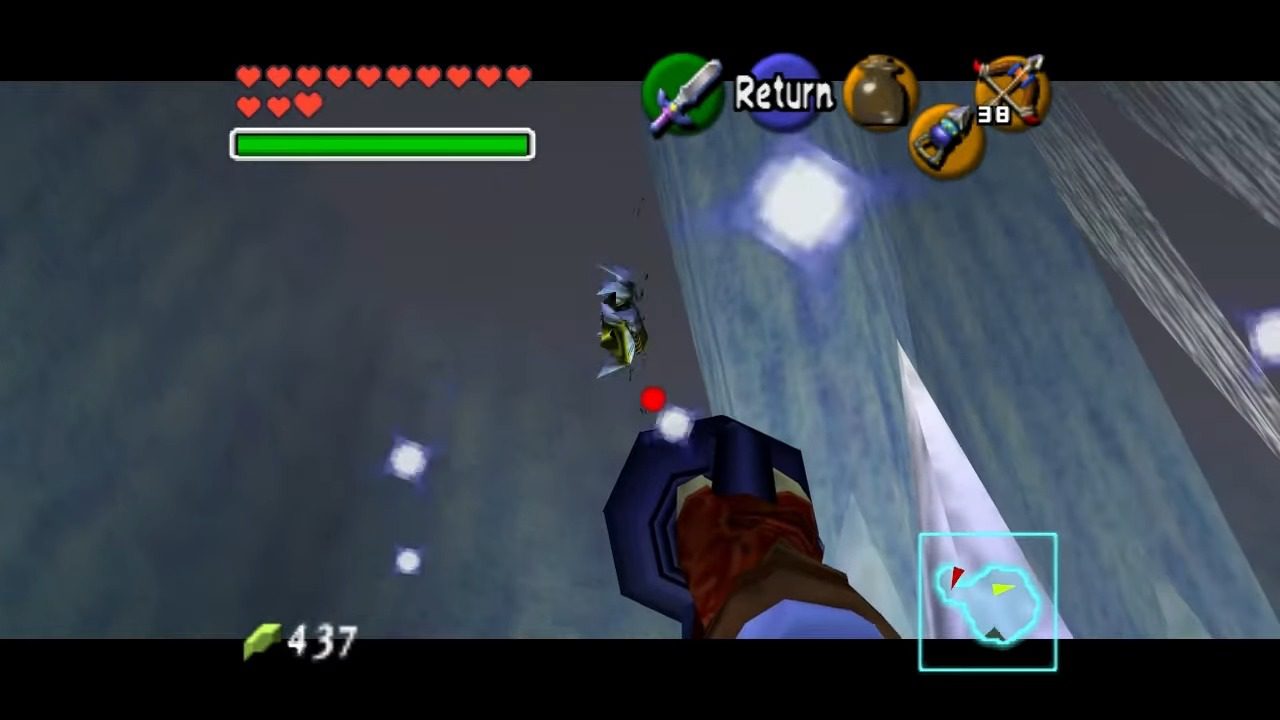
Once you’ve successfully collected all five Silver Rupees, a set of bars on a ledge above will retract, opening the way forward. Head up to this newly accessible area. This next room introduces a new type of enemy: Ice Keese. These icy bats can also freeze you upon contact, so be careful. You’ll also spot a lone Freezard lurking on the ground.
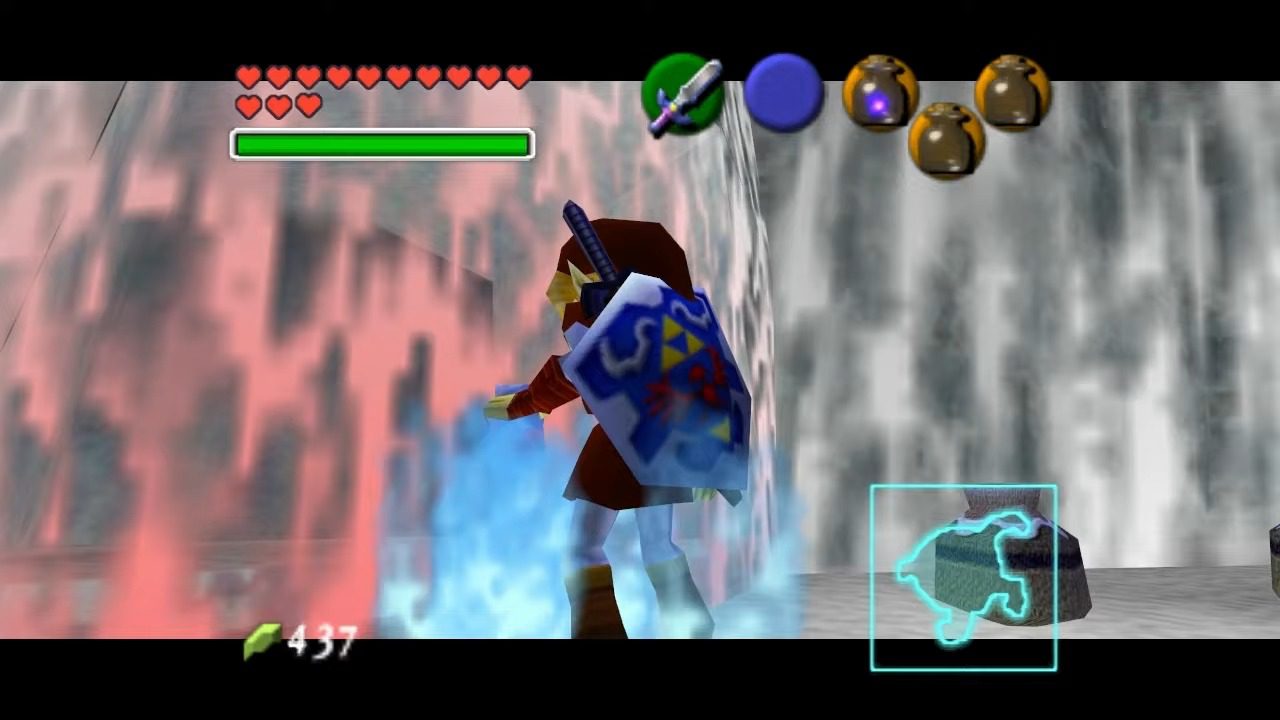
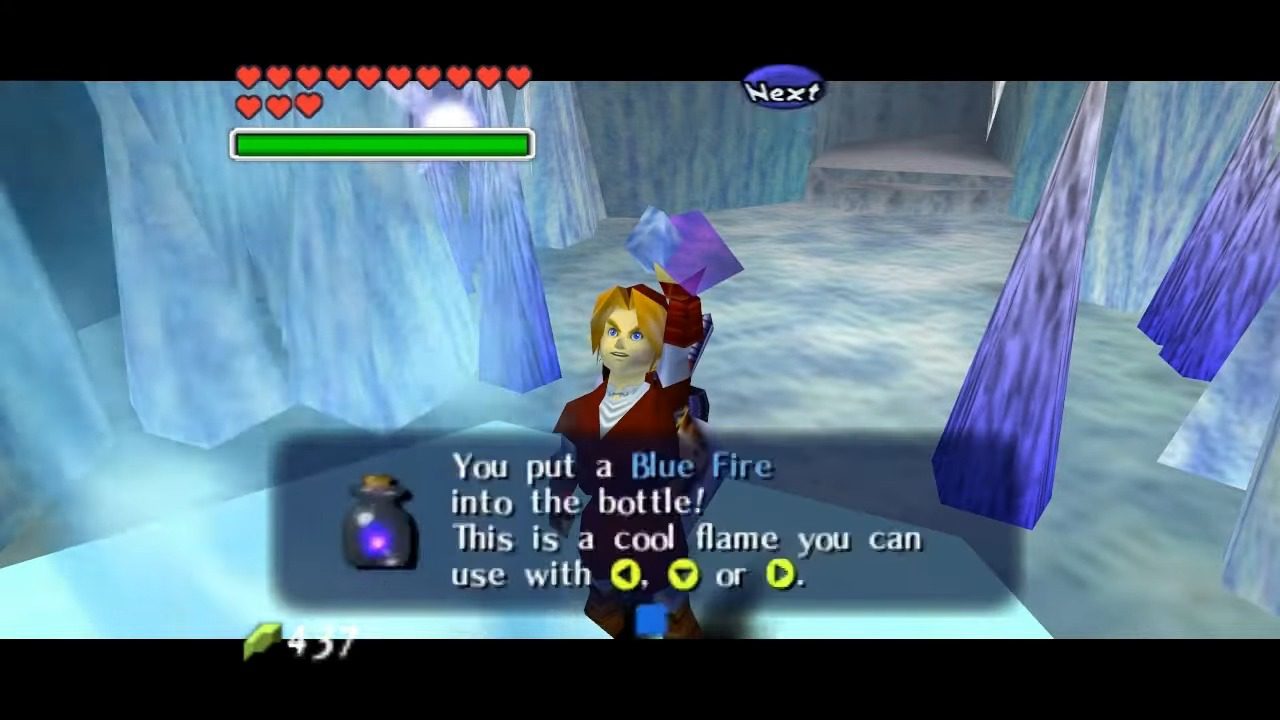
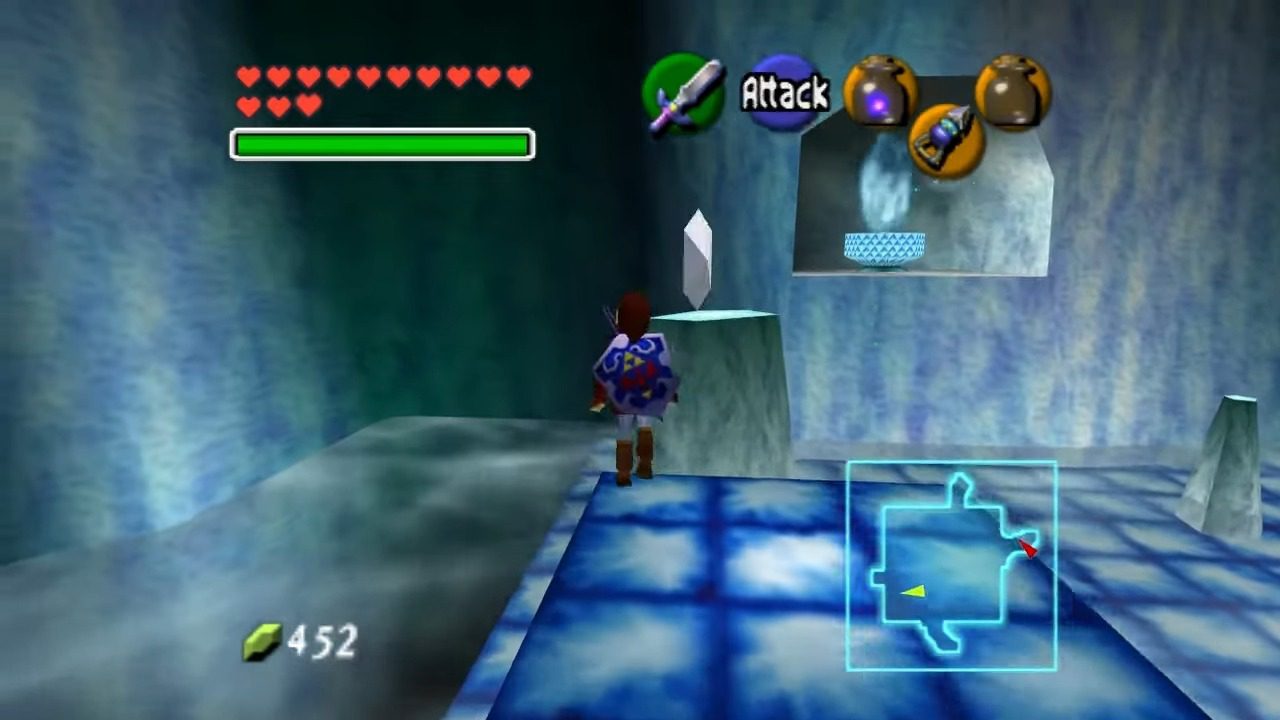
To proceed, climb onto the platform near the entrance of this room and use your Hookshot to defeat the Freezard on the other side. Then, jump across the small platforms going to the left. Keep your eyes peeled, because you’ll find some Blue Fire here! Remember, this special blue flame is essential for melting that pesky red ice we saw earlier. To save time for later, empty all your bottles and fill them all with the Blue Flame.

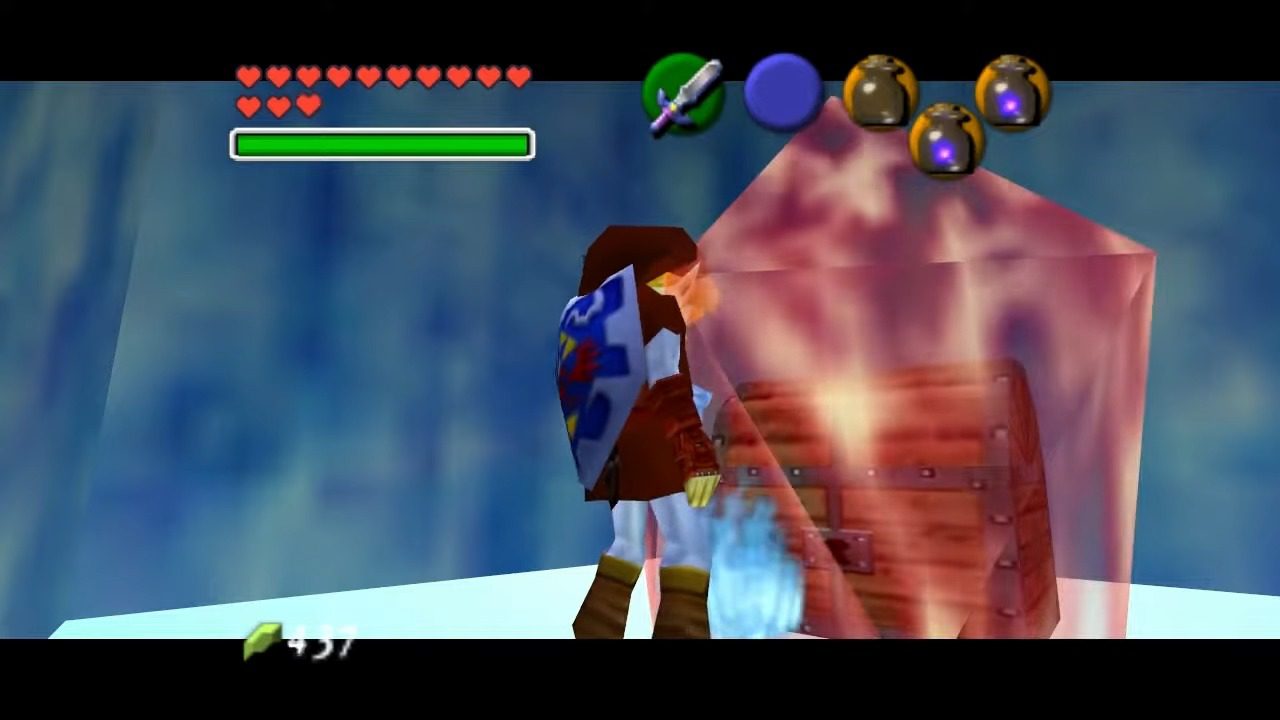
In this room, you’ll also find a large treasure chest completely encased in red ice. Use your newly acquired Blue Fire to melt the ice and open the chest to obtain the Dungeon Map. Having the map will definitely help us navigate the rest of this chilly dungeon. Head immediately back to the Blue Flame and refill the bottle you just used.
Frozen Fortunes: Ice Cavern Collectibles
Next, return to the Spinning Blade Room. Use your precious Blue Fire to melt both of the the icy barriers in this room. Take the path on the left – the one we couldn’t access before because of the red ice. This will lead you through a short hallway into a small cavern. Be wary of Keese clinging to the walls and stalactites that reappear from the ceiling. You’ll find more Blue Fire in this cavern, so make sure to refill your bottles.
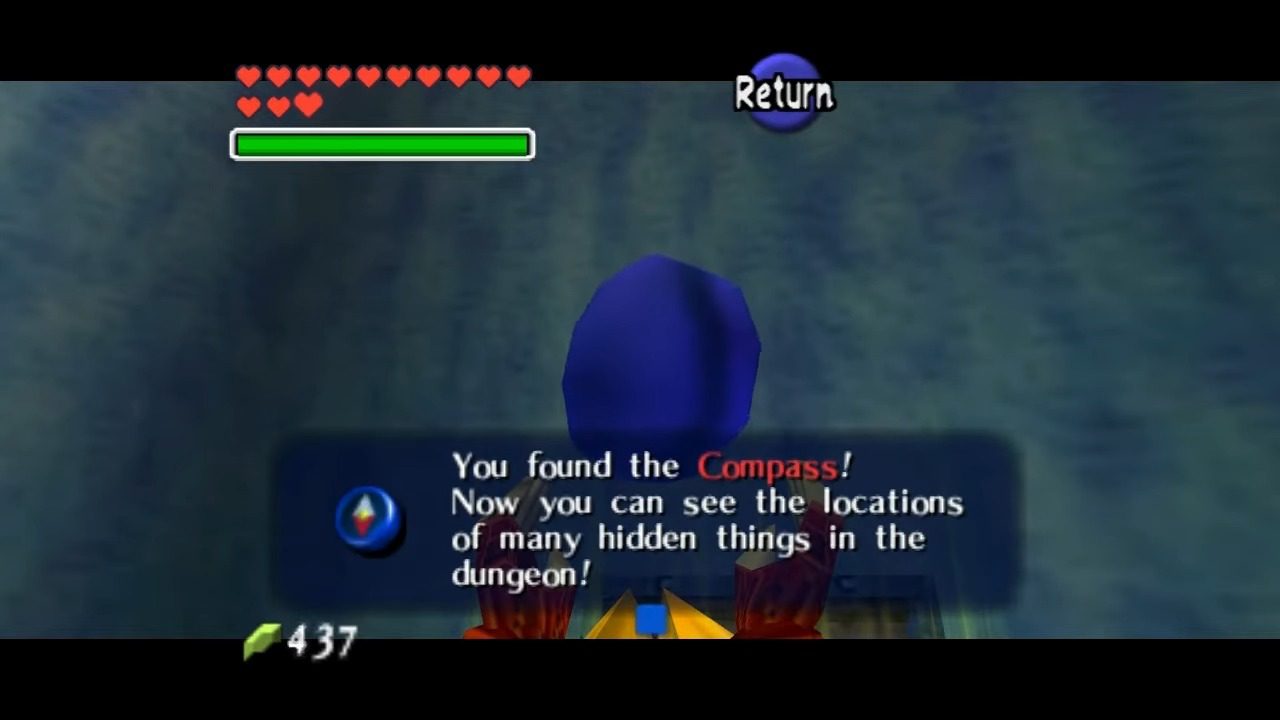
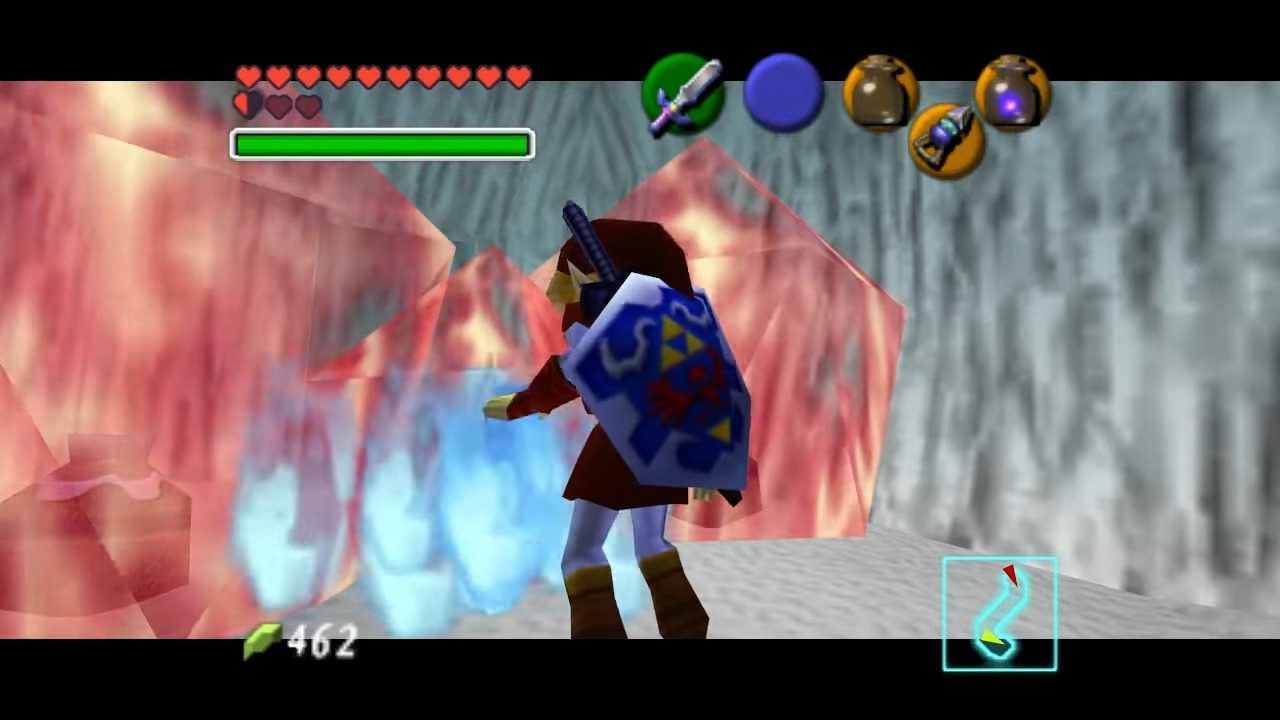
Now, take a look at both sides of this area. On the right side, you’ll see a treasure chest frozen solid in red ice. Melt the ice with your Blue Fire and open the chest to obtain the Compass. The Compass is always a handy item in a dungeon, showing the location of remaining treasures. Now, turn your attention to the left side of the cavern.
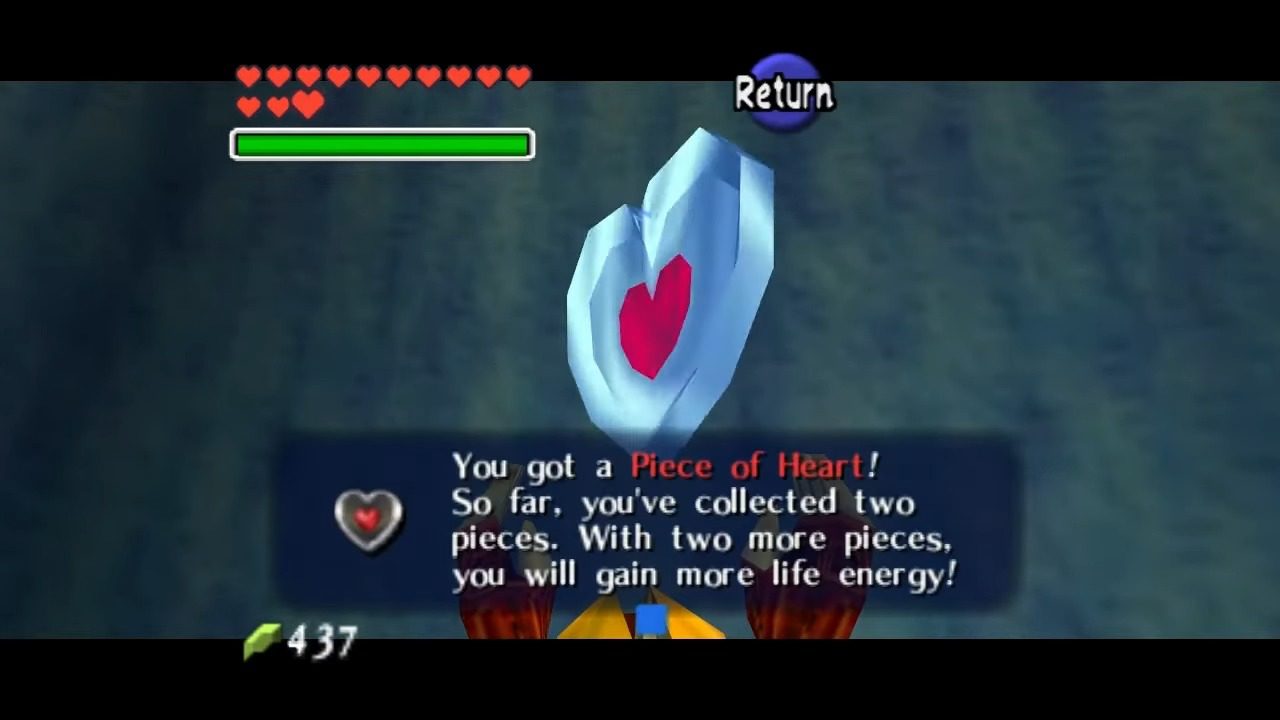
Heart Piece #29
Look up high on a pillar, and you’ll spot a Heart Piece #29 trapped within blocks of red ice. Use the Blue Fire to melt the ice and claim it.
Gold Skulltula #29
From where you find the Heart Piece, look up to find Gold Skulltula #29. Use your hookshot to defeat it and claim it.
Refill all your bottles with the Blue Flame. Return to the Spinning Blade Room one last time. Melt the red ice that’s blocking the exit on the opposite side of the room (to the west). This will lead you through a winding, “S” shaped hallway into a peculiar blue room covered in checkered ice. Be careful, the floor here is incredibly slippery!
Gold Skulltula #30
This room is also home to some Ice Keese and our final Gold Skulltula in the Ice Cavern. It’s located on one of the higher walls. Use your trusty Hookshot to bring it down.
Essential Frost Gear
This slippery, checkered ice room also contains a large ice block. When you push it, it’ll slide across the frictionless surface until it hits a stalagmite or a wall. Your current objective in this room is to collect five more Silver Rupees by strategically pushing this ice block around and climbing on top of it. It’s a bit of a puzzle, but here’s the sequence:
First, push the ice block west, then north. This will allow you to reach a Silver Rupee that’s encased in red ice. Use your Blue Fire to melt the ice and grab the rupee. Next, you’ll need to reset the ice block’s position. You can do this by pushing it into one of the pits in the room. Now, push the block west, then south, and then west again. This will lead you to another patch of Blue Fire, so be sure to refill your bottles. Reset the ice block one more time by pushing it into a pit. Finally, push the block south to collect a Silver Rupee, then push it west to grab another, then north for the fourth one, and finally east to collect the last Silver Rupee.


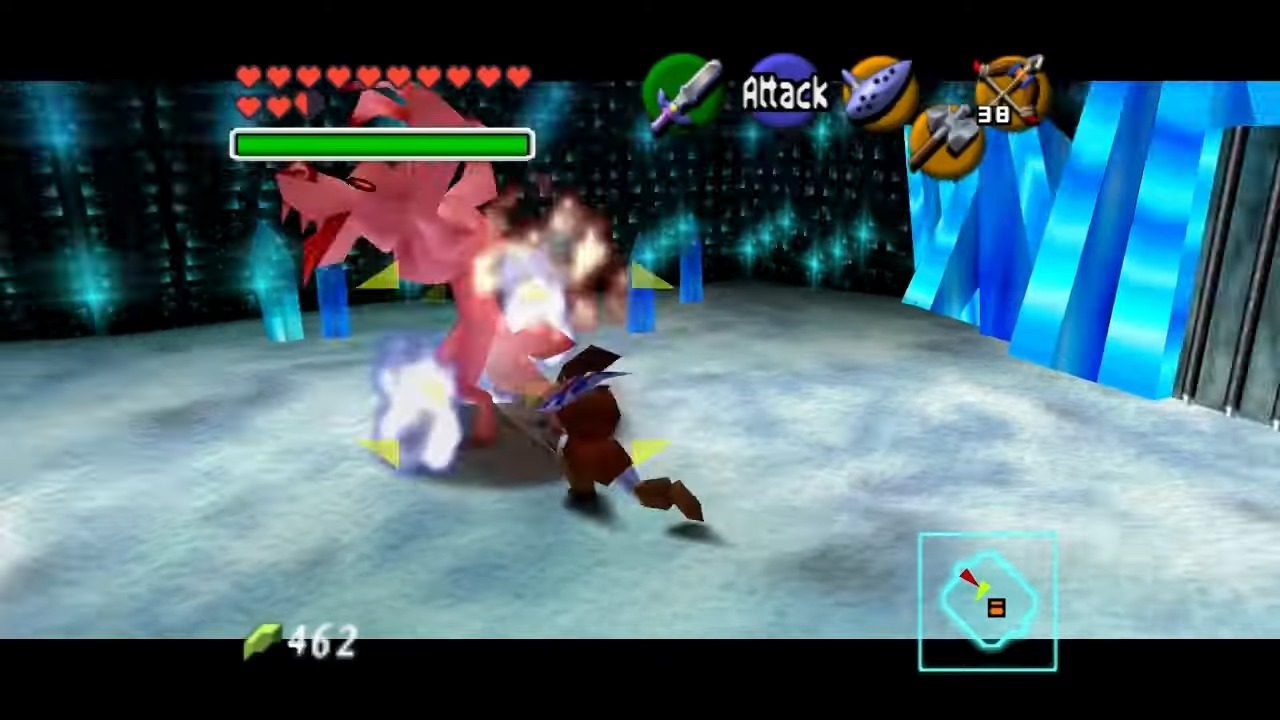
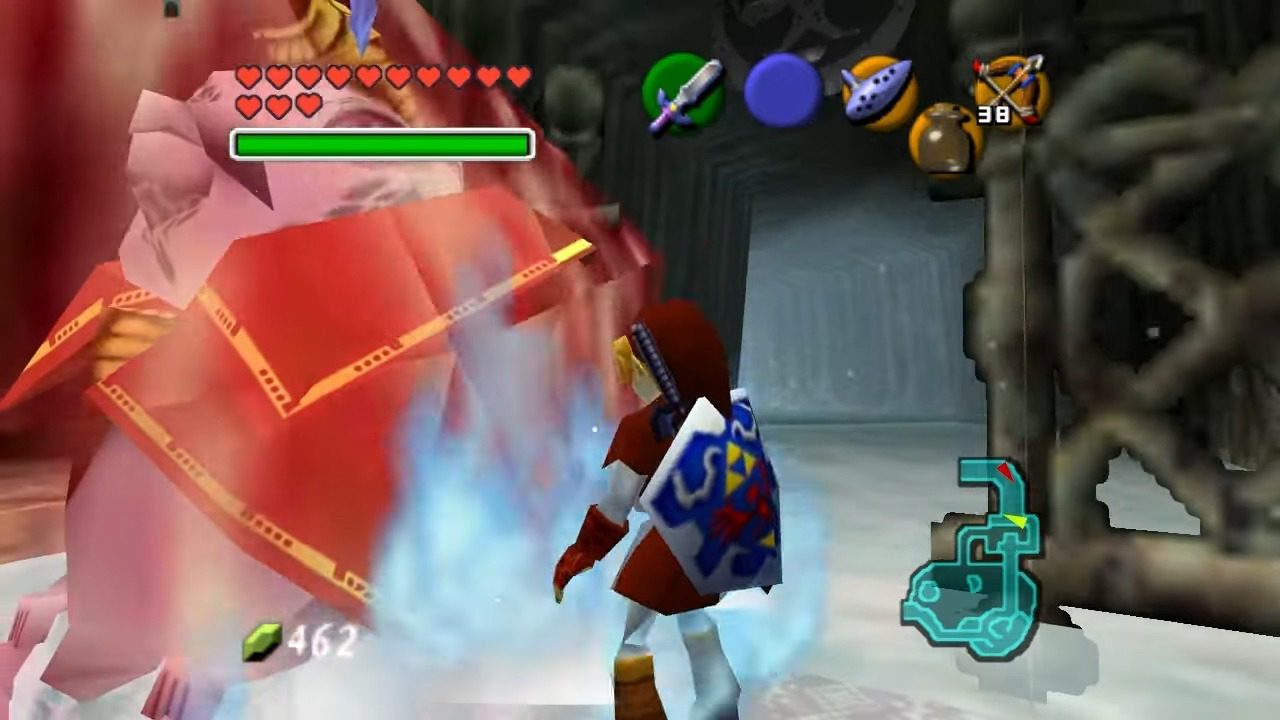
Conquering the Cold: Defeating the White Wolfos
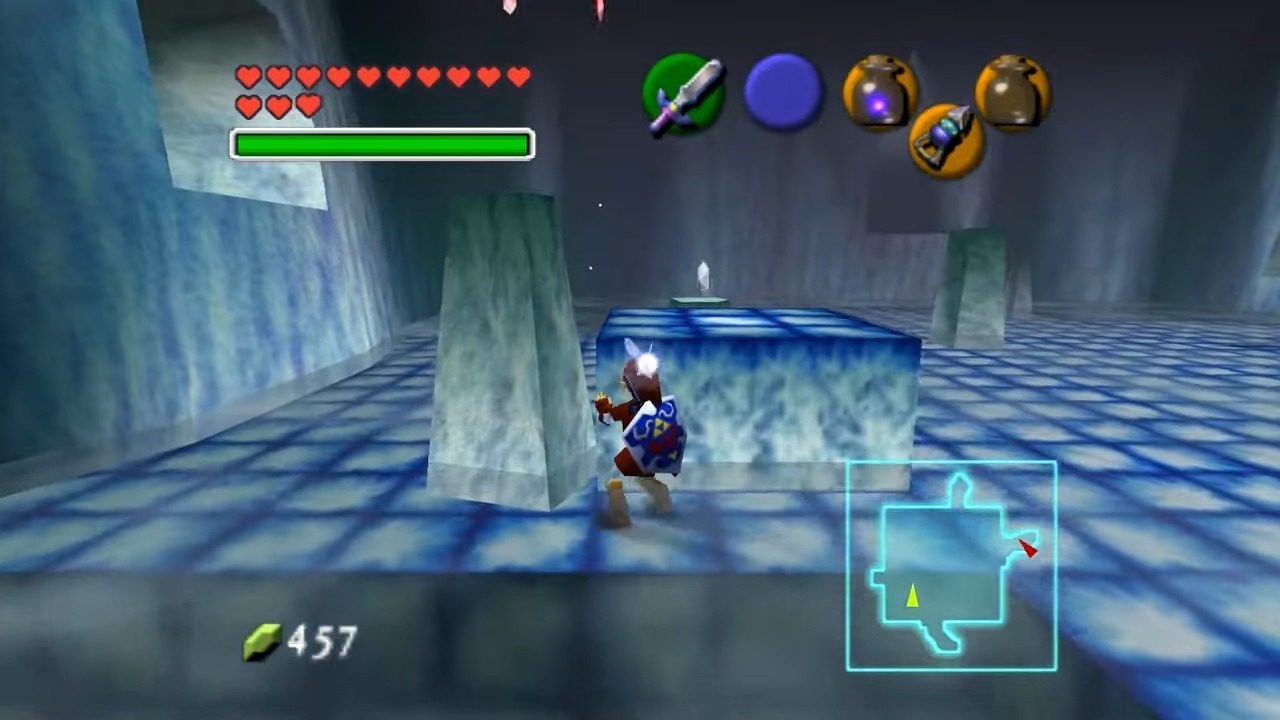
Once you’ve successfully collected all five Silver Rupees in this slippery room, a new hallway will open up. This final hallway contains two more Freezards. Take them out just like before and proceed into the next room. You’ve now reached a small, somewhat strange room. It’s often described as “disco-like” due to its appearance. In this room, you’ll face a single White Wolfos. This furry foe can be a bit tricky, but don’t worry, we’ll handle it. Defeat the White Wolfos, and a large treasure chest will magically appear. Open it to claim your well-deserved reward: the Iron Boots! These boots are crucial for our next major objective.
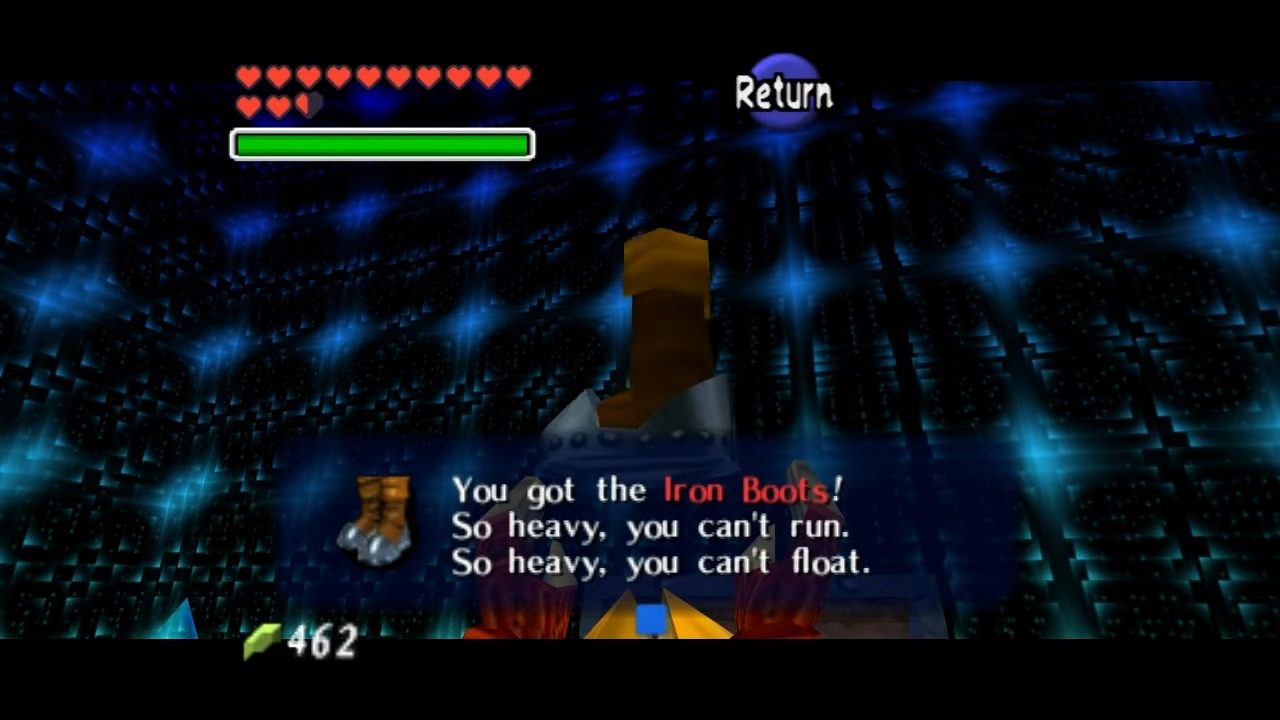

Item: Iron Boots
Heavy boots that let Link sink underwater and resist strong winds. Useful for exploring Lake Hylia’s depths and navigating the Shadow Temple.
Post-Cavern Goodies and Departure
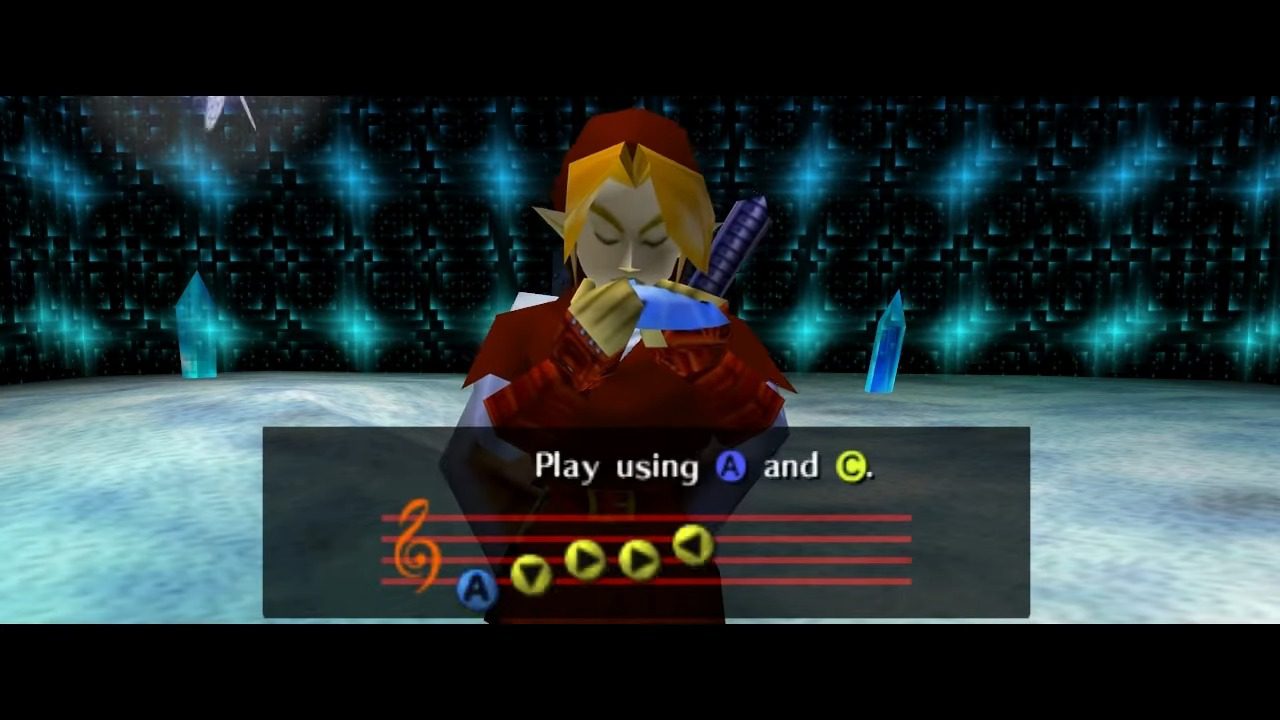
As soon as you lay your hands on the Iron Boots, Sheik will make a dramatic appearance! They’ll offer some cryptic words of wisdom and, more importantly for us, teach you the Serenade of Water. This new Ocarina song is incredibly useful as it allows you to warp directly to Lake Hylia, saving you valuable travel time in the future.
Heart Piece #30
As you’re exiting Ice Cavern, equip your newly acquired Iron Boots and sink to the bottom of the water. You’ll find another Heart Piece #30 waiting for you on the ground floor of Zora’s Fountain!

With the Iron Boots in your possession and the Serenade of Water learned, our business in the Ice Cavern is concluded. Head back to Zora’s Domain and use the Blue Flame to unfreeze King Zora. He’ll reward you with the Zora Tunic.
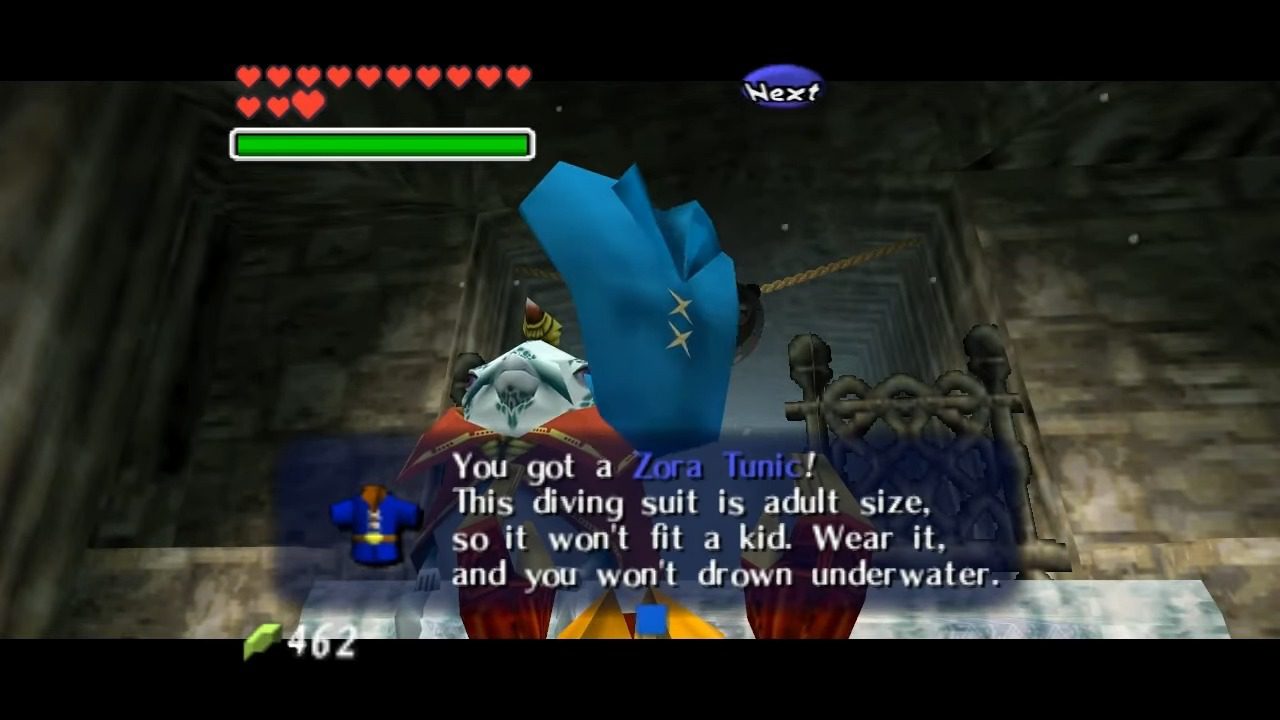

Item: Zora Tunic
A magical tunic crafted by the Zoras. Allows Link to breathe underwater, essential for exploring Lake Hylia and the Water Temple.