1. Getting Inside Jabu Jabu: Time to Dive In!
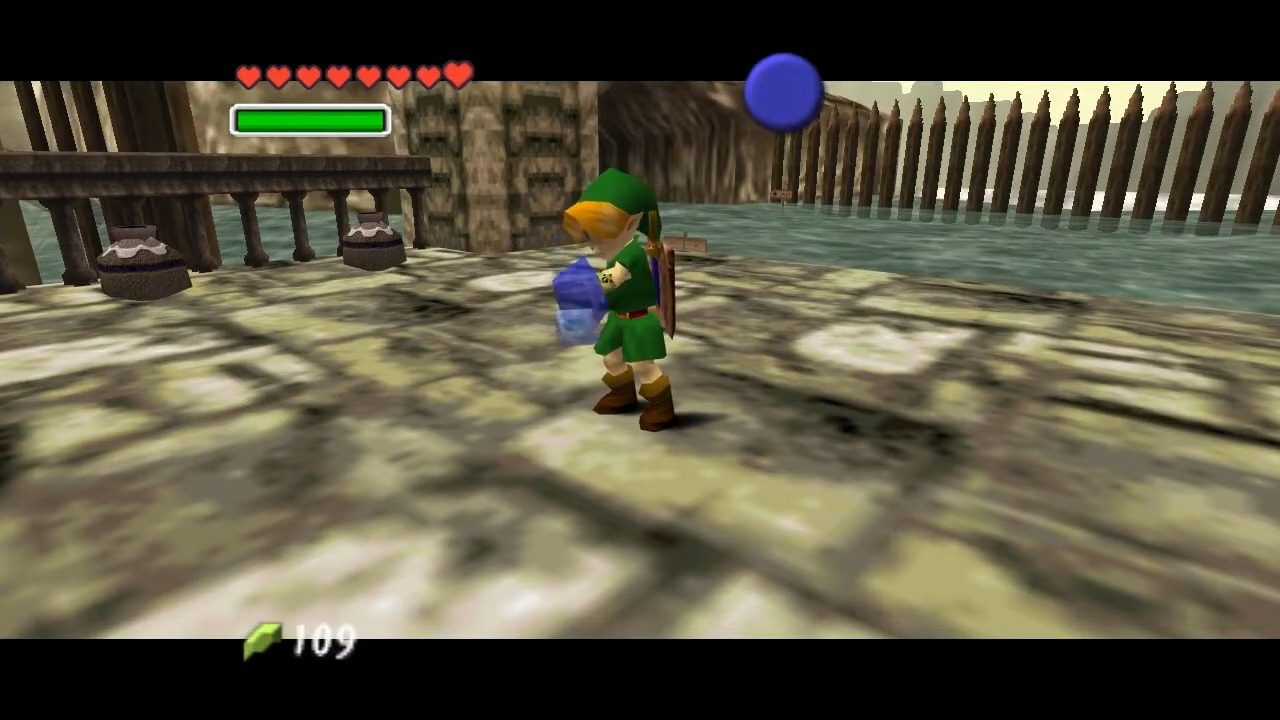
To enter Lord Jabu-Jabu’s Belly, you’ll need to offer him a fish. You can purchase a Fish in a Bottle from the Zora Shop in Zora’s Domain for 200 Rupees. Alternatively, you can use an Empty Bottle to catch a fish in Lake Hylia. After obtaining the fish, return to Zora’s Fountain and stand directly in front of the massive fish, Jabu-Jabu. Use the Bottle containing the Fish to feed him, and he will swallow you whole, granting you access to the third dungeon.
2. Welcome to the Inside: Finding Princess Ruto
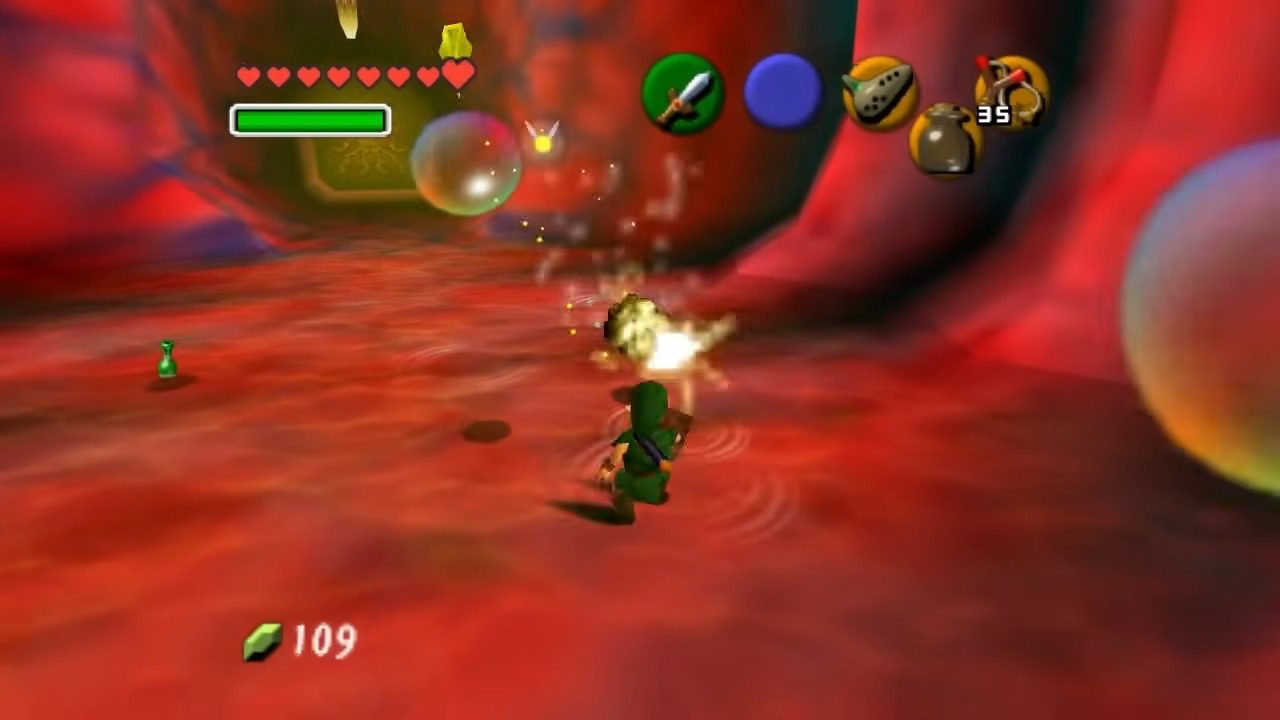
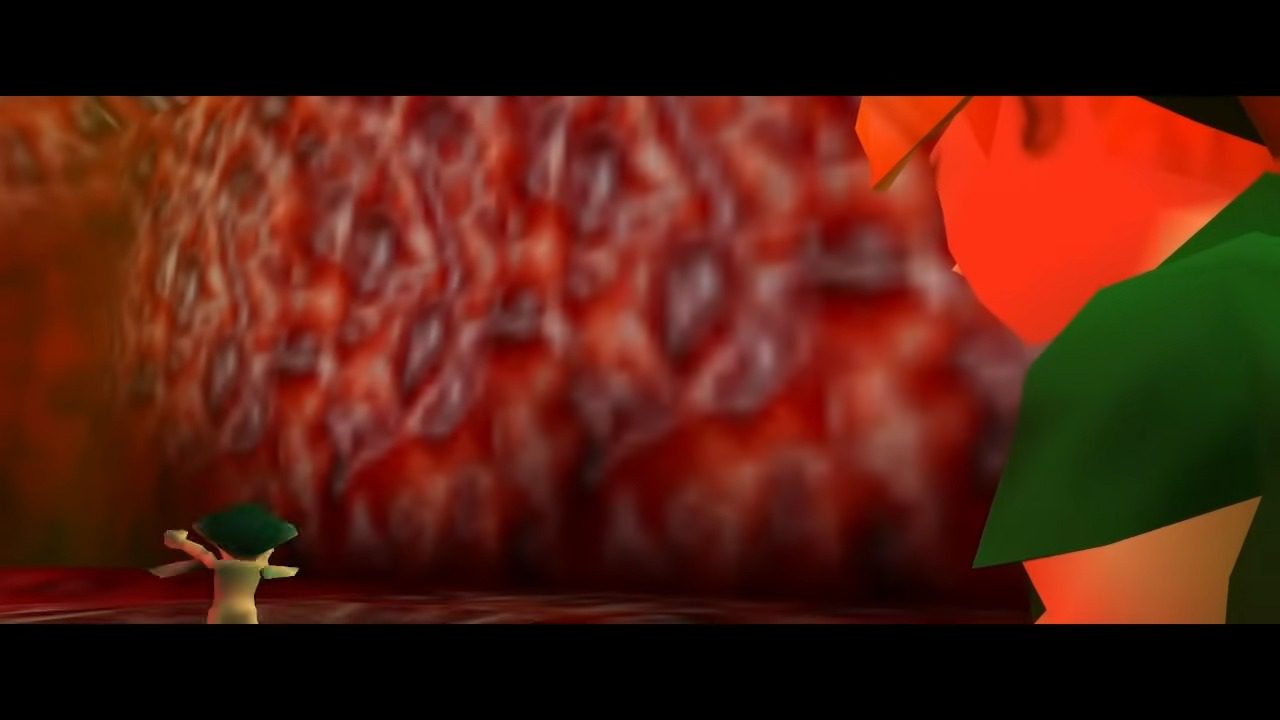
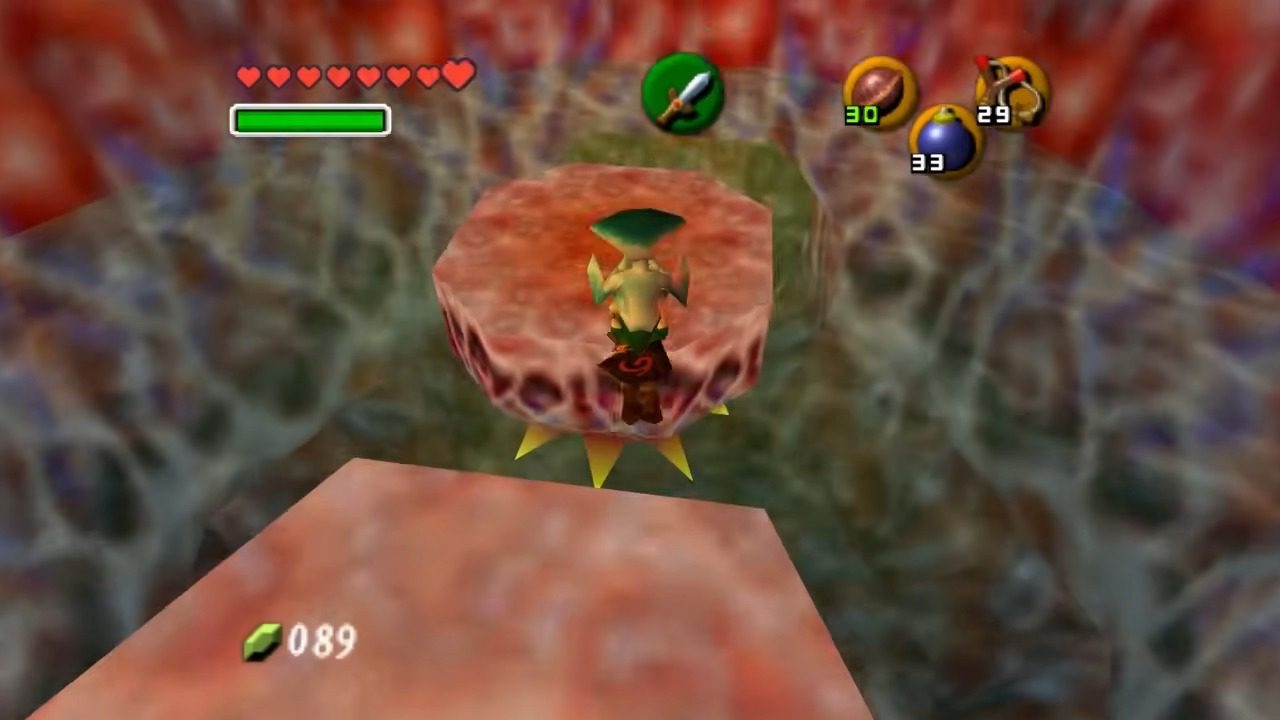
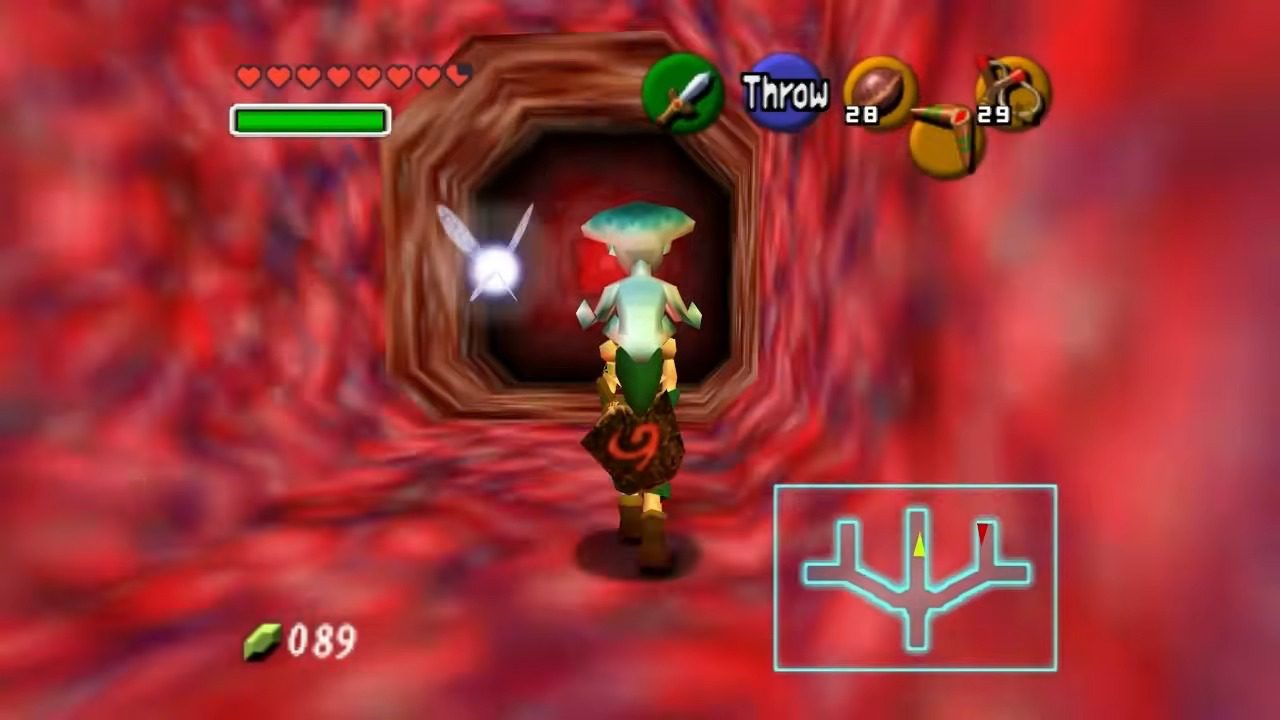
Inside Jabu-Jabu’s Belly, the environment is unlike anything you’ve encountered before, with organic walls and pulsating membranes.
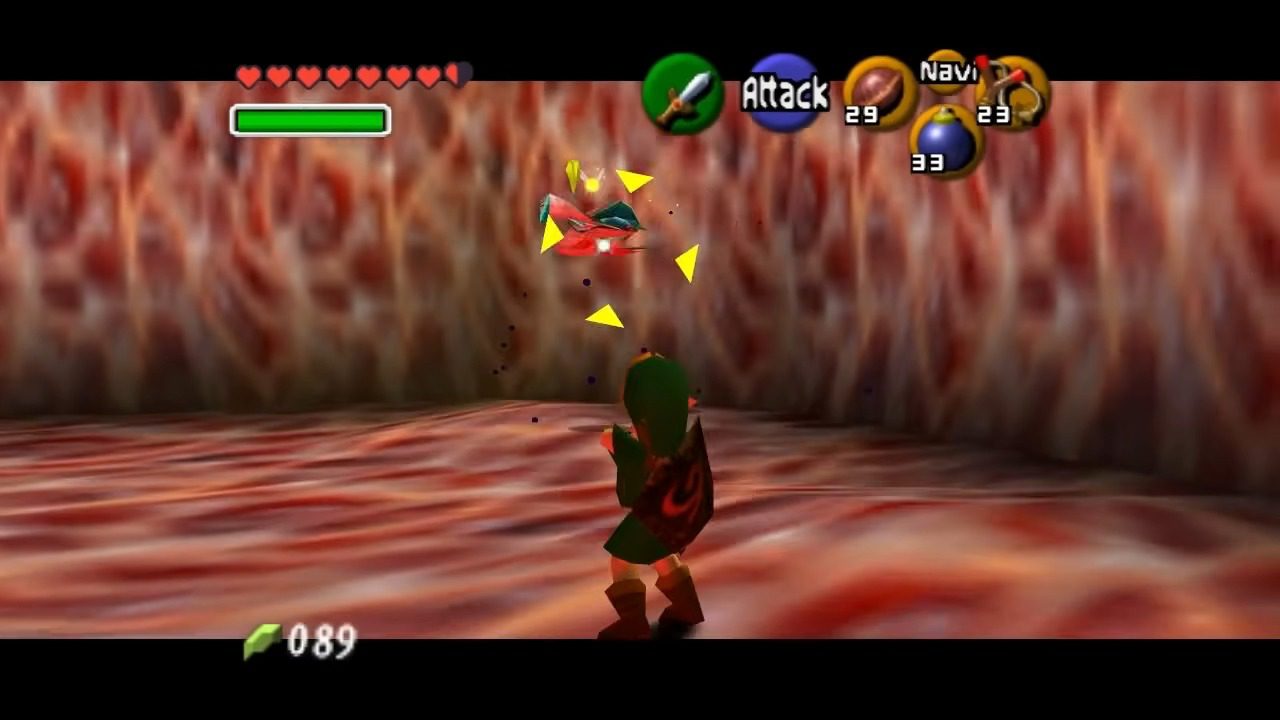
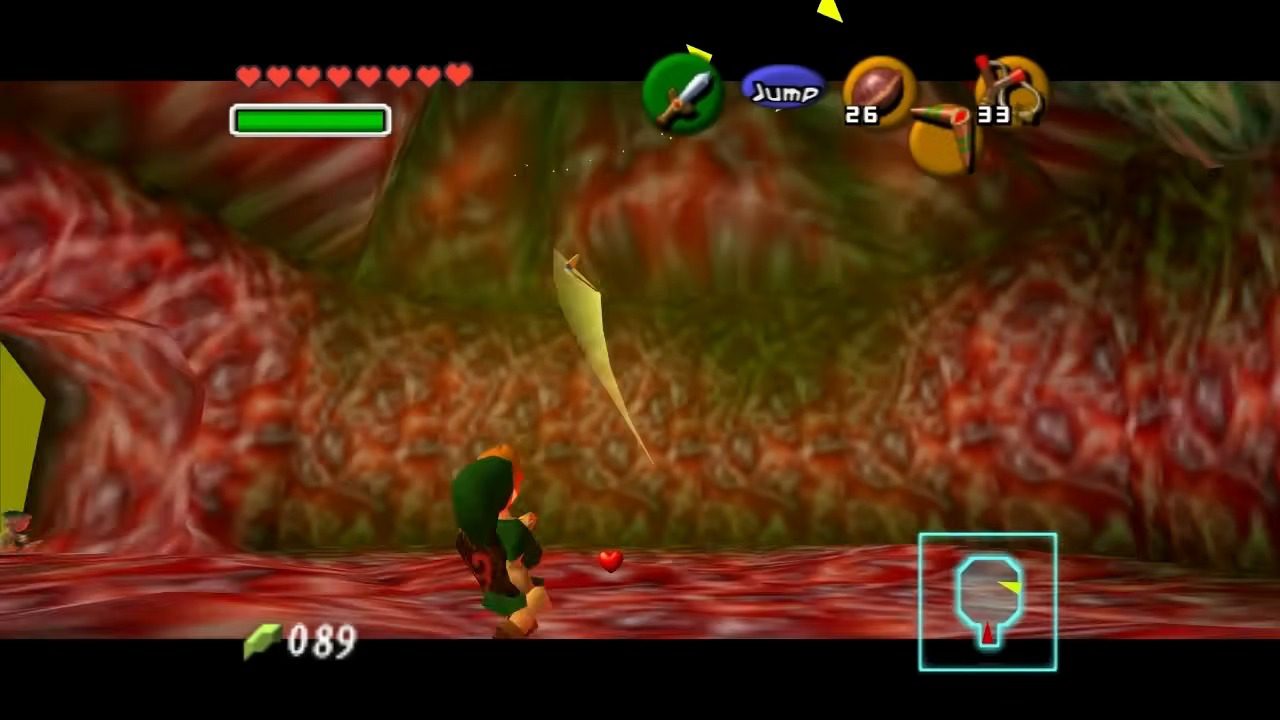
In the first room, you’ll face Octoroks and Shaboms (floating bubble creatures). Defeat the Octoroks by deflecting their projectiles with your shield. Take them out, and then look up. You should see a white bulbous switch, or “nob,” on the ceiling. A quick shot with your Slingshot will do the trick, and that’ll open up the veiny door, allowing you to proceed further into the dungeon.
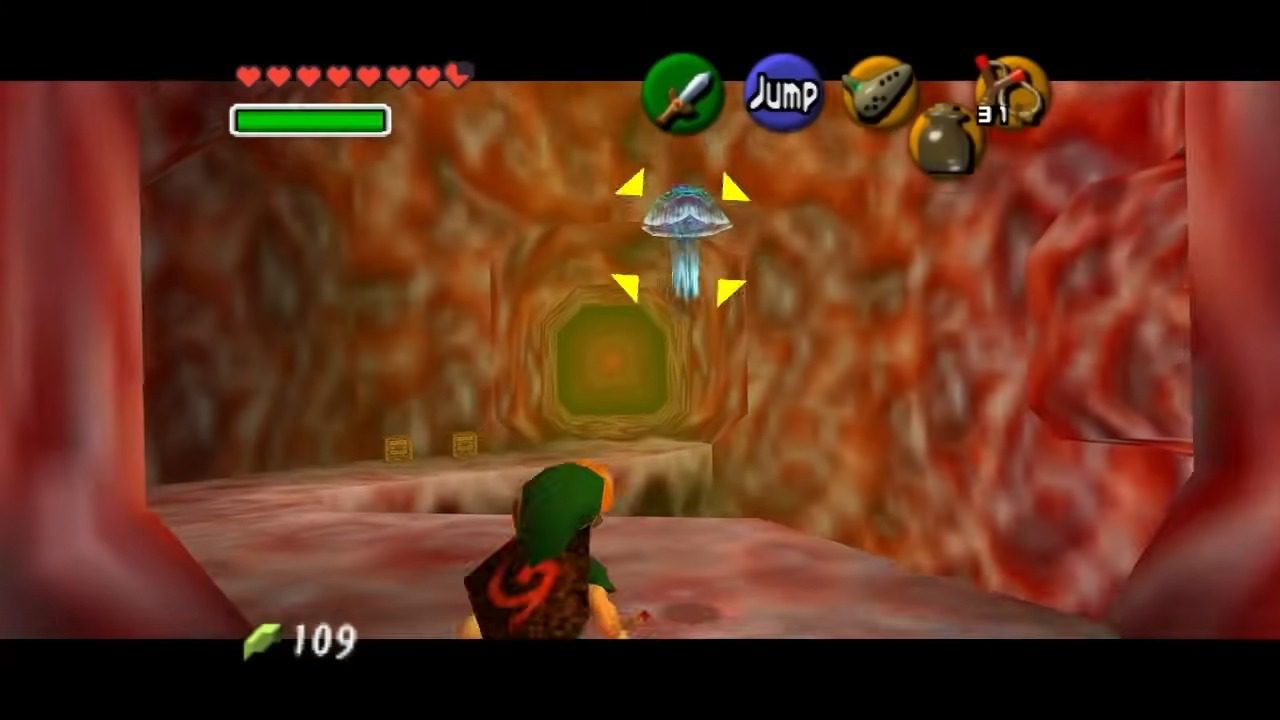
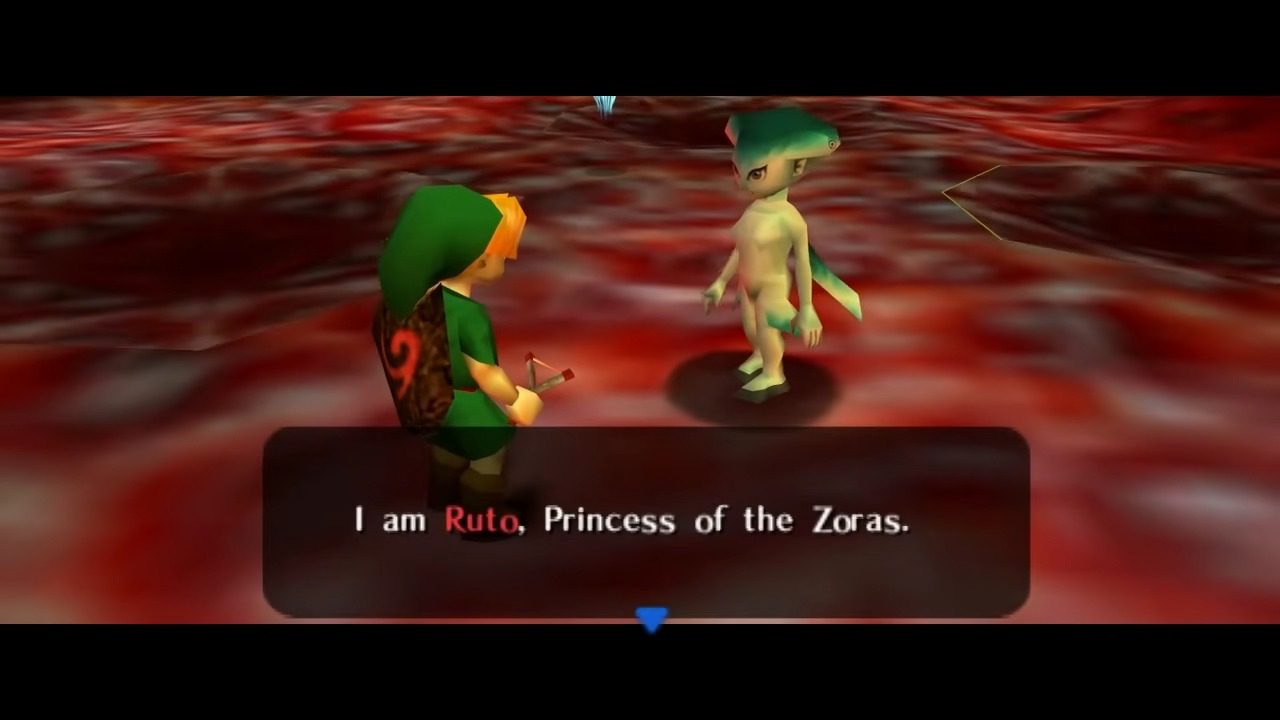
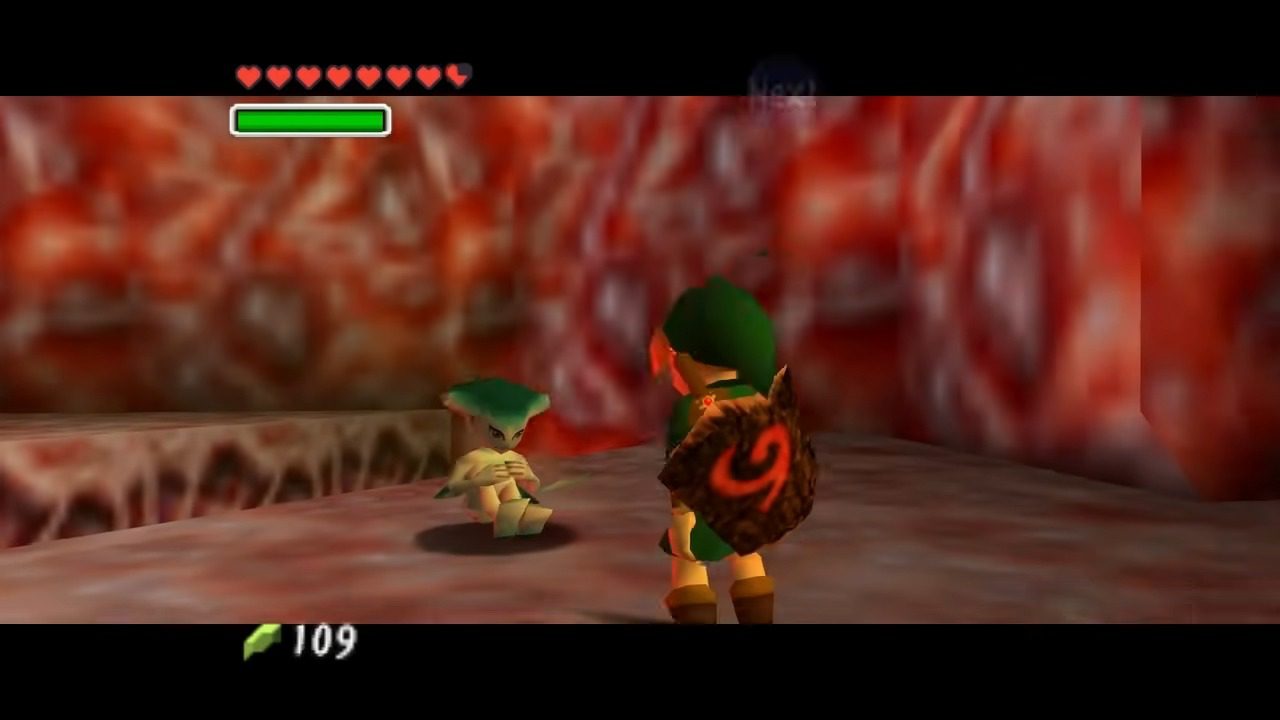
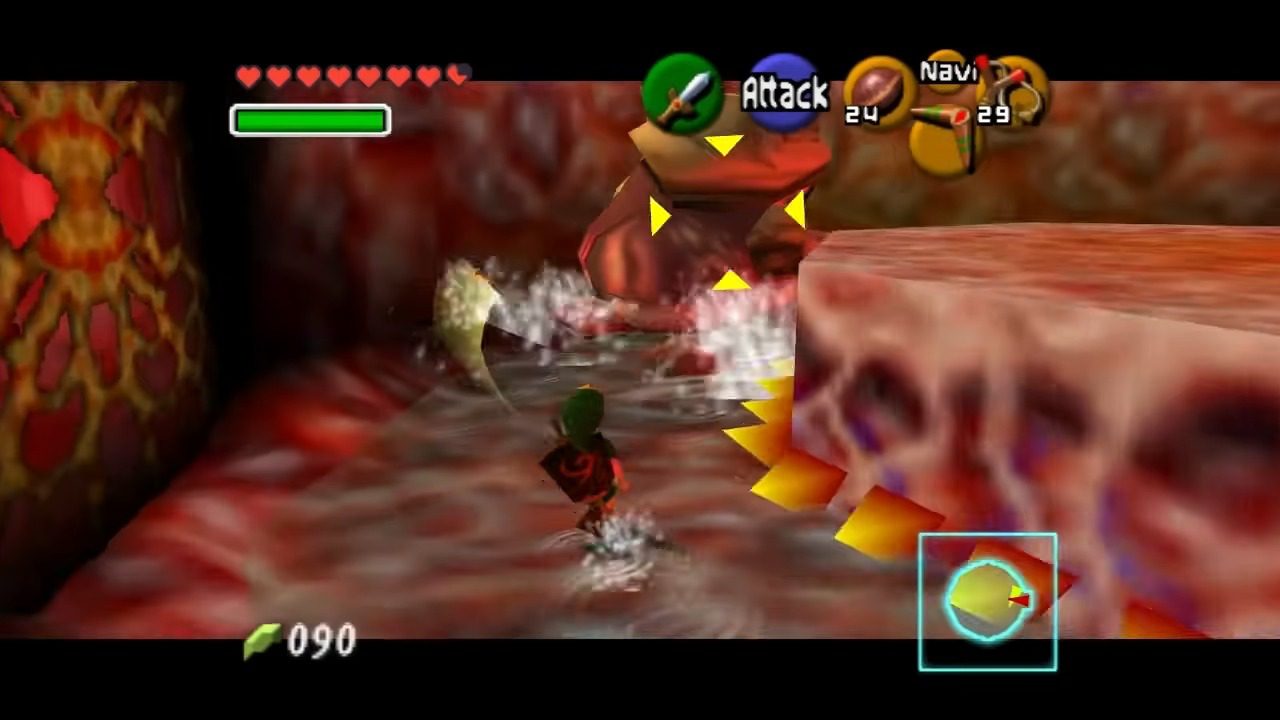
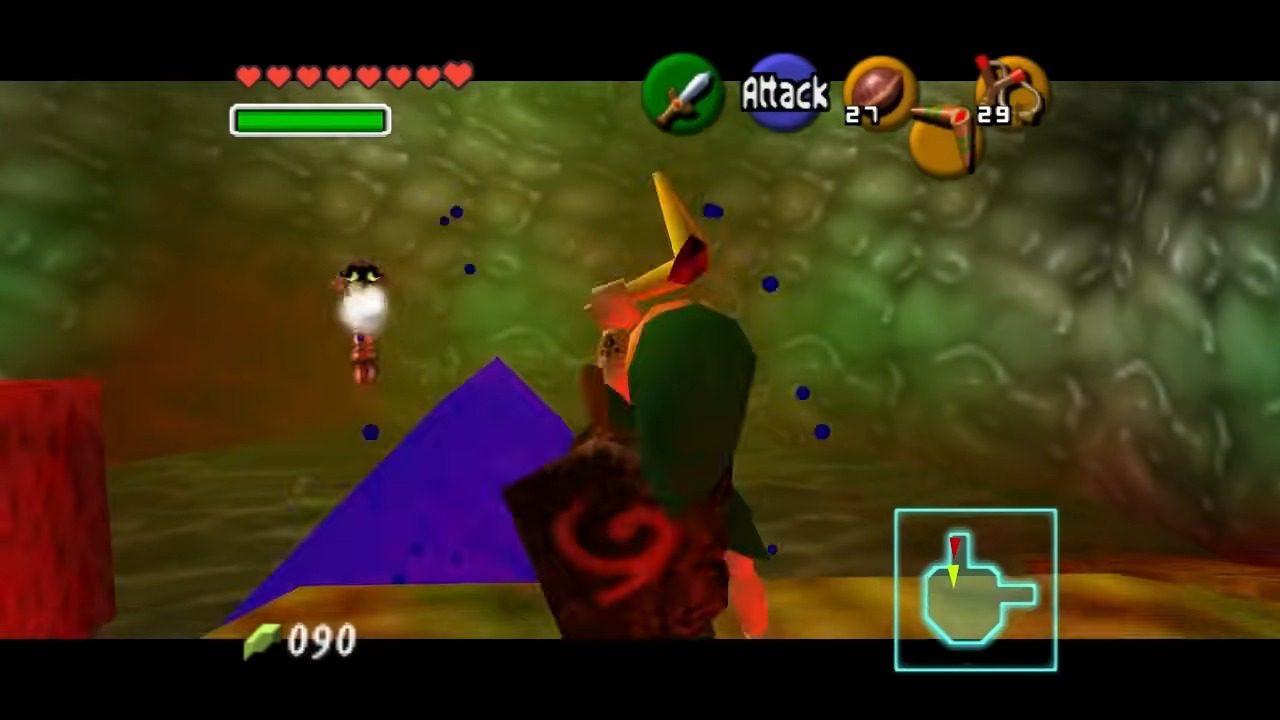
Head through that newly opened passage into the next room, which is often referred to as the Throat or the Elevator Room. Here, you’ll encounter some Biri – those floating electric jellyfish. These guys can give you a nasty jolt if you touch them while they’re charged up. You can try to carefully avoid them, or you can take them out. They’re vulnerable to non-metal weapons like your trusty Deku Sticks or the Slingshot. Make your way through this room and enter the door on the opposite side. This will lead you to the Upper Stomach, also known as the Ruto Room. And there she is – Princess Ruto! However, in a classic display of royal clumsiness, she’s not watching where she’s going and promptly falls through a hole to the floor below.
3. The Royal Escort Begins: Carrying Princess Ruto
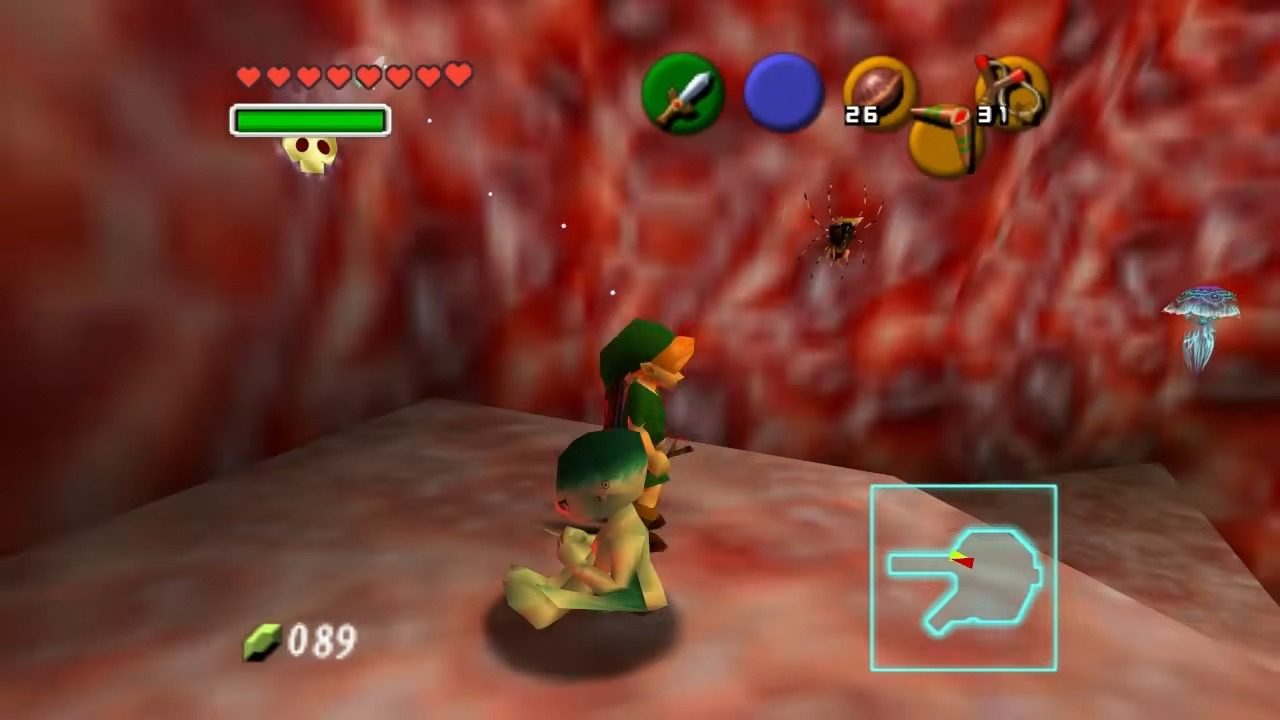
Do the chivalrous thing and follow her down that hole. You’ll land in the Lower Stomach, another room teeming with those bouncy Biri. You’ll find Ruto here, likely not too happy about her tumble. Talk to her a few times until she finally stops complaining. Once she’s done with her royal grumbling, it’s time to pick her up. This will limit your ability to attack and use items freely, but it’s necessary for solving some of the puzzles in this dungeon. Now, here’s the catch: carrying Princess Ruto is a bit of a hassle. You can’t really do much of anything useful while she’s in your arms. Forget about swinging your sword or using your shield properly. Whenever you need to attack an enemy or solve a puzzle, you’ll need to put her down.
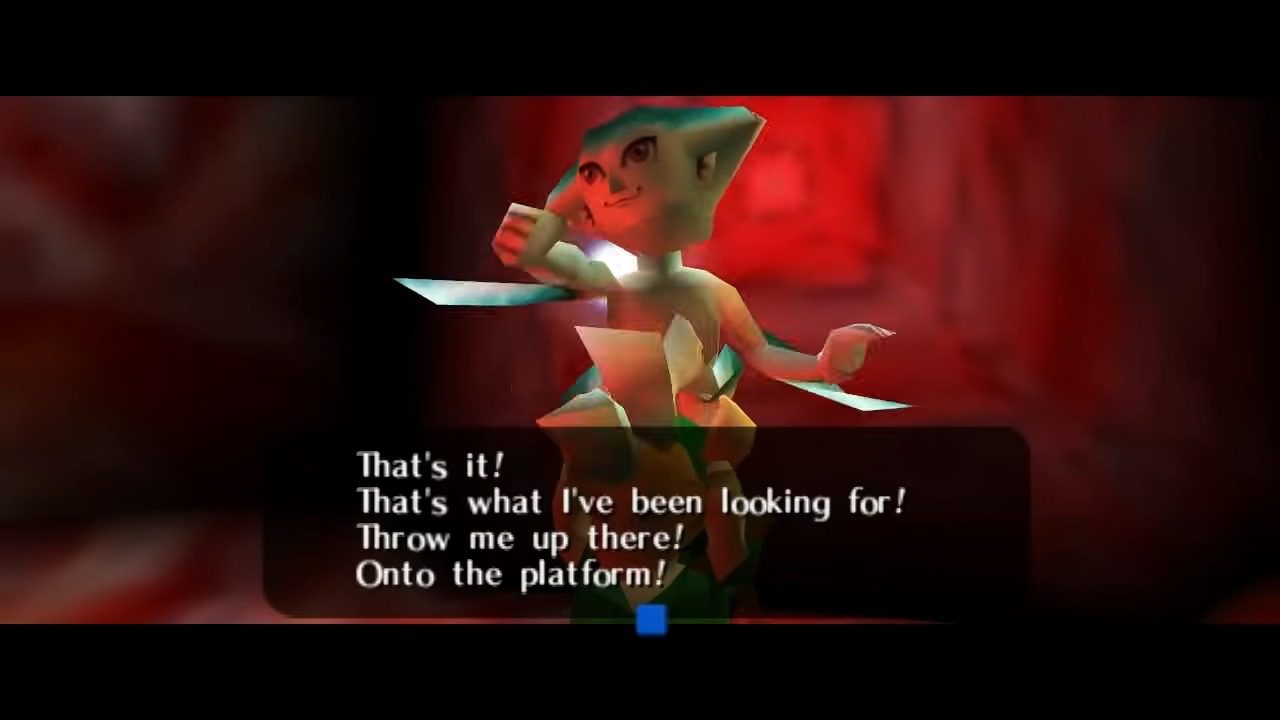
Carry Ruto through the nearby door and put her down on the other side to pop the Shaboms that are floating around. Jump down into the water, being careful to avoid the Stingers (small, jellyfish-like enemies). Before hitting the switch in the water, pick up Princess Ruto and throw her onto the platform on the other side of the water.
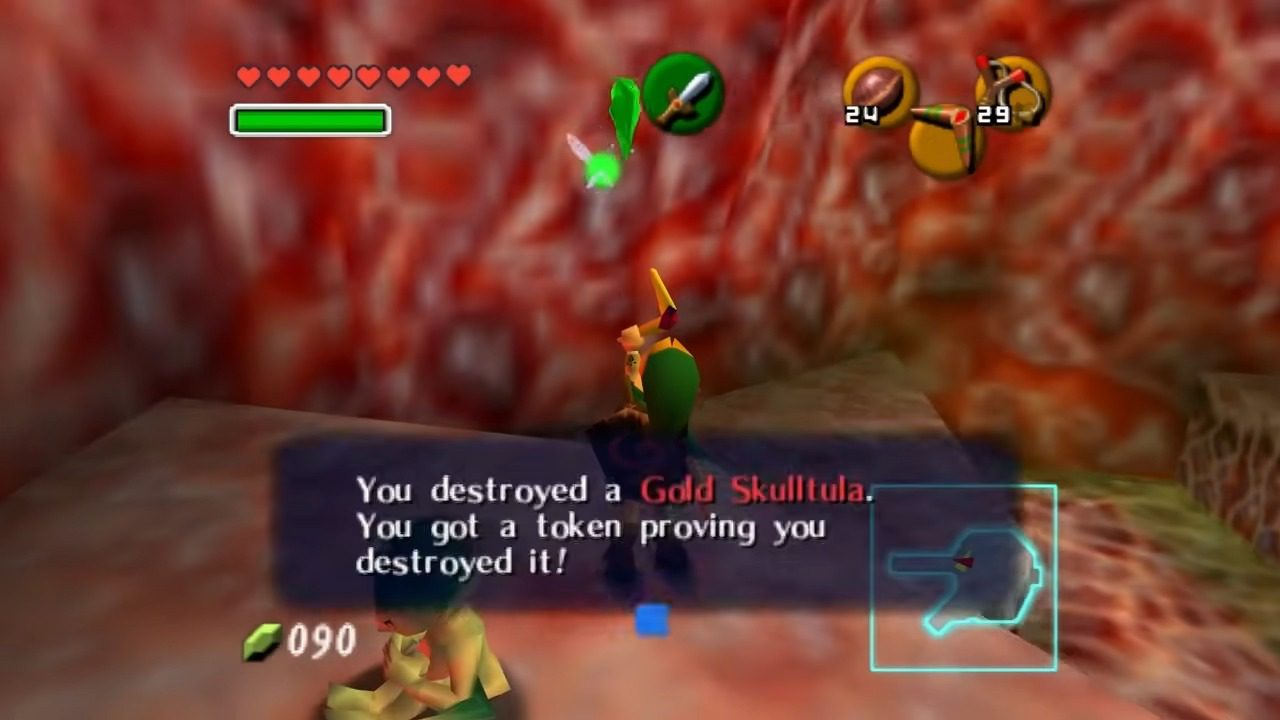
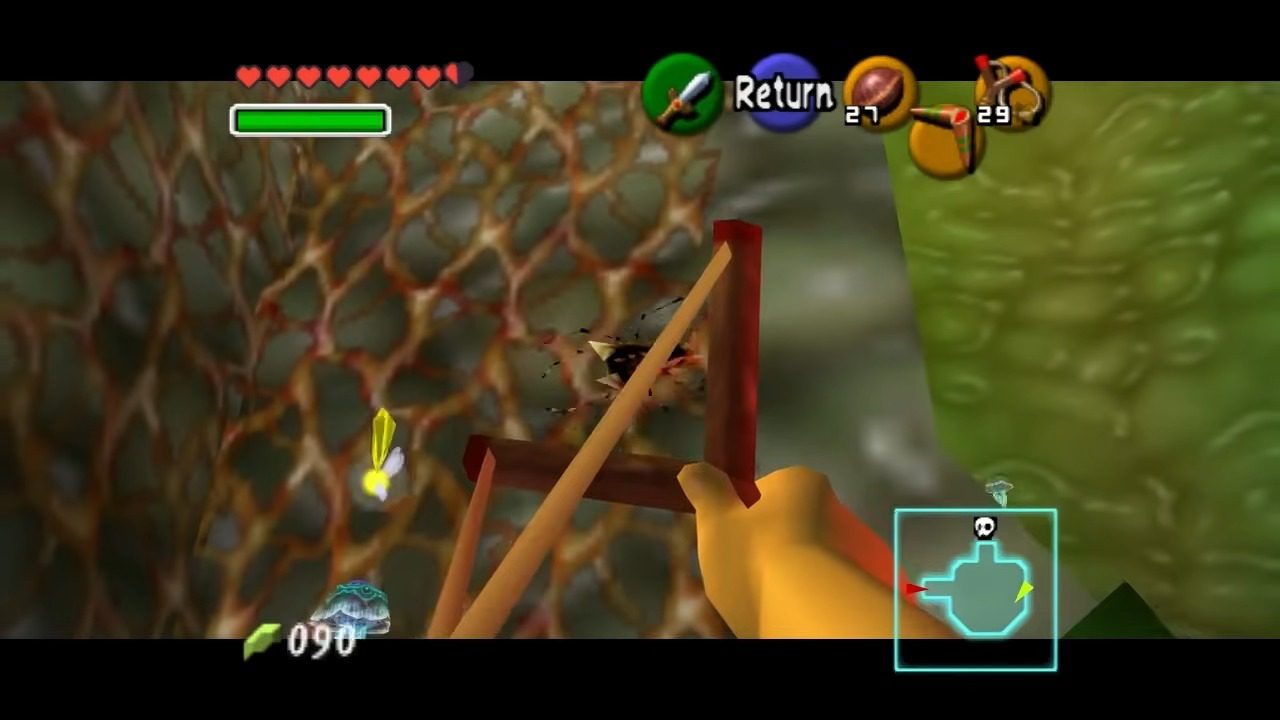
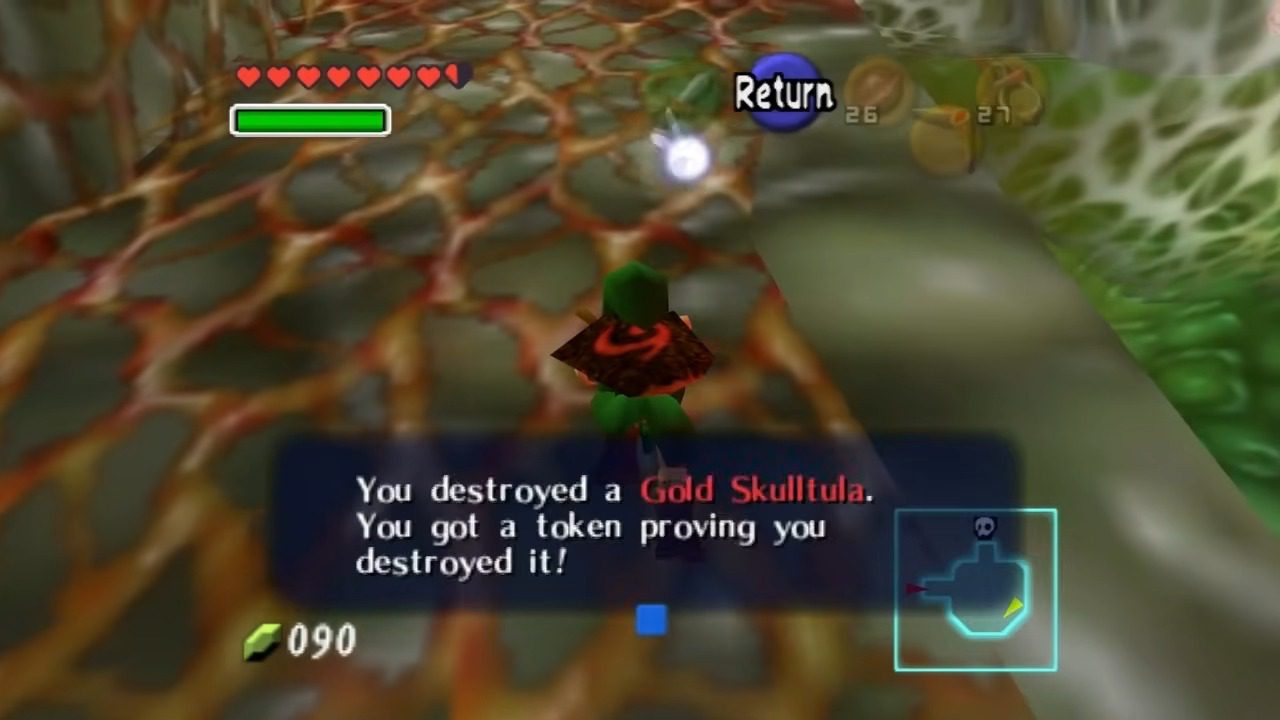
After defeating the Stingers in the water. Look along the right wall to find vines. The Gold Skulltula is on these vines. Climb to the top of the vines and drop a timely bomb to defeat it and retrieve the token.


Press the switch in the water to raise the water level and rejoin Ruto. Use Ruto (or your slingshot) to hit the switch above to gain access to the next room.

This will lead you back to the Throat, the Elevator Room you were in earlier. Quickly put Ruto down and use your shield to reflect the projectile attack from the Octorok in this room. Pick the princess back up, and wait for the spiked platform to take you back to the small hallway. From there, enter the door that leads back to the room where you first met Princess Ruto – the one with all those precarious holes in the floor.
4. Gearing Up: Obtaining the Boomerang
Now that you’re back in the Upper Stomach (Ruto Room), make your way to the opposite side of the room to the door you haven’t used yet. Be cautious, as you’ll encounter more Biri and possibly some Bari – those larger jellyfish that have a nasty habit of splitting into three smaller Biri when you defeat them. Head through that door, and you’ll find yourself in a branching hallway, seemingly part of Jabu Jabu’s… well, you get the idea.
You’ll encounter some Tailpasarans, those electric floating monsters. Head down the immediate right hallway and jump on the switch while still holding onto Ruto. This will open the door at the end of the path. Go through it, and you’ll enter a room where it’s time to set Ruto down near the entrance. Your next task is to deal with the four Stingers lurking in the floor. Use a deku nut, and they will leap out.
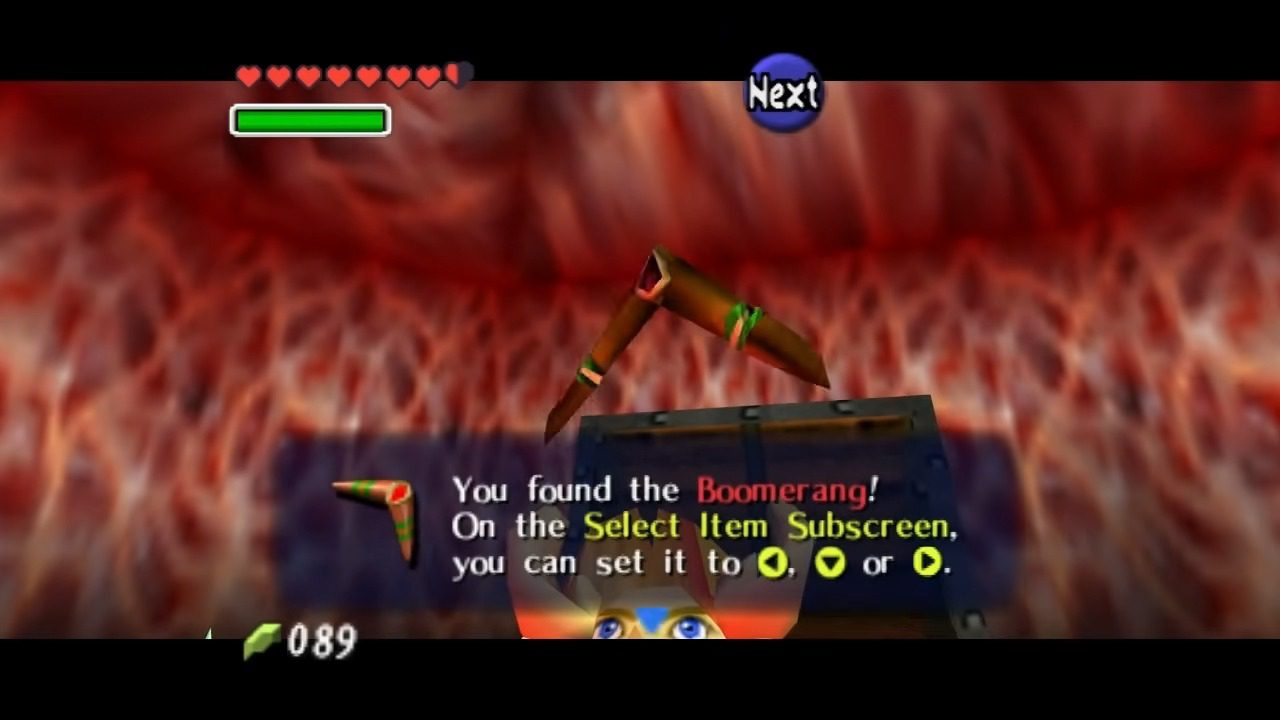
This is a major turning point in the dungeon, as the Boomerang will become your go-to tool for both combat and puzzle-solving. Equip your new toy! The Boomerang is fantastic for stunning enemies, making them easy targets for your sword, and it also allows you to grab items from a distance, which will be crucial for collecting those pesky Gold Skulltulas. With the Boomerang in hand, pick Ruto back up and head out of this room.
5. Clearing the Path: Dealing with Parasitic Tentacles
Back in the branching hallway, head to the opposite side from where you went to get the Boomerang. You’ll see another door with a switch. Use Ruto’s weight to step on the switch. This time, however, the switch will pop back up, so you’ll need to leave Ruto on it and go through the door without her. Don’t worry, she’ll be fine for a few moments, but remember not to leave her stranded for too long.
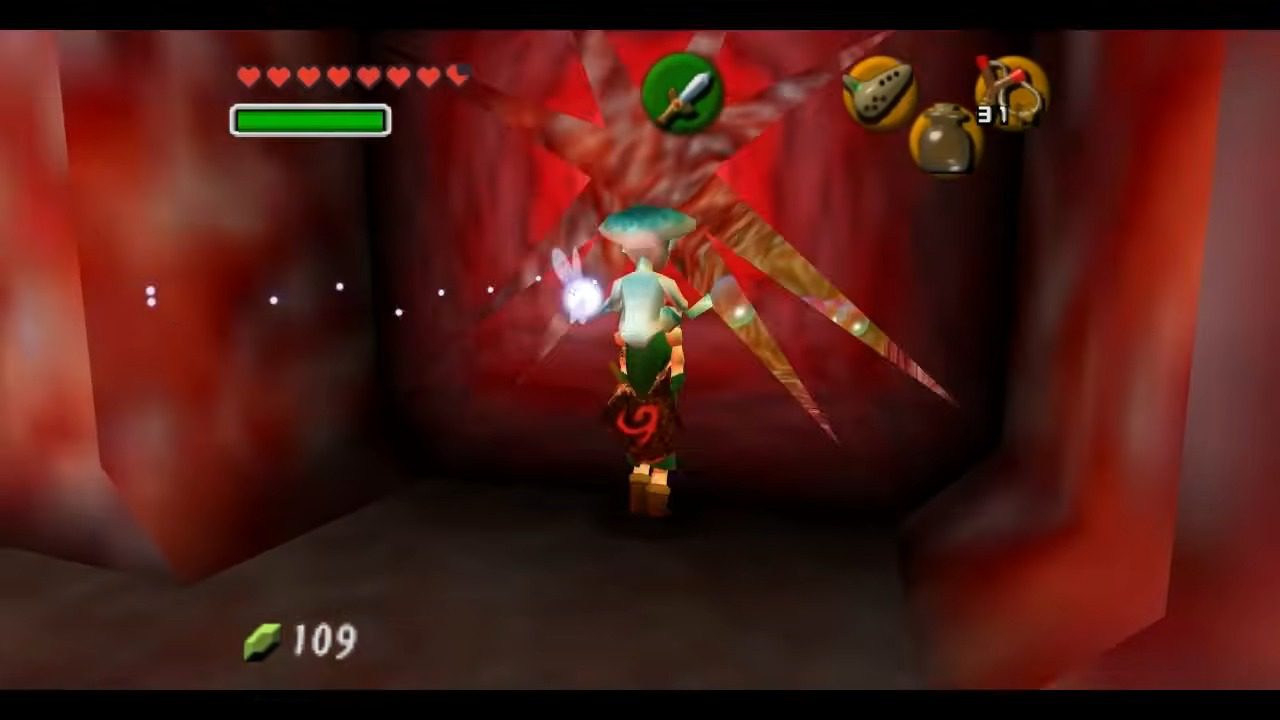
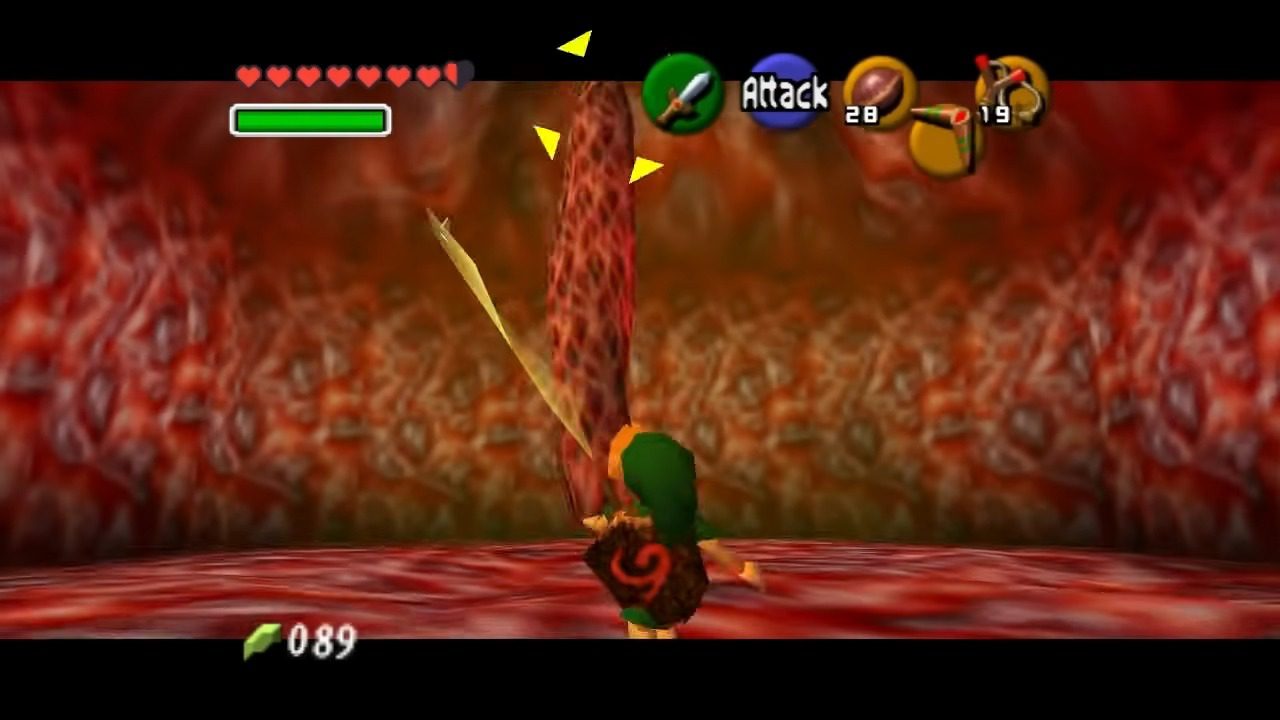
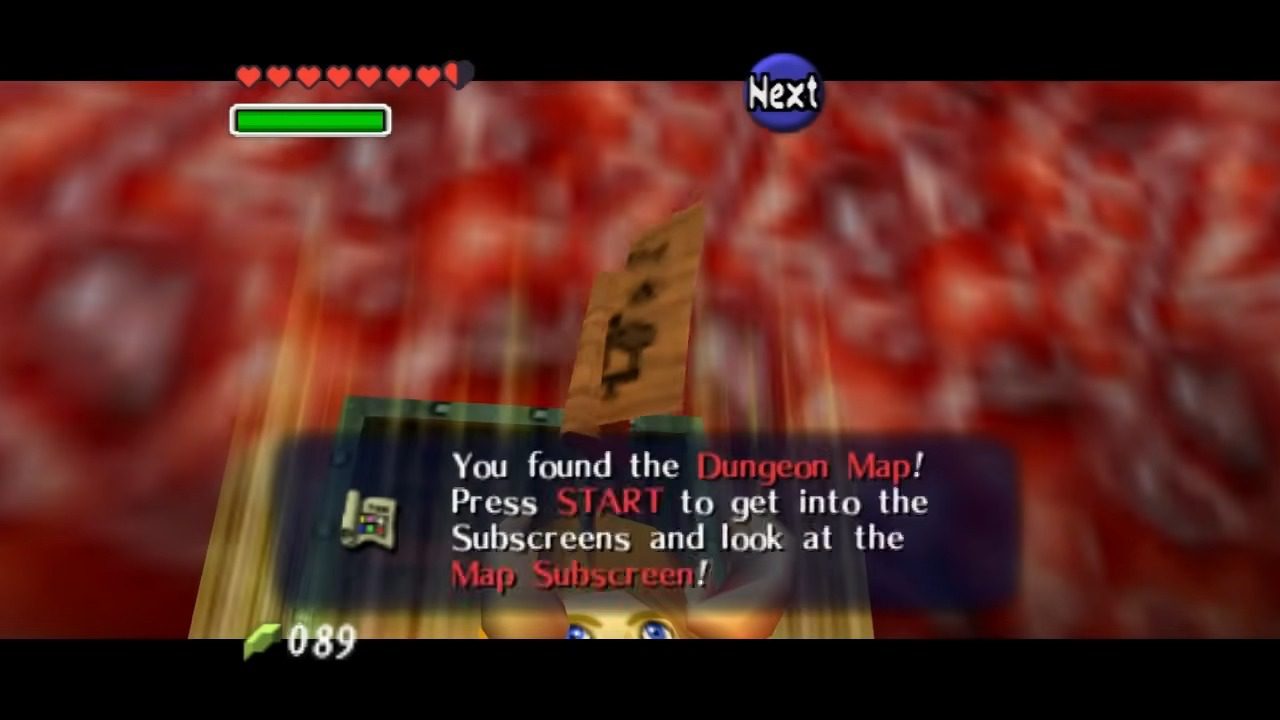
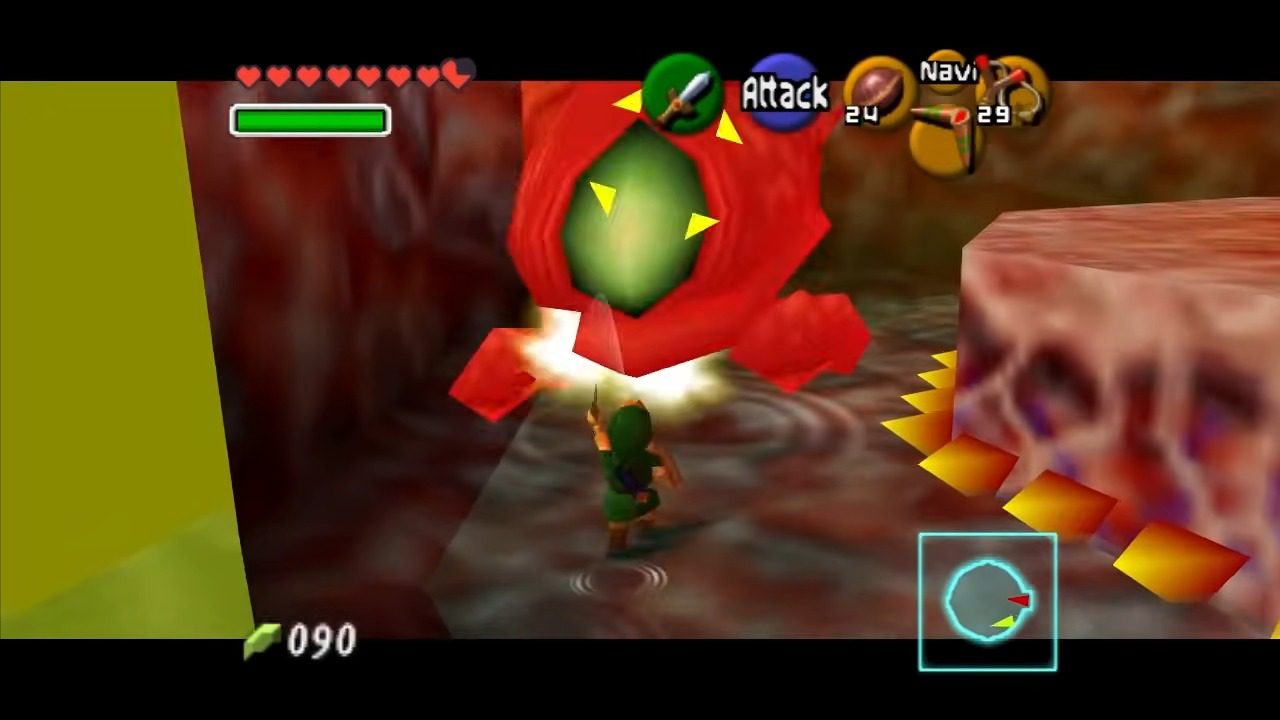
In this next room, you’ll come face-to-face with the first of several Parasitic Tentacles. These slimy obstacles are blocking your path. Lock-on to the narrowest point of the tentacle and repeatedly throw your Boomerang at it. Get in close and continuously strafe around it to avoid its swinging attacks. If you get too far away, the tentacle will retract into the ceiling and become temporarily unhittable. Once you’ve successfully defeated the tentacle, a chest containing the Dungeon Map will appear!
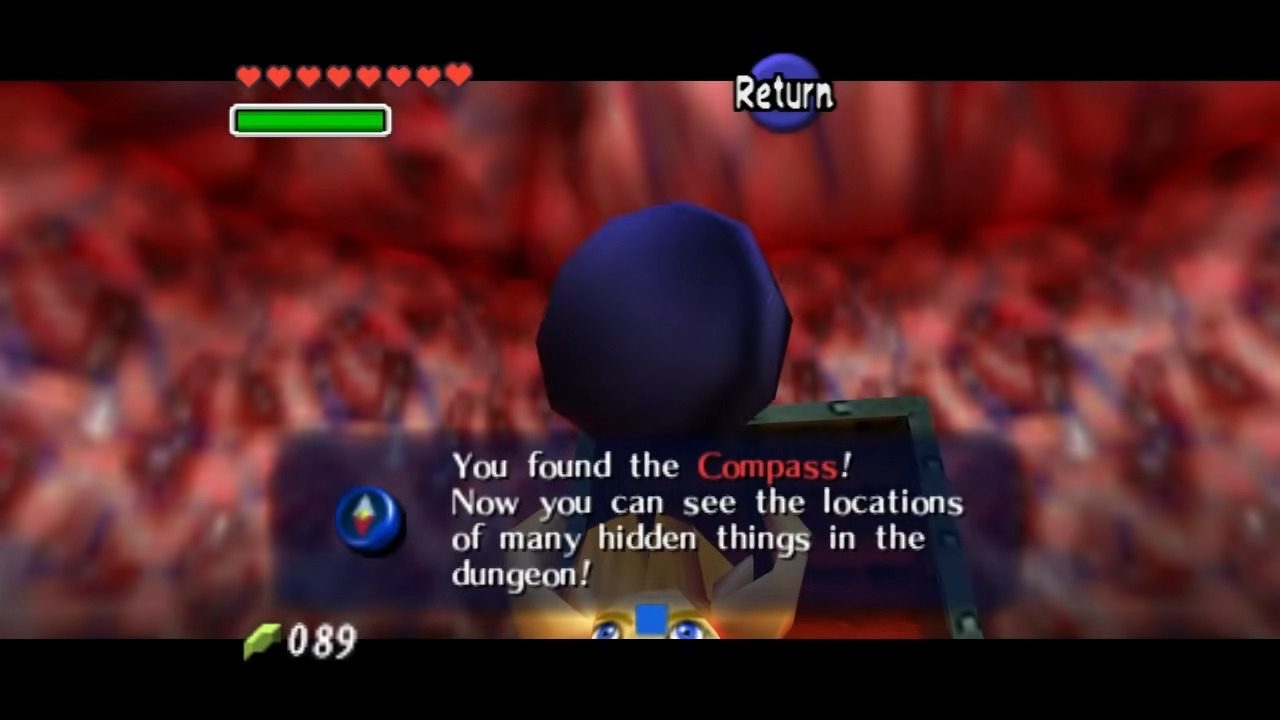
Head back to the branching hallway and grab Princess Ruto. She might give you a bit of the silent treatment for leaving her behind, but at least you’ve got a map now! Pick up Ruto and head around the corner in the branching hallway and enter the now available door. Inside, you’ll find yourself in a room with a bunch of Shaboms. Your task here is to defeat all of them within 40 seconds using your trusty Boomerang. If you manage to clear them out in time, a chest containing the Compass will appear. This is another valuable item that will help you pinpoint the boss’s location on your map.
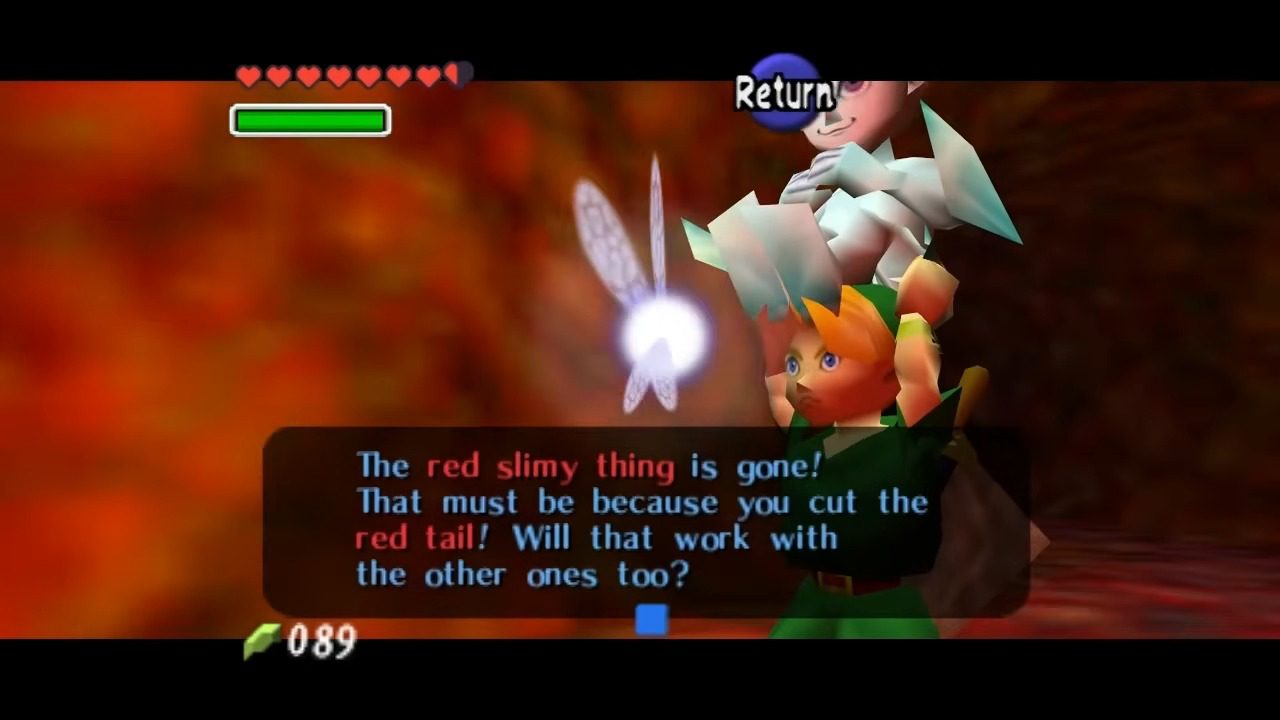
Head back to the massive branching hallway and go to the opposite side, near where you found the Boomerang. Go inside, and you’ll find another Parasitic Tentacle, this one with a blue hue. Use the same Boomerang strategy you employed on the red one to take it down.
With the blue tentacle gone, the final, middle pathway in the branching hallway is now clear. Head through the door, and you’ll encounter the last Parasitic Tentacle, this time green. However, this one has backup! Be careful of the army of Biri floating around it. Once again, the Boomerang is your best friend here. Take out both the tentacle and the jellyfish to clear the path.
With all the tentacles vanquished, the door will open. Head back to the main room where you first found Princess Ruto, the Upper Stomach.
6. The “Precious Stone” and a Spinny Situation
Back in the Upper Stomach (Ruto Room), it’s time to take another plunge. Fall down the hole that’s closest to the top left corner, which should be opposite the spot where you first saw Ruto. This will drop you onto a new platform below. On this new platform in the Lower Stomach (Room with Biri), take a moment to snag some collectibles. Use your Boomerang to grab the tokens from the two Gold Skulltulas clinging to the wall.
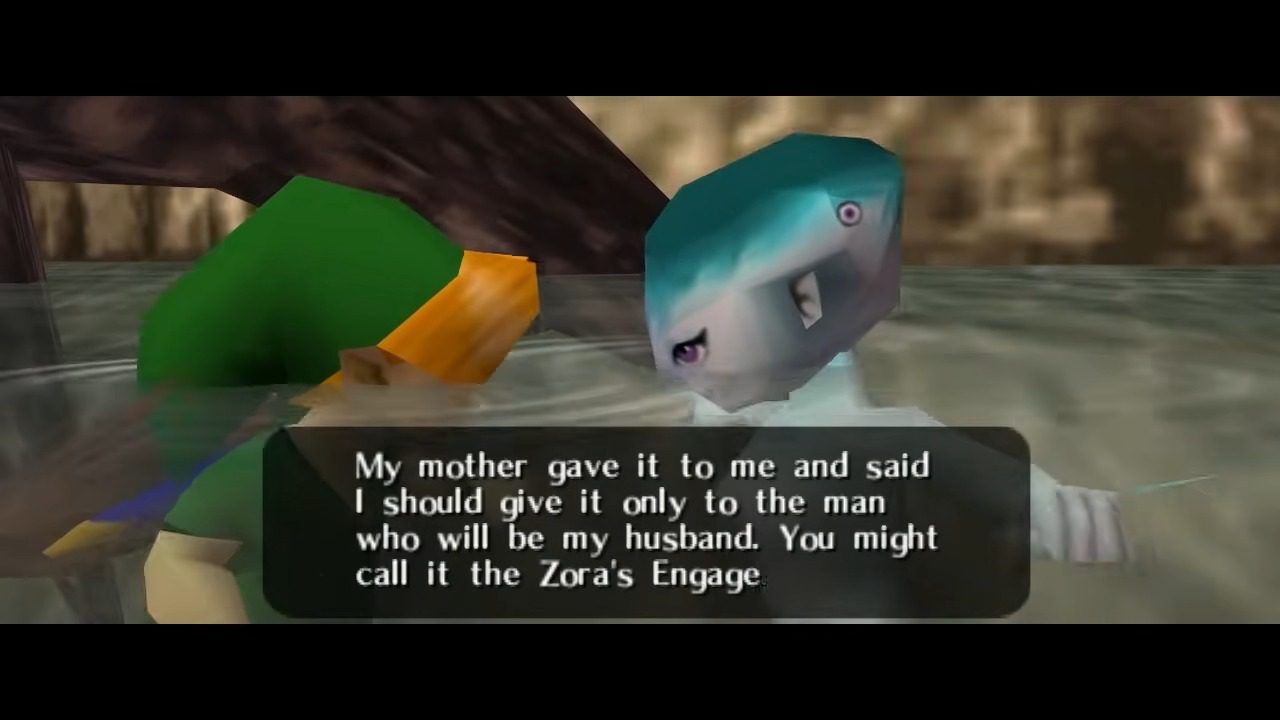
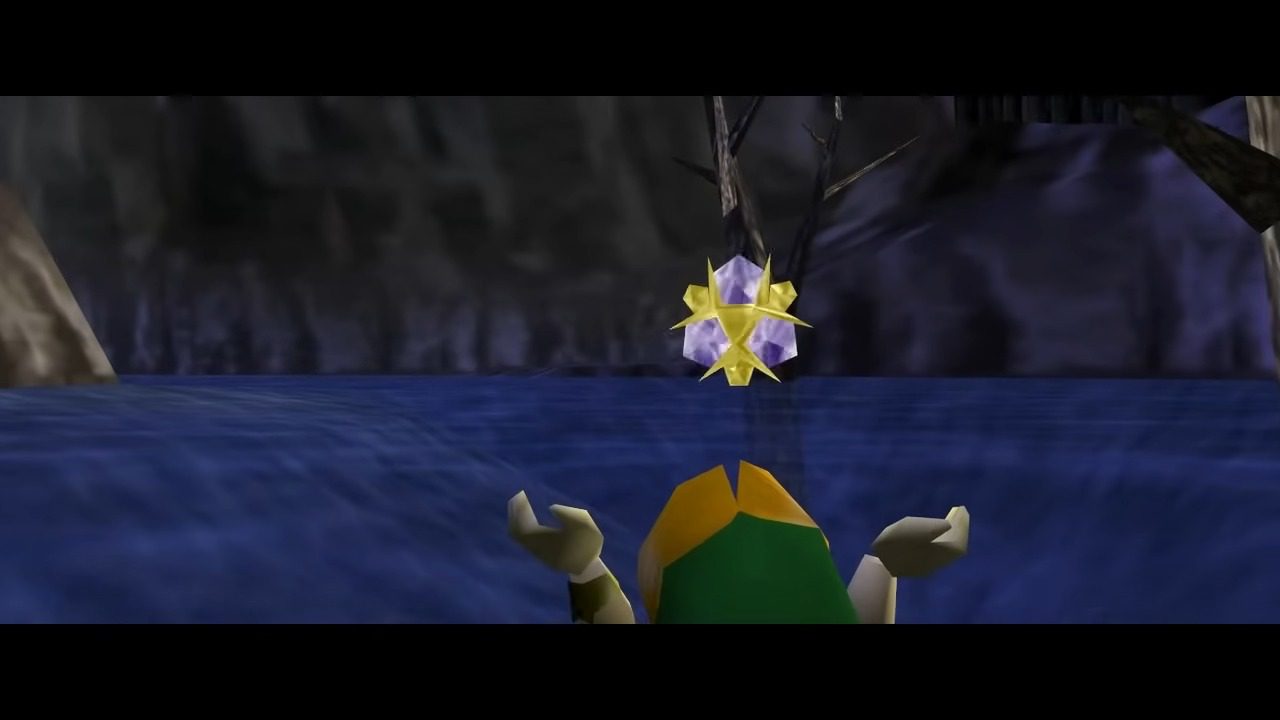
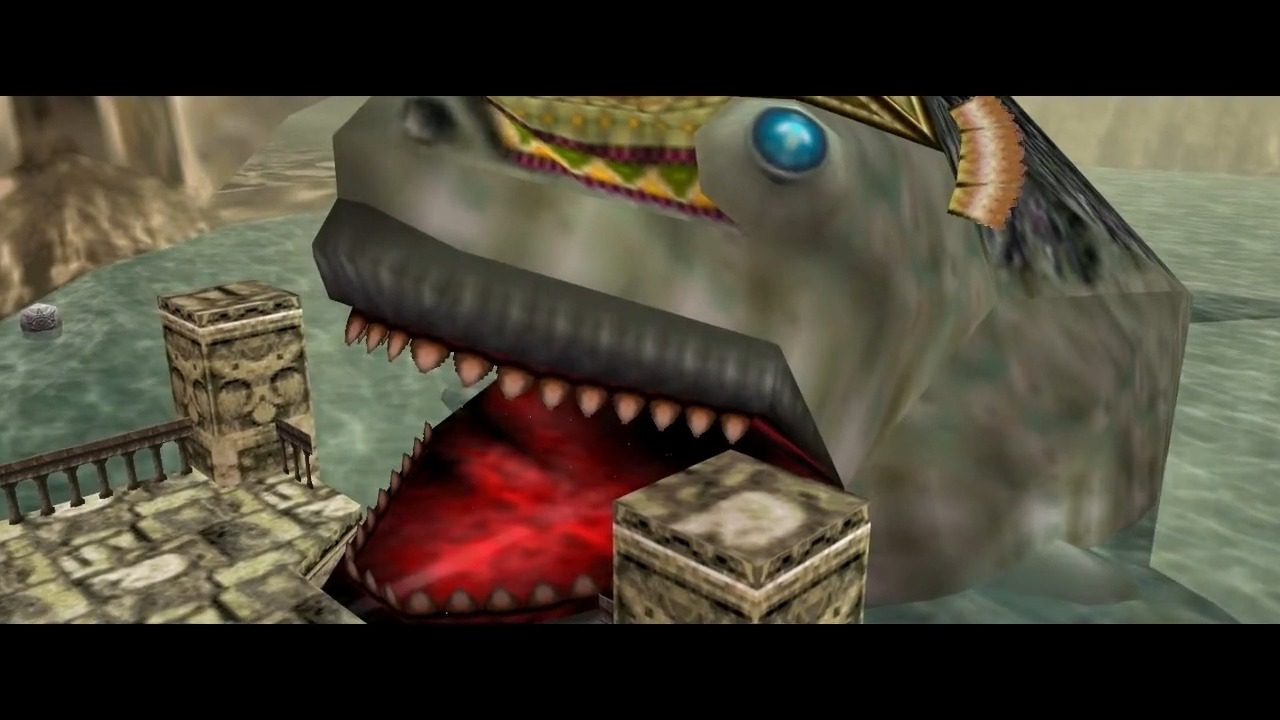
Once you’ve got those creepy-crawlies, head through the only hallway on this platform and enter the door at the end. This will lead you directly to Big Octo’s lair. In this room, you’ll need to throw Princess Ruto onto the platform in the center. After a brief scene, she will finally get her hands on the precious Spiritual Stone of Water, the Zora’s Sapphire!. Success! Or so it seems… As soon as she gets her stone, the platform will rise up, and in Ruto’s place, a giant octopus, the Big Octo, will descend! Prepare yourself for a mini-boss fight!

7. Showdown with Big Octo: Don’t Get Spiked!
Alright, time to tango with this oversized cephalopod. The spiked platform in the center of the room will start spinning. Big Octo will also begin shuffling in one direction around this rotating hazard.
Here’s the key to victory: you can only inflict damage on Big Octo by hitting its backside. And this guy is surprisingly fast, so you’ll need to be strategic in your approach. The best tactic is to always run in the opposite direction of the spinning platform and try to stick as closely as you can to the spikes without actually touching them. This will allow you to gain ground and eventually catch up to Big Octo. Once you’re close enough, quickly lock-on to the Big Octo and throw your Boomerang to stun it.
This will give you a brief window of opportunity to run around to its backside and slash the green jewel you see there with your sword. Repeat this process of stunning and attacking until the Big Octo is defeated. Be aware that after a few hits, Big Octo might change its movement direction periodically, so keep a close eye on the spinning platform and adjust your strategy accordingly. You can try simply standing still and letting Big Octo run into you on purpose. When it hits you, or sometimes when you stun it, it will turn around. Immediately after it turns, quickly stun it with your Boomerang and unleash a flurry of sword attacks. Repeat this method until it’s defeated.
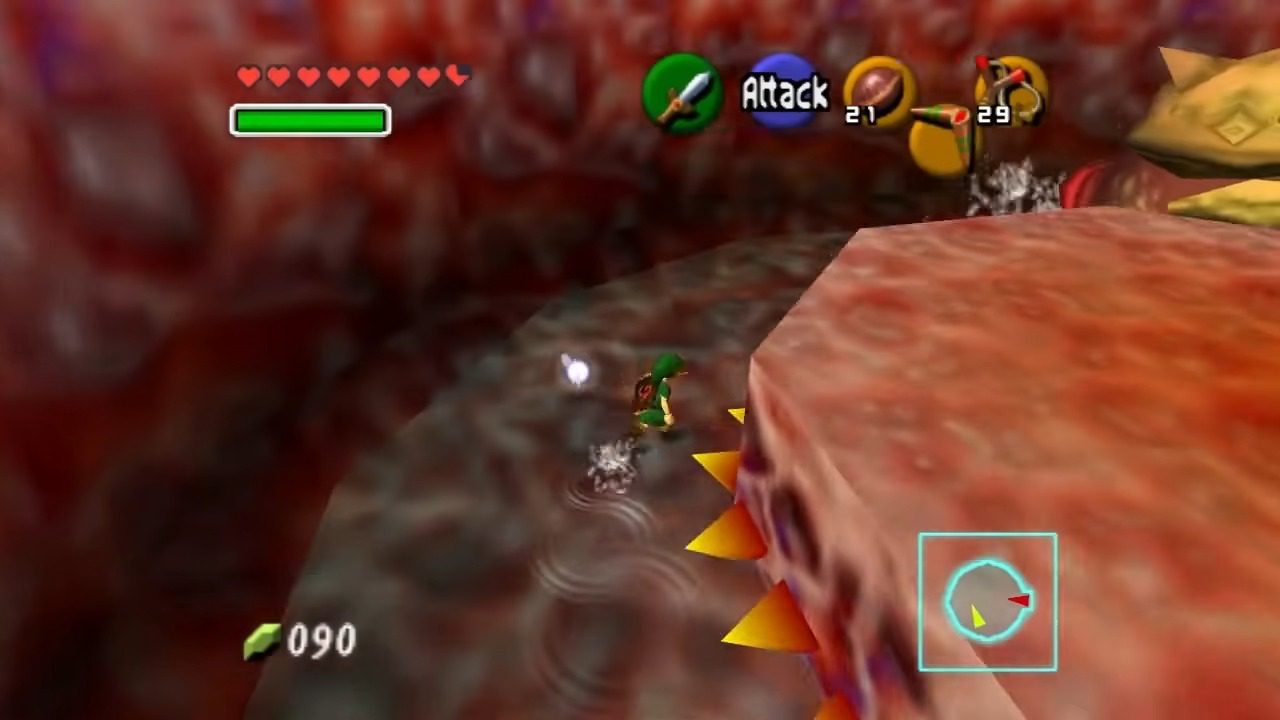
After defeating Bigocto, ride the platform up to find Ruto. Continue through the dungeon together, using the Boomerang to deactivate obstacles and enemies. You’ll encounter more puzzles that might require using boxes to hold down switches, as you can’t always rely on Princess Ruto to stay put. Use your Boomerang to defeat any remaining enemies, such as Biri, and navigate through the fleshy corridors. Eventually, you will reach the boss room where you will face Barinade, a large, bio-electric anemone protected by numerous jellyfish.
8. The Path to the Final Challenge: Reaching Barinade
With the Big Octo dispatched, step into the center of the room and ride the elevator platform that appears upwards. In the next room, you’ll encounter some rather peculiar wiggly electric jelly blobs. Before you deal with them, take out the Octorok lurking below with a well-aimed shot from your Slingshot. Now, for the jelly blobs: use your Boomerang to freeze them, turning them into temporary, solid platforms. Carefully hop across these makeshift platforms to reach the door on the other side.

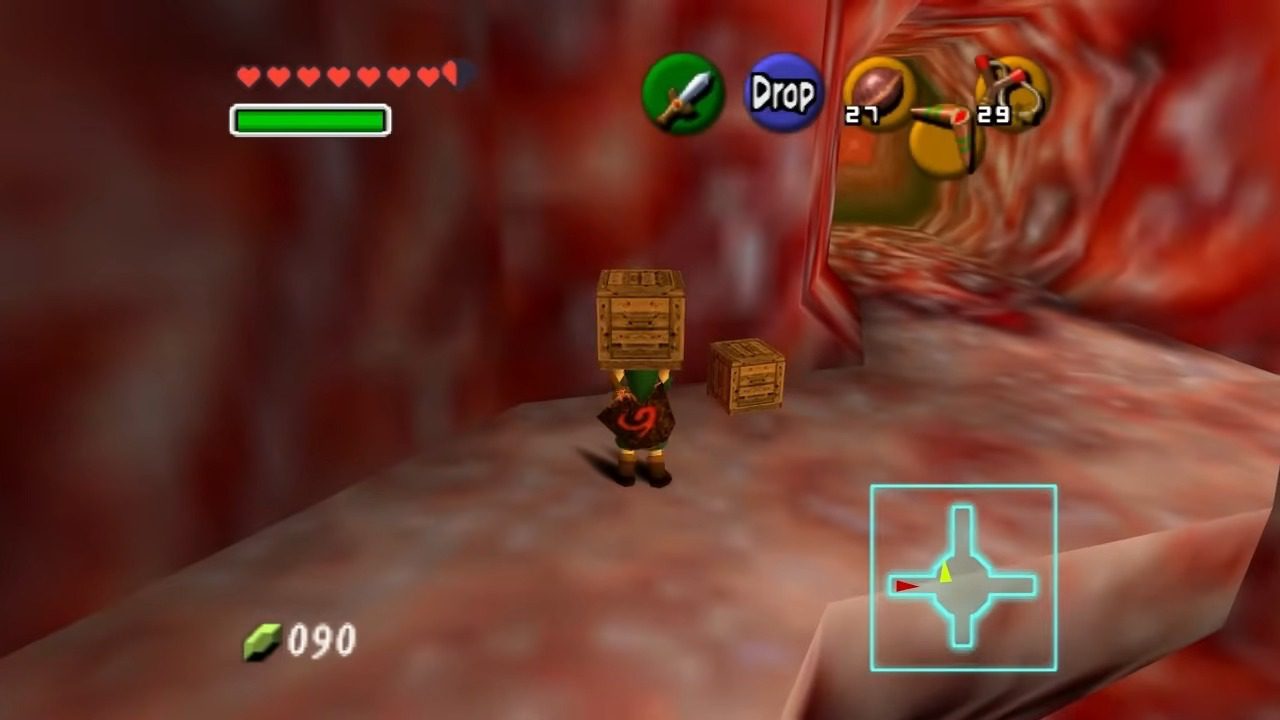
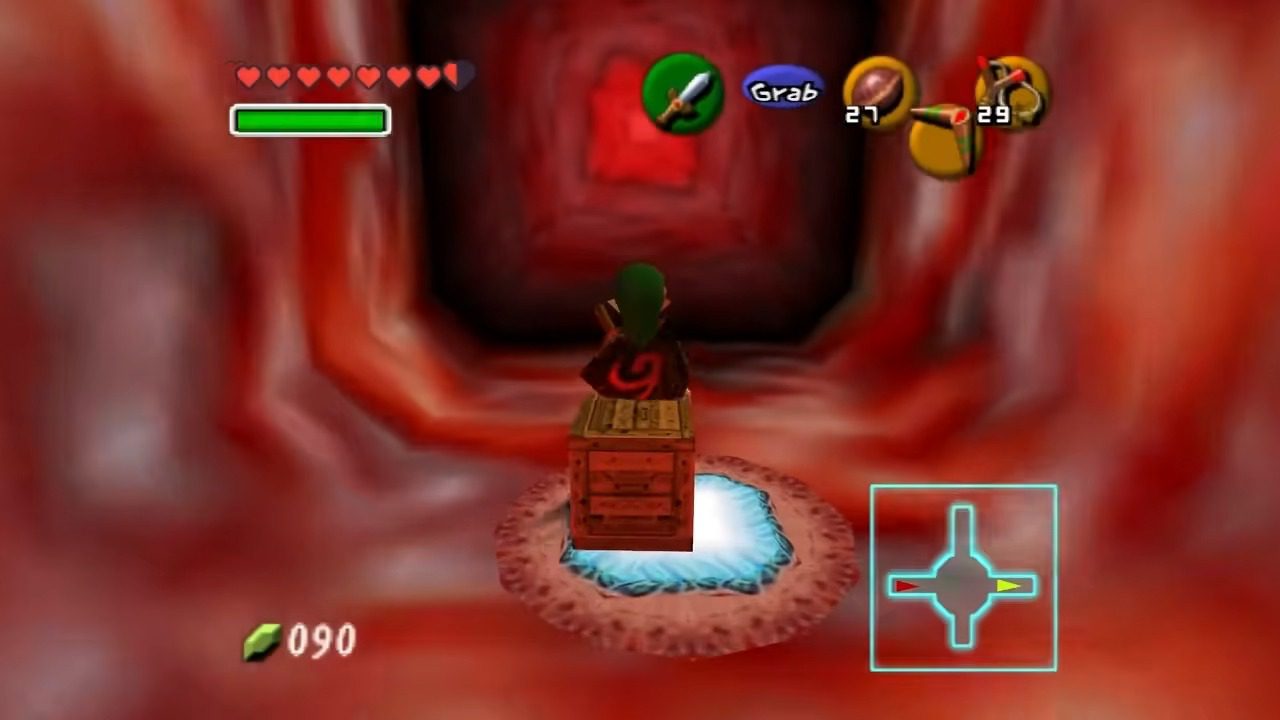
You’ll find yourself back in the Throat, or Elevator Room area. Jump onto the lone platform, and it will begin to lower. This time, you don’t have Princess Ruto to hold down any switches, so you’ll need to improvise. Look around, and you should find a box on the other side of the ledge. Grab it and place it on the switch to keep the door open. Head through that door into the next room.
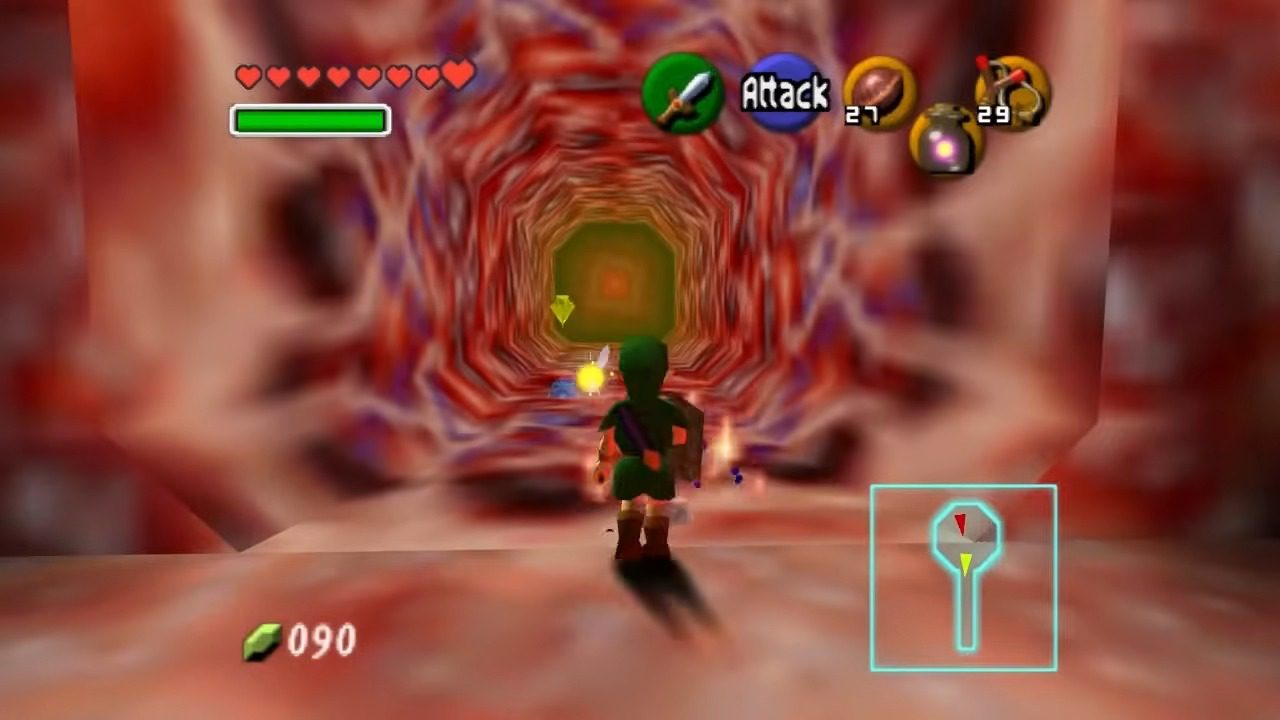
This room is buzzing with Biri! Quickly eliminate all of them using your trusty Boomerang. Once the jellyfish are gone, head to the far side of the room, and you’ll see some vines climbing up the wall. Before you start climbing, keep an eye out for a Gold Skulltula chilling on these very vines. Snag its token, then climb all the way to the top. Up here, you’ll notice a strange, spider-web-like barrier blocking the path to the boss door. Lock-on to the barrier, take a couple of steps back, and then throw your Boomerang. This should cut through the webbing and unlock the door on the north side of the room.

Feeling ready for the main event? Head through that door when you’re prepared to face the boss of Jabu Jabu’s Belly: Barinade!.

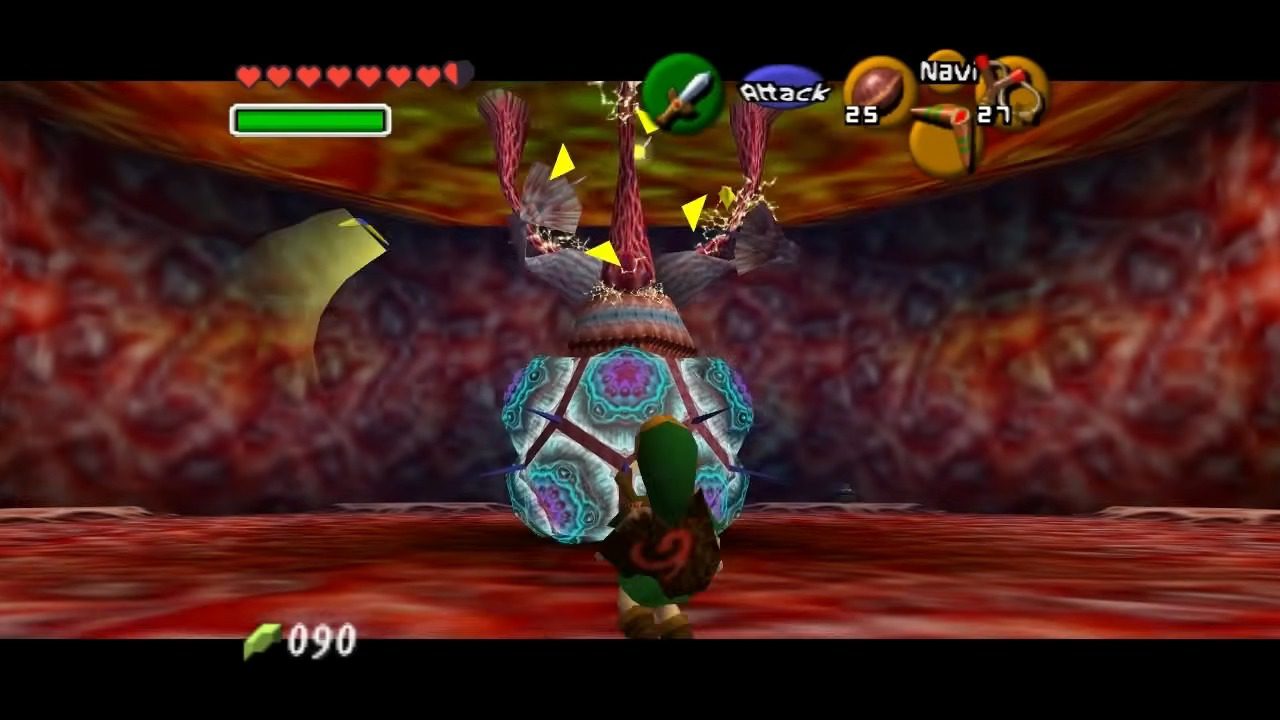
9. Boss Battle: Barinade – The Electric Anemone
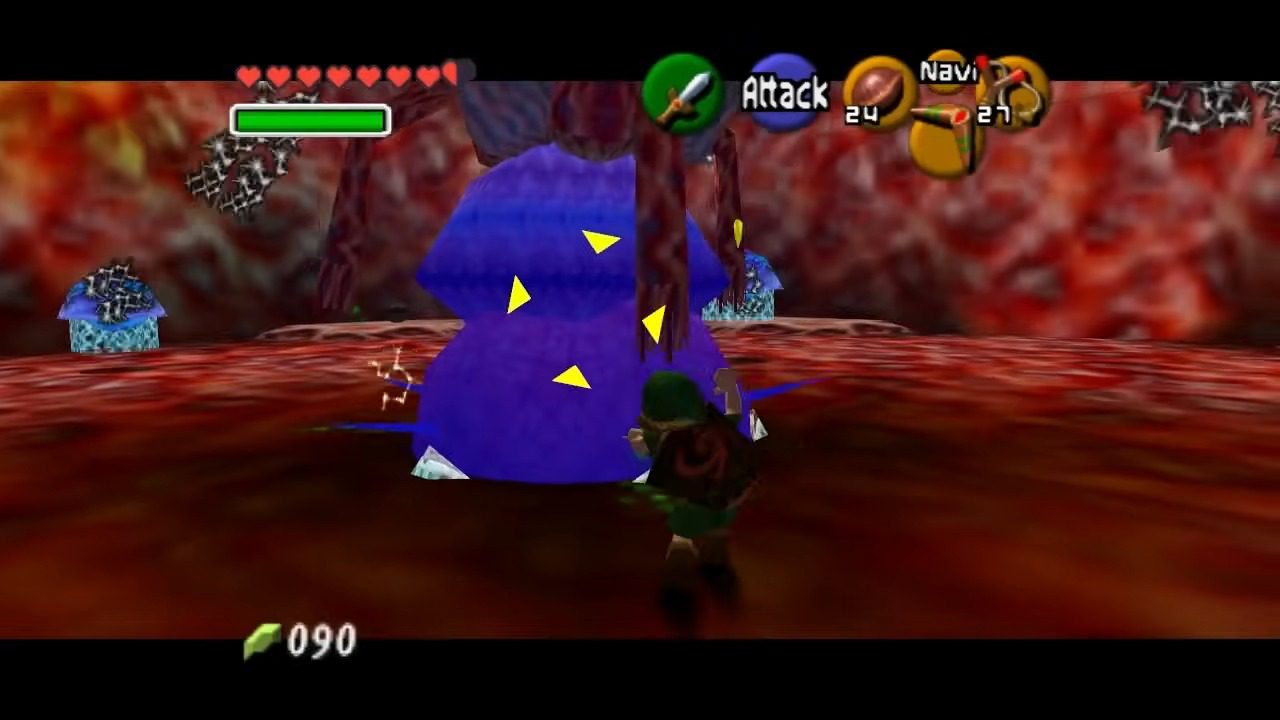
Prepare for an electrifying encounter! Barinade is an enormous, electrified anemone-like creature that’s attached to the ceiling by several tentacles.
Phase 1
Your first priority is to avoid getting shocked by its swinging tentacles. Keep circling around the room to stay out of their reach. Now, focus your attention on the glowing tendons that connect Barinade to the ceiling. Lock-on to them one by one and take them out using your Boomerang.

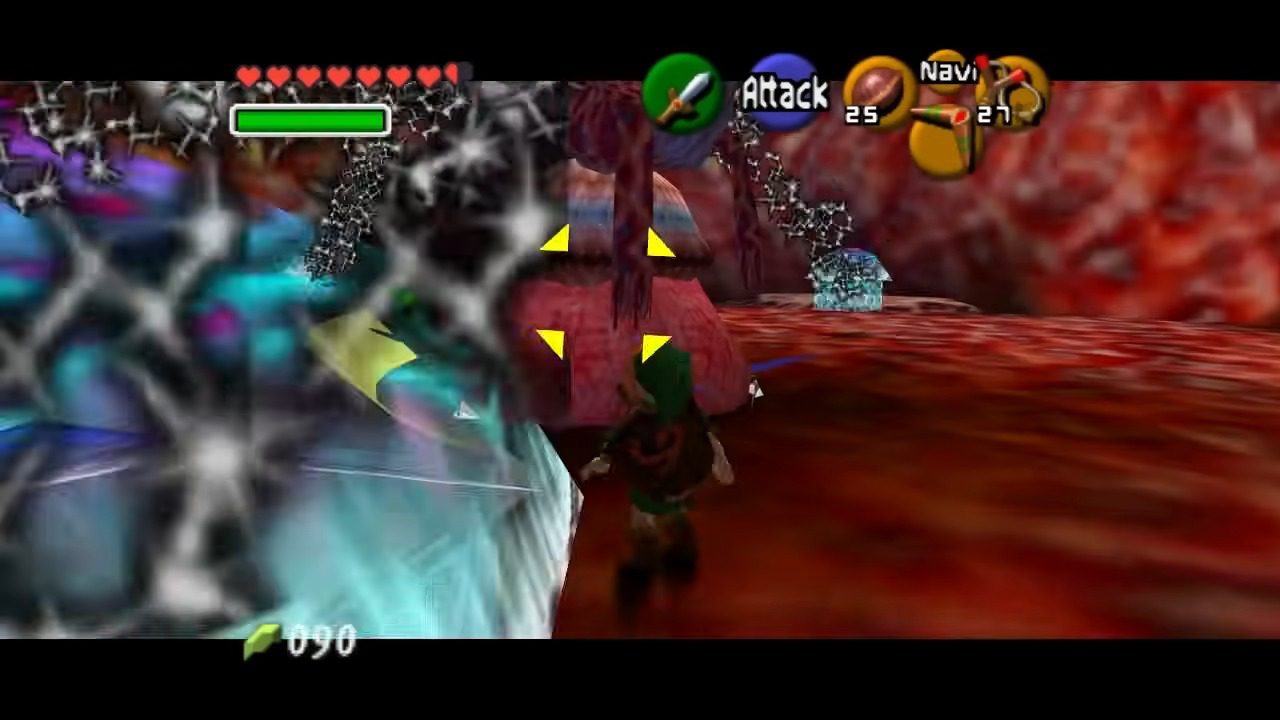
Phase 2
After you have successfully severed all three tentacles, electric jellyfish (Bari) will detach from Barinade’s body and begin to swing around it. Continue to circle around the room, avoiding both Barinade and the jellyfish. Use your Boomerang to stun Barinade’s central body. While it is stunned, quickly attack the now unattached jellyfish with your sword or Boomerang. The more jellyfish you defeat, the easier it will be to hit Barinade’s body.
Once all the jellyfish have been taken care of, stun Barinade one last time with your Boomerang. Run in close and unleash a series of sword slashes on its central body. Be cautious, as it will recover and attack with electric beams, so keep circling and be ready to throw your Boomerang again. Repeat this process until Barinade is defeated.
After defeating Barinade, it will leave behind a Heart Container. Collect it to further increase your maximum health. You will then meet with Princess Ruto once more. As a token of her gratitude for saving her, she will bestow upon you the Zora’s Sapphire, the third and final Spiritual Stone you need as Child Link.