Alright, fellow Zelda fan, you’ve made it through the eerie depths of the Bottom of the Well, and now the shadowy path ahead leads to an even more mysterious and treacherous location: the Shadow Temple. Don’t worry, I’ve got your back. This guide will walk you through every step, ensuring you snag all the goodies and conquer this dungeon. Let’s dive in!
Optional: Heart Piece from the Dampe Gravekeeper’s Race
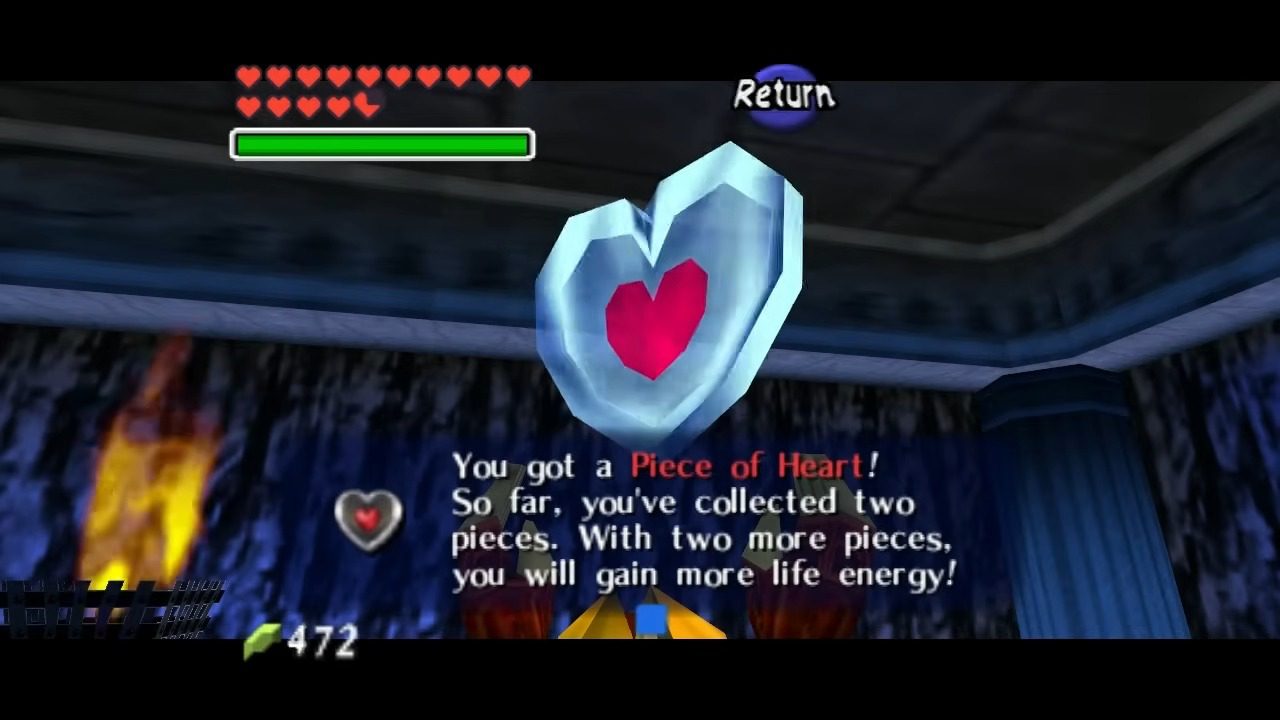
Enter the Kakariko Graveyard and pull back the tombstone with flowers in the second row to reveal a passage. Jump in to find Dampé’s spirit, who will challenge you to a race. Finish the race in under one minute to earn a Piece of Heart.
Entering the Realm of Shadows
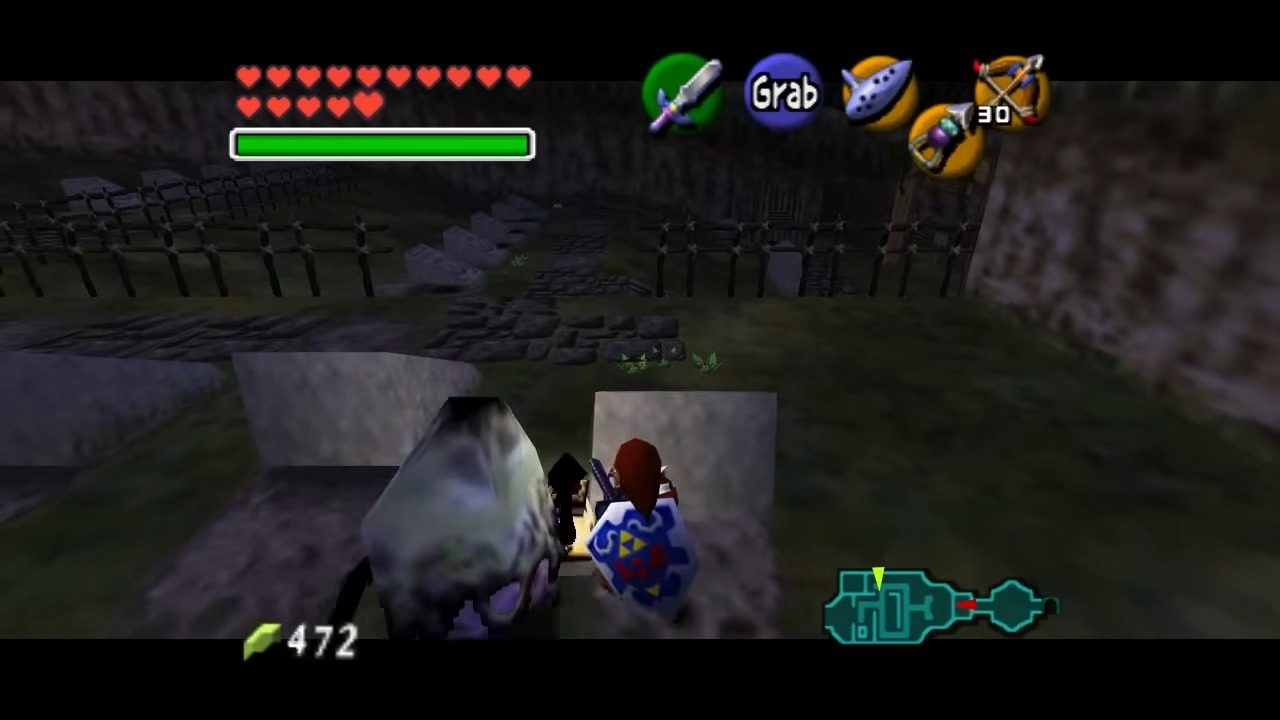
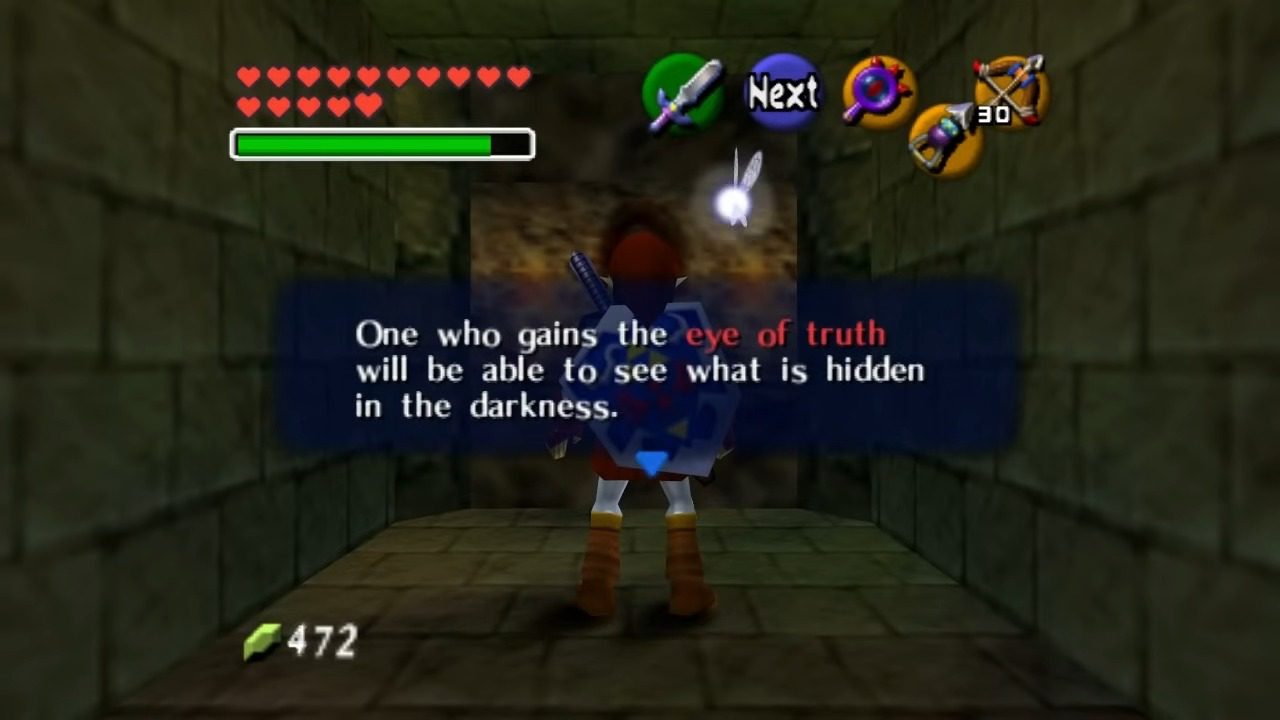
Before we even set foot inside, make sure you’re playing as Adult Link and have two crucial items in your inventory: the Nocturne of Shadow and the Lens of Truth. The Nocturne of Shadow is a tune Sheik teaches you in Kakariko Village after you’ve calmed the waters of Lake Hylia in the Water Temple. The Lens of Truth, as you well know, was your hard-earned reward for braving the Bottom of the Well. These two items are absolutely essential to even enter the Shadow Temple, highlighting the game’s design where specific tools are required to progress.
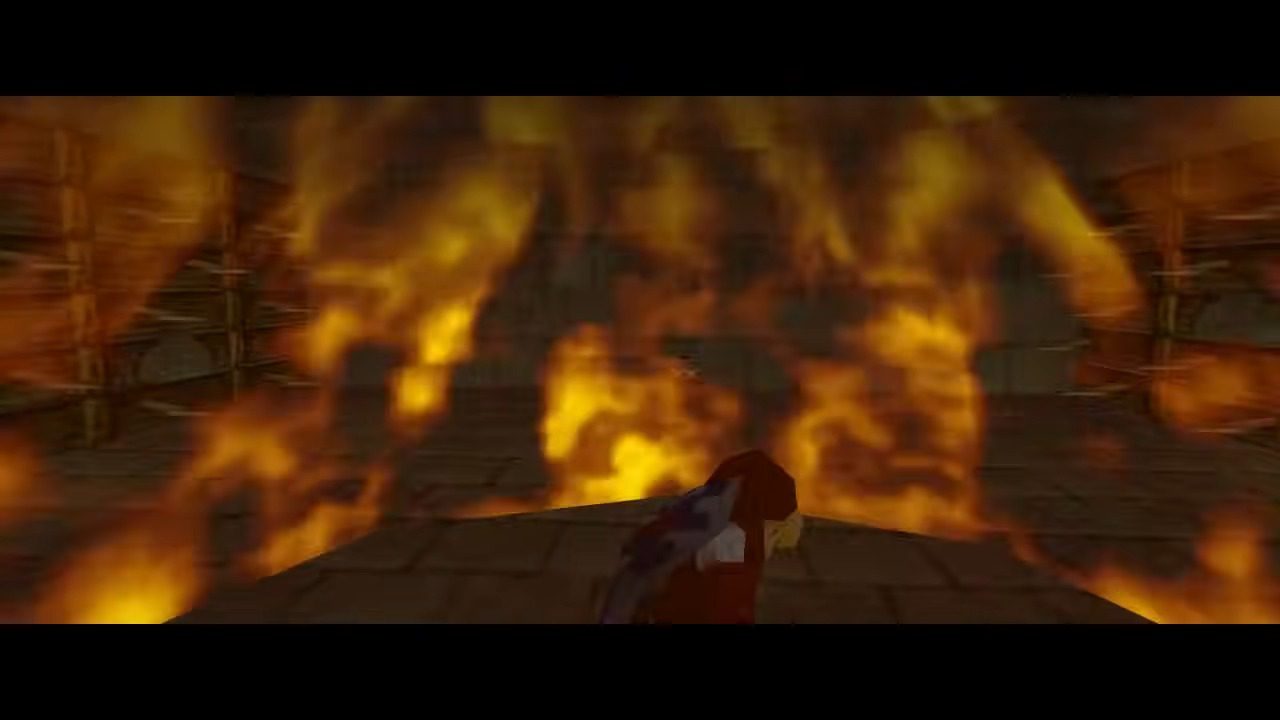
Once you’re all set, pull out your Ocarina and play the Nocturne of Shadow. This will teleport you directly to the Kakariko Graveyard, right in front of the Royal Family’s Tomb. Head down the short set of stairs, and you’ll see a circular platform with several unlit torches surrounding it. Stand on this platform and unleash Din’s Fire. This powerful magic will ignite all the torches at once, causing the massive door to the Shadow Temple to creak open. This one-time trigger emphasizes the significance of entering this foreboding place.

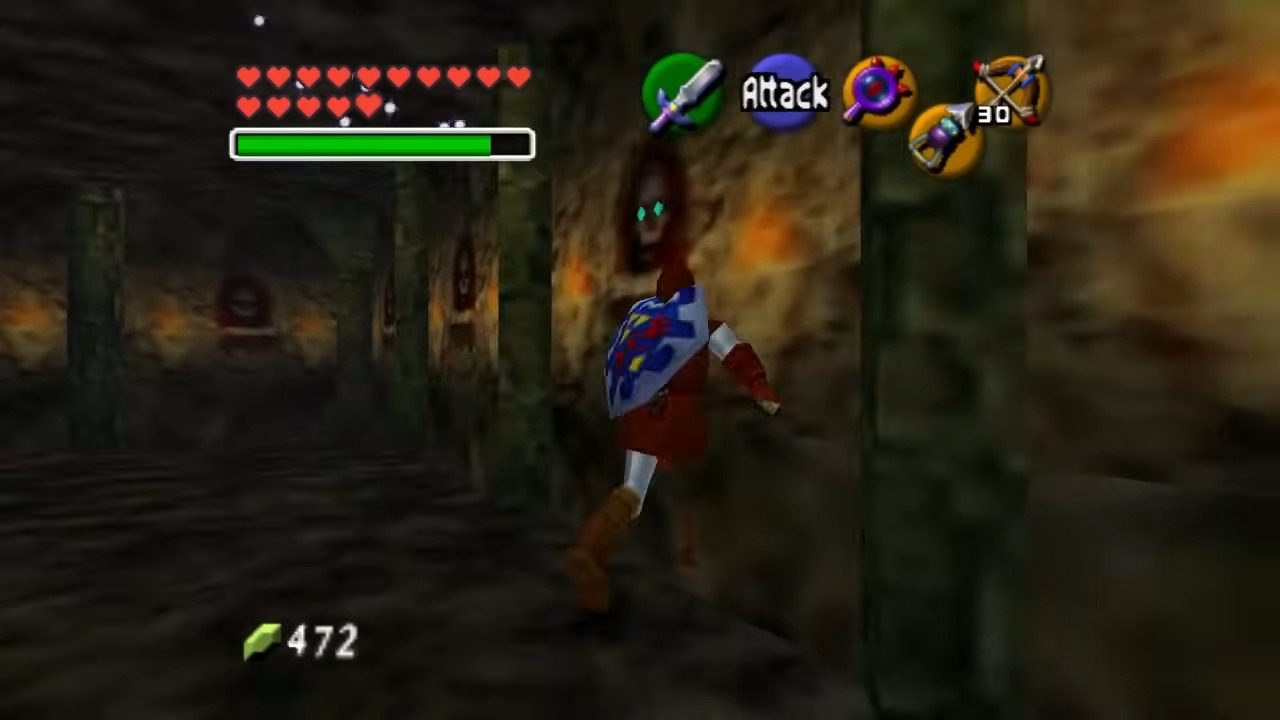
Navigating the Temple’s Illusions
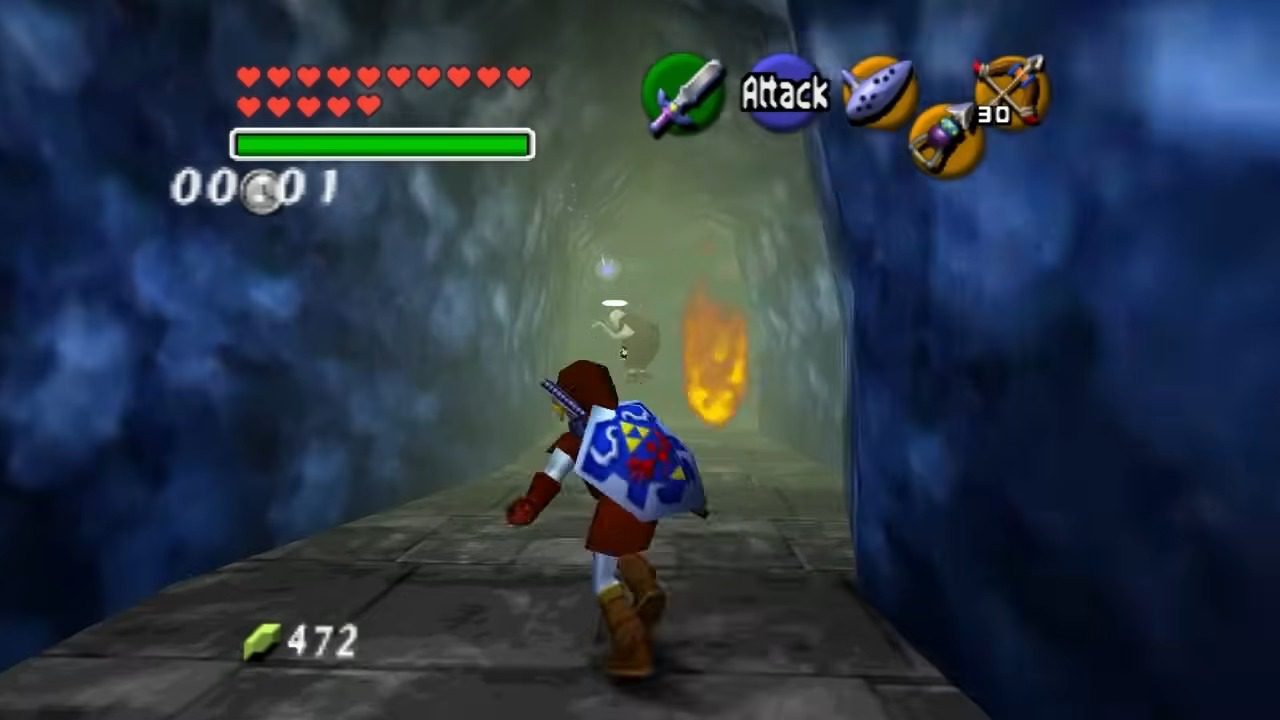
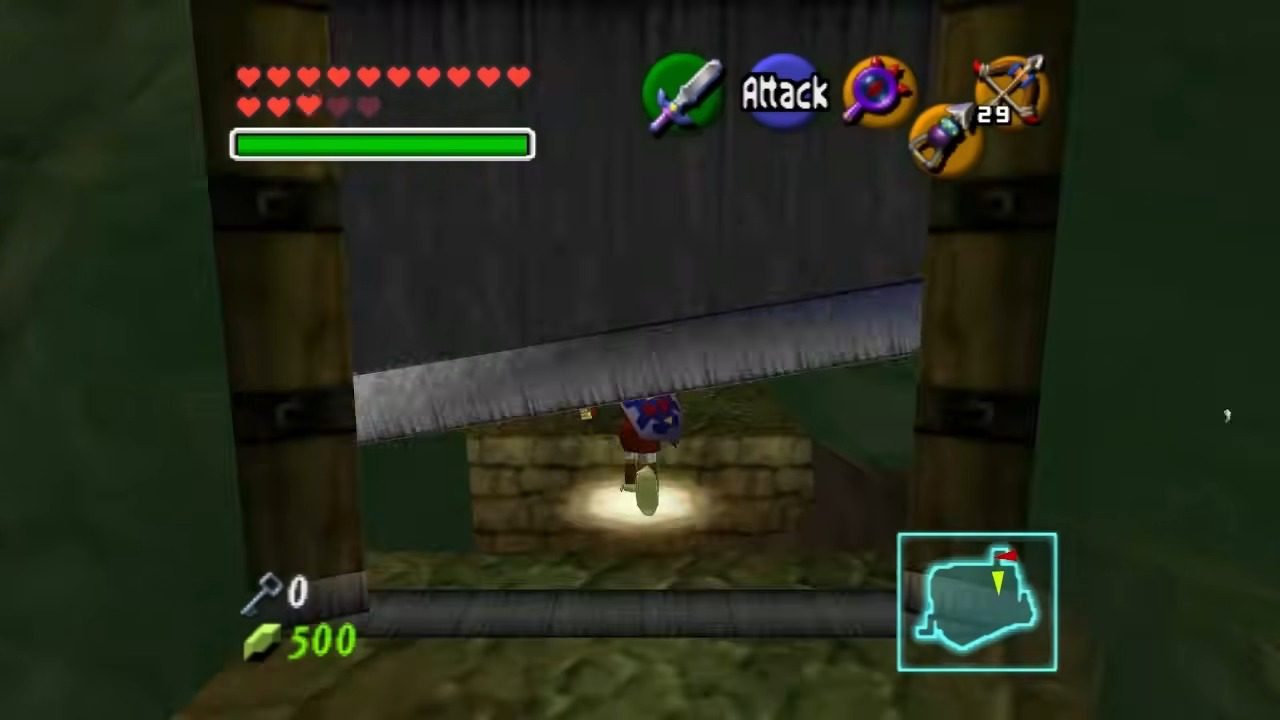
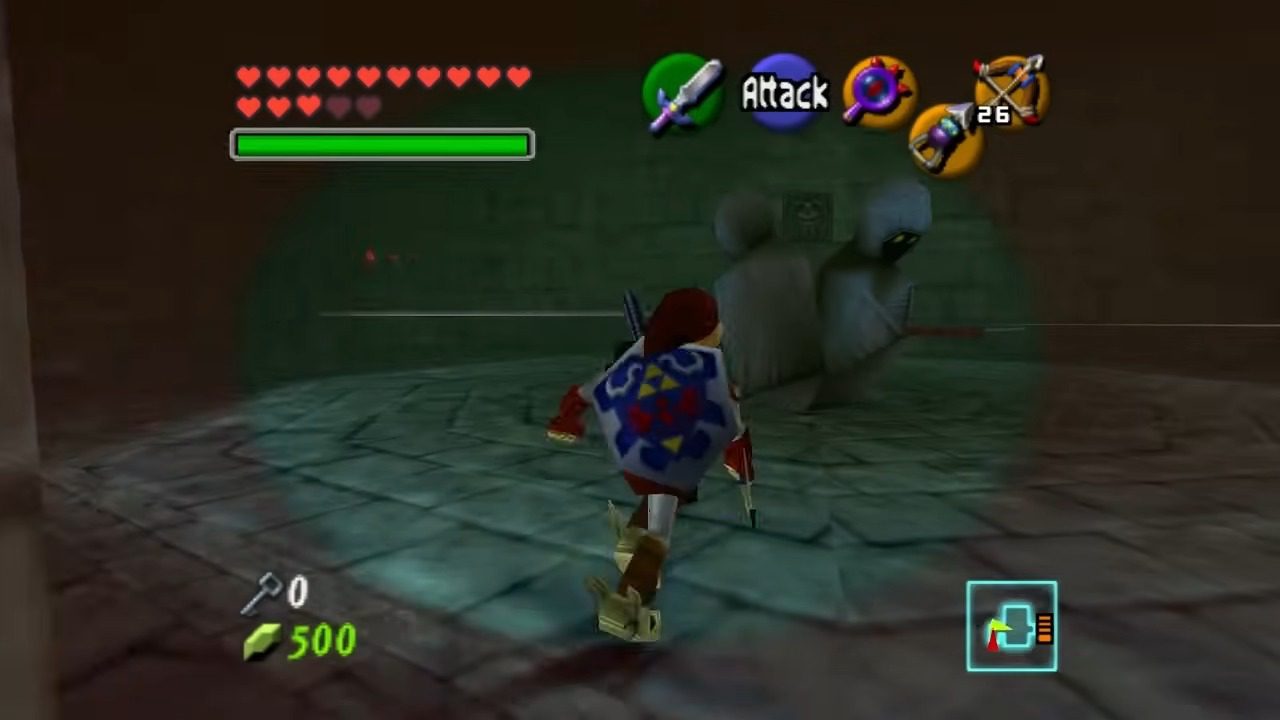
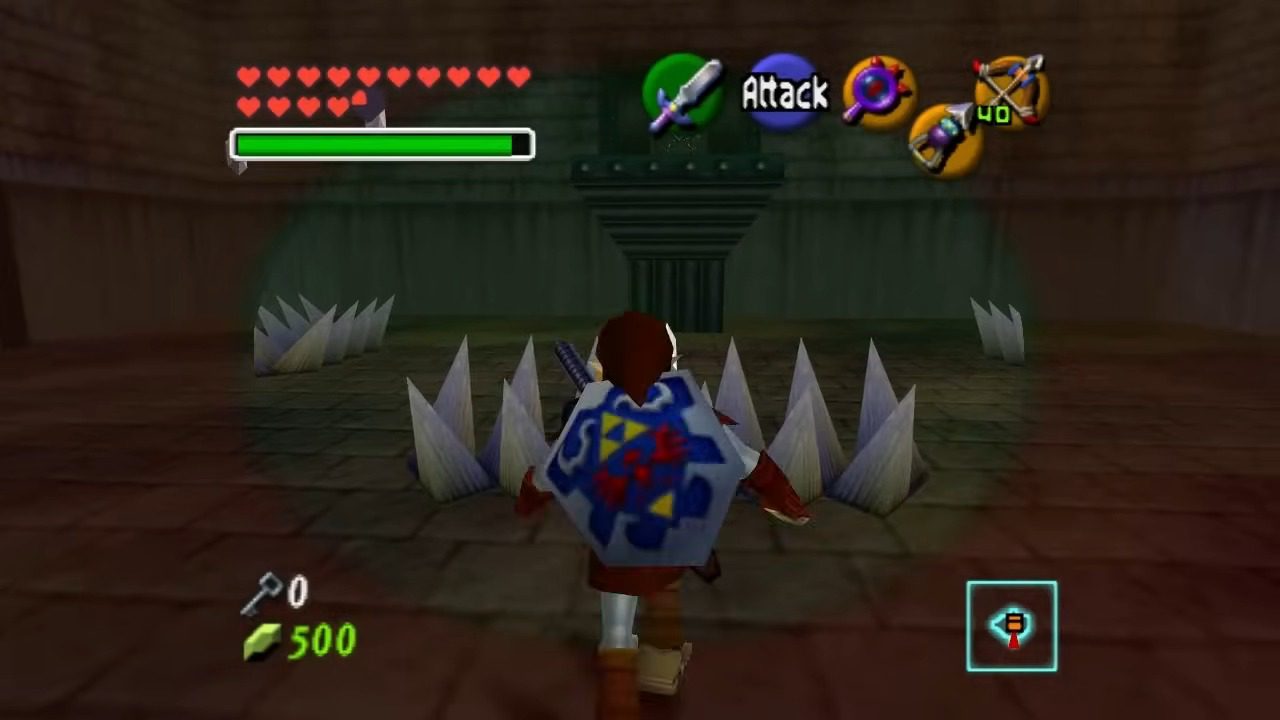
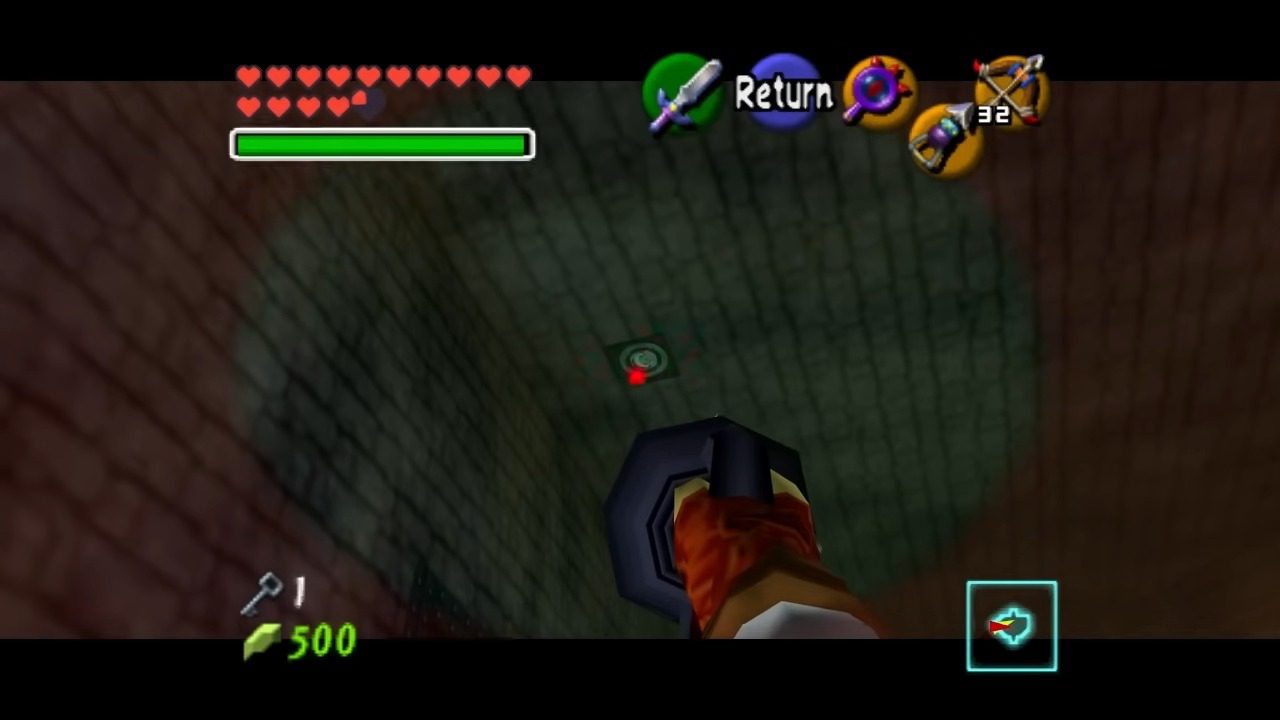
Step inside, and you’ll immediately face a chasm. Lock on to the target on the other side and use your trusty Longshot to grapple across. Now, approach the wall with the eerie face on it. It might look like a dead end, but it’s actually an illusion. Just walk right through it – the Shadow Temple loves its tricks! This immediate fake wall serves as a clear indicator of the temple’s theme of deception.


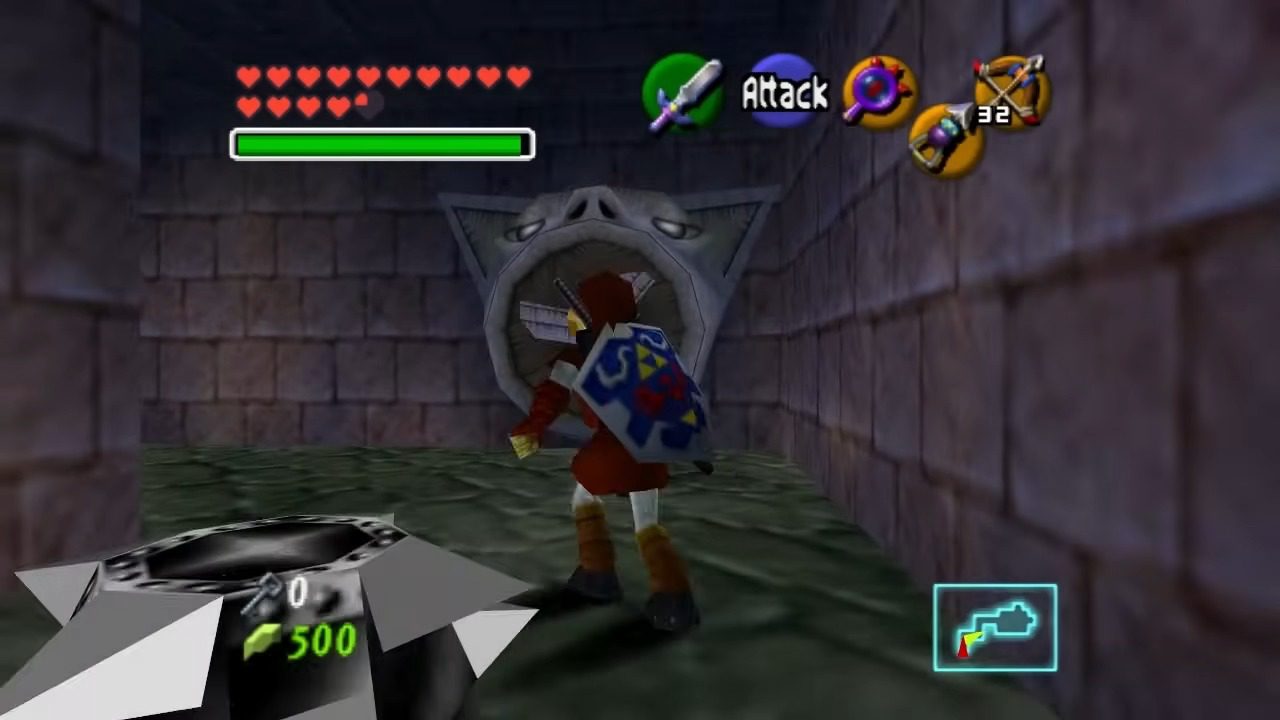
In the next room, turn immediately to your left and activate your Lens of Truth. You’ll see a hidden corridor behind one of the skull-adorned plates on the wall. Head through the door at the end of this passage. You’ve just entered the Dungeon Map Room. You’ll be greeted by a chilling ReDead and a couple of Keese. Quickly play the Sun’s Song to paralyze the ReDead, making it easy to defeat along with the Keese.
Once all the enemies are gone, a treasure chest will appear containing the Dungeon Map. Grabbing the map early is always a good move to get your bearings in this twisted place. The early acquisition of the Dungeon Map is a common element in Zelda dungeons, aiding player navigation.


Exit the Dungeon Map Room and head back through the hidden corridor. Continue following the right wall in this main area. You’ll pass through two Taunting Rooms of Illusion. These rooms are filled with unsettling whispers and voices, but don’t let them distract you. There are no enemies or secrets here, so just keep moving along the right wall. These rooms primarily serve to enhance the eerie atmosphere of the Shadow Temple.

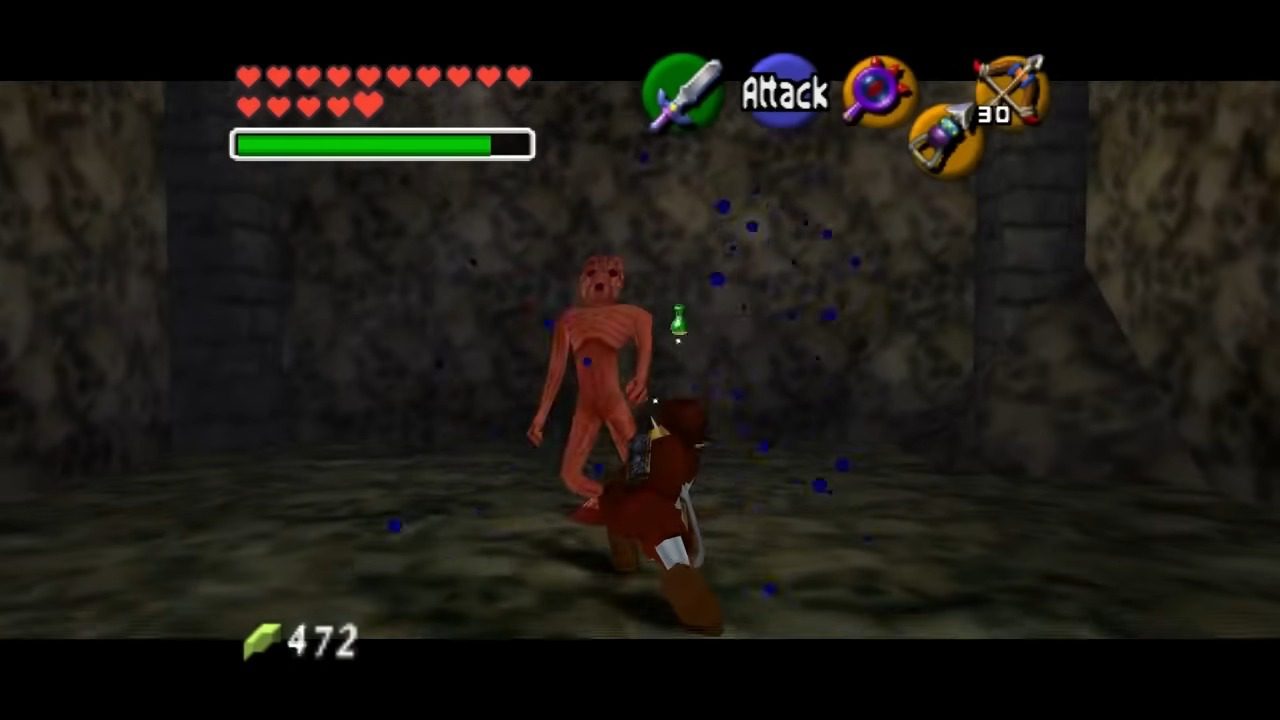
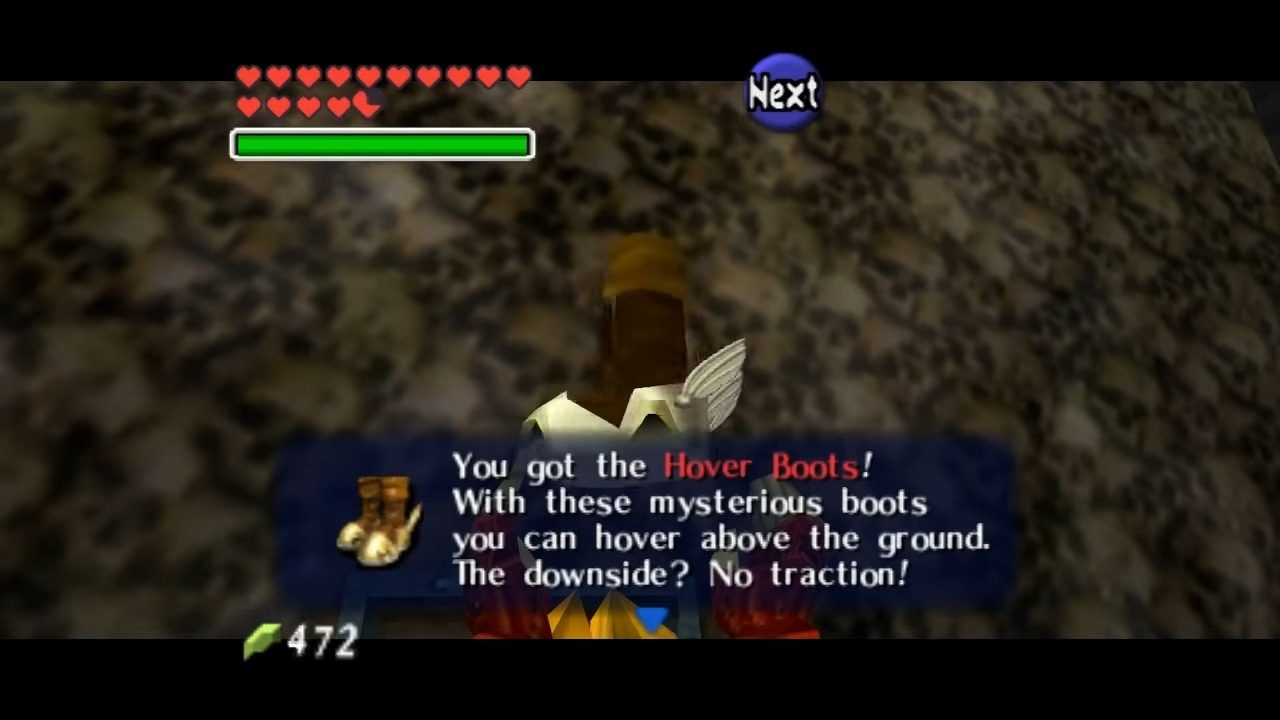
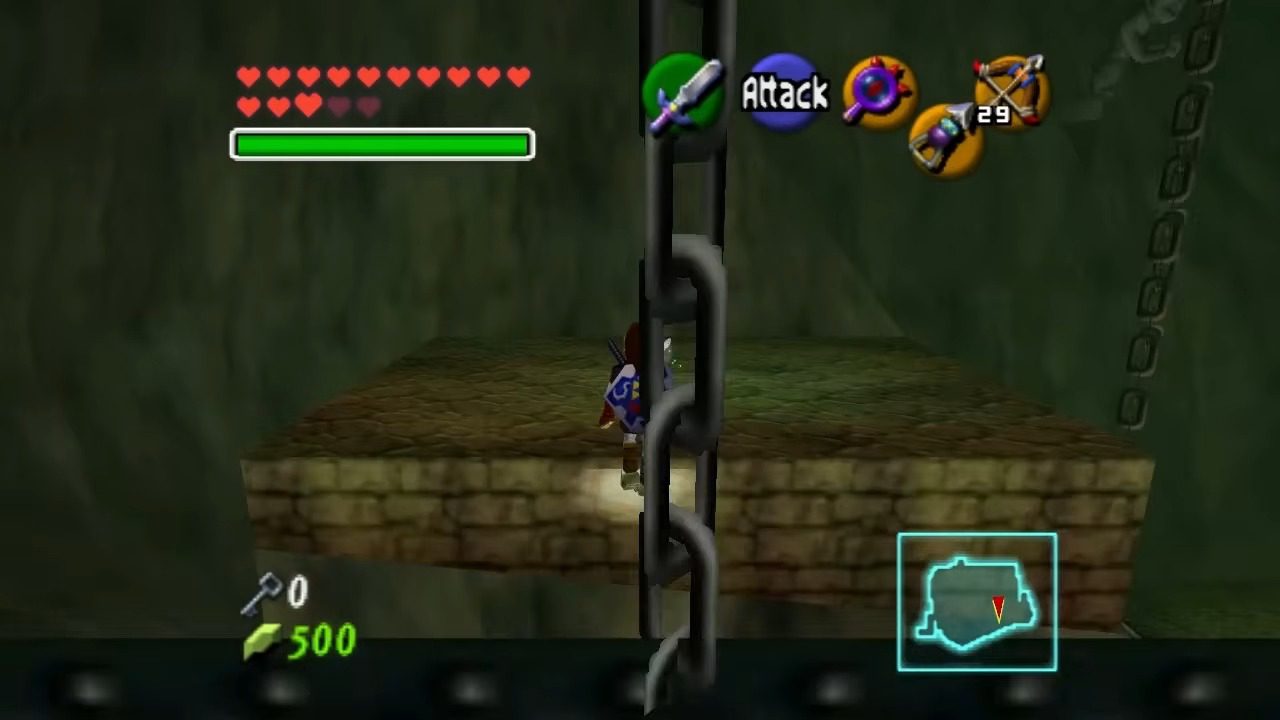
Following the right wall will lead you to the Hover Boots Room. Uh oh, looks like we have another encounter with a Dead Hand. This time, use your Lens of Truth to see its shadowy form lurking beneath the ground. The strategy is the same as before: let one of its creepy hands grab you, mash those buttons to break free, and then hack away at its head until it’s defeated. Once this gruesome foe is down, a treasure chest will appear, and inside you’ll find the Hover Boots. These boots will be crucial for some upcoming tricky jumps, so equip them when needed. Obtaining the Hover Boots relatively early signifies their importance for navigating the rest of the dungeon.
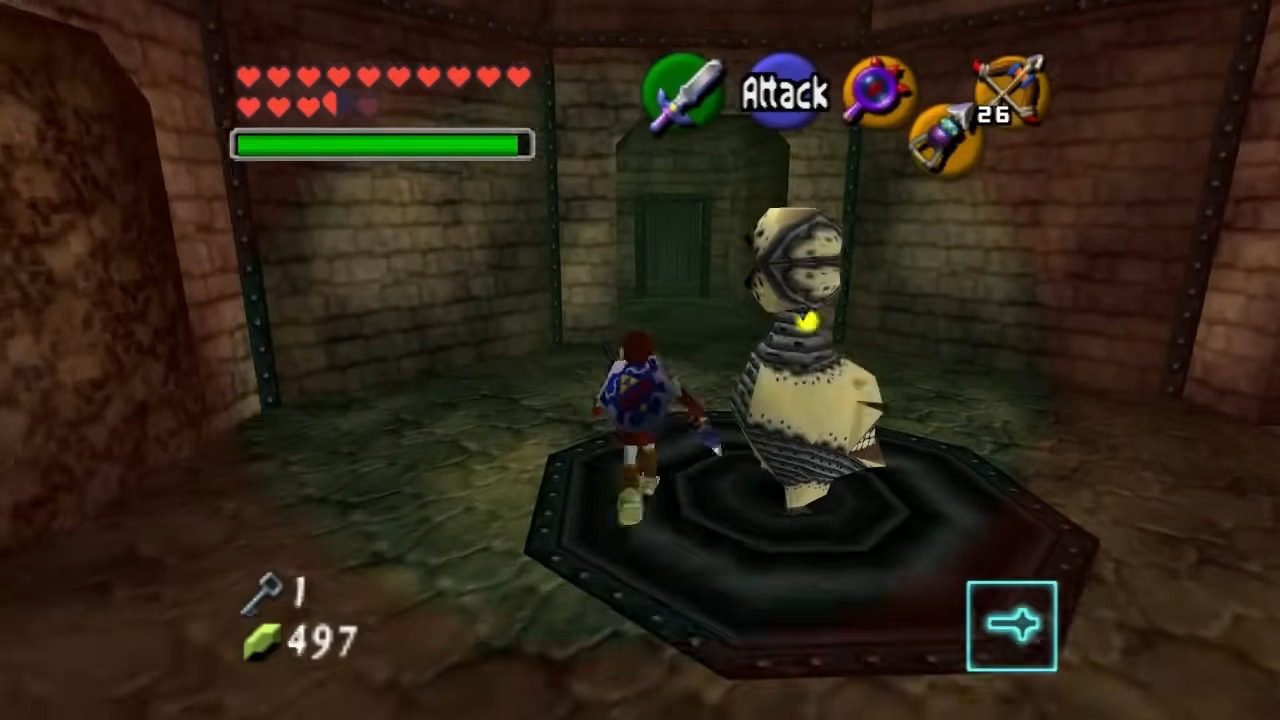
Now, backtrack all the way to the Entry Room where you first used the Longshot. Remember that bird statue in the middle? Approach it. The statue will give you a cryptic message about pointing its beak towards the skull of truth. Activate your Lens of Truth again, and you’ll see that most of the skull torches surrounding the statue are fake and disappear.
However, one of them will have a real skull on top and won’t vanish. This is the one you need to focus on! The location of this real skull is randomized, adding a unique element to each playthrough. Push or pull the bird statue so that its beak is pointing directly at the real skull torch. If you make a mistake, the floor will give way, and you’ll have to start this section again. Get it right, and the gate across the chasm will open.

Now, equip your newly acquired Hover Boots. Take a running start and float across the gap, aiming to grab onto the tongue of the grotesque statue on the other side. You should just barely make it! Head down the hallway.

You’ll enter a small Beamos Corridor with a laser-shooting statue in the center. You can try to take it out, but it’ll just respawn. Notice that the walls to your left and right are actually illusions. Take the pathway on the left side.


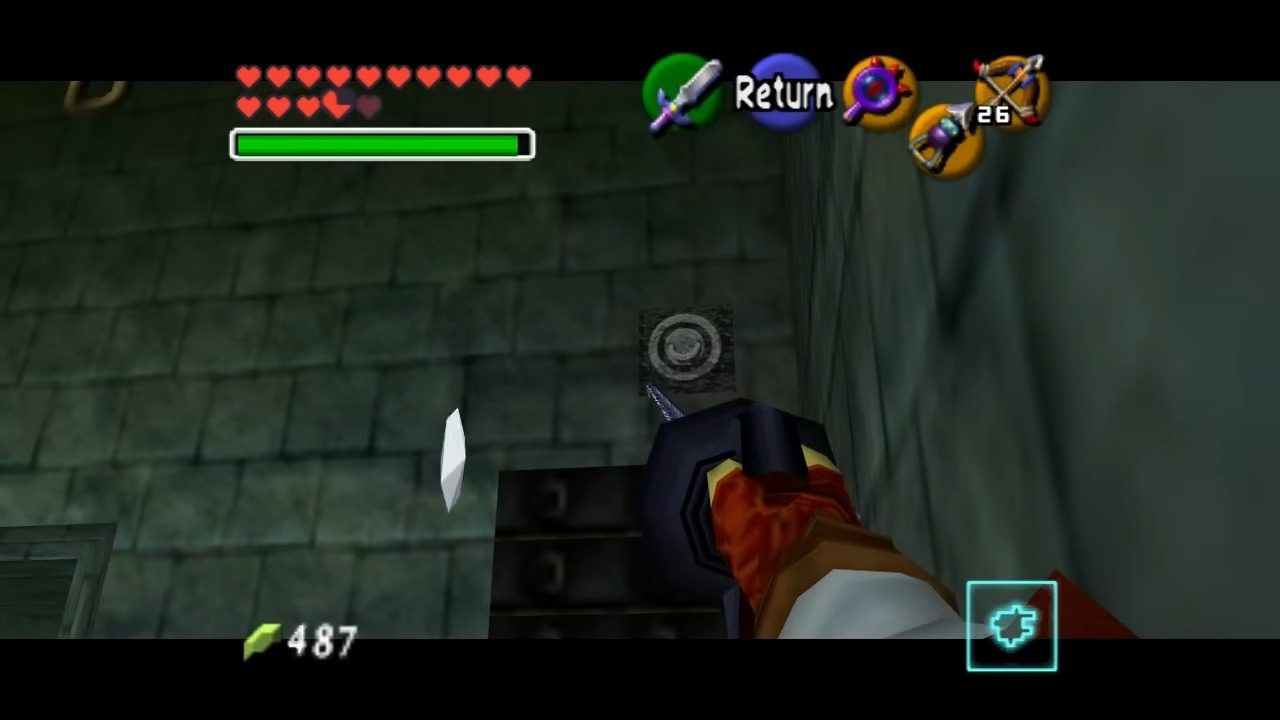
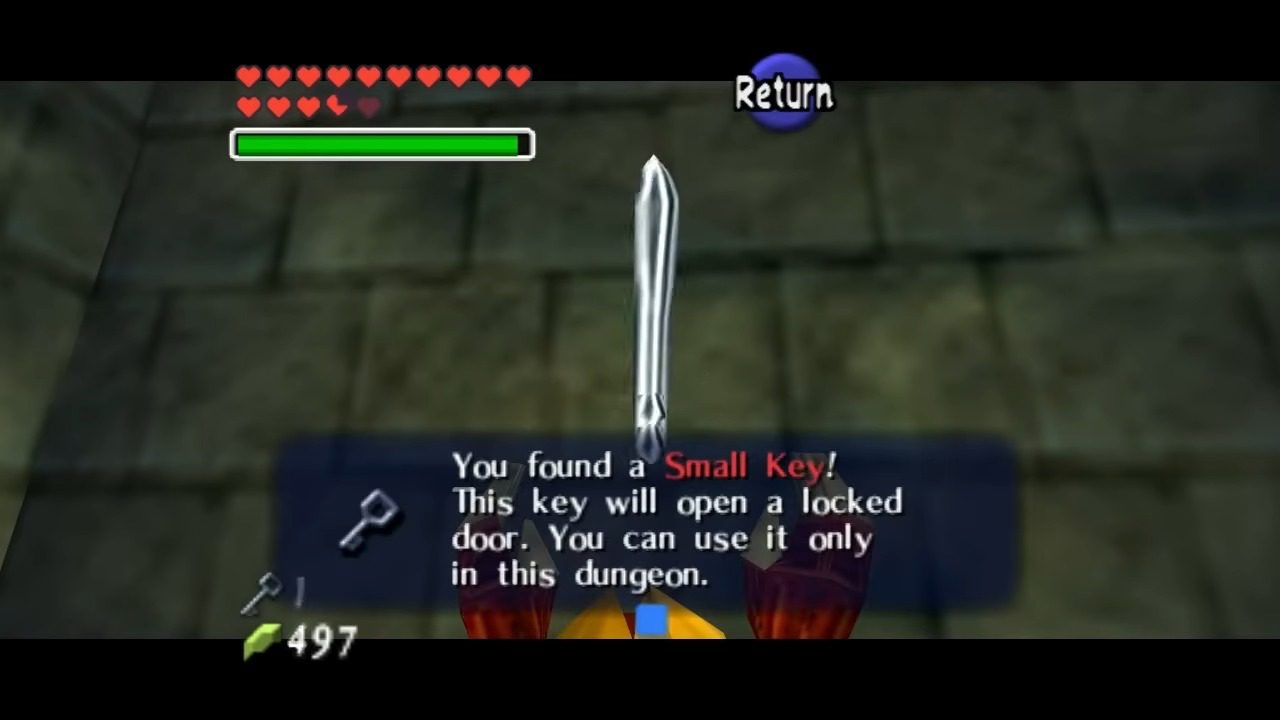
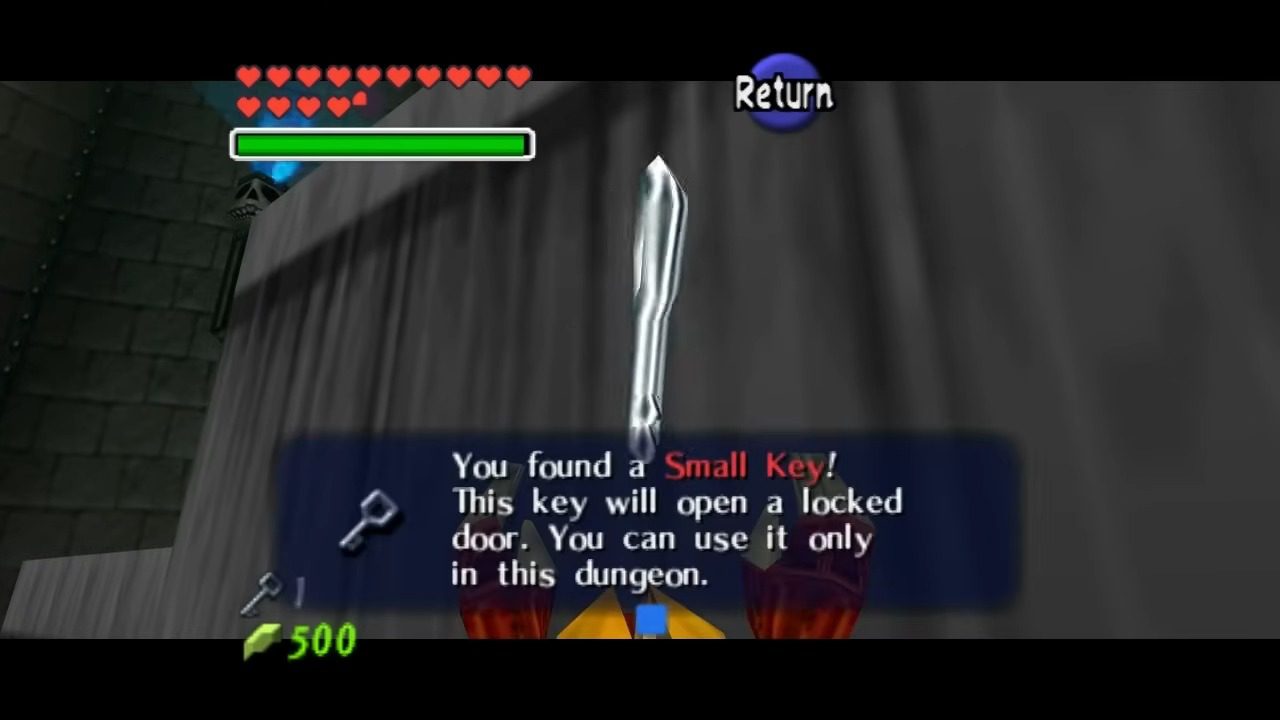
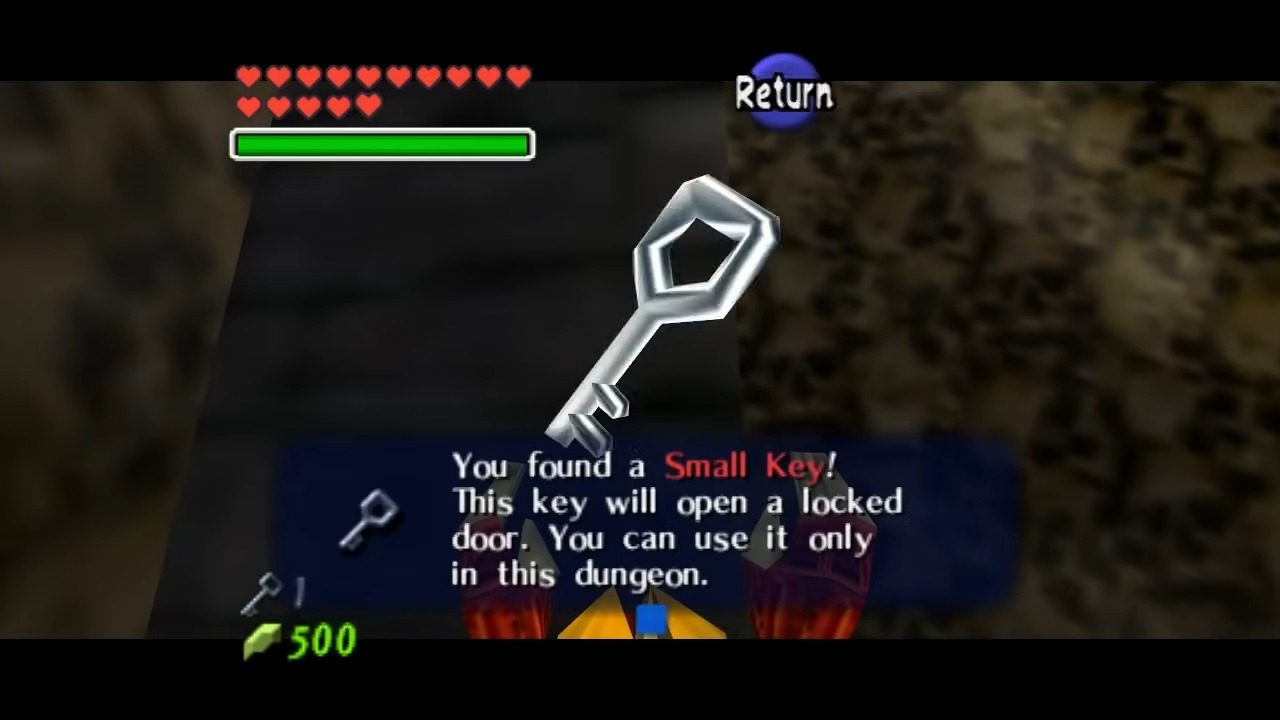
This will take you to the Scythe Shortcut Room. This room is dominated by a large, grim reaper-like statue with two massive spinning scythes. Carefully maneuver around the room, using the ‘R’ button to duck or simply rolling to avoid the deadly blades. Your goal here is to collect all five Silver Rupees. Two are in the middle of the room, two are in alcoves on either side, and the last one is on top of a stack of logs – use your Longshot to reach it and then jump off to grab the rupee. Once you’ve collected all five, a grating will lift in a nearby cell, revealing a chest containing a Small Key. Grab it and head back to the Beamos Corridor.
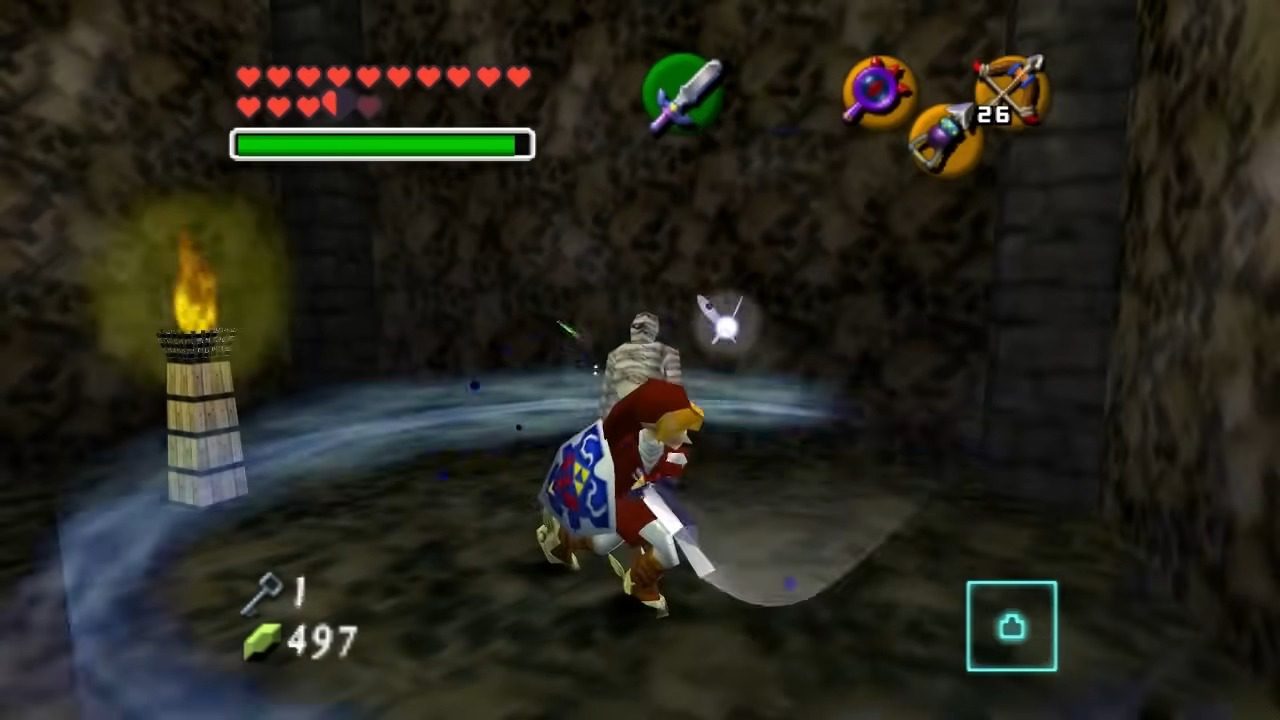
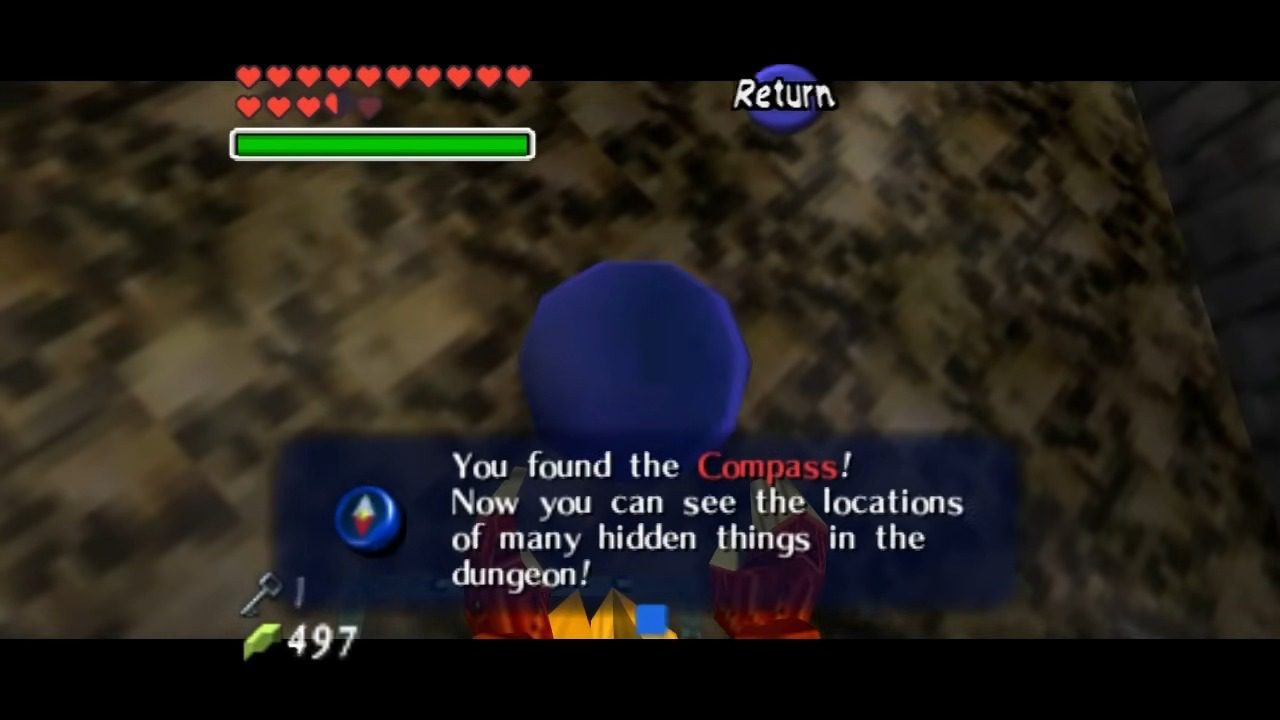
Return to the Beamos Corridor and run straight across the hallway, through the fake wall on the other side. This leads to a small room with two Gibdos. Play the Sun’s Song to stun them, then finish them off with your sword. Once they’re defeated, a treasure chest will appear containing the Compass. This will help you keep track of the boss’s location.
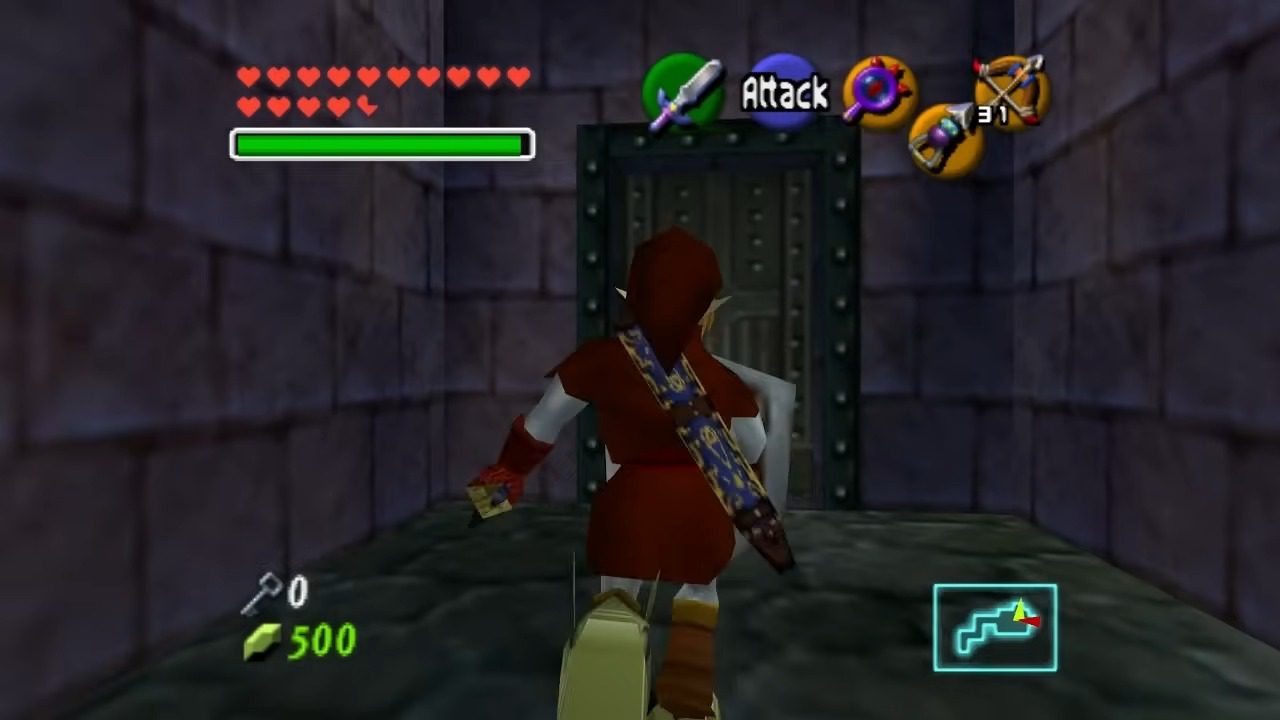
In the Beamos Corridor, you might have noticed a suspicious-looking wall that wasn’t an illusion. It’s the only one left that hasn’t been revealed as fake. Bomb this wall to uncover a hidden locked door. Use the Small Key you just obtained to open it and proceed into the Guillotine Cavern.
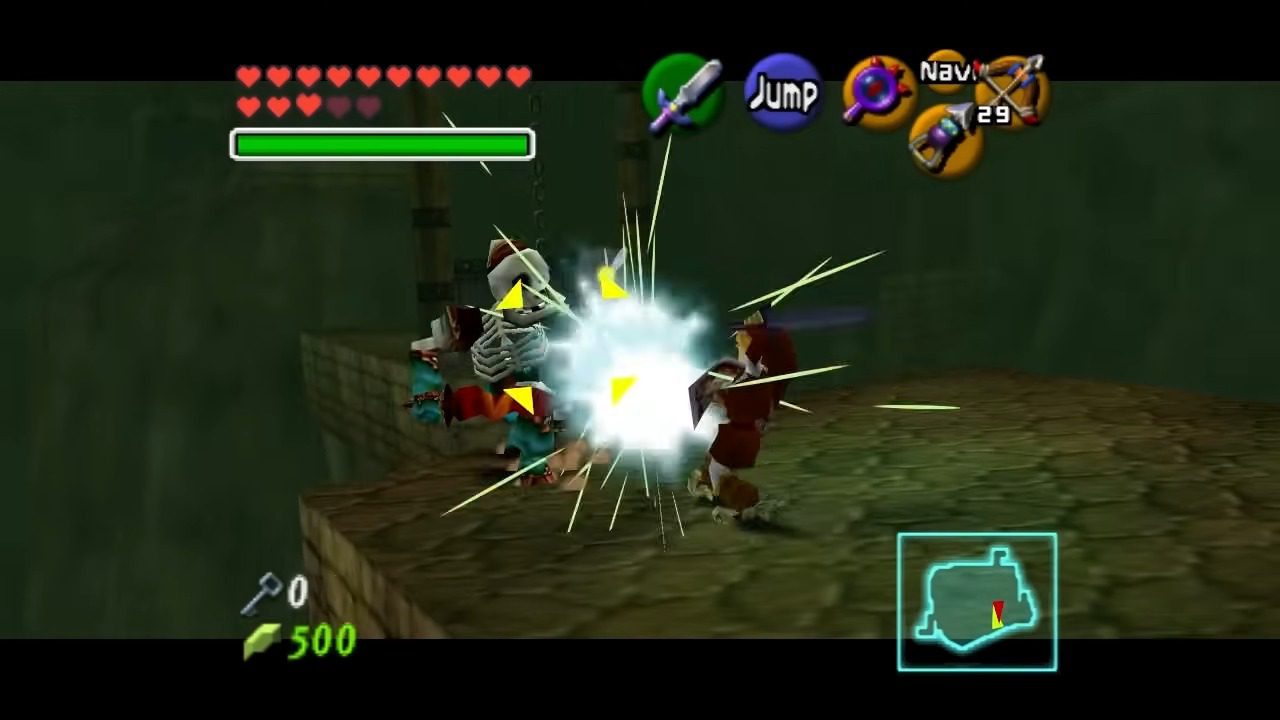
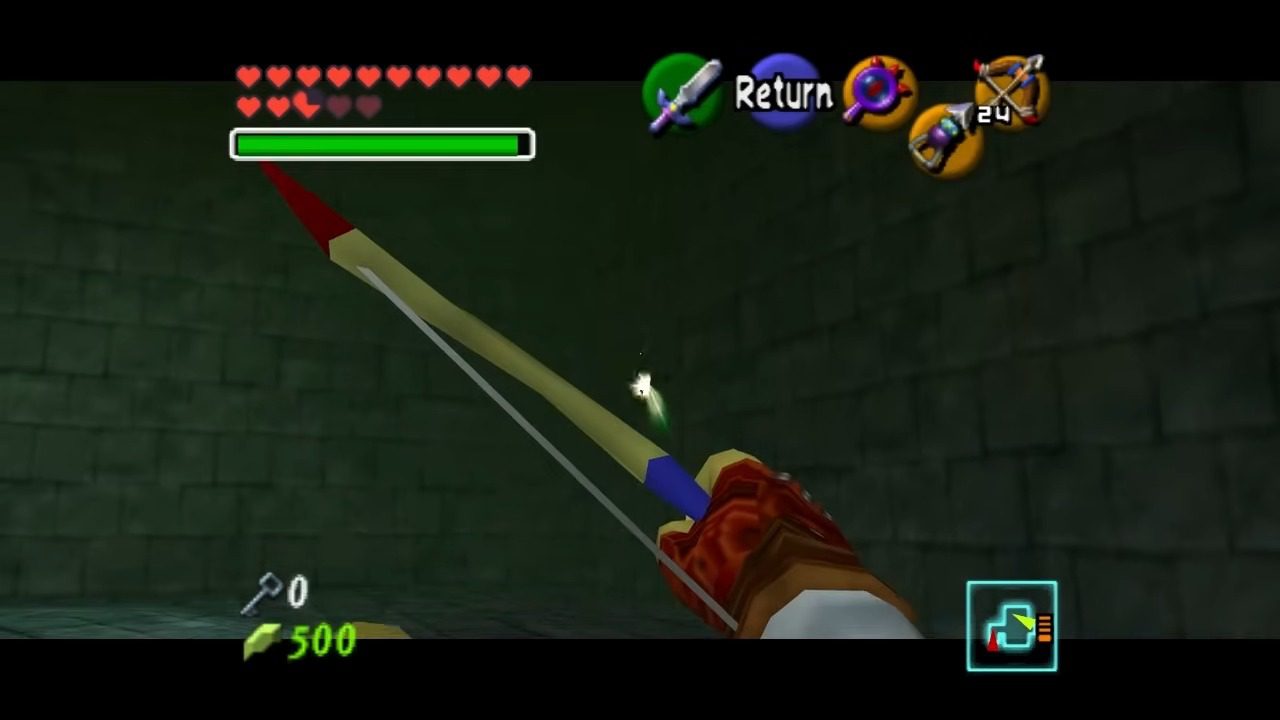
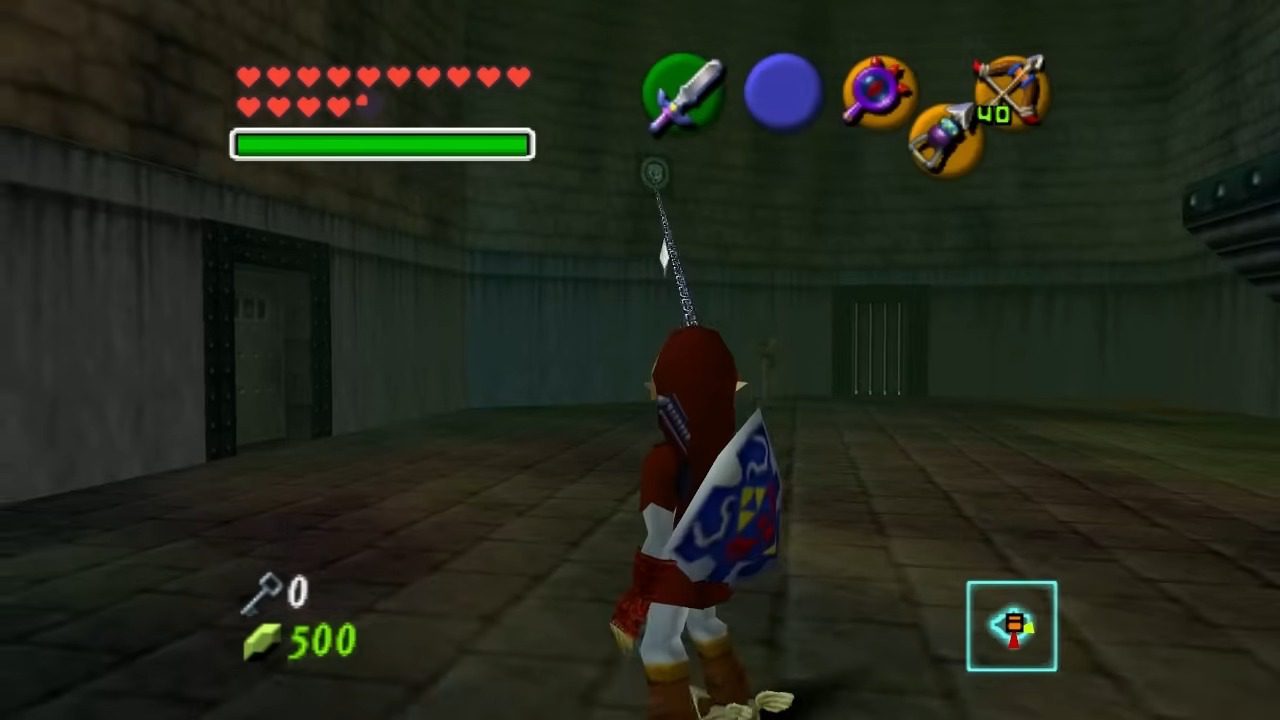
This next section can be a bit tricky. Go slowly down the ramped, “S” shaped hallway. Three Skulltulas will drop from the ceiling, so be ready with your Longshot to take them out before they can surprise you. At the end of the ramp, jump down and immediately run through the first falling guillotine blade.
Kill the Skulltula on the other side and quickly run through the second guillotine. Round the corner, and Navi will warn you about a Wallmaster. This creepy hand can send you back to the beginning of the dungeon if it grabs you, so take it out with your Longshot or sword if you prefer, or just make a run for it past this corner.
Next, you’ll face a series of guillotines on floating platforms. It might seem like a good time to use your Hover Boots, but they can actually make it harder due to the lack of traction. Just make careful jumps from platform to platform.
Be aware that a Red Bubble will suddenly pop out on the third platform. Deflect it with your shield, and it should jump off the platform on its own. Jump to the final platform, and a lone Stalfos will appear. Use the small space to your advantage and attack it relentlessly until it falls into the abyss. You can even play the Song of Storms here to make a fairy appear if you need some healing.
Before jumping down to the next area, turn to your left and activate your Lens of Truth. You’ll see a series of invisible platforms extending along the outer wall. Carefully jump or hover across these platforms, following the wall until you reach a door.

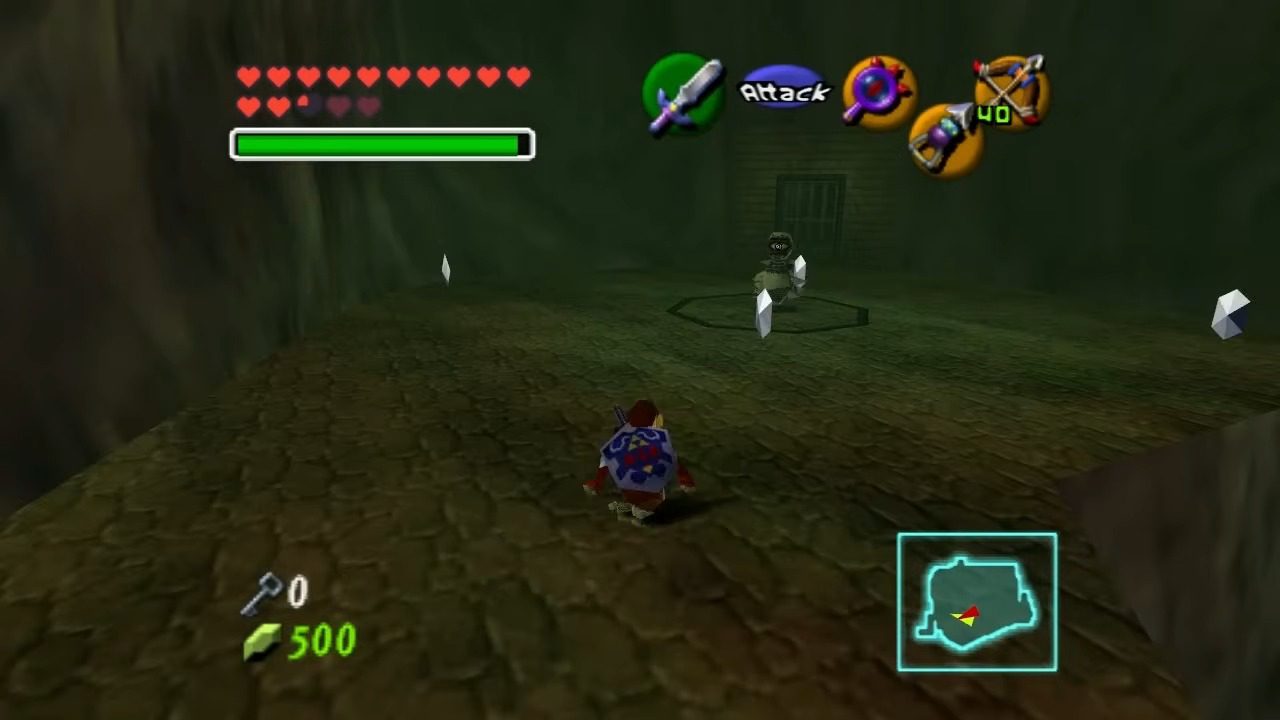
Go through the door, and you’ll find yourself in the Invisible Scythe Room. Keep your Lens of Truth active to see the large, invisible spinning scythes in the center of the room. Carefully navigate around them. You’ll also need to defeat all the Keese and the Like Like in this room to open the gate. Once they’re gone, the gate will lift, revealing two treasure chests.
One of them is also invisible, so keep your Lens of Truth on to see it. The visible chest contains Arrows and a Shield (in case the Like Like ate yours), or just blue rupees if you still have your shield. The invisible chest contains a Gold Skulltula. Make sure to snag the token! Return to the Guillotine Cavern by jumping back across the invisible platforms.

Back in the Guillotine Cavern, the Stalfos will reappear. Defeat it again. Now, look on the other side of the platform where the Stalfos spawned. You’ll see a platform that constantly rises and falls. Wait for the nearby platform to fall down to its lowest point and quickly jump onto it. You can use your Hover Boots here for a bit more safety, but be careful not to slip.

Once you’re on the rising and falling platform, wait until it reaches its highest point and jump down to the lower area on the right side. Follow the narrow bridge to encounter a Beamos and two circling Blade Traps. There are five Silver Rupees to collect here. One is near the ledge, one is against the wall, two are between the Blade Traps, and the last one is underneath the Beamos. Collect all of them to lift the grating on the door ahead.
You’ll now enter the Spikey Falling Trap Room. This room looks intimidating with all the massive, spiked platforms falling from the ceiling. Activate your Lens of Truth to reveal a stone block hidden in a cubby on the left side of the room. Pull this block out and push it along the outlined path on the floor until it’s positioned under the falling spike traps, preventing them from hitting the ground. Now, run to the end of the room and pull the block towards the edge. While you’re down here, look behind the fence on the left side to find a Gold Skulltula. Grab the token and then return to the Guillotine Cavern.


Jump onto the block and then onto the now-safe falling spiked platforms. Behind a gate on the left, you’ll find a chest with some rupees. Step on the floor switch nearby to make another chest appear on the other side of the room. Use the other falling spiked platform to reach it and open it to find a Small Key.


Back in the middle of the Guillotine Cavern, activate your Lens of Truth. You’ll see two invisible platforms – one stationary and one moving back and forth. Carefully use these platforms to reach the locked door on the other side.

Use your Small Key to open the door and enter the Invisible Spike Room. Keep your Lens of Truth active to see the rows of invisible spikes on the floor. You’ll also encounter two ReDeads in here. Use the Sun’s Song to stun them, making them easy targets. Defeating them will cause a chest with five Rupees to appear. Now, it’s time to collect the five Silver Rupees in this room. One is in the middle of the room. Use your Longshot to grab the two that are against the walls on higher ledges. For the last two, you’ll need to use your Lens of Truth and Hover Boots to see and reach the platforms in the corners, high up in mid-air. Once you’ve got all five, the door on the other side of the room will open.

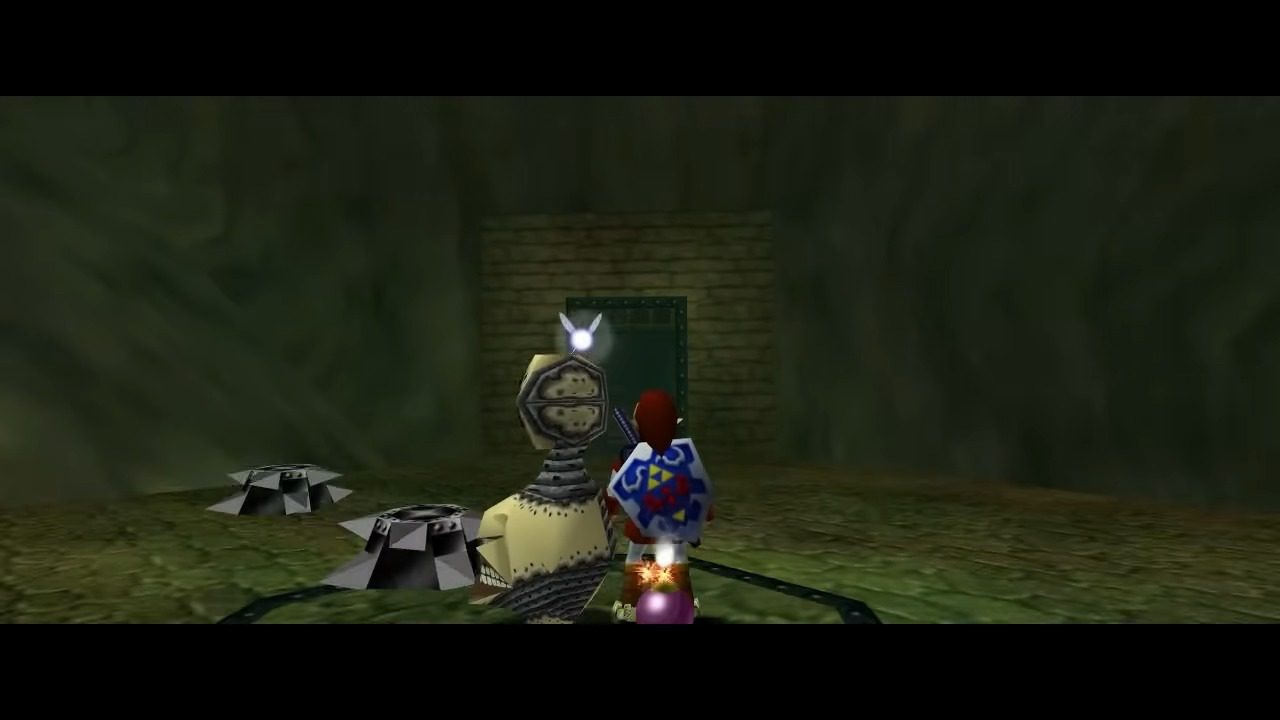
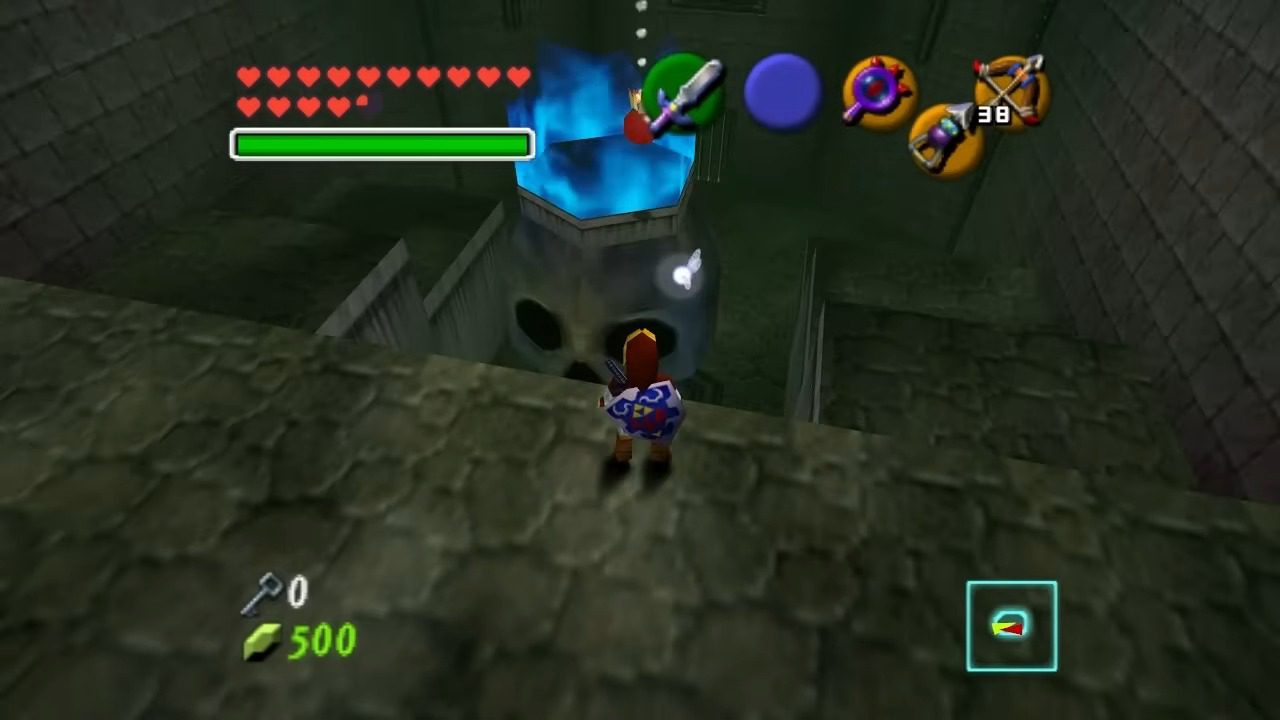
Go through the door into the First Giant Skull Room. You’ll see a massive, flaming skull in the center of the room. Take out the four Keese (two of which will become Fire Keese). Climb the ledges and defeat the remaining Keese. Now, grab the Bomb Flower near the entrance and toss it into the giant flaming skull. Keep tossing bombs until the skull explodes, revealing a Small Key. Behind where the skull stood, you’ll also find a Gold Skulltula. Collect the token and head back to the Invisible Spike Room.

In the Invisible Spike Room, use your Lens of Truth to spot a target on the ceiling above the platform with the locked door. Use your Longshot to grapple to it and go through the door.

You’ll now be in the Fan Corridor. Be careful of the strong fans blowing here. Either run when the fans aren’t blowing or equip your Iron Boots to stay grounded. Around the first corner, use your Longshot to take out the Skulltula. At the next corner, you have a choice. You can either wait for the fan to stop and quickly use your Hover Boots to float across the gap, or you can equip your Iron Boots and use your Longshot to grapple to the beam across the pit.
This leads to the Wind Room, filled with more powerful fans. Equip your Iron Boots to walk firmly against the wind. You’ll see a tricky Eye Switch above the door – you can ignore it or shoot it with an arrow if you want, it doesn’t affect your progress. Enter the next door.

In this small optional room, you’ll find two ReDeads. Defeat them. Use your Lens of Truth to reveal a fake wall on one side, leading to a chest with some Arrows. You can also play the Sun’s Song here for a fairy if needed. Return to the Wind Room.
Now, use your Lens of Truth to see a fake wall on one of the sides of the Wind Room. Wait for the fan in front of it to stop blowing. Stand right in front of the fan, equip your Hover Boots, and just resist the urge to move until the fan reaches its full blowing force. Then, run forward with the wind, and it will carry you across to the other side. Enter the door.

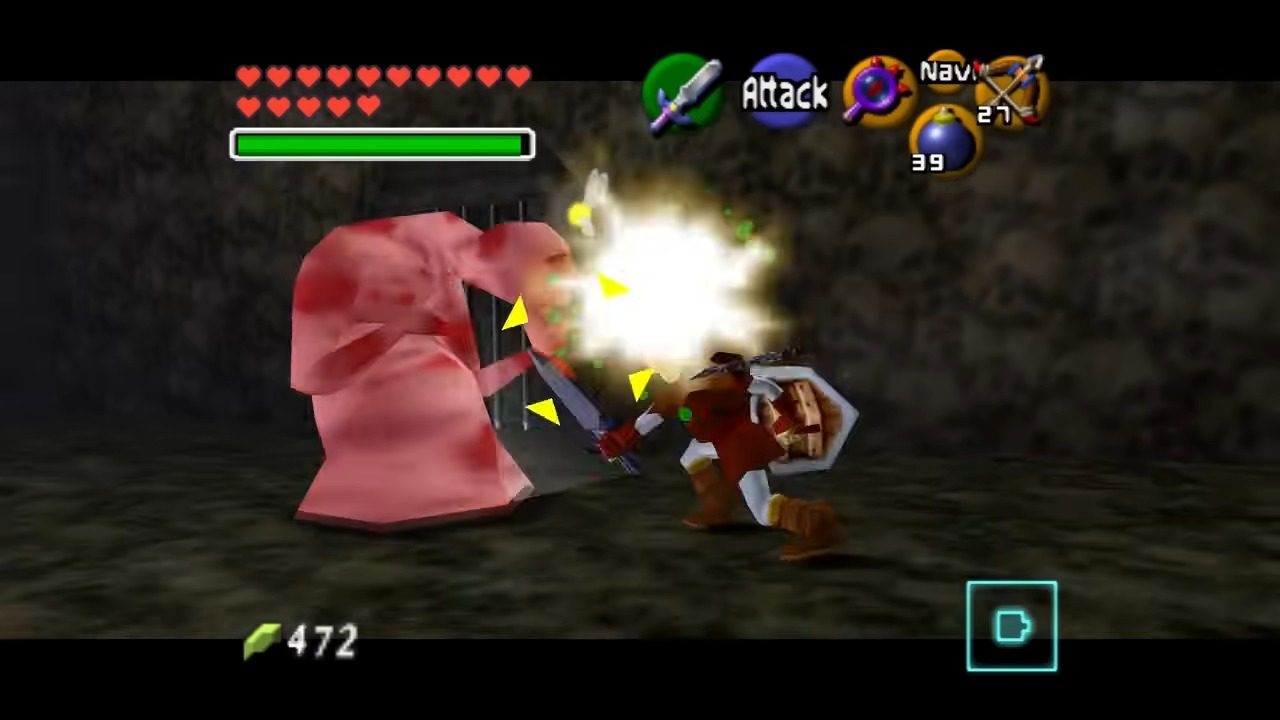
You’re now in the Gibdo Room. Play the Sun’s Song to stun the two Gibdos and defeat them. A small chest with Bombs will appear. Look for a funny-looking dirt pile with a red crack near the entrance and bomb it. Use your Lens of Truth to reveal an invisible chest containing another Small Key. Use this key to open the locked door in this room and proceed to The “Boat Room”.
In this large, open room, turn to your left and pull back the giant stone block. Push and pull it along the path until it clicks into a slot next to the ladder. This creates a shortcut for later. Climb the ladder and get onto the ominous-looking boat. Play the Scarecrow’s Song, and use your Longshot to reach the ledge above the shortcut where the block originally was. You’ll find a Gold Skulltula here! Jump back down to the boat.


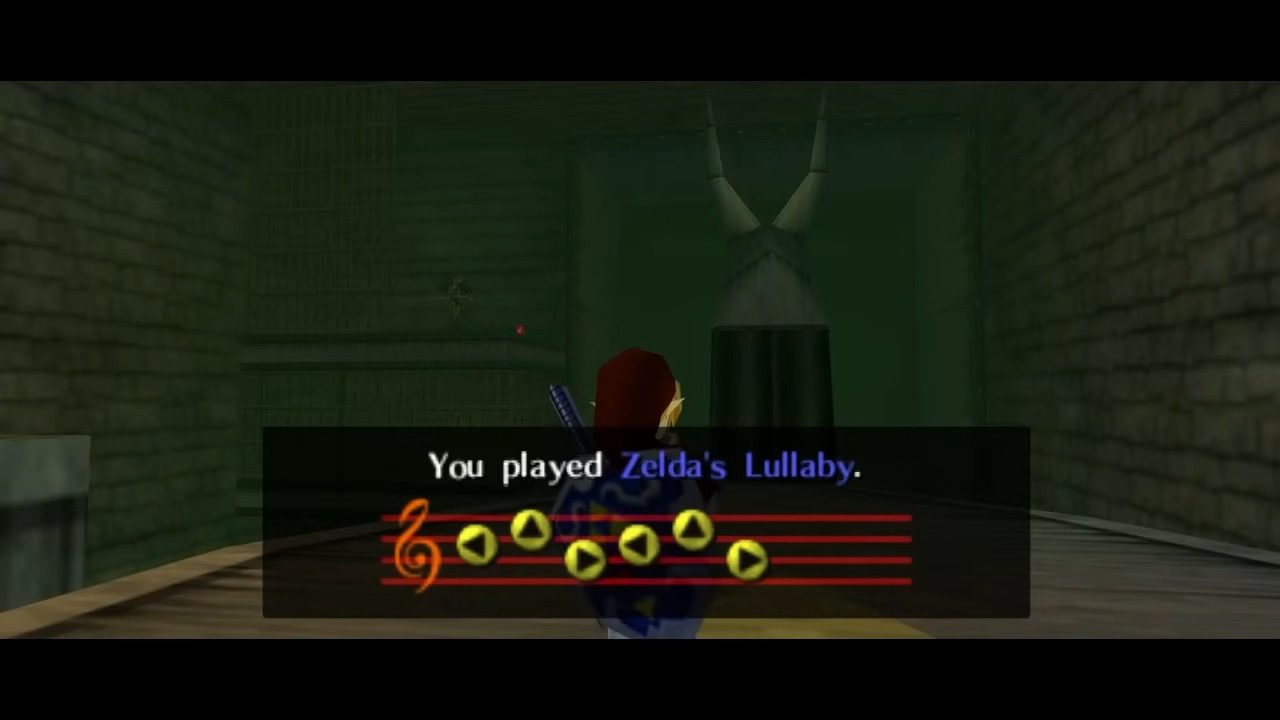
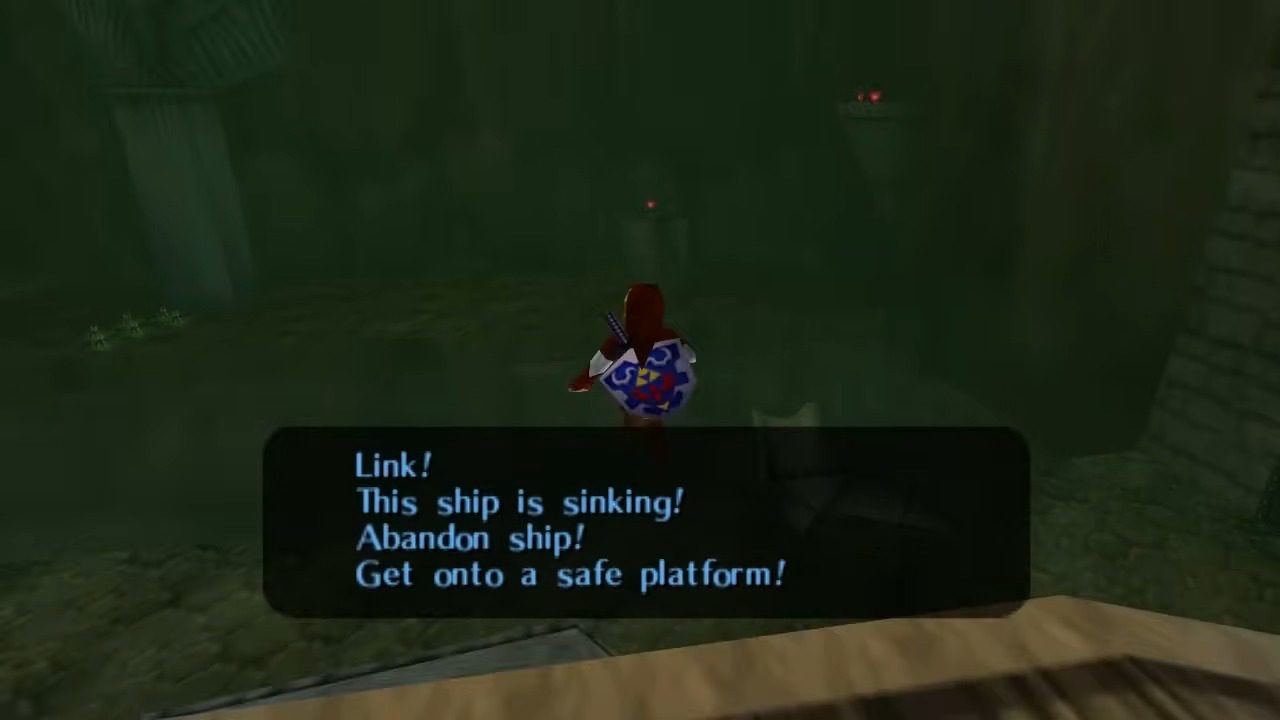
Now, stand on the Triforce symbol on the boat and play Zelda’s Lullaby. The boat will eerily start to move. Two Stalfos will appear on the boat, so take them out. Before the boat completely sinks, jump off onto the platform on the left side. Enter the door on the right.
You’re now in the Invisible Maze. Keep your Lens of Truth active at all times to see the invisible walls. Enter the door on the north side of the room. This is the Boss Key Room. Use Din’s Fire to burn the two wooden spike traps. Defeat the two ReDeads in this room and open the colorful chest to obtain the Boss Key.

Return to the Invisible Maze and continue to the west door. This leads to the Second Skull Room. You’ll see three spinning skulls here. A Gold Skulltula is hidden just behind them. Grab the final Skulltula for this dungeon!


Back to the Invisible Maze, navigate to the south door. This leads to the Invisible Floormaster Room. Use your Lens of Truth to see the invisible Floormaster and its smaller spawns. Defeat them all, and a small chest will appear containing a Small Key.
Return to the large open room where the boat sank (The “Boat Room”). Look across the abyss, and you’ll see some Bomb Flowers next to a large pillar. Use your bow to shoot one of the Bomb Flowers, and all of them will explode, causing the pillar to fall over and create a bridge.
Cross to the other side. At the base of the broken pillar, play the Song of Time to reveal some recovery hearts. You can also play the Scarecrow’s Song to make Pierre appear, allowing you to Longshot to a high platform with more hearts. When you’re ready, use your Small Key to open the locked door.
You’re now in a small room with a pit. Equip your Hover Boots and activate your Lens of Truth to see the invisible platforms across the gap. Carefully float across these platforms to the boss door. Take a deep breath, and jump into the pit to face the final challenge of the Shadow Temple!
Step 3: Defeating Bongo Bongo
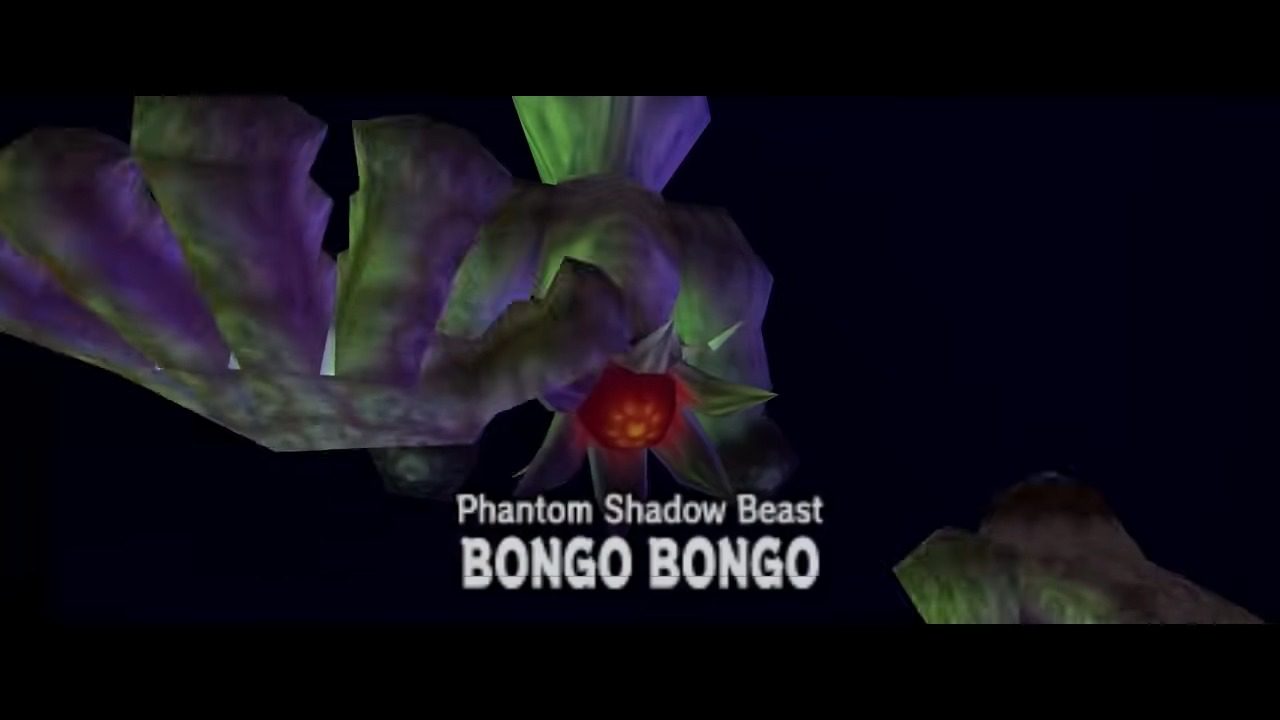
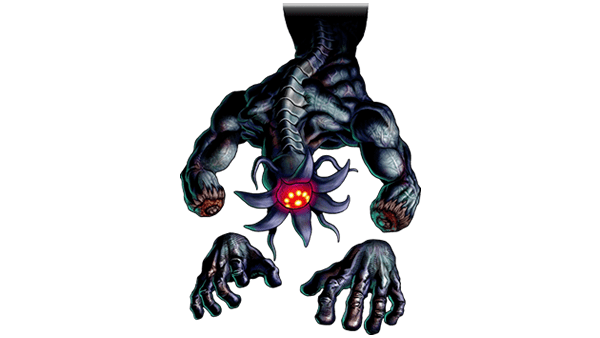
You’ll land on a giant bongo drum floating in a murky void. This is where you’ll face Bongo Bongo, the Phantom Shadow Beast. This boss can be tricky, but with the right strategy, you’ll take it down.
First, equip your bow and arrows and keep your Lens of Truth active throughout the fight. Bongo Bongo attacks with its two massive, disembodied hands. Stay mobile and try to keep your distance. Lock on to one of its hands and shoot it with an arrow. If you hit it, the hand will turn blue. Immediately target the other hand and shoot it as well. Once both hands are stunned (blue), look between them with your Lens of Truth still active. Bongo Bongo’s eye will now be visible. Quickly target the eye and shoot it with an arrow. This will stun the boss, and it will drop down onto the drum. Rush in and attack its eye repeatedly with your sword. The Biggoron’s Sword will make this phase go much faster.
Bongo Bongo will eventually recover and start attacking with its hands again. Repeat the process of stunning both hands and then attacking the eye. Keep moving to avoid its attacks. If you’re running low on arrows, you can try to time a sword slash when Bongo Bongo charges at you with its hands together, but using the bow is generally safer. If you have Ice Arrows from the Gerudo Training Ground, hitting one of its hands with an Ice Arrow can also make the fight easier.
After enough successful attacks, Bongo Bongo will be defeated, turning into a puddle of shadow goo. Collect the Heart Container that appears and step into the blue portal.


Emerging from the Shadows
Congratulations! You’ve braved the illusions and dangers of the Shadow Temple and emerged victorious. You’ve not only defeated the menacing Bongo Bongo but also collected all six Gold Skulltulas, the Dungeon Map, the Compass, the Hover Boots, and the Boss Key. You’re one step closer to saving Hyrule! In the Chamber of Sages, you’ll receive the Shadow Medallion from Impa, further solidifying your progress. Keep up the great work, and good luck on your next adventure!
