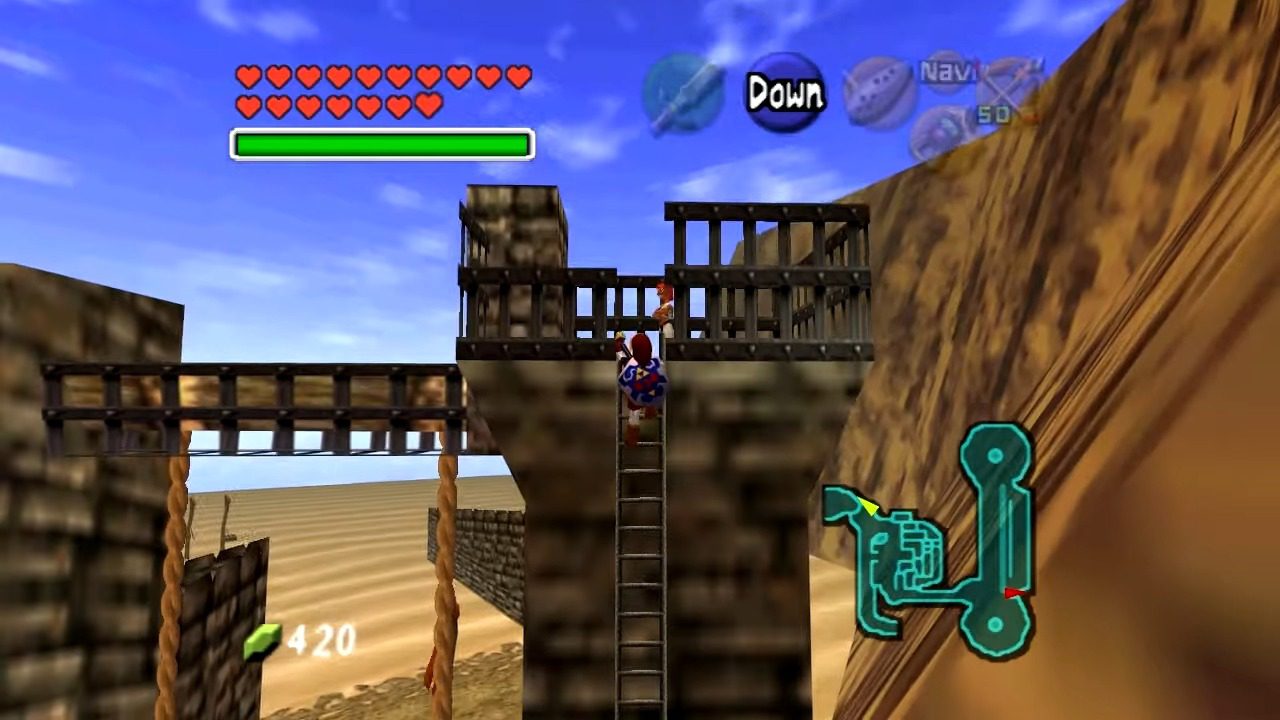
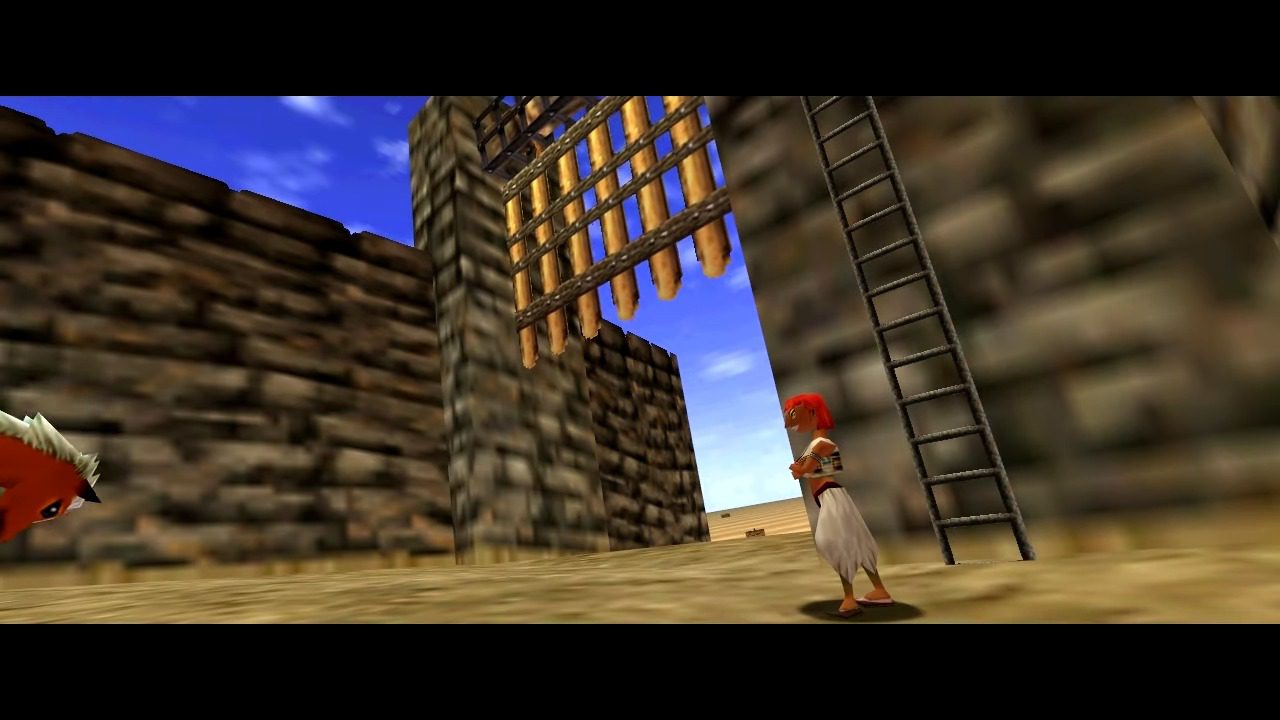
Once you’ve successfully freed all the carpenters from their cells within the fortress, your next objective is to locate the guard stationed near the large gate. This isn’t just any guard; they’re the gatekeeper to the Haunted Wasteland. Show them the Gerudo’s Card you earned by rescuing the carpenters, and they’ll gladly open the path for you.This simple act of showing your earned “VIP pass” highlights how your actions in one area directly impact your ability to progress in another. It’s a satisfying reward for your efforts in navigating the tricky Gerudo Fortress.
Navigating the Treacherous Haunted Wasteland
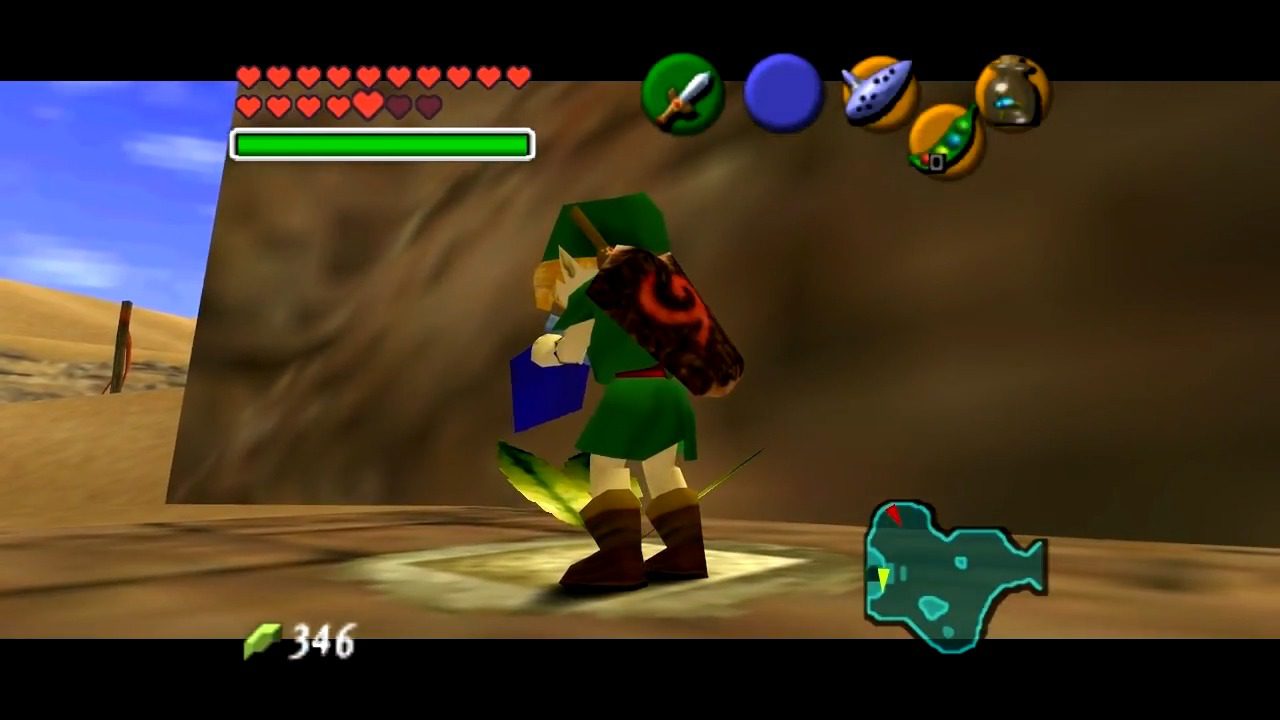
Alright, you’re officially in the desert, but don’t think it’s a straight shot to the temple. This area, aptly named the Haunted Wasteland, lives up to its reputation. To navigate this sandy maze, you absolutely need the Lens of Truth equipped. Trust me, without it, you’ll be wandering aimlessly. While not strictly necessary, having the Hover Boots will definitely make crossing the quicksand sections much smoother. Alternatively, if you’re skilled with the Longshot, you can use it to traverse some of the gaps. It’s also a good idea to have a doubled magic meter, just in case you make a few wrong turns.
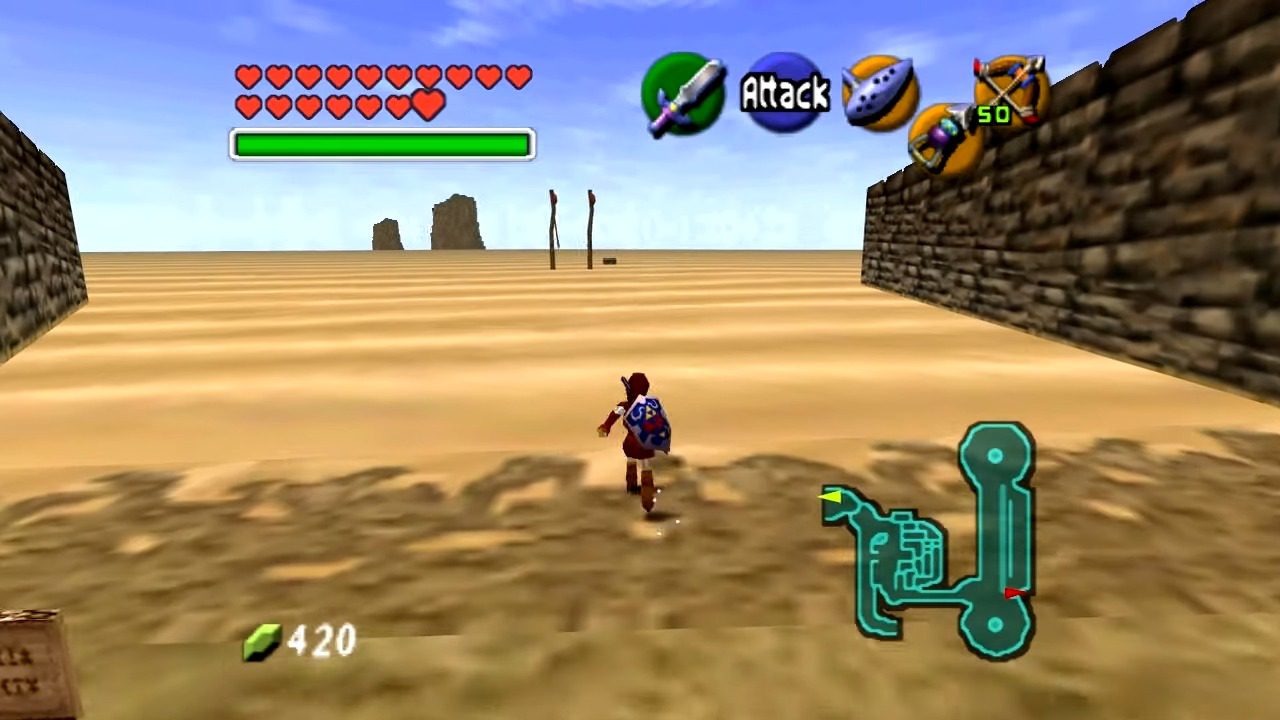
Your primary guide through this desolate landscape will be a series of flags planted in the sand. Follow these flags meticulously! They mark the safe path across the treacherous quicksand. If you deviate from the flag route, the wasteland will swallow you whole, and you’ll find yourself back at the very beginning. So, keep your eyes peeled and stick to the path the flags lay out for you with unwavering precision.


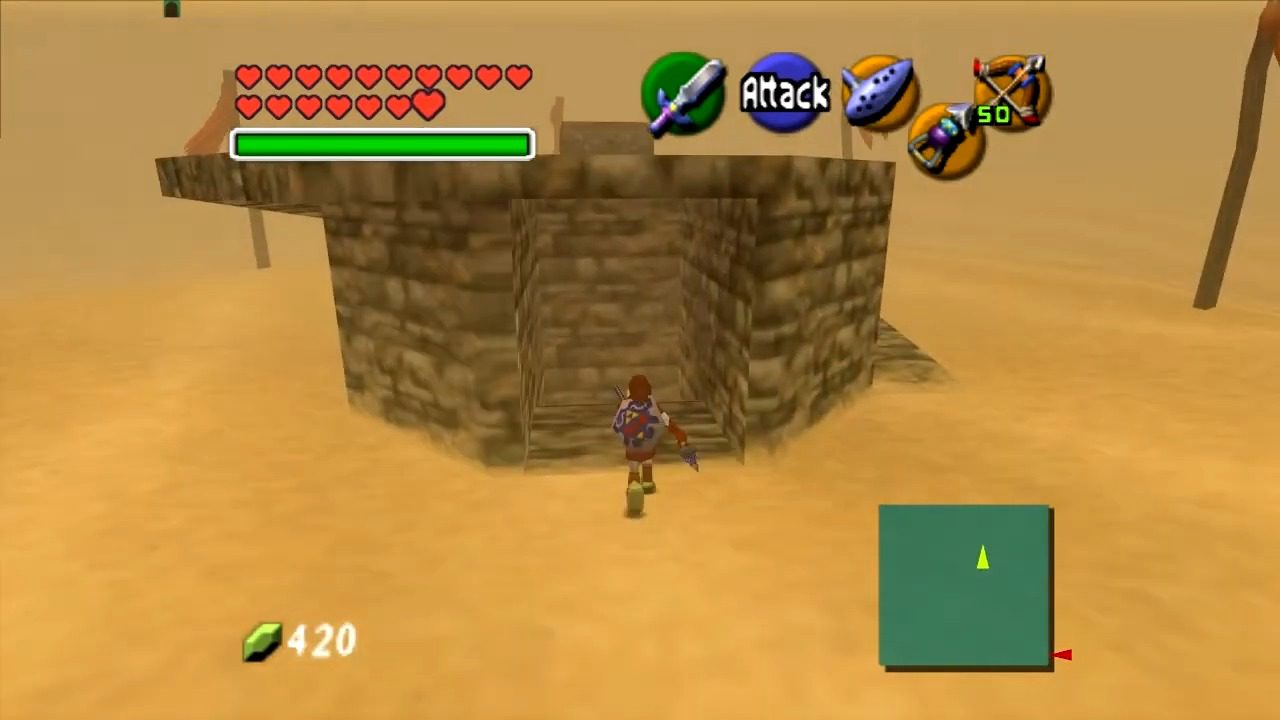
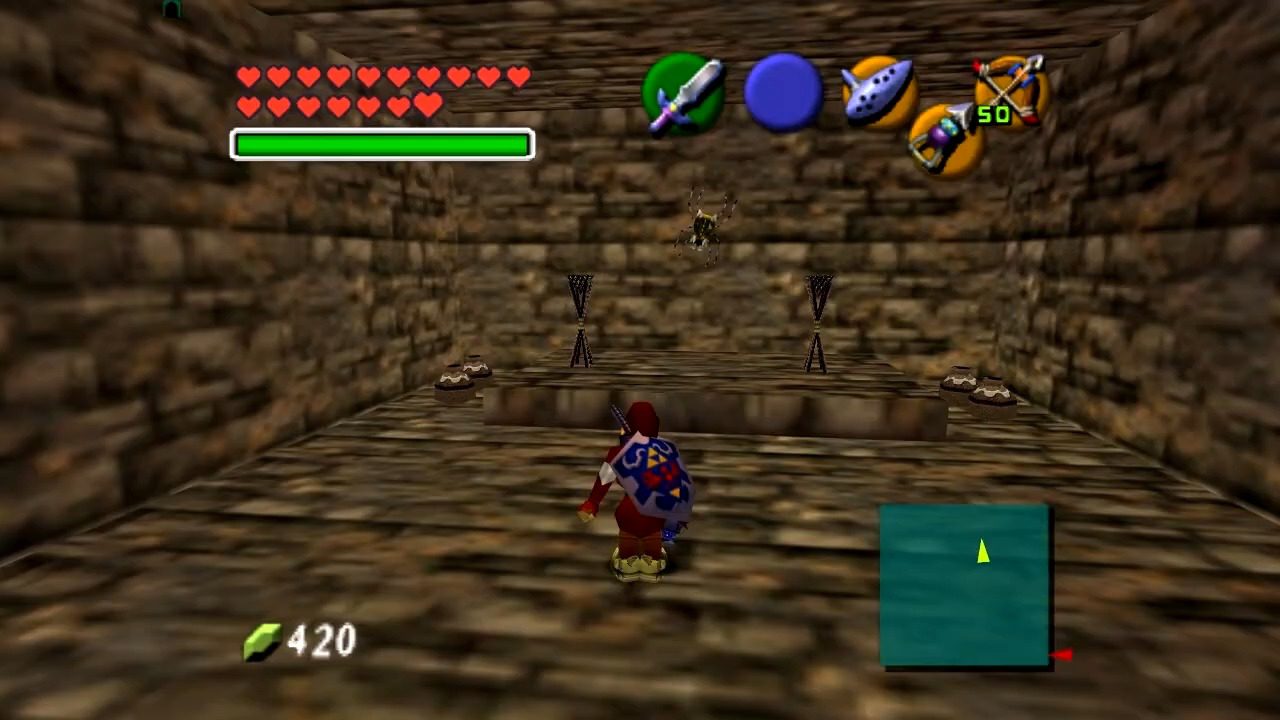
Your journey through the flags will eventually lead you to a small stone building. Don’t just sprint past this structure; it holds a valuable secret! Head inside to collect the Gold Skulltula. While you’re inside, equip your Fire Arrows or use Din’s Fire and light the two unlit torches. Doing so will cause a treasure chest containing some rupees to appear.
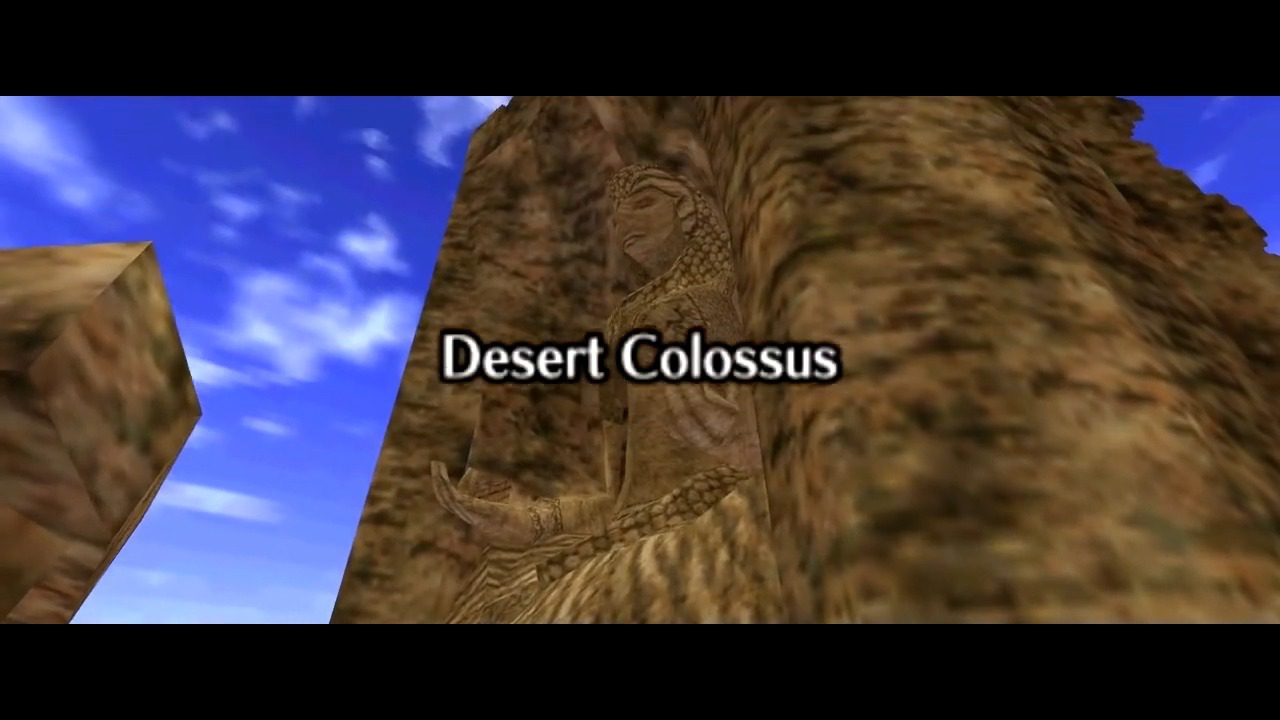
Reaching the Desert Colossus and the Spirit Temple
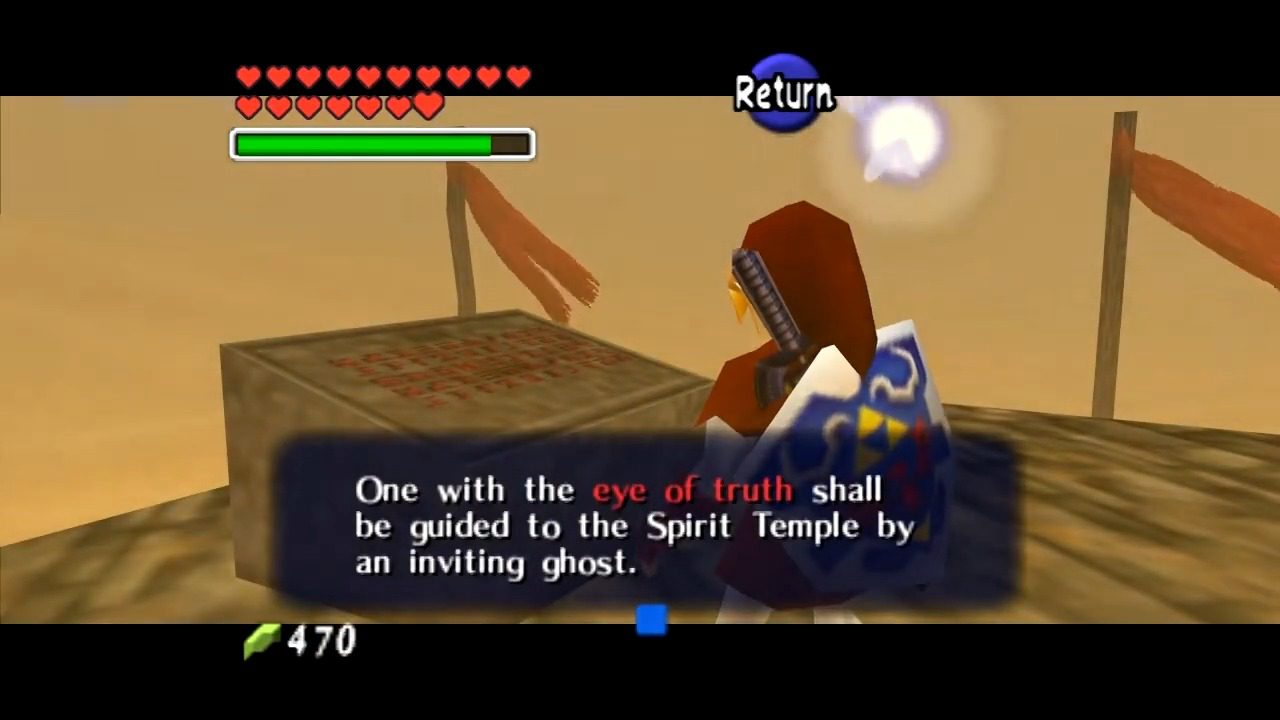
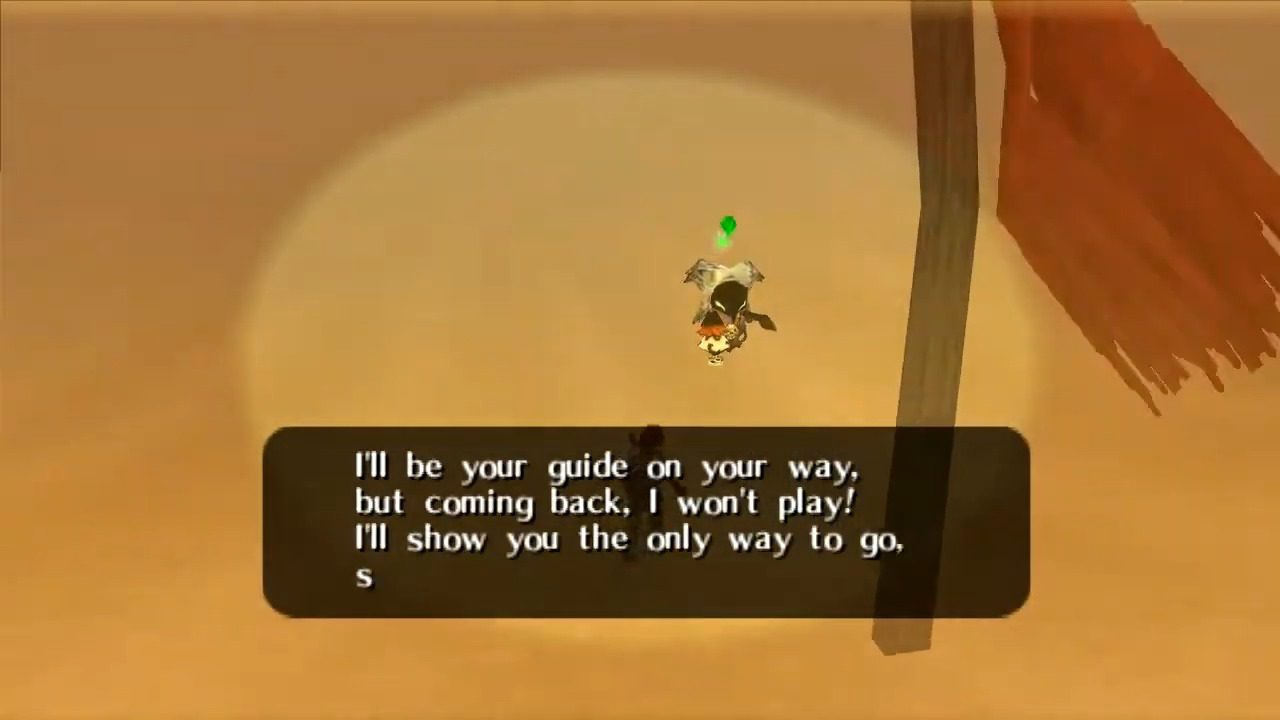
Once you’ve secured the Skulltula and rupees, climb to the top of the stone structure. Now, activate your Lens of Truth. You should be able to see a ghostly figure, a Poe, floating away in the distance. This ethereal guide is your key to reaching the Desert Colossus. Keep the Poe in sight and follow its spectral trail across the wasteland. Continue to follow the Poe, and it will lead you directly to the imposing Desert Colossus.
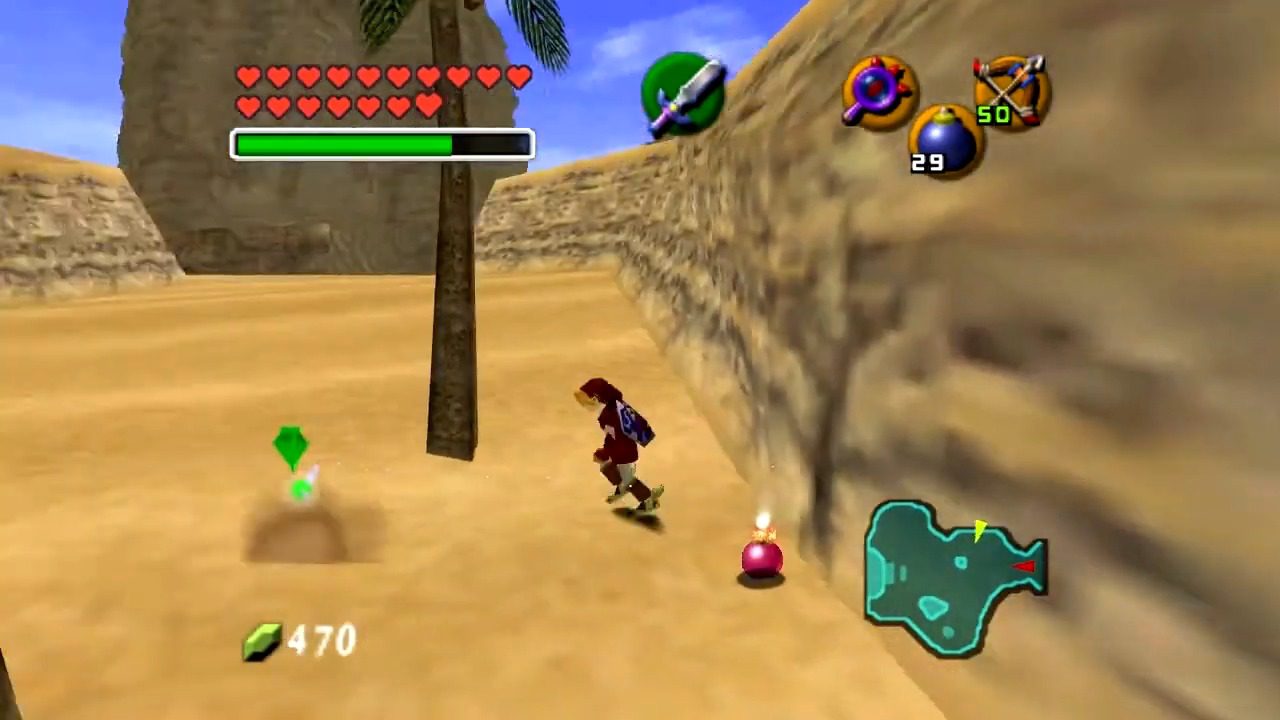
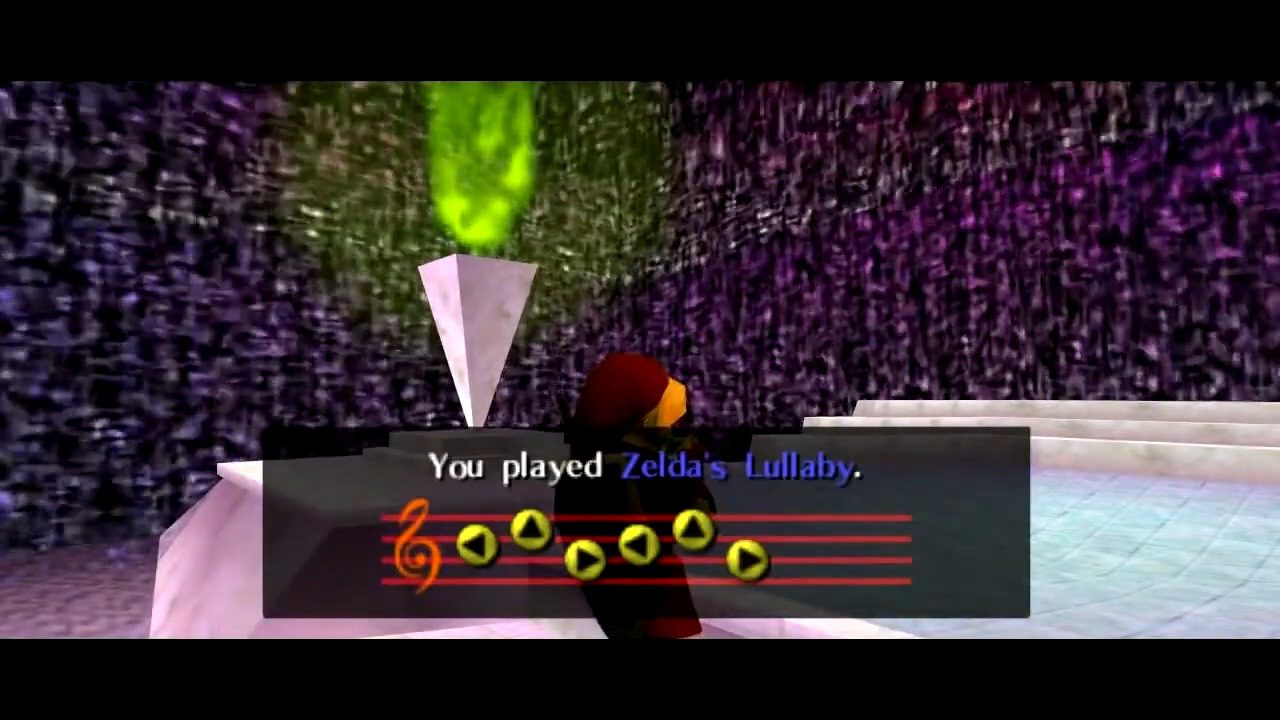
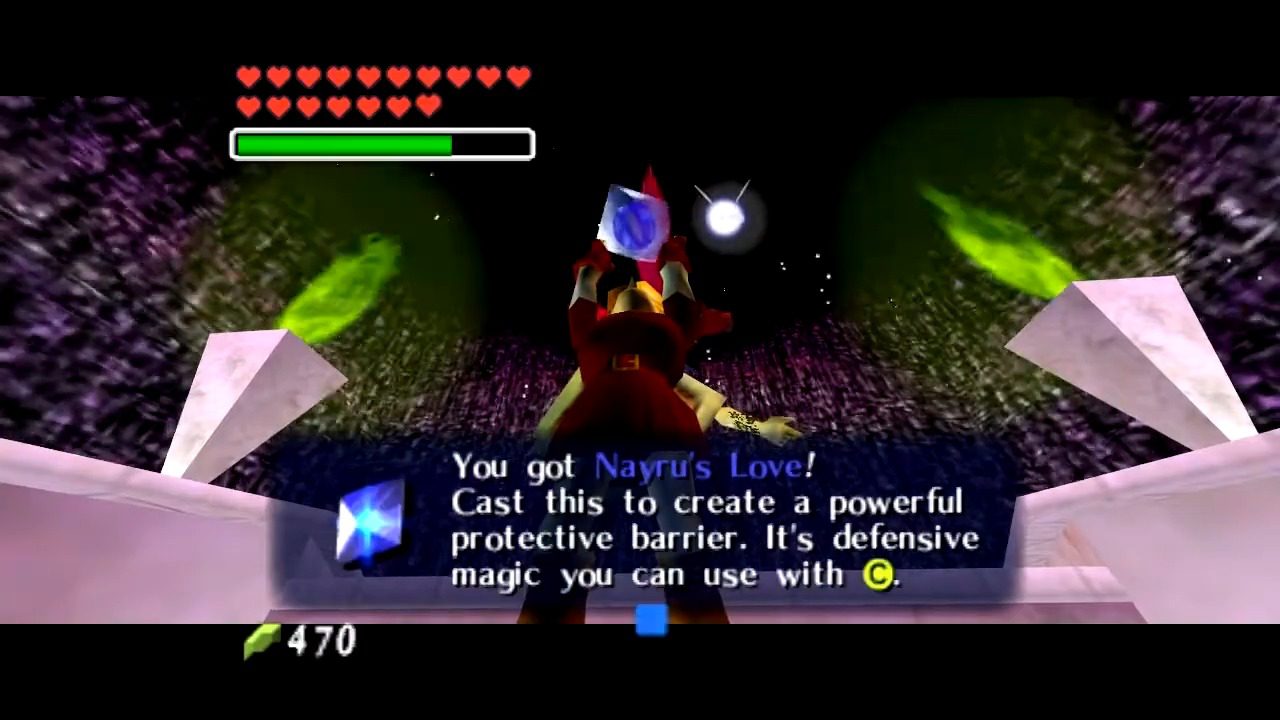
Head to the right (north) side of the area and look for two palm trees standing near a section of wall with a noticeable crack between them. Use a Bomb to blow open the cracked wall, revealing the entrance to the Great Fairy’s Fountain. Enter the fountain and stand on the Triforce symbol. Play Zelda’s Lullaby on your ocarina to summon the Great Fairy. Upon playing Zelda’s Lullaby, the Great Fairy will appear and grant Link Nayru’s Love, a magical spell that creates a protective barrier around him, temporarily rendering him invulnerable to most attacks.
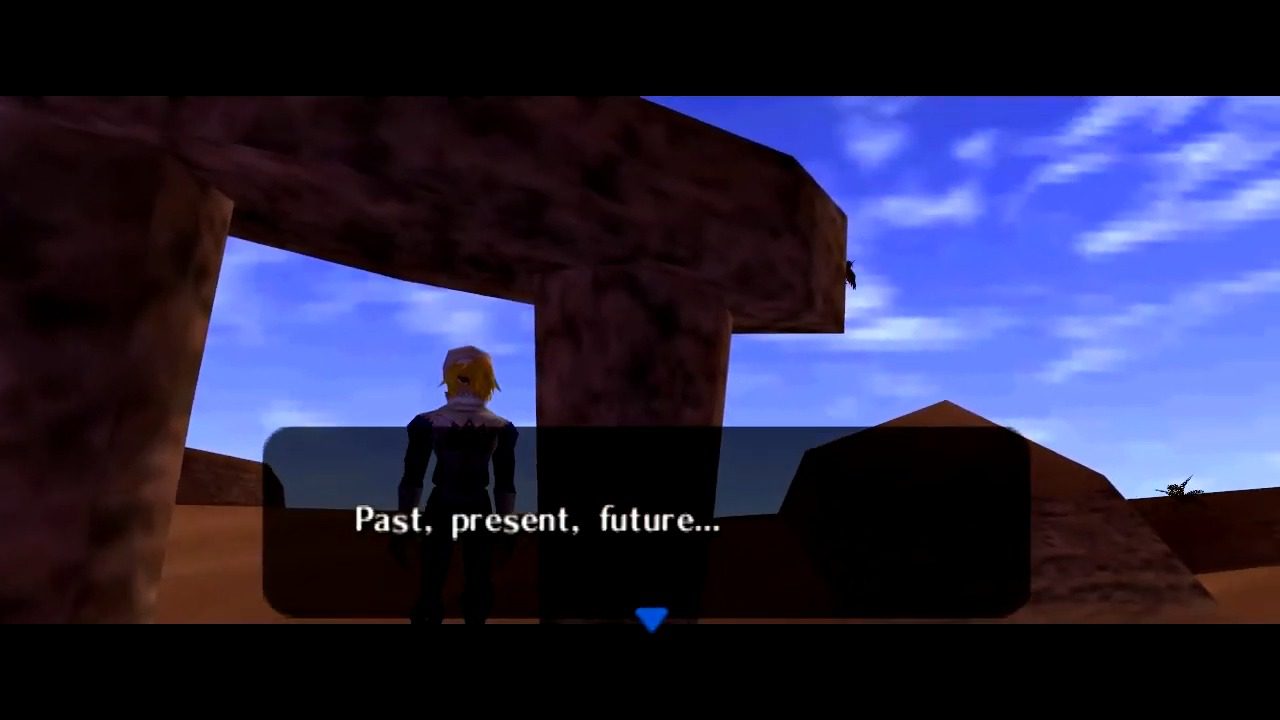
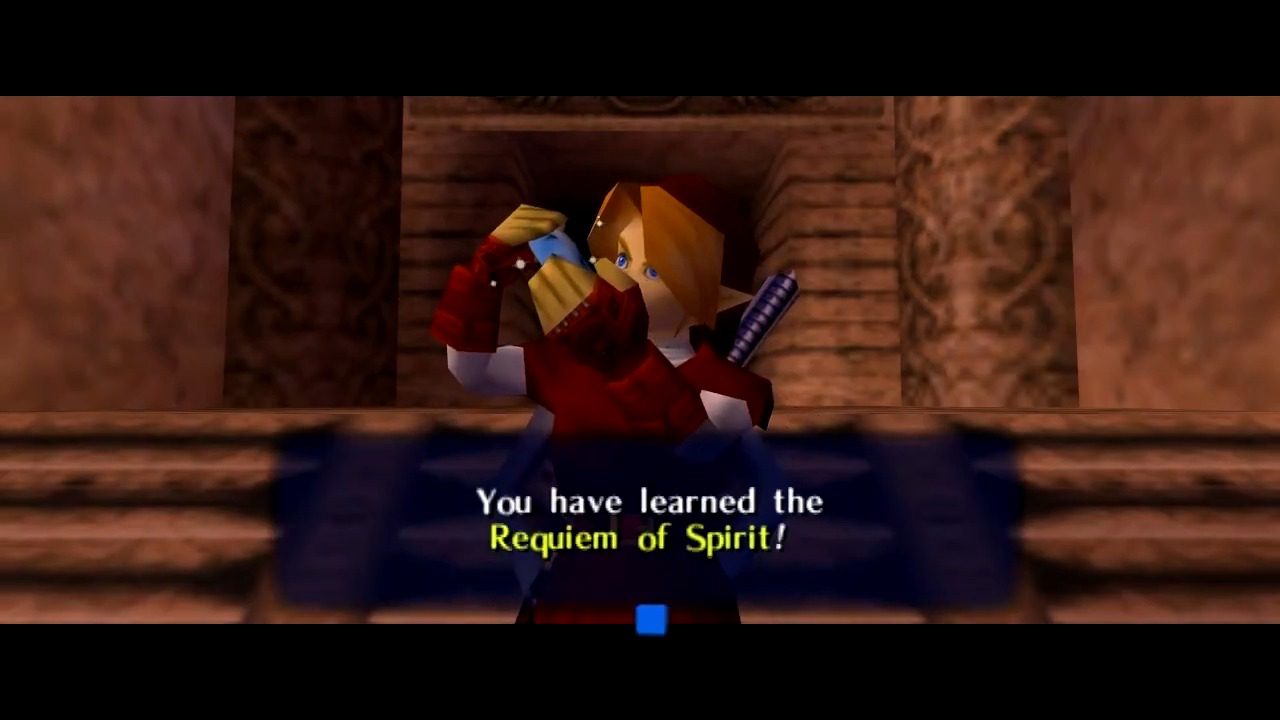
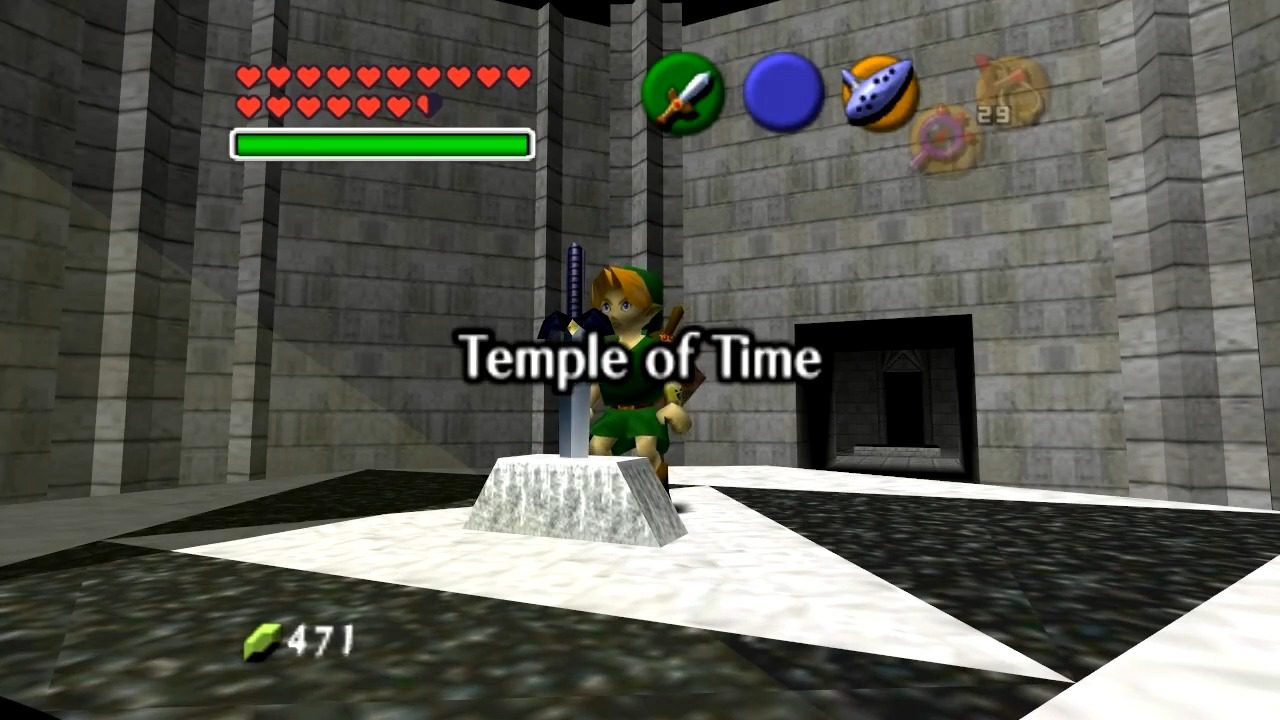
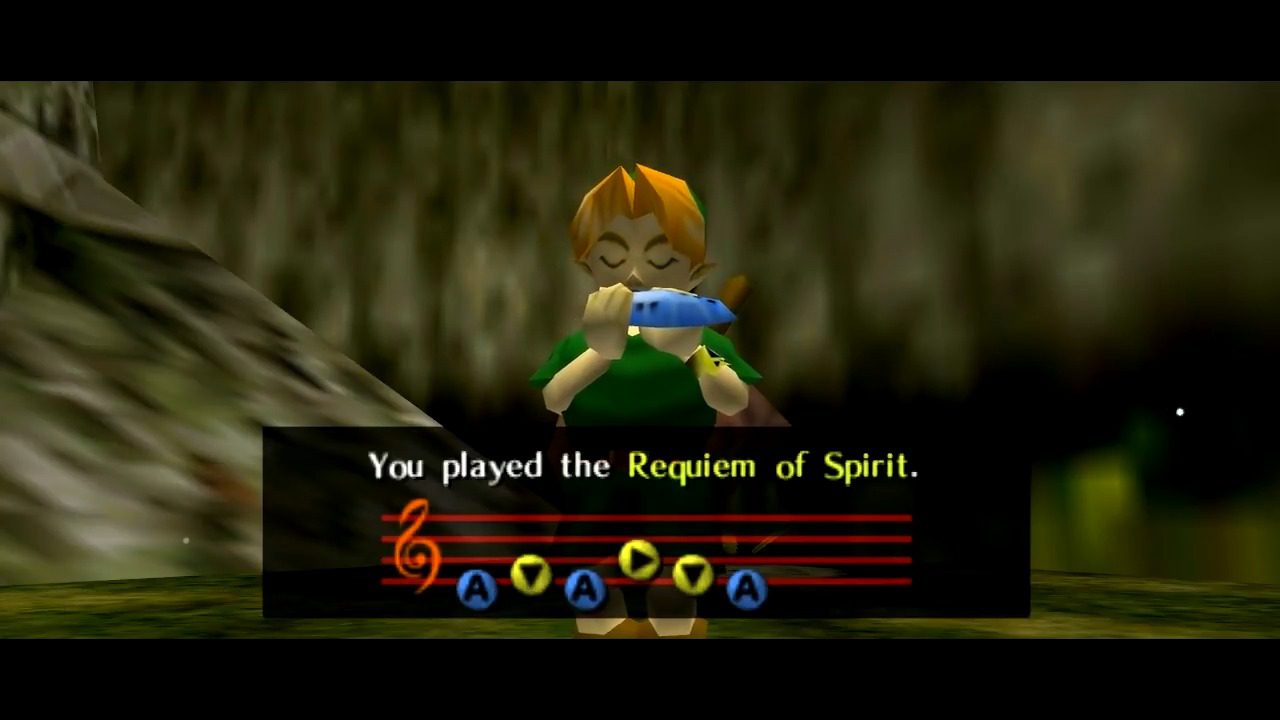
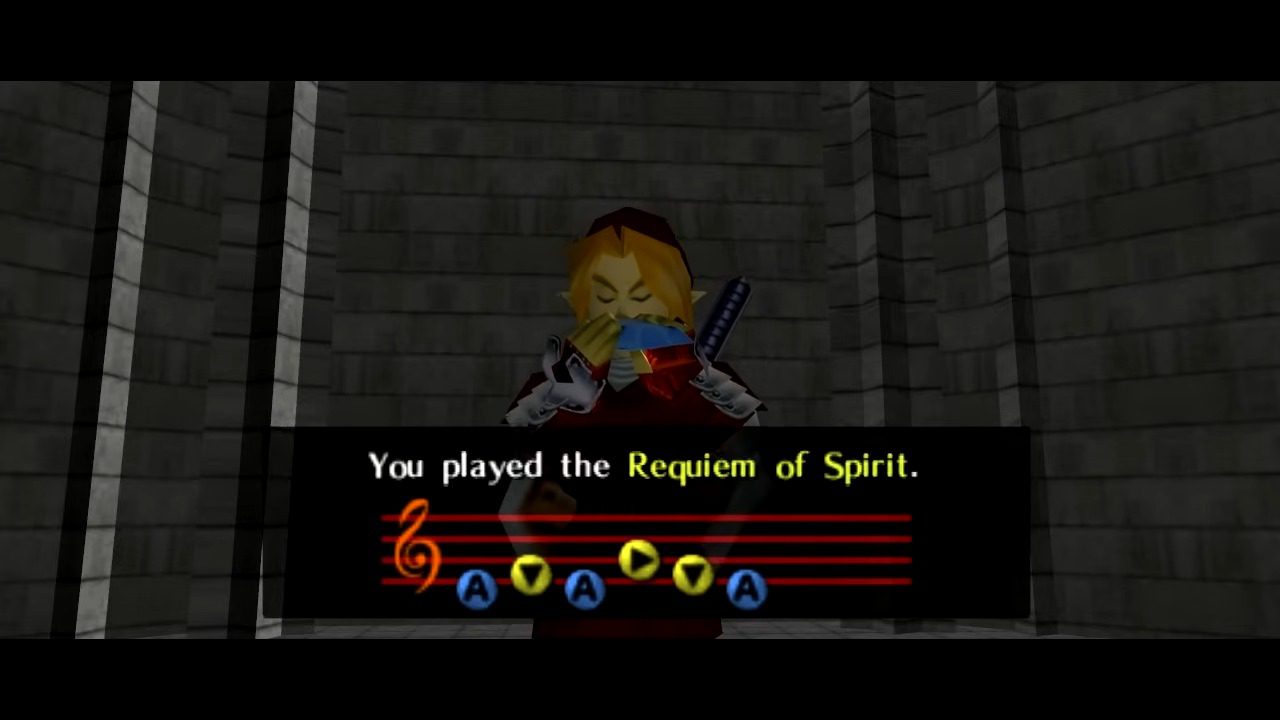
Enter and exit the Spirit Temple, and you’ll encounter Sheik. This enigmatic figure will appear and teach you a new melody for your ocarina: the Requiem of Spirit. Once you have learned that, play the prelude of light to warp to the Temple of Time. Return the Master Sword to its pedestal to become Young Link.
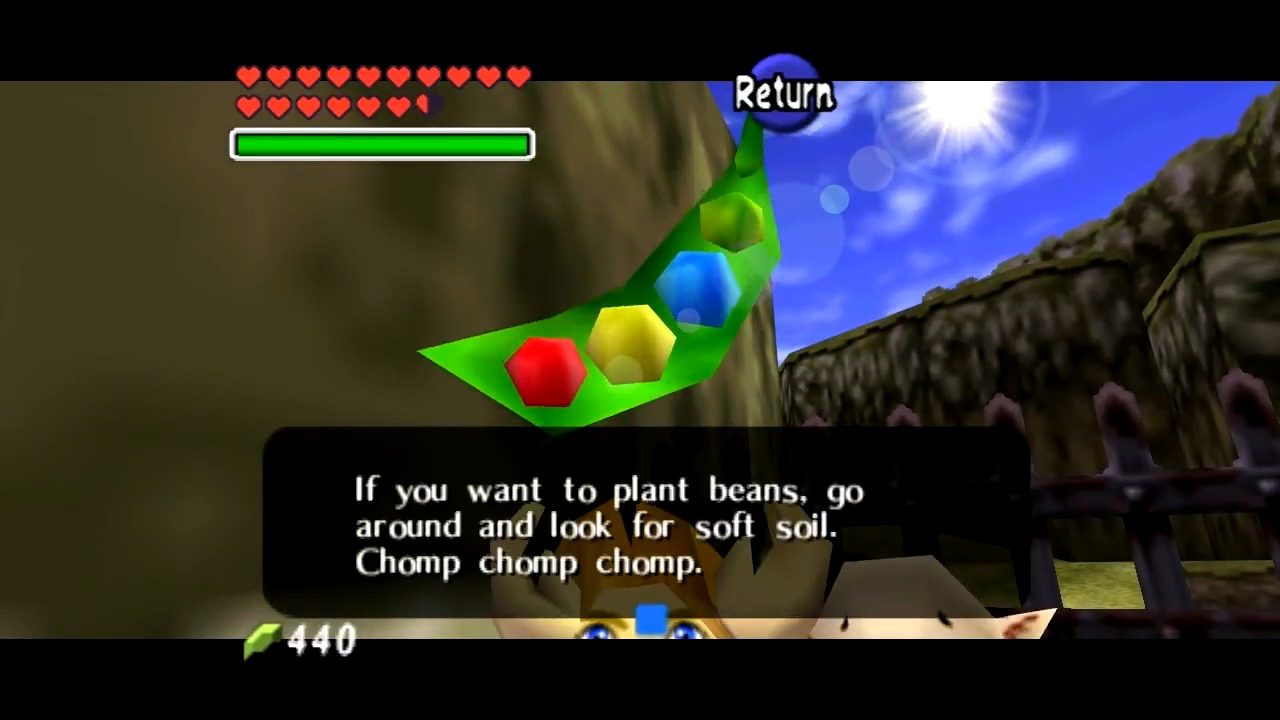
Before heading back to the spirit temple, for 100% completion, now is a good time to go ahead and plant magic beans across Hyrule. When finished, play the Requiem of Spirit to return to the Spirit Temple. Right outside the Spirit Temple, there is magic bean bed. Plant a bean and also release some bugs to claim a Gold Skulltula.
Inside the Temple: Meeting Nabooru
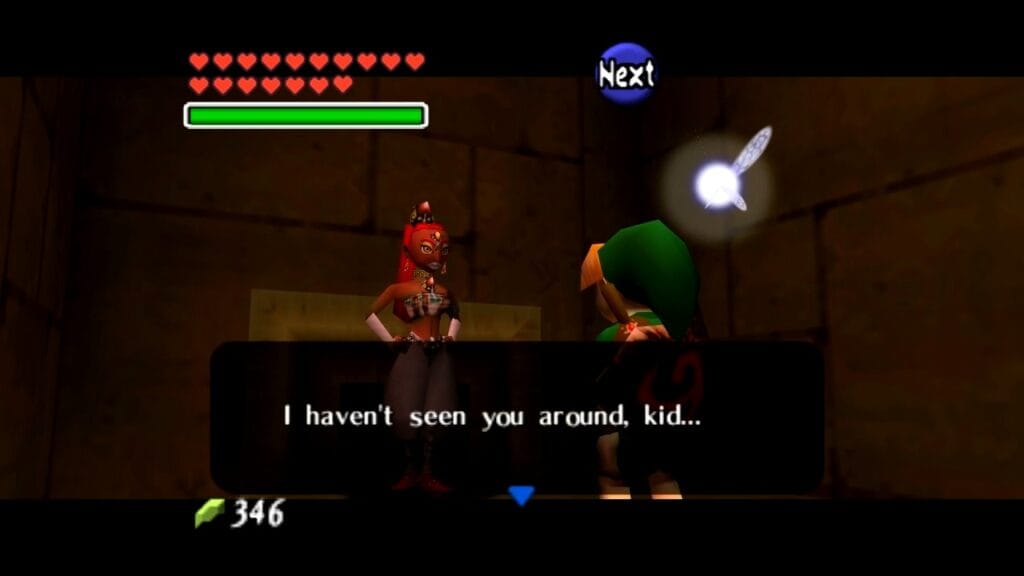
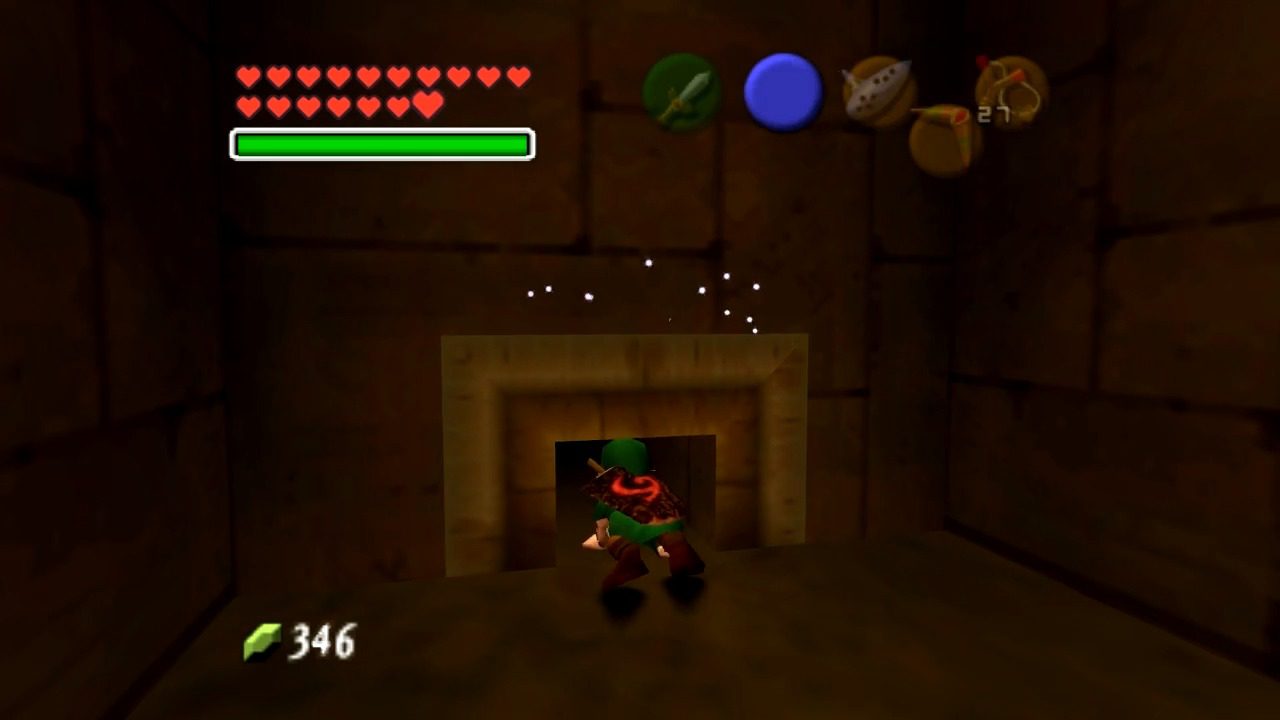
With Young Link back in the desert, re-enter the Spirit Temple. Head straight up the stairs in the entrance hall and then take an immediate left. You’ll find yourself in a room with a small crawl space, and there you’ll meet a Gerudo woman named Nabooru. This encounter is pivotal, as Nabooru will give Young Link his first objective within the temple. Approach Nabooru and initiate a conversation. When she inquires about your presence, respond with “Nothing, really”.Then, follow up by stating your true feelings with “I hate Ganondorf!”. This particular dialogue will prompt Nabooru to ask for your assistance in retrieving the Silver Gauntlets. Agree to help her.

Young Link’s Path: Puzzles and Items
The Stalfos Encounter
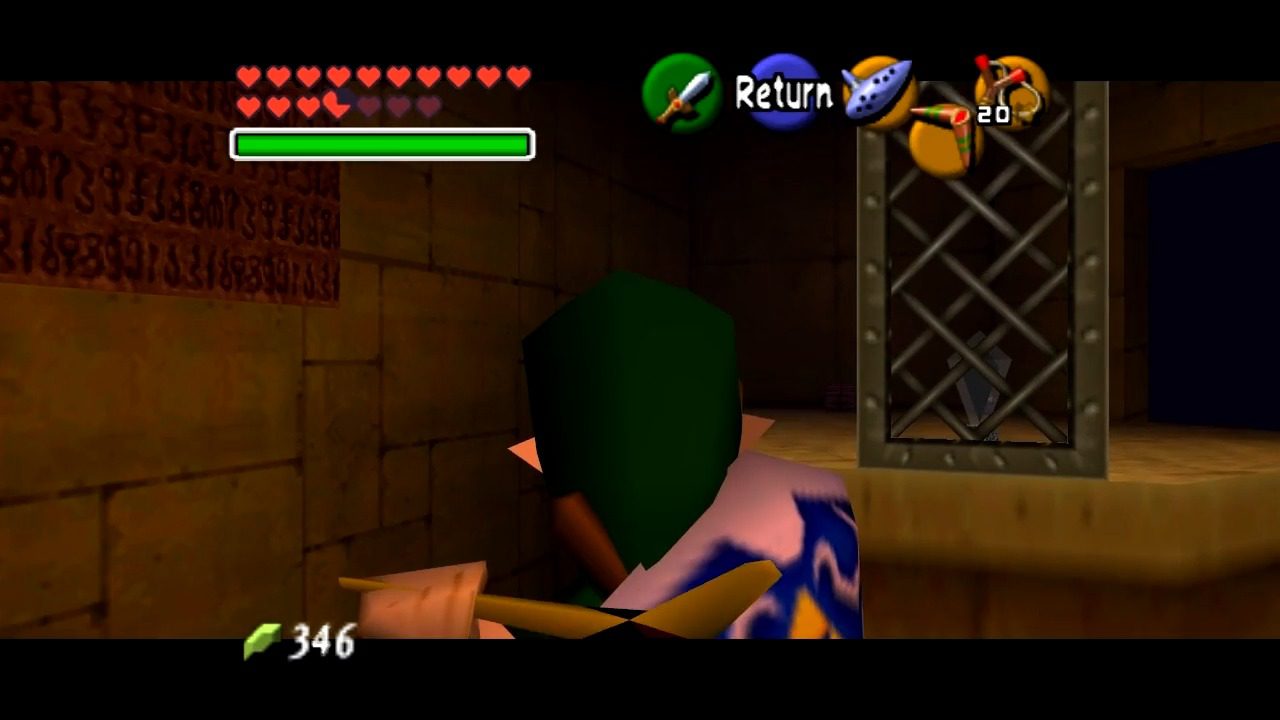
After your conversation with Nabooru, look for a small crawl space to your right. Squeeze through this opening, and you’ll find yourself in a room with multiple enemies. Defeat them all to lift the gate blocking the next room.
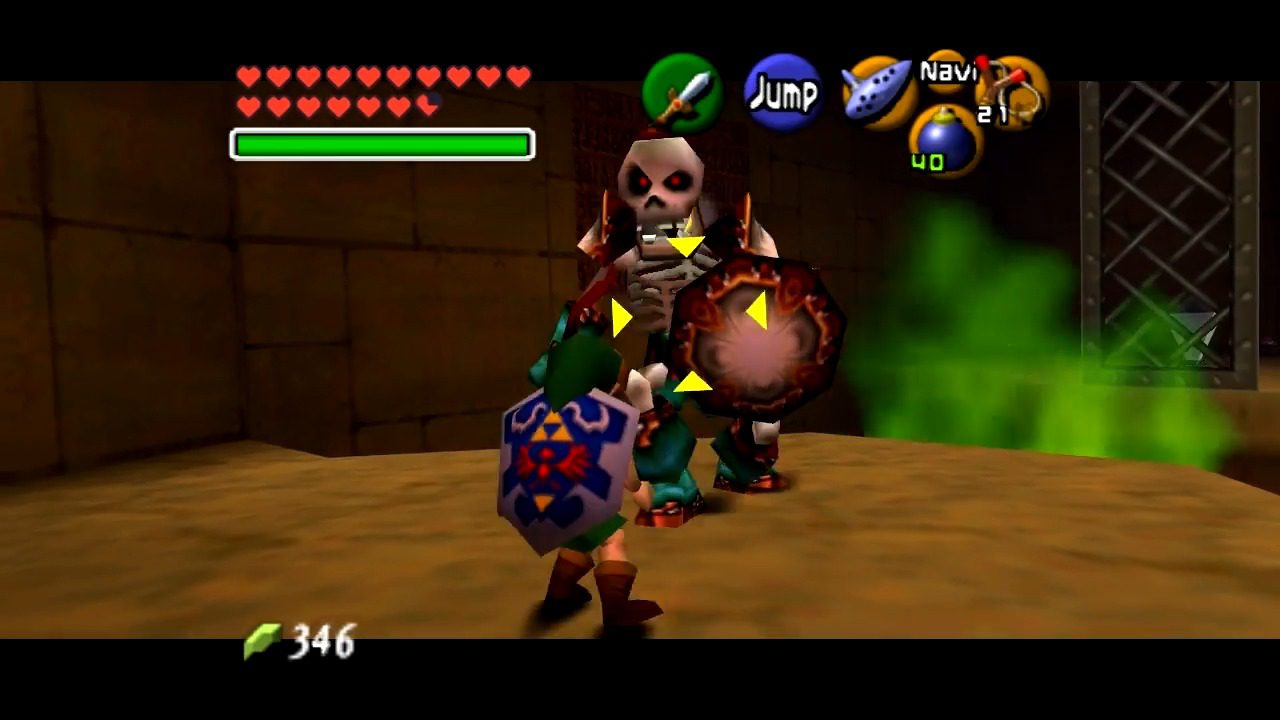
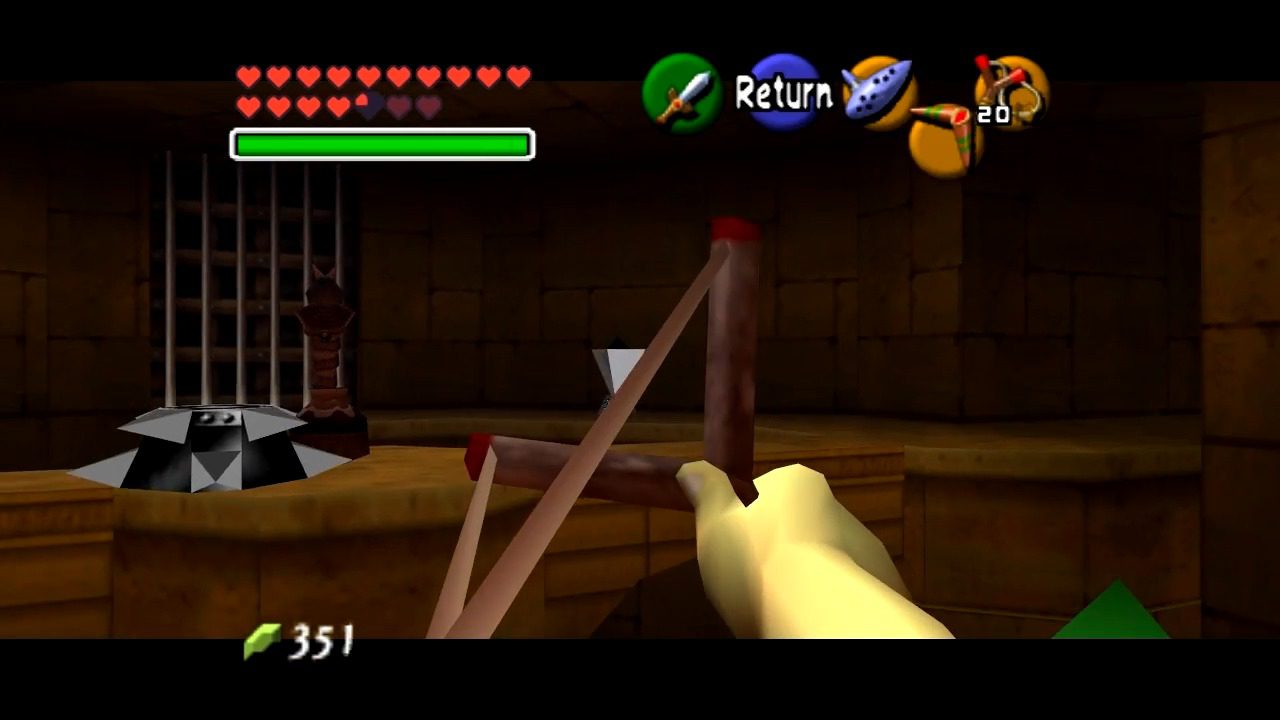
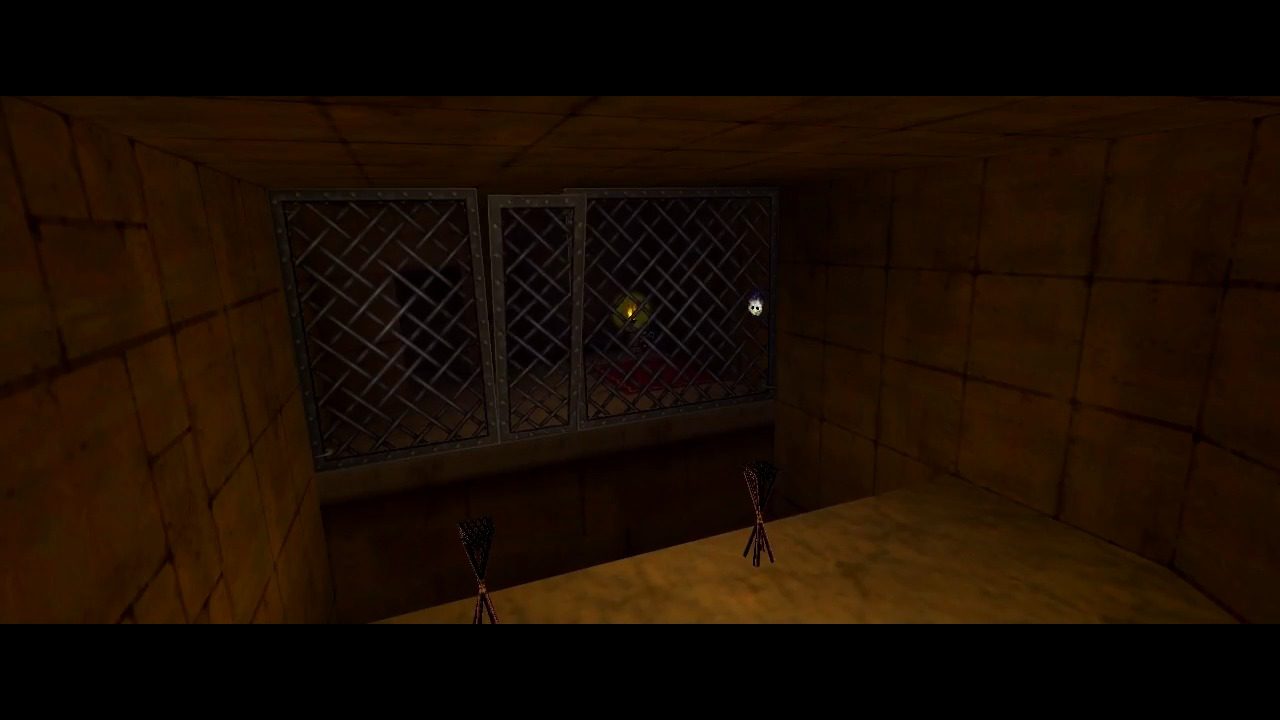
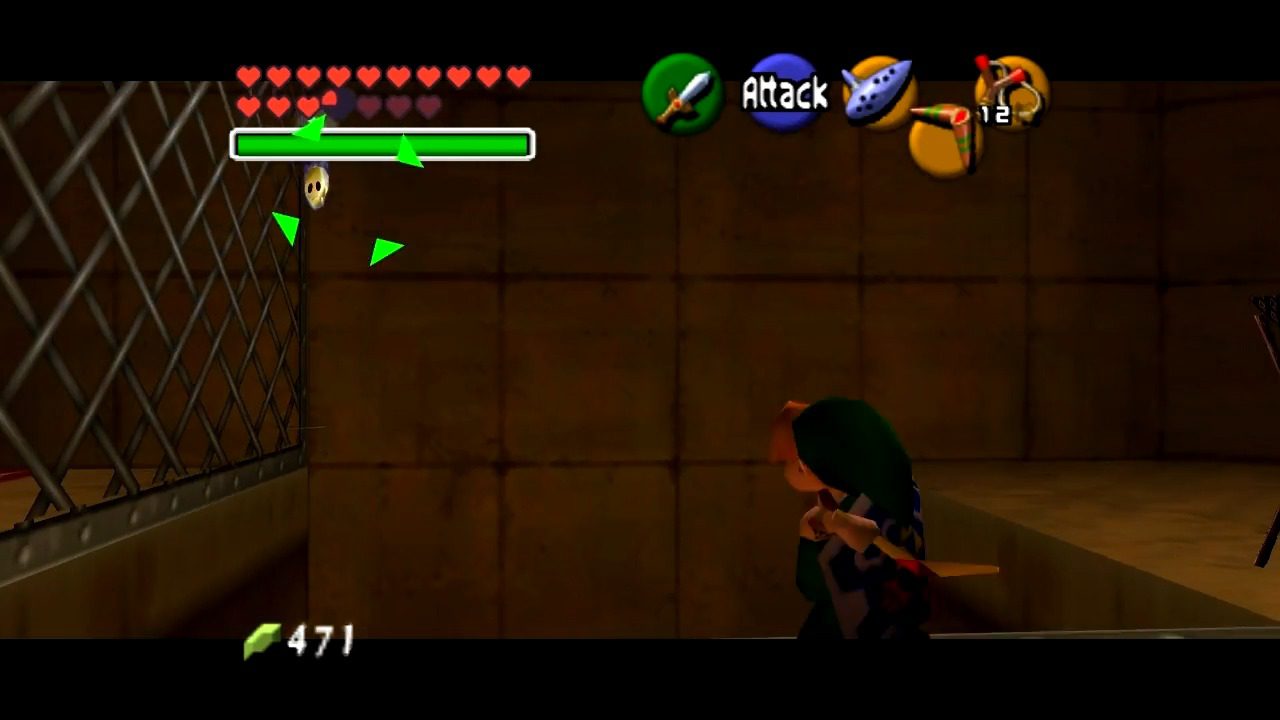
Be prepared for a fight in the next room! You’ll encounter a Stalfos, a skeletal warrior, and a Fire Keese, one of those pesky flaming skulls. Focus on taking down the Stalfos first, as it poses a greater threat with its sword attacks. Scan the room until you spot a diamond-shaped switch located behind a fence. Equip your Boomerang and aim carefully. Throw it in such a way that it goes around the fence and strikes the diamond switch. If your aim is true, the fence will lower, creating a bridge that you can now cross.

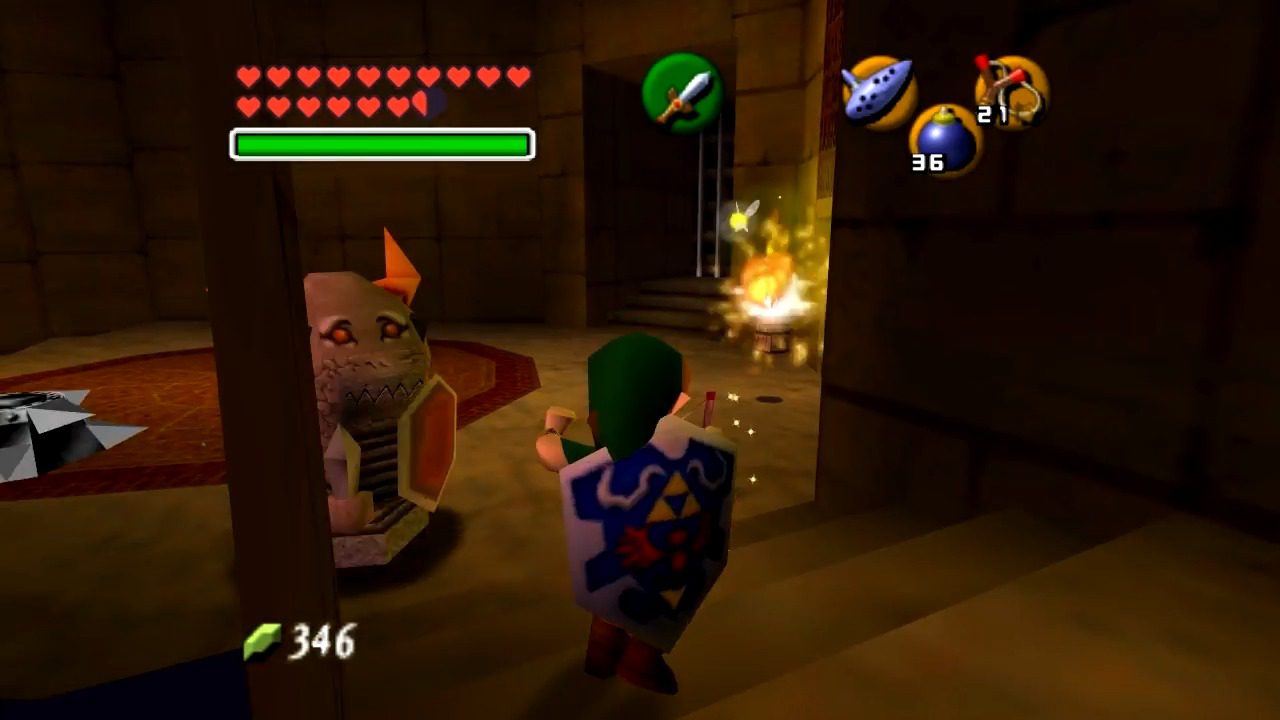
Another room with enemies (Anubis!). These guys mimic your movement and are vulnerable to fire. Use Din’s Fire or light a Deku Stick and swing it near them. Alternatively, you can lead the Anubis to the front of the door to activate the Crystal Switch to burn it. With the gate blocking the door lifted, proceed to the next room.


You’ll enter a room with a climbable wall and a sun face needing light. You need to collect 5 Silver Rupees to open the next door. Claim the Gold Skulltula on the wall with your boomerang.

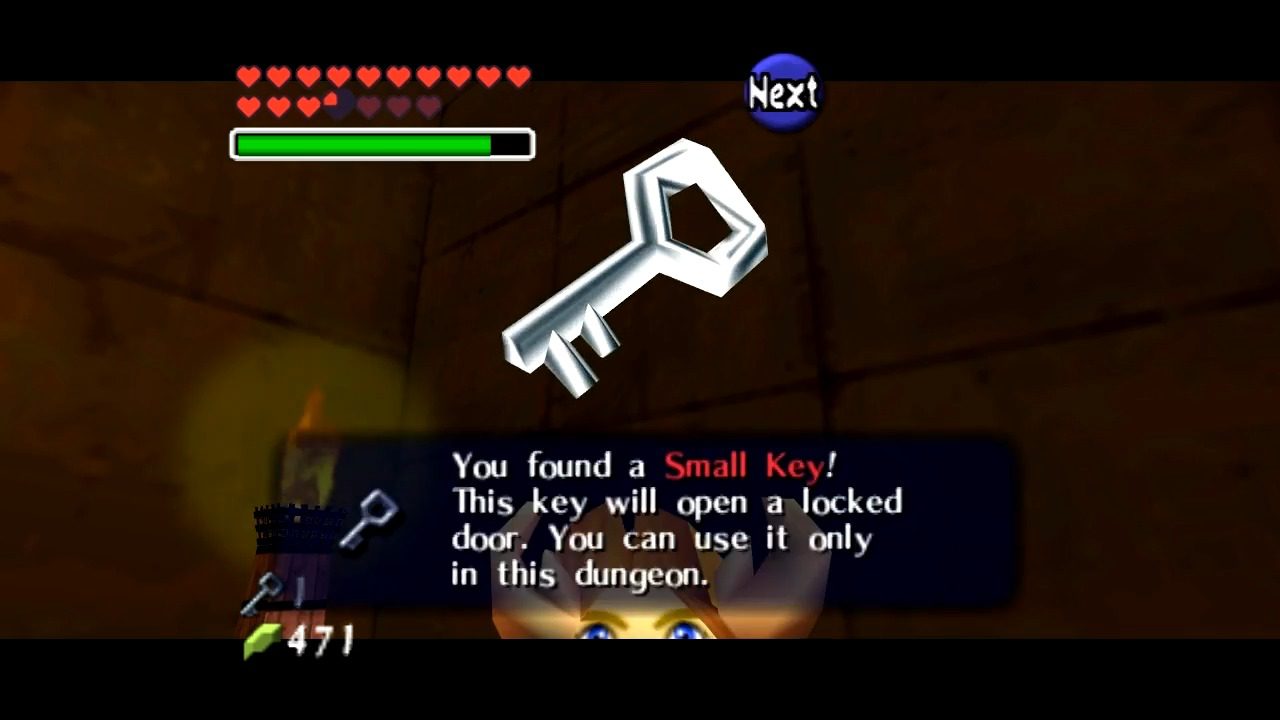
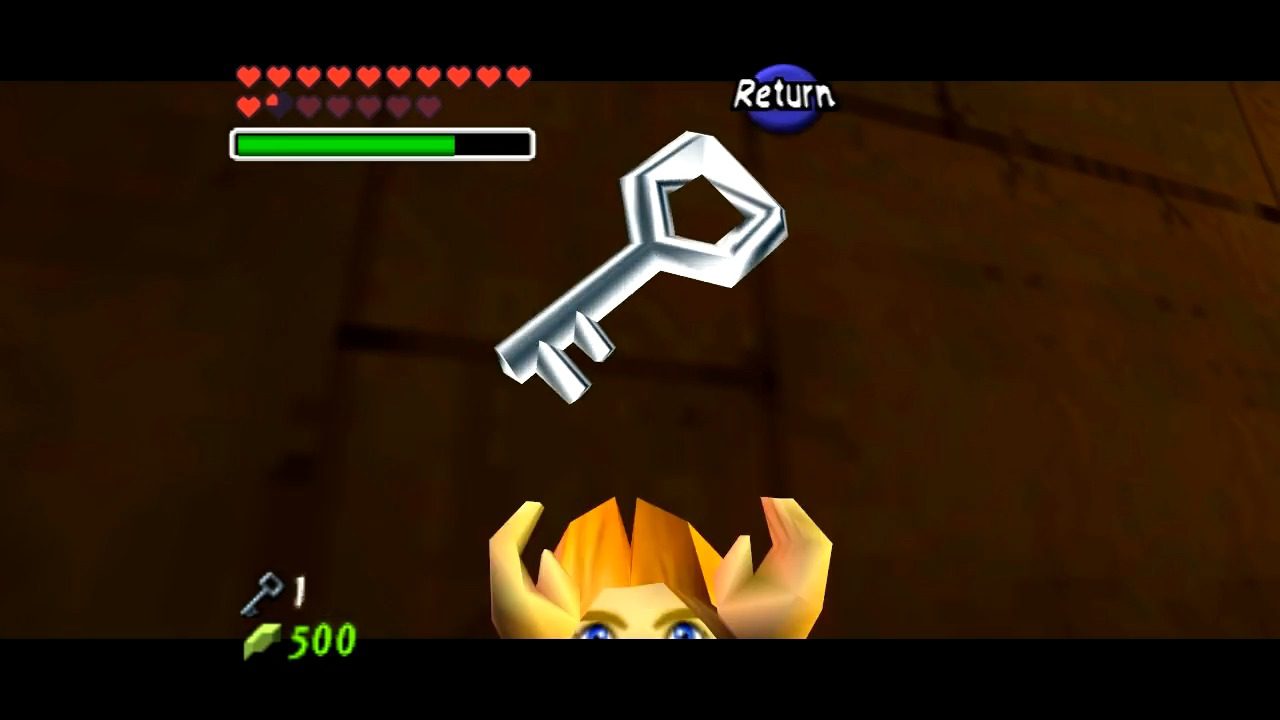
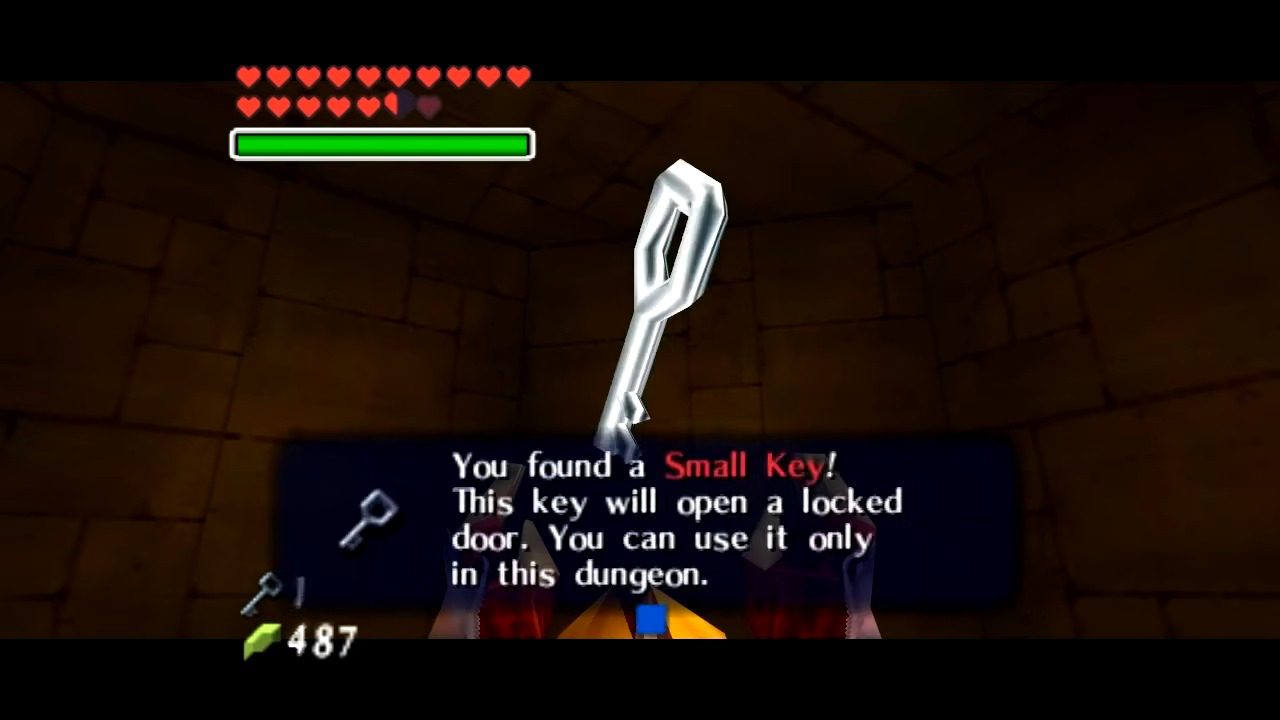
Use Din’s Fire to light the torches at the end of the bridge to make a chest appear. Claim the Small Key from the chest.
Skulltulas and Climbing
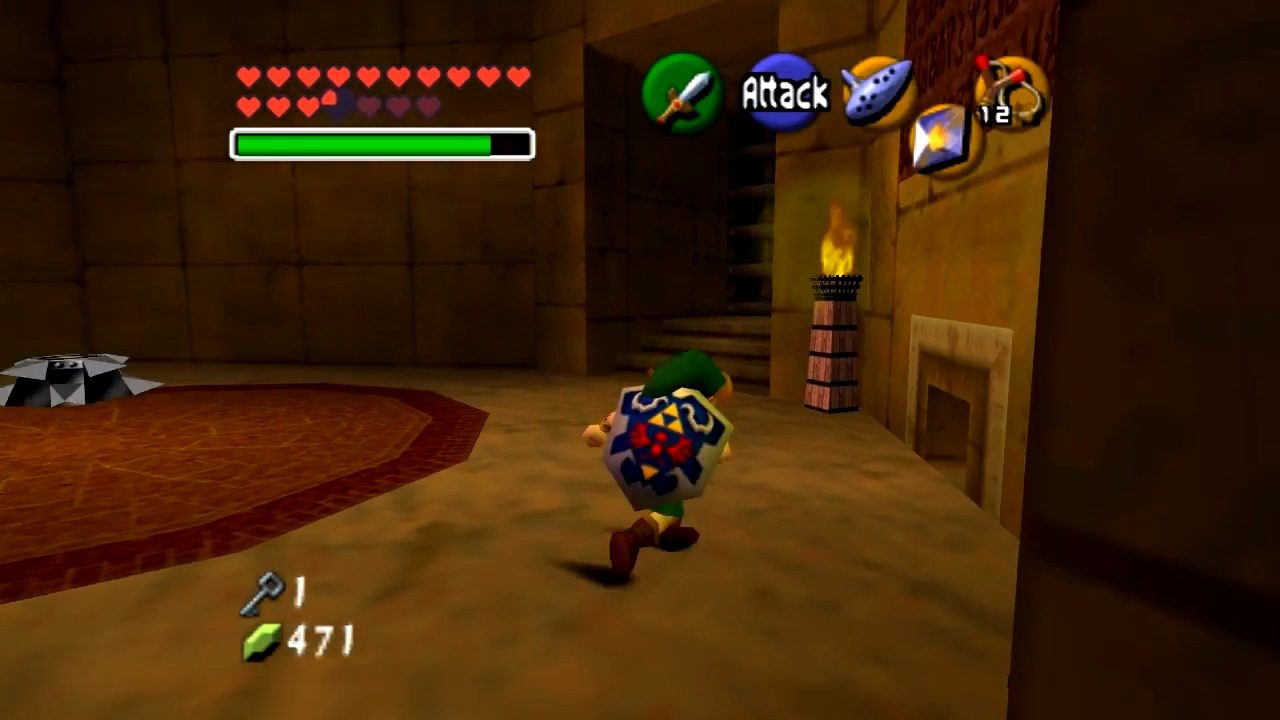
The next door will place you in a familiar room. Look for another crawl space to your right, positioned between the two doors. Go through this opening, and you’ll find yet another locked door. Use another one of your Small Keys to unlock it and step inside.

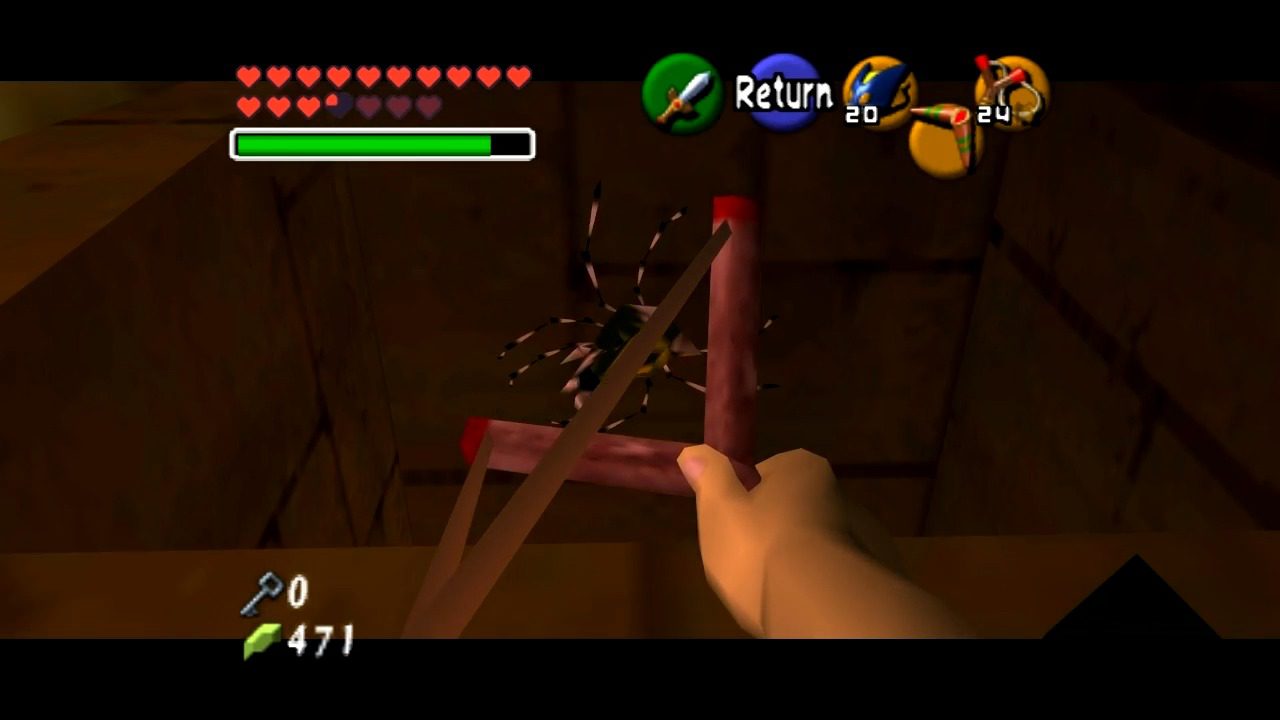
As you enter this new room, be on the lookout for Skullwalltulas clinging to the wall. Take them out with your Slingshot or Boomerang before attempting to climb the rocky wall. Once you reach the top, immediately turn around and look back at the doorway you just came through. You should see a Gold Skulltula attached to the wall above the entrance. Use your Slingshot or Boomerang to collect the token.

Defeat the enemies in the room. Use of a Bombchu to bomb the rock blocking the light source. The light source will shine on the sun displayed on the floor and unlock the door. If you need Bombchus, you can hit the crystal switch on the ledge to the left of the bombable wall and a chest will drop containing them.


Dungeon Map and Torches
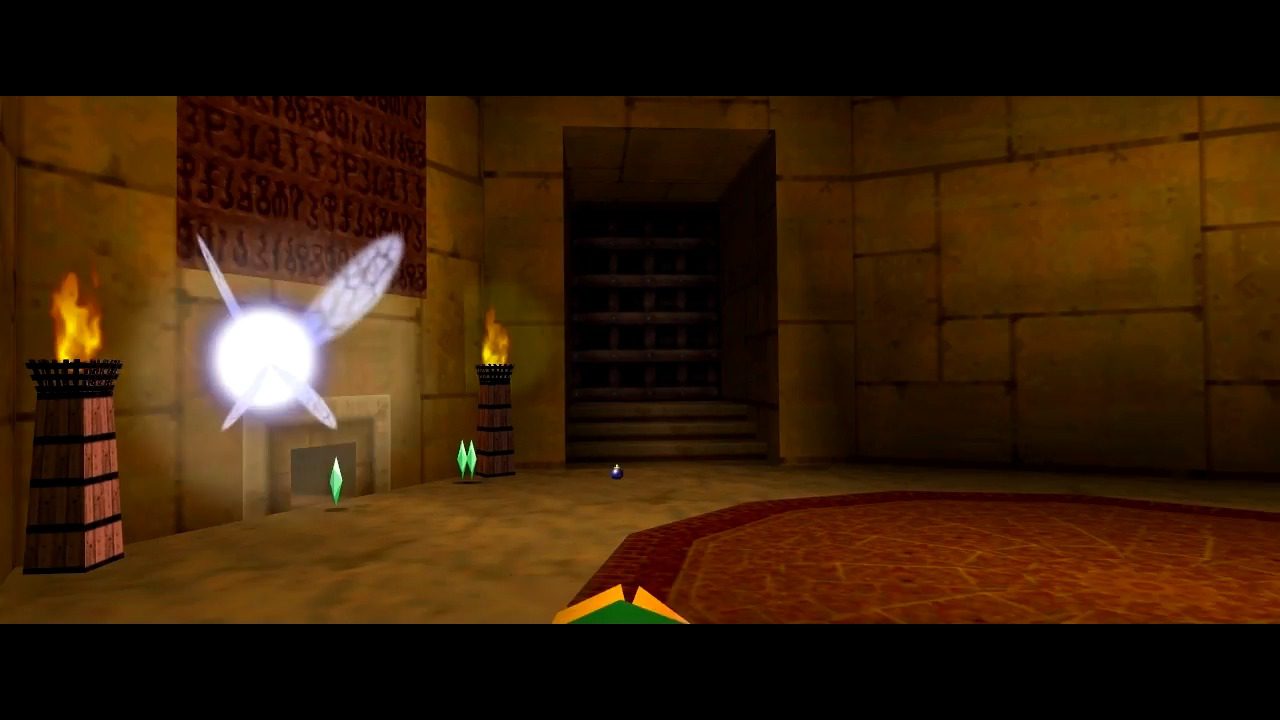
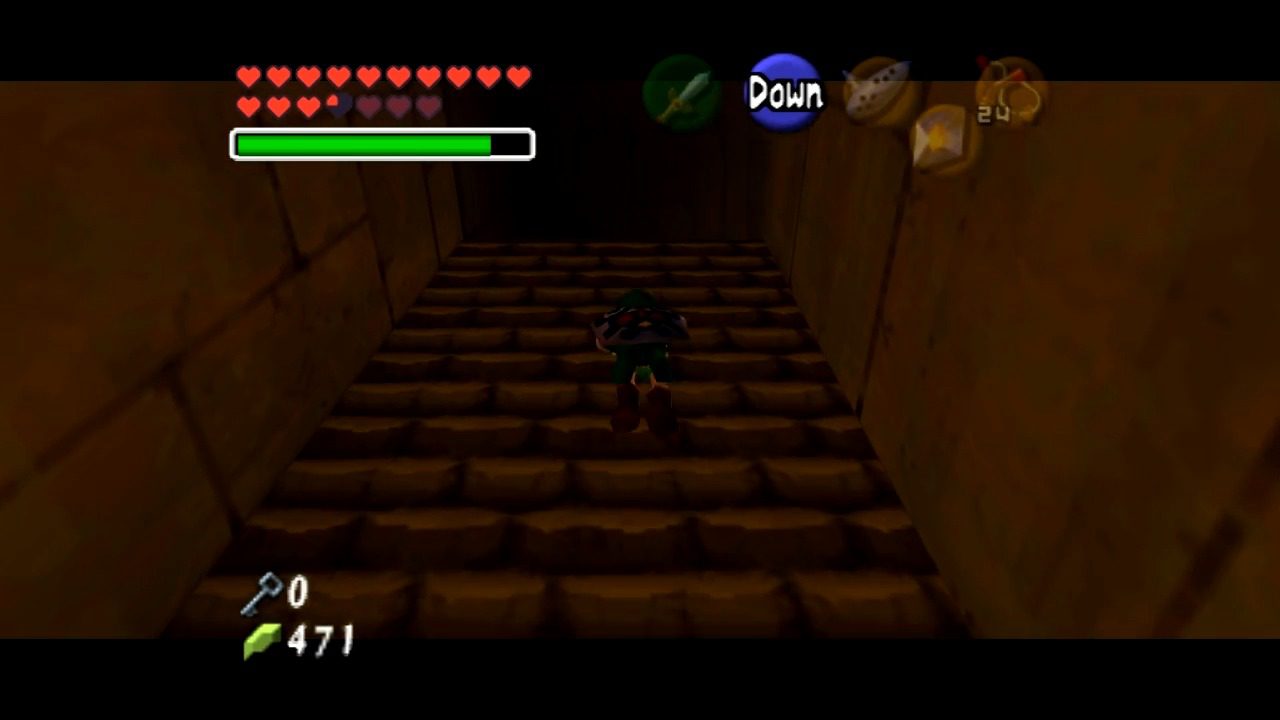
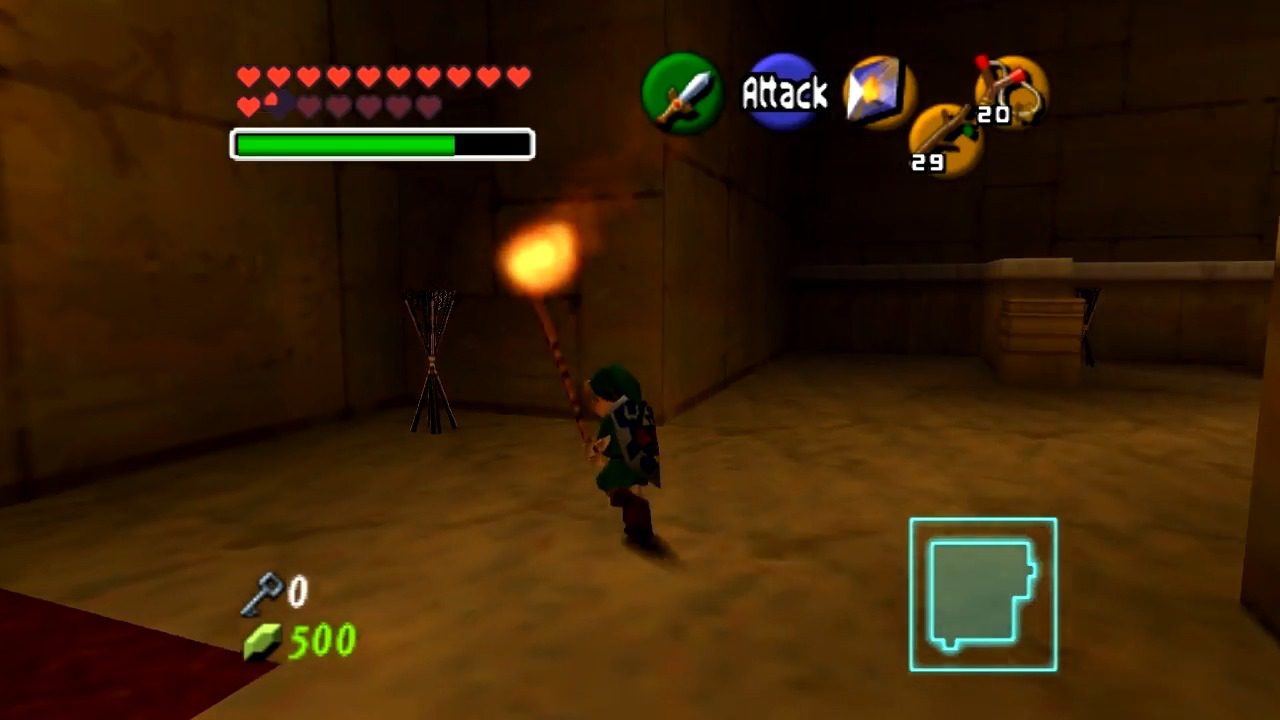
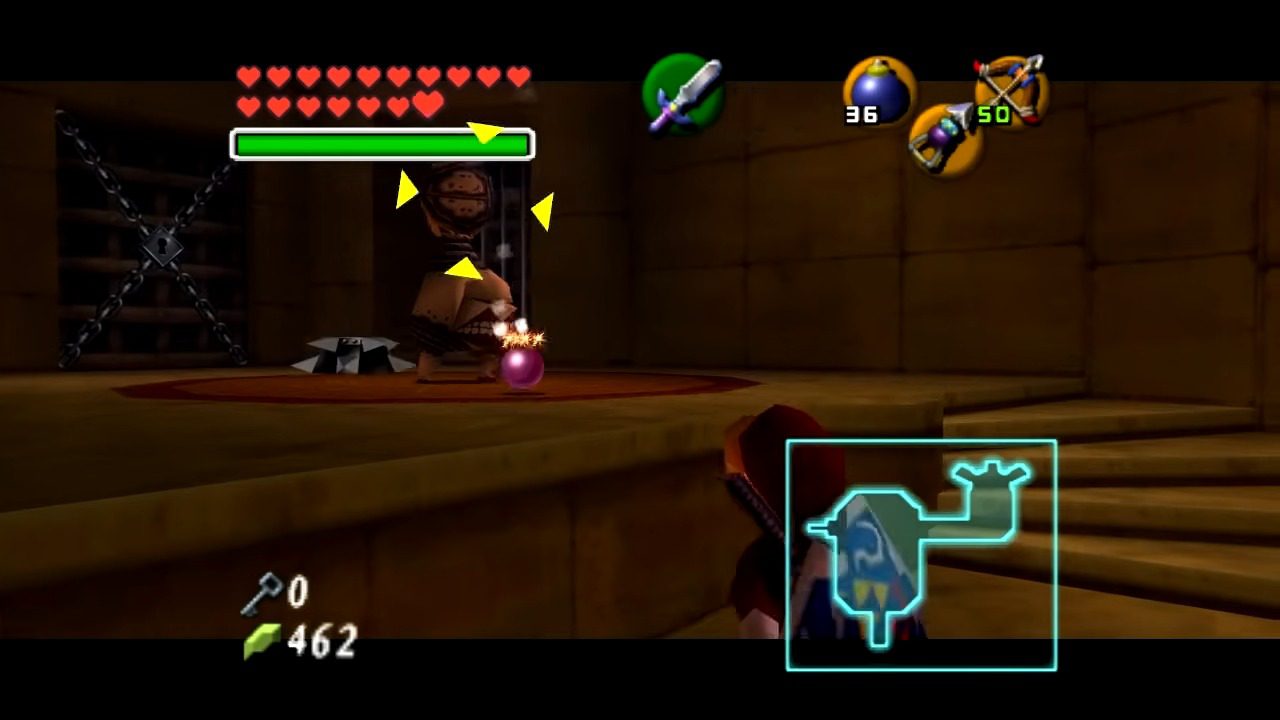
Ascend the stairs in the previous room. You’ll notice a lit torch nearby. Equip a Deku Stick and use the lit torch to set it ablaze. Now, carefully jump down to the lower level and use your lit Deku Stick to ignite the two unlit torches that stand in front of the large statue in the center of the room. If you successfully light both torches, a treasure chest will appear. Open it to obtain the Dungeon Map. Alternatively, if you have Din’s Fire, you can light the torches easily with it.

After acquiring the map, climb the wall located next to the door you in which you entered the room. Push the statue off the ledge to activate the switch. Then, ascend the stairs again and proceed through the next door.
Silver Rupees and a Small Key
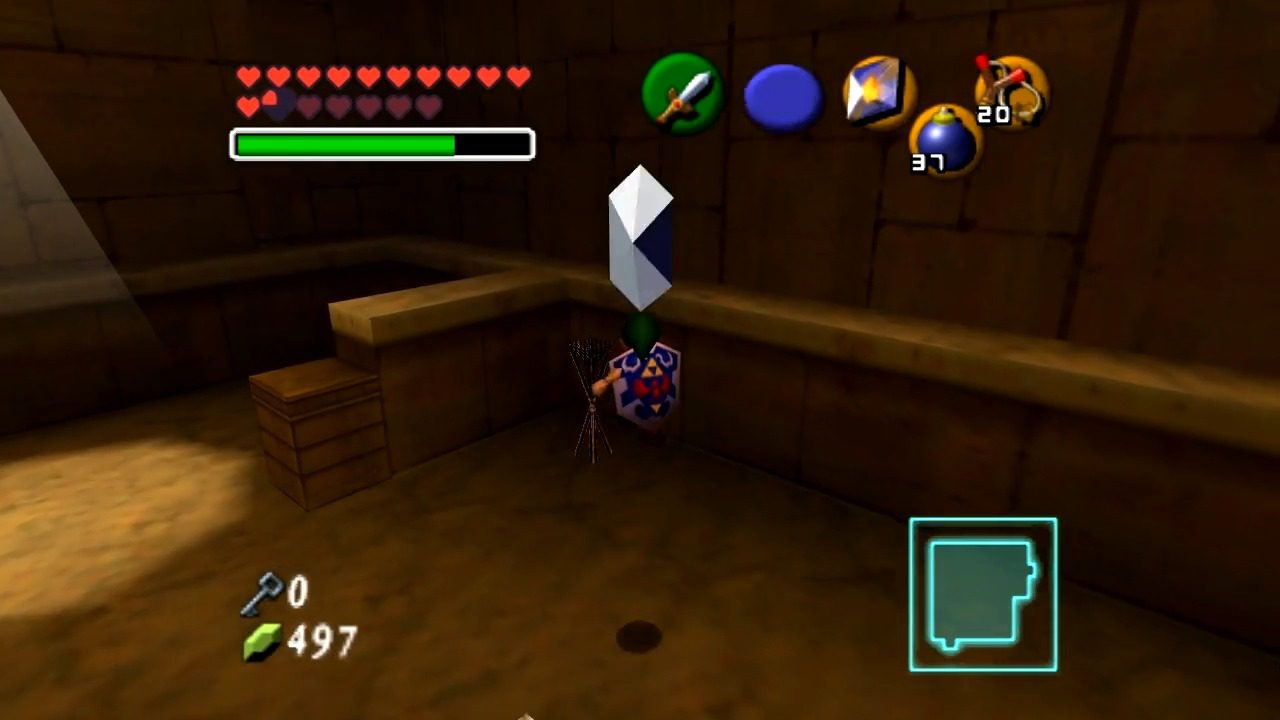
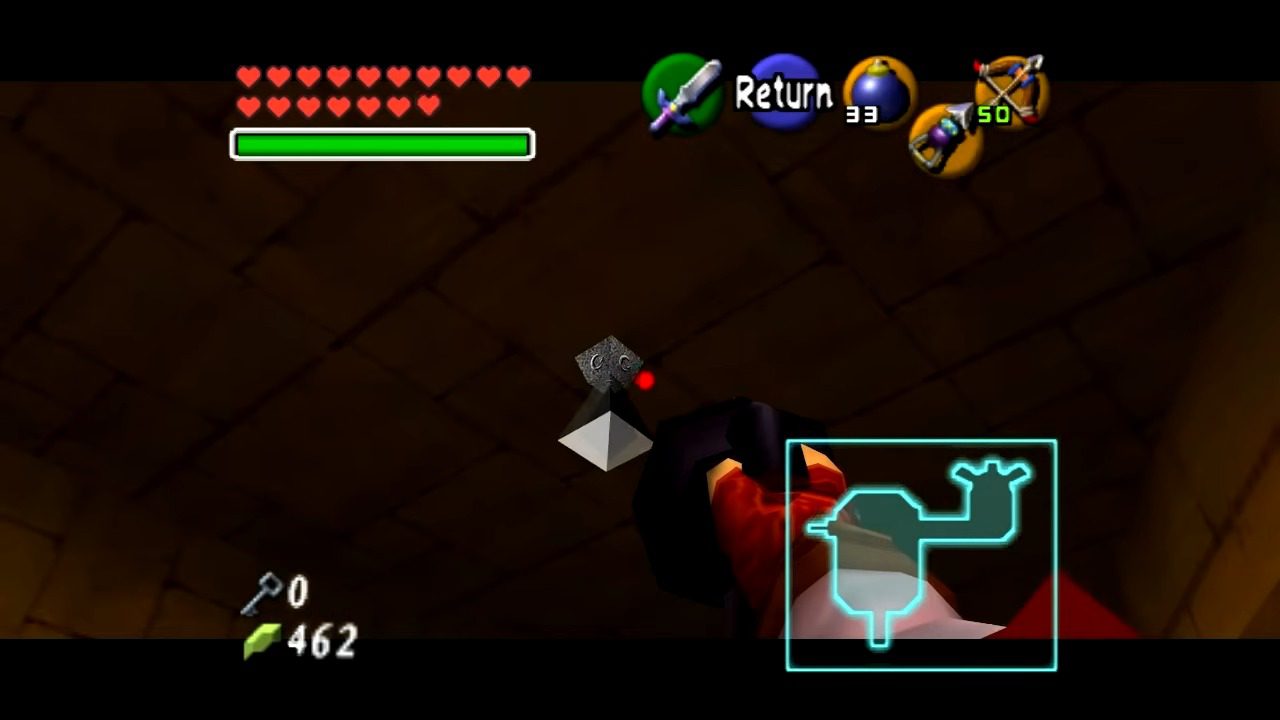
Go through the next door, and you’ll find yourself in a room filled with those annoying Beamos statues that shoot lasers. The most efficient way to deal with them is to use bombs or Bombchus. Once all the Beamos are destroyed, search the room for five silver rupees scattered around. Collect all of them, and a metal torch in the room will light up. Now, use this lit torch to ignite the other three wooden torches in the room. If you manage to light all three, a small chest containing a Small Key will appear. Grab it; you’ll need it soon.
Moving Blocks and Another Skulltula
Now it’s time for a bit of block-pushing! In the center of this room, you’ll see several movable blocks. Your objective is to maneuver these blocks so that the one with a sun symbol on its face is positioned directly underneath the beam of sunlight shining through the window above. When you successfully align the block with the light, a door in the room will unlock. Head through the newly opened passage.

As soon as you step into the next area, which is a set of stairs, immediately turn around and look back at the doorway you just came through. You should spot a Gold Skulltula clinging to the wall above the entrance. Quickly take it out with your Slingshot or Boomerang and collect the token.

The Iron Knuckle and the Silver Gauntlets
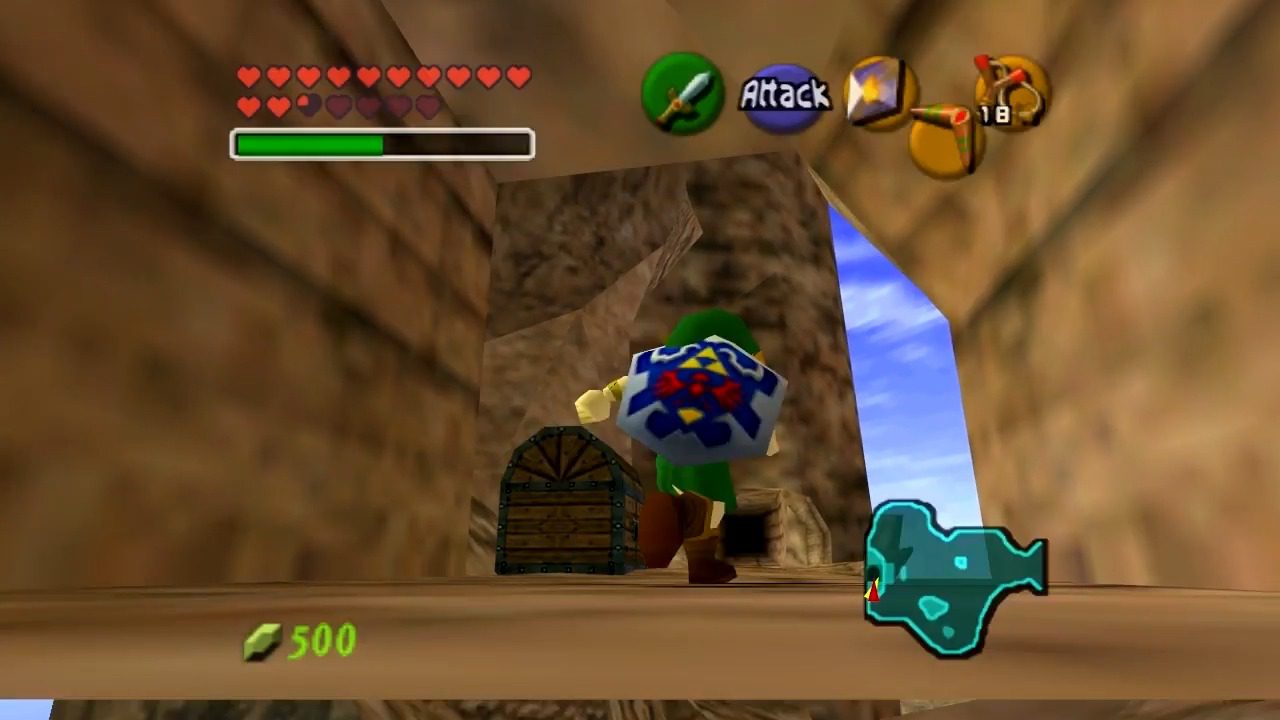
Continue up the stairs and use your key to unlock and go through the door at the top. Follow the short path ahead, and you’ll enter a room with a formidable-looking Iron Knuckle sitting on a throne. This heavily armored enemy is the mini-boss of Young Link’s section of the Spirit Temple. This Iron Knuckle is a tough opponent, so be prepared for a challenging fight. Be patient, dodge its powerful axe attacks, and strike when you see an opening in its defenses. Once you finally manage to defeat this armored foe, the door behind the throne will unlock.

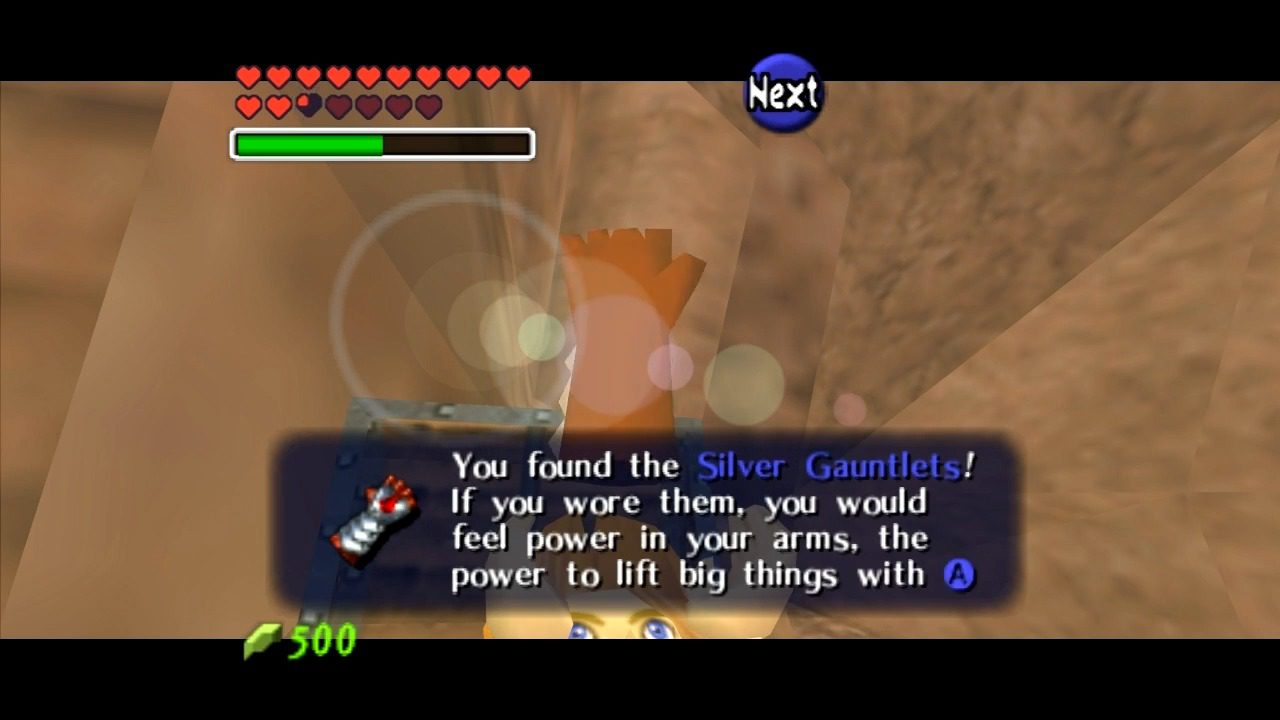
Head through the door and open the large treasure chest to claim your well-deserved reward: the Silver Gauntlets. These powerful gloves will be essential for your later exploration of the Spirit Temple as Adult Link. Obtaining them is the primary goal of Young Link’s journey in this part of the temple.
The Shift in Time: Becoming Adult Link
Nabooru’s Fate
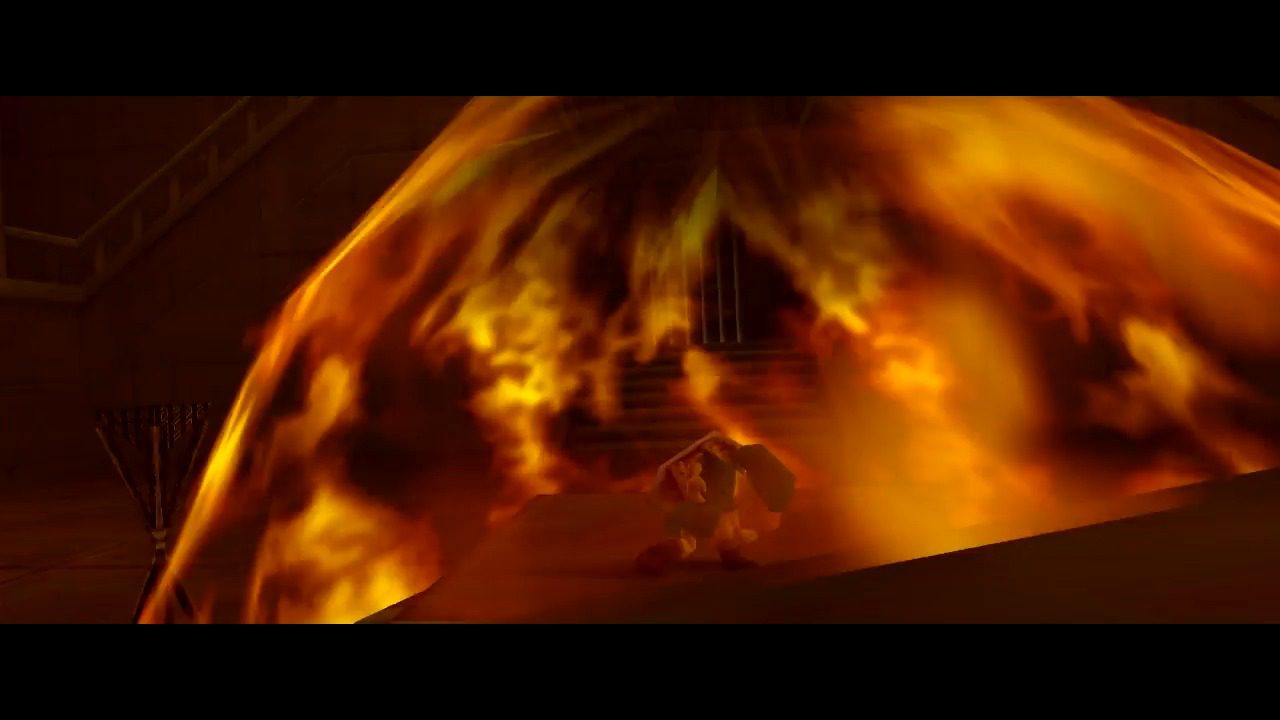
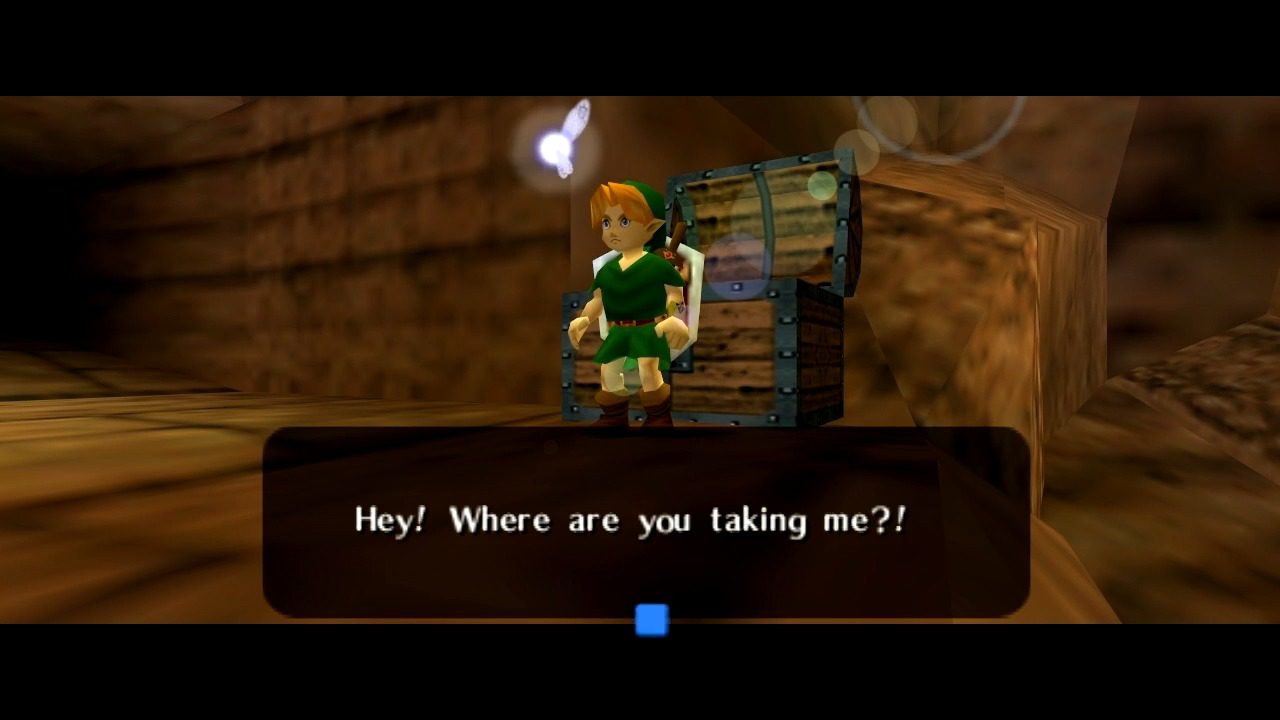
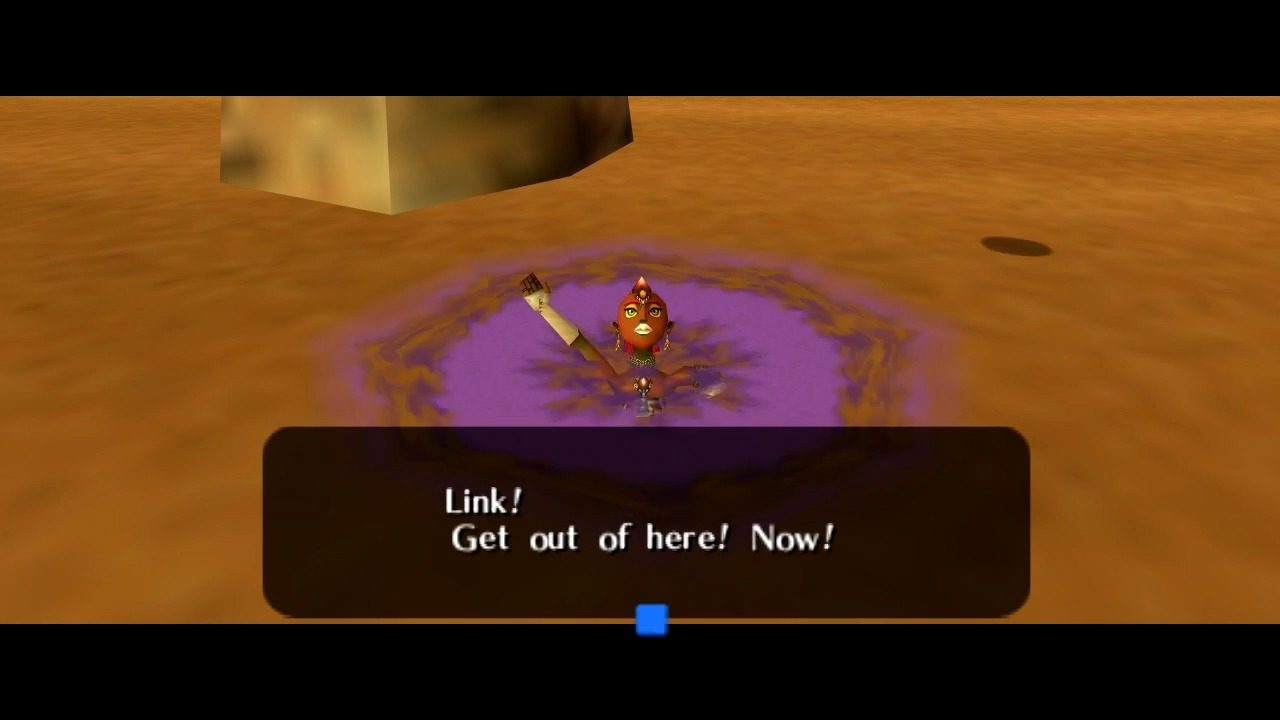
As soon as you obtain the Silver Gauntlets, a cutscene will automatically play. This scene reveals what happens to Nabooru after you leave her. You’ll witness the witches, Koume and Kotake, capturing her and seemingly subjecting her to some form of dark magic.

Returning to Adulthood
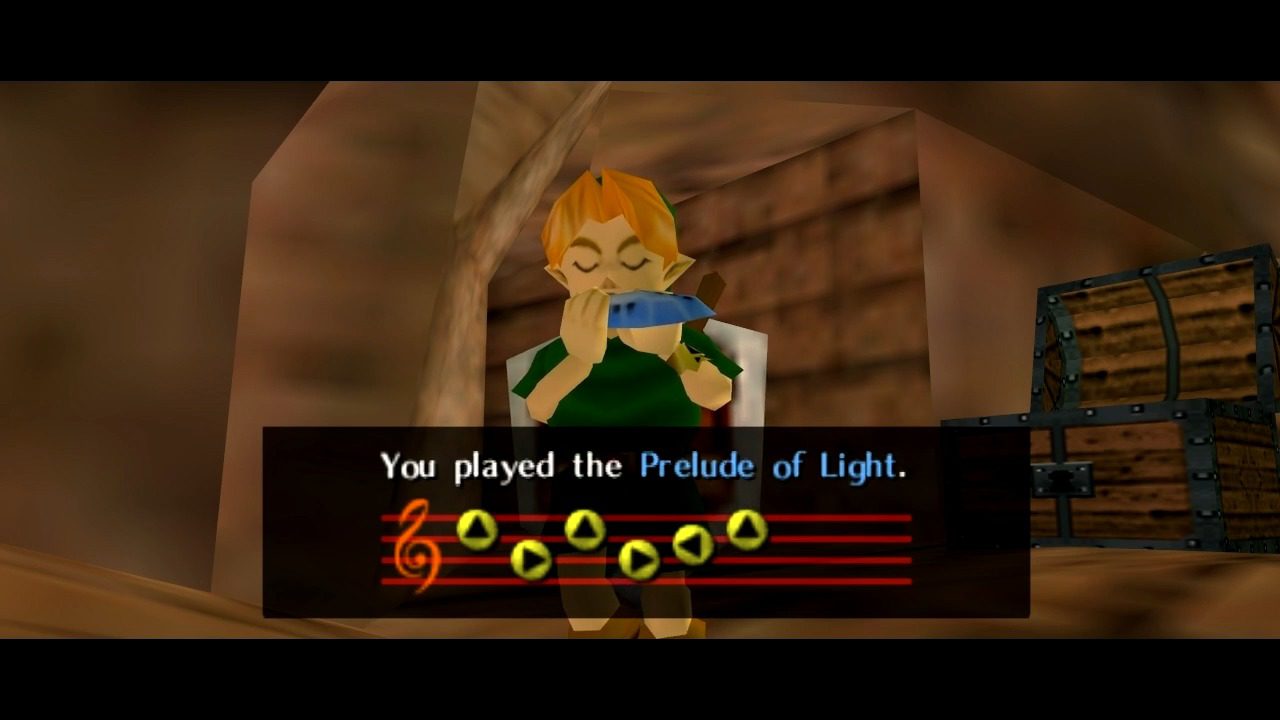
Young Link’s task in this initial part of the Spirit Temple is now complete. It’s time to bring out the strength and abilities of Adult Link. Play the Prelude of Light on your ocarina to warp back to the Temple of Time. Head to the pedestal and draw the Master Sword, which will transform you back into your adult form. With your adult body restored and the Silver Gauntlets now in your possession, play the Requiem of Spirit to warp directly back to the Desert Colossus and the entrance of the Spirit Temple.

Adult Link’s Return: Conquering the Spirit Temple
The Giant Block and the Compass
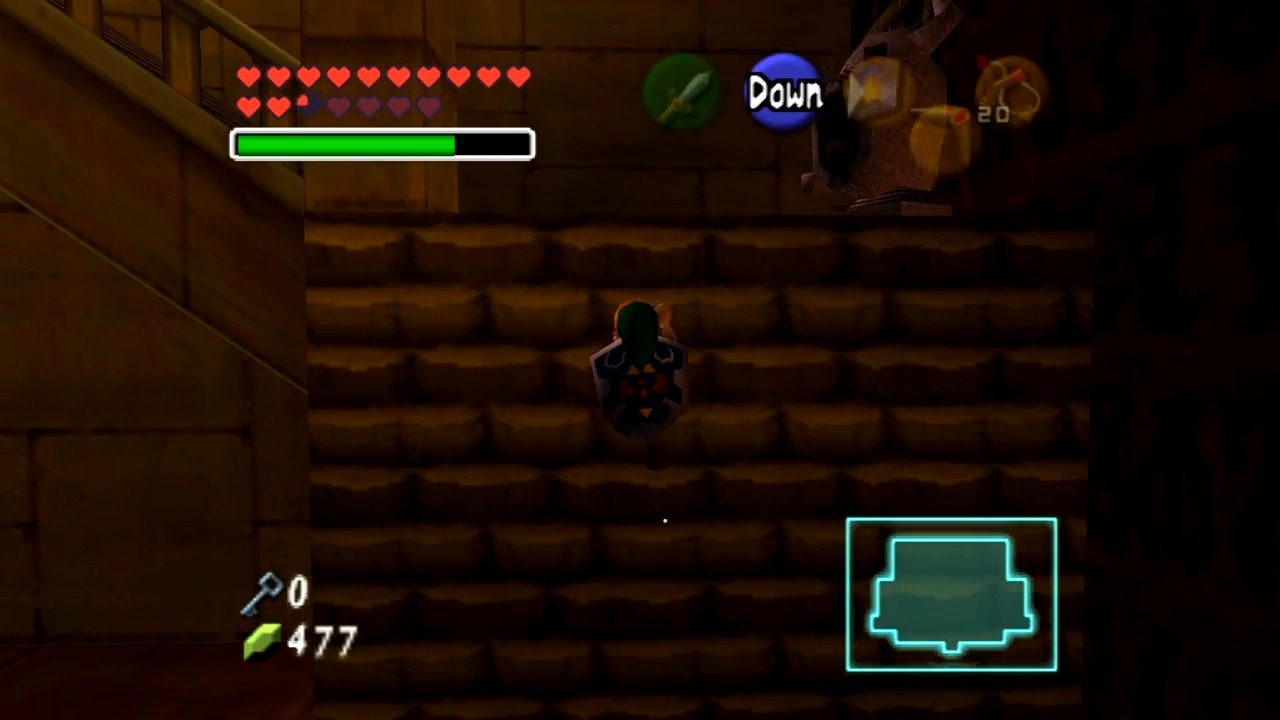
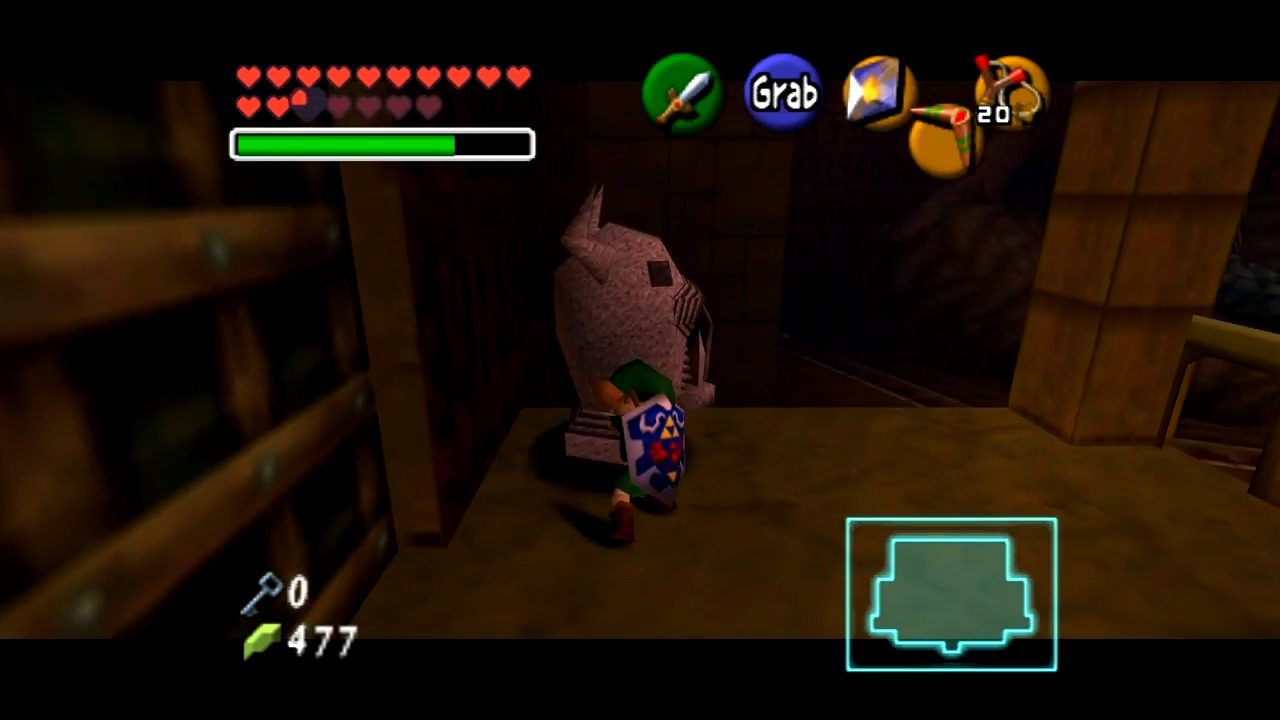
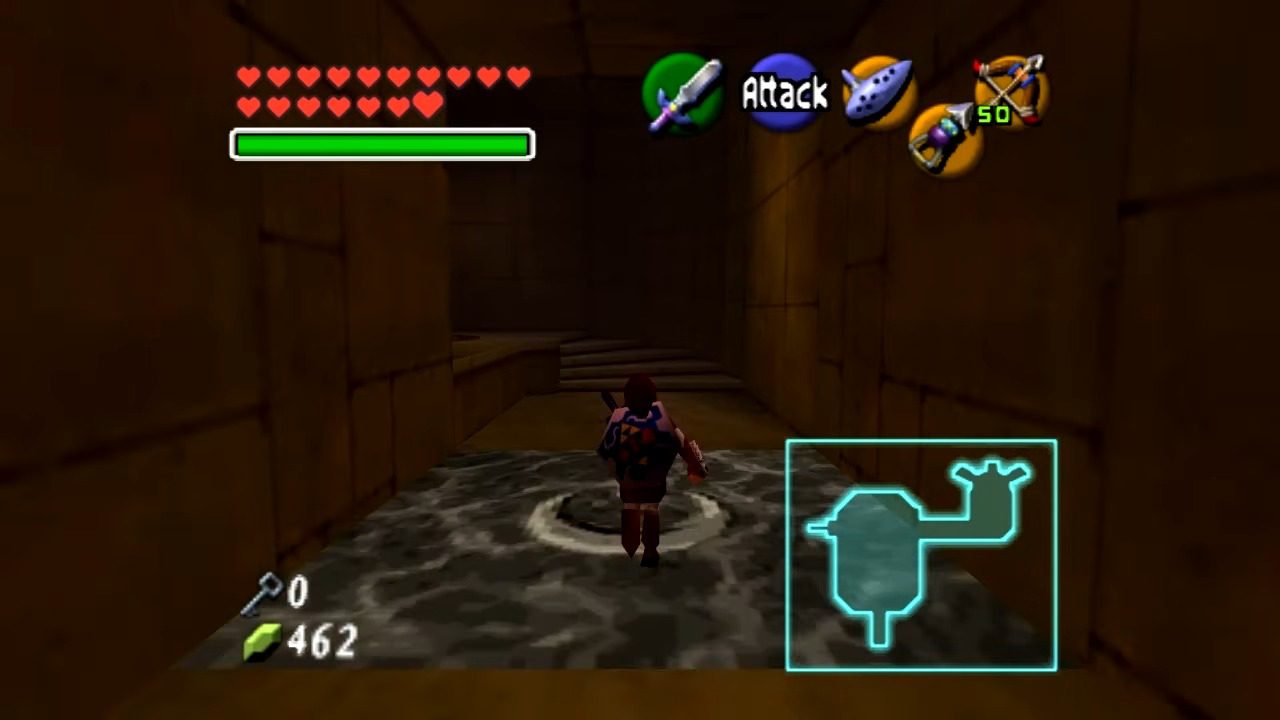
Back at the Spirit Temple entrance as Adult Link, head straight up the stairs and then take a right. Remember that massive gray block you encountered as Young Link? Now, thanks to the Silver Gauntlets, you possess the strength to move it. Push the block all the way until it falls into the large hole in the floor.
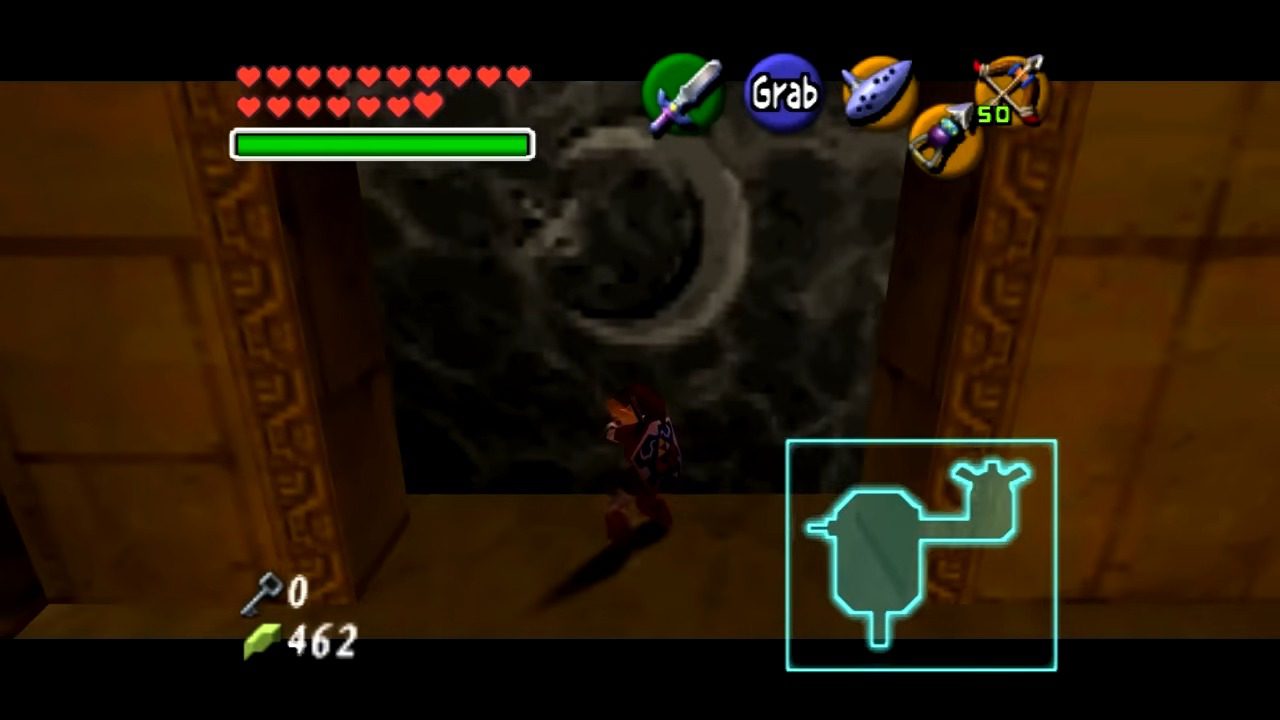
After pushing the block, look up at the ceiling and you’ll spot a diamond-shaped switch. Use your Bow and Arrow or your Longshot to hit the switch. This will unlock the door located on the left side of the room. Proceed through this newly opened doorway.
In this next room, you’ll encounter a Wolfos, a quick and agile wolf-like enemy. Defeat it first. Once the Wolfos is gone, look for a Triforce symbol on the floor. Stand directly on the Triforce and play Zelda’s Lullaby on your ocarina. A treasure chest will magically appear on a platform across the room. Use your Longshot to hook onto the chest and pull yourself over to claim the Compass.
Boulders, Time Blocks, and a Skulltula
Return to the previous room where you pushed the giant block and go through the other door in that room, the one you haven’t explored yet. This next area is filled with rolling boulders, so watch your footing! Your objective here is to collect all five silver rupees scattered throughout the room. One of these rupees is floating in mid-air, so you’ll need to equip your Hover Boots to reach it.

While you’re in this room with the boulders, keep an eye out for a blue, shimmering block. This is a Time Block. Stand directly in front of it and play the Song of Time on your ocarina. The block will vanish, revealing Gold Skulltula! Use your preferred method, such as the Longshot, to retrieve the token.
Like-Like and the Cobra Mirror
After collecting all the silver rupees in the boulder room, a door will open. Head through it, but be cautious! This next room is home to a Like-Like, also known as a Shield Eater. This creature will attempt to devour your shield, so defeat it quickly. Once the Like-Like is gone, open the treasure chest containing a Small Key.

Now, backtrack to the room where you shot the diamond switch on the ceiling. You should see a locked door here. Use the Small Key you just obtained to open it. Be aware that another Like-Like might be lurking in this area. Climb the wall in this room. Once you reach the top, equip your Lens of Truth. You’ll see a ghostly hand enemy, a Floormaster, floating around. Defeat it to clear the path. In the same room, you’ll notice a large statue and several sun symbols etched on the wall. Your task is to push the snake statue until its head is touching the third sun symbol from the left. When you position it correctly, a door in the room will unlock. Proceed through this newly opened passage.
Back to the Main Room and Another Small Key
You’ll find yourself back in the large, central chamber of the Spirit Temple. Head up the main staircase, but be on your guard! The Armos statue on your right will suddenly come to life. You can either fight it or try to quickly run past it. At the top, equip your Hover Boots and do a couple of rolls to reach the other side. Use the Megaton Hammer to activate the rusty switch.
Look up at the giant statue in the center of the room. You’ll see a Triforce symbol on the palm of one of its hands. Jump towards it (you might need a running jump). Once you land on the hand, play Zelda’s Lullaby on your ocarina. A treasure chest will magically appear on the other hand of the statue. Use your Longshot to hook onto the chest and pull yourself across to claim another Small Key.
The Final Skulltula and Another Locked Door
Drop back down to the main floor and climb the wall again. This time, take the other set of stairs leading upwards. When you reach the top platform, keep an eye out for Navi. When she turns green and hovers near a specific spot, it indicates a hidden Hookshot target. Play the Scarecrow’s Song on your ocarina to summon Pierre to that location. Now, use your Longshot to hook onto Pierre, and you’ll be able to reach Gold Skulltula! Alternatively, a couple of rolls while using your Hover Boots can get you there from the top of the stairs.
Drop back down to the main floor once more. Look for a Hookshot target on the ceiling near the Armos statue that came to life earlier. Use your Longshot to hook onto it and pull yourself up to the next level. Climb the stairs here, and you’ll find another locked door. Use one of your remaining Small Keys to open it.
Eye Lasers and Flying Enemies
This next room is a bit of a shooting gallery. You’ll encounter more of those laser-shooting Beamos statues. Take them out quickly with bombs or Bombchus. Then, switch to your Fire Arrows to deal with the flying enemies in the room. Once all threats are eliminated, the door to the next area will open.
Getting the Mirror Shield
The Armos Puzzle
After dealing with the Beamos and flying enemies, you’ll enter a room with four Armos statues standing around. Look down, and you’ll see a sun symbol etched into the floor. Your goal here is to get one of the Armos statues to stand directly on the sun switch on the floor. You can achieve this by attacking an Armos to awaken it and then carefully maneuvering it so that it steps onto the sun symbol. Once an Armos is positioned correctly on the switch, the door to the next area will unlock. This requires a bit of strategic maneuvering and understanding of the Armos’s movement patterns.

The Second Iron Knuckle and the Mirror Shield
Head through the door you just unlocked, and you’ll come face-to-face with another Iron Knuckle! This heavily armored foe is guarding a very important item: the Mirror Shield. Prepare for another challenging fight. Utilize the strategies you learned from the previous Iron Knuckle encounter. Once you defeat this formidable opponent, proceed through the now unblocked door and a treasure chest containing the Mirror Shield will appear.
Getting the Boss Key
Reflecting Light
With the shiny new Mirror Shield in your possession, head back to the room with the four Armos statues. Look above the door you just came through, and you’ll see another sun symbol on the wall. Equip your Mirror Shield and position yourself so that you can reflect the sunlight streaming into the room directly onto this sun symbol. If you aim correctly and hold the reflection steady, a previously barred door in the room will open. Head through the now-open barred door, and you’ll find a small chest containing another Small Key. Grab it.
Anubis Encounter and Another Climb
Now, backtrack to the room that had the 3 Anibus. You should see a locked door here. Use the Small Key you just found to open it. Use bombs to defeat the Beamos and longshot to the top of the moving walls. Proceed through the door past the Beamos at the top.
Zelda’s Lullaby and the Eye Switch
You’ll see a barred door with a Triforce symbol on it. Stand directly in front of the door and play Zelda’s Lullaby on your ocarina to open it. Proceed through the door. Defeat the enemies within. Approach the doors surrounding the room, using your shield to block their attack. Use a swift sword strike after their attack to destroy them. Behind one, you will find a eye switch. Activate the switch to reveal a Hookshot target. Use your Longshot to pull yourself above the ice blocks and activate the switch at the top to remove the flames surrounding the chest containing the Boss Key.
Getting to the Boss Room
Rotating Statue and Light Reflection
Head back to the room just before the Boss Key puzzle room. You should see a set of stairs leading up to a door. Go through the door. In this room, you’ll find a crystal switch. Hit it to activate a unlock the door.
You’ll encounter a couple of Lizalfos, so take them out. After dealing with the enemies, look for a section of wall on the left that looks like it can be blown up. Use a bomb to create an opening. Inside the newly opened area, you’ll see some mirrors. Your goal is to rotate these mirrors so that the beam of light they are reflecting hits the large mirror that you can see through the bars in the wall. This might require some careful adjustments to the mirror angles, but keep at it until the light is directed correctly.
Lowering the Platform
Now, make your way all the way back to the room where you had to lure one of the Armos statues onto the sun switch on the floor. Equip your Mirror Shield and position yourself so that you can reflect the sunlight onto that same sun switch. If you do it correctly, a large platform in the main chamber of the temple will lower, granting you access to the final area.
The Statue’s Demise and the Boss Door
Your final puzzle before the boss is to reflect sunlight onto the statue’s face. Keep the light focused on its face until it cracks and crumbles away, revealing a hidden passage. Use your Longshot to hook onto the wall across the passage and pull yourself over. You’ll find the door to the boss room here. Use the Boss Key to unlock it. The end of the Spirit Temple is finally within reach!
You’ll face another Iron Knuckle. Beat it down. Surprise! It was Nabooru under the armor, brainwashed. Koume and Kotake show up again and whisk her away before vanishing. Head into the final boss chamber.
Facing the Boss: Twinrova
Twinrova’s Forms and Weaknesses
Prepare yourself for the final confrontation of the Spirit Temple! You’ll be facing Twinrova, who is actually the combined form of the two witches, Koume and Kotake.Get ready to dodge both fire and ice attacks as they try to take you down.
Battle Strategy
The first phase of this fight involves the two witches attacking separately.Koume attacks with fire magic, while Kotake uses ice. The key to this stage is to use your Mirror Shield to absorb their magic and reflect it back at the other witch. So, reflect Koume’s fire magic at Kotake, and reflect Kotake’s ice magic at Koume. After you successfully reflect their magic at each other four times, they will merge into their true form: Twinrova.
Once Twinrova combines, she’ll alternate between fire and ice attacks. Your strategy now is to use your Mirror Shield to absorb three consecutive attacks of the same element. This will charge up the shield with that element’s energy. Release the stored energy back at Twinrova, and she’ll be stunned for a short period. This is your chance to rush in and attack her with your sword or the powerful Megaton Hammer. Repeat this process of absorbing three identical attacks and then counter-attacking until Twinrova is defeated.
Victory and the Spirit Medallion
Congratulations, you’ve successfully defeated the powerful Twinrova! Collect your well-deserved reward: the Spirit Medallion. You have conquered the Spirit Temple and proven your courage once again!
