Ocarina of Time 100% Completion Walkthrough Table of Contents
Child Link’s Journey
- Kokiri Forest: Obtaining the Kokiri Sword and Deku Shield
- Inside the Great Deku Tree: First dungeon and defeating Queen Gohma
- Hyrule Field and Castle: Meeting Princess Zelda
- Kakariko Village & Hyrule Market: Exploring the village and starting side quests
- Death Mountain Trail & Goron City: Accessing Goron City
- Dodongo’s Cavern: Second dungeon and defeating King Dodongo
- Death Mountain, Goron City, and Hyrule Market: Optional side quests for 100% completion.
- Zora’s River and Domain: Meeting Princess Ruto
- Inside Jabu-Jabu’s Belly: Third dungeon and defeating Barinade
- Transition to Adulthood: Retrieving the Master Sword and becoming Adult Link
Adult Link’s Quest
- Lon Lon Ranch: Obtaining Epona: Challenging Ingo to races and winning Link’s loyal horse.
- Forest Temple: Defeating Phantom Ganon
- Fire Temple: Defeating Volvagia
- Ice Cavern: Obtaining the Iron Boots
- Water Temple: Defeating Morpha
- Bottom of the Well: Obtaining the Lens of Truth
- Shadow Temple: Defeating Bongo Bongo
- Gerudo Fortress: Rescuing carpenters and accessing the desert
- Spirit Temple: Defeating Twinrova
- Ganon’s Castle: Overcoming trials and defeating Ganondorf and Ganon
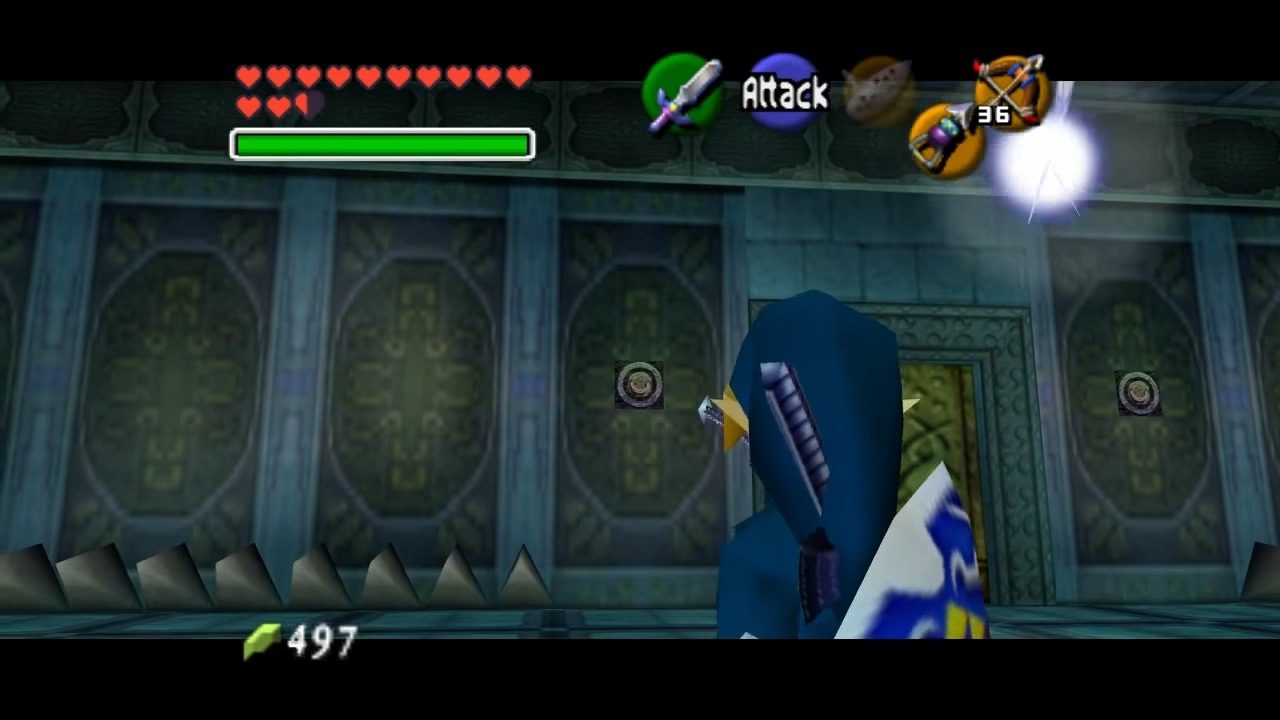
Introduction to Ocarina of Time’s Water Temple
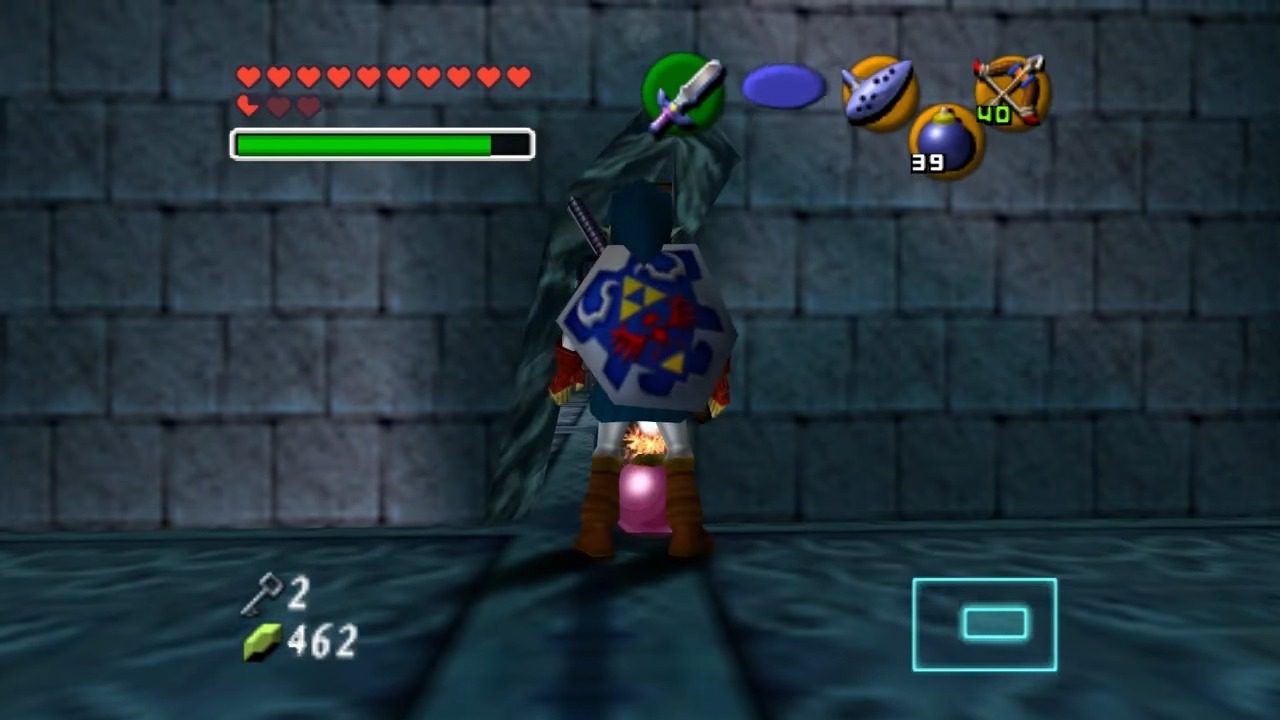
The Water Temple in Ocarina of Time has earned a reputation as one of the most challenging and intricate dungeons in the game, often leaving players scratching their heads in frustration. This guide is designed to take you through every step, ensuring you achieve a full 100% completion, grabbing all those elusive keys, the dungeon map, and the compass along the way. Let’s dive in and conquer this watery labyrinth together.
I. Entering the Water Temple and Initial Exploration (Lowest Water Level)
A. Getting into the Temple
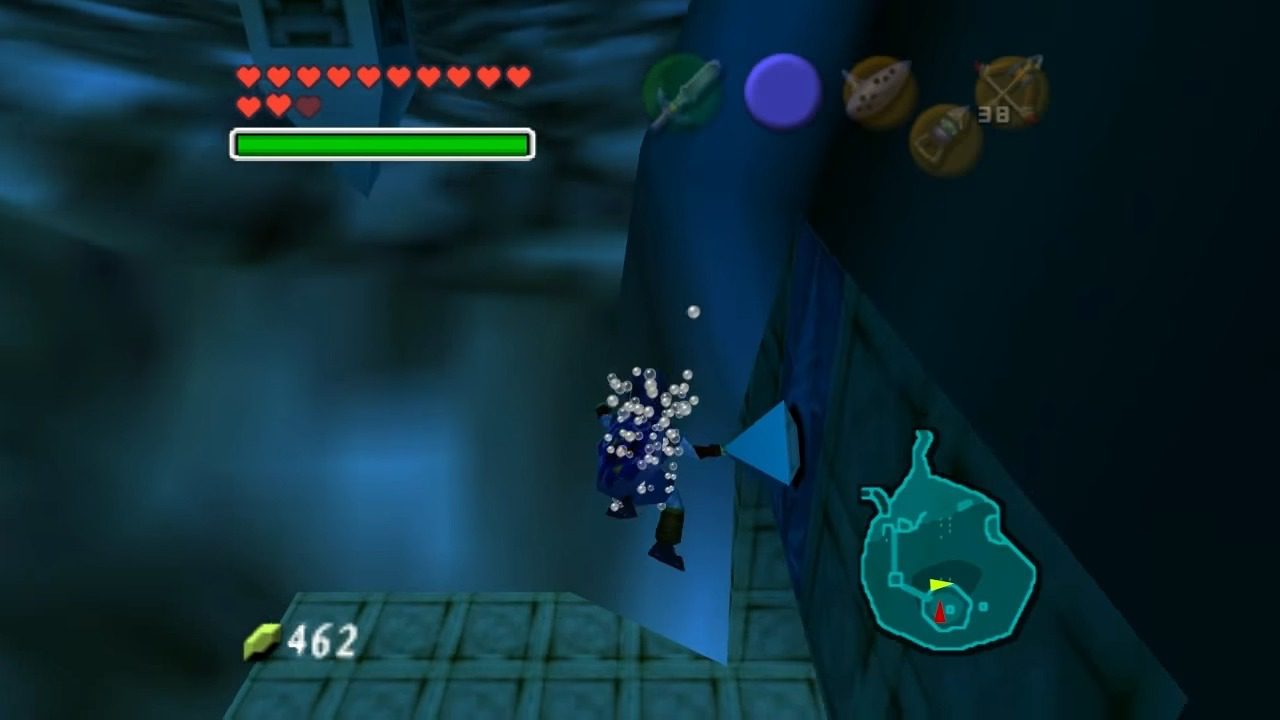
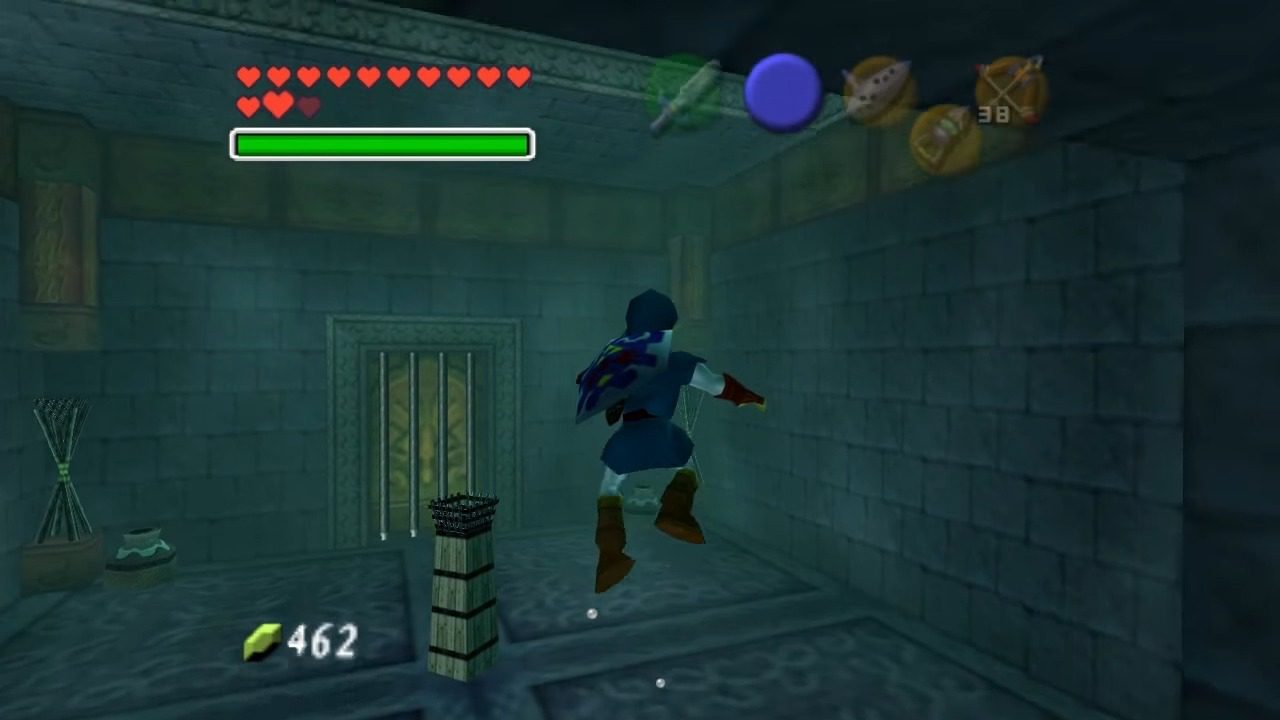
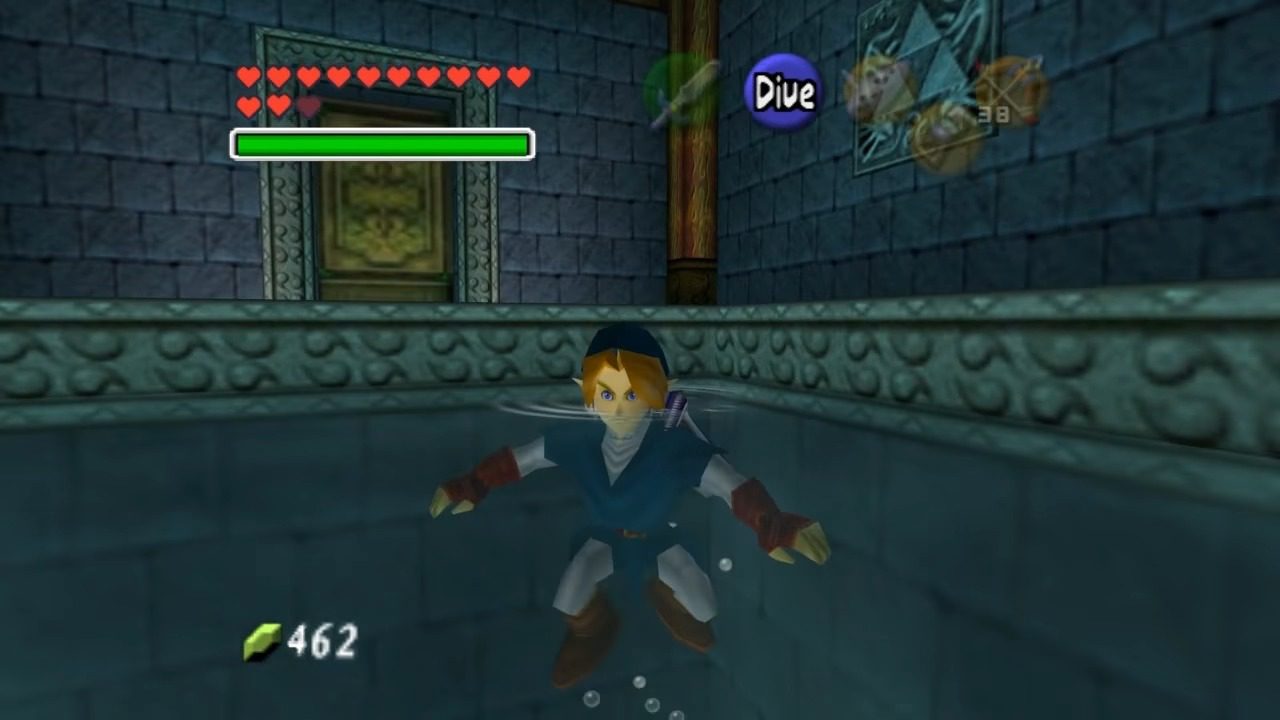
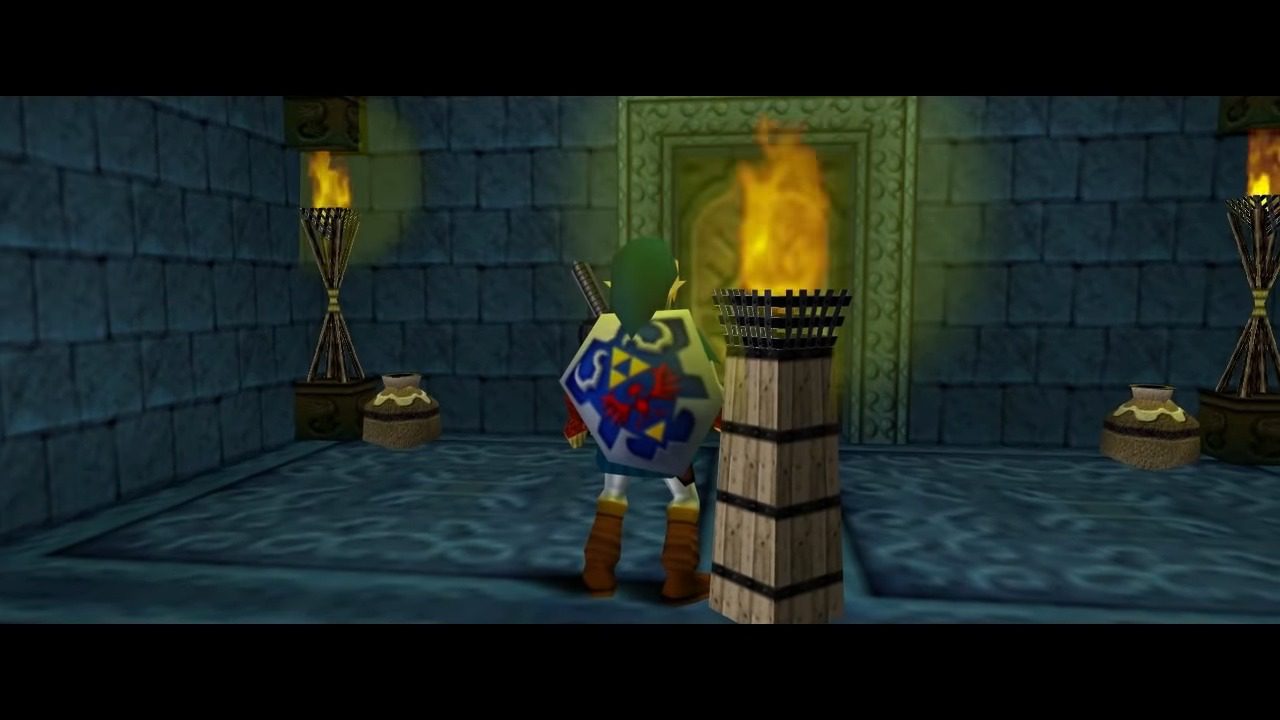
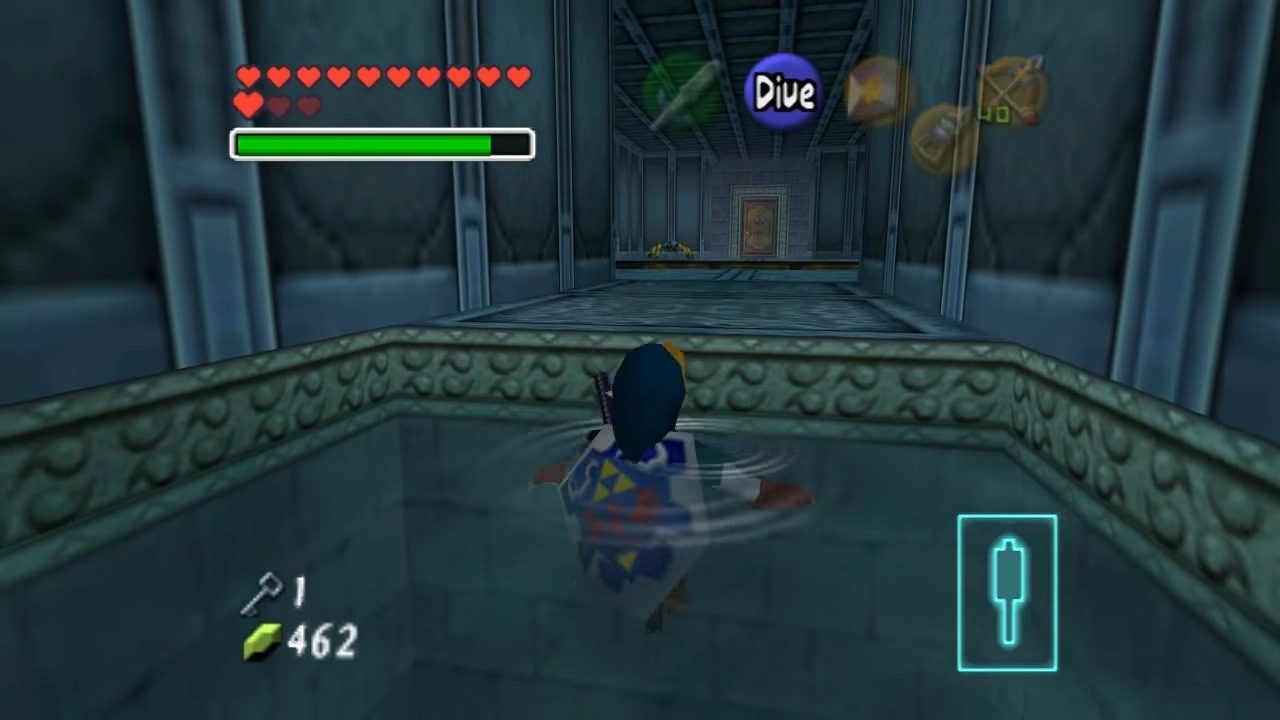
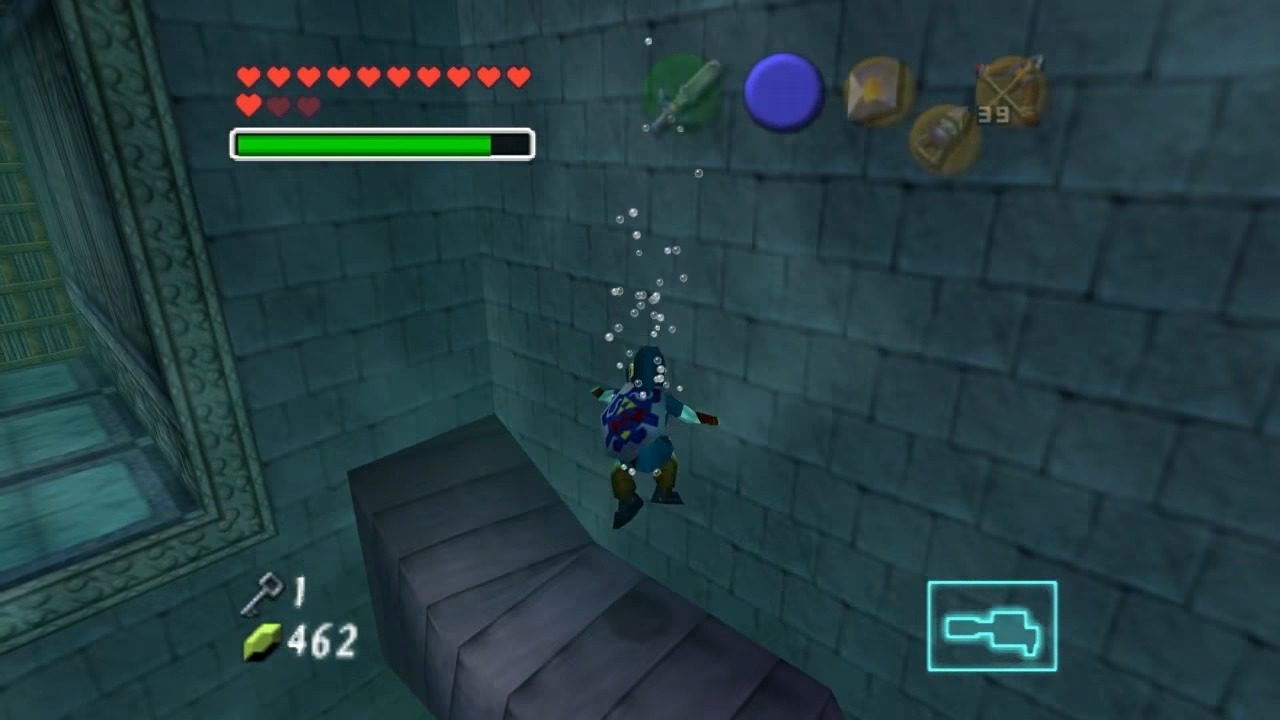
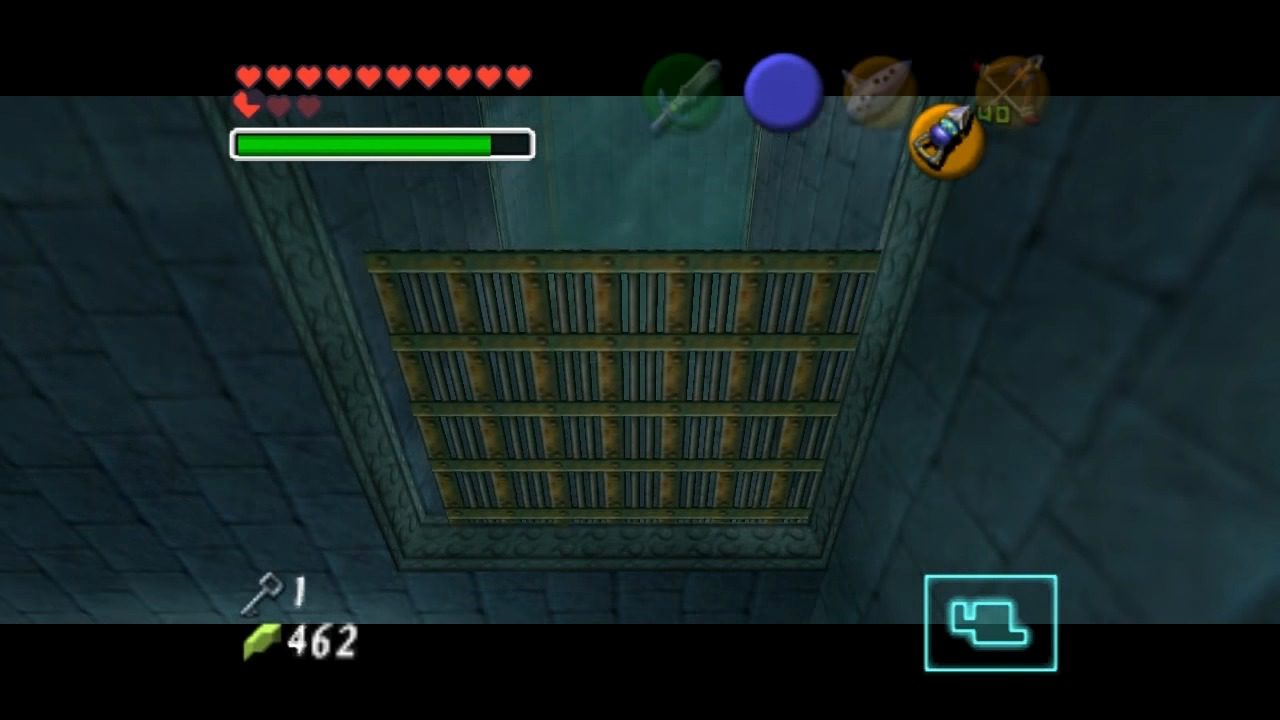
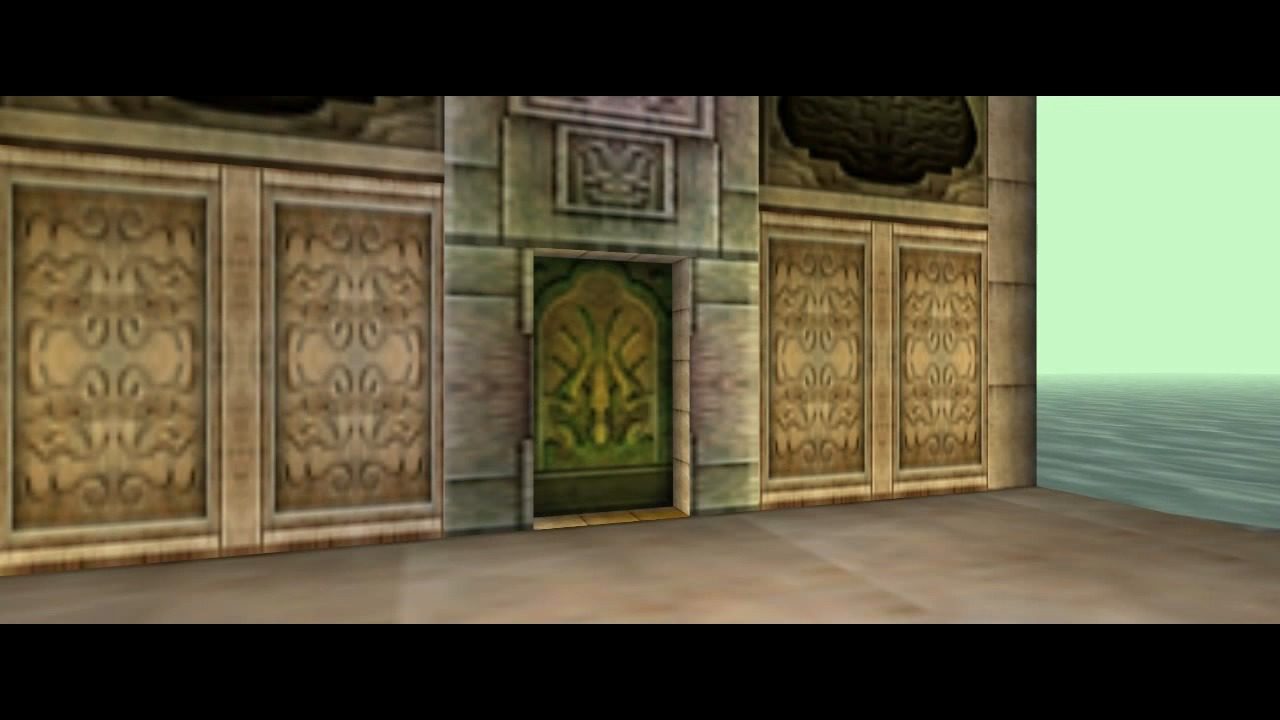
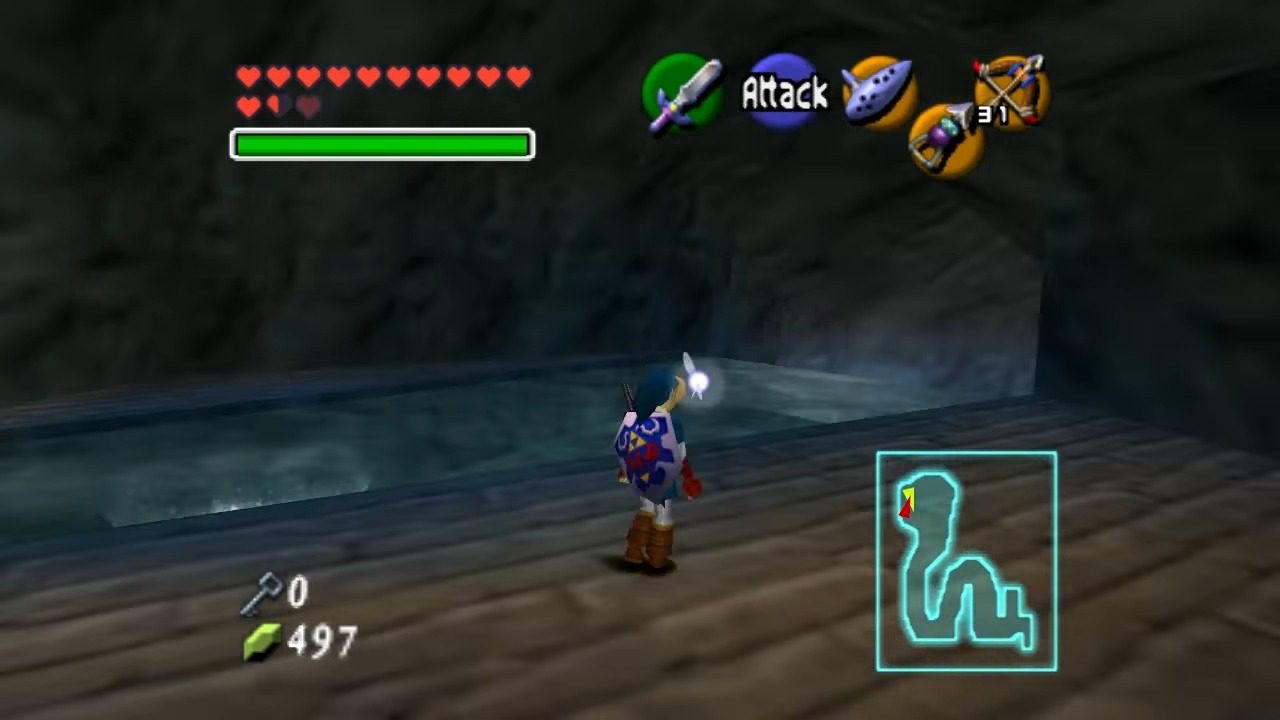
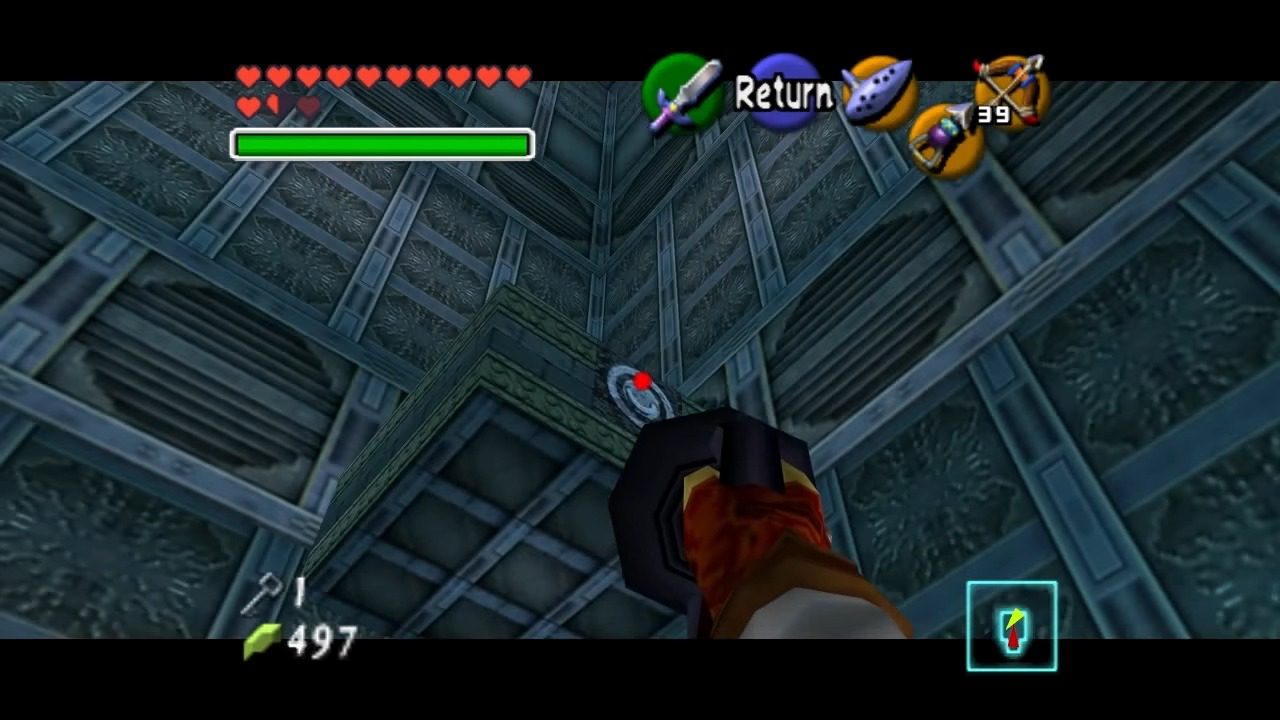
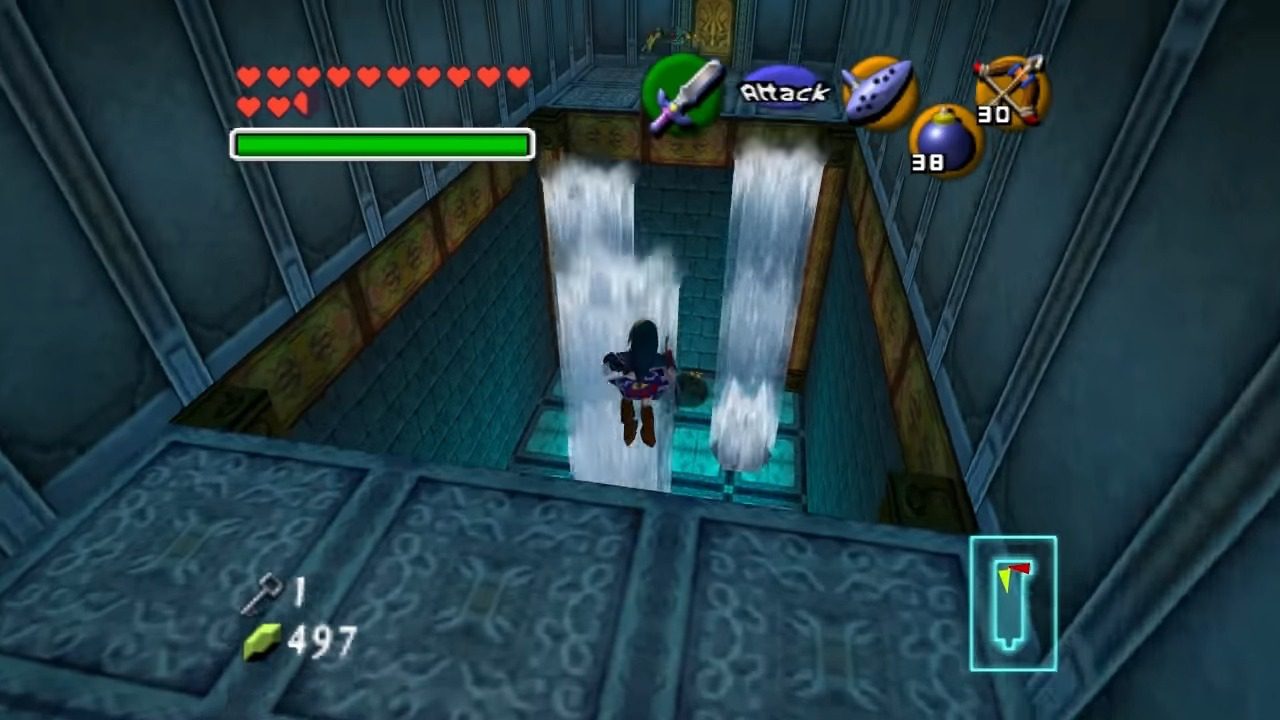
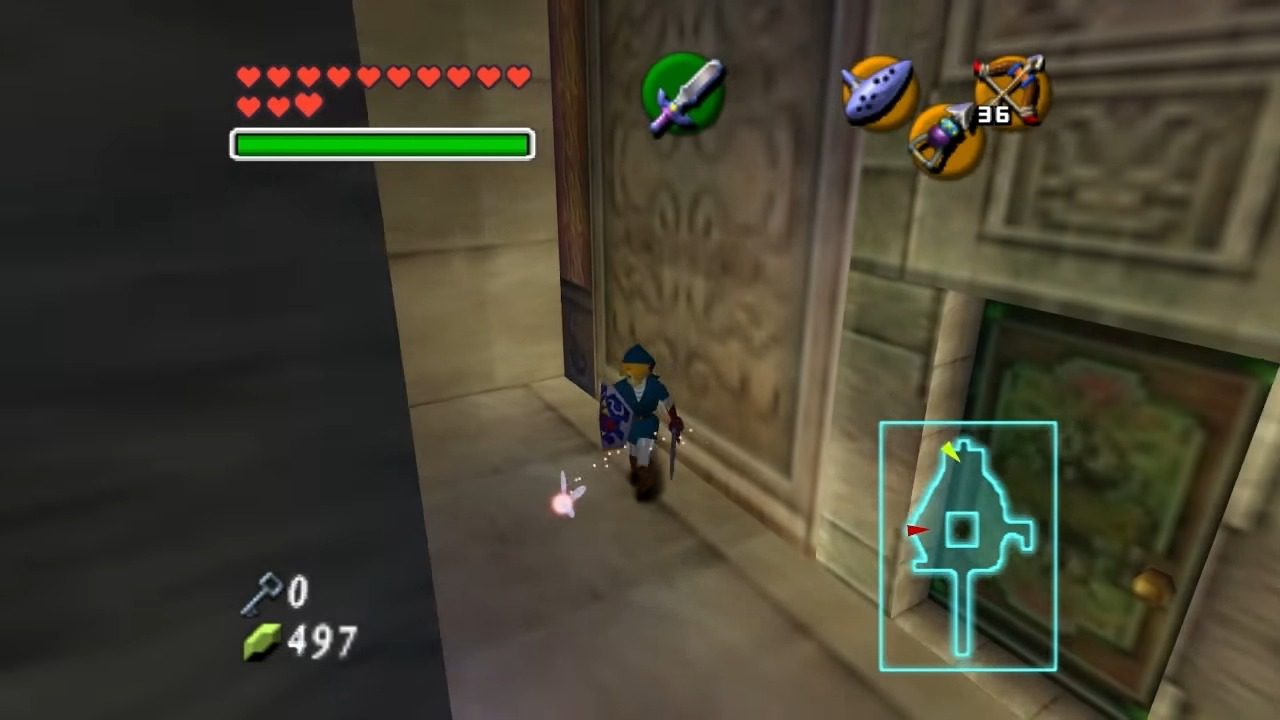
To even set foot inside this infamous temple, you’ll first need to navigate the now drained Lake Hylia. The once vibrant lake is now a shadow of its former self, revealing ancient ruins. Head to the lowest point of the dry lakebed, and you’ll find the grated entrance to the Water Temple submerged beneath a small pool. Don your trusty Iron Boots to sink to the bottom and make sure you’re wearing the Zora Tunic to breathe underwater. Look up, and you’ll spot a crystal switch just above the gate. A well-aimed shot from your Hookshot will activate it, lifting the gate and allowing you to enter. This initial hurdle emphasizes how crucial specific items are for navigating this dungeon right from the start. The combination of sinking with the Iron Boots, breathing with the Zora Tunic.
B. The Central Chamber and Meeting Ruto
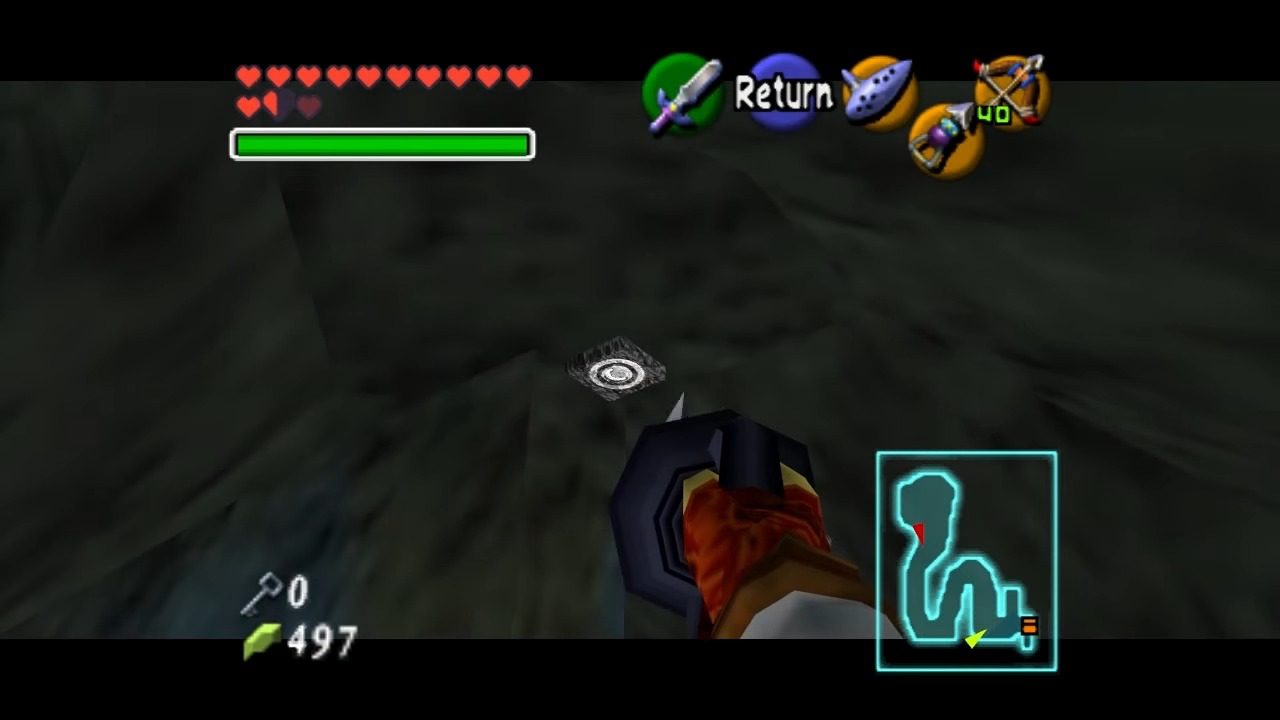
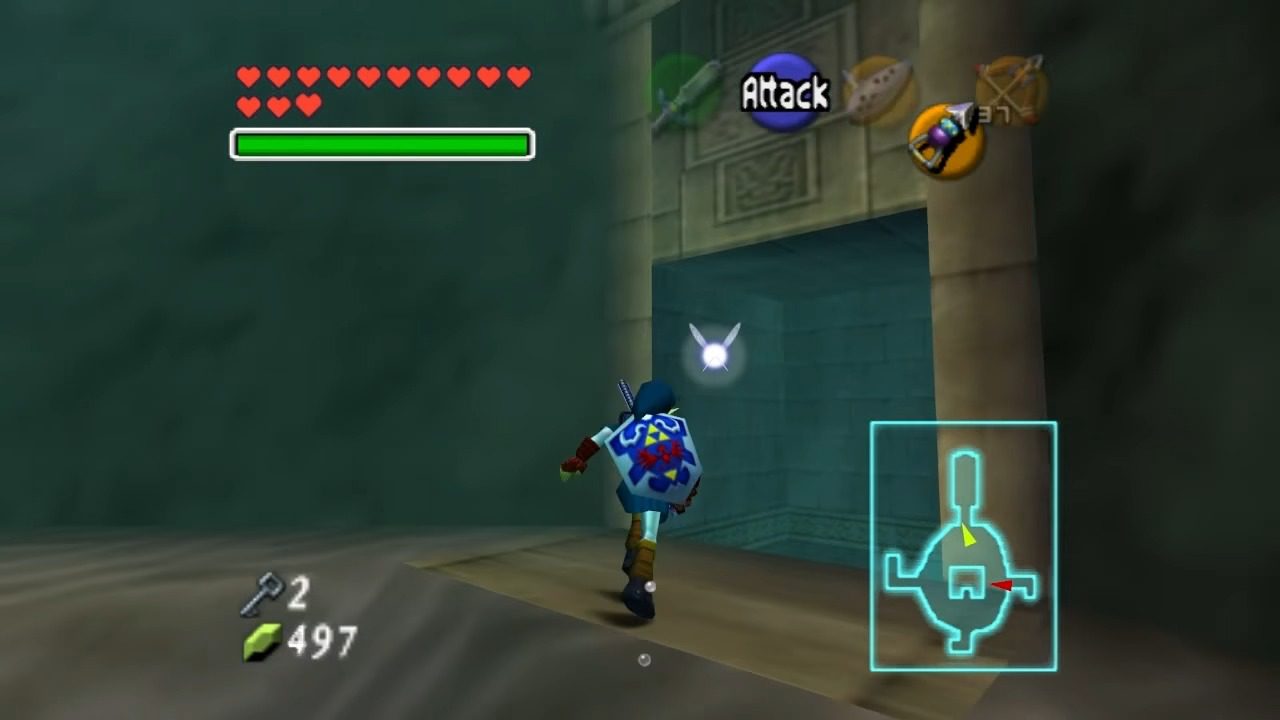
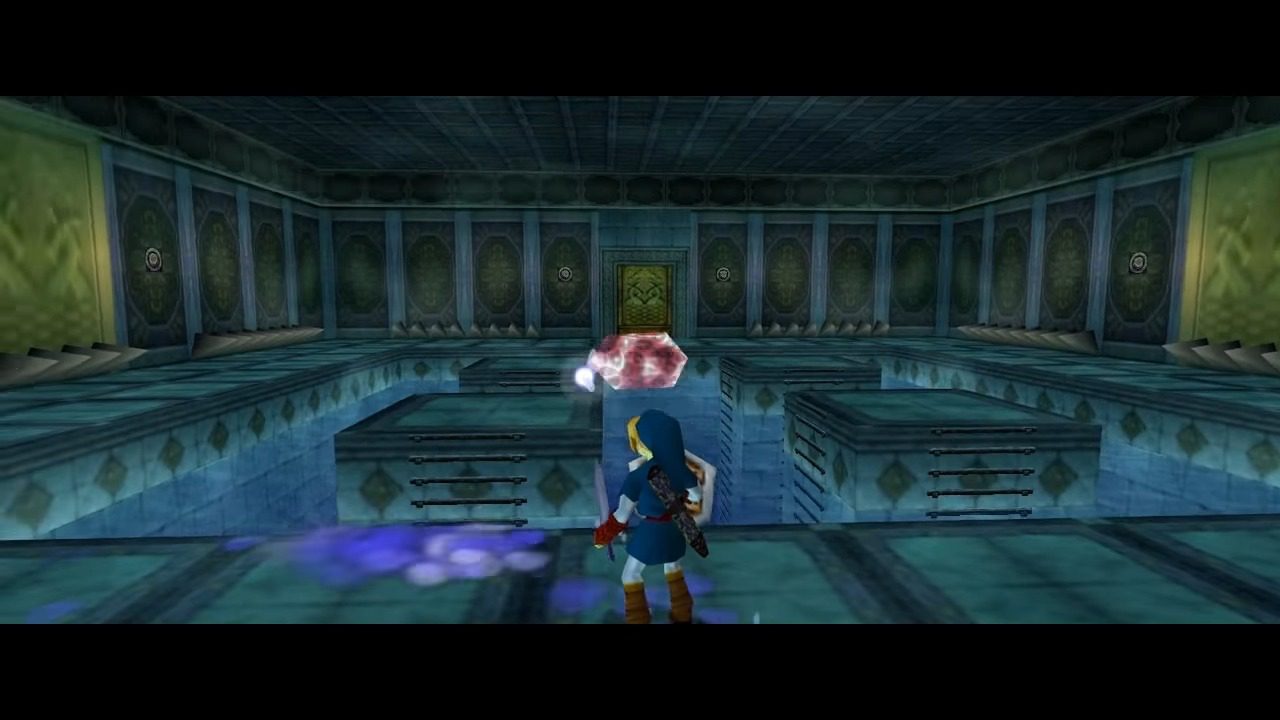
Upon entering, you’ll find yourself in a vast central chamber, which acts as the main hub connecting all areas of the temple. From here, head towards the east passage, easily identifiable by the two unlit torches flanking its entrance. Continue through this passage, and you’ll encounter Princess Ruto. Be prepared for a rather one-sided conversation where she’ll remind you of your… “engagement”. This early interaction with Ruto is not just for narrative flavor; she serves as an initial guide, hinting at the temple’s core mechanics involving water manipulation. Her presence also subtly underscores the importance of the Zora race within the context of this dungeon.

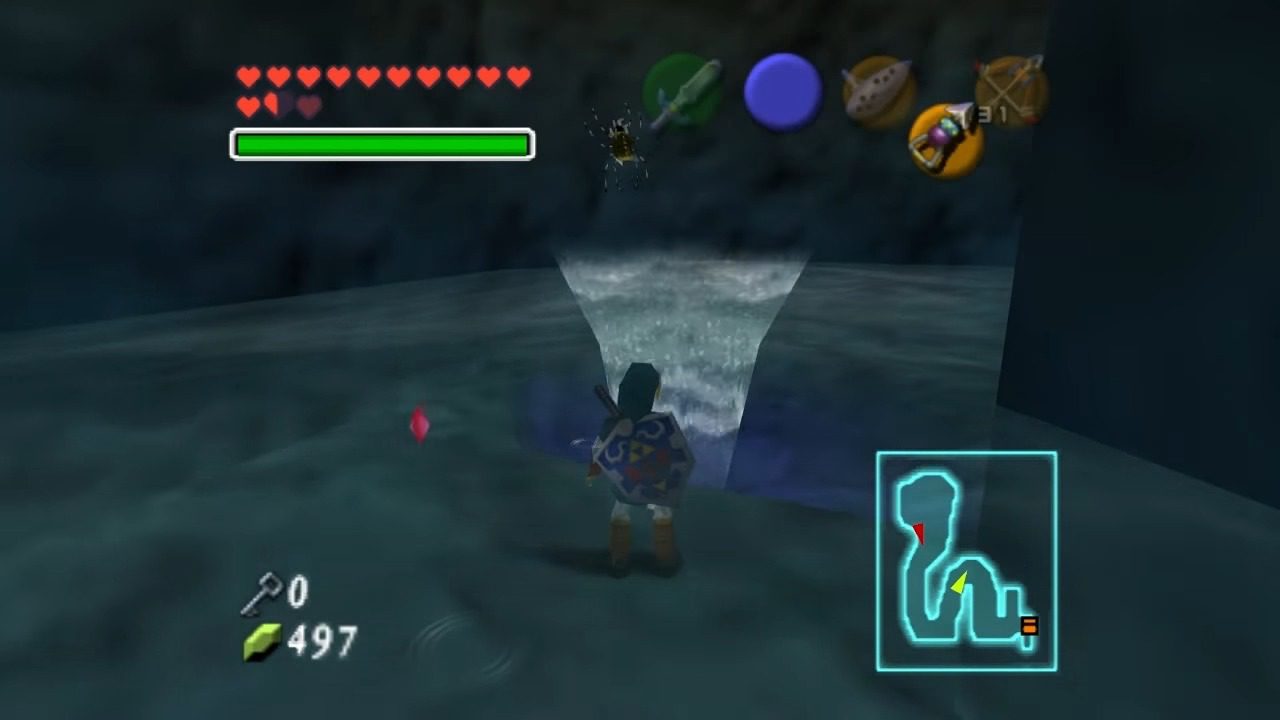
C. Lowering the Water Level (First Triforce Symbol)
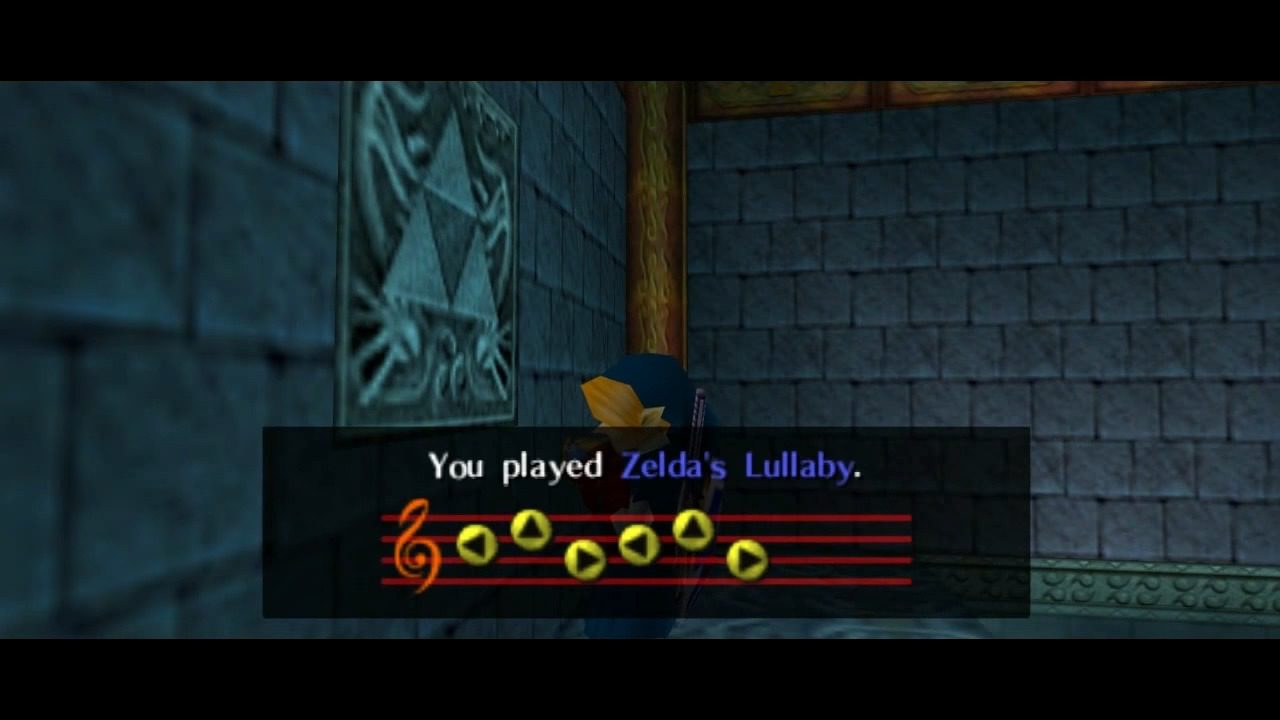
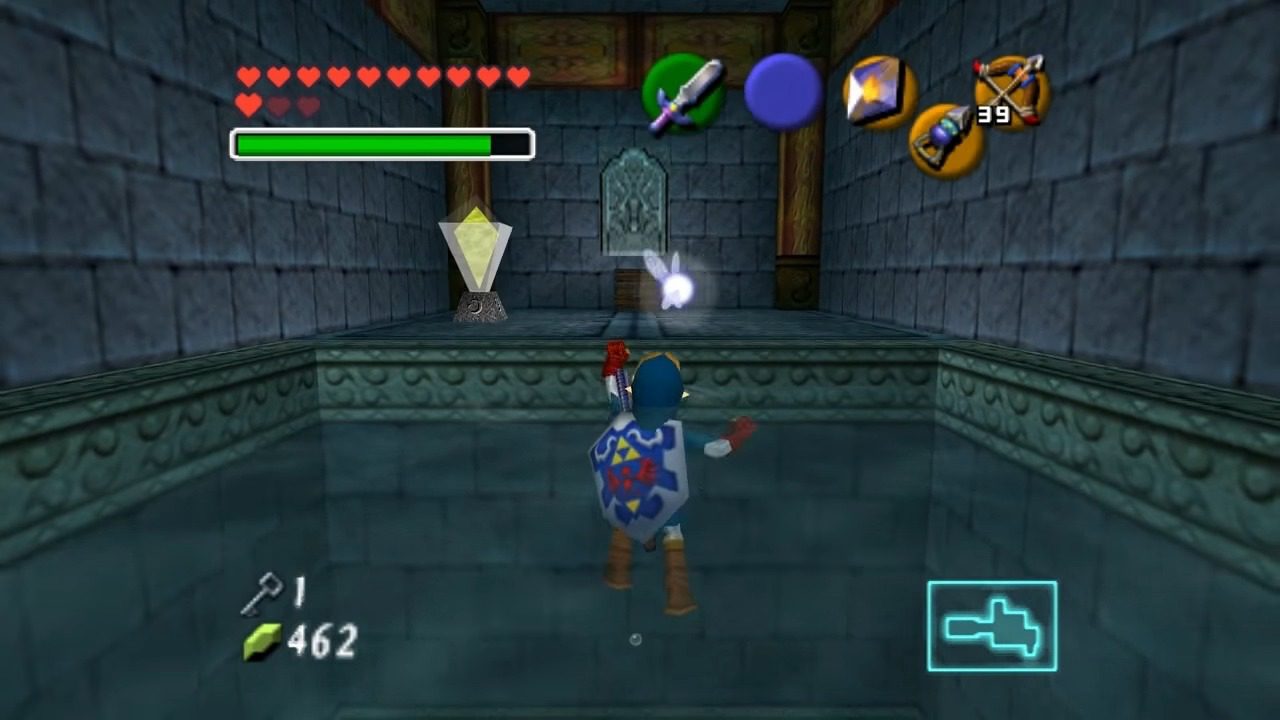
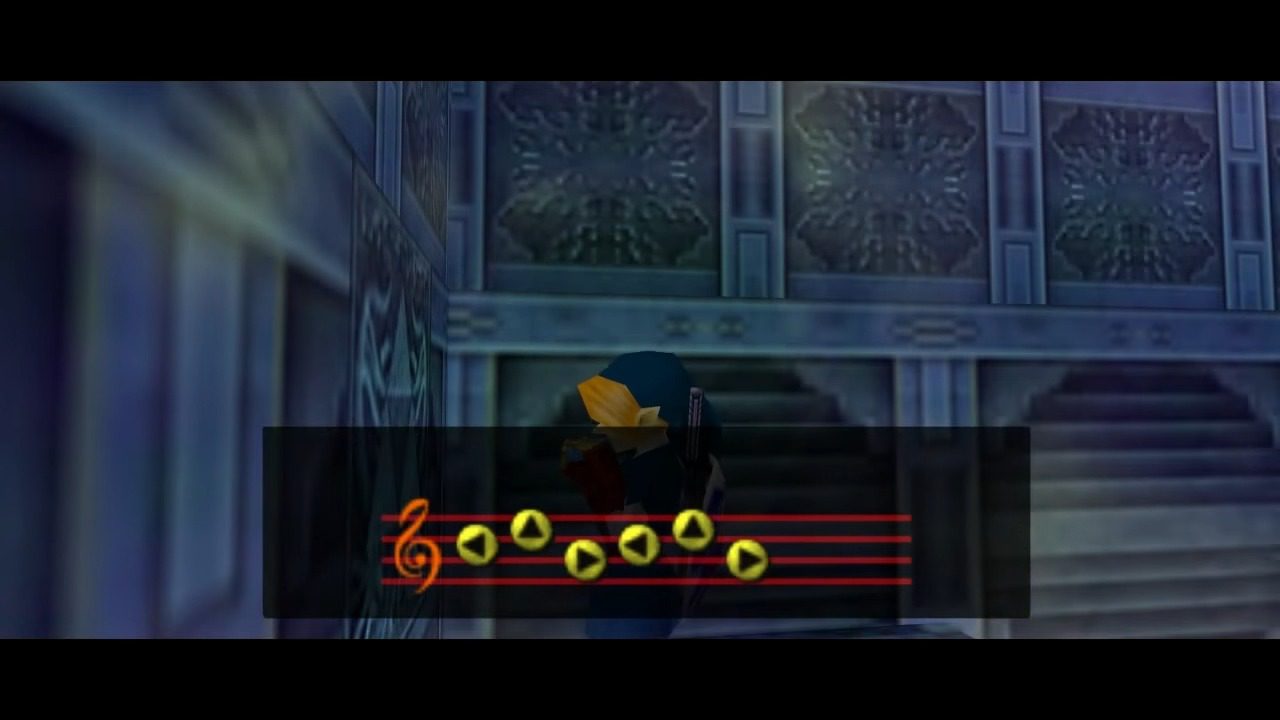
After her brief monologue, Ruto will gracefully float upwards. Follow her lead, and you’ll find yourself at the first of three Triforce symbols within the temple. These symbols are key to altering the water levels within the temple. Stand in front of this first Triforce symbol and play Zelda’s Lullaby on your Ocarina. This familiar melody, associated with the Royal Family, will trigger the temple’s mechanism, draining the water to its lowest level. This early puzzle introduces a recurring theme: Zelda’s Lullaby as a tool to manipulate the environment, a crucial element you’ll encounter repeatedly throughout your exploration of the Water Temple.
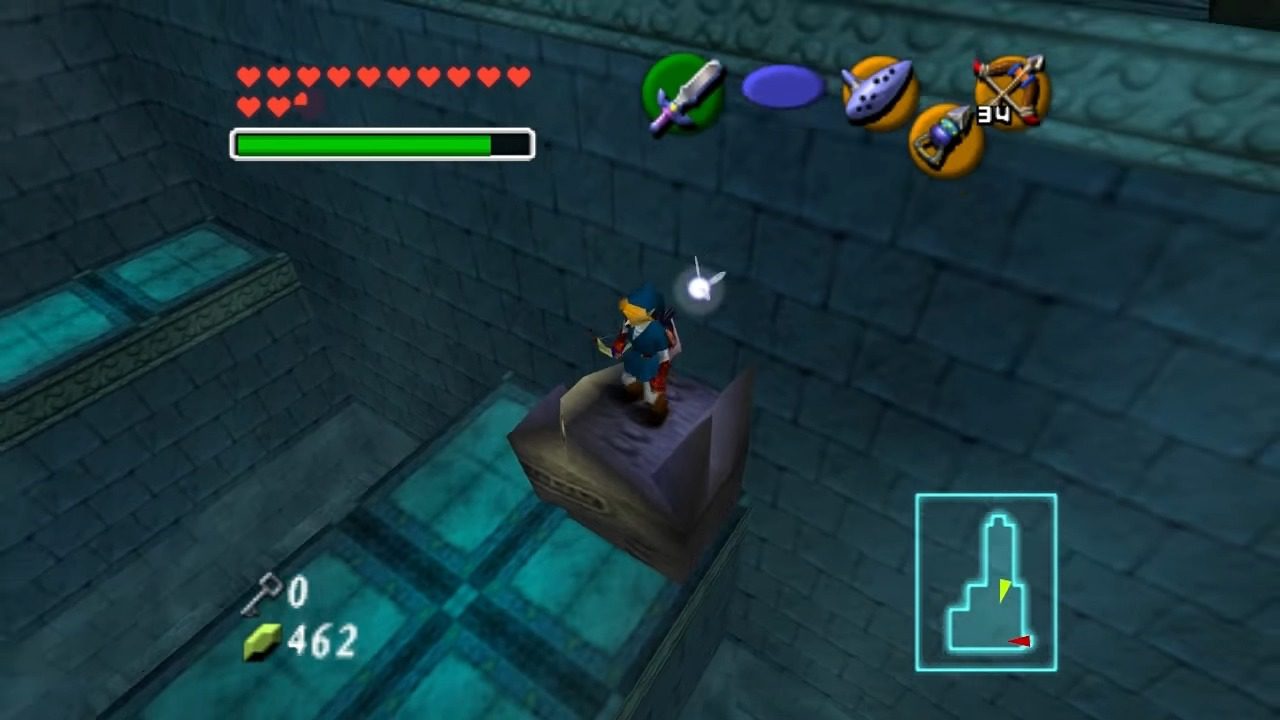
II. Lowest Water Level Puzzles and Key Acquisition
A. Dungeon Map Room
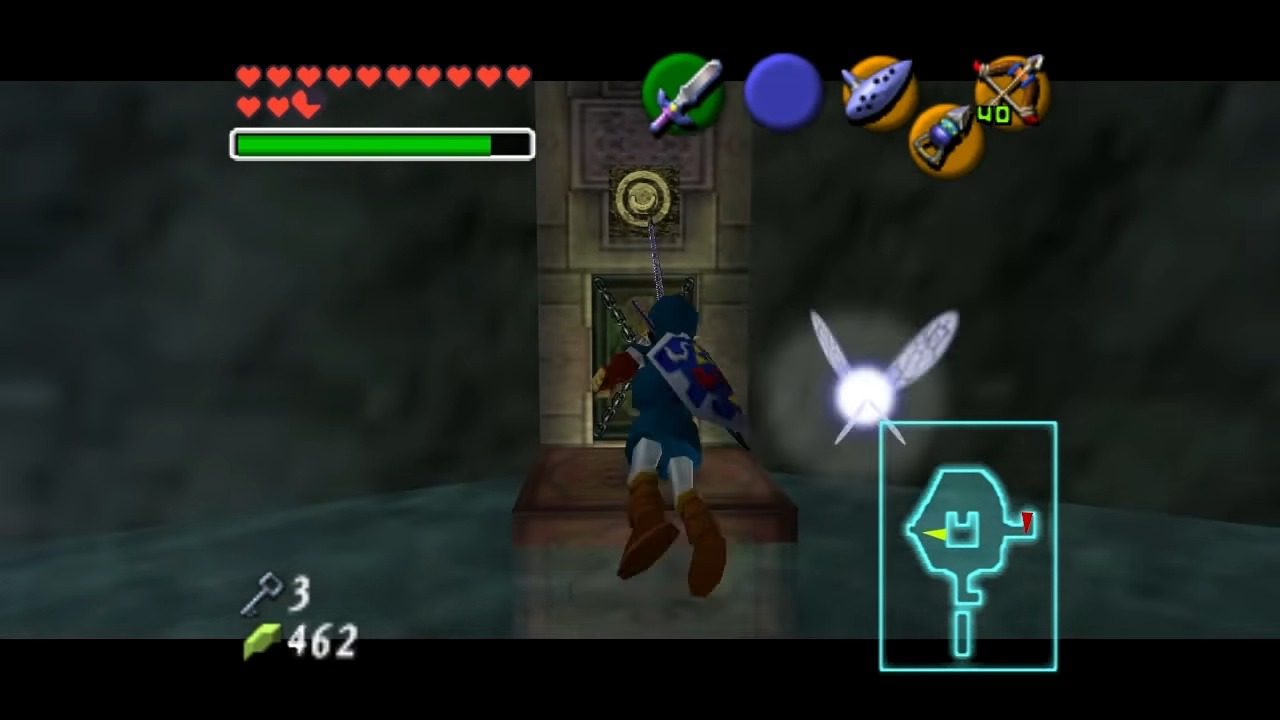
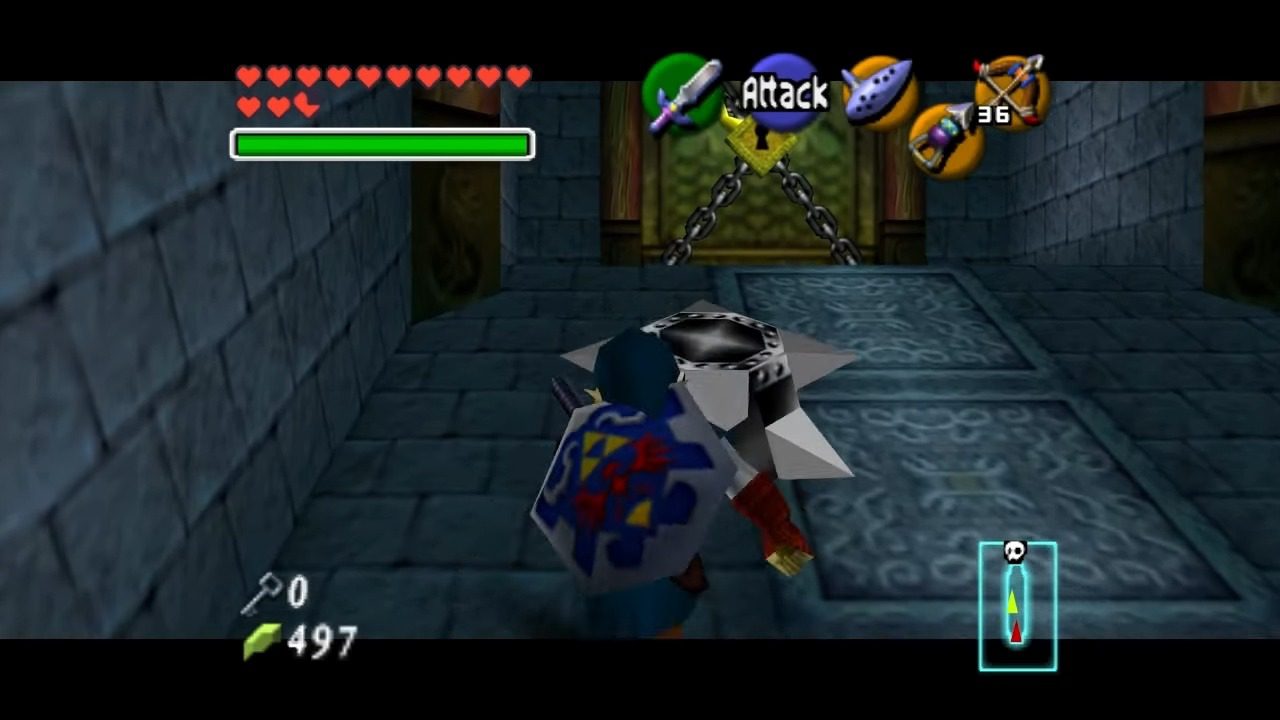
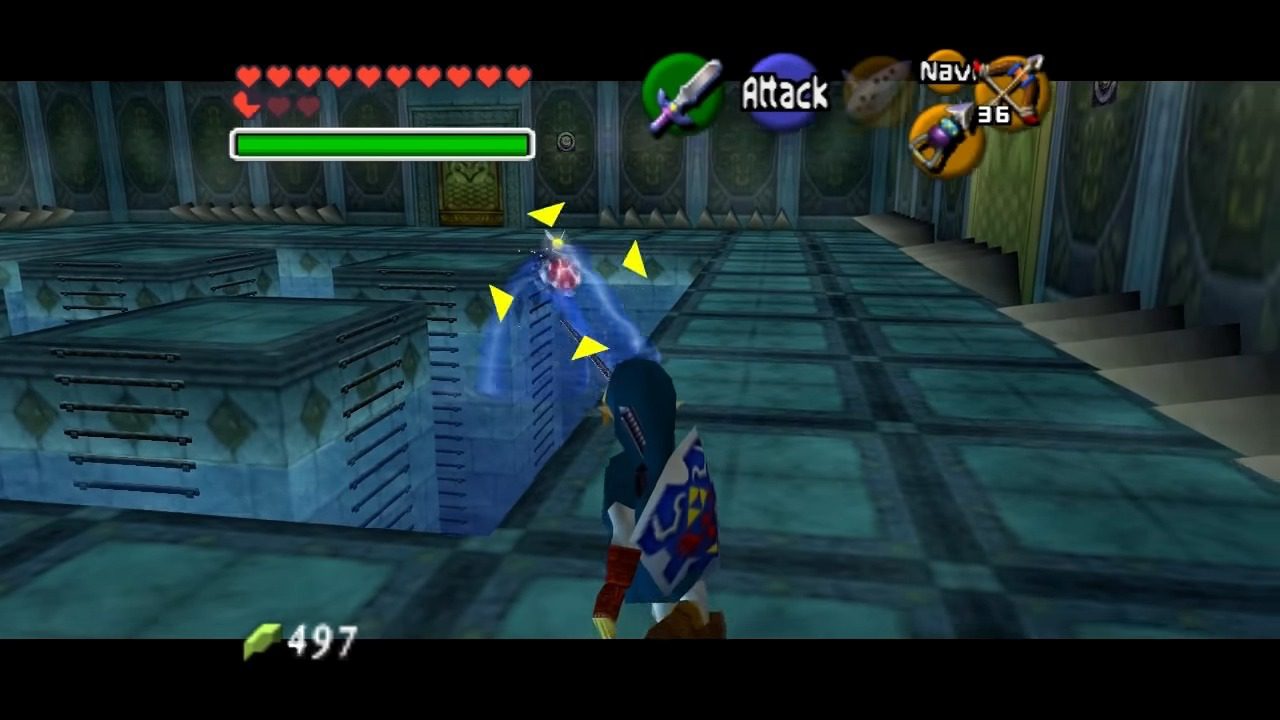
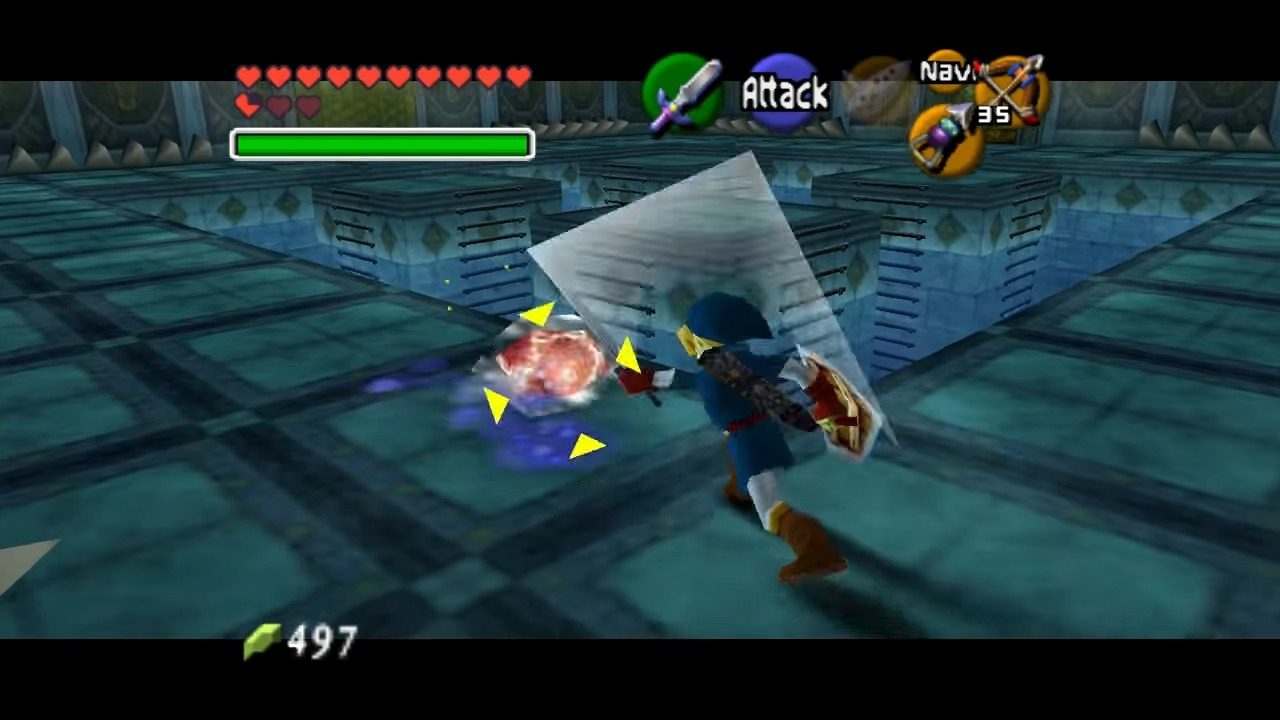
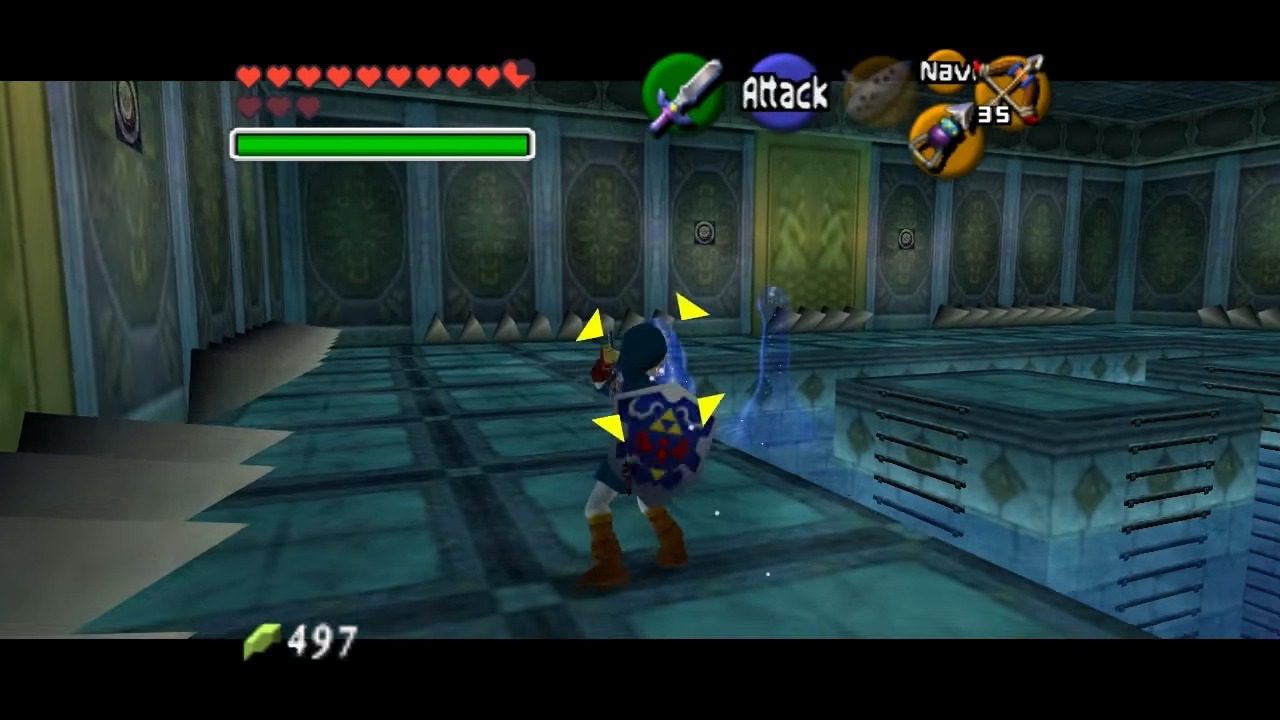
With the water now at its lowest, proceed through the door in the same room where you found the first Triforce symbol. Be cautious as you enter this small chamber, as you’ll immediately be confronted by four Spikes. These enemies can be easily dispatched by using your shield to flip them over, followed by a quick sword strike. Once all four Spikes are defeated, a treasure chest will appear. Open it up to claim the Dungeon Map. Obtaining the Dungeon Map early is a staple in Zelda dungeons, providing you with a layout of the temple’s intricate structure and helping you navigate the challenges ahead. This initial, albeit minor, enemy encounter serves as a warm-up for the more complex puzzles and battles to come.
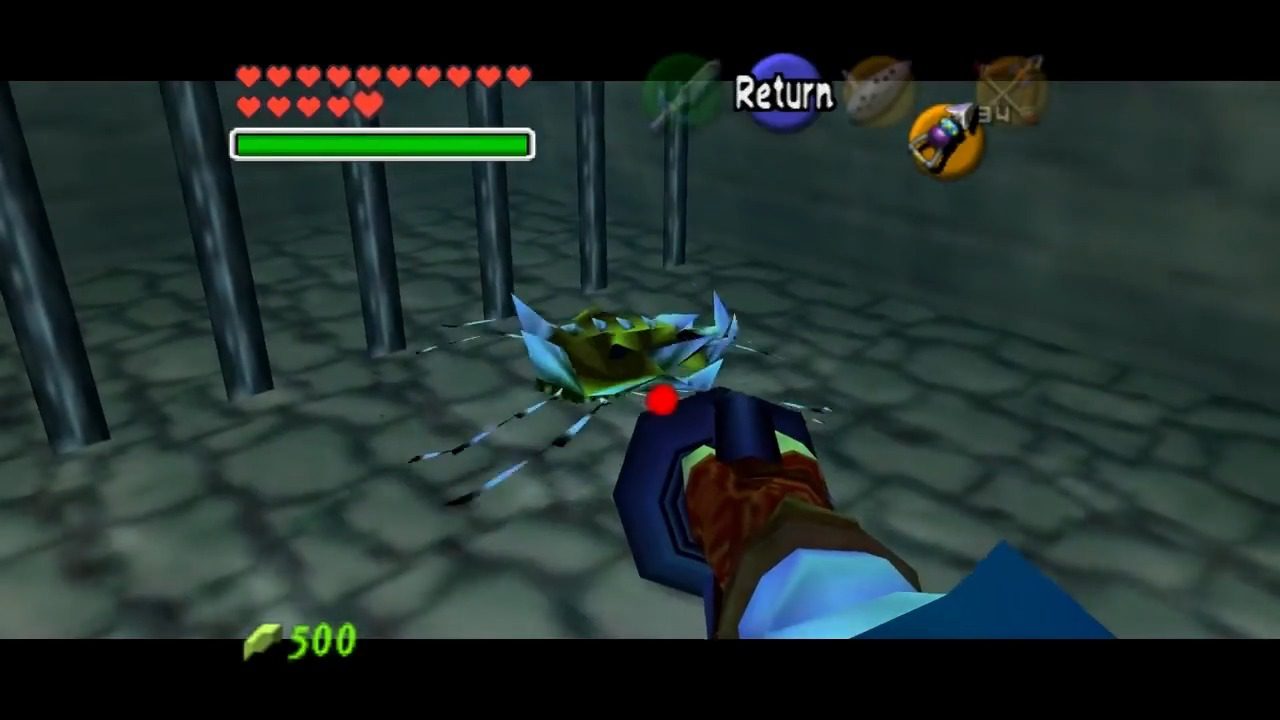
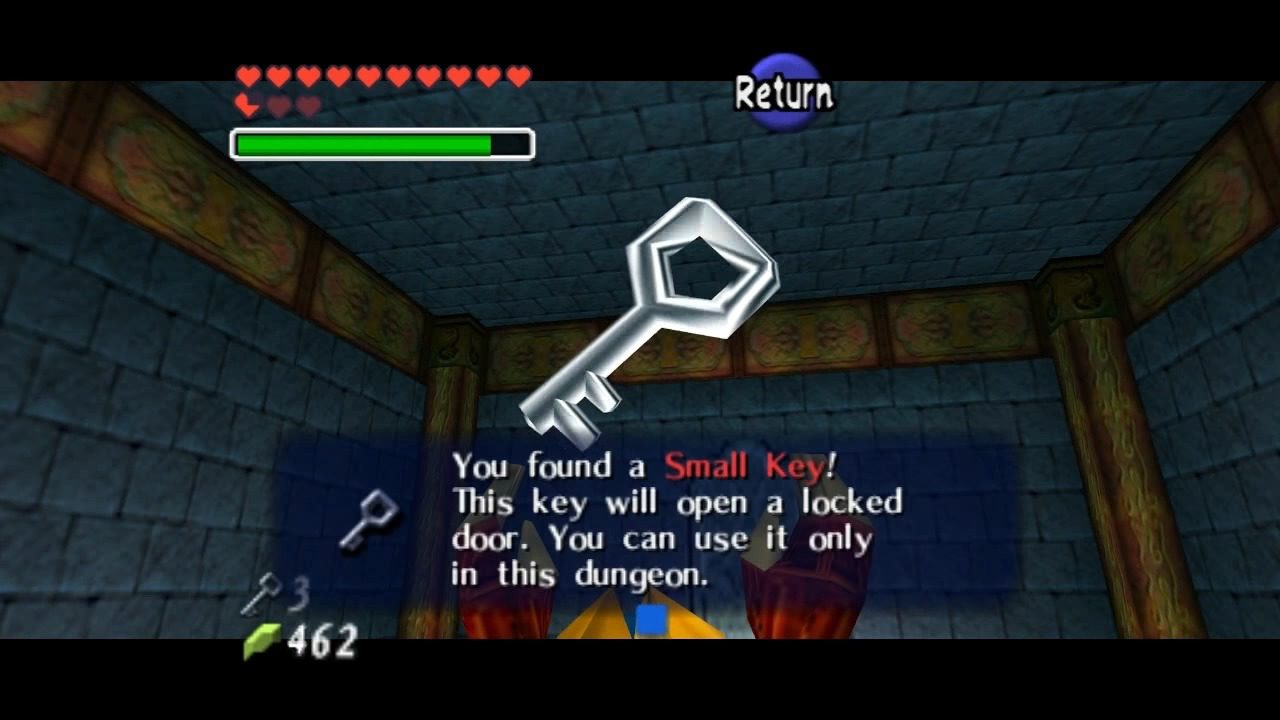
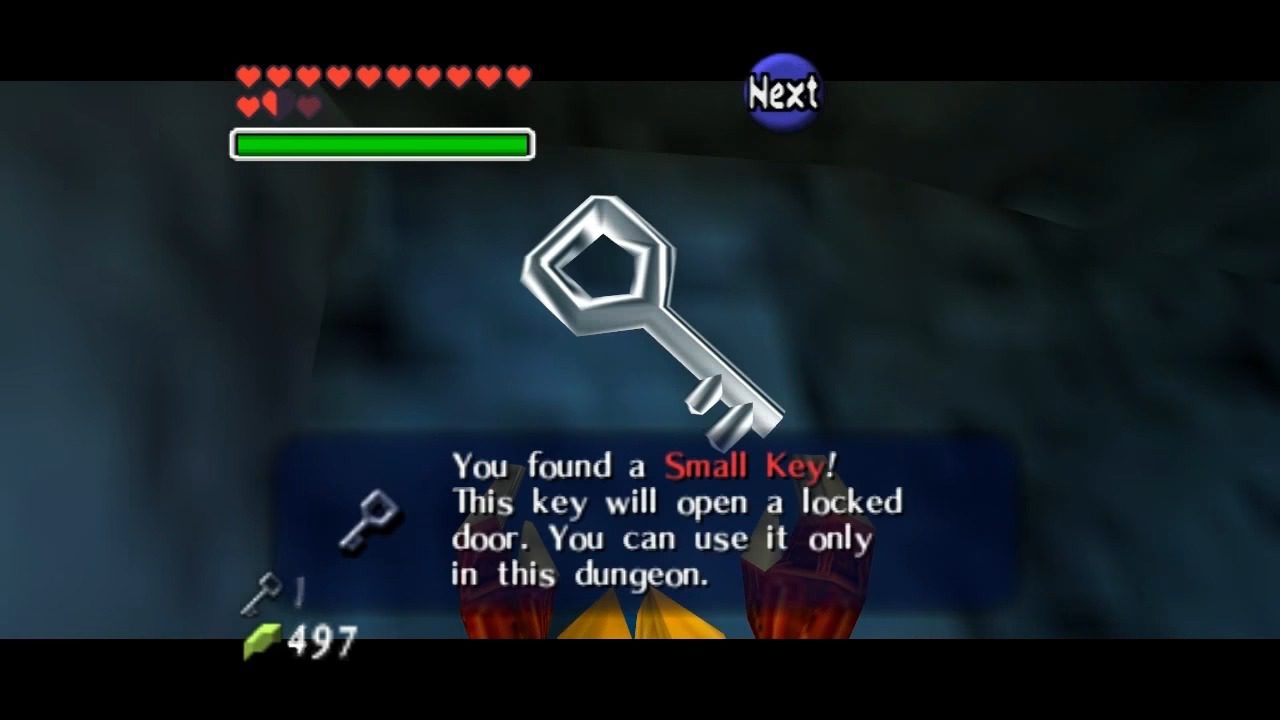
B. Shell Blade Room (First Key)
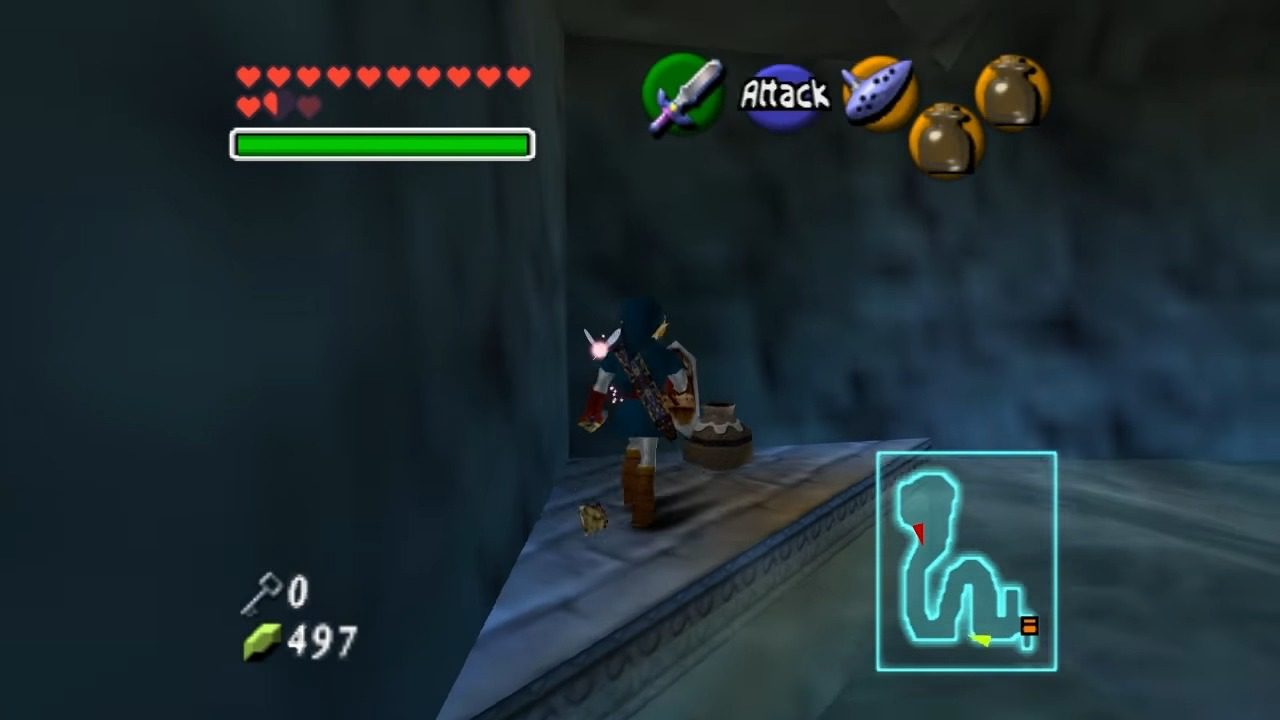
Now, drop down to the central chamber and make your way through the passage marked by the two unlit torches – the same passage where you first met Ruto. If you have din’s fire, use it to light the torches and unbar the door. Otherwise, shoot fire arrows through the lit torch in the middle to light the torches in the corners.
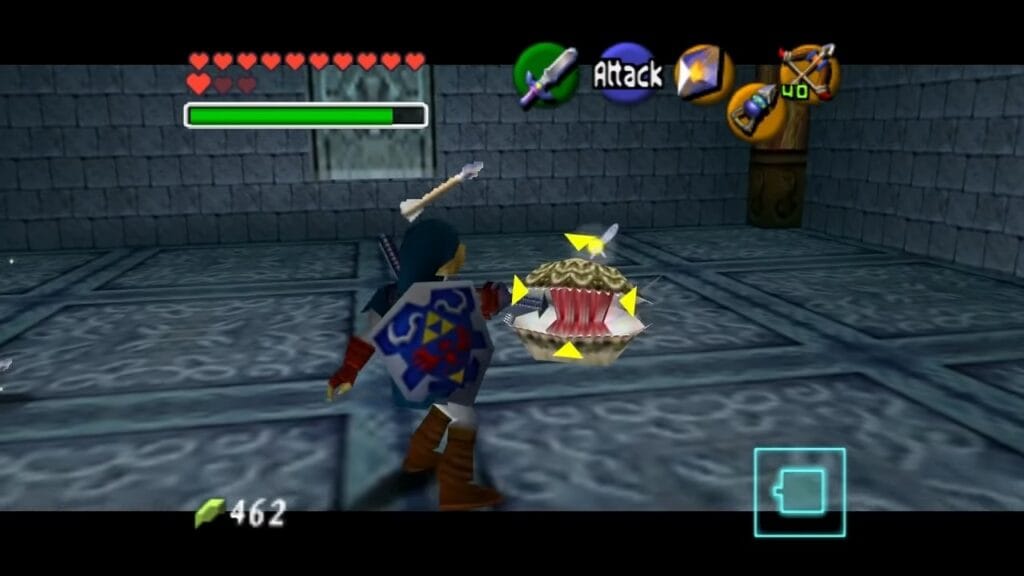
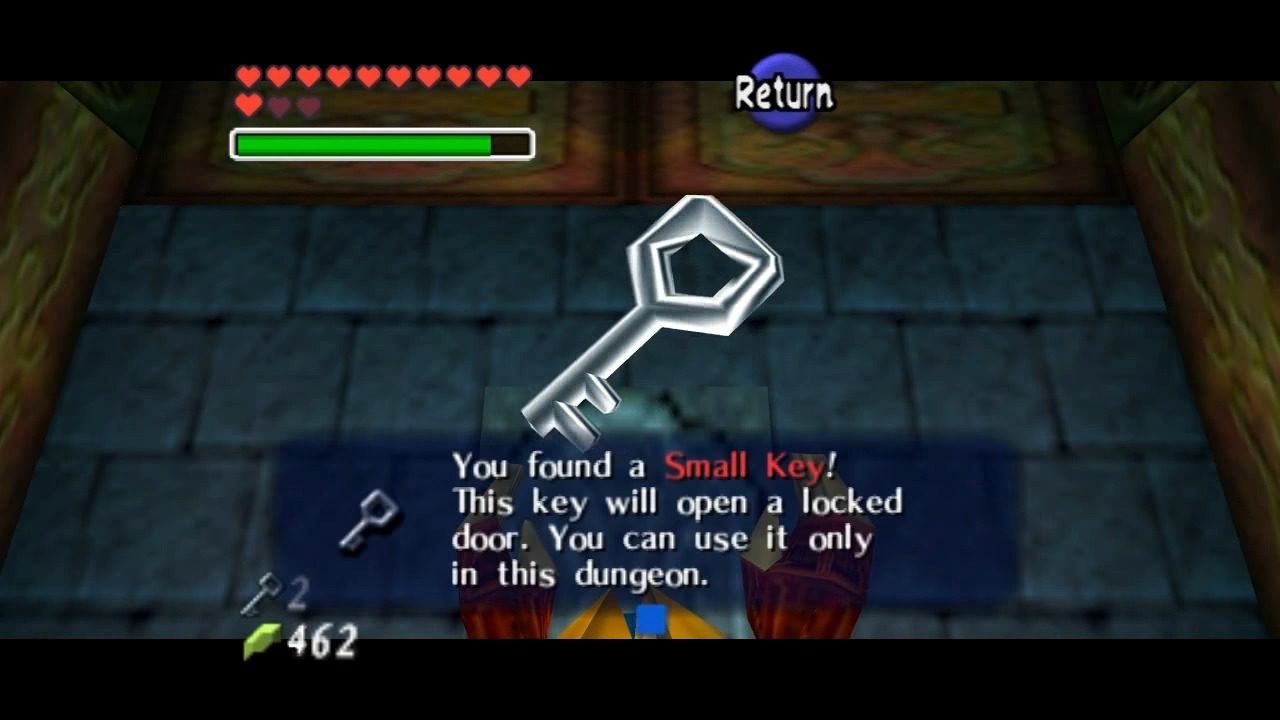
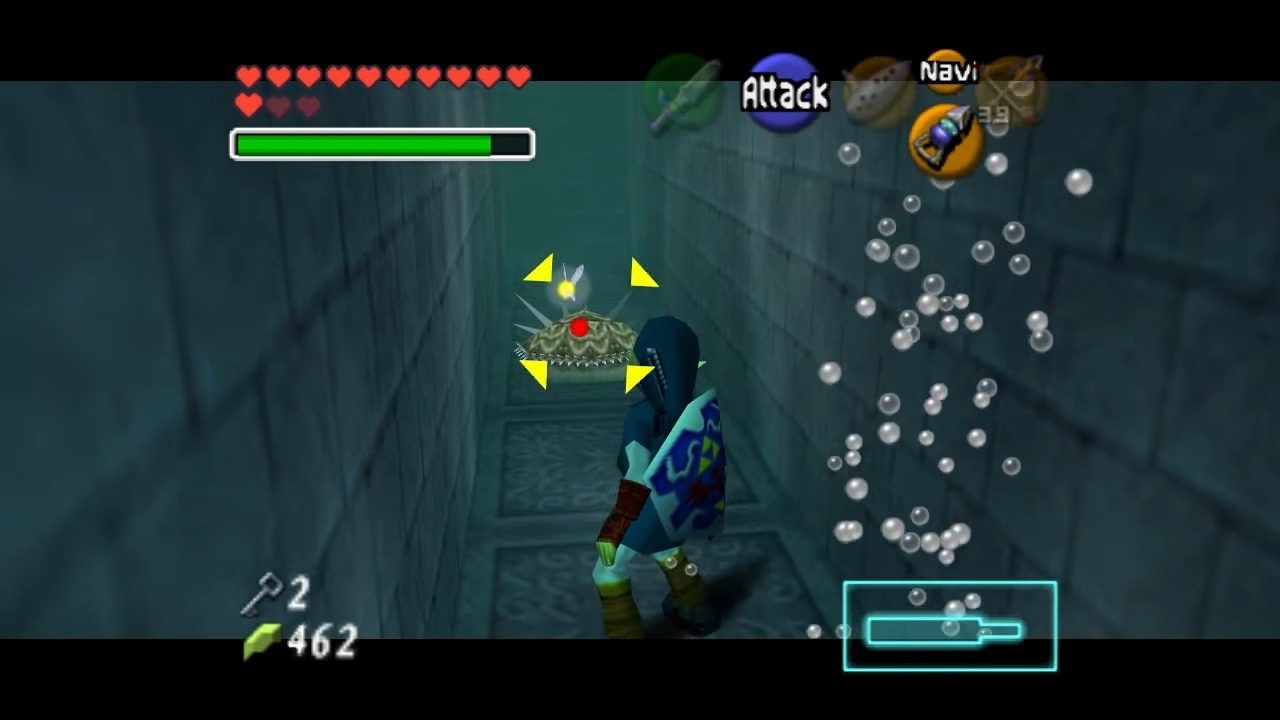
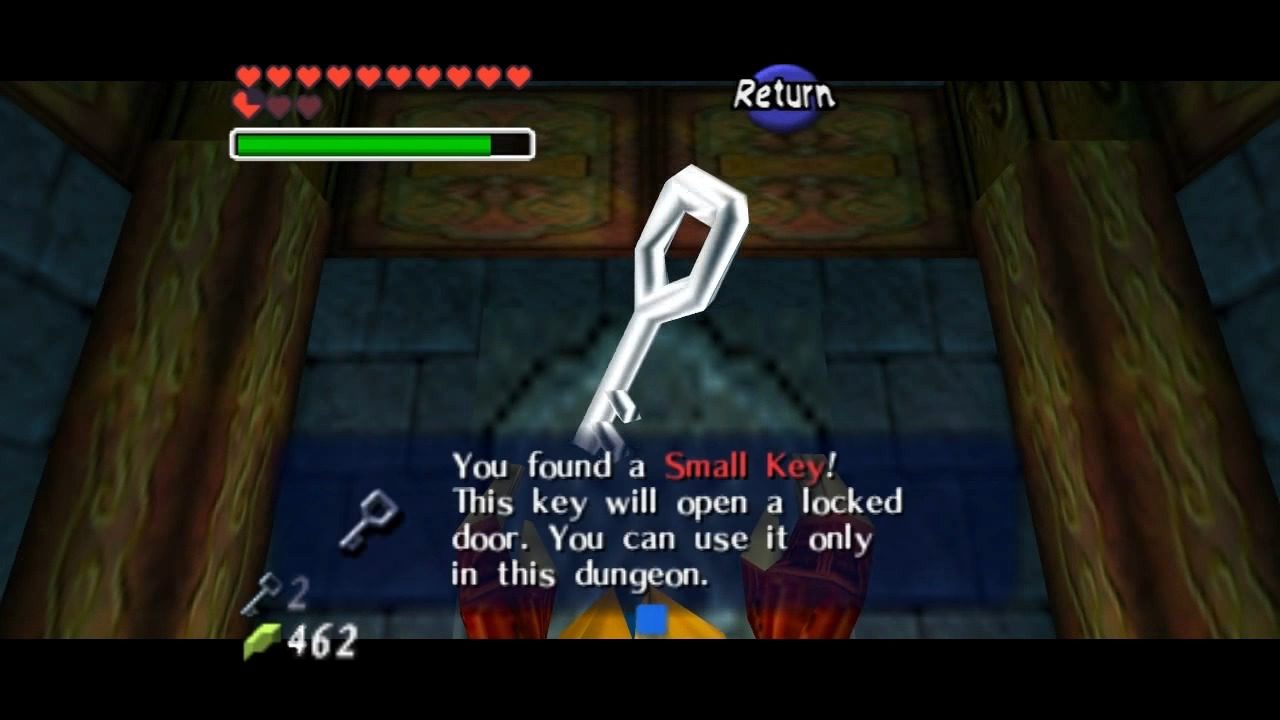
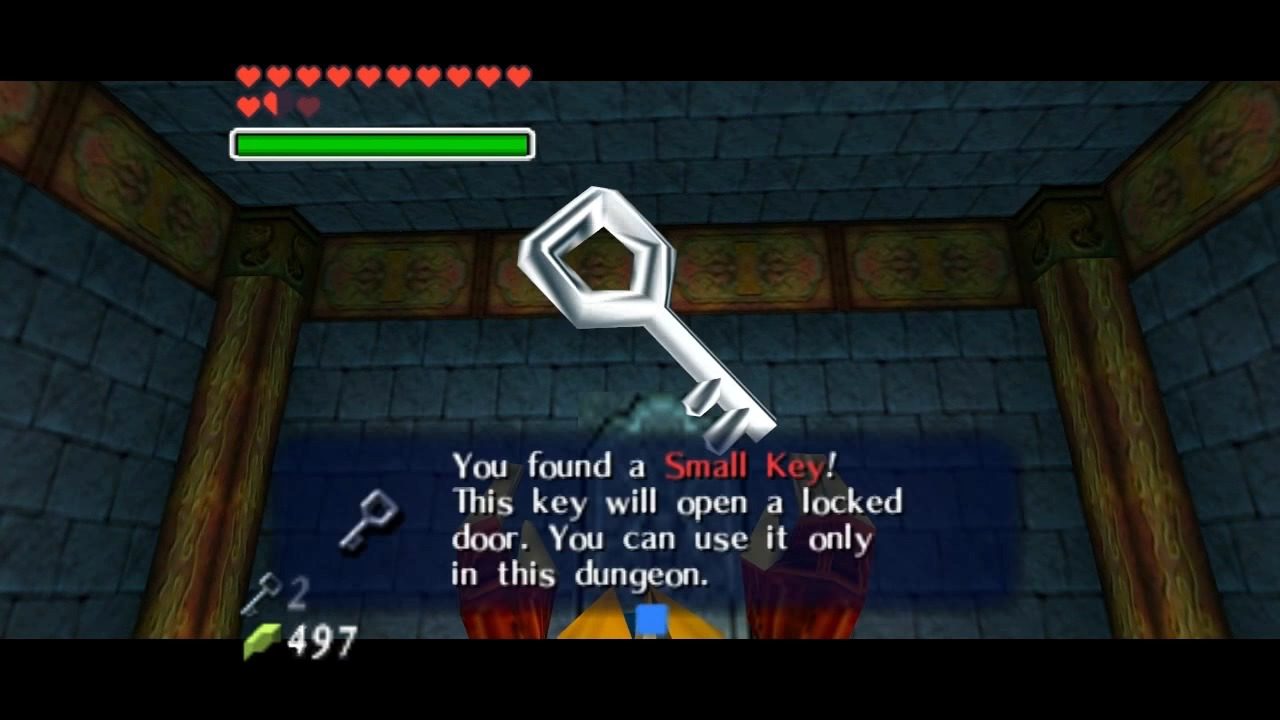
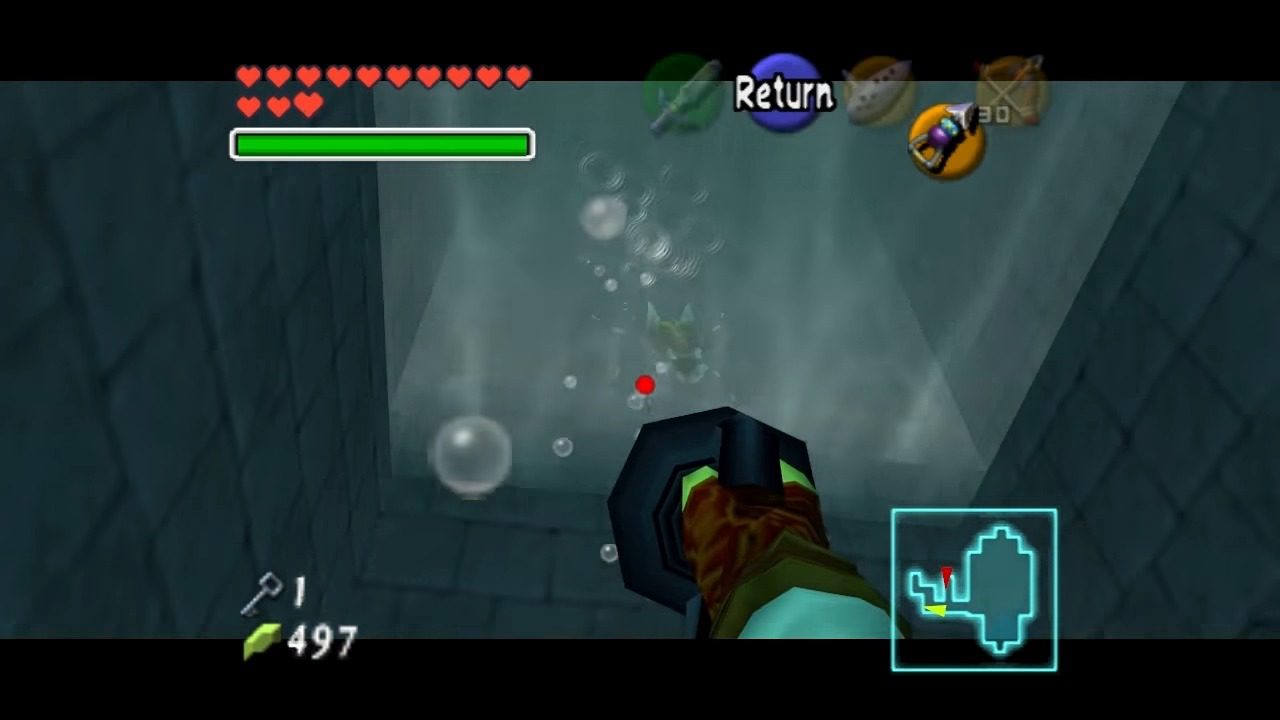
Proceed through the unbarred door at the end of this passage to enter a room inhabited by a new type of enemy: the Shell Blades. These shelled creatures are vulnerable only when their mouths are open. Lock onto them with L-targeting and wait for them to reveal their soft interiors. A well-aimed shot from your Hookshot or an arrow will instantly defeat them. After successfully defeating all three Shell Blades in the room, a treasure chest will materialize. Open it to claim your first Small Key.


III. Key Acquisition
A. West Passage and Pushing the Block
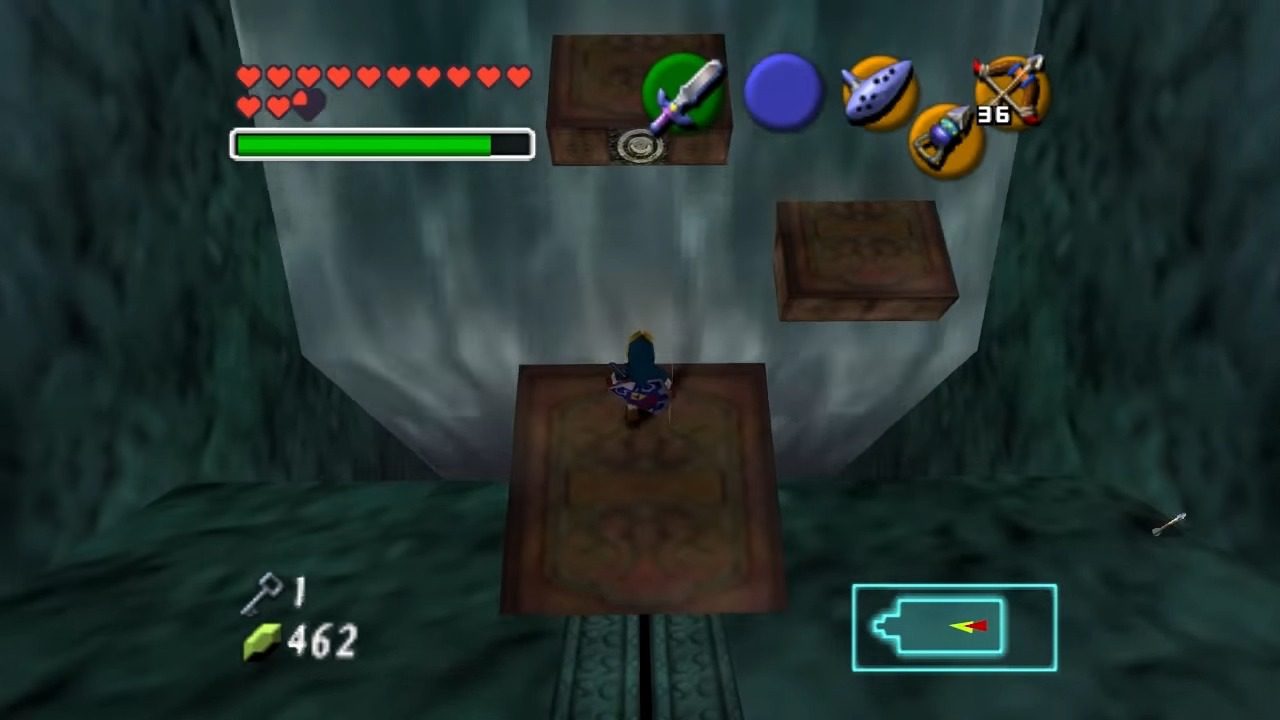
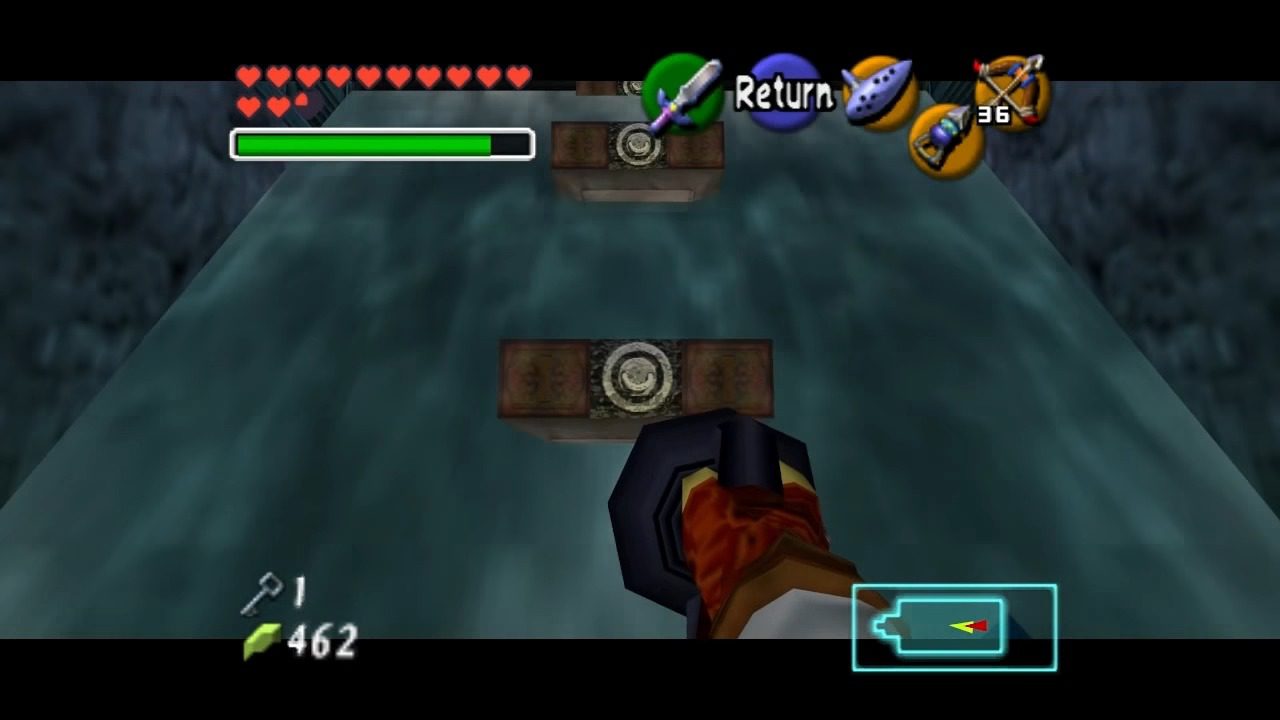
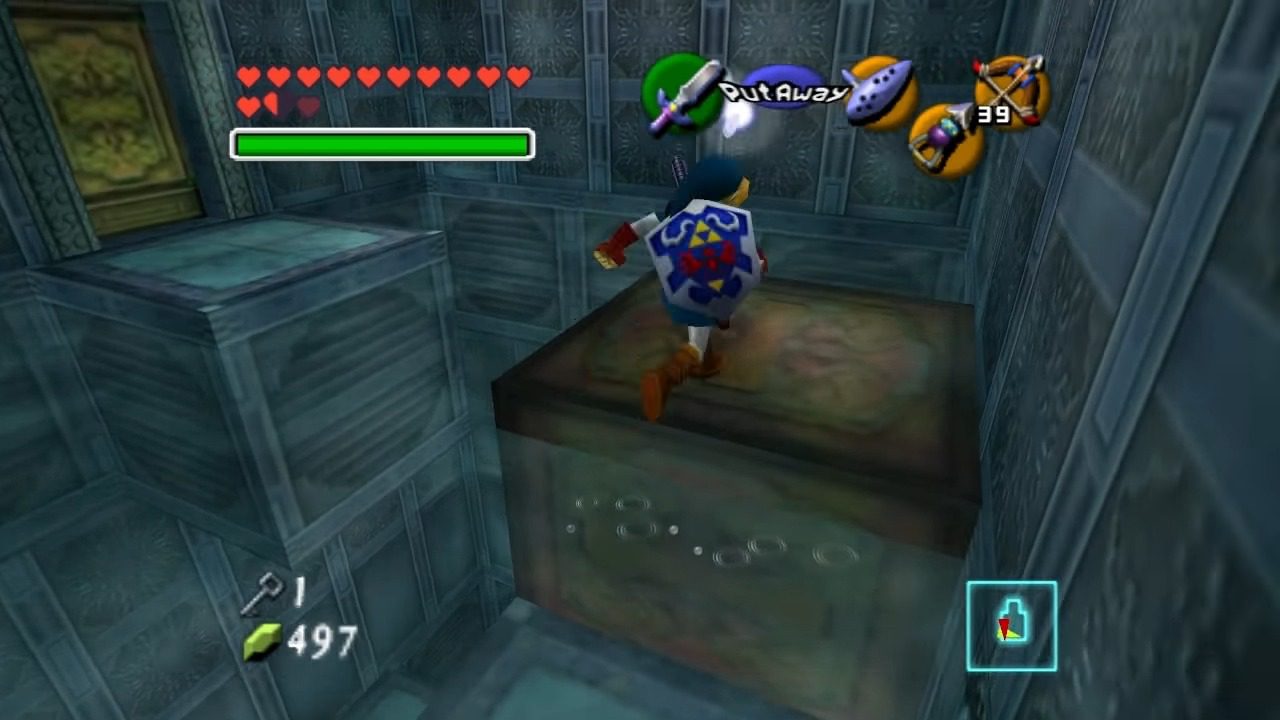
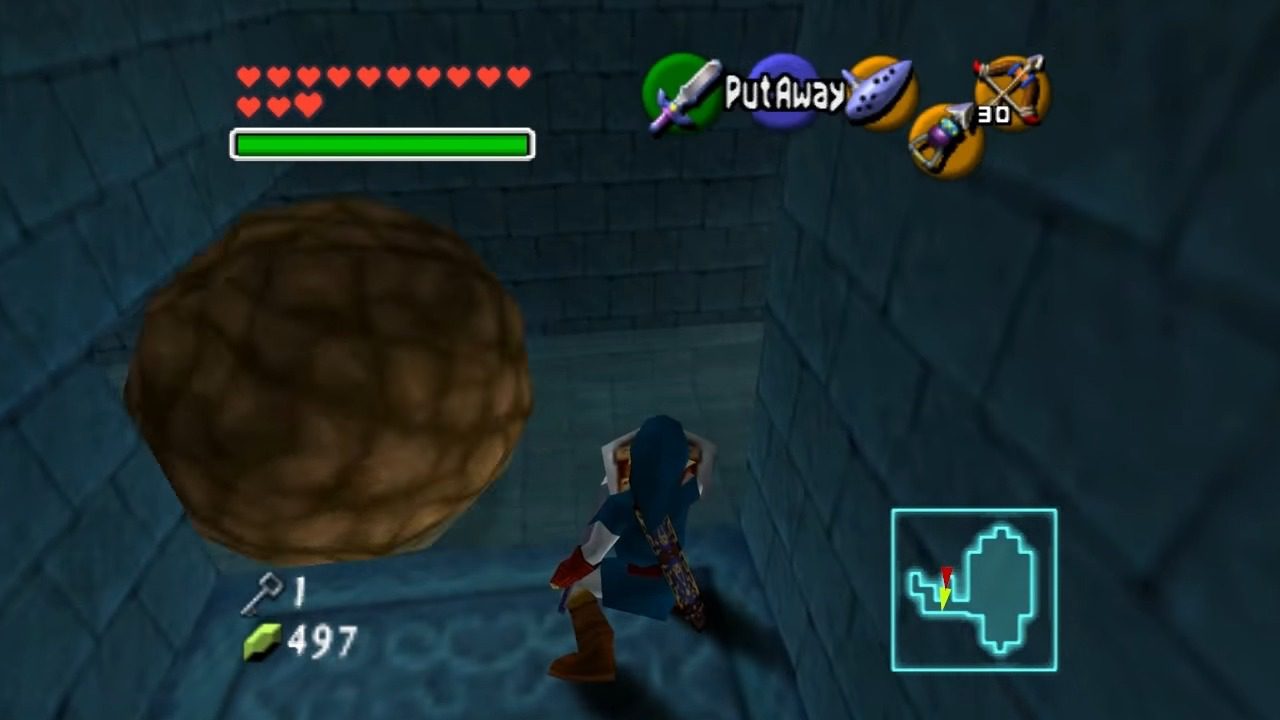
Return to the central chamber and head towards the west entrance. You’ll notice a large block obstructing your path. Stand on the platform located in this area and push the block as far back as it will go until it falls into a hole and clicks into place underwater.

B. First Water Pillar Room and Second Key
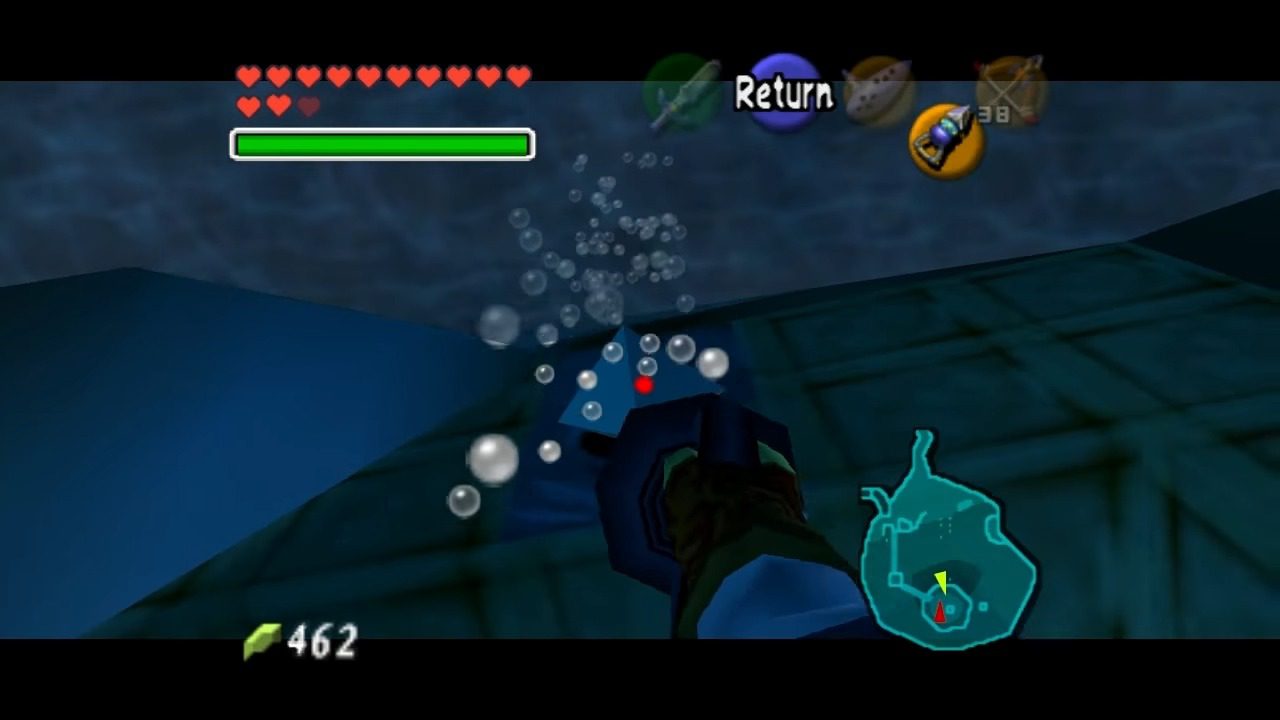
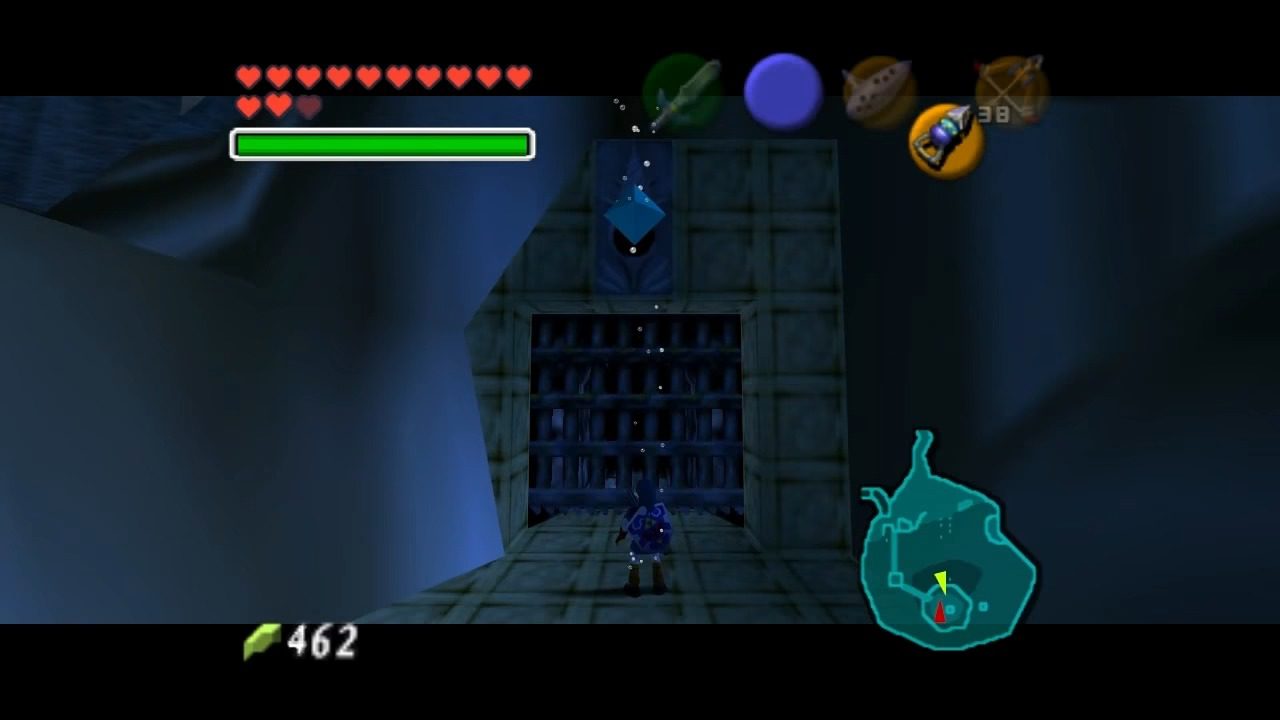
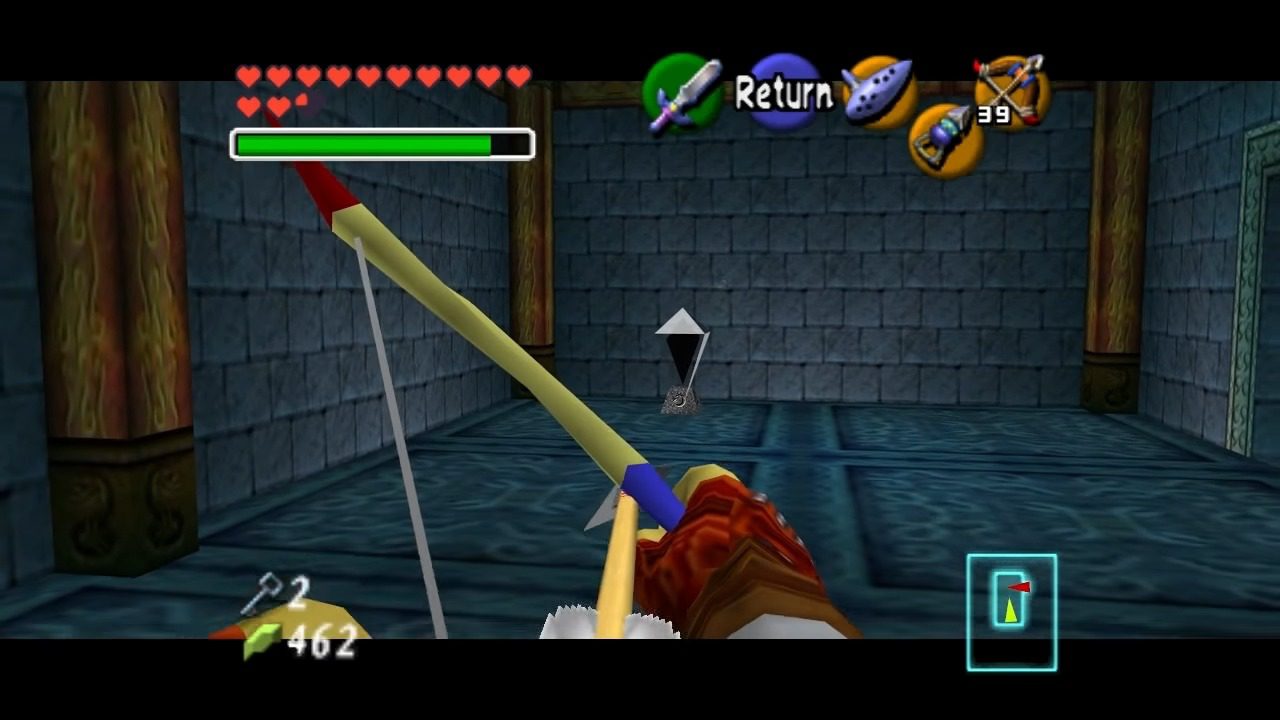
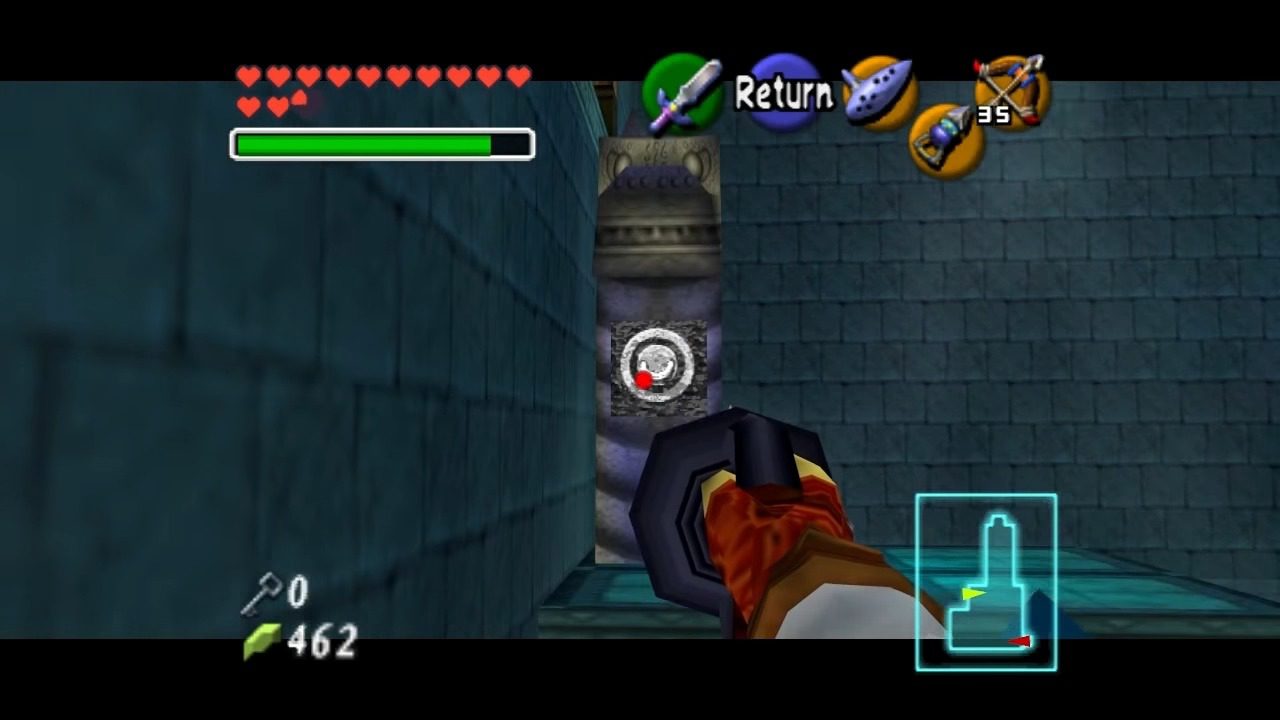
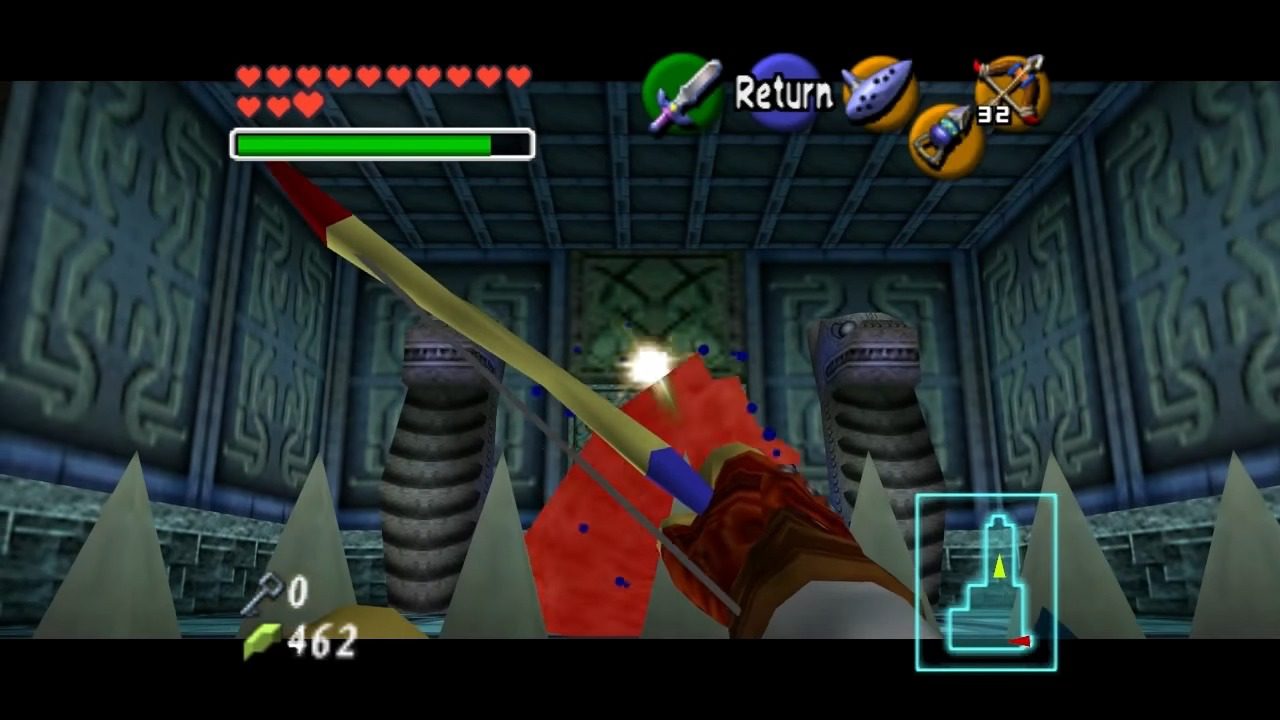
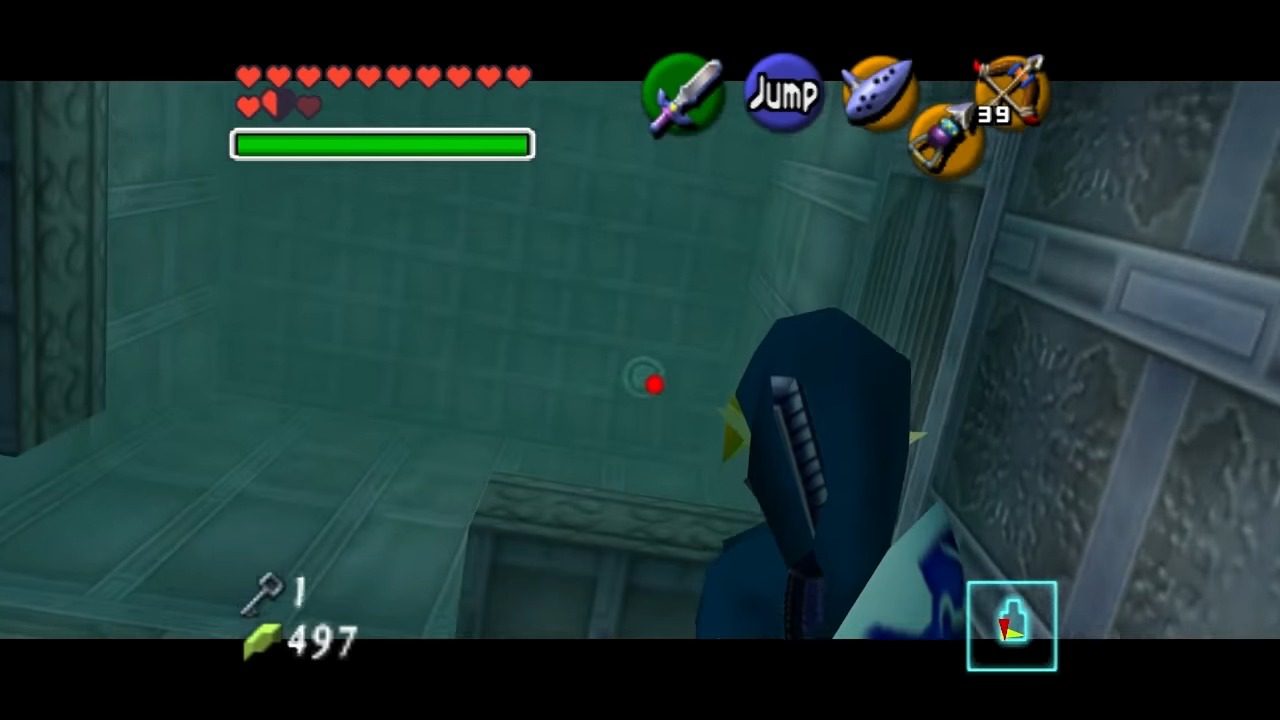
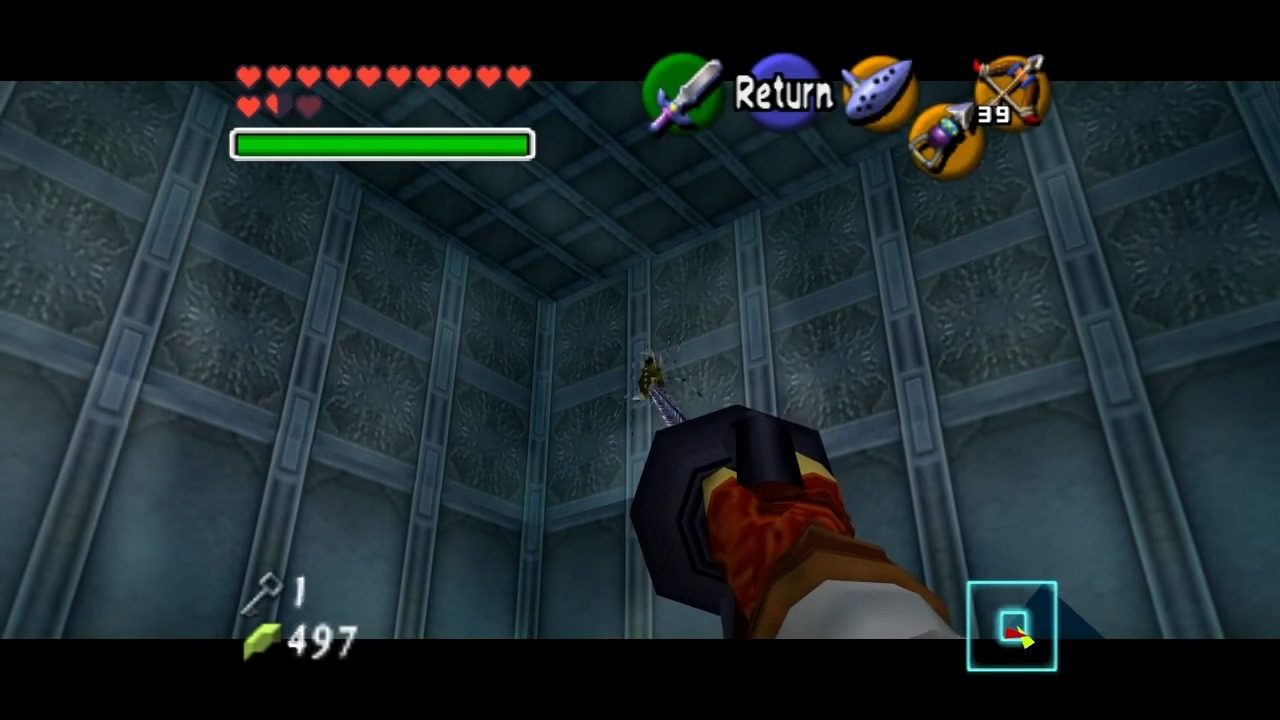
Now, sink down into the water and pass through the space where the block once was. Climb back up on the other side. You’re now in a small room. Locate the crystal switch and strike it with your sword. This will cause a water pillar to rise. Quickly jump onto the pillar and then across to the other side of the room, ignoring the Tektite for now, and head through the door.
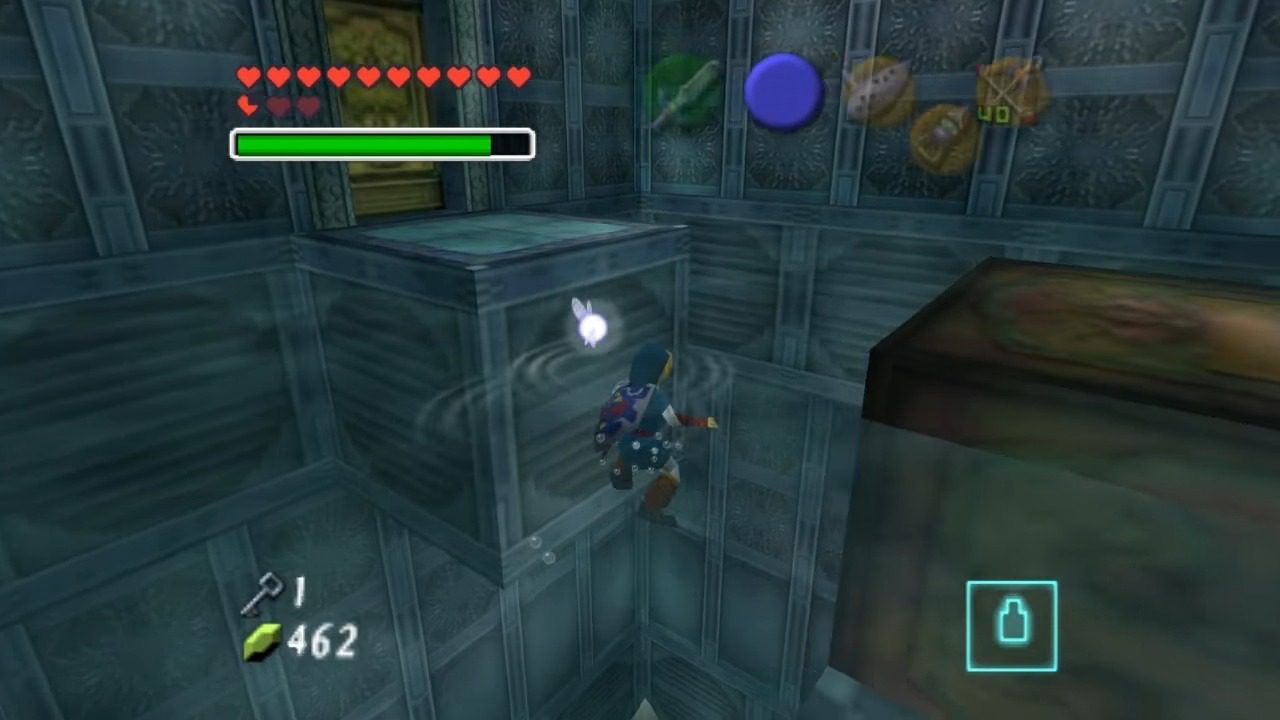
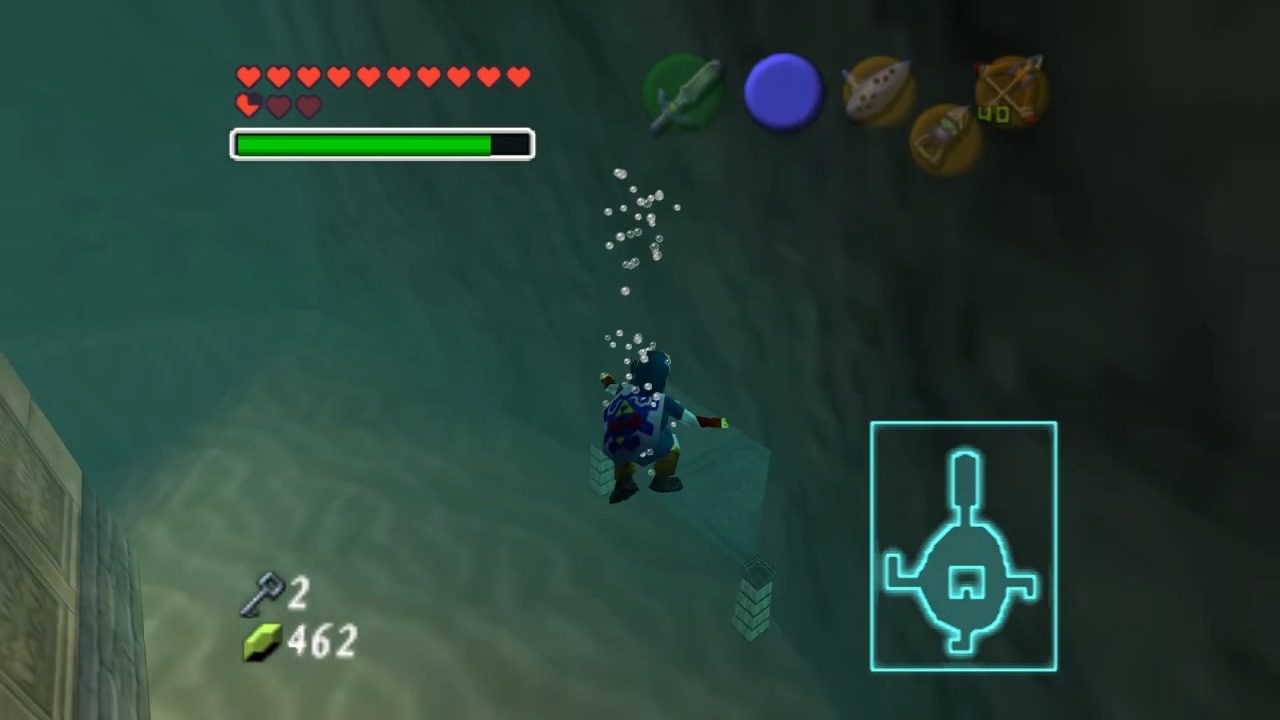
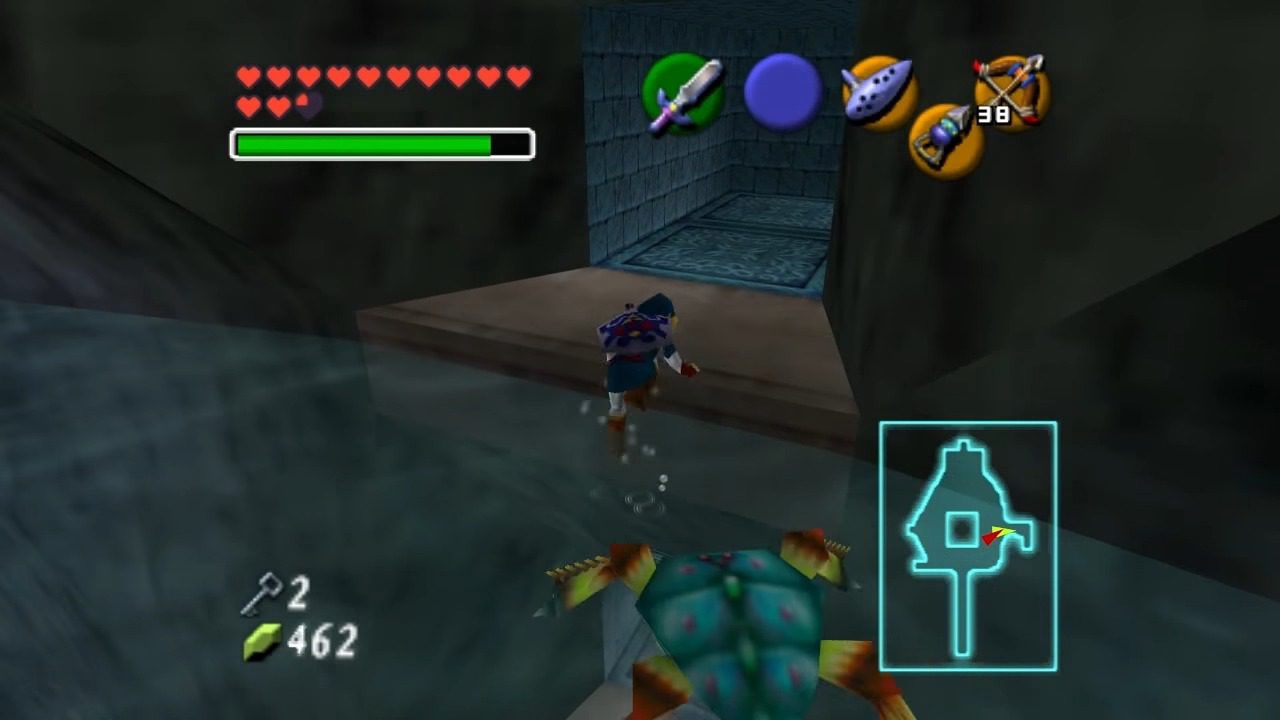
You’ll find yourself in the infamous Spinning Water Room. Equip your Iron Boots to sink to the bottom and carefully navigate the swirling current to land on the iron dragon statue in the opposite corner of the room from the door. Once you’re stable, use your Hookshot to hit the crystal switch located in the dragon’s mouth. This will briefly open a gate in the alcove to your right. Quickly look towards the alcove and use your Hookshot on the target on the wall. Alternatively, if you are quick enough, you can de-equip your Iron Boots and swim over.
Climb up and open the chest to obtain your second Small Key. Hit the crystal switch, which temporarily lifts the underwater gate below you. Quickly, dive past the gate.

IV. Mid-Level Water Puzzles and Grabbing a Gold Skulltula
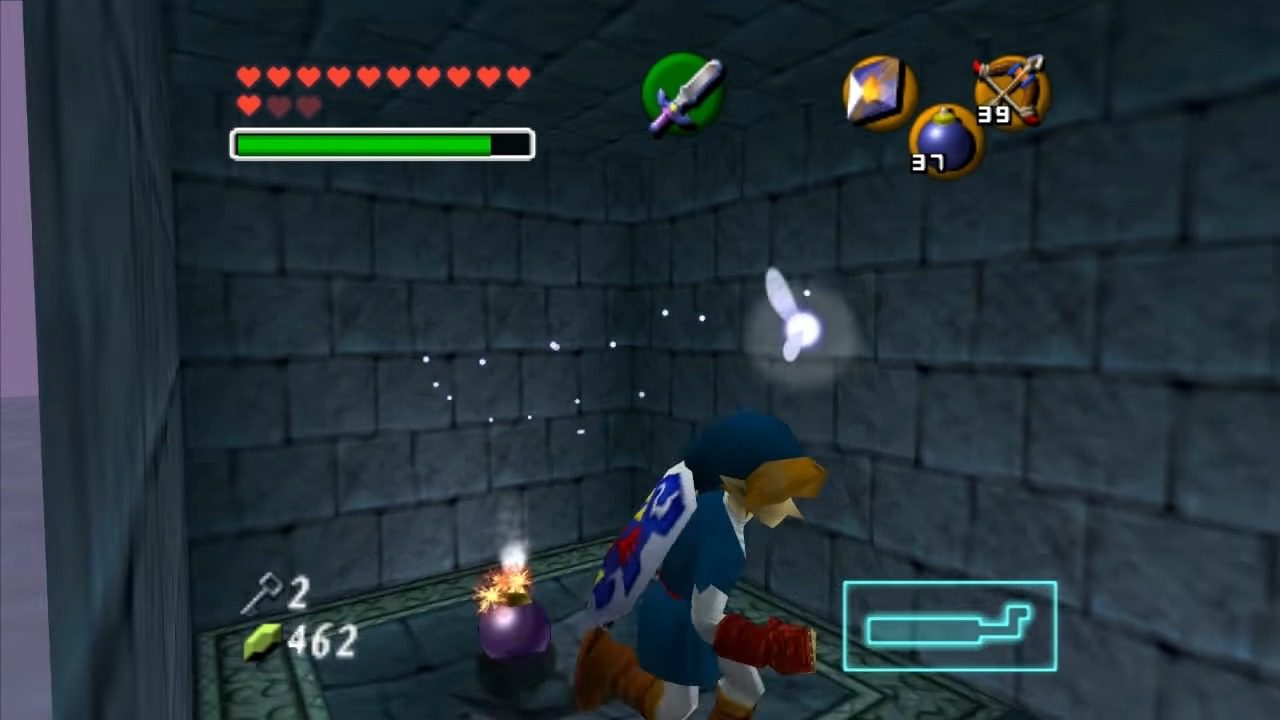
A. South Passage and Bombing the Floor
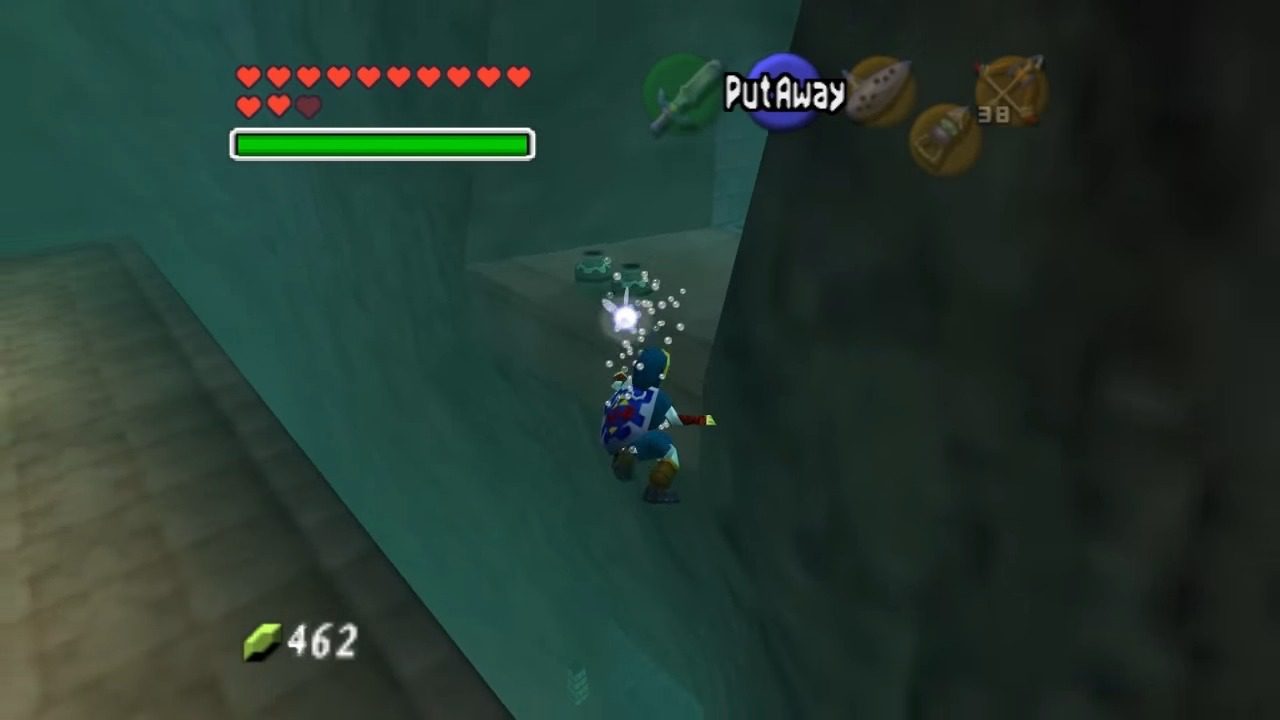
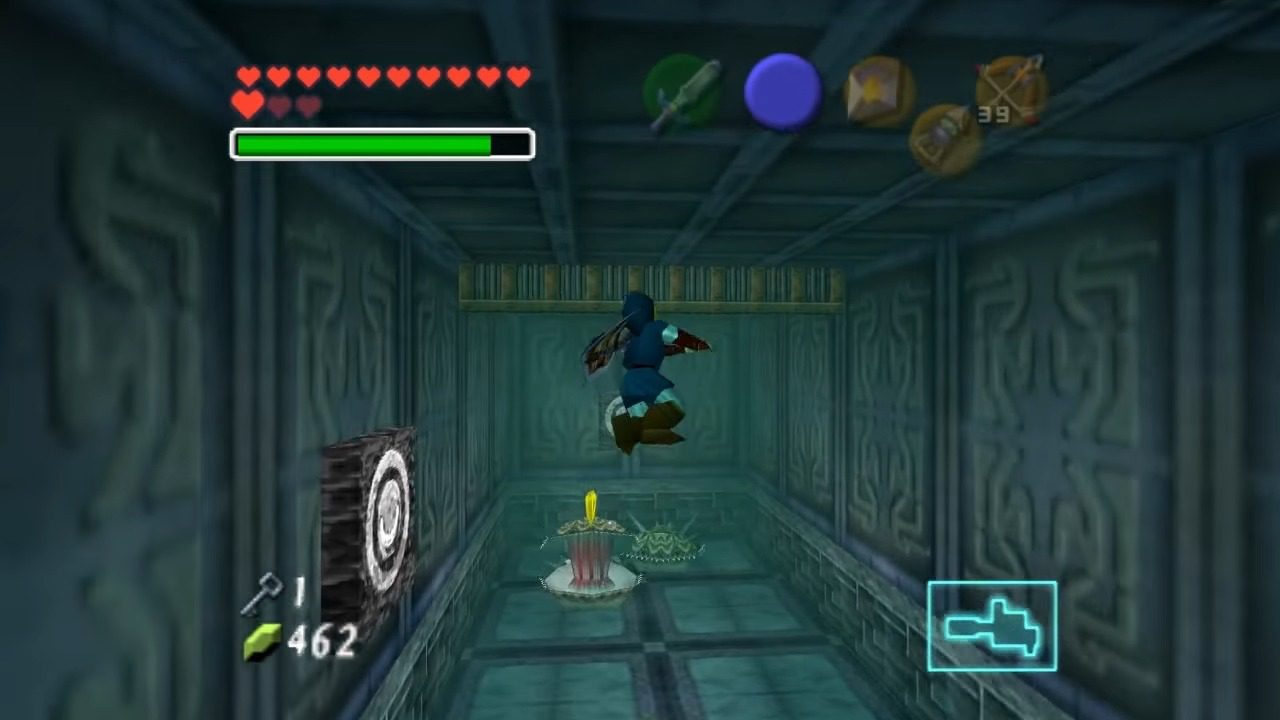
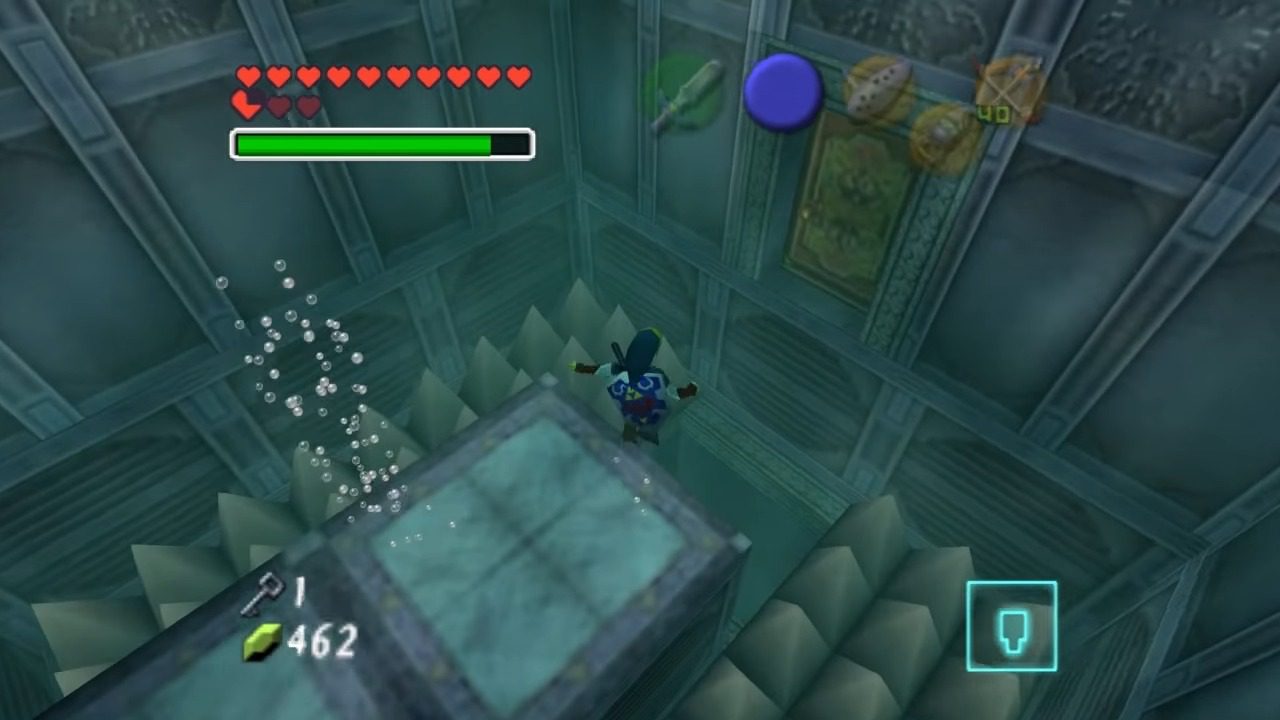
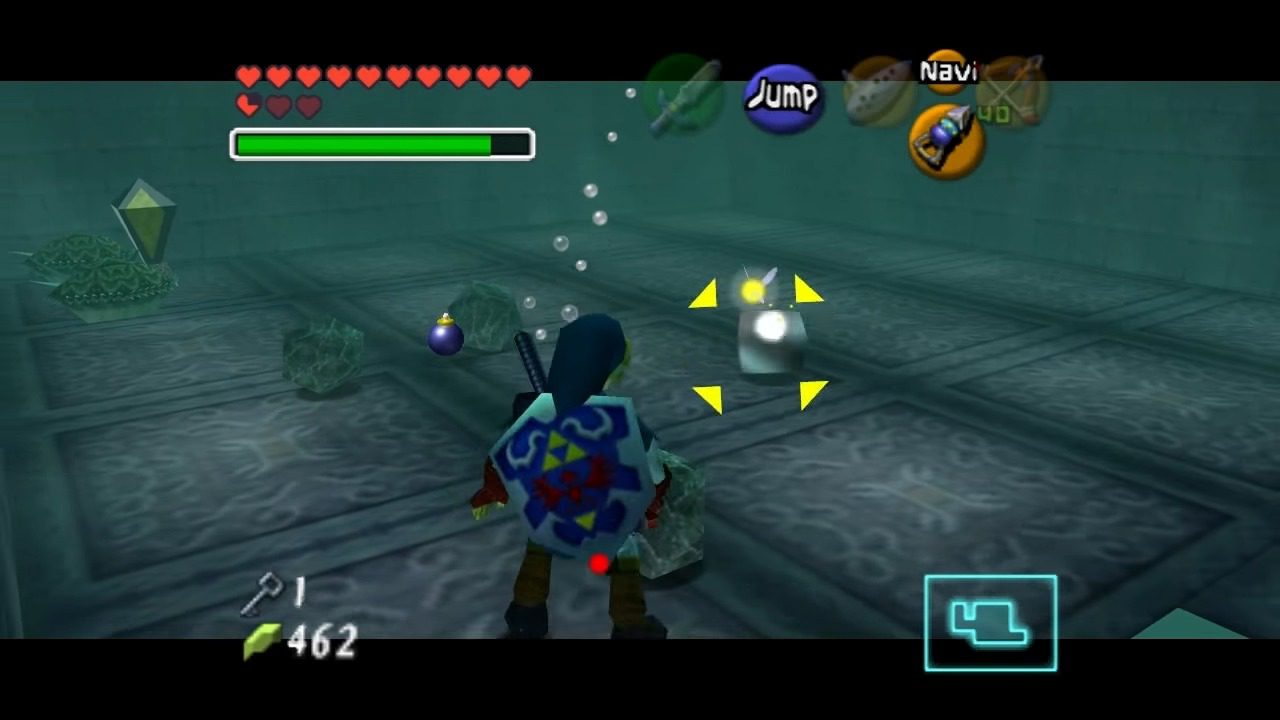
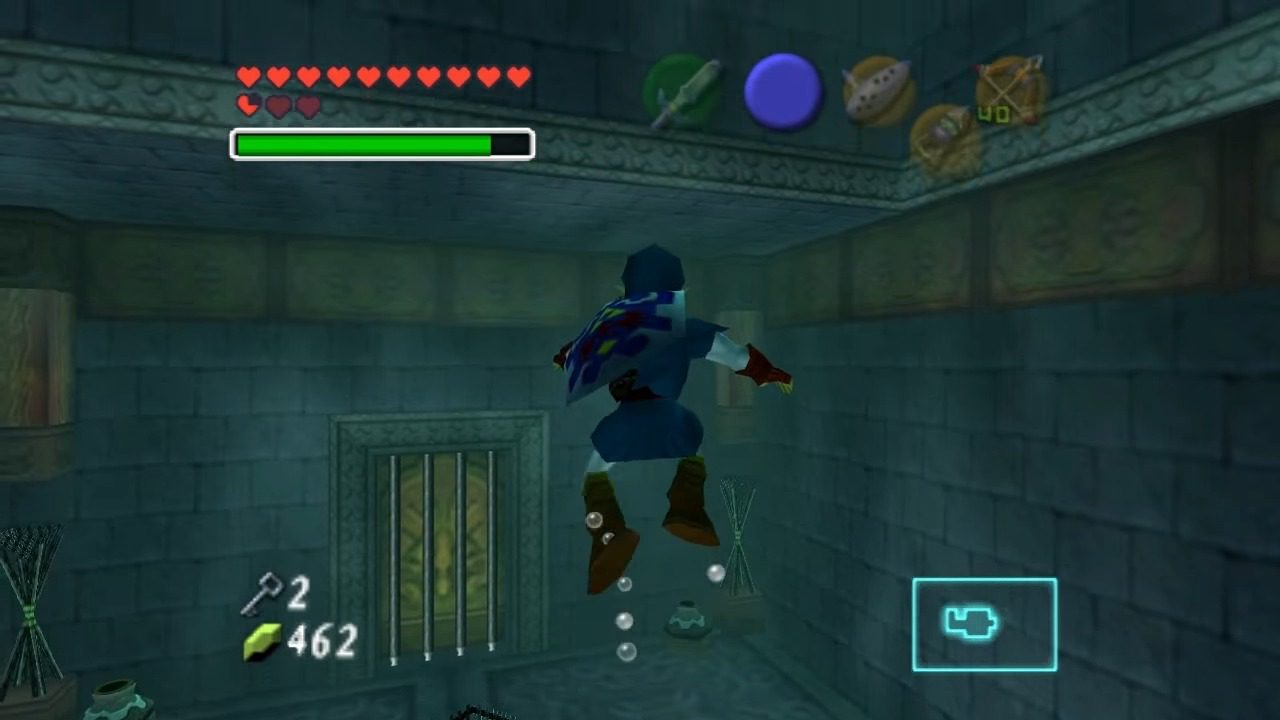
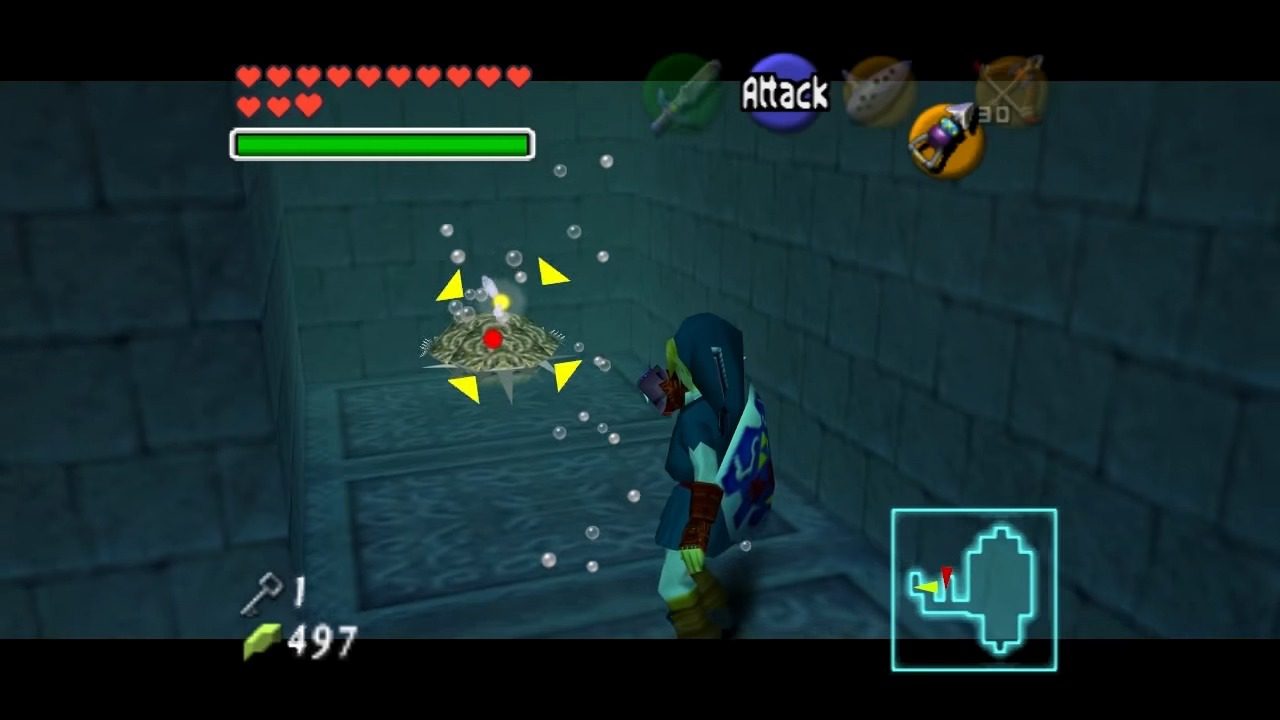
Return once more to the central chamber and this time, take the south entrance. Follow this passage until you reach a dead end. Here, you’ll notice a distinct crack in the floor. This is a classic Zelda clue! Equip a Bomb and place it near the crack to blast open a hole in the floor. Carefully drop down through the newly created hole. You’ll find yourself in an underwater tunnel, and you’ll likely encounter another Shell Blade patrolling this area. You can employ the same strategy as before, waiting for it to open its shell and then striking with your Hookshot. Alternatively, if you’re feeling nimble, you can unequip your Iron Boots to float above it, avoiding the encounter altogether. Continue through the underwater tunnel until you reach the end.
C. Switch and Hookshot to the Gold Skulltula
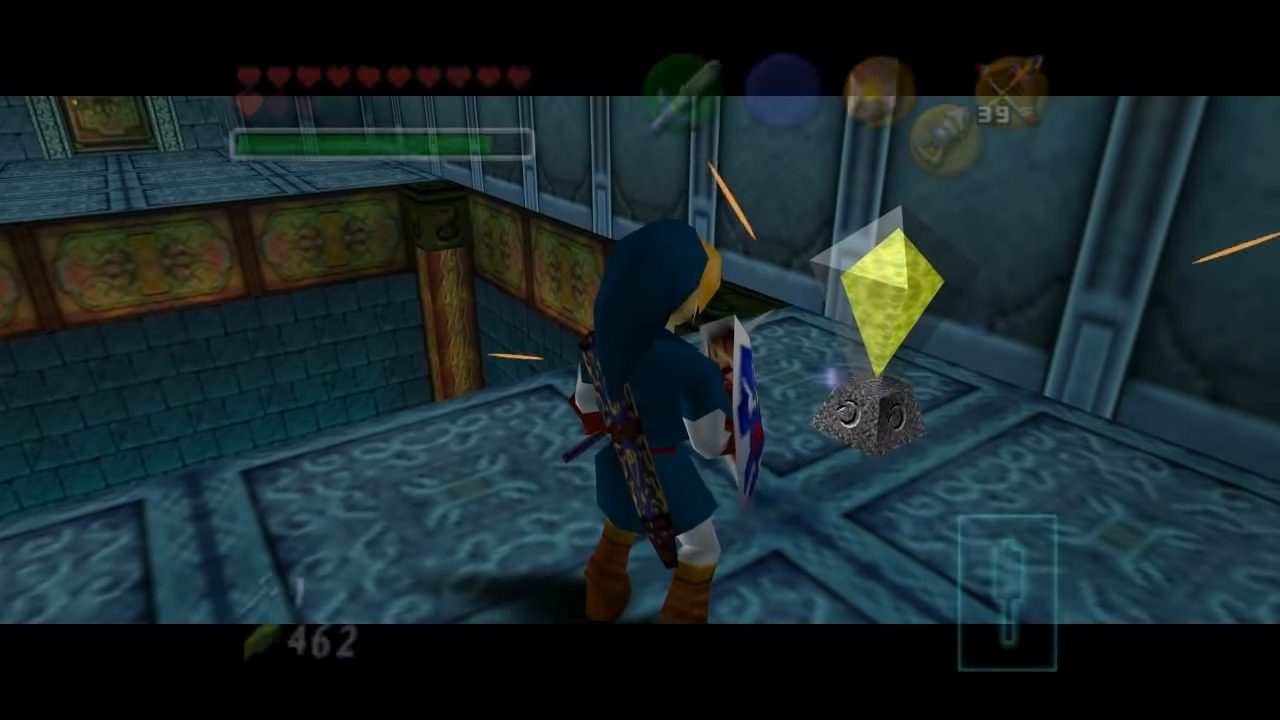
As you rise out of the underwater tunnel, you’ll find a small platform with a switch. Step on it to temporarily raise the water level in this small room. Quickly climb up the newly accessible ledge to find that the statue in the room has risen, revealing a Hookshot target. Approach the gate to room at the end and perform a spin attack with your sword to hit the crystal switch behind it.
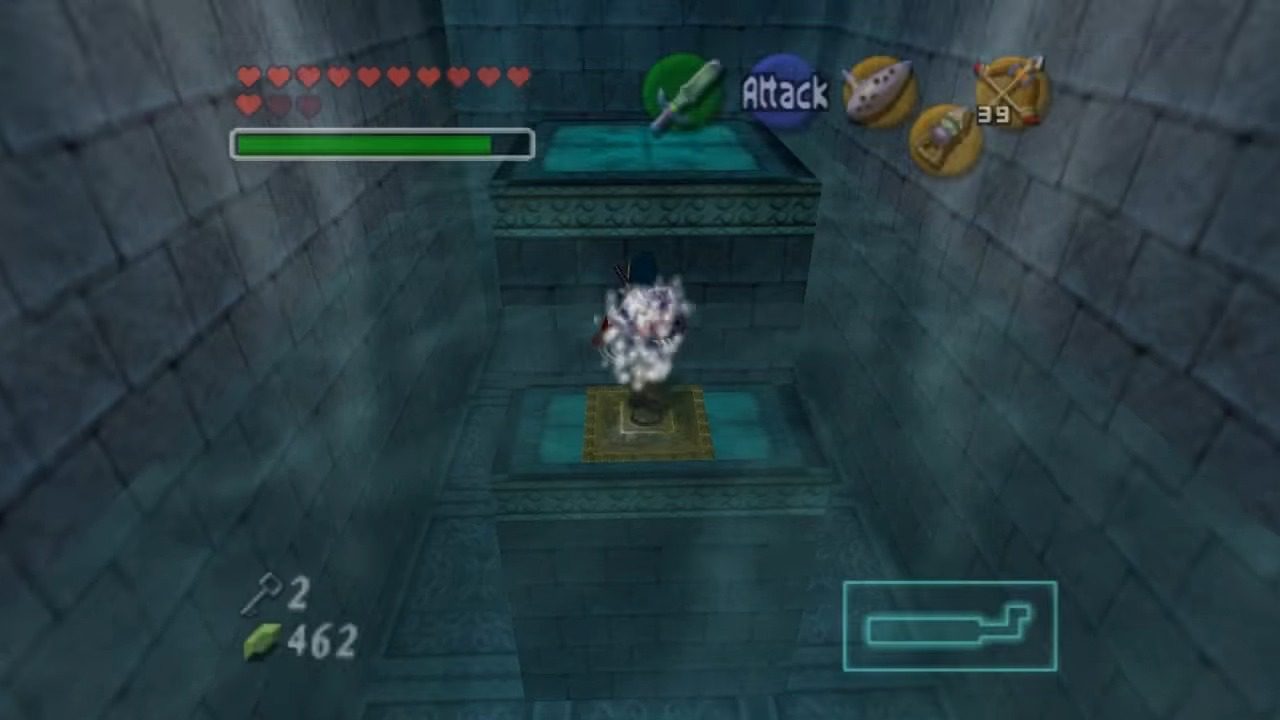
Kill and collect the Gold Skulltula behind the crystal switch.
D. Center Pillar and Raising Water to Mid-Level
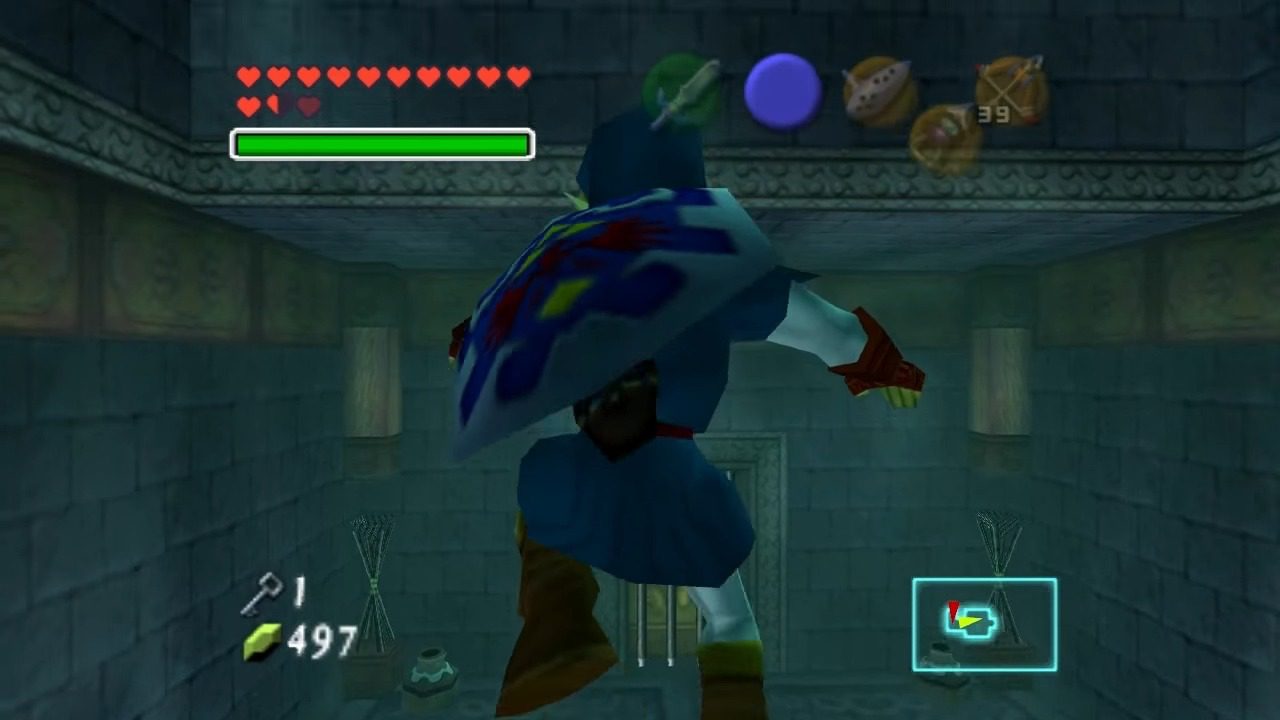
Return to the central chamber and use one of your Small Keys to unlock the door located in the center pillar. Head straight forward, then turn around and look up. You’ll spot a Hookshot target on the side of the platform above you. Use your Hookshot to reach this higher platform. Here, you’ll find the second Triforce symbol. Play Zelda’s Lullaby once again to raise the water level of the entire dungeon to the mid-level.


E. Hidden Hole and Third Key
This next part is often where players get stuck, so pay close attention! Immediately after raising the water to the mid-level in the center pillar room, quickly equip your Iron Boots and sink back down to the bottom. You’ll notice that the platform which rose with the water has now uncovered a hidden hole in the floor. Drop down into this hole and follow the passage.
You’ll eventually reach a room containing more Shell Blades and some Spikes. Defeat all the enemies using your Hookshot to unlock a gate in the right-hand corner
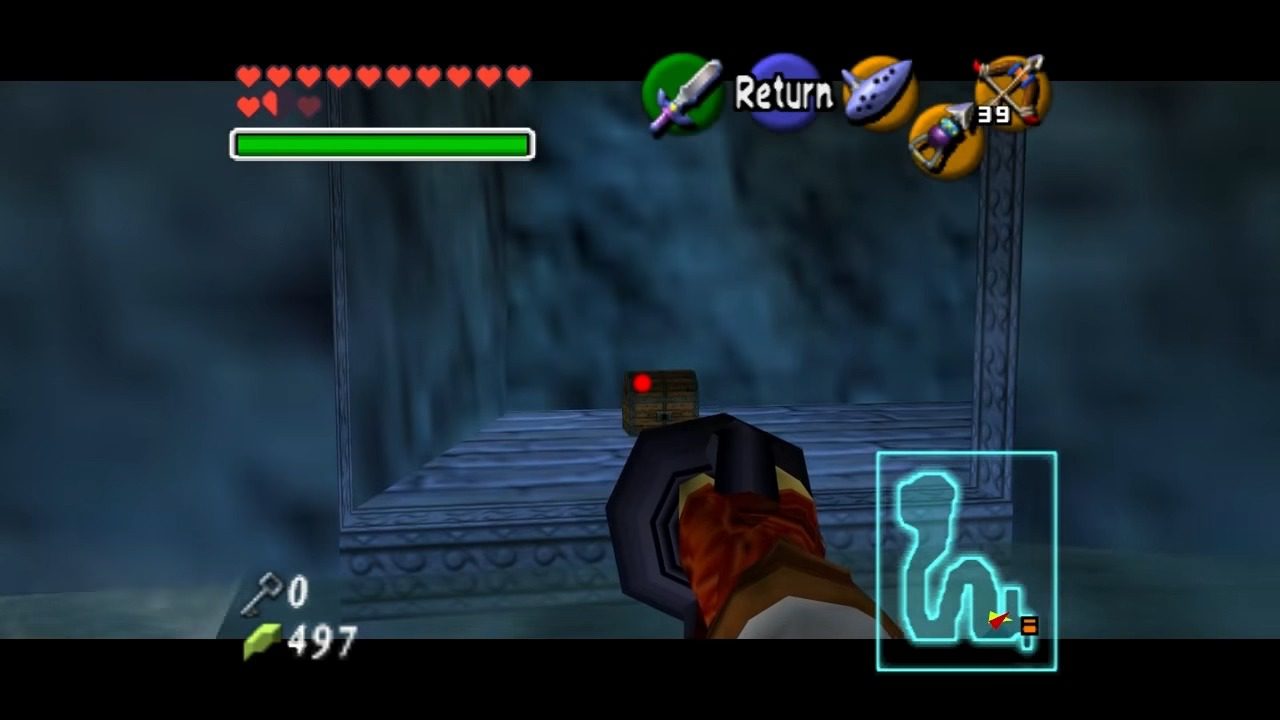
With the gate open, swim up. You’ll find a chest with another Small Key.
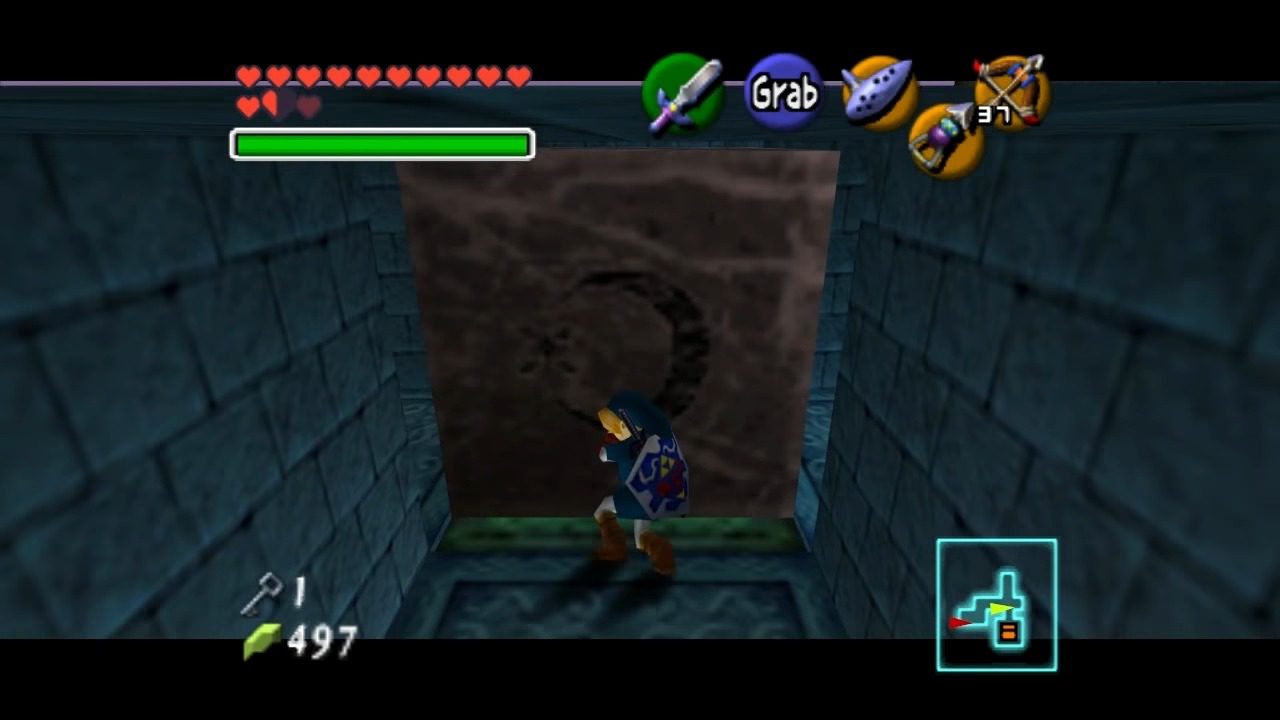
F. Bombing the Cracked Wall (Fourth Key)
With the water still at the mid-level, make your way back to the room where you first encountered Princess Ruto in the east passage on the lowest floor. Now that the water is at the mid-level, you can float up to the second floor of this vertical shaft. Look around, and you’ll spot a cracked section of the wall.
Equip a Bomb and blast it open to reveal a hidden room containing another Small Key. This is another commonly overlooked key, emphasizing the need to backtrack and explore previously visited areas after altering the water level.
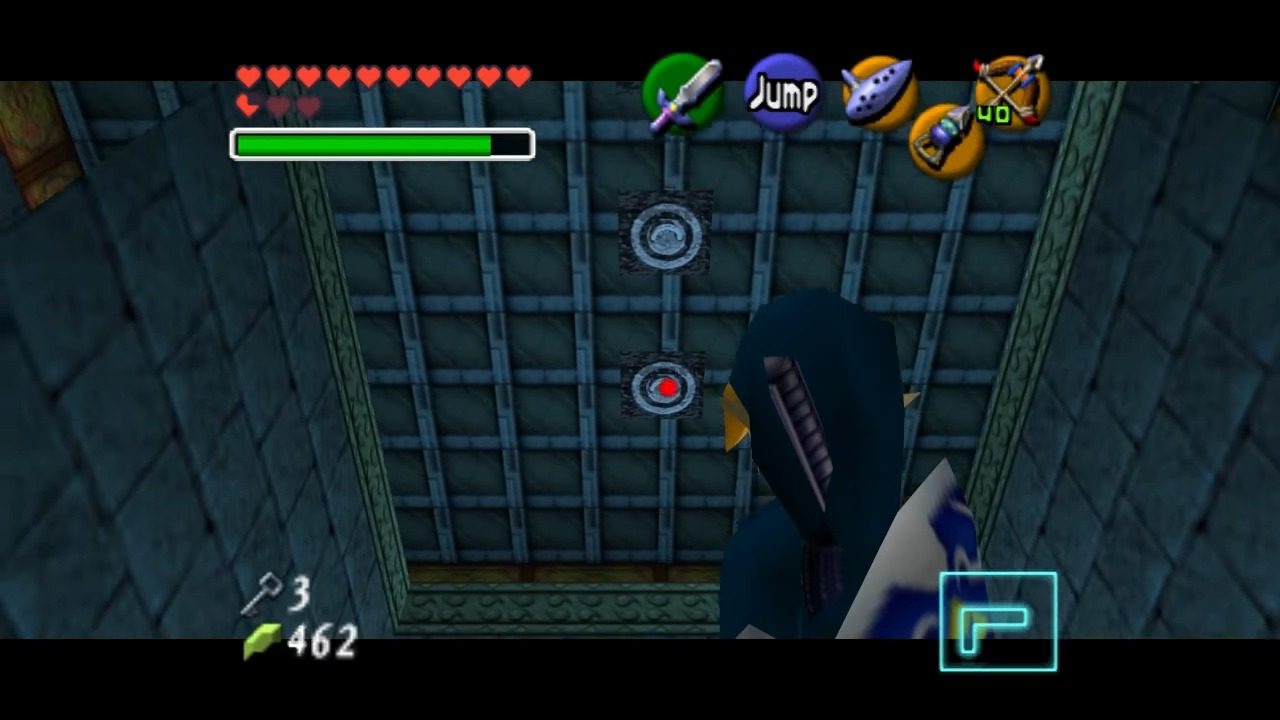
G. Hookshot Over Spikes (Compass)
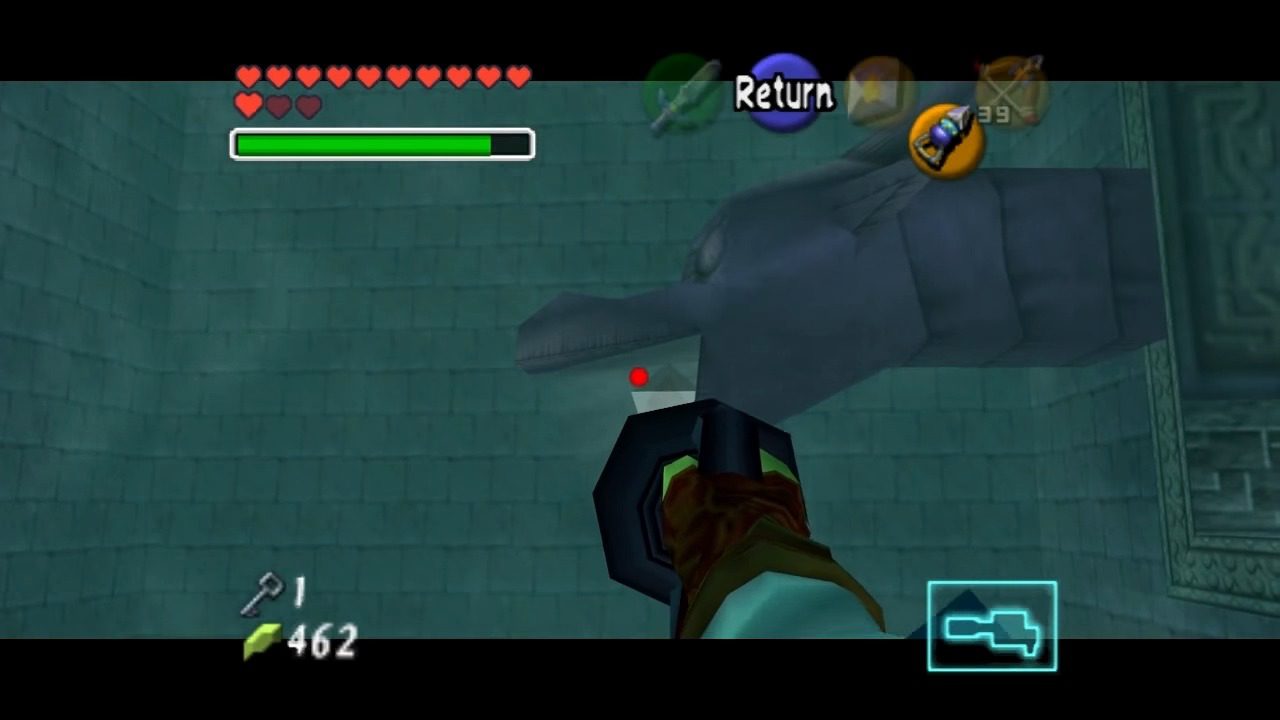
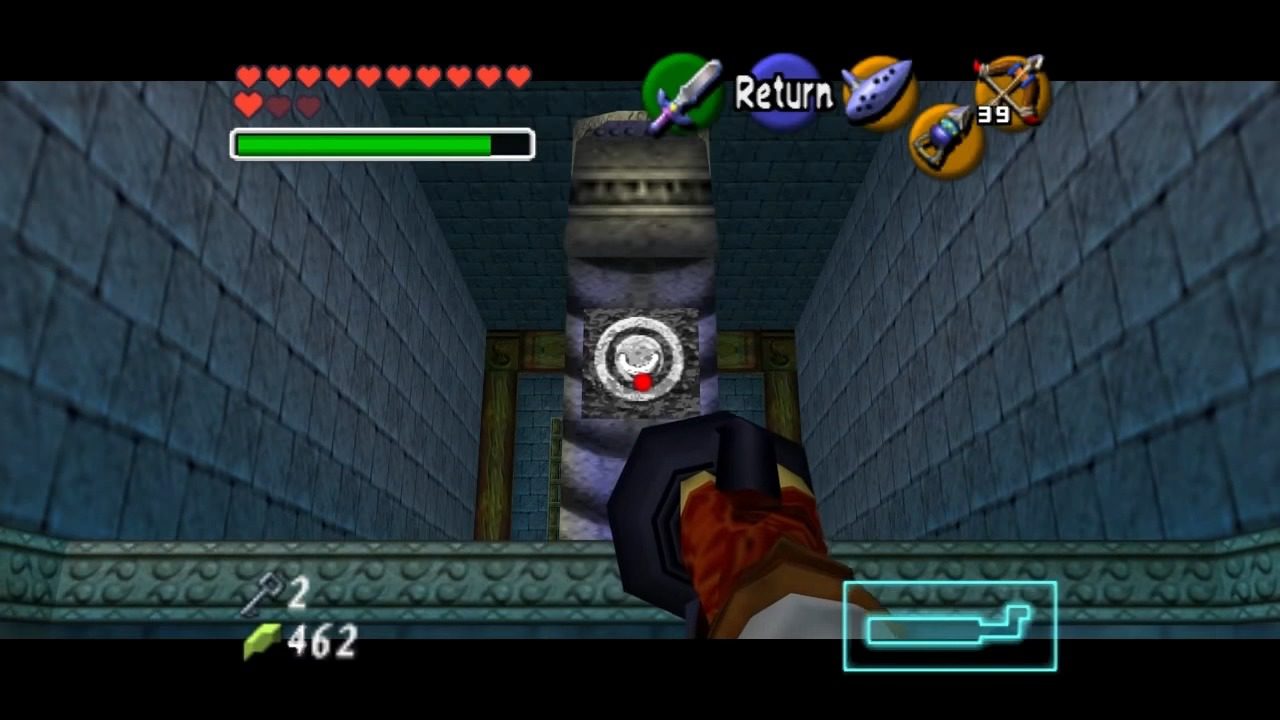
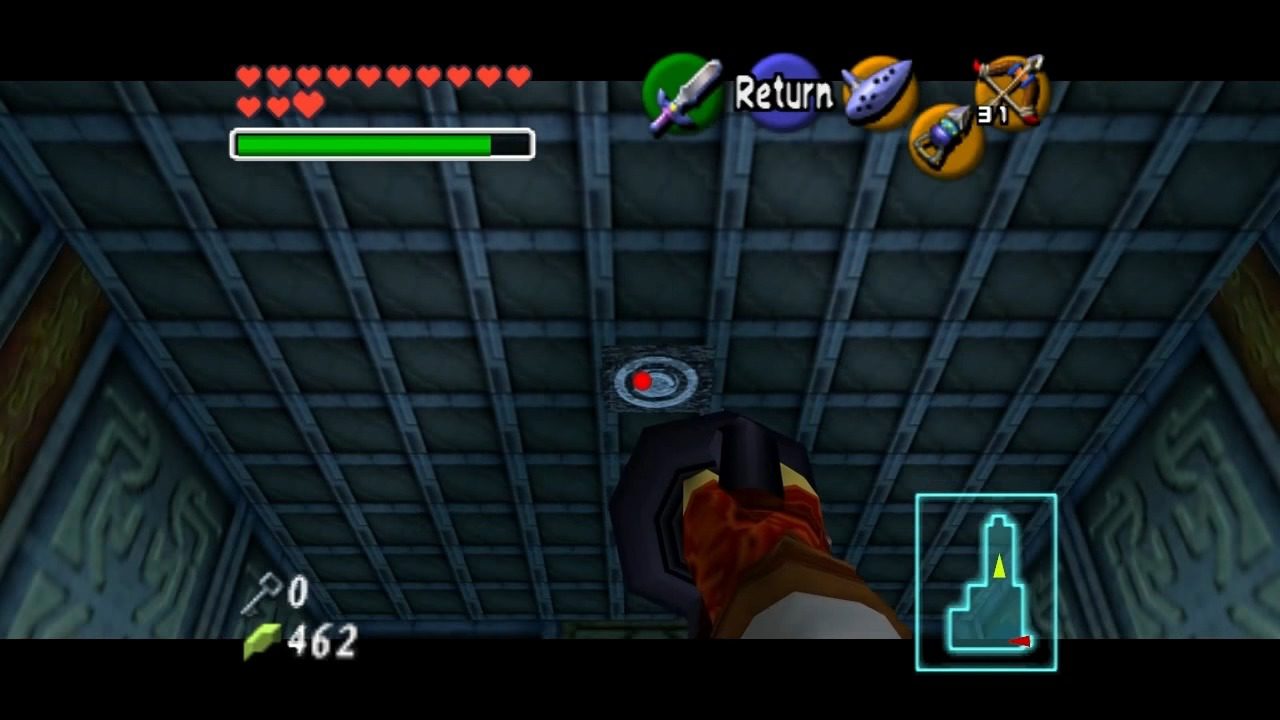
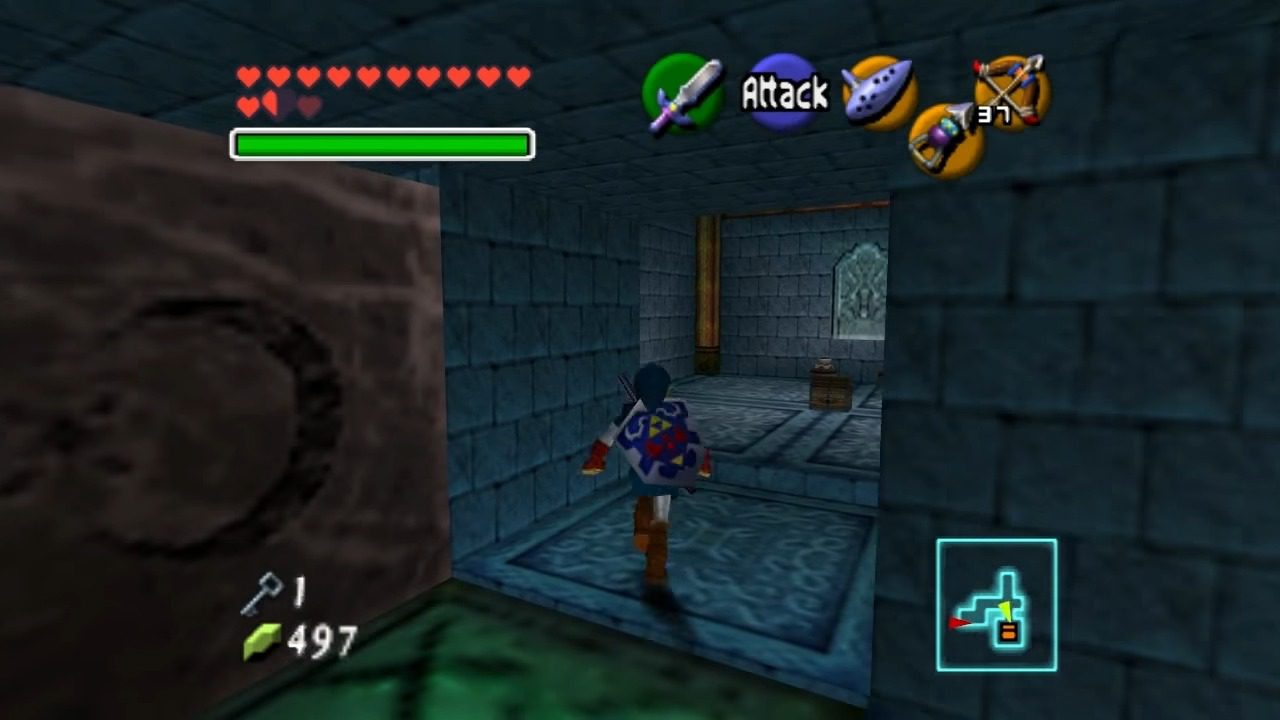
Find the east corridor marked by two pots. Proceed through the corridor until you encounter a hallway with spikes blocking the path. Use the Hookshot to latch onto the ceiling targets above the spikes, allowing you to cross safely without taking damage.
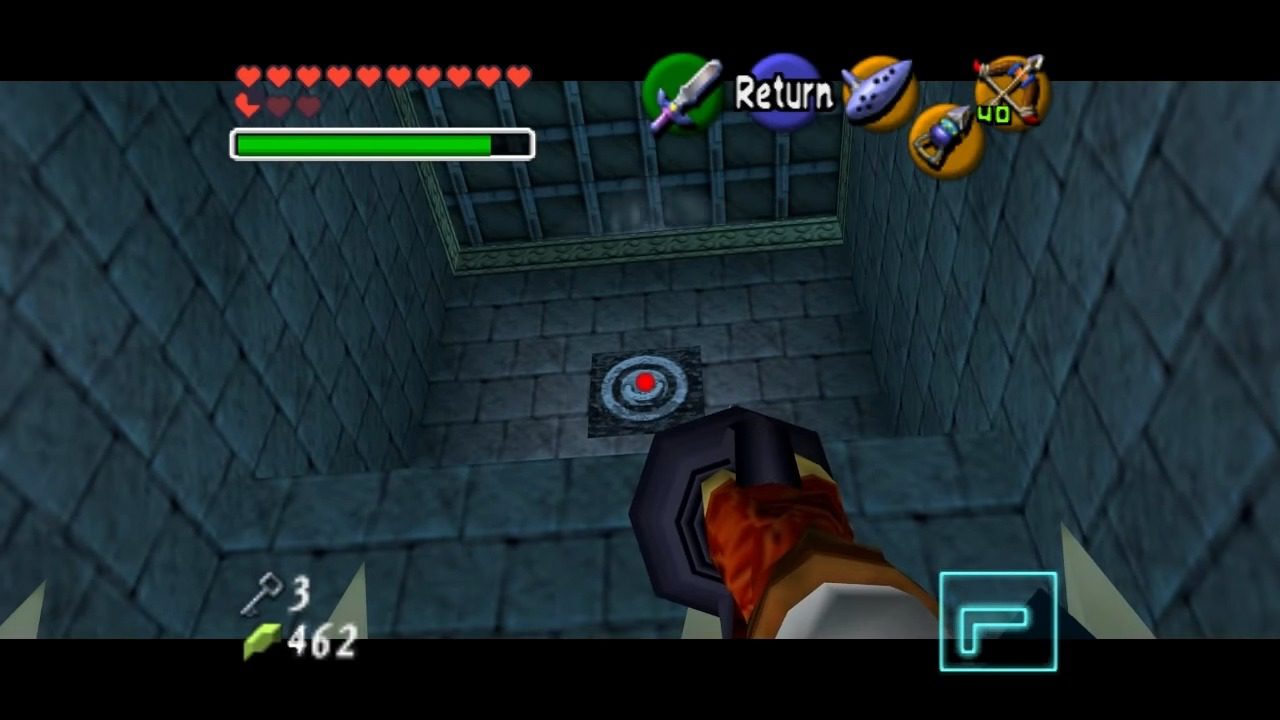
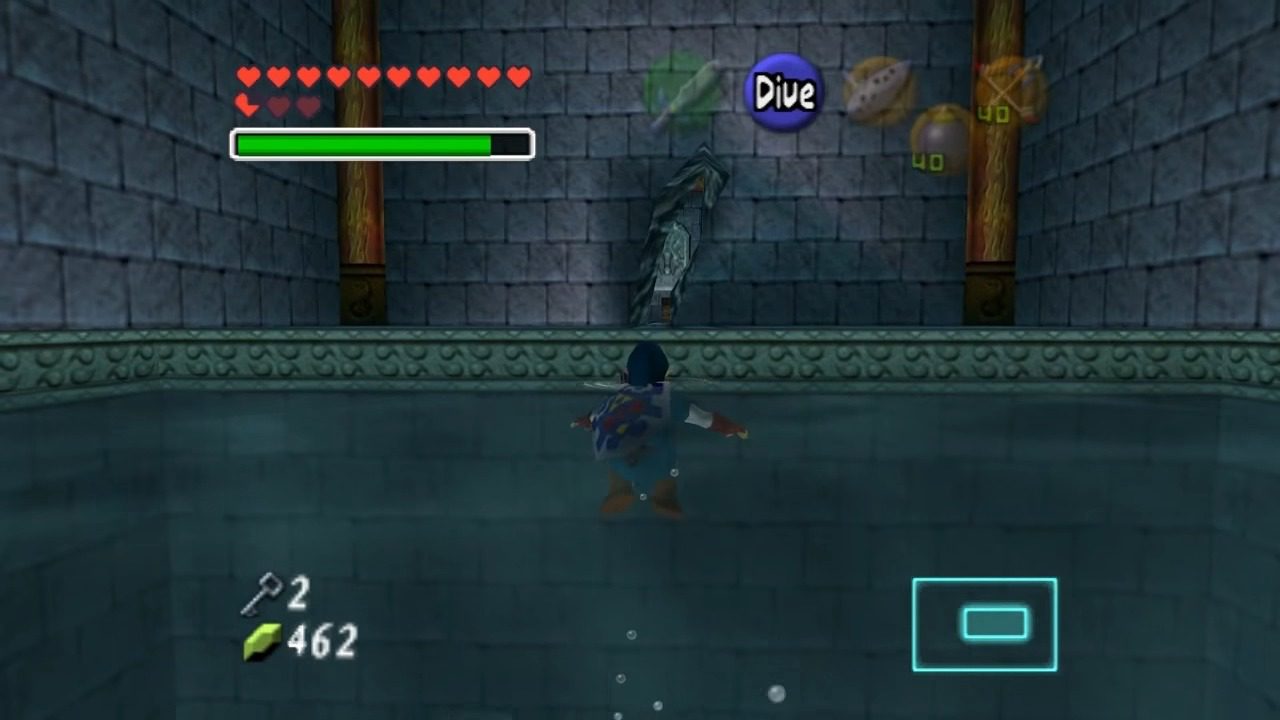
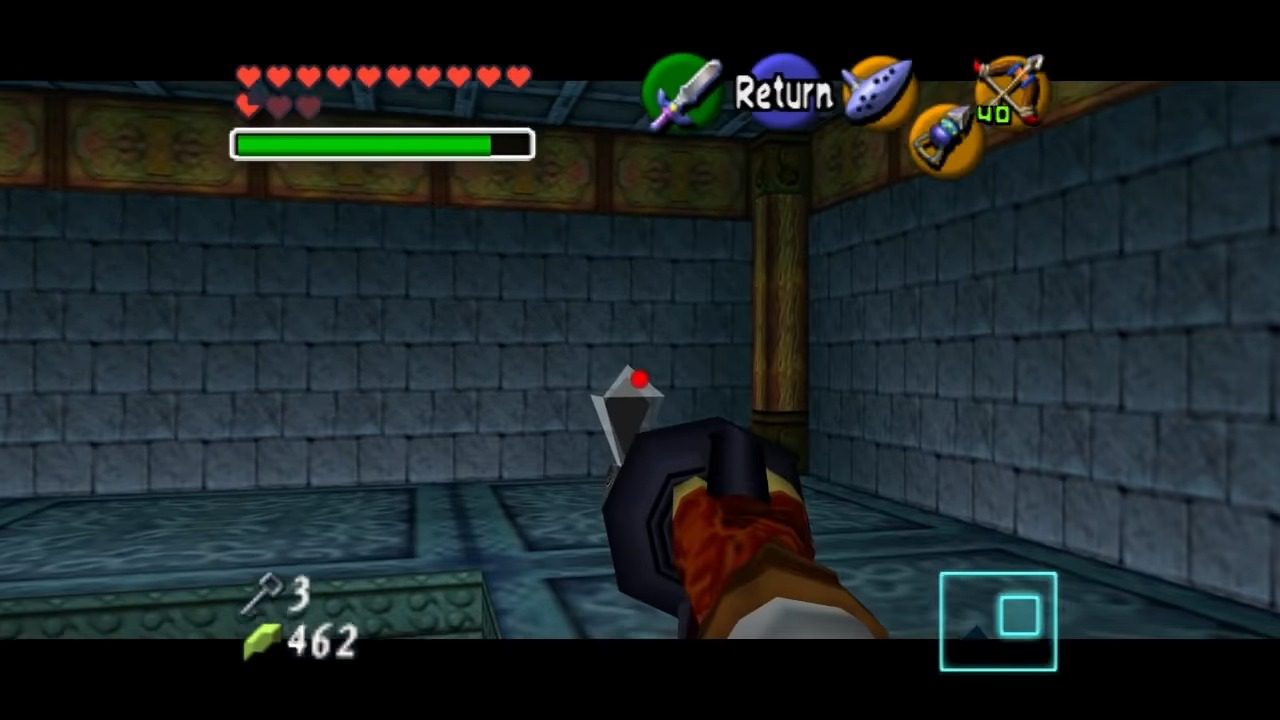
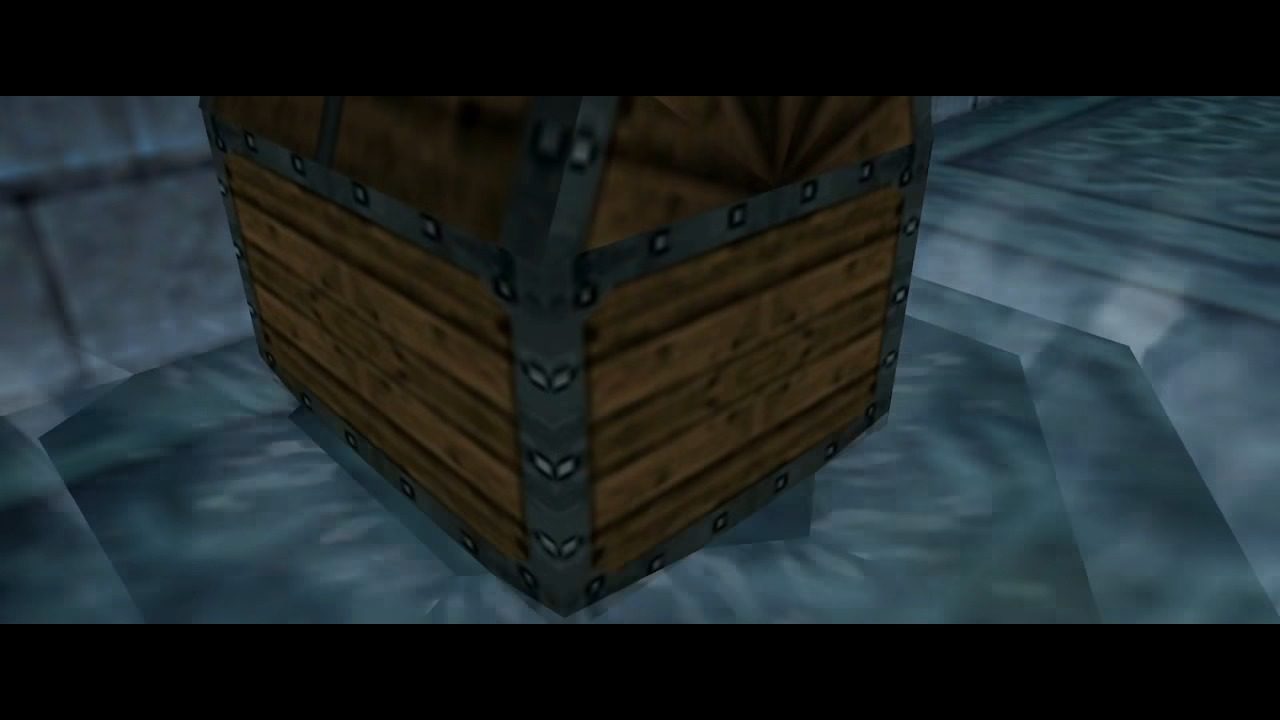
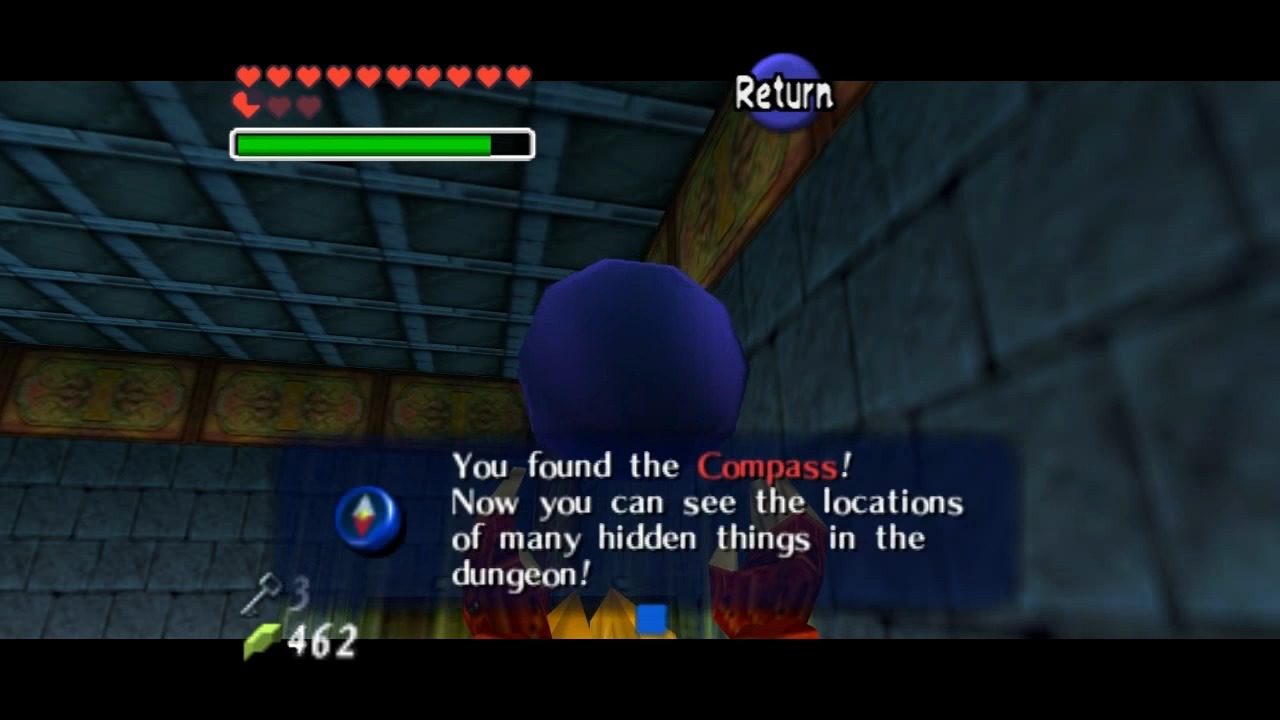
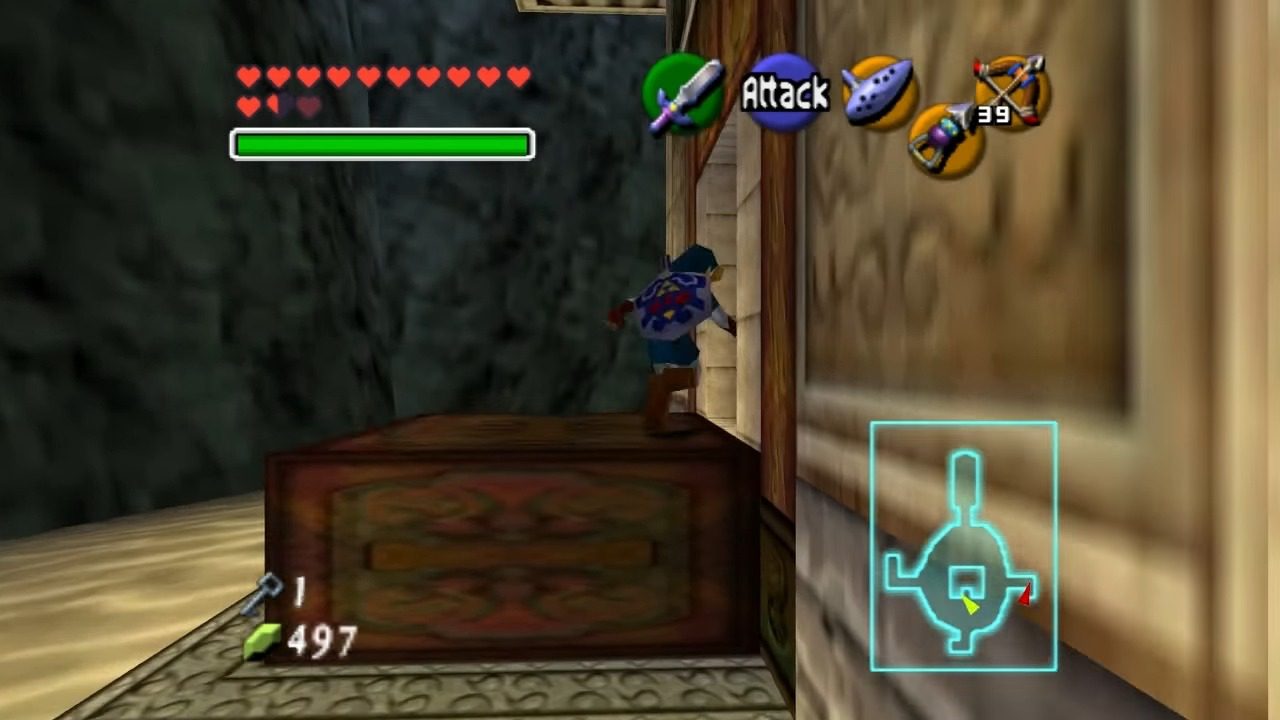
After passing the spikes, you’ll enter a room with a large chest surrounded by water geysers. Stand near the chest and locate the crystal switch across the room. Use the Hookshot or shoot an arrow to activate the switch, which will temporarily lower the water geysers. Quickly open the chest to obtain the Compass before the geysers rise again.
V. Highest Water Level Puzzles and Key Acquisition
A. Raising the Water to the Highest Level (Third Triforce Symbol)
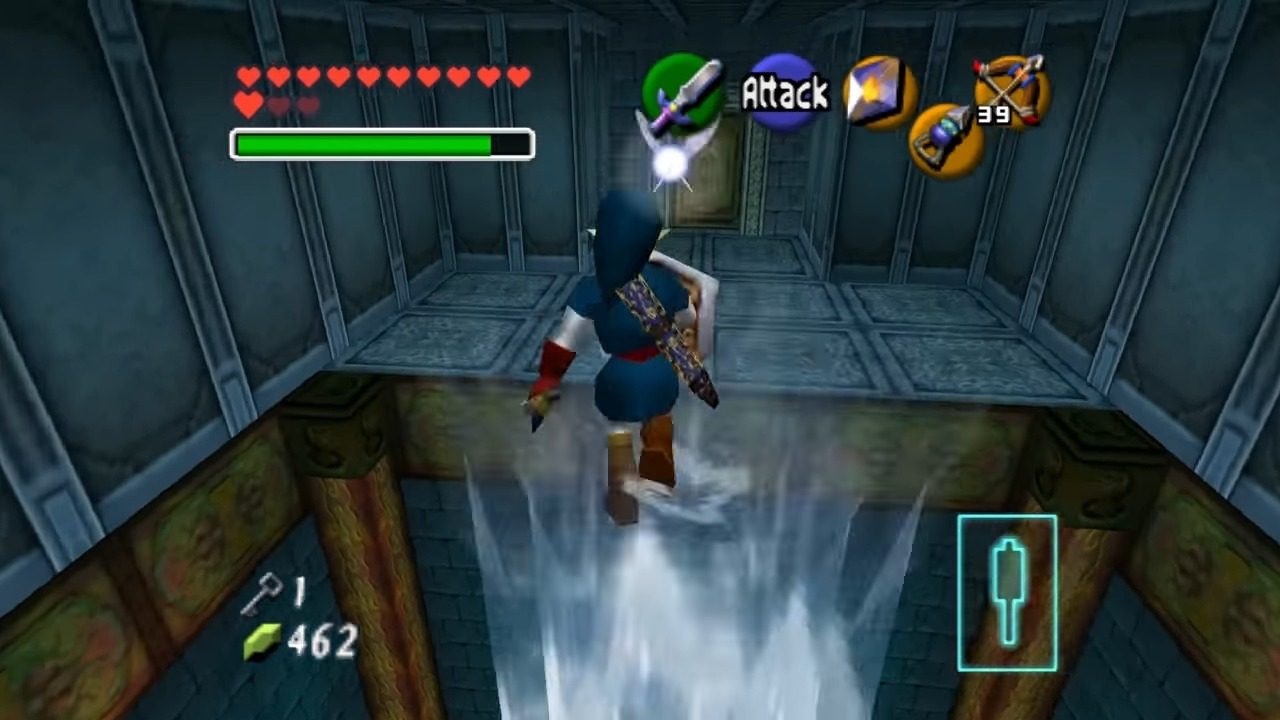
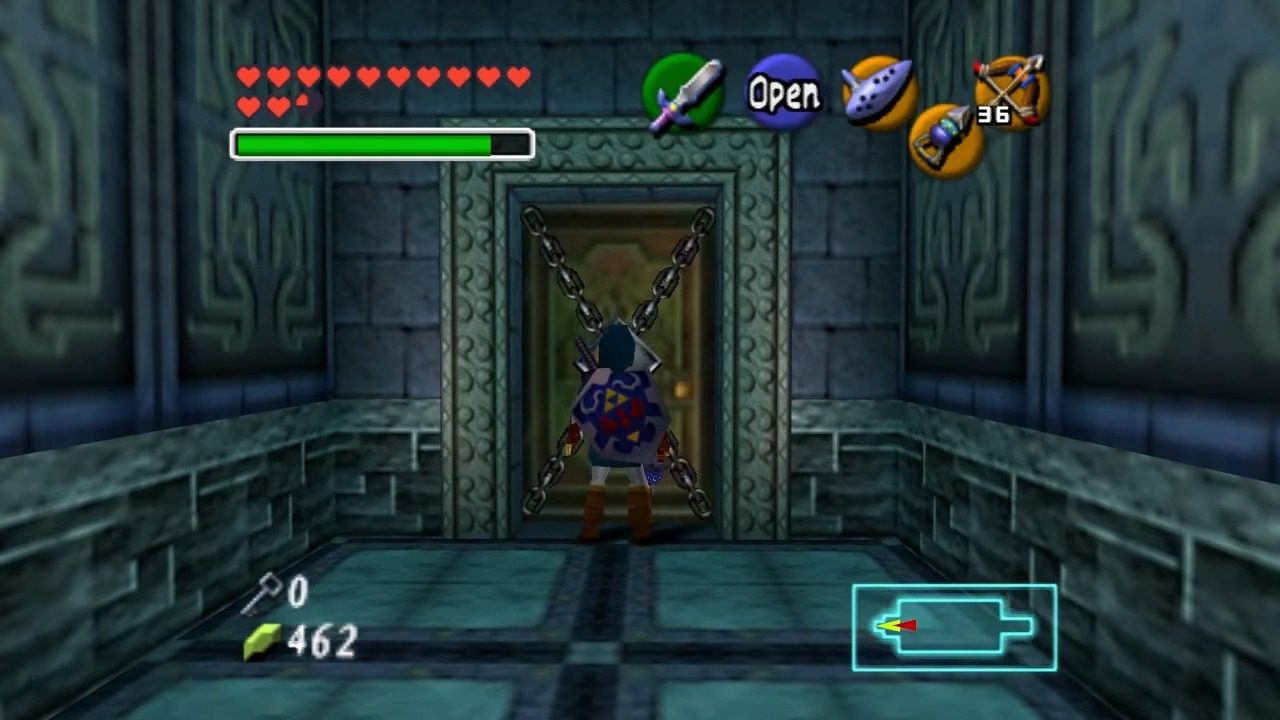
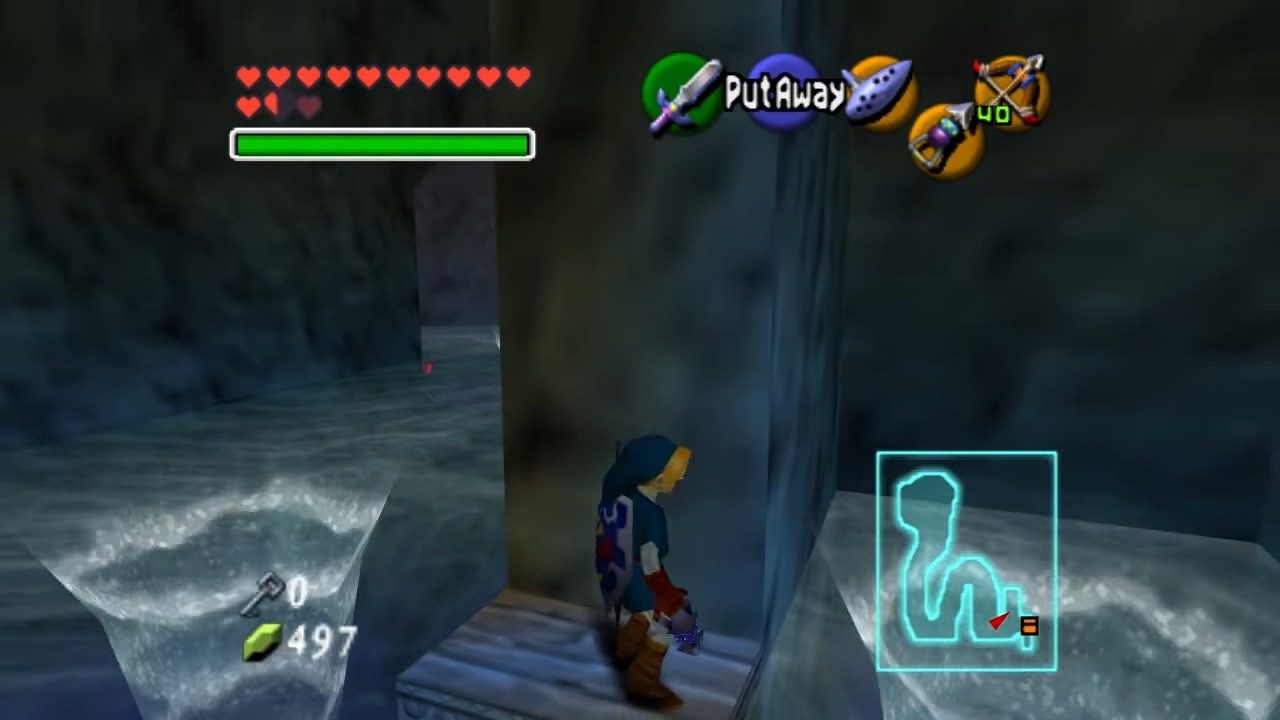
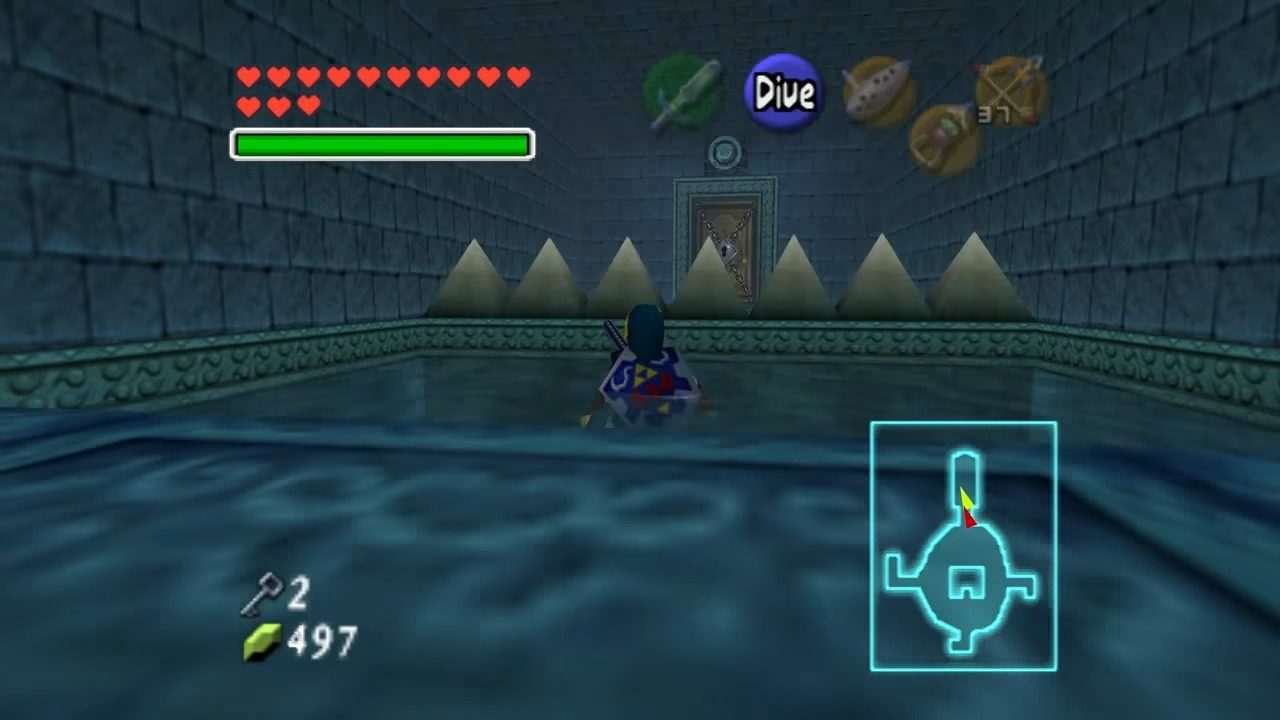
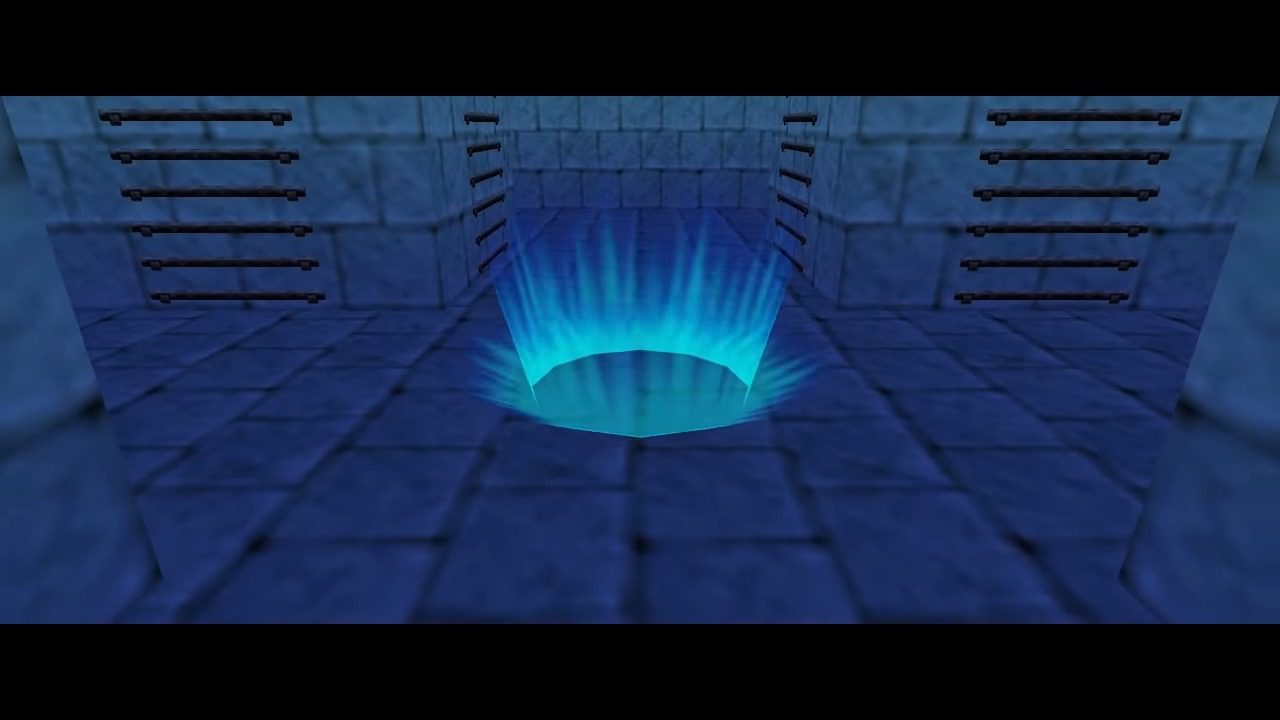
Return to the central chamber with the water still at the mid-level. Locate the locked door on the west side of the room, on the same floor as you are currently. Use one of your Small Keys to open it. Inside, you’ll see a water spout. Stand on the water spout, and you’ll be lifted upwards.
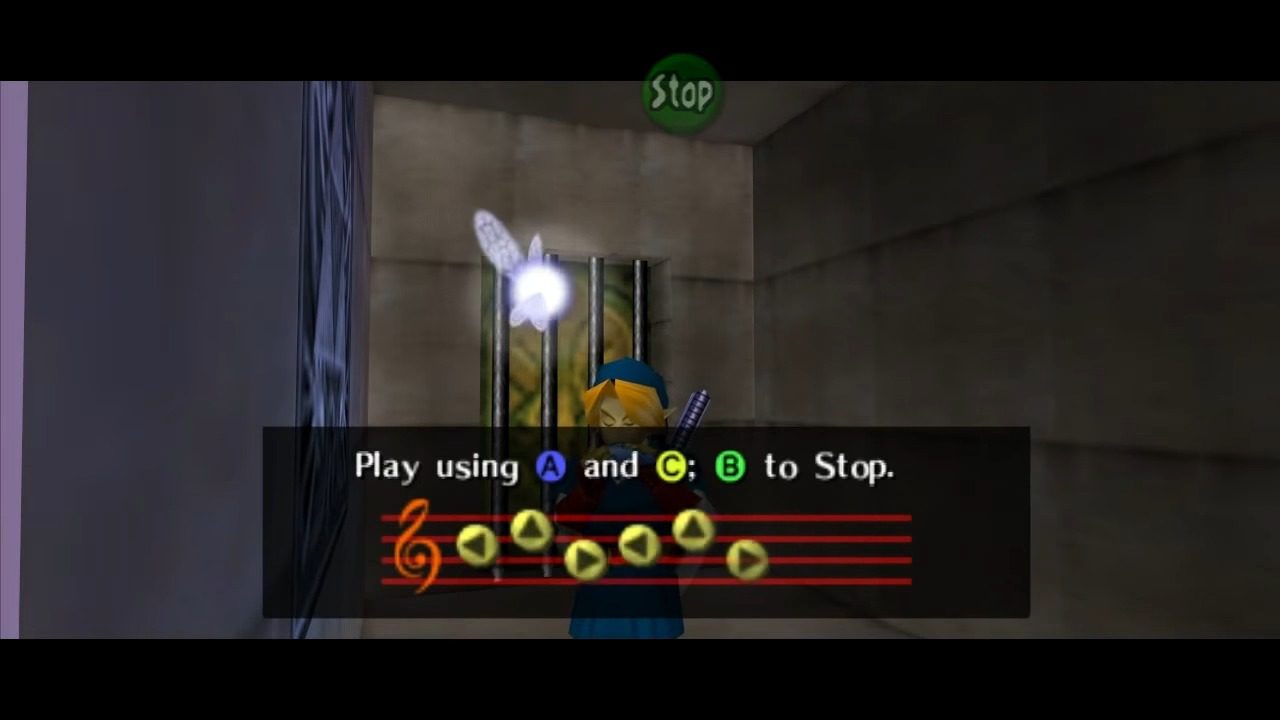
Step through the door at the top leading to the central room. You’ll find the third and final Triforce symbol immediately to your right. Play Zelda’s Lullaby one last time to raise the water level in the temple to its highest point.
B. Move the Block

From the central chamber, swim over to the east side of the chamber and pull the block in place. This is to save time later on.
B. Dragon Statue Puzzle
Now that the block is in place, head back through the locked door on the west side of the central chamber – the same door located directly above the one you just used to access the third Triforce symbol. This time, you’ll be able to navigate the series of moving platforms in this room. Carefully time your jumps and use your Hookshot to latch onto the targets on the platforms, making your way across the expansive area.
On the other side, you’ll find another locked door. Use one of your remaining Small Keys to open it. You’ll enter a room with dragon statues and a central diamond switch. Activating the switch raises the water level, causing the dragon heads to rise and reveal Hookshot targets. Use the Hookshot to latch onto the target on the first raised dragon head, transporting you to its platform. From this position, shoot the crystal switch again to lower the remaining dragon heads. Proceed by Hookshotting to the next available target on the lowered dragon head. Repeat this process: raising and lowering the dragon heads as needed, using the Hookshot to advance from one to the next.
Stand near the entrance and activate the central crystal switch using your sword or an arrow. This action raises the dragon heads, revealing Hookshot targets beneath them. Upon reaching the final dragon head, stand atop it. Activate the crystal switch once more to raise the dragon head with you on it, elevating you to the upper platform. On this platform, you’ll encounter additional Blue Tektites and a Like Like. Defeat the Tektites first. Dor the Like Like, use arrows from a distance to avoid being swallowed. After clearing the enemies, use the Hookshot on the target above the spikes to cross safely.
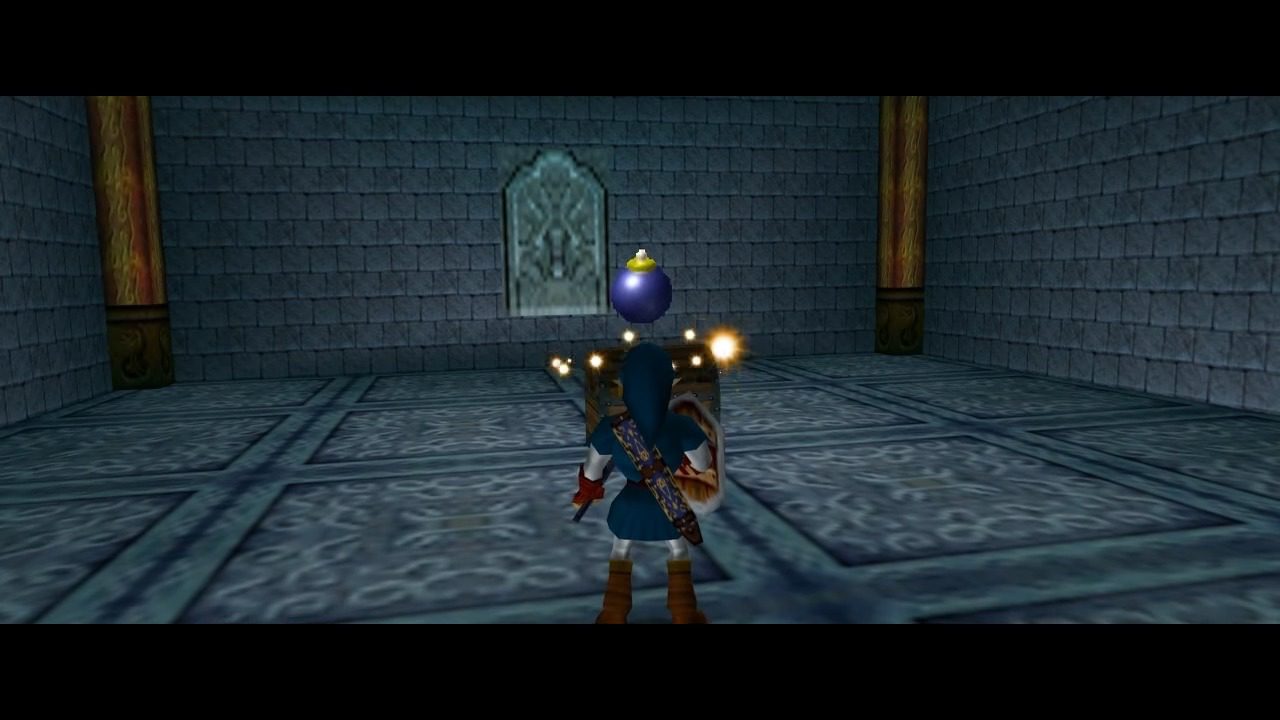
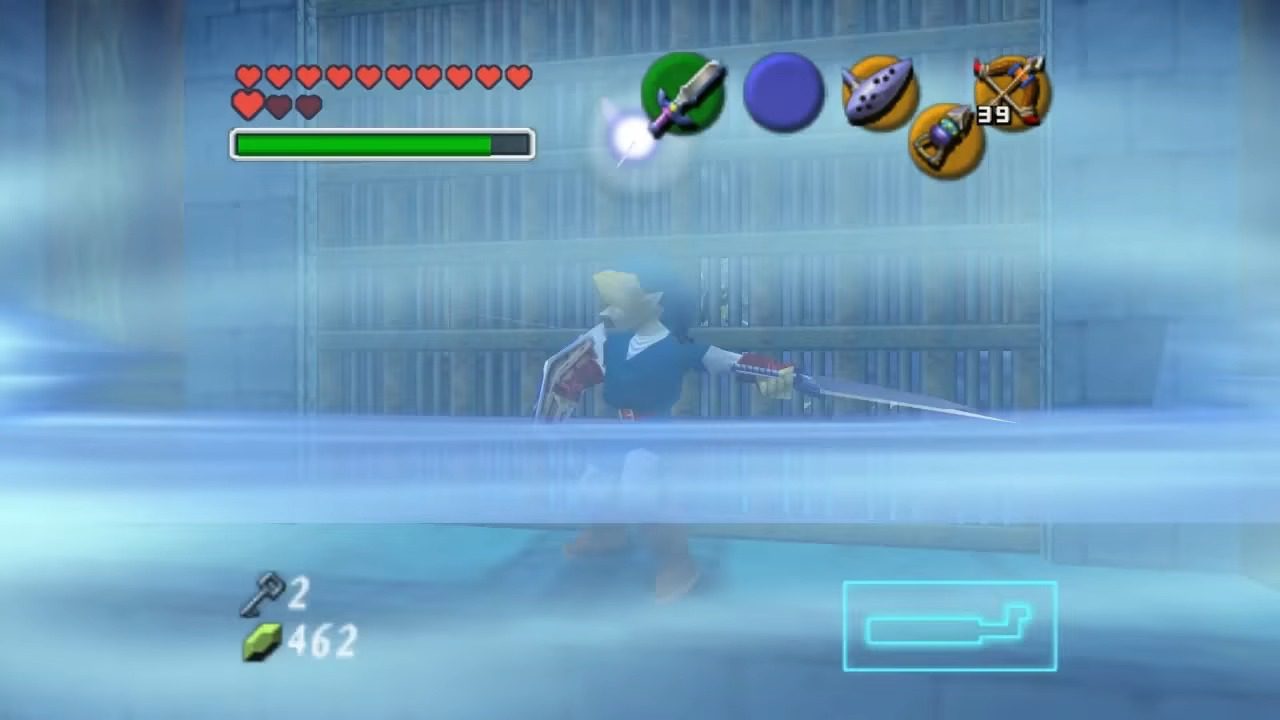
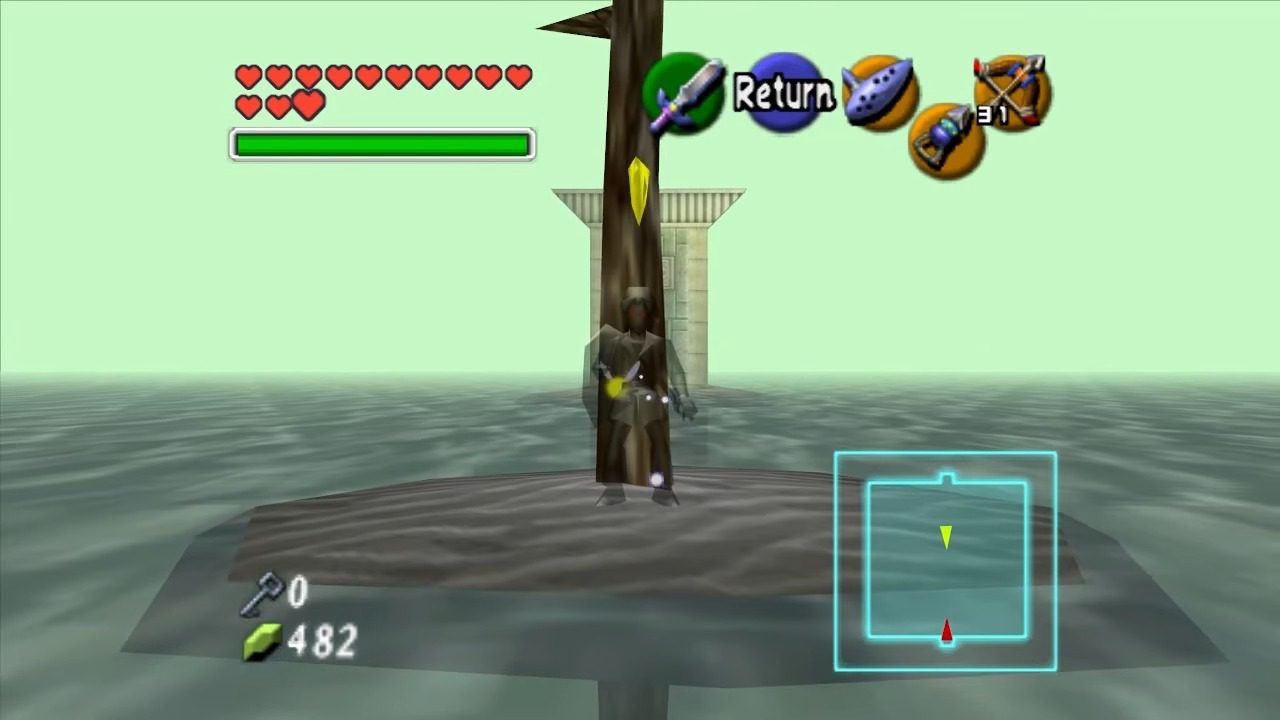
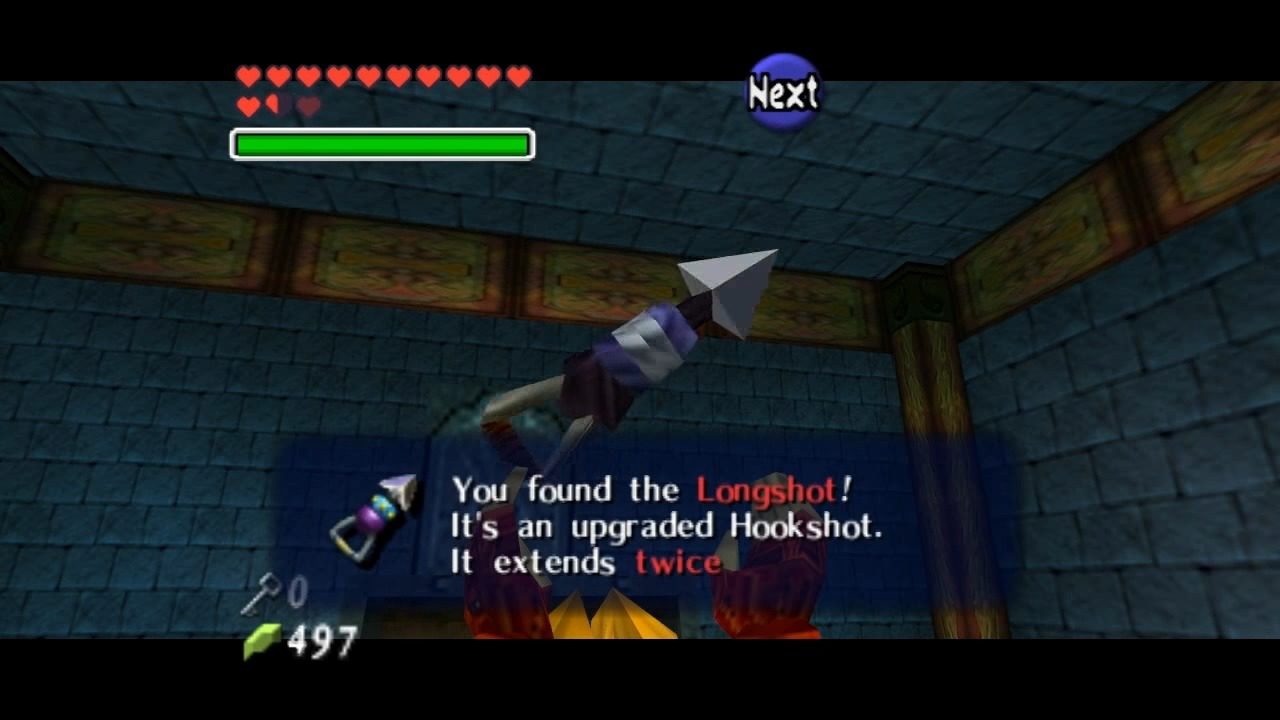
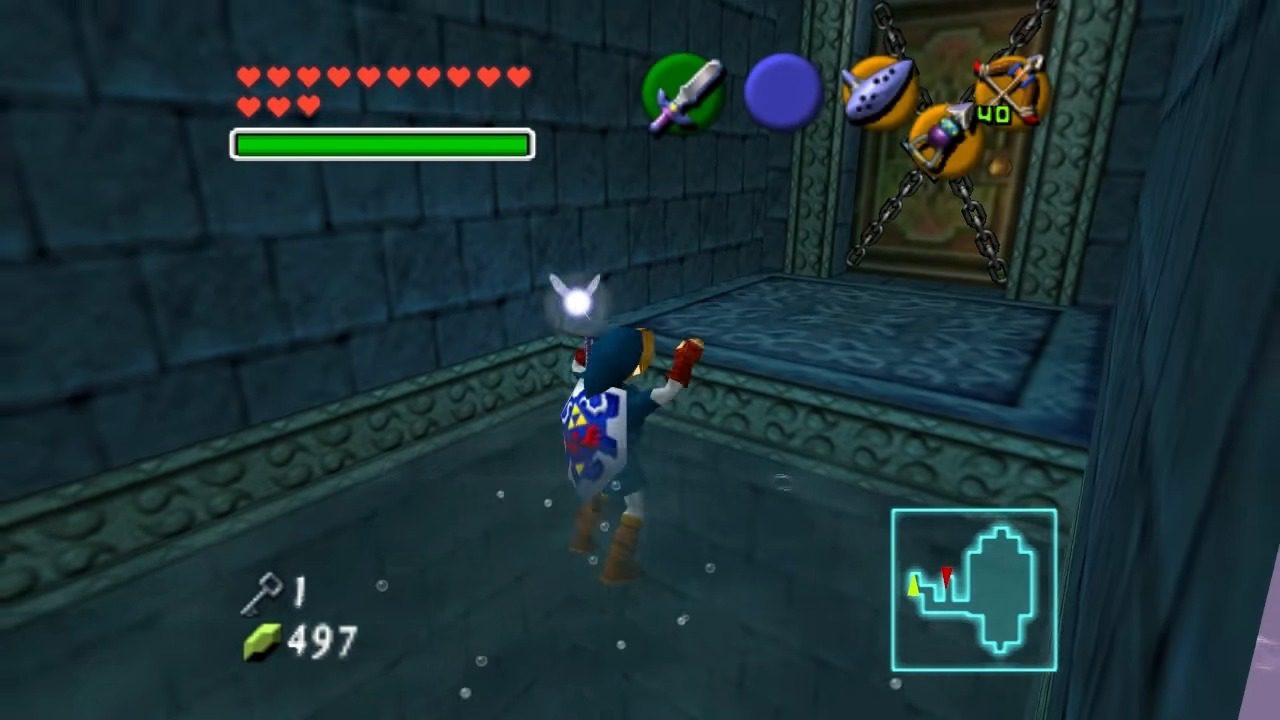
C. Dark Link & Getting the Longshot (Fifth Key)
Upon entering the chamber, you’ll find yourself in a serene, mist-filled room with a shallow reflective floor and a solitary tree at its center. As you proceed, your reflection disappears, and Dark Link materializes beneath the tree, initiating the battle. Dark Link mirrors your movements and attacks, making conventional swordplay less effective. He possesses the same amount of health as you, meaning the number of hits required to defeat him corresponds to your current number of Heart Containers. Initially, Dark Link appears semi-transparent and becomes more opaque and aggressive as the battle progresses. Strategies for Defeating Dark Link:
- Utilizing the Megaton Hammer: Equip the Megaton Hammer, which Dark Link cannot replicate or effectively counter. Approach Dark Link and strike with the hammer; this method bypasses his usual defenses and deals significant damage.
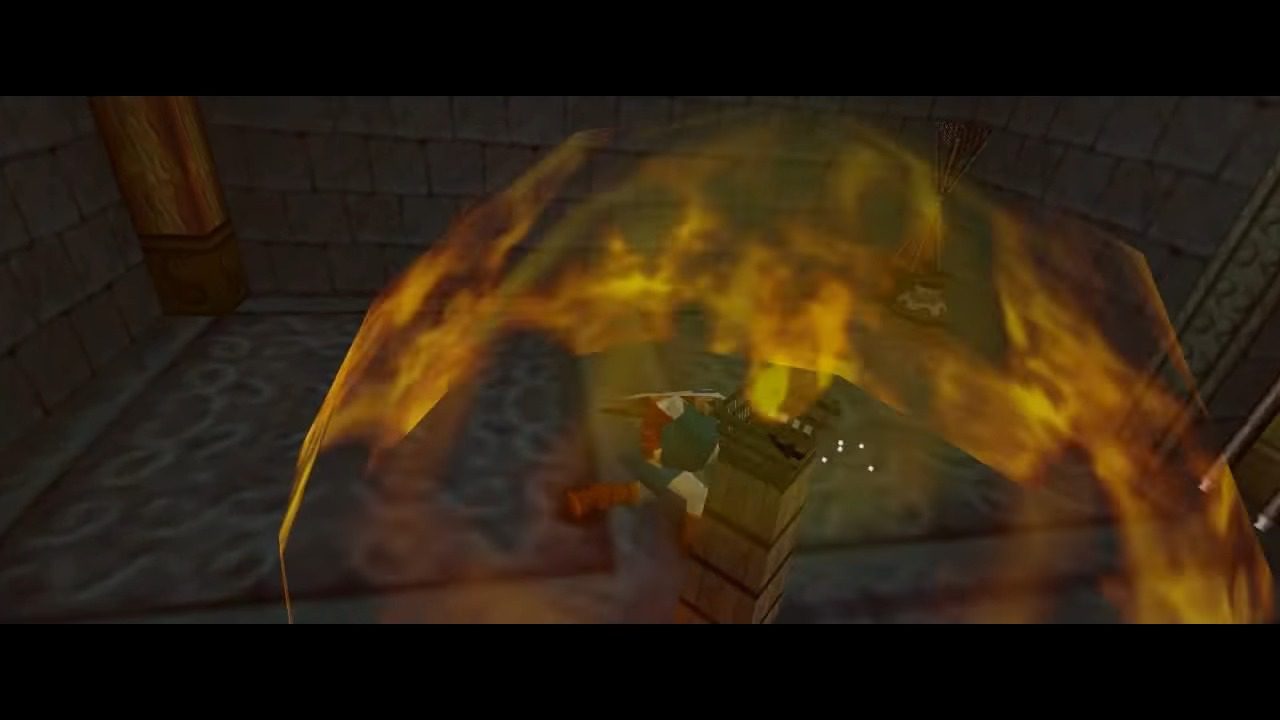
- Employing Din’s Fire: Cast Din’s Fire when Dark Link is nearby to inflict unavoidable damage. Ensure you have sufficient magic power before the battle, and consider carrying Green Potions to replenish your magic meter if needed.
- Sword Techniques: Avoid using Z-targeting during the fight, as it makes your attacks more predictable and easier for Dark Link to counter. Execute horizontal slashes by holding a direction and pressing the attack button, aiming to strike from angles that are harder for Dark Link to block. Be cautious with thrust attacks, as Dark Link can counter them by jumping onto your sword and leaving you vulnerable to follow-up attacks.
- Using Deku Nuts: Throwing Deku Nuts can momentarily stun Dark Link, providing an opportunity to land additional attacks. Time the use of Deku Nuts carefully, ideally when Dark Link is advancing towards you, to maximize their effectiveness.

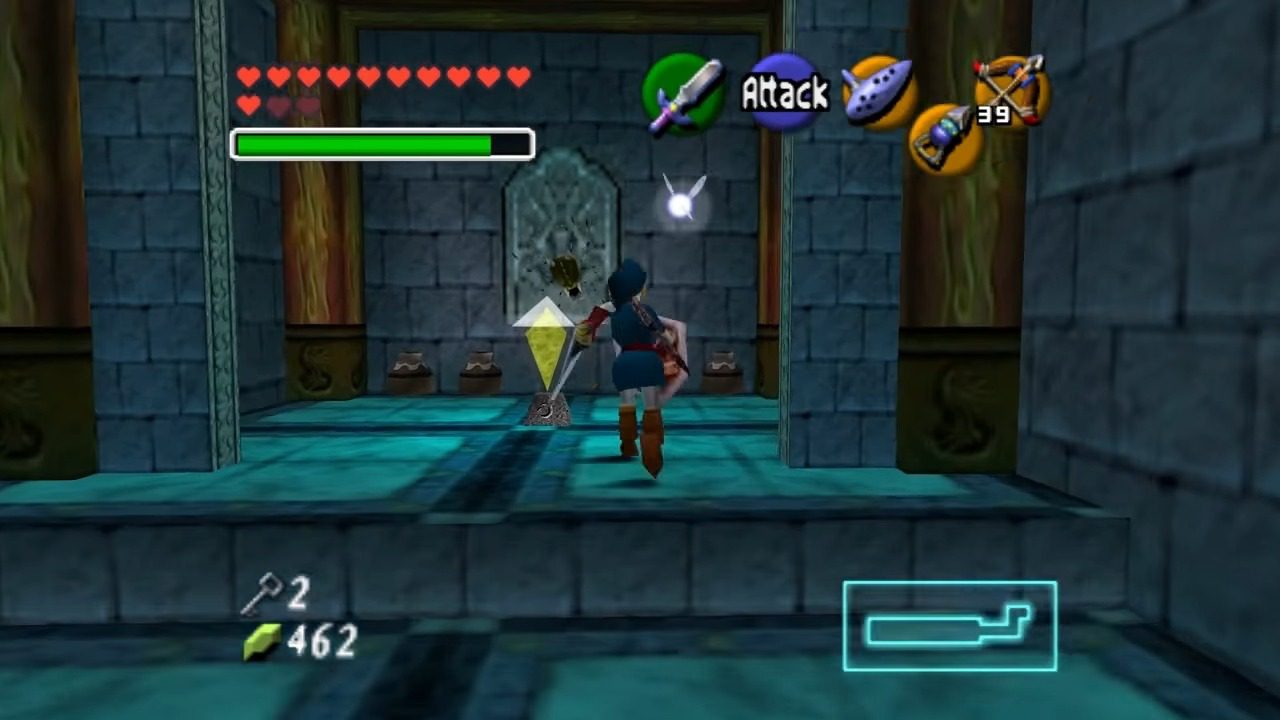
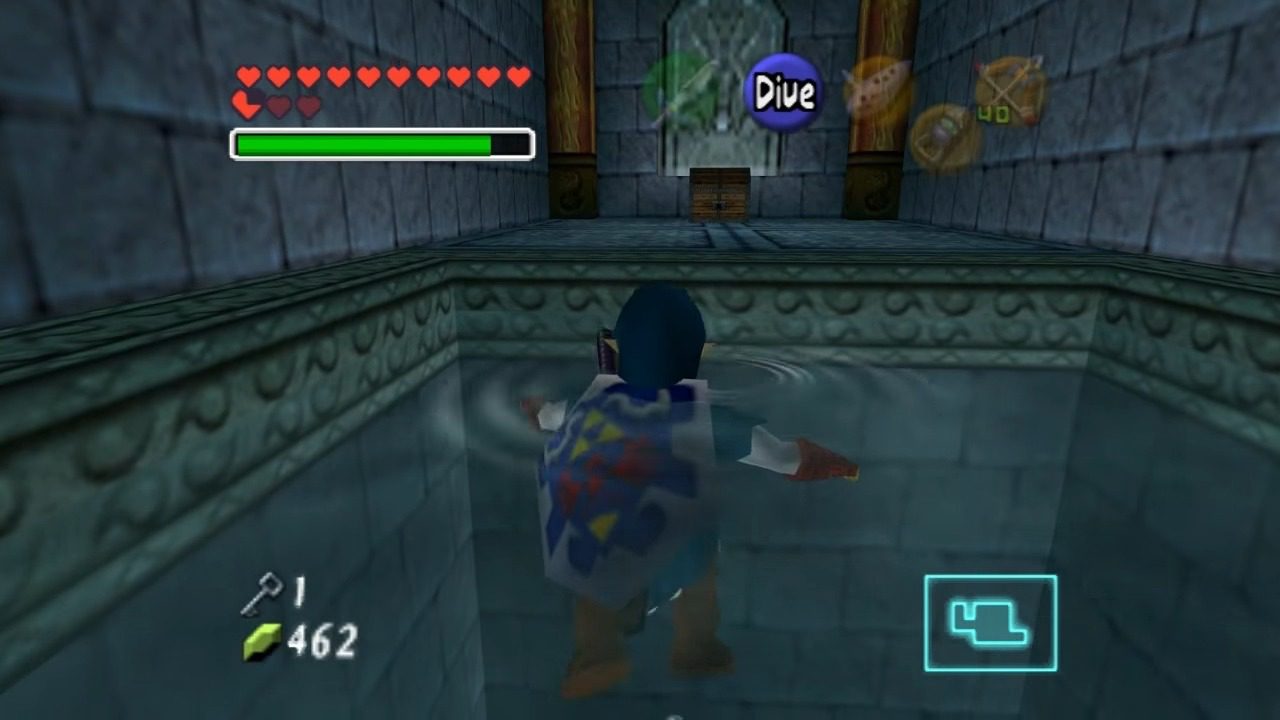
After defeating Dark Link, the bars door on the other side of the room will unlock. Enter that room, open the chest, and retrieve the Longshot!
D. Time Block and Sixth Key
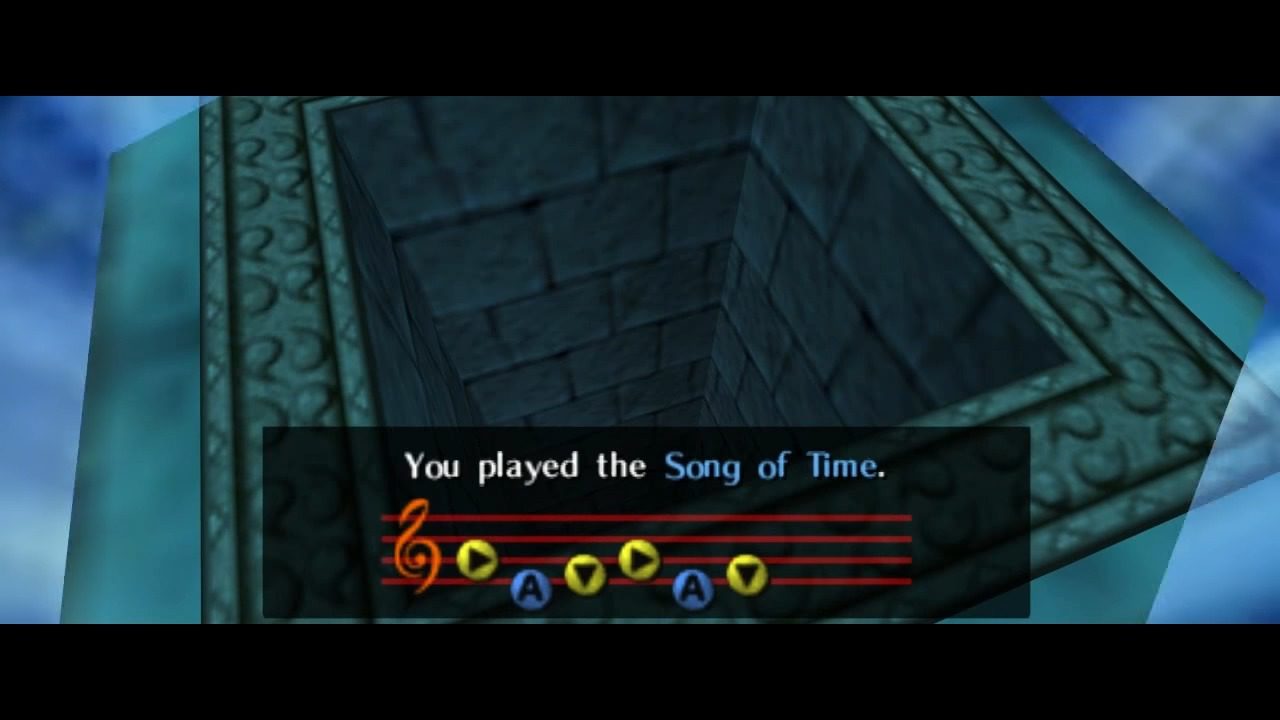
Now that you have the Longshot, don’t leave this room just yet! Turn around and look behind the treasure chest where you found the Longshot. You’ll notice a blue block with the Door of Time insignia on it. Stand next to it and play the Song of Time on your Ocarina. This will make the block disappear, revealing a hole in the floor. Drop down into the hole. You’ll land next to a flowing river.

You’ll find yourself in a passage with a strong water current and vortexes that can pull you back. Carefully maneuver around the vortexes to avoid being sucked in. Swim partway through the passage, look for a Gold Skulltula on the wall above a vortex. Once you spot it, equip your Iron Boots to sink to the bottom and use the Longshot to defeat it and collect the token. Remove your Iron Boots and swim to the end of the river, climb the last ledge containing two pots. There are usually great fairies located in these — catch them!
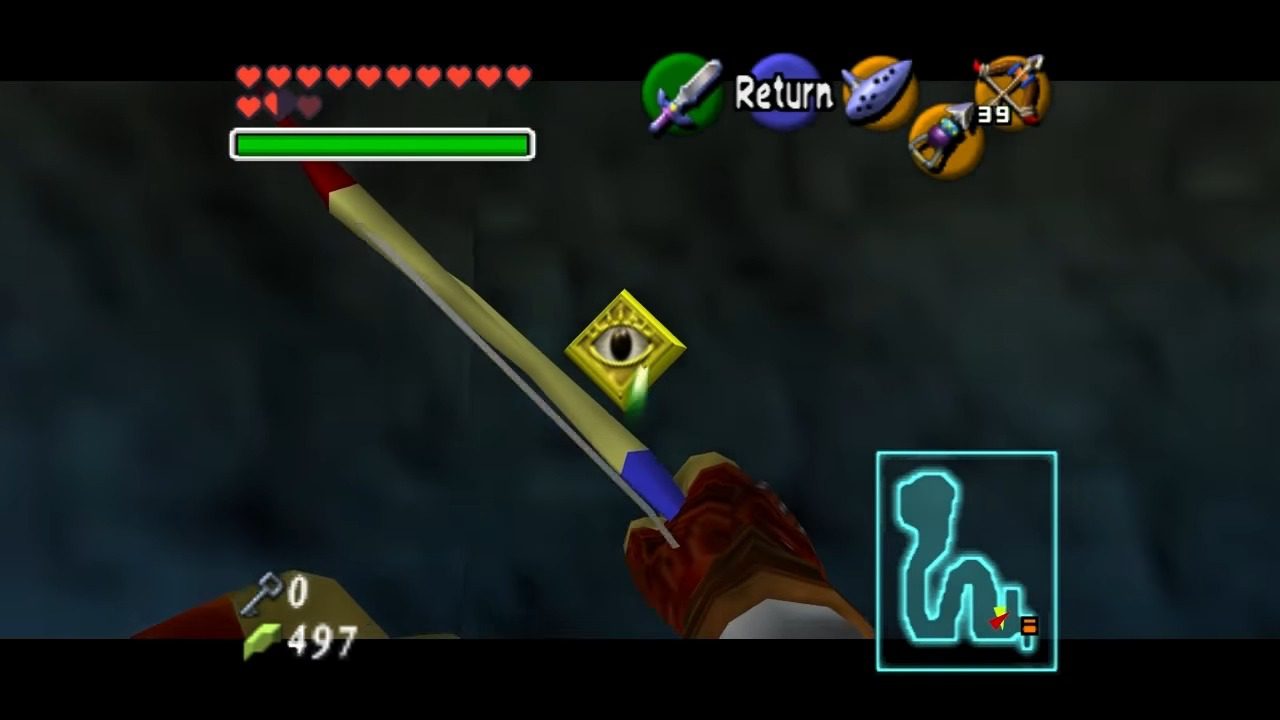
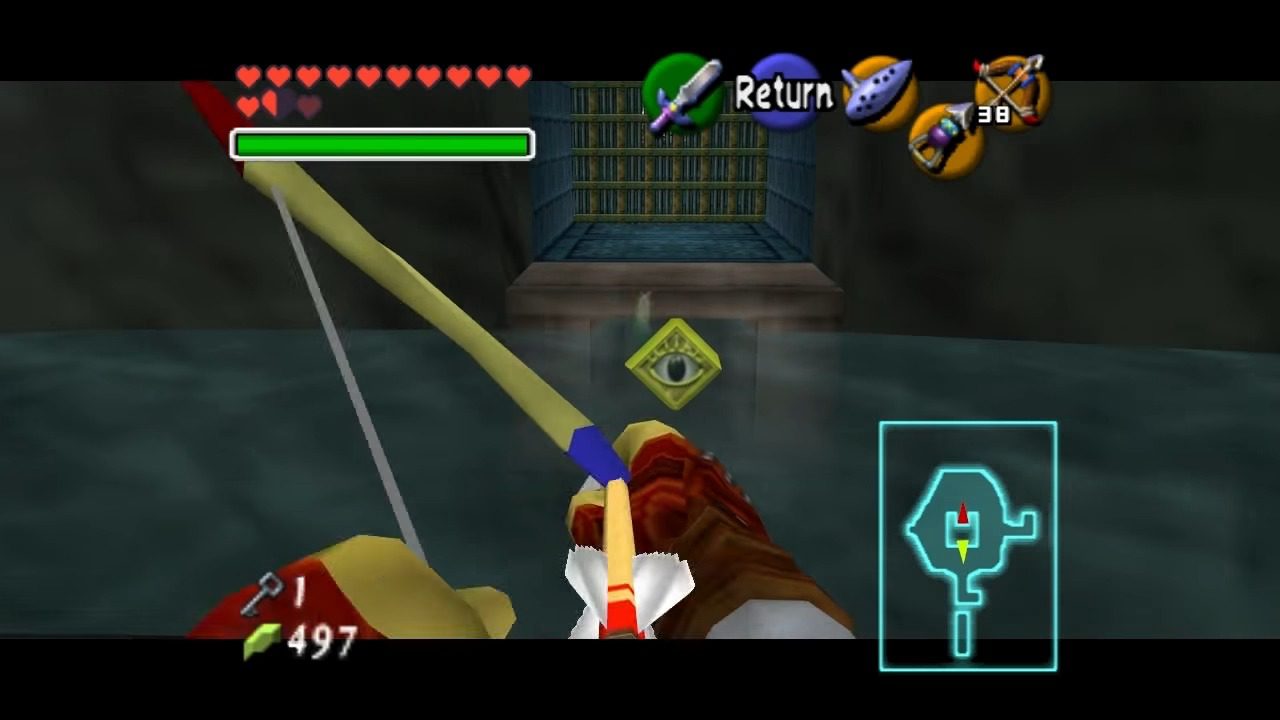
From that same ledge, find the target and pull yourself up using the Longshot. From the ledge above, look up and you’ll see an eye switch on the wall. Shoot it with an arrow. This will temporarily open a gate.
Quickly use your Longshot to latch onto the treasure chest behind the gate and pull yourself across to claim the final Small Key. This is another easily missed key if you don’t thoroughly explore the Longshot room.
VI. Locating the Boss Key
A. Gold Skulltula
Return to the central chamber of the Water Temple. Equip your Iron Boots, and head back to where we originally had seen Ruto. Remove your Iron Boots to float to the top. Play Zelda’s Lullaby at the Triforce symbol to lower the water to its minimum level. Head back to central chamber and enter the door at the bottom of the central tower.
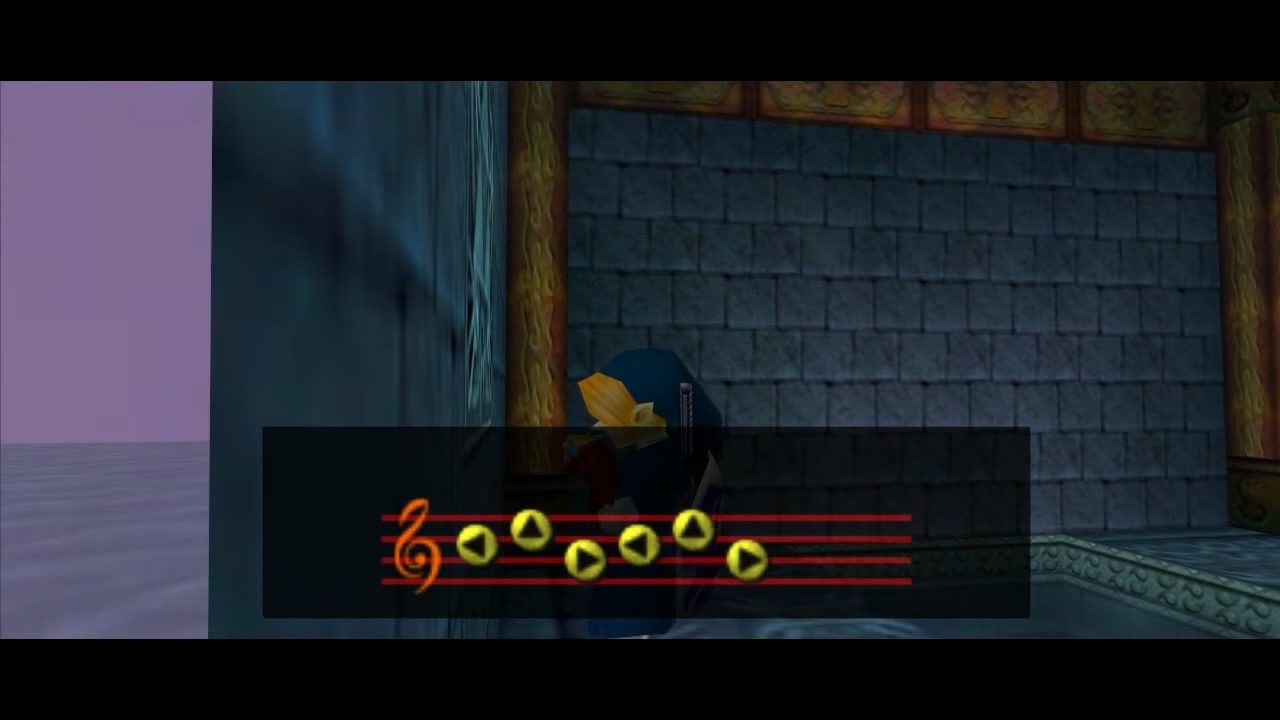
Longshot up to the second level and play Zelda’s lullaby to have the water raise to medium level.
Head over to the floating box and longshot to the target on the ceiling to pull yourself to the highest level. Defeat and grab the Gold Skulltula with your longshot after you reach the top.
B. Moving the Block and Seventh Key
Locate the corridor on the south side of the central chamber. Shoot the eye switch above the gate with an arrow to open it temporarily. Quickly use the Longshot to latch onto the target behind the gate and pull yourself through before it closes. In this room, you’ll find a large movable block. Push the block forward until it can’t move further, revealing passage to the left & right.

Head to the right and grab the last small key from the chest.
C. Getting the Boss Key
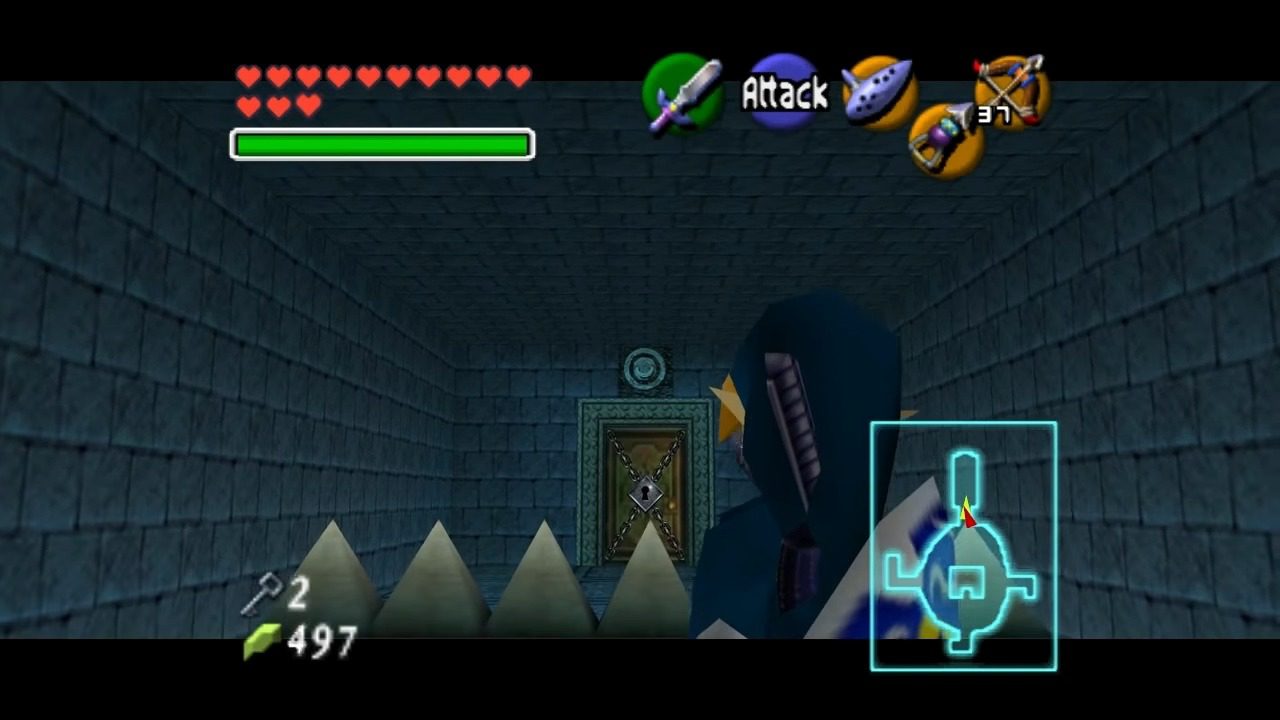
Head back to the central chamber and equip your Iron Boots to sink to the bottom. Locate the corridor on the north side of the central chamber. Remove your Iron Boots as you reach the end and climb up onto the ledge opposite of the spikes. Use the Longshot to latch onto the target above the spikes, pulling yourself over them. Proceed through the locked door using one of your Small Keys.
Traverse the Rolling Boulder Corridor. Equip the Iron Boots to walk along the bottom of this water-filled corridor, avoiding rolling boulders and whirlpools. Use the Longshot to defeat any Shell Blades (clam-like enemies) in your path. At the end of the corridor, remove the Iron Boots to float up to a ledge.
Upon entering, eliminate all the Stingers to ensure safe navigation. At the southern end, you’ll notice two suspicious walls—one cracked and the other slightly discolored. Use bombs to reveal passages behind both walls, forming a U-shaped area with a large block in the center. Push and pull this block through the passages until it falls onto the underwater floor switch, raising the water level. This action grants access to the door on the upper level; proceed through it.


In the following chamber, additional water pillars and Tektites present increased challenges. Consider luring the Tektites away or eliminating them with arrows for safer passage. Activating the floor switch not only raises the water pillars but also opens the door on the opposite side. Time your jumps across the water pillars carefully to reach and pass through the now-open door.
Now positioned in one of the boulders’ alcoves, you have the opportunity to collect a Gold Skulltula. Carefully approach the edge to your right and use the Longshot to claim the token. Afterward, wait for a boulder to pass, equip the Iron Boots, and jump into the water. Navigate toward the waterfall and sink into the deeper section. As you inch forward underwater, look to the right to spot another Skulltula. Use the Longshot to defeat it and collect the token.
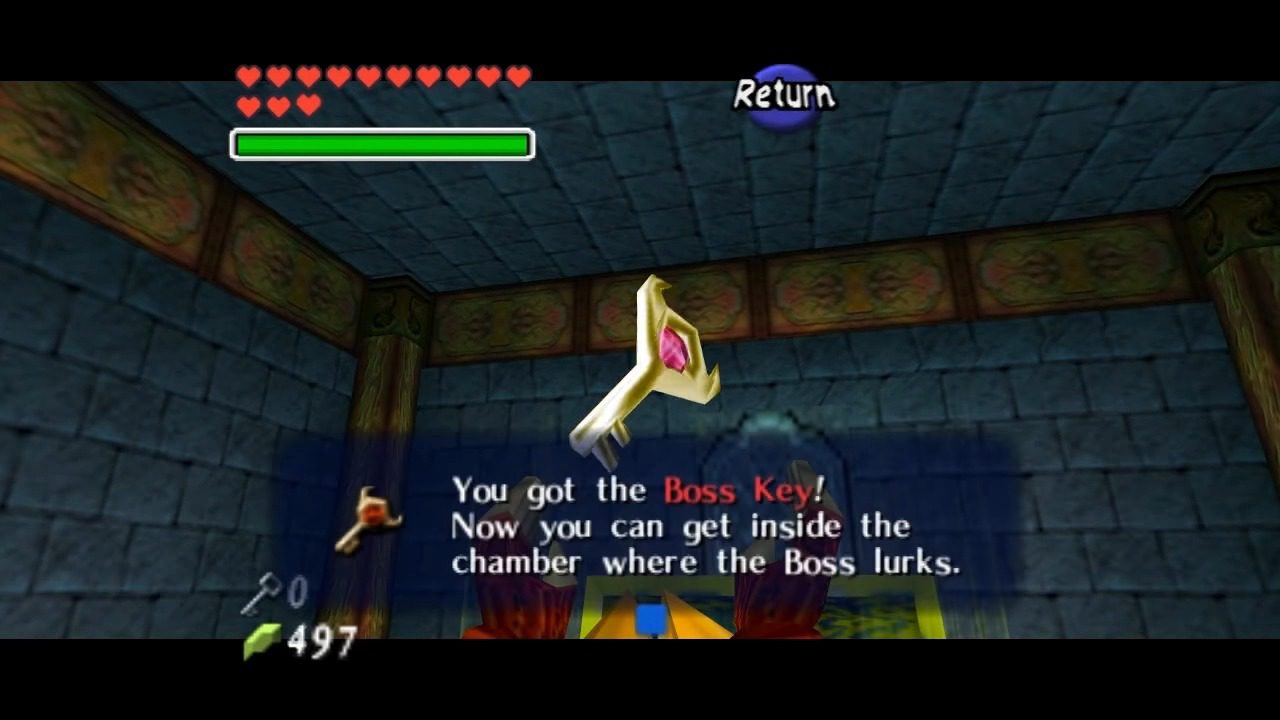
Proceed cautiously around the next corner, as a Shell Blade awaits. Dispatch it using the Longshot. After dealing with the enemy, remove the Iron Boots to float upward. Enter the locked door using your final Small Key. Inside, open the ornate chest to obtain the Boss Key. With this key in hand, backtrack to the main room to continue your quest.
VII. Reaching the Boss Chamber
A. Return to the Central Chamber

Ensure the water level in the temple is at its highest. To achieve this, head to the second floor of the main chamber. Enter the western door leading to the room with the Triforce symbol. Play Zelda’s Lullaby here to raise the water level to its maximum height.
B. Gold Skulltula Pit Stop
Look for a doorway at the top with a Hookshot target above it. Use your Longshot to latch onto the target and enter the room. This is the room platforms and waterfalls. Unobtainable without the longshot before, the Gold Skulltula is located on the right wall within this room.


C. Boss Door Location
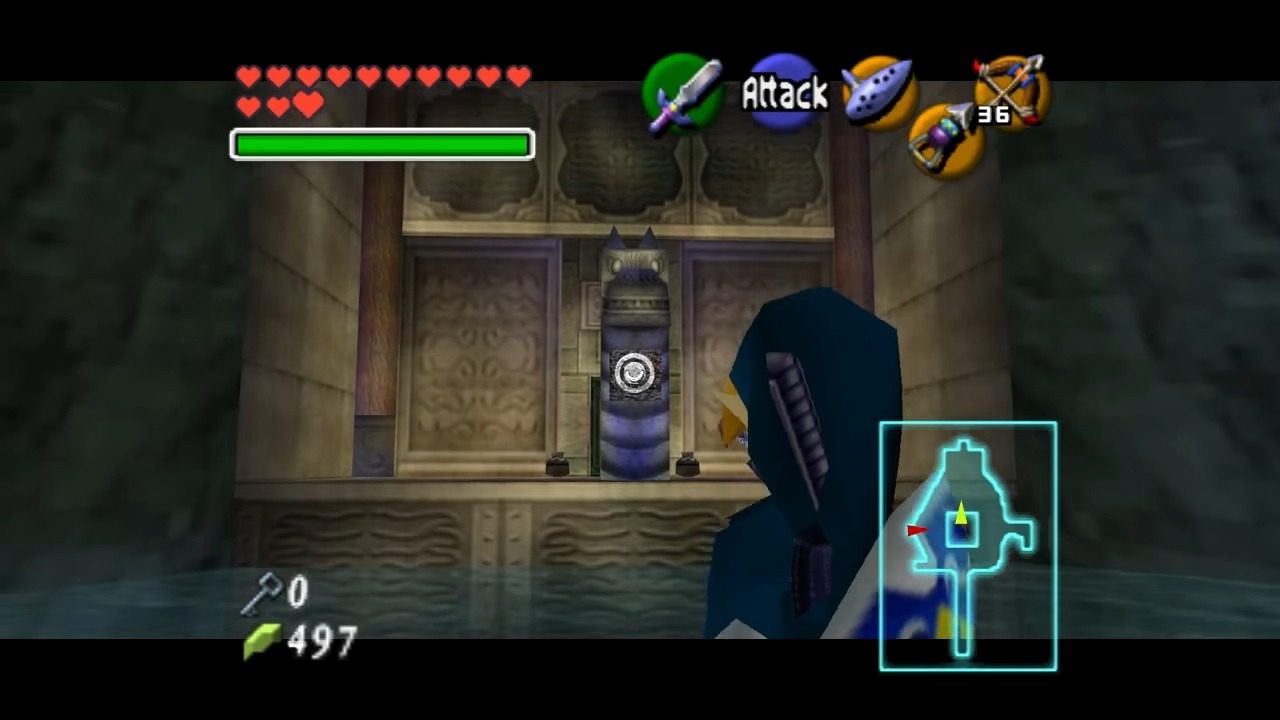
Head back to the central chamber. Locate the dragon statue in the northern section. Use your Longshot to latch onto the target on the dragon statue, pulling yourself to the platform before the boss door. Before proceeding, consider breaking the nearby jars to collect Fairies and replenish your health. Upon entering, you’ll encounter a sloped corridor with moving spike traps. Position yourself on either the left or right side of the slope. Wait for the bottom spike trap to move away, then run straight up the slope without stopping or rolling. Timing is crucial to avoid being hit.
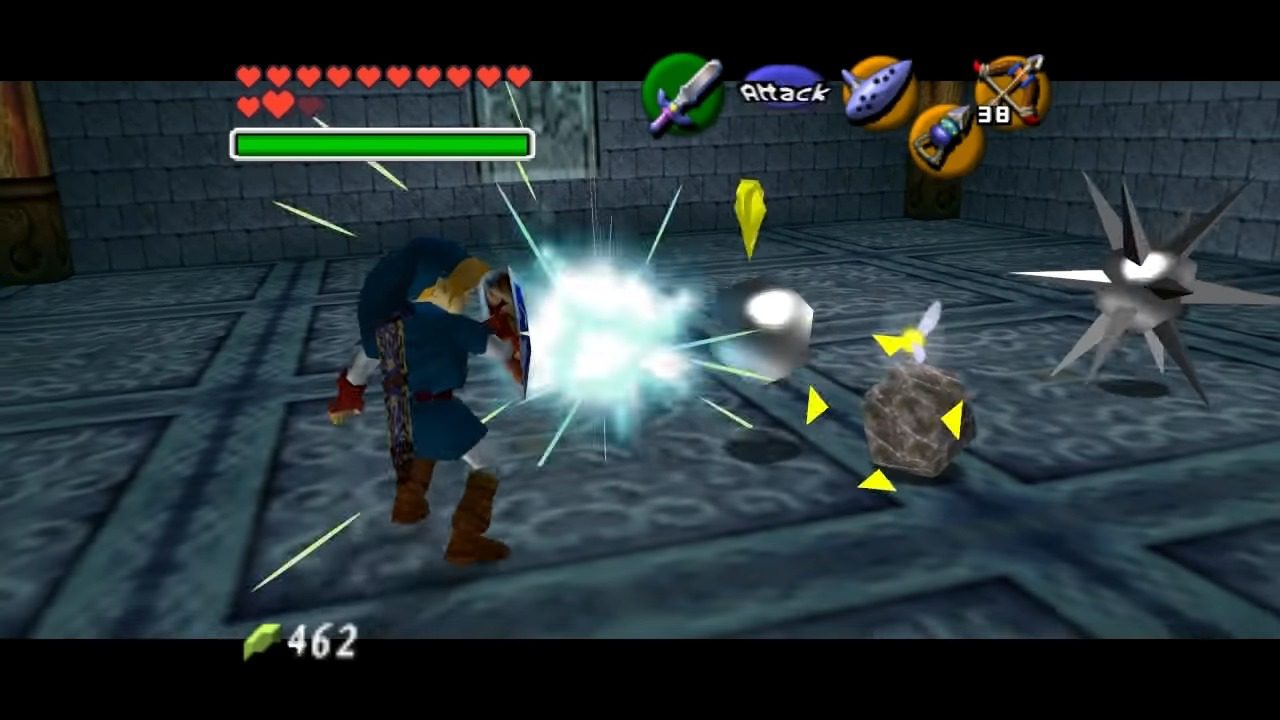
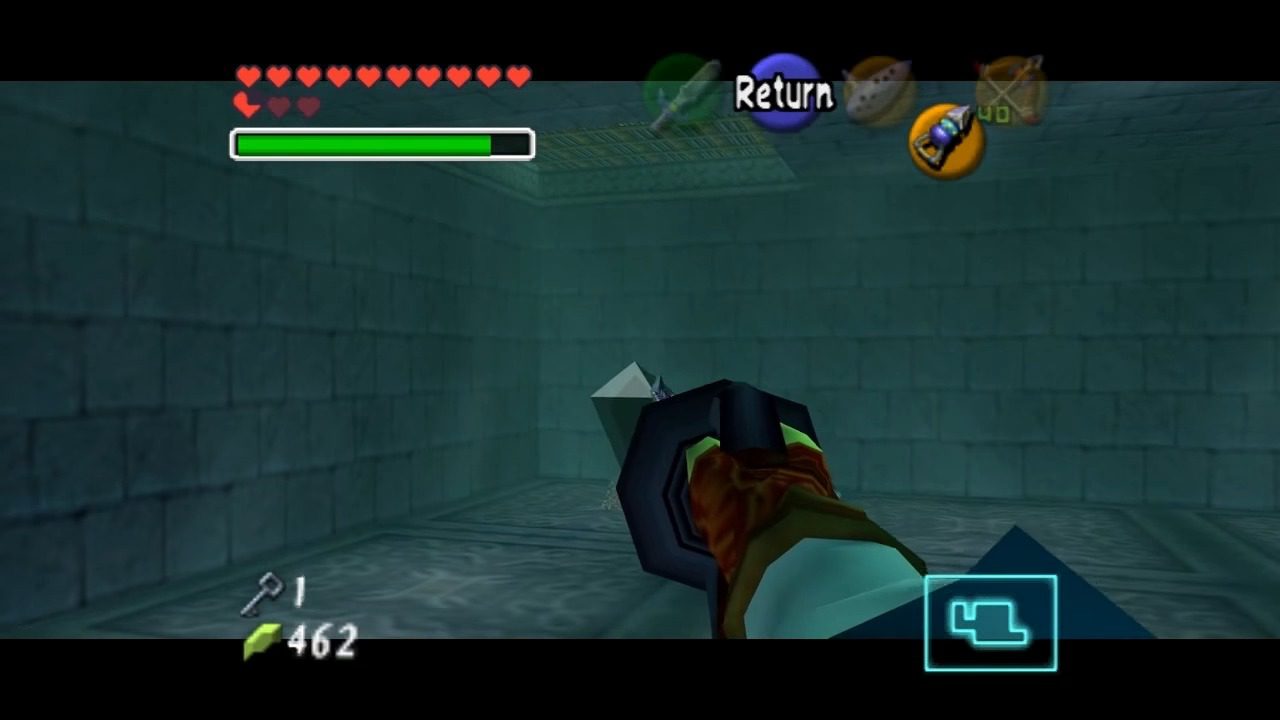
VIII. Boss Battle Strategy (Morpha)
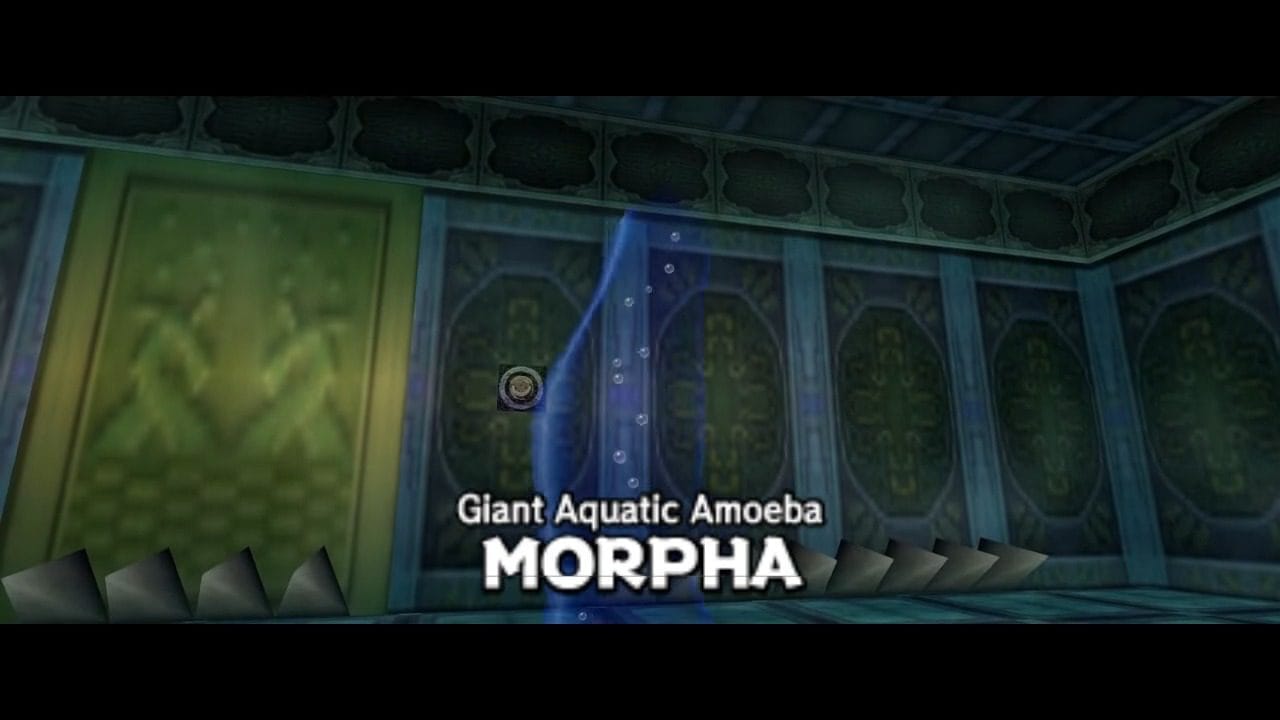 |  |
A. Morpha’s Weakness
Prepare yourself for the final encounter with Morpha, a giant aquatic amoeba. Its vulnerable core is the key to defeating it .
B. Phase 1 Strategy
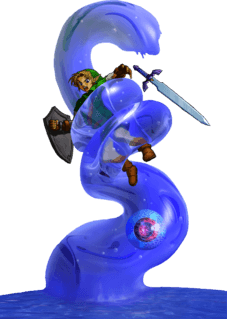
During the first phase of the battle, Morpha will remain mostly in the water. Stay near the edges of the arena to give yourself some space. Use your Longshot to target and pull Morpha’s glowing core towards you . Once the core is within reach, quickly switch to your sword and unleash a few attacks. Be mindful of Morpha’s tentacle attacks and move to avoid them. Repeat this process, patiently chipping away at its health.
C. Phase 2 Strategy
In Phase 2: Tentacle Battle of the Morpha encounter in the Water Temple, the boss intensifies its attacks by generating two or more water tentacles simultaneously. These tentacles aim to grab Link, inflicting significant damage and potentially throwing him against the room’s spiked walls. Stand in one of the room’s corners, between the spiked walls. This location makes it more challenging for Morpha’s tentacles to reach and ensnare Link. Keep a close watch on Morpha’s nucleus as it moves within the tentacles. When the nucleus becomes visible, use the Longshot to pull it out of the water. Once the nucleus is on land, swiftly strike it with your sword to deal damage. Continue this process, staying vigilant of the multiple tentacles, until Morpha is defeated.
Before We Go: Fire Arrows, Golden Scale, Heart Piece, & Gold Skulltula
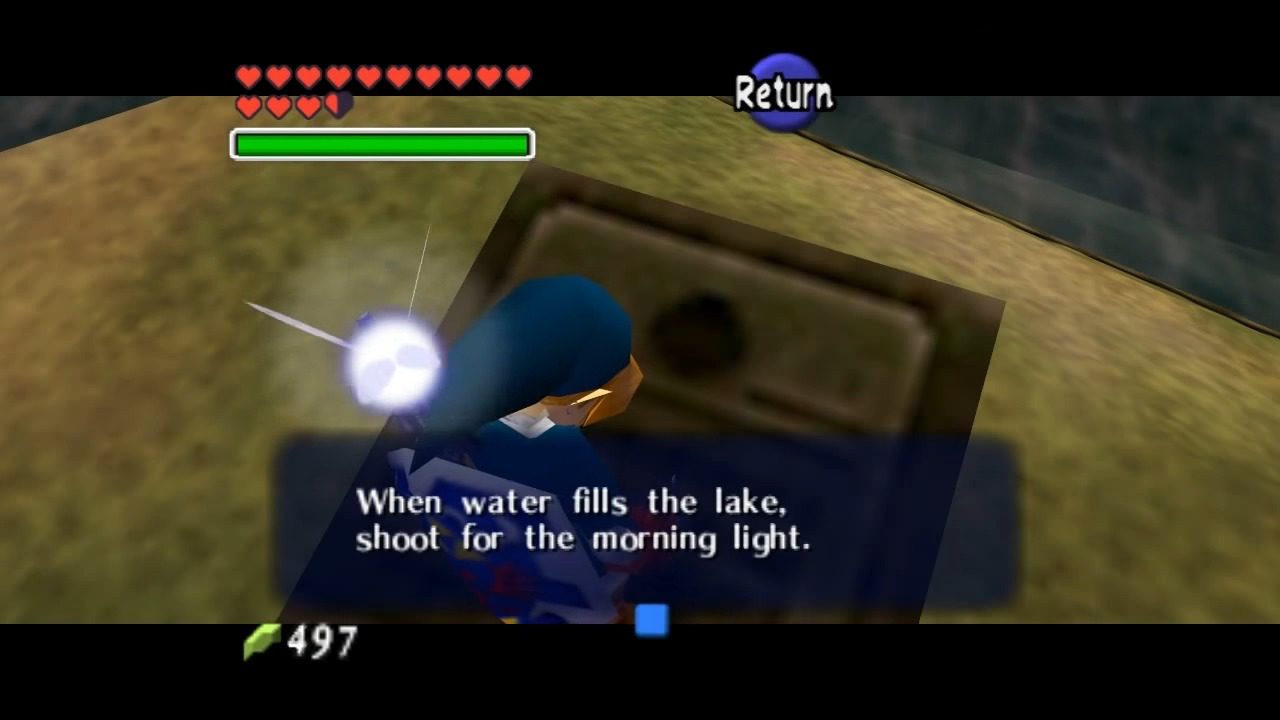
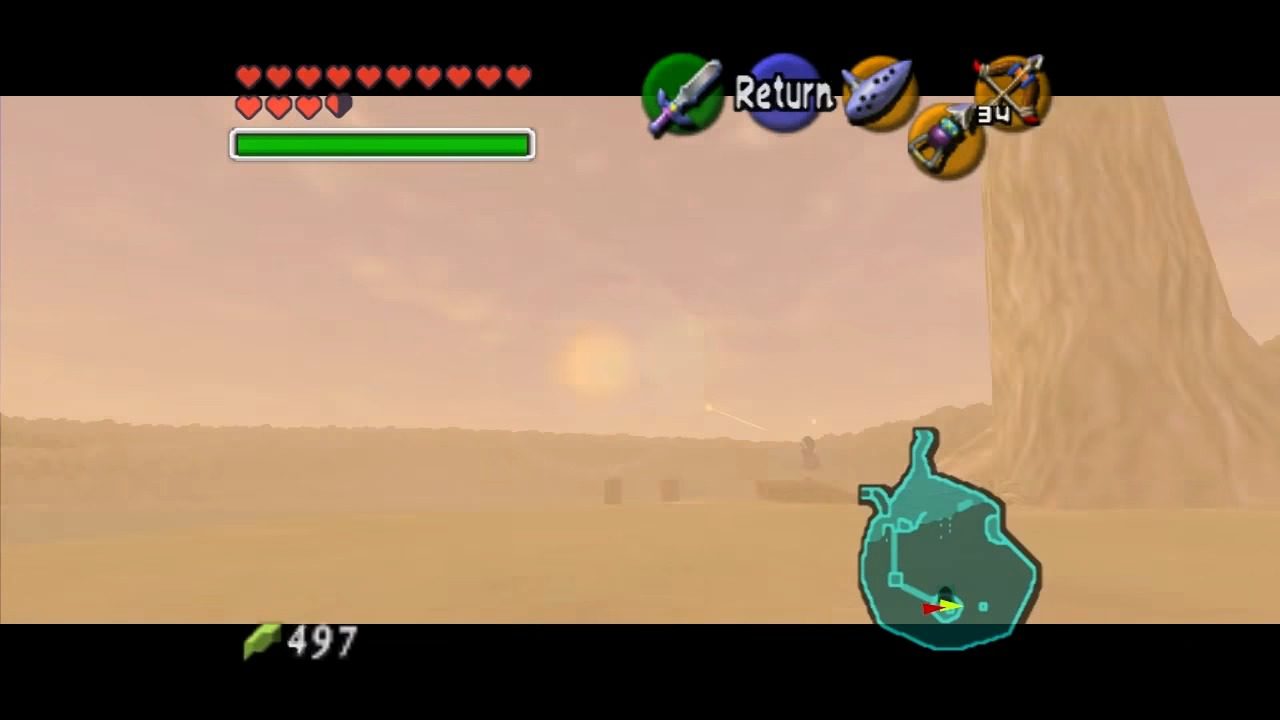
A. Claim Your Fire Arrows
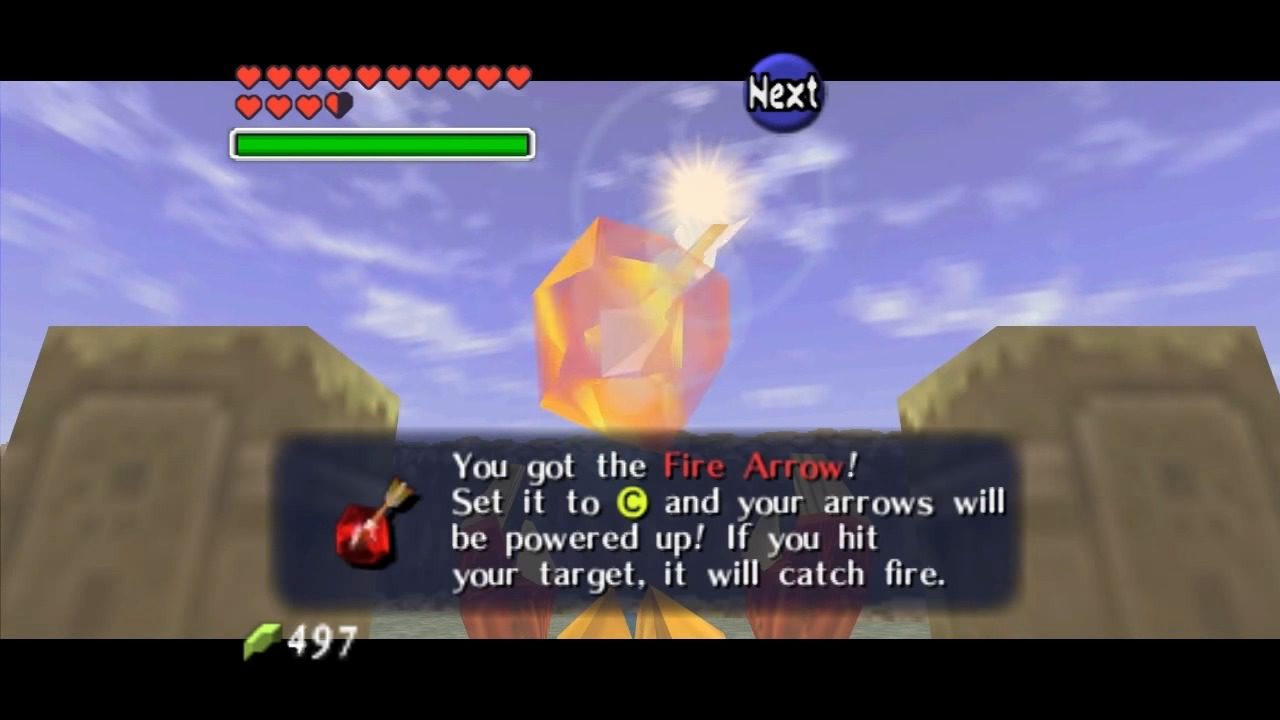
Upon completion of the dungeon, in Lake Hylia, find the small island that has a stone tablet. This island is situated near the entrance to the Water Temple. The stone tablet on the island reads: “When water fills the lake, shoot for the morning light.” Stand on the island with the stone tablet, facing the direction where the sun rises. Either wait until dawn or play the Sun’s Song to make the sun rise. As the sun begins to rise, equip your Fairy Bow and shoot an arrow directly at the sun. If done correctly, a cutscene will show the Fire Arrows appearing on a nearby platform in the lake.
B. Catch The Lunker for the Golden Scale
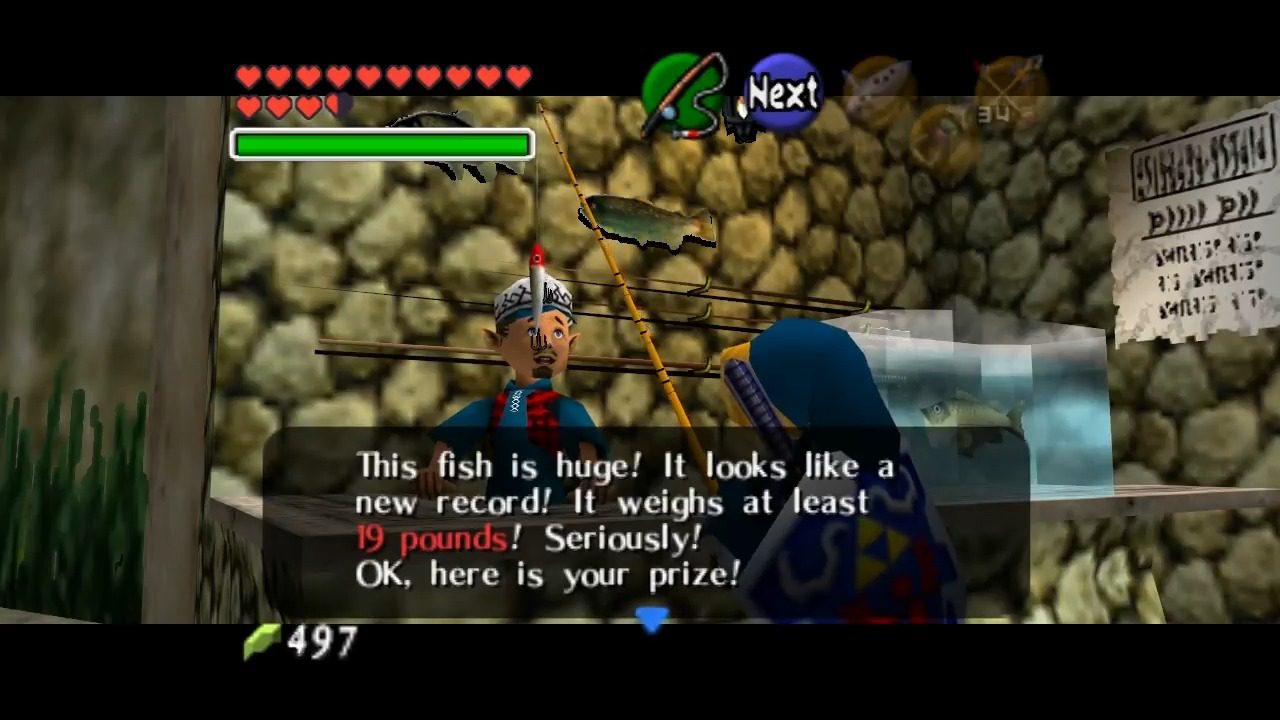
Locate the Fishing Pond on the northeastern side of the lake. Ensure you have at least 20 Rupees, as there’s a fee to participate in the fishing mini-game. Enter the Fishing Pond and speak to the Fishing Hole Man to start fishing. The largest fish often resides near the arched log in the pond. Carefully approach this area without disturbing the fish to avoid scaring them away. Aim to catch a fish that weighs at least 13 pounds. Refrain from using the “sinking lure,” as it’s considered illegal within the game and will disqualify you from receiving the Golden Scale.

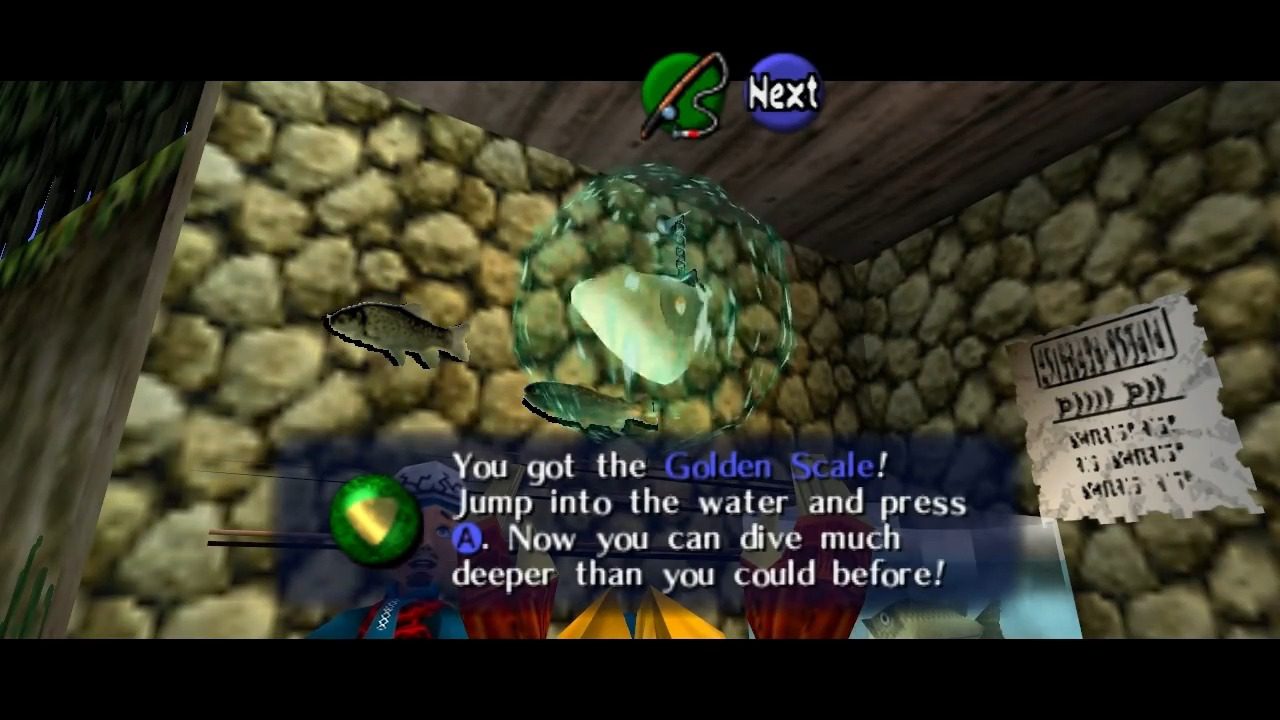
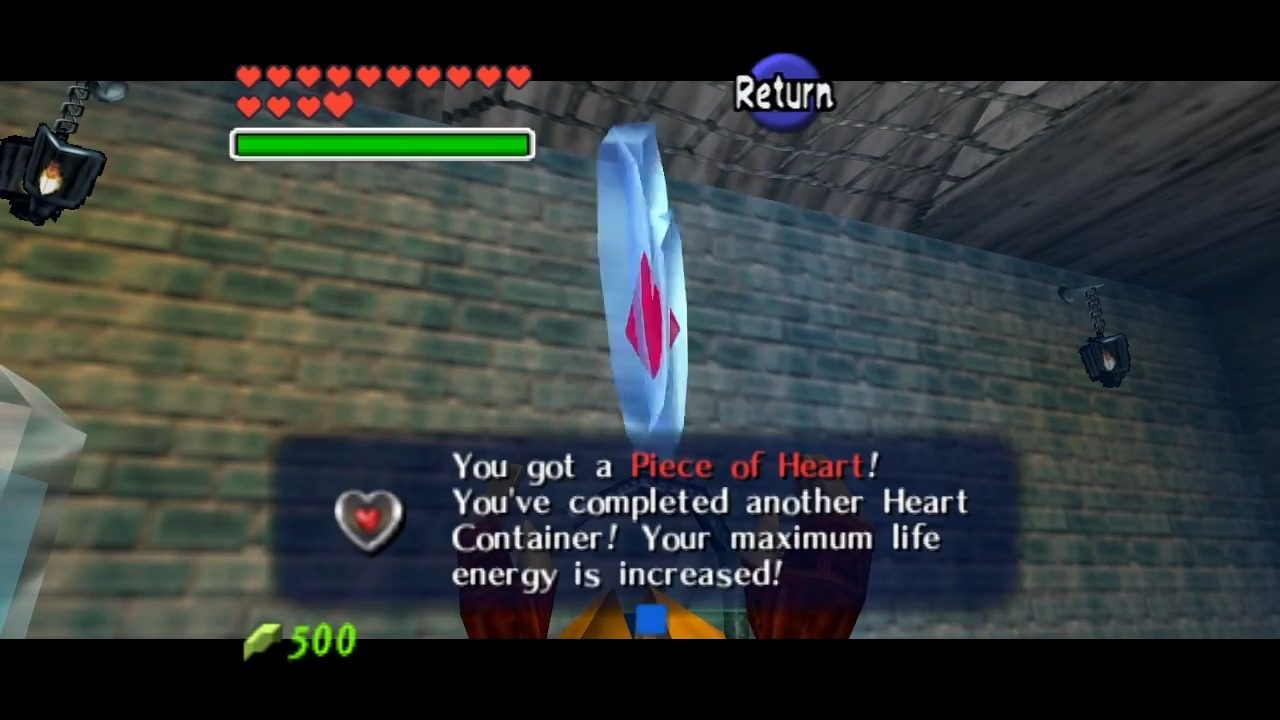
C. Lakeside Laboratory Heart Piece & Gold Skulltula
With the Golden Scale, you can dive to the bottom of the pool inside the Lakeside Laboratory. Doing so impresses the Lake Scientist, who will reward you with a Piece of Heart. Use your Iron Boots to sink to the bottom of the same pool and roll into the crate to reveal a Gold Skulltula.