


The Wind Waker 100% Completion Walkthrough
- Prologue: Outset Island: Introduction to Link’s home, initial quests, and obtaining the Hero’s Sword and Shield.
- Forsaken Fortress (First Visit): Stealth mechanics and rescuing Aryll.
- Windfall Island: Acquiring the Sail, meeting key characters, and side quests.
- Dragon Roost Island & Cavern: Assisting the Rito tribe, dungeon exploration, and obtaining Din’s Pearl.
- Forest Haven & Forbidden Woods: Meeting the Great Deku Tree, aiding the Koroks, and securing Farore’s Pearl.
- Post-Forbidden Woods Exploration: Collect charts, heart pieces, and upgrades across the southern sea.
- Greatfish Isle & Nayru’s Pearl: Story progression and obtaining the final pearl.
- Great Sea Side Quest Adventure: Explore islands and complete Windfall quests for key upgrades and collectibles.
- Tower of the Gods: Dungeon challenges and gaining access to Hyrule.
- Hyrule Castle: Discovering the Master Sword and storyline developments.
- Post-Hyrule Castle Exploration: Complete trading quests for heart pieces, treasure charts, and the Magic Armor.
- The Forest Water Challenge: Locating and saving each withered tree for a heart piece.
- Forsaken Fortress (Second Visit): Confronting the Helmaroc King and rescuing Aryll.
- Reef Special Charts & Windfall Side Quests: Six-Eye Reefs, Treasure Charts, and Windfall Island side quests.
- Fire Mountain & Ice Ring Isle: Obtain the Power Bracelets and Iron Boots from these elemental islands to access the next temples.
- Earth Temple: Venture with Medli into the Earth Temple to cleanse evil and claim the Mirror Shield.
- Wind Temple: Enter Gale Isle, team up with Makar, and conquer the Wind Temple.
- Triforce Shard Quest: Locating Triforce Charts, deciphering them, and retrieving Triforce shards.
- Ganon’s Tower: Final challenges, boss rematches, and the ultimate confrontation with Ganondorf.
Table of Contents
After you pocket the Spoils Bag, Tetra’s voice rings out from above deck, calling all crew. Time’s up for practice – you’ve arrived near your destination. Climb back upstairs to the ship’s deck. A cutscene will play where the pirates execute their rather unorthodox infiltration plan: using a catapult to literally launch you, in a barrel, toward the Forsaken Fortress! Tetra hands you a mysterious stone (the Pirate’s Charm) before you go, saying she can communicate with you through it if needed. Despite the ridiculousness of the plan, Link bravely (or nervously) gives a thumbs-up. The pirates fire the makeshift cannon, flinging poor Link across the night sky straight at the Forsaken Fortress.

As you soar through the air, you inadvertently drop your sword, which goes spinning off into the darkness. Moments later, you crash-land into the fortress wall and tumble down into the water of the fortress’s moat. You’re inside the Forsaken Fortress, but you’ve lost your primary weapon!

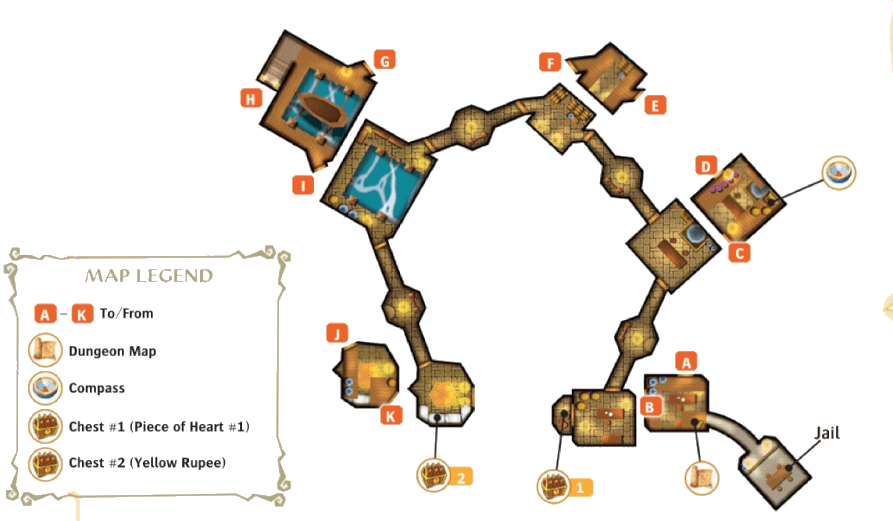
Forsaken Fortress – Stealthy Infiltration
You find yourself at the Forsaken Fortress, an ominous stronghold shrouded in darkness and spotlights. This is effectively the first dungeon of the game. Since you lost your sword during the dramatic entrance, you’ll need to rely on stealth and ingenuity to get through. Tetra will communicate via the Pirate’s Charm stone occasionally to give hints (for example, she reminds you to use your shield to defend yourself). Your main objective here is to reach the top of the fortress where Aryll (and other kidnapped girls) are being held, all while avoiding detection by the guards.
Without a sword, a direct confrontation is ill-advised. The fortress is crawling with enemies – notably, large pig-like guards called Moblins patrol the halls with searchlights, and smaller Bokoblins operate the spotlight towers. If a Moblin or a spotlight sees you, an alarm will sound and you’ll be thrown into prison. To avoid this, utilize the barrels scattered around as cover. You can press A near a barrel to hide under it, effectively disguising yourself as just another object. Move only when guards aren’t looking directly at you. If a guard (Moblin) approaches, stand still while under the barrel; sudden movement will give you away. Also be cautious of the floor: broken twigs or puddles will make noise if you run through them, so tread lightly.
As you navigate, you’ll come across ladders leading up to the fortress ramparts where the searchlight towers are. It’s highly recommended that you disable all the searchlights before trying to reach Aryll. If an active searchlight catches you later while you’re climbing toward the prison cell, you’ll be caught again, so let’s deal with them now.
There are three searchlights in total. For each one, you’ll find a ladder going up to a small lookout platform with a Bokoblin operating the light. Climb up quietly. The Bokoblin will usually be facing away, focused on the spotlight. Even though you don’t have your sword, you’re not defenseless – there are pots on each platform that contain Boko Sticks (basically wooden clubs).
Here’s the strategy: either use your shield to target and block the Bokoblin’s attacks, causing it to drop its own Boko Stick weapon, or break a nearby jar to pick up a spare stick. Once you have a Boko Stick in hand, smack the Bokoblin with it until it is defeated. Bokoblins aren’t very tough; a few whacks will do. Taking down the Bokoblin will disable that searchlight permanently (there’s no one left to man it!). Do this for the first searchlight, then move on to the next.
The first searchlight can be found shortly after arrival. Stealthily make your way up the stairs to the southwest and up the ladder. Defeat the Bokoblin at the top to disable the first searchlight.


From there, head south and enter through the southeast door. As you enter, ahead you’ll notice a large treasure chest on an upper ledge. Open it to obtain the Dungeon Map for the Forsaken Fortress. This map will help you see the layout of the fortress floors on your screen, making navigation easier. From the map chest, use the hanging rope (lantern) to swing across the room to the opposite ledge, similar to how you swung in Niko’s challenge. This brings you to a door leading back into the fortress interior.


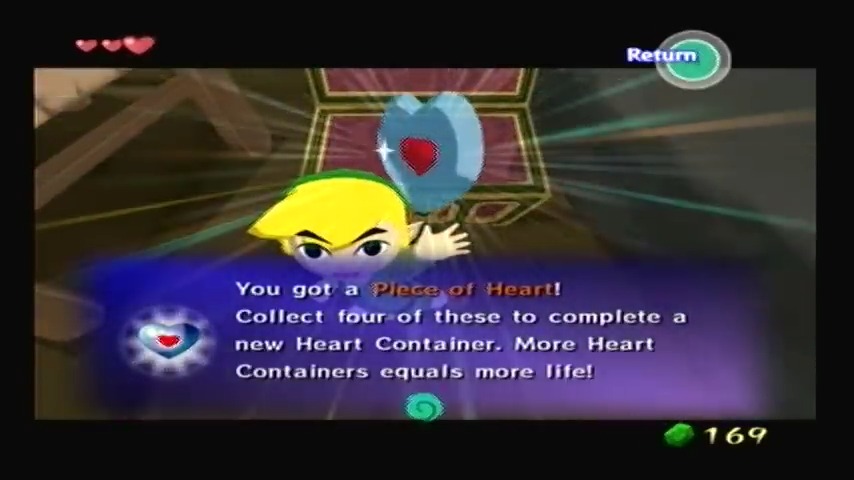
Heart Piece #1 of 44
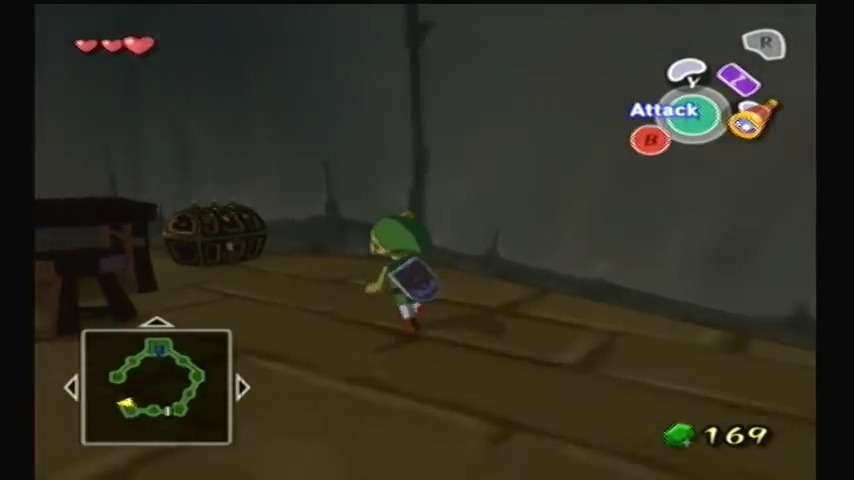
Also, in this room, can snag your very first Heart Piece in the game. Drop to the area below, and look around for a path behind some barrels. There is a concealed floor switch hidden back there. Move the barrels or slip past them and step on the switch – this will cause a secret treasure chest to appear. Open it to collect Piece of Heart #1 (of 44).

After grabbing the heart piece, you can deliberately get caught by a Moblin to gave them place you in jail.
Escaping the Jail Cell
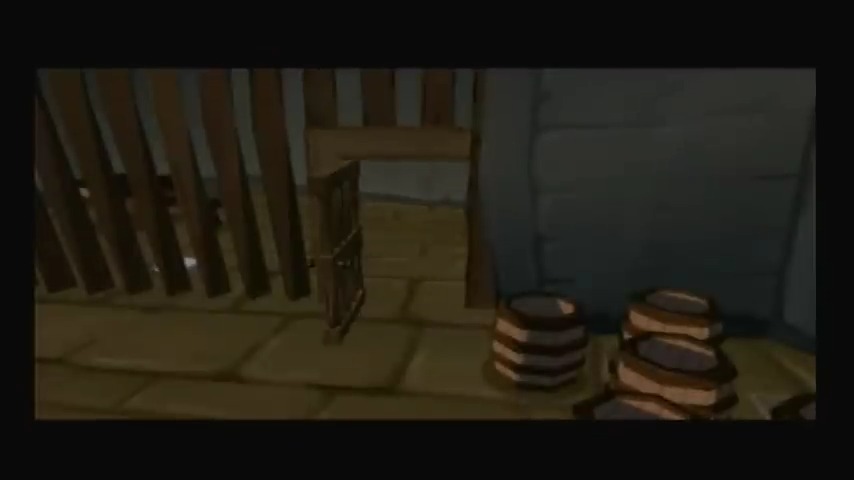
In the event you’re captured (or if you fell into a lower level), you’ll end up locked in a cell. Don’t panic – escaping is straightforward. Look around the cell for a way out. Climb on the table and jump across to reach a high shelf. There’s a big vase on the shelf; pick it up and throw it or move it aside to reveal a small hole in the wall. Crawl through this crawlspace (hold R to crouch, then move forward) to emerge outside the cell. You’re free!


After escaping the jail cell, swing across the lamp from where you claimed the Dungeon Map and exit through the door. Proceed straight down the hallway and enter the door at the end. Here, there’s another chest tucked behind barrels – open it to get the Compass.


From the compass chest, swing across the lantern to the far side and head through the door. You should now be near the first searchlight ladder (in an outdoor hall, take the left exit and go up a ramp to find it). Climb up and take out the second Bokoblin operator.


Now, head back to the Dungeon Map room and take the door to your right. After exiting, immediately turn left in the next passage to find a ladder to the third and final spotlight. Defeat that Bokoblin as well.


Climbing to the Tower – Retrieving Your Sword
After defeating the Bokoblin, jump off the northeast side of the platform to the boat below. Jump across to the nearest platform and work your way back to the room in which you found the Compass.


In this room, jump from the southeast side of the platform to the lower platform other side of the room. Then, jump up to the platform above and proceed through the door.


Walk directly across the hall and enter the door at the end. In this room, swing across to the other side and exit through the door. Then, continue straight through the door ahead.


In this room, take a right – go slowly and use a barrel to hide in and slip by the Moblin. Exit through the double doors at the top of the stairs.


Climb the winding stairs. Partway up, you’ll spot another lone barrel. Use it – there’s one last Moblin on the staircase patrol. As before, hide and move past it carefully on the stairs when it looks away. Soon you’ll reach a higher outdoor walkway with no more Moblins. Instead, you’ll face a couple of gaps in the path. These gaps are too wide to jump normally, but there’s a thin ledge along the wall. Drop down from here to the area below and push the nearby block off the ledge. This block will allow us to return to the area in case we have to start over. From there, make your way back up the ladder to the narrow ledge.


This is your introduction to sidling: stand against the wall at the narrow ledge, then press A to make Link shimmy along the ledge with his back to the wall. Sidle carefully across the gap while holding the stick toward the far side. Do this for each gap (there are two). Once past the second ledge, head up the last set of stairs.


At the top, you’ll emerge on the upper exterior where you can see a small balcony ahead – this is the area where you actually landed initially and dropped your sword. Sure enough, your Hero’s Sword is lying on the ground in front of you! However, as you move forward to reclaim it, a Green Bokoblin (one of the fortress’s sentries) jumps down to attack. Run over and pick up your sword immediately; an on-screen prompt will help you grab it. Now armed, engage the Bokoblin. This enemy wields a machete and a small shield, but it’s nothing you can’t handle.
Target it and strike with your sword. You can also parry if you’ve learned the counter move, but simple slashes will work. If the Bokoblin raises its shield, either hit it from behind or wait until it tries to swing at you, then counterattack. It should go down in a few hits. This fight is cathartic – after sneaking around defenseless, you finally get to smack an enemy properly! Once the Bokoblin is defeated, the door ahead unlocks with a click.


Proceed through that door and a cutscene will take over. You’ve reached the prison chamber at the top of the Forsaken Fortress. Inside, you finally spot Aryll, locked in a large cell across a gap. She’s there along with two other kidnapped girls (rich Moglen’s daughter Maggie, and Mila, the poor girl from Windfall). Link and Aryll share a relieved moment of eye contact—“Big Brother!”—but before you can act, things go awry.


Aryll’s Rescue…Intercepted!
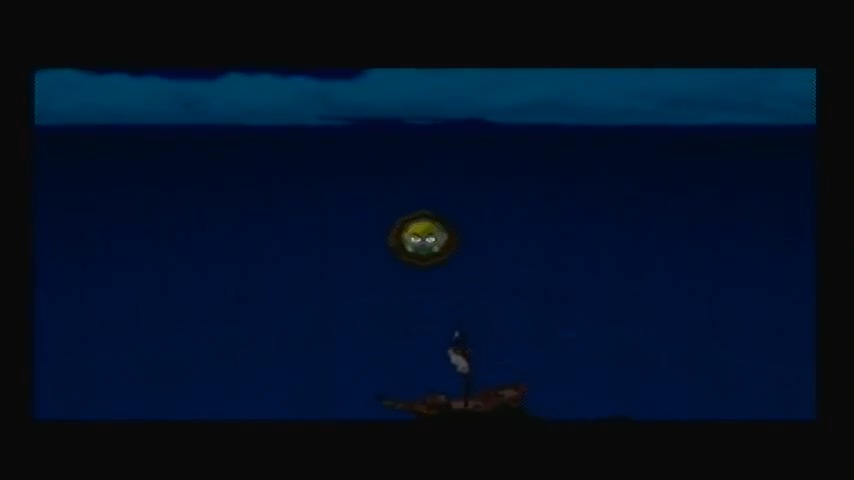
Link looks up to see the Helmaroc King looming above. The giant bird swoops down into the chamber and lands right in front of you. Before you can react, Helmaroc grabs Link in its beak like a rag doll! It carries you up and out of the chamber, flying to the upper reaches of the fortress – all the way to a high balcony where a tall, cloaked figure awaits on a broken ship’s deck. This sinister figure is none other than Ganondorf, though you (as Link) might not know that name yet. The Helmaroc King drops you at Ganondorf’s feet, as if presenting the catch. Ganondorf gives a faint cruel smile and, with a mere gesture of his hand, orders the bird to get rid of you.


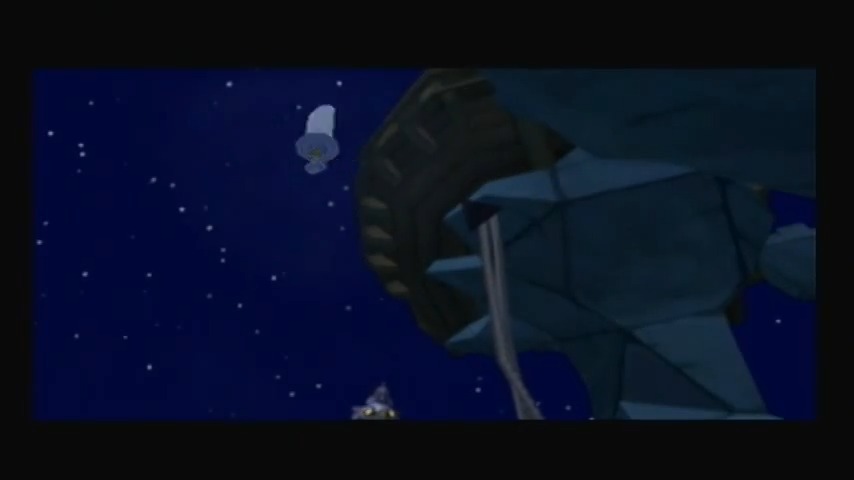
In a dramatic moment, the Helmaroc King obeys: it flings Link out into the open sea, sending you flying far from the Forsaken Fortress. Aryll’s shocked face disappears from view as you sail through the air and lose consciousness. All is not lost. In an act of fate (or perhaps careful watchfulness), Link is rescued from the sea by a small red talking boat. You awaken to find yourself in the boat’s care on the shores of a new island. This boat introduces himself as the King of Red Lions, and he’s here to guide you. In a lengthy but important conversation, the King of Red Lions explains the gravity of the situation.
He confirms that the dark figure you encountered at the fortress is indeed Ganon, also known as Ganondorf, the very same evil that was sealed away by the Hero of Time in legends past. Unfortunately, Ganondorf has returned and is behind the kidnappings and the monsters plaguing the seas. The talking boat also tells you that to defeat this evil and save your sister, you must journey across the Great Sea, gathering power.


Importantly, the King of Red Lions cannot move on his own – he needs a sail to harness the wind. We have arrived at this island, Windfall Island, to obtain a Sail for the boat. Link is pointed toward the bustling town just ahead, which is Windfall. It’s time to explore and equip ourselves for the next leg of the journey.
