The Wind Waker 100% Completion Walkthrough
- Prologue: Outset Island: Introduction to Link’s home, initial quests, and obtaining the Hero’s Sword and Shield.
- Forsaken Fortress (First Visit): Stealth mechanics and rescuing Aryll.
- Windfall Island: Acquiring the Sail, meeting key characters, and side quests.
- Dragon Roost Island & Cavern: Assisting the Rito tribe, dungeon exploration, and obtaining Din’s Pearl.
- Forest Haven & Forbidden Woods: Meeting the Great Deku Tree, aiding the Koroks, and securing Farore’s Pearl.
- Post-Forbidden Woods Exploration: Collect charts, heart pieces, and upgrades across the southern sea.
- Greatfish Isle & Nayru’s Pearl: Story progression and obtaining the final pearl.
- Great Sea Side Quest Adventure: Explore islands and complete Windfall quests for key upgrades and collectibles.
- Tower of the Gods: Dungeon challenges and gaining access to Hyrule.
- Hyrule Castle: Discovering the Master Sword and storyline developments.
- Post-Hyrule Castle Exploration: Complete trading quests for heart pieces, treasure charts, and the Magic Armor.
- The Forest Water Challenge: Locating and saving each withered tree for a heart piece.
- Forsaken Fortress (Second Visit): Confronting the Helmaroc King and rescuing Aryll.
- Reef Special Charts & Windfall Side Quests: Six-Eye Reefs, Treasure Charts, and Windfall Island side quests.
- Fire Mountain & Ice Ring Isle: Obtain the Power Bracelets and Iron Boots from these elemental islands to access the next temples.
- Earth Temple: Venture with Medli into the Earth Temple to cleanse evil and claim the Mirror Shield.
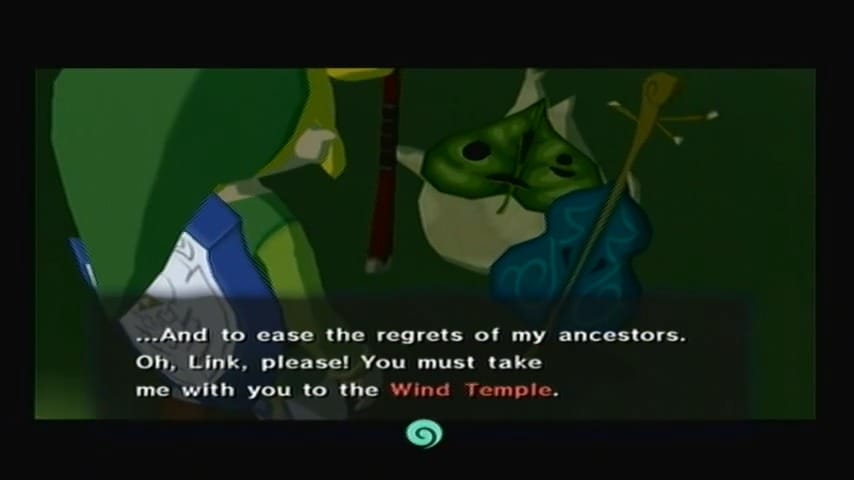
- Wind Temple: Enter Gale Isle, team up with Makar, and conquer the Wind Temple.
- Triforce Shard Quest: Locating Triforce Charts, deciphering them, and retrieving Triforce shards.
- Ganon’s Tower: Final challenges, boss rematches, and the ultimate confrontation with Ganondorf.
Final Preparations for the Wind Temple
Your next destination is Gale Isle, but there are a few lucrative stops to make first. Warp to Outset Island, then set sail one square north to Five-Eye Reef.


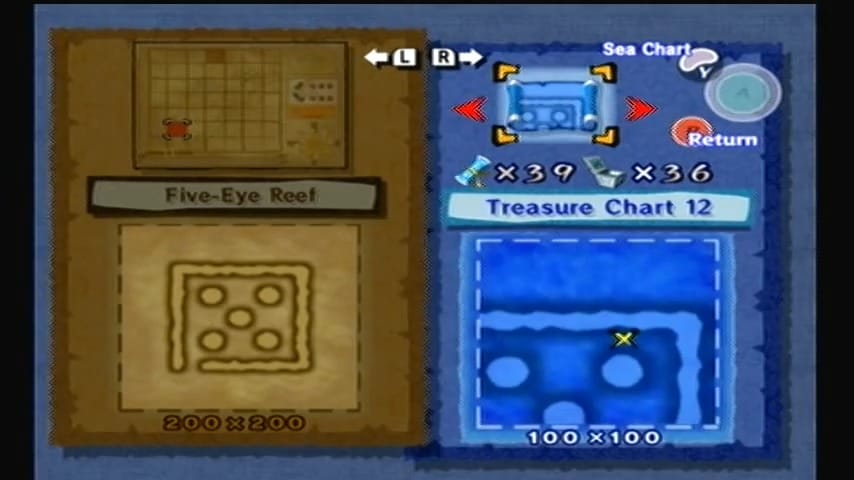
Treasure Chart #12 (Salvaged for 200 Rupees)
Use your Grappling Hook to salvage the treasure marked on Treasure Chart #12 (Collectible 1/6) at the reef, hauling up a Silver Rupee worth 200 rupees.


Treasure Chart #39 (Salvaged for 200 Rupees)
With one big rupee in the wallet, warp over to Dragon Roost Island. Open Treasure Chart #39 (Collectible 2/6) and use the crane to pull up another sunken chest near Dragon Roost’s shores – this one contains another Silver Rupee (200) to pad your funds nicely. Use your Grappling Hook to salvage the treasure marked on Treasure Chart #12 (Collectible 1/6) at the reef, hauling up a Silver Rupee worth 200 rupees.


Next, warp to Windfall Island and sail one quadrant north to reach Gale Isle.


Sea Chart Info #49: Gale Ise
If this is your first time here, feed the Fishman some bait to mark Gale Isle on your Sea Chart, completing your map of the Great Sea (Sea Chart #49).


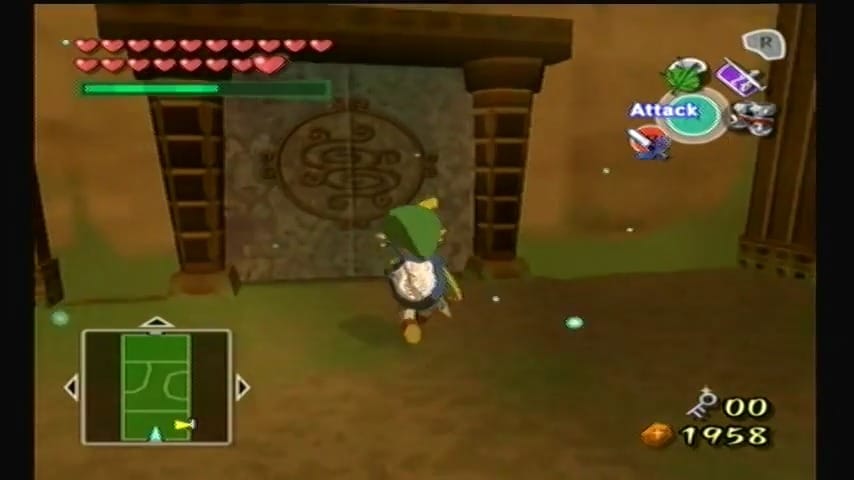
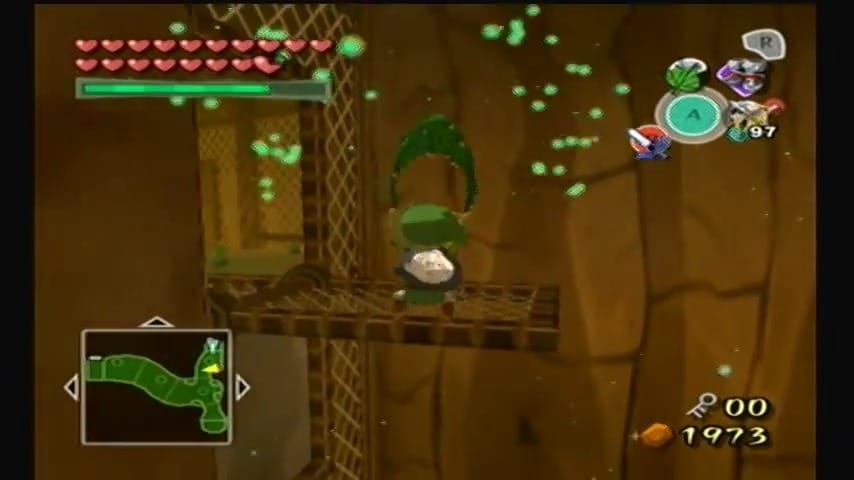
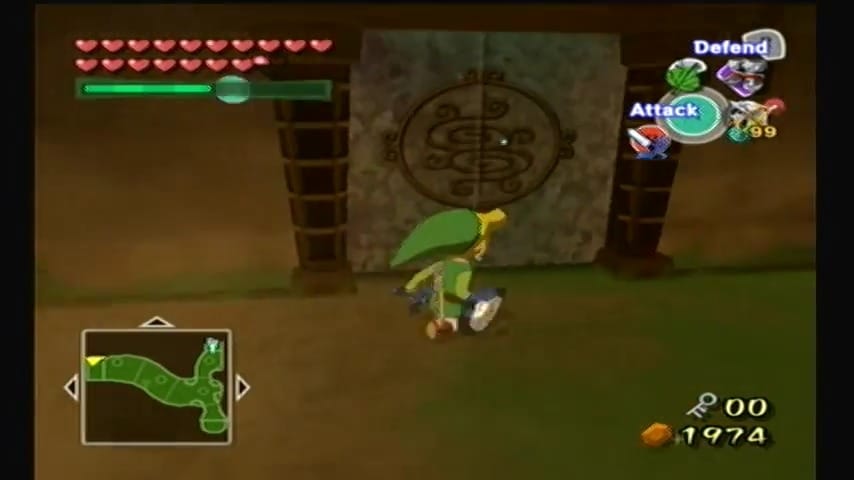
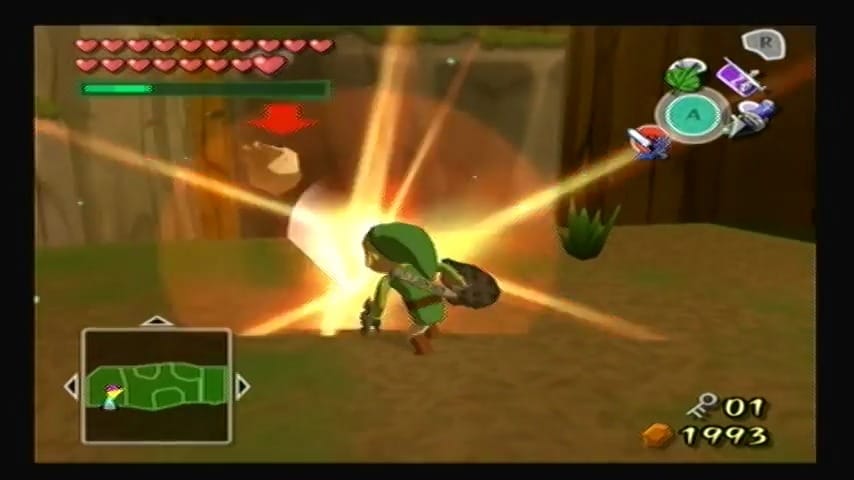
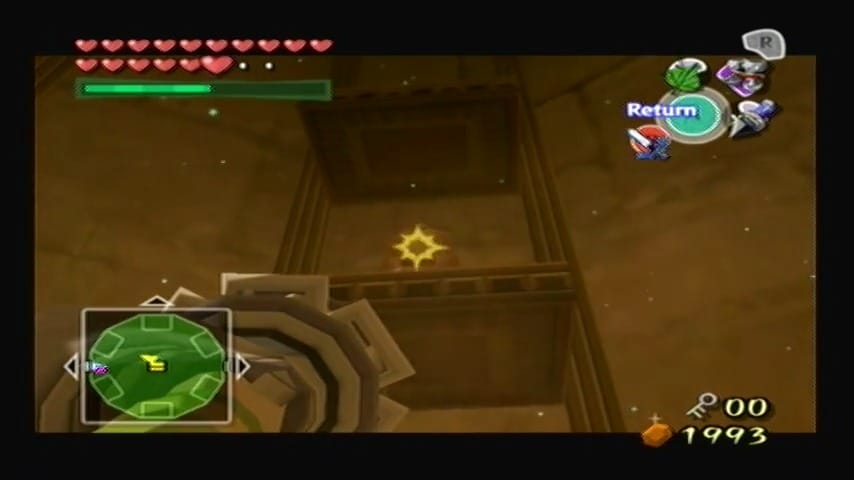
On the island’s shore, equip the Iron Boots to withstand the fierce gust blasting out of the cave entrance. Trudge up to the stone idol blowing the wind and smash it to rubble with your Skull Hammer.


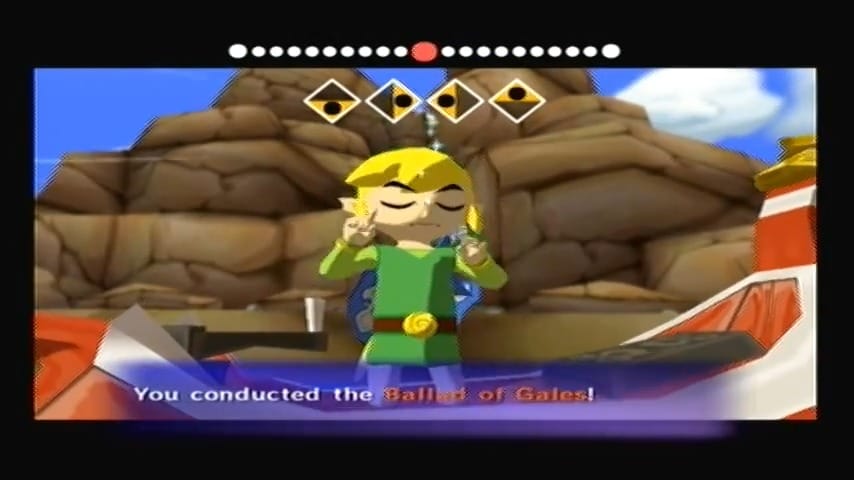
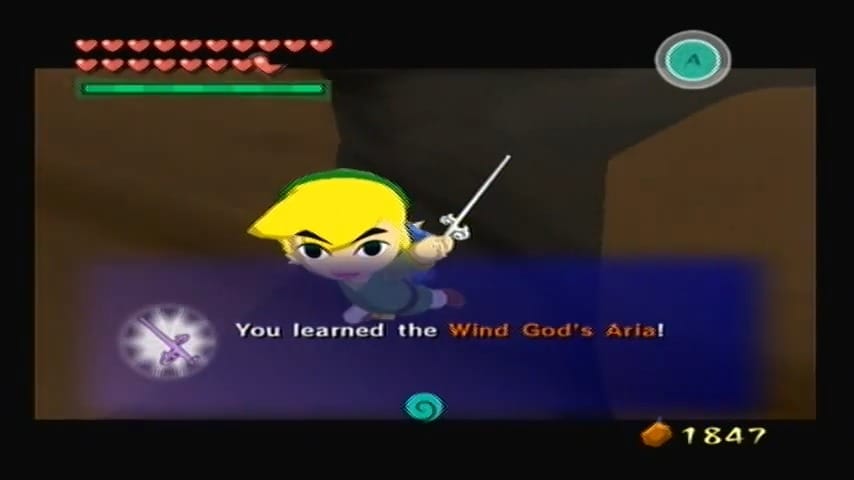
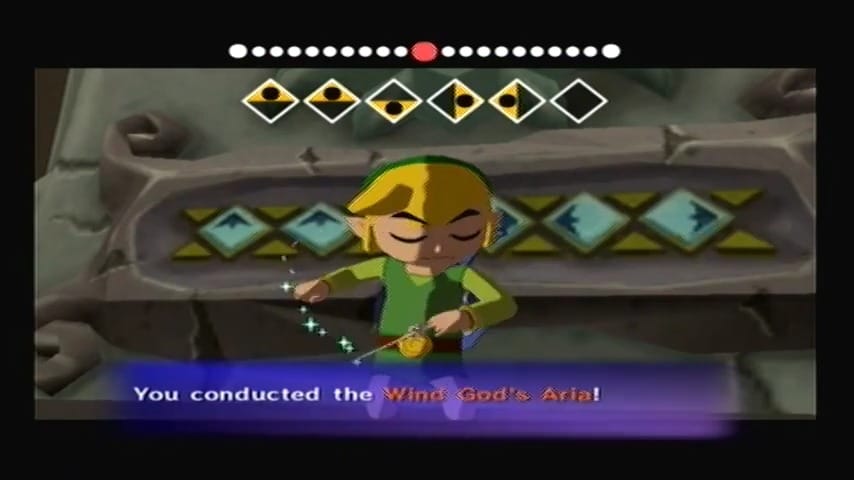
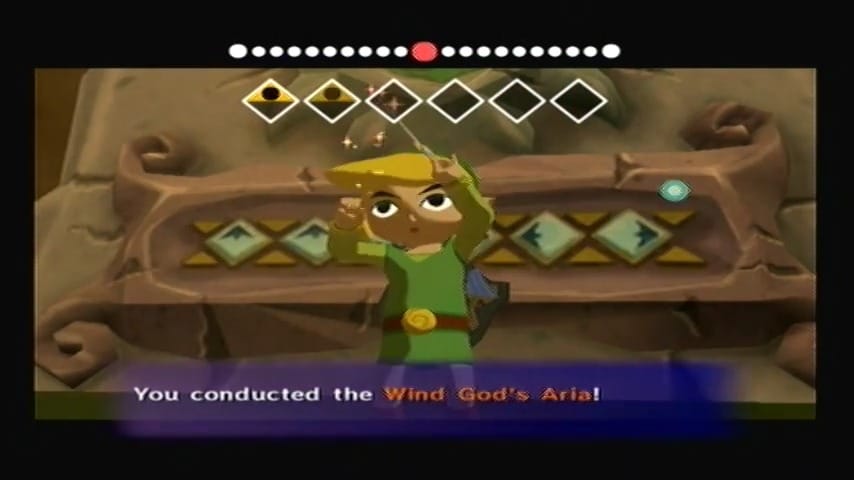
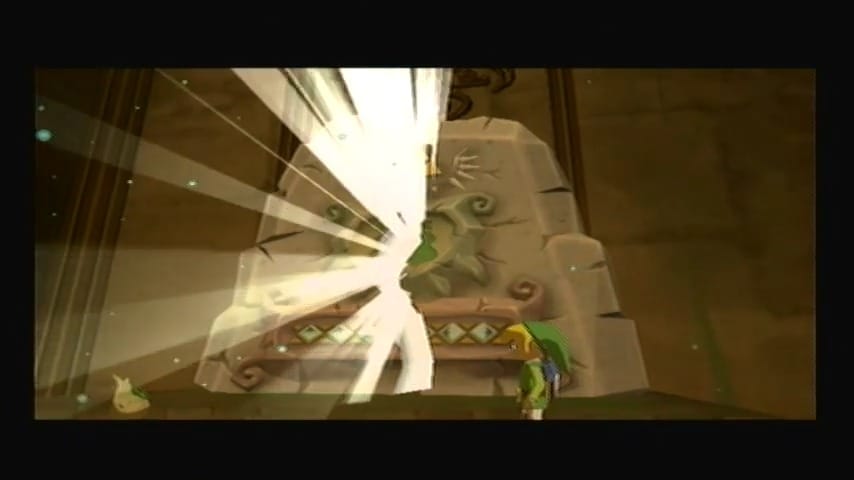
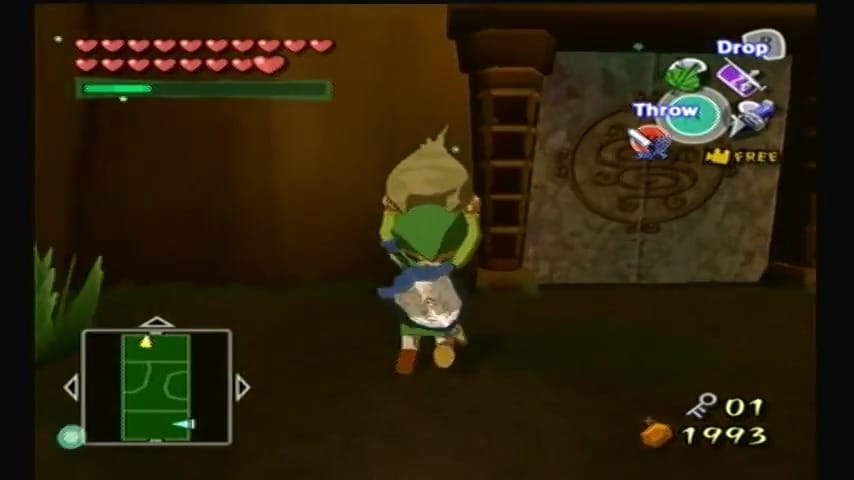
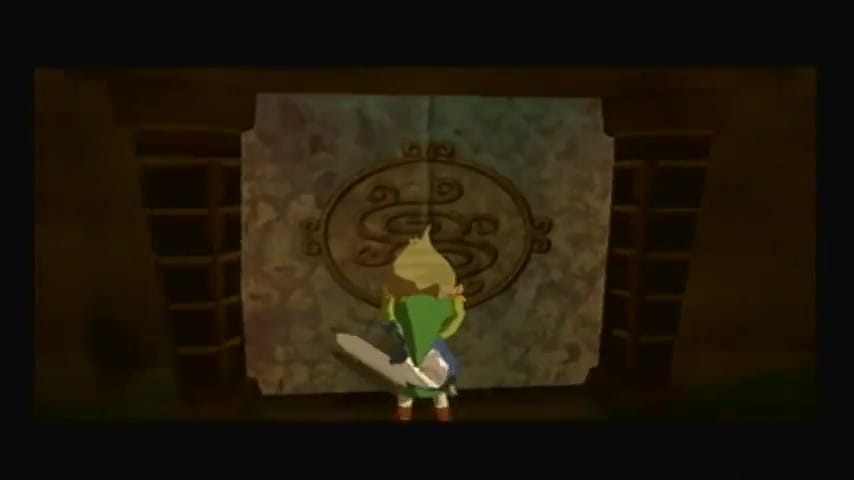
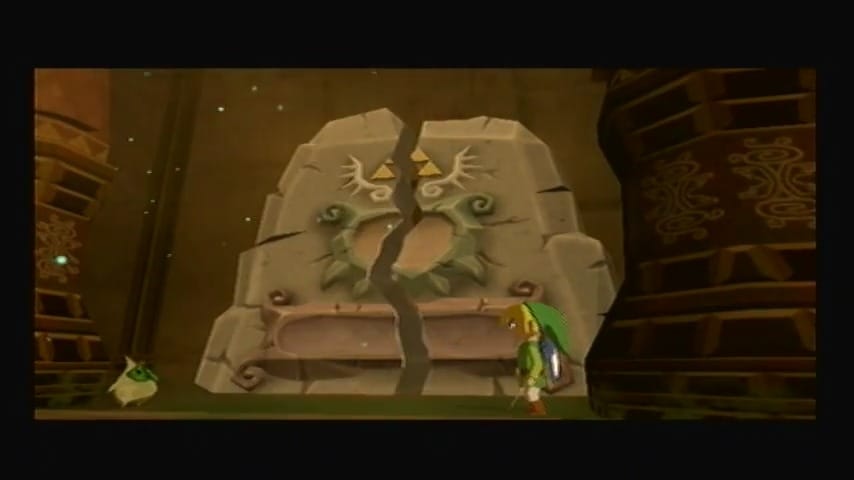
The gale subsides, clearing the way forward. Enter the revealed cave and examine the large stone tablet inside. Take out the Wind Waker and play the melody inscribed on the tablet to learn the Wind God’s Aria (Collectible 4/6).

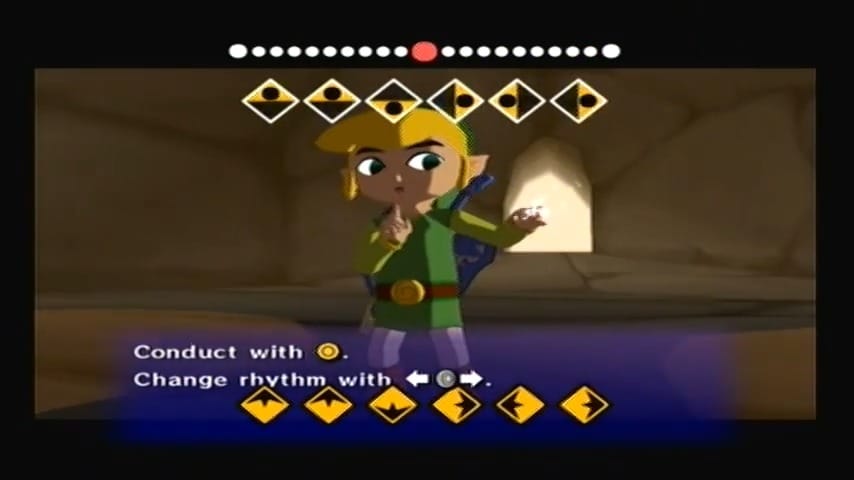
In a mystical cutscene, the ghost of the sage Fado appears and teaches you this sacred song, noting that his successor must complete the melody. Fado hints that someone you know – someone who plays a string instrument – is destined to take up his role. (In the HD version, the song mechanics are the same, but the UI will display the rhythm more clearly in 4/4 time.)


Wind Waker Song: Wind God’s Aria
A divine melody used to awaken the sage Fado and guide Makar through the Wind Temple. Essential for progressing with the Wind Waker.

Awakening the New Wind Sage (Forest Haven)
Fado’s successor is none other than Makar, the little Korok from Forest Haven who plays the violin. Warp to Forest Haven to find him.


Before tracking down Makar, make a quick pit stop inside the hollow tree. In a side cave near the Great Deku Tree, chat with Hollo the Korok. Trade him 4 Boko Baba Seeds and he’ll brew you a Blue Potion that fully restores your health and magic. (You can repeat this as long as you have seeds, which is a handy way to stock up on Blue Potions.) When you’re ready, exit back out to Forest Haven’s outer area.


Bottled Item: Blue Potion
Restores both all health and all magic. Brewed from rare forest ingredients, this powerful potion is a lifesaver in tough battles.
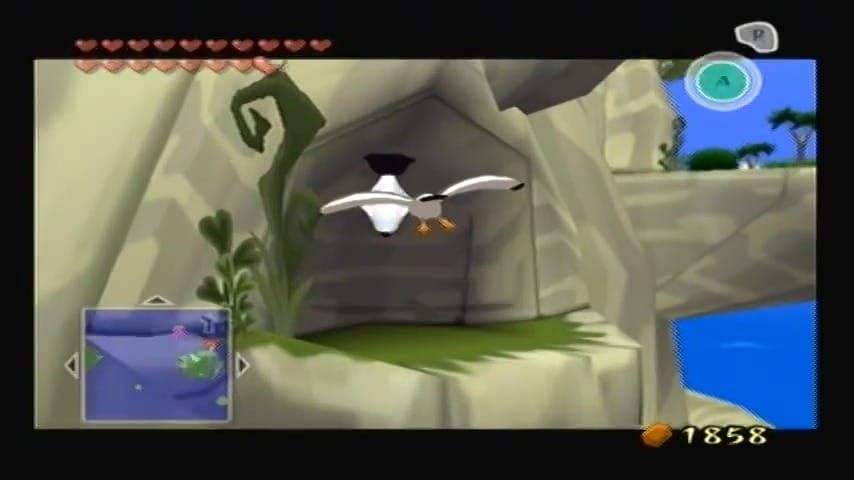
Climb up the Forest Haven as if you were heading to the Forbidden Woods, using the Baba Buds to spring upward. At the very top ledge outside, turn toward the small island across the way that houses the Nintendo Gallery. Glide over with your Deku Leaf. (If you miss, you can climb back up and try again; in the HD version, take advantage of the swift sail’s control of wind direction if you need to adjust your approach.) The Nintendo Gallery door here is initially locked. Optional – Nintendo Gallery: If you want to unlock this figurine gallery, break out a Hyoi Pear and release a seagull. Guide the seagull up to the tall cliff above the gallery door and hit the switch there. You’ll hear the gate unlock. This opens the Nintendo Gallery side quest area – purely optional, but now you have access in case you plan to collect figurines later.


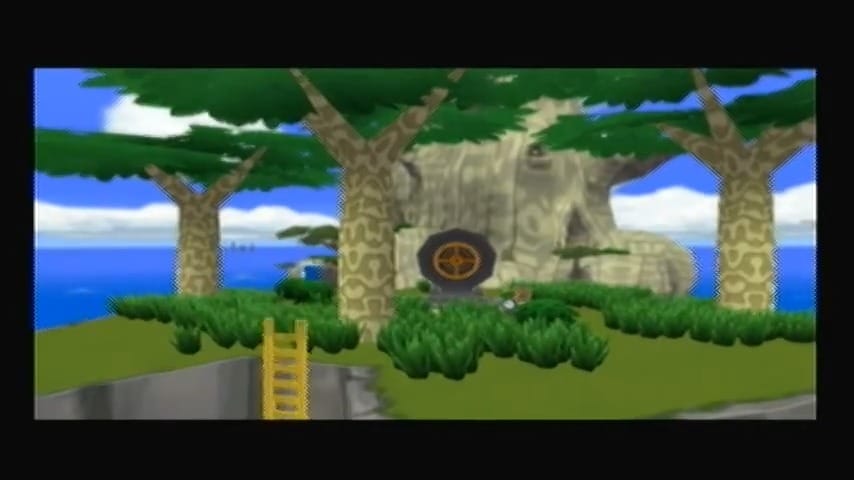

With that optional detour done, drop back down to the base of Forest Haven (back where the stream and waterfalls are). It’s time to find Makar. Walk to the pond in front of the waterfall near the island’s entrance – listen closely for the sound of music behind the rush of water. Look up to spot a wooden grapple post above the waterfall. Use your Grappling Hook to latch on, then swing and let go at the peak of your swing to leap through the waterfall.


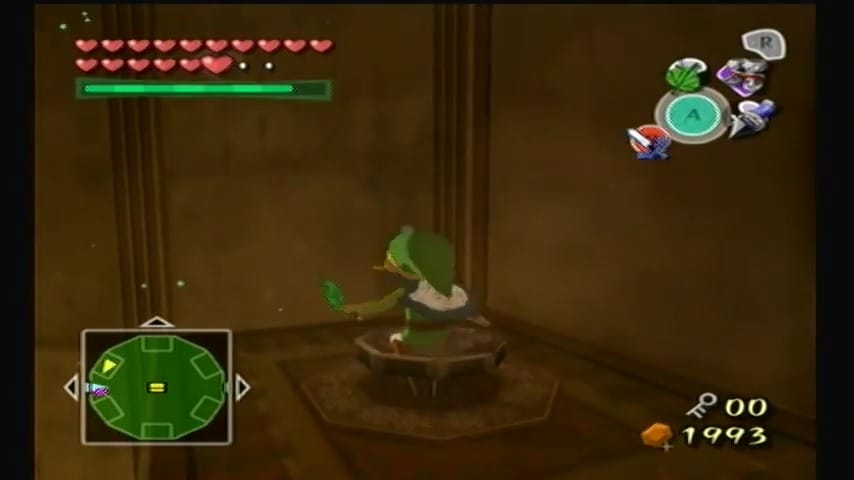
Behind it is a hidden cave where you’ll find Makar joyously playing his violin. Approach him and take out the Wind Waker. By conducting the Wind God’s Aria in front of Makar, you awaken him to his destiny as the new Wind Sage. A heartfelt scene plays out as Makar realizes he has a sacred role – he is now ready to restore the power to repel evil to the Master Sword.


Before heading to Gale Isle with Makar, there’s one more treasure to grab. Set sail (with Makar in your boat) one square north to Bomb Island.

Heart Piece #42: Treasure Chart #20 Reward
Use Treasure Chart #20 to pinpoint a glowing spot in the waters nearby. Haul up the treasure with the crane to obtain Piece of Heart #42. This precious find brings you closer to completing another Heart Container. Now it’s finally time for the Wind Temple.


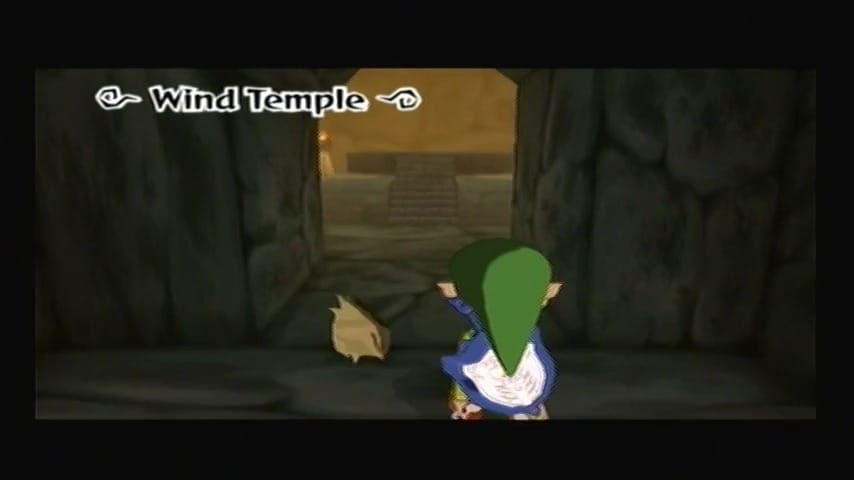
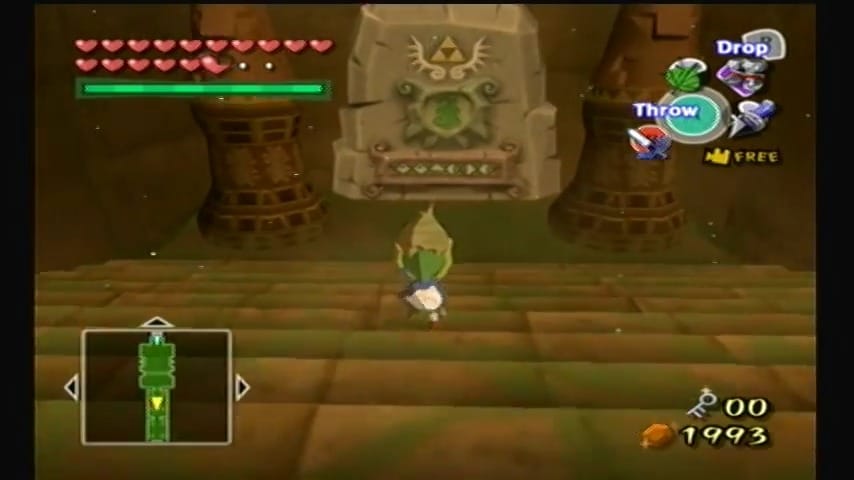
Warp back to Windfall (or Greatfish Isle if closer) and sail north to Gale Isle with Makar. Enter the cave where you met Fado. Stand in front of the stone seal blocking the inner chamber and conduct the Wind God’s Aria as a duet with Makar. The music causes the giant stone slab to shatter, clearing the entrance to the Wind Temple. Take a deep breath and head inside the final sage temple.


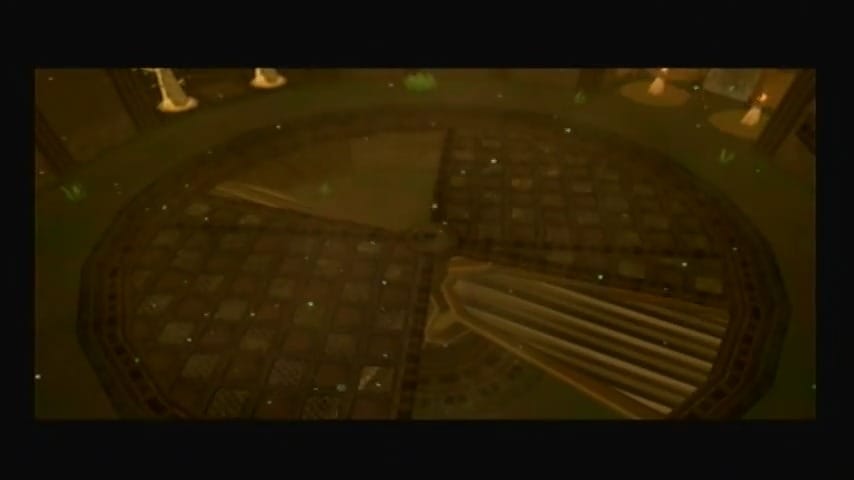
Wind Temple Dungeon Walkthrough
Into the Temple – First Floor Puzzles

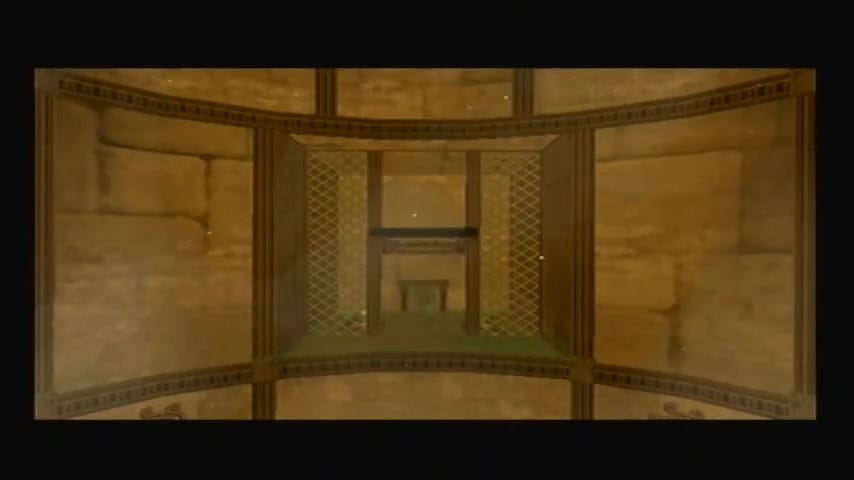
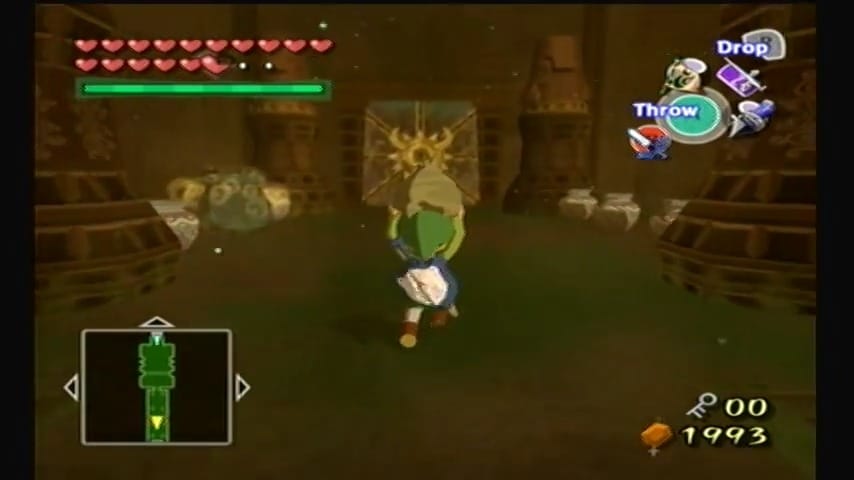
As you enter the Wind Temple, you’ll notice Makar follows along as Medli did in the Earth Temple. In the first chamber, there’s a sealed door and a heavy wind blowing from a large fan beneath a grating. You can also spot a blue warp cauldron off to the side. Destroy the cauldron’s wooden cover to activate the warp pot for later use (this lets you return here from elsewhere in the dungeon).


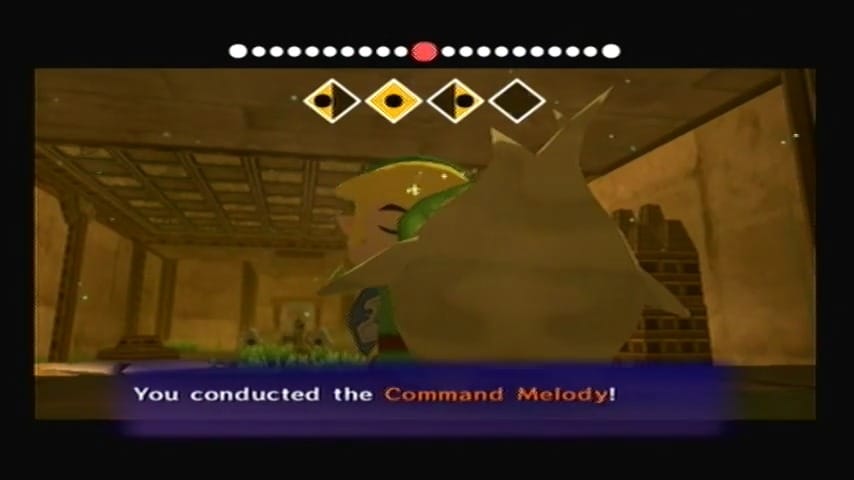
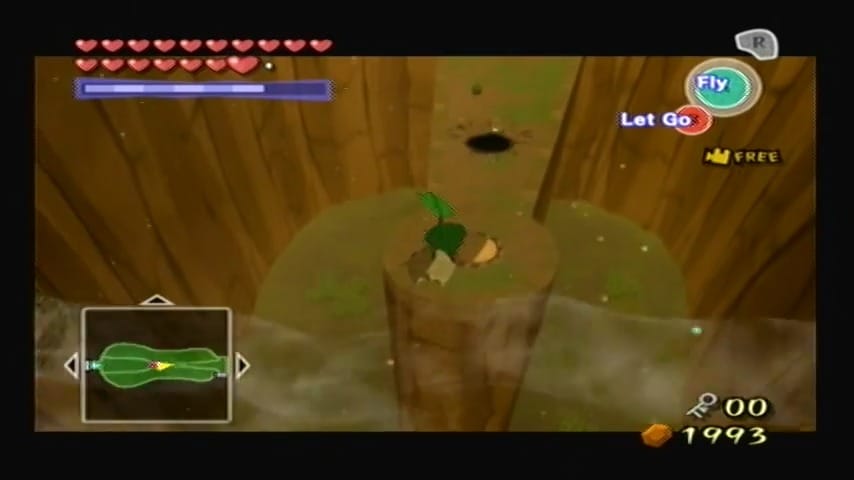
This room contains a pit with two mysterious patches. Play the Command Melody and have Makar jump down and go to the dirt patches. Stand on them and press A to sow a seed that will quickly grow into a small tree. Plant two of them and a chest will appear containing a Orange Rupee, which is worth 100 rupees.


Control Makar and fly him over to the north side of the room. Step on the floor switch there to shut off the gusts of wind coming from below.


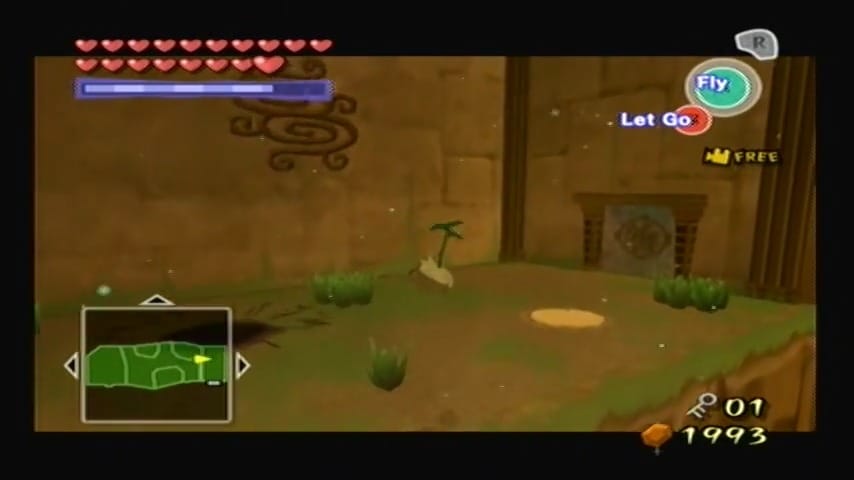
Return to link, and hop onto the spring-loaded platform and equip your Iron Boots. Their weight compresses the spring—remove them to launch into the air. As you rise, pull out your Deku Leaf and float across to the north side. Pick up Makar and exit through the door ahead.


In the next chamber, a massive, gate-like barrier blocks your progress. Take out the Armos statues patrolling the room, then use your Deku Leaf to spin the fan mechanism at the center. This raises the divider, clearing the way. Carry Makar to the north side, then play the Command Melody and have him plant two seeds in the soil patches. Doing so unlocks the next door. Head through when you’re ready.


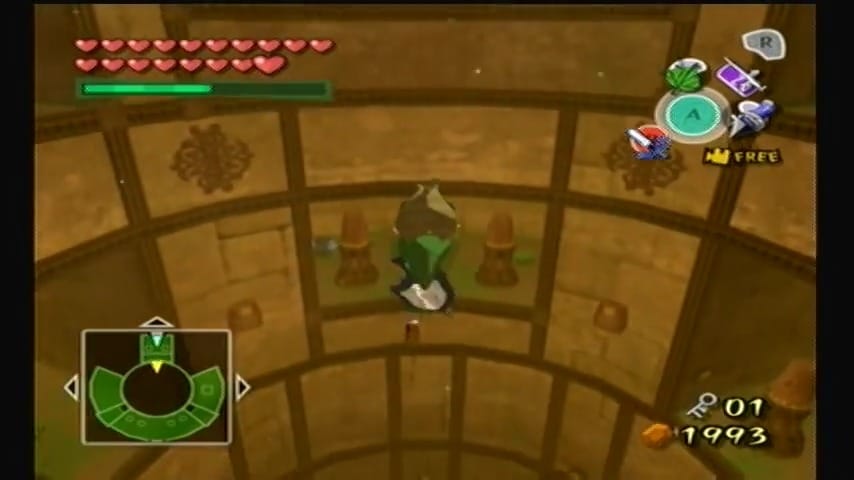
You’ll enter a tall room dotted with rocky ledges. Command Makar again and fly him up to the upper plateaus. Three dirt patches are scattered across the ledges—have him plant a tree in each one. Once the third seed is planted, the nearby door will open for Link. But before you can reunite, Floor Masters suddenly rise from the shadows and snatch Makar, carrying him off.


Navigating the Basements – Map, Keys, and Treasure
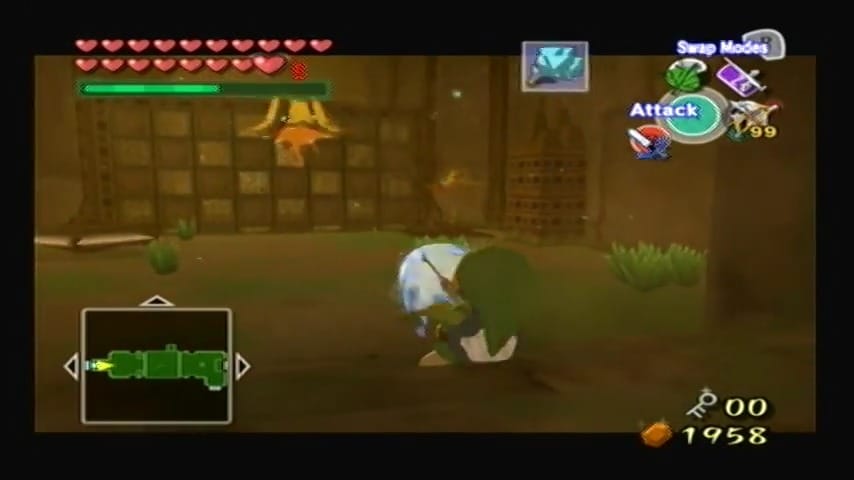
Continue through the east door. You now find yourself in a large ventilation shaft. Flying enemies patrol the air, so take them down to make the area safer. At the far northern end, you’ll spot Makar locked inside a prison cage—but you can’t help him just yet. For now, head through the door on the east side (lower left of the room). If you’re low on hearts, destroy the two Armos Knights nearby for some recovery items.


Inside the next room, take out the two flying enemies with a couple of well-placed boomerang hits each. Then, time your movement to avoid the moving blade trap. There’s a cracked tile you can smash with your Iron Boots, but be warned—there’s a Floor Master lurking directly below. To avoid a nasty surprise, rotate the camera and scope out the pit before jumping. Drop into a clear spot, then immediately unequip your boots and take out the Floor Master to secure the area.

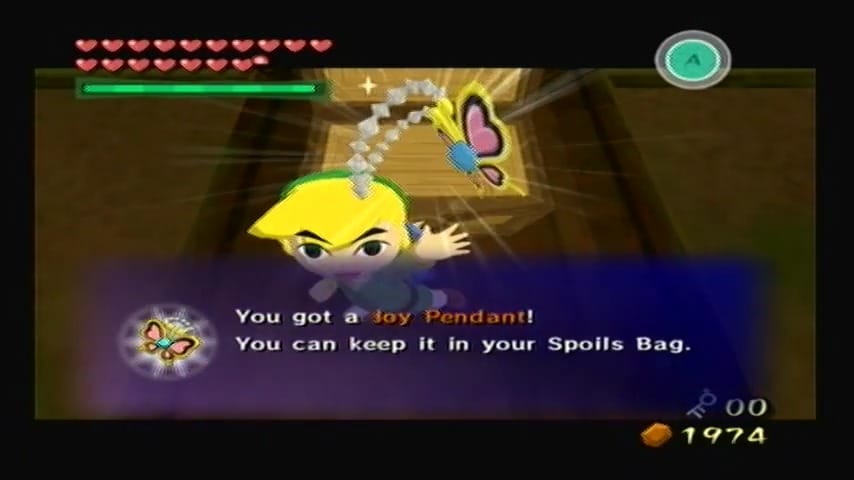
Use your Deku Leaf to spin the wind mechanism and lower the divider ahead. With the path clear, glide across to the other side. Once you’re over, use the Deku Leaf again from a distance to flip the divider back into its vertical position. This resets it for a launch point. Stand on the spring platform, equip your Iron Boots, and then remove them to bounce upward. At the peak of your jump, glide to the next level. Flip the divider one last time with your Deku Leaf—this time it will act as a solid platform. Walk across it and open the chest on the far side to find a Joy Pendant.


In the next room, equip your Deku Leaf and float over to the updraft in the center. Ride it up, then glide over to the high ledge on the left. Step on the switch to open a metal grate nearby. Leaf-glide to that grated platform and immediately shoot the Wizzrobe that appears using your bow. If needed, hop over to the left-hand plateau to recharge your magic meter, but avoid cutting the grass on the right-hand plateau—you’ll want to save that for your return trip.


Now glide southeast, aiming for the high ledge near the corner of the room. Open the chest there to claim the Dungeon Map. Refill your magic using the nearby grass.


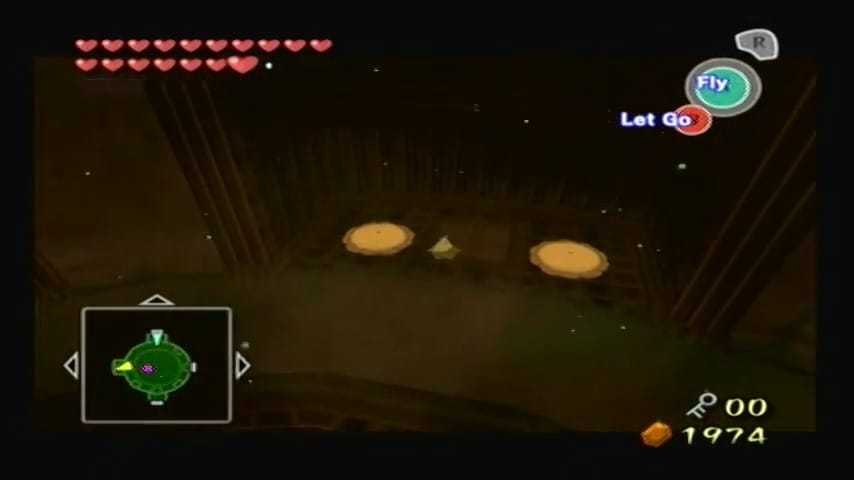
Now, drop off the ledge and use the same cyclone to lift back up. Turn west and glide through the open section of the tall gate structure in the middle, landing in the next cyclone. Float across to the west side ledge and land on the platform with a doorway. Go through this door into a smaller side room.

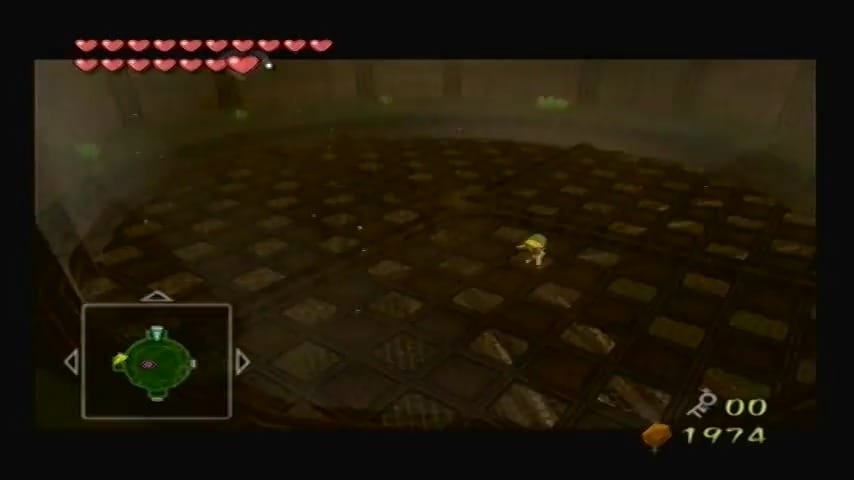
In this room, you’ll see a large stone block held up by a chain and a floor divided by cracked tiles. Immediately to your right is the second warp cauldron; burn its cover with a Fire Arrow for convenience. To progress, hop onto the hanging metal weight switch in the center and equip the Iron Boots. Your weight will pull the chain down, causing part of the floor to open and granting access to the basement below. Take off the boots and carefully drop down through the opened hole. (Tip: use the Deku Leaf just before landing to negate fall damage.) You’re now in a lower level filled with fog and lurking enemies.


Drop to the bottom floor and exit through the southern door. Inside, walk to the far-left corner where the floor panel looks brittle. Stand on it and equip the Iron Boots to crash through. Down below, defeat the ChuChus that drop in. Look around and find the block with a trampoline on top. Push it until it’s centered beneath the hole you just fell through. (The floor tiles look slightly different where the hole lines up.) Then push the second box so it’s next to the spring. Climb up: first onto the box, then onto the trampoline. Equip the Iron Boots to compress the spring, take them off, and soar upward. As you’re launched, pull out the Deku Leaf and float across the spiked floor to reach the next area safely.


Before you leave this basement, there’s an optional but rewarding task.

Treasure Chart #35 (Collectible #40 of 41)
The floor here has several cracked tiles that hide small chambers beneath. By stomping on these weak spots with the Iron Boots, you can break through to secret pits. There are five such tiles in total. One by one, stand on each cracked floor segment and equip the boots to crash through. Each time you fall into a hidden pit, defeat all the enemies that appear (some contain Miniblin hordes, others a Floormaster, etc.). After clearing the fifth and final hidden chamber, a chest materializes back in the main area of this room. Go back up (use the spring block or the ladder if one is present) and open the newly spawned chest in the center to obtain Treasure Chart #35. (This chart leads to a Silver Rupee treasure at Islet of Steel. It’s optional, but completionists will want it.) With the map, a key, and Chart #35 secured, exit this room the way you came in.


Back in the tall cyclone chamber, head across to the opposite door (the eastern side of the room). Open the door using the small key we just acquired and through it to face the dungeon’s mini-boss.


Wizzrobe Mini-Boss and the Hookshot
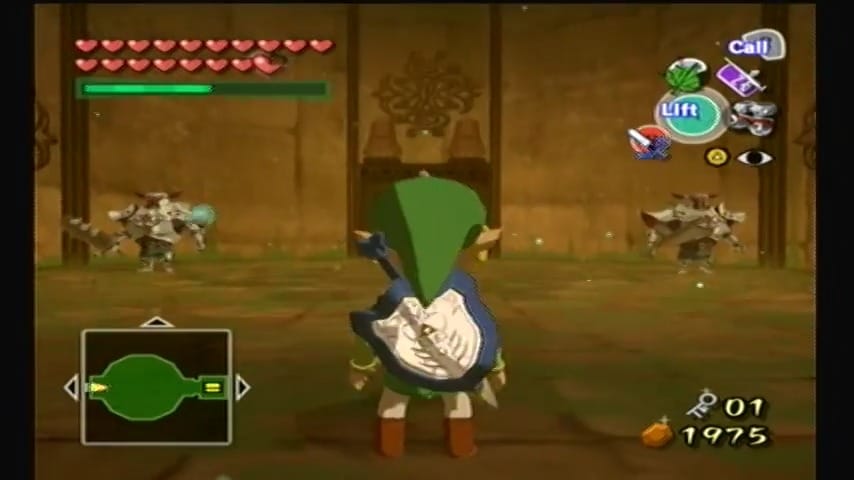
You’ll find yourself in a large, circular room. The mini-boss is an orange Wizzrobe (a more powerful variant) that appears on a platform and cackles menacingly. This Wizzrobe will summon other enemies to attack you throughout the fight, including Bokoblins, Keese, and even Darknuts if you take too long.


Focus your attention on the Wizzrobe itself. Keep moving to dodge its fire blasts. When it materializes within reach (often on a lower platform), quickly shoot it with an Ice Arrow and then smash it with the Skull Hammer for an instant kill. If you can’t manage that, a few regular arrows or a Light Arrow (if you have them) will do significant damage as well. Take out any summoned enemies that get in your way, but remember the fight ends as soon as the Wizzrobe is defeated, dispelling any remaining minions. Once the orange Wizzrobe falls, the doors unlock and a big chest appears. Open the chest to claim the Hookshot!


Item: Hookshot
This classic item is a long-range grapple that lets you latch onto targets and pull yourself (or certain objects) to that point. Equipping the Hookshot will significantly change how you traverse the dungeon from here on. Note: In Wind Waker HD, the Hookshot can be aimed with the gyroscope for finer control (if you prefer), but otherwise it functions the same as on GameCube.
To move forward, look up and Hookshot the target above the exit to hit the switch and open the door. Go through—it’ll take you back to the ventilator shaft.


Climbing Higher – Freeing Makar and Gaining the Compass
With the Hookshot in hand, you can now reach new areas. Scattered around the walls are tree stump targets – these are perfect Hookshot points. Look along the left (west) wall of this big room: you’ll notice several platforms with target stumps above them. Use the Hookshot to grapple up from one platform to the next, creating a path upward.

After climbing about four platforms, you’ll reach a point level with an opposite ledge. From that fourth platform, glide with the Deku Leaf over to the east side ledge across the way. Here, there’s a chest containing the Compass (Dungeon Item 6/7). The Compass will reveal treasure chest locations and Makar’s icon on your map, which is very handy since you need to rescue him.


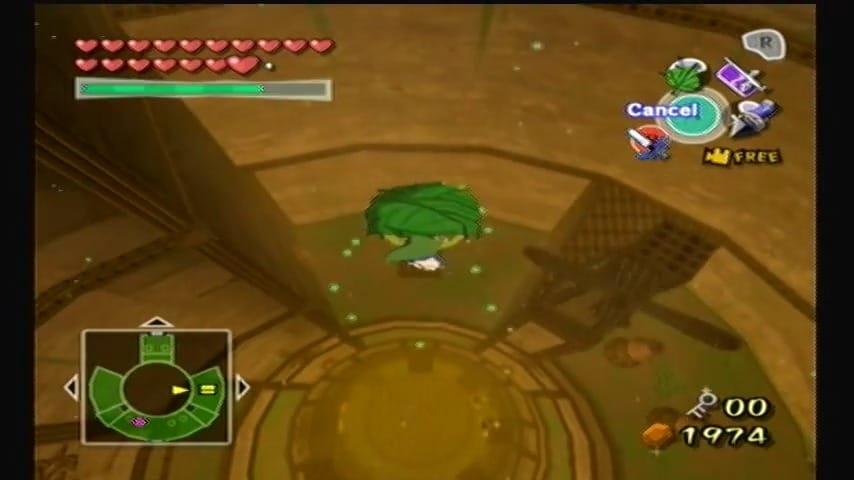
Continue climbing using the Hookshot targets on the wall, which now extend higher. You’ll reach another spring switch; use it with the Iron Boots to launch up to an even higher level. Use a combination of the Hookshot and Iron Boots to progress upward – some targets are attached to heavy stone faces that you must yank down with the Hookshot while wearing the Iron Boots (Link’s weight will pull the stone loose). Eventually, you’ll reach the top ledge where you see poor Makar imprisoned in a cage. Walk to the right side of Makar’s cage and put on the Iron Boots. There’s a large statue head anchoring the cage in place. Use the Hookshot on the statue to pull it down with your added weight, shattering it and freeing Makar at last! He’s overjoyed to rejoin you. Before leaving the cell, open the small chest inside Makar’s cage to snag another Joy Pendant (every treasure counts).


Now that Makar is back at your side, we can reach the remaining areas of the temple. Drop all the way down to the bottom of the central chamber (use the Deku Leaf to float down safely). There’s a locked door on the east side of this lowest floor, which we passed earlier – now we can finally open it. But we’ll need one more small key.
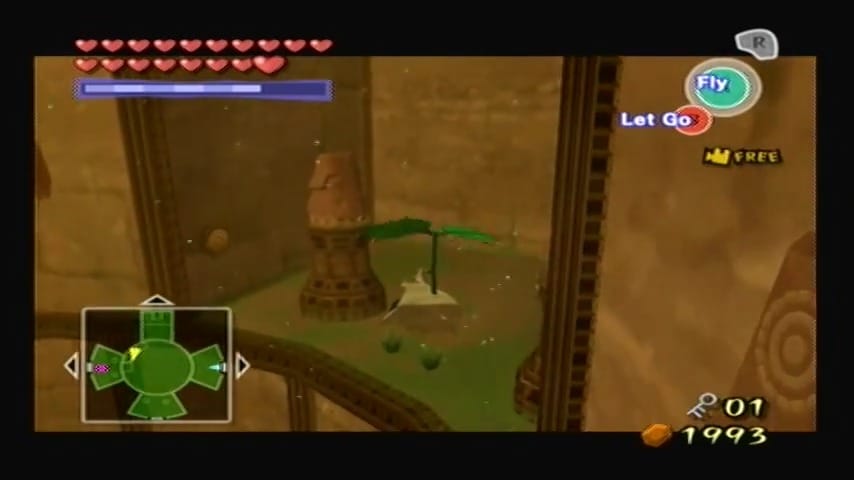
Carry Makar to the east side of the bottom floor, and conduct the Command Melody. Have Makar plant seeds in the two dirt patches on the eastern side to make a large updraft cyclone appear in the middle of the chamber. As Makar, take the updraft up to southern high ledge. Switch back to Link and ride that cyclone up almost to the top, then peel off and land on the eastern high ledge (the only side you haven’t been to yet up high). Here you’ll find a chest with another Joy Pendant.


Pick up Makar again, head through the door on the south wall (one floor below Makar’s cage) to rejoin Makar. Go through this door while carrying Makar.
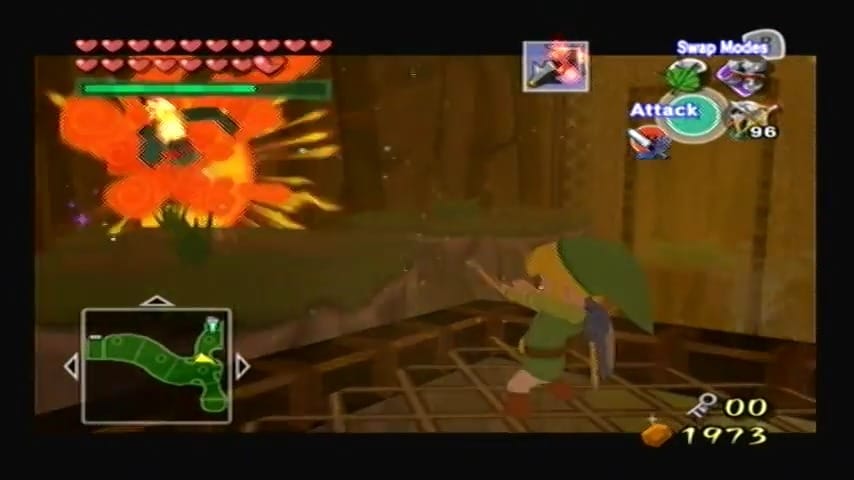
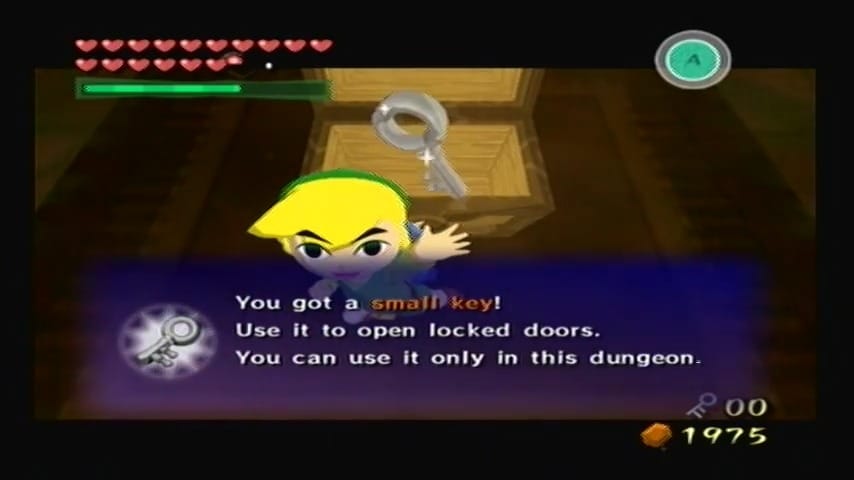
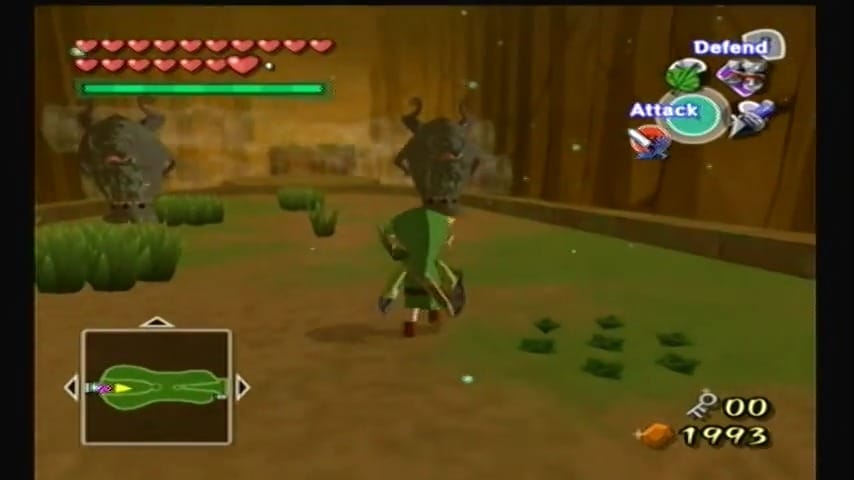
This next room is filled with enemies. Several Armos statues and a couple of Bokoblins will attack. It’s a chaotic fight, so set Makar down safely in a corner first. Take out the Bokoblins, then destroy the Armos Knights (stun them with an arrow when their mouths open, then finish with a bomb or slash). Once all enemies are defeated, the gate in front of a chest will open. Open the chest to obtain a Small Key – this is the second key, allowing you to unlock that door we noted earlier.

Inside, use the Command Melody again to fly Makar across the divider and over to the stone seal on the far east side of the room. Now you need to get Link over there too. Drop into the hole below, and hit the wind mechanism with your Deku Leaf to rotate the divider into a horizontal bridge. Cross over to the east side, then flip the divider back into a vertical wall to set up your next launch. Use the nearby trampoline and your Iron Boots to spring back to the upper level, then glide over to Makar. Stand with him in front of the stone seal and conduct the Wind God’s Aria. The melody breaks the seal, opening the path forward.


The next room is a gauntlet. You’ll face three Darknuts, each heavily armored and highly aggressive. Dodge, jump-strike, and use your roll-and-slash combo to expose their weak points. Once all three are defeated, a gate opens on the far side of the room, revealing a treasure chest. Open it to claim the Big Key.


With that in hand, retrace your steps through the previous room. Use the Deku Leaf once again to flip the divider into a horizontal bridge, then head through the west door.

You’re back in the propeller chamber. Set Makar down for now. Jump off the ledge and use the Deku Leaf to float to the west side door. Then, control Makar to join link and proceed through the west door.

You’re now back in the room where Makar was originally captured. He’ll point out that you can now Hookshot onto the trees he planted earlier. Use them to scale your way to the top, defeating any enemies that get in your path. Once you’ve cleared the room, command Makar again and fly him up to the highest platform. Join him and proceed through the door.


The next room is similar in structure, but it’s crawling with Blue Bubbles—those cursed, floating skulls. These enemies are especially annoying because if one touches Makar, it automatically cancels your control and reverts you back to Link. Knock them out of the air with your Deku Leaf, yank them in close with the Hookshot, or freeze them from afar with Ice Arrows to keep the skies clear.

Take control of Makar and carefully guide him to the platforms so he can plant trees in the soil patches. Avoid dropping him too close to the Floor Master near the top—if it grabs him, you’ll have to backtrack. The corner near the exit door is a safe spot to land him. Once his trees are planted, switch back to Link and use the Hookshot to ascend, making use of the new tree targets. Defeat the Floor Master, grab Makar, and head through the southeast door to continue your ascent toward the boss.


Start by placing Makar on one floor switch and have Link stand on the other. This triggers the large vent shaft below to open. Jump down to the basement level—yes, you’ll take a little fall damage, but there’s plenty of recovery items down there to patch you up. Drop all the way to the the bottom, beneath the spinning propeller. Unlock the door on the east side and head through it.

In this chamber, you’ll face a mix of formidable foes: a Wizzrobe (regular one) and several Stalfos bone warriors. Prioritize the Wizzrobe – use arrows to dispatch it fast. Then deal with the Stalfos one by one (lure them and hit with the Skull Hammer or bombs when they collapse into bones). Once the room is cleared of enemies, it’s time to reveal a hidden treasure. Along the walls are large stone faces that look suspicious. Use the Hookshot on each of these wall-mounted statues; when you pull with the Hookshot (wearing Iron Boots for extra heft), the statues will pop off. Behind them, Bokoblins were hiding! Defeat all the Bokoblins that jump out. After all the enemies (visible and hidden) are defeated, a chest will appear.


Treasure Chart #5 (Collectible #41 of 41)
Open it to obtain Treasure Chart #5. This is an extra treasure for the diligent hero – and notably, it’s the final Treasure Chart in the game! (Chart #5 will lead you to a Piece of Heart at Thorned Fairy Island later.)

Hook shot to the top level of this room and stand on the switch with your Iron Boots to unlock the door. Proceed through the door.

Carry on through the next door with Makar. You’re now in another windy hallway with narrow paths and Blade Traps sliding back and forth. Clear out a couple of Bokoblins here, as well as two Armos Knights waiting near the end. To get Makar across safely, you’ll need to create a bridge over the cyclones. Command Makar to fly across the series of small cyclones along the path and plant a seed in the dirt patch on the far side. This causes a Hookshot target tree to sprout. Switch back to Link, and use the Hookshot on that new tree to pull yourself over the windy chasm. Defeat any remaining Armos or enemies on this side so Makar won’t get grabbed. Then pick up Makar and head through the door to the east.


In the next room, strong wind vents make it impossible for Makar to fly across directly, so you’ll need to improvise a safe path. Start by equipping your Iron Boots and pushing the crate forward. Keep pushing until it covers the first two rotating blades. Climb over the box (or go around) and continue dragging it forward once you’re past the danger.
Once the first crate is clear of the fans, push it into the trench to form a bridge. Grab the second crate and push it across the bridge you just made, then move it into position to block the third rotating fan. Now return for the third crate and push it across to trap the first two fans on the left side, creating a clear corridor for both Link and Makar. Bring Makar over safely and continue to the southern exit.


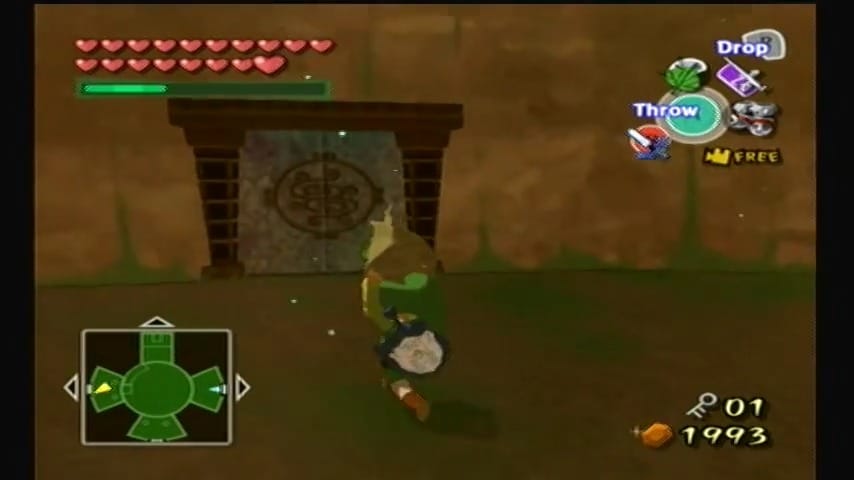
You’ll now stand before the final stone seal. Play the Wind God’s Aria one last time, and Makar will join you on his fiddle. The final door unlocks. Before moving on, don’t forget to blow the lid off the warp cauldron nearby—it’ll save you time if you need to return. Stock up using the pots around the room: you’ll find hearts, magic jars, and even fairies. When you’re ready, unlock the final door using the Big Key and prepare for the Wind Temple’s boss.


Molgera – Boss of the Wind Temple
As you step into Molgera’s lair, you find yourself on a wide circular bed of shifting sand. The ground itself behaves like quicksand, constantly pulling you toward the center. The atmosphere is tense and the music kicks in with a fast drumbeat – Molgera is about to attack. Suddenly, a giant sand dweller erupts from beneath the surface. This colossal flying sand worm is Molgera, and it’s ready to make a meal of you.

Molgera’s arena is essentially a giant pit of sand. The footing is unstable (you’ll be slowly dragged toward the center by the sand), and there’s nowhere solid to hide, so keep moving. Molgera itself is a huge, beige-yellow worm with a gaping maw full of teeth and a long purple tongue. Its attacks are deceptively swift: it may lunge out of the sand with its mouth open wide, trying to bite you, or suddenly fly up from one spot and crash down in another attempt to slam you. After you injure Molgera a couple of times, it will also spit out several mini-Molgeras – smaller versions of itself – to harass you. These little larvae will hop and bite at you, making the battle more chaotic.
Strategy: Target Molgera’s tongue. Watch the sand’s surface for a telltale sign: when you see a large patch of dark, shifting sand gathering in one spot, Molgera is about to emerge there. Keep a medium distance and be ready. The moment Molgera pops its mouth above the sand and exposes that red-purple tongue, Hookshot the tongue to pull the beast toward you. As soon as Molgera’s head is dragged close, slash the tongue repeatedly with your sword. You’ll usually manage a few hits before it shakes loose and retreats. Be careful not to stand too close to Molgera’s mouth when it emerges – if you linger right in front of it, Molgera can lunge forward and swallow you whole, chewing you up before spitting you out for heavy damage. After taking a few hits, Molgera will dive back under and reappear elsewhere.


When Molgera summons its larvae (up to three at a time), you have a choice: you can ignore them and focus on the boss, or eliminate them to make the fight easier. The safer approach is to quickly target and Hookshot each mini-Molgera out of the sand, then cut them down. They often drop hearts and magic, which can be a lifesaver mid-battle. Clearing the small fry ensures they won’t interfere when you try to Hookshot the big boss’s tongue (otherwise they might knock you around as you aim). Keep an eye on Molgera while dealing with the little ones; don’t get caught off guard by the main boss emerging under you.


If Molgera doesn’t immediately resurface from below, it might take to the air. The massive worm will circle around above and then attempt a devastating aerial slam attack. When you see Molgera flying, run in one direction (or roll) to avoid the spot where it tries to crash down on you. You can also try to Hookshot Molgera while it’s airborne – if you aim at its open mouth, you can tug it down mid-flight, but this is risky and requires good timing. Generally, it’s safest to keep moving and wait for Molgera to dive back into the sand, where you can predict its next emergence by watching for the dark sand circle.
Remain patient and stick to the pattern: wait for Molgera to surface with an open mouth, Hookshot the tongue, and then deliver as many sword strikes as possible. After about three full cycles of this (with increasingly aggressive attacks and more larvae each time), Molgera will not be able to take any more punishment. A final series of blows will cause the giant creature to thrash and then explode in a shower of sand.


You’ve defeated Molgera! Grab the well-earned Heart Container left behind, and bask in the victory music.

With the boss vanquished, Makar appears and the wind seal in the temple is restored. In a touching scene, Link conducts Makar in the Wind God’s Aria one more time, and the fully awakened Wind Sage prays to power up the Master Sword.

The blade regains its shine, now restored to its true power, capable of repelling evil once again. When you’re ready, step into the blue light to exit the Wind Temple. Congratulations on completing the final temple – your next stop is to gather the Triforce pieces and confront the evil plaguing the Great Sea! (In the HD version, remember that some Triforce charts from the original are replaced with direct Triforce shard chests, streamlining the next leg of your adventure.) Prepare yourself for the endgame, hero of winds!