About Twilight Princess Poes

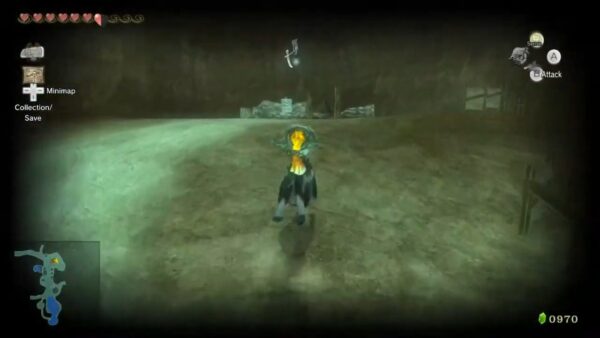
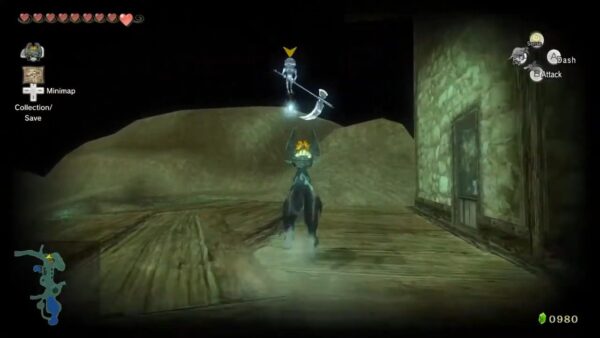
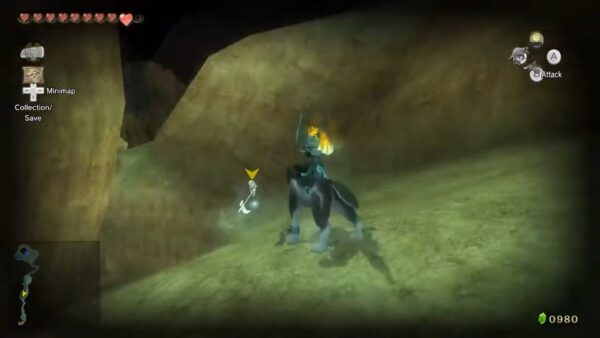
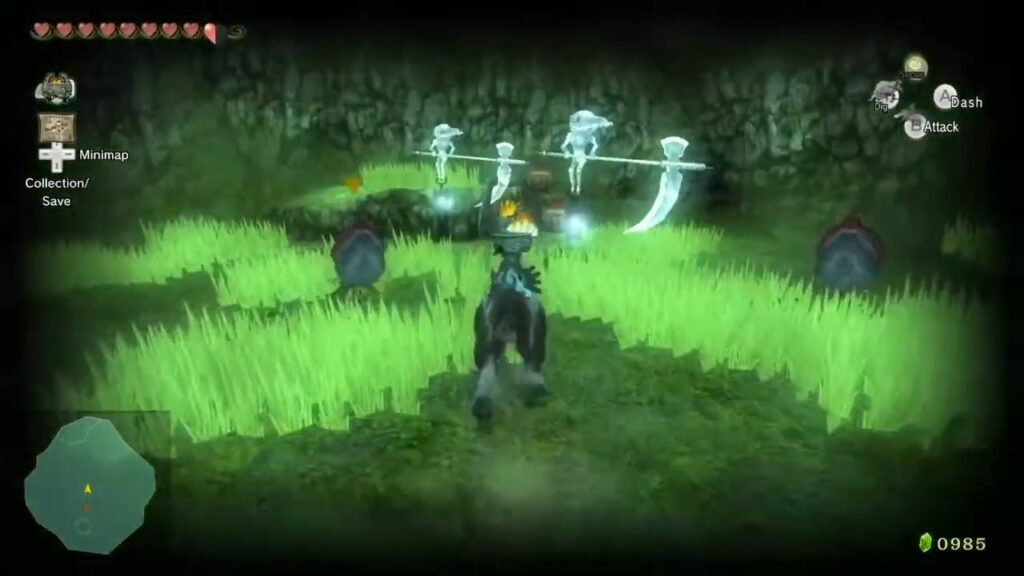
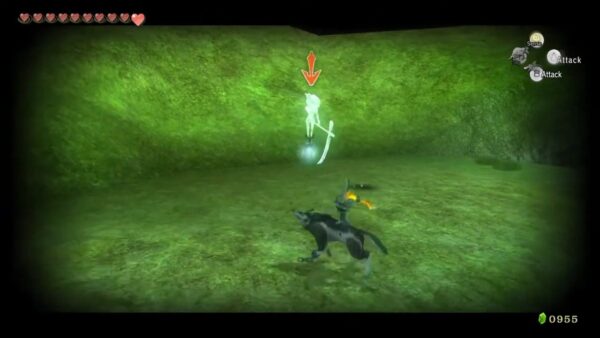
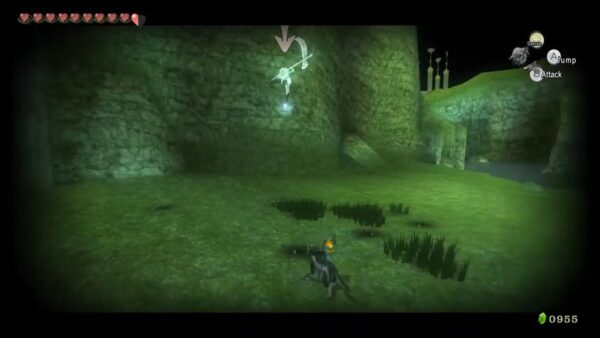
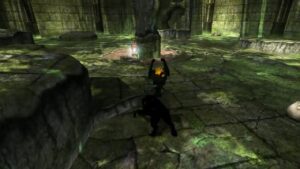
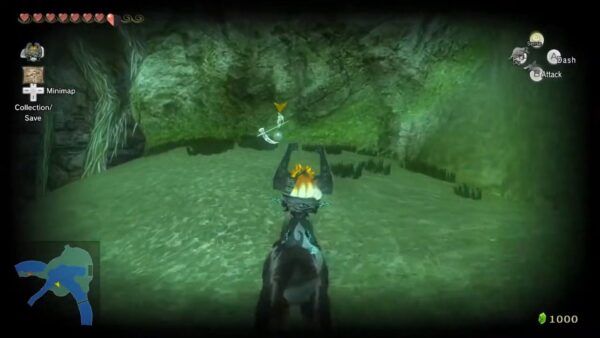
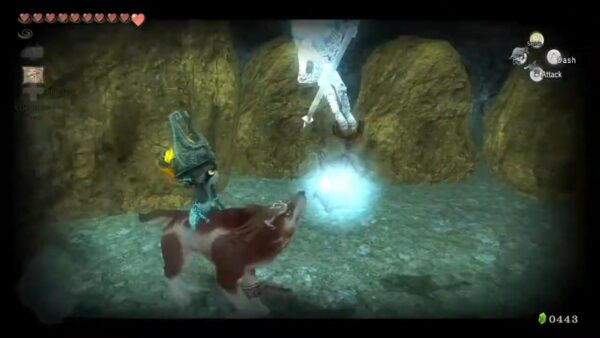
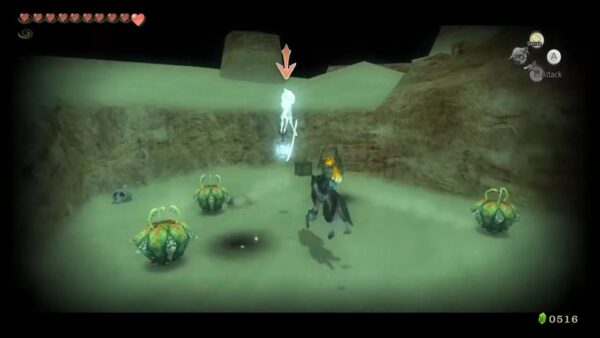
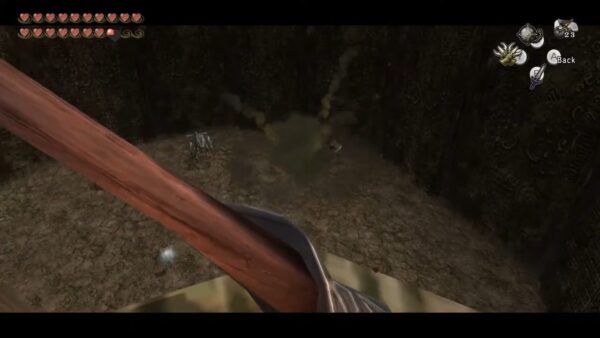
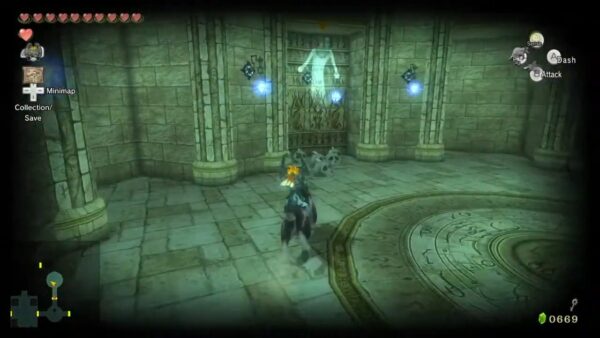
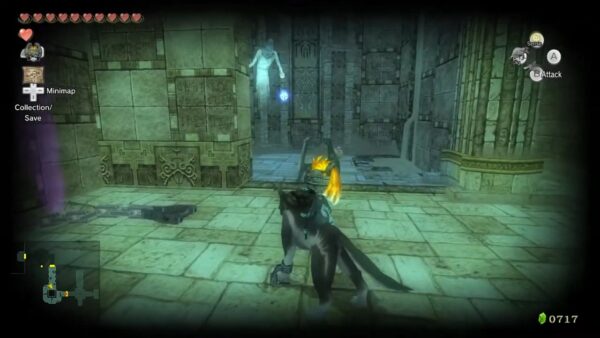
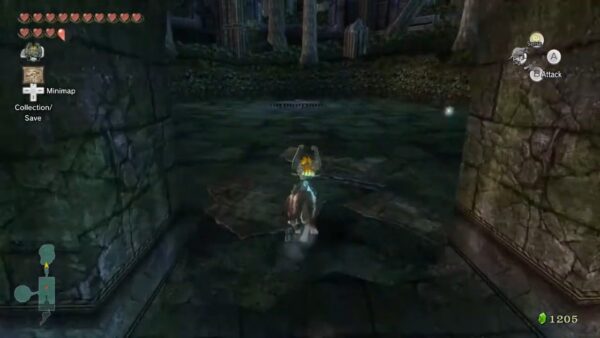
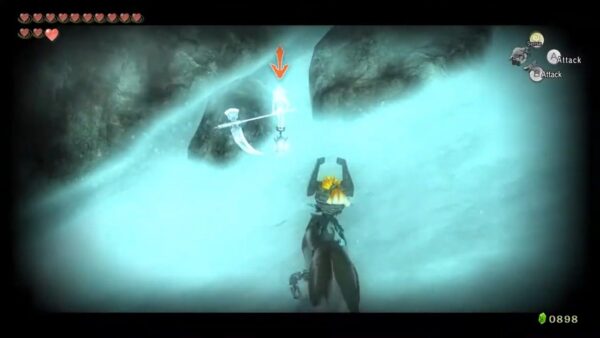
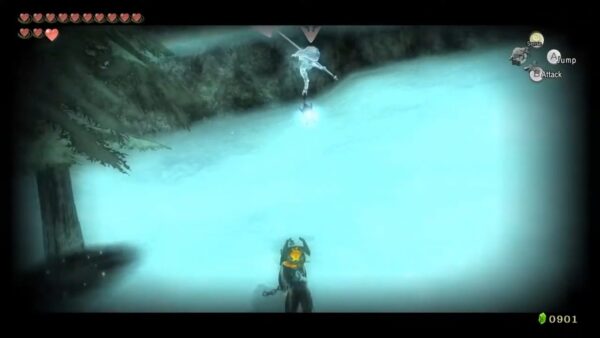
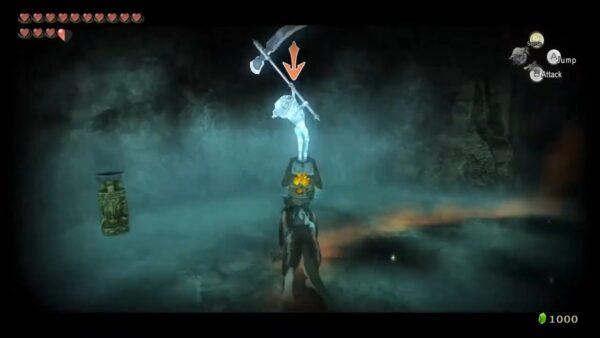
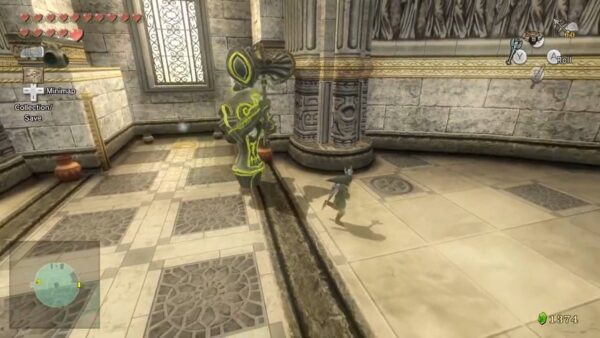
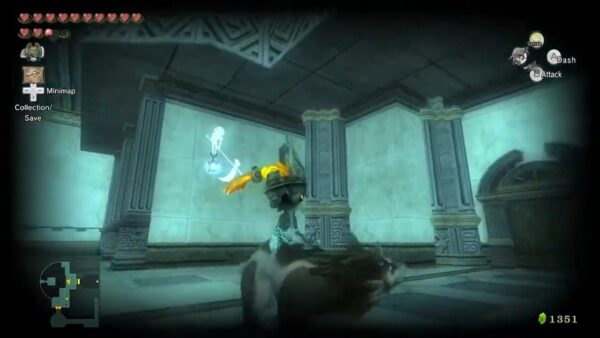
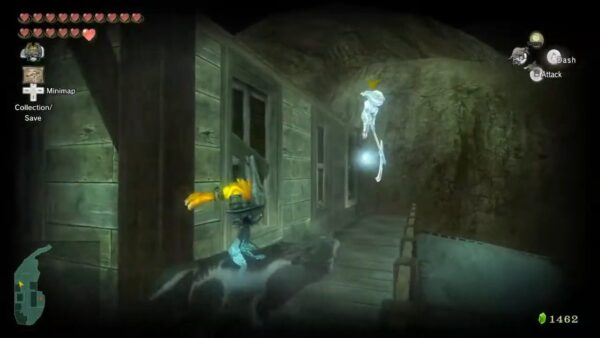
You can only see and “kill” Poes as Wolf Link and only when it is night or you are inside a dark place like a cave. If you see a little blue lantern floating in the air, press X to turn on your Senses to make the Poe visible, and then you can fight it.
From the time after you’ve collected your first Poe Soul through the end of your quest, you will be able to view how many you’ve captured on your Start menu, indicated by this symbol. In “The Legend of Zelda: Twilight Princess,” Poes are ghostly enemies that hold fragments of Jovani’s soul. To see and defeat Poes, you must transform into Wolf Link and activate your Senses by pressing X. This ability allows you to detect and engage Poes, which are otherwise invisible.
Rewards for Collecting Poe Souls
After defeating a Poe, you can collect its Poe Soul. The total number of Poe Souls you’ve gathered is displayed in the Collection screen of the Start menu, indicated by a Poe icon.
Rewards for Collecting Poe Souls
- After Collecting 20 Poe Souls: Return to Jovani’s House in Castle Town. Jovani, partially freed from his curse, will reward you with a Bottle filled with Great Fairy’s Tears. This rare item fully restores your health and temporarily boosts your attack power.
- After Collecting All 60 Poe Souls: Visit Jovani again to completely lift his curse. He will express gratitude and reward you with 200 Rupees. Subsequently, you can speak with his cat, Gengle, in Telma’s Bar to receive 200 Rupees each time you talk to him, providing an unlimited source of Rupees.
Poe Soul Locations
- Jovani’s House (1 Poe)
- Faron Woods (1 Poe)
- Kakariko Village (2 Poes)
- Kakariko Graveyard (2 Poes)
- Death Mountain (1 Poe)
- Hyrule Field: Faron Entrance (1 Poe)
- Hyrule Field: Kakariko Gorge (2 Poes)
- Hyrule Field: Castle Town Entrance (7 Poes)
- Lake Hylia (8 Poes)
- Upper Zora’s River (1 Poe)
- Zora’s Domain (2 Poes)
- Gerudo Desert (8 Poes)
- Cave of Ordeals (3 Poes)
- Arbiter’s Grounds (4 Poes)
- Sacred Grove (3 Poes)
- Snowpeak Mountain (5 Poes)
- Snowpeak Ruins (3 Poes)
- Temple of Time (3 Poes)
- Hidden Village (1 Poe)
- City in the Sky (2 Poes)
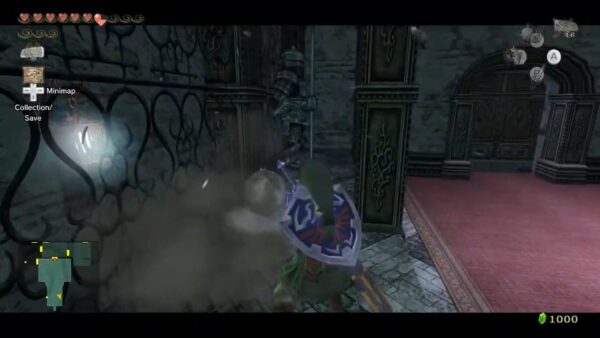
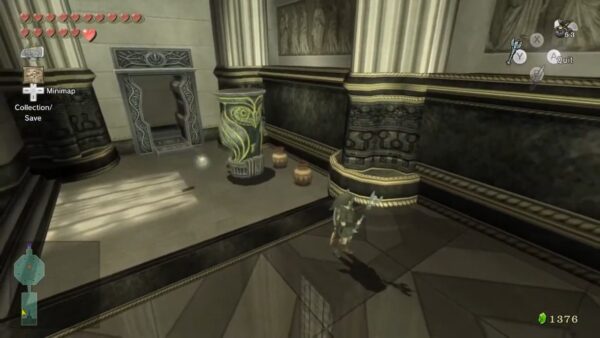
Jovani’s House
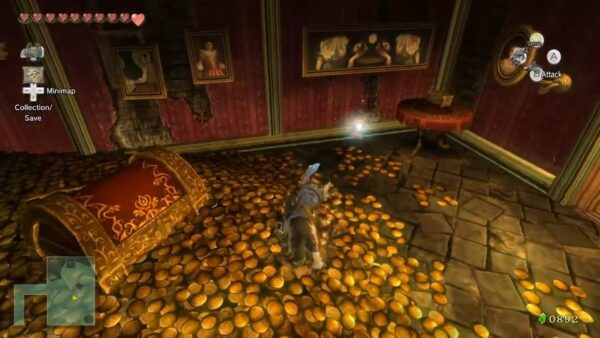
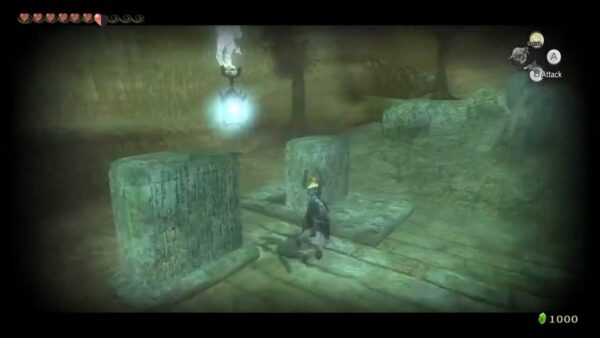
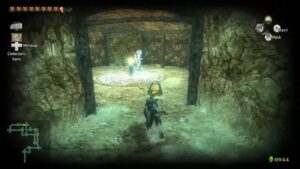
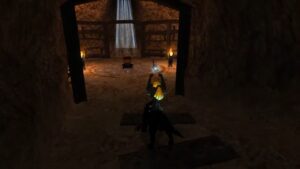
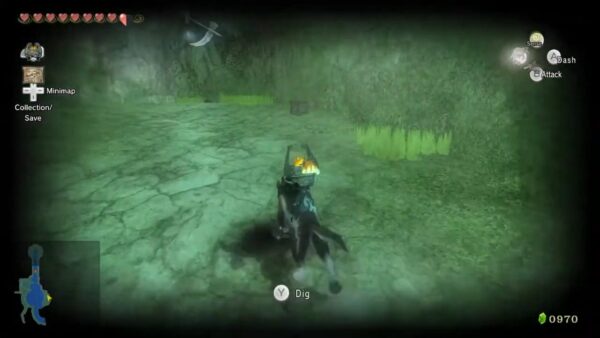
1: Turn onto the side road closest to the East Road of Castle Town. Going down the alley, you’ll find a little alcove on the left containing multiple cats and a house. If you turn on your Senses, you’ll be able to see the patch of dirt you can dig underneath to enter the house. This is the house of Jovani, so you’ll notice it’s completely filled with gold and other treasures. This is where you’ll find your first Poe.
Faron Woods

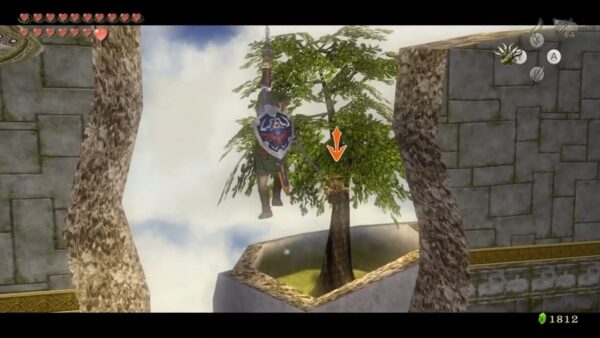
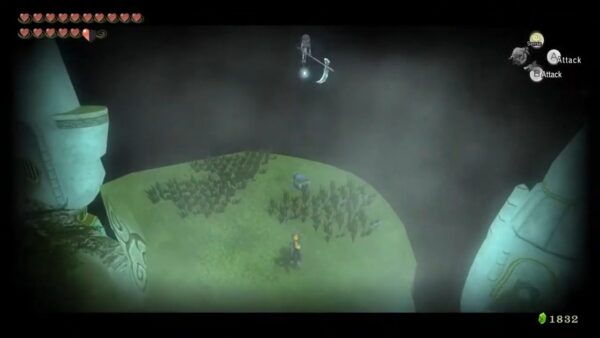
2: In Faron Woods, make like you’d be heading toward the Forest Temple. Once you reach the area with the purple fog, use Midna’s jump to reach the tree in the center of the field, where you’ll find a Poe.
Kakariko Village
3: Above Barnes’ Bomb Shop in the village, his decimated supply shed is now home to a Poe. This is the same house that was blown up during the Eldin Tears of Light collection.
4: Pass Barnes’ shed and head up the ramped path up to where the Goron keeps lookout over the village during the day. You’ll find a Poe here at night.
Kakariko Graveyard
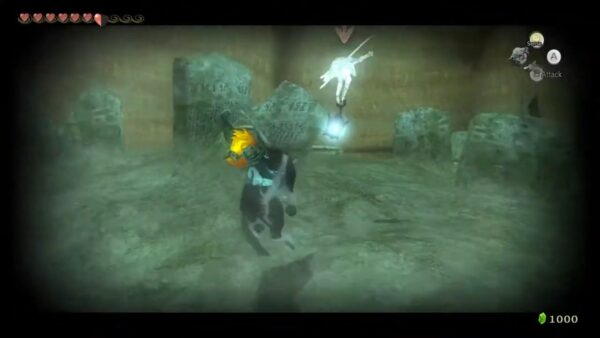
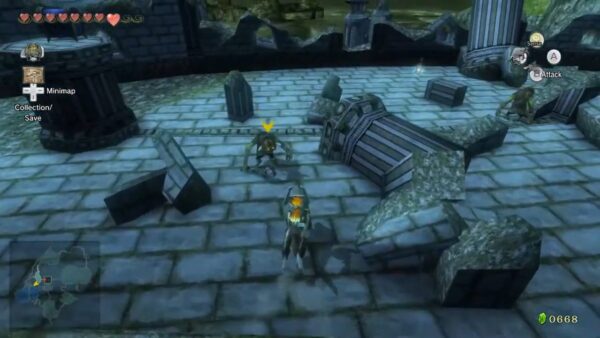
5: This Poe is very easily spotted, found in the middle of the Graveyard.
6: Pull the grave closest to the entrance to unearth a Poe.
Death Mountain
7: As human Link, talk to the Goron to get him to shoot you up onto the upper ledge on the left, where another Poe is located.
Hyrule Field: Faron Entrance
8: North of the bridge, you’ll find a hill with a Poe.
Hyrule Field: Kakariko Gorge

9: To the left of the bridge in the Gorge, there is a hill with a tree overlooking the area. You’ll find a Poe here next to the tree.
10: In the southern edge of this area (opposite the entrance to Kakariko Village) is a bolder in front of a cave. Blow up the bolder with a bomb to gain access. If you’re playing on the Gamecube version, make a right, right, left, and left. And if you’re on the Wii, you’re going to reverse those directions, so make a left, left, right, and a right to find the Poe.
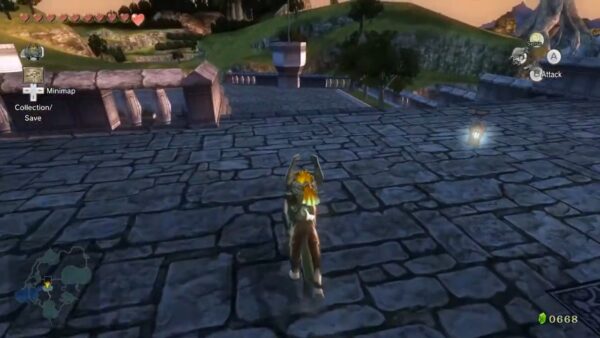
Hyrule Field: Castle Town Entrance
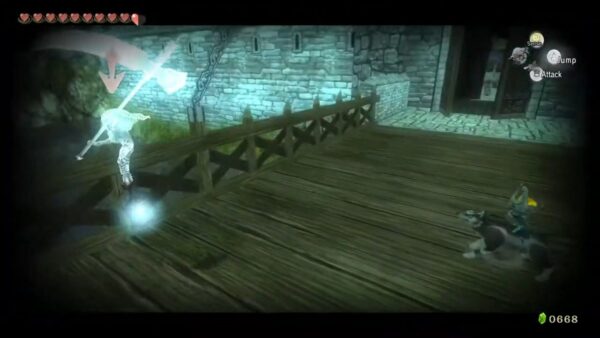
11: Warp to Castle Town. Make a left and follow the path. In this area, you’ll see a bridge with a Poe on it. However, before taking on the Poe, you may want to tackle the two Lizalfos by the bridge so they don’t get in your way.
12 & 13: Warp to Castle Town. Take the same route as the one to the previous Poe, but make a left at the Lizalfos, which you’ll probably want to kill before searching. Look around for a couple patches of grass arranged in a circle. Turn on your Senses to see the shining patch of grass for you to dig into. Inside are two Poes.
14: Exit Castle Town through the East Road. On the bridge at night, you’ll find a Poe.
15: On the southwest field region of Castle Town, you’ll find an area filled with ruins and some Dominion Rod-controlled statues. The Poe is at the bottom of the steps.
16: Exit Castle Town through the South Road by the Gorons’ shop. On the stairs next to the fountain, you’ll find a Poe.
17: Warp to Castle Town and head toward Lake Hylia. Cross the Great Bridge and the smaller wooden bridge south of it. You’ll find a ledge with boulders you can explode with Bomb Arrows. Once you’ve done that Clawshot up to access this Poe.
Lake Hylia
18: Start outside the Lanayru Spirit Spring. Swim straight across to the other piece of land to find a Poe there at night.
19: Warp to Lake Hylia. Make a left up the ramp and climb all the way up the ladder to the area with the watchtower. Here you’ll find a Poe.
20: Warp to Lake Hylia and jump across the raised platforms to this larger area, where you’ll find a Poe.

21: Play Falbi’s Flight by Fowl by the Great Bridge of Hylia to get down to the second-lowest tier of the Isle of Riches to find this Poe.

22: Again play Falbi’s Flight by Fowl game, but instead of drifting all the way down, turn in the air to face the other direction. This is best to do at night so you can see the blue lantern floating on top of the island where the Poe is located.
23, 24, 25: In the same area as the Howling Stone, there is a cavern hidden behind a boulder. Blow up the boulder to explore the cavern, where you’ll find three inside. The cavern can be very dark in certain areas, pay attention to your map to assist your navigation of the cavern.
Upper Zora’s River
26: Warp to Upper Zora’s River. Jump off of one of the ledges on the side with the Howling Stone and quickly swim over to the ledge on the other side. There’s a bunch of tall grass and a Poe here.
Zora’s Domain
27: Warp to Zora’s Domain. Dive off the cliff into the water and swim west (GC) and pull yourself up onto the ledge to find the Poe. If you’re having trouble, look for a Golden Bug flying around here.
28: Run over to the icy cavern leading to Snowpeak. Use Midna’s jump twice until you find yourself behind the waterfall, where there’s a Poe.
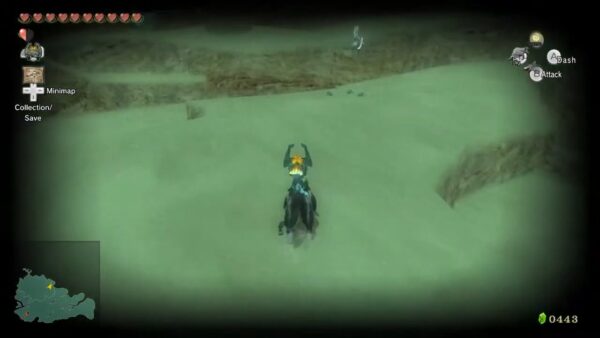
Gerudo Desert
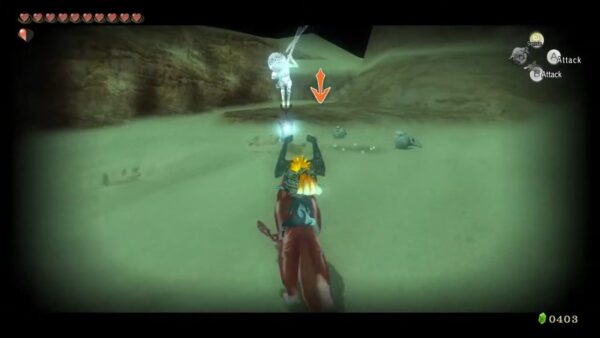
29: This Poe is usually easiest to spot when you first arrive in the desert after taking Fyer’s cannon here. There are three skulls arranged in a circle, indicating where the Poe is located.
30: Right underneath the warp point into the desert (Gerudo Mesa), there is a Poe on top of the platform near the entrance to the Cave of Ordeals.
31: In the area of the desert with the Bulblin watchtowers and Bullbos look off to your right (east) and Clawshot onto a dead-looking tree to drop down onto this platform. Again, there are three skulls arranged to indicate that something is here – a Poe. The best thing about this Poe is that its blue light can be seen even if you’re not walking around in this area.
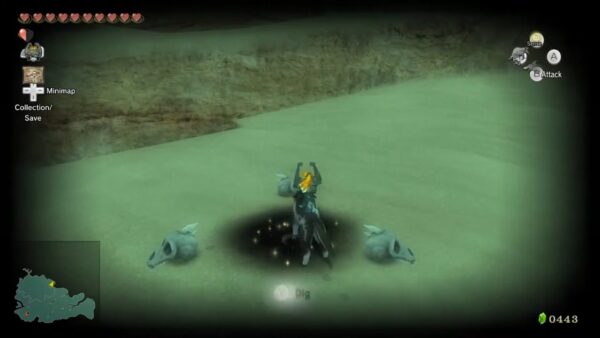
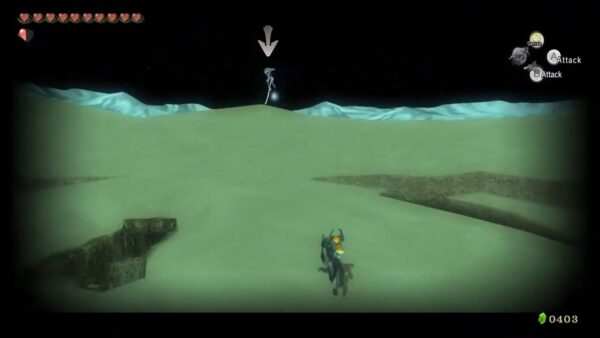
32 & 33: Simply dig into the sand encircled by the three skulls (check the above Poe’s location). Inside you’ll find a cavern filled with boulders to explode. But watch out while you’re doing this – the Poes will freely attack you.
34: In the alcove in the sand off to the left with all the Leevers. You’ll also find the Golden Wolf here if you’ve called him and haven’t come here already. Try to ignore the Leevers as best you can as you fight the Poe here.

35: Go back to the almost-destroyed burned building where you fought King Bulblin to find a Poe.

36: Right outside the entrance to the dungeon.
Cave of Ordeals
There are three Poes to be found in the Cave of Ordeals in Gerudo Mesa.
37: The 17th contains multiple Stalhounds and one poe. After defeating the Stalhounds, switch to Wolf Link, activate your senses, and defeat the Poe to collect its soul.
38: On the 33rd floor, you’ll encounter four Gibdo and one Poe. Eliminate the Gibdos first using your preferred strategy. Then, transform into Wolf Link, use your senses to locate the Poe, and defeat it to obtain its soul.
39: The 44th floor features four Dynalfos and one Poe. After dealing with the Dynalfos, switch to Wolf Link, activate your senses, and defeat the Poe to collect its soul.
Arbiter’s Grounds
40: Upon entering the main chamber, four Poe lanterns appear, stealing flames and sealing the door ahead. The first Poe is in this room.
41: Descend the stairs, enter the room, and use Wolf Link’s senses to locate and defeat the Poe as before. Two purple fog trails lead east; one goes above a door, another into a sand pit near a wall. Digging in the sand reveals a chain leading to a hidden staircase.
42: Navigate through quicksand and spike barriers to find a square block. Pull it to create a platform, then pull a chain to raise a chandelier, granting access to the next area.

43: In the western corridor of the Arbiter’s Grounds, after defeating Stalfos and solving torch puzzles, a door opens to a room with the final Poe. This Poe splits into four copies. Use Wolf Link’s senses to identify and attack the real Poe, which turns purple. Repeat until defeated.
Sacred Grove

44: The first time you fought Skull Kid, you may remember that you had to chase him through the woods. There is an area where you can swim under the waterfall to climb up onto the platform where you’ll find this Poe.

45: Again, go to the area in the woods where Skull Kid summoned the puppets. In the center, there is a boulder. Blow it up to find a Poe.
46: Near the pedestal of the Master Sword, there is a Poe floating around.
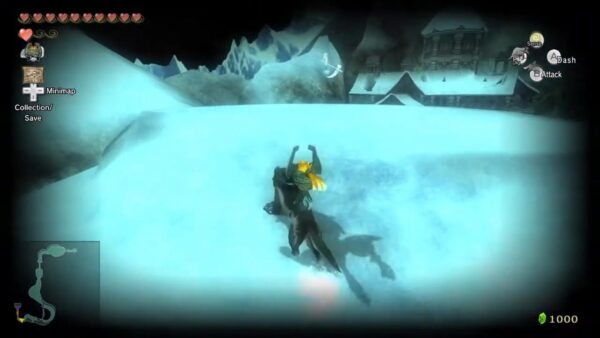
Snowpeak Mountain
47: As you ascend Snowpeak Mountain, you’ll pass between two large rocks positioned closely together. Just beyond these rocks, to the right, a Poe appears at night.

48: While following the Reekfish scent, you’ll encounter a point where the trail ascends a cliff. Instead of climbing, turn right (Wii version) or left (GCN/HD version) and follow the ramp leading back to the trail. At the top of this ramp, near a solitary tree, a Poe appears at night.
49: Continuing along the Reekfish scent trail, you’ll reach a fork. Take the left path (Wii version) or right path (GCN/HD version). Along this route, near the first tree, a Poe is present at night.
50: Warp to Snowpeak Top and go back down through the cave. Run through it until you come to the chunks of ice. Break them with your Ball & Chain to discover a Poe.
51: Just outside the Snowpeak Ruins, there’s a spiraling hill that can be climbed. At the summit of this hill, a Poe appears at night.
Snowpeak Ruins
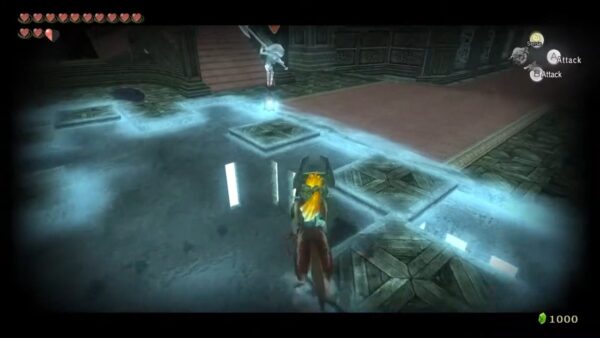
52: There’s a Poe here in the middle of the very first room of the mansion.
53: Once you have the Ball & Chain, have fun destroying the suits of armor lining the walls, but the one hiding the Poe is in the middle.
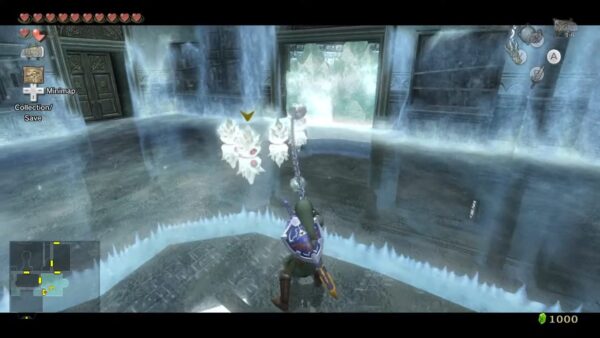
54: Up on the second floor of the dungeon is a room that is completely frozen. There’s a Poe here, but be careful while trying to fight it because ice physics come into play here.
Temple of Time
55: If you’ve already cleared this temple or are just leaving, use the Dominion Rod to move the two statues on either side. Behind one of them (depending on your version) is a Poe.
56: On the third floor of the temple is a golden gate. If you are in the process of clearing this temple, use the statue to break the gate to get to the Poe. If you are returning, you can just use the Dominion Rod to bring one of the jars over to the switch to open the gates.
57: On the seventh floor of the temple is a room with the balance scale. This can be a little tricky, especially if this is your first time in the temple, but throw as much weight as you can onto one of the sides, then climb up to the lighter side. Clawshot your way up into the center of the ceiling and use the Spinner on the rails you find. Here you’ll find a Poe.
Hidden Village
58: Right as you enter the village (if it’s night, of course), take a look at the house closest to you on the right. You’ll see a Poe hanging out on top of the tent-like covering over the house. To get up there, use your Clawshot to grab onto the netting on the side and pull yourself up.
City in the Sky
Both of the Poes are located in the outside regions of the temple.
59: In the room where you use your Clawshots to grab onto the first Peahat and then the second one that is hovering over a little enclosure with a big tree in the middle. Even though it appears to be day, you’ll see a Poe when you drop down.
60: After getting the Big Key if this is your first time through the dungeon (or if you are returning, the outside area after the room with the big fan), there is an outside strip of the dungeon where you can use the tight ropes to walk across to where the Poe is hovering over the ledge.