Whether you’re facing a towering Gleeok, a cunning Flux Construct, or the formidable Demon King himself, this guide is crafted to equip you with the strategies, tips, and tools needed to emerge victorious.
🛡️ Master the Boss Battles
- Gleeoks: These elemental dragons test your aerial combat skills. Utilize updrafts and target their heads to bring them down.
- Flux Constructs: Identify and extract their glowing core blocks using Ultrahand to dismantle their structure and expose weaknesses.
- Lynels: Known for their ferocity, mastering perfect dodges and flurry rushes is key. Equip yourself with powerful weapons and maintain a safe distance when necessary.
- Final Boss – Ganondorf: Prepare for a multi-phase battle that demands precision, patience, and the effective use of your allies’ abilities. Stock up on gloom-resistant items and hone your parrying skills.
⚔️ Essential Combat Tips
- Preparation is Crucial: Ensure you have the Master Sword, upgraded armor, and a variety of fused weapons to adapt to different combat scenarios.
- Utilize Sage Abilities: The powers granted by the Sages can turn the tide of battle. Don’t hesitate to call upon them during tough encounters.
- Exploit Elemental Weaknesses: Many bosses have elemental vulnerabilities. Use appropriate elemental attacks to gain an advantage.
- Manage Resources Wisely: Keep a stock of healing items, stamina boosters, and materials for weapon fusion to stay prepared for prolonged battles.
Embark on your journey with confidence, and may your battles in Hyrule be victorious!

Colgera (Wind Temple)
Found: Way up high in the Wind Temple (Hebra Sky).
Need: Tulin’s Gust ability.
Hit ‘Em Here: Those big, crackly ice patches underneath it.
How to Win:
- Phase 1: This frosty dragon zips around, shooting ice and summoning twisters. When it flies under you, dive straight through its icy weak spots to shatter them. Tulin’s Gust helps you line up the shot or get a speed boost. Arrows work too (Bomb Flowers make short work of the ice). Pop three of these weak spots.
- Phase 2: Now it’s mad. Expect more tornadoes making life difficult. The weak points get an extra layer of hard ice – break that first (diving or arrows), then dive through the purple spot underneath. Keep dodging those tornadoes with Tulin’s help and take out three more segments.
Top Tips: Stay in the air! Use Tulin like crazy for dodging and repositioning. Aim true!
Marbled Gohma (Fire Temple)
Found: Deep in the Fire Temple under Death Mountain.
Need: Yunobo’s Charge ability.
Hit ‘Em Here: Its giant eyeball (but only when it’s down). Smash its rocky legs first.
How to Win:
- Phase 1: Gohma stomps around, chucking exploding rocks. Use Yunobo like a cannonball – launch him right into Gohma’s legs. Break two, and it face-plants. Scramble onto its body and wail on that big eye with your best weapon. Rinse and repeat.
- Phase 2 (Half Health): It jumps onto the ceiling and keeps tossing bombs, sometimes trapping you. Now you gotta aim Yunobo up the curved walls to smack its legs while it’s up there. Precision counts! Break two legs, it falls, you attack the eye again. If you get ringed by bombs, just blast your way out with Yunobo (might even hit Gohma!).
Top Tips: Get good at aiming Yunobo, especially bank shots. Don’t waste time when the eye is vulnerable. Heat resistance gear helps, but the Sage ability covers you too.
Mucktorok (Water Temple)
Found: Floating high in the Water Temple (Lanayru Sky).
Need: Sidon’s Water Shield/Wave ability.
Hit ‘Em Here: The little guy hiding inside the sludge – gotta clean him off first!
How to Win:
- Phase 1: It turns into a sludge shark, slithering around and spitting goop. Pop Sidon’s water shield, then swing your weapon to send a water wave. Hit the shark with water (Splash Fruit arrows or Hydrant devices work too) to wash off the muck. This reveals a small critter – attack it fast before it dives back into the sludge.
- Phase 2 (Half Health): Things get messy. It covers the arena in damaging sludge puddles, jumps around (low gravity helps it hang time), and makes sludge shockwaves. Keep blasting it with water to expose the real boss, then go in for the attack. Use the low gravity to dodge and get better angles.
Top Tips: Stick near Sidon for quick shield refresh. Splash Fruit arrows are great for pinpoint cleaning. Keep moving to avoid stepping in goo.
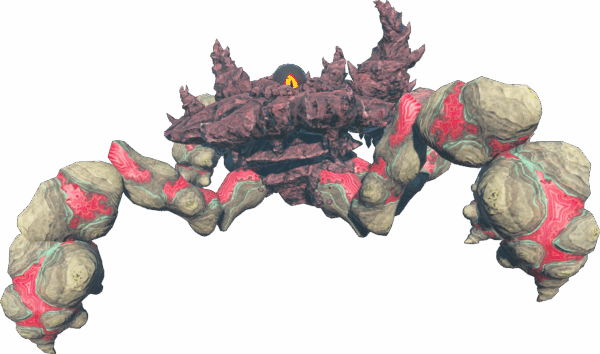
Queen Gibdo (Lightning Temple)
Found: Buried in the Lightning Temple (Gerudo Desert).
Need: Riju’s Lightning Strike ability.
Hit ‘Em Here: Vulnerable only after getting zapped by lightning (or other elements like fire/ice). Smash those Gibdo hives!
How to Win:
- Phase 1: The Queen starts out tough against normal hits (looks dark/skeletal). She’ll charge, shoot sand beams, and call her Gibdo buddies. Zap her with Riju’s lightning (or elemental arrows) – she’ll turn whitish-grey. That’s your cue! Rush in and attack with melee weapons. Smash the big purple hives spawning enemies ASAP; Riju’s lightning crushes them.
- Phase 2 (Half Health): Gets darker, four hives pop up. The Queen gets faster, and more Gibdos swarm you until the hives are gone. Use the temple’s light beams to weaken regular Gibdos. Focus Riju’s lightning on the hives first, then the Queen. Keep hitting her with elements, then follow up with your sword. Control the adds!
Top Tips: Protect Riju, but keep her close. Bring plenty of arrows and Shock/Fire Fruit. Taking out hives fast is KEY, especially in phase 2.
Seized Construct (Spirit Temple)
Found: Down in the Spirit Temple (Construct Factory, Depths).
Need: Mineru’s Construct (You’re the pilot!).
Hit ‘Em Here: Knock it into the electric ropes like a boxer.
How to Win:
- The Fight: It’s basically a mech boxing match inside an electric ring. Get comfy piloting Mineru (ZL = Guard, Y/X = Punch).
- The Tactic: The enemy construct throws punches. Block ’em with ZL – good timing staggers it. After blocking or dodging, unleash your own punches. Your goal is to shove it backwards into the electric ropes. This does big damage and stuns it. Lay into it while it’s stunned. Repeat until it’s scrap metal.
- Upgrades: Slap some Cannons or Lasers onto Mineru’s arms/back before the fight for extra damage!
Top Tips: Blocking is your best friend here. Don’t just trade punches; wait for an opening. Use those ropes!
Phantom Ganon (Hyrule Castle & Depths)
Found: First big fight in Hyrule Castle, then pops up in the Depths guarding stuff.
Need: Good reflexes!
Hit ‘Em Here: Master the Flurry Rush (last-second dodge) and Perfect Parry (last-second shield block).
How to Win:
- Phase 1 (Castle – One-on-One): Learn his moves: quick sword attacks, a lunge, puddles of Gloom. The best way to hurt him? Nail a Flurry Rush or Perfect Parry. This slows time and lets you get a bunch of free hits. Don’t stand in the Gloom!
- Phase 2 (Castle – Party Time): Suddenly, there are clones everywhere, maybe with spears or clubs. It gets wild. Keep moving, try to focus on one at a time. Dodge and parry whoever’s attacking YOU. Your Sages will help distract the others. Bomb arrows can sometimes hit multiple phantoms. Take down the main one to win.
- Depths Fights: Pretty much the same deal as the castle fight, sometimes starting with multiple phantoms right away. Flurry Rush and Parry are still your go-to moves.
Top Tips: Pack food that heals Gloom damage (Sundelion meals!). Practice your timing – it’s everything. Bring good shields and strong weapons. Never stop moving.
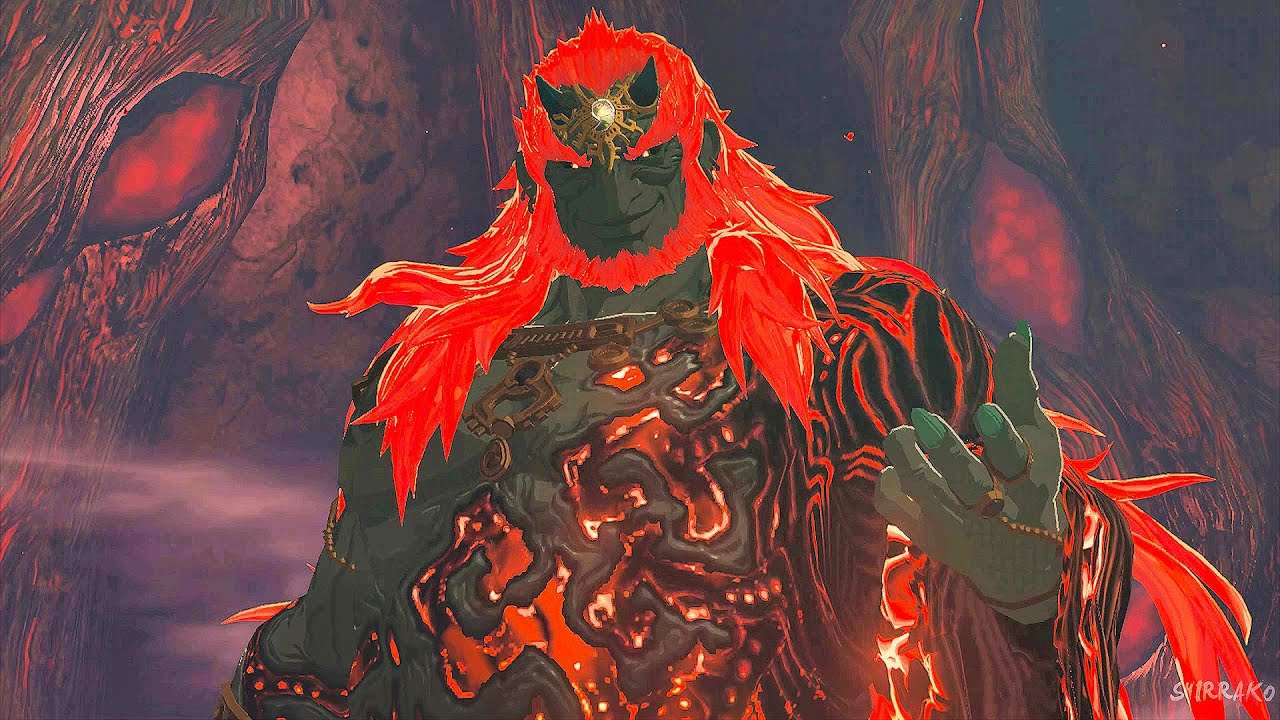
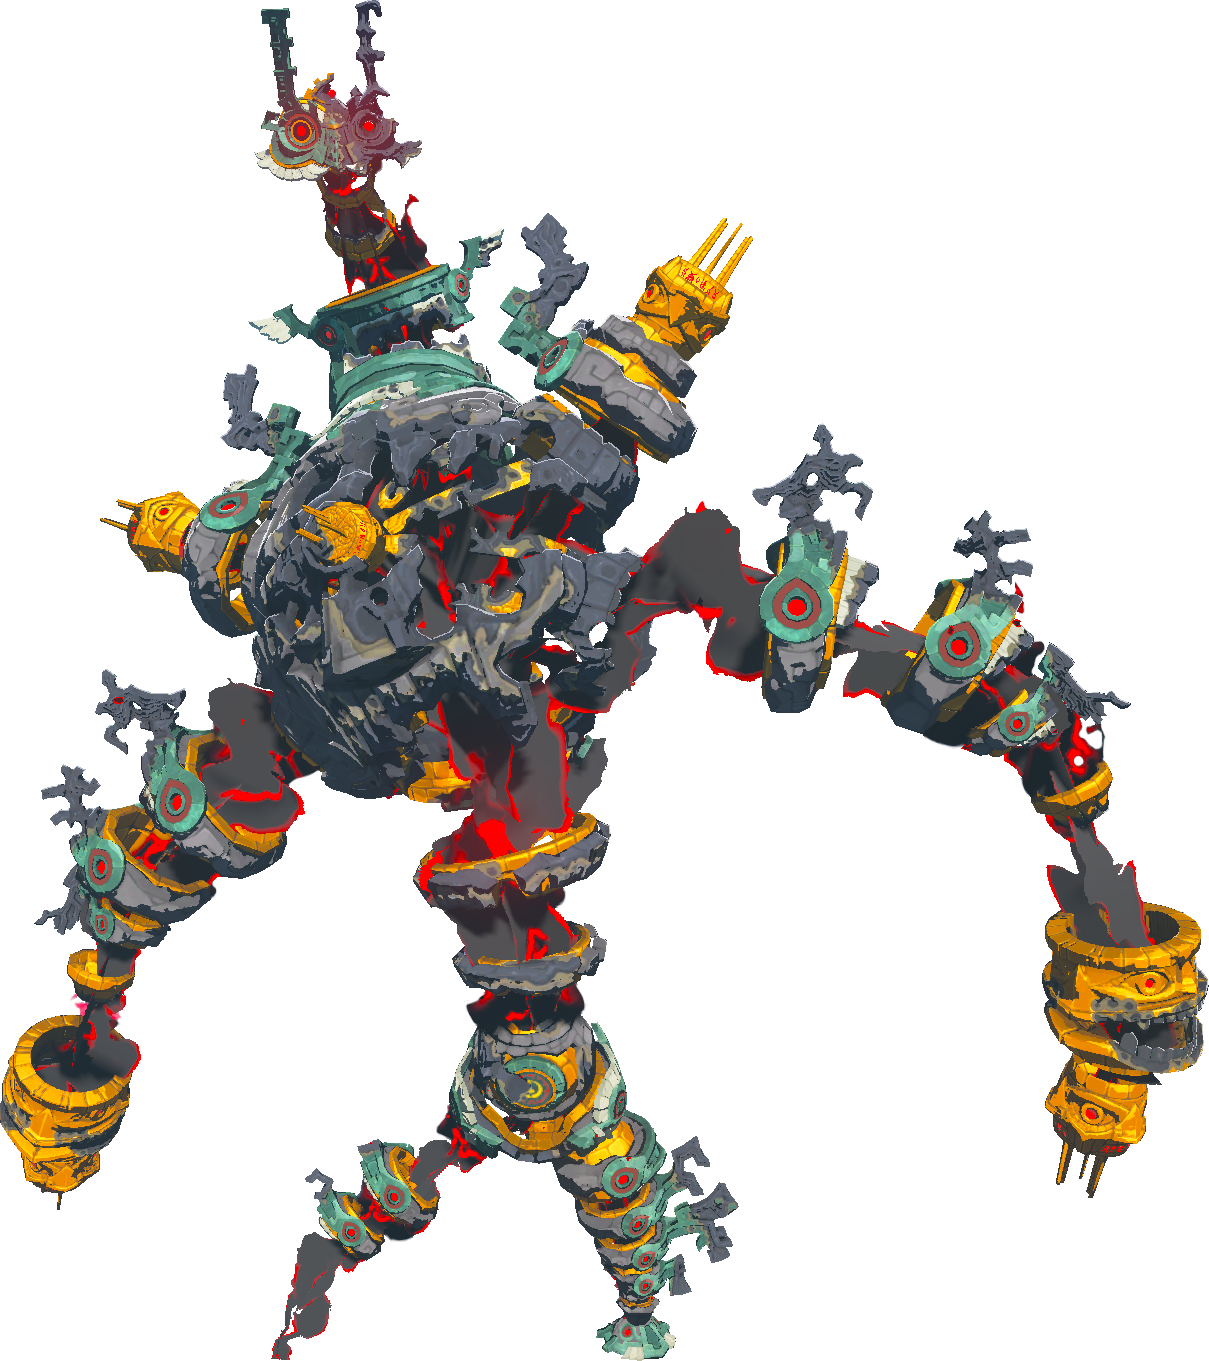
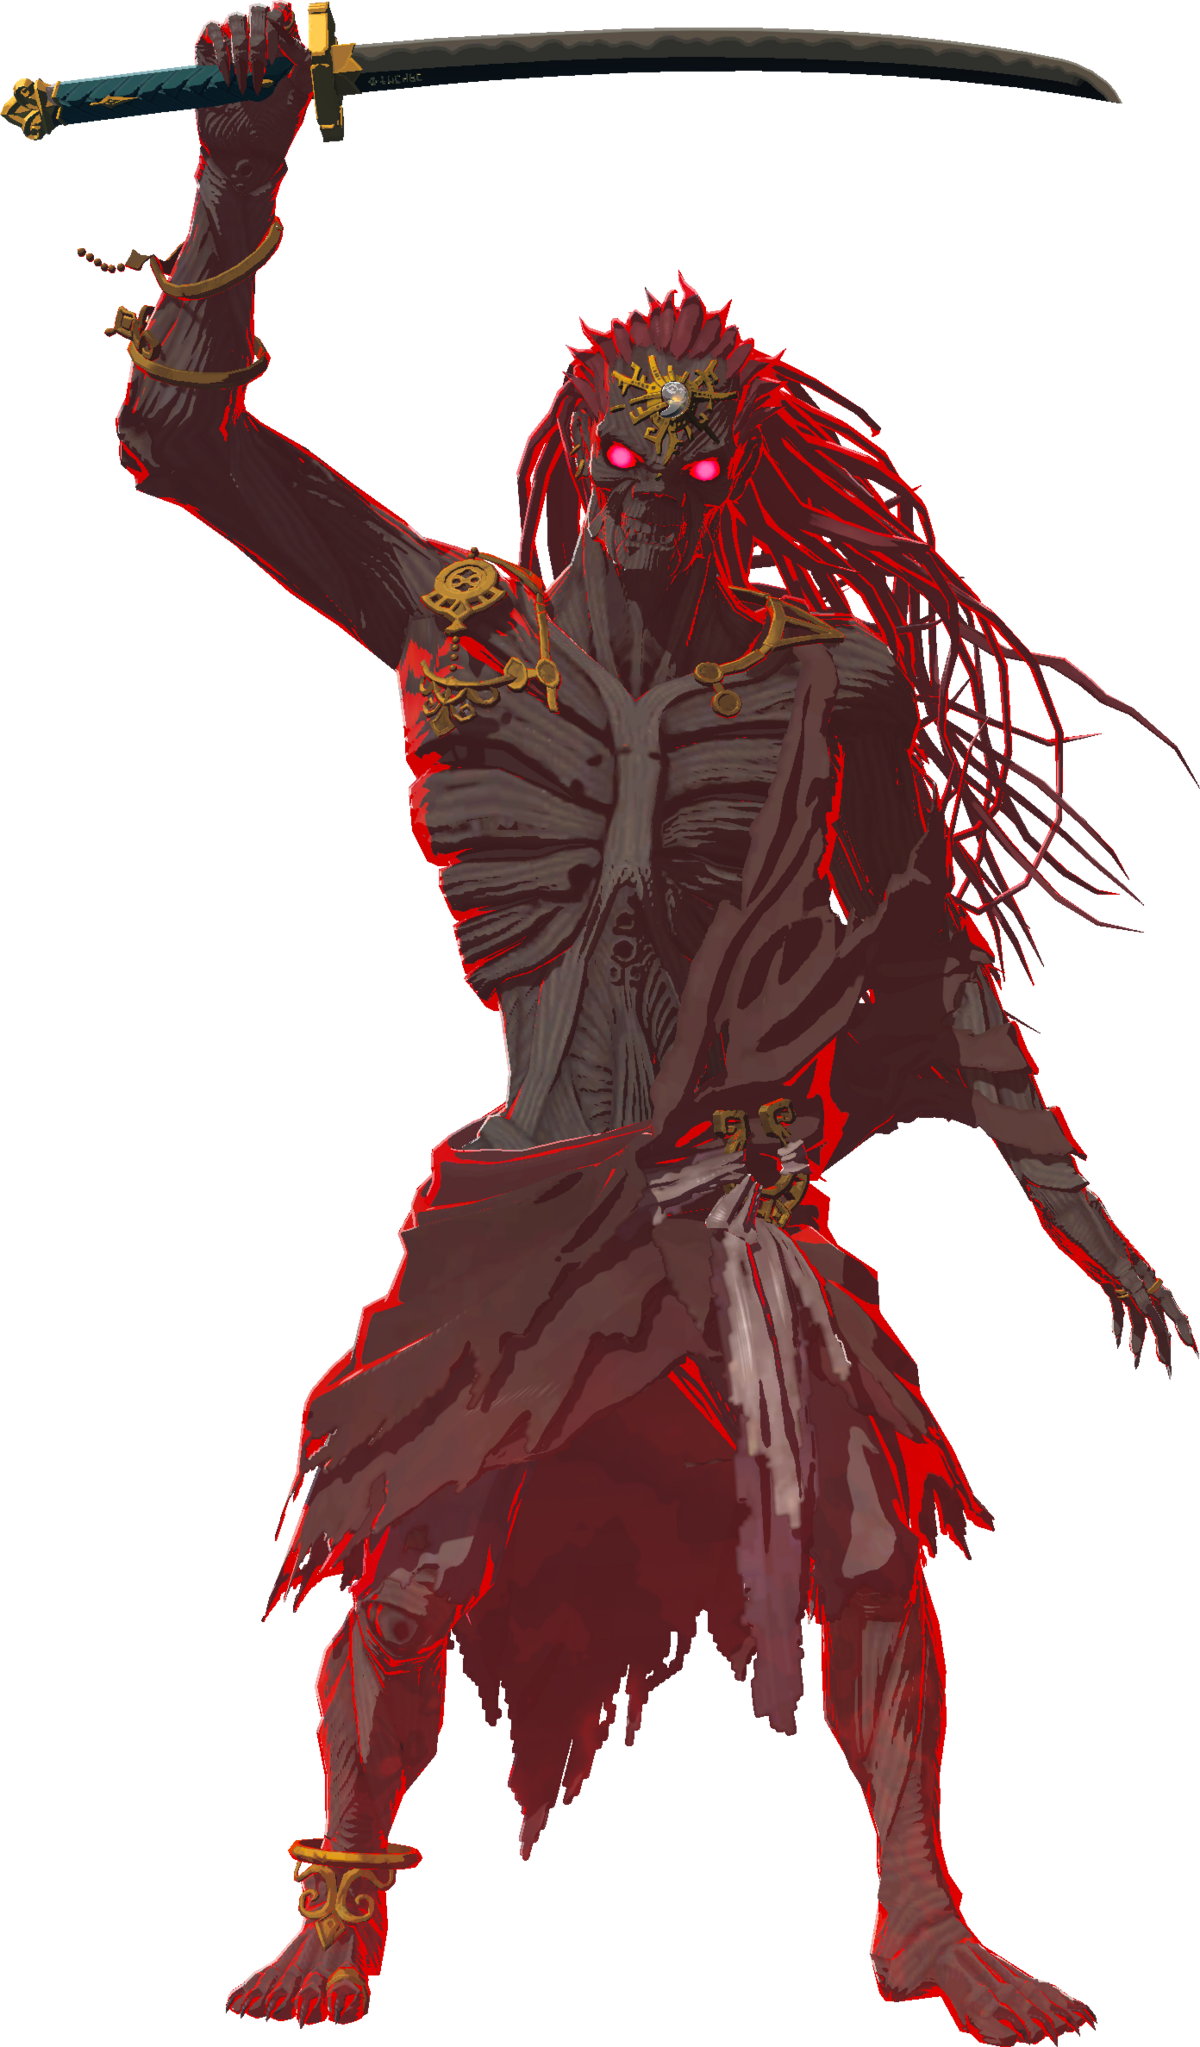
Demon King Ganondorf (Final Boss)
Found: Deep, deep under Hyrule Castle.
Need: Max skills, max gear, max courage!
Hit ‘Em Here: It’s all about Perfect Parry and Flurry Rush again. Hit him when he leaves an opening. The Master Sword shines here.
How to Win:
- Phase 1 (Sword Fight): Ganondorf’s fast, hits hard, and uses Gloom. He’s got combos, ranged shots, and area attacks. Perfect Parry and Flurry Rush are NON-NEGOTIABLE. This is the ultimate test of your timing. Only attack after a successful parry or dodge. Your Sages help for a bit, then vanish. Watch out – he can dodge your moves too if you’re predictable!
- Phase 2 (Chaos Incarnate): He powers up, heals, gets a HUGE health bar, and summons a Phantom Ganon army. Your Sages return to handle the army – YOU focus ONLY on Ganondorf. He starts switching weapons (sword, spear, club), each with new timings to learn for parries/dodges. He’s super aggressive and can even parry you. This is a marathon of skill. Heal Gloom instantly. Stay focused.
- Phase 3 (Dragon Time): He goes full Demon Dragon mode. You fight him in the sky with Zelda (as the Light Dragon) helping out. Dive onto the dragon’s back and smash the big glowing weak spots. Dodge his attacks. Land on the Light Dragon if you need a breather. Break all the spots on his back, then dive onto the final weak spot on his head for the finishing blow!
Top Tips: Prep Hard: Max your Hearts/Stamina. Bring your best gear – Master Sword, Hylian Shield (if you have it), powerful bows. Cook Everything: Make tons of Gloom-healing food (Sundelions!), plus meals for extra hearts, attack, or defense. Master the Basics: If your parry/dodge game is weak, you will struggle. Practice! Be Patient: Don’t rush attacks in phases 1 and 2. Wait for the openings. Phase 3 is more cinematic but needs good flying skills.