| Dungeon tools | Eight, one per dungeon: Roc’s Feather, Power Bracelet, Pegasus Boots, Flippers, Hookshot, Power Bracelet L-2, Mirror Shield and Magic Rod |
|---|---|
| Bought items | Shovel (200 rupees) and Bow with Arrows (980 rupees), both at the Town Tool Shop in Mabe Village, each sold once |
| Side-route items | Magic Powder, the Ocarina, the Boomerang and the L-2 Sword |
| Capacity upgrades | Three Mad Batter altars: Magic Powder 20 to 40, Bombs 20 to 60, Arrows 20 to 60 (one upgrade per altar) |
| Only in DX | The Red Clothes and Blue Clothes from the Color Dungeon, and the Photo Album |
| Not in this game | Bottles. The Secret Medicine is the only item that revives you |
Koholint hands out far more things than you will ever equip, but only a few decide how far you can go. Each of the eight dungeons gives you one tool, the Sword and Shield come free early on, the Shovel and Bow have to be bought, and the Ocarina, Magic Powder and Boomerang are rewards on side routes that are easy to walk past. This page lists every item of the Game Boy Color version, where it comes from, what it does and what you need to reach it, so you can check your inventory against the island as you follow the walkthrough.
Table of Contents
Quick reference
| # | Item | Where you get it | You need |
|---|---|---|---|
| 1 |  Sword (L-1) | Toronbo Shores beach | Nothing |
| 2 |  Shield (L-1) | Tarin, in his house in Mabe Village | Nothing |
| 3 |  Magic Powder | Witch’s Hut, beside the Mysterious Forest | A Sleepy Toadstool from the forest |
| 4 |  Roc’s Feather | Tail Cave (Level 1) | Tail Key |
| 5 |  Power Bracelet (L-1) | Bottle Grotto (Level 2) | Magic Powder, Roc’s Feather, BowWow |
| 6 |  Ocarina | Dream Shrine, Mabe Village | Power Bracelet, Pegasus Boots |
| 7 |  Pegasus Boots | Key Cavern (Level 3) | Slime Key |
| 8 |  Flippers | Angler’s Tunnel (Level 4) | Angler Key |
| 9 |  Hookshot | Catfish’s Maw (Level 5) | Flippers |
| 10 |  Power Bracelet (L-2) | Face Shrine (Level 6) | Face Key |
| 11 |  Mirror Shield | Eagle’s Tower (Level 7) | Bird Key |
| 12 |  Magic Rod | Turtle Rock (Level 8) | Frog’s Song of Soul, Mirror Shield |
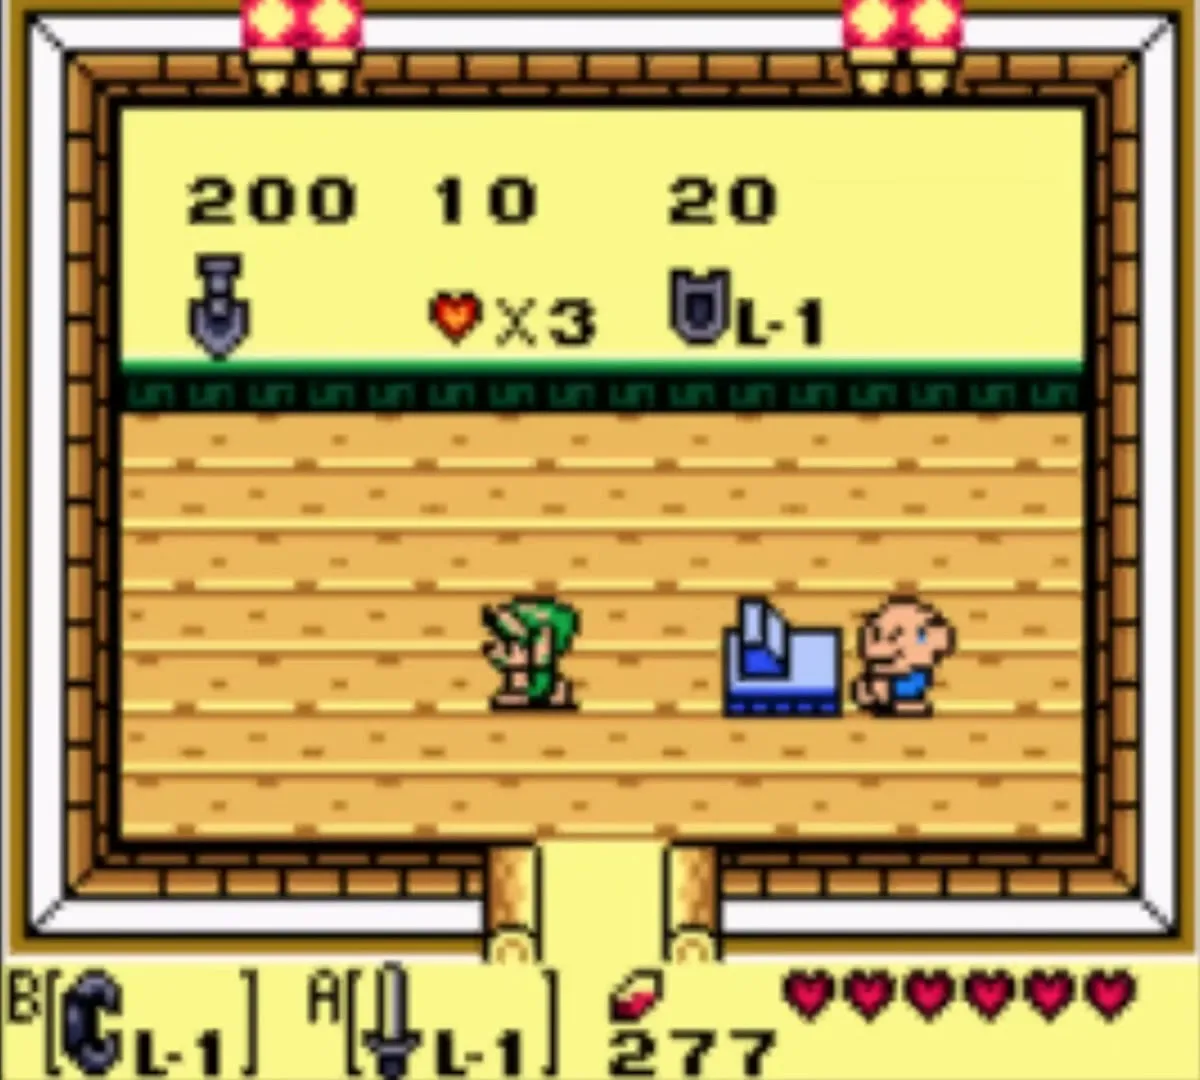
| 13 |  Shovel | Town Tool Shop, Mabe Village | 200 rupees |
| 14 |  Bow and Arrows | Town Tool Shop, Mabe Village | 980 rupees, and the Shovel bought first |
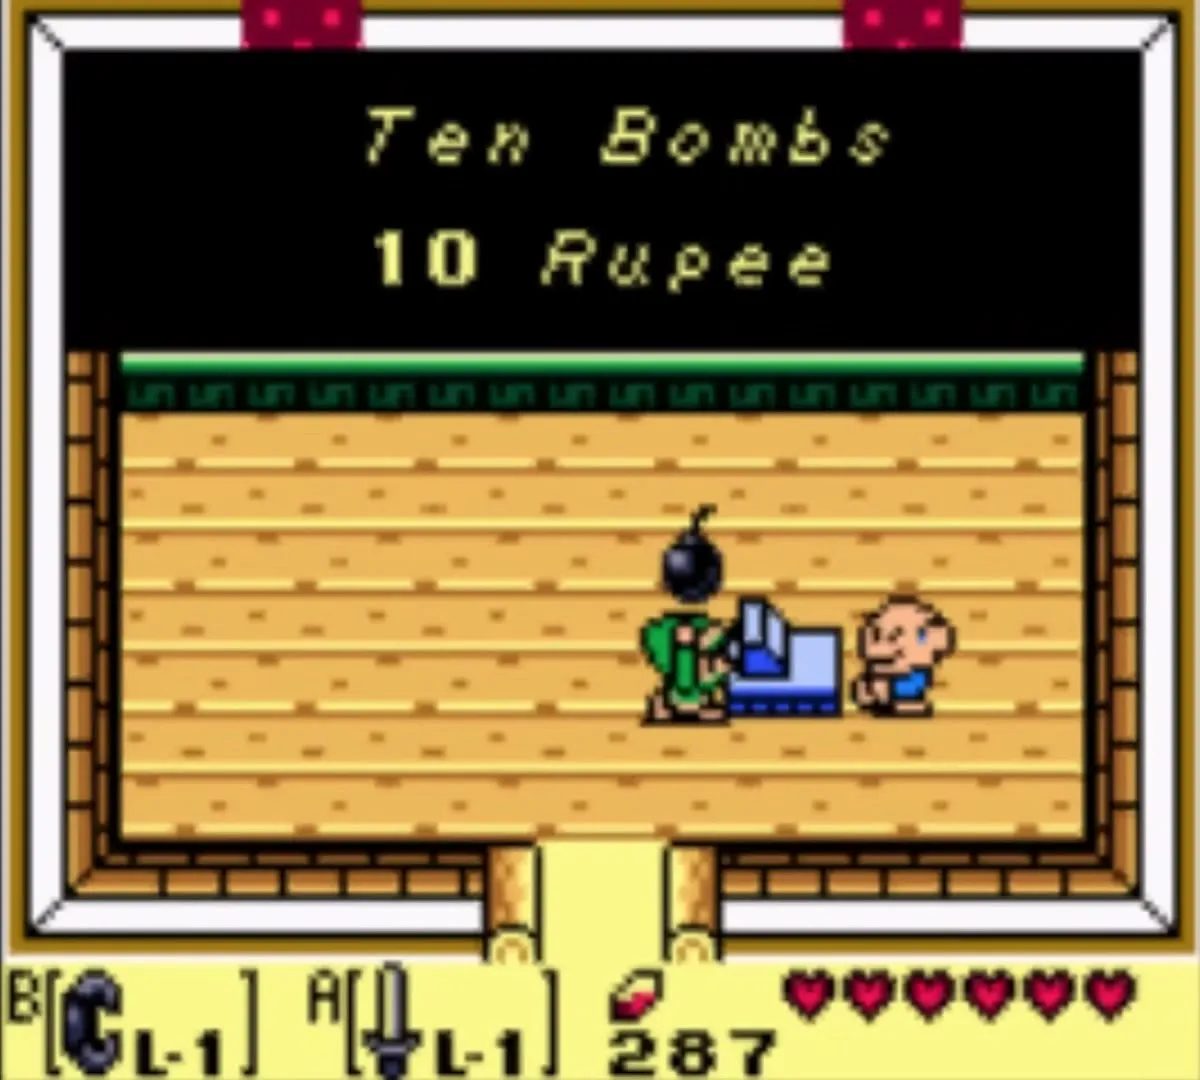
| 15 |  Bombs | Town Tool Shop, and enemy and pot drops | 10 rupees for 10 |
| 16 |  Boomerang | Goriya on Toronbo Shores | Magnifying Lens, Bombs |
| 17 |  Seashell Sword (L-2) | Seashell Mansion, Ukuku Prairie | 20 Secret Seashells |
| 18 |   Red Clothes or Blue Clothes | Great Fairy, after the Color Dungeon | Color Dungeon cleared |
Swords and shields
Sword (L-1)
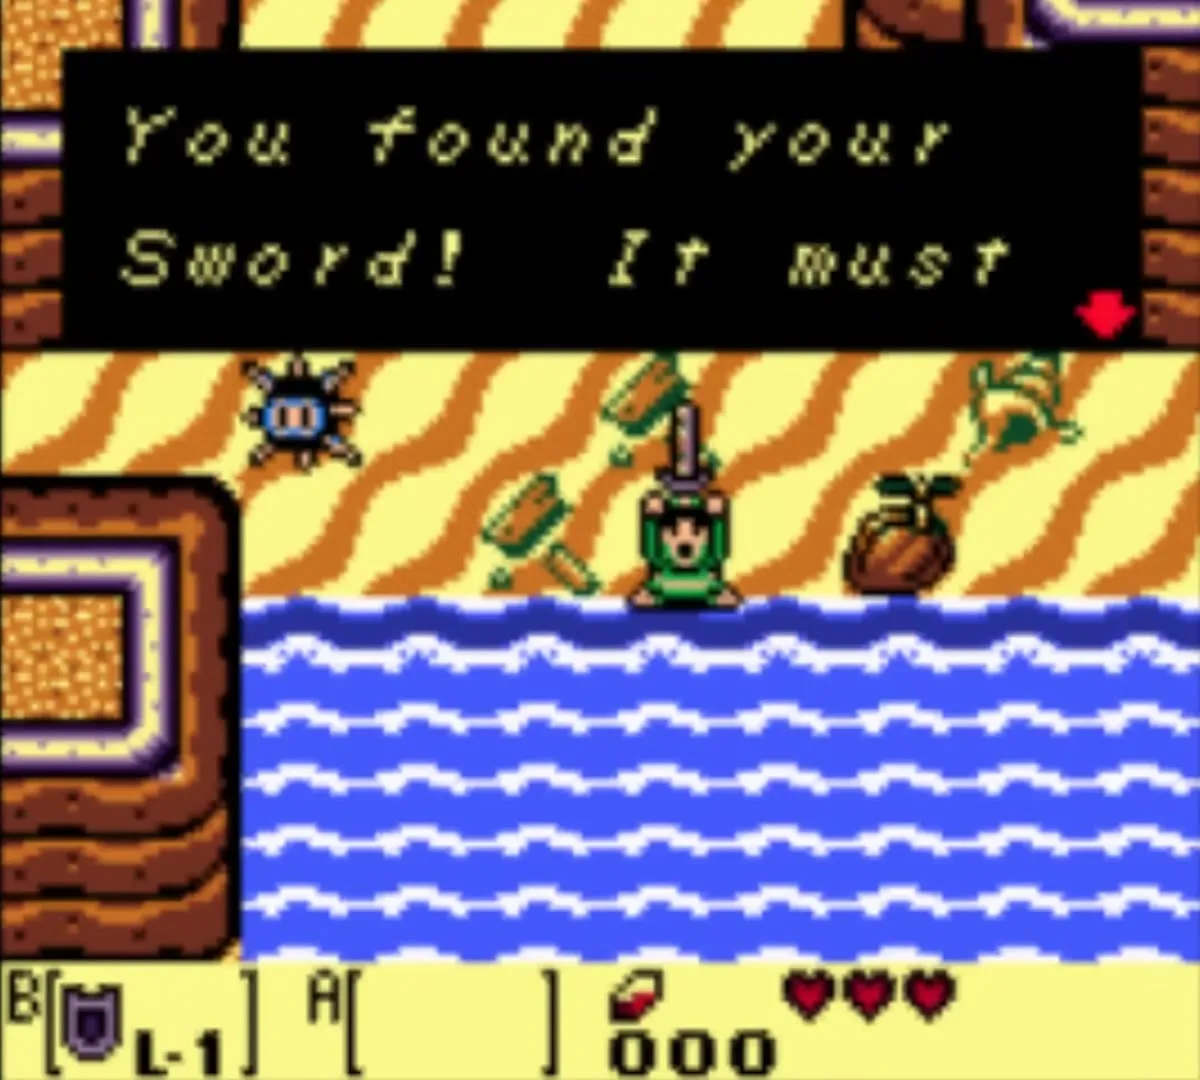
You find it on the beach at Toronbo Shores right after the opening scene, stuck in the sand at the water’s edge. Pick it up and put it on a button. Cutting bushes, the Piece of Heart in the Mabe Village well and every early fight depend on it.

Seashell Sword (L-2)
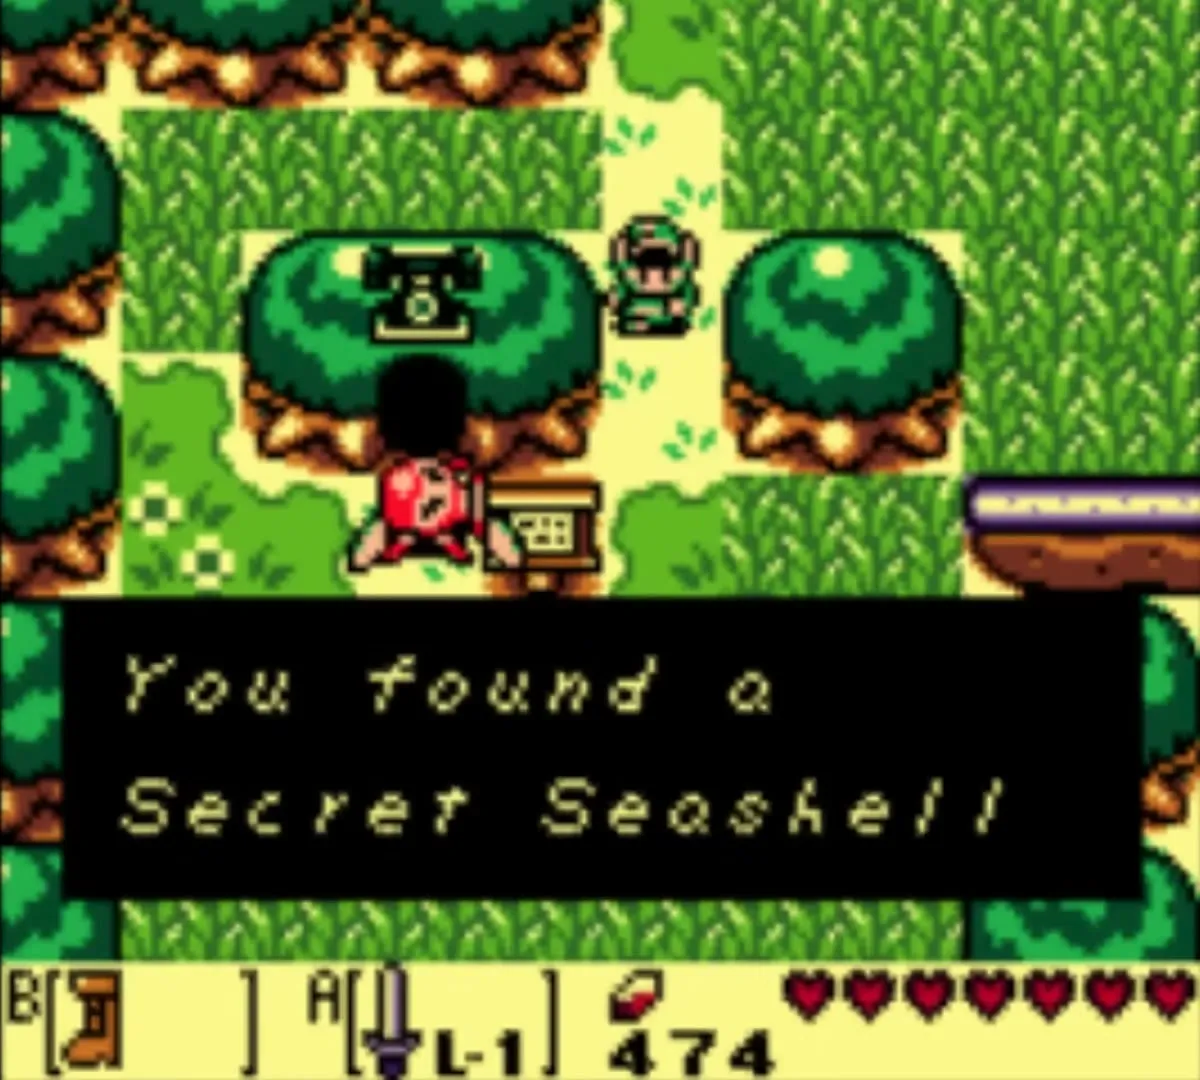
Take 20 or more Secret Seashells to the Seashell Mansion in Ukuku Prairie, east of Kanalet Castle, and the owner gives you the L-2 Sword. It hits harder than your first sword and is the only prize the Mansion offers; shells beyond 20 turn into rupees. If you want the two bonus shells, visit once with exactly 5 shells and once with exactly 10. The full list is on Secret Seashell Locations.
Shield (L-1)
Tarin hands you the Shield in his house when you wake up. Hold it forward to block rocks, arrows and most shots, and to push small enemies aside. A replacement costs 20 rupees at the Town Tool Shop.


Mirror Shield (L-2)
The Mirror Shield is a chest reward in Eagle’s Tower, in a room walled in by raised crystal blocks. The game describes its polished surface as able to reflect light or energy. It replaces your old shield, and it shields you from the flames in the cave on the way to Turtle Rock. The route is in the Eagle’s Tower chapter.


Tools and weapons
Roc’s Feather
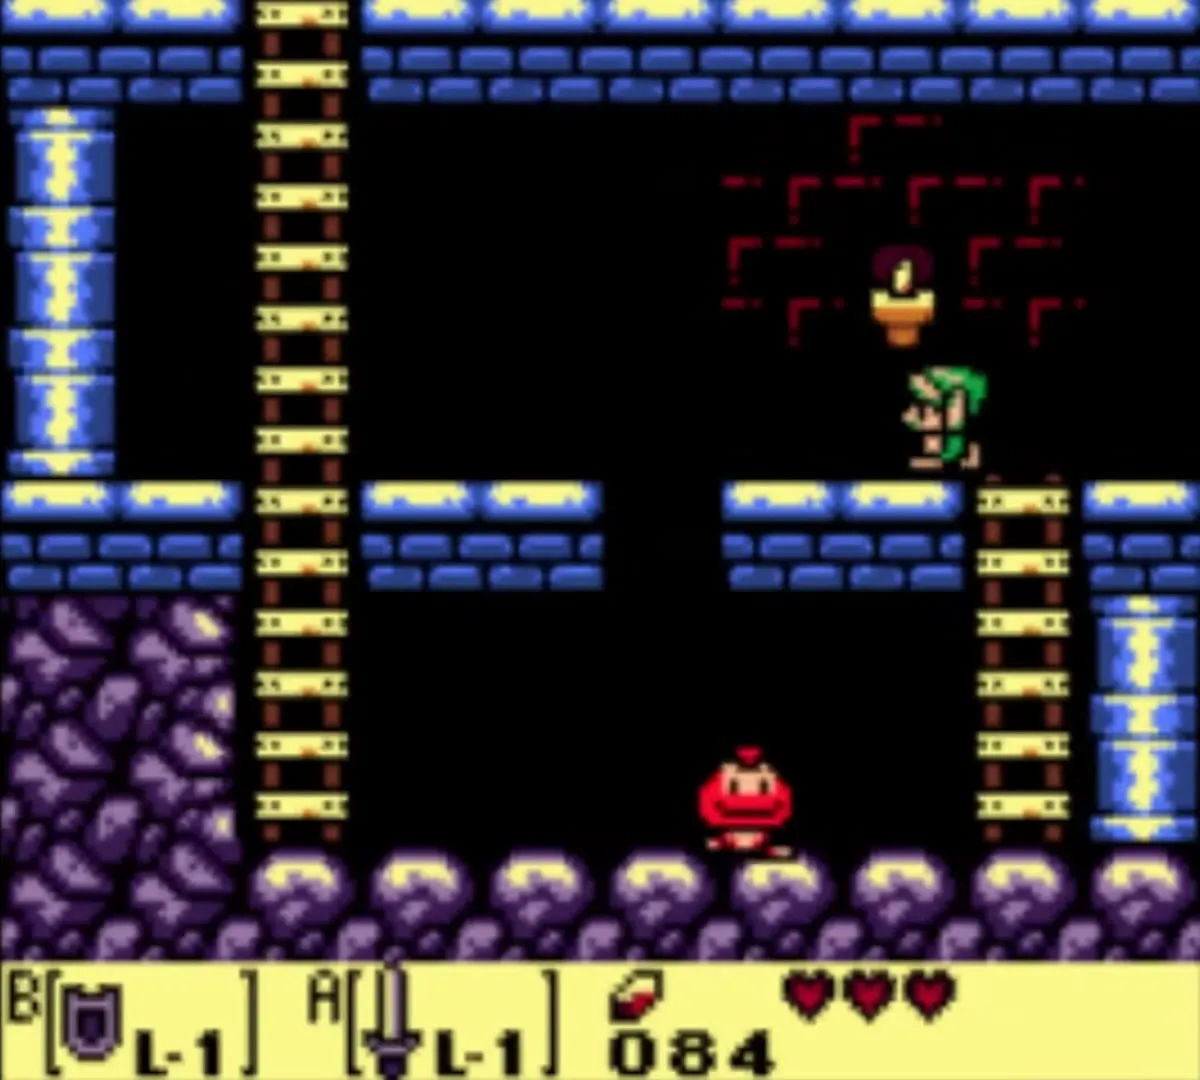
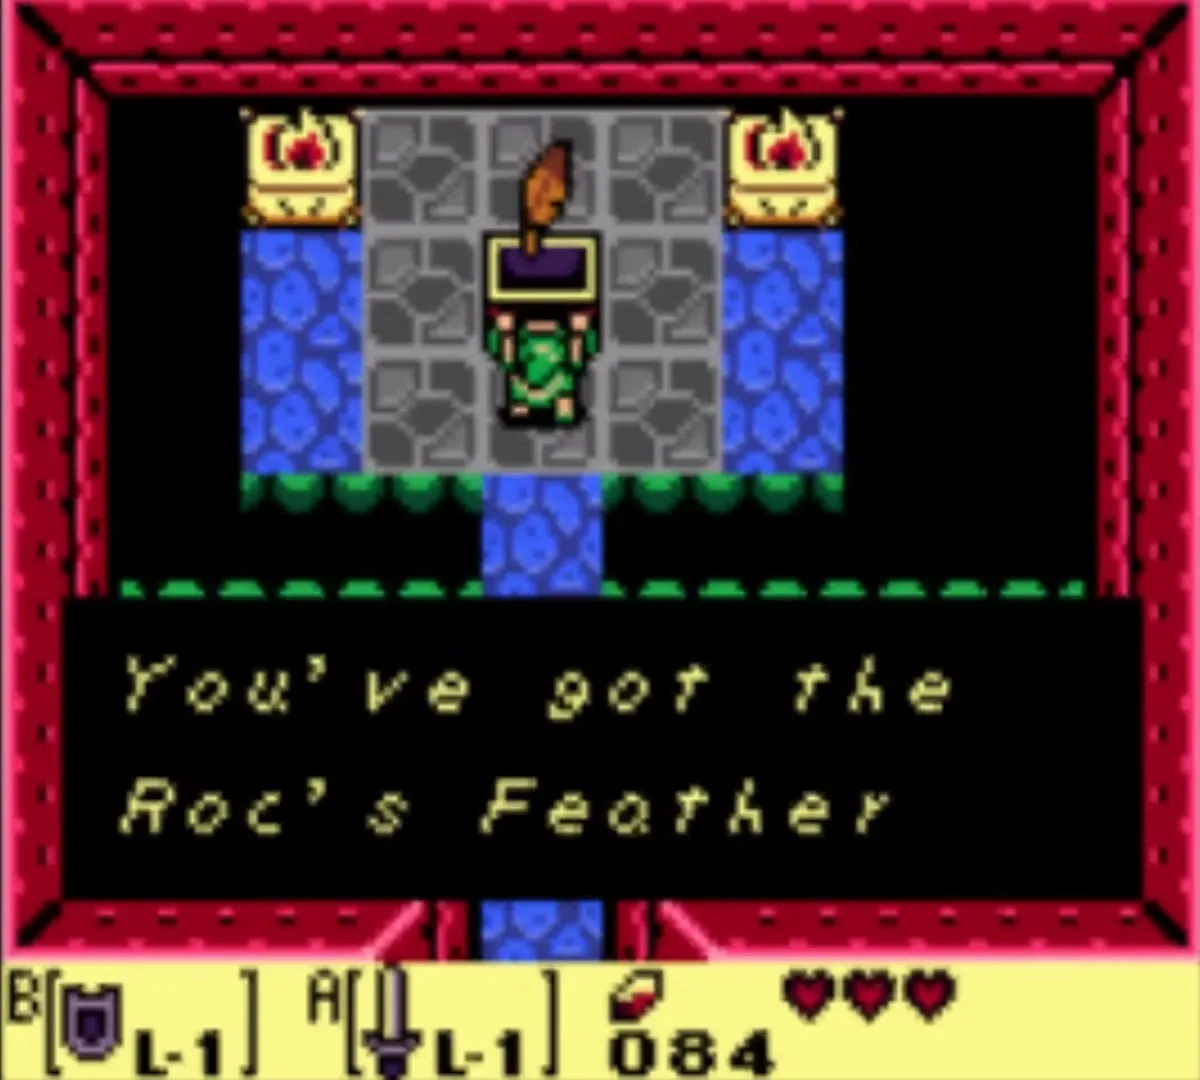
The chest is deep inside Tail Cave, at the end of an underground passage that you reach by stairs and a ladder. Equip it and press the button to jump over pits, gaps and small obstacles, which also helps you dodge attacks. Almost every later dungeon needs it. See the Tail Cave chapter.
Power Bracelet (L-1)
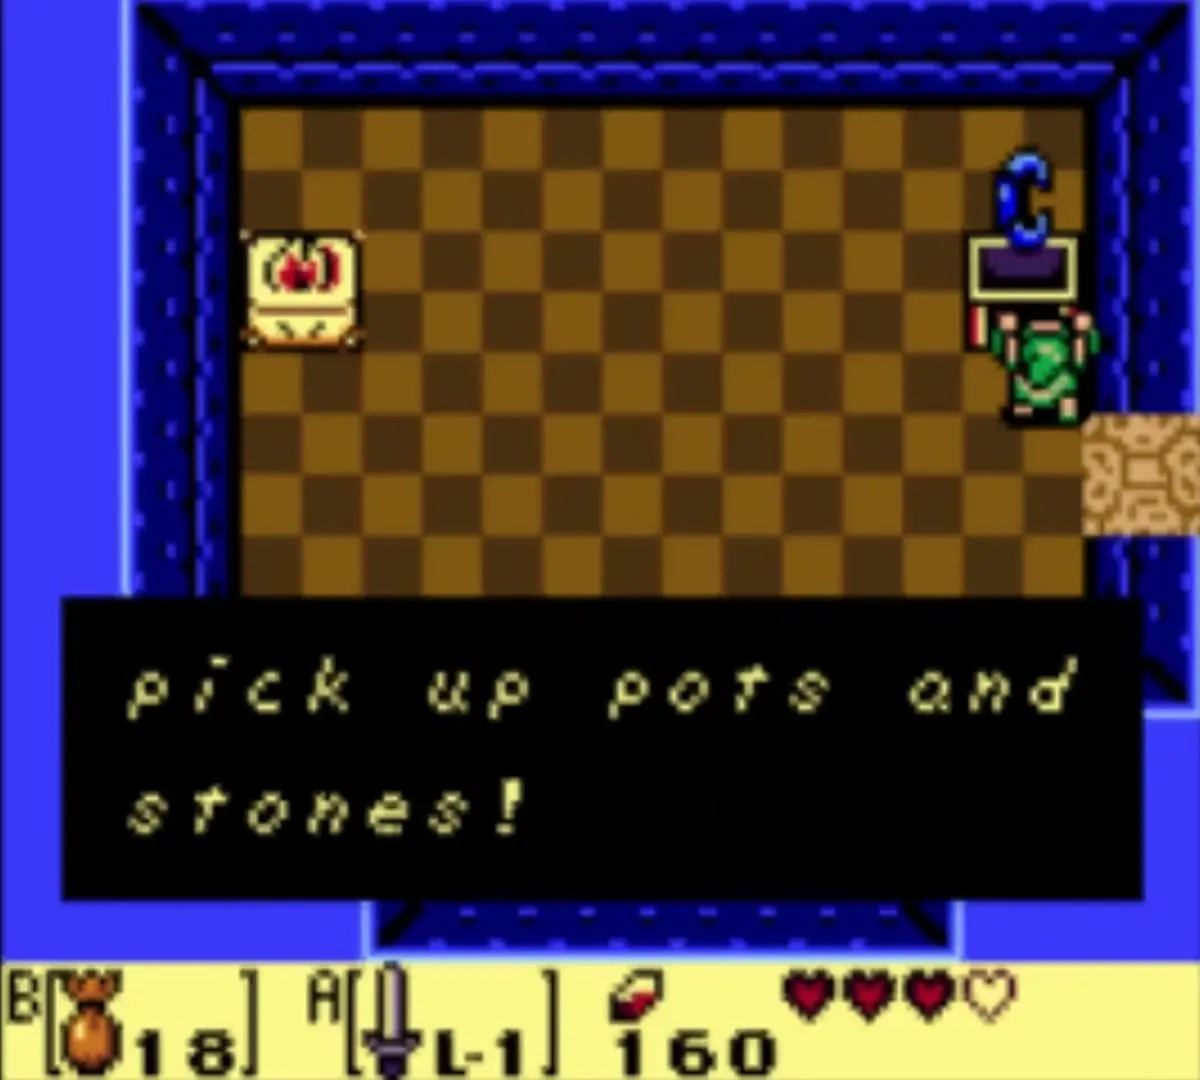
Bottle Grotto hides it in a chest that appears only after you light a dark room with Magic Powder and defeat the ghosts inside. With it you lift and throw pots, skulls and ordinary rocks, and you need it to break the Genie’s bottle in the same dungeon. Rocks all over the overworld, a few Secret Seashells and the boulders at the Dream Shrine door wait for it. The path is in the Bottle Grotto chapter.
Power Bracelet (L-2)
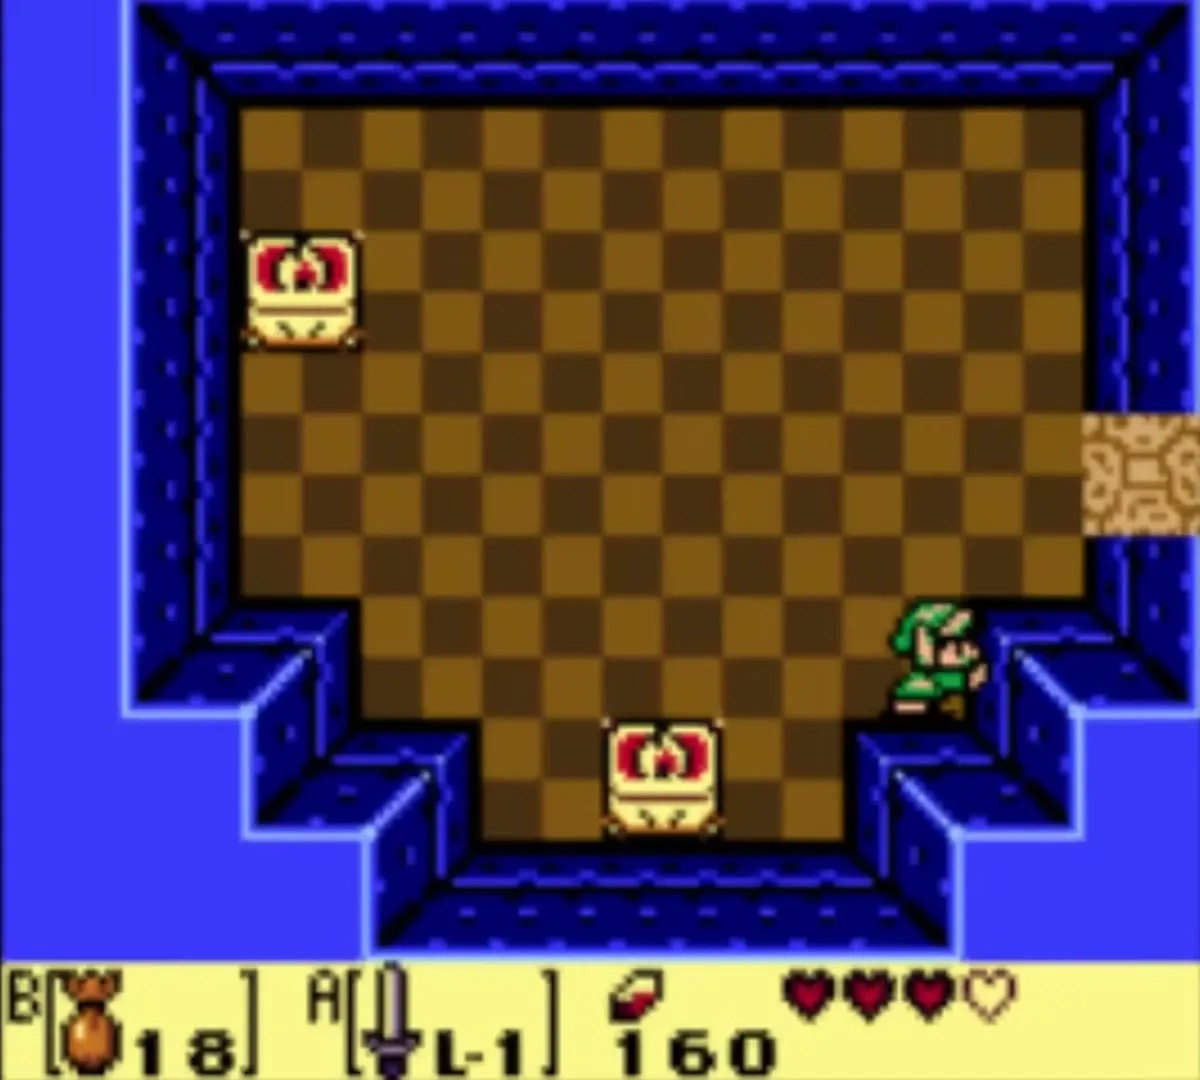
Face Shrine holds this upgrade in a chest in an upstairs room, after a fight with Wizzrobes. It lets you lift heavy stone statues, and outside the dungeon it moves the weathercock in Mabe Village, which uncovers the stairs to the Flying Rooster. See the Face Shrine chapter.


Pegasus Boots
The Boots wait in a chest in Key Cavern, after the Dodongo Snakes mini-boss. Hold the button to dash in a straight line. The dash smashes crystals, shakes things loose from trees, knocks a book off the shelf in the Mabe Village library and breaks through the green block that guards the Ocarina. Used together with the Roc’s Feather, a dash carries you across wider gaps.


Flippers
Angler’s Tunnel (Level 4) holds the Flippers in a chest. With them you swim in deep water and press B to dive. That opens the island Secret Seashells, two Pieces of Heart hidden underwater, the entrance to Catfish’s Maw and several trading-sequence stops.


Hookshot
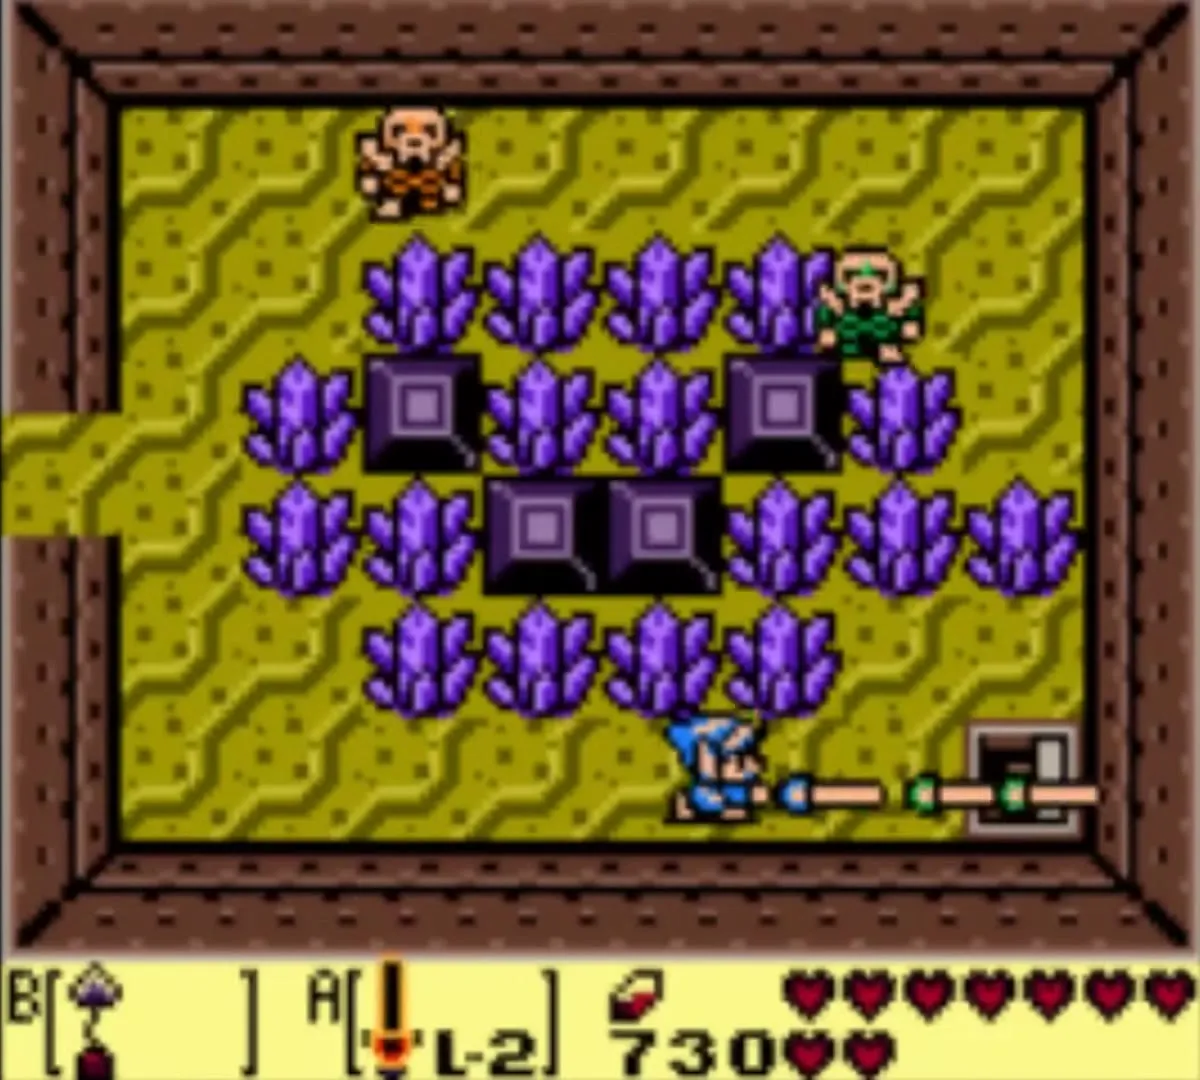
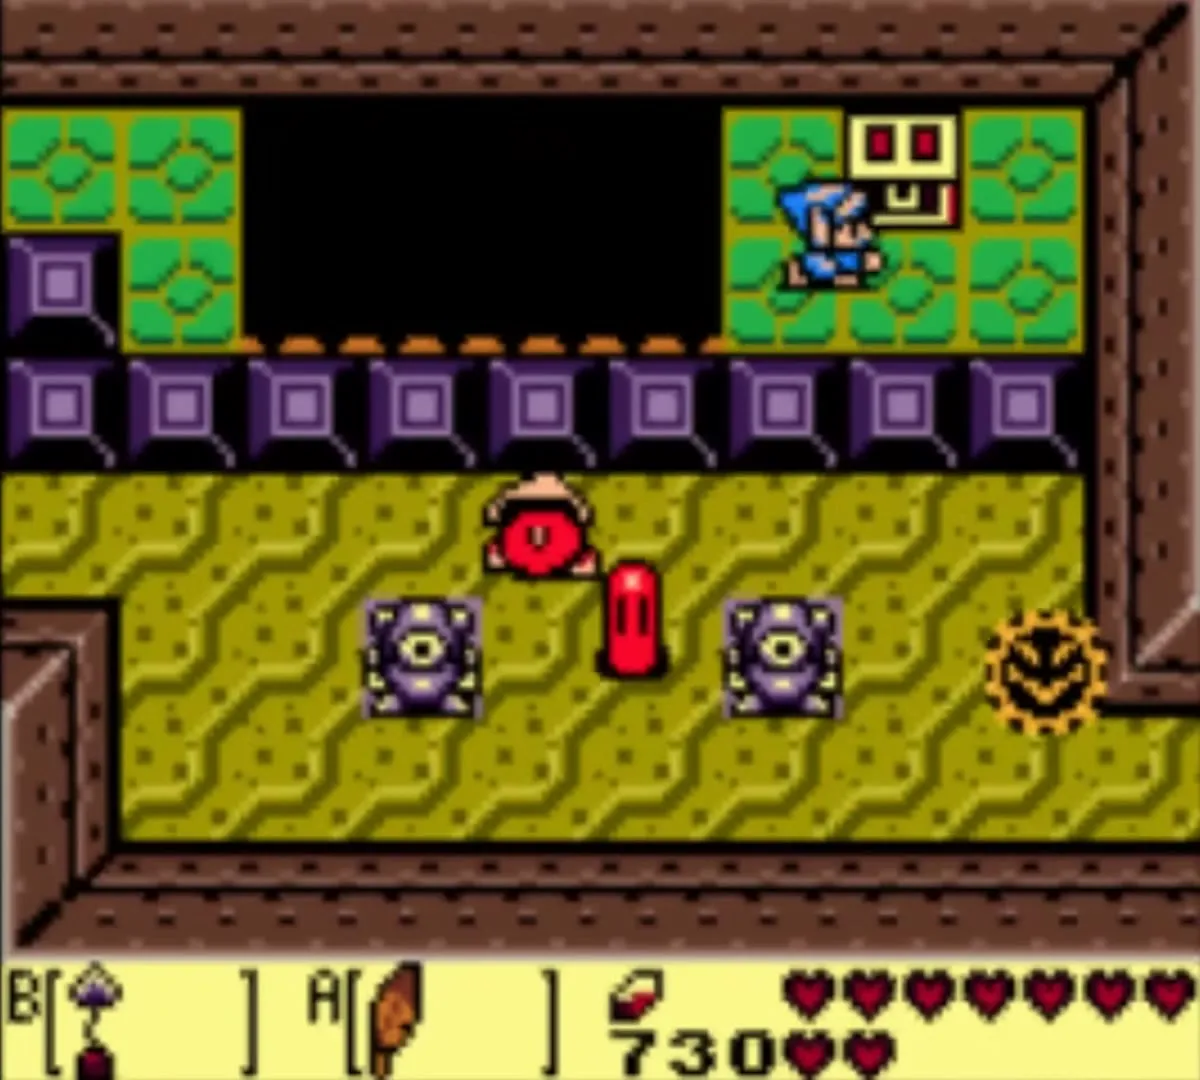
Master Stalfos carries it in Catfish’s Maw. You fight him several times, and his last defeat drops the Hookshot. Fire it at chests, rocks and blocks to pull yourself across a gap, or to drag a distant object to you; it also stuns some enemies. Details are in the Catfish’s Maw chapter.
Magic Rod
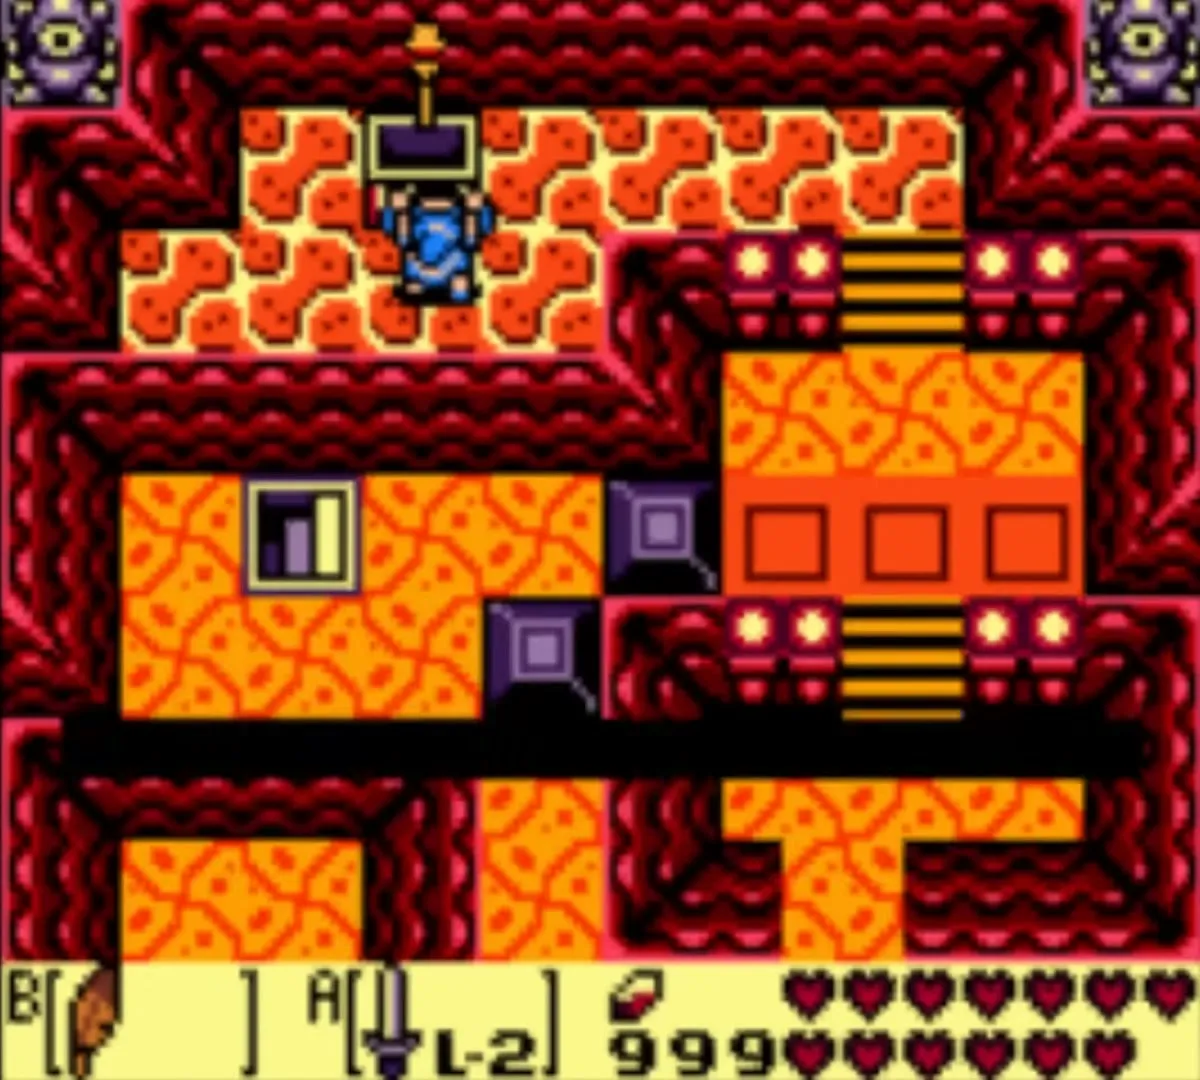
Blaino, the boxer mini-boss in Turtle Rock, stands between you and the chest with the Rod. It shoots a fireball in a straight line, lights torches from a distance and you cannot finish Turtle Rock without it. It also helps against one form of the final boss. See the Turtle Rock chapter.
Bow and Arrows
No dungeon holds the Bow. You buy it from the Town Tool Shop in Mabe Village for 980 rupees. The shop offers it only once you have bought the Shovel and are around the third dungeon, and it is sold once. Arrows are separate stock at 10 for 10 rupees and also drop from enemies. Your arrow limit starts at 20 and the Mad Batter can raise it to 60.
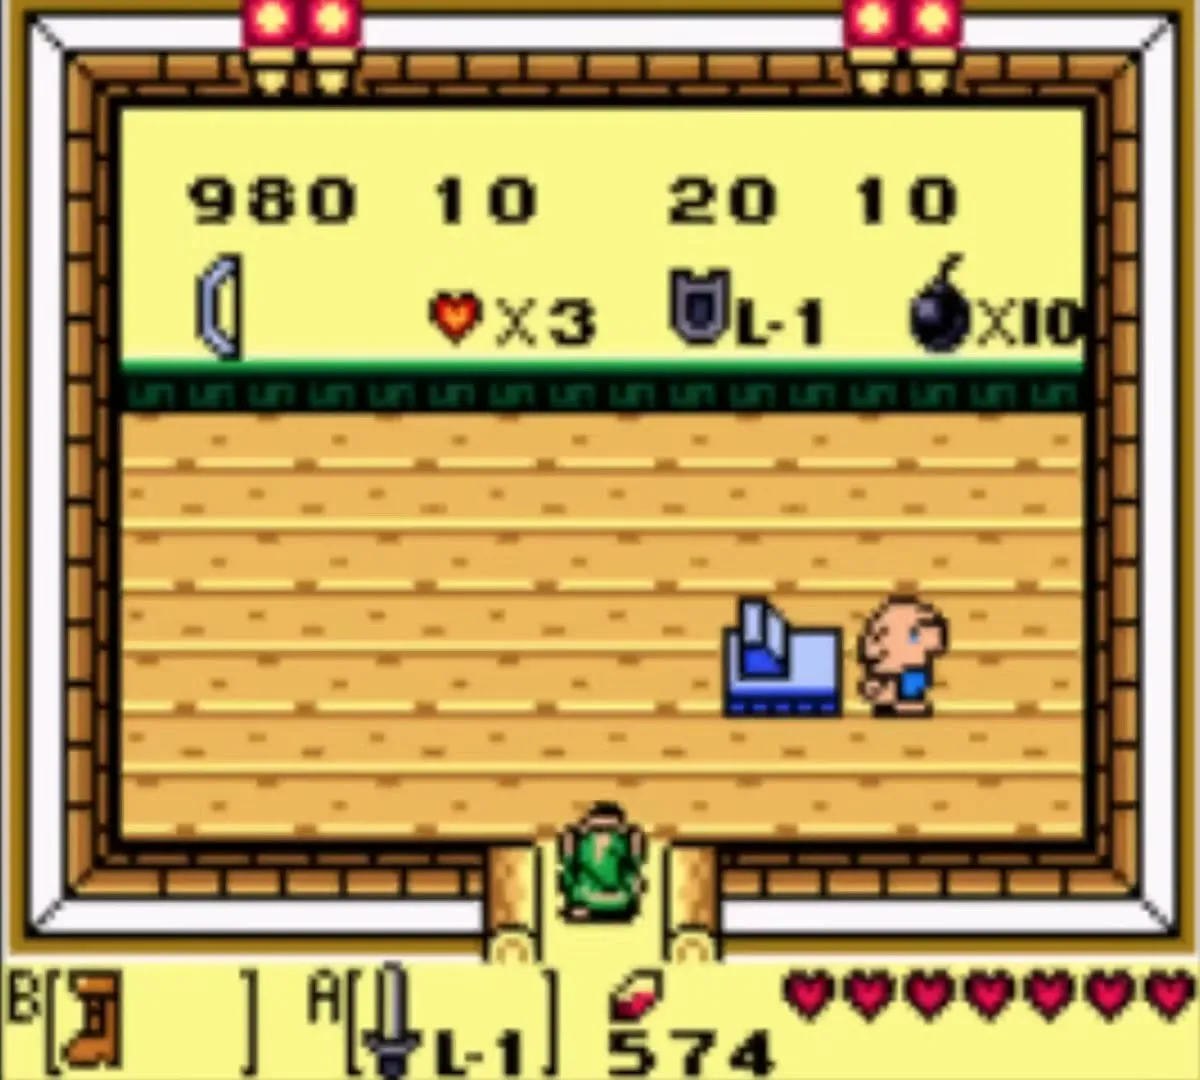

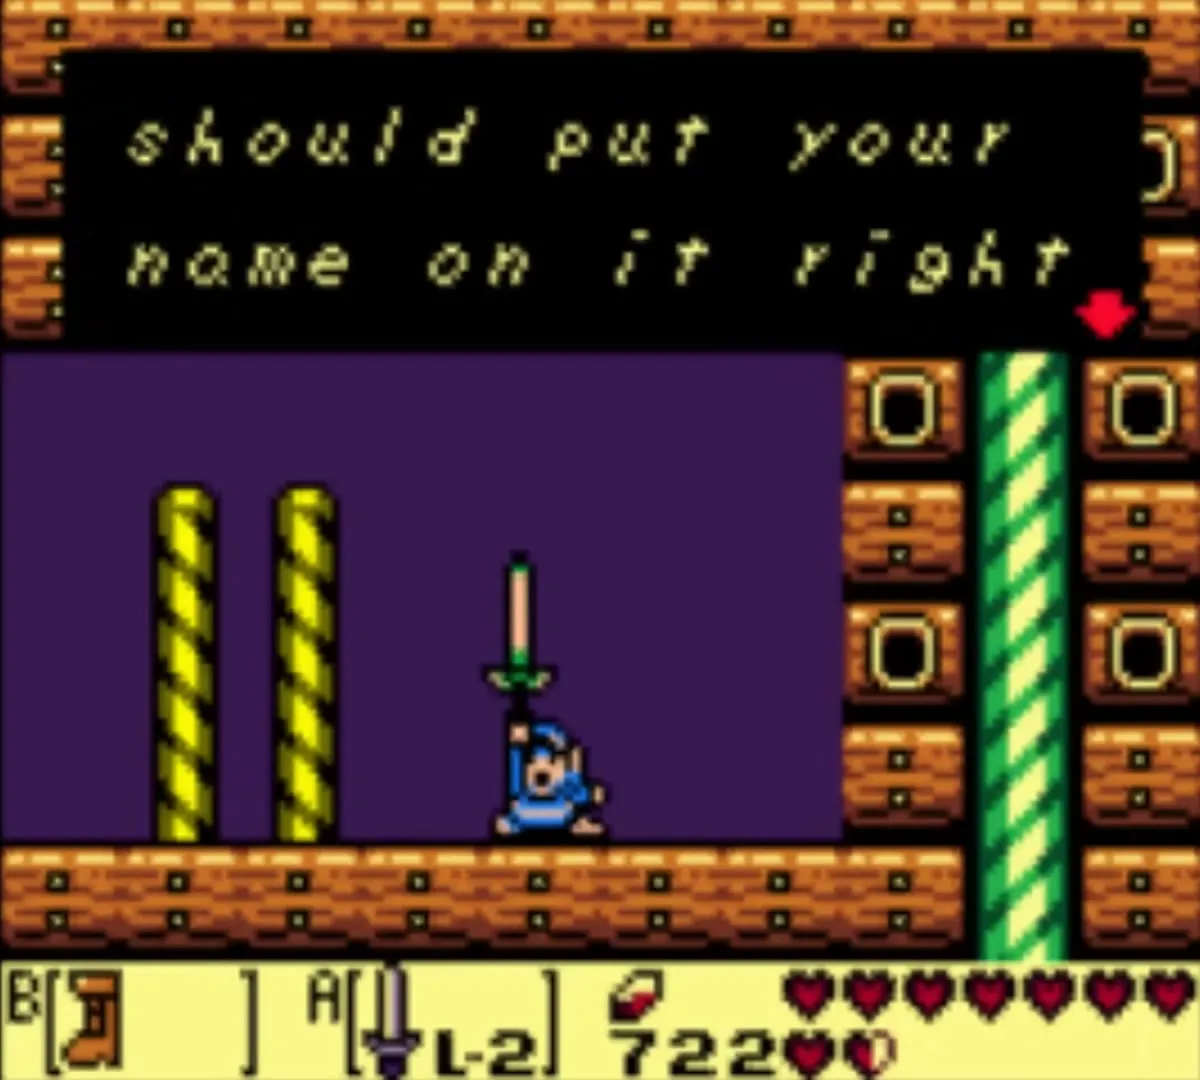
Beyond shooting enemies, the Bow hits switches and statues out of reach, and if you equip it together with Bombs, pressing both buttons at once shoots a bomb across a gap. You can also walk out of the shop with the Bow without paying, but the shopkeeper kills you if you ever go back in and your name becomes THIEF. See Mini-Games and Shops.
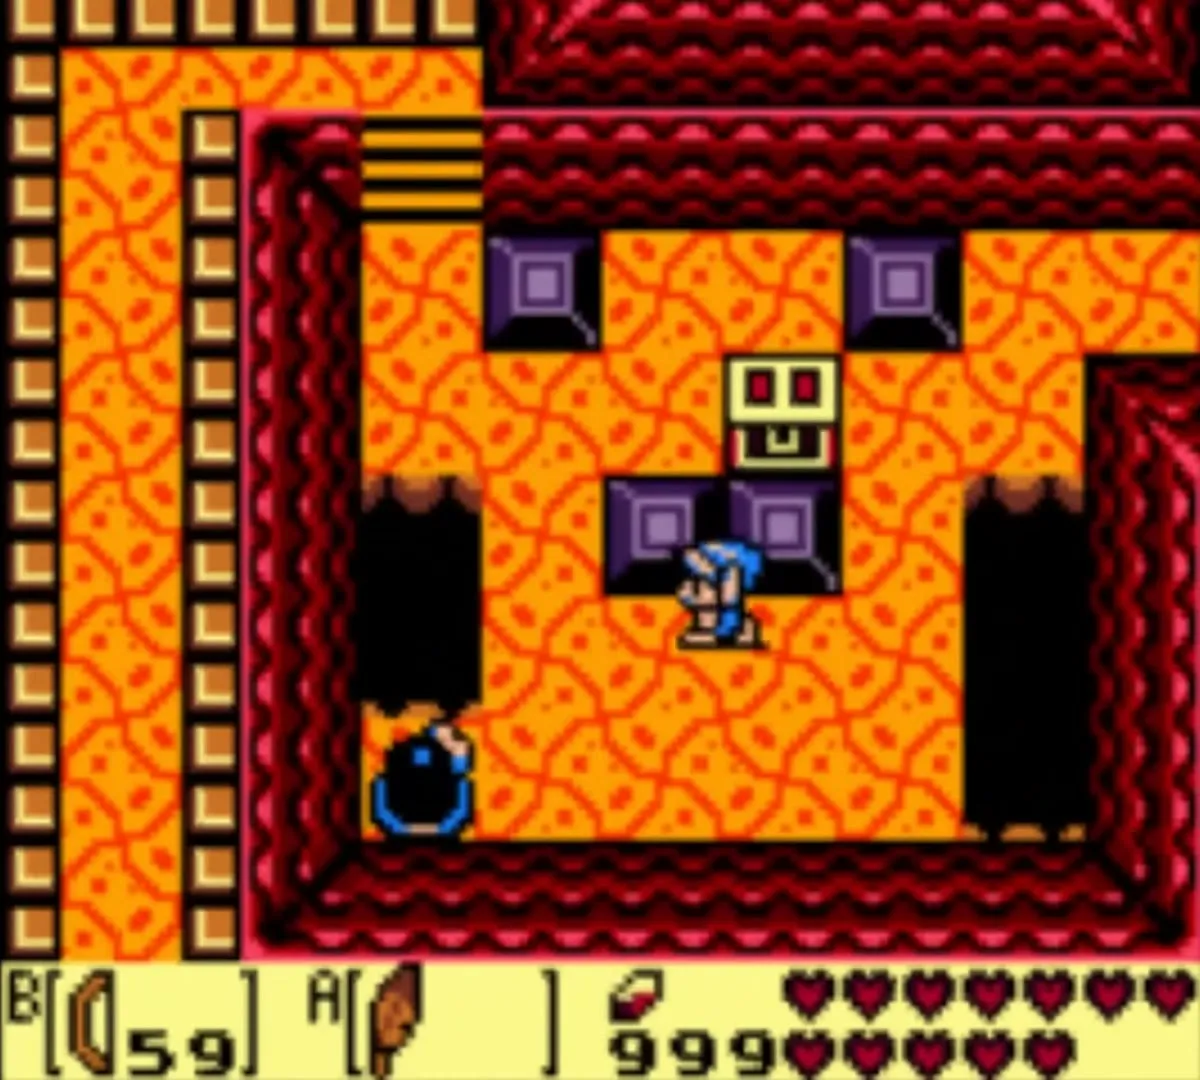
Bombs
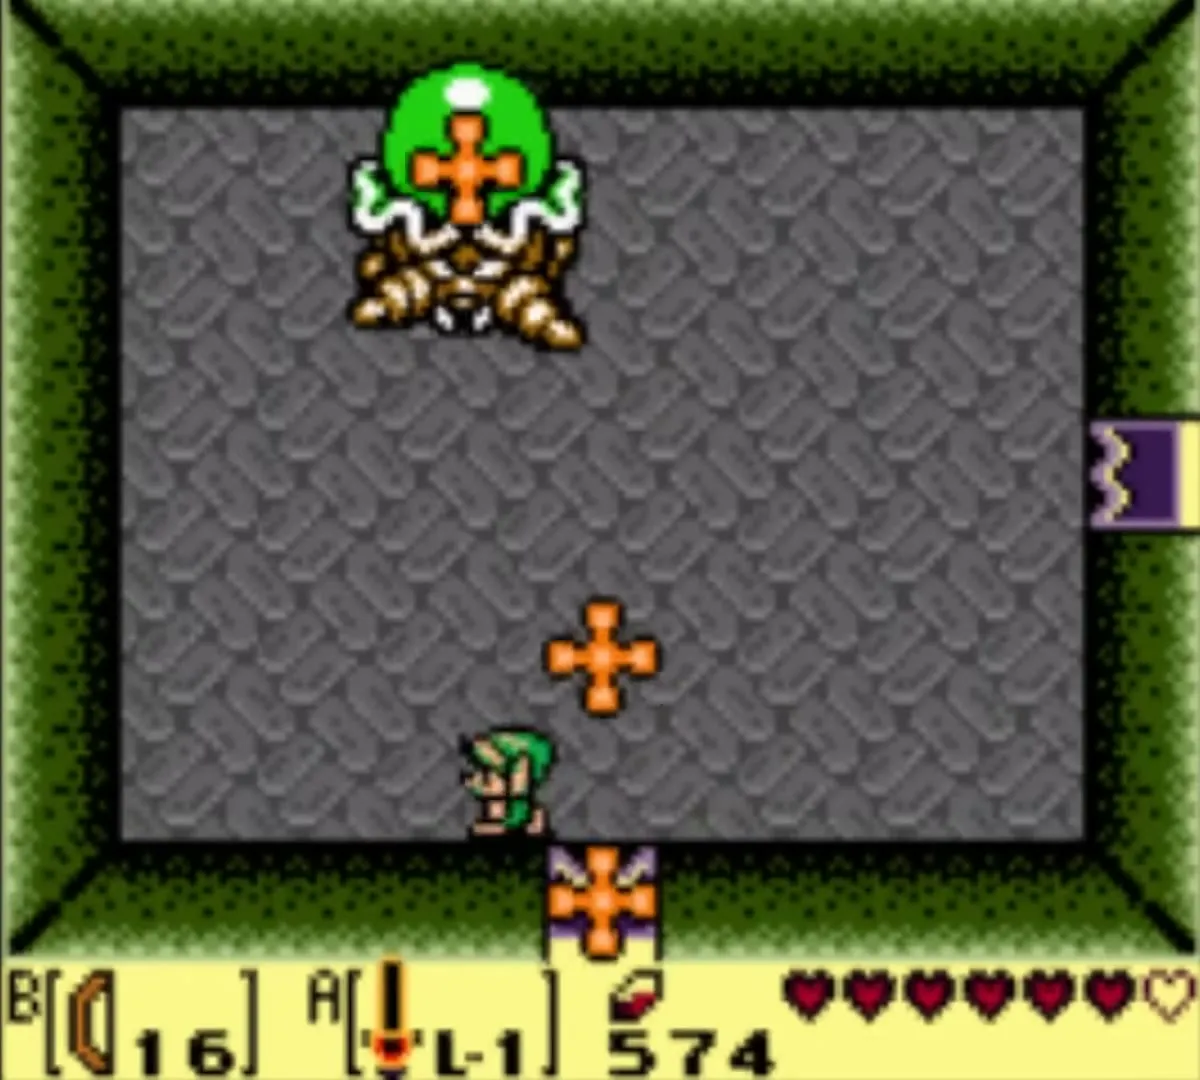
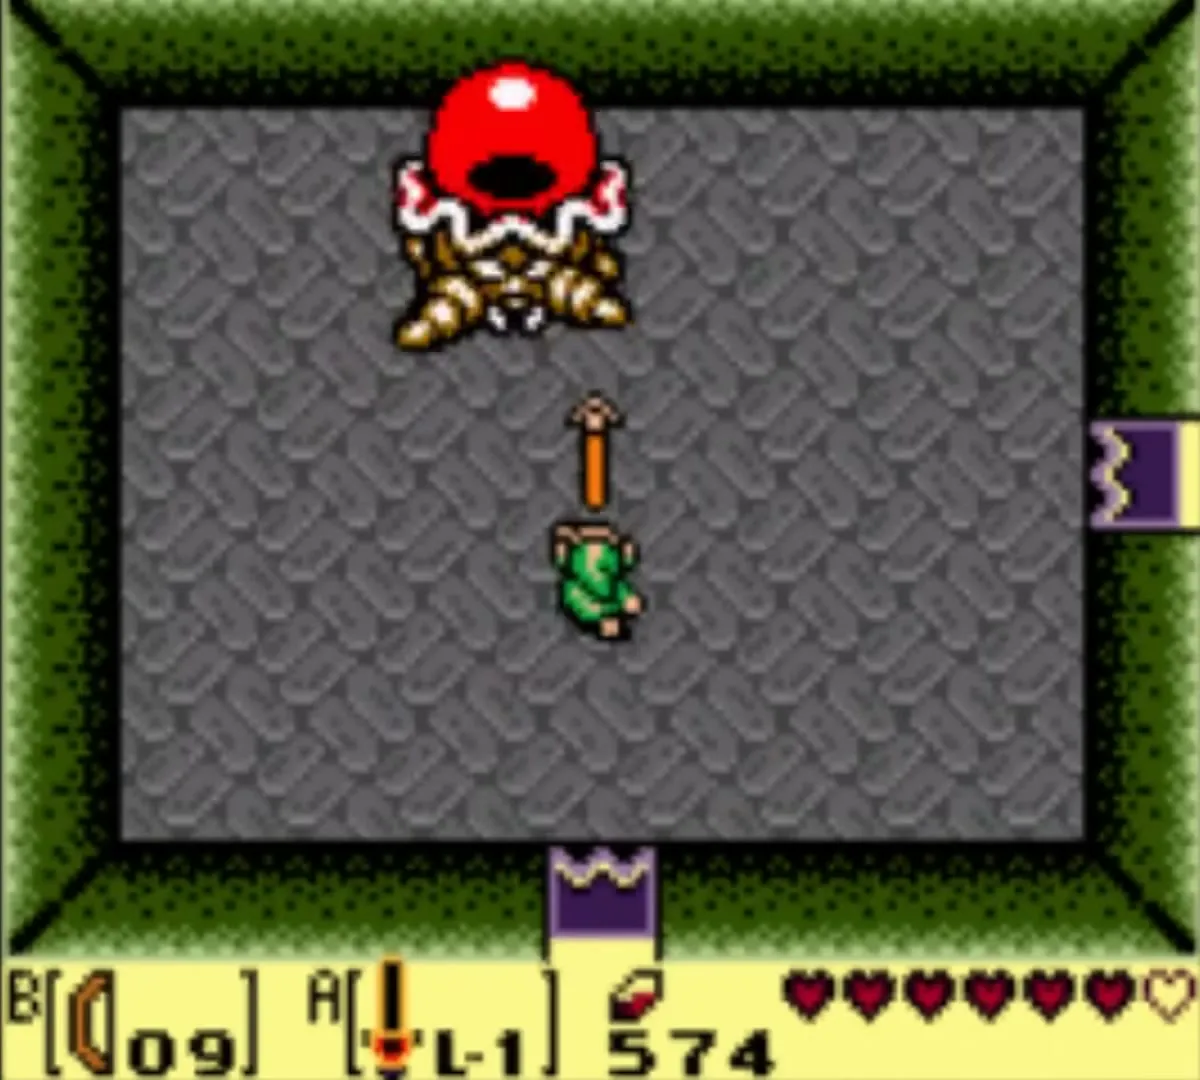
Ten bombs cost 10 rupees at the Town Tool Shop, and they also drop from enemies and pots. They crack weak walls, hurt bosses such as Master Stalfos and the Dodongo Snakes, and open many secret rooms. Your limit starts at 20 and rises to 60 at a Mad Batter altar.

Shovel
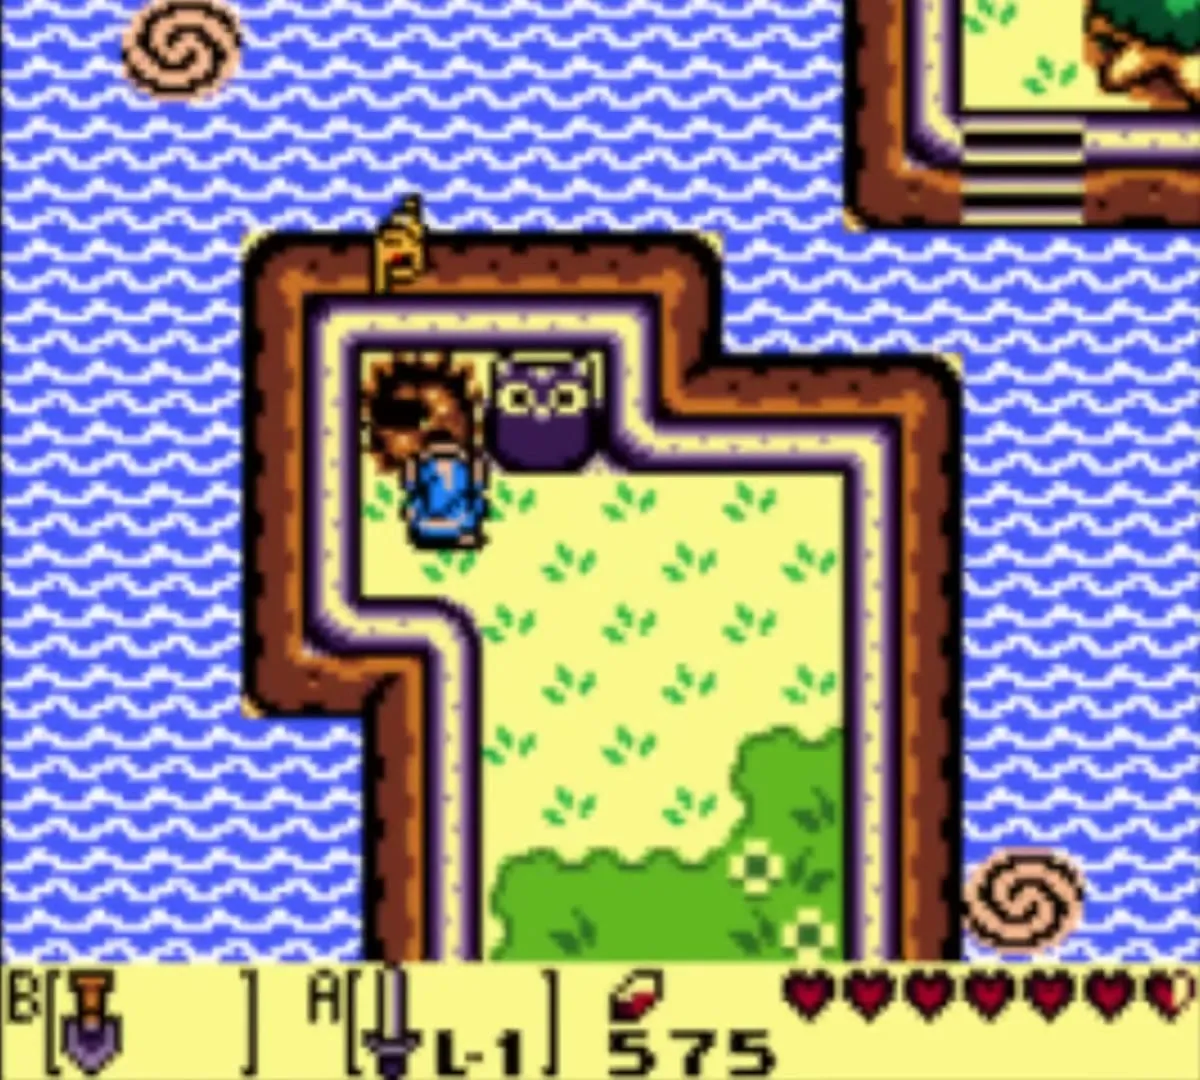
The Town Tool Shop sells the Shovel for 200 rupees, once. Dig in loose soil, under certain trees and in front of owl statues to find Secret Seashells and other prizes, starting with the doghouse next to Madam MeowMeow’s house. Buy it before the Bow, because the shop stocks the Bow only afterwards.

Ocarina
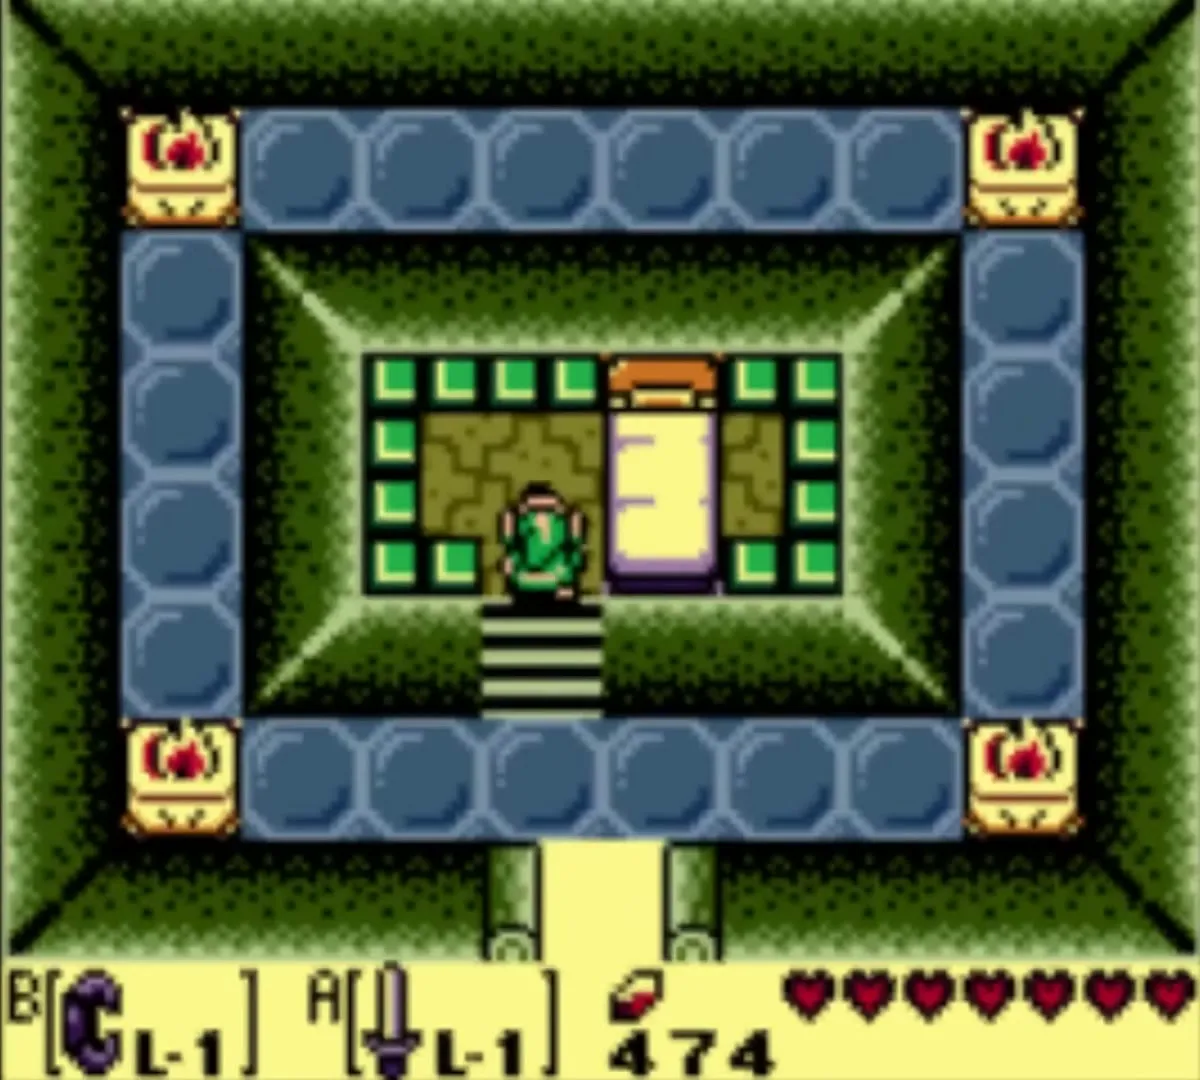
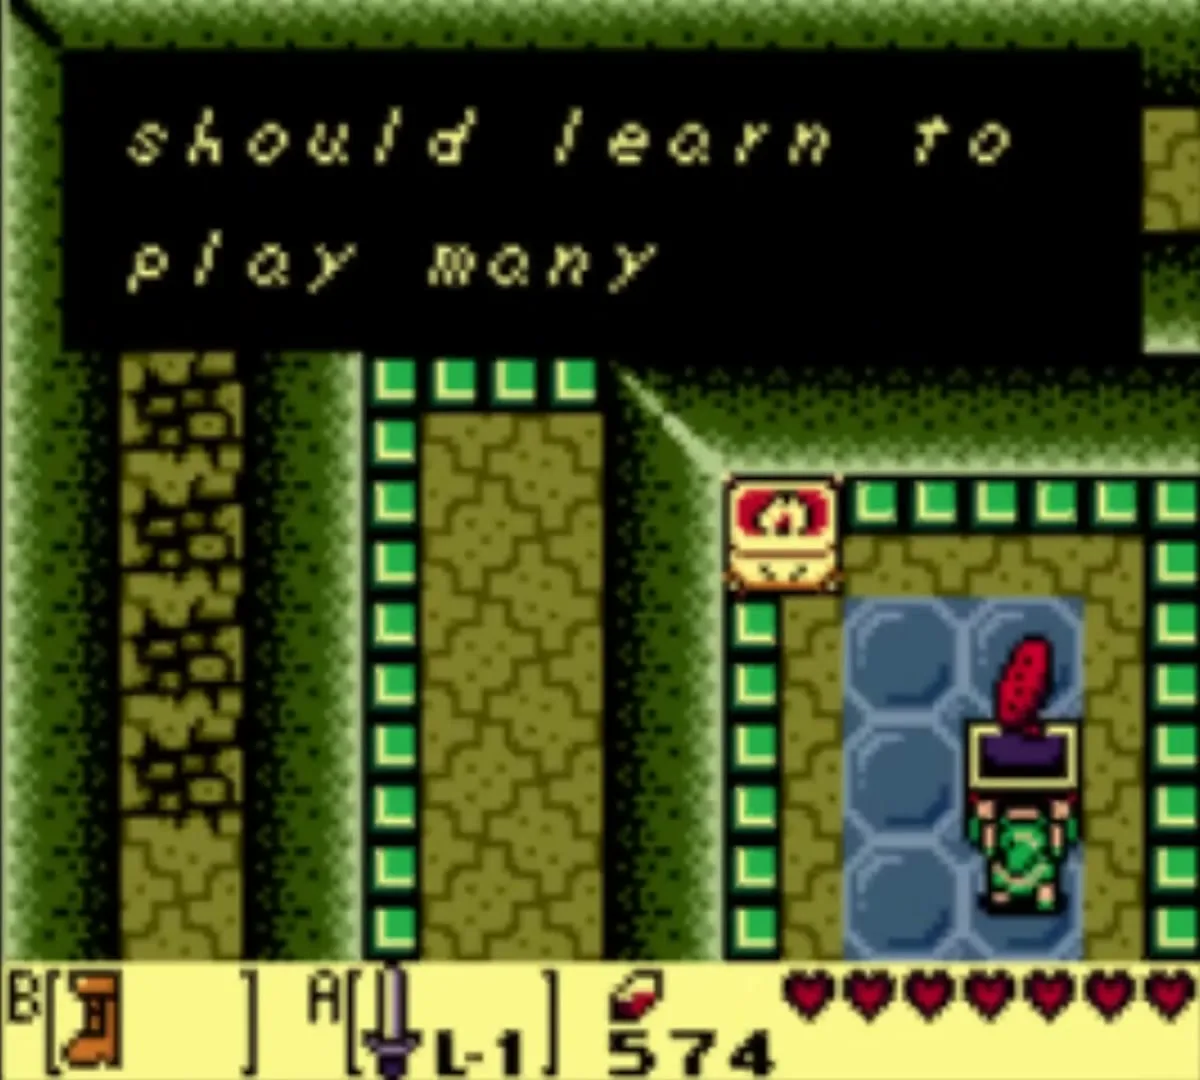
The Ocarina sits in the Dream Shrine in the northeast of Mabe Village, east of the Quadruplets’ house and north of the Town Tool Shop. Lift the three boulders at the door with the Power Bracelet, sleep in the shrine bed to enter the dream cavern, and dash through the green block with the Pegasus Boots to reach it. Once you own it, Marin teaches you the Ballad of the Wind Fish, and the other two songs come later. See Ocarina Songs.
Boomerang
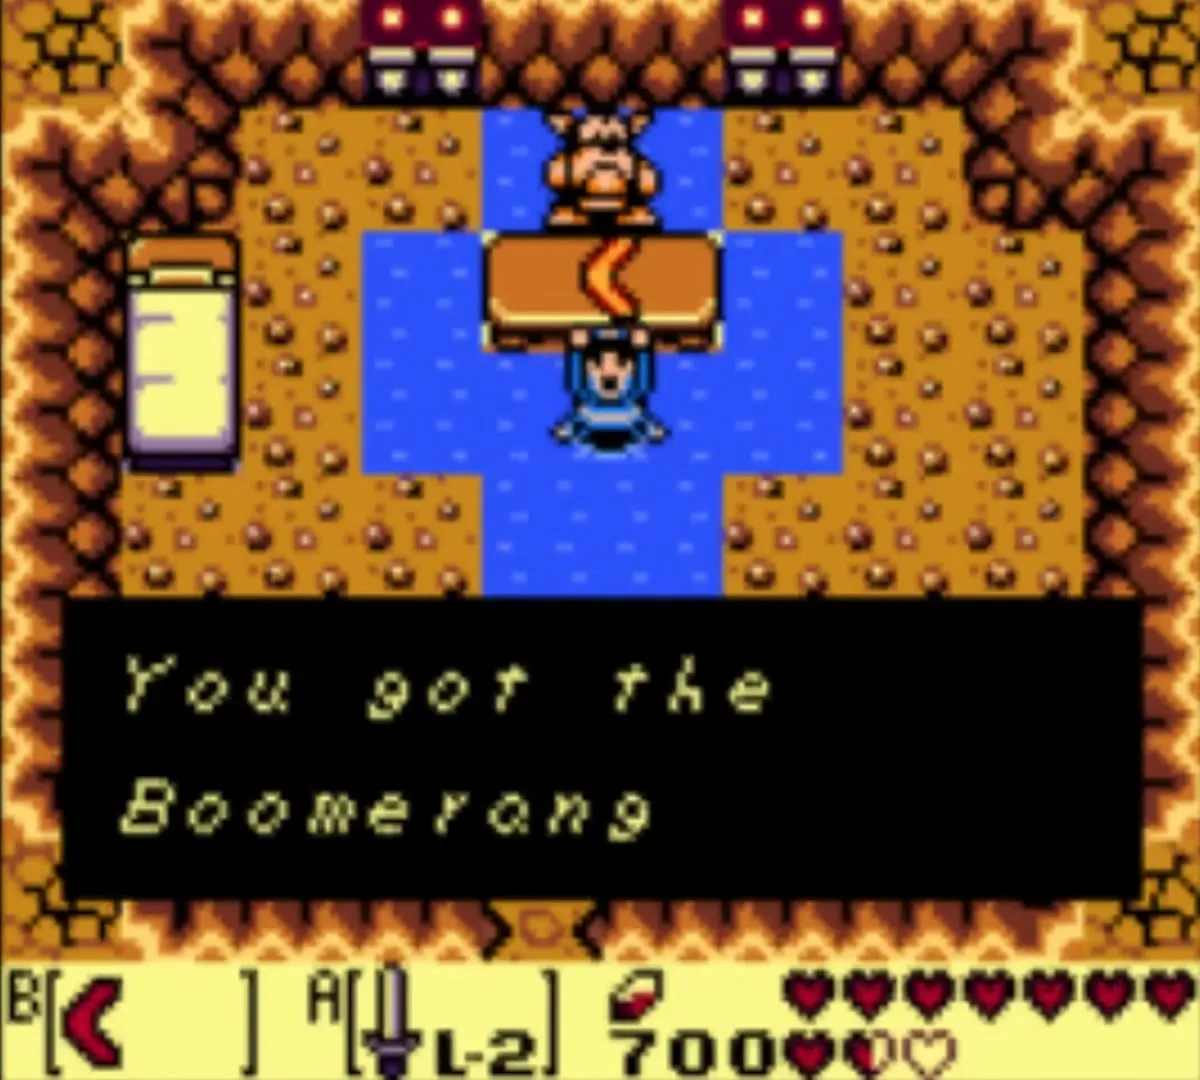
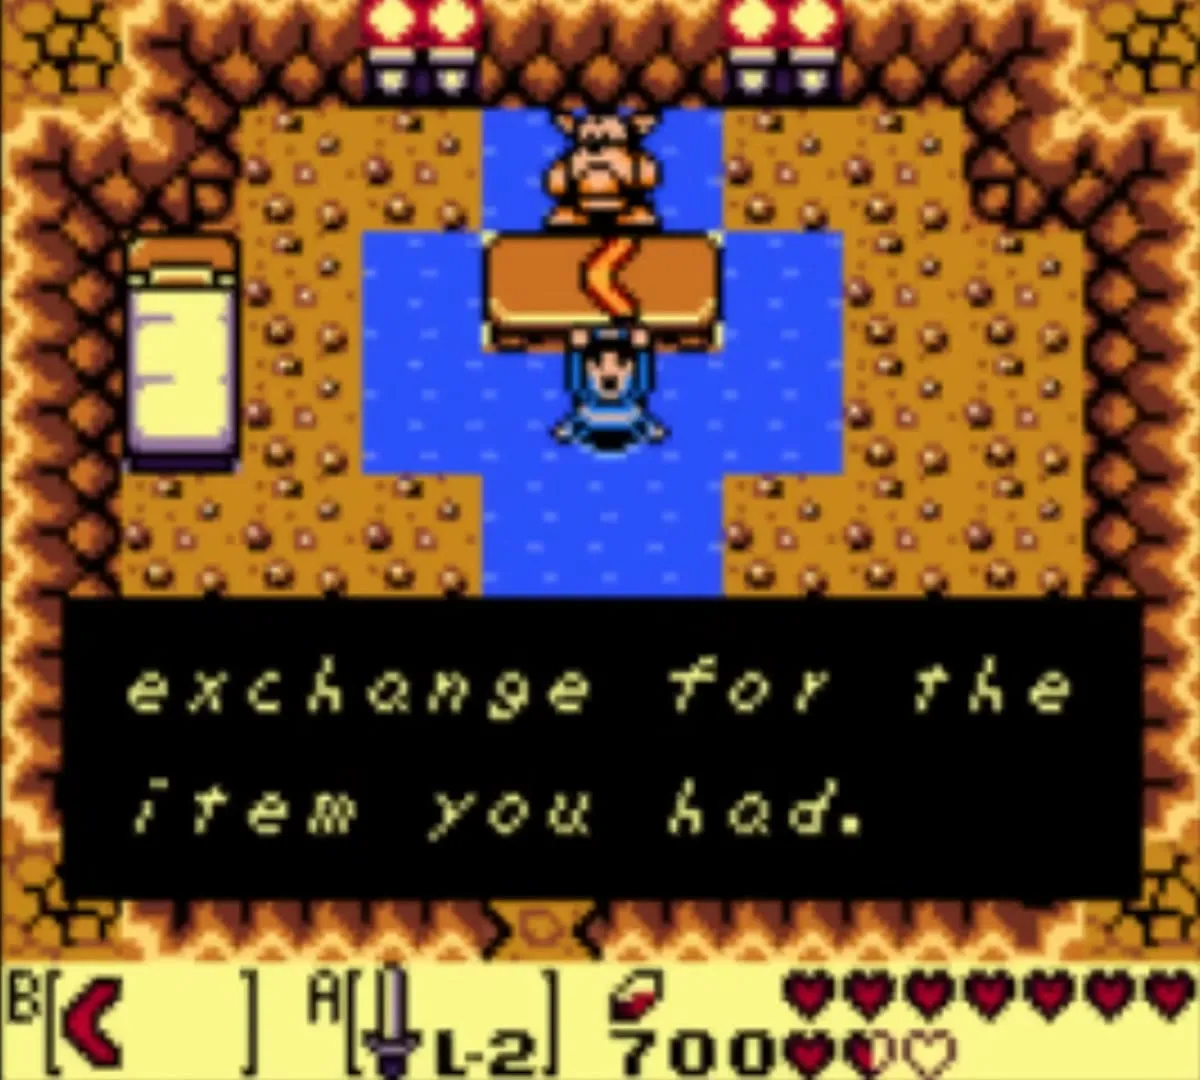
The Boomerang is an optional swap, not a gift. Go to Toronbo Shores with the Magnifying Lens and some Bombs, blow open the cracked wall south of the coconut-throwing monkey and talk to the Goriya behind the table. He takes one of your items and gives you the Boomerang; hand it back whenever you like to get your own item again, as often as you want. It stuns enemies, flips switches and fetches faraway items, and a single hit from it destroys the final boss. More in the Face Shrine chapter and on Trading Sequence.
Magic Powder
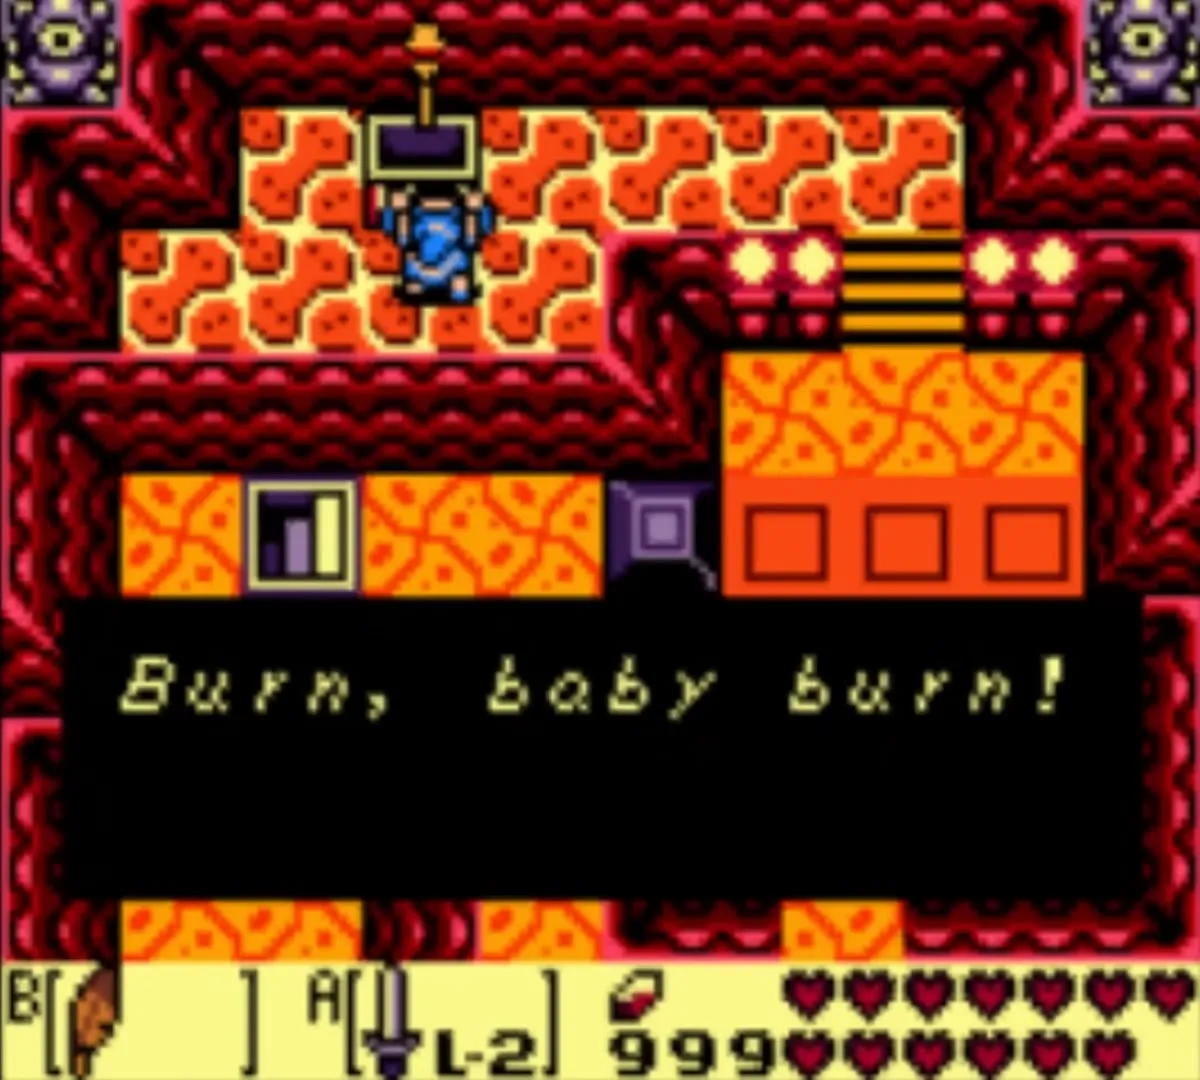
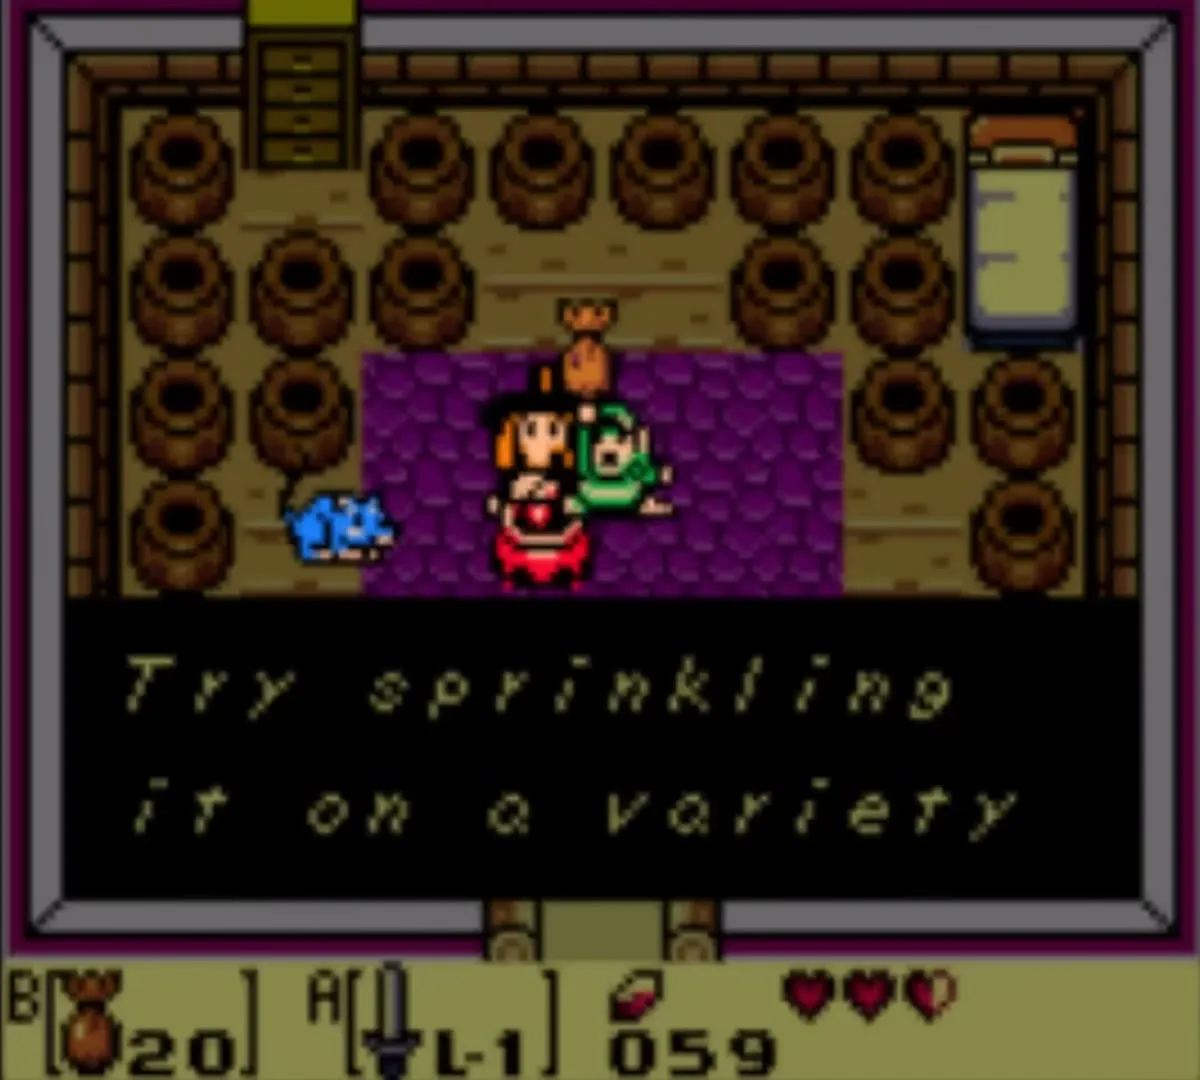
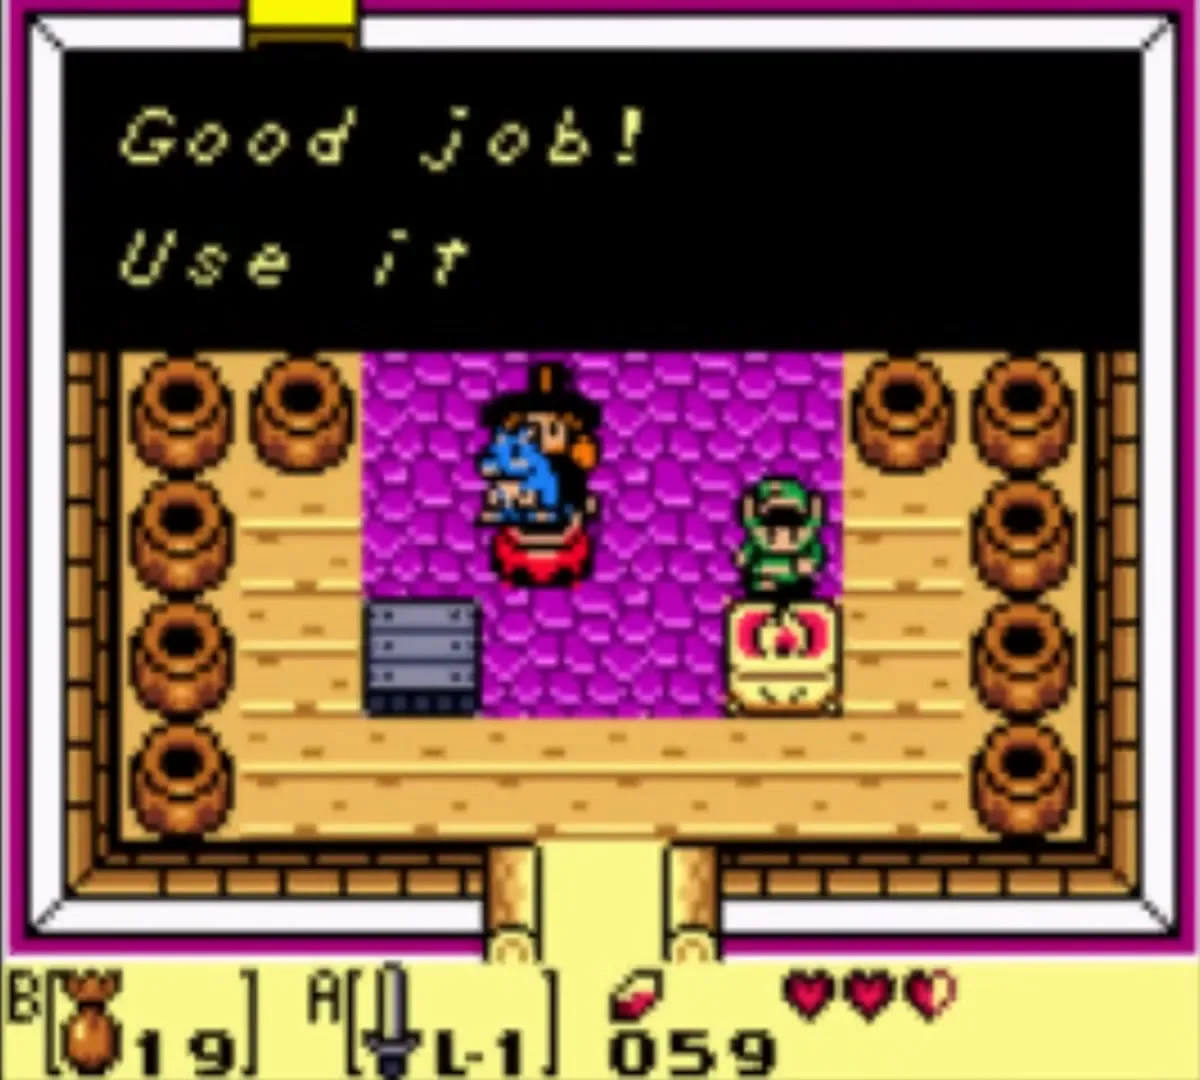
Pick the Sleepy Toadstool in the Mysterious Forest, carry it to the Witch’s Hut and use it in front of the Witch to receive 20 doses. Sprinkle the powder on torches to light dark rooms, on the raccoon to reveal Tarin, and on certain enemies to stun or change them, including the first form of the final boss. Defeated enemies sometimes drop refills, and the Mad Batter can raise your limit to 40. You also throw powder into each Mad Batter well. See the Tail Cave chapter.
Dungeon items
Every main dungeon contains the same five kinds of item.

Dungeon Map
What it does: Fills in the dungeon layout on your map screen

Compass
What it does: Marks chests and the Nightmare’s Key on the map and sounds a tone in rooms that hide a small key

Stone Beak
What it does: Lets the dungeon’s owl statues give hints

Small Key
What it does: Opens one locked door or key block and is used up; the number in a dungeon varies

Nightmare’s Key
What it does: Opens the door to the boss room; found in a chest or after a puzzle in each dungeon
Keys and quest items

Tail Key
Where you get it: Chest in the Mysterious Forest
What it does: Opens Tail Cave (Level 1)

Slime Key
Where you get it: Dug up behind Prince Richard’s villa once you give him the five Golden Leaves
What it does: Opens Key Cavern (Level 3)

Angler Key
Where you get it: Dropped by the Lanmola in the quicksand of Yarna Desert
What it does: Opens Angler’s Tunnel (Level 4)

Face Key
Where you get it: Armos Knight, Ancient Ruins
What it does: Opens Face Shrine (Level 6)

Bird Key
Where you get it: Cave in the Tal Tal Mountains, reached across pits with the Flying Rooster
What it does: Opens Eagle’s Tower (Level 7)

Golden Leaves (5)
Where you get it: Kanalet Castle, dropped by specific enemies inside
What it does: Handed to Prince Richard for the Slime Key

Secret Medicine
Where you get it: Crazy Tracy’s Health Spa for 28 or 42 rupees; free chests in Face Shrine, Eagle’s Tower and Turtle Rock
What it does: Revives you with full hearts when you run out
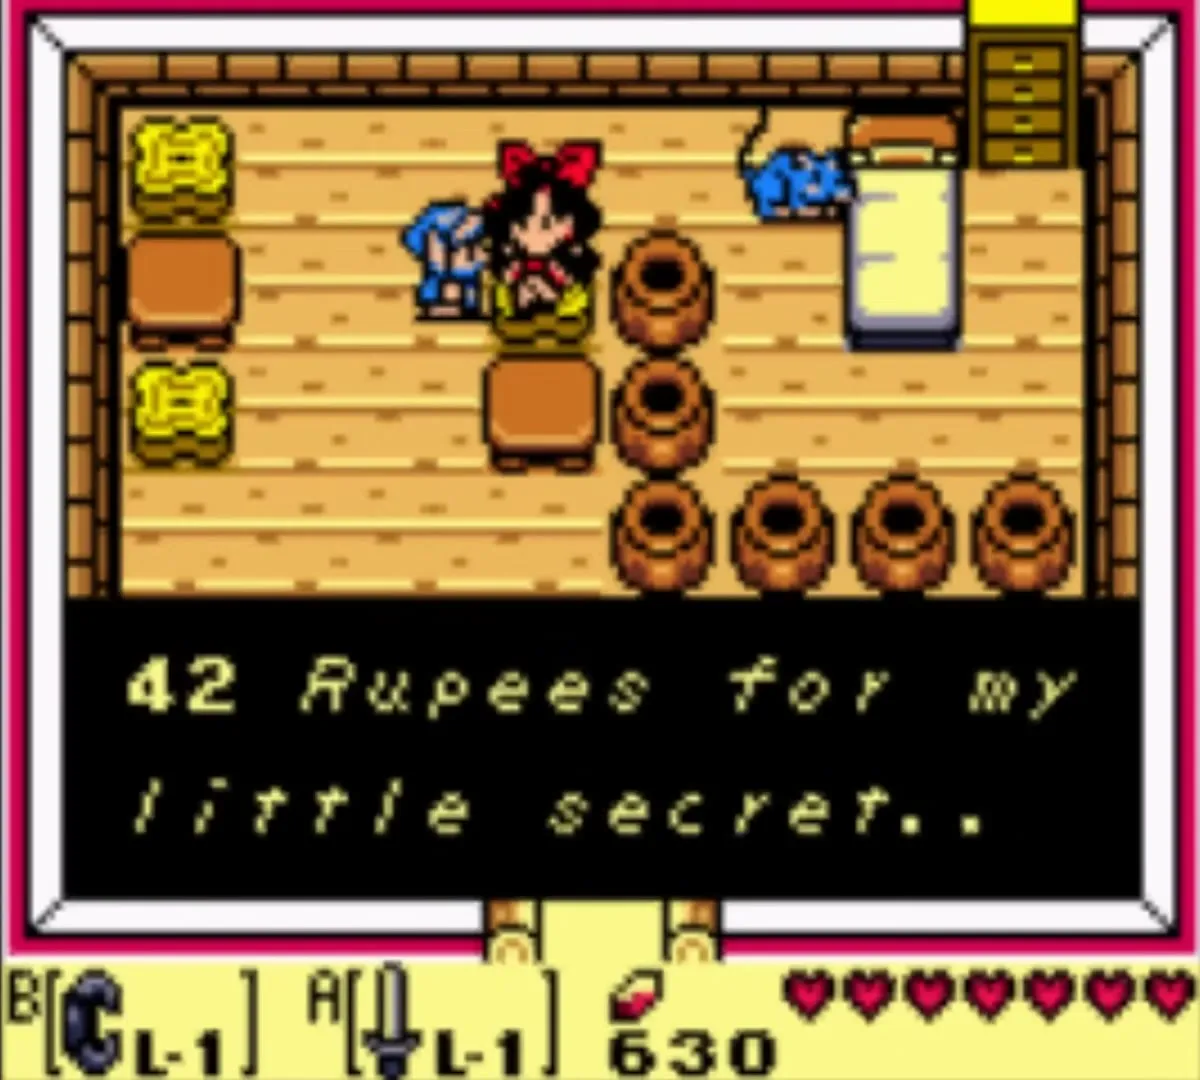
The Secret Medicine is the only revive item on Koholint, because this game has no bottles. Crazy Tracy runs her Health Spa near Goponga Swamp, close to Manbo’s Pond, and the price depends on a hidden count of the enemies you have defeated: 28 rupees when it is even, 42 when it is odd. It works by itself when you would die, so you do not equip it. You can carry only one at a time. See Fairies and Secret Medicine.

The Secret Seashells, 26 in all, are not tools but they matter for the L-2 Sword; the complete list is on Secret Seashell Locations.
Instruments of the Sirens
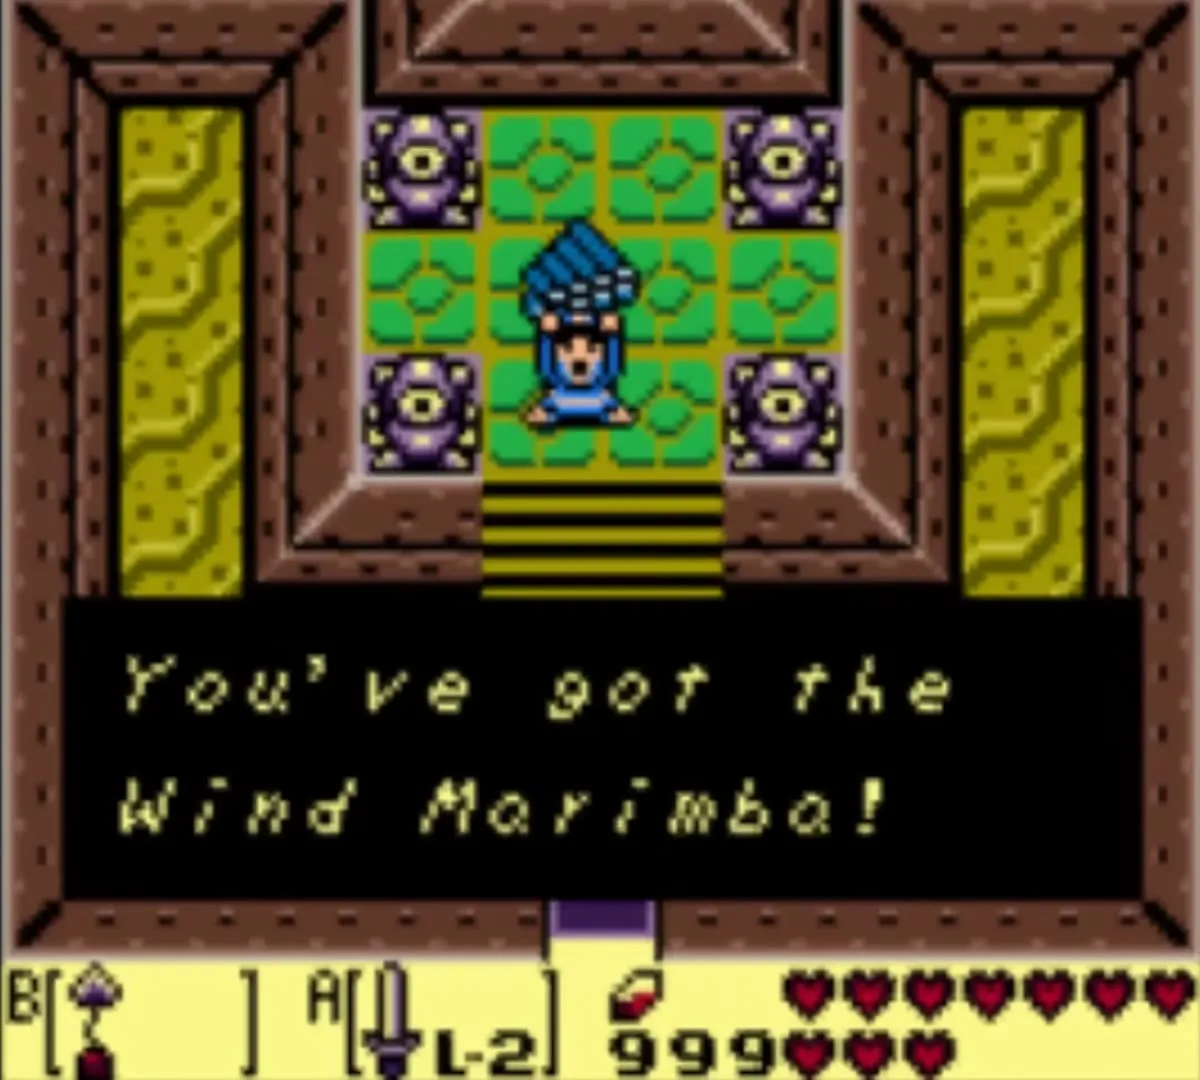
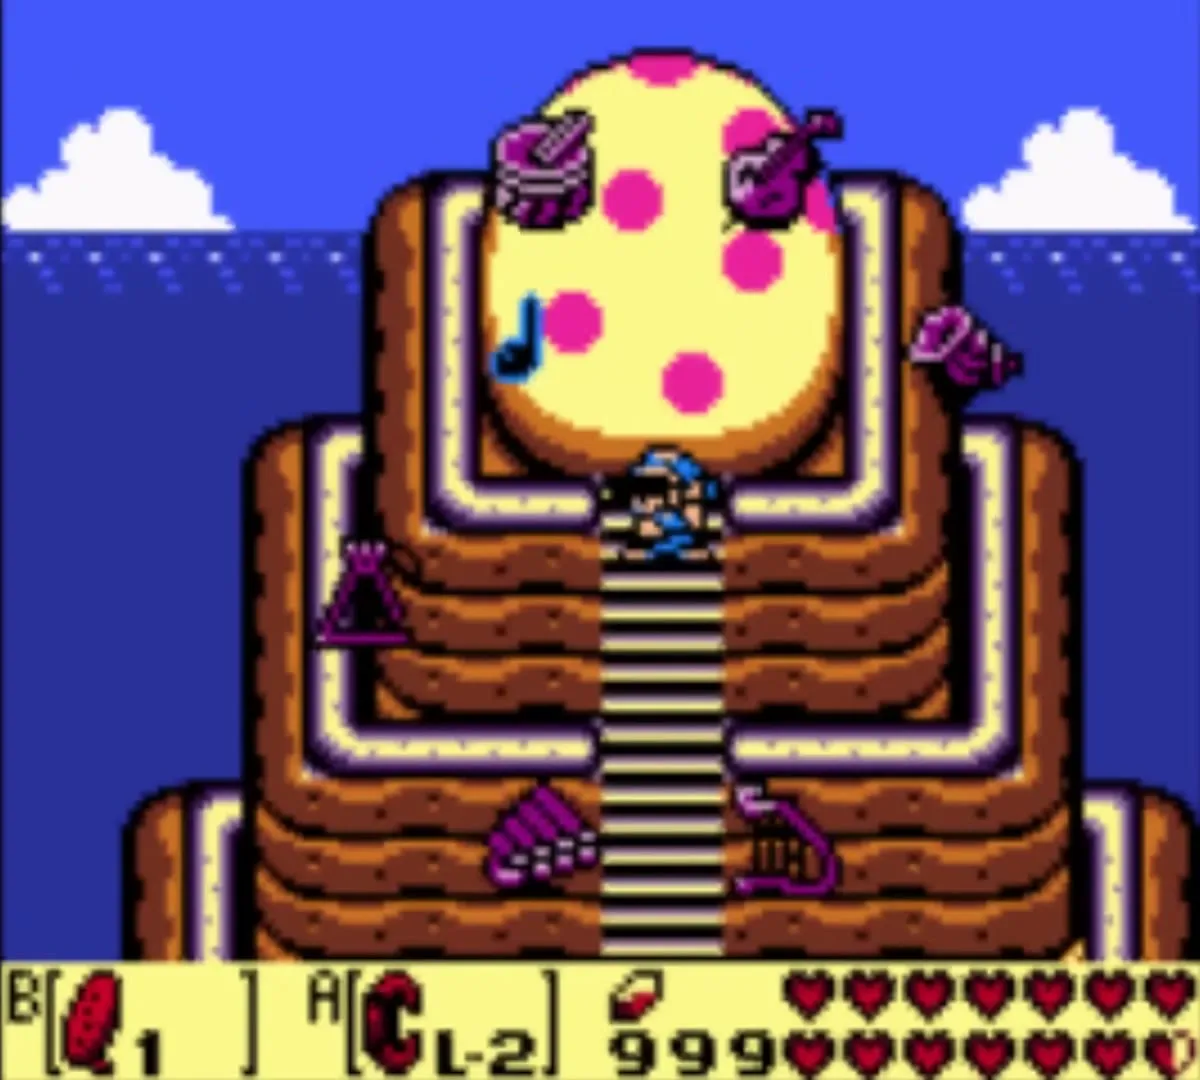
There are eight Instruments, one at the end of each main dungeon, and you need every one to wake the Wind Fish. Play the Ballad of the Wind Fish in front of the Egg once you hold them all, as described in The Wind Fish’s Egg and the Finale.
| # | Instrument | Dungeon | Boss |
|---|---|---|---|
| 1 |  Full Moon Cello | Tail Cave |  Moldorm |
| 2 |  Conch Horn | Bottle Grotto |  Genie |
| 3 |  Sea Lily’s Bell | Key Cavern |  Slime Eye |
| 4 |  Surf Harp | Angler’s Tunnel |  Angler Fish |
| 5 |  Wind Marimba | Catfish’s Maw |  Slime Eel |
| 6 |  Coral Triangle | Face Shrine |  Facade |
| 7 |  Organ of Evening Calm | Eagle’s Tower |  Evil Eagle |
| 8 |  Thunder Drum | Turtle Rock |  Hot Head |
Trading sequence items
Fourteen items change hands in the trading sequence, and you can carry only one at a time. The chain ends with the Magnifying Lens, which reveals hidden characters, lets you read the maze book in the Mabe Village library and lets you see the Goriya who trades the Boomerang. Every step is written out on Trading Sequence.



Yoshi Doll
You get it from: Trendy Game, Mabe Village
You give it to: Mamasha

Ribbon
You get it from: Mamasha
You give it to: CiaoCiao, the small Chain Chomp

Dog Food
You get it from: CiaoCiao
You give it to: Sale, Toronbo Shores

Bananas
You get it from: Sale
You give it to: Kiki the monkey

Stick
You get it from: Kiki
You give it to: Tarin at the beehive

Honeycomb
You get it from: Tarin
You give it to: Chef Bear, Animal Village

Pineapple
You get it from: Chef Bear
You give it to: Papahl in the mountains

Hibiscus
You get it from: Papahl
You give it to: Christine the goat

Letter
You get it from: Christine
You give it to: Mr. Write

Broom
You get it from: Mr. Write
You give it to: Grandma Ulrira

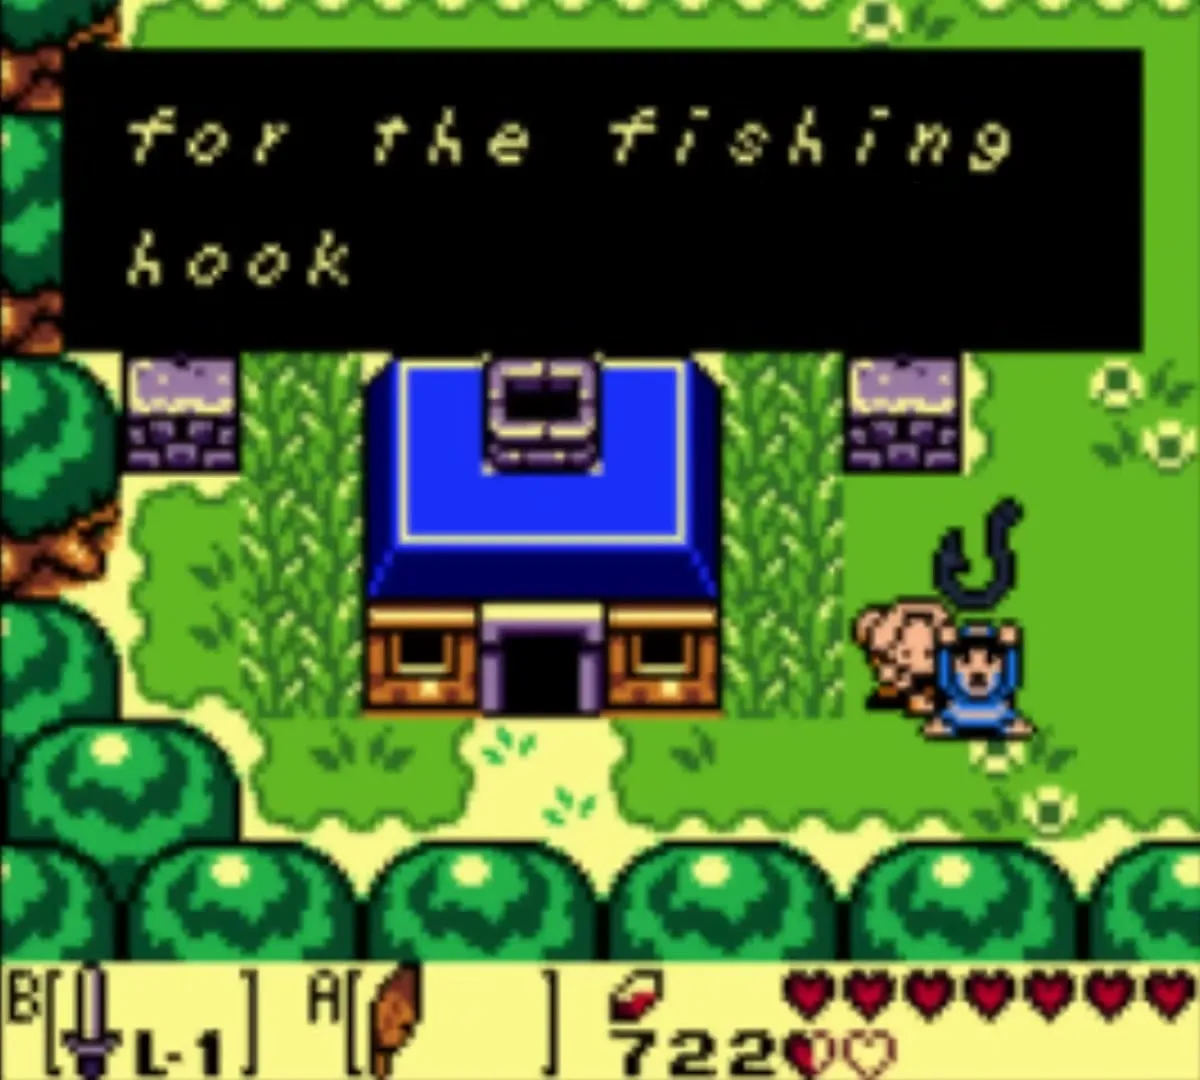
Fishing Hook
You get it from: Grandma Ulrira
You give it to: The fisherman in Martha’s Bay

Necklace
You get it from: The fisherman
You give it to: The Mermaid

Mermaid’s Scale
You get it from: The Mermaid
You give it to: The Mermaid Statue

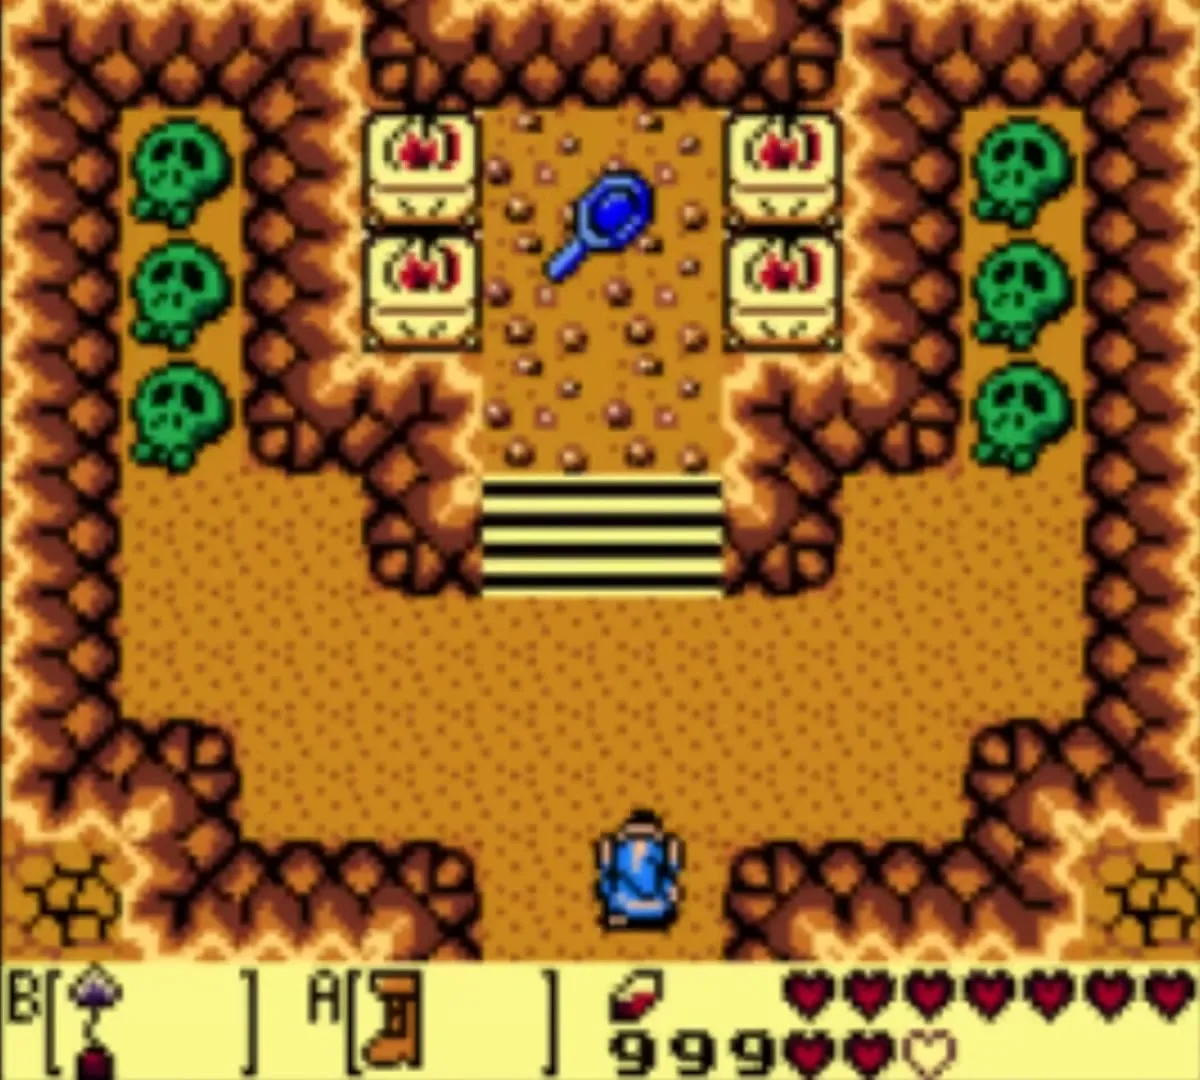
Magnifying Lens
You get it from: The Mermaid Statue
You give it to: Keep it
Hearts, rupees and combat boosts

Rupees
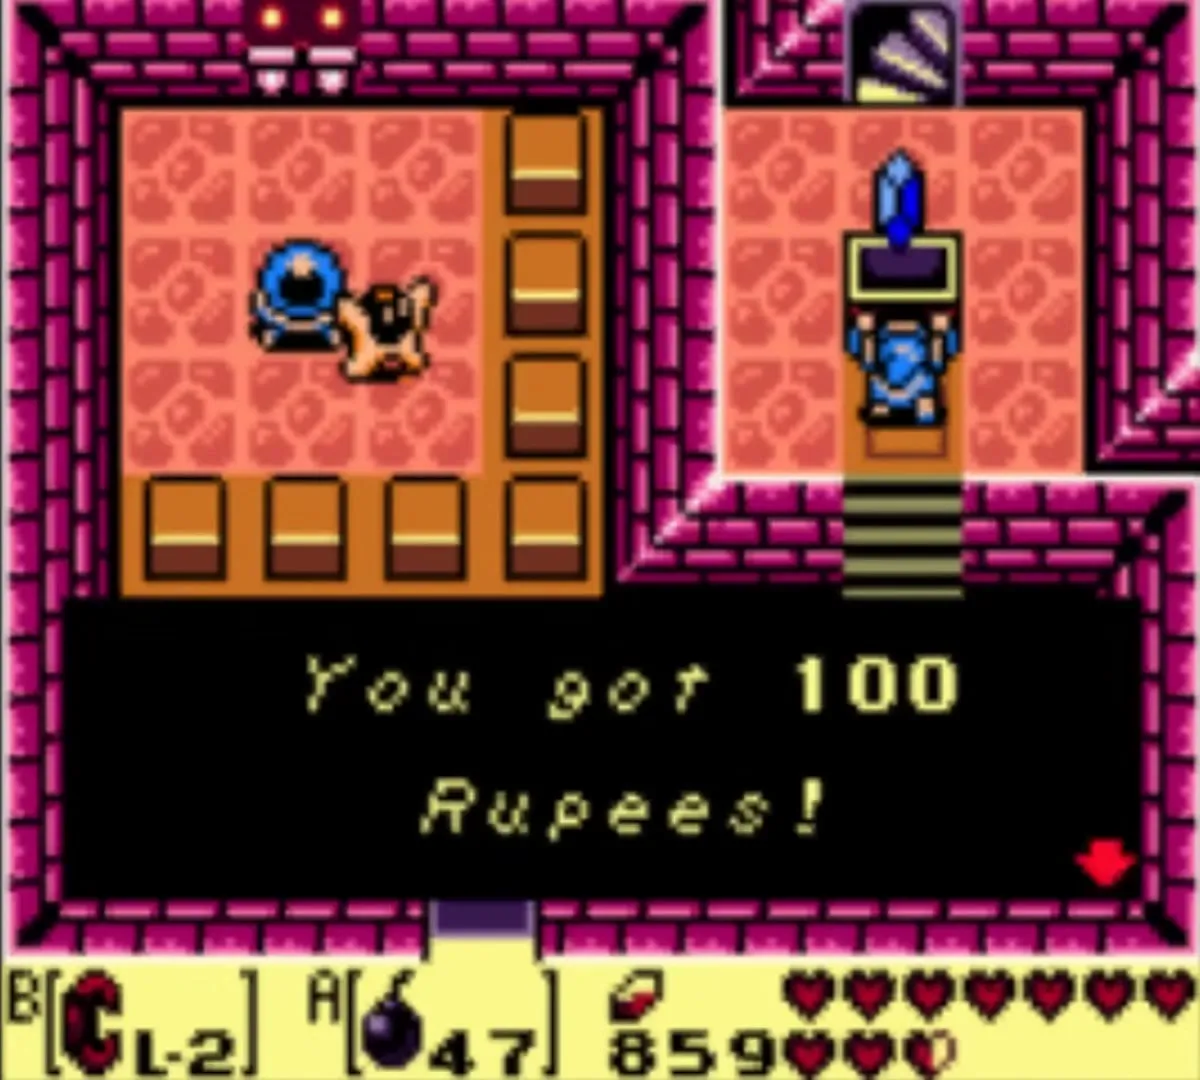
The wallet holds up to 999 rupees and cannot be upgraded. Rupees come from chests, bushes and enemies, and the Color Dungeon has a rupee room that refills every time you re-enter it. The Trendy Game and the fishing pond cost 10 rupees per try.


Recovery Heart
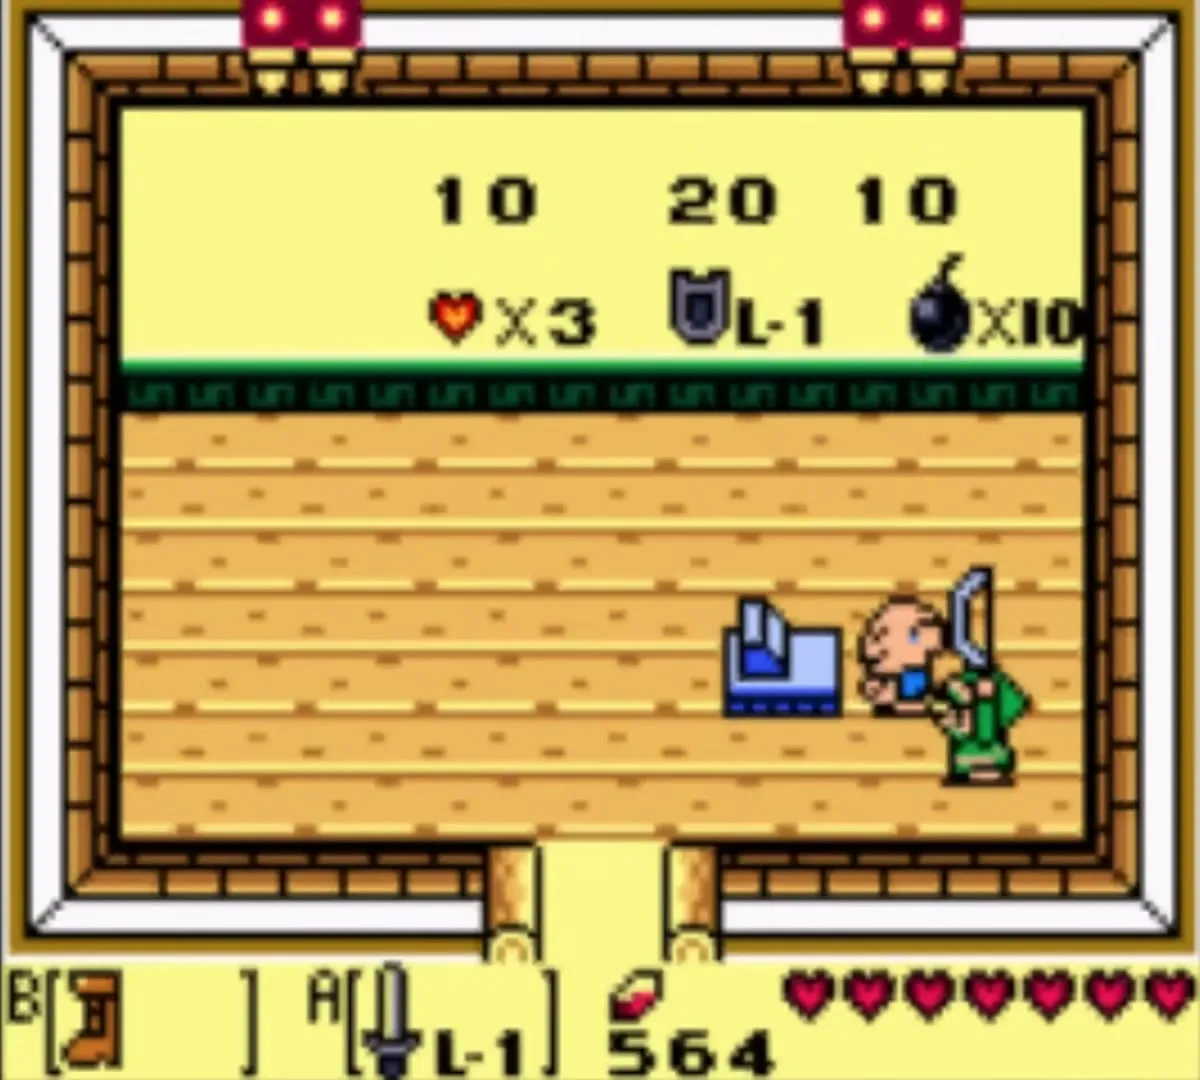
Red hearts restore health. They drop from enemies and sit under bushes and pots, and the Town Tool Shop sells three for 10 rupees.


Piece of Heart
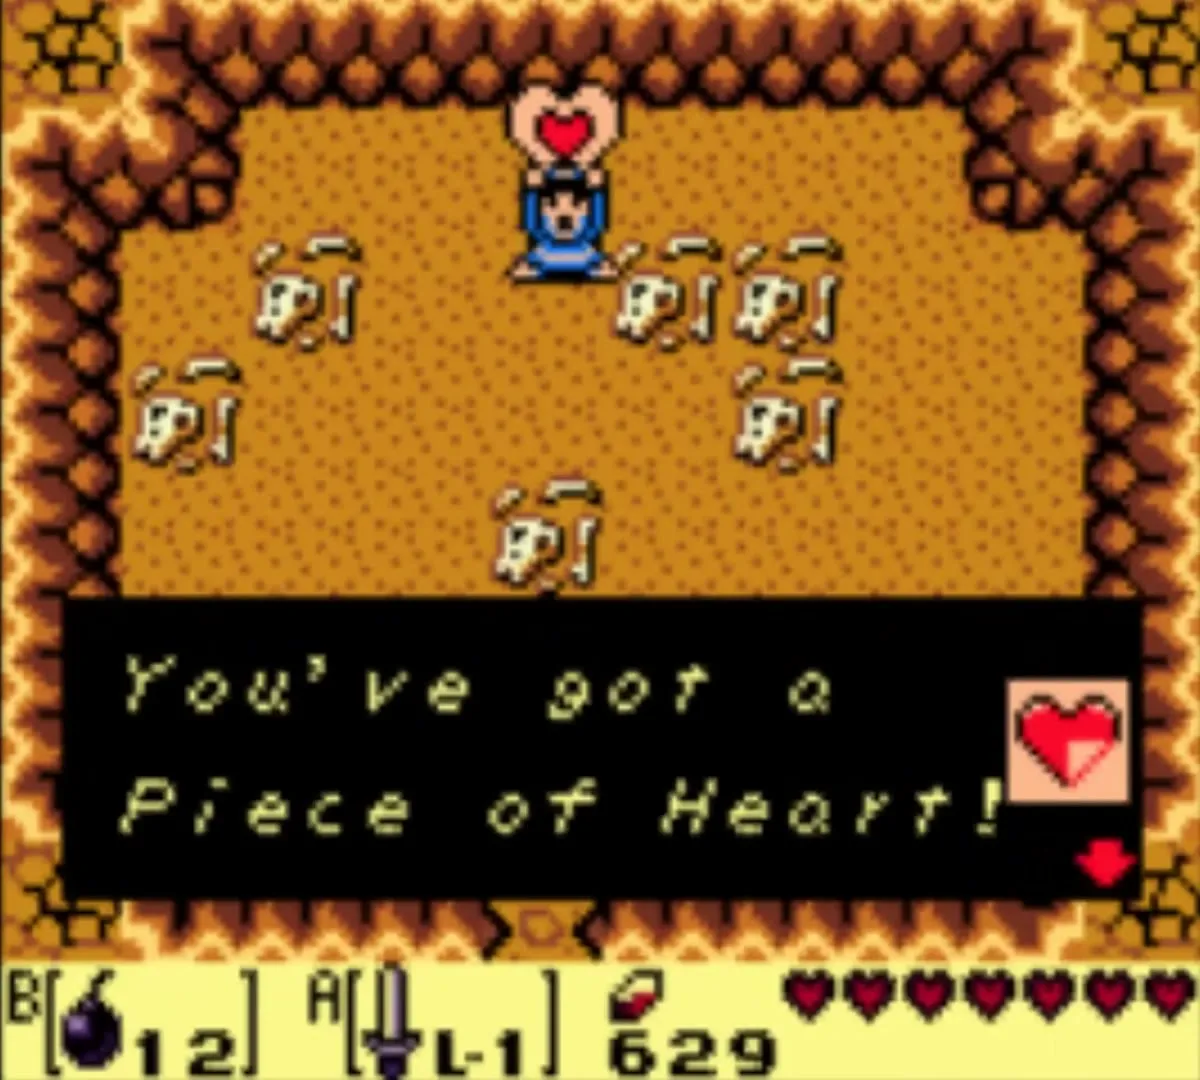
The island hides 12 Pieces of Heart, and every four make an extra heart. Their locations are on Heart Piece Locations.


Heart Container
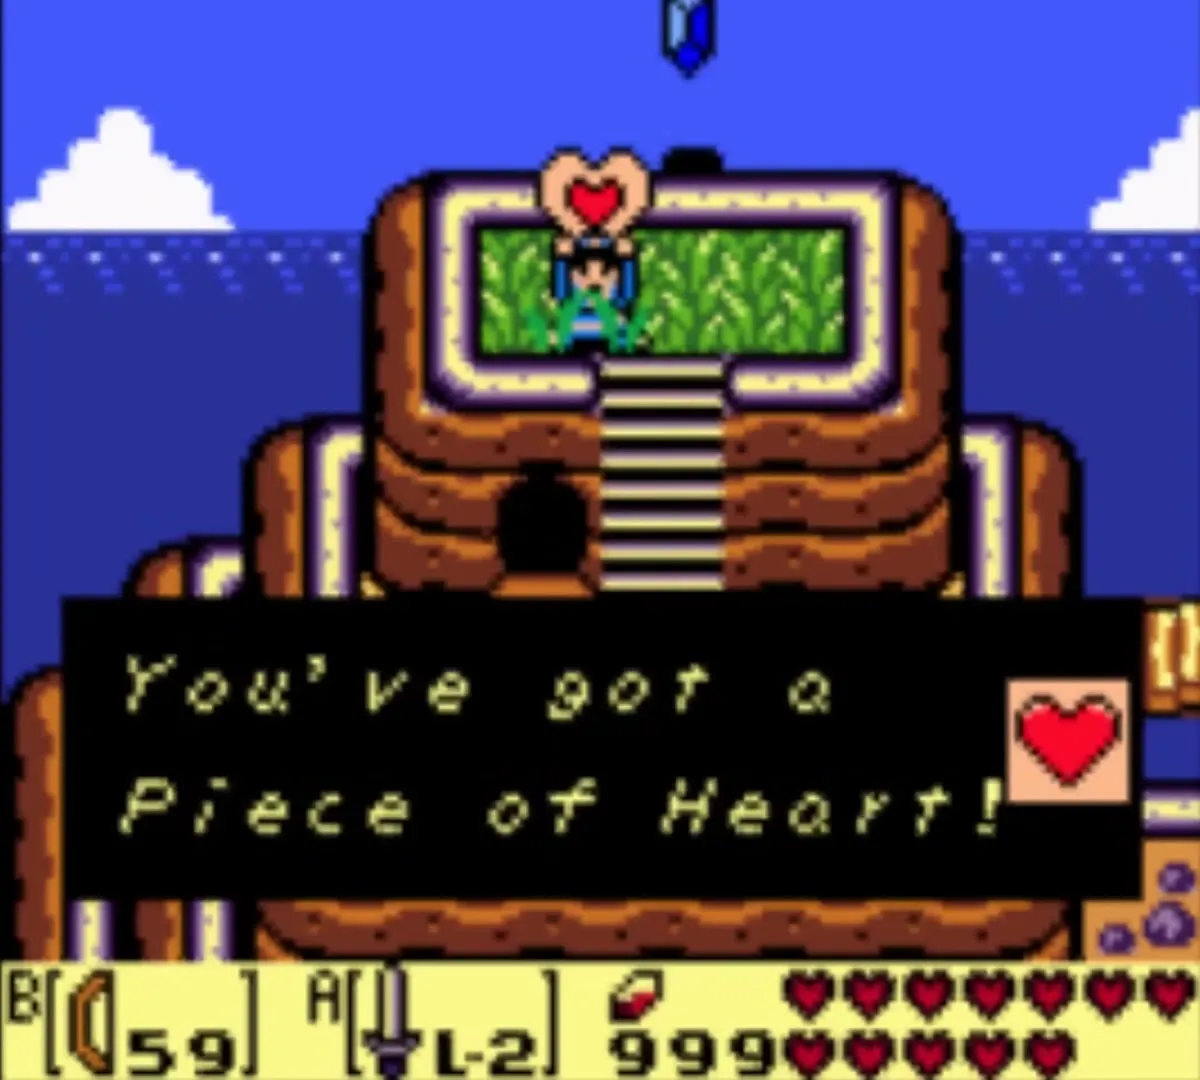
Each of the eight bosses leaves one behind. You start with three hearts, eight containers add eight more and the 12 pieces add three, so 14 hearts is the maximum in DX. The Color Dungeon gives no heart.


Guardian Acorn and Piece of Power
Both appear when you defeat a long run of enemies without being hit, and a few are placed in rooms. The Guardian Acorn halves the damage you take for a while, and the Piece of Power raises your attack. The effect is temporary.
Items only in DX
Red Tunic
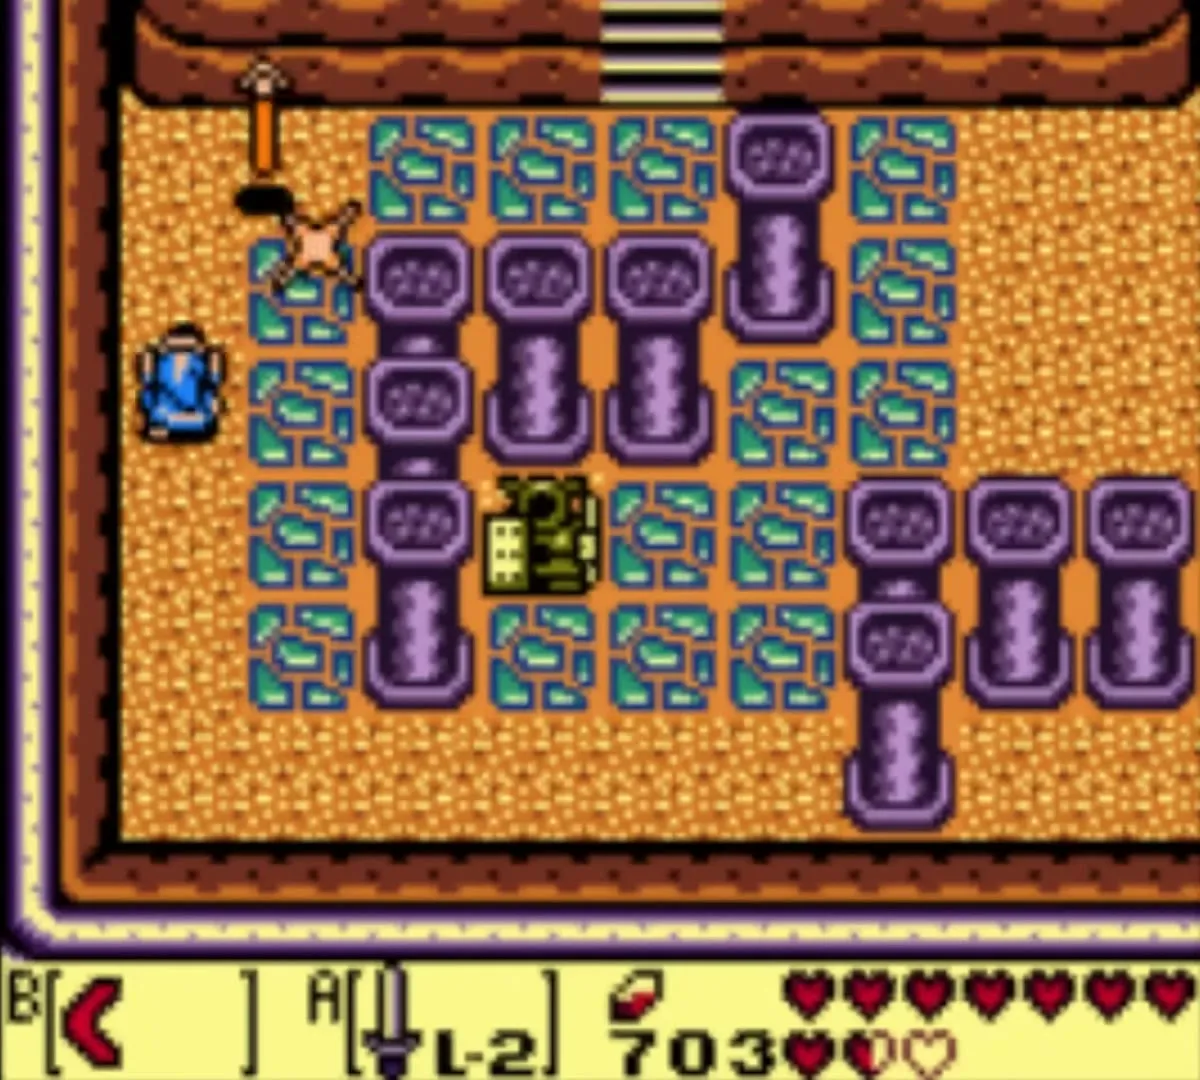
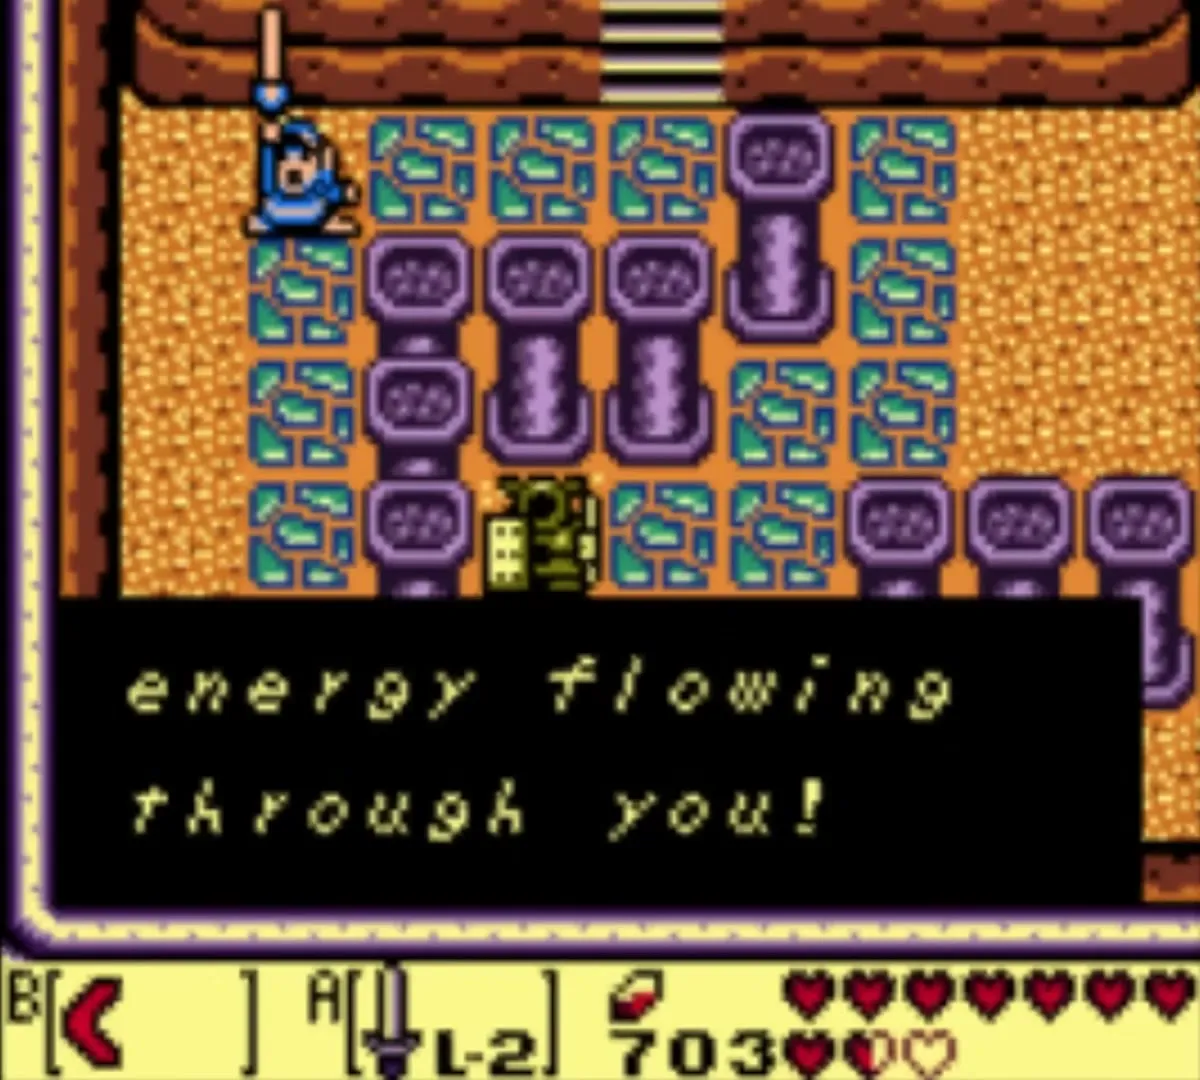
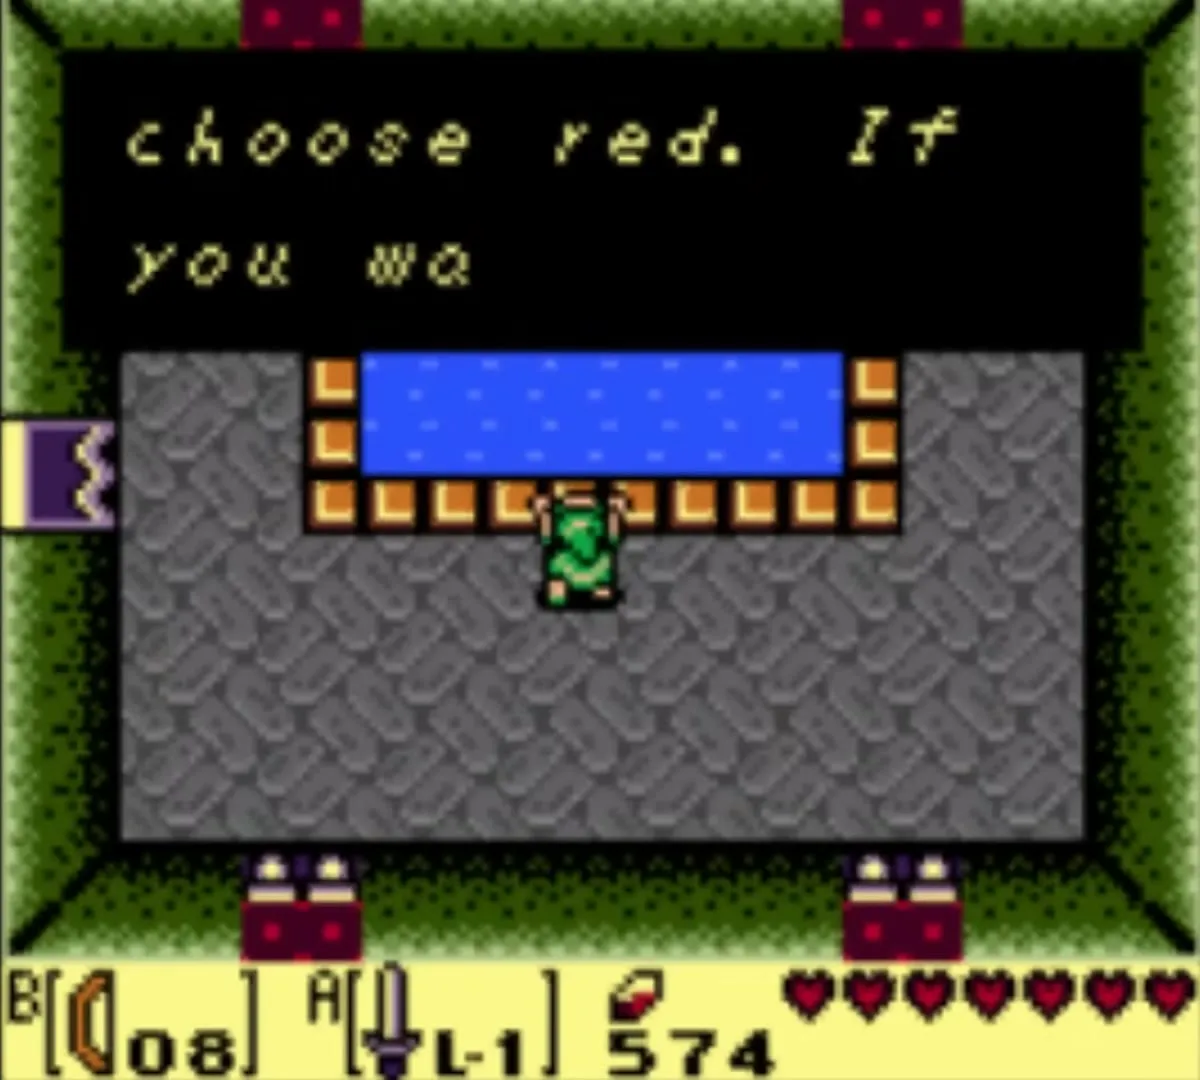
After you clear the Color Dungeon, the Great Fairy offers new clothes. The Red Clothes permanently raises the damage your attacks deal.
Blue Tunic
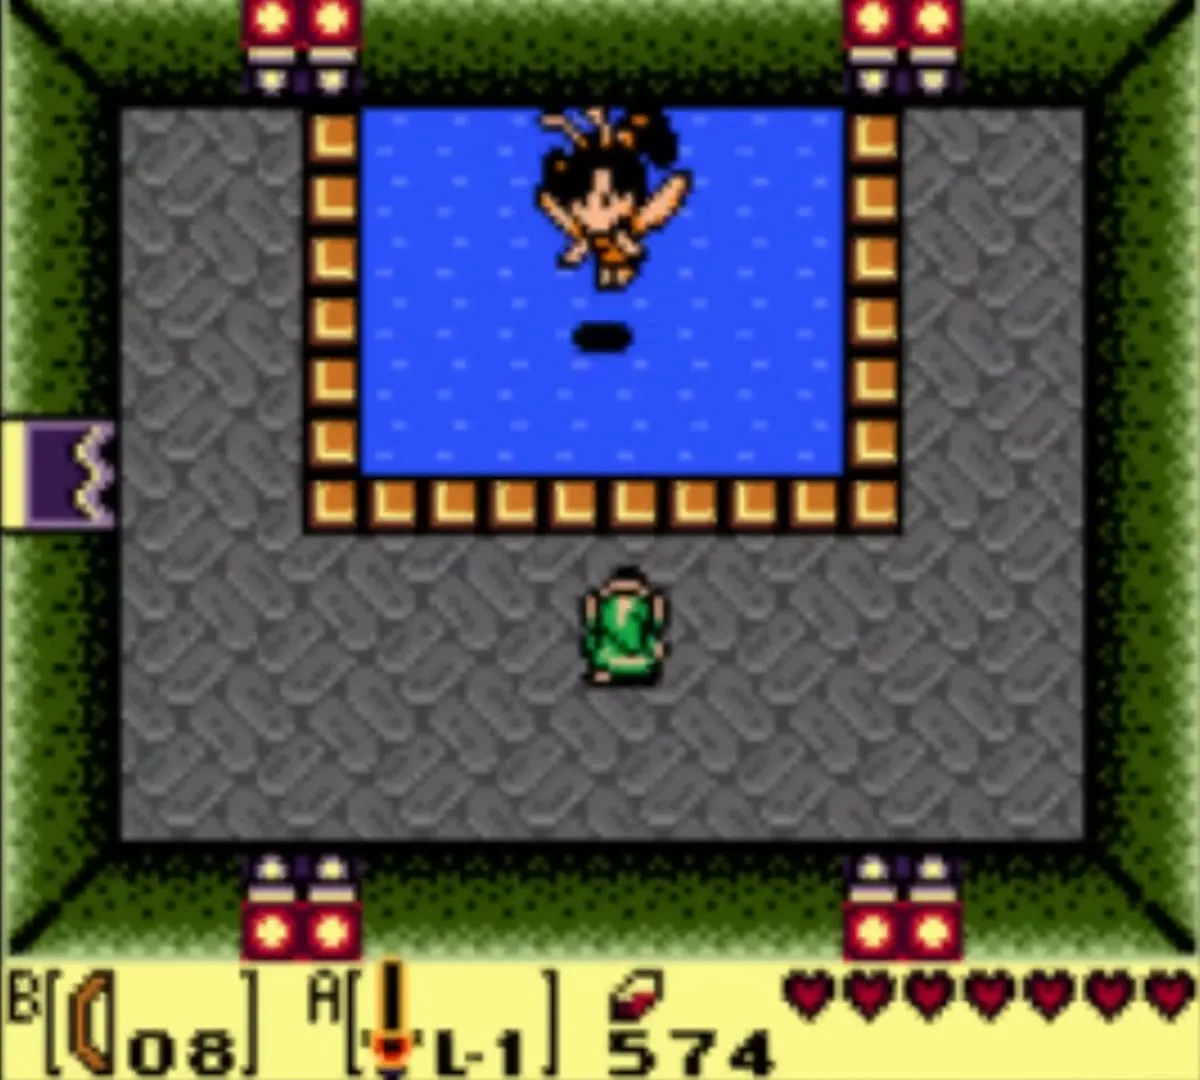
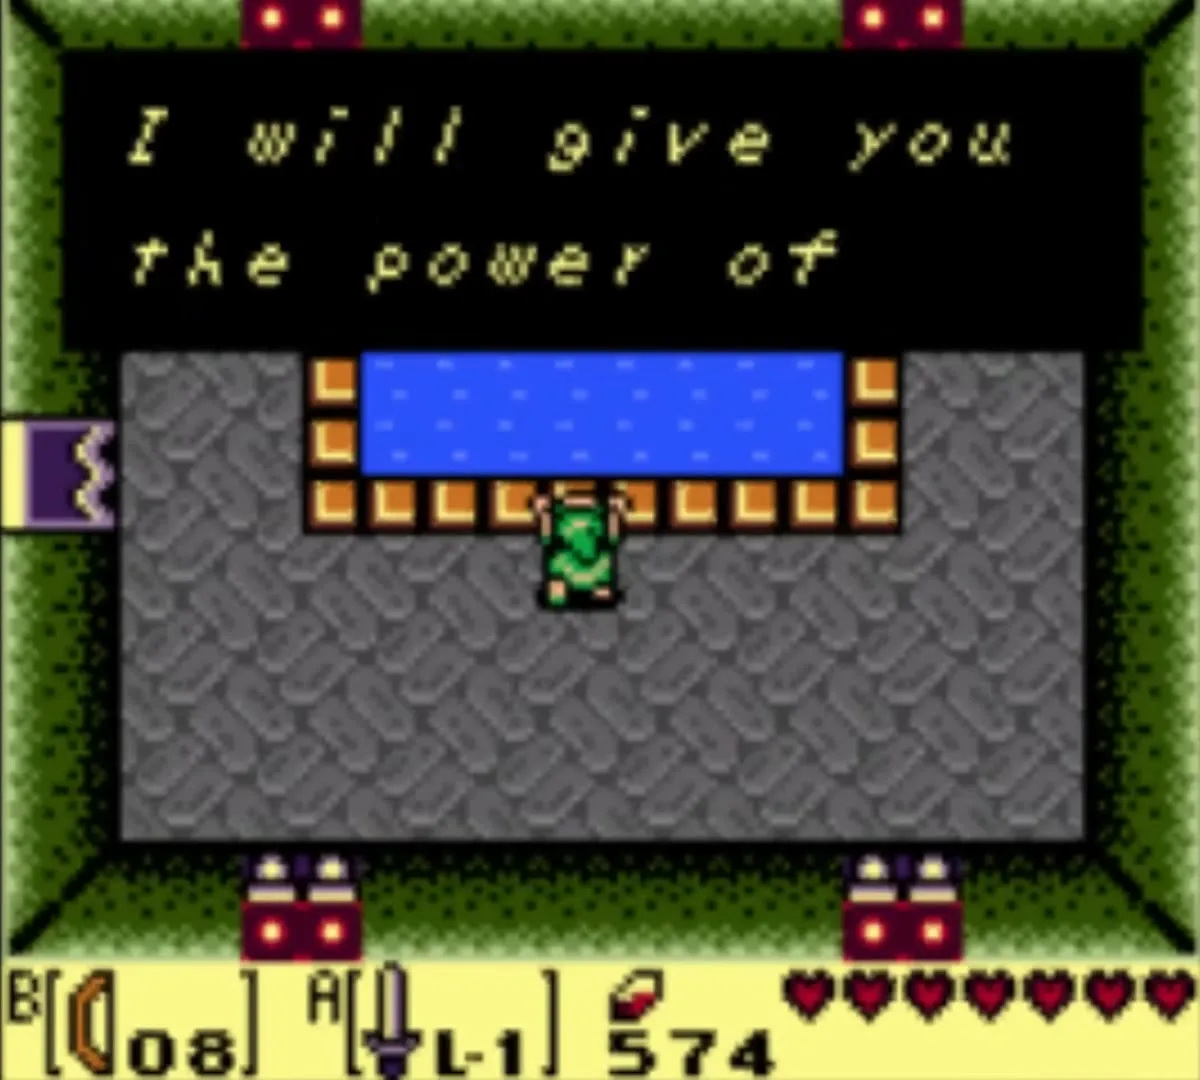
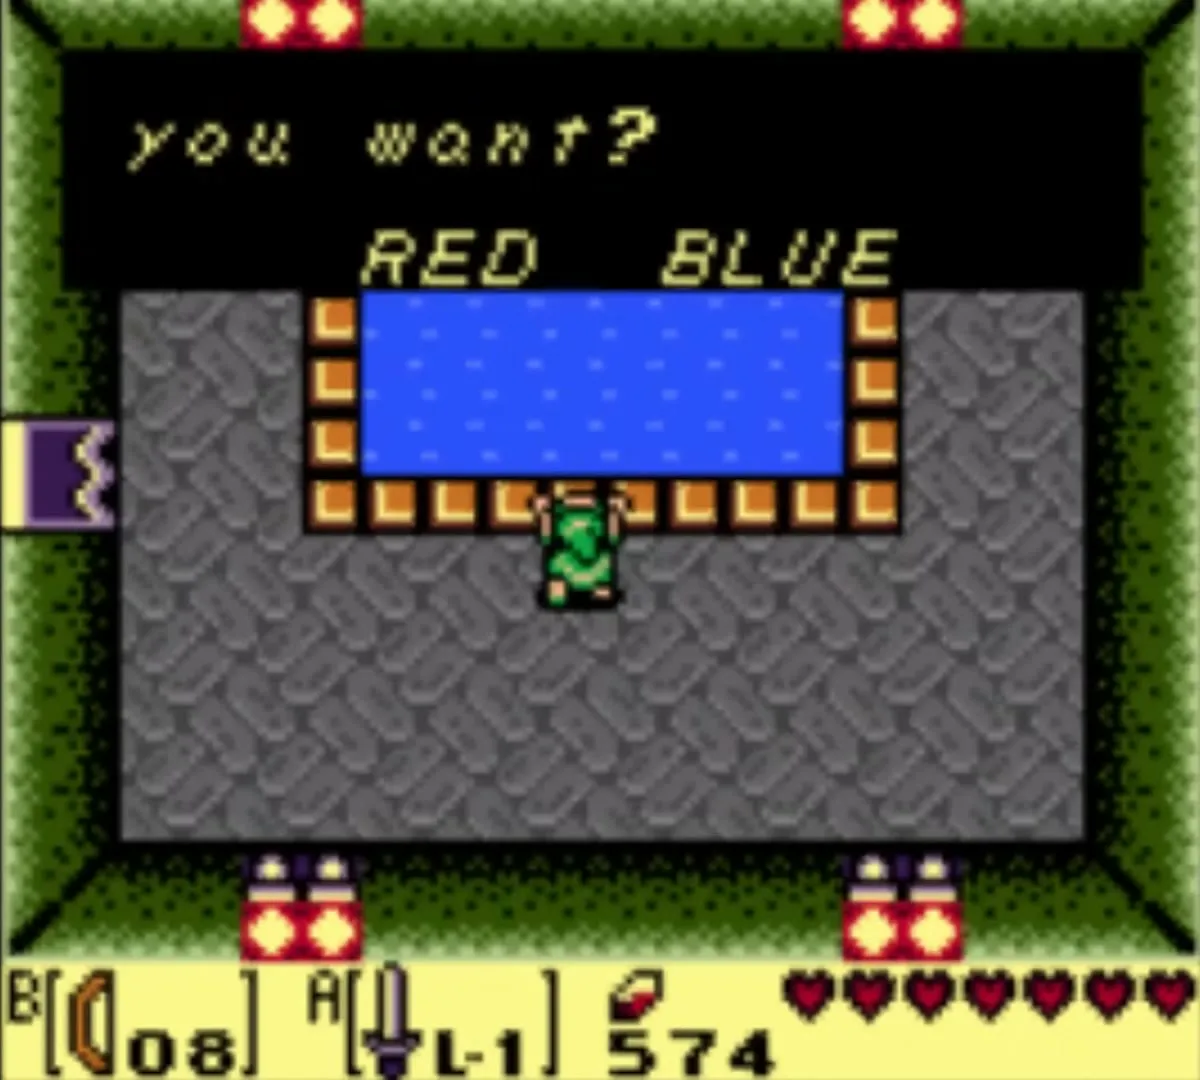
The Blue Clothes reduce the damage you take. You can go back to the Great Fairy to switch between red and blue, but you cannot return to the green clothes. See Color Dungeon.

Capacity upgrades from the Mad Batter
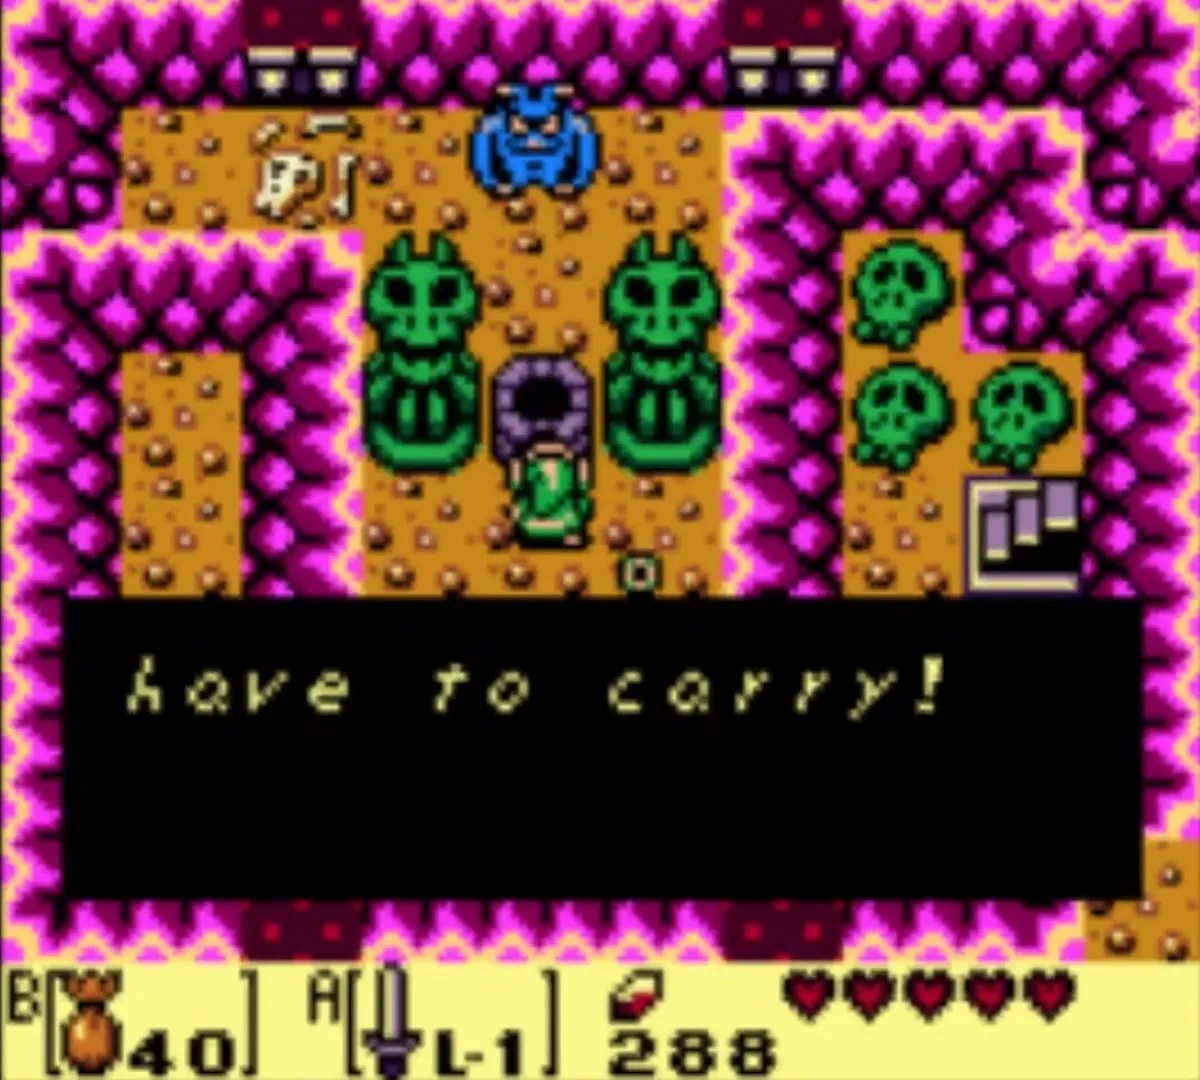
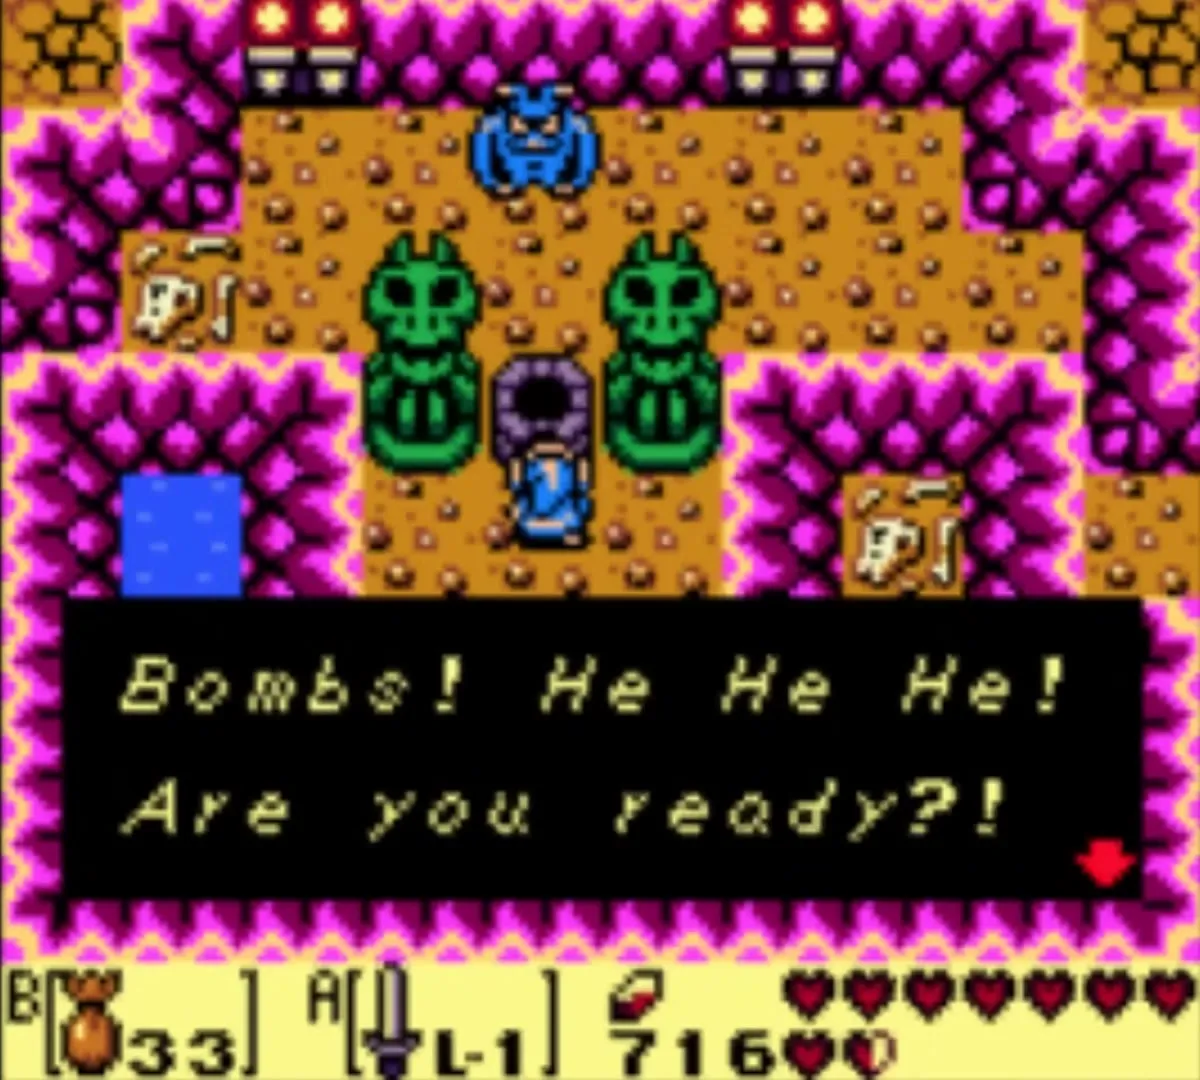
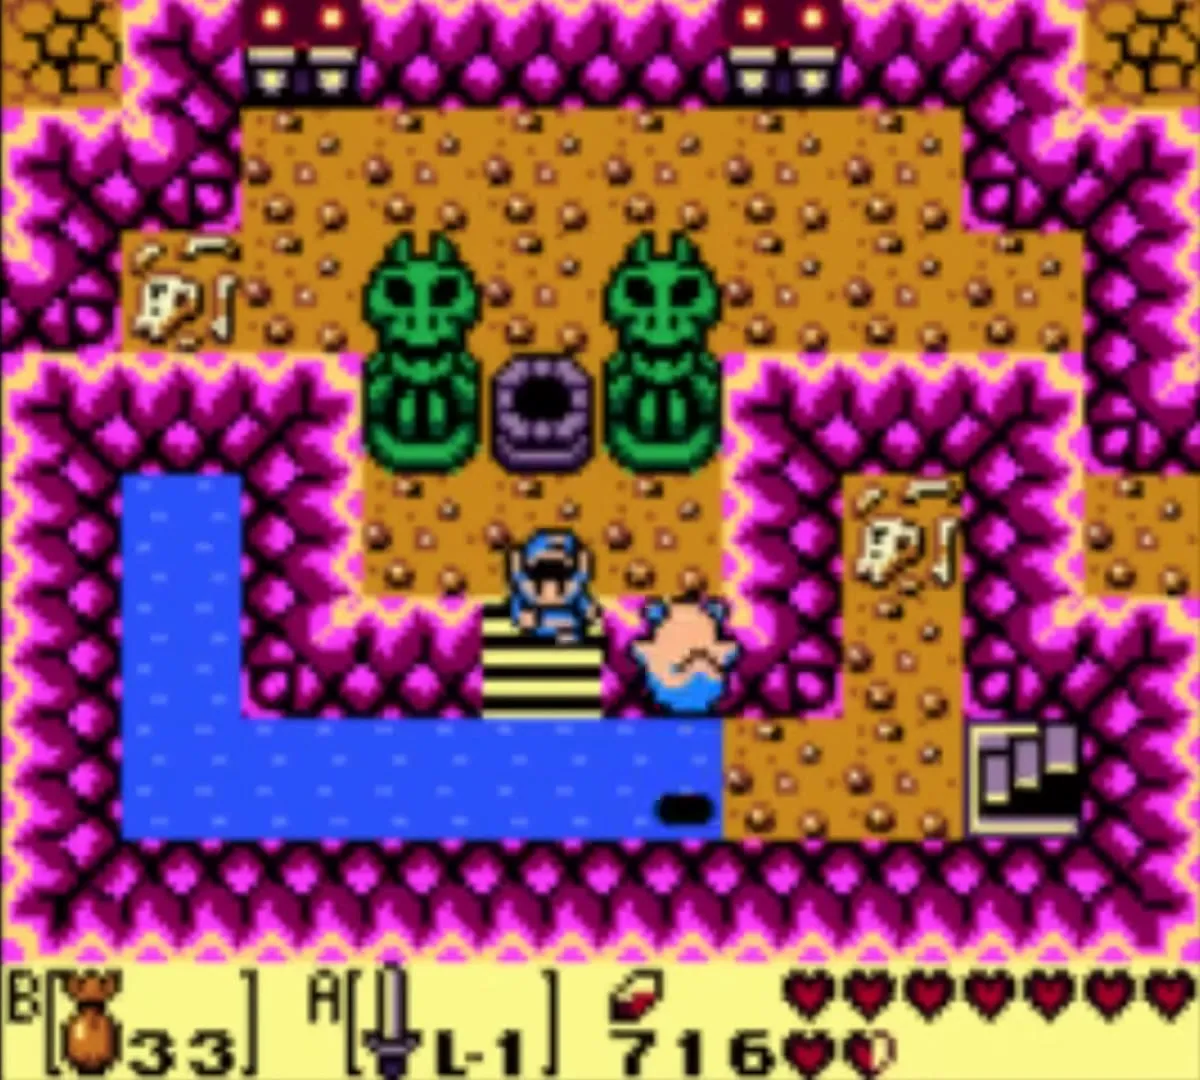
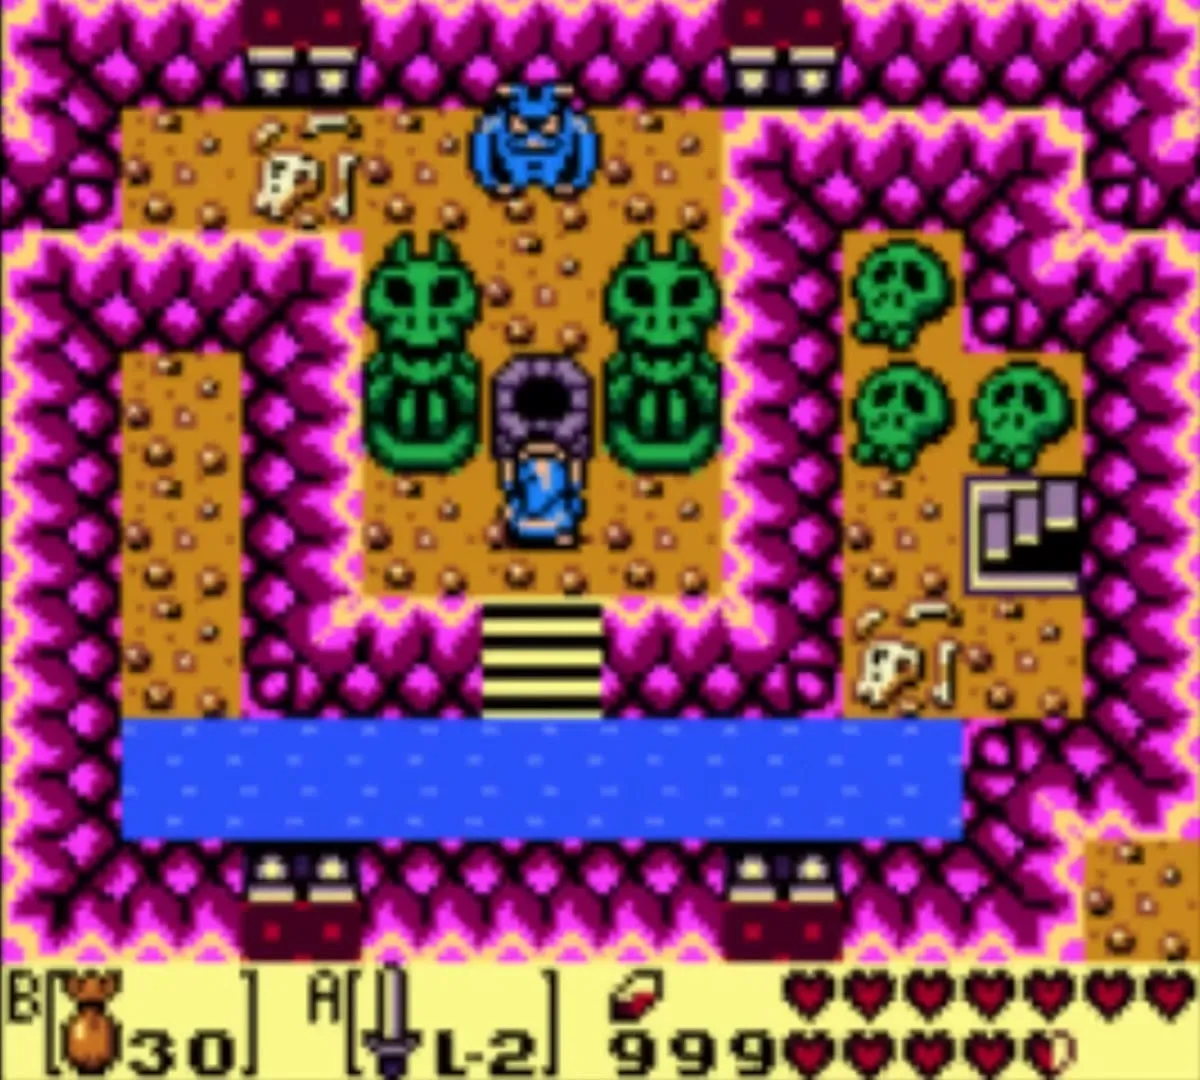
Three altars each have a well. Stand in front of a well, throw Magic Powder into it, and the Mad Batter offers one upgrade; say you are not ready to move on to the next offer. Each altar gives only one upgrade, so you can raise all three items once each: Magic Powder from 20 to 40, Bombs from 20 to 60 and Arrows from 20 to 60. He will not upgrade an item you do not own yet, so carry Magic Powder, Bombs and the Bow before you visit.

| # | Altar | You need |
|---|---|---|
| 1 | Mysterious Forest, south of three rocks in front of the log | Power Bracelet |
| 2 | Martha’s Bay, southwest corner: stairs under the bushes, then a flooded tunnel | Roc’s Feather, Flippers |
| 3 | Tal Tal Mountain Range, west of the Hen House: stairs under a large rock | Hookshot, Power Bracelet |
Many players take Bombs first, since they open the most secrets. The altar steps are in the Martha’s Bay and Turtle Rock chapters.
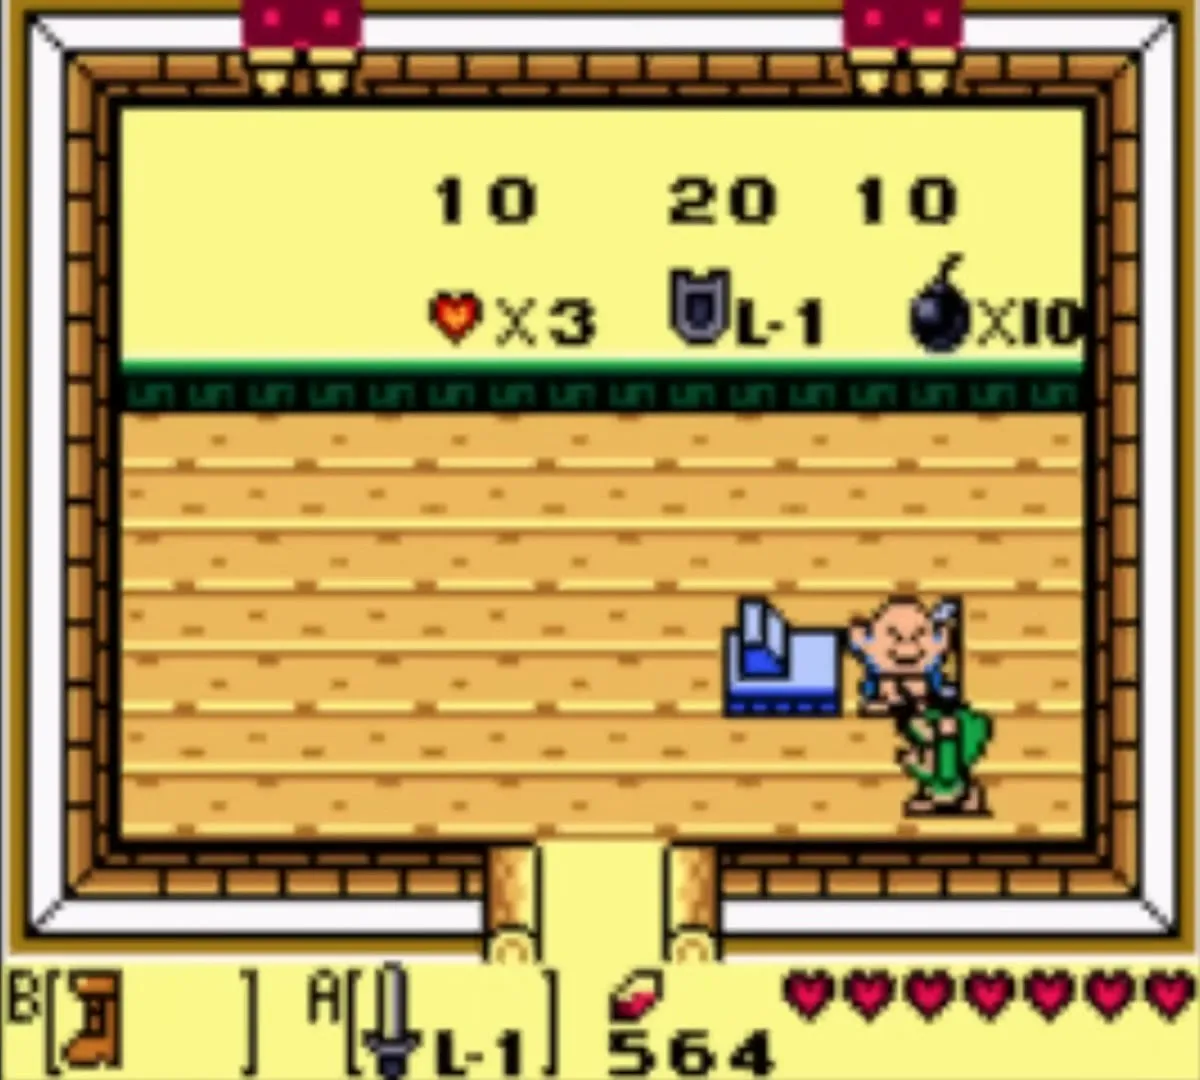
Town Tool Shop prices
| # | Item | Price | Notes |
|---|---|---|---|
| 1 | Shovel | 200 rupees | Sold once |
| 2 | Bow and Arrows set | 980 rupees | Sold once; appears after the Shovel, around the third dungeon |
| 3 | Shield (L-1) | 20 rupees | Replacement |
| 4 |  Arrows (10) | 10 rupees | Ammunition |
| 5 | Bombs (10) | 10 rupees | Ammunition |
| 6 | Recovery Hearts (3) | 10 rupees | Healing |
You can take an item without paying and walk out. The shopkeeper never forgives it: your name becomes THIEF for the rest of the file, he strikes you down if you enter again, and the theft earns one of the photographs. The pond, the crane game and the other prices are covered on Mini-Games and Shops.