Welcome, brave adventurer! This guide serves as your comprehensive compendium to the vast and varied arsenal Link discovers in The Legend of Zelda: Breath of the Wild. In a Hyrule reshaped by the Great Calamity, traditional weapon permanence is gone. Instead, Link must master a dynamic system where nearly every sword, spear, axe, bow, and shield degrades with use, eventually breaking. This necessitates constant adaptation, strategic scavenging from fallen foes and hidden chests, and careful management of your inventory.
Understanding the nuances of this system – the different weapon classes, the crucial durability mechanic, powerful elemental effects, weapon modifiers, unique ancient technologies, and where to find reliable gear – is absolutely essential for surviving the dangers of this sprawling open world. From the humble Traveler’s Sword to the mighty Savage Lynel Crusher, from basic wooden shields to the legendary Hylian Shield, this guide covers the properties, uses, and acquisition methods for the equipment that will aid you in your quest to defeat Calamity Ganon and save Hyrule.
Understanding the Gear System
Before we list the gear, grasp these core concepts governing almost all equipment in Breath of the Wild.
Durability: The Ephemeral Arsenal
Forget unbreakable blades (mostly)! Nearly every weapon, bow, and shield has a hidden durability value. Each successful hit with a melee weapon, arrow fired from a bow, or blocked attack/shield surf with a shield depletes this value. Hitting tougher materials, using weapons for mining (except appropriate tools), or performing certain actions can accelerate durability loss. You’ll get an on-screen warning (“Your [Item Name] is badly damaged.”) when an item is near its breaking point, accompanied by a red flashing icon in your inventory. Once durability hits zero, the item shatters and is lost forever.
This system encourages you to constantly seek out new gear, utilize enemy weapons against them, and think strategically about which weapon to use for which encounter. The sole exception is the Master Sword, which doesn’t break but temporarily runs out of energy, recharging after a 10-minute cooldown.
Weapon Modifiers & Bonuses: Adding an Edge
Keep an eye out for gear with a sparkle icon and yellow or white text modifiers! Found more often in chests, on stronger enemies (especially as the world scales up in difficulty), or as rewards, these bonuses significantly enhance equipment performance:
-
- Attack Up + (Yellow/White): Boosts the base damage of melee weapons and bows. The increase varies.
- Durability Up + (Yellow/White): Increases the hidden durability points, making the item last significantly longer.
- Long Throw (Yellow/White): Increases the throwing distance of melee weapons. Useful for certain puzzles or ranged tactics.
- Critical Hit (White Only): Grants some melee weapons a chance to inflict double damage on a standard hit.
* Five-Shot Burst (Yellow/White – Bows Only): Upgrades certain multi-shot bows (primarily Lynel Bows) to fire five arrows per shot instead of three, still consuming only one arrow. Massive damage increase.
* Quick Shot (Yellow/White – Bows Only): Reduces the time needed to fully draw and fire an arrow, increasing rate of fire.
* Shield Guard Up + (Yellow/White): Increases the shield’s numerical Guard rating. Higher Guard means less stamina consumed when blocking heavy hits and a better chance of staggering enemies or deflecting weaker attacks automatically.
* Shield Durability Up + (Yellow/White): Increases the shield’s hidden durability points, allowing it to withstand more blocks or shield surfing.
Yellow modifiers are generally stronger or offer higher stat increases than white modifiers.
Melee Weapons: Swords (One-Handed)
Versatile weapons offering fast attack speed and the crucial ability to use a shield concurrently.
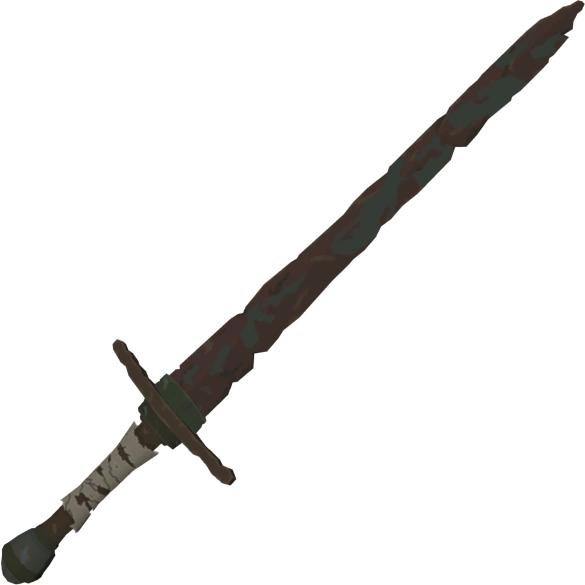
Rusty Broadsword
Use: A heavily corroded sword, barely functional. Very low attack and durability.
Base Stats: Attack 6, Durability ~6
Location: Found scattered in ruins, especially near the Great Plateau and early areas. Can be fed to Rock Octoroks to potentially receive a better sword.

Traveler’s Sword
Use: A basic sword suitable for novice adventurers. Common early-game weapon.
Base Stats: Attack 5, Durability ~20
Location: Great Plateau, Hyrule Field, West Necluda. Dropped by Red Bokoblins, found in basic chests.
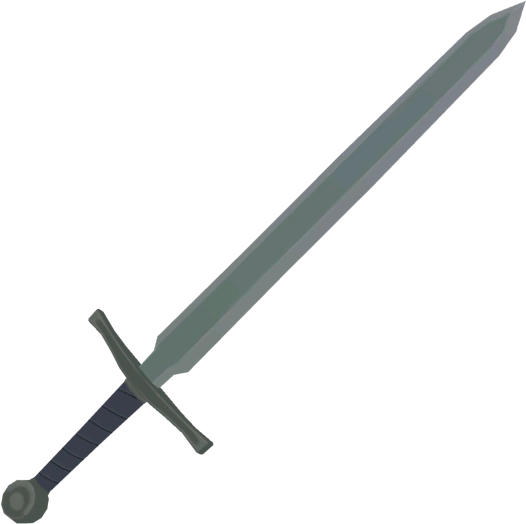
Soldier’s Broadsword
Use: Standard issue for Hylian soldiers. A reliable step up from the Traveler’s Sword.
Base Stats: Attack 14, Durability ~25
Location: Dropped by Blue Bokoblins/Moblins, found in shrines, chests around Central Hyrule, Necluda, Lanayru.
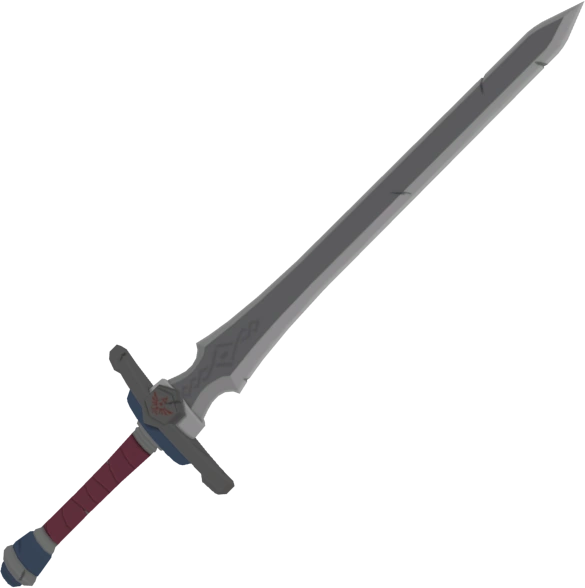
Knight’s Broadsword
Use: A sword carried by knights of Hyrule Castle. Offers good damage and durability for mid-game.
Base Stats: Attack 26, Durability ~27
Location: Dropped by Black Bokoblins/Moblins/Lizalfos, found in shrines in mid-game regions, Hyrule Castle vicinity.

Royal Broadsword
Use: A high-quality sword issued to elite knights or royal guards. Excellent attack power and solid durability for late-game use.
Base Stats: Attack 36, Durability ~36
Location: Dropped by high-level enemies (Black/Silver monsters, Hinoxes), found in chests within Hyrule Castle or challenging shrines.
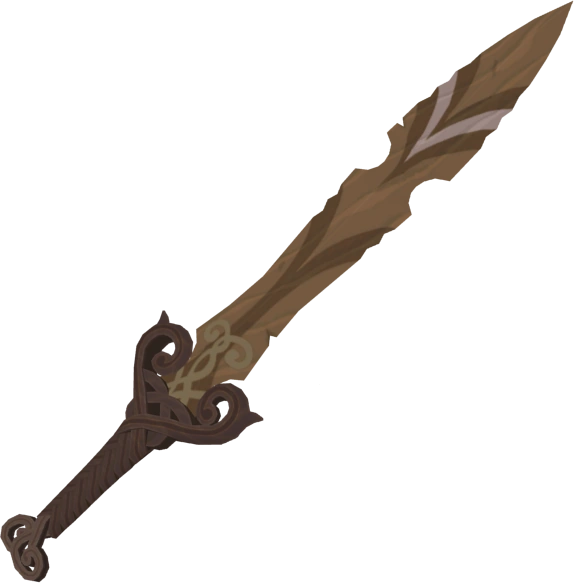
Forest Dweller’s Sword
Use: A unique wooden sword crafted by Koroks. Has modest attack but decent durability. Can receive modifiers like Durability Up+.
Location: Found primarily in Korok Forest or given as rewards for Korok Trials. Chests near the Great Deku Tree.
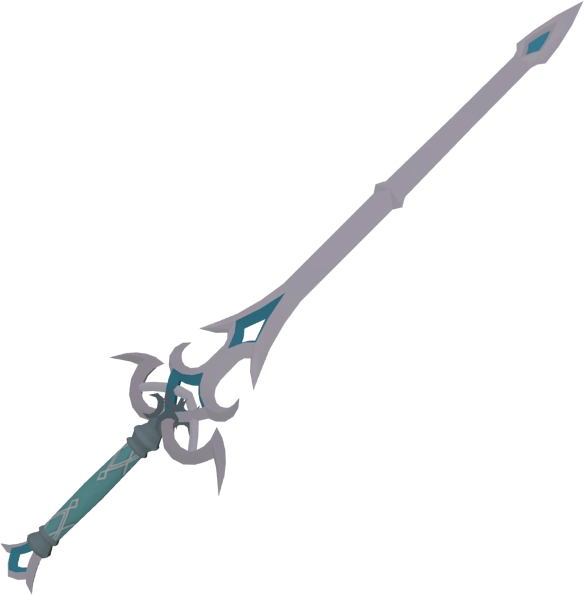
Zora Sword
Use: An elegantly crafted Zora weapon. Standard mid-tier damage and durability.
Base Stats: Attack 15, Durability ~27
Location: Primarily found in the Lanayru region, especially around Zora’s Domain. Wielded by Lizalfos in the area.

Feathered Edge
Use: A sword incorporating Rito design elements. Lightweight with decent attack speed.
Base Stats: Attack 15, Durability ~27
Location: Primarily found in the Tabantha region around Rito Village. Wielded by enemies there, found in some local chests.
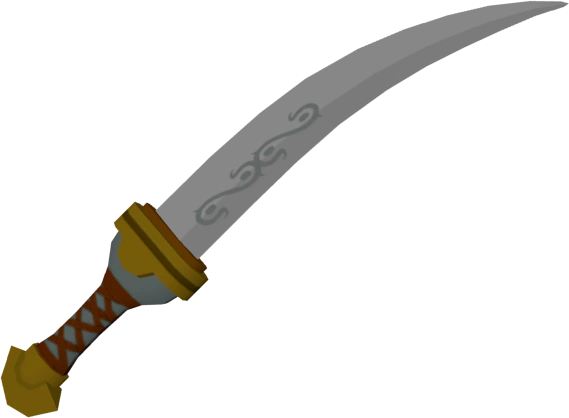
Gerudo Scimitar
Use: A curved sword typical of Gerudo warriors. Offers decent damage and attack speed.
Base Stats: Attack 16, Durability ~23
Location: Primarily found in the Gerudo Desert region, wielded by Gerudo warriors in town (display only) and Lizalfos in the desert.
Moonlight Scimitar
Use: A more ornate and powerful Gerudo scimitar, said to glow in the moonlight. Good attack power.
Base Stats: Attack 25, Durability ~32
Location: Found in chests within the Gerudo Desert, sometimes dropped by stronger Lizalfos there, or found in certain shrines.
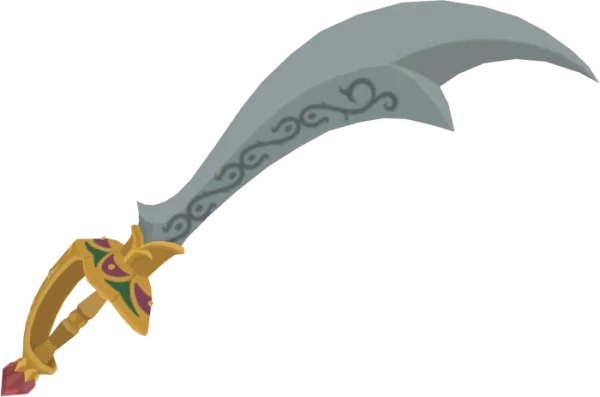
Scimitar of the Seven
Use: The Champion weapon wielded by Urbosa. A beautifully crafted Gerudo scimitar with good attack and high durability. Often paired with the Daybreaker shield.
Base Stats: Attack 32, Durability 60
Location: Gifted by Riju in Gerudo Town after appeasing Divine Beast Vah Naboris.
Reforged: Can be reforged by Buliara in Gerudo Town if broken, requiring a Gerudo Scimitar, 5 Flint, and 1 Diamond.
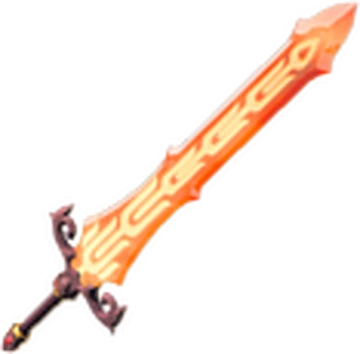
Flameblade
Use: A magical sword constantly imbued with fire. Ignites enemies and flammable objects (campfires, grass, leaves, wooden crates) with each strike. Consumes weapon energy when drawn, but recharges when sheathed. Excellent for cold environments and against ice enemies.
Base Stats: Attack 24, Durability ~36
Location: Found in certain shrines (e.g., Tutsuwa Nima Shrine), dropped by specific enemies (like Stal-enemies near Eldin), or in specific overworld locations (e.g., Ancient Tree Stump in Hyrule Field).
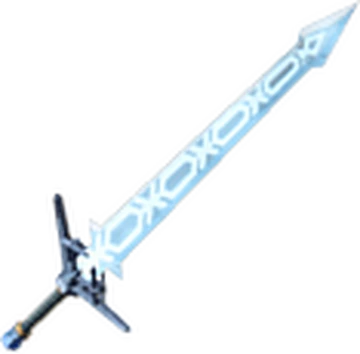
Frostblade
Use: A magical sword constantly imbued with ice. Freezes enemies solid with each strike, allowing for follow-up attacks or strategic retreat. Consumes energy but recharges. Effective against fire enemies and in hot environments.
Base Stats: Attack 20, Durability ~30
Location: Found in certain shrines, dropped by specific enemies (like Stal-enemies near Hebra), or in specific locations (e.g., Coliseum Ruins after world progression).
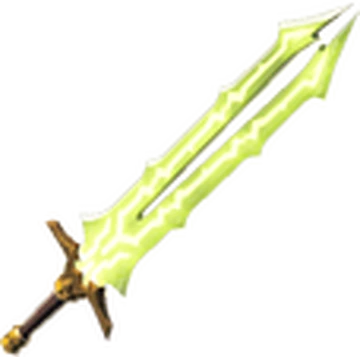
Thunderblade
Use: A magical sword constantly imbued with electricity. Shocks enemies on contact, causing them to drop their weapons and shields. Consumes energy but recharges. Very effective in water or during rain, creating an area-of-effect shock. Can power ancient Sheikah circuits.
Base Stats: Attack 22, Durability ~36
Location: Found in certain shrines, dropped by specific enemies (like Stal-enemies near Faron/Ridgeland), or in specific locations (e.g., Coliseum Ruins after world progression).
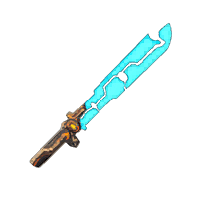
Guardian Sword (+ / ++)
Use: Energy blades wielded by Guardian Scouts. Deal decent damage, especially effective against Guardian-type enemies. Low durability initially, but ++ versions are much stronger.
Base Stats: Attack 20 / 30 / 40 (Base / + / ++), Durability Low / Medium / High
Location: Dropped by Guardian Scouts (levels I, II, III, IV respectively) in ‘Test of Strength’ shrines.
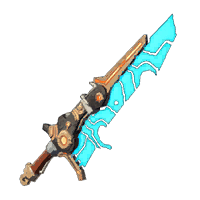
Ancient Short Sword
Use: A one-handed sword crafted using advanced Sheikah technology. Deals high damage, especially against Guardians and Malice-based foes. Good durability. Requires Ancient Materials to craft.
Base Stats: Attack 40, Durability ~54
Location: Crafted by Cherry at the Akkala Ancient Tech Lab using 15 Ancient Springs, 5 Ancient Shafts, 2 Ancient Cores, and 1,000 Rupees.
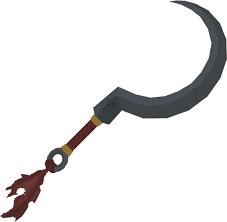
Vicious Sickle
Use: A curved blade favored by Yiga Footsoldiers. Relatively fast attack speed.
Base Stats: Attack 16, Durability ~20
Location: Dropped exclusively by Yiga Footsoldiers after they are defeated.
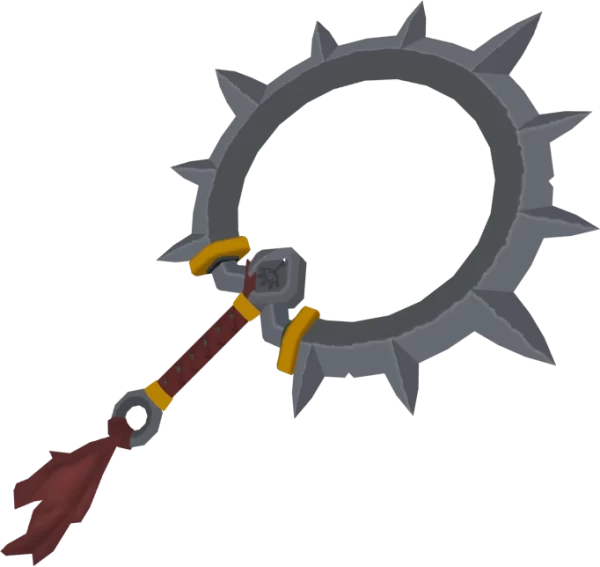
Demon Carver
Use: A larger, more intimidating sickle used by Yiga Blademasters encountered later in the game. Higher damage than the Vicious Sickle.
Base Stats: Attack 40, Durability ~25
Location: Dropped exclusively by Yiga Blademasters after they are defeated, typically those encountered outside the Yiga Hideout.
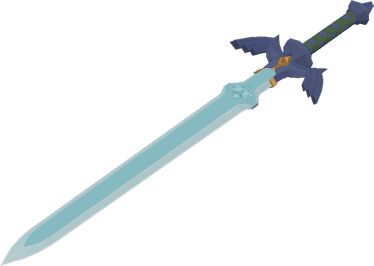
Master Sword
Use: The legendary Blade of Evil’s Bane, synonymous with the hero. Deals moderate base damage but awakens its true potential near Calamity Ganon’s influence (Guardians, Malice, Divine Beasts, Hyrule Castle), doubling its attack power to 60 and greatly increasing durability. Can fire sword beams at full health. It never permanently breaks; instead, it runs out of energy and requires a 10-minute real-time cooldown to recharge.
Base Stats: Attack 30 (60 when awakened), Durability 40 (Much higher when awakened)
Location: Found resting in its pedestal within the Korok Forest, located north of Hyrule Castle through the Lost Woods. Link must possess at least 13 permanent Heart Containers (obtained from Spirit Orbs or Divine Beasts) to successfully pull the sword from its pedestal.
Melee Weapons: Two-Handed
These large weapons require both hands, sacrificing shield use for immense power and wide, sweeping attacks.
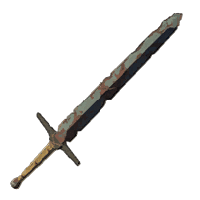
Rusty Claymore
Use: A corroded two-handed sword found in ruins. Very low damage and durability, but can be cleaned by Rock Octoroks.
Base Stats: Attack 12, Durability ~10
Location: Common in ruined areas, especially the Great Plateau and near old battle sites.

Traveler’s Claymore
Use: A basic but large two-handed sword suitable for early exploration. Decent damage for starting areas.
Base Stats: Attack 10, Durability ~20
Location: Great Plateau, Hyrule Field, West Necluda. Often wielded by Blue Bokoblins or found in early chests.
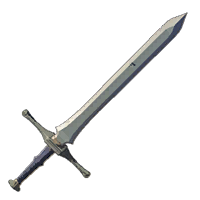
Soldier’s Claymore
Use: Standard-issue two-handed sword for Hylian soldiers. Reliable damage and durability for mid-game challenges.
Base Stats: Attack 20, Durability ~25
Location: Dropped by Blue/Black Moblins and Bokoblins, found in shrines and chests around Central Hyrule, Tabantha Frontier.
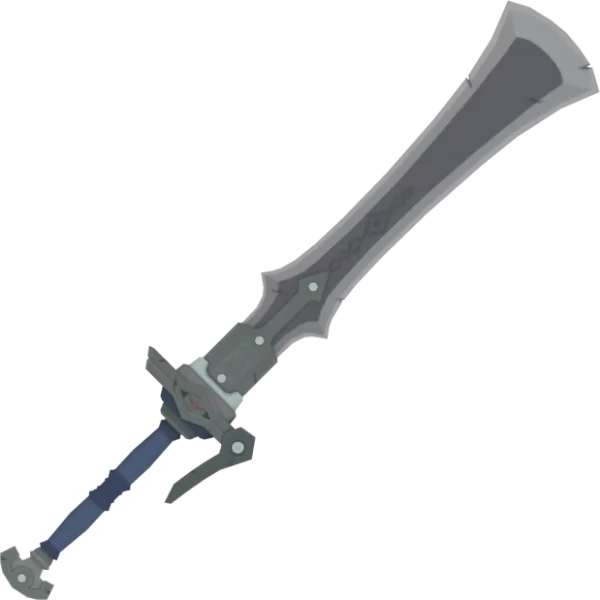
Knight’s Claymore
Use: A heavy sword favored by Hylian knights. Delivers strong blows and has good durability.
Base Stats: Attack 38, Durability ~30
Location: Dropped by Black/Silver Moblins and Lizalfos, found in mid-to-late game shrines, Hyrule Castle vicinity.
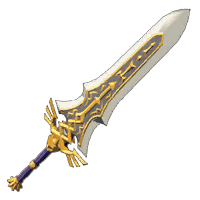
Royal Claymore
Use: A top-tier two-handed sword used by Hyrule’s Royal Guard. Very high attack power and solid durability, excellent for late-game combat.
Base Stats: Attack 52, Durability ~40
Location: Dropped by powerful enemies (Silver Moblins, Hinoxes, Lynels), found in chests within Hyrule Castle or challenging shrines. One famously rests atop Woodland Tower.
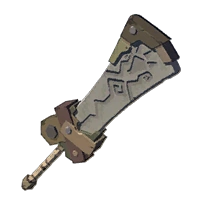
Cobble Crusher
Use: A sturdy Goron-made weapon resembling a hammer on a sword hilt. Excellent for breaking ore deposits and damaging Taluses. Decent combat damage.
Base Stats: Attack 15, Durability ~30
Location: Common in the Eldin region around Goron City, wielded by Gorons (display only) and monsters there. Required for reforging the Boulder Breaker.
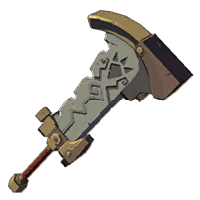
Stone Smasher
Use: A more powerful Goron two-handed weapon, even more effective at mining and fighting Taluses than the Cobble Crusher. High attack power.
Base Stats: Attack 42, Durability ~40
Location: Found in chests within the Eldin region shrines, sometimes dropped by stronger enemies near Death Mountain.
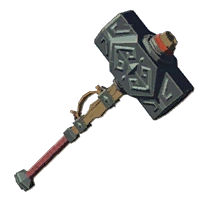
Iron Sledgehammer
Use: A heavy-duty hammer primarily used as a tool for mining ore deposits (destroys them quickly) and breaking crates/rocks. Can be used as a slow but impactful weapon. Essential for breaking Talus weak points efficiently.
Base Stats: Attack 12, Durability ~40 (High durability for mining)
Location: Very common near ore deposits, stables, villages, construction sites. Sometimes carried by monsters.
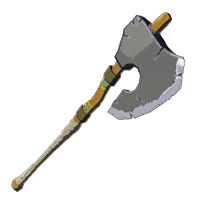
Woodcutter’s Axe
Use: Primarily a tool for chopping down trees to gather wood. Can be used as a very basic two-handed weapon with low damage.
Base Stats: Attack 3, Durability ~47 (High durability for chopping)
Location: Extremely common near stables, villages, forests, often found leaning against buildings or near chopping blocks.
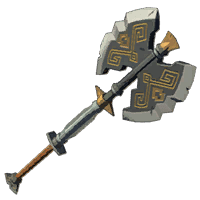
Double Axe
Use: A large battle axe effective both for combat and chopping trees. Offers better damage than the Woodcutter’s Axe.
Base Stats: Attack 18, Durability ~52 (High durability)
Location: Found occasionally near stables (e.g., Tabantha Bridge Stable), wielded by stronger Bokoblins/Moblins, found in some shrines.
Great Flameblade
Use: A massive two-handed sword constantly imbued with fire. Creates fiery explosions on impact, igniting enemies and surroundings. Excellent against ice foes and in cold climates. Consumes energy, recharges when sheathed.
Base Stats: Attack 34, Durability ~50
Location: Found in challenging shrines, specific hidden locations (e.g., inside Eldin Great Skeleton), or sometimes in the Coliseum Ruins after world progression.
Great Frostblade
Use: A colossal two-handed sword imbued with ice magic. Freezes enemies solid on contact, creating shatter opportunities. Effective against fire foes and in hot climates. Consumes energy, recharges when sheathed.
Base Stats: Attack 30, Durability ~40
Location: Found in challenging shrines, specific hidden locations (e.g., near Hebra Peak), or sometimes in the Coliseum Ruins after world progression.
Great Thunderblade
Use: An immense two-handed sword imbued with electrical energy. Creates powerful electrical discharges on impact, shocking and disarming enemies over a wide area. Very effective in water/rain. Consumes energy, recharges when sheathed.
Base Stats: Attack 32, Durability ~50
Location: Found in challenging shrines, specific hidden locations (e.g., Cuho Mountain summit), or sometimes in the Coliseum Ruins after world progression.
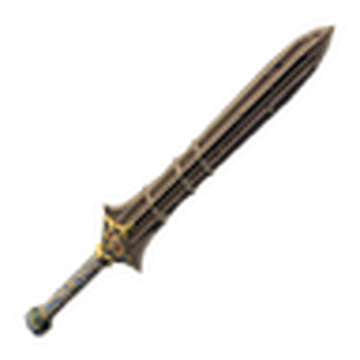
Edge of Duality
Use: A unique Sheikah-designed two-handed sword with blades on both ends. Offers high attack power.
Base Stats: Attack 50, Durability ~35
Location: Found in chests within certain shrines (e.g., Trial of Power), sometimes wielded by Sheikah Monks in DLC trials, or within Hyrule Castle.
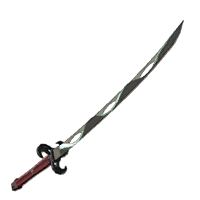
Windcleaver
Use: The signature katana wielded by Yiga Blademasters. Its charged attack unleashes vacuum projectiles. High attack power but somewhat fragile.
Base Stats: Attack 40, Durability ~25
Location: Dropped exclusively by Yiga Blademasters upon defeat.
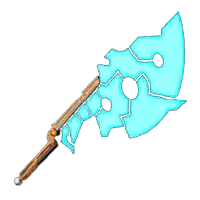
Ancient Battle Axe (+ / ++)
Use: A two-handed axe incorporating Guardian technology. Deals high damage, particularly effective against Guardian-type enemies. ++ version is very powerful.
Base Stats: Attack 30 / 45 / 60 (Base / + / ++), Durability Low / Medium / High
Location: Dropped by Guardian Scouts (levels II, III, IV respectively) in ‘Test of Strength’ shrines.
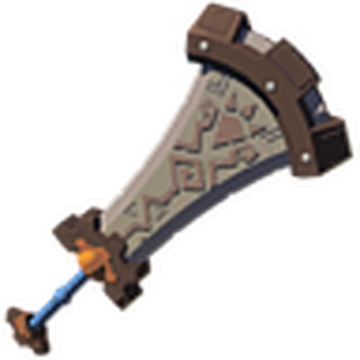
Boulder Breaker
Use: The formidable two-handed Champion weapon wielded by Daruk. Exceptionally durable and boasts high attack power, making it excellent for both combat and shattering ore deposits or rocks.
Base Stats: Attack 60, Durability 60
Location: Gifted by the Goron Boss Bludo in Goron City after Link appeases Divine Beast Vah Rudania.
Reforged: If broken, Rohan the blacksmith in Goron City can reforge it. Link needs to provide a Cobble Crusher, 5 pieces of Flint, and 1 Diamond.
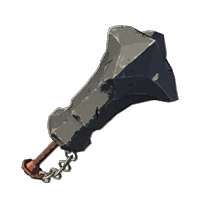
Lynel Crusher (Mighty / Savage)
Use: Massive, high-damage two-handed weapons wielded by Lynels equipped with crushers. Among the highest base attack weapons in the game.
Base Stats: Attack ~54 / ~78 (Mighty / Savage), Durability Medium
Location: Dropped exclusively by Blue-Maned (Mighty) or White-Maned/Silver/Gold (Savage) Lynels that wield crushers.
Melee Weapons: Spears
Characterized by their extended reach and rapid thrusting attacks, allowing Link to strike from a safer distance.
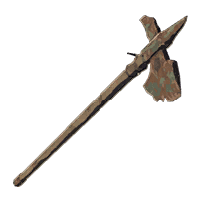
Rusty Halberd
Use: A corroded spear found in ruins. Very low attack and durability. Can be cleaned by Rock Octoroks.
Base Stats: Attack 5, Durability ~12
Location: Common in ruined areas like the Great Plateau.
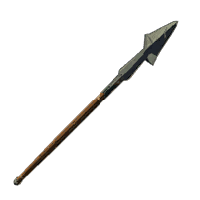
Traveler’s Spear
Use: A simple spear commonly used by travelers. Basic reach and damage, good for early game.
Base Stats: Attack 3, Durability ~30
Location: Great Plateau, Hyrule Field. Often carried by Bokoblins or found in early chests.
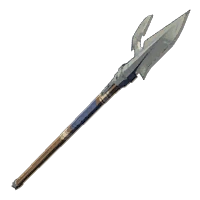
Soldier’s Spear
Use: Standard Hylian military spear. Offers improved reach, damage, and durability over the Traveler’s Spear.
Base Stats: Attack 7, Durability ~35
Location: Dropped by Blue Bokoblins/Lizalfos, found in shrines, Central Hyrule, Necluda.
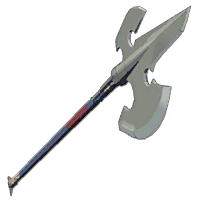
Knight’s Halberd
Use: A sturdy spear used by Hylian knights. Good damage, reach, and durability for mid-game.
Base Stats: Attack 13, Durability ~40
Location: Dropped by Black Lizalfos/Moblins, found in mid-game shrines, Hyrule Castle vicinity.
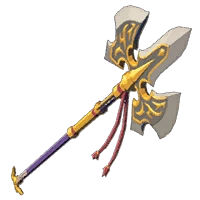
Royal Halberd
Use: An elite spear used by the Royal Guard. High attack power for a spear, excellent reach, and strong durability.
Base Stats: Attack 26, Durability ~50
Location: Dropped by high-level enemies (Black/Silver Lizalfos, Moblins, Hinoxes), found in chests within Hyrule Castle or challenging shrines.
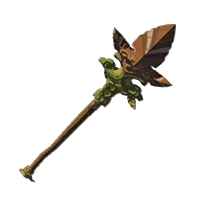
Forest Dweller’s Spear
Use: A unique wooden spear crafted by Koroks. Modest damage but good durability for a wooden weapon.
Base Stats: Attack 11, Durability ~35
Location: Found primarily in Korok Forest or given as rewards for Korok Trials.
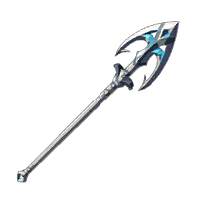
Zora Spear
Use: A standard spear crafted by the Zora. Known for its elegant design. Mid-tier stats. Required for reforging the Lightscale Trident.
Base Stats: Attack 9, Durability ~40
Location: Common in the Lanayru region around Zora’s Domain, wielded by Lizalfos or found in underwater chests.
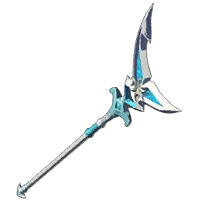
Silverscale Spear
Use: A more powerful and ornate Zora spear. Good damage and durability.
Base Stats: Attack 12, Durability ~50
Location: Found in chests within Zora’s Domain or dropped by stronger Lizalfos in the Lanayru region.
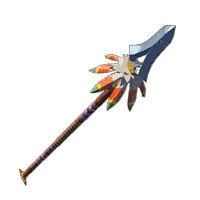
Feathered Spear
Use: A lightweight spear incorporating Rito feathers. Decent performance overall.
Base Stats: Attack 10, Durability ~35
Location: Common in the Tabantha region around Rito Village, wielded by local enemies or found in chests.
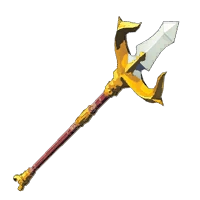
Gerudo Spear
Use: A spear crafted in the Gerudo region style. Offers good reach and moderate stats.
Base Stats: Attack 16, Durability ~40
Location: Primarily found in the Gerudo Desert region, wielded by Lizalfos or Moblins there.
Flamespear
Use: A spear imbued with fire magic. Ignites enemies on hit. Consumes energy, recharges when sheathed. Good reach for applying burn status.
Base Stats: Attack 24, Durability ~50
Location: Found in certain shrines, specific locations (e.g., Coliseum Ruins after world progression), or dropped by specific high-level enemies.
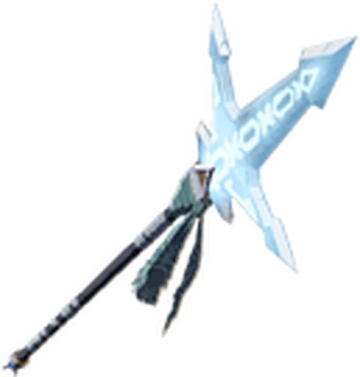
Frostspear
Use: A spear imbued with ice magic. Freezes enemies on hit. Consumes energy, recharges when sheathed. Excellent reach for freezing foes safely.
Base Stats: Attack 20, Durability ~40
Location: Found in certain shrines (e.g., Hebra region), specific locations (e.g., Coliseum Ruins after world progression), or dropped by specific high-level enemies.
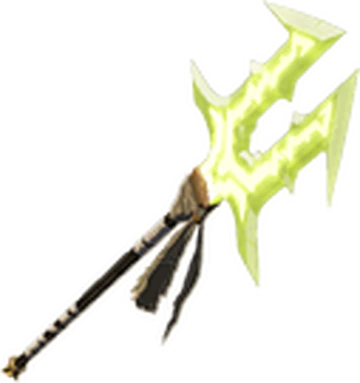
Thunderspear
Use: A spear imbued with electrical magic. Shocks enemies on hit, causing them to drop equipment. Consumes energy, recharges when sheathed. Effective in wet conditions.
Base Stats: Attack 22, Durability ~50
Location: Found in certain shrines (e.g., Ridgeland Tower), specific locations (e.g., Coliseum Ruins after world progression), or dropped by specific high-level enemies.
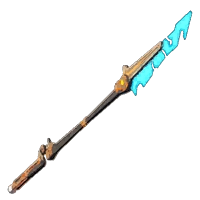
Guardian Spear (+ / ++)
Use: Energy polearms wielded by Guardian Scouts. Offer good reach and damage, especially against Guardian-type enemies. ++ variant is quite powerful.
Base Stats: Attack 10 / 15 / 20 (Base / + / ++), Durability Low / Medium / High
Location: Dropped by Guardian Scouts (levels II, III, IV respectively) in ‘Test of Strength’ shrines.
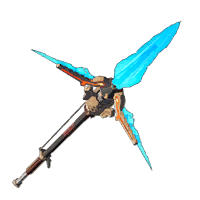
Ancient Spear
Use: A polearm crafted using ancient Sheikah technology. Features excellent reach and high damage, particularly against Guardians and Malice. Good durability.
Base Stats: Attack 30, Durability ~50
Location: Crafted by Cherry at the Akkala Ancient Tech Lab using 15 Ancient Springs, 5 Ancient Shafts, 2 Ancient Cores, and 1,000 Rupees.
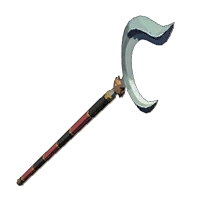
Serpentine Spear
Use: A uniquely shaped spear sometimes wielded by high-level Lizalfos. Offers decent stats.
Base Stats: Attack 12, Durability ~35
Location: Occasionally dropped by Black or Silver Lizalfos, particularly in regions like Hebra or Gerudo Highlands.
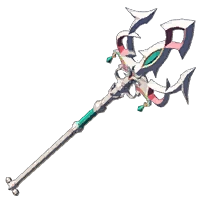
Lightscale Trident
Use: The elegant and cherished Champion weapon wielded by Mipha. As a Zora weapon, it performs exceptionally well in water. Boasts superior durability and good attack power for a spear.
Base Stats: Attack 22, Durability 70
Location: Gifted by King Dorephan in Zora’s Domain after Link successfully appeases Divine Beast Vah Ruta.
Reforged: If it breaks, Dento the blacksmith in Zora’s Domain can reforge it. Link must provide a Zora Spear, 5 pieces of Flint, and 1 Diamond.
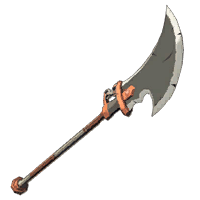
Lynel Spear (Mighty / Savage)
Use: Powerful spears wielded by some Lynels. Offer excellent reach and very high damage output.
Base Stats: Attack ~20 / ~30 (Mighty / Savage), Durability Medium
Location: Dropped exclusively by Blue-Maned (Mighty) or White-Maned/Silver/Gold (Savage) Lynels that wield spears.
Bows
Ranged weapons indispensable for hunting, triggering remote switches, exploiting enemy weak points, and delivering elemental or explosive payloads via specialized arrows.
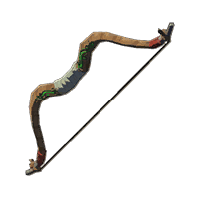
Wooden Bow
Use: The most basic bow, simple and weak. Low power, range, and durability.
Base Stats: Attack 4, Durability ~20
Location: Very common on the Great Plateau and early game areas, used by Red Bokoblins.
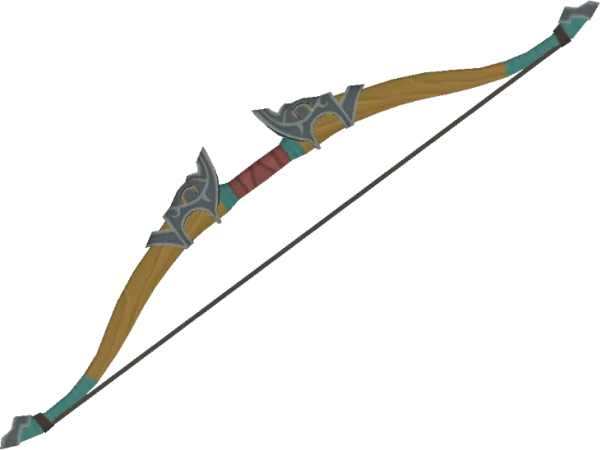
Traveler’s Bow
Use: A standard bow for travelers. Modest stats suitable for early exploration.
Base Stats: Attack 5, Durability ~22
Location: Common in early areas, chests, dropped by Bokoblins.
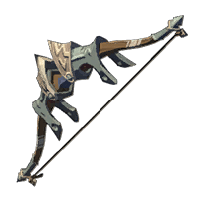
Soldier’s Bow
Use: Standard Hylian military issue. Offers a reliable balance of power, range, and durability for mid-game.
Base Stats: Attack 14, Durability ~36
Location: Common drop from Blue/Black Bokoblins and Lizalfos, found in shrines, around Central Hyrule.

Knight’s Bow
Use: A sturdy bow used by Hylian knights. Good power and durability.
Base Stats: Attack 26, Durability ~48
Location: Dropped by Black/Silver enemies, found in mid-to-late game shrines, Hyrule Castle vicinity.
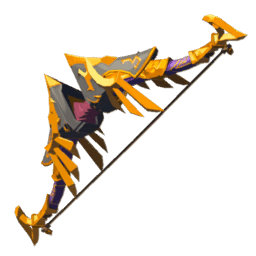
Royal Bow
Use: A high-quality bow used by the Royal Guard. Excellent power and durability, a top-tier standard bow.
Base Stats: Attack 38, Durability ~60
Location: Dropped by powerful Silver enemies, Hinoxes; found in chests in Hyrule Castle or challenging shrines.
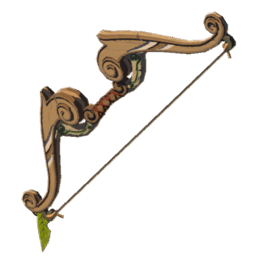
Forest Dweller’s Bow
Use: A unique wooden bow crafted by Koroks. Has modest power but good durability and can sometimes come with a Multi-Shot (2x or 3x) modifier.
Base Stats: Attack 15 (x1, x2, or x3), Durability ~35
Location: Primarily found in Korok Forest or given as rewards for Korok Trials.
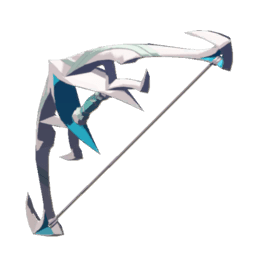
Zora Bow
Use: An elegant Zora-made bow. Standard mid-tier performance.
Base Stats: Attack 15, Durability ~40
Location: Found around Zora’s Domain and the Lanayru region, used by Lizalfos there.

Silver Bow
Use: A more powerful Zora bow, counterpart to the Silverscale Spear. Good overall stats.
Base Stats: Attack 15, Durability ~40 (Often considered a slightly better Soldier’s Bow visually)
Location: Chests within Zora’s Domain, sometimes dropped by enemies in Lanayru.
Swallow Bow
Use: A standard Rito bow known for its quick draw speed. Low attack power but fires rapidly. Required for reforging the Great Eagle Bow.
Base Stats: Attack 9, Durability ~30
Location: Common in Rito Village and the Tabantha region, used by Rito guards and found in local chests.
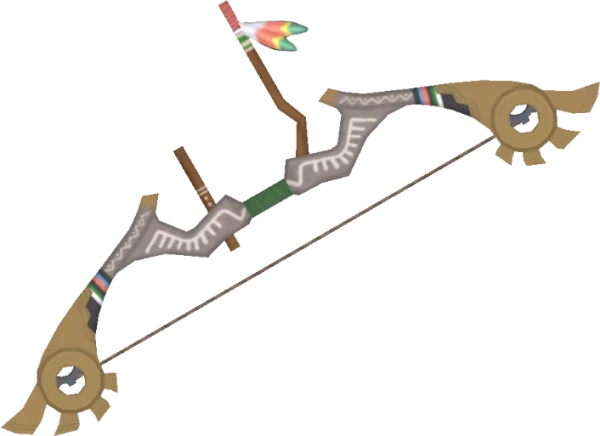
Falcon Bow
Use: A superior Rito bow offering increased power and range compared to the Swallow Bow, while maintaining a fast draw speed. Excellent for aerial combat.
Base Stats: Attack 20, Durability ~50
Location: Found in chests near Rito Village (e.g., Flight Range) or sometimes dropped by enemies in Tabantha.
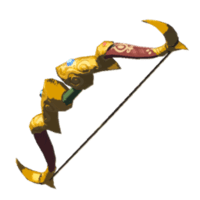
Gerudo Bow
Use: A beautifully crafted bow favored by Gerudo warriors. Functions as a sniper bow with enhanced zoom capabilities and good range, though slightly lower power than some other sniper bows.
Base Stats: Attack 14, Durability ~60
Location: Found in the Gerudo Desert region, particularly around Gerudo Town (often used by guards) and in local shrines/chests.

Golden Bow
Use: An ornate Gerudo bow, often considered a direct upgrade to the Gerudo Bow. Excellent sniper capabilities with good range and zoom. Decent power and durability.
Base Stats: Attack 14, Durability ~60 (Same base attack as Gerudo Bow but often found with Attack Up modifiers)
Location: Found in chests within the Gerudo region, particularly in the Yiga Clan Hideout and Gerudo Town barracks.
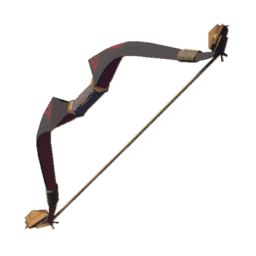
Phrenic Bow
Use: A Sheikah-designed bow incorporating a scope for enhanced zoom (sniper functionality). Allows for precise long-range shots.
Base Stats: Attack 10, Durability ~45
Location: Commonly found in chests within shrines located near Sheikah settlements like Kakariko Village and Hateno Village.
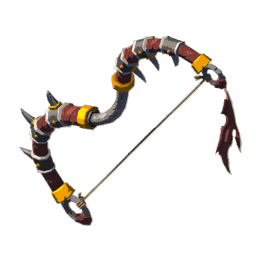
Duplex Bow
Use: The signature bow of the Yiga Clan. Fires two arrows horizontally simultaneously while only consuming one arrow. Offers good damage output and range.
Base Stats: Attack 14 (x2), Durability ~18 (Low)
Location: Dropped exclusively by Yiga Footsoldiers and Yiga Blademasters upon defeat.
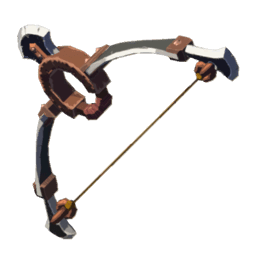
Lynel Bow (Lynel / Mighty / Savage)
Use: Extremely potent multi-shot bows wielded only by Lynels. Base Lynel Bow fires 1 arrow, Mighty fires 3, Savage fires 3 (can get 5-Shot Burst modifier). Consumes only one arrow per shot. Delivers massive damage, especially with headshots or elemental arrows. Essential late-game gear.
Base Stats: Attack 10 / 20×3 / 32×3 (Base / Mighty / Savage), Durability Varies (Medium-High)
Location: Dropped exclusively by Lynels of corresponding difficulty tiers. Red Lynels drop basic Lynel Bow, Blue drop Mighty, White/Silver/Gold drop Savage.
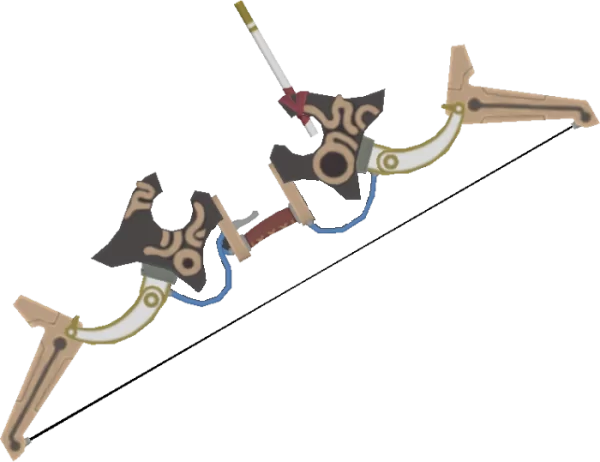
Ancient Bow
Use: The pinnacle of Sheikah bow technology. Offers high attack power, exceptional durability, significantly increased range, and fires arrows in an almost perfectly straight line with minimal drop-off, making it the ultimate sniper bow. Deals bonus damage to Guardians.
Base Stats: Attack 44, Durability 120 (Very High)
Location: Crafted by Cherry at the Akkala Ancient Tech Lab using 10 Ancient Gears, 15 Ancient Springs, 1 Giant Ancient Core, and 1,000 Rupees.

Great Eagle Bow
Use: The legendary Champion weapon wielded by Revali. This unique Rito bow fires three arrows horizontally simultaneously (consuming one arrow) and boasts an exceptionally fast draw speed, making it ideal for quick shots and aerial combat.
Base Stats: Attack 28 (x3), Durability 60
Location: Gifted by the Rito Elder Kaneli in Rito Village after Link successfully appeases Divine Beast Vah Medoh.
Reforged: If broken, Harth in Rito Village can reforge it. Link must provide a Swallow Bow, 5 Bundles of Wood, and 1 Diamond.
Shields
Used to block enemy attacks, deflect projectiles with Perfect Parries, and traverse terrain via shield surfing.
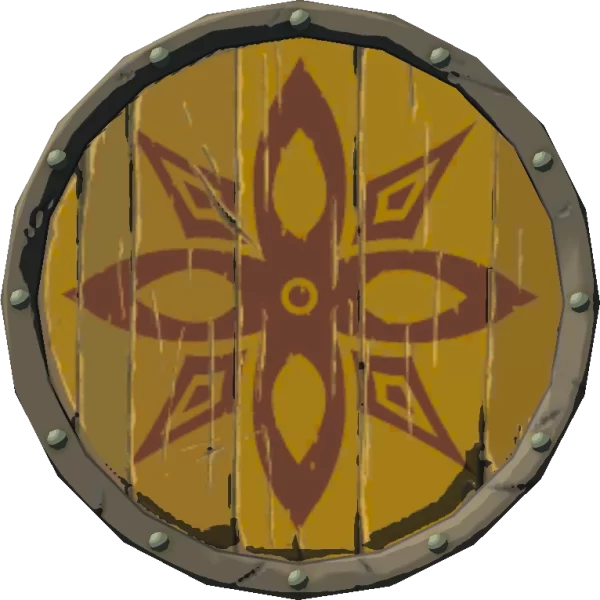
Wooden Shield
Use: The most basic shield type. Offers minimal protection and has very low durability. Burns instantly upon contact with fire. Safe during thunderstorms.
Base Stats: Guard 2, Durability ~12
Location: Very common on the Great Plateau and early areas, used by Red Bokoblins.
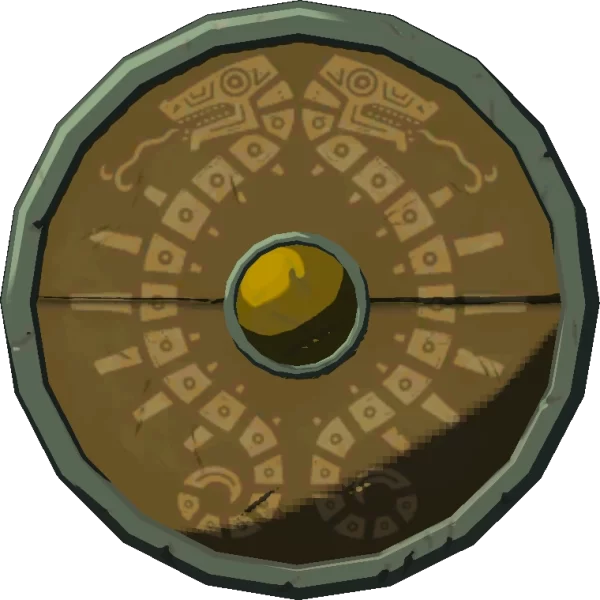
Traveler’s Shield
Use: A simple shield commonly carried by travelers. Slightly better than the Wooden Shield. Usually made of wood and leather.
Base Stats: Guard 4, Durability ~12
Location: Common in early areas, dropped by Bokoblins, found in basic chests.
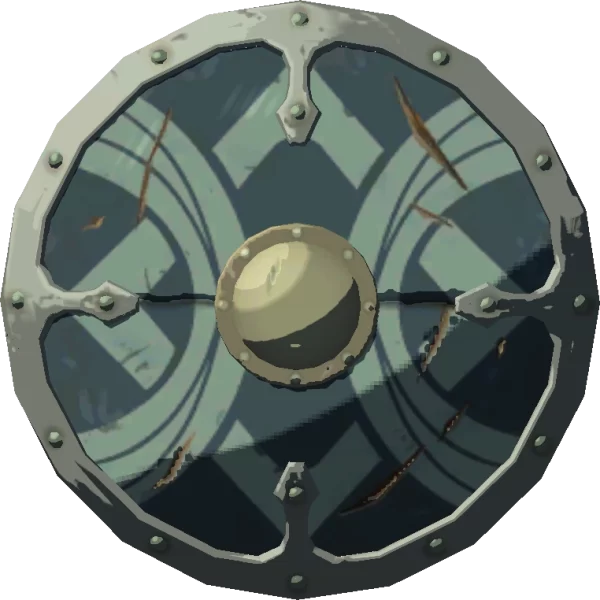
Soldier’s Shield
Use: Standard Hylian military shield, often made of metal. Offers decent protection and durability for early-to-mid game.
Base Stats: Guard 16, Durability ~16
Location: Common drop from Blue Bokoblins/Lizalfos, found in shrines, Central Hyrule. Being metal, it attracts lightning.
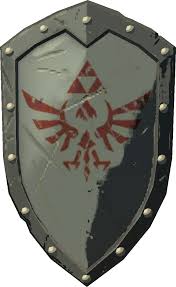
Knight’s Shield
Use: A robust metal shield used by Hylian knights. Provides good protection and durability suitable for mid-game encounters.
Base Stats: Guard 40, Durability ~23
Location: Dropped by Black/Silver enemies, found in mid-game shrines, Hyrule Castle vicinity. Attracts lightning.
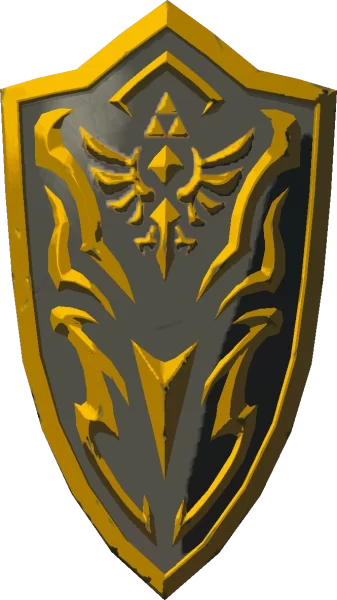
Royal Shield
Use: An ornate and highly durable metal shield issued to the Royal Guard. Offers excellent protection for late-game challenges.
Base Stats: Guard 55, Durability ~29
Location: Dropped by powerful enemies (Hinoxes, Silver Lizalfos), found in chests in Hyrule Castle or challenging shrines. Attracts lightning.
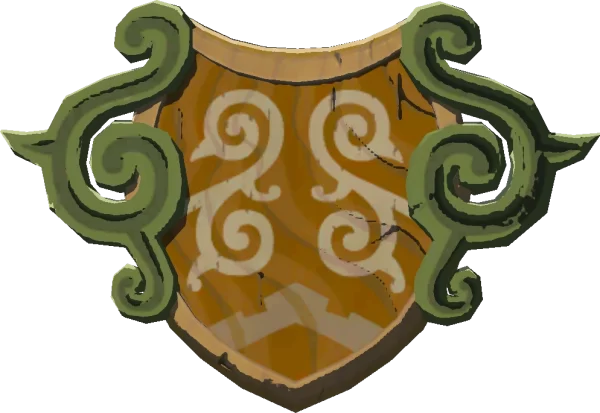
Forest Dweller’s Shield
Use: A unique living shield crafted by Koroks. Offers decent protection for a wooden shield and has surprisingly good durability. Safe in thunderstorms but burns easily.
Base Stats: Guard 30, Durability ~18
Location: Found primarily in Korok Forest or given as rewards for Korok Trials.

Zora Shield
Use: An elegant metal shield crafted by the Zora. Offers standard mid-tier protection. Attracts lightning.
Base Stats: Guard 18, Durability ~20
Location: Found in the Lanayru region around Zora’s Domain, wielded by Lizalfos there or found in underwater chests.

Silver Shield
Use: A more ornate and slightly stronger Zora shield. Good mid-game defense. Attracts lightning.
Base Stats: Guard 18, Durability ~20 (Same stats as Zora Shield, but often perceived as slightly better or rarer)
Location: Found in chests within Zora’s Domain or shrines in the Lanayru region.
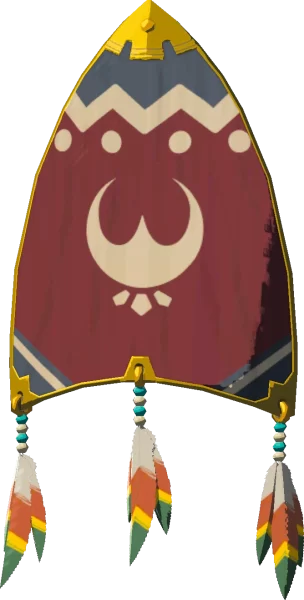
Kite Shield
Use: A uniquely shaped shield favored by the Rito, often made of wood. Lightweight, decent protection. Burns easily. Prized for shield surfing due to potentially lower friction.
Base Stats: Guard 14, Durability ~16
Location: Common in the Tabantha region near Rito Village, found in chests or sometimes leaned against walls. Selmie’s Spot reward.
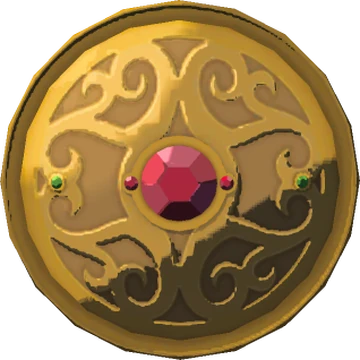
Gerudo Shield
Use: A decorated shield commonly used by Gerudo warriors. Offers moderate protection. Usually metal, attracts lightning. Required for reforging the Daybreaker.
Base Stats: Guard 20, Durability ~20
Location: Found primarily in the Gerudo Desert region, sold in Gerudo Town, dropped by local enemies.
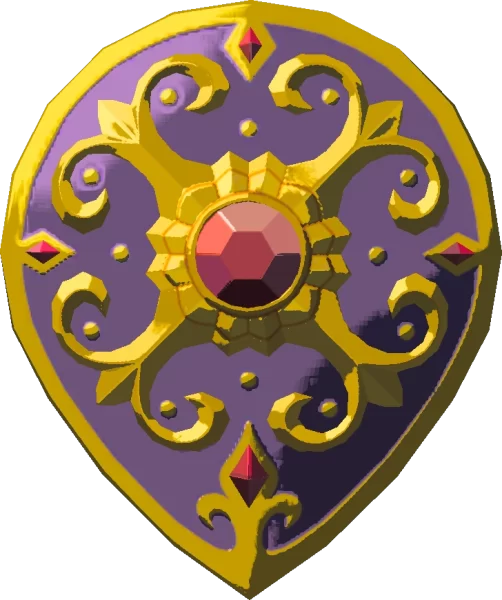
Radiant Shield
Use: An ornate, high-quality Gerudo shield, often adorned with gems. Offers good protection and durability. Attracts lightning.
Base Stats: Guard 35, Durability ~26
Location: Found in chests within the Gerudo region shrines or dropped by stronger enemies in the desert.

Guardian Shield (+ / ++)
Use: Shields made from Guardian technology. Automatically reflect the small laser beams fired by Guardian Scouts. Higher tiers (++ variants) offer significantly increased durability and guard rating.
Base Stats: Guard 18 / 30 / 42 (Base / + / ++), Durability Low / Medium / High
Location: Dropped exclusively by Guardian Scouts (levels II, III, and IV respectively) upon defeat in ‘Test of Strength’ shrines.
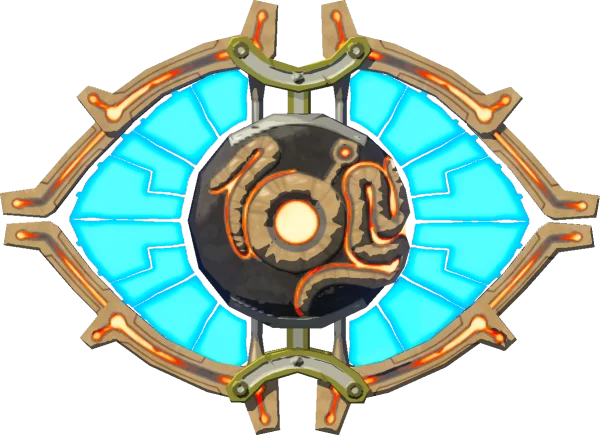
Ancient Shield
Use: A shield constructed using superior ancient Sheikah technology at the Akkala lab. Its most notable feature is the ability to automatically reflect *all* Guardian laser beams (from Scouts, Stalkers, Turrets, Skywatchers) without requiring a Perfect Parry, though this consumes considerable durability per reflect. Also boasts a very high Guard rating and low friction, making it excellent for shield surfing.
Base Stats: Guard 70, Durability 32
Location: Crafted by Cherry at the Akkala Ancient Tech Lab using 10 Ancient Gears, 15 Ancient Springs, 1 Giant Ancient Core, and 1,000 Rupees.
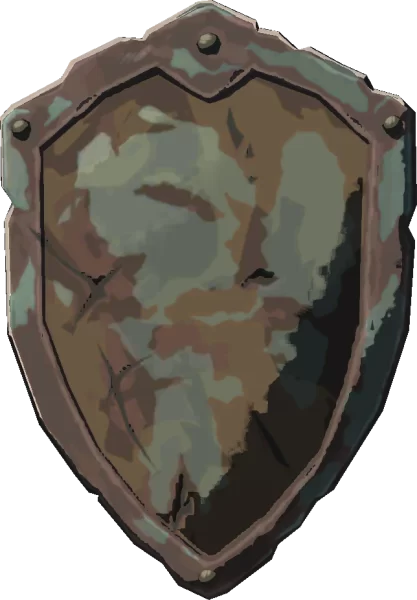
Rusty Shield
Use: A heavily corroded metal shield offering minimal protection. Very low guard and durability. Can be cleaned by Rock Octoroks.
Base Stats: Guard 3, Durability ~10
Location: Common in ruins and early game areas, often near Rusty Broadswords or Halberds.

Hylian Shield
Use: The legendary shield traditionally wielded by the Hero of Hyrule. In Breath of the Wild, it is renowned for its incredibly high durability, far surpassing any other shield, making it exceptionally resilient. It also possesses a very high Guard rating, minimizing stamina loss from blocking attacks.
Base Stats: Guard 90, Durability 800 (Exceptionally High)
Location: Hidden within a treasure chest in the Lockup area of Hyrule Castle. Reaching it requires navigating through the dungeons and defeating a Stalnox mini-boss guarding the cell.
Note: Although incredibly durable, the Hylian Shield *can* eventually break after extensive use. If the original chest version breaks, a replacement (non-chest version) can be purchased from the secret merchant Grante in Tarrey Town (available after completing the “From the Ground Up” side quest), but only if the shield is not currently in Link’s inventory or displayed in his house.

Daybreaker
Use: The ornate and powerful Champion shield once wielded by Urbosa, paired with the Scimitar of the Seven. It’s a Gerudo-crafted shield boasting excellent durability and a high guard rating.
Base Stats: Guard 48, Durability 60
Location: Gifted by the Gerudo Chief Riju in Gerudo Town after Link successfully appeases Divine Beast Vah Naboris.
Reforged: If broken, Buliara, Riju’s bodyguard in Gerudo Town, can reforge it. Link needs to provide a Gerudo Shield, 5 pieces of Flint, and 1 Diamond.
Magical Rods
While primarily used for casting elemental spells, Rods can be swung like basic melee weapons, though this is not their main function and deals minimal physical damage.
Fire Rod / Meteor Rod
Use: Casts fireballs (Fire Rod) or multiple larger fireballs that rain down (Meteor Rod). Consumes durability per cast. Useful for igniting objects, starting fires, and defeating ice enemies.
Location: Dropped by Fire Wizzrobes (Fire Rod) and Meteo Wizzrobes (Meteor Rod).

Ice Rod / Blizzard Rod
Use: Casts balls of ice (Ice Rod) or creates a wide freezing blast (Blizzard Rod). Consumes durability per cast. Useful for freezing enemies or water, and defeating fire enemies.
Location: Dropped by Ice Wizzrobes (Ice Rod) and Blizz Wizzrobes (Blizzard Rod).
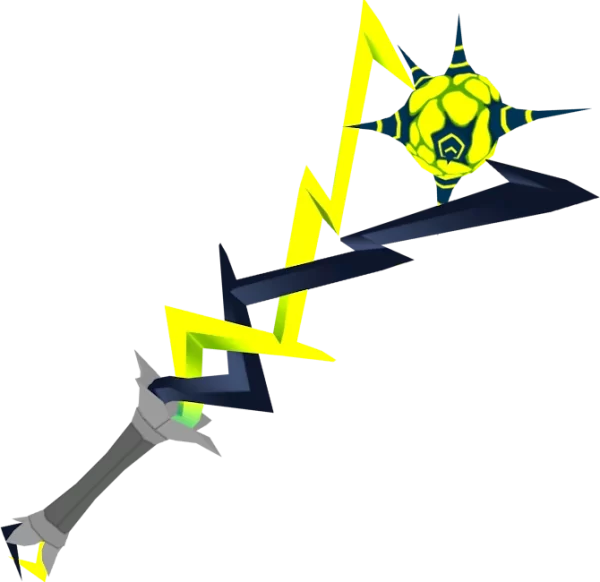
Lightning Rod / Thunderstorm Rod
Use: Casts balls of electricity (Lightning Rod) or summons a localized thunderstorm with multiple lightning strikes (Thunderstorm Rod). Consumes durability per cast. Useful for shocking/disarming enemies, especially in water.
Location: Dropped by Electric Wizzrobes (Lightning Rod) and Thunder Wizzrobes (Thunderstorm Rod).
Amiibo Exclusive & Legacy Gear
Certain weapons and shields, often referencing past Zelda titles, can only be obtained randomly by scanning compatible Zelda-themed Amiibo figures. These often have unique appearances but function similarly to standard gear and possess normal durability.

Notable Amiibo Weapons/Shields
Use: Varies depending on the specific item; often function similarly to standard gear but with unique appearances referencing past games. Their stats are generally decent but not usually endgame level (unless obtained later with scaling). They possess standard durability and cannot be reforged.
Examples: Goddess Sword (Skyward Sword Link Amiibo), Sword of the Six Sages (Ganondorf Amiibo), Sword (8-Bit Link Amiibo), Biggoron’s Sword (Ocarina of Time Link Amiibo), Hero’s Shield (Wind Waker Zelda Amiibo), Sea-Breeze Boomerang (Wind Waker Link Amiibo). Many others exist.
Location: Random drops from scanning compatible Zelda Amiibo figures using the Amiibo Rune (obtained on the Great Plateau). Each figure can be scanned once per day. Specific figures have specific loot pools with chances to drop their associated legacy gear, alongside common materials, rupees, or standard equipment.
Mastering Hyrule’s diverse arsenal and understanding the weapon durability system are fundamental aspects of the Breath of the Wild experience. Experiment with different weapon types, utilize modifiers, exploit elemental weaknesses, and always be ready to scavenge for your next trusty blade, bow, or shield!


