
























| Overworld size | 128 screens: 16 columns (A to P) by 8 rows (1 to 8) |
|---|---|
| Start screen | H8, the bottom row, just left of the middle |
| Dungeon entrances | 9 (Levels 1 to 9), six visible and three hidden |
| Map regions | 8 uneven blocks, used for the walkthrough route |
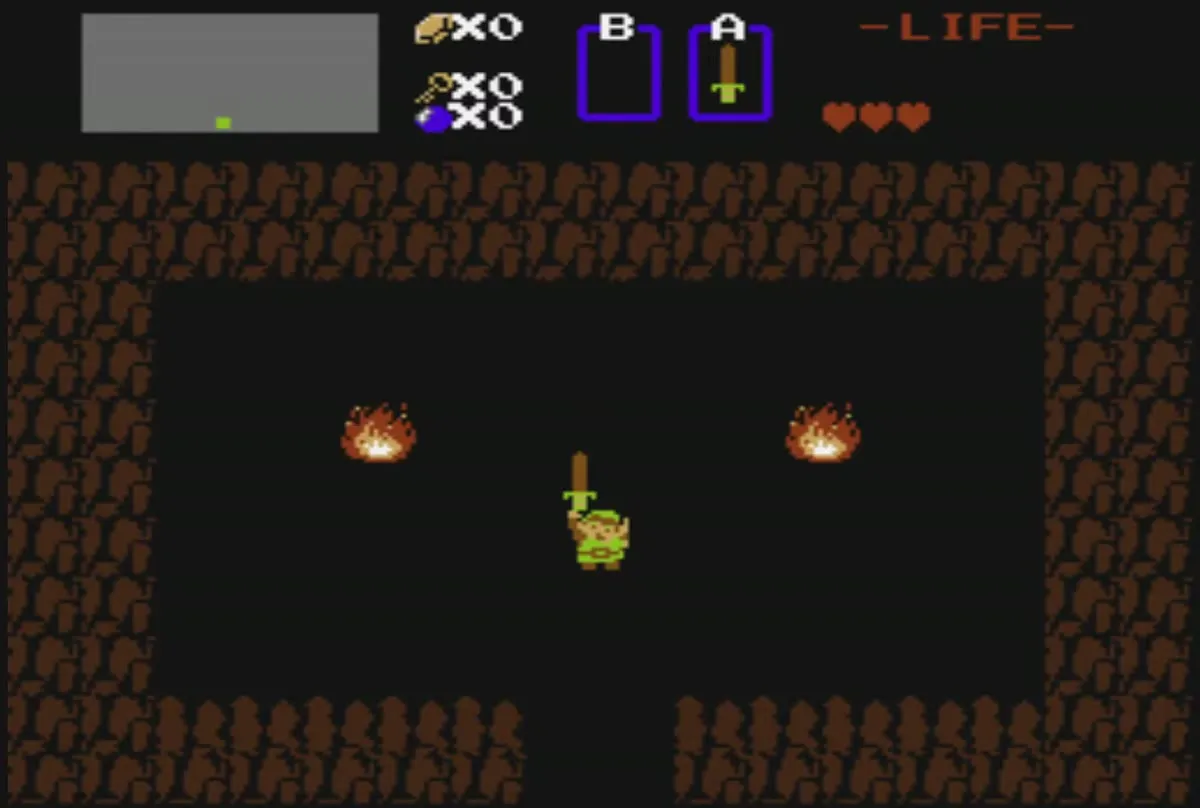
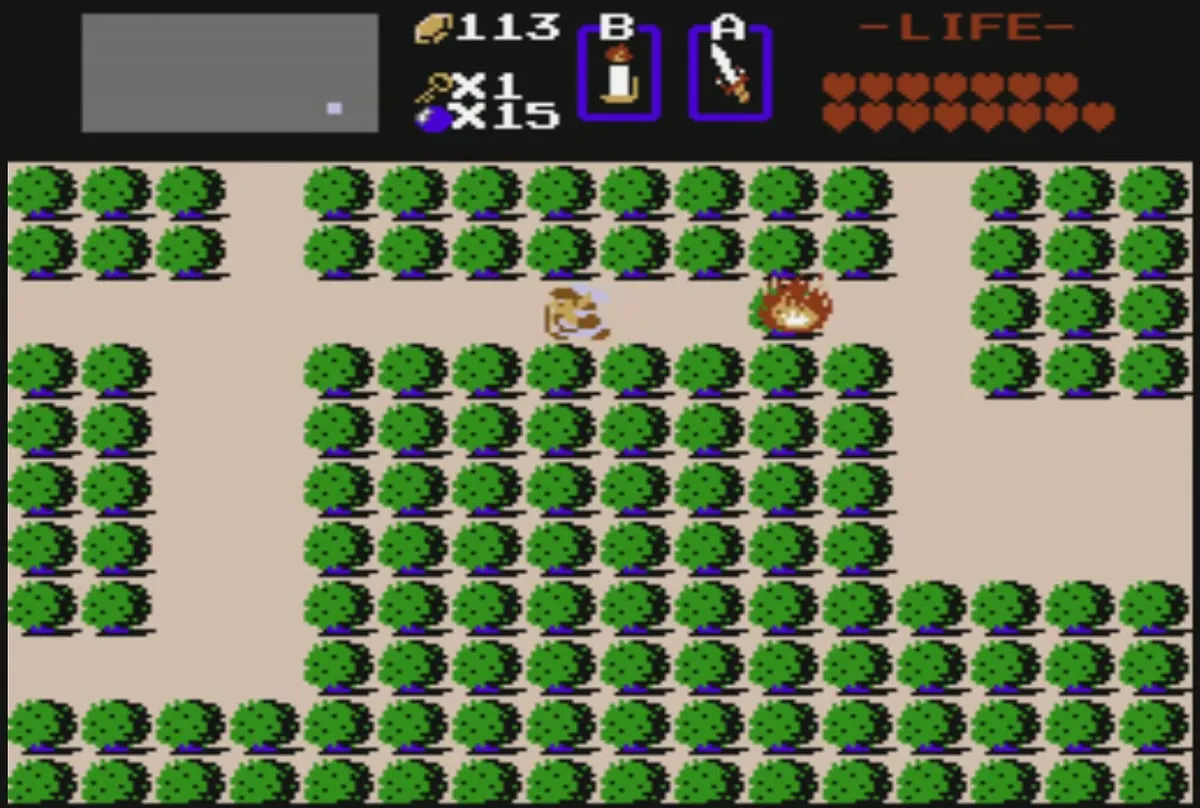
Hyrule is a grid of 128 screens, 16 columns wide and 8 rows deep, and you can reach most of them early in the first quest. The screens are lettered A to P from left to right and numbered 1 to 8 from top to bottom, so a square such as H8 is the eighth column and the eighth row. You start on H8, on the screen with the wooden sword cave. The nine dungeon entrances are spread across the map: Level 1 at H4, Level 2 at M4, Level 3 at E8, Level 4 at F5, Level 5 at L1, Level 6 at C3, Level 7 at C5, Level 8 at N7 and Level 9 at F1. Each one is marked on the overworld image below.
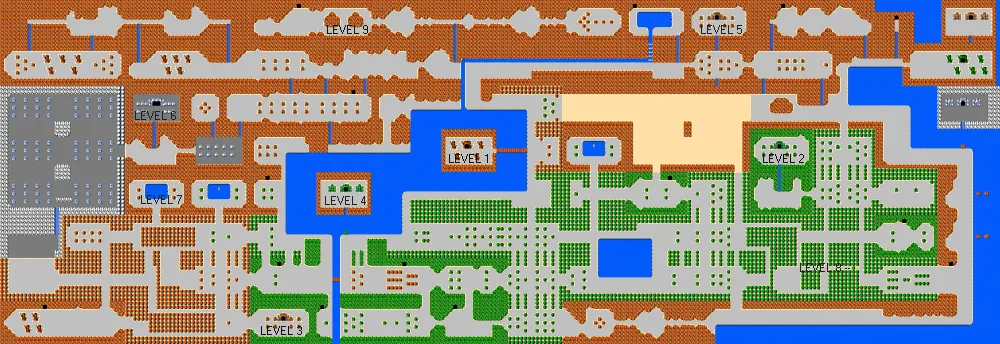
The overworld of the first quest, with the nine dungeon entrances labelled.
Table of Contents
The eight overworld regions
The map is easier to use when you split it into eight regions. They are uneven blocks, wider than they are tall, and neighbouring regions share an edge screen. The top row holds regions 7, 5, 3 and 1 from left to right, and the bottom row holds regions 8, 6, 4 and 2. Each paragraph names the screens it covers using the same A to P by 1 to 8 grid as everywhere else in this guide.
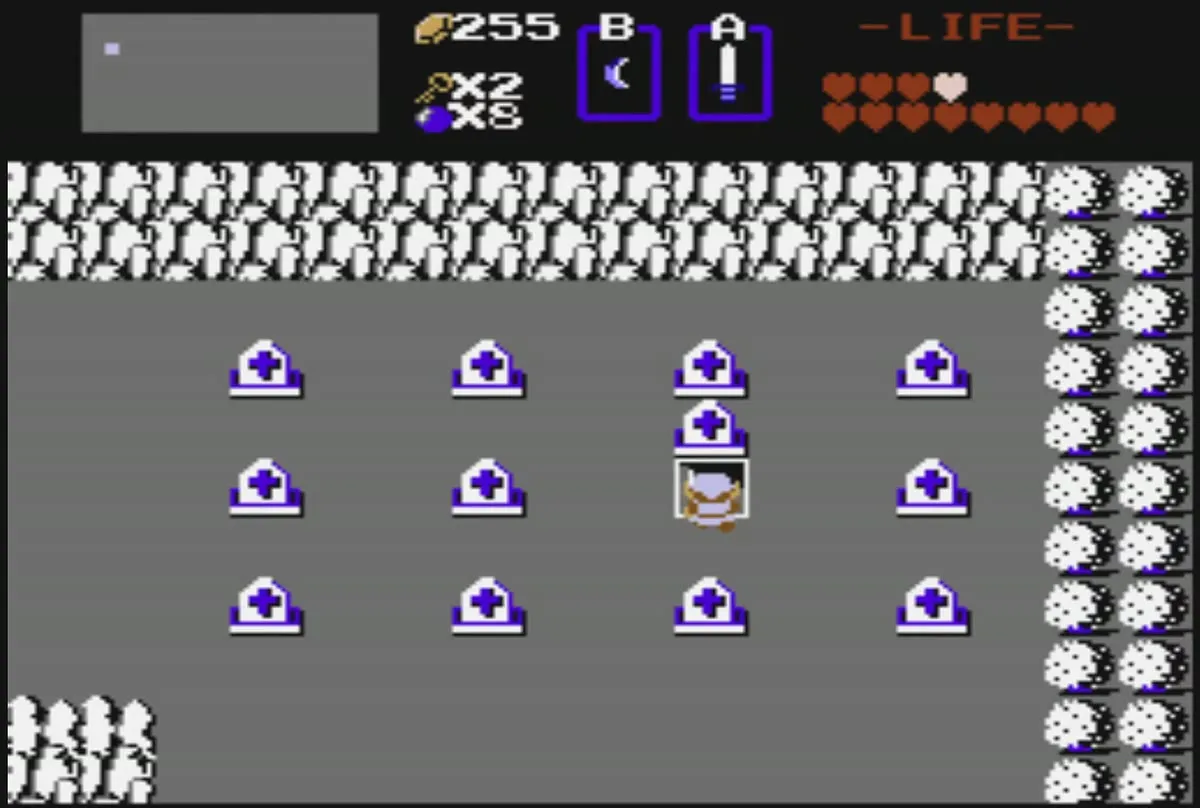
Region 7 covers the north-west, roughly A1 to D5. This is the graveyard. Headstones are scattered across it, and one of the headstones on B3 moves to reveal the cave of the Magical Sword. Level 6 is on the graveyard screen at C3, and the secret passage exit at D3 sits on its east edge. The medicine woman behind the wall between the two staircases is at D4.
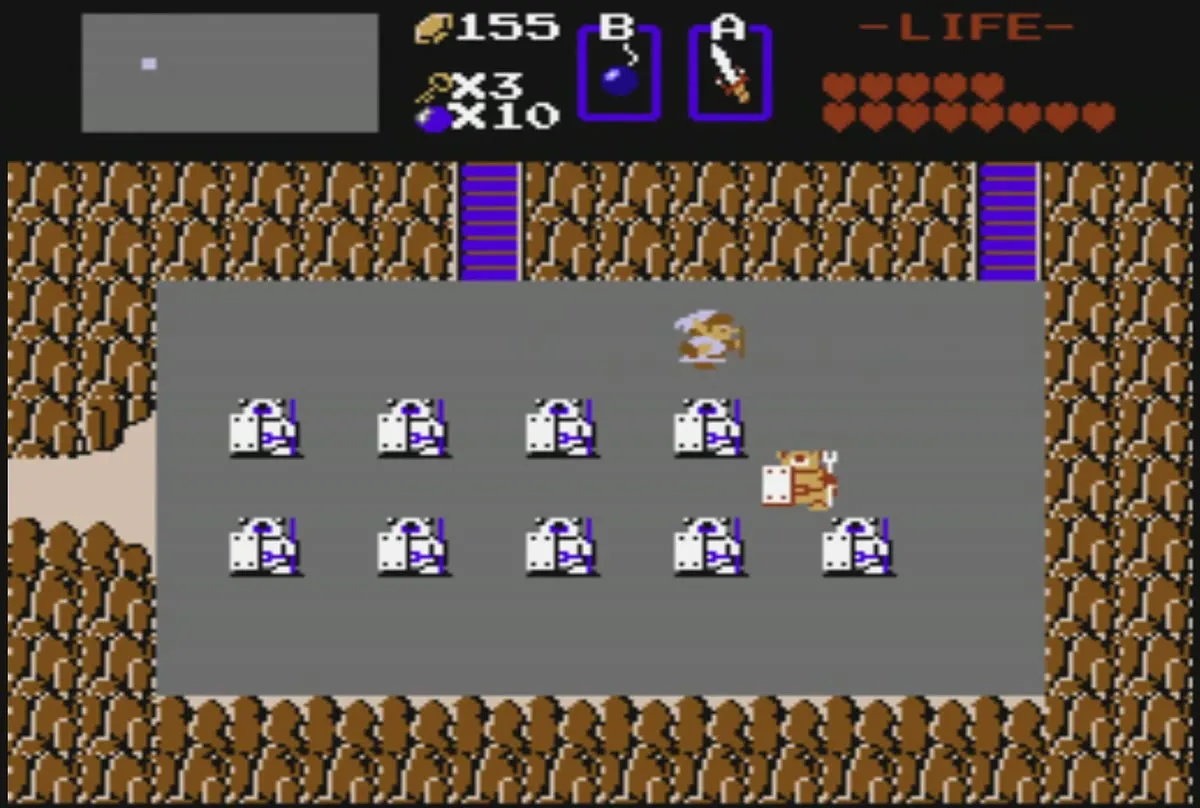
Region 5 covers the north-centre, roughly E1 to H4, and it holds Death Mountain. The Level 9 entrance is the left rock of Spectacle Rock at F1. Armos stand in a field on E3, and touching the right-most Armos in the top row there reveals the Power Bracelet. A medicine woman lives high up on E1. The Blue Ring shop is one screen further south, on E4.
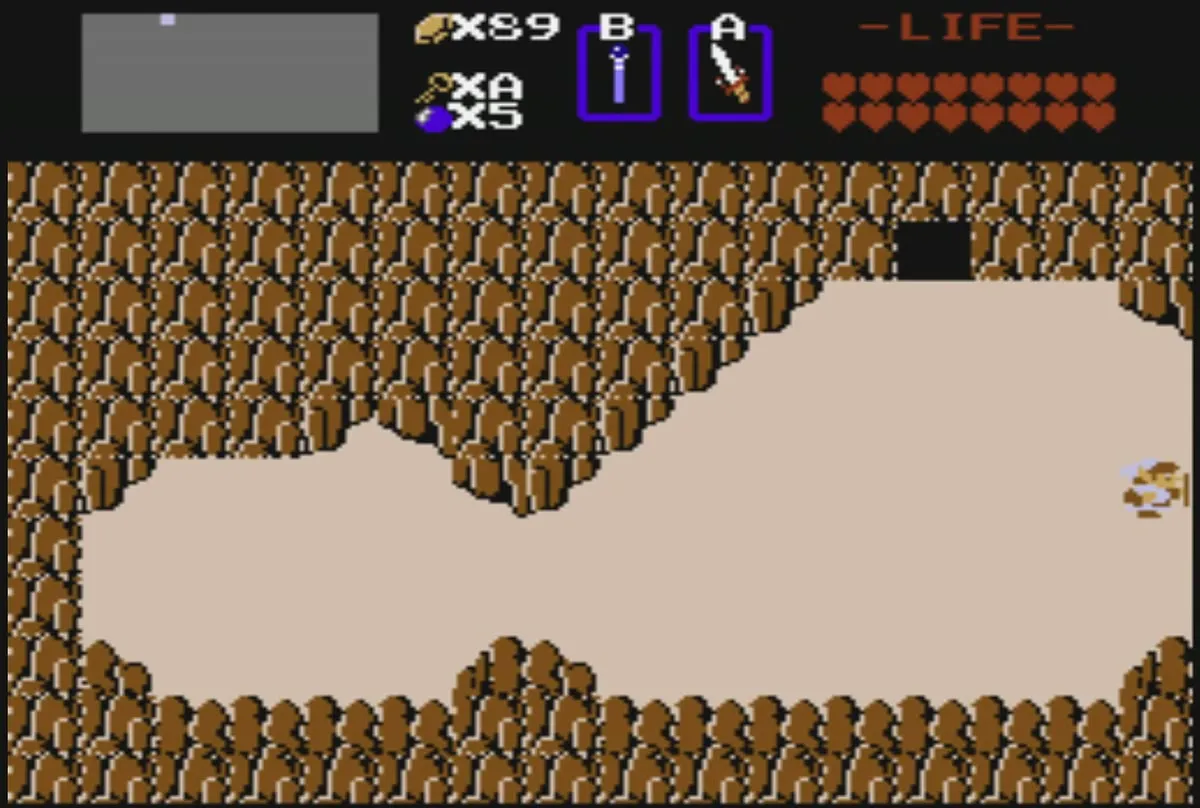
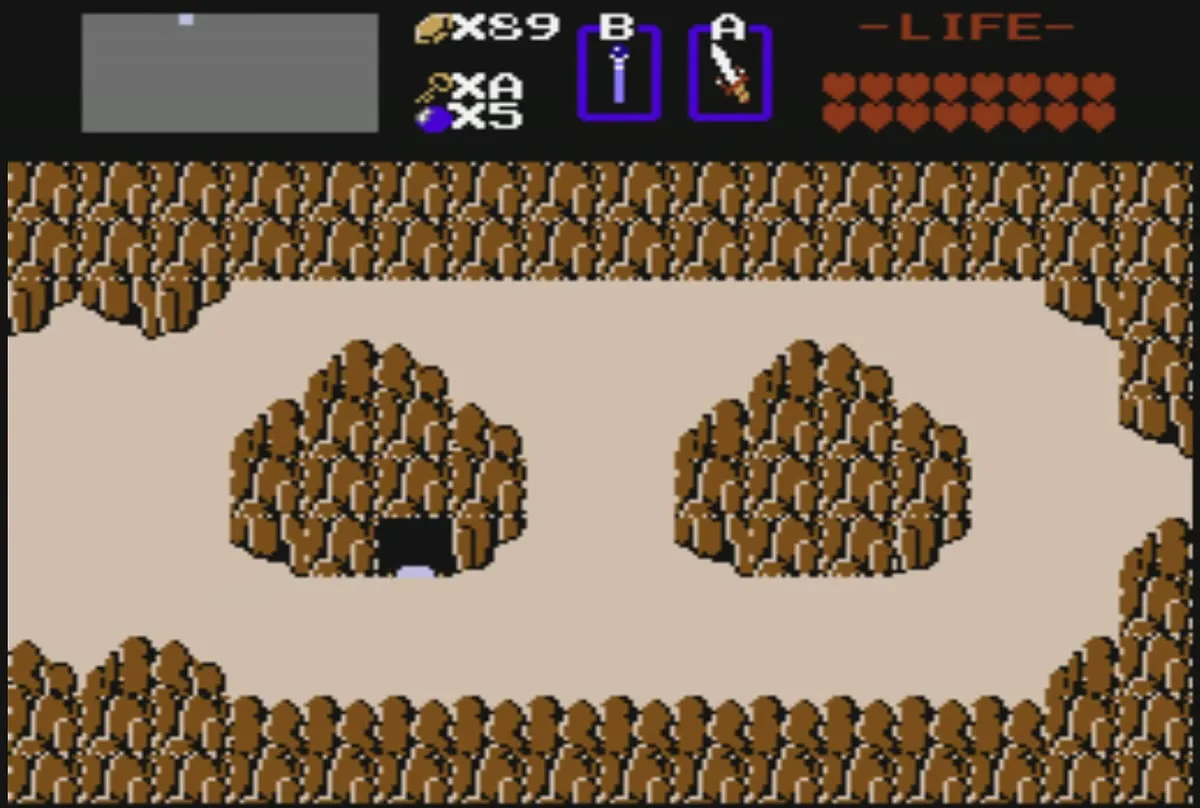
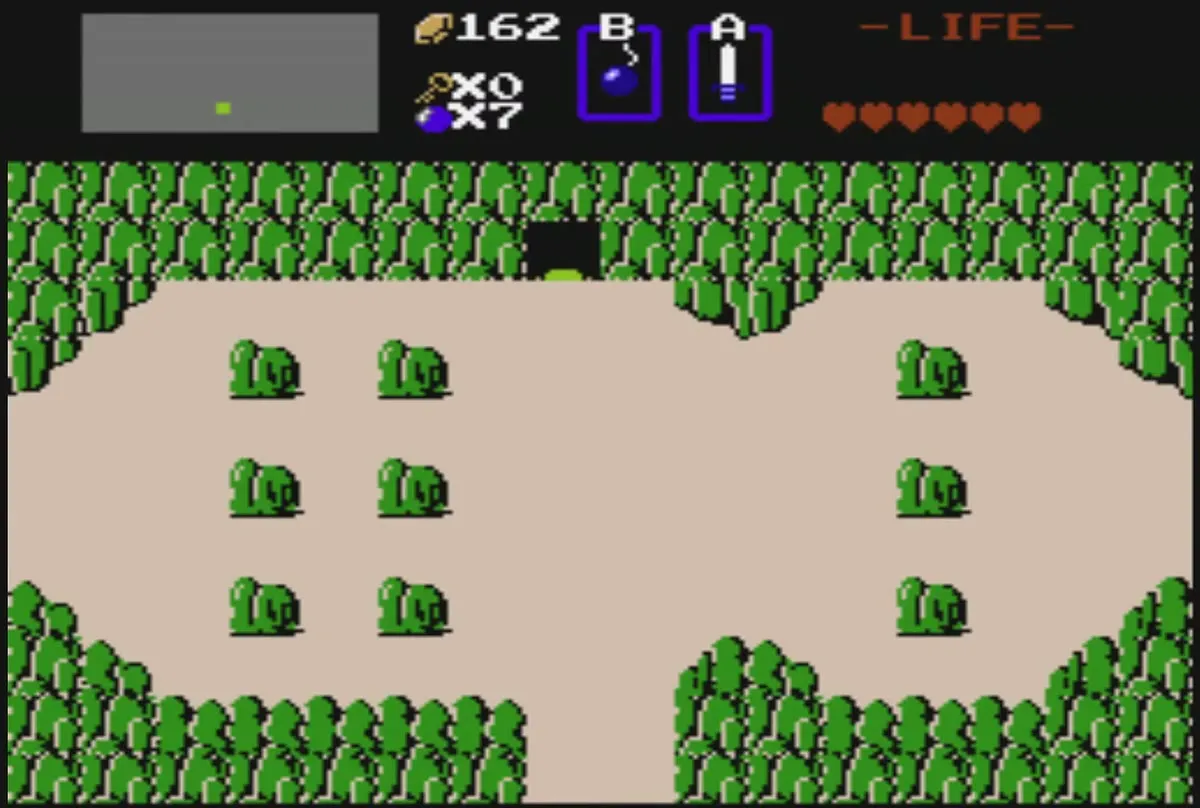
Region 3 covers the north-east of the centre, roughly H1 to L4. The White Sword cave is at K1, the waterfall hint cave at K2, and the Lost Hills at L2, with Level 5 on L1 above them. Level 1 is at H4, in a tree on the island across the bridge. Caves in the lower rows hold Moblins who give rupees.
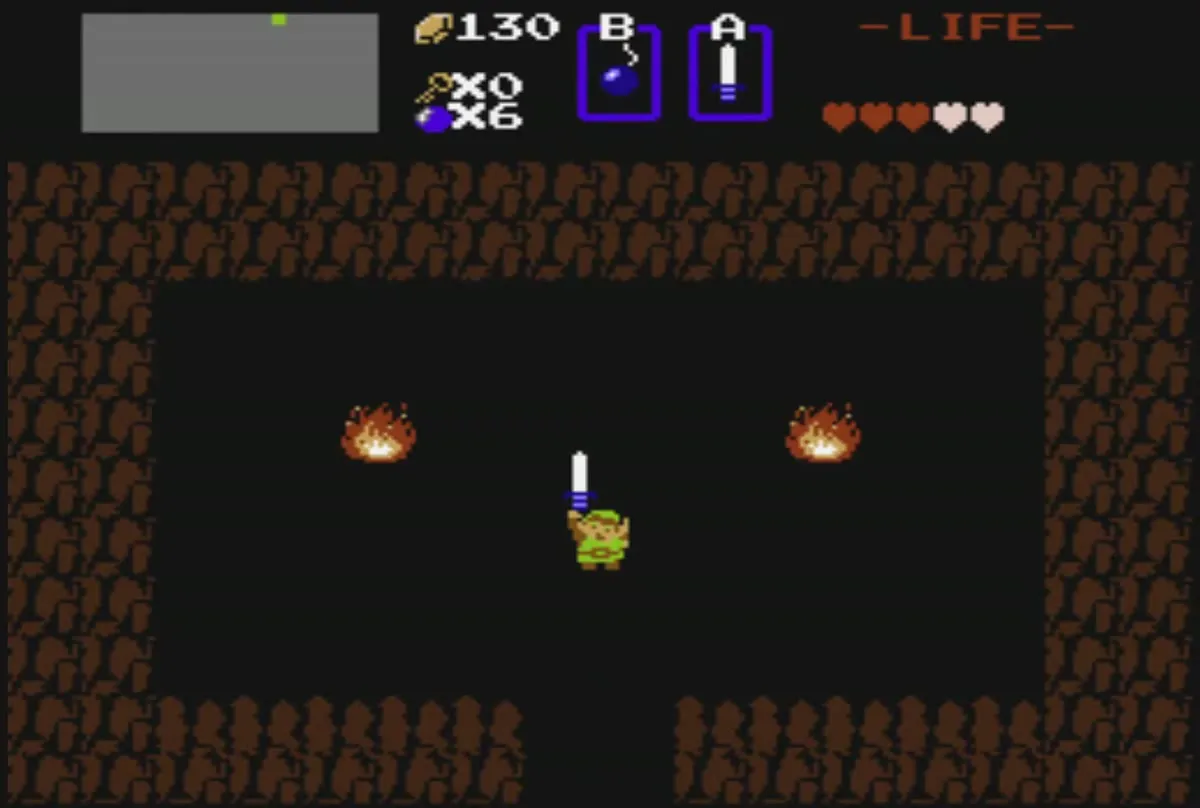
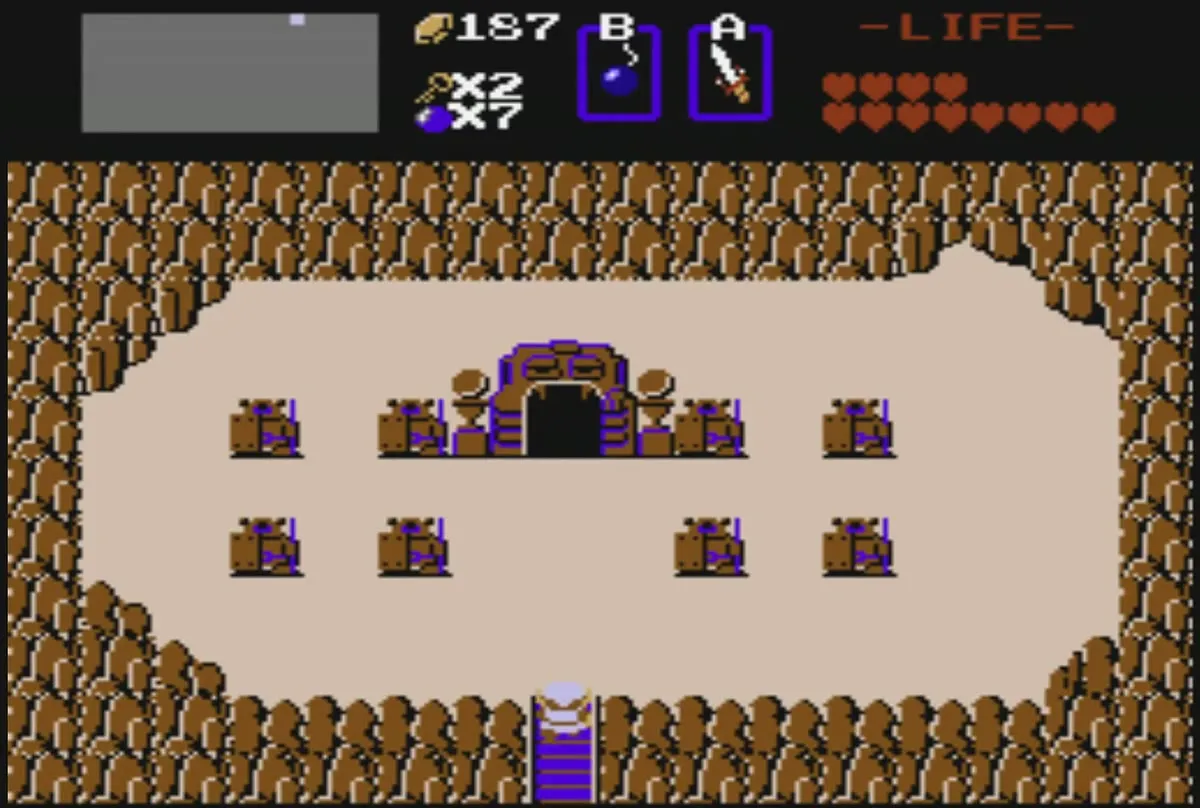
Region 1 covers the far north-east, roughly M1 to P4. The Letter cave is at O1, the medicine woman hides behind the flat north wall at N1 and the Blue Candle shop is at M1. A bomb on the large boulder at M3 opens a cave with a Heart Container. The money tree is at P2, and the 100-rupee cave at P1 is reached through an invisible passage from the screen below it. The east-coast dock for the Raft is at P4, with the island Heart Container one screen north at P3.
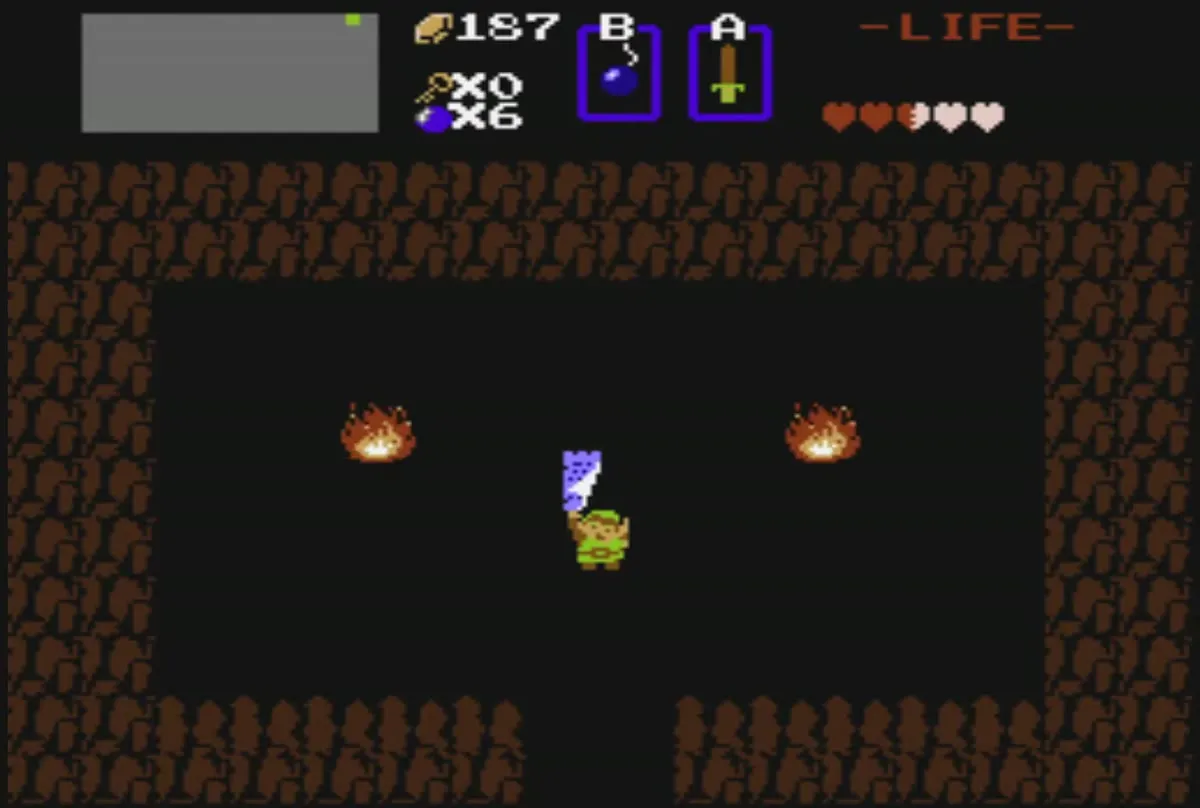
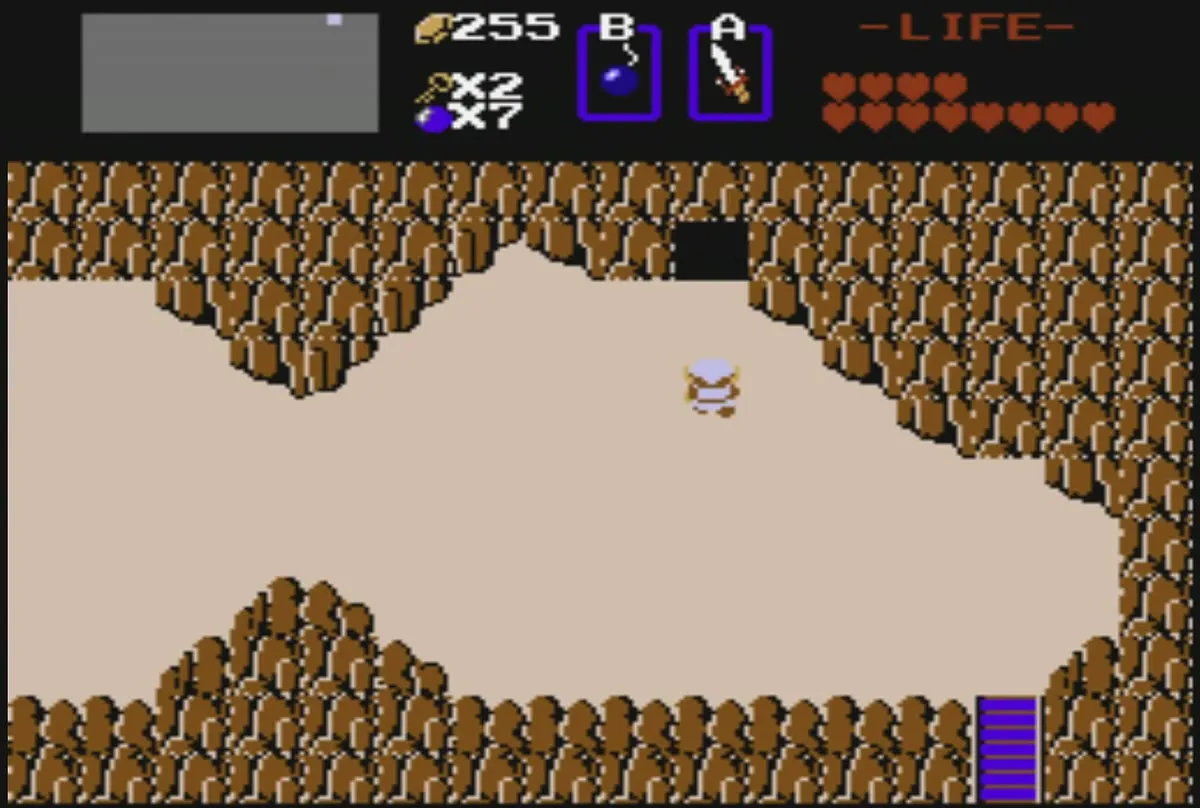
Region 8 covers the south-west, roughly A5 to E8. The Lost Woods are at B7 and you leave them by going north, west, south, west. The woman in the lower-left cave at A8 sells that route. The lake at C5 has no fairy, and playing the Recorder beside it opens Level 7. Level 3 is at E8, three screens west of the start.
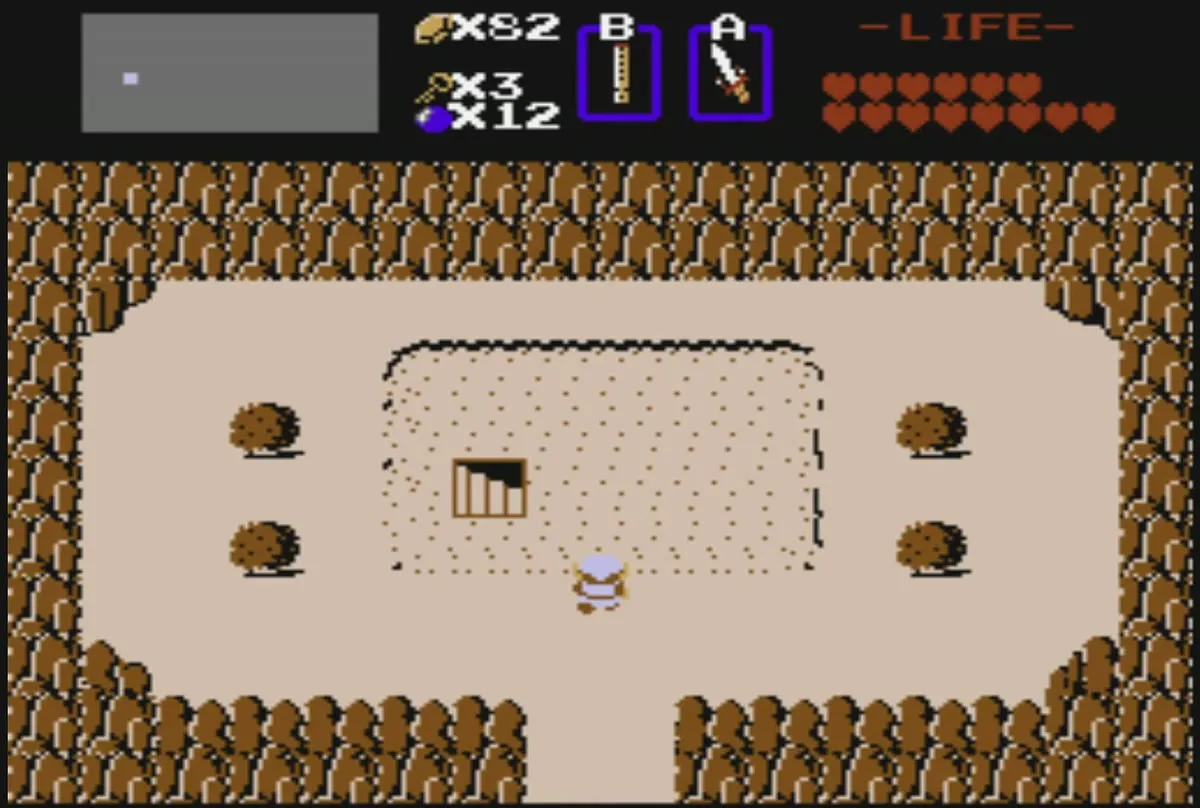
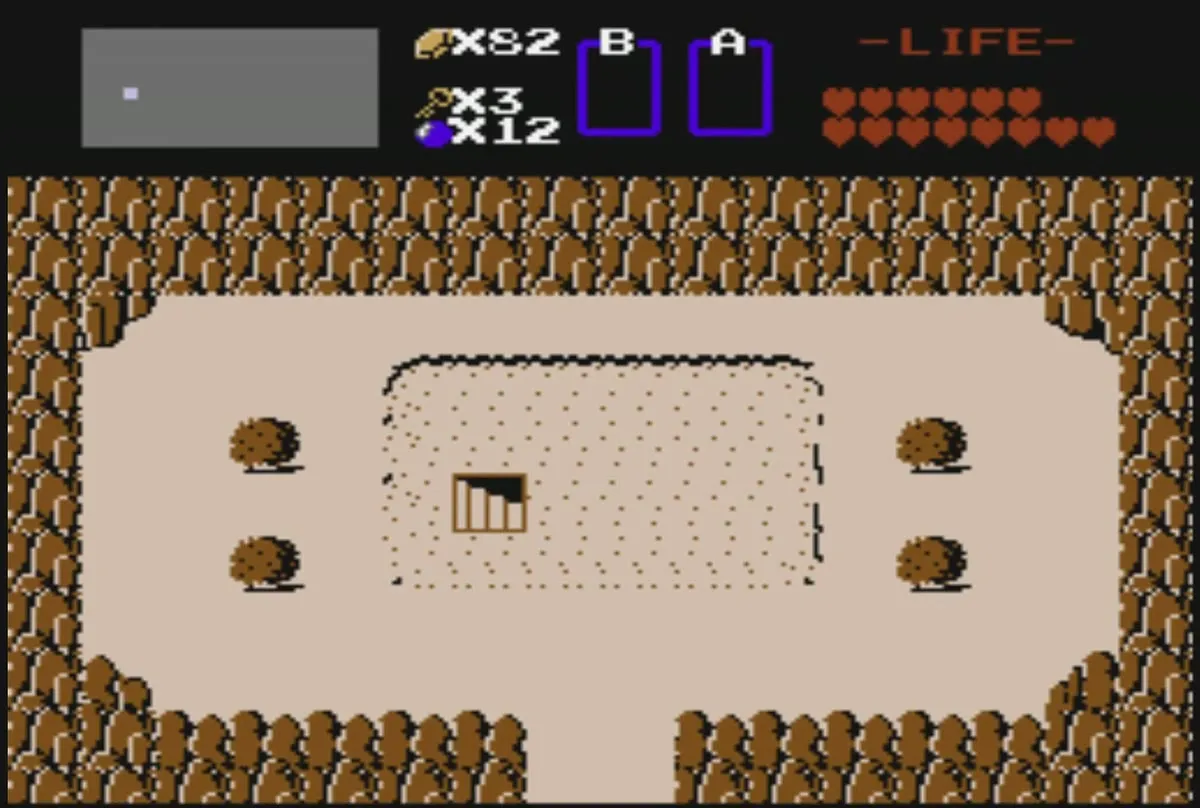
Region 6 covers the bottom middle, roughly E4 to H8, and it holds the start screen at H8 with the wooden sword cave. Level 4 sits on an island at F5, reached by Raft from the dock at F6. A Blue Candle shop is at G7 and a hidden Magical Shield shop is under the tree at G5. The Blue Ring shop is under the middle Armos in the top row at E4, and a medicine woman is in the cave at E7.
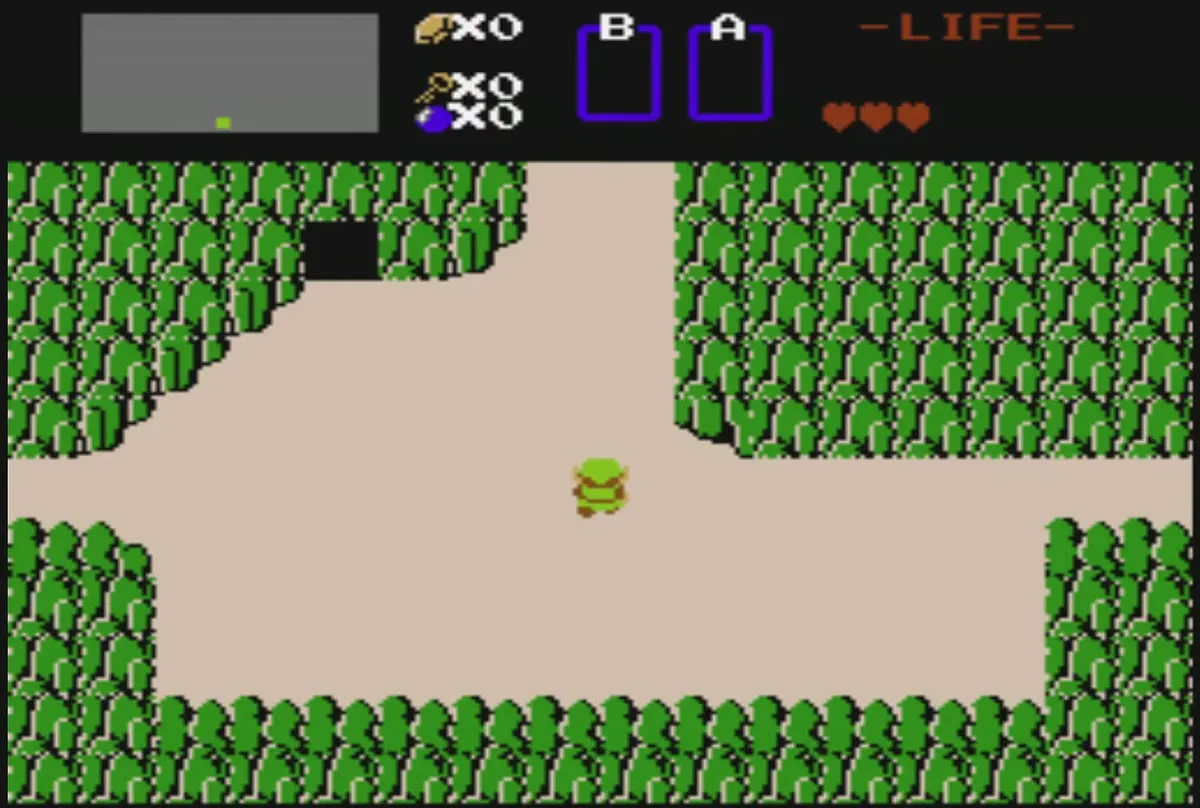
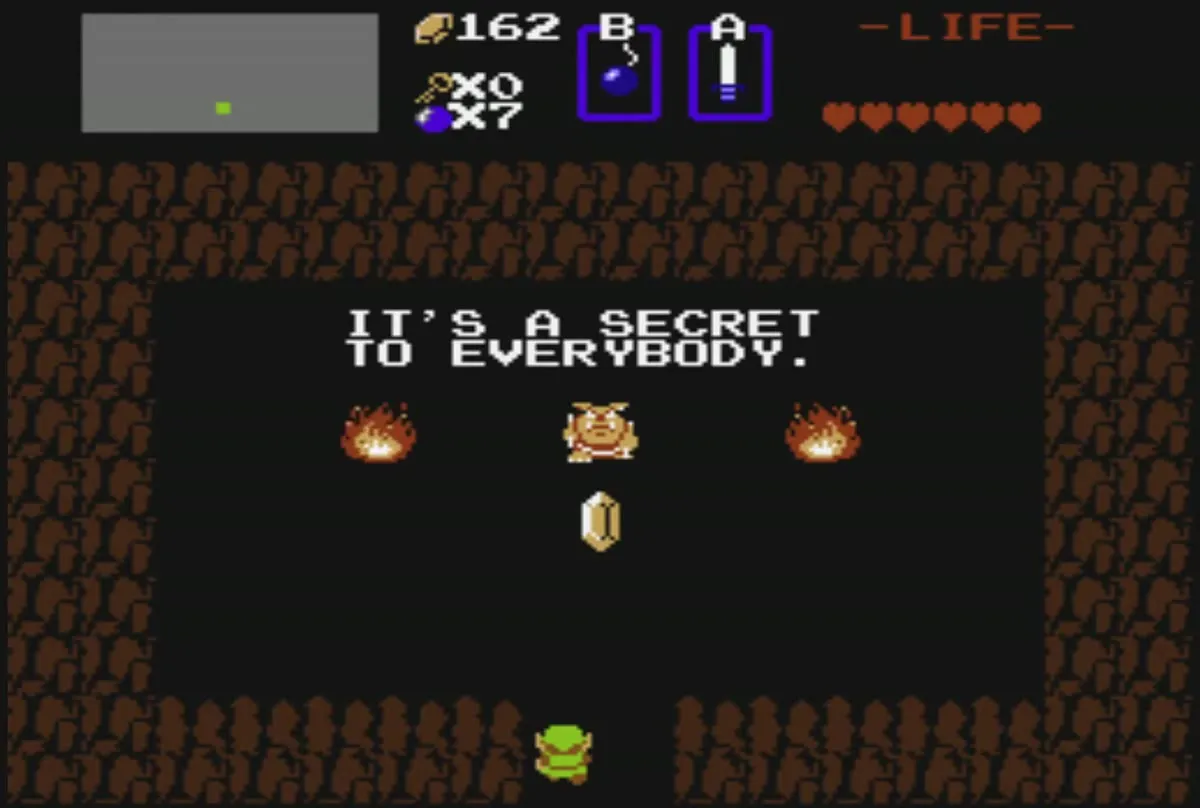
Region 4 covers the bottom middle-right, roughly I4 to L8. Its lake at J4 has a fairy pond, and a pair of secret passage exits sits at J5 and J8. Burn the topmost tree along the right edge of I5 to find a cave with 30 rupees, and burn the bottom centre tree in the tree group at L7 to find a Moblin who will give you 100 rupees. The heart cave bombed open at L8 is on the south edge of this region.
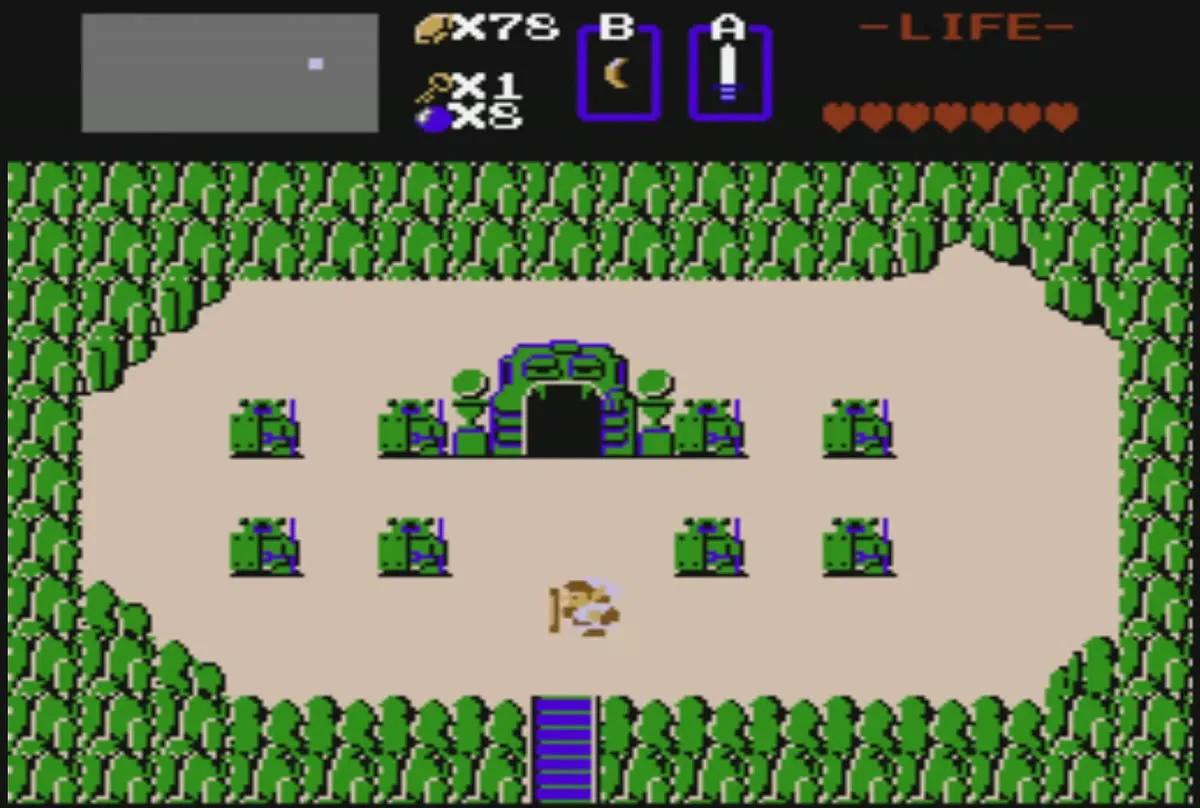
Region 2 covers the bottom right, roughly M4 to P8. Level 2 is at the top left of this region, at M4, in the east of the map. Level 8 is behind a single bush in the forest at N7, which you burn with a candle. A dock on the far east coast at P6 gives a Heart Container once you have the Stepladder, and the arrows-and-bombs shop is at P7.
Dungeon entrances
The table lists each dungeon, the square where its entrance sits, what you need to get in, and the item and boss inside. Use it with the overworld image to plan a route, and follow the chapter links for the step-by-step directions.
| Level | Name | Entrance square | Needed to enter | Item | Boss |
|---|---|---|---|---|---|
| 1 | The Eagle | H4, a tree on the island across the bridge | Nothing | Bow, Boomerang | 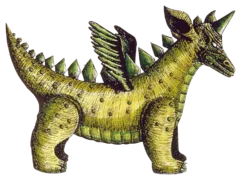 Aquamentus |
| 2 | The Moon | M4, east side of the map, north of the forest | Nothing | 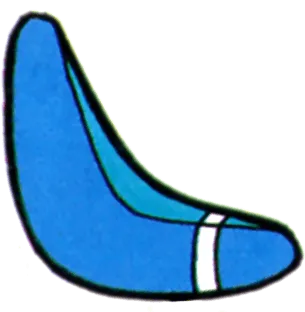 Magical Boomerang | 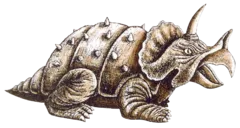 Dodongo |
| 3 | The Manji | E8, three screens west of the start | Nothing | 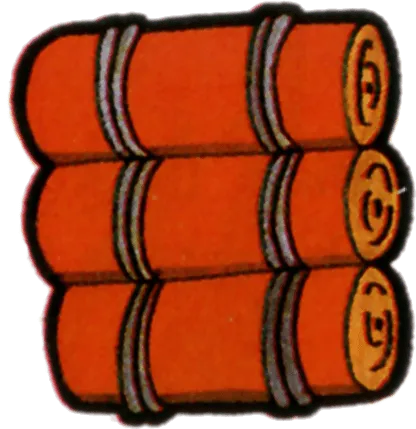 Raft | 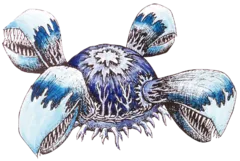 Manhandla |
| 4 | The Snake | F5, island in the lake; launch the Raft from the dock at F6 | Raft | 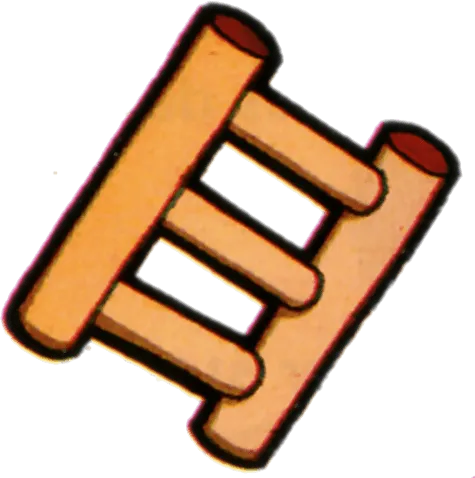 Stepladder |  Gleeok (2 heads) |
| 5 | The Lizard | L1, top of the Lost Hills (climb north four times from L2) | Nothing | 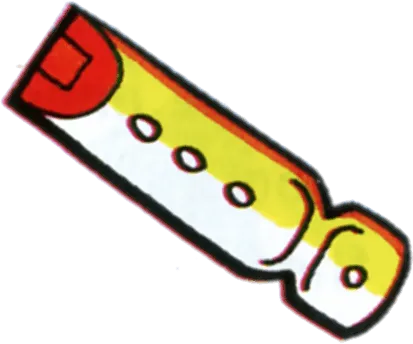 Recorder | 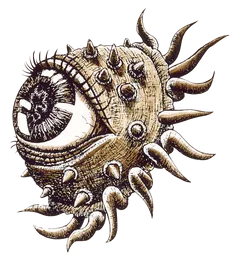 Digdogger |
| 6 | The Dragon | C3, on the graveyard screen | Nothing |  Magical Rod | 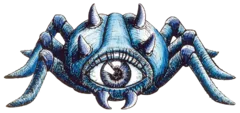 Gohma |
| 7 | The Demon | C5, the lake with no fairy | Recorder | 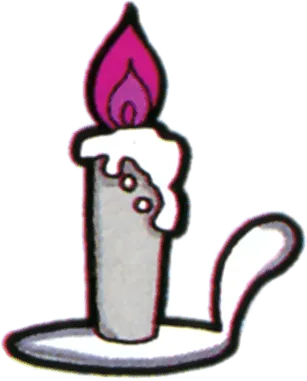 Red Candle | Aquamentus |
| 8 | The Lion | N7, lone bush in the forest | Candle to burn it | Book of Magic, Magical Key | Gleeok (4 heads) |
| 9 | Death Mountain | F1, Spectacle Rock | Bomb the south side of the left rock, and all eight Triforce pieces | Silver Arrow, Red Ring |  Ganon |
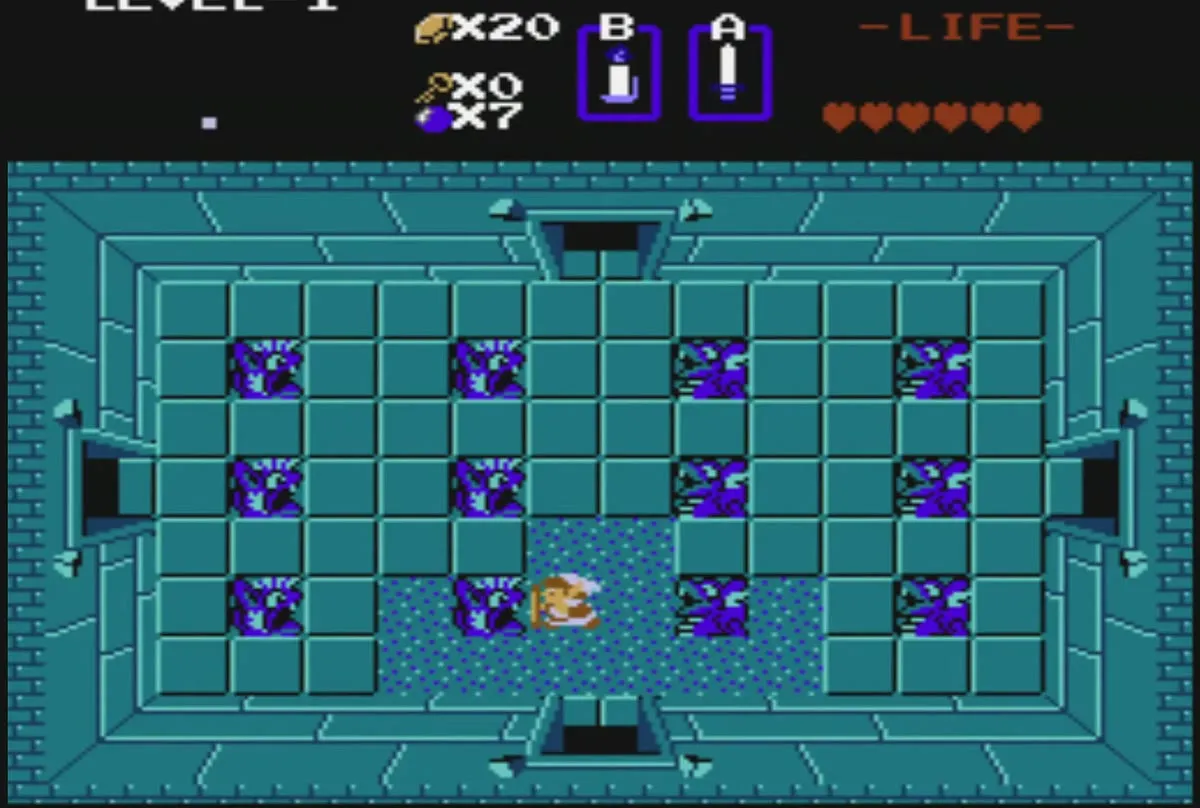
Each dungeon map is built from rooms linked by doors, so start at the entrance and work through the rooms. Locked doors need small keys, and walls that look flat may hide a bombable passage. The dungeon chapters in the walkthrough list the rooms in the order you need them.
Secret passages and shortcuts
Several hidden exits from the overworld connect to one another through the secret passages. You open a passage by moving a rock with the Power Bracelet. The four passage exits sit at N2, J5, J8 and D3, so a single bracelet lets you move between those corners of the map quickly.
Second Quest dungeon maps
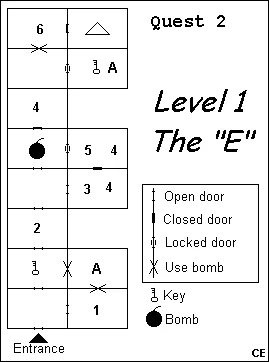
Second Quest Level 1 dungeon map
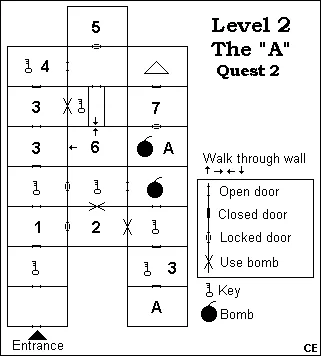
Second Quest Level 2 dungeon map
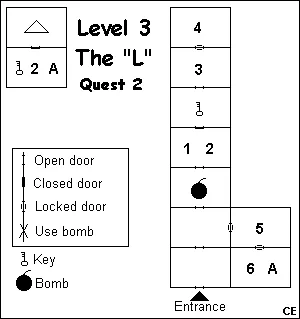
Second Quest Level 3 dungeon map
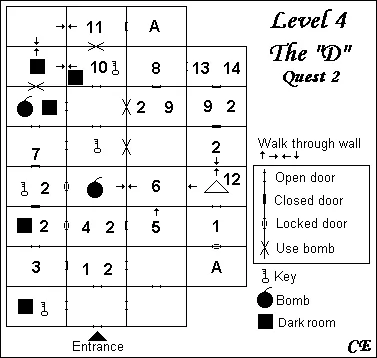
Second Quest Level 4 dungeon map
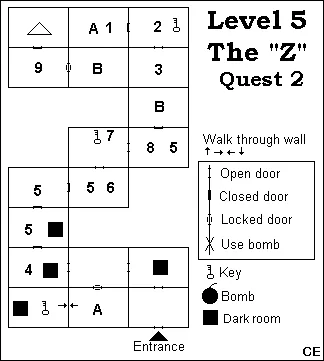
Second Quest Level 5 dungeon map
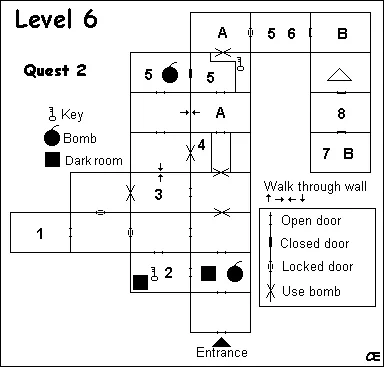
Second Quest Level 6 dungeon map
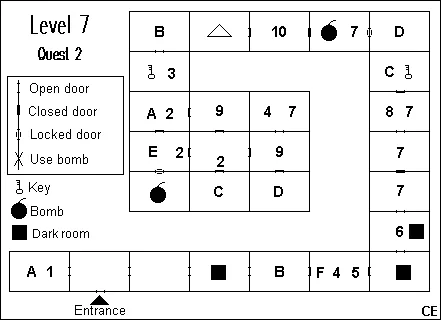
Second Quest Level 7 dungeon map
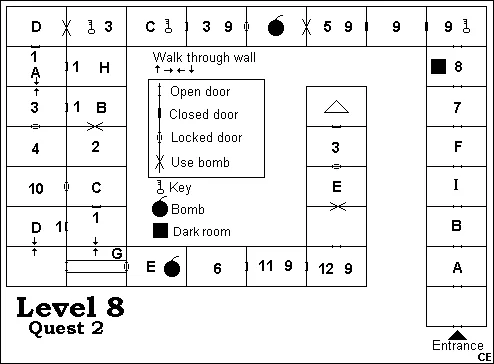
Second Quest Level 8 dungeon map
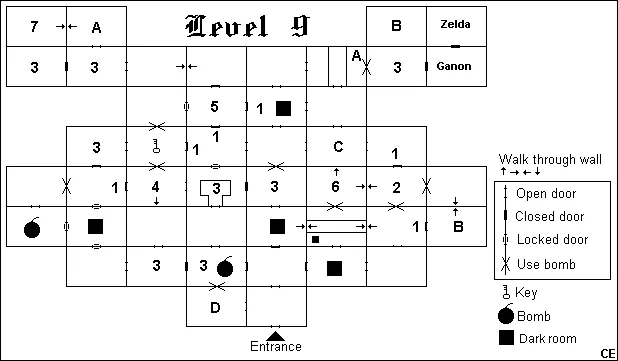
Second Quest Level 9 dungeon map
