| Size | 16 by 16 screens, squares A to P across and 1 to 16 down, with the Wind Fish’s Egg in the far north |
|---|---|
| Regions | 18 named areas, listed below from southwest to northeast |
| Dungeons | 8 main dungeons, the Color Dungeon (Game Boy Color only) and the Wind Fish’s Egg |
| Warp holes | 4 on the overworld, plus the warp pad that appears in each dungeon after its mini-boss |
| Version | Link’s Awakening DX; the original Game Boy island is the same apart from the Color Dungeon and the Camera Shop |
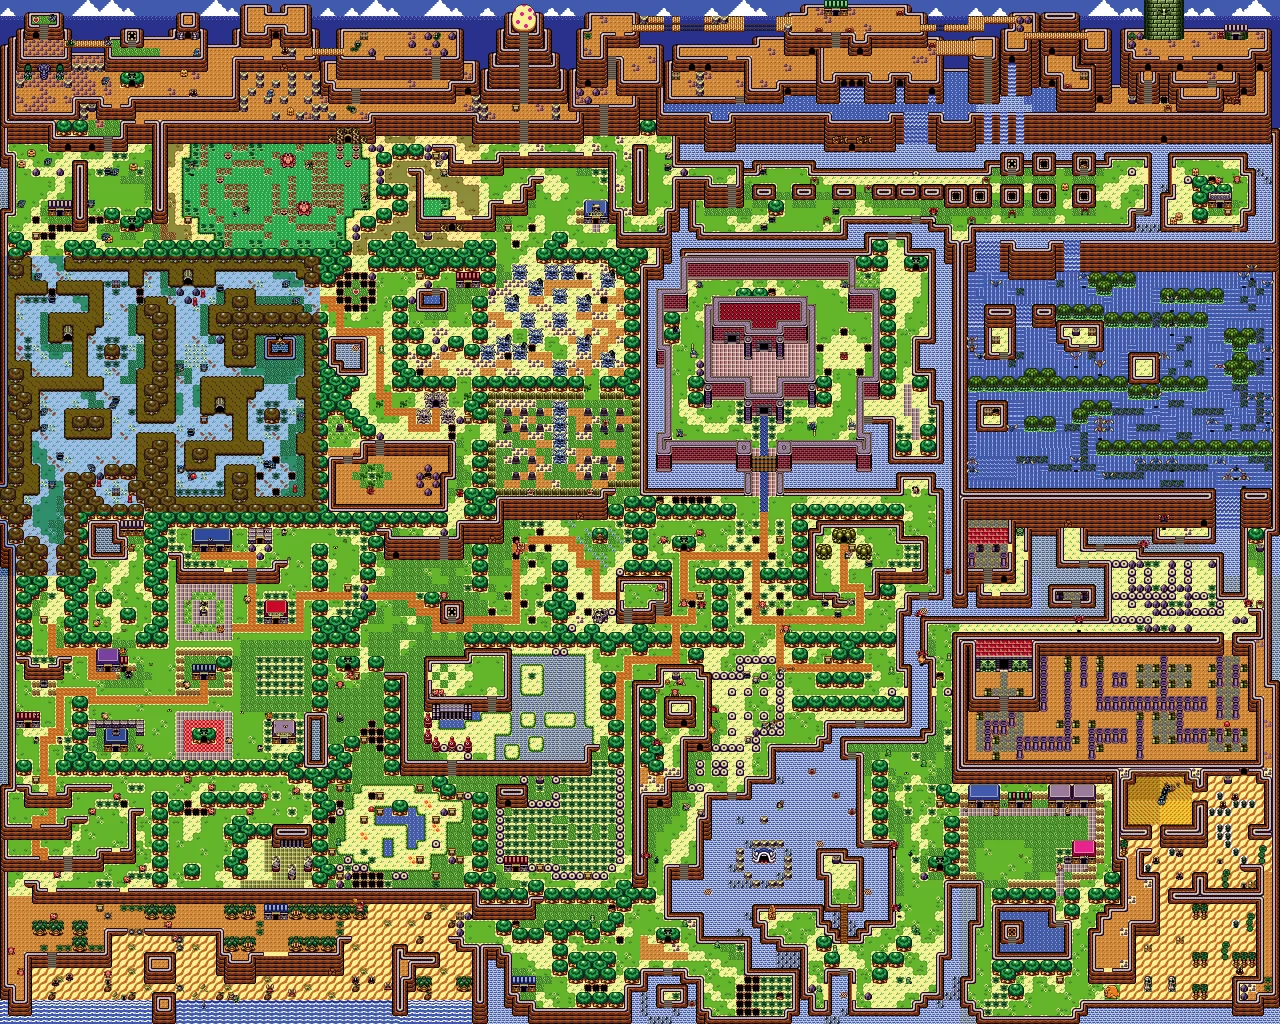
Koholint Island is a single connected map made of 16 by 16 screens, and almost every screen hides something. The Wind Fish’s Egg sits at the top of the northern mountains, the villages and beaches fill the southwest and south, the desert and Animal Village sit in the southeast, and the big green Ukuku Prairie fills the middle. Use the world map below to place yourself, then the region list to see what each area holds and the dungeon table to find every entrance.

Table of Contents
World Map
The map shows the island from the shores in the south to the mountain peaks in the north. Kanalet Castle is the big walled building in the middle, the sea inlet of Martha’s Bay is on the south coast, and the Tal Tal Mountain Range runs along the top.
Regions of Koholint
Regions are listed from the southwest, where the adventure starts, toward the northeast.
| # | Region | Position | What is there |
|---|---|---|---|
| 1 | Toronbo Shores | Southwest beach | Where Link washes up, the Goriya, Sale’s house |
| 2 | Mabe Village | Southwest | Marin and Tarin’s house, shops, library, Dream Shrine |
| 3 | South of the Village | Between Mabe Village and the beach | Tail Cave entrance |
| 4 | Mysterious Forest | West | The Tail Key |
| 5 | Goponga Swamp | Northwest, at the foot of the mountains | Bottle Grotto, Camera Shop |
| 6 | Koholint Prairie | West of the center | Witch’s Hut, Crazy Tracy’s, Manbo’s Pond |
| 7 | Ukuku Prairie | Center | Key Cavern, Richard’s Villa |
| 8 | Cemetery | East of the Witch’s Hut | Graves, Zombies, the Color Dungeon |
| 9 | Tal Tal Heights | North of the center | Angler’s Tunnel entrance, a warp hole |
| 10 | Kanalet Castle | Center | Golden Leaves |
| 11 | Martha’s Bay | South coast | Catfish’s Maw |
| 12 | Animal Village | Southeast | Chef Bear, Christine and the other animals |
| 13 | East of the Bay | South coast, east of the bay | The Walrus and a warp hole |
| 14 | Yarna Desert | Southeast | The Angler Key |
| 15 | Ancient Ruins and Face Shrine | East | Armos Knight, Face Shrine |
| 16 | Tal Tal Mountain Range | North | Eagle’s Tower, Turtle Rock |
| 17 | Mt. Tamaranch | Far north | The Wind Fish’s Egg |
| 18 | Signpost Maze | South of Ukuku Prairie | A set of signposts and Mamu’s cave |
Toronbo Shores
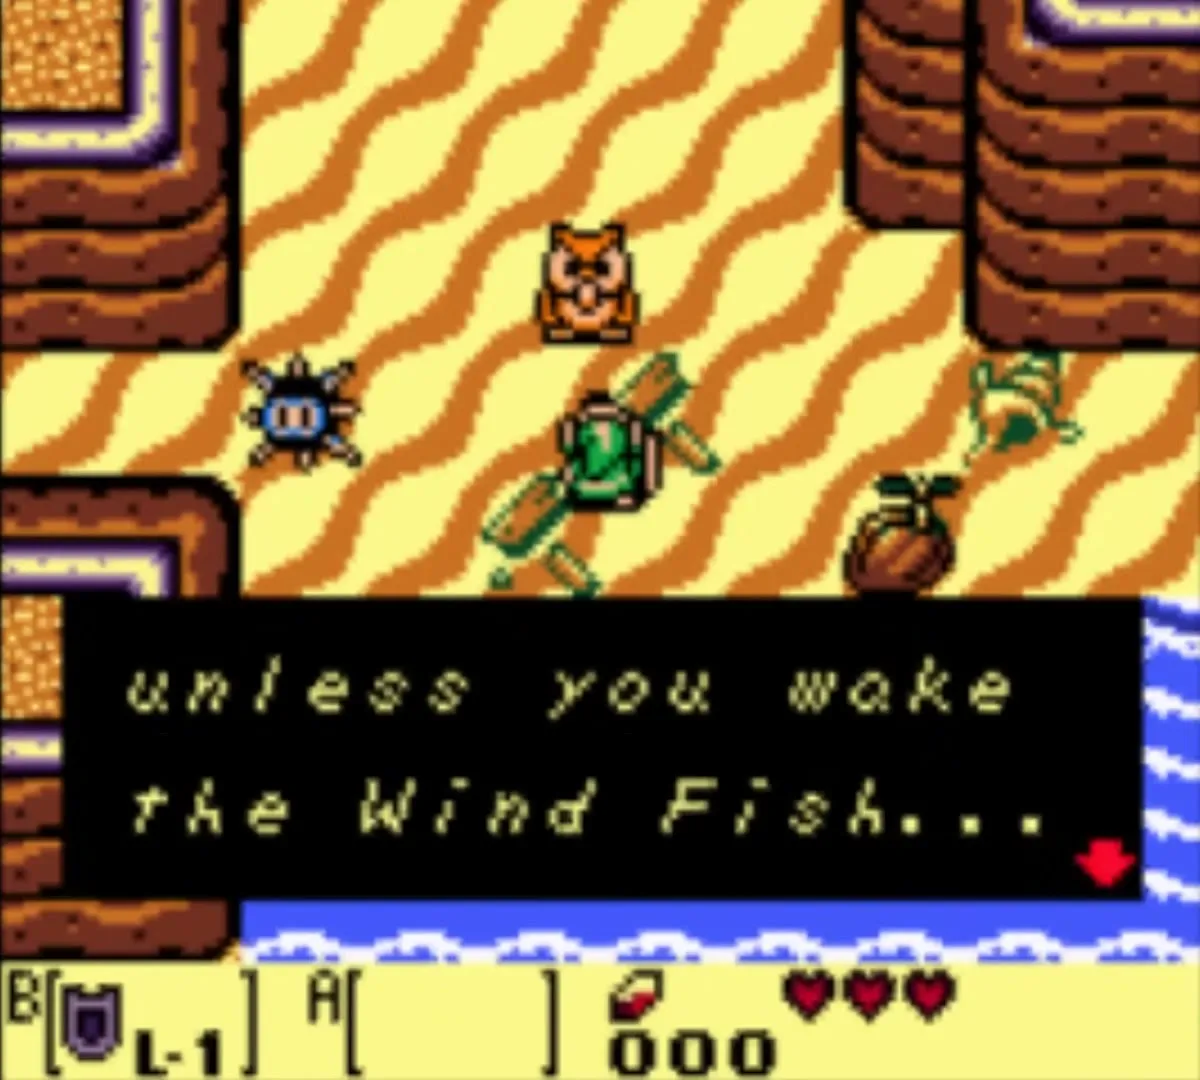
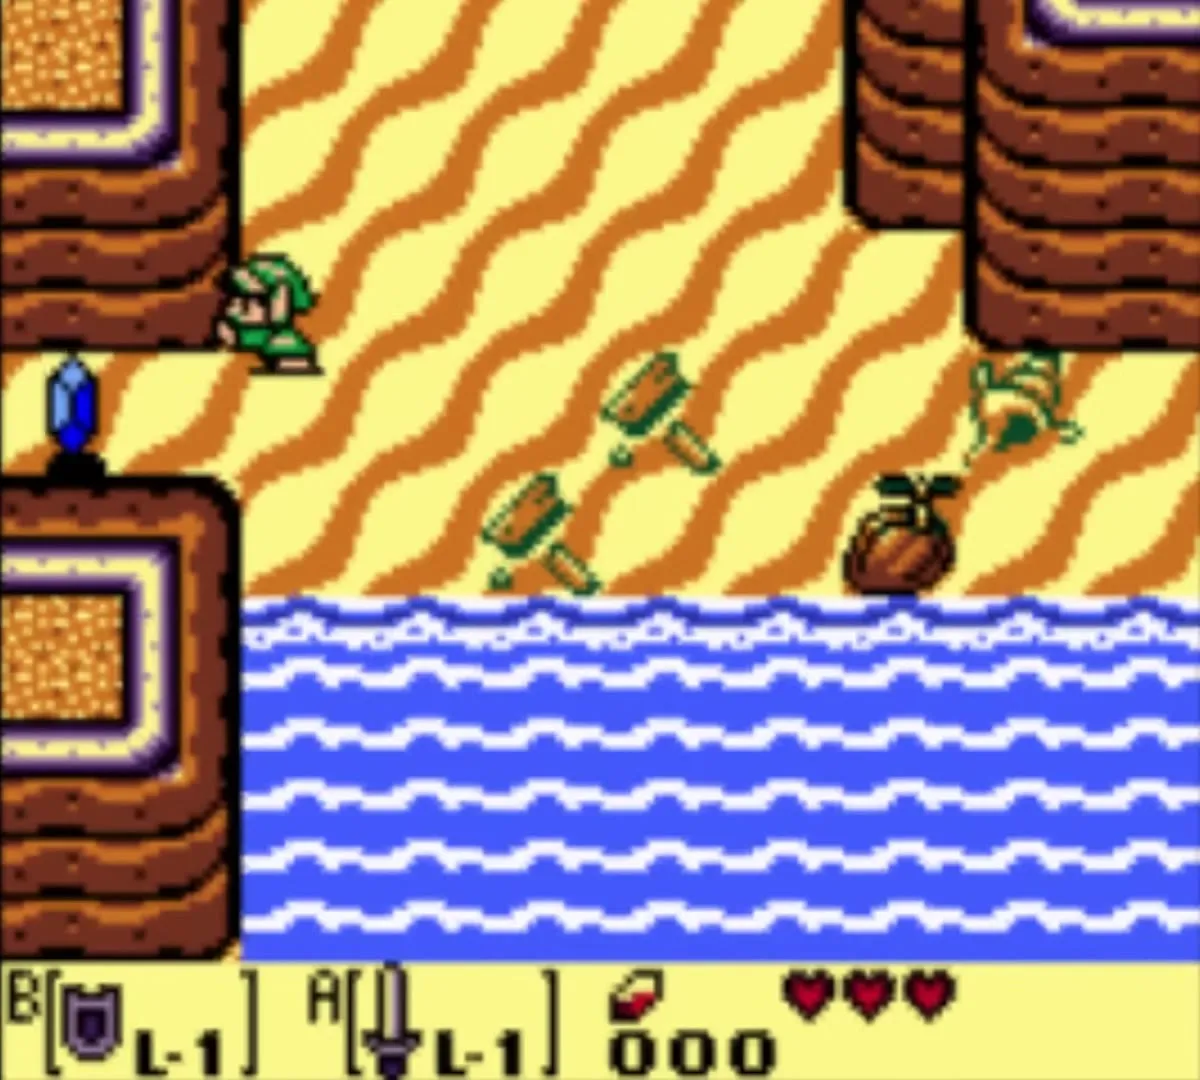
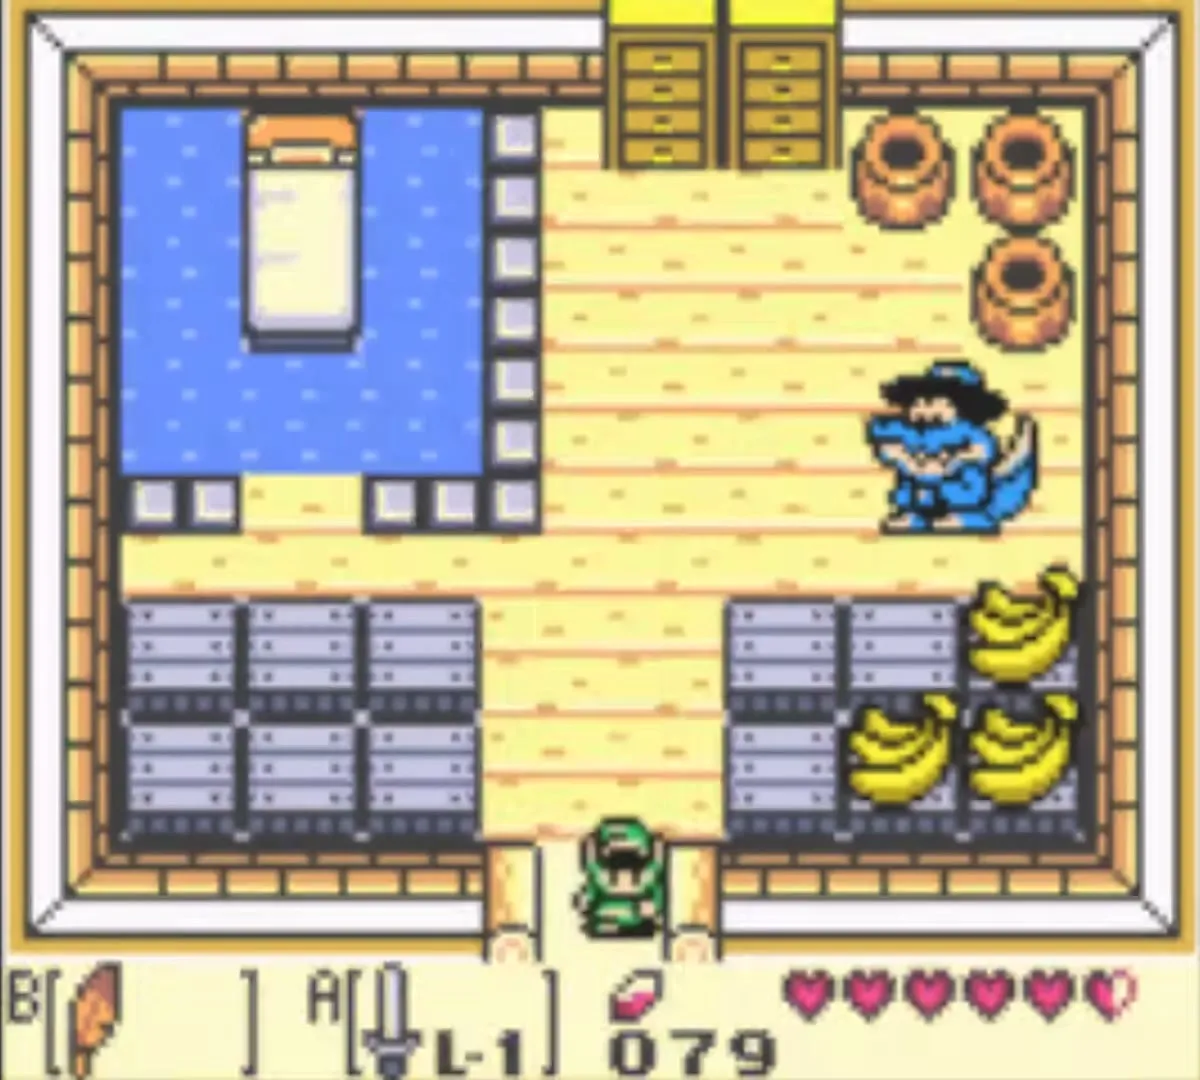
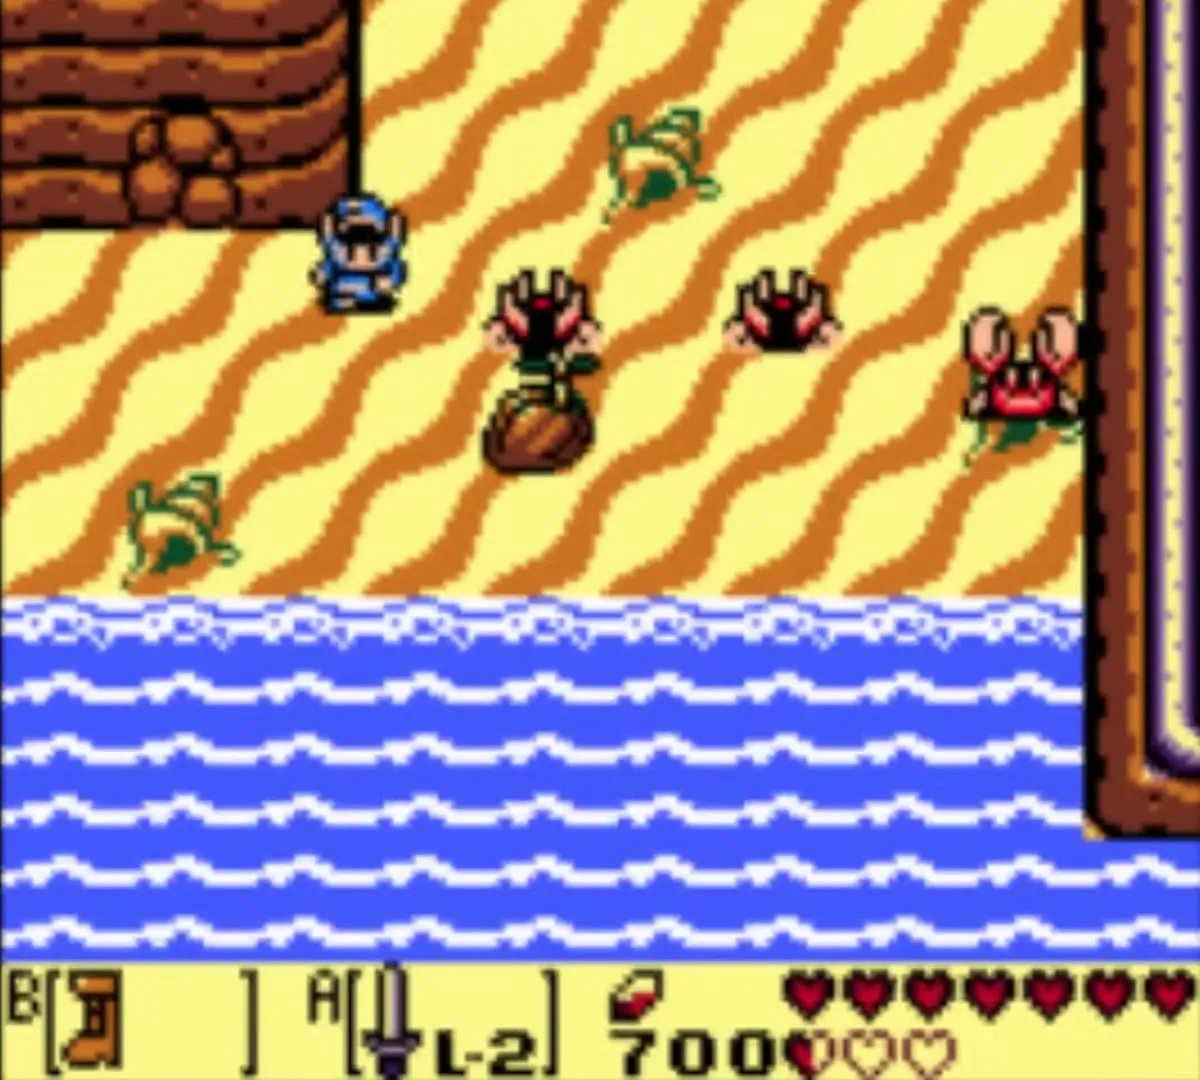
This beach fills the southwest corner of the island and is where you wake up and find your sword. Octoroks, Leevers, Sand Crabs and Sea Urchins roam it. The Item Trader Goriya and the banana-selling crocodile Sale are here too, and the trading sequence sends you back often.
Mabe Village
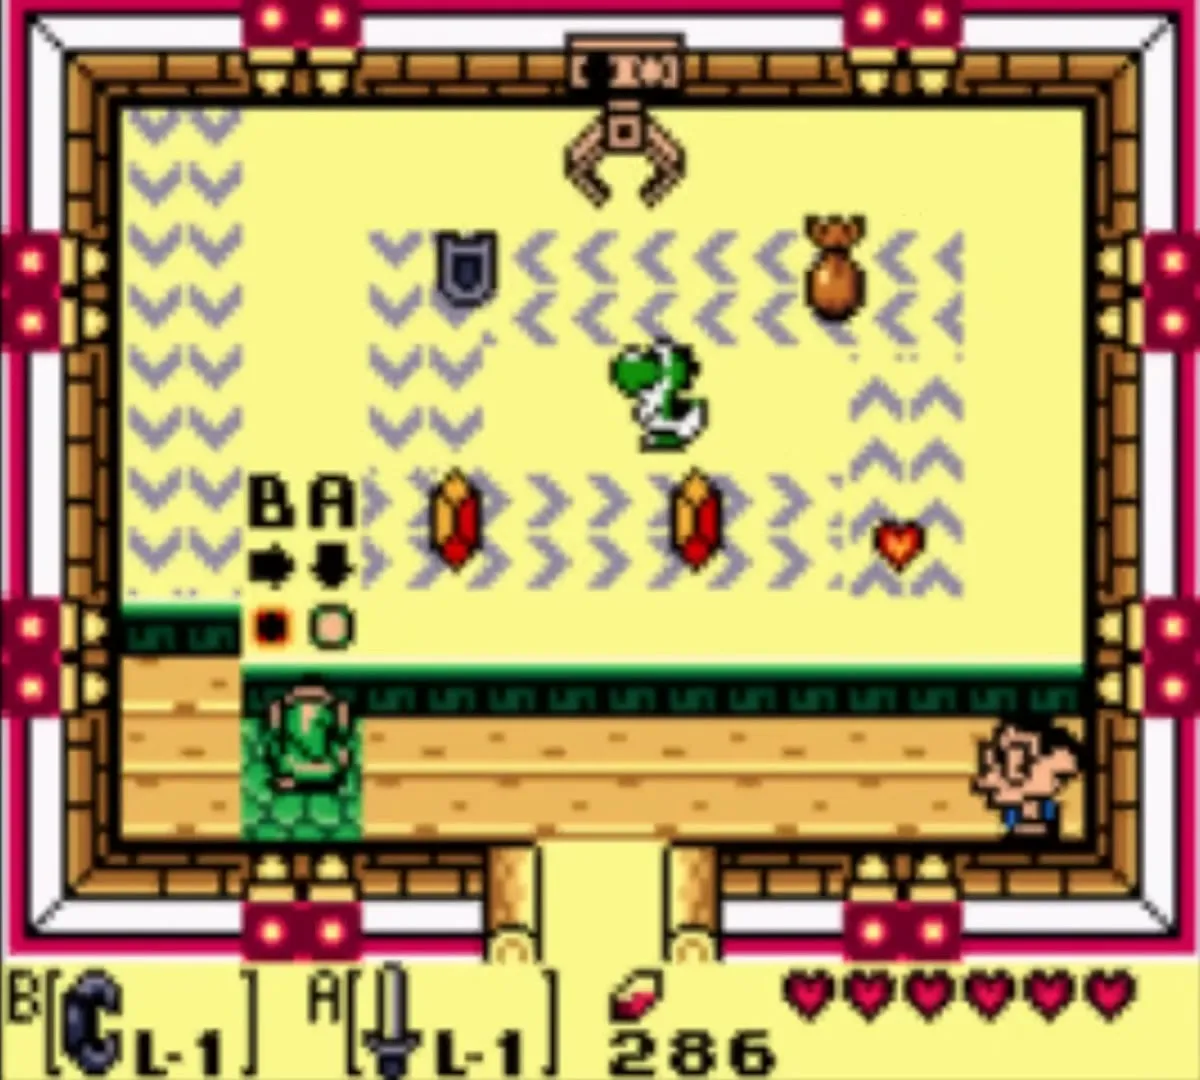
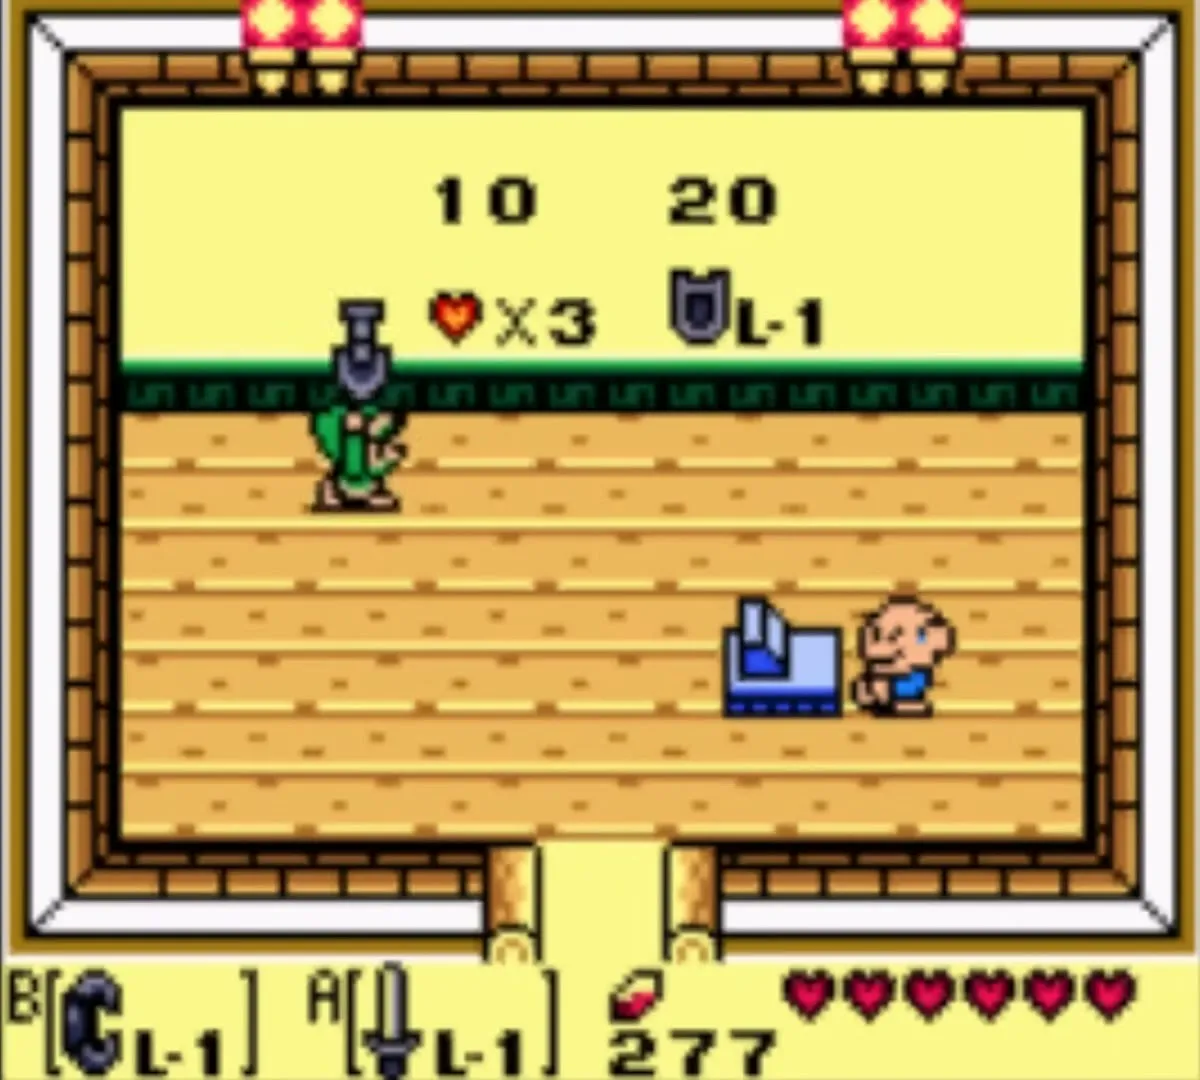
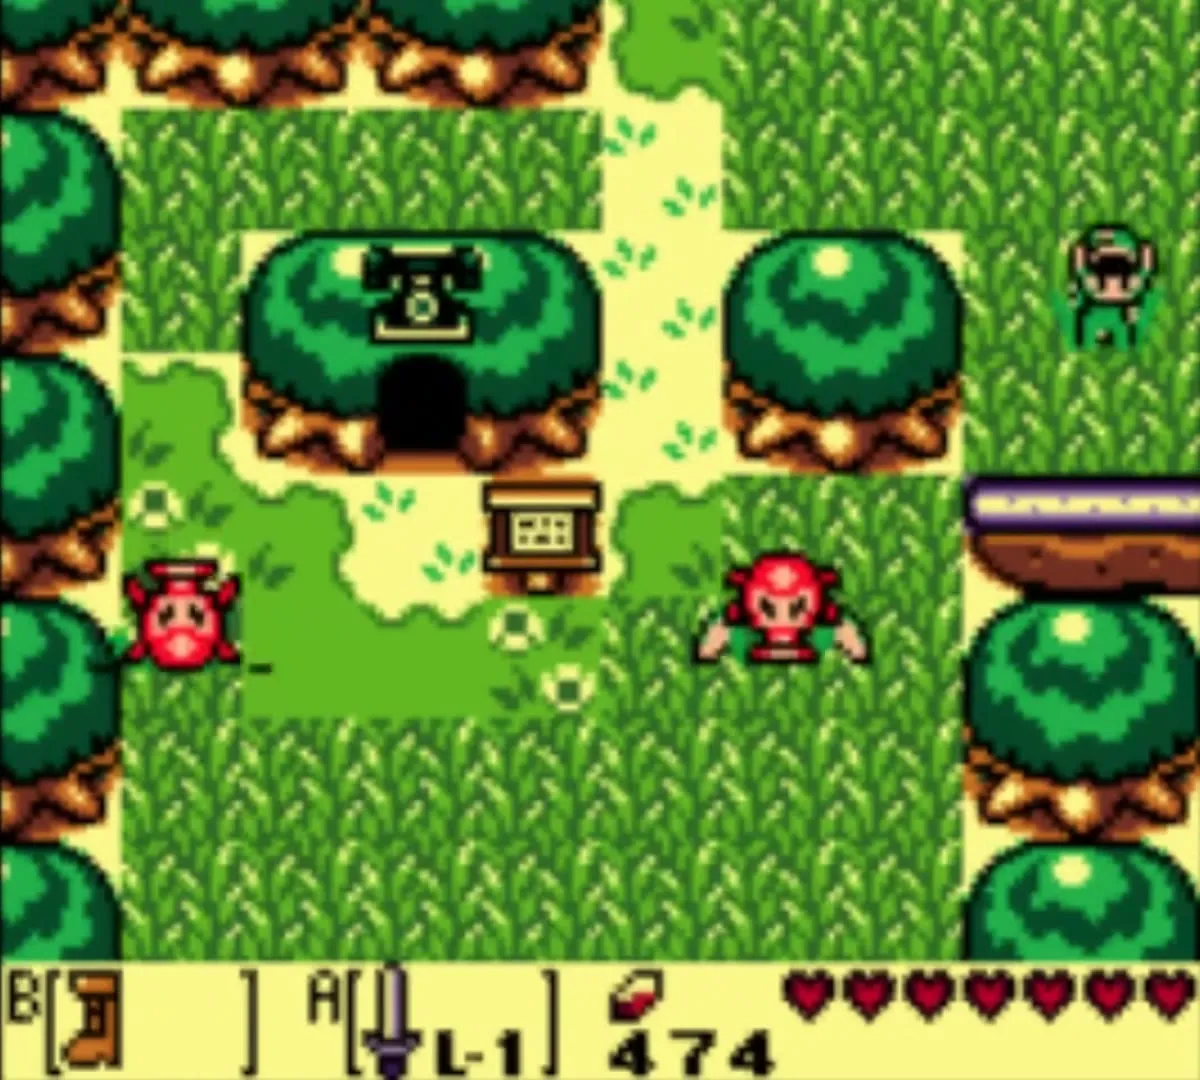
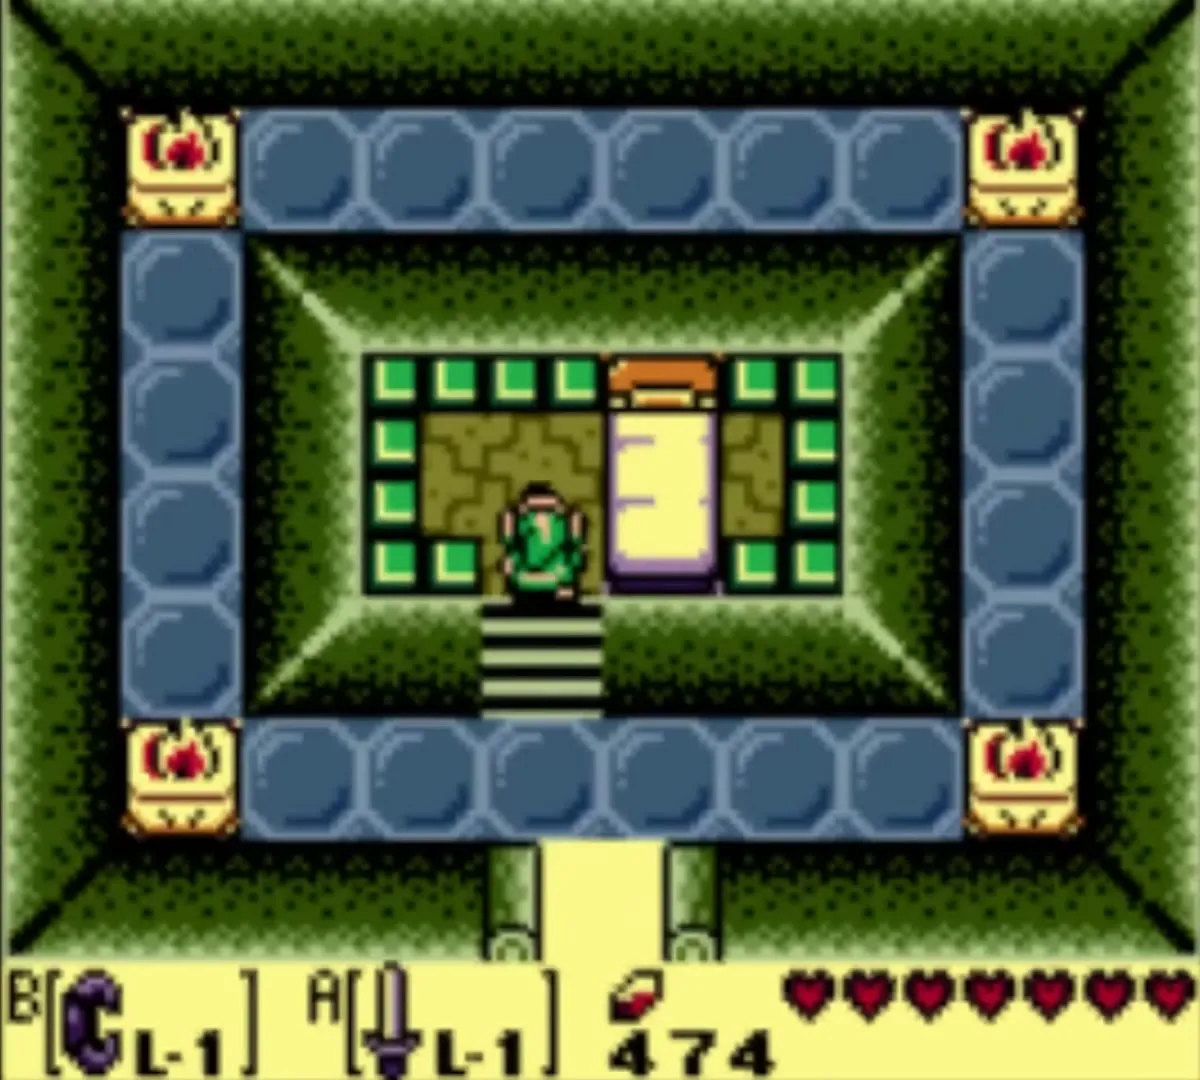
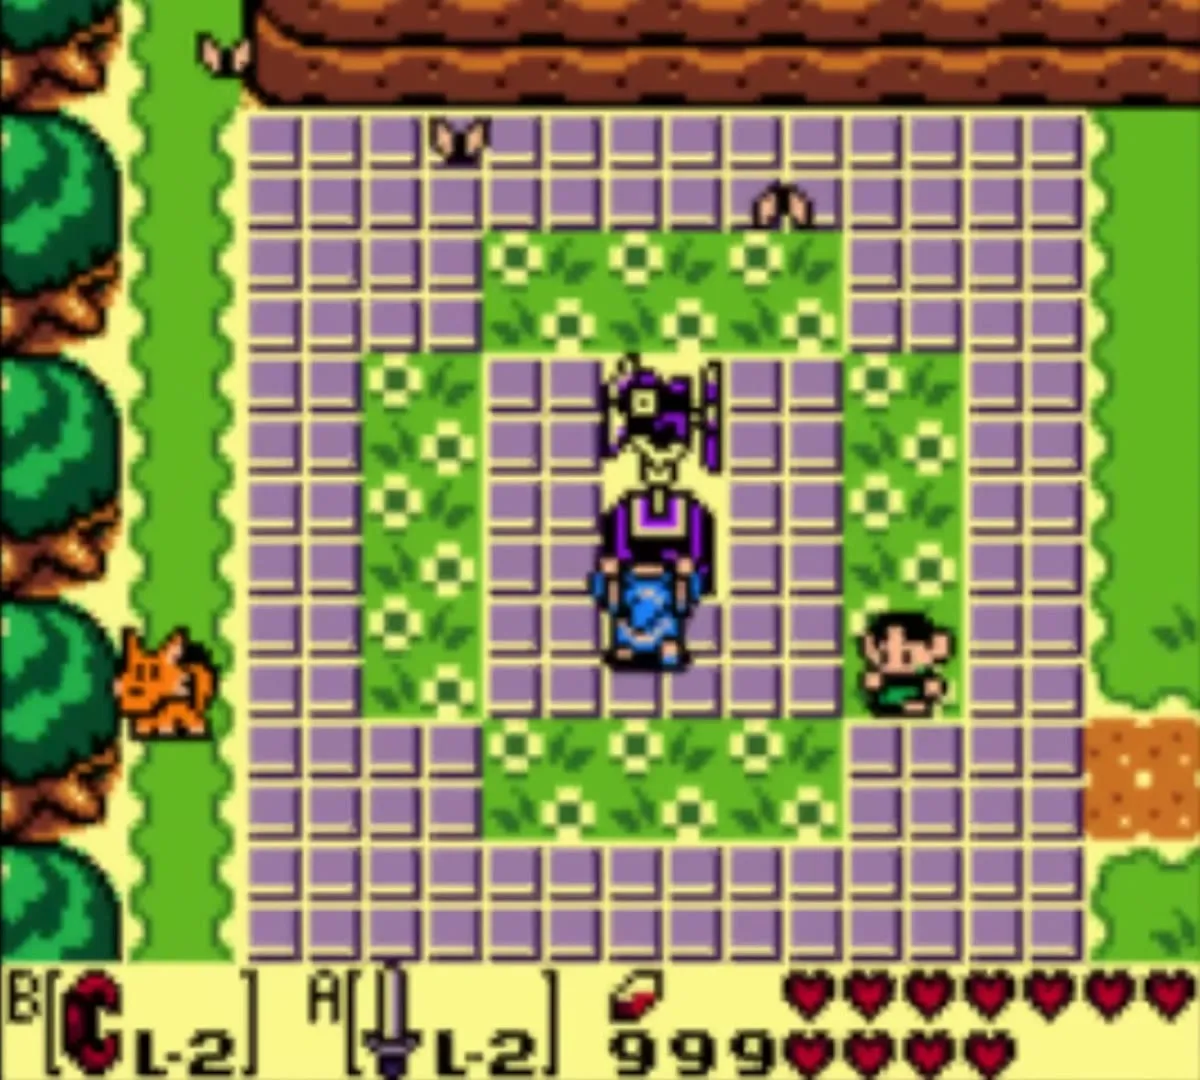
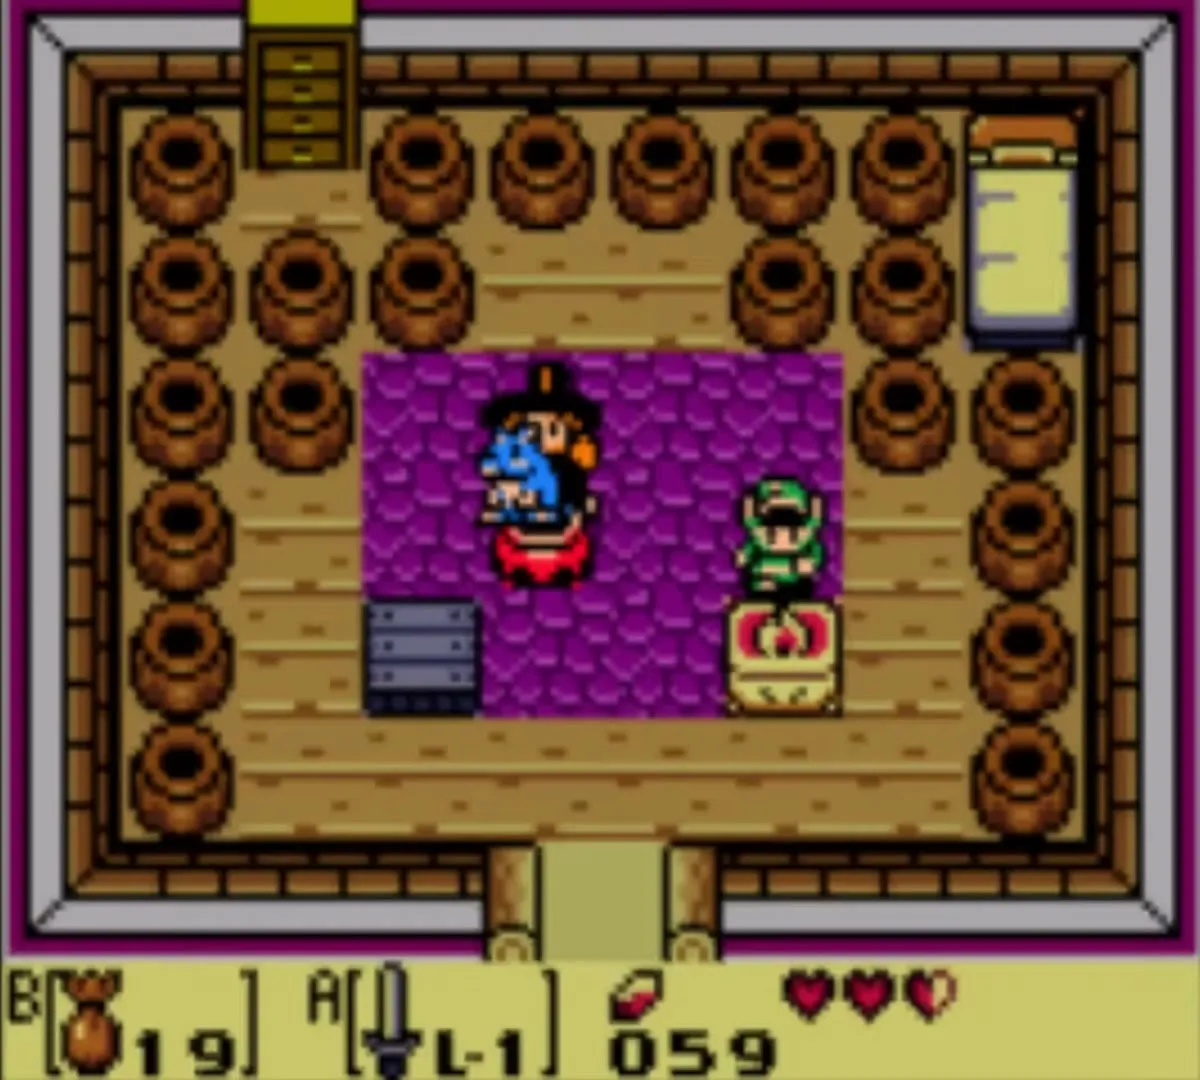
The starting village sits north of the beach. Marin and Tarin’s house, Madam MeowMeow’s house, Grandpa Ulrira’s house, the Town Tool Shop, the Trendy Game, the library, the Dream Shrine and the weathercock are all here. A telephone booth next to the village lets you call for hints.
South of the Village
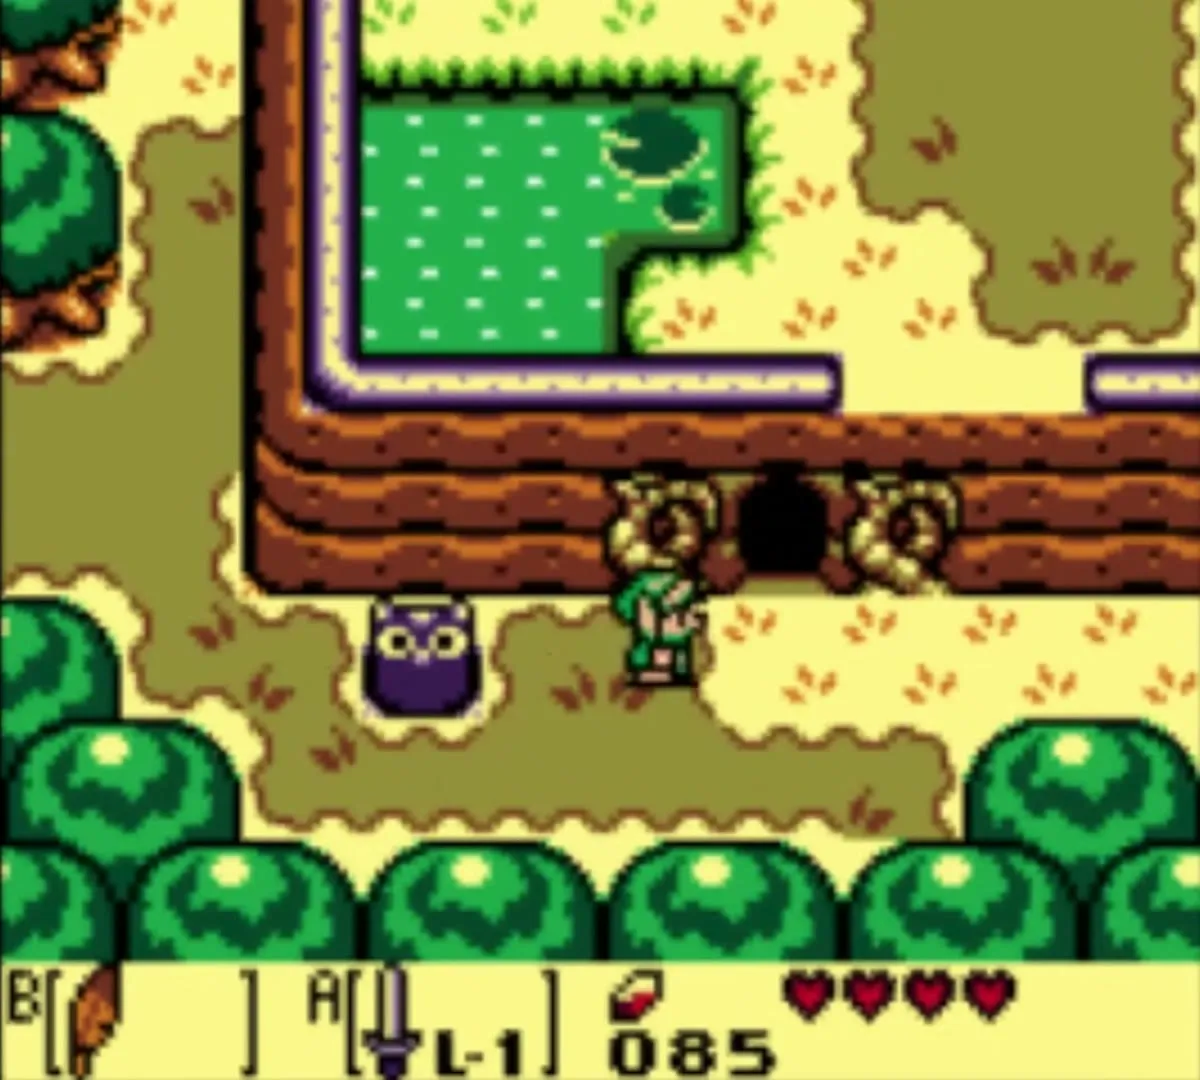
A short strip of land south of Mabe Village and north of the beach holds the gate of Tail Cave, which needs the Tail Key from the Mysterious Forest.
Mysterious Forest
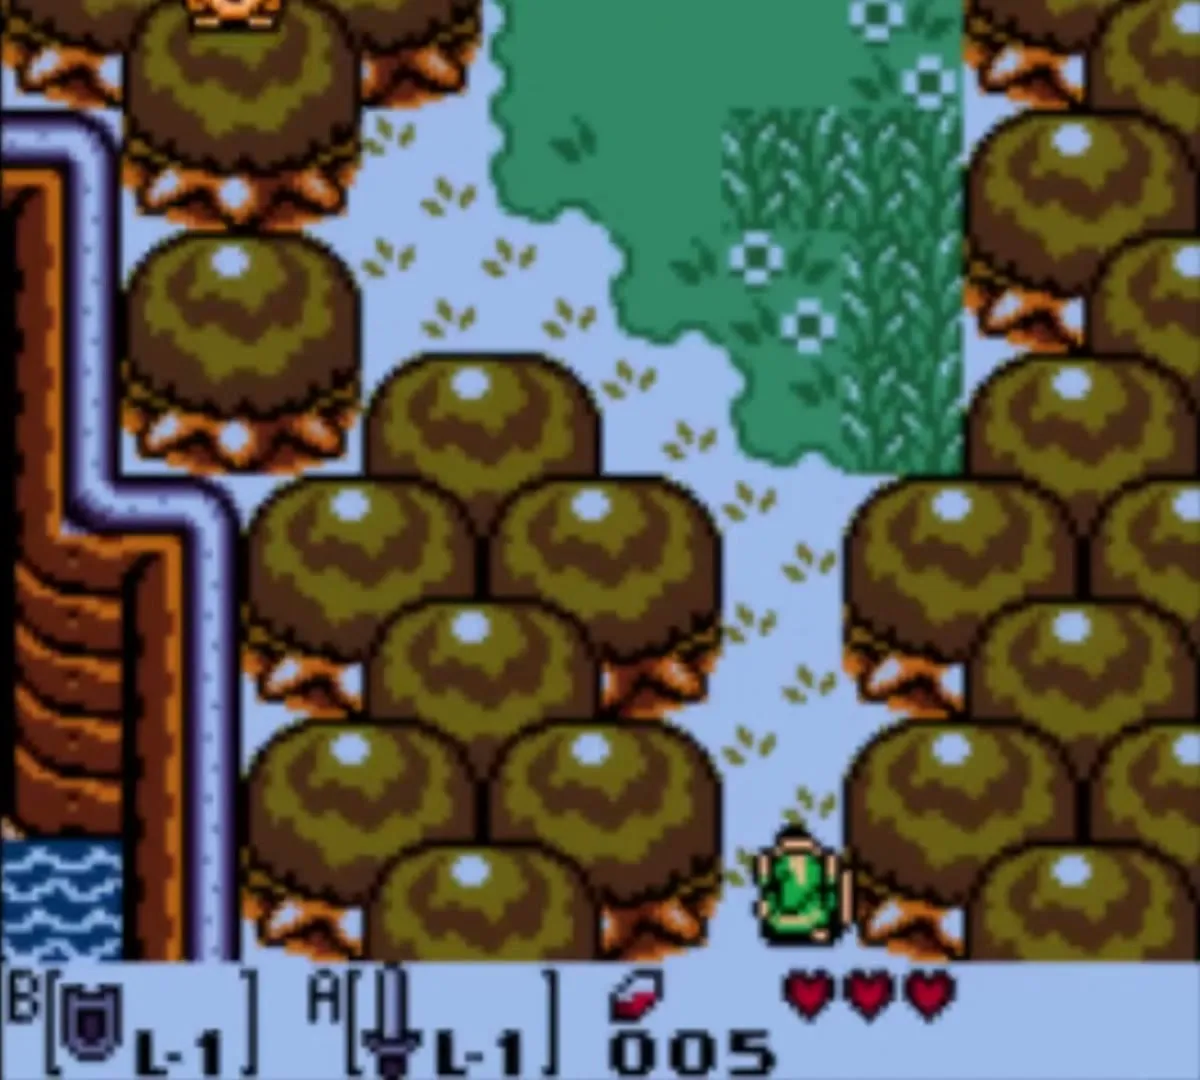
The forest covers the west side of the island and is the first place the Owl sends you. The Tail Key is in a chest in here.


Goponga Swamp
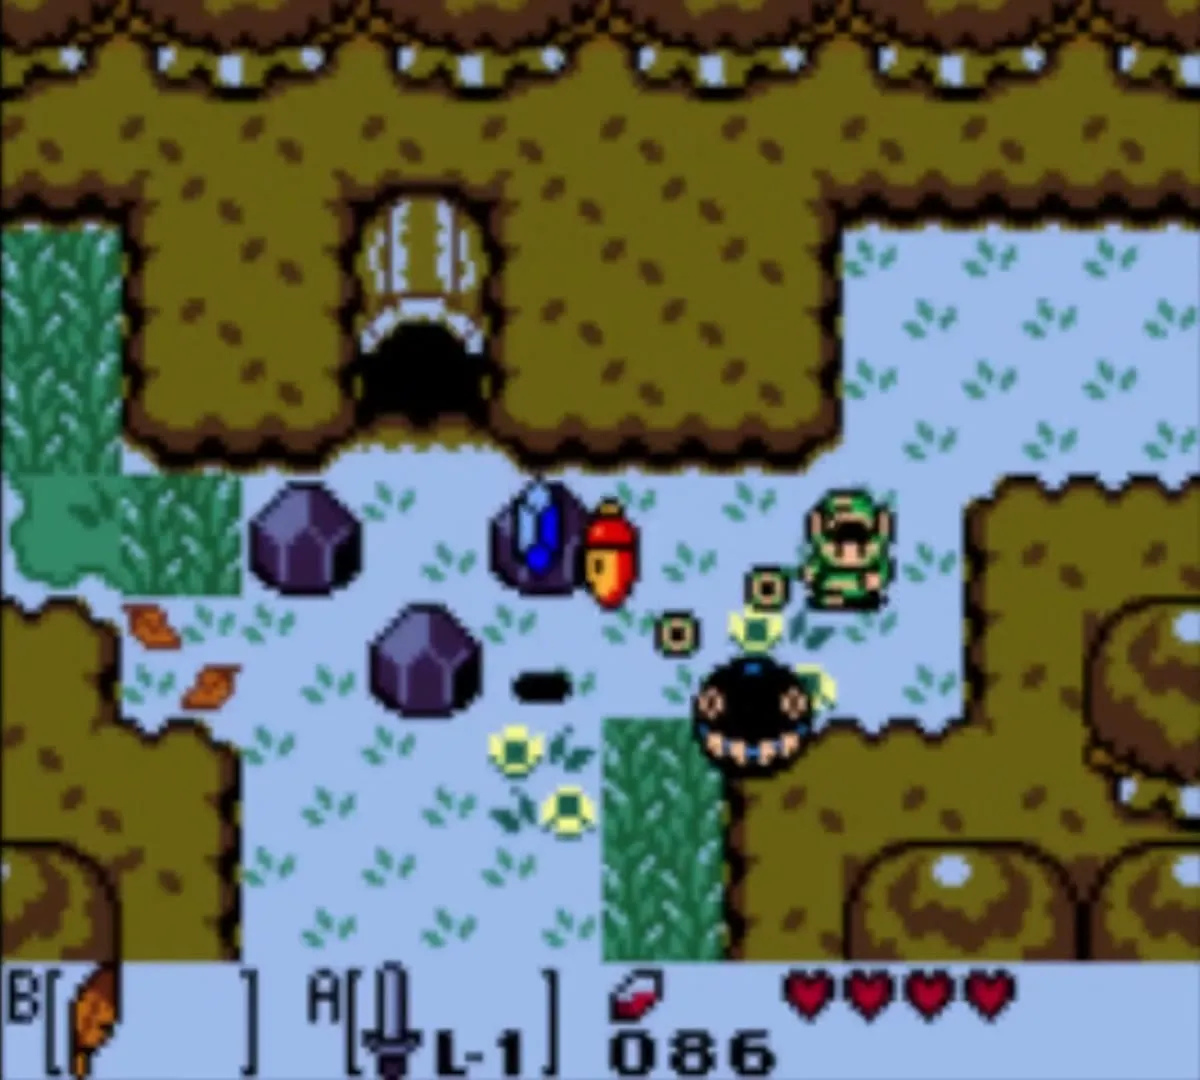
The swamp lies in the northwest at the foot of the Tal Tal Mountain Range, north of the Mysterious Forest. Goponga Flowers close the way into Bottle Grotto, and BowWow is needed to eat them. In DX the Camera Shop stands a couple of screens east of the swamp, past the Moblin Hideout.



Koholint Prairie
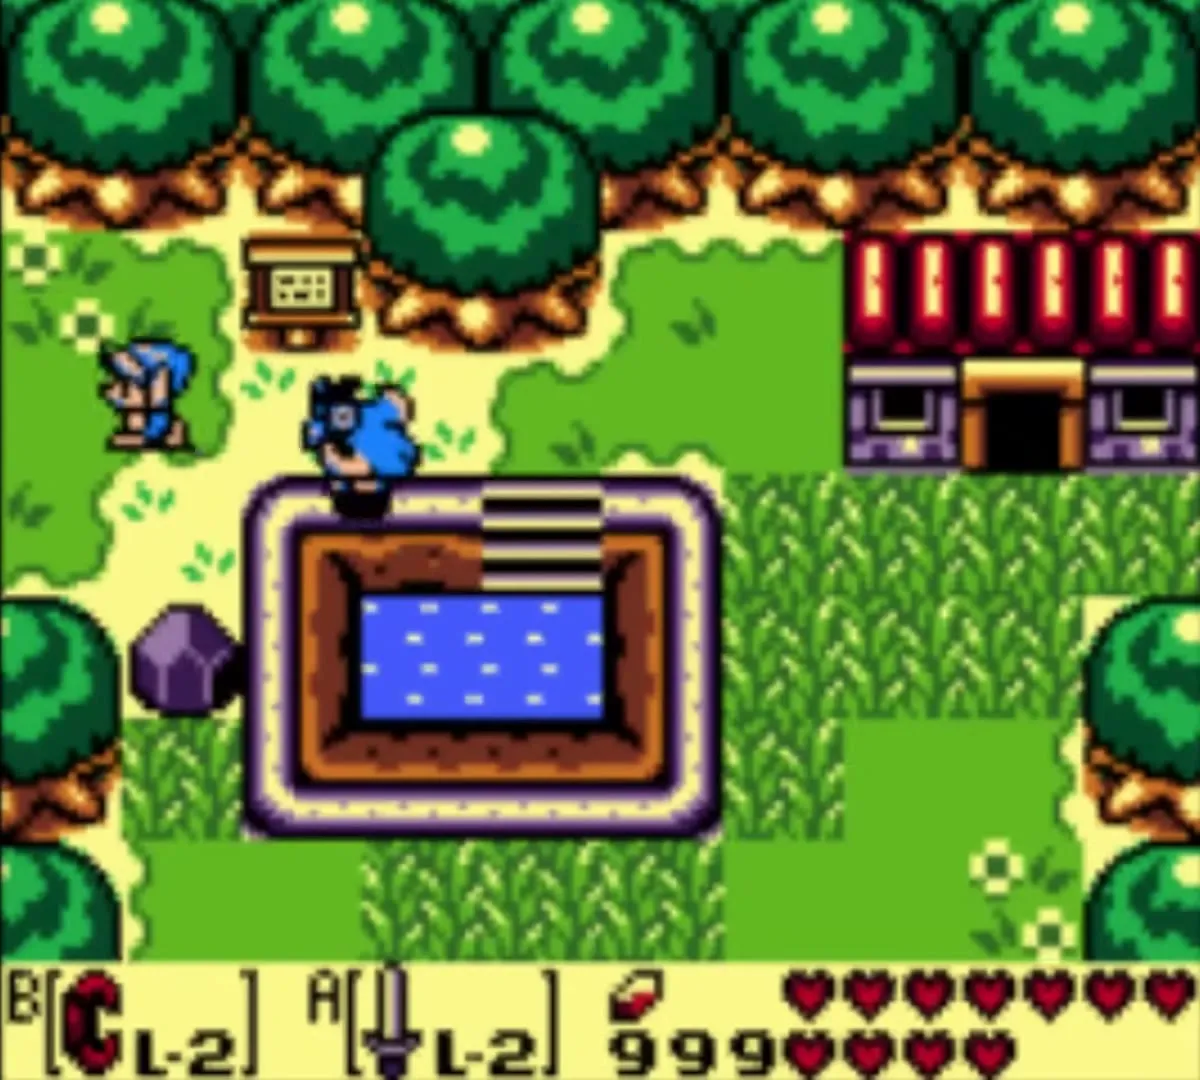
This open field lies east of the Mysterious Forest and north of Ukuku Prairie. The Witch’s Hut, Crazy Tracy’s Health Spa and Manbo’s Pond are here, and the path continues north to the graveyard.


Ukuku Prairie
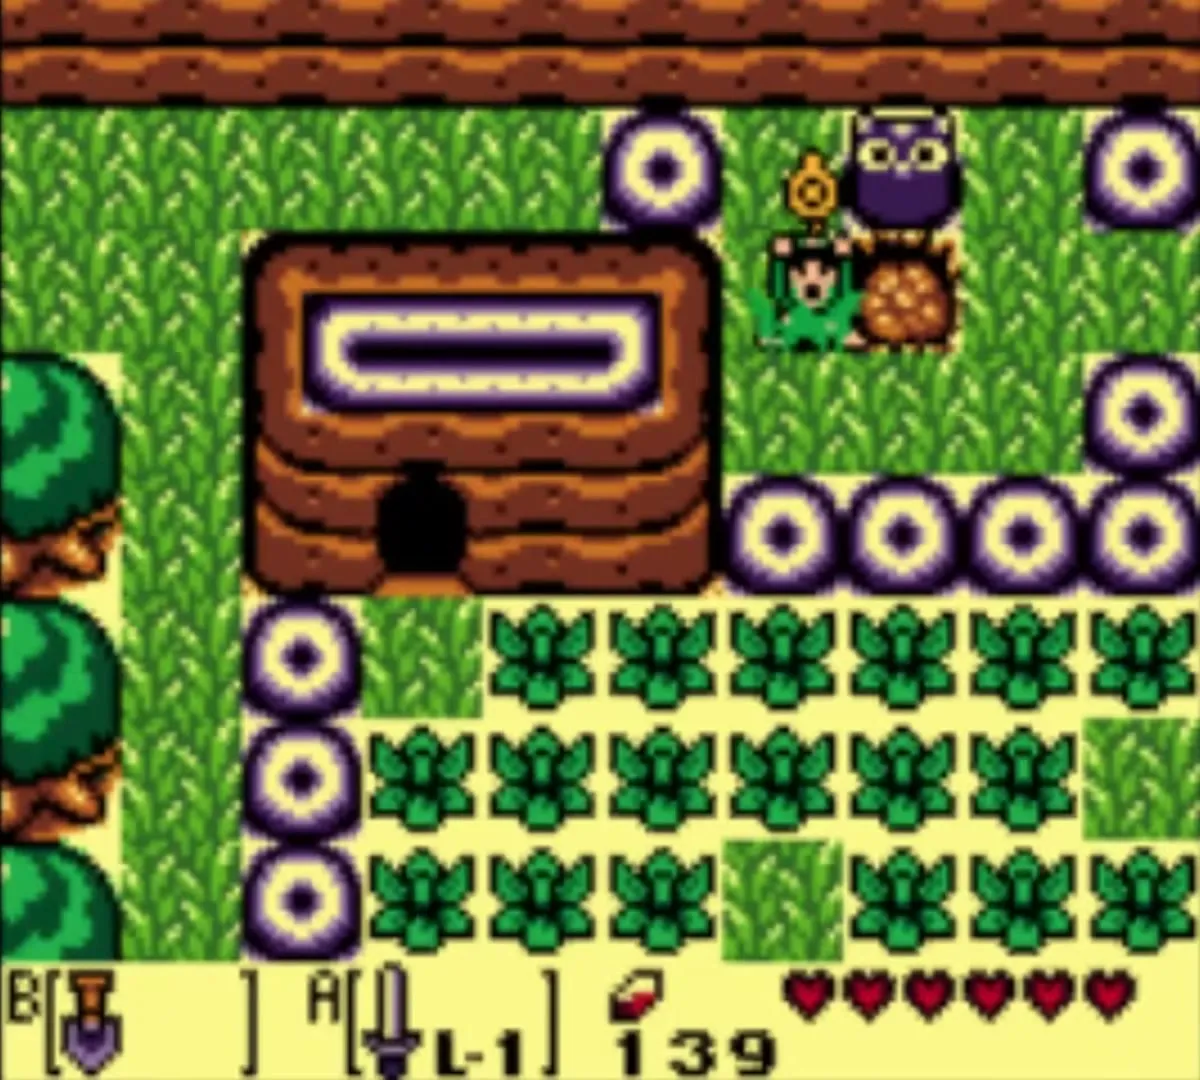
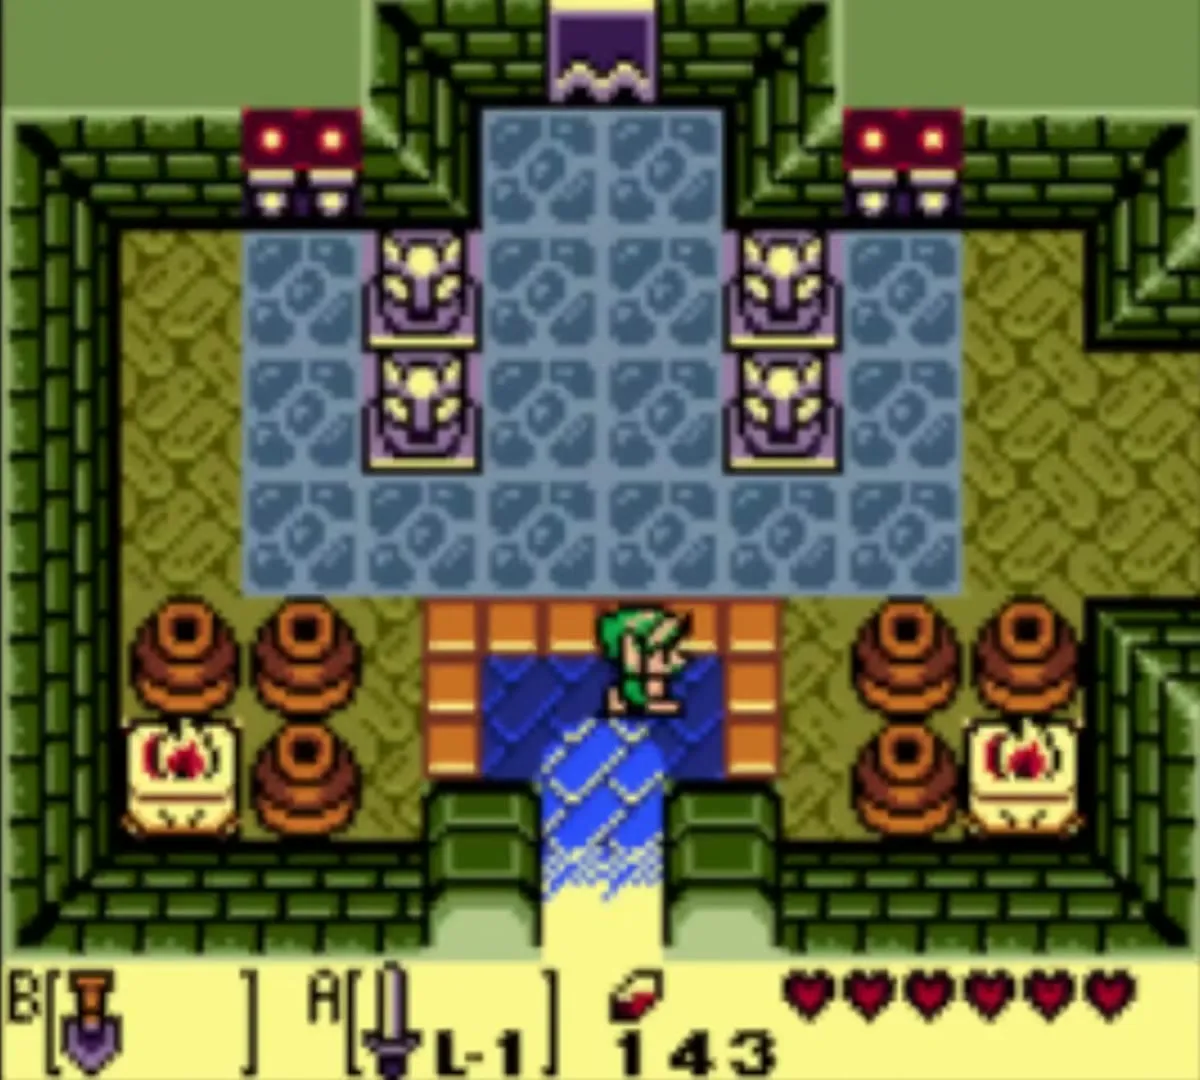
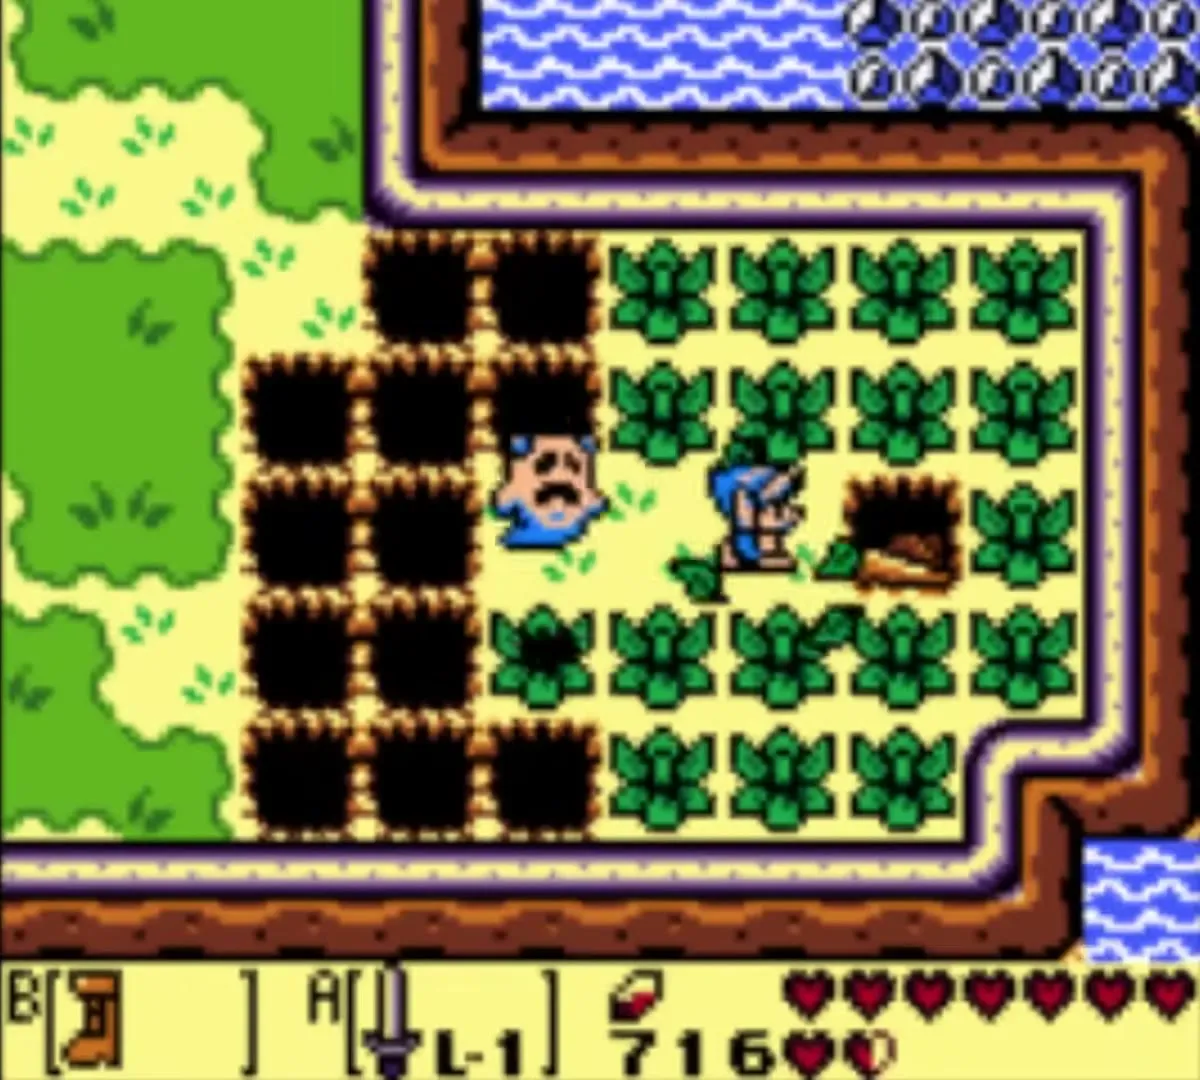
The prairie is one of the two biggest regions on the island and fills the center. Boulders block it until you finish Bottle Grotto and take the Power Bracelet. It holds the Key Cavern, Richard’s Villa and Pothole Field, and Kanalet Castle is in its middle.

Cemetery
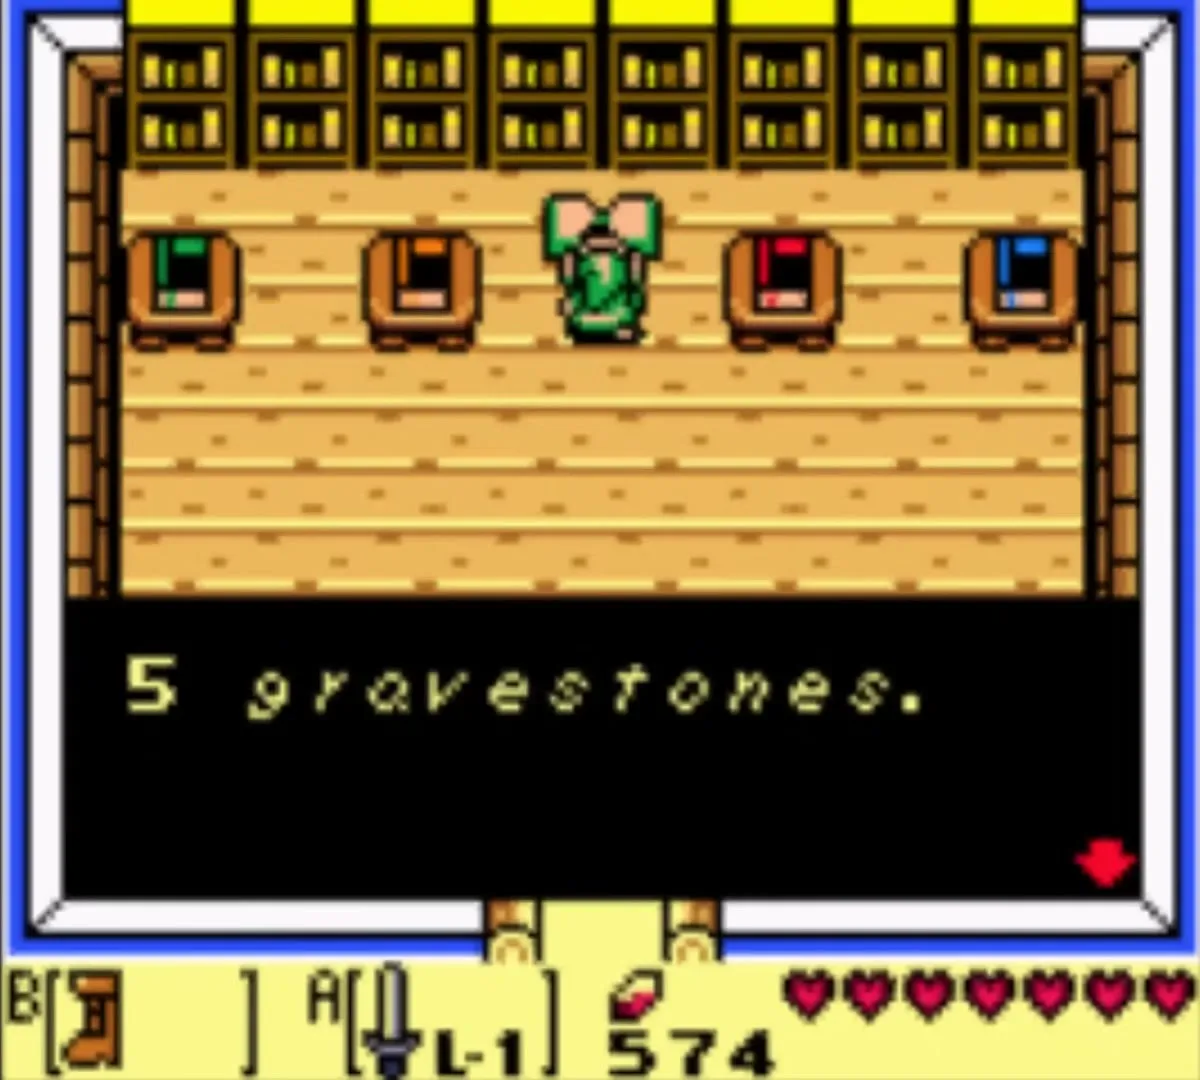
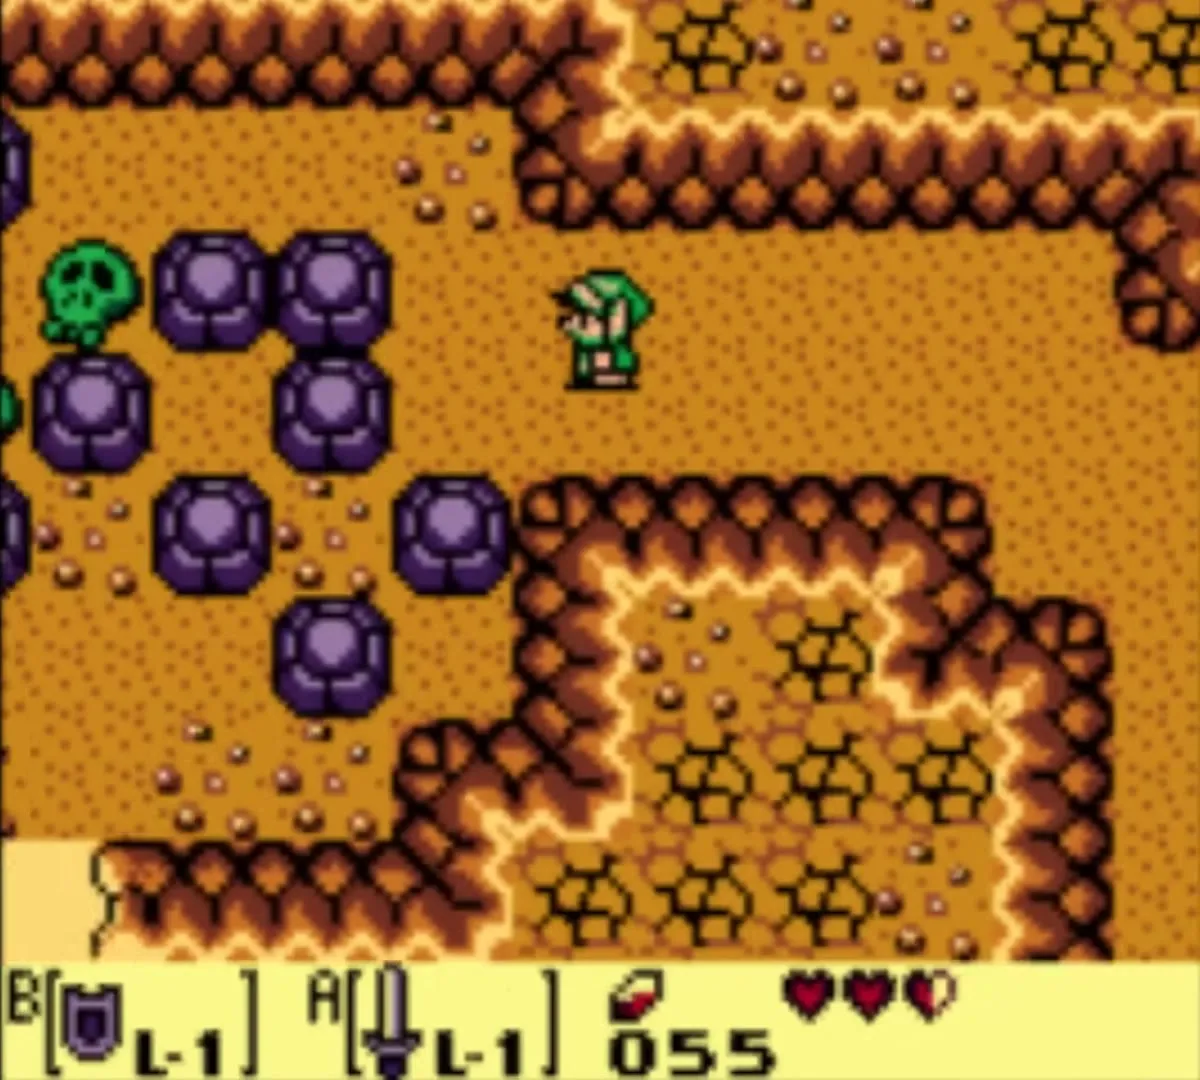
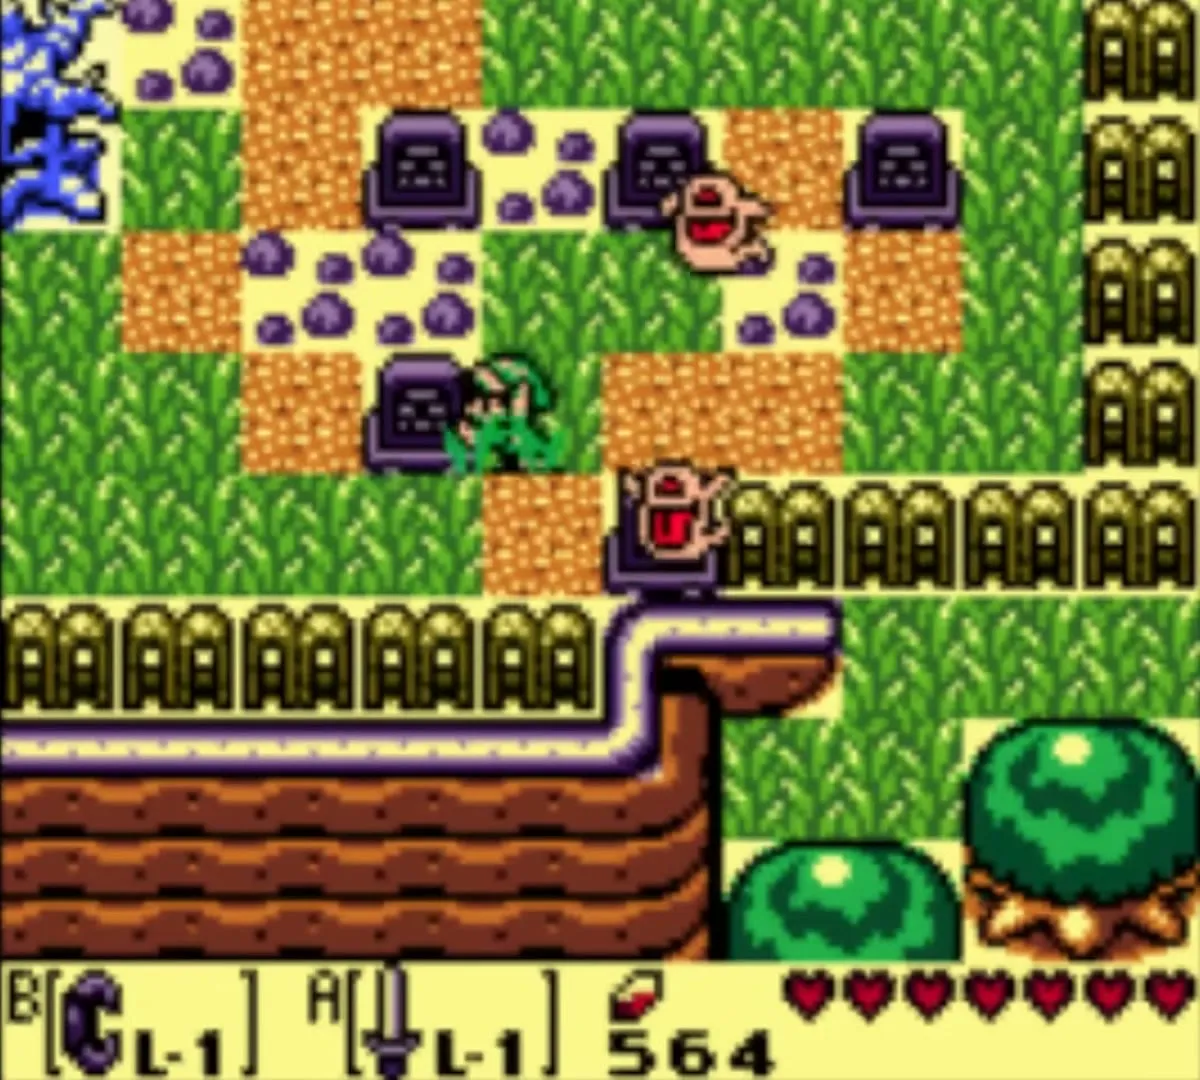
The graveyard lies east of the Witch’s Hut. Ghosts and Zombies haunt it. In Link’s Awakening DX the Color Dungeon entrance is hidden under one of the southeast graves.

Tal Tal Heights
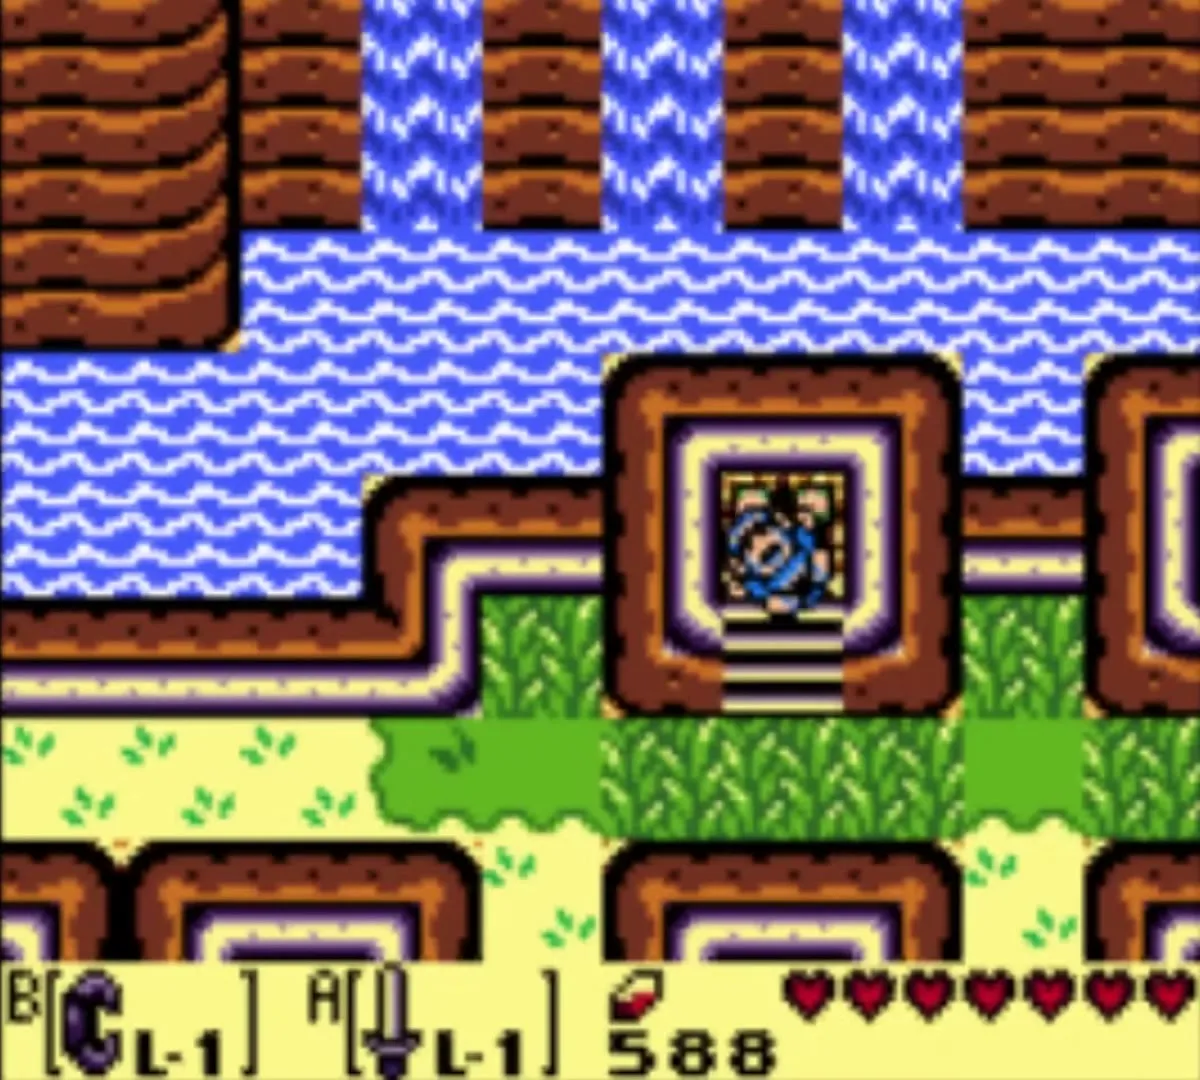
This area lies at the foot of the Tal Tal Mountain Range. The waterfall hiding the Angler’s Tunnel entrance is here, and so is a warp hole.
Kanalet Castle
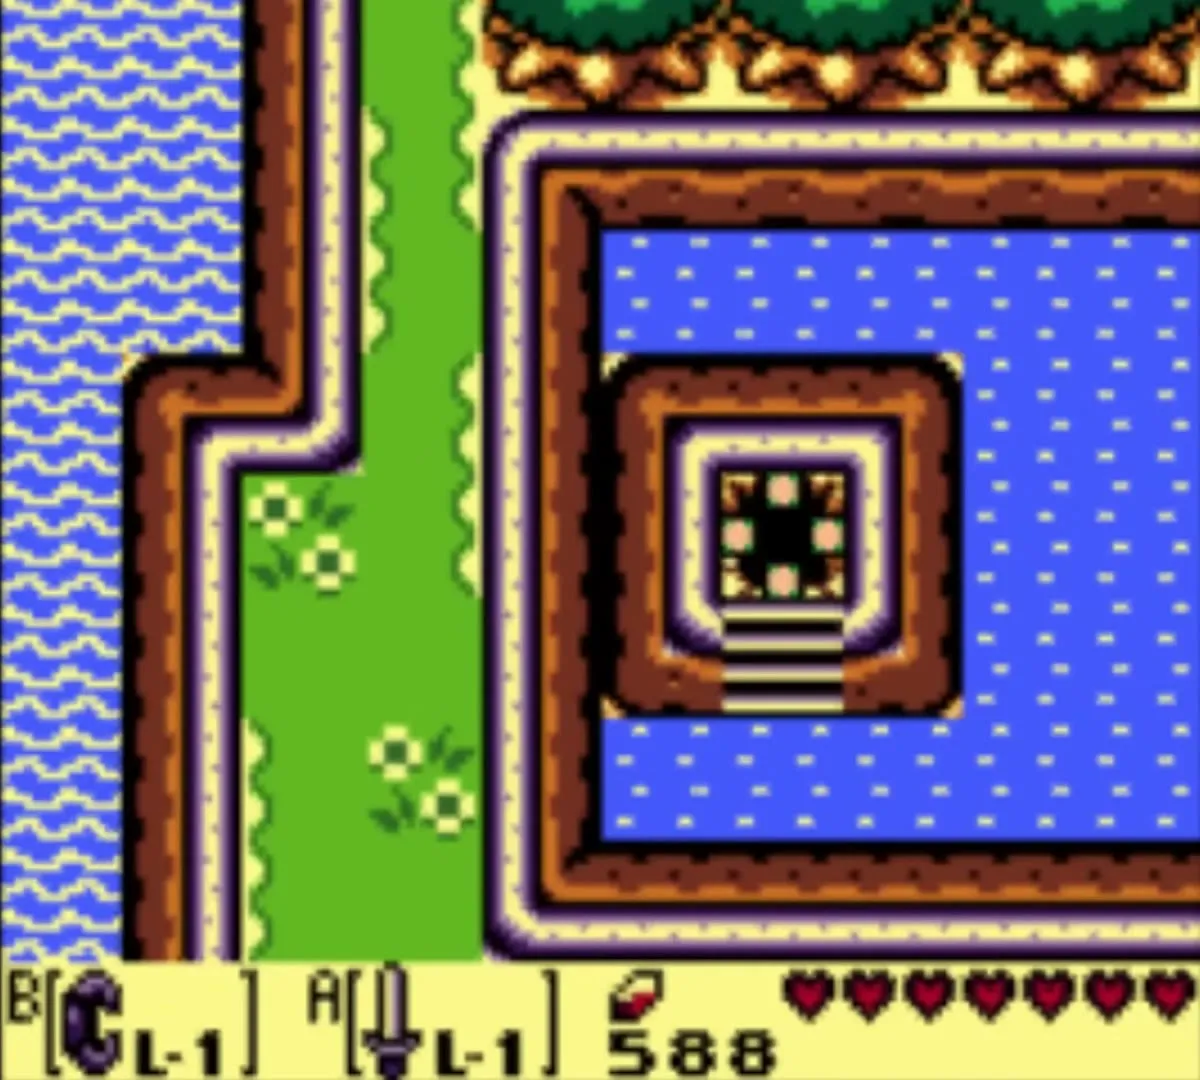
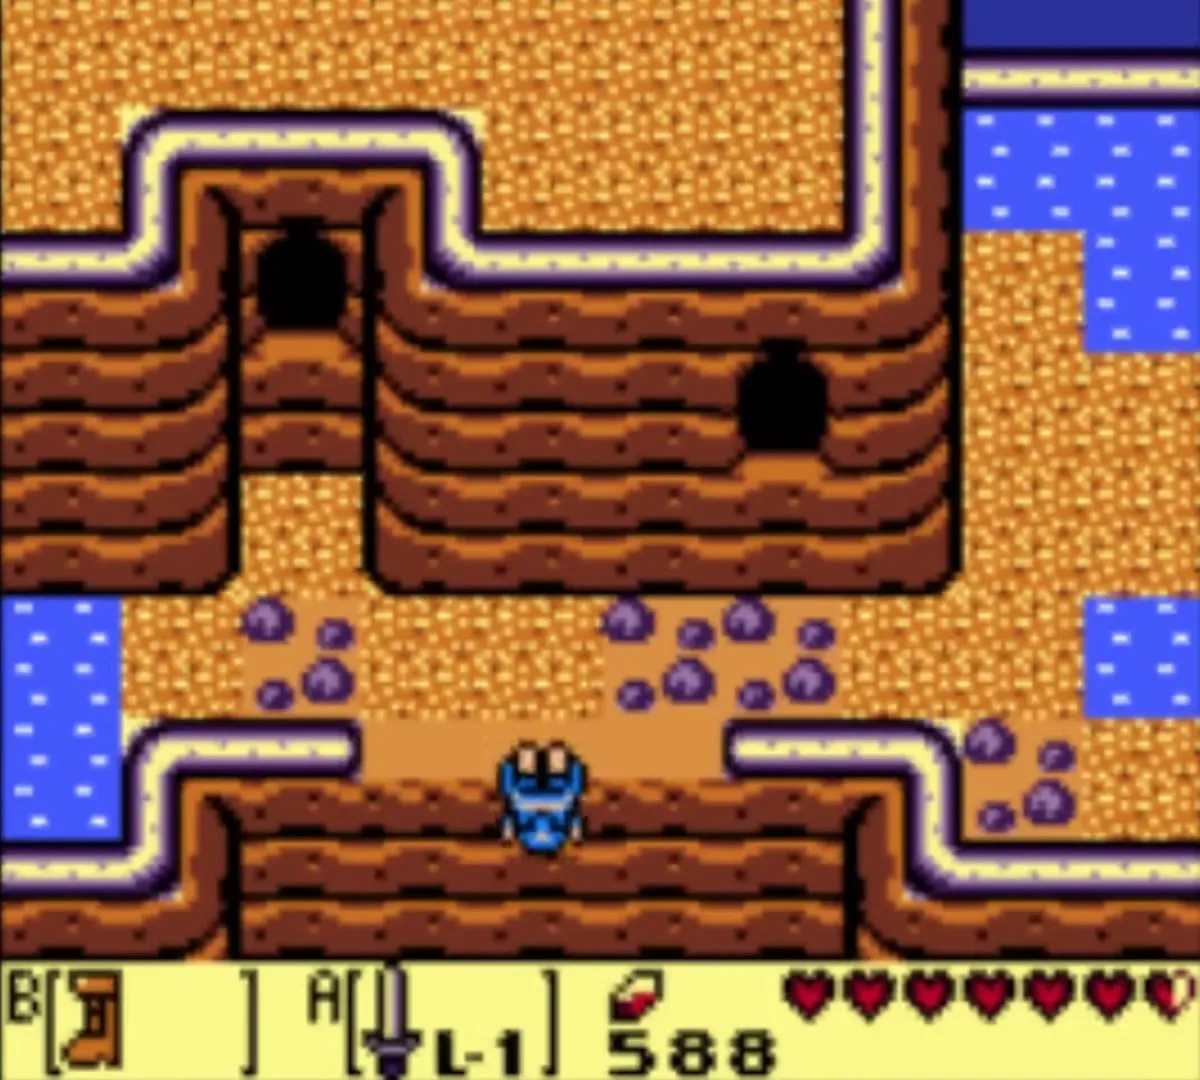
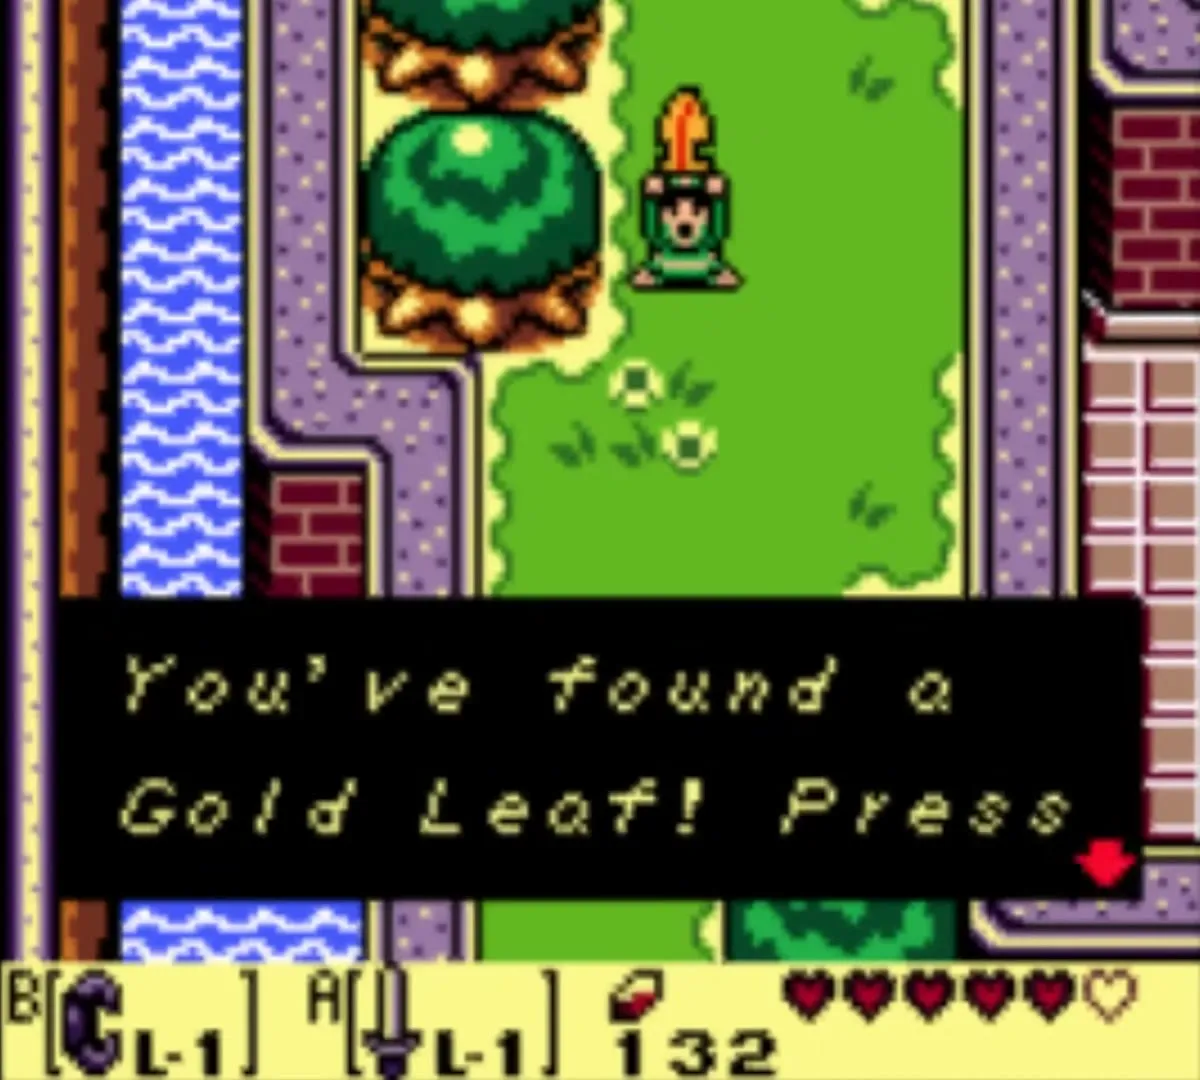
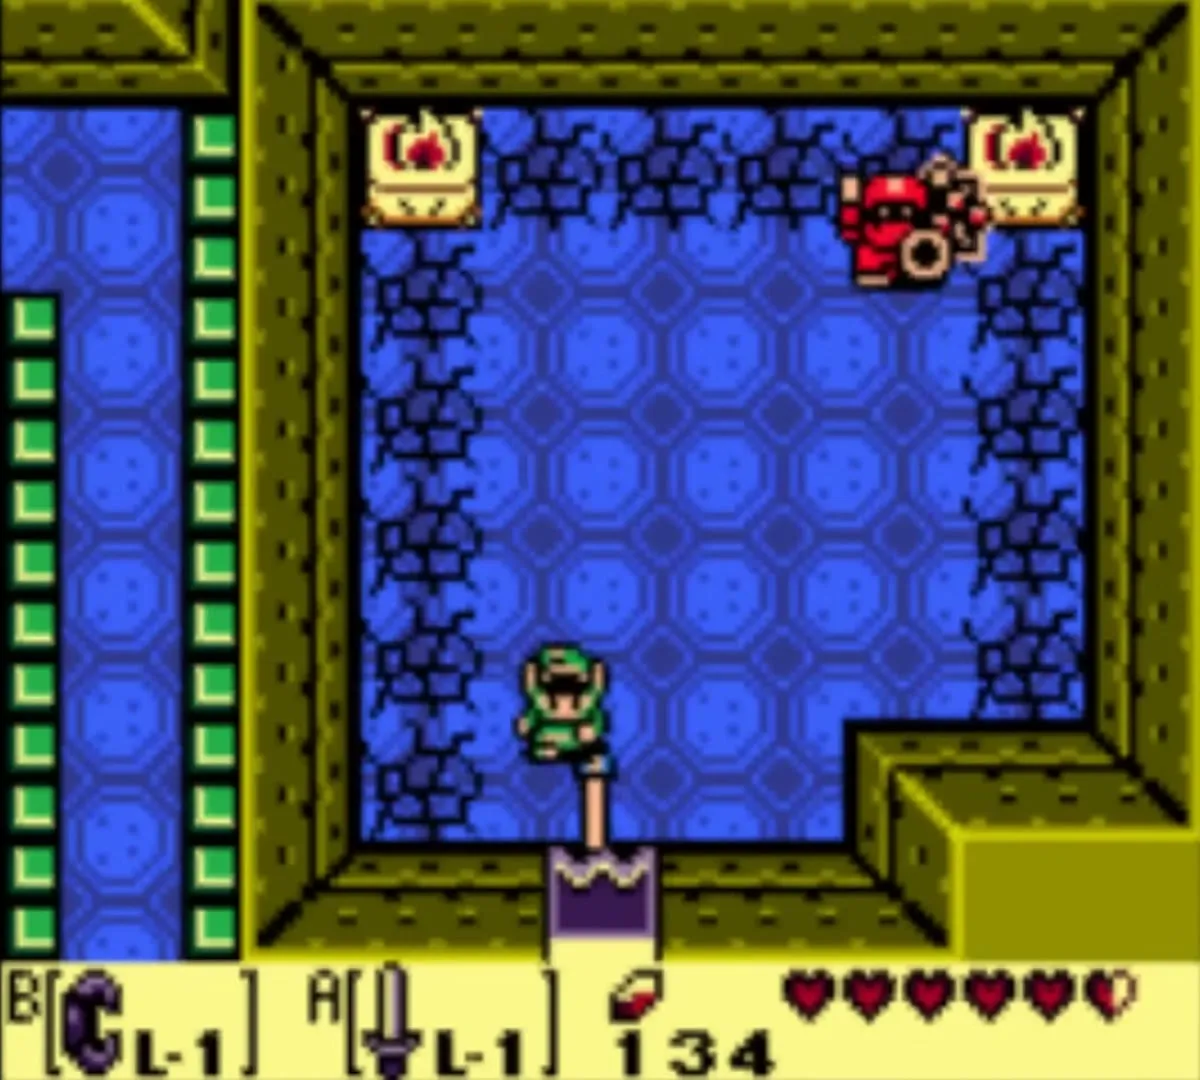
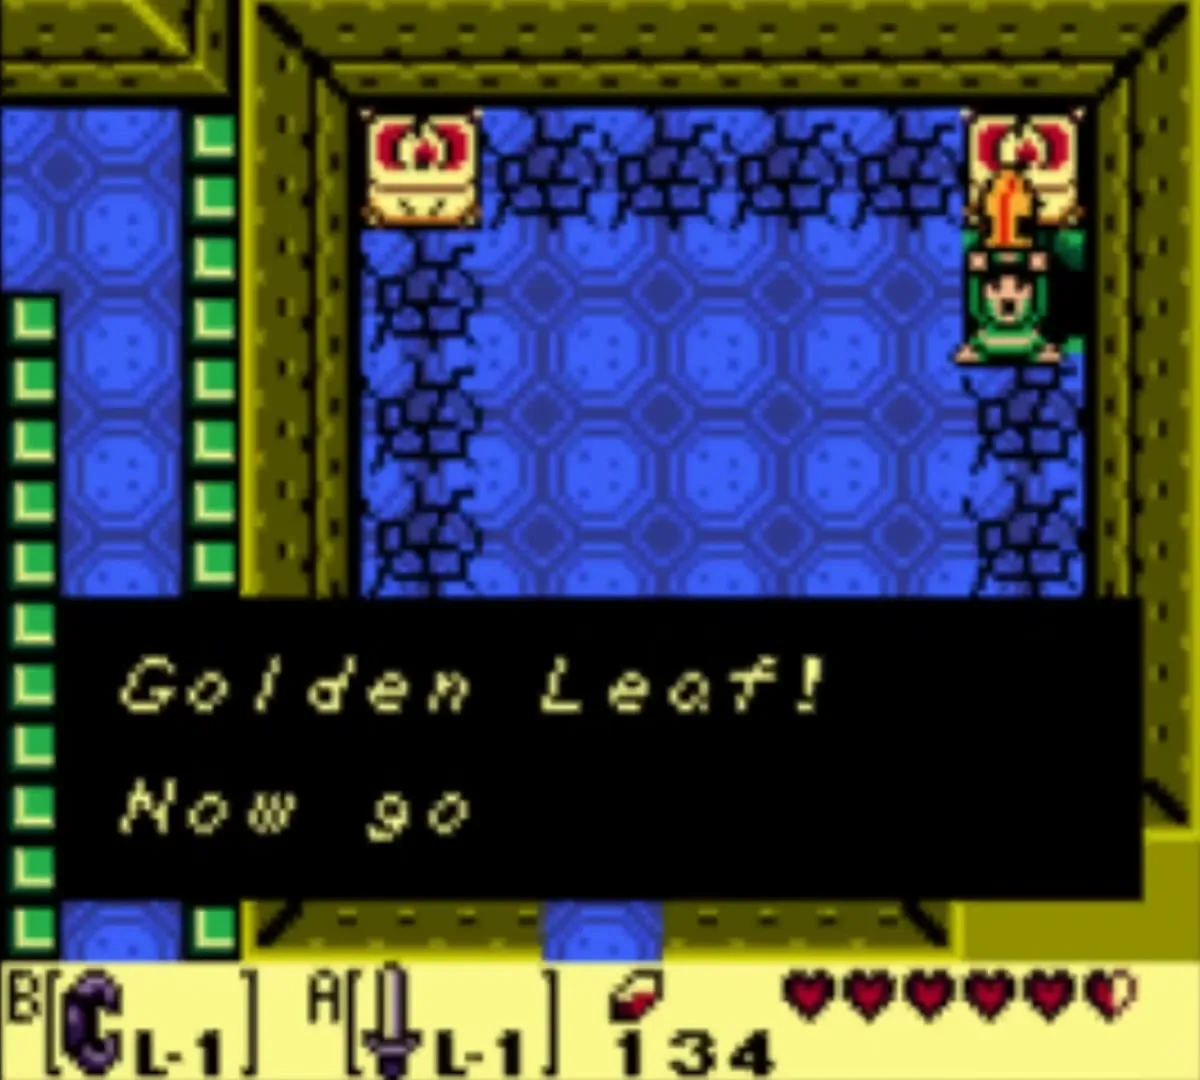
The castle sits near the center of the island, behind a moat that you cross by giving Bananas to Kiki. You collect Prince Richard’s Golden Leaves inside and around it.
Martha’s Bay
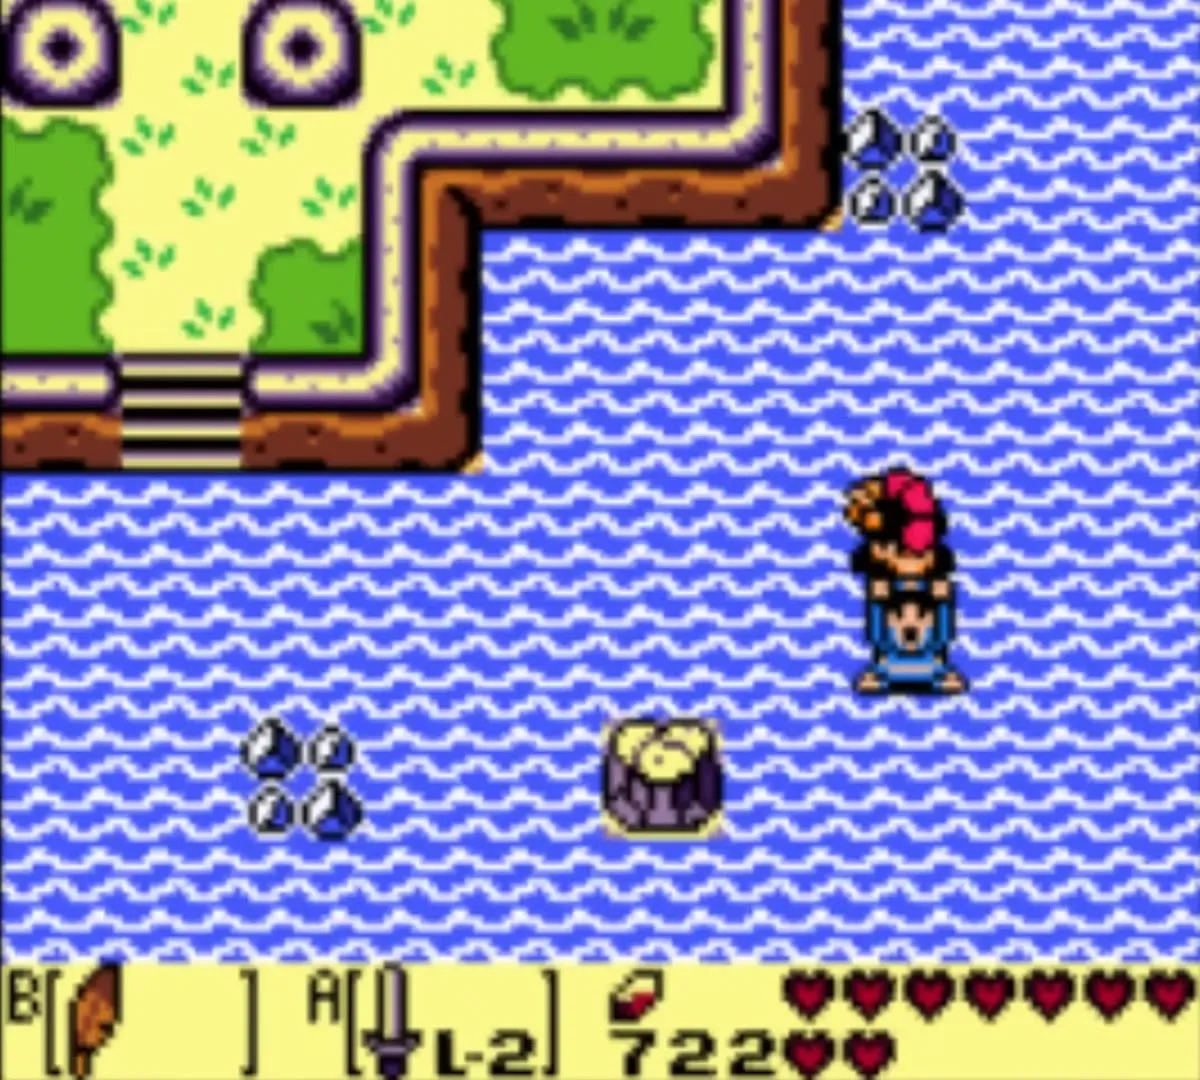
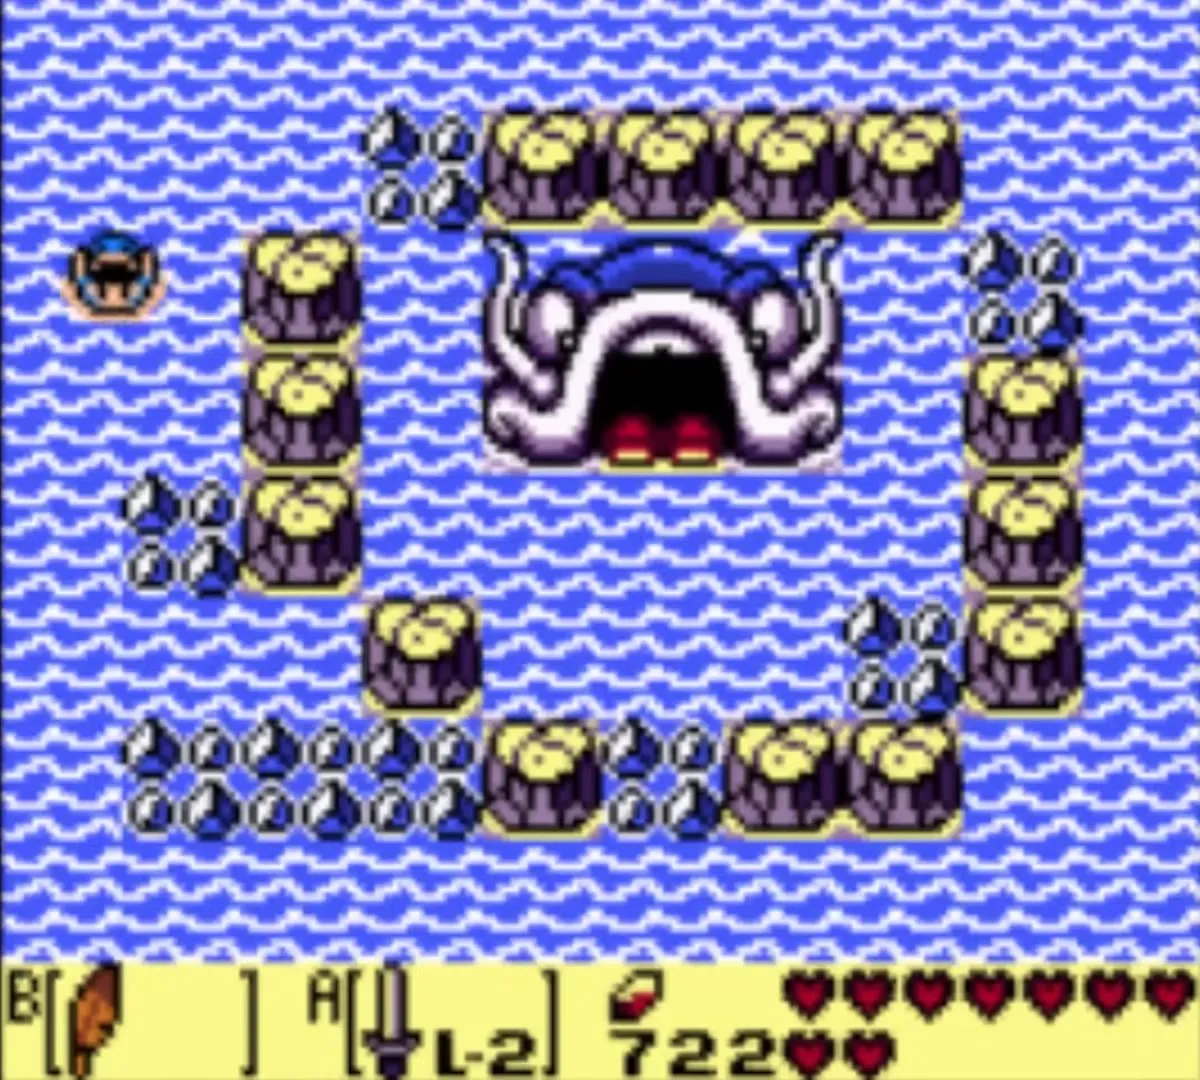
This inlet on the south coast borders Toronbo Shores to the west, Ukuku Prairie to the north and Animal Village to the east. Catfish’s Maw is here, reached by diving, and the fisherman and the mermaid of the trading sequence live around it.

Animal Village
Animal Village is a small town of talking animals in the southeast corner of the island, with Chef Bear, Christine and the rabbits, among others.

East of the Bay
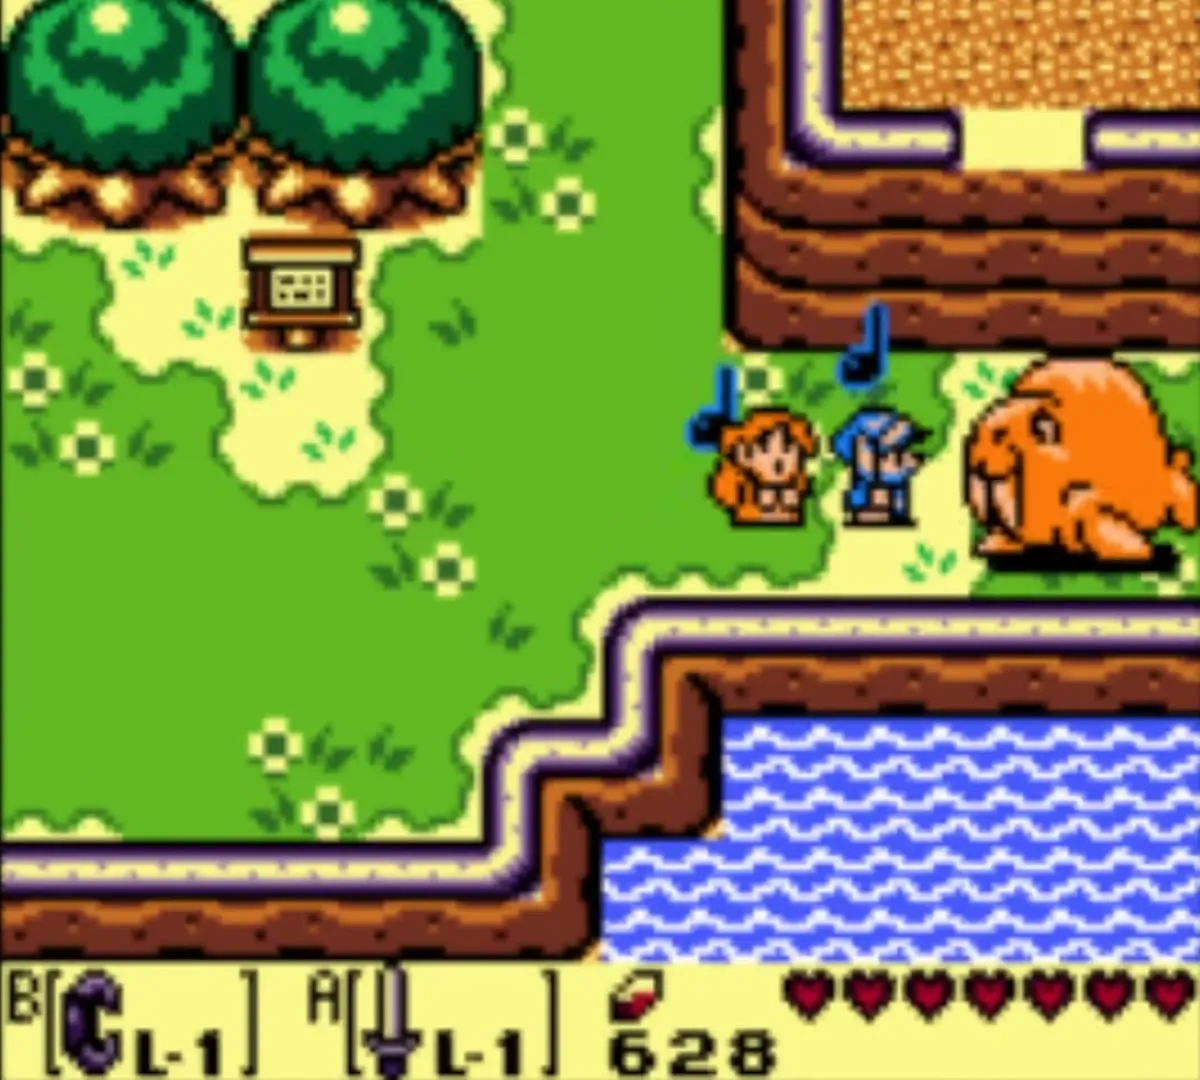
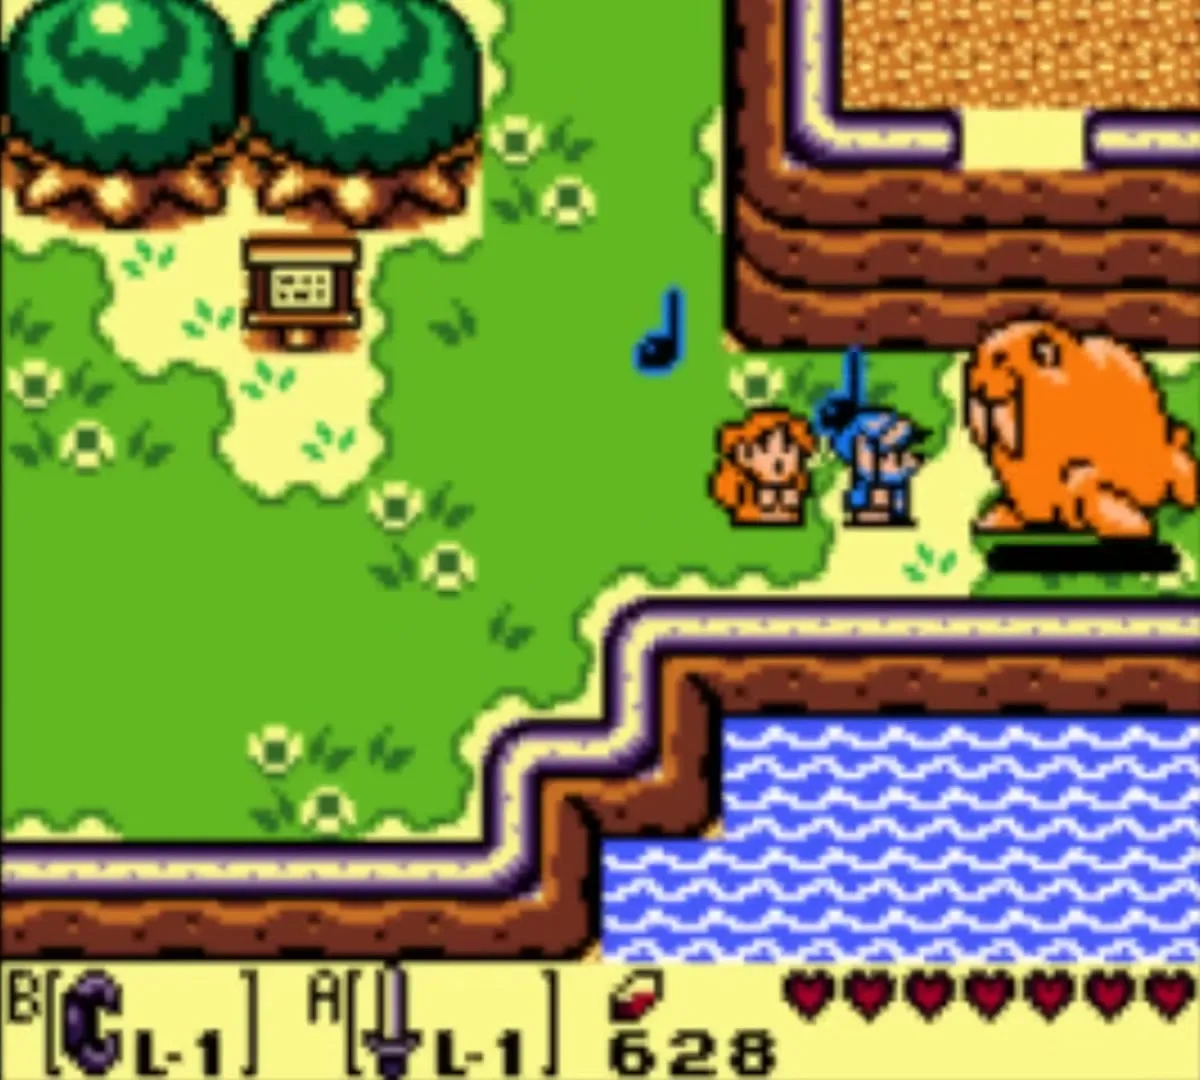
This strip of the south coast lies east of Martha’s Bay and south of Animal Village. The sleeping Walrus that blocks the way to Yarna Desert lies here, and so does a warp hole.
Yarna Desert
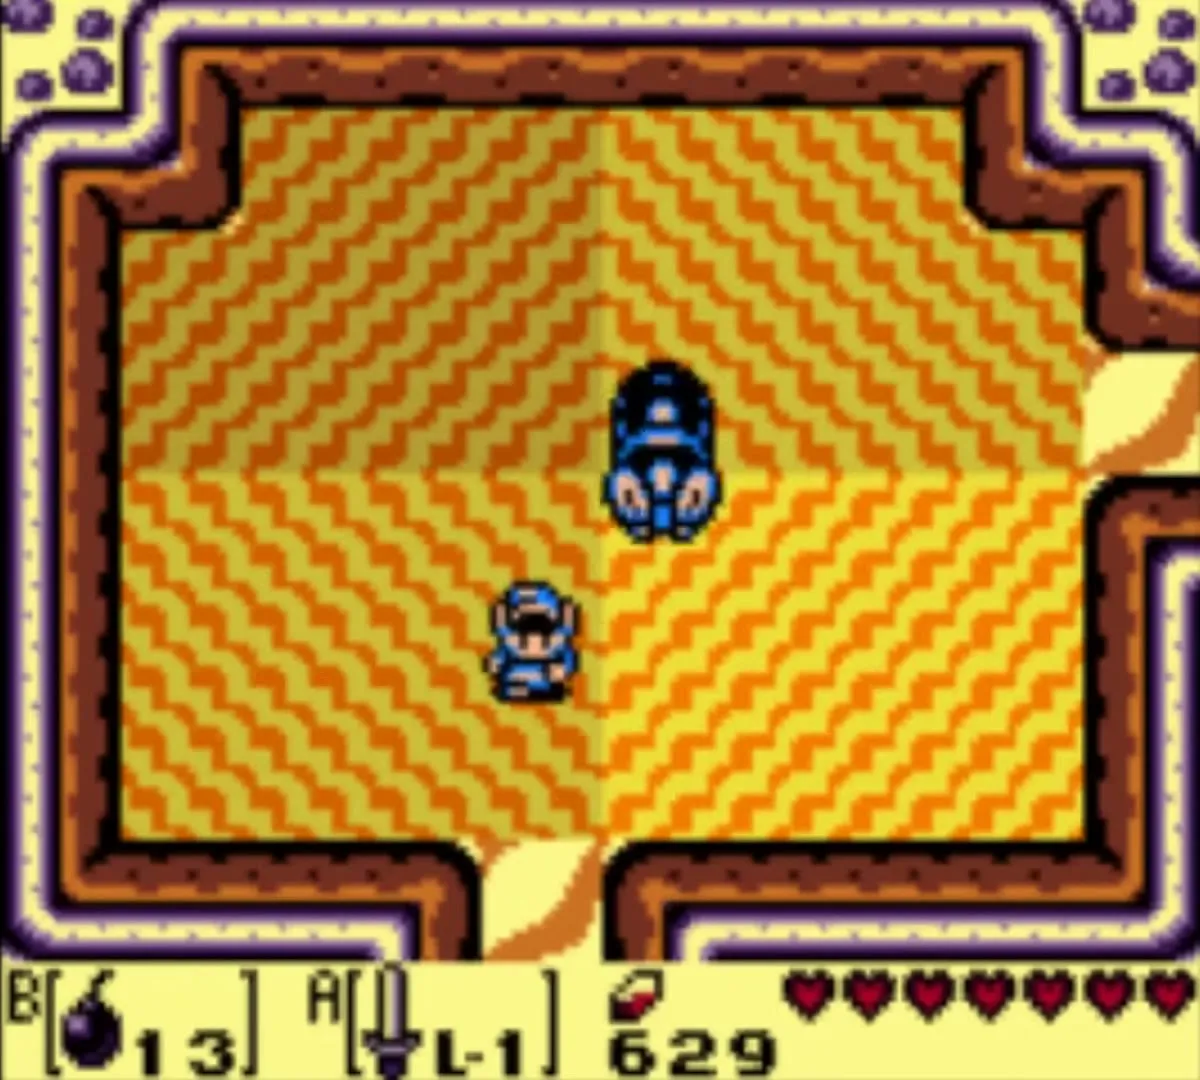
The desert fills the southeast. Pokeys and Leevers roam it, and a Lanmola waits in the quicksand and guards the Angler Key.


Ancient Ruins and Face Shrine
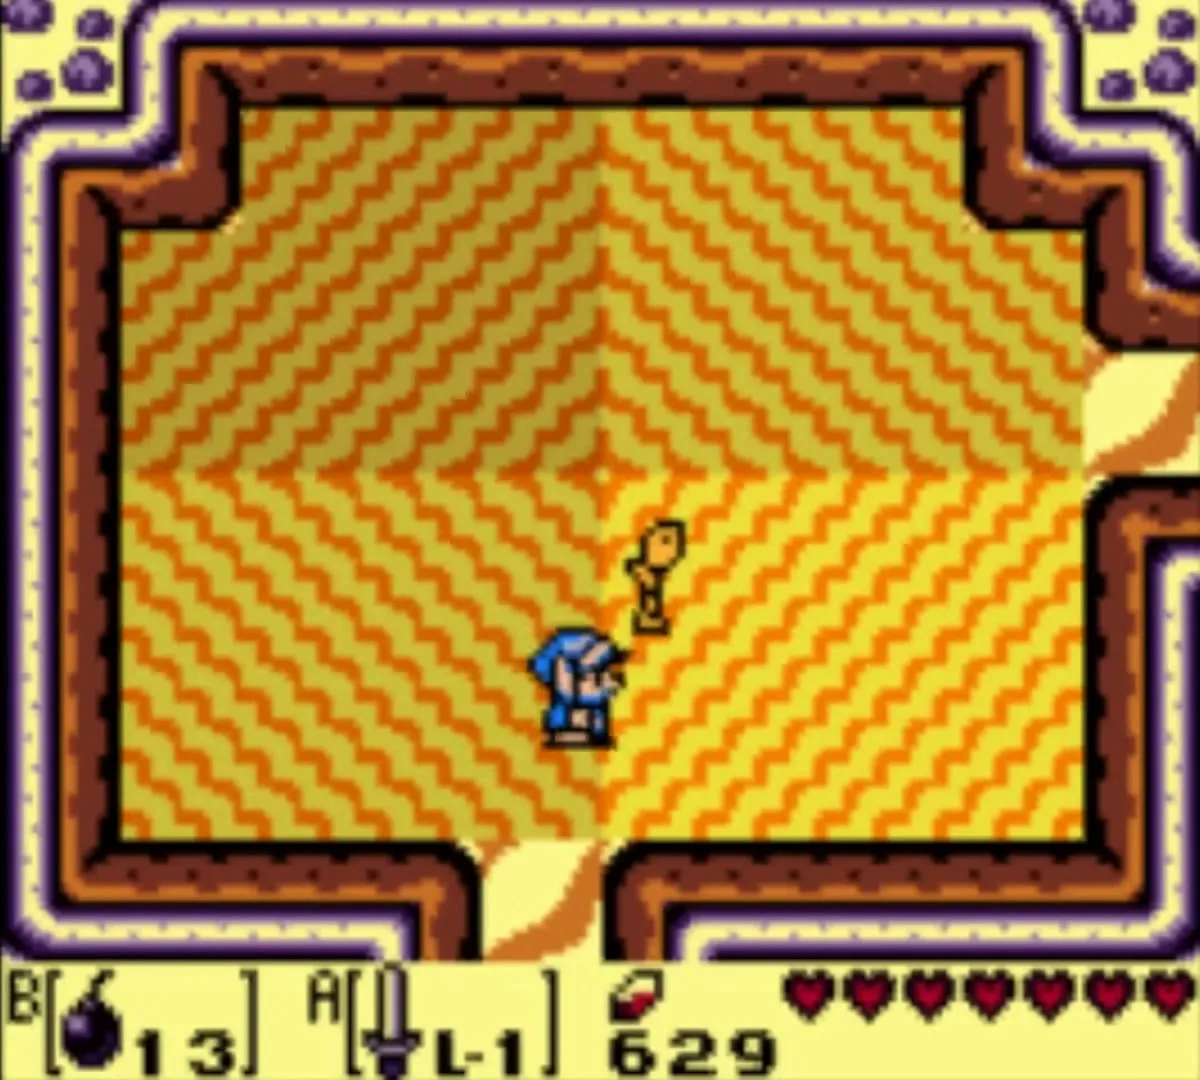
The east side of the island holds two linked areas. The Southern Face Shrine in the Ancient Ruins is guarded by an Armos Knight, and the Face Shrine to its north has the sixth dungeon. A waterfall and a rapids ride lie nearby.


Tal Tal Mountain Range
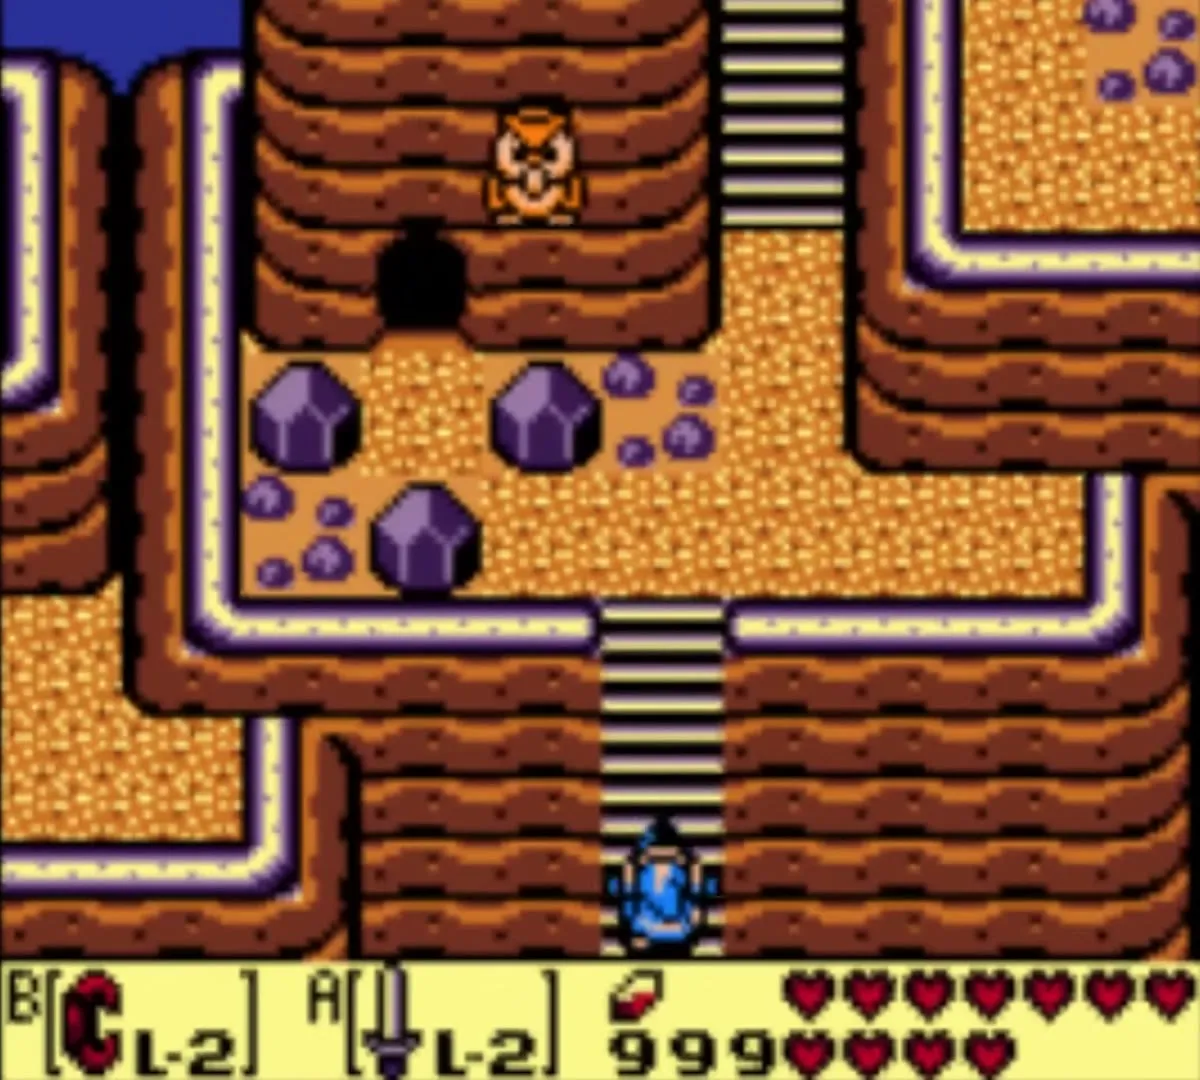
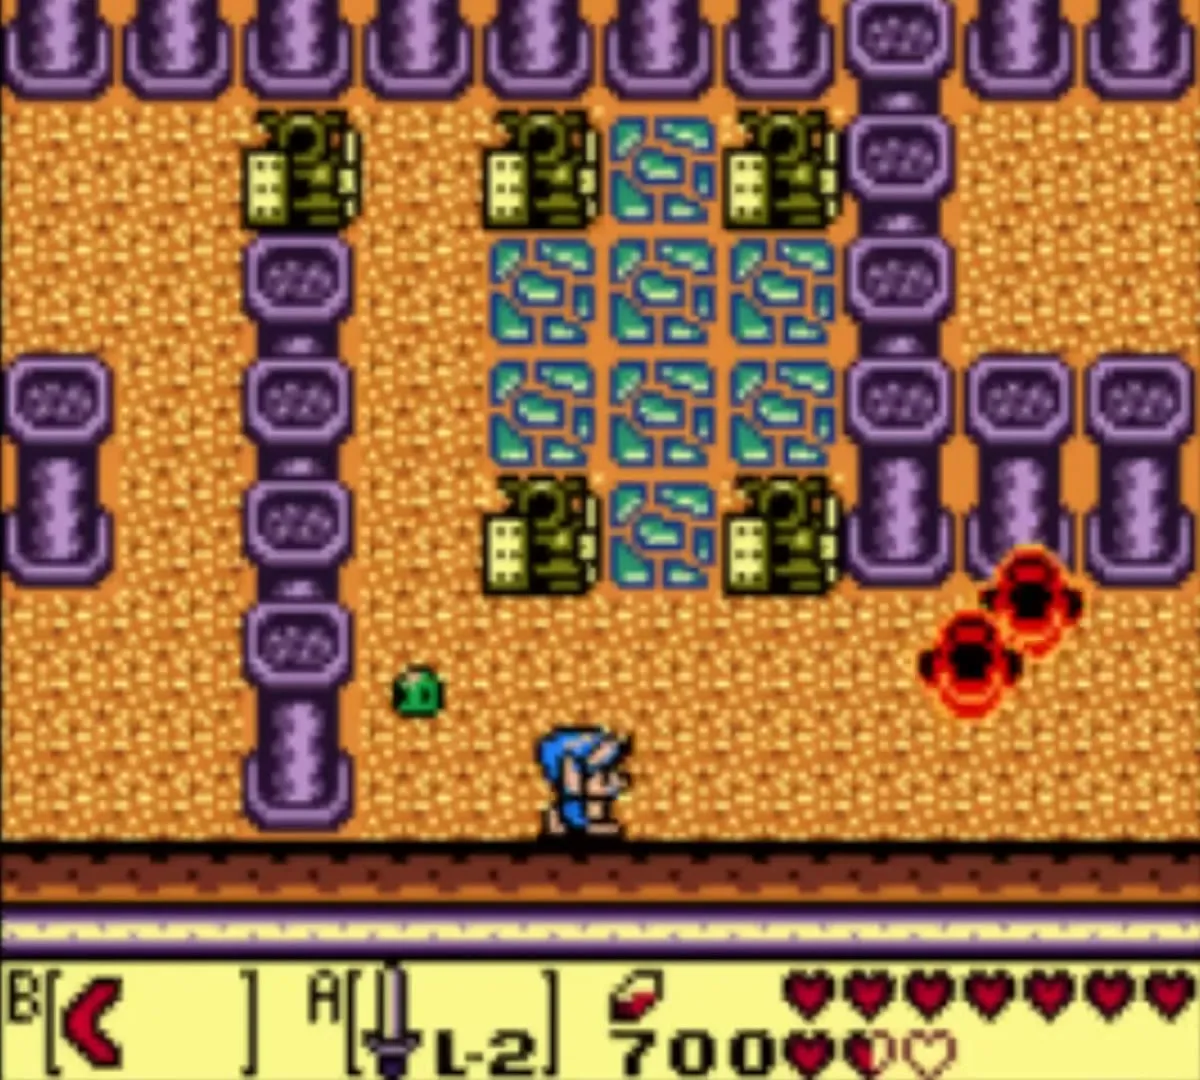
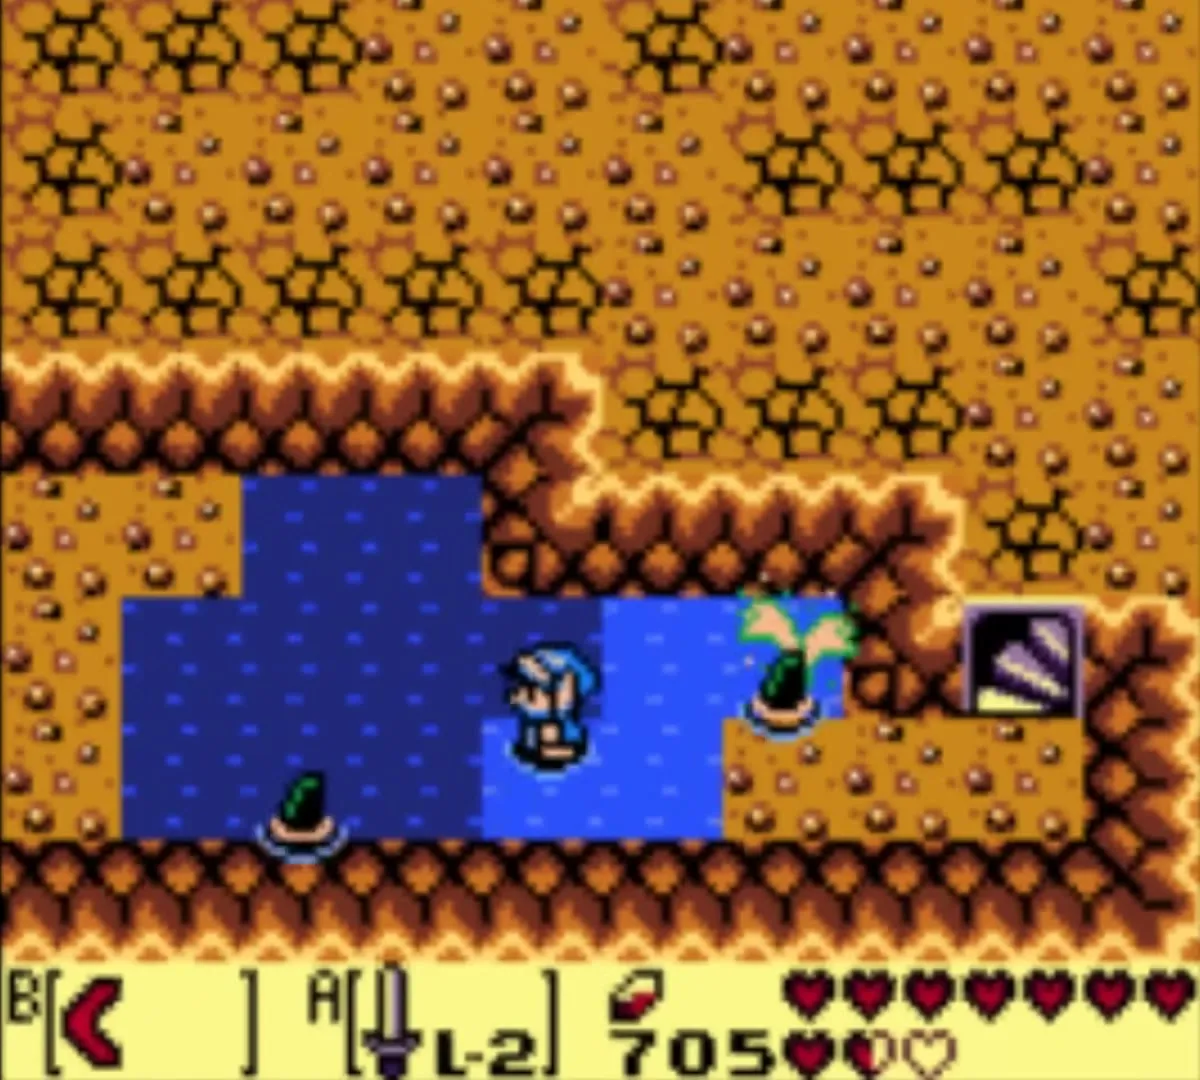
The mountain range is the northernmost region and the biggest. Eagle’s Tower is on its far eastern peaks, Turtle Rock is in its west, and a Cucco Keeper keeps a henhouse here.

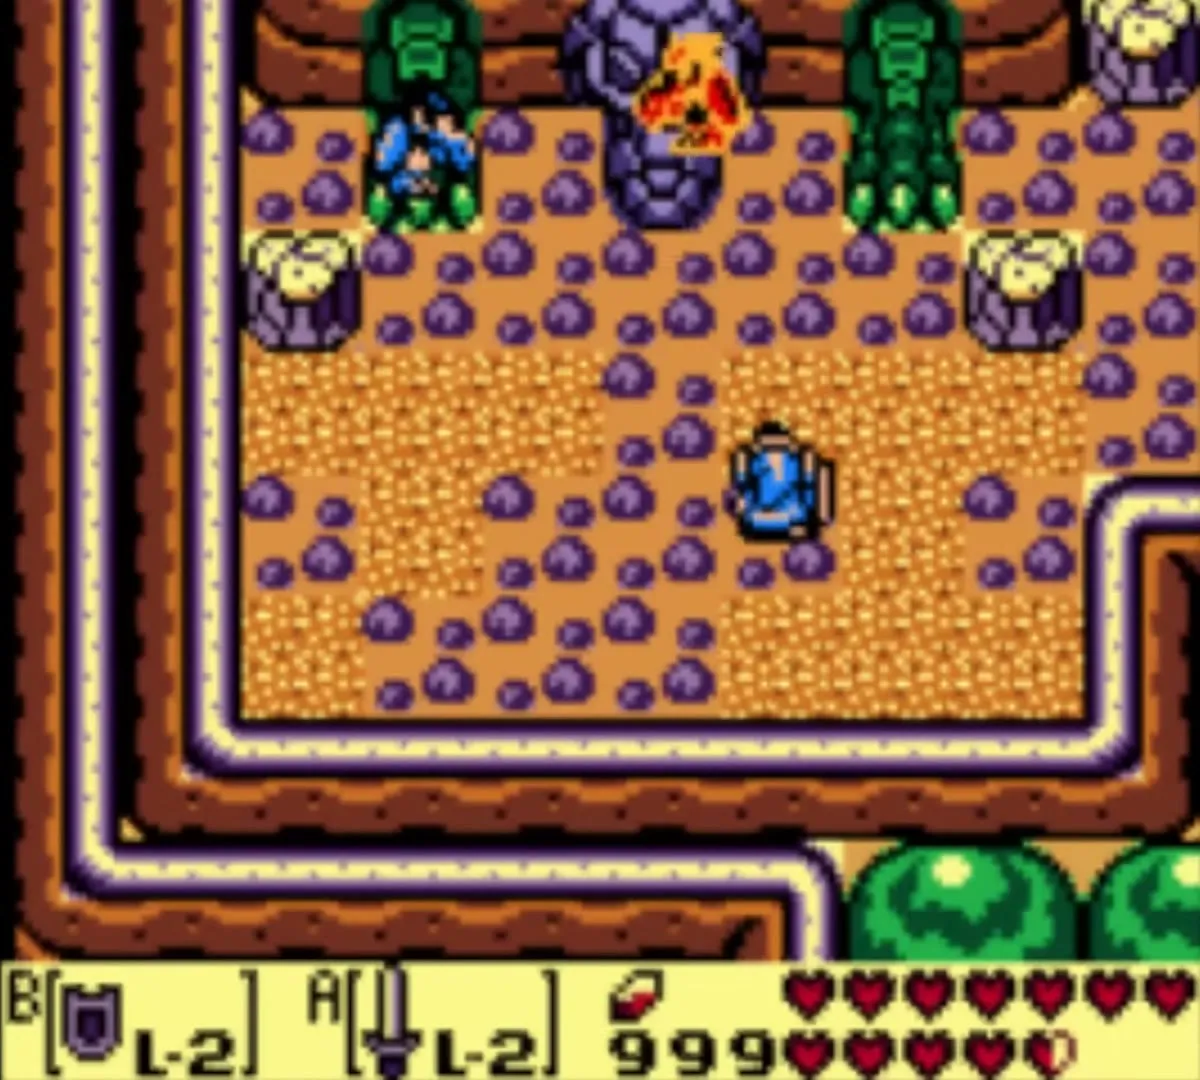

Mt. Tamaranch
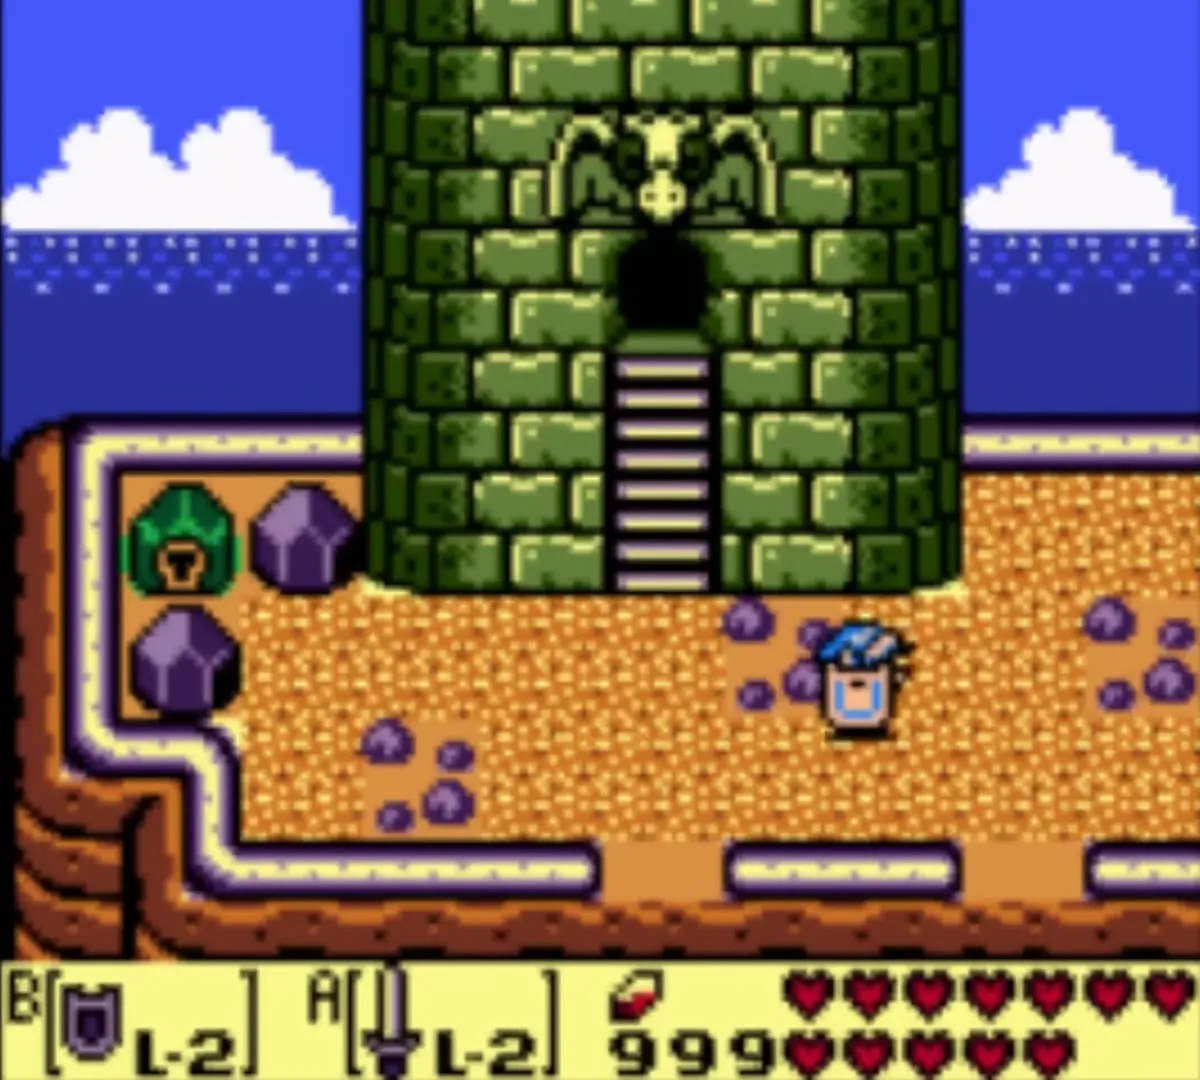
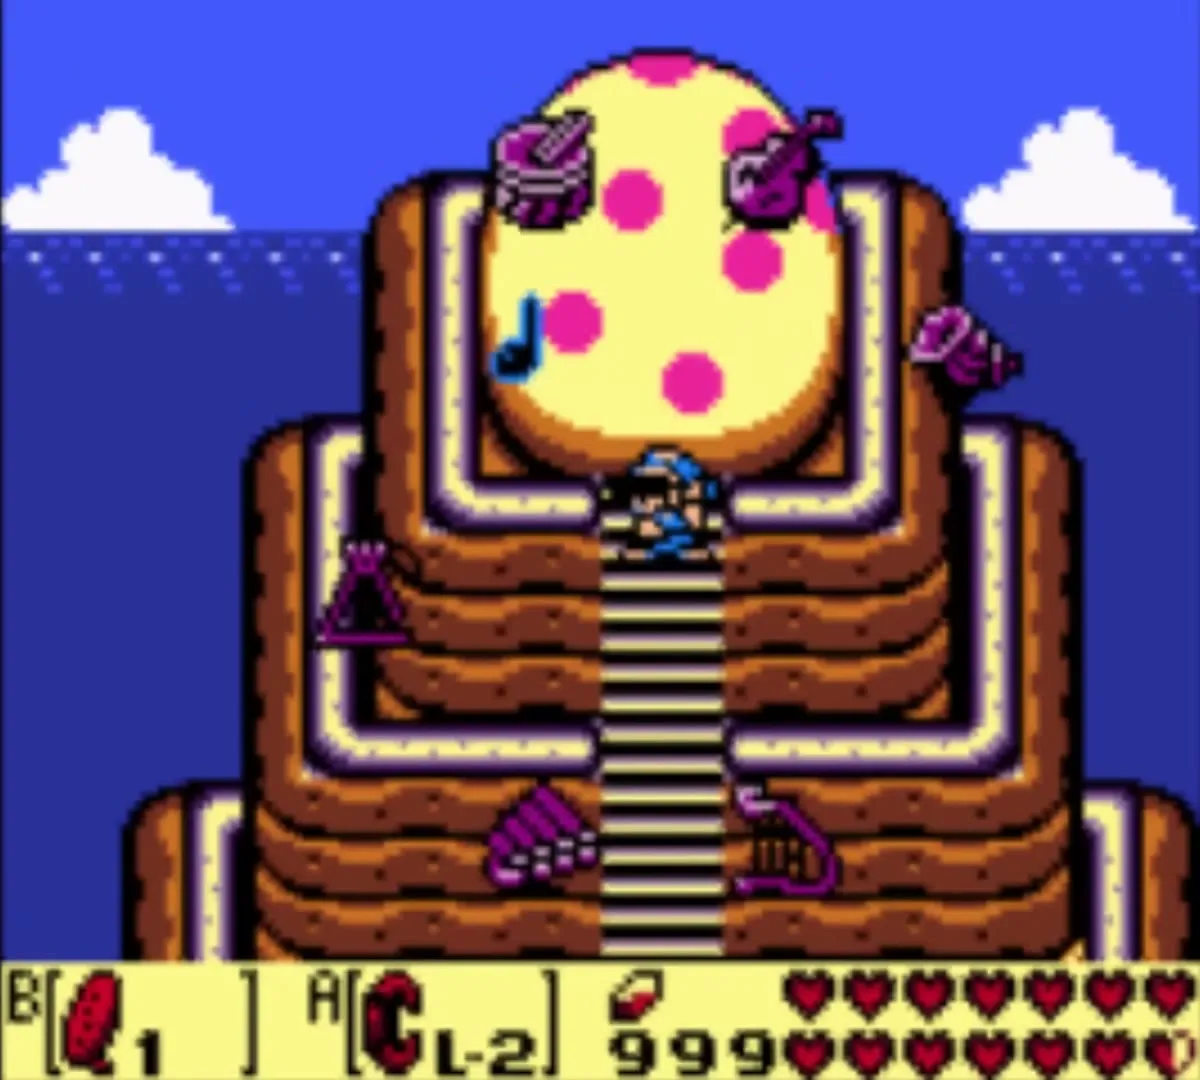
The tallest mountain of the Tal Tal Mountain Range carries the Wind Fish’s Egg on its summit. You cannot open it until you hold all eight Instruments of the Sirens and play the Ballad of the Wind Fish.
Signpost Maze
A field of signposts that point to the next one, south of Ukuku Prairie. Jump the pits with the Roc’s Feather and lift boulders with the Power Bracelet. A cave below it hosts Mamu the frog and his choir.
Dungeon Entrances
All nine dungeons and where to find them. The key or event in the last column is what opens the way in.

| # | Dungeon | Where | What opens it |
|---|---|---|---|
| 1 | Tail Cave | South of Mabe Village, north of Toronbo Shores | The Tail Key from the Mysterious Forest |
| 2 | Bottle Grotto | Goponga Swamp | BowWow eating the Goponga Flowers |
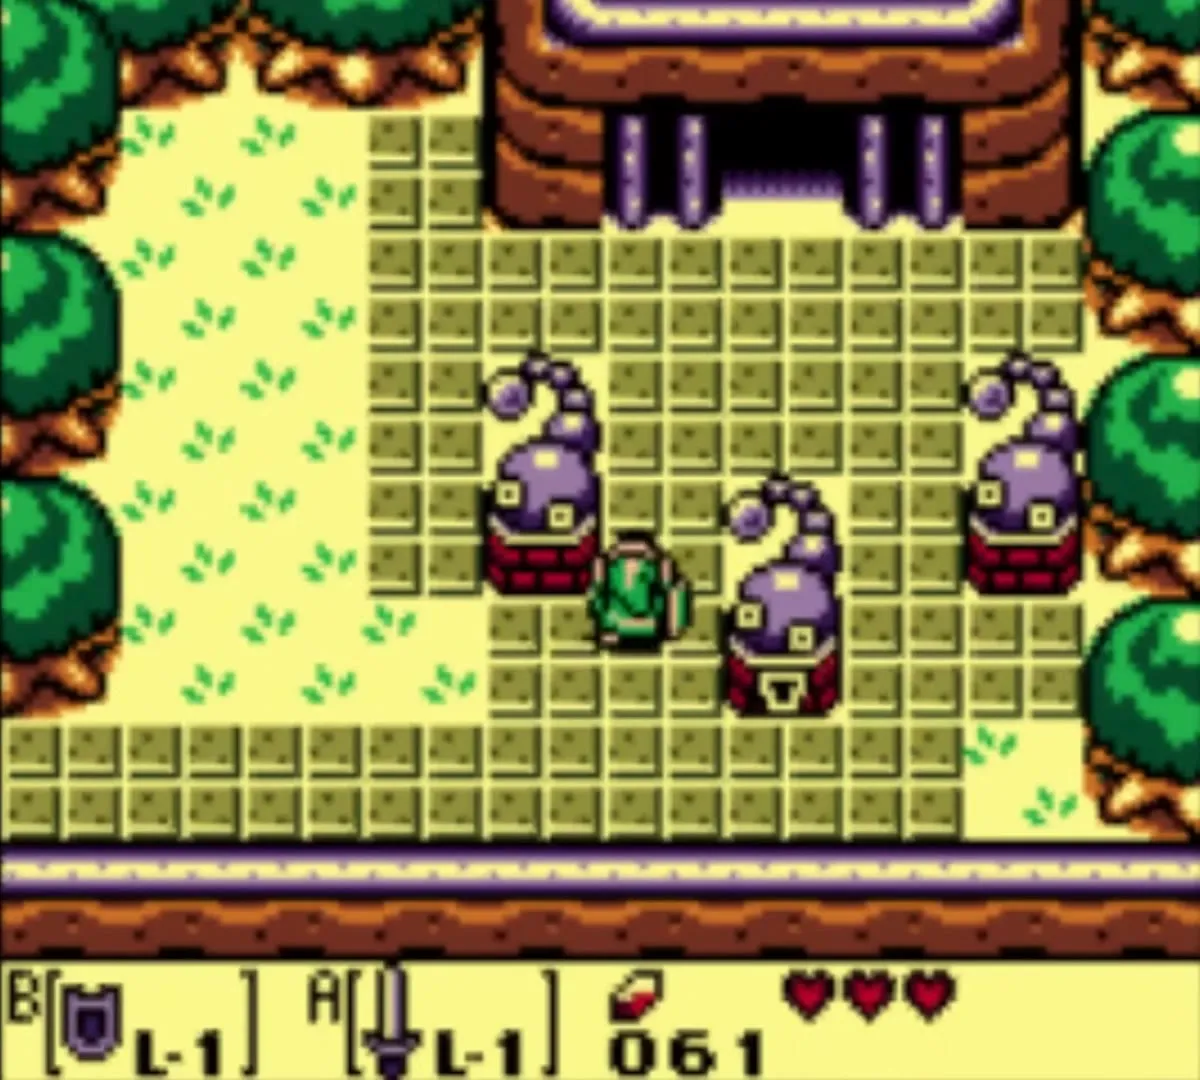
| 3 | Key Cavern | Ukuku Prairie, behind a row of statues, one with a keyhole | The Slime Key |
| 4 | Angler’s Tunnel | Behind a waterfall in the Tal Tal Mountain foothills | The Angler Key from Yarna Desert |
| 5 | Catfish’s Maw | Martha’s Bay, reached by diving | The ghost quest, then a dive in Martha’s Bay |
| 6 | Face Shrine | East side of the island, west of the Shrine Waterfall | The Face Key from the Southern Face Shrine |
| 7 | Eagle’s Tower | Far eastern peaks of the Tal Tal Mountain Range | The Bird Key and the Flying Rooster |
| 8 | Turtle Rock | West of the Tal Tal Mountain Range | The Frog’s Song of Soul on the turtle |
| + | Color Dungeon | A secret stair under a southeast grave in the Cemetery (Game Boy Color only) | The library book, the grave puzzle and Magic Powder |
| 9 | Wind Fish’s Egg | Summit of Mt. Tamaranch | All eight Instruments and the Ballad of the Wind Fish |
The walkthrough chapters cover each of these step by step, starting with the shore, forest and Tail Cave. The Color Dungeon has its own page.
Warp Holes
Koholint has four overworld warp holes, glowing circles that carry you to one of the other holes. You can only warp to a hole you have already visited, so step on each one the first time you find it. In the original and DX versions the four are in Ukuku Prairie, Tal Tal Heights, East of the Bay and the Tal Tal Mountain Range.
| # | Warp hole | Square | Where |
|---|---|---|---|
| 1 | Ukuku Prairie | F11 | On the path east of Mabe Village |
| 2 | East of the Bay | M15 | In a pond south of Animal Village |
| 3 | Tal Tal Heights | M3 | Near the Angler’s Tunnel entrance |
| 4 | Tal Tal Mountain Range | B1 | West of the Tal Tal Mountain Range, reached through Turtle Rock |
Two other kinds of warp exist. After a dungeon’s mini-boss falls, a warp pad appears that takes you between that room and the dungeon entrance. Once you know Manbo’s Mambo, playing it takes you to Manbo’s Pond next to Crazy Tracy’s Health Spa. The Ocarina songs page covers the song.


Key Places
These are the buildings and spots you will visit again and again.
| # | Place | Region | Why you go there |
|---|---|---|---|
| 1 | Town Tool Shop | Mabe Village | Shovel, Bow, Bombs and other supplies |
| 2 | Trendy Game | Mabe Village | The crane game and the Yoshi Doll |
| 3 | Village library | Mabe Village | The book that leads to the Color Dungeon |
| 4 | Dream Shrine | Mabe Village | The Ocarina |
| 5 | Camera Shop | East of Goponga Swamp | The photograph album (DX only) |
| 6 | Witch’s Hut | Koholint Prairie | Magic Powder |
| 7 | Crazy Tracy’s Health Spa | Koholint Prairie | Secret Medicine |
| 8 | Seashell Mansion | Ukuku Prairie | Trading Secret Seashells for the L-2 Sword |
| 9 | Telephone booths | Around the island | Hints from Grandpa Ulrira |
For the items, see mini-games and shops and Secret Seashells.
Dungeon Maps
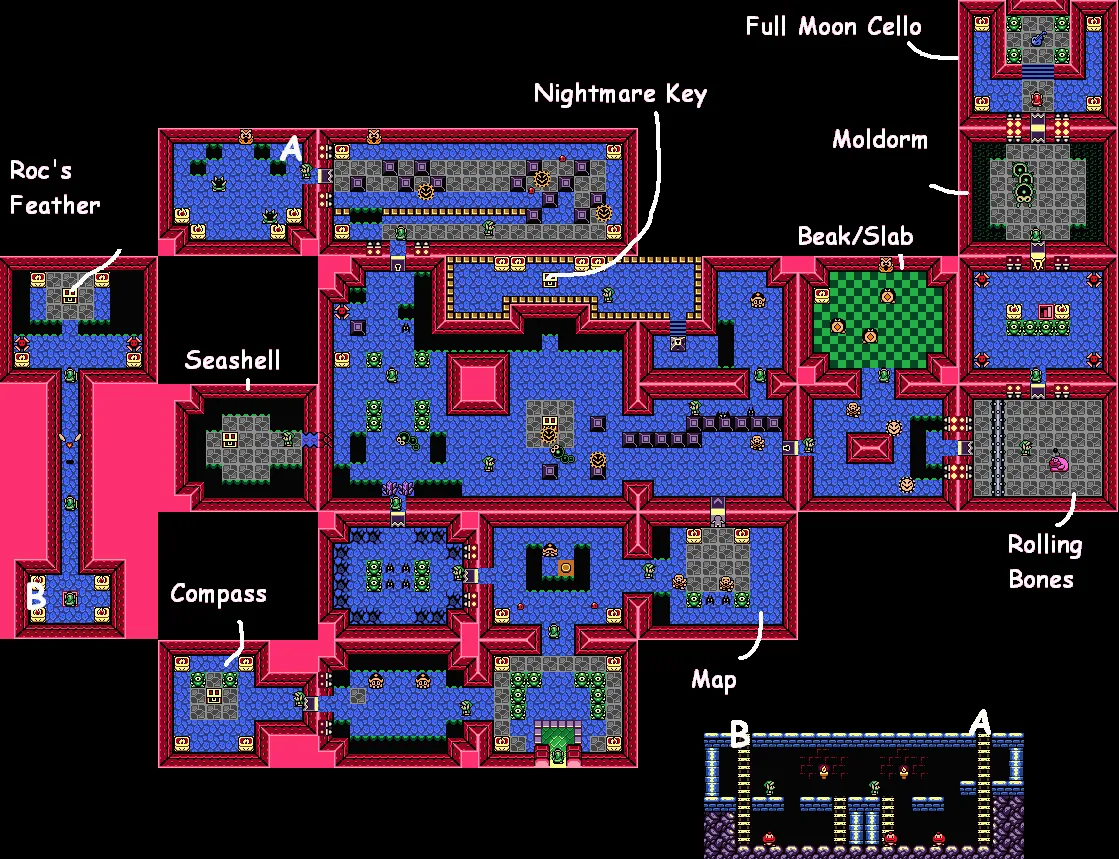
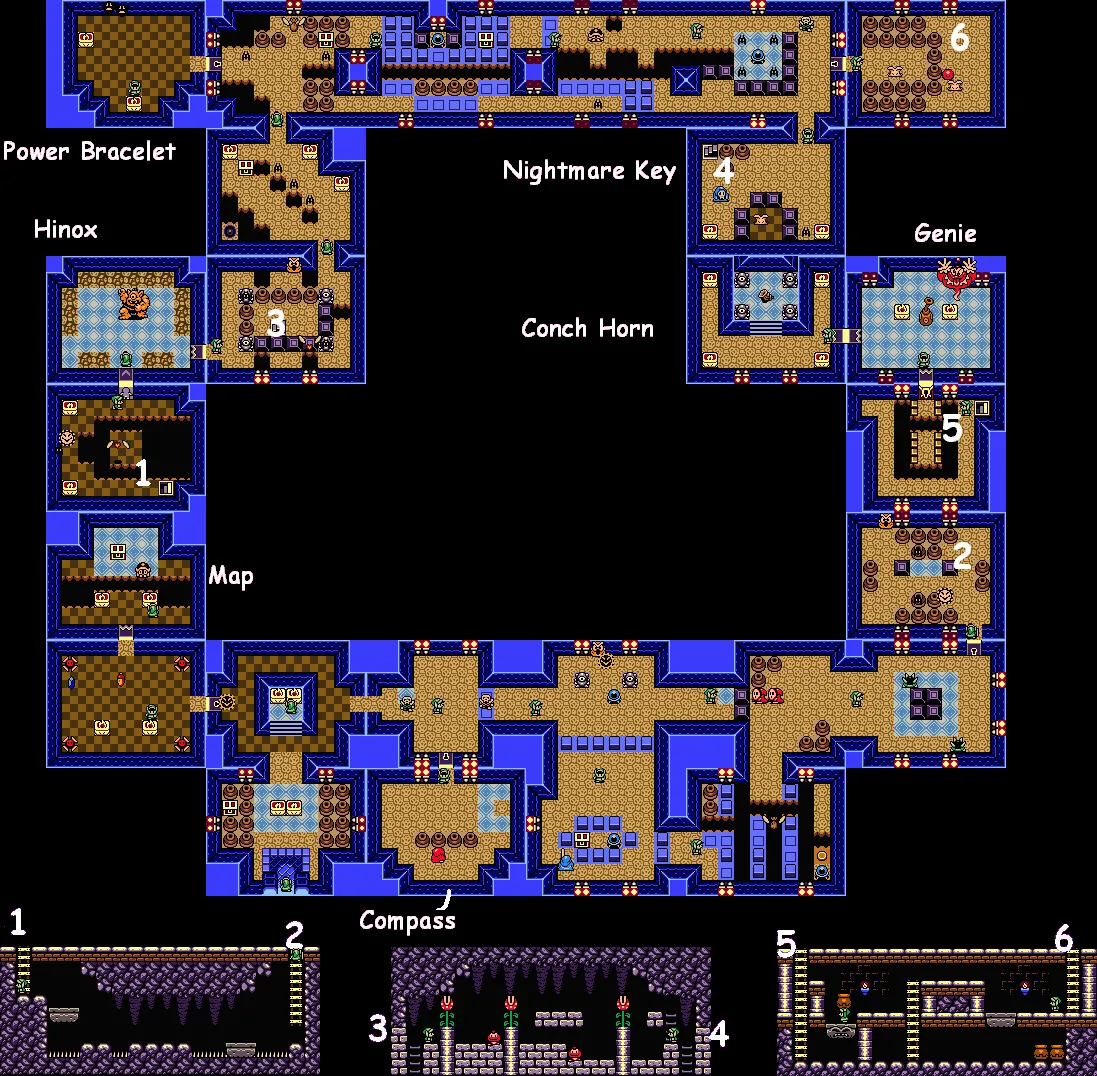
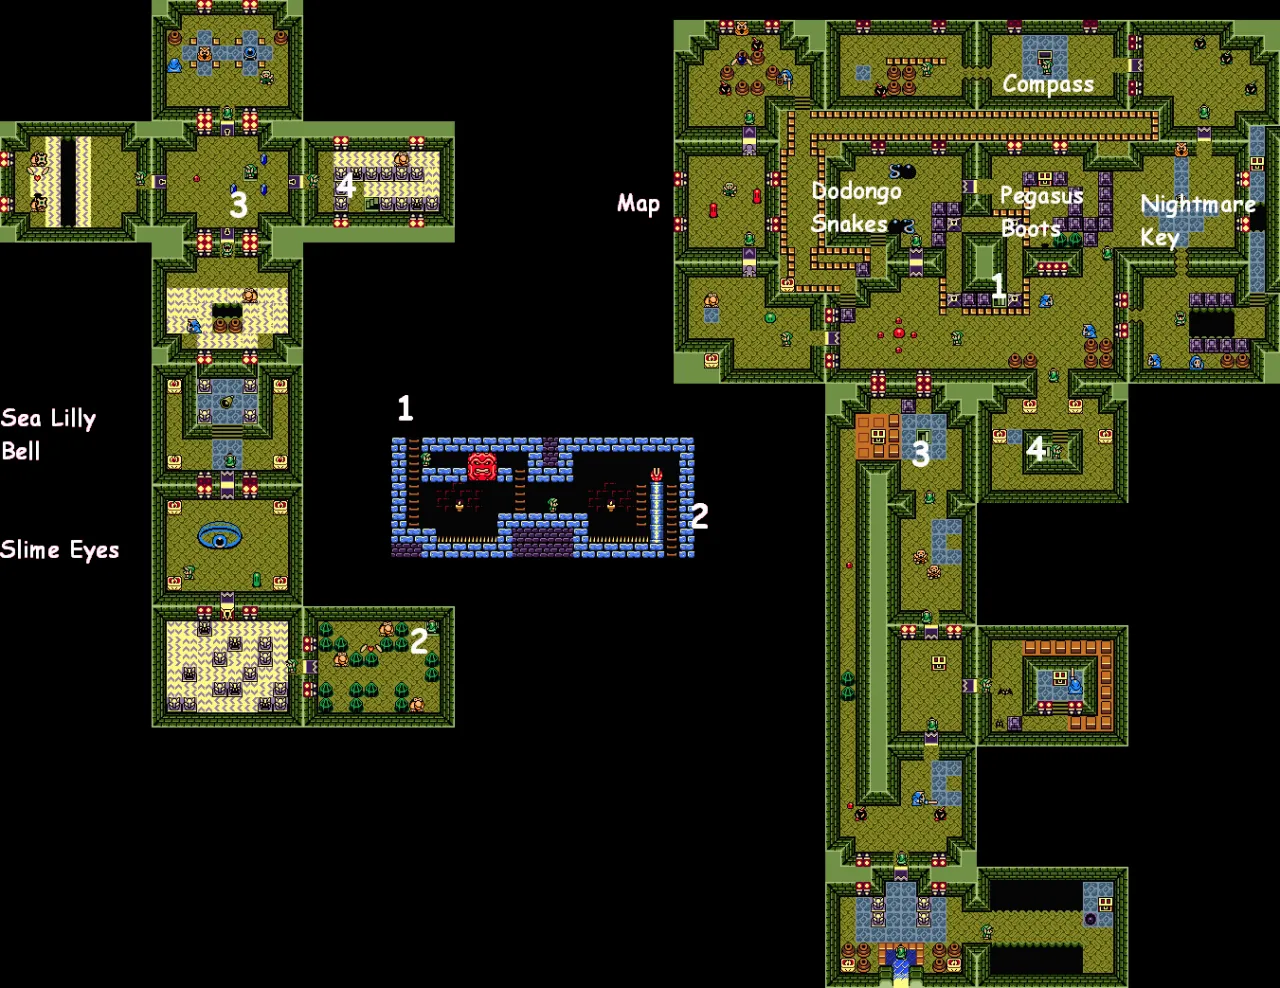
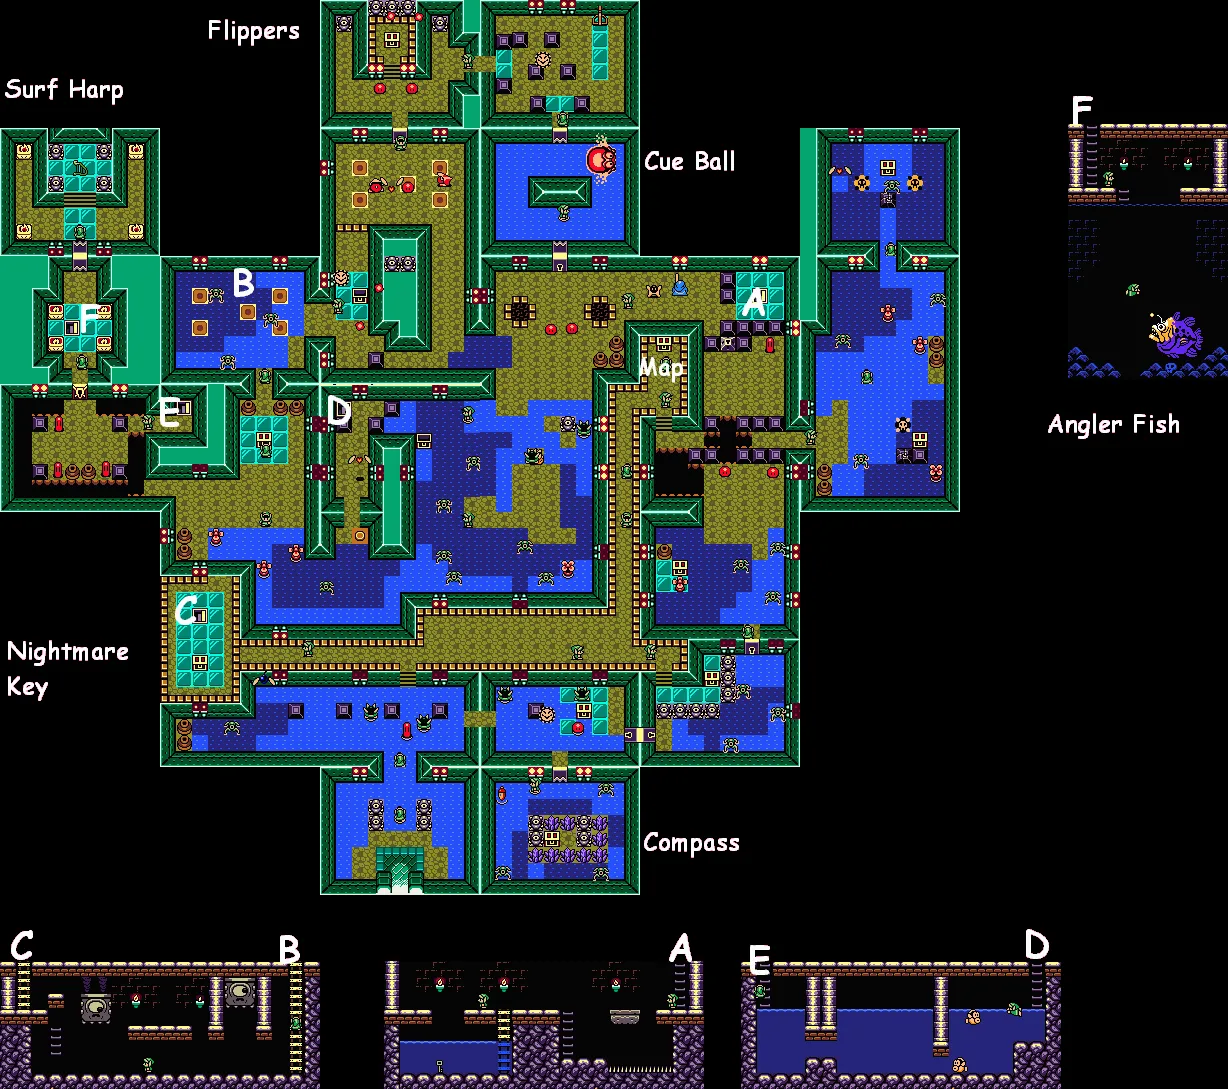
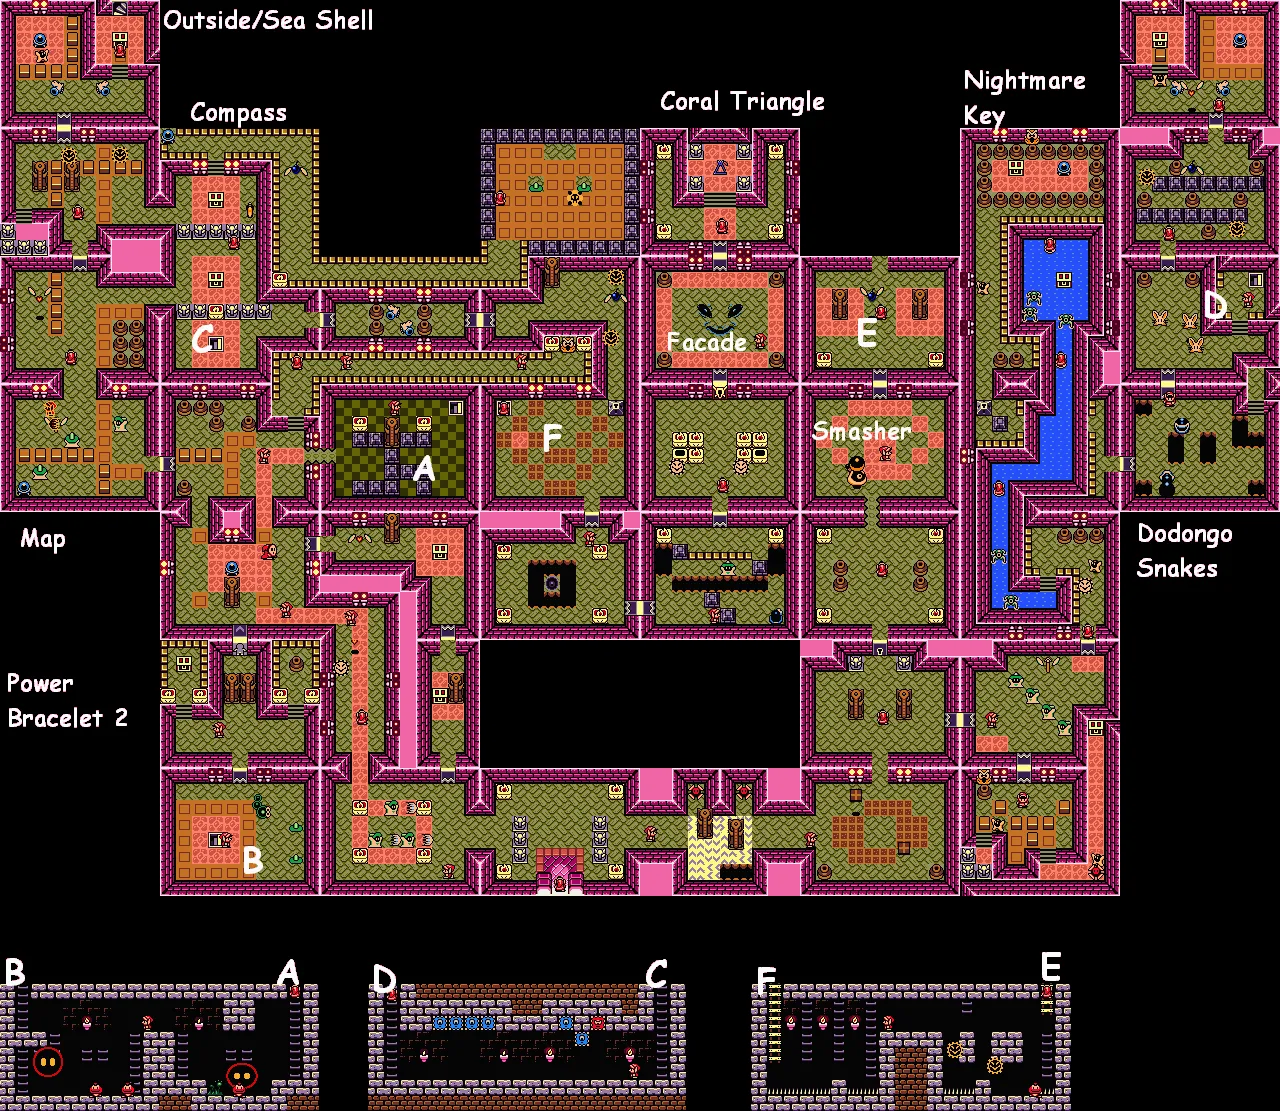
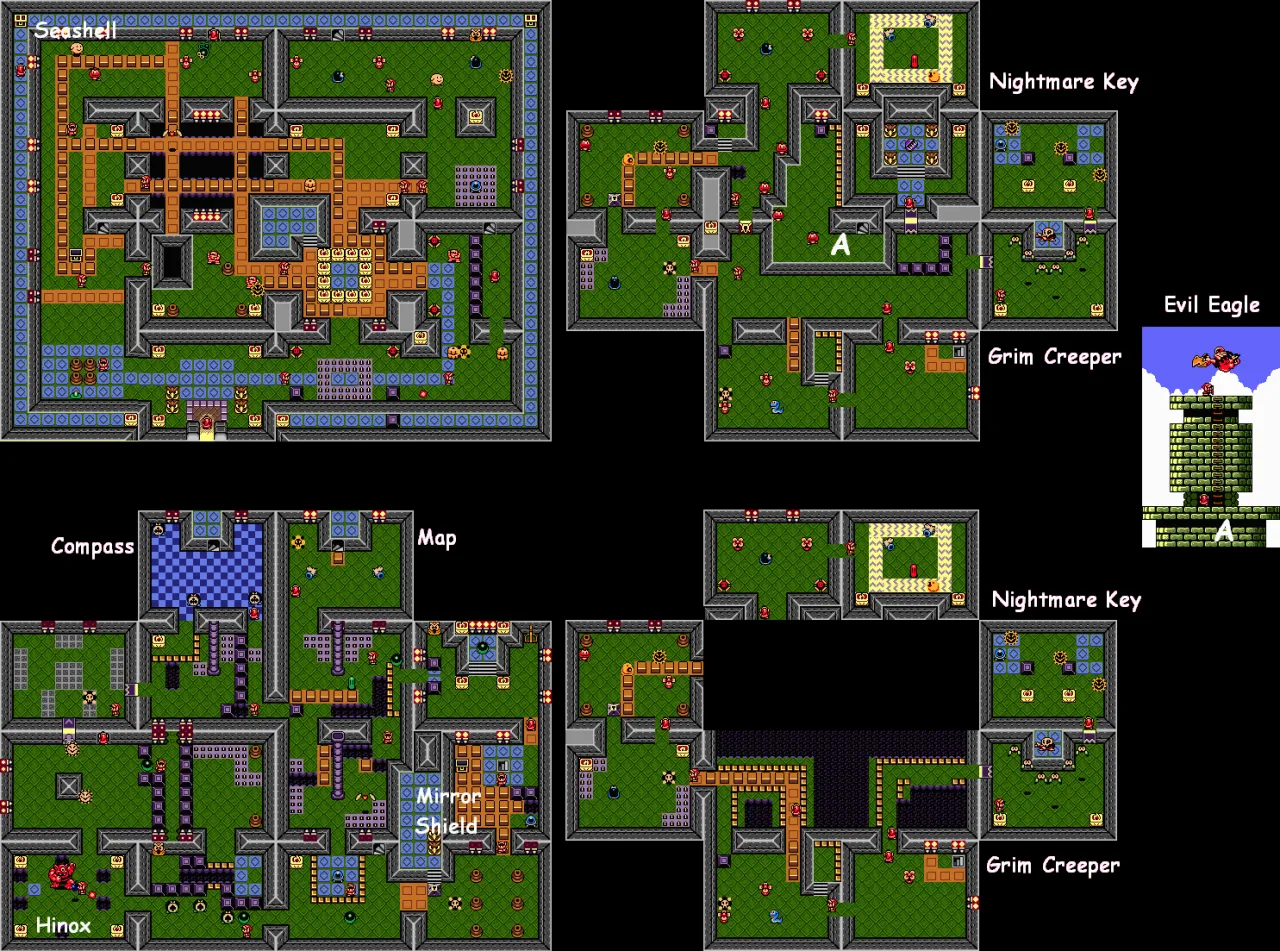
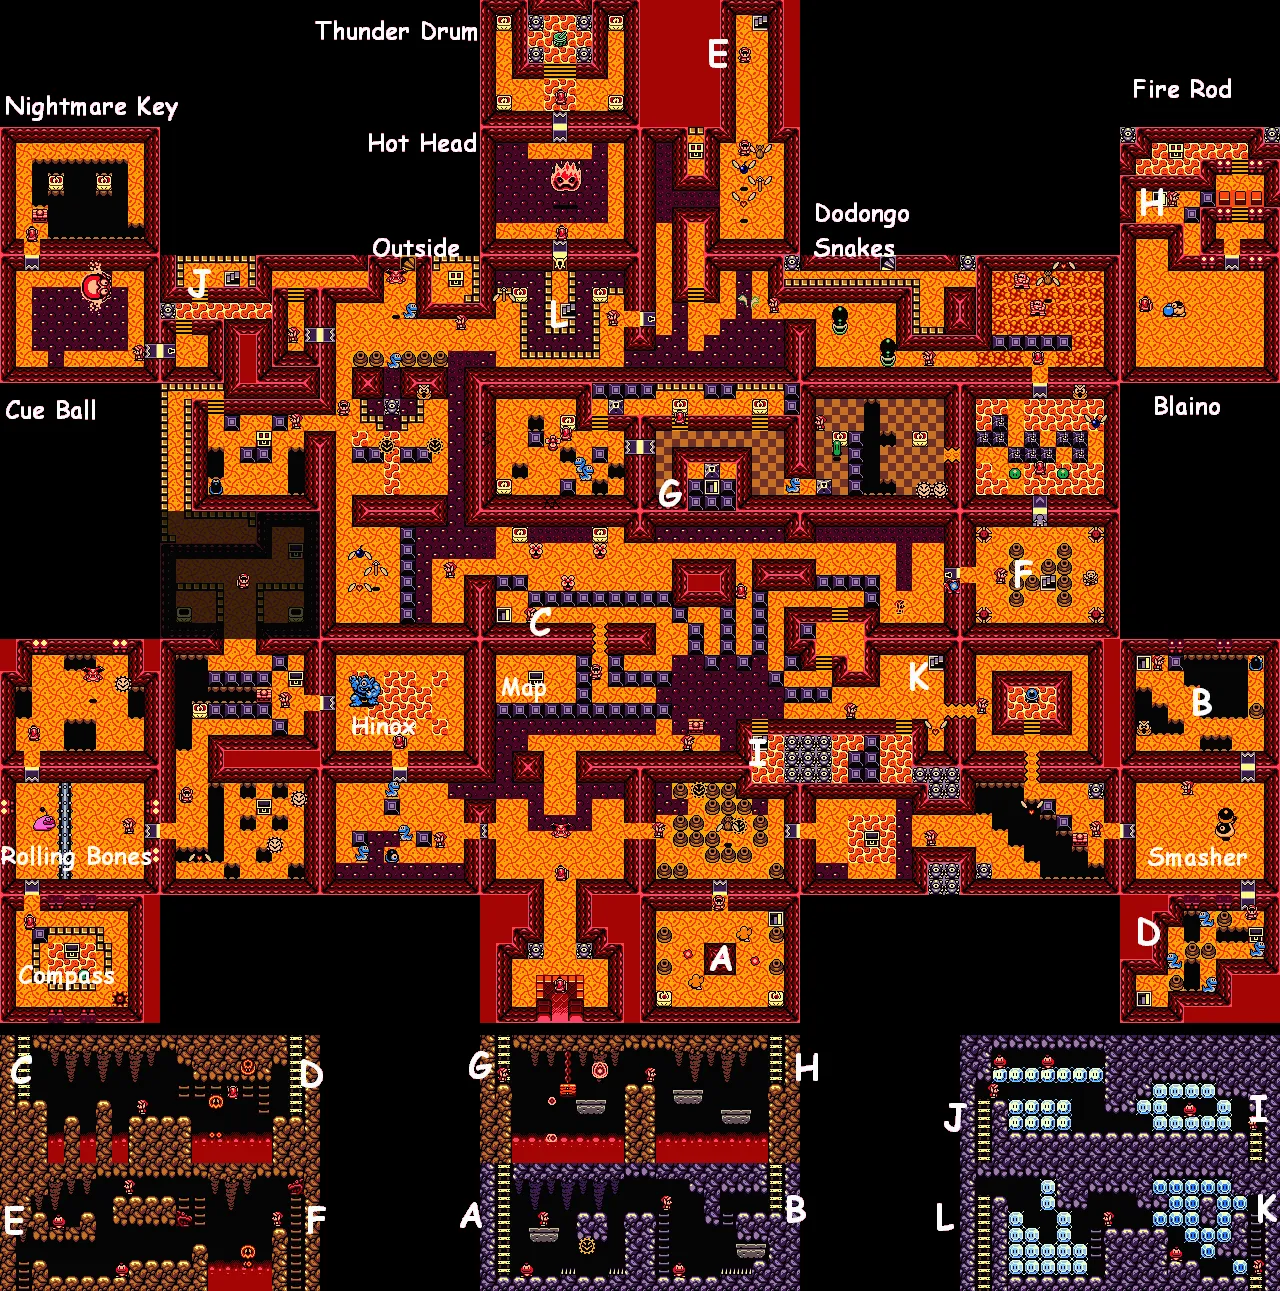
These maps show each dungeon room by room. Letters mark stairs, doors and holes that connect rooms. On the Turtle Rock map the Magic Rod is labeled “Fire Rod”.
Tail Cave Map
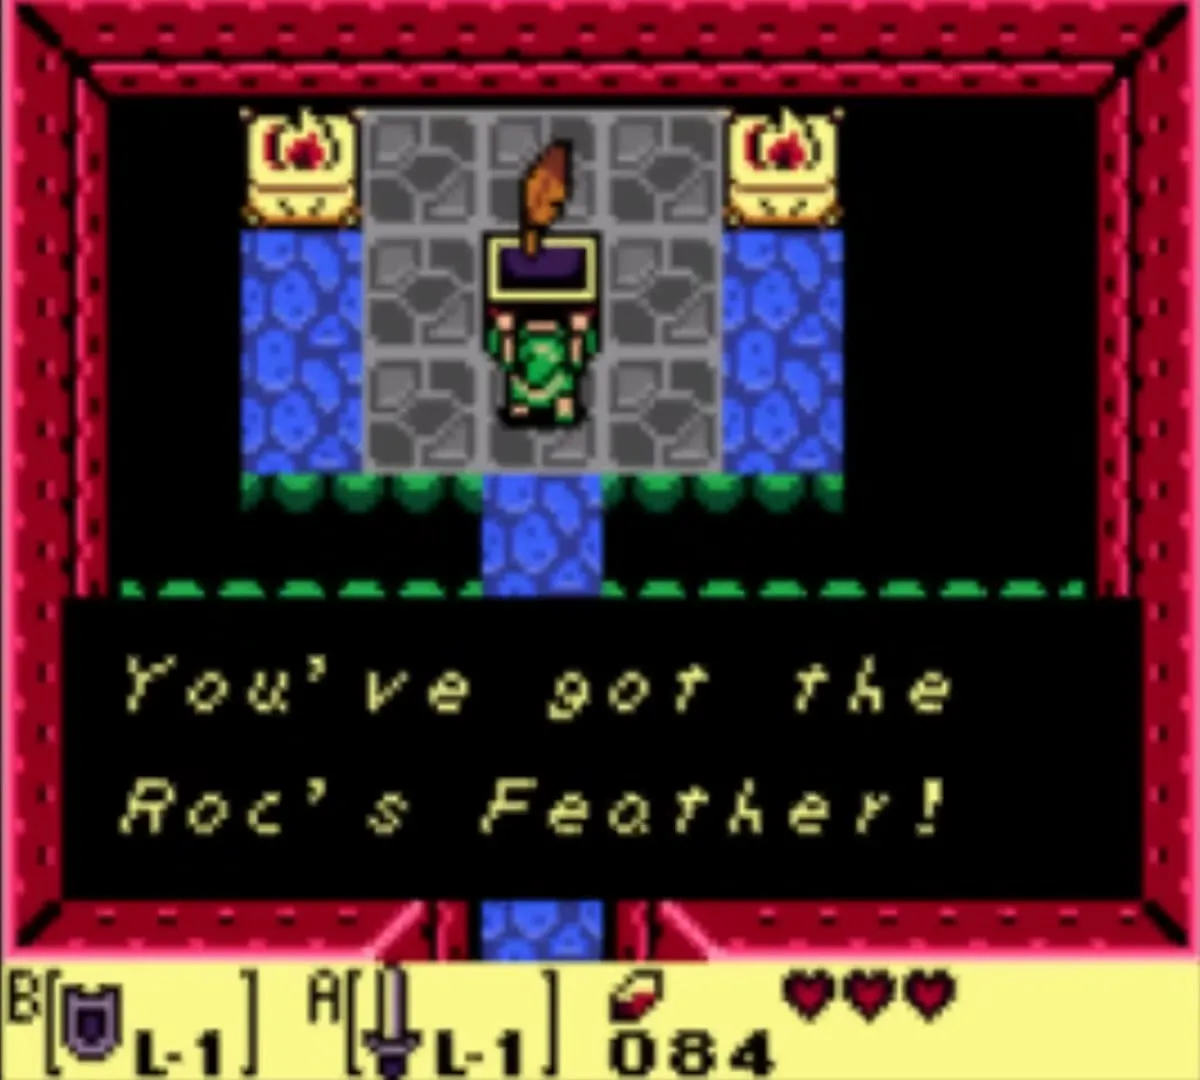
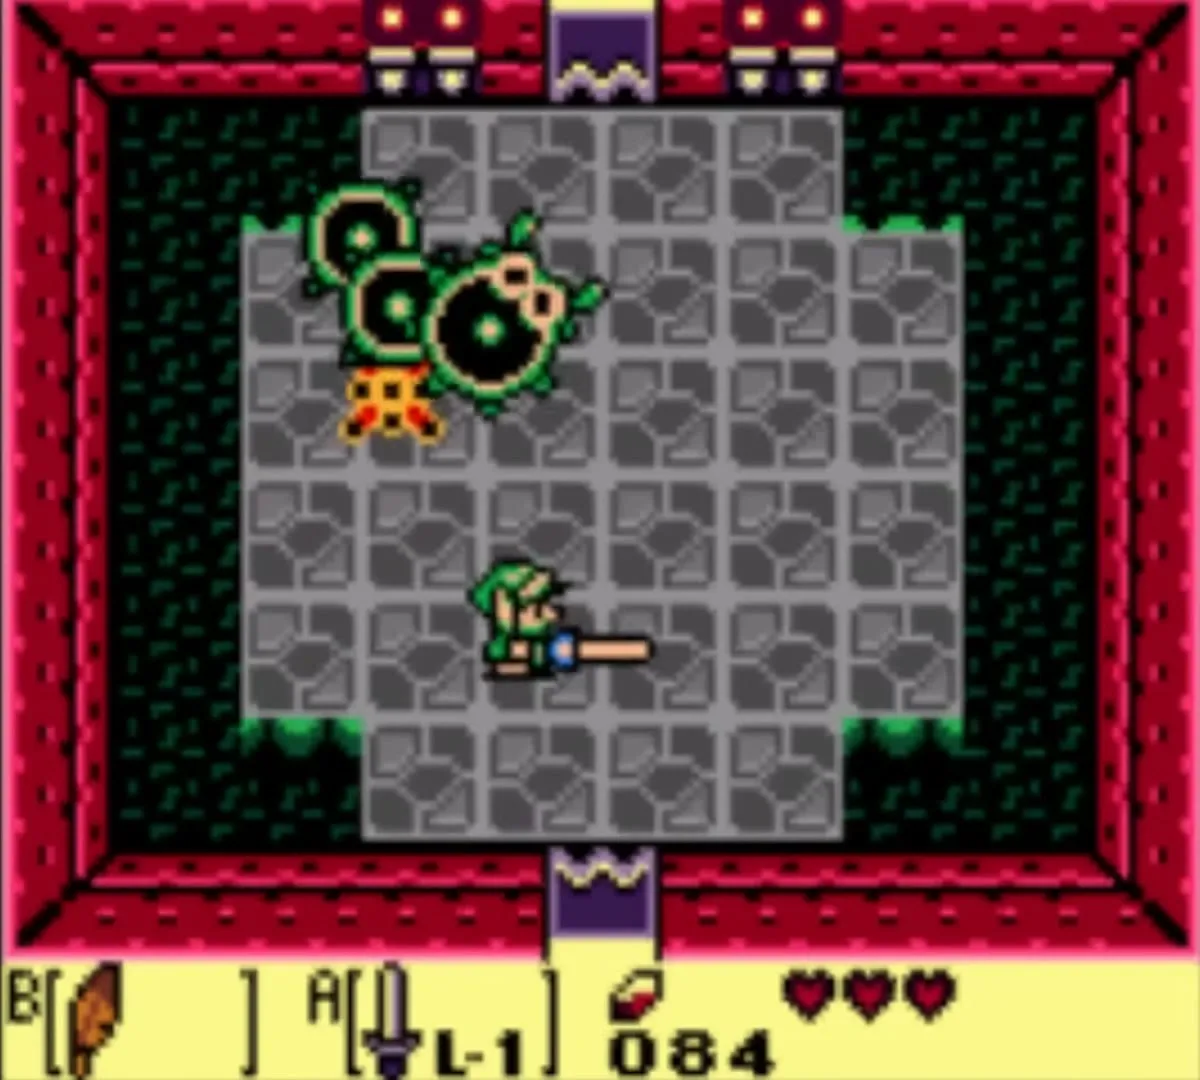
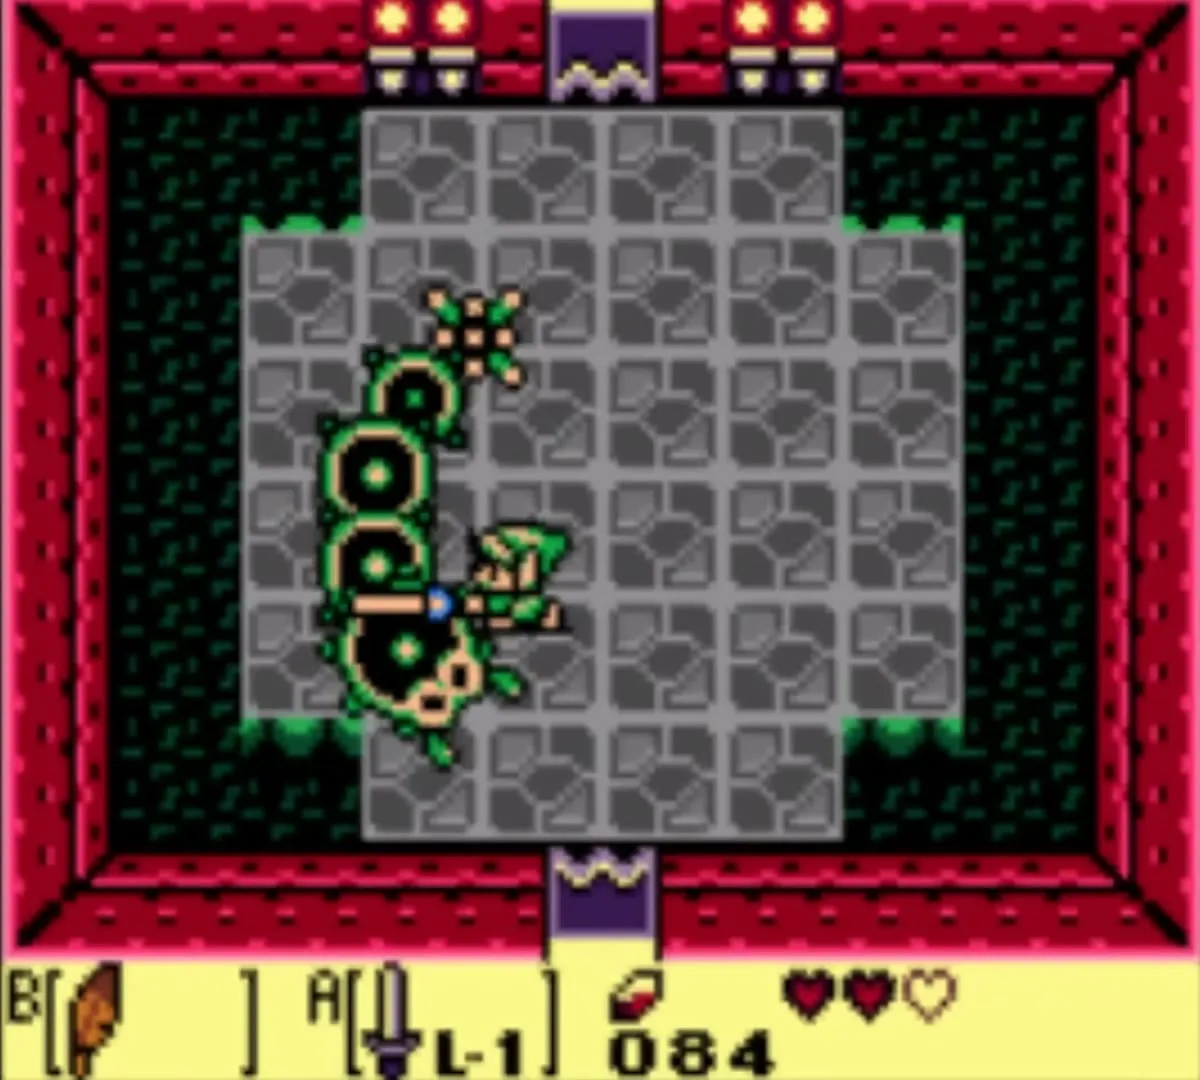
The first dungeon holds the Roc’s Feather and ends with Moldorm.

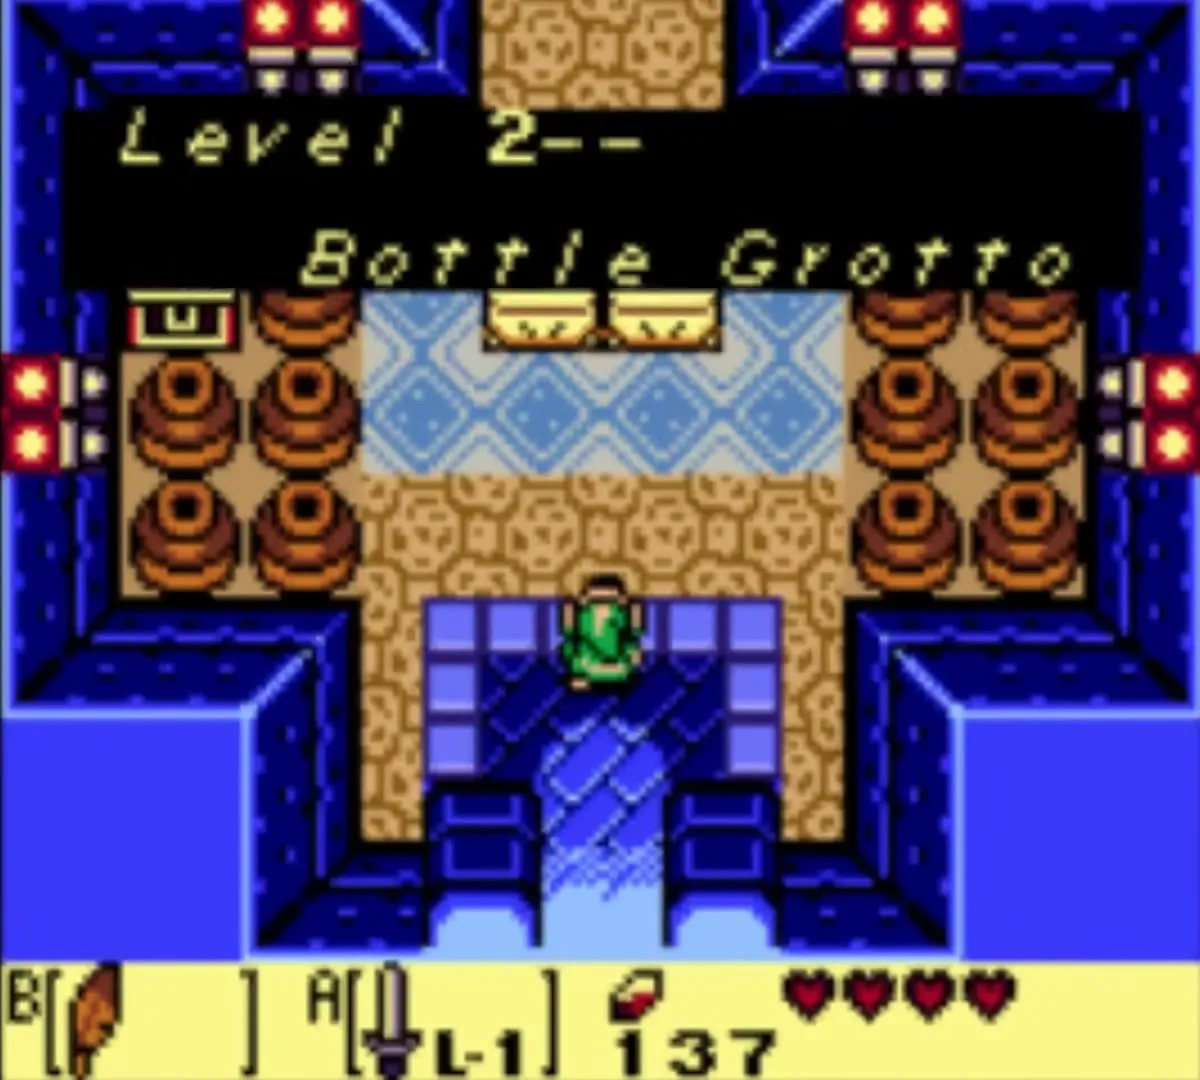
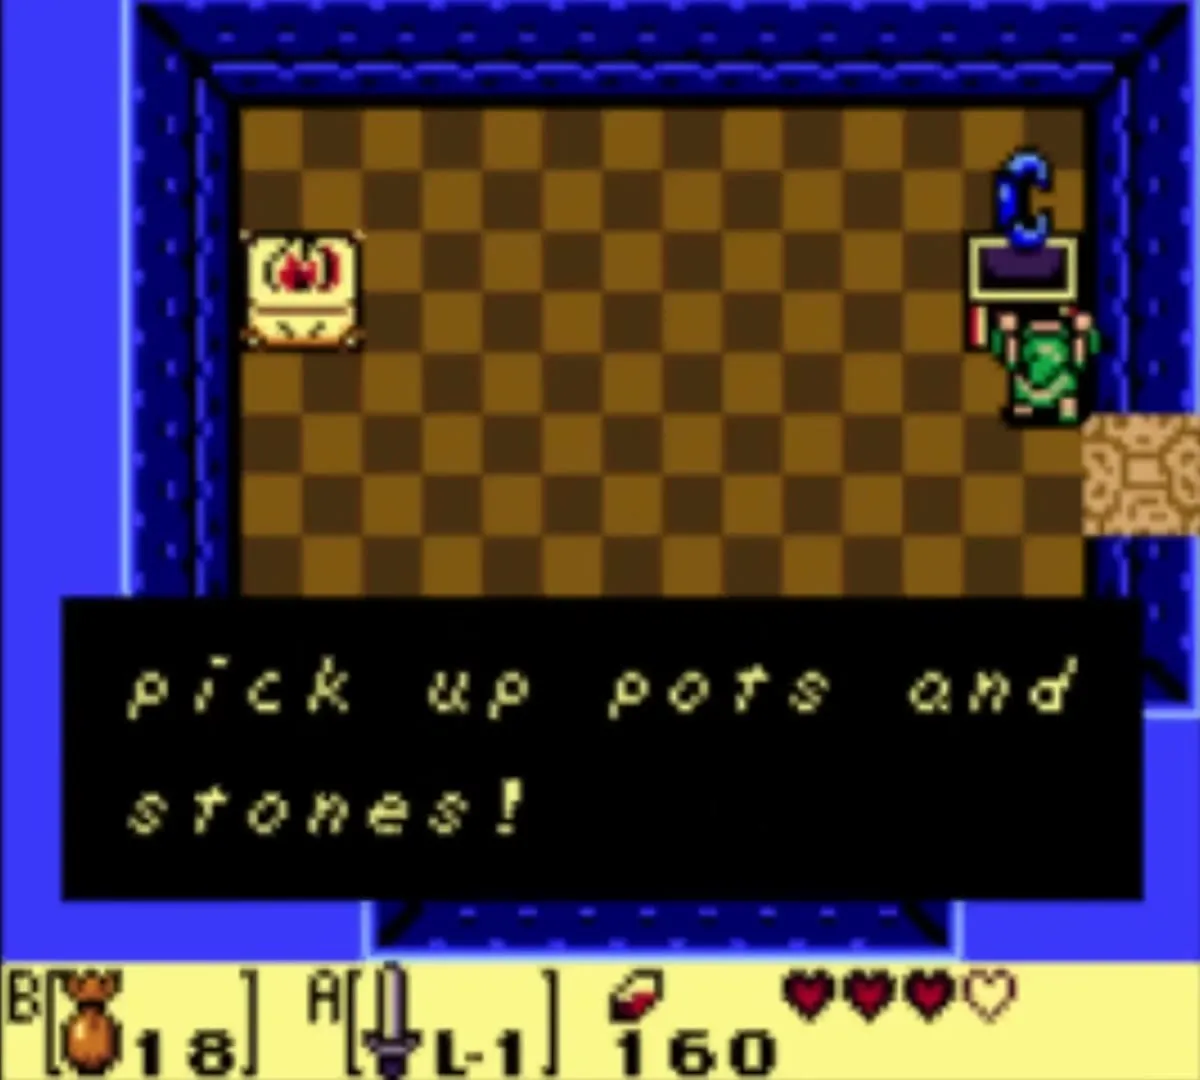
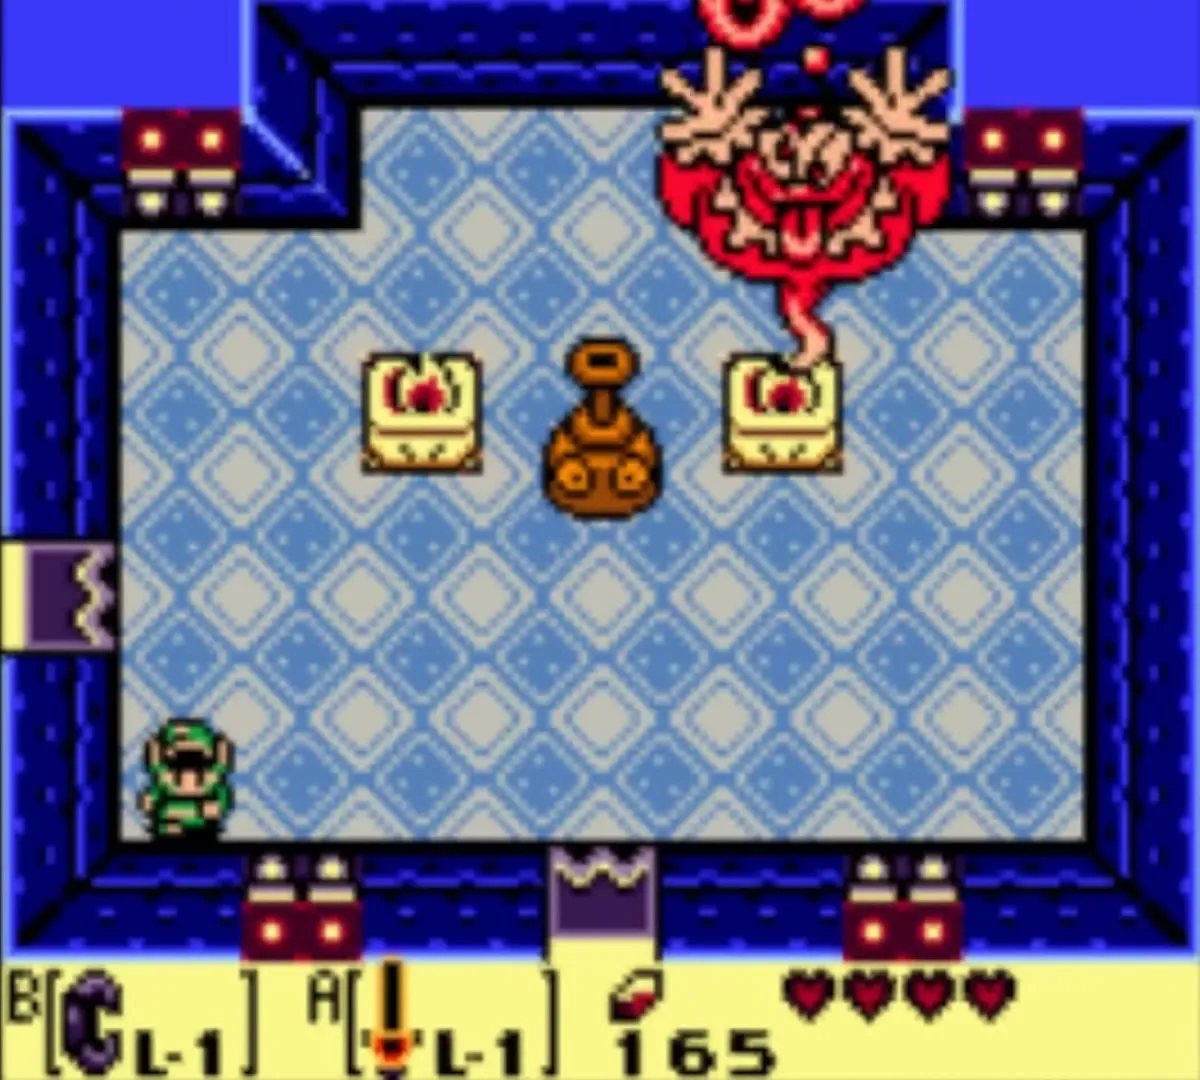
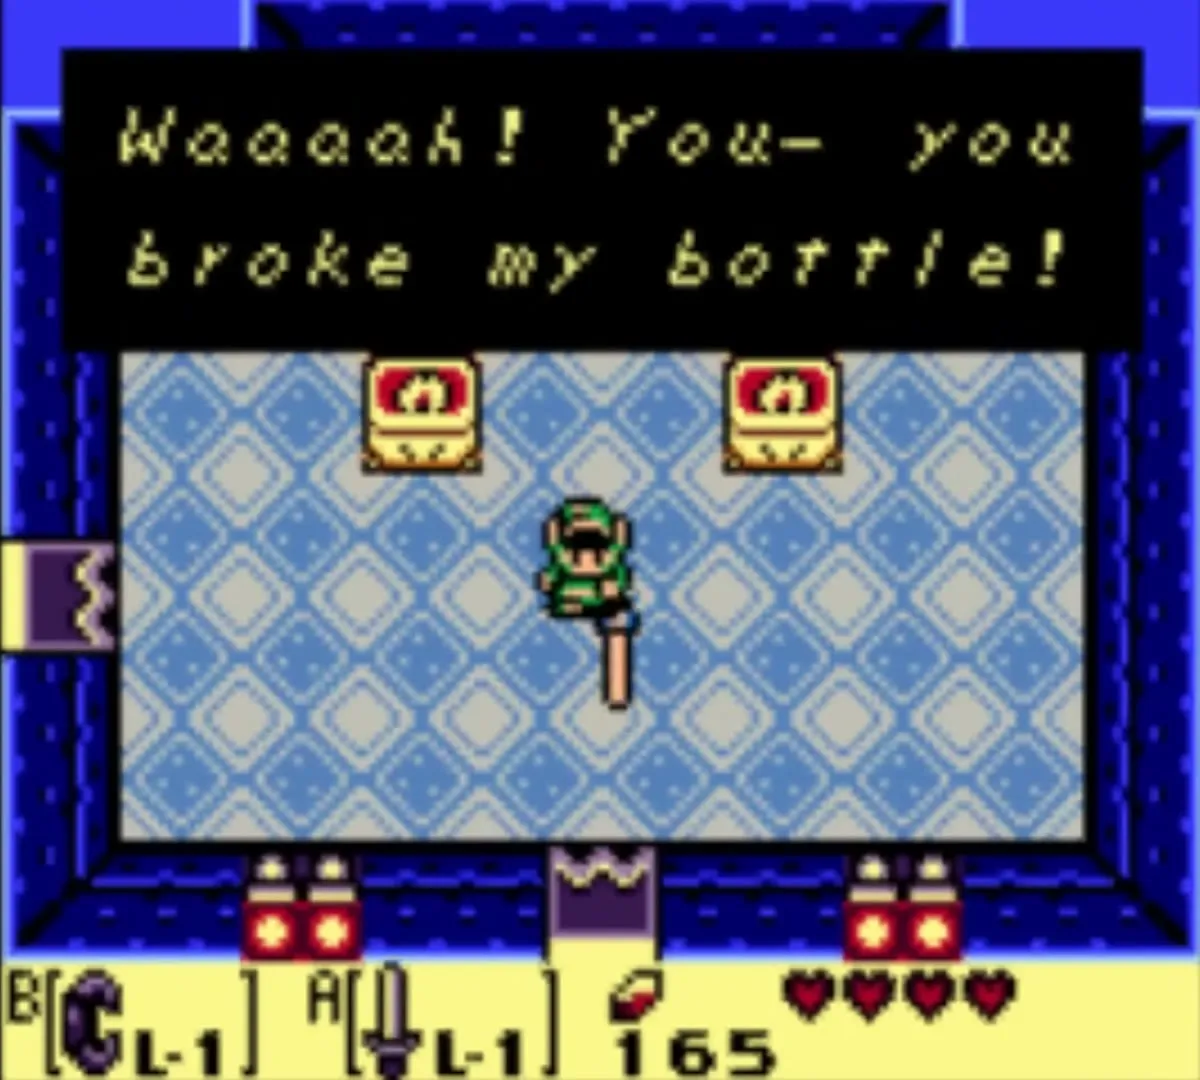
Bottle Grotto Map
The second dungeon gives you the Power Bracelet and ends with the Genie.
Key Cavern Map
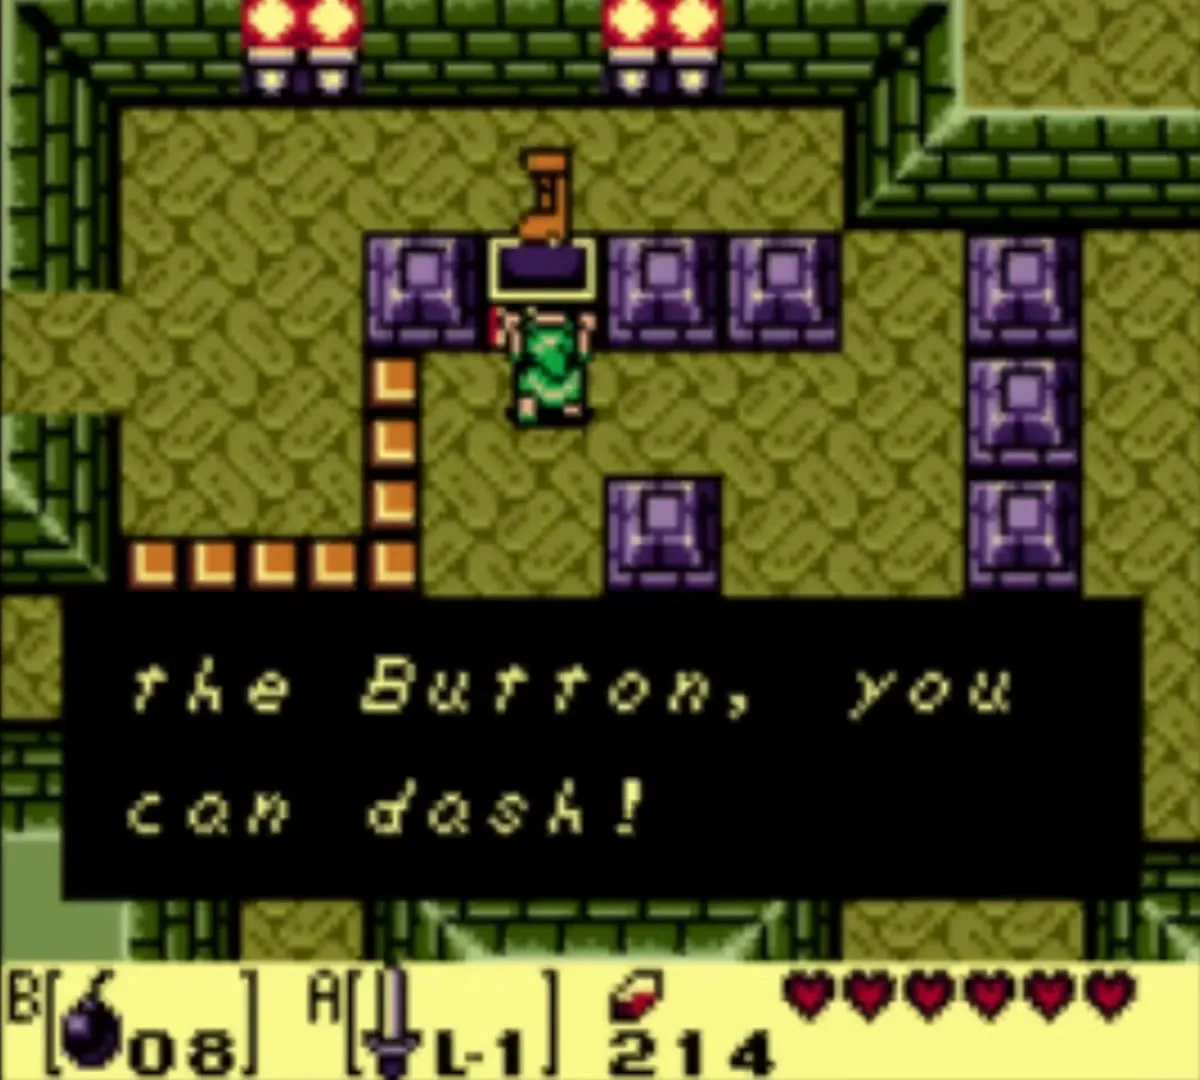
The third dungeon gives you the Pegasus Boots and ends with Slime Eye.


Angler’s Tunnel Map
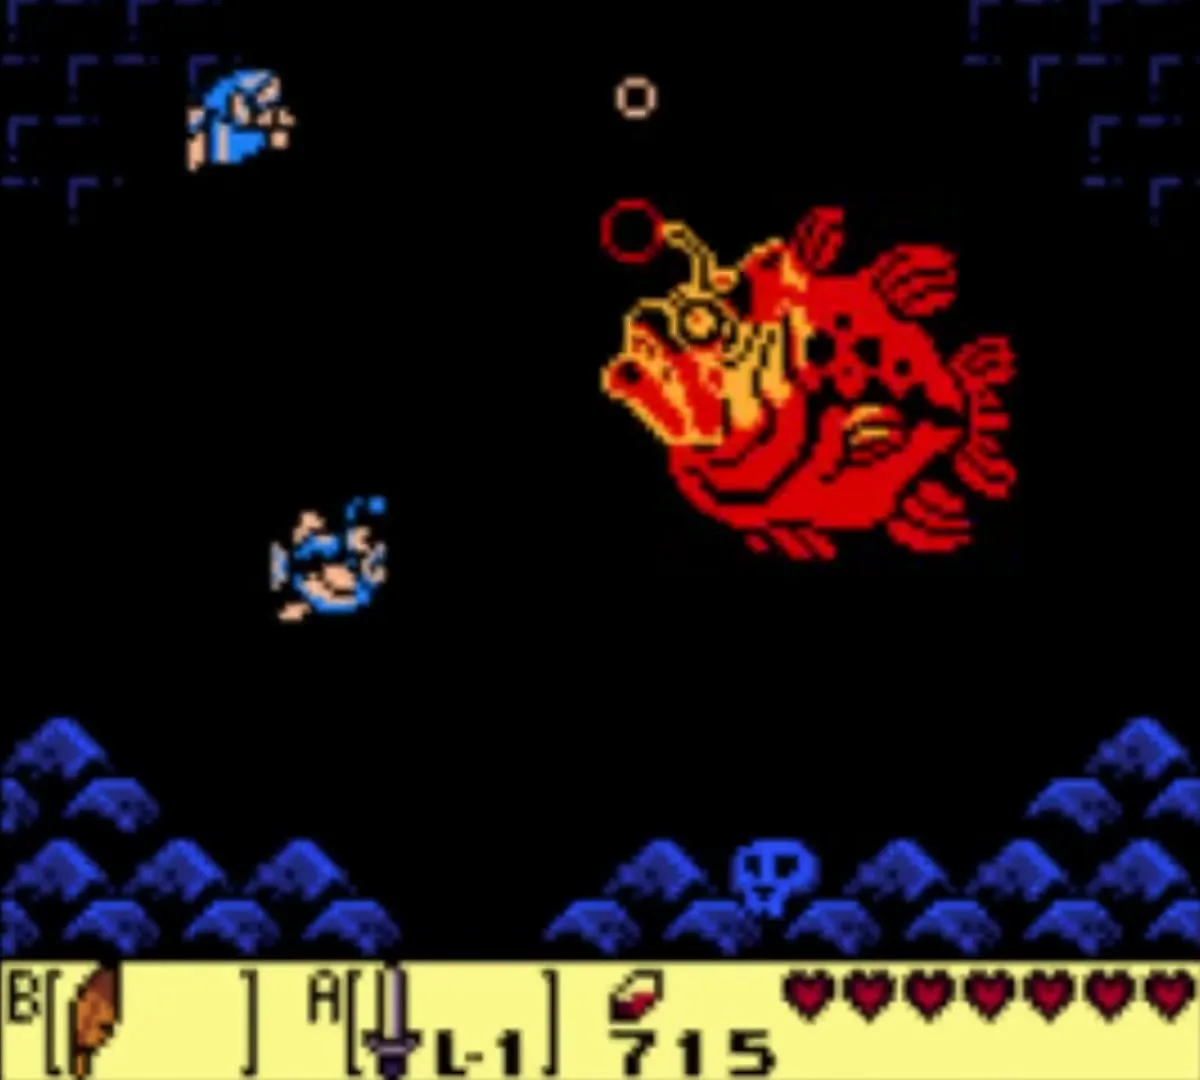
The fourth dungeon gives you the Flippers and ends with the Angler Fish.

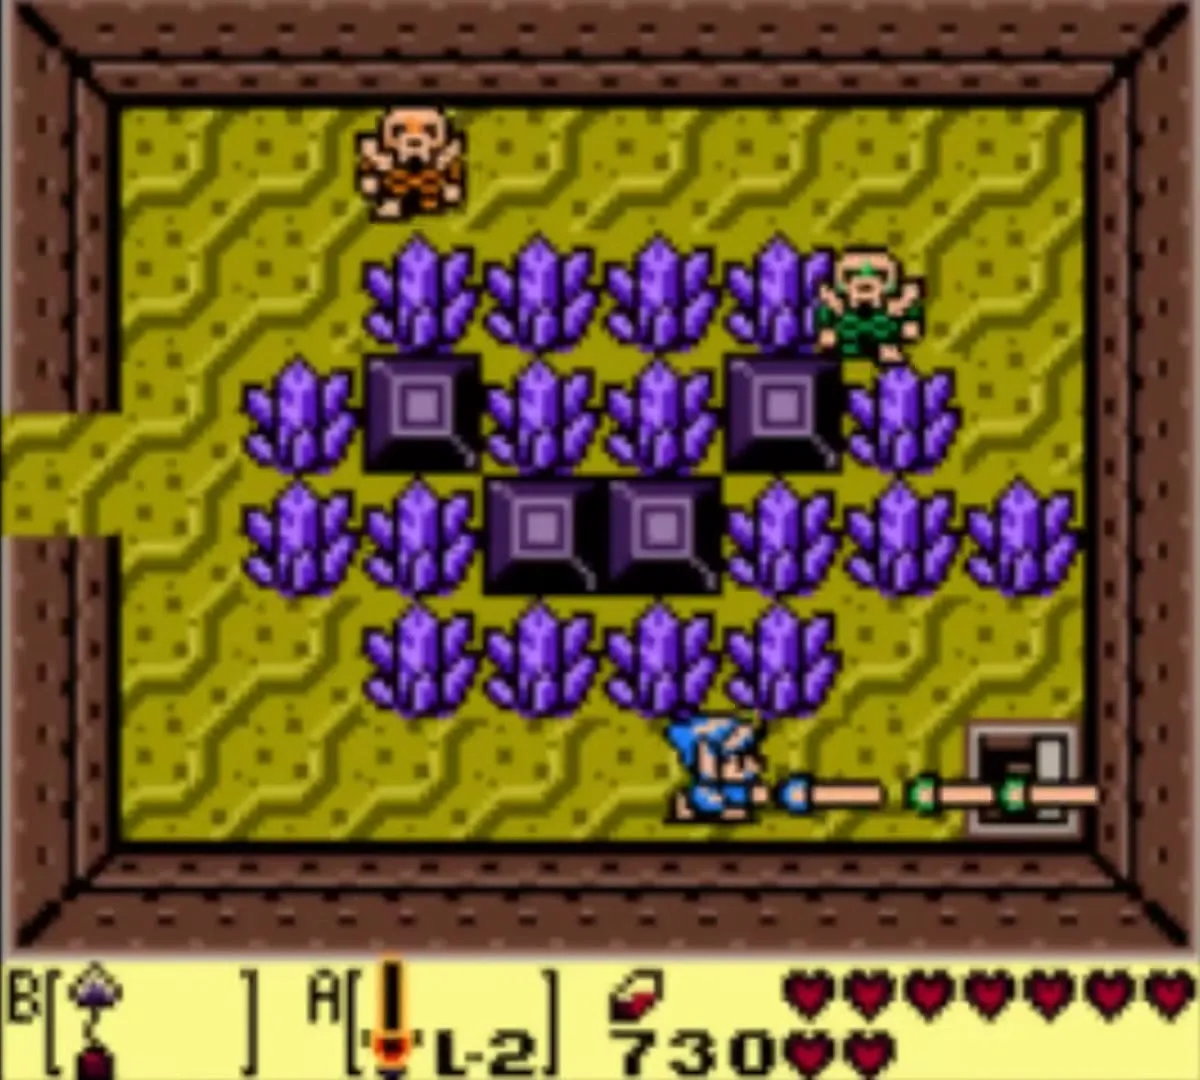
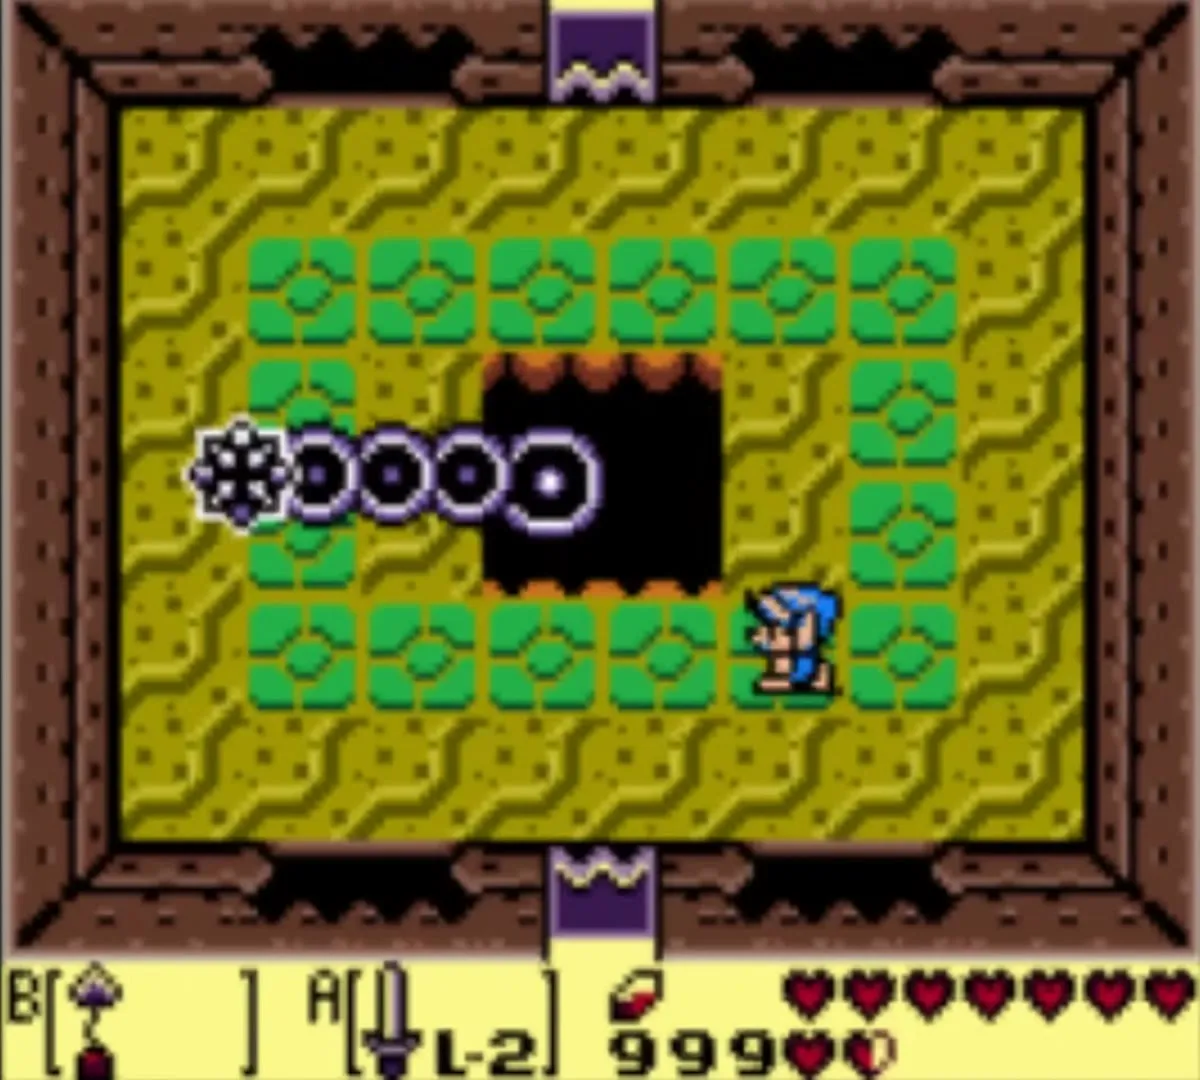
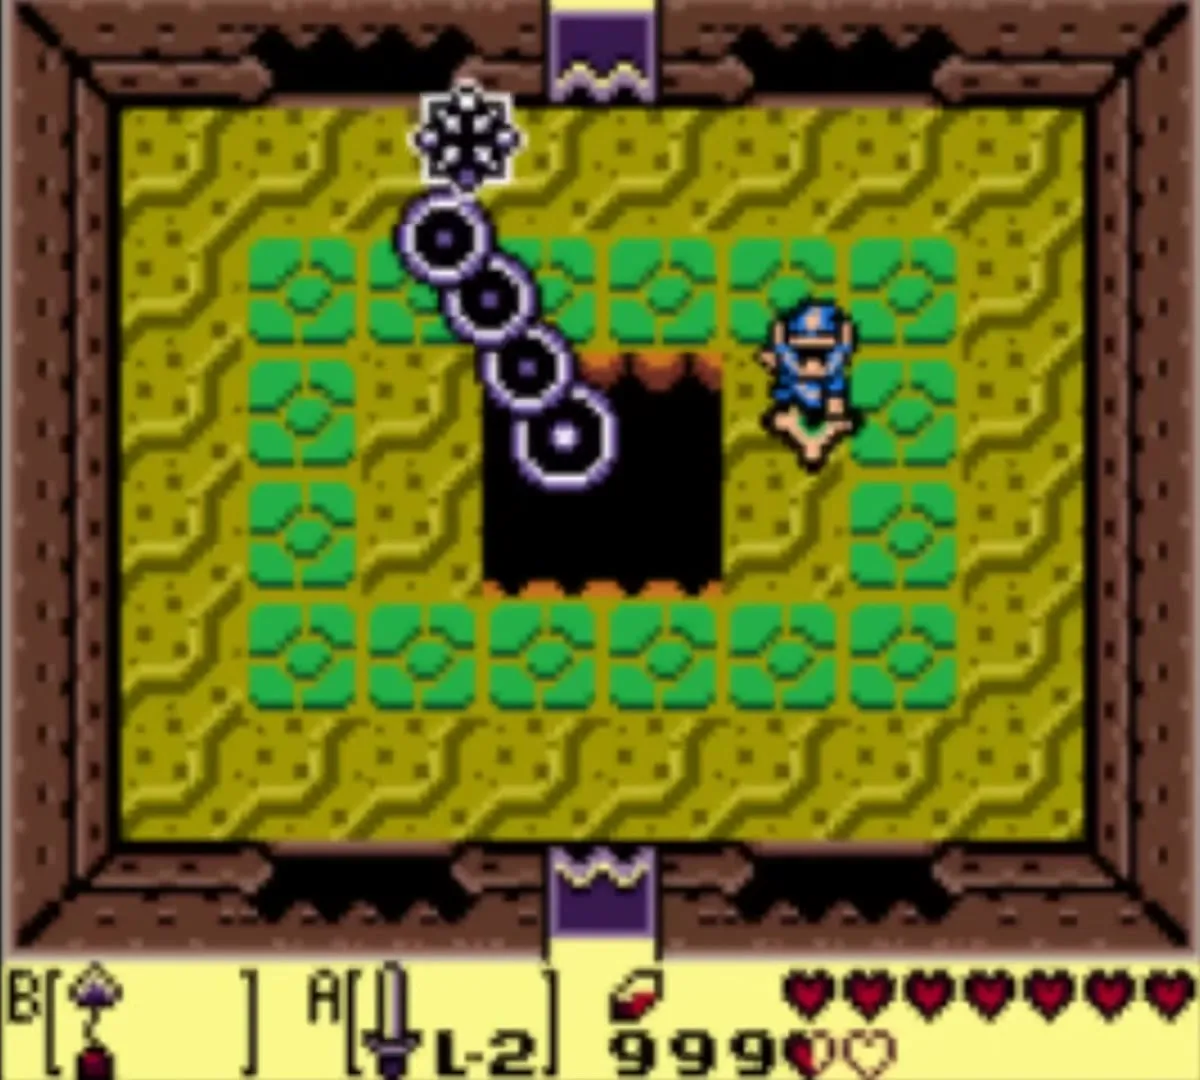
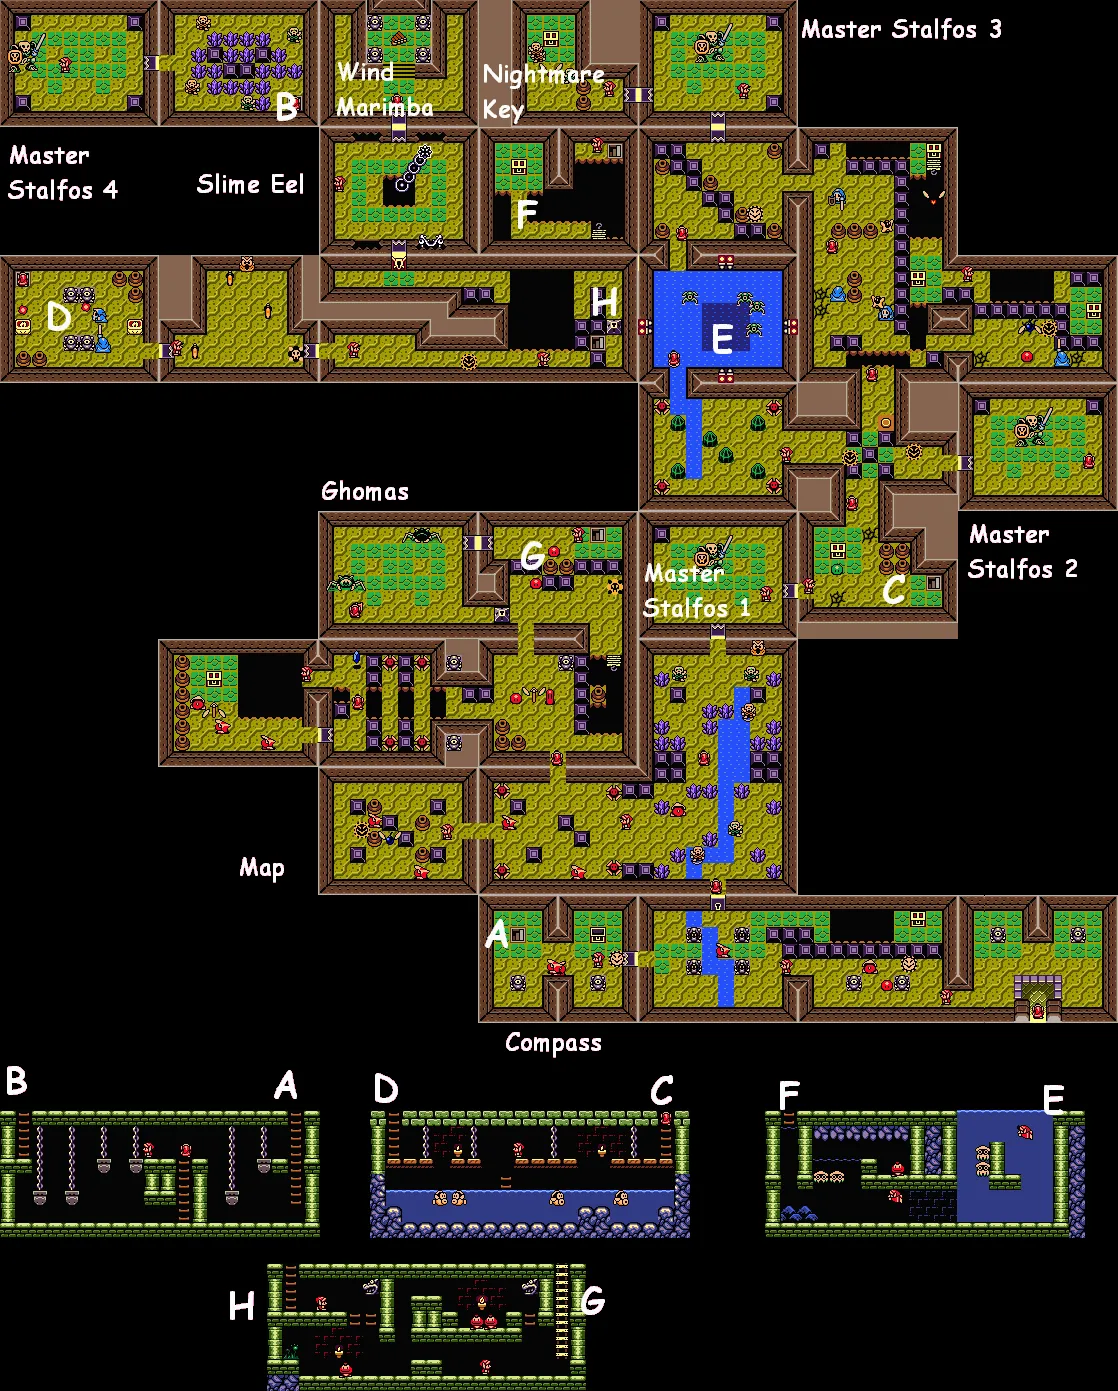
Catfish’s Maw Map
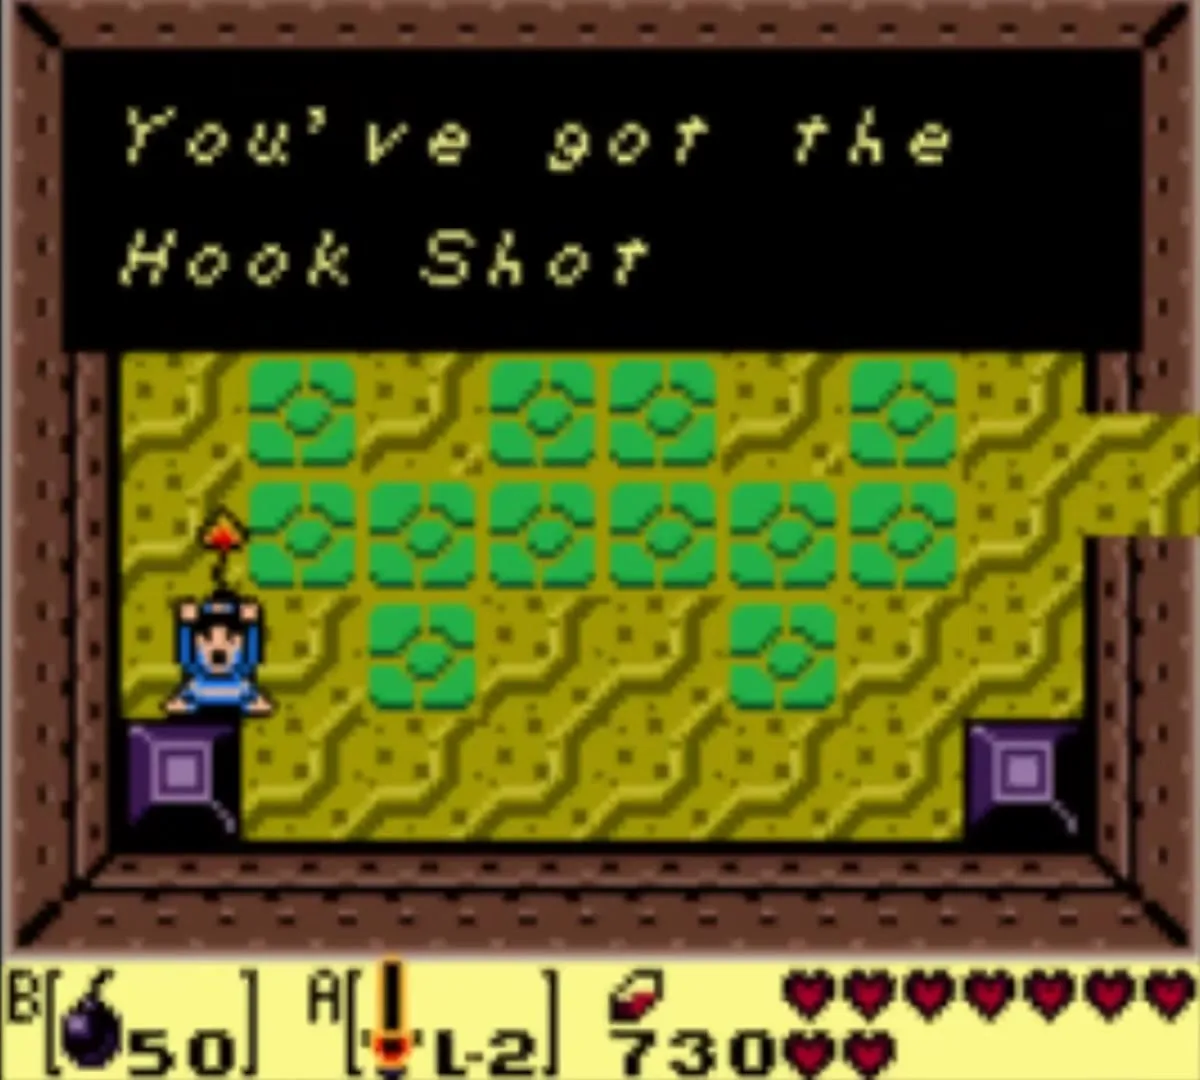
The fifth dungeon gives you the Hookshot and ends with the Slime Eel.
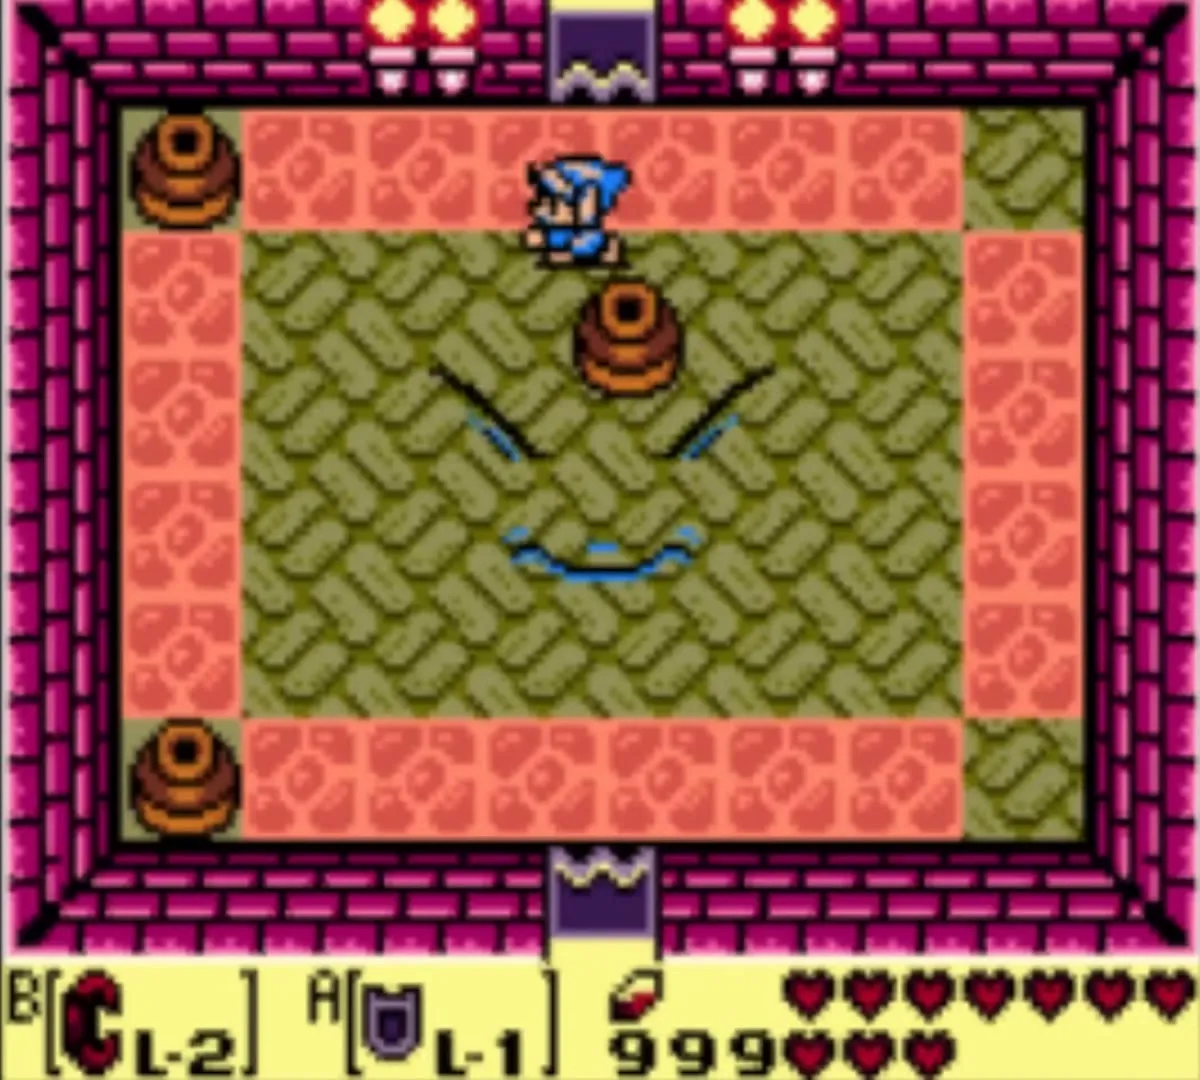
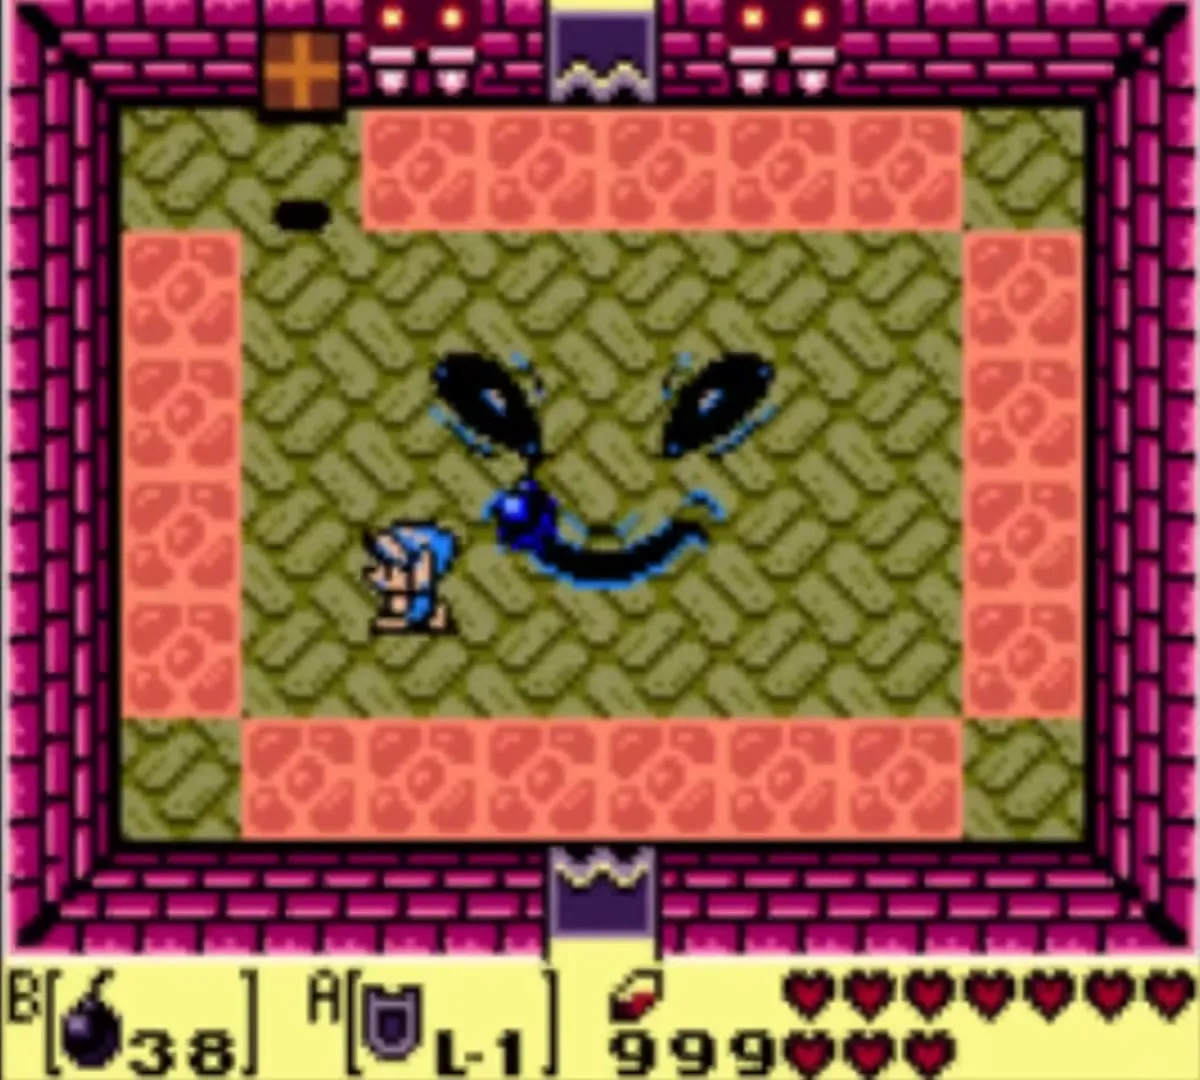
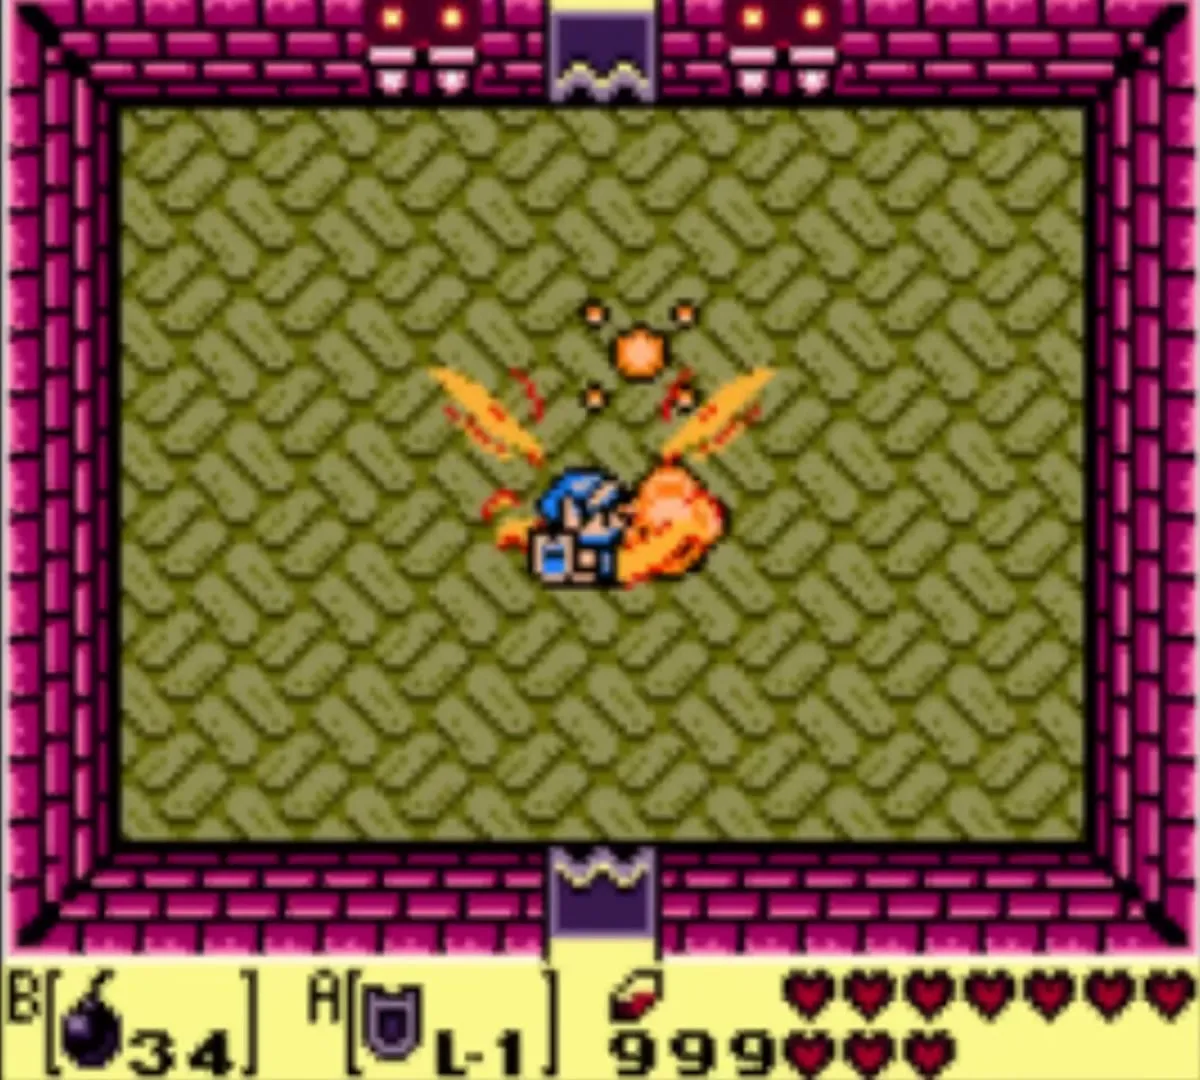
Face Shrine Map
The sixth dungeon gives you the L-2 Power Bracelet and ends with Facade.

Eagle’s Tower Map
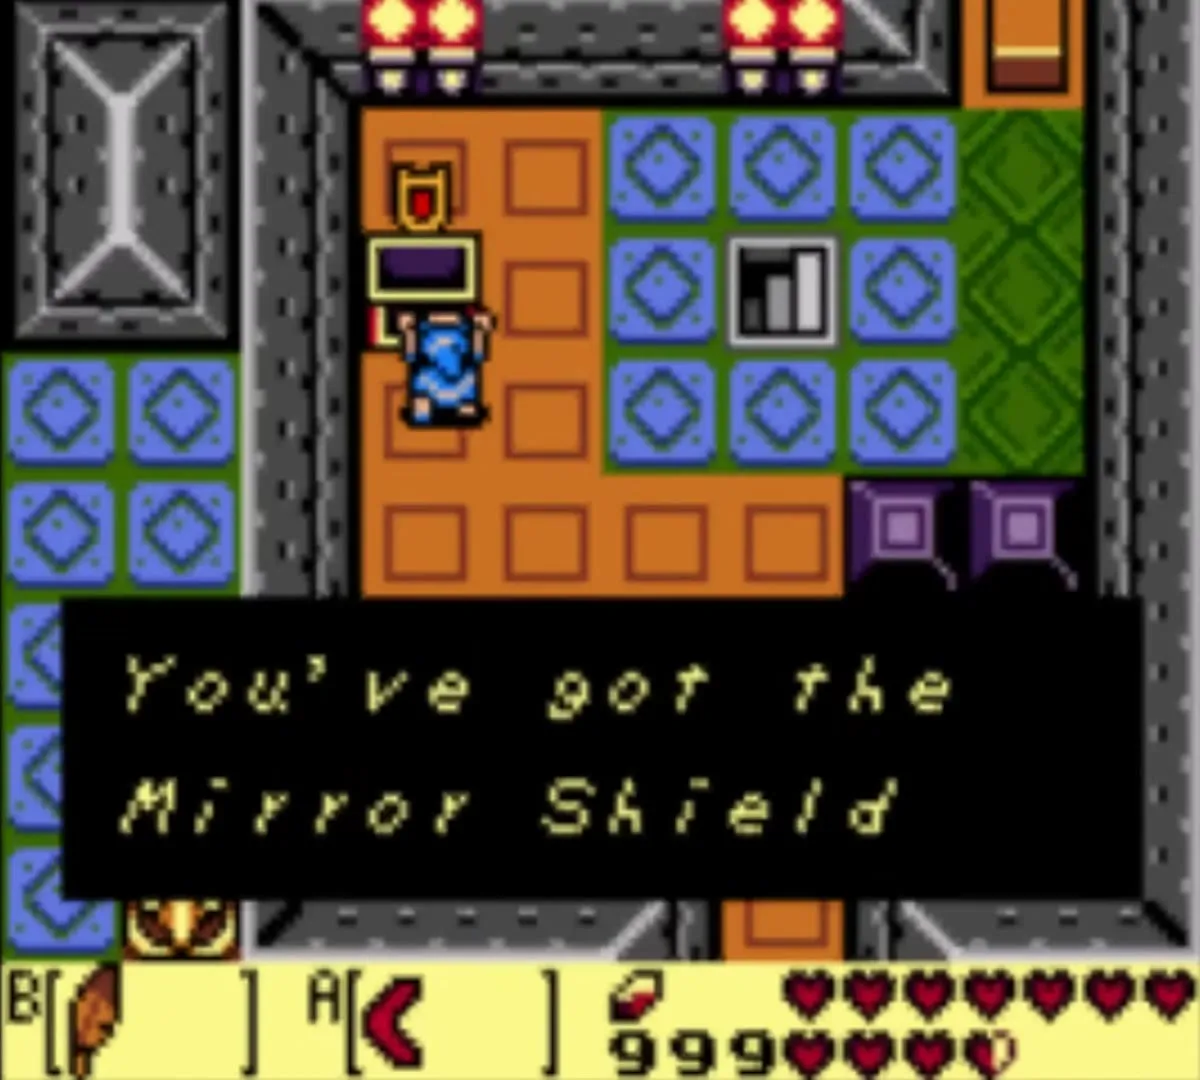
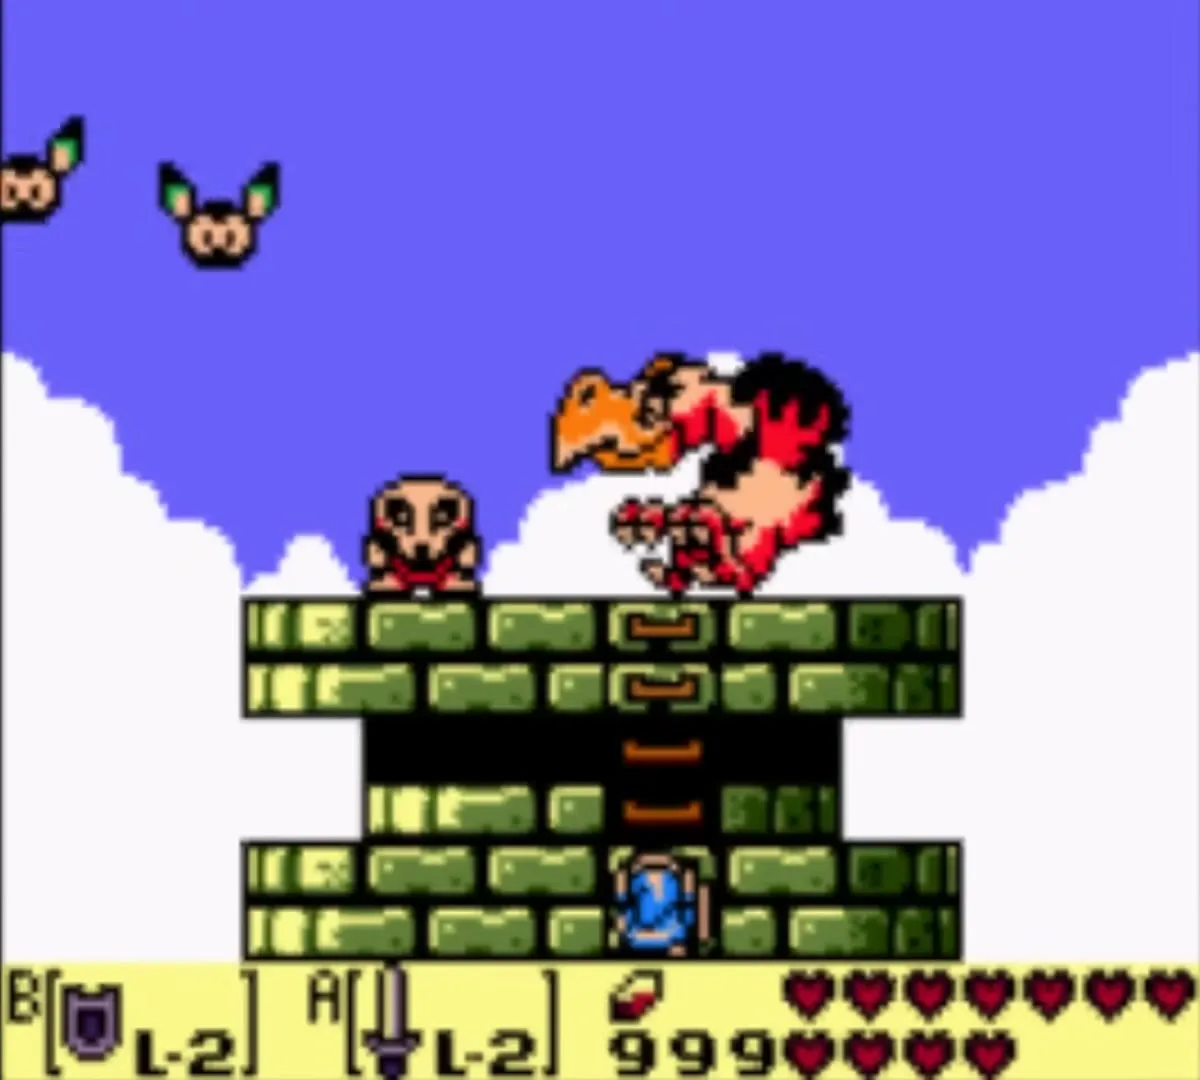
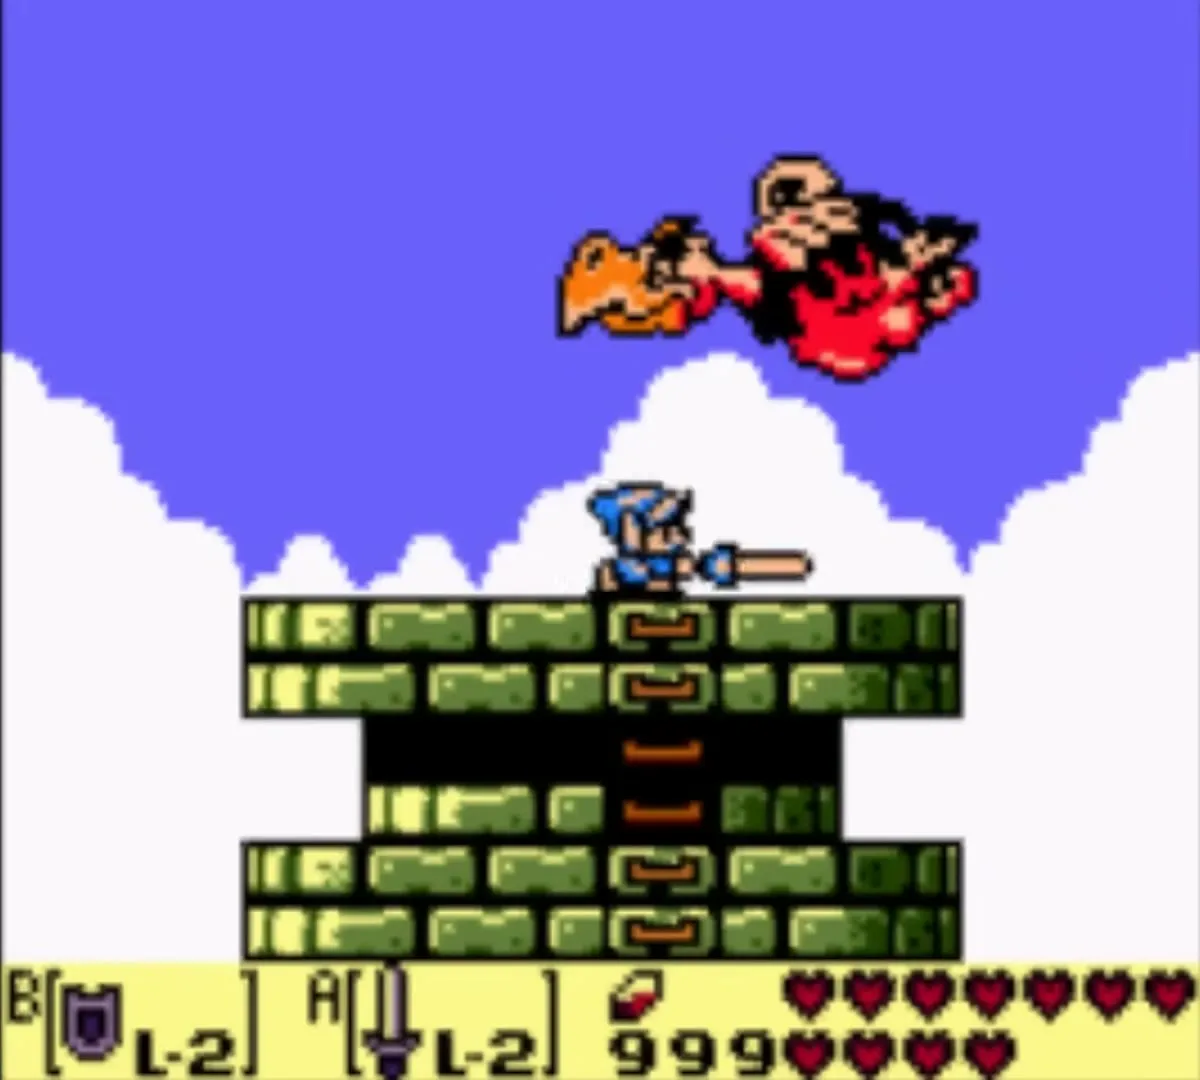
The seventh dungeon gives you the Mirror Shield and ends with the Evil Eagle.

Turtle Rock Map
The eighth dungeon gives you the Magic Rod and ends with Hot Head.

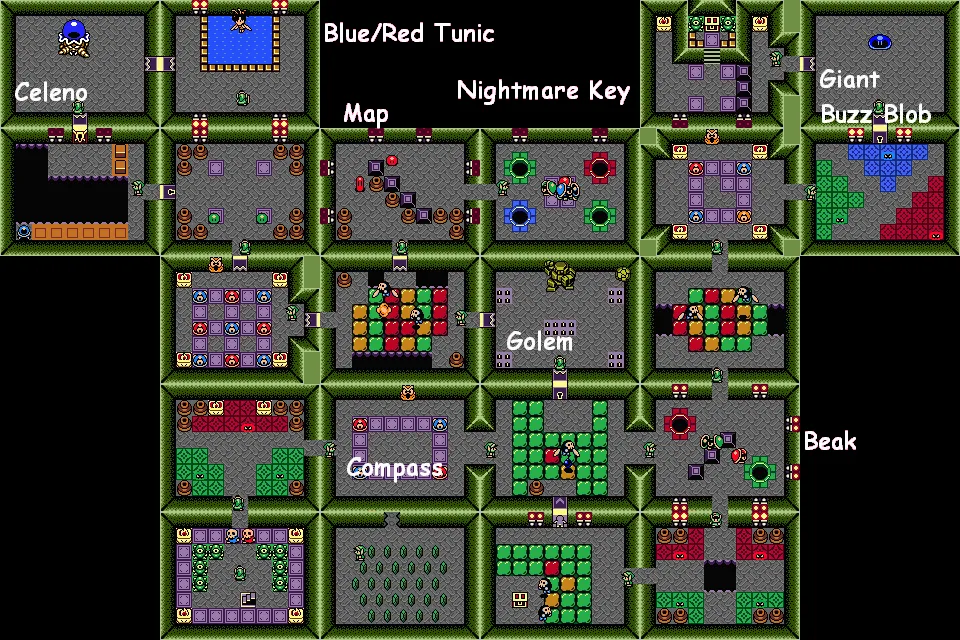
Color Dungeon Map
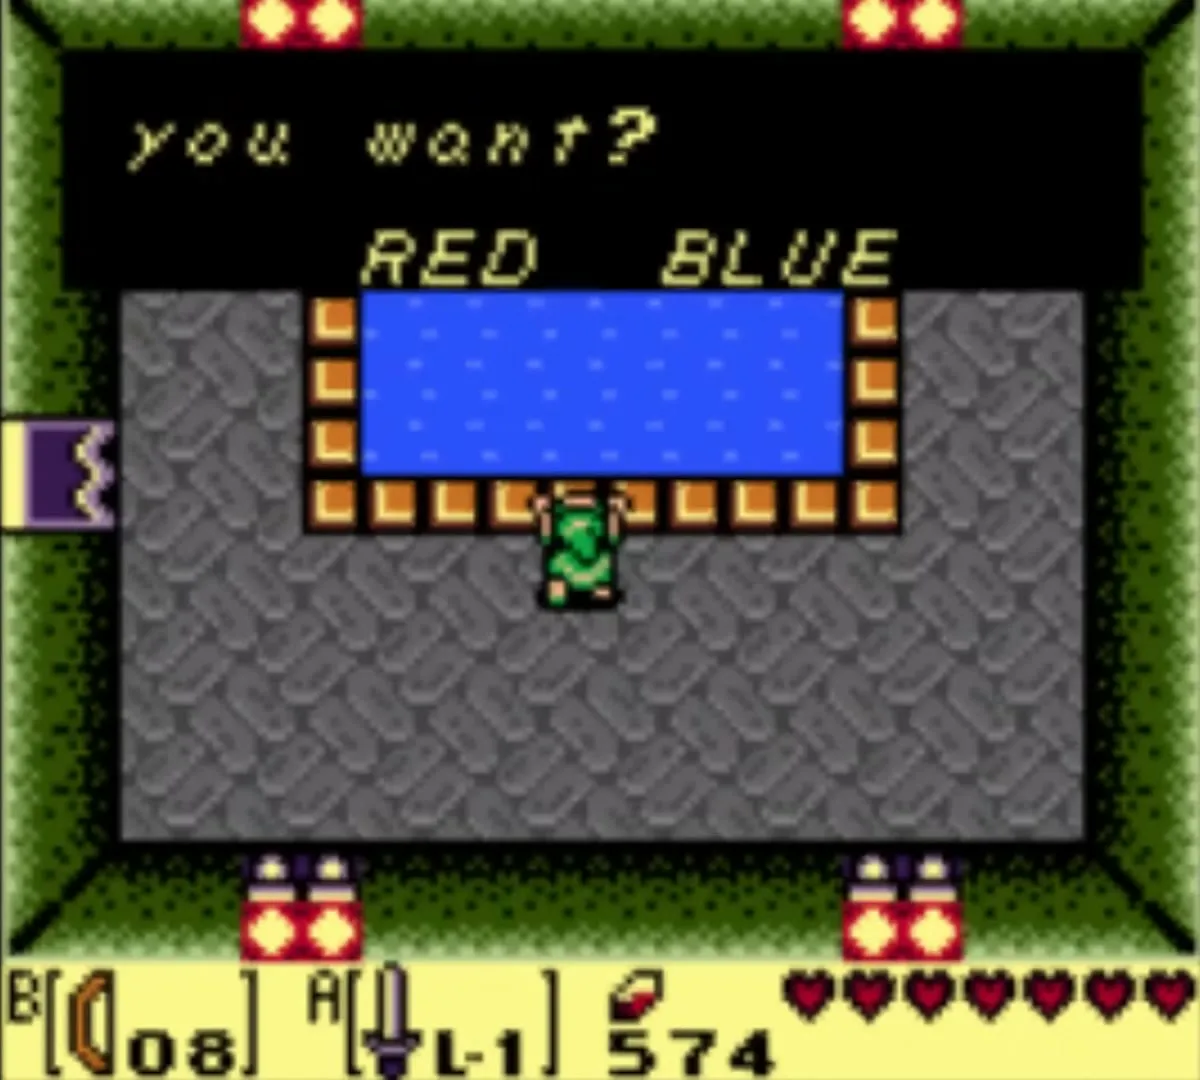
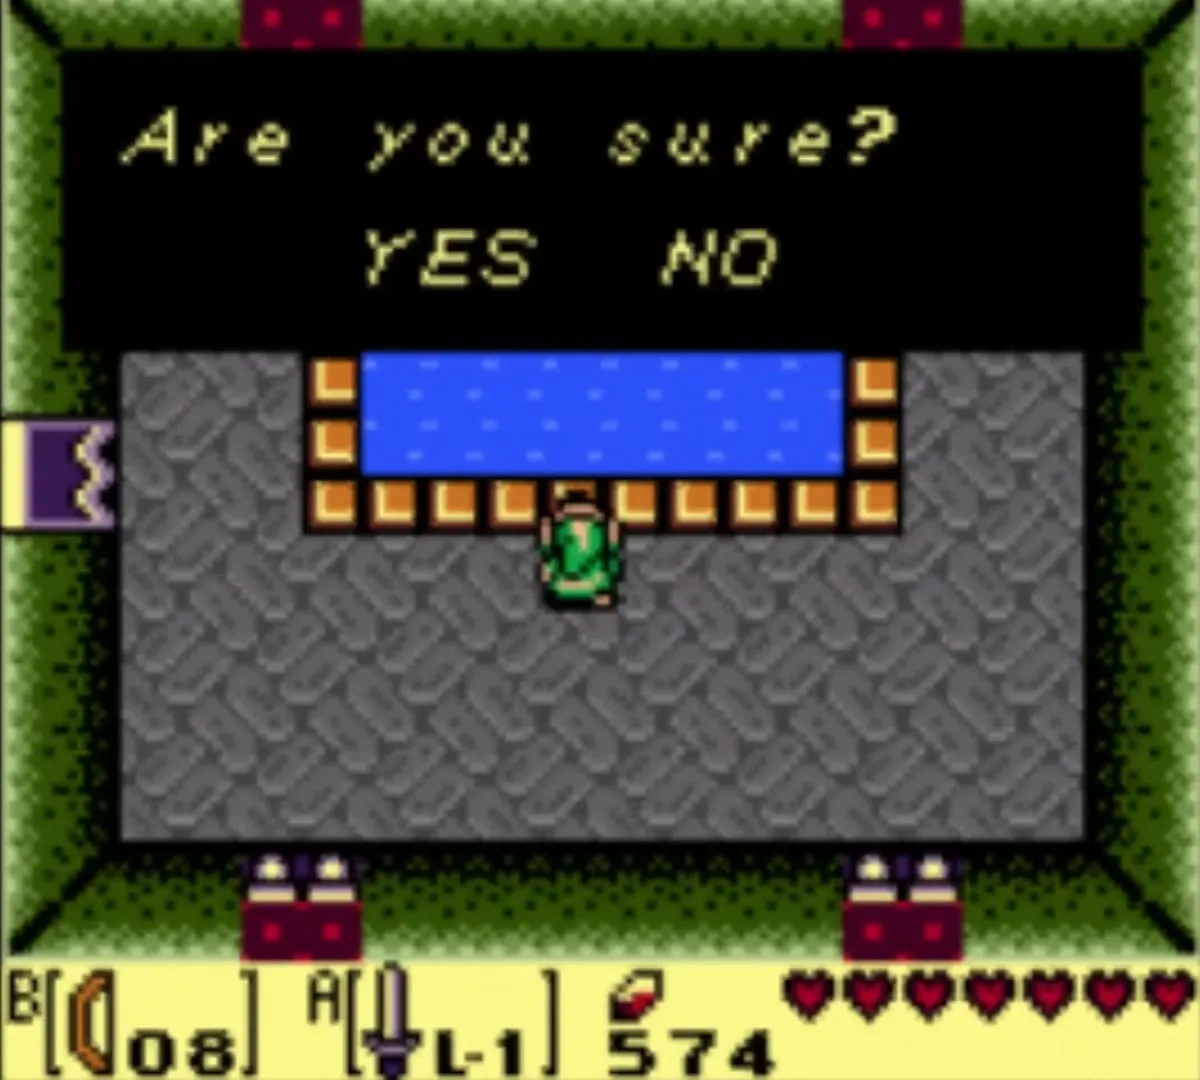
The bonus dungeon ends with the Hardhit Beetle, then a choice of Red Clothes or Blue Clothes.