





















| Total | 82 characters and groups, from the main cast to the Moon Children |
|---|---|
| Where | Clock Town, Southern Swamp and Woodfall, Snowhead and Goron Village, Great Bay and Zora Cape, Ikana Canyon, Termina Field and Romani Ranch, and the Moon |
| Reward | Transformation masks, bottles, Pieces of Heart, Stray Fairies and most of the 20 masks that go into the Fierce Deity’s Mask |
| Requirement | Many residents only appear on certain days, at set hours, or after an earlier event. Check each entry before you plan a visit |
Termina has about 80 named characters and groups. The core story is carried by Link, Tatl and Tael, Skull Kid, Majora’s Mask and the Happy Mask Salesman, and by the four transformation masks that let Link take the shape of a Deku Scrub, a Goron, a Zora or the Fierce Deity. Everyone else lives in one of five regions or on the Moon, and their requests usually lead to a mask, a Piece of Heart or a route you need for the temples. The quick reference below lists every character with the region and the requirement. Each entry after it says where and when you meet the character (the day and hour wherever it matters), what they give you or do for you, and which walkthrough chapter or topic page covers their quest. The Three-Day Cycle page lists the full clock.
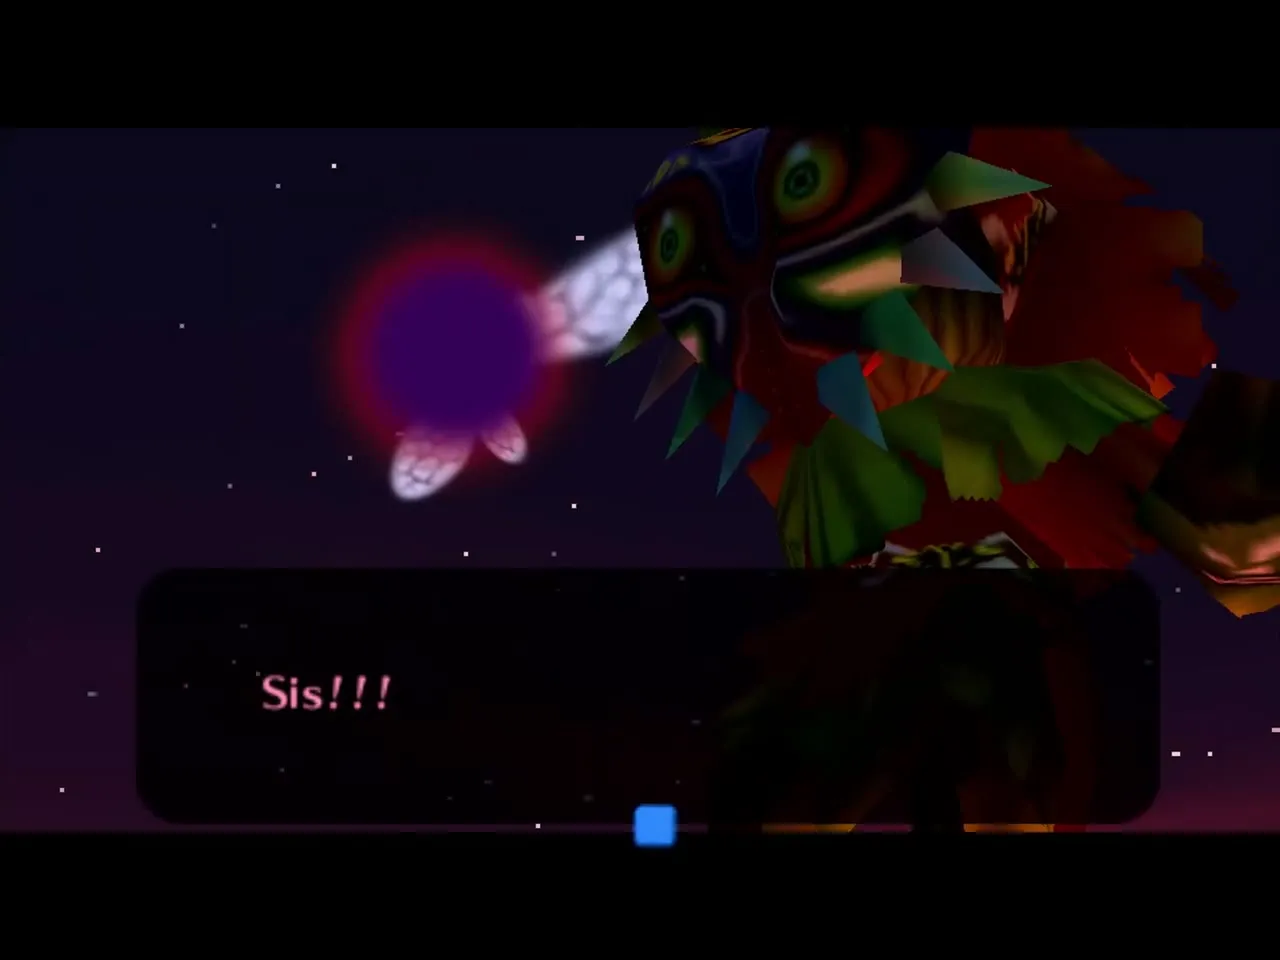
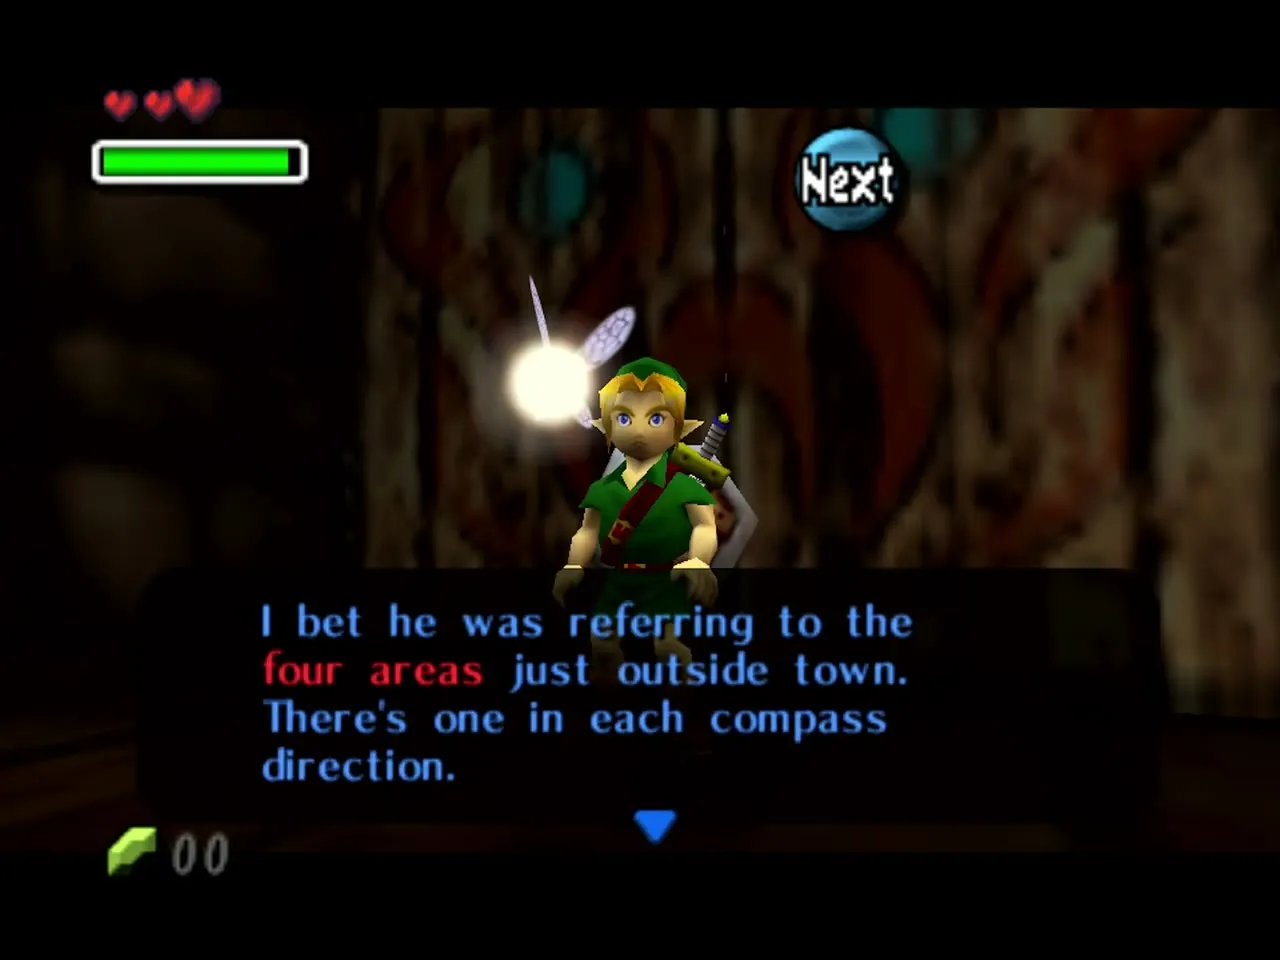
Table of Contents
Quick reference
| # | Character | Region | Requirement |
|---|---|---|---|
| 1 |  Link | Clock Town | Starts the game in the Lost Woods |
| 2 |  Tatl | Lost Woods, then Clock Town | Follows you after the ambush |
| 3 |  Tael | Lost Woods | Rides with Skull Kid; hints at the four regions on the Final Night |
| 4 |  Skull Kid | Clock Tower | Final Night at the Clock Tower |
| 5 |  Majora’s Mask | Clock Tower, the Moon | Final boss |
| 6 |  Happy Mask Salesman | Clock Town | Song of Healing and Deku Mask after the first reset |
| 7 |  Deku Link | Clock Town, Southern Swamp | Deku Mask |
| 8 |  Goron Link | Snowhead | Goron Mask, Lens of Truth |
| 9 |  Zora Link | Great Bay | Zora Mask, Mikau |
| 10 |  Fierce Deity Link | The Moon | All 20 other masks, given to the Moon Children |
| 11 |  Anju | Clock Town | Anju and Kafei quest |
| 12 |  Kafei | Clock Town | Anju and Kafei quest |
| 13 |  Madame Aroma | Clock Town | Kafei’s Mask, Day 1 or 2 from 10 AM |
| 14 |  Mayor Dotour | Clock Town | Couple’s Mask for the meeting |
| 15 |  Mutoh | Clock Town | Mayor’s meeting |
| 16 |  Viscen | Clock Town | Mayor’s meeting |
| 17 |  Postman | Clock Town | Postman’s Hat, Day 3 from 6 PM |
| 18 |  Anju’s Grandmother | Clock Town | All-Night Mask, Day 1 or 2 daytime |
| 19 |  Toto | Clock Town | Circus Leader’s Mask sound check |
| 20 |  Gorman | Clock Town, Romani Ranch | Circus Leader’s Mask |
| 21 |  Rosa Sisters | Clock Town | Kamaro’s Mask dance, Night 1 or 2 |
| 22 |  Guru-Guru | Clock Town | Bremen Mask, Night 1 or 2 |
| 23 |  Kamaro | Termina Field | Song of Healing, midnight to 6 AM |
| 24 |  Bombers’ Secret Society of Justice | Clock Town | Pass their test to get the code |
| 25 |  Professor Shikashi | Clock Town | Astral Observatory telescope and the Moon’s Tear |
| 26 |  Honey & Darling | Clock Town | Win all three games in one cycle |
| 27 |  Treasure Chest Shop Gal | Clock Town | Pay to open the chest |
| 28 |  Town Shooting Gallery Owner | Clock Town | Score 50 for a Heart Piece |
| 29 |  Bomb Shop Owner | Clock Town | Bombs, Bombchus and Bomb Bag upgrades |
| 30 |  Trading Post Owner | Clock Town | General store |
| 31 |  Curiosity Shop Owner | Clock Town | Keaton Mask, All-Night Mask |
| 32 |  Banker | Clock Town | Deposit Rupees, 5,000 for a Heart Piece |
| 33 |  Deku King | Southern Swamp | Deku Palace, after the Deku Princess is rescued |
| 34 |  Deku Princess | Woodfall Temple | Rescue her from the temple |
| 35 |  Deku Butler | Deku Palace | Mask of Scents race |
| 36 |  Monkey | Southern Swamp | Sonata of Awakening |
| 37 |  Koume & Kotake | Southern Swamp | Boat cruise after Koume is healed |
| 38 |  Swamp Shooting Gallery Owner | Road to the Swamp | Score for a Quiver and a Heart Piece |
| 39 |  Swamp Spider House Resident | Southern Swamp | Mask of Truth, all 30 Gold Skulltulas |
| 40 |  Darmani III | Goron Graveyard | Goron Mask |
| 41 |  Goron Elder | Snowhead | Hot Spring Water, Goron Lullaby |
| 42 |  Goron Elder’s Son | Goron Shrine | Goron Lullaby |
| 43 |  Biggoron | Snowhead Mountain | His breath blocks the way; Goron Lullaby on the drums |
| 44 |  Medigoron | Goron Village | Powder Keg certification |
| 45 |  Mikau | Great Bay Coast | Zora Mask |
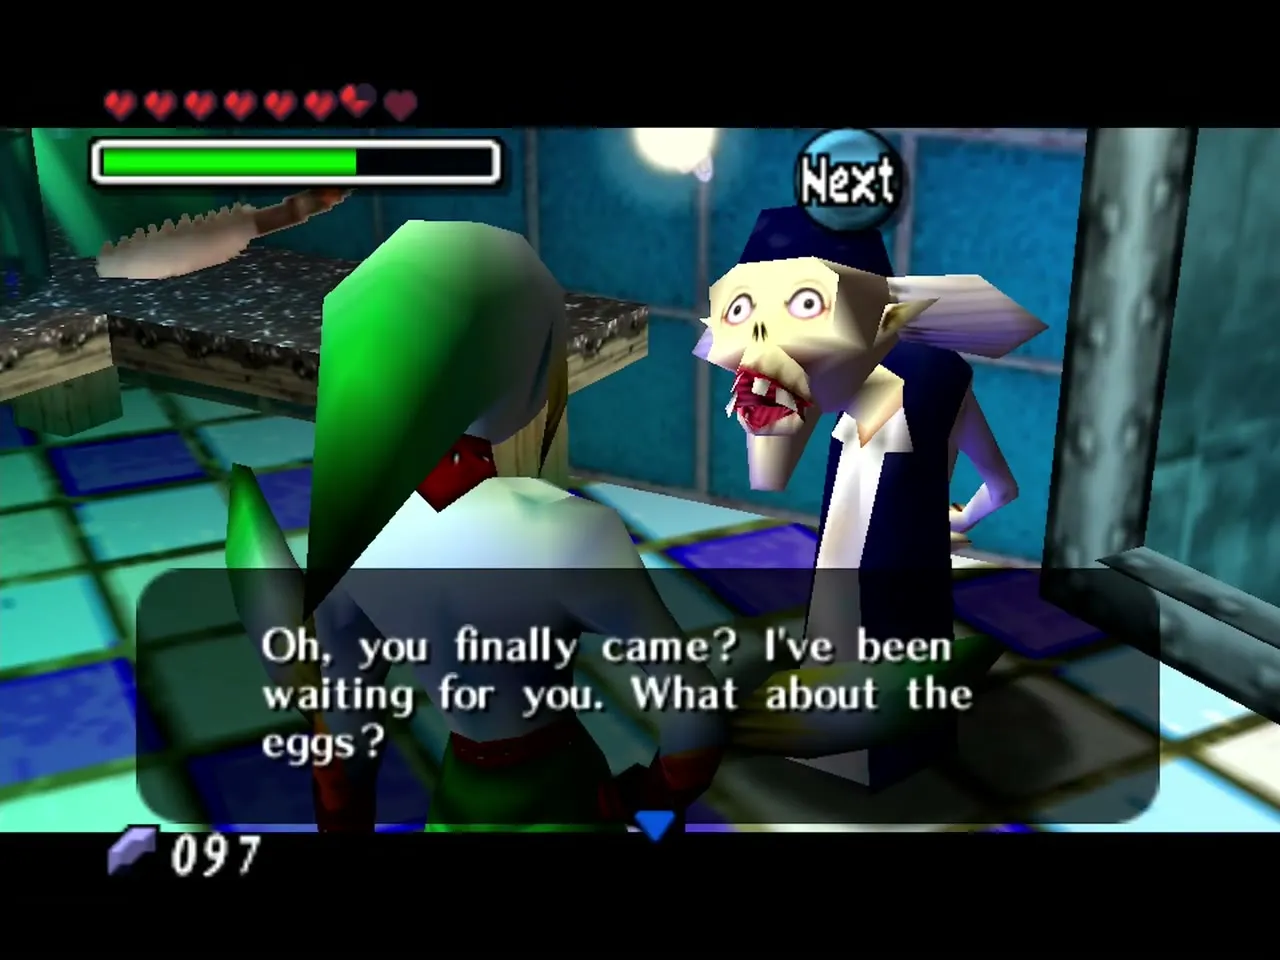
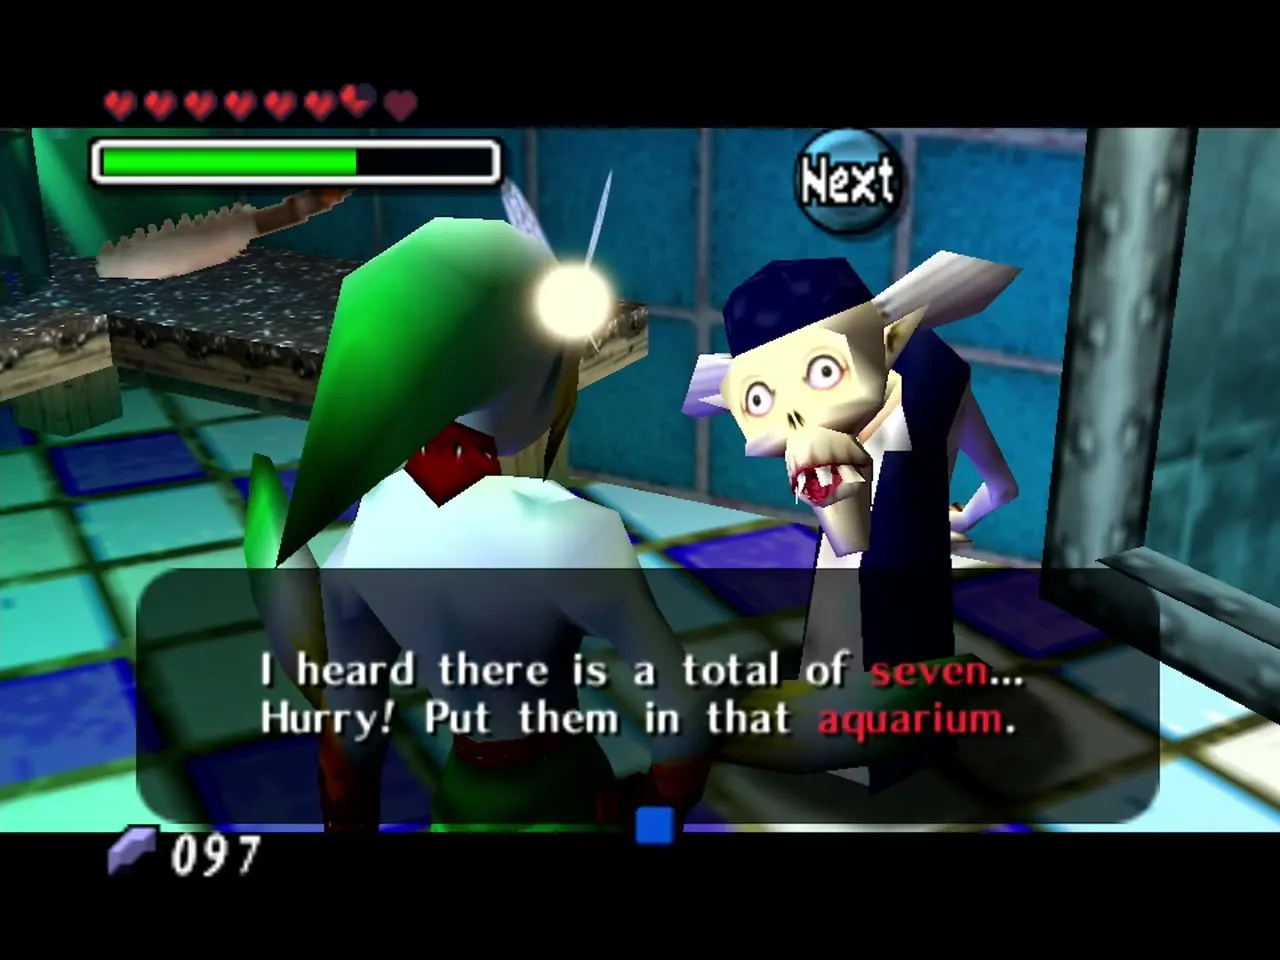
| 46 |  Lulu | Zora Hall | Retrieve and hatch the seven eggs |
| 47 |  Evan | Zora Hall | Heart Piece through the jam session |
| 48 |  Japas | Zora Hall | Bass melody for the jam session |
| 49 |  Tijo | Zora Hall | Shares a room with Mikau |
| 50 |  Zora Eggs | Pinnacle Rock, Pirates’ Fortress | All seven, New Wave Bossa Nova |
| 51 |  Fisherman | Great Bay Coast | Seahorse to Pinnacle Rock |
| 52 |  Marine Research Lab Scientist | Great Bay Coast | Zora Eggs in his tank |
| 53 |  Gerudo Pirates | Pirates’ Fortress | Stealth or the Stone Mask |
| 54 |  Aveil | Pirates’ Fortress | Pirate leader |
| 55 |  Oceanside Spider House Resident | Oceanside Spider House | Giant’s Wallet, Day 1 in N64 |
| 56 | Beaver Brothers | Zora Cape | Bottle from the swimming races, Heart Piece on a rematch |
| 57 |  Pamela | Ikana Canyon | Song of Healing for her father |
| 58 |  Pamela’s Father | Music Box House | Gibdo Mask |
| 59 |  Sharp the Composer | Spring Water Cave | Song of Storms |
| 60 |  Flat the Composer | Ikana Graveyard | Teaches the Song of Storms (N64) |
| 61 |  Igos du Ikana | Ancient Castle of Ikana | Elegy of Emptiness |
| 62 |  Igos’ Bodyguards | Ancient Castle of Ikana | Fought alongside Igos |
| 63 |  Captain Keeta | Ikana Graveyard | Sonata of Awakening wakes him; Captain’s Hat |
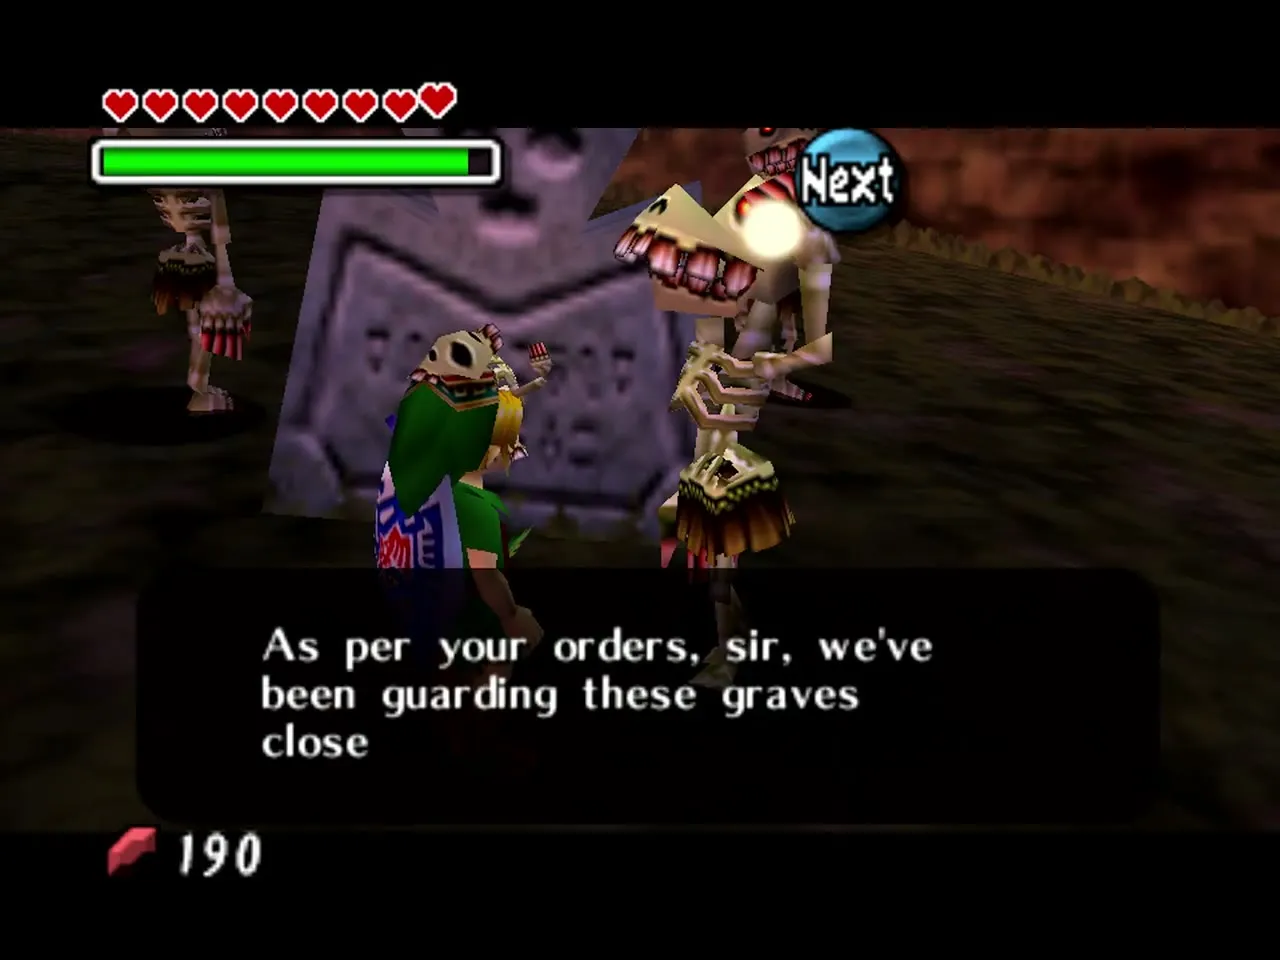
| 64 |  Stalchildren | Ikana Graveyard | Captain’s Hat |
| 65 |  Poe Sisters | Spirit House | Defeat all four in 3 minutes |
| 66 |  Garo Master | Stone Tower Temple | Light Arrows |
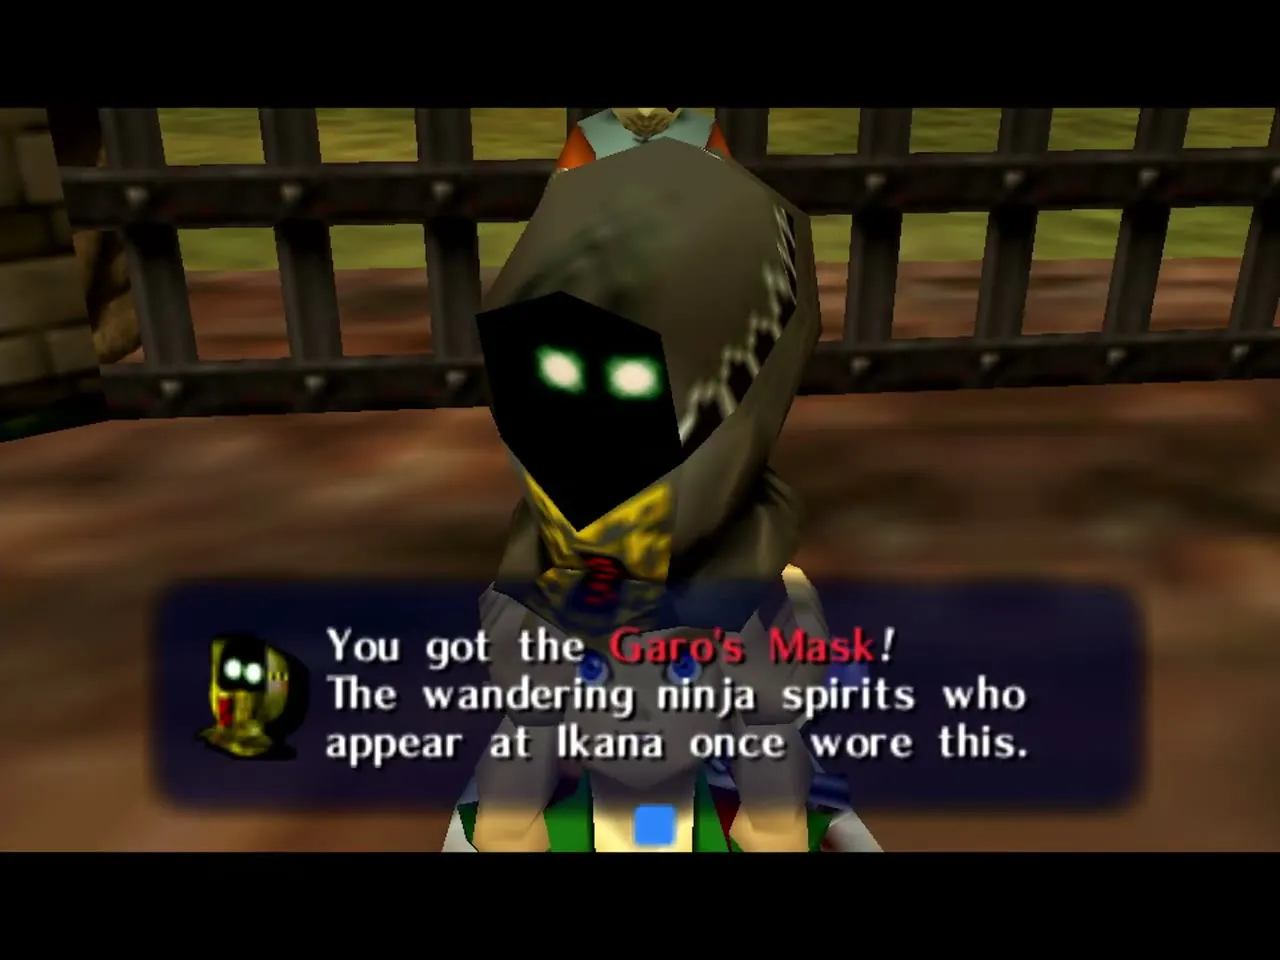
| 67 |  Garo | Ikana Canyon, Stone Tower Temple | Garo’s Mask |
| 68 |  The Four Giants | Four temples | Oath to Order |
| 69 |  Epona | Romani Ranch | Epona’s Song |
| 70 |  Romani | Romani Ranch | Epona’s Song, balloon game, ranch defence |
| 71 |  Cremia | Romani Ranch | Milk delivery, Romani’s Mask |
| 72 |  Gorman Brothers | Romani Ranch, Termina Field | Race on Gorman Track |
| 73 |  Tingle | Several regions | Maps, popped balloon |
| 74 |  Kaepora Gaebora | Owl Statues | Song of Soaring |
| 75 |  Moon Children | The Moon | 1+1, 2+2, 3+3 and 4+4 masks, then the Fierce Deity’s Mask |
| 76 |  Old Lady from the Bomb Shop | North Clock Town | Blast Mask, Night 1 around midnight |
| 77 |  Don Gero and the Frog Choir | Mountain Village and four more places | Don Gero’s Mask, five frogs for a Piece of Heart |
| 78 |  Shiro | Road to Ikana | Lens of Truth and a potion for the Stone Mask |
| 79 | 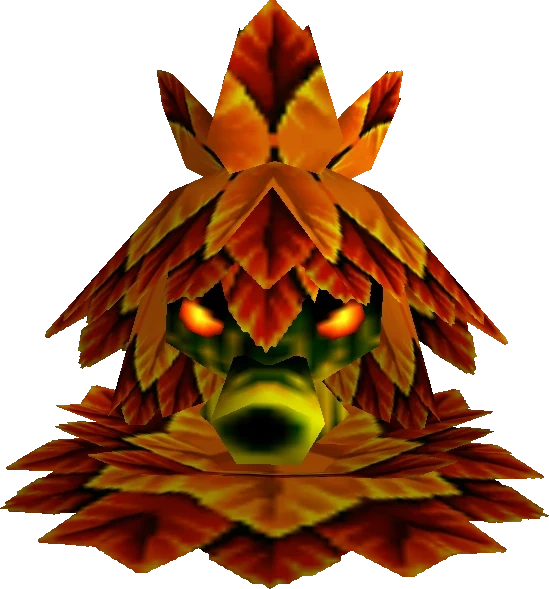 Business Scrubs | Clock Town, Swamp, Goron Village, Zora Hall, Ikana | Title Deed trades, Piece of Heart |
| 80 |  Great Fairies | Five fountains | Return the Stray Fairies |
| 81 |  Grog | Romani Ranch | Bremen Mask, ten chicks, Bunny Hood |
| 82 |  Zubora and Gabora | Mountain Village | Razor Sword for 100 Rupees, Gilded Sword with Gold Dust |
Main Characters / Central Figures
These characters drive the main story and appear in the opening hours of the game.
Link
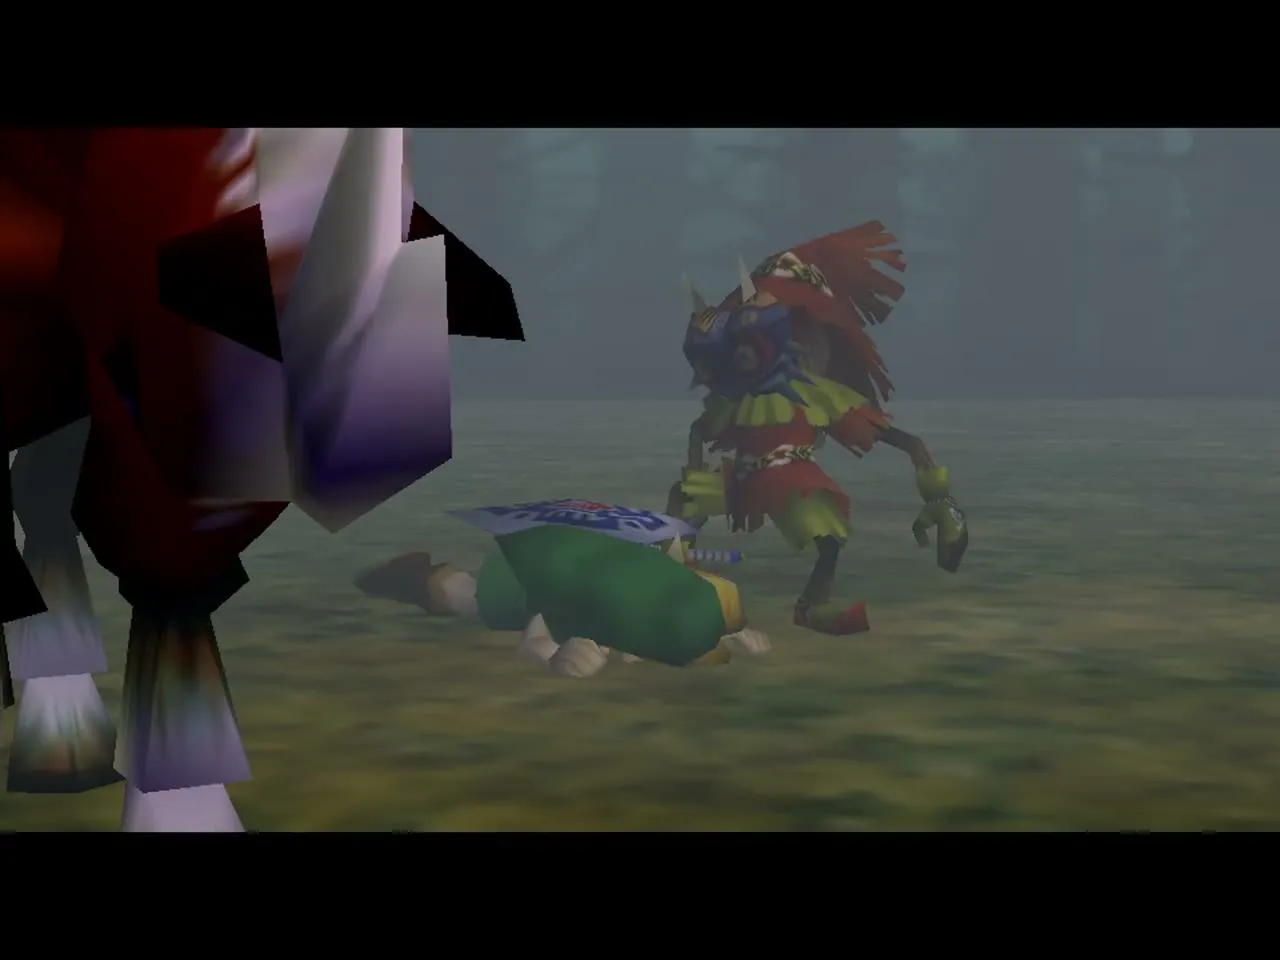
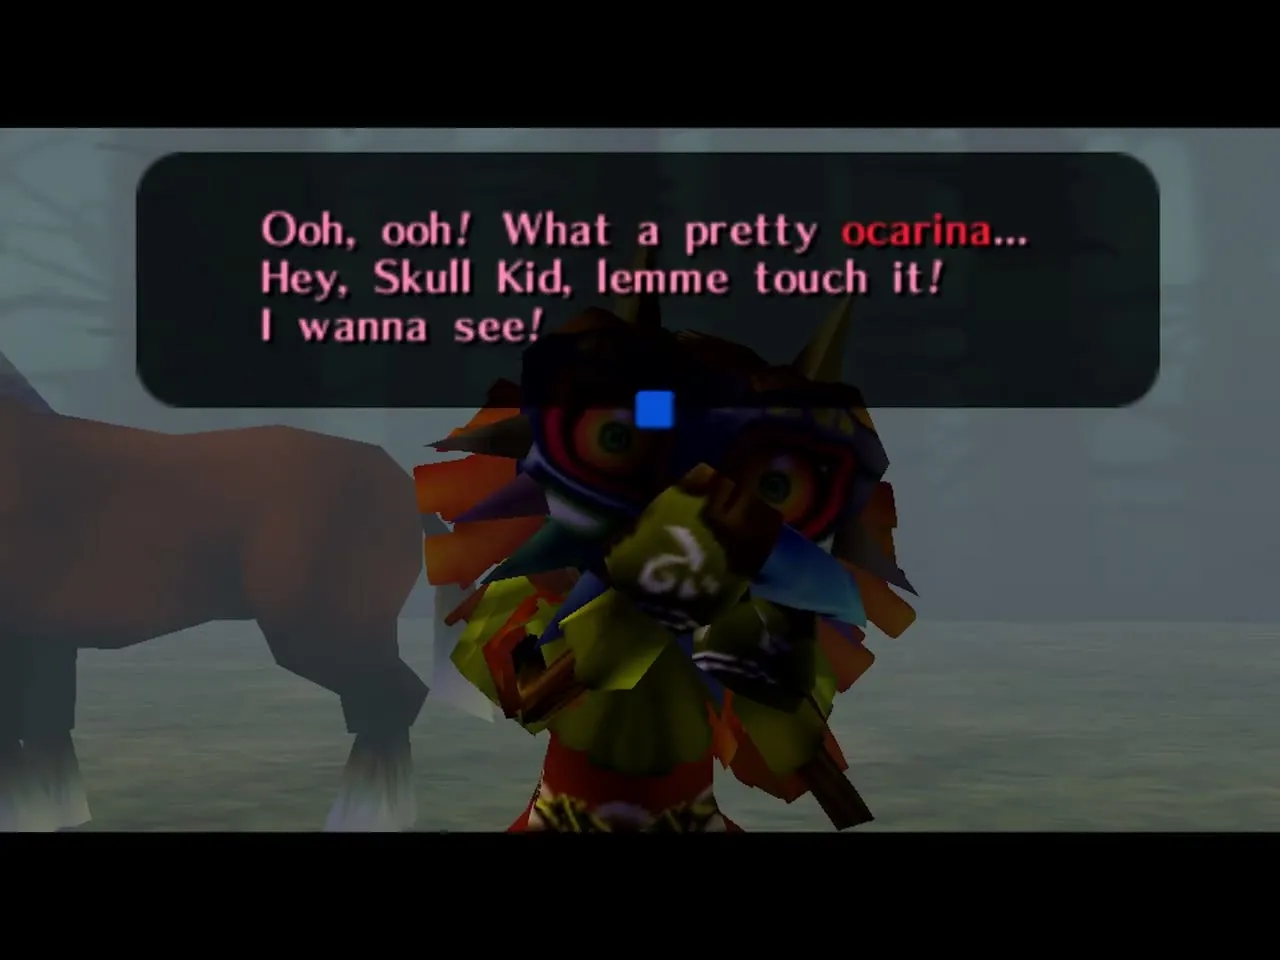
Link is the hero of this adventure and carries the Triforce of Courage. You meet him in the Lost Woods, where he is searching for his fairy friend Navi. Skull Kid, wearing Majora’s Mask, ambushes him there, steals the Ocarina of Time and Epona, and turns him into a Deku Scrub. Link is trapped in Termina with three days before the Moon falls on Clock Town. You chase Skull Kid, shoot him with a bubble on top of the Clock Tower at midnight on the Final Night, take the Ocarina back and play the Song of Time to return to the dawn of the First Day. From then on you learn the masks and wake the Four Giants to stop the Moon. When you replay the three days you keep the Ocarina, every song, mask, Piece of Heart, upgrade and the rupees you banked, but you lose the rupees in your wallet, bottle contents and trade items. The Prologue walkthrough covers the opening, and the Three-Day Cycle page explains what a reset keeps.
Tatl
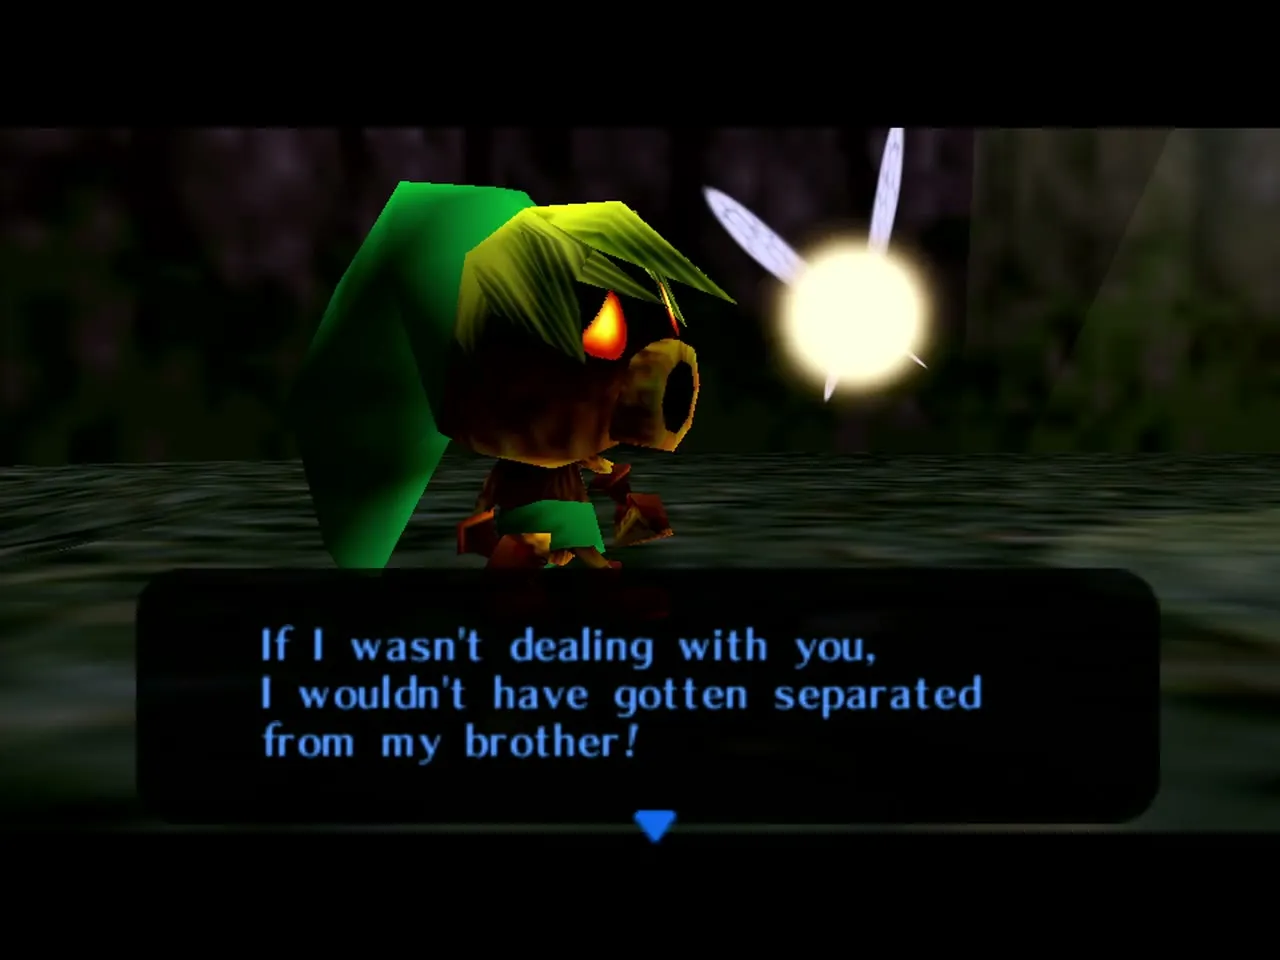
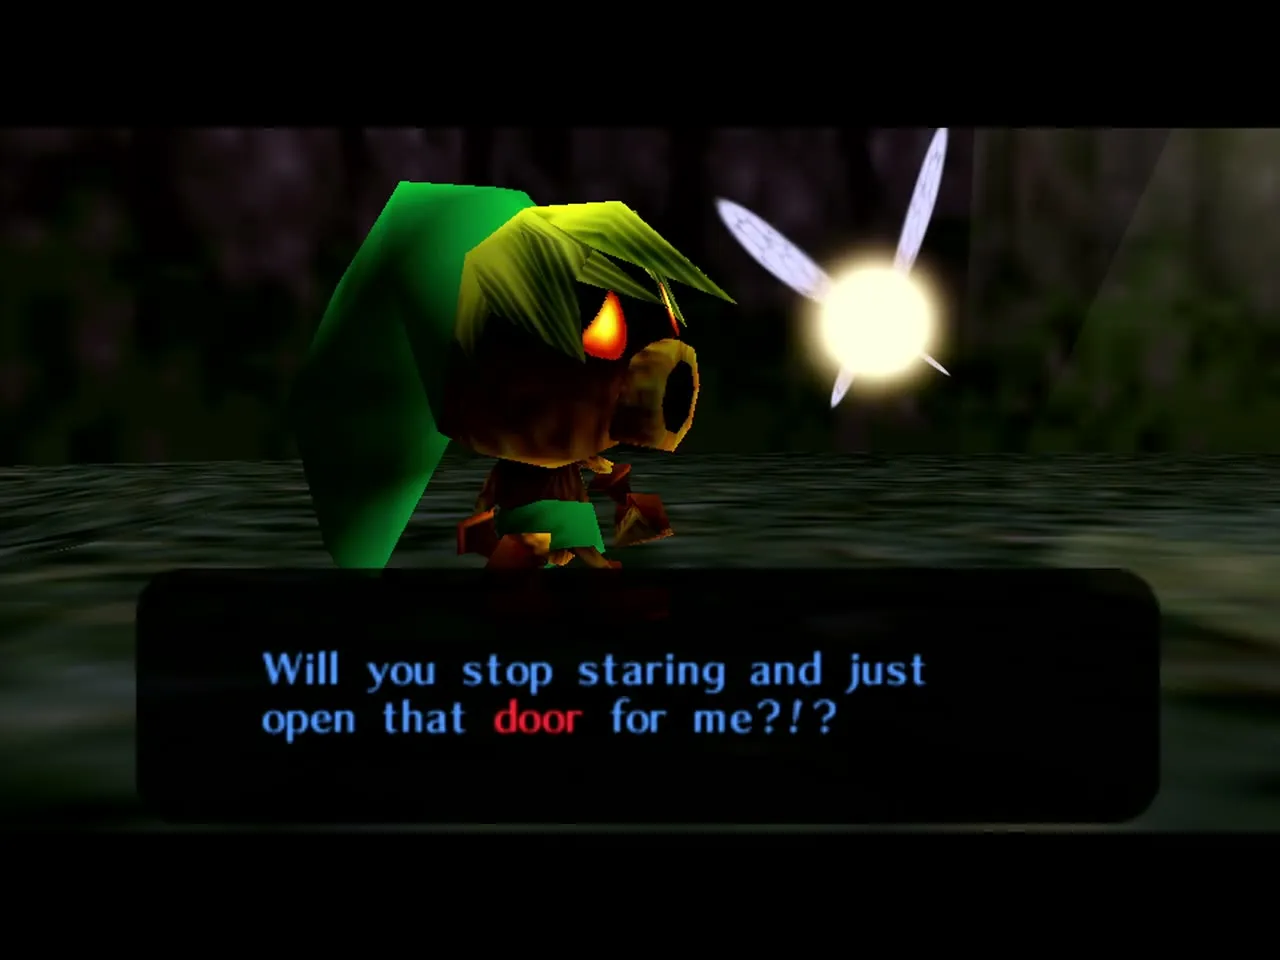
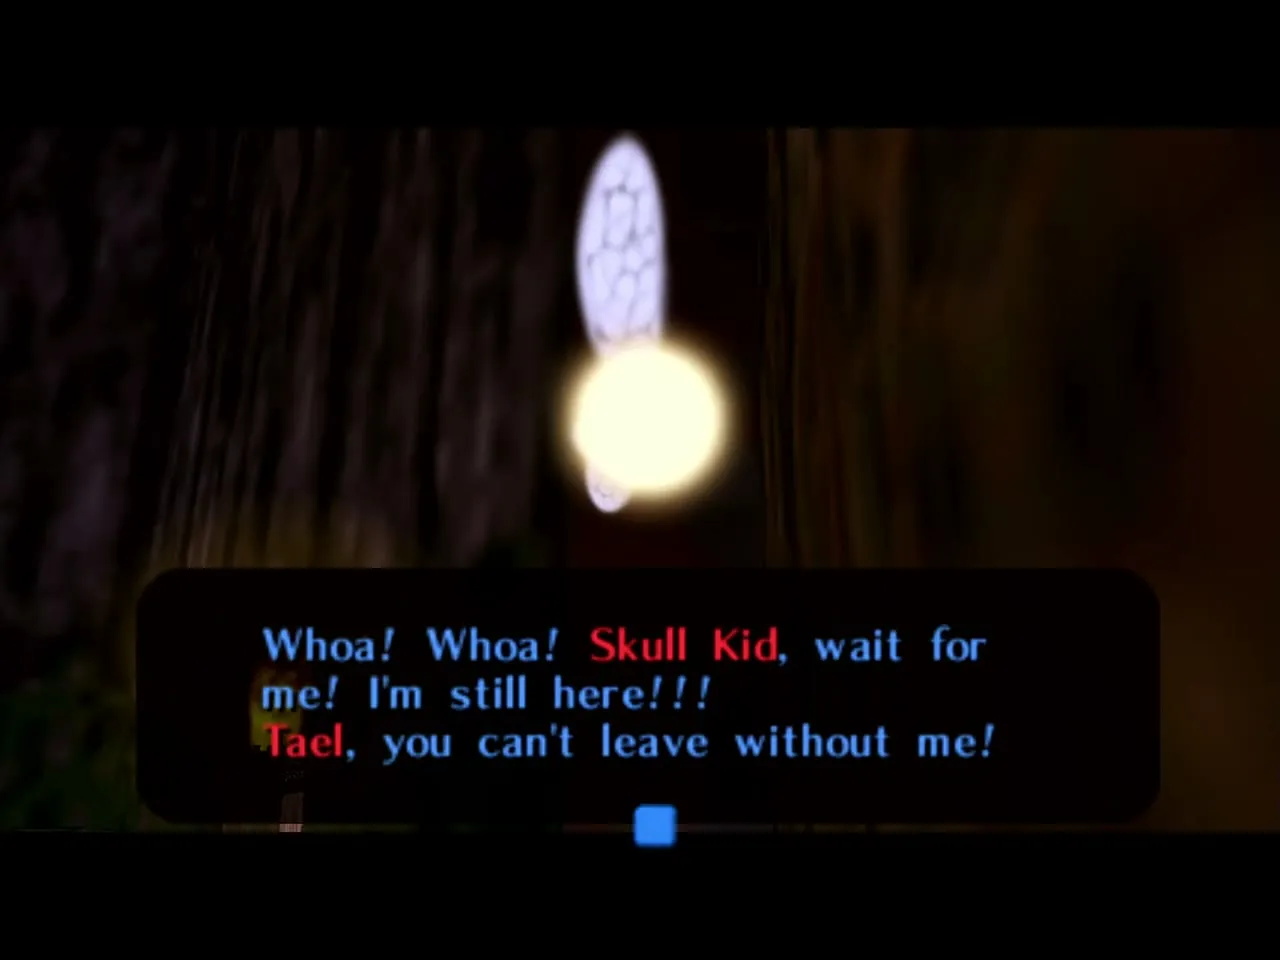
Tatl is a sharp-tongued yellow fairy and Tael’s older sister. At first she helps Skull Kid with his pranks. When Link chases the pair, she is separated from them and feels abandoned, and she begins to worry about her brother. She joins you just after Link becomes a Deku Scrub, on the condition that you help her catch Skull Kid. From then on she is with you everywhere. She is your Z-targeting guide, and pressing C-Up next to a person, sign or odd object makes her say what she thinks, which often names the place or time to try next. Her comments in each region are the quickest hint when you are stuck. See the Prologue walkthrough for her first hints.
Tael
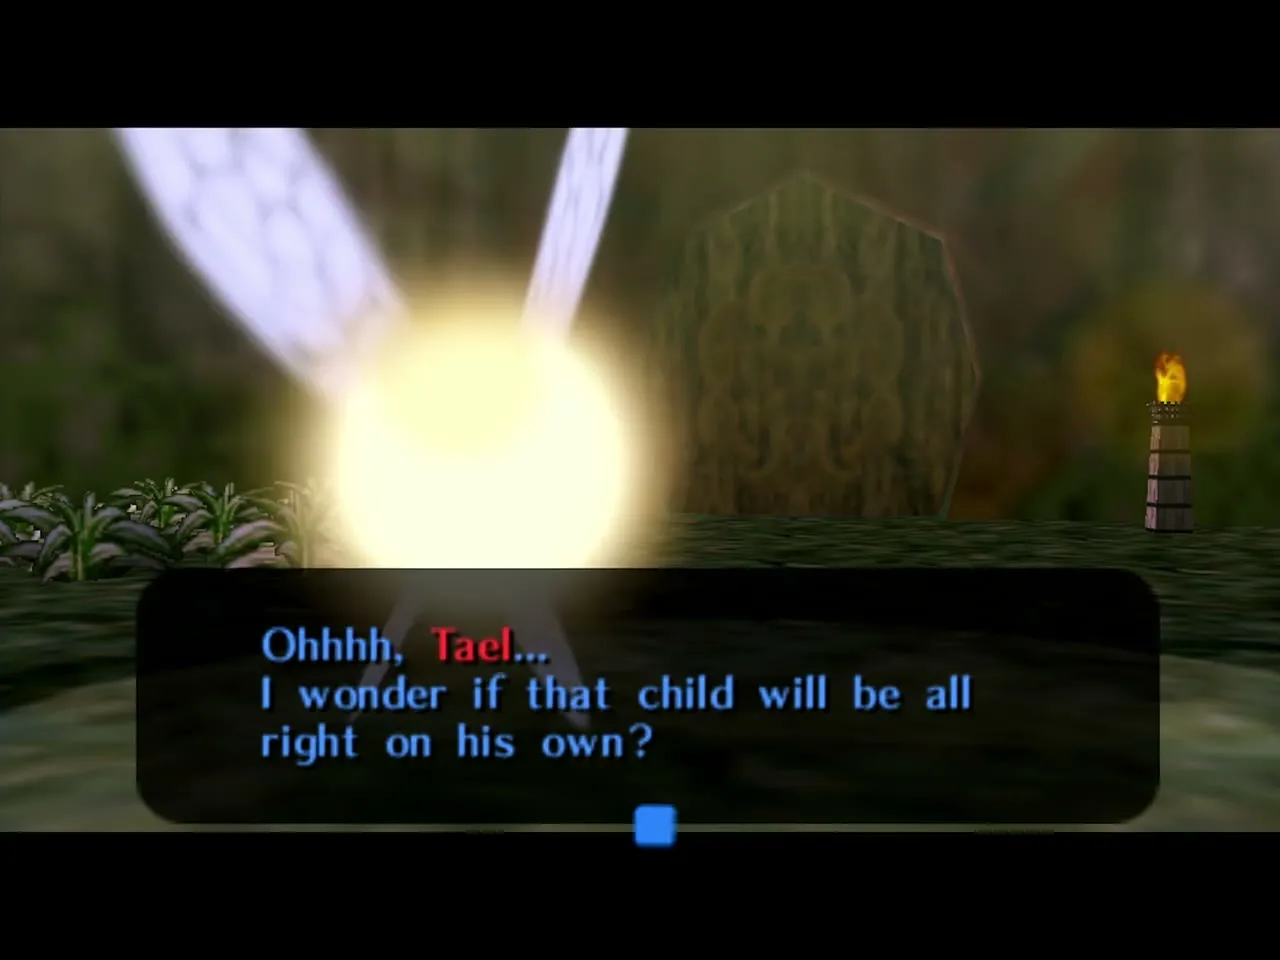
Tael is Tatl’s younger brother, a purple fairy who stays with the possessed Skull Kid. He seems more aware of the danger from the mask than Tatl was at first. You see him with Skull Kid at the top of the Clock Tower at midnight on the Final Night. There he lets slip a cryptic hint about the four regions where the Giants live: the swamp, the mountain, the ocean and the canyon. The four regions lie in the four directions outside Clock Town, so his hint is what sends you out of the town after the first reset. He gives you nothing directly and you never fight him. Details are in the Prologue walkthrough.
Skull Kid
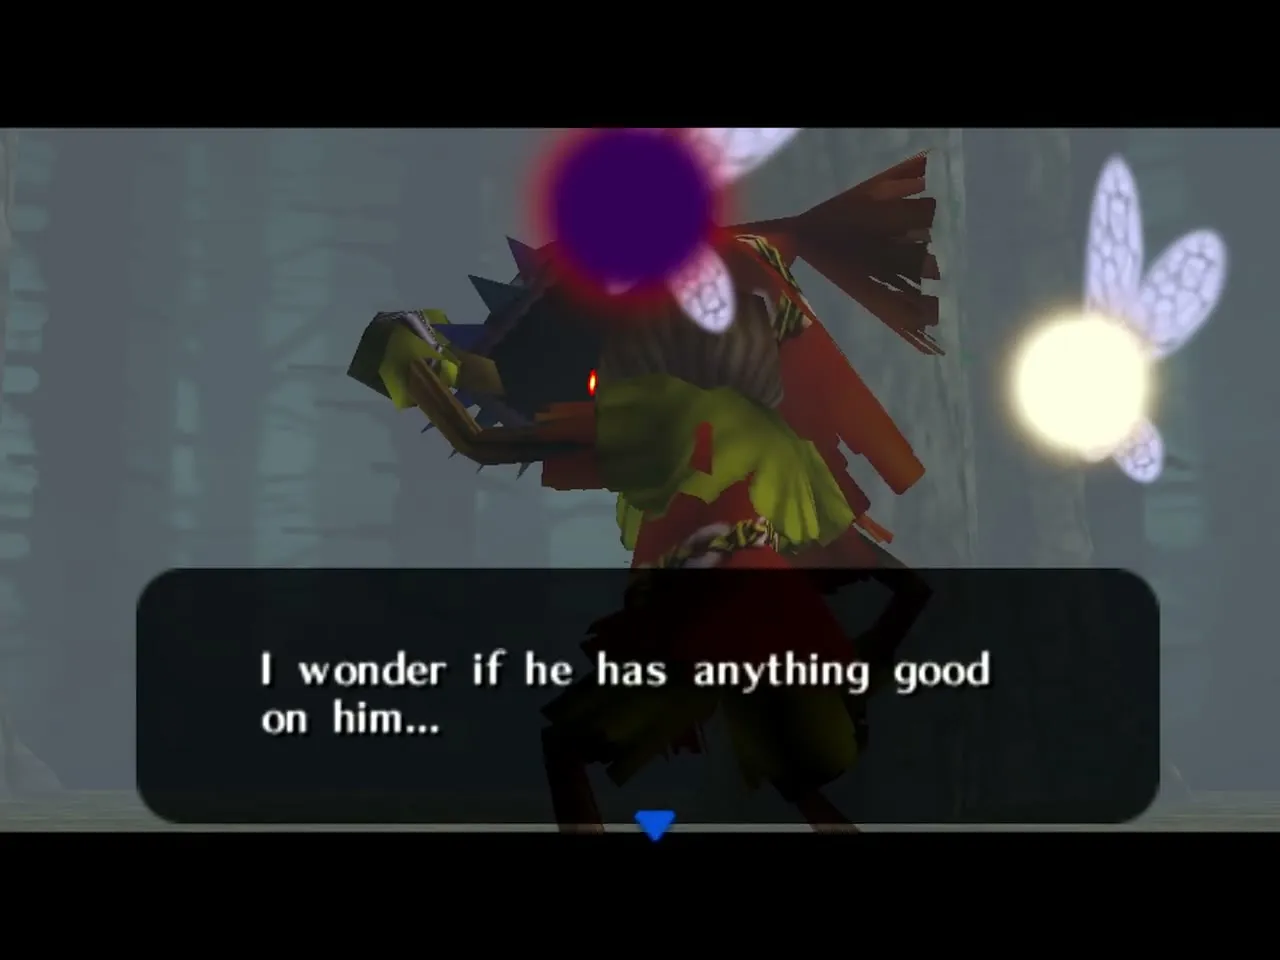
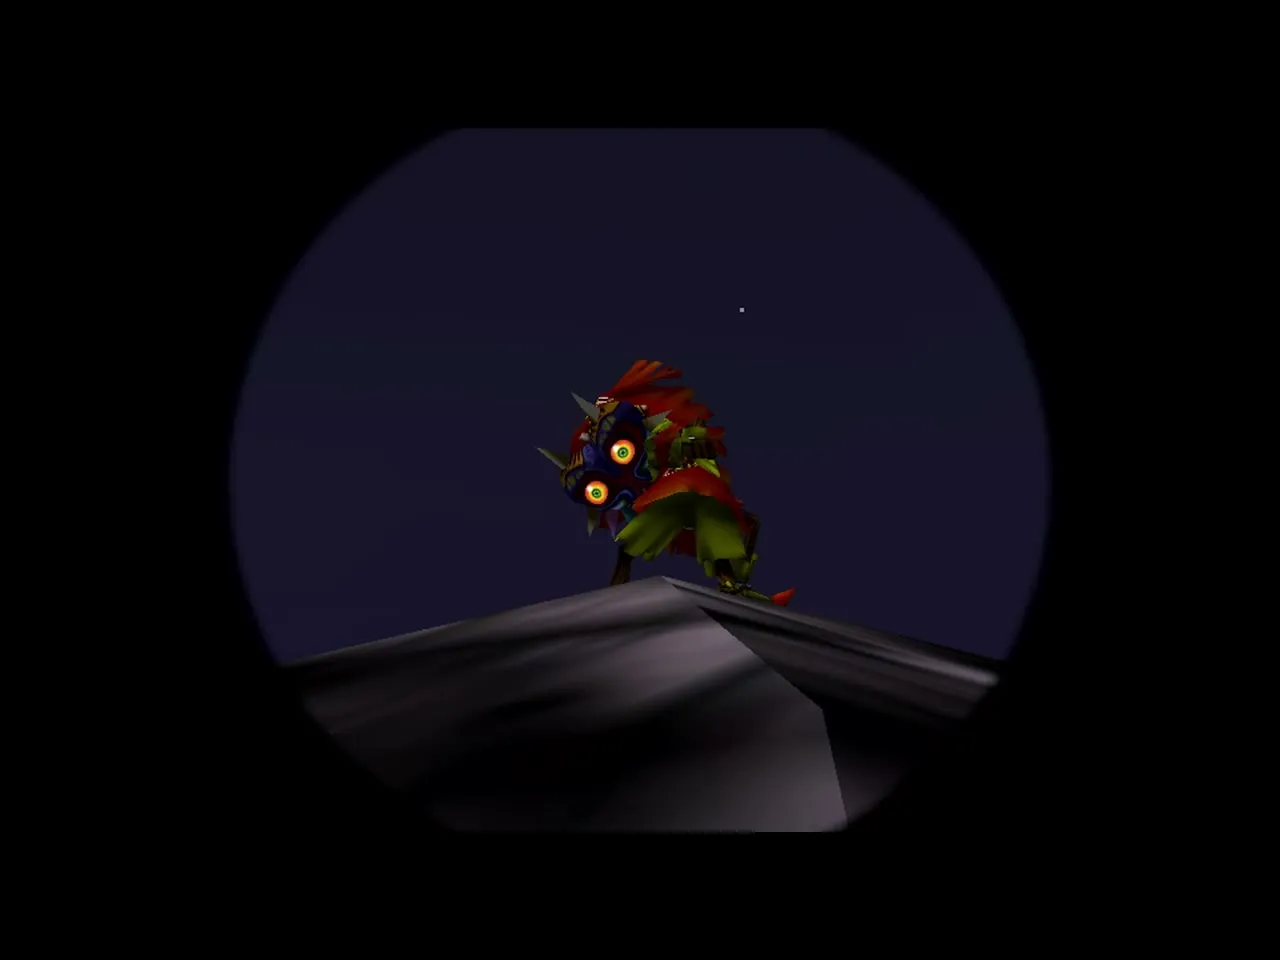
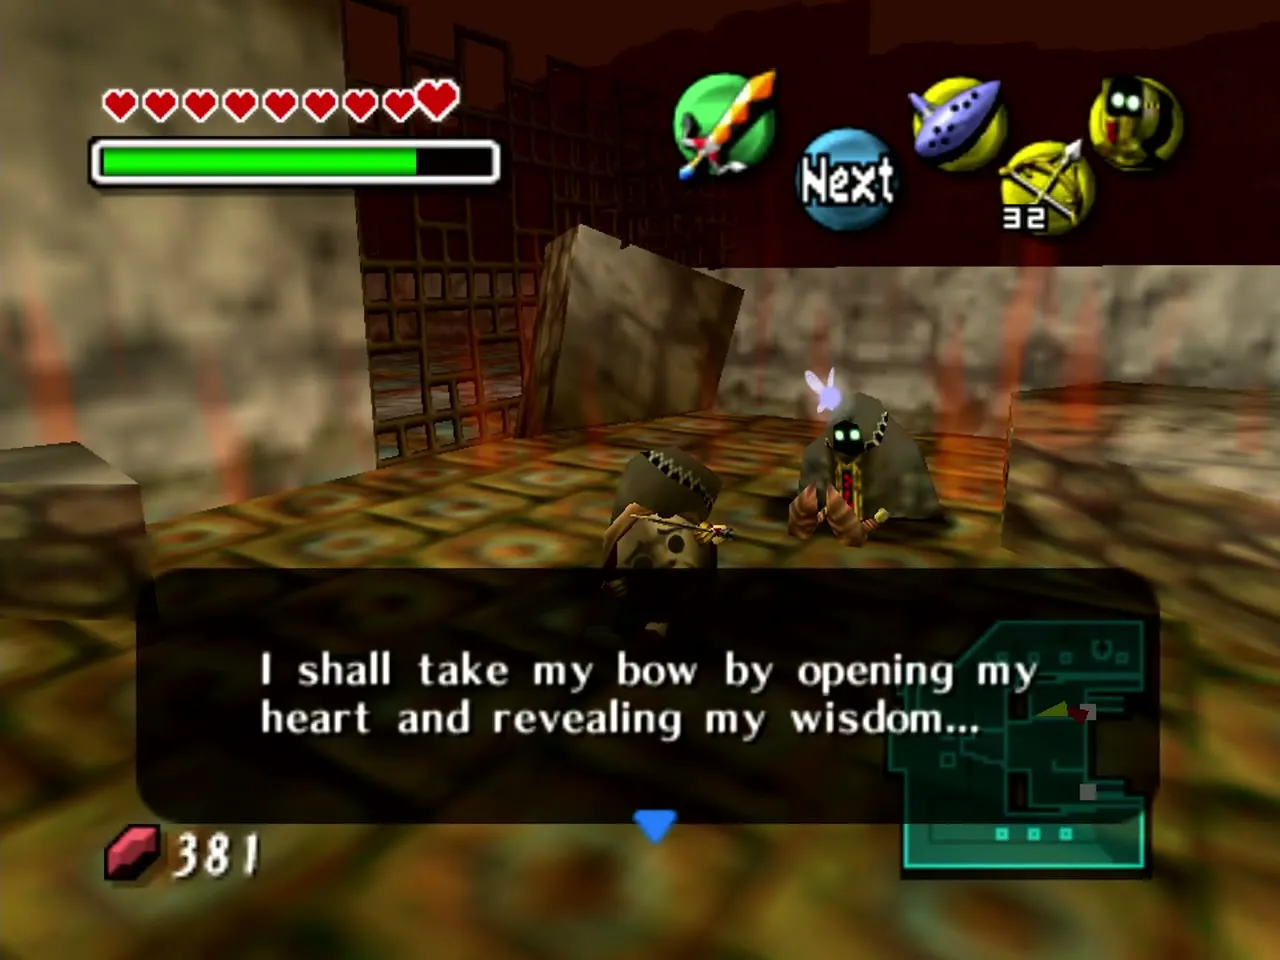
Skull Kid is a lonely imp-like creature from the Lost Woods. He steals Majora’s Mask from the Happy Mask Salesman and is corrupted by its power. He plays cruel pranks around Termina, including turning Anju’s fiance Kafei into a child. You first meet him in the Lost Woods, and you finally reach him on the roof of the Clock Tower at midnight on the Final Night. A Deku bubble knocks the Ocarina out of his hands. At the end of the story he uses the mask to pull the Moon toward Clock Town, and you stop it by playing the Oath to Order on the same roof. Skull Kid was once a friend of the Four Giants, and his anger at the way they treated him drives much of the story. Beating Majora’s Mask frees him from its hold. See the Prologue walkthrough and the Final Confrontation walkthrough.
Majora’s Mask
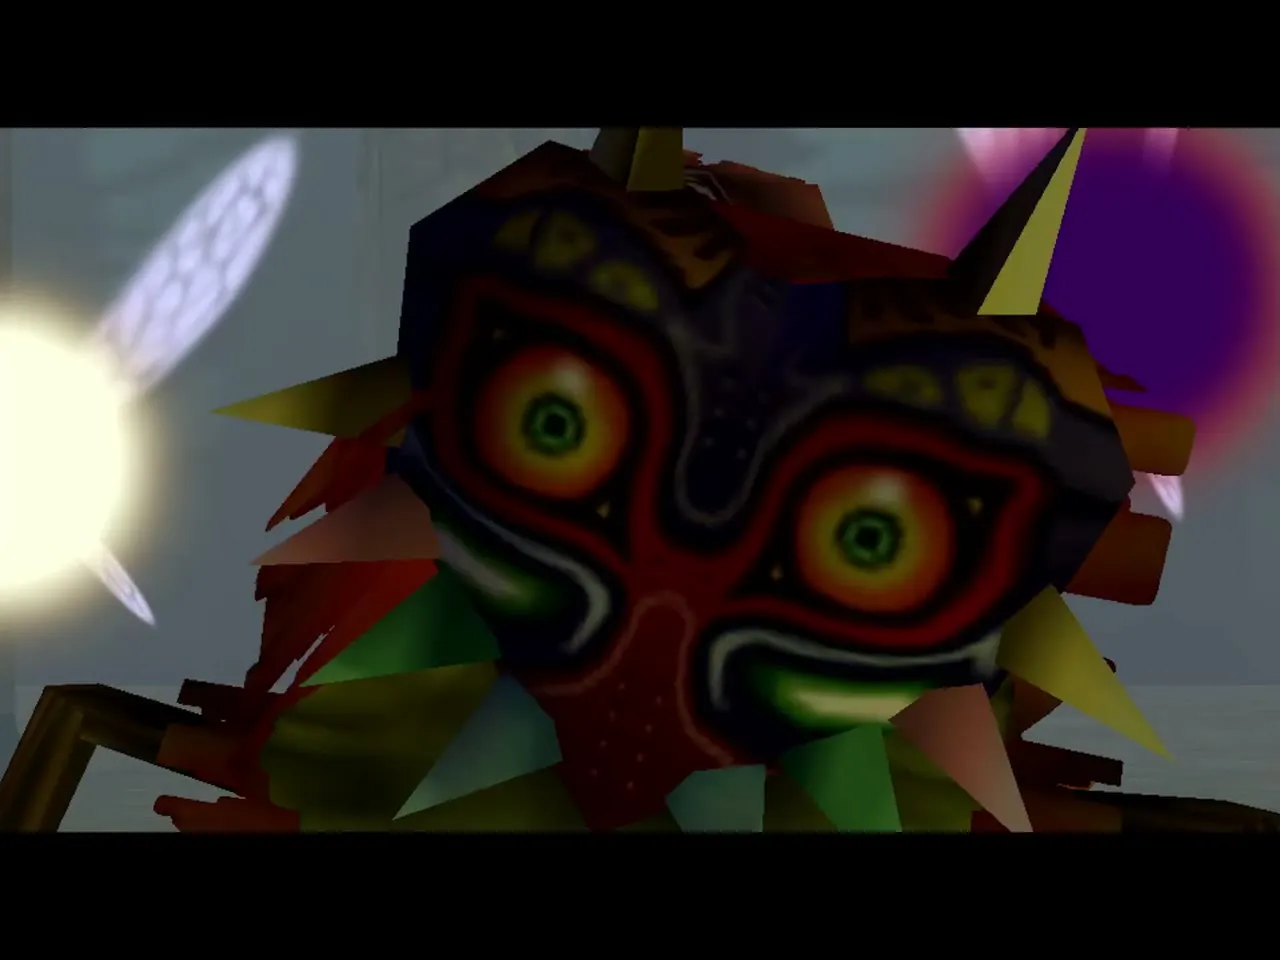
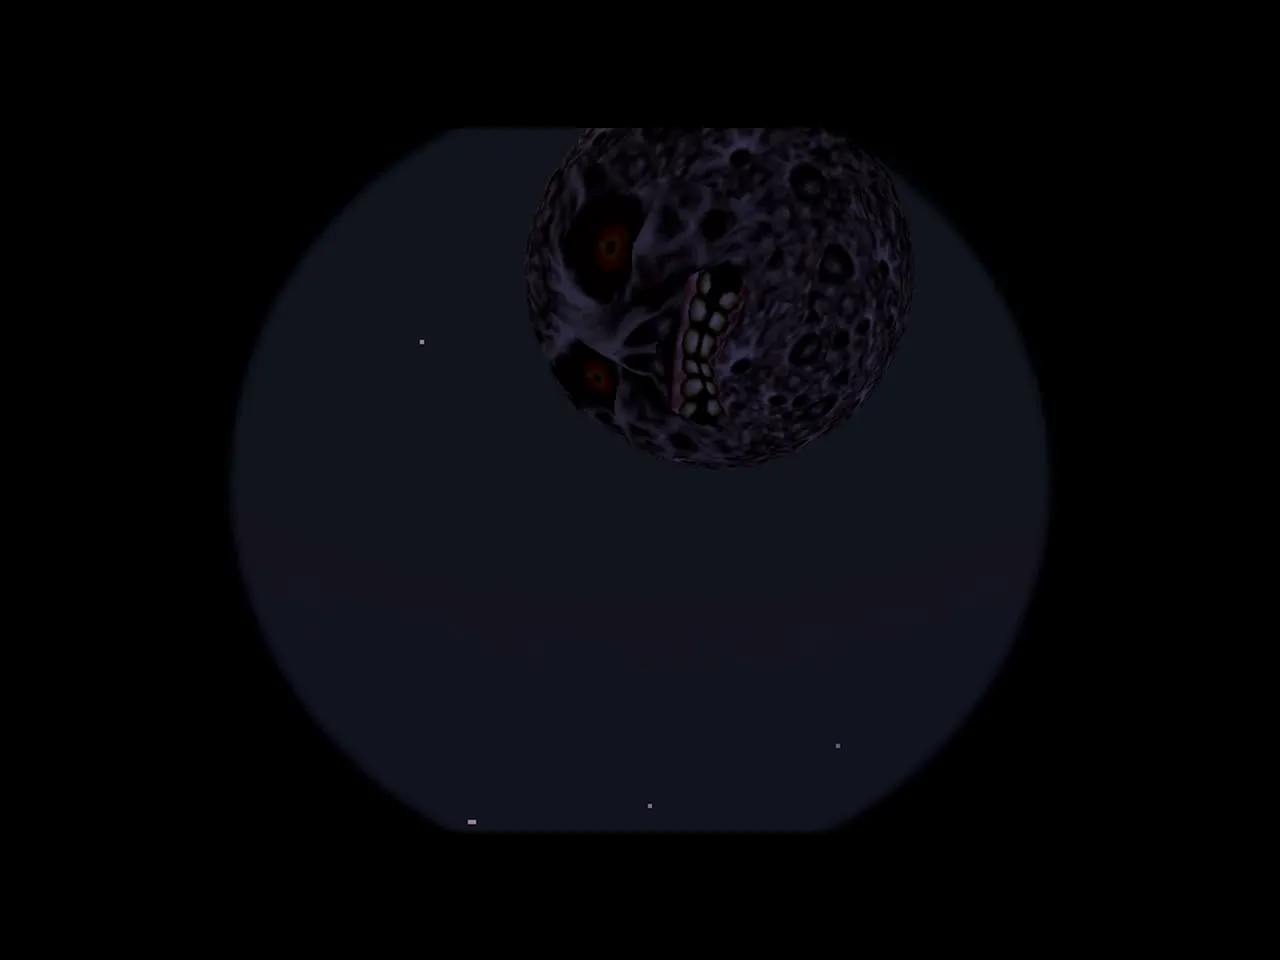
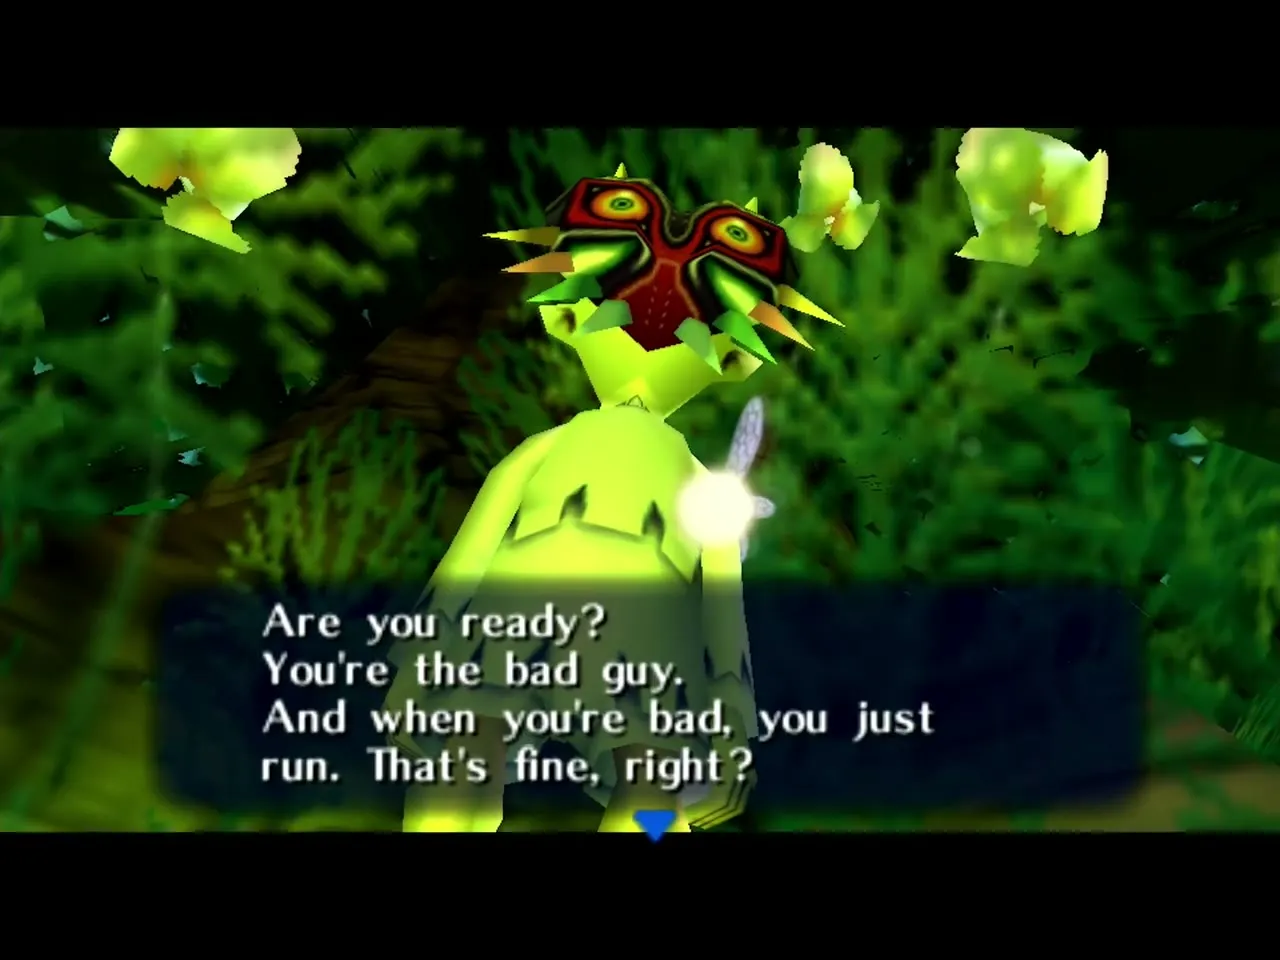
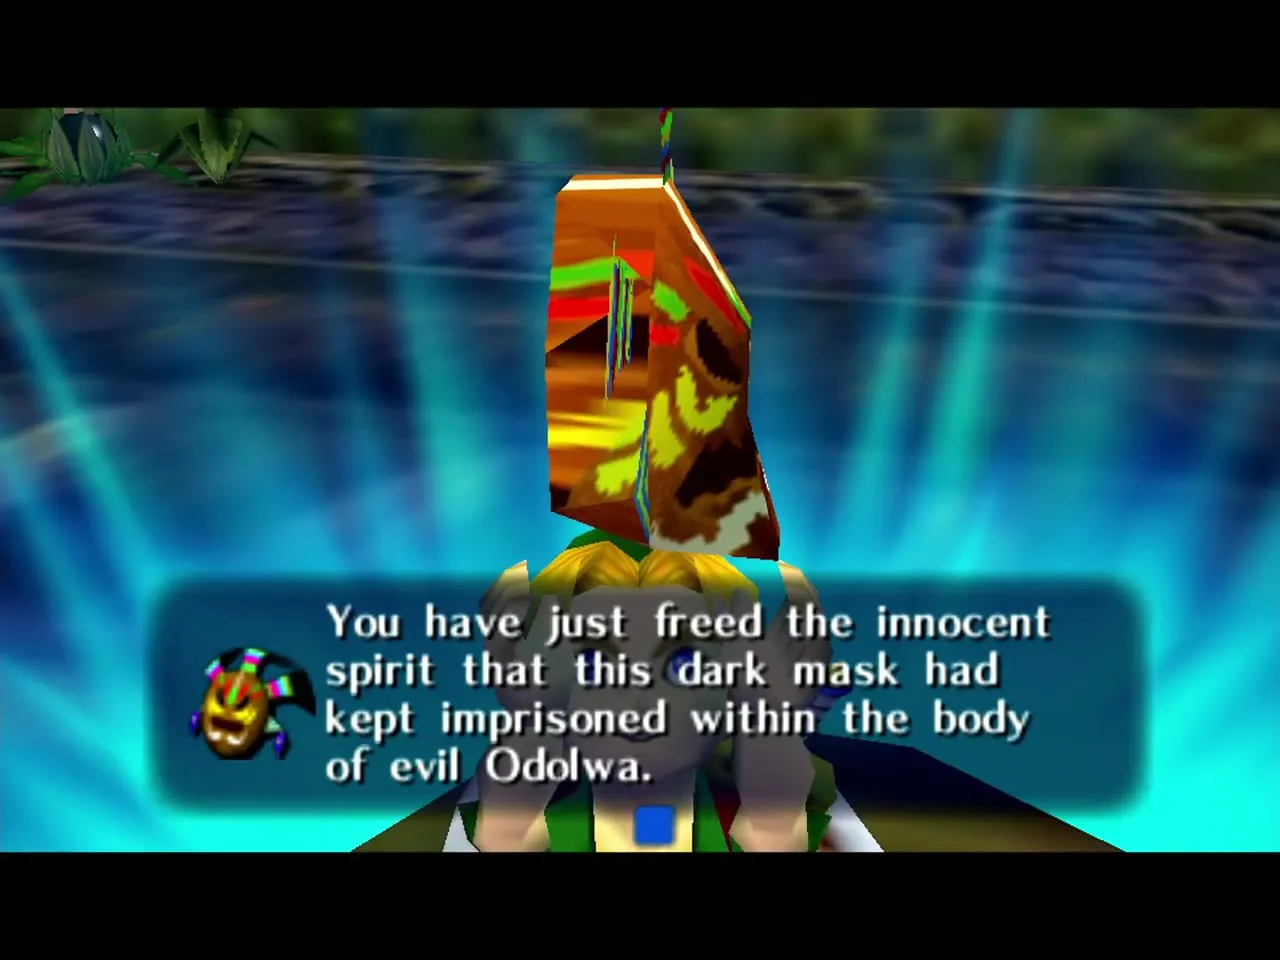
Majora’s Mask is an ancient artifact that holds a destructive spirit called Majora. A lost tribe once used it in hexing rituals, and it was sealed away until Skull Kid stole it. The mask takes control of the person who wears it and feeds on bad feelings to grow stronger. You see it on Skull Kid’s face from the first scene, and the child in a Majora’s Mask who sits by the tree on the Moon starts the final fight. It is the true villain of the game and the final boss. It changes form during the battle, shifting through Majora’s Mask, Majora’s Incarnation and Majora’s Wrath. Wearing the Fierce Deity’s Mask makes the fight much shorter. The fight is in the Final Confrontation walkthrough, and the Bosses page has the attack patterns.
Happy Mask Salesman
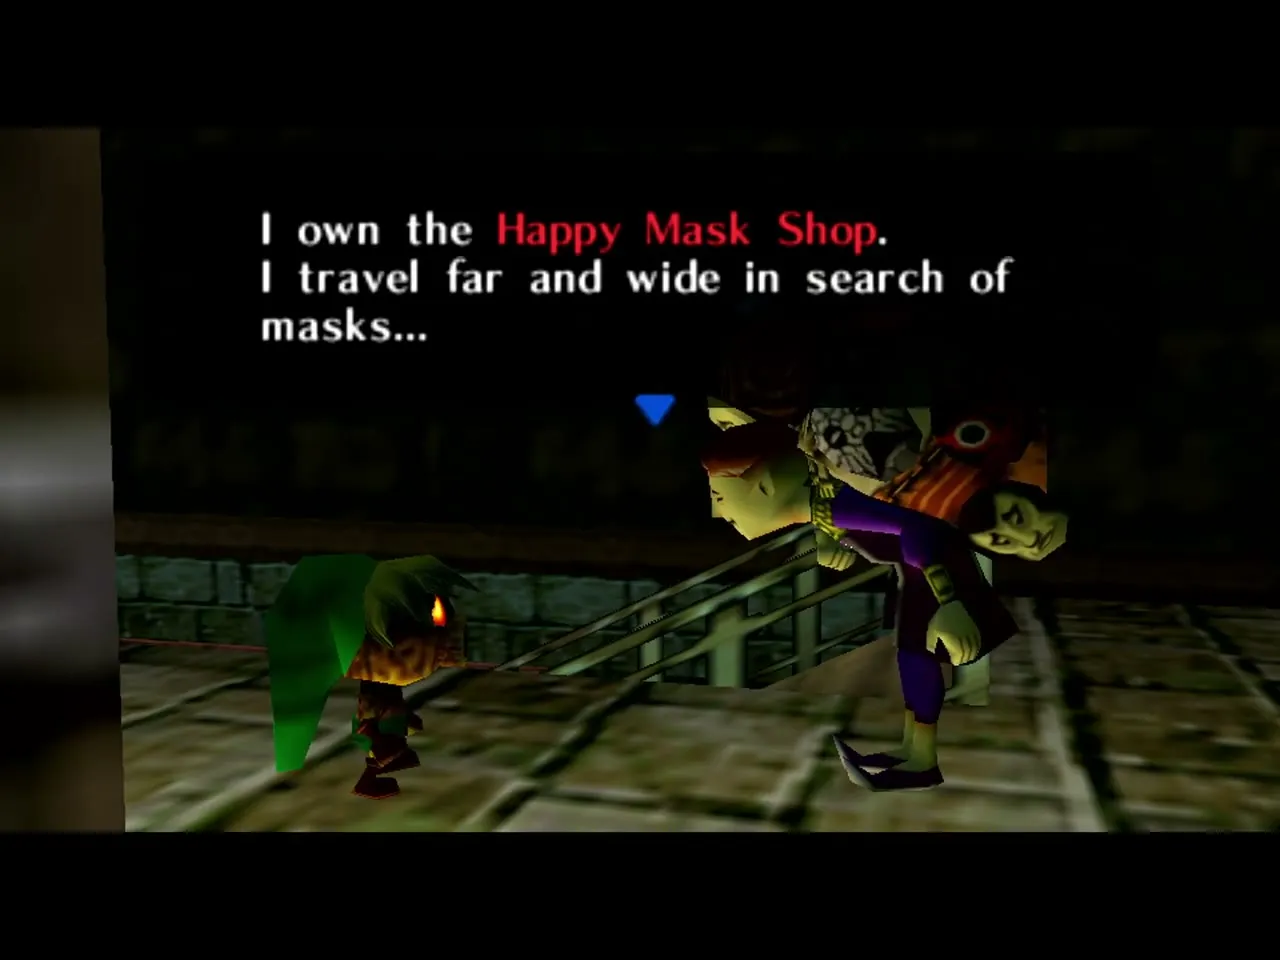
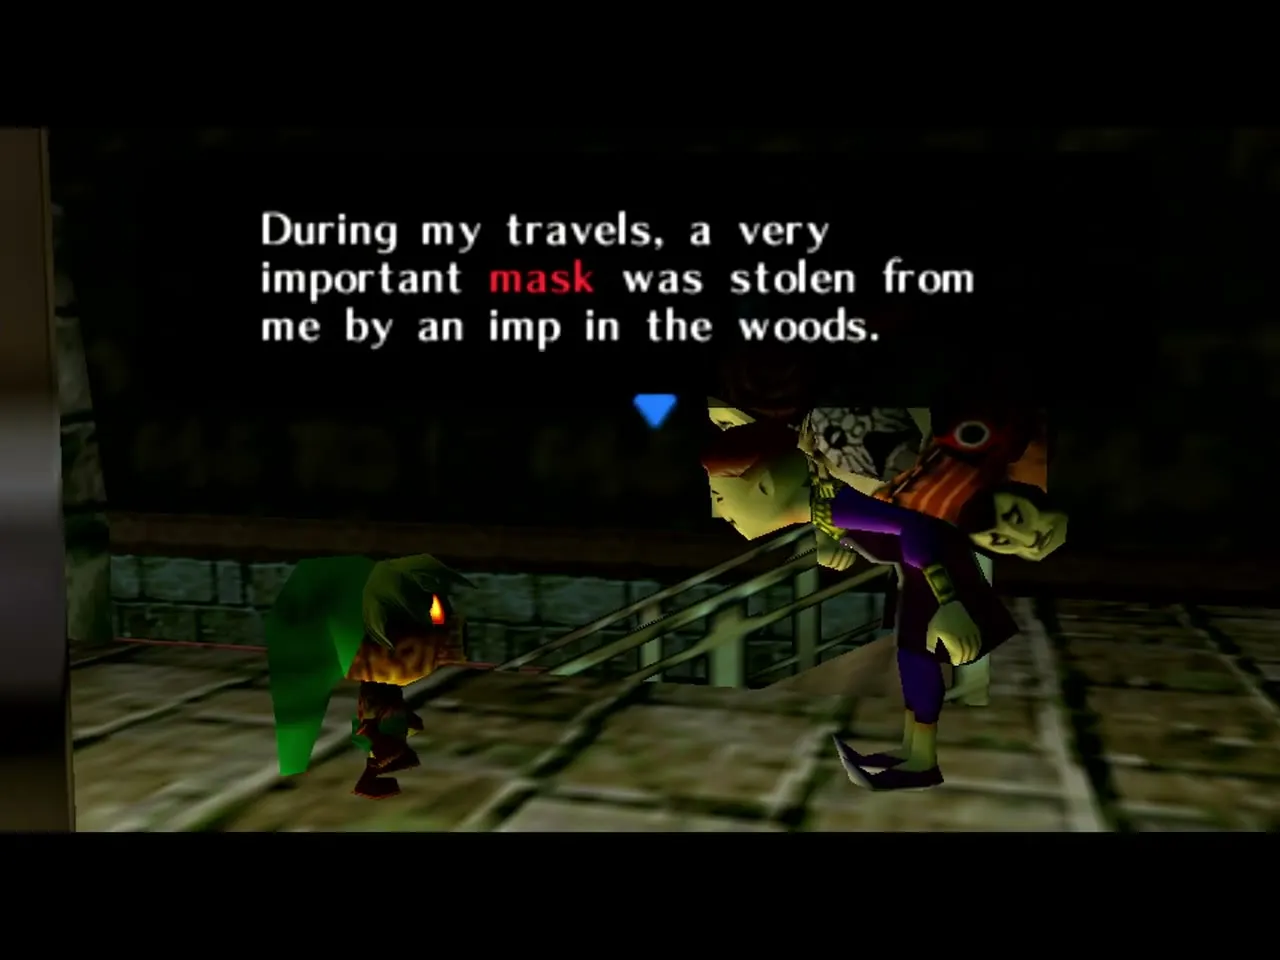
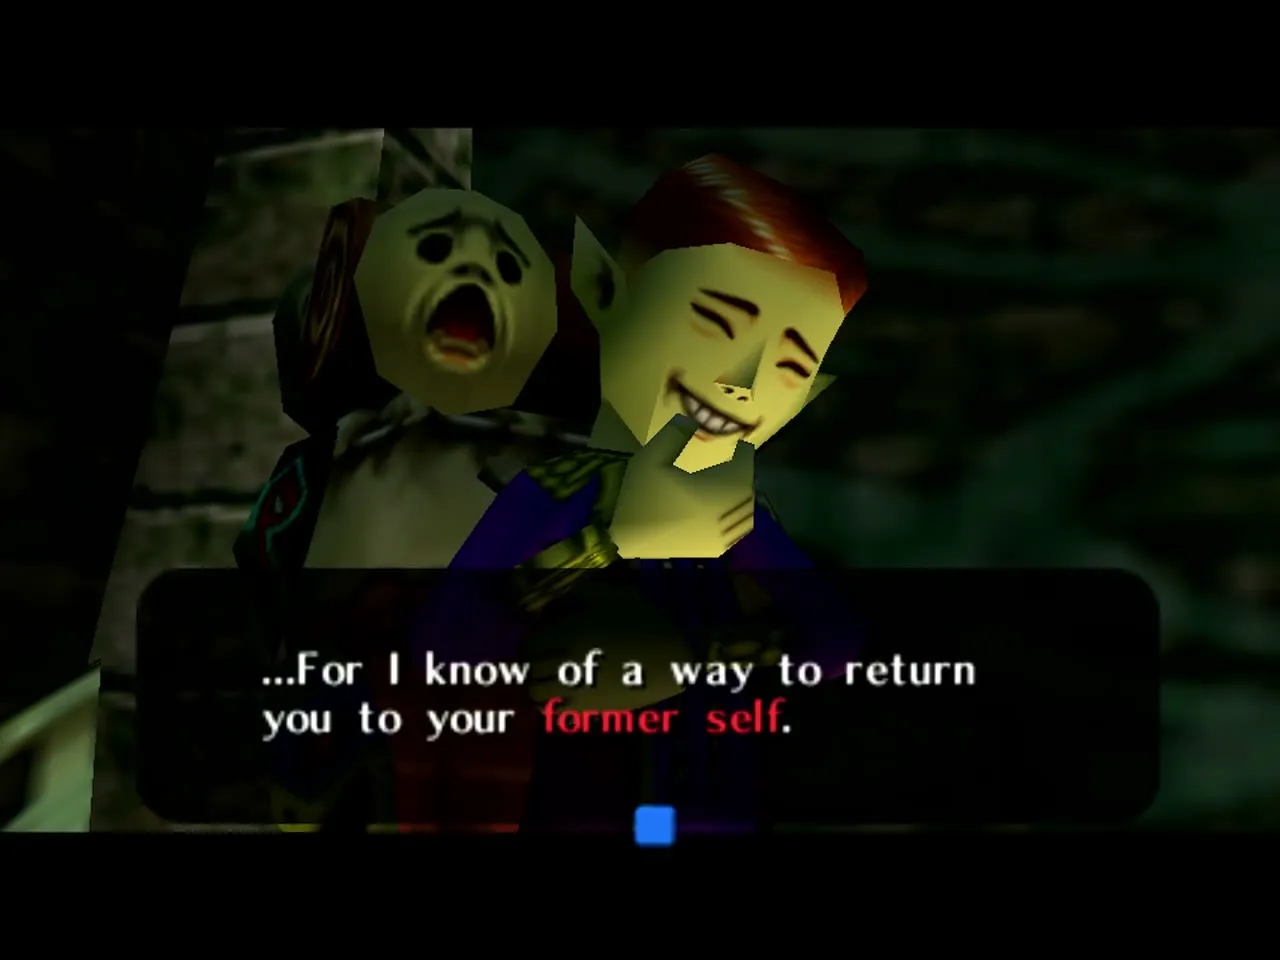
The Happy Mask Salesman is a cheerful, unsettling traveller who first appeared in Ocarina of Time. In this game he has more to do. You meet him at the Clock Tower when you first reach Clock Town, and he asks you to recover Majora’s Mask and the Ocarina of Time and warns that he is leaving in three days. After the first Song of Time reset, go back into the Clock Tower and he teaches you the Song of Healing, which calms restless spirits and seals them into masks. He then turns Link back to a Hylian and hands over the Deku Mask. You use the Song of Healing on Mikau, Darmani, Kamaro and Pamela’s father after that. Who he is and where he comes from are never explained. The Prologue walkthrough covers both visits and the Ocarina Songs page lists the song.
Transformation Masks (Link’s Forms)
Four masks turn Link into other beings. Each one comes from healing a spirit with the Song of Healing, and each has its own abilities and places where it is needed.

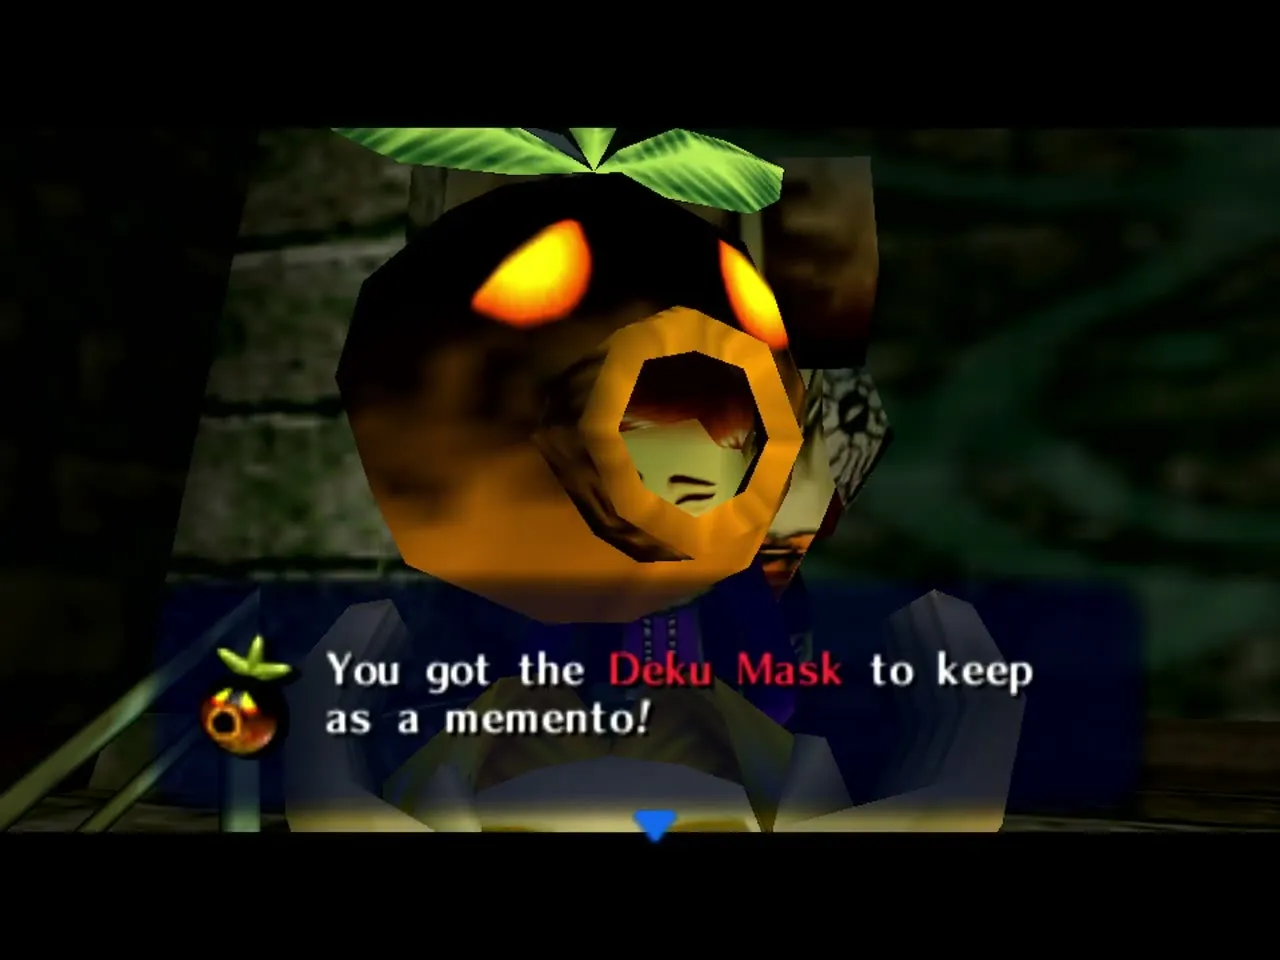
Deku Mask
Where: Clock Town
Requirement: Given after the first reset
Effect: Deku form

Goron Mask
Where: Goron Graveyard, Mountain Village
Requirement: Lens of Truth to find the ghost
Effect: Goron form

Zora Mask
Where: Great Bay Coast
Requirement: Mikau’s body, Song of Healing
Effect: Zora form
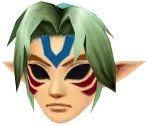
Fierce Deity’s Mask
Where: The Moon
Requirement: All 20 other masks handed over to the Moon Children
Effect: Fierce Deity form
Deku Link (Deku Mask)
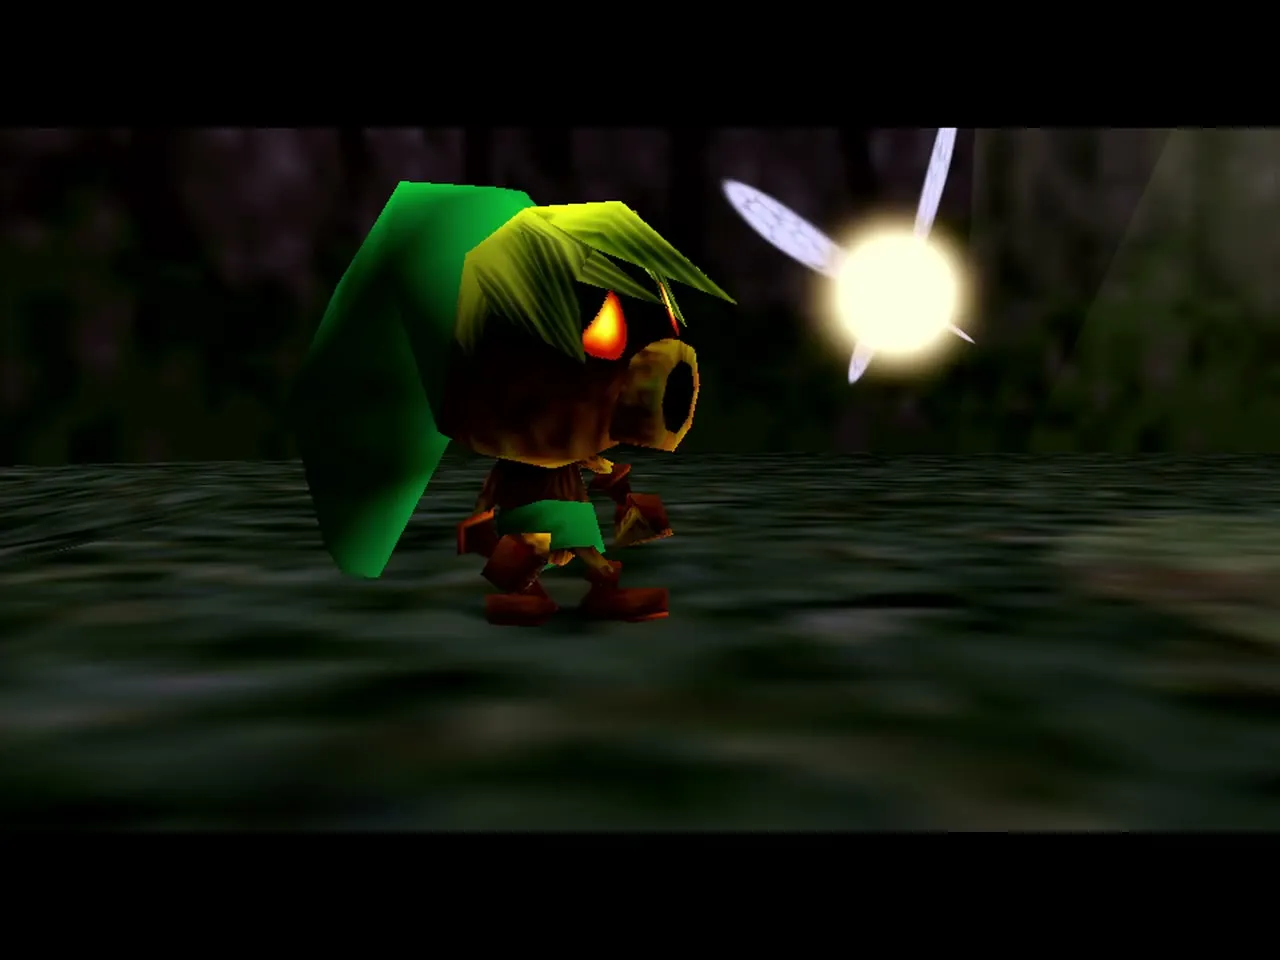
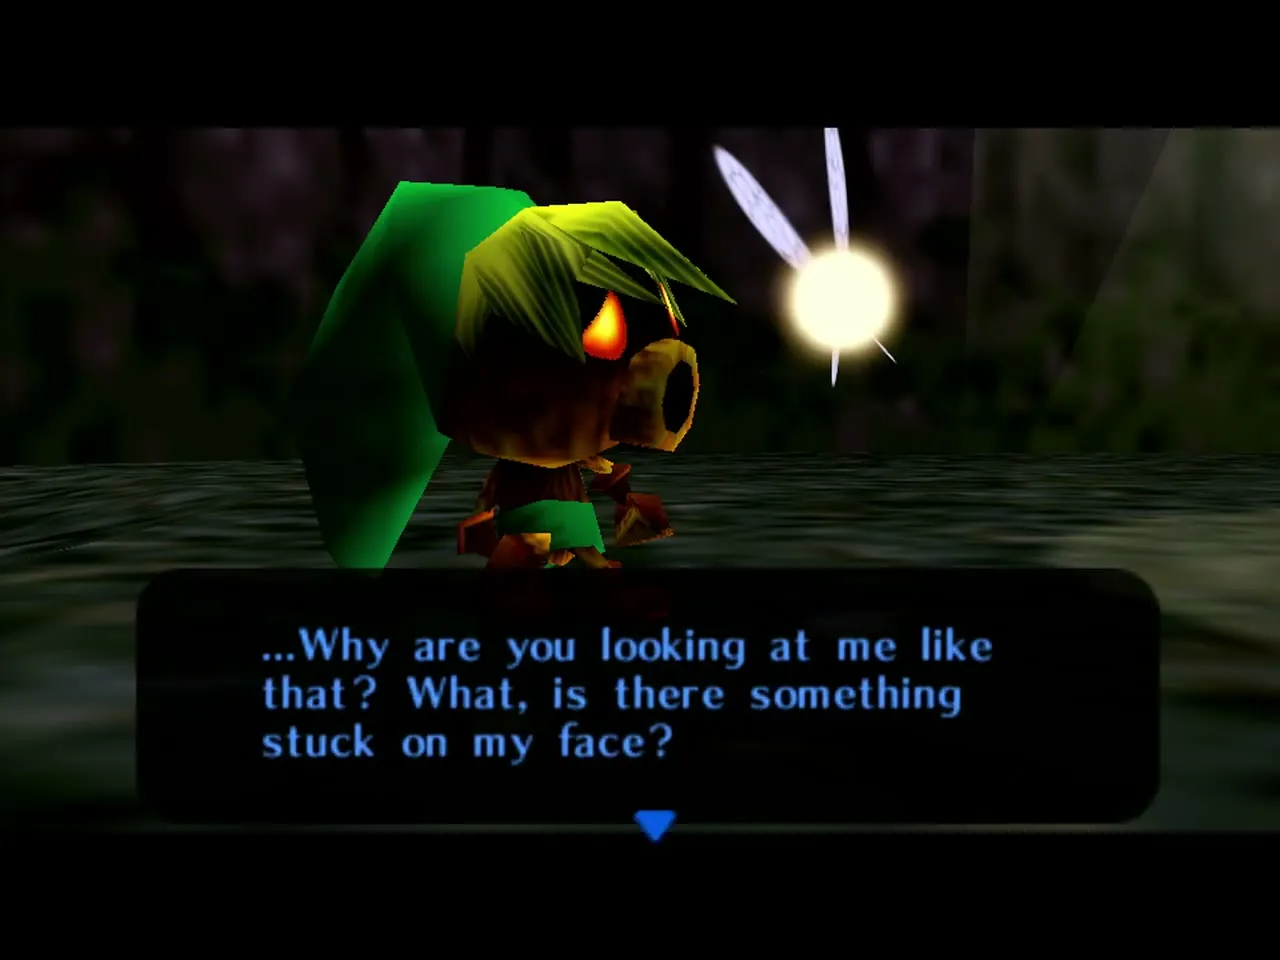
The Deku Mask turns Link into a small Deku Scrub. The Happy Mask Salesman gives it to you in the Clock Tower after the first cycle reset, once you have the Ocarina back. As a Deku, Link can spin to attack, shoot bubbles, skip over water for a few hops and launch himself into the air from Deku Flowers, gliding on the flowers he holds. He is weak against fire. It is essential for the Deku Scrub Playground, the Deku Palace gardens, the Southern Swamp and Woodfall Temple, and it opens many Heart Pieces through the flowers that Business Scrubs leave behind. See the Southern Swamp and Deku Palace walkthrough and the Woodfall Temple walkthrough.
Goron Link (Goron Mask)
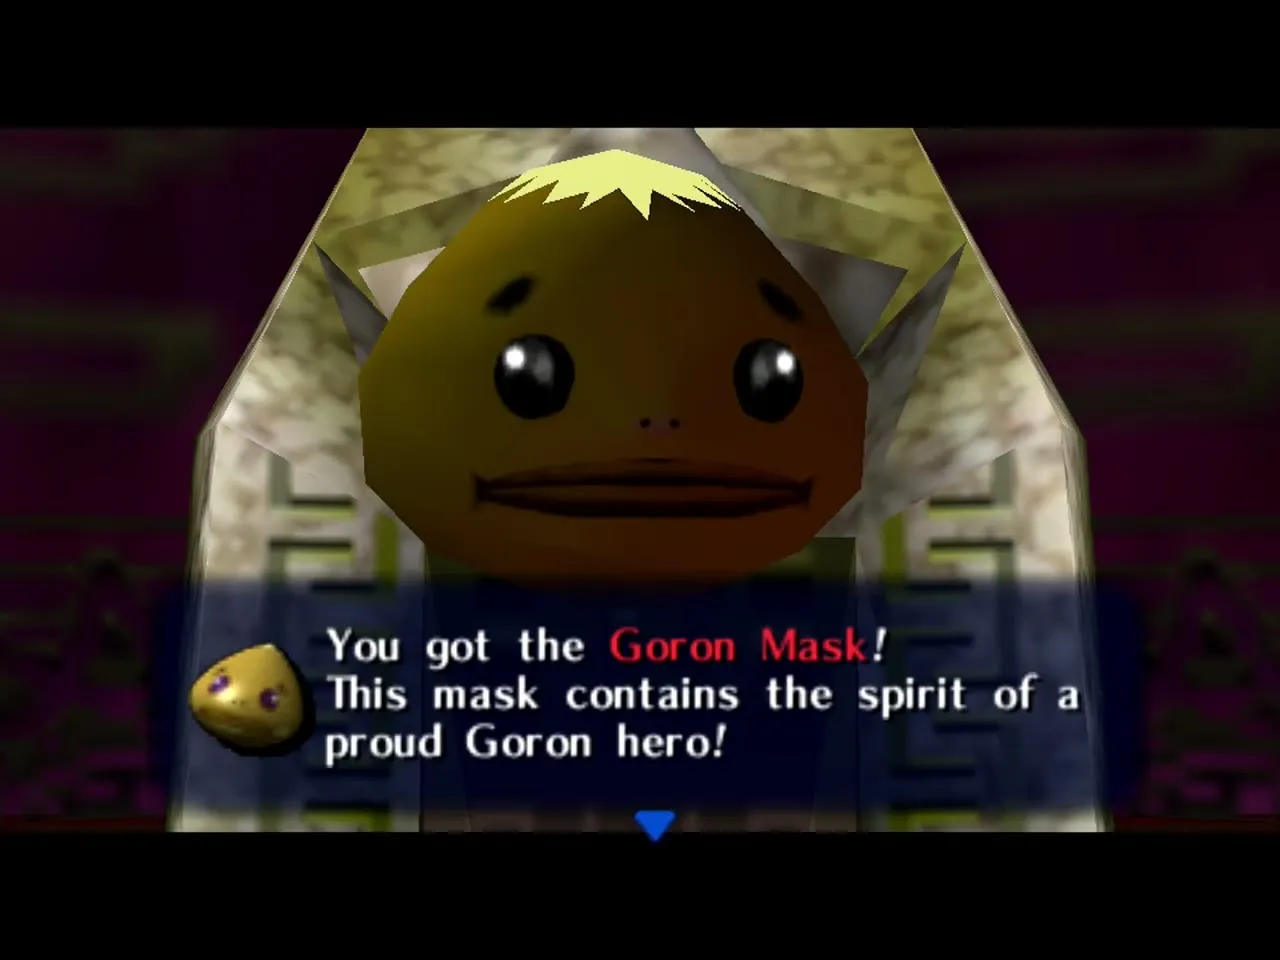
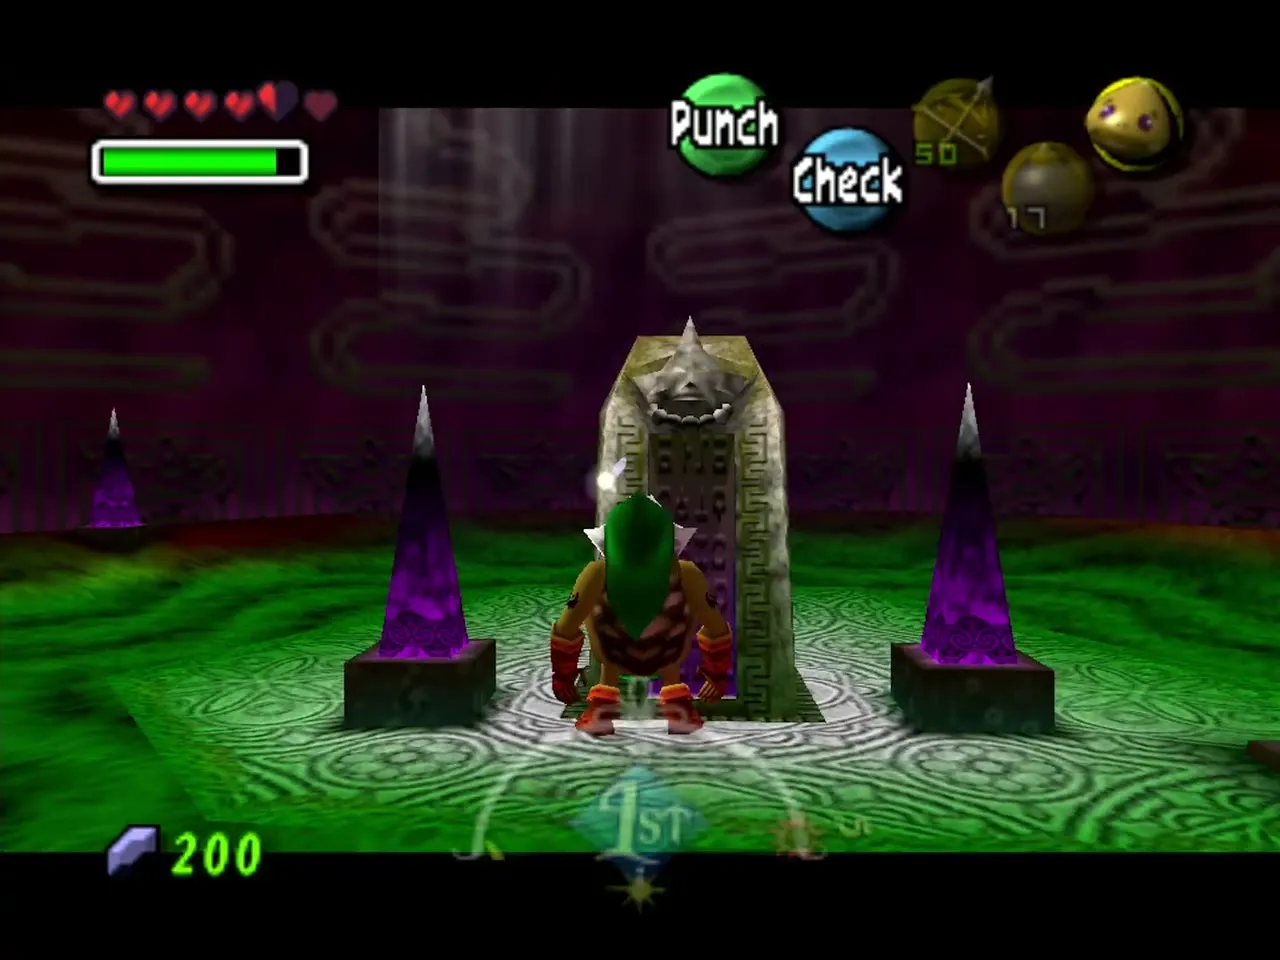
Goron Link comes from healing Darmani III’s spirit with the Song of Healing. Darmani’s ghost is in the Goron Graveyard above Mountain Village, and you have to use the Lens of Truth to see and follow him there. As a Goron, Link can punch, pound the ground, roll at high speed and walk over lava. Rolling into a spike uses some magic. Goron Link can also press heavy switches, carry Powder Kegs and play the Goron Lullaby on the Goron drums. He sinks in deep water, so stay out of pools. This form is needed for most of the Snowhead region, the Goron Race and the Treasure Chest Shop’s Heart Piece. See the Snowhead Region walkthrough.
Zora Link (Zora Mask)
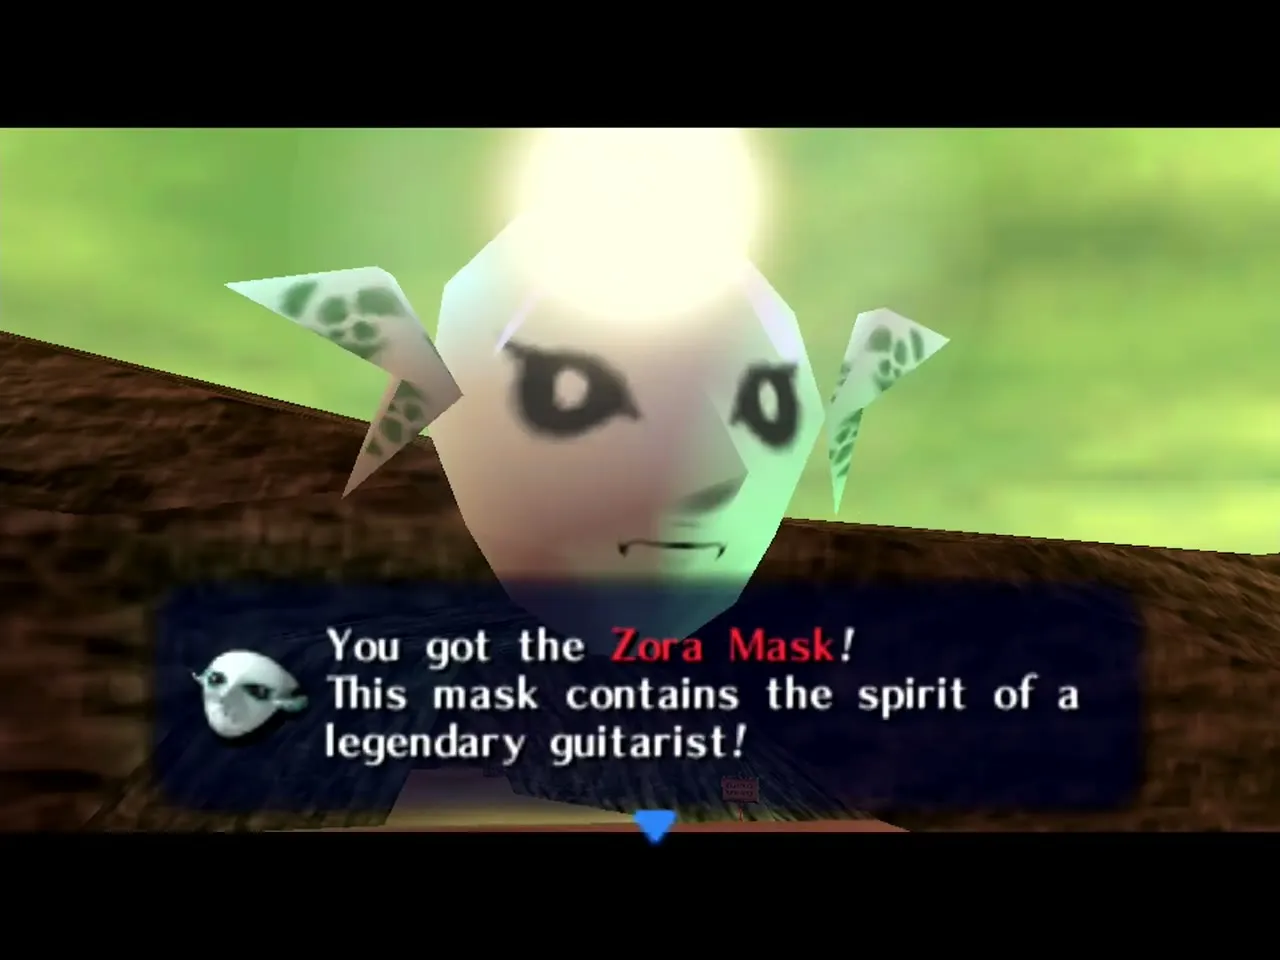
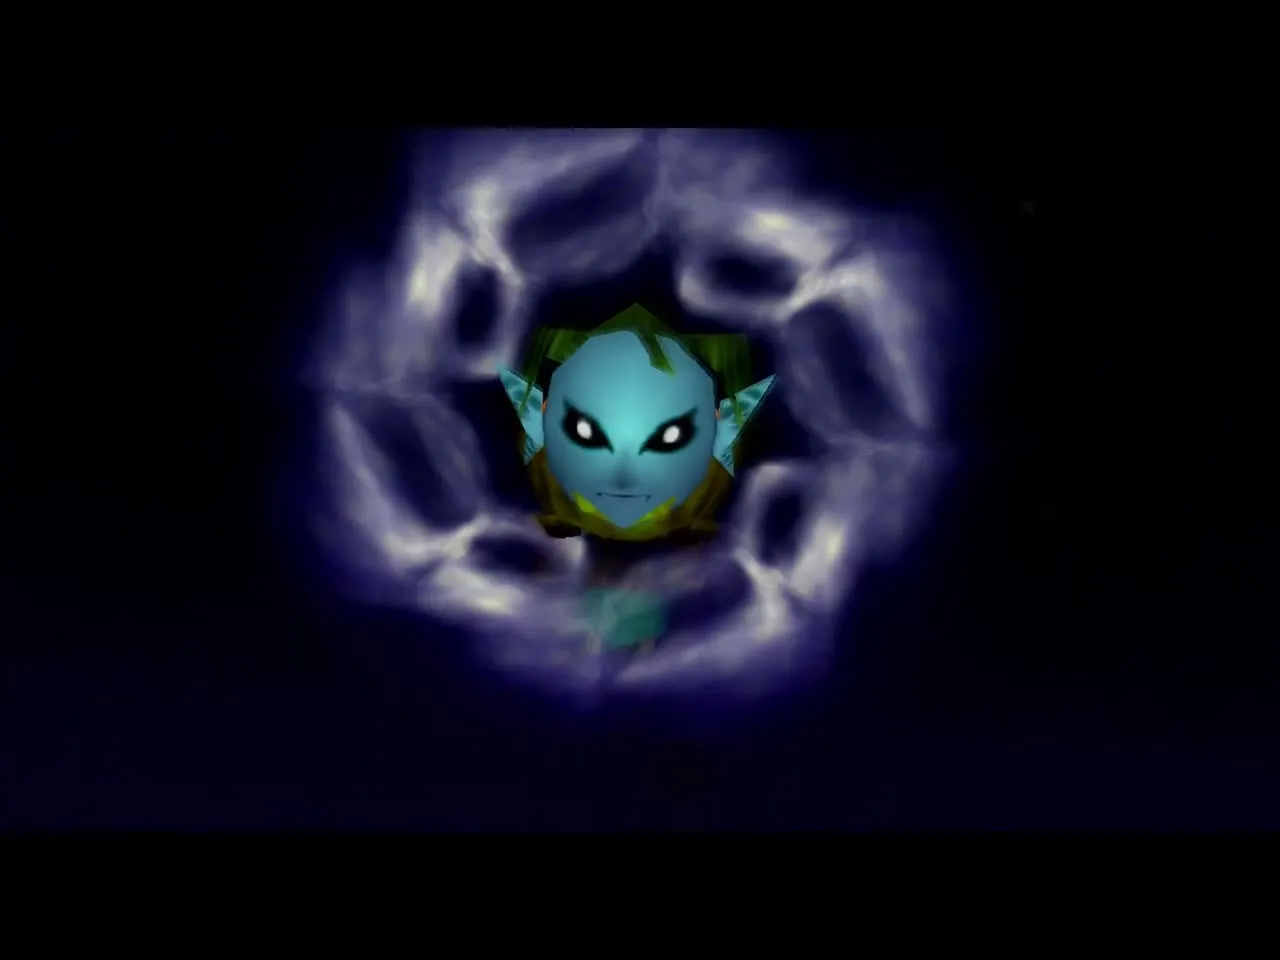
Zora Link comes from Mikau. Mikau is found floating near the Great Bay Coast. Push him to the shore and heal his spirit with the Song of Healing to get the mask. As a Zora, Link swims quickly, can stay underwater as long as he likes, creates a short electric barrier that uses magic, and throws his fins like boomerangs. He plays Mikau’s guitar for the New Wave Bossa Nova. The form is essential for Great Bay, Zora Hall, the Pirates’ Fortress and Great Bay Temple, and for the Beaver Brothers’ races. See the Great Bay Region walkthrough.
Fierce Deity Link (Fierce Deity’s Mask)
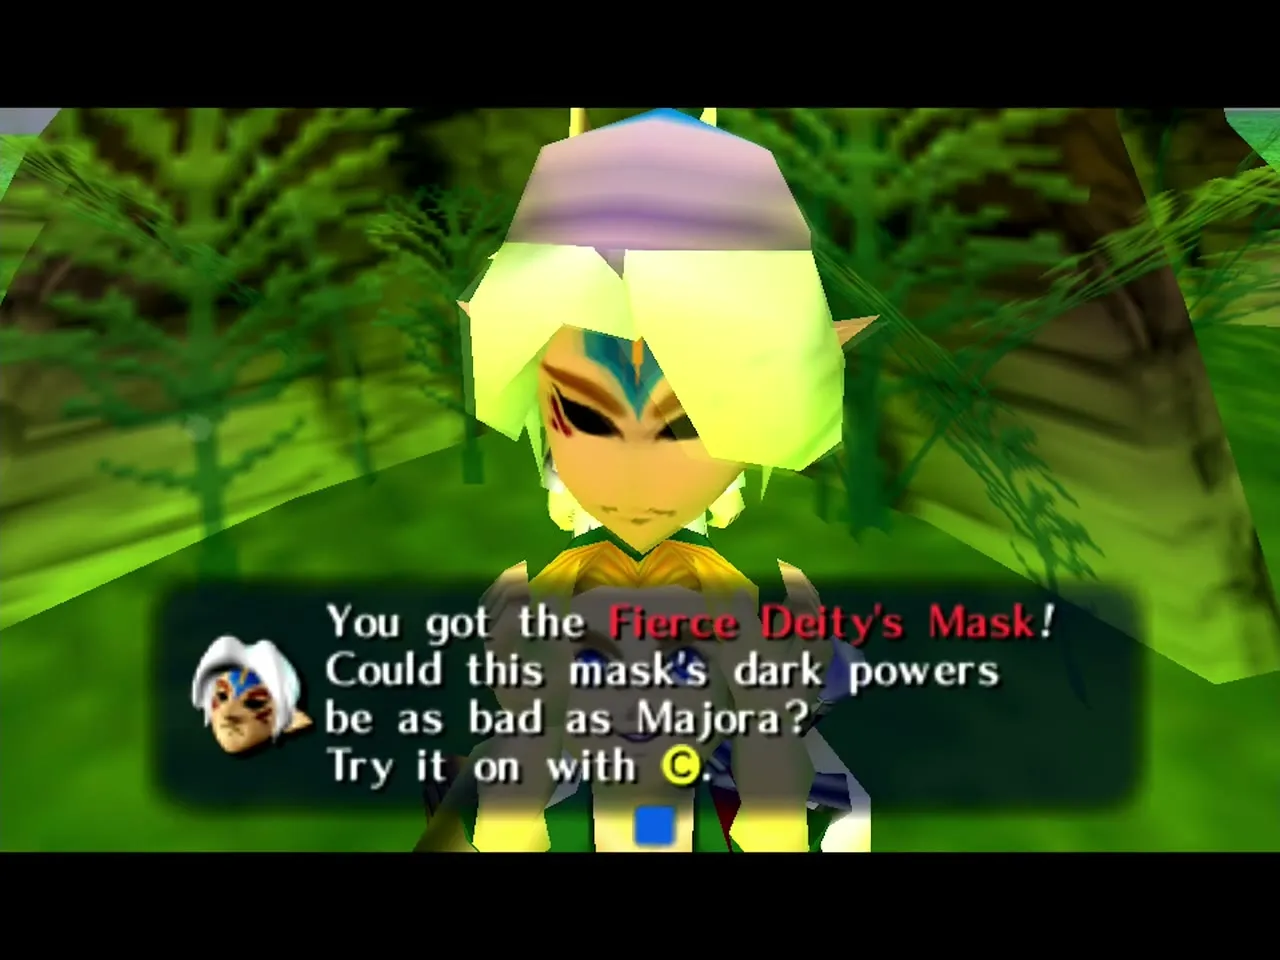
The Fierce Deity’s Mask is the final reward from the Moon Children, once you have handed over all 20 masks that are not transformation masks across their four trials. Link becomes a tall, powerful adult with a huge sword that fires energy beams. The mask only works in boss fights, and it makes short work of most enemies, including Majora’s forms. Go back to the child in Majora’s Mask after the four trials to receive it, and put it on from the item screen when a boss room is in front of you. Fans still argue about whether the being behind it is good or dangerous. See the Final Confrontation walkthrough and the Mask Collection Guide.
Key NPCs & Quest Characters
Termina is full of people tied to particular places, many of them linked to side quests that only work during a certain part of the cycle. They are grouped below by region.
Clock Town NPCs
Clock Town is the hub of Termina. Its residents are getting ready for the Carnival of Time while they worry about the Moon.
Anju
Anju is the innkeeper at the Stock Pot Inn in East Clock Town. She is engaged to Kafei, but he disappears just before their wedding. Helping her find him starts one of the longest side quests in the game. Talk to her at the inn desk from about 2:18 PM on the First Day while wearing Kafei’s Mask, and she asks you to meet her in the inn kitchen at 11:30 PM. She then gives you her Letter to Kafei, and later takes his Pendant of Memories. You must hand over the pendant before noon on the Final Day or she leaves. The quest ends with the reunion at about 4:30 AM, when you receive the Couple’s Mask. Her quest runs over all three days, so plan your visits with the Anju and Kafei guide.
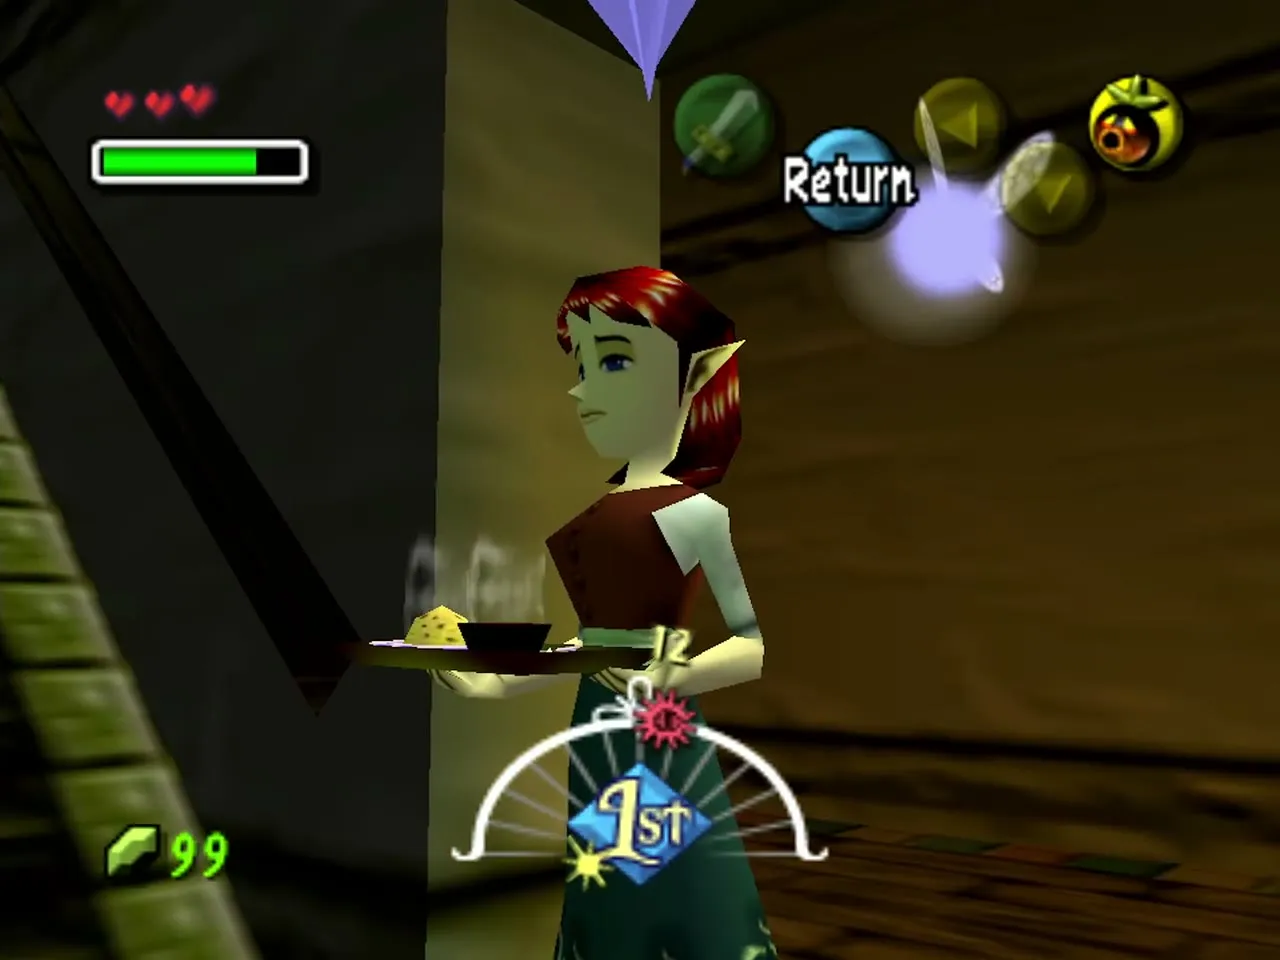
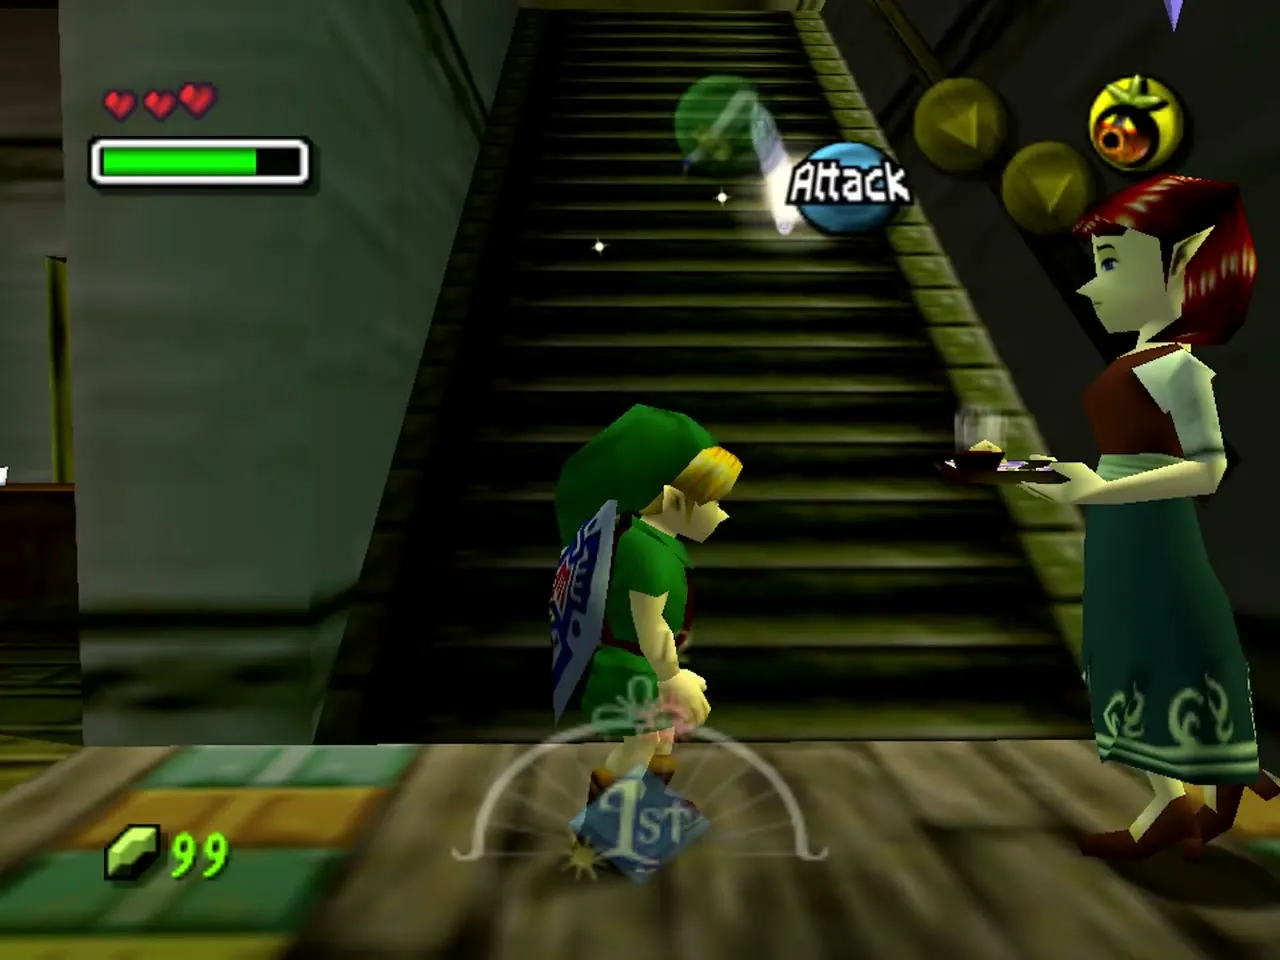
Kafei
Kafei is Anju’s fiance. Skull Kid turns him into a child, and he is ashamed to be seen. You first meet him on the Second Day at about 4 PM, at the Laundry Pool in the southwest corner of Clock Town, where the Postman delivers Anju’s letter, and he gives you the Pendant of Memories to carry to Anju. He then hides in the back room of the Curiosity Shop. He is trying to get back his stolen Sun’s Mask from the thief Sakon, and the chase ends at Sakon’s Hideout in Ikana Canyon on the Final Day. His quest runs alongside Anju’s and depends on precise timing across the three days. Every step is in the Anju and Kafei guide.
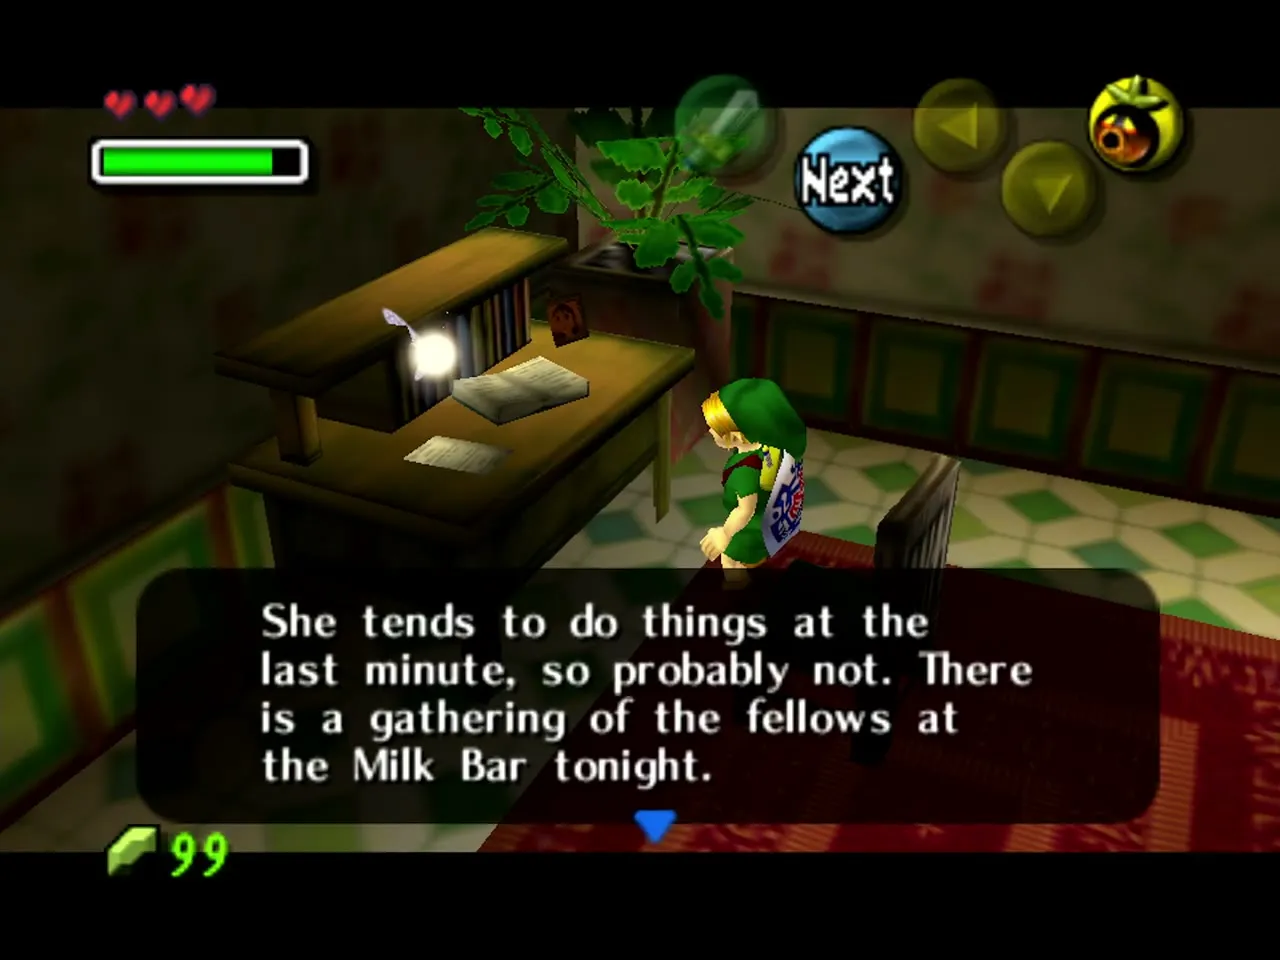
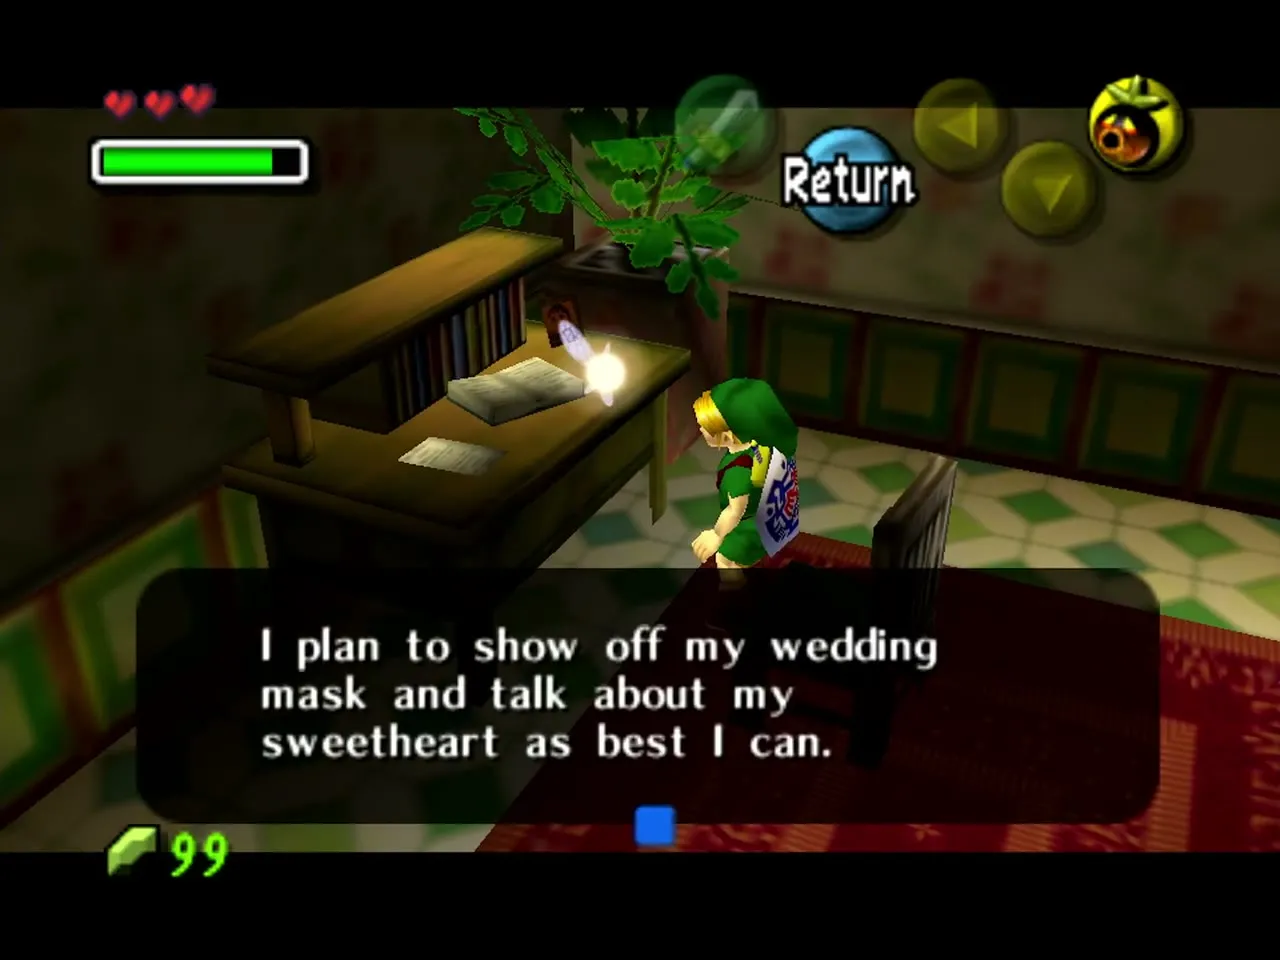
Madame Aroma
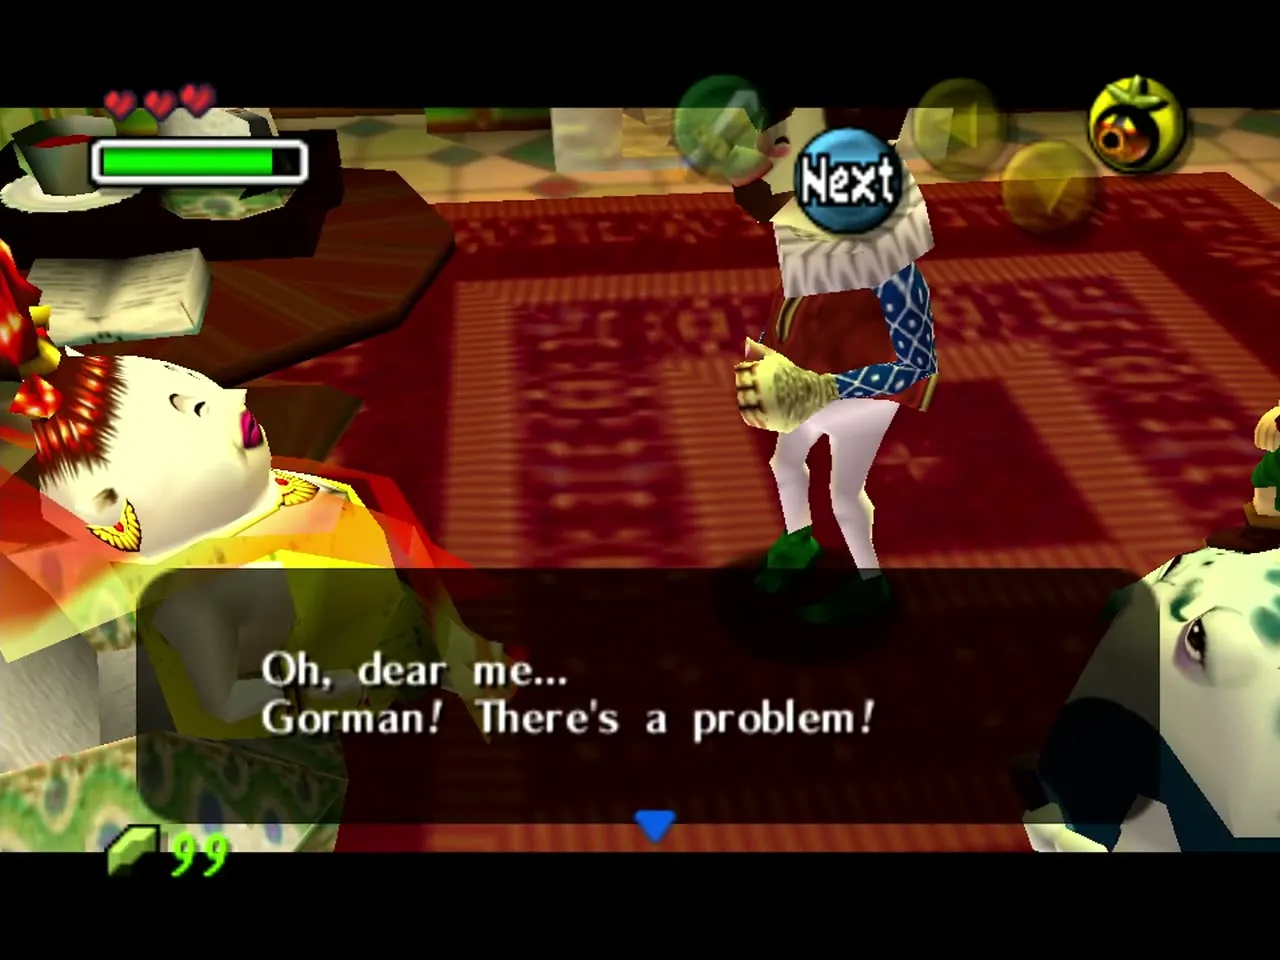
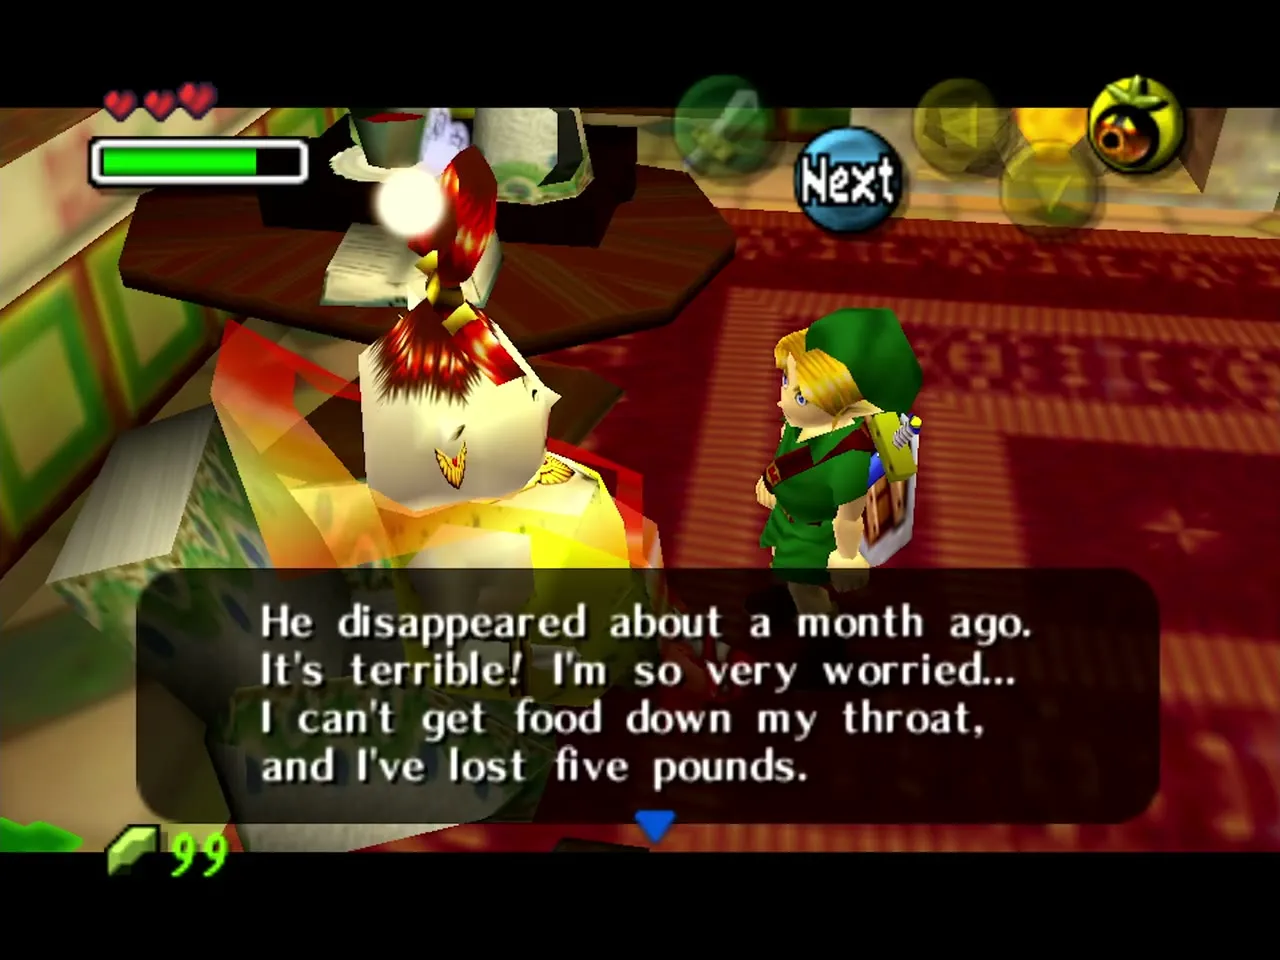
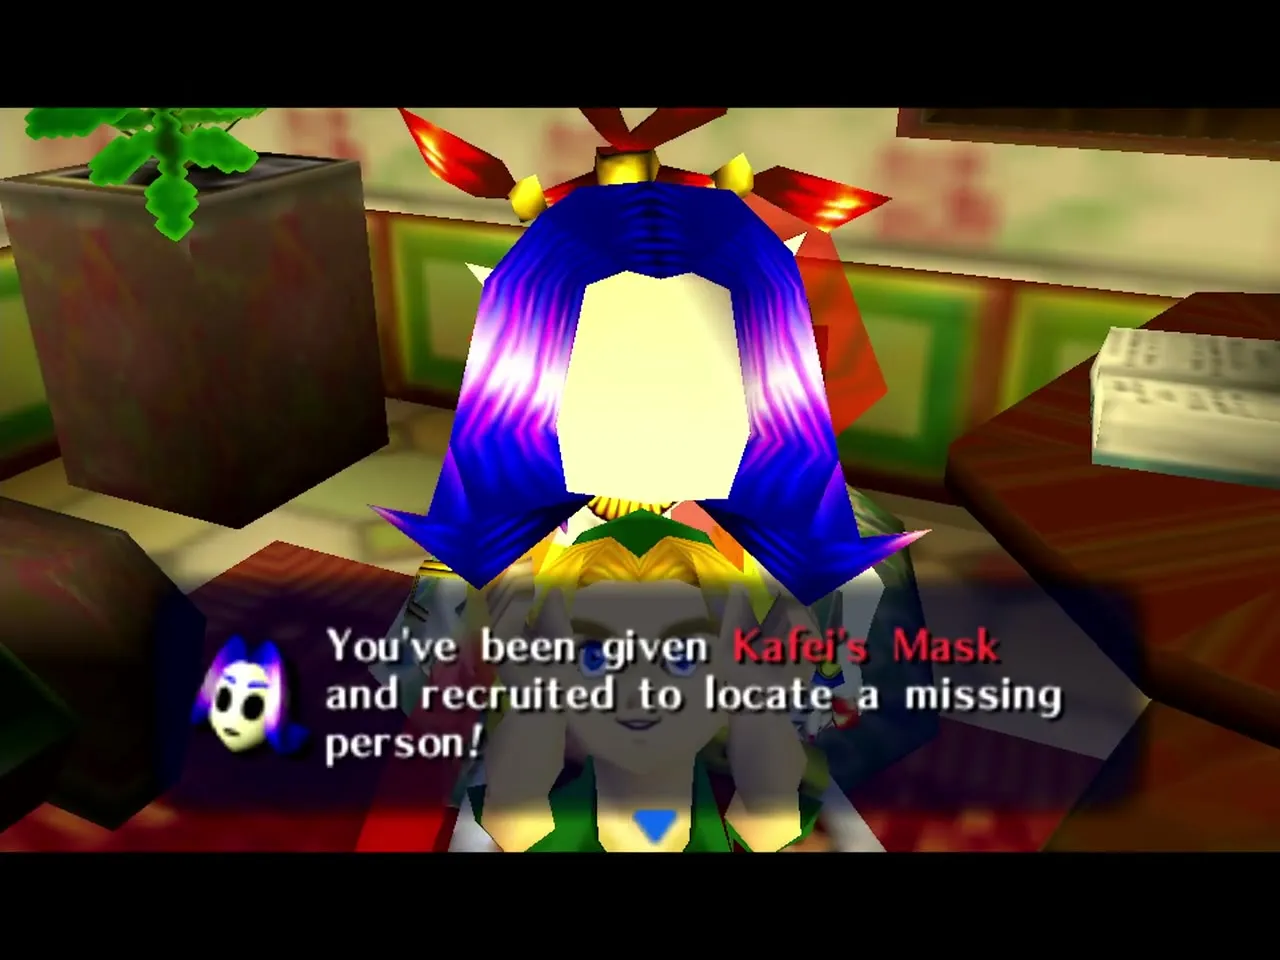
Madame Aroma is Mayor Dotour’s wife and Kafei’s mother. She waits in the drawing room on the right of the Mayor’s Residence in East Clock Town. Once she asks you to find her son and you agree, she gives you Kafei’s Mask on Day 1 or Day 2, from 10 AM. The mask lets you ask other people about Kafei and starts the whole Anju and Kafei quest. On the Final Day from 6 PM she is at the Latte Milk Bar, where you can hand her the Special Delivery to Mama while wearing Kafei’s Mask for a bottle of Chateau Romani (you need Romani’s Mask to enter the bar). You can only use that letter once per cycle, so pick either her bottle or the Postman’s Hat. See the Anju and Kafei guide.
Mayor Dotour
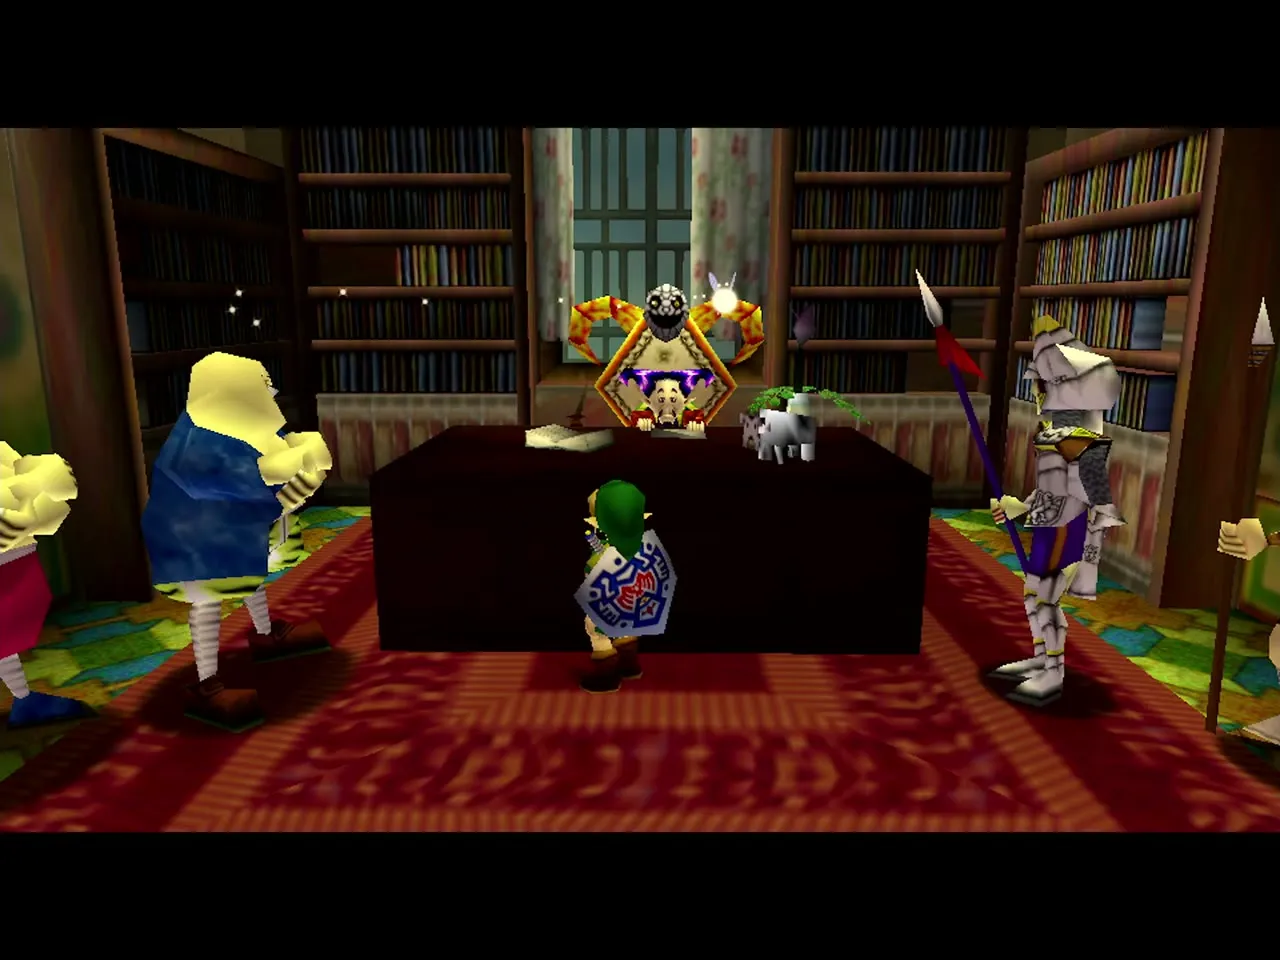
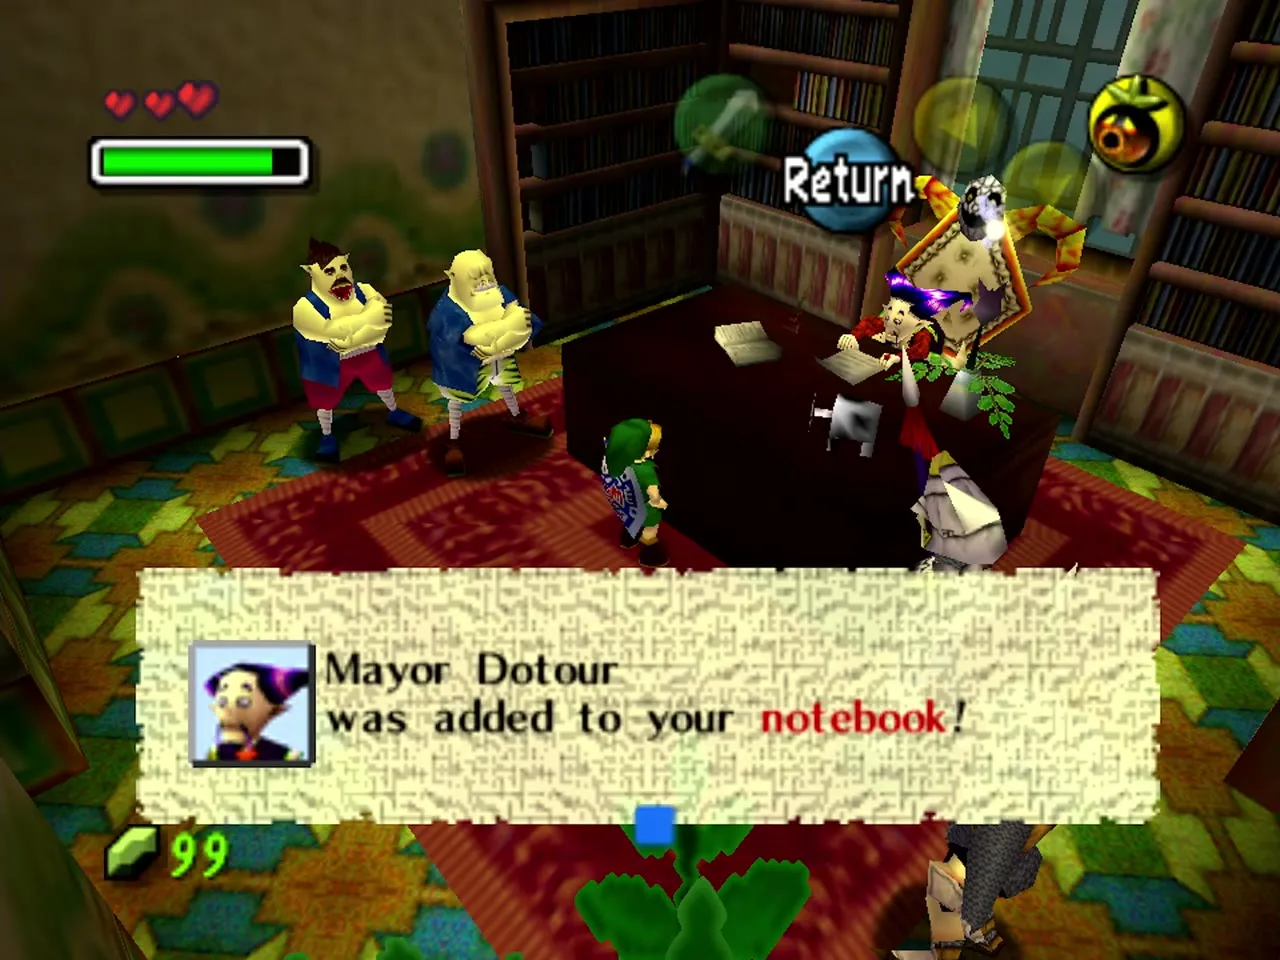
Mayor Dotour runs Clock Town and is usually stuck in a meeting in his office in the Mayor’s Residence. Mutoh wants the Carnival of Time to go ahead, and Viscen wants the town evacuated because of the Moon. From 10 AM into the evening (arrive before 6 PM to be safe), walk into the meeting room while wearing the Couple’s Mask, which you only get after the reunion of Anju and Kafei. It calms the argument, changes how the meeting ends, and the Mayor gives you a Piece of Heart. See the Anju and Kafei guide and the Heart Piece guide.
Mutoh
Mutoh is the proud head of the Clock Town carpenters. He refuses to believe the Moon is a real danger and is focused on finishing the festival tower in South Clock Town. You find him arguing with Captain Viscen in the Mayor’s meeting room in the daytime and evening, and the meeting only ends peacefully once you wear the Couple’s Mask. He gives you nothing himself, but his argument with Viscen is the one the mask settles, so he is part of the Mayor’s Piece of Heart. See the Anju and Kafei guide.
Viscen
Viscen is the captain of the Clock Town Guard. He is worried about the Moon and keeps urging Mayor Dotour to order an evacuation, but he is ignored. You find him arguing with Mutoh in the Mayor’s office in East Clock Town each day. Wear the Couple’s Mask in the meeting and he stops shouting, which earns you the Mayor’s Piece of Heart. See the Anju and Kafei guide.
Postman
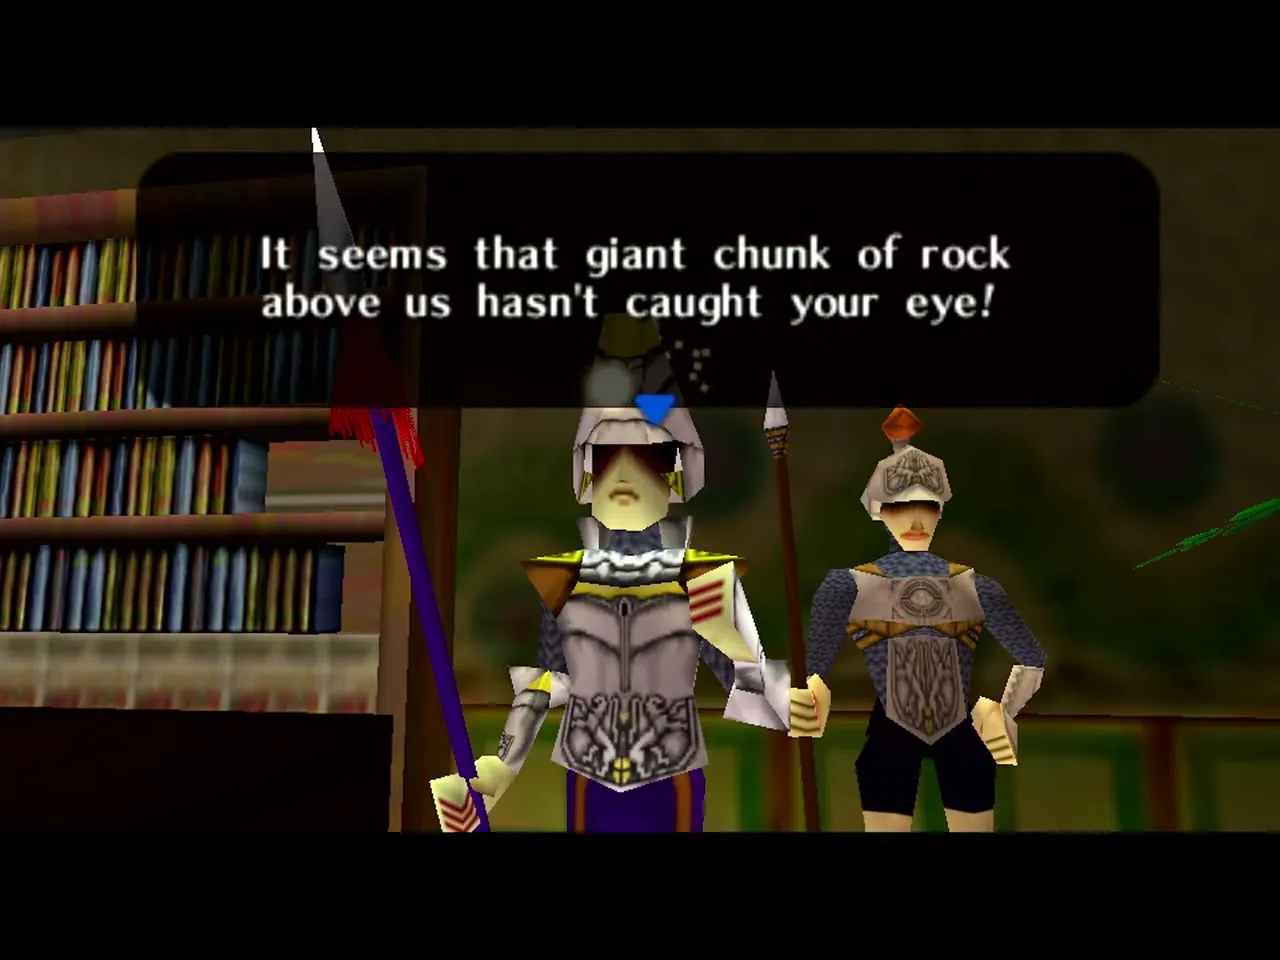
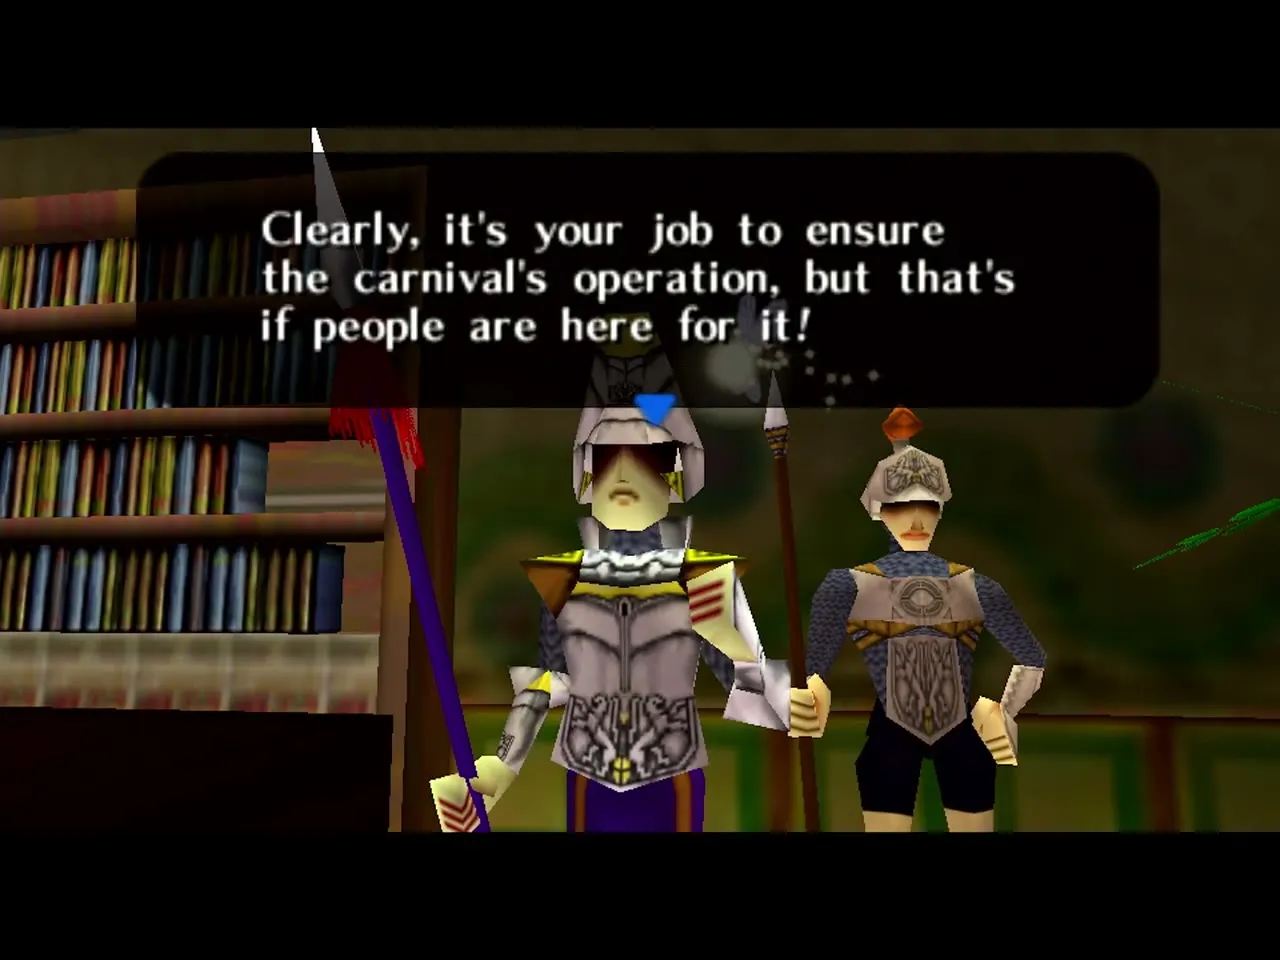
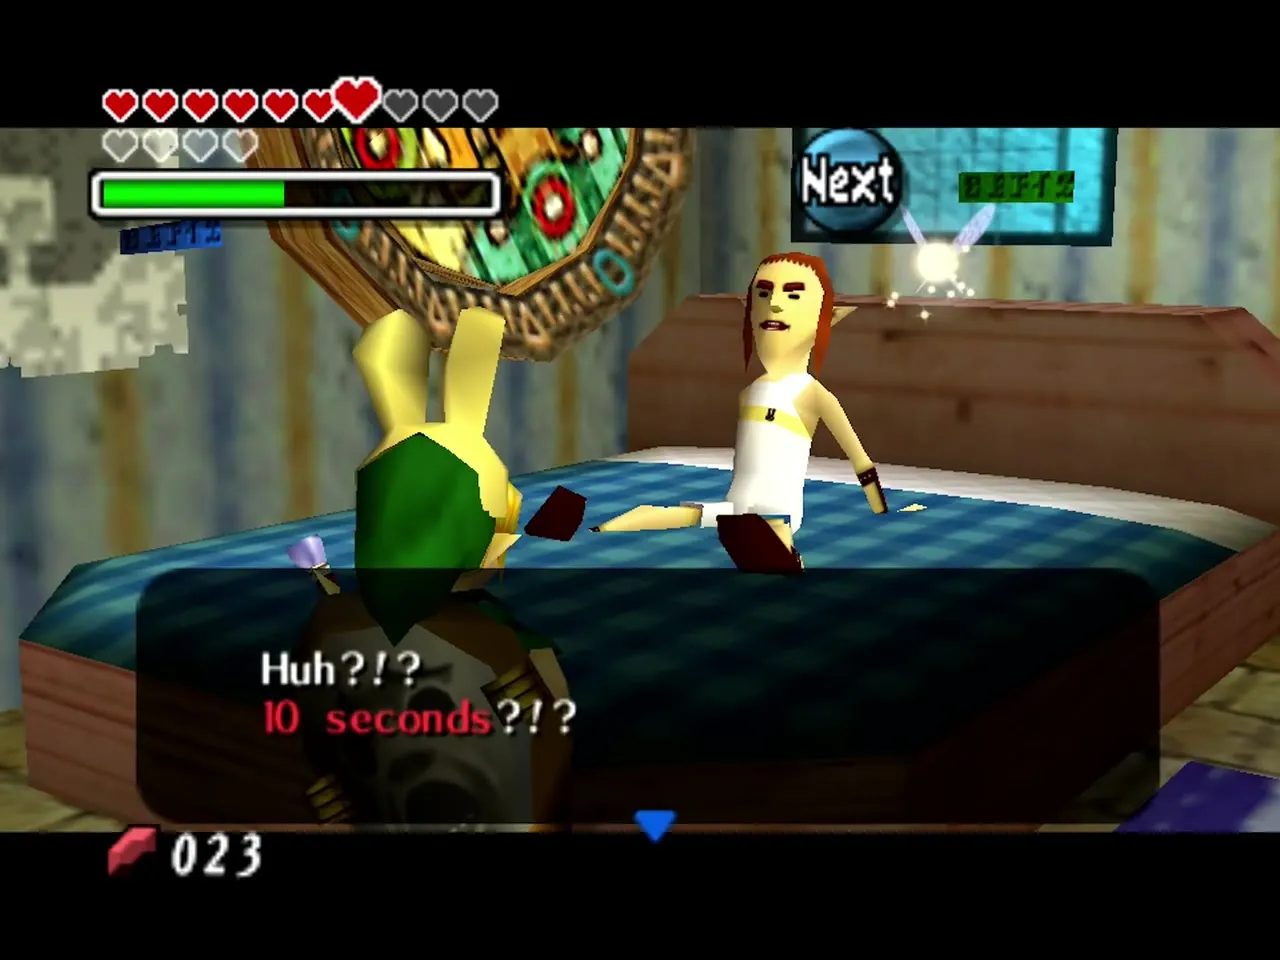
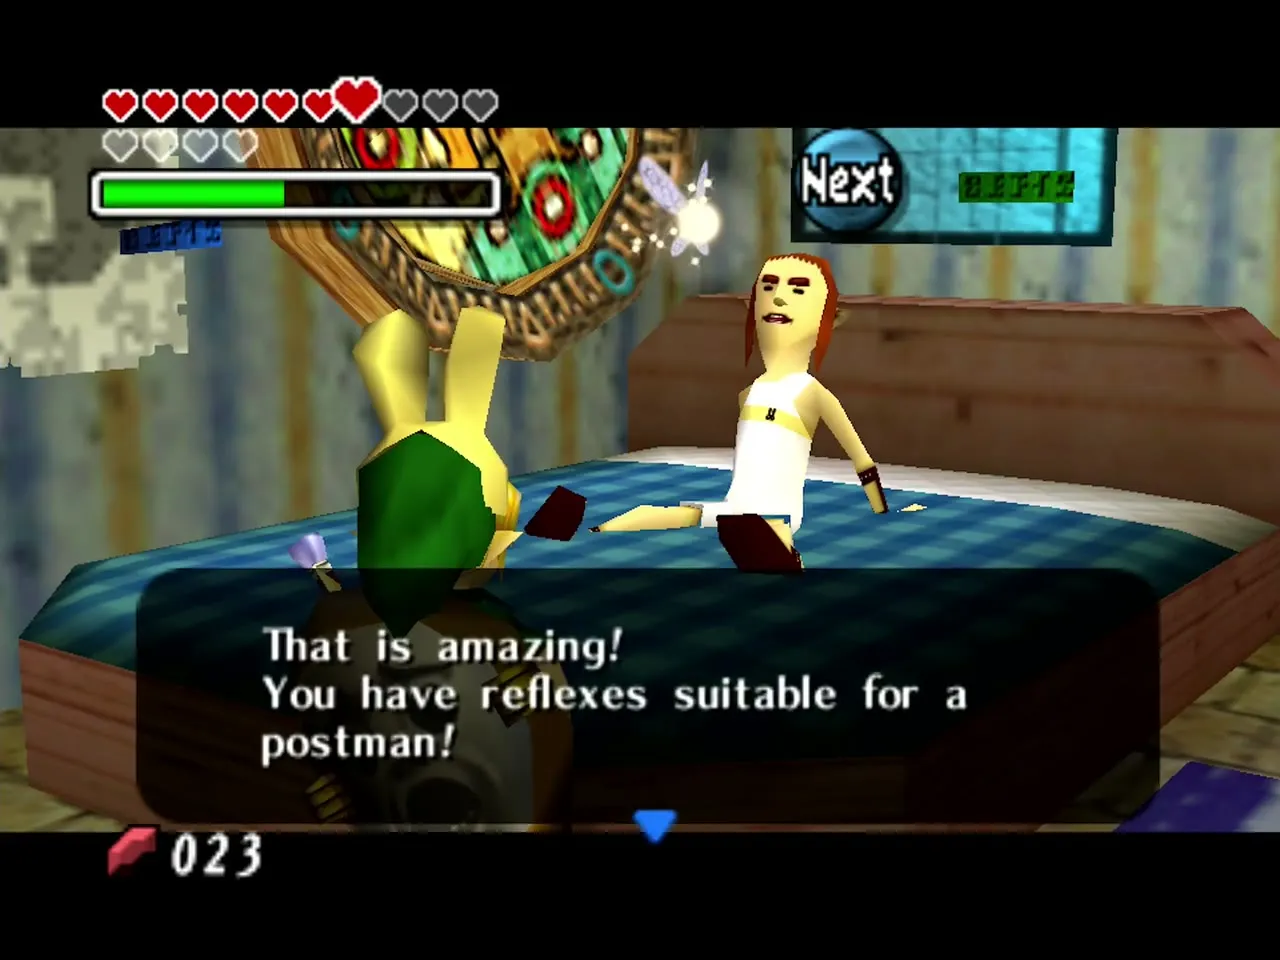
The Postman is a very dedicated mail carrier who keeps to his delivery schedule, even as the world nears its end. You find him at the Post Office in West Clock Town. He carries letters for the Anju and Kafei quest: Anju’s Letter to Kafei must be mailed before 6 AM on the Second Day so he can deliver it at the Laundry Pool that afternoon. Hand him the Special Delivery to Mama from 6 PM on the Final Day and he gives you the Postman’s Hat after he delivers it. You can also play his timing game for a Piece of Heart on Day 1 or Day 2, between 3 PM and midnight: stop his timer at exactly 10 seconds. Retries cost 2 Rupees, or leave and come back for a free one, and the Bunny Hood keeps the clock on screen. See the Anju and Kafei guide and the Mini-Games page.
Anju’s Grandmother
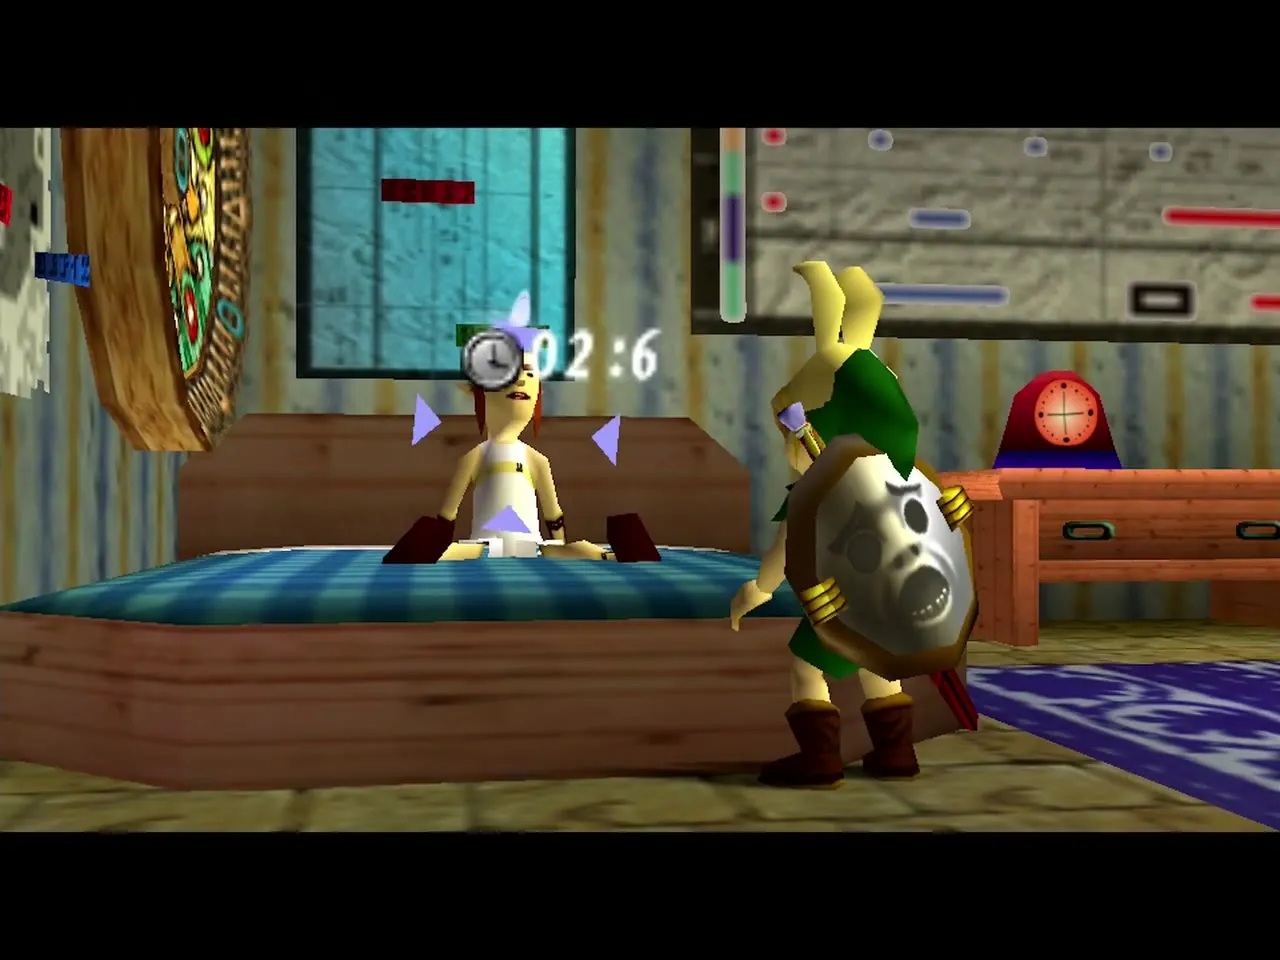
Anju’s Grandmother lives at the Stock Pot Inn in East Clock Town and tells long stories to anyone who will listen. Wear the All-Night Mask to stay awake through them, and she rewards you with two Pieces of Heart, one for each story. Her stories also give some background about Termina and the Four Giants. She tells them during the day on Day 1 and Day 2, so buy the All-Night Mask (500 Rupees at the Curiosity Shop from 10 PM on the Final Day, with the Giant’s Wallet and the Old Lady saved on the First Night) in one cycle and visit her on the next. See the Heart Piece guide and the Mask Collection Guide.
Toto
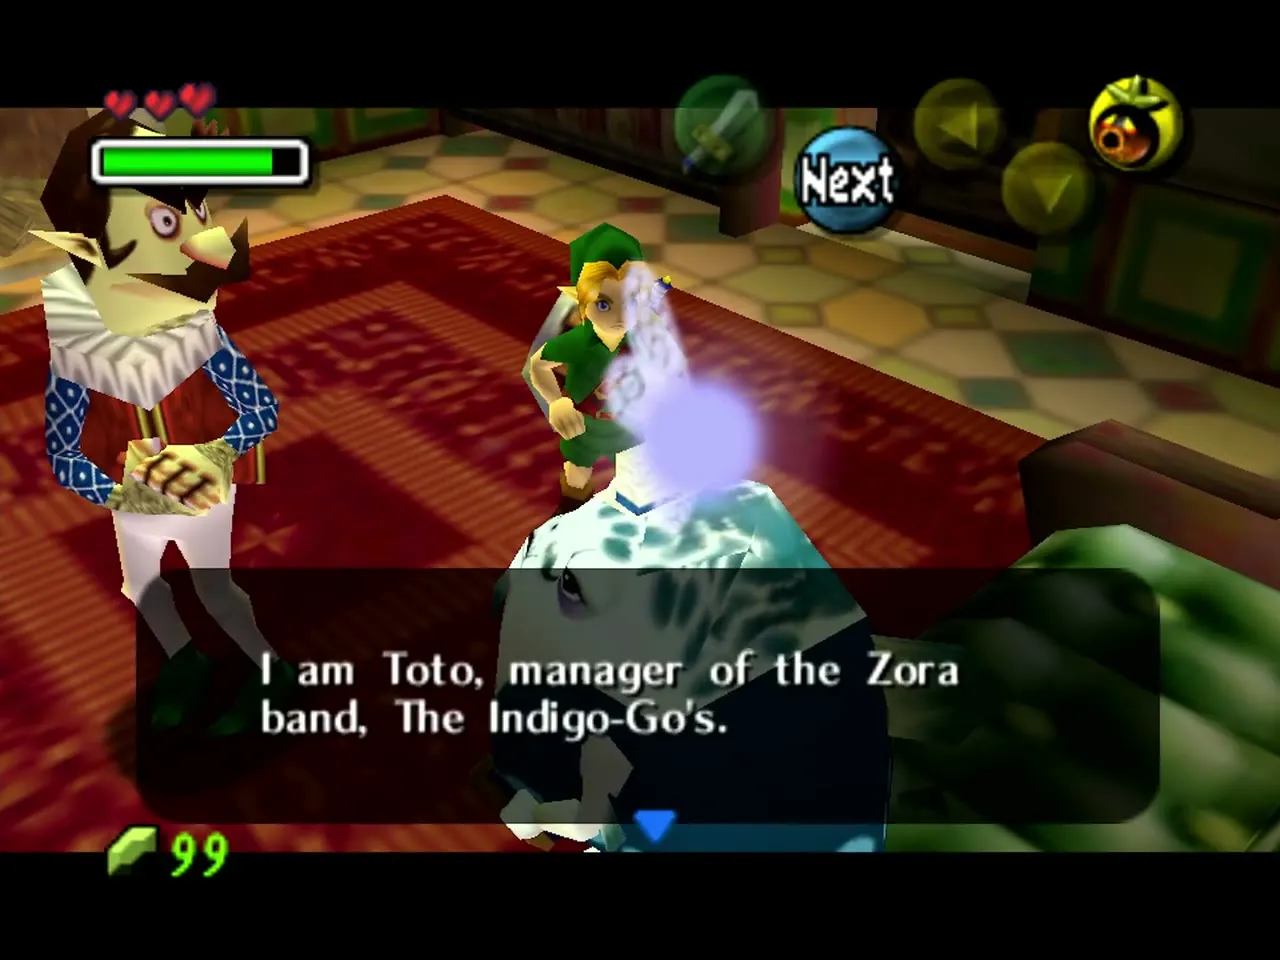
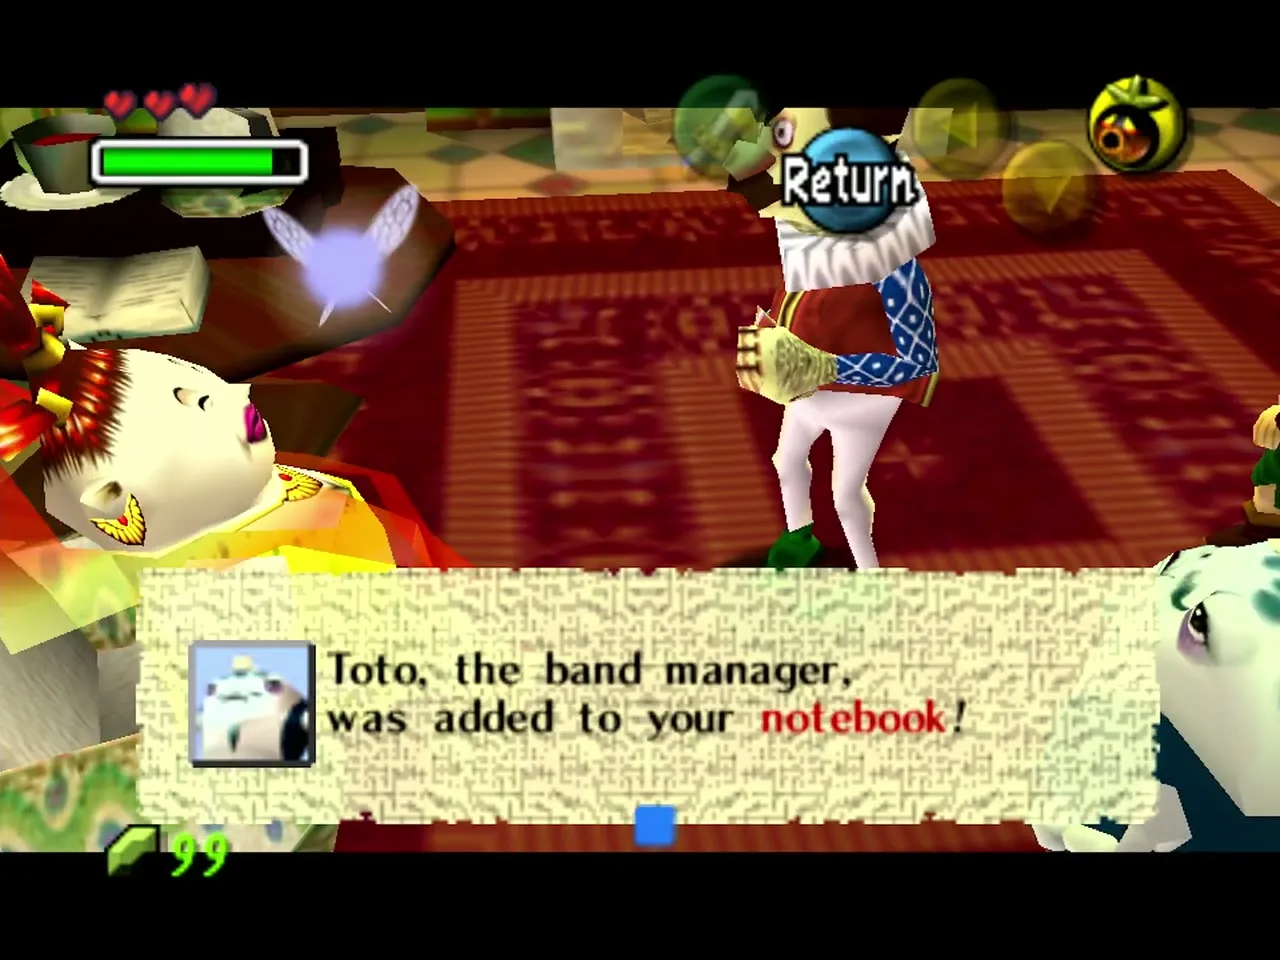
Toto manages The Indigo-Go’s, the Zora band. He is at the Latte Milk Bar in East Clock Town on the first and second nights, between 10 PM and 6 AM, lamenting the band’s bad luck and trying to arrange a sound check for the Carnival of Time. You need Romani’s Mask to get in. He asks you to play a song using your forms and masks: as Hylian, Deku, Goron and Zora Link in turn. Gorman then gives you the Circus Leader’s Mask. See the Side Quests page and the Mask Collection Guide.
Gorman
Gorman is the pompous leader of the Gorman Troupe, a travelling act booked for the Carnival of Time. When the carnival looks likely to be cancelled, he drowns his sorrows at the Latte Milk Bar in East Clock Town on the first and second nights, between 10 PM and 6 AM. Gorman has two brothers who run Gorman Track on Milk Road. Once you have played for him and his troupe, he gives you the Circus Leader’s Mask. Wear it and the masked Gorman Brothers will not attack Cremia’s cart. See the Side Quests page.
Rosa Sisters
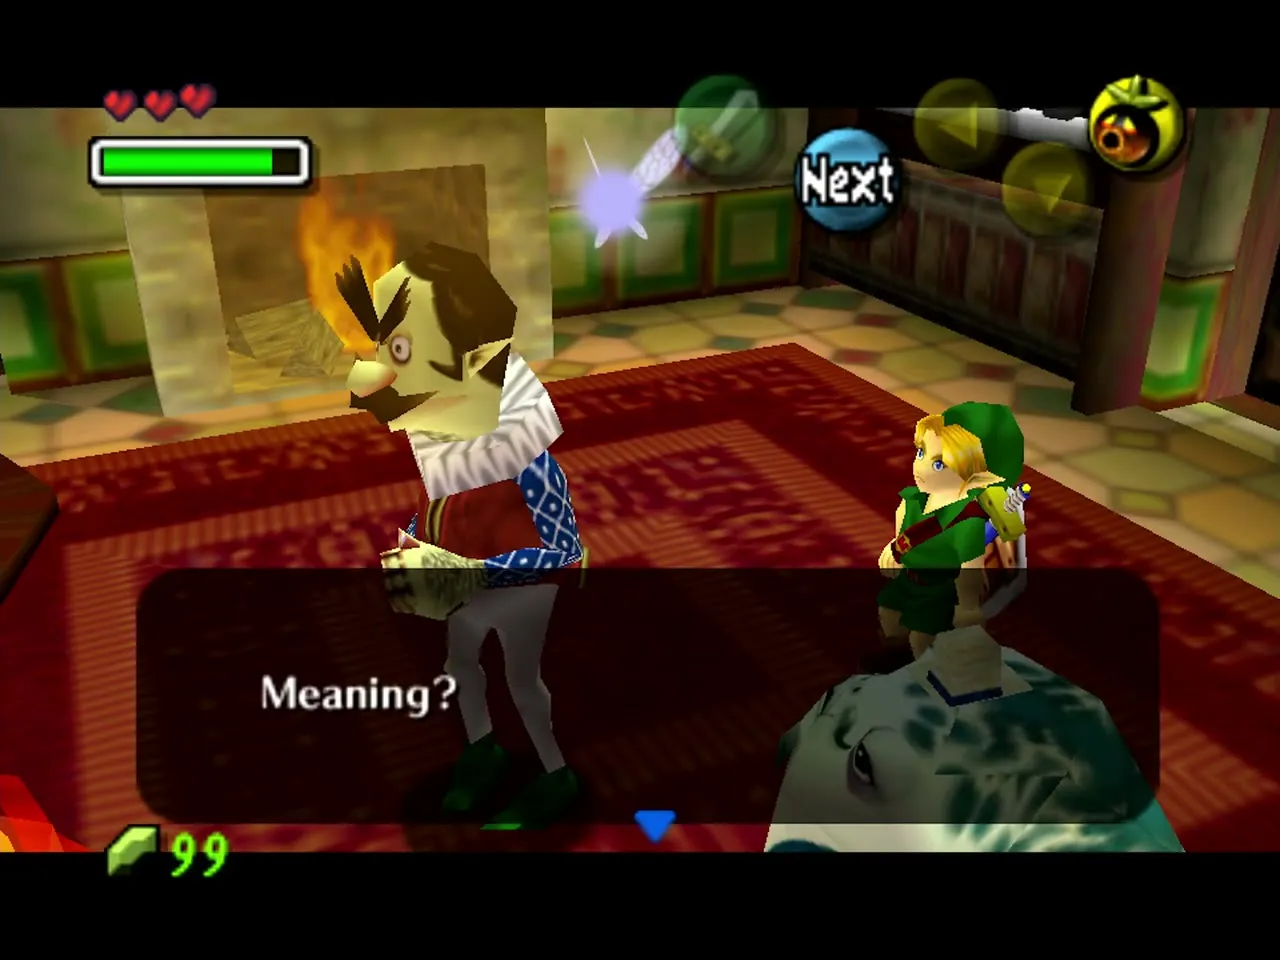
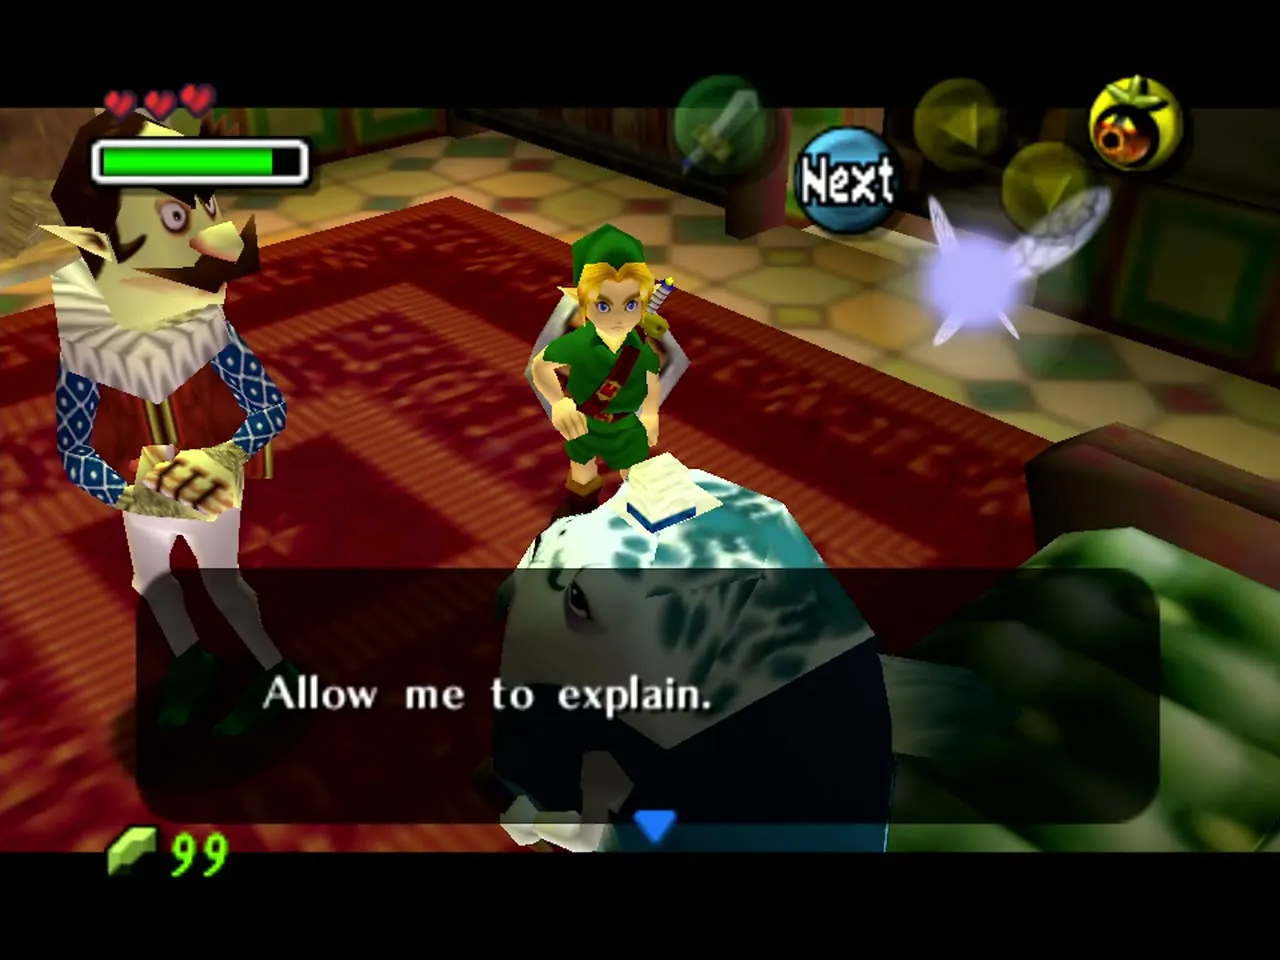
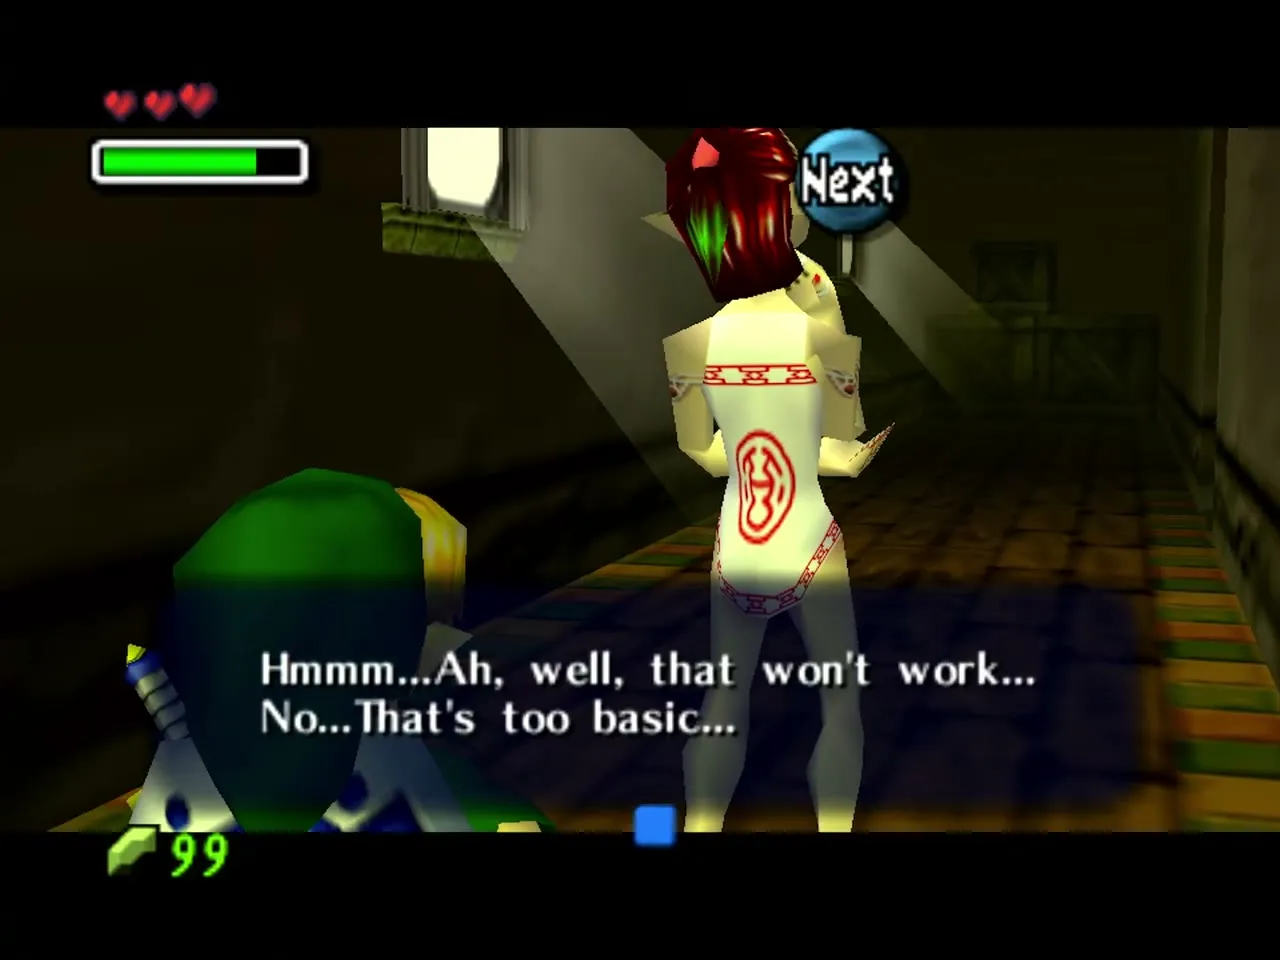
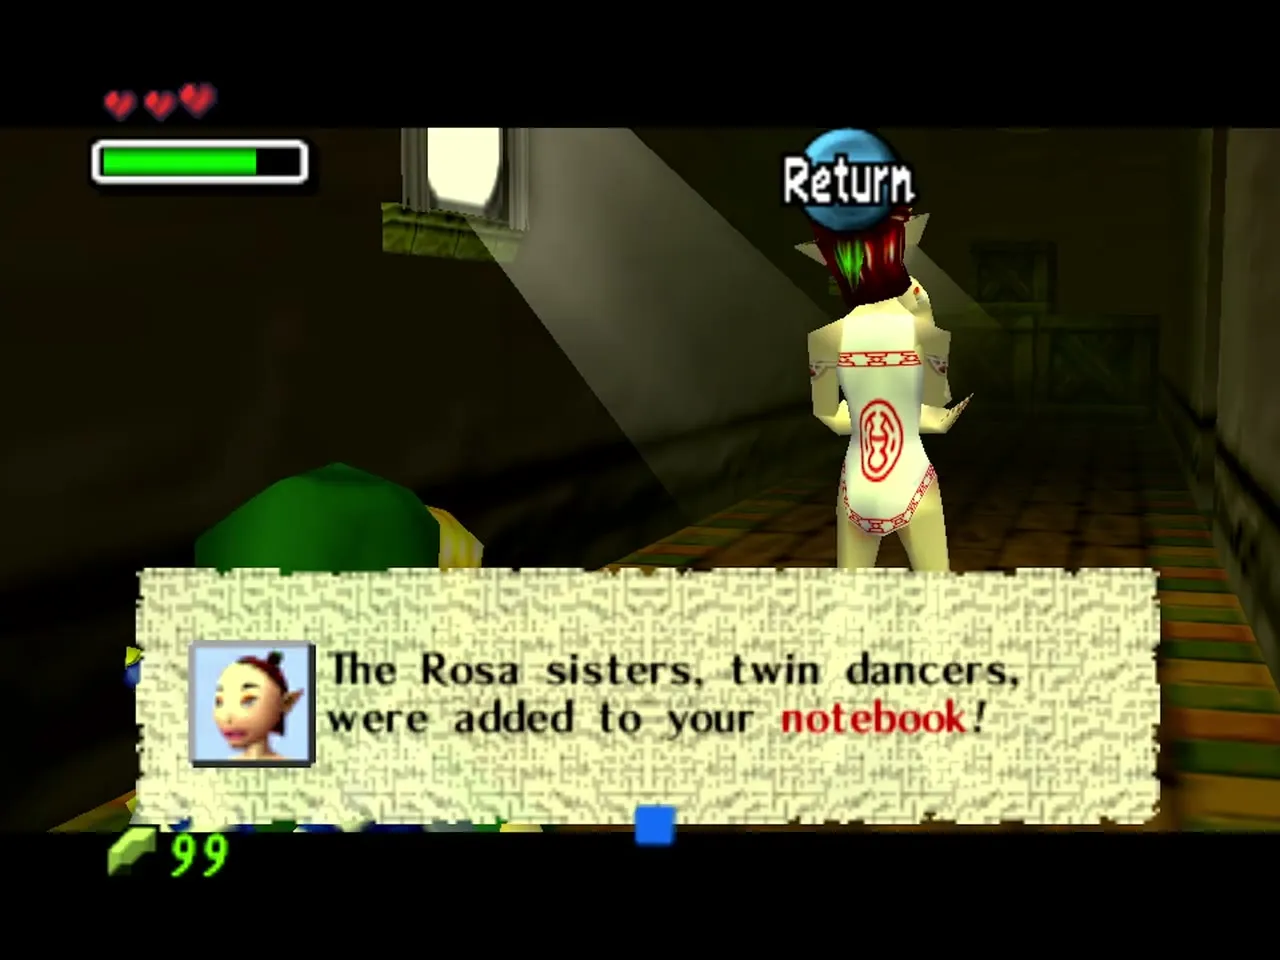
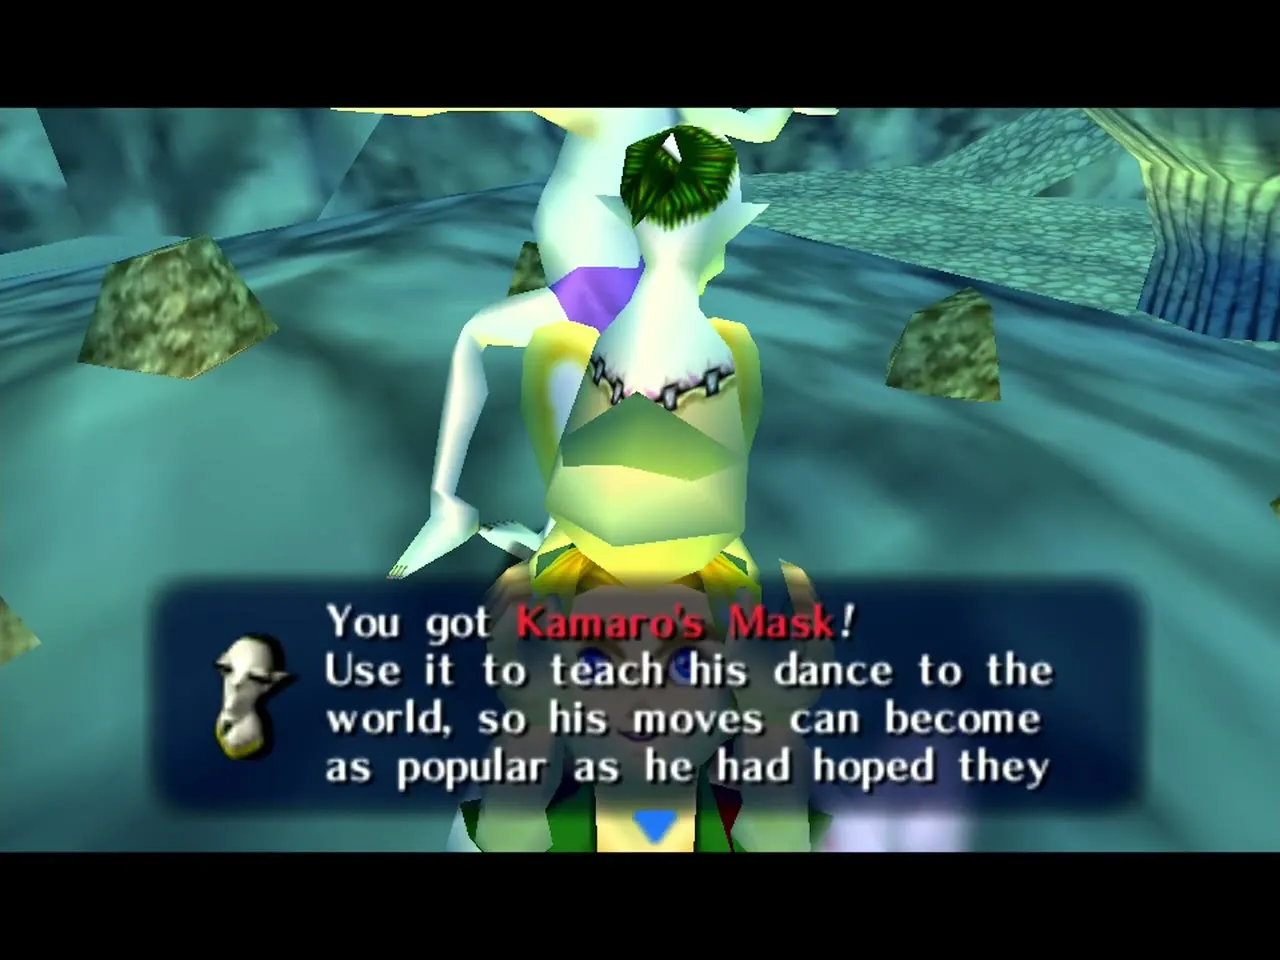
Judo and Marilla are the Rosa Sisters, dancers in the Gorman Troupe. They practise their routine in West Clock Town at night, on the first or second night of the cycle. Dance with them while you wear Kamaro’s Mask, and the first time you do it they reward you with a Piece of Heart. You must learn the mask from Kamaro in Termina Field first, so plan the order of the night. They also have a page in the Bombers’ Notebook. See the Clock Town, Termina Field and Romani Ranch walkthrough and the Bombers’ Notebook guide.
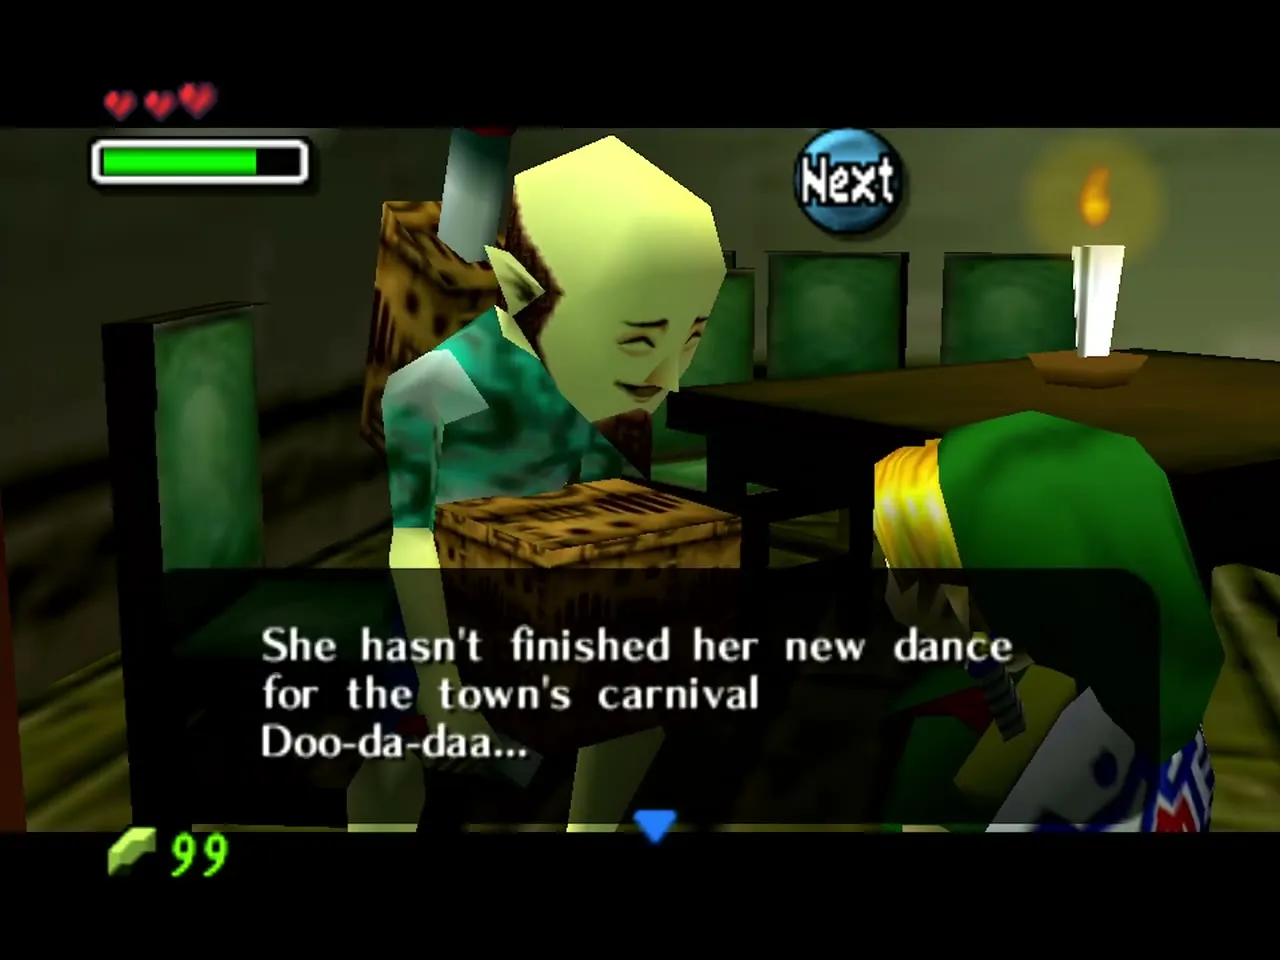
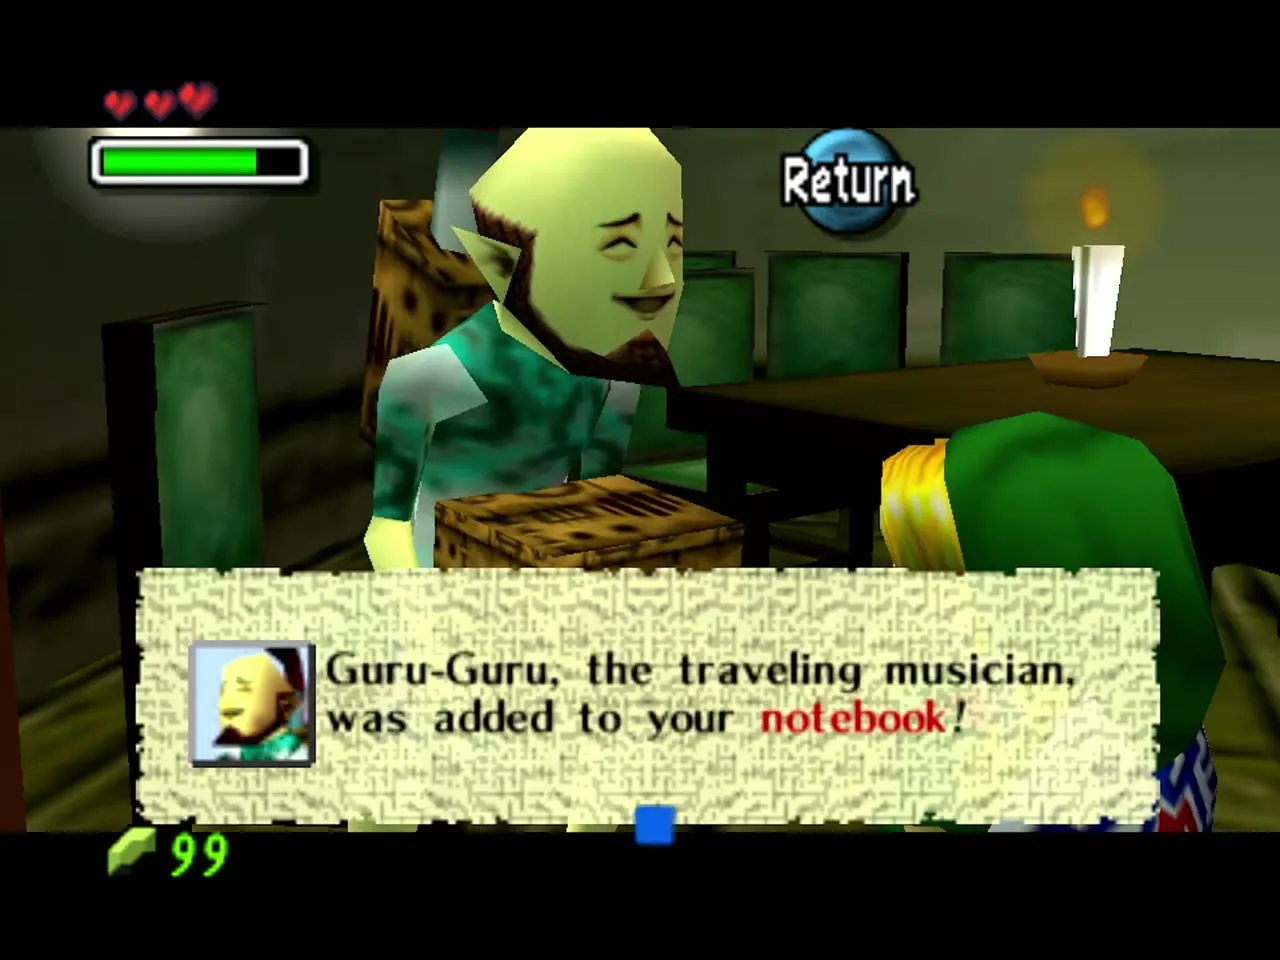
Guru-Guru
Guru-Guru is the eccentric musician from Ocarina of Time. He plays at the Laundry Pool in Clock Town at night, on Night 1 or Night 2. Talk to him as Hylian Link, hear him out, then play him the Song of Healing and he gives you the Bremen Mask, which lets you lead small animals. You need that mask to raise the chicks at Romani Ranch for the Bunny Hood. See the Clock Town, Termina Field and Romani Ranch walkthrough.
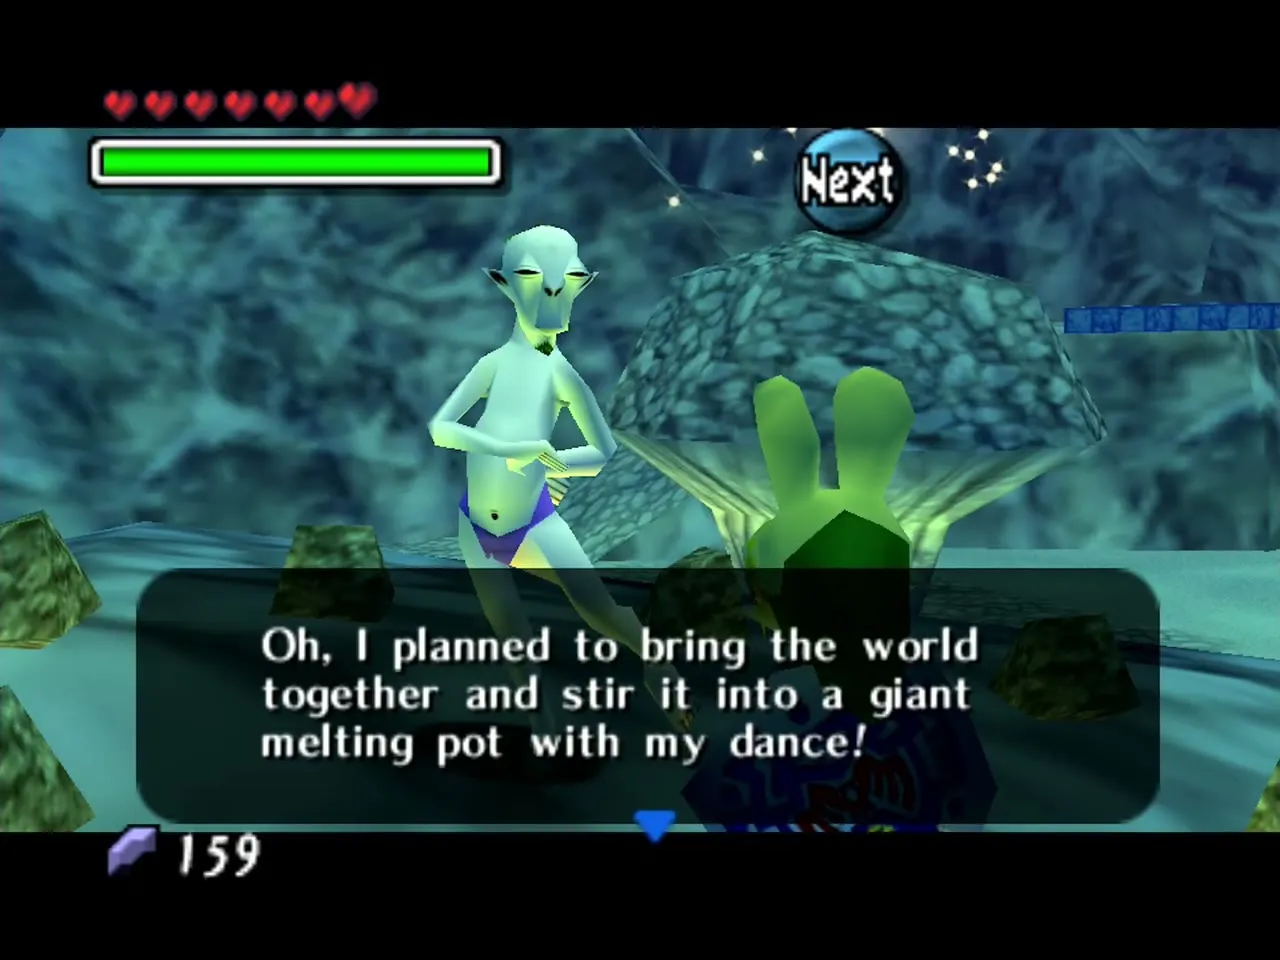
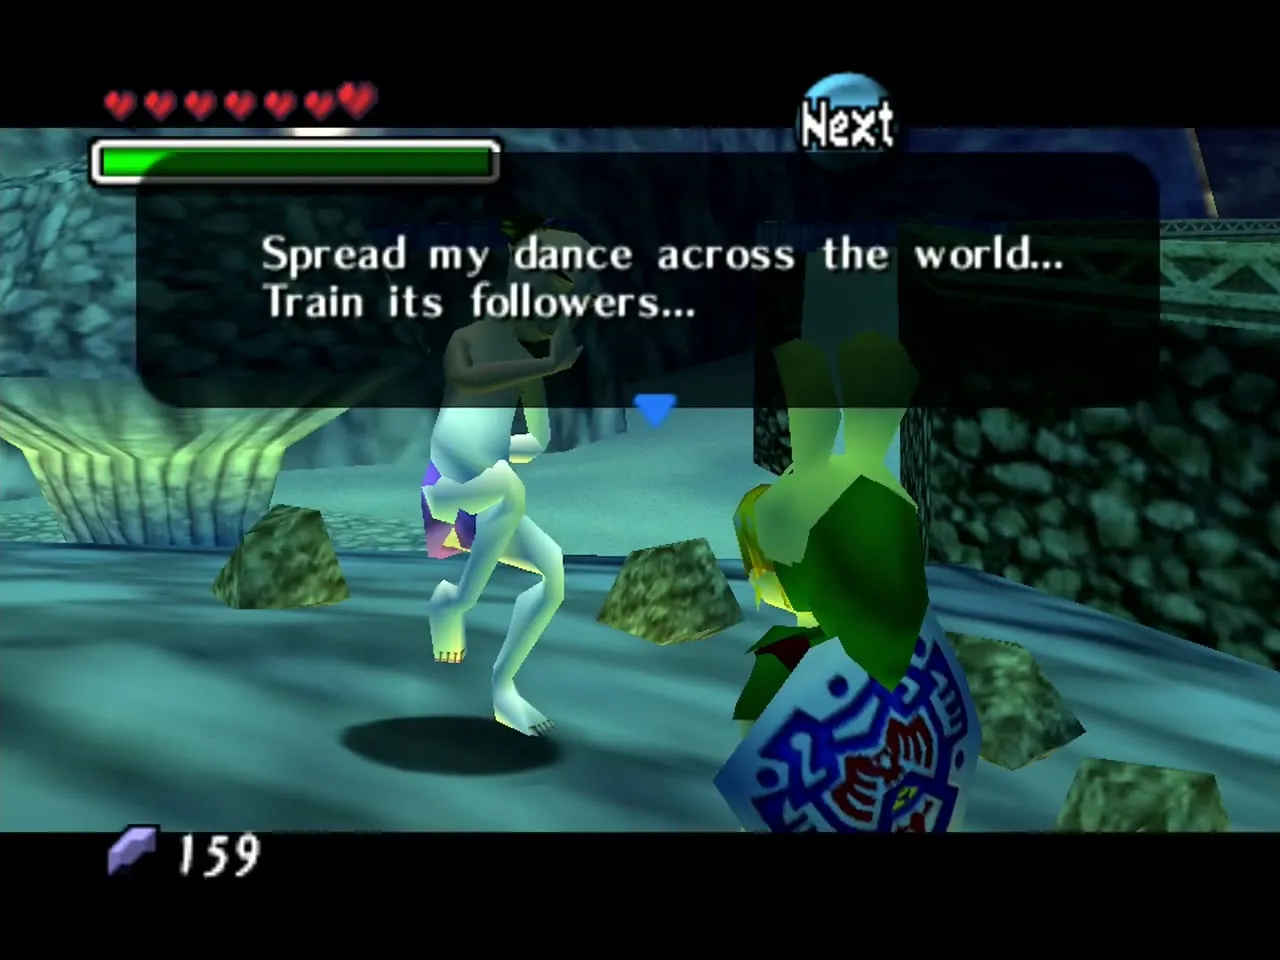
Kamaro
Kamaro is the spirit of a dancer who performs on a mushroom-shaped rock in Termina Field, northwest of the North Clock Town exit. He can only be found between midnight and 6 AM, on any night. Play the Song of Healing for him, and he teaches you his dance and gives you Kamaro’s Mask. You can use that dance to impress the Rosa Sisters and to earn a Piece of Heart. See the Clock Town, Termina Field and Romani Ranch walkthrough.
Bombers’ Secret Society of Justice
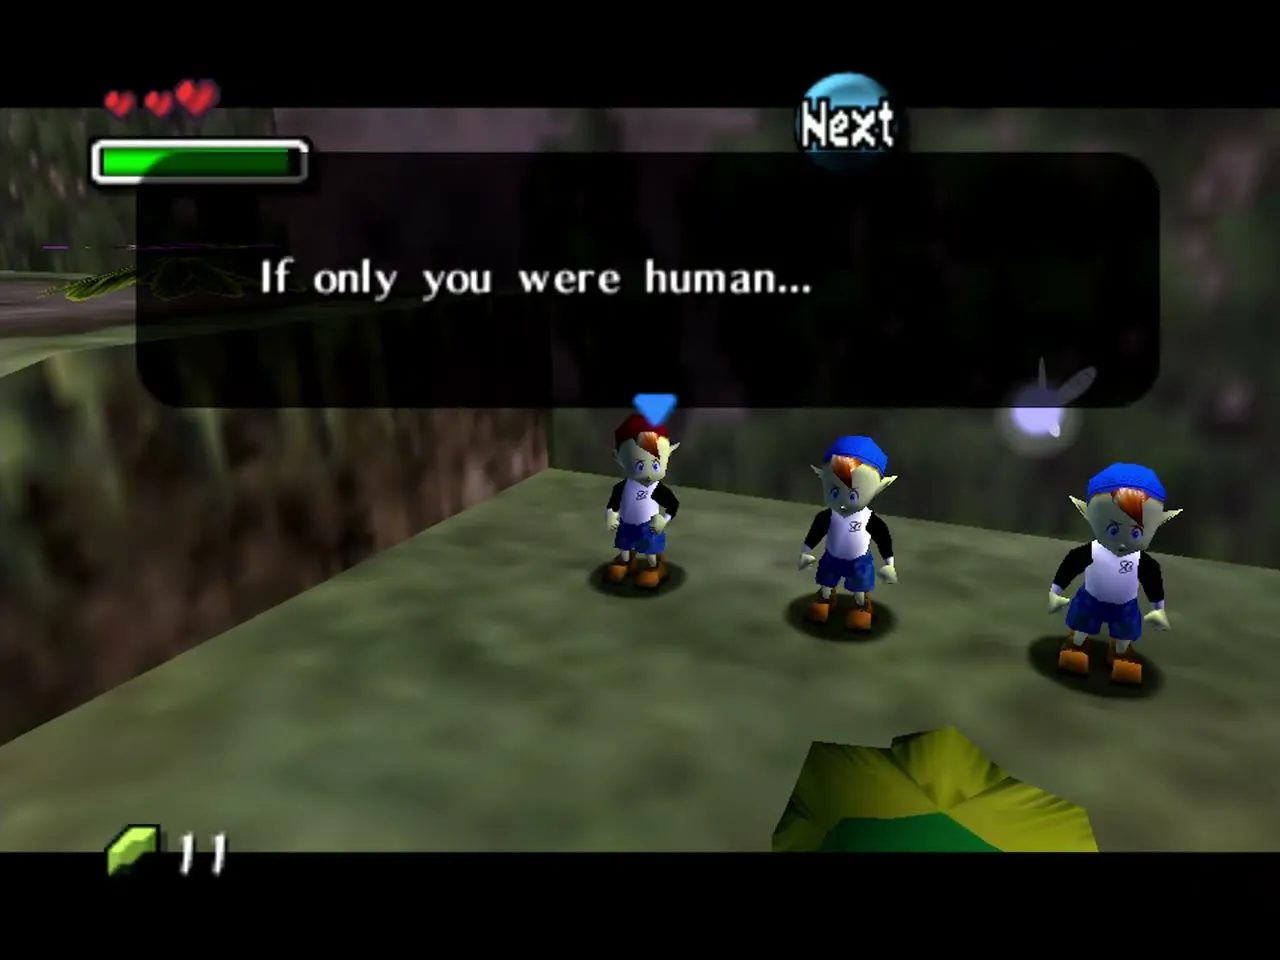
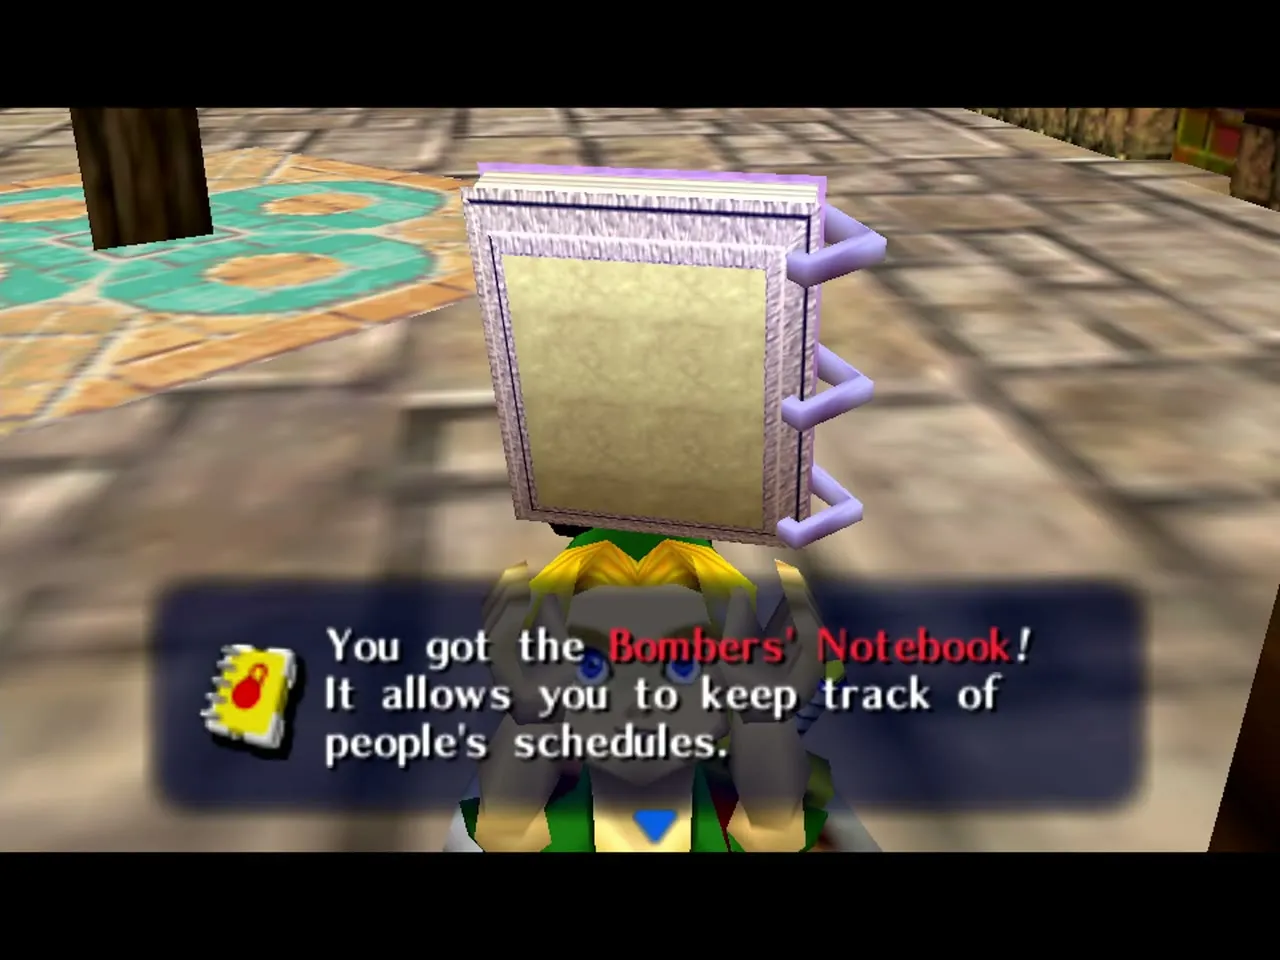
The Bombers are a group of five children led by Jim. They patrol Clock Town and play hide-and-seek. Catch all five of them before dawn and they give you the hideout code. Say it to the guard at the hideout in East Clock Town, cross the hideout as Hylian Link and Jim hands you the Bombers’ Notebook on the way out. The Notebook tracks people and their schedules. Full details are in the Bombers’ Notebook guide, and the Prologue walkthrough shows where the five hide.
Professor Shikashi
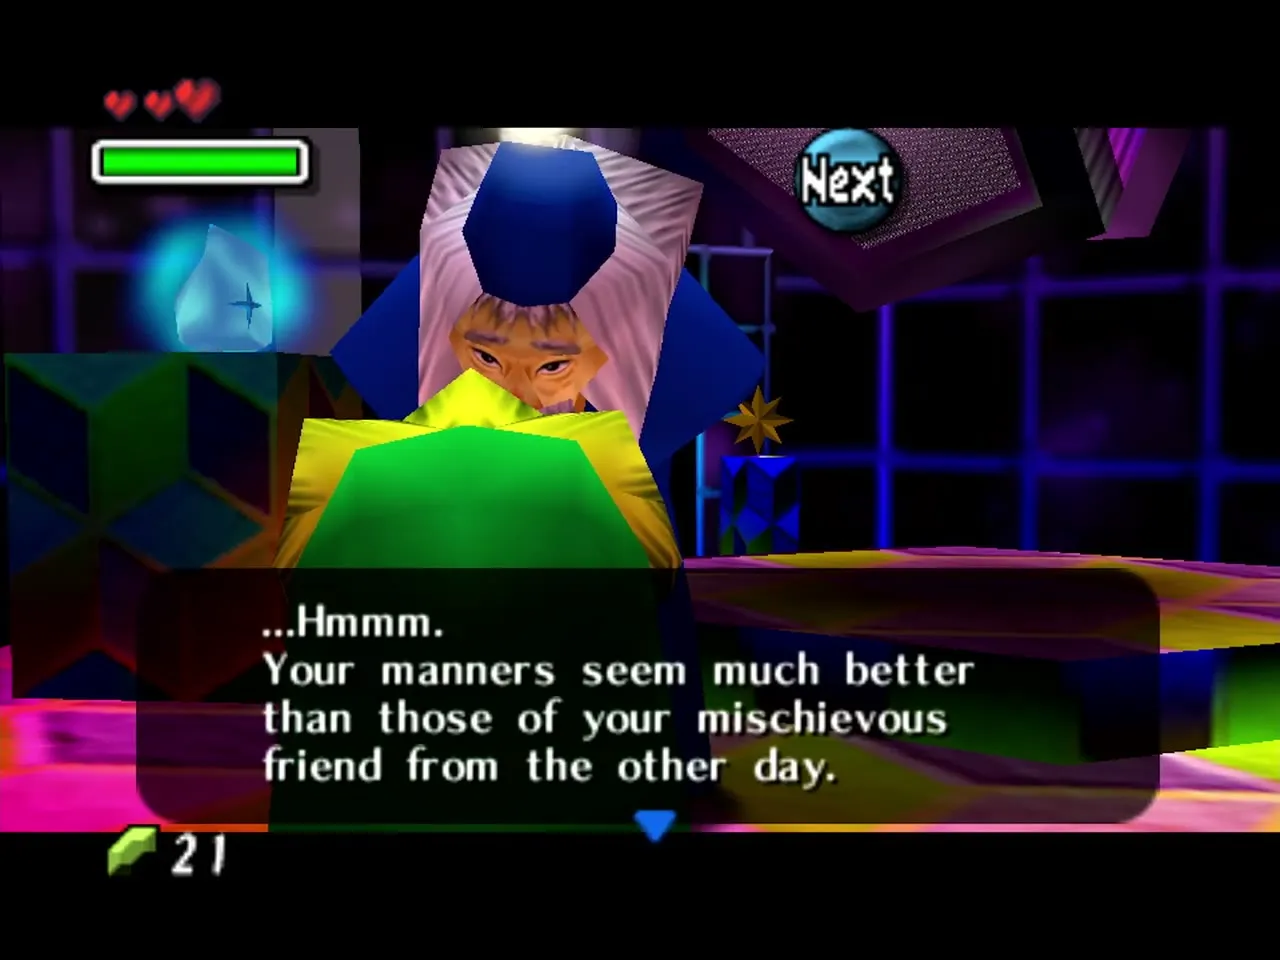
Professor Shikashi is the astronomer who runs the Astral Observatory in East Termina Field, which you reach from East Clock Town. His telescope shows the Moon and the field around Clock Town, and it is how you see where the Moon’s Tear lands early in the game. Pick up the Moon’s Tear from the crater outside and take it to the Business Scrub in Clock Town for the Land Title Deed. The telescope also shows a Business Scrub going into a hole outside the Observatory; a Magic Bean planted and watered with the Song of Storms gets you over the fence to his grotto and a Heart Piece. See the Prologue walkthrough and the Clock Town, Termina Field and Romani Ranch walkthrough.
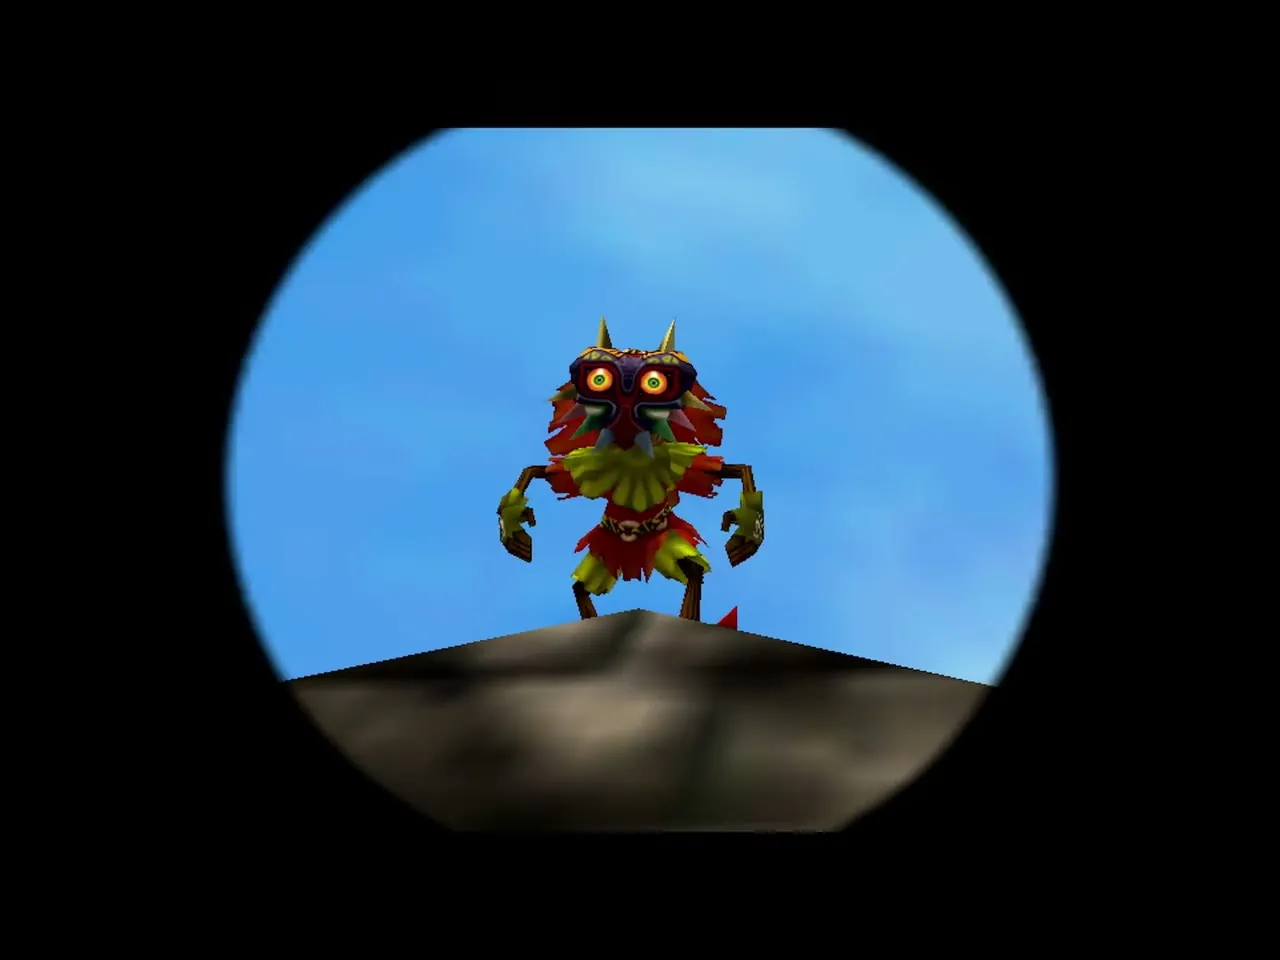
Honey & Darling
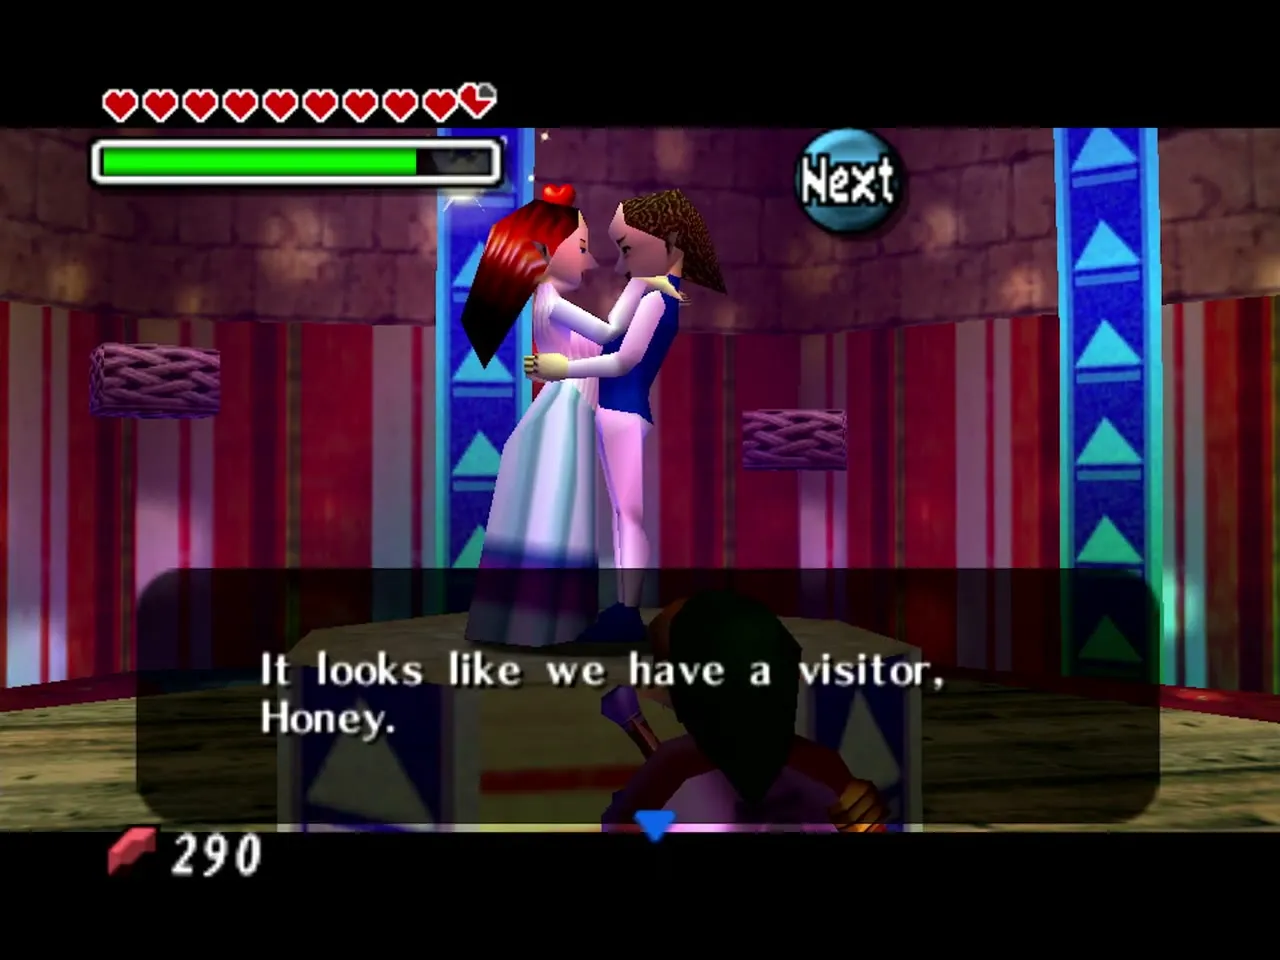
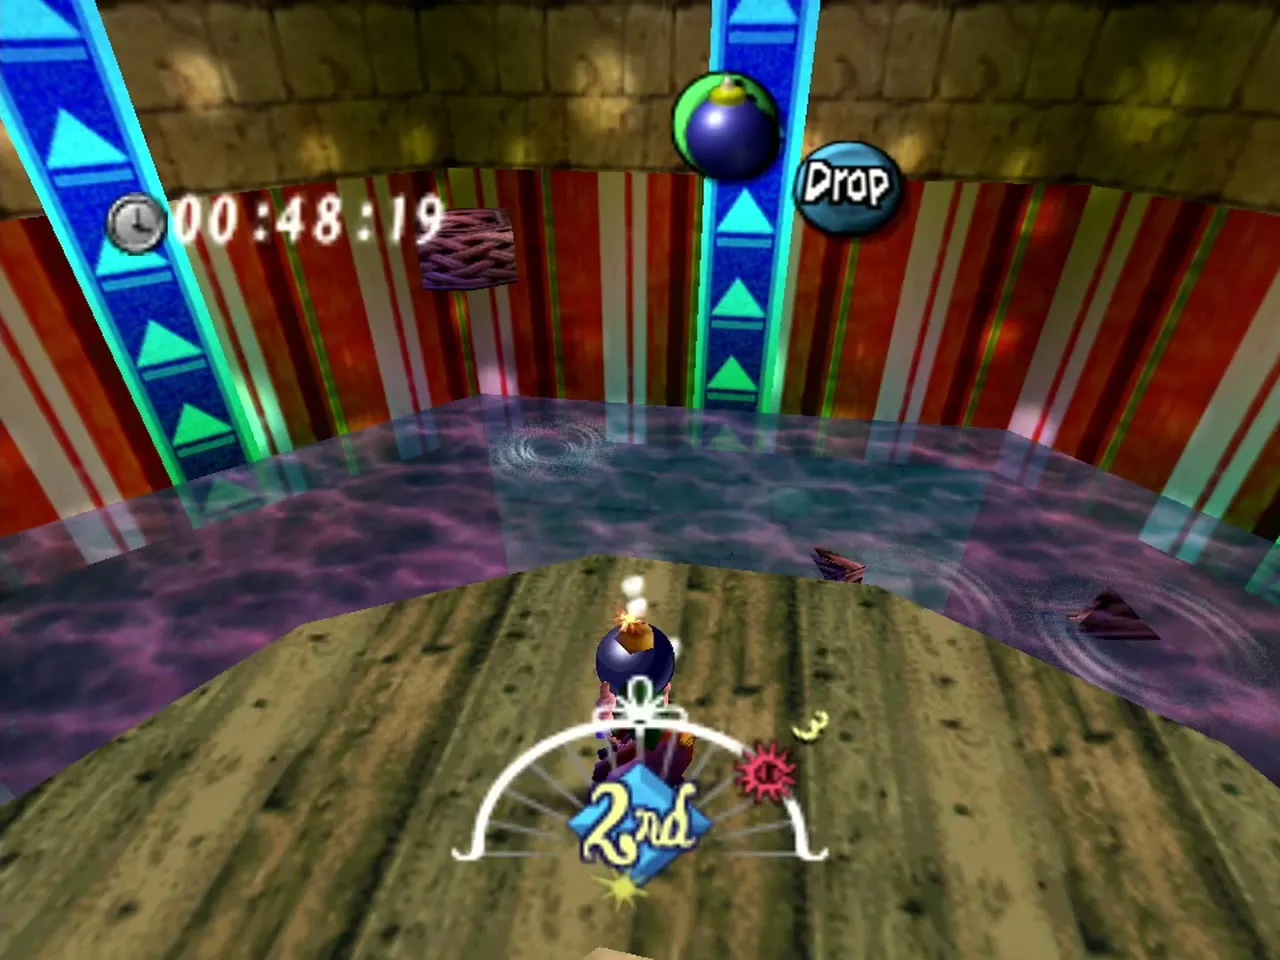
Honey and Darling are an affectionate couple who run the Honey & Darling’s Shop in East Clock Town. The shop is open from 6 AM and offers a different game each day of the cycle for 10 Rupees: Bombchu Gallery on Day 1, Basket Bomb on Day 2 and Target Shooting with the bow on Day 3. A win on Day 1 or 2 pays 50 Rupees. Win all three games in one cycle and they give you a Piece of Heart. The shop closes earlier on the Final Day, so do not leave the last game for the evening. See the Mini-Games page.
Treasure Chest Shop Gal
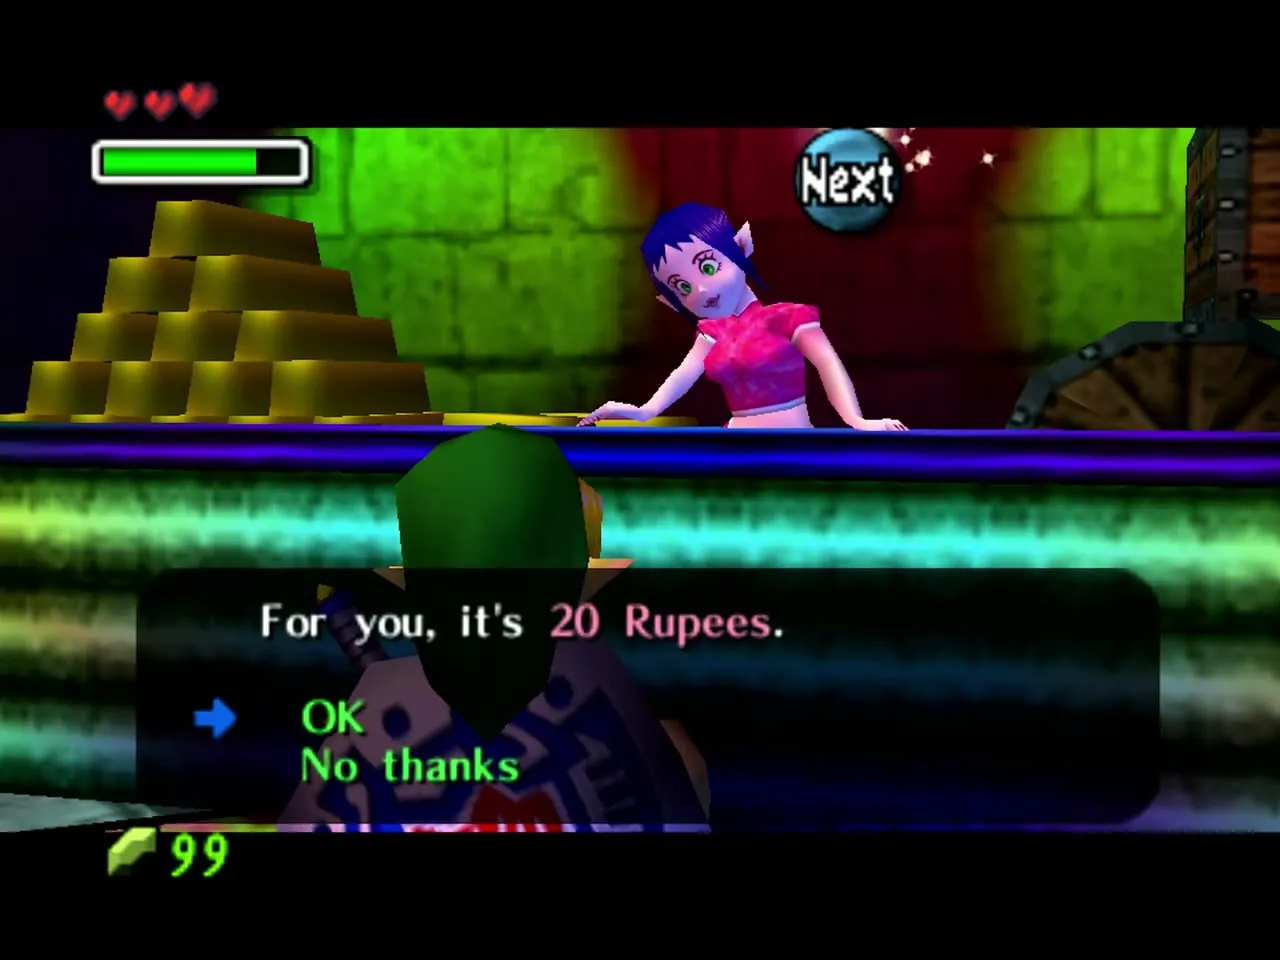
The Treasure Chest Shop Gal runs the Treasure Chest Shop in East Clock Town. You pay to try to open a chest by finding your way through a short maze before the timer runs out. The prize depends on the chest, and the layout and cost change with the form you use. The fee is 20 Rupees as Hylian Link, 10 as a Deku, 30 as a Goron and 5 as a Zora, and the Goron win gives a Piece of Heart. The shop opens at 6 AM and closes at 10 PM,. See the Mini-Games page.
Town Shooting Gallery Owner
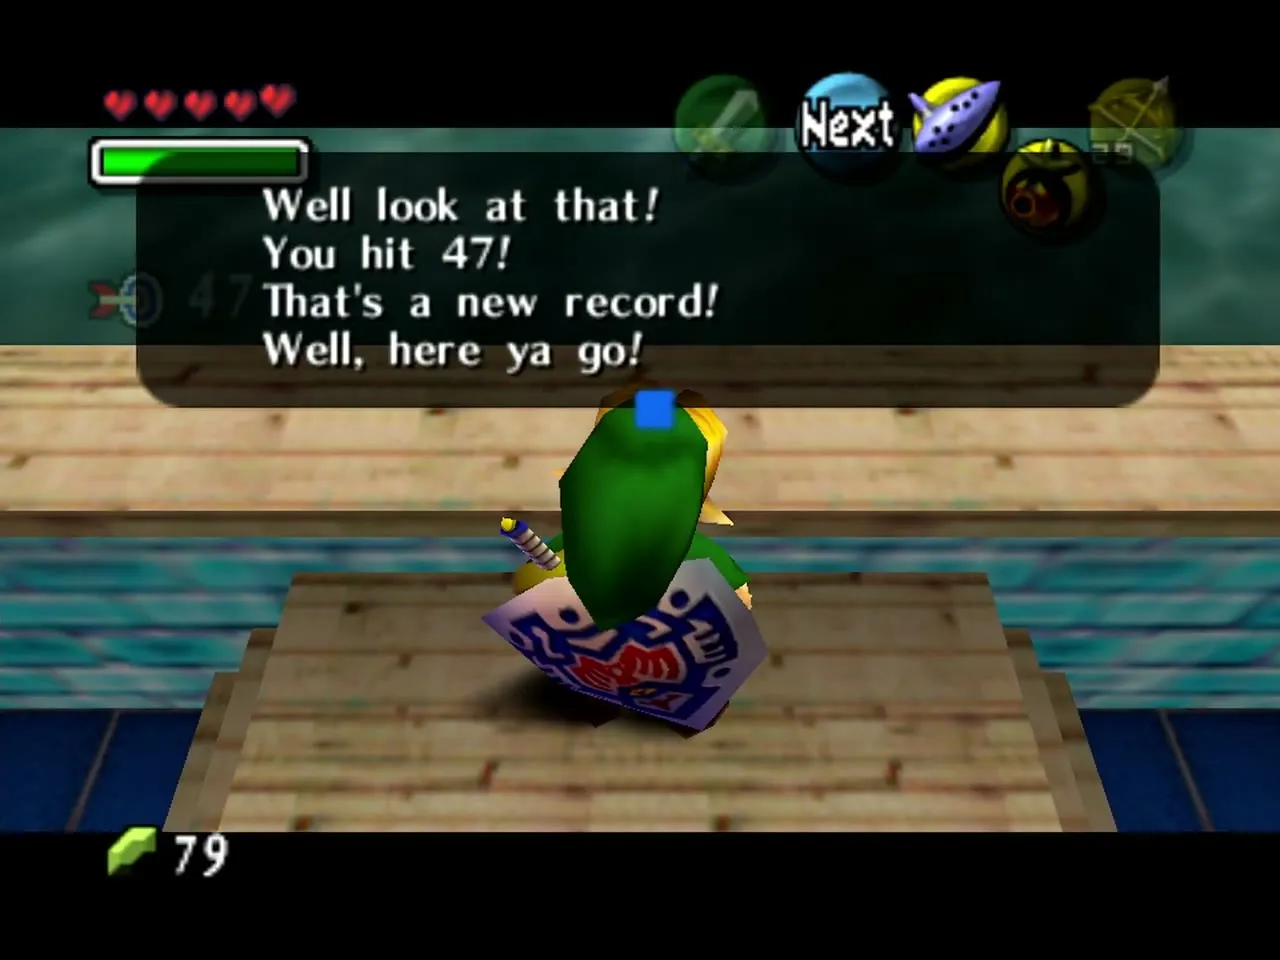
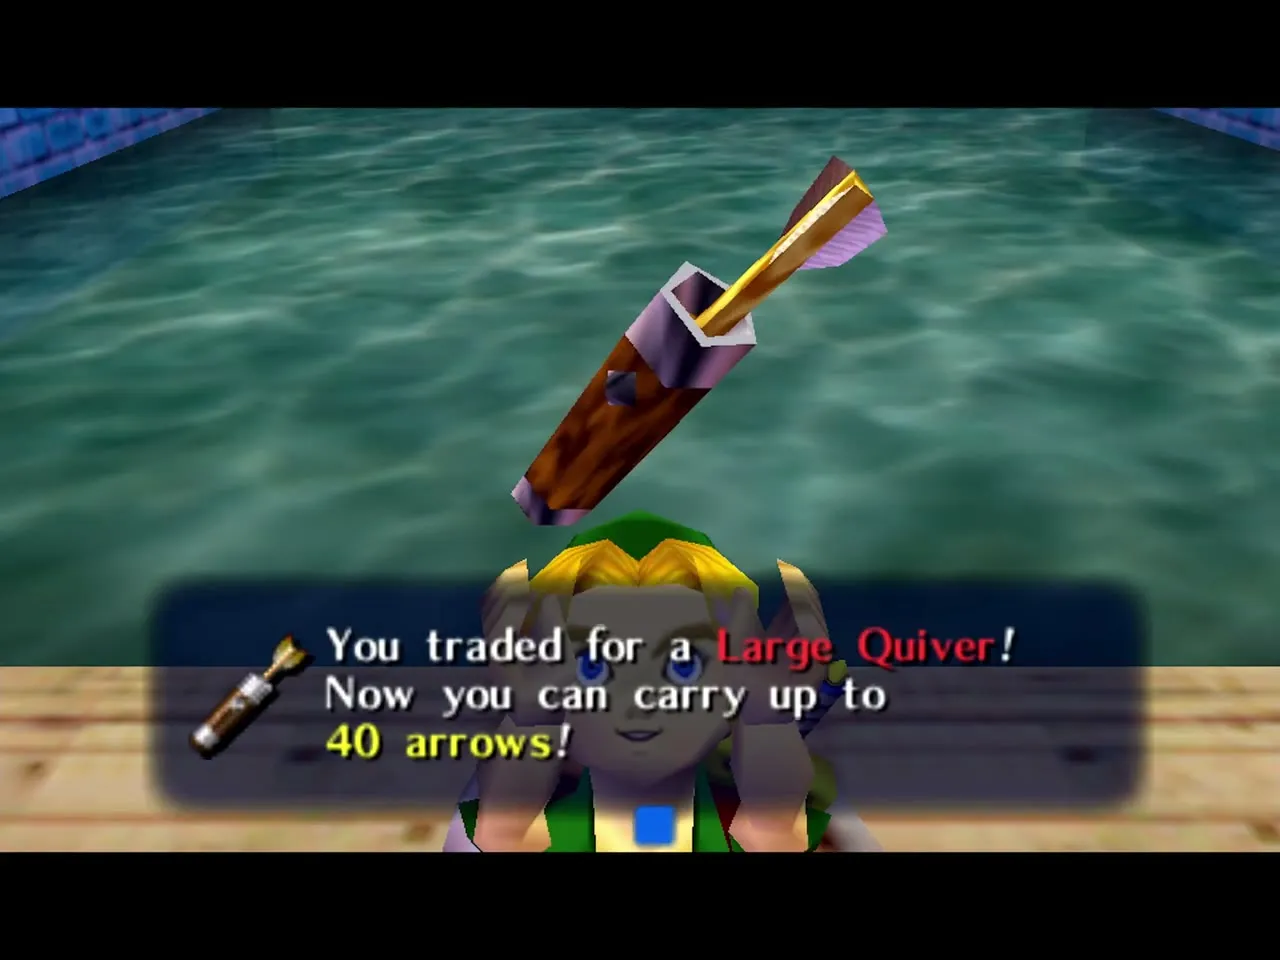
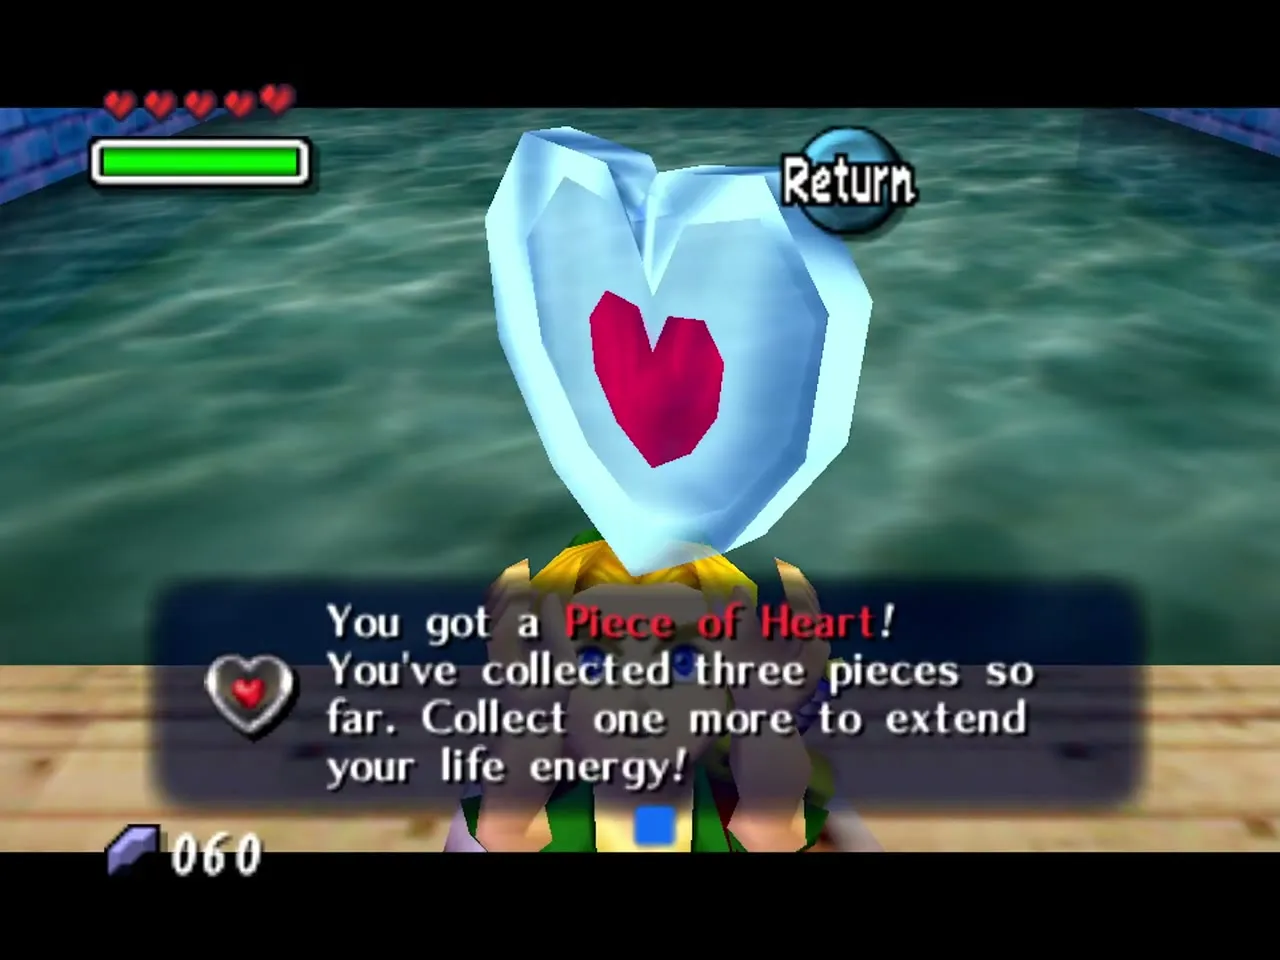
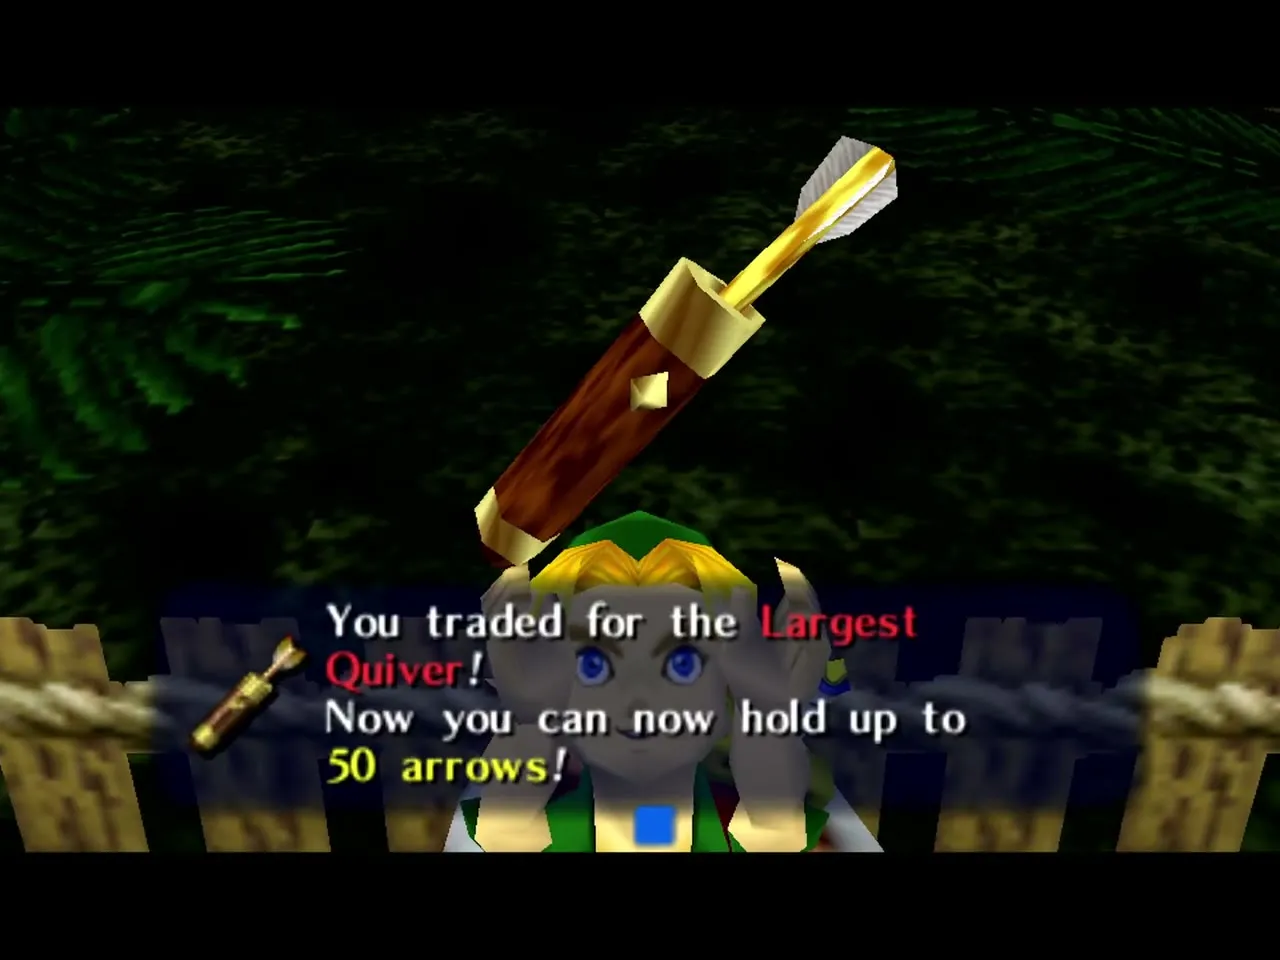
The Town Shooting Gallery Owner runs the archery game in East Clock Town. It costs 20 Rupees a round and is open from 6 AM to 10 PM. You shoot the red Octorok targets with the Hero’s Bow and avoid the blue decoys, which cost you time. A score above 39 earns the Large Quiver, and a perfect 50 earns a Piece of Heart on a later win. If the Swamp gallery has already given you the Large Quiver, the first win here gives the Largest Quiver instead. See the Mini-Games page.
Bomb Shop Owner
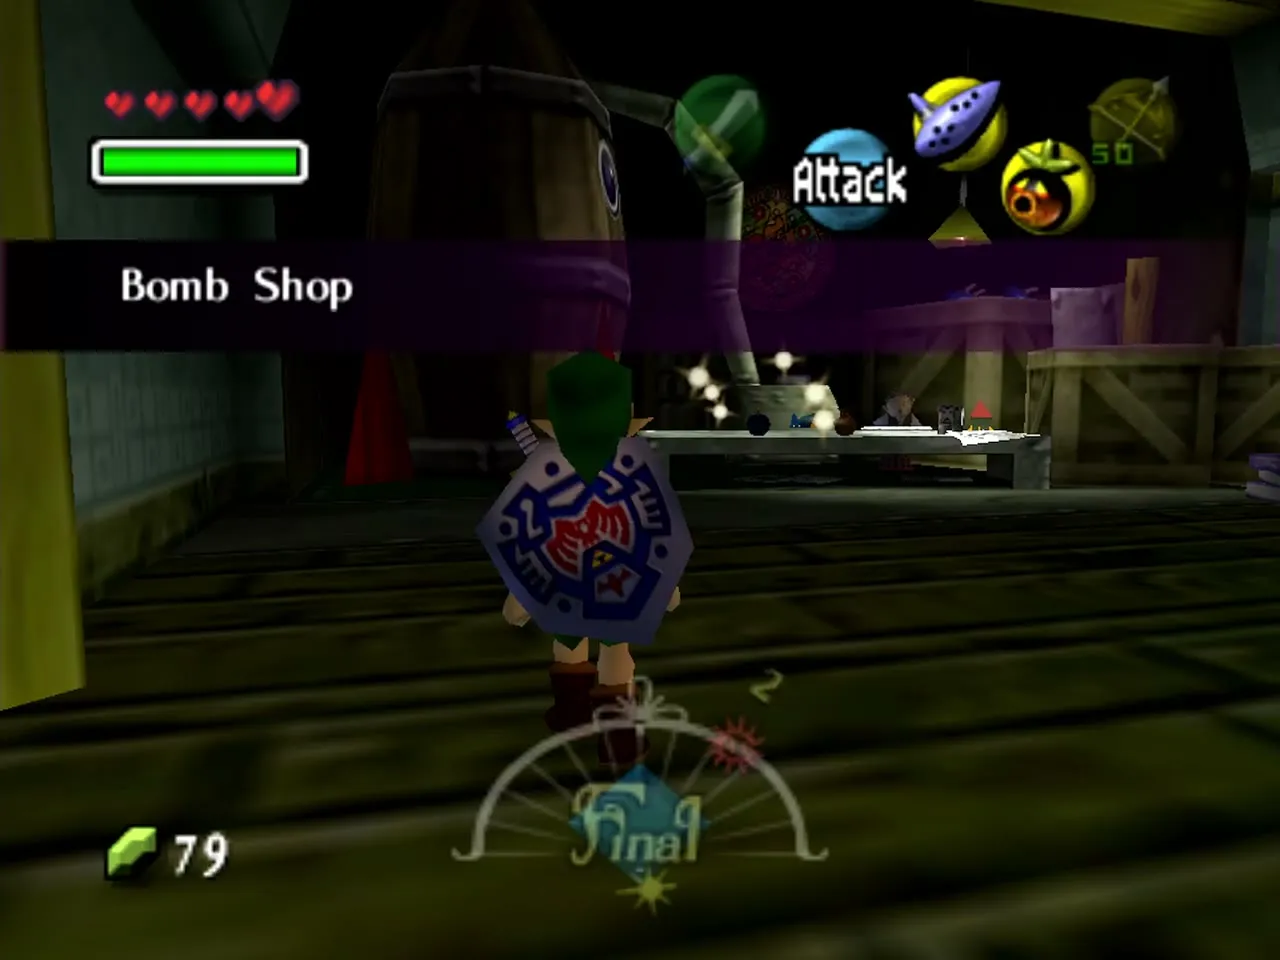
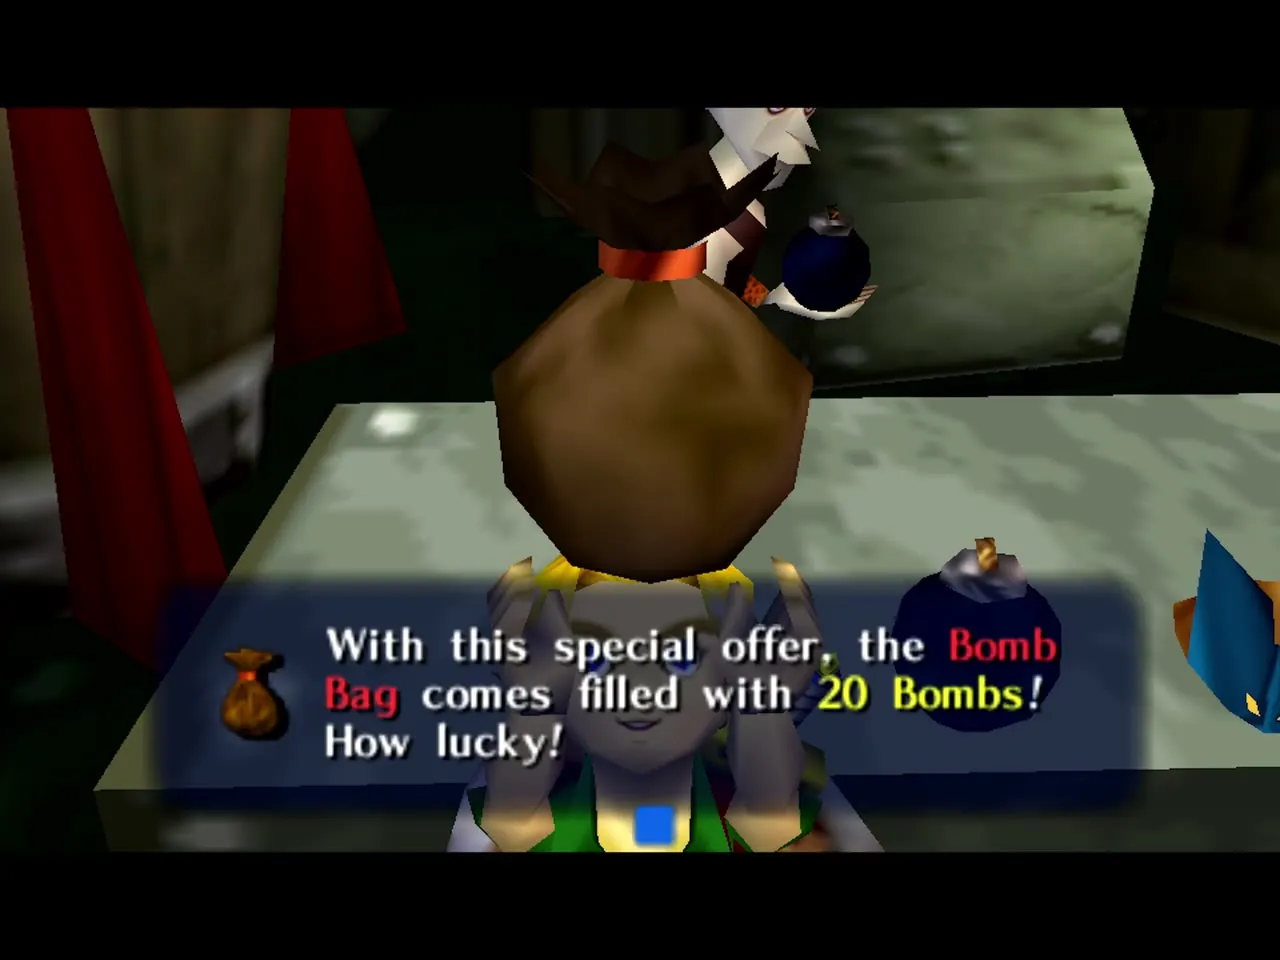
The Bomb Shop Owner sells Bombs, Bombchus and Bomb Bag upgrades in West Clock Town. His mother, the Old Lady from the Bomb Shop, is the one who gets robbed by Sakon, and her own entry below has the whole story. Once you have saved her, the Big Bomb Bag (30 bombs) goes on sale at the shop for 90 Rupees. The Biggest Bomb Bag comes later from the Business Scrub in Goron Village. See the Clock Town, Termina Field and Romani Ranch walkthrough.
Old Lady from the Bomb Shop
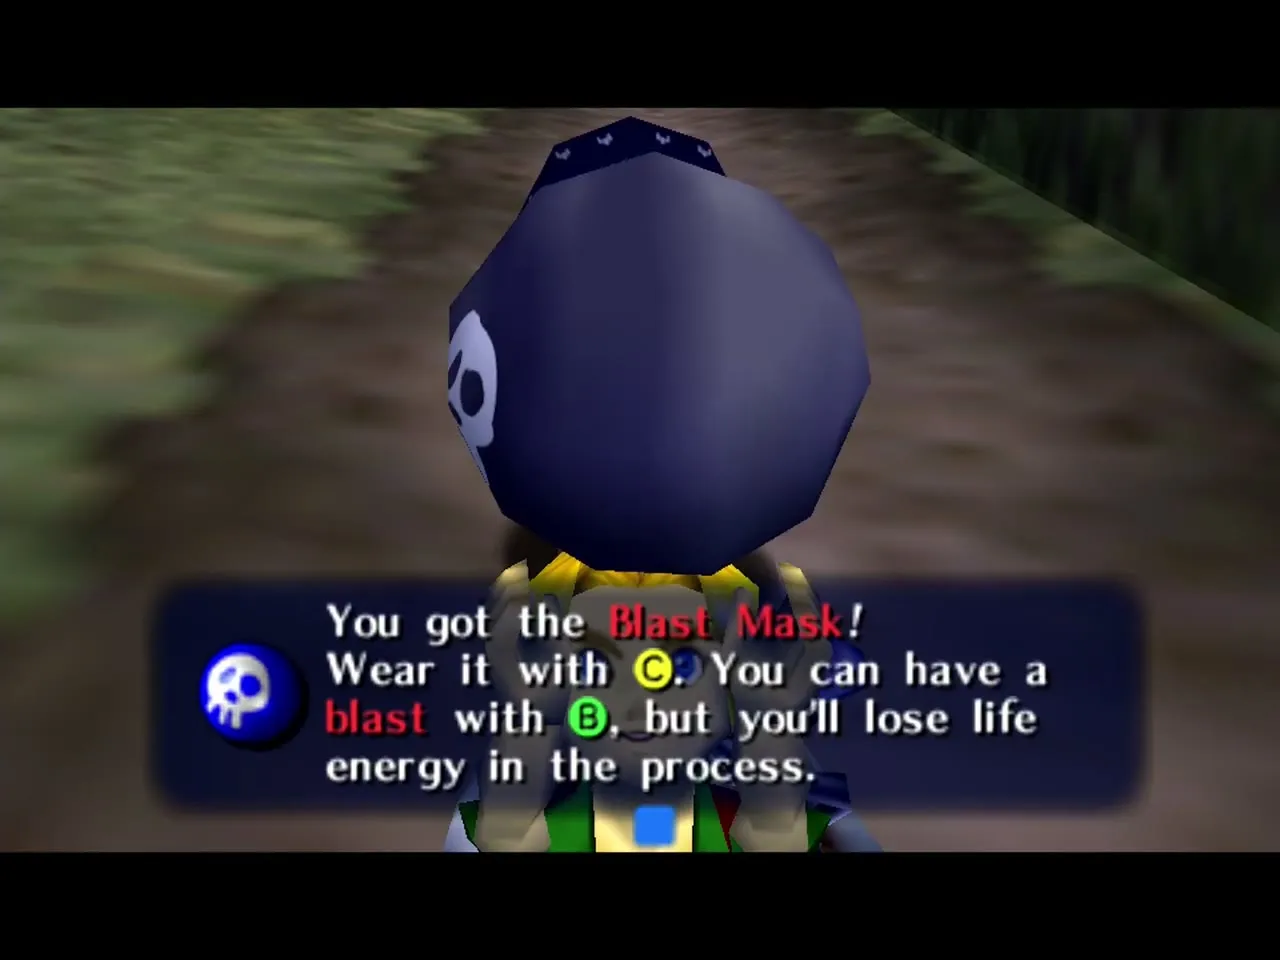
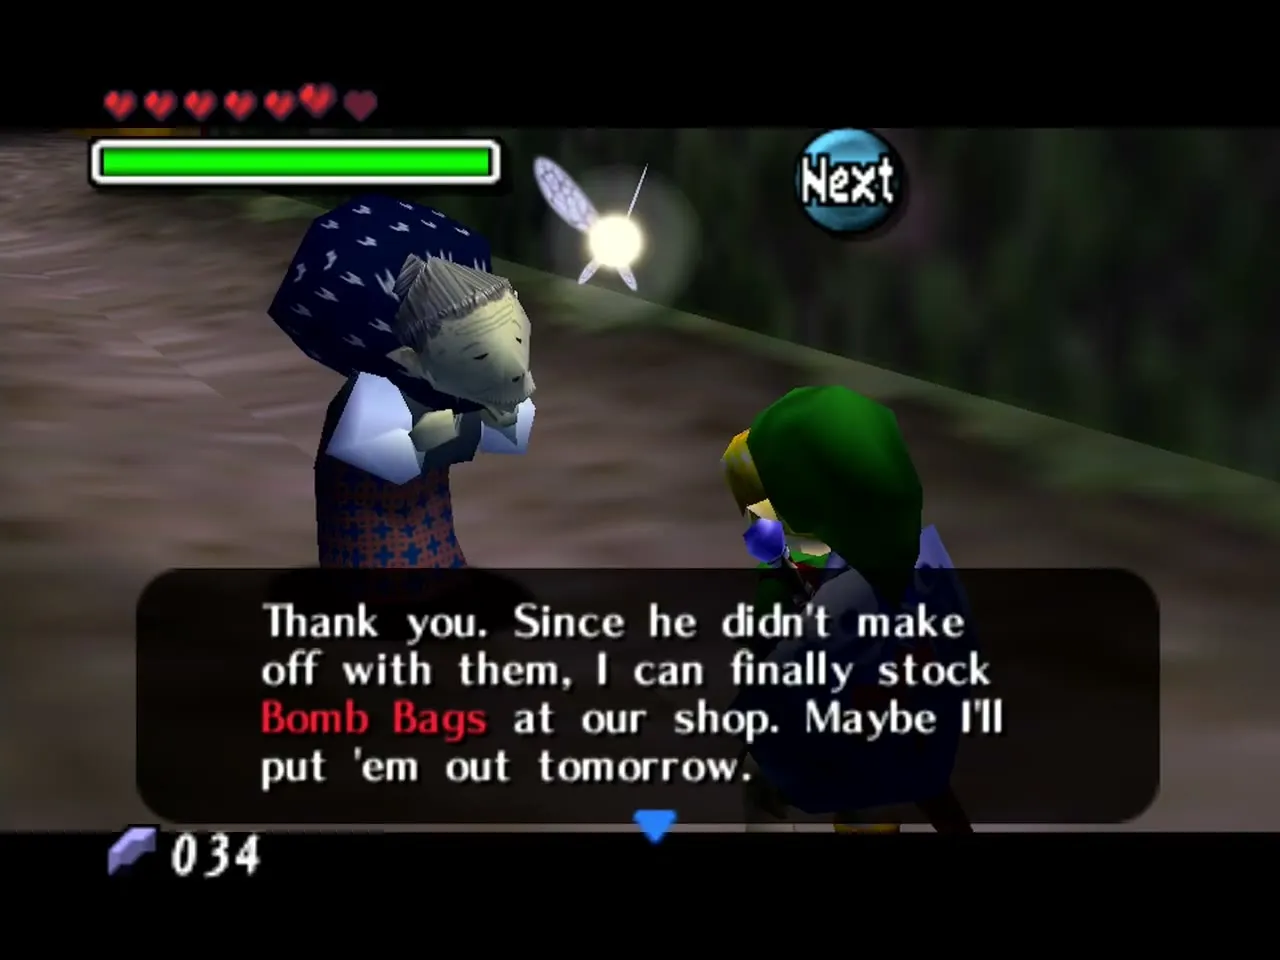
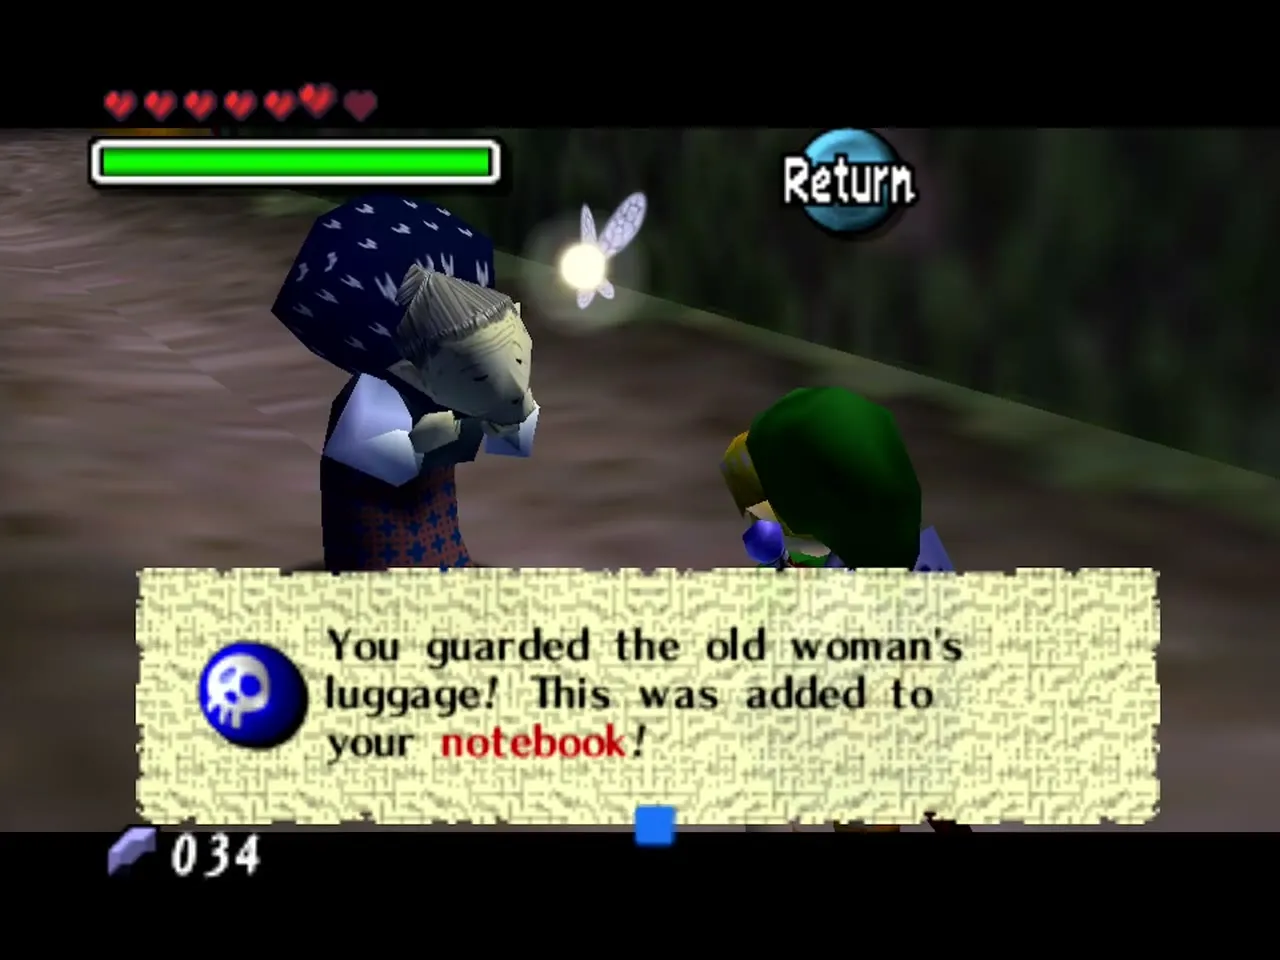
The Old Lady from the Bomb Shop is the Bomb Shop Owner’s mother, and she is the victim in one of the first night’s quests. Be in North Clock Town before midnight on the First Night. Around midnight she walks in from the north with a sack and the thief Sakon snatches it. Chase him and hit him with your sword the moment you have control, so that he drops the bag. She thanks you with the Blast Mask, which makes Link explode on demand and hurts him unless he holds up his shield first. Saving her also puts the Big Bomb Bag (30 bombs) on sale at the Bomb Shop for 90 Rupees, and it is one of the requirements for the All-Night Mask. If you miss the chase, the same robbery happens on the next cycle. See the Clock Town, Termina Field and Romani Ranch walkthrough and the Bombers’ Notebook guide.
Trading Post Owner
The Trading Post Owner runs the general store in West Clock Town during the day. It sells Arrows, Deku Nuts and the Hero’s Shield, which costs 80 Rupees here. The man at the Trading Post looks and sounds like the man at the Curiosity Shop, and many players assume it is the same person, though the game never says so. The Scarecrow in town hints that a song played backward slows time and a song with each note played twice moves a half day forward. See the Prologue walkthrough.
Curiosity Shop Owner
The Curiosity Shop Owner looks just like the Trading Post Owner, although the game never confirms they are the same man. His shop is in West Clock Town and its back room opens onto the Laundry Pool. He buys and sells rare or stolen goods. Kafei hides in his back room, so he is part of the Anju and Kafei quest. From 1:00 PM on the Final Day he gives out the Keaton Mask, free, together with the Special Delivery to Mama. From 10 PM that day he also sells the All-Night Mask for 500 Rupees. See the Anju and Kafei guide and the Mask Collection Guide.
Banker
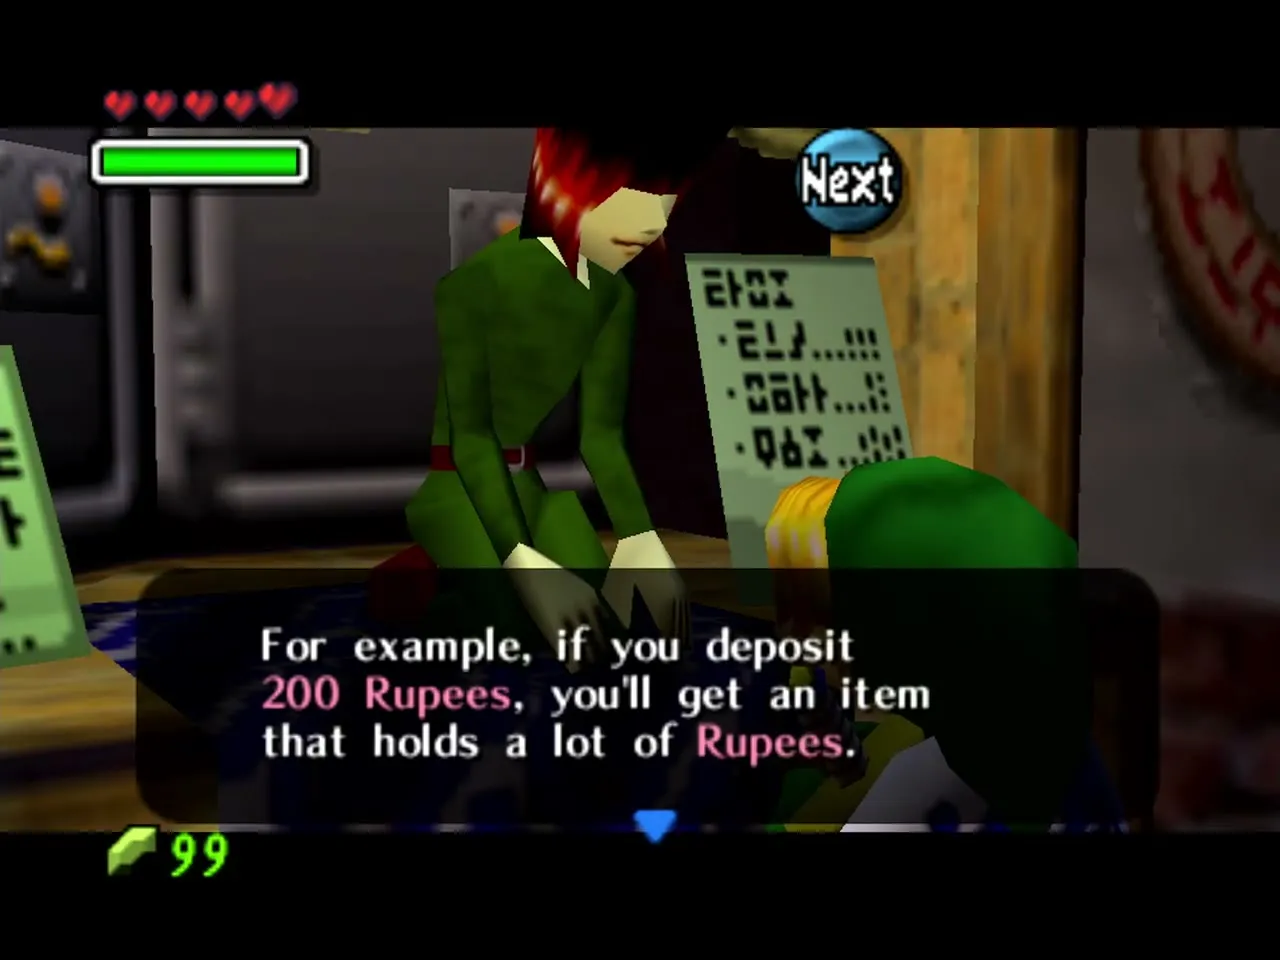
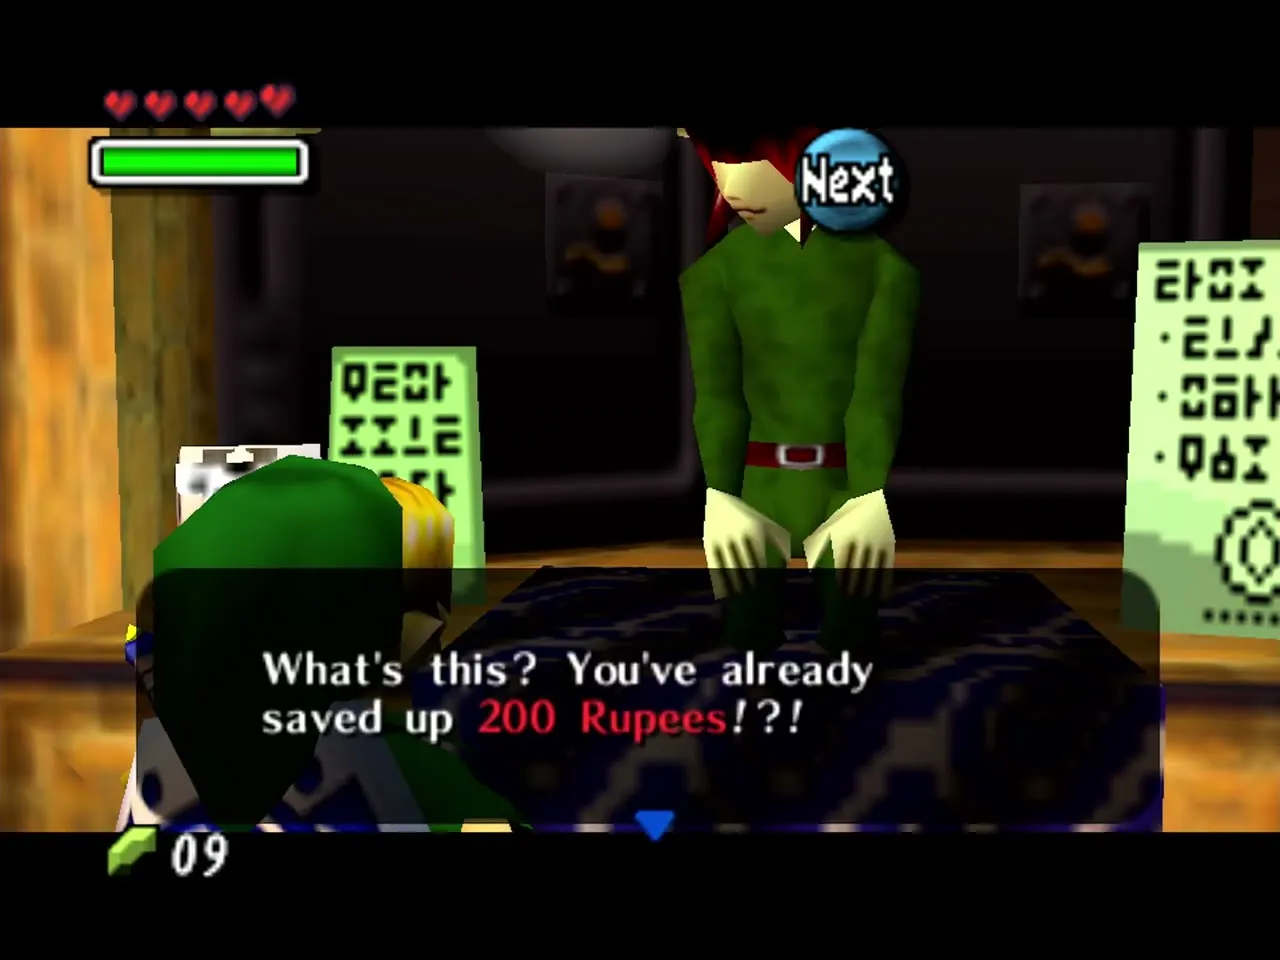
The Banker runs the Clock Town Bank in West Clock Town on the N64 version. He keeps Rupees safe for you. Deposits are remembered after a Song of Time reset, so you do not lose money when you rewind the three days. Deposit 200 Rupees in total to get the Adult Wallet (up to 200), and reach a total of 5,000 Rupees for a Piece of Heart. Because your starting wallet only holds 99, make small deposits whenever you are close to full. In the 3DS version the bank is in South Clock Town instead. See the Clock Town, Termina Field and Romani Ranch walkthrough.
Southern Swamp / Woodfall NPCs
These characters live in the Southern Swamp and the Deku Palace, and they are tied up in the poisoning of the swamp water.
Deku King
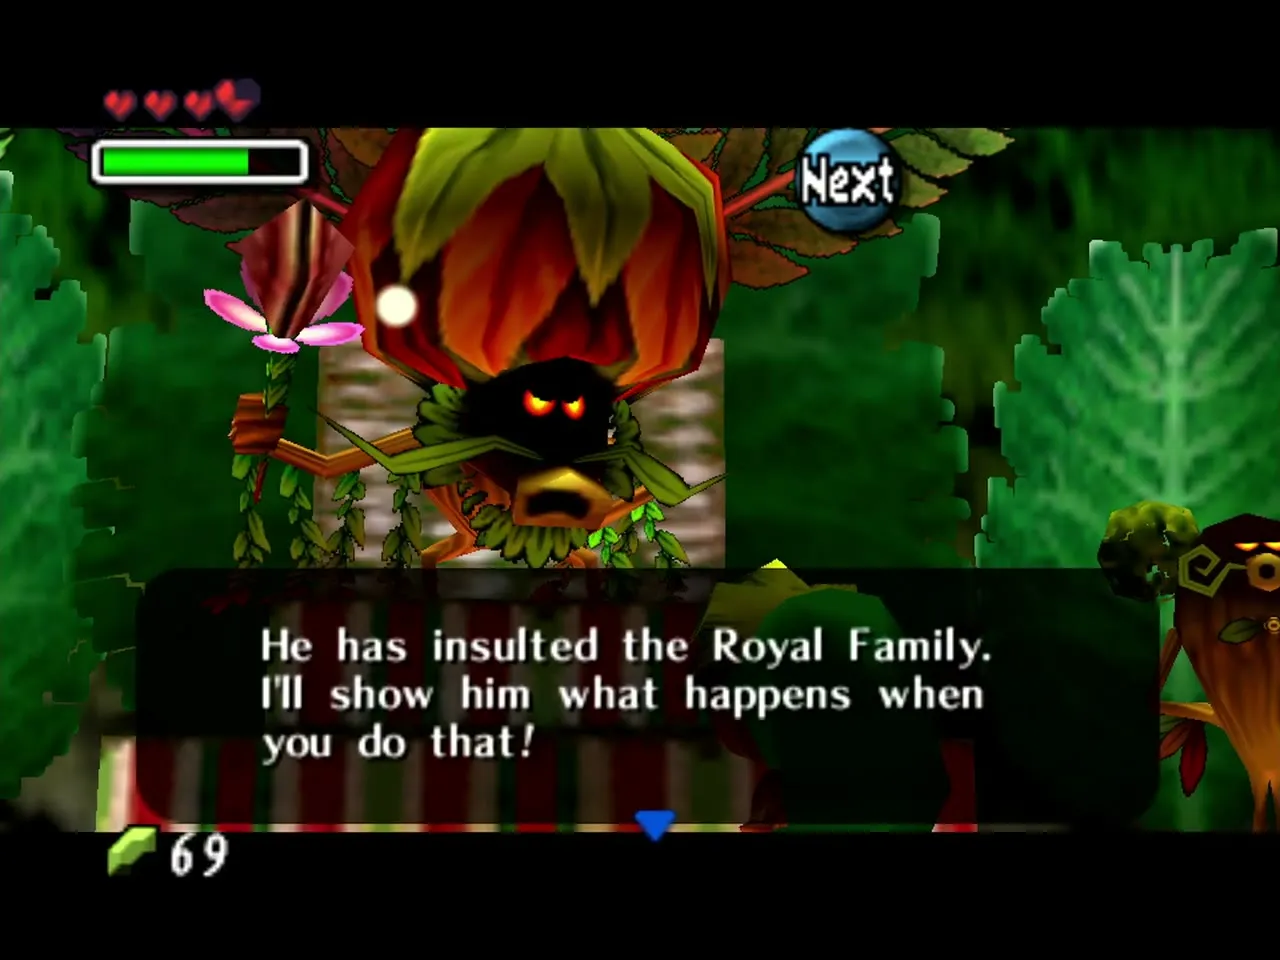
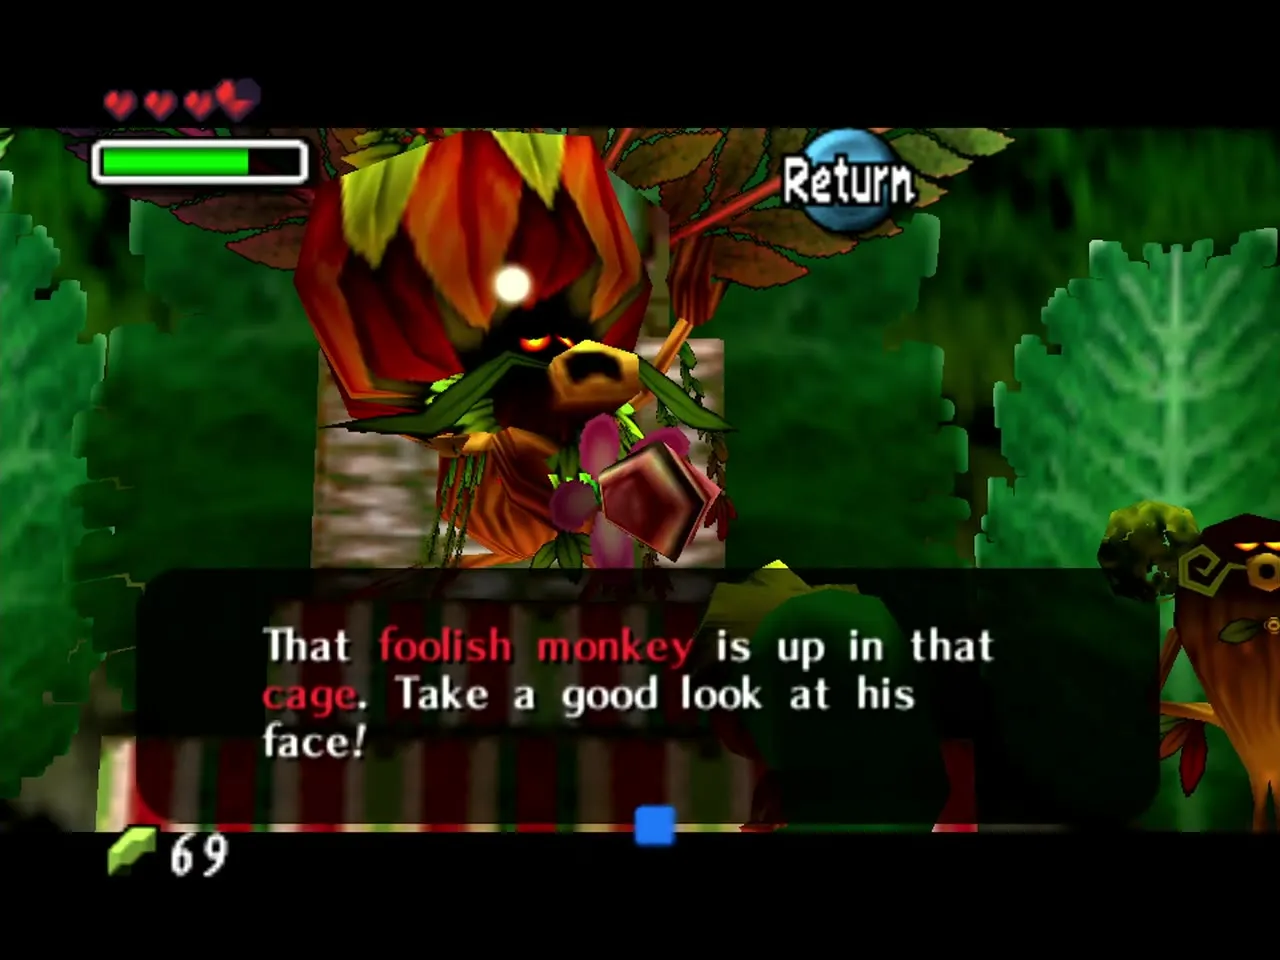
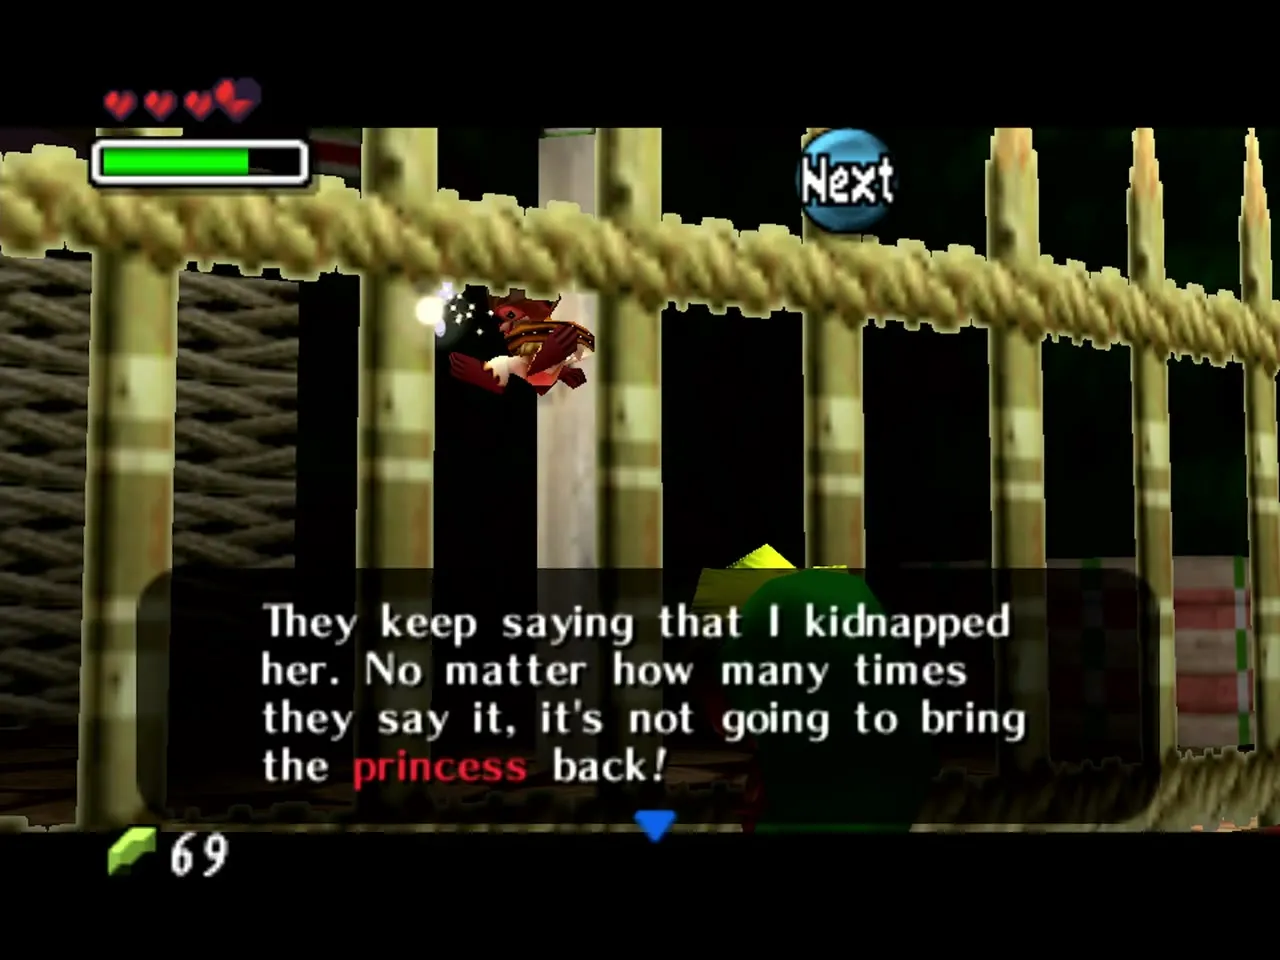
The Deku King rules the Deku Scrubs from the Deku Palace in the Southern Swamp. You reach him in the Deku Palace as Deku Link. He is furious that his daughter has been kidnapped, and he wrongly blames a monkey and locks it up. A pictograph of him can be entered in the Tourist Center’s photo contest, but only before Woodfall Temple is cleared. He will not listen to reason until you rescue the Deku Princess from Woodfall Temple. See the Southern Swamp and Deku Palace walkthrough.
Deku Princess
The Deku Princess is the daughter of the Deku King. She is held prisoner in Woodfall Temple. She is brave and sensible, unlike her father. After you beat Odolwa, put her in an empty bottle (“You put the Deku princess in a bottle!”) and carry her to the Deku Palace. Open the bottle in front of the Deku King and the monkey that was wrongly jailed is released. The Deku Butler’s race and the Mask of Scents follow from this. See the Woodfall Temple walkthrough and the Bottle Locations page.
Deku Butler
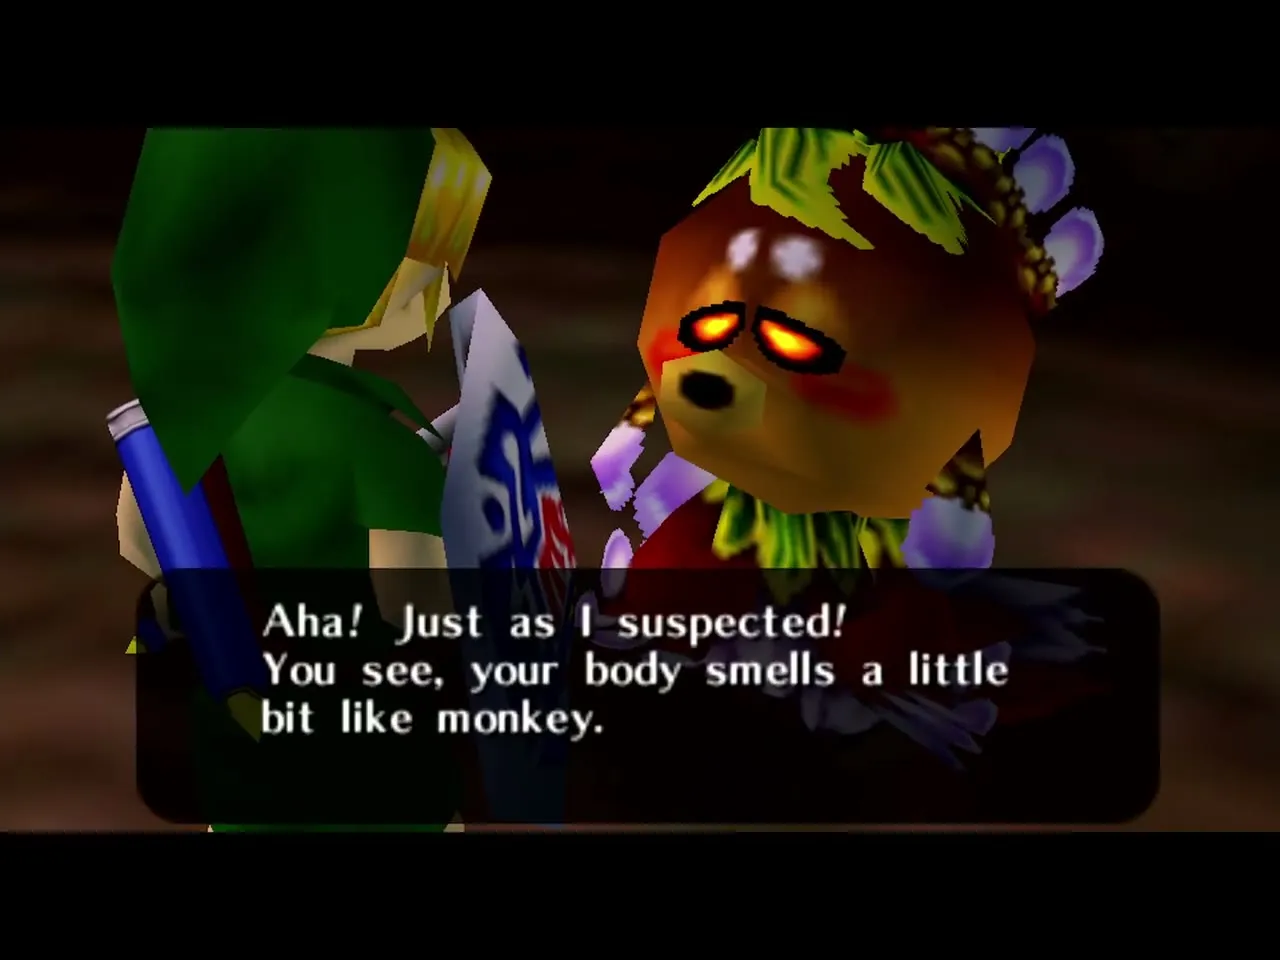
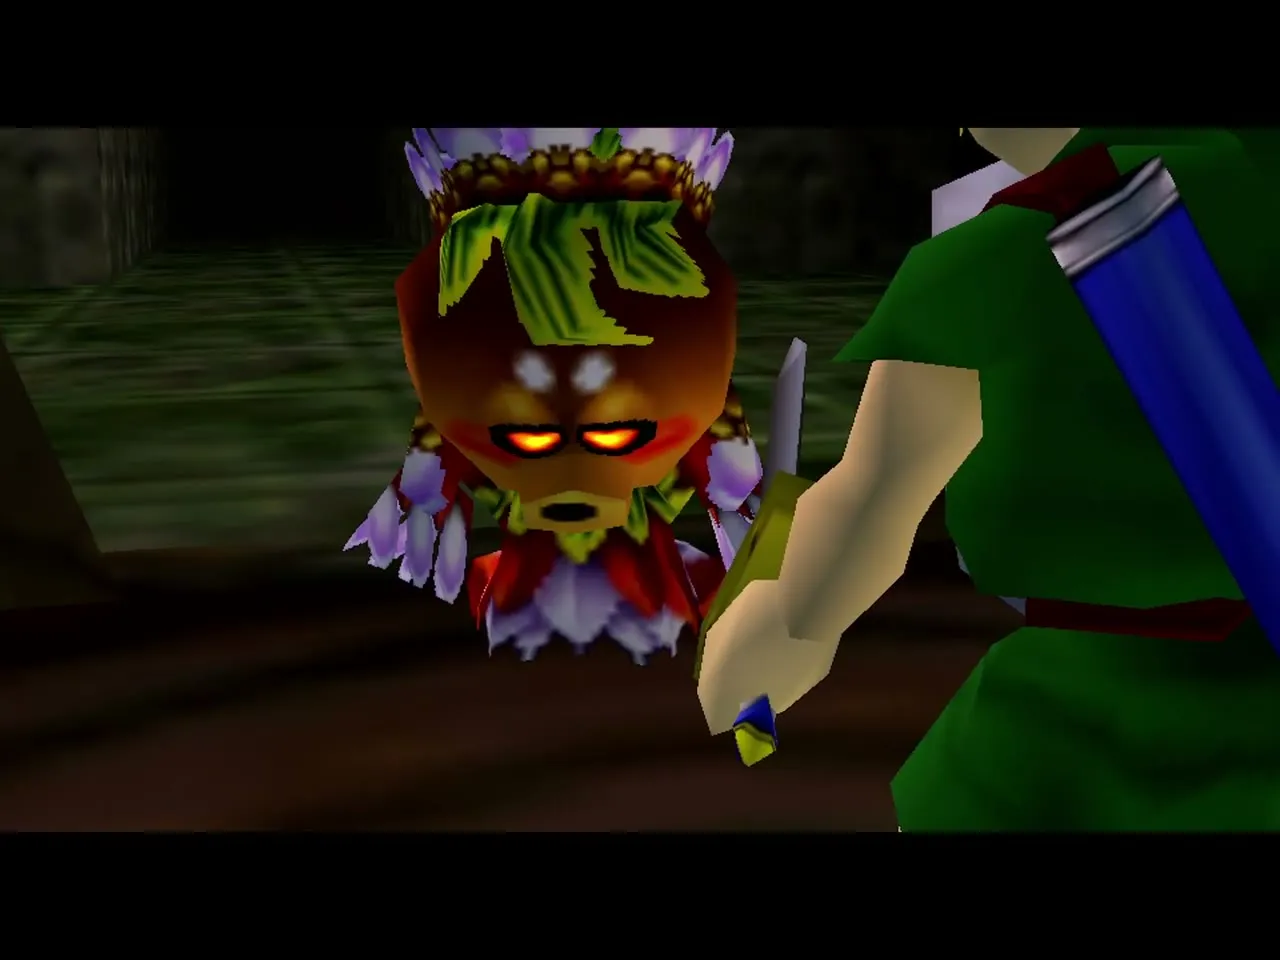
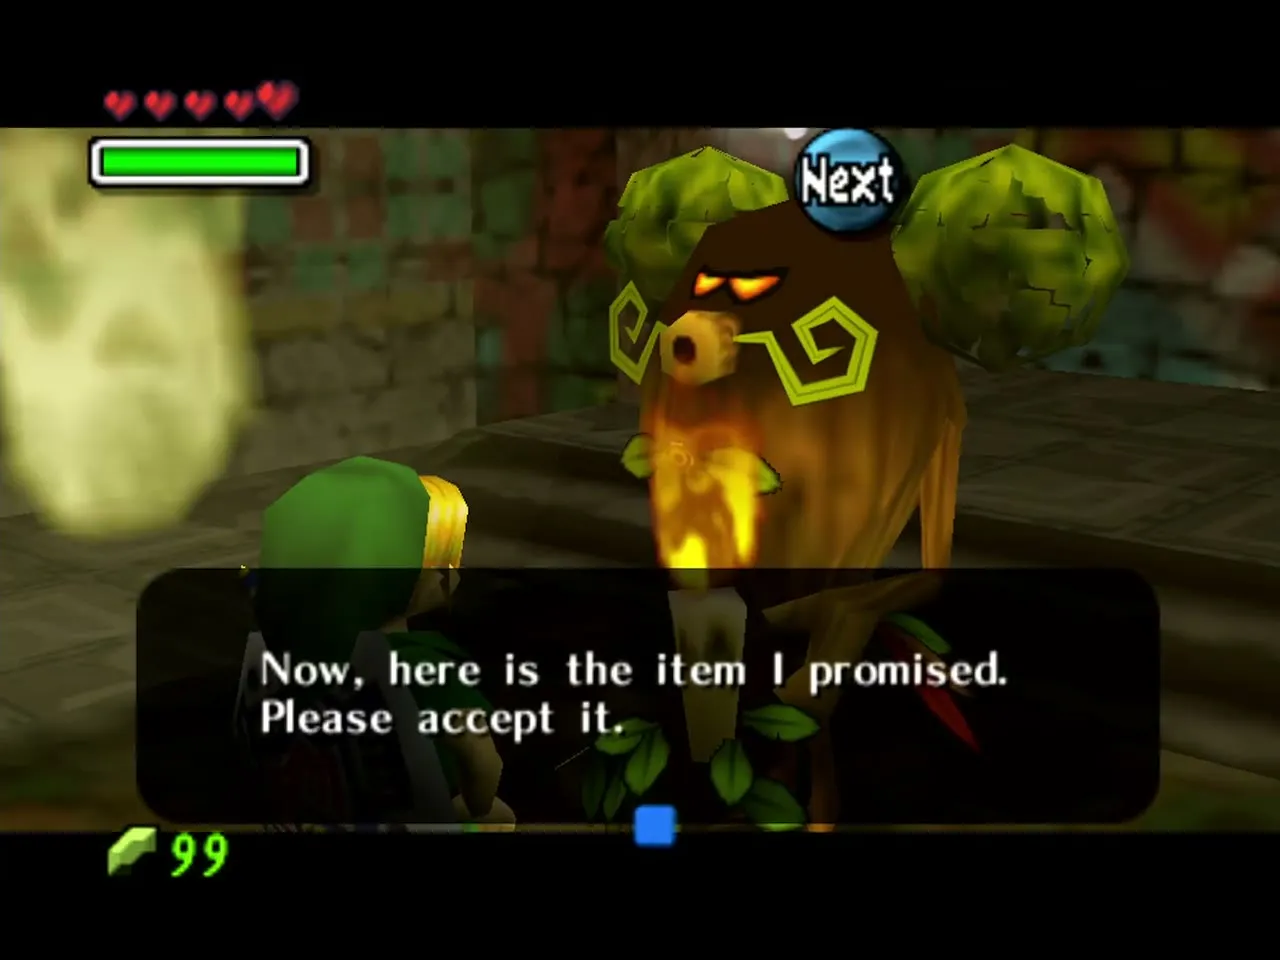
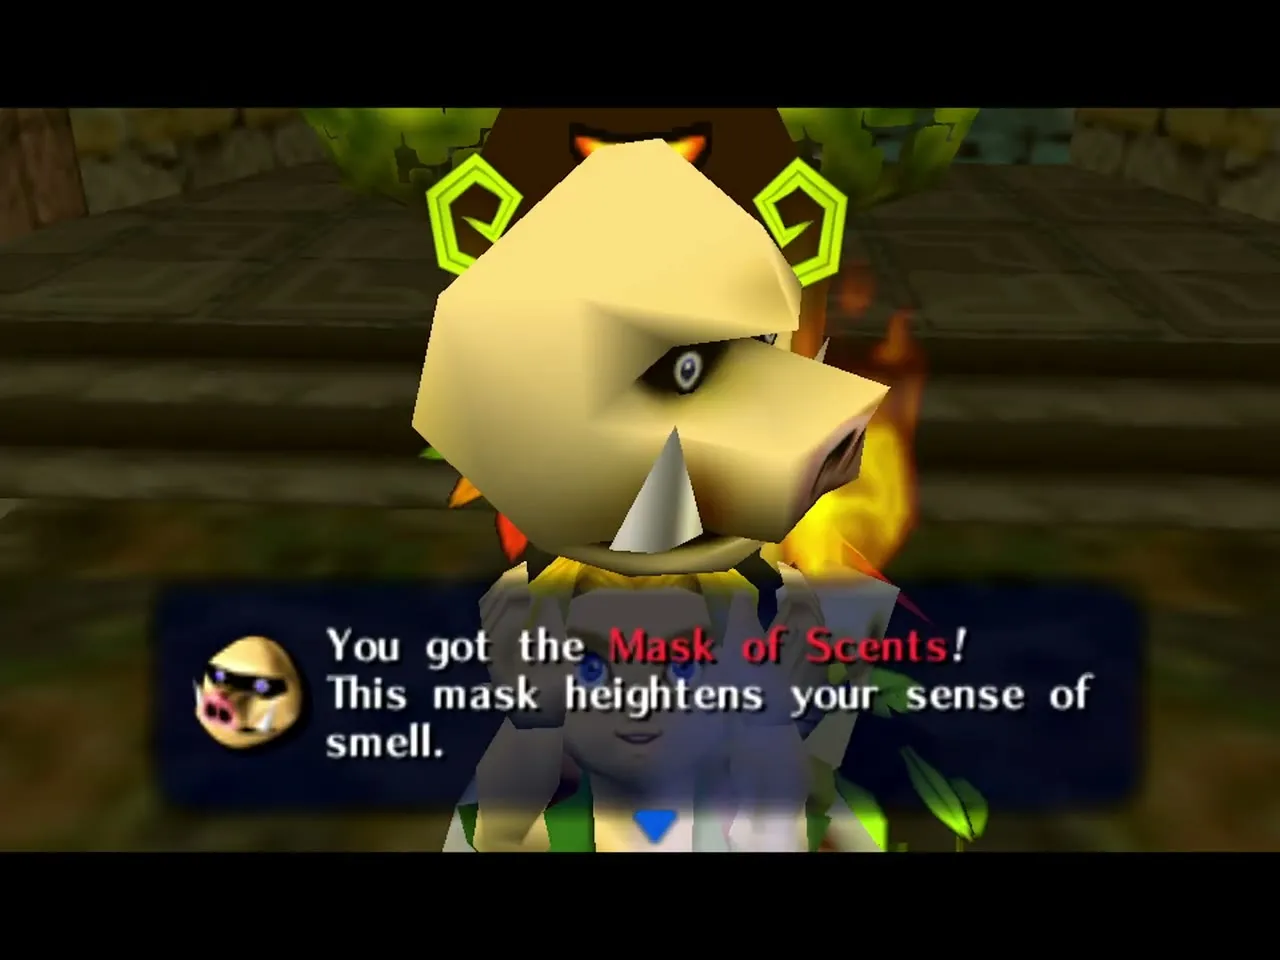
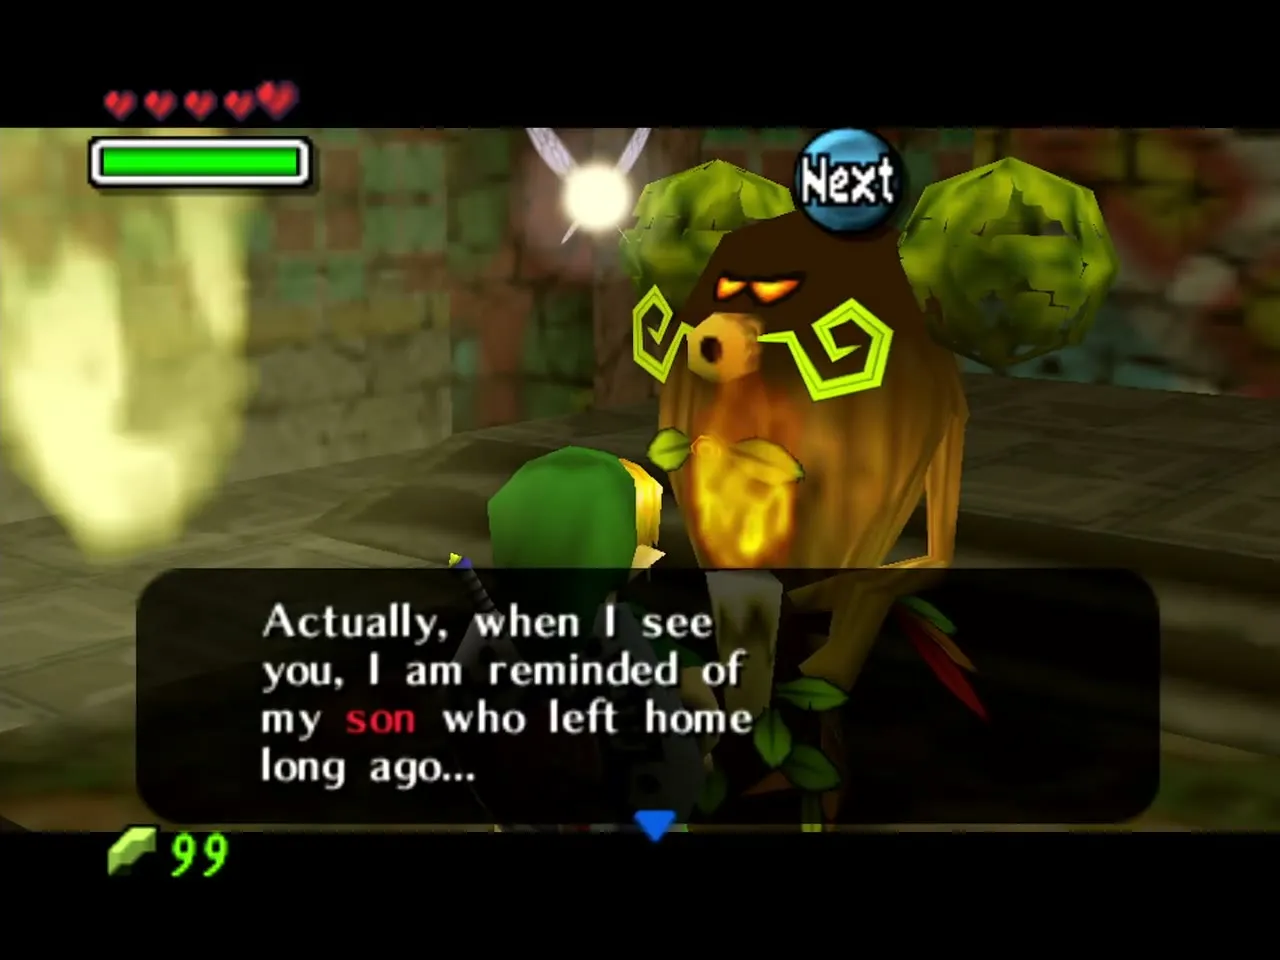
The Deku Butler is a loyal and dignified servant in the Deku Palace. He tells you that your Deku form reminds him of his own son. Once Odolwa is beaten and the Deku Princess is home, he challenges you to a race through the palace, and if you win he gives you the Mask of Scents. Do this in the same cycle that you return the princess. See the Southern Swamp and Deku Palace walkthrough and the Mask Collection Guide.
Monkey
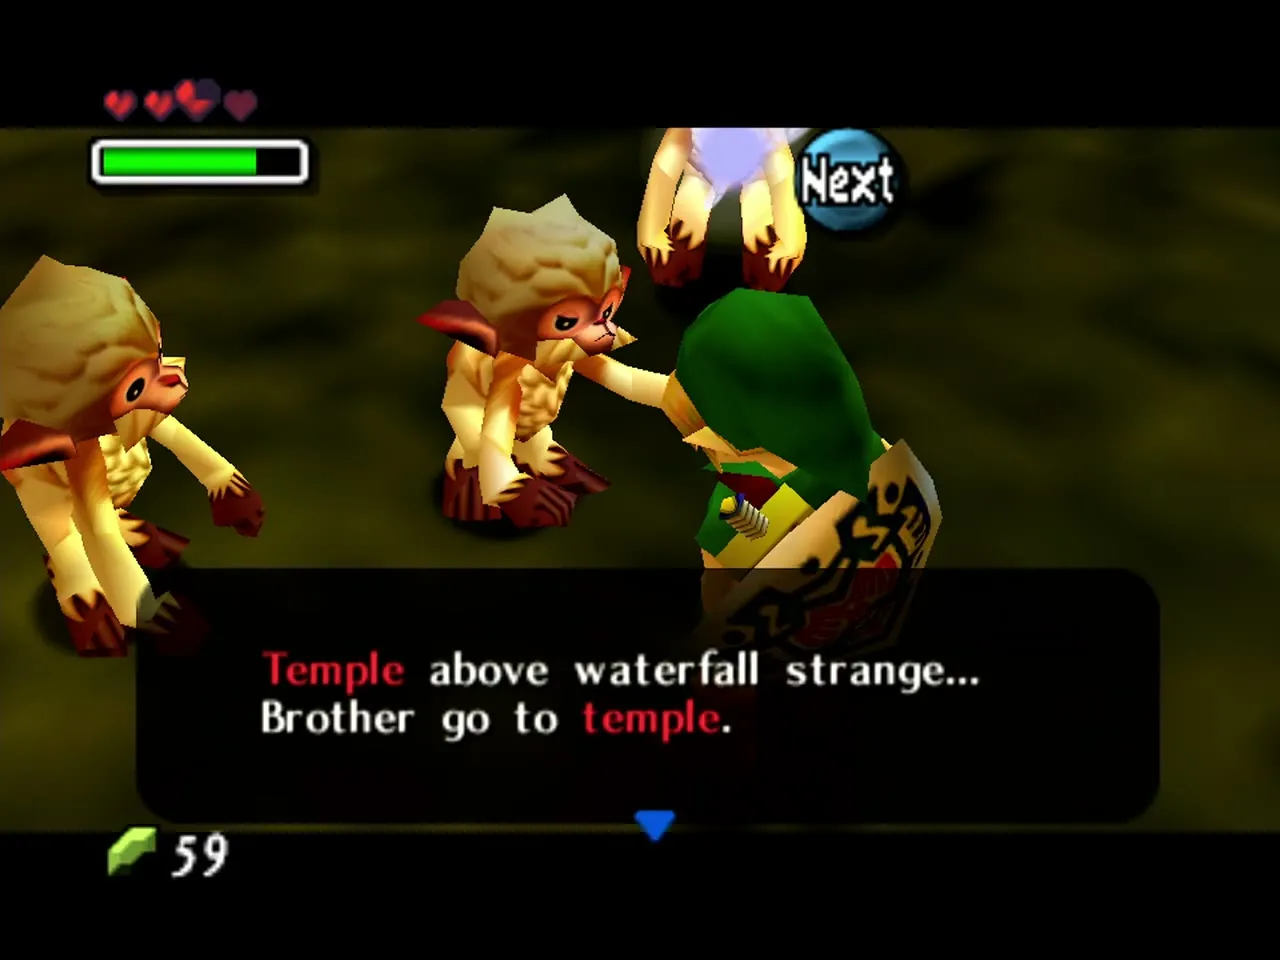
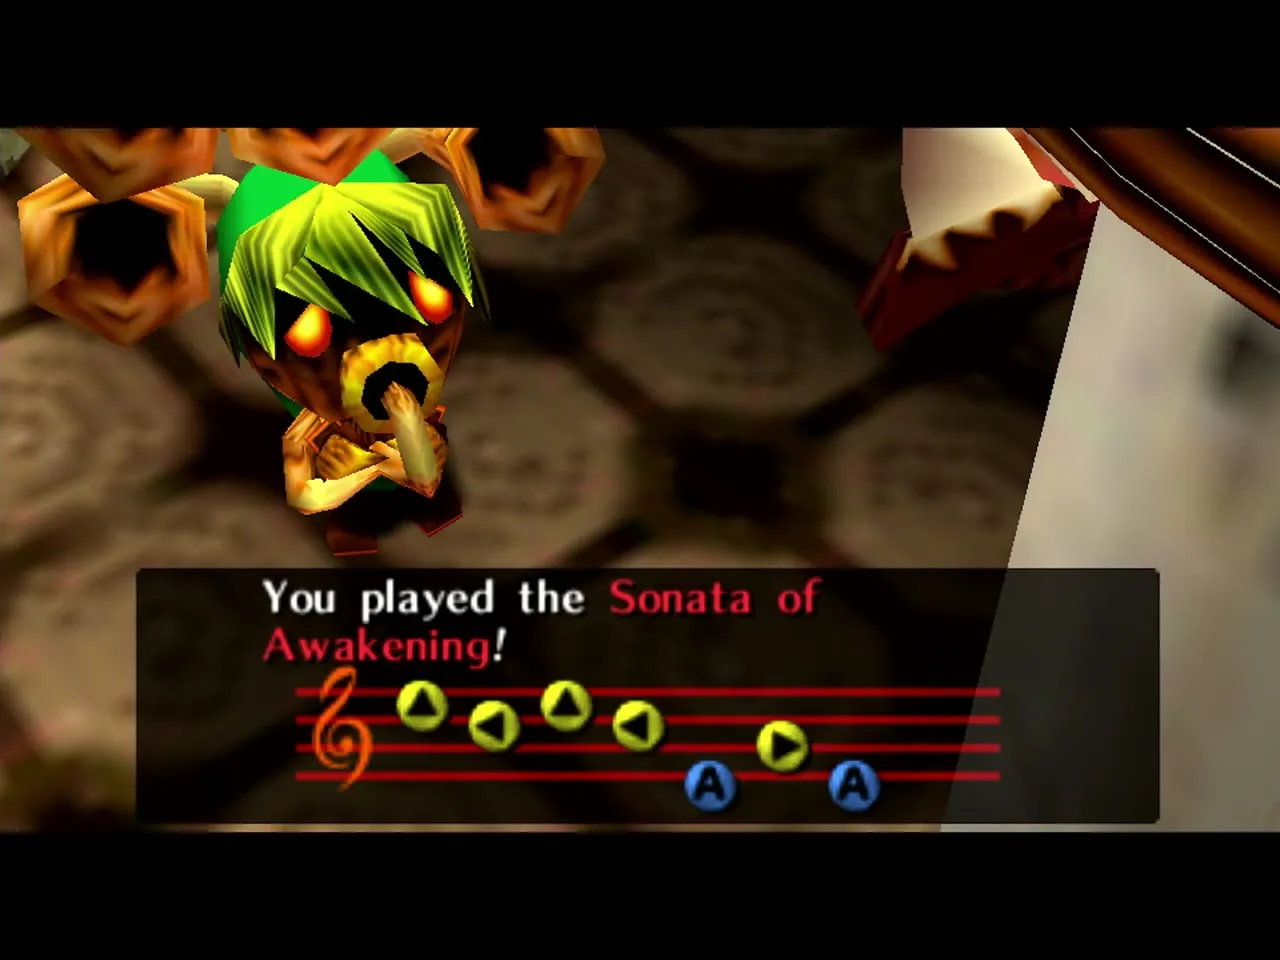
There are several monkeys living in the Southern Swamp. One waits near the entrance of the Woods of Mystery and guides you through the maze to Koume. The monkey that the Deku King jails is blamed for the princess’s kidnapping. Play along with him as Deku Link and he teaches you the Sonata of Awakening, which raises Woodfall Temple. He is only freed once you bring the princess back. See the Southern Swamp and Deku Palace walkthrough and the Ocarina Songs page.
Koume & Kotake
Koume and Kotake are two elderly Magic Hag sisters. Kotake keeps the Magic Hags’ Potion Shop and Koume pilots the boat cruise. Koume is hurt in the Woods of Mystery. Kotake gives you a bottle with a Red Potion, and you carry it through the woods to Koume. Use the potion on her from the item prompt, and she flies back to the Tourist Center, offers you a free boat cruise and hands you the Pictograph Box as it sets off. Once Woodfall Temple is cleared, her boat archery game pays a Piece of Heart. See the Southern Swamp and Deku Palace walkthrough and the Bottle Locations page.
Swamp Shooting Gallery Owner
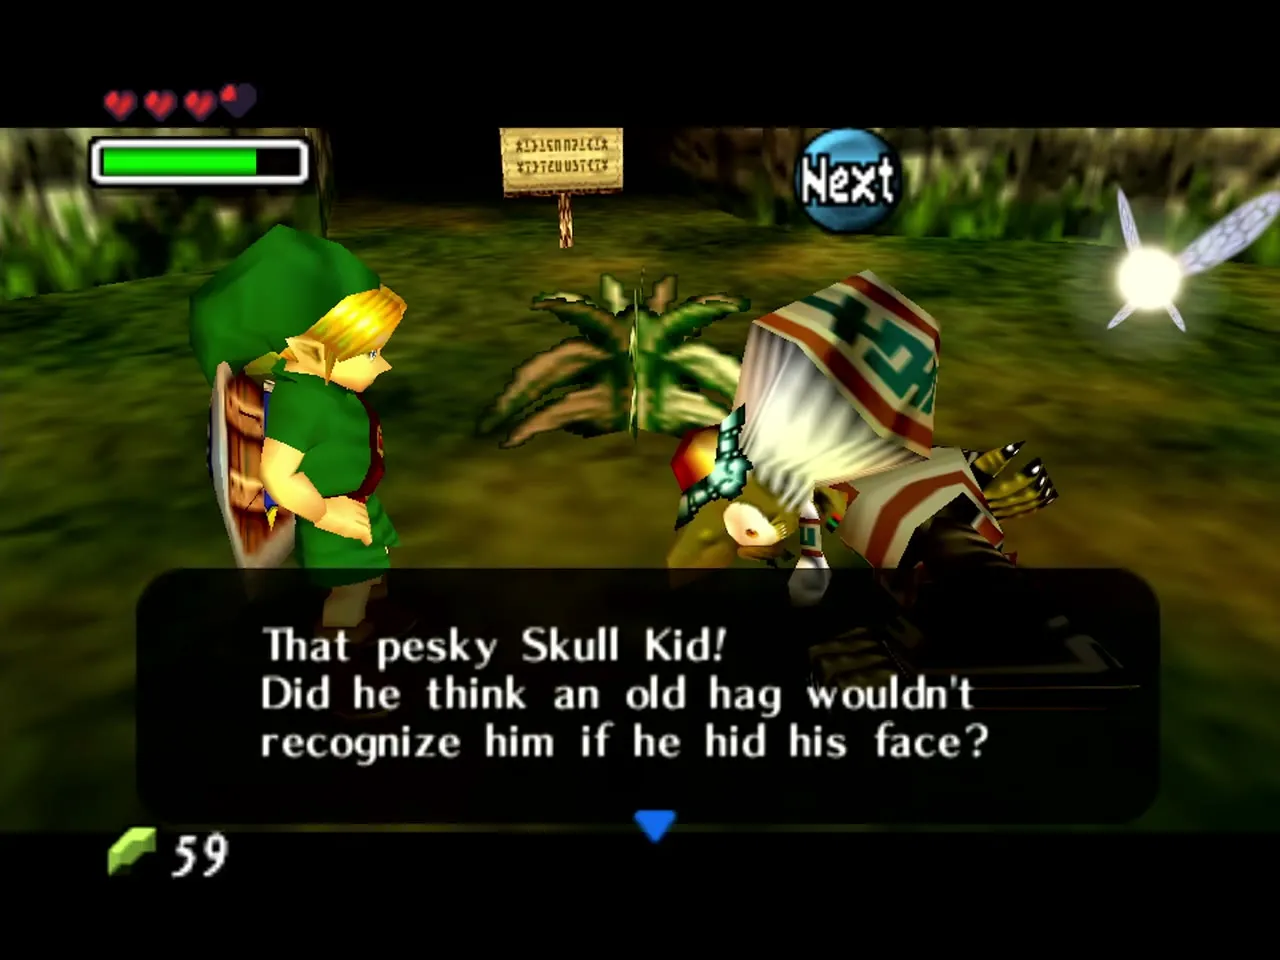
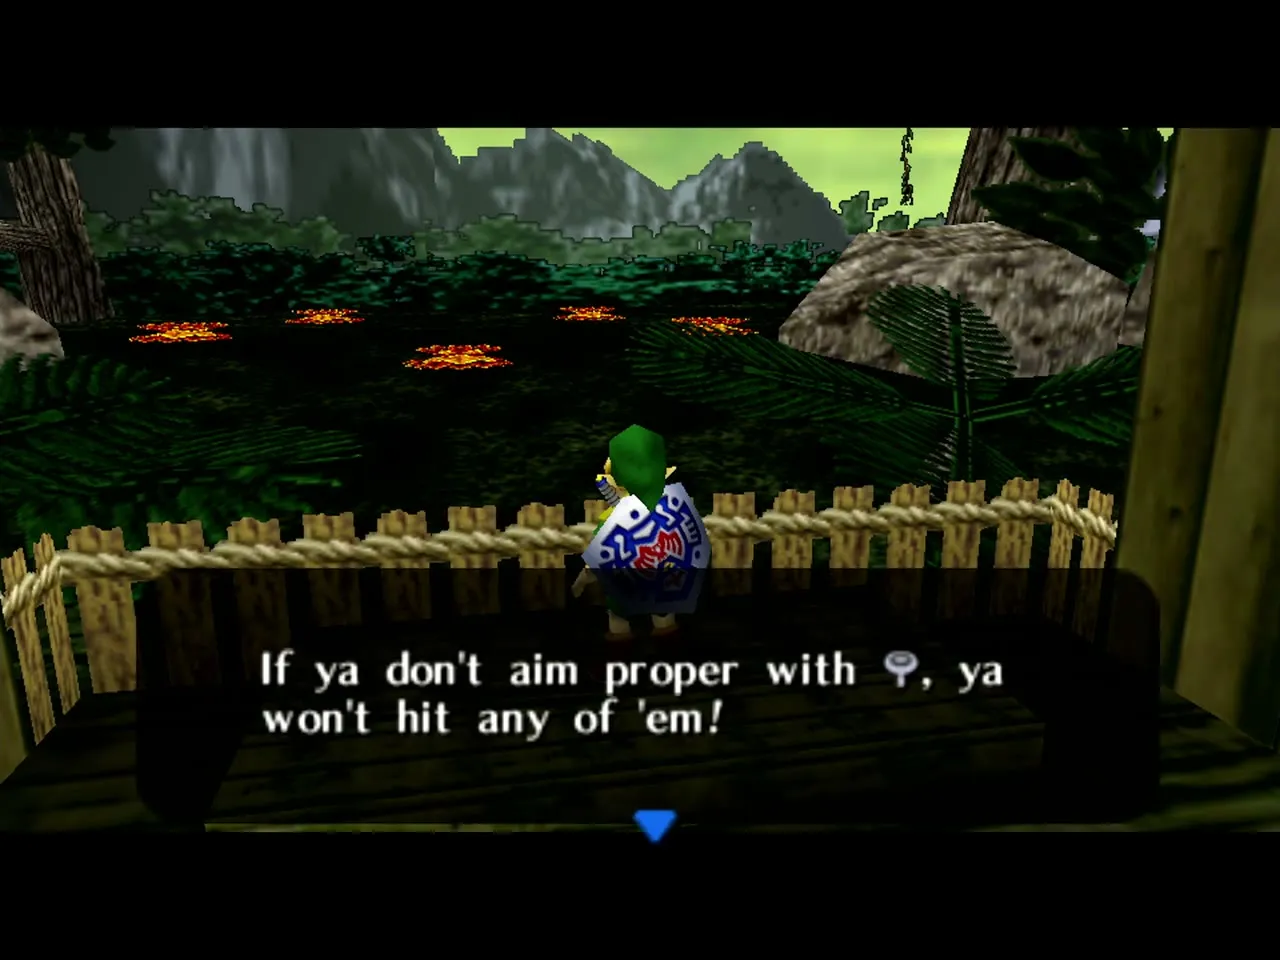
The Swamp Shooting Gallery Owner runs the archery game on the road to the Southern Swamp. It costs 20 Rupees and is open from 6 AM to 10 PM, and you need the Hero’s Bow. The game scores points. A strong first run earns the bigger Quiver, and a score of 2,180 or more on a later run earns the Piece of Heart. See the Mini-Games page.
Swamp Spider House Resident
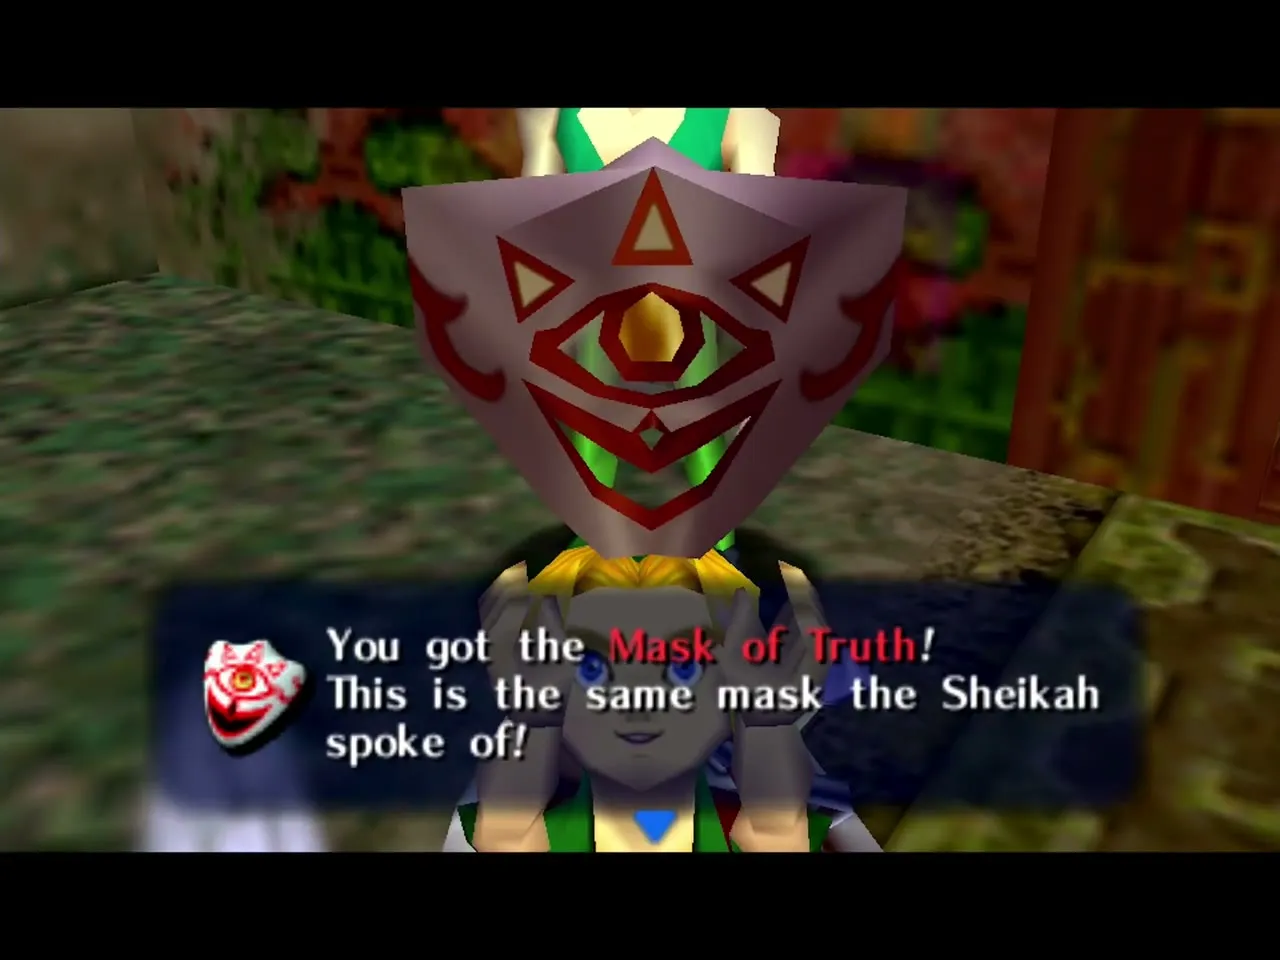
A man who lives in the Southern Swamp is cursed for his greed, and he is slowly turning into a Skulltula. His house is the Swamp Spider House. He asks you to find and defeat all 30 Gold Skulltulas hidden in his house. Once you finish, the curse is lifted and you receive the Mask of Truth. See the Swamp Spider House page.
Snowhead / Goron Village NPCs
The people of Snowhead are Gorons who are suffering through an endless winter.
Darmani III
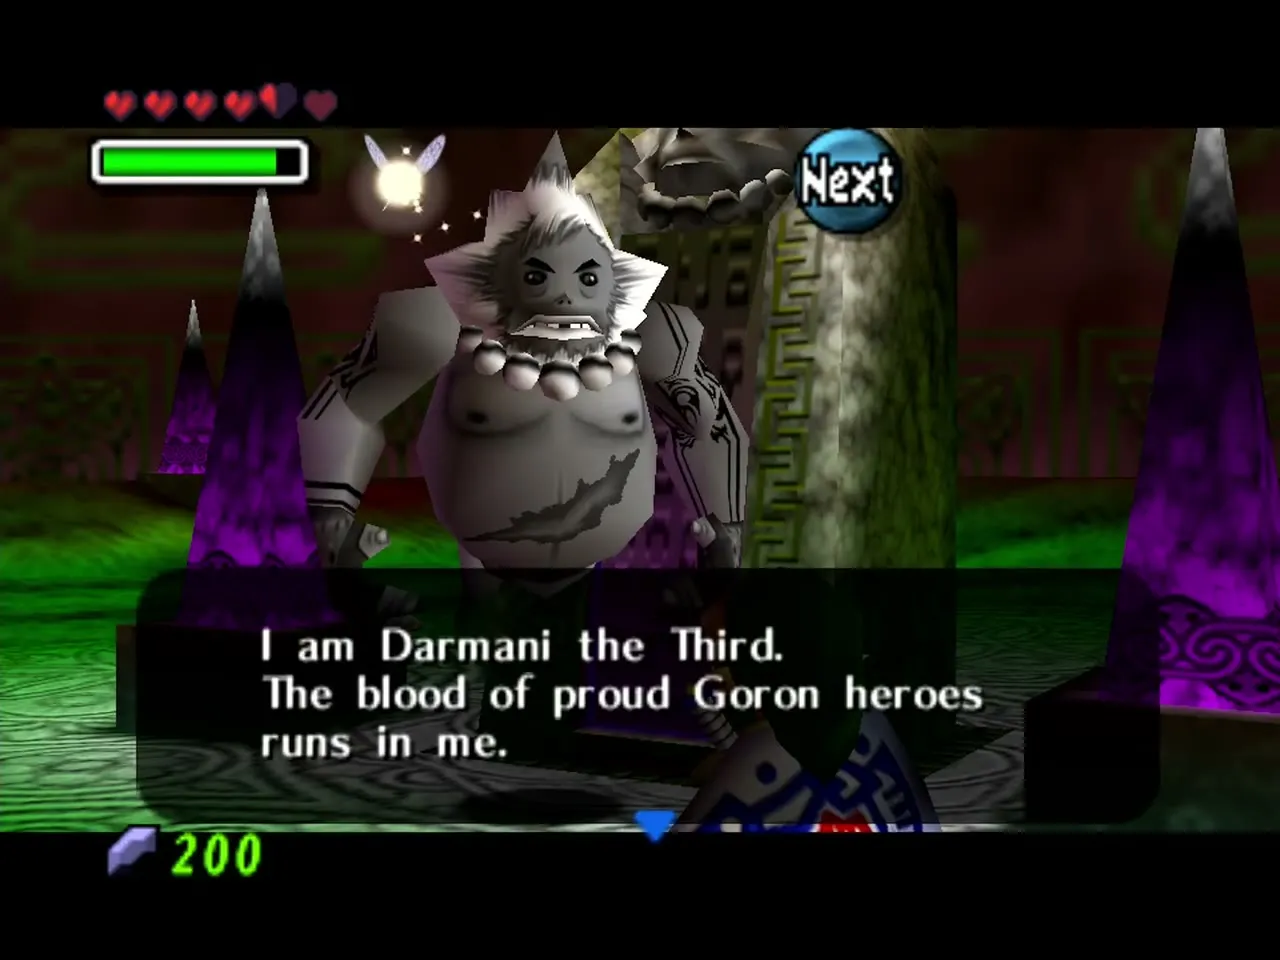
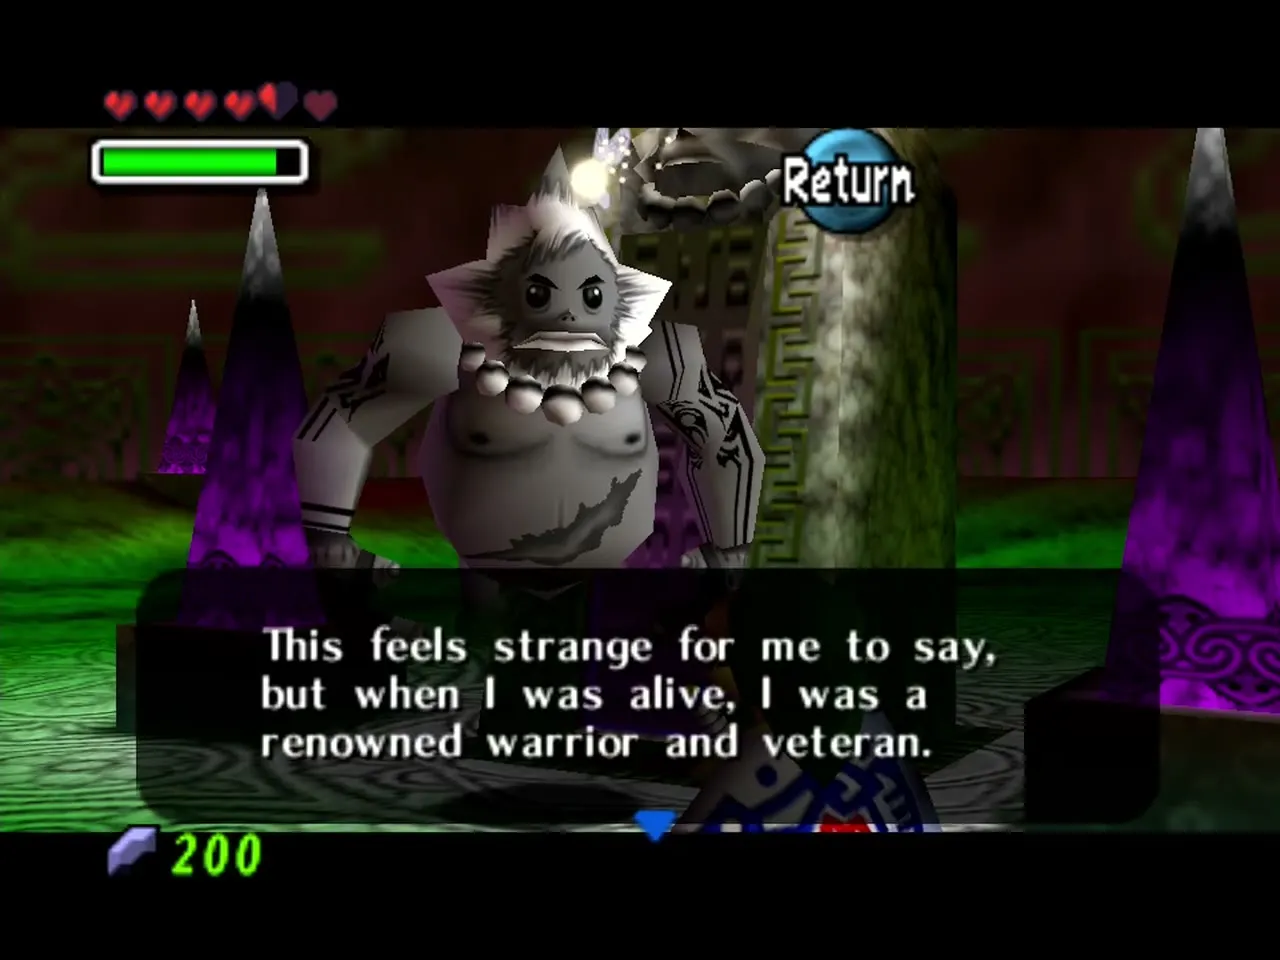
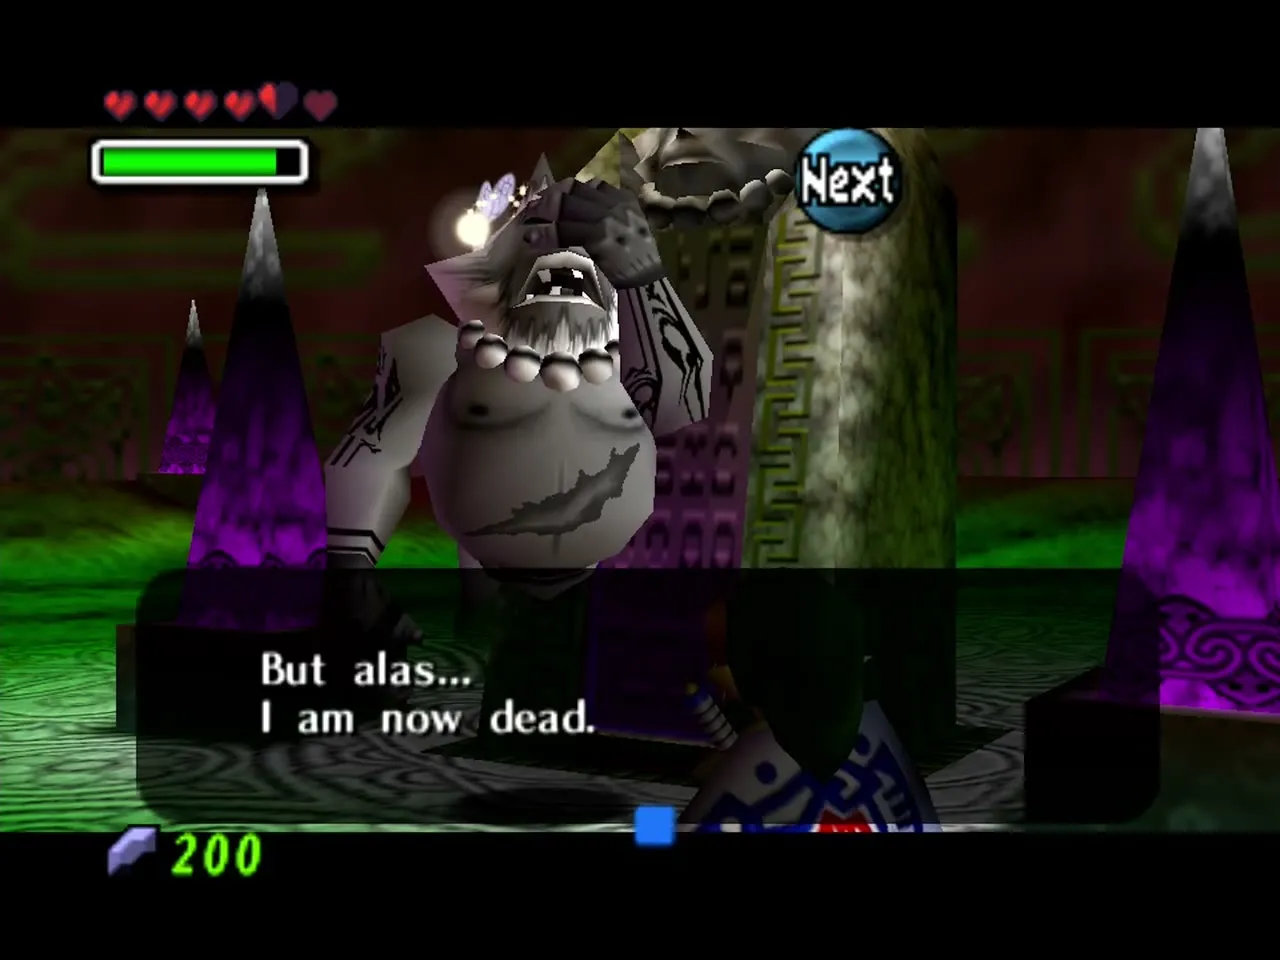
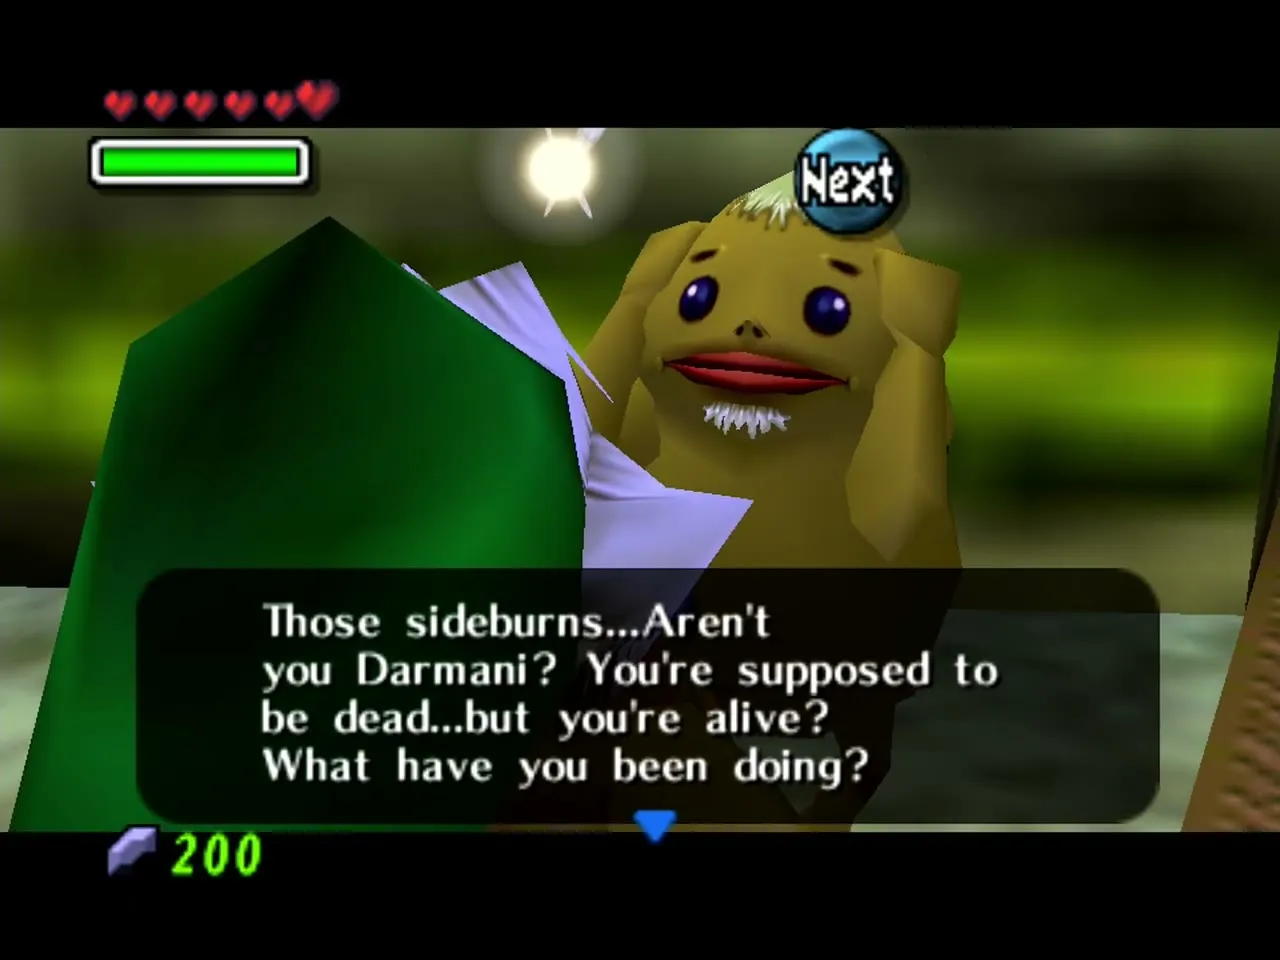
Darmani III was a Goron hero who died trying to reach Snowhead Temple and stop the blizzard. His ghost is still mourning his failure in the Goron Graveyard, north of Mountain Village. Get the Lens of Truth from its cave, and use it to see and follow his ghost to the graveyard. If you play the Song of Healing for him, his spirit rests and you receive the Goron Mask. The graveyard cave also holds Hot Spring Water. See the Snowhead Region walkthrough.
Goron Elder
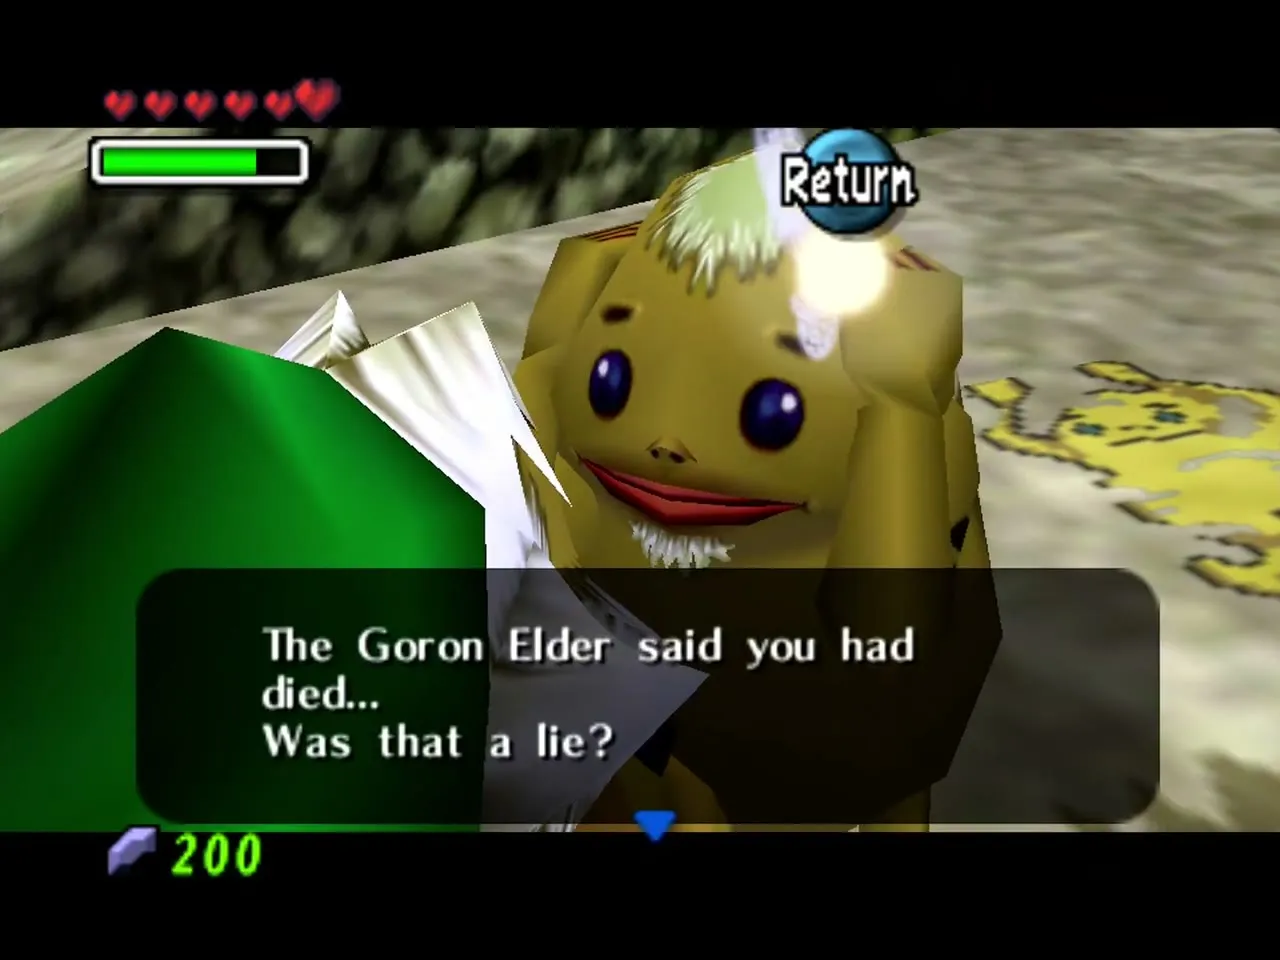
The Goron Elder leads the Gorons in Snowhead. You find him frozen inside a large snowball at Mountain Village. Pour Hot Spring Water on him to thaw him. He teaches you the first part of the Goron Lullaby, which you need to calm his son and the giant Goron on the road to Snowhead Temple. See the Snowhead Region walkthrough.
Goron Elder’s Son
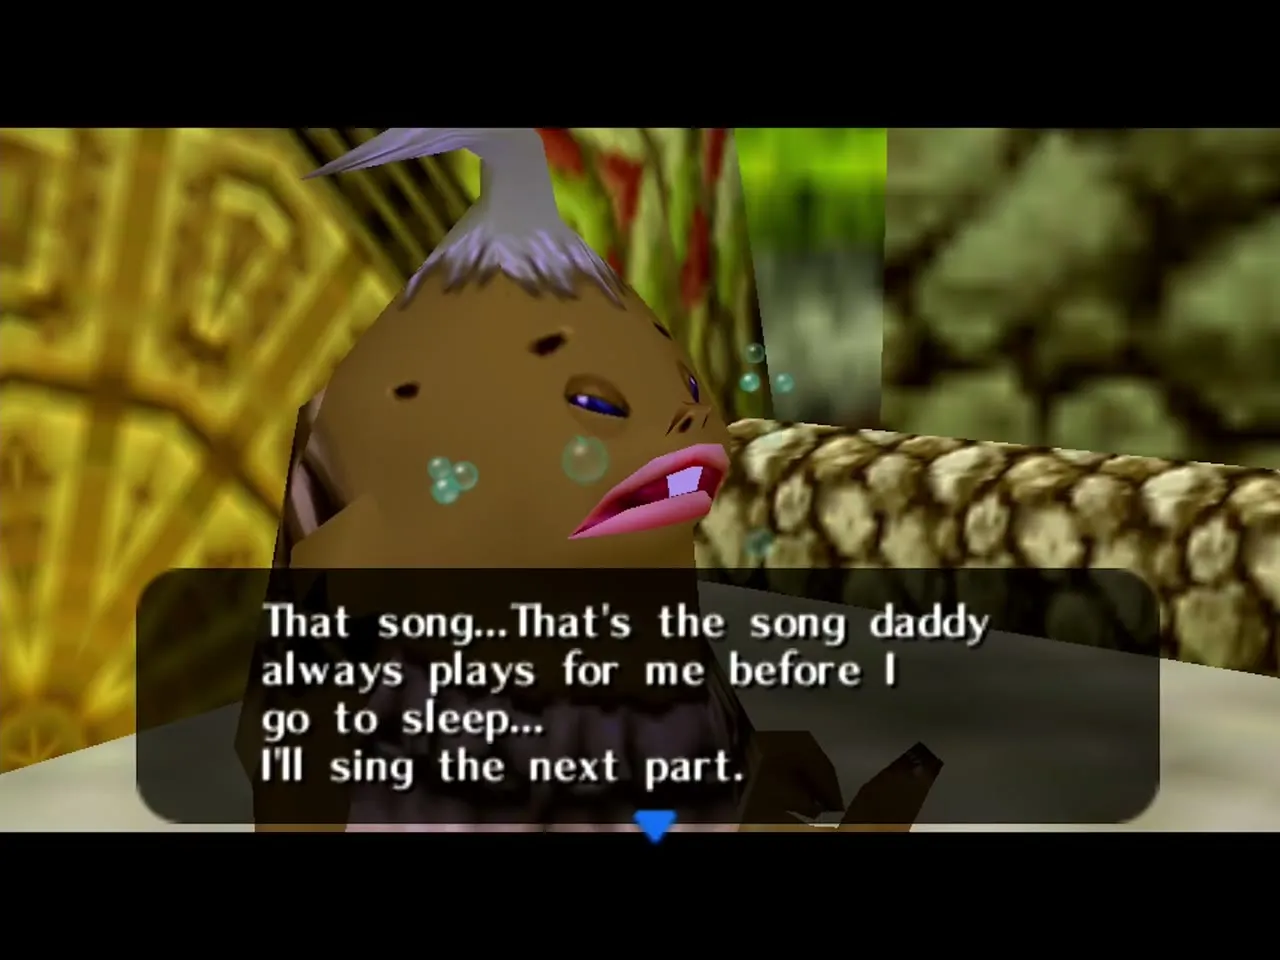
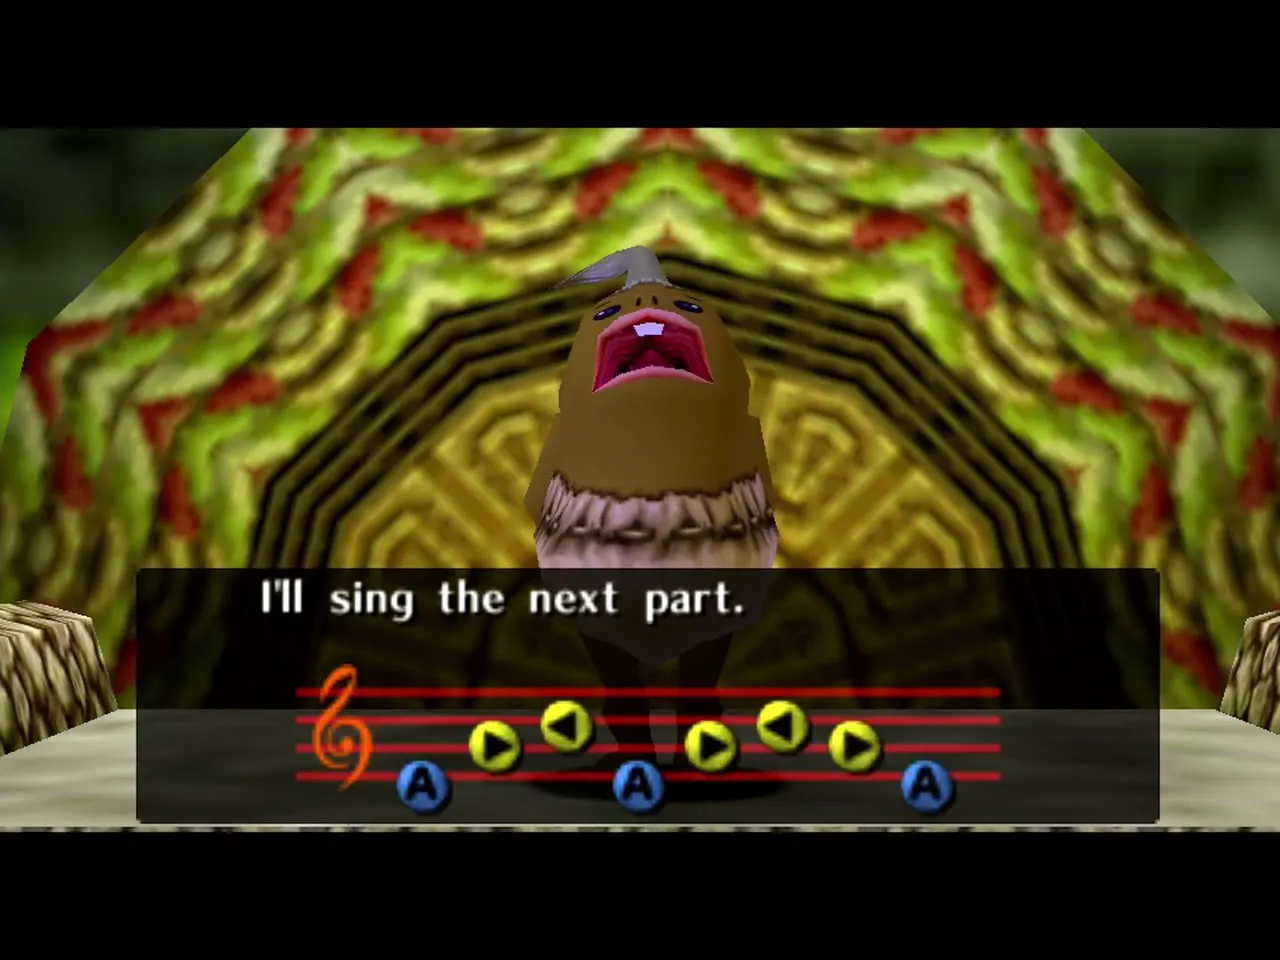
The Goron Elder’s son is a baby who cries inside the Goron Shrine because his father is away and it is cold. His crying keeps the other Gorons awake. Play the Goron Lullaby for him as Goron Link on the Goron drums, starting with the notes the Elder taught you, and he joins in and falls asleep, which helps the rest of the village. See the Snowhead Region walkthrough and the Side Quests page.
Biggoron
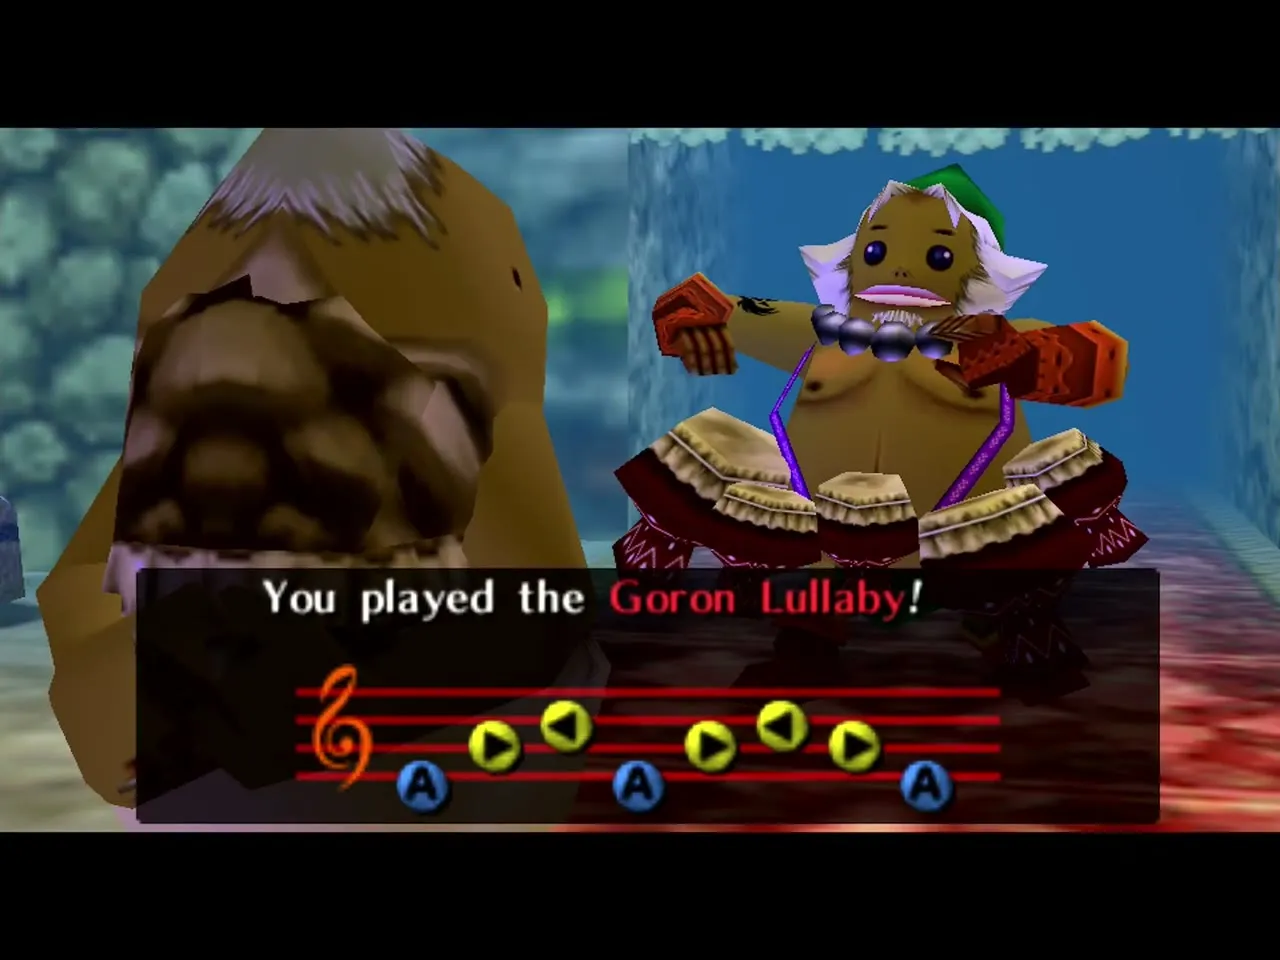
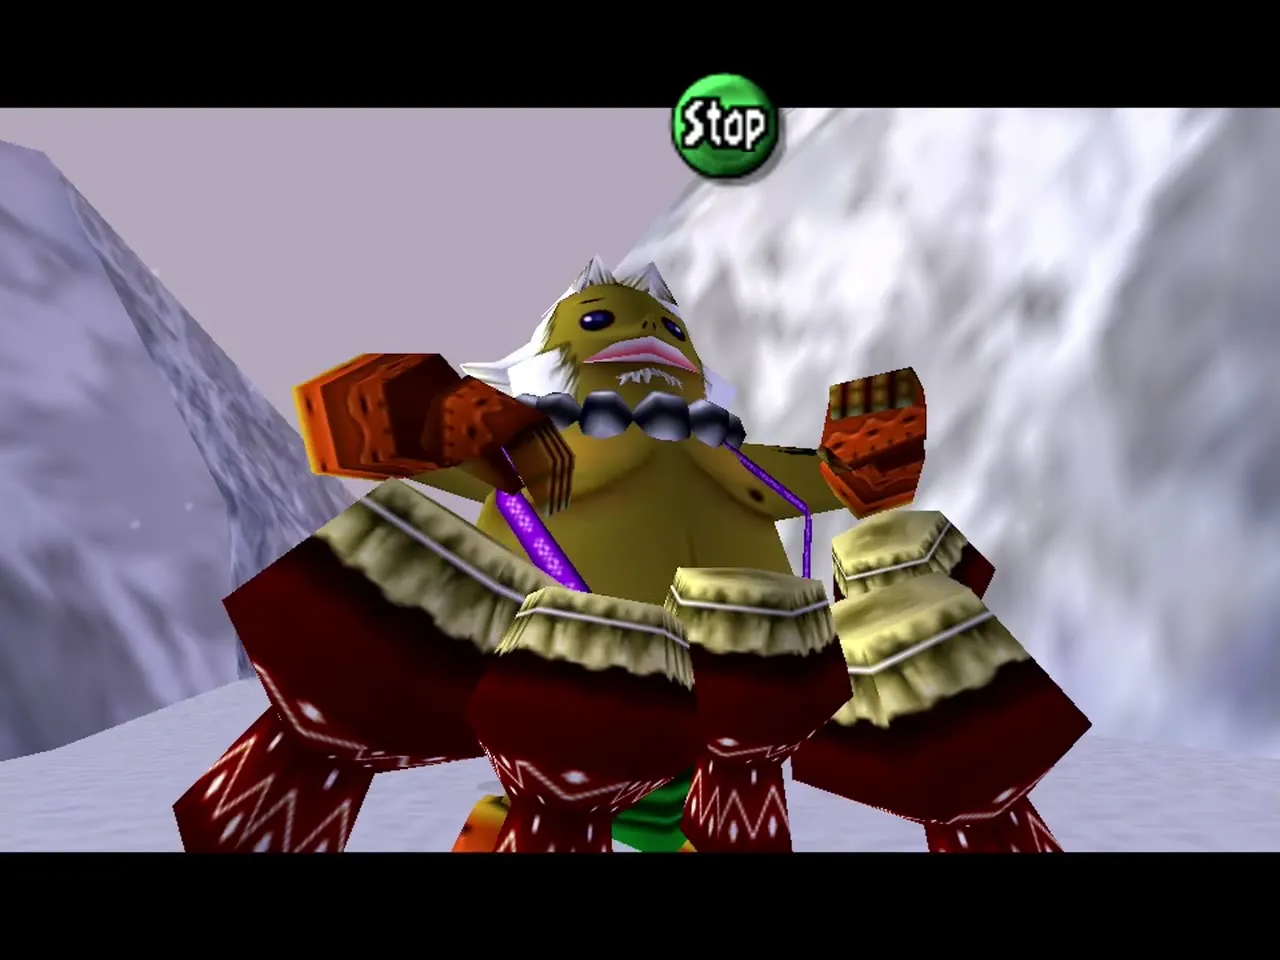
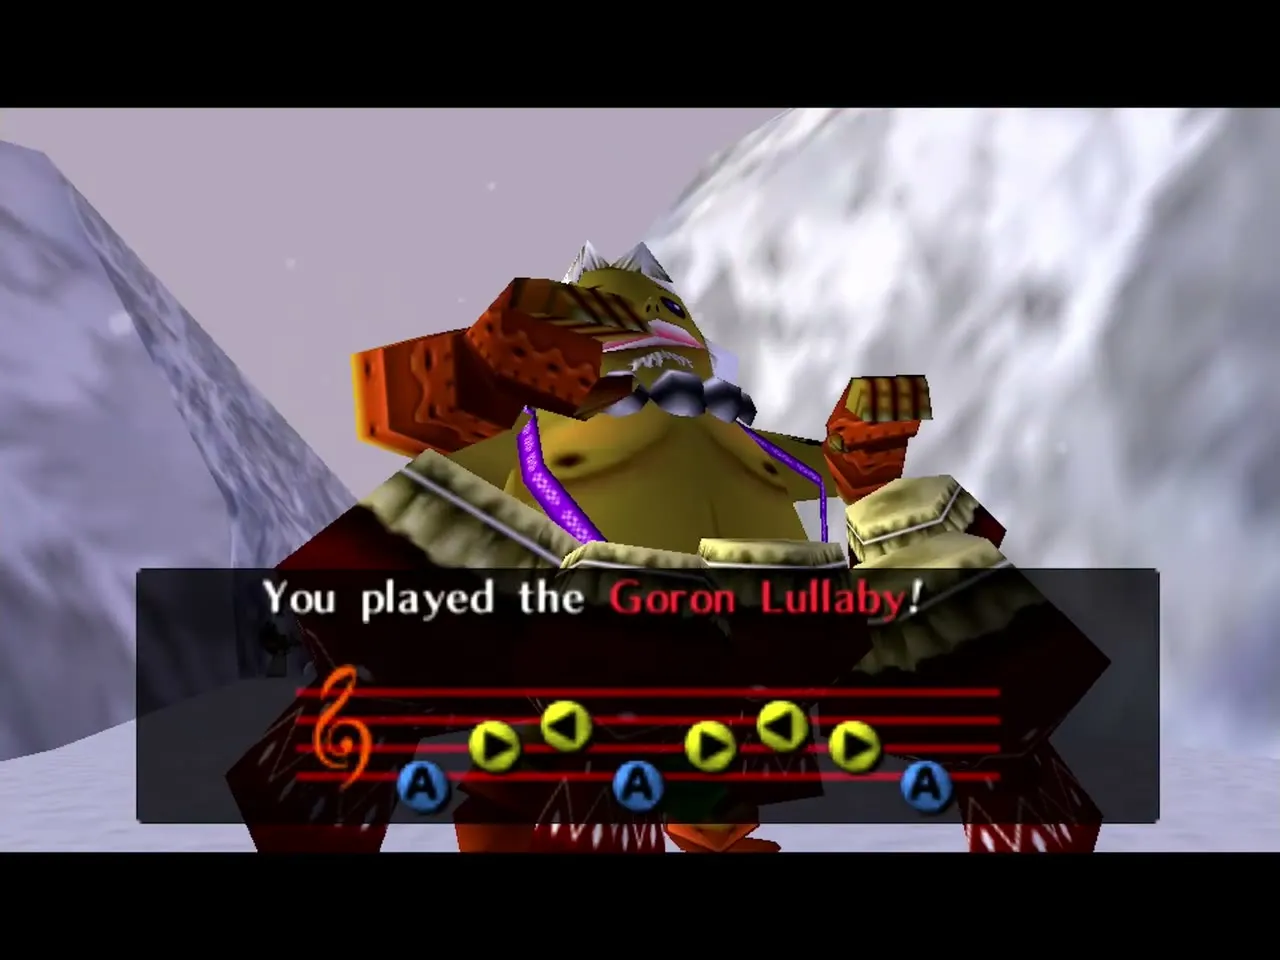
Biggoron is an enormous Goron sitting on the path up to Snowhead Temple. His breath whips up winds that stop you getting past. Play the Goron Lullaby for him as Goron Link and he falls asleep, which clears the way. See the Snowhead Region walkthrough.
Medigoron
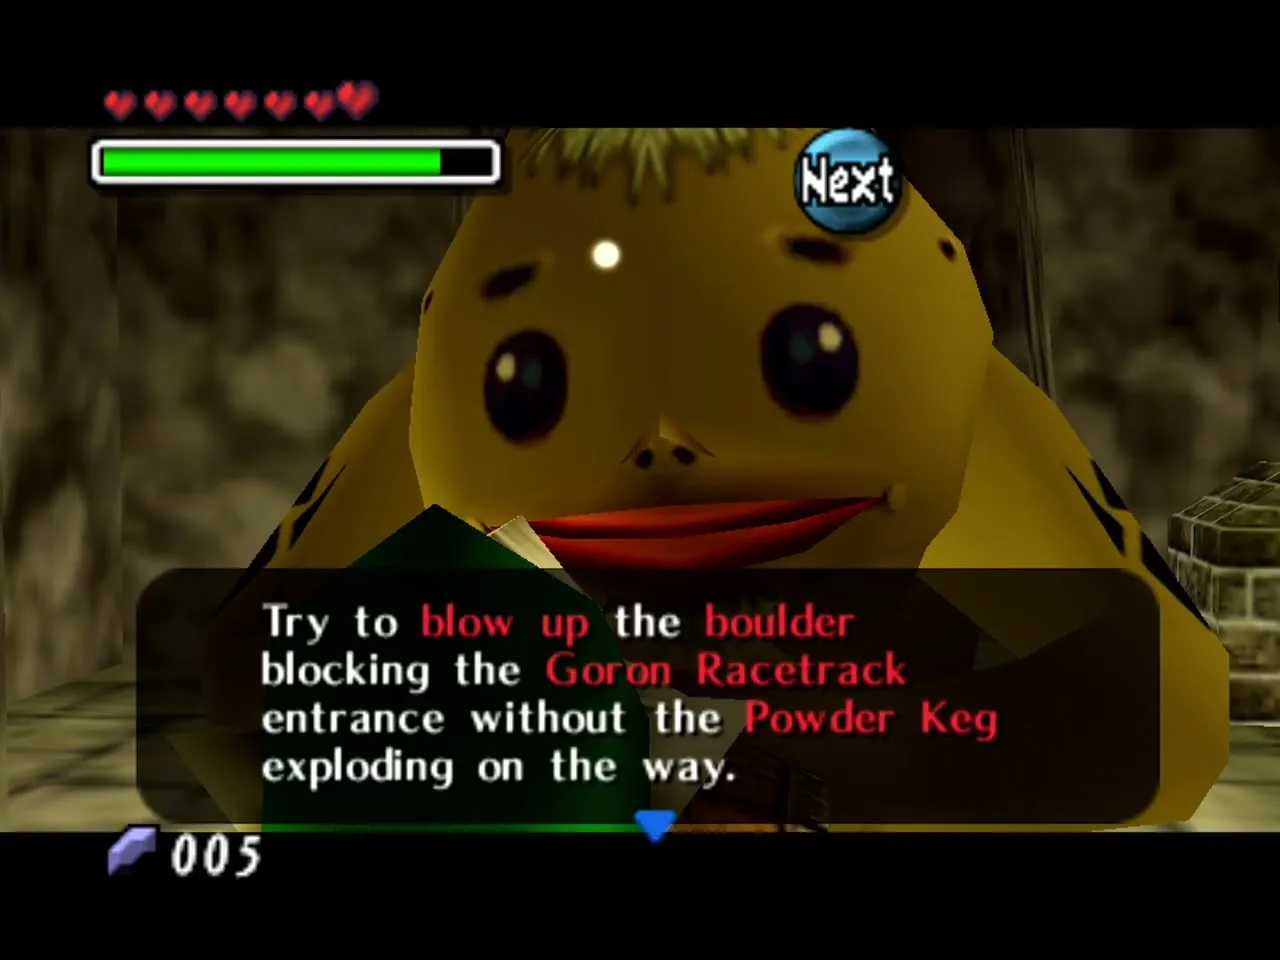
Medigoron runs the Powder Keg shop in a cave in Goron Village. The shop sells Powder Kegs once you pass his keg test. To pass, use the Powder Keg he lights for you to blow up the boulder that blocks the Goron Racetrack, and be quick about it, because the fuse is short. If it goes off early, ask him for another one. Once you pass, he lets you handle kegs on your own and gives you a Powder Keg. Powder Kegs break the large boulders that block your path, including the one on Milk Road, and the Goron Race that follows pays a Bottle of Gold Dust for the Gilded Sword. See the Snowhead Region walkthrough and the Side Quests page.
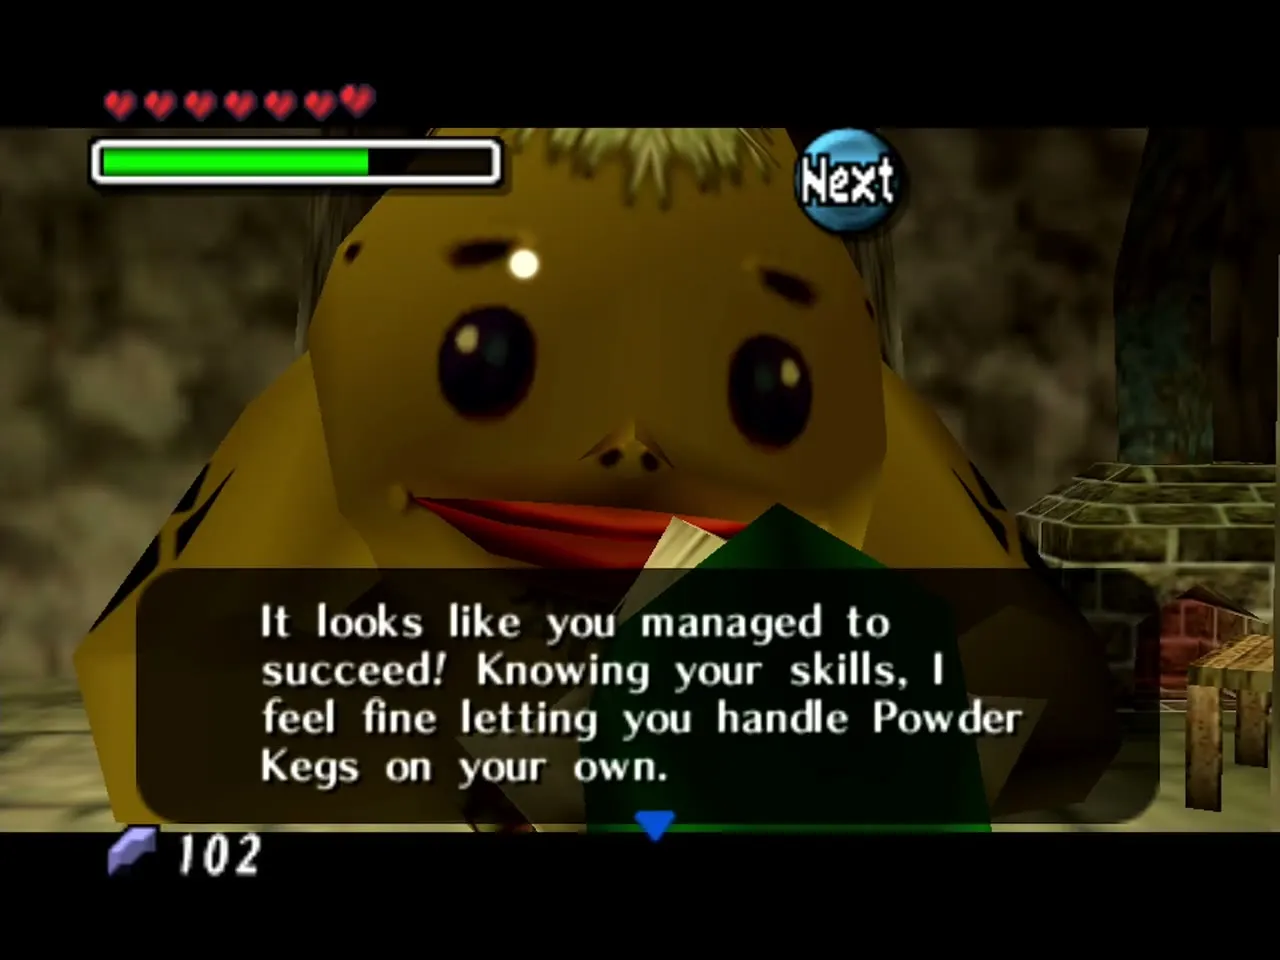
Zubora and Gabora (Mountain Smithy)
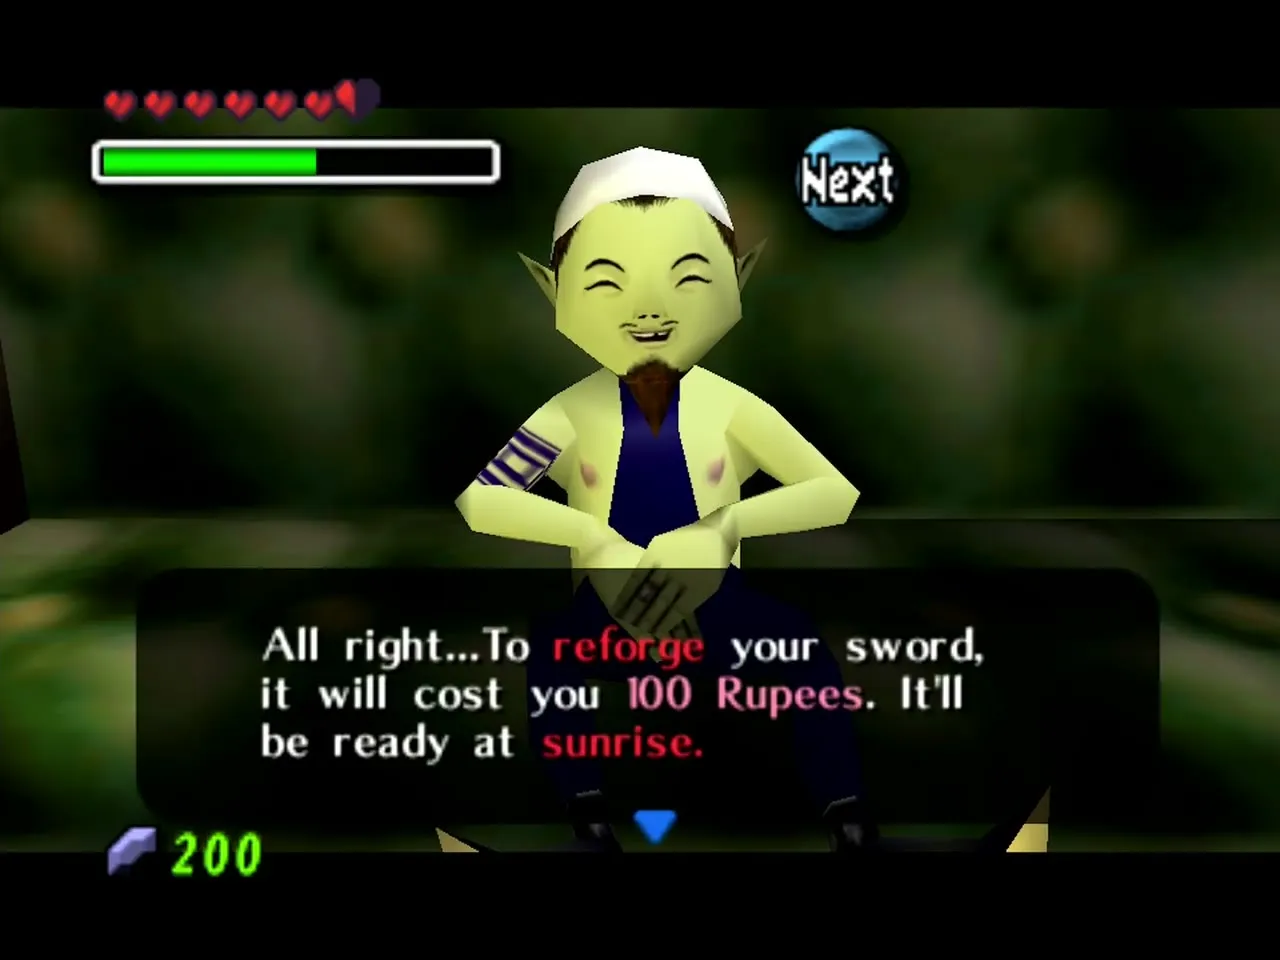
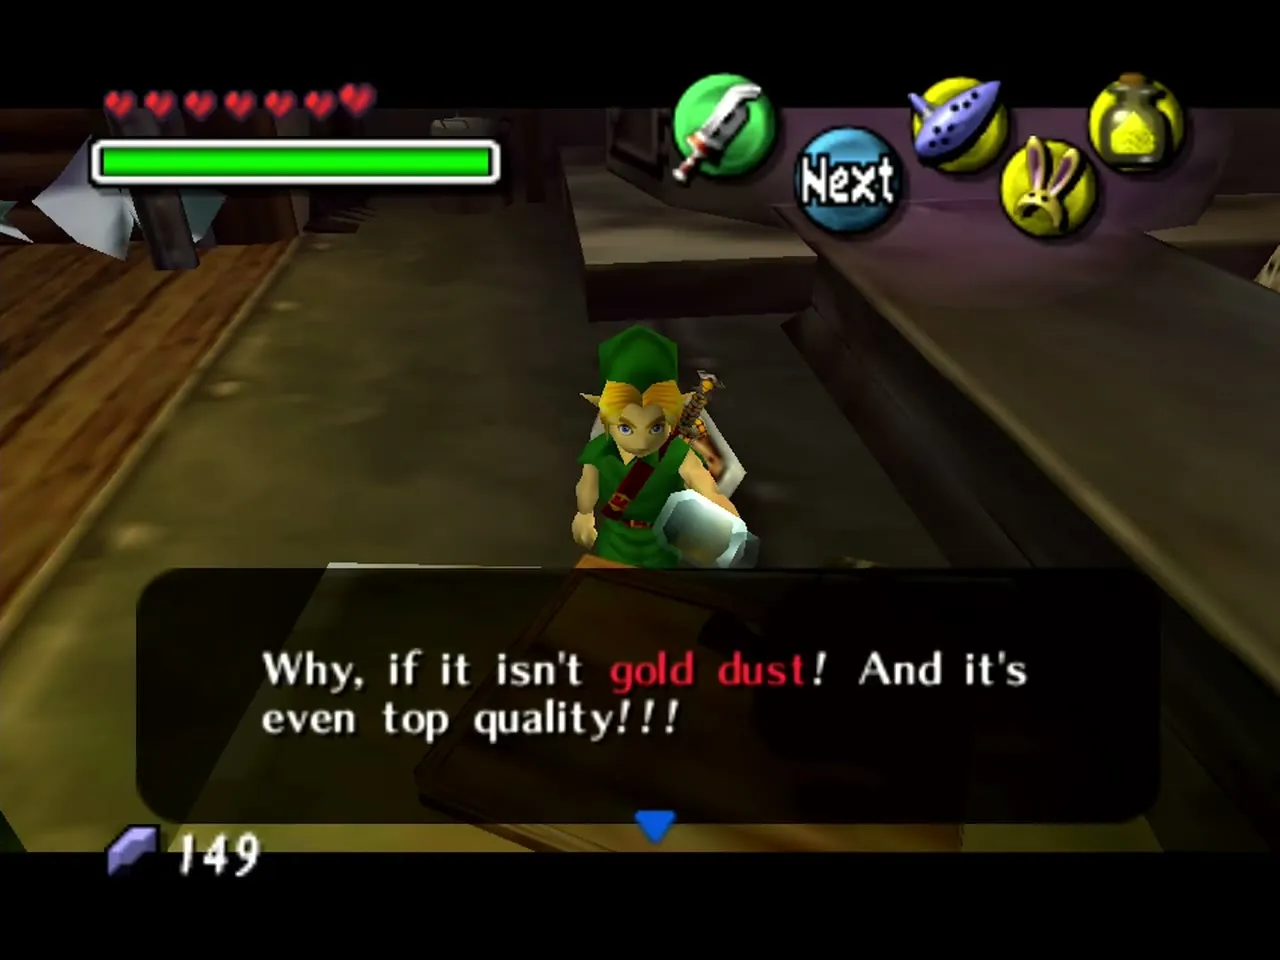
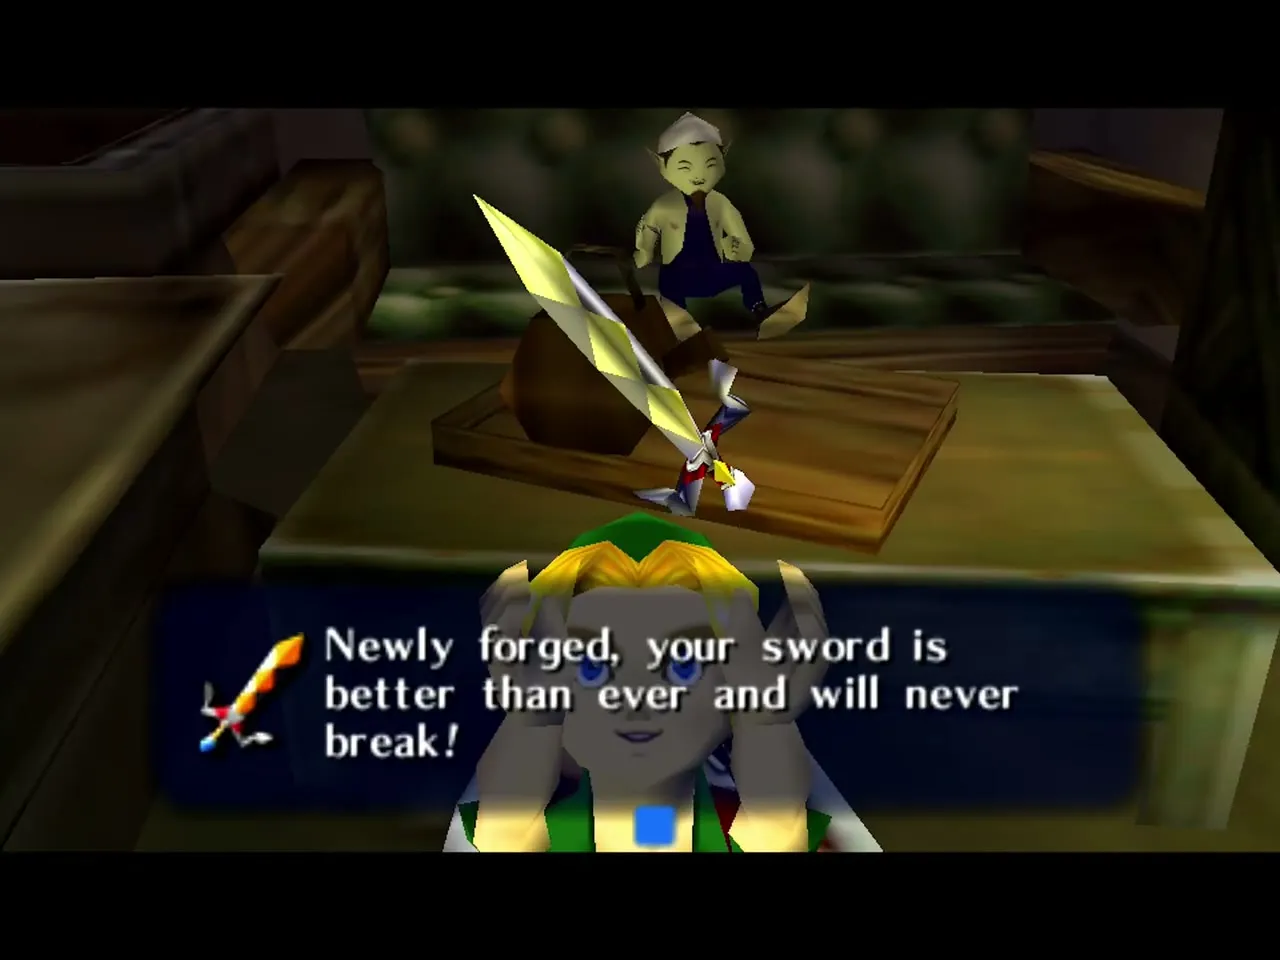
Zubora and Gabora are the two Goron smiths who run the Mountain Smithy in Mountain Village. They cannot work until the smithy is thawed with Hot Spring Water (a Fire Arrow also melts the ice). For 100 Rupees they keep your Kokiri Sword for a day and give back the Razor Sword, so start early. Hand in the Razor Sword and a Bottle of Gold Dust (the prize of the Goron Race) on the Second Day and collect the Gilded Sword at dawn on the Final Day. See the Snowhead Region walkthrough and the Items page.
Don Gero and the Frog Choir
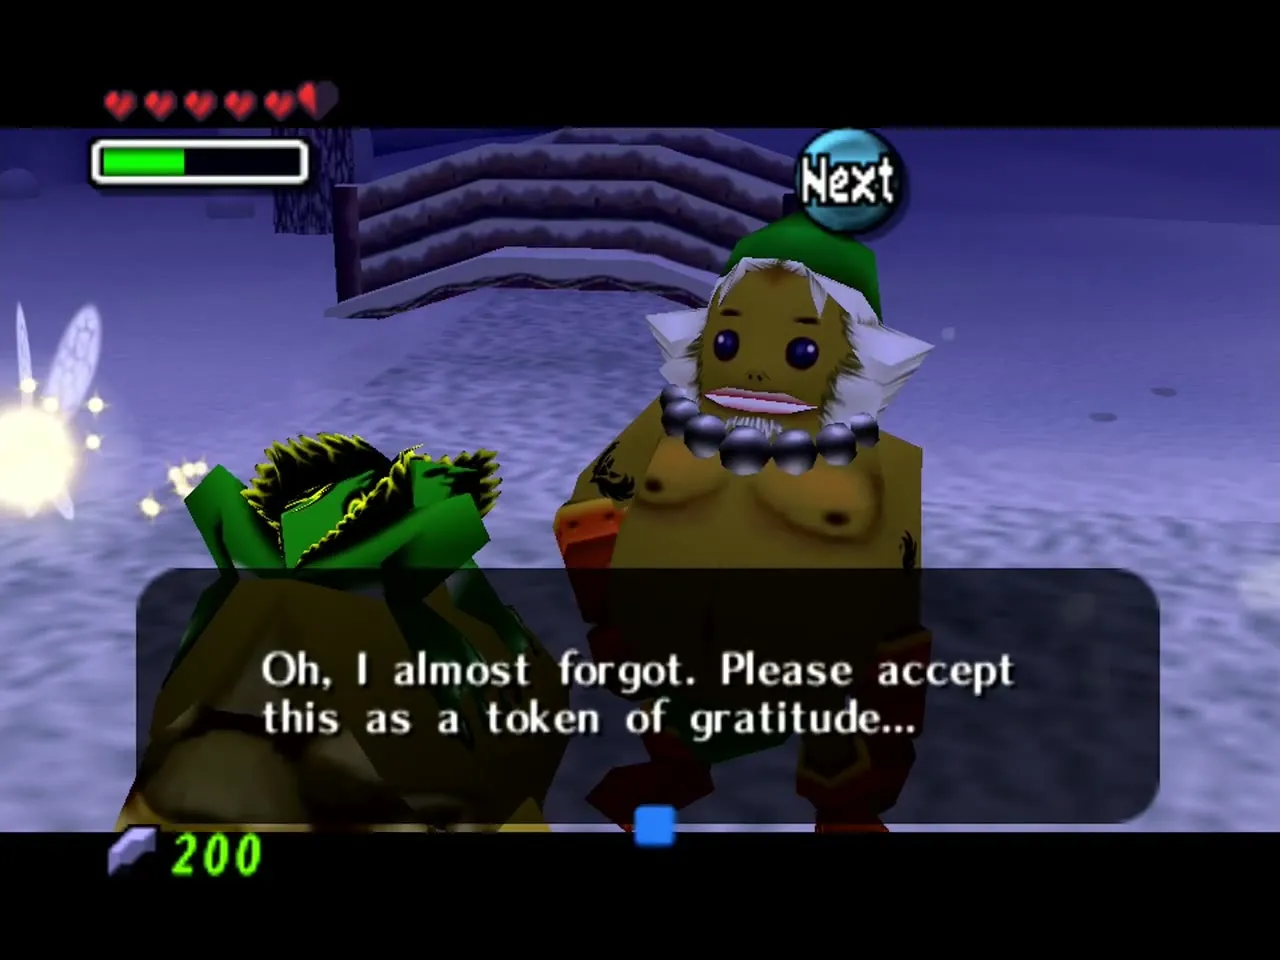
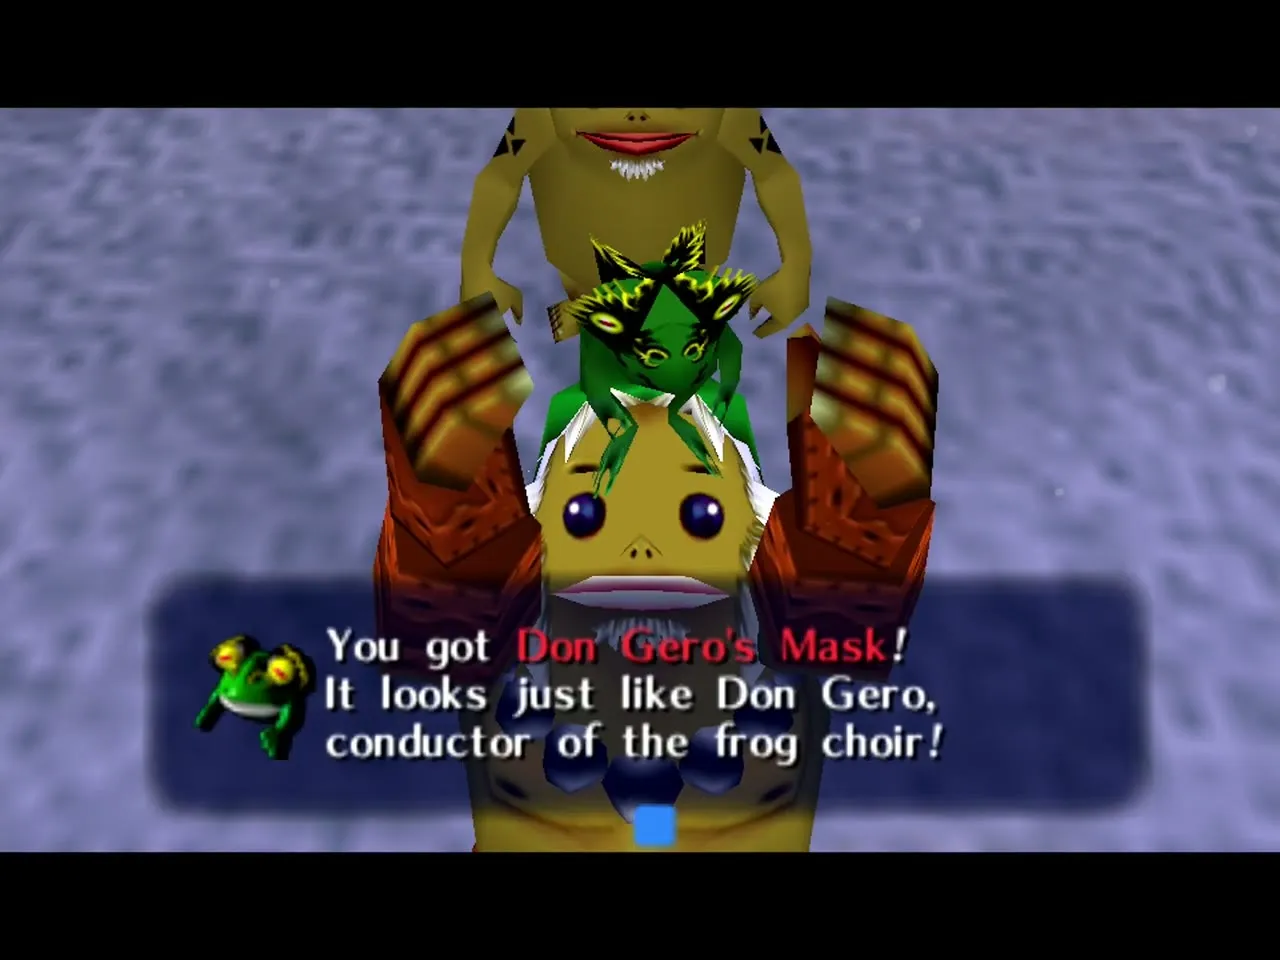
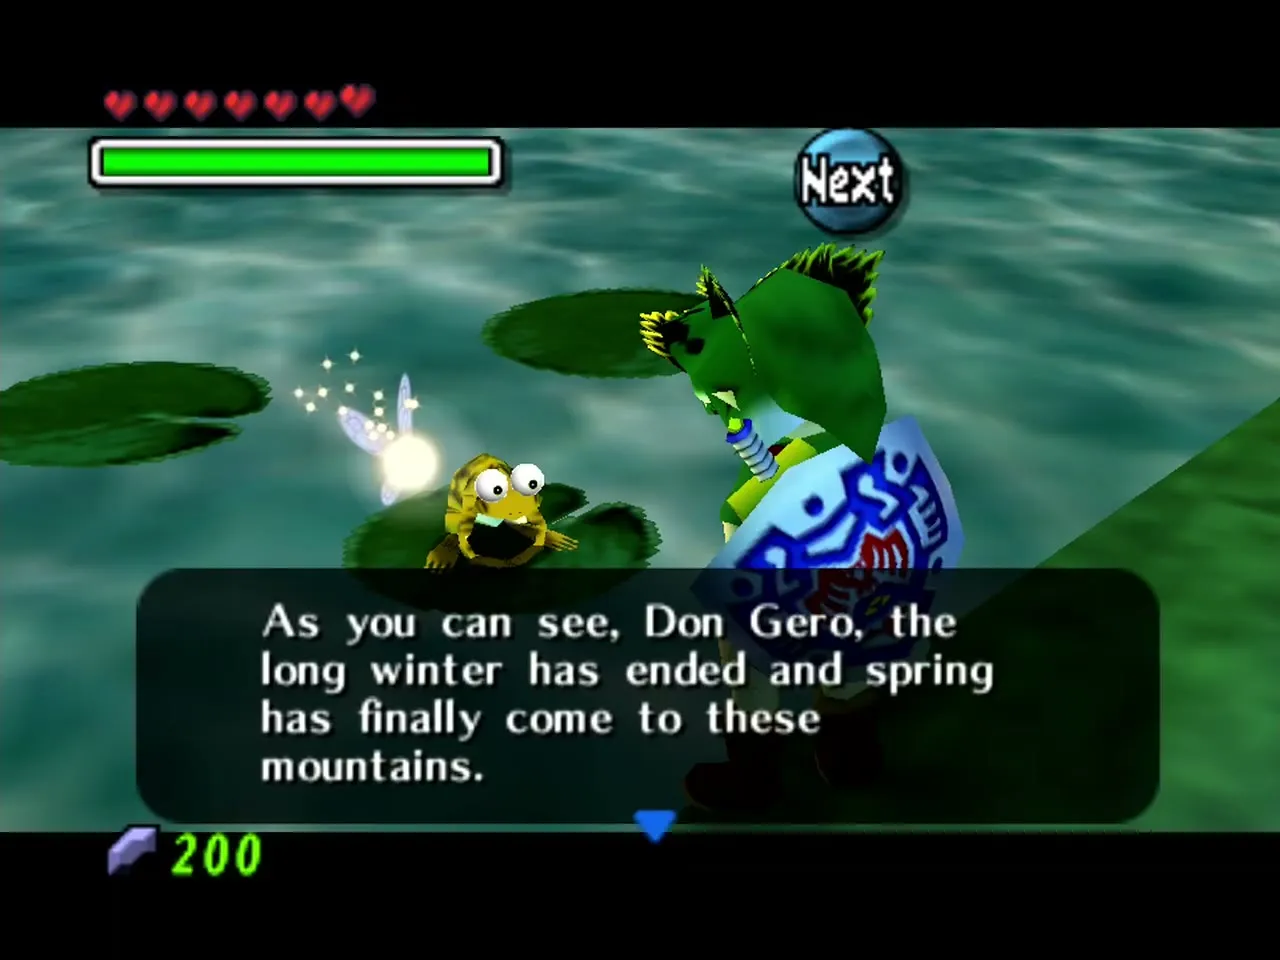
Don Gero is a frog who sits on a lily pad in the Mountain Village pond in spring, after Goht is beaten. He leads the Frog Choir, and you need Don Gero’s Mask to hear him. A hungry Goron on the Mountain Village ledge gives you the mask in return for a Rock Sirloin. Wear the mask to talk to each of the other four frogs: one beside the tree at the Laundry Pool in Clock Town, one on a log in the Southern Swamp (reached by Koume’s boat), and the frogs that appear after you beat the Gekko in Woodfall Temple and the Gekko in Great Bay Temple. Once all five have joined in, speak to Don Gero again for a Piece of Heart. See the Snowhead Region walkthrough and the Side Quests page.
Great Bay / Zora Cape NPCs
These characters live along the coast and in the waters of Great Bay. Many of them belong to the Zora band, and others are affected by the murky ocean.
Mikau
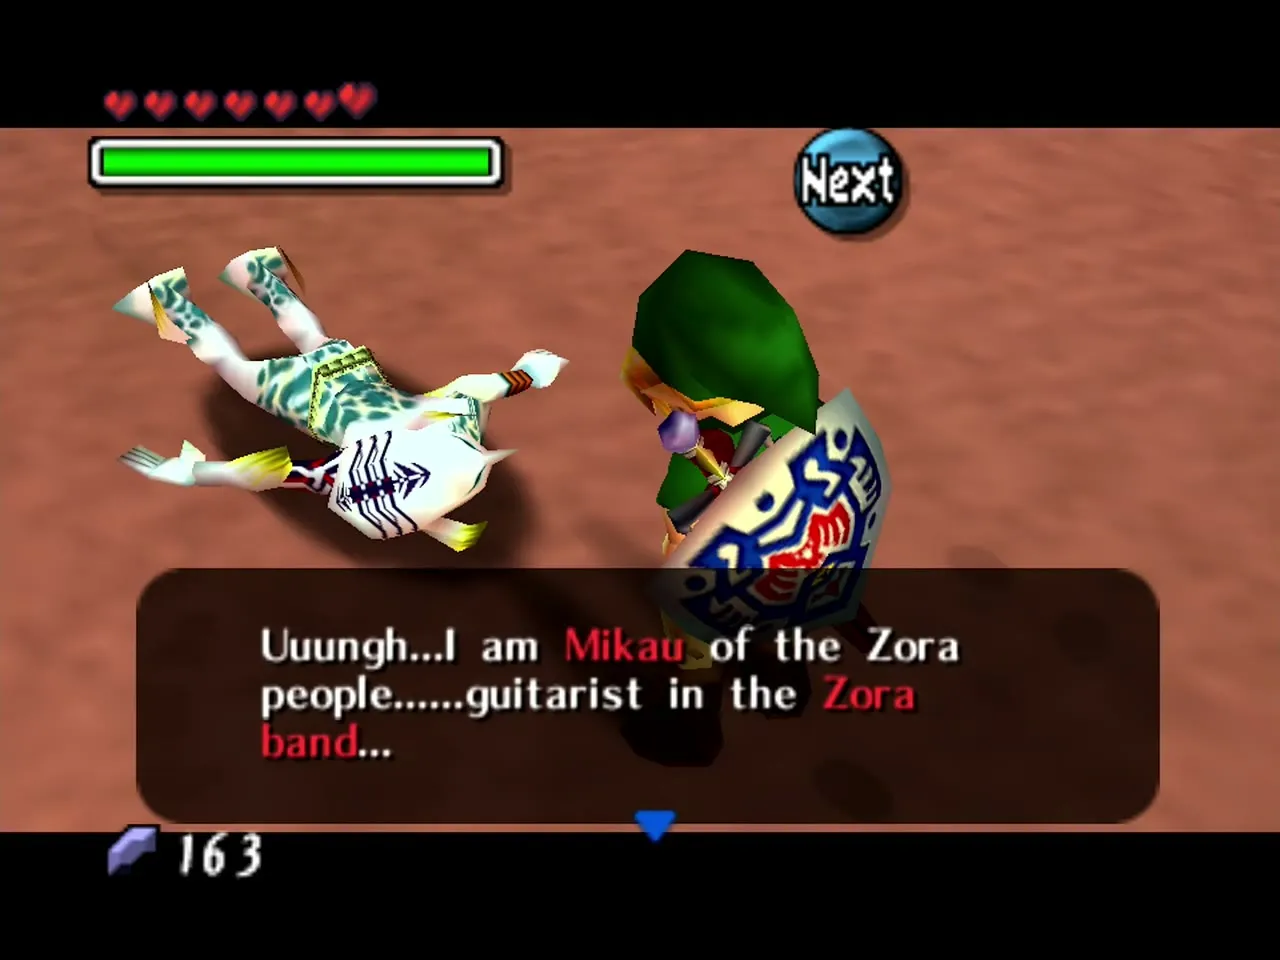
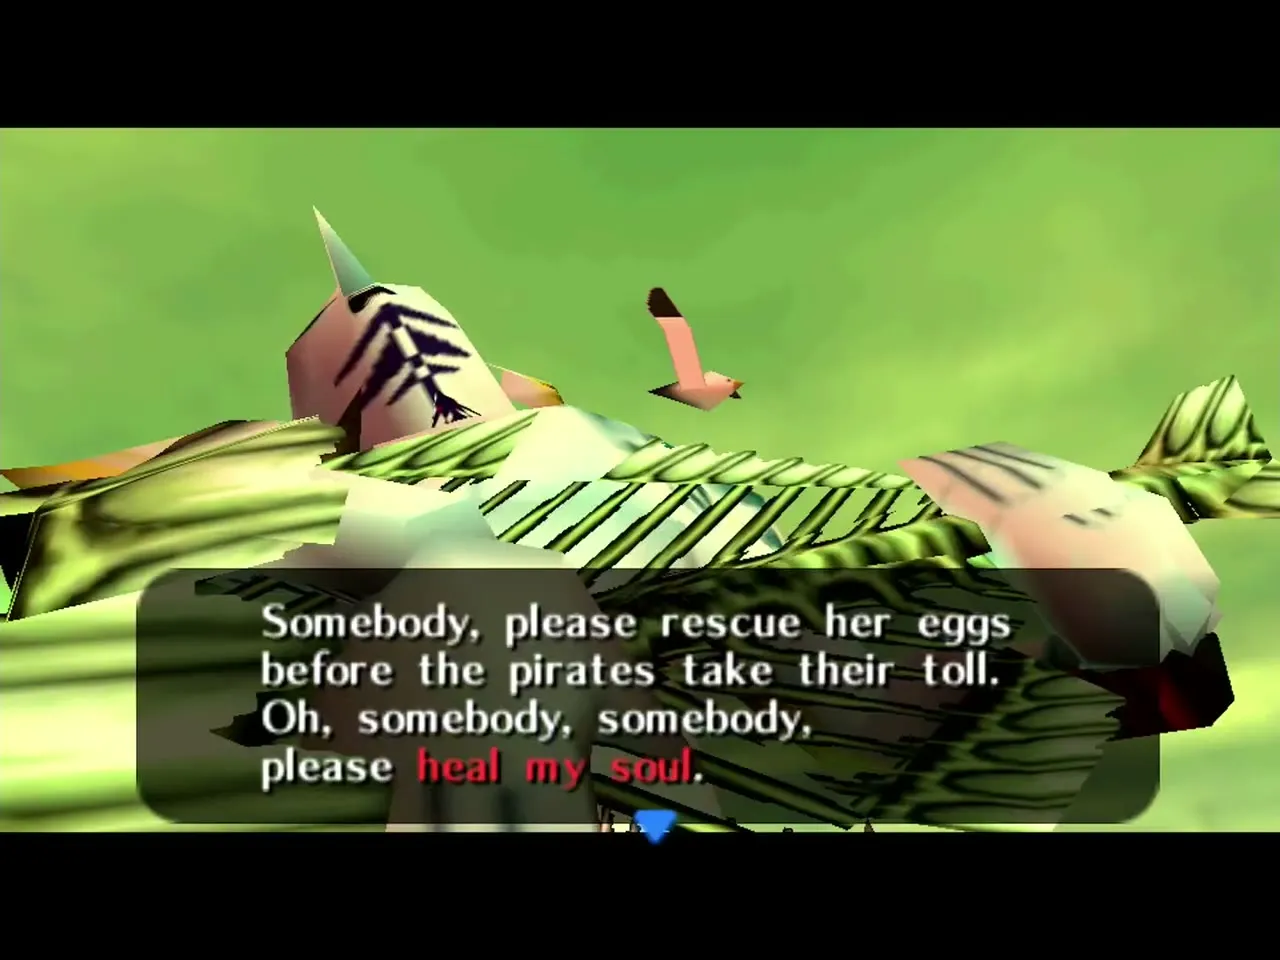
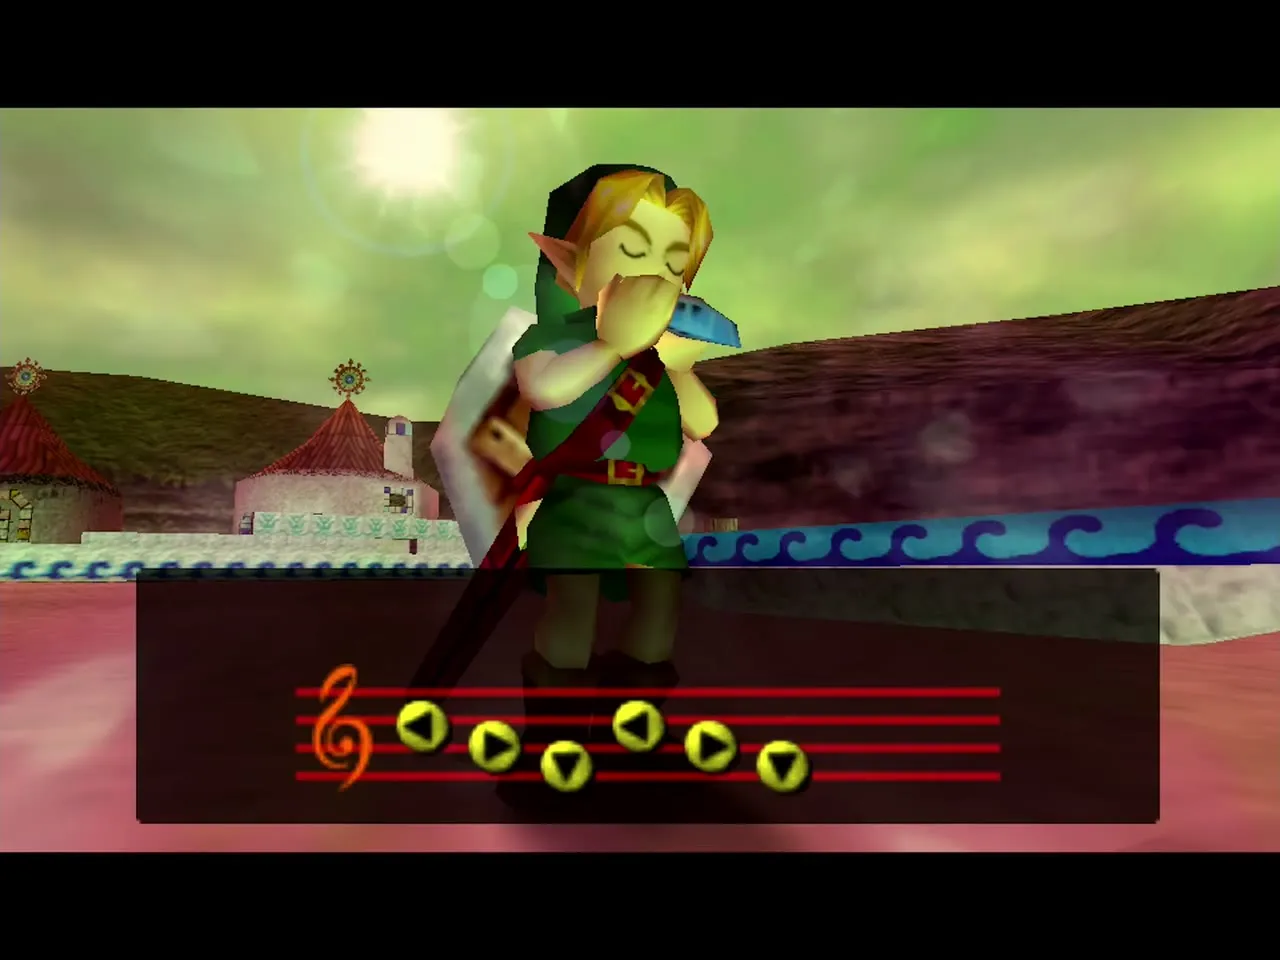
Mikau is the lead guitarist of The Indigo-Go’s. Link finds him badly hurt and floating near the coast of Great Bay, after he tried to win back Lulu’s stolen eggs from the Gerudo Pirates. Push him to the shore and talk to him. When Link plays the Song of Healing, Link receives the Zora Mask and Mikau’s spirit can rest. His diary and guitar are used later in the Zora Hall jam session. See the Great Bay Region walkthrough.
Lulu
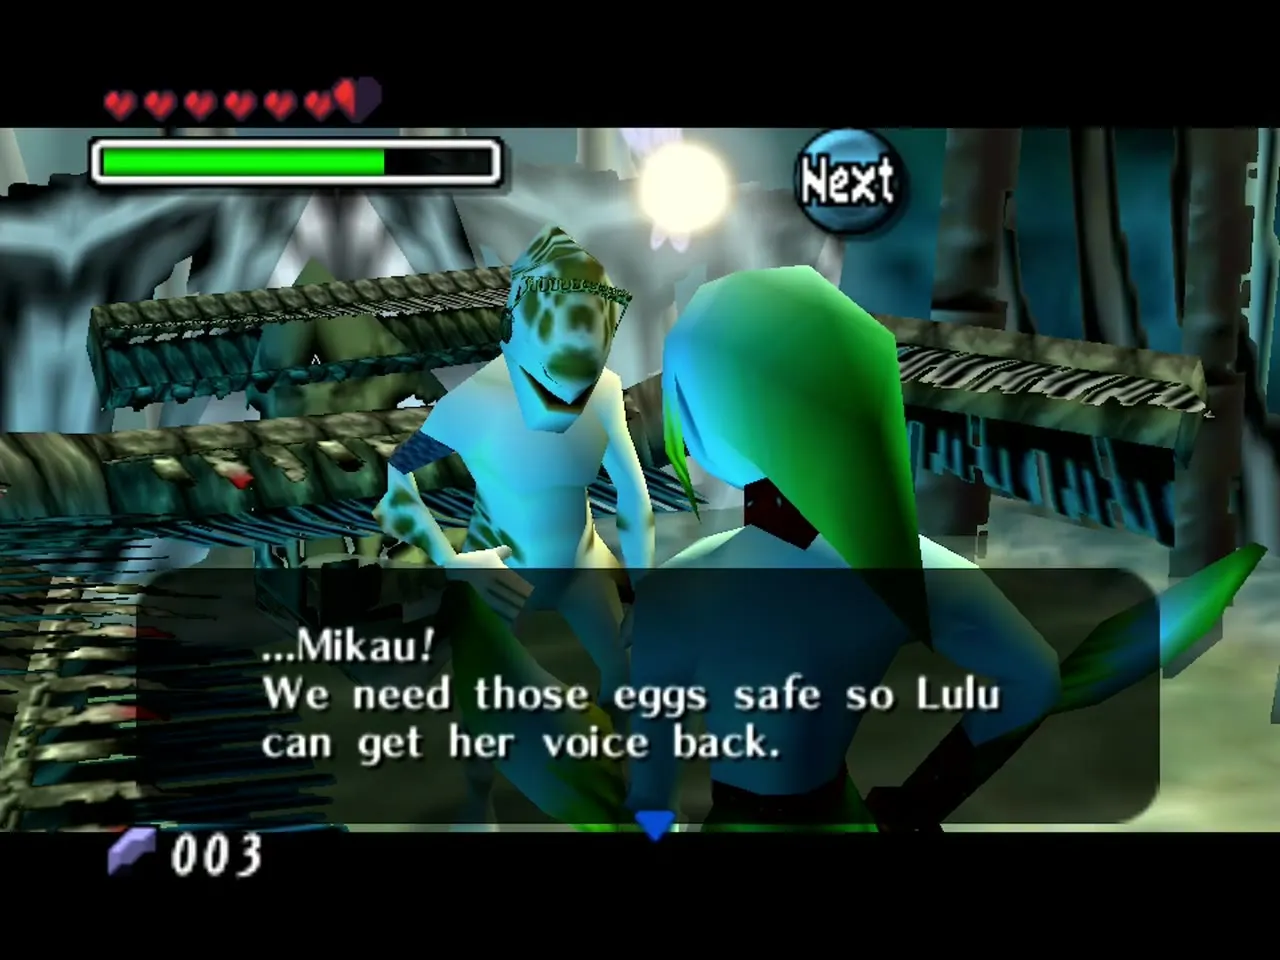
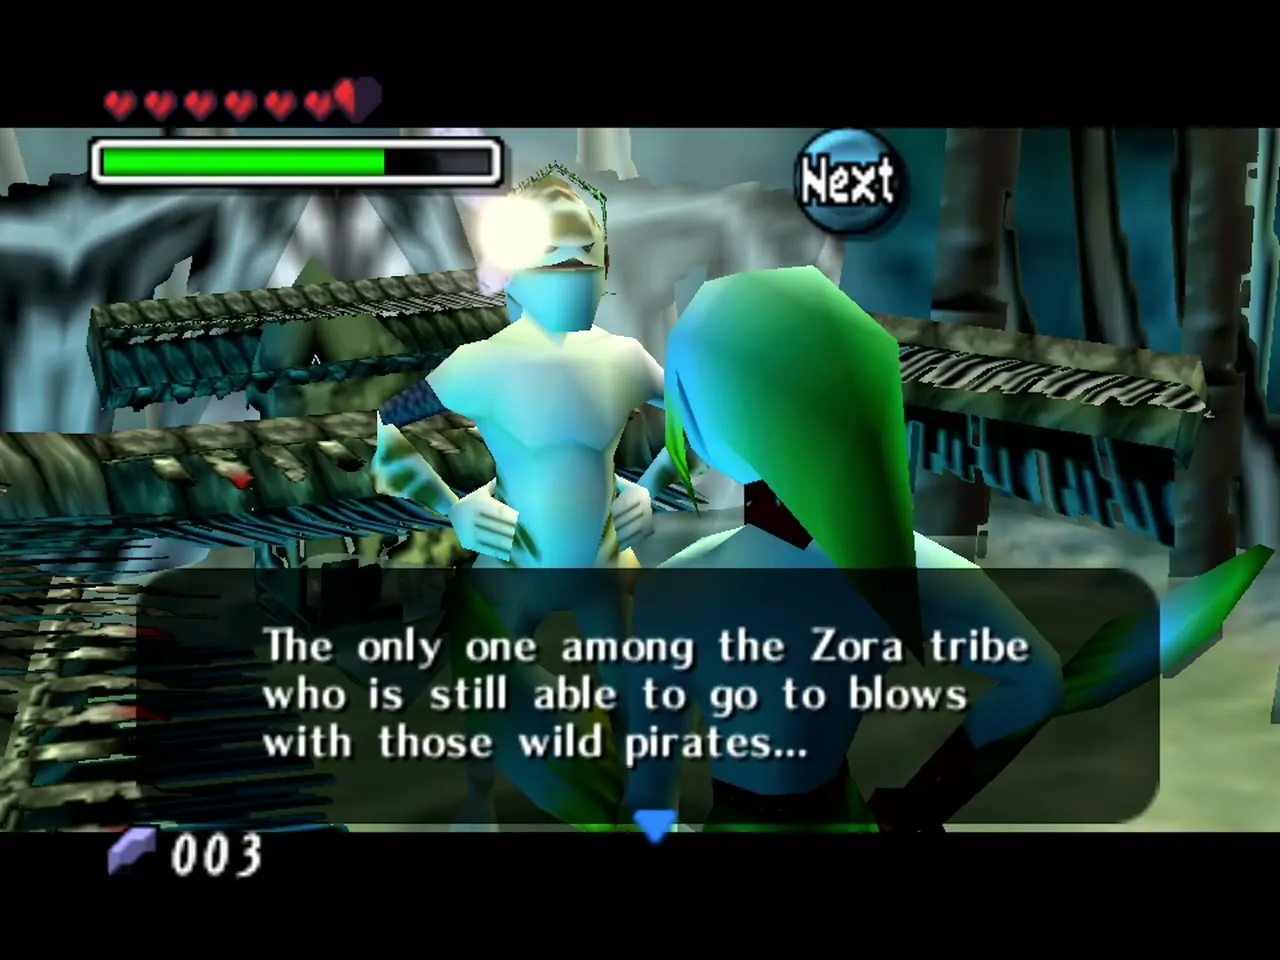
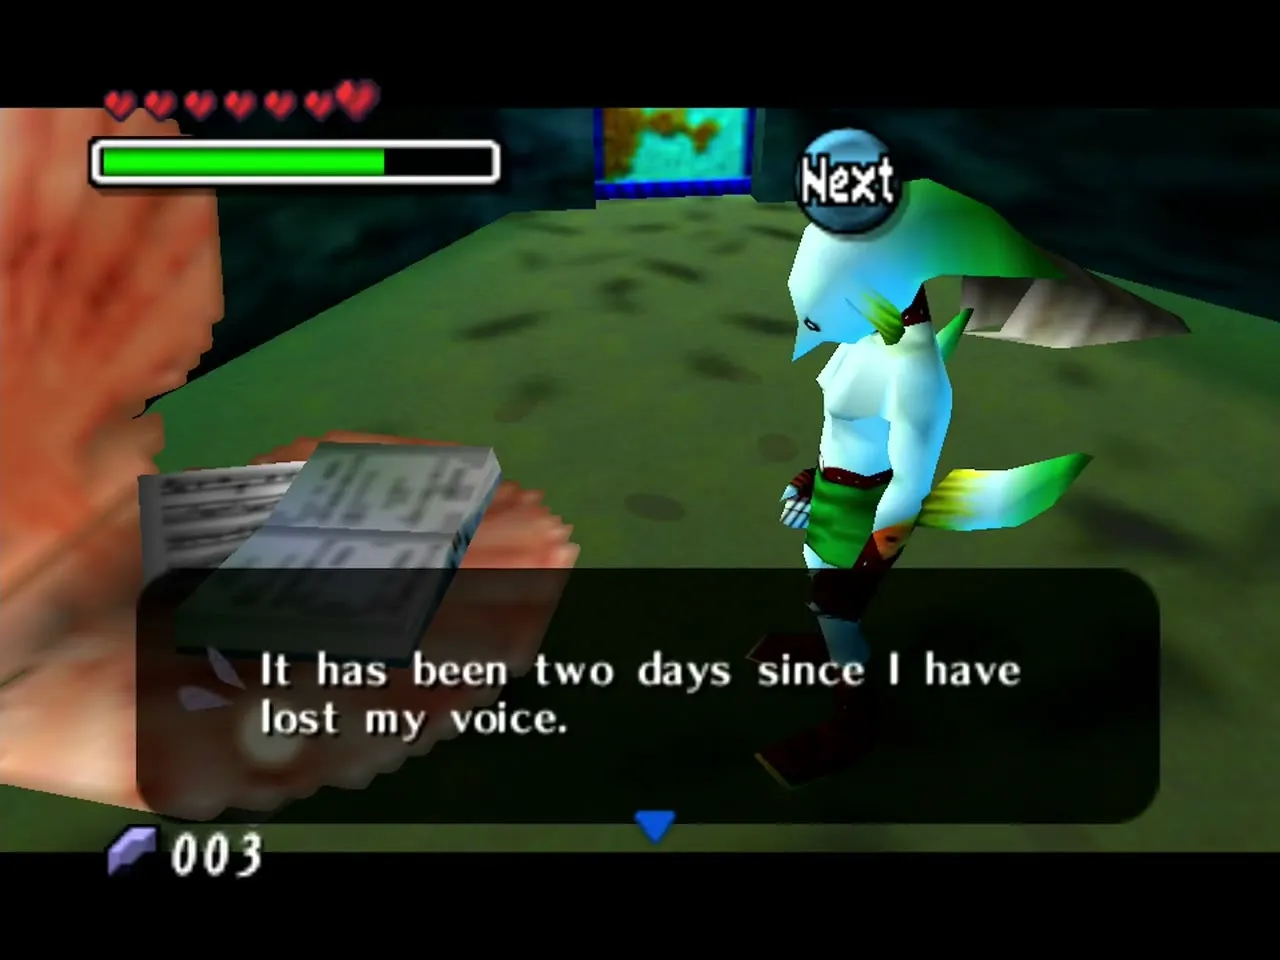
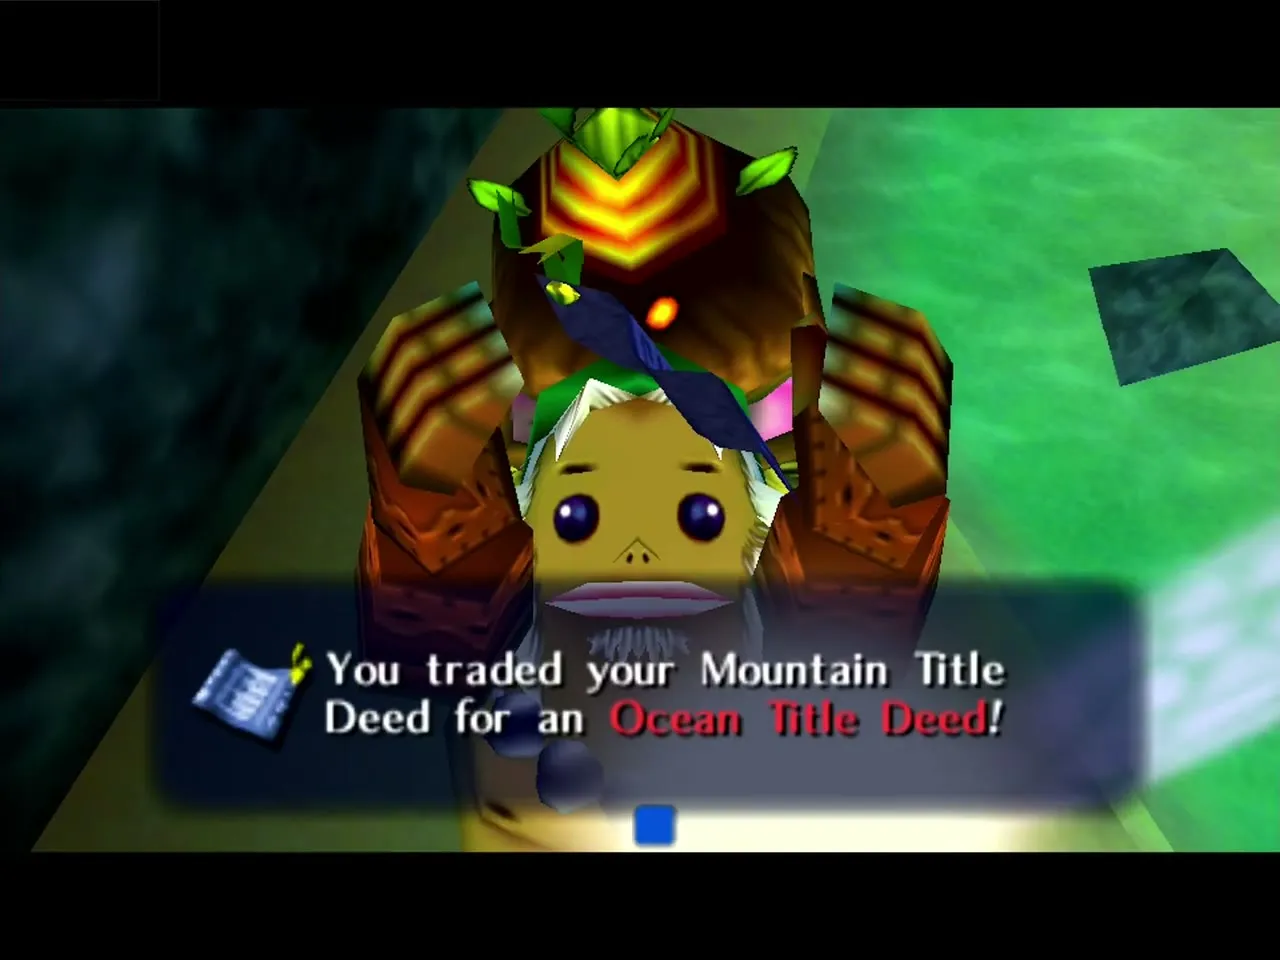
Lulu is the lead singer of The Indigo-Go’s. The Gerudo Pirates stole her Zora Eggs, and she has lost her voice and withdrawn to Zora Hall. Bring back all seven eggs to the Marine Research Lab and hatch them. The newborn Zoras then teach you New Wave Bossa Nova. Play it for Lulu at the water’s edge on Zora Cape and she sings again, which wakes the great turtle that carries you to Great Bay Temple. A Business Scrub in her room in Zora Hall trades the Mountain Title Deed for the Ocean Title Deed, and the flower he leaves behind leads to a Piece of Heart. See the Great Bay Region walkthrough and the Great Bay Temple walkthrough.
Evan
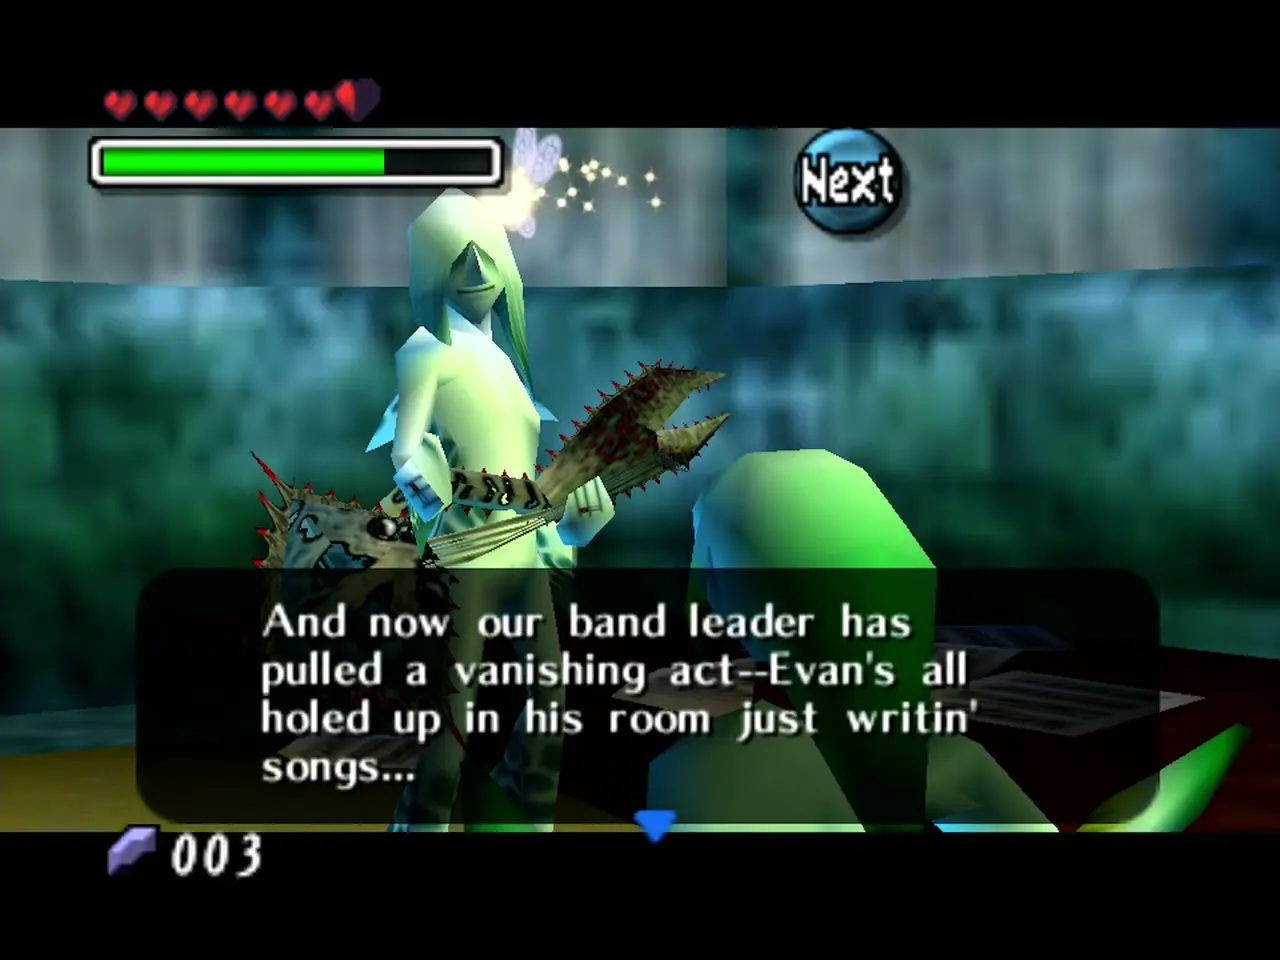
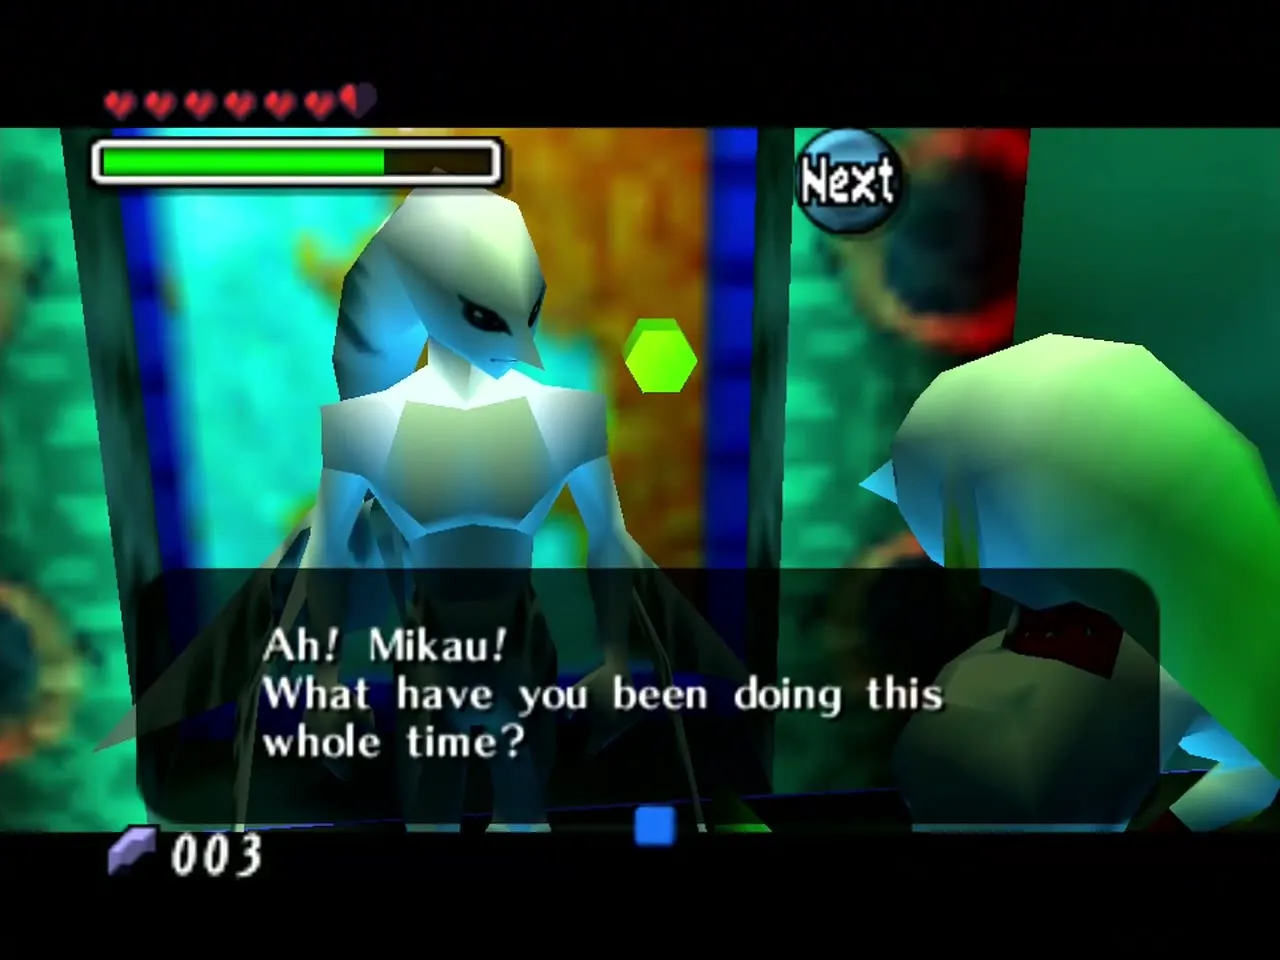
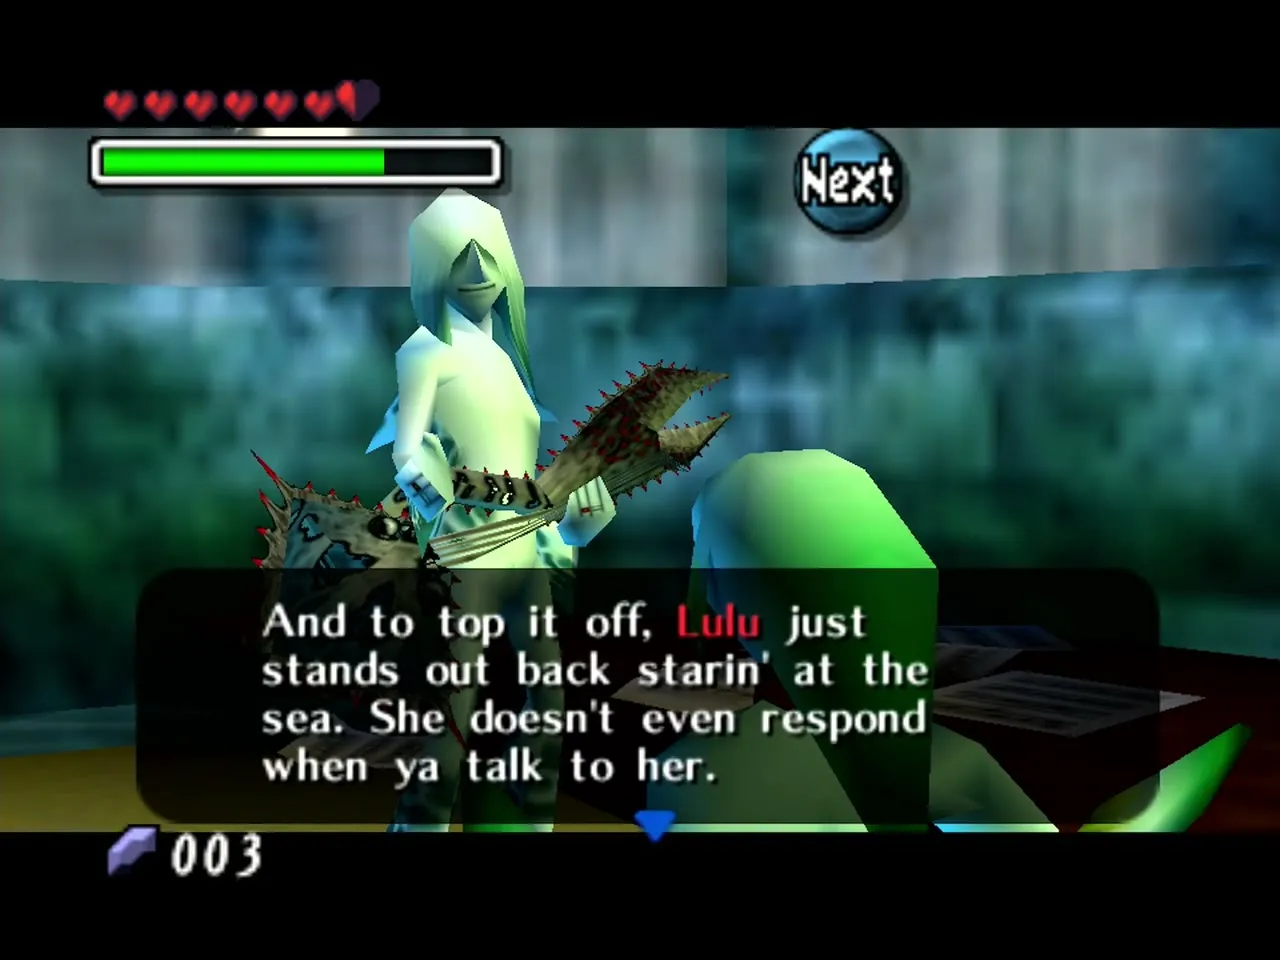
Evan is the Zora keyboardist and composer of The Indigo-Go’s, and he works in his room at Zora Hall. Learn the new song with Japas first: read Mikau’s diary for the score, trade four-note phrases with Japas as Zora Link, then play the finished melody for Evan on the Ocarina as Hylian Link rather than as a Zora, and he gives you a Piece of Heart. See the Great Bay Region walkthrough.
Japas
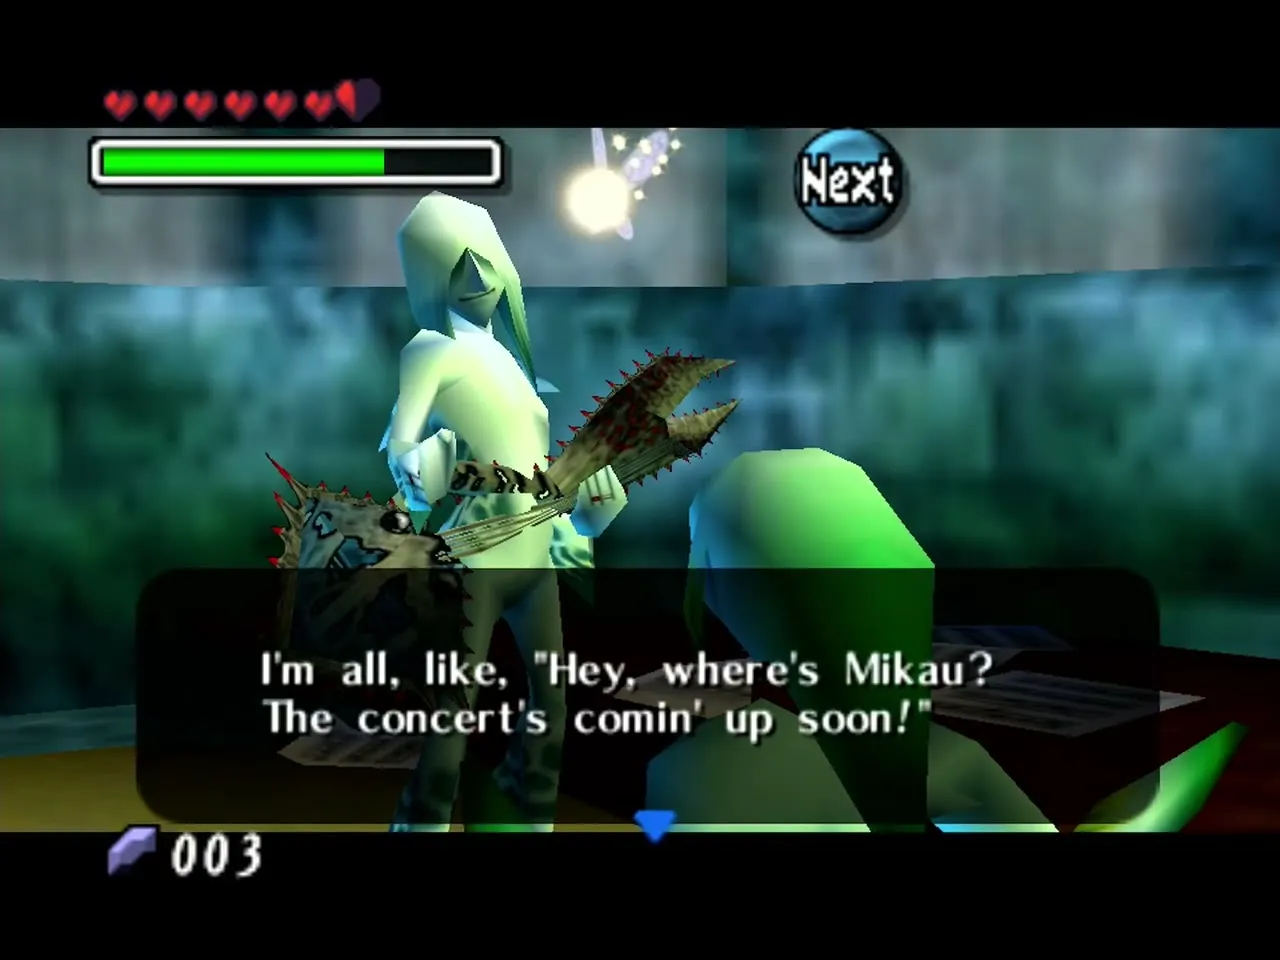
Japas is the laid-back bassist for The Indigo-Go’s; he plays bass guitar. He is jamming in his room at Zora Hall. Read Mikau’s diary for the score, then take out Mikau’s guitar as Zora Link and trade four-note phrases with him. The song you build together is the one Evan wants to hear, and you play it for Evan as Hylian Link. See the Great Bay Region walkthrough.
Tijo
Tijo is the drummer for The Indigo-Go’s and practises in his room at Zora Hall. He shares his room with Mikau, and Mikau’s diary, which you need for the jam session, is found there. Read it as Zora Link. See the Great Bay Region walkthrough.
Zora Eggs
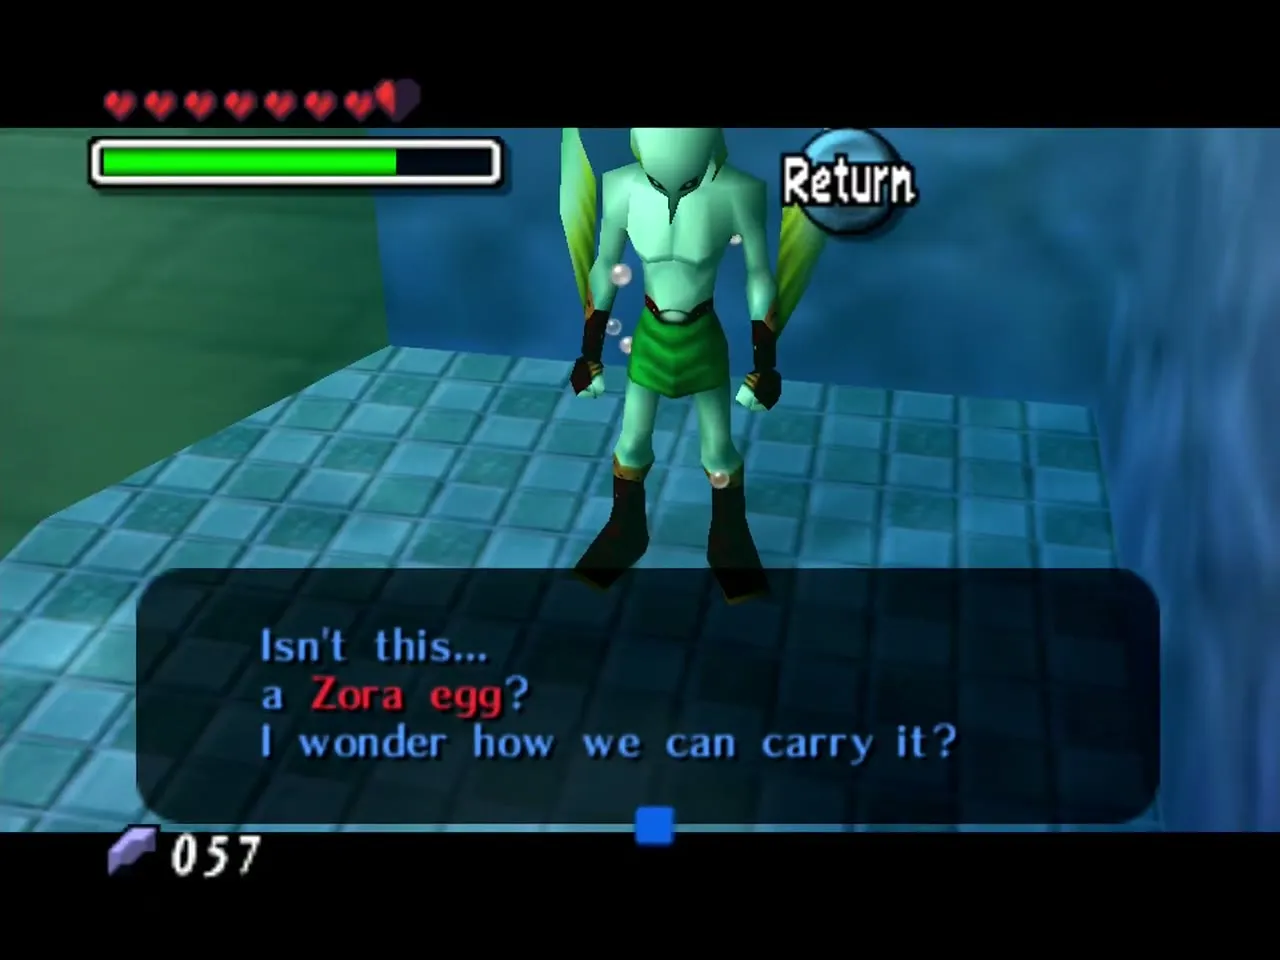
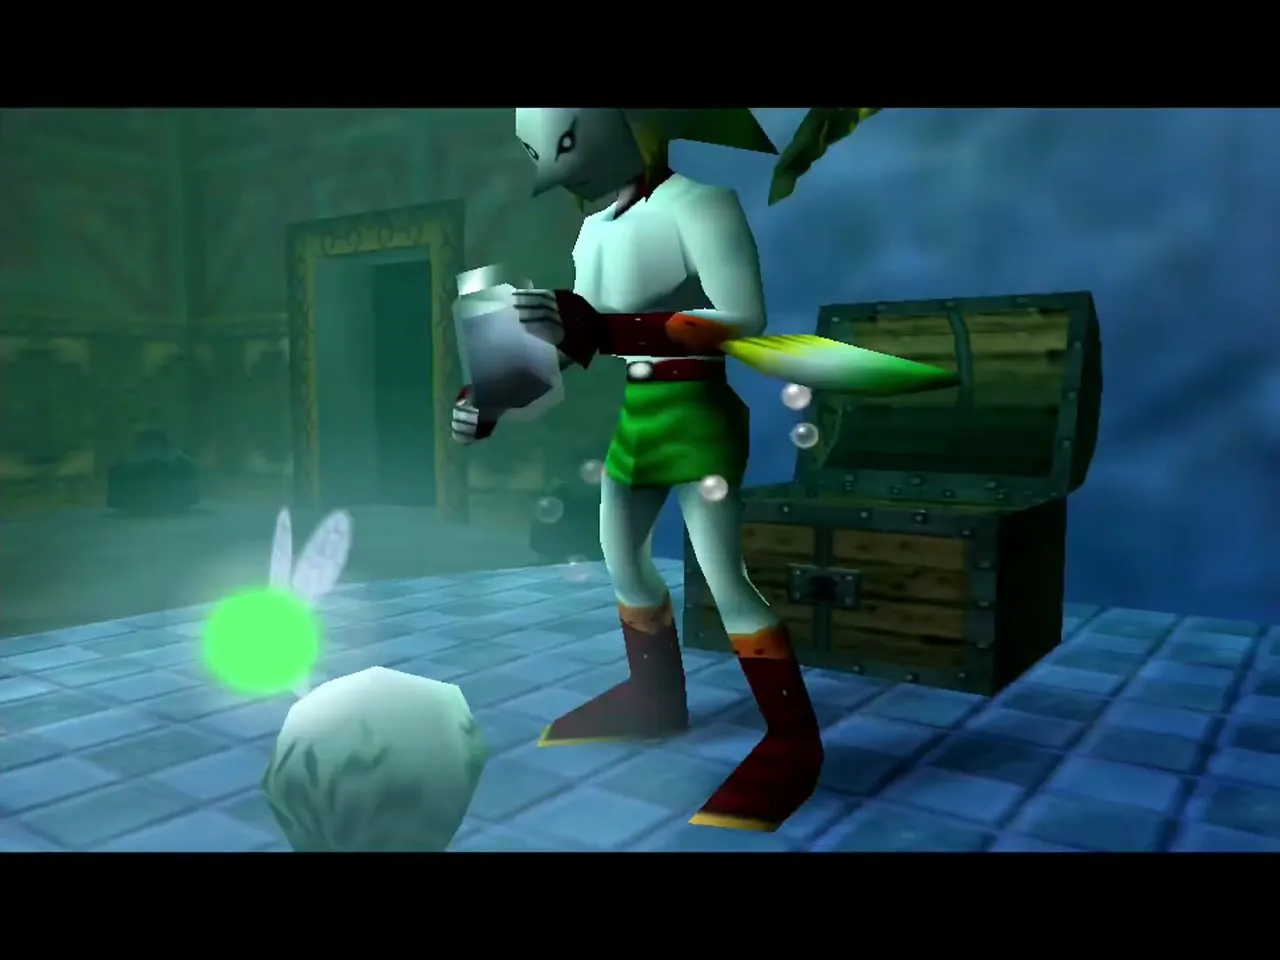
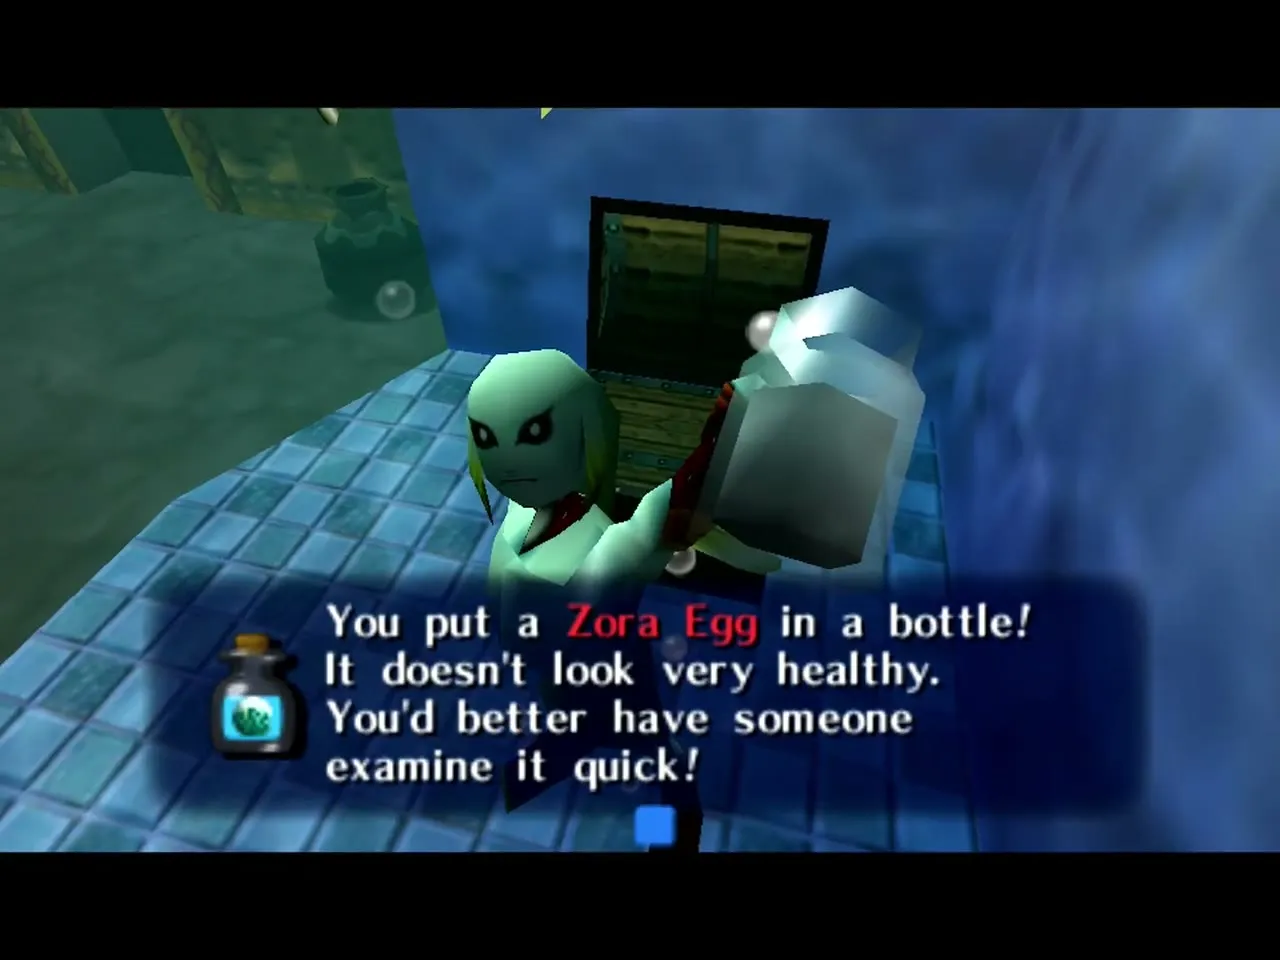
The Zora Eggs are Lulu’s seven eggs. Four are held in the Pirates’ Fortress, and three are on Pinnacle Rock, taken there by sea snakes. Use empty bottles to carry each one back to the tank in the Marine Research Lab. Do not play the Song of Time while carrying them, because the eggs do not survive a reset. Once the eggs hatch, the baby Zoras teach Link New Wave Bossa Nova. See the Great Bay Region walkthrough.
Fisherman
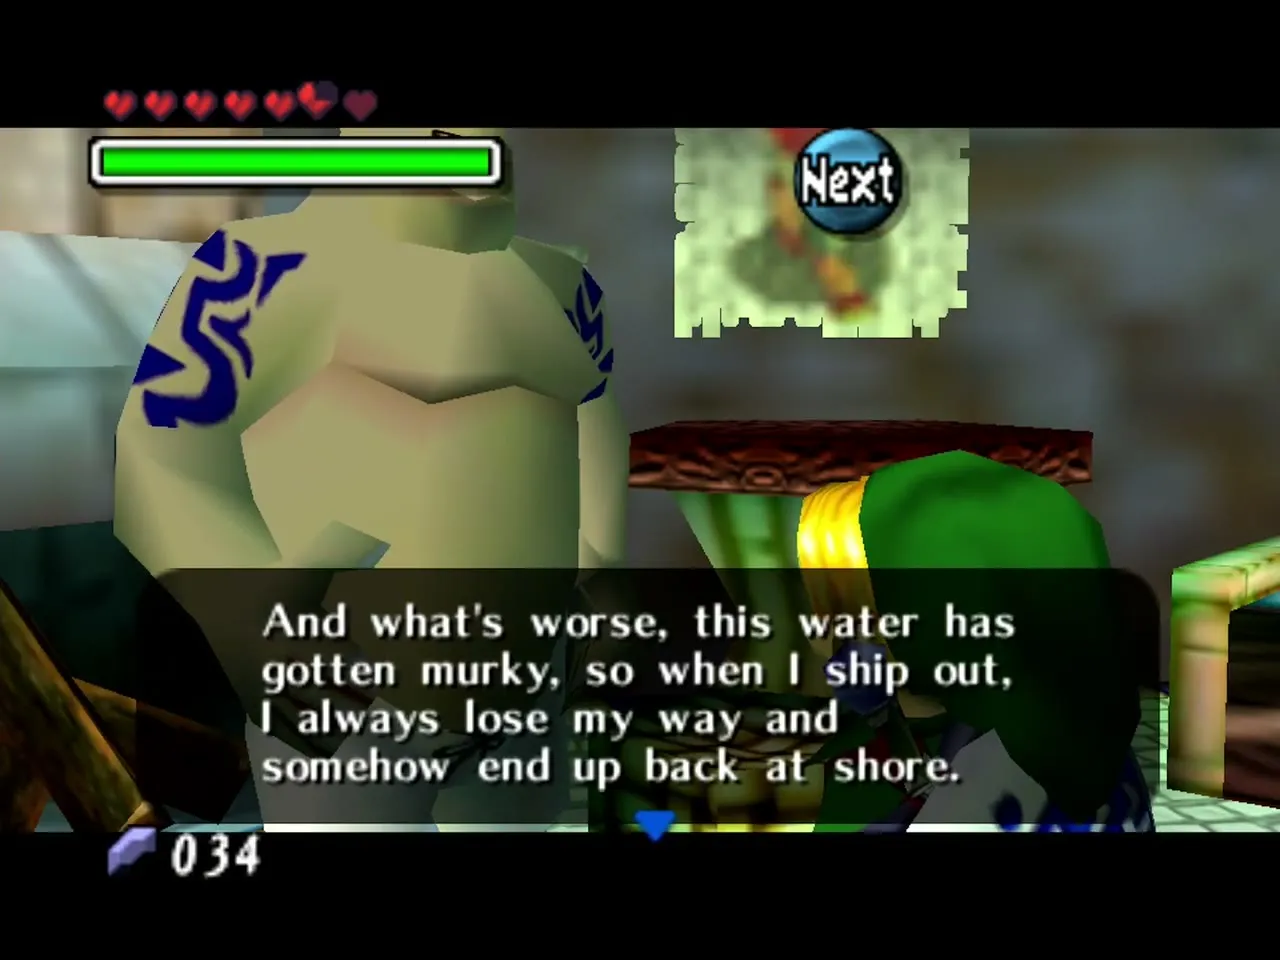
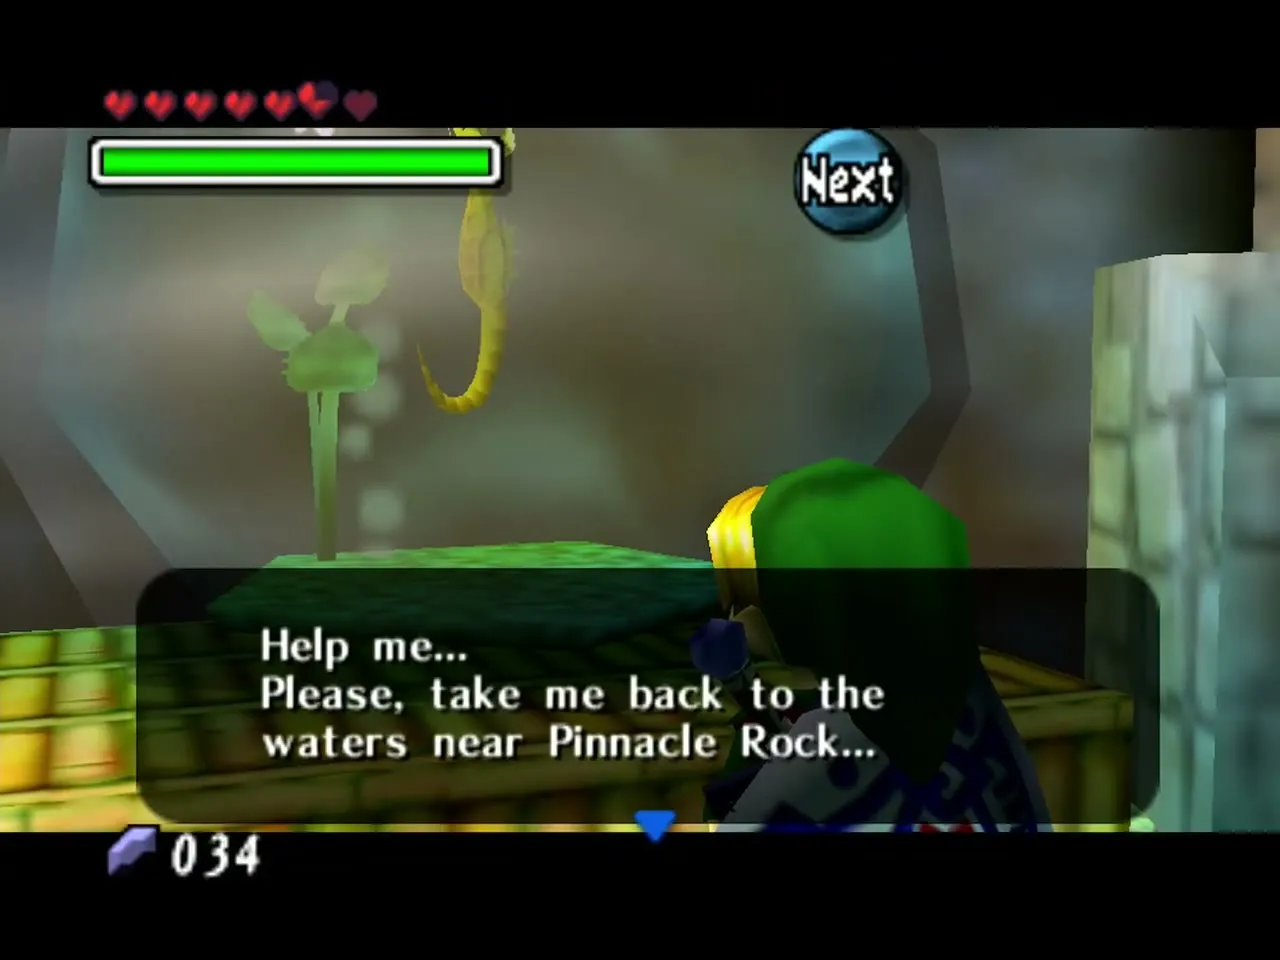
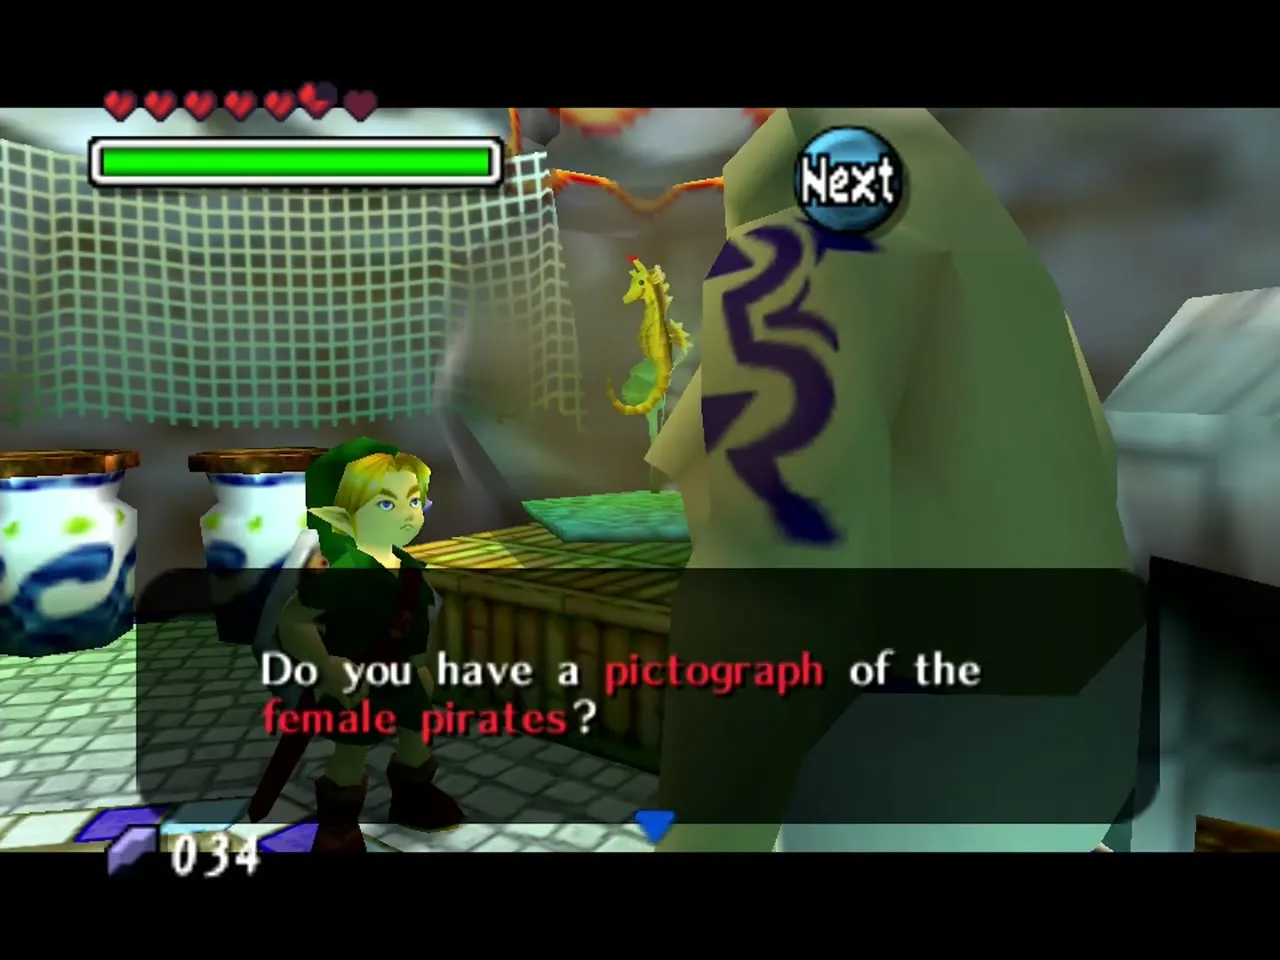
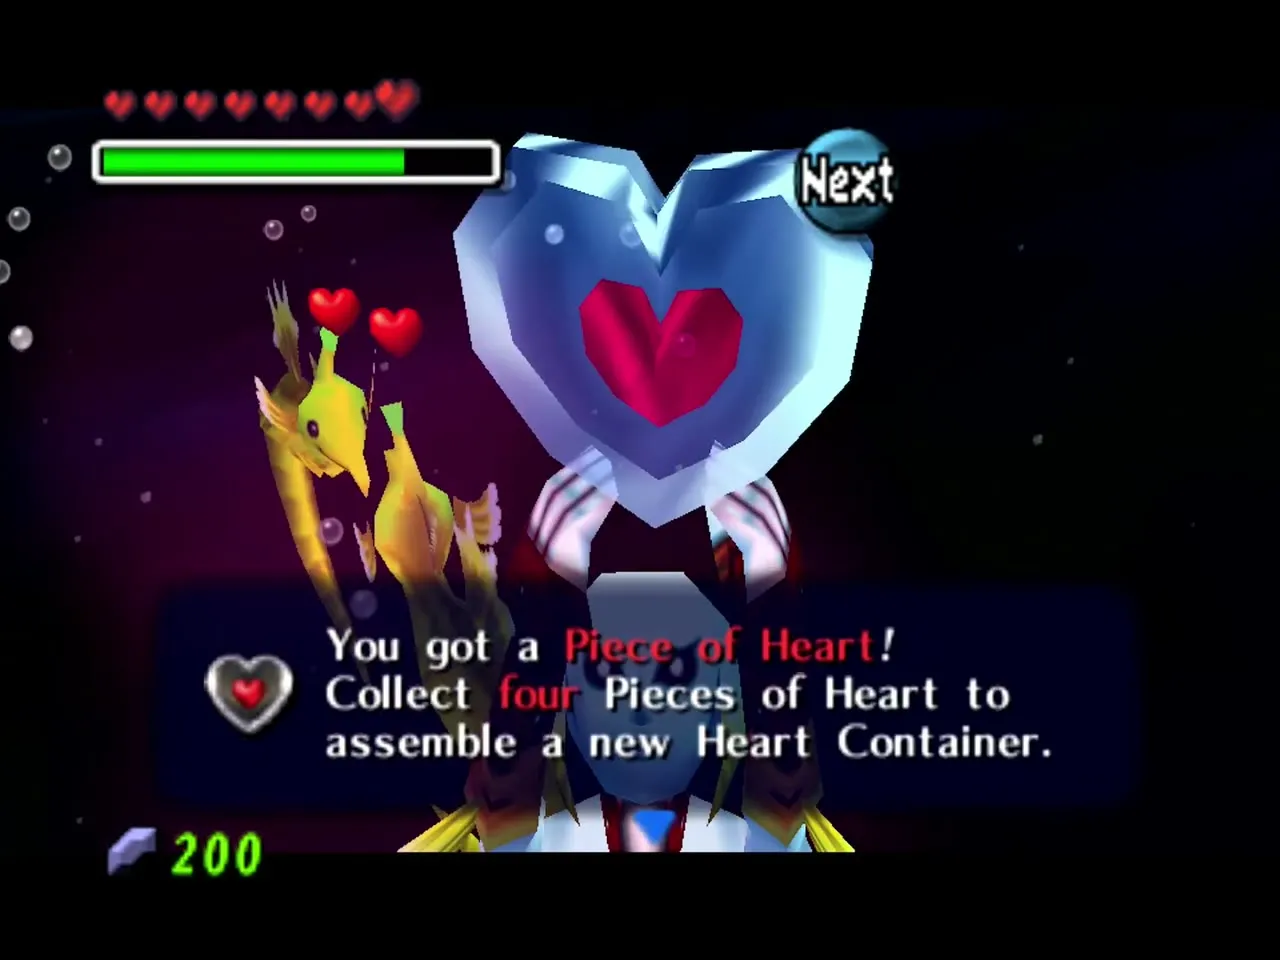
The Fisherman lives in a hut on the Great Bay Coast. He is obsessed with the Gerudo Pirates and wants a pictograph of one. Take a clear photo of a pirate guard from the water with the Pictograph Box, bring it to him and he gives you a captive seahorse in a bottle. Carry it to Pinnacle Rock, and once the sea snakes there are cleared, the seahorses reward you with a Piece of Heart. He also runs a jumping game on the Great Bay coast, in daytime after Great Bay Temple, for 20 Rupees: score 20 points for another Piece of Heart. See the Great Bay Region walkthrough and the Mini-Games page.
Marine Research Lab Scientist
The scientist at the Marine Research Lab studies the marine life of Great Bay. He looks after the Zora Eggs in his large tank once you have brought all seven in, and the hatching teaches you New Wave Bossa Nova. A second tank holds big fish: feed them fish from your bottles and one of them spits out a Piece of Heart. See the Great Bay Region walkthrough.
Gerudo Pirates
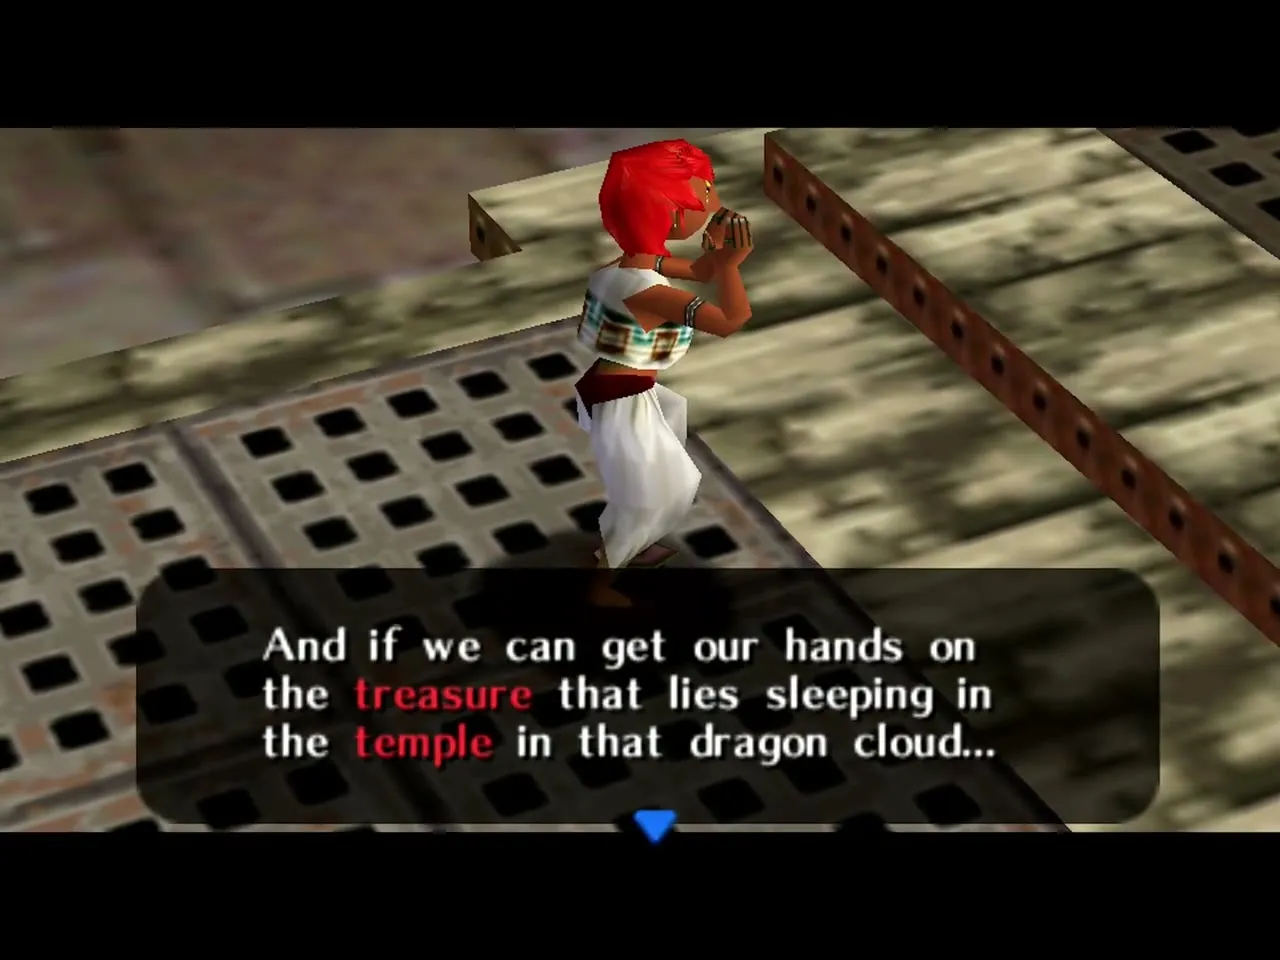
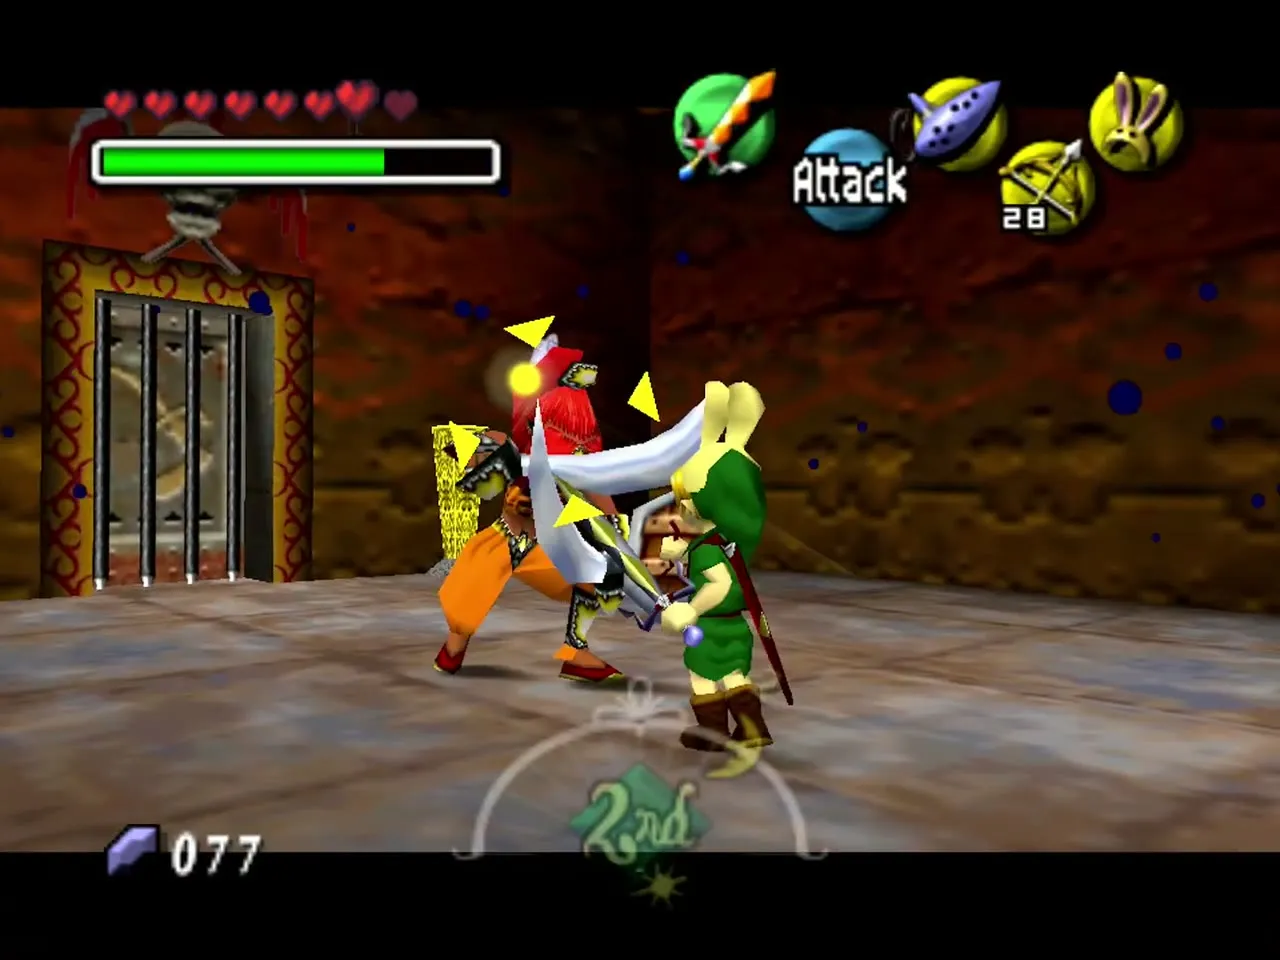
The Gerudo Pirates are an all-female gang of thieves who work from a hidden fortress in the cliffs of Great Bay. They stole the Zora Eggs. To recover the eggs, you have to get past their guards by stealth or by wearing the Stone Mask. Enter the fortress as Zora Link from the water and never let a guard see you. Inside, the Hookshot is in a chest in the leader’s room, and a pirate photo is what the Fisherman wants. See the Great Bay Region walkthrough.
Aveil
Aveil is the leader of the Gerudo Pirates in Great Bay. She commands the pirates from inside their fortress, where the Hookshot is kept in a chest. See the Great Bay Region walkthrough.
Oceanside Spider House Resident
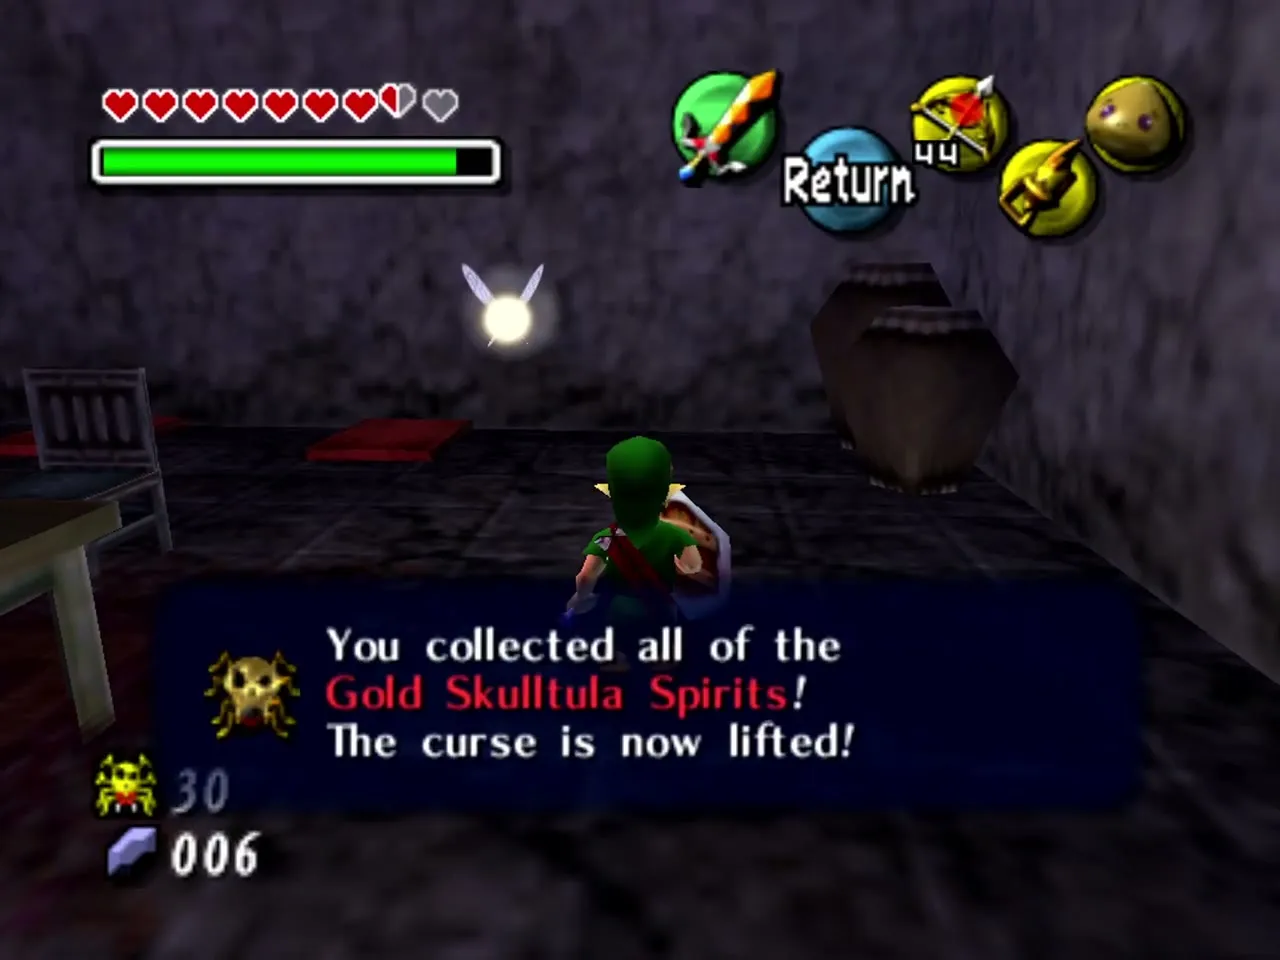
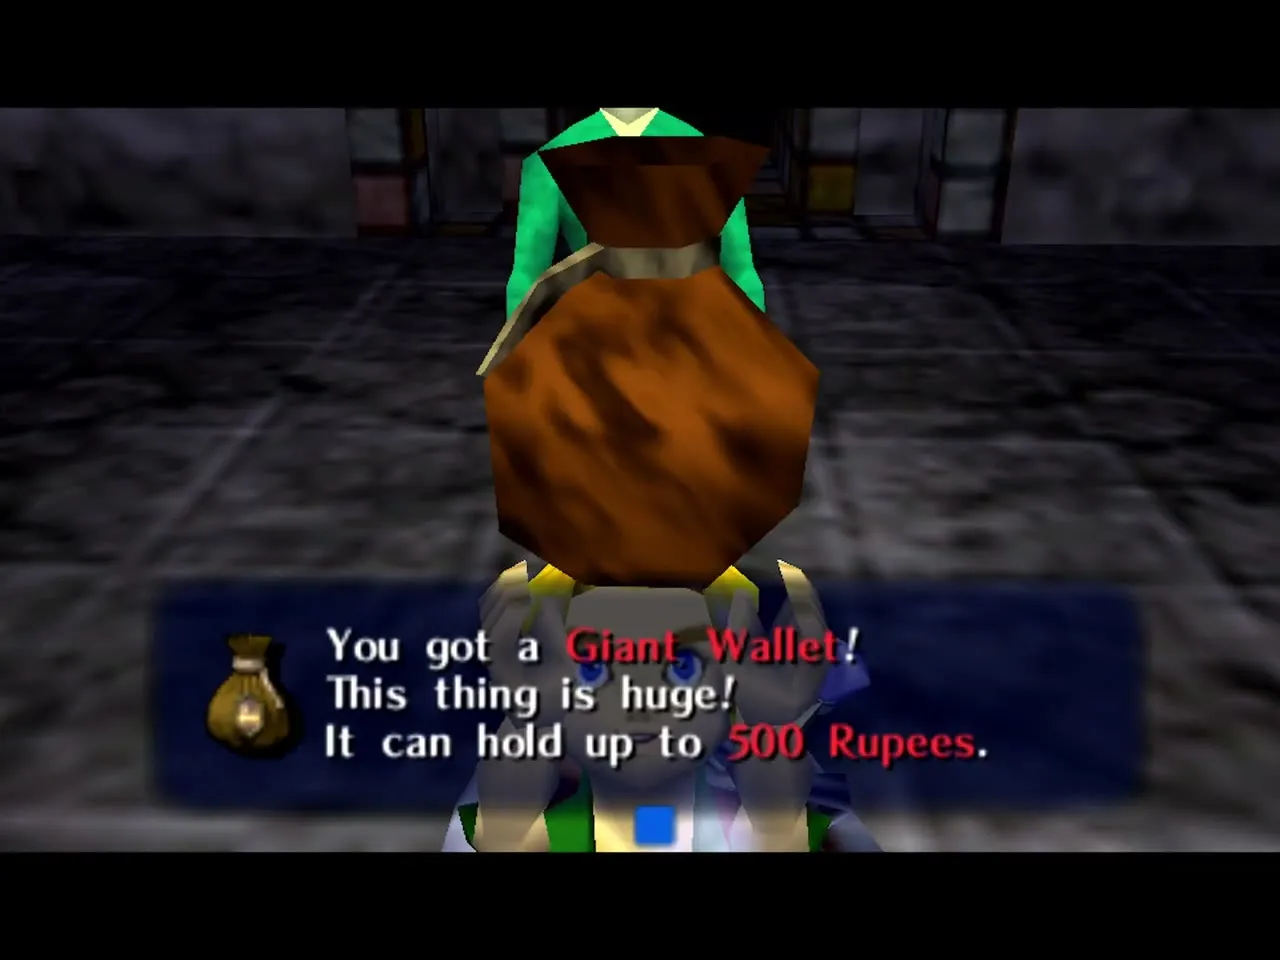
The man in the Oceanside Spider House on the Great Bay Coast is also cursed by the Skulltulas. On the N64 version you have to defeat its 30 Gold Skulltulas on the First Day. Doing so lifts his curse and gives you the Giant’s Wallet. Clear the house by the end of Day 1 so that you do not lose the reward. See the Oceanside Spider House page.
Beaver Brothers
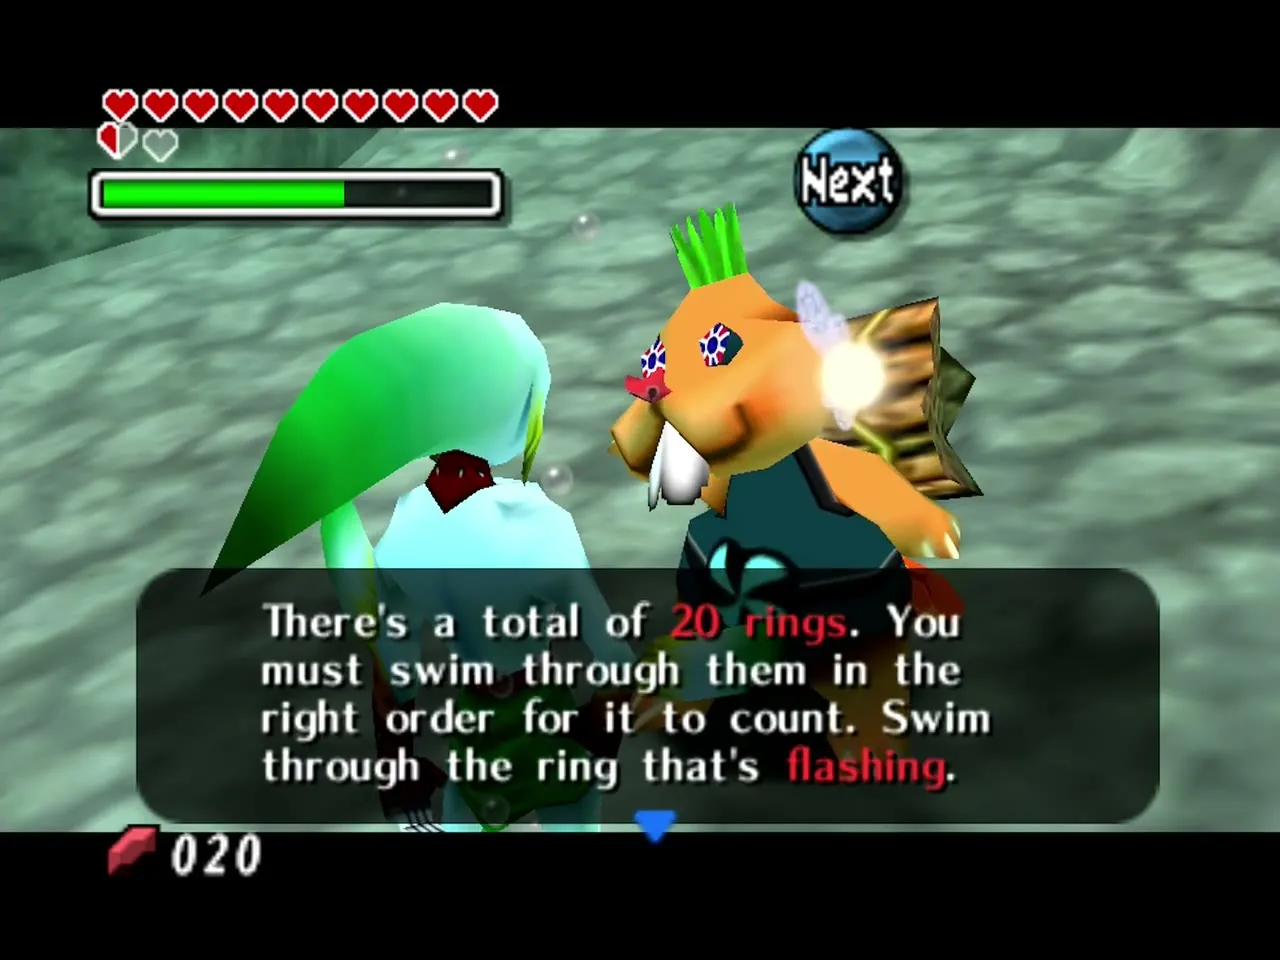
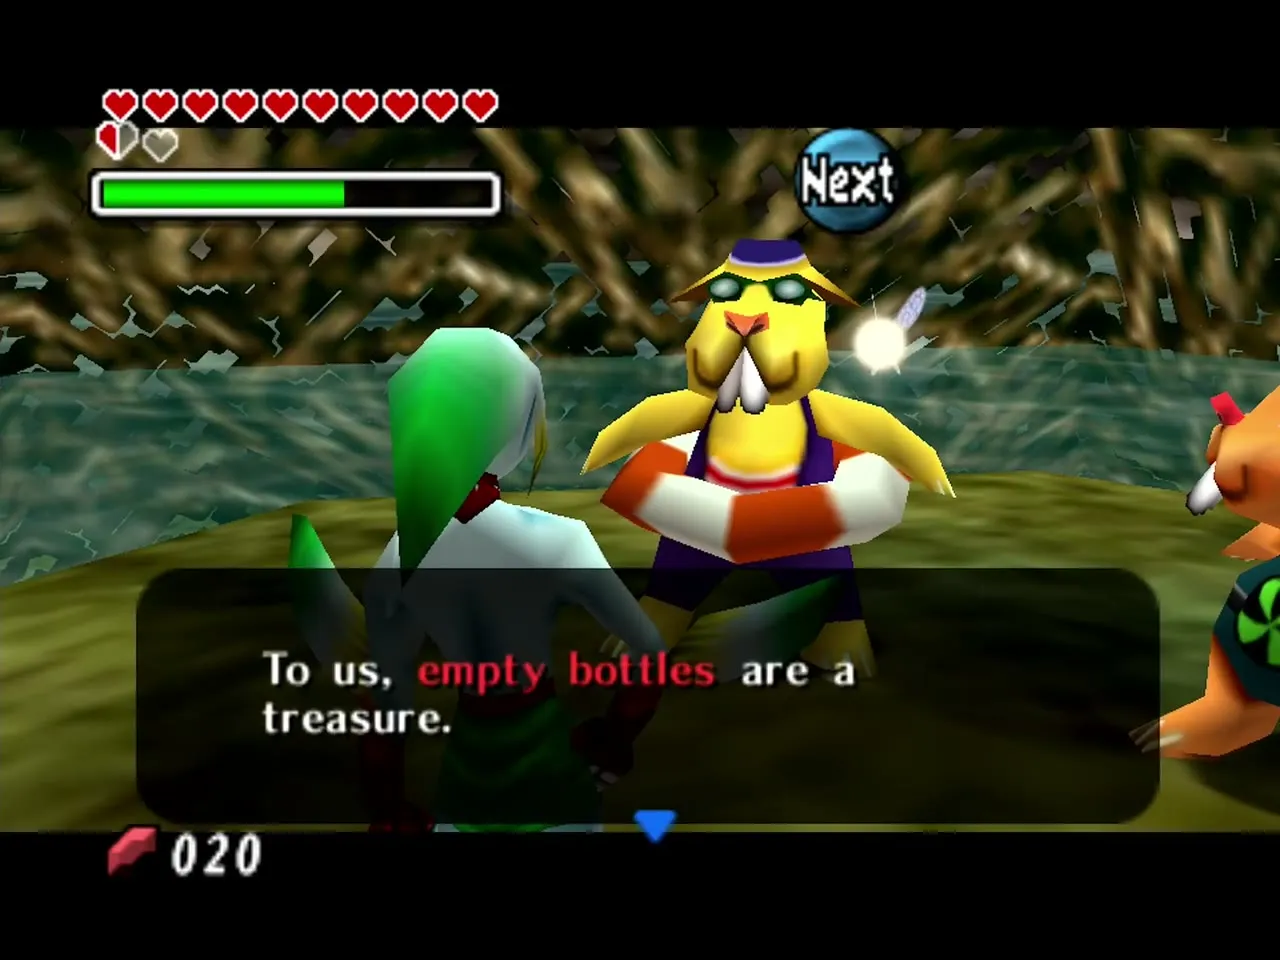
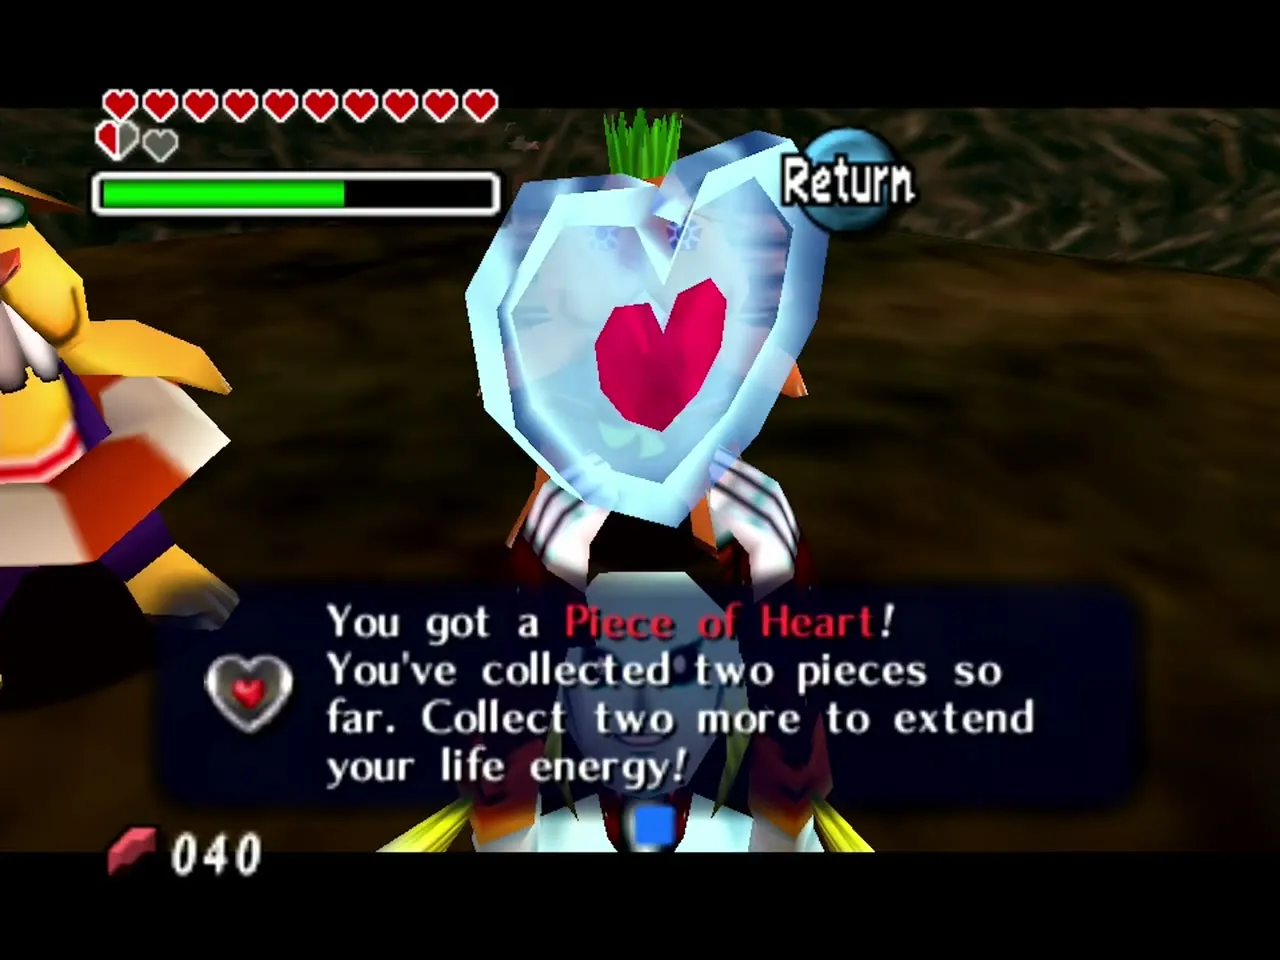
The Beaver Brothers are two rival beavers who live at Waterfall Rapids above Zora Cape. Use the Hookshot to reach them, then challenge them as Zora Link to swimming races through rings: 20 rings in under two minutes against the little brother, then 25 against the big brother. Win both races and you receive an Empty Bottle. A rematch with a faster time limit earns a Piece of Heart. See the Great Bay Region walkthrough and the Mini-Games page.
Ikana Canyon / Stone Tower NPCs
Ikana Canyon is haunted by the spirits of a fallen kingdom, Garo ninjas and cursed people.
Shiro
Shiro is a soldier who sits against the wall on the Road to Ikana, east of Clock Town, and you cannot see him without the Lens of Truth. Look through the Lens, talk to him and hand over a bottled Red Potion or Blue Potion. He gives you the Stone Mask, which makes most enemies lose track of you, and he fills in a page of your Bombers’ Notebook. See the Ikana Canyon walkthrough and the Bombers’ Notebook guide.
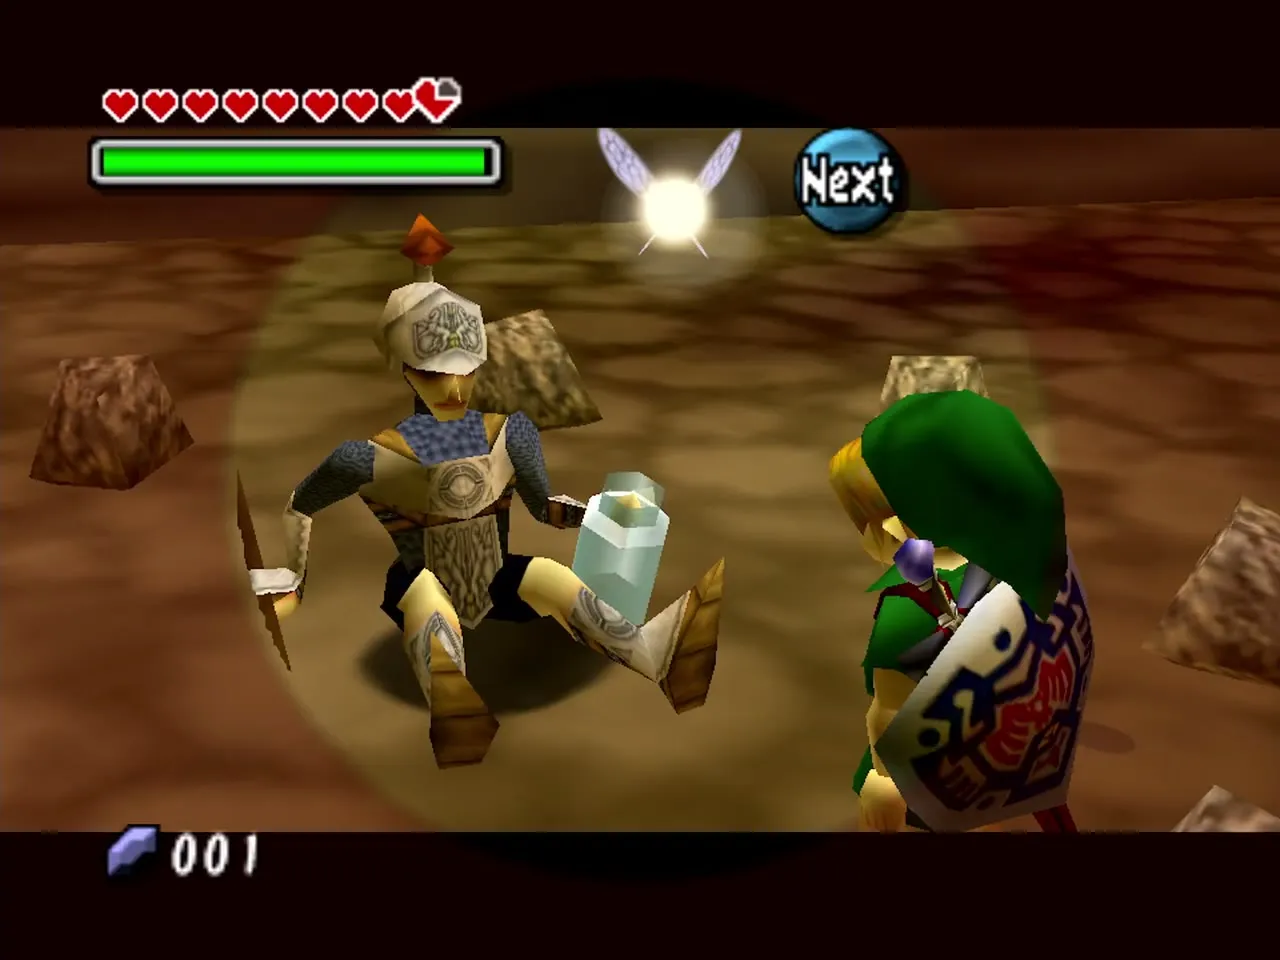
Pamela
Pamela is a brave girl who lives in a large music-box-shaped house in Ikana Canyon. She guards her father, who has been partly changed by the Gibdo curse, and she does not welcome visitors at first. Inside the house, play the Song of Healing for her father. See the Ikana Canyon walkthrough.
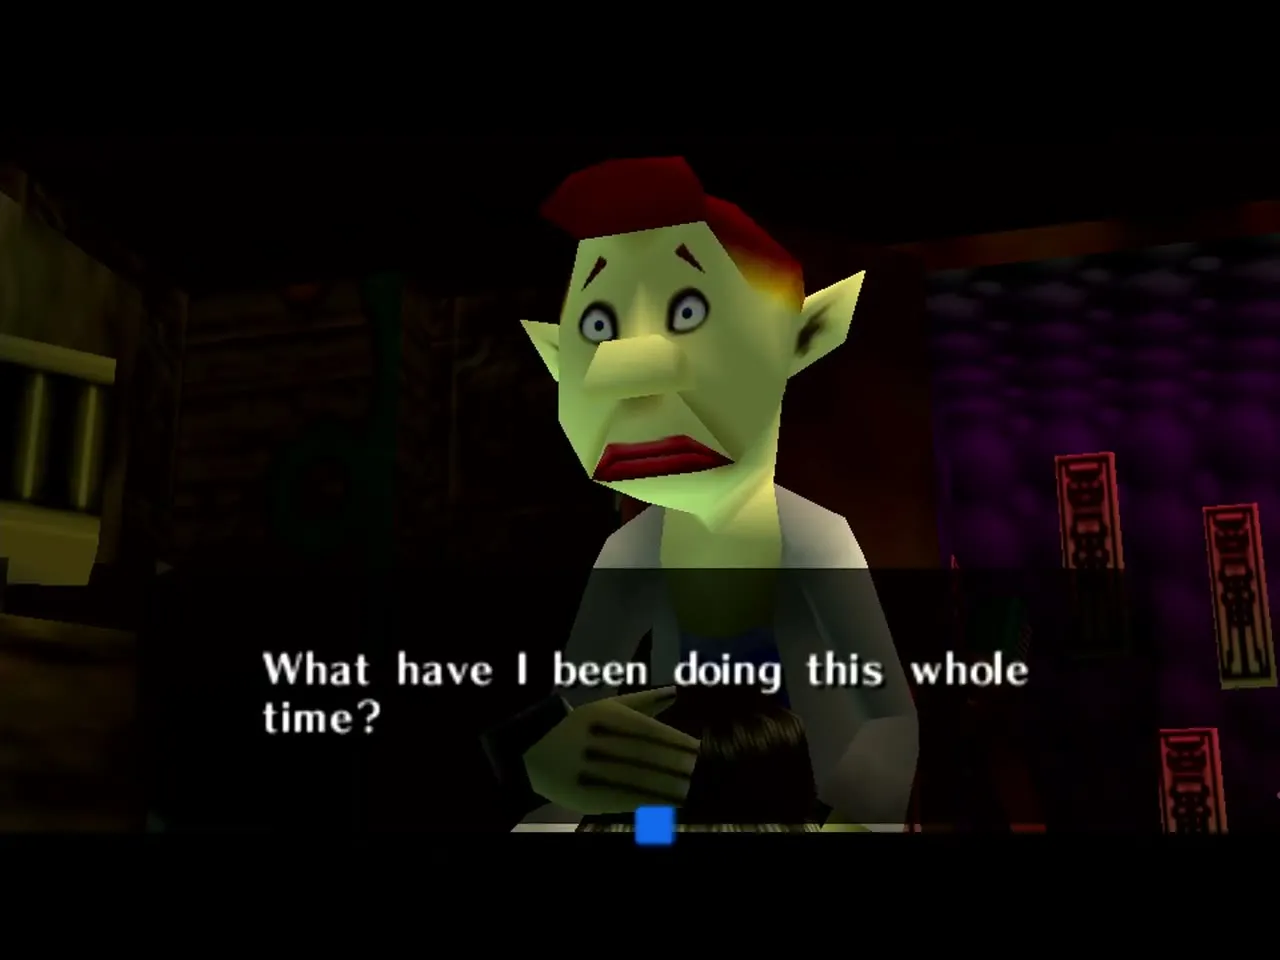
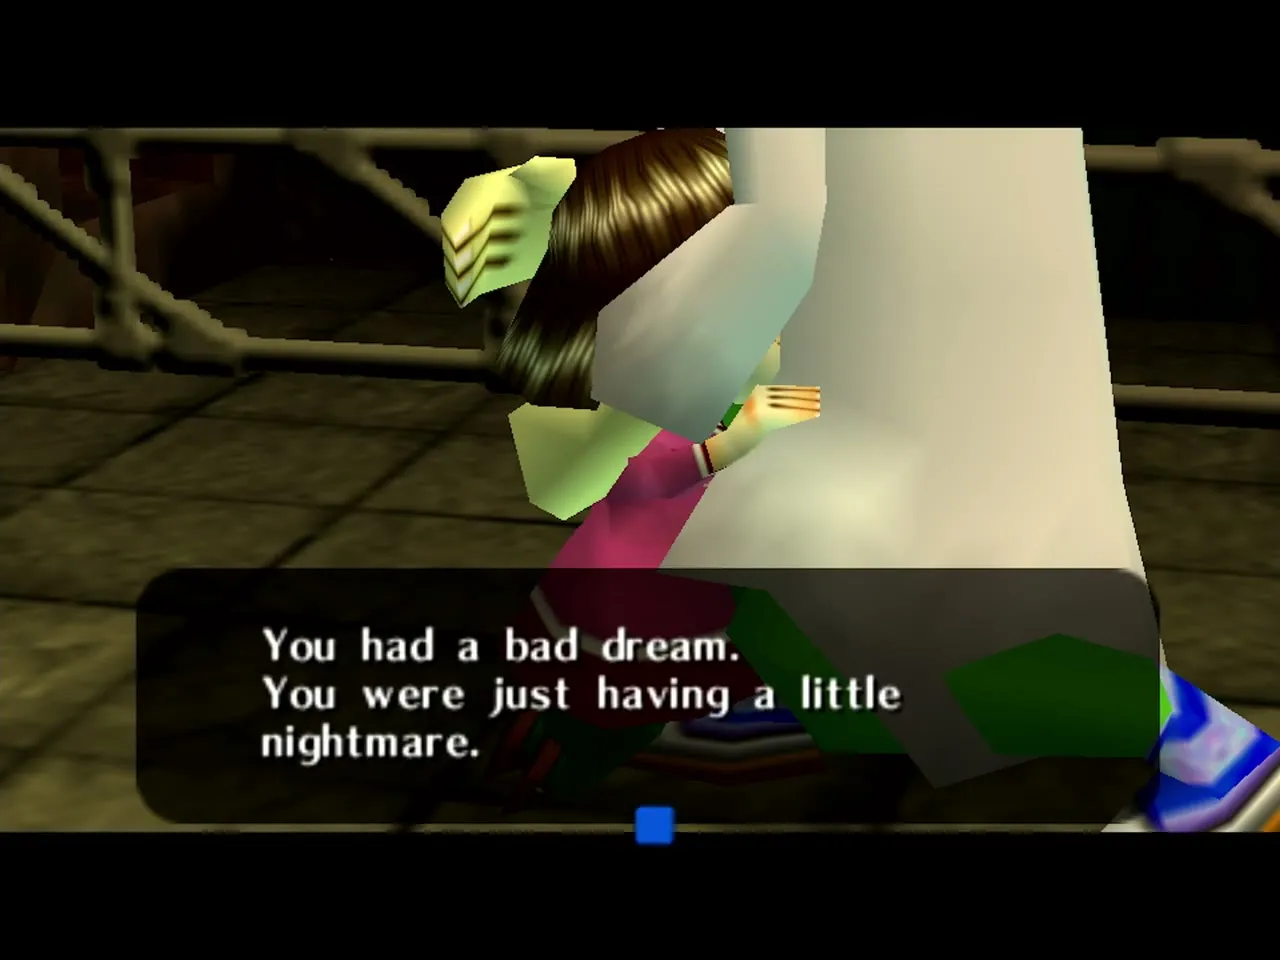
Pamela’s Father
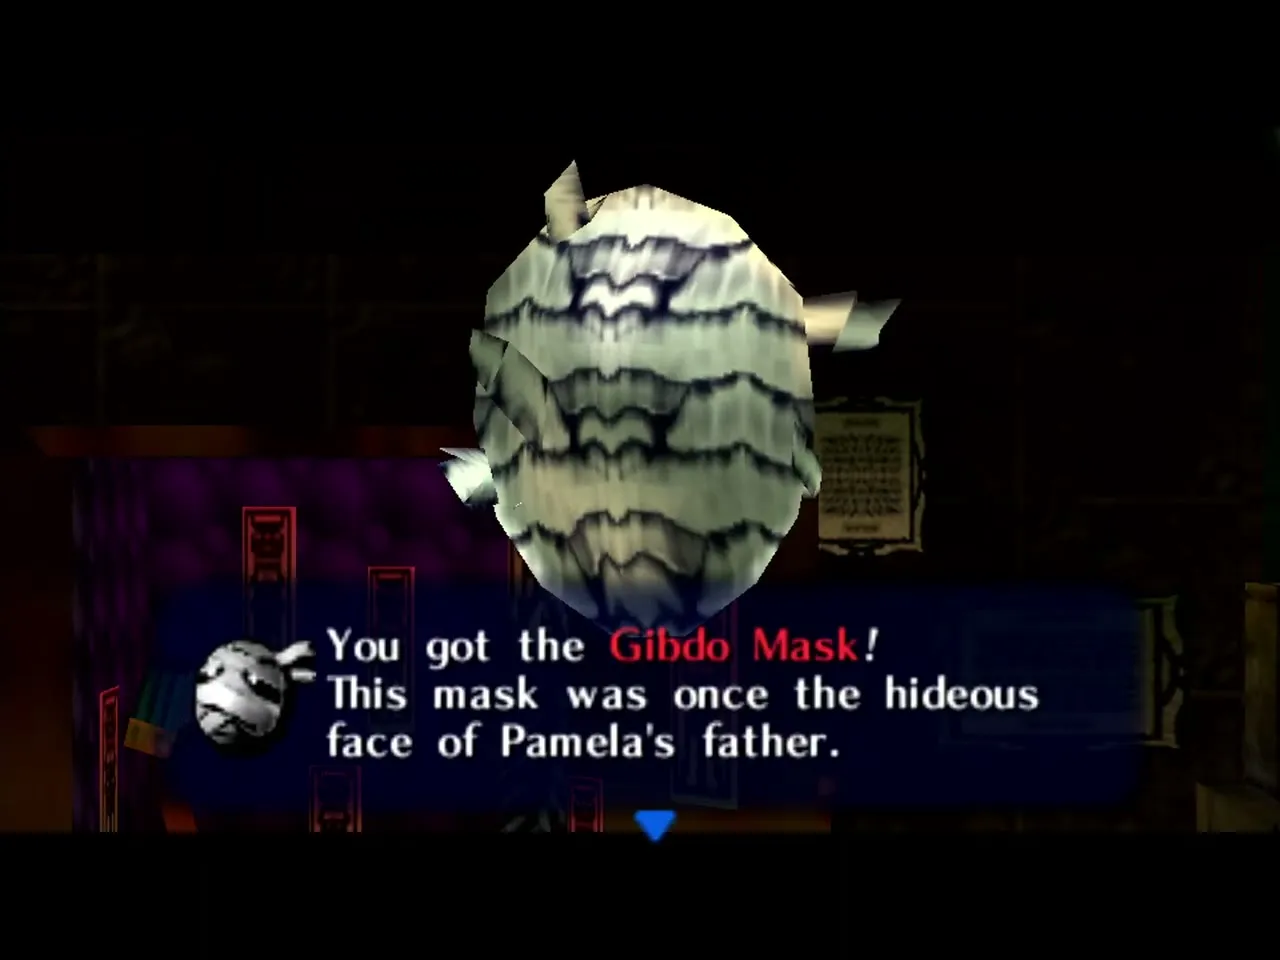
Pamela’s father has been turned into a Gibdo by the curse on Ikana Canyon, and Pamela keeps him in the Music Box House. Play the Song of Healing for him and he gives you the Gibdo Mask, which lets you pass among Gibdos and ReDeads safely. It is used in Beneath the Well and in the Ancient Castle of Ikana. See the Ikana Canyon walkthrough and the Mask Collection Guide.
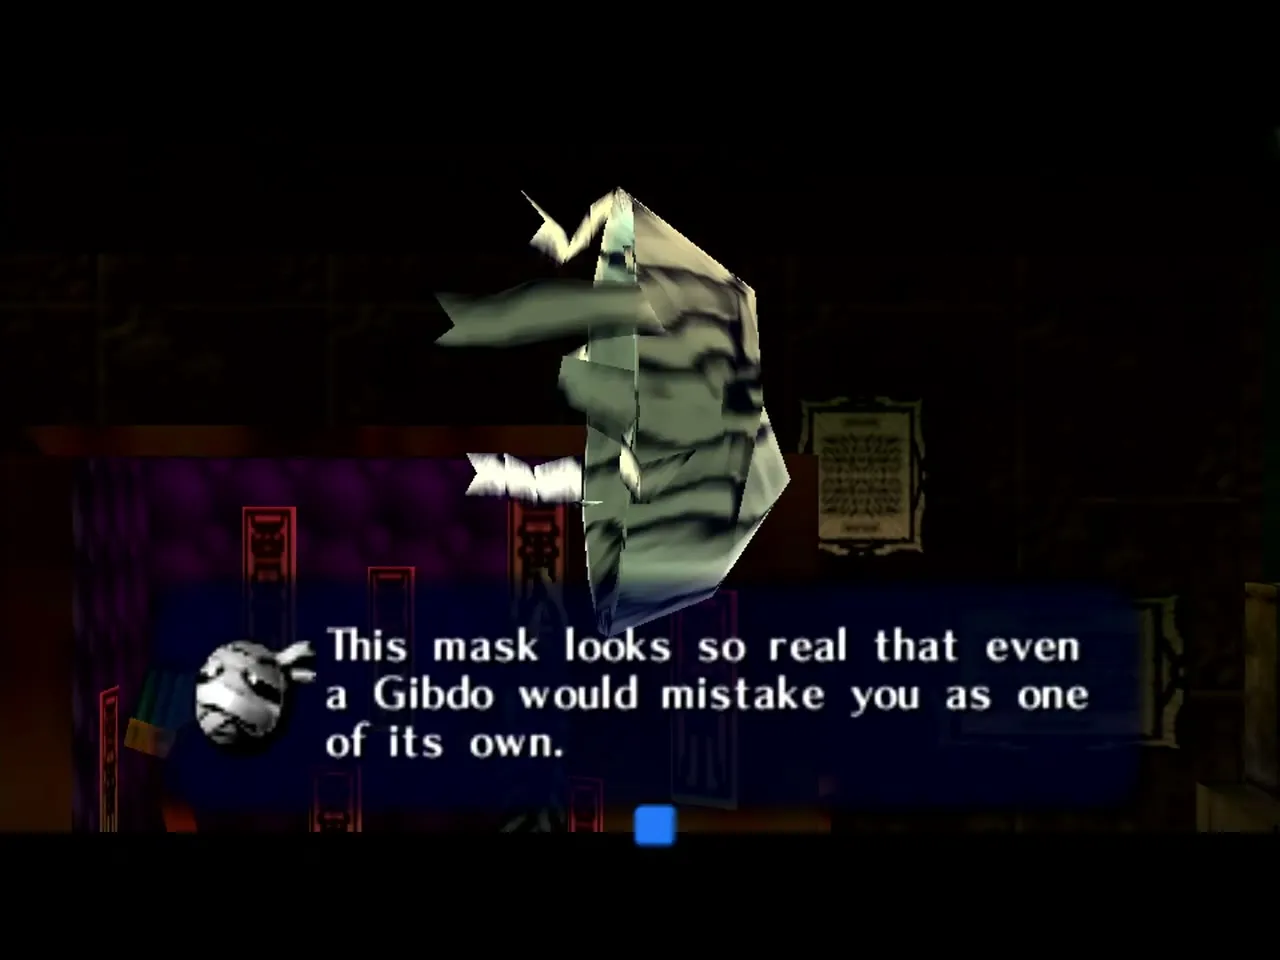
Sharp the Composer
Sharp is the ghost of one of the Composer Brothers of Ikana. He haunts the Spring Water Cave in Ikana Canyon. Play the Song of Storms for him and the Ikana River flows again. See the Ikana Canyon walkthrough.
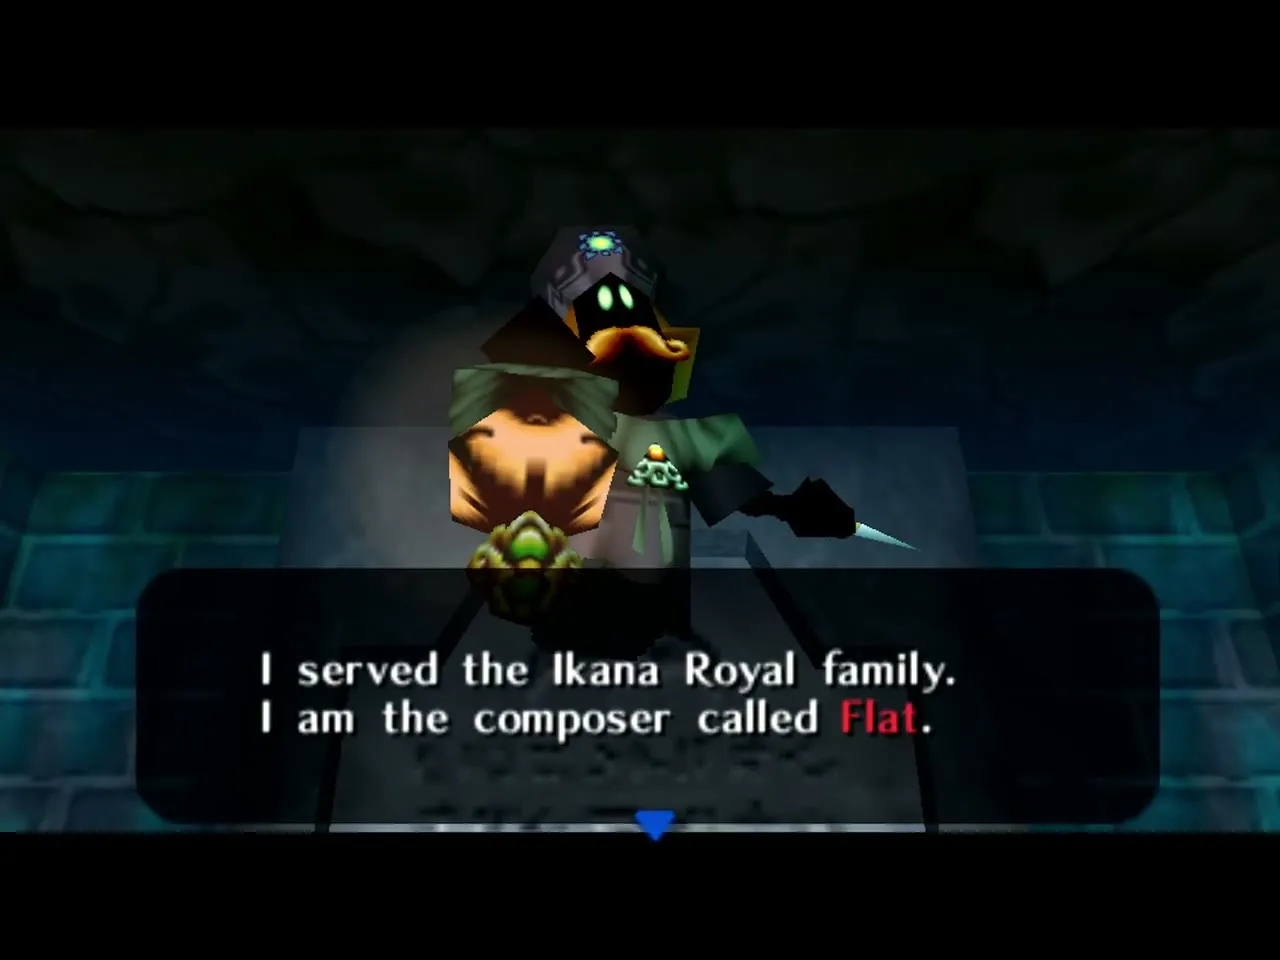
Flat the Composer
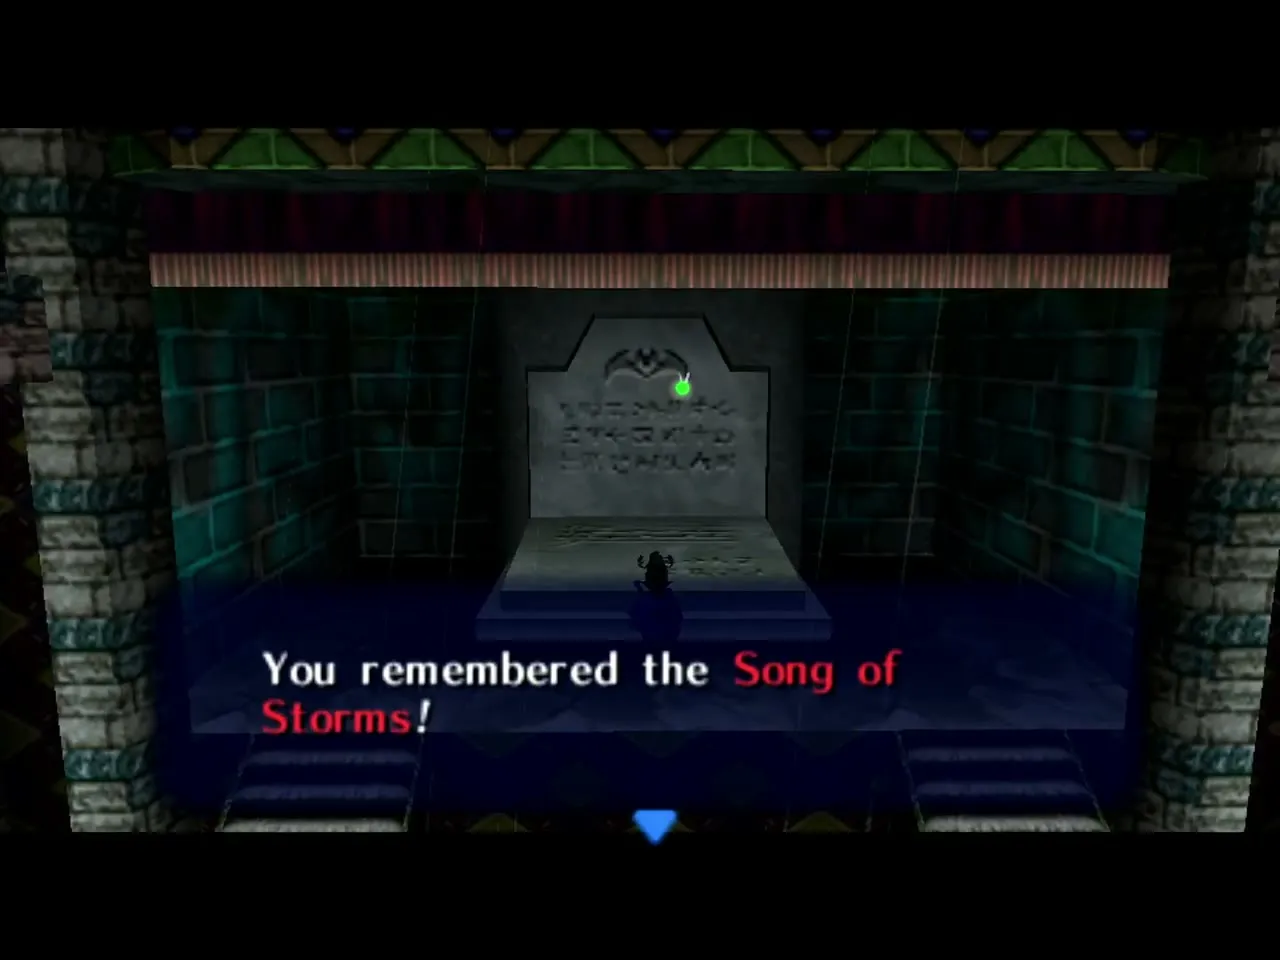
Flat is the spirit of Sharp’s brother, the other Composer Brother. He is sealed in a tomb in the Ikana Graveyard, and the Stalchildren open the grave for you while you wear the Captain’s Hat. Beat the Iron Knuckle that guards him and he teaches you the Song of Storms, the song that lifts his brother’s curse. Do this before you visit the Spring Water Cave. See the Ikana Canyon walkthrough and the Ocarina Songs page.
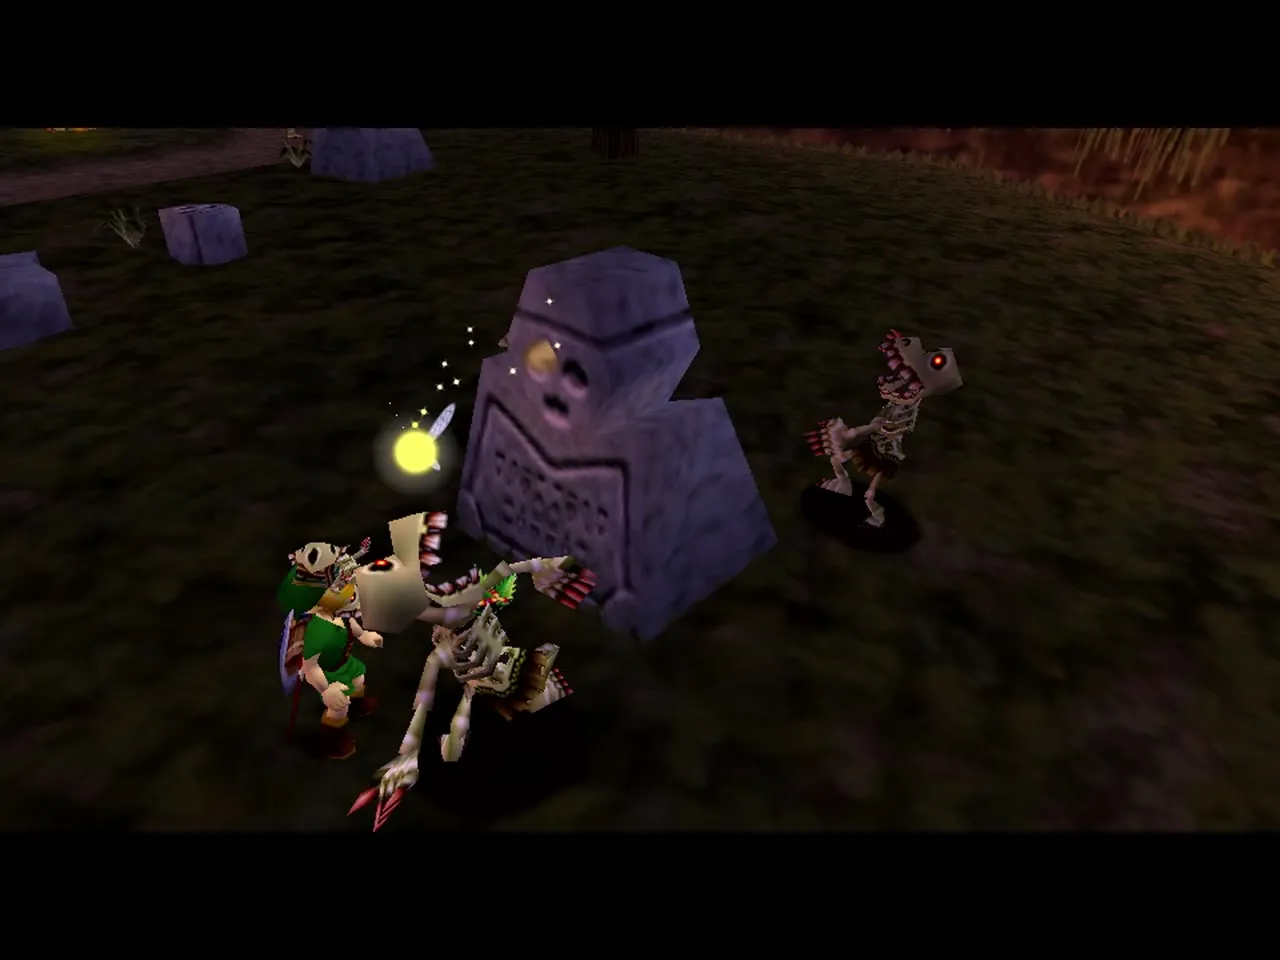
Igos du Ikana
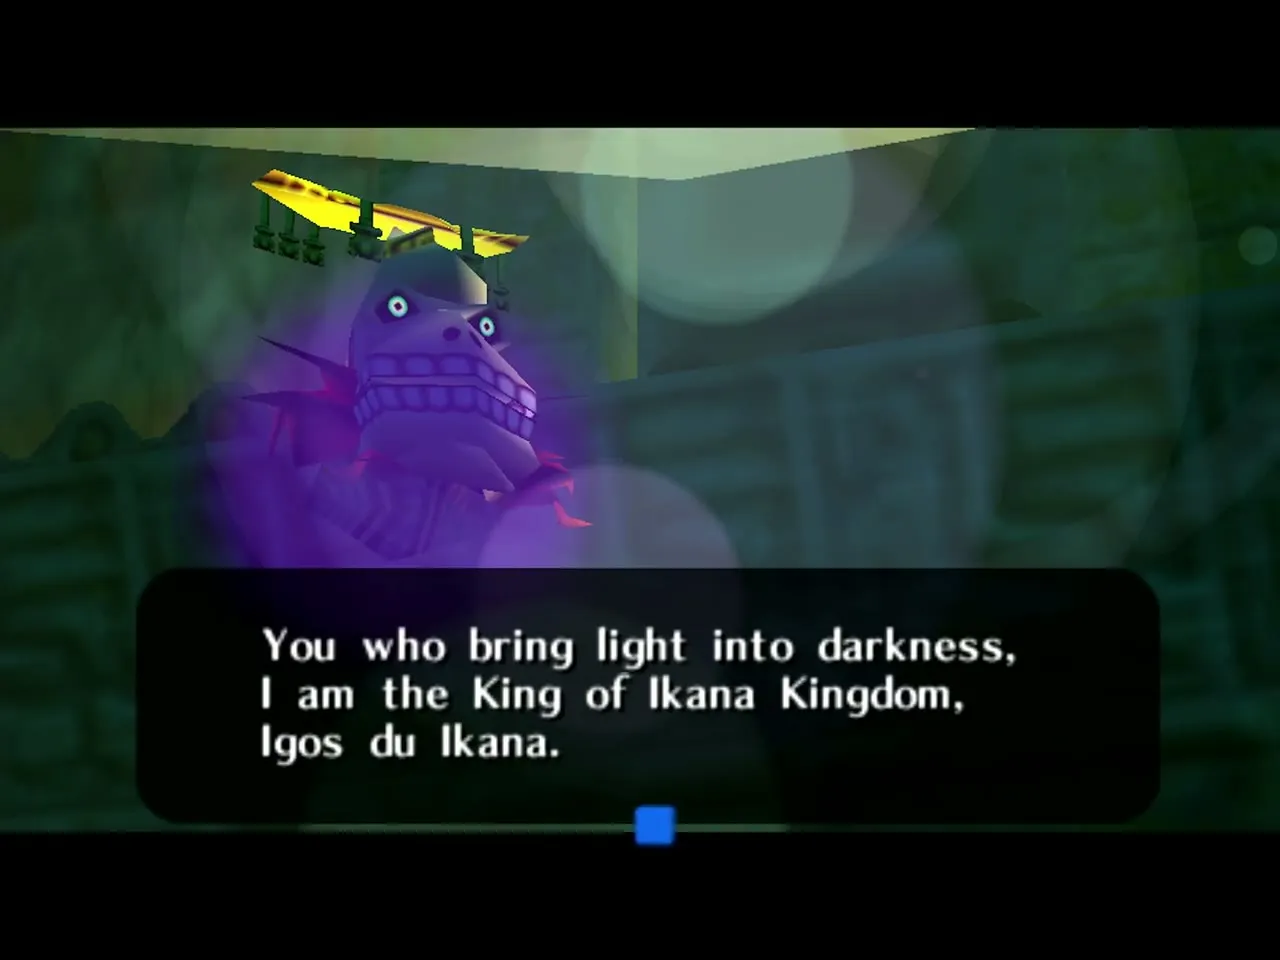
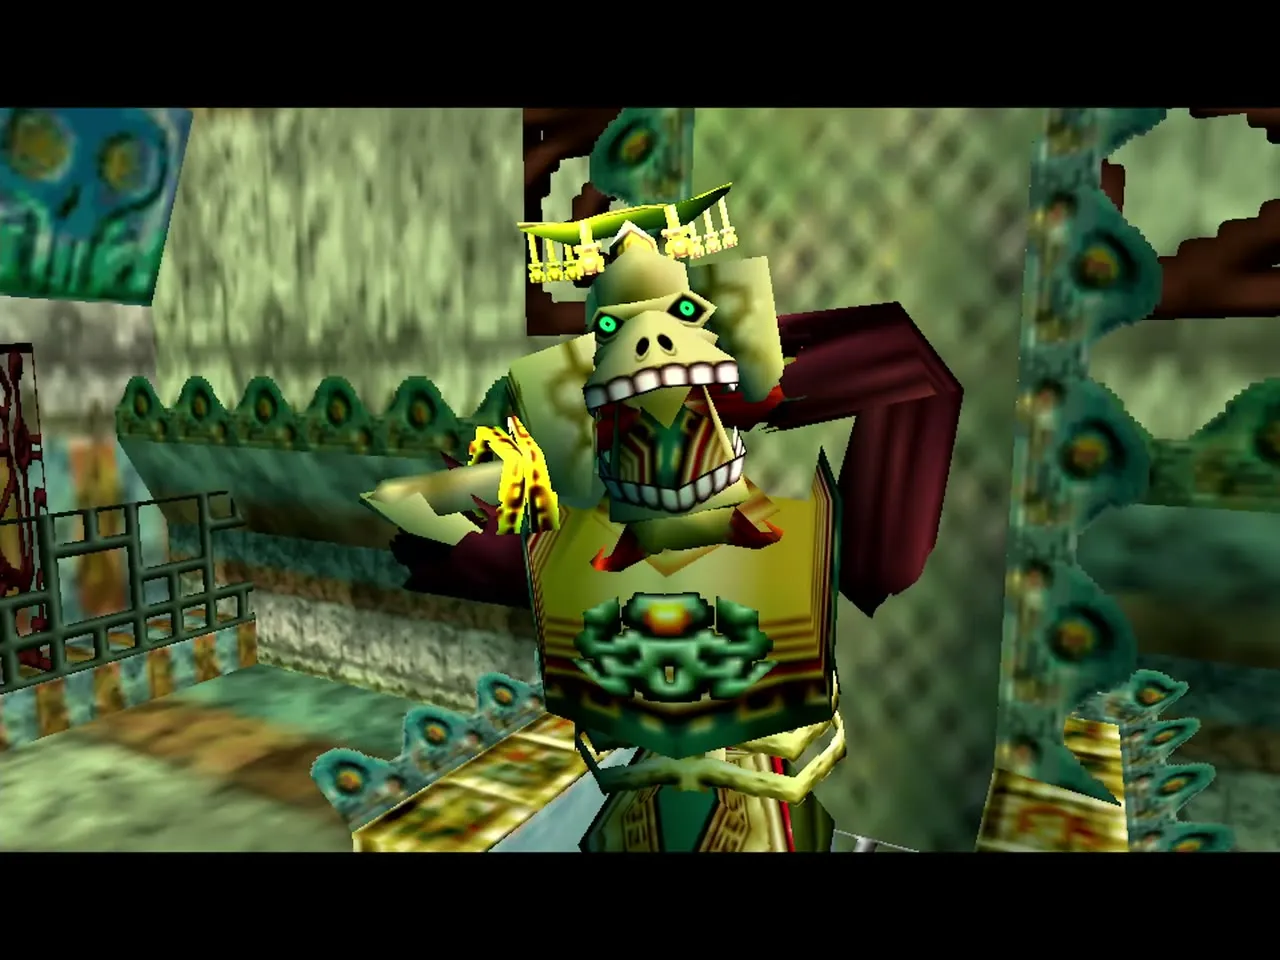
Igos du Ikana is the proud skeletal king of the old Ikana Kingdom. He waits on his throne in the Ancient Castle of Ikana, and his two lackeys fight you first. Once they fall he fights with his sword; the trick is to burn away what blocks the light and shine the sacred rays on the king. Once you defeat him, he explains the curse on Ikana and teaches you the Elegy of Emptiness. You need that song to solve puzzles in Stone Tower Temple. See the Ikana Canyon walkthrough.
Igos’ Bodyguards
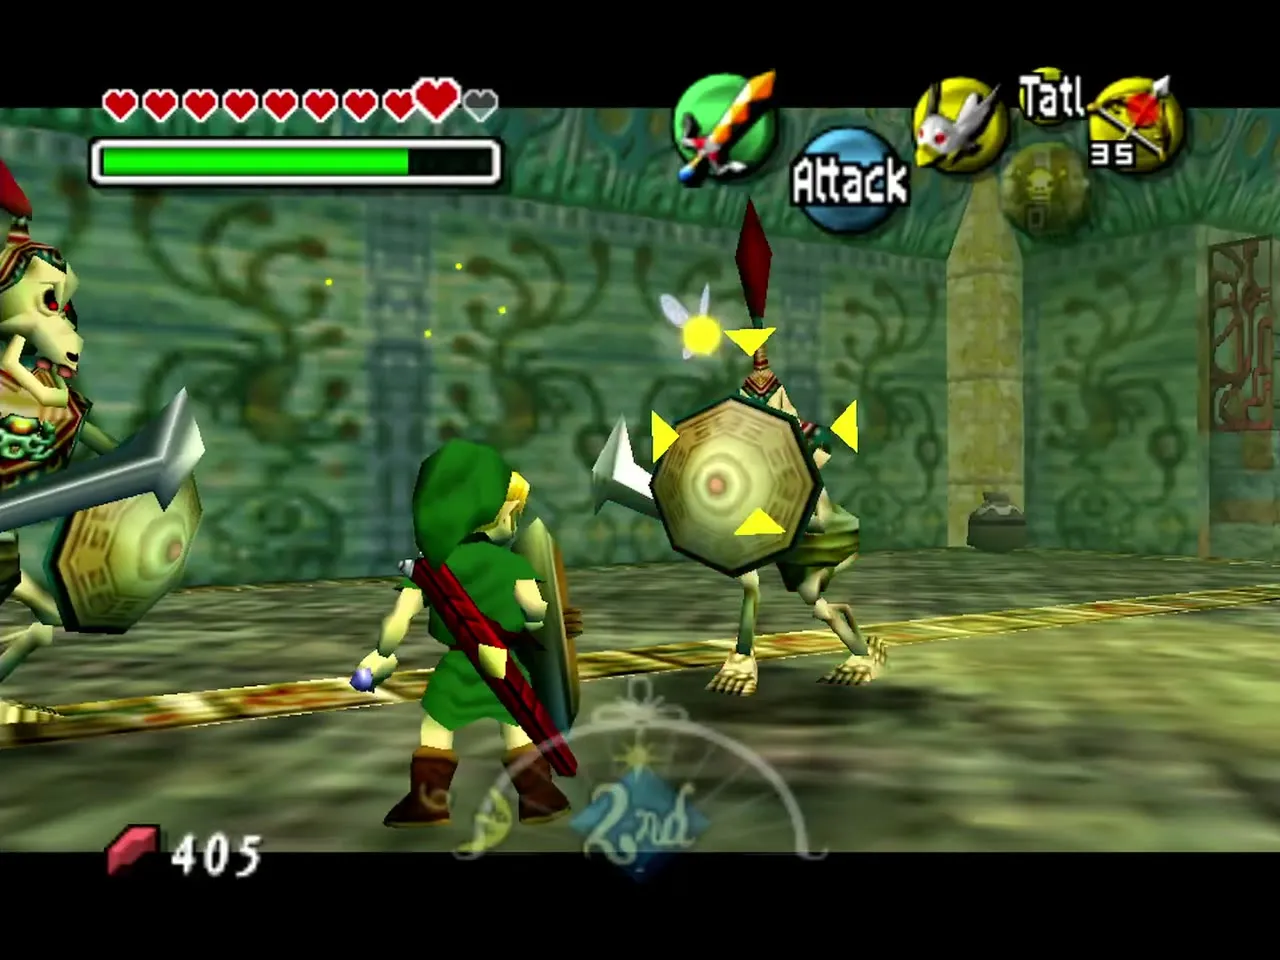
Igos’ lackeys are two skeletal warriors who still serve their king. They fight you in the throne room of the Ancient Castle of Ikana, and you have to beat both of them before Igos himself will fight. See the Ikana Canyon walkthrough.
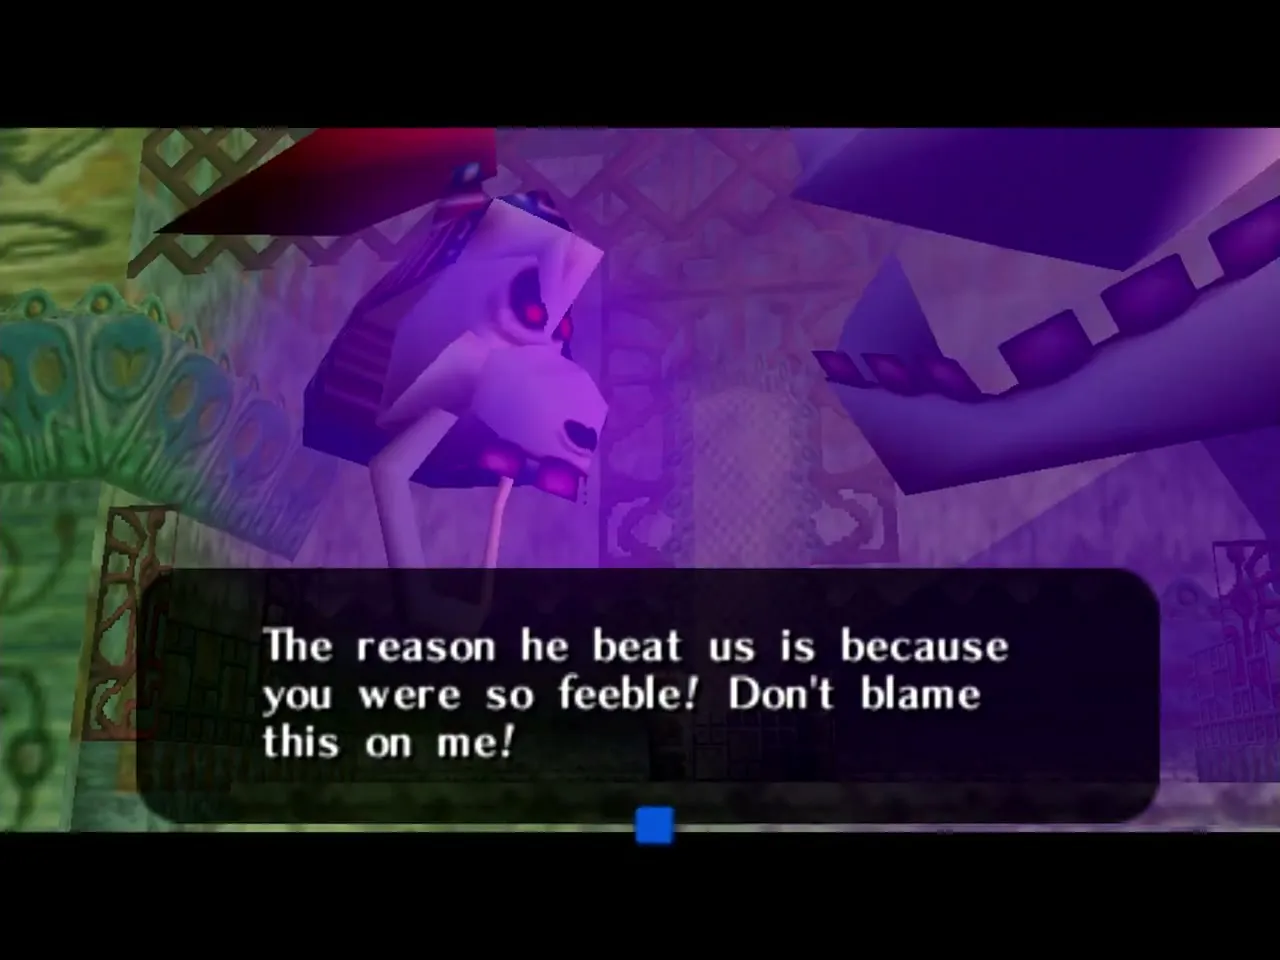
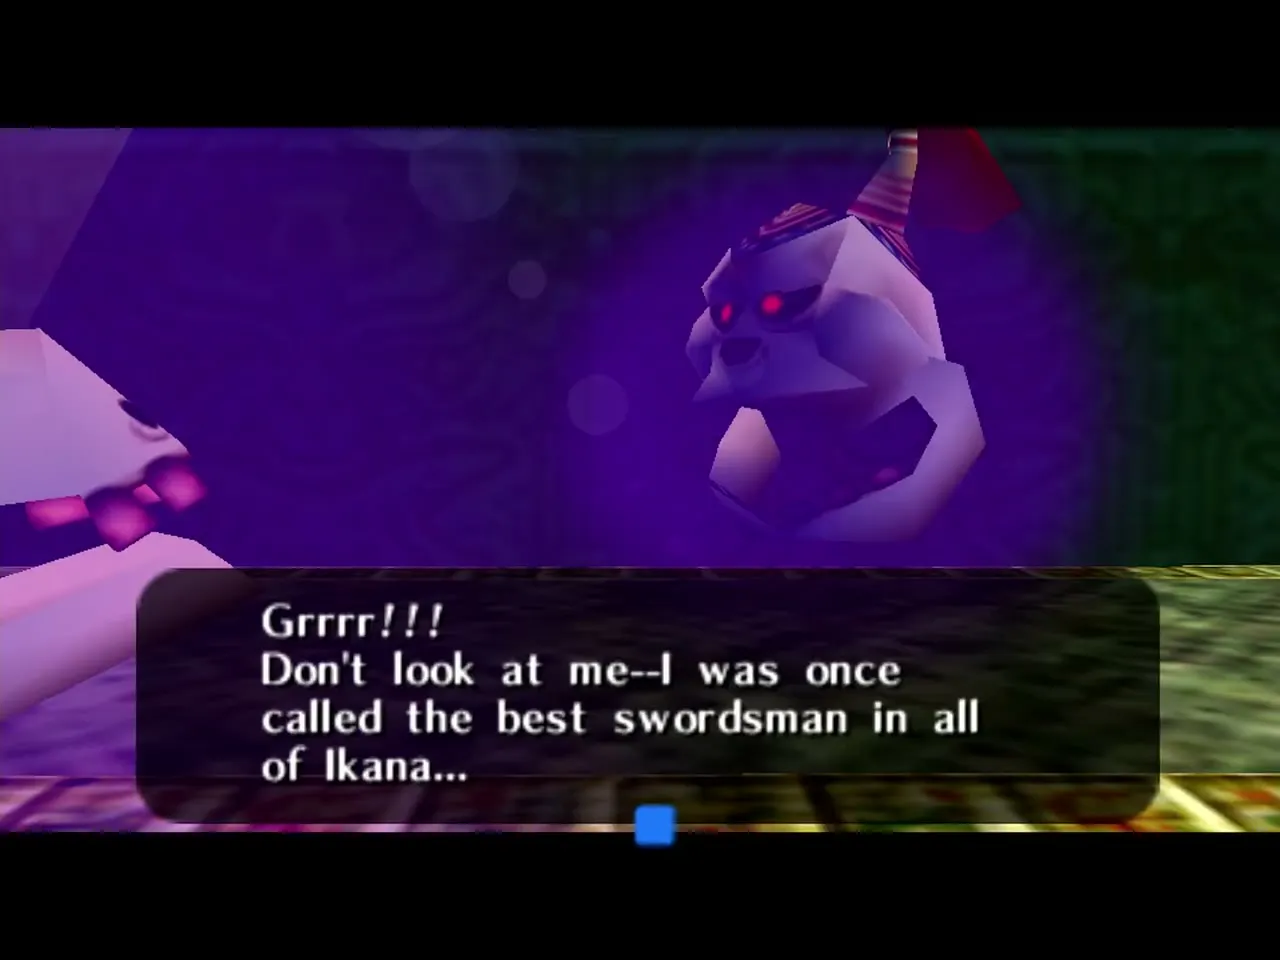
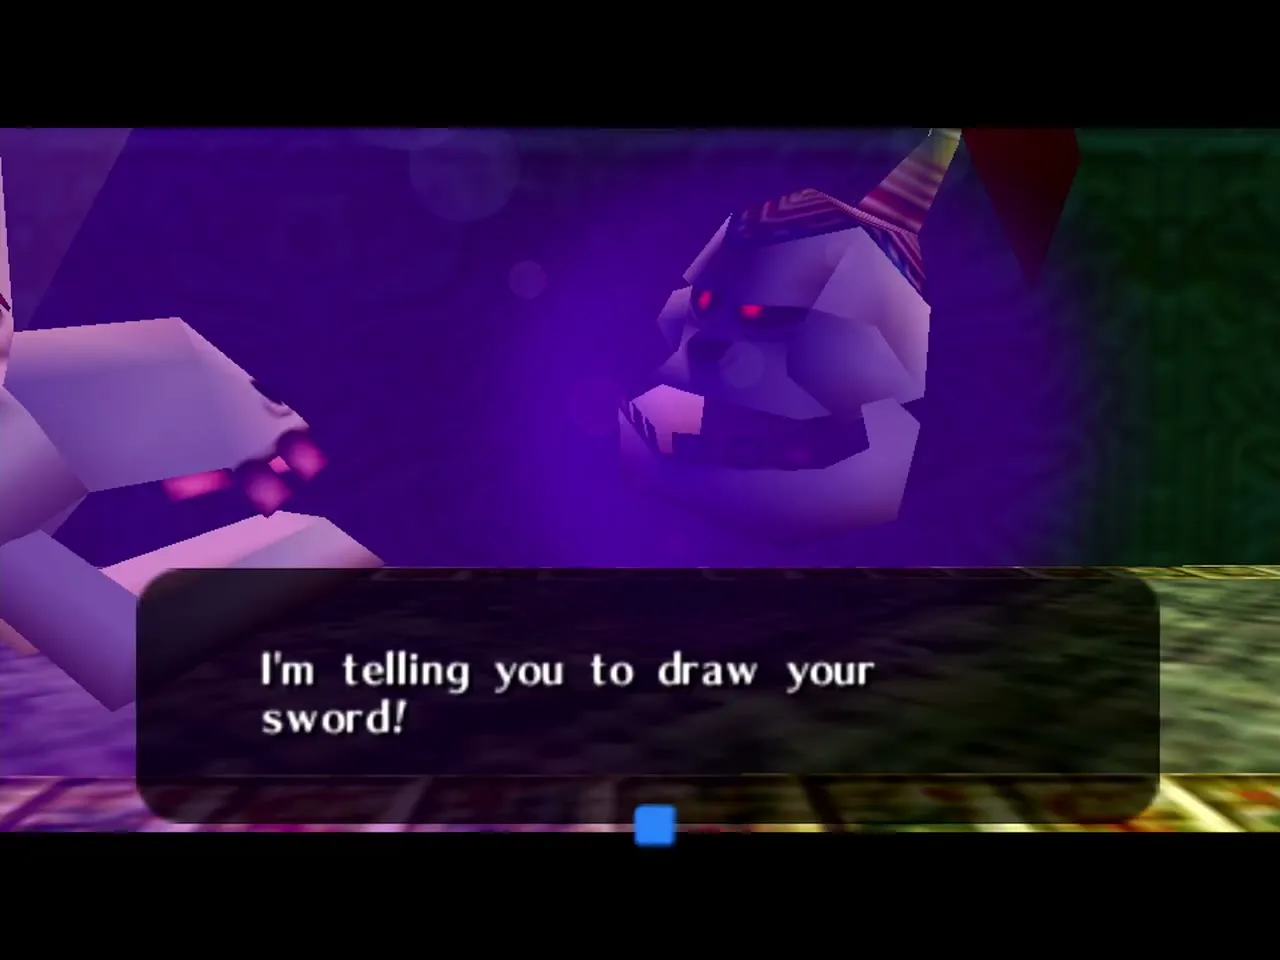
Captain Keeta
Captain Keeta is the skeletal captain of the Ikana Army. He lies dormant in the Ikana Graveyard. Play the Sonata of Awakening to wake him, then chase him down and defeat him to win the Captain’s Hat. You need Epona and Garo’s Mask to reach the graveyard. See the Ikana Canyon walkthrough.
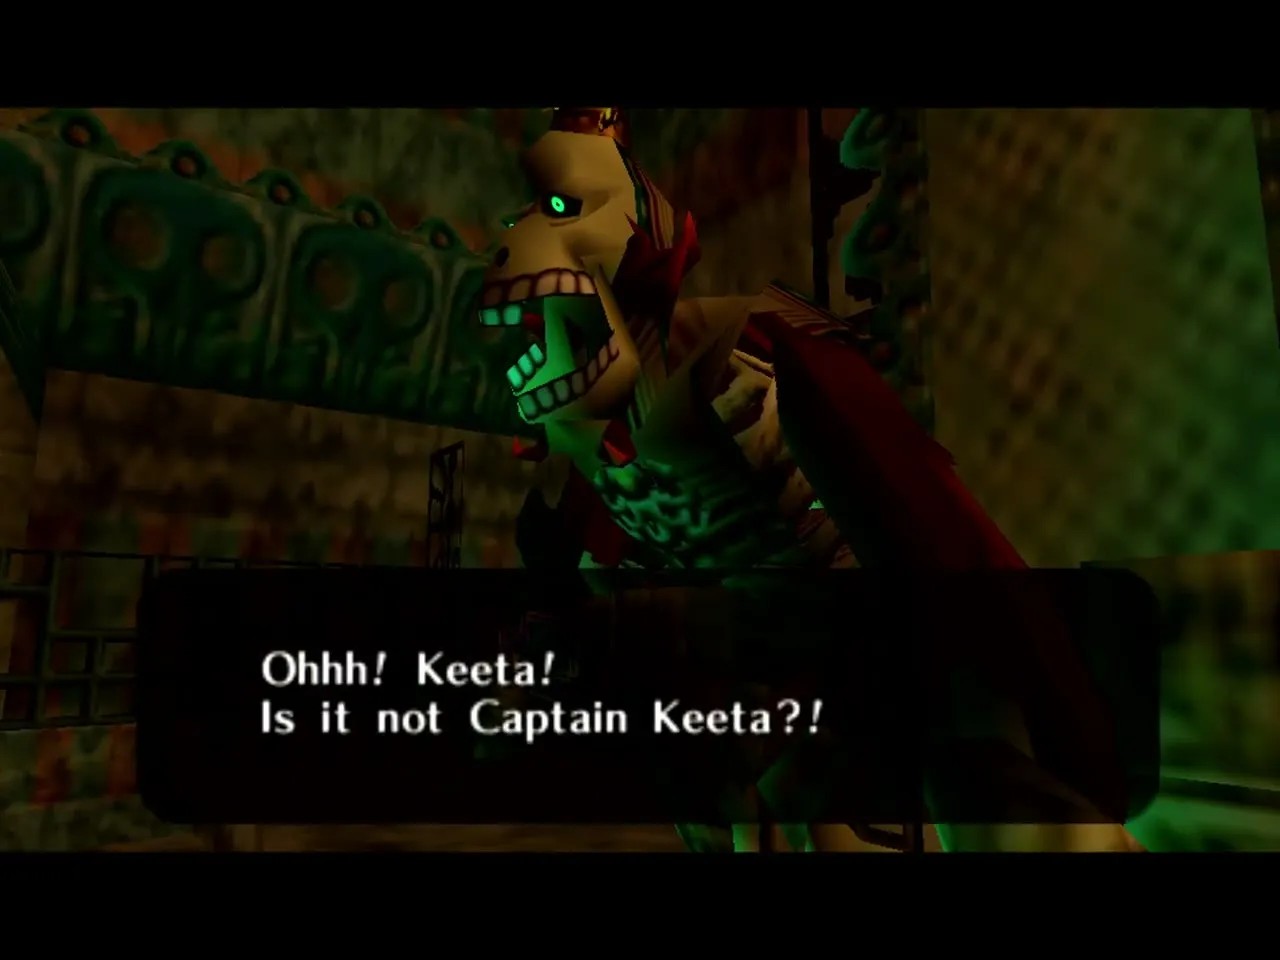
Stalchildren
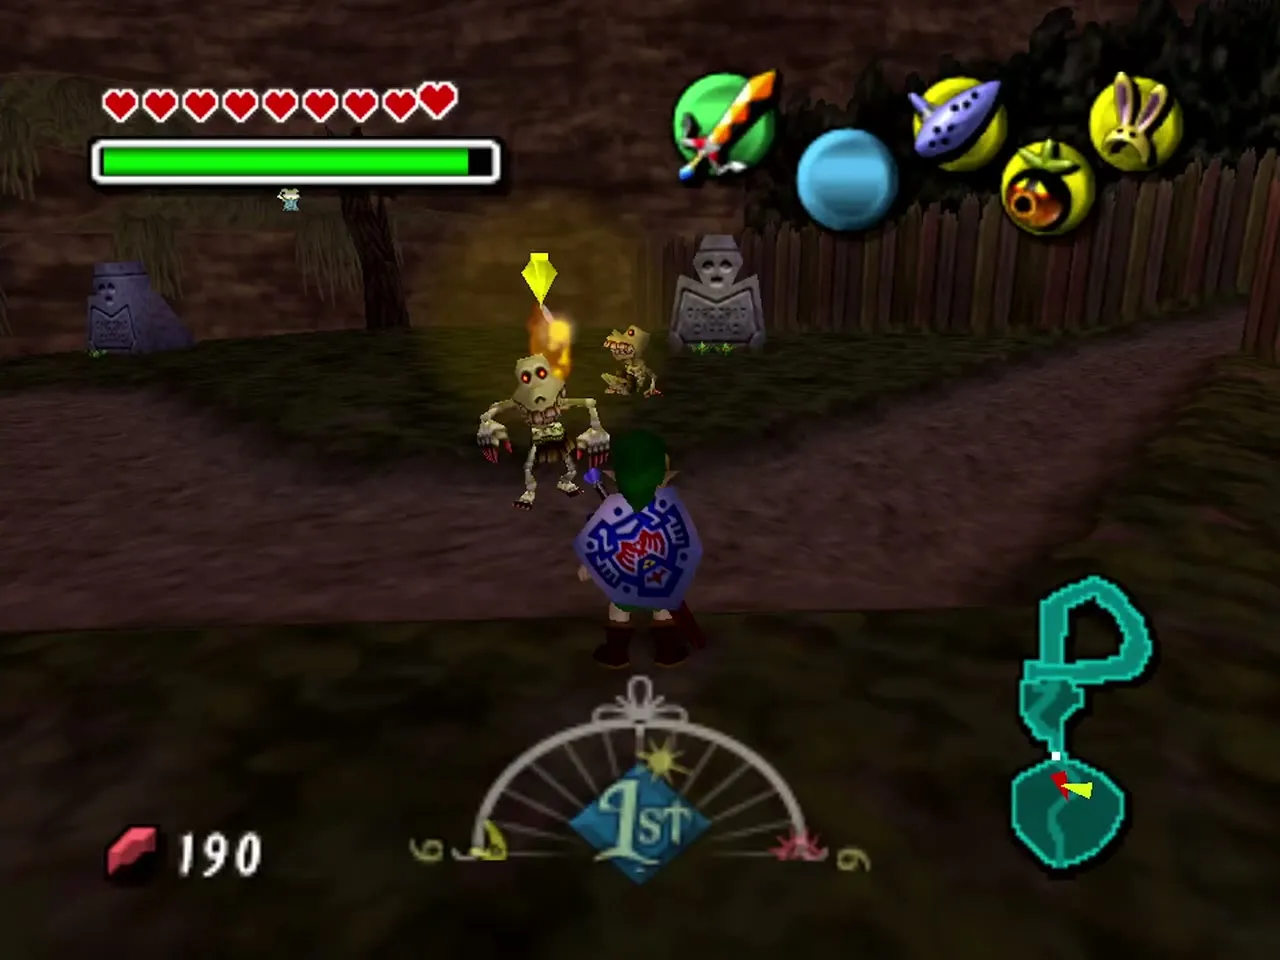
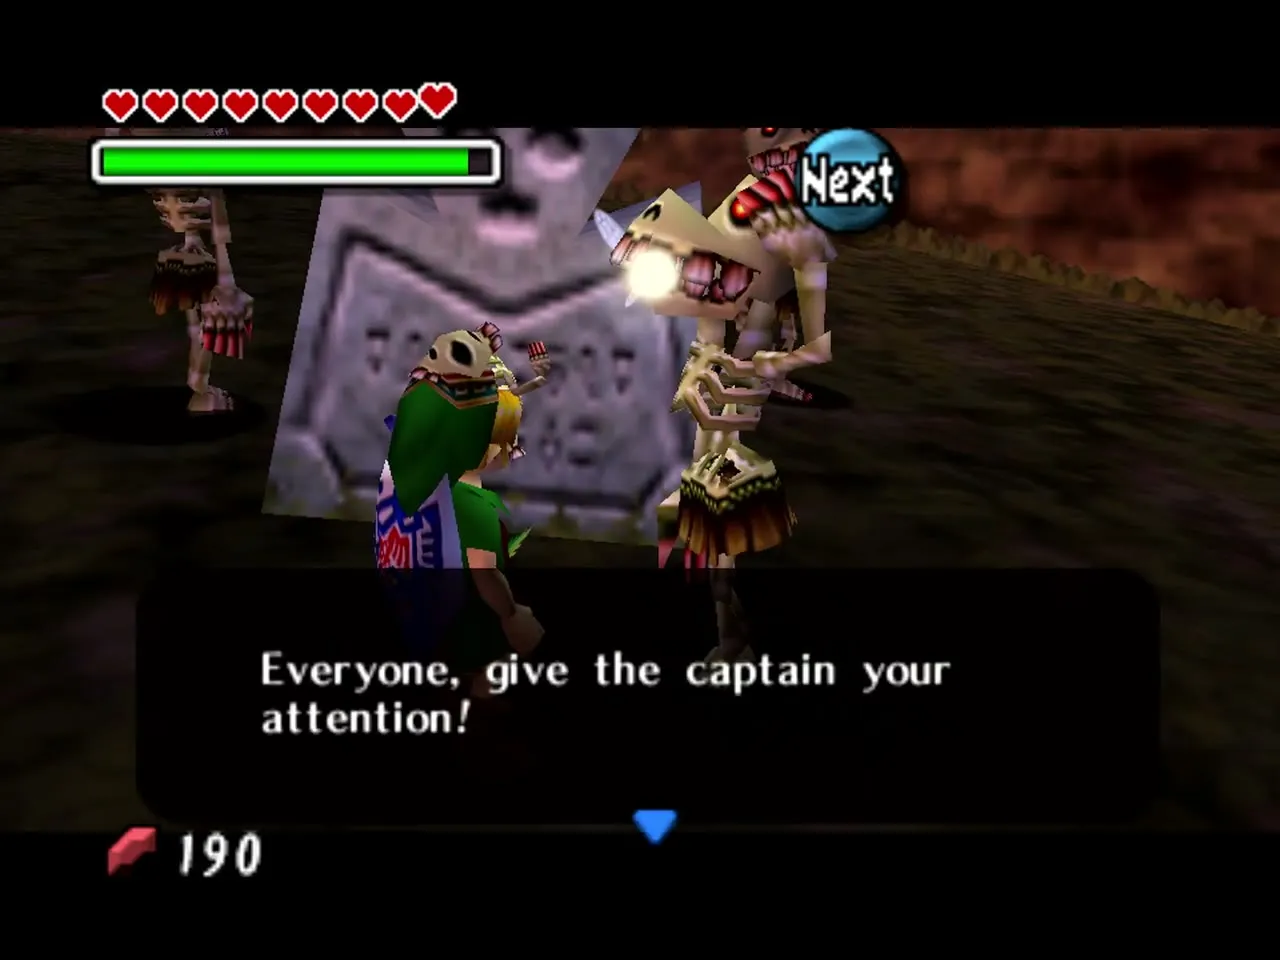
Stalchildren are the skeletal remains of Ikana soldiers. They appear mostly in the Ikana Graveyard and are hostile at first. Wear the Captain’s Hat and they stop attacking and open a different grave each night: one leads to Flat and the Song of Storms, another to an Iron Knuckle and a Piece of Heart, and another to Dampe the gravekeeper, whose Big Poe leaves an Empty Bottle in a chest. See the Ikana Canyon walkthrough.
Poe Sisters (Amy, Beth, Joelle, Meg)
The four Poe Sisters haunt the Spirit House in Ikana Canyon, where it costs 30 Rupees to take them on. Defeat all four within three minutes, without your health dropping to three hearts or lower, and you earn a Piece of Heart. Meg splits into copies, and only the real one can be hurt, so use arrows or another ranged attack on her. See the Ikana Canyon walkthrough.
Garo Master
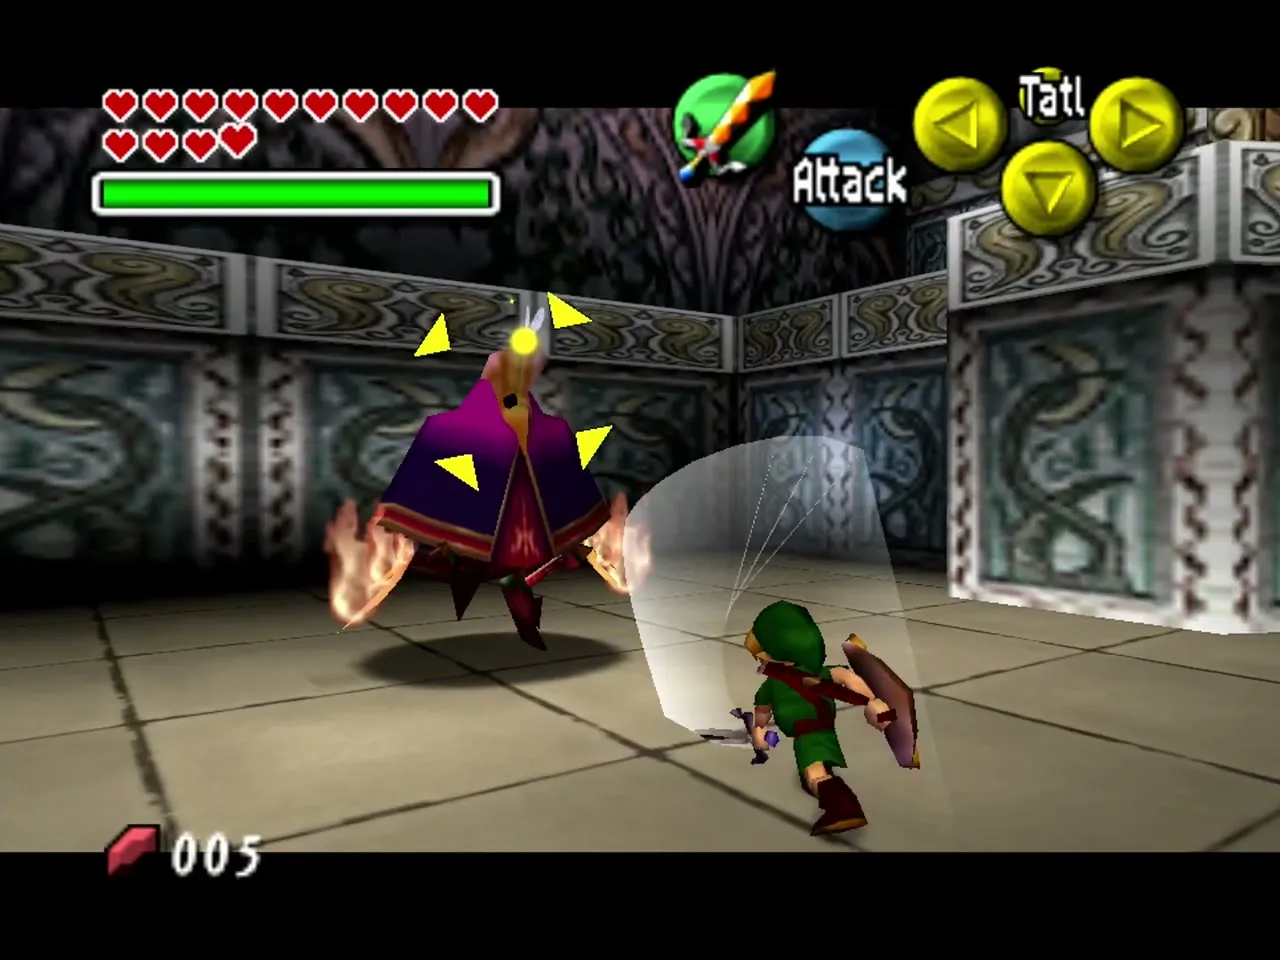
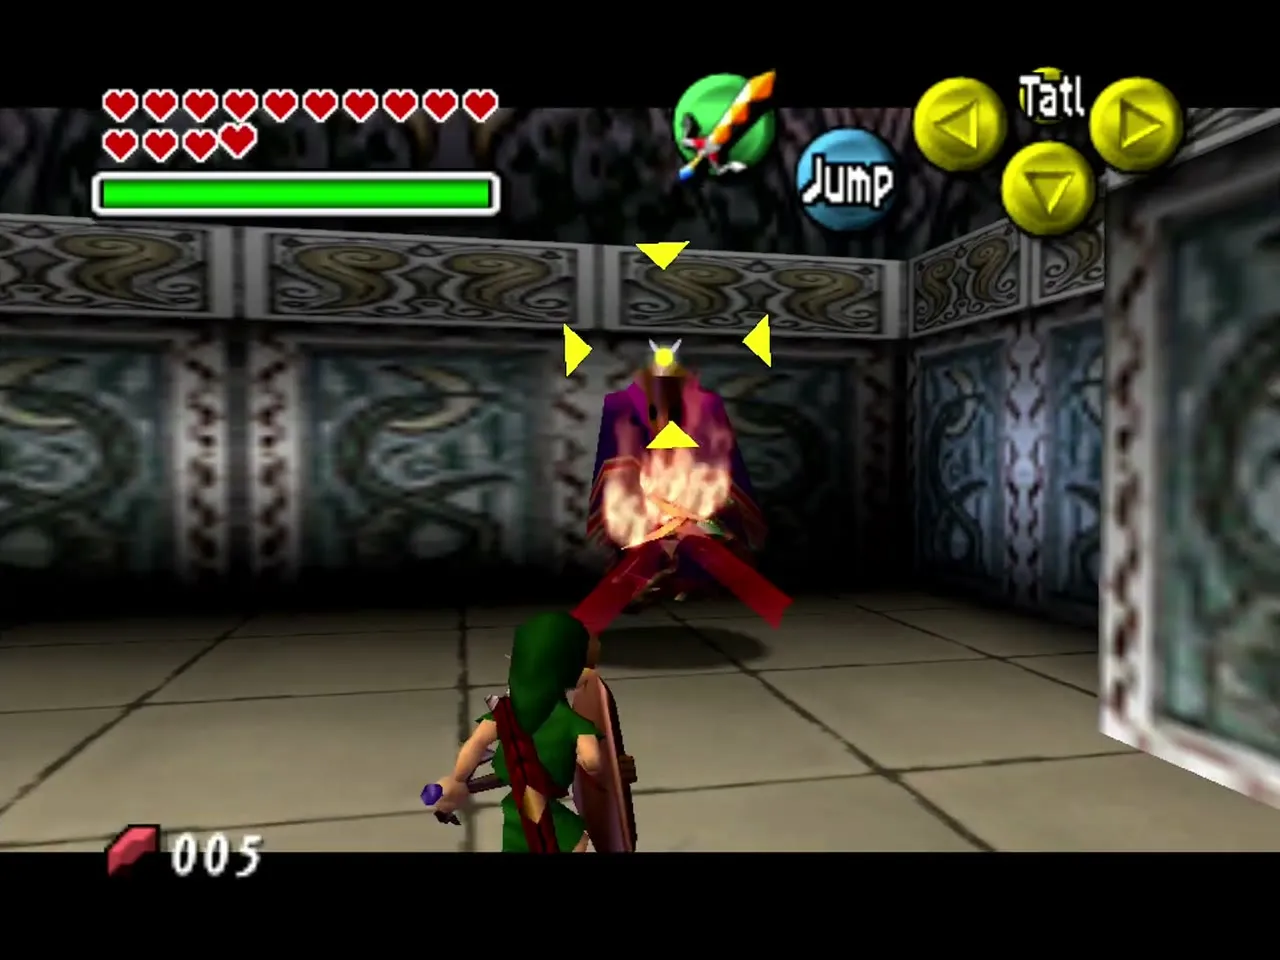
The Garo Master leads the Garo, a clan of cloaked ninja spirits. He is the mini-boss of Stone Tower Temple, and beating him earns you the Light Arrows. See the Stone Tower Temple walkthrough.
Garo
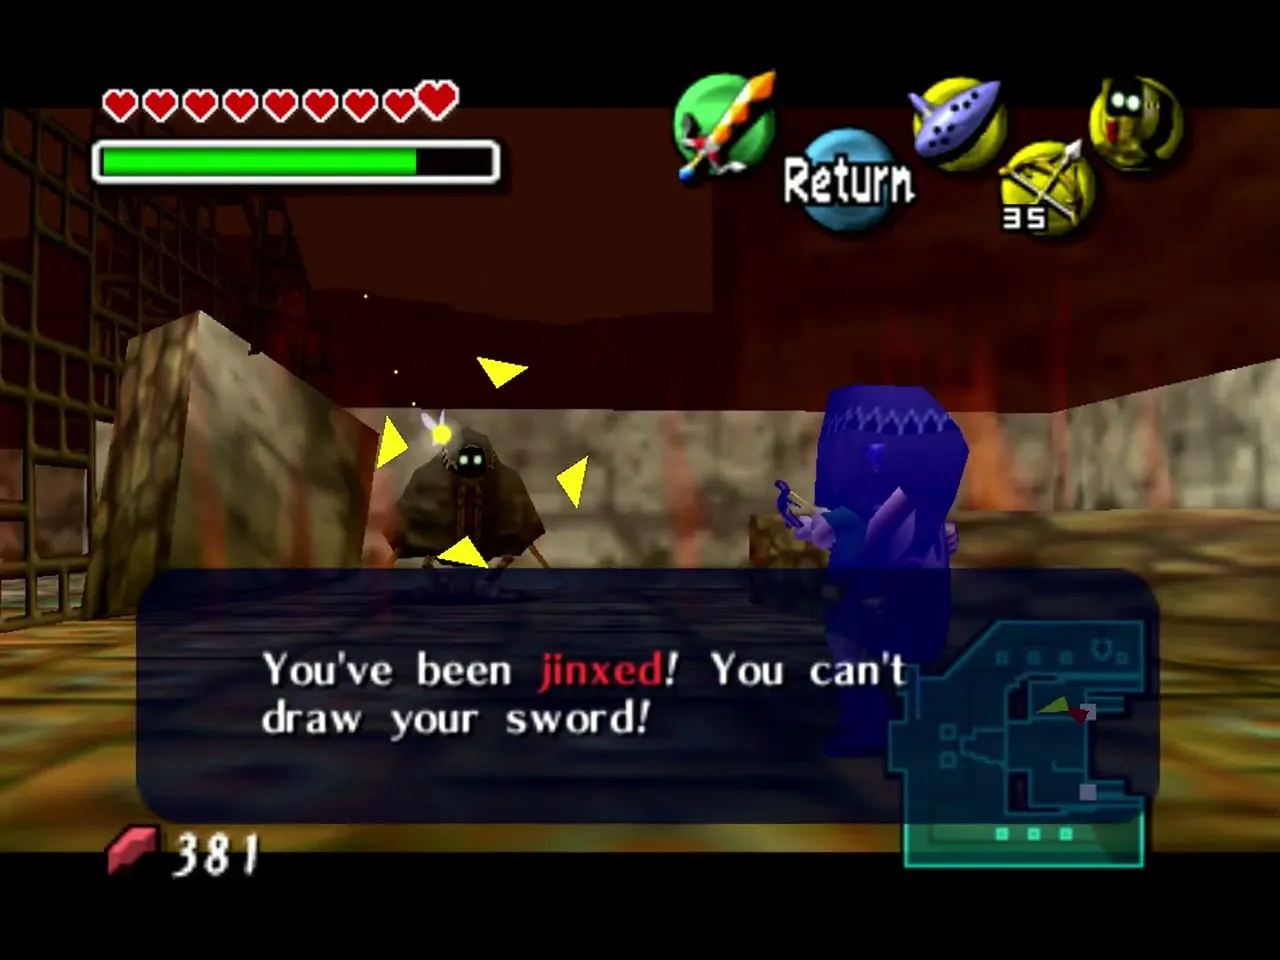
The Garo are cloaked ninja spirits. They are found all over Ikana Canyon and inside Stone Tower Temple. One stands guard on the Road to Ikana: wear Garo’s Mask and he lets you pass and raises a stump you can Hookshot to. Without the mask they usually attack on sight, and they give you cryptic clues about Ikana before they vanish. Win Garo’s Mask from the Gorman Brothers in their race. See the Ikana Canyon walkthrough.
Other Significant Characters / Entities
These characters and beings matter to Termina, but they do not belong to one particular region.
The Four Giants
The Four Giants are Termina’s ancient guardians. They are found in the swamp, mountain, ocean and canyon regions. They were once Skull Kid’s friends, until he fell out with them and went off alone. You free each of them by defeating the boss of their temple, and each boss leaves its remains. The Woodfall Giant teaches you the Oath to Order after Odolwa. Once all four are freed, you can call them on the roof of the Clock Tower to catch the falling Moon. See the Final Confrontation walkthrough and the Bosses page.
Epona
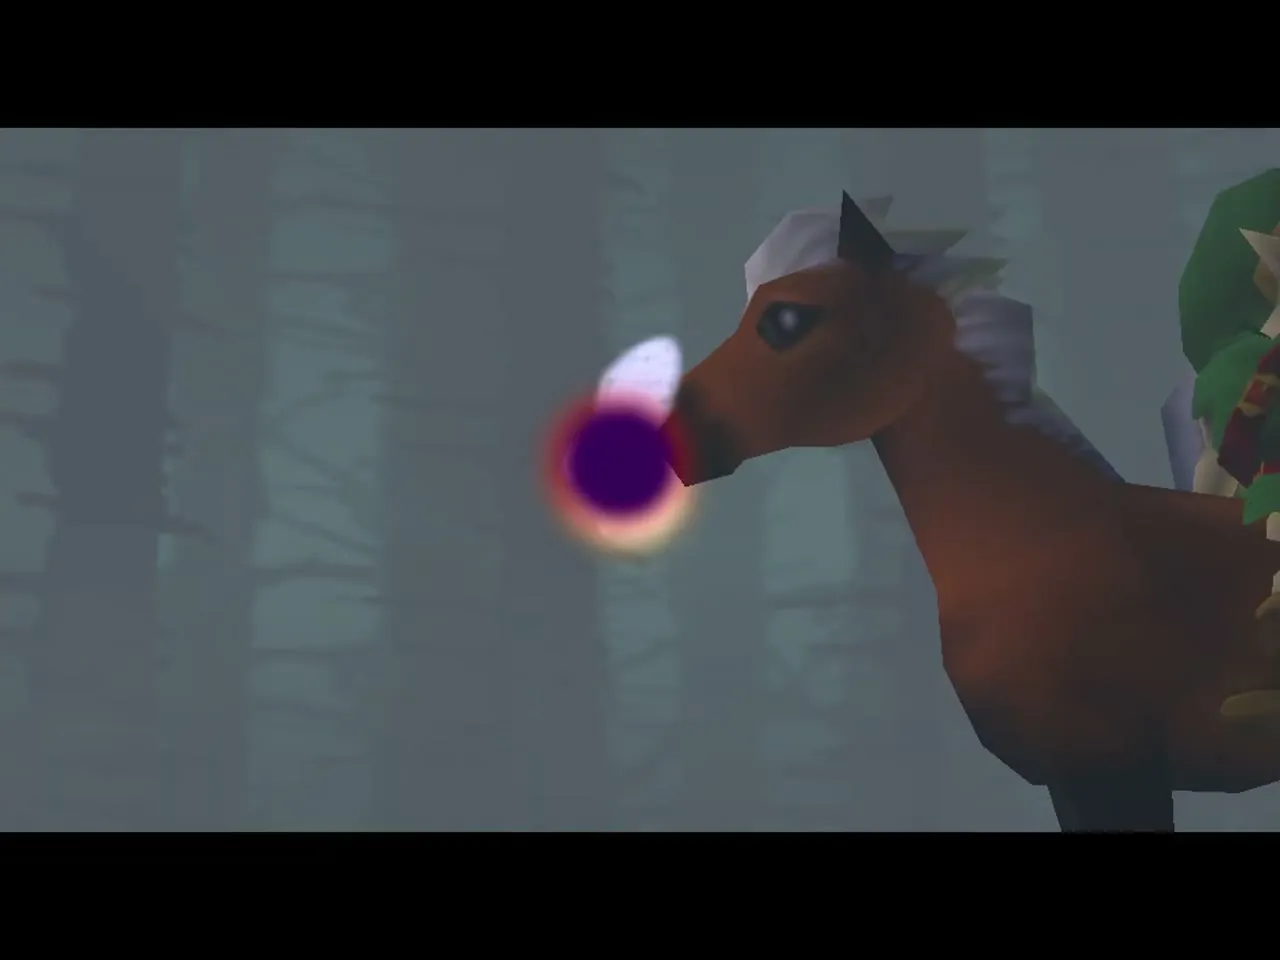
Epona is Link’s loyal horse. Skull Kid takes her in the opening, and you find her again at Romani Ranch. She follows you once Romani teaches you Epona’s Song on the First Day, after you pop all ten ghost balloons from horseback in under two minutes. She is the fastest way to cross Termina Field, and you need her to jump the fences on the roads to Great Bay and Ikana, and for the Gorman Track race. See the Clock Town, Termina Field and Romani Ranch walkthrough.
Romani
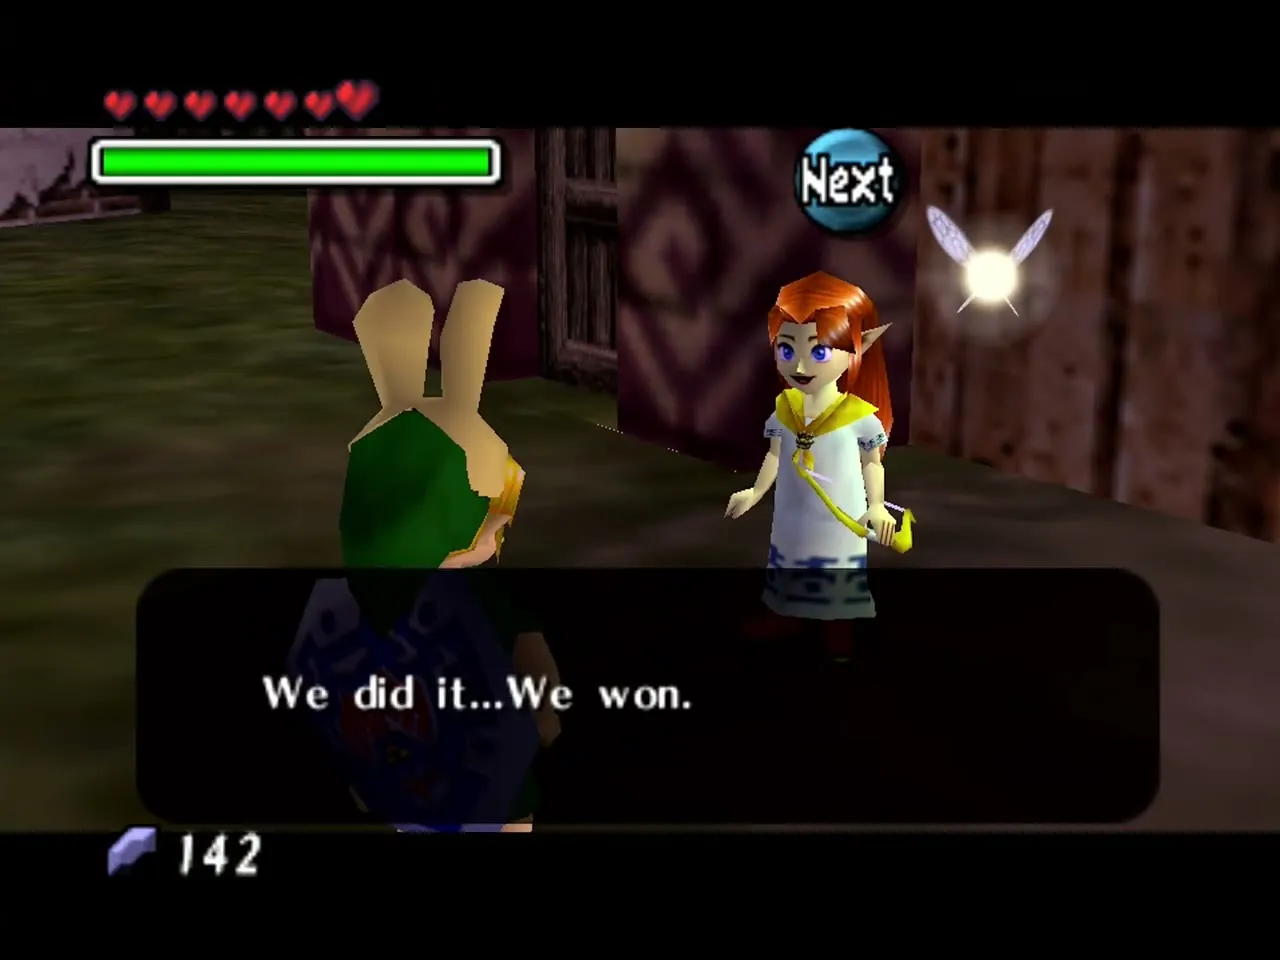
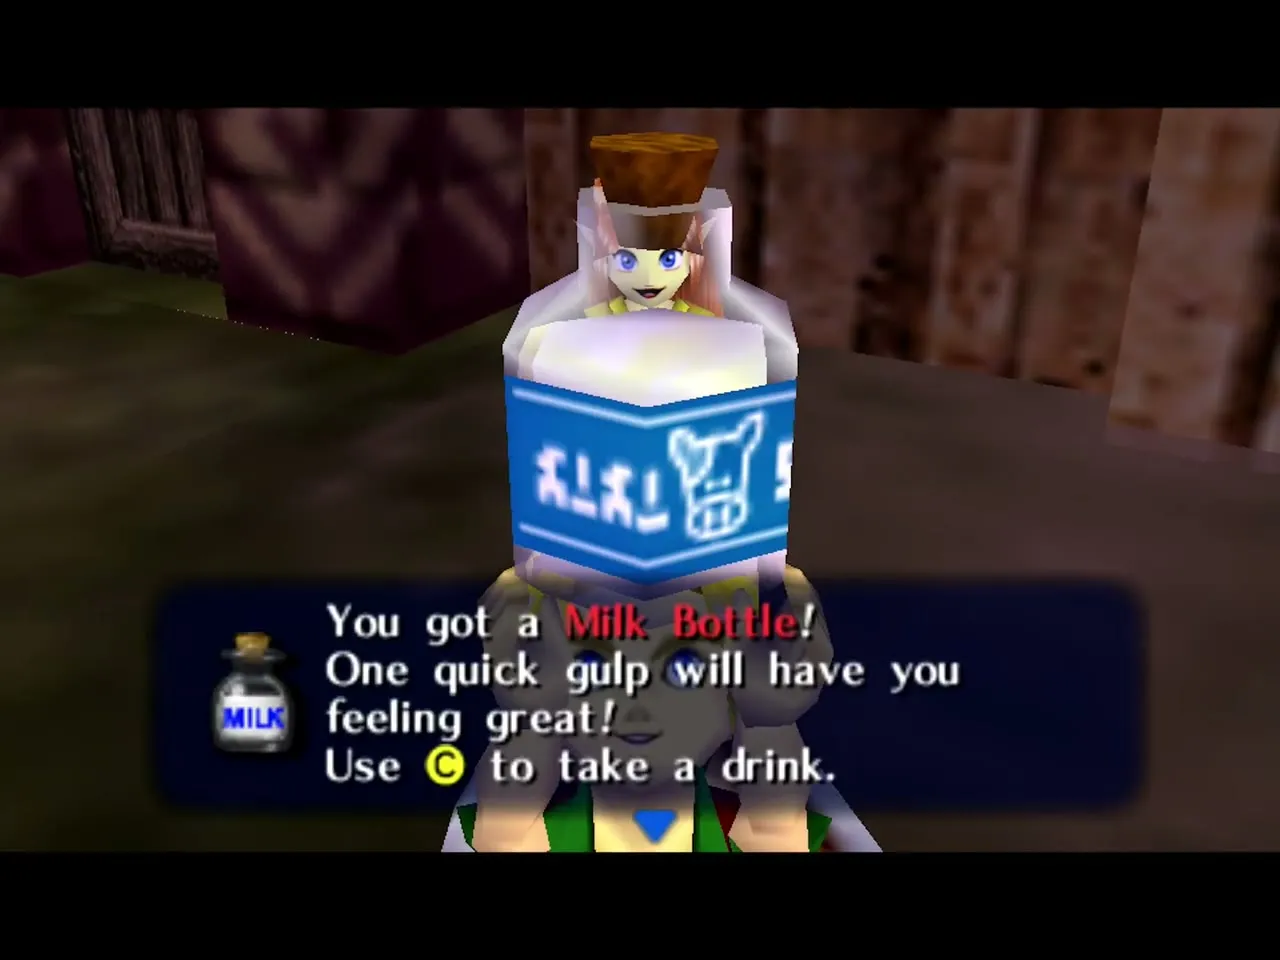
Romani is a cheerful young girl who lives at Romani Ranch with her older sister Cremia. On the First Day, between 6 AM and 6 PM, she teaches Link Epona’s Song after the ghost balloon game. She warns that alien invaders called “Them” will attack the ranch on the night of the First Day to steal cows. Be at the ranch by 2:00 AM, because the invaders arrive at 2:30 AM and keep coming until about 5:15 AM. Shoot them down and keep them out of the barn. Help her defend the ranch and she gives you a bottle of Romani’s milk. You need a Powder Keg on Days 1 and 2 to open the road. See the Side Quests page and the Clock Town, Termina Field and Romani Ranch walkthrough.
Cremia
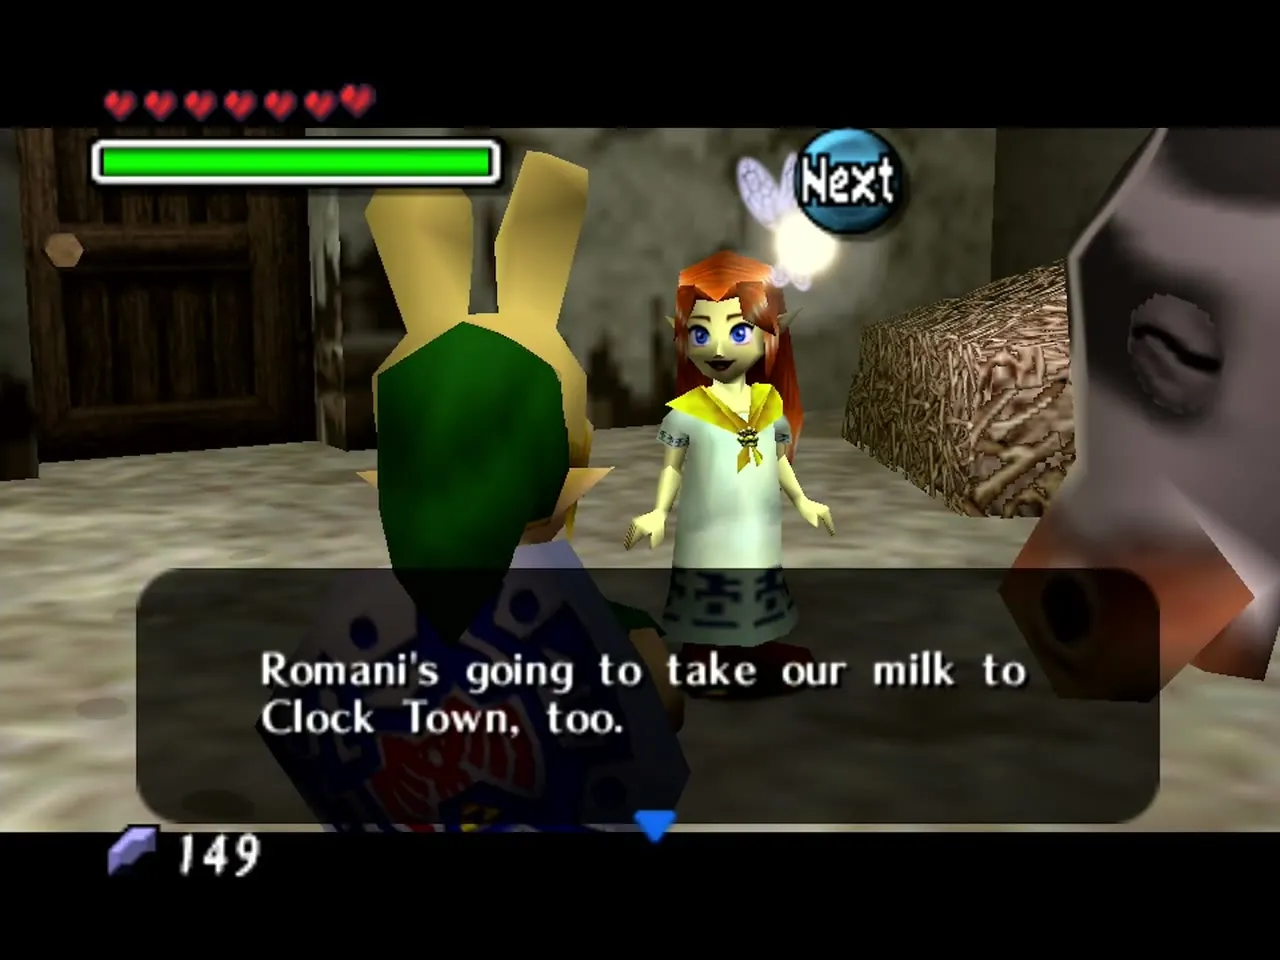
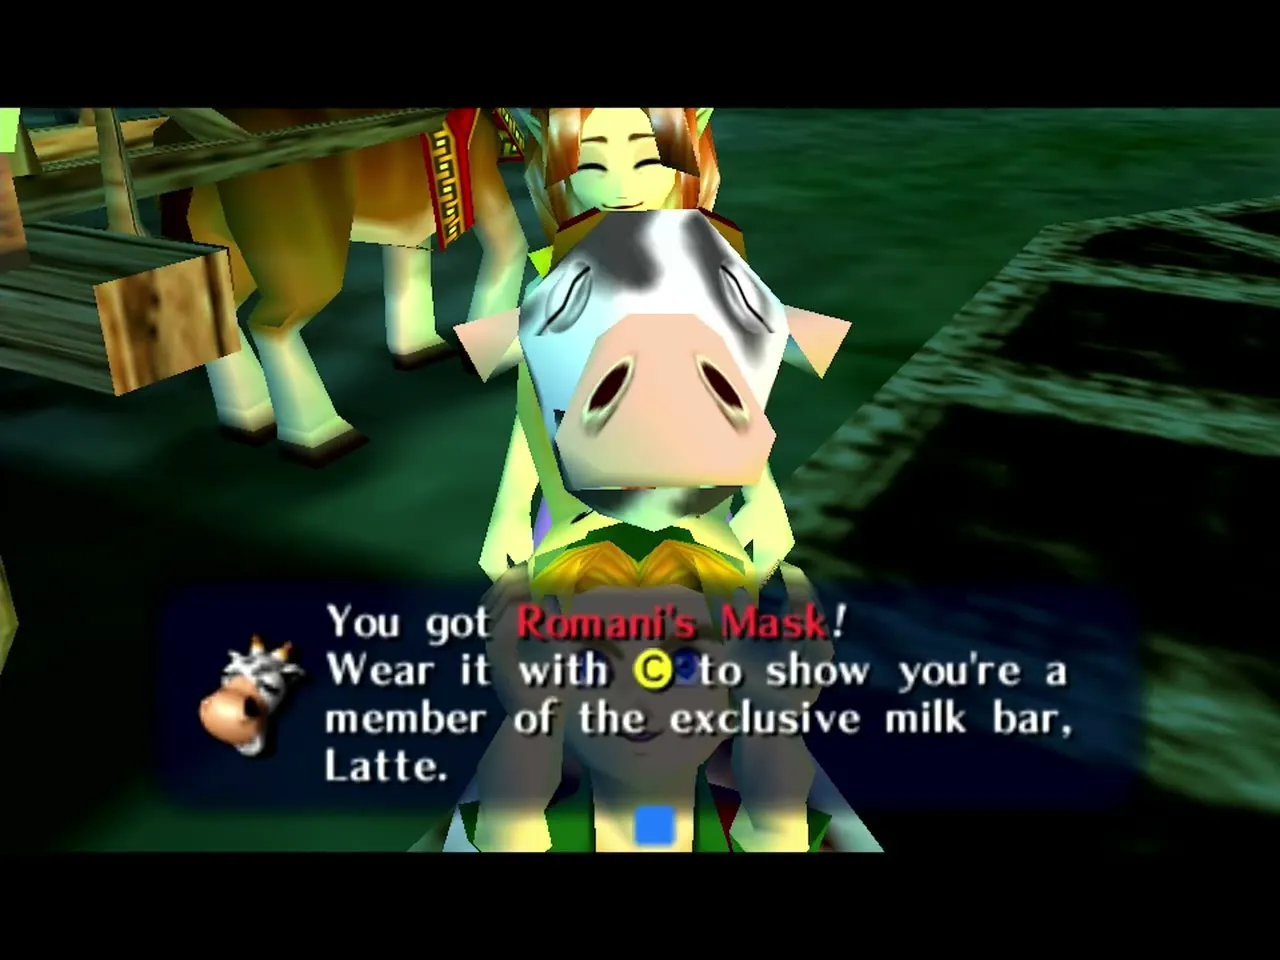
Cremia manages Romani Ranch and handles its milk deliveries to Clock Town. The masked Gorman Brothers ambush her cart on the way. After you have helped Romani, talk to Cremia on the Second Day and ride in her cart when it leaves the ranch at about 6 PM. Shoot the masked Gorman Brothers on the way (a boulder blocks Milk Road, so she takes a detour). The ride ends on the road beside a stone owl statue where the cart is parked; Cremia says the delivery to Mr. Barten went well and gives you Romani’s Mask right there, and you then ride Epona back to the ranch. The mask gets you into the Latte Milk Bar from 10 PM. Wear the Circus Leader’s Mask and the brothers will not attack at all. See the Side Quests page.
Gorman Brothers
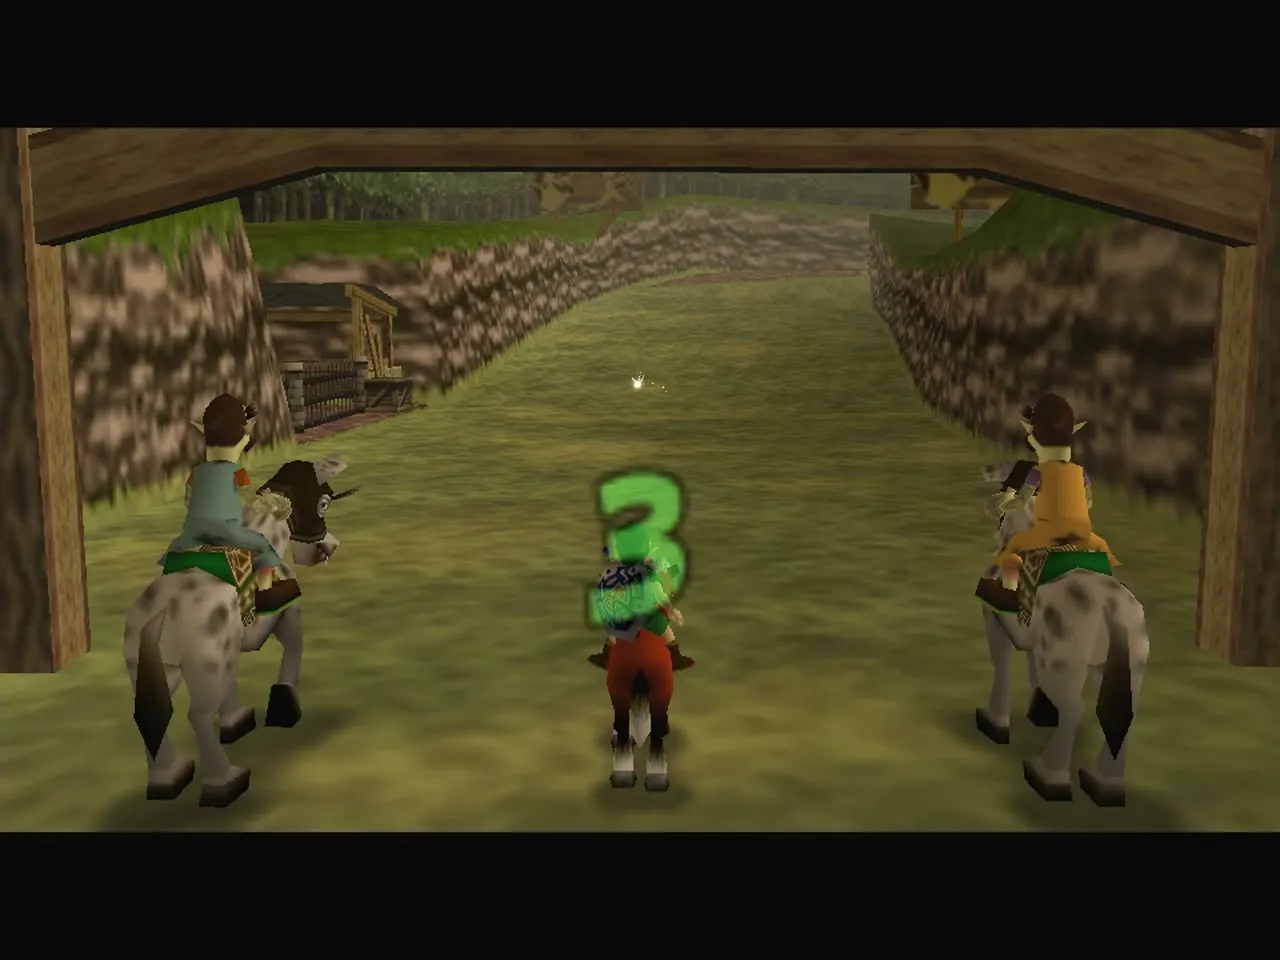
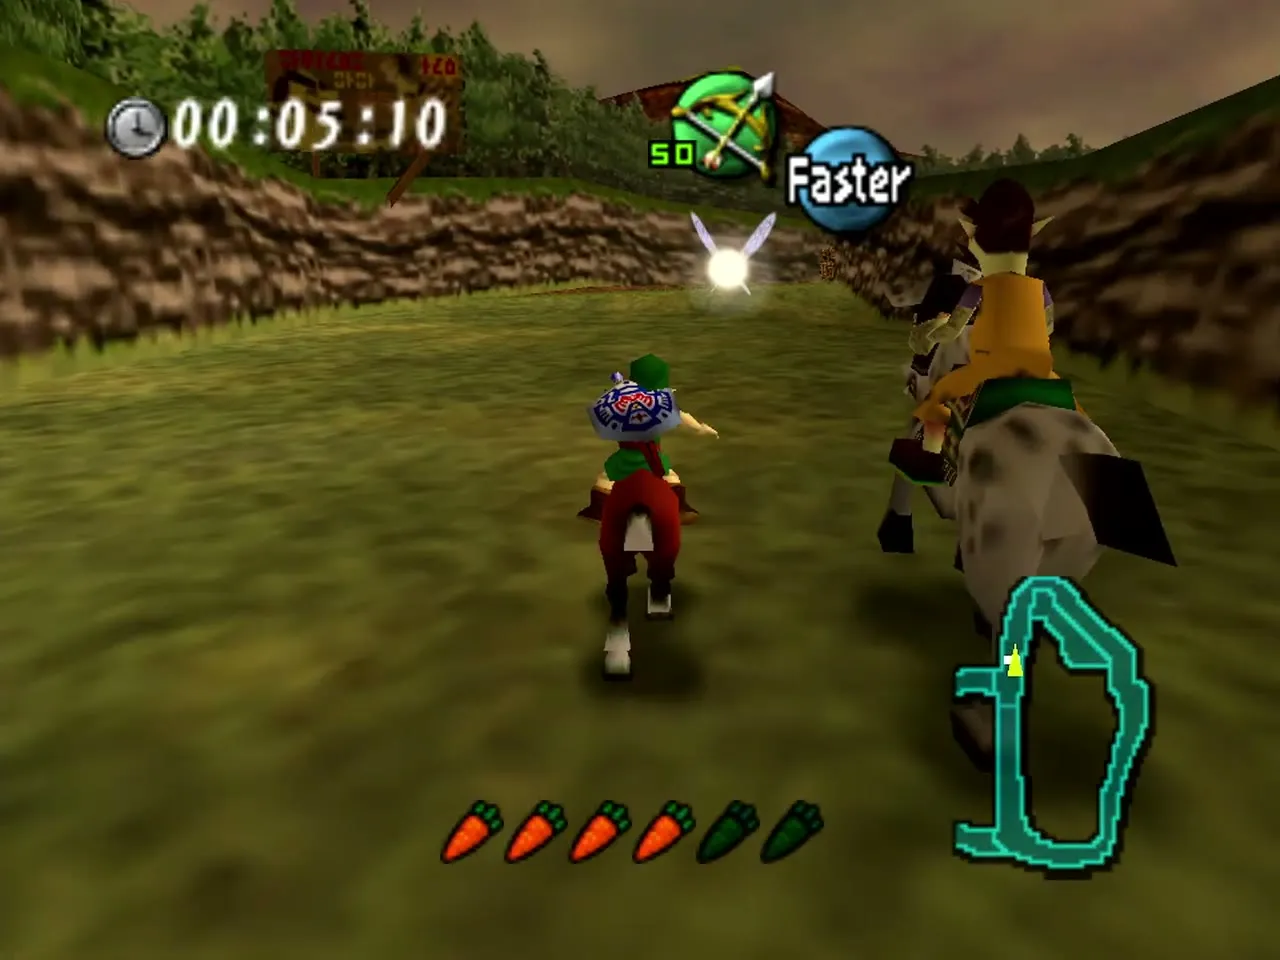
The Gorman Brothers run the horse track along the Milk Road. They are related to Gorman, the Circus Leader, and they look just like him. They ambush Cremia’s milk delivery on the Second Day unless you deal with them. Ride Epona onto Gorman Track in the daytime, pay 10 Rupees and beat both brothers in the race to get the Garo’s Mask. See the Mini-Games page and the Ikana Canyon walkthrough.
Grog
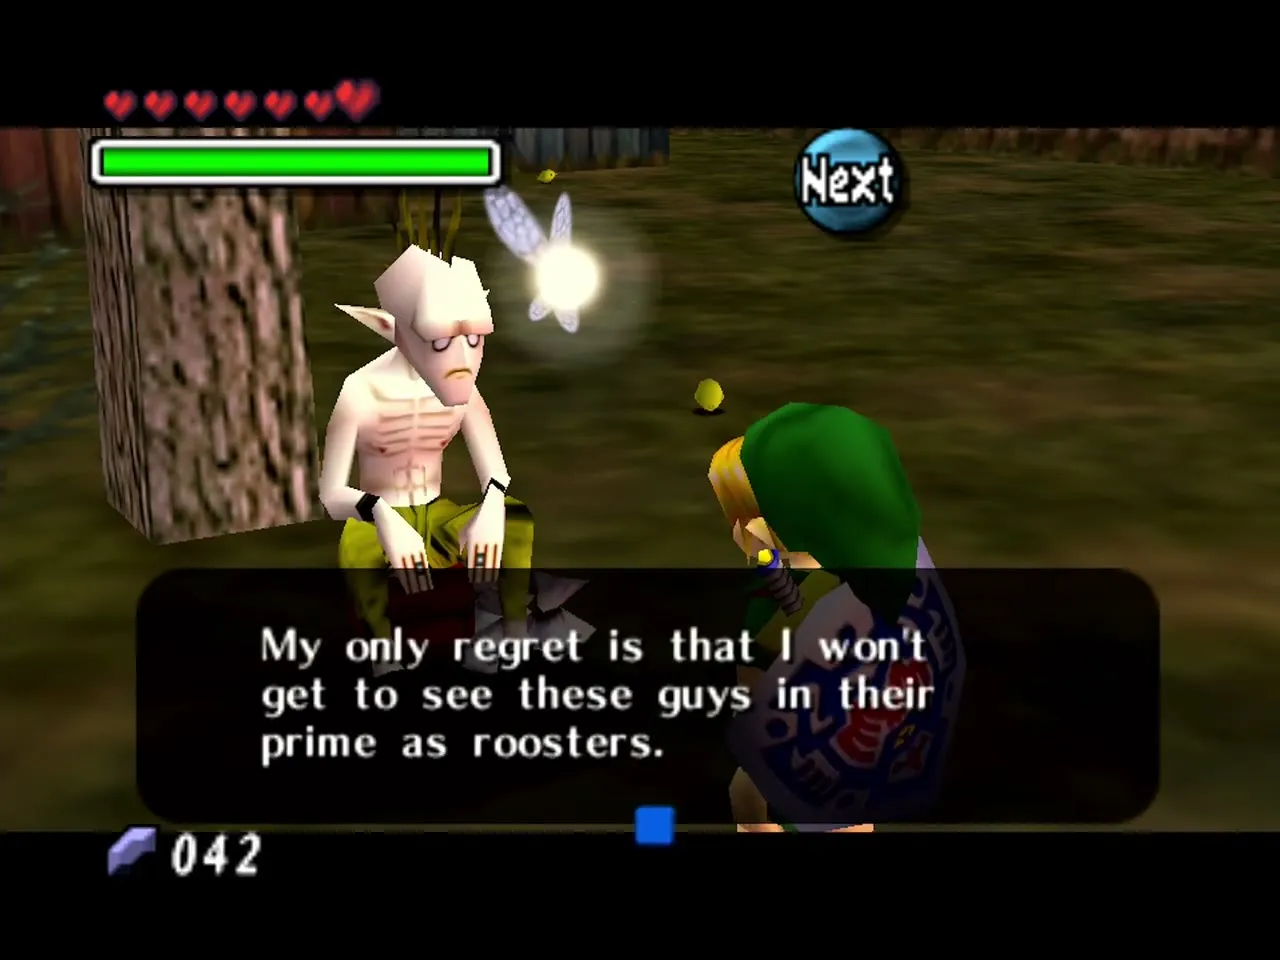
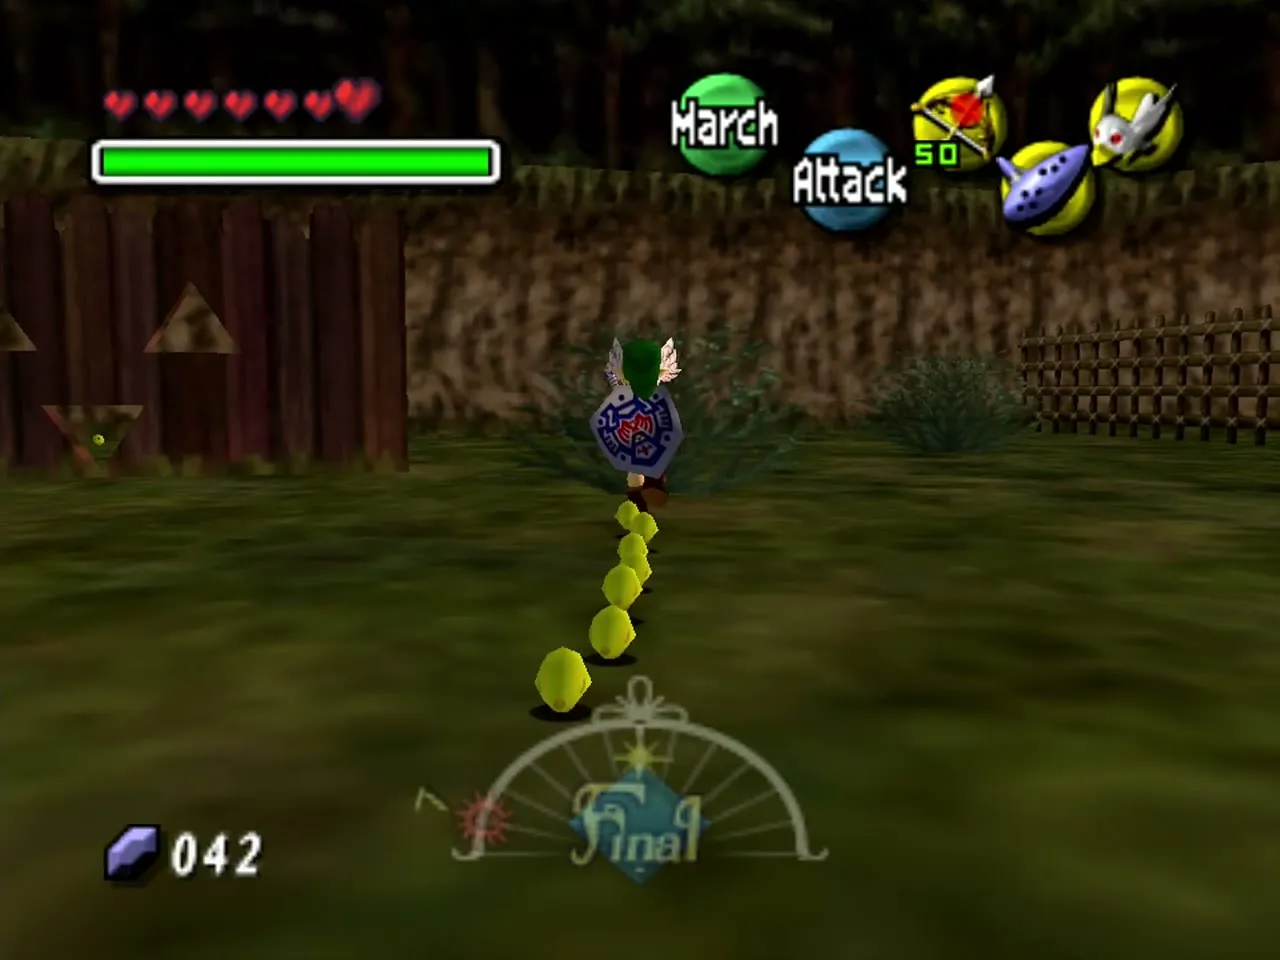
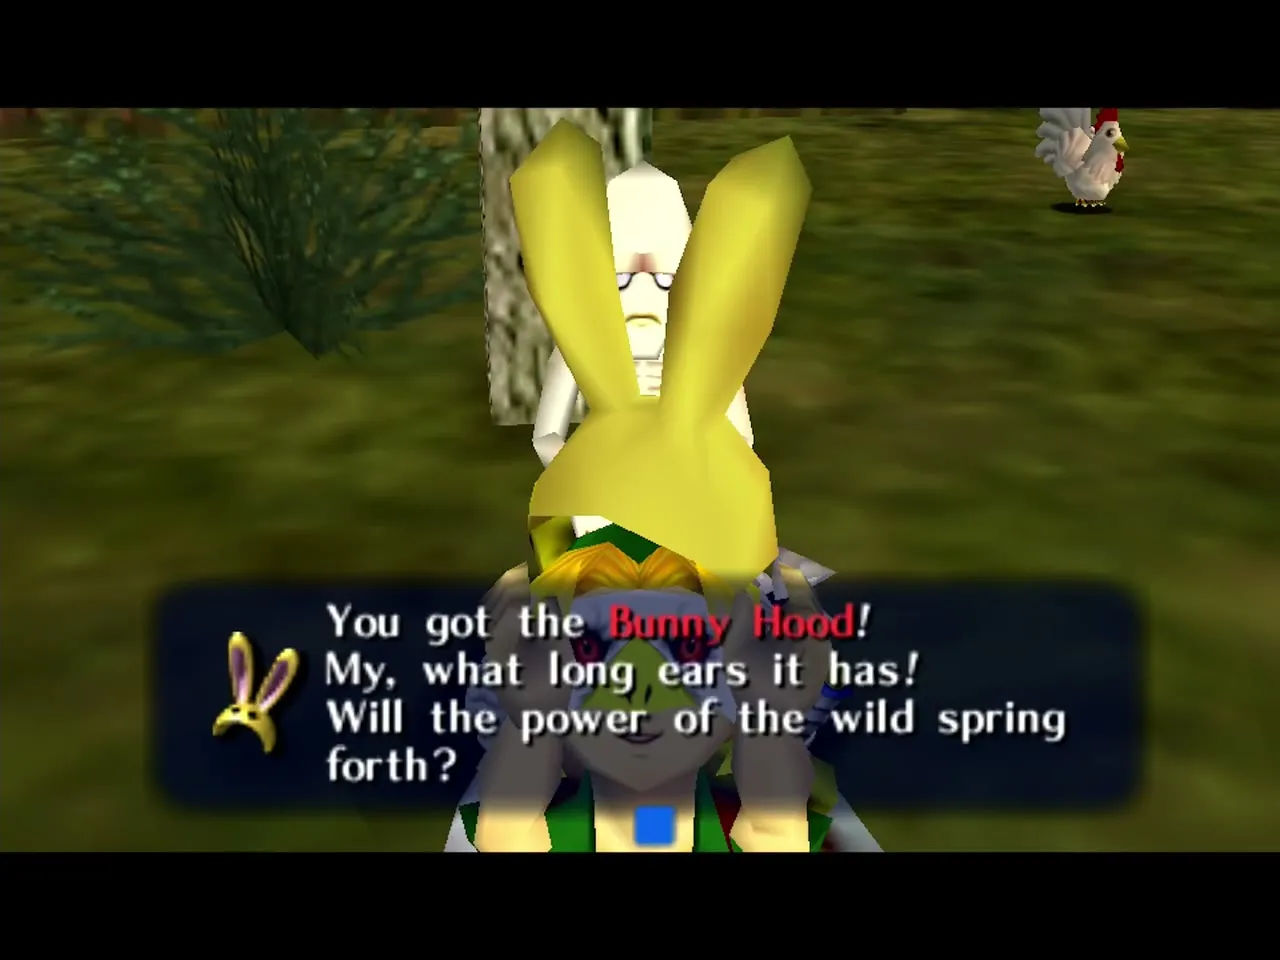
Grog keeps the Cucco Shack at the back of Romani Ranch, among ten yellow chicks. The shack is open from 6 AM to 8 PM on any day. Put on the Bremen Mask, hold the march button and walk round the pen until all ten chicks follow you in a line. They grow up in the line, and Grog gives you the Bunny Hood. The mask runs faster and jumps further, and it keeps the Postman’s timer on screen. On the Final Day the road is clear and you need no Powder Keg to reach the ranch. See the Clock Town, Termina Field and Romani Ranch walkthrough.
Tingle
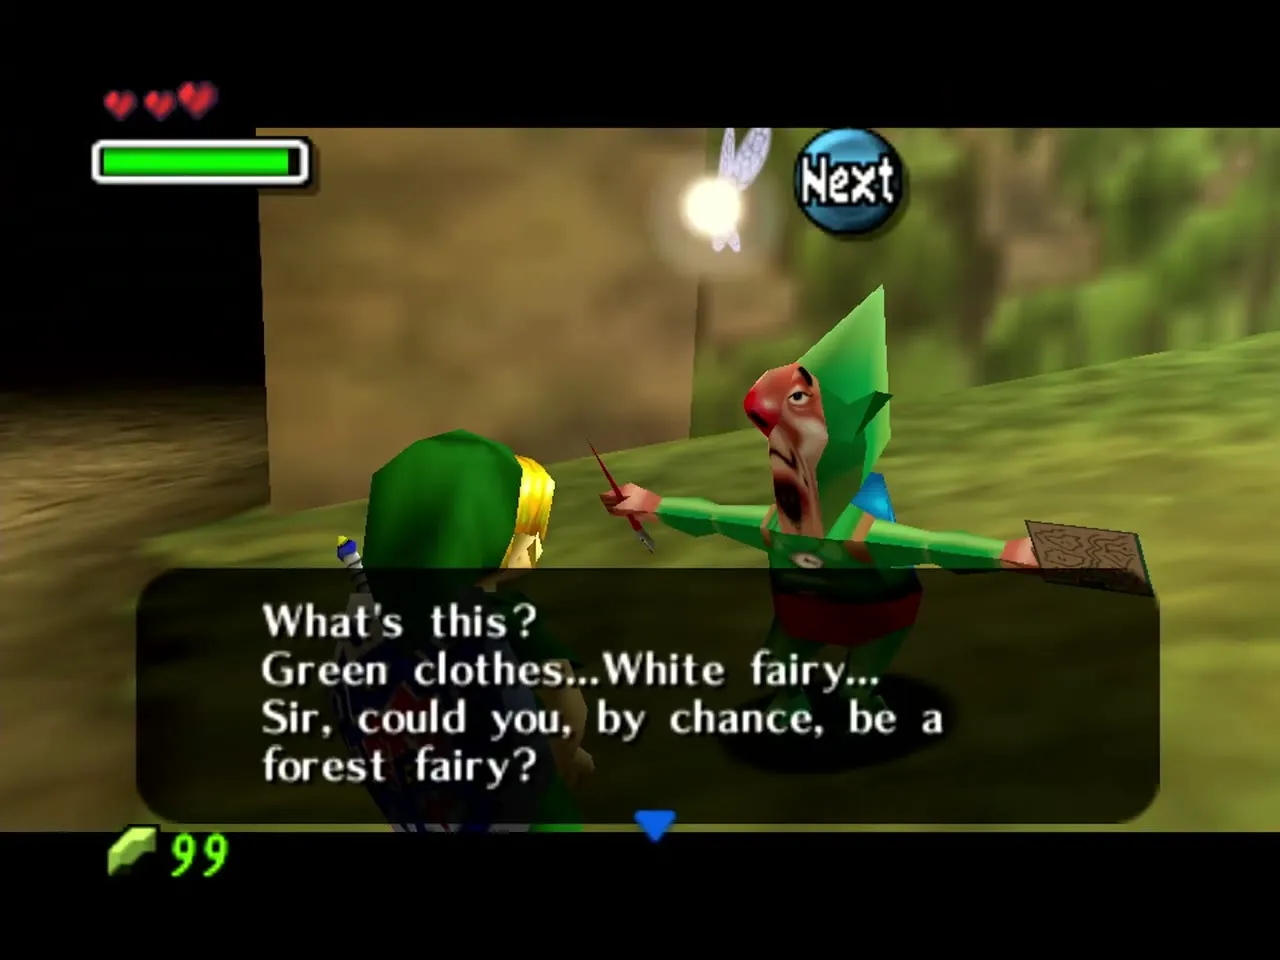
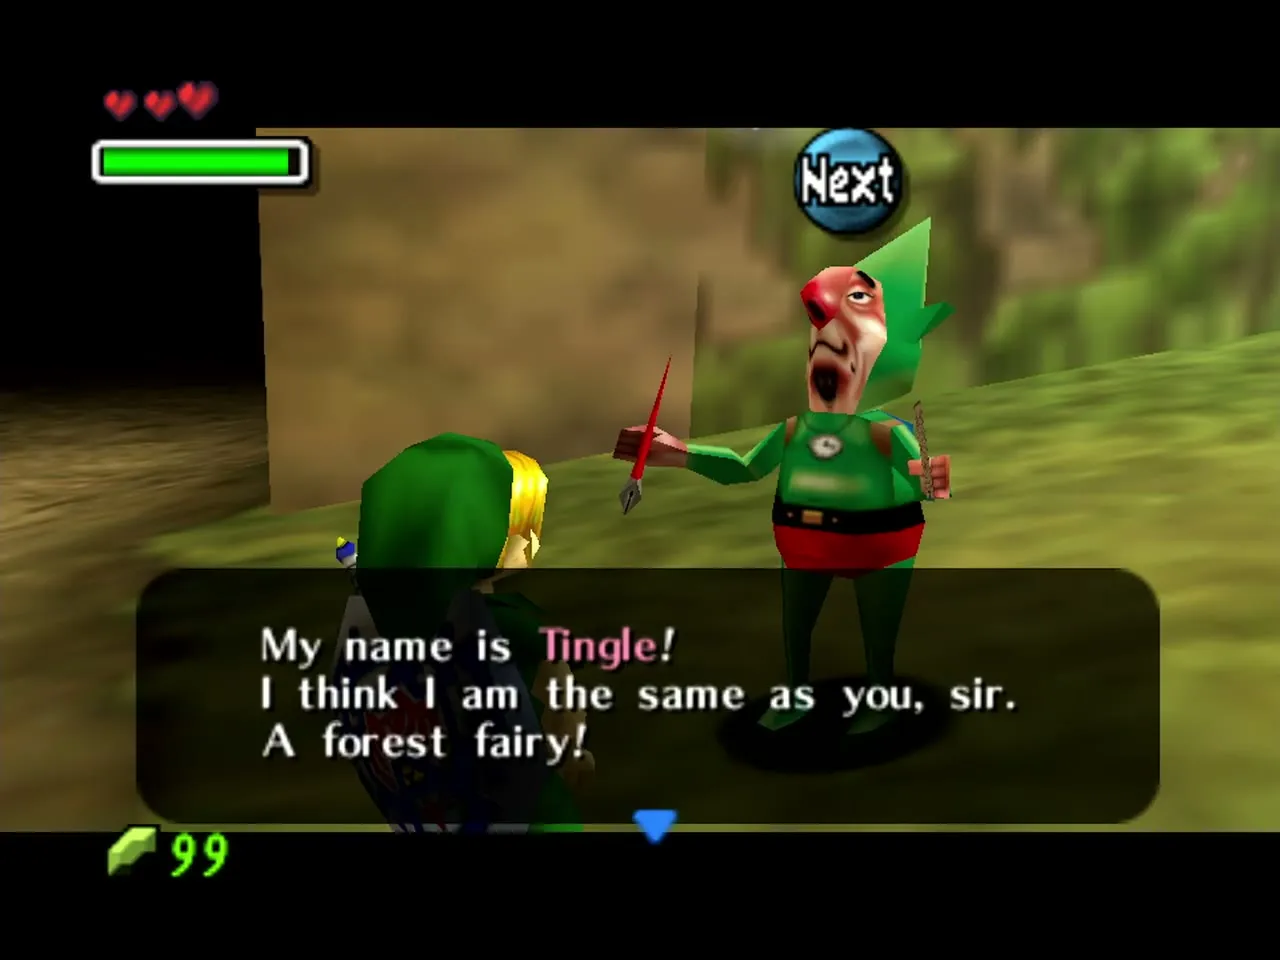
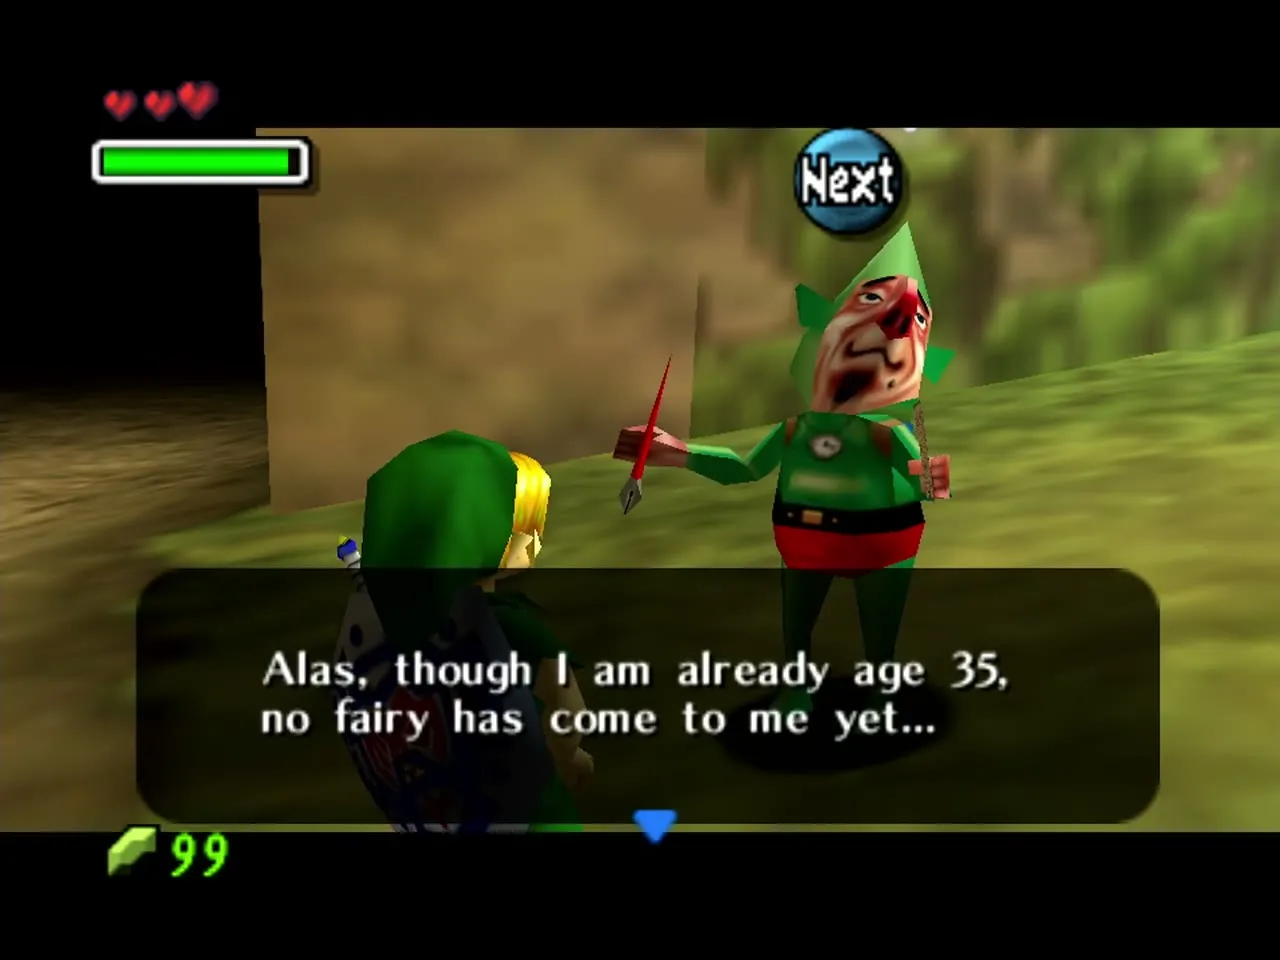
Tingle is a 35-year-old man in green who believes he is a fairy. He floats above Termina on a balloon and sells maps. You can find him in Clock Town and in each of the regions. Pop his balloon with a bubble, an arrow or the Hookshot to talk to him. A map costs 5 Rupees for Clock Town, 20 Rupees for the region you are standing in and 40 Rupees for another region’s map. You can also photograph him for the swamp photo contest. See the Maps page.
Kaepora Gaebora (Owl)
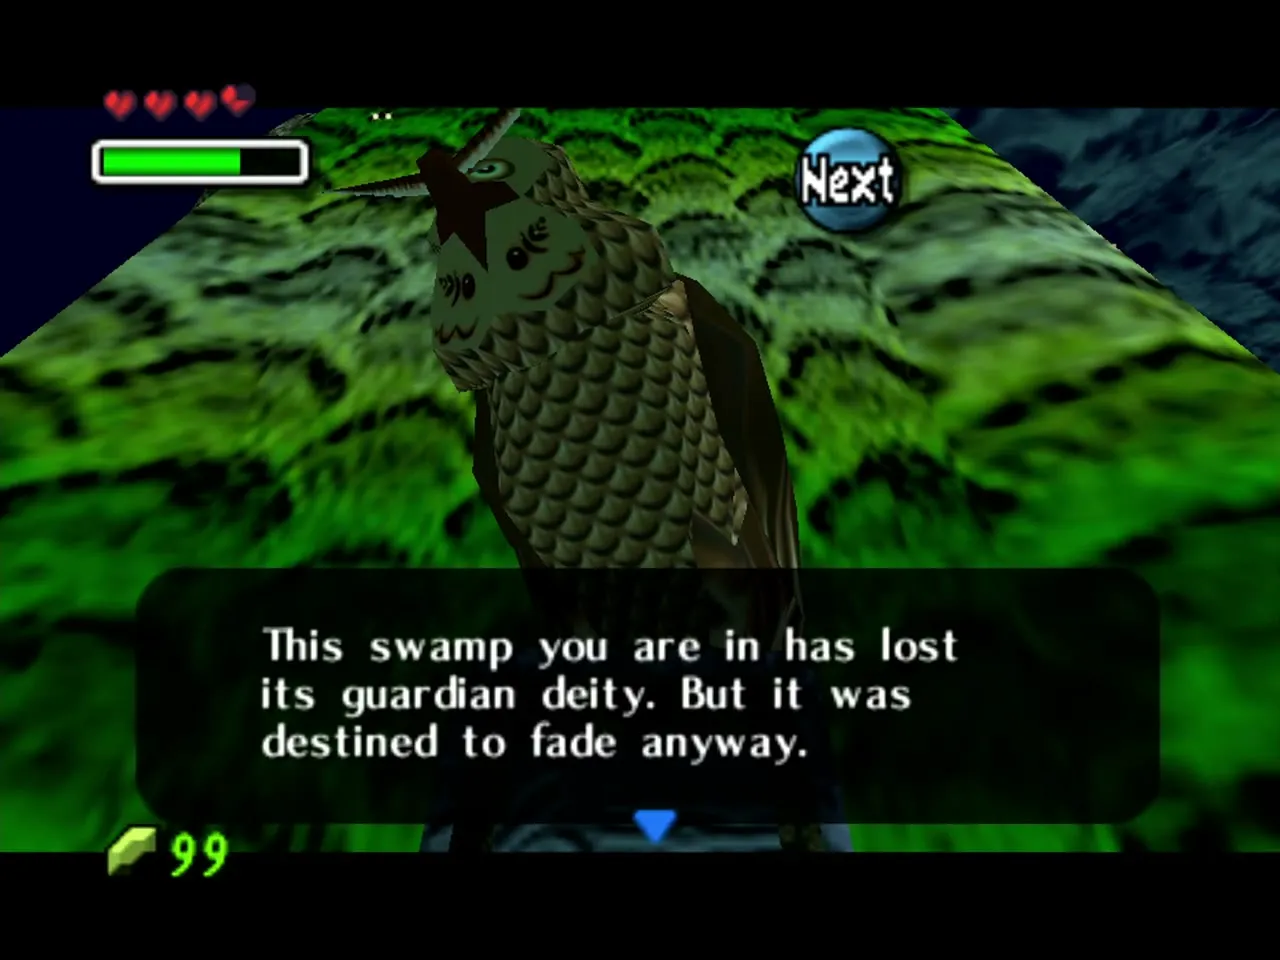
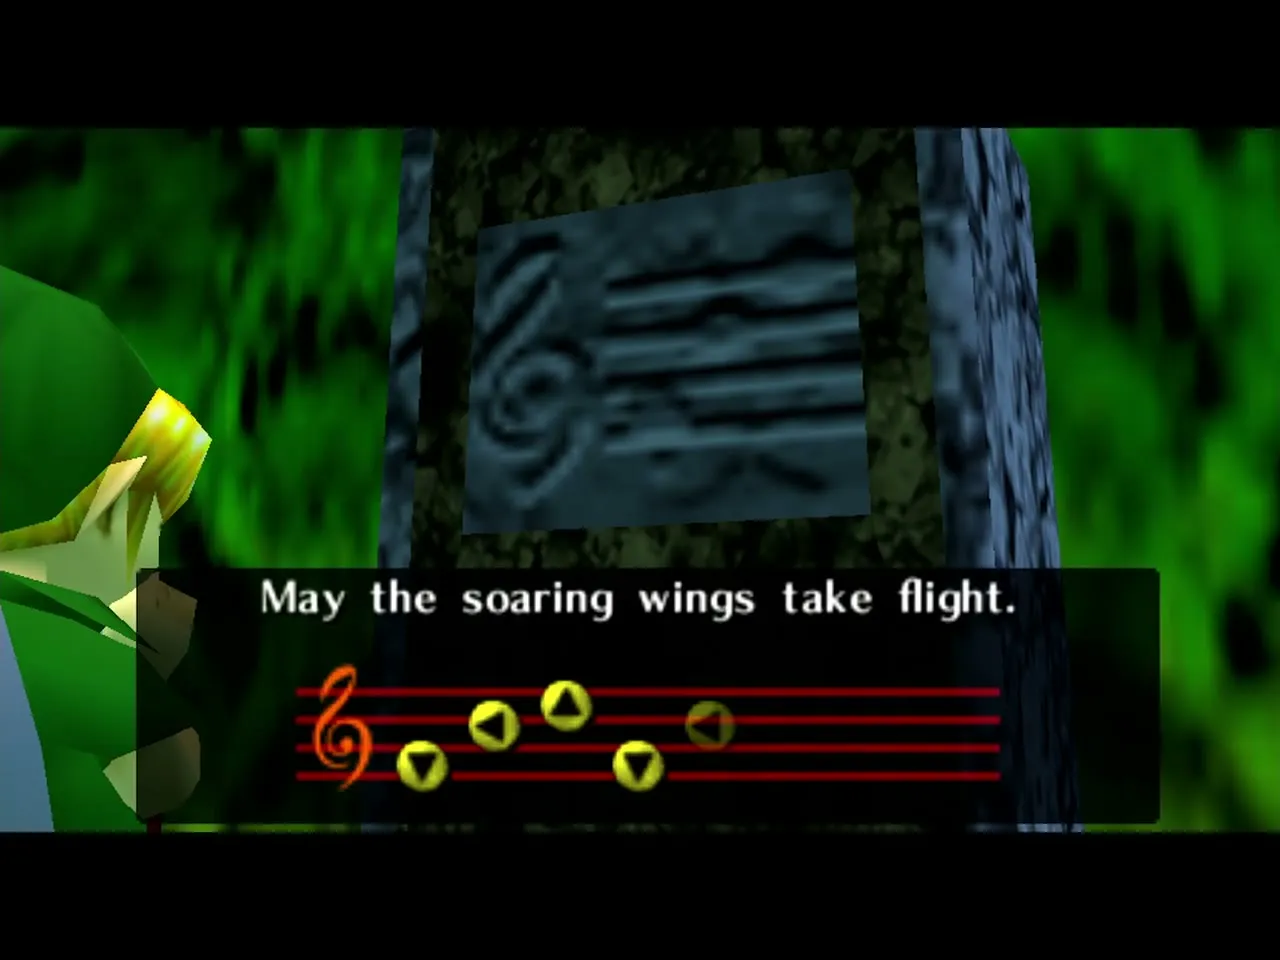
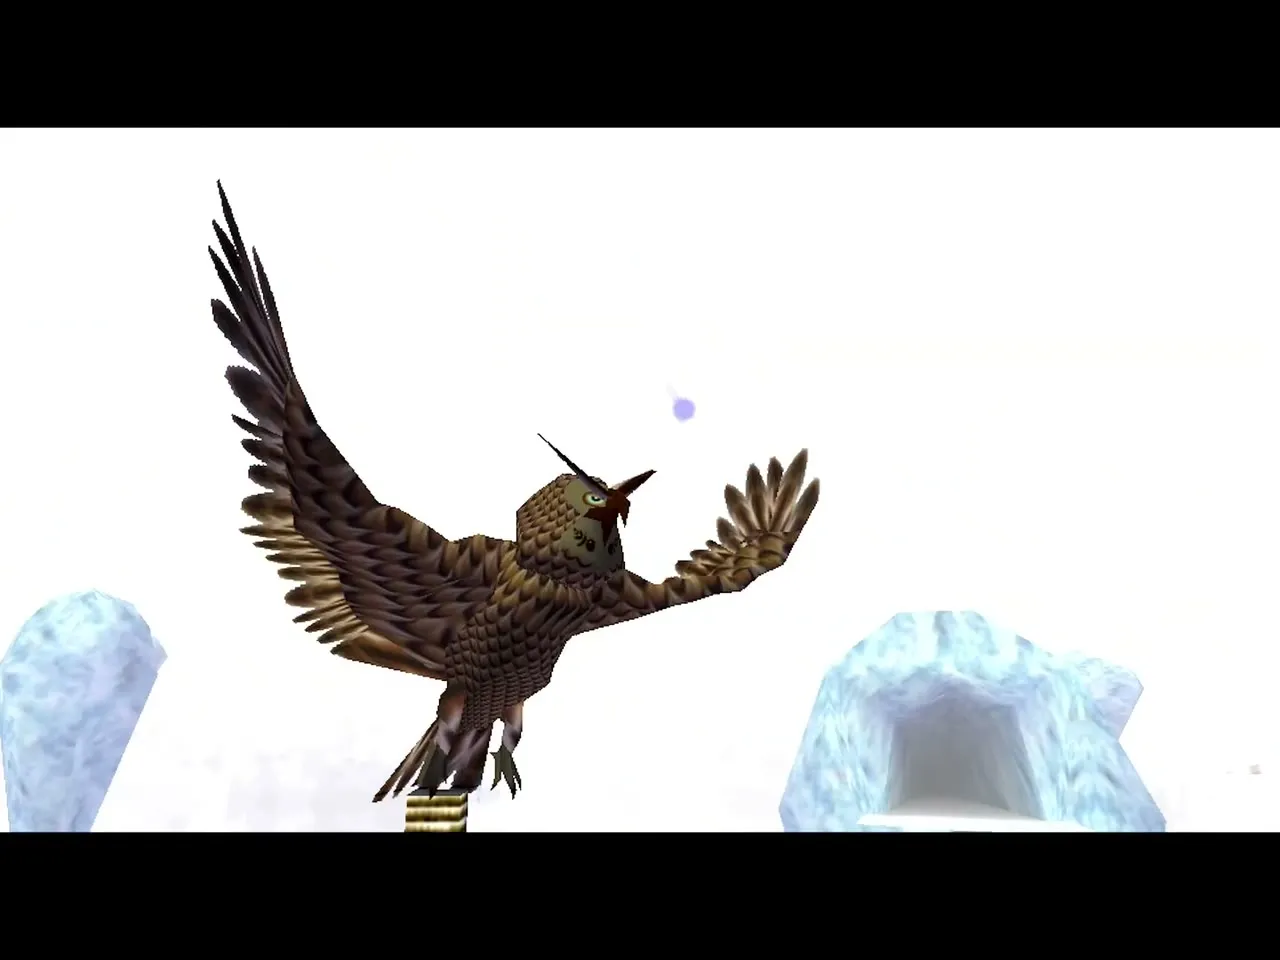
Kaepora Gaebora is the wise owl who guides Link, as he did in Ocarina of Time. He appears twice. On the western road out of Mountain Village he waits behind a fence and, if you say yes, glides across the chasm leaving a trail of feathers that marks blocks of ice you cannot normally see. At the top of the Deku shortcut near Woodfall he explains what the Owl Statues are for, and the Song of Soaring is carved on the stone tablet beside him. The Owl Statues save your progress and the song warps Link between those he has struck with his sword. See the Southern Swamp and Deku Palace walkthrough and the Snowhead Region walkthrough.
Business Scrubs
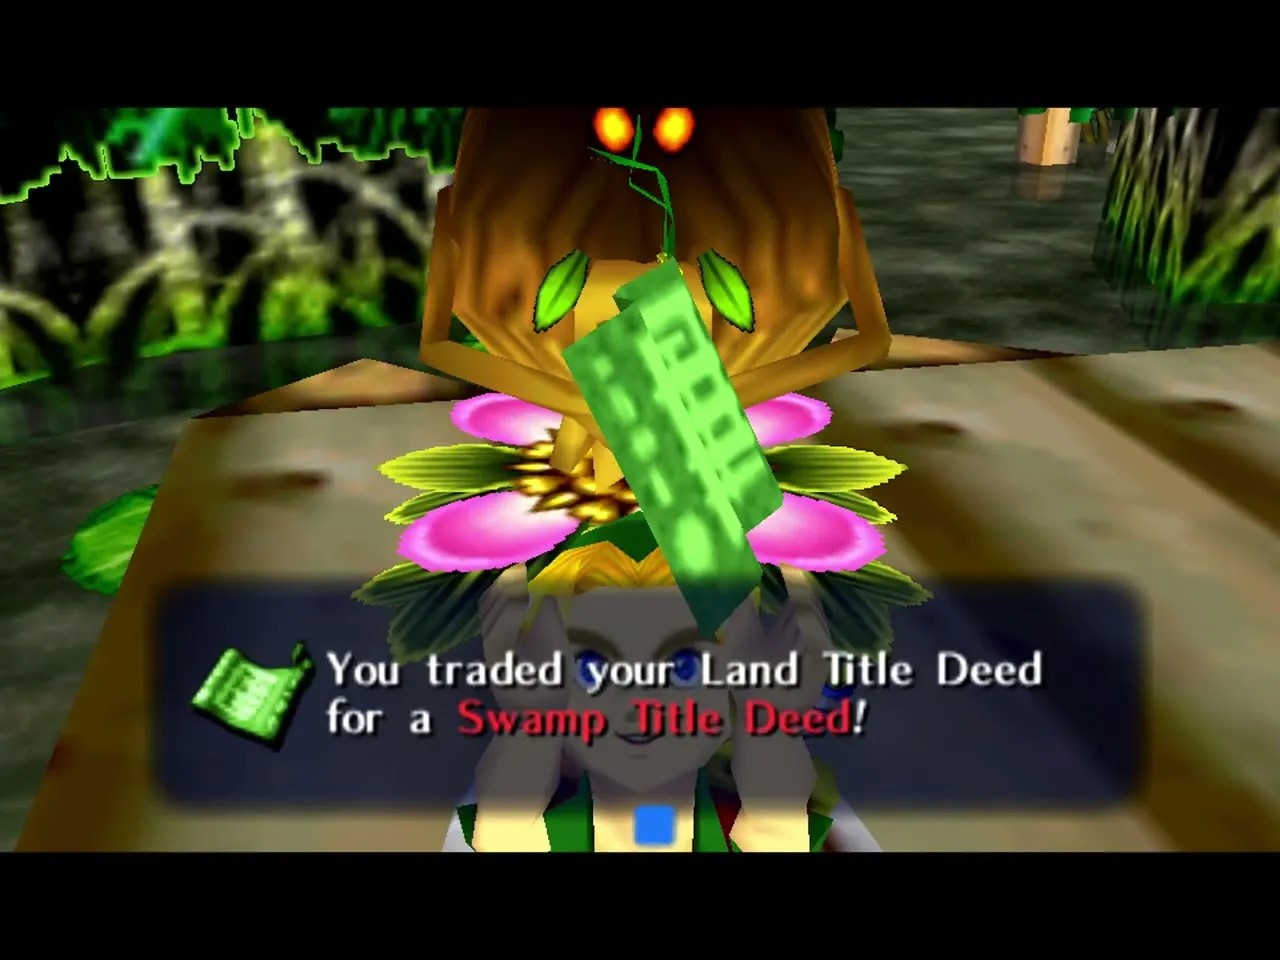
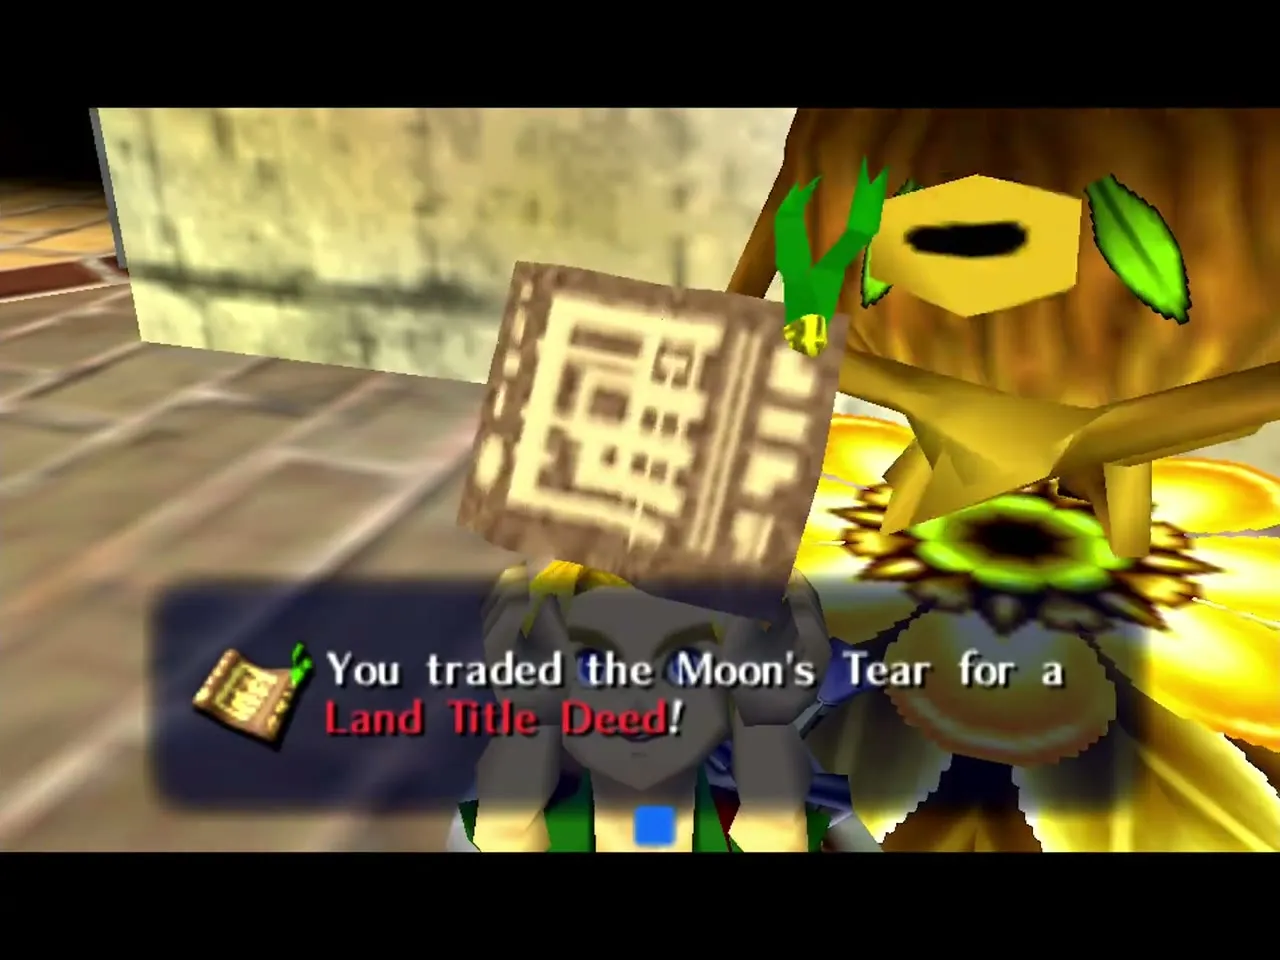
The Business Scrubs are Deku merchants who set up shop in odd corners of Termina and swap the Title Deeds. In Clock Town one wants the Moon’s Tear for the Land Title Deed. The scrub above the Swamp Tourist Center trades that for the Swamp Title Deed, the scrub in Goron Village takes it for the Mountain Title Deed, the one in Lulu’s room in Zora Hall gives the Ocean Title Deed in return, and the last, near Sakon’s Hideout in Ikana Canyon, takes the Ocean Title Deed. At several stops the scrub leaves a Deku Flower behind that carries you to a Piece of Heart. The deeds are lost when you reset, so make every trade in one cycle. The Goron Village scrub also trades the Biggest Bomb Bag if you talk to him as Goron Link with the Big Bomb Bag and 200 Rupees, and another scrub near the Astral Observatory sells a Piece of Heart for 150 Rupees (100 if you refuse once). See the Side Quests page and the Heart Piece guide.
Great Fairies
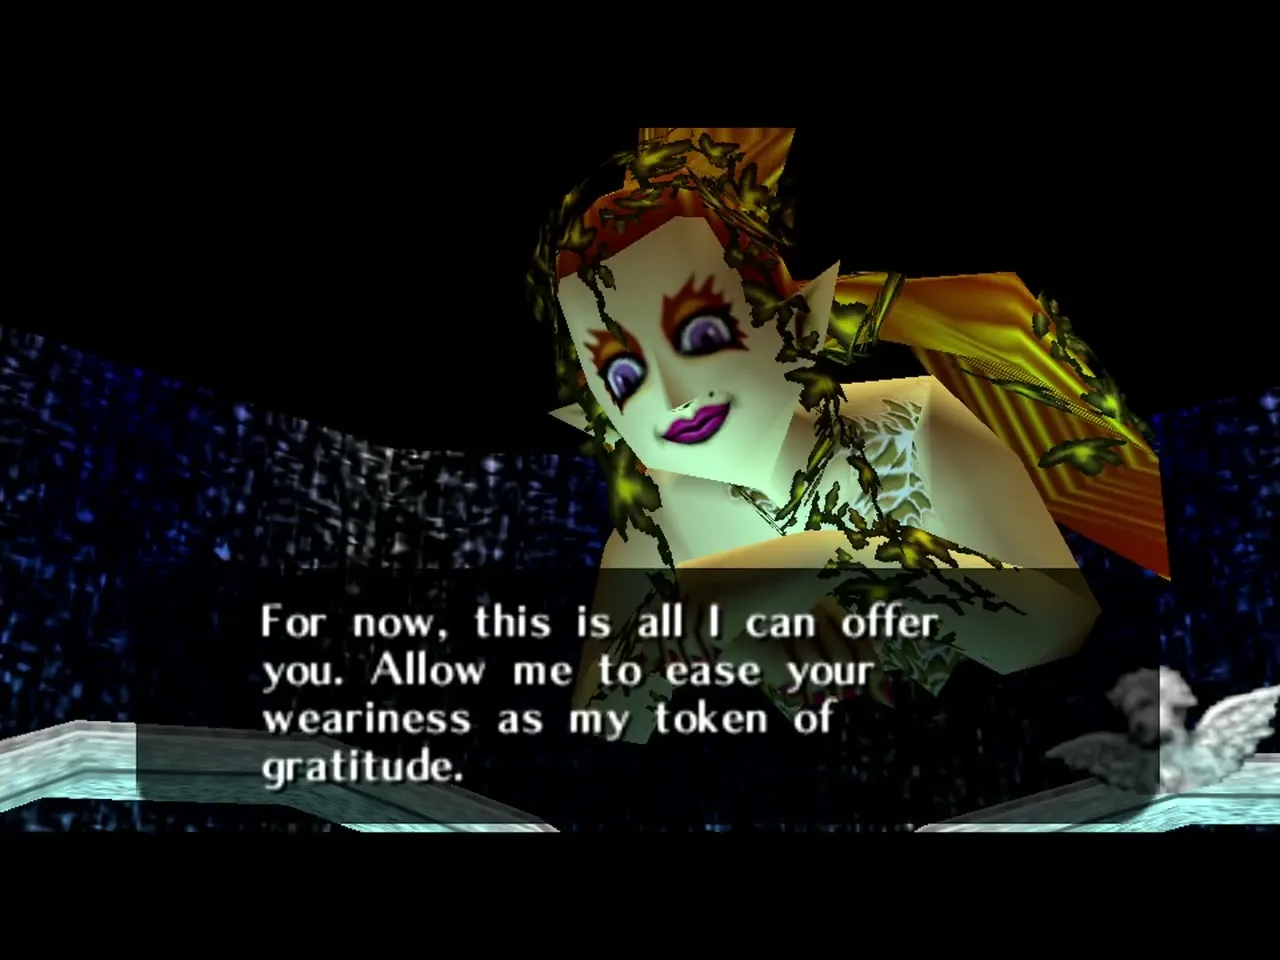
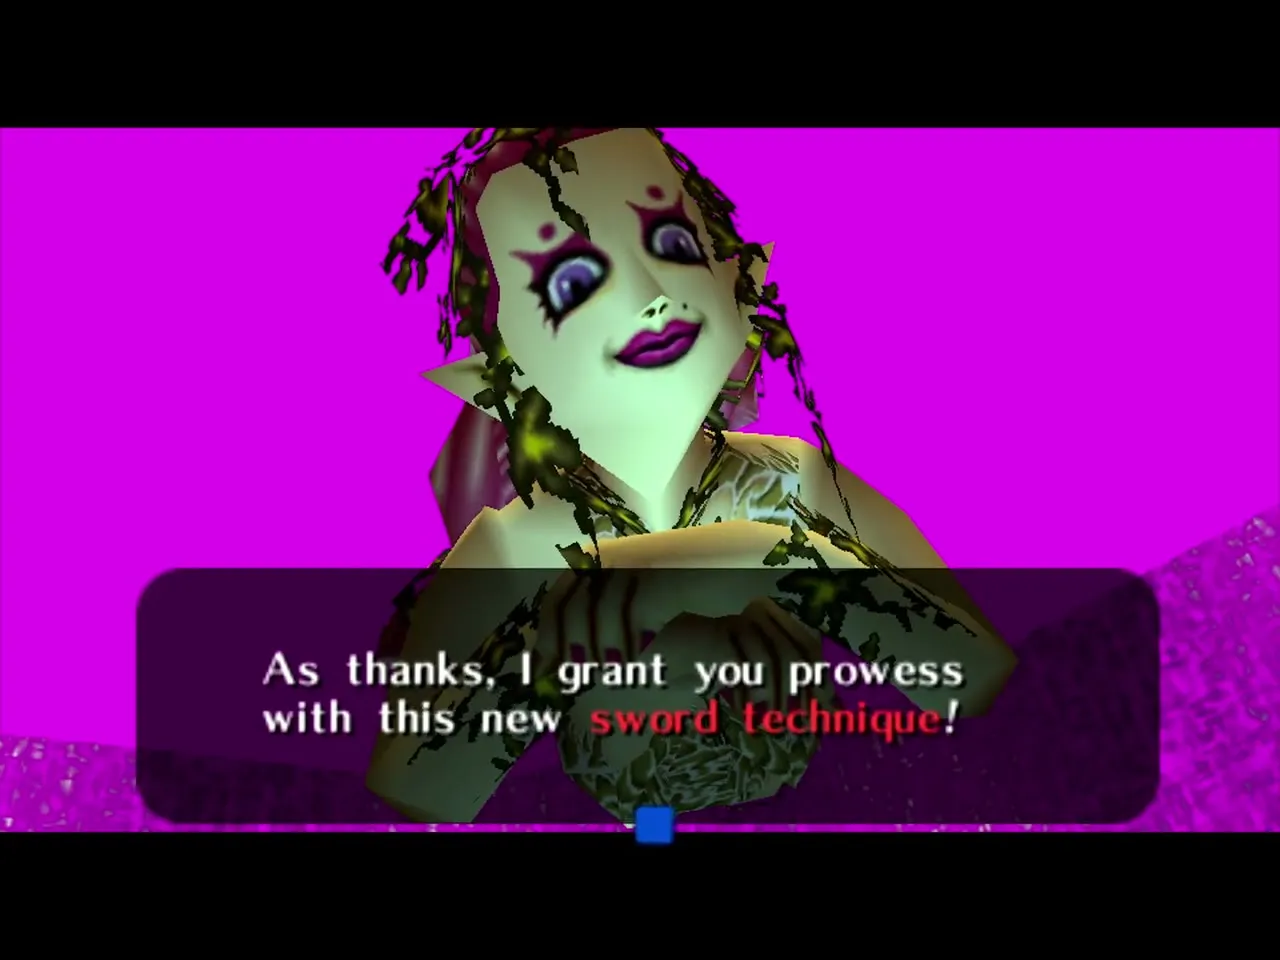
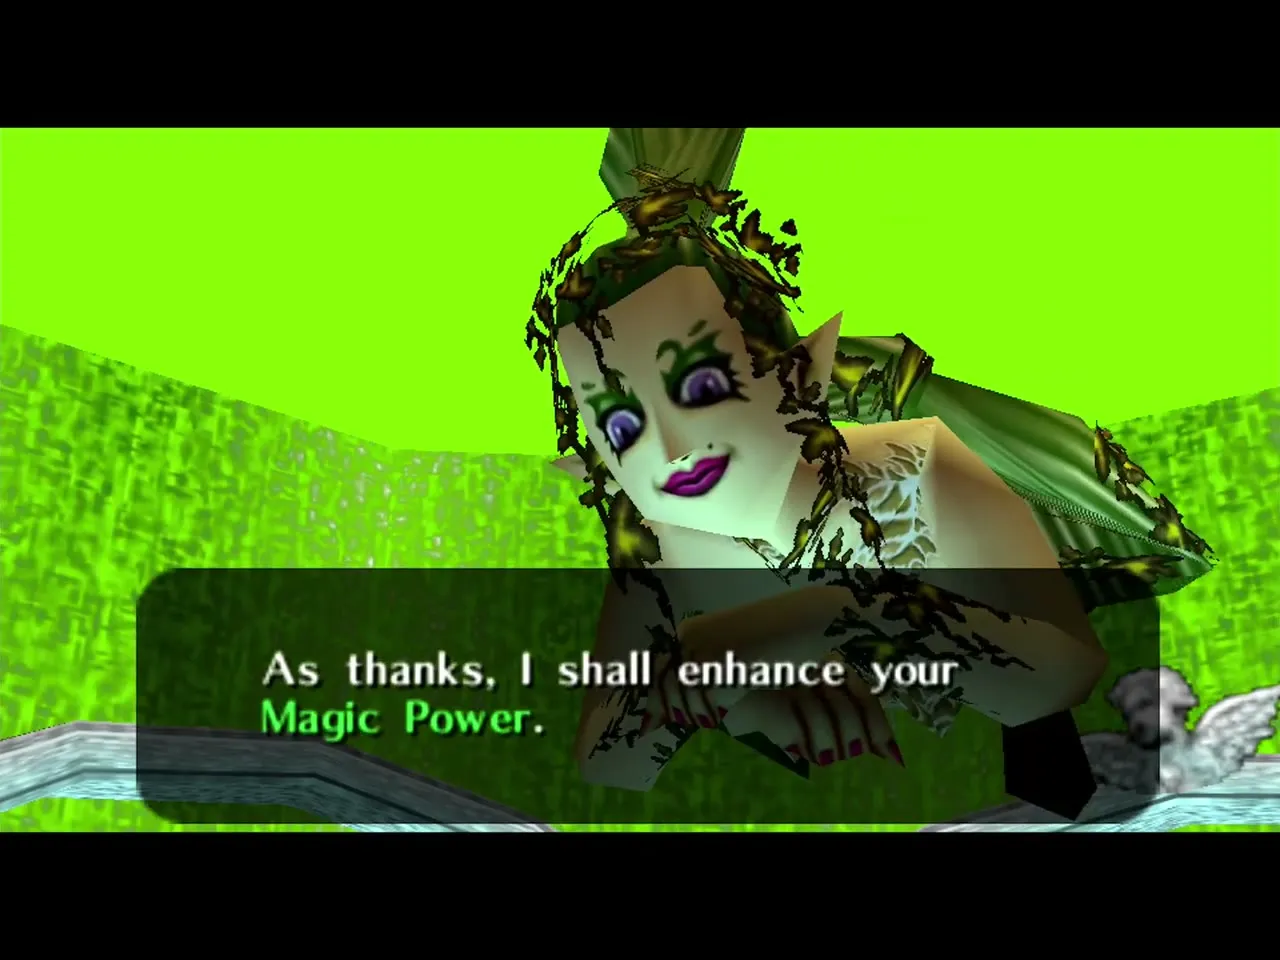
Each region has a Great Fairy fountain, and each fairy is whole again once you return the 15 Stray Fairies of its temple (in Clock Town, just the one). The Clock Town fairy in North Clock Town gives Deku Link the magic power and bubble attack and Hylian Link the Great Fairy’s Mask, which draws Stray Fairies toward you. The Woodfall fairy rewards the Spin Attack, the Snowhead fairy a doubled magic meter, and the Great Bay fairy Double Defense, while the Stone Tower fairy gives the Great Fairy’s Sword. Bring the 15 fairies of each temple back to its fountain after you find them. See the Stray Fairies page.
Moon Children
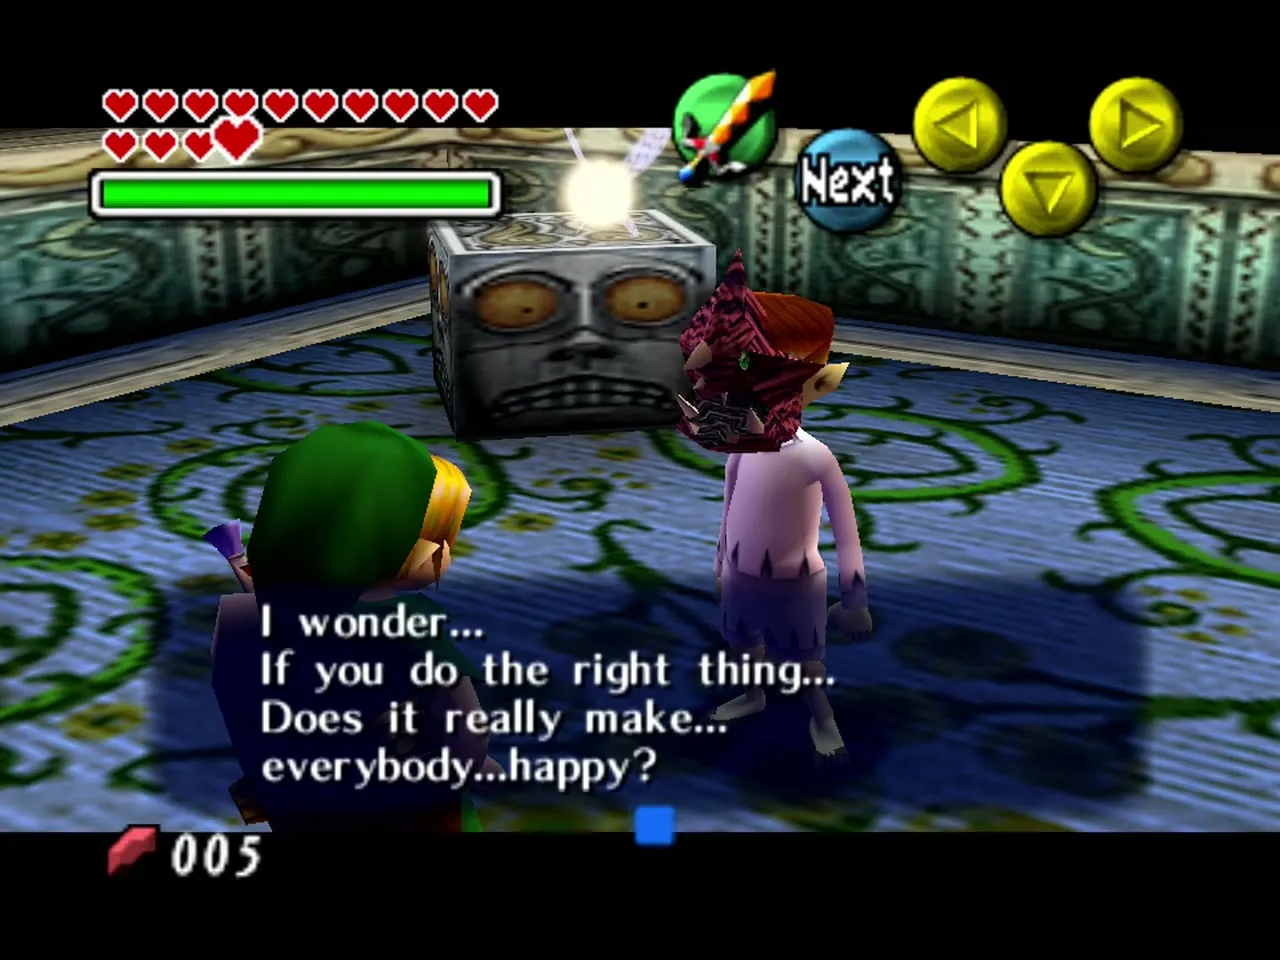
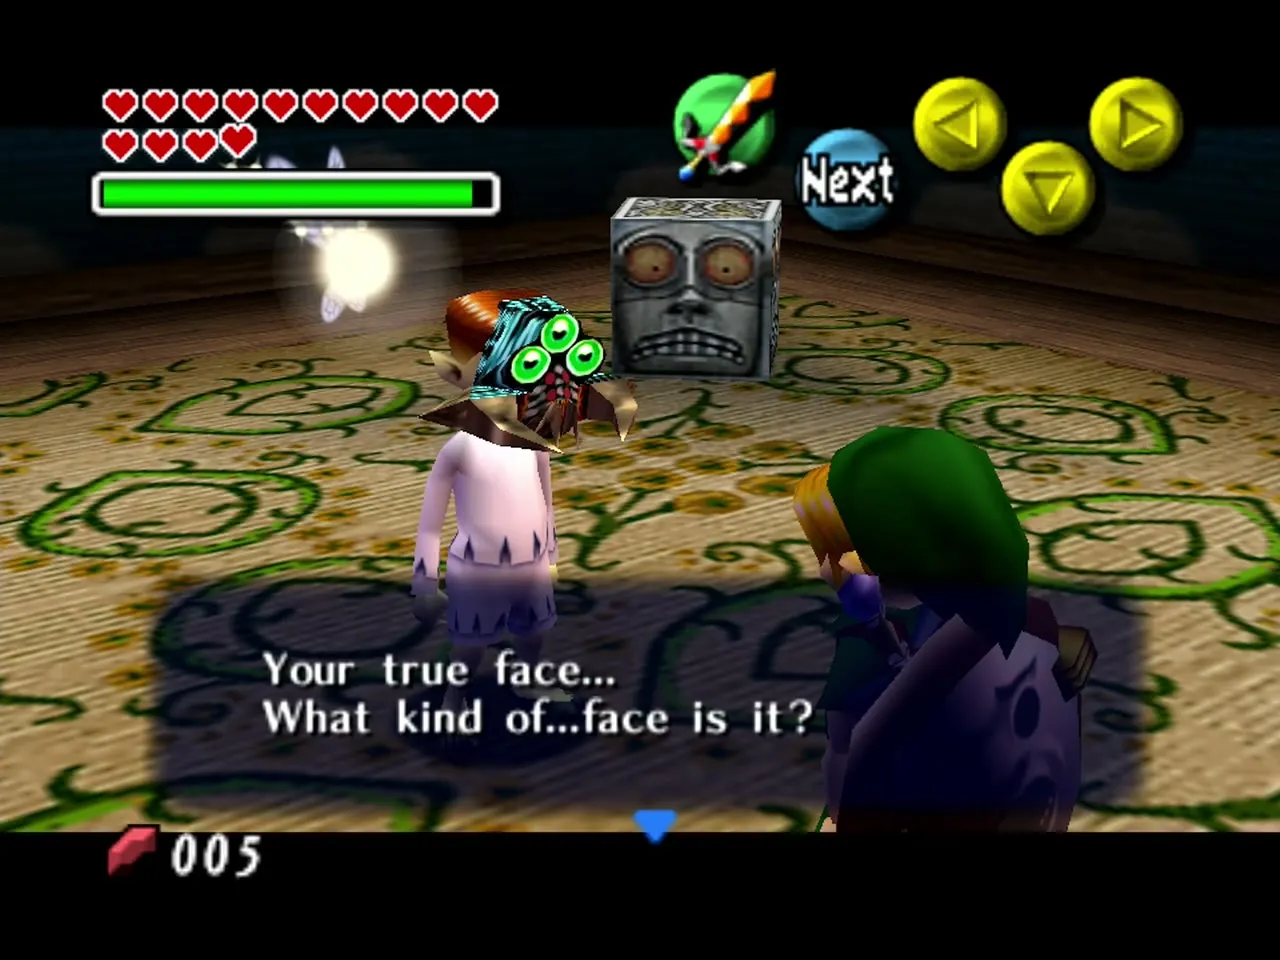
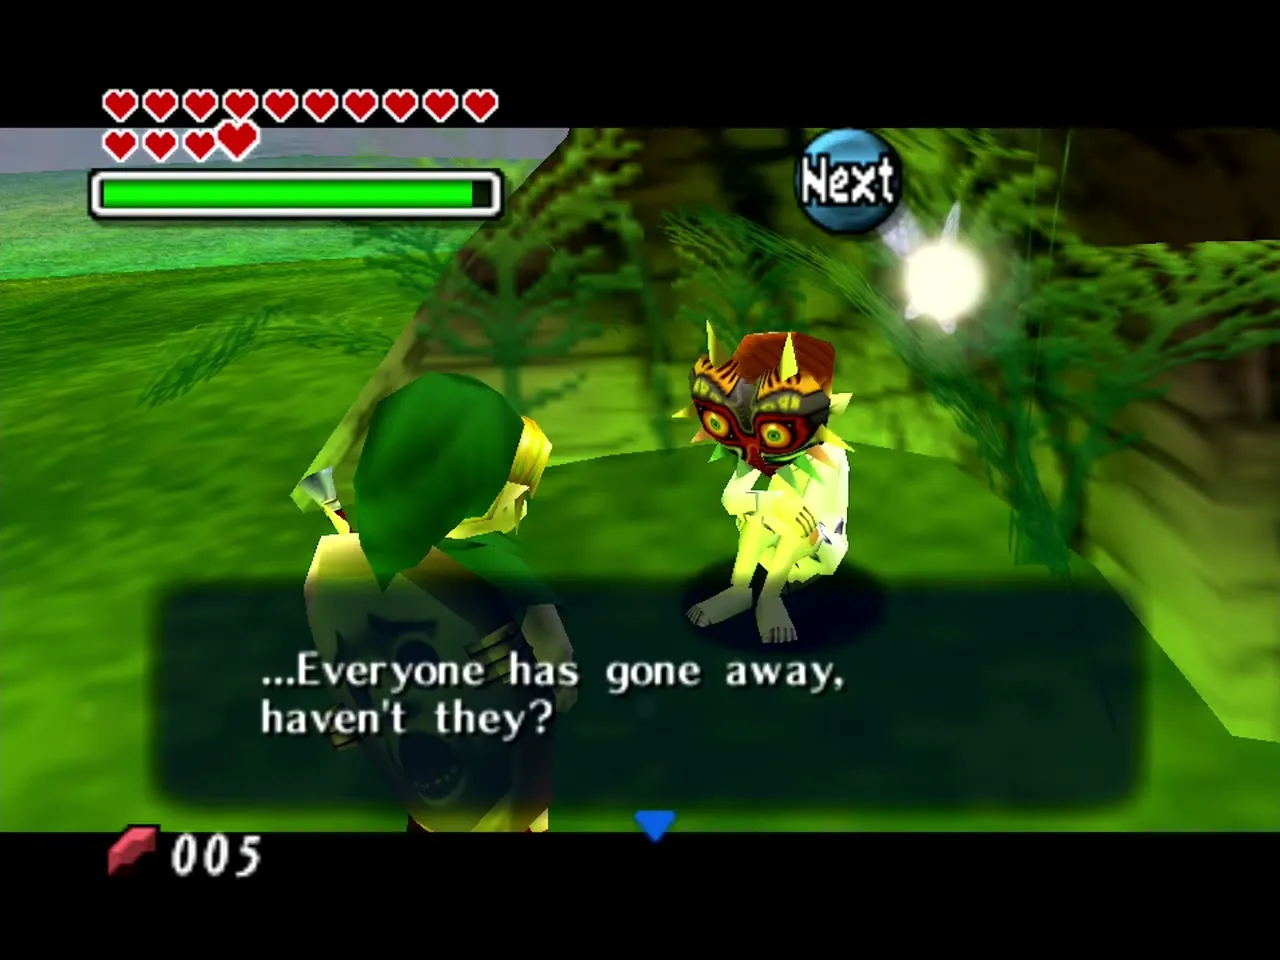
The Moon Children are five mysterious kids who play in a quiet field inside the Moon, just before the final fight. Four of them wear the masks of the temple bosses, and each one asks for masks that are not transformation masks before letting you into a trial room. The Deku child asks for 1, the Goron child 2, the Zora child 3 and the Link child 4. Finish a trial and the same child takes the same number again and pays out a Piece of Heart, so the four trades add up to 1+1, 2+2, 3+3 and 4+4, or 20 masks in all. After that the fifth child gives you the Fierce Deity’s Mask. The fifth child sits by a tree wearing Majora’s Mask and asks you philosophical questions before the final battle begins. See the Final Confrontation walkthrough and the Mask Collection Guide.
This list covers the most important characters in Majora’s Mask. As you travel Termina and speak to its people across the three days, you will find the depth of the story in their stories.
