





















| Covers | Regular overworld and dungeon enemies, plus dungeon hazards, of the Switch remake |
|---|---|
| Mini-bosses and bosses | Listed on the Boss Strategies page |
| Drops | Vary by enemy; the Mad Bomber leaves a Golden Leaf |
| Most useful tools | Shield, Sword, Pegasus Boots dash, Hookshot, Bombs, Magic Powder |
Most enemies on Koholint fall to the Shield and Sword: block the projectile, step in and slash. The exceptions are the ones that need a tool, such as Buzz Blobs, which shock you through the Sword, Hardhat Beetles, which you knock back, and Pols Voice, which you defeat with a thrown pot or the Ocarina. The tables below list every regular enemy by region, with where you meet it, how to defeat it and what it drops.
Table of Contents
Fighting basics
Hold the Shield button to block ranged attacks such as rocks, arrows and bones. Block first, then close in. Use a charged spin attack when several enemies surround you, and keep a spare heart or a Fairy Bottle ready before a long dungeon; the Fairy Bottles and Secret Medicine pages cover the safety nets. Defeated enemies often leave small pickups behind, so clear a room before you worry about restocking.
Mabe Village, Toronbo Shores and Ukuku Prairie
The opening stretch of the island is the gentlest. The Shield and Sword are all you need, so use these fields to practise blocking projectiles and stepping in to slash. The matching walkthrough chapter is Mabe Village, Toronbo Shores and Ukuku Prairie.
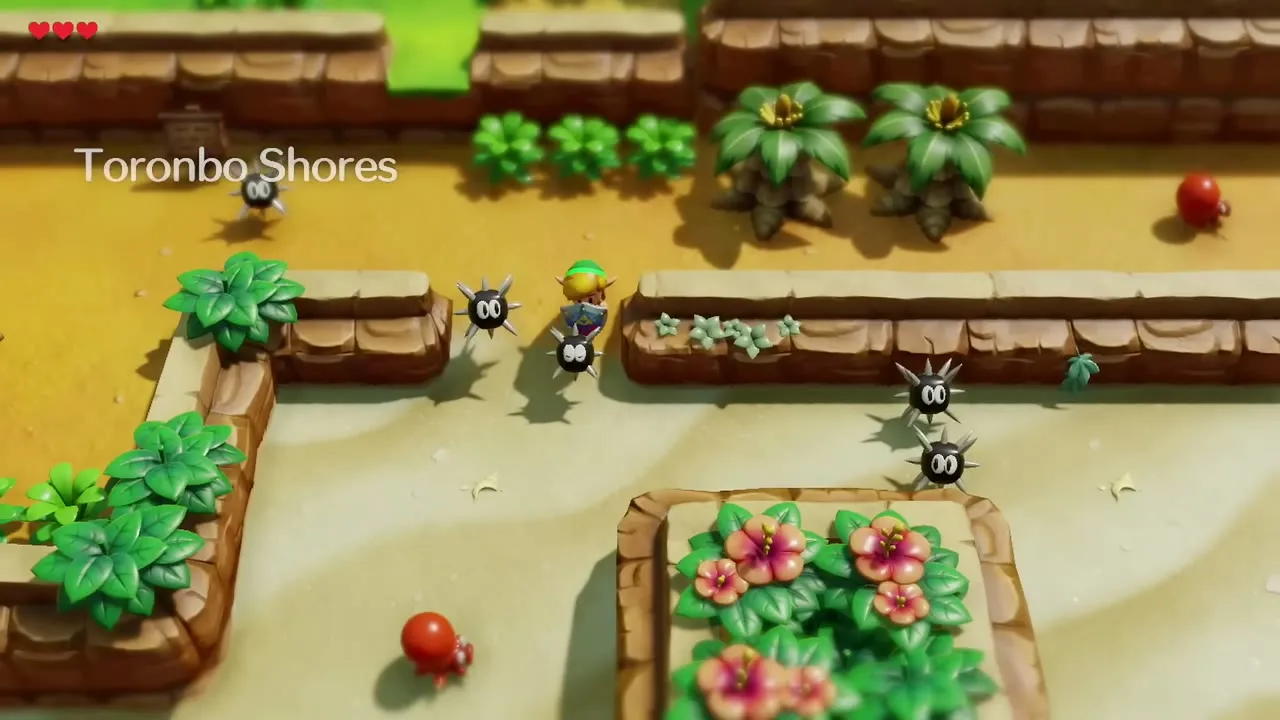
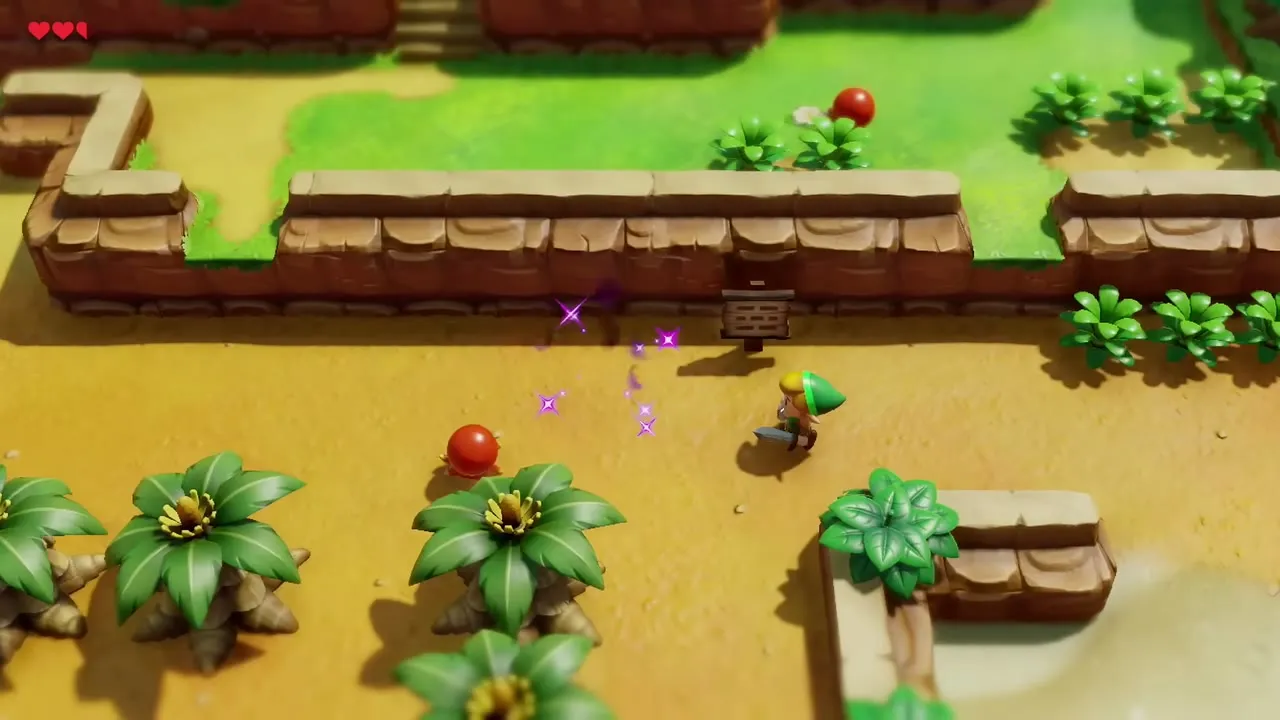
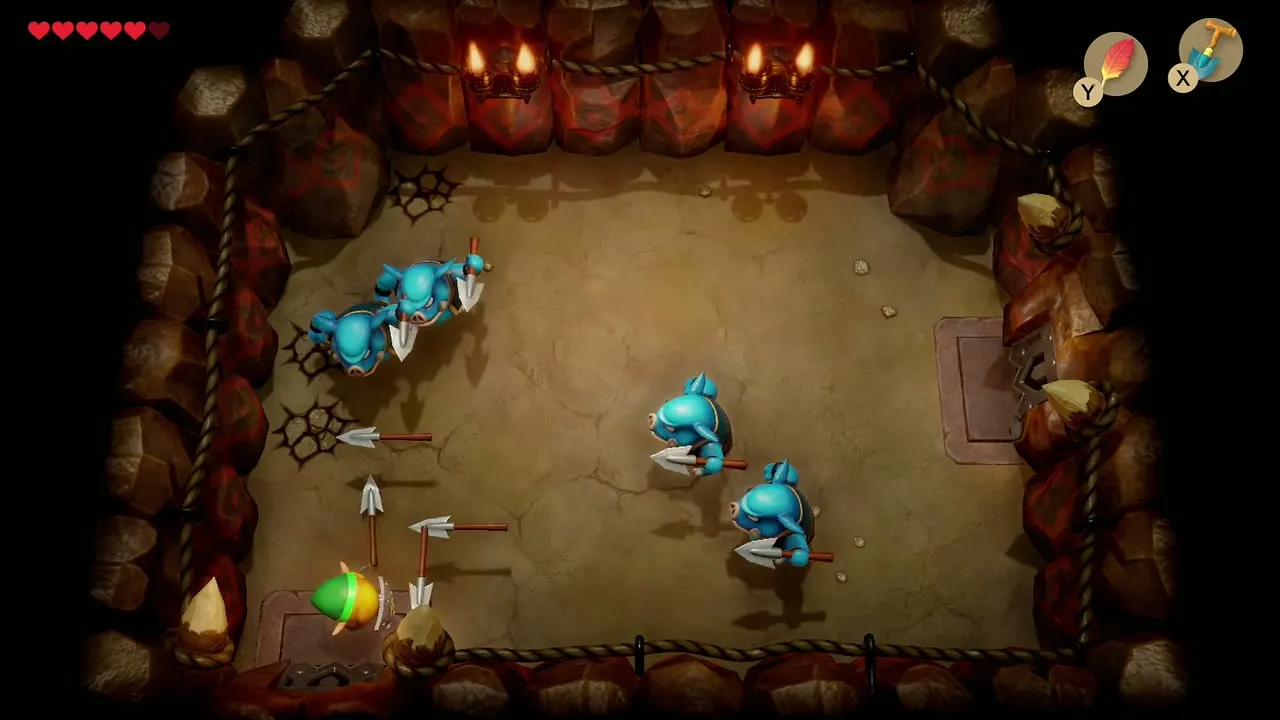
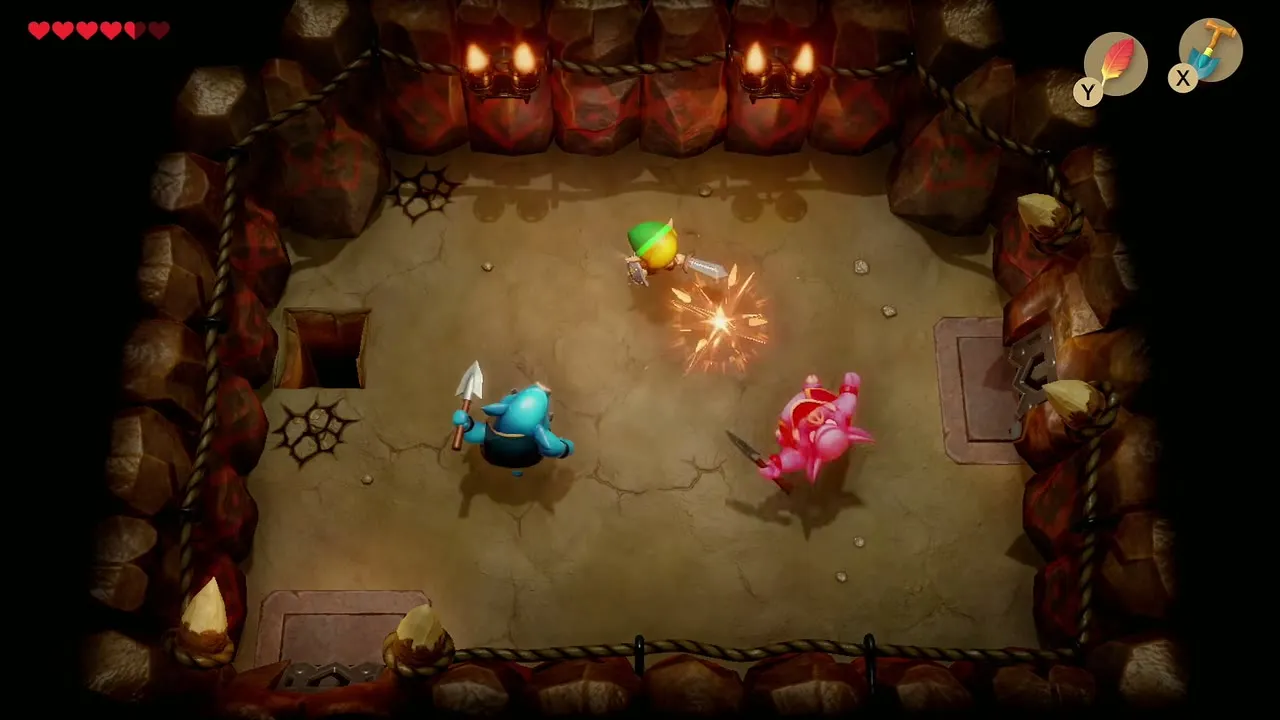
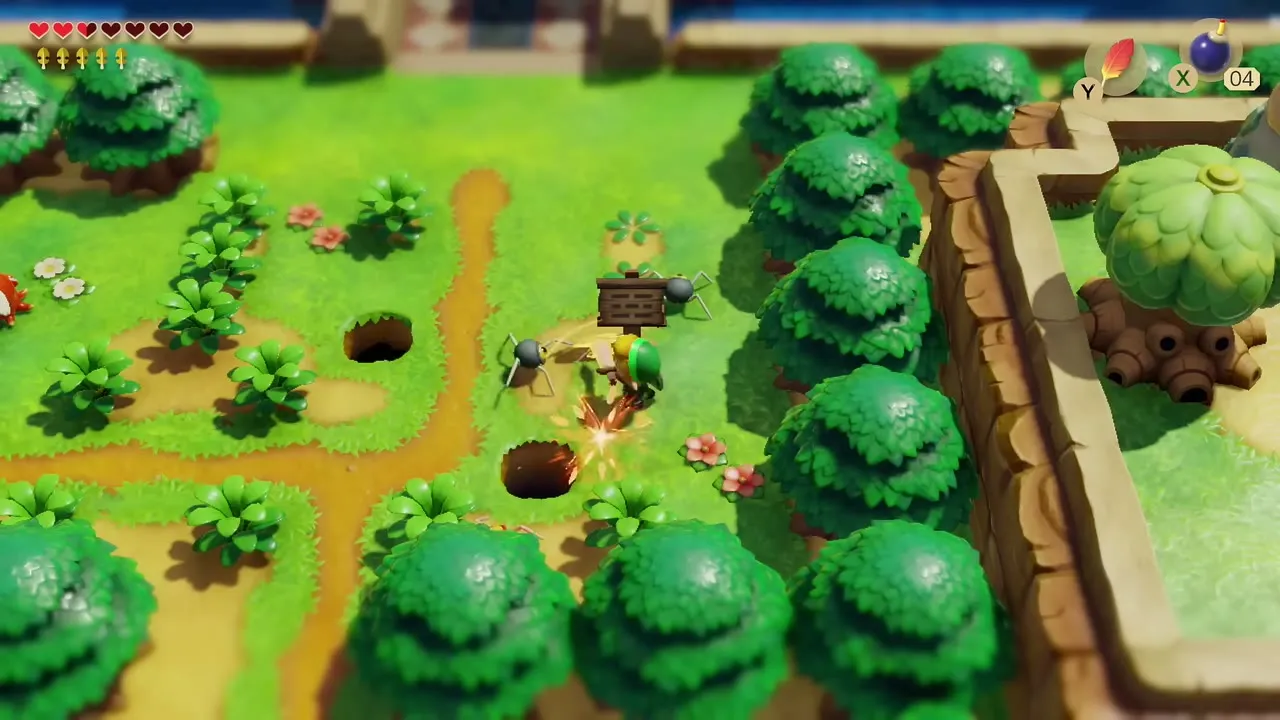
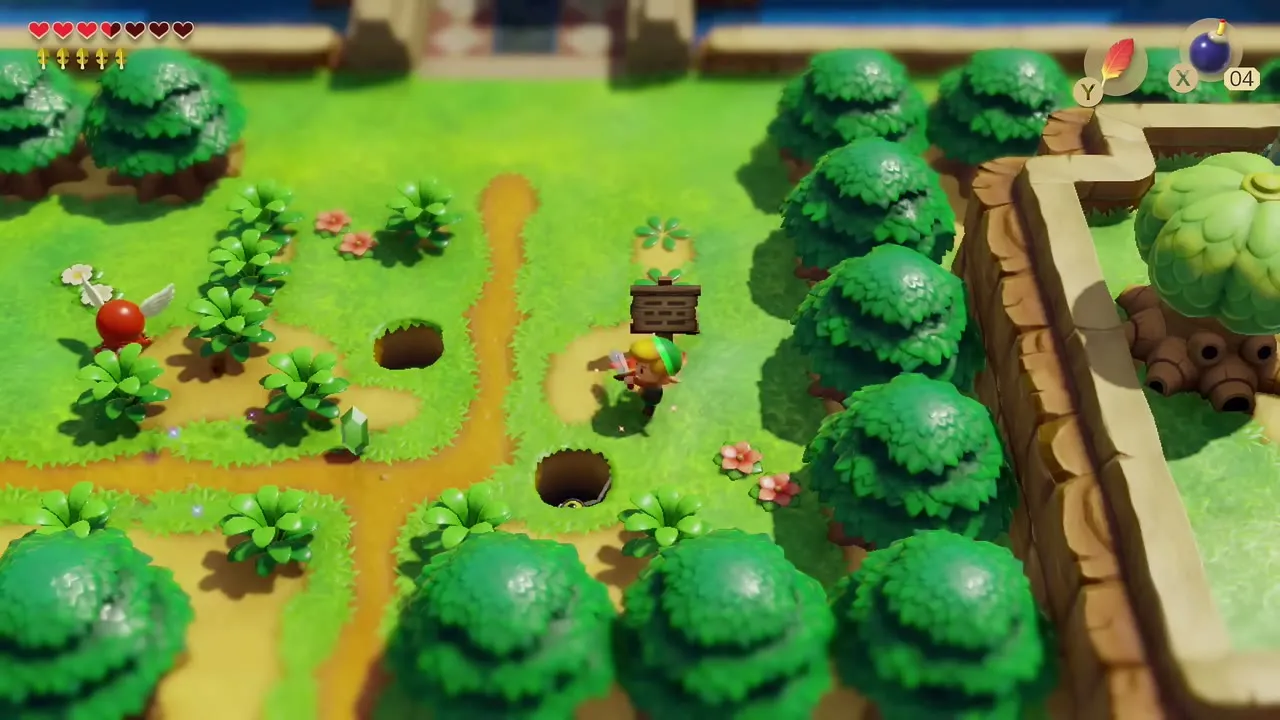
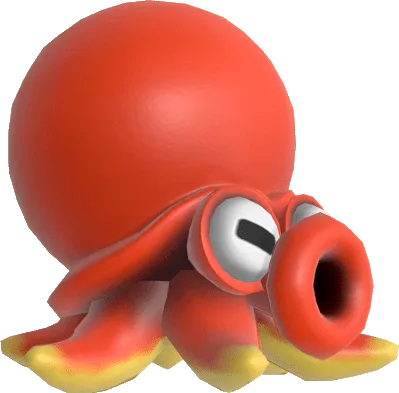
Octorok
Where found: Toronbo Shores and other beaches
How to defeat: Hold the Shield toward it to block the rocks it spits, then close in and slash.
Drops: Varies
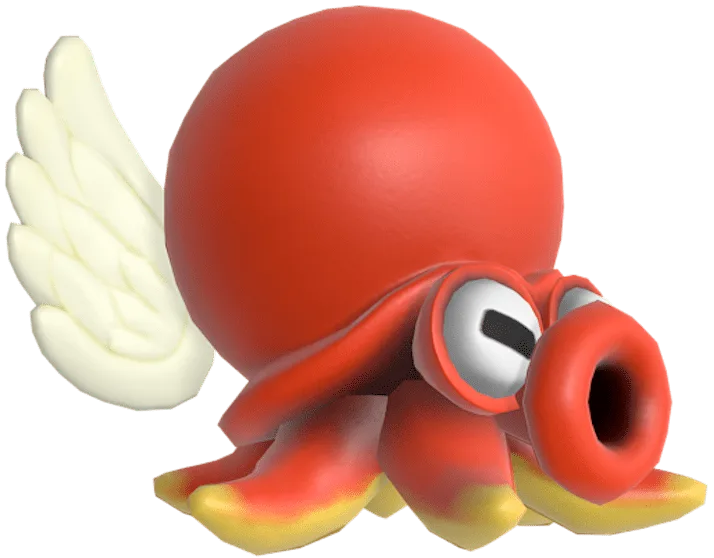
Winged Octorok
Where found: Ukuku Prairie
How to defeat: It cannot be hit while it hops through the air. Wait for it to land, then slash.
Drops: Varies

Moblin
Where found: Mysterious Forest and the fields around it, plus the Moblin Cave
How to defeat: Sword and spear carriers can be blocked with the Shield; step in and slash from the side. Bow carriers fire down a straight line, so approach at an angle.
Drops: Varies
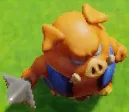
Boarblin
Where found: Koholint Prairie and Ukuku Prairie
How to defeat: Block with the Shield, raising it as you approach, and counter with the Sword.
Drops: Varies
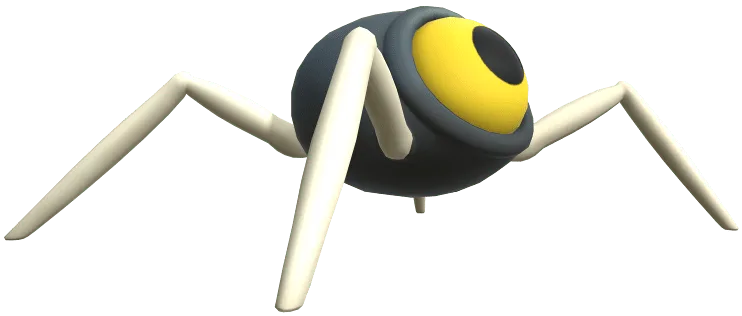
Beetle
Where found: Fields and paths around Ukuku Prairie
How to defeat: Harmless to touch. Slash it.
Drops: Varies

Spiny Beetle
Where found: Martha’s Bay, Ukuku Prairie and the Tal Tal Mountains
How to defeat: Remove the grass or rock on its back with the Power Bracelet, then slash it.
Drops: Varies
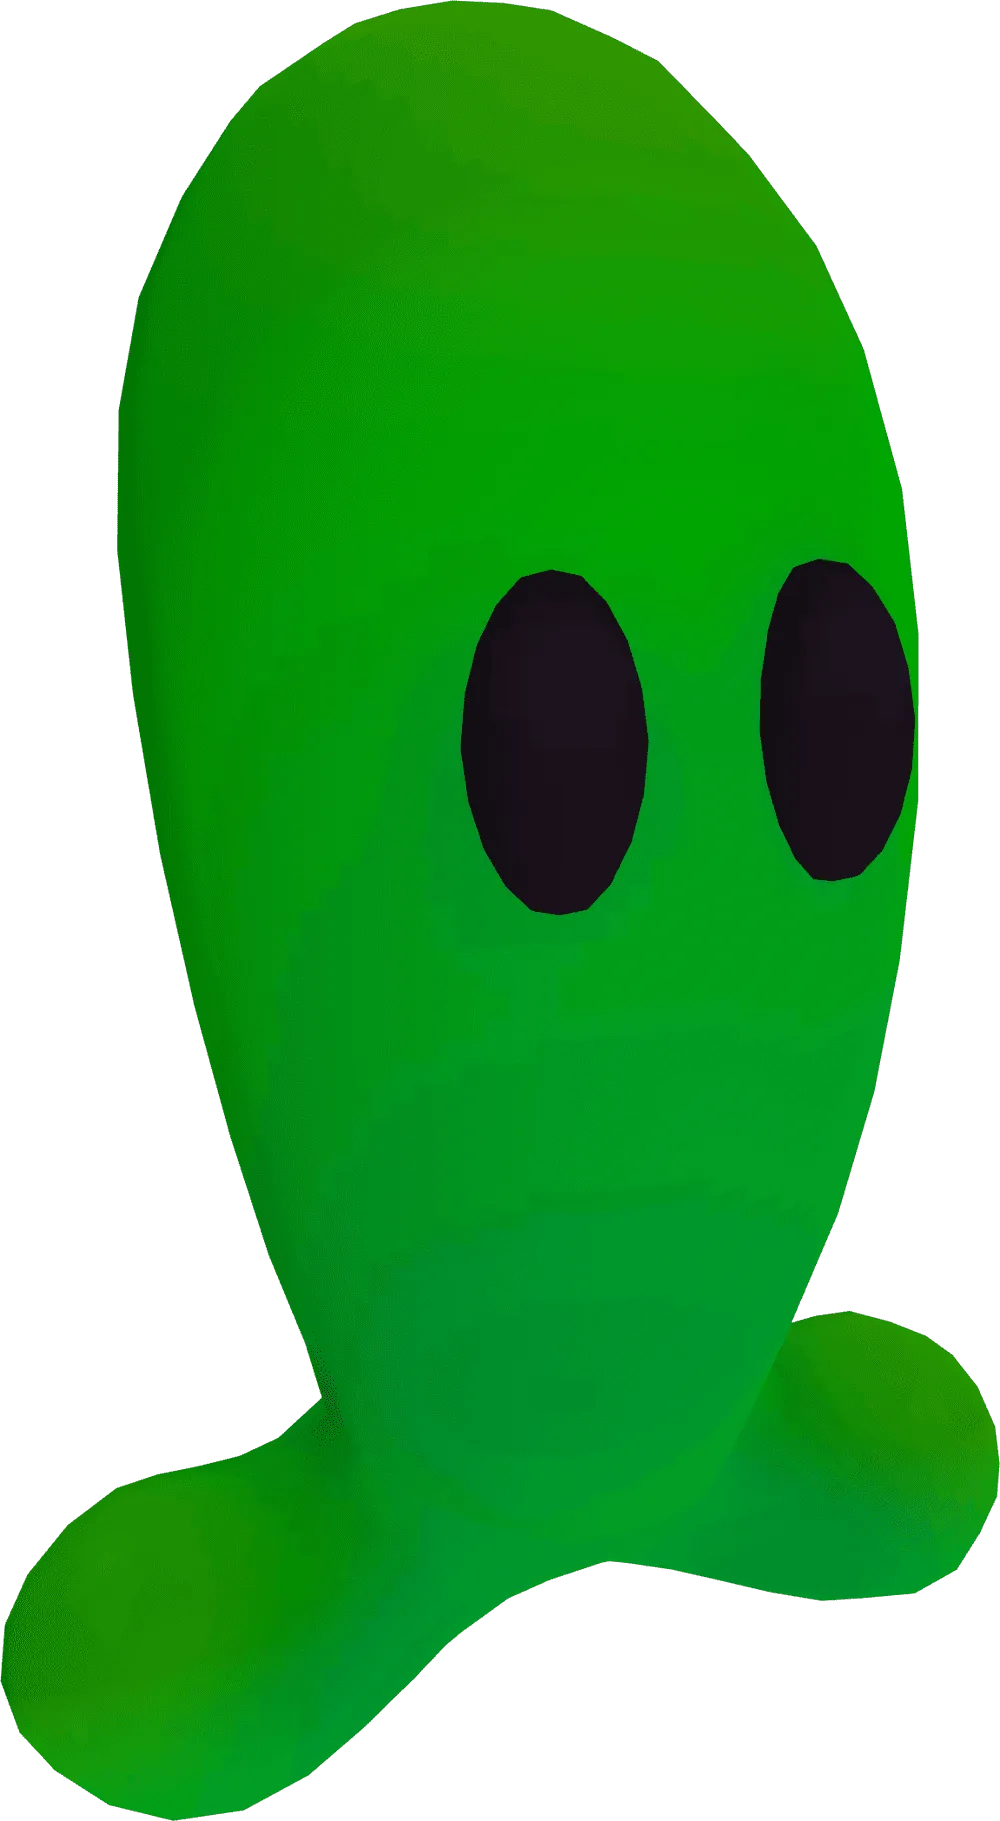
Buzz Blob
Where found: Koholint Prairie, Ukuku Prairie and Martha’s Bay
How to defeat: Never hit it with the Sword: the shock stuns you. Use the Boomerang, or Magic Powder to turn it into a Cukeman.
Drops: Varies

Cukeman
Where found: Koholint Prairie, Ukuku Prairie and Martha’s Bay
How to defeat: Slash it; it takes about two hits.
Drops: Varies
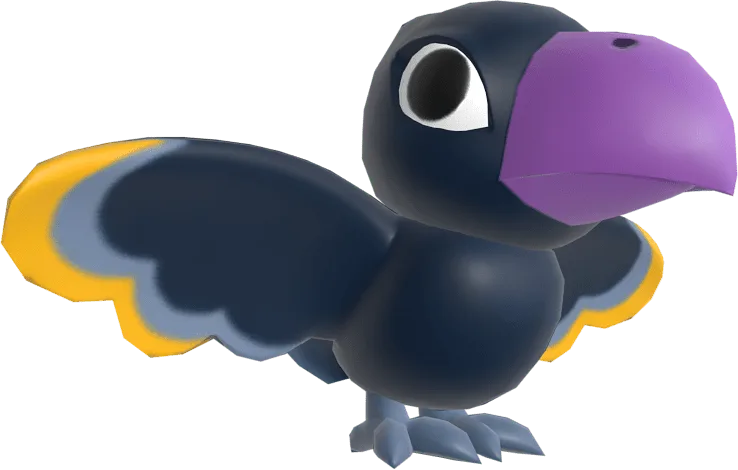
Crow
Where found: Tabahl Wasteland
How to defeat: Slash it as it swoops down. It dives in a straight line, so the Shield also works.
Drops: Varies
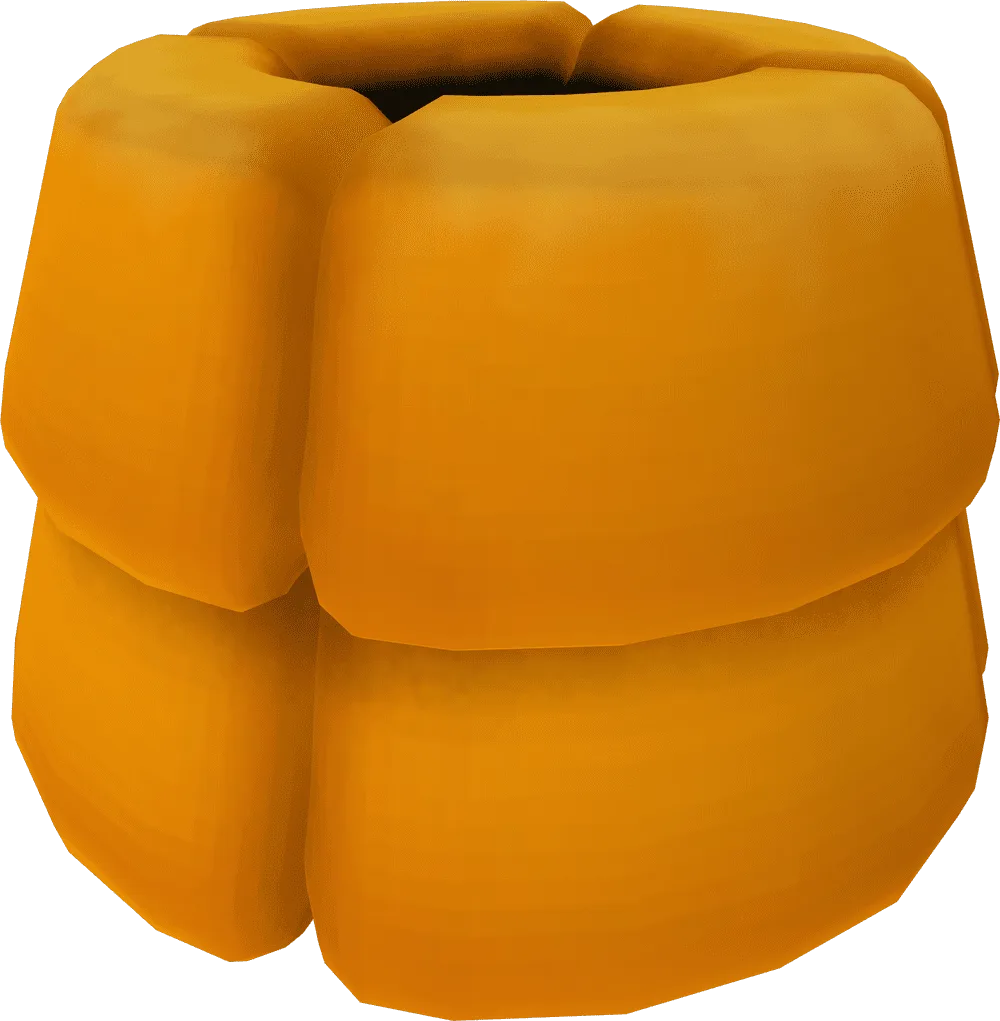
Like Like
Where found: Mysterious Forest, Tal Tal Heights and the Western Tal Tal Mountains
How to defeat: Do not touch it: it swallows you and you may lose your Shield until you defeat it. Be aggressive and strike first.
Drops: Varies
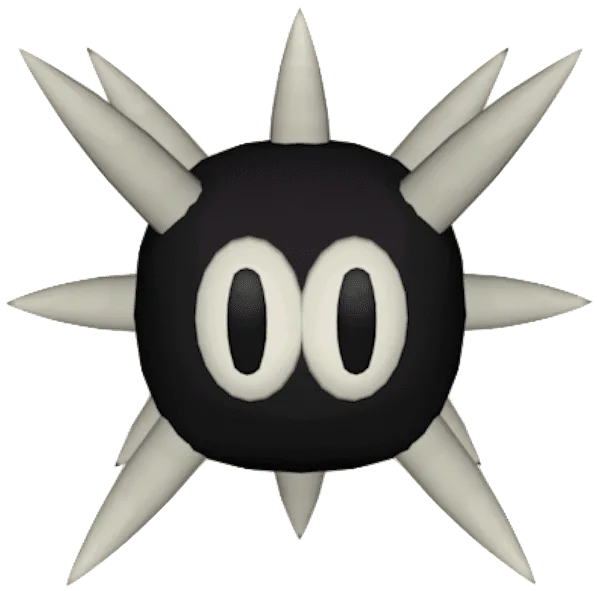
Sea Urchin
Where found: Toronbo Shores
How to defeat: Push it away with the Shield or slash it. Walking into the spikes hurts.
Drops: Varies
Mad Bomber
Where found: Outside Kanalet Castle (only one in the game)
How to defeat: Wait for it to pop up and throw, then slash it while it is out of its hole.
Drops: Golden Leaf
Orange Leever
Where found: Toronbo Shores, Yarna Desert and the Western Tal Tal Mountains
How to defeat: Hit it when it surfaces. Back away while it spins.
Drops: Varies
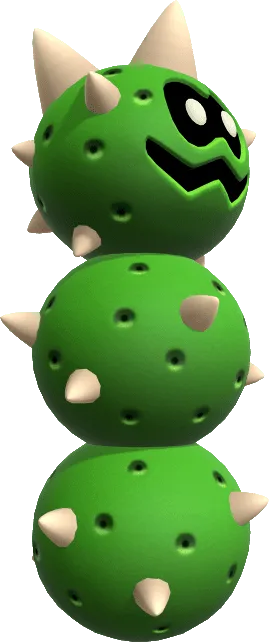
Pokey
Where found: Yarna Desert
How to defeat: Slash its head to break the stack of segments, then finish the rest.
Drops: Varies

Pincer
Where found: Ukuku Prairie and Yarna Desert
How to defeat: It pops out of its hole to bite. Strike when it is out and step back when it retreats.
Drops: Varies
Mysterious Forest, Goponga Swamp and the Cemetery
Plants and ghosts need specific tools. Goponga Flowers are the reason you must bring BowWow to the swamp. The matching walkthrough chapter is Mysterious Forest, Goponga Swamp and the Cemetery.
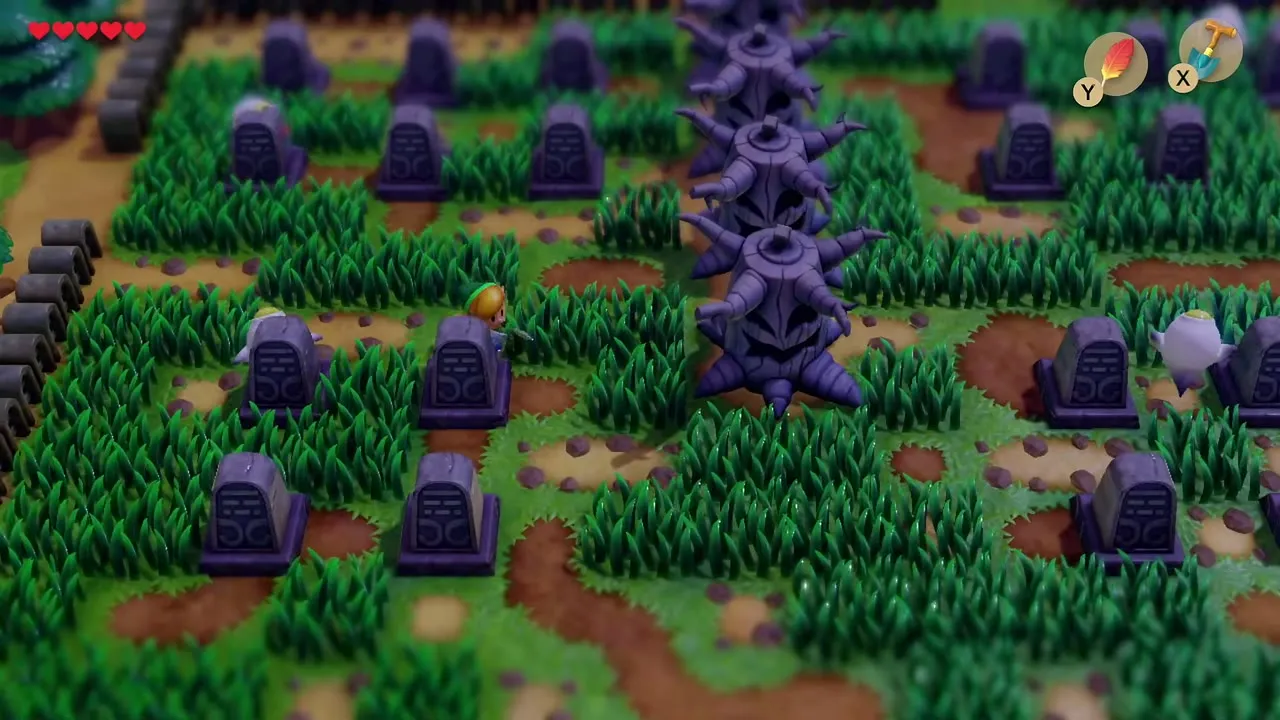
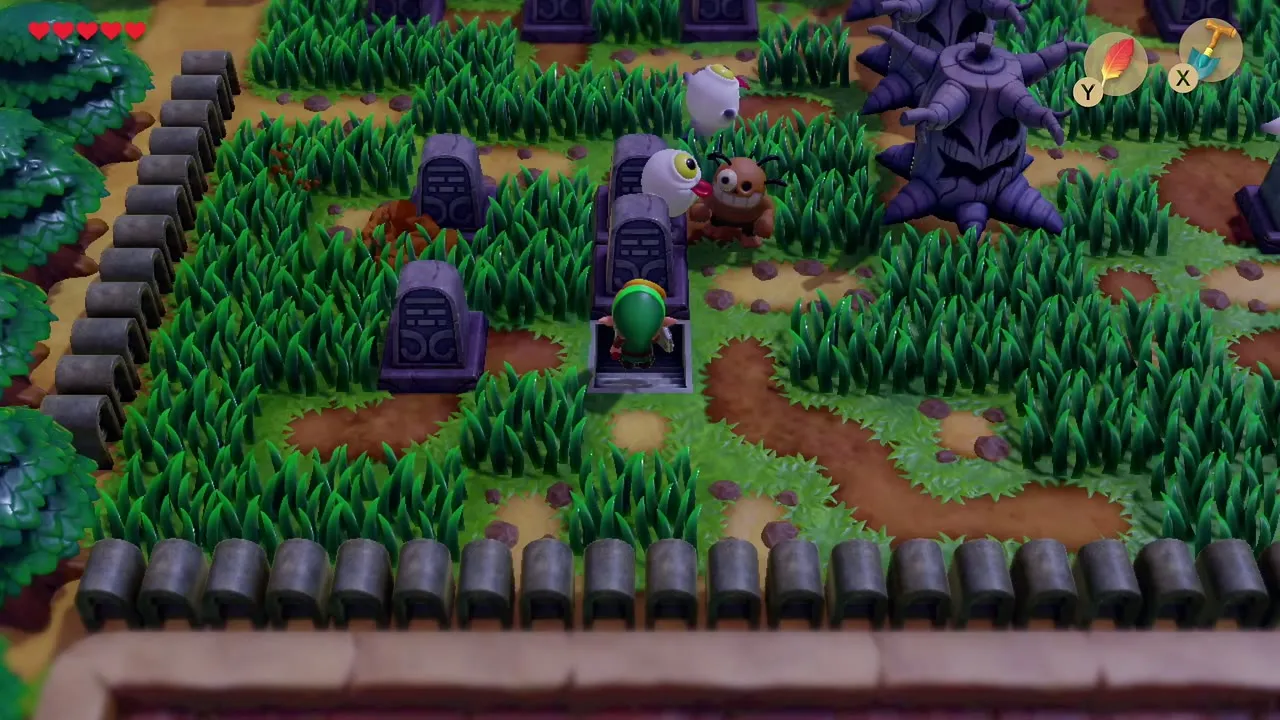
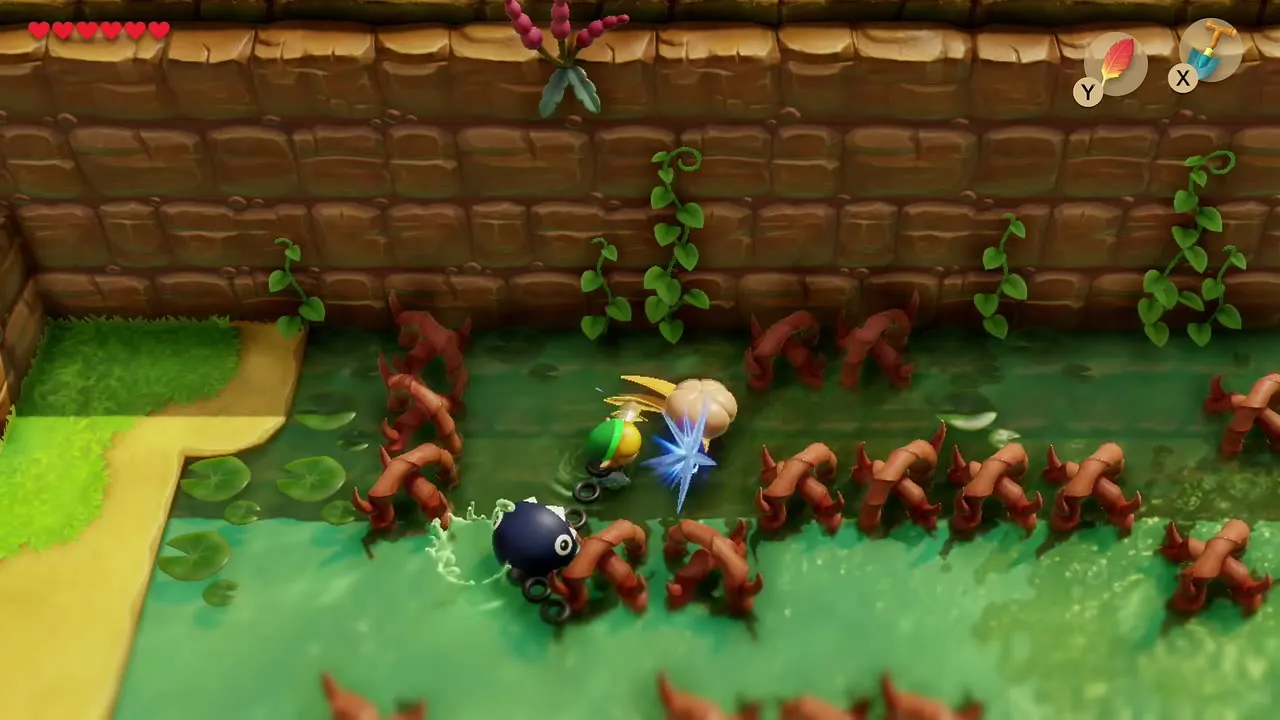
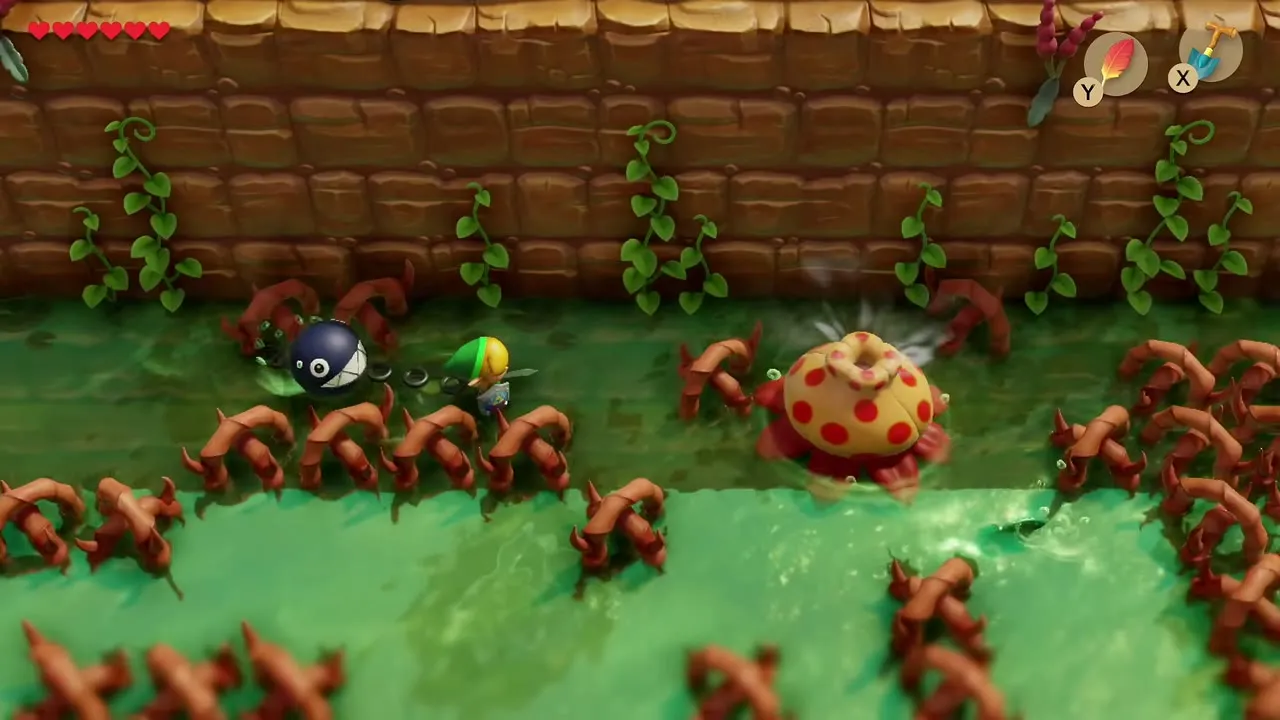
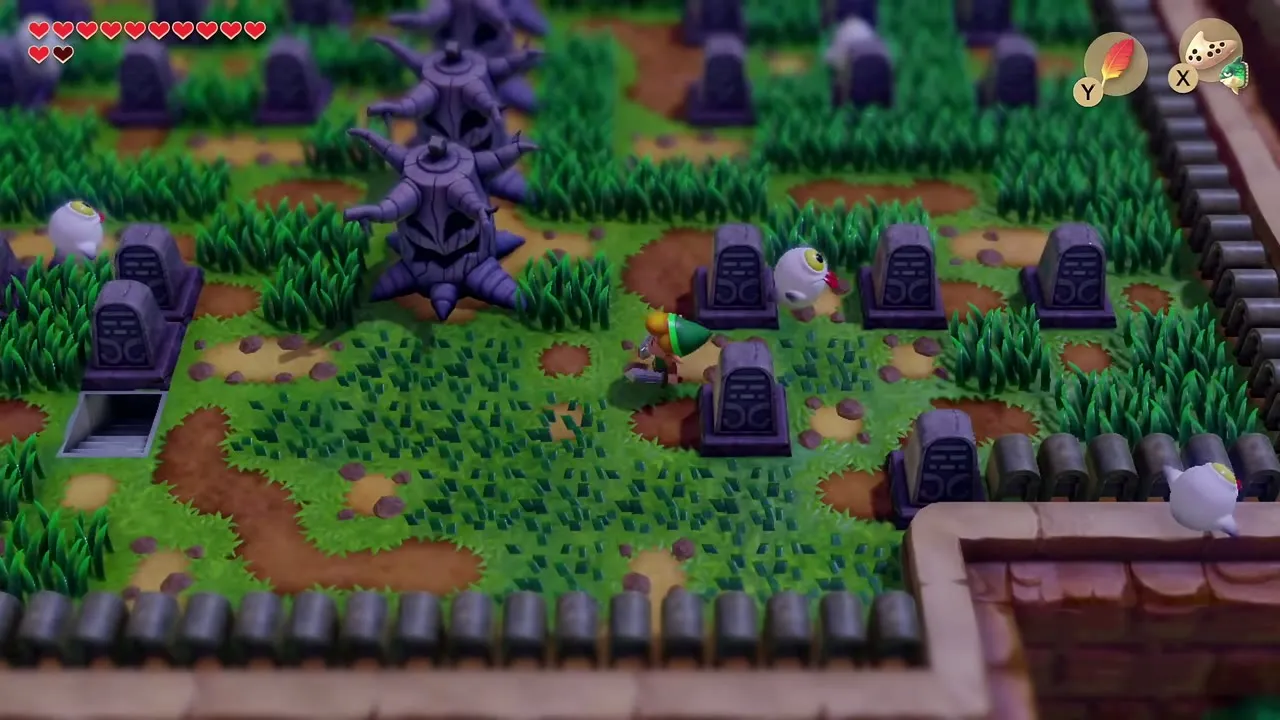

Goponga Flower
Where found: Goponga Swamp
How to defeat: It cannot be cut with the Sword. BowWow eats it; the Boomerang or Magic Rod also work.
Drops: Nothing
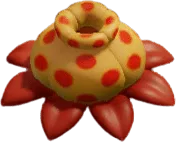
Giant Goponga Flower
Where found: Goponga Swamp
How to defeat: Same weakness as the small ones: BowWow, the Boomerang or the Magic Rod.
Drops: Nothing

Ghini
Where found: The cemetery
How to defeat: Slash it when it floats near.
Drops: Varies

Giant Ghini
Where found: The cemetery
How to defeat: Slash it repeatedly and keep moving; it takes several hits.
Drops: Varies

Zombie
Where found: The cemetery
How to defeat: It keeps rising from the ground. Slash it or simply walk on.
Drops: Varies

Mini-Moldorm
Where found: Western Tal Tal Mountains
How to defeat: It wriggles around you. Stay still and hit it with the spin attack.
Drops: Varies
Tal Tal Heights and the mountains
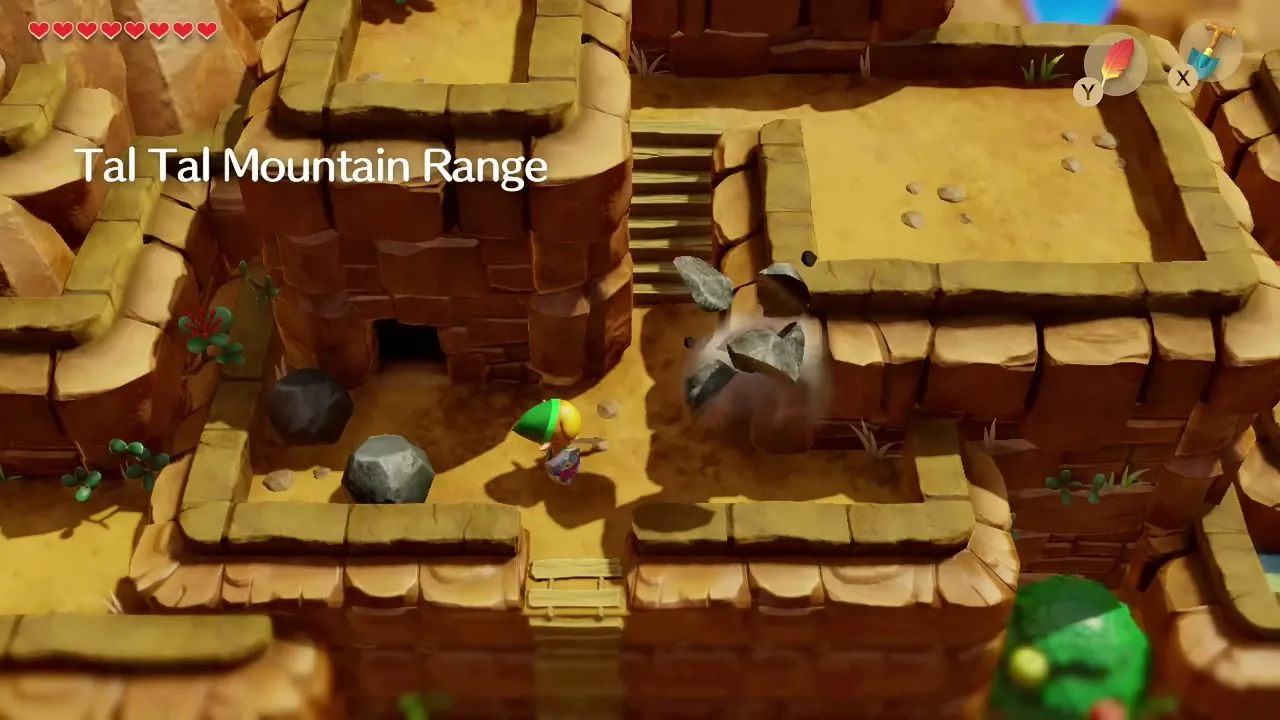
Mountain enemies attack from the air or hit hard, so keep the Shield raised and fight on narrow ledges where they cannot surround you. The matching walkthrough chapter is Tal Tal Heights and the mountains.
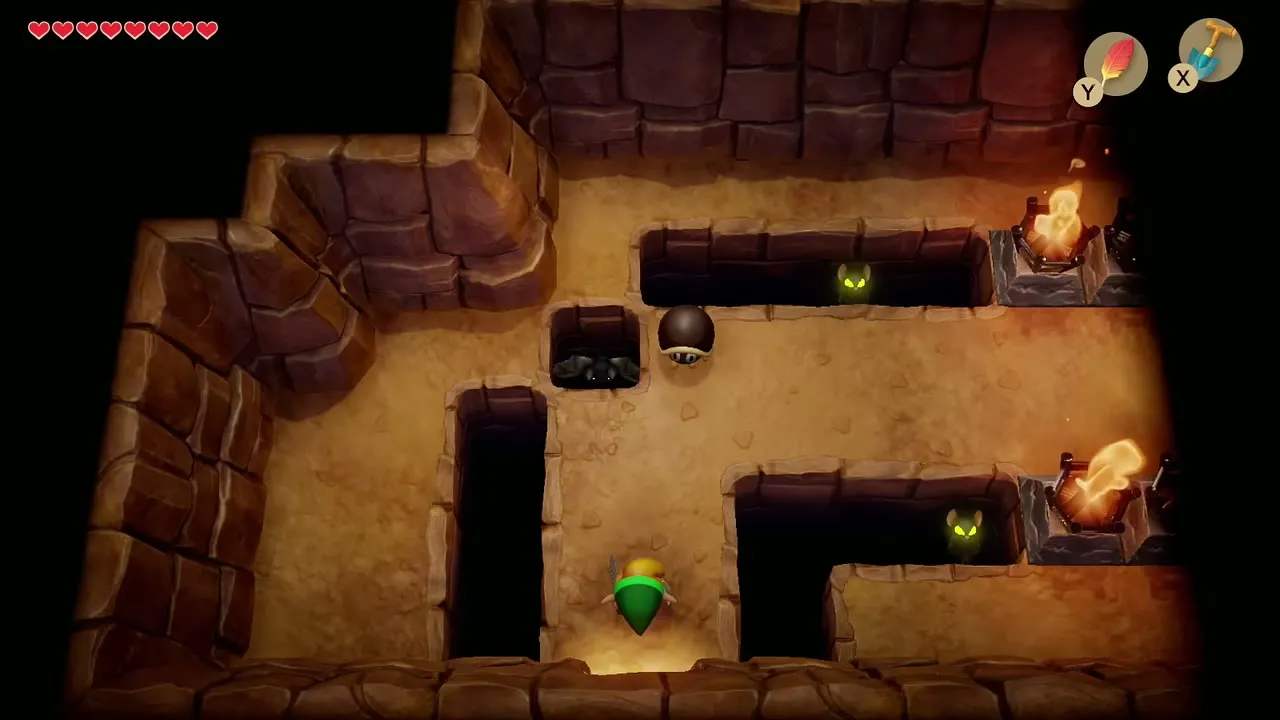
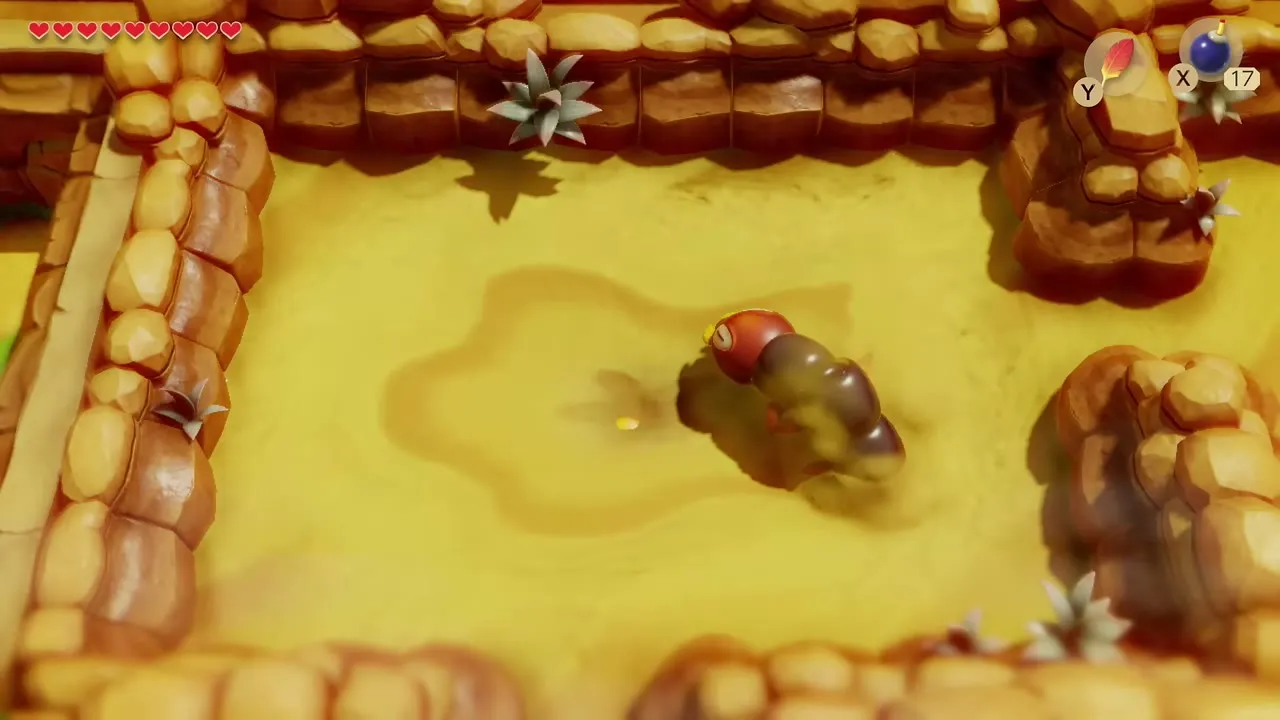
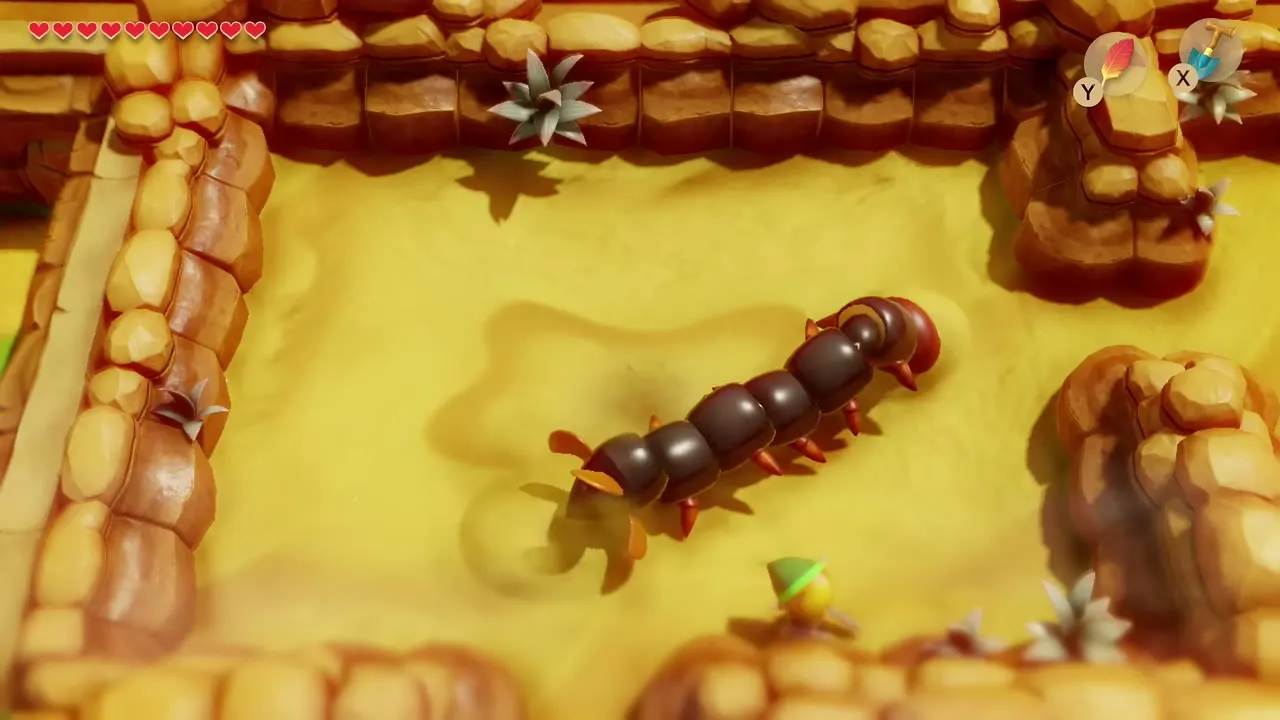
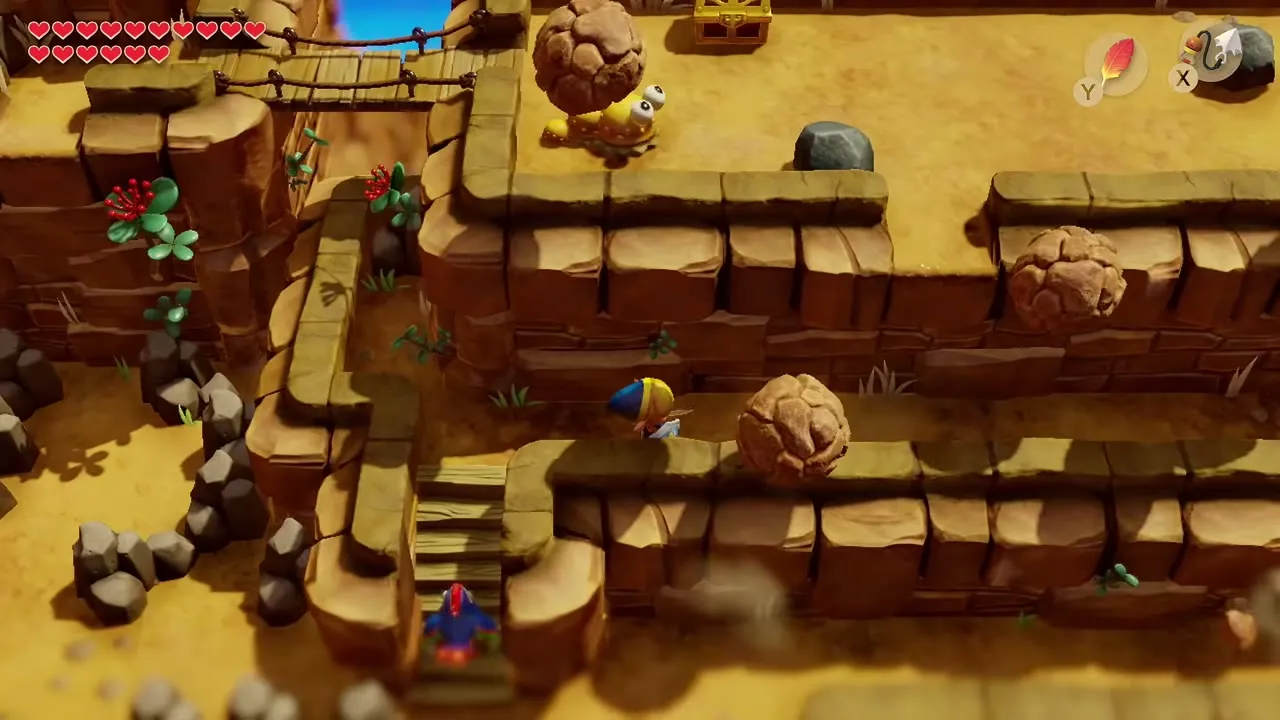

Zirro
Where found: Ukuku Prairie, Martha’s Bay and the Ancient Ruins
How to defeat: Stun it with the Boomerang, then strike.
Drops: Sometimes a Fairy

Dacto
Where found: Western Tal Tal Mountains
How to defeat: Block its dive with the Shield and slash it as it flaps close.
Drops: Varies
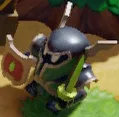
Darknut
Where found: Kanalet Castle
How to defeat: Armored. Block its attack with the Shield and strike when it is open.
Drops: Varies

Shrouded Stalfos
Where found: Western Tal Tal Mountains
How to defeat: Hit it from the side or behind. It throws bones from a distance.
Drops: Varies
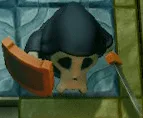
Sword Stalfos
Where found: Mountain roads
How to defeat: Block its sword with the Shield, then strike while it recovers.
Drops: Varies
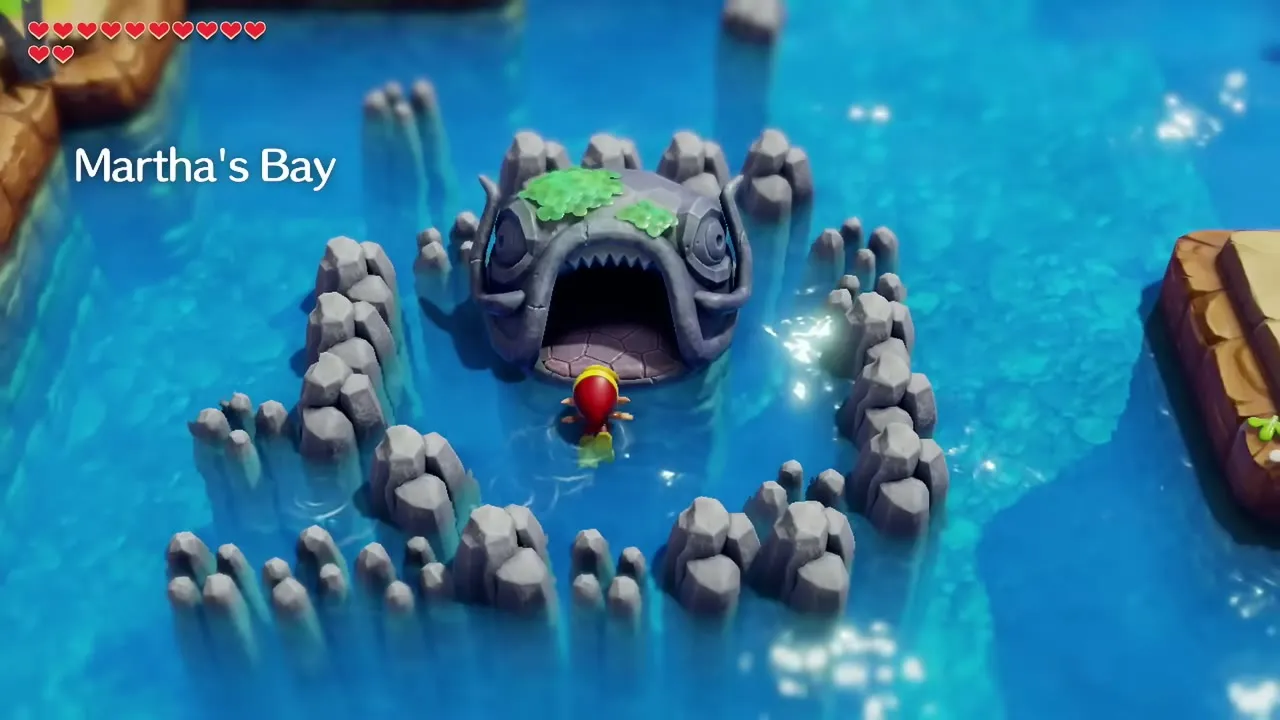
Martha’s Bay and the water
Bring the Flippers. Water creatures hit you from the surface while you swim. The matching walkthrough chapter is Martha’s Bay and the water.
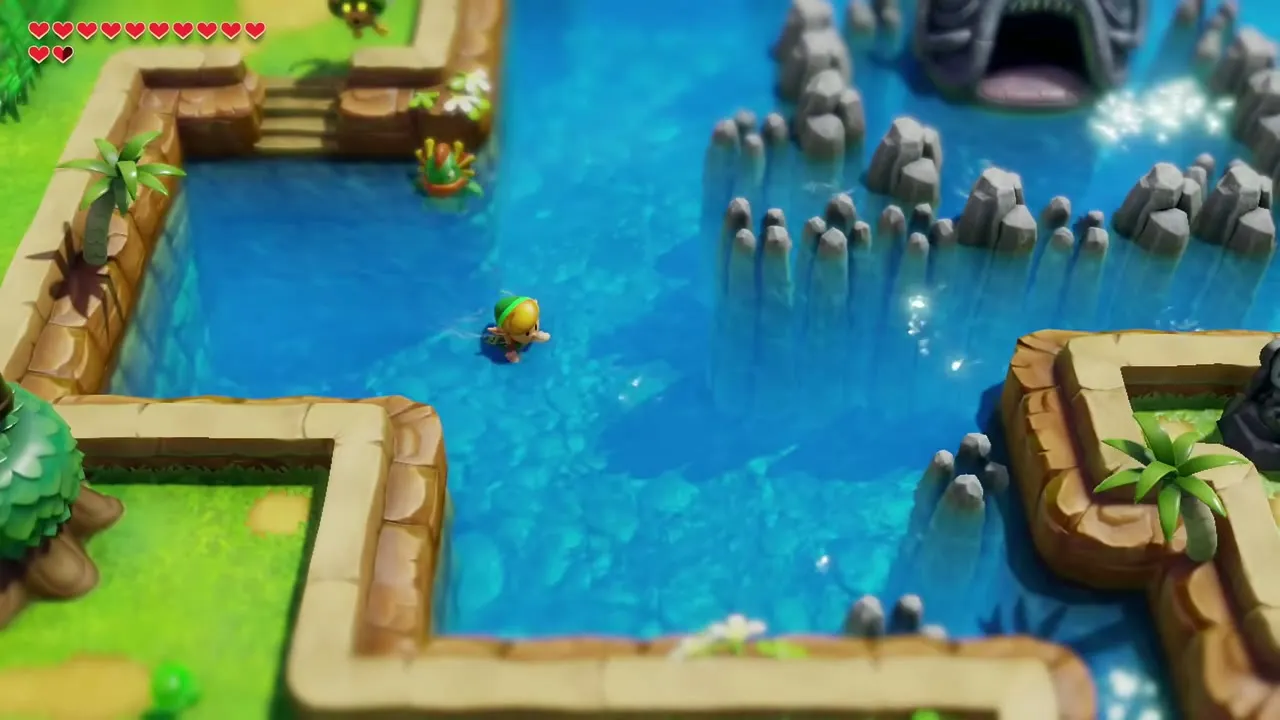
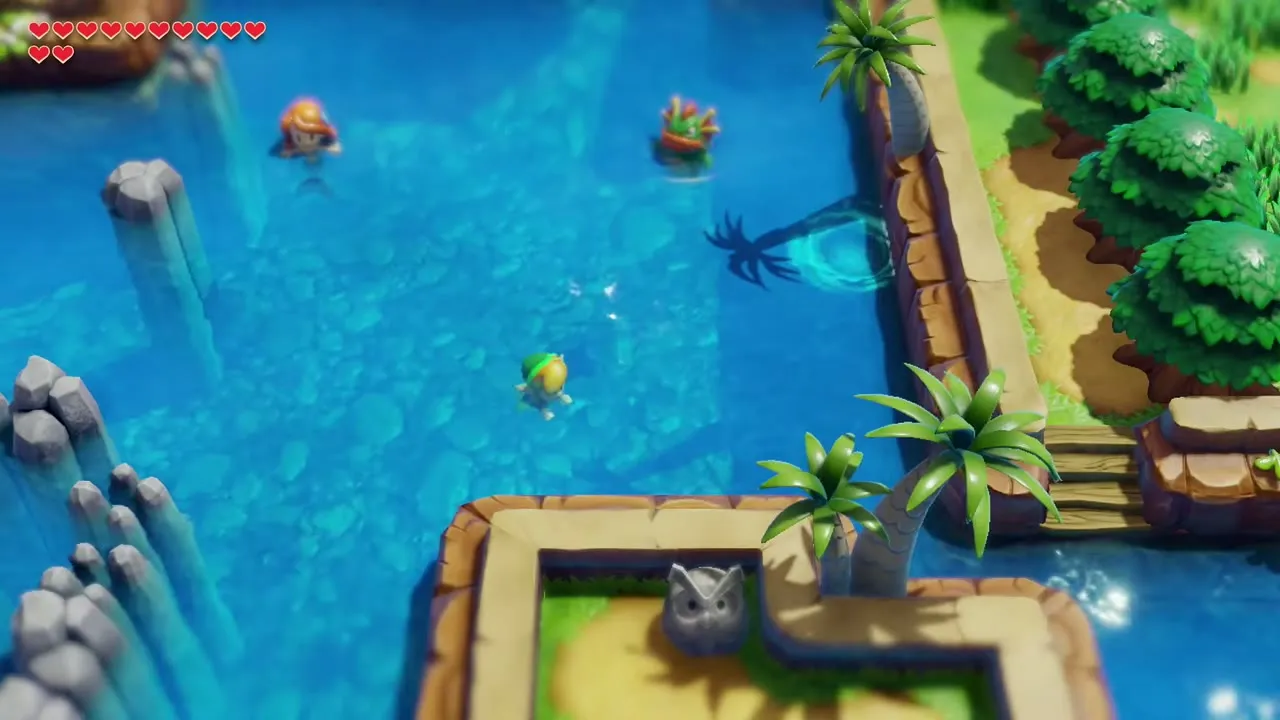
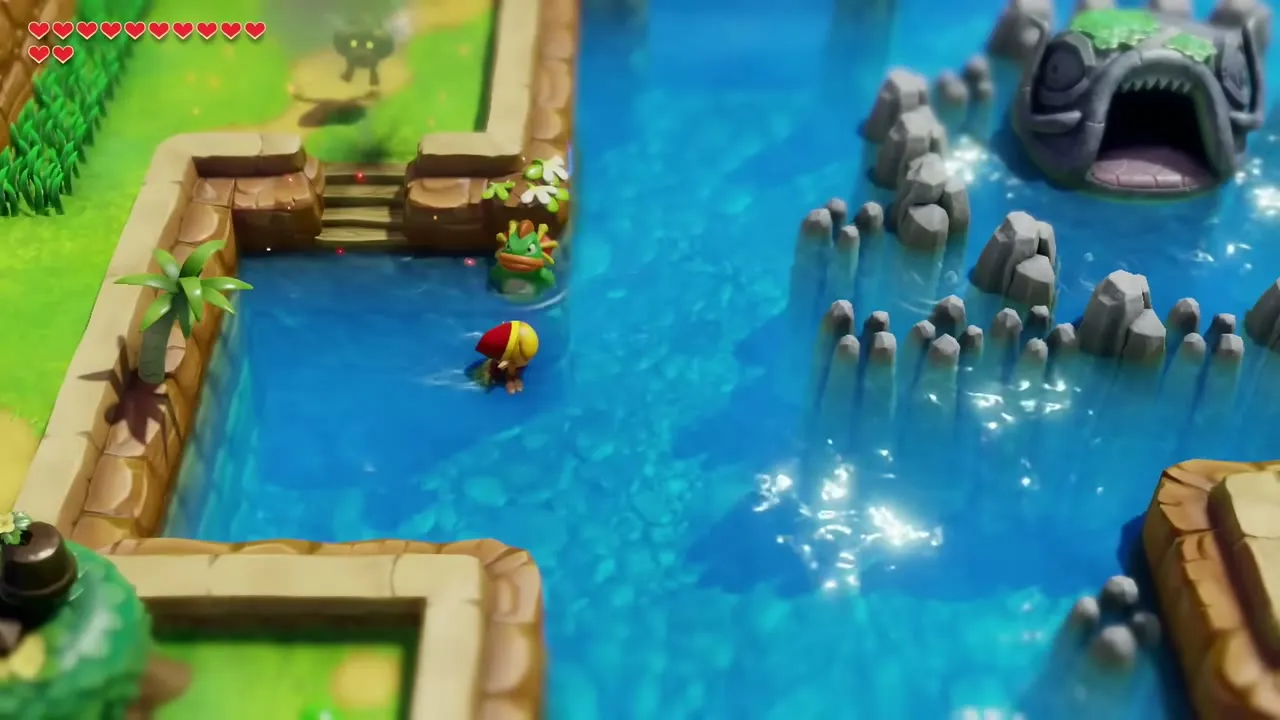

Zora
Where found: Martha’s Bay and Koholint Prairie
How to defeat: It surfaces to spit a fireball. Hold the Shield toward it, or shoot it with arrows.
Drops: Varies

Piranha
Where found: Goponga Swamp, Ukuku Prairie and Martha’s Bay
How to defeat: Slash it or swim past. It bites as you swim.
Drops: Varies
Dungeon enemies
Dungeon creatures are mostly the same species you meet outside, plus a lot of room traps. They are sorted by how far into the game you meet them. Mini-bosses and Nightmares are in Boss Strategies.
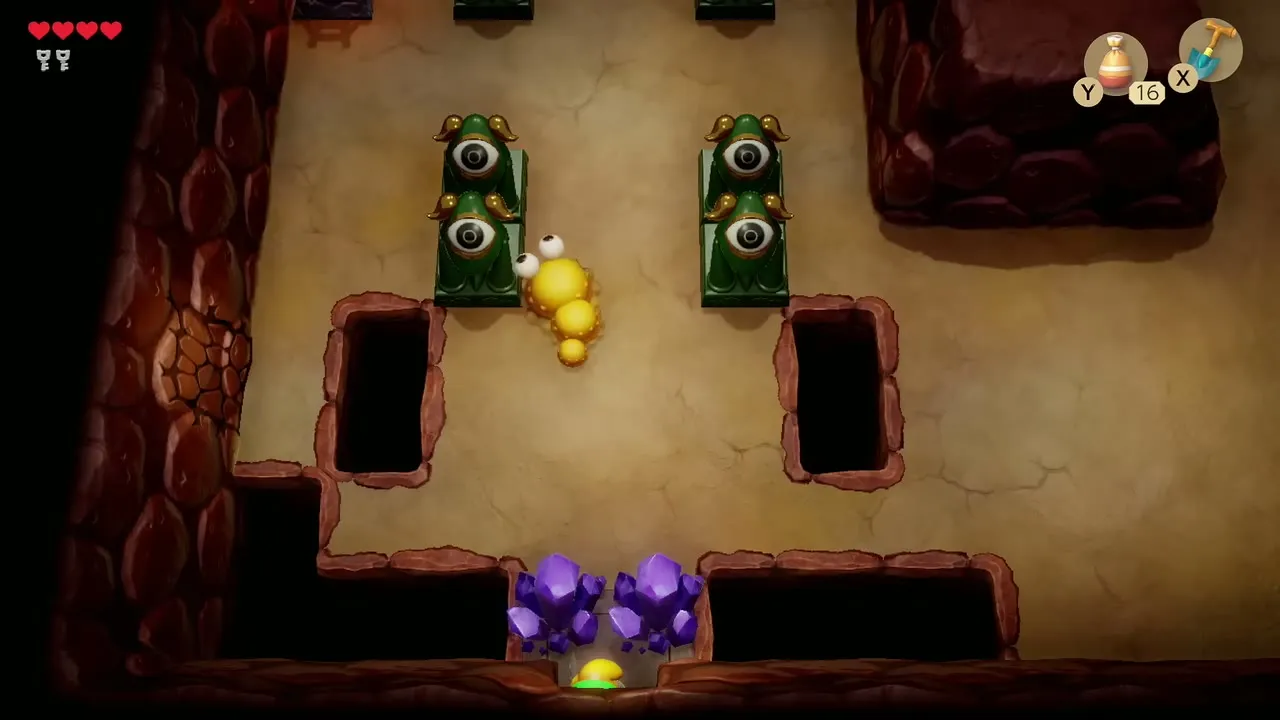
Early dungeons: Tail Cave, Bottle Grotto and Key Cavern
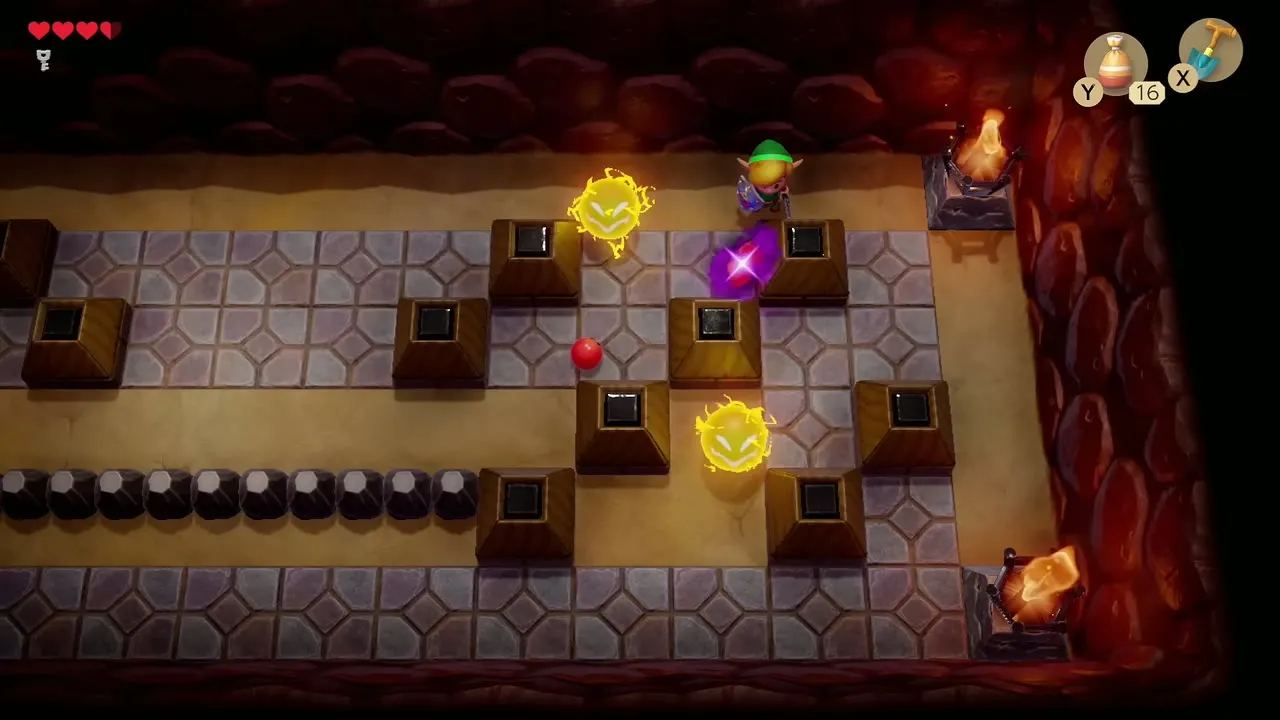
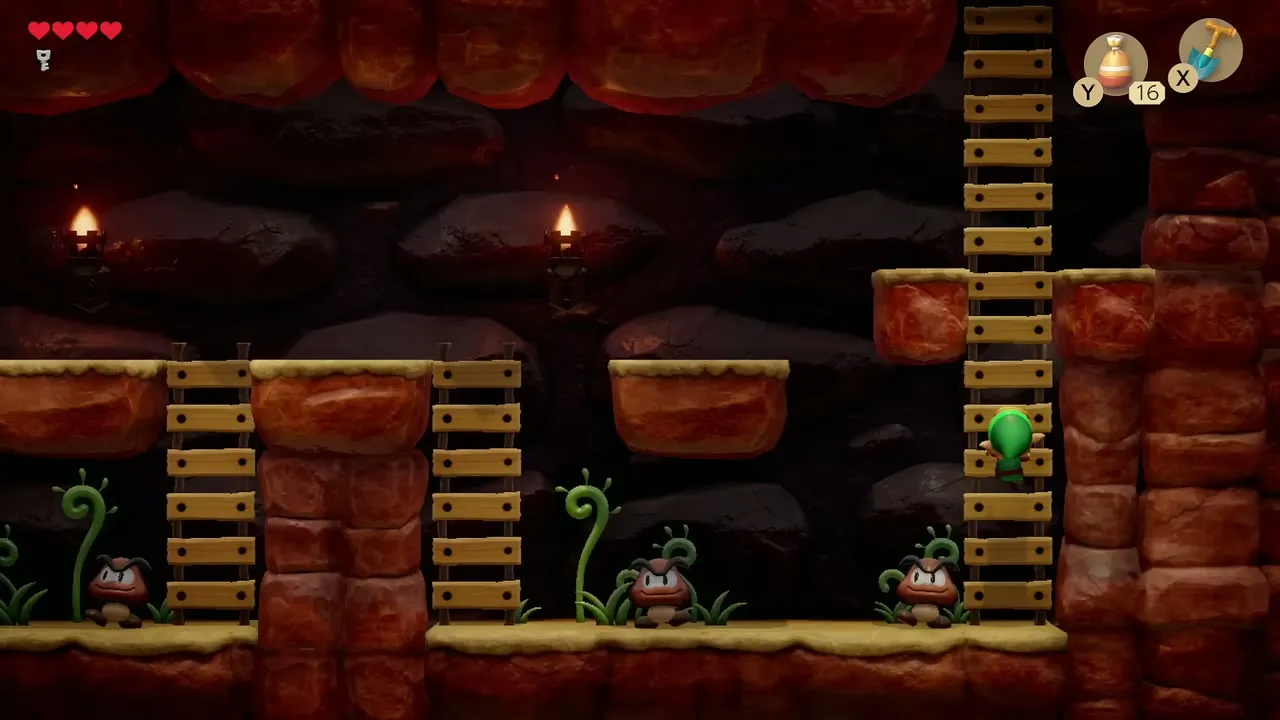
Sword and Shield are enough, and the side-scrolling rooms bring in creatures from the Mario games.
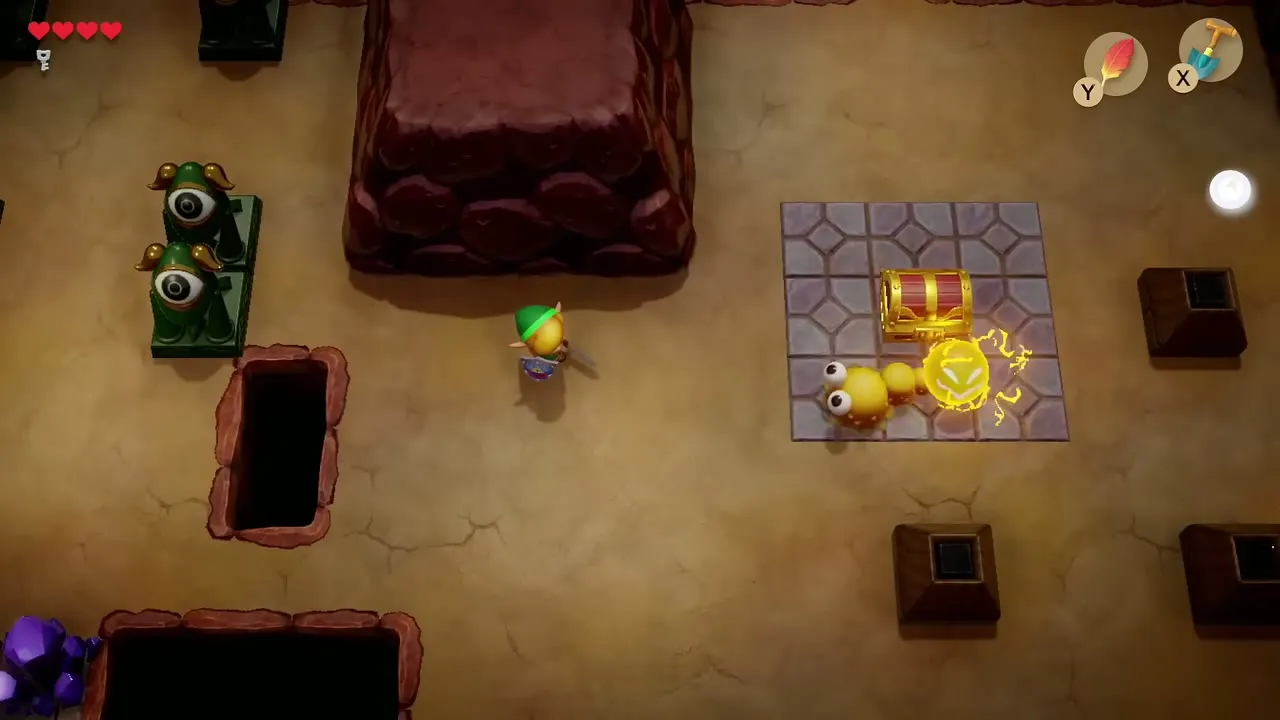
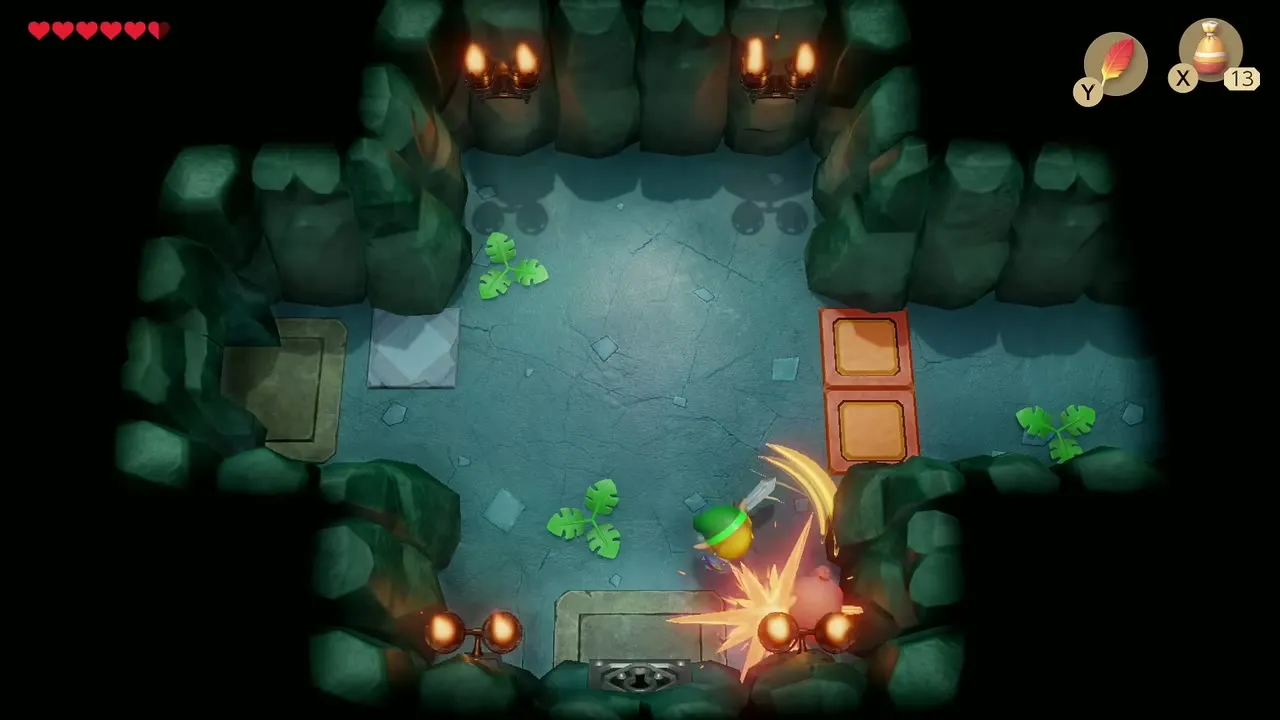
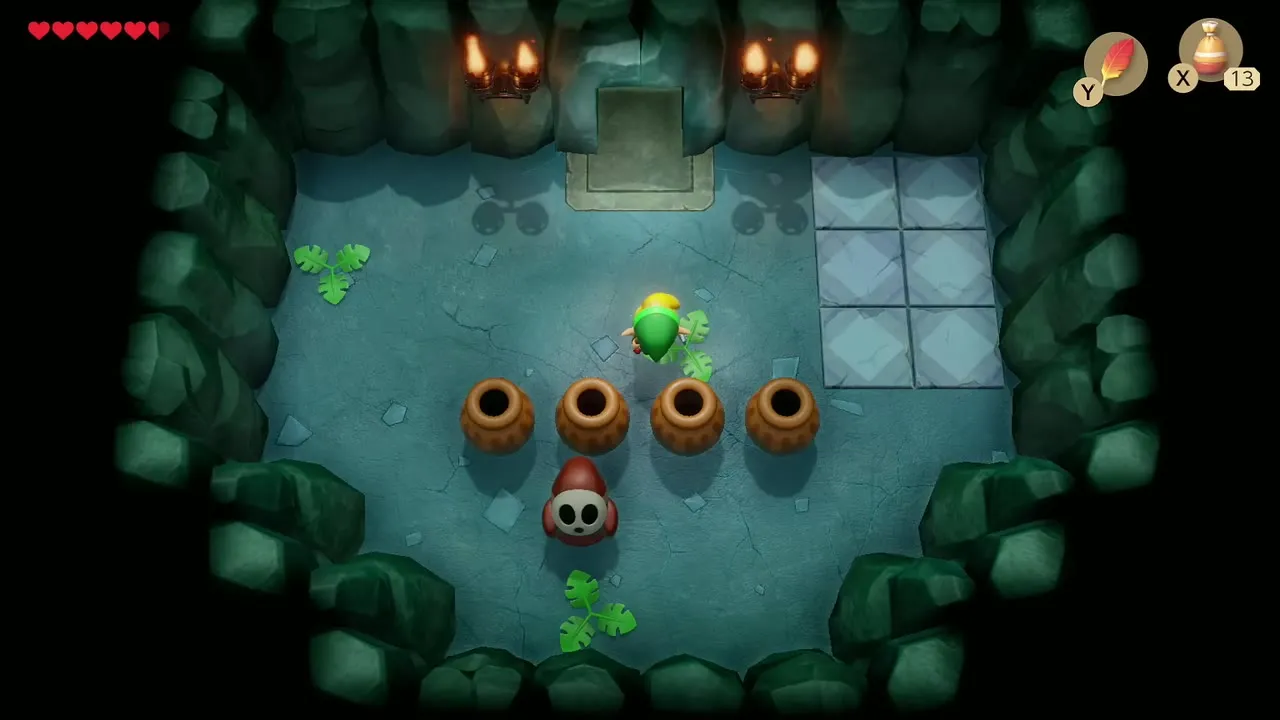
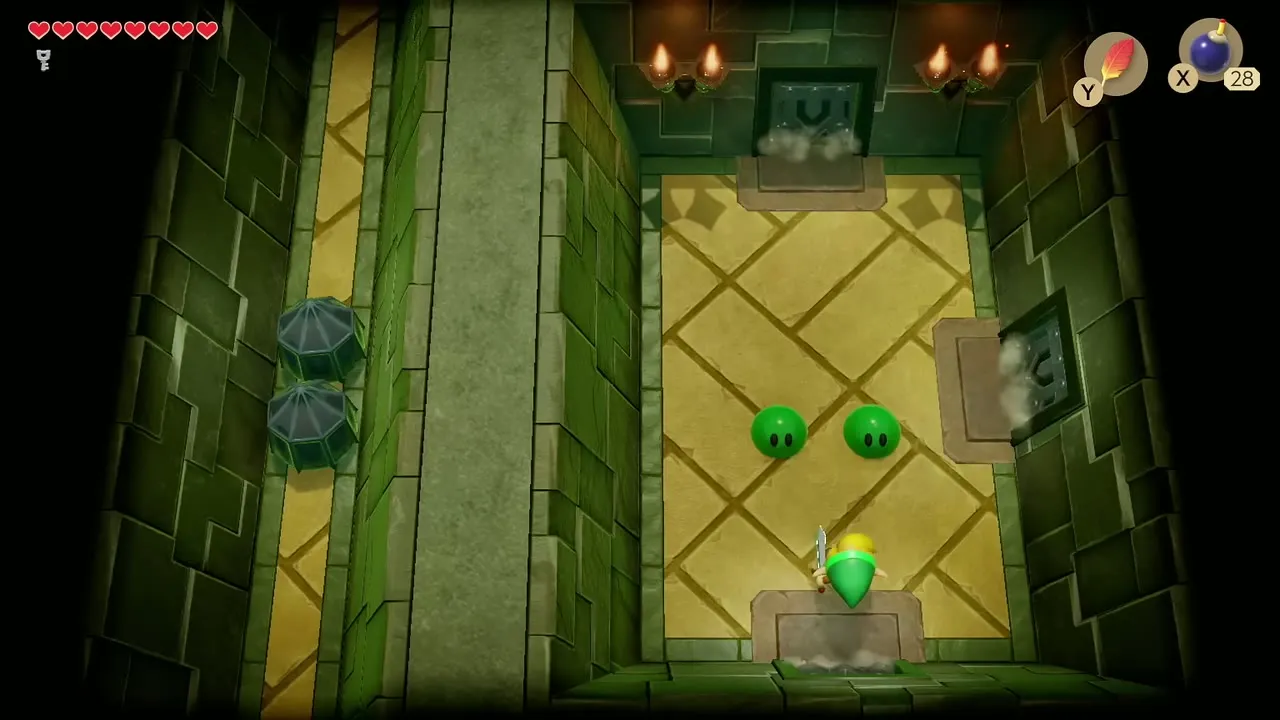
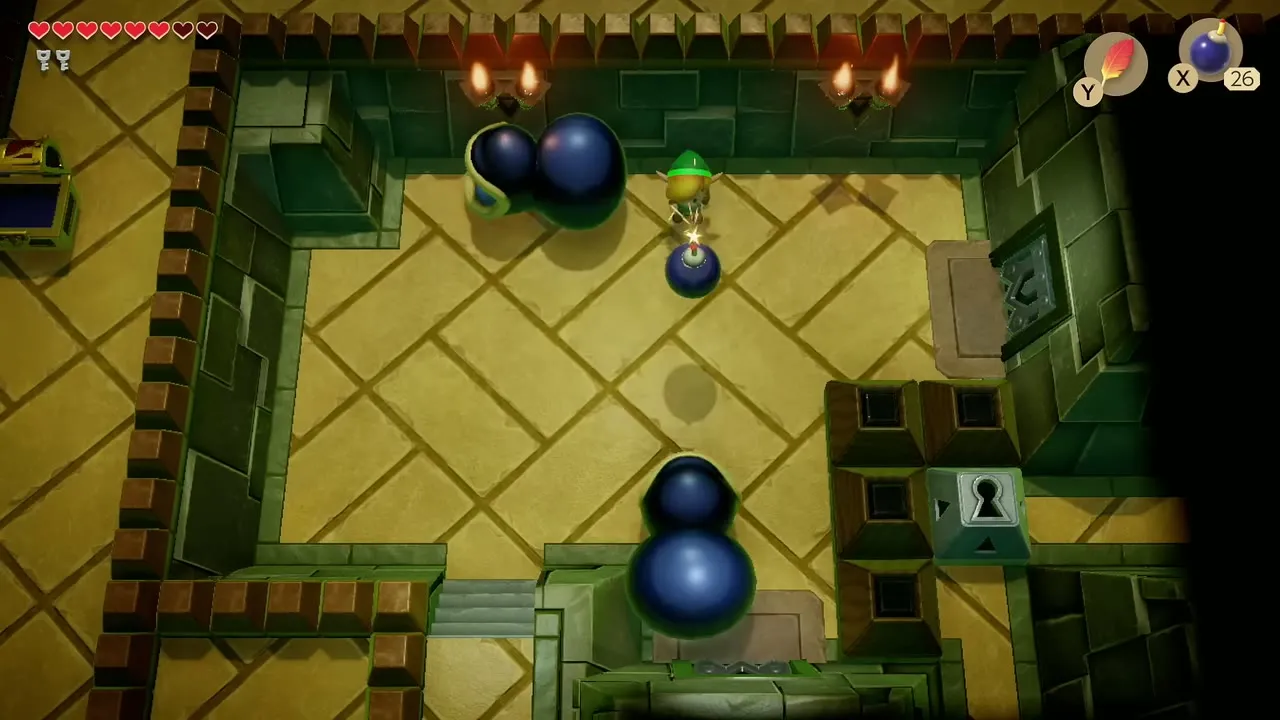
| Enemy | Where found | How to defeat | Drops | |
|---|---|---|---|---|
 | Gel | Several dungeons | Slash it. | Varies |
 | Red Zol | Mysterious Forest, Key Cavern, Angler’s Tunnel and other dungeons | Two sword swings kill it. | Varies |
 | Keese | Many dungeons | Slash it as it swoops in. | Varies |
 | Battle Bat | Some dungeons | Faster than a Keese. Wait for it to dive, then slash. | Varies |
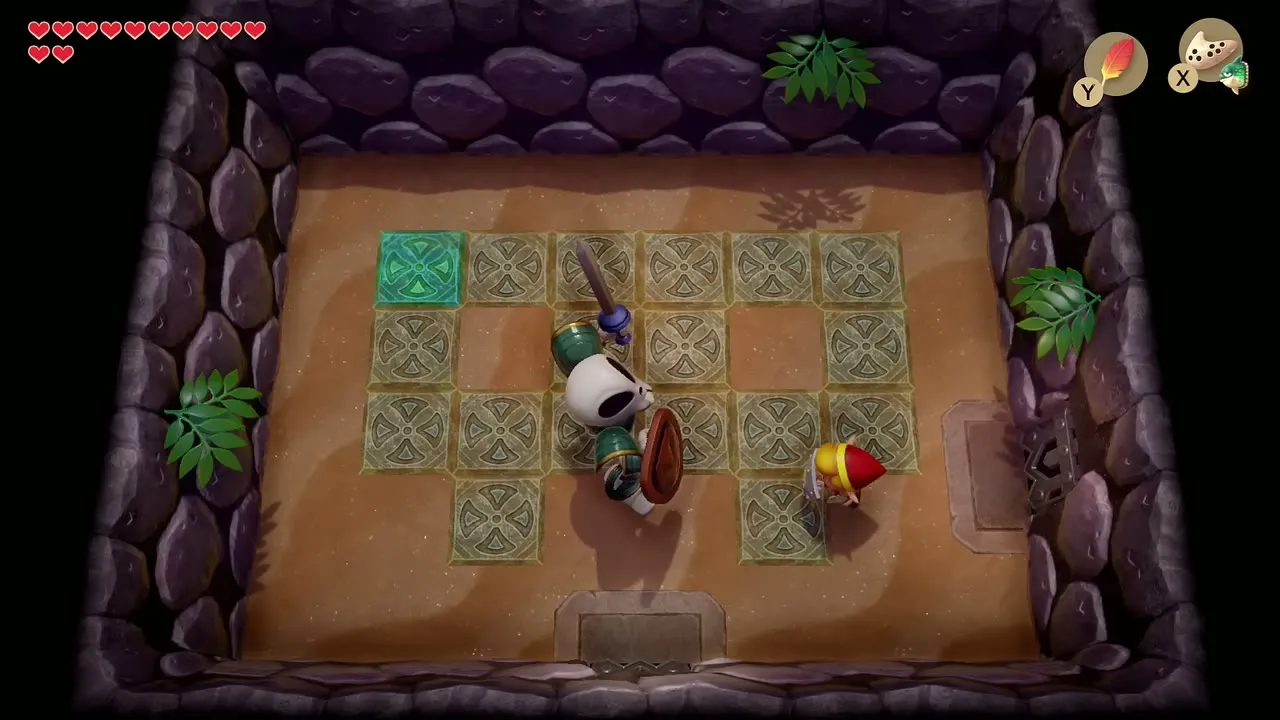
 | Stalfos | Tail Cave and Key Cavern | Time your swing for just after it jumps. | Varies |
 | Sword Stalfos | Bottle Grotto, Key Cavern, Angler’s Tunnel and Catfish’s Maw | Block with the Shield, then counter. | Varies |
 | Shrouded Stalfos | Bottle Grotto, Key Cavern, Angler’s Tunnel and Catfish’s Maw | Block its attack with the Shield, then strike. | Varies |
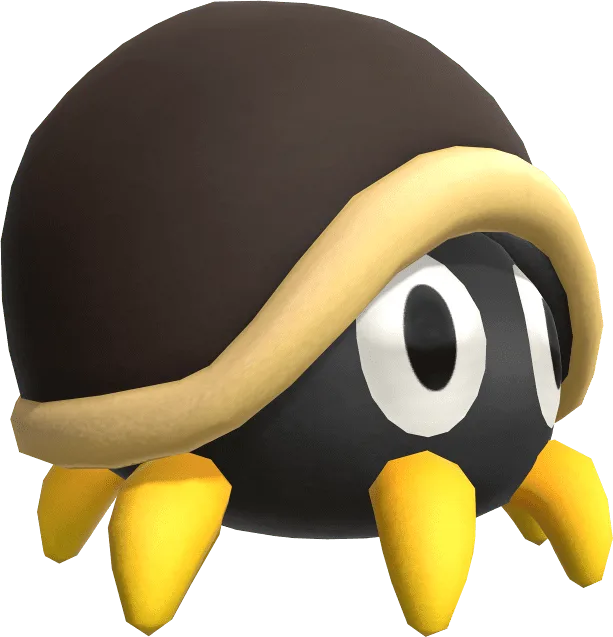 | Hardhat Beetle | Tail Cave and the Tal Tal Mountains | Knock it back with the Sword, off a ledge or into a hole. | Varies |
 | Spark | Dungeon walls and blocks | It follows an edge and cannot be cut. Stay out of its path. | Nothing (cannot be killed) |
 | Arm-Mimic | Dream Shrine, Turtle Rock and Martha’s Bay | It mirrors your movement. Use a Pegasus Boots dash attack. | Varies |
 | Mini-Moldorm | Tail Cave, Face Shrine and Eagle’s Tower | Block its attack with the Shield and slash it. | Varies |
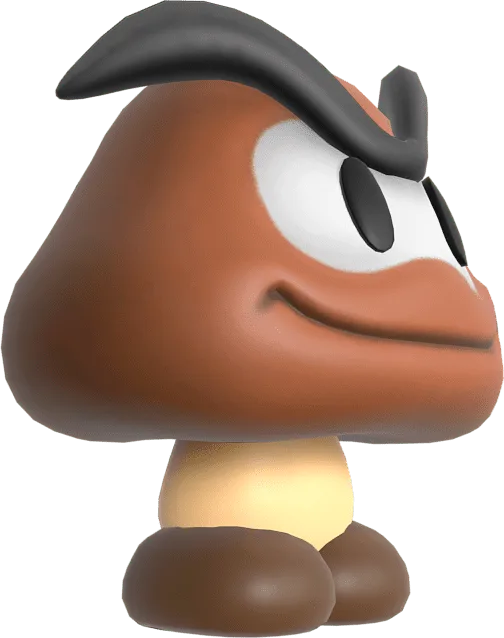 | Goomba | Tail Cave, Catfish’s Maw, Face Shrine, Eagle’s Tower and Turtle Rock | Slash it or stomp it from above. | Varies |
 | Shy Guy | Several dungeons | It repeats your steps. Slash it. | Varies |
 | Piranha Plant | Key Cavern, in side-scrolling rooms | Slash it once it has emerged. | Varies |
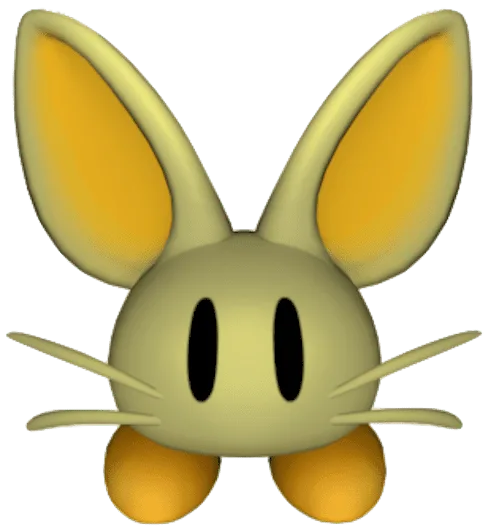 | Pols Voice | Bottle Grotto and Face Shrine | The Sword does nothing. Throw a pot at it or play the Ballad of the Wind Fish on the Ocarina. | Varies |
 | Three-of-a-Kind | Tail Cave and Eagle’s Tower | Time your attacks so all three show the same symbol. | Varies |
Mid dungeons: Catfish’s Maw, Face Shrine and Eagle’s Tower
Enemies get sturdier and the Hookshot and Bombs become the right answers.
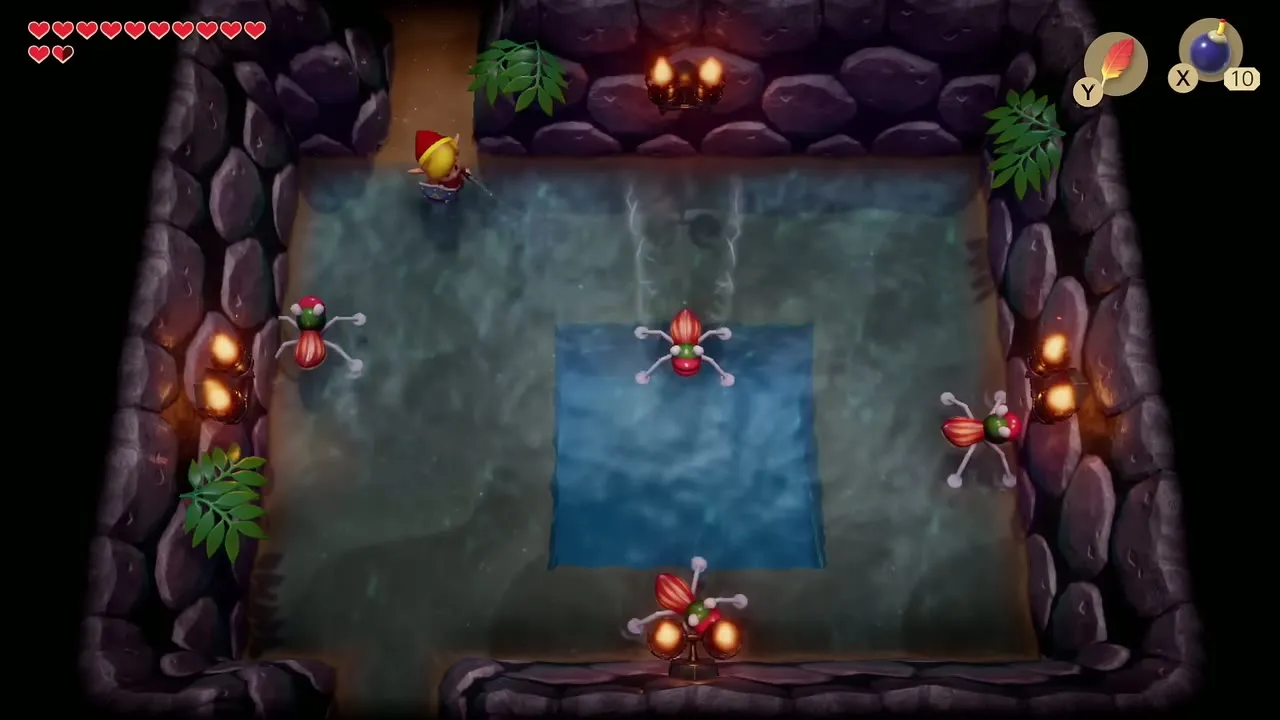
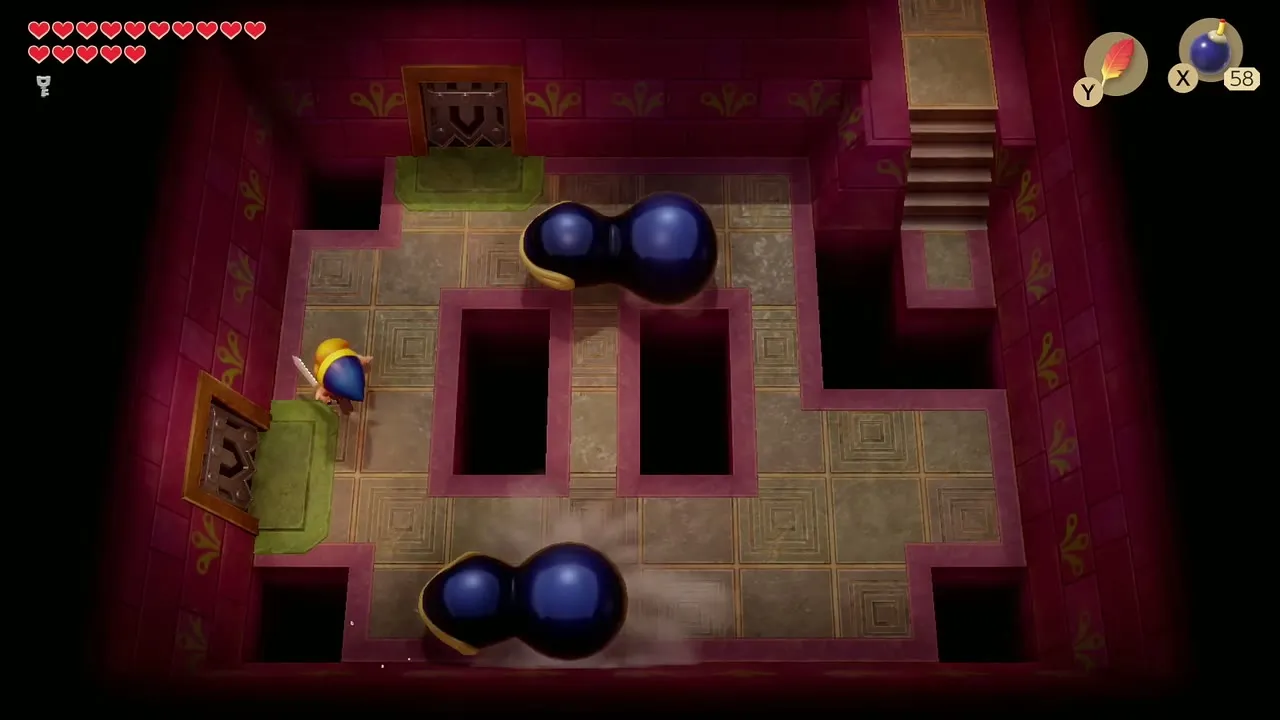
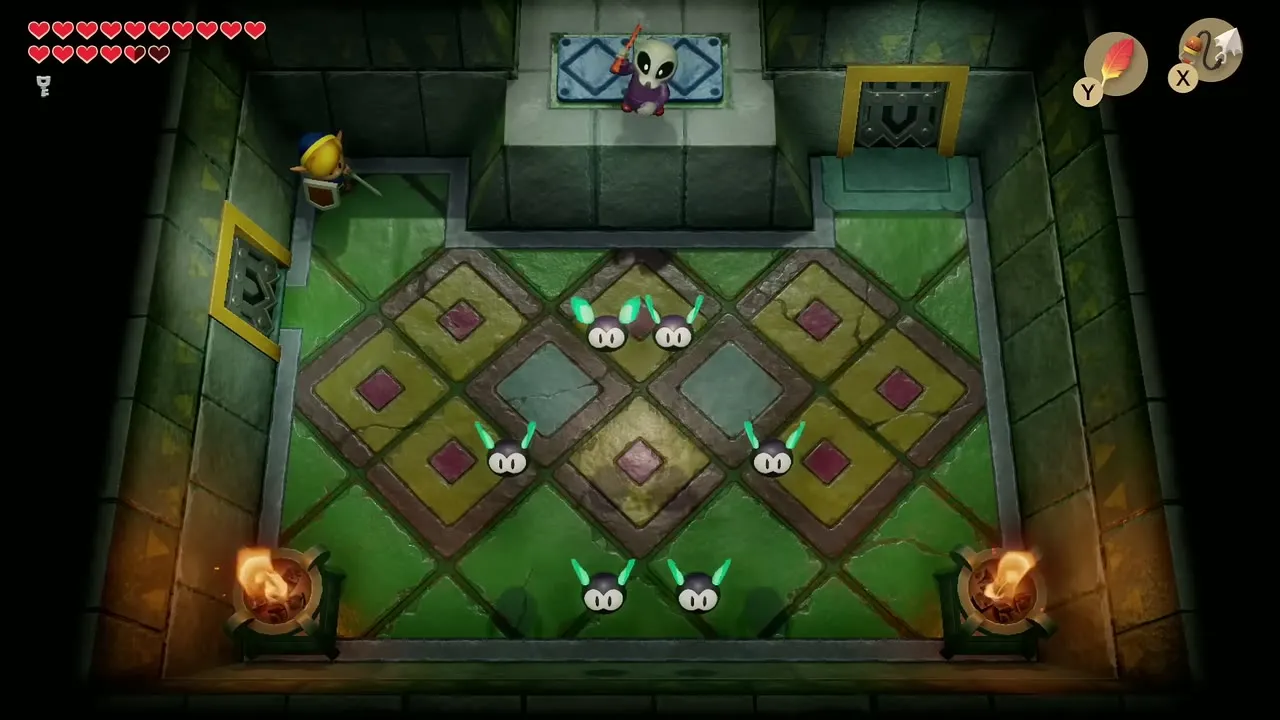
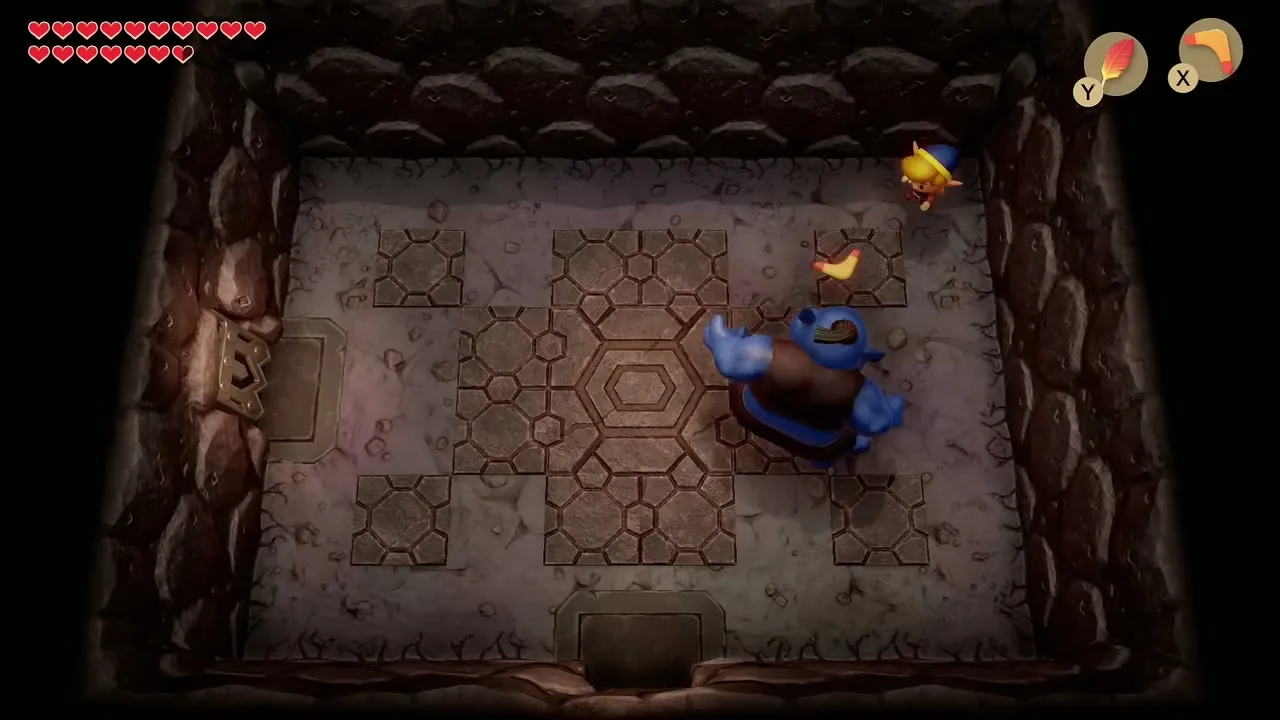
| Enemy | Where found | How to defeat | Drops | |
|---|---|---|---|---|
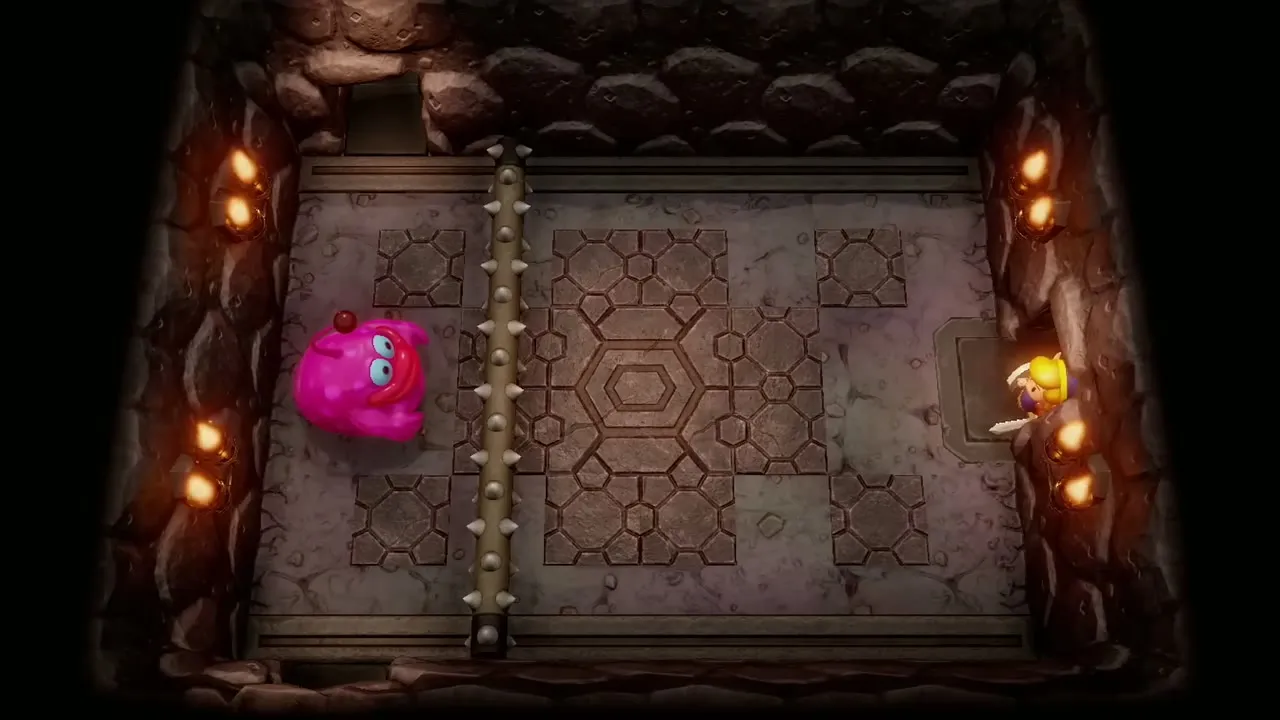
 | Gibdo | Eagle’s Tower | Stun it with the Boomerang or Hookshot, then slash it. | Varies |
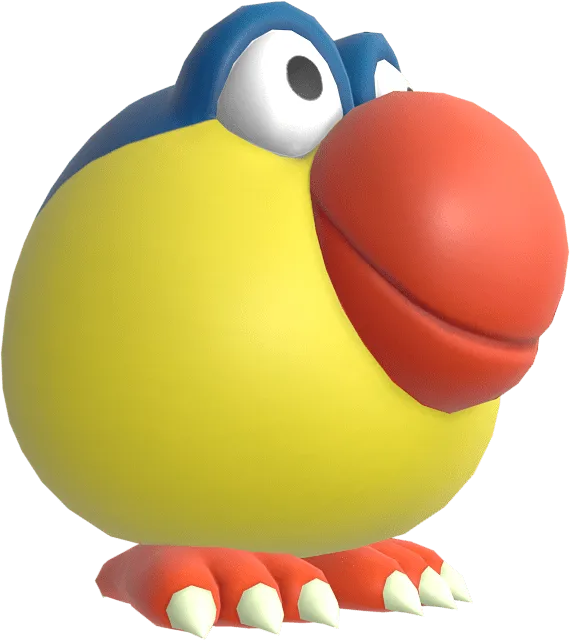 | Pairodd | Key Cavern | Close the gap with a Pegasus Boots dash and hit it before it teleports away. | Varies |
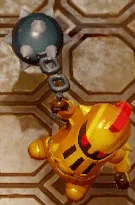 | Ball and Chain Soldier | Kanalet Castle | Wait for the swing to pass, then strike from behind. | Varies |
 | Wizzrobe | Face Shrine and Eagle’s Tower | Drop a bomb after its attack so it explodes as the Wizzrobe appears; the Boomerang also works. | Varies |
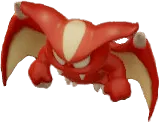 | Vire | Turtle Rock | Jump before attacking, or wait for its dive and then strike. | Varies |
 | Peahat | Angler’s Tunnel and Eagle’s Tower | It cannot be hurt while the flower on its head spins. Attack when it is on the ground. | Varies |
 | Bombite | Key Cavern | Back away while its countdown runs; the explosion cannot be blocked. | Varies |
 | Helmasaur | Angler’s Tunnel, Catfish’s Maw and Eagle’s Tower | Attack from behind, or use the Hookshot to remove its helmet. | Varies |
 | Red Stalfos | Catfish’s Maw, Eagle’s Tower and Turtle Rock | After your first hit it jumps away; time your second attack to its landing. | Varies |
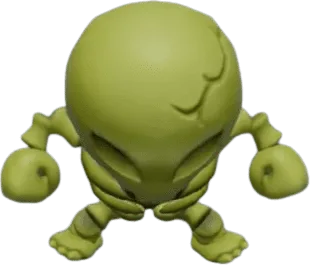 | Yellow Stalfos | Bottle Grotto, Key Cavern and Catfish’s Maw | Back away from its jump, then strike right after it lands. | Varies |
 | Boo | Bottle Grotto | Use Magic Powder on the brazier to make it vulnerable. | Varies |
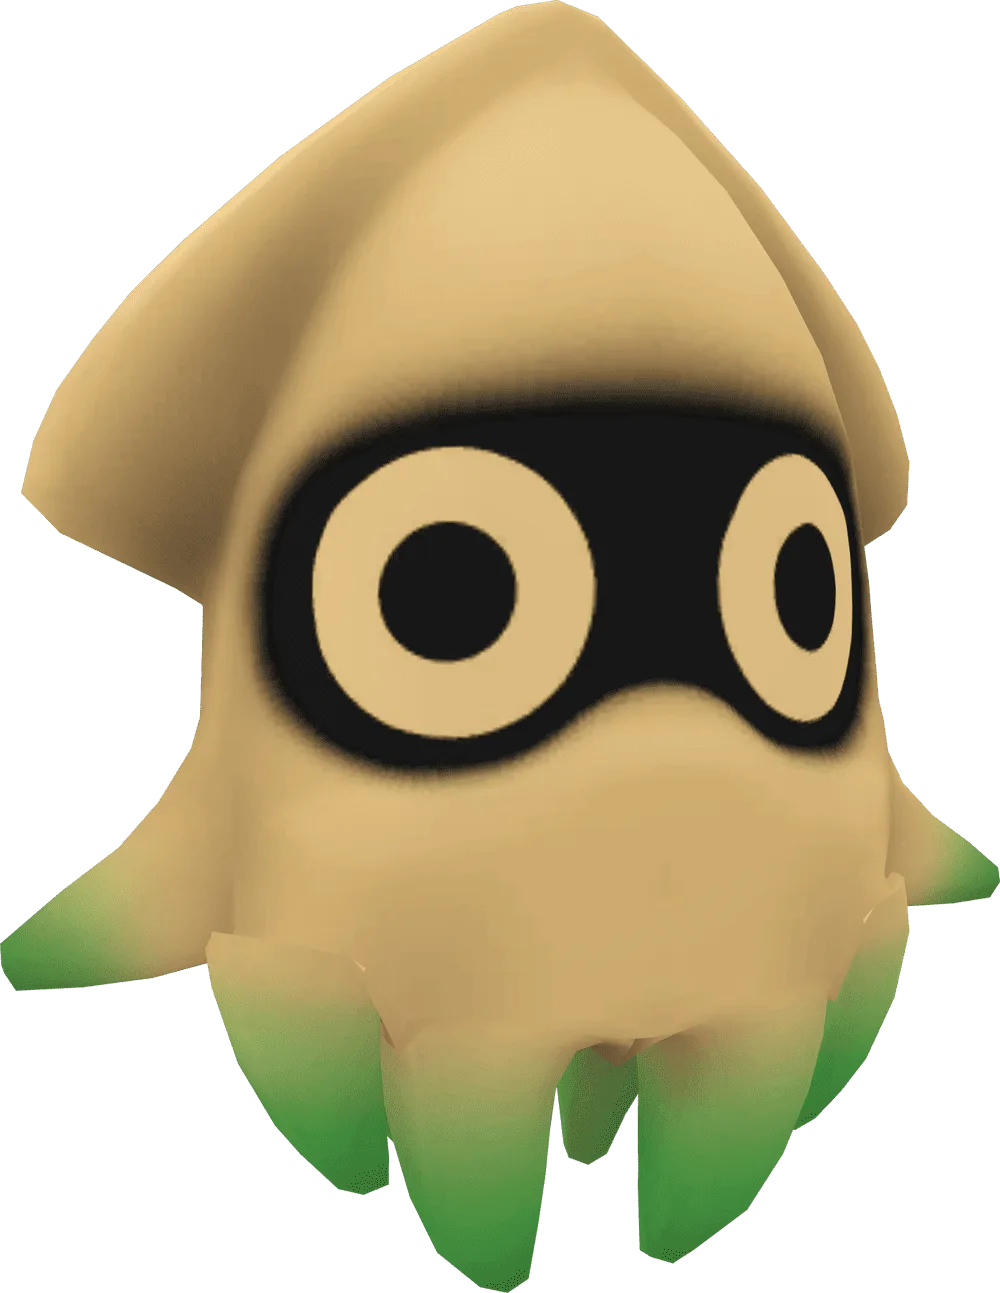 | Blooper | Catfish’s Maw | One blow kills it. | Varies |
 | Water Tektite | Angler’s Tunnel | You cannot attack while swimming, so fight it on land. | Varies |
 | Bone Putter | Color Dungeon | Jump before attacking to reach it with the Sword. | Varies |
 | Vacuum Mouth | Bottle Grotto and Turtle Rock | If it pushes you away, close in with the Pegasus Boots; if it pulls you, slash before you get close. | Varies |
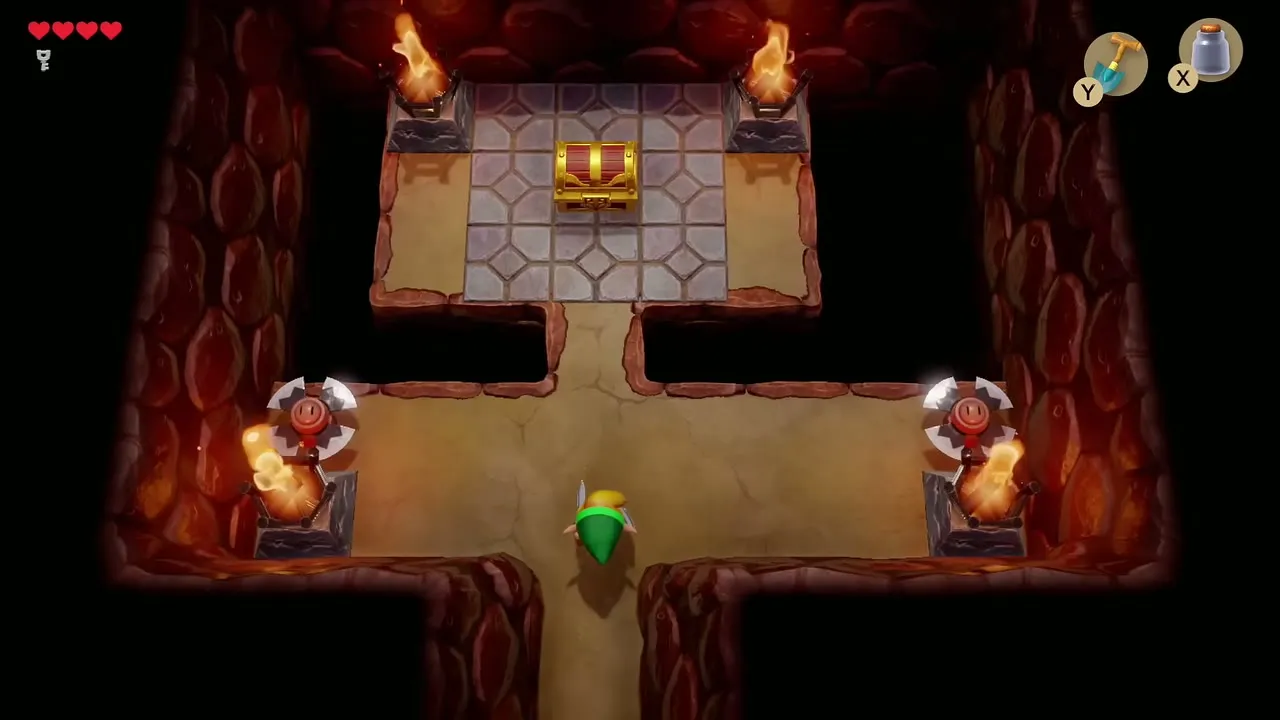
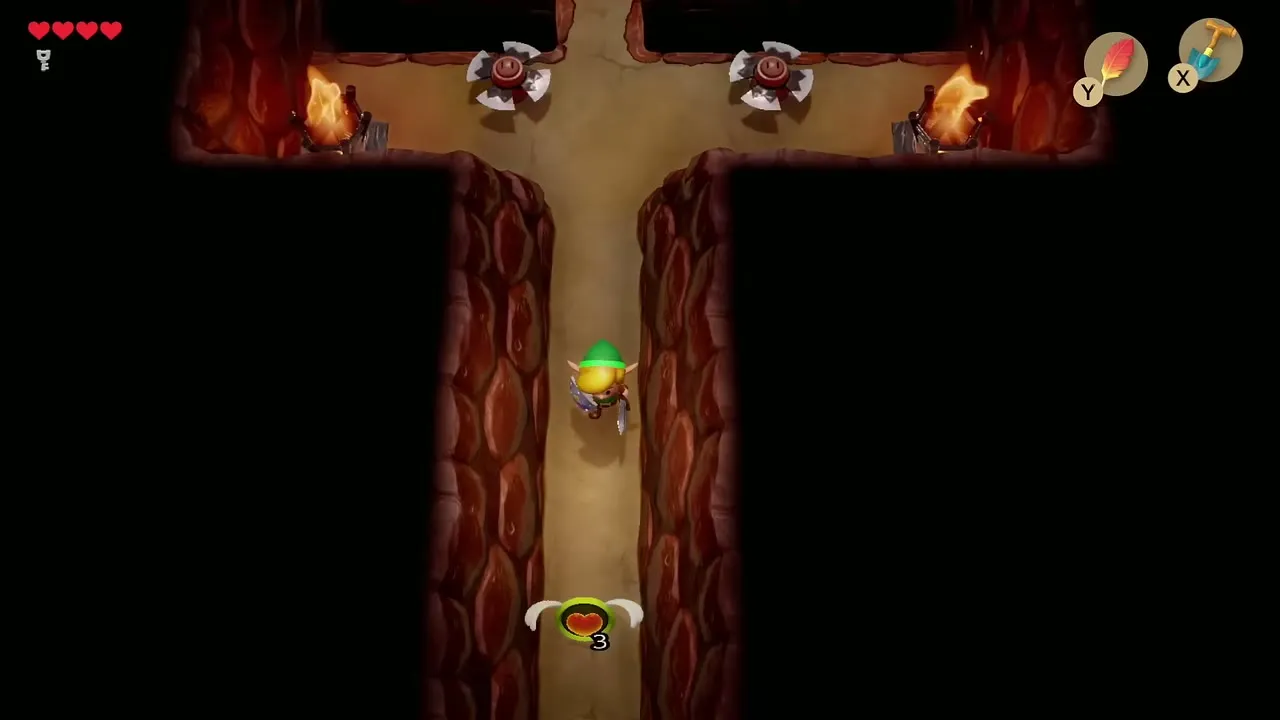
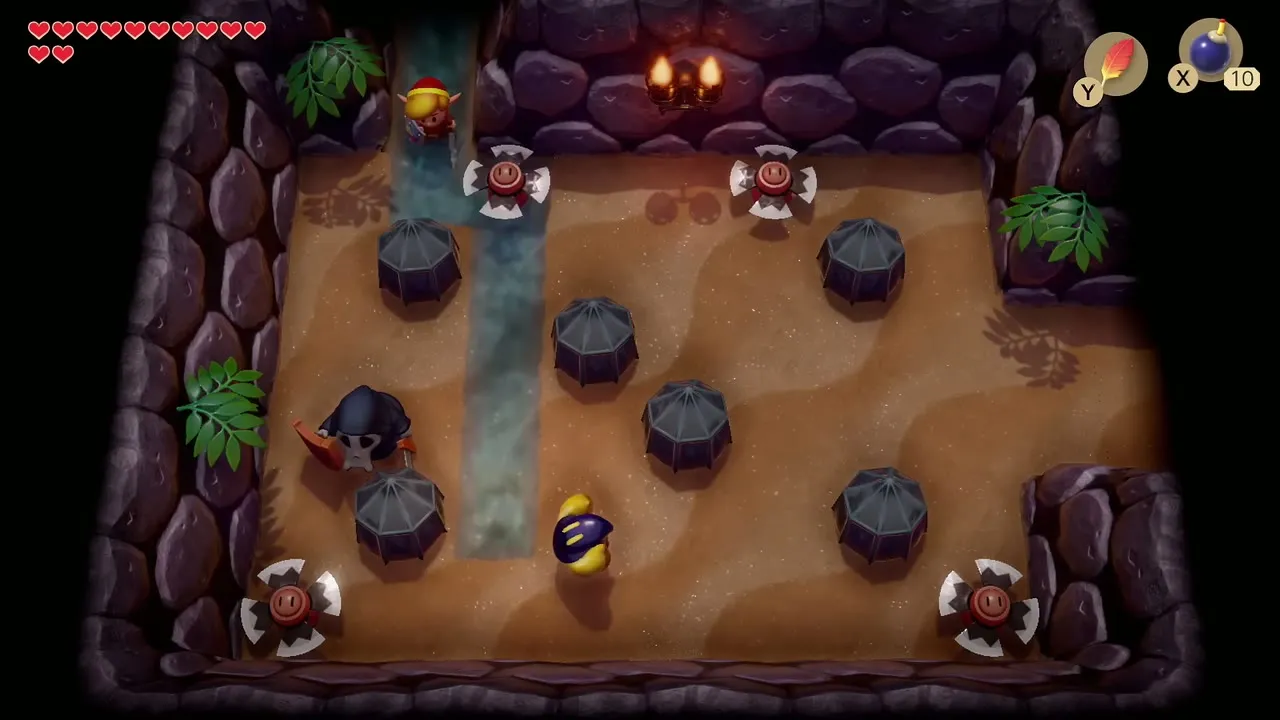
Hazards in dungeons
These are traps rather than enemies and cannot be killed.
| Enemy | Where found | How to defeat | Drops | |
|---|---|---|---|---|
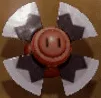 | Blade Trap | Dungeon corridors | Time your run past it. | Nothing (cannot be killed) |
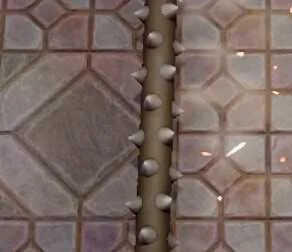 | Spiketrap | Dungeon rooms | Move when it retracts. | Nothing (cannot be killed) |
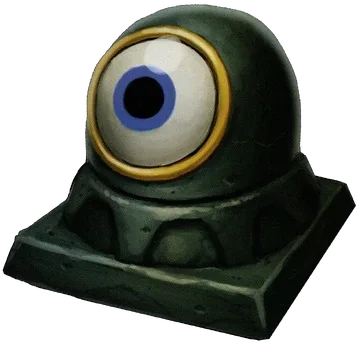 | Beamos | Dungeon rooms | Avoid its line of fire. | Nothing (cannot be killed) |
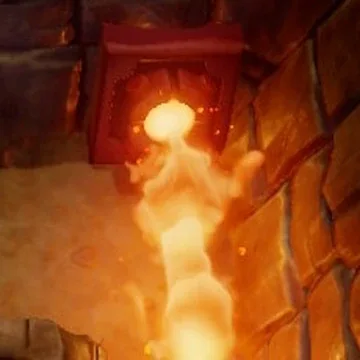 | Flame Fountain | Dungeon floors | Cross when it is off. | Nothing (cannot be killed) |
 | Podoboo | Lava rooms | Wait for it to drop back. | Nothing (cannot be killed) |
 | Thwomp | Side-scrolling rooms | Run under it as it rises. | Nothing (cannot be killed) |
 | Spiked Thwomp | Side-scrolling rooms | Same as a Thwomp. | Nothing (cannot be killed) |
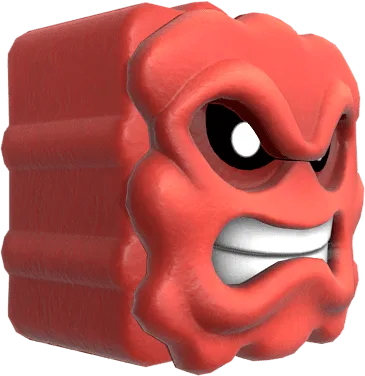 | Mega Thwomp | Late dungeons | Time your run. | Nothing (cannot be killed) |
 | Bubble | Mid and late dungeons | Invincible. Avoid contact. | Nothing (cannot be killed) |
 | Giant Bubble | Late dungeons | Invincible. Avoid contact. | Nothing (cannot be killed) |
 | Star | Angler’s Tunnel, Catfish’s Maw and Face Shrine | Strike as it starts spinning. | Nothing (cannot be killed) |
