| Covers | Foes in the eight dungeons, the Holodrum fields and caves, the Samasa graveyard and Goron Mountain, plus the mini-bosses and the Golden Beasts. |
|---|---|
| Main tools | Sword, Shield (to flip Spiked Beetles), Boomerang, Bombs, Roc’s Feather and Ricky’s punch. |
| Mini-bosses | One per dungeon, listed at the end of this page. |
| Golden Beasts | Four tougher versions of common foes, found in the Tower of Autumn area. |
Most Holodrum enemies fall to your sword, but the dungeons add foes that need a specific tool. Use the Boomerang on Anti-Fairies, Bombs on Pols Voices, your Shield to flip Spiked Beetles, and the Magical Boomerang on Armos statues. Blade Traps and Thwomps cannot be destroyed, so you have to time your steps past them. The table below lists where each enemy turns up and the most useful tip for it.
Table of Contents
Quick reference
| Enemy | Where you meet it | Tip |
|---|---|---|
 Floormaster | Gnarled Root Dungeon (last room), Poison Moth’s Lair | It grabs you and drags you back to the entrance. Defeat them room by room until none come back. |
 Pols Voice | Snake’s Remains, Poison Moth’s Lair | They hate explosions, so blast them with Bombs. |
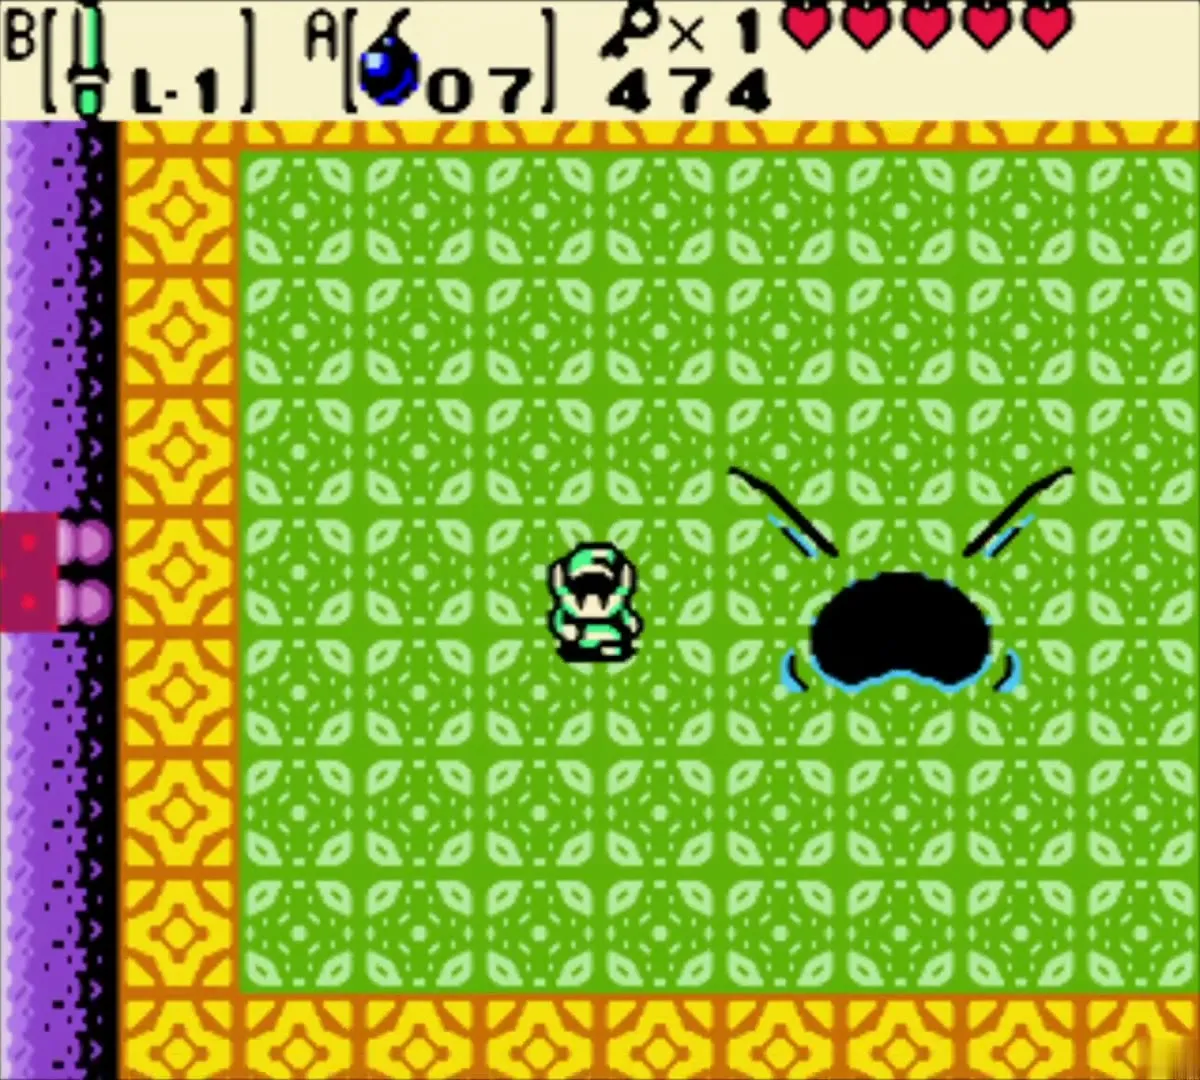
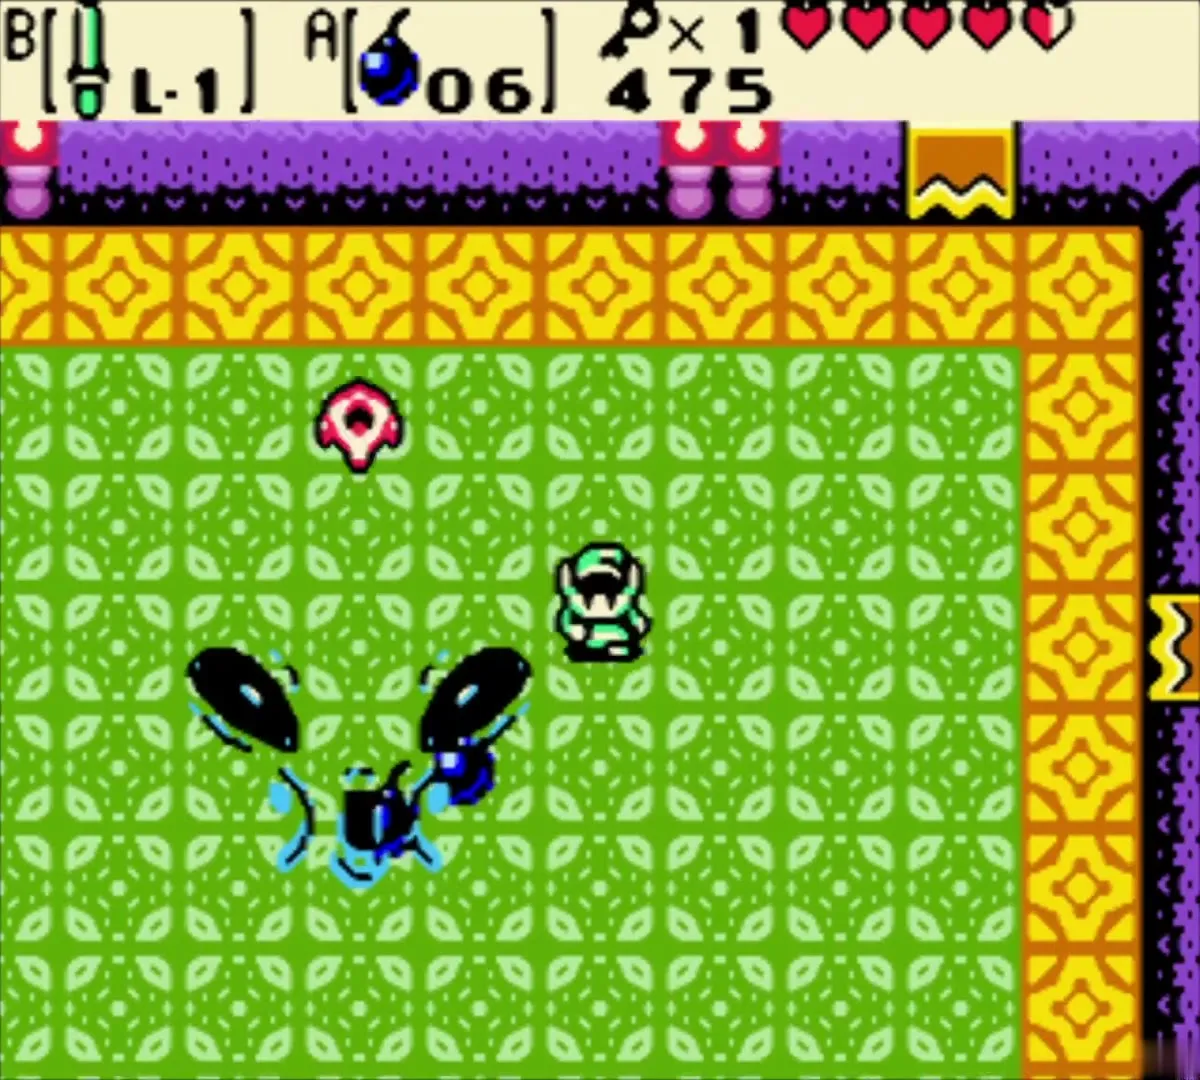
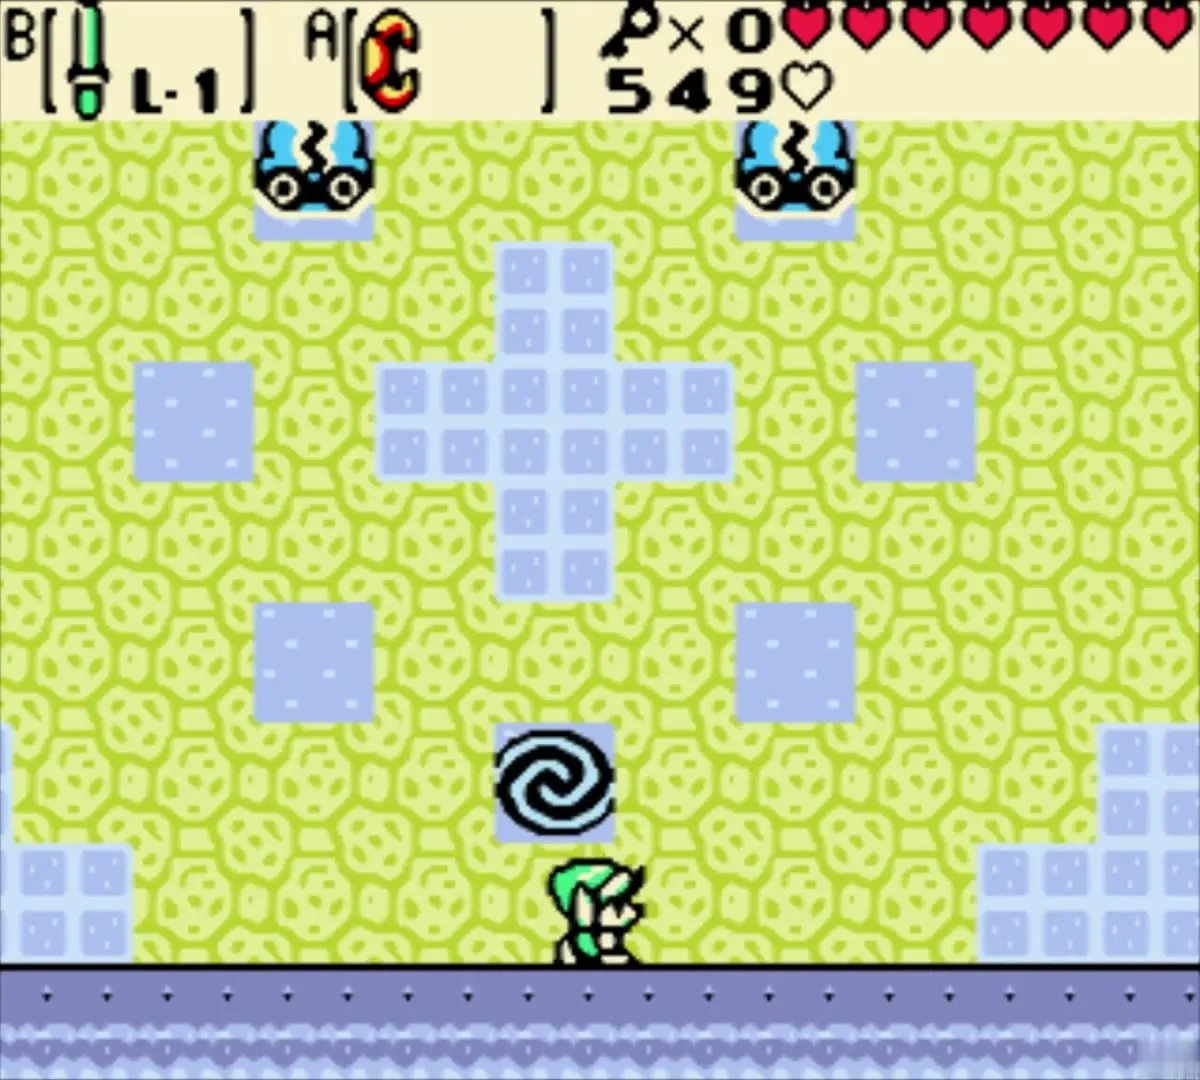
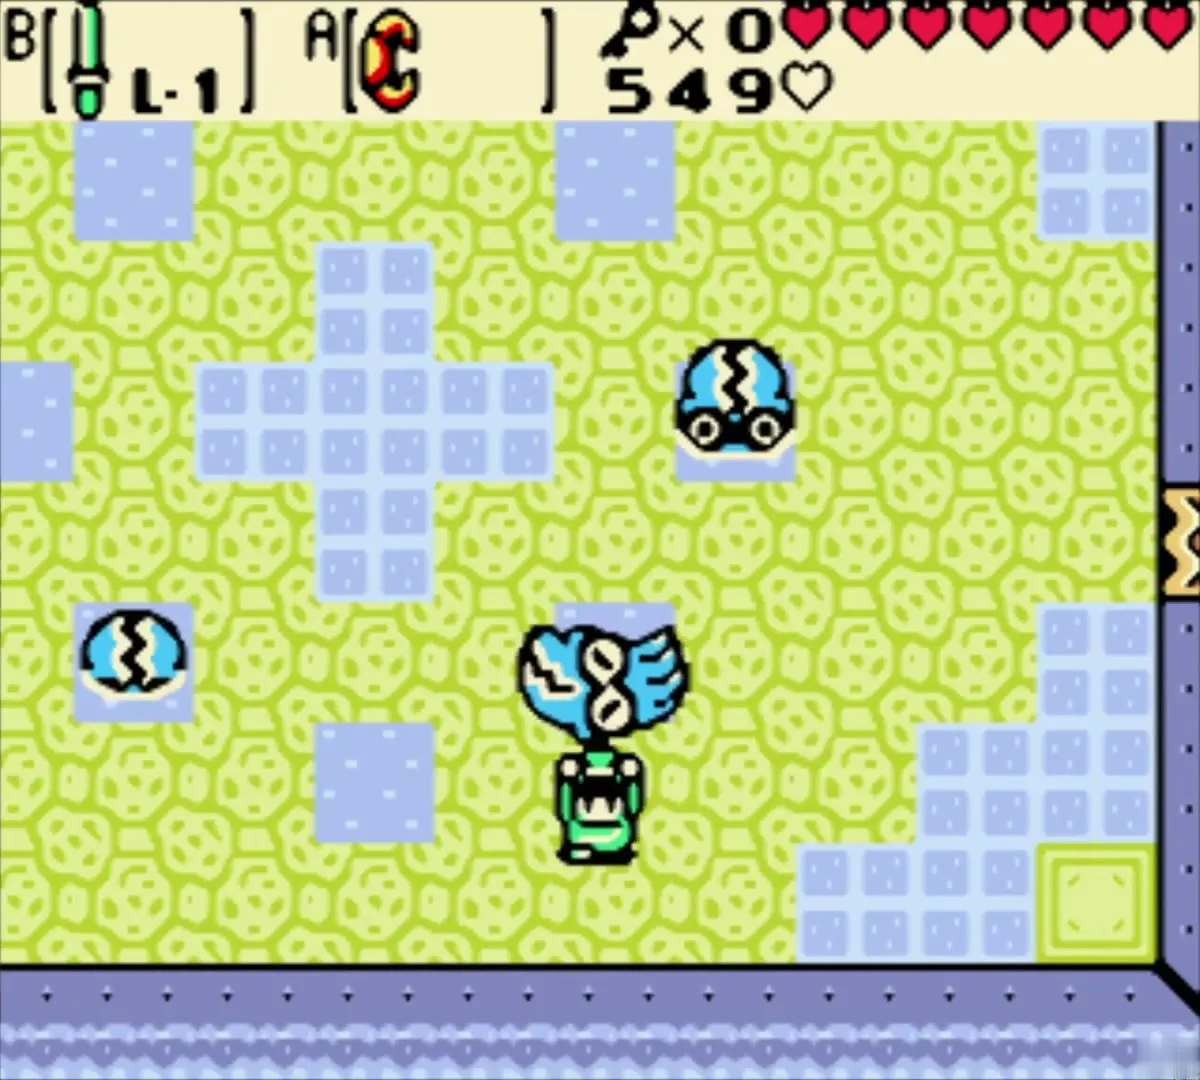
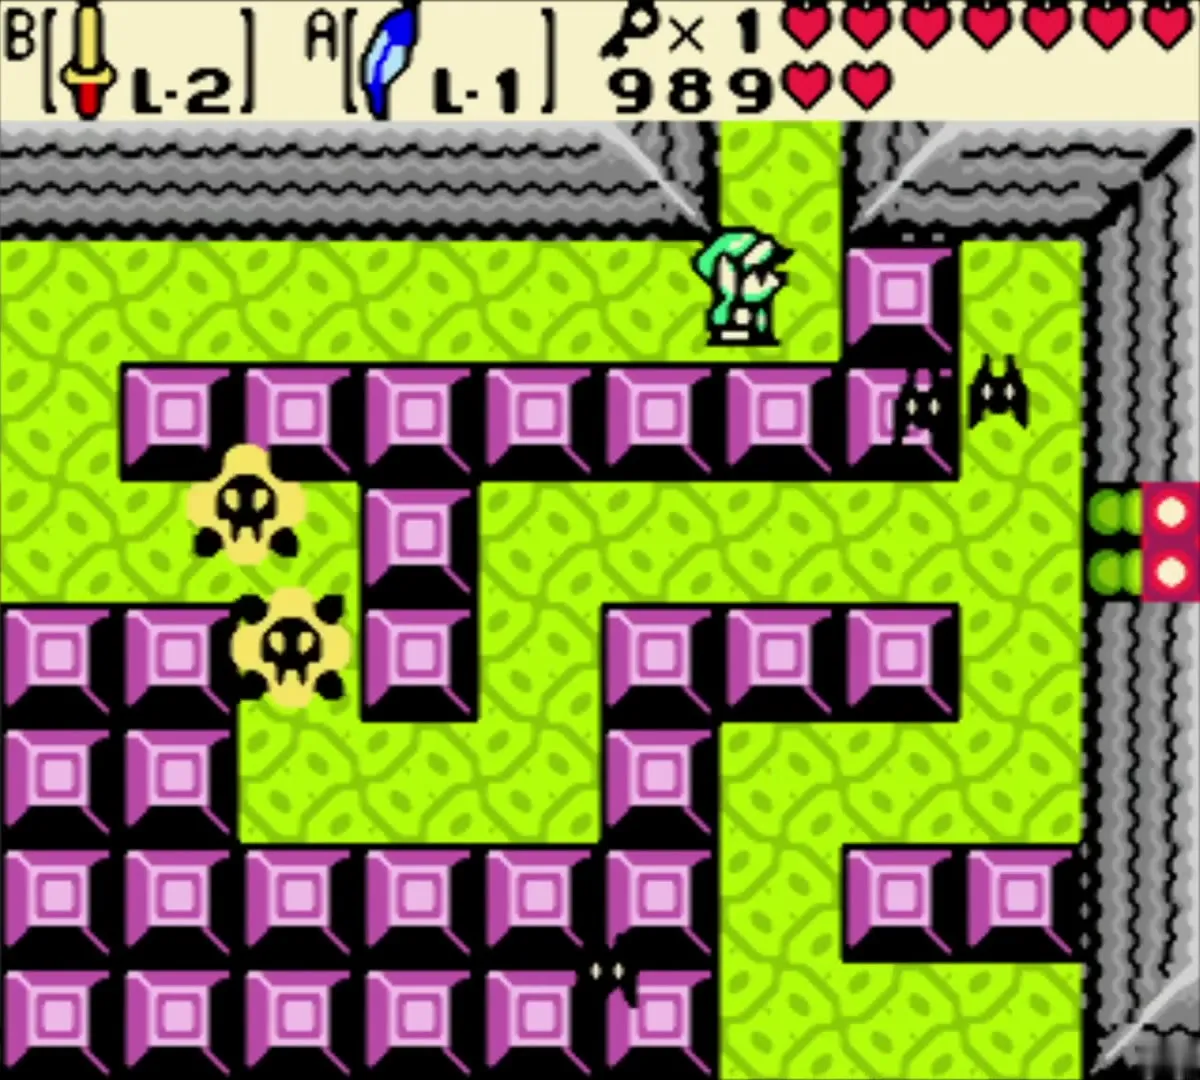
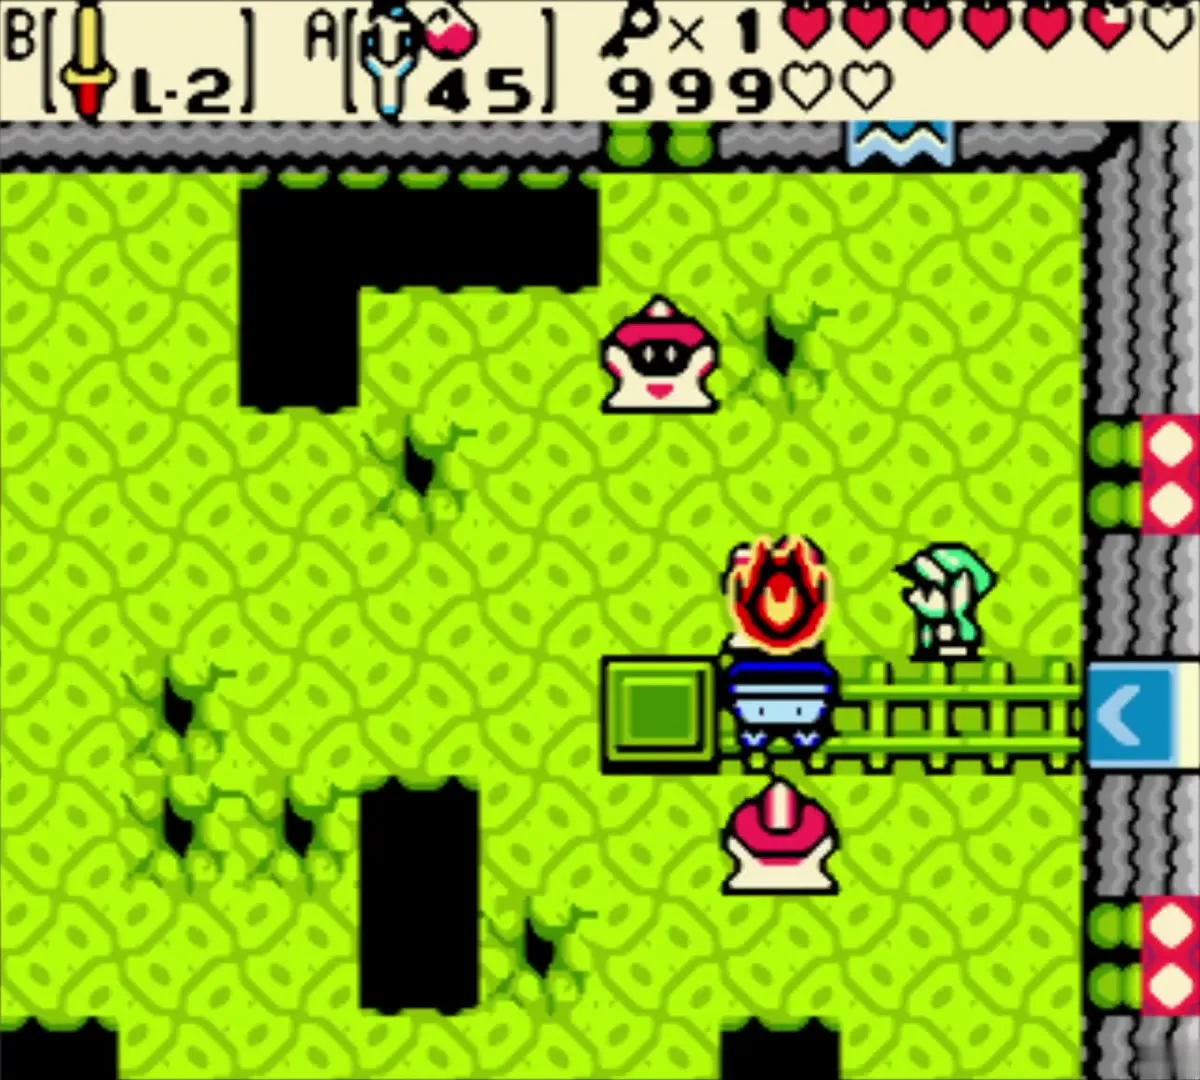
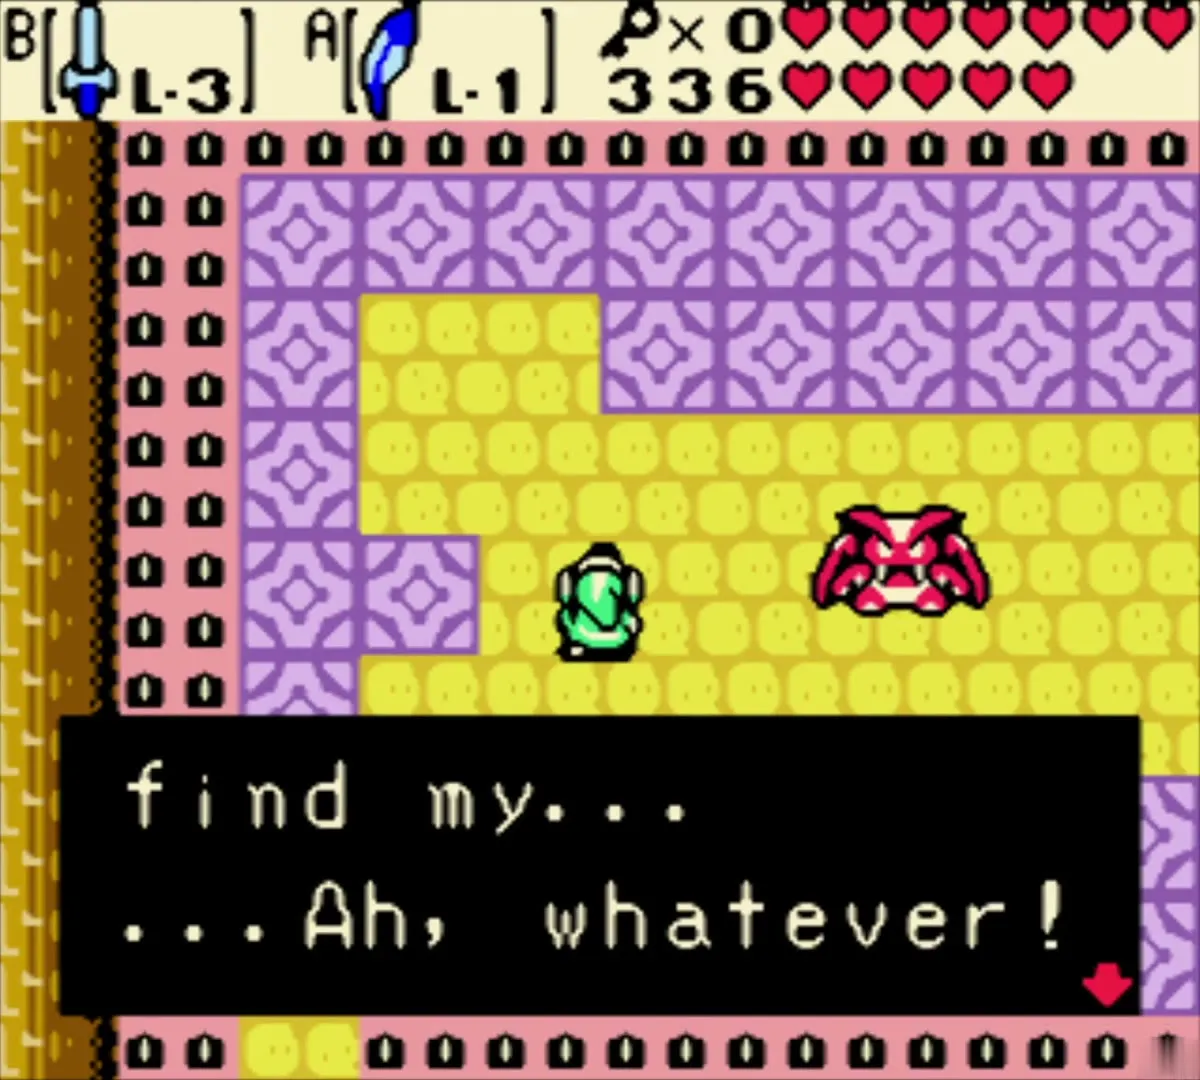
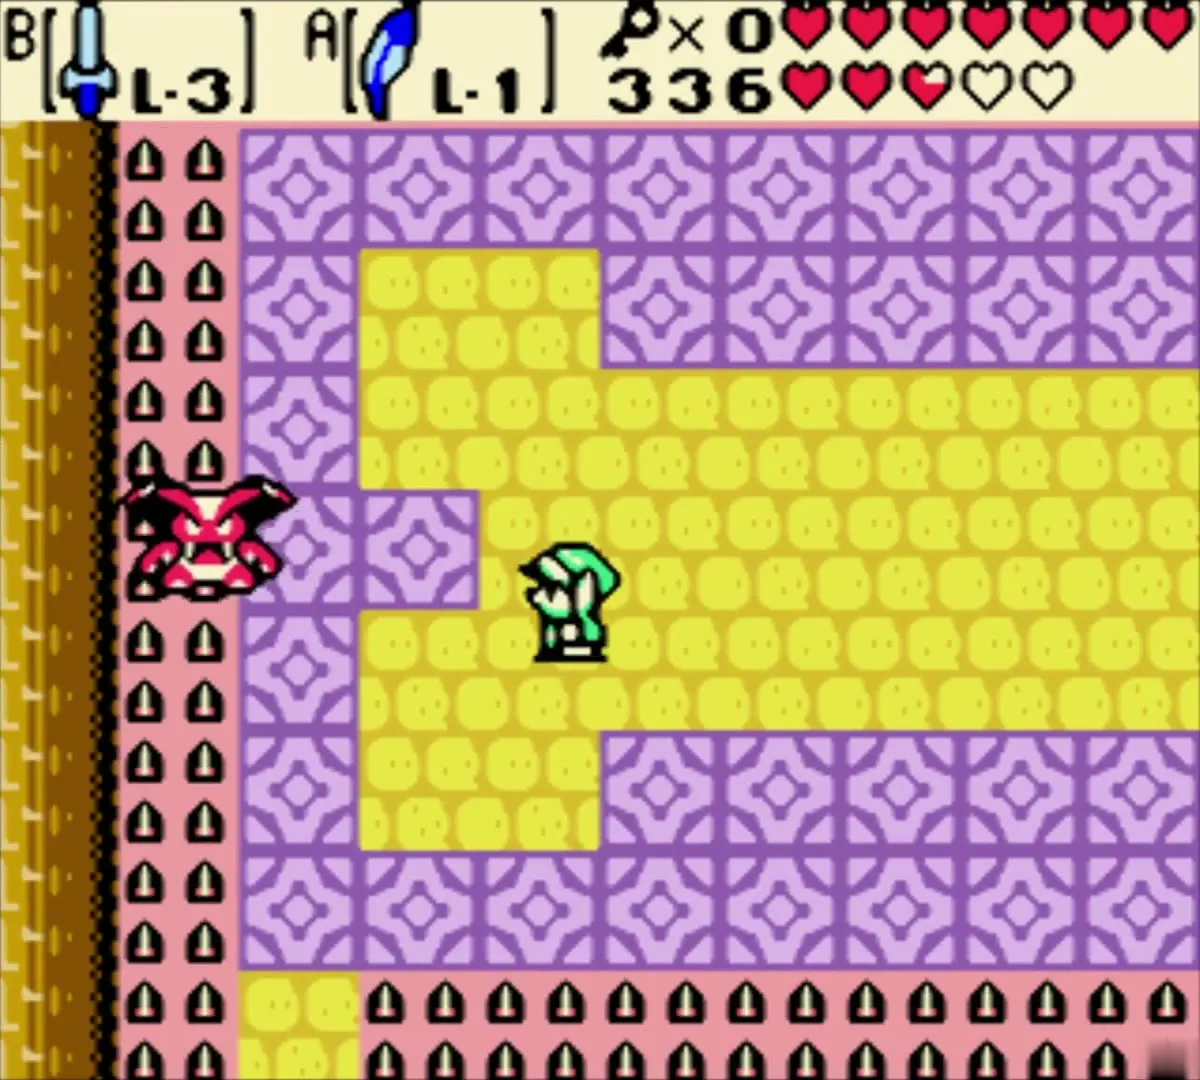
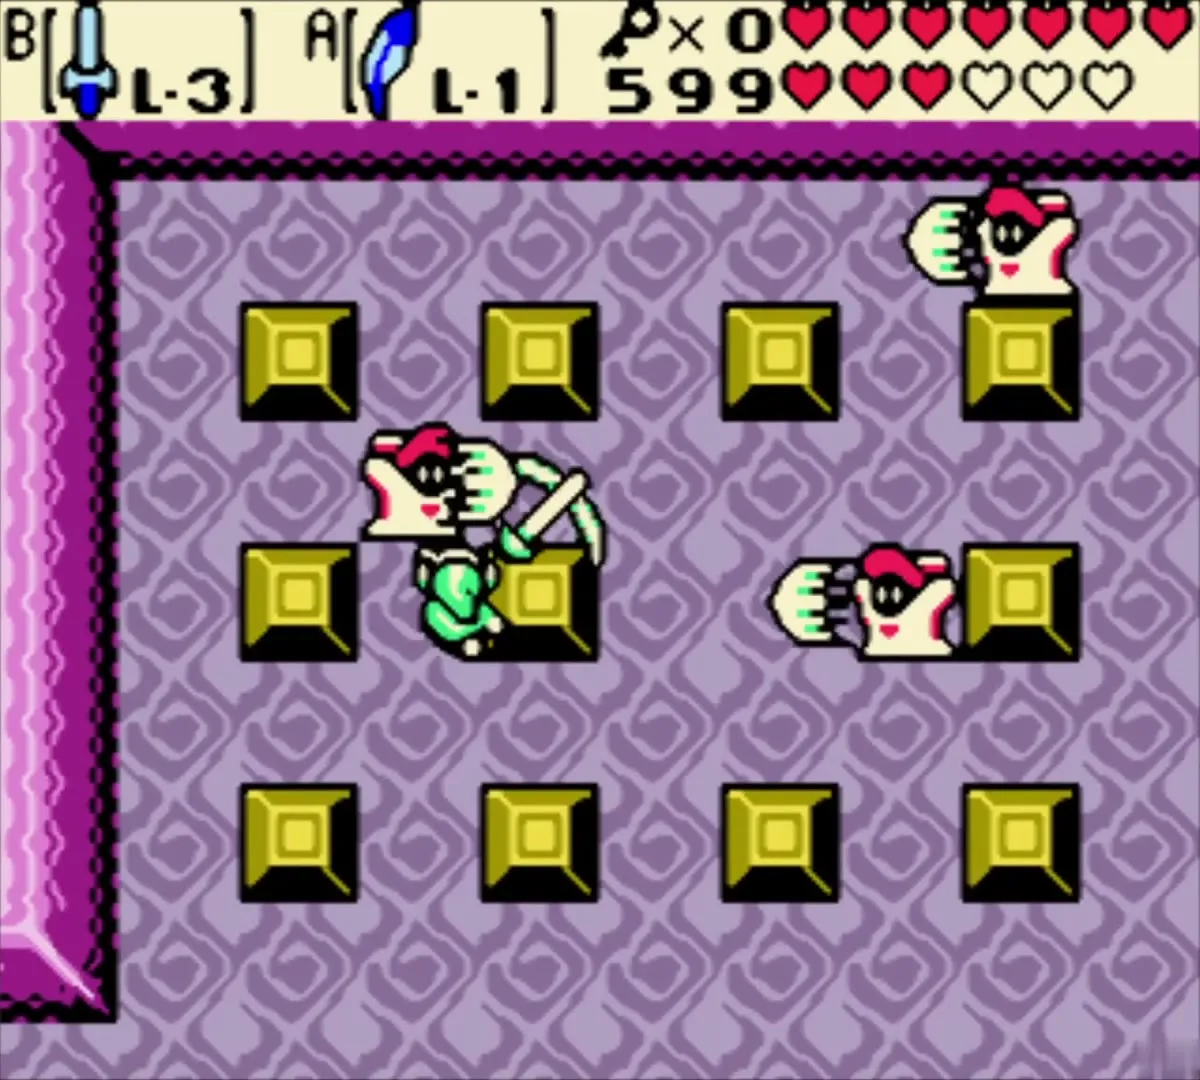
 Spiked Beetle | Poison Moth’s Lair, Dancing Dragon Dungeon, Ancient Ruins, Sword & Shield Maze | You cannot hurt its front. Bump it with your Shield to flip it, then strike its belly with your sword. |
 Anti-Fairy | Poison Moth’s Lair, Dancing Dragon Dungeon | Use the Boomerang on it. |
 Armos | Ancient Ruins (the Magical Boomerang room) | They wake when you take the Magical Boomerang. Defeat them with the boomerang. |
 Blade Trap | Gnarled Root, Snake’s Remains, Poison Moth’s Lair, Dancing Dragon Dungeon, Ancient Ruins | They cannot be destroyed. Dodge them, or hop one with Roc’s Feather. |
 Thwomp | Snake’s Remains | A giant Thwomp falls when you walk near it. Step back, then cross over its head to reach the ladder. |
 Red Zol and Gel | Gnarled Root, Snake’s Remains | A defeated Red Zol splits into Gels, so finish the Gels as well. |
 Ghini | Samasa Desert graveyard | The first Ghini on each screen is special: defeat it and the other Ghinis on that screen go with it. |
 Wizzrobe | Dancing Dragon Dungeon, Explorer’s Crypt, Onox’s Castle | Green Wizzrobes blink between fixed spots and fire in the direction they face. |
 Mini-Moldorm | Poison Moth’s Lair | Defeat the ones in the northern room and a chest appears with 10 Bombs. |
 Moblin | Gnarled Root, Goron Mountain area | They throw boomerangs, but fall to your sword. |
 Lynel | Goron Mountain (the blue Lynels on the narrow shelves) | They take many hits and fire sword beams. Keep your distance and strike when they close in. |
 Stalfos | Gnarled Root, Dancing Dragon Dungeon, Ancient Ruins, Explorer’s Crypt | Defeat every Stalfos in a room and a Small Key appears. |
 Octorok | Holodrum fields on the way to the beach near Horon Village, Spool Swamp shore | Red Octoroks wander the fields. Cut them down with your sword. |
 Buzz Blob | Spool Swamp shore | Ricky’s punch beats them. |
 Beamos | Dancing Dragon Dungeon, Ancient Ruins | Keep out of its line of sight, or hop its beam with Roc’s Feather or Roc’s Cape. |
 Keese | Gnarled Root, Snake’s Remains, Dancing Dragon Dungeon, Ancient Ruins | Wait for them to fly off before you cross their path. |
 Darknut | Ancient Ruins, Explorer’s Crypt, Onox’s Castle | Defeat the Darknuts in Ancient Ruins to reach the Crystal Switches. |
Foes by dungeon
Gnarled Root Dungeon
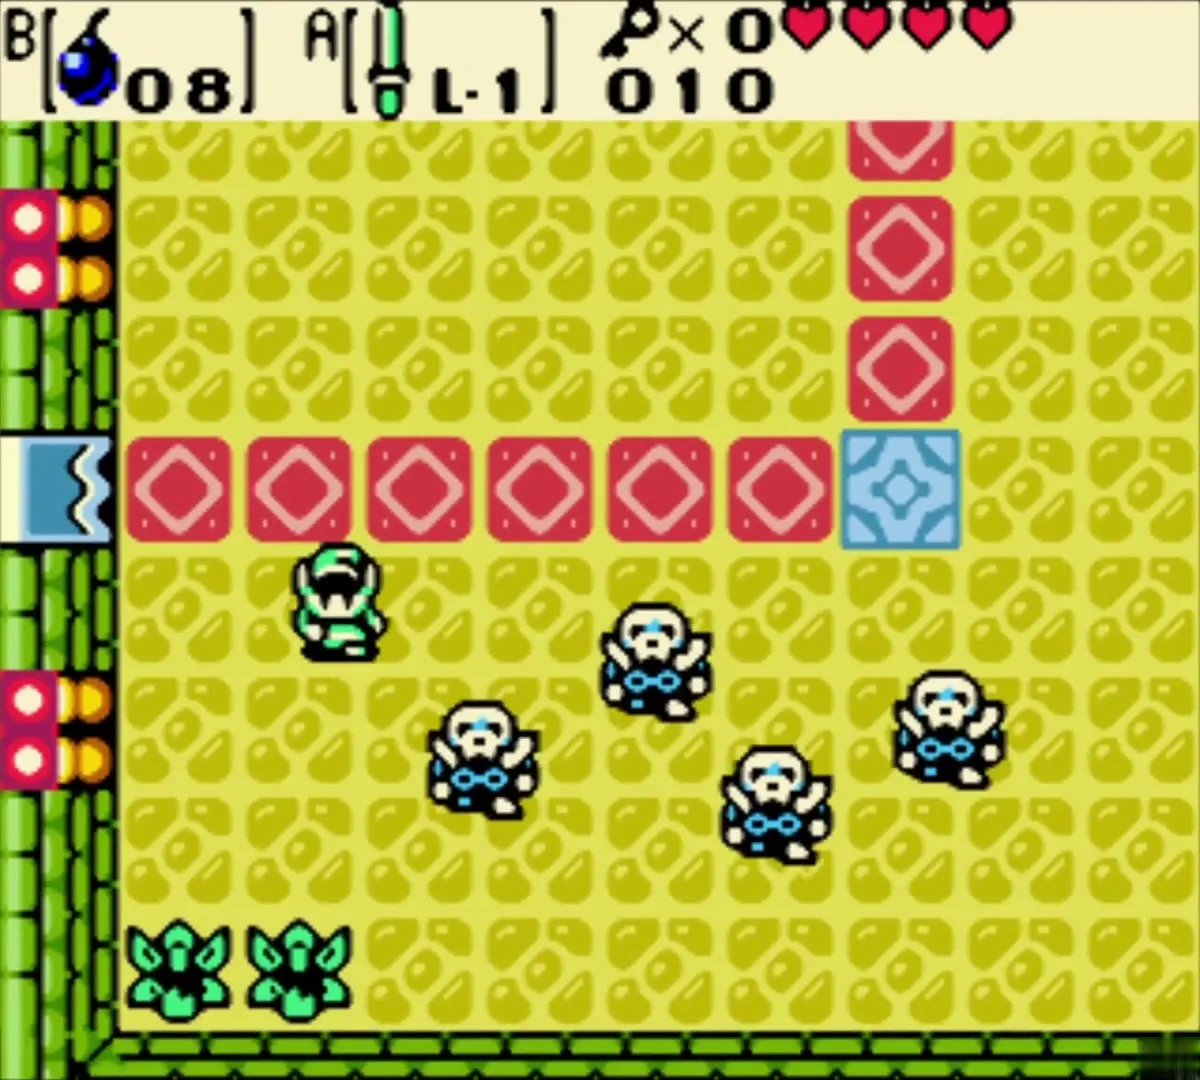
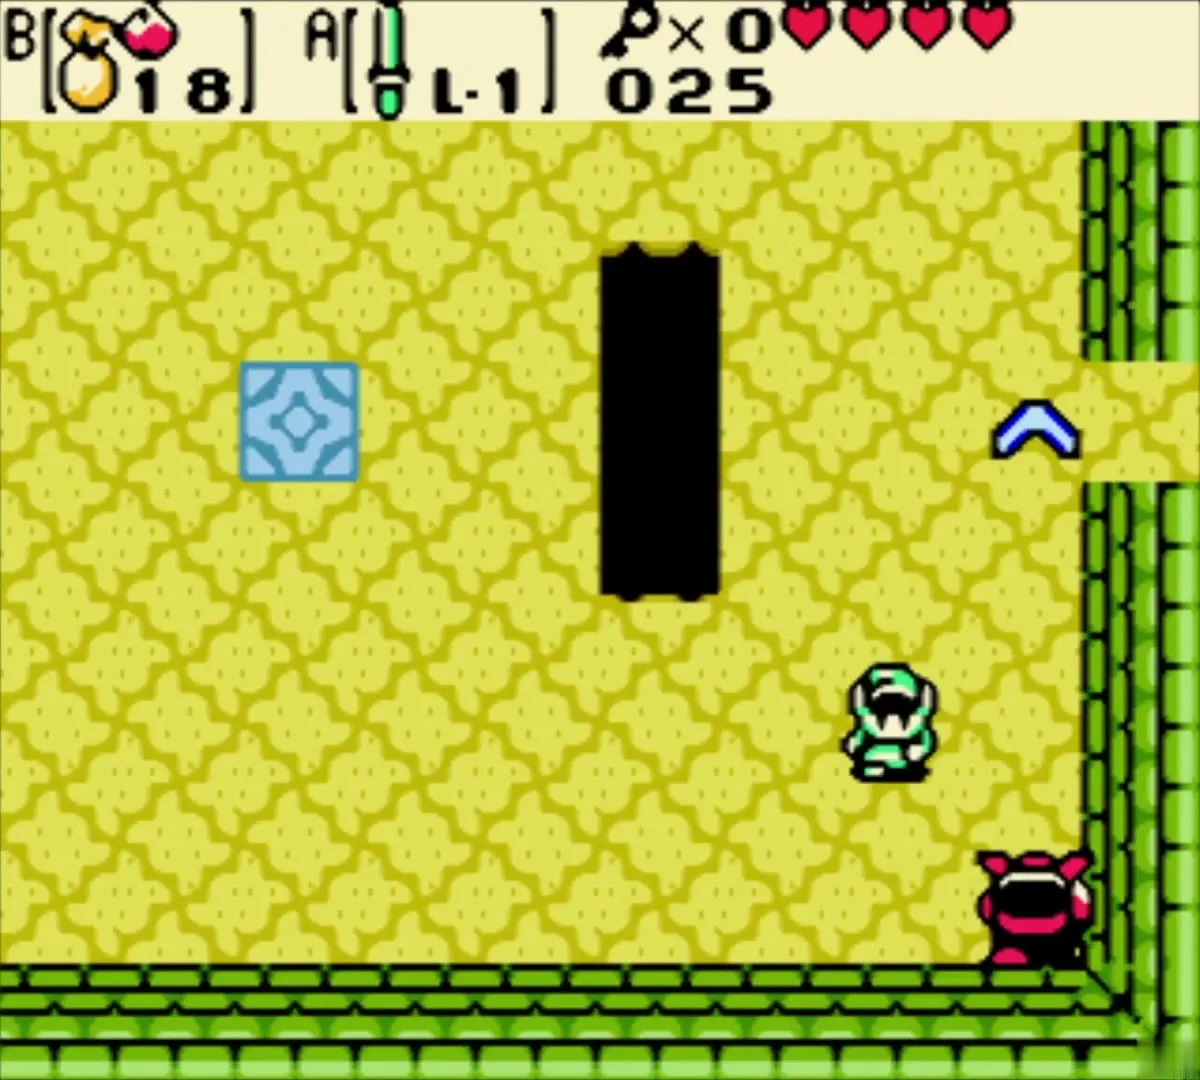
The first dungeon mixes Goriyas, Moblins, Floormasters and Stalfos with Blade Traps and Hardhat Beetles in the block maze. Clear the Stalfos in the room east of the Floormaster rooms to make a Small Key appear. The dungeon ends with the Goriya brothers as its mini-boss. For the full route, see the Gnarled Root Dungeon chapter.
Snake’s Remains
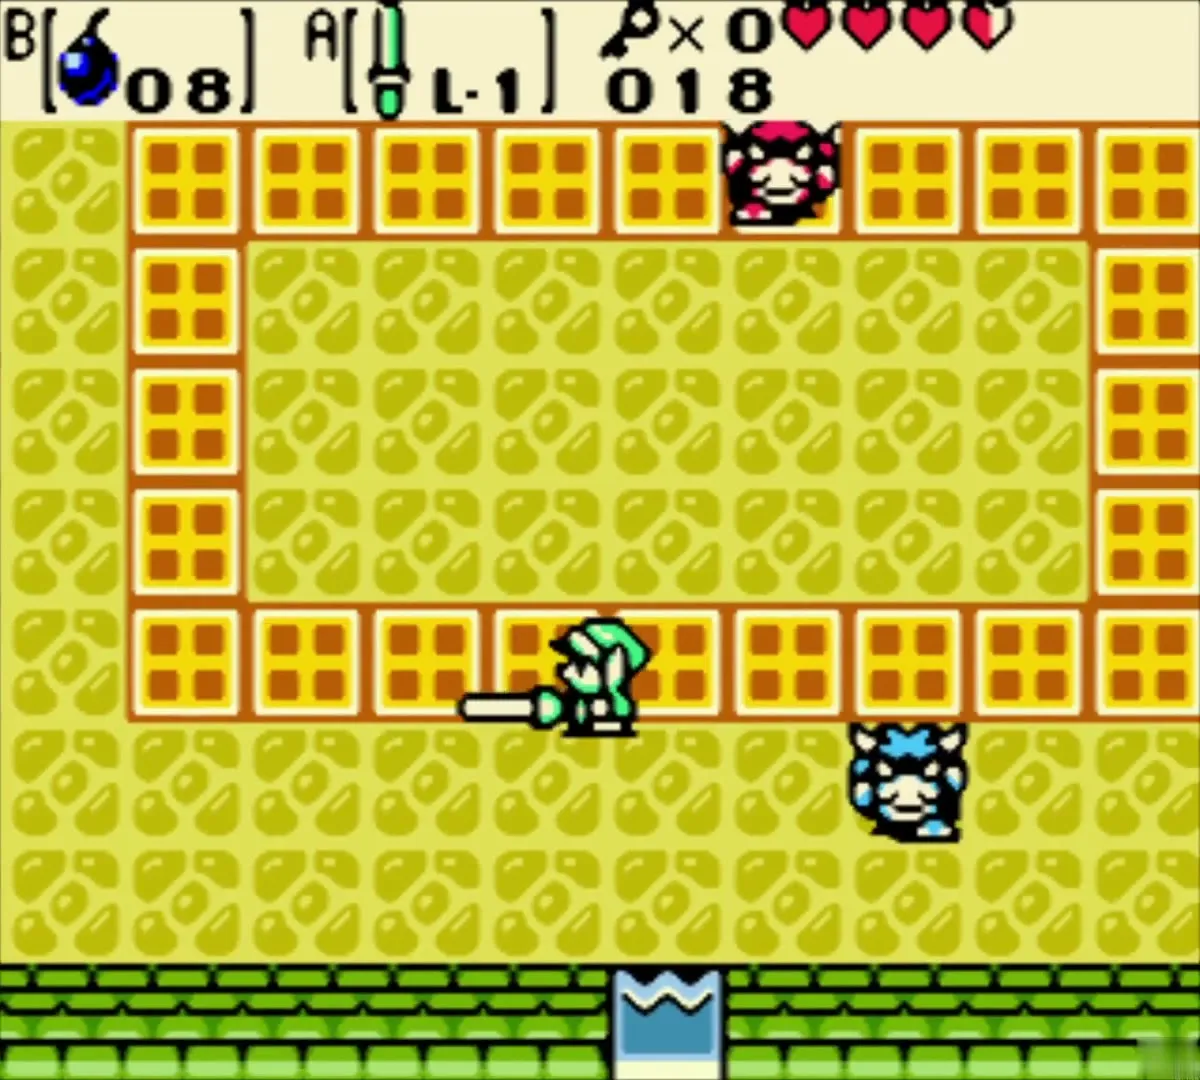
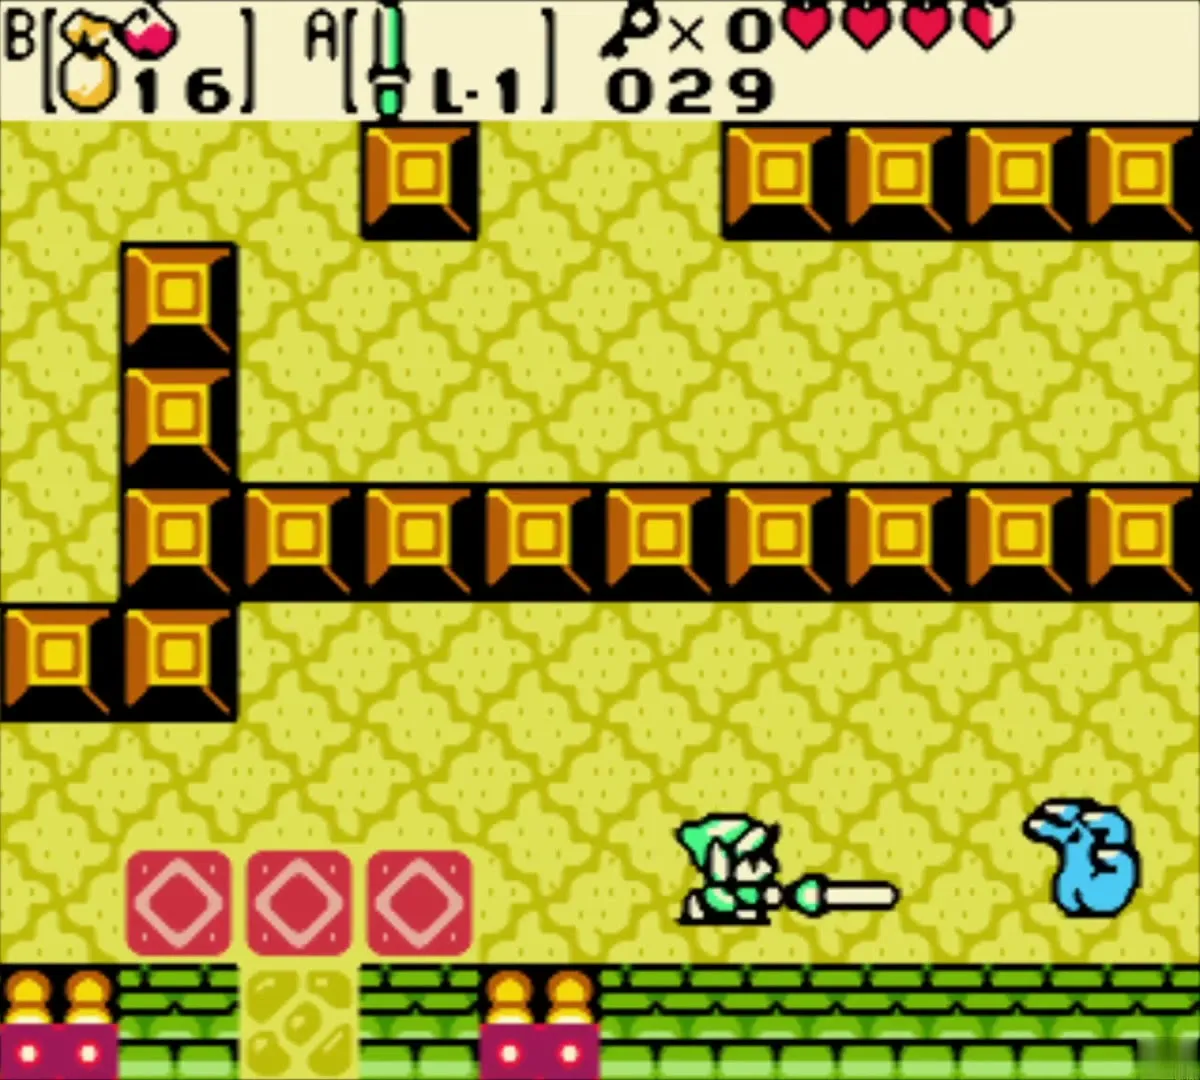
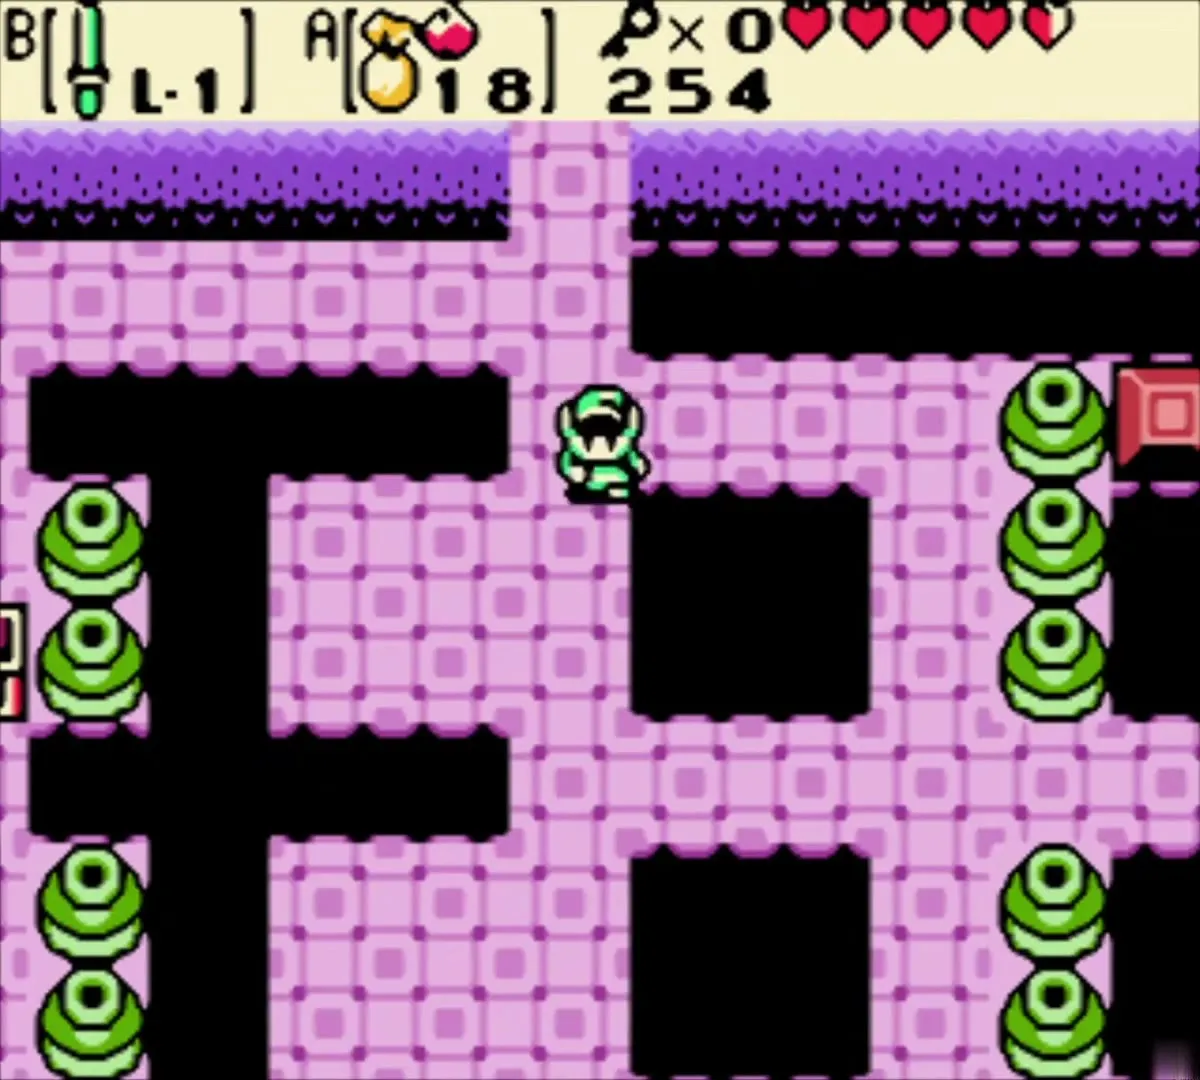
The second dungeon is full of Ropes, Zols, Sparks, Pig Warriors and Thwomps. Two Pig Warriors stand across a wide gap, and two Hardhat Beetles guard the way west. The Pols Voice room sits in the north, and the mini-boss Facade comes before Dodongo. See the Snake’s Remains chapter.
Poison Moth’s Lair
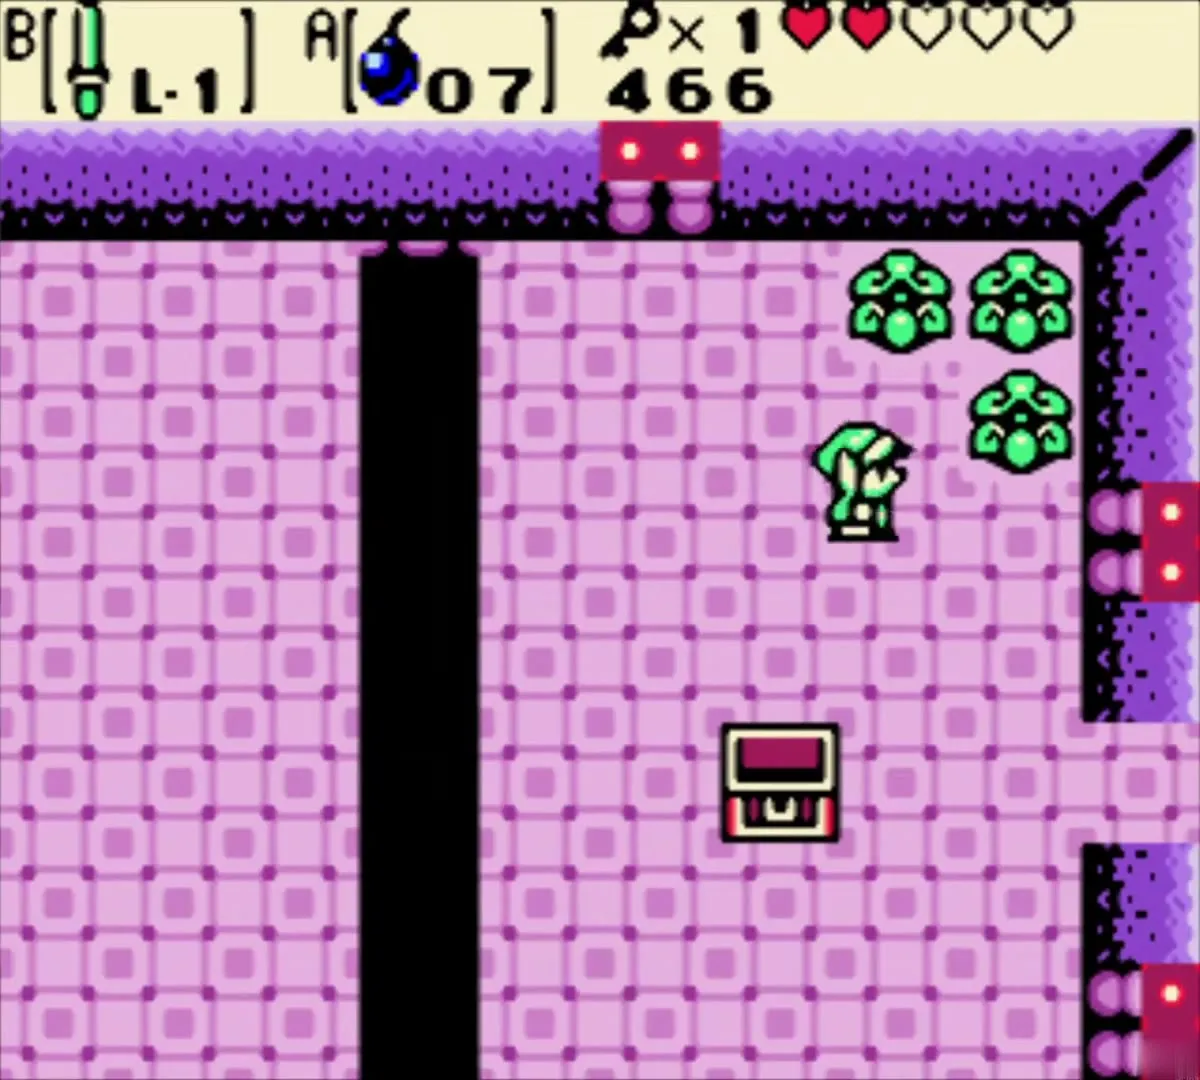
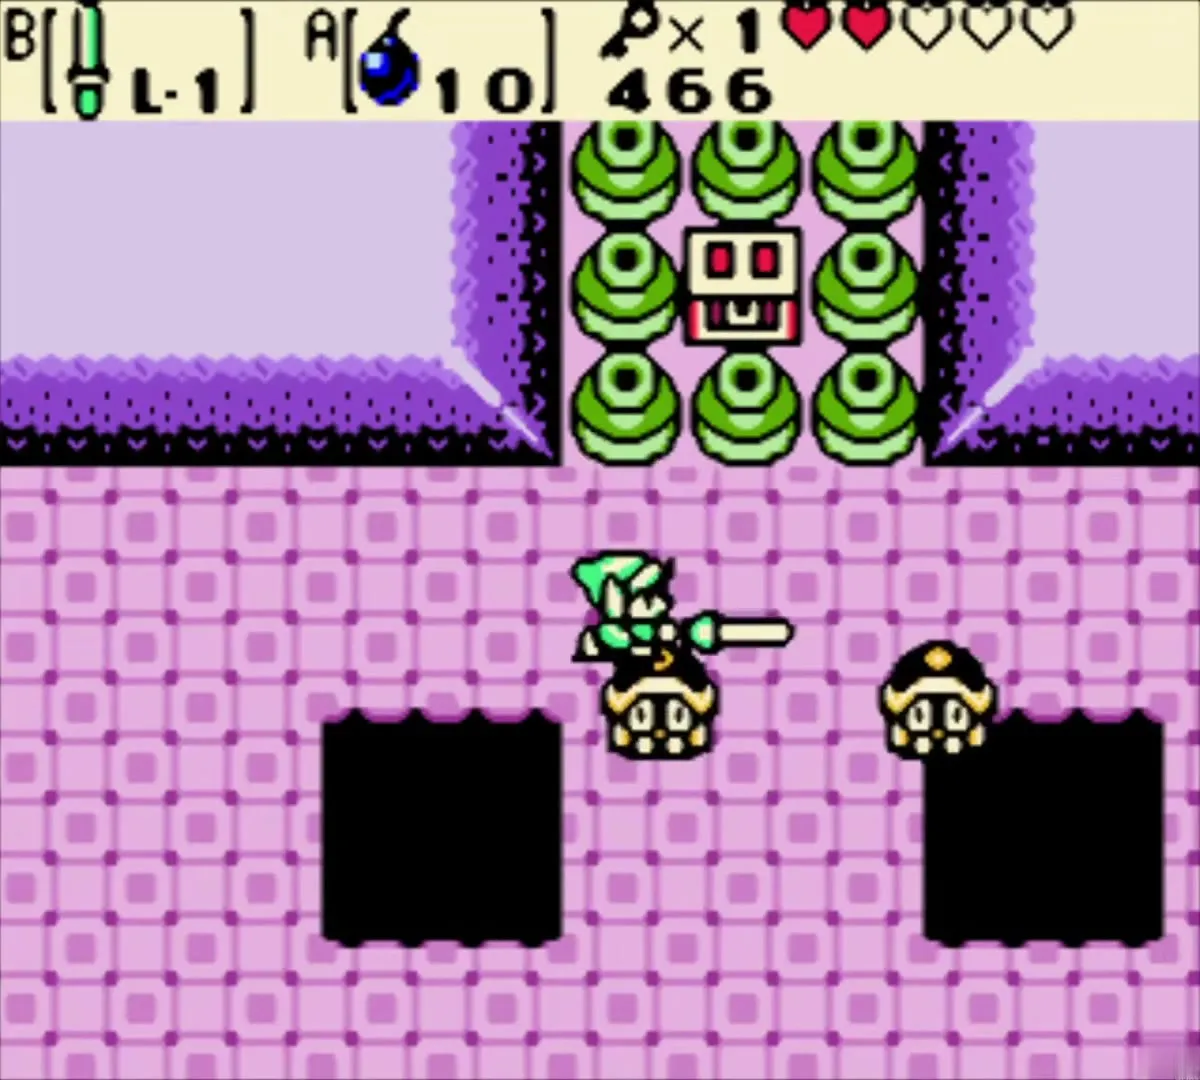
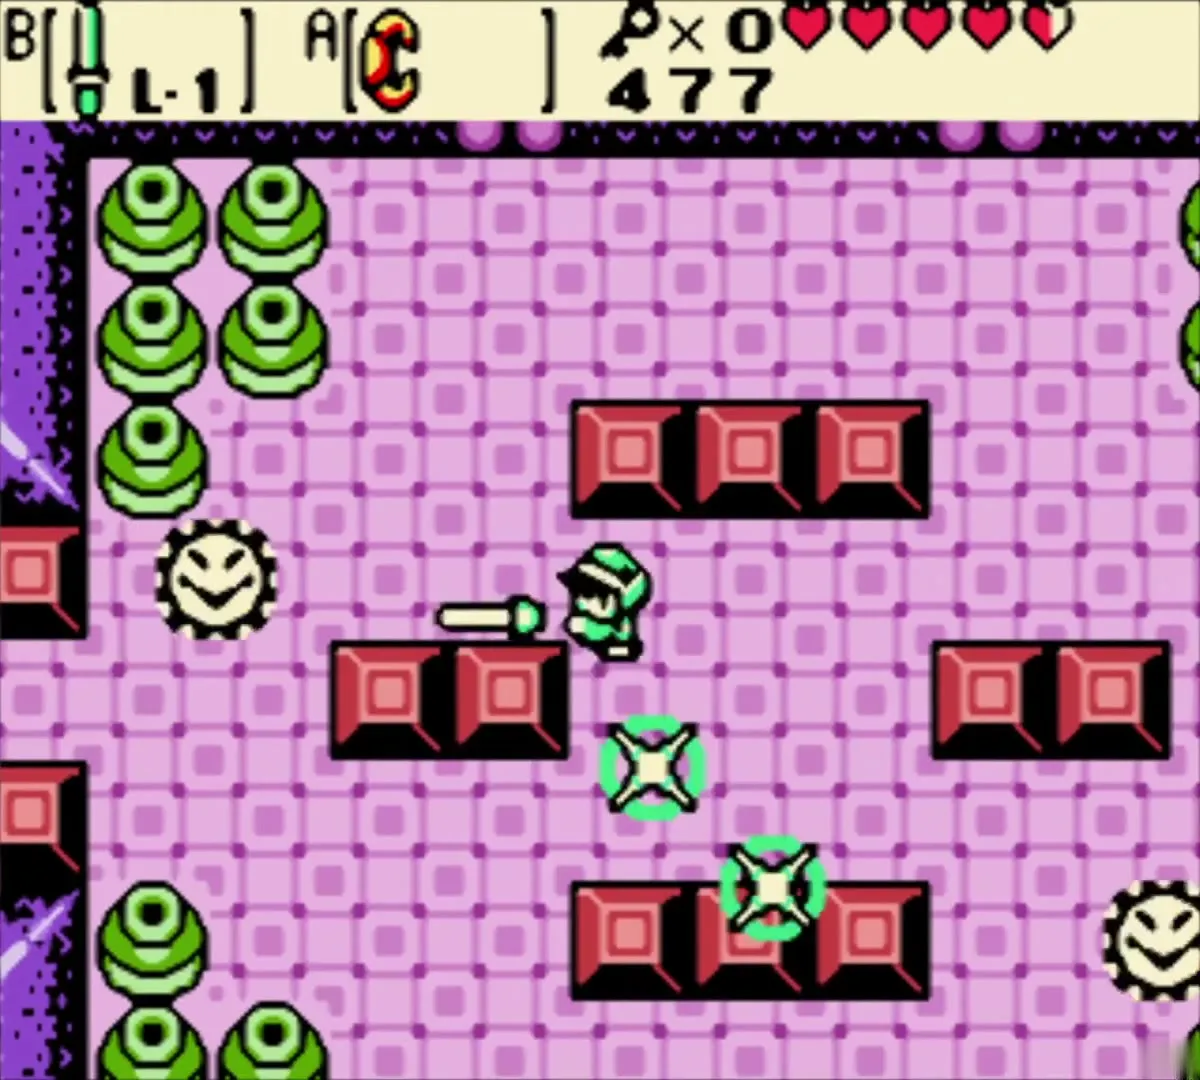
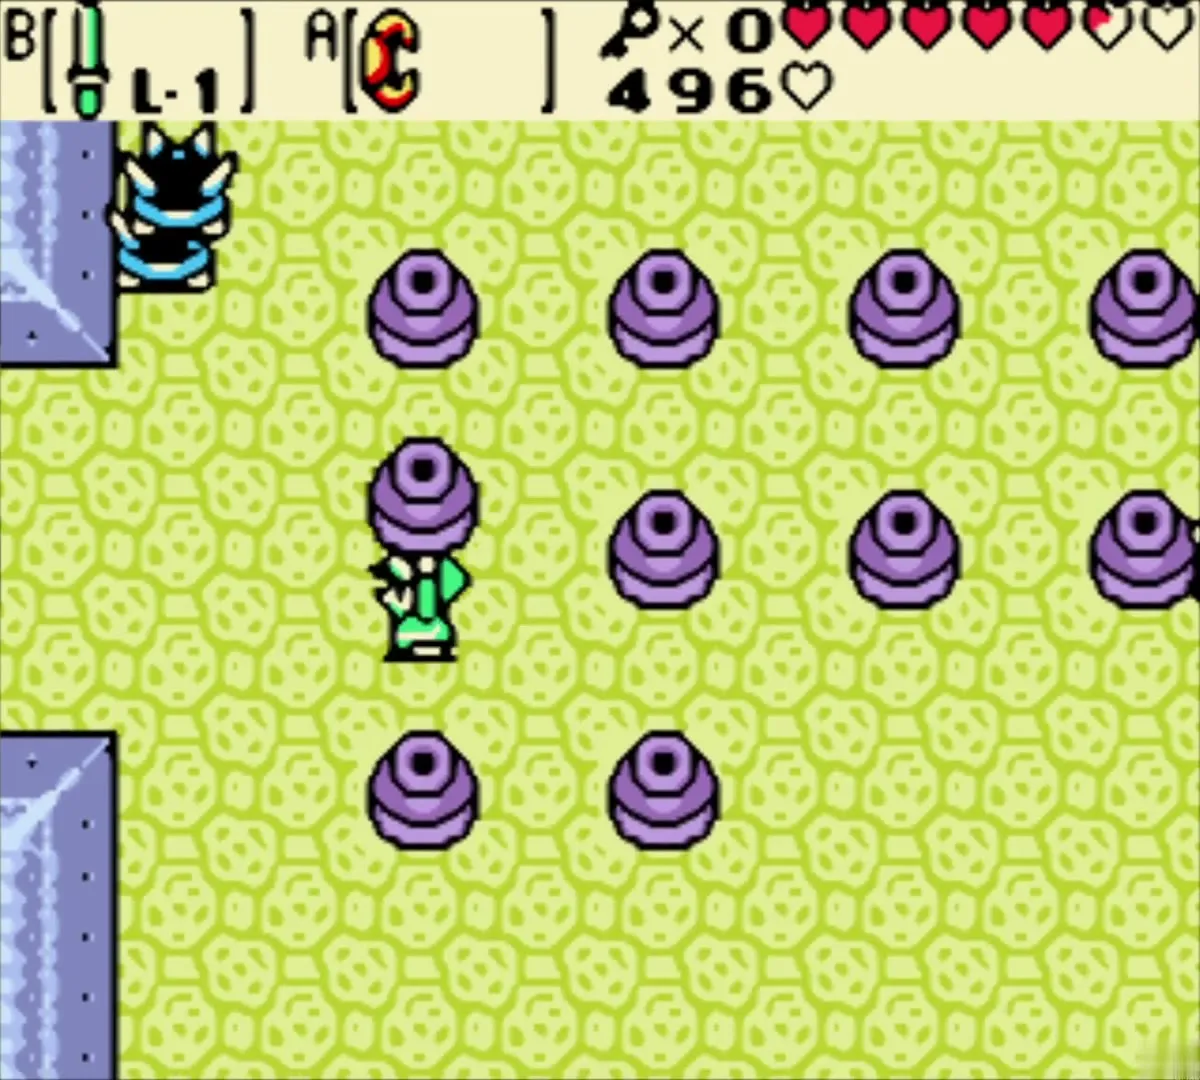
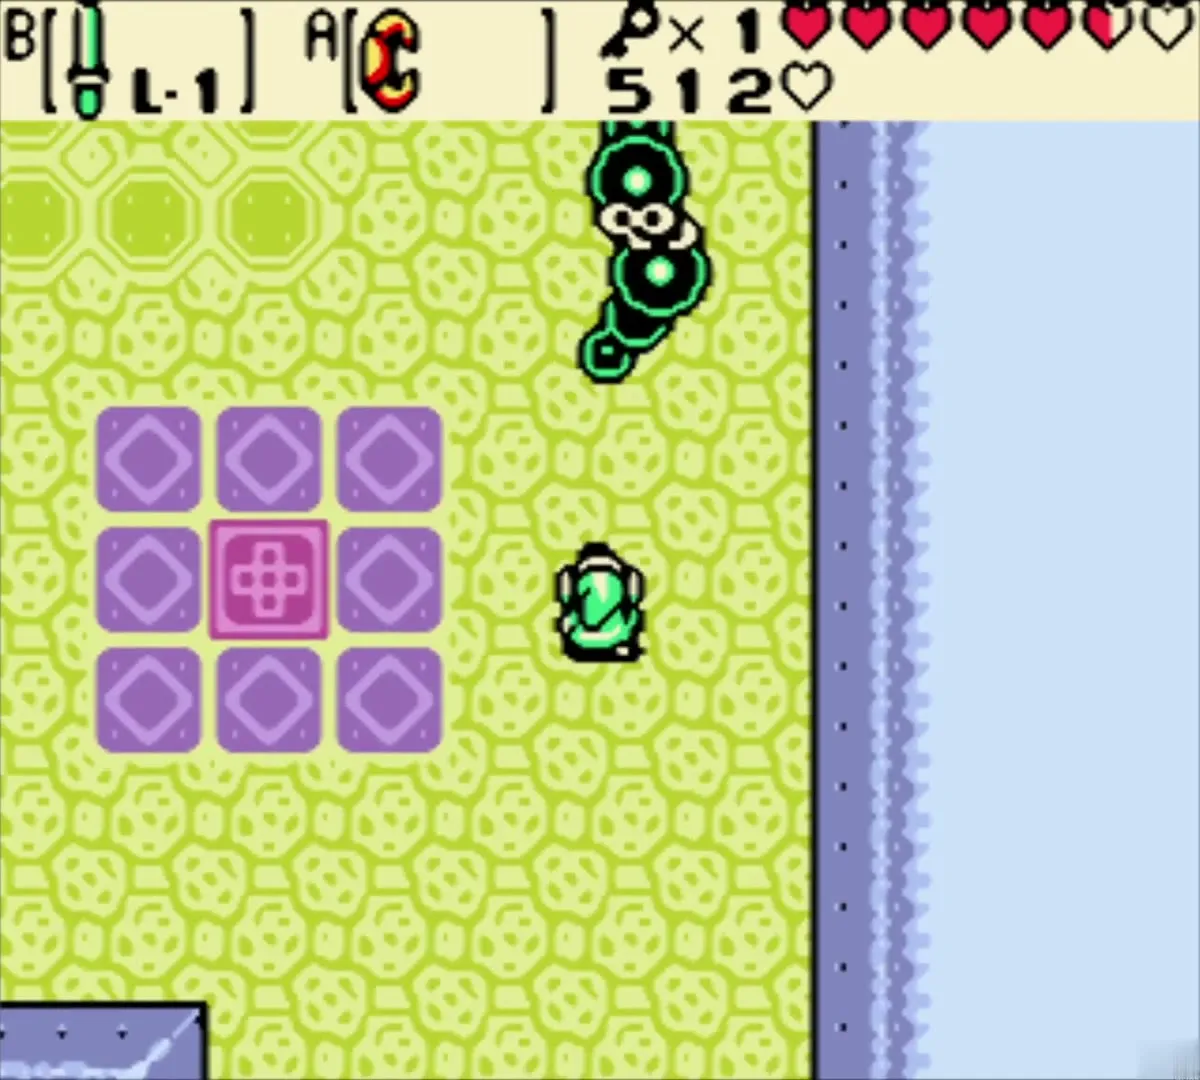
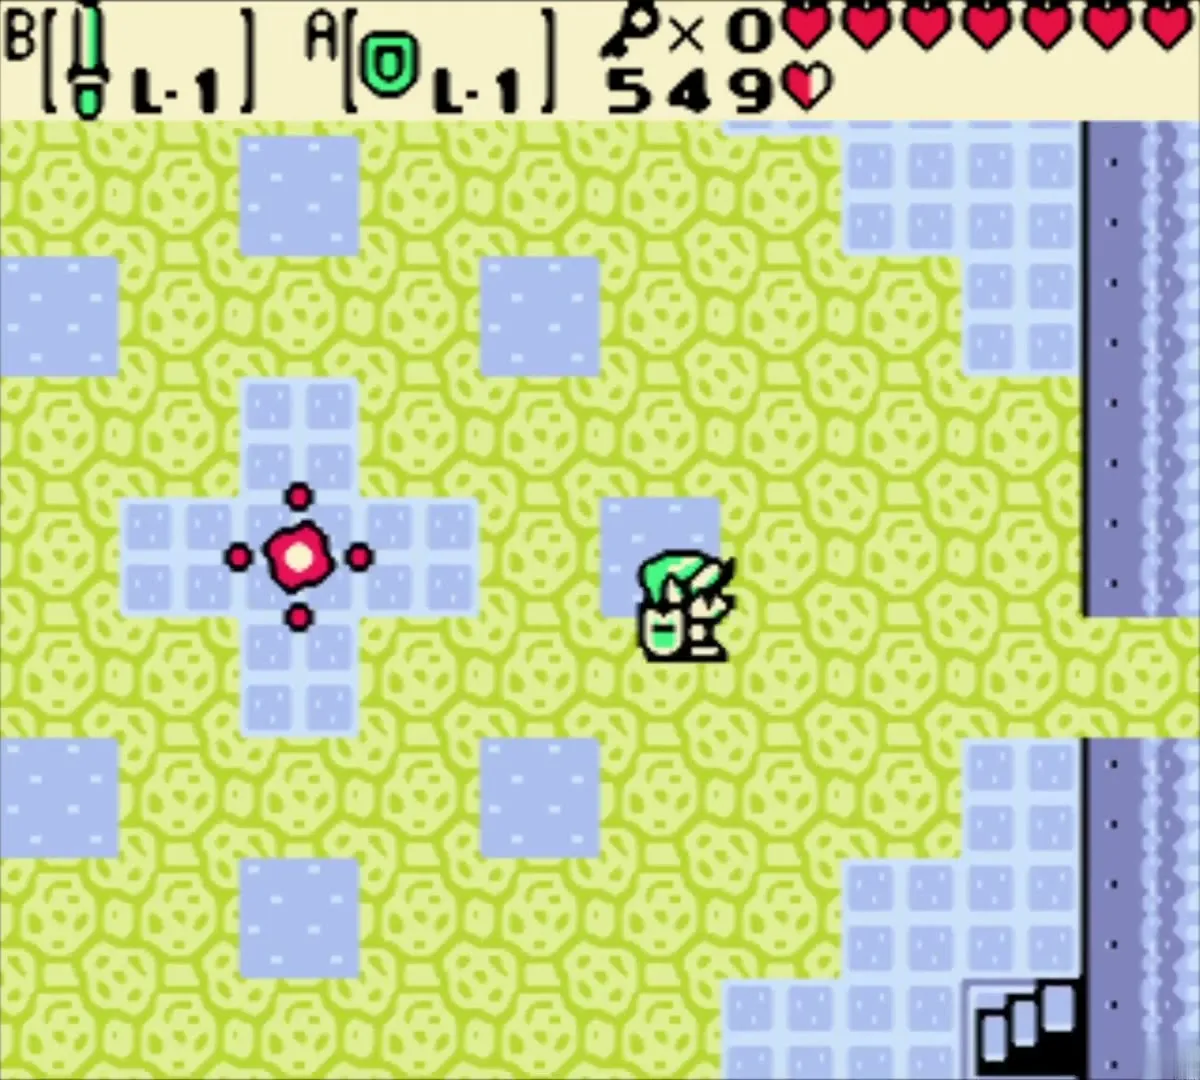
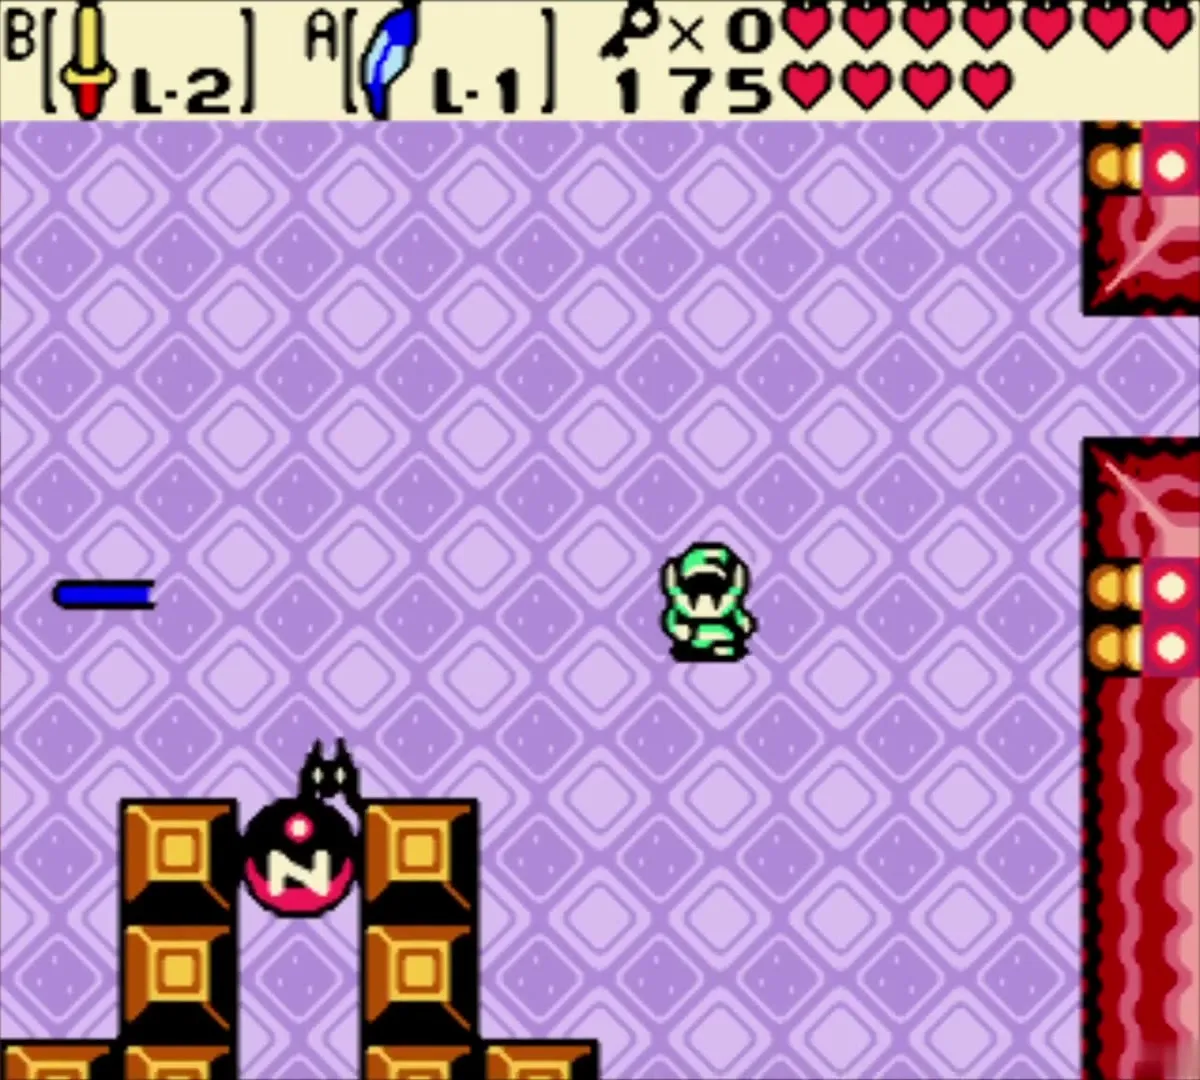
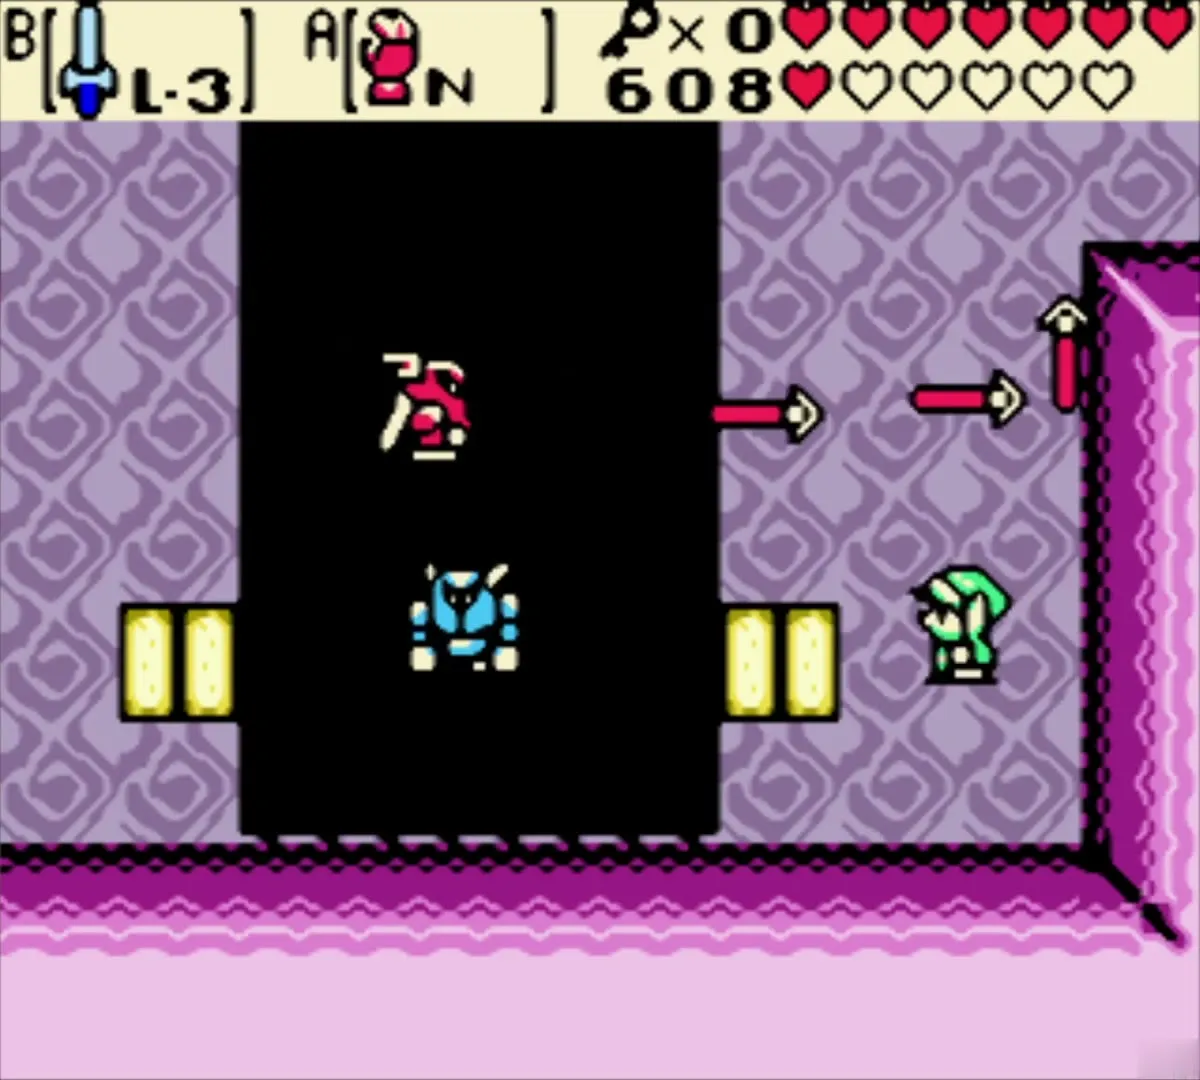
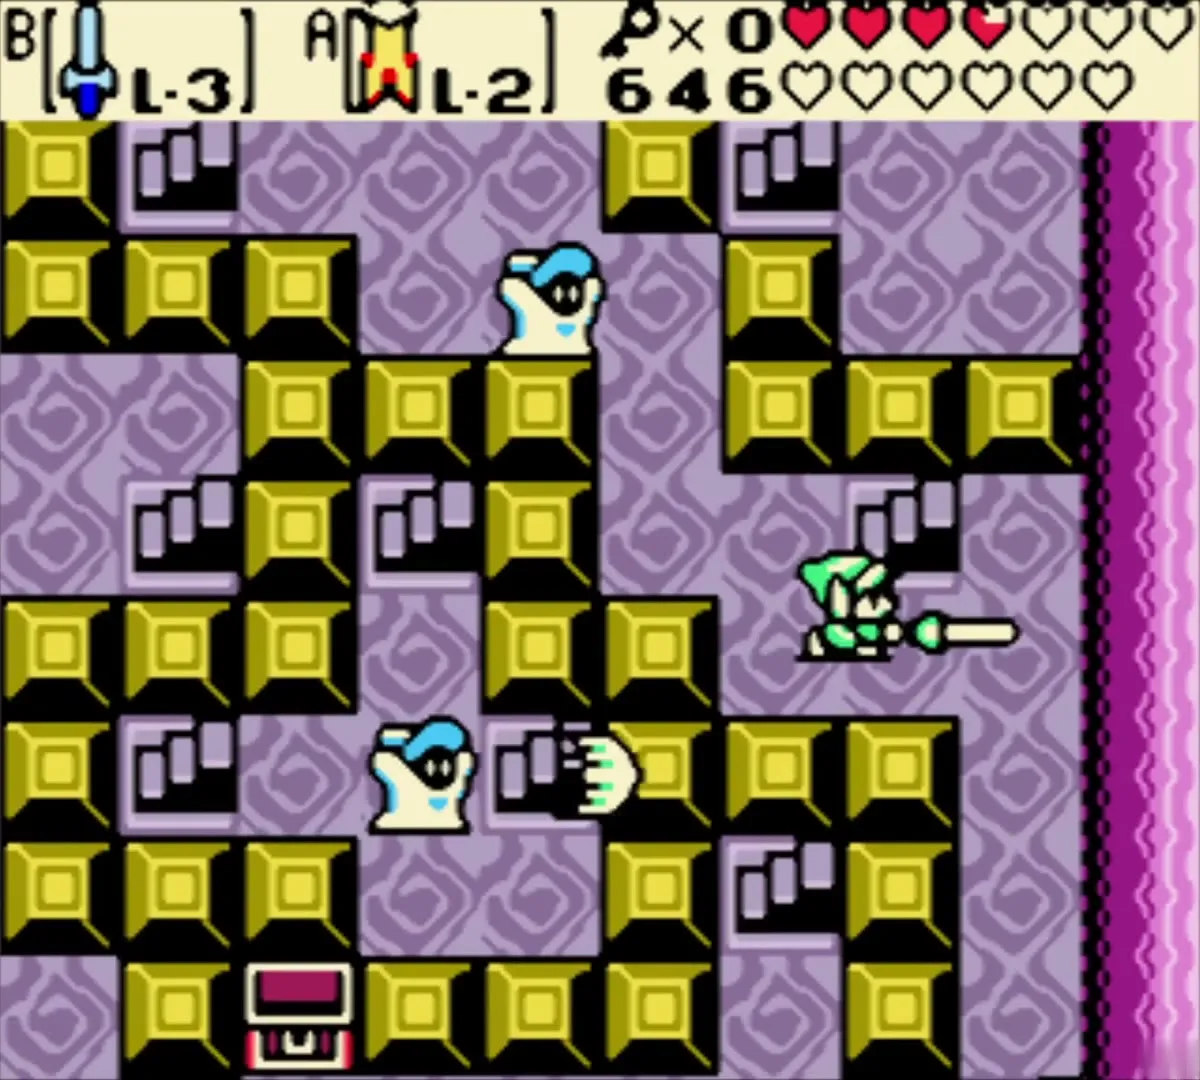
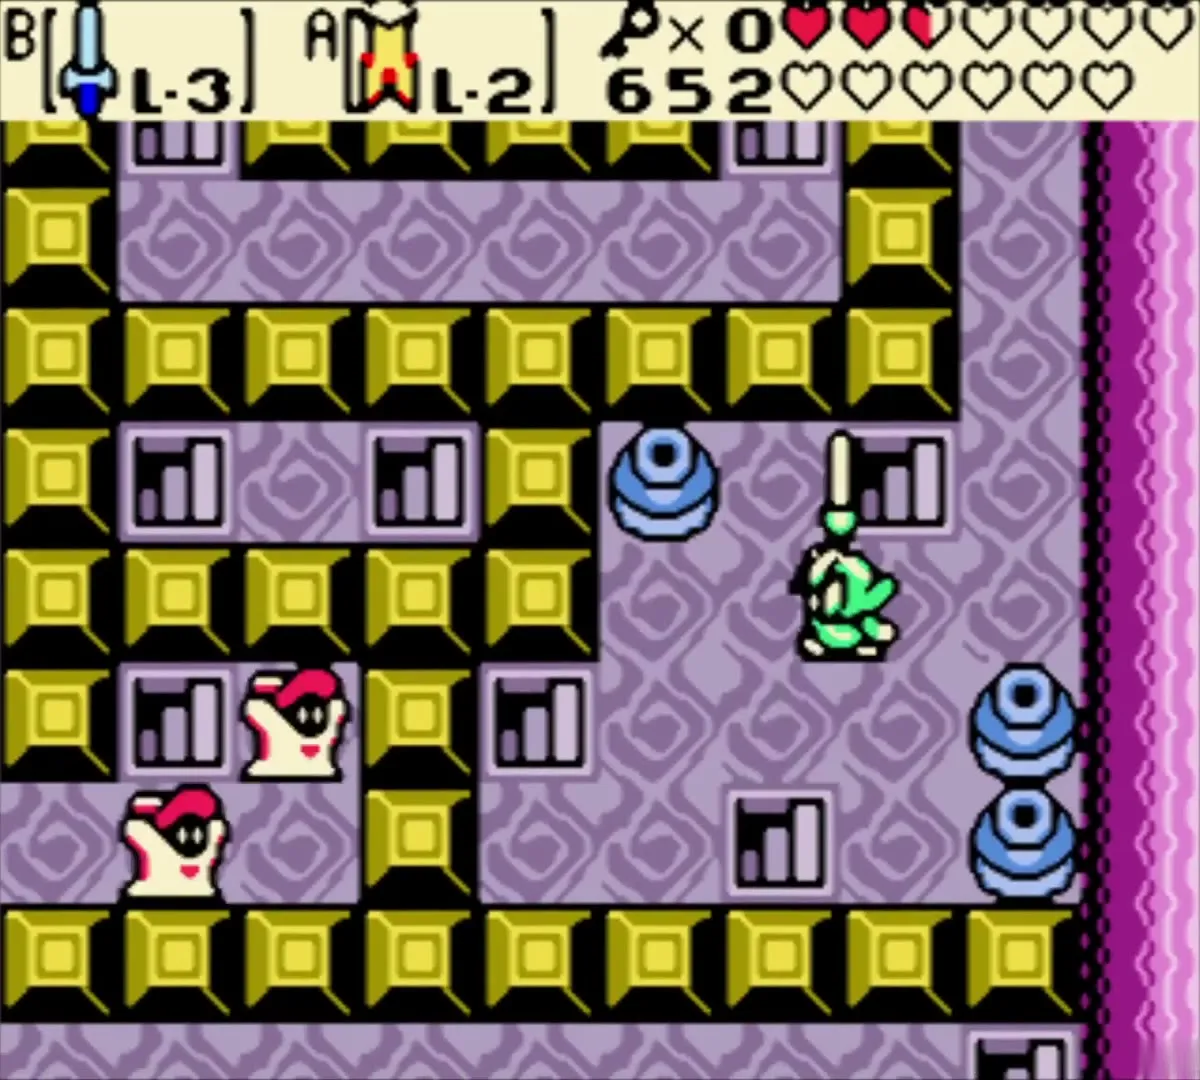
The third dungeon has Peahats, Mini-Moldorms, Floormasters and Spiked Beetles in the purple bumper rooms. Two Pols Voices live here and hate explosions. Pass the Peahats and Mini-Moldorms heading west to reach the ledges, and use the Boomerang on the Anti-Fairy near the start. See the Poison Moth’s Lair chapter.
Dancing Dragon Dungeon
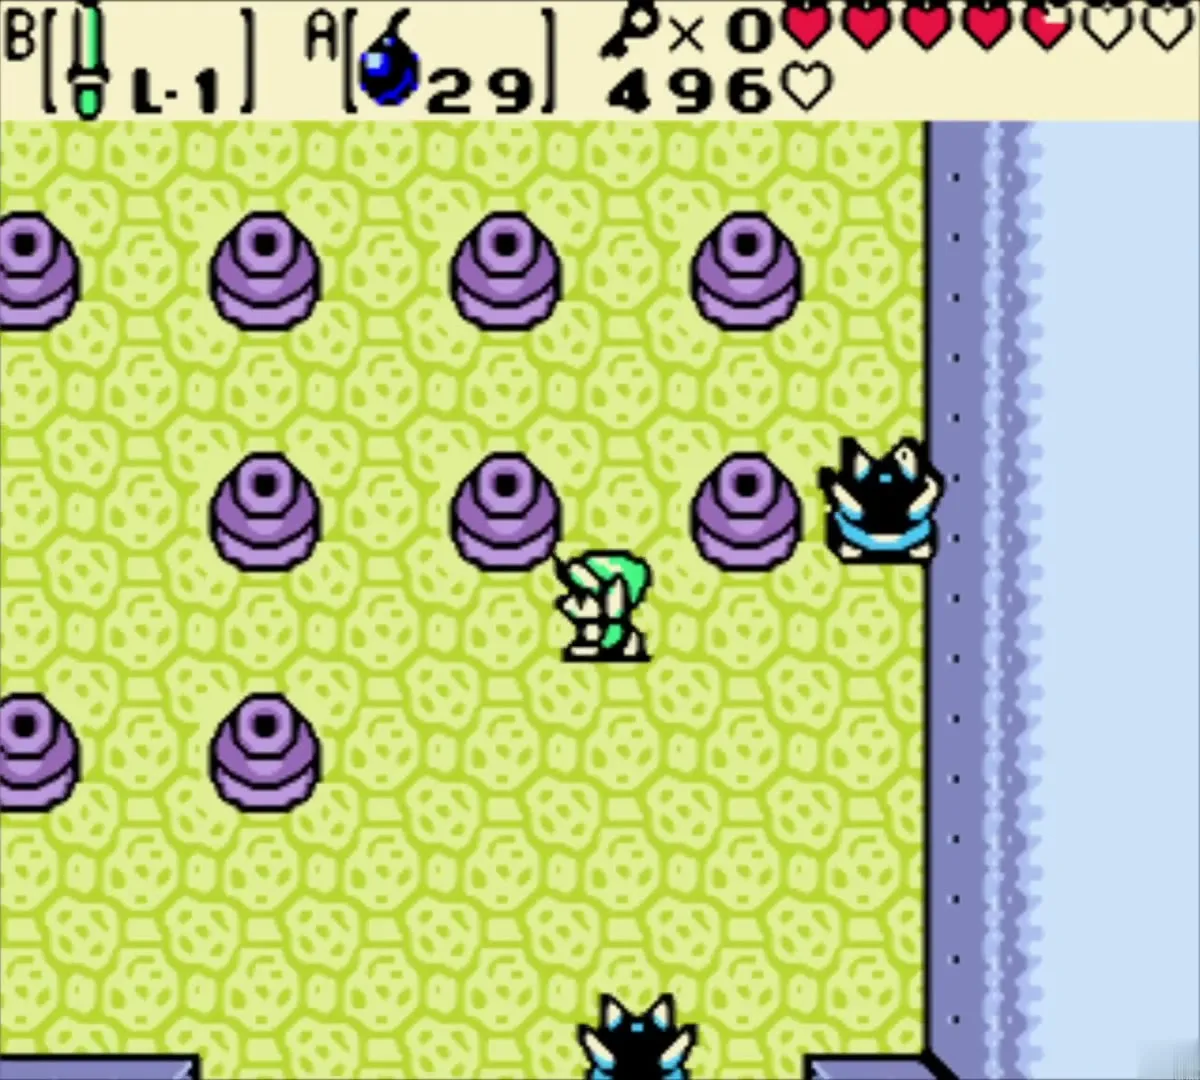
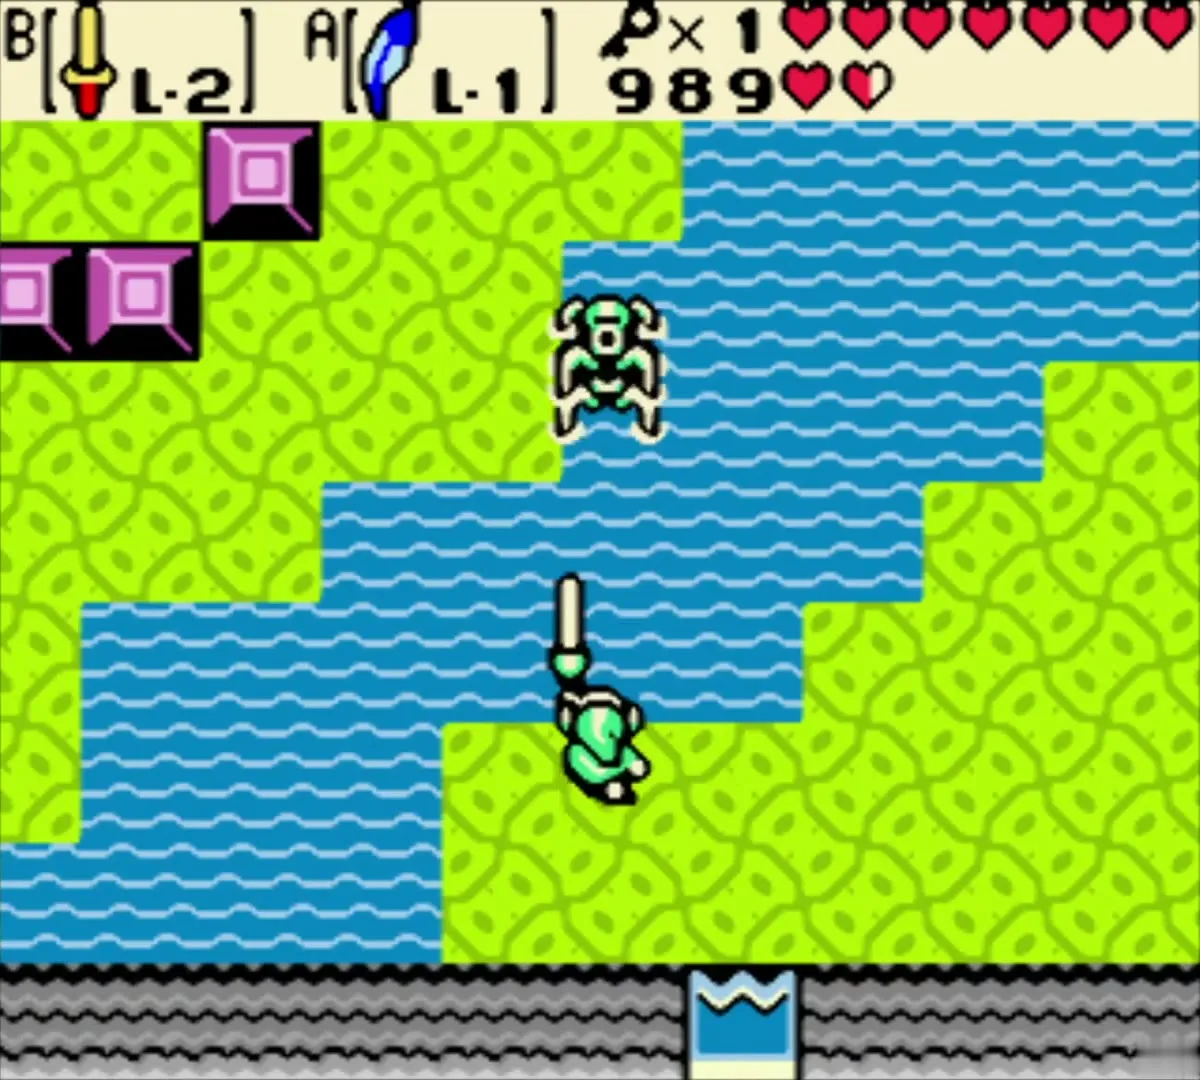
The fourth dungeon brings Keese, Like Likes, Water Tektites, Wizzrobes, Beamos and Anti-Fairies. Kill the Like Likes in the far-west room, then the Water Tektite. The cart room has a Beamos and two yellow Stalfos, and the green Wizzrobes in the basement blink between fixed spots. See the Dancing Dragon Dungeon chapter.
Unicorn’s Cave
The fifth dungeon’s rooms lead through the Compass, the Dungeon Map and the Magnetic Gloves to the mini-boss Syger, a knight room and flame rooms. See the Unicorn’s Cave chapter.
Ancient Ruins
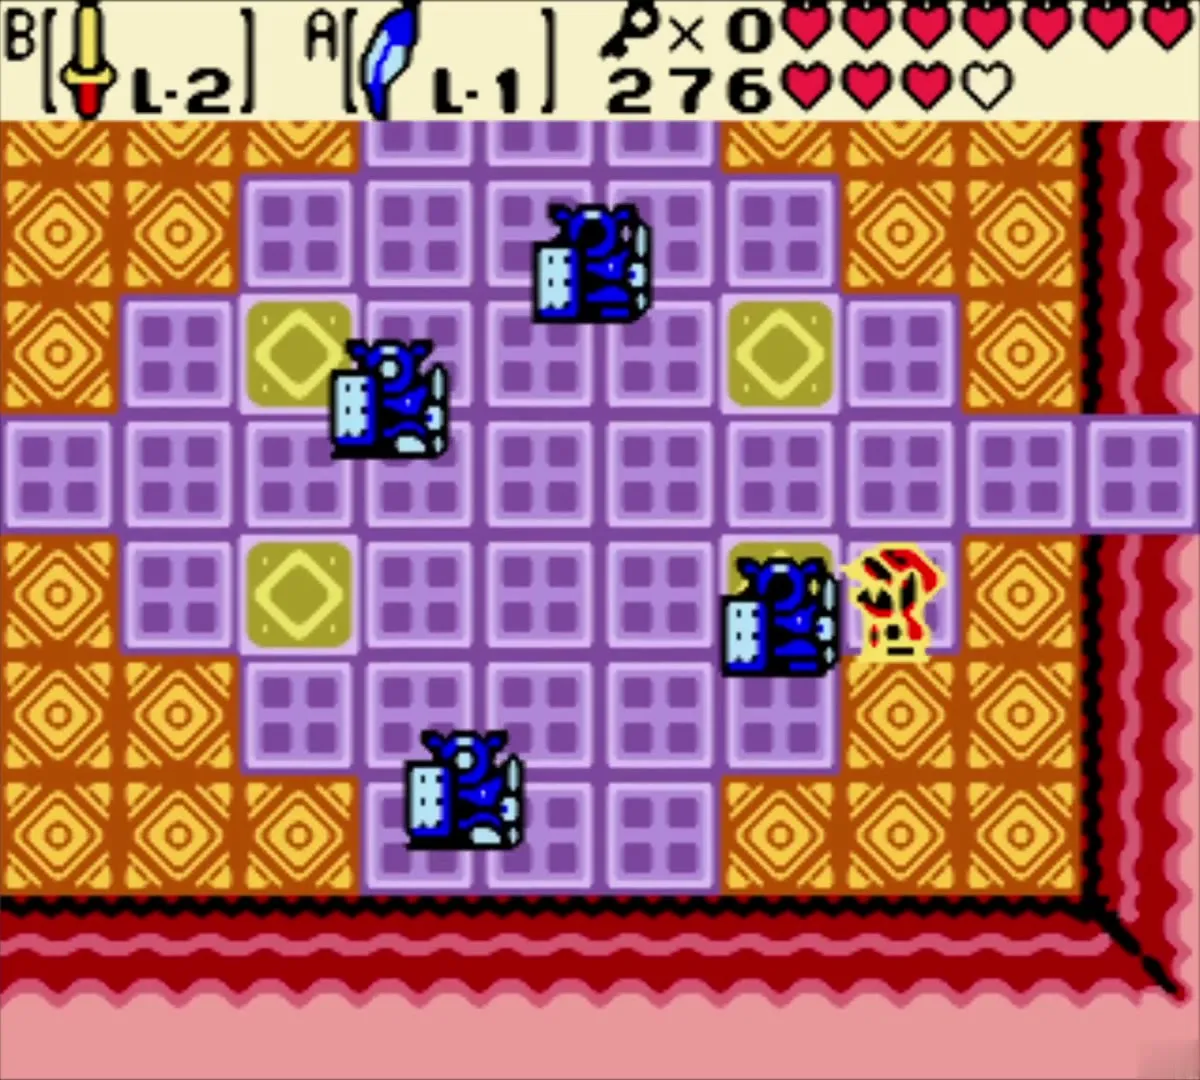
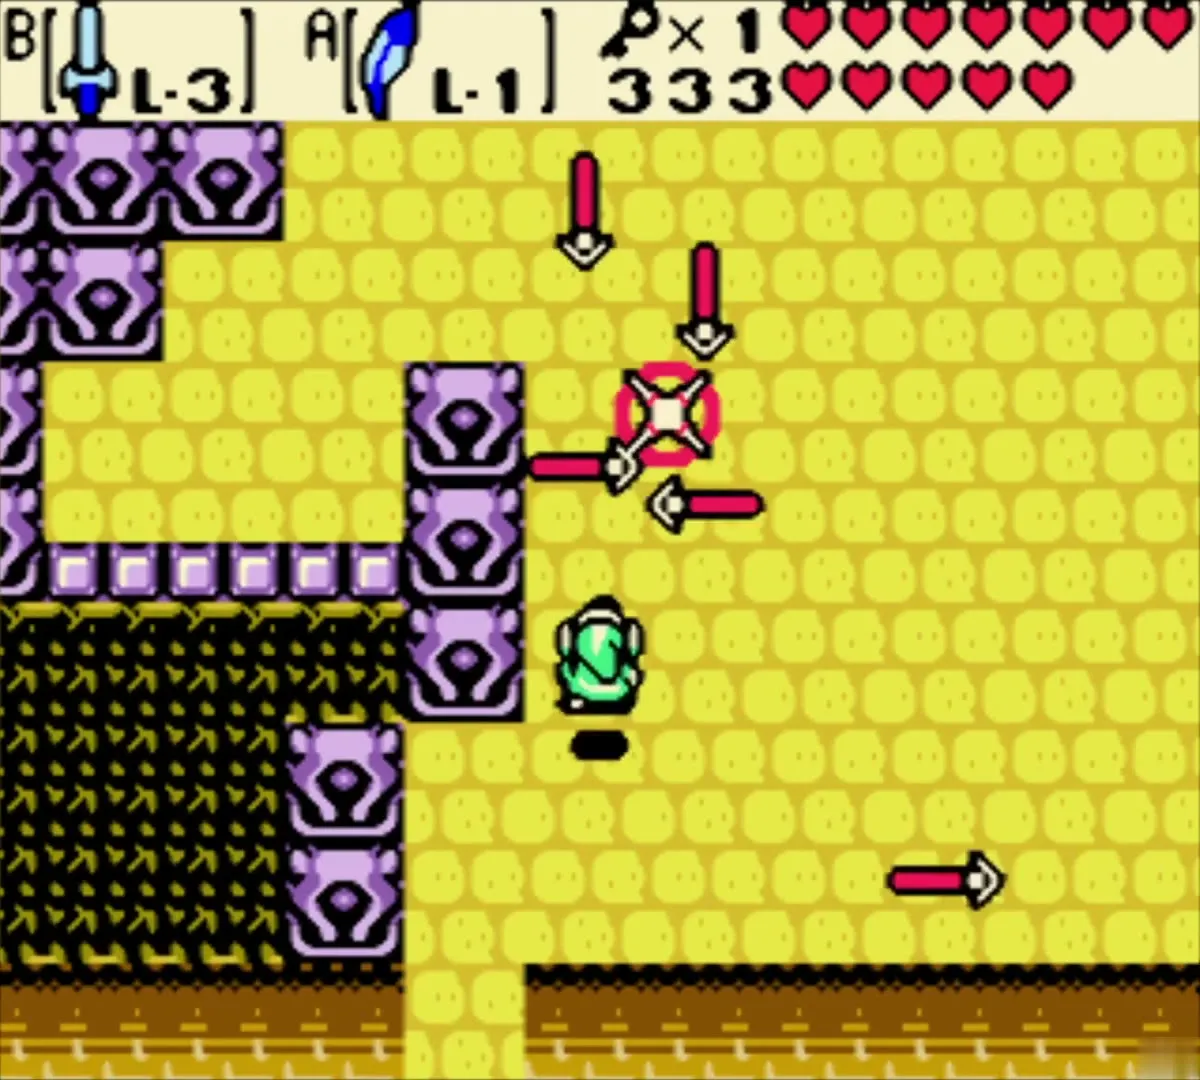
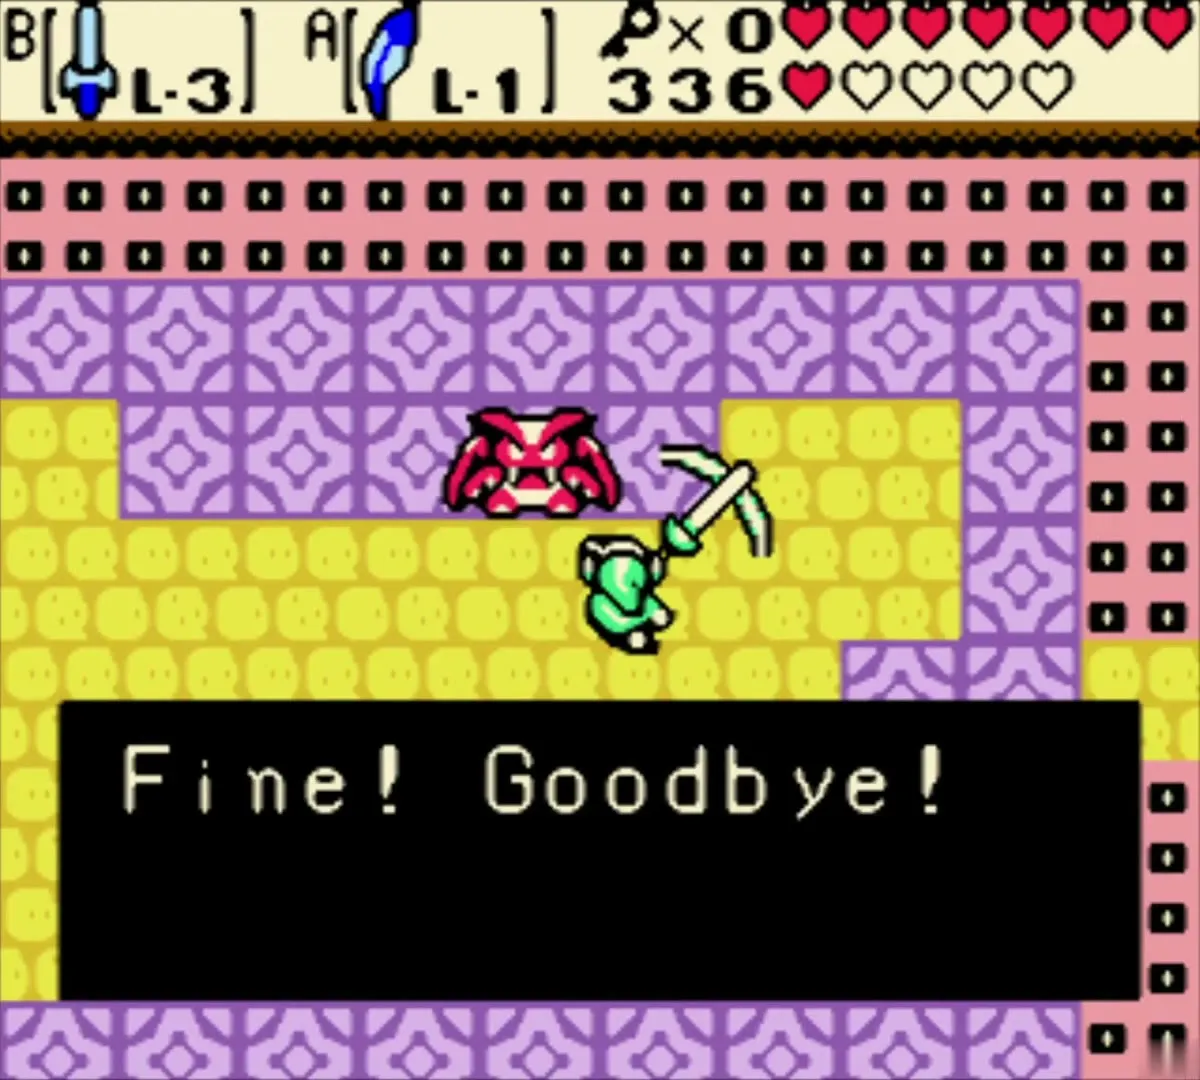
The sixth dungeon has Armos, Gibdos, Ropes, Sparks and Sword Stalfos, plus Beamos and Spiked Beetles. The mini-boss is Vire. Take the Magical Boomerang from the Armos room, which wakes the statues, and defeat them with it. Defeat the Darknuts so you can hit the three Crystal Switches with the boomerang. See the Ancient Ruins chapter.
Explorer’s Crypt
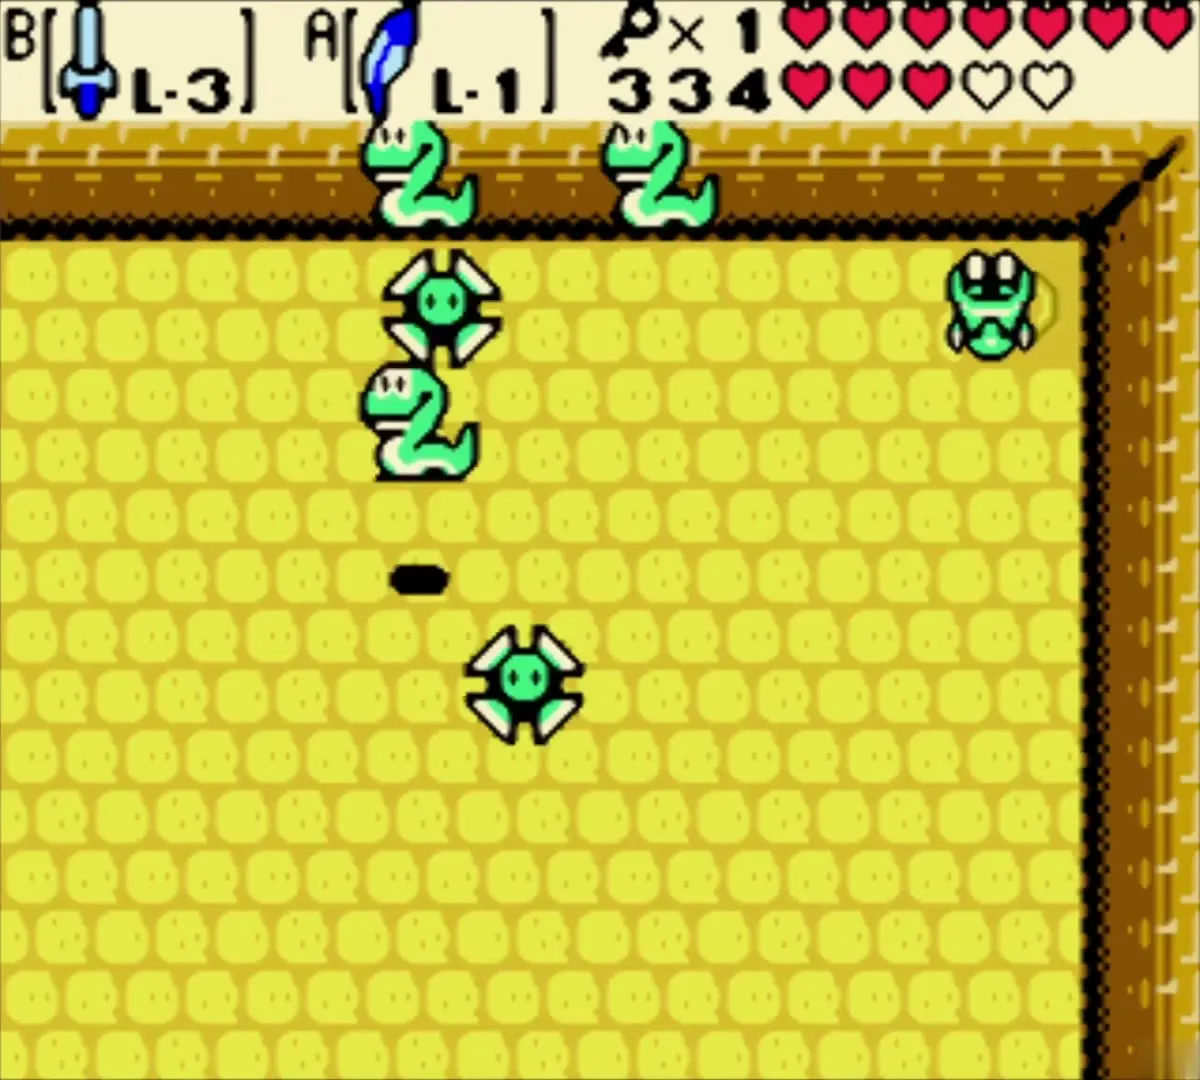
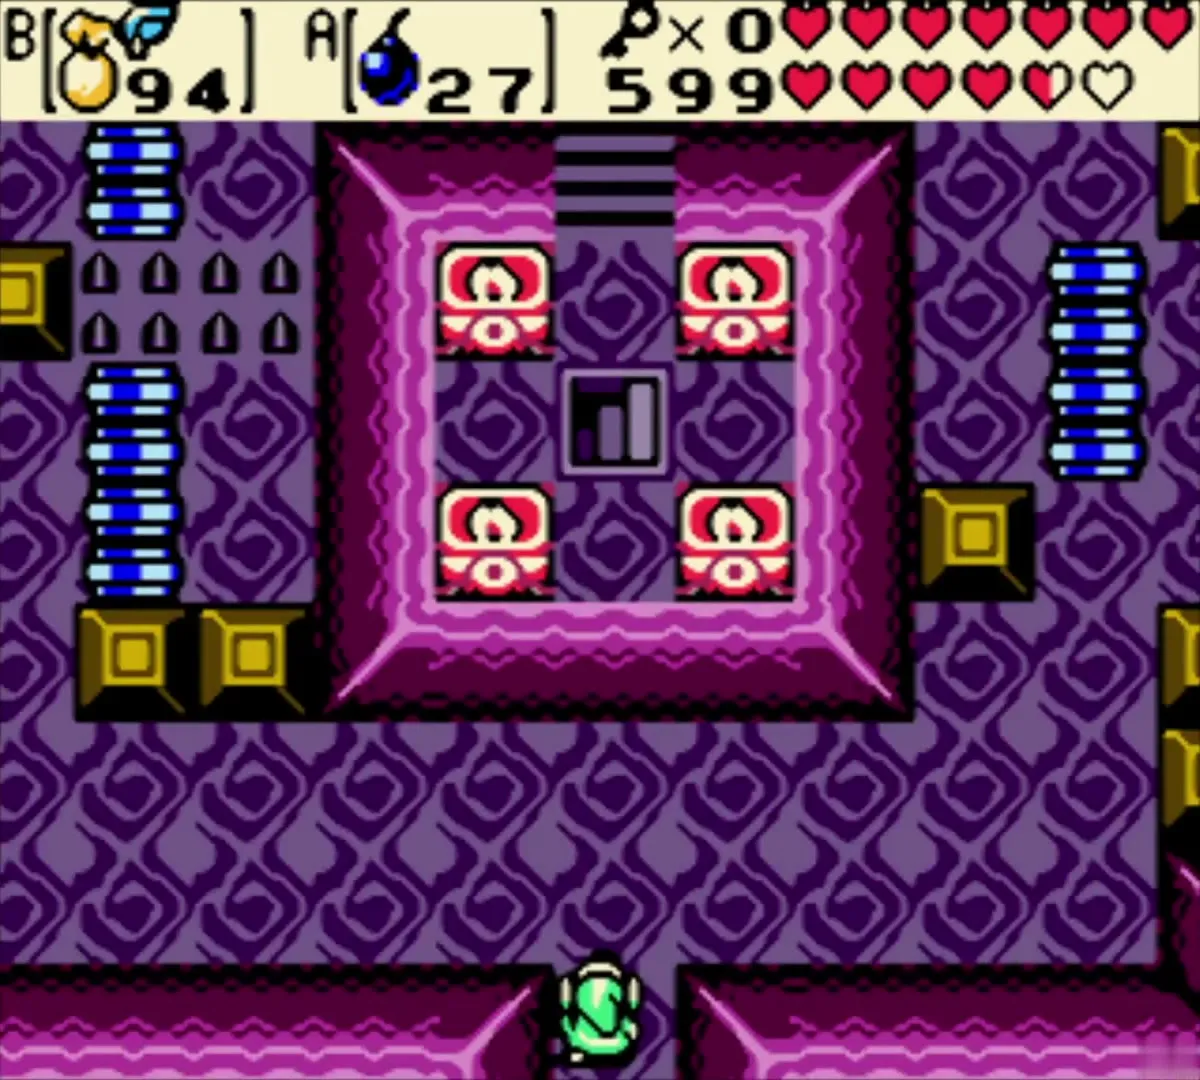
The seventh dungeon’s gauntlet room holds Sword Stalfos, Shrouded Stalfos and Zols. Past the Darknuts and a magnet crossing, a red trampoline sends you into a room of Anti-Fairies and a spinning platform. The mini-boss is the pair of Poe Sisters, called in by lighting the torches. See the Explorer’s Crypt chapter.

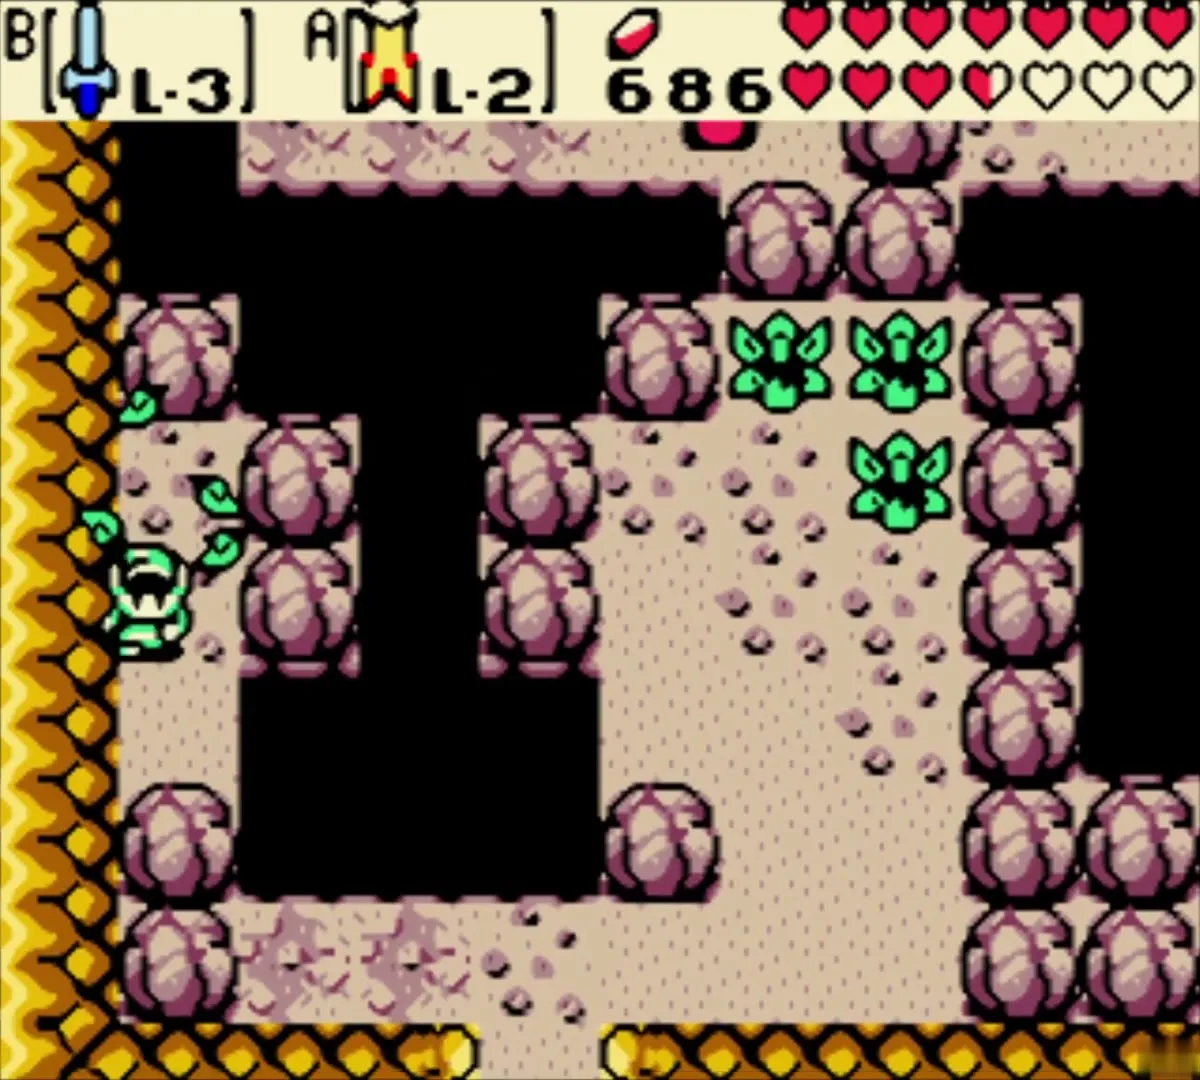
Sword & Shield Maze
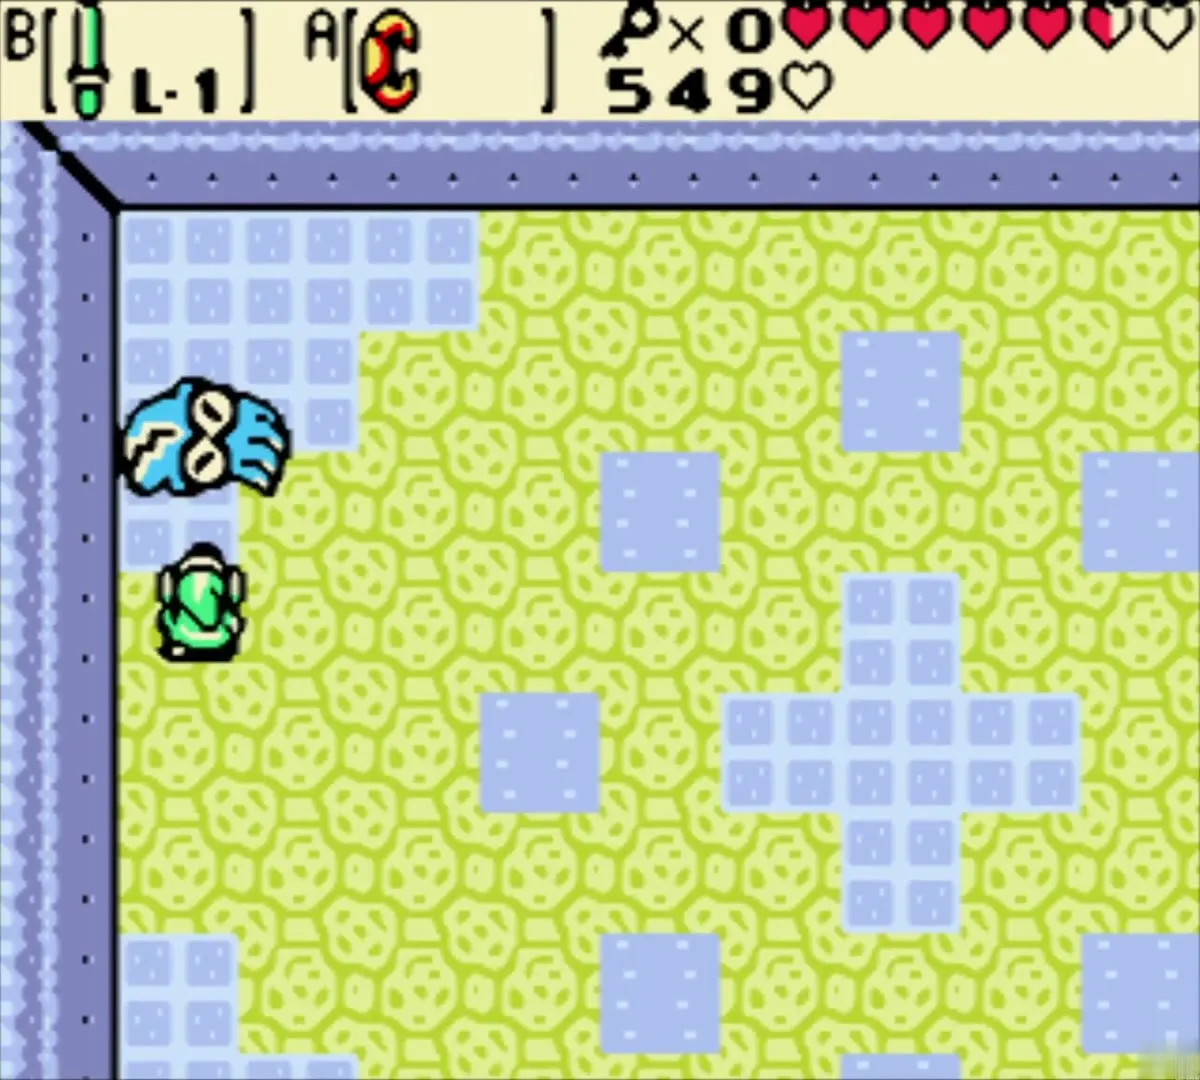
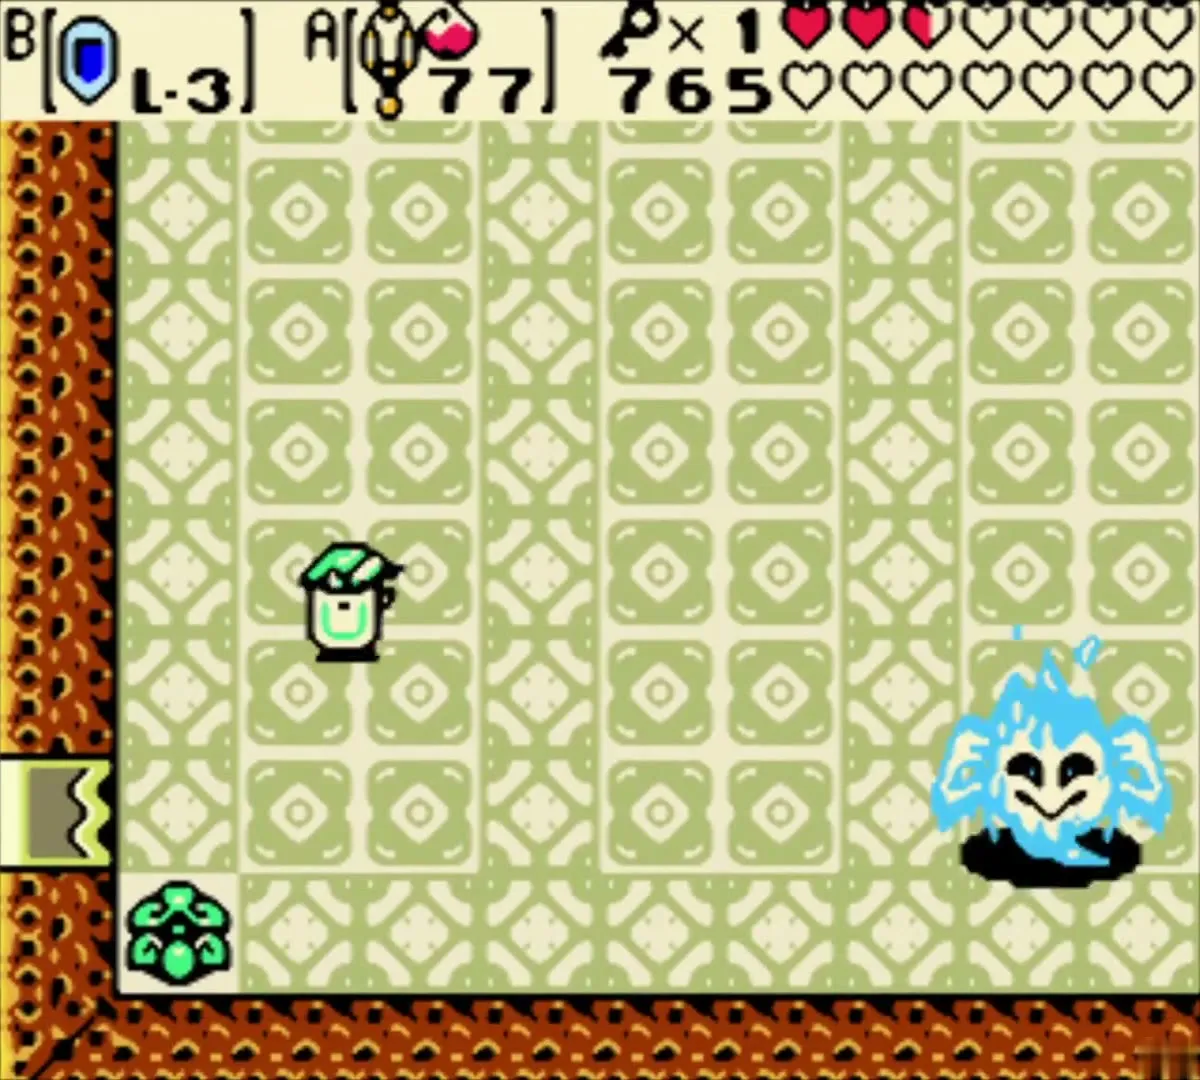
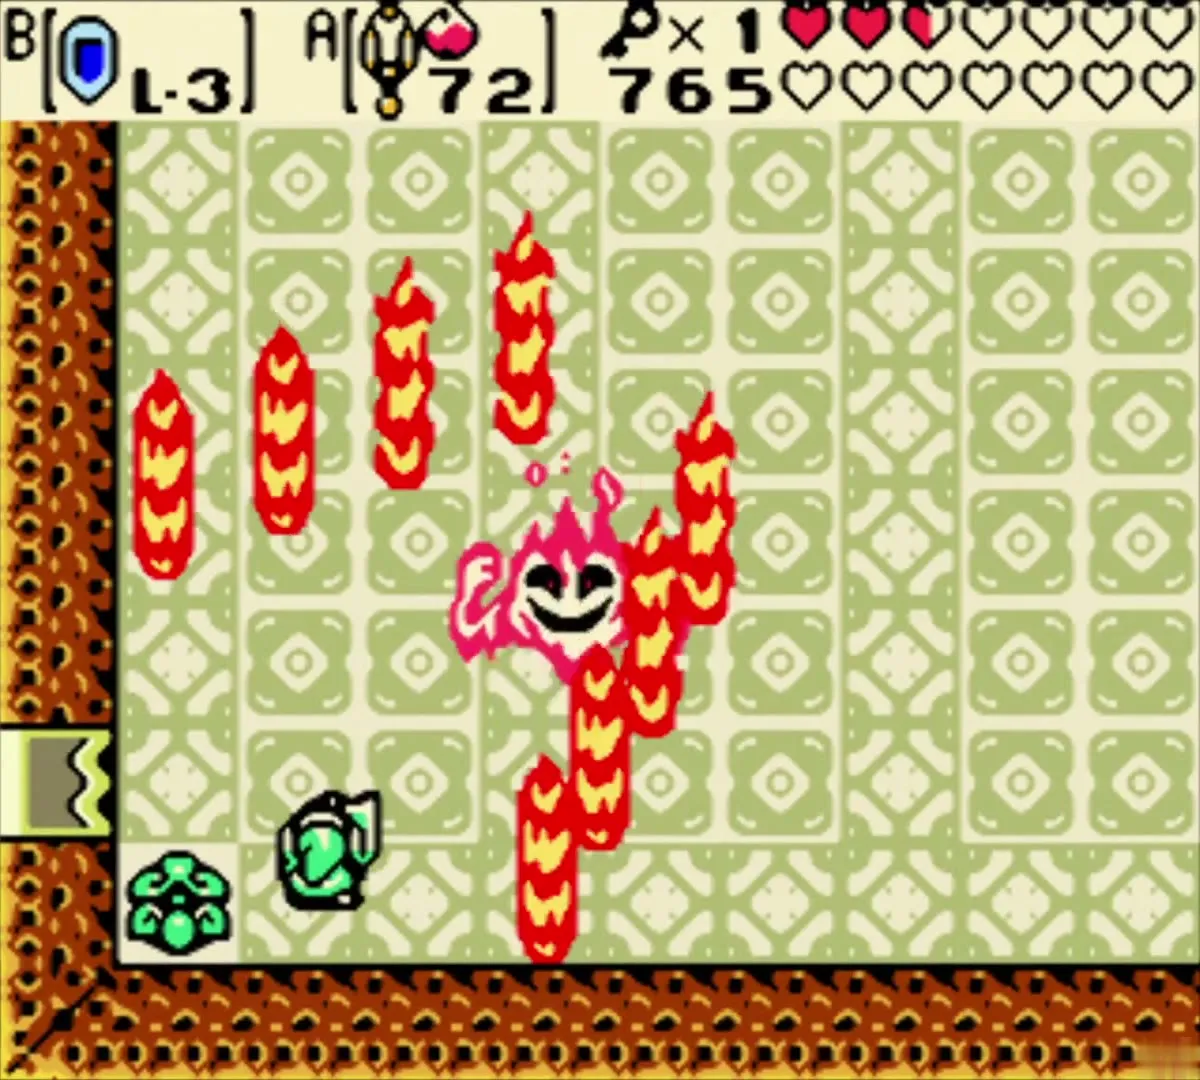
The eighth dungeon is a maze of ice rooms, pink-block puzzles and rail carts, with Spiked Beetles along the way. Its mini-boss is Frypolar. See the Sword & Shield Maze chapter.
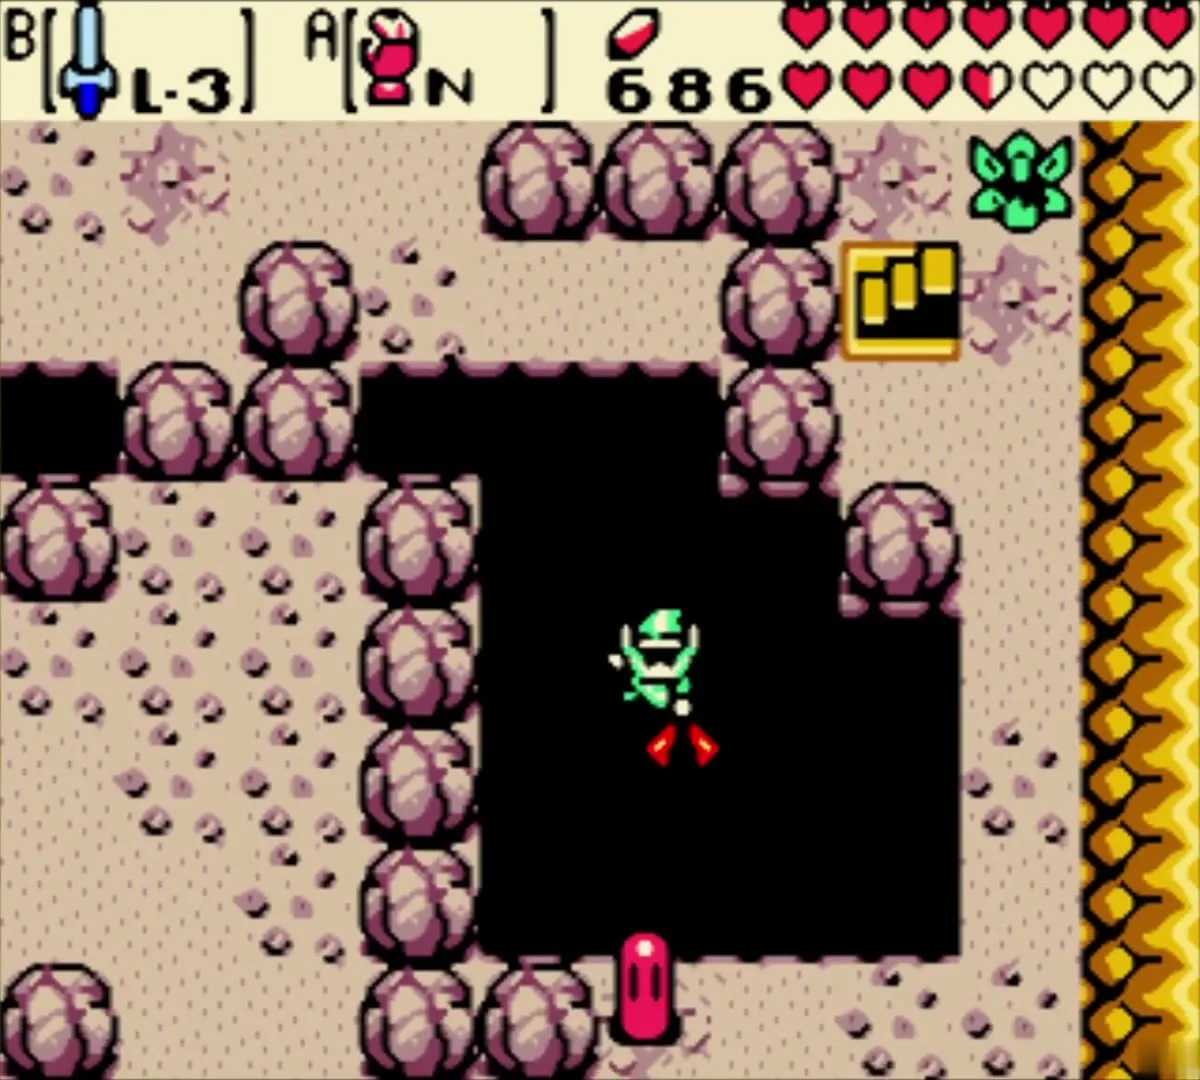
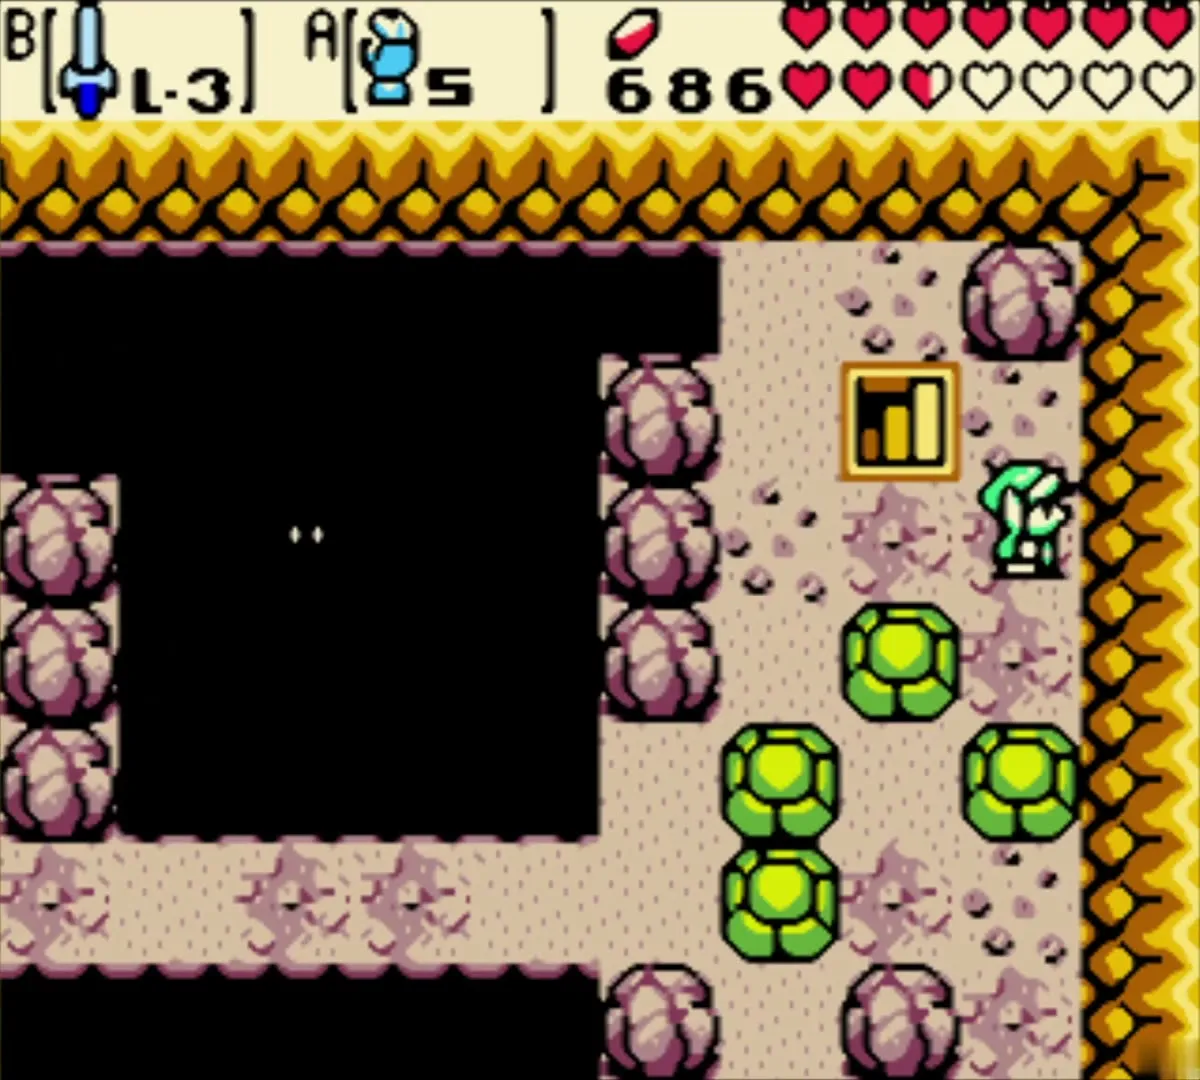
Foes in Holodrum and beyond
Goron Mountain
The snowy paths of Goron Mountain hold blue Lynels on the narrow shelves. They take many hits and fire sword beams, so keep your distance and strike when they close in. Spiny creatures crawl over the snow and climb the stairs to the lava caves. See the Great Moblin’s Keep and Goron Mountain chapter.
Spool Swamp shore
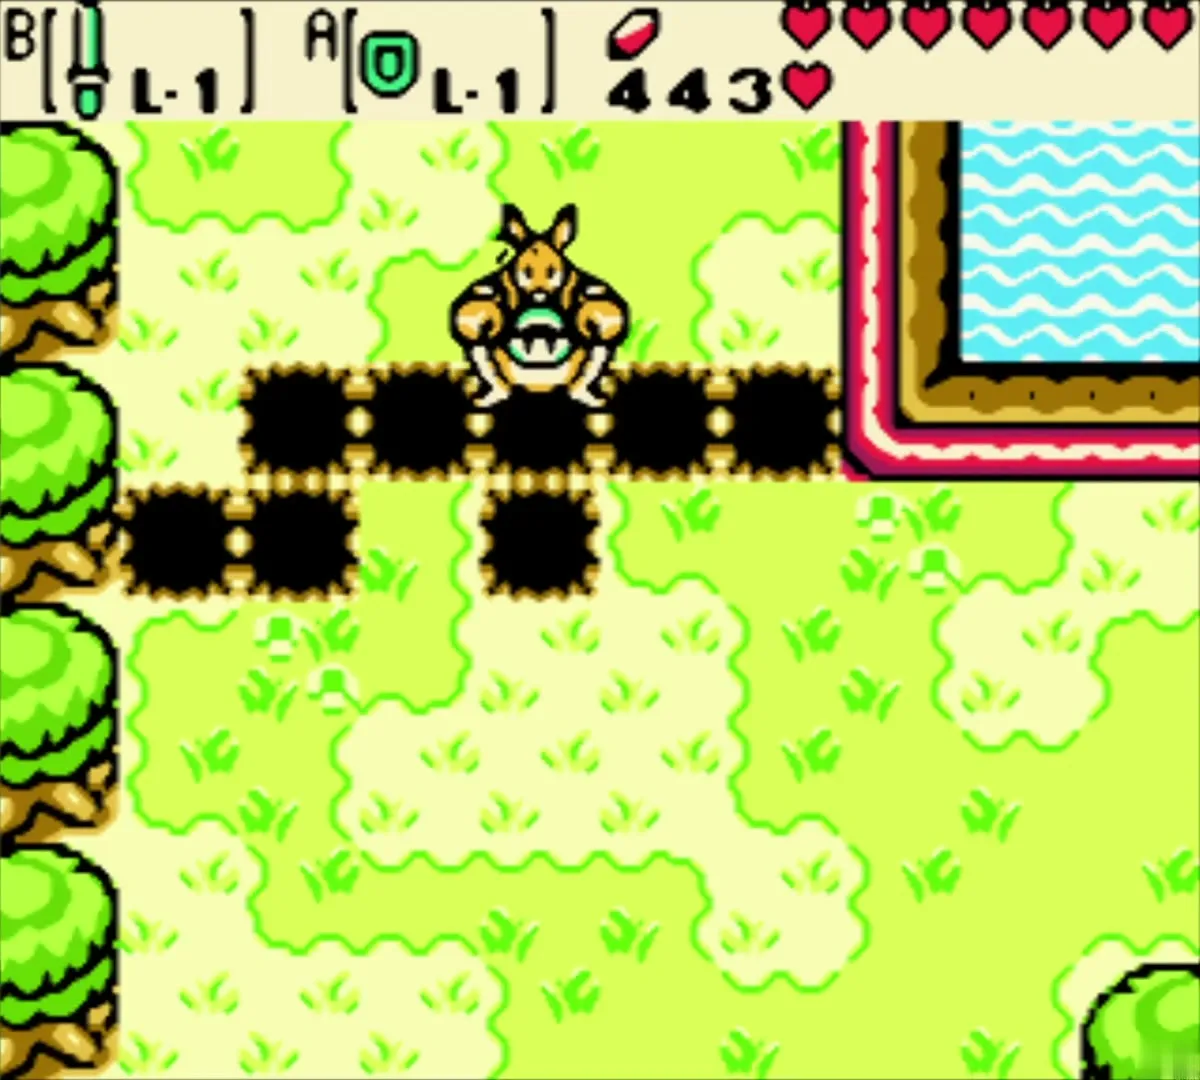
Octoroks and Buzz Blobs turn up along the Spool Swamp shore. Ricky’s punch beats them, so ride him there before you walk the shore. See the Spool Swamp chapter.
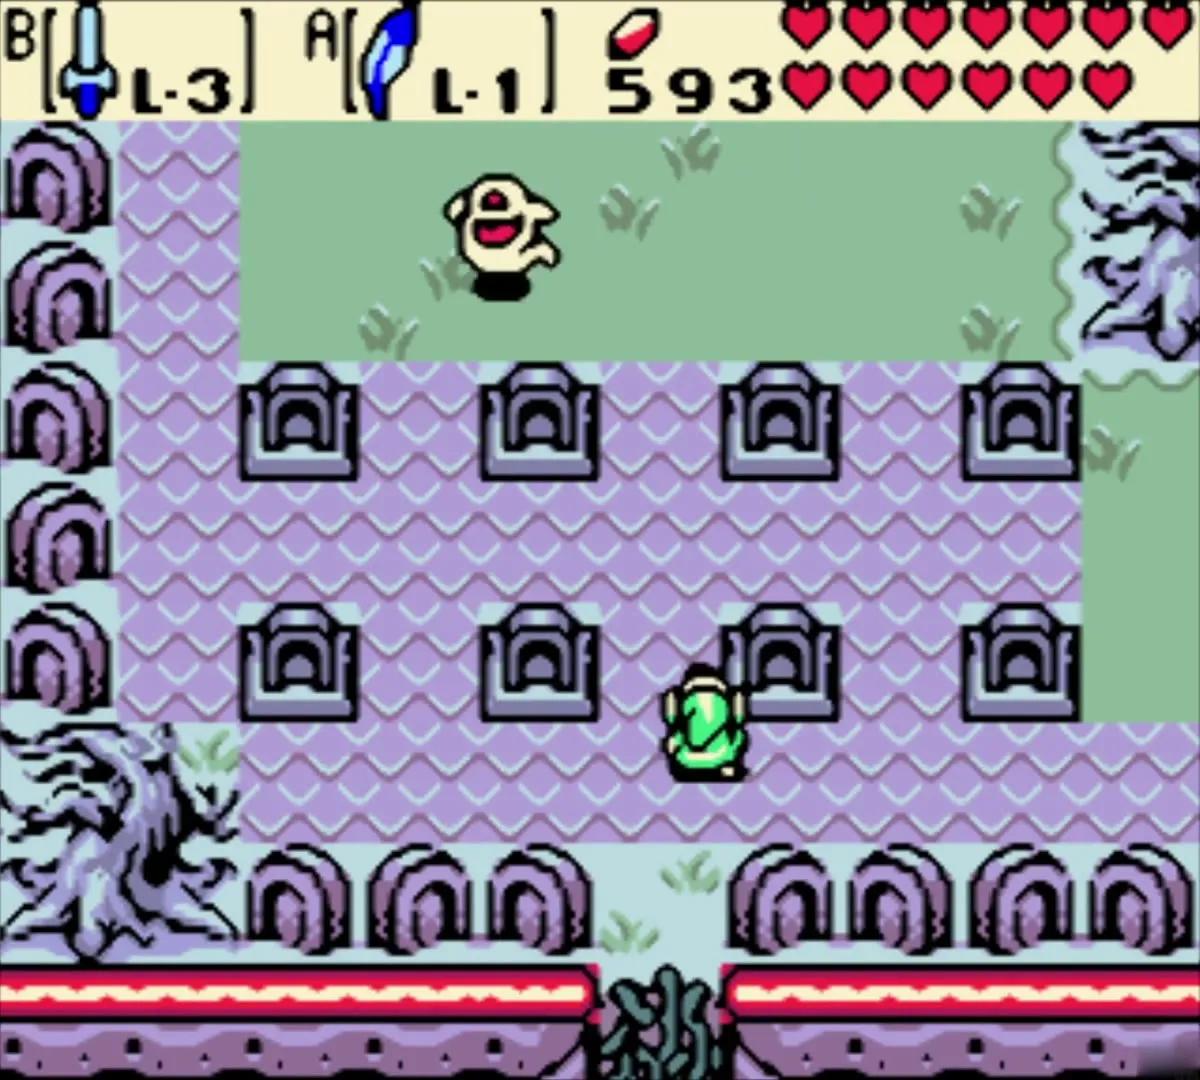
Samasa Desert graveyard
The graveyard is full of Ghinis. The first Ghini on each screen is special, and once you defeat it the rest of the Ghinis on that screen disappear too. See the Samasa Desert and the Pirate’s Bell chapter.
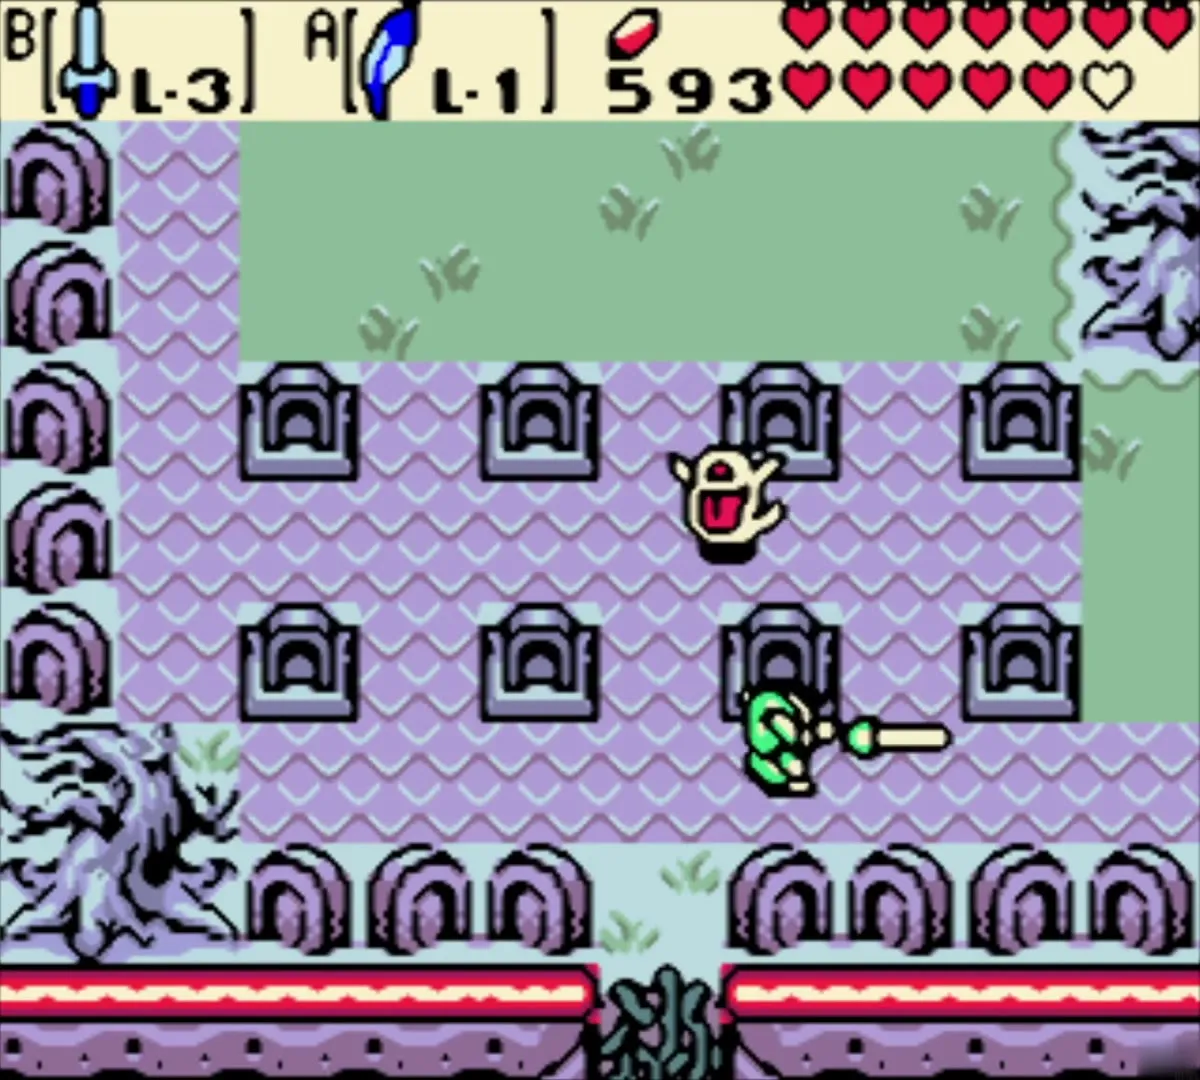
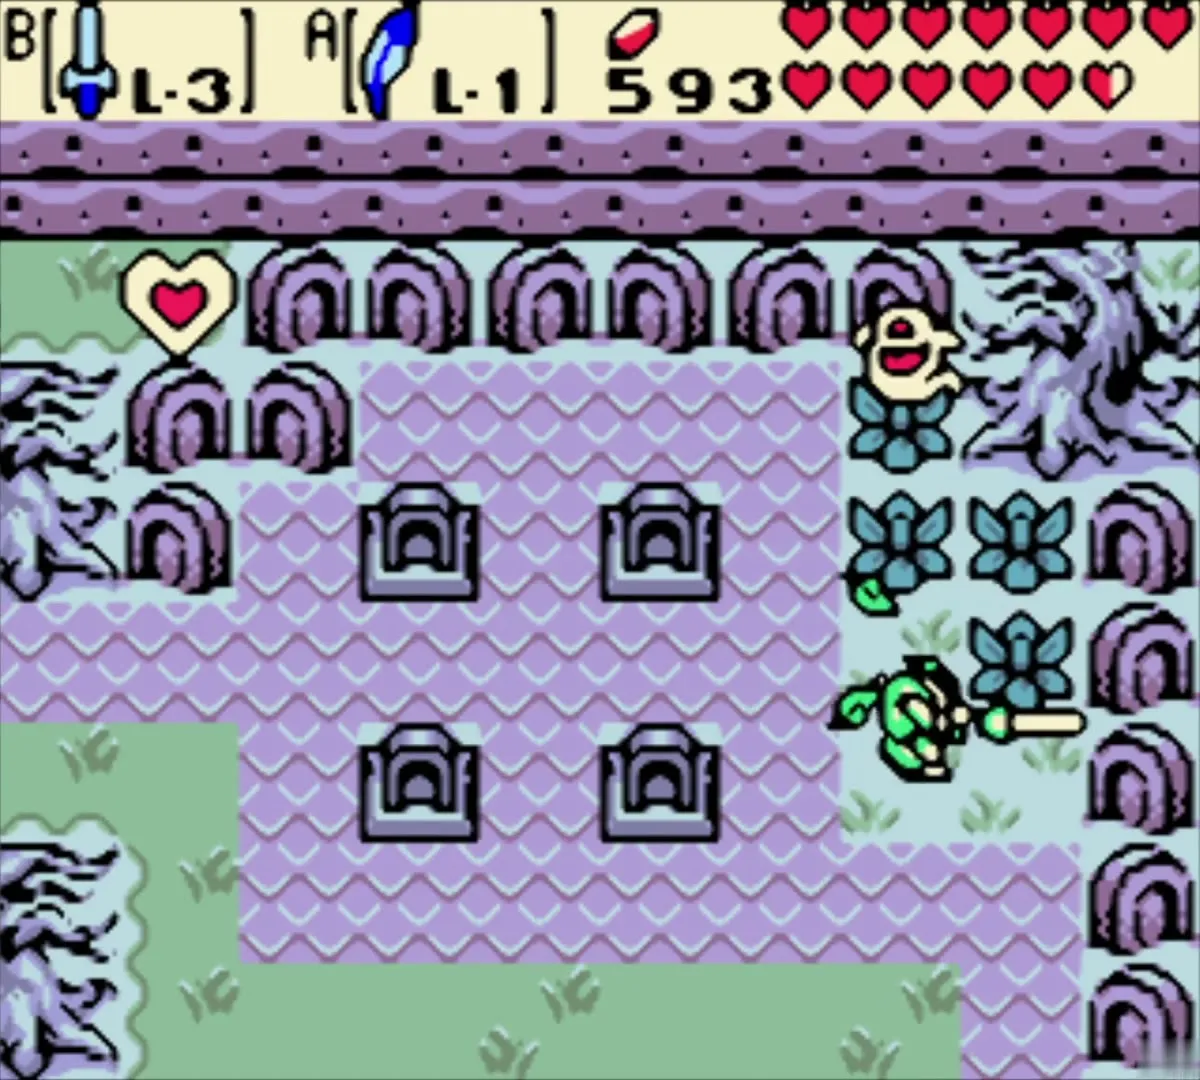
Golden Beasts
Four Golden Beasts roam Holodrum: a Golden Octorok, a Golden Moblin, a Golden Lynel and a Golden Darknut. Each one is a tougher version of a common foe. See the Tower of Autumn and Eyeglass Lake chapter.
Mini-bosses
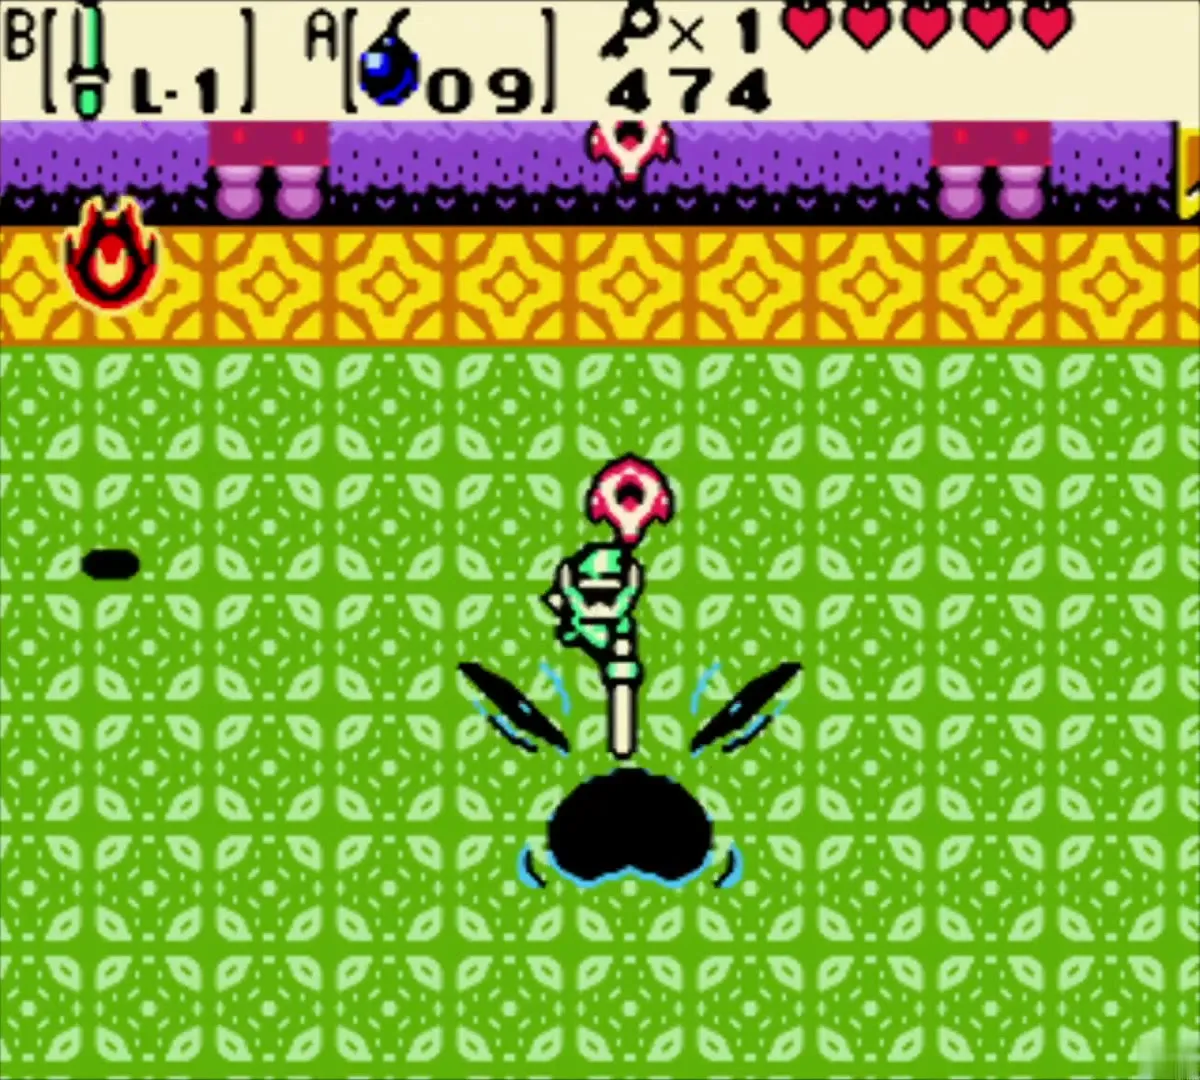
Dungeon mini-bosses
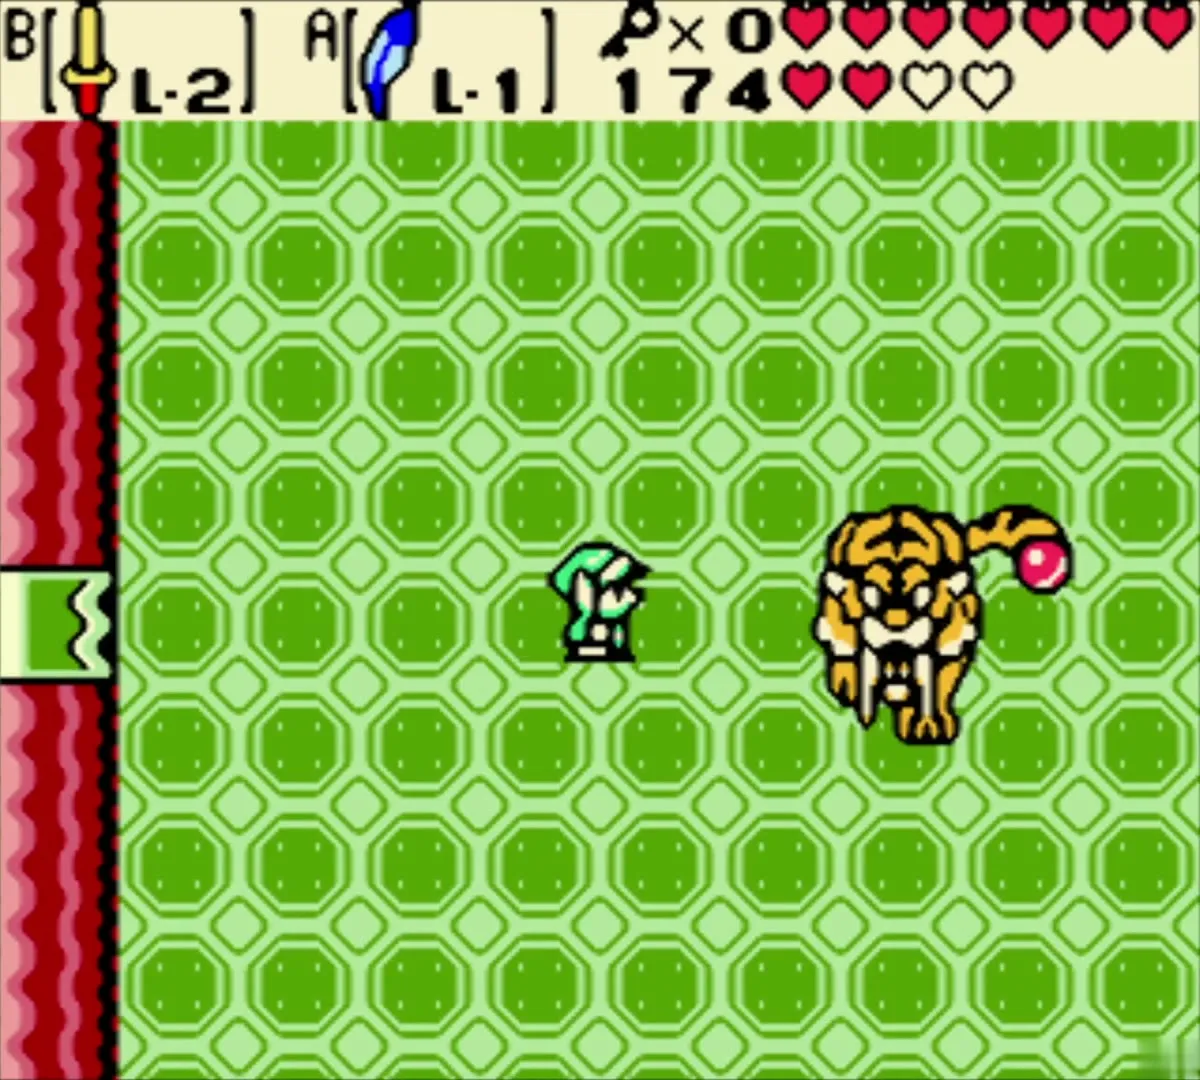
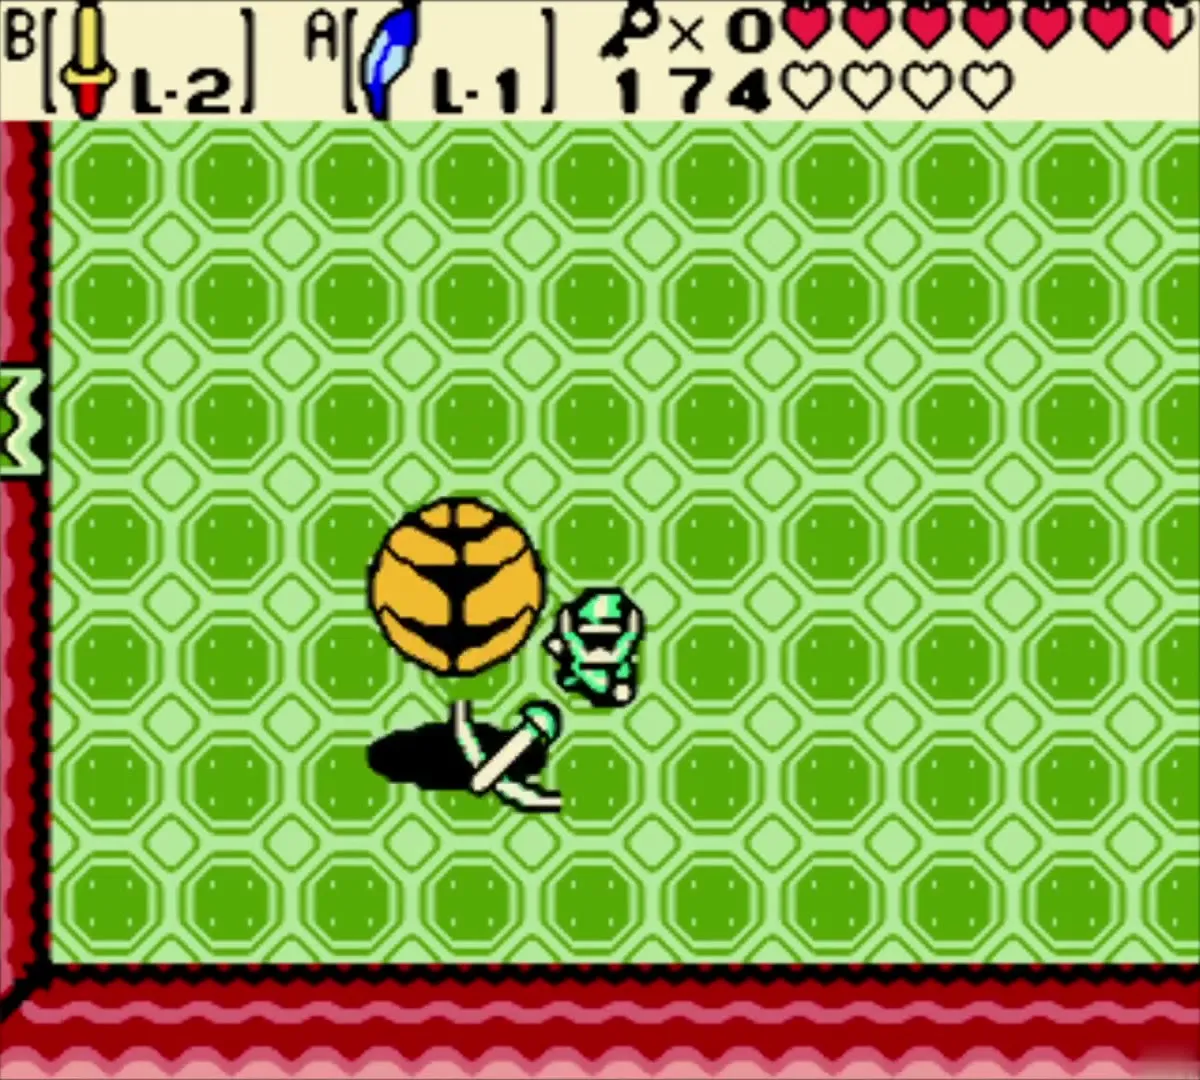
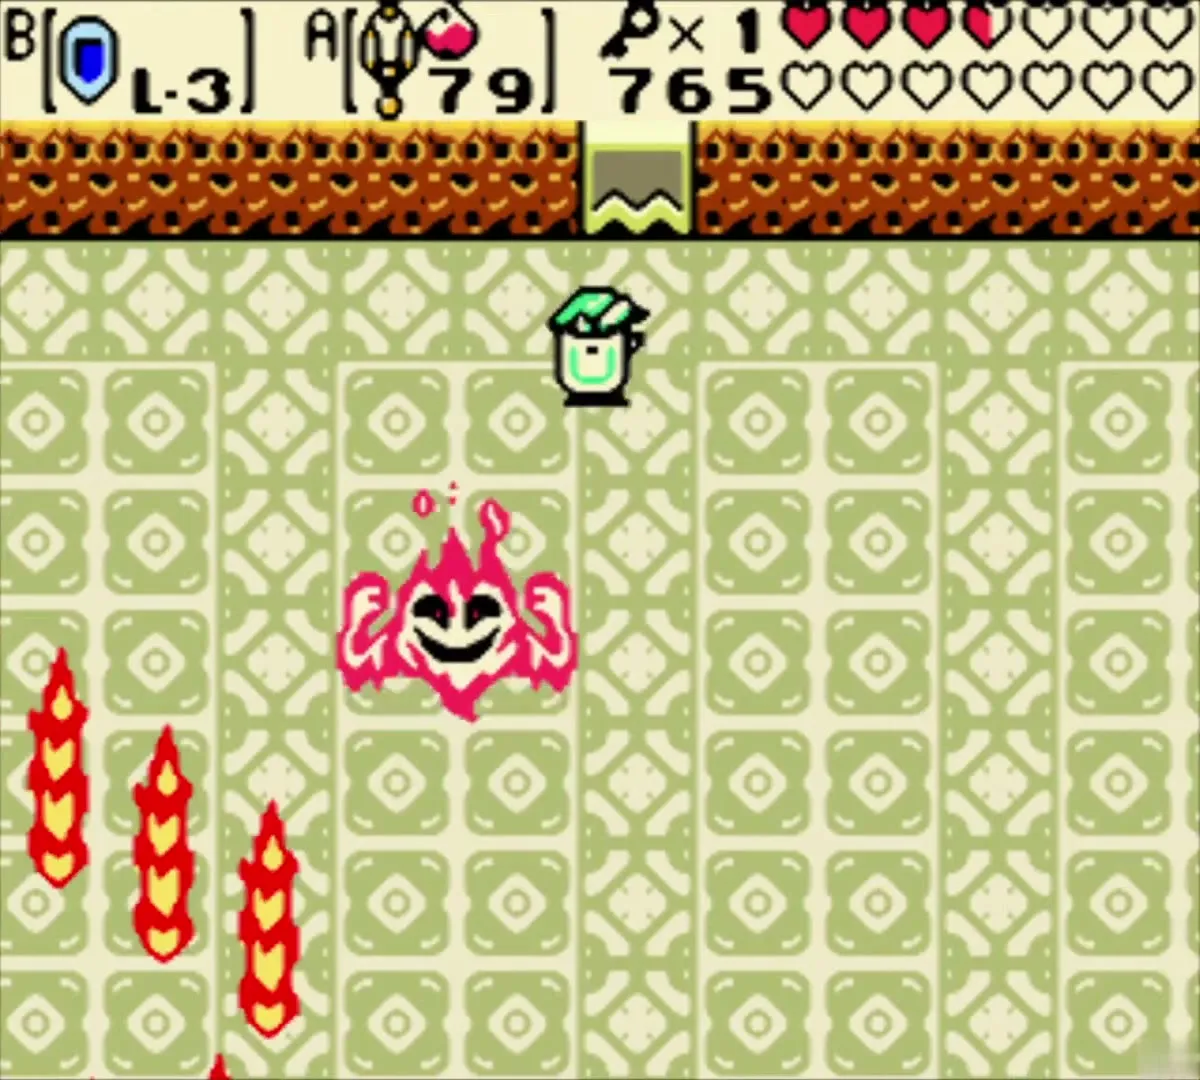
Each dungeon has a mini-boss before its boss. Dungeon 1 has the Goriya brothers, Dungeon 2 has Facade, Dungeon 3 has three Omuai, Dungeon 4 has the three-bodied Agunima, Dungeon 5 has Syger, Dungeon 6 has Vire, Dungeon 7 has the Poe Sisters and Dungeon 8 has Frypolar. In Agunima’s fight, only one of the three bodies casts a shadow, and that is the real one.