





















| Scope | Every item you can use in Oracle of Seasons on the Game Boy Color, from the North American release. Ages-only items are listed at the end so you know they are not in this game. |
|---|---|
| Main sources | Dungeon chests (eight dungeons), the Subrosian Market, the Horon Village shop and members’ room, Vasu Jewelers, the trade sequence, the Mystical Trees, and linked-game secrets. |
| Linked game only | Master Sword, Biggoron’s Sword, Mirror Shield, Ring Box level 3, the 99-seed Satchel and the Bomb Bag at 50 bombs. An unlinked file can reach the Noble Sword, Iron Shield, Bomb Bag at 30 and Satchel at 50. |
| Seasons | Items are fixed to a place; the Rod of Seasons changes the season only at a tree stump, so check the season column before you travel. |
The short answer: the core tools come from the eight dungeons in order, so you collect the Power Bracelet, Roc’s Feather, Slingshot, Magnetic Gloves and Roc’s Cape as you go. Upgrades to your sword, shield and storage come from a mix of shops, the trade sequence and linked-game secrets. The table below lists every entry with where it comes from, and each section after it gives the step-by-step route.
Table of Contents
Quick reference
| # | Item | Region | Season | How to get it or requirement | Reward or effect |
|---|---|---|---|---|---|
| 1 |  Wooden Sword (L-1) | Hero’s Cave, south-west of Horon Village | Any | Clear the Hero’s Cave (normal game) | Your first sword |
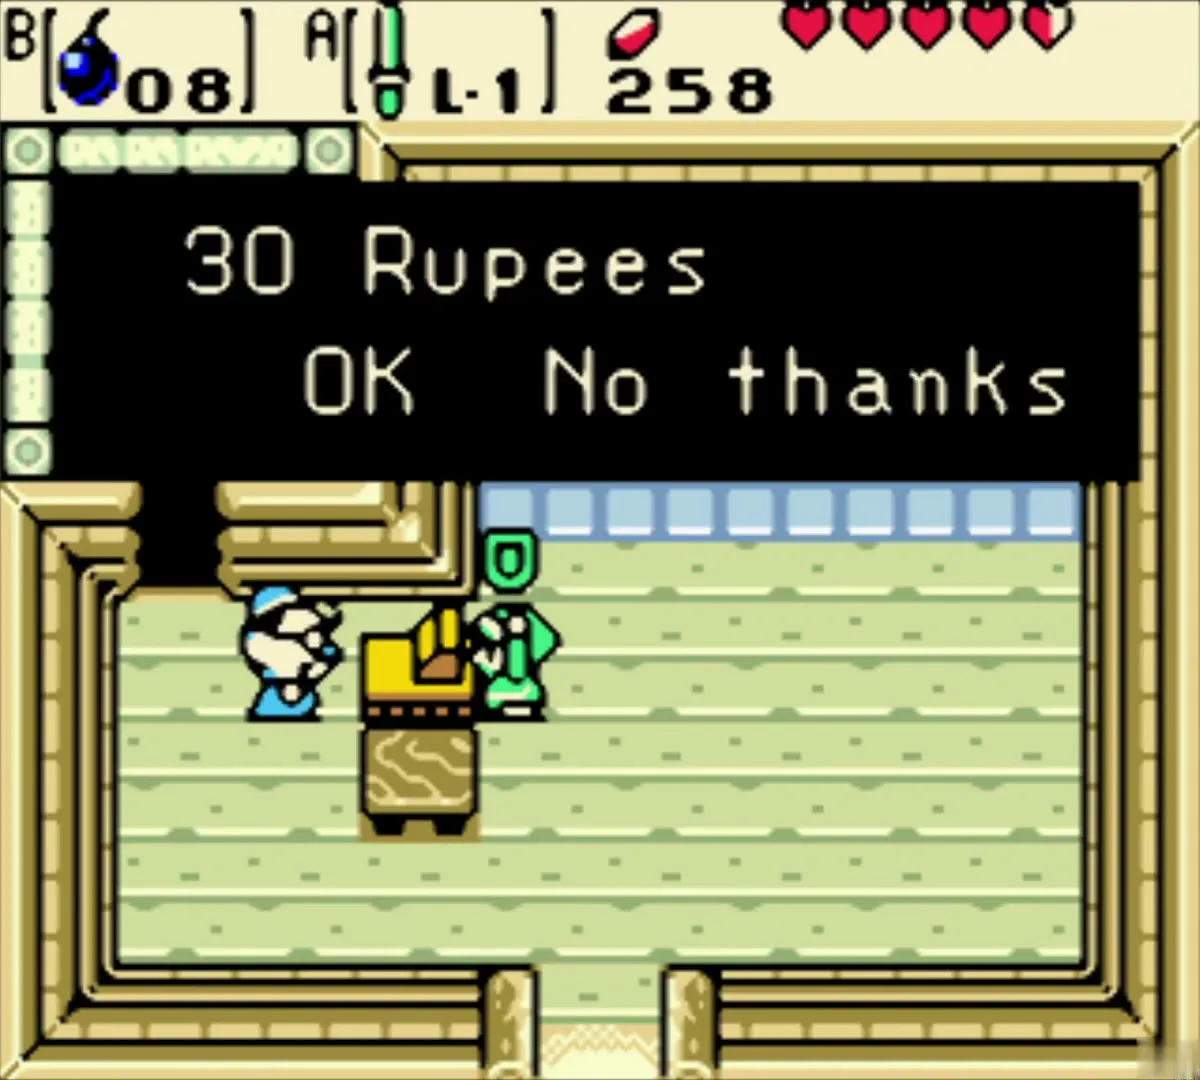
| 2 |  Wooden Shield (L-1) | Horon Village shop | Any | Buy for 30 Rupees | Basic shield |
| 3 |  Seed Satchel (20) | Gnarled Root Dungeon | Any | Dungeon 1 chest, with 20 Ember Seeds | Carries the five seed types |
| 4 |  Power Bracelet | Snake’s Remains | Any | Dungeon 2 chest, after the Pig Warriors | Lifts pots, rocks and enemies |
| 5 |  Roc’s Feather | Poison Moth’s Lair | Any | Dungeon 3 chest | Short jump over gaps |
| 6 |  Slingshot | Dancing Dragon Dungeon | Any | Dungeon 4 chest | Shoots seeds |
| 7 |  Magnetic Gloves | Unicorn’s Cave | Any | Dungeon 5 chest | Pull and push metal objects |
| 8 |  Magical Boomerang (L-2) | Ancient Ruins | Any | Dungeon 6 chest in the Armos room | Controlled boomerang |
| 9 |  Roc’s Cape | Explorer’s Crypt | Summer for the vines | Dungeon 7 chest | Longer jump and glide |
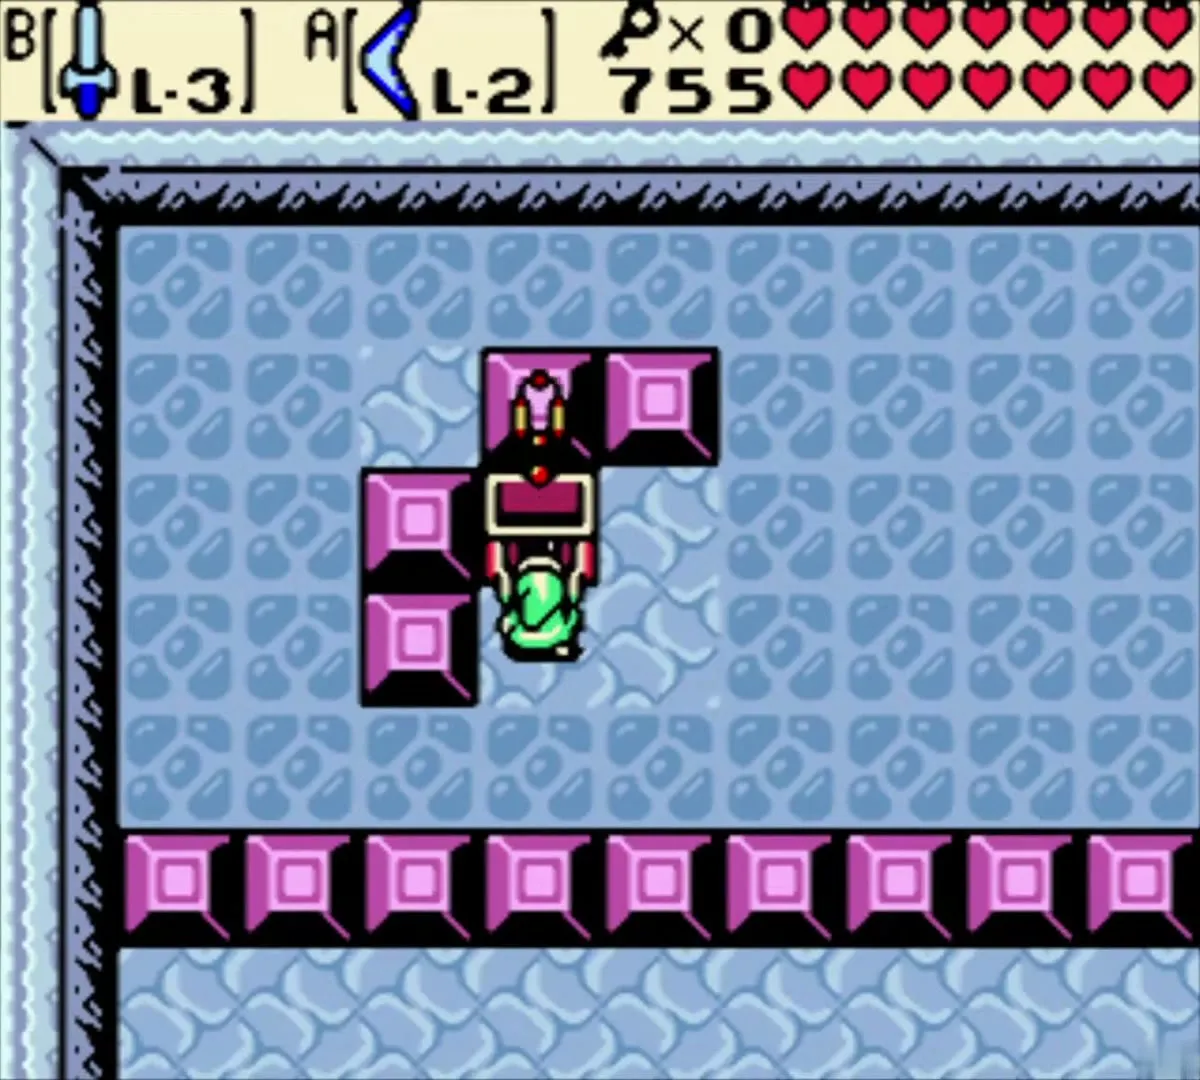
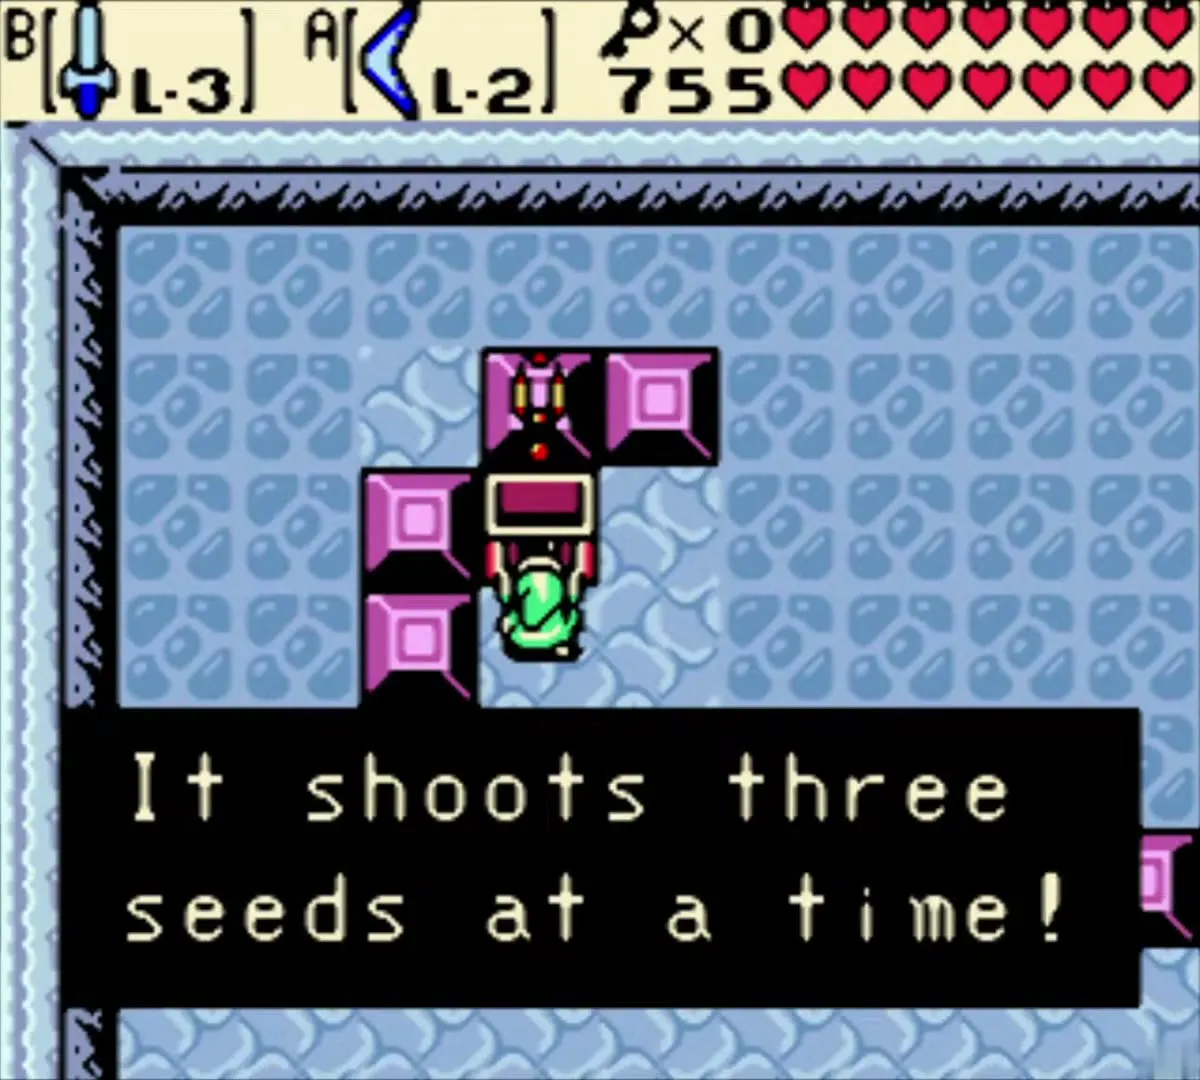
| 10 |  Hyper Slingshot | Sword & Shield Maze | Any | Dungeon 8 face-block room, opened with the Magnetic Gloves | Fires three seeds |
| 11 |  Shovel | Woods of Winter | Winter | Holly gives it to you | Digs up soft soil |
| 12 | Boomerang (L-1) | Subrosian Dance Hall | Any | Win the first dance | Stuns enemies and hits switches |
| 13 |  Rod of Seasons | Temple of Seasons area, Subrosia | Any | Found early; gains a season power from each Spirit | Changes the season at stumps |
| 14 |  Zora’s Flippers | Sunken City | Summer for the falls | Complete the Master Diver’s test | Swim and dive |
| 15 |  Gale Seeds | Sunken City tree | Summer | Collect from the Mystical Tree | Warps to activated stumps |
| 16 |  Iron Shield (L-2) | Subrosian Smithy | Any | Hard Ore from Red and Blue Ore | Better defense |
| 17 |  Noble Sword (L-2) | Trade sequence end, or linked secret | Any | Trade the Phonograph to the Deku Scrub | Sword beams at full health |
| 18 |  Master Sword (L-3) | Linked game | Any | Upgrade the Noble Sword through a linked secret | Stronger sword |
| 19 | Biggoron’s Sword | Linked game | Any | Biggoron’s linked secret | Two-handed, strongest sword |
| 20 |  Mirror Shield (L-3) | Linked game | Any | Farore’s chain, or Horon shop (80 Rupees) after the Iron Shield | Reflects Beamos beams |
| 21 |  Ring Box (L-1, 2, 3) | Vasu Jewelers, Goron Mountain, linked secret | Any | Holds 1, then 3, then 5 rings | Stores rings for swapping |
| 22 | Bomb Bag | Subrosian Market, linked secret | Any | 10 to 30 for 50 Ore Chunks plus a Bomb; 30 to 50 in a linked game | Holds more bombs |
| 23 | Mystical Seeds (5 types) | Mystical Trees across Holodrum and Subrosia | One season per type | Cut grass and defeat enemies to refill them | Ammo for the Satchel and Slingshot |
| 24 |  Gasha Seeds | Shops, chests and soft soil | Any | Plant on soft soil | Grow into a tree that drops a Gasha Nut |
| 25 |  Bombchus (10) | Farore’s Hall of Secrets | Any | Linked secret, then given again on the Dr. Troy route | Homing bombs |
| 26 |  Strange Flute and companion flutes | Companion locations | Varies | Summon Ricky, Dimitri or Moosh | Rides one companion at a time |
Swords and shields
| Icon | Item | Stats | Source |
|---|---|---|---|
| Wooden Sword (L-1) | Attack 2 | Hero’s Cave |
| Noble Sword (L-2) | Attack 4, beams at full health | Trade sequence, or linked secret |
| Master Sword (L-3) | Attack 6 | Linked game |
| Wooden Shield (L-1) | Defense 2 | Horon Village shop, 30 Rupees |
| Iron Shield (L-2) | Defense 3, blocks fire | Subrosian Smithy, Hard Ore |
| Mirror Shield (L-3) | Defense 5, blocks Beamos beams | Linked game |
Wooden Sword (L-1)
In an unlinked game, the Wooden Sword is in the Hero’s Cave, a small cave in the rocky ground south-west of Horon Village near the beach. Enter the cave and work through the block rooms, which have a few weak enemies and one locked door that needs a key. The sword sits in a chest near the end of the cave. In a linked game you already have it, and the cave becomes the optional bonus dungeon described on the Hero’s Cave page.
Wooden Shield (L-1)
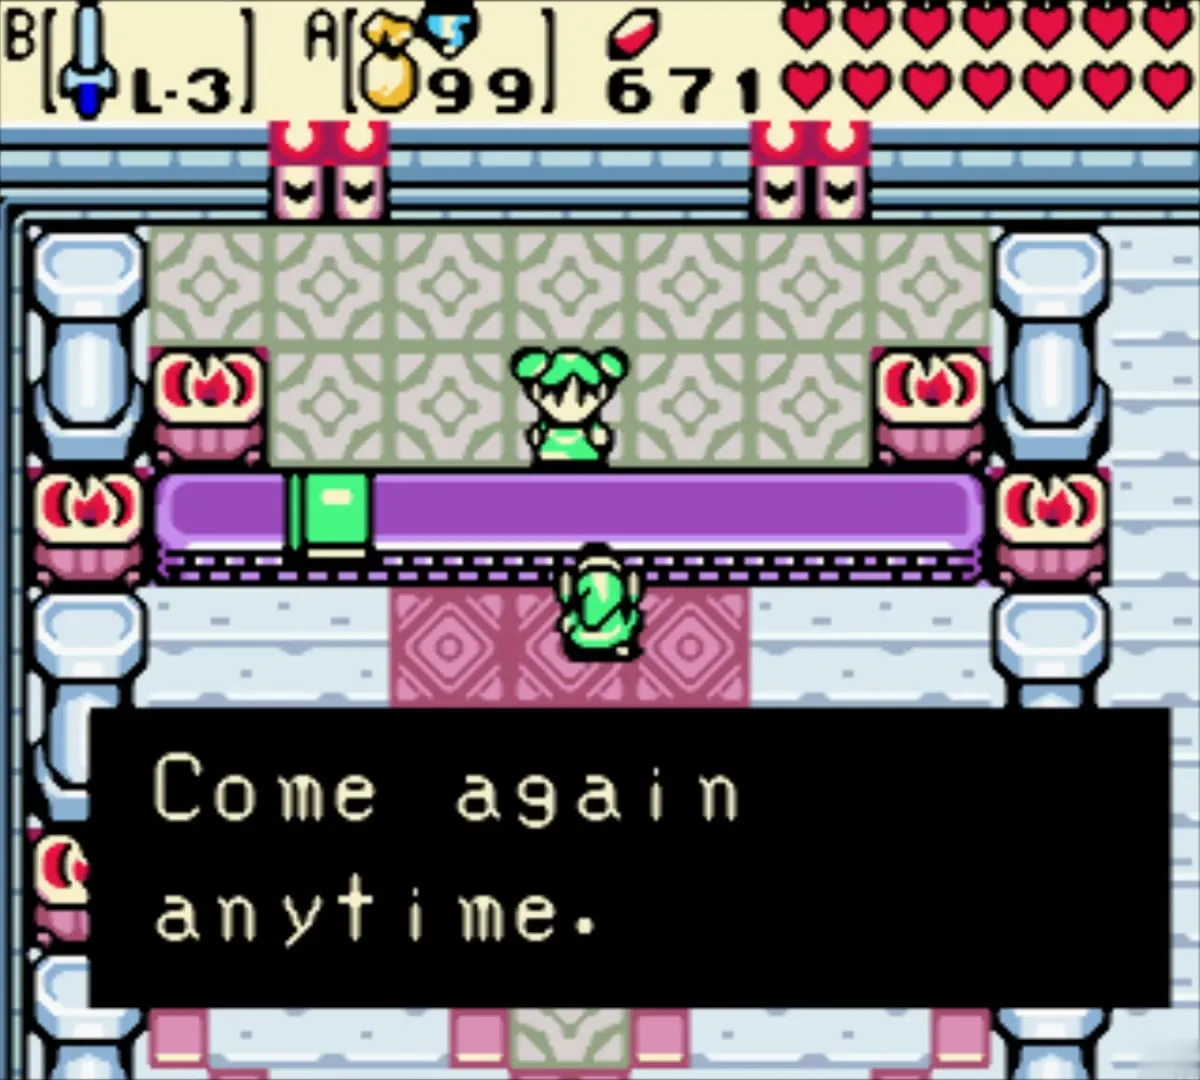
Walk into the Horon Village shop and buy the Wooden Shield for 30 Rupees. It blocks rocks and arrows but burns from fire attacks, and a Like Like can eat it. You can also find one in a winter chest in Tower of Winter, which is covered in the Tower of Winter chapter.
Noble Sword (L-2)
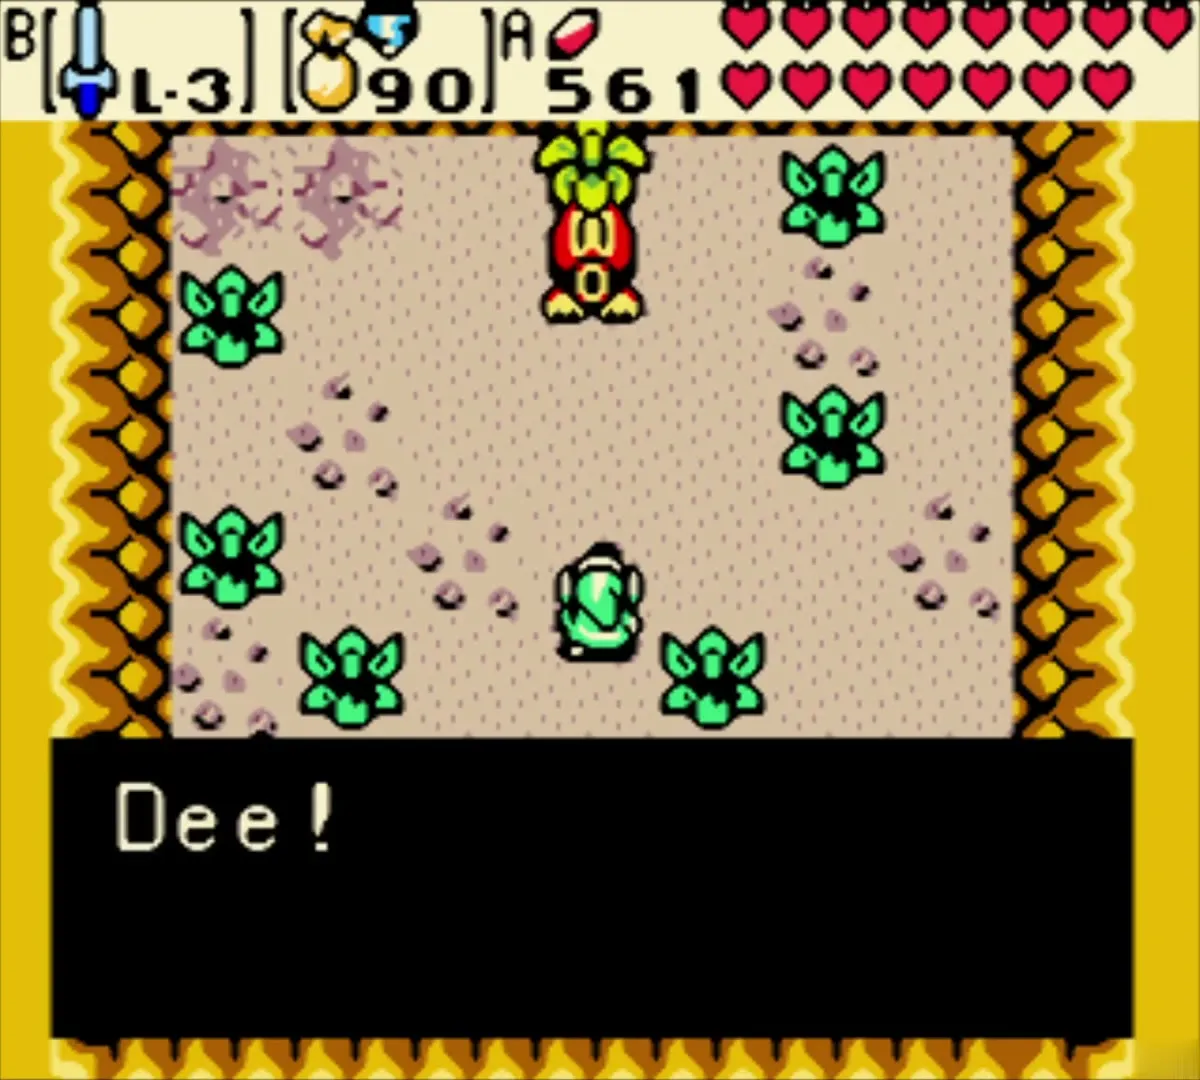
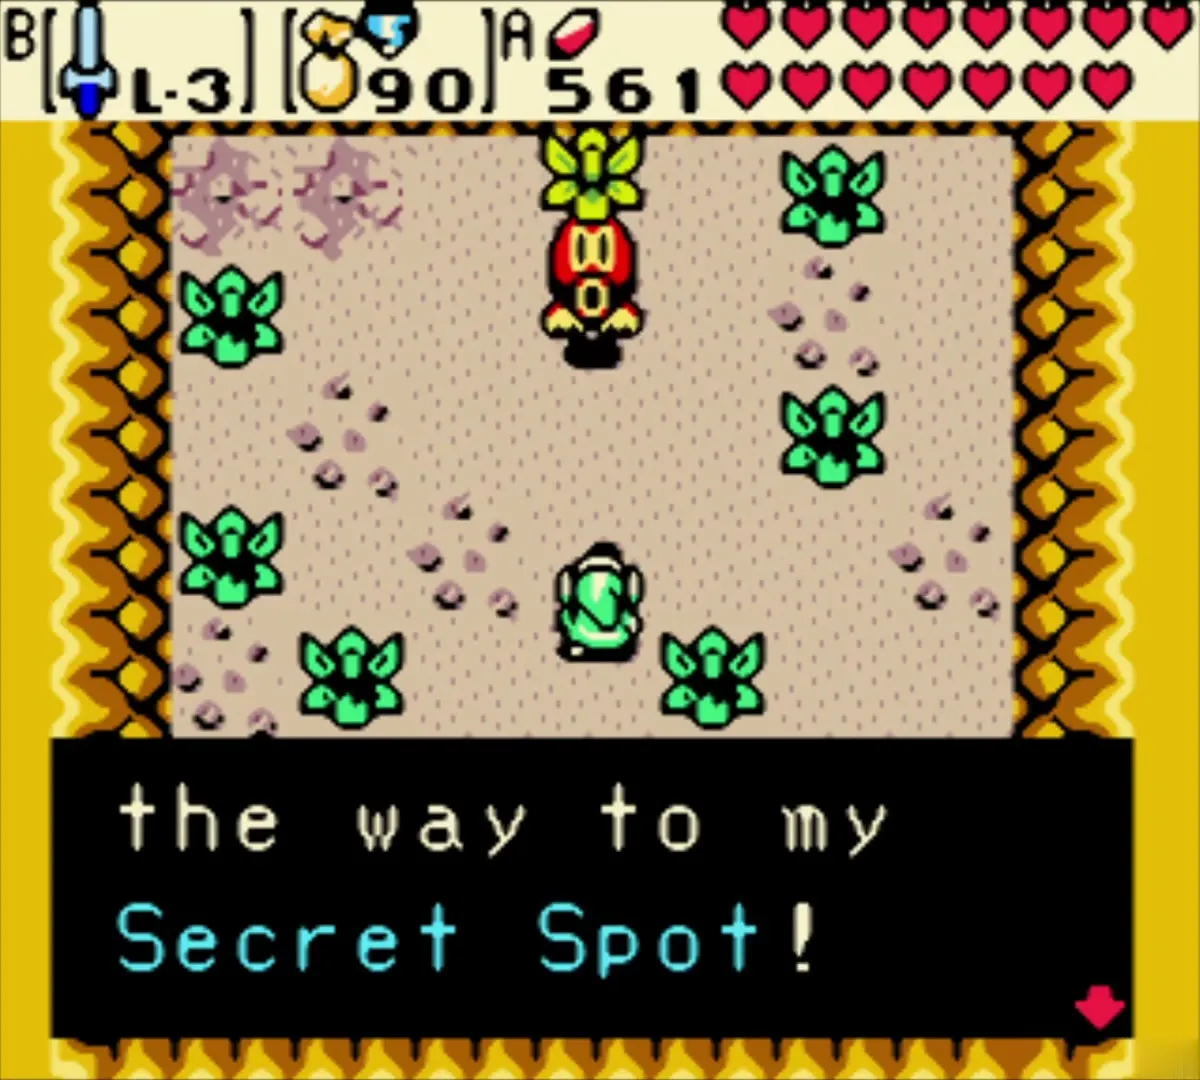
Work through the trade sequence to its last step. You receive the Noble Sword after you hand the Phonograph to the leaf-headed Deku Scrub in the sandy room of the Lost Woods area, and he gives you the sword as the reward for the trade chain. Read the full steps on the trading sequence page. A linked game has a second way to get it: Farore’s Hall of Secrets, inside the Maku Tree, gives it after the third password. See the Hall of Secrets chapter for that route.
Master Sword (L-3)
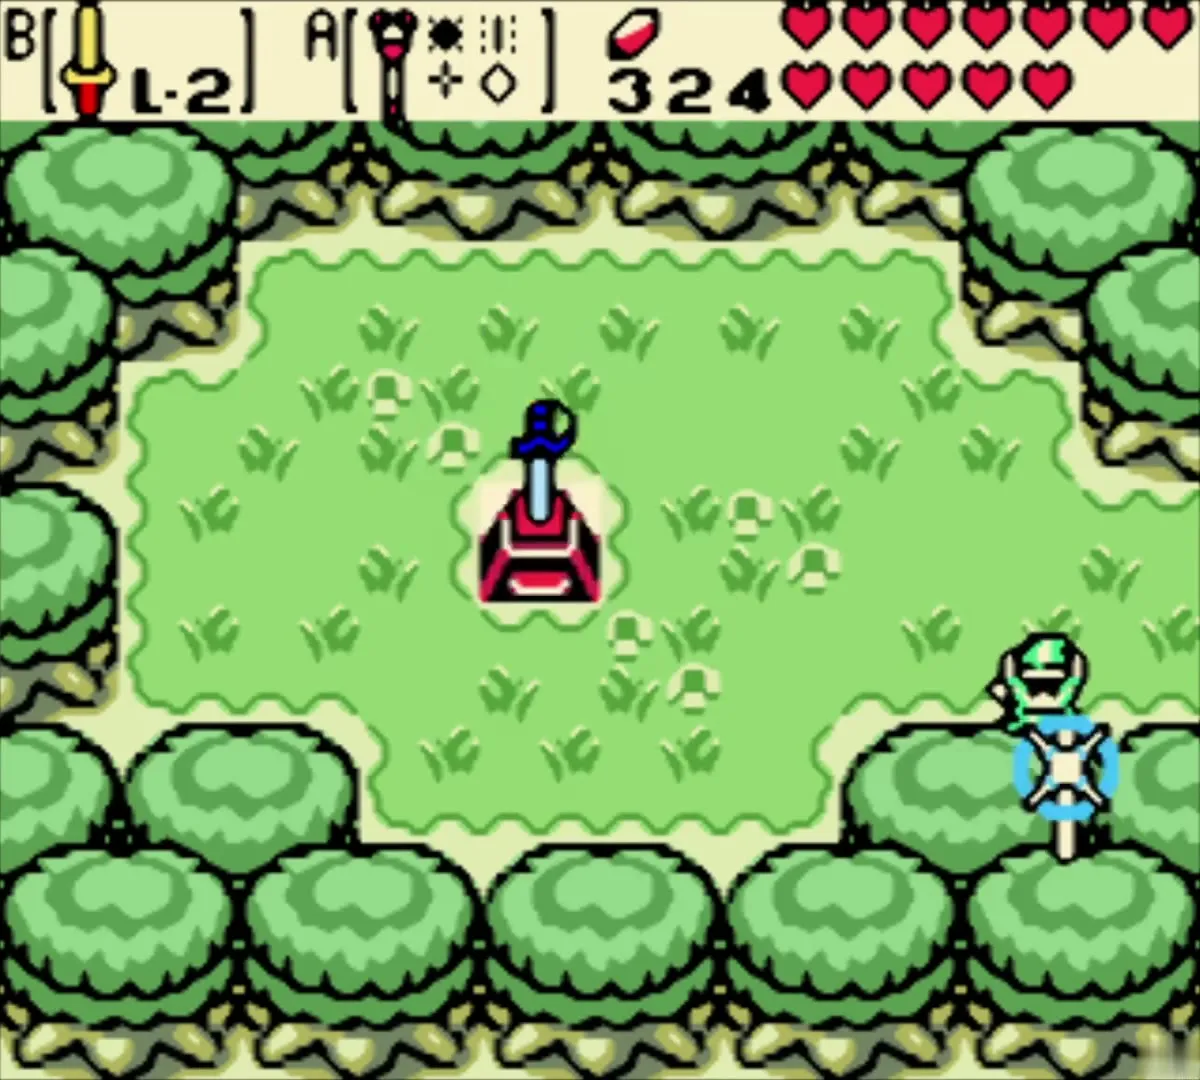
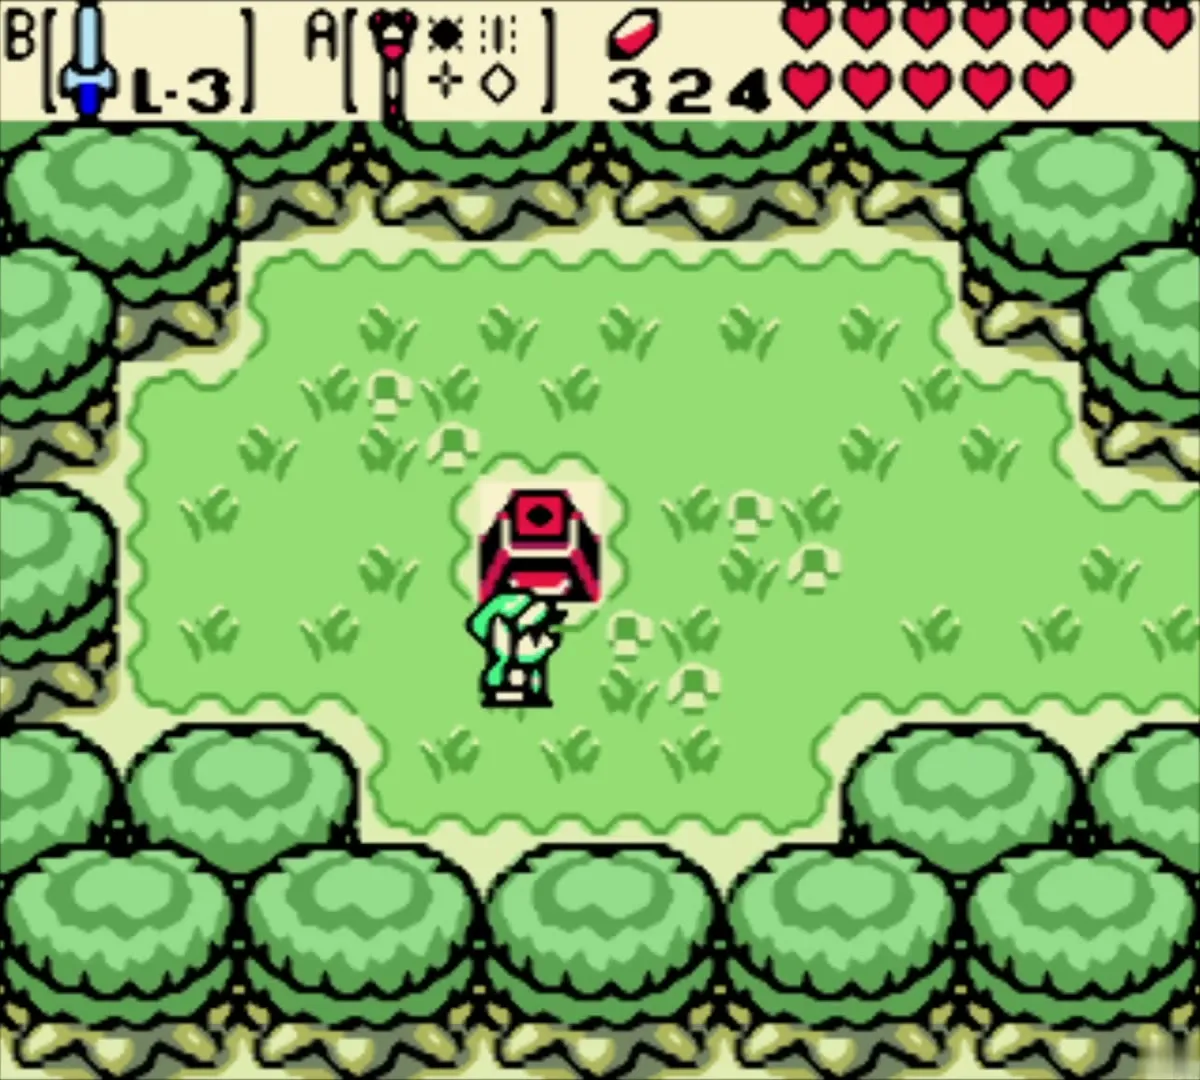
The Master Sword is a linked-game upgrade. Once you own the Noble Sword, a secret from the Clock Shop in Horon Village raises it to level 3, after an arena challenge. The Tarm Ruins chapter covers the linked-game steps around it: Tarm Ruins and the Lost Woods.
Biggoron’s Sword
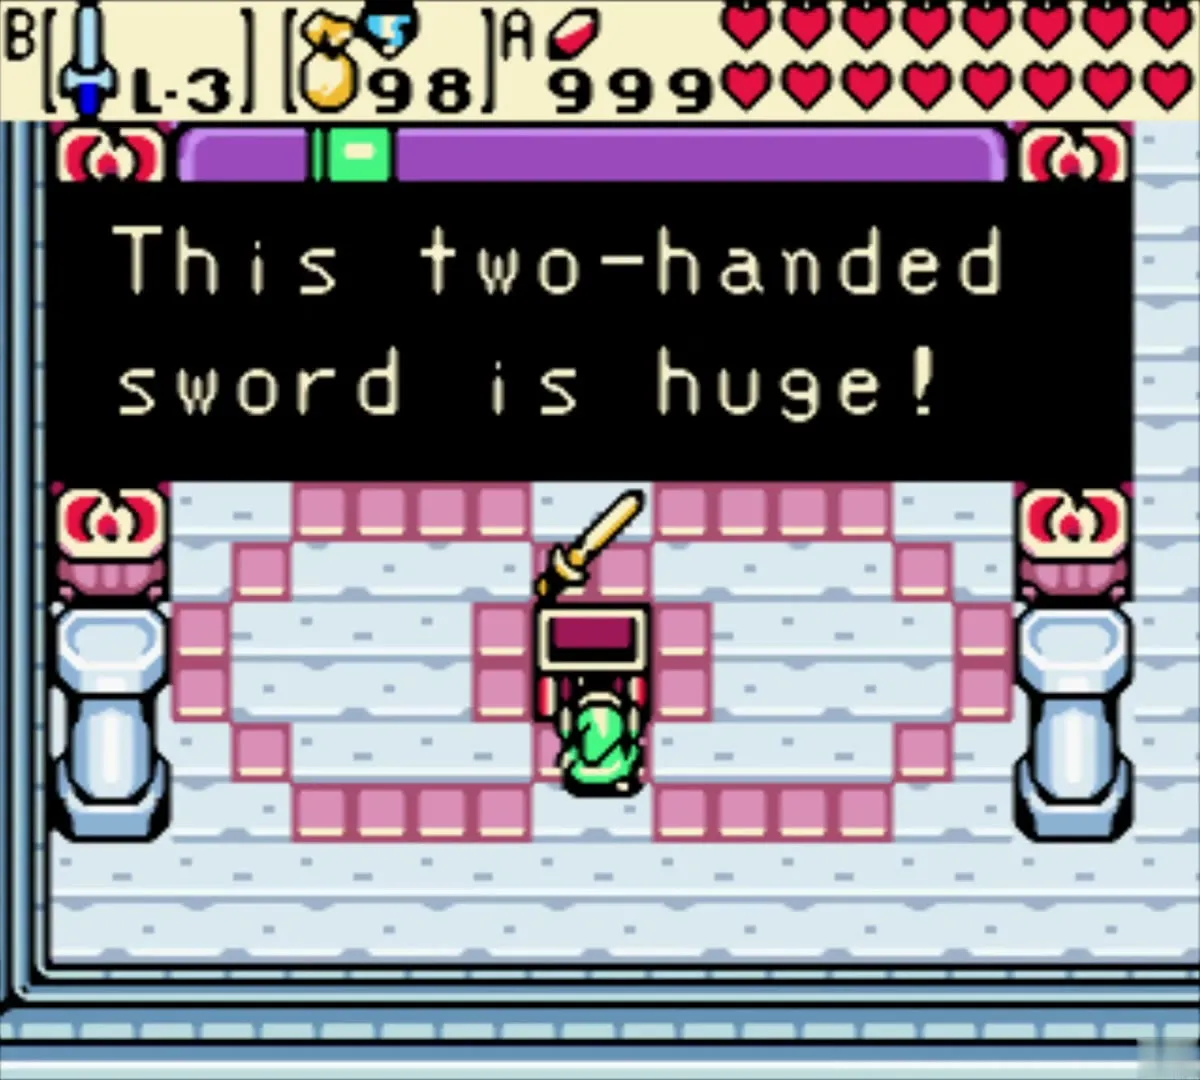
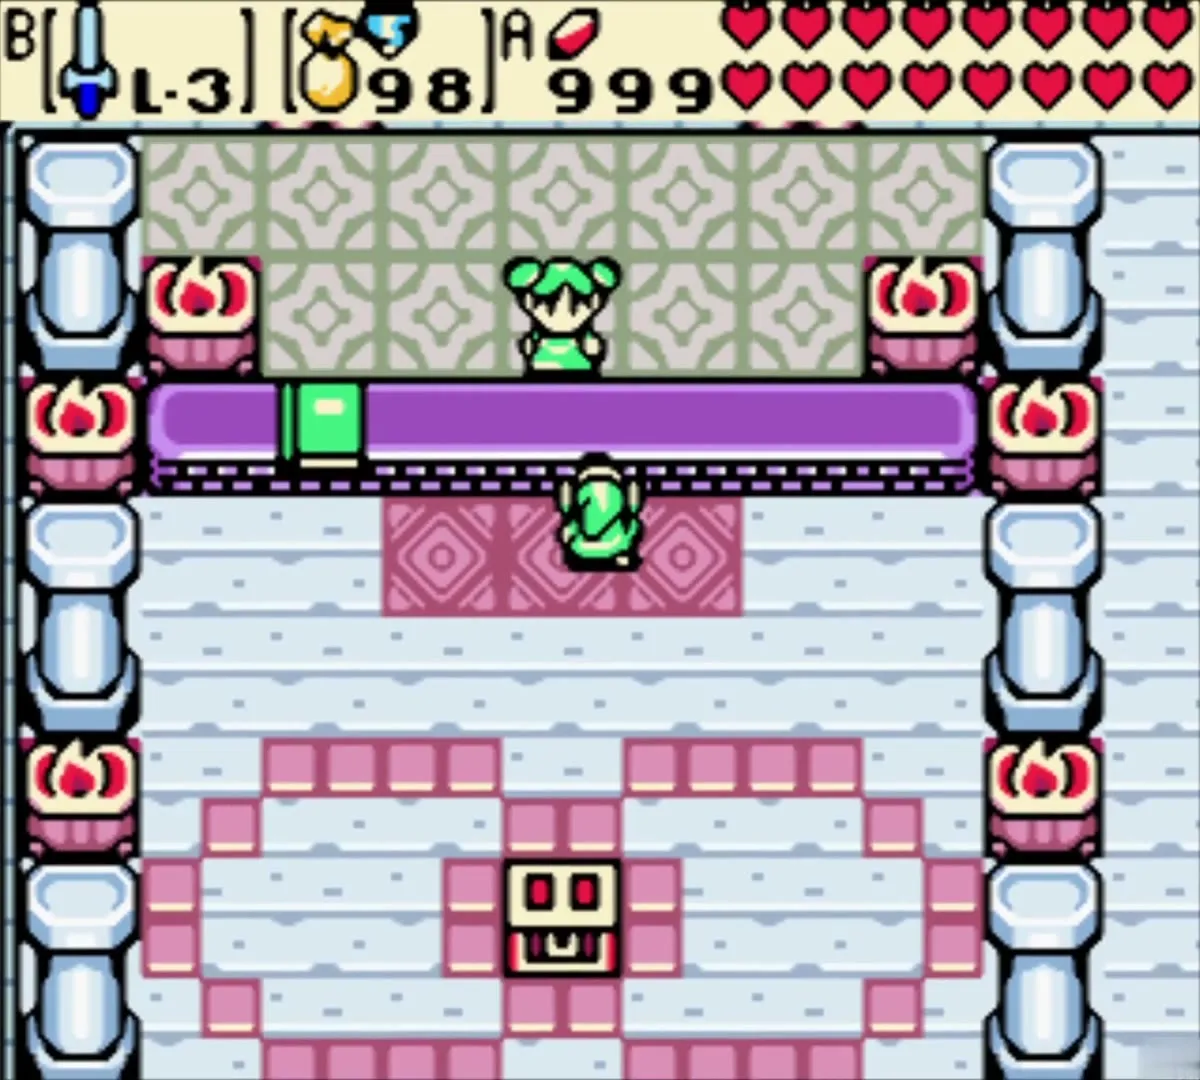
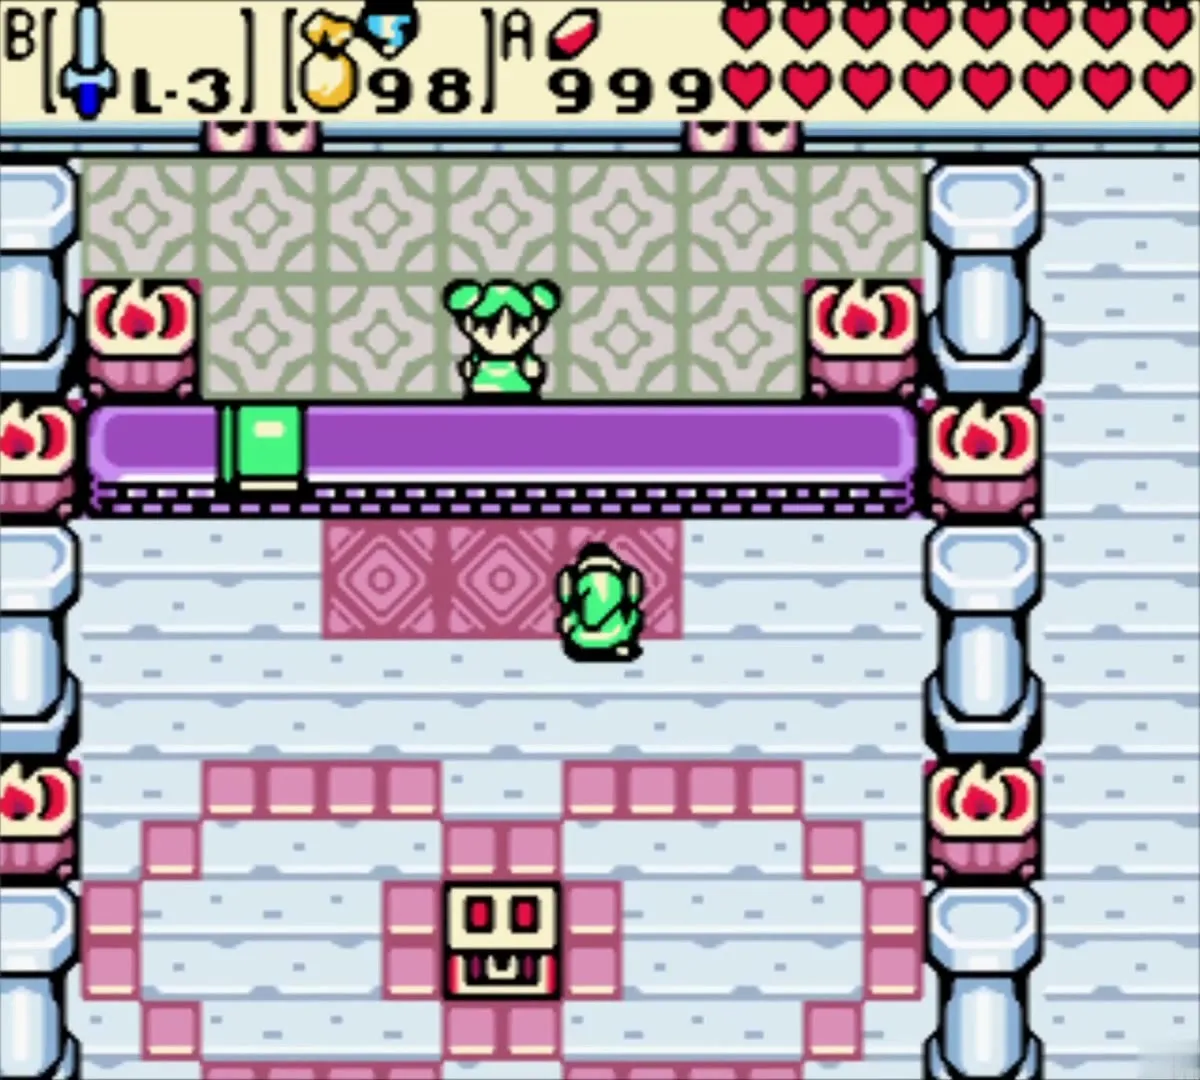
Biggoron’s Sword is also a linked-game reward. A red Goron in the caverns of Goron Mountain, just inside the entrance, tells you a secret after you agree to research it. Carry that secret to Farore in the Maku Tree and type its password on the secret keyboard. The sword uses both hand slots and deals the most damage. The full route is in the side-quest chapter.
Iron Shield (L-2)
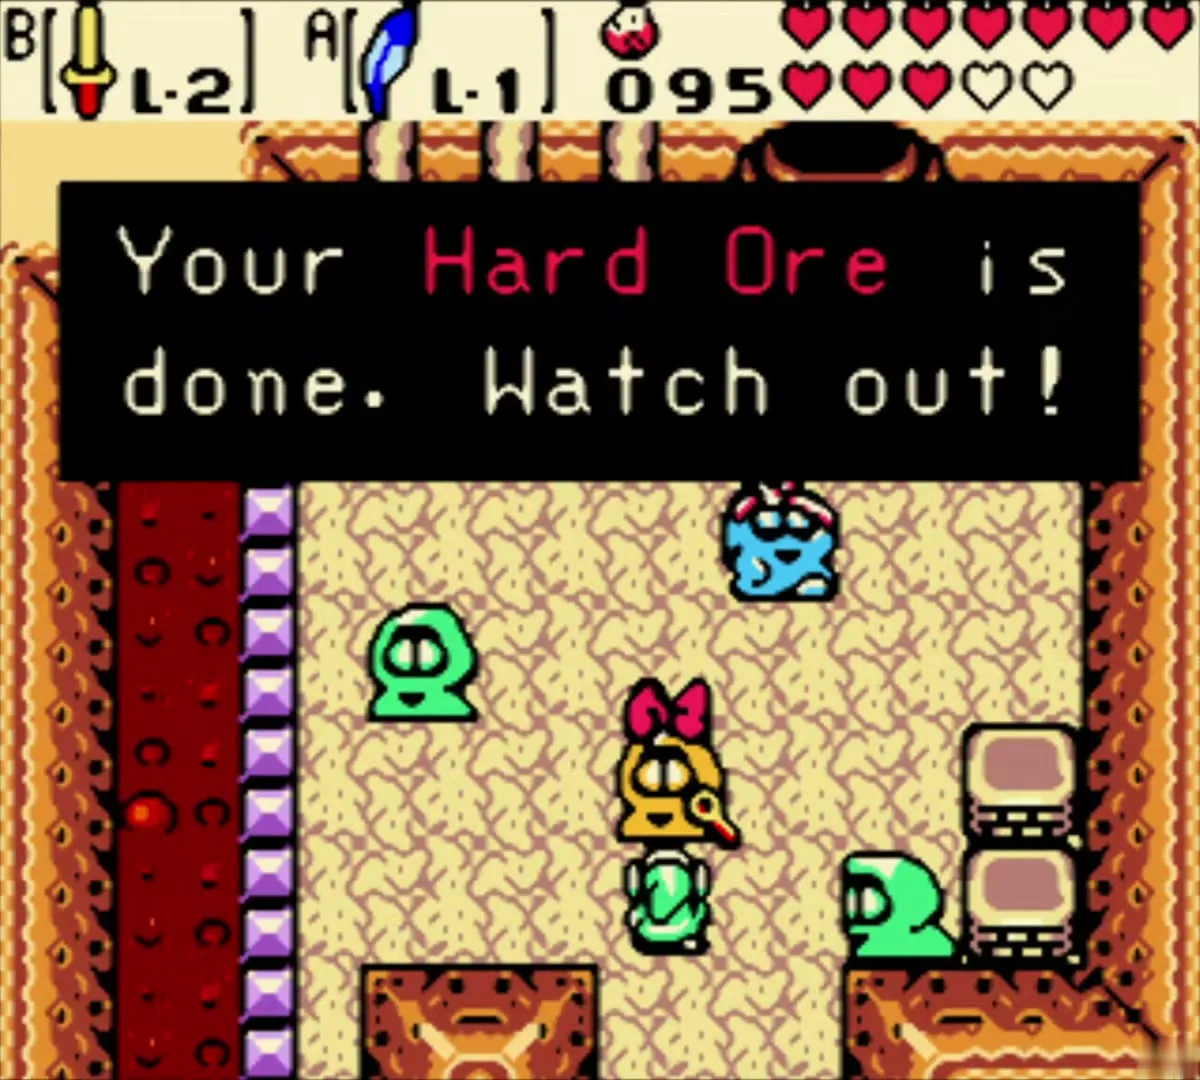
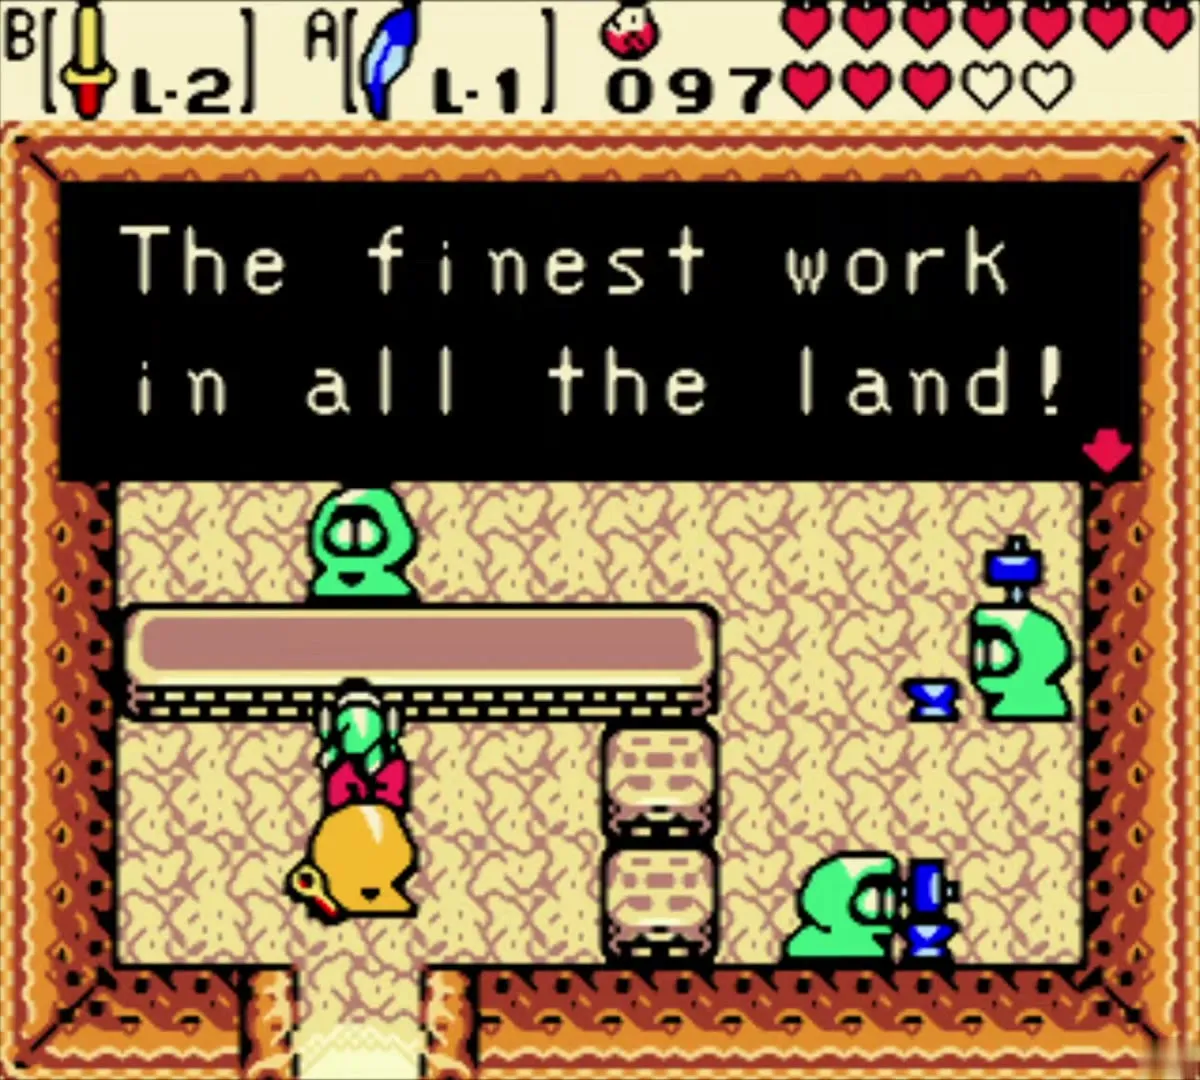
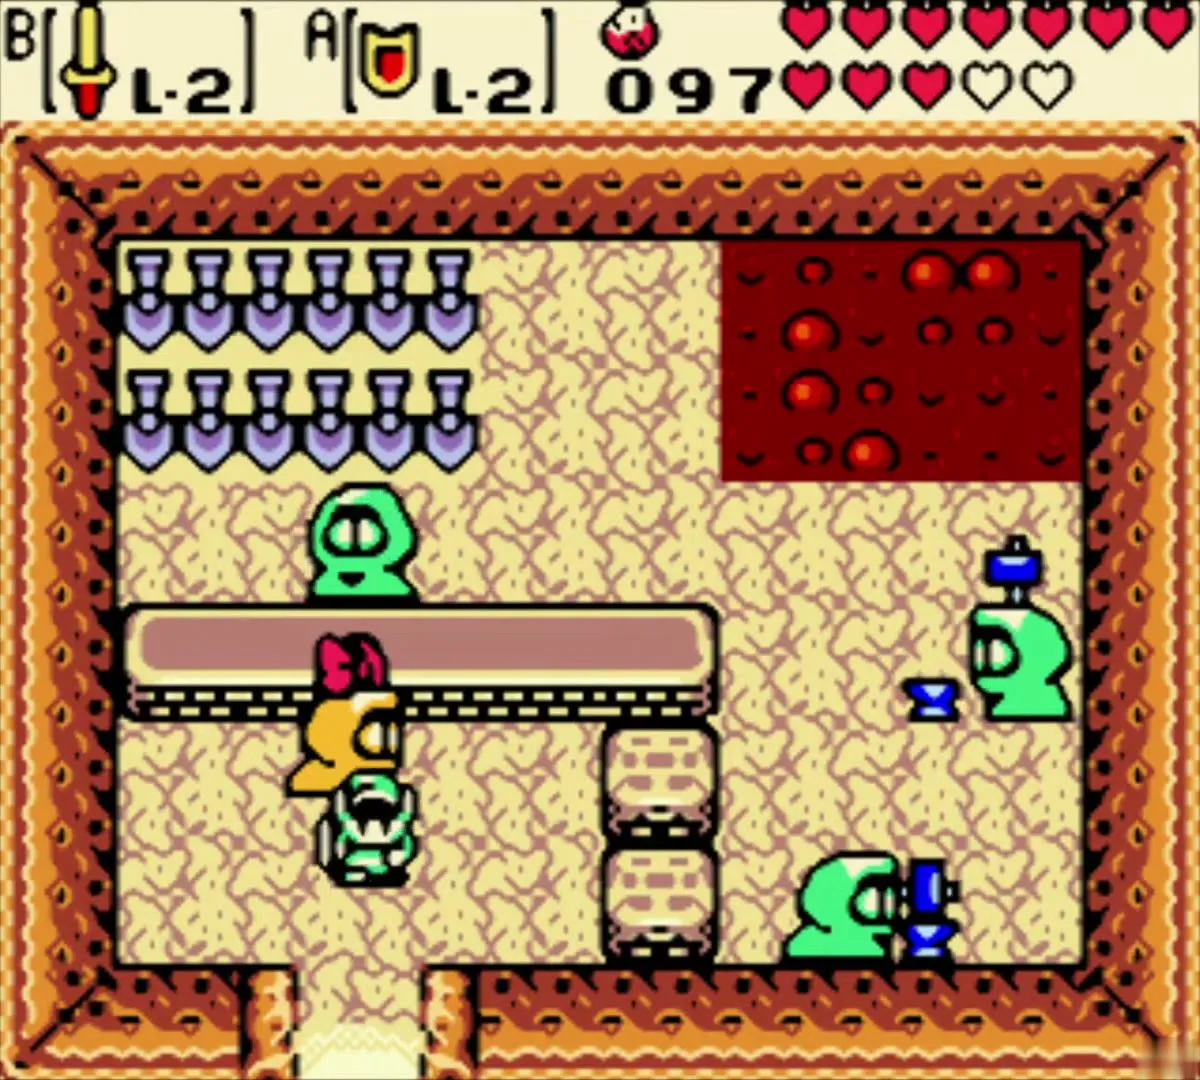
The Iron Shield is forged at the Subrosian Smithy, on the peninsula near the Temple of Seasons district in Subrosia. You need the Wooden Shield and a piece of Hard Ore. Make the Hard Ore yourself: pick up a Red Ore from a chest in an eastern Subrosian cave (reached with the Roc’s Feather and Magnetic Gloves) and a Blue Ore from a chest on the far west side of Subrosia (reached with the Magnetic Gloves). Take both to the blue Subrosian with a band around his head at the Subrosian Great Furnace, and he fuses them into Hard Ore. Return to the smith, and when he asks what you want to say, choose “Do whatever.” See the Tarm Ruins chapter for the ore chain in order.
Mirror Shield (L-3)
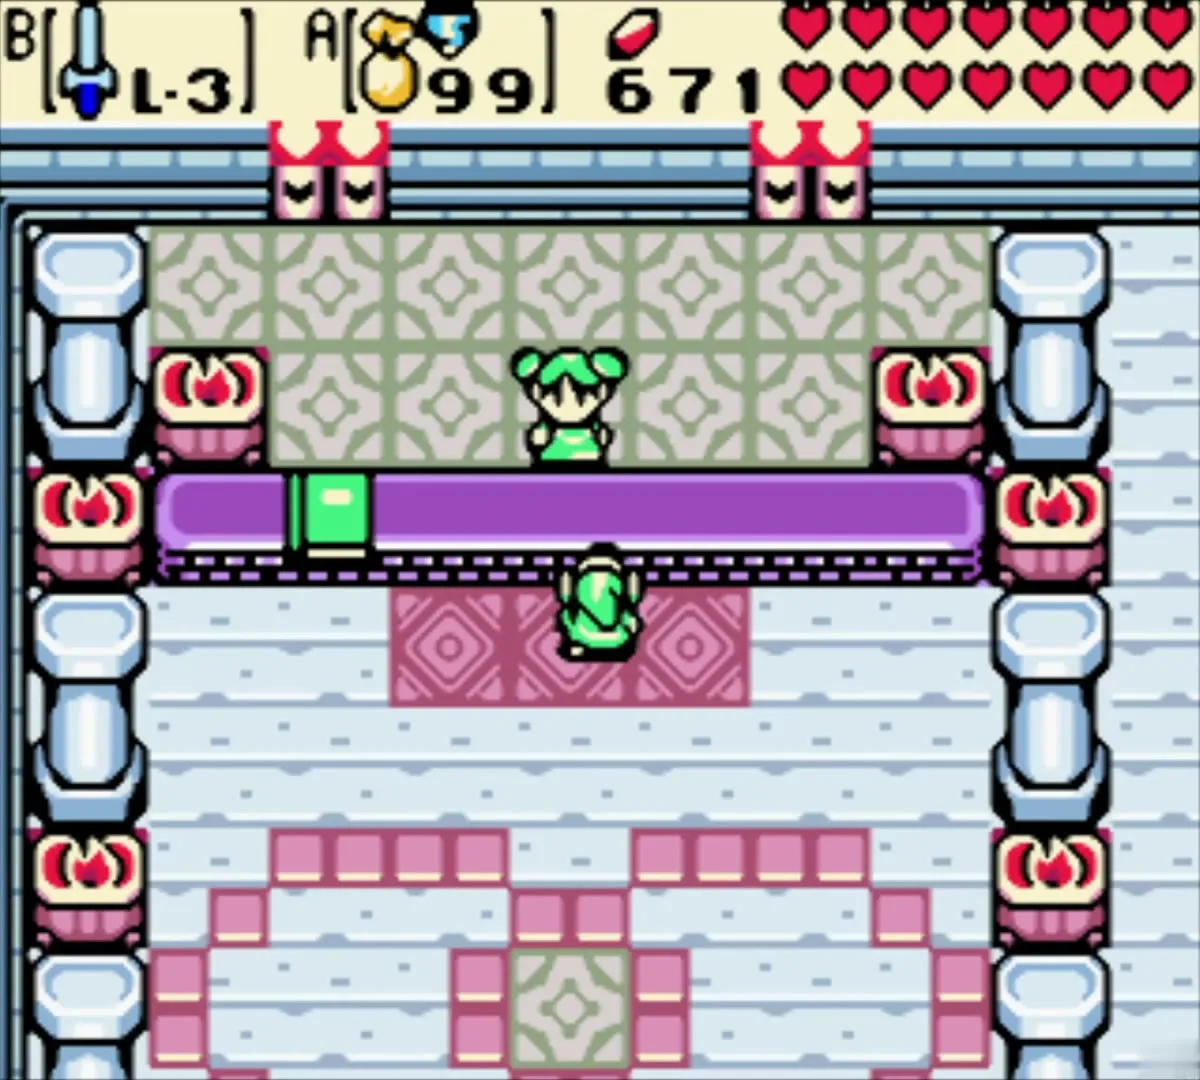
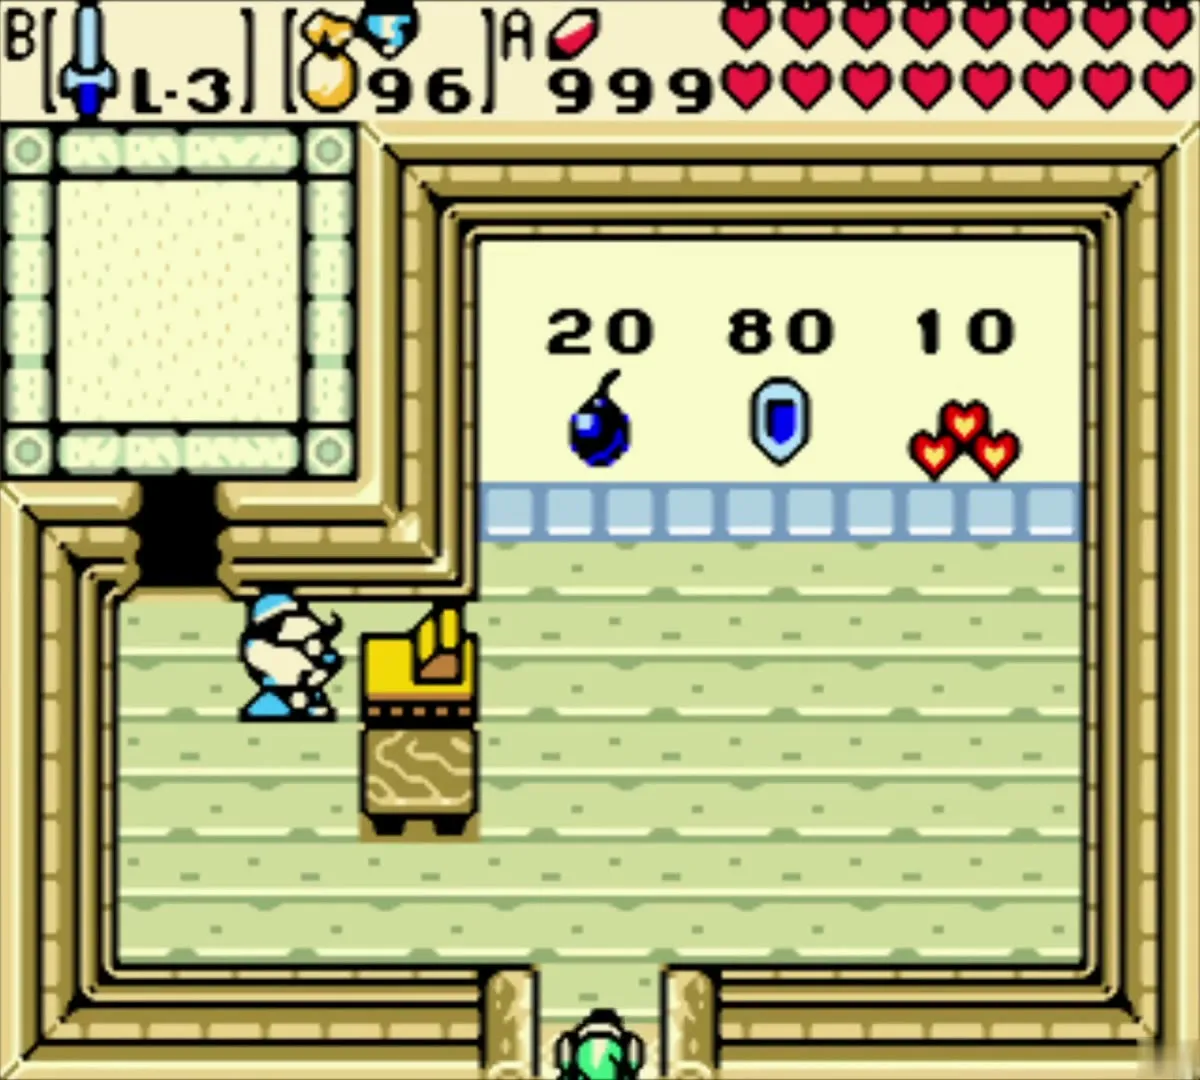
The Mirror Shield is the top shield and needs a linked game. The chain starts with a password from the ghost in a lone cottage on the Western Coast, carried to the librarian in the past-era library, and then to Farore in the Maku Tree, who gives you the shield. A linked save can also buy one at the Horon Village shop for 80 Rupees once you own the Iron Shield. The Mirror Shield blocks the beams fired by Beamos statues. The route appears in the Temple Remains chapter.
Dungeon items
Seed Satchel (20 seeds)
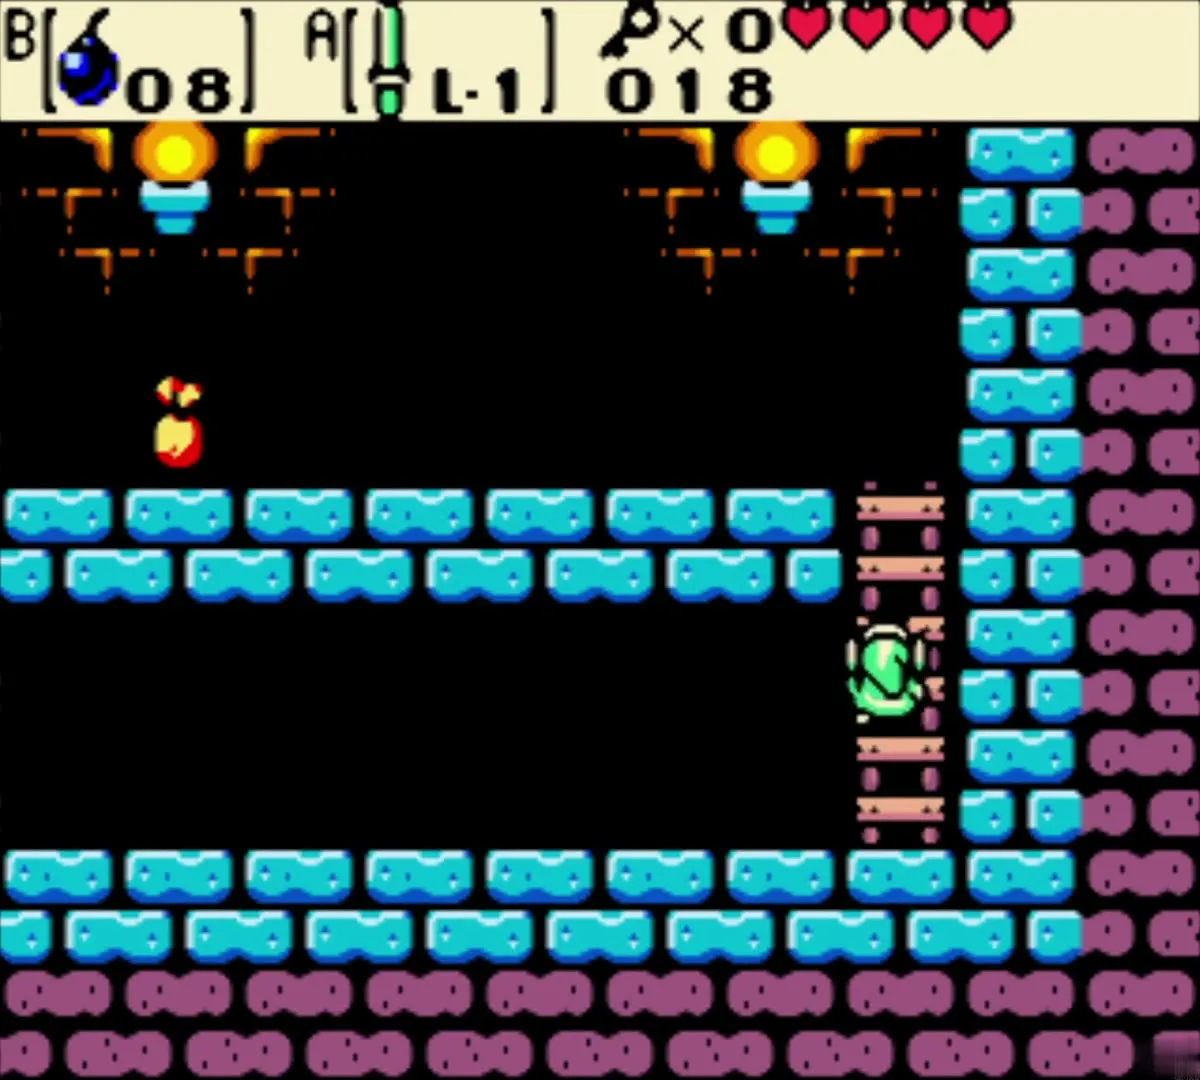
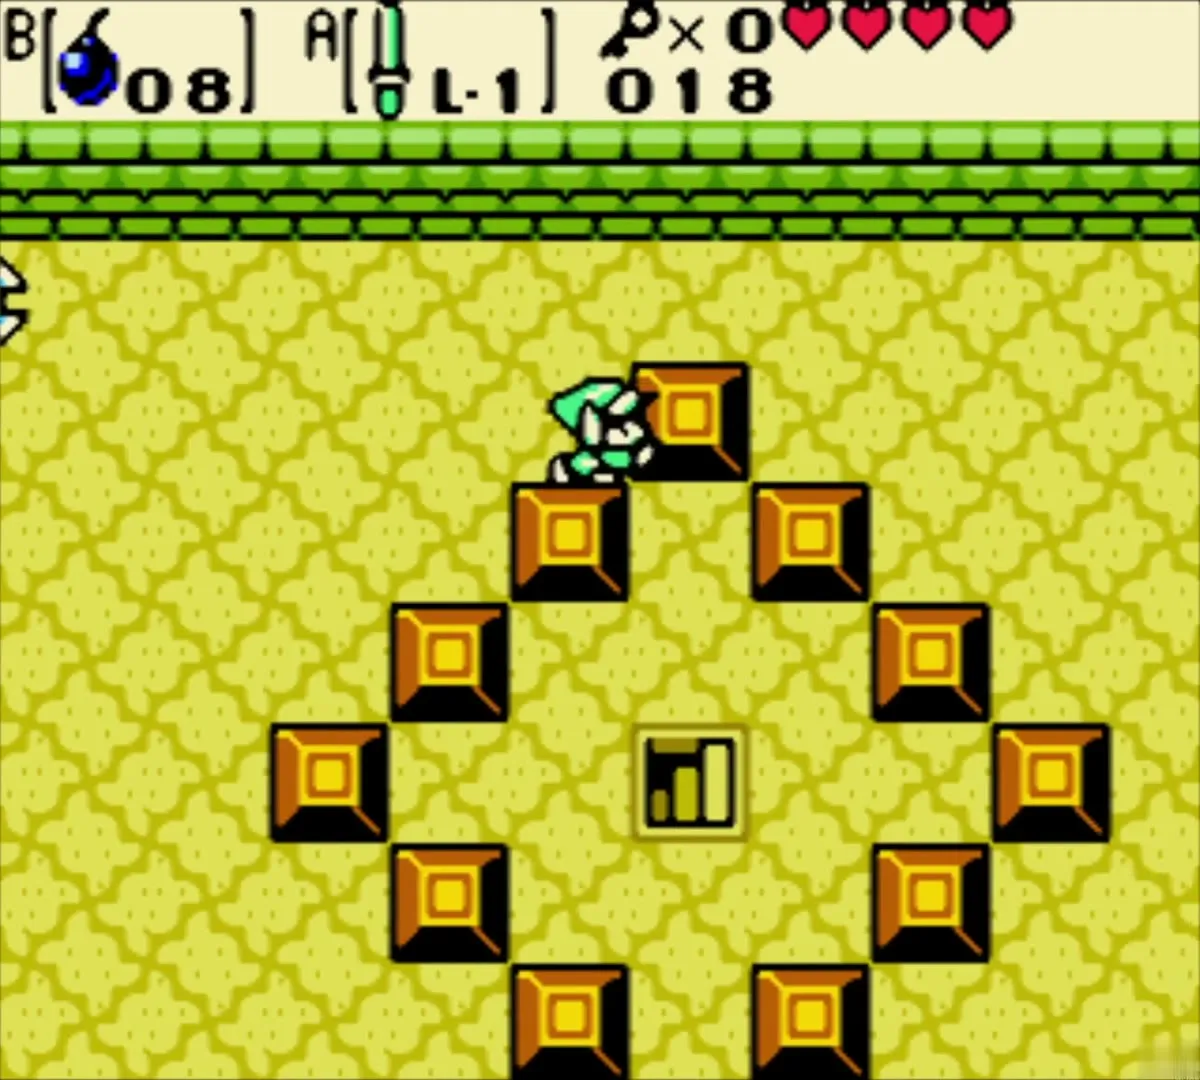
Enter the Gnarled Root Dungeon through the tree opened by the Gnarled Key. Beyond the block-pushing room with the Blade Traps, drop into a side-scrolling basement under a diamond of blocks and climb the ladder. The Seed Satchel is the dungeon’s main item and comes with 20 Ember Seeds. See Gnarled Root Dungeon.
Power Bracelet
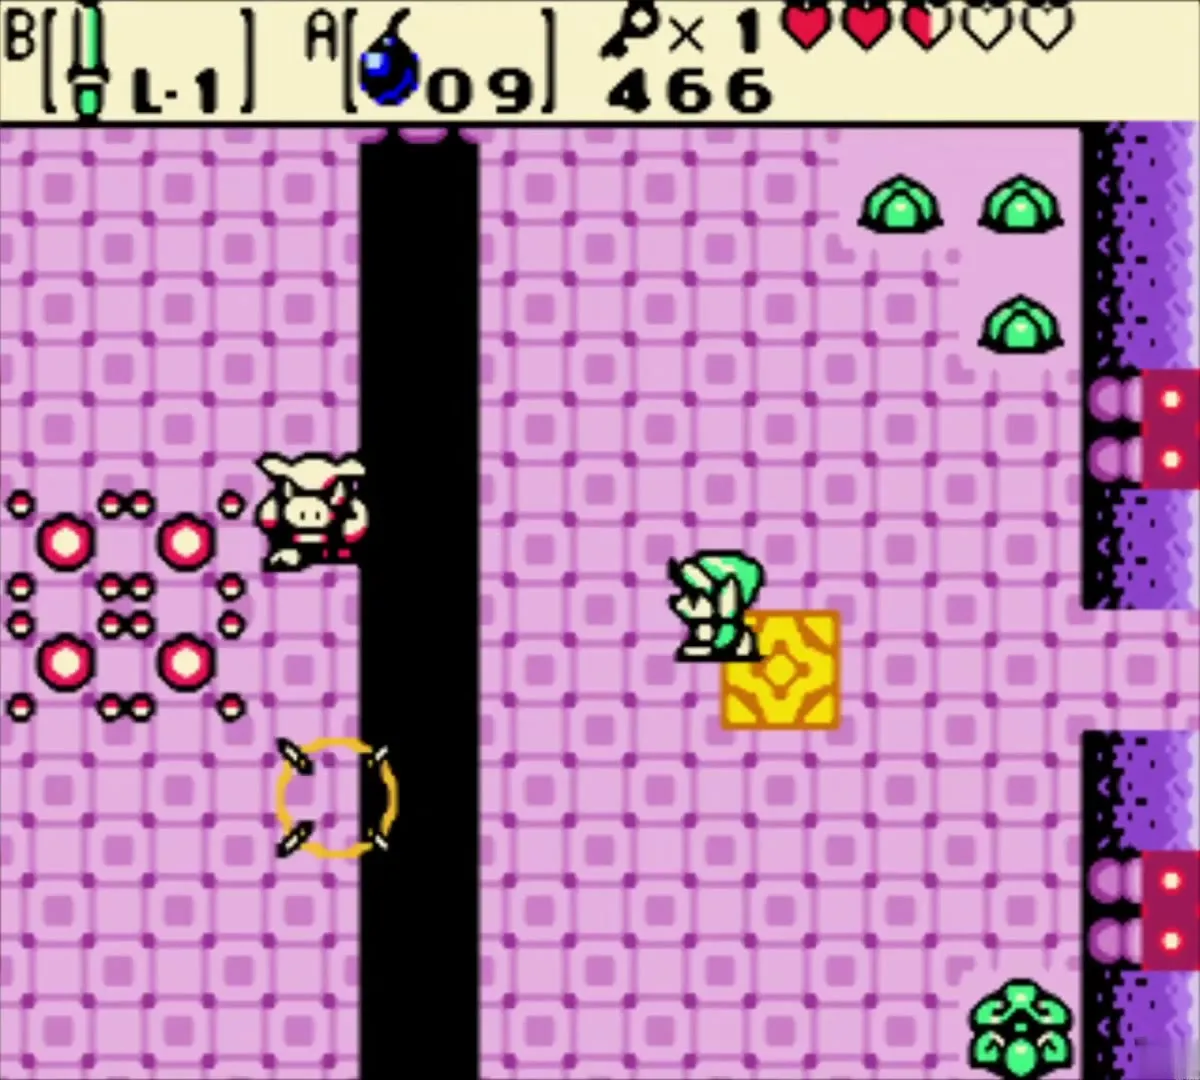
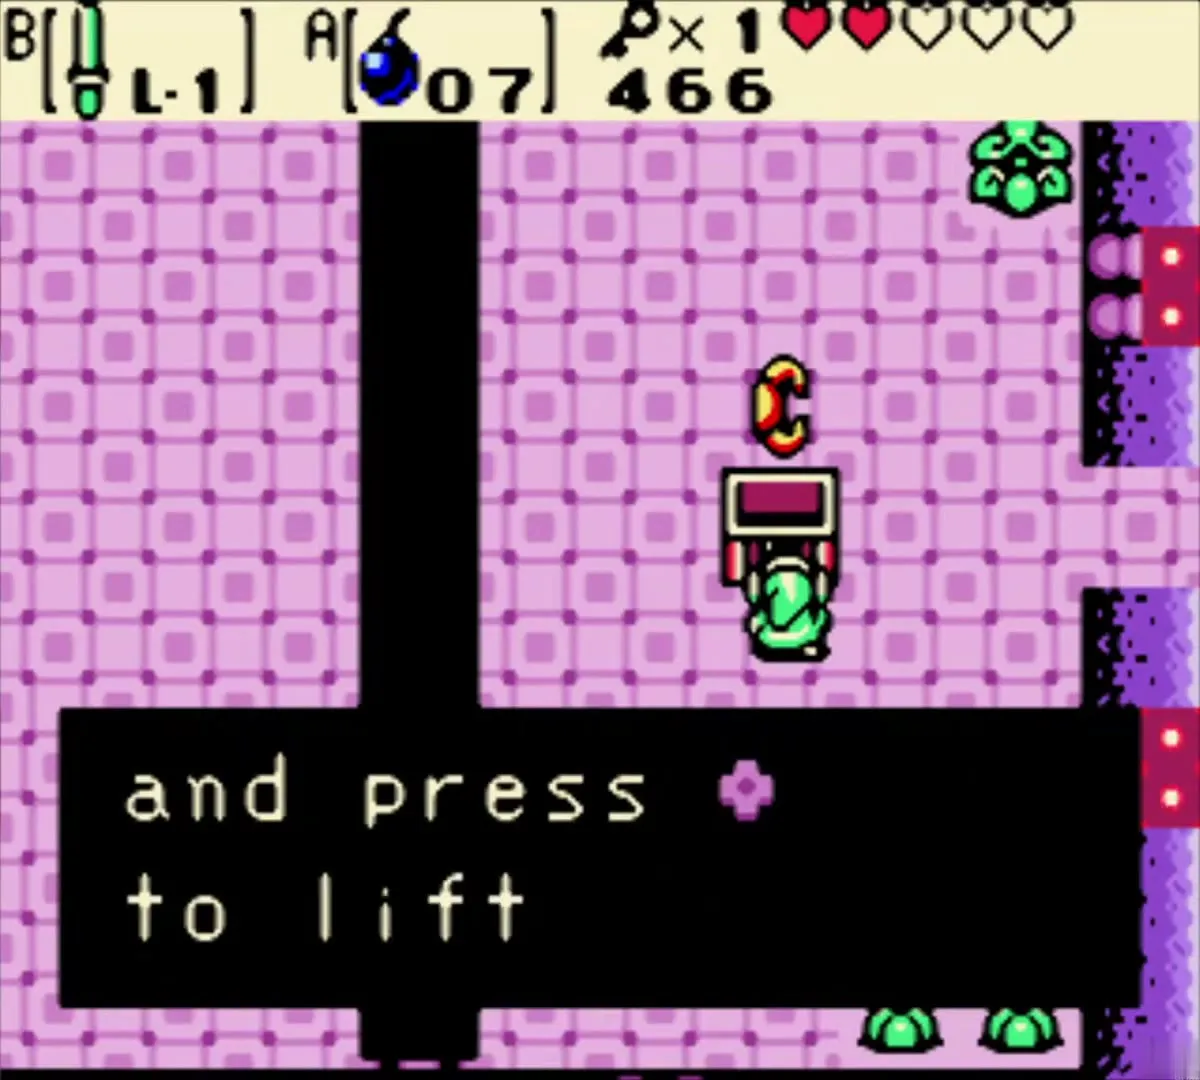
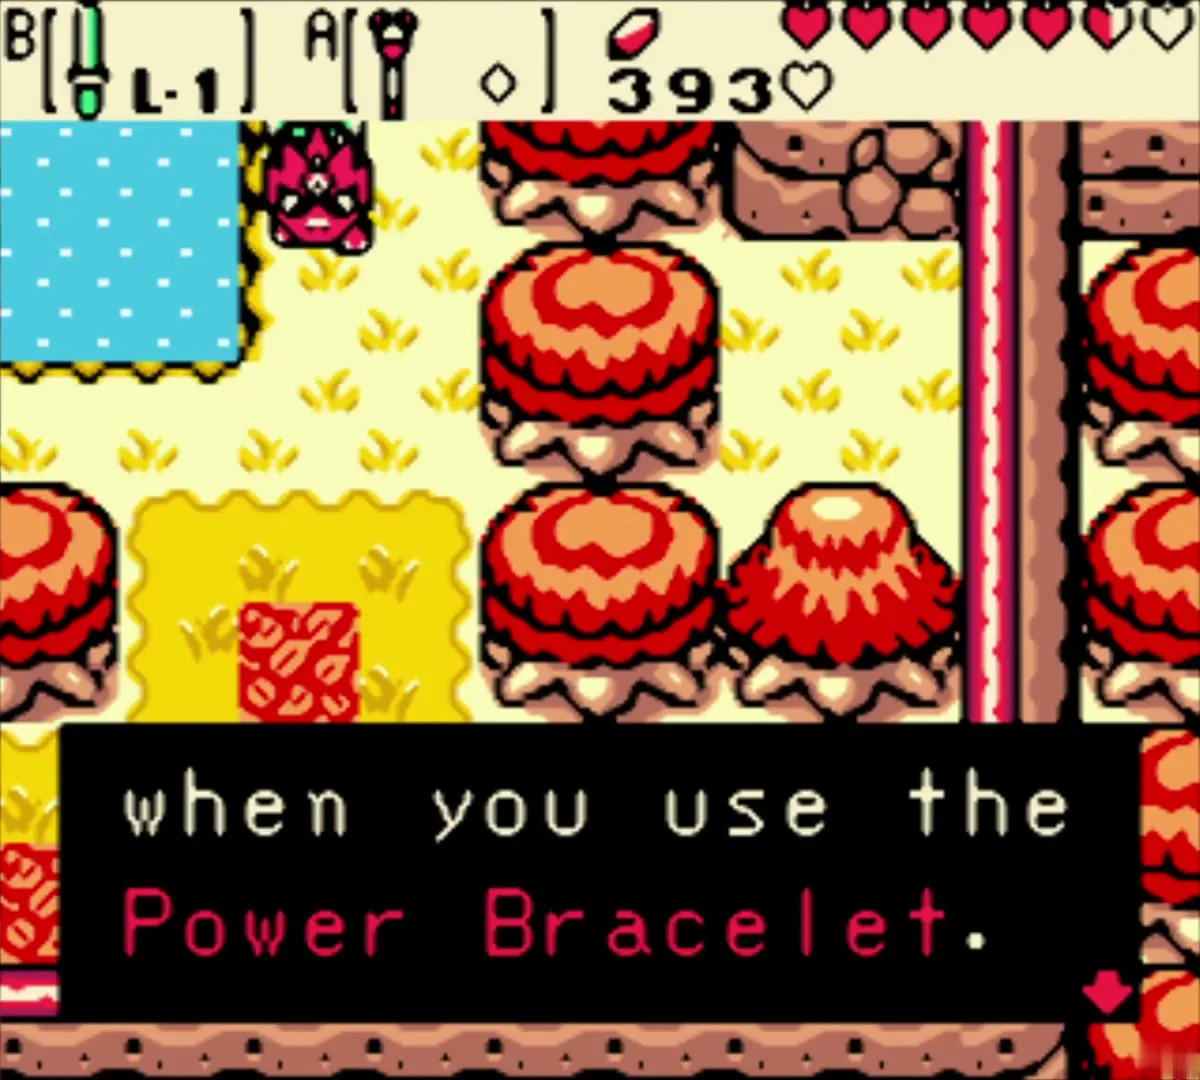
Snake’s Remains, the second dungeon, holds the Power Bracelet in a chest that appears after you defeat the Pig Warriors across the wide gap. Light the entrance torches first, then throw bombs over the gap or knock the Pig Warriors into it. You need the bracelet for the rocks and roller puzzles in later dungeons. See Snake’s Remains.
Roc’s Feather
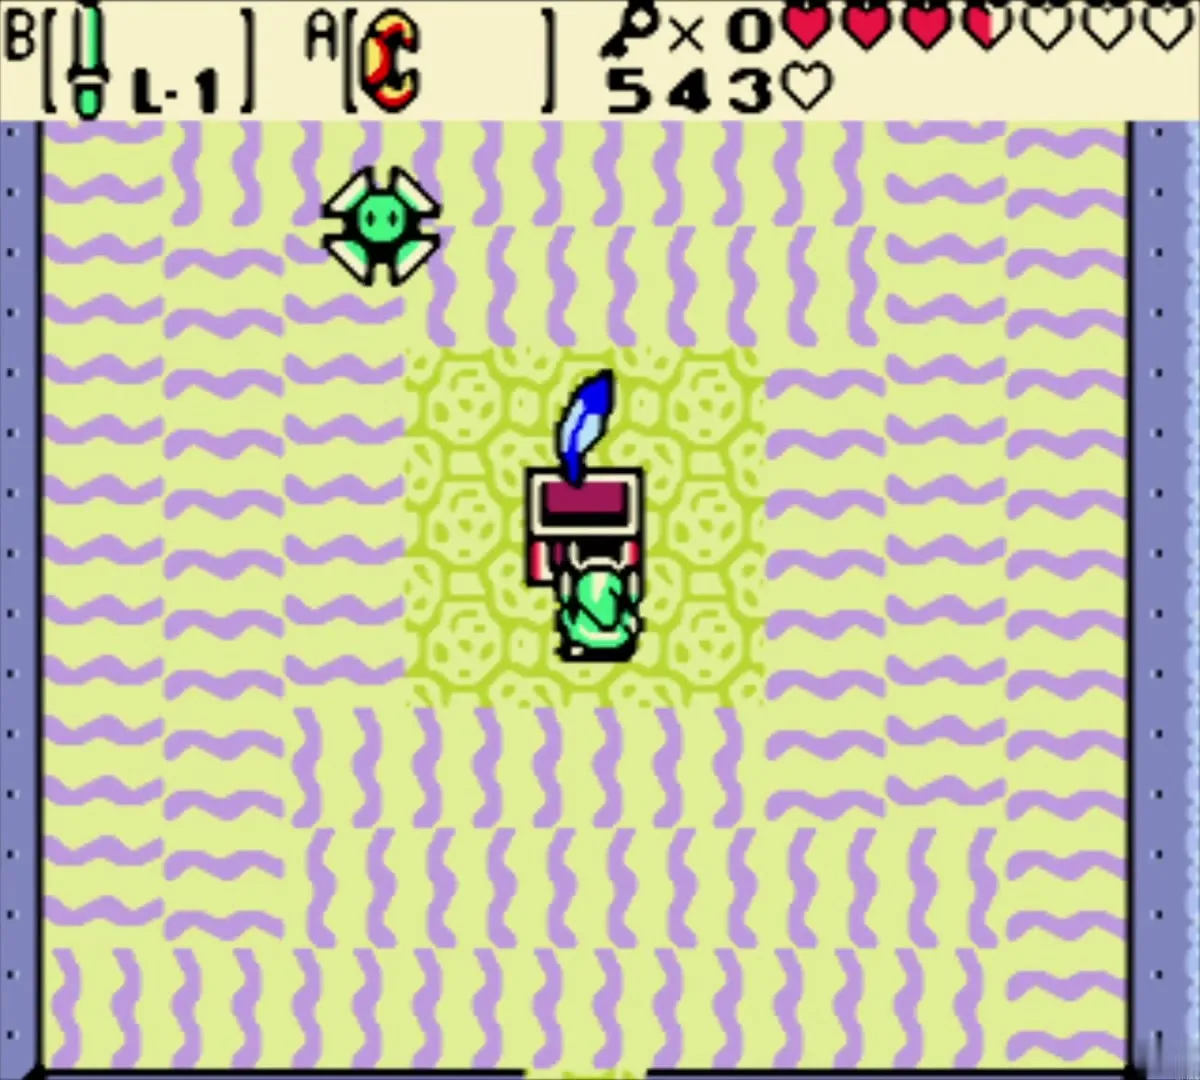
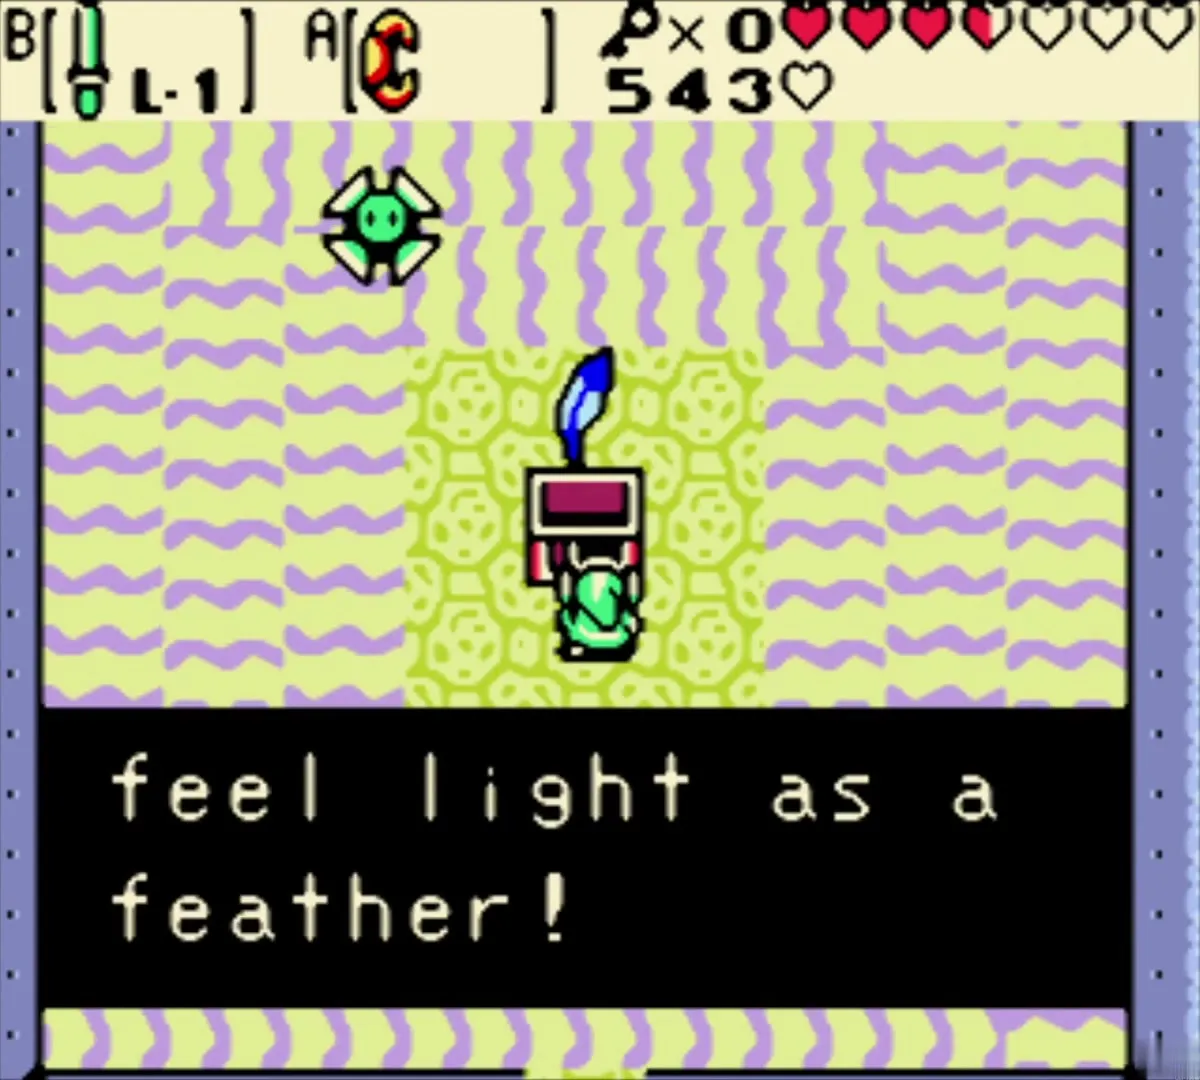
Poison Moth’s Lair holds the Roc’s Feather, halfway through the dungeon. Use it to reach the Compass and the second Small Key, then cross the potholes on the way. It lets you jump one tile, and three tiles with a Pegasus Seed. See Poison Moth’s Lair.
Slingshot
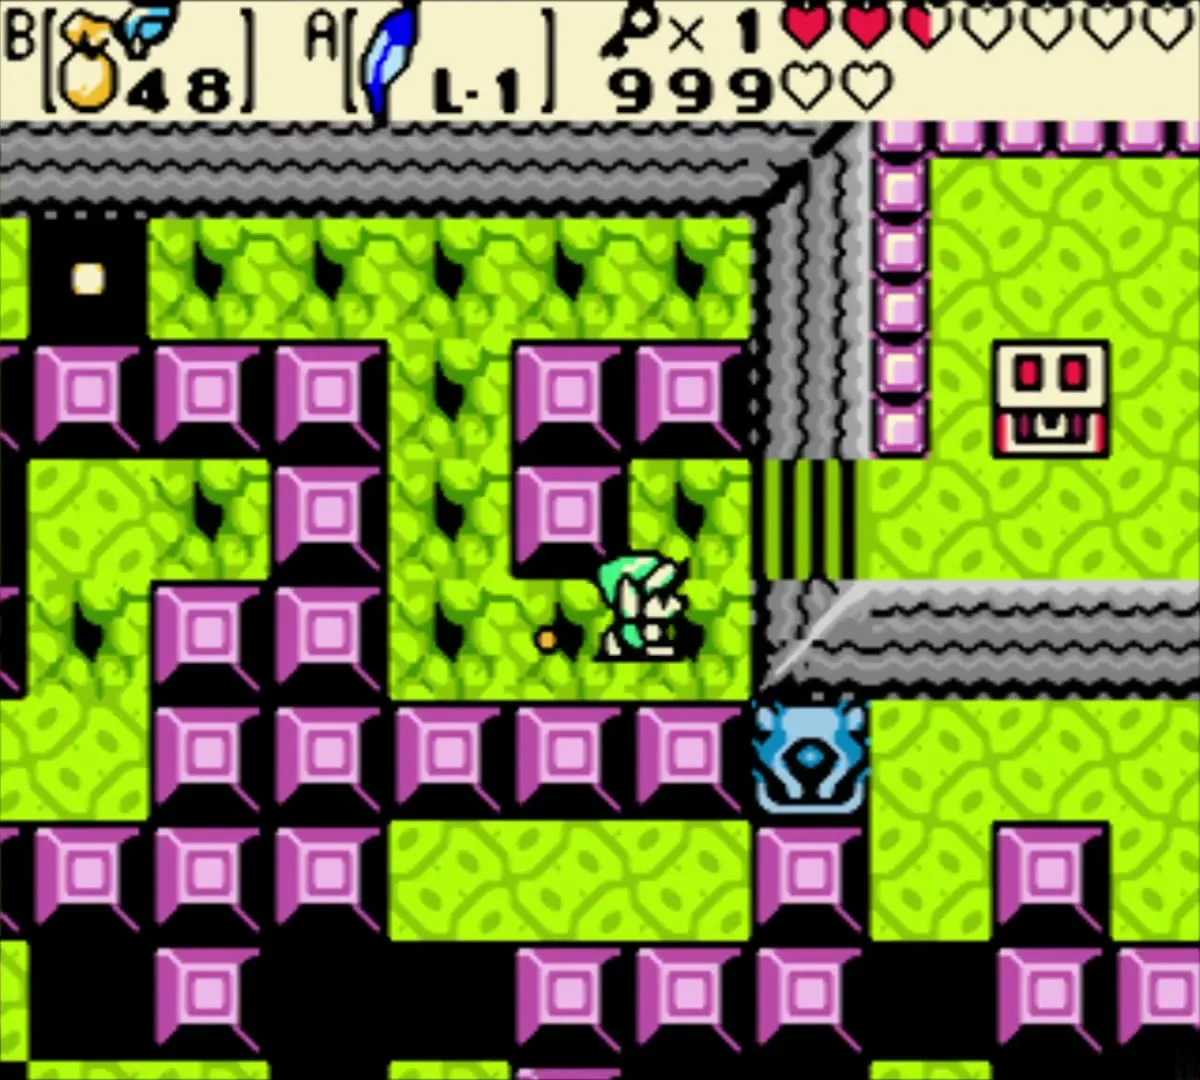
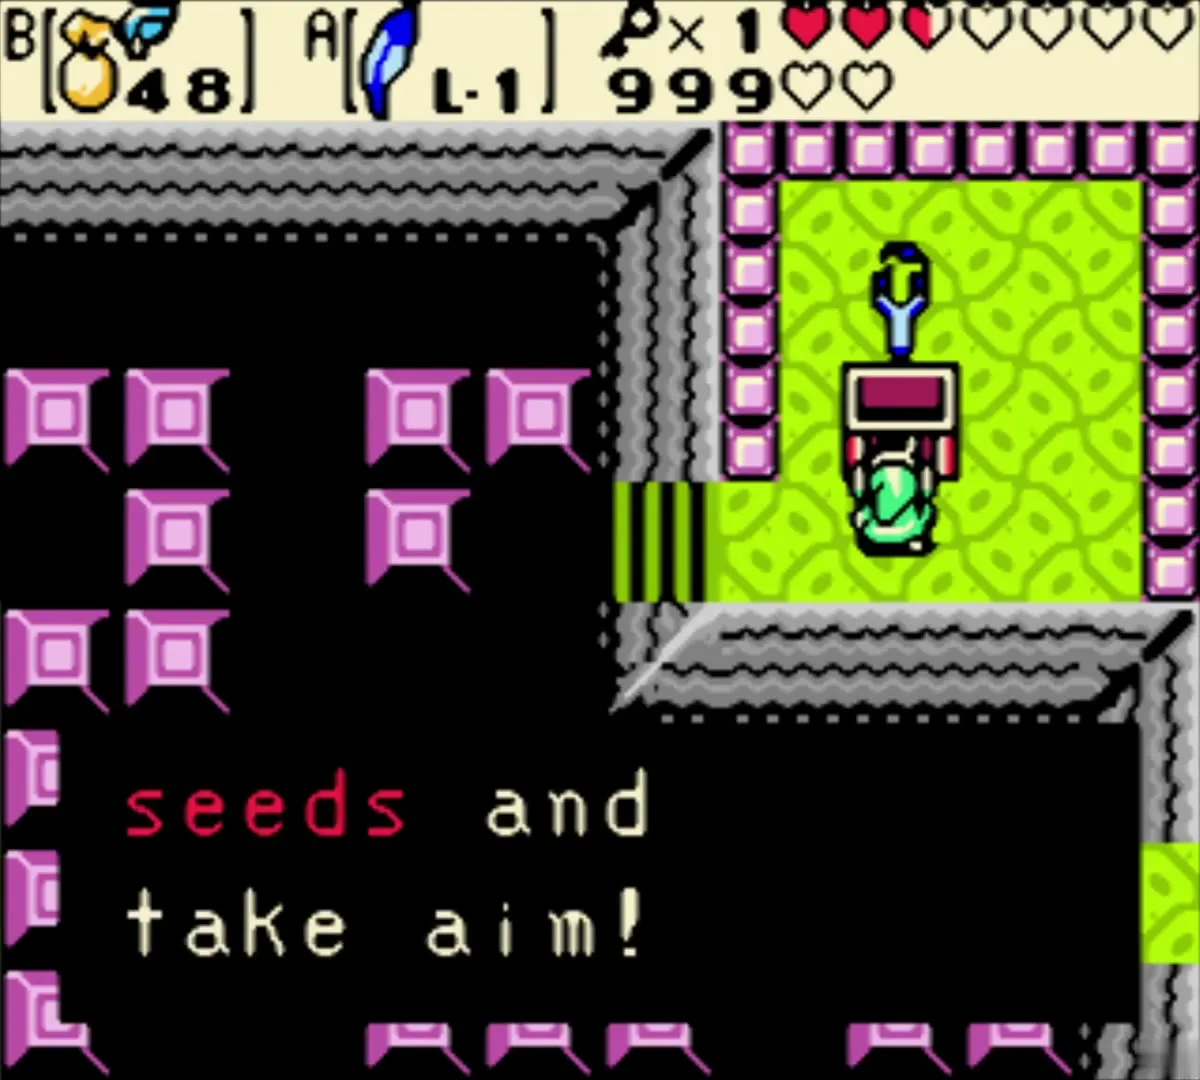
The Dancing Dragon Dungeon gives you the Slingshot. It fires seeds in eight directions, so you can hit switches across a room. The chapter covers the cart room where you use it. See Dancing Dragon Dungeon.
Magnetic Gloves
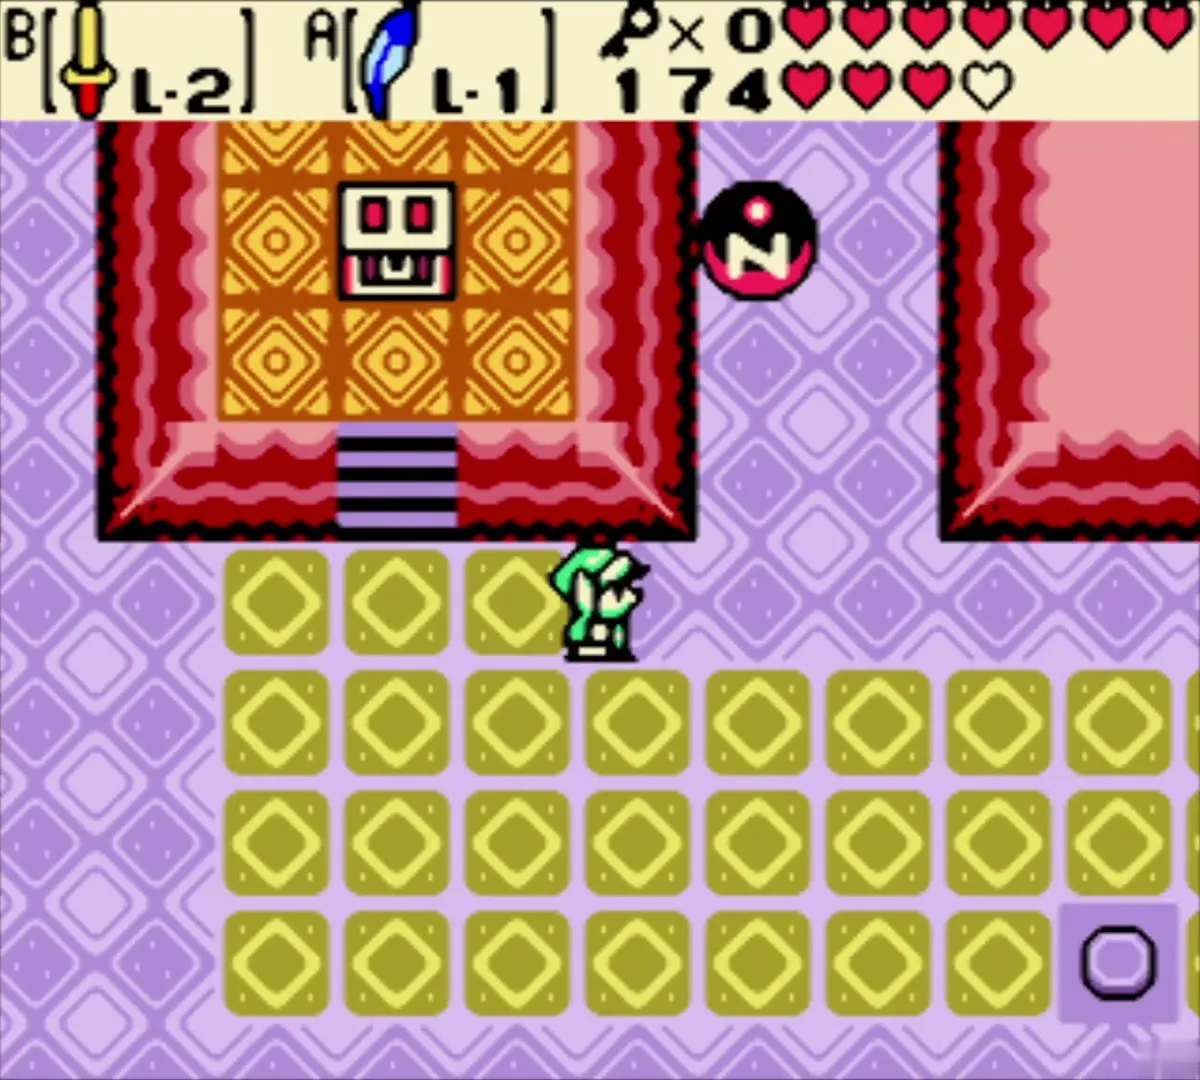
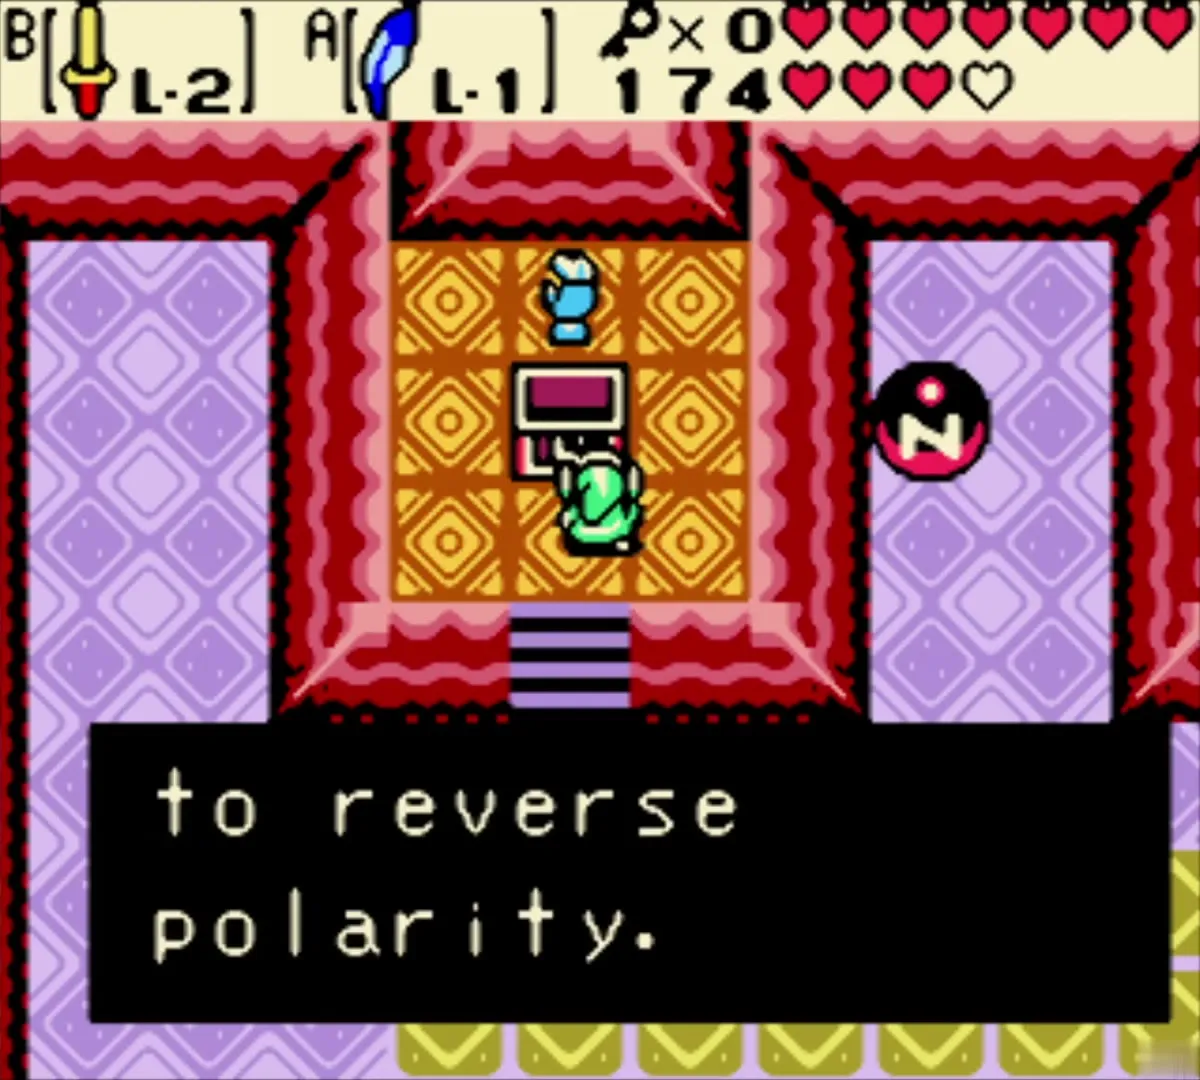
Unicorn’s Cave has the Magnetic Gloves in an alcove off the yellow-tile room, behind the water rooms. They attract or repel metal objects and pull magnetic balls onto switches. You need them later for the Red and Blue Ore chests in Subrosia. See Unicorn’s Cave.
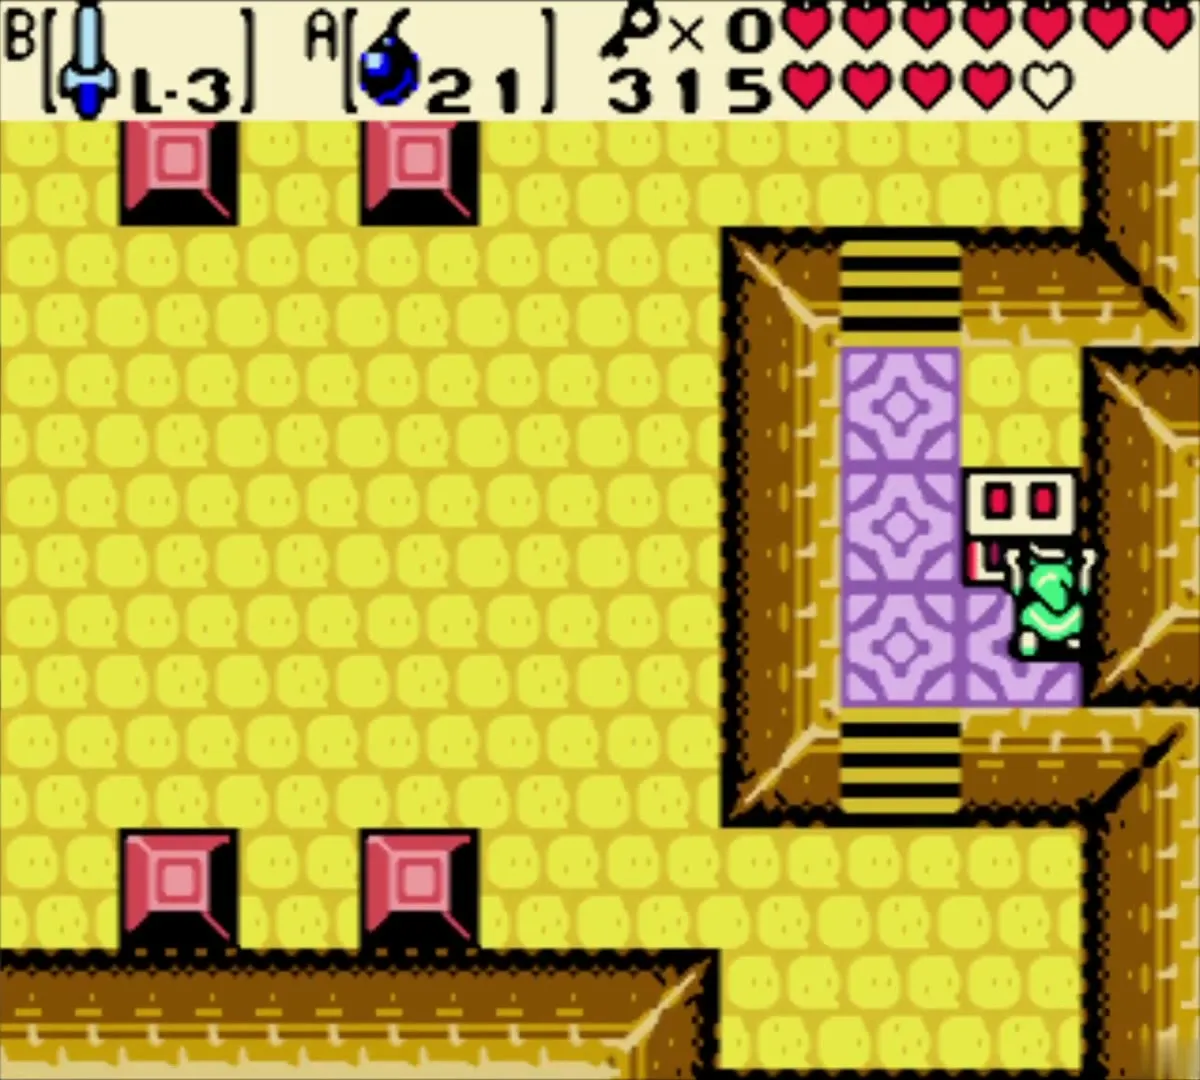
Magical Boomerang (L-2)
Climb to the third floor of the Ancient Ruins and open the chest in the Armos room. Taking it wakes the Armos statues, which you defeat before you leave. The Magical Boomerang hits the open mouths of Manhandla in the boss room. See Ancient Ruins.
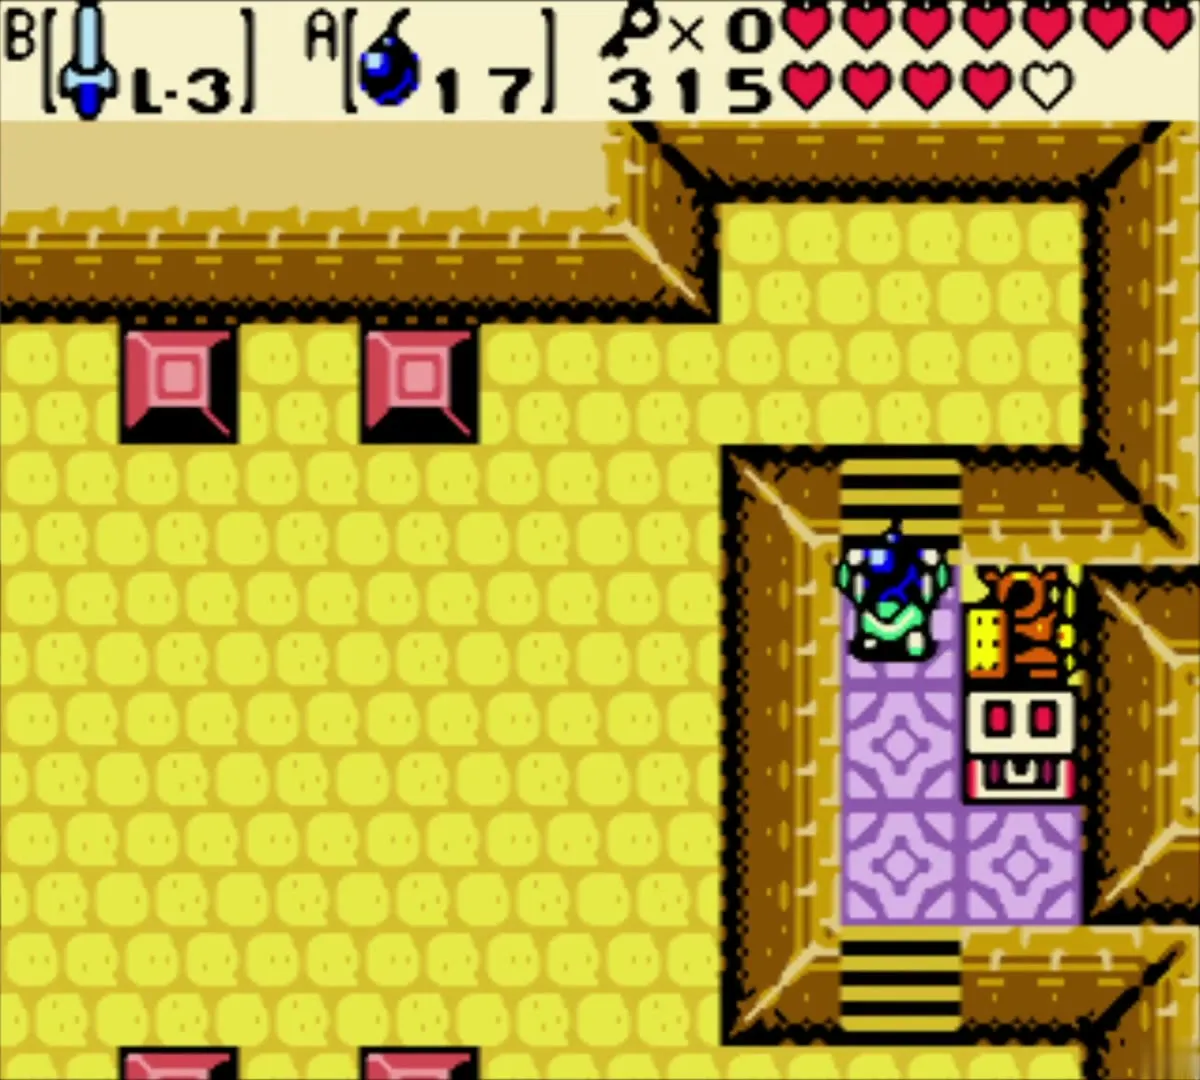
Roc’s Cape
The Explorer’s Crypt holds the Roc’s Cape, an upgrade to the Roc’s Feather. It jumps three tiles, and you can hold the button to glide longer. Enter the crypt from the graveyard on the Western Coast; summer is needed to clear the vines. See Explorer’s Crypt.
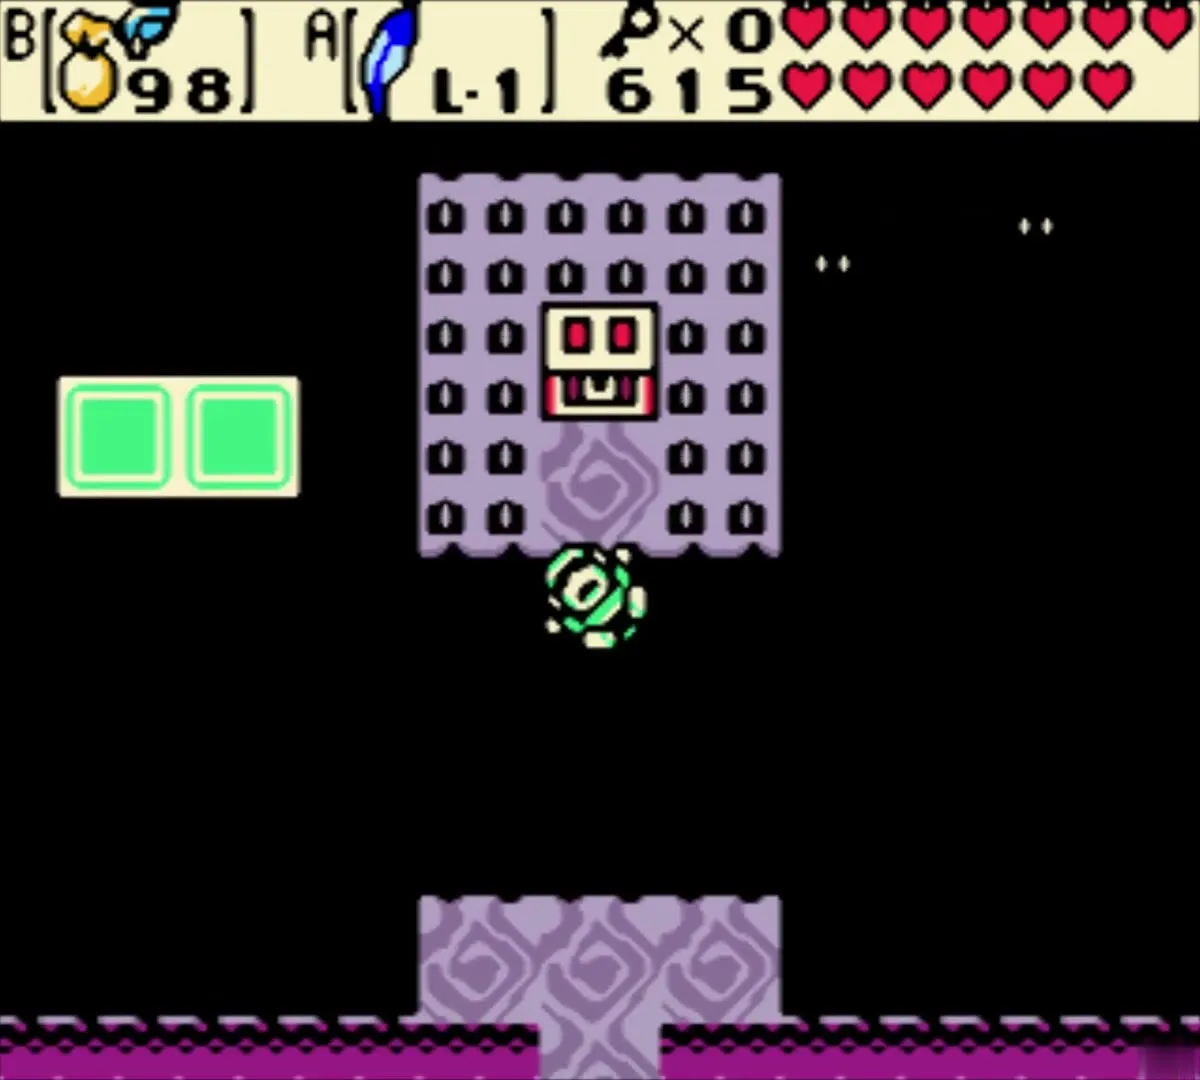
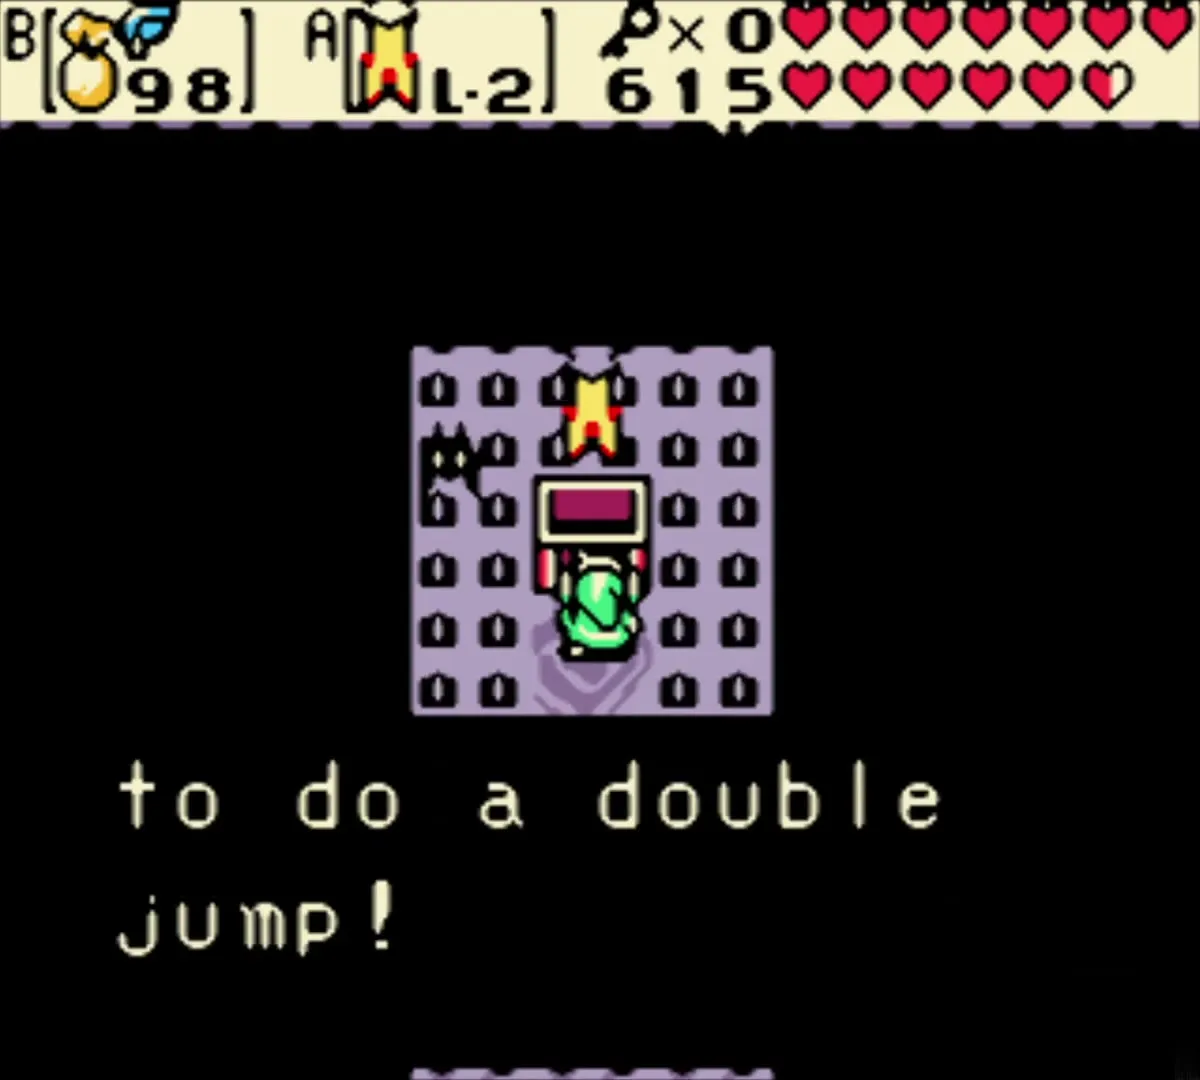
Hyper Slingshot
The Sword & Shield Maze holds the Hyper Slingshot in a chest behind a face-shaped block. Pull the iron sphere onto its button with the Magnetic Gloves to make a bridge, then push the face block aside. It fires three seeds for the cost of one. See Sword & Shield Maze.
Key items and tools
Shovel
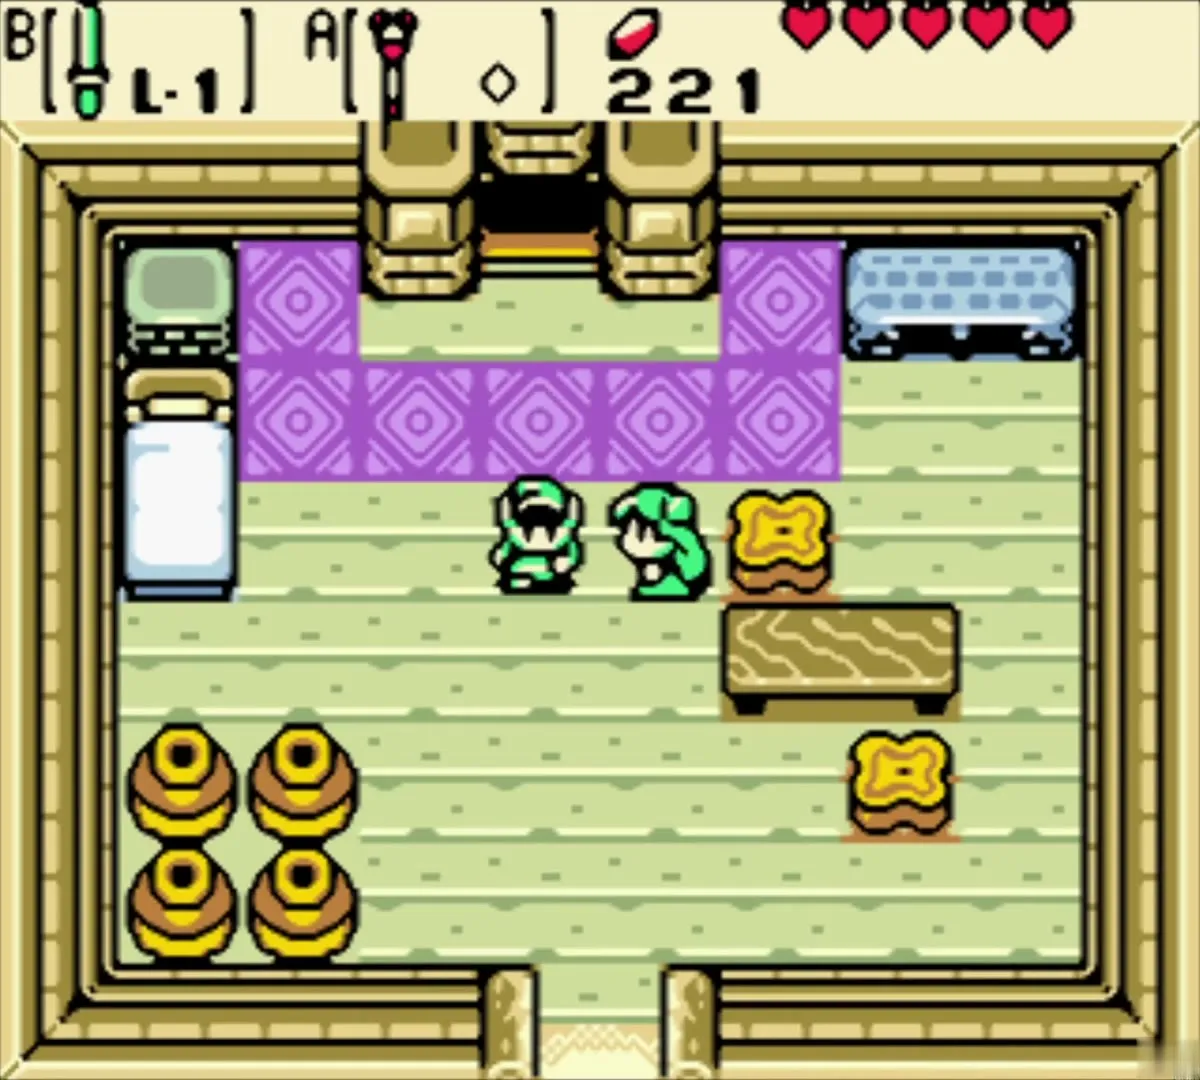
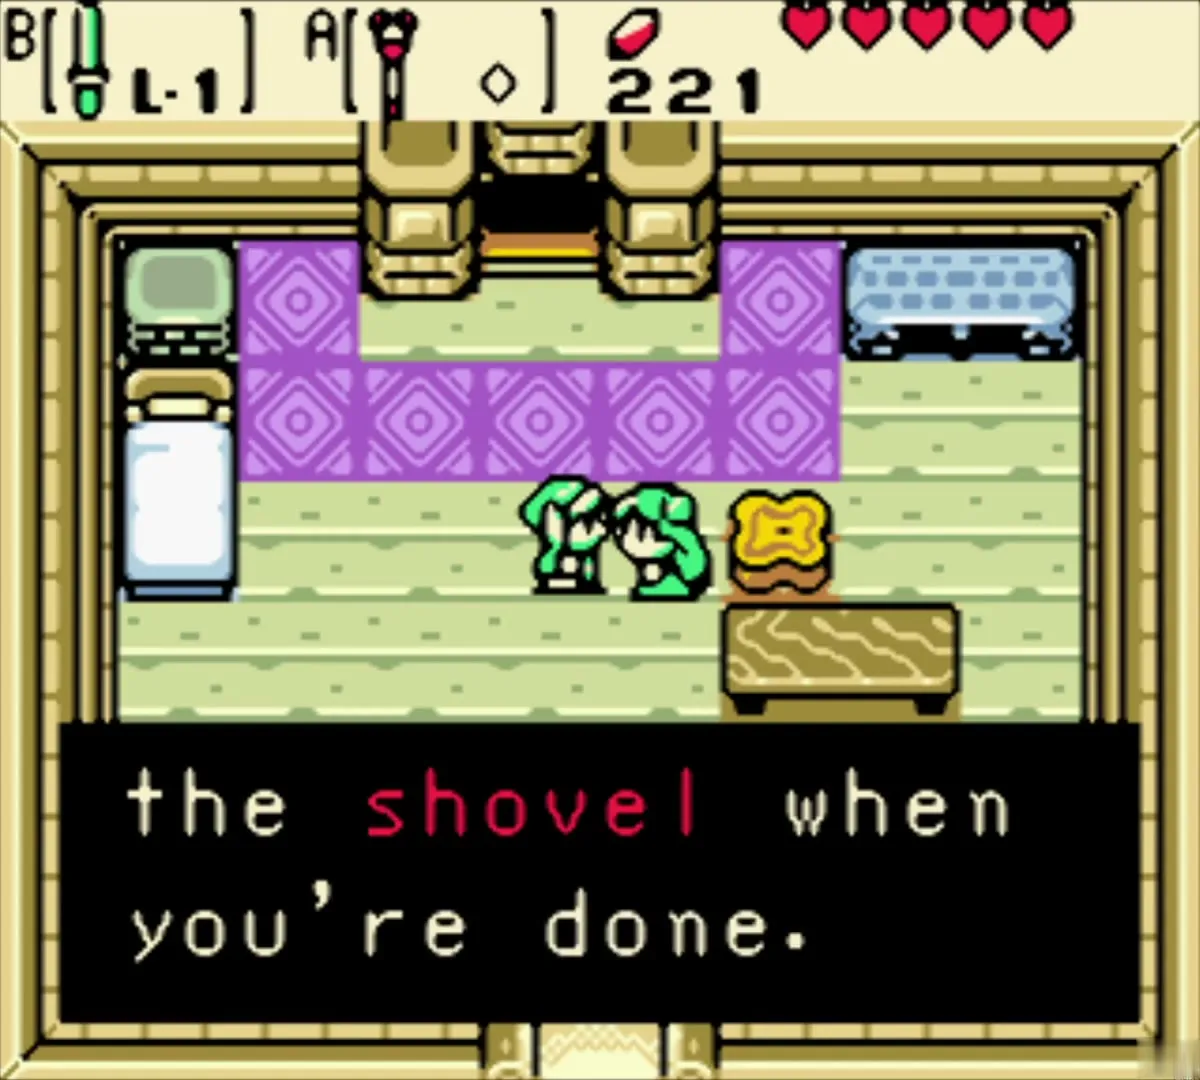
Holly gives you the Shovel in Woods of Winter. Find her house by climbing the steps, crossing the snowbank and dropping down the chimney. The Shovel digs up Ore Chunks, hearts and hidden stairs in soft soil. See Woods of Winter and the Shovel.
Zora’s Flippers
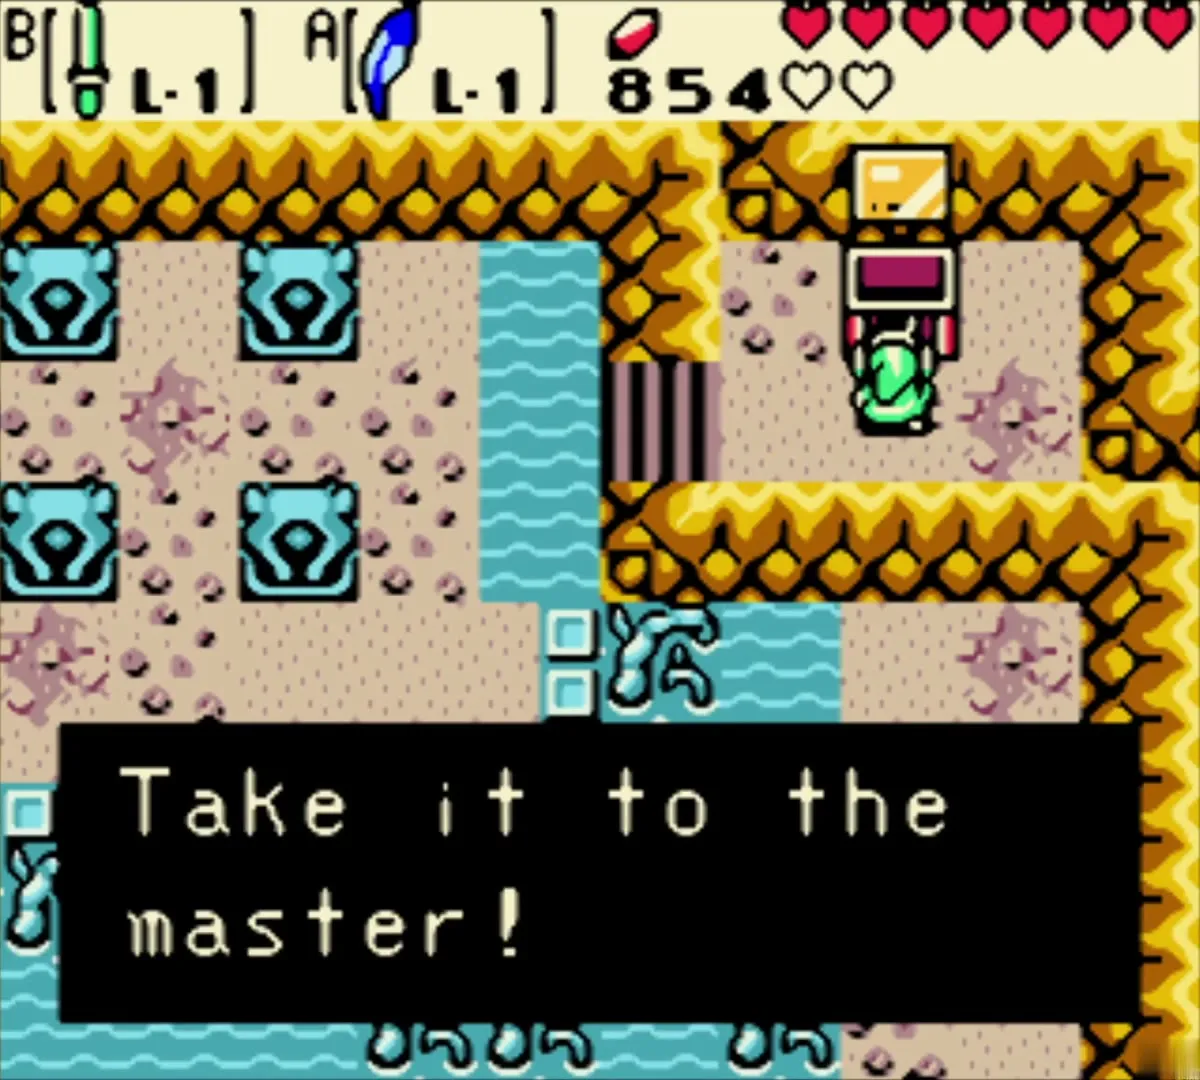
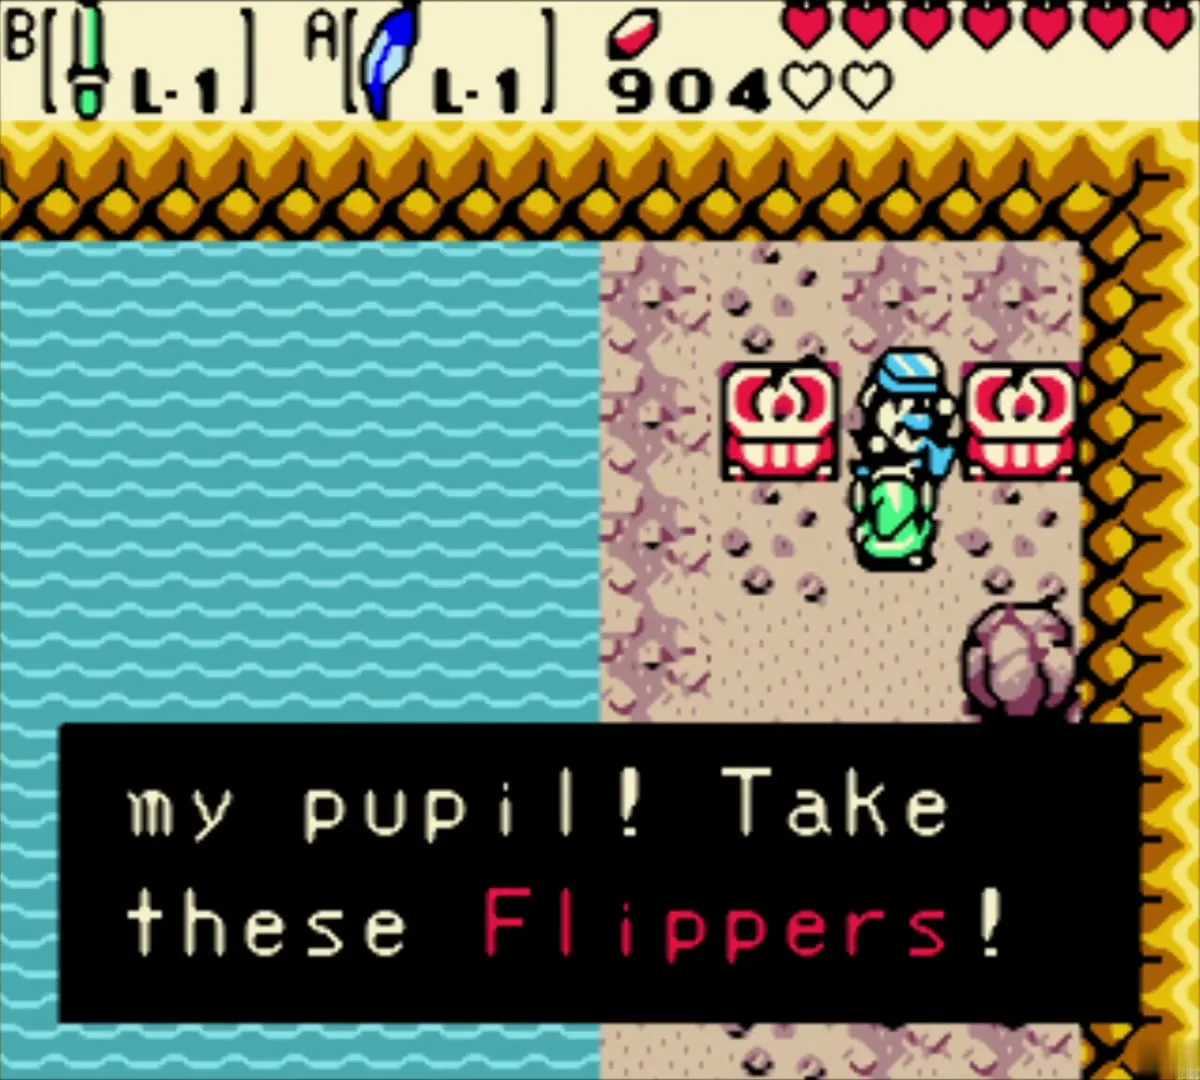
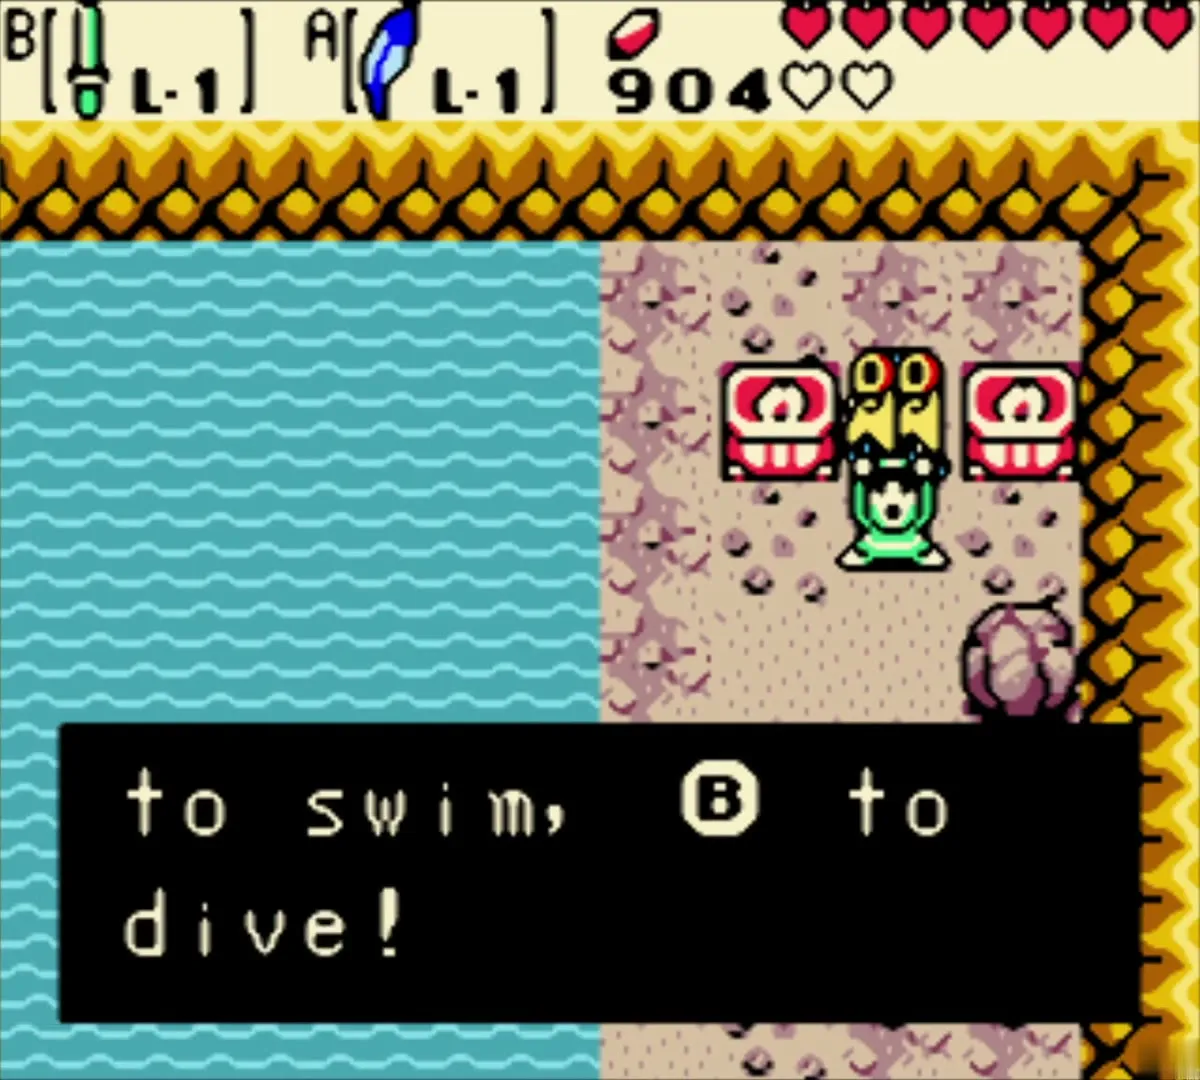
Sunken City’s Master Diver gives you the Zora’s Flippers. A woman in one of the flooded houses explains where his gear is hidden, which leads to the Master’s Plaque. Earn the plaque in the cave with four eye statues: push the statues into one tight block, stand on the open tile, and spin-attack so that every eye is hit at once. Give the plaque to the Master Diver, and he accepts you as his pupil. You can then swim with A and dive with B. See Sunken City and Zora’s Flippers.
Rod of Seasons
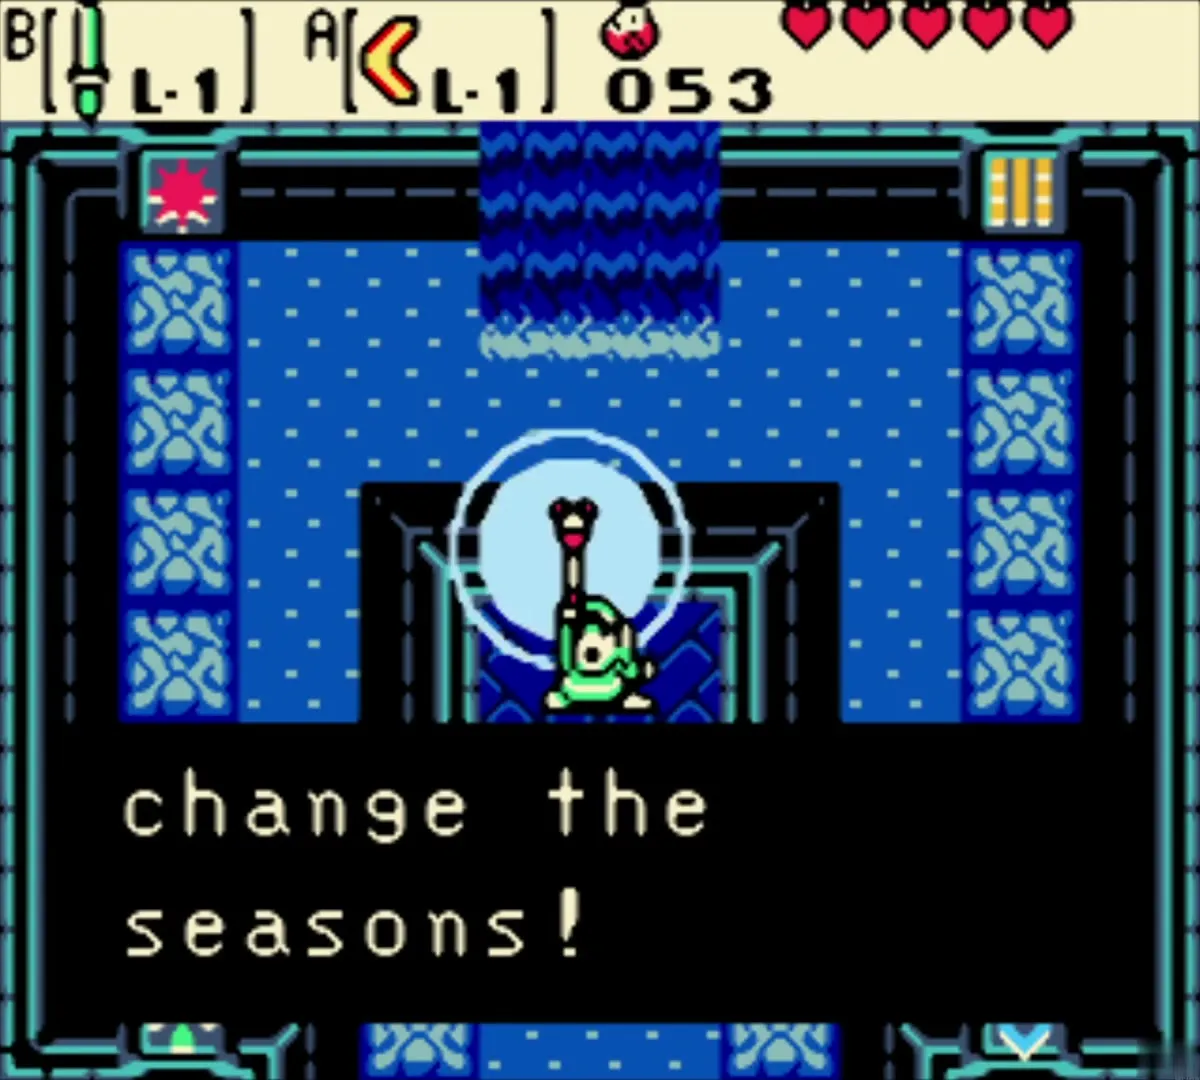
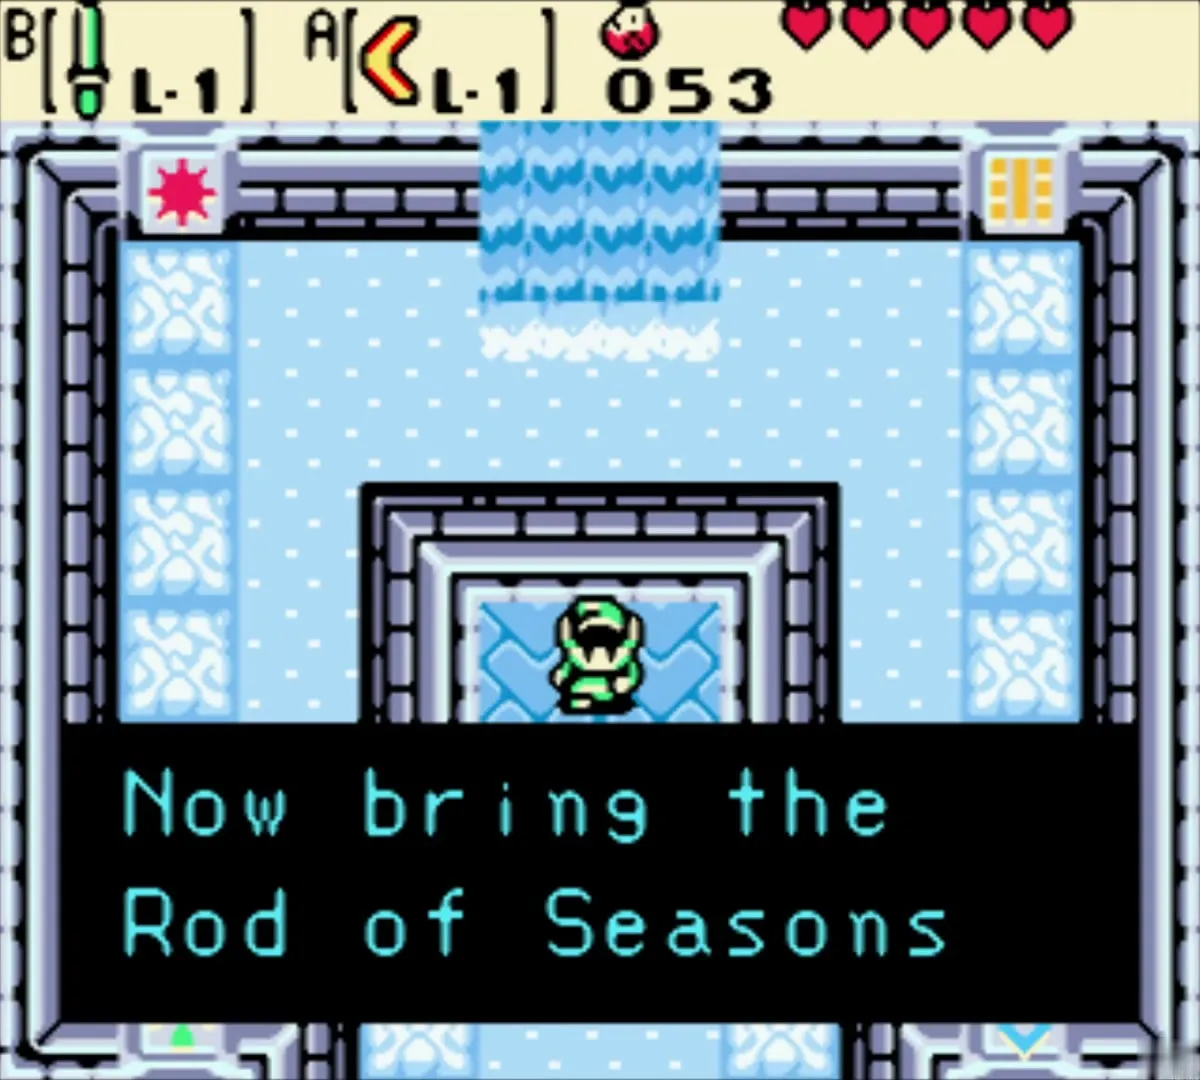
The Rod of Seasons is in the Temple of Seasons area of Subrosia early in the game. It only works at a tree stump, and it gains one season power from each Season Spirit. Winter is first, then summer, spring and autumn. See Tower of Winter and the Rod of Seasons.
Gale Seeds
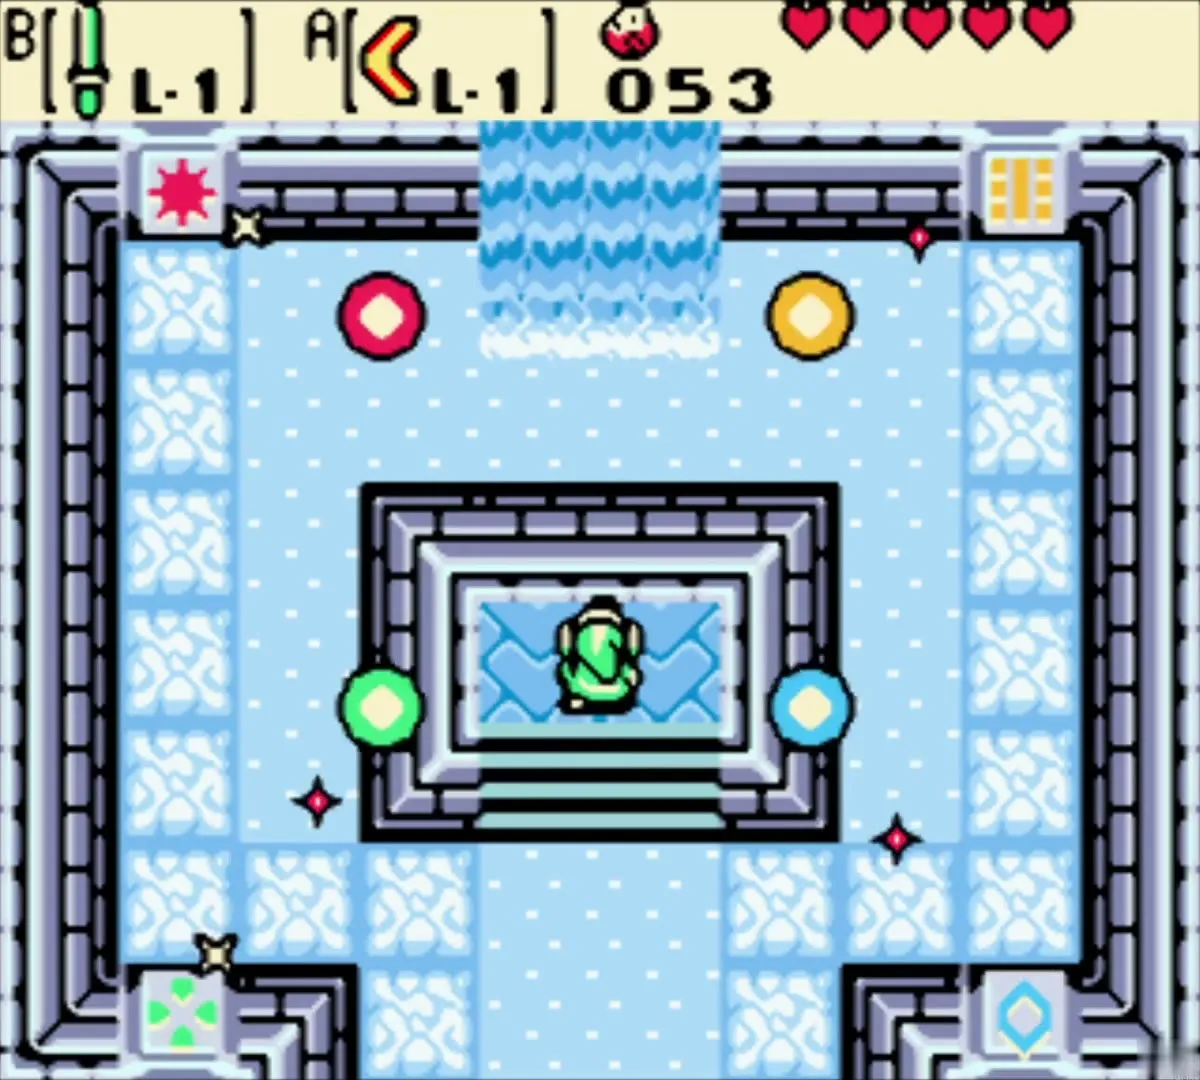
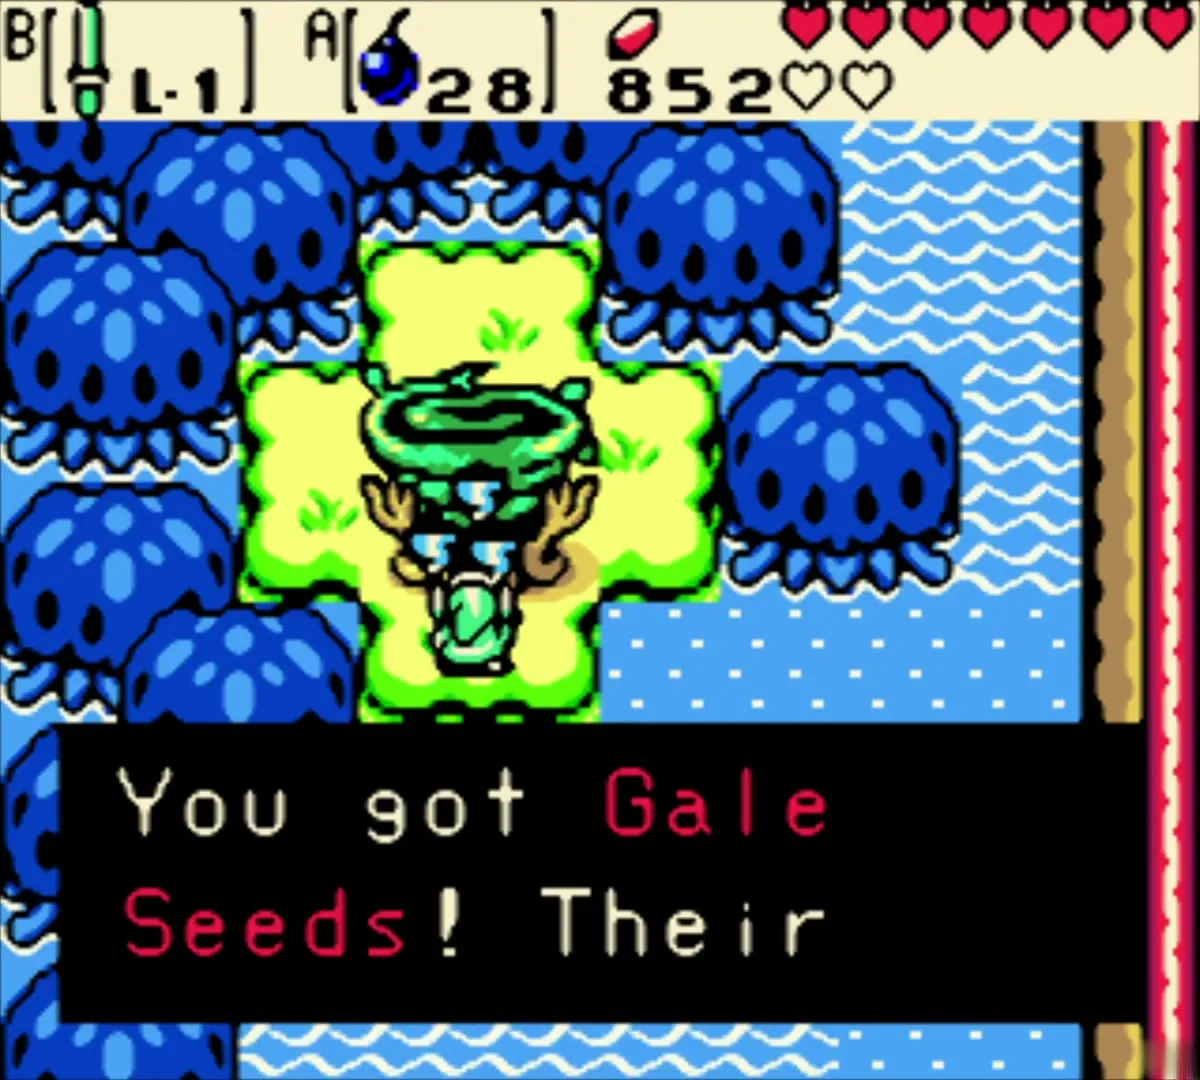
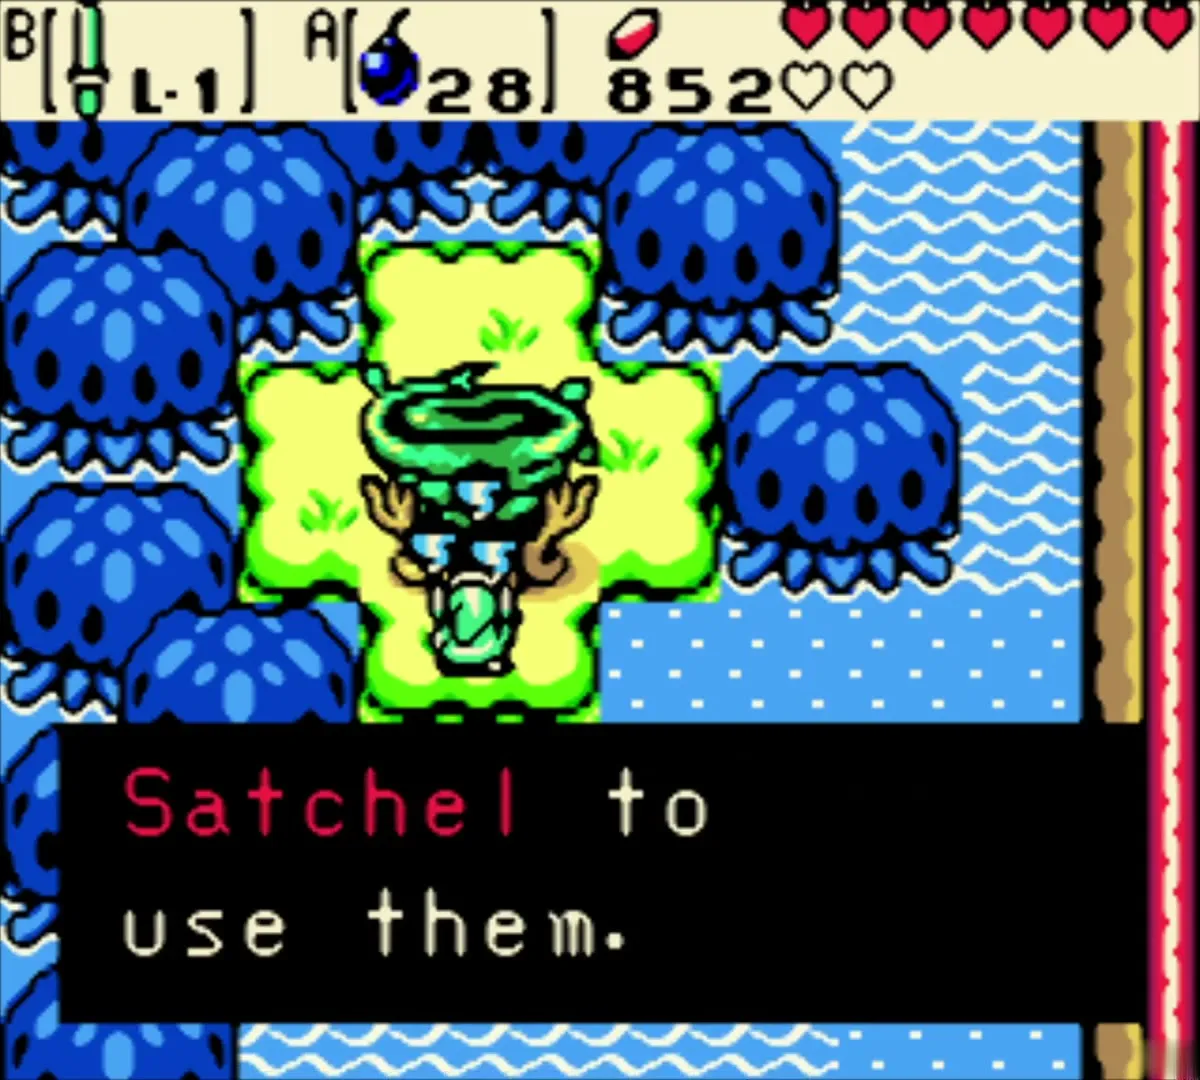
Gale Seeds come from the Mystical Tree in Sunken City. Use one outdoors near a stump you have activated with the Rod of Seasons, and you warp to any other activated stump you pick from the map. See Sunken City.
Mystical Seeds and the Seed Satchel

Ember Seeds
Use: Burn bushes and light torches
Where it grows: Horon Village, south of Vasu’s shop

Scent Seeds
Use: Lure monsters
Where it grows: North Horon, above Blaino’s Gym

Pegasus Seeds
Use: Speed burst and longer jumps
Where it grows: Spool Swamp entrance

Mystery Seeds
Use: Owl hints and random effects
Where it grows: Woods of Winter
Gale Seeds
Use: Warp between activated stumps
Where it grows: Sunken City
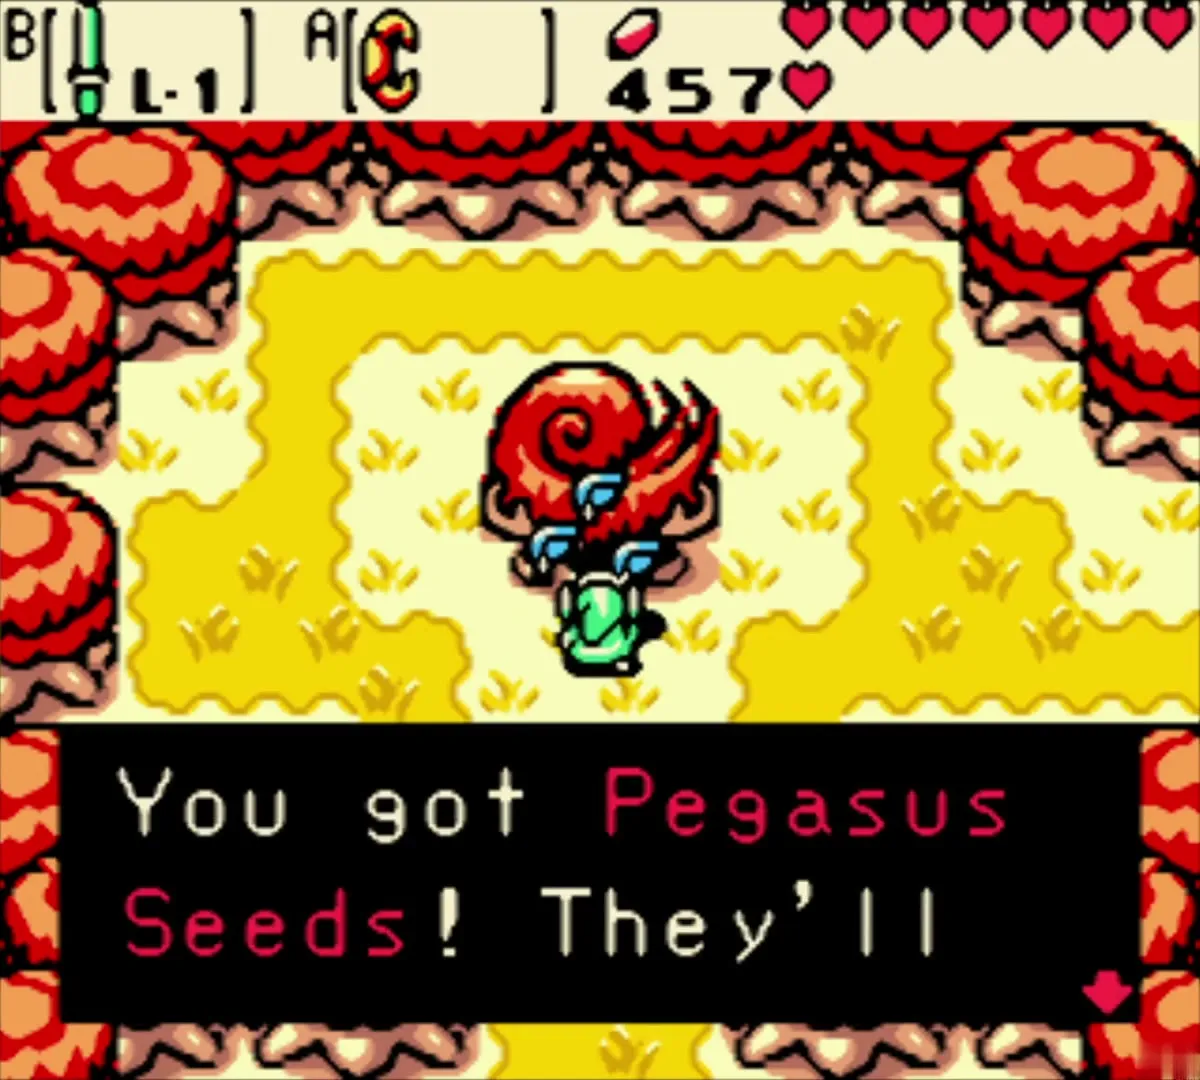
Ember, Scent, Pegasus, Mystery and Gale Seeds
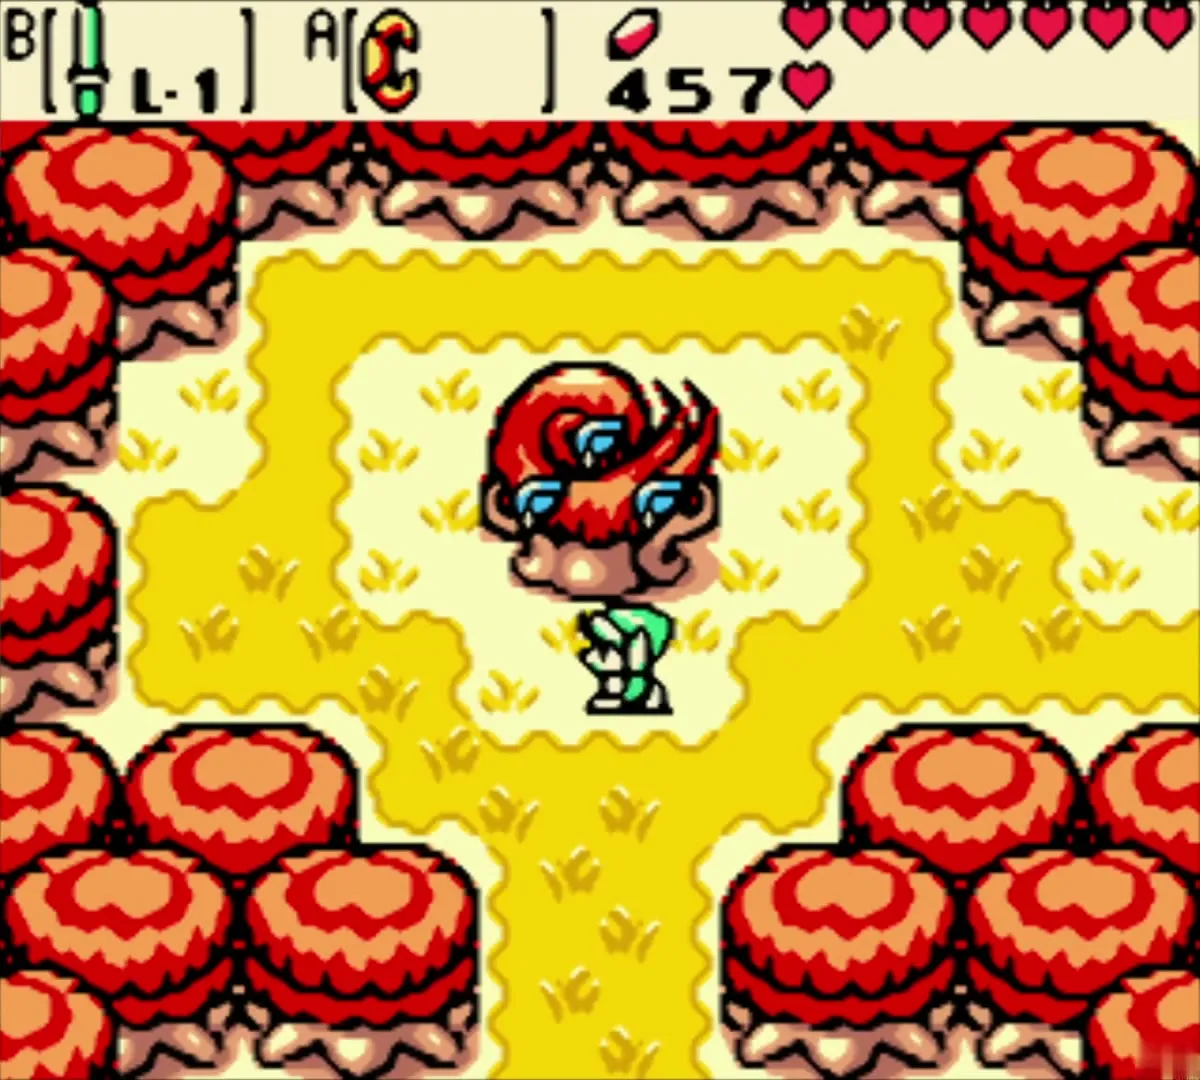
Each Mystical Tree bears fruit in one season only. The Ember Seed tree is south of Vasu’s shop in Horon Village. The Scent Seed tree stands in North Horon above Blaino’s Gym, the Pegasus Seed tree is at the Spool Swamp entrance, the Mystery Seed tree is in the Woods of Winter, and the Gale Seed tree is in Sunken City. Refill your seeds by cutting grass and defeating enemies, then use them with the Satchel or Slingshot.
Seed Satchel upgrades
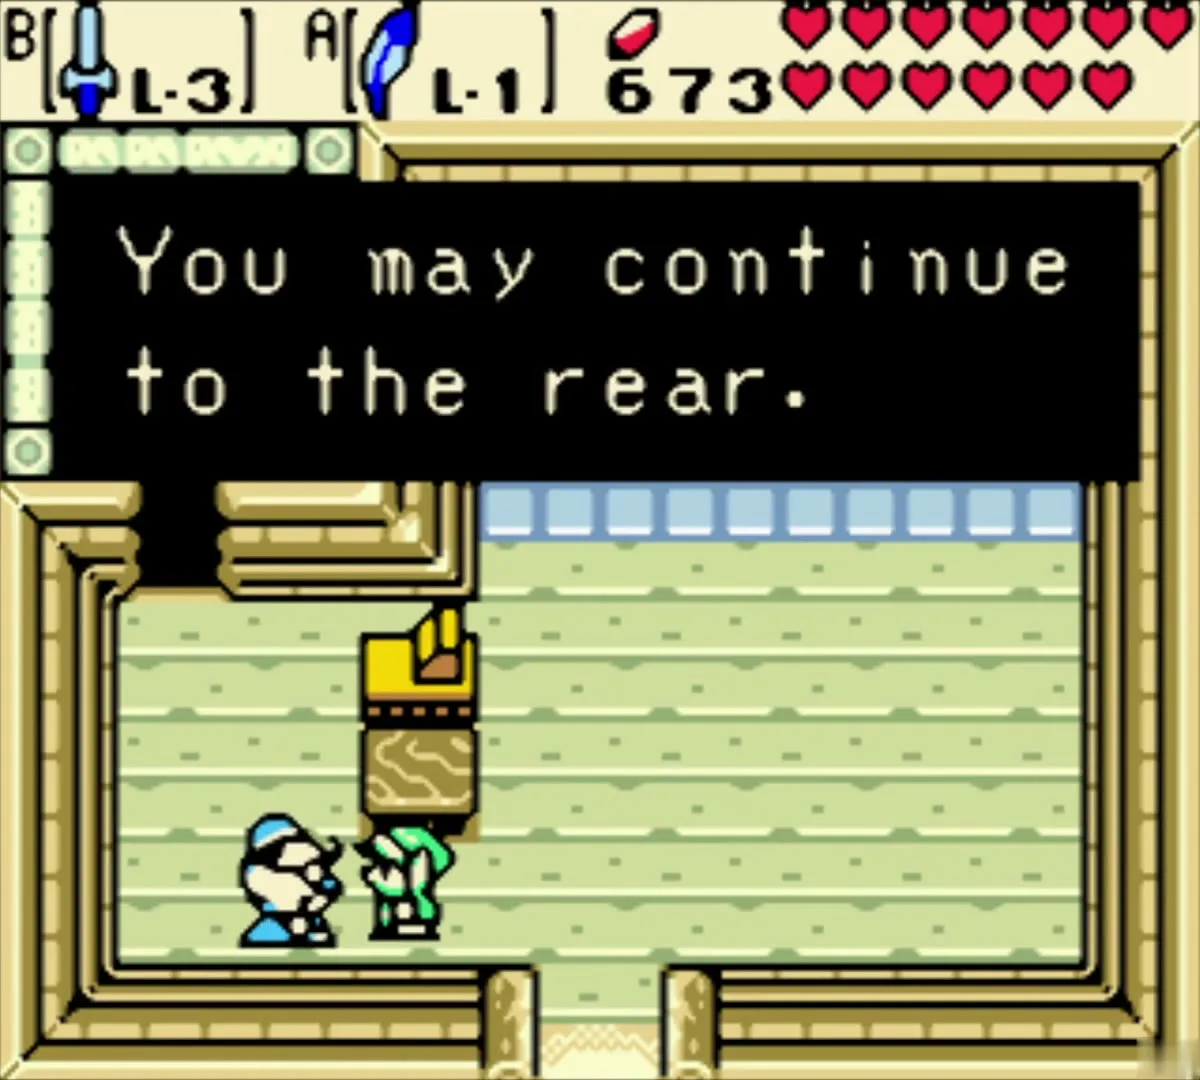
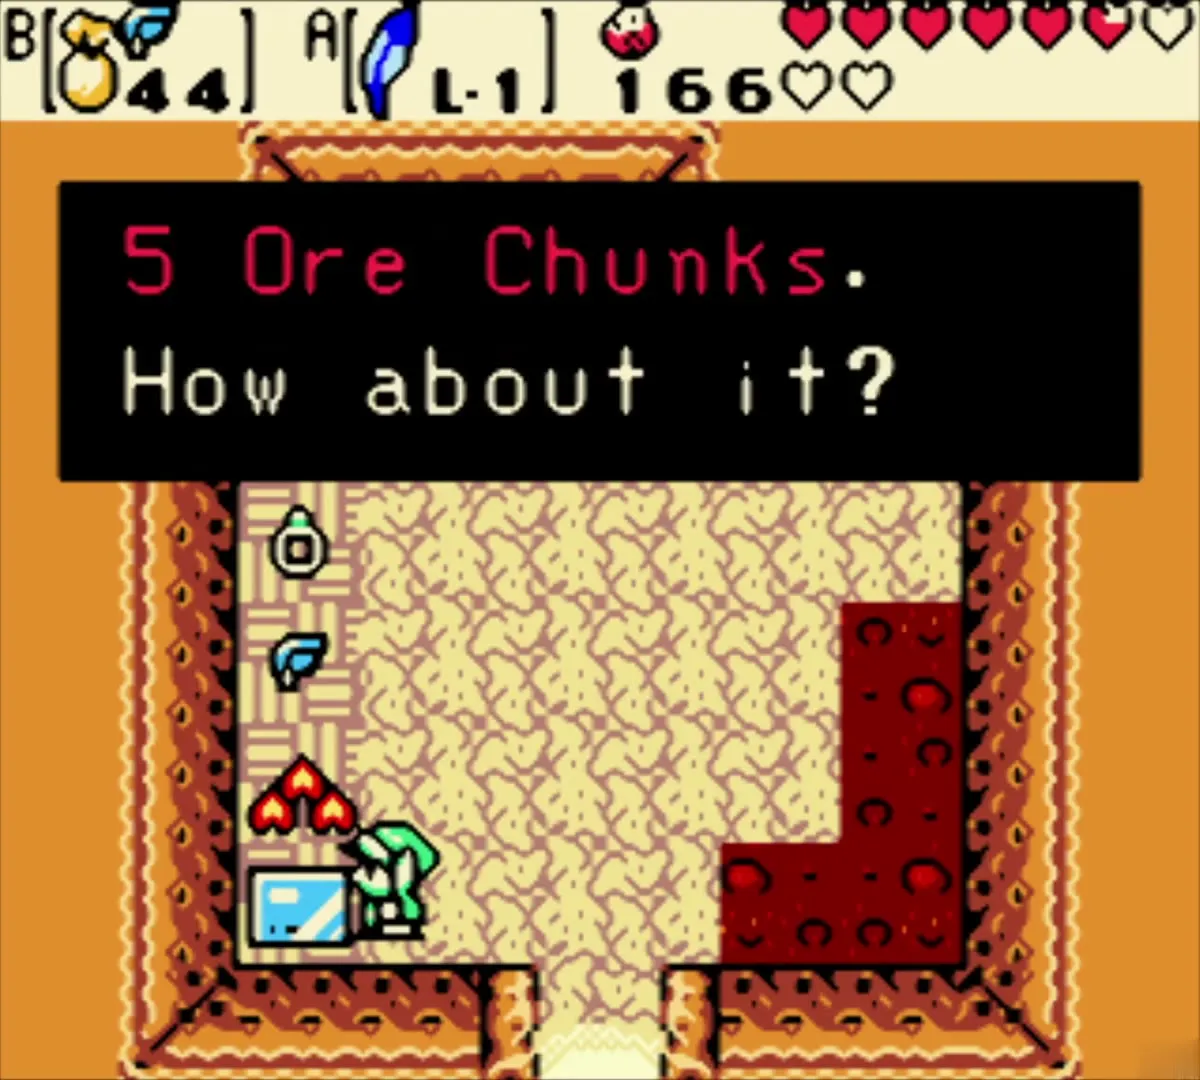
The Satchel starts at 20 seeds per type. Buy the Member’s Card for 5 Ore Chunks from the red merchant tent in the Subrosian Market. Show it at the Horon Village shop counter to enter the members’ room, where the 300-Rupee upgrade takes the Satchel to 50. A linked-game secret raises it to 99. The Satchel upgrade is covered in the Tower of Autumn chapter.
Quest items
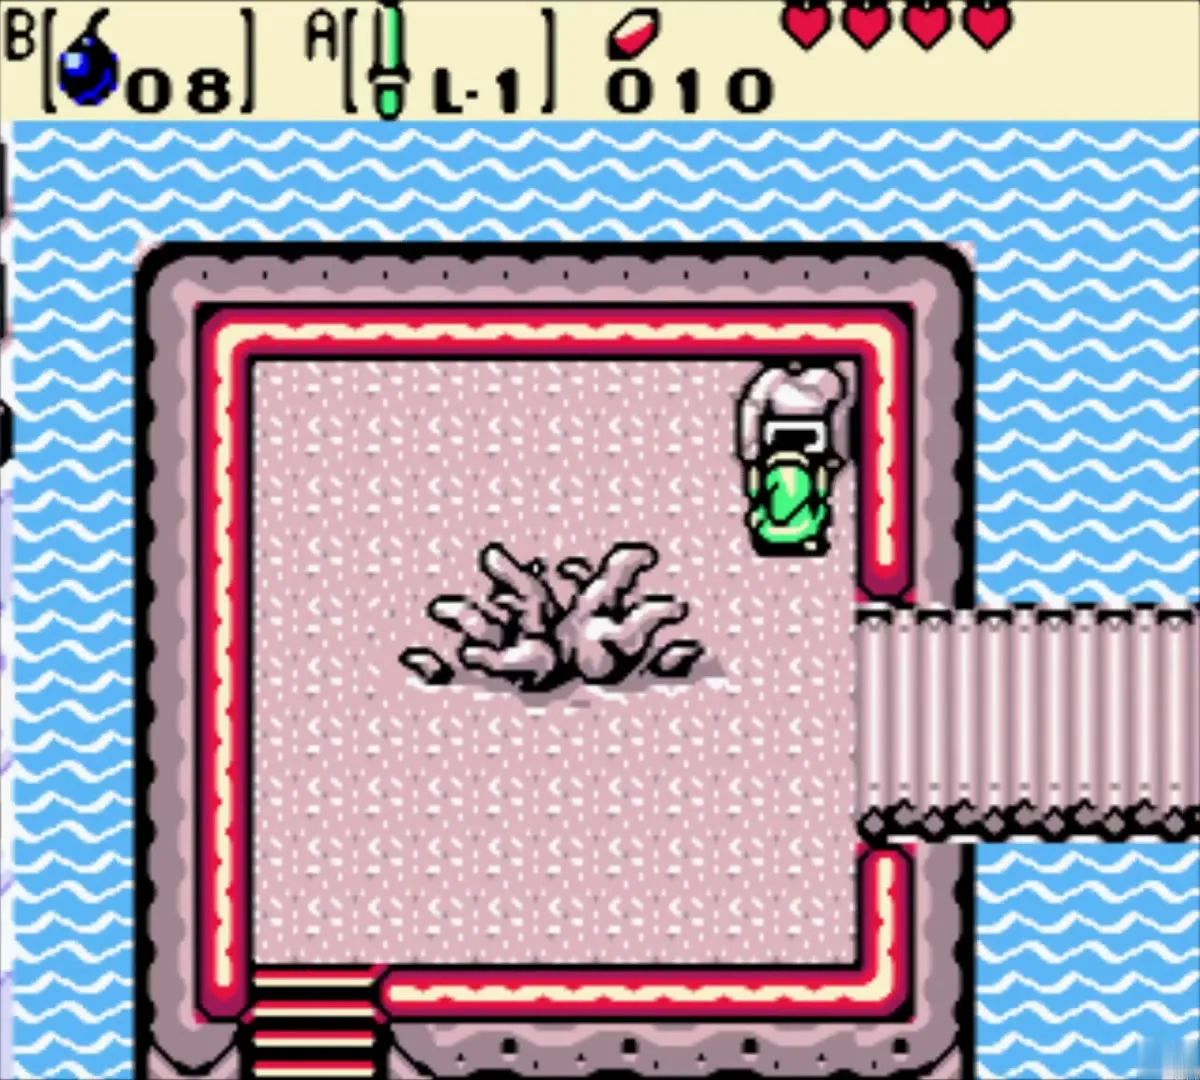
Gnarled Key
The Gnarled Key opens the Gnarled Root Dungeon. Use it on the keystone on the small island in the lake south of Horon Village, which raises the dungeon out of the water. See Getting Started in Holodrum.
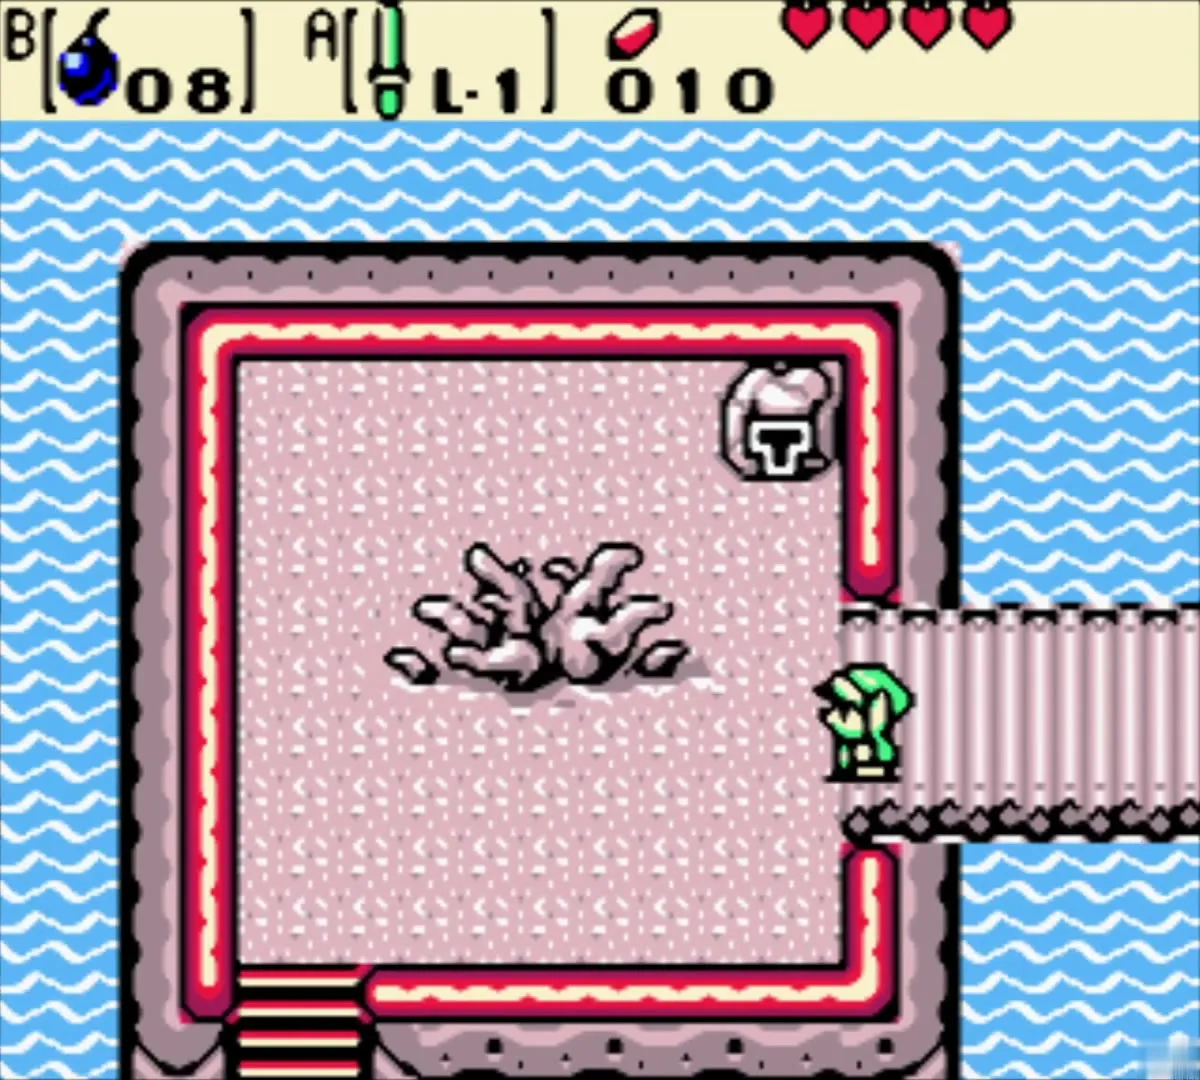
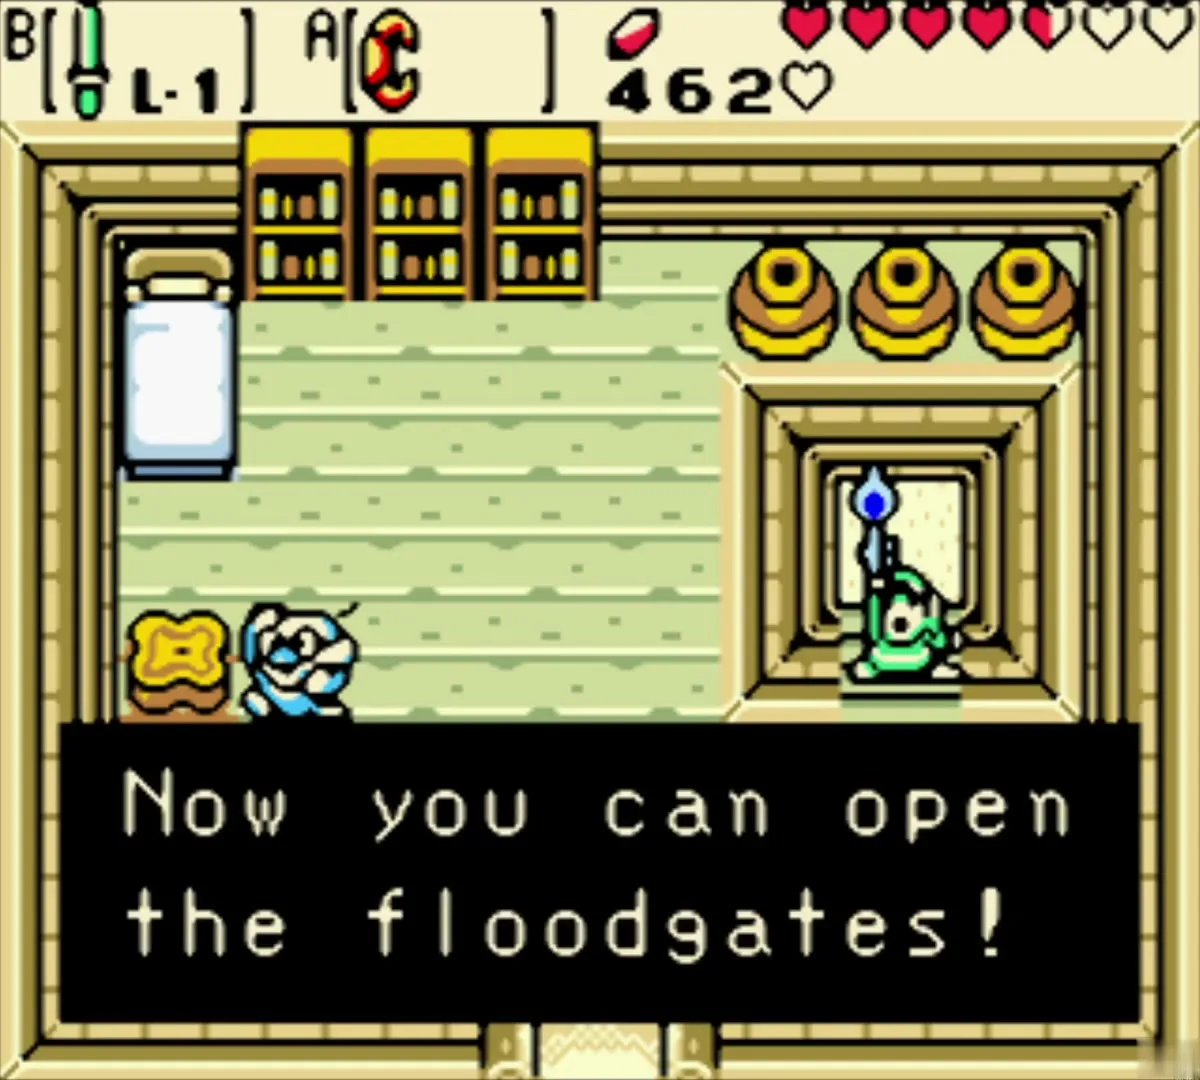
Floodgate Key and Dragon Key
The Floodgate Key opens the Spool Swamp dungeon route, and the Dragon Key opens the Dancing Dragon Dungeon. You get the Floodgate Key in the Spool Swamp area and the Dragon Key on Mt. Cucco. See Spool Swamp and the Floodgate Key and Tower of Spring and Mt. Cucco.
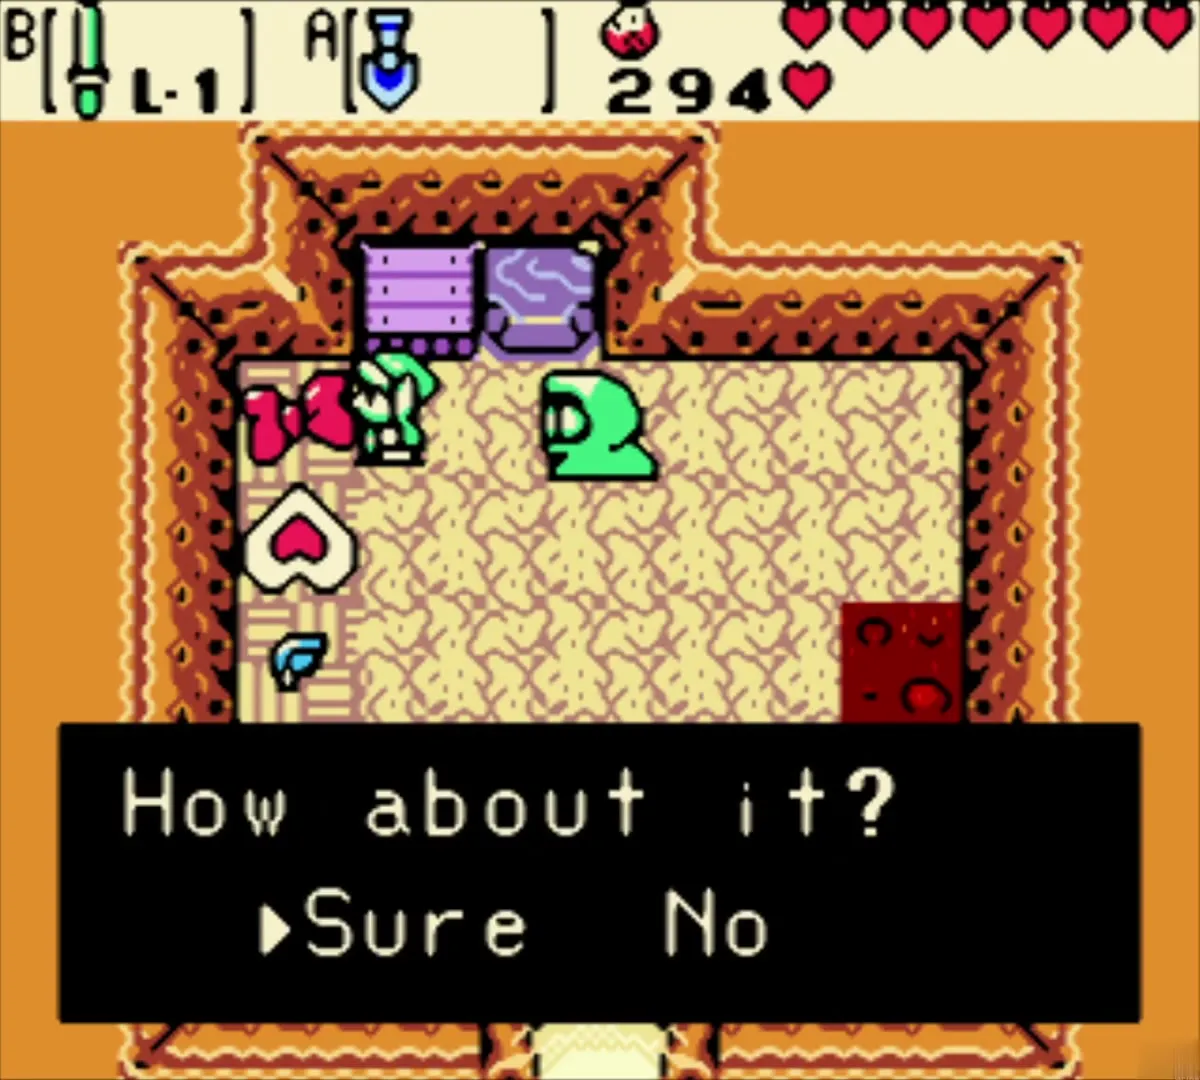
Star-Shaped Ore, Ribbon and Member’s Card
The Star-Shaped Ore is traded for a Ribbon in the Subrosian Market. The Member’s Card costs 5 Ore Chunks in the same market. Both are needed to finish the Subrosian sidequests, and the Member’s Card unlocks the Satchel upgrade. See Tower of Summer and Rosa’s Ribbon.
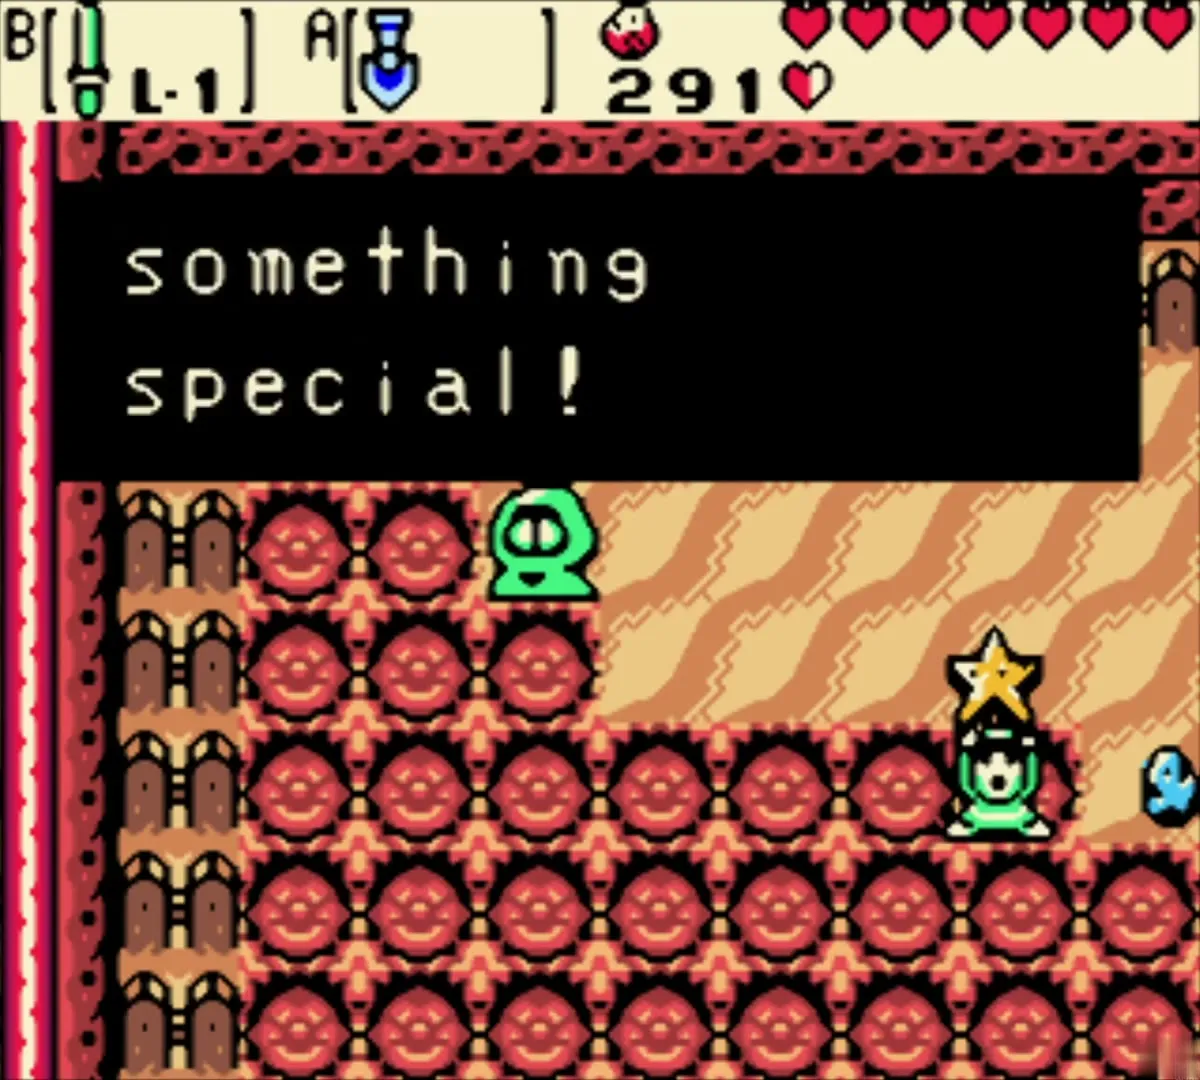
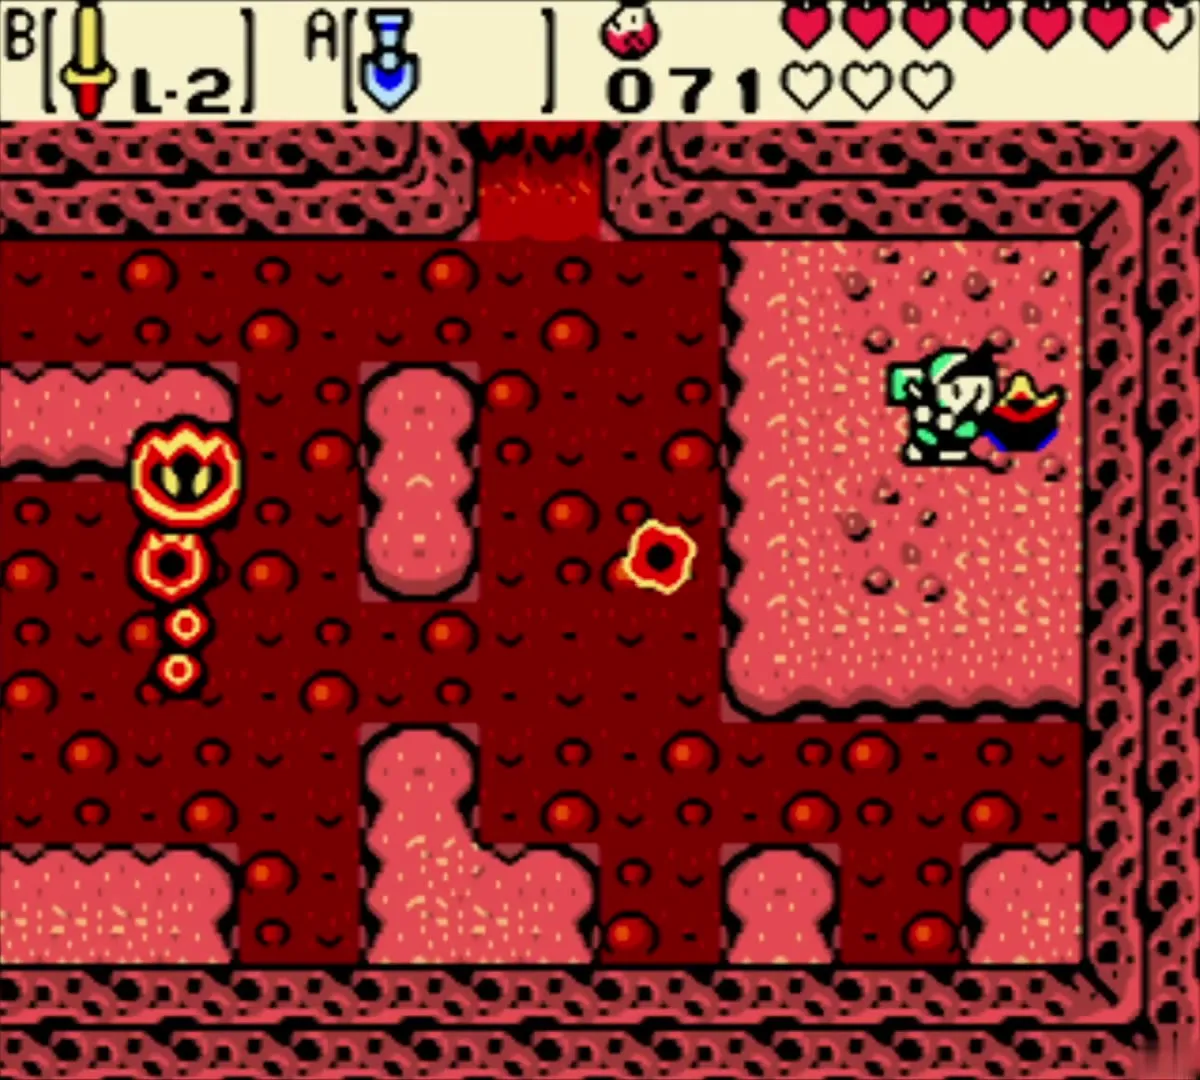
Bomb Flower
The Bomb Flower is found in the far corner of the lava lake in Subrosia. Lift it with the Power Bracelet after crossing the lake with the Roc’s Feather. It opens the next step of the Temple Remains route. See Temple Remains and the Volcano.
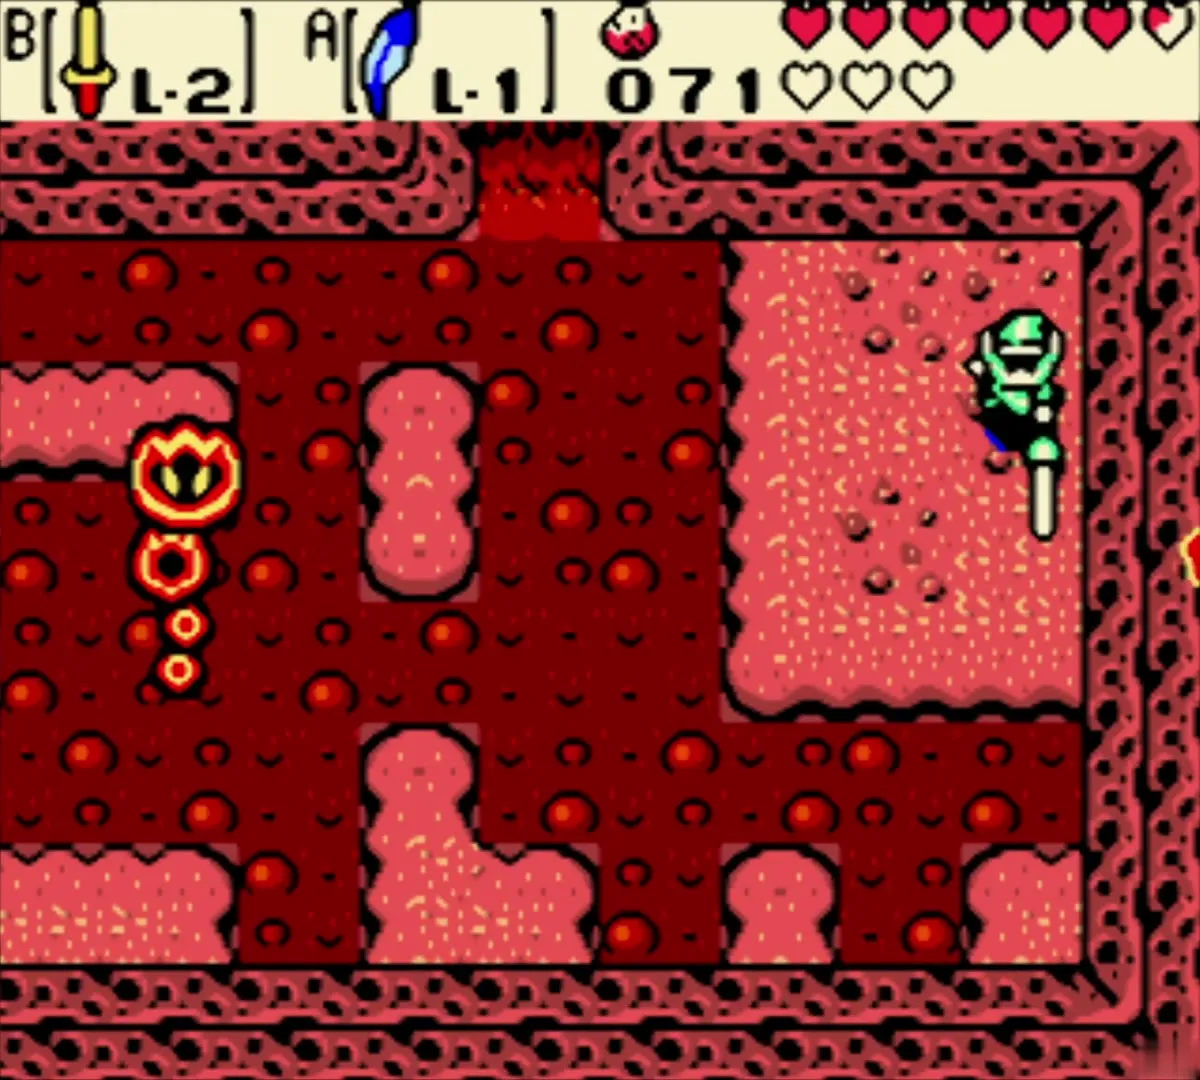
Trade sequence items
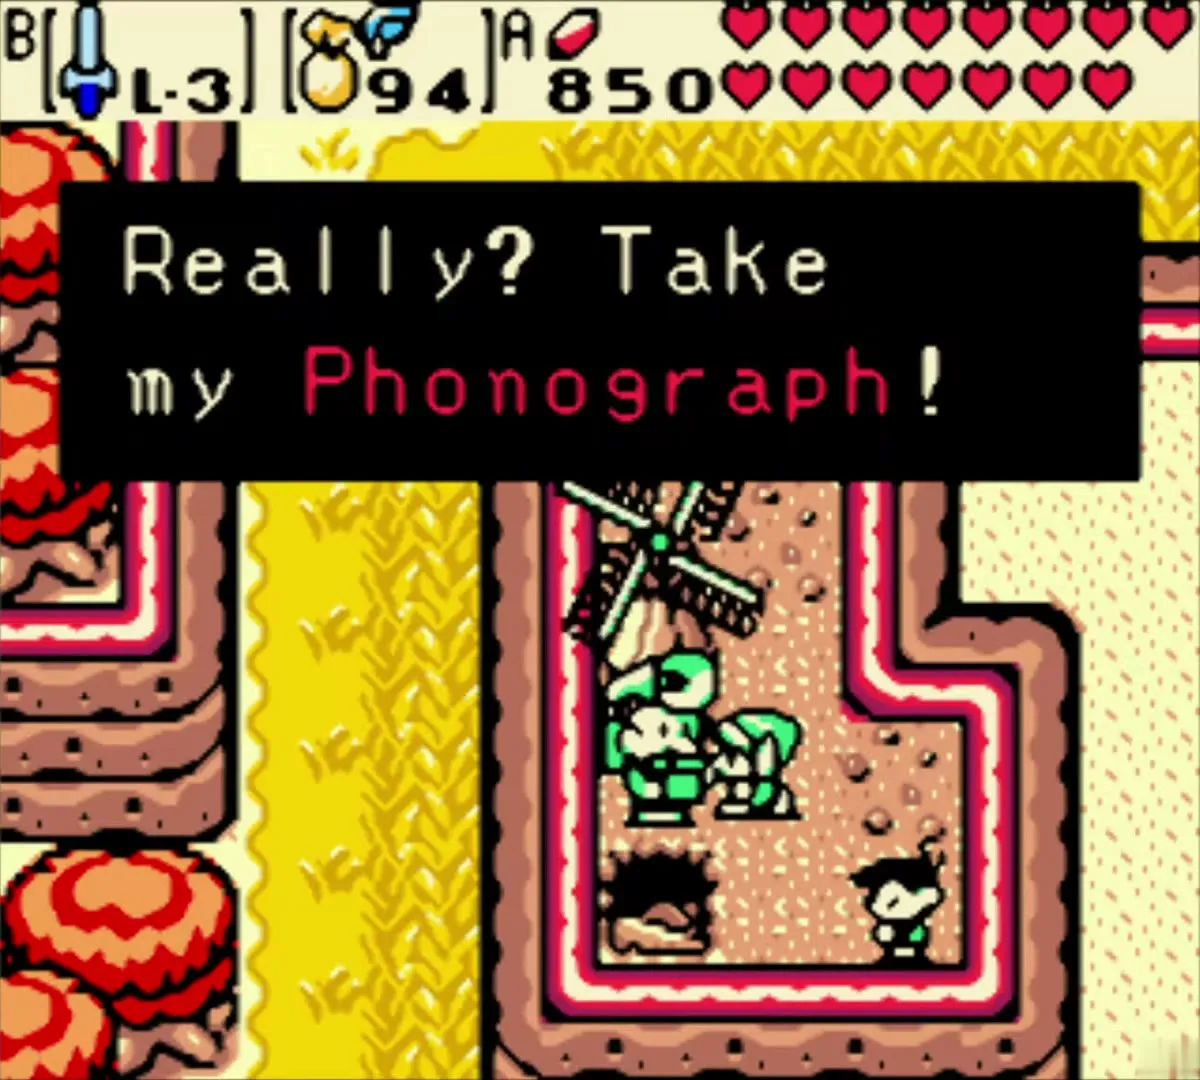
The thirteen trade items
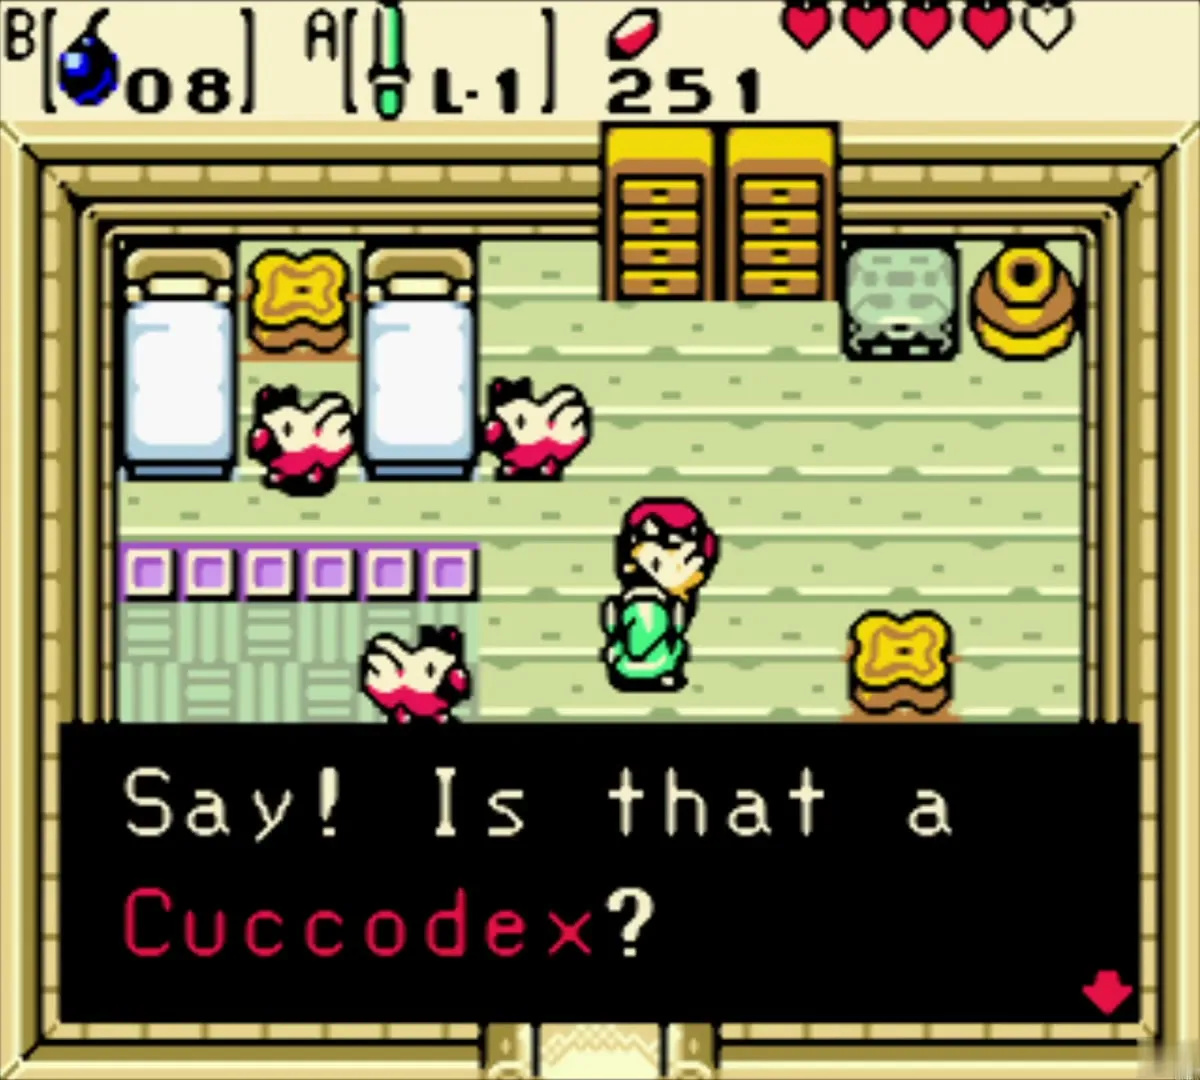
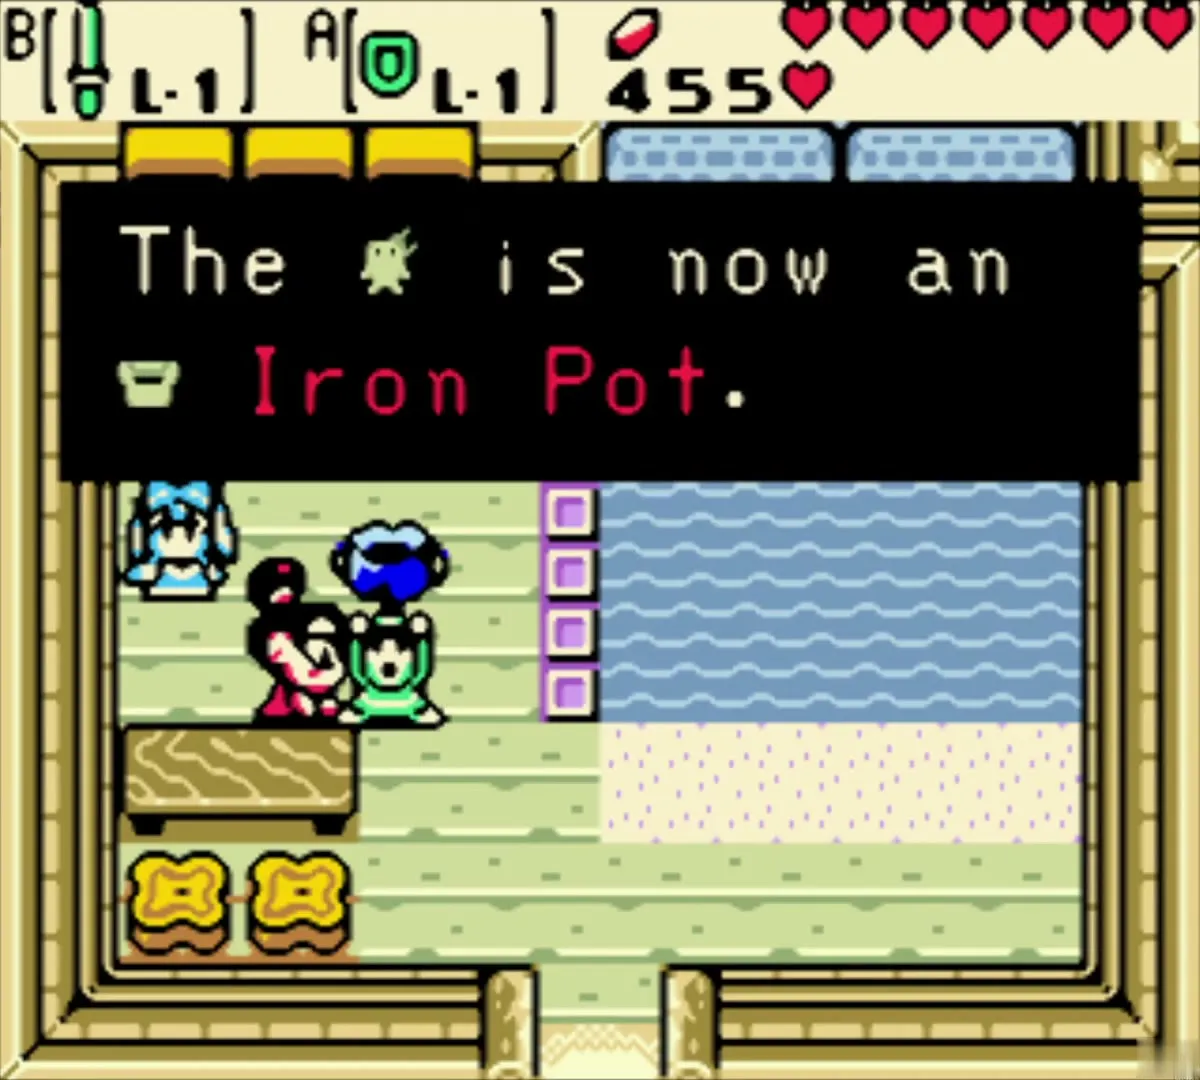
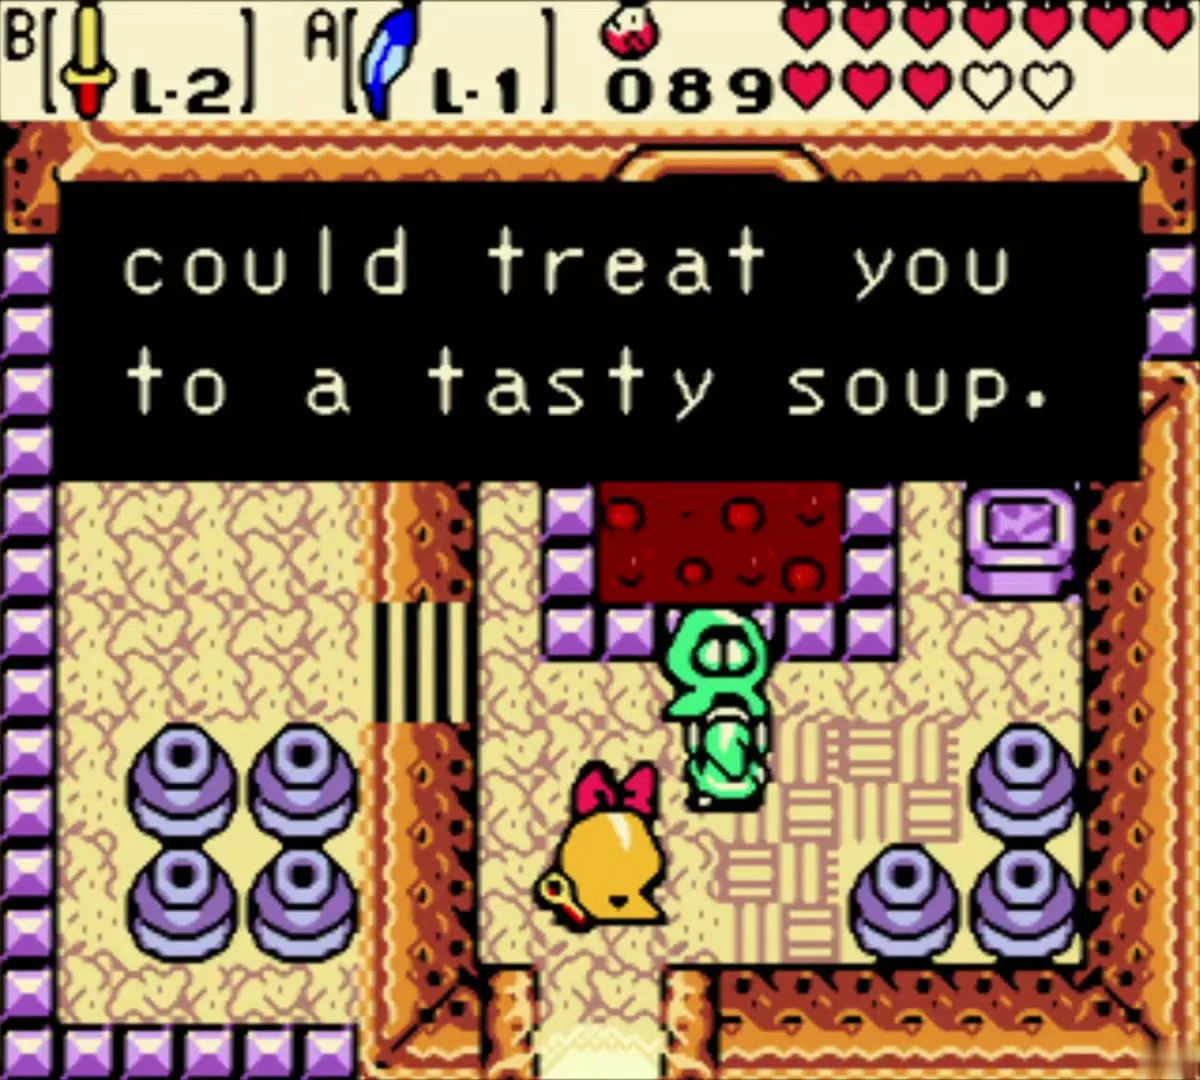
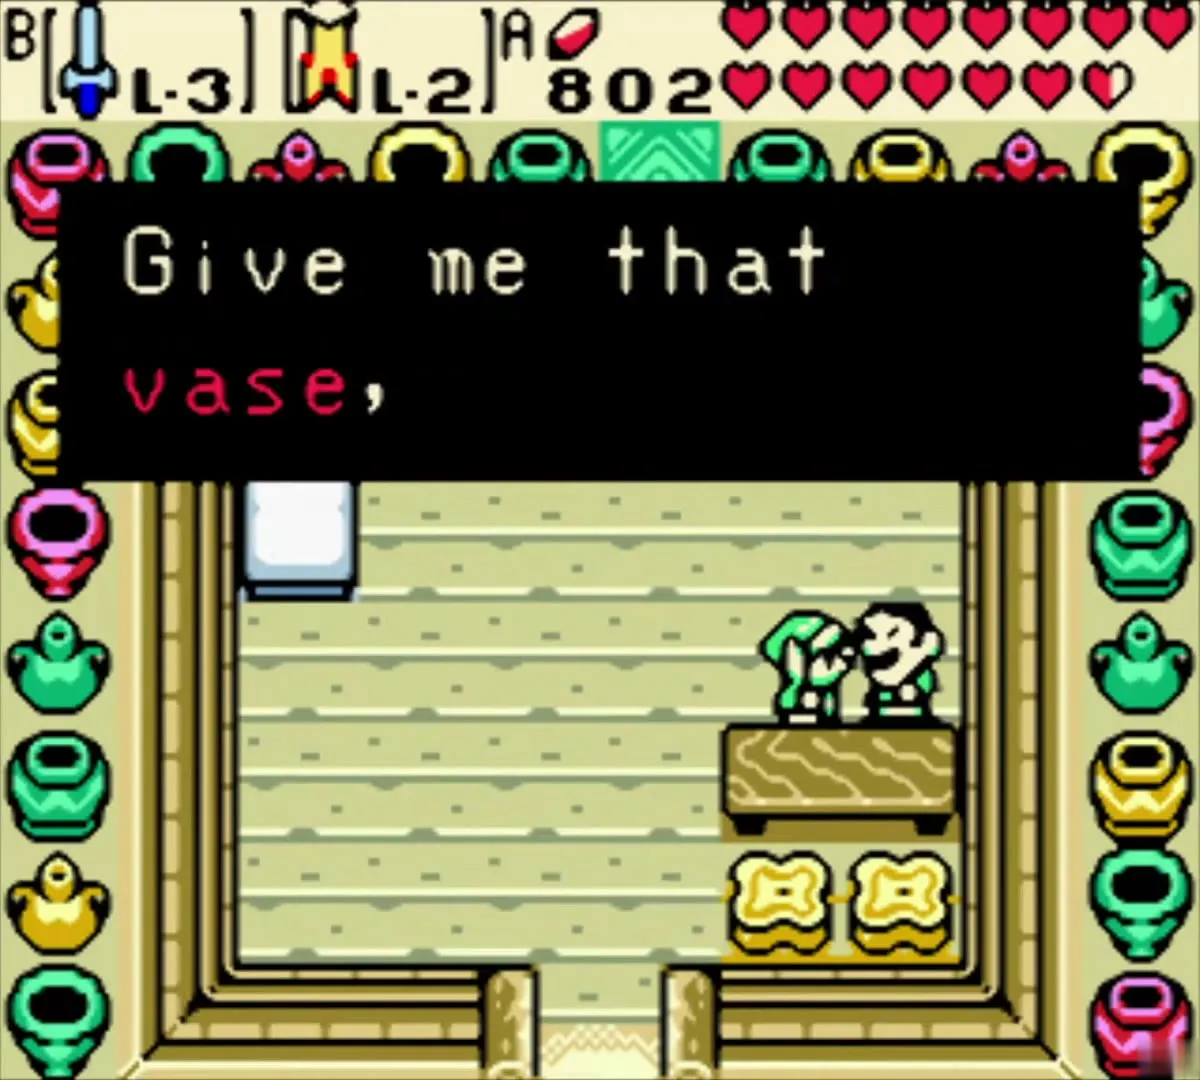
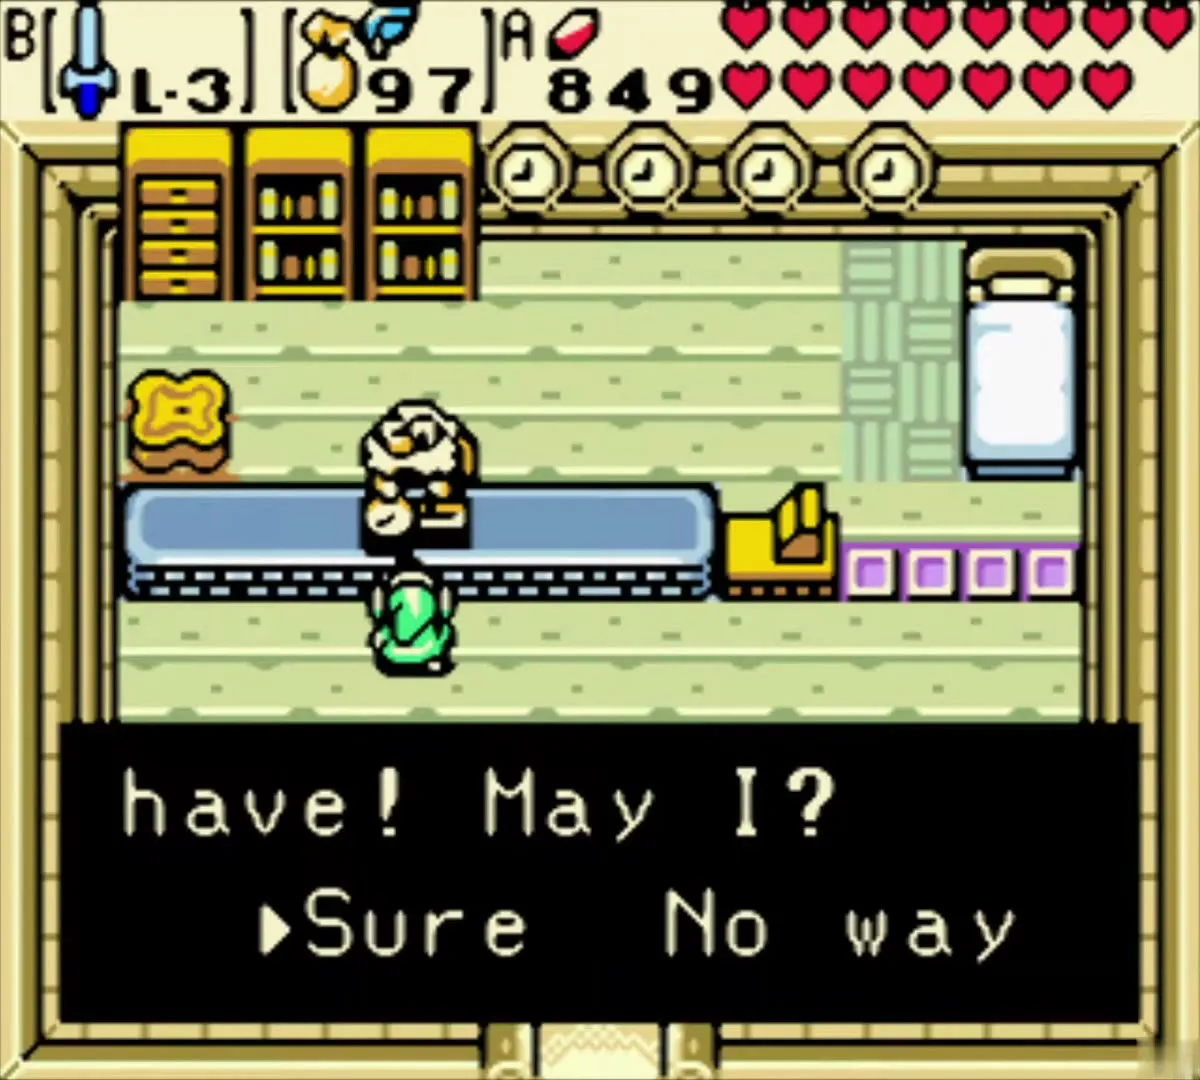
Trade items pass from one person to the next, starting with the Cuccodex and ending with the Phonograph and the Noble Sword. The Ghastly Doll is traded for the Iron Pot, the Lava Soup for the Goron Vase, and the Wooden Bird for Engine Grease. The full order and every trade step are on the trading sequence page.
Rings, flutes and companions
Ring Box
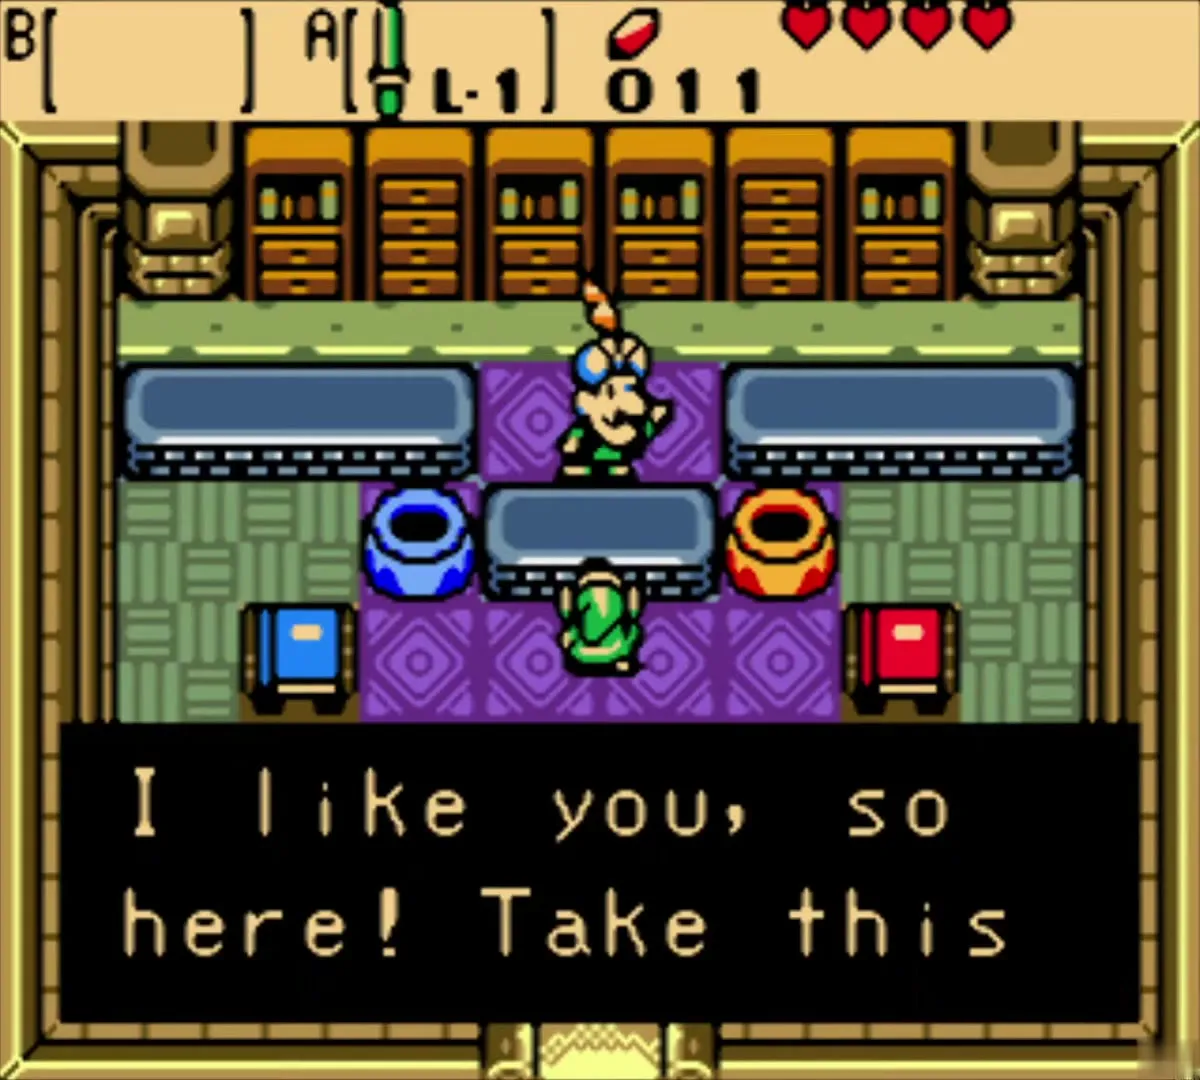
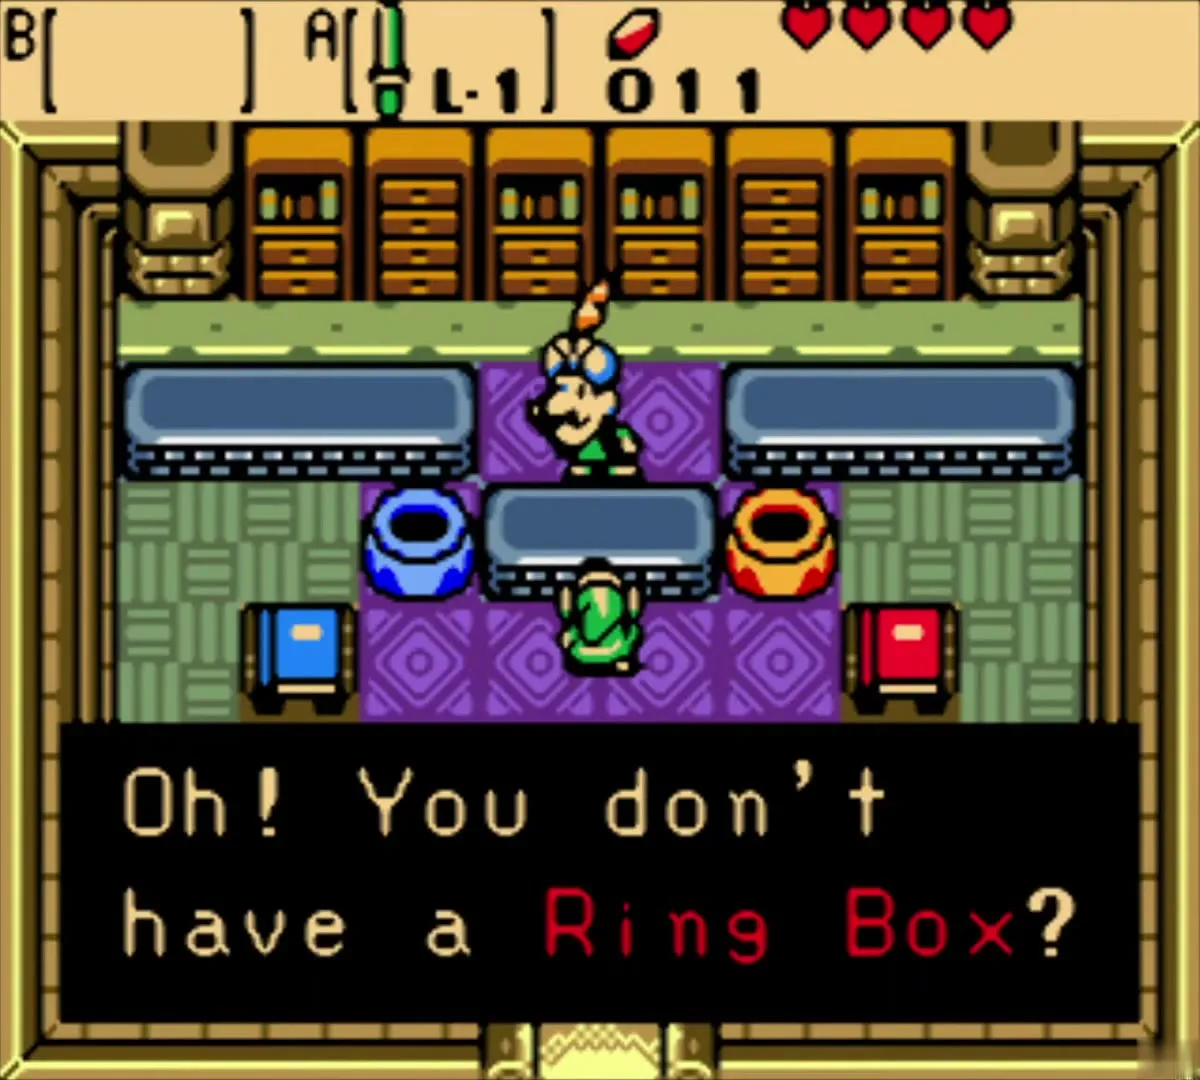
The Ring Box starts at level 1 and holds one ring. Vasu Jewelers in Horon Village hands it to you early. The level 2 box holds three rings and comes from a red Goron in a cave on Goron Mountain. The level 3 box holds five rings and needs a linked game. Only one ring is worn at a time, but you can swap between the rings in the box from the menu. See Magical Rings for every ring.
Companion flutes
Ricky, Dimitri and Moosh each come with a flute. Ricky’s Gloves are won from Blaino in North Horon, and Ricky is then your companion on Holodrum Plain. Dimitri’s Flute is given after you pay 80 Rupees to free him from the frozen lake reached through Spool Swamp. Moosh is found in Tower of Spring. The Strange Flute can become one of these flutes. See Animal Companions for the full list.
Items that are not in Seasons
Oracle of Ages items
The Cane of Somaria, the Switch Hook, the Seed Shooter and the Harp of Ages are Oracle of Ages items. They do not appear in Oracle of Seasons, though the linked-game secrets can mention them. Target Carts and the Goron Dance are Ages minigames, and they are not in Seasons either.
