Welcome, Sailor! Link’s adventure across the vast Great Sea in The Legend of Zelda: The Wind Waker requires a wide array of unique items and trusty equipment. From conducting the winds with a magical baton to grappling across chasms and uncovering ancient secrets, Link’s inventory is crucial for overcoming puzzles, defeating foes, and navigating the expansive ocean. This guide covers the essential items, gear, and upgrades you’ll find.
Table of Contents
Swords & Shields
Link’s primary tools for offense and defense.
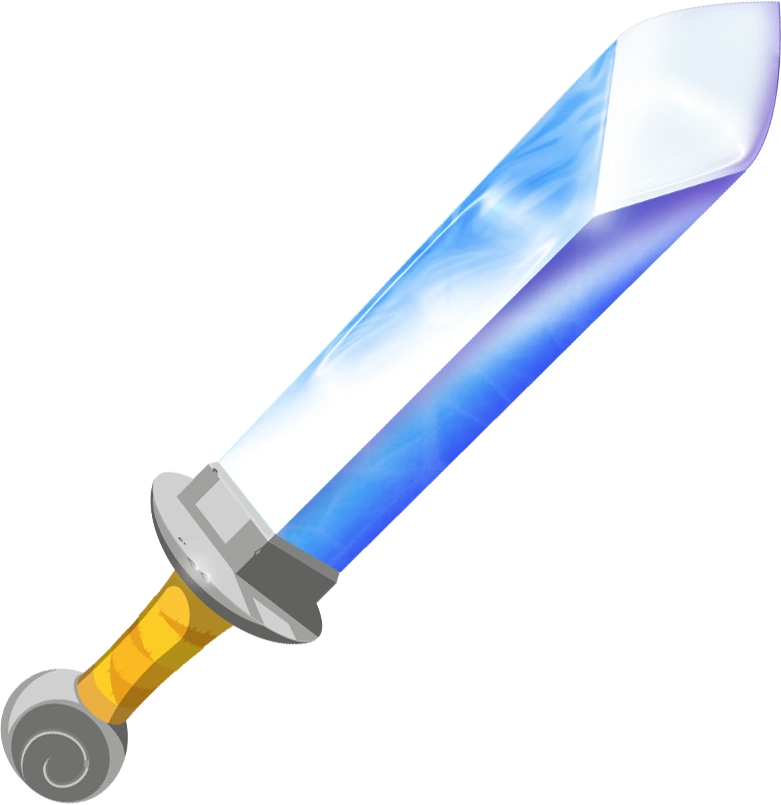
Hero’s Sword
Description: Link’s first sword, necessary for basic combat.
Obtained: Gifted by Orca on Outset Island after completing his sword training.
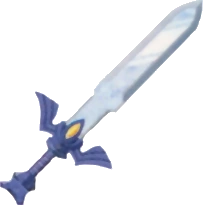
Master Sword
Description: The legendary Blade of Evil’s Bane. Initially lacks its full power but is required to defeat Ganondorf. Must be empowered by the Sages of Earth and Wind.
Obtained: Found in the Master Sword chamber beneath Hyrule Castle, frozen in time under the Great Sea.
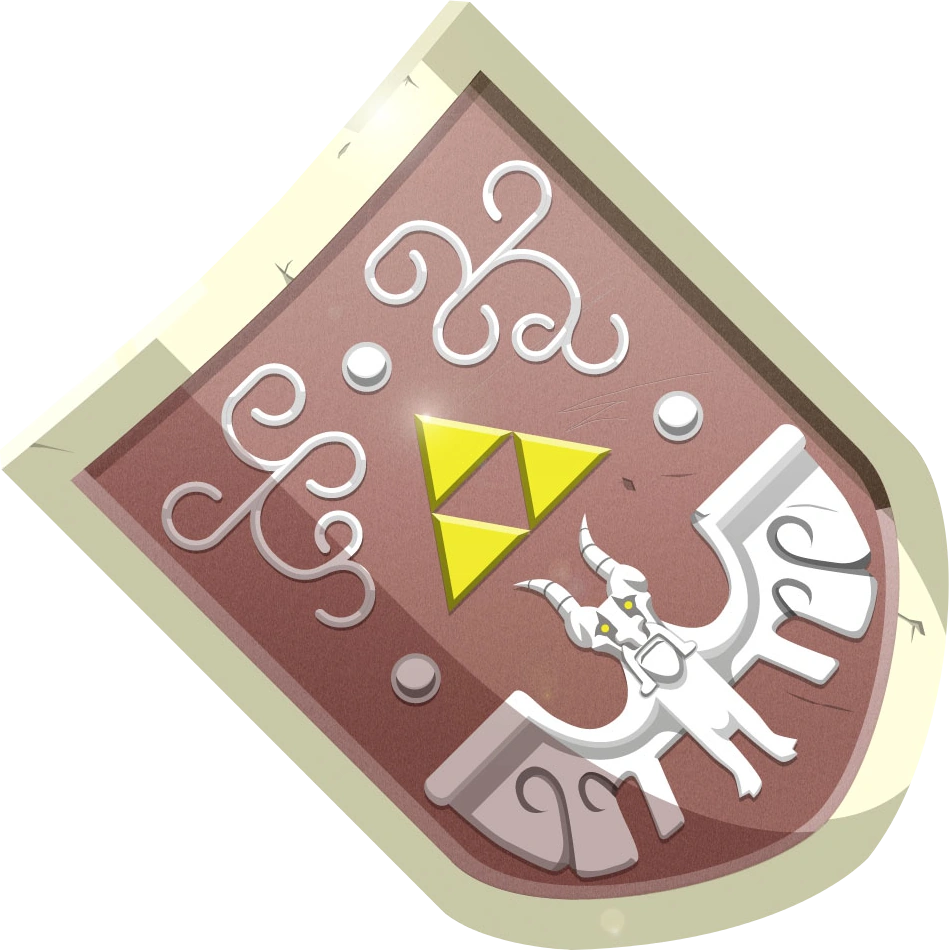
Hero’s Shield
Description: Link’s first shield, used for basic defense against attacks. Can be lost if eaten by Like Likes.
Obtained: Found hanging in Link’s house on Outset Island (available after obtaining the Hero’s Sword). Replacements can sometimes be bought.

Mirror Shield
Description: A large, ornate shield capable of reflecting light and certain magical projectiles. Essential for puzzles in the Earth Temple and defeating certain enemies/bosses.
Obtained: Found within the Earth Temple.
Tunics & Bracelets
Gear worn by Link that provides essential abilities.
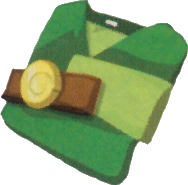
Hero’s Clothes
Description: Link’s iconic green tunic and hat, received at the start of his journey. Offers no special defense but is necessary for the adventure.
Obtained: Given to Link by his Grandma on Outset Island before he leaves to rescue Aryll.

Power Bracelets
Description: Magical bracelets that grant Link immense strength, allowing him to lift and throw large, heavy objects (like stone head statues).
Obtained: Found within a lava cavern at Fire Mountain.

Magic Meter
Description: A gauge displaying Link’s magical energy, required to use the Deku Leaf, Fire Arrows, Ice Arrows, and Light Arrows. The length of the meter determines how much magic Link can use.
Obtained:
- Magic Meter Upgrade (Double Capacity): Rewarded by the Great Fairy within Two-Eye Reef (requires destroying all warships guarding the reef entrance with the cannon).
- Initial Meter: Rewarded by the Great Fairy on Northern Fairy Island (requires Bombs to enter).
Main Tools & Dungeon Items
These items are crucial for progression, puzzle-solving, and combat, often found within dungeons or specific locations.

Telescope
Description: Allows Link to view distant islands and objects across the Great Sea. Useful for scouting and spotting points of interest.
Obtained: Gift from Link’s sister, Aryll, on Outset Island at the start of the game.

Wind Waker
Description: A sacred baton used to conduct magical melodies that command the wind, change day to night, warp across the sea, awaken sages, control statues/characters, and summon ghosts.
Obtained: Given by the King of Red Lions after leaving Outset Island, before reaching Dragon Roost Island.
Key Songs Conducted: (Refer to our Wind Waker Songs guide for melodies)
- Song of Passing: Changes the time between day and night. Learned from Tott, the Elvis-impersonator on Windfall Island, after showing him the Wind Waker.
- Wind’s Requiem: Changes the direction of the wind. Learned at the shrine atop Dragon Roost Island from Zephos.
- Ballad of Gales: Allows warping to specific locations on the Great Sea marked by Cyclos’s cyclones. Learned from Cyclos after shooting him down with arrows multiple times.
- Command Melody: Grants Link temporary control over specific statues or characters (Medli, Makar) to solve puzzles. Learned in the Tower of the Gods.
- Earth God’s Lyric: Awakens the Sage of Earth, Medli. Needed to restore power to the Master Sword. Learned from the spirit of the previous Sage, Laruto, inside Headstone Island cave.
- Wind God’s Aria: Awakens the Sage of Wind, Makar. Needed to restore power to the Master Sword. Learned from the spirit of the previous Sage, Fado, inside a hidden cave behind Windfall Island’s waterfall.

Tingle Tuner / Tingle Bottle
Description:
- Original (GCN): Tingle Tuner. Connects a Game Boy Advance to the GameCube, allowing a second player to assist Link as Tingle, providing hints, dropping bombs, etc. Also used for Tingle Statues quest.
- HD (Wii U): Tingle Bottle. Replaces the Tingle Tuner. Allows Link to write messages, take pictures, put them in a bottle, and throw them into the sea to be shared via Miiverse (online service now discontinued). Also used for Tingle Statues quest.
Obtained: Given by Tingle after freeing him from his cell on Windfall Island.
Note: Both versions are also used to find the five hidden Tingle Statues within the game’s main dungeons, part of a sidequest for Tingle that rewards Rupees. The method differs slightly (Tingle Bombs on GCN vs. finding switches in HD).

Picto Box / Deluxe Picto Box
Description: A camera used to take black-and-white pictographs (photos). The Deluxe version takes color pictographs, required for the Nintendo Gallery sidequest and certain other quests.
Obtained: Found in Tingle’s cell on Windfall Island (Link must navigate a small maze). Upgraded to Deluxe Picto Box by Lenzo in Windfall Island’s Picto Box Shop after completing specific tasks for him (e.g., picturing specific people/events). HD version simplifies the upgrade quest.
Note: The Deluxe Picto Box is essential for the Nintendo Gallery sidequest. This massive undertaking involves taking color pictographs of nearly every character, enemy, and boss in the game and giving them to Carlov the sculptor (beneath the Forest Haven) to create figurines. Completing the gallery is a major task for 100% completionists.

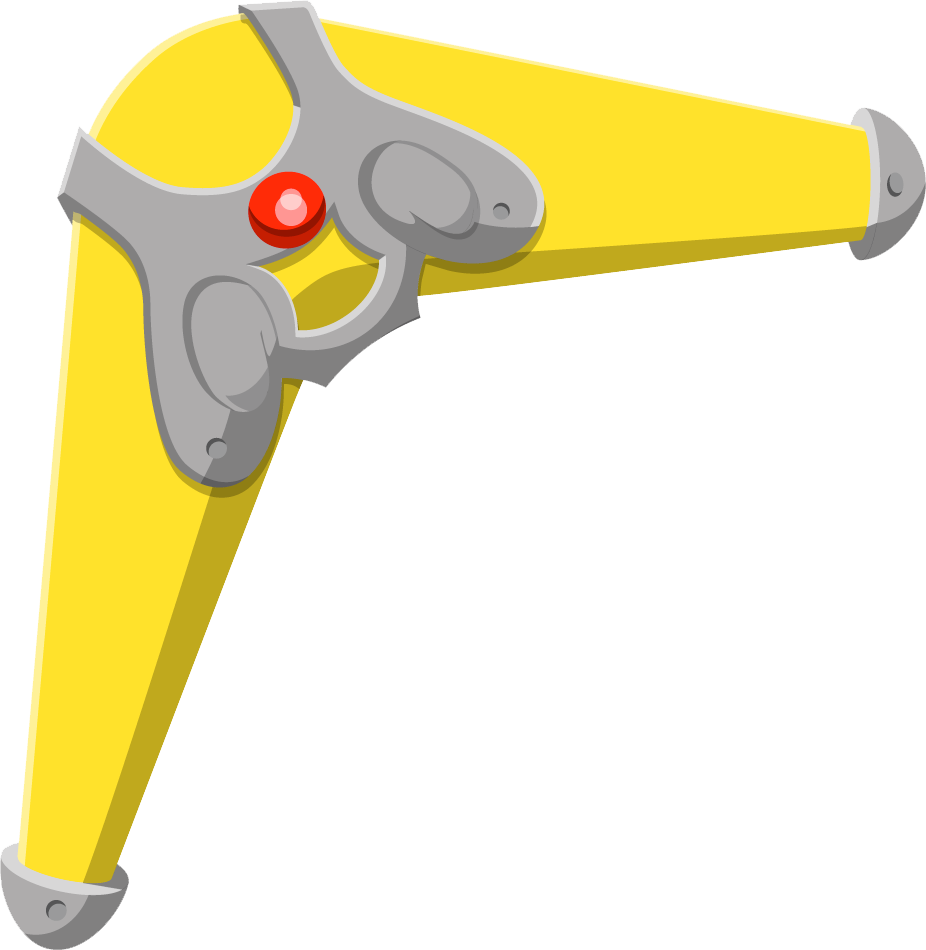
Grappling Hook
Description: A rope with a hook used to swing across specific gaps, salvage sunken treasure chests from the seabed (requires marked locations on charts), and steal Spoils (Joy Pendants, Skull Necklaces, etc.) from enemies.
Obtained: Found in Dragon Roost Cavern.

Deku Leaf
Description: A magical leaf that allows Link to glide short distances when jumping. Consumes magic power while gliding. Can also be used while standing to create a gust of wind for puzzles involving propellers or stunning enemies.
Obtained: Gift from the Great Deku Tree in the Forest Haven. Requires magic meter obtained from a Great Fairy.
Boomerang
Description: A returning weapon that can target up to five enemies or switches sequentially. Useful for hitting multiple targets quickly or solving specific puzzles.
Obtained: Found in the Forbidden Woods.

Bombs
Description: Explosives used to destroy certain boulders/walls, activate switches, and damage enemies. Link carries them in Bomb Bags. Capacity can be upgraded by Great Fairies.
Obtained: Given by Niko aboard the Pirate Ship after arriving at Windfall Island (requires completing a swinging challenge). Bomb Bag capacity upgrades are given by Great Fairies on various islands (e.g., Eastern Fairy Island, Southern Fairy Island).
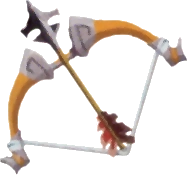
Hero’s Bow
Description: A standard bow used to shoot arrows. Essential for hitting distant targets, switches, and enemies. Can later be imbued with elemental power. Quiver capacity can be upgraded by Great Fairies.
Obtained: Found in the Tower of the Gods.
Upgrades:
- Quiver Upgrades: Given by Great Fairies (e.g., Western Fairy Island, Thorned Fairy Island) to increase arrow capacity (e.g., to 60, then 99).
- Fire & Ice Arrows: Obtained within the Earth Temple and Wind Temple respectively (after specific events). Used to melt ice, burn obstacles, freeze enemies, and solve puzzles. Consume magic power.
- Light Arrows: Obtained late in the game before the final confrontation. Extremely powerful, capable of defeating specific enemies instantly and stunning Ganondorf. Consume significant magic power.
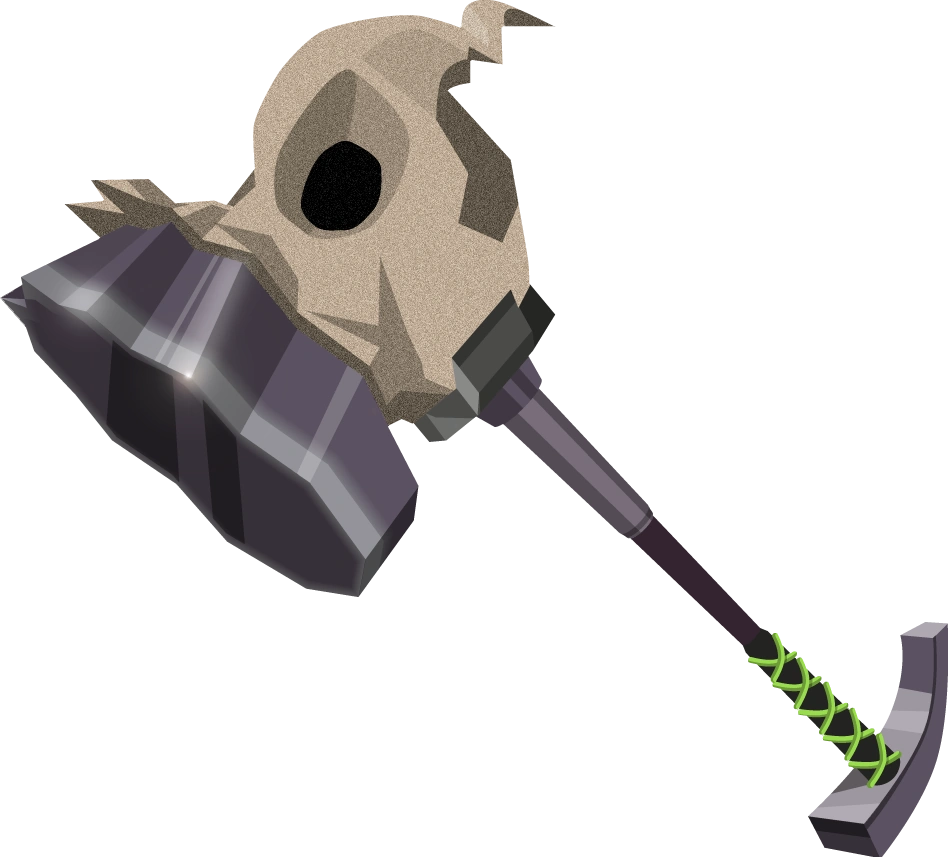
Skull Hammer
Description: A massive hammer used to pound down large rusty switches, break specific rocks/barriers, and flatten certain enemies. Slow but powerful.
Obtained: Found in the Forsaken Fortress during the second visit.

Iron Boots
Description: Heavy boots that weigh Link down, allowing him to walk against strong gusts of wind (like those guarding Ice Ring Isle and the Wind Temple) and sink to the bottom of water bodies (though their underwater use is limited in this game).
Obtained: Found inside Ice Ring Isle (requires Fire Arrows to melt the ice).

Hookshot
Description: A mechanical device that shoots a chain and claw, latching onto specific targets (wooden beams, targets, trees) and pulling Link towards them.
Obtained: Found within the Wind Temple.
Reusable Items & Bags
Items carried for various utility purposes.

Empty Bottles (4 Total)
Description: Versatile containers used to hold potions, fairies, water, Forest Water, Grandma’s Soup, etc.
Obtained:
- Bottle 4: Complete the ‘Finding the Goron Merchants’ sidequest involving trading items via the Delivery Bag. (HD Version: Found in Mila’s father’s house safe on Windfall Island after the Mila stealth sequence).
- Bottle 1: Given by Medli on Dragon Roost Island after helping her reach Dragon Roost Cavern.
- Bottle 2: Found in a chest inside a Submarine near Bomb Island.
- Bottle 3: Purchase from Beedle’s Shop Ship for 500 Rupees (after it appears near Rock Spire Isle).

Bait Bag
Description: Holds bait items used for interacting with animals or solving puzzles.
Obtained: Purchase from Beedle’s Shop Ship.
Contents:
- Hyoi Pear: Purchase from Beedle. Used to attract and take control of seagulls, allowing Link to fly them short distances to hit switches or retrieve items.
- All-Purpose Bait: Purchase from Beedle. Used to lure pigs, distract enemies, and most importantly, feed Fishman at various map sectors to get island information and chart updates.
Sailing Equipment & Charts
Essential items for navigating the Great Sea.

Sail
Description: The standard sail for the King of Red Lions. Requires Link to manually adjust direction based on the wind (using the Wind Waker).
Obtained: Purchase from Zunari on Windfall Island early in the game.

Swift Sail (HD Version Only)
Description: An optional, red sail upgrade that automatically aligns with the wind and provides maximum sailing speed constantly, regardless of wind direction. Makes sea travel much faster.
Obtained: Purchase from the Auction House on Windfall Island (available after completing Dragon Roost Cavern).

Sea Charts
Description: Various charts obtained throughout the adventure showing islands, sunken treasure locations, Ghost Ship appearances, and Triforce shard locations. Includes individual island charts, Treasure Charts, IN-credible Chart (shows Triforce Chart/Shard locations – HD only), Ghost Ship Chart, etc.
Obtained: Found in chests, given as rewards, salvaged from the sea, bought, or obtained from Fishman.
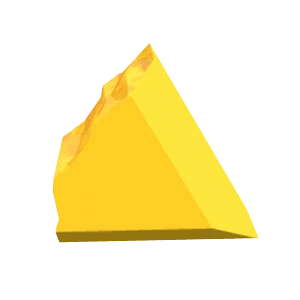
Triforce Charts / Triforce Shards
Description: Required late-game items to access the final dungeon. Charts must usually be deciphered by Tingle for a large fee. HD version streamlines this quest, replacing some charts directly with shards.
Obtained: Found in various locations across the Great Sea, often requiring specific items or puzzle-solving.
Key Quest Items & Collectibles
Important items for story progression or major sidequests.
Nayru’s, Din’s, and Farore’s Pearls
Description: Sacred pearls required to raise the Tower of the Gods.
Obtained: From Great Valoo/Medli (after Dragon Roost Cavern), Jabun (after Forsaken Fortress 1st visit), and the Great Deku Tree (after Forbidden Woods).

Delivery Bag
Description: A mailbag used to carry letters and specific items for delivery sidequests.
Obtained: Given by the Rito Chieftain on Dragon Roost Island.
Notable Uses: Carries essential quest items like Father’s Letter and Note to Mom. Also central to the Island Trading Sequence, where Link trades items between the traveling Goron merchants found on various islands (starting with Zunari’s Town Flower and involving items like the Sea Flower, Exotic Flower, Sickle Moon Flag, etc.) to ultimately earn rewards like a Piece of Heart and the Magic Armor (reduces damage taken).

Pirate’s Charm
Description: A magical stone given by Tetra that allows communication over long distances.
Obtained: Received from Tetra before entering the Forsaken Fortress for the first time.

Spoils (Examples)
Description: Collectible items often stolen from enemies using the Grappling Hook or obtained upon defeat. Used for trade or side quests. Includes Joy Pendants, Skull Necklaces, Knight’s Crests, Golden Feathers, Boko Baba Seeds, Chu Jelly (various colors).
Obtained: Dropped/stolen from specific enemies.
Armed with these tools, items, and upgrades, Link is ready to explore every corner of the Great Sea, solve ancient puzzles, and stand against the darkness threatening Hyrule. Keep your inventory well-managed, and adventure awaits!