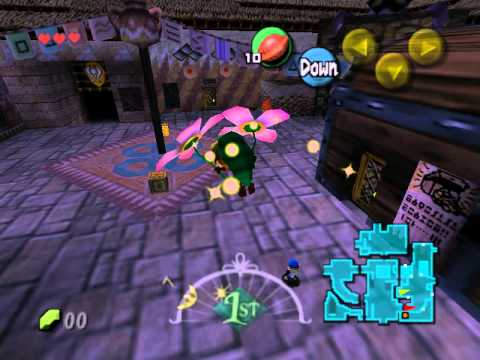
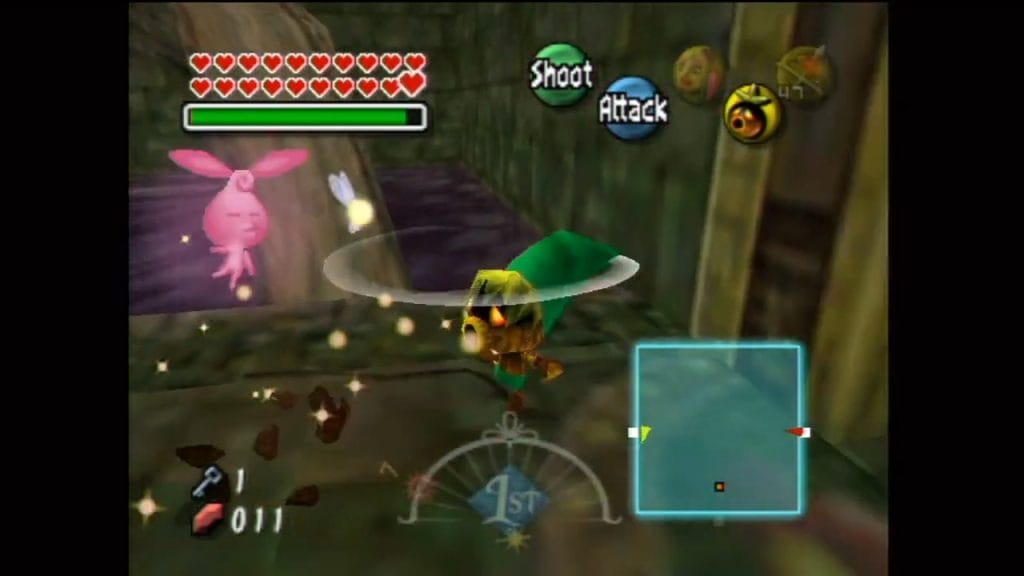
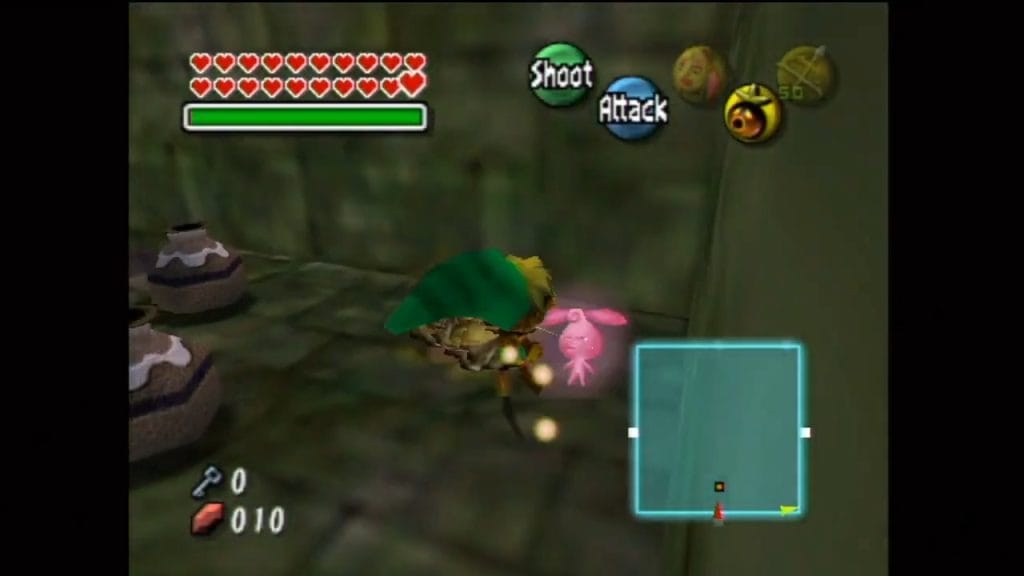
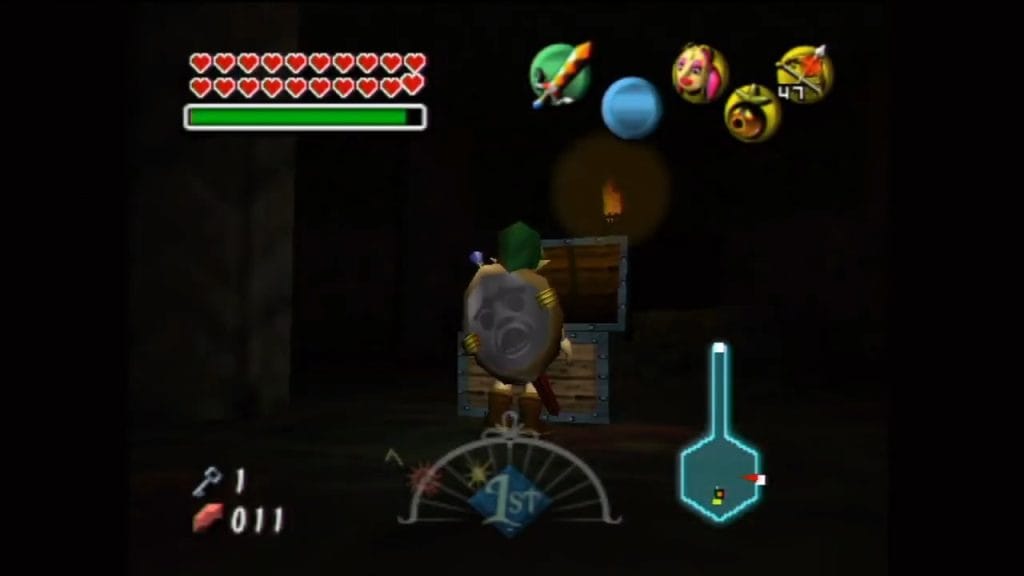
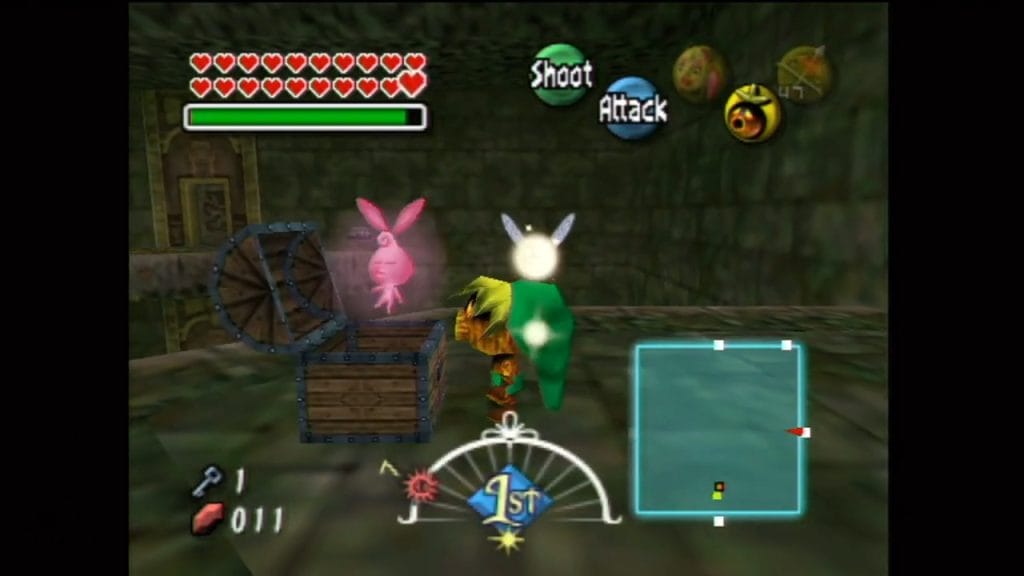
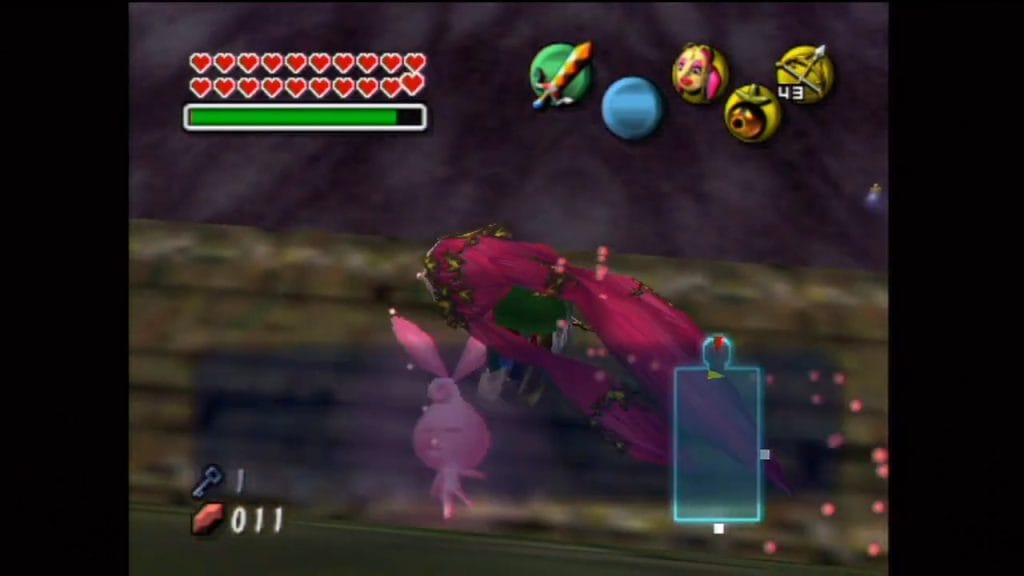
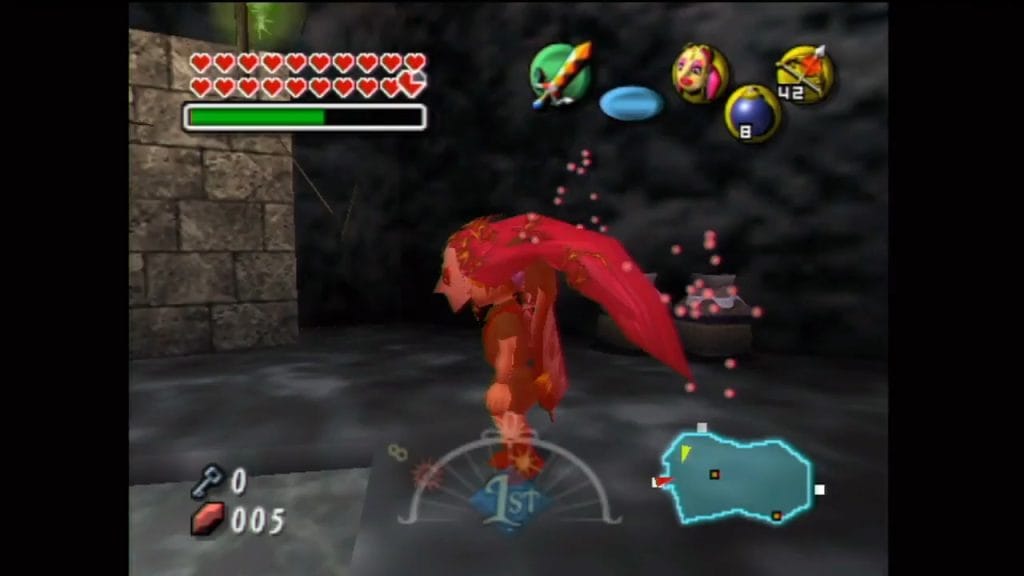
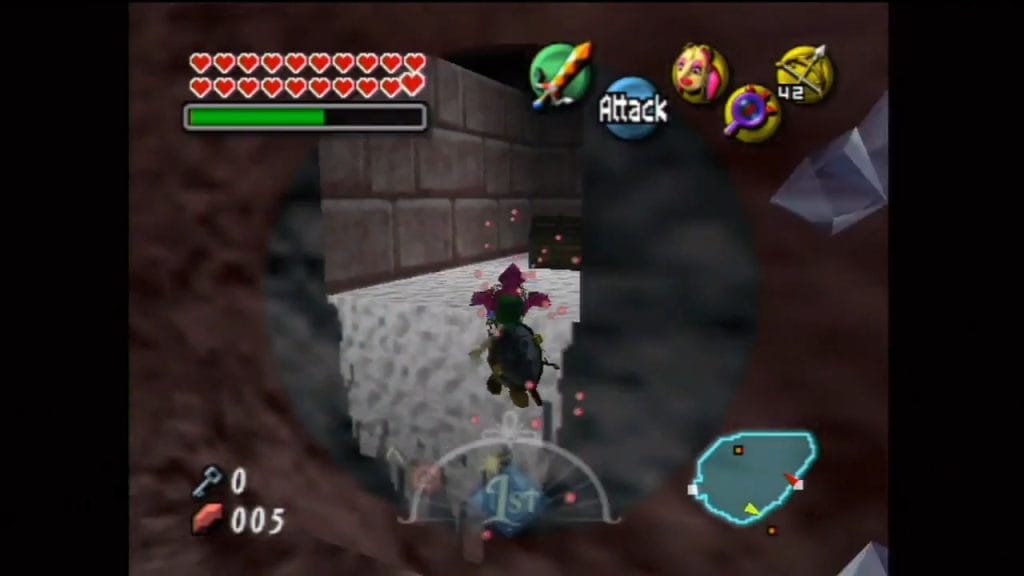
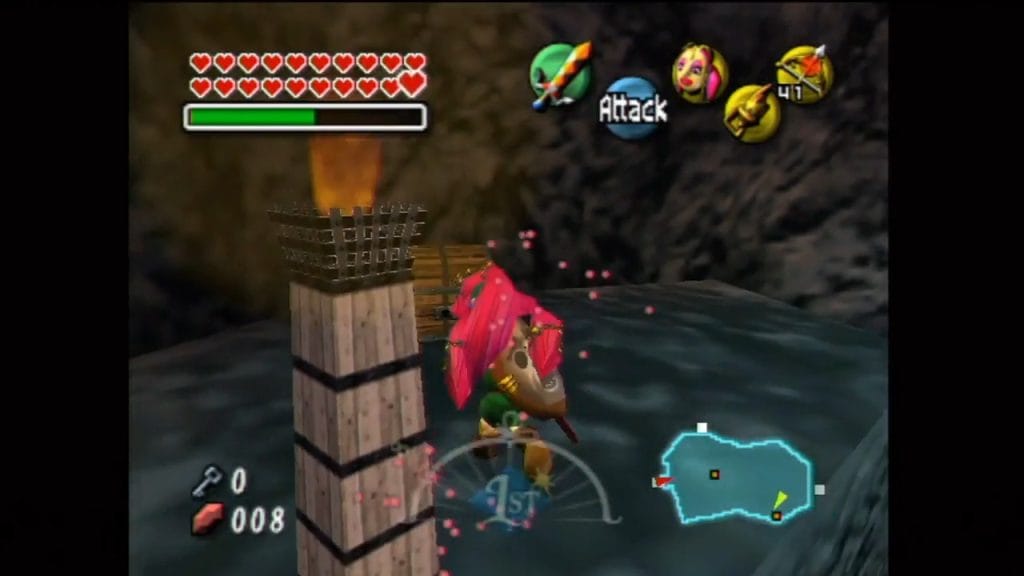
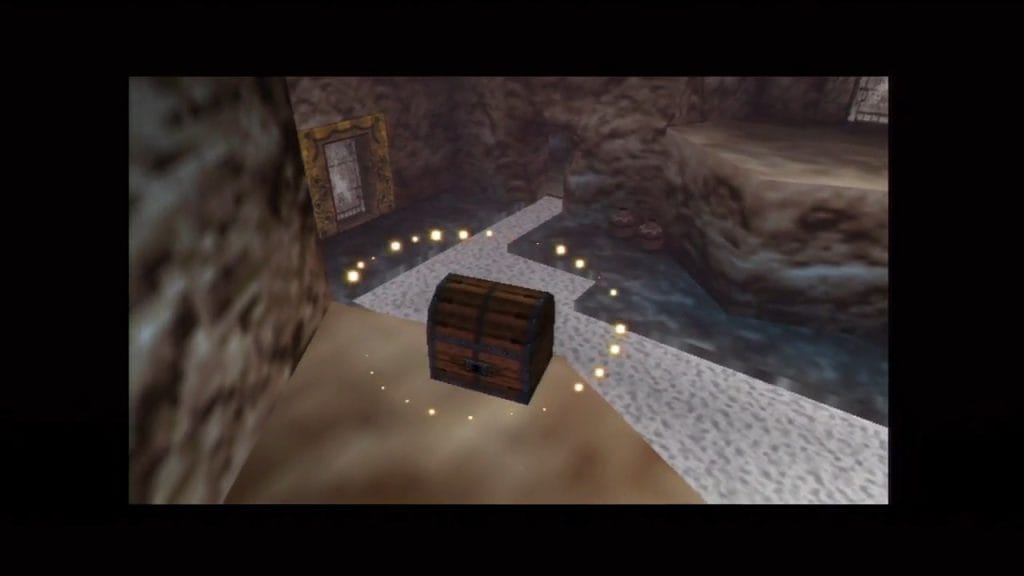
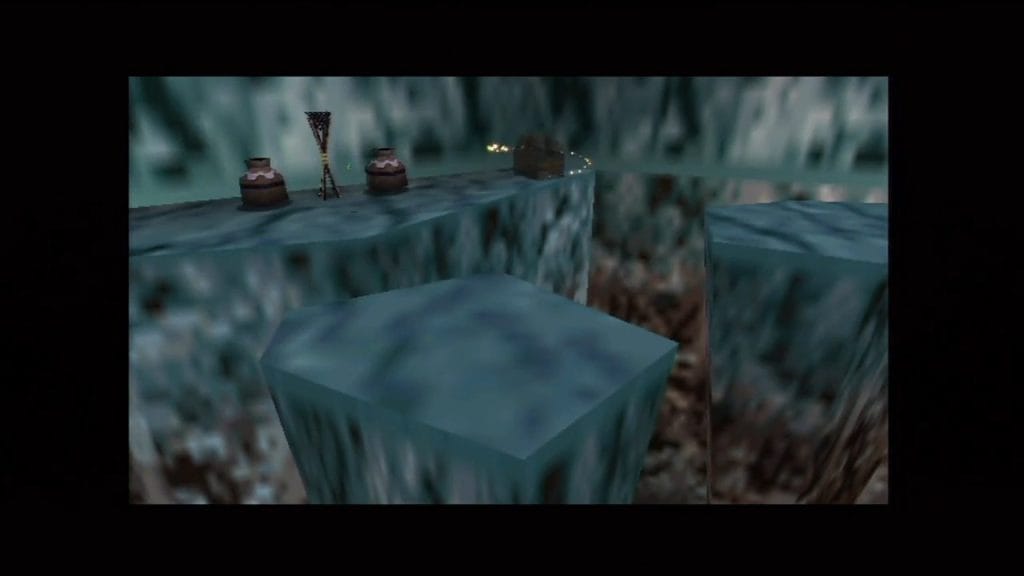
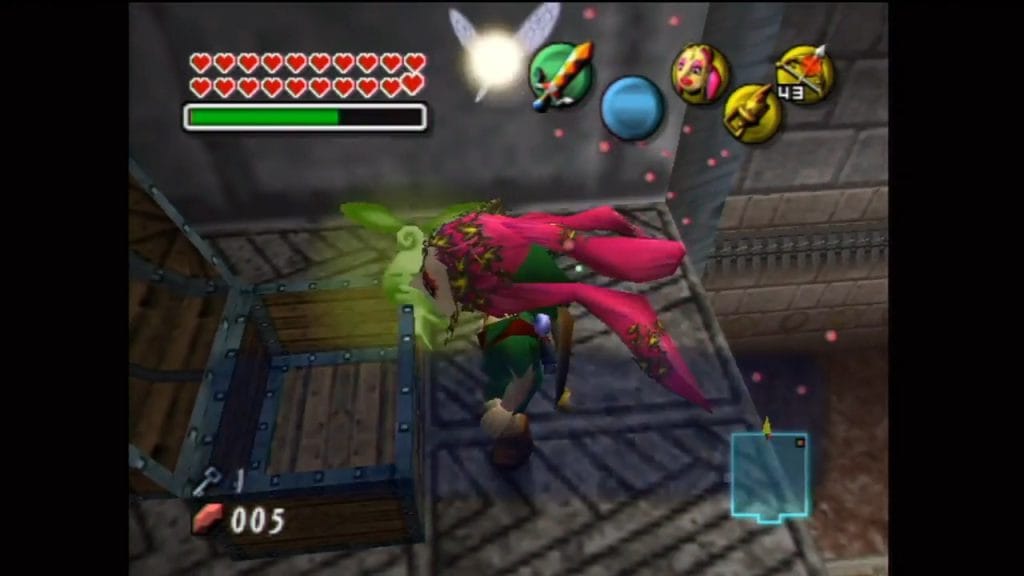
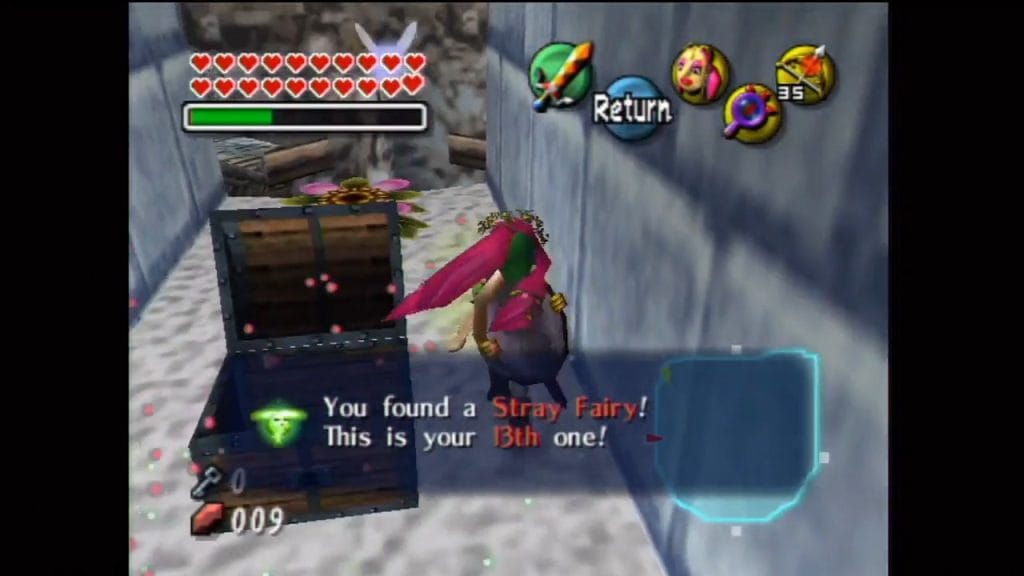
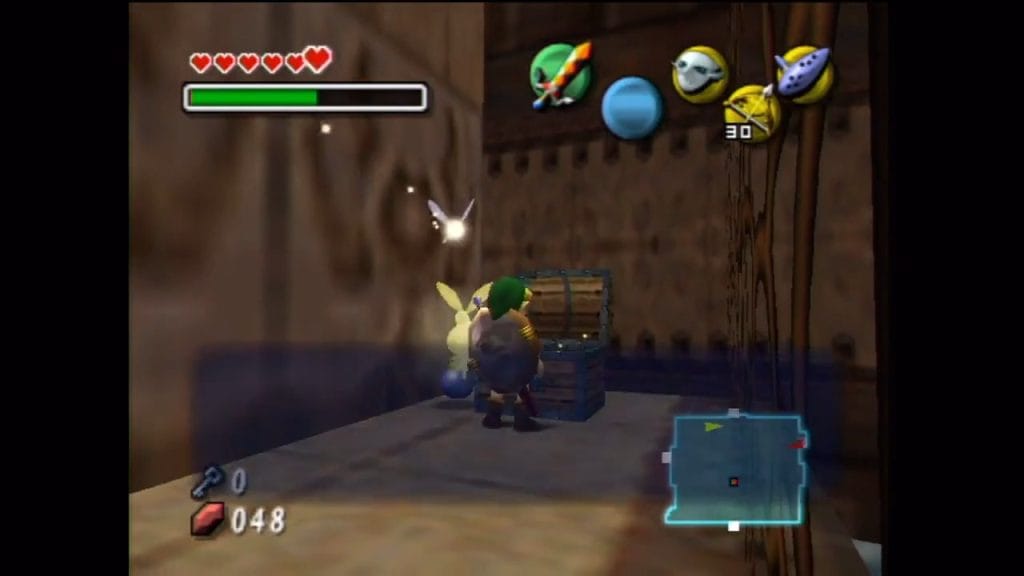
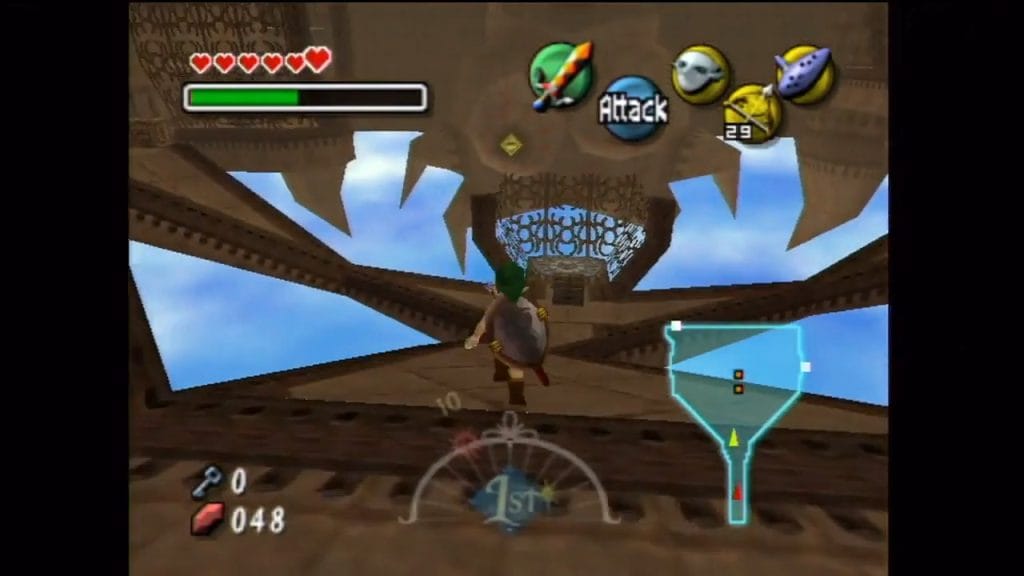
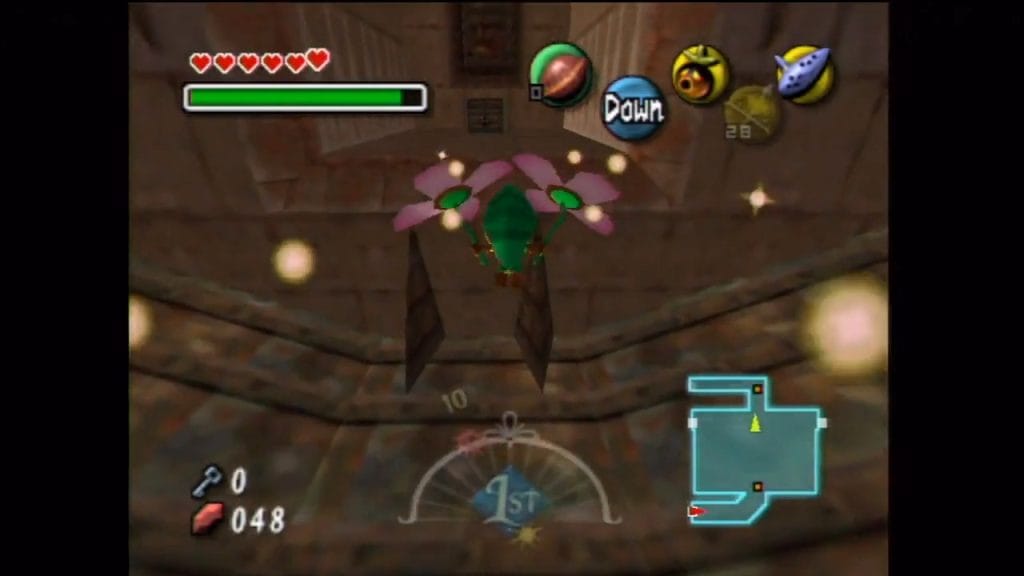
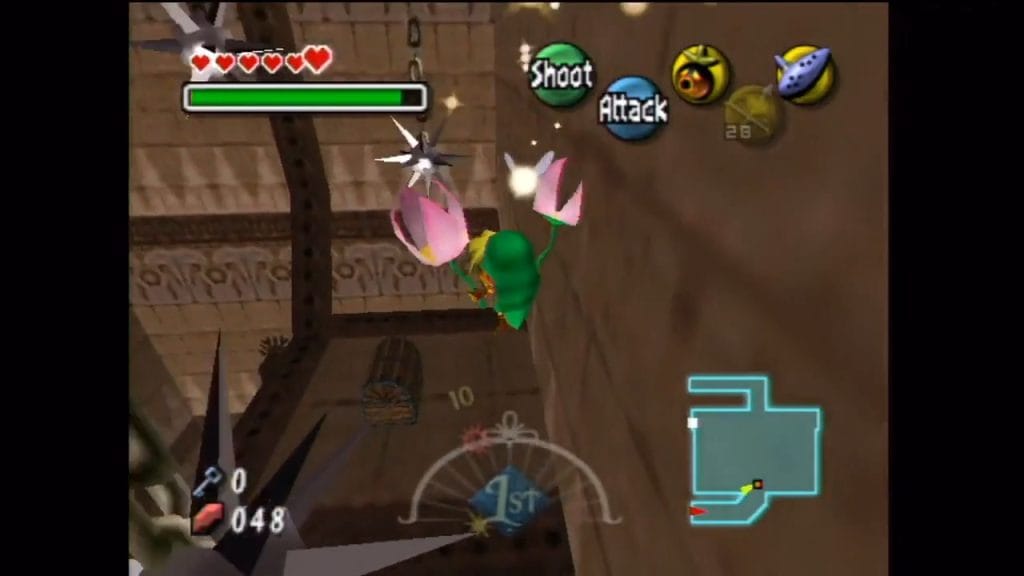
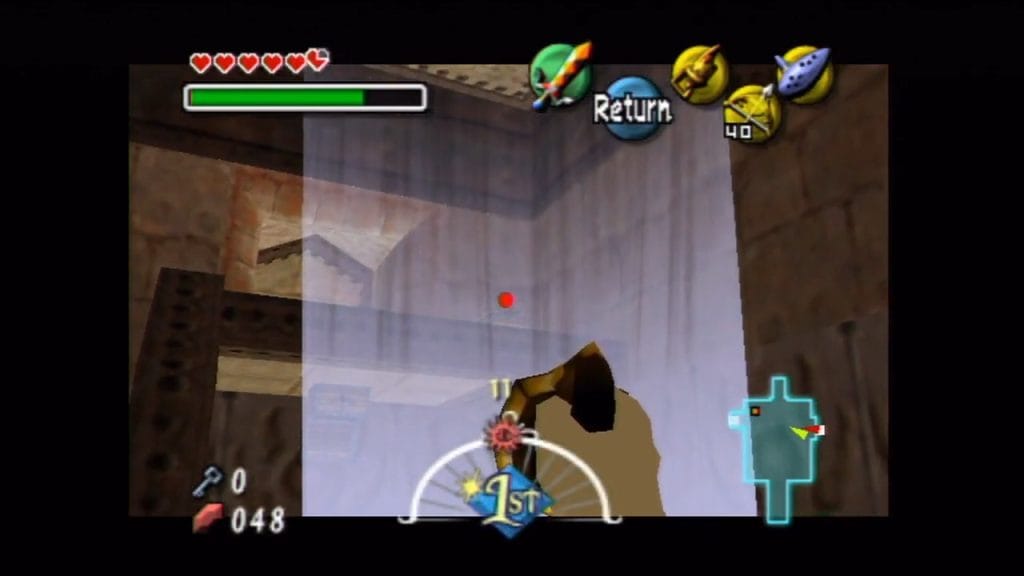
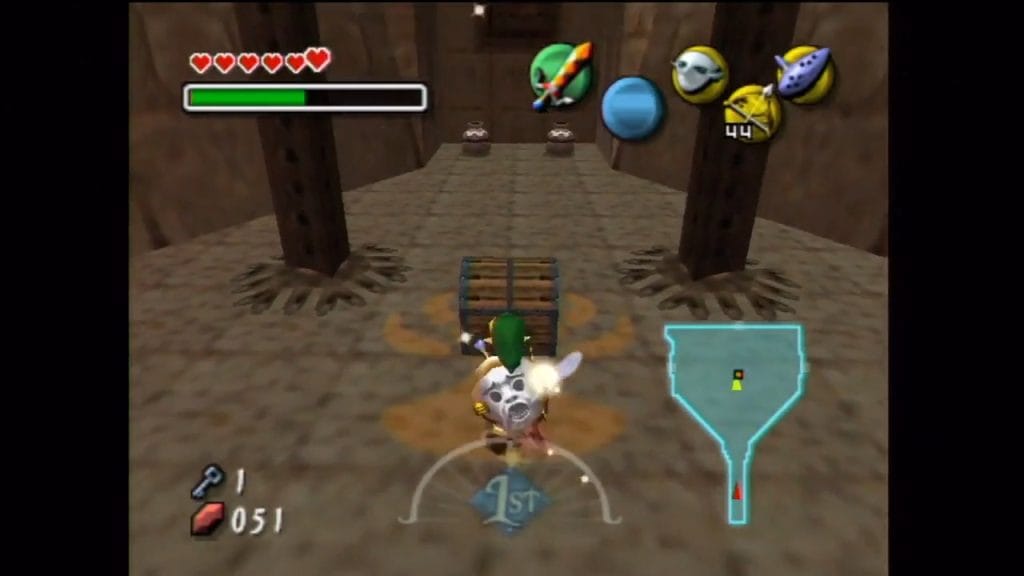
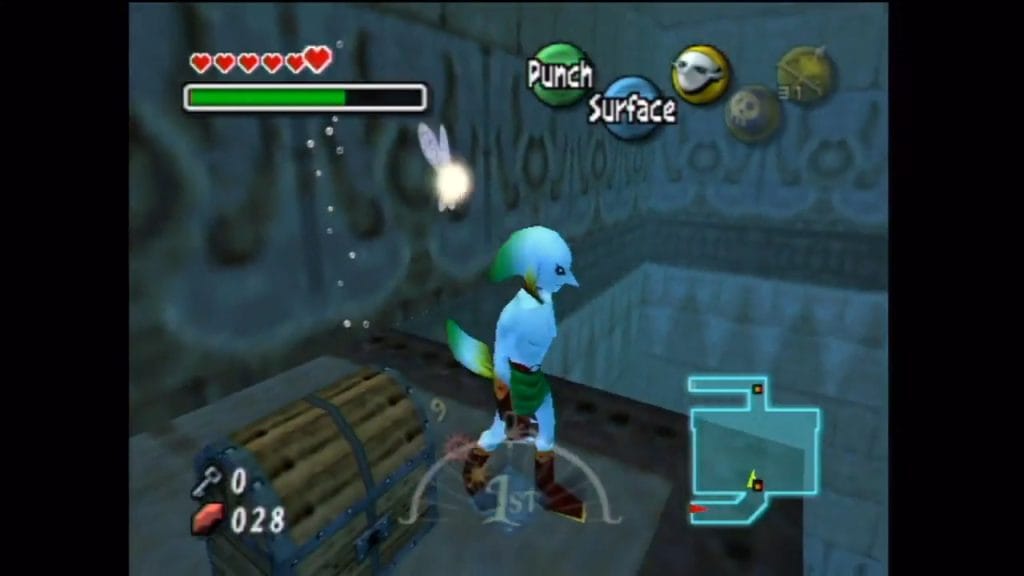
Stray Fairies in The Legend of Zelda: Majora’s Mask are scattered throughout Termina, primarily within the four main temples. Collecting all 15 Stray Fairies within a specific temple and returning them to the regional Great Fairy Fountain will grant Link a valuable reward. There is also one Stray Fairy in Clock Town required to get the Great Fairy Mask, which is essential for easily locating the fairies within the temples (it glows and makes a sound when a Stray Fairy is in the same room).
Table of Contents
Clock Town Stray Fairy
Total Fairies: 1
Reward: Great Fairy Mask
Fountain Location: North Clock Town, inside a small cave.

Reward: The Great Fairy Mask
Once you have the Ocarina of Time back and can return to Human Link, grab the fairy from the Laundry Pool during the day. Take it to the Great Fairy Fountain in North Clock Town to receive the Great Fairy Mask. It’s highly recommended to get this mask before entering the first temple.
Woodfall Temple Stray Fairies
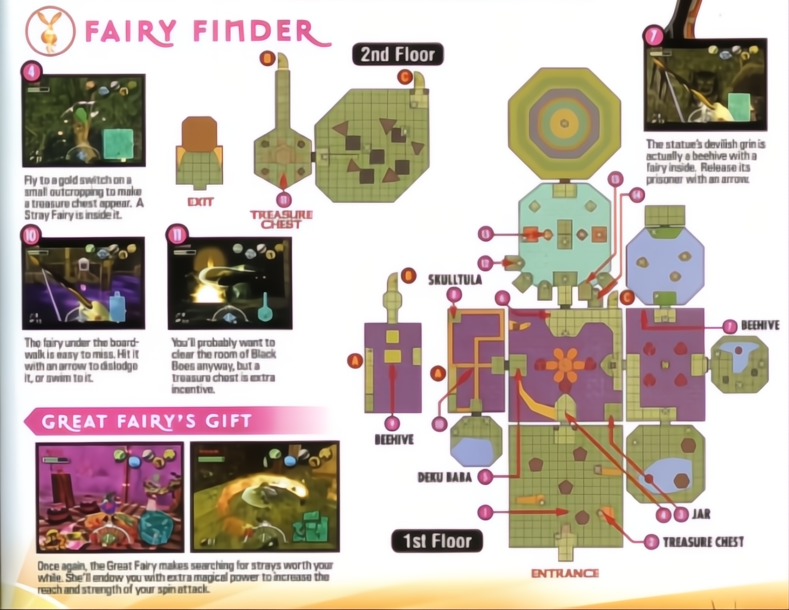
Welcome to the Woodfall Temple! Deep within this poisonous swamp dungeon lie 15 pink Stray Fairies waiting to be rescued. Gather them all and return them to the Great Fairy Fountain in Woodfall Swamp to receive a helpful reward.
Total Stray Fairies: 15
Reward: Enhanced Spin Attack (Double power and range)
Great Fairy Fountain Location: In Woodfall Swamp, inside a cave located just off the main wooden path near the entrance to the Woodfall area. You’ll need to use Deku Link to hop across platforms to reach it.
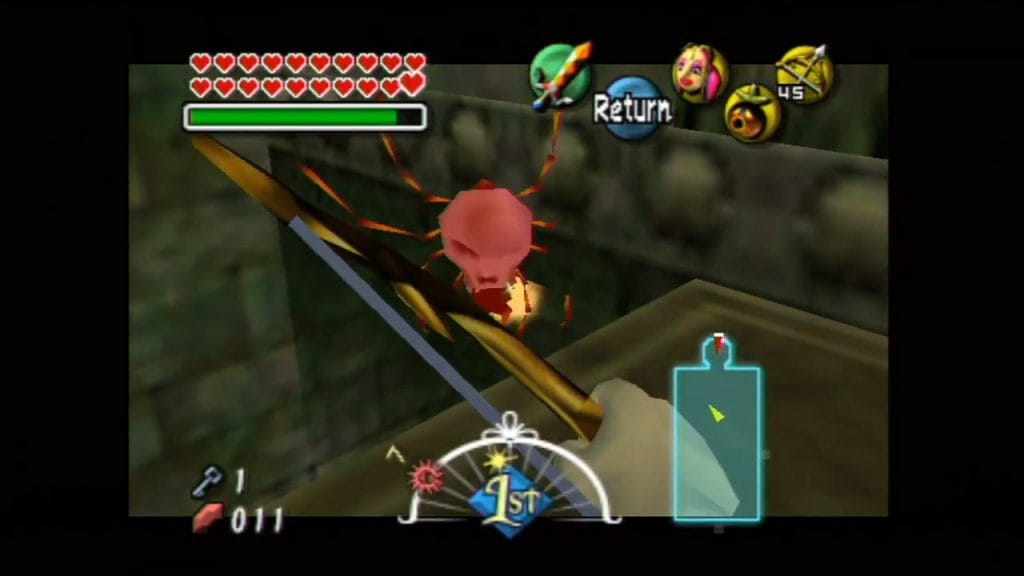
Stray Fairy #5: West Room – Skulltula
Location: Room west of the main central chamber (push block room).
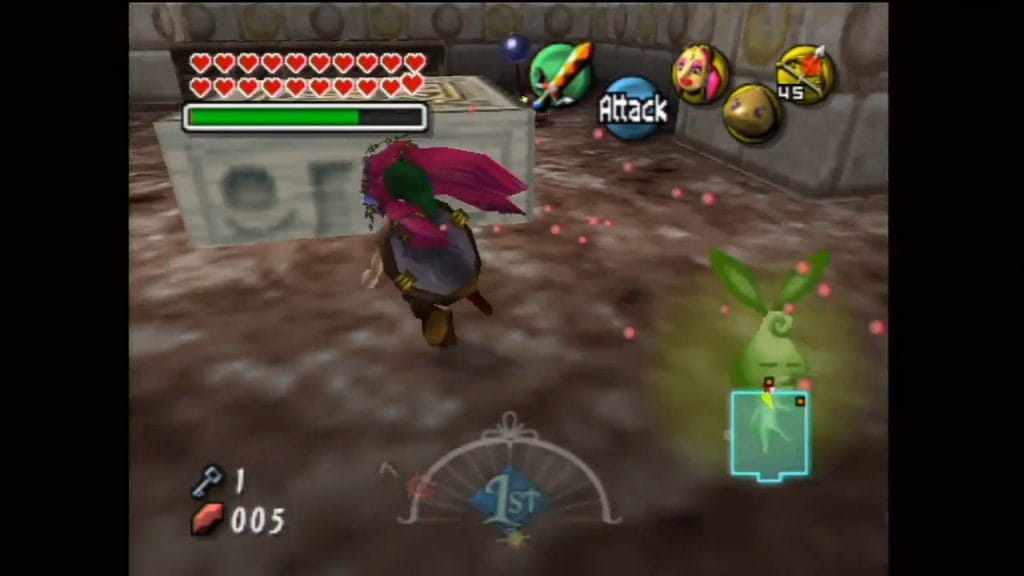
Details: Enter the western room and push the stone block forward. Behind where the block initially stood, you’ll find a Skulltula hanging. Use Deku Link’s Bubble Blast to hit its vulnerable backside and defeat it, releasing the fairy.
Stray Fairy #8: Central Room – Bubbled
Location: Large central room with the wooden flower mechanism.
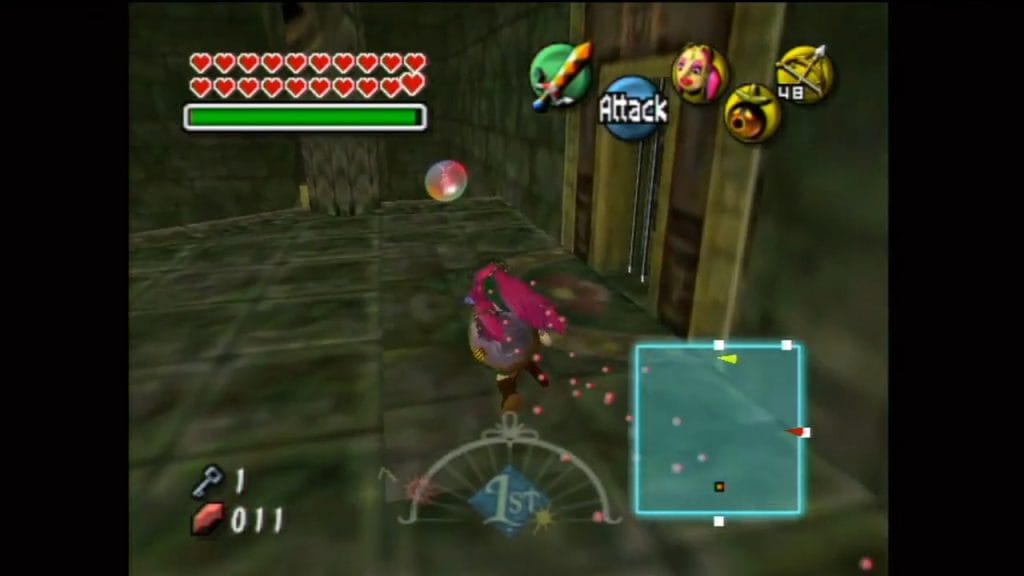
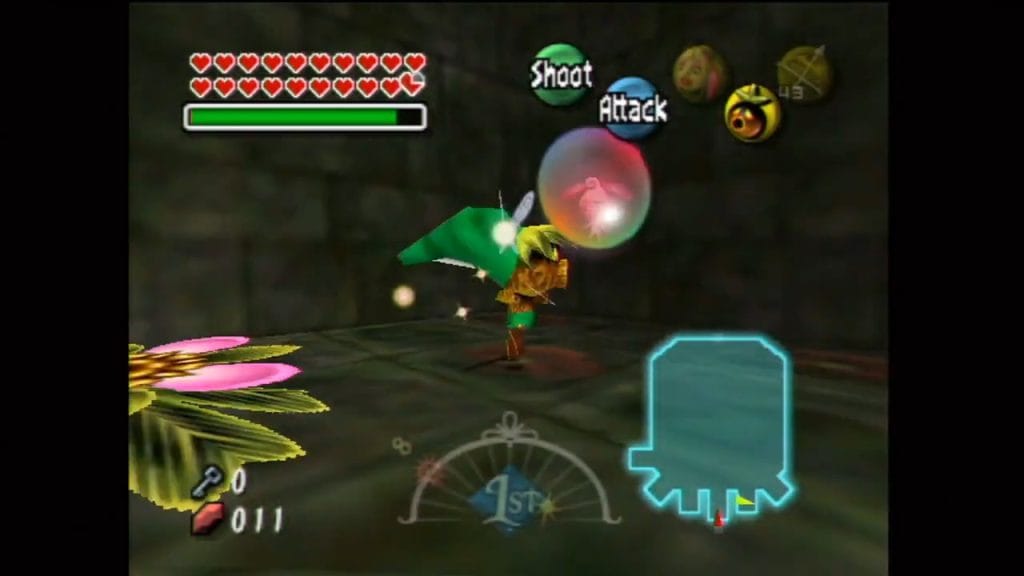
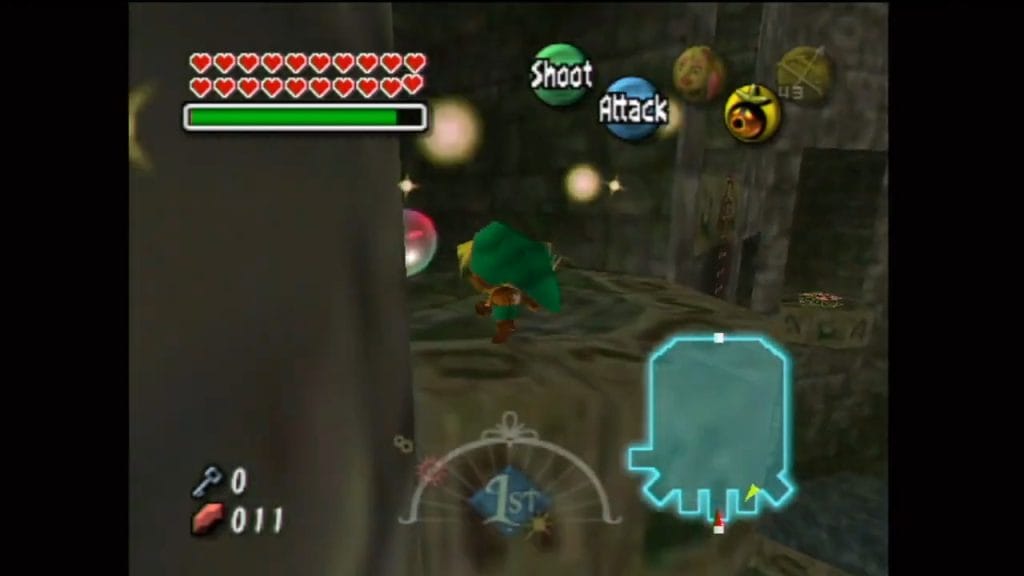
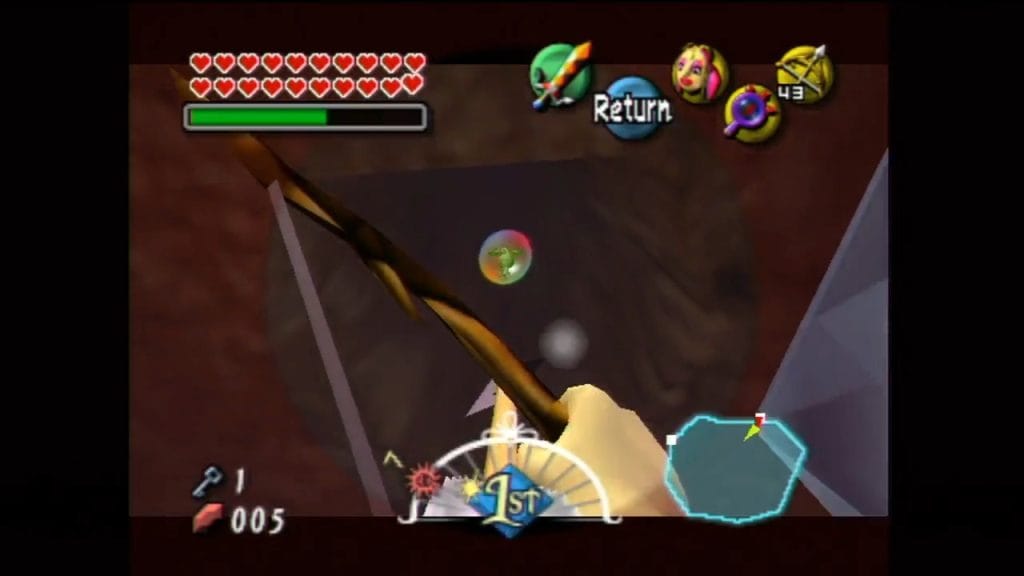
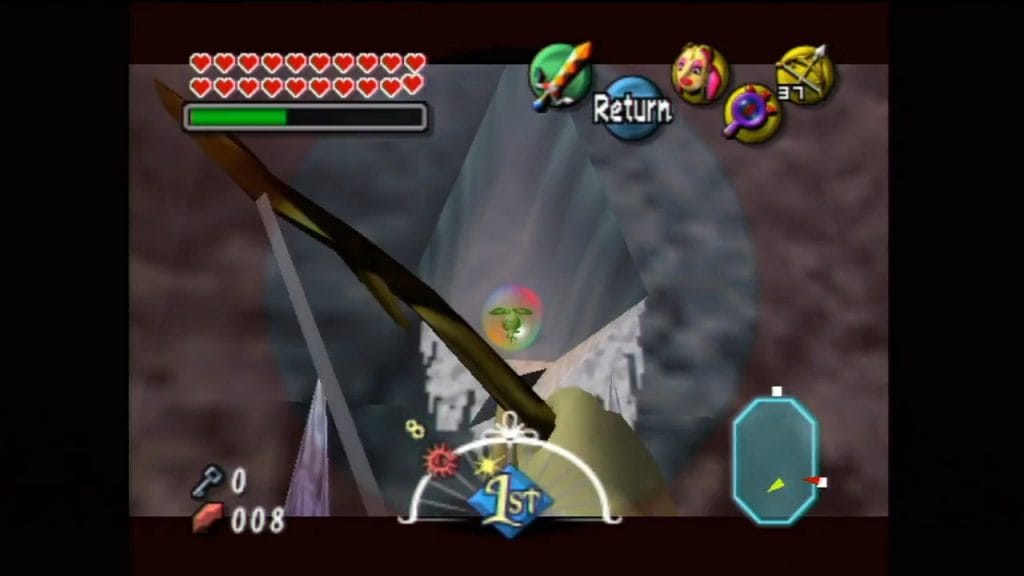
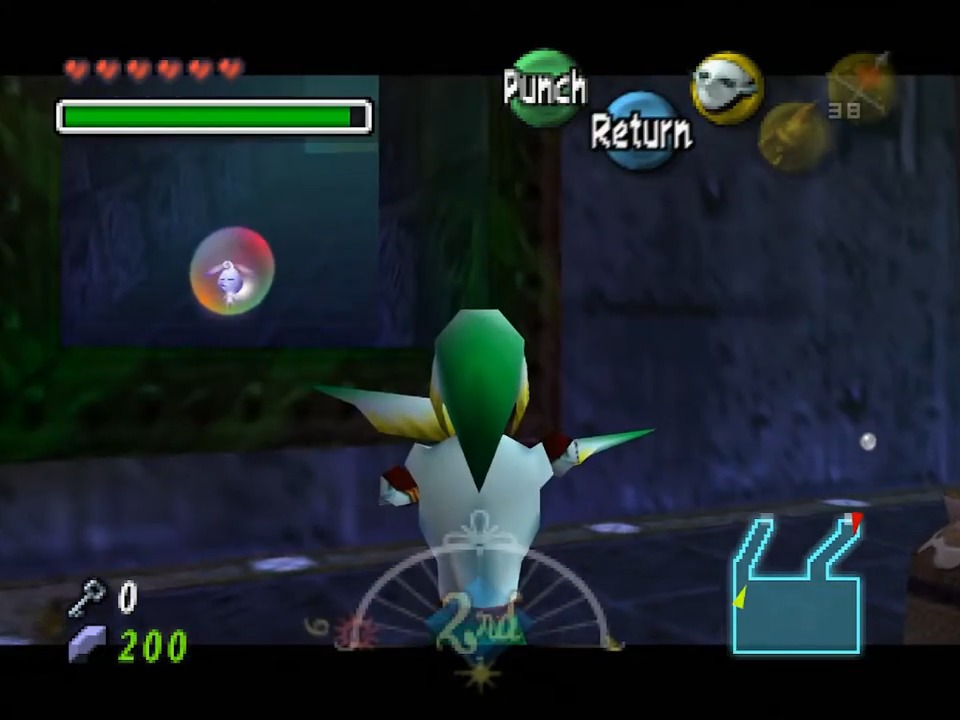
Details: Look towards the northern part of the main central room. You’ll see a Stray Fairy trapped inside a bubble, floating near a stone structure/pillar. Pop the bubble with any weapon (Sword, Arrow) and collect the fairy (the Great Fairy Mask helps).
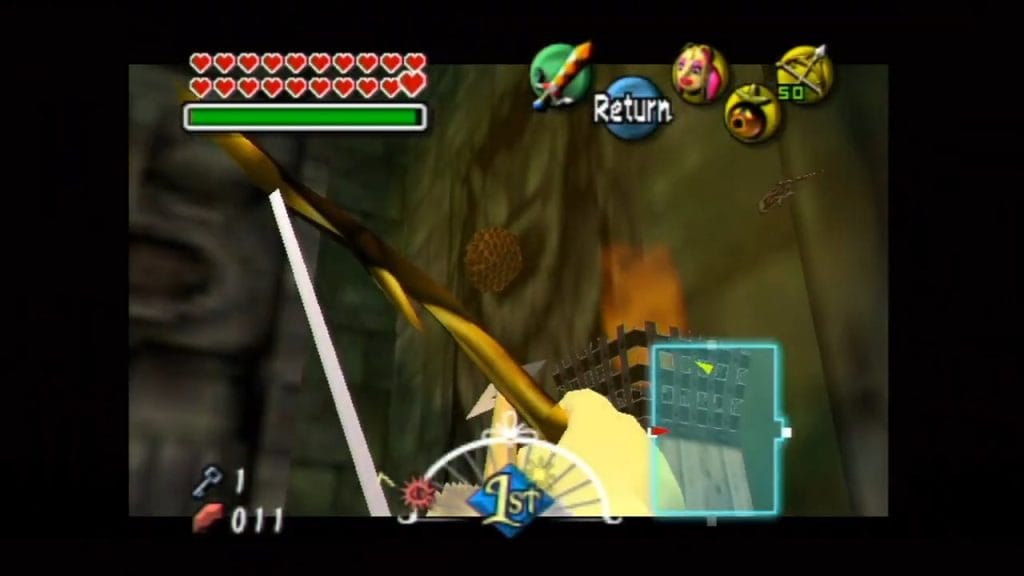
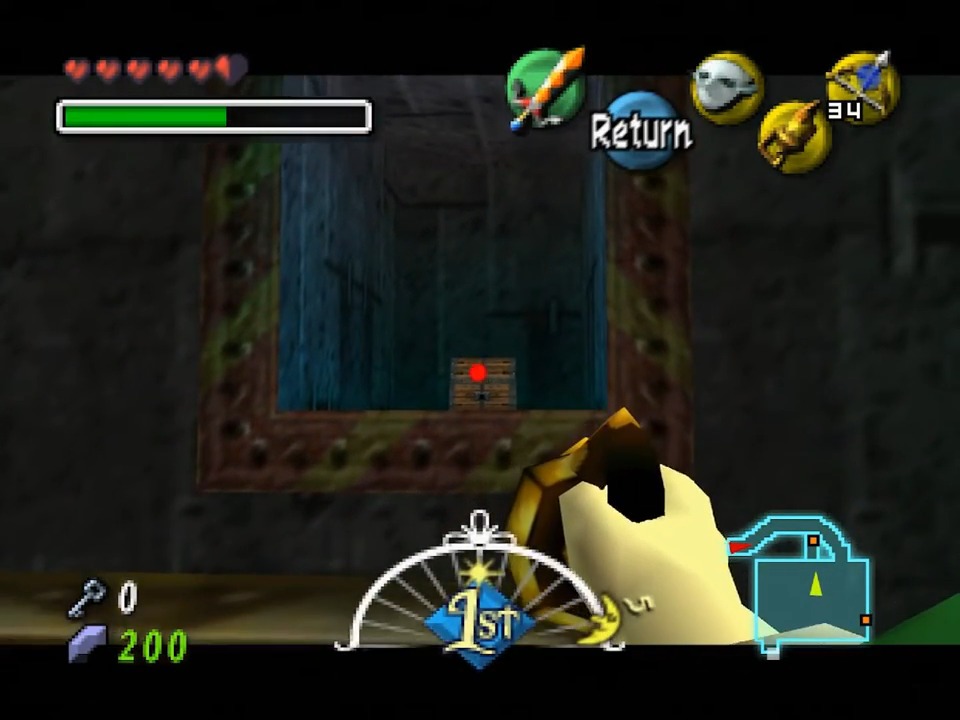
Stray Fairy #9: East Room – Beehive (Requires Bow)
Location: Room east of the central chamber, near the exit leading towards the mini-boss.
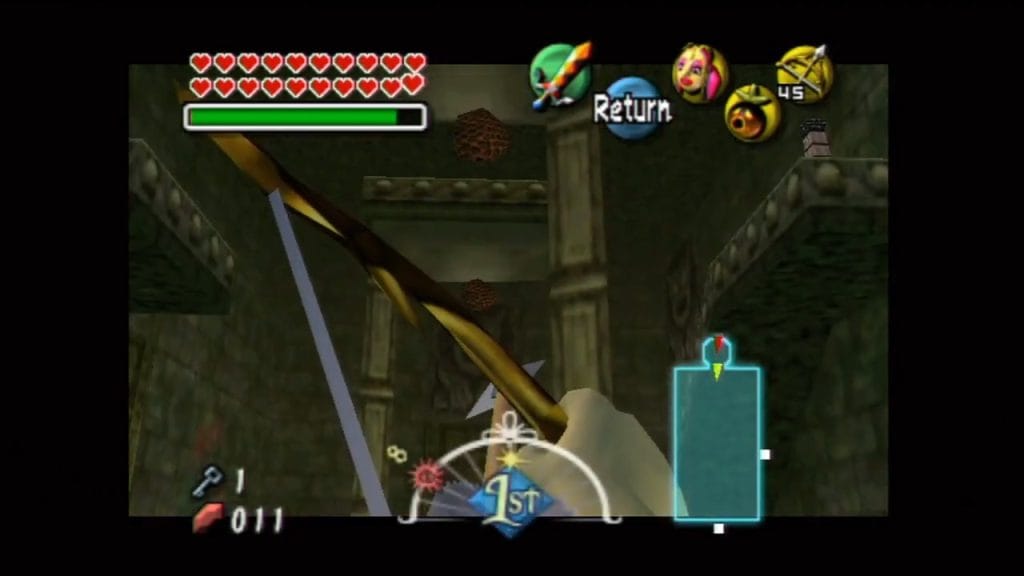
Details: After obtaining the Hero’s Bow, return to the room east of the central chamber (where you fought Deku Babas and crossed a bridge). Stand near the door leading north (towards the Dinolfos mini-boss) but don’t go through. Look up and to the left (towards the south wall). Shoot the beehive on the wall ledge with an Arrow. Use the Great Fairy Mask to retrieve the fairy from a distance.
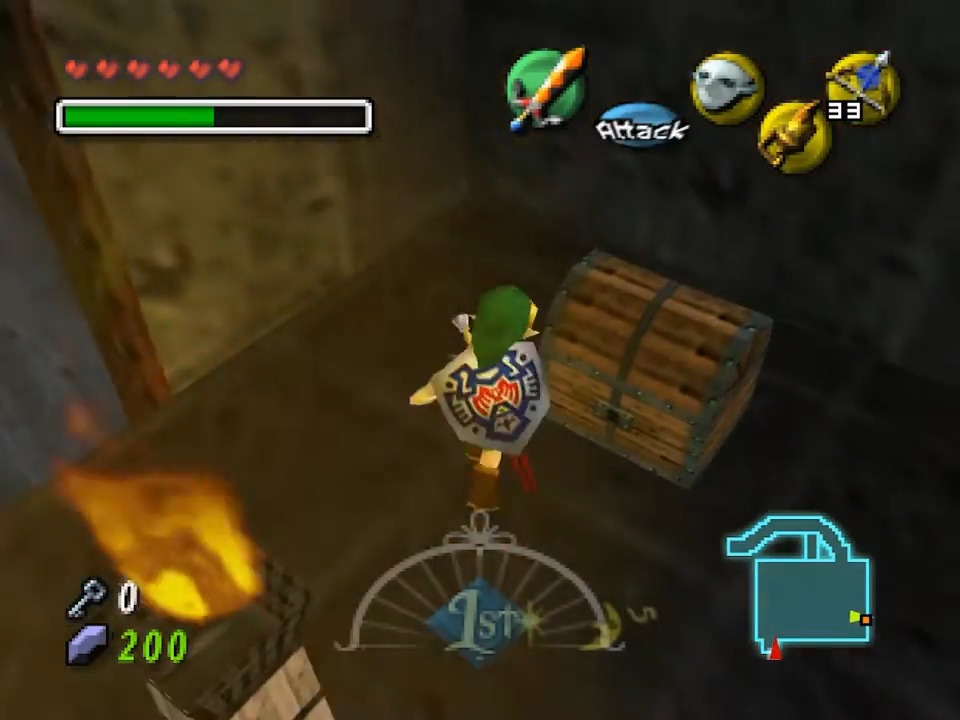
Stray Fairy #10: Central Room – Switch (Requires Bow)
Location: Large central room with the wooden flower mechanism.
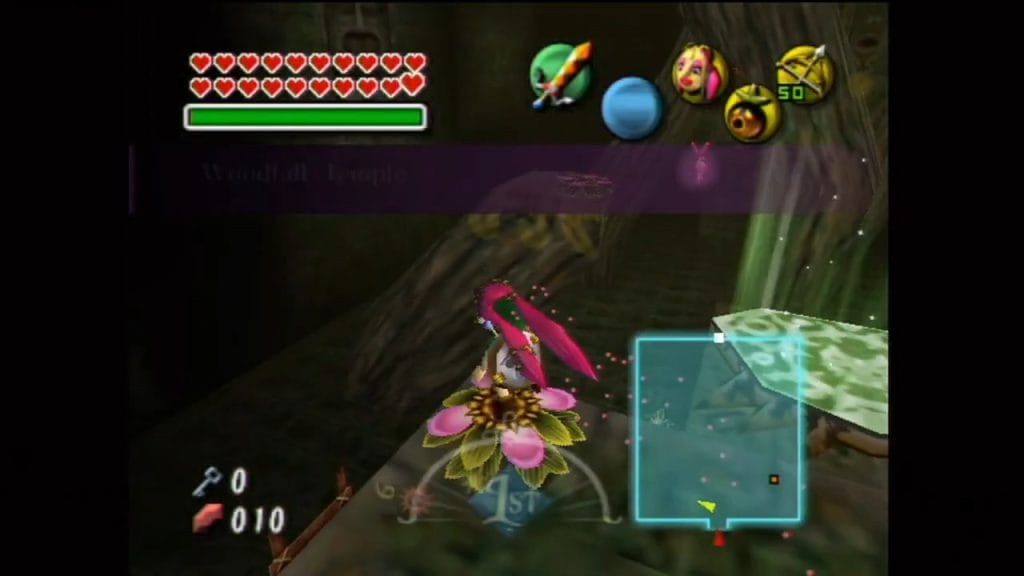
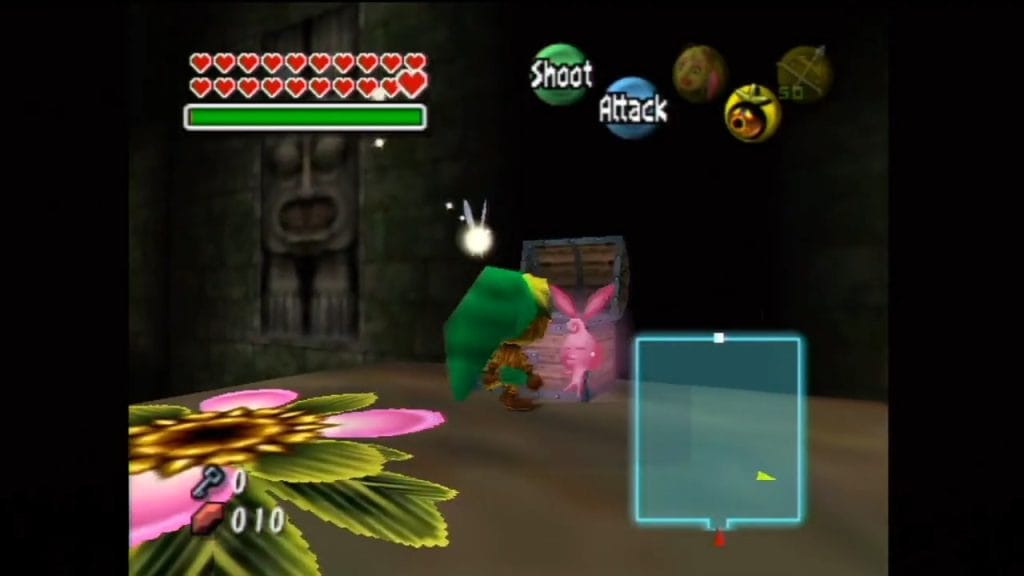
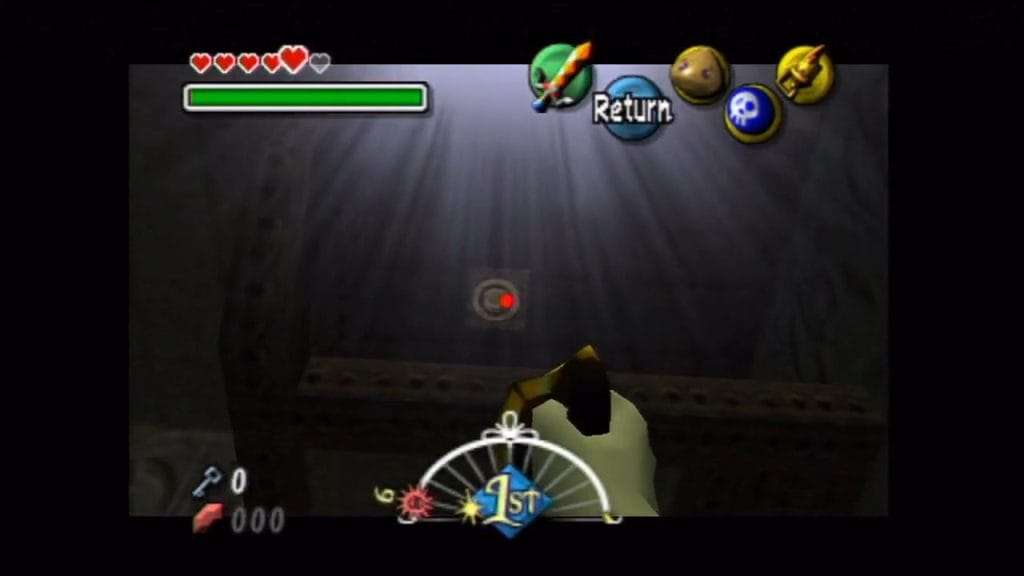
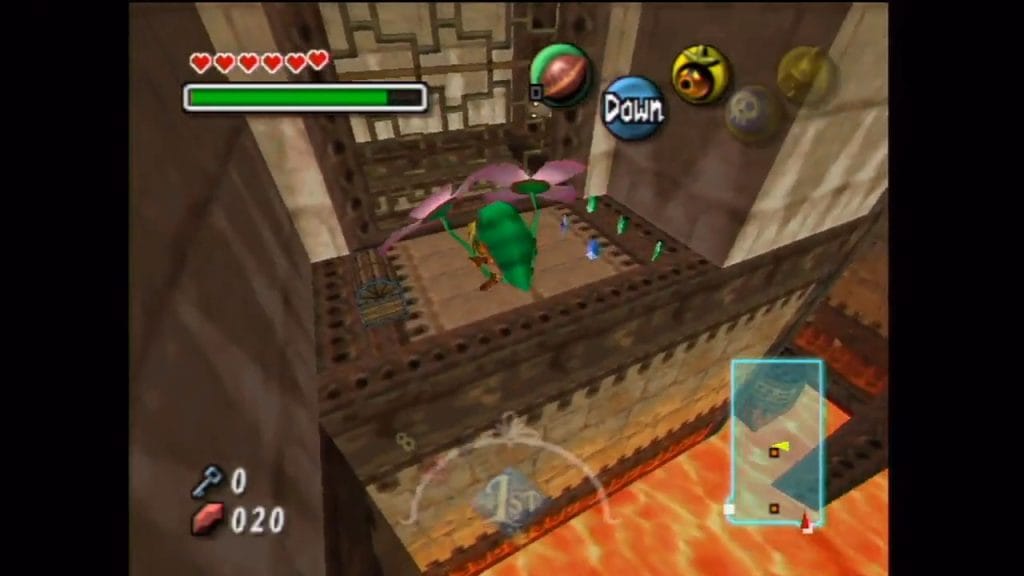
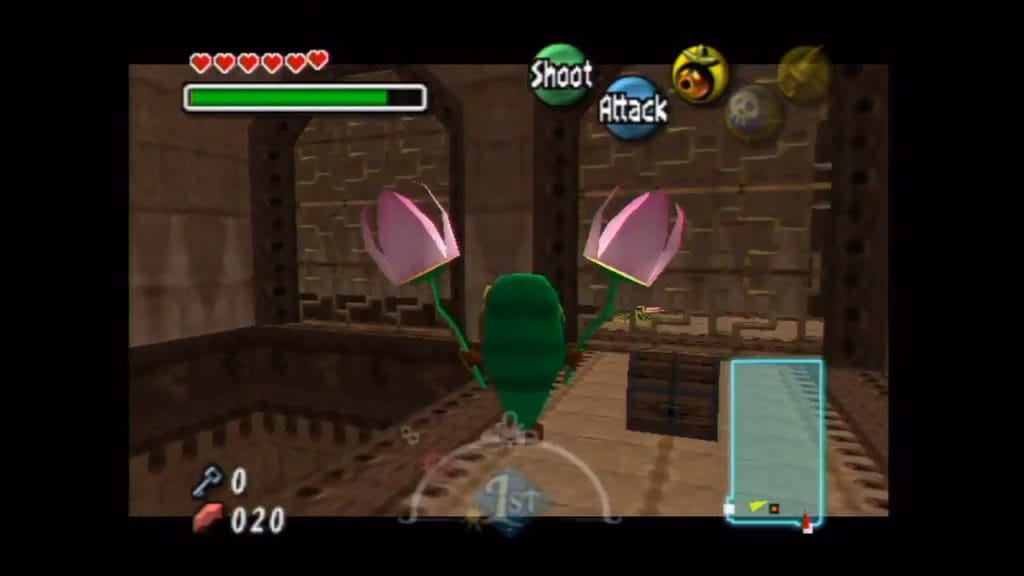
Details: After clearing the temple’s poison water by lighting the central torch, use the Deku Flower near the lit torch to fly to the platform on the northwest ledge. Step on the floor switch there (as normal Link). This makes a treasure chest appear on a previously unreachable ledge below. Glide down or drop carefully to open it.
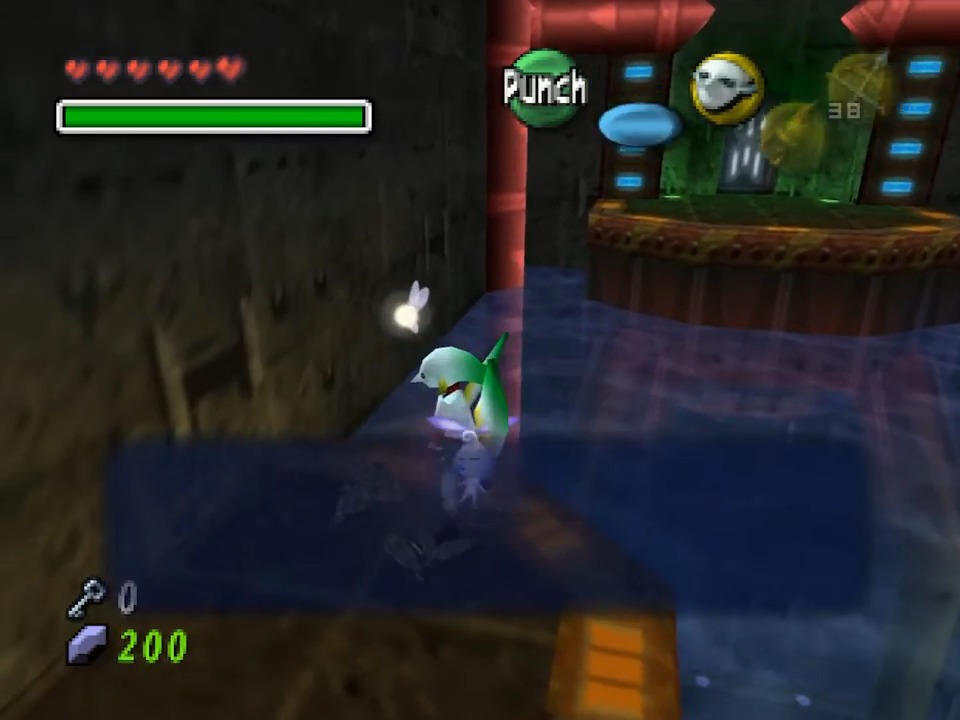
Stray Fairy #11: West Room – Underwater (Requires Bow)
Location: Room west of the main central chamber (push block room).
Details: After clearing the temple’s poison water (by lighting the central torch in the main room), return to the west room where you pushed the block (#5, #6). Dive into the now-clean water underneath the platform where the block puzzle was. The Stray Fairy is trapped in a bubble down here. Pop it and collect it.
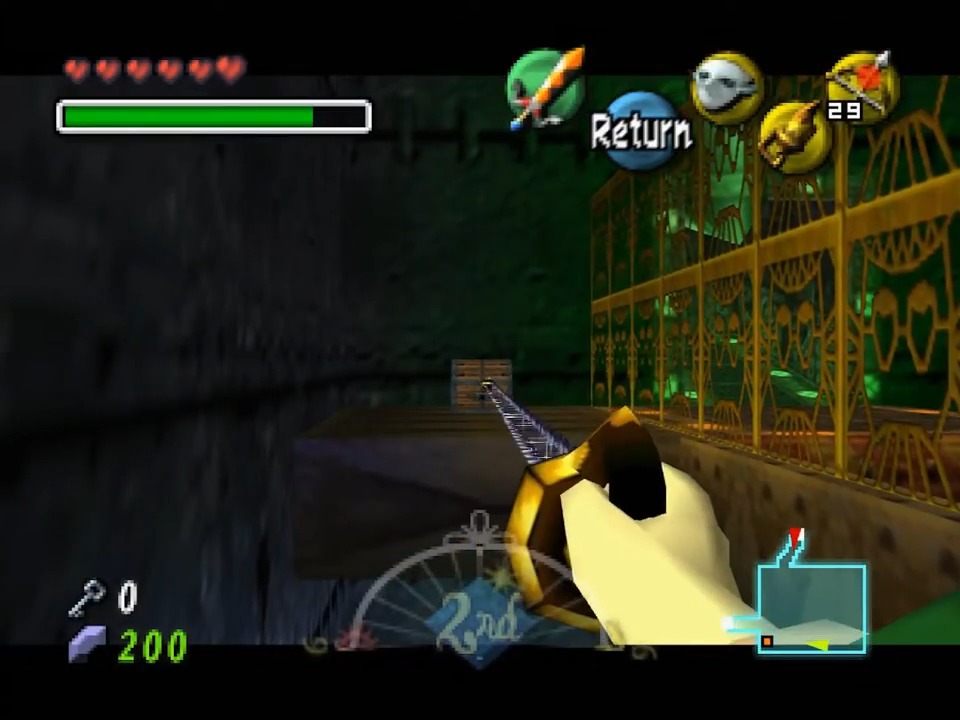
Stray Fairy #12: North Room – Bubbled (Requires Bow)
Location: Elevated room before the final boss chamber (reached via Deku Flower flight).
Details: In the room with multiple Deku Flowers leading up to the boss door, look around for a Stray Fairy trapped in a bubble floating high up. Shoot the bubble with an Arrow and use the Great Fairy Mask to collect it.
Stray Fairy #13, #14, #15: North Room – Alcoves (Requires Bow)
Location: Elevated room before the final boss chamber (reached via Deku Flower flight).
Details: In the same room as #12, look at the southern wall, below the platform you arrived on. There are three small alcoves built into the wall, each containing a Stray Fairy trapped in a bubble. Use Deku Link to carefully fly from the main Deku Flower platform into each alcove. Pop the bubbles to release the fairies.
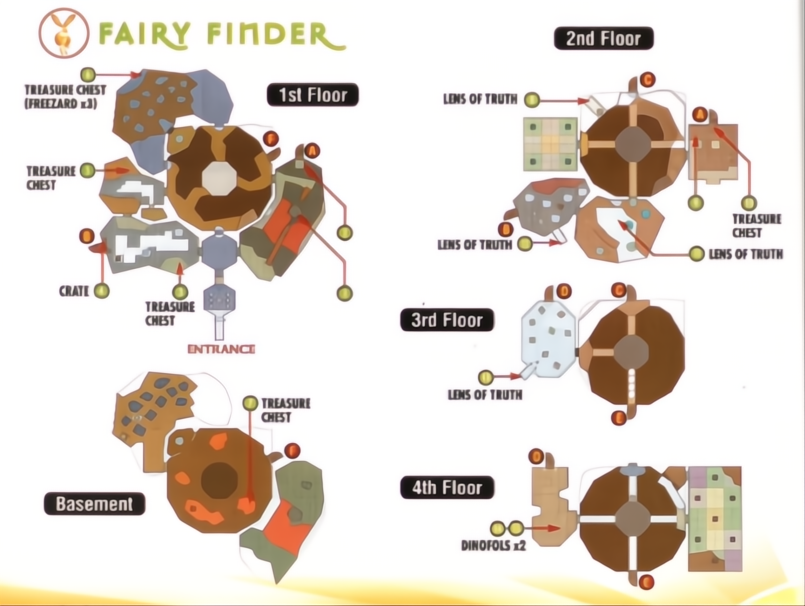
Snowhead Temple Stray Fairies
Total Fairies: 15
Reward: Enhanced Magic Meter (Doubles capacity)
Fountain Location: Snowhead area. Located at the base of the Snowhead mountain, before the ramp leading up to the Goron Racetrack and Temple. Melt the ice with Hot Spring Water or Fire Arrows.
Stray Fairy #1: East Bridge Room – Under Platform
Location: Room with the icy bridge, lava pits, and Freezards (east from the central pillar room).
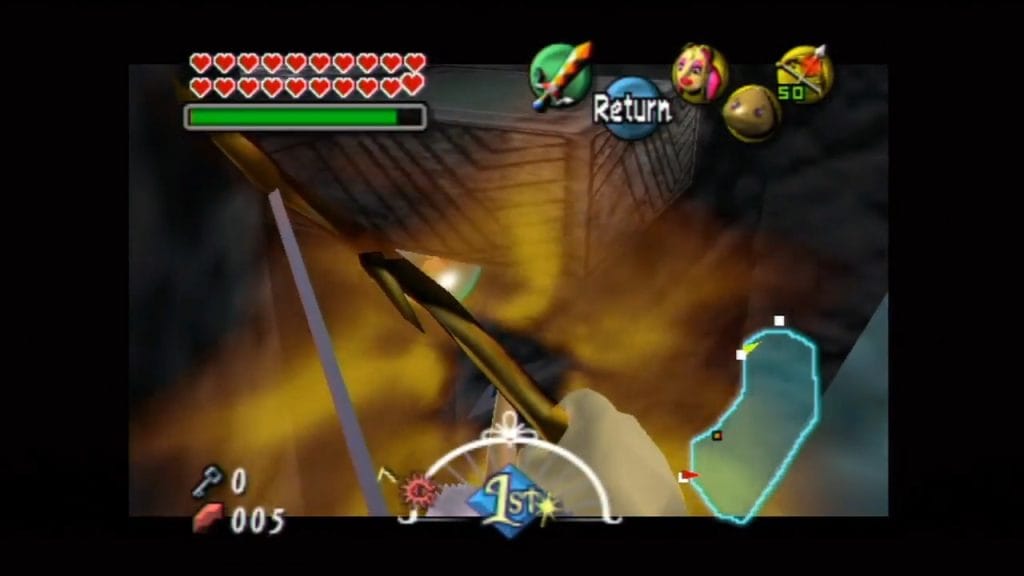
Details: In the room where you cross the bridge towards the Dungeon Map, look underneath the stone platform just before the steps leading up to the map room door. A fairy is in a bubble. Shoot it with an Arrow and use the Great Fairy Mask.
Stray Fairy #2: East Bridge Room – Ceiling Alcove (Requires Lens of Truth)
Location: Same room as #1 (icy bridge, lava, Freezards).
Details: Stand on the bridge in the same room. Look up towards the ceiling/rock formation above. Use the Lens of Truth to reveal a hidden alcove. Inside, a fairy is trapped in a bubble. Shoot the bubble with an Arrow and use the Great Fairy Mask.
Stray Fairy #3: Dungeon Map Room
Location: Small room where you find the Dungeon Map (up the stairs from the East Bridge Room).
Details: After collecting the Dungeon Map from the chest, look around this small room. The Stray Fairy is floating freely in plain sight. Use the Great Fairy Mask or simply walk into it.
Stray Fairy #4: Central Pillar Room – Lava Pit Switch
Location: Main central room with the large pillar structure.
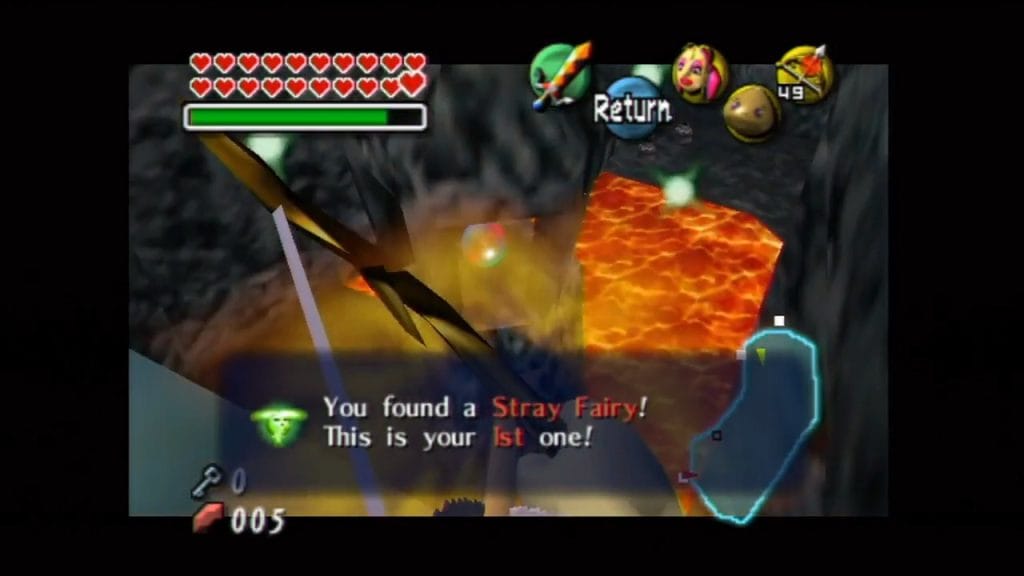
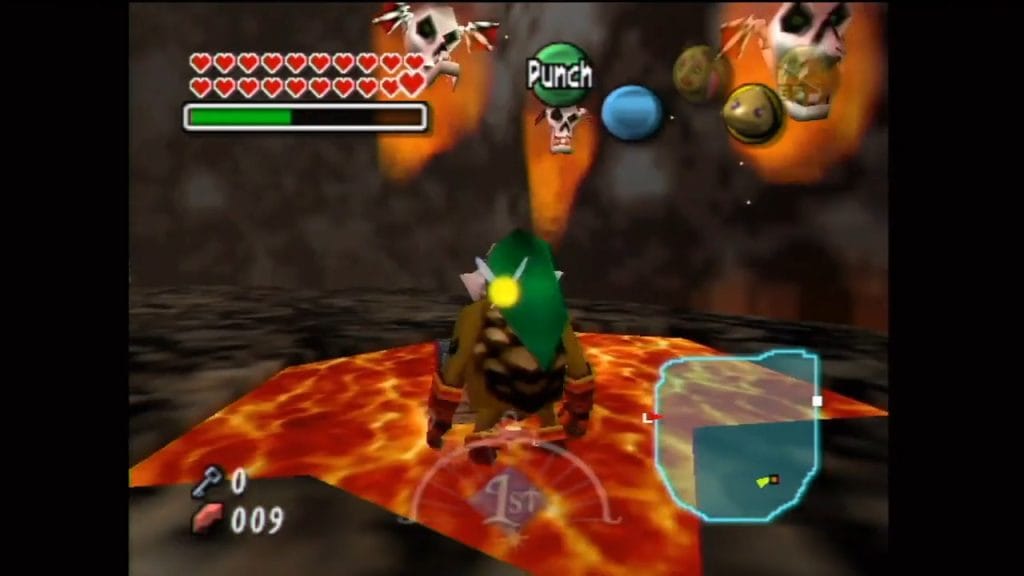
Details: Carefully drop down (or fall) to the lava-filled bottom floor of the main central room. Use Goron Link to step on the large, rusted floor switch here. This will cause a treasure chest containing the fairy to appear on a nearby platform in the lava. Quickly roll over and open it.
Stray Fairy #5: Compass Room – Bombable Crate
Location: Room west of the central pillar room, 2nd floor (where you get the Compass).
Details: On the west side of the Compass room, you’ll see a cracked wall near the floor and a wooden crate suspiciously placed on a high ledge directly above it. You need to time a Bomb explosion to destroy the crate. Either throw a bomb up, or use the Bombchu upgrade if available. The fairy is inside the crate. Use the Great Fairy Mask to retrieve it.
Stray Fairy #6: Icicle Room – Fake Wall (Requires Lens of Truth)
Location: Small connecting room filled with falling icicles (often accessed after pushing blocks).
Details: In the small, square room where large icicles fall from the ceiling, use the Lens of Truth to find a fake section of wall. Walk through it to find a hidden alcove with a treasure chest containing the fairy.
Stray Fairy #7: White Boe Switch Room – Ceiling Alcove (Requires Lens of Truth)
Location: Room with multiple switches needing Goron Pound and populated by White Boes.
Details: In the room where you need to use Goron Link’s pound attack on switches, look up at the ceiling. Use the Lens of Truth to reveal a hidden alcove high above. A fairy is trapped in a bubble inside. Shoot the bubble with an Arrow and retrieve it with the Great Fairy Mask.
Stray Fairy #8: Compass Room – Block Puzzle
Location: Room west of the central pillar room, 2nd floor (where you get the Compass).
Details: In the Compass room, melt the ice blocking a blue block using a Fire Arrow. Push/pull the block onto a nearby floor switch. This reveals a treasure chest on a high ledge. Push/pull the block again so you can climb onto it and reach the chest.
Stray Fairy #9: North of Compass Room – Block Jump
Location: Room north of the Compass room (requires pushing blocks from Compass room).
Details: From the Compass room (#8), push the blue block towards the northern doorway and enter. You’ll be on a high ledge overlooking a room where you previously pushed two blocks together. Jump across the gap using these blocks to reach a treasure chest on the far side containing the fairy.
Stray Fairy #10: Freezard Torch Room (Requires Fire Arrows)
Location: Room with three Freezards and torches that need lighting (often near the top floors).
Details: Enter the room containing three Freezards. Defeat all three enemies using Fire Arrows. Once all Freezards are eliminated, a treasure chest with the fairy will appear.
Stray Fairy #11: Dungeon Map Room – Invisible Platforms (Requires Fire Arrows, Lens of Truth)
Location: Revisit the Dungeon Map room (#3).
Details: Return to the Dungeon Map room. Jump across to the central platform. Use Fire Arrows to defeat the Freezard and hit the frozen eye switch on the wall. This raises the central platform. Go to the eastern side of the room (near the door you originally entered from). Use the Lens of Truth to reveal a series of invisible platforms. Carefully jump across them to reach a hidden alcove containing a treasure chest with the fairy.
Stray Fairy #12: Eeno Room – Fake Wall (Requires Lens of Truth)
Location: Room near the top of the temple containing large snowball enemies (Eenos).
Details: In the room where you fight the large and small Eenos, defeat them first. Then, face the southwest wall. Use the Lens of Truth to reveal a hidden alcove. A fairy is inside a bubble. Shoot it with an Arrow and use the Great Fairy Mask.
Stray Fairy #15: Central Pillar Room – High Alcove
Location: Main central room with the large pillar structure.
Details: This is one of the trickiest fairies. It’s in a hidden alcove high up on the northwest wall of the central room. There are several ways to get it:
- Method 1 (Deku Flower): Go to the Deku Flower launch pad near the Boss Door entrance at the very top. Ensure the central pillar is lowered. Launch and glide towards the northwest wall alcove. It’s difficult to control the landing.
- Method 2 (Goron Roll – Risky): As Goron Link, get the central pillar raised to its highest point. Stand on the upper level and perform a spiked Goron Roll jump aimed at the alcove. Uncurl mid-air to try and land inside. Failure likely means a long trek back up.
- Method 3 (Hookshot/Scarecrow – Easiest Late Game): If you return after obtaining the Hookshot (from Great Bay Temple) and learning the Scarecrow’s Song, stand on the central pillar or a nearby ledge, look towards the alcove, and play the Scarecrow’s Song. Tatl should fly over. Use the Hookshot on the summoned Scarecrow to pull yourself into the alcove. Open the treasure chest inside.
Great Bay Temple Stray Fairies
Total Fairies: 15
Reward: Enhanced Defense (Damage taken is halved – white border around hearts)
Fountain Location: Great Bay Coast. Located on the beach area east of the Marine Research Lab, behind some rocks. Use Bombs or the Goron Mask to destroy the boulders blocking the cave entrance.
Stray Fairy #2: Waterworks Room – Under Entrance
Location: Large central room with water currents and spinning blades (just after the entrance).
Details: As Zora Link, dive into the water right underneath the platform/walkway where you entered this main room. The fairy is trapped in a bubble down there. Pop it and collect.
Stray Fairy #3: Waterworks Room – Skulltula Platform
Location: Large central room with water currents.
Details: In the main waterworks room, look for a platform along the eastern wall (right side relative to entrance) with a single Skulltula on it. Ride the moving platform/elevator up to it (or Hookshot/swim). Defeat the Skulltula to release the fairy.
Stray Fairy #4: Whirlpool Chamber – Barrel
Location: Room directly below the main waterworks room, accessed via yellow pipes/currents. Contains a large whirlpool.
Details: In the room with the large central whirlpool mechanism, find a barrel sitting on a ledge along the western side of the room (above the water). Use Goron Link’s punch/roll or Zora Link’s barrier/fins to break the barrel and release the fairy.
Stray Fairy #5: Whirlpool Chamber – Pot in Vortex
Location: Room with the large central whirlpool mechanism.
Details: At the very bottom of the whirlpool vortex in this room, there is a single pot. The current makes it hard to reach directly. The easiest way is to stand on a platform above the whirlpool and shoot the pot with an Arrow. Then, use the Great Fairy Mask to collect the fairy safely from above.
Stray Fairy #6: Dungeon Map Room – Pots (Requires Hookshot)
Location: Room containing the Dungeon Map (usually accessed via underwater tunnel).
Details: After obtaining the Dungeon Map from the chest, look towards the northwest corner of this platform. You’ll see some pots on a high, otherwise inaccessible ledge. Use the Hookshot to break the pots from a distance. One contains the fairy. Use the Great Fairy Mask to retrieve it.
Stray Fairy #7: Bio Deku Baba Room
Location: Underwater room filled with Bio Deku Baba enemies (often connected to the map room).
Details: Enter the room full of Bio Deku Babas. Use Zora Link’s Electric Barrier or Boomerang Fins to defeat all of them. A treasure chest containing the fairy will appear once the room is cleared.
Stray Fairy #8: Compass Room – Pot (Requires Hookshot)
Location: Room containing the Compass (often after the Bio Deku Baba room).
Details: Upon entering the Compass room, look into the water near the entrance, often to the right side. There’s a submerged pot. Use the Hookshot to break it and release the fairy. Collect it as Zora Link or with the Great Fairy Mask.
Stray Fairy #9: North Room – Ice Arrow Path (Requires Ice Arrows, Hookshot)
Location: Room accessed by riding the turning platforms in the Whirlpool Chamber to the north exit, then climbing a ladder.
Details: After reversing the water flow (red pipes), ride the rotating blades in the Whirlpool Chamber to the north exit. Climb the ladder. In this next room, use Ice Arrows to create ice platforms on the water surface, making a path towards the northwest corner. Look up to find a Hookshot target on the ceiling/ledge above. Hookshot up to this hidden alcove to find a treasure chest with the fairy.
Stray Fairy #10: Waterwheel Room – Southeast Alcove (Requires Hookshot)
Location: Room with large rotating waterwheels, Skullfish, and mines (accessed after manipulating water flow).
Details: Navigate the platforms and waterways in the room with the giant, turning waterwheels. Make your way towards the northeast corner platform. From there, look towards the south wall. You should see a hidden alcove with a Hookshot target. Hookshot across to it and open the treasure chest.
Stray Fairy #11: Waterwheel Room – North Alcove (Requires Ice Arrows, Hookshot)
Location: Room with large rotating waterwheels.
Details: In the same Waterwheel room as #10, make your way to the platform in the southwest corner. Look across towards the waterwheel itself. Use an Ice Arrow to freeze the waterfall powering the nearest waterwheel, stopping its rotation. Carefully jump onto the stationary blades of the waterwheel and climb/jump up them. From the top of the wheel, look north to spot another hidden alcove with a Hookshot target. Hookshot to it and open the treasure chest.
Stray Fairy #12: See-Saw Room – Barrel
Location: Room with the large see-saw platforms requiring Zora Link to weigh down (accessed after Waterwheel room).
Details: In the room featuring the large, tilting see-saw platforms, look underneath the see-saw platform near the entrance door. There’s a barrel hidden there. Break it (Goron Punch, Zora Barrier/Fins, Bomb) to release the fairy.
Stray Fairy #13: See-Saw Room – Green Pipe Ledge (Requires Hookshot)
Location: Room with the large see-saw platforms.
Details: After activating the final (green) water pump/pipe in this room, climb onto the green pipe itself. Walk along it towards the southwest corner of the room. This allows you to reach a previously inaccessible ledge. Use the Hookshot on the treasure chest located here to pull yourself over, or Hookshot the chest directly to open it and release the fairy. Use the Great Fairy Mask if needed.
Stray Fairy #14 & #15: Final Pump Room (Before Boss)
Location: The final room before the boss chamber, containing the last water pump mechanism/valve.
Details: Two fairies are in this area:
- #14: Look directly underneath the platform supporting the final green valve that activates the pump to the boss room. A fairy is trapped in a bubble. Shoot it with an Arrow or the Hookshot.
- #15: This fairy is located in the outflow tunnel/pipe that leads back towards the main Whirlpool Chamber (often opening up after activating the final valve). Dive into the water as Zora Link and swim into this tunnel. The fairy is floating inside. Use Zora Link’s speed or Boomerang Fins to grab it, then swim back out. Use the Great Fairy Mask near the pipe opening if you popped #14’s bubble and need to collect both.
Stone Tower Temple Stray Fairies
Total Fairies: 15
Reward: Great Fairy Sword (Most powerful sword in the game)
Fountain Location: Ikana Canyon. Near the entrance to Stone Tower, requires climbing ledges. Found inside a cracked wall, use a Bomb to open the cave.
Important Note: This temple must be flipped upside-down using Light Arrows on the emblem outside. Fairies are found in both the normal and inverted orientations. The Elegy of Emptiness is required for several puzzles. The Giant’s Mask is found late in the inverted temple but is not needed for any Stray Fairies.
Stray Fairy #1: Entrance – Eye Switch
Location: First main room upon entering the temple (normal orientation).
Details: Look at the large stone structure in the center/north. There’s an eye switch embedded in it. Shoot the eye switch with an Arrow. This reveals a treasure chest. Be cautious of the Real Bombchu that might emerge. Open the chest for the fairy.
Stray Fairy #2: Dungeon Map Room – Hookshot Target
Location: Room where you obtain the Dungeon Map (normal orientation).
Details: In the room where the Dungeon Map chest is located, look around the northwest walls/ceiling area. You should spot a Hookshot target. Use the Hookshot to grapple to it, reaching a hidden ledge with a treasure chest containing the fairy.
Stray Fairy #3: Mirror Reflection Room – Sun Face #1
Location: Room with light beams and mirrors needed to activate sun blocks (normal orientation).
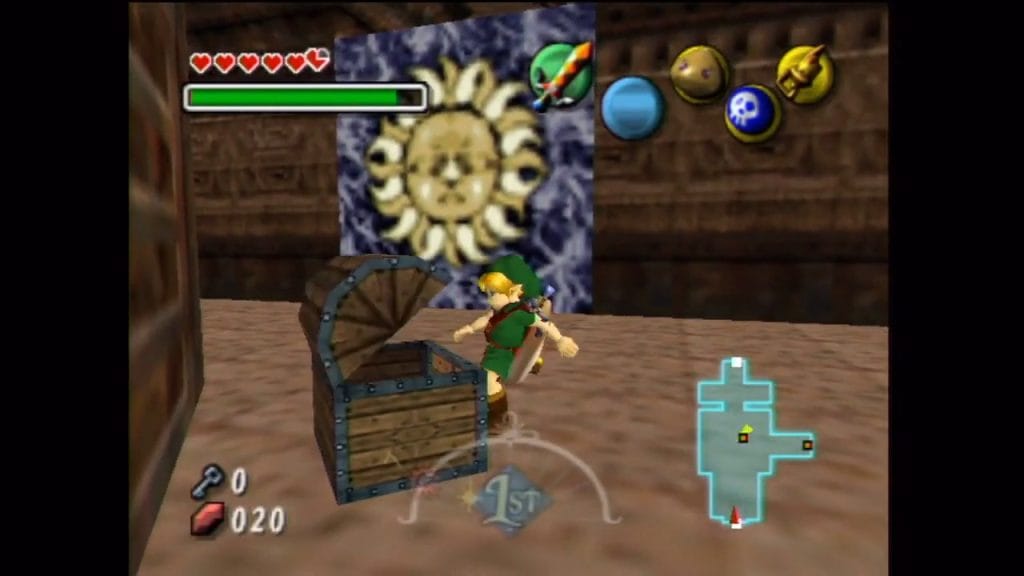
Details: In the light puzzle room, direct a beam of light onto one of the sun face emblems on the wall (often one on the right side). This will dissolve the emblem and reveal a treasure chest behind it.
Stray Fairy #4: Mirror Reflection Room – Sun Face #2
Location: Same light puzzle room as #3 (normal orientation).
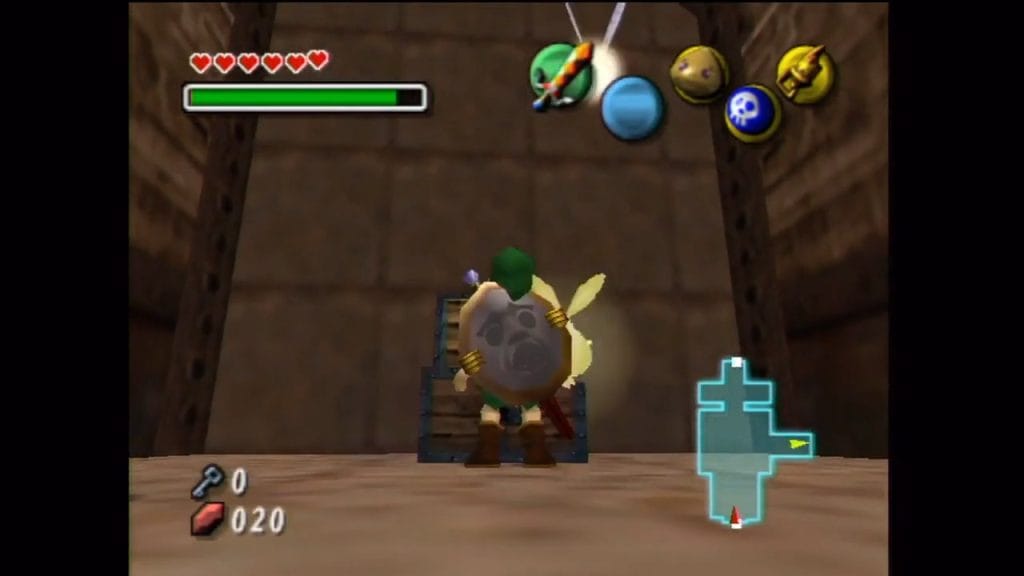
Details: This requires manipulating the light quickly. Shine the light onto one of the movable mirror shields to charge it up. Quickly pick up the charged mirror and reflect the stored light onto a different sun face emblem (often one on the eastern wall) before the charge fades. This reveals another hidden treasure chest.
Stray Fairy #5: Lava Chamber – Central Chest
Location: Room with lava pits and platforms requiring Goron Link (normal orientation).
Details: After using switches (often light-activated) to extinguish the flames around a stone block/chest in the center, navigate towards the northern part of the room using Goron Link’s roll jump or Deku Link’s flight. From the north side, turn and look back towards the center to find a treasure chest sitting on a platform in the lava. Open it for the fairy.
Stray Fairy #7: Spiked Roller Room – Bomb Spot
Location: Room with large, moving spiked rollers that try to crush Link (normal orientation).
Details: Carefully navigate past the spiked rollers. Find a specific square tile on the floor near one of the edges or corners (often slightly discolored or near where a roller passes close to a wall). Place a Bomb on this tile. The explosion will reveal a hidden treasure chest below or nearby. Access it carefully.
Stray Fairy #8: Water Path Room – Eyegore (Requires Light Arrows)
Location: Room requiring Zora Link to swim against currents, containing an Eyegore enemy (normal orientation).
Details: In the room with water currents and bridges, you’ll encounter a large, statue-like Eyegore enemy. Use Light Arrows to shoot its eye when it opens to attack. After several hits, it will be defeated, revealing a treasure chest containing the fairy.
Stray Fairy #9: Water Path Room – Switch and Sun Block (Requires Light Arrows)
Location: Same water path room as #8, but potentially accessed via a different route or after manipulating water levels (normal orientation).
Details: Navigate to the northeast section of this watery room. Find a rusted switch on the ground. Perform a Spin Attack while standing on it to activate it. This makes a treasure chest appear on the western side of the room, behind a sun block. Go to the west side, defeat the Beamos guarding the area if necessary, then shoot the sun block with a Light Arrow to dissolve it and access the chest.
Stray Fairy #10: Inverted Entrance – Sun Switch (Requires Light Arrows)
Location: First main room, after flipping the temple upside-down.
Details: Once Stone Tower Temple is inverted, return to the entrance room. Look for a sun switch on the wall (now ceiling). Shoot it with a Light Arrow. A treasure chest will appear on the floor (which was the ceiling).
Stray Fairy #11: Inverted Compass Room – Pre-Frozen Eye (Requires Fire Arrows before flipping)
Location: Room where the Compass was found, after flipping the temple upside-down.
Details: This requires foresight. Before you flip the temple, you must visit the room below the normal Compass room. In this lower area (accessed via floor switch usually), there’s a frozen eye switch. Shoot it with a Fire Arrow while the temple is still right-side up. Now, after flipping the temple, return to the (now inverted) Compass room area. A treasure chest will be visible on a high ledge (formerly the floor below). It’s tricky to reach; you might be able to Hookshot the chest itself, or use Deku Flowers/platforms if available.
Stray Fairy #12: Inverted Compass Room – Updrafts & Elegy (Requires Elegy of Emptiness)
Location: Same inverted Compass room area as #11.
Details: Use the updrafts in this inverted room (as Deku Link) to reach high ledges. Find a blue floor switch. Step on it as Link, then play the Elegy of Emptiness to leave a statue holding it down. Use the updrafts again to reach a newly appeared treasure chest on an even higher platform.
Stray Fairy #13: Inverted Dungeon Map Room – Wizrobe (Requires Hookshot)
Location: Room where the Dungeon Map was found, after flipping the temple upside-down.
Details: Return to the (now inverted) Dungeon Map room. You will need to fight a Wizrobe mini-boss here. Defeat the Wizrobe. A treasure chest containing the fairy will appear on a platform. Use the Hookshot to grapple to the chest or the platform it’s on.
Stray Fairy #14: Entrance Revisit – Death Armos Switch
Location: Requires actions in both inverted and normal orientations.
Details: This is a multi-step process:
- While the temple is inverted, go to the entrance room. Find the Death Armos statue guarding a floor switch on the west side. Lure the Armos off or defeat it, then step on the switch. A treasure chest will appear nearby (on the ‘ceiling’). You can’t open it yet.
- Proceed through the inverted temple until you defeat the Garo Master mini-boss and obtain the Light Arrows and eventually the Boss Key.
- Now, find the switch to flip the temple back to its normal, right-side-up orientation.
- Return to the entrance room (normal orientation). The chest that appeared in step 1 will now be accessible on the floor. Open it for the fairy.
Stray Fairy #15: Compass Room Revisit – Underwater (Requires Zora Mask)
Location: Room where the Compass was found, requires temple to be normal (right-side up).
Details: After potentially flipping the temple back to normal (e.g., after getting #14), return to the normal orientation Compass room. Dive into the pool of water as Zora Link. Swim down deep to find a treasure chest resting on the bottom containing the final Stray Fairy.


