| Groups | Temple of the Ocean King, dungeon and land enemies, traps, sea enemies, sub-bosses |
|---|---|
| Main hazard | Phantoms: a hit costs 30 seconds of sand |
| Sea weapon | The cannon, from Eddo on Cannon Island |
| Bosses | See the boss guide |
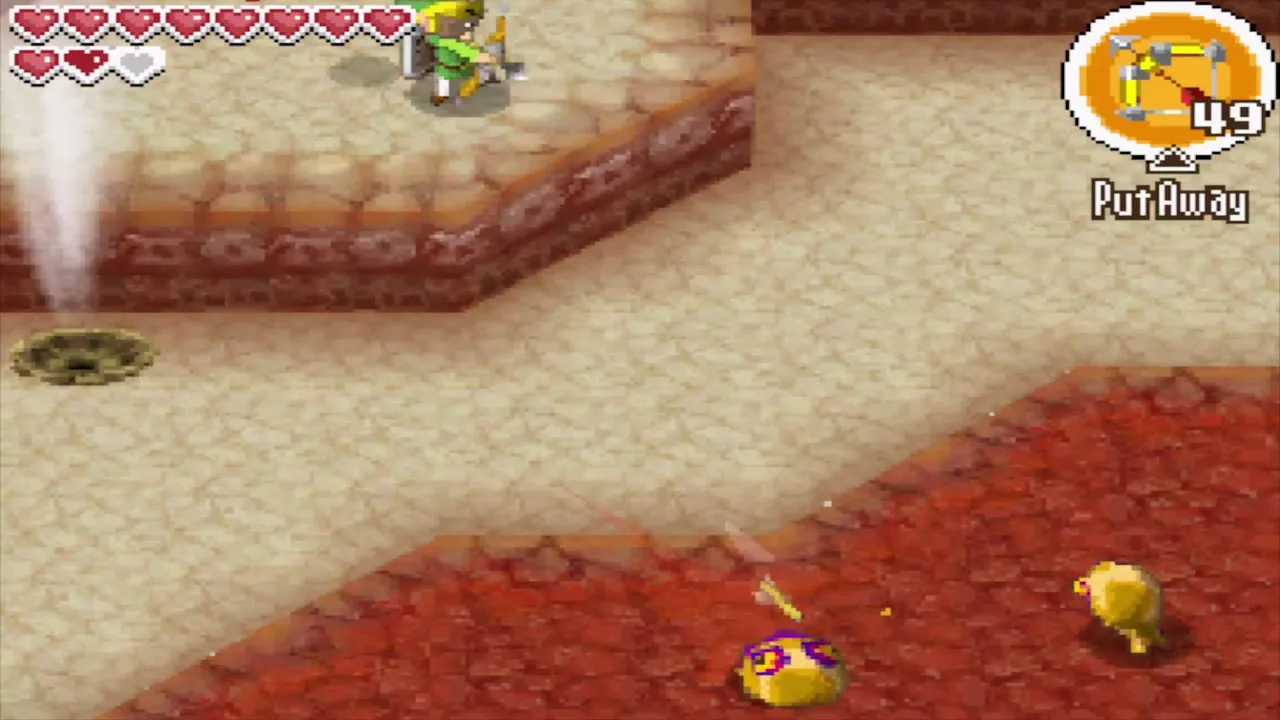
Phantom Hourglass has well over fifty regular enemies, and they fall into a few groups: the Phantoms and their helpers in the Temple of the Ocean King, creatures that live in dungeons and on islands, traps, and the sea enemies you shoot from your ship. Most land enemies fall to the sword, but many need a Boomerang, bombs or an arrow first. The table and entries below tell you where each one lives and what works against it.
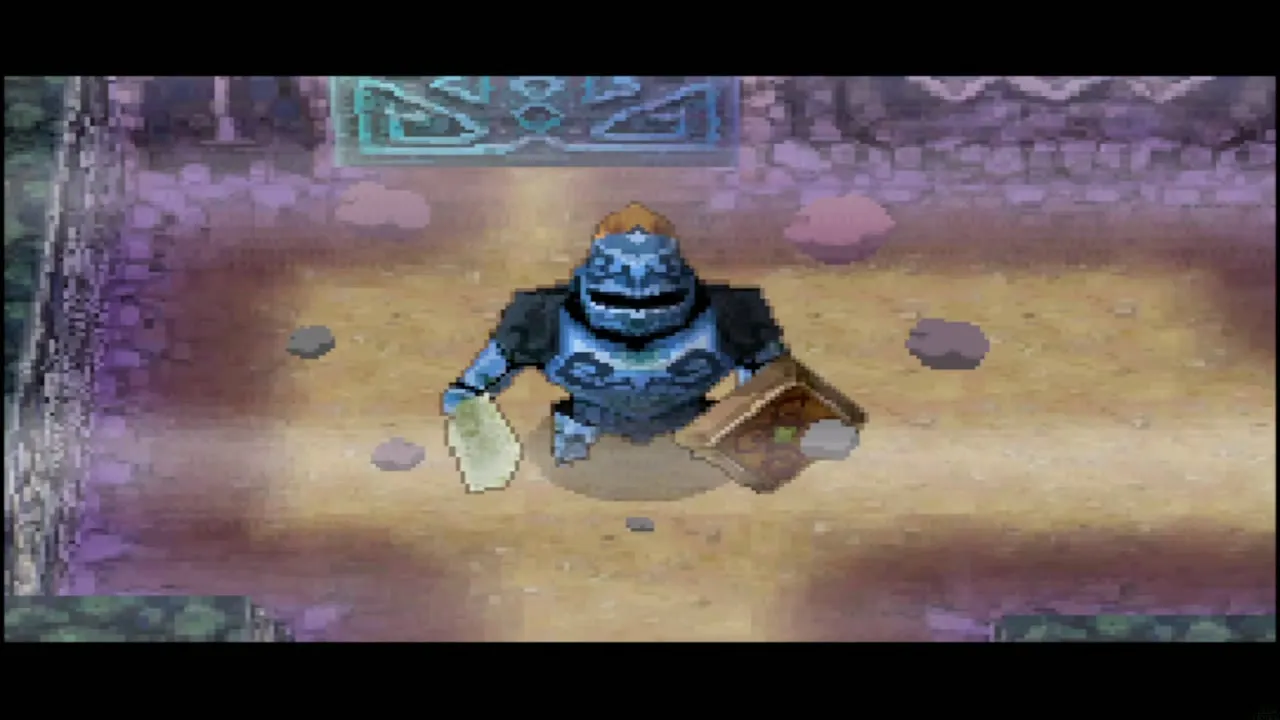
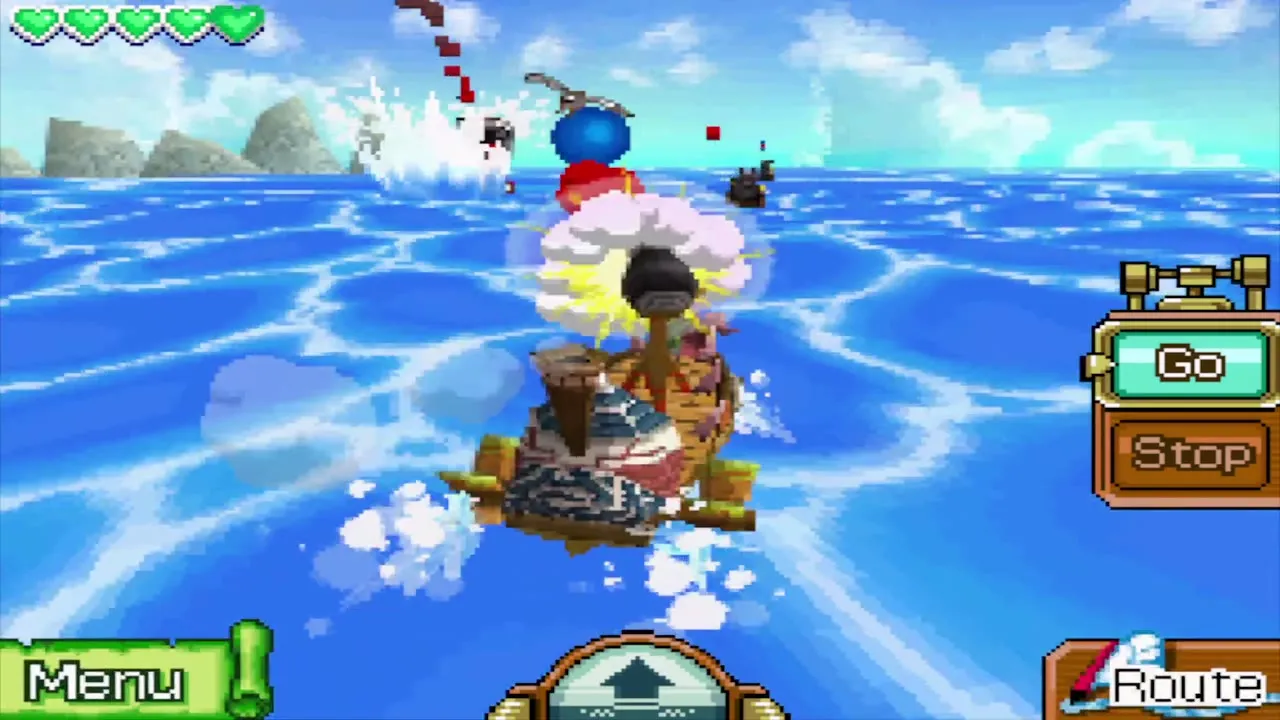
Table of Contents
Quick reference
| # | Enemy | Where | Best answer |
|---|---|---|---|
| 1 | 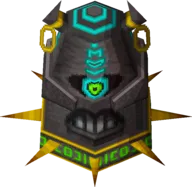 Armos | Goron Temple | Bomb to deactivate |
| 2 | Arrow Trap | Temple of the Ocean King (B7) | Raise your shield |
| 3 | 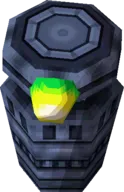 Beamos | Temple of Courage, Goron Temple | Indestructible; stun its eye with the Bow |
| 4 |  Bee | Island trees | Spin attack |
| 5 | Blade Trap | Temple of Courage | Time your dash |
| 6 | 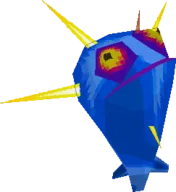 Blue ChuChu | Goron Island, Temple of Ice | Boomerang, Bow or Hammer |
| 7 | 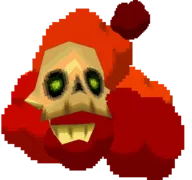 Bubble | Temple of Fire and others | Boomerang strips flames, then sword |
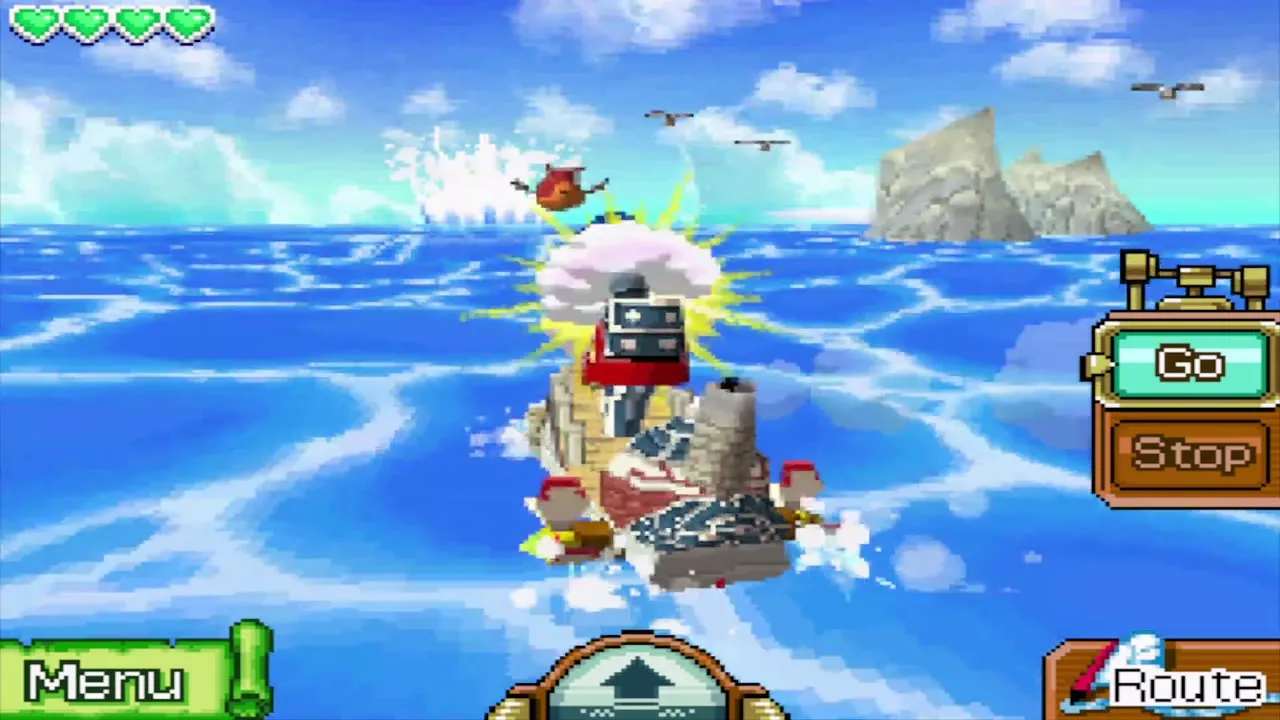
| 8 | 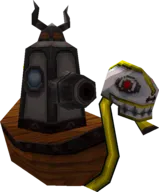 Cannon Boat | Open sea | Cannon |
| 9 | 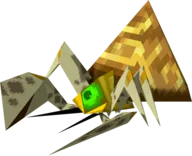 Craykling | Temple of Courage (Crayk fight) | Sword |
| 10 | 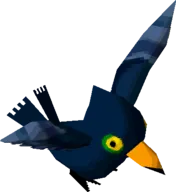 Crow | Island trees | Ordinary attacks |
| 11 |  Eyeball Monster | Open sea | Cannon |
| 12 | 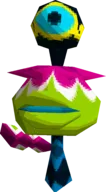 Eye Plant | Open sea | Cannon |
| 13 | 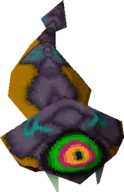 Eye Slug | Goron Temple | Sword |
| 14 | 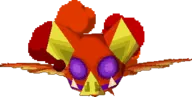 Fire Keese | Temple of Fire | Boomerang or Bow |
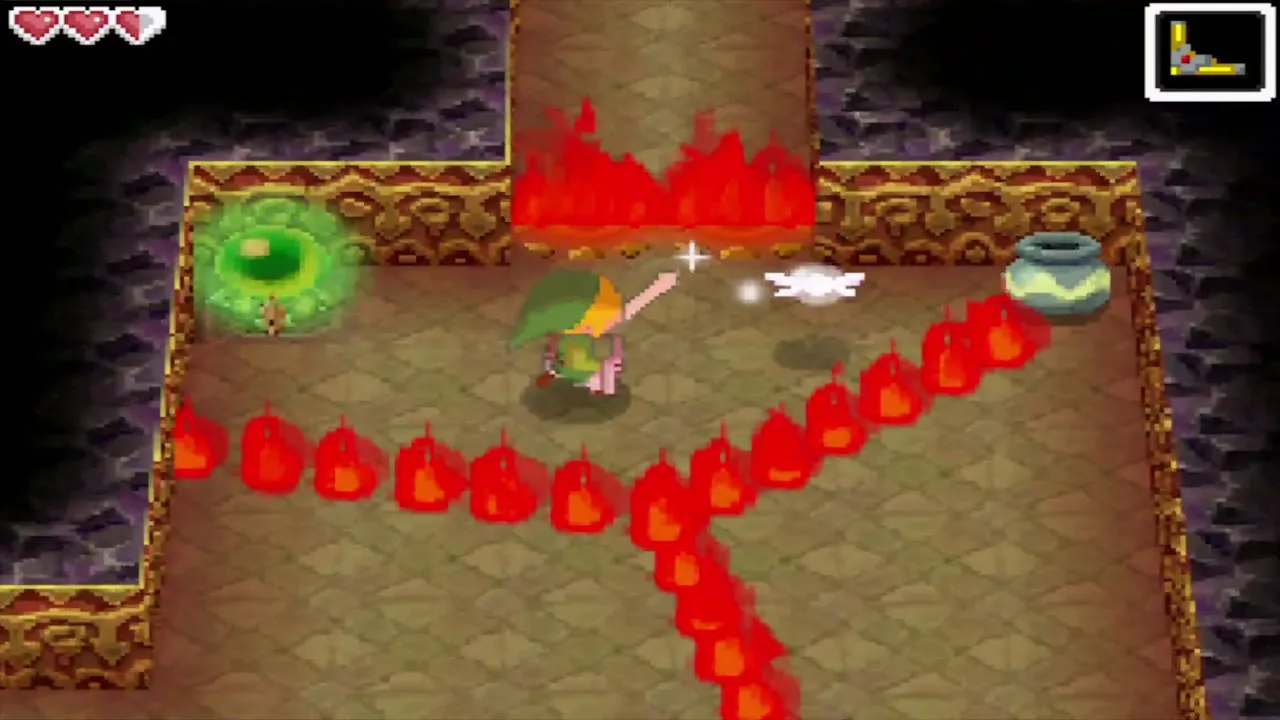
| 15 | Flame Wall | Temple of the Ocean King | Put it out with a flame or switch |
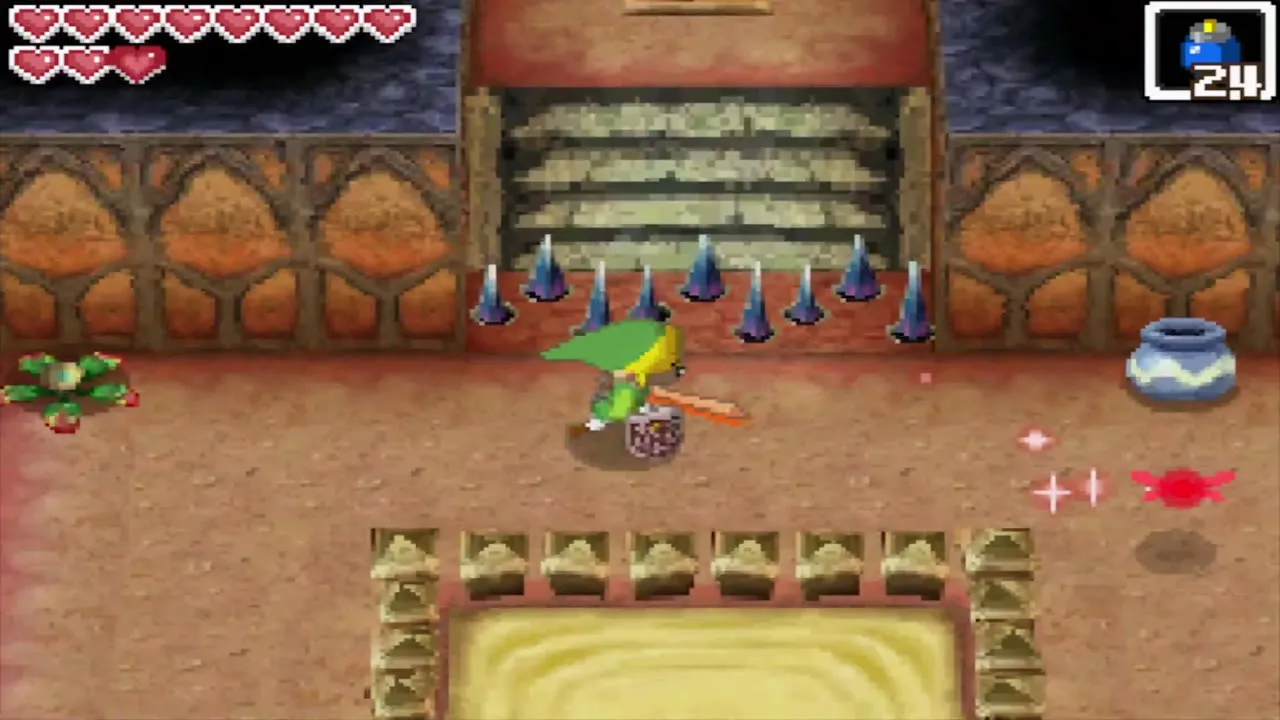
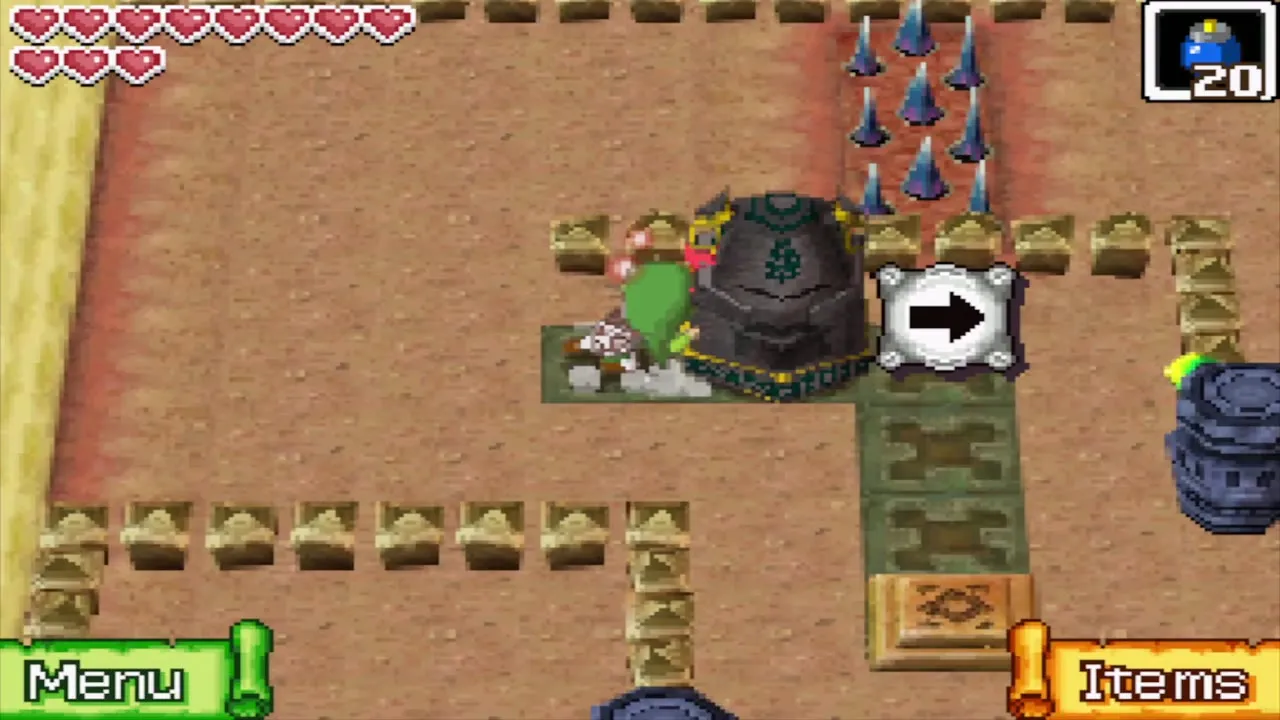
| 16 | Floor Spikes | Temple of the Ocean King | Switch or puzzle turns them off |
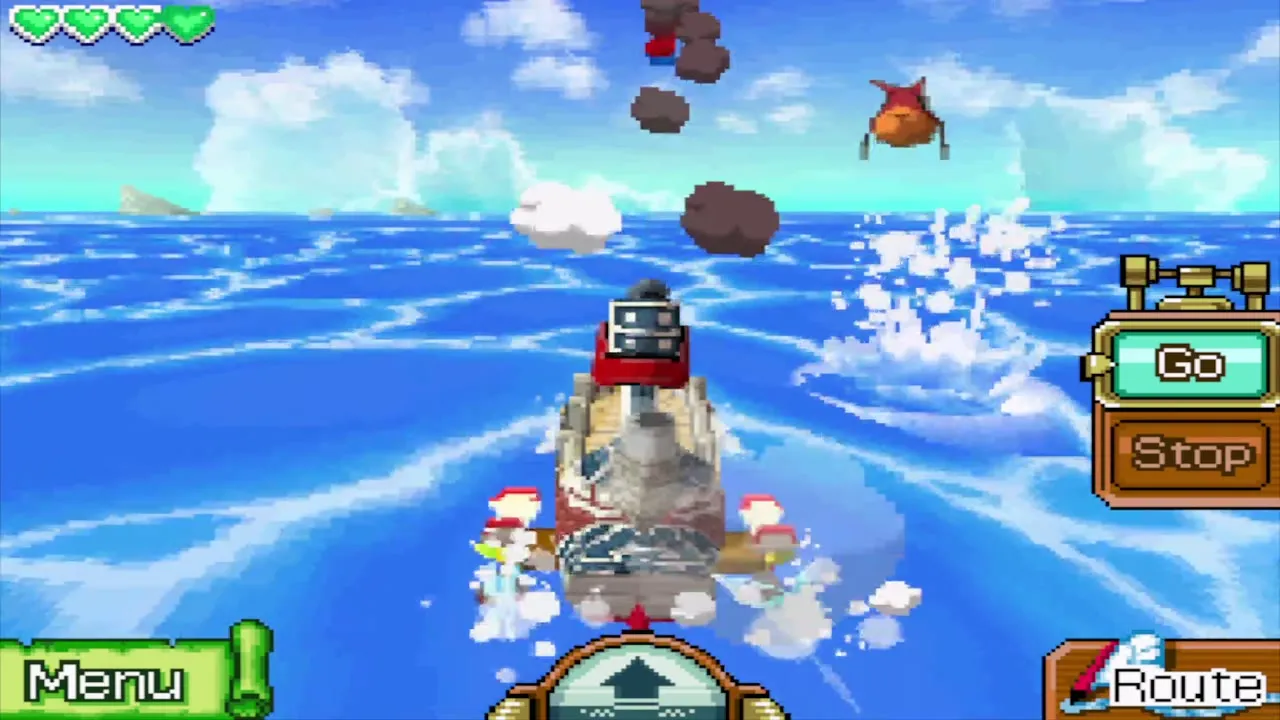
| 17 | Flying Fish | Open sea | One cannon shot |
| 18 | Flying Pot | Goron Temple | Sword |
| 19 | 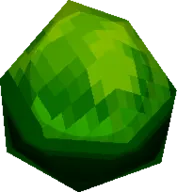 Gel | Temple of Fire | Sword |
| 20 | 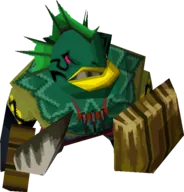 Geozard | Isle of Ruins, Traveler’s Ships | Boomerang path to its back |
| 21 | 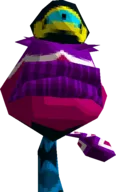 Giant Eye Plant | Near Molida Island and Bannan Island | Cannon at the eye |
| 22 | 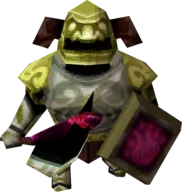 Gold Phantom | Temple of the Ocean King (lower floors) | Same as Phantoms; boulders and tricks |
| 23 | 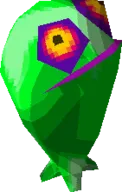 Green ChuChu | Temple of Courage | Ranged attacks; Boomerang stun |
| 24 | 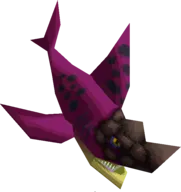 Gyorg | Mostly the Northeastern Sea | Cannon when it leaps |
| 25 | 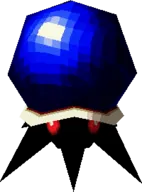 Hardhat Beetle | Temple of Courage | Knock it into a pit or off a ledge |
| 26 | 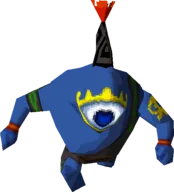 Hinox | Dee Ess Island, Goron Temple | Arrow in the eye, then sword |
| 27 | 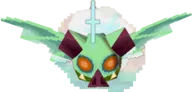 Ice Keese | Cold areas | Boomerang or Bow |
| 28 | 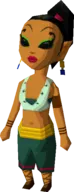 Jolene | At sea, in random encounters | Sword duel |
| 29 | 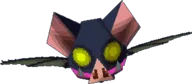 Keese | Dungeons and caves | Sword |
| 30 | 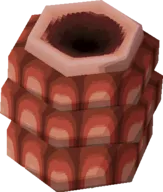 Like Like | Goron Temple, Goron Island | Bombs or arrows from range |
| 31 | 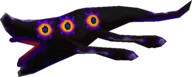 Massive Eye | Near Goron Island | Cannon at the eyes |
| 32 | 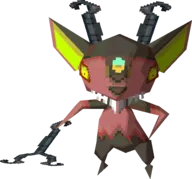 Miniblin | Isle of Gust, Molida Island | Sword |
| 33 | 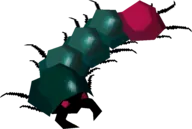 Moldorm | Temple of Courage | Hit the red tail |
| 34 | 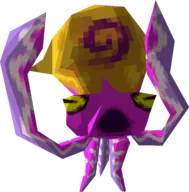 Ocean Octorok | Open sea | One cannon shot |
| 35 | 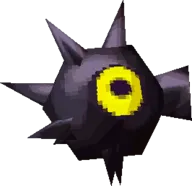 Octomine | Open sea | Avoid |
| 36 | 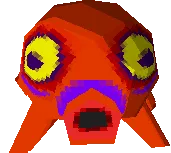 Octorok | Isle of Ember, Molida Island, Temple of Fire, Temple of Courage | Sword; Boomerang stun |
| 37 | 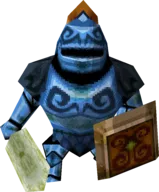 Phantom | Temple of the Ocean King | Phantom Sword; arrow in the back stuns |
| 38 | 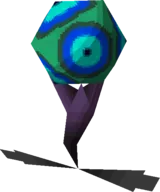 Phantom Eye | Temple of the Ocean King (from B4) | Most weapons kill it in one hit |
| 39 | Pirate Ship | Open sea | Cannon |
| 40 | 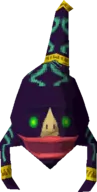 Poe | Ghost Ship | Strike it while visible |
| 41 | 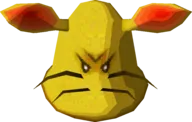 Pols Voice | Temple of Courage | Blow into the microphone, then sword |
| 42 | 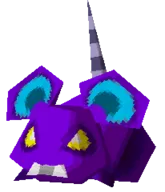 Rat | Mercay Island, dungeons | One hit; Boomerang for a key carrier |
| 43 | 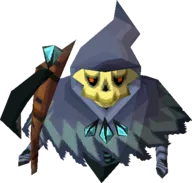 Reapling | Ghost Ship (only) | Avoid; Bow in the back stuns |
| 44 | 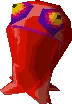 Red ChuChu | Mountain areas and most dungeons | Sword |
| 45 | 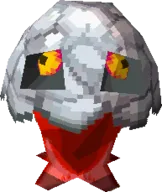 Rock ChuChu | Temple of Wind | Bomb; Grappling Hook; Hammer |
| 46 | 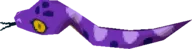 Rope | Temple of Wind, Ghost Ship, Molida Island, Dee Ess Island | Wait for the charge, then sword |
| 47 | Rupee Like | Isle of Ruins, Spirit Island | Kill it fast |
| 48 | 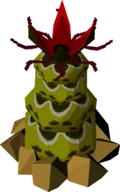 Sandworm | Isle of Gust, Temple of Wind | Bombs; walk slowly |
| 49 | Sea Trap | Open sea | Jump over it |
| 50 | 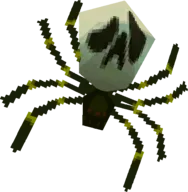 Skulltula | Ghost Ship | Any weapon |
| 51 | 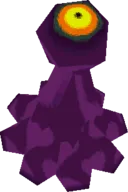 Slime Minion | Bellum fight | Sword |
| 52 | 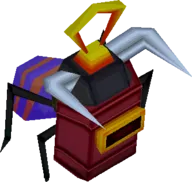 Stag Beetle | Temple of Ice | Pull its mask off with the Grappling Hook |
| 53 | 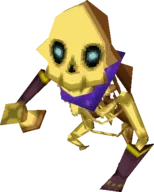 Stalfos | Dungeons | Jump attacks; bombs |
| 54 | 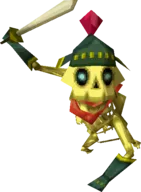 Stalfos Warrior | Mutoh’s Temple | One Hammer hit |
| 55 | 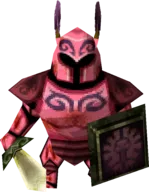 Swift Phantom | Temple of the Ocean King (after the Ghost Ship) | Same as Phantoms; much faster |
| 56 | Tektite | Isle of Ember | Sword |
| 57 | Trapdoor | Temple of the Ocean King | Lure a Phantom onto it |
| 58 | Tricky Chest | Various | Leave the suspicious one alone |
| 59 | Winder | Temple of Courage | Avoid it |
| 60 | 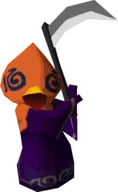 Wizzrobe | Temple of the Ocean King (B9 and B12) | Hit it when it appears; a kill gives back 30 seconds |
| 61 | 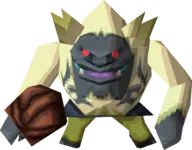 Yook | Isle of Frost, Temple of Ice | Bomb into its mouth, then sword |
| 62 | 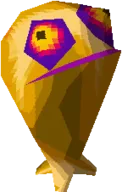 Yellow ChuChu | Isle of Ember, Temple of Fire | Boomerang stun, then sword |
All enemies, A to Z
Armos
Stone statues, some of which wake and hop at you when you come close. A bomb deactivates them, and the stilled statues can then be pushed onto floor switches.
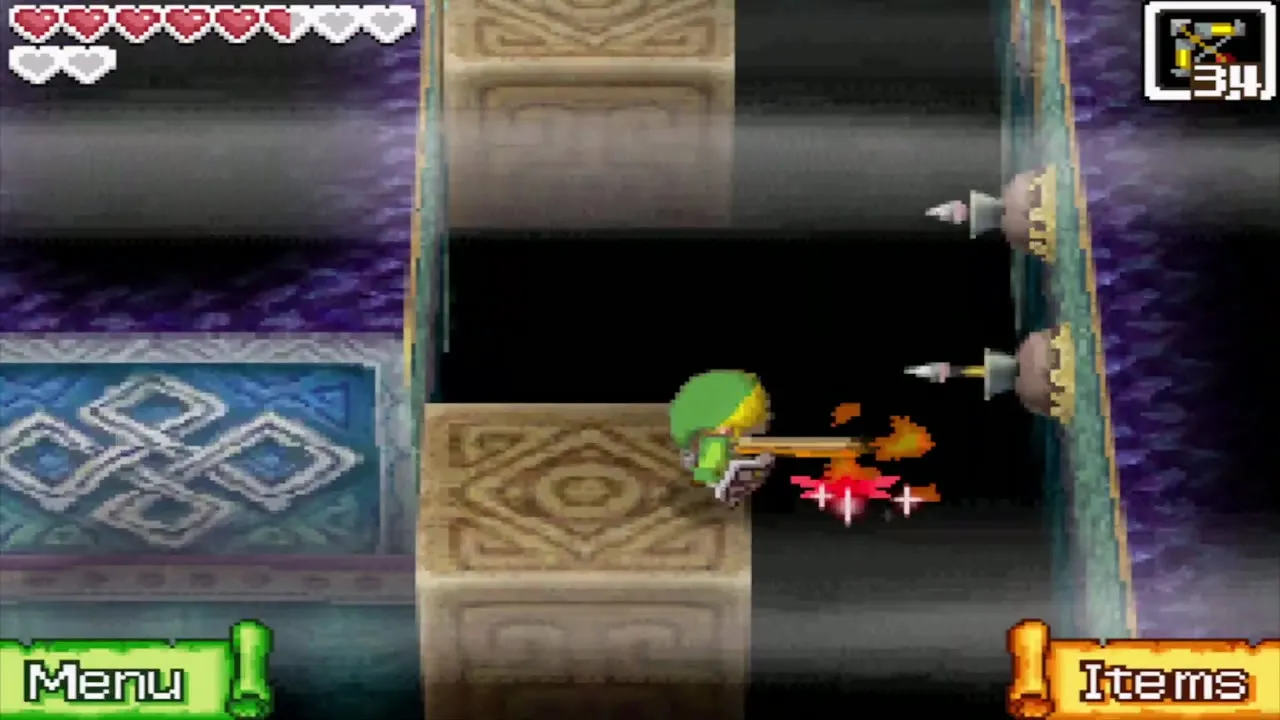
Arrow Trap
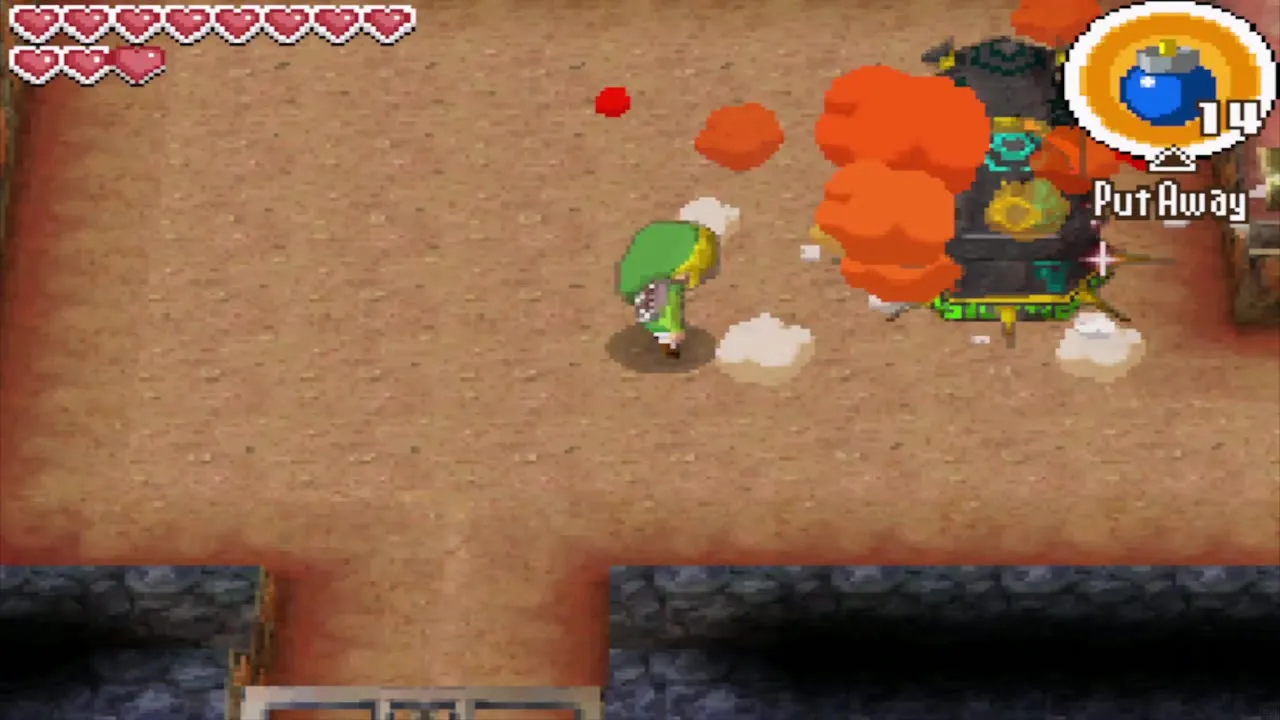
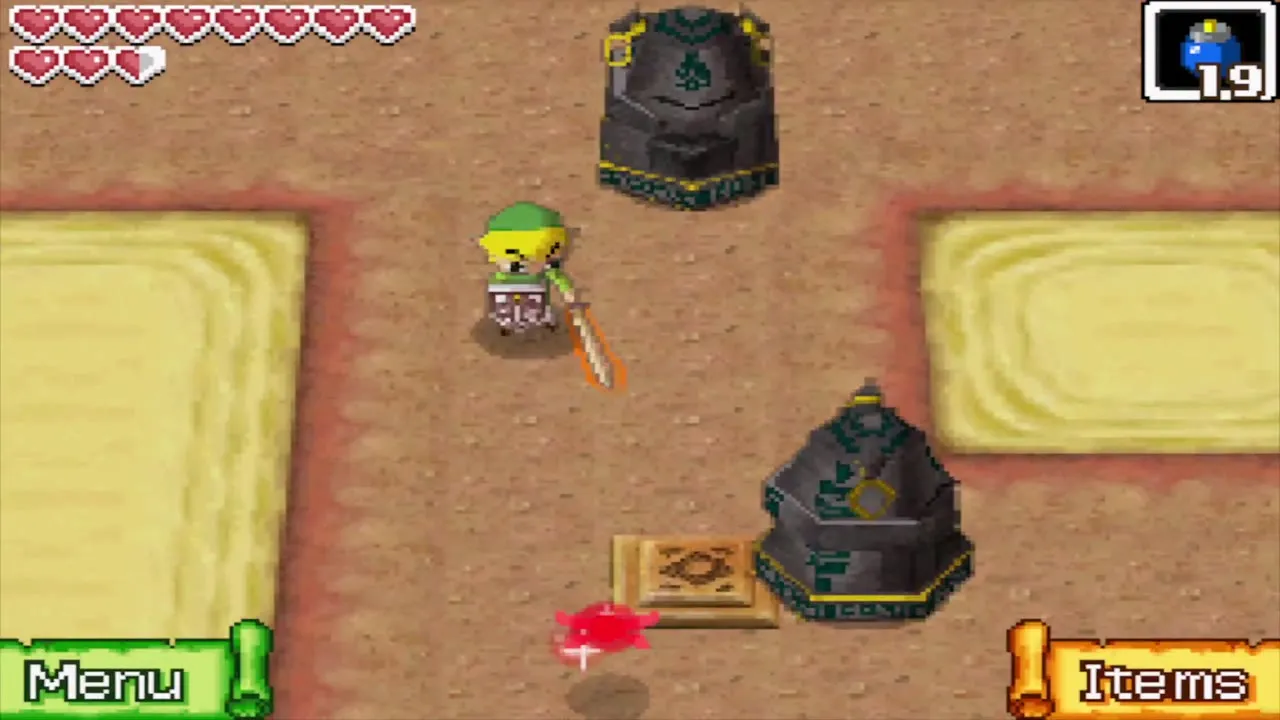
A wall trap that fires arrows along its line. On B7 face the wall with your shield up as you cross.
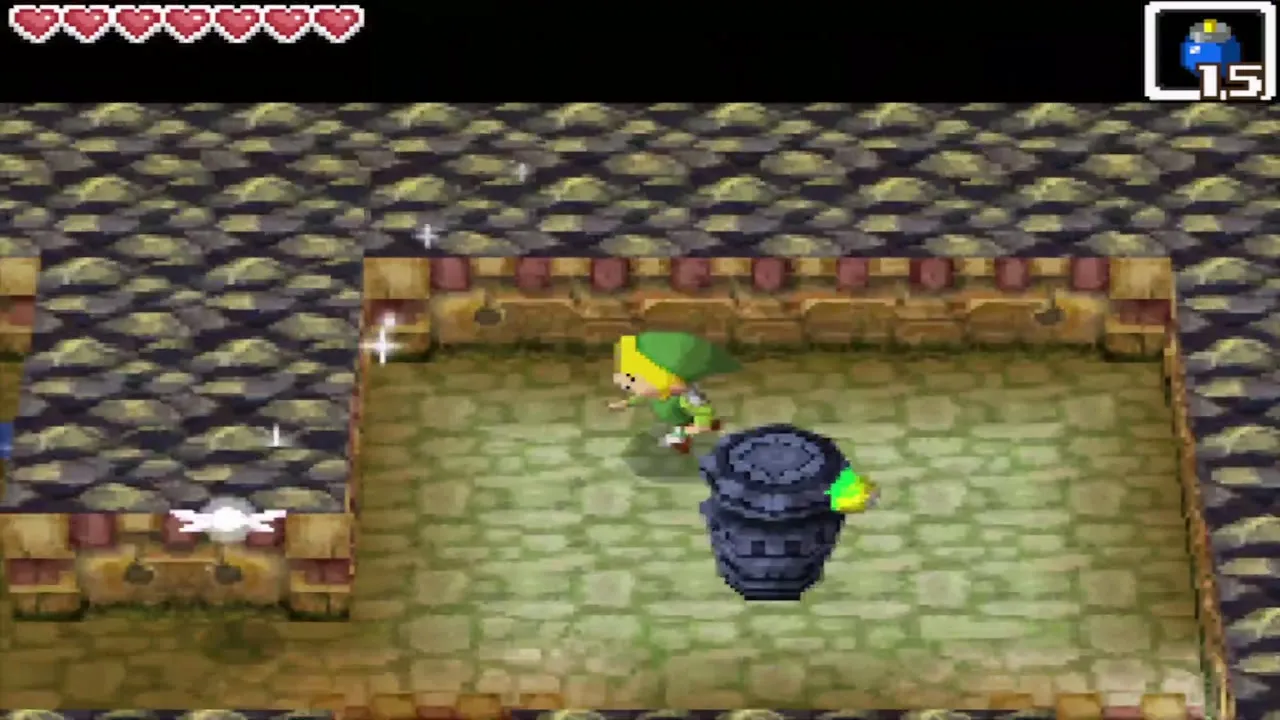
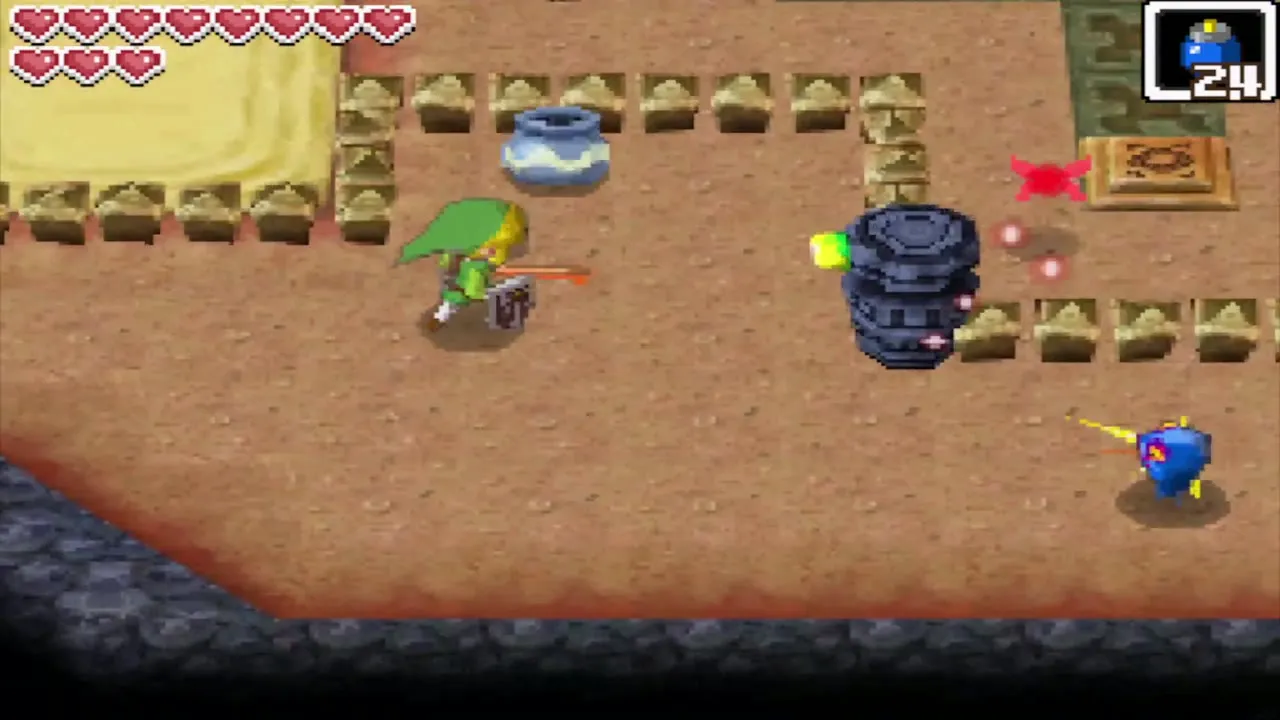
Beamos
A statue whose eye sweeps the room and fires when it sees you. It is one of the few enemies you can never destroy, so treat it as a trap: stay out of its line of sight, dash past while it looks away, or stun its eye with an arrow. You meet Beamos in the Temple of Courage and the Goron Temple.
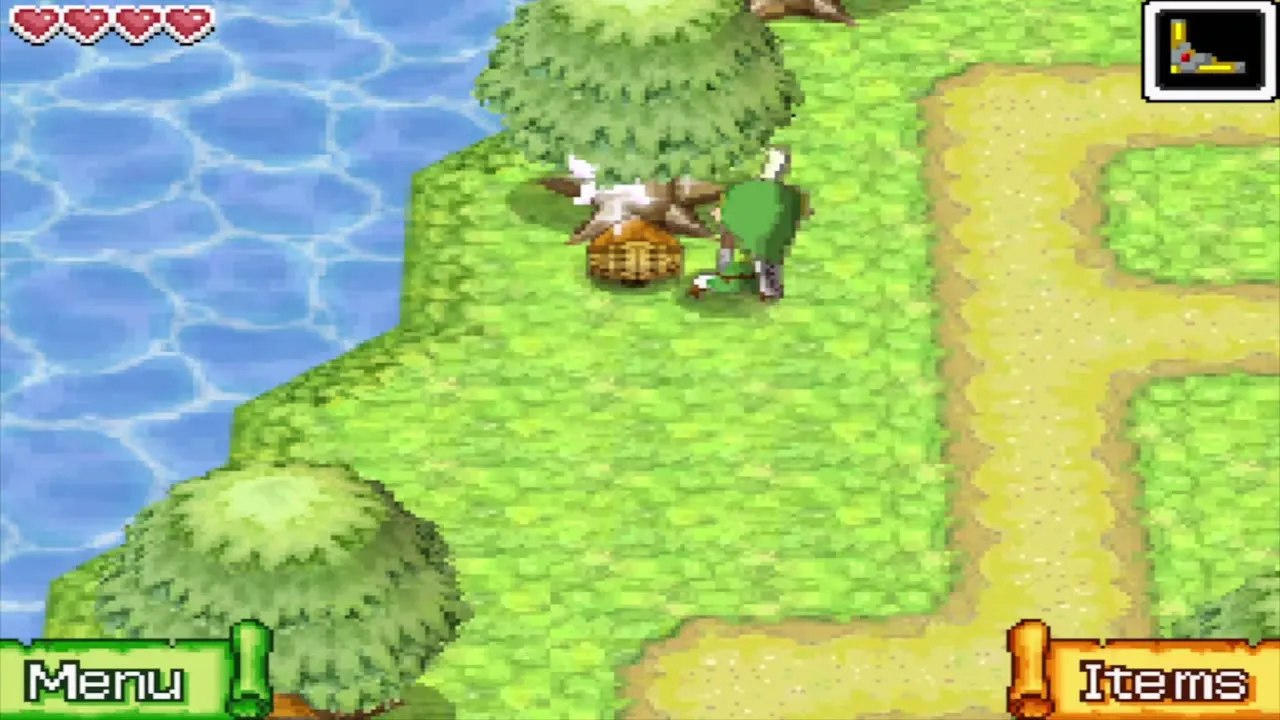
Bee
Bees pour out when you disturb a hive hanging in a tree. They follow you until you shake them off, and a spin attack clears a swarm.
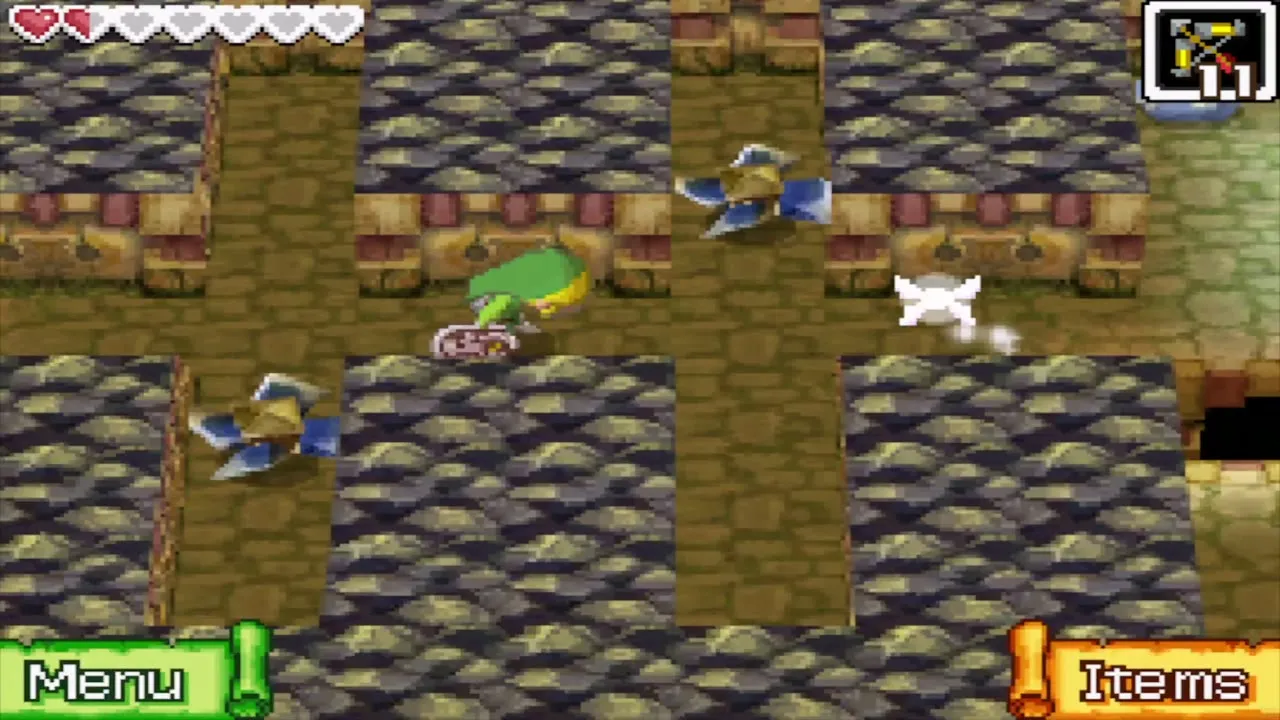
Blade Trap
A spiked blade that shoots along a row or column when you line up with it. Cross between runs.
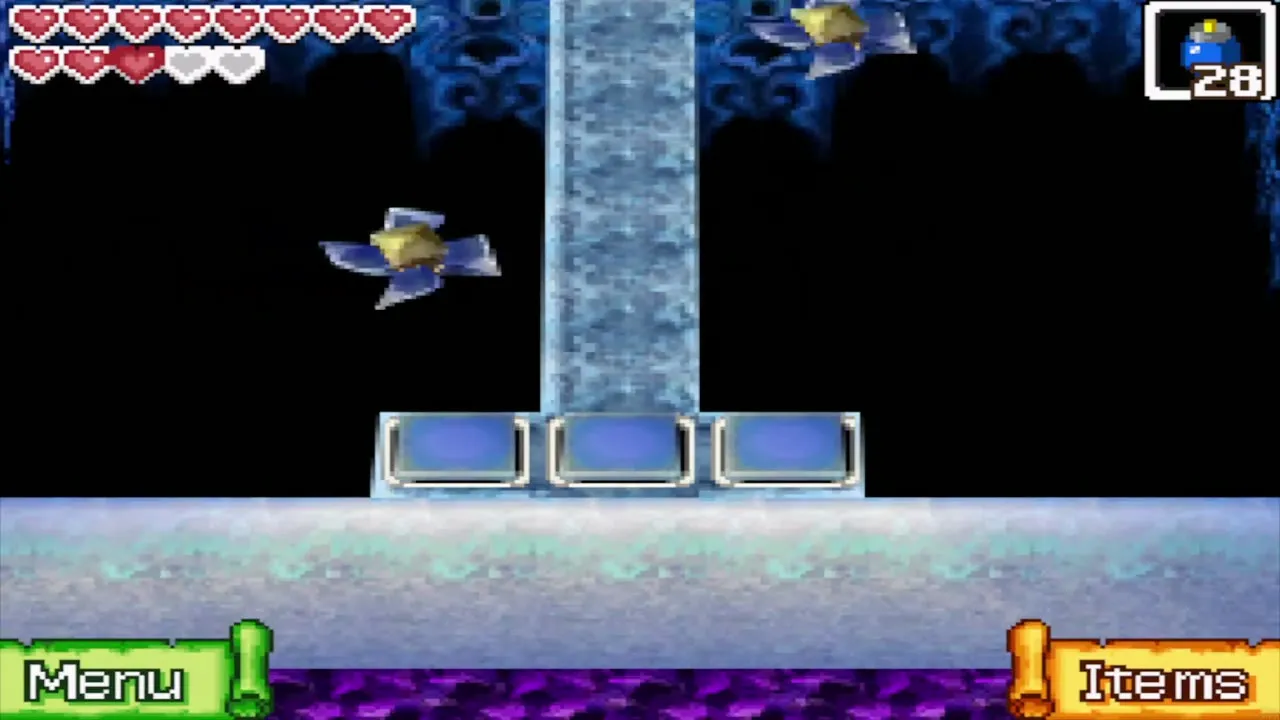
Blue ChuChu
A ChuChu whose electric field never fades, so touching it or hitting it with the sword hurts you. Use ranged weapons such as the Boomerang or Bow, or the Hammer once you own it.
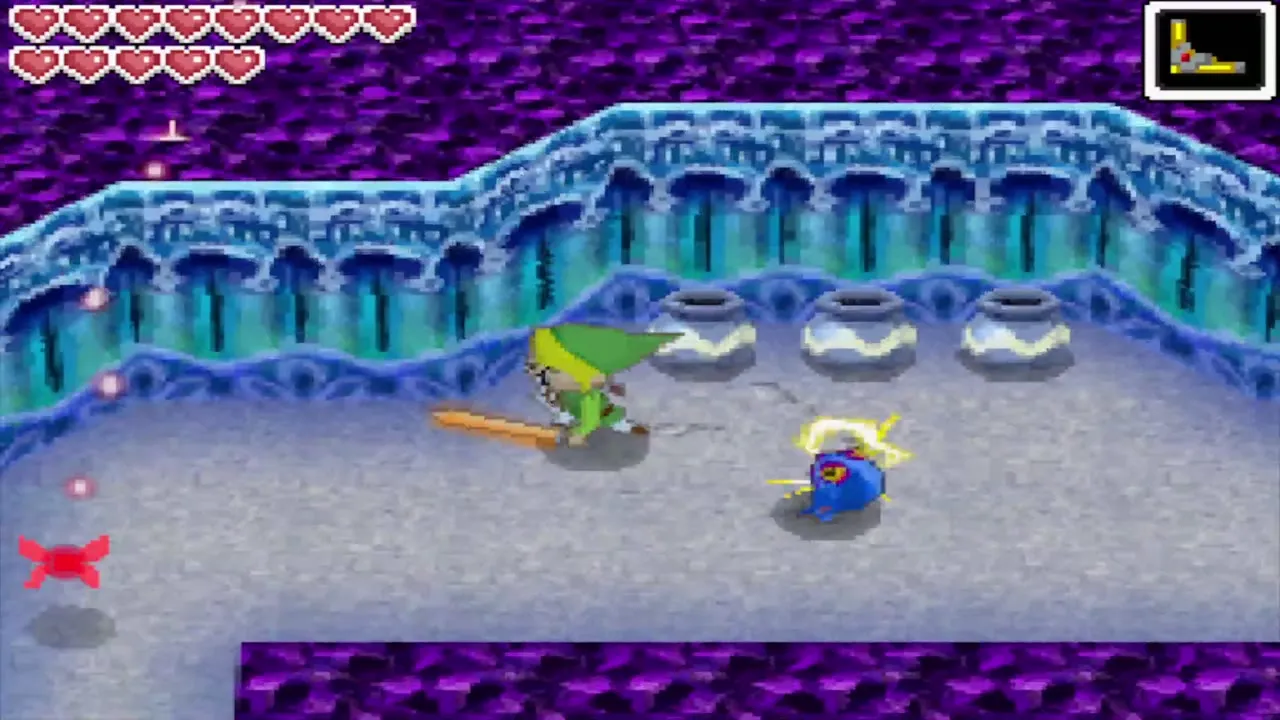
Bubble
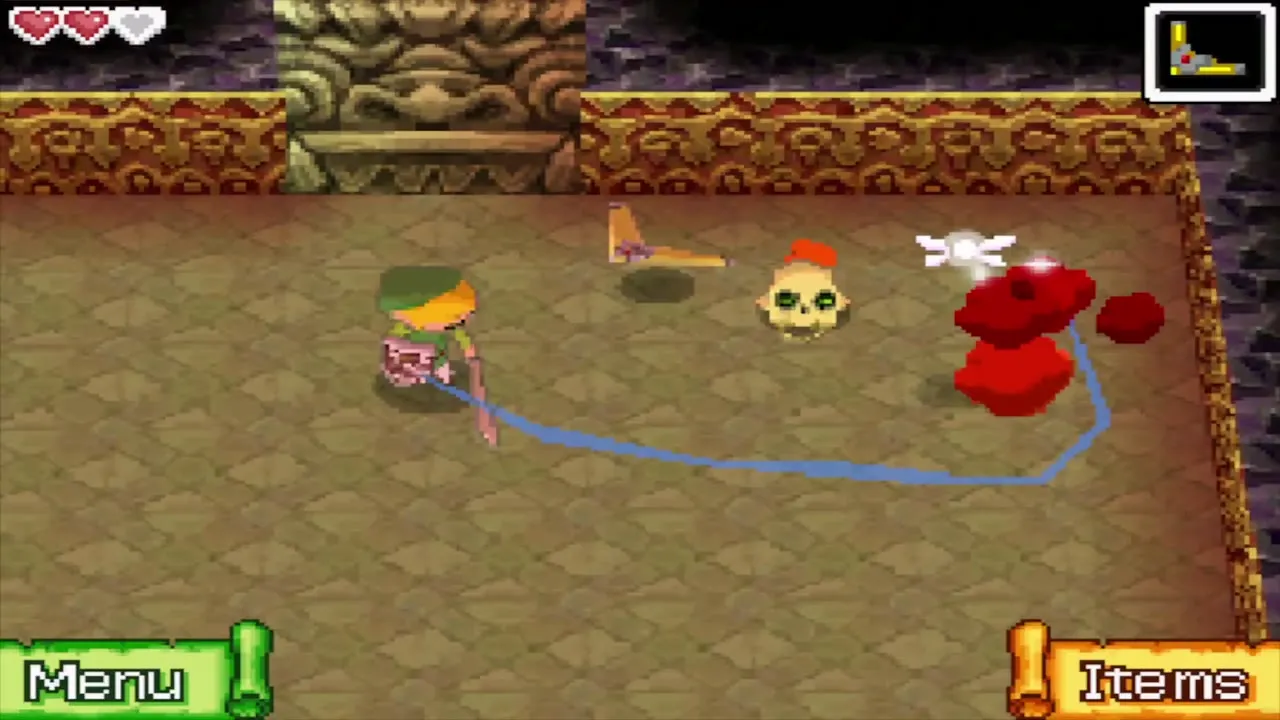
A flying skull wrapped in fire (Fire Bubble) or ice (Ice Bubble). While the flames burn it cannot be harmed; a Boomerang hit puts them out and leaves a skull you can slash, and a single arrow also brings one down. Ice Bubbles can freeze you where you stand, and you rub the stylus on the screen to thaw. With Leaf equipped, your sword can hurt Bubbles directly.
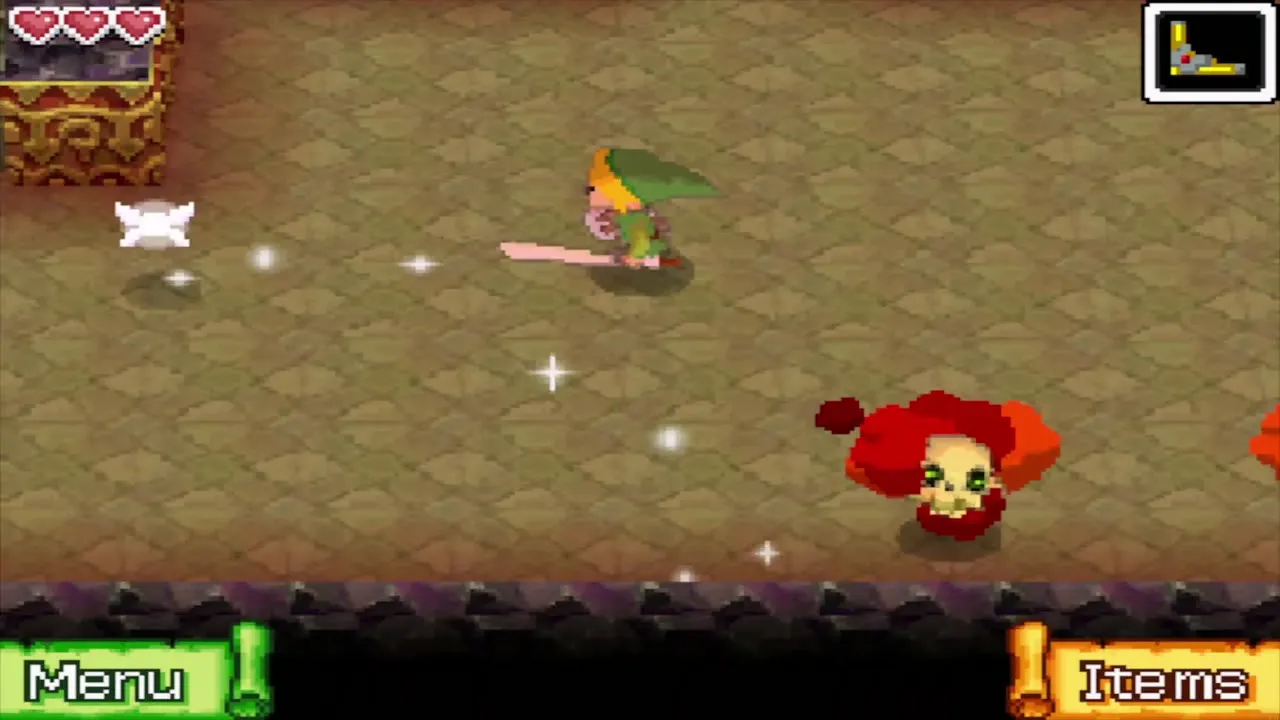
Cannon Boat
A small metal boat crewed by Miniblin pirates that provides covering fire for the larger Pirate Ships. Close in and fire your cannon.
Craykling
Small minions that run at you during the Crayk fight. They are harmless unless they touch you, and defeating them drops hearts and arrows that you need for the boss.
Crow
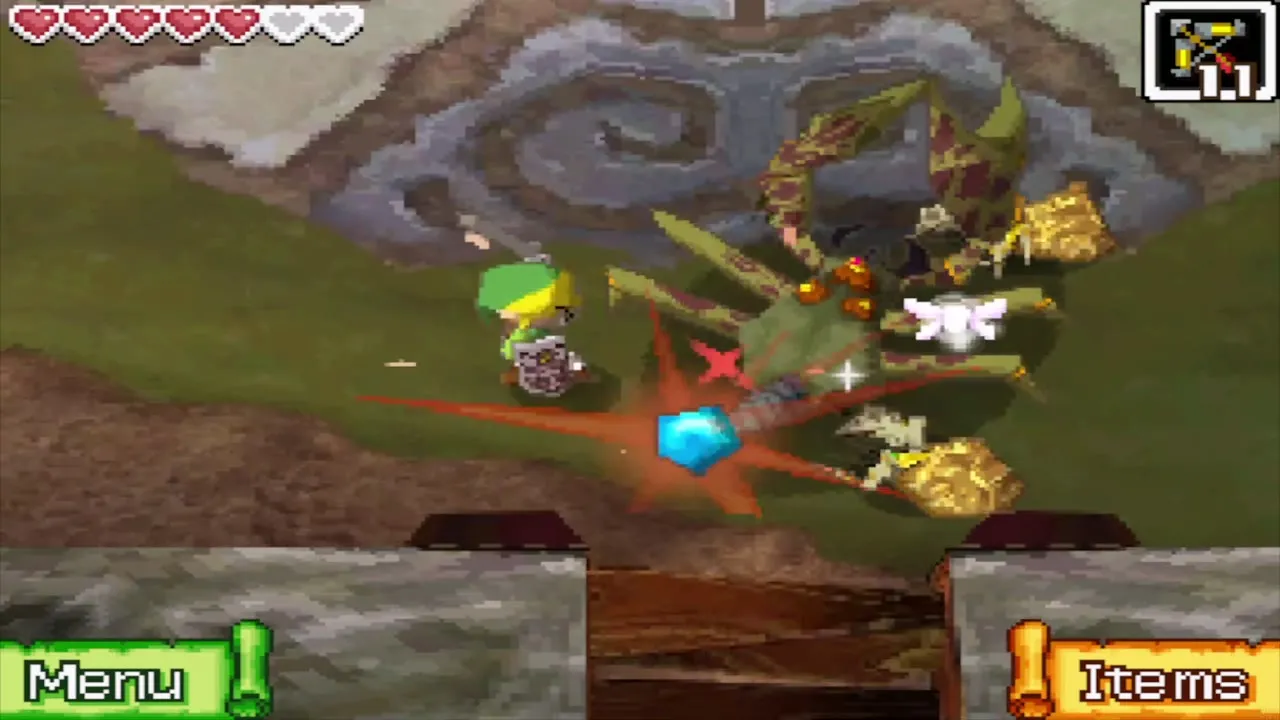
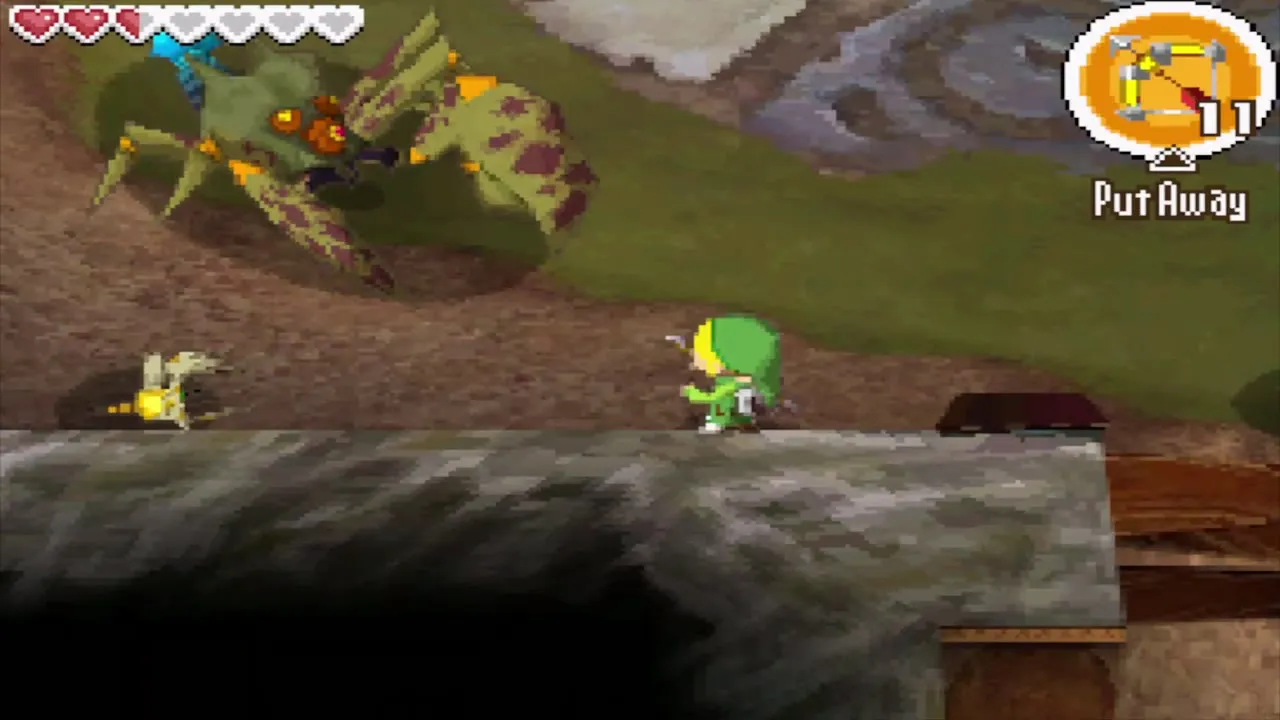
Birds that wait in tree branches and swoop down to steal Rupees when you come close. One ordinary hit is enough.
Eyeball Monster
A winged eyeball that comes in packs. One cannon shot is enough, and they also appear during the Massive Eye fight.
Eye Plant
A plant that pops up beside your boat and fires seeds. Stay in motion and hit its eye with two cannon shots.
Eye Slug
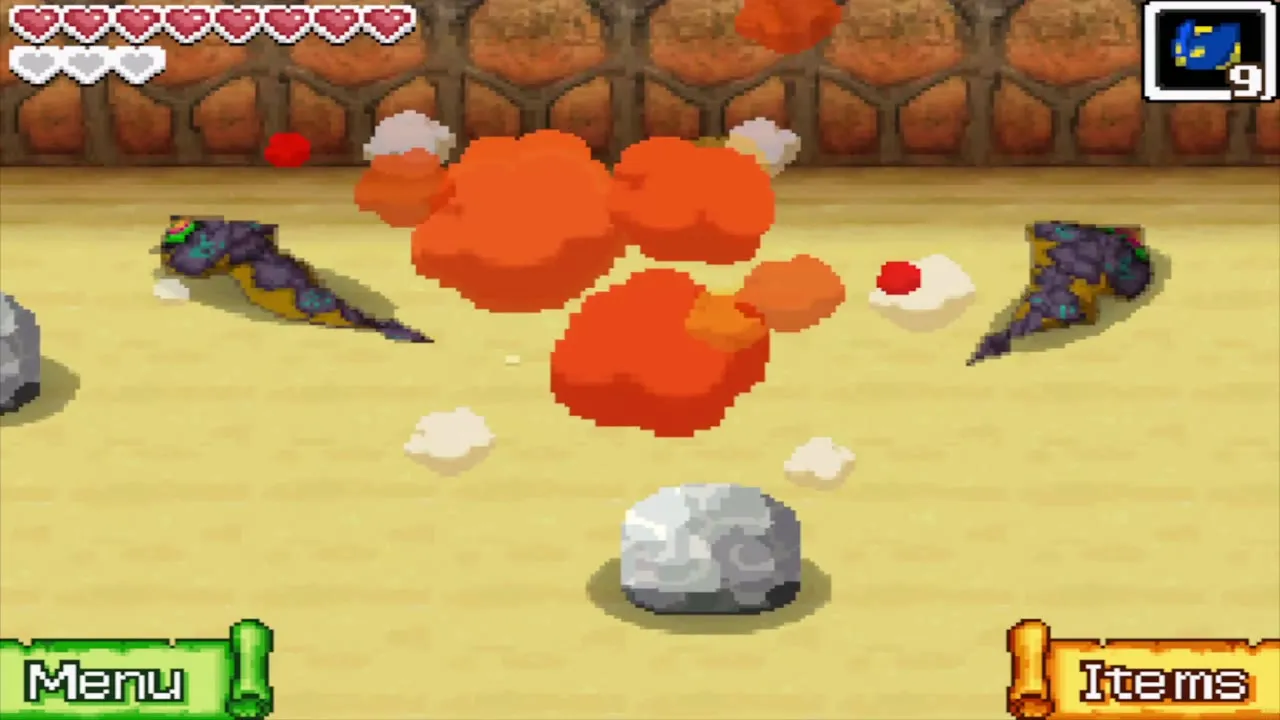
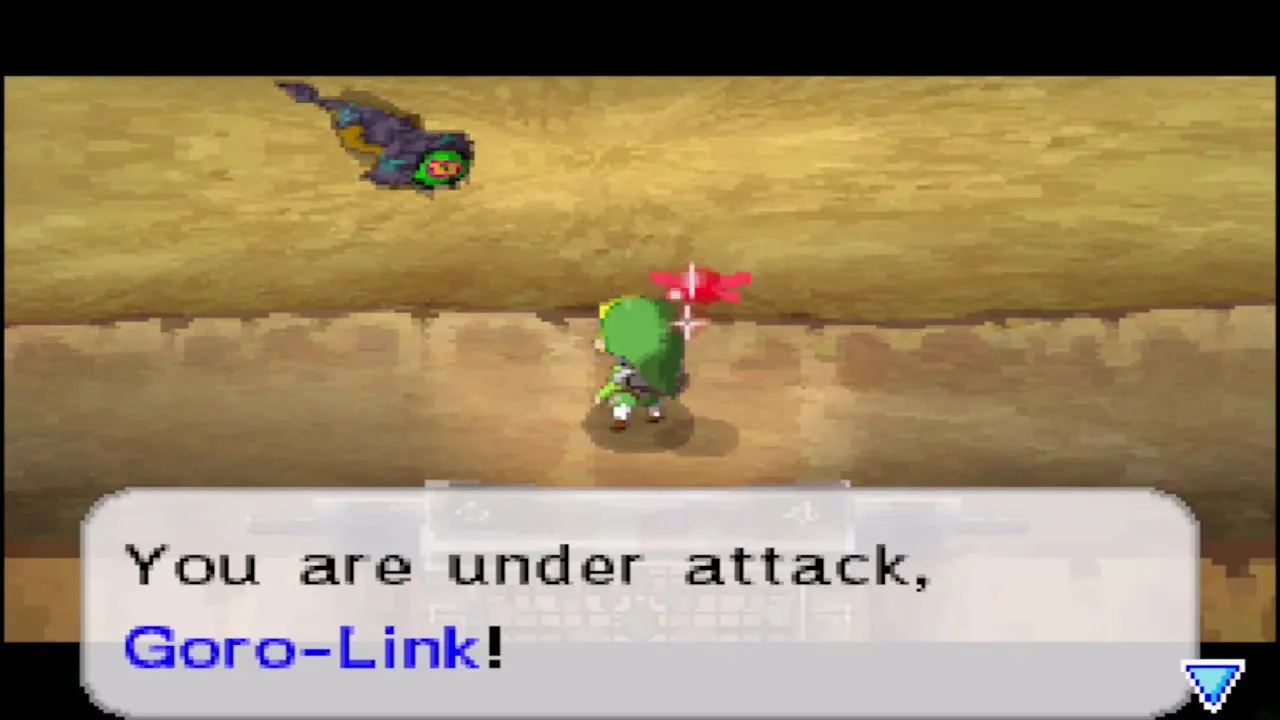
Fast, snake-like creatures that charge in groups inside the Goron Temple and join the Dongorongo fight. A sword strike kills one.
Fire Keese
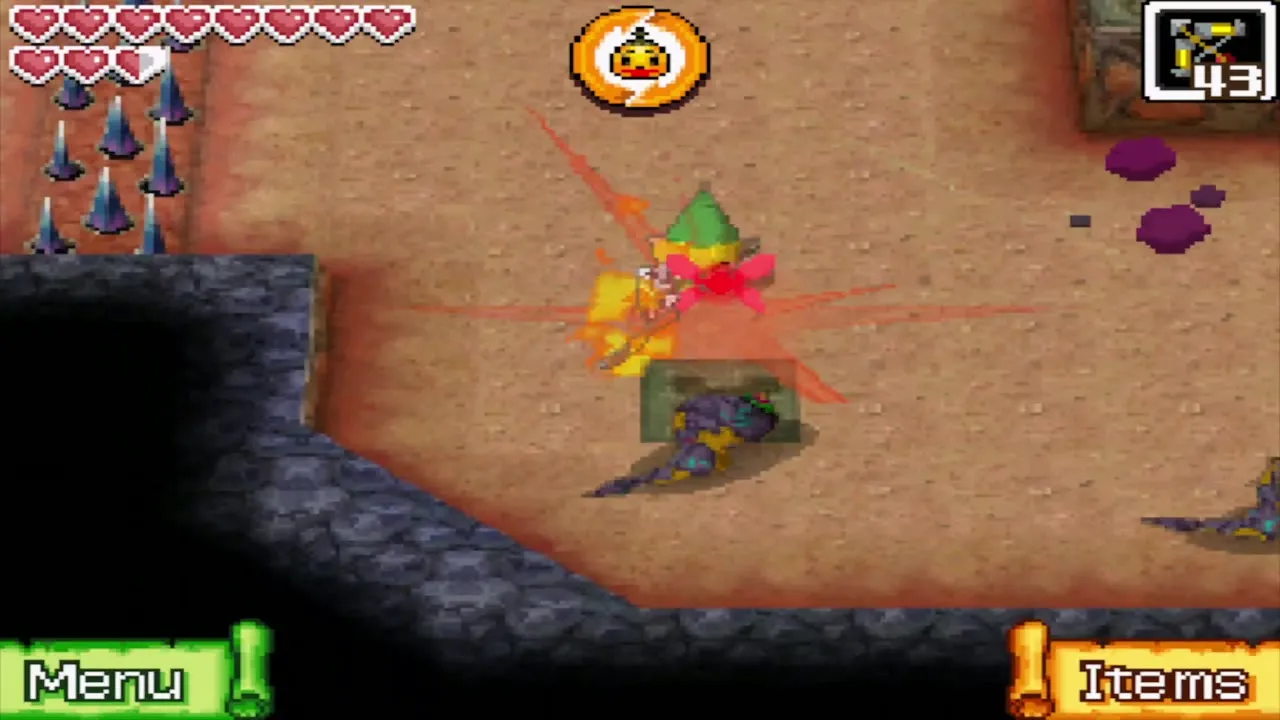
A burning bat. Touching it or hitting it with the sword burns you, so take it down from range with the Boomerang or an arrow.
Flame Wall
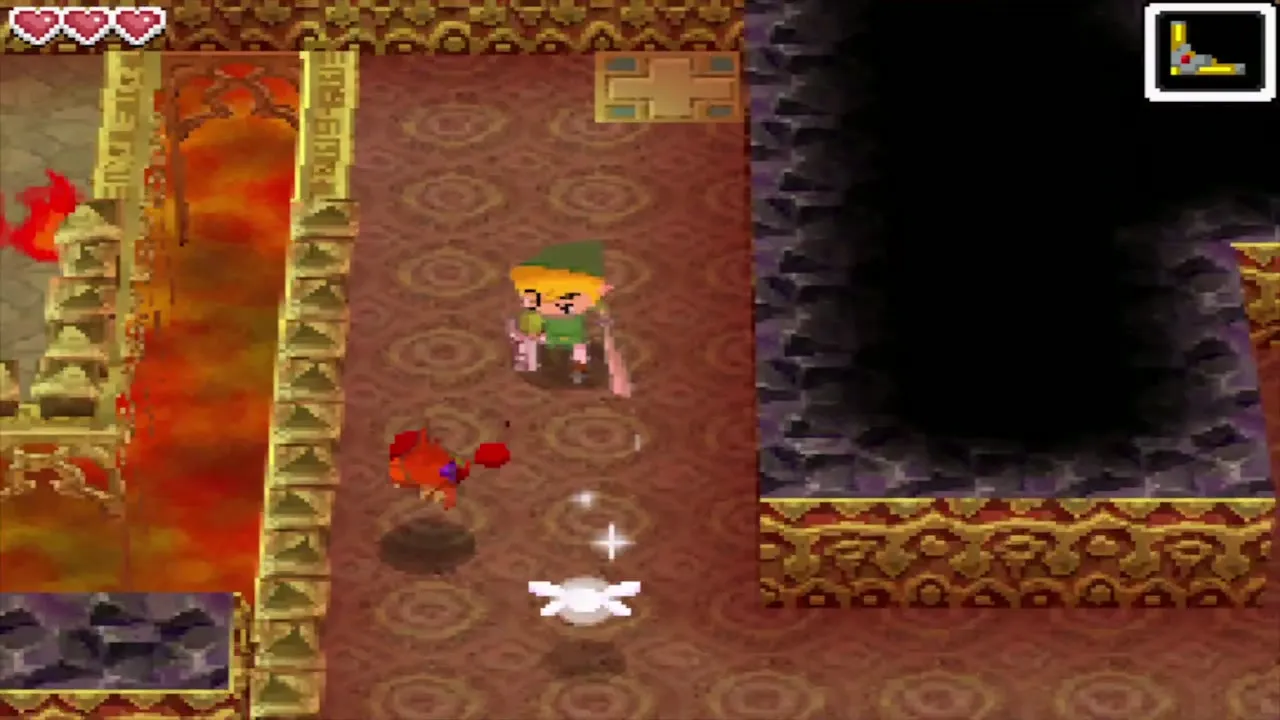
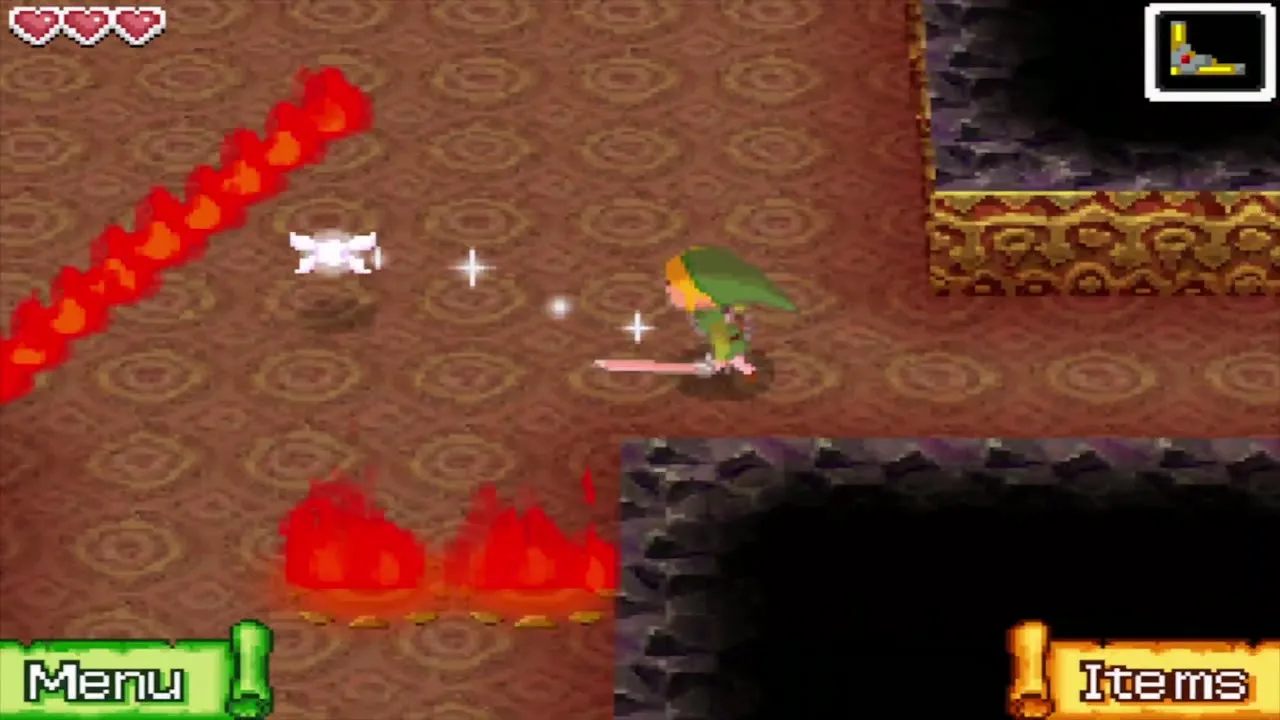
A wall of fire that seals a route. A brazier flame carried by the Boomerang puts it out, and some walls only ignite when a Phantom spots you.
Floor Spikes
Spiked tiles that hurt you on contact and can be lowered by solving the room’s puzzle. Phantoms cross them without harm, so never assume a Phantom path is safe for you.
Flying Fish
A fish that leaps at your ship; one cannon shot kills it.
Flying Pot
A pot that looks harmless until you step close, then leaps at you. Strike it before it lands.
Gel
Small blobs that do no damage but cling to you and slow you down. A cluster guards the chest with the Boomerang in the Temple of Fire.
Geozard
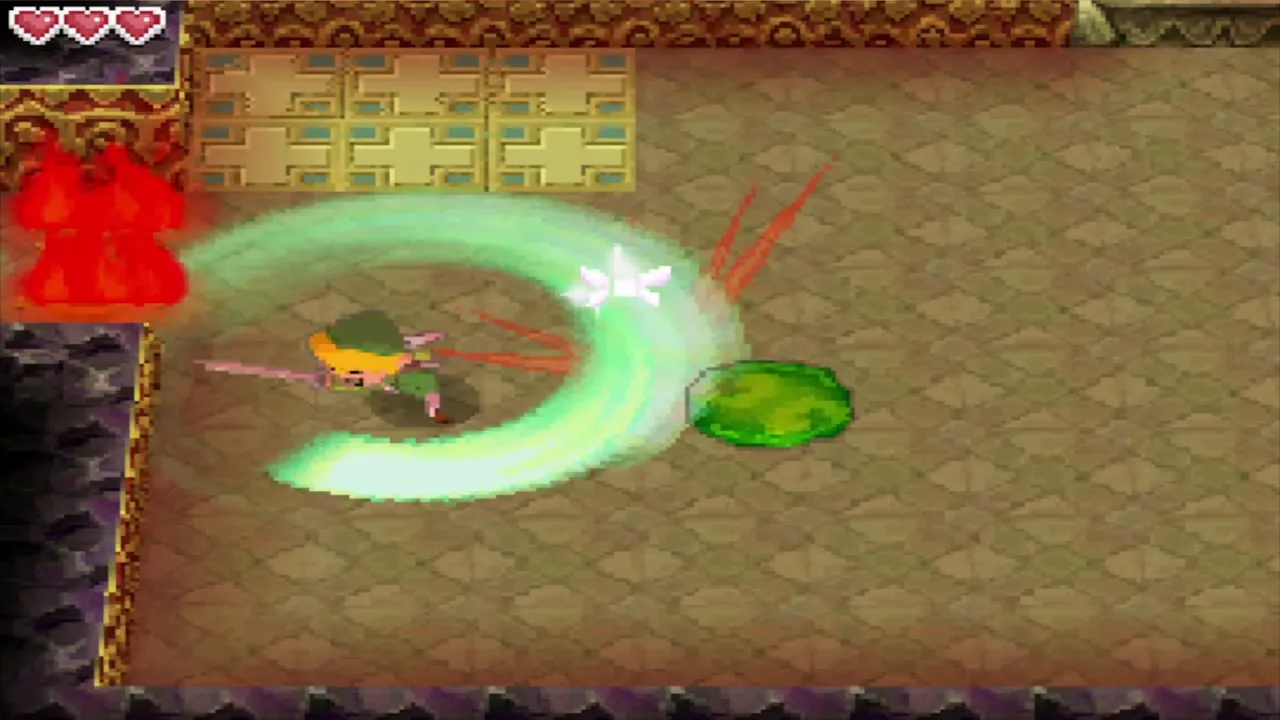
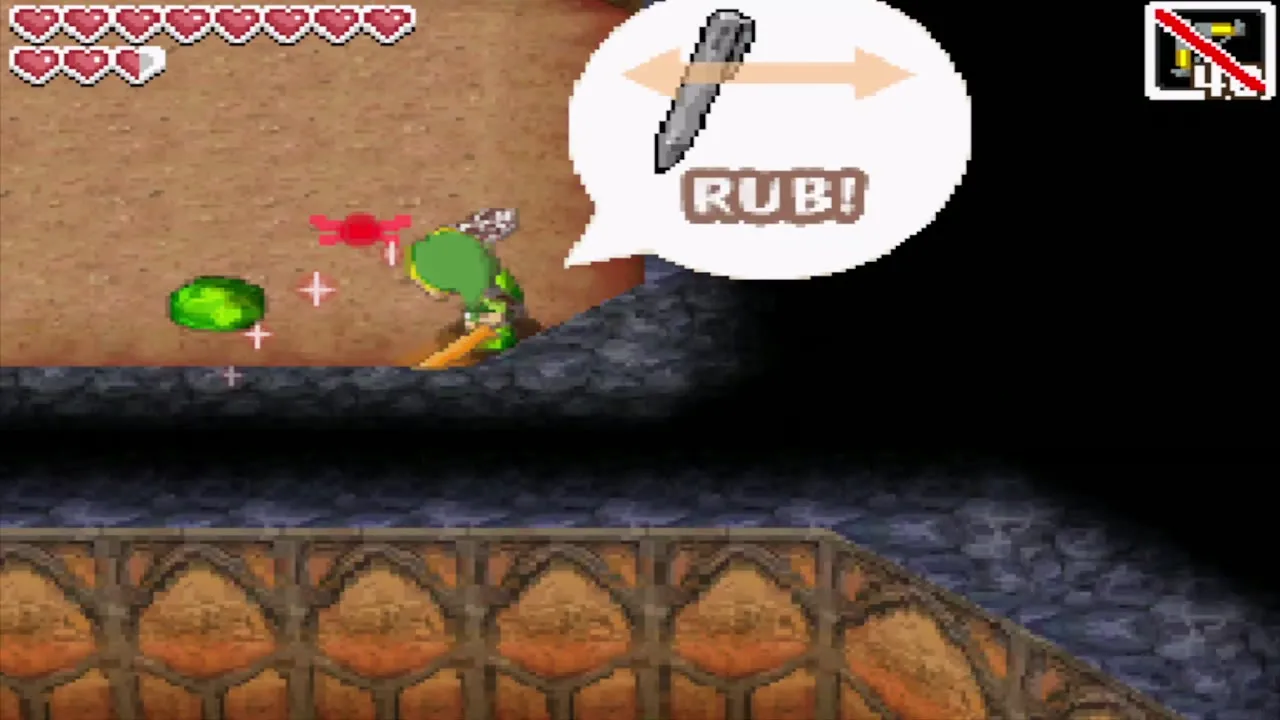
A lizard warrior with a shield that blocks attacks from the front. It lurks near water, comes out when you step into its territory and strikes with its sword or spits fireballs; trace a Boomerang path around to hit its unprotected back. Geozards can also attack your ship at sea.
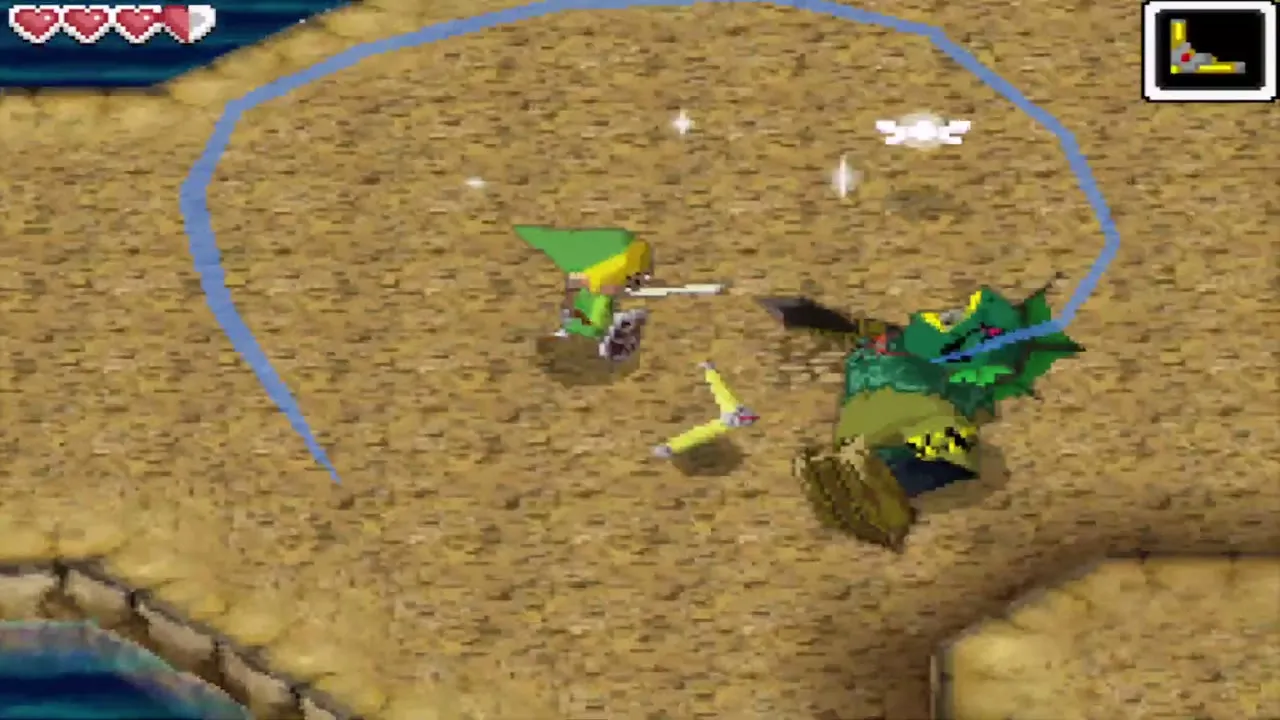
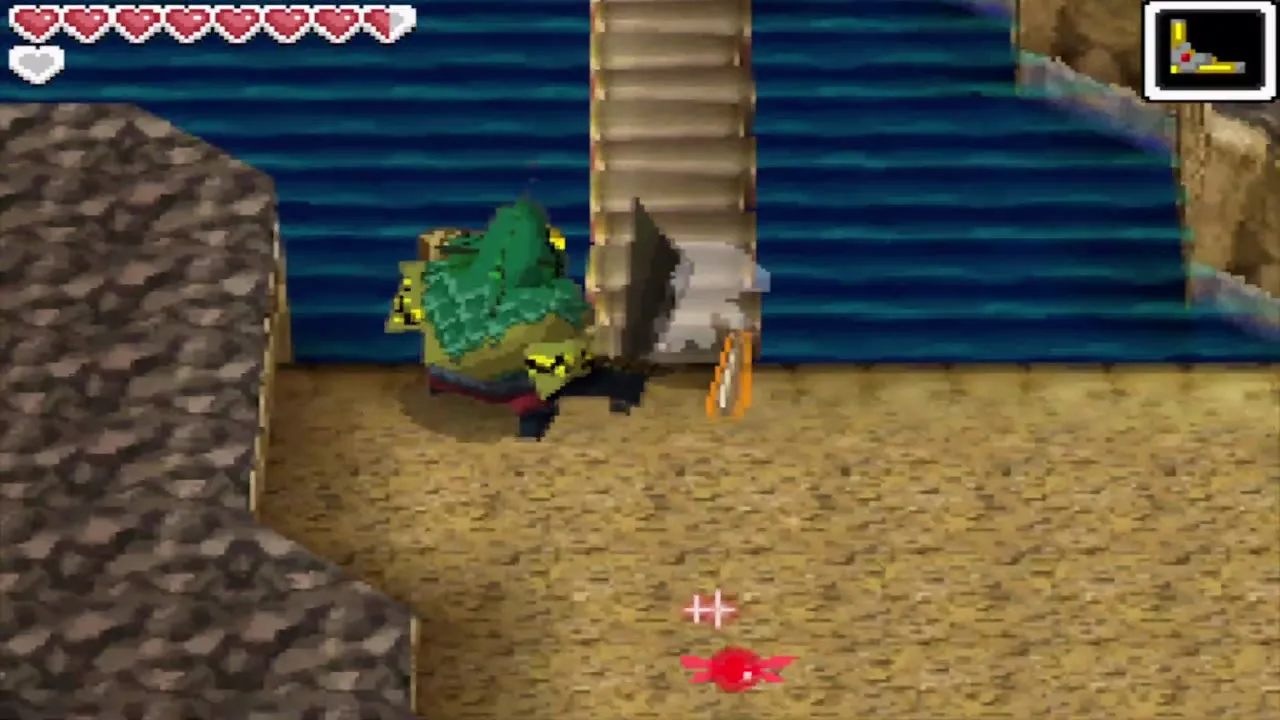
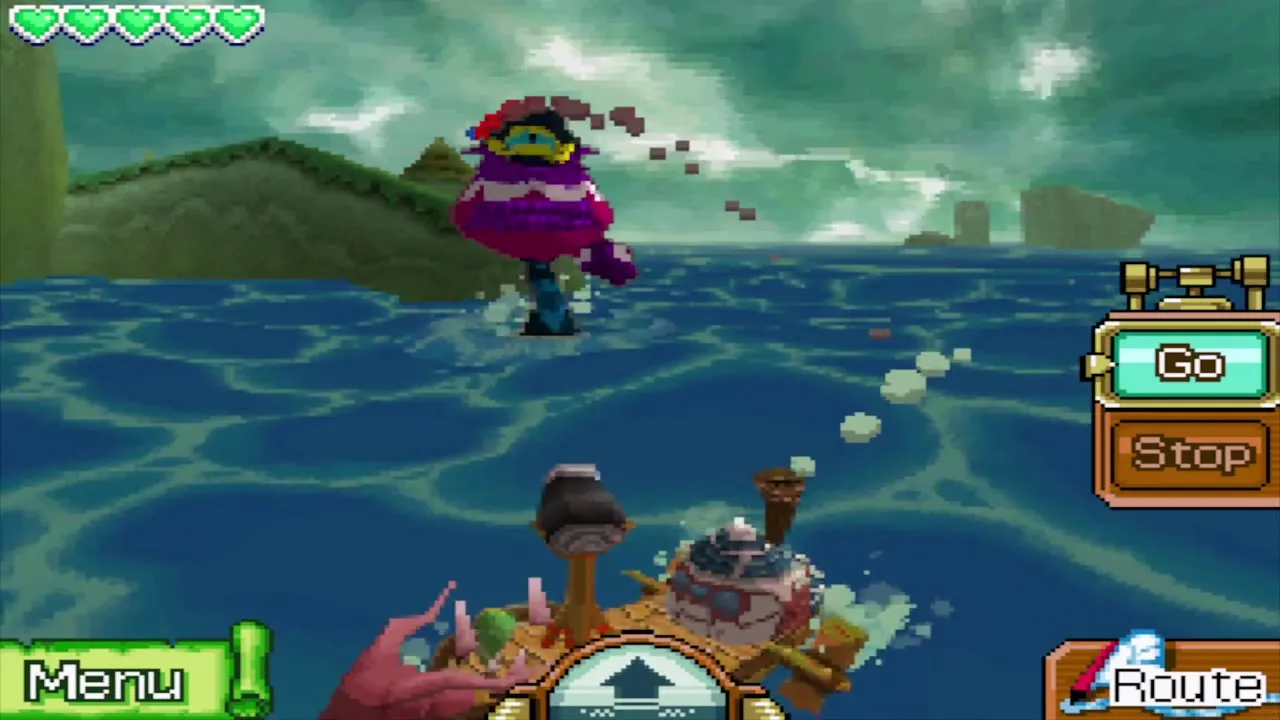
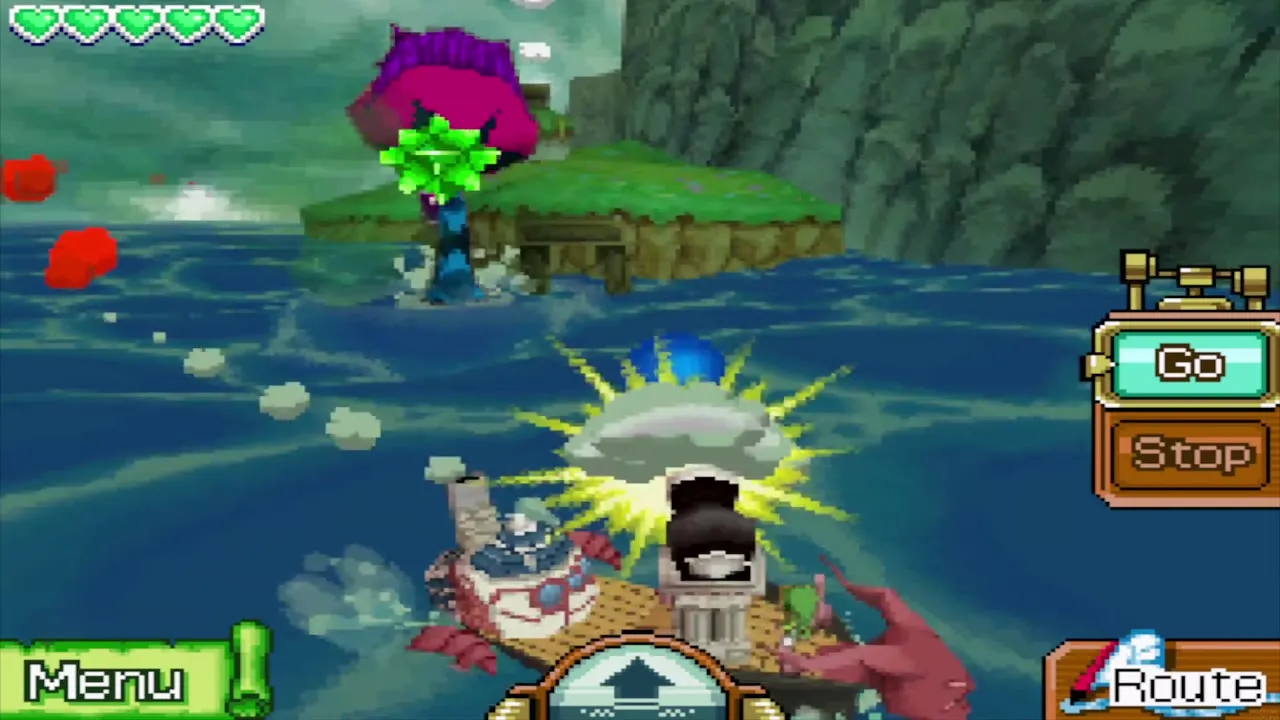
Giant Eye Plant
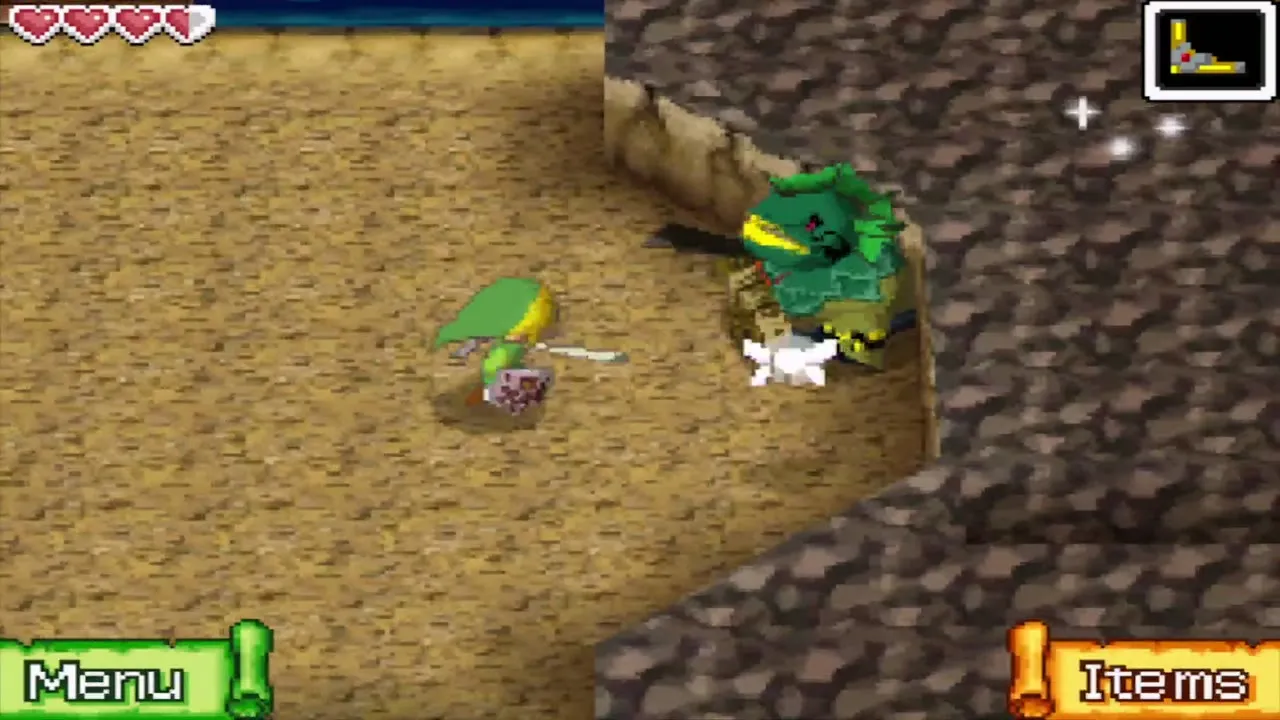
Circle it, shoot its spiked seed balls out of the air and hit its eye when it opens. About five hits finish it. One blocks the water near Molida Island and another returns near Bannan Island.
Gold Phantom
The toughest Phantoms, guarding B10 to B13. They move slowly at first but teleport to you when a Phantom or Phantom Eye spots you, so avoid their sight and use Safe Zones until you own the Phantom Sword. Before then, a key or Force Gem tied to one means you must stun it with an arrow or crush it with a rolling boulder.
Green ChuChu
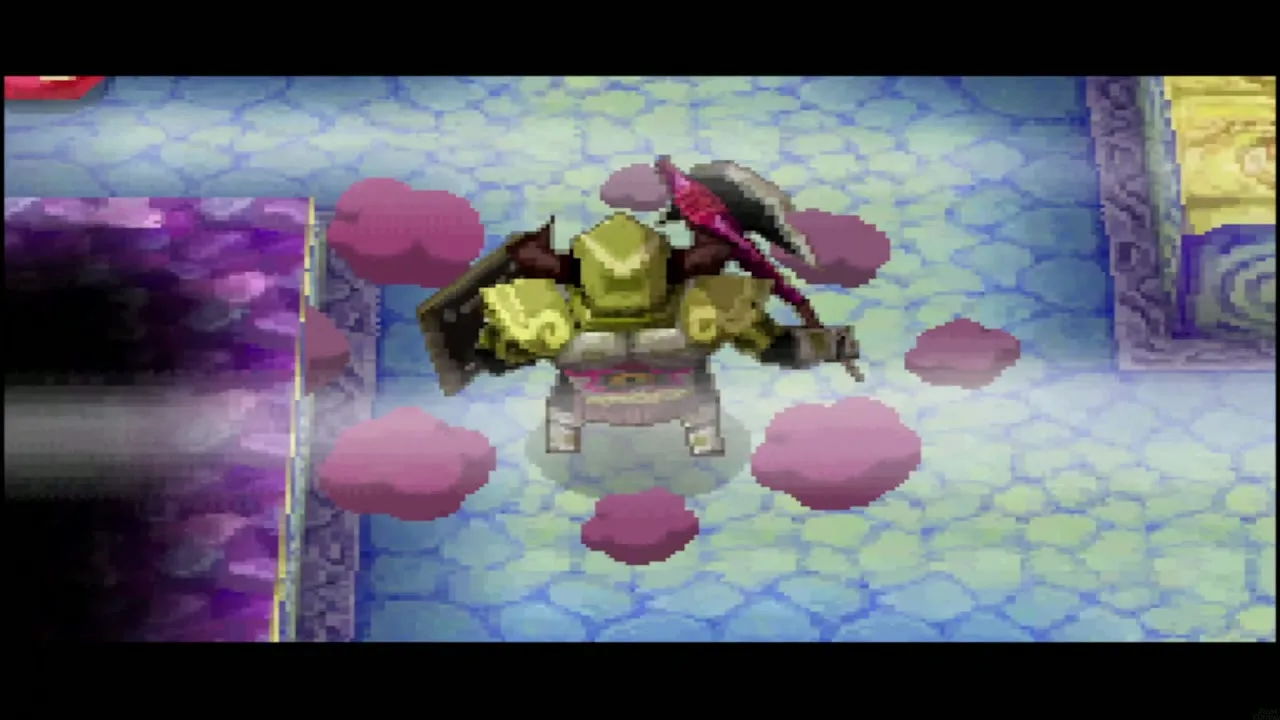
A jelly blob found in the Temple of Courage. Ranged attacks work well against it, and a Boomerang hit stuns it for the sword.
Gyorg
A shark that rams your ship. Hit it with the cannon while it is out of the water; a shot at one under the surface only makes it reappear elsewhere. If your ship stops, it lurks with just its fin showing.
Hardhat Beetle
A beetle the sword cannot hurt. Knock it into a pit or off a ledge. It first appears in the Temple of Courage.
Hinox
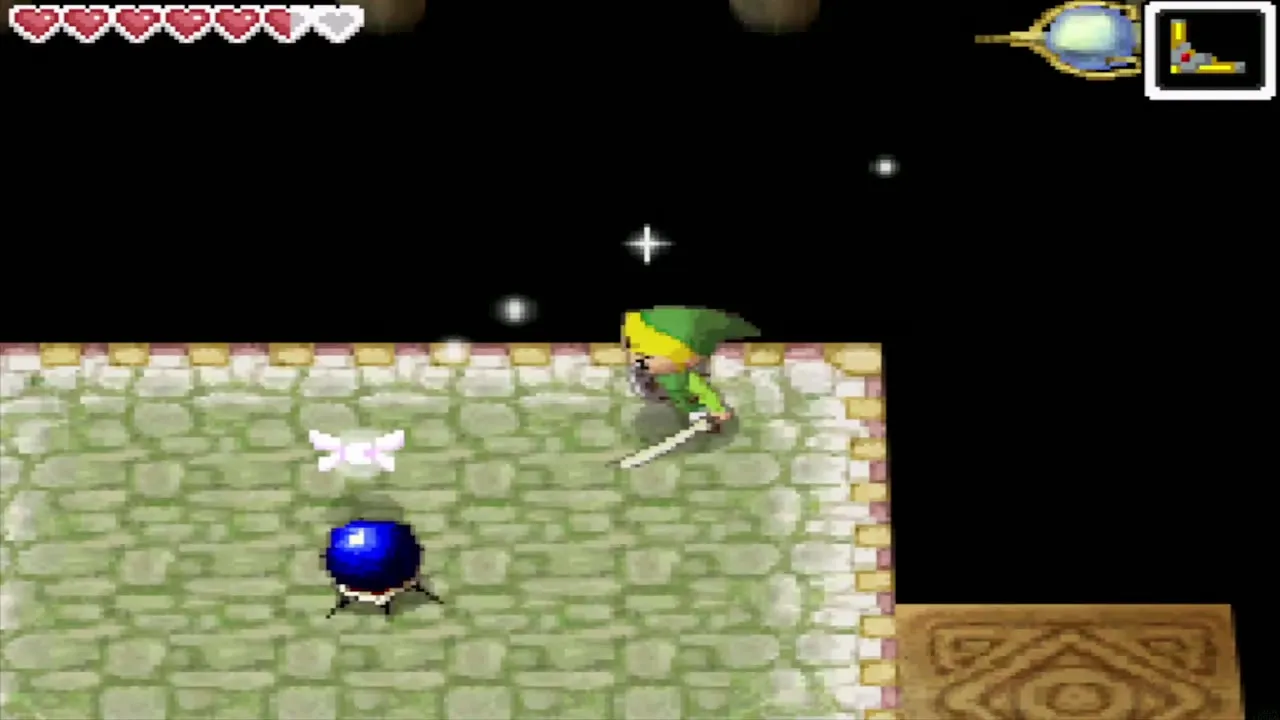
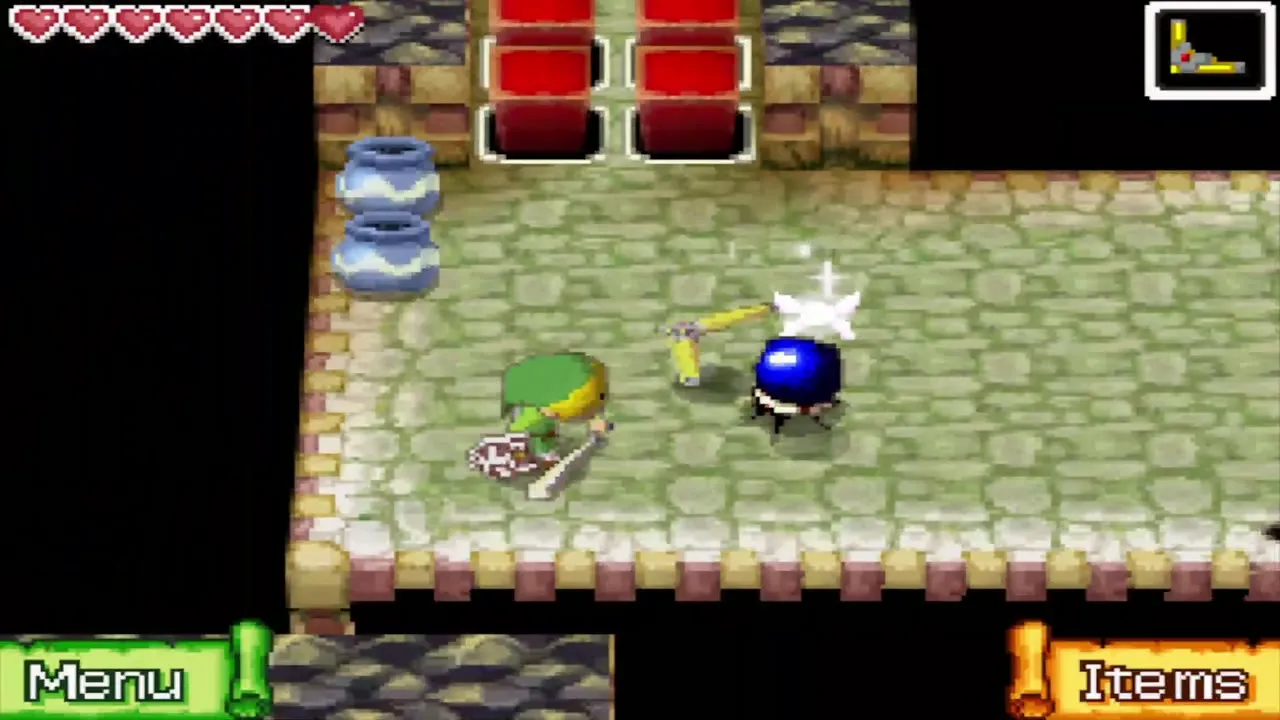
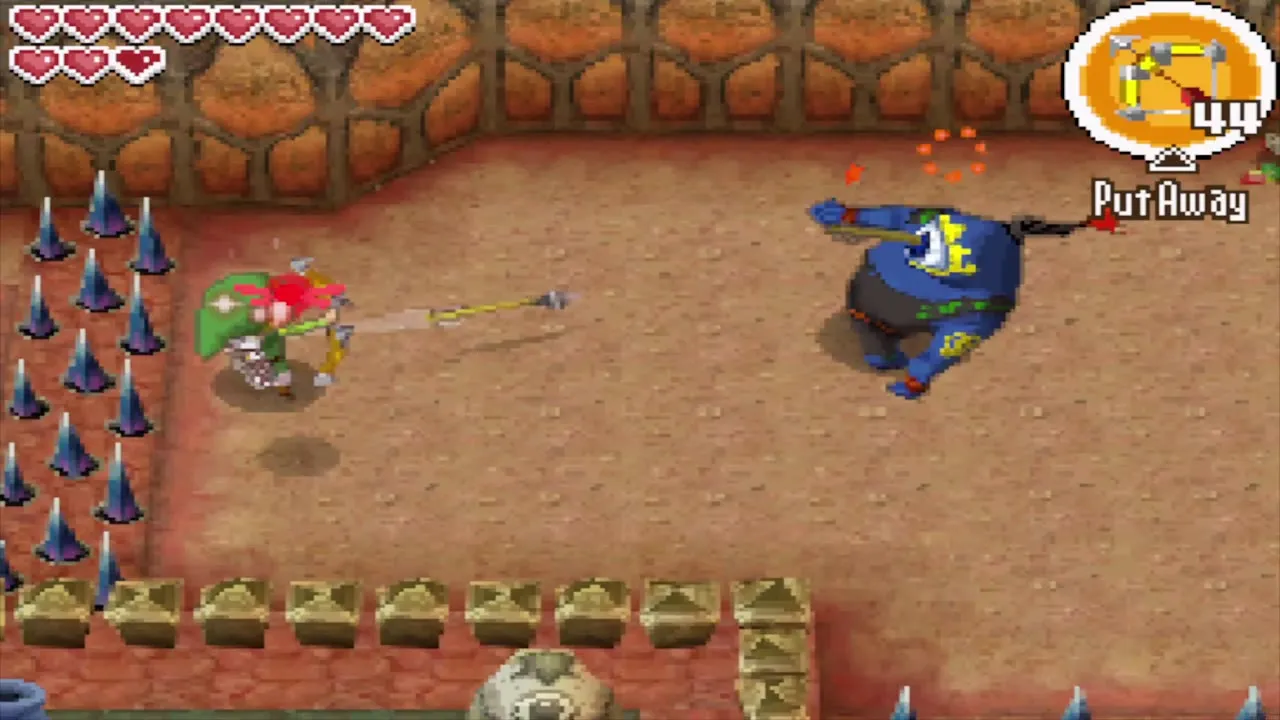
A one-eyed giant that the game calls an Hinox. Your sword cannot hurt it from the front: shoot its eye with an arrow to stun it, then slash, or come at it from behind with the Boomerang. It throws punches and bombs, and throws a bomb back if you toss one at it. Two stand guard on Dee Ess Island, and more appear in the Goron Temple.
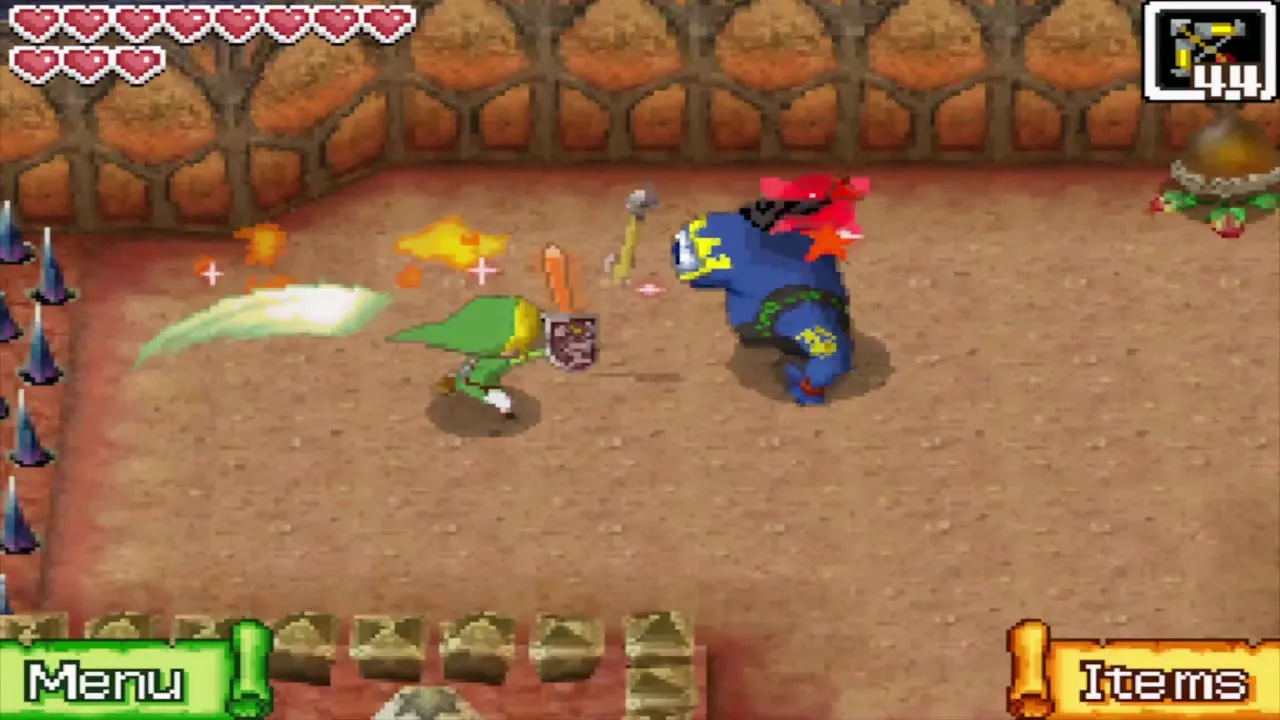
Ice Keese
A frozen bat that freezes you in place on contact. Shoot it or use the Boomerang from a distance.
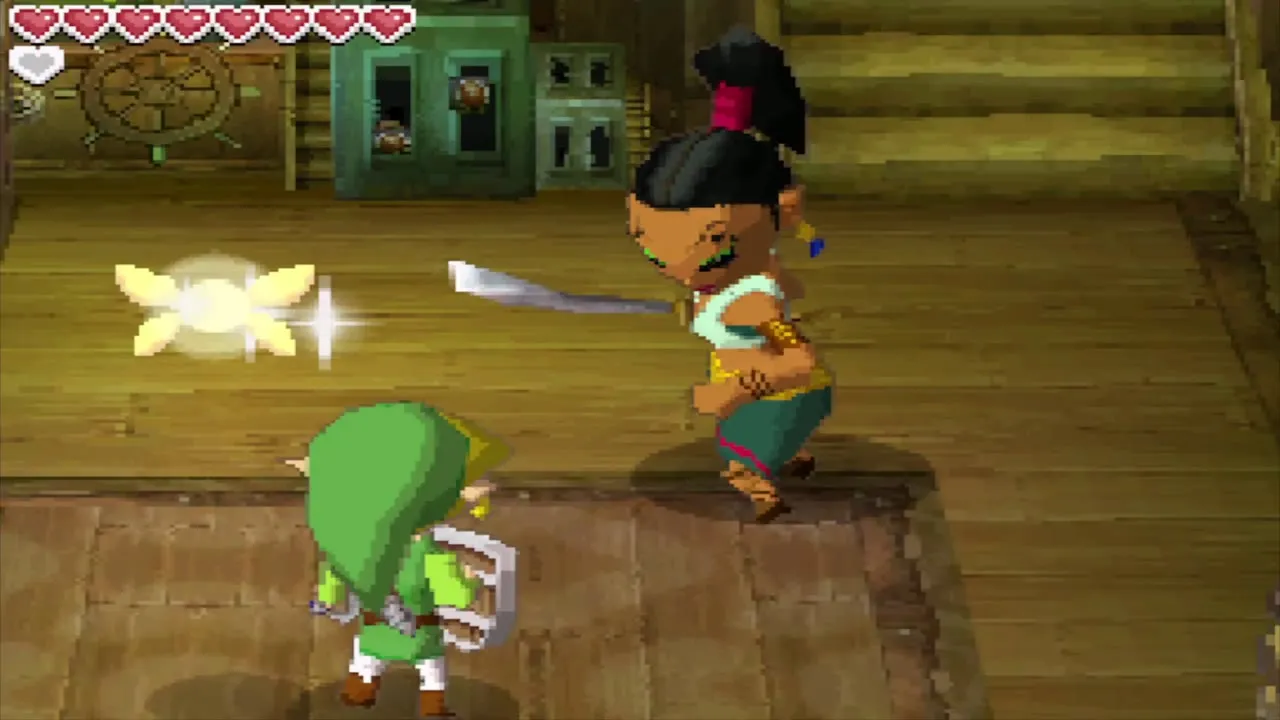
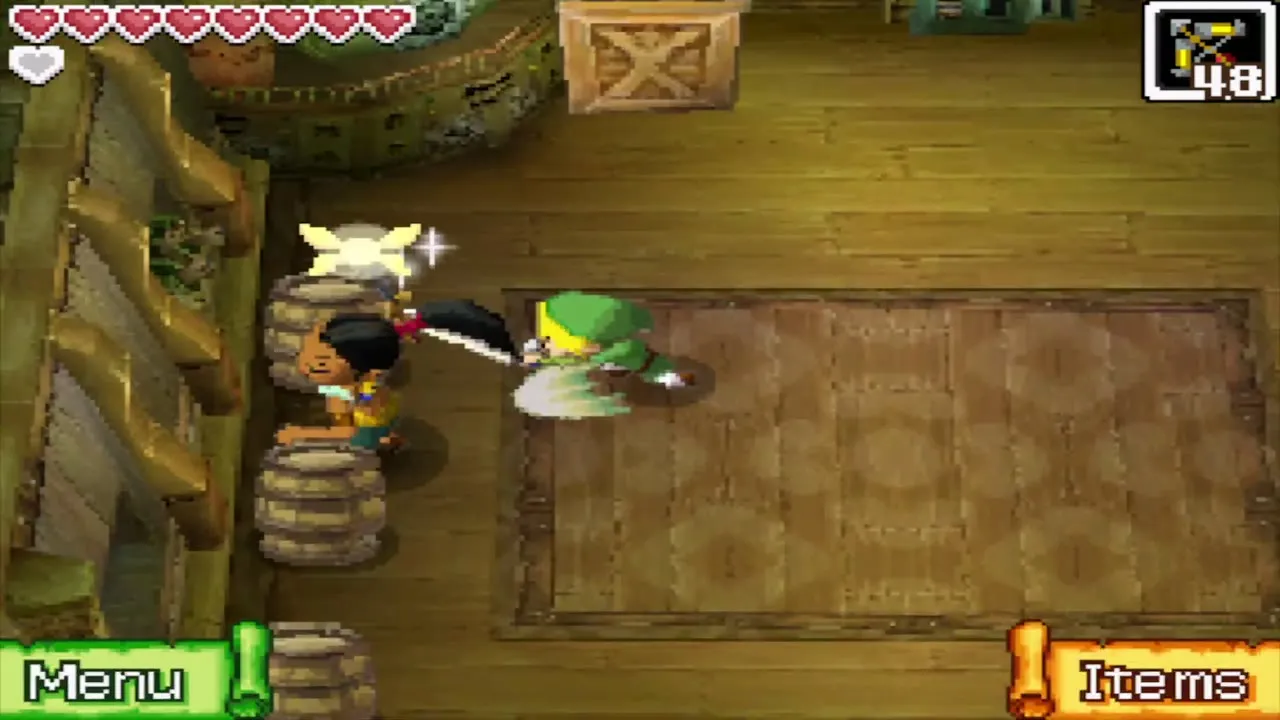
Jolene
A pirate who boards your ship and duels you inside it. Dodge her lunge, hit her from behind after she dashes, and rub the stylus when the swords lock.
Keese
Ordinary bats that flutter in packs. A sword swing is enough.
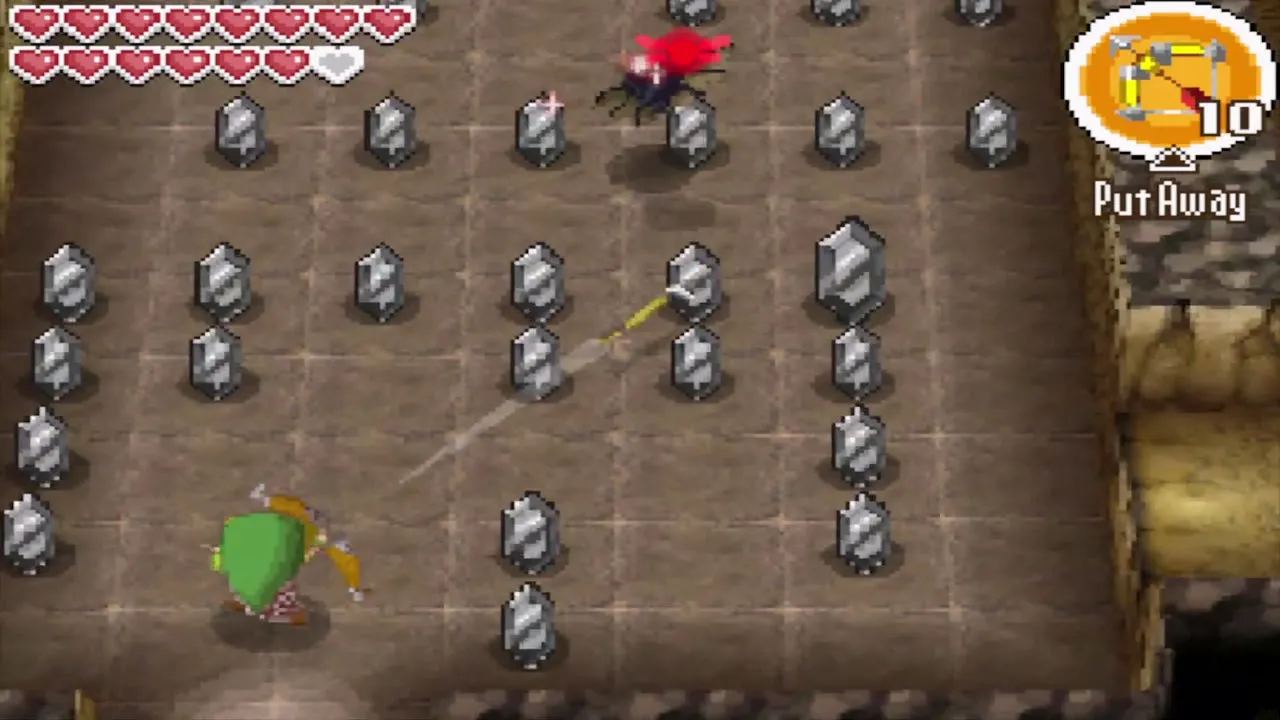
Like Like
A tube-bodied monster that swallows you and takes your shield. Kill it from range with bombs or arrows before it reaches you.
Massive Eye
A giant with six eyes, each of which takes two cannon hits (yellow, then pink, then closed). Shoot down its projectiles as well.
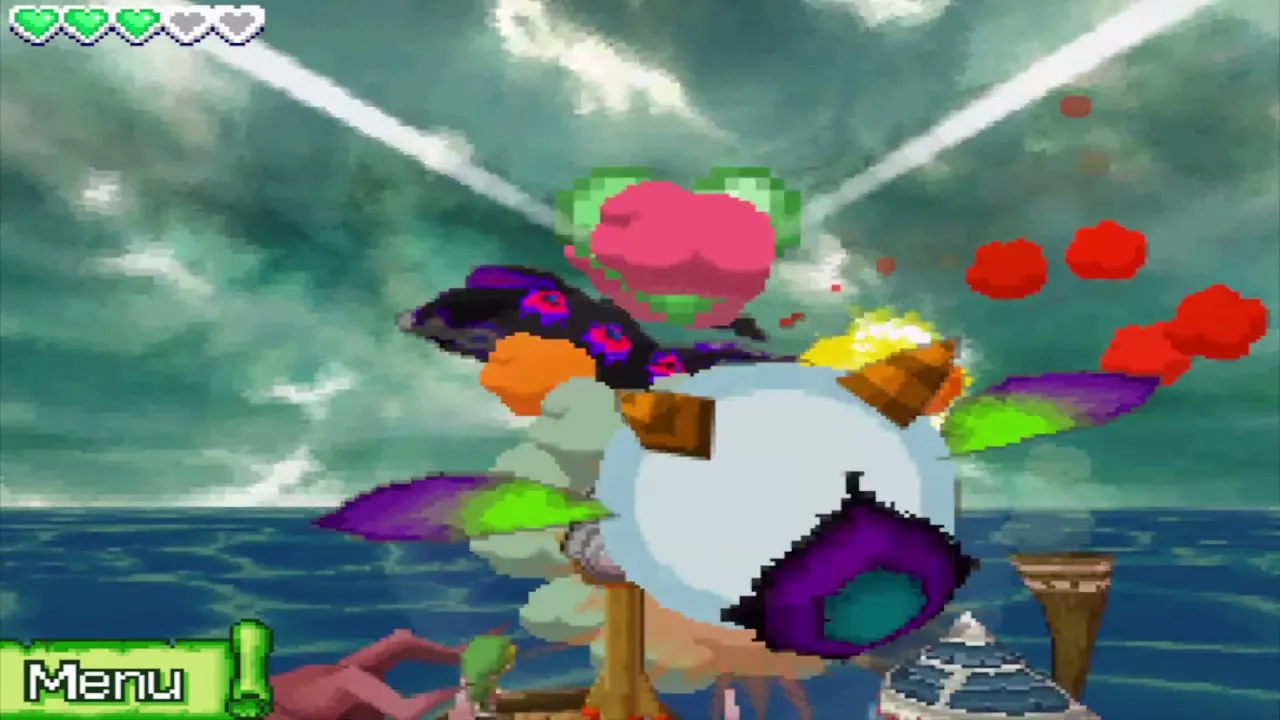
Miniblin
Little imps that wait for friends before they strike. They are more of a nuisance than a threat. Some jump onto your ship from a Pirate Ship.
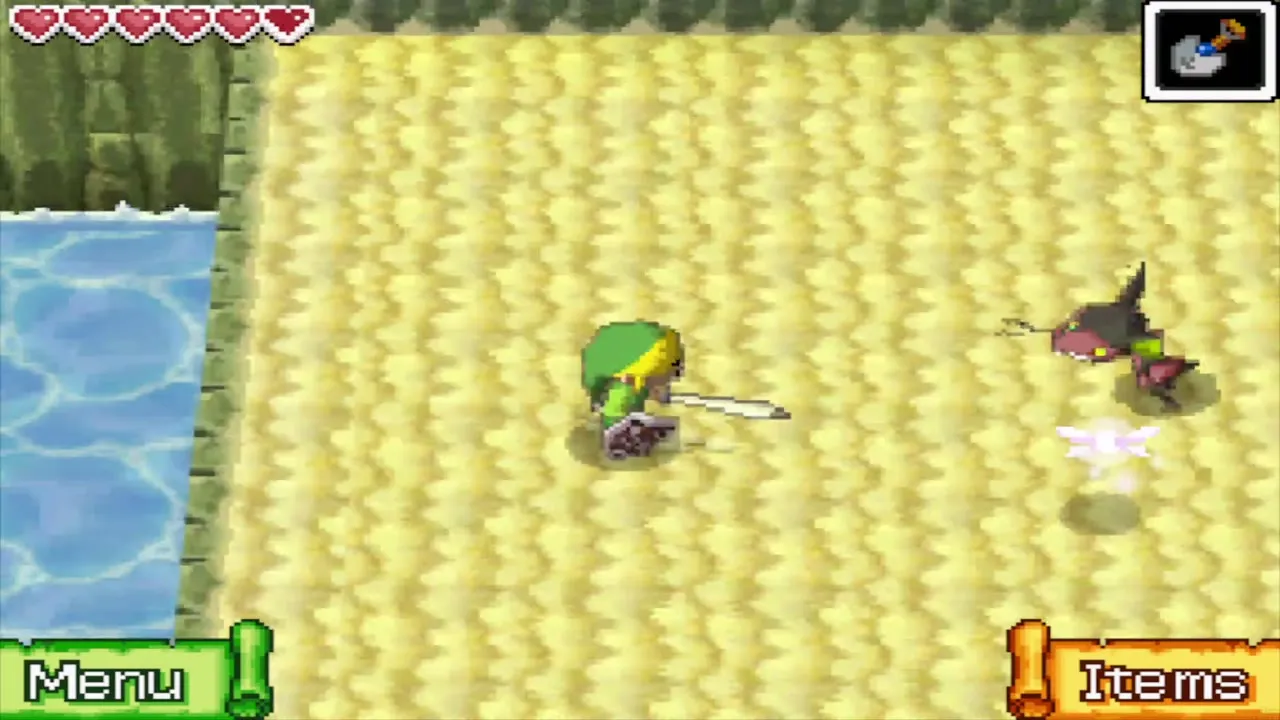
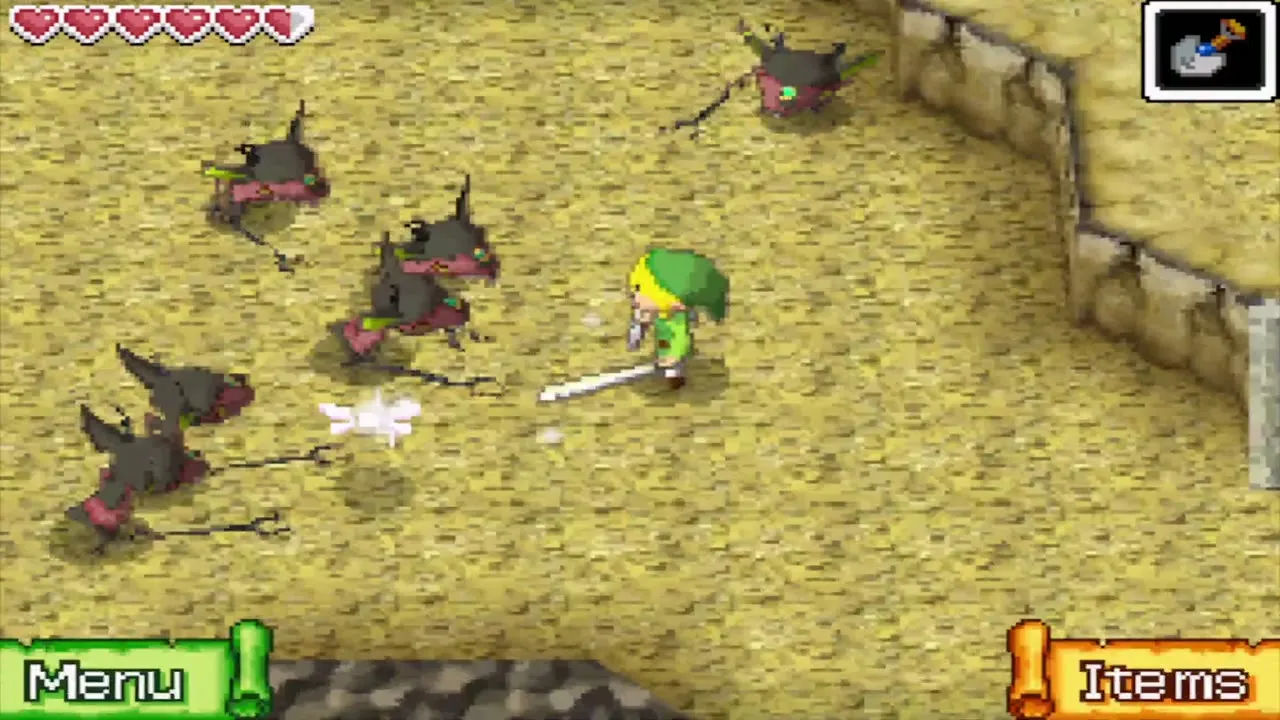
Moldorm
A worm that darts around the room. Hit its red tail to hurt it. Two guard the chest with the Bow.
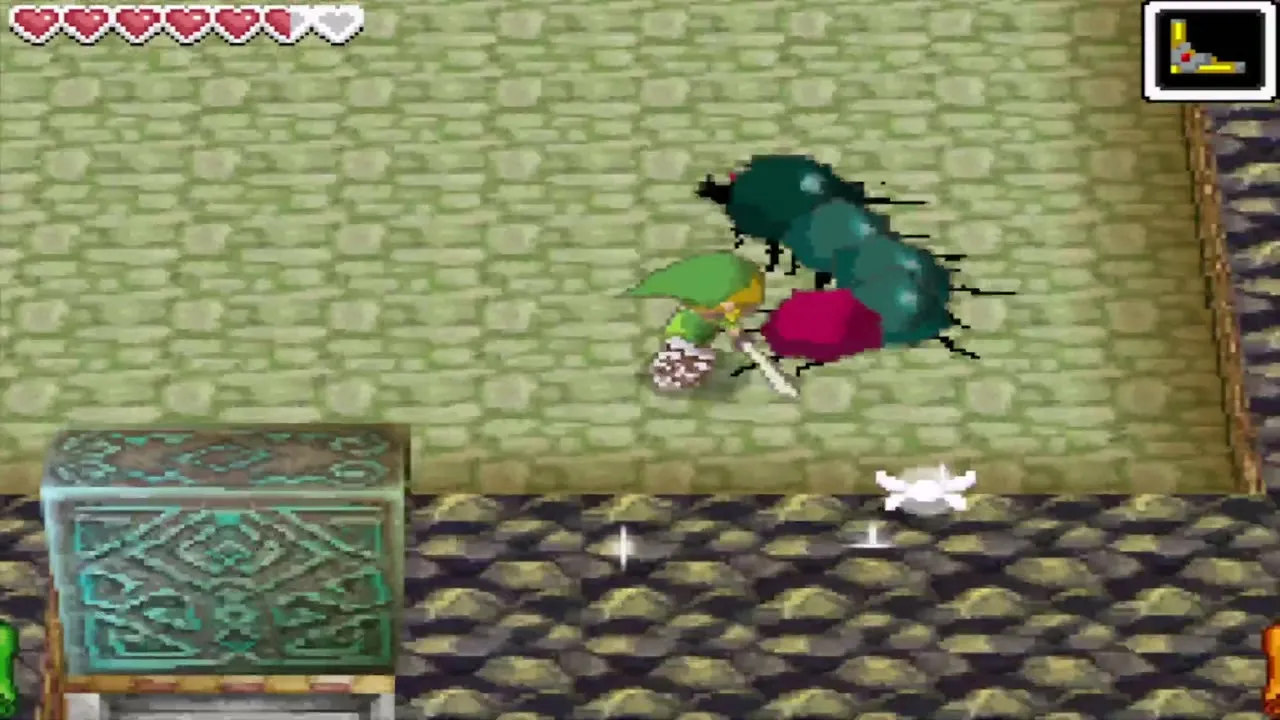
Ocean Octorok
A sea Octorok that dives and spits rocks. A single cannon hit defeats it.
Octomine
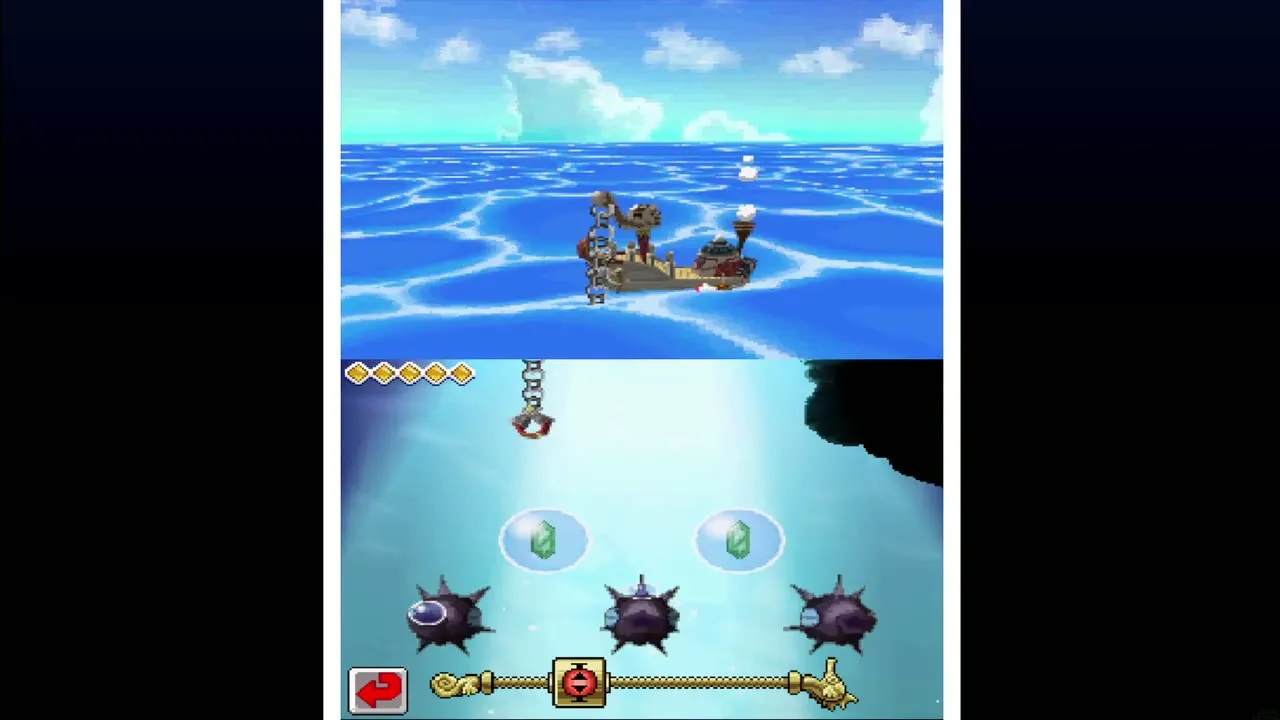
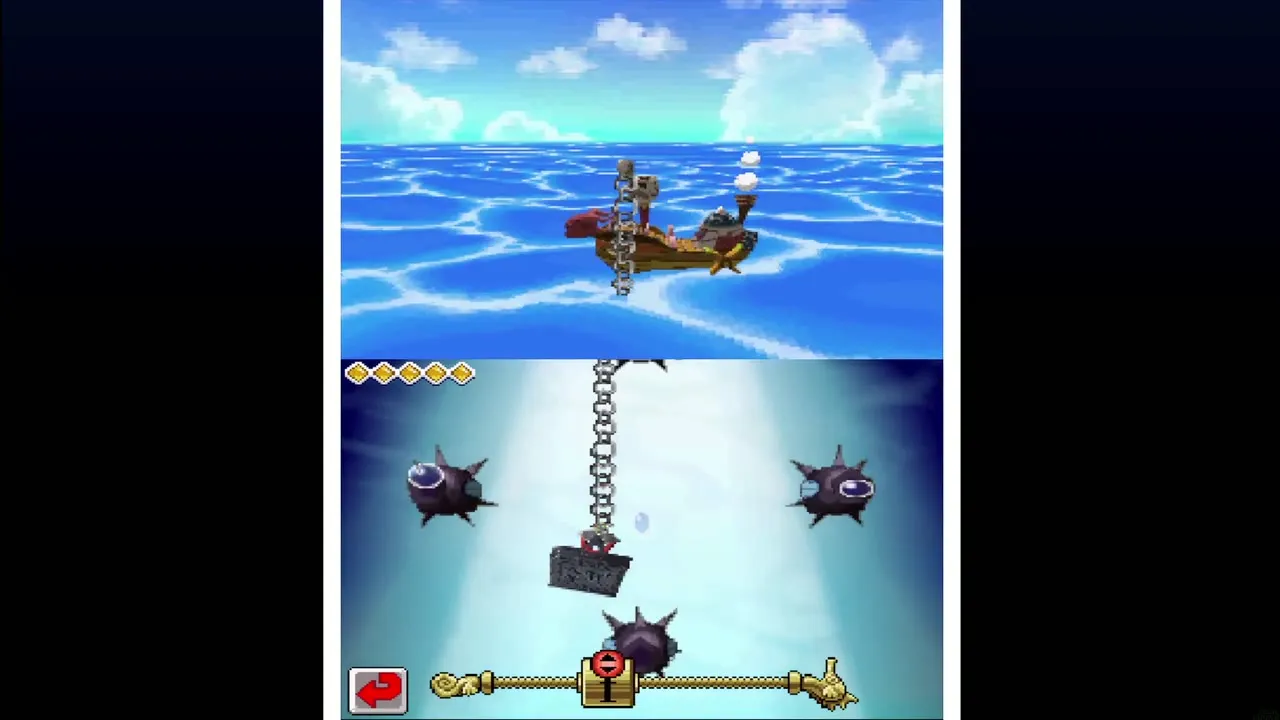
A floating mine. If it touches your Salvage Arm during a salvage it explodes and damages you.
Octorok
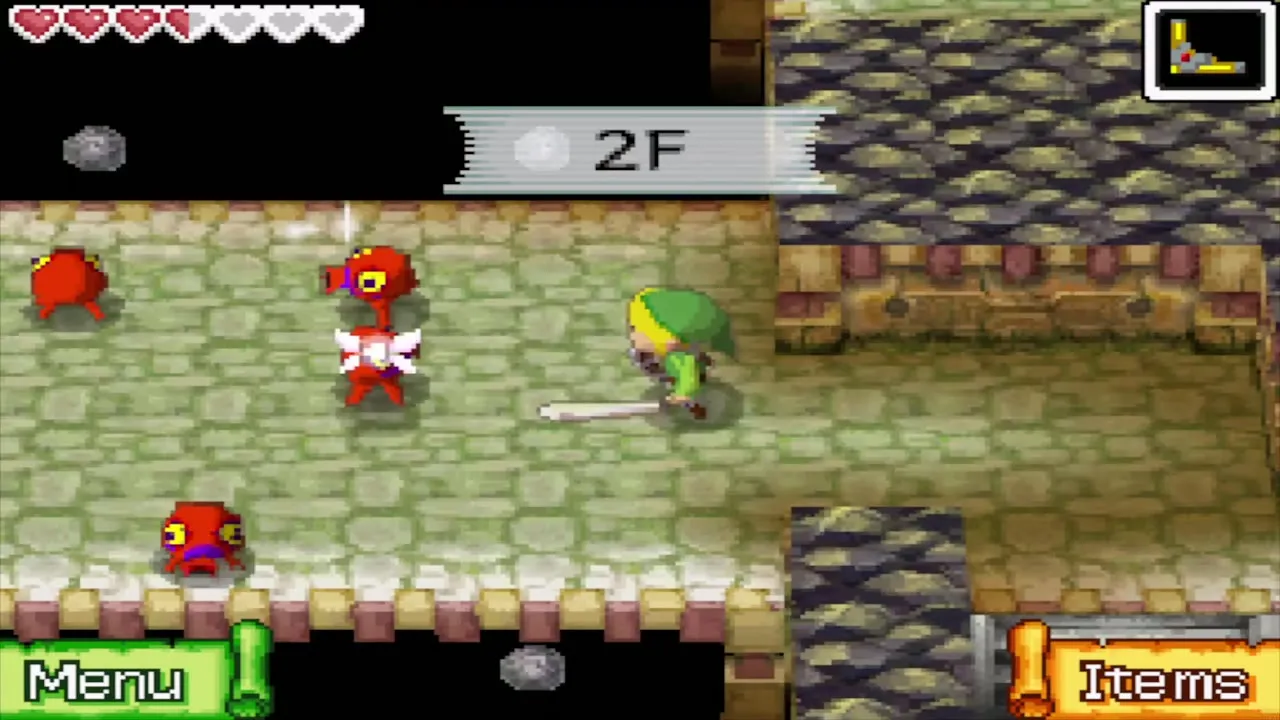
Rock-spitting land Octoroks. Most weapons work and the Boomerang stuns them for a moment.
Phantom
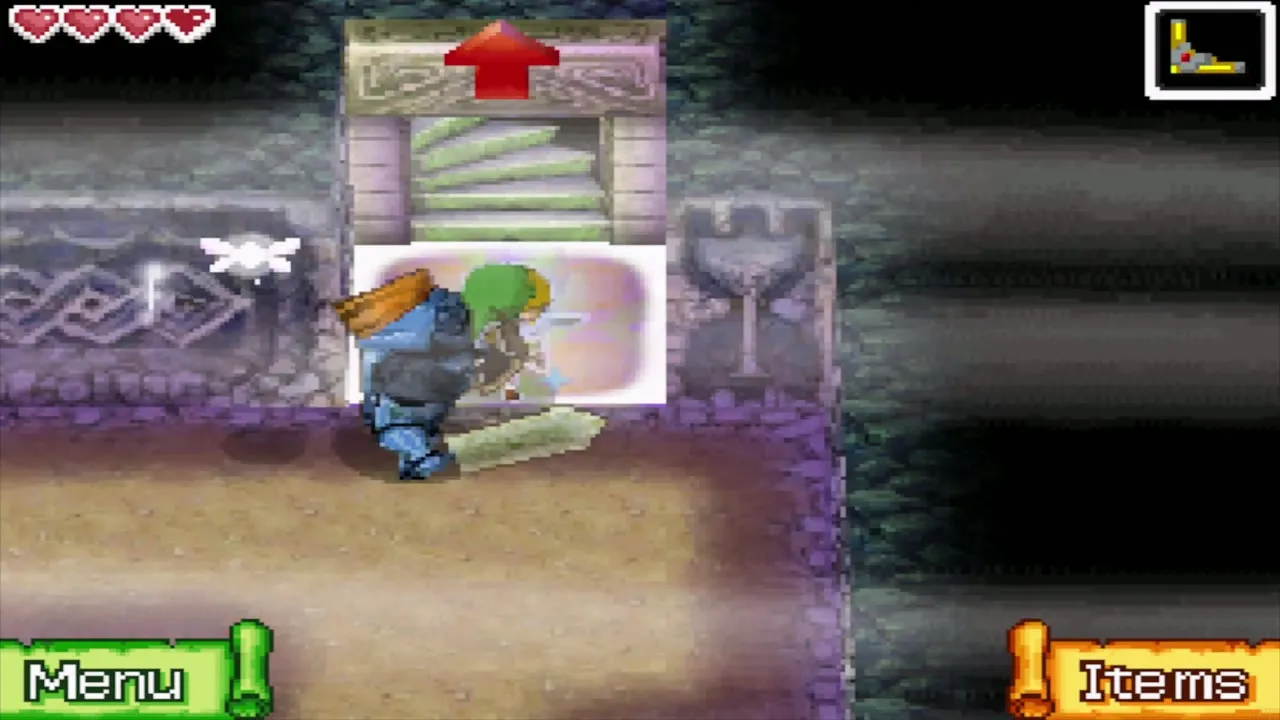
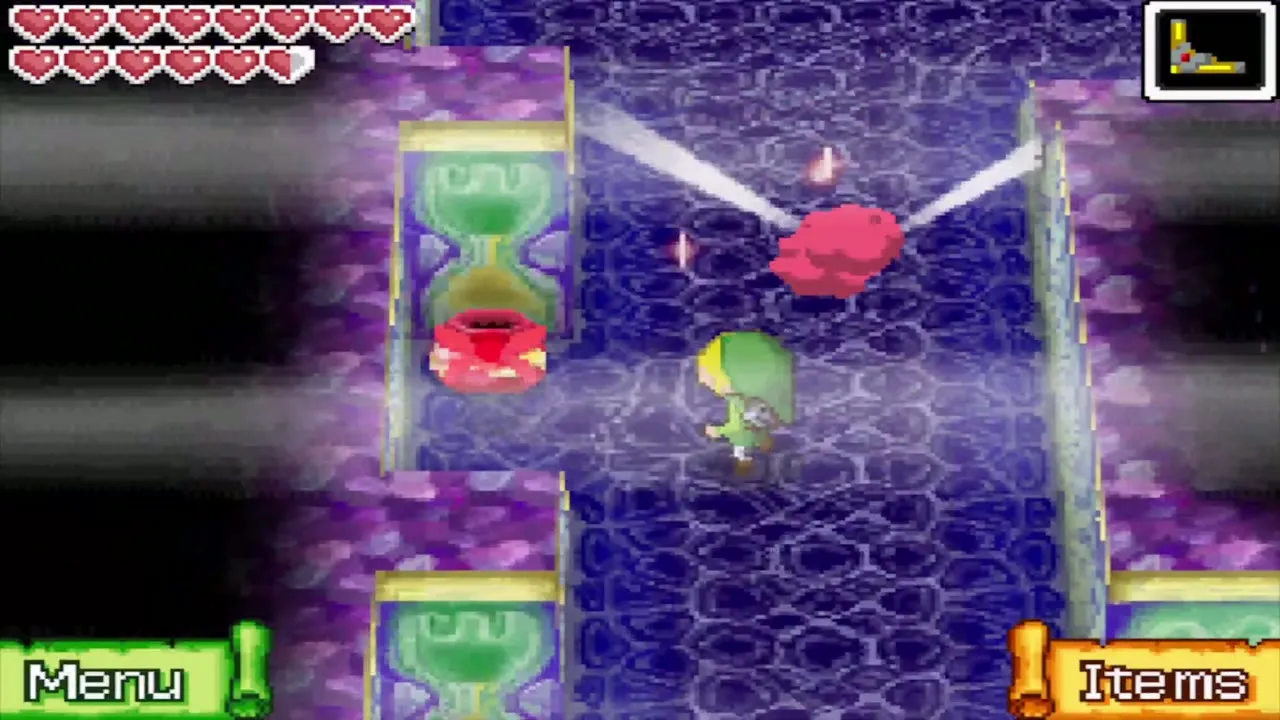
Armoured sentries that patrol the Temple of the Ocean King and chase you down if they see or hear you. Their view cone shows on your map, and Safe Zones hide you completely. A hit costs you 30 seconds of sand and sends you back to the start of the floor; restoring the Spirit of Wisdom’s power cuts that to 15 seconds and then 5. Nothing hurts them until you hold the Phantom Sword, but you can stun one by shooting it in the back with an arrow, drop it into a Trapdoor, or crush it with a rolling boulder. Phantom Spheres from Ciela stop time for a moment but do not harm them.
Phantom Eye
A small floating eye that cannot hurt you itself but acts as a scout: when it spots you it hovers out of reach, makes a racket and draws nearby Phantoms to you. Unlike Phantoms it can be killed, and most weapons finish it in one hit, so take it out before it sees you. The Boomerang is an easy way to stun one first.
Pirate Ship
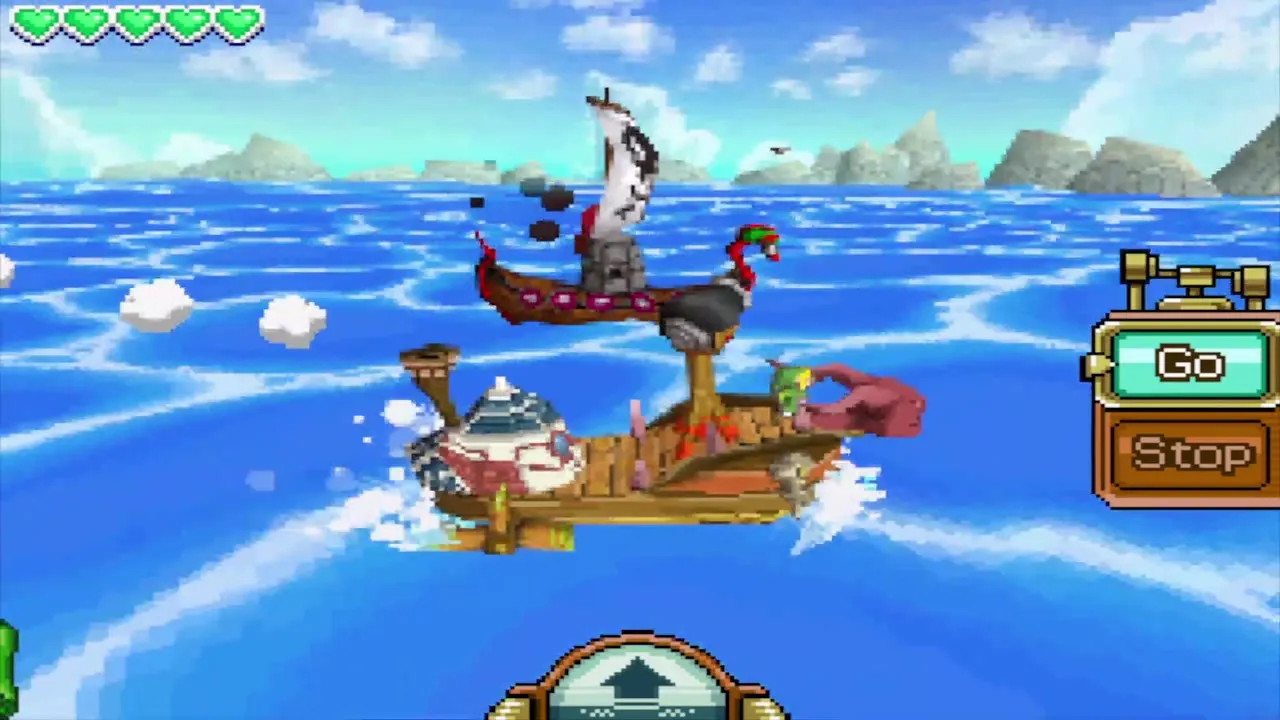
A large ship that tries to get alongside yours. If it gets close, Pirate Miniblins jump aboard and ambush you, so sink it with the cannon first.
Poe
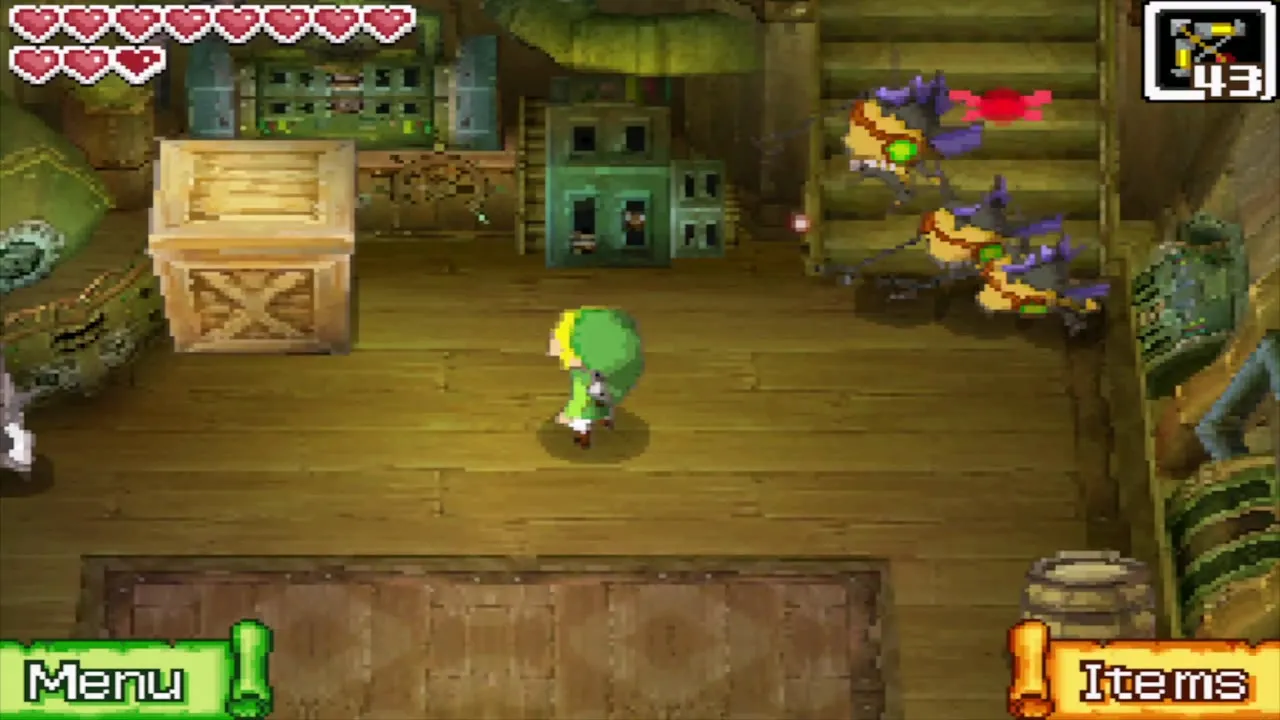
A ghost that teleports and spits blue fireballs. You can hit it only when it is visible, so strike quickly.
Pols Voice
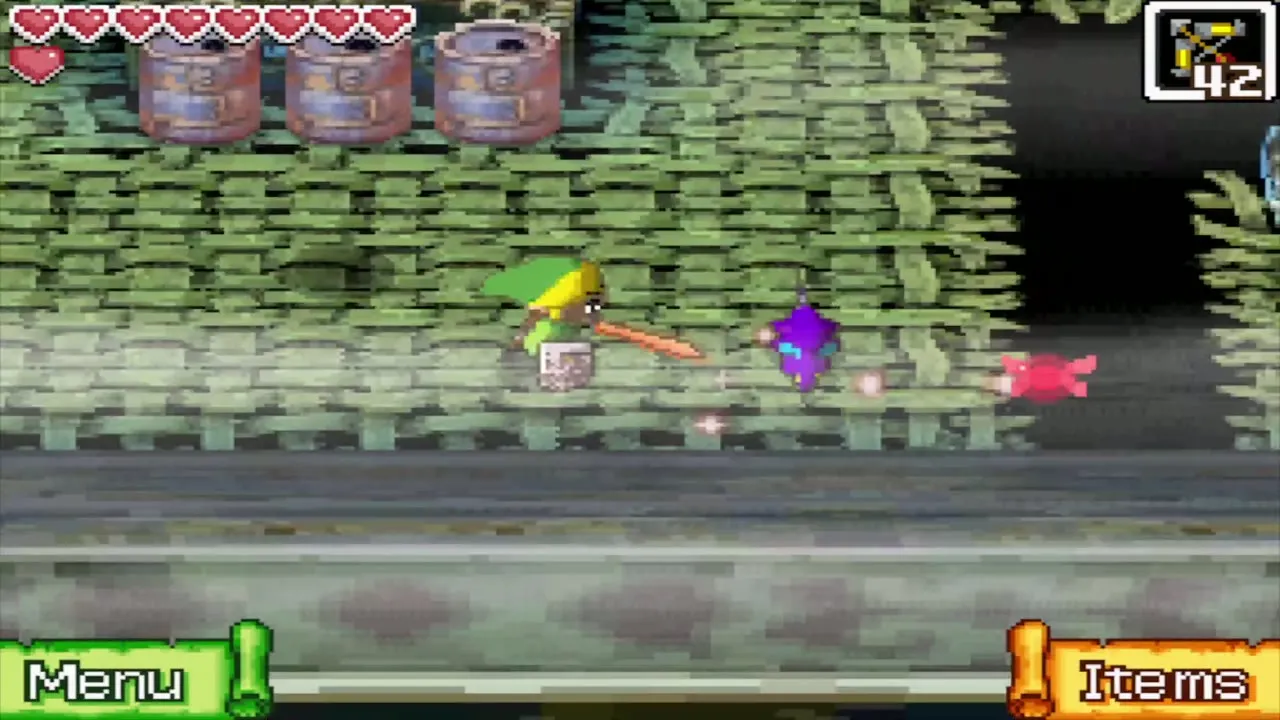
A big-eared creature that ignores your sword until you blow or shout into the microphone. It then covers its ears and you can strike it. Pols Voices appear only in the Temple of Courage.
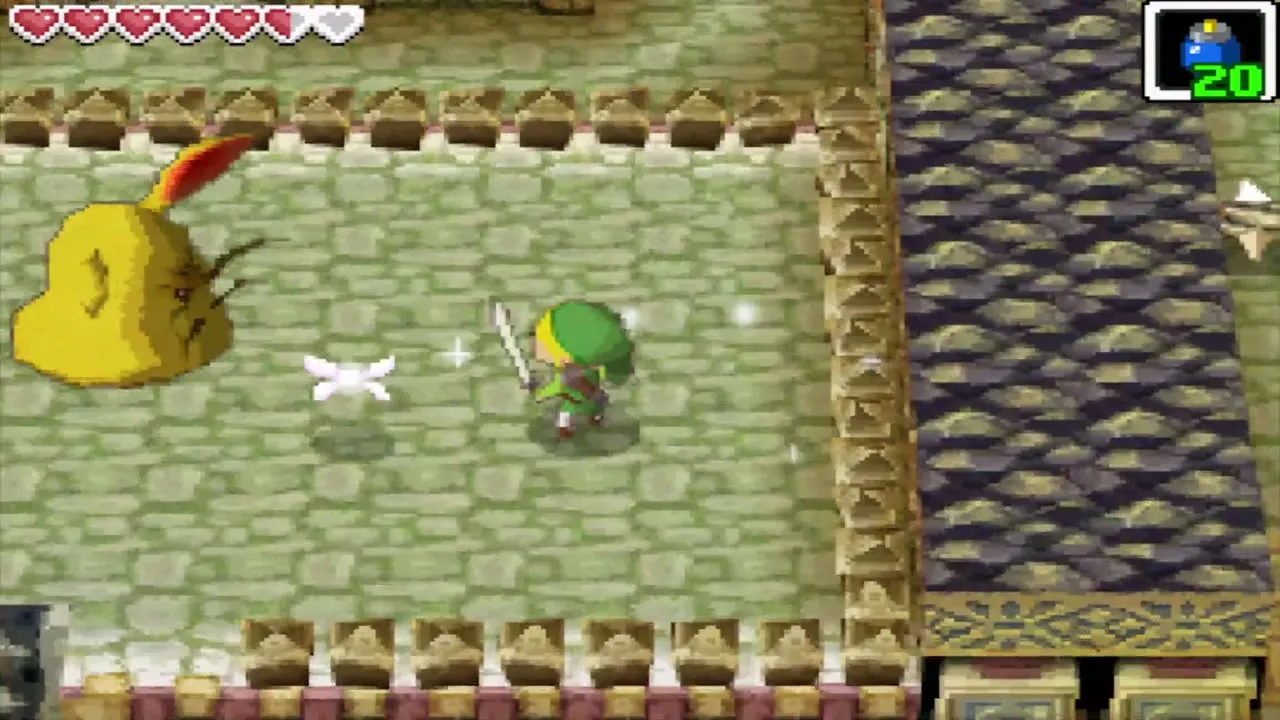
Rat
A rat that pops out of small holes in the walls and goes down in one hit. One that carries a small key scurries off with it; draw a Boomerang path ahead of its route to knock the key loose.
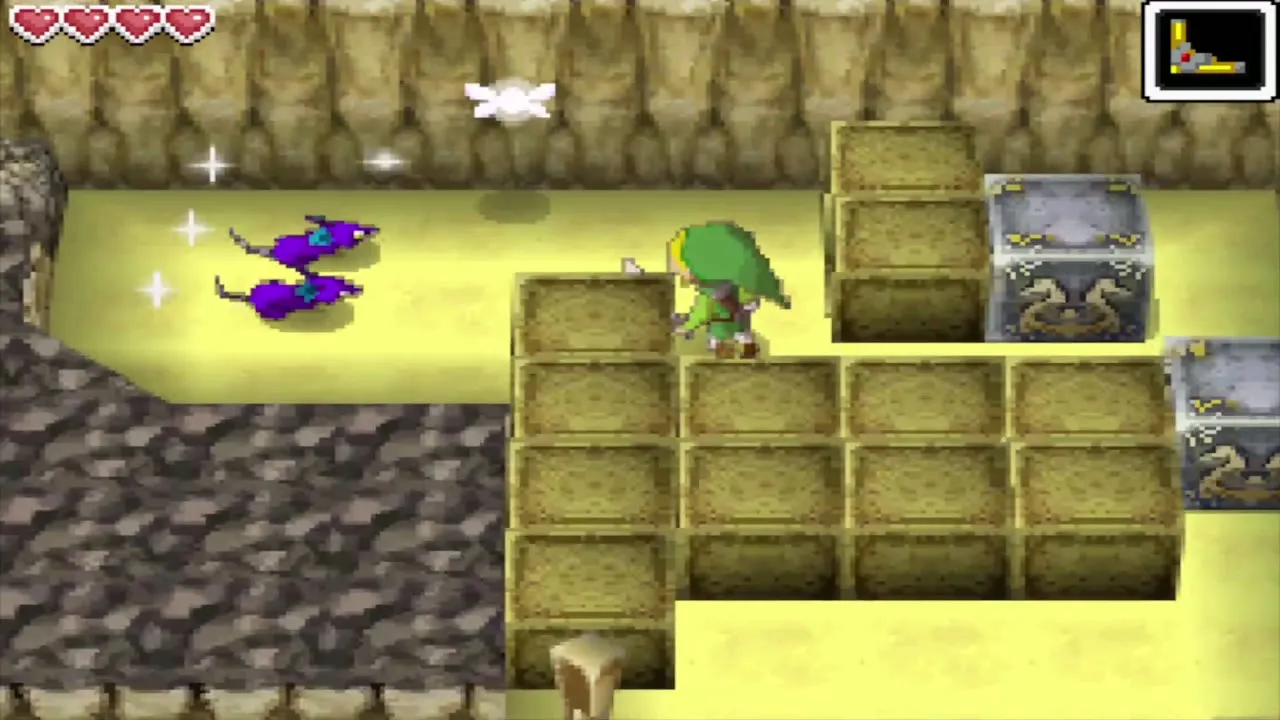
Reapling
A hooded reaper that appears only on the Ghost Ship. A hit costs two hearts. It cannot be killed, but you can move while its back is turned, and an arrow (or the Spirit of Power sword) in the back stuns it for a moment.
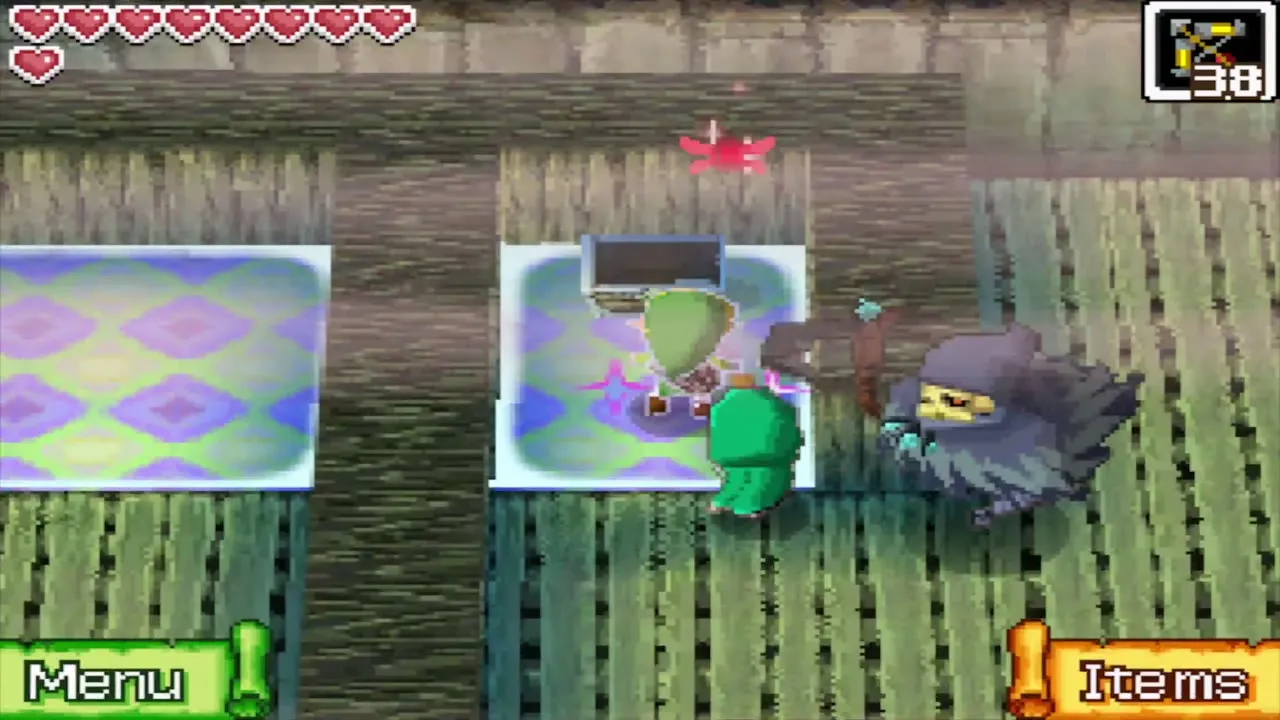
Red ChuChu
The commonest ChuChu, found on many islands. It has no tricks and falls to the sword.
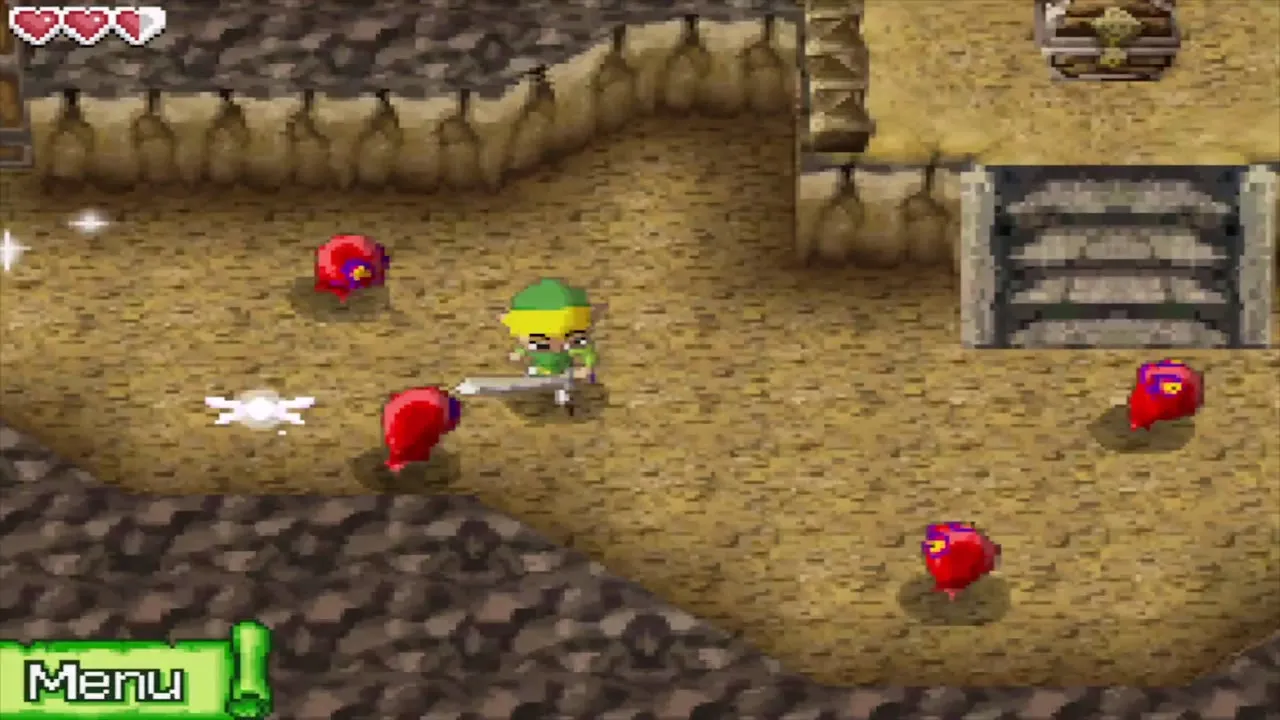
Rock ChuChu
A ChuChu hiding under a rock helmet. Blast the helmet off with a bomb (the Grappling Hook can pull it off and the Hammer smashes it), then slash the jelly beneath.
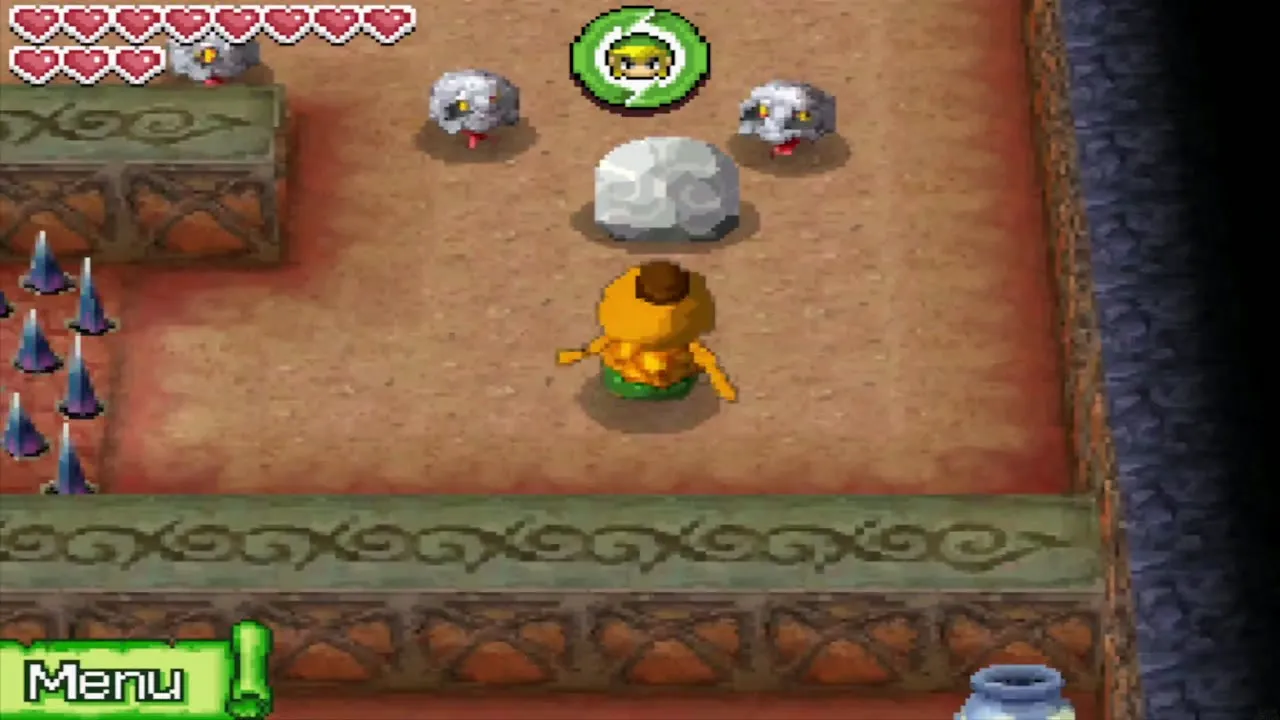
Rope
A snake that dashes straight at you once it notices you. Sidestep and cut it down with one blow.
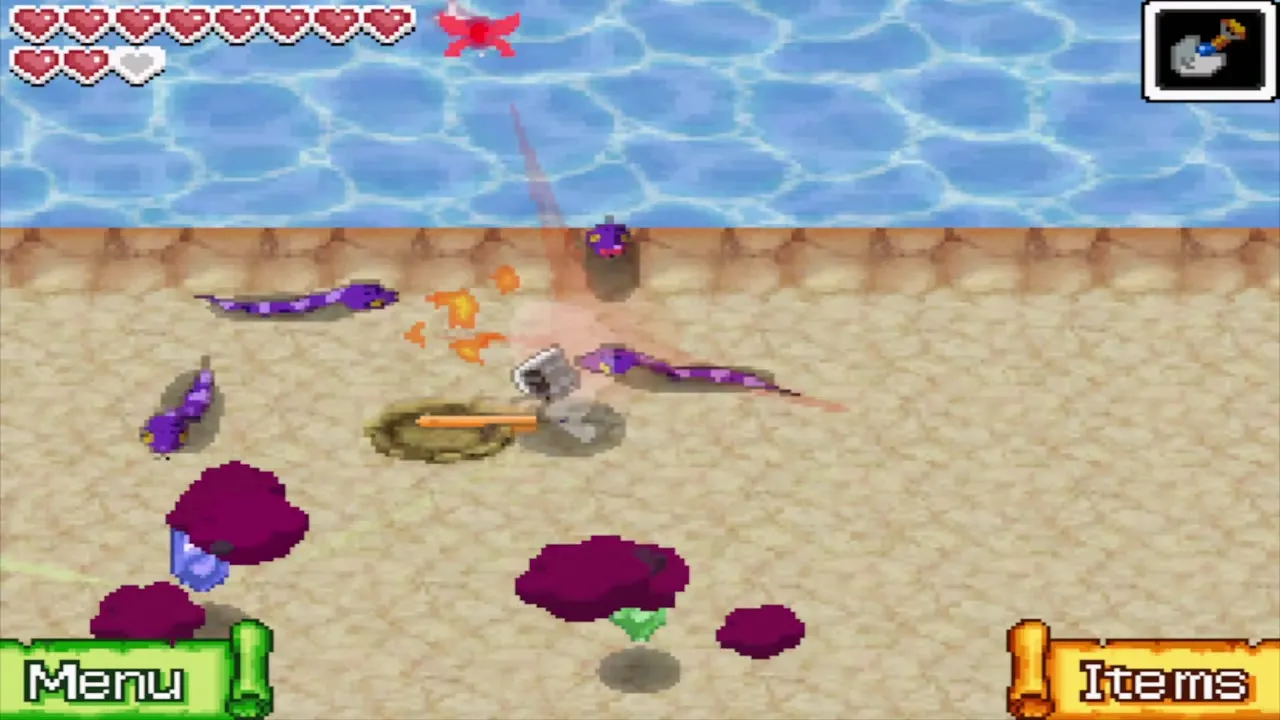
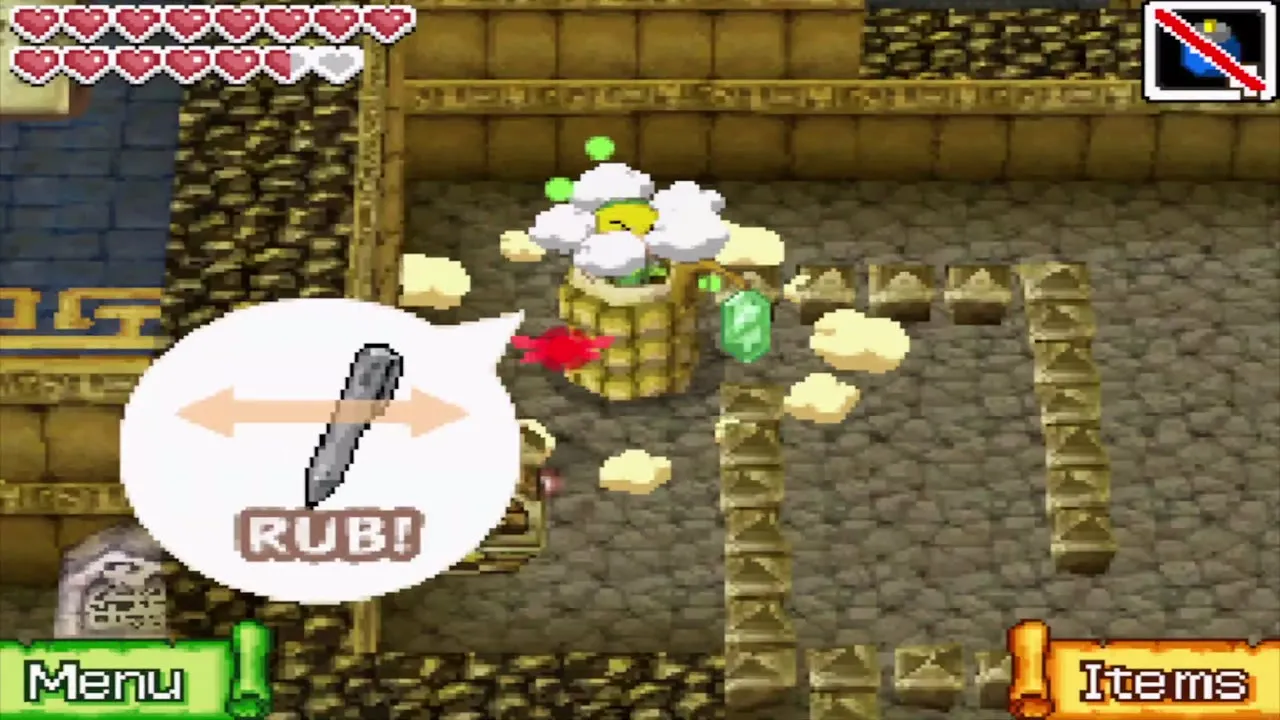
Rupee Like
A very large Like Like relative that pulls you in like a vacuum and drains your Rupees if it catches you. Kill it quickly from range or from its blind side.
Sandworm
A worm that hides under desert sand, with a moving mound of dirt as its only warning. Walk slowly to avoid it; if it catches you, rub the stylus to shake loose. Bombs are the way to deal with it.
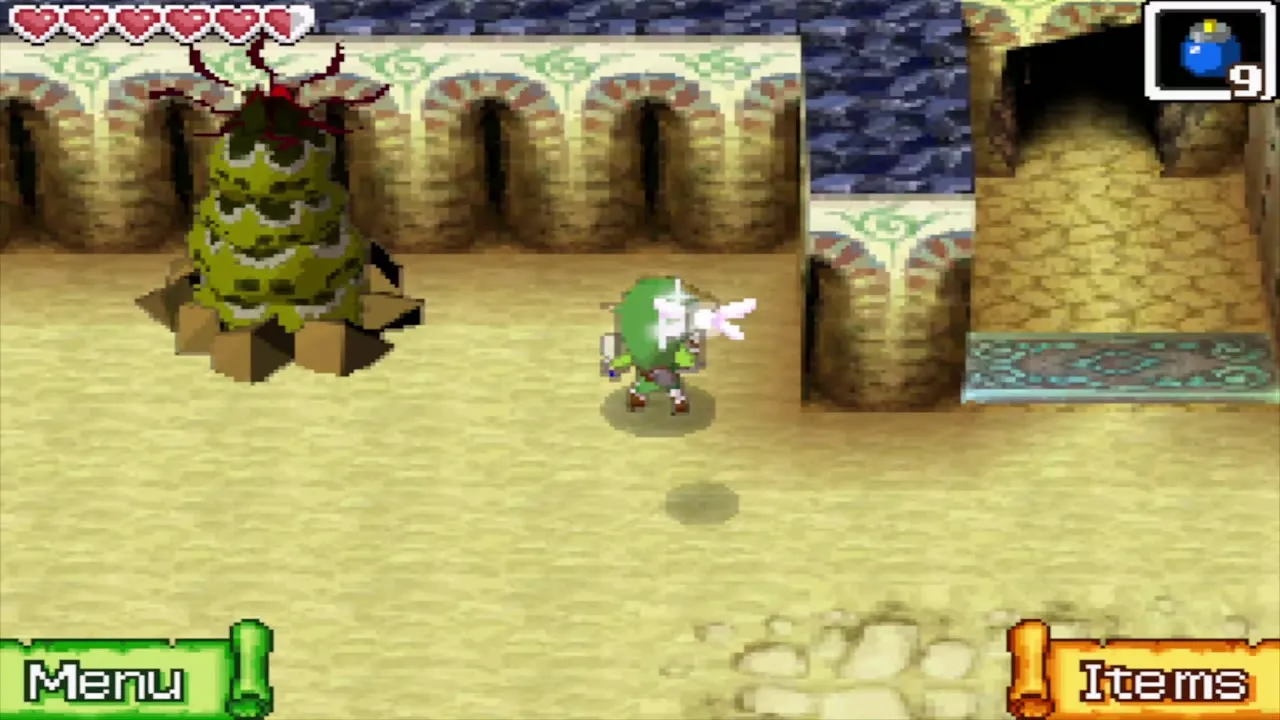
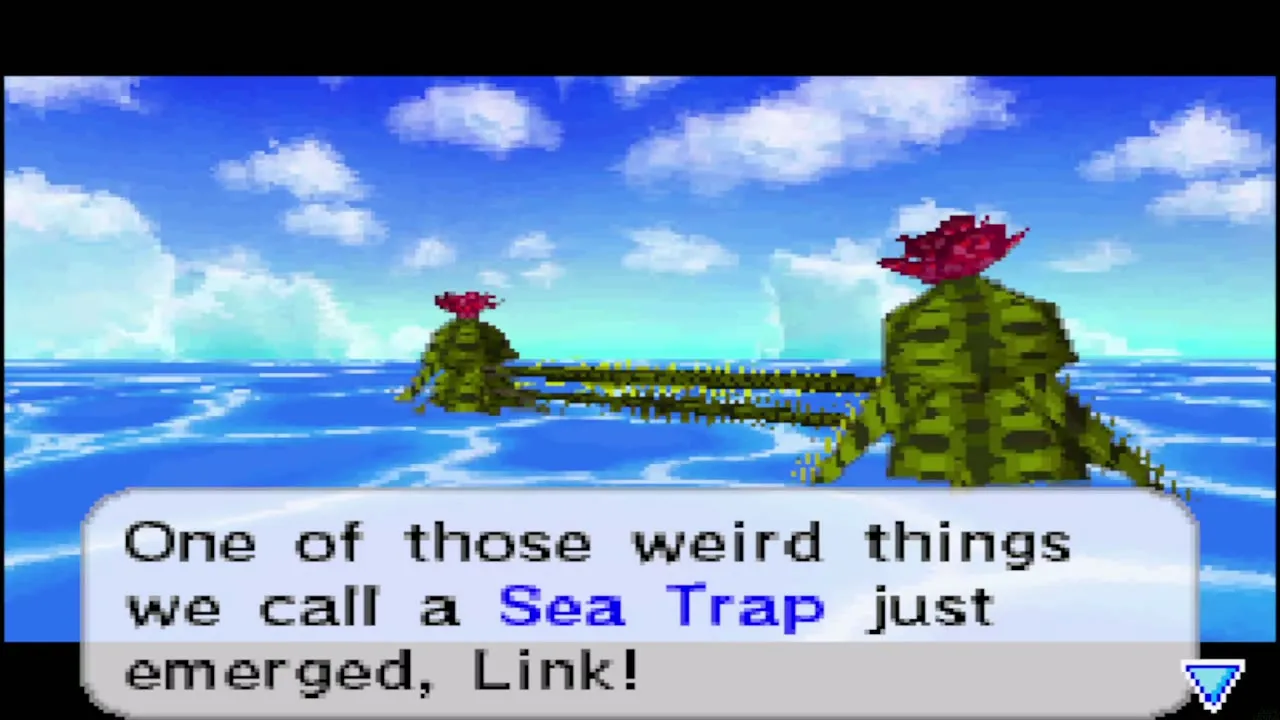
Sea Trap
Barbed wire strung between two sea urchins. It is the only enemy you can avoid entirely by jumping your ship over it. You can also shoot the urchins.
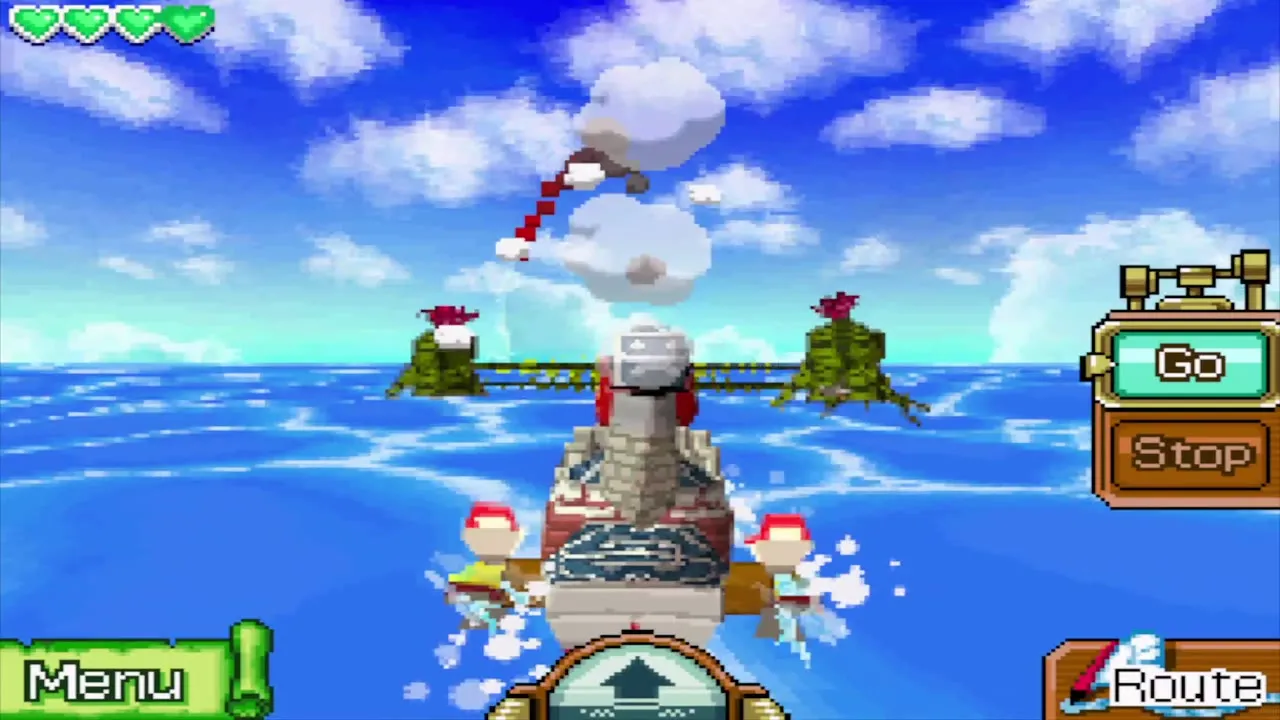
Skulltula
A spider that drops from the ceiling to block your way.
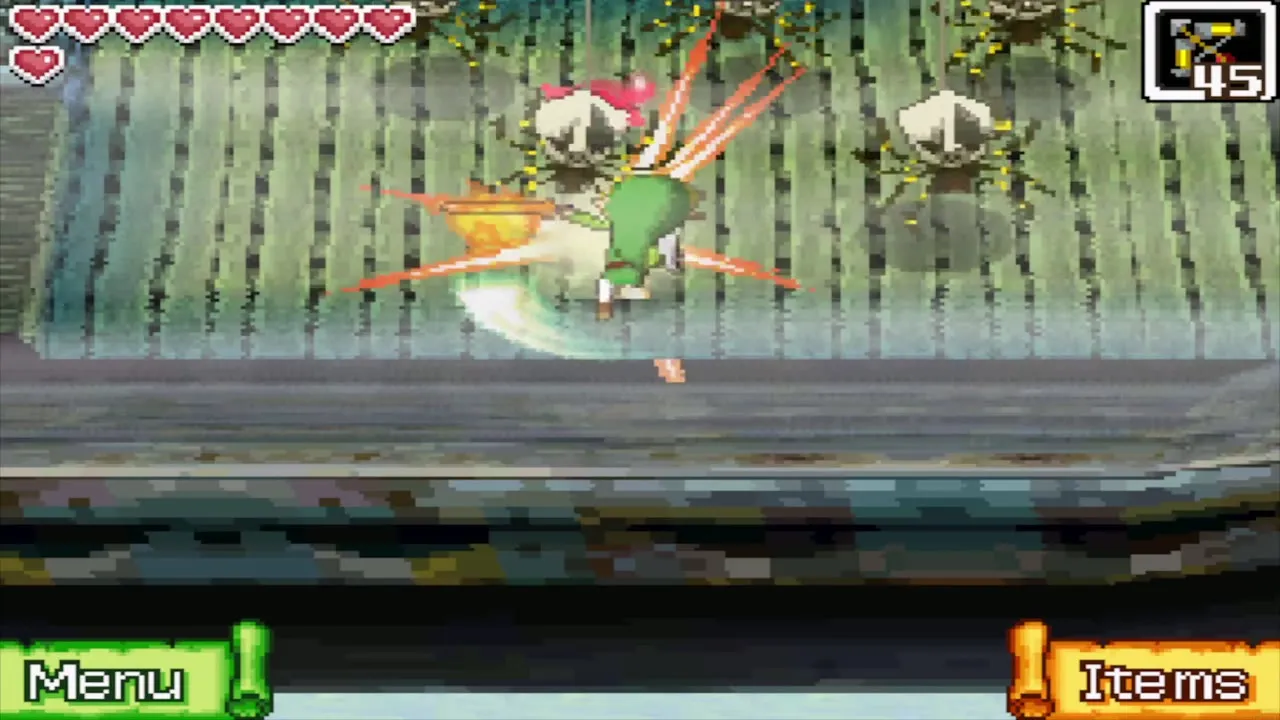
Slime Minion
Small slimes that appear in groups during the Bellum fight to distract you.
Stag Beetle
A beetle whose mask blocks attacks from the front. Hook the mask away, or hit it from behind, and one sword strike finishes it.
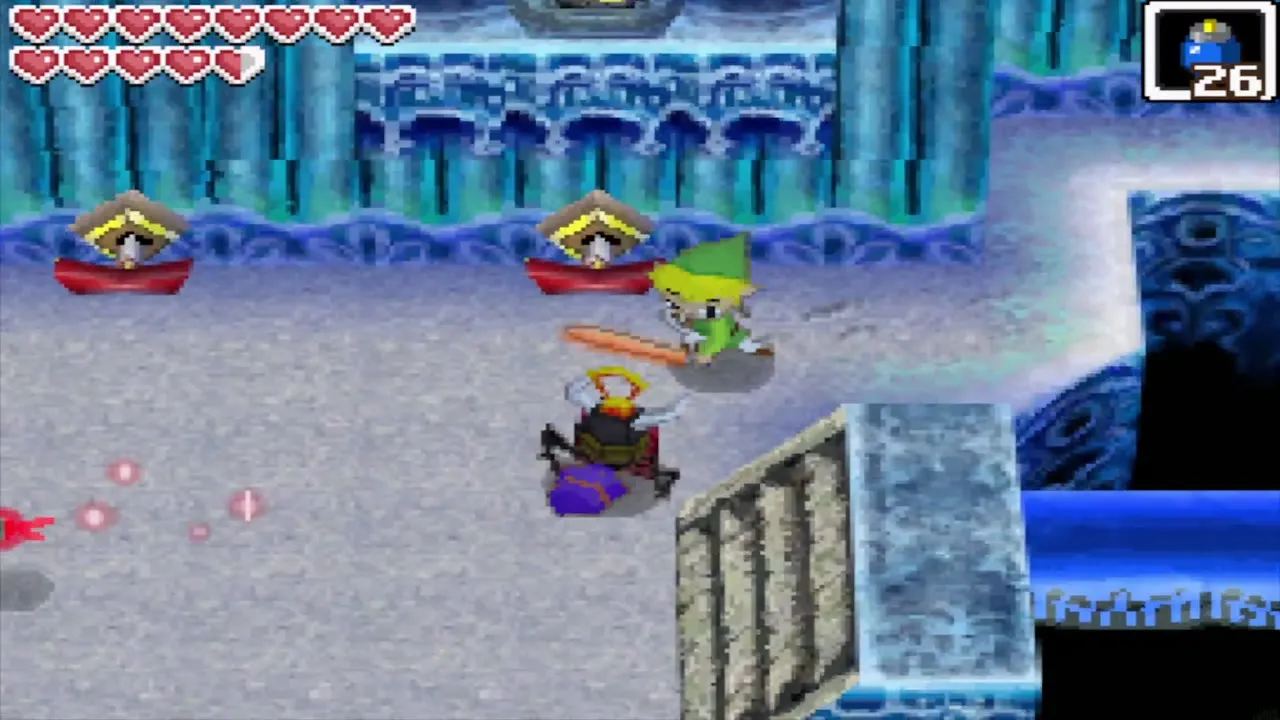
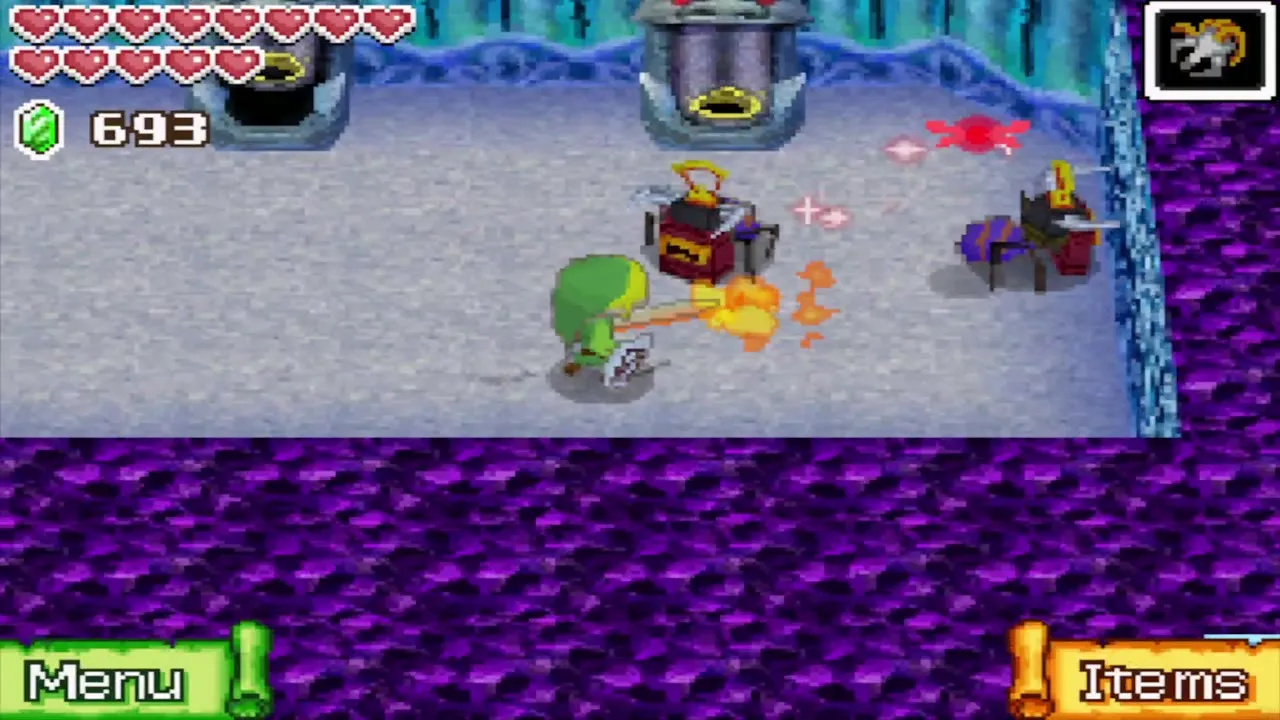
Stalfos
A skeleton that rises from a pile of bones and leaps back from your swings. Several quick jump attacks or a bomb will finish it.
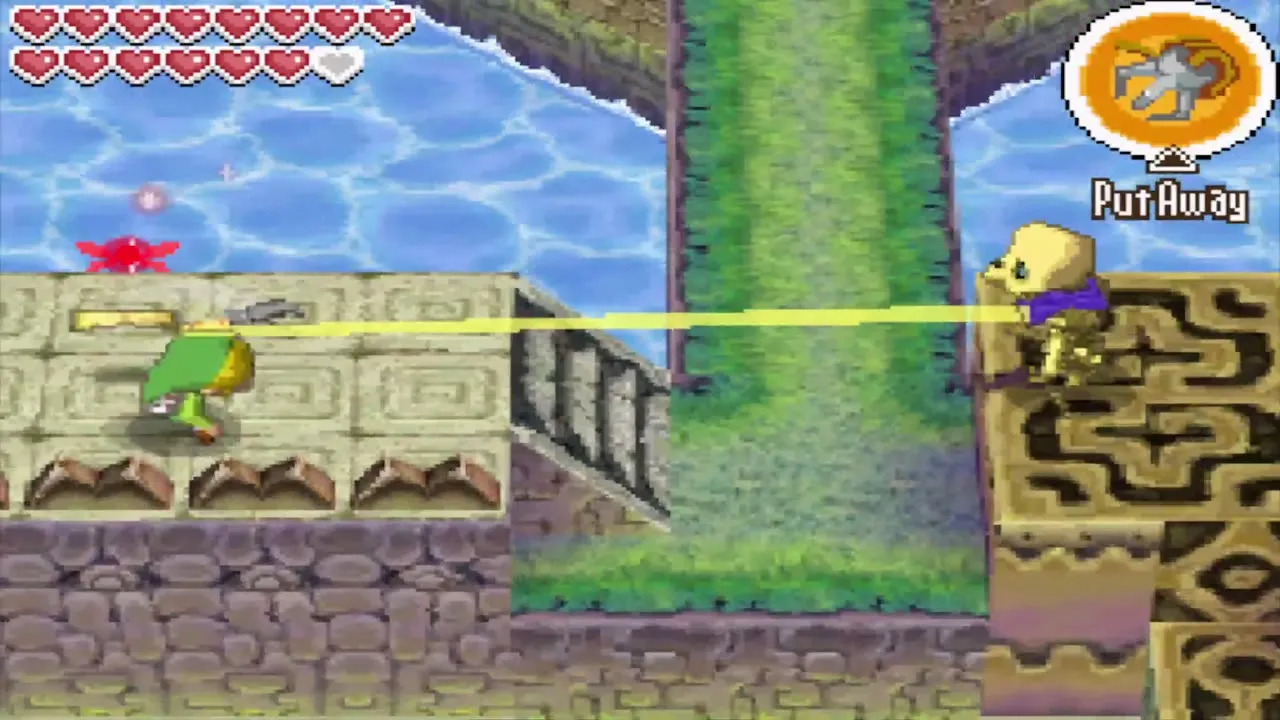
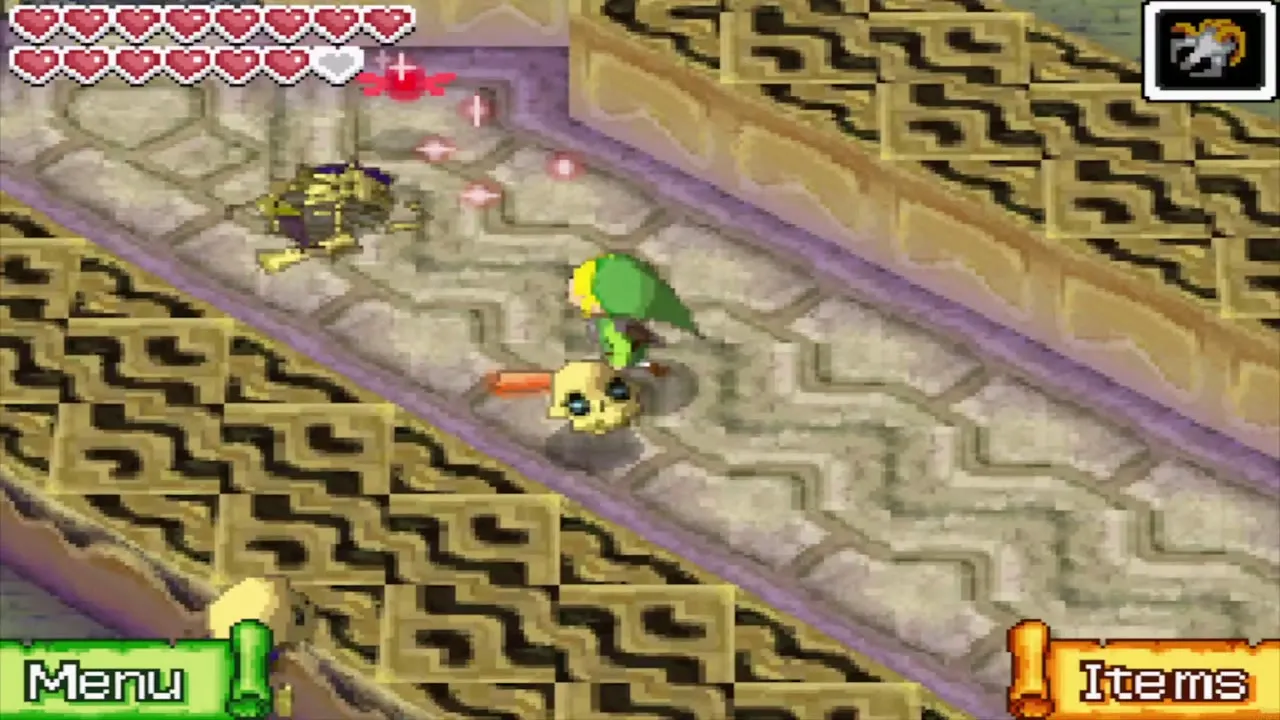
Stalfos Warrior
A skeleton with a sword that rises when you approach, swings repeatedly and jumps away from your strikes. A single Hammer hit finishes it.
Swift Phantom
The red, faster Phantoms that start patrolling once you return to the Temple after the Ghost Ship. They follow the same rules as ordinary Phantoms, so stay inside Safe Zones, shoot them in the back to stun them, and plan your route around their speed. On B9 one carries a crystal that you need.
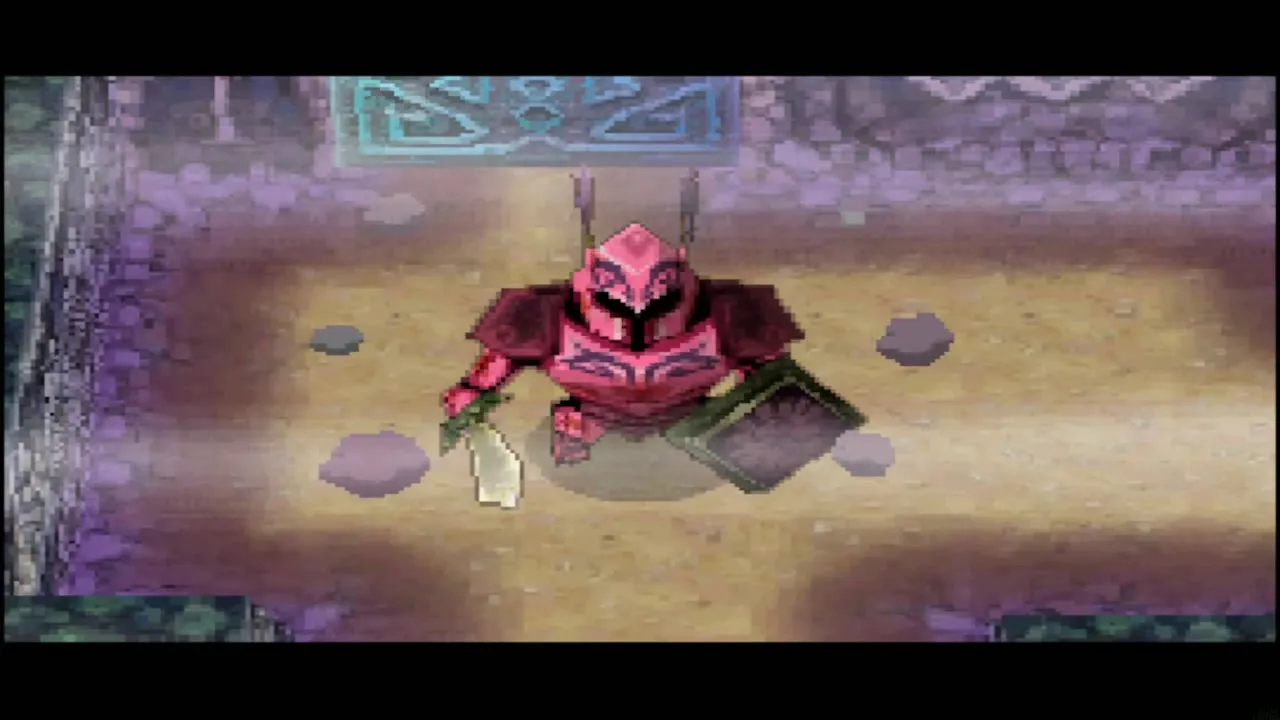
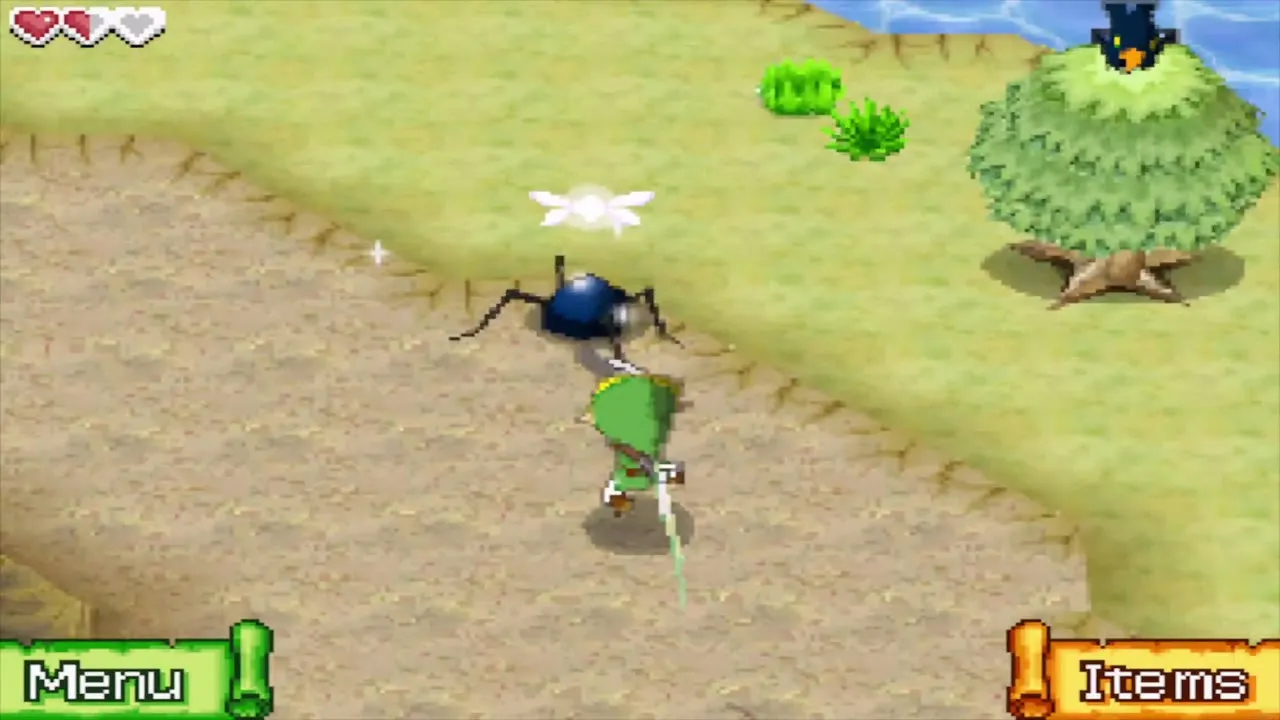
Tektite
A spider-like hopper. Time your sword swings for when it lands.
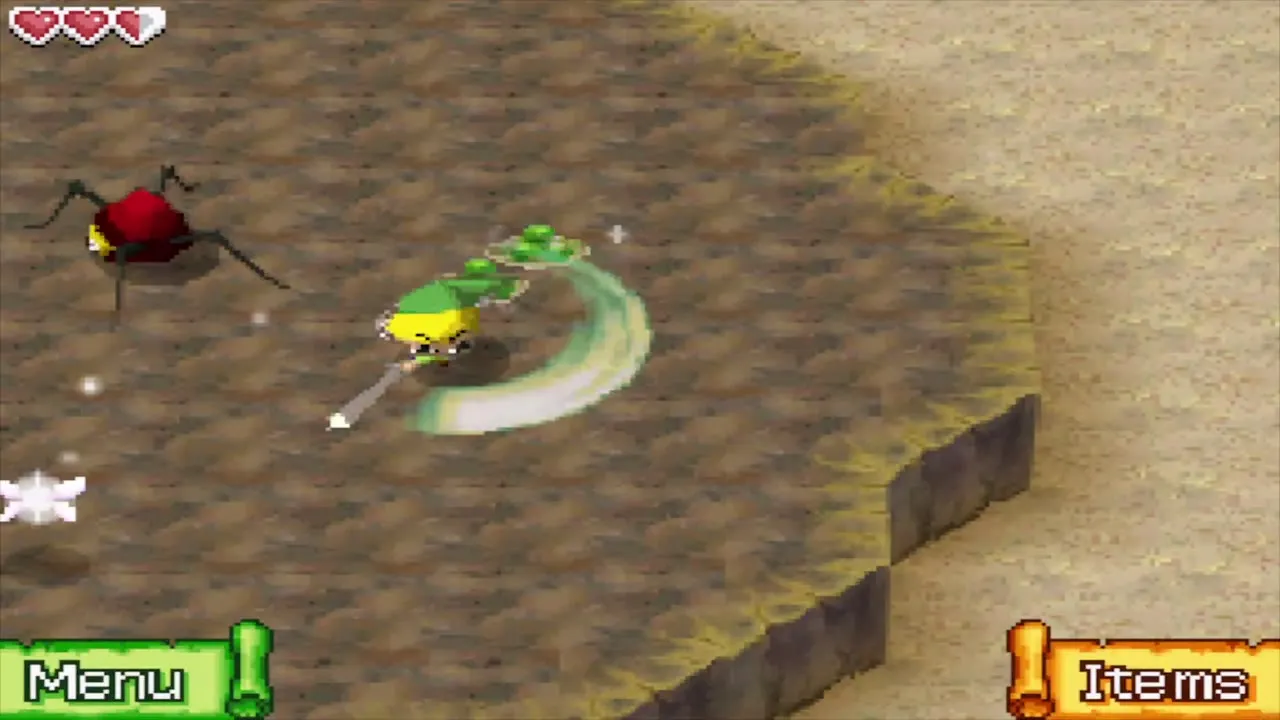
Trapdoor
A hole in the floor of the Temple of the Ocean King. A Phantom that falls in is removed, which can make a carried key drop on floors where the sword cannot help.
Tricky Chest
A rigged treasure chest that contains a Rupoor and drains your Rupees.
Winder
An electrified creature that crawls along the walls and shocks on touch, so keep clear of it.
Wizzrobe
Invisible until it gets close, so watch the top-screen map, where each one shows as a skull. A Wizzrobe’s scythe costs 15 seconds of sand and it then retreats, but defeating one returns 30 seconds, so clearing them early pays off. B9 holds four of them, one in each corner; on B12 two more appear once you place the first two Force Gems.
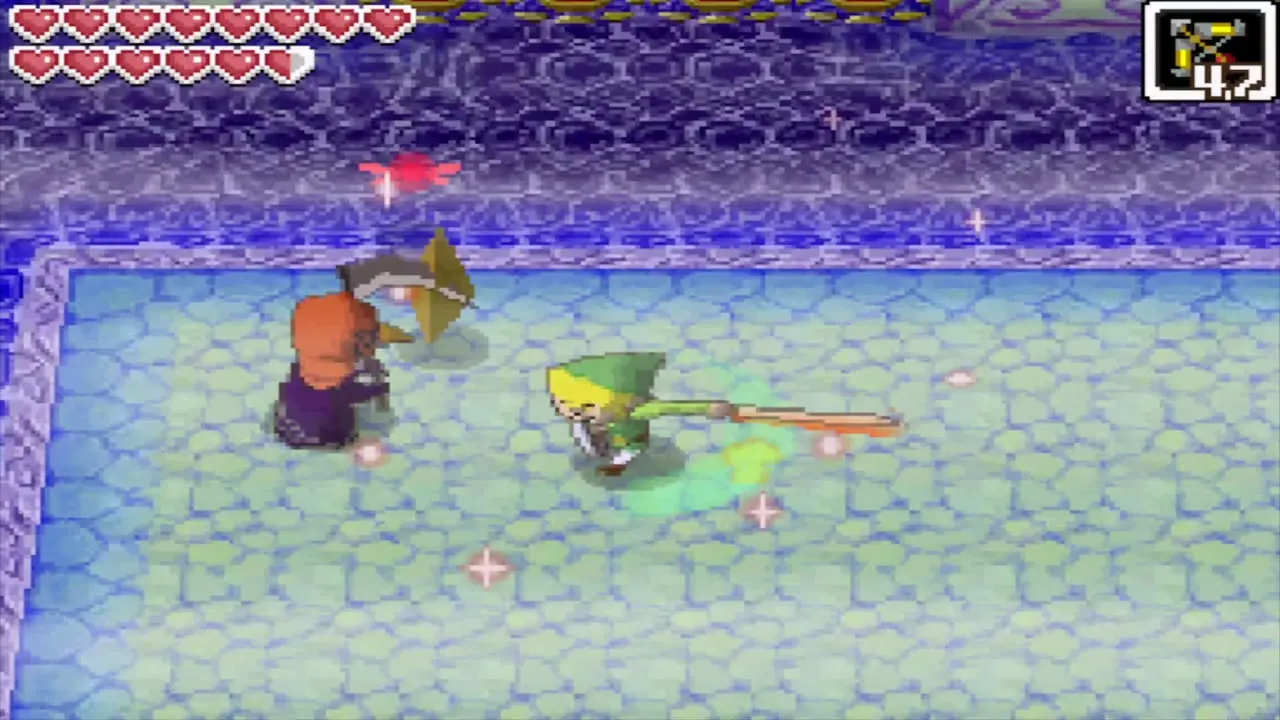
Yook
A furry brute that inhales. Throw a bomb in while it sucks air and slash it when it is stunned. A Yook disguised as a villager tricks you on the Isle of Frost.
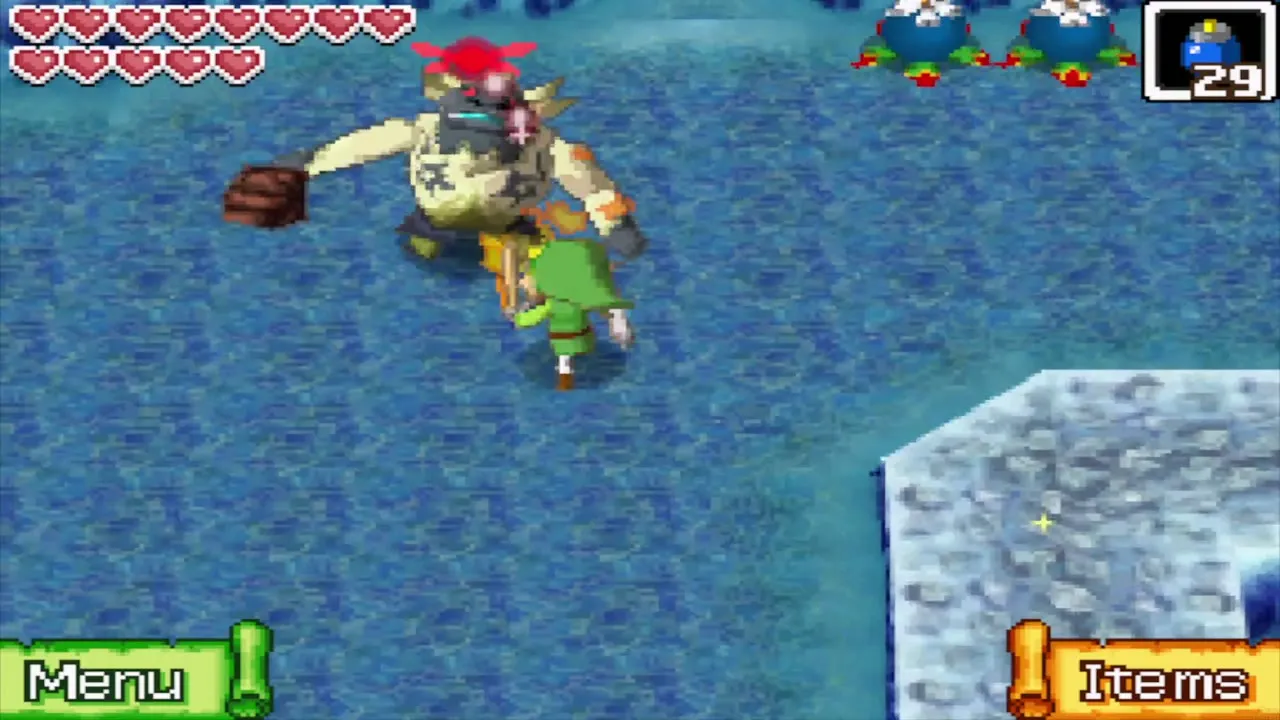
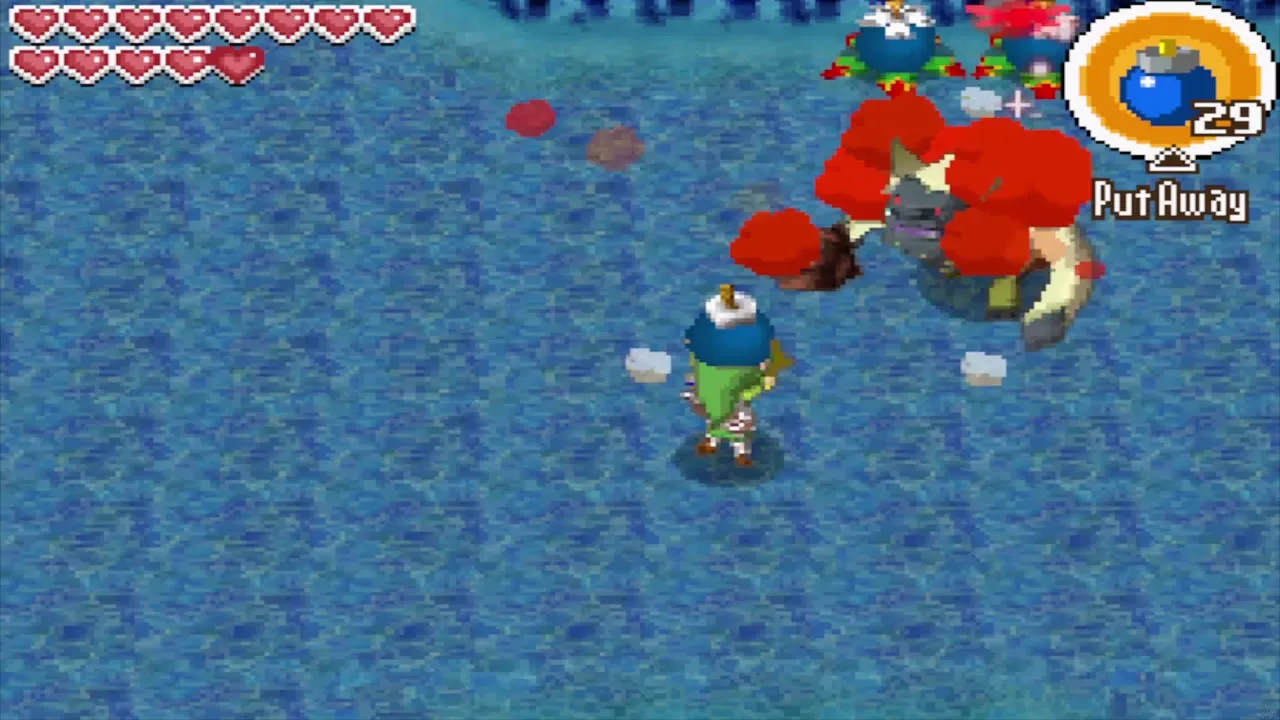
Yellow ChuChu
A ChuChu that crackles with electricity and drops the charge now and then. Do not touch it while charged; stun it with the Boomerang and attack.