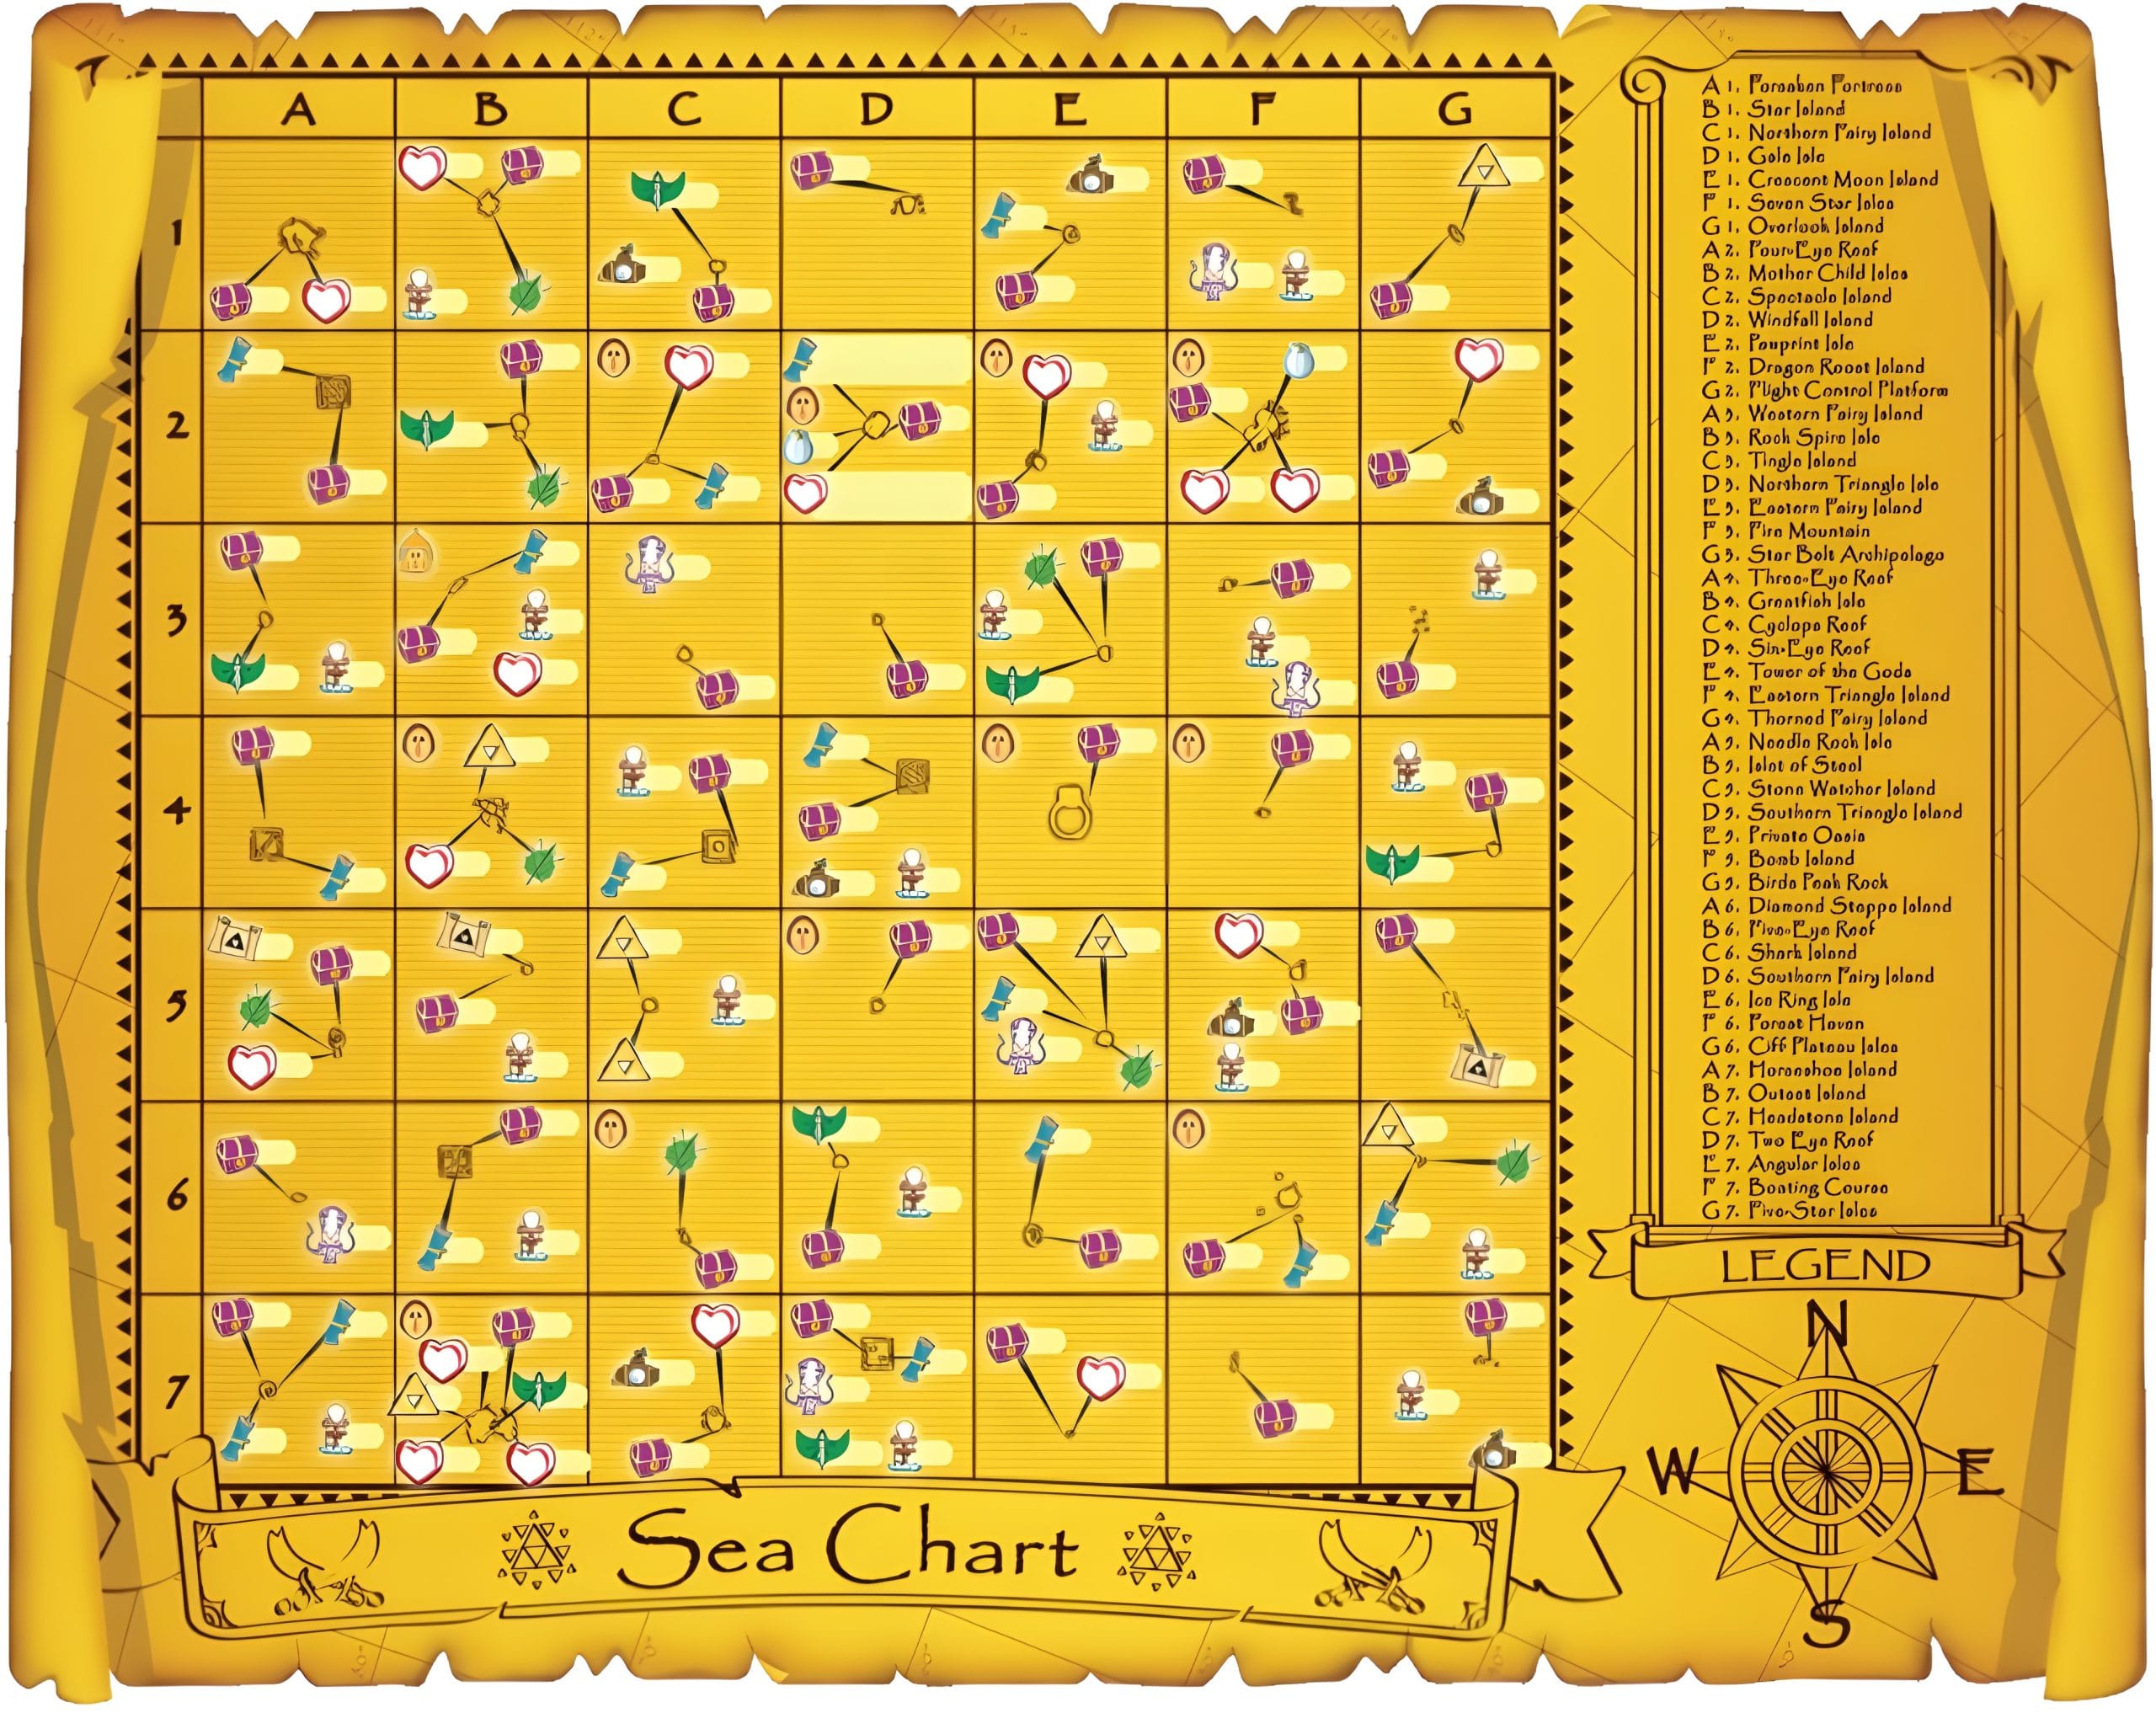
Minimize/Expand Quadrant Breakdown Table of Contents
Quadrant Breakdown Table of Contents
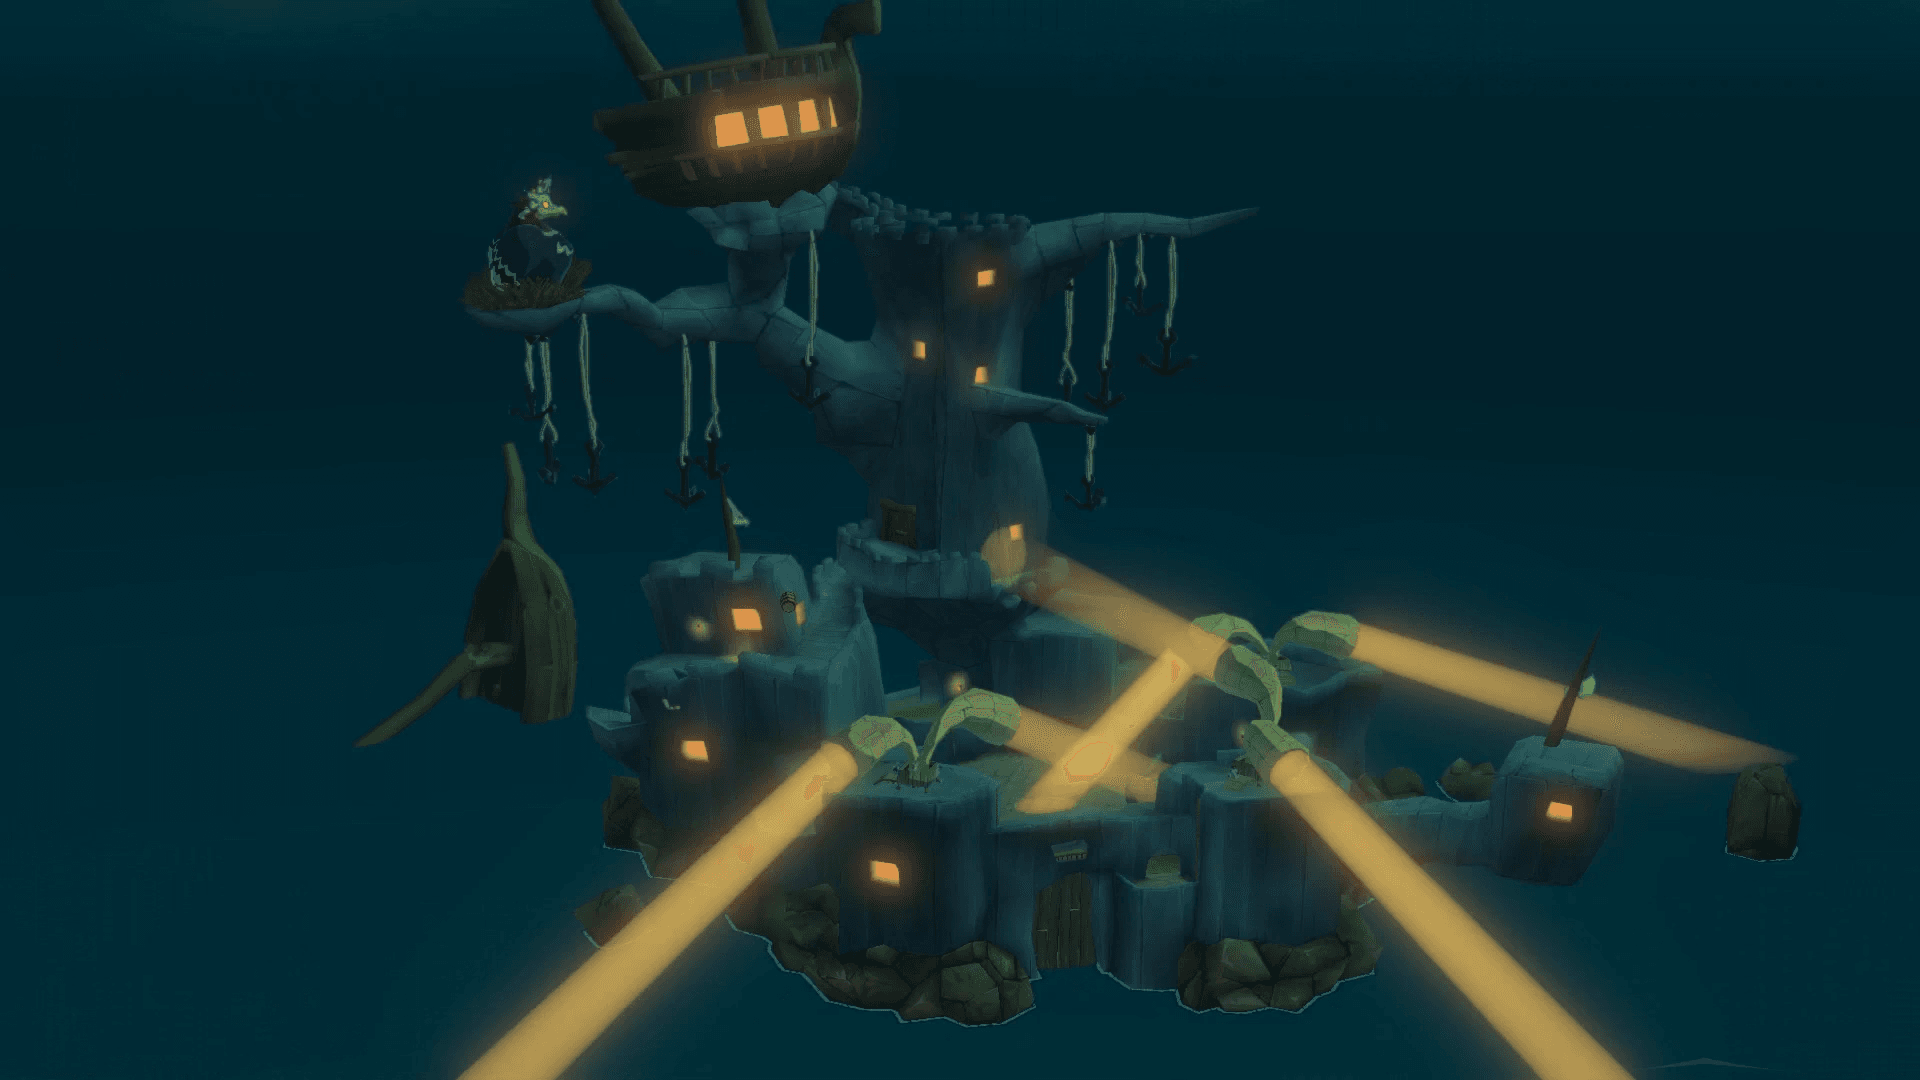
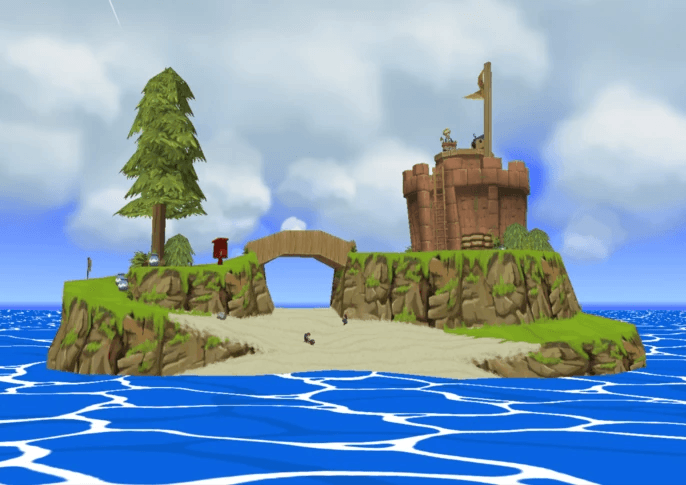
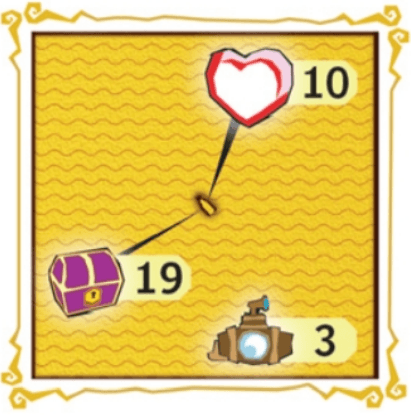
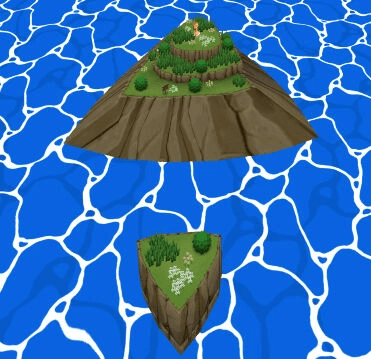
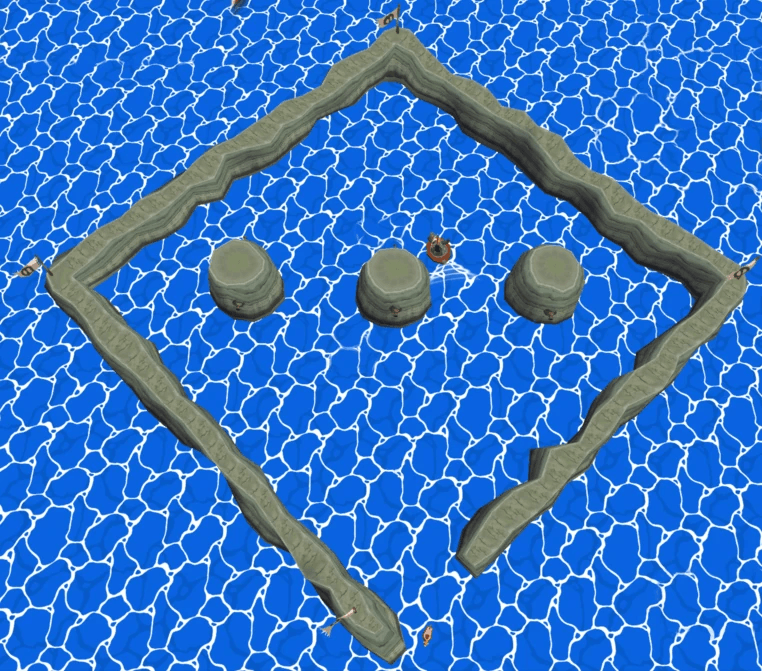
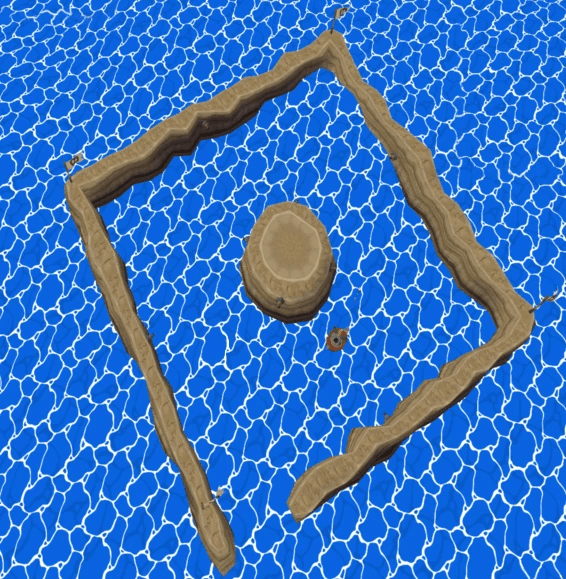
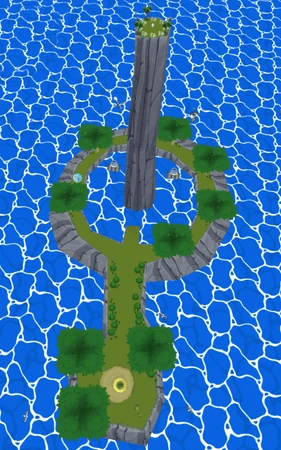
Quadrant A1: Forsaken Fortress
A heavily fortified stronghold teeming with Moblins and Bokoblins; once a prison, now a pivotal battleground.
Heart Piece #1: Located inside a locked jail cell on the lower levels during the second visit; open the cell by stepping on a nearby switch.
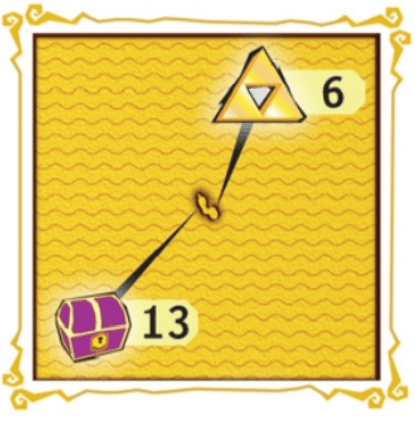
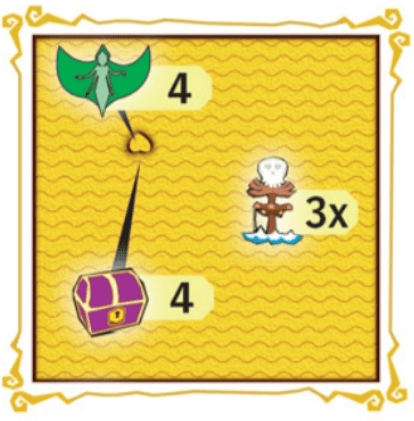
Triforce Shard: The map leading to Triforce Chart #1 is obtained via Sunken Treasure using a chart found at B5: Islet of Steel. The deciphered Triforce Chart #1 then leads to Triforce Shard #1, which is salvaged near Northern Triangle Island (D3).
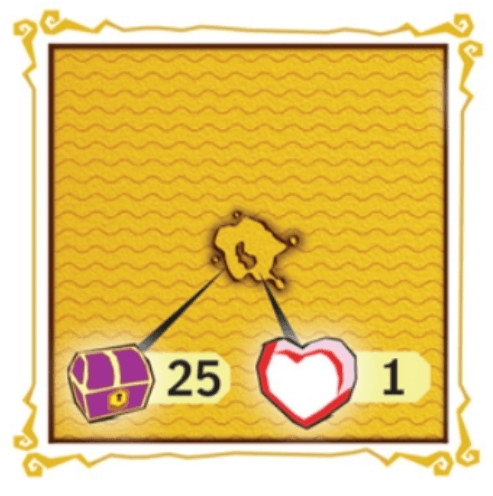
Notes: Major dungeon and story location, visited twice. The Pirate’s Charm is obtained here. Treasure Chart #25 found at Cliff Plateau Isles (G6) leads to a nearby sunken treasure containing a Silver Rupee (200 Rupees). Treasure Chart #35 found in the Wind Temple (Gale Isle, D1) leads to Sunken Treasure nearby containing a Silver Rupee (200 Rupees).

Quadrant B1: Star Island
A small, star-shaped isle hiding a secret cavern filled with treasure and enemies.
Heart Piece #27: Found inside the island’s Secret Cave; requires bombing a boulder to reveal the entrance and defeating the enemies within.
Blue ChuChu: Bomb or lift the boulder using Power Bracelets to uncover the ChuChu.
Notes: Treasure Chart #23 (found D2) leads to Sunken Treasure here (reward: 1 Rupee). Treasure Chart #7 found at Windfall Island (D2) leads to Sunken Treasure nearby for a Silver Rupee (200 Rupees).

Quadrant C1: Northern Fairy Island
Home to a Great Fairy who bestows magical upgrades upon visitors.
Great Fairy: Located inside the shell-like structure; provides the first Rupee Bag upgrade (1,000 Rupees max). Requires Bombs to open the entrance.
Treasure Chart #22: Defeat all enemies in the submarine north of the island to reveal the chest containing the chart. Leads to Spectacle Island (C2) for a Silver Rupee (200 Rupees)
Heart Piece #33: Salvaged from treasure chest from Treasure Chart #4 acquired at Rock Spire Isle (B3).
Blue ChuChu: Check near the eastern palm tree.
Notes: Treasure Chart #24 obtained from Windfall Island (D2) leads to a nearby sunken treasure containing a Silver Rupee (200 Rupees).

Quadrant D1: Gale Isle
A wind-blasted island guarding the entrance to the Wind Temple.
Withered Deku Tree: Located on a ledge outside the Wind Temple entrance.
Treasure Chart #5: Found inside the Wind Temple. Leads to Thorned Fairy Island (G4) for Heart Piece #43.
Treasure Chart #35: Found inside the Wind Temple. Leads to Islet of Steel (B5) for a Silver Rupee (200 Rupees).
Notes: Location of the Wind Temple dungeon. Requires Iron Boots (from E6) and Hookshot (obtained within Wind Temple) to navigate fully. The Skull Hammer is the dungeon item.


Quadrant E1: Crescent Moon Island
A crescent-shaped island harboring a hidden treasure chest.
Heart Piece #19: Treasure Chart #11 found in the Dragon Roost Cavern dungeon (Dragon Roost Island, F2) leads to a nearby treasure containing the heart piece.
Treasure Chart #9: Found in the submarine near the island after defeating all enemies aboard. The chart leads to Horseshoe Island (A7) for a Silver Rupee (200 Rupees).
Treasure Chart #10: Plainly visible on the island guarded by two Blue ChuChus. Leads to Tingle Island (C3) for a Silver Rupee (200 Rupees).
Blue ChuChus: Two ChuChus next to the treasure chest.
Submarine: Located near the island; contains a Silver Rupee inside after defeating enemies.

Quadrant F1: Seven-Star Isles
A cluster of small isles, each marked by a single palm tree.
Heart Piece #20: Won from defeating the Big Octo.
Big Octo (12-eyed): Found circling the area; defeat it using the Boomerang or Bow to receive a Heart Piece #20.
Treasure Chart #16: Obtained by defeating Wizzrobes on the Sea Platforms. Leads to Sunken Treasure near Shark Island (C6) containing a Silver Rupee (200 Rupees).
Quadrant G1: Overlook Island
A high cliff island requiring the Hookshot to access its secrets.
Submarine: Located near the island; contains an Orange Rupee inside after defeating enemies.
Withered Deku Tree: Located on the highest part of the island, requires Hookshot to reach.
Special Chart: Treasure Chart #13 found at Two-Eye Reef (D7) leads to the Secret Cave Chart salvaged nearby.
Blue ChuChu: A Blue ChuChu is also on the highest part near the Deku Tree.

Quadrant A2: Four-Eye Reef
A square-shaped reef patrolled by enemy ships; contains a hidden treasure.
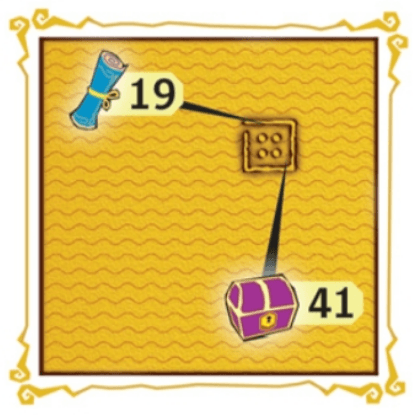
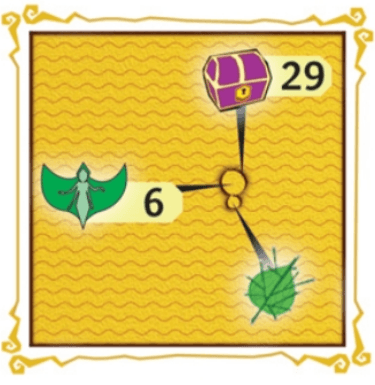
Notes: Treasure Chart #41 (found F6) leads to the Great Fairy Chart salvaged nearby. Destroying cannons/warships yields a chest with minor loot. Treasure Chart #41 found at Five-Eye Reef (B6) leads to a nearby sunken treasure containing the Great Fairy Chart.

Quadrant B2: Mother & Child Isles
Two isles; the larger encircles the smaller, which houses the Queen of Fairies.
Great Fairy: The Queen of Fairies is located inside the larger (‘Mother’) island structure; grants the Fire & Ice Arrows after the second Forsaken Fortress visit. Requires warping inside using Ballad of Gales.
Blue ChuChu: On the smaller (“Child”) isle, you’ll find one waiting.
Notes: Treasure Chart #29 found at Windfall Island (D2) leads to a nearby sunken treasure containing a Silver Rupee (200 Rupees).

Quadrant C2: Spectacle Island
A small island offering a cannon mini-game with valuable rewards.
Treasure Chart #17: Win the target shooting mini-game twice; on your second win, you will be awarded the chart. Leads to Ice Ring Isle (E6) for a Silver Rupee (200 Rupees).
Heart Piece #17: Awarded by Salvatore for scoring high enough in the Barrel Shoot mini-game located on the island’s structure.
Blue ChuChu: Look under the short wooden bridge on the sand.
Notes: Treasure Chart #22 found at Northern Fairy Island (C1) leads to a nearby sunken treasure containing a Silver Rupee (200 Rupees).
Quadrant D2: Windfall Island
A bustling town filled with shops, side quests, and colorful characters.
Beedle: Shop Ship is usually found sailing near the docks.
Heart Piece #2: Awarded by Salvatore for beating the Battlesquid game the first time.
Heart Piece #3: Reward for the Killer Bees side quest.
Heart Piece #18: Obtained by reuniting the lovesick Linda and Anton in the matchmaker side quest.
Heart Piece #28: Can be won in the nightly auction on Windfall Island
Heart Piece #29: Complete the town flower planting side quest.
Heart Piece #37: Reward speaking with Garrickson after lighting Windfall’s Lighthouse.
Heart Piece #38: Found in a chest that spawns after lighting Windfall’s Lighthouse.
Heart Piece #39: Given by Maggie’s Father after completing the Moblin letter side quest.
Bottle: Obtained from Mila the Rich Girl after completing the sneaking sequence near the Bomb Shop at night.
Treasure Chart #2: Received from Maggie’s Father upstairs after him 20 Skull Necklaces. Leads to sunken treasure near Rock Spire Isle (B3) containing Heart Piece #40.
Treasure Chart #7: Awarded by Salvatore for beating Battlesquid the second time. Leads to Sunken Treasure near Star Island (B1) for a Silver Rupee (200 Rupees).
Treasure Chart #18: Can be won at the nightly Auction House. Leads to a sunken treasure in the same sector (Windfall Island, D2) for a Green Rupee (1 Rupee)
Treasure Chart #23: given by Maggie’s Father after the letter sidequest. Leads to Sunken Treasure near Diamond Steppe Island (A6) for Heart Piece #10.
Treasure Chart #24: completed after assisting the gossiping women side quest (requires Deluxe Picto Box). Leads to Northern Fairy Island (C1) for a Silver Rupee (200 Rupees).
Treasure Chart #29: Found Lenzo’s upstairs study. Leads to Sunken Treasure near Mother & Child Isles (B2) for a Silver Rupee (200 Rupees).
Treasure Chart #31: given by Kamo after showing him a picture of the full moon (requires Deluxe Picto Box). Leads to Sunken Treasure near Forest Haven (F6) for Heart Piece #25.
Treasure Chart #33: Obtained from Minenco after taking a picture of her and presenting it to her (requires Deluxe Picto Box). Leads to Five-Star Isles (G7) for Heart Piece #26.
Treasure Chart #38: can be won at the nightly Auction House. Leads to Sunken Treasure near Three-Eye Reef (A4) containing Heart Piece #34.
Notes: Major town hub. Lenzo’s Picto Box shop, Zunari’s Stall (Sail purchased here), Potion Shop. IN-credible chart received via mail. Many sidequests originate here.

Quadrant E2: Pawprint Isle
An island with pawprint-shaped holes leading to underground caverns.
Heart Piece #4: One found inside the dome-shaped structure, accessible via a small crawlspace entrance.
Heart Piece #32: Obtained via Sunken Treasure using Treasure Chart #30 found in the Tower of the Gods dungeon (E4).
Submarine: Located nearby; contains a Piece of Heart inside after defeating enemies.
Blue ChuChu: Jump onto the northeastern ChuChu statue to trigger one spawning.

Quadrant F2: Dragon Roost Island
Home to the Rito tribe and the fiery Dragon Roost Cavern dungeon.
Beedle: Shop Ship is located near the island’s entrance/dock area.
Heart Piece #21: Received in the mail from Hoskit’s girlfriend after giving Hoskit 20 Golden Feathers
Heart Piece #22: One obtained by sorting mail efficiently in the Rito Village mail center.
Piece of Heart: One found on a high cliff ledge requiring the Grappling Hook (found within the dungeon) to access a spring water source, then using a bottle of water on a bomb flower.
Bottle: Given by Medli near the entrance to Dragon Roost Cavern.
Treasure Chart #11: Found inside the Dragon Roost Cavern. Leads to Crescent Moon Island (E1) to salvage Heart Piece #19.
Treasure Chart #15: found inside Dragon Roost Cavern. Leads to Sunken Treasure near Angular Isles (E7) containing Heart Piece #8.
Treasure Chart #39: found inside Dragon Roost Cavern. Leads to Sunken Treasure in the same sector (Dragon Roost Island, F2) for a Silver Rupee (200 Rupees).
Blue ChuChu: On the largest isle, next to a treasure chest.
Notes: Main story location containing Dragon Roost Cavern and the Rito Village. The Grappling Hook is the dungeon item found within Dragon Roost Cavern. Din’s Pearl is obtained after completing the dungeon.

Quadrant G2: Flight Control Platform
A tall platform hosting a gliding mini-game for prize seekers.
Heart Piece #23: Awarded for achieving the target distance in the Bird-Man Contest mini-game. Requires Deku Leaf Magic Meter upgrade from Two-Eye Reef (D7).
Notes: A Blue ChuChu is present. Treasure Chart #19 found at Four-Eye Reef (A2) leads to the Island Hearts Chart salvaged nearby.

Quadrant A3: Western Fairy Island
A heart-shaped island where a Great Fairy enhances your abilities.
Great Fairy: Located inside the structure; provides the first Arrow Quiver upgrade (60 arrows max). Requires Skull Hammer (from D1) to break the entrance cover.
Blue ChuChu: Find it by the southern palm.
Notes: Treasure Chart #8 found at Horseshoe Island (A7) leads to Sunken Treasure nearby for a Silver Rupee (200 Rupees).

Quadrant B3: Rock Spire Isle
A rocky island with a merchant’s shop and hidden treasures.
Treasure Chart #4: Purchased from Beedle’s Special Ship Shop for 900 Rupees. Leads to Southern Fairy Isle (D6) to find a sunken treasure containing Heart Piece #33.
Treasure Chart #37: Found inside the cave behind the two large boulders at the top of the island. Leads to Fire Mountain (F3) for a Silver Rupee (200 Rupees).
Beedle: His Special Shop Ship is located here, selling a Piece of Heart, an Empty Bottle, and Treasure Chart #4.
Heart Piece #30: One purchased directly from Beedle’s Special Shop Ship for 950 Rupees.
Heart Piece #31: Won by sinking both warships near Rock Spire Isle
Heart Piece #40: One obtained via Sunken Treasure using Treasure Chart #2 (found D1).
Bottle: One purchased directly from Beedle’s Special Shop Ship for 500 Rupees.
Sea Platform: Two platforms are located near the spire. Requires bombs to destroy cannons/boulders on the island itself.
Notes: A Blue ChuChu is found on one of the rock spires.

Quadrant C3: Tingle Island
A small island where Tingle and his brothers reside, offering map-related services.
Heart Piece #16: Won by defeating a Big Octo
Beedle: His regular Shop Ship is often found sailing nearby.
Big Octo: (12-eyed) Found circling the area; defeat it using the Boomerang or Bow to receive a Heart Piece #16.
Notes: Treasure Chart #10 found on Crescent Moon Island (E1) leads to a sunken treasure found nearby for a Silver Rupee (200 Rupees).


Quadrant D3: Northern Triangle Island
One of three triangle islands used to access the Tower of the Gods.
Triforce Shard: Shard #1 is salvaged from Sunken Treasure using the deciphered Triforce Chart #1 (TF Chart #1 itself is salvaged using a chart originating from B5).
Treasure Chart #6: Found inside the Tower of the Gods dungeon. This chart leads to a sunken treasure at Six-Eye Reef (D4) containing a Silver Rupee (200 Rupees).
Notes: Location to place Din’s Pearl to raise the Tower of the Gods. Treasure Chart #26 found at Six-Eye Reef (D4) leads to the Octo Chart salvaged nearby (salvage point might be closer to A5).
Quadrant E3: Eastern Fairy Island
Another heart-shaped island where a Great Fairy grants upgrades.
Great Fairy: Located inside the structure; provides the first Bomb Bag upgrade (60 bombs max). Requires Bombs to open the entrance.
Blue ChuChu: Look near the northern palm.
Notes: Treasure Chart #3 found at the Forest Haven (F6) leads to nearby sunken treasure containing a Silver Rupee (200 Rupees).

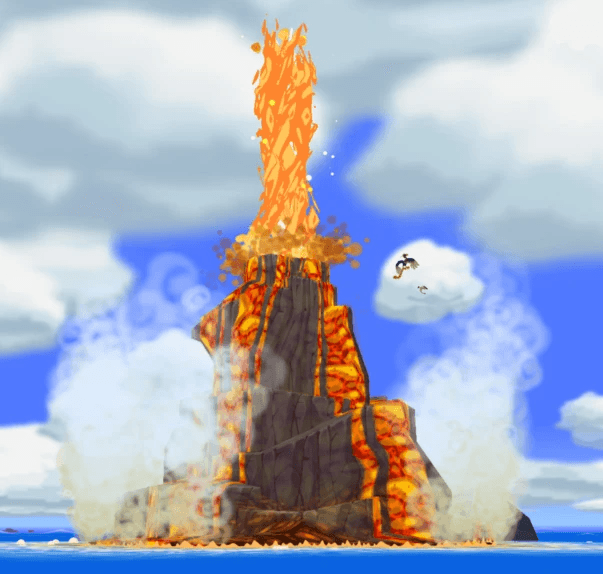
Quadrant F3: Fire Mountain
A volcanic island that requires cooling to access its fiery interior.
Withered Deku Tree: Located on a ledge near the volcano’s base.
Notes: The Power Bracelets item is found inside after freezing the eruption. Treasure Chart #37 found at Rock Spire Isle (B3) leads to nearby sunken treasure containing a Silver Rupee (200 Rupees).

Quadrant G3: Star Belt Archipelago
A series of small isles resembling a star belt, often harboring treasure.
Sea Platform: Features one large platform. Treasure Chart #27 found at Private Oasis (E5) leads to a nearby sunken treasure containing a Silver Rupee (200 Rupees).


Quadrant A4: Three-Eye Reef
A reef with three entrances, guarded by enemy ships and hiding treasure.
Heart Piece #34: Obtained via Sunken Treasure using Treasure Chart #38 found at Windfall Island (D2).
Treasure Chart #32: Take out all the Cannons and Warships inside the reef to make the chest containing the chart appear. Leads to Boating Course (F7) for the Sea Hearts Chart.
Sea Platform: The reef structure acts as a platform area with cannons.
Quadrant B4: Greatfish Isle
Once a lush island, now destroyed and desolate after Ganondorf’s attack.
Heart Piece #12: Found on a high, isolated cliff ledge; requires using the Deku Leaf to glide from the mailman Goron’s position after changing wind direction.
Heart Piece #35: From completing the merchant trading sequence (Shop Guru Statue trade)
Withered Deku Tree: Located near the Goron merchant.
Notes: Main story location (island is destroyed upon arrival). Nayru’s Pearl was originally here.
Quadrant C4: Cyclops Reef
A circular reef with a single entrance, containing hidden treasure.
Treasure Chart #21: Destroy all the Warships and Cannons inside the reef to make the chest containing the chart appear. Leads to a sunken treasure in the same sector (Cyclops Reef, C4) for the Light Ring Chart.

Quadrant D4: Six-Eye Reef
A complex reef with six entrances, heavily guarded by enemy ships.
Big Octo: (8-eyed) Found circling the area; defeat it for 100 Rupees.
Heart Piece #13: Reward inside a secret submarine after defeating all enemies.
Treasure Chart #26: Found in a chest that appears after destroying all cannons/warships on the reef. Leads to Northern Triangle Island (D3) containing the Octo Chart.
Notes: Treasure Chart #6 found in the Tower of the Gods (E4) leads to a Silver Rupee salvaged nearby.

Quadrant E4: Tower of the Gods
A towering structure rising from the sea, serving as a crucial dungeon.
Treasure Chart #30: Found inside the Tower of the Gods dungeon. Leads to Pawprint Isle (E2) for Heart Piece #32.
Notes: Main story dungeon location, raised from the sea by placing the three Goddess Pearls on the Triangle Islands. The Hero’s Bow is the dungeon item. Contains the portal to submerged Hyrule Castle. Treasure Chart #14 found at Headstone Island (C7) leads to a nearby sunken treasure containing a Silver Rupee (200 Rupees). Treasure Chart #40 found at Southern Fairy Island (D6) leads to a nearby sunken treasure containing a Silver Rupee (200 Rupees).

Quadrant F4: Eastern Triangle Island
One of the three triangle islands key to accessing the Tower of the Gods.
Triforce Shard: Shard #2 is salvaged from Sunken Treasure using the deciphered Triforce Chart #2 (TF Chart #2 itself found at B5).
Notes: Location to place Farore’s Pearl to raise the Tower of the Gods.Treasure Chart #34 obtained from the Salvage Corp (no fixed coordinates) leads to nearby sunken treasure containing a Silver Rupee (200 Rupees).

Quadrant G4: Thorned Fairy Island
An island surrounded by thorns, home to a Great Fairy offering upgrades.
Heart Piece #43: Treasure Chart #5 obtained from the Wind Temple (Gale Isle, D1) leads to a sunken treasure nearby containing the heart piece.
Great Fairy: Located inside the structure; provides the second Arrow Quiver upgrade (99 arrows max). Requires Skull Hammer to destroy the thorny vines blocking the entrance.
Blue ChuChu: Near the eastern palm tree.


Quadrant A5: Needle Rock Isle
A tall, needle-shaped island with a hidden treasure guarded by enemies.
Heart Piece #11: Located in a chest behind a wall of fire; requires using a Hyoi Pear to control a seagull to fly up and hit the crystal switch above the rock spire.
Sea Platform: One platform is located nearby.
Blue ChuChu: Found on the ring-shaped part of the island.
Notes: Treasure Chart #26 (found D4) leads to the Octo Chart salvaged nearby. Treasure Chart #28 obtained from Horseshoe Island (A7) leads to a sunken treasure nearby containing a Silver Rupee (200 Rupees)

Quadrant B5: Islet of Steel
A small, fortified island housing a treasure chest inside.
Triforce Chart: Triforce Chart #2 is found inside the structure after defeating the warship within. (Deciphered, leads to Shard #2 at F4 and Shard #3 at C5).


Quadrant C5: Stone Watcher Island
An island with a stone head that opens to reveal a hidden dungeon.
Heart Piece #15: Won by clearing all cannon turrets on Stone Watcher Island’s lookout platform
Big Octo: (8-eyed) Found circling the area; defeat it for 100 Rupees.
Triforce Shard: Shard #3 is salvaged from Sunken Treasure using the deciphered Triforce Chart #2 (TF Chart #2 itself found at B5). Requires lifting the giant stone head with Power Bracelets (from F3).
Blue ChuChu: It lurks behind the giant stone face.

Quadrant D5: Southern Triangle Isle
The third of the triangle islands used to access the Tower of the Gods.
Triforce Shard: Shard #4 is salvaged from Sunken Treasure using the deciphered Triforce Chart #3 (TF Chart #3 itself found at G5).
Notes: Location to place Nayru’s Pearl to raise the Tower of the Gods.

Quadrant E5: Private Oasis
A luxurious island that becomes Link’s personal retreat after obtaining the deed.
Treasure Chart #27: found in a chest on the high cliff ledge behind the Cabana; requires Hookshot/Grappling Hook to reach. Leads to Sunken Treasure at Star Belt Archipelago (G3) containing a Silver Rupee (200 Rupees).
Notes: Treasure Chart #18 (found D2) leads to Sunken Treasure nearby (reward: 1 Rupee). Door can be smashed before getting deed, but puzzle isn’t accessible.

Quadrant F5: Bomb Island
An island with a bombable entrance leading to a secret cavern.
Heart Piece #5: Mail box reward after completing Forbidden Woods dungeon
Heart Piece #24: Reward after defeating all enemies in the hidden grotto beneath the bomb-blast rock.
Heart Piece #42: Treasure Chart #20 found in the Earth Temple (Headstone Island, C7) leads to sunken treasure here containing the heart piece.
Submarine: Located nearby; contains a Gold Feather inside after defeating enemies.
Notes: Treasure Chart #1 found in Forbidden Woods dungeon (Forest Haven, F6) leads to Sunken Treasure nearby (reward: 200 Rupees).


Quadrant G5: Bird’s Peak Rock
A tall rock formation inhabited by birds and hiding a treasure.
Triforce Chart: Triforce Chart #3 found inside the cave entrance high up the rock face (requires Iron Boots + Deku Leaf or Hookshot). (Deciphered, leads to Shard #4 at D5).
Blue ChuChu: Found on a small ledge above the steel door, reachable with Grappling Hook.
Notes: Treasure Chart #36 found at Ice Ring Isle (E6) leads to a nearby sunken treasure containing a Silver Rupee (200 Rupees).


Quadrant A6: Diamond Steppe Island
An island with a warp maze inside, leading to a hidden treasure.
Heart Piece #10: Obtained via Sunken Treasure using Treasure Chart #23 found at Windfall Island (D2).
Special Chart: The Ghost Ship Chart is found inside the island’s cave system accessed via Hookshotting trees; requires navigating a warp pot maze.
Big Octo: (12-eyed) Found circling the area; defeat it for a Piece of Heart.
Blue ChuChu: Hookshot between trees in stages—find it on the top tier.
Notes: Requires Hookshot to access the island itself by targeting trees from the boat. A unique Golden Gunboat nearby drops Treasure Chart #16 when defeated.
Quadrant B6: Five-Eye Reef
A reef with five entrances, guarded by enemy ships and containing treasure.
Treasure Chart #41: Found in chest that appears after eliminating all warships and cannons in the area. Leads to Four-Eye Reef (A2) for the Great Fairy Chart.
Notes: Treasure Chart #12 found in the Earth Temple (Headstone Island, C7) leads to a nearby sunken treasure containing a Silver Rupee (200 Rupees).

Quadrant C6: Shark Island
An island with a puzzle involving switches and enemies to unlock treasure.
Blue ChuChu: Flip switches, ride the updraft (Wind’s Requiem, Deku Leaf), then strike.
Notes: Treasure Chart #16 found at Seven-Star Isle (F1) leads to Sunken Treasure nearby containing a Silver Rupee (200 Rupees).
Quadrant D6: Southern Fairy Island
A heart-shaped island where a Great Fairy grants magical enhancements.
Heart Piece #33: Obtained via nearby sunken treasure from Treasure Chart #4 found at Rock Spire Isle (B3).
Treasure Chart #40: Obtained after looting chest that appears after destroying all mounted cannons in the area. Leads to Headstone Island (C7) for a Silver Rupee (200 Rupees).
Great Fairy: Located inside the structure; provides the second Bomb Bag upgrade (99 bombs max). Requires Bombs to open the entrance.
Blue ChuChu: Eastern palm tree location.


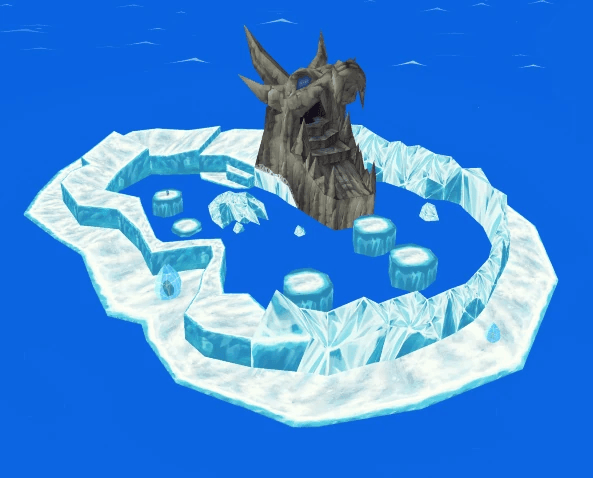
Quadrant E6: Ice Ring Isle
A frozen island that requires fire to access its slippery interior.
Treasure Chart #36: Found after using a Fire Arrow to melt the ice covering the chest containing it. Leads to Bird’s Peak Rock (G5) for a Silver Rupee (200 Rupees).
Withered Deku Tree: Located on the outer ring pathway.
Notes: The Iron Boots item is found inside the island’s core after the timer countdown; requires shooting the icy breath with a Fire Arrow to temporarily stop it. Treasure Chart #17 found at Spectacle Island (C2) leads to a nearby sunken treasure containing a Silver Rupee (200 Rupees).

Quadrant F6: Forest Haven
A lush island home to the Koroks and the entrance to the Forbidden Woods.
Beedle: Shop Ship is often found sailing near the entrance waterfall.
Bottle: One can be purchased from the Korok merchant Hollo inside the Forest Haven (up the pathways) after completing the Forest Water sidequest for the Deku Tree.
Heart Piece #25: Obtained via sunken treasure using Treasure Chart #31 found in Windfall Island (D2).
Heart Piece #36: Reward from completing the Forest Water Challenge side quest, which starts here.
Treasure Chart #1: Found inside the Forbidden Woods dungeon. Leads to sunken treasure found at Private Oasis (E5) containing a Silver Rupee (200 Rupees).
Treasure Chart #3: Found inside the Forest Haven atop the Deku Tree. Leads to sunken treasure near Eastern Fairy Island (E3) containing a Silver Rupee (200 Rupees).
Treasure Chart #19: Chest containing appears after destroying all the Warships and Cannons guarding it. Leads to the Flight Control Platform (G2) for the Island Hearts Chart.
Notes: Main story location containing the Deku Tree, Korok Village, and the entrance to the Forbidden Woods dungeon. Farore’s Pearl is obtained after completing the dungeon. Contains several Withered Deku Trees internally for the Forest Water quest (not marked on world map).


Quadrant G6: Cliff Plateau Isles
A series of small isles with a hidden cave accessible via Deku Leaf gliding.
Sea Platform: One platform is located nearby.
Blue ChuChu: Drop through a hole on a smaller isle, fight through the cave to the top.
Notes: Treasure Chart #15 (found F2) leads to Sunken Treasure nearby (Piece of Heart).

Quadrant A7: Horseshoe Island
A horseshoe-shaped island featuring a golf-like mini-game.
Treasure Chart #8: found inside the cave accessed by dropping into the final hole of the “golf” game, after defeating enemies. Leads to a sunken treasure near Western Fairy Island (A3) containing a Silver Rupee (200 Rupees).
Treasure Chart #28: Found in a chest that appears after successfully getting nuts into all three holes in the island’s “golf” mini-game using the Deku Leaf. Leads to Sunken Treasure near Needle Rock Isle (A5) containing a Silver Rupee (200 Rupees).
Sea Platform: Two platforms are located nearby.
Blue ChuChu: Only appears at night—look right of the second nut drop hole.
Notes: Treasure Chart #9 found at Crescent Moon Island (E1) leads to Sunken Treasure nearby for a Silver Rupee (200 Rupees).


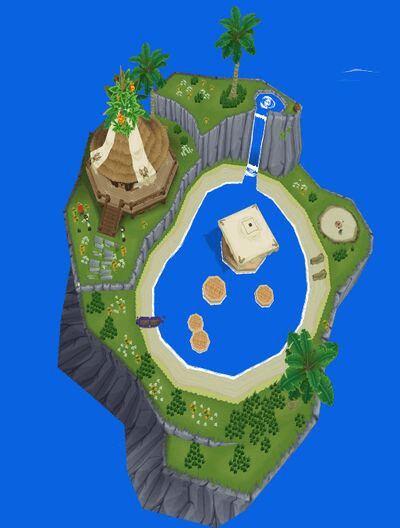
Quadrant B7: Outset Island
Link’s peaceful home island, where his journey begins.
Great Fairy: Located in the woods behind Orca’s house; provides the second Rupee Bag upgrade (5,000 Rupees max). Requires Bombs to blow up the large boulder blocking the entrance, and Deku Leaf to fly across.
Heart Piece #14: One awarded by Orca after hitting him 500 times in training.
Heart Piece #41: One given by the woman near the large pig after bringing the pig many Joy Pendants and letting it dig up treasure spots.
Heart Piece #44: One found at the bottom floor (Floor 50) of the Savage Labyrinth challenge cave (entrance is on the cliff head accessible via Deku Leaf).
Notes: Starting location. Hero’s Sword, Hero’s Shield, and Telescope obtained here initially. Savage Labyrinth requires Mirror Shield to fully complete.


Quadrant C7: Headstone Island
An island marked by a large stone slab, hiding the Earth Temple.
Heart Piece #9: Found on top of the large headstone structure; requires flying with the Deku Leaf from a higher point.
Submarine: Located nearby; contains a Silver Rupee inside after defeating enemies.
Treasure Chart #12: Found inside the Earth Temple. Leads to Sunken Treasure near Five-Eye Reef (B6) for a Silver Rupee (200 Rupees).
Treasure Chart #14: Found inside the submarine floating north of the island. Leads to Sunken Treasure near the Tower of the Gods (E4).
Treasure Chart #20: Found inside the Earth Temple. Leads to sunken treasure near Bomb Island (F5) for Heart Piece #42.
Notes: Location of the Earth Temple dungeon. Requires Power Bracelets to lift the headstone revealing the entrance, and later the Mirror Shield (found within Earth Temple) to complete.


Quadrant D7: Two-Eye Reef
A reef with two entrances, guarded by enemy ships and hiding treasure.
Big Octo: (4-eyed) Found circling the area; defeating it frees the Great Fairy.
Great Fairy: Freed by defeating the Big Octo; provides the Magic Meter upgrade (doubles magic capacity).
Sea Platform: The reef structure acts as a platform area with cannons.
Treasure Chart #13: is found in a chest that appears after destroying all cannons/warships on the reef. Leads to the Secret Cave Chart salvaged near Overlook Island (G1).
Treasure Chart #25: Found inside the hole on the first small island. Leads to Forsaken Fortress (A1) for a Silver Rupee (200 Rupees).


Quadrant E7: Angular Isles
A pair of angular-shaped isles with a block puzzle leading to treasure.
Heart Piece #7: Found in a chest at the top of the largest isle after navigating the block-pulling puzzles.
Heart Piece #8: Obtained via nearby sunken treasure from Treasure Chart #15 found in the Forbidden Woods dungeon (Forest Haven, F6).
Notes: A Blue ChuChu is found near the Piece of Heart chest.

Quadrant F7: Boating Course
A mini-game area where Link can test his sailing skills for rewards.
Piece of Heart: Found in a chest awarded for completing the timed boat race mini-game successfully.
Blue ChuChu: Leap off the highest rock, then glide with Deku Leaf to reach it.
Notes: Treasure Chart #32 found at Three-Eye Reef (A4) leads to a nearby sunken treasure containing the Sea Hearts Chart.


Quadrant G7: Five-Star Isles
A cluster of five small isles, each marked by a single tree and hiding treasure.
Heart Piece #6: Found inside the nearby Submarine after defeating enemies.
Heart Piece #26: Obtained via nearby sunken treasure using Treasure Chart #33 found at Windfall Island (D2).
Submarine: Located near the isles; contains a Piece of Heart.
Sea Platform: Three platforms are located near the rock pillars.
Big Octo: (8-eyed) Found circling the area; defeat it for 100 Rupees.