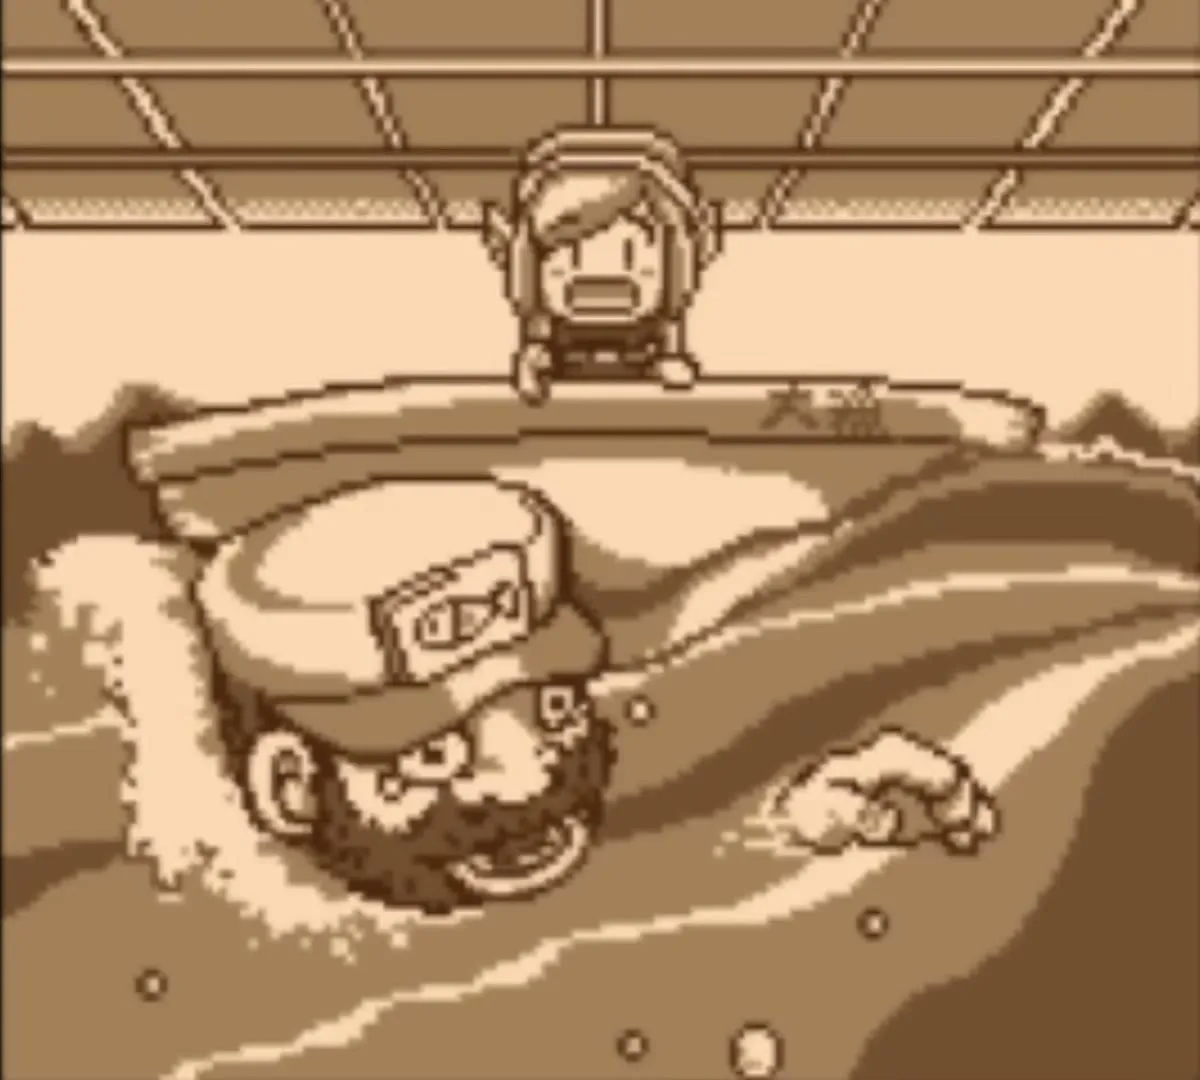
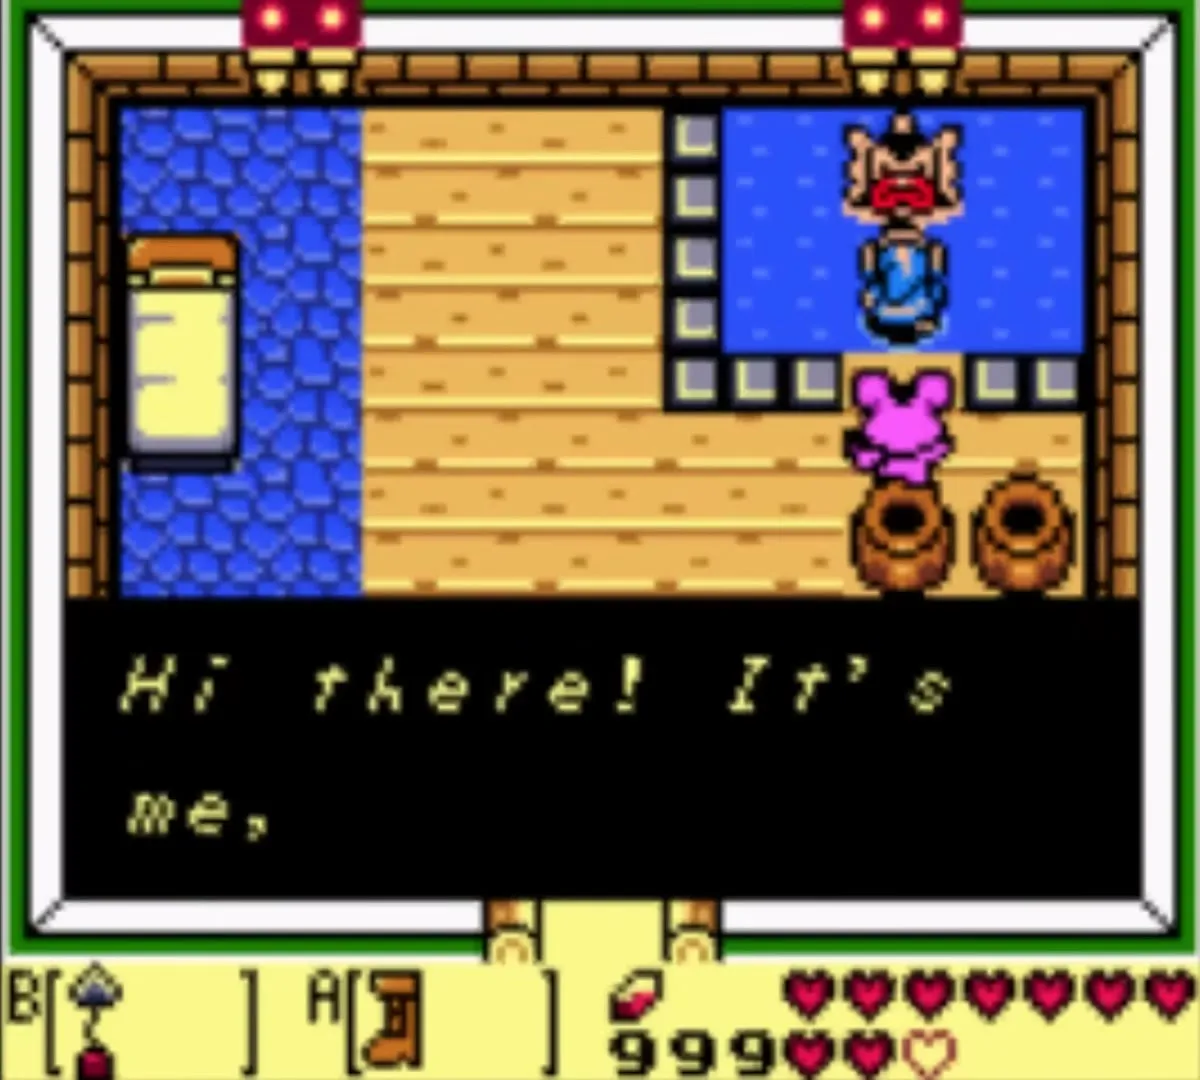
| Length | 14 items: you win the Yoshi Doll at the Trendy Game, make 12 hand-overs, and finish by placing the Mermaid’s Scale on a statue to claim the Magnifying Lens |
|---|---|
| Starts | Trendy Game crane machine in Mabe Village (10 rupees per try) |
| Ends | Mermaid Statue on the south side of Martha’s Bay, reached from the Animal Village side |
| Reward | Magnifying Lens, which also unlocks the optional Boomerang swap, the Zora and fisherman photographs and the Wind Fish’s Egg maze book |
| You need | Rupees at the start, Power Bracelet for the Stick, Flippers and Roc’s Feather for the fisherman, Hookshot for the statue |
| Missable | Nothing. You can do the chain at any pace, but you can carry only one trade item at a time |

The trading sequence has 14 items: the Yoshi Doll, Ribbon, Dog Food, Bananas, Stick, Honeycomb, Pineapple, Hibiscus, Letter, Broom, Fishing Hook, Necklace, Mermaid’s Scale and Magnifying Lens. Each villager swaps the item you carry for the next one in the chain, and the last link is a statue rather than a person. You can hold only one trade item at a time, so finish each step before starting the next. Most steps are short walks, but three of them (the Stick, the Necklace and the Lens) wait for gear you earn in the dungeons, which is why the chain runs from Mabe Village to Martha’s Bay and Animal Village in the main walkthrough.
Table of Contents
All 14 steps at a glance
| Item | # | You get it from | Where | What you need |
|---|---|---|---|---|
 | 1 | Trendy Game (10 rupees) | Mabe Village | Rupees |
 | 2 | Mamasha, for the Yoshi Doll | House in north Mabe Village | Nothing |
 | 3 | CiaoCiao, for the Ribbon | Doghouse, Mabe Village | Nothing |
 | 4 | Sale, for the Dog Food | Sale’s House O’ Bananas, Toronbo Shores | Nothing |
 | 5 | Kiki the monkey, for the Bananas | Near the Kanalet Castle gate | Power Bracelet |
 | 6 | Tarin, for the Stick | Beehive tree, Ukuku Prairie | Tarin freed from the Mysterious Forest |
 | 7 | Chef Bear, for the Honeycomb | His house, Animal Village | Nothing |
 | 8 | Papahl, for the Pineapple | Tal Tal Mountains | Nothing |
 | 9 | Christine the goat, for the Hibiscus | Her house, Animal Village | Nothing |
 | 10 | Mr. Write, for the Letter | House north of the Mysterious Forest | Nothing |
 | 11 | Grandma Ulrira, for the Broom | Outside her house, Mabe Village | Nothing |
 | 12 | The fisherman, for the Fishing Hook | His boat under the bridge, Martha’s Bay | Flippers, Roc’s Feather |
 | 13 | The Mermaid, for the Necklace | Martha’s Bay, near Catfish’s Maw | Flippers |
| Magnifying Lens | 14 | Mermaid Statue, for the Scale | South side of Martha’s Bay | Hookshot |
Steps 1 to 4: Mabe Village and Toronbo Shores
1. Yoshi Doll
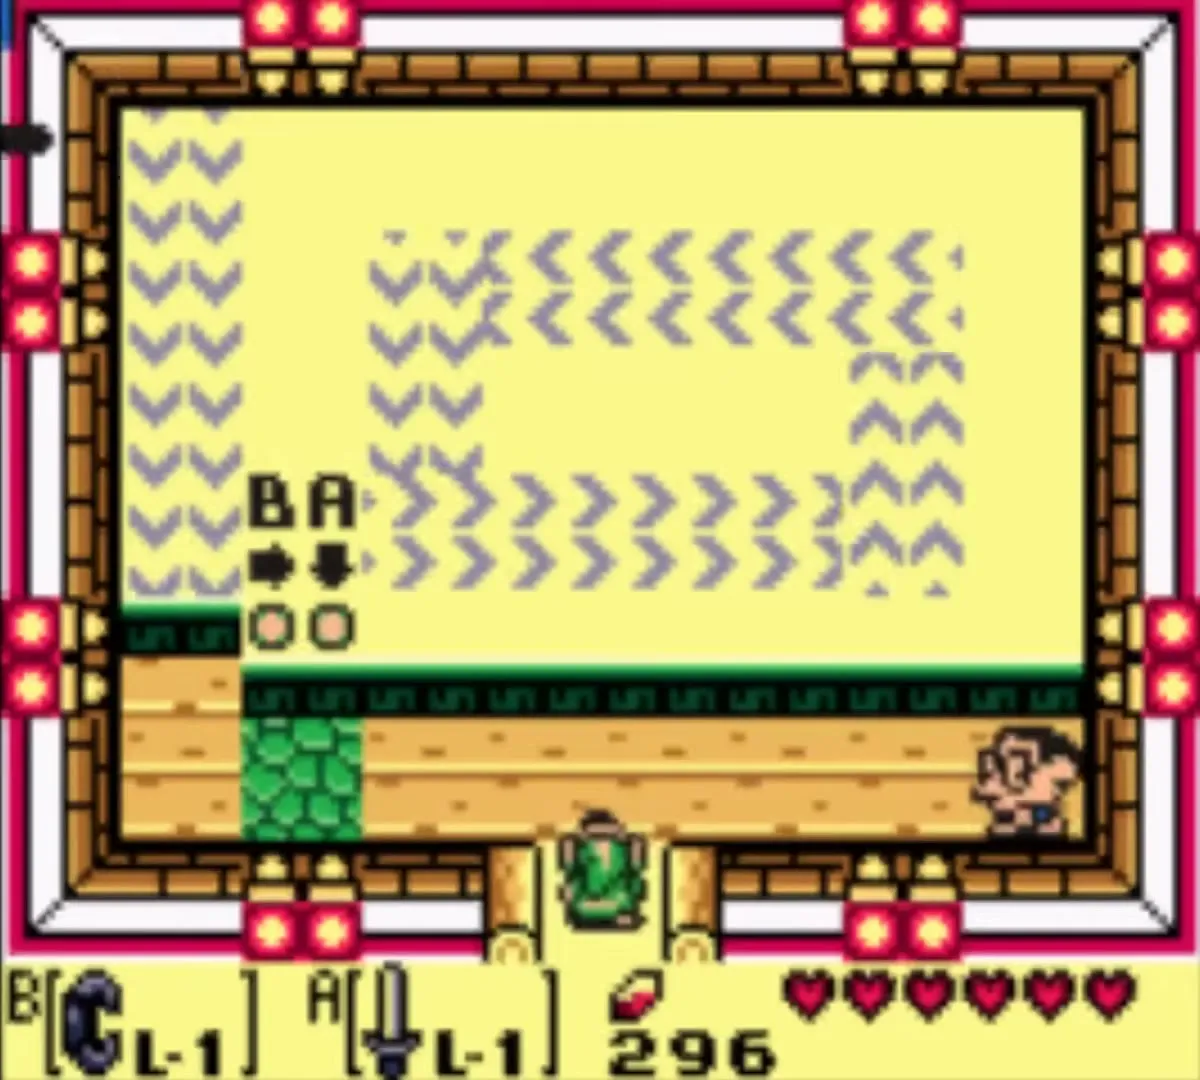
Pay 10 rupees at the Trendy Game, the crane machine in the east of Mabe Village, and use B to move the crane over the Yoshi Doll and A to lower it. Line the crane up carefully, because it only drops once. A failed try just costs another 10 rupees, so bring a wallet with a few tries in it. The machine is also described in the first walkthrough chapter.


2. Ribbon
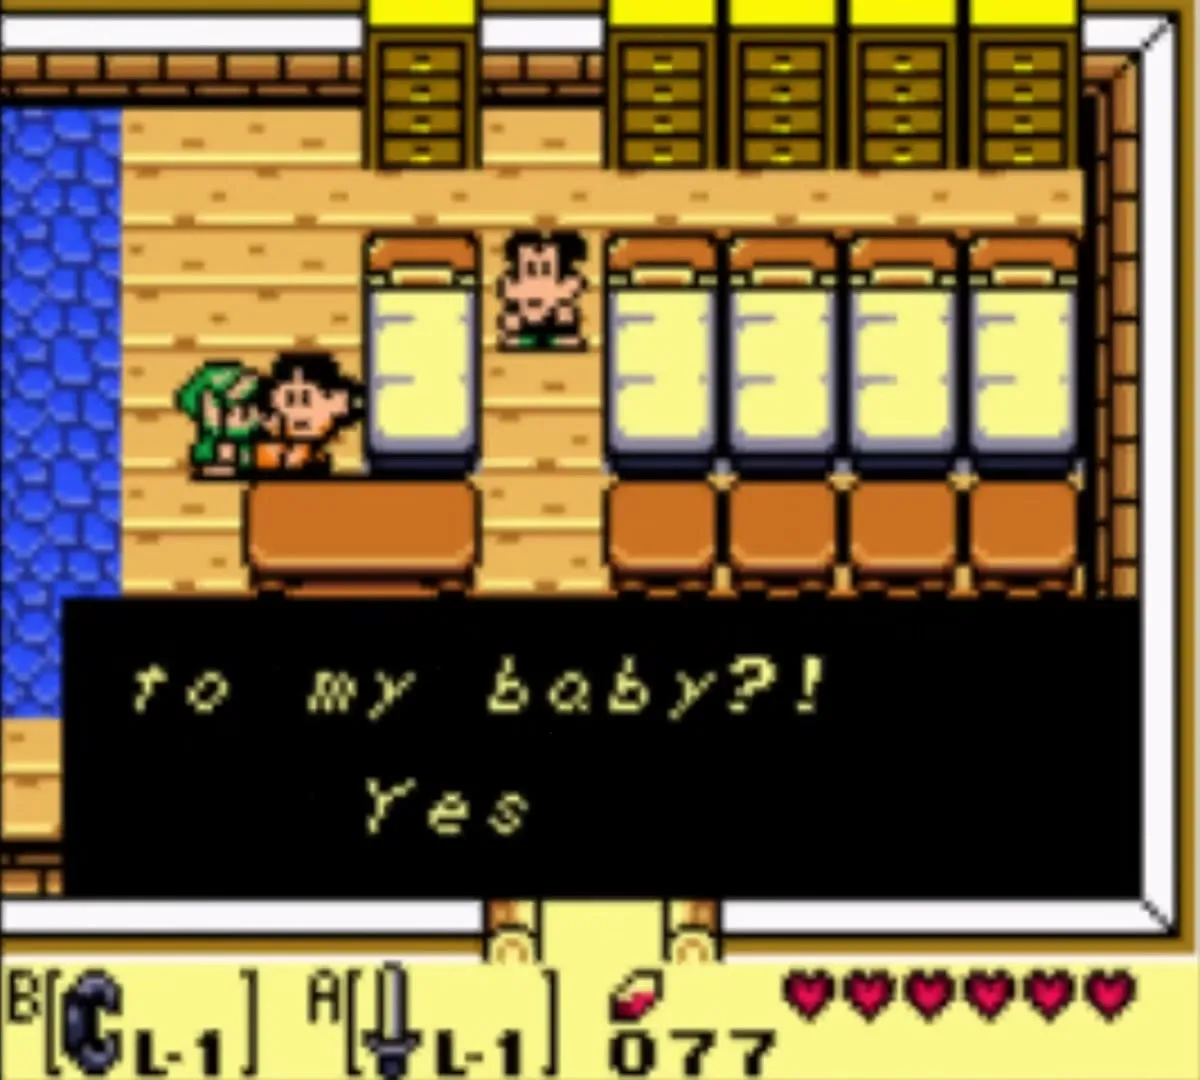
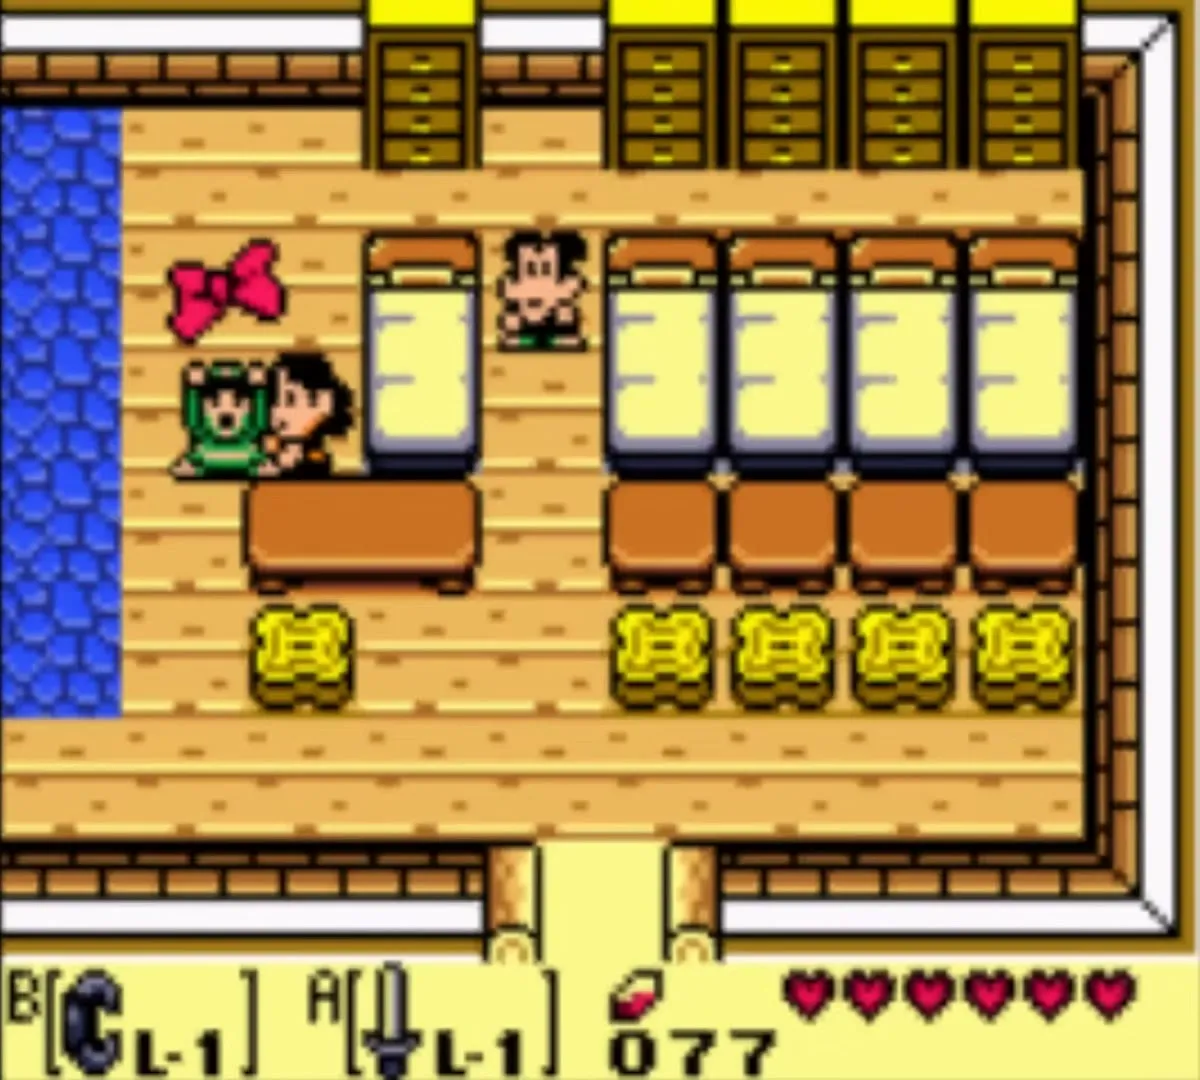
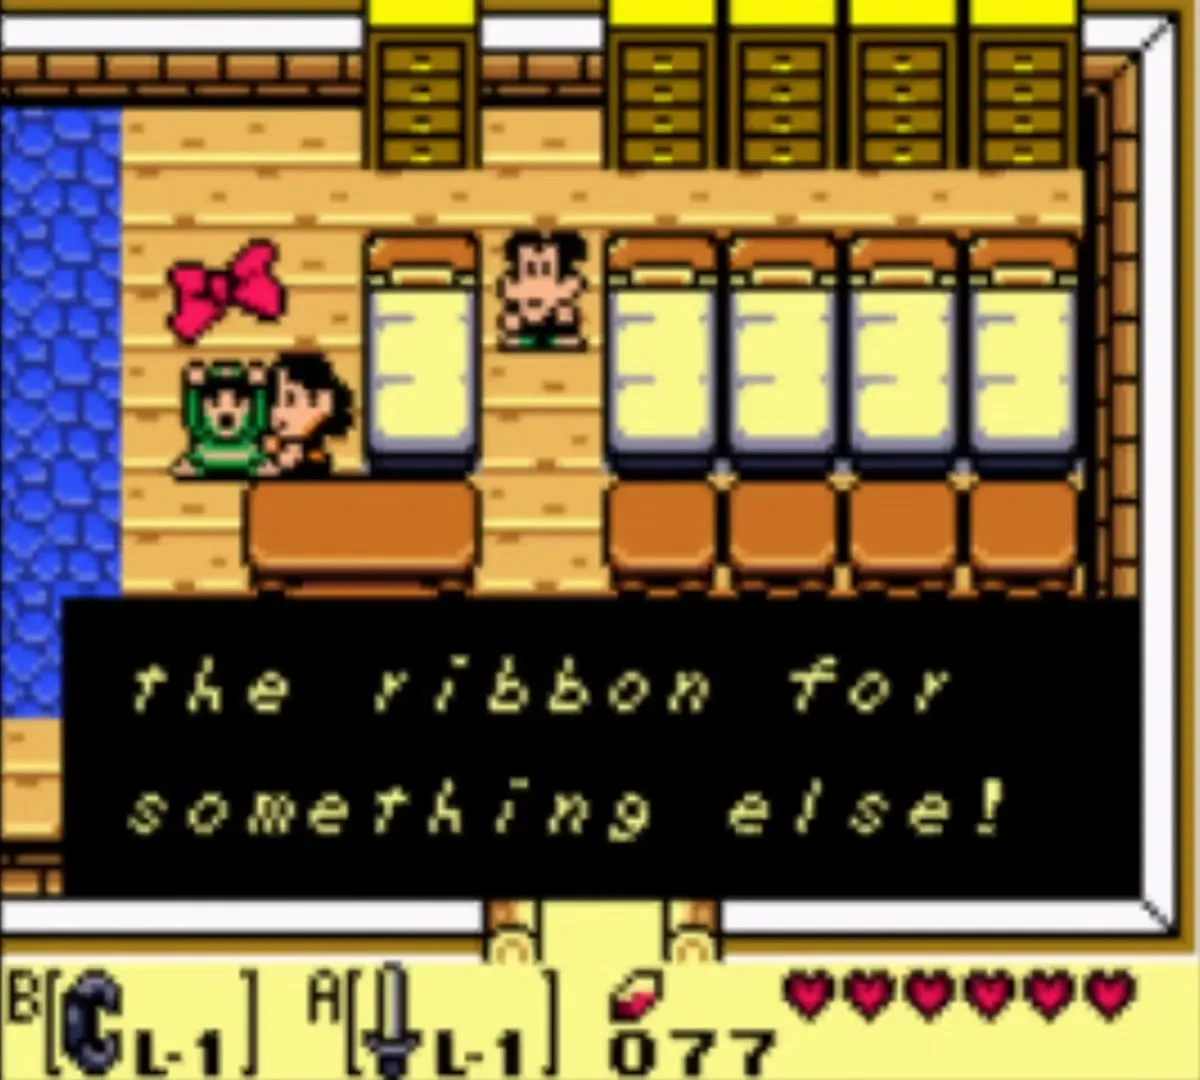
Take the Yoshi Doll to Mamasha, the mother in the large house at the north end of Mabe Village. She wants it for her baby and gives you a Ribbon in return.

3. Dog Food
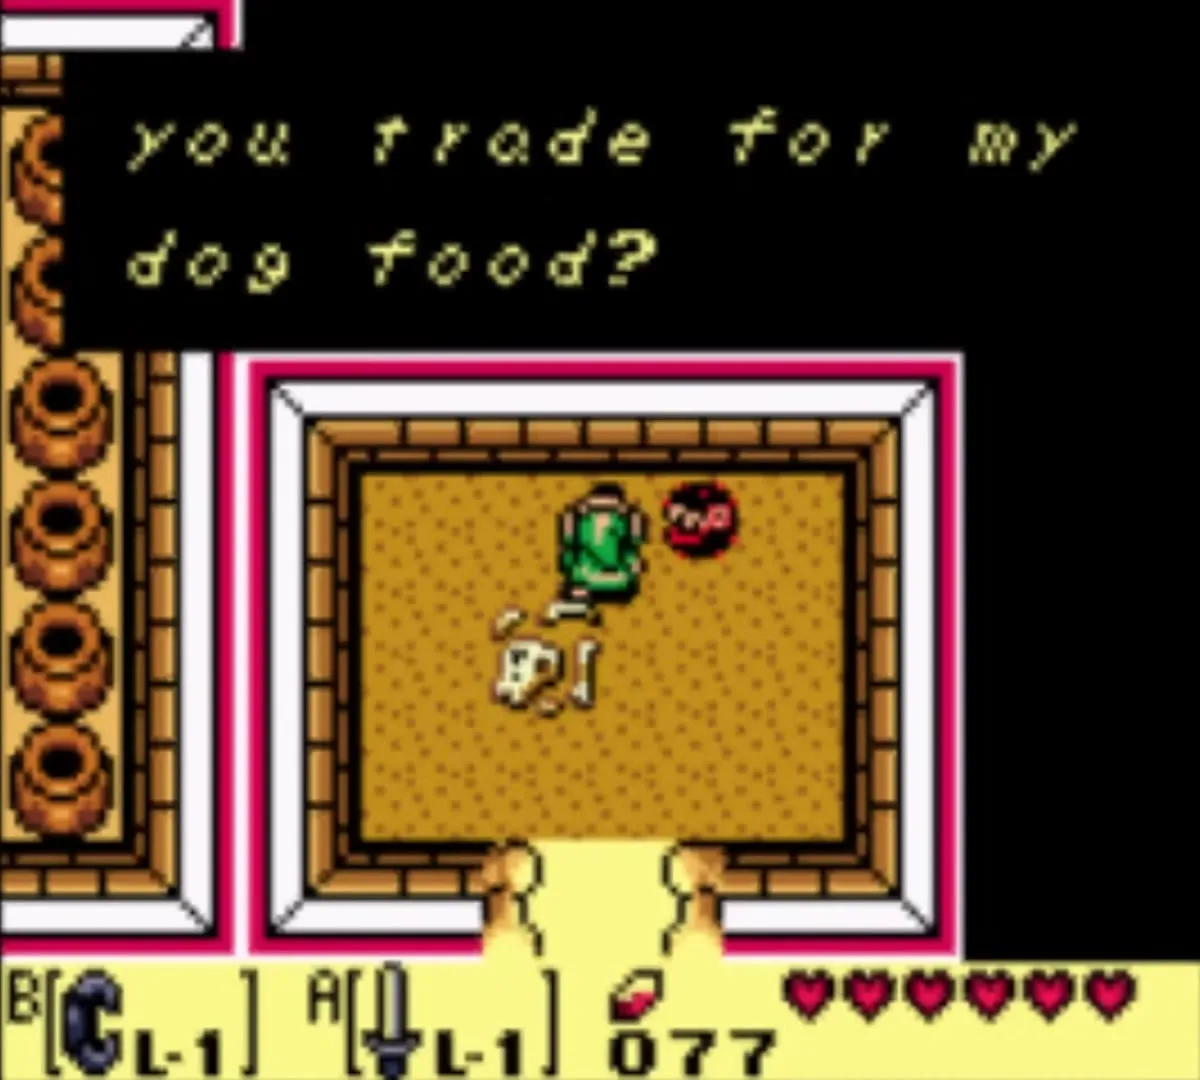
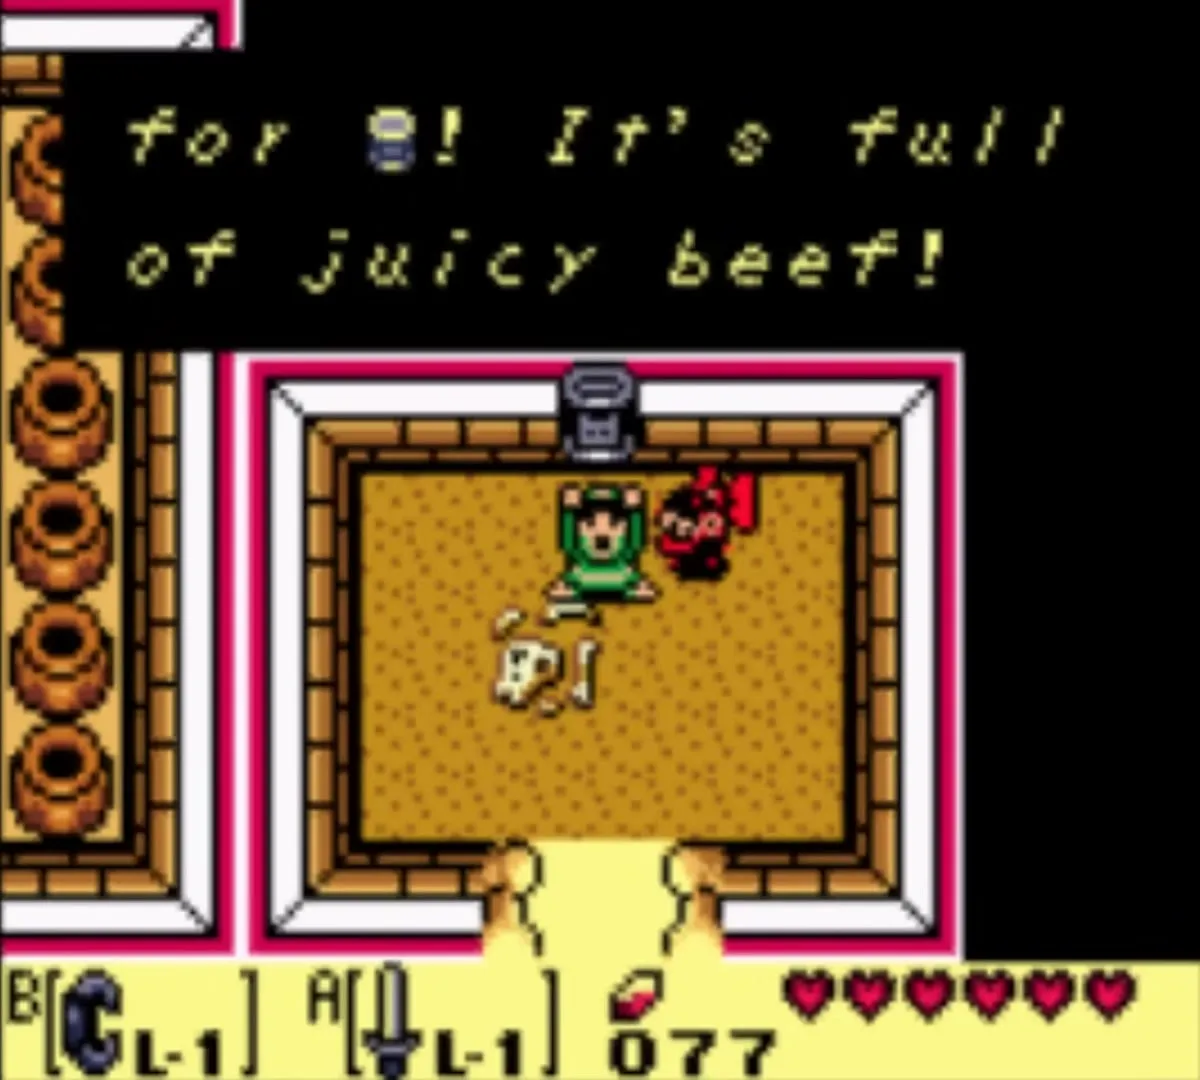
The Ribbon is for CiaoCiao, the small Chain Chomp in the doghouse in western Mabe Village, next to Madam MeowMeow’s house. He swaps it for a can of Dog Food.

4. Bananas
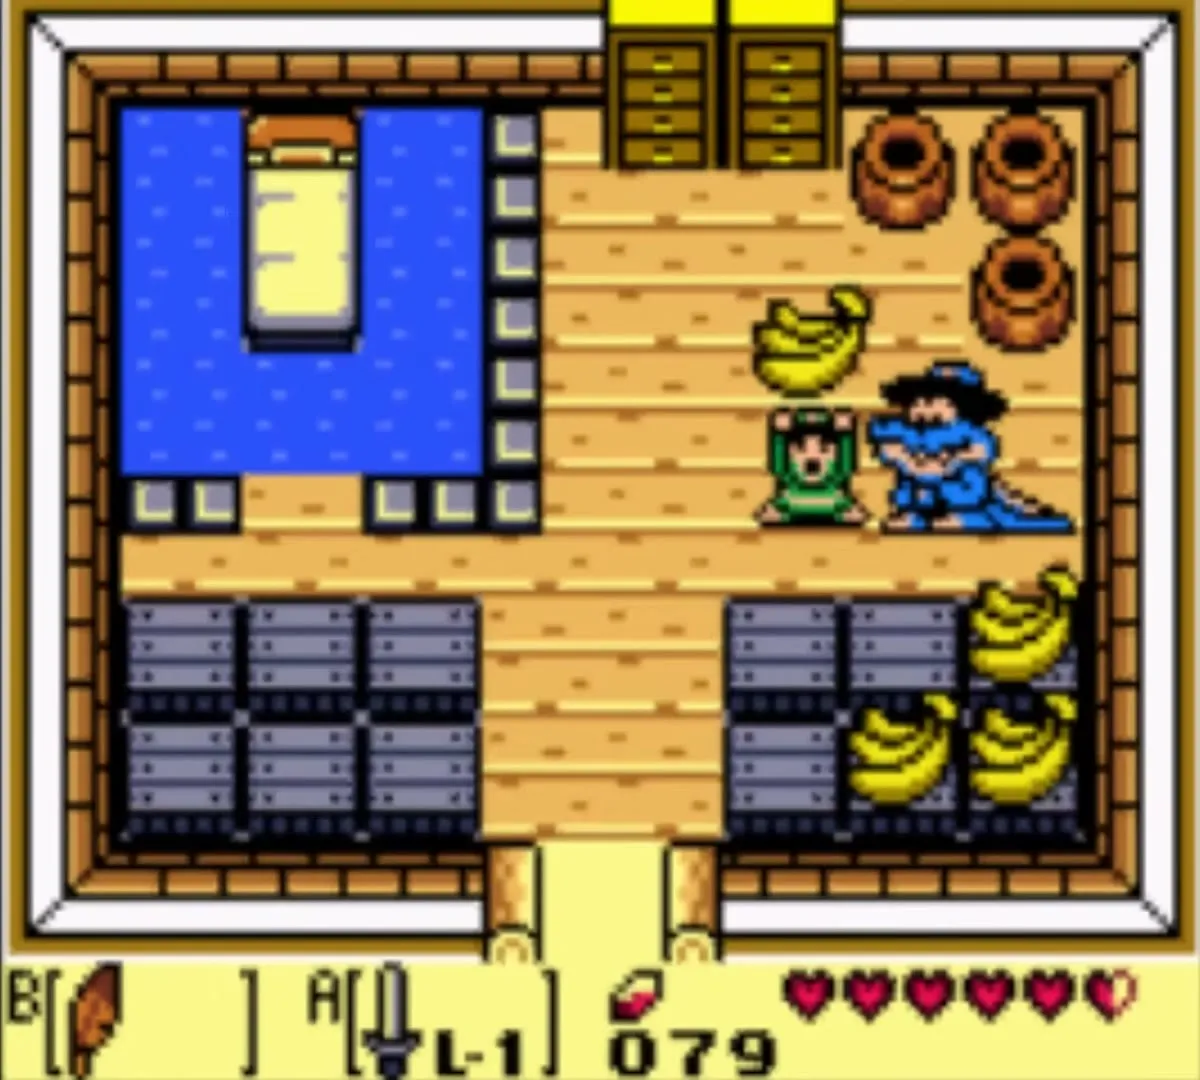
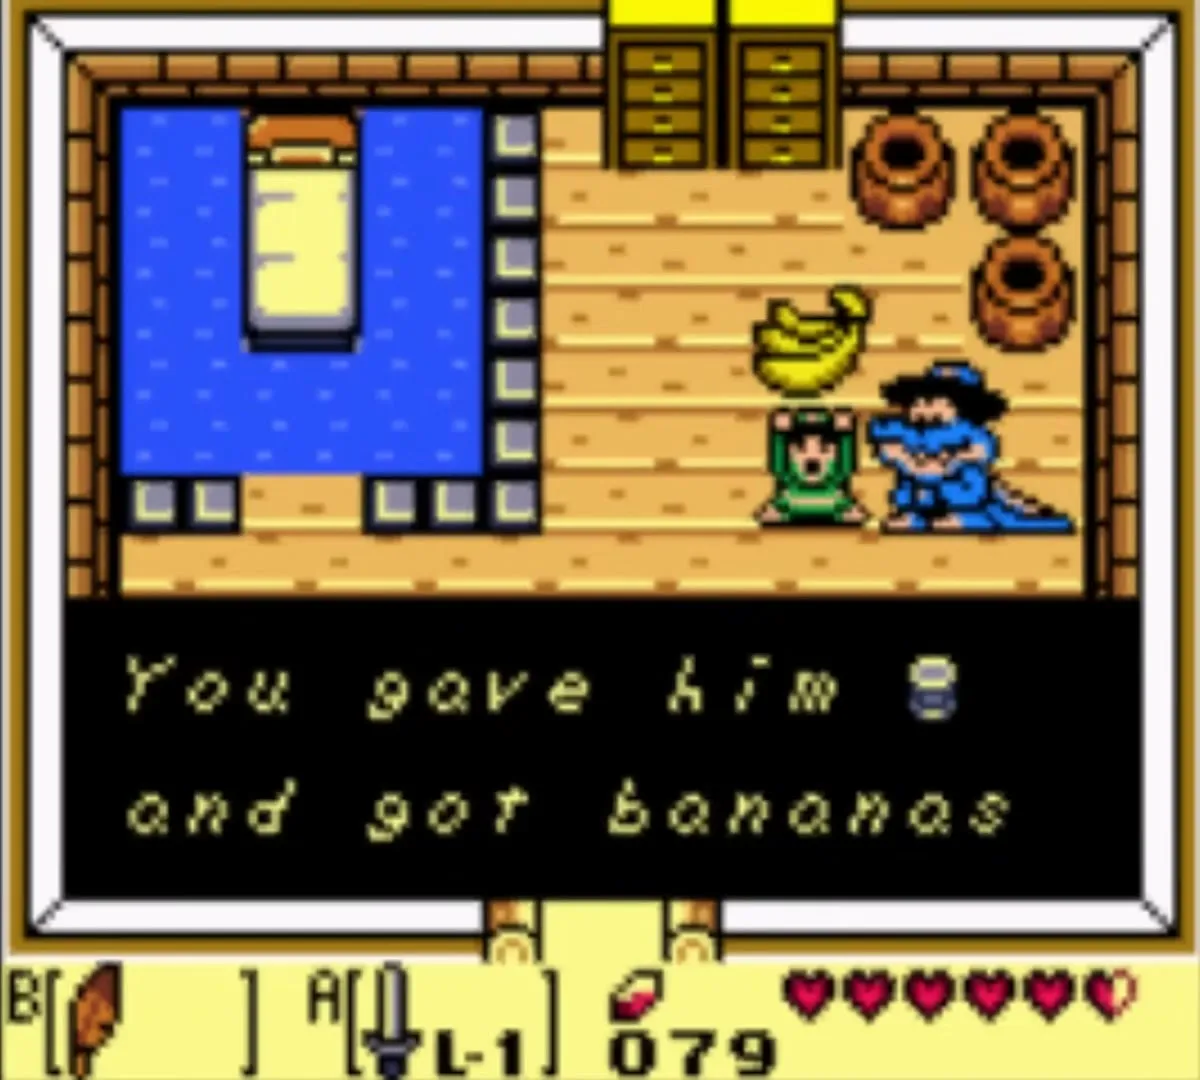
Walk to Toronbo Shores and enter Sale’s House O’ Bananas, the house ringed by banana trees. Sale the alligator cannot resist Dog Food and hands over a bunch of Bananas.
Steps 5 to 8: Kanalet, the prairie, Animal Village and the mountains

5. Stick
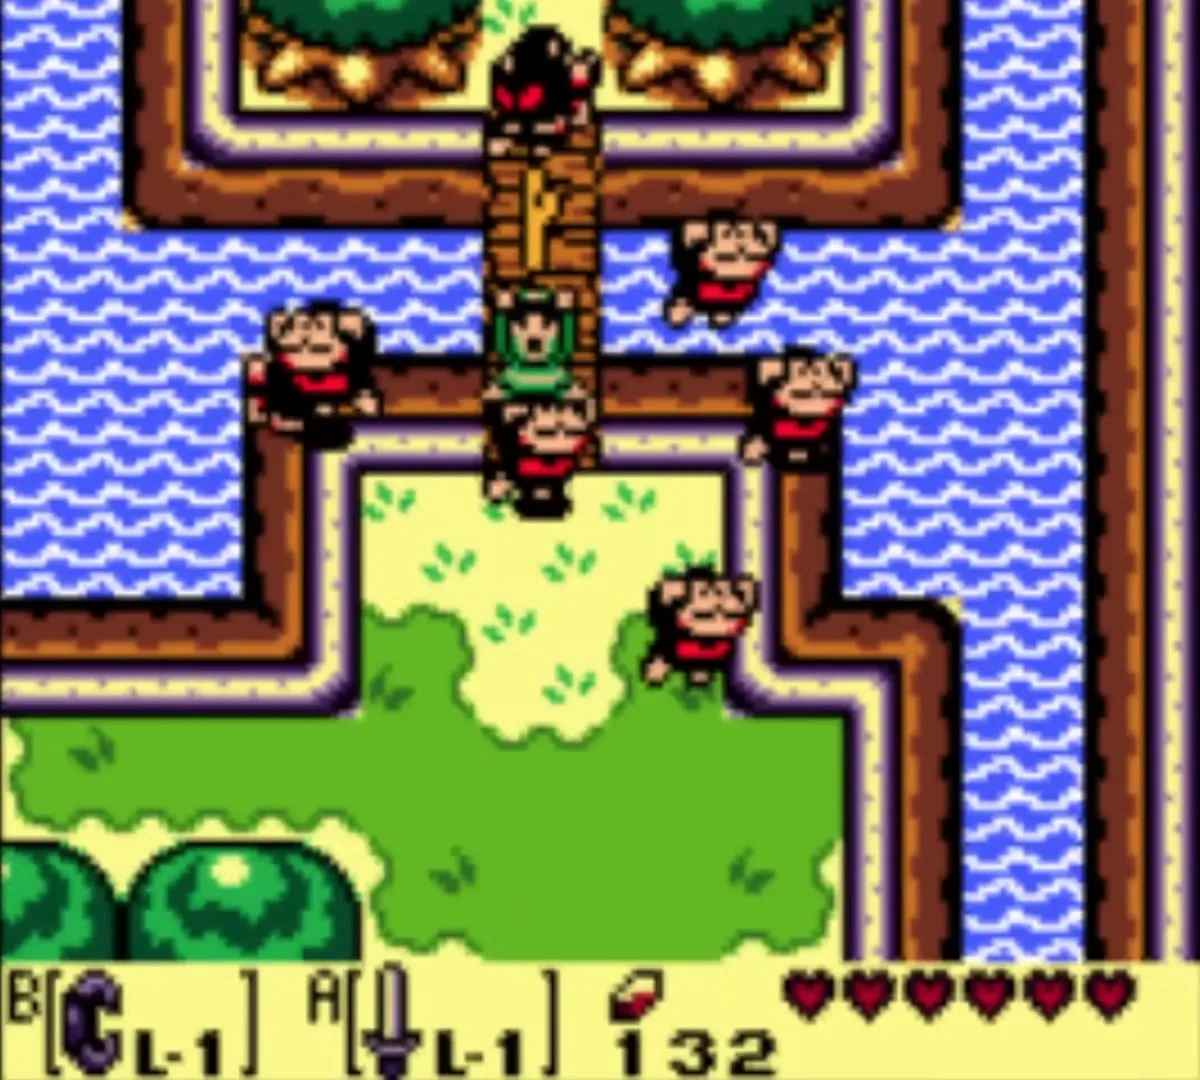
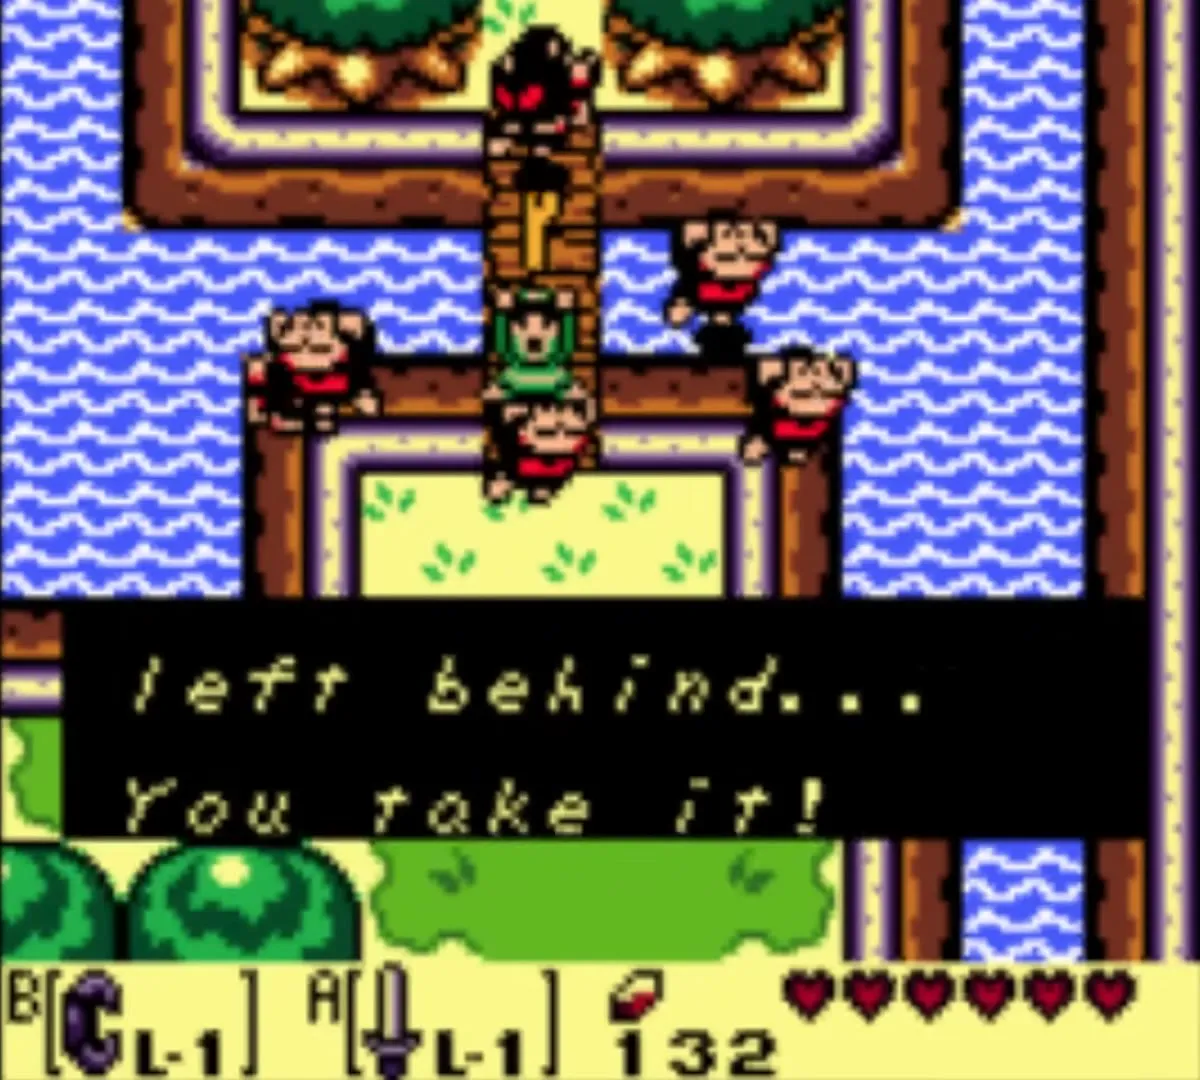
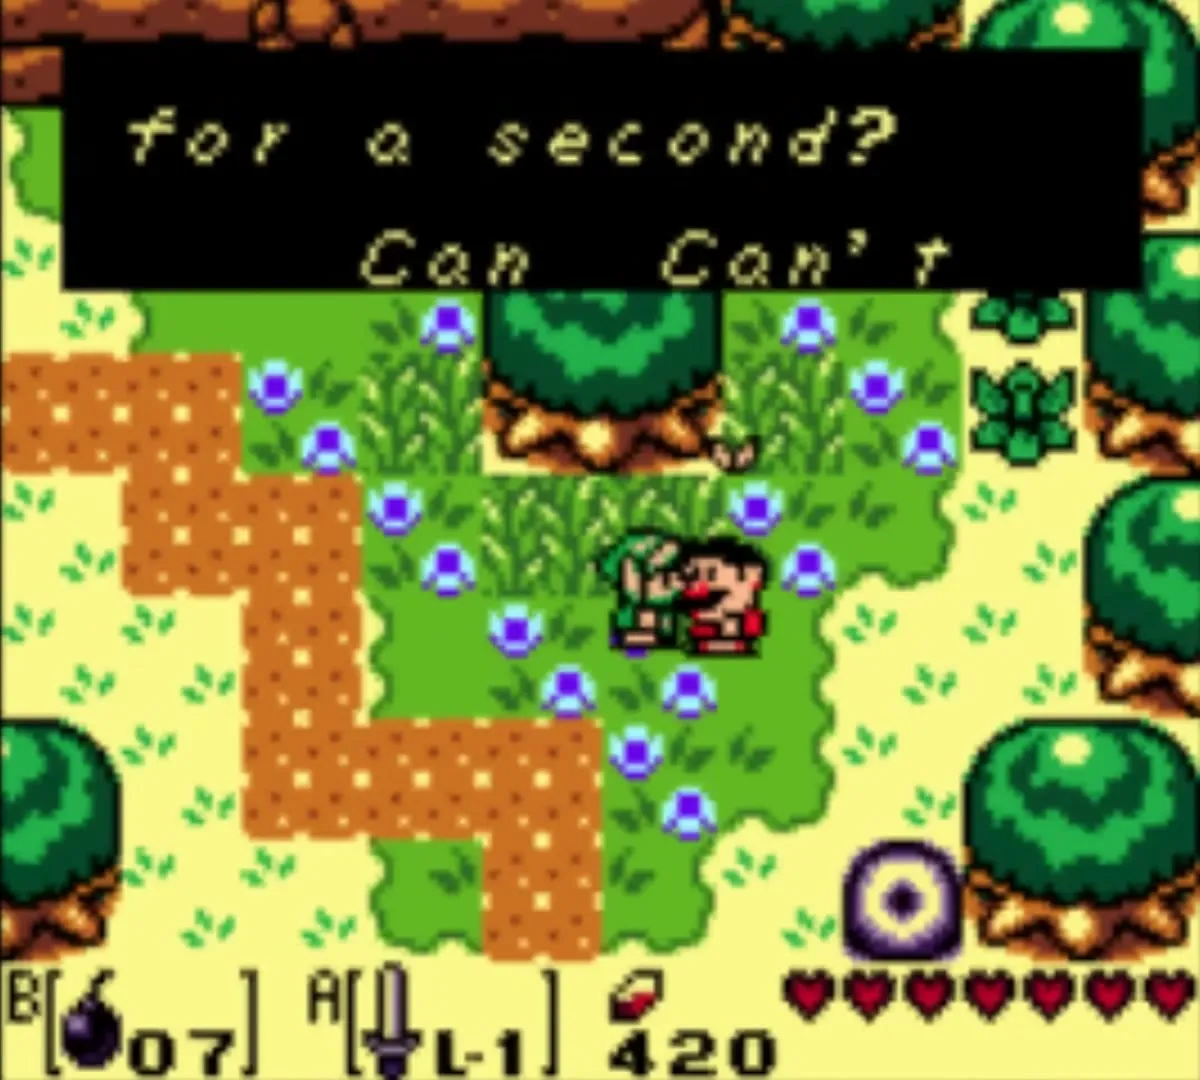
Kiki the monkey waits beside the broken bridge near Kanalet Castle. Give him the Bananas and his friends build a bridge for you, and Kiki leaves a Stick behind. You need to lift rocks to reach him, so bring the Power Bracelet from Bottle Grotto.

6. Honeycomb
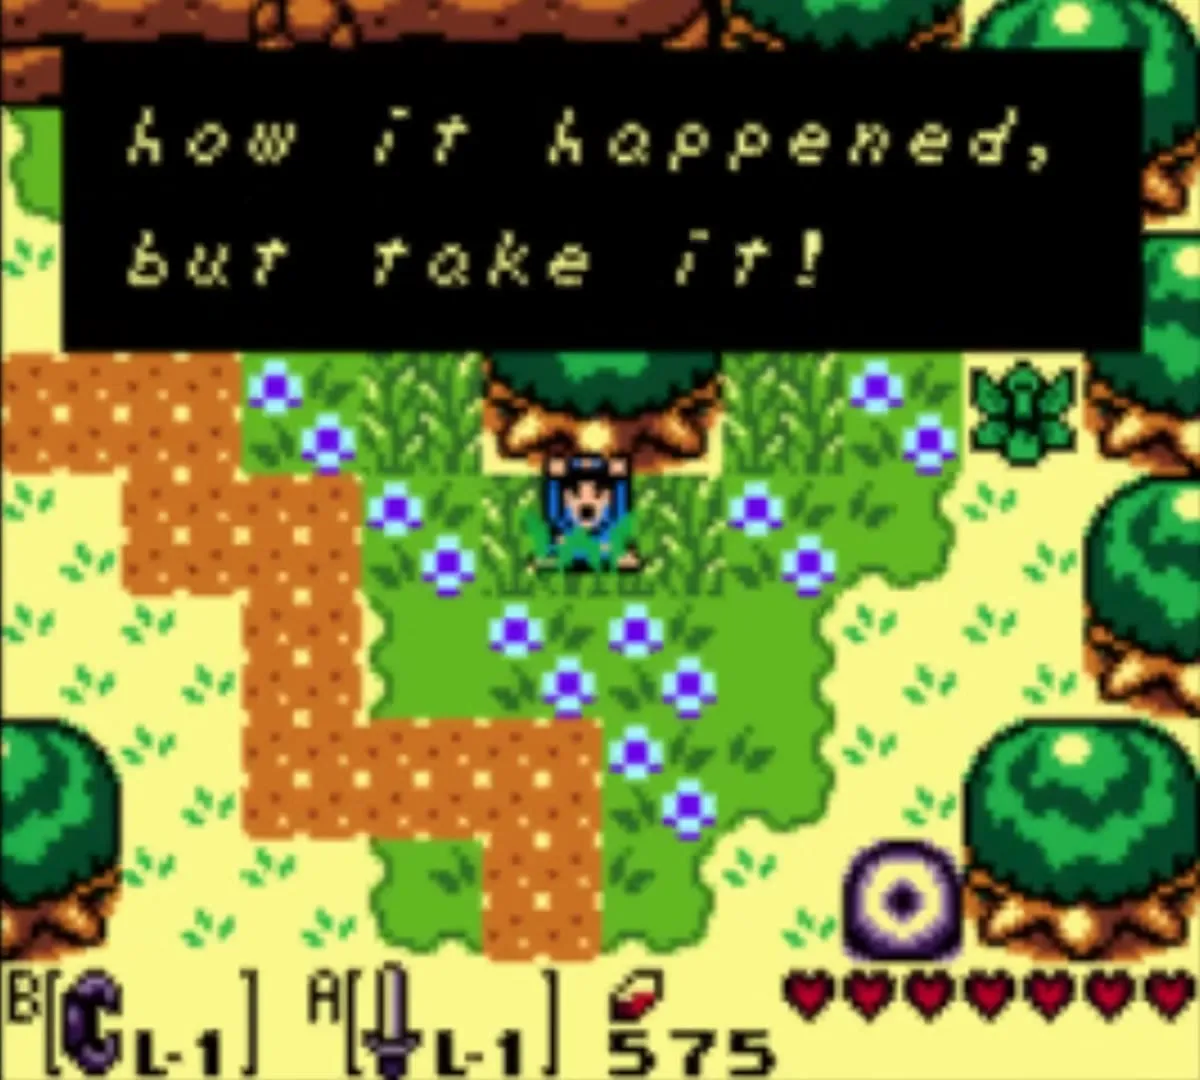
Tarin is standing under the beehive tree in Ukuku Prairie, east of Mabe Village. He turns up there only after you have changed him back from a raccoon with Magic Powder in the Mysterious Forest. Hand him the Stick and he knocks the hive down. The angry bees chase him around, and the Honeycomb drops for you to pick up.

7. Pineapple
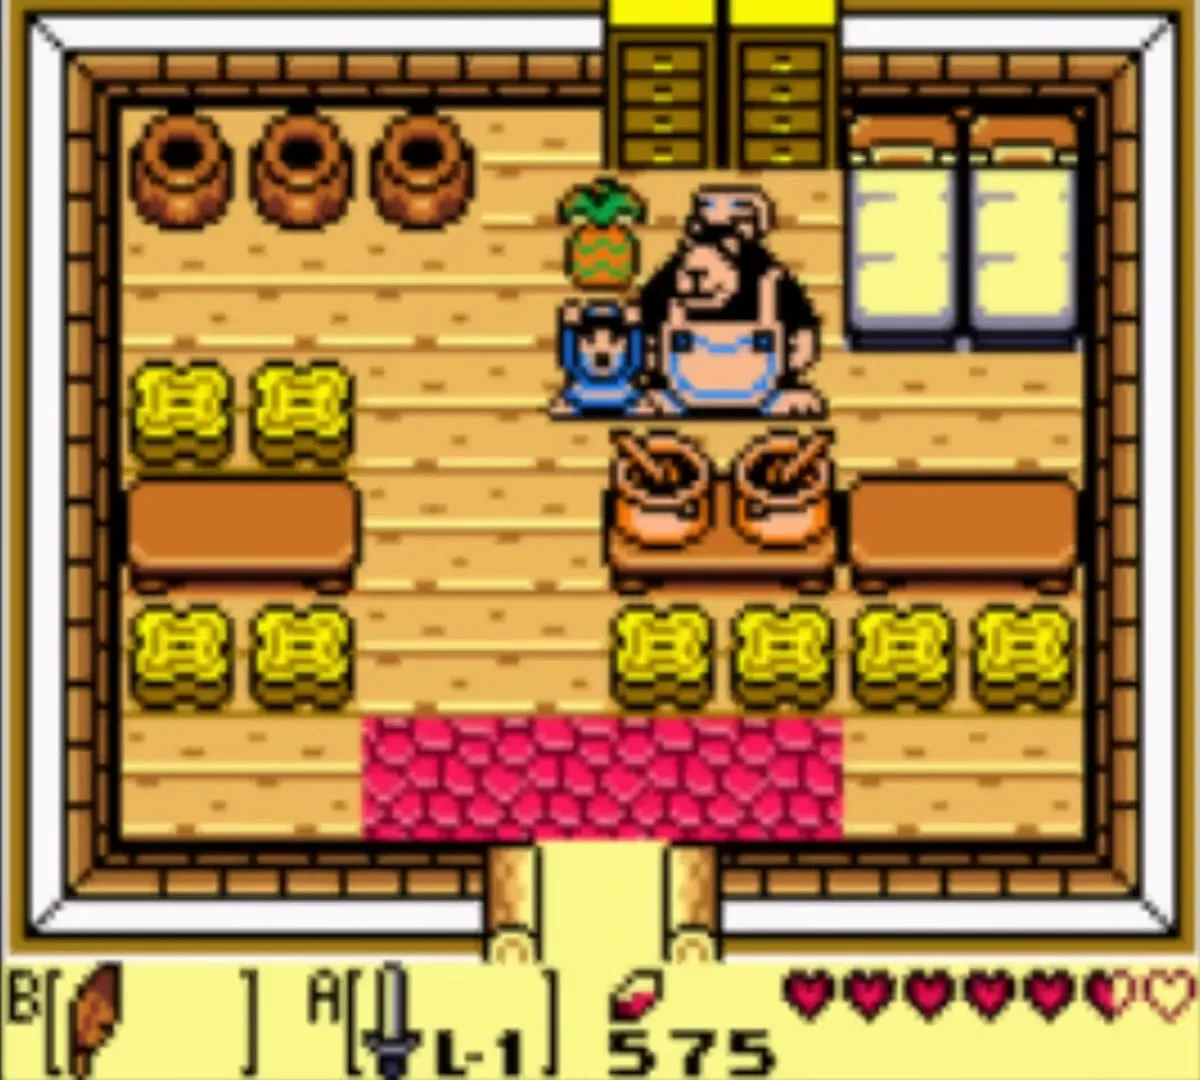
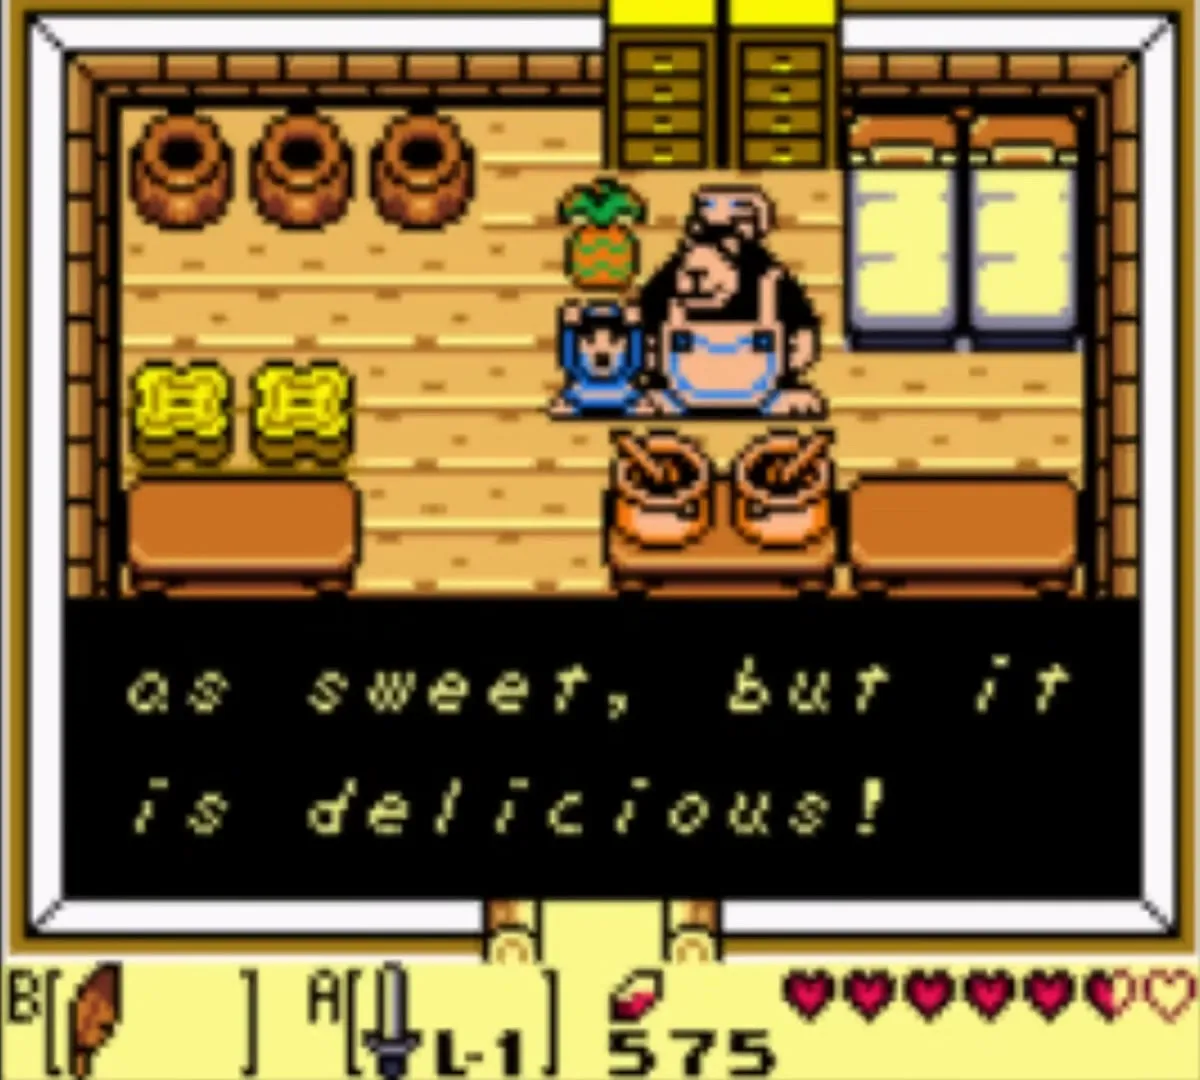
Chef Bear lives in the house in the southeast of Animal Village. He turns the Honeycomb into a Pineapple.

8. Hibiscus
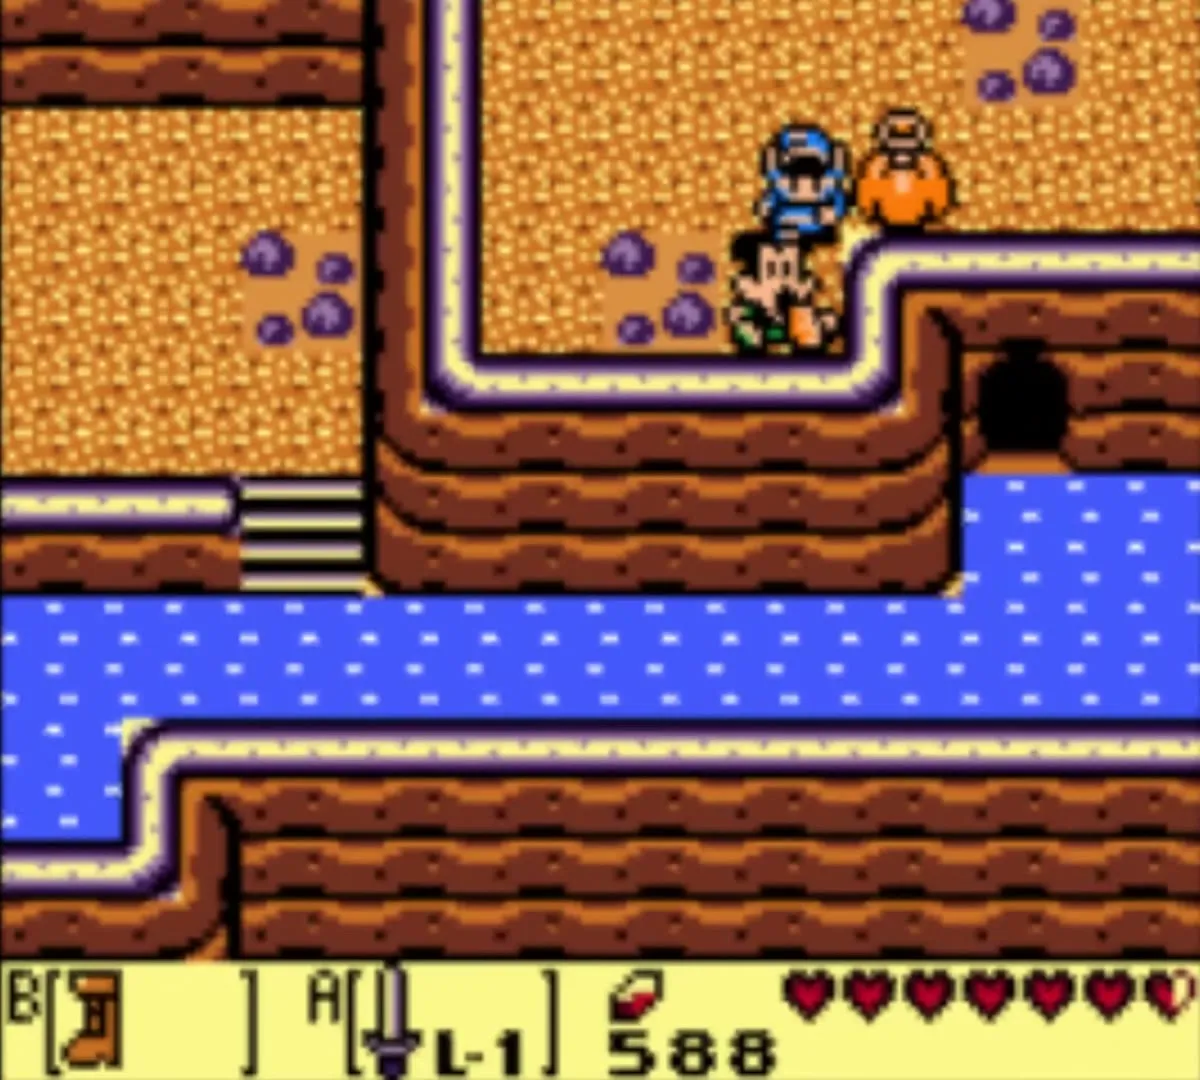
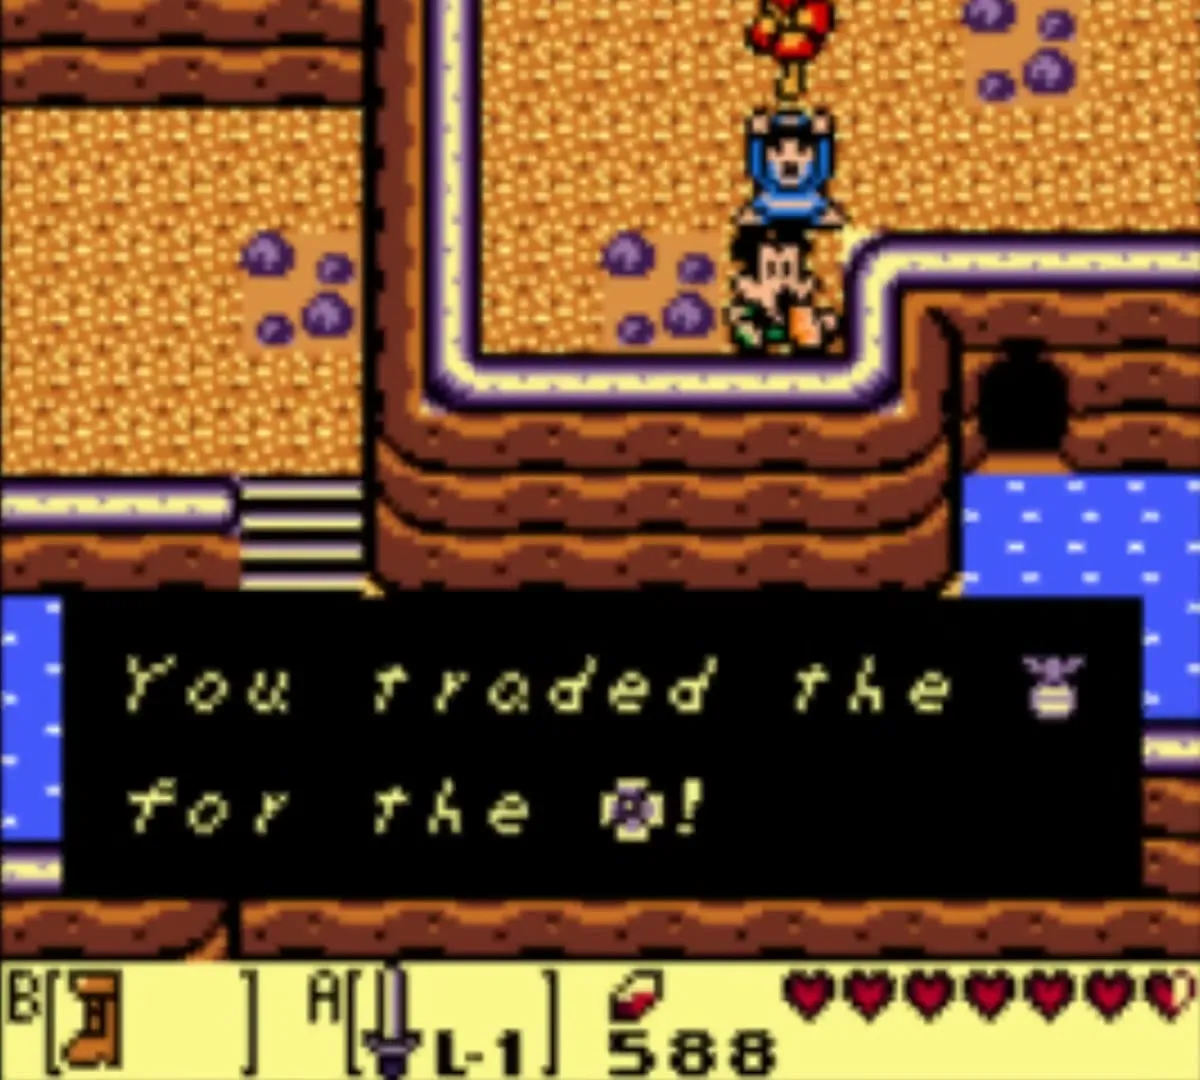
Papahl, a man who has wandered off and lost his way, is somewhere in the Tal Tal Mountain Range. Search its caves and ledges until you find him. Give him the Pineapple and he thanks you with a Hibiscus.
Steps 9 to 11: Animal Village, the forest and Mabe Village

9. Letter
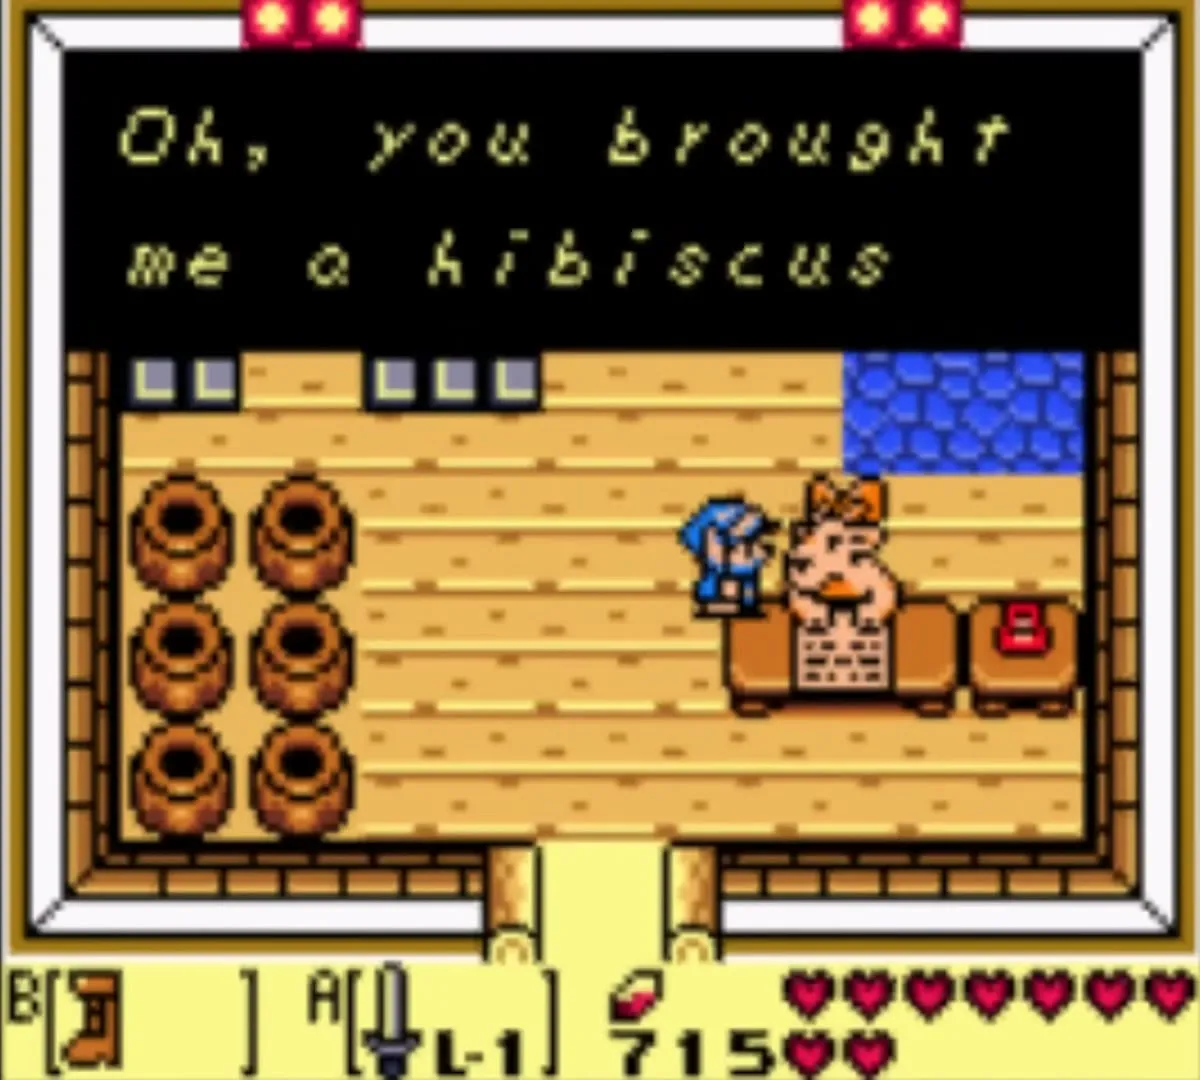
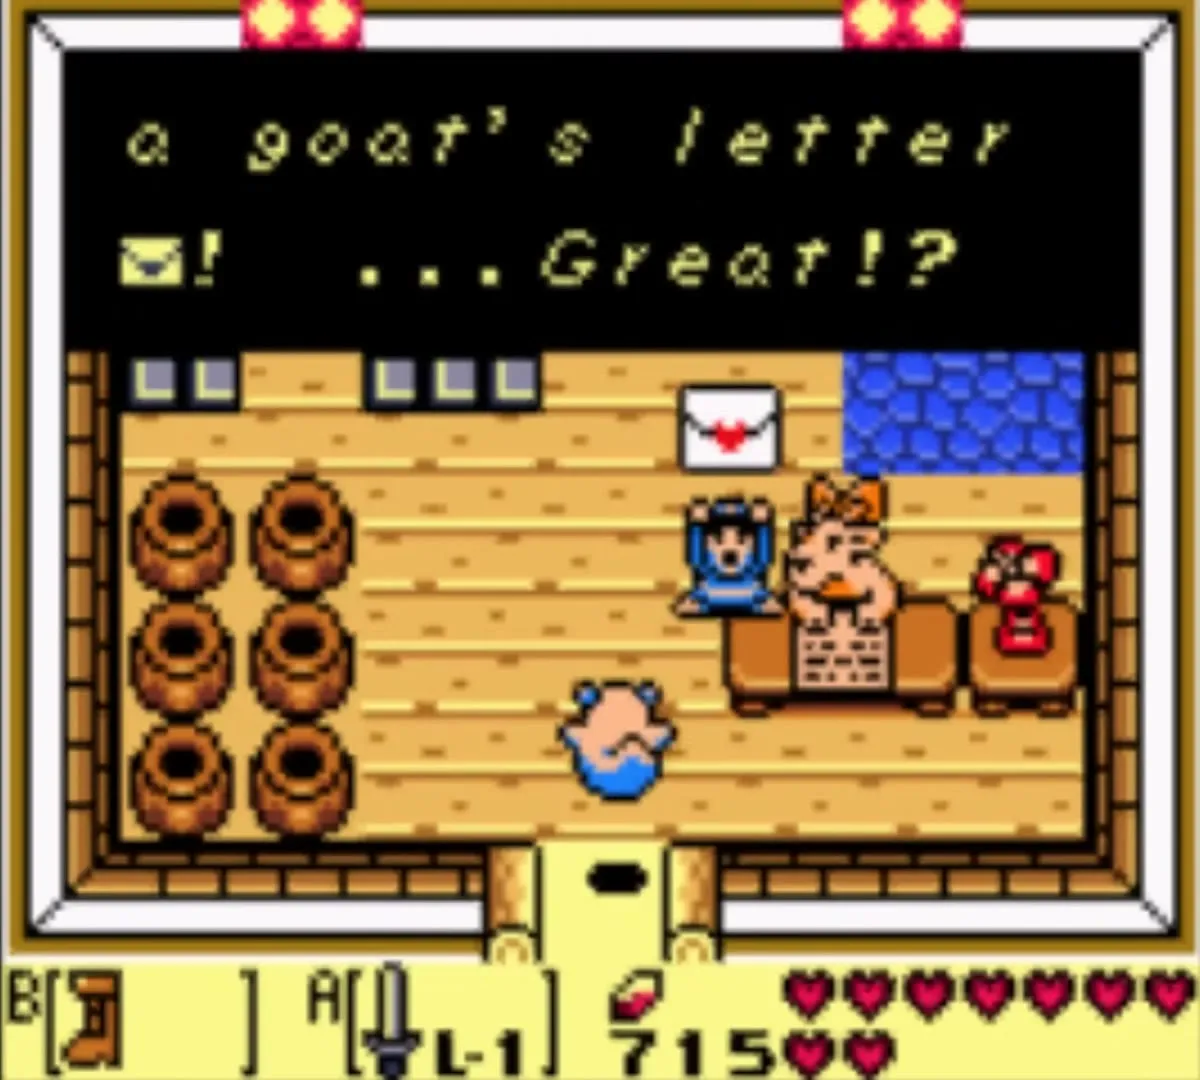
Take the Hibiscus to Christine the goat, in her house in Animal Village. She asks a favour: agree to carry her letter to Mr. Write and you receive the Letter.

10. Broom
Mr. Write’s house is north of the Mysterious Forest. Hand him the Letter. He is delighted with it and gives you a Broom. The Martha’s Bay chapter covers these three steps in route order.


11. Fishing Hook
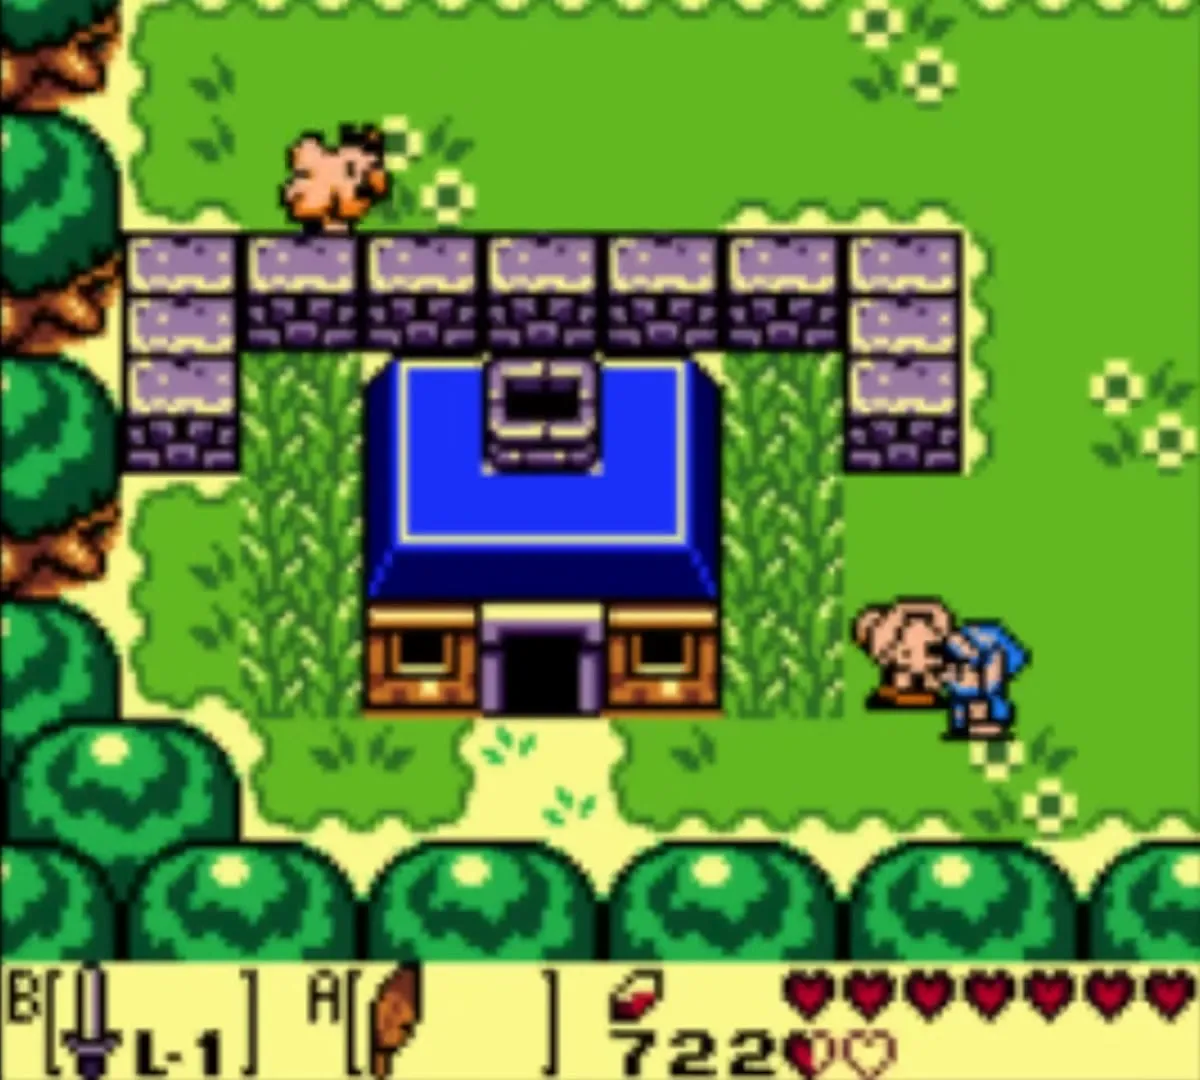
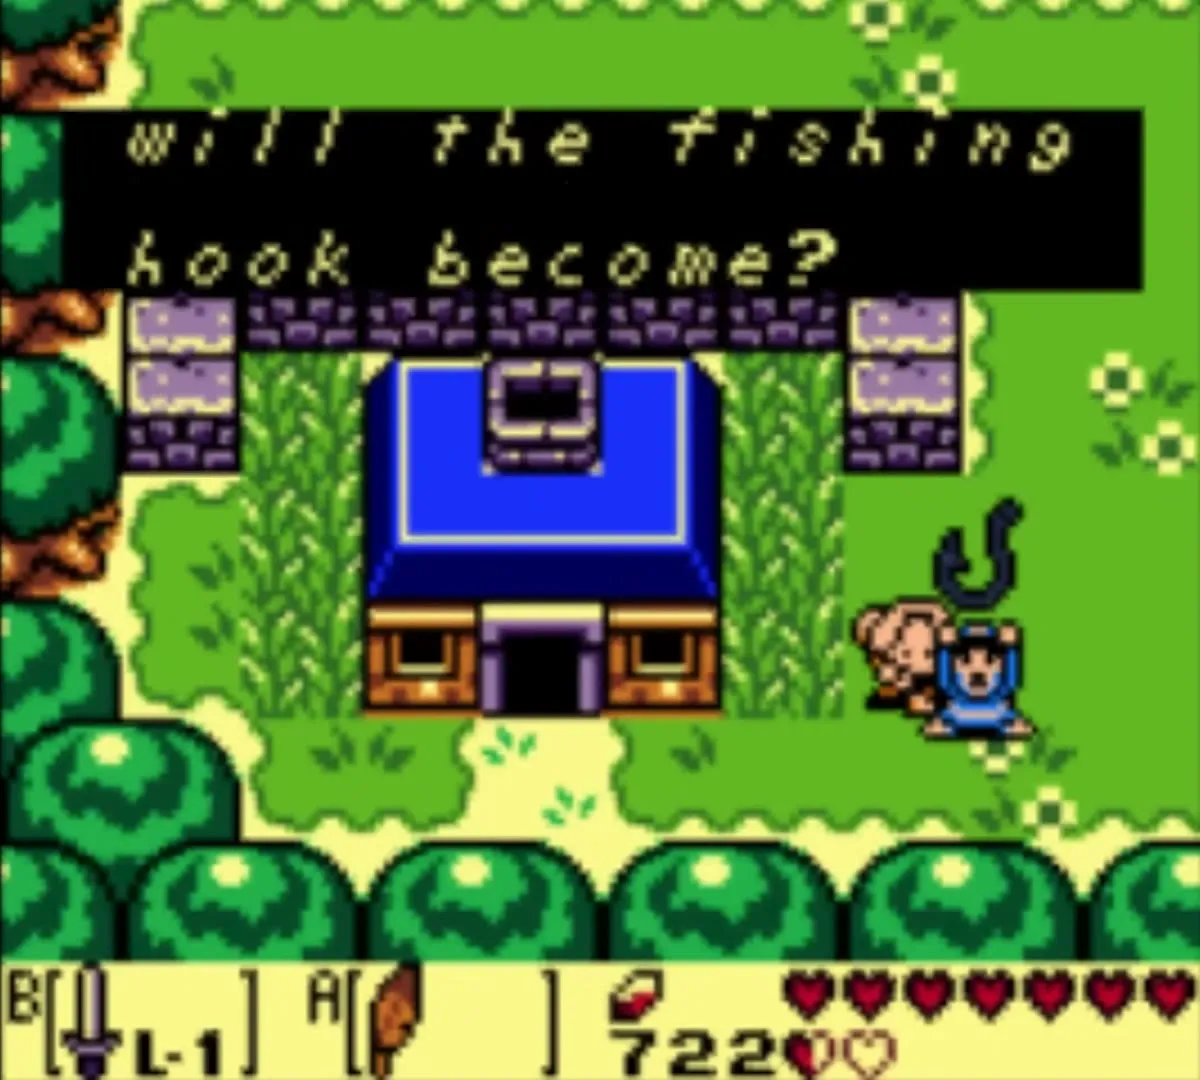
Carry the Broom to Mabe Village and give it to Grandma Ulrira, who is sweeping outside her house. She swaps it for a Fishing Hook she found while sweeping. Grandma Ulrira is the old woman here; do not confuse her with her husband, Grandpa Ulrira, who only gives hints by phone.

Steps 12 to 14: Martha’s Bay

12. Necklace
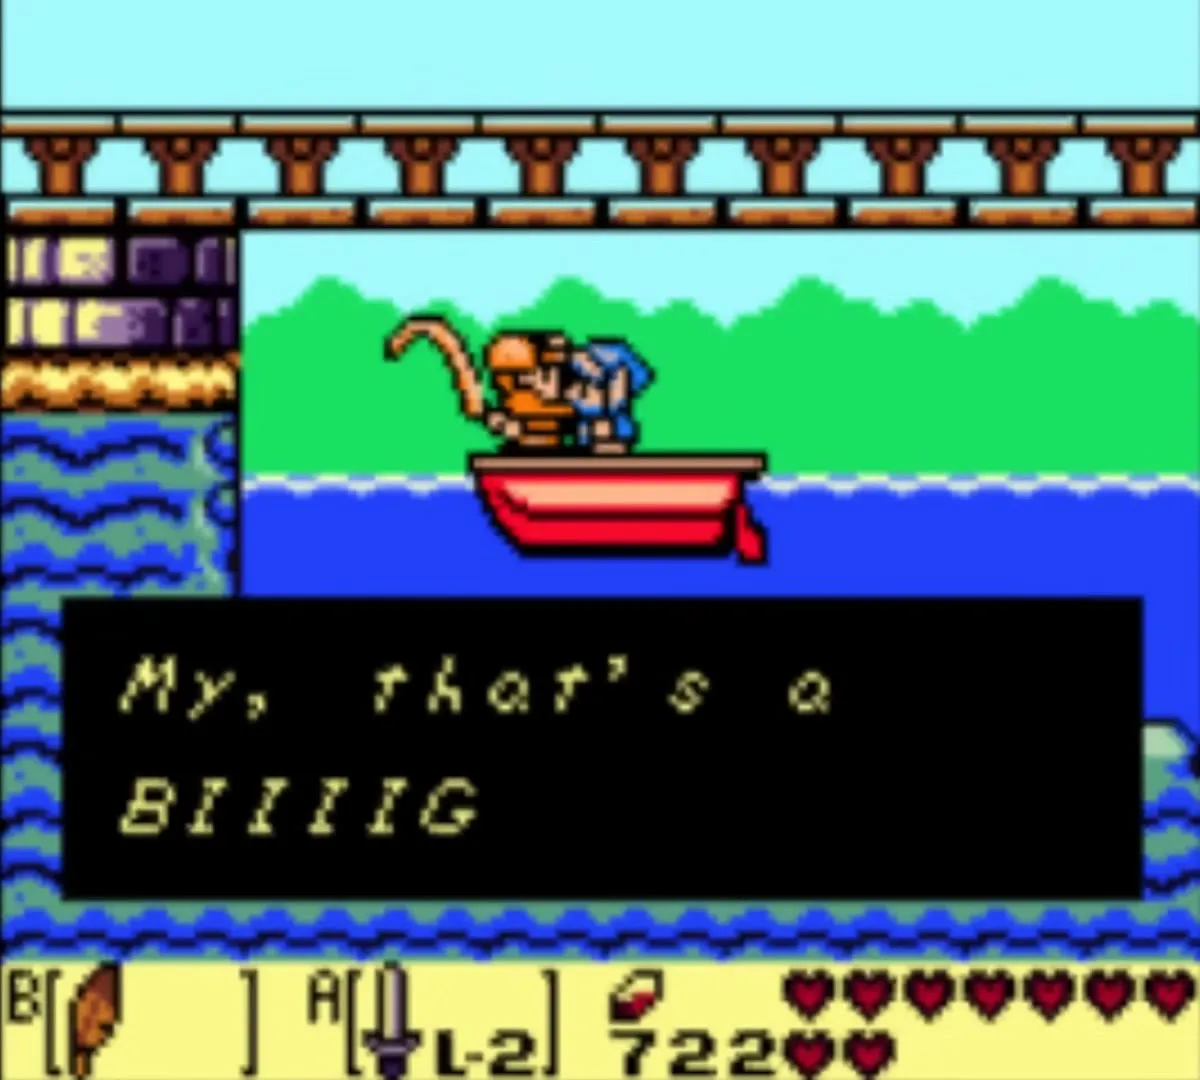
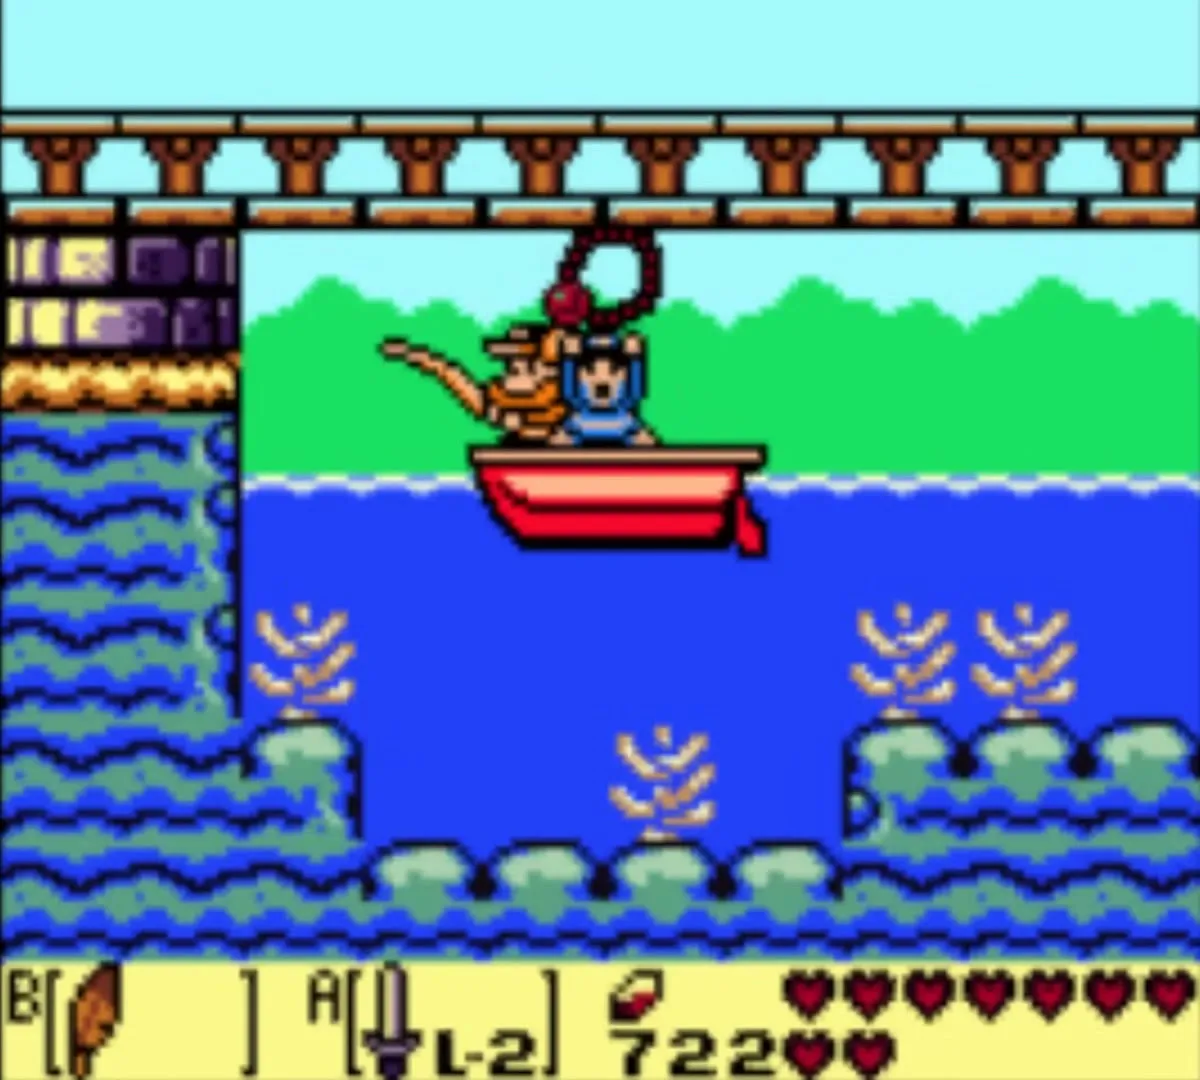
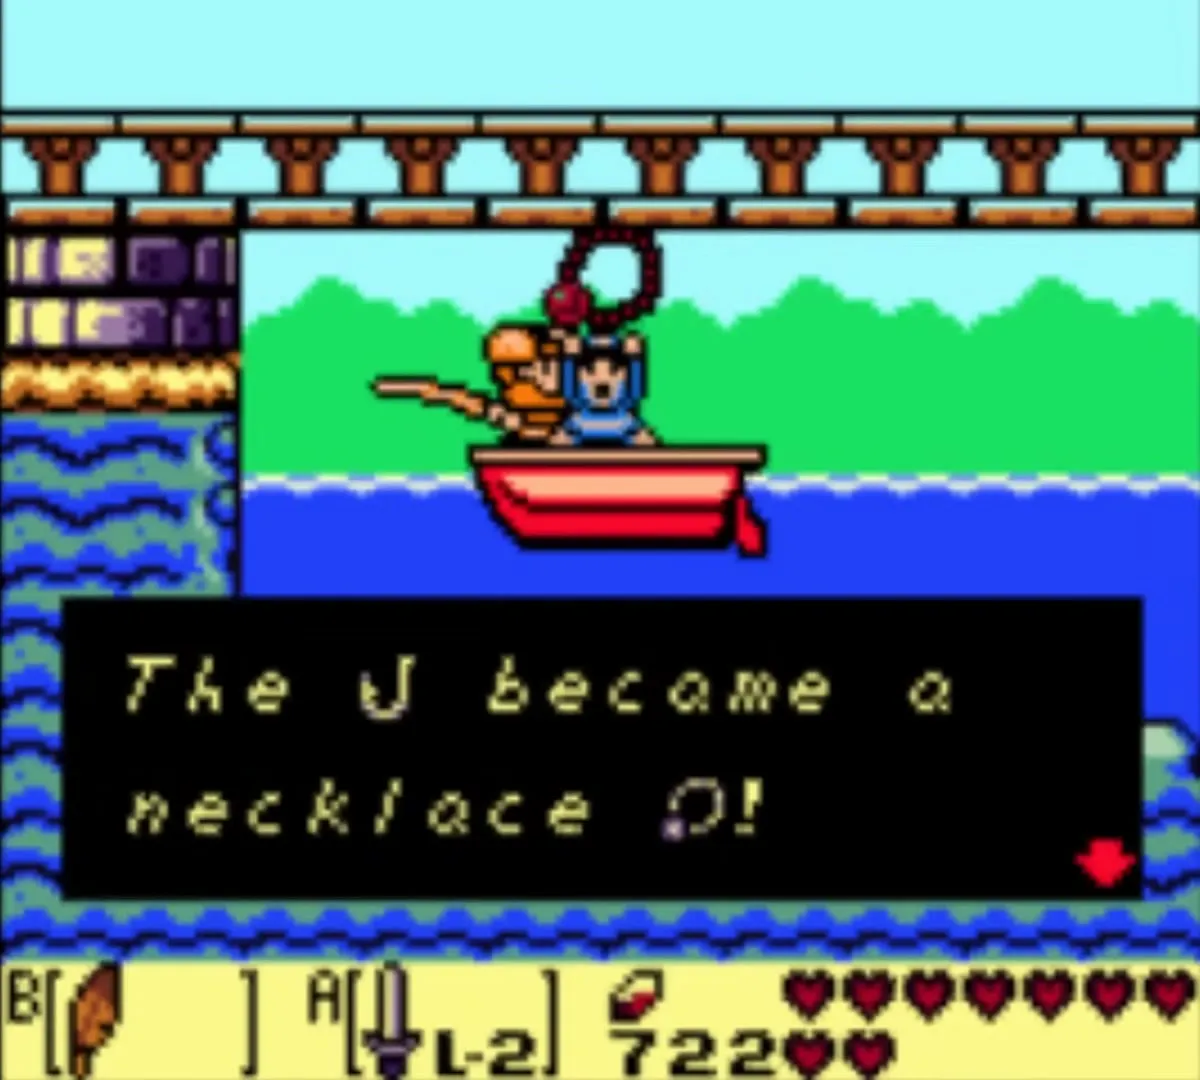
The Fishing Hook belongs to the fisherman in the boat under the bridge in the southeast of Martha’s Bay. With the Flippers, swim to the bridge and dive beside it to reach the sheltered spot by his boat, then use Roc’s Feather to hop up onto the boat. Give him the hook and he fishes out a Necklace.

13. Mermaid’s Scale
Swim to the Mermaid, who sits near the entrance of Catfish’s Maw in the north of the bay. She says the Necklace is hers, takes it, and gives you a Mermaid’s Scale. In the original black-and-white releases the Mermaid had lost a Pink Bra instead, but the Game Boy Color version uses the Necklace.


14. Magnifying Lens
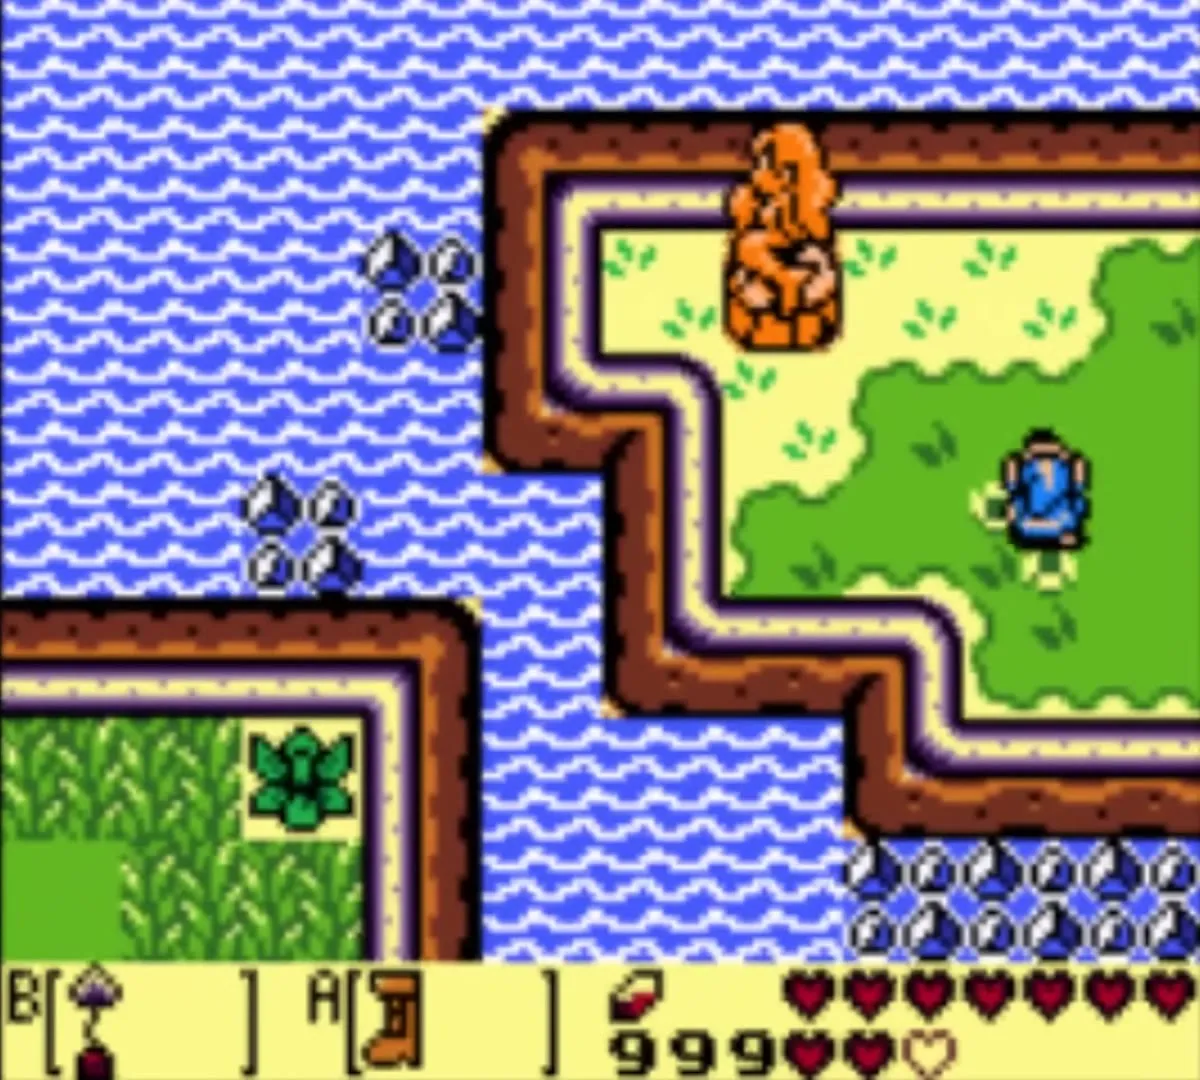
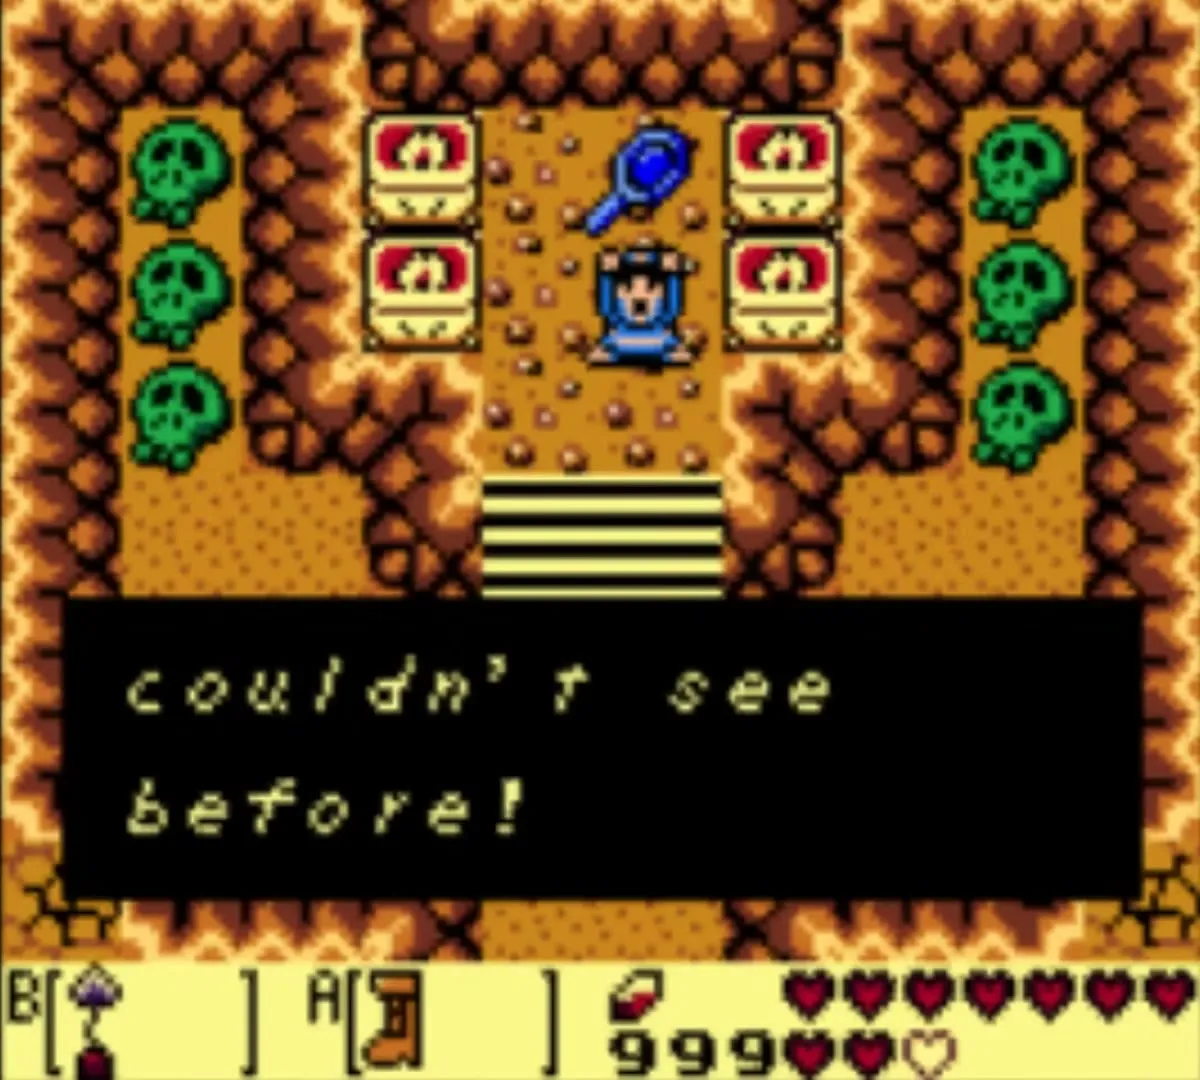
Take the Scale to the Mermaid Statue on the south shore of Martha’s Bay, on the Animal Village side. You need the Hookshot to cross the water to it, which means finishing Catfish’s Maw first. Talk to the statue, which is missing its scale, and place yours on it. The statue slides away and opens stairs: go down the stairs it uncovers and collect the Magnifying Lens. The Ancient Ruins chapter follows this step by step.
Optional: swapping for the Boomerang
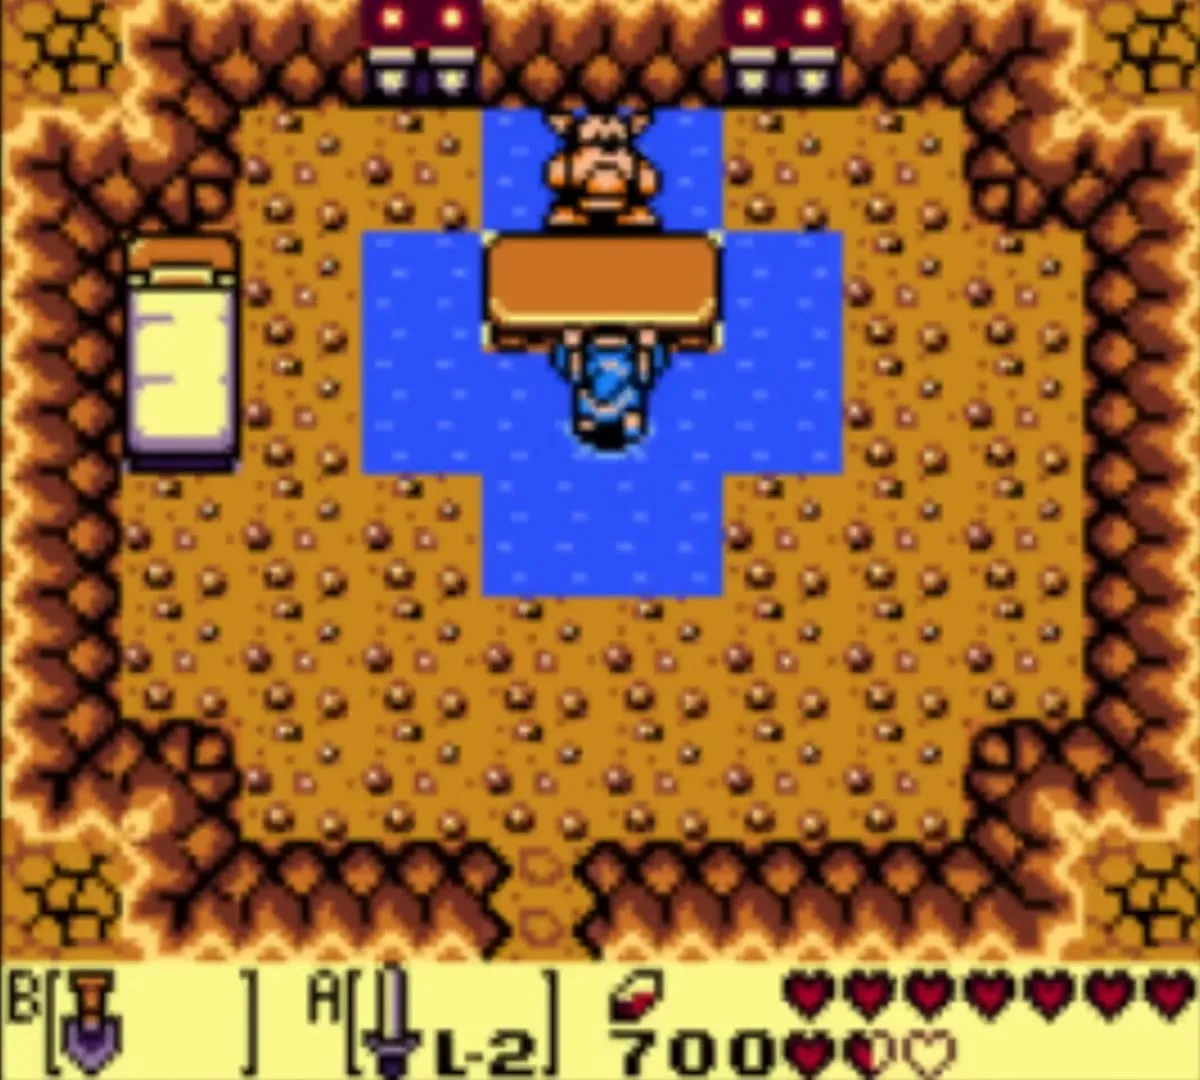
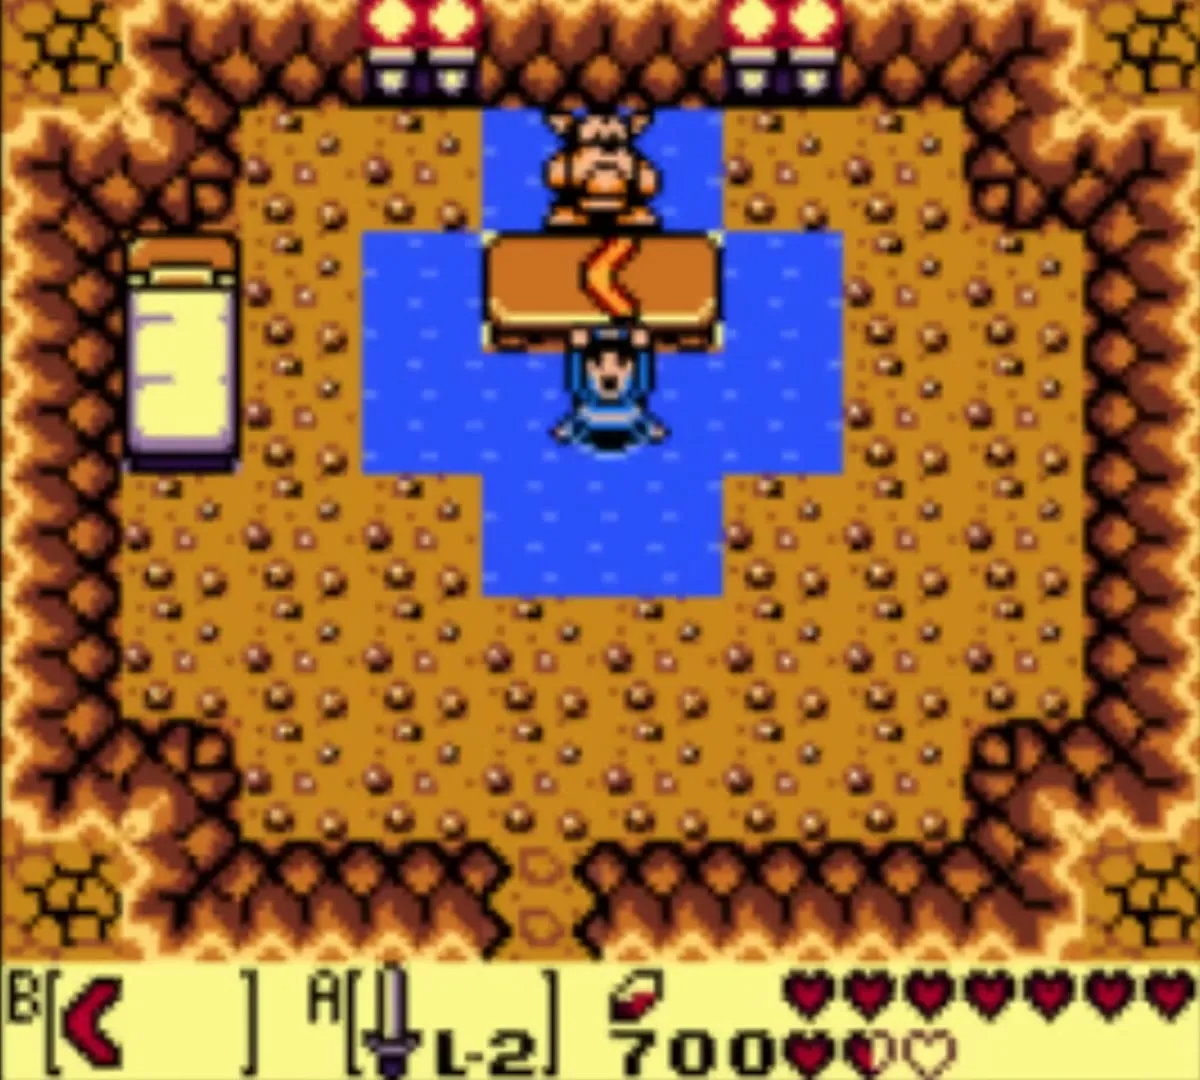
The Lens lets you see a Goriya in a hidden room on Toronbo Shores. Bring Bombs, find the cracked wall south of the monkey who throws coconuts, and blow it open. The Goriya sits behind a table inside and offers to trade one of your items for a Boomerang.
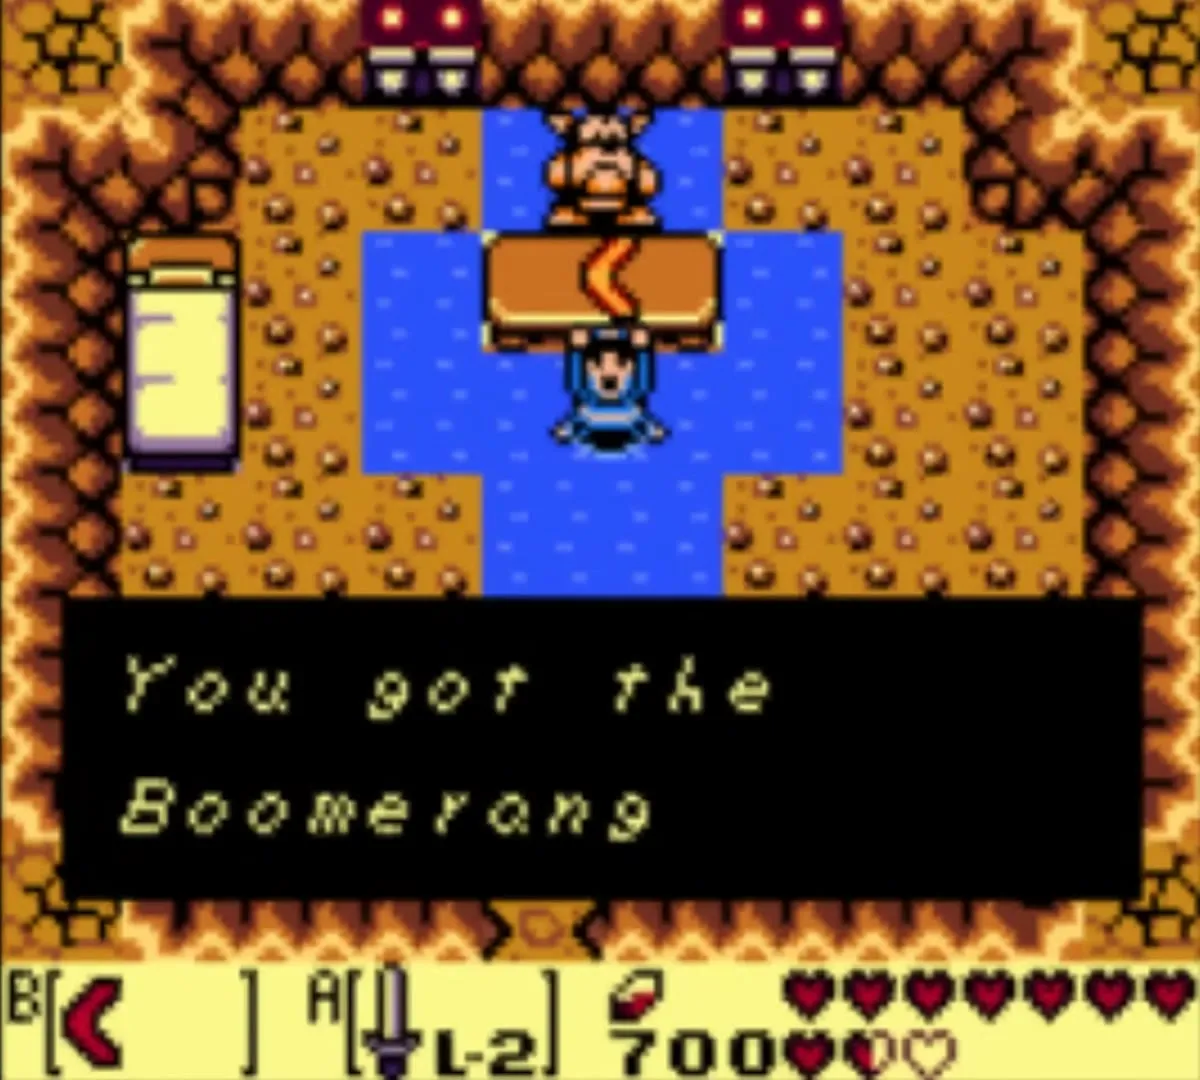
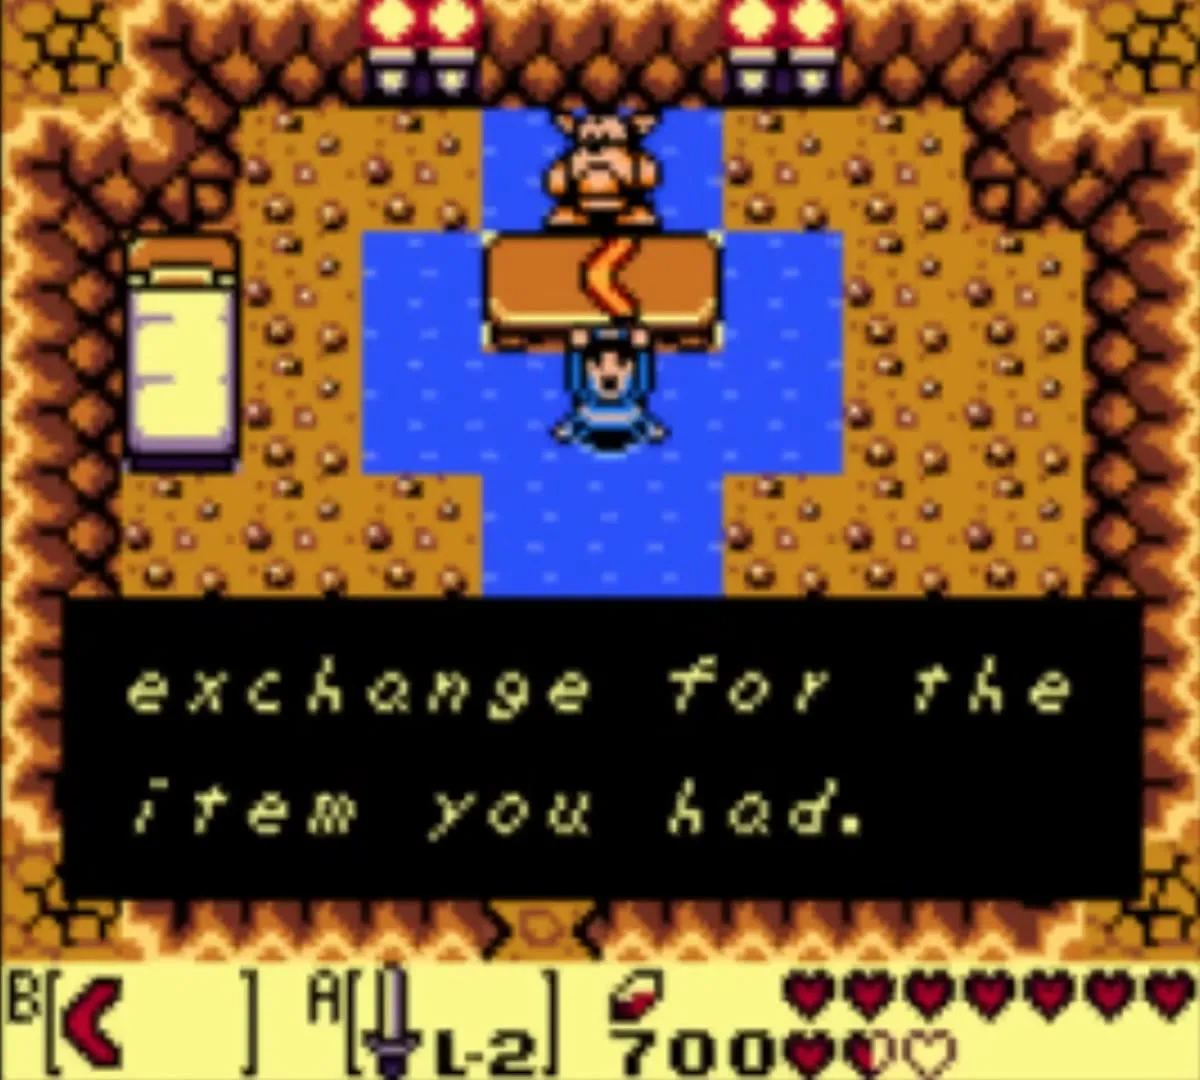
This is a loan, not a gift. He keeps whatever you gave him, and you can speak to him again at any time and hand the Boomerang back to get your item returned, as often as you like. The Shovel is a good thing to leave with him once every digging spot is done. He refuses things such as the Shield, Power Bracelet, Bombs, Magic Powder and the Bow. Keep the Boomerang with you for the final boss in the Egg, because one hit destroys DethI on the Game Boy Color.
What the Magnifying Lens does
With the Lens in your pack you can see the Zora swimming in the Animal Village house for the “I Found Zora” photograph, talk to the fisherman again for “Can’t Swim?” (see the Photographs page), spot the Goriya, and read the book in the Mabe Village library that gives the route through the Wind Fish’s Egg. Nothing in the sequence is missable, so there is no penalty for leaving the Lens until after the dungeons.