A Link to the Past 100% Completion Walkthrough
- Princess Zelda Rescue : Infiltrate Hyrule Castle to rescue Zelda and kickstart Link’s epic quest.
- Eastern Palace : Solve Armos Knights’ traps in your first dungeon to claim the Pendant of Courage.
- Desert Palace: Navigate shifting sands and defeat Lanmolas to earn the Pendant of Power.
- Tower of Hera: Climb Death Mountain’s Tower to obtain the Moon Pearl and final pendant.
- The Master Sword & Hyrule Castle: Claim the Master Sword, confront Agahnim, and set your destiny in motion.
- Dark Palace: Explore the Dark World’s Palace and free the first Maiden from darkness.
- Light World Exploration: Unlock warps, collect hearts, and prepare for deeper Dark World dungeons.
- Swamp Palace: Use Cane of Somaria blocks to navigate the toxic swamp and rescue another Maiden.
- Skull Woods: Uncover hidden tunnels and puzzles among the skull trees to free a trapped Maiden.
- Gargoyle’s Domain: Enter via pitchfork statue, secure the Titan’s Mitt, and beat Blind the Thief.
- Ice Palace: Traverse icy floors, gain Blue Mail, and defeat a freezing foe.
- Misery Mire: Master Cane of Byrna and Ether Medallion to rescue another Maiden in the mire.
- Turtle Rock: Face volcano hazards and rescue the last Maiden within this volcanic fortress.
- Ganon’s Tower : Climb the tower’s gauntlet of traps and minibosses to battle Agahnim.
- Pyramid of Power: The Ultimate Showdown with Ganon.
Table of Contents
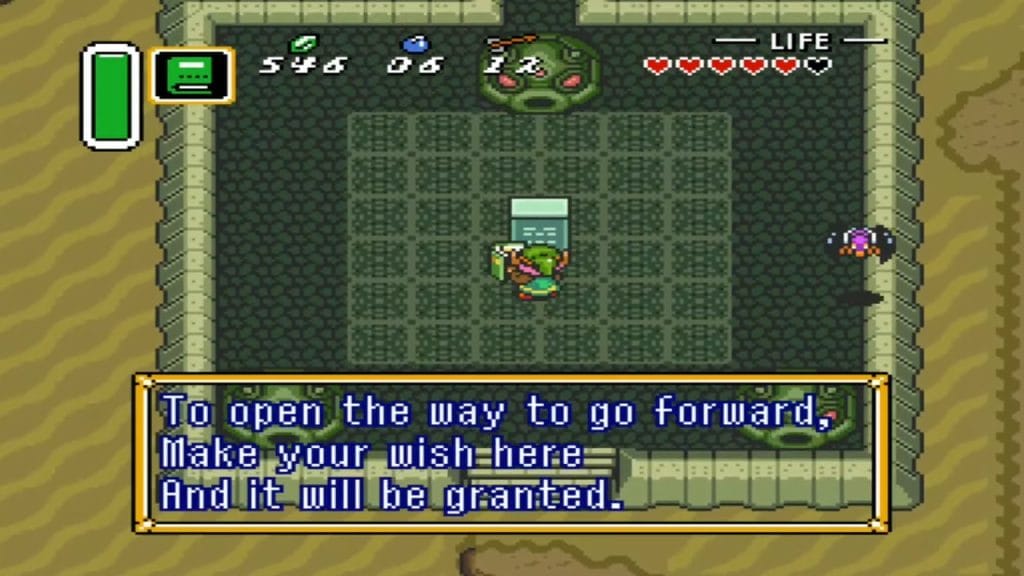
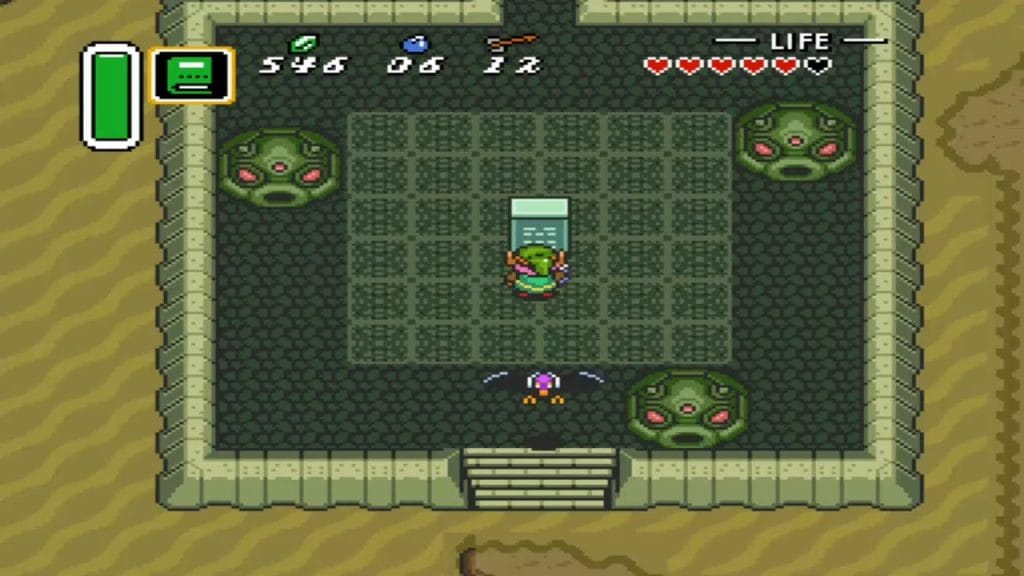
With the Book of Mudora in hand, make your way to the Desert of Mystery in southwest Hyrule. At the entrance of the Desert Palace, you’ll find a stone tablet flanked by three statues – one blocking the doorway. Stand before the tablet and use the Book of Mudora to read it. Link recites an ancient Hylian verse, causing the statues to slide aside and revealing the dungeon entrance. Take a deep breath and step into the Desert Palace, where the second Pendant of Power awaits.

Inside the vast sandy foyer, you immediately sink your boots into shifting sands. Leevers burrow up from the ground around you, but they pose little threat beyond popping in and out of the sand. Far more dangerous is the Beamos statue in the center of the hall – its single eye rotates and fires a searing laser beam if it catches sight of you. Stay along the wall and move cautiously between pillars for cover as you head north. Weave past the Leevers and the Beamos’s gaze, and clear aside a pair of clay pots blocking the passage on the right. Slip into the west corridor.
Continue north down the narrow hallway, where a red Devalant (a sand-dwelling enemy) rises in your path. These creatures create sucking quicksand pits and can spit fire if provoked. You can avoid this Devalant as it dives, or strike quickly with your sword or an arrow to dispatch it. Once past the burrowing foe, step through the open doorway into the next chamber.
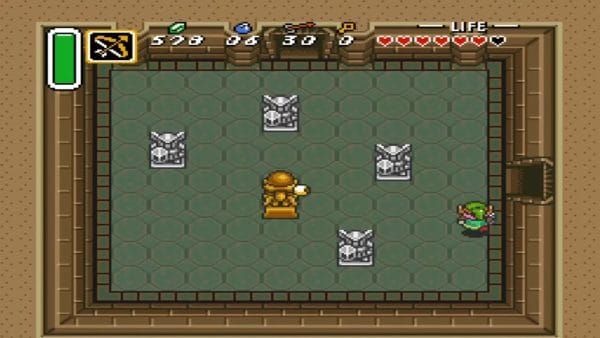
Here you’re greeted by two stone Eyegore statues, which spring to life and charge when you draw near, much like those in the Eastern Palace. A couple of Leevers also skitter about. Fighting isn’t strictly required, but it will make exploring safer. Use the pots littered around the room to smash the Eyegores from a distance, and cut down any lingering Leevers. With the room cleared, lift the central pot at the top of the chamber to reveal a hidden floor switch. Step on the switch and a treasure chest materializes. Open it to obtain the Dungeon Map. This parchment unveils the layout of the palace floors, helping you navigate the winding rooms ahead.


From the map room, exit back the way you came (southwest). Return to the main foyer and head west. In the far northwest corner of the huge entry hall, you’ll notice a conspicuous unlit torch mounted on the wall. A small key glints on top of it – far out of reach. Recall what you did at the library to knock down the Book of Mudora; it’s time to use your Pegasus Boots. Stand below the torch and dash into it. The impact jars the key loose, causing it to drop to the floor. Pick up Small Key #1 and exit this side room.


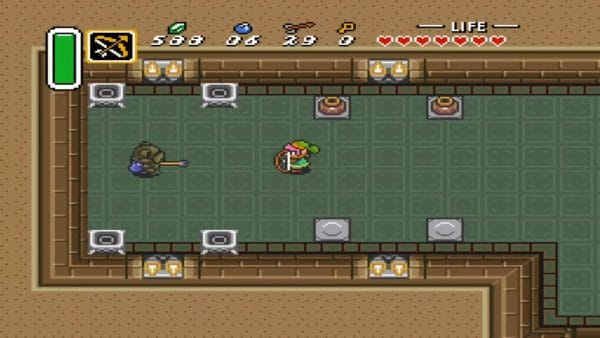
Now dash east two rooms from the main hall (back through the foyer to the right side) and then go south. You’ll arrive at a locked door on the floor’s lower level. Use the small key to unlock it and head through. The next chamber is crawling with blade-like Popo creatures clinging to the floor. As soon as you step inside, they detach and slither toward you. Keep moving and slash the three Popos in quick succession. Once the last Popo falls, the northern door clicks open. Go through this now-unlocked door.


Inside, a Beamos statue’s eye homes in on you from across the room. On the far side, you spot a treasure chest – this holds the Compass. To reach it, tread carefully: stay out of the Beamos’s direct line of sight by moving when its eye is facing away. Dart between safe spots (behind blocks or pillars) when you can. When the timing is right, run up and open the chest to claim the Compass. This handy tool will pinpoint the boss’s lair on your map and help track remaining chests.


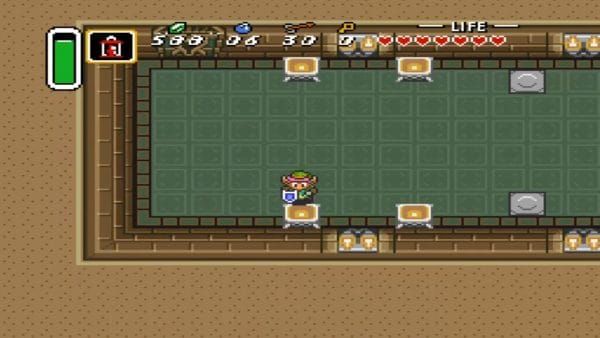
Continue north into the next gauntlet hallway. Immediately you’re greeted by wall turrets protruding from the walls. They spit out bouncing fireballs (or “medicine balls”) in steady streams across the corridor. Time your movements between volleys, dodging each projectile as you make your way forward. At the far end, you’ll find a large chest awaiting – inside is the Big Key. This master key is critical: not only will it open the Desert Palace’s big chest (containing a special item), but it also unlocks the door to the boss’s lair. With the Big Key in hand, you’ve cleared the first half of the dungeon.


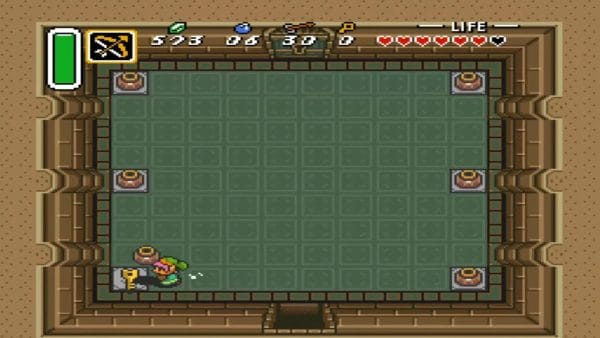
Before moving on, let’s claim the dungeon’s treasure. Backtrack westward to the main hall and then further west to the area where you found the first small key (near the northwest corner). This time, continue left one more room from there. You’ll enter a chamber lined with pots and yet another vigilant Beamos in the center. There’s nowhere to hide from its laser gaze here – you’ll need to stay on the move. Ignore the tempting array of items under the pots for now (they mostly hide rupees, hearts, or magic jars) and instead locate the floor switch hidden beneath one of them. The switch is under the pot at the top-left (northwest) corner of the formation. Lift that pot and press the switch, and you’ll hear the click of a door opening to the north. Dash through the now-open north door before the Beamos has time to land a hit.


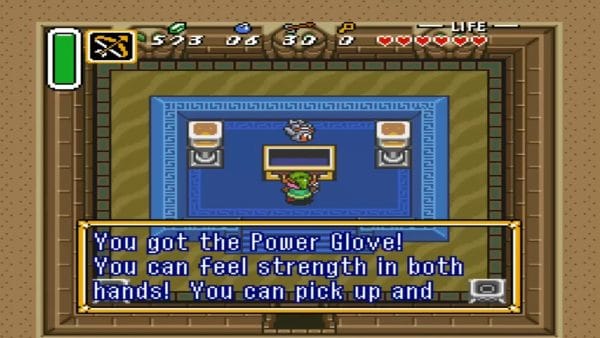
You find yourself in a quiet, small treasure room – and in front of you is a massive ornate chest. Use your Big Key to pop it open. Inside lies the Power Glove, one of the palace’s sacred relics. “You feel strength in both hands!”
Item: Power Glove
With the Power Glove, Link can lift and throw previously unmovable light-gray stones littering the overworld. This strength will be essential not only to reach the boss of this dungeon, but also to access new areas beyond. Congratulations – “You can feel strength in both hands!” (as the game cheekily puts it).
With the Power Glove secured, you’re done with the Desert Palace’s first section. Now you must reach the second half of the dungeon, where the boss lurks. Since you can’t backtrack to the entrance (a one-way shutter closed behind you), find an alternate exit. Return south to the Beamos-filled pot room, then head east to the adjacent hallway, and from there go south. You’ll come to a door on the southern wall leading outside onto the palace ledge. Step outside into the desert sunlight.


Heart Piece #8
While you’re outside, you have a chance to snag an easy Piece of Heart. Instead of immediately entering the second half of the dungeon, take a detour. You’re on a high western ledge of the Desert Palace exterior. Walk south along this sandstone ledge, being careful not to fall to the desert floor.
At the end of the path, you’ll discover a shimmering Heart Piece waiting for you. Grab Piece of Heart #8 – you’re now one step closer to another full heart container. With that collected, head back north along the ledge.


Now lift the two light rocks blocking the nearby cave entrance – a trio of ominous stone eyes above the door marks it as part of the palace. Thanks to the Power Glove’s might, you can easily toss the boulders aside. Enter this doorway to delve into the upper floor of the Desert Palace.
On this higher floor, the path to the boss is fairly linear but filled with new traps. In the first room, another Beamos statue guards several push-blocks. Quickly push the middle block on the right wall downward; this clicks open the north door. Dash through to avoid the Beamos’s beam.
In the next chamber, tiles on the floor begin to rattle and launch themselves at you one by one – the infamous flying tiles trap! As each tile rises, you can either swipe it out of the air with your sword or simply step aside and let it crash. If you’re swift, you can also ignore most of the tiles and focus on escaping. Near the room’s far end, under the one of the pots, lies Small Key #2. Rather than waiting out the entire tile barrage, run over, lift the pots quickly (the key is under the leftmost of the four pots in the corner), and grab the key. Unlock the door on the east wall and rush through to safety.
Take a relieved breath in the next room – it’s quiet for a moment. But as you move forward into the room after that, a gang of jelly-like Popos drop from the ceiling to attack. Simultaneously, a Beamos in the corner tracks you. There’s no exit until you defeat every Popo here, so get to work. Keep moving to avoid the Beamos’s laser and cut down all the Popos. When the last one falls, the north door opens. Go through it.
Now you’re in a long, sand-filled hall populated by three Beamos statues spaced out along the room. This is one of the trickiest stretches: nearly every spot in the room is watched by at least one rotating eye. You’ll need to stay on the move constantly. Zigzag through the room, pausing only a split second behind pillars or in blind spots to avoid simultaneous laser fire. Along the way, check under the line of pots near the middle-right of the room – under the third pot from the right you’ll find Small Key #3. Snatch it quickly, then dash to the locked door at the north end. Use the key and slip through.


In the following chamber, you face another onslaught of flying floor tiles and yet another locked door. As before, you can try to fend off the tiles with well-timed sword swings, but an easier method is to step into the doorway you just came from – the door frame will shield you as tiles smash harmlessly against the wall. Once the carnage subsides (or sooner, if you’re daring), locate the four pots in this room’s corners. Under the upper-right pot is Small Key #4. Grab it and quickly unlock the southern door to escape the tile trap.
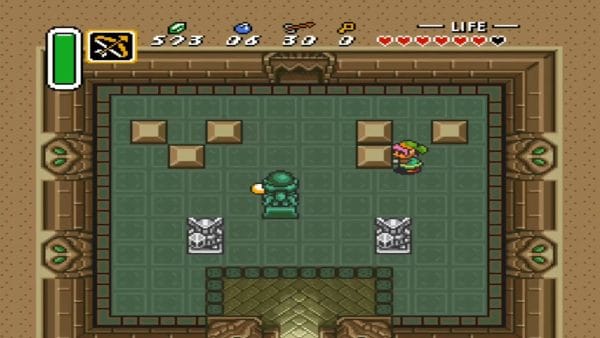
Proceed into a darker chamber where an intimidating red Eyegore stands guard. This cyclopean statue monster won’t budge until you draw near, at which point it will spring to life and charge. Have your Bow at the ready – two well-placed arrows to its eye will take it down (alternatively, several sword strikes do the job, but attacking from a distance is safer). Once the Eyegore is defeated, the path forward is safe.
You find yourself at a dead end with four unlit torches arranged around the room. This is a familiar Zelda puzzle: equip your Lantern and light all four torches in quick succession. As the last torch ignites, the room rumbles. A section of the western wall slides open, revealing the entrance to the Desert Palace’s boss lair. Refill your hearts and check your gear – when you’re ready, use your Big Key to unlock the boss door and step inside.
Boss: Lanmolas
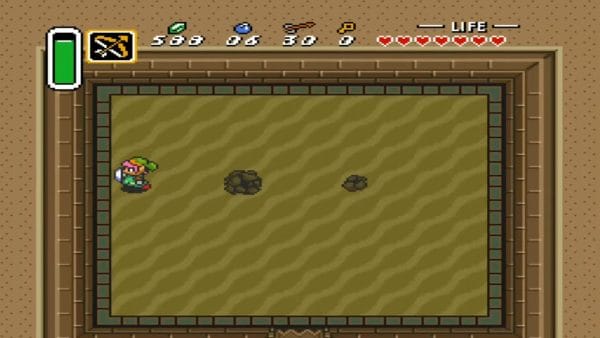
The bosses of the Desert Palace are the Lanmolas, a trio of giant subterranean sand worms. The battle takes place in a large sandy pit. At first, only their positions in the sand are visible – watch for patches of shifting sand on the ground, as these indicate where a Lanmola is about to emerge.
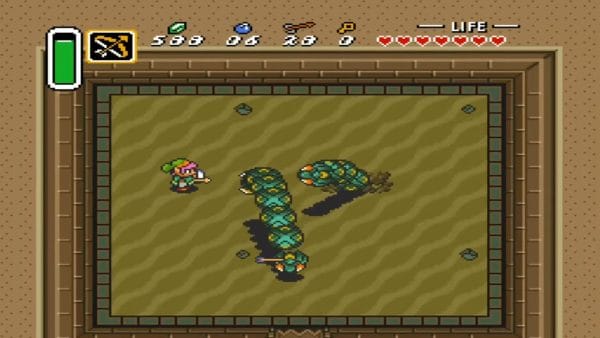
Suddenly, one by one, the massive worms burst out of the earth in an arc. As each Lanmola erupts, it flings a plus-shaped spread of rocks in four diagonal directions. Stay out of those diagonal lines to avoid being pelted by debris. The Lanmolas then dive back underground, only to repeat the cycle.
To damage the Lanmolas, target their heads right as they surface or just as they begin to burrow back down. These moments are brief but predictable if you watch the sand shifts. A well-timed sword slash is effective, and a charged spin attack can hit hard while keeping you safely knocked back from the ensuing rock spray. Some heroes find the Ice Rod or arrows useful here, but landing those shots can be challenging. Focus on one worm at a time if possible; each Lanmola requires multiple hits to defeat. Stay on the move to dodge erratic rock projectiles and keep positioning yourself a safe distance from where the next worm will pop up. After enough hits, one Lanmola will explode into dust. With two remaining, the fight gets a bit easier – there are fewer projectiles to dodge.


When the battle is down to the final Lanmola, be alert: the last worm becomes enraged. It moves faster and, upon erupting, scatters eight rocks instead of four (covering both diagonal and cardinal directions). Quickly sidestep or move between the gaps of these larger volleys. Continue striking its head whenever it surfaces. After a flurry of blows, the third Lanmola will also crumble apart, vanquished at last.
As the dust settles, a Heart Container materializes amid the sand. Pick it up to fully heal yourself and increase your maximum health by one heart. Well earned! Finally, claim the glittering green Pendant of Power that remains. This is the second of the three pendants required to retrieve the Master Sword. The old men of legend would be proud.


With the Pendant of Power in hand, you are automatically teleported outside the Desert Palace entrance. Two pendants down, one to go! Your next goal is the Pendant of Wisdom at the Tower of Hera on Death Mountain. However, before rushing off, now is a perfect time to collect several useful items and upgrades made accessible by the Power Glove. You’ll need some of these tools for the challenges ahead. Prepare for a detour across Hyrule to gather a pair of flippers, new equipment upgrades, and a couple more Heart Pieces to bolster your strength.
Zora’s Domain and the Waterfall of Wishing
Leave the desert by heading east from the palace and dropping off the ledge to the desert floor. Now that you possess the Power Glove, you can access Zora’s Domain in the northeast regions of Hyrule. If you need Rupees, consider scouring the desert cave south of the palace (or other treasure spots) until you have at least 500 Rupees saved up – you’ll need them soon. Once you’re ready, make your way to Link’s House and then travel east toward the Magic Shop (the Witch’s Hut). North of the Magic Shop, a bridge leads to the area just outside Zora’s domain.


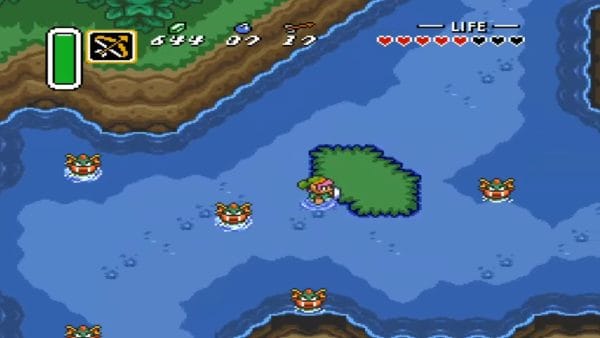
Fight or avoid the River Zoras and Octoroks along the riverbanks as you go. To the east of the Potion Shop, a large gray boulder blocks the path forward. Lift it with your newfound strength and toss it aside. Continue along the winding path through the marshy shallows, dashing through the piles of rocks that obstruct the trail. The enemies here (electric Buzz Blobs on land and lurking Sand Crabs near the shore) can be bypassed or defeated – take care, as Sand Crabs hit hard if they ram into you. Keep moving north and you will enter Zora’s Waterfall, the domain of the river king.


You’ll know you’ve arrived by the change in terrain: streams cascade down ledges into sparkling pools. As you wade through the shallow water, watch out for the hostile Zoras popping up. These Zoras peek from the water’s surface and spit fireballs at intruders. Many will submerge before you can retaliate, so focus on staying safe – move in spurts and use your shield to block fireballs when possible. Some Zoras flop onto land and walk toward you; a stunned one can even be lifted and tossed back into deeper water, but you can generally just outrun them.
Follow the winding shallow riverbed north and then east. You’ll glimpse a Heart Piece on a high ledge to your right as you go – that’s one we’ll get in a moment. For now, stick to the lower path. When the waterway forks, take the southern route and continue east.


Eventually, you reach a towering waterfall at the northeastern extremity of the area. As you approach, a giant Zora – King Zora XVI himself – emerges from the falls. Speak to King Zora, and ask about the fabled Zora’s Flippers. The grizzled monarch offers to sell you a pair for 500 Rupees. It’s a steep price, but a necessary purchase: the Flippers let you swim in deep water anywhere in Hyrule. Accept the deal and receive Zora’s Flippers, enabling you to dive and paddle freely. (These flippers are required later in your quest, and also grant access to hidden whirlpool warps throughout the land.)


With your new Flippers equipped, you can finally navigate Zora’s domain’s deeper waters. From King Zora’s throne, swim straight down (south) into the waterfall below to leap off into the lower basin. Link plunges down and lands below in a pool surrounded by grassy banks. From here, walk south onto the grass and then west along the shoreline.


Heart Piece #9
Before leaving Zora’s domain, claim another Heart Piece. After jumping the small waterfall, you should see a patch of dry land to your left. Walk to the left (west) onto this path. Tucked in a nook off the main river, amidst the grass and surrounded by wooden stakes, you’ll find Piece of Heart #9 waiting for you.
This heart piece is on a little ledge beside the cascading waters – a reward for your aquatic expedition. Pick it up to further increase your heart count (once combined with others). With that, hop off the ledge and let the current carry you further south out of Zora’s Waterfall area.


As you exit Zora’s domain (back to the overworld area southwest of the falls), stick to the left side of the river. You’ll notice another roaring waterfall flowing down the cliffside here. This particular waterfall hides a secret cave behind its curtain. Now that you can swim, jump into the deep water and swim into the waterfall on the left side of the pool. You’ll pass right through the rushing water into a hidden cavern known as the Waterfall of Wishing.


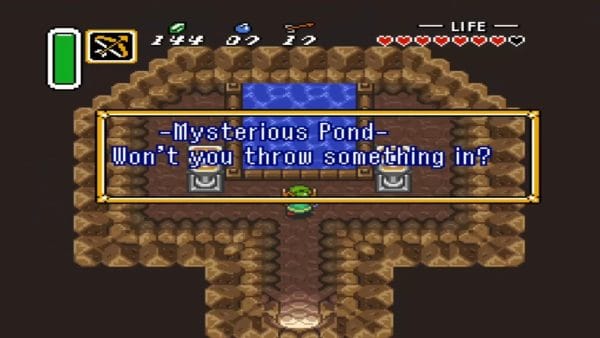
Inside this secret cave, the atmosphere is serene. Wade forward to the edge of a mysterious pond. A sign next to the water reads: “Throw an item in – see what happens.” This is one of Hyrule’s great fairy fountains, sometimes called the Mysterious Pond. Here, a friendly Great Fairy offers to upgrade certain items if you prove honest about dropping them in. Stand at the water’s edge and face the pond. When prompted, select an item from your inventory to throw into the water.
For now, toss in your Boomerang. The blue boomerang sinks, and a moment later a beautiful fairy rises from the pond with it in hand. She asks if you dropped the boomerang. Answer “Yes” – honesty is rewarded. Pleased, the fairy returns your item in a better form: you receive the Magical Boomerang (red in color).


Next, open your inventory and throw in your Fighter’s Shield (the small blue shield you’ve had since the castle). Again the fairy appears, confirming your deed, and grants you the Red Shield (also known as the Fire Shield) in return.


You can also toss an empty bottle in the pond – the fairy will fill it with Green Potion (Medicine of Magic) free of charge. When you’re done with upgrades, thank the generous fairy and exit the cave.
Emerging back by the waterfall, you might notice a curious circular ripple in the water nearby. This static whirlpool is actually a warp portal – one of several Zora’s Waterways scattered around Hyrule’s rivers. Swim into the whirlpool directly south of the waterfall cave. In a flash, you’re whisked across the map and surface in a vast lake.


Lake Hylia – Upgrades and the Third Magic Bottle
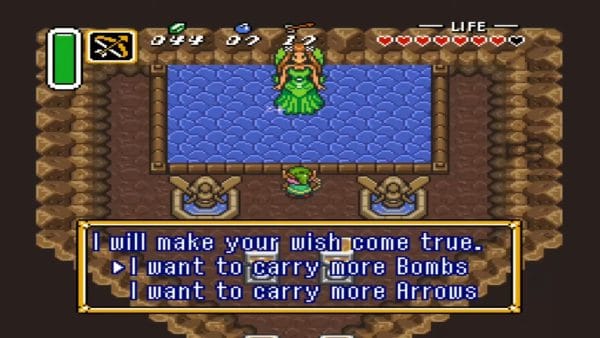
You have arrived in Lake Hylia, at the southeast corner of Hyrule. Swim north to a small island with a lone cave entrance – this is a secret fairy fountain known as the Pond of Happiness. Step onto the island and enter the cave. Inside, approach the central pond and you’ll be prompted to throw in Rupees as an offering. This magical pond accepts donations to increase your carrying capacity for bombs and arrows. It’s time to make a choice.


Item Upgrade: Bomb Capacity
At the Pond of Happiness, choose to toss in Rupees – you can start with increments of 5 or 20. After you’ve thrown a total of 100 Rupees, the benevolent fairy Queen Venus emerges and asks if you’d like to carry more Bombs or Arrows. Select “Bombs,” and Venus grants you an increased bomb bag. Your maximum bomb capacity rises from 10 to 15 bombs. (If you had chosen arrows, your quiver would increase from 30 to 35 arrows instead.)
Each time you feed the pond another 100 Rupees, the fairy will appear again and offer another upgrade, increasing your capacity by 5 each time. You can repeat this process to eventually reach a max of 50 Bombs and 70 Arrows. For now, one or two upgrades should suffice. (Note: Upgrading arrows is also beneficial, but you can return later for that if you’re low on funds. The order is up to you.) When finished, exit Venus’s cave. (If needed, there’s a side alcove in the cave – bomb the eastern wall to find a cache of small fairies to refill your health or bottles.)
Magic Bottle #3:
Outside on the island, you’ve likely spent a lot of Rupees on upgrades, but the dividends in ammo capacity are worth it. Our next stop is for another Magic Bottle. Jump back into Lake Hylia from the island and swim northeast. You’ll see a narrow watery passage leading under a long bridge. Follow this waterway up one screen and then west (left) one screen, all while staying in the shallow canal.


You’ll end up beneath the bridge that connects Hyrule’s east and west regions (south of the castle). Swim up toward the bridge from below, and you’ll discover an opening into a hidden alcove. Under the bridge lives a wandering traveler (camper) with a cozy campfire.


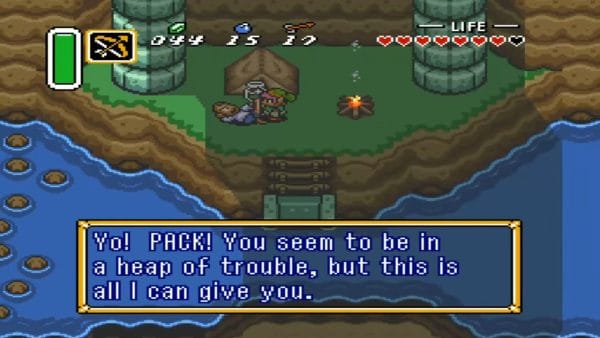
Approach the relaxing old man on the wooden planks beneath the bridge. He greets you and notices you look like you could use an empty container. As a token of kindness, he hands you Magic Bottle #3 – your third empty bottle! This bottle, like the others, can store potions, fairies, or other helpful items. Thank the friendly camper for the gift. This hidden bottle is easily missed, but now it’s yours to use.
With three bottles in hand (don’t forget to fill them with fairies or potions as needed), swim back out from under the bridge. Head south to return to Lake Hylia. Your arsenal and supplies have grown considerably from these side adventures. You should have the flippers, a stronger boomerang and shield, more bombs, and an extra bottle – all of which will make the coming journey easier.
Death Mountain Ascent – Heart Piece #10
Your final destination in the Light World before seeking the last pendant is Death Mountain, looming in the northeast. To get there, travel on foot to the area just north of the Sanctuary (or use the Hyrule overworld shortcuts if you unlocked any). With the Power Glove, you can now lift the heavy rock that was blocking the mountain passage. Near the Sanctuary, find the sign that ominously warns “No Entrance – Death Mountain ahead”. Right next to that sign is a cave opening sealed by a large gray stone. Pick up the boulder and enter the cave – this is the lone path up to Death Mountain.


Inside the dim cave tunnels, you’ll encounter an Old Man who’s lost in the darkness. Speak to him; he’s relieved to have some guidance and will accompany you, using you as his “eyes” to lead him through the cave. Light your lantern if needed and carefully escort the old man through the winding passage (avoiding the small pitfalls and Keese bats fluttering about). Partway through, he directs you to take the rightward path at a fork. Continue following his instructions – go right, then down, then loop around – until you emerge from the cave onto the rocky slopes of Death Mountain.


Outside, the terrain is treacherous. Rocks dislodge from higher cliffs and rain down around you, and hopping Deadrock creatures (stone-armored beasts) wander the mountainside. The Old Man thanks you for your help and gives you the Magic Mirror as a reward. (The mirror isn’t needed just yet, but it will be invaluable very soon.) He then heads into his mountain shelter to rest – remember that you can return to his cave anytime to talk and fully heal.


Now you must scale the mountain to reach the Tower of Hera. From the Old Man’s cave, go right and start climbing the steep ladder embedded in the mountain’s face. Partway up, head east, then ascend another long ladder leading further up the mountain. Be cautious of Deadrocks on the path – if struck, they turn to stone and temporarily block your way. Use your Hookshot (if you have it from earlier) or simply avoid them after they revive. Keep going up until you reach a ledge with two cave entrances: one directly ahead and one slightly lower to the left.


Heart Piece #10
Before entering the Tower of Hera area, there’s one more Heart Piece you can snag on Death Mountain. On the ledge with the two caves, ignore the upper cave that leads to the Tower for now. Instead, position yourself just to the right of that cave.
Below you on the left, you can see the mouth of another cave partway down the cliff. Carefully jump off the edge so that you land on that lower ledge and can enter the lower cave. (If you miss, you might tumble to an earlier part of the mountain path and have to climb back up.) Go into this tucked-away cave.


Inside, climb the short staircase and follow the tunnel around to a high ledge within the cavern. Here you’ll find Piece of Heart #10 waiting for you on the platform! Pick up the heart piece, savoring the vitality boost it symbolizes (just one more piece to complete another Heart Container). There’s also a pit nearby with some fairies if you need to refill your health – drop down and catch them with a bottle or just heal on contact. Once done, exit the cave the way you came.


Back outside, you’ll need to climb up to the Tower of Hera. Jump off the ledge to the bottom (you’ll land near where you first guided the Old Man out). Retrace your route: go left to the long ladder and climb it again all the way up, then proceed rightward across the mountain. Ascend the giant staircase once more, which brings you back to the top ledge by the cave entrance to the Tower of Hera.
Heart Piece #11
Before entering the Tower of Hera, there’s one more secret tucked away on Death Mountain – and now that you have the Magic Mirror, you can claim it. From the cave entrance, to the east is a warp tile. Stand on it to be warped to the dark world.
Walk west and stand on the area on the ground marking where the cave was. Equip the Magic Mirror and use it to return to the Light World. You’ll appear on a small, otherwise unreachable ledge with heart piece on it. This is Piece of Heart #11! Nice!


Once collected, jump off the backside of the elevation. The Tower of Hera nearby to the east. With the Power Glove, Zora’s Flippers, and your various upgrades, you’re well-prepared for the trials ahead. You now carry two Pendants of Virtue and are just one step away from claiming the Master Sword.


Take a moment to ensure you have enough health and supplies (fill those bottles with fairies or potions from the mountain cave or Kakariko if needed). When ready, climb the staircase inside to begin the Tower of Hera. The quest for the final pendant is underway, and the summit of Death Mountain beckons!
Good luck on the next leg of your adventure – the fate of Hyrule draws ever closer. Onward to the Tower of Hera and the Pendant of Wisdom!


