


It’s one of the most memorable parts of Link’s Awakening – that long chain of trades stretching across the whole island! You start with a simple toy and end up with gear that’s absolutely essential. Some steps must be done to move the main story forward, while finishing the whole thing nets you gear that makes the end-game much easier (and reveals some secrets!).
Is it Required?
Partially – Yes: You absolutely need to complete the sequence up through getting the Stick. Without it, you’re not getting into Kanalet Castle.
Fully – Recommended: To see everything and get the best outcome, you’ll want the Magnifying Lens. It lets you read a crucial book in the Mabe library detailing the path through the final dungeon (the Wind Fish’s Egg). Sure, you could guess or look up the path, but the Lens is the intended way. Plus, it unlocks the chance to get the awesome Boomerang.
Table of Contents
- Yoshi Doll
- Ribbon
- Dog Food
- Bananas
- Stick
- Honeycomb
- Pineapple
- Hibiscus
- Goat’s Letter
- Broom
- Fishing Hook
- Mermaid’s Necklace
- Mermaid’s Scale
- Magnifying Lens
- The Ultimate Bonus: Boomerang
Let’s Get Trading!
Here’s the step-by-step breakdown:
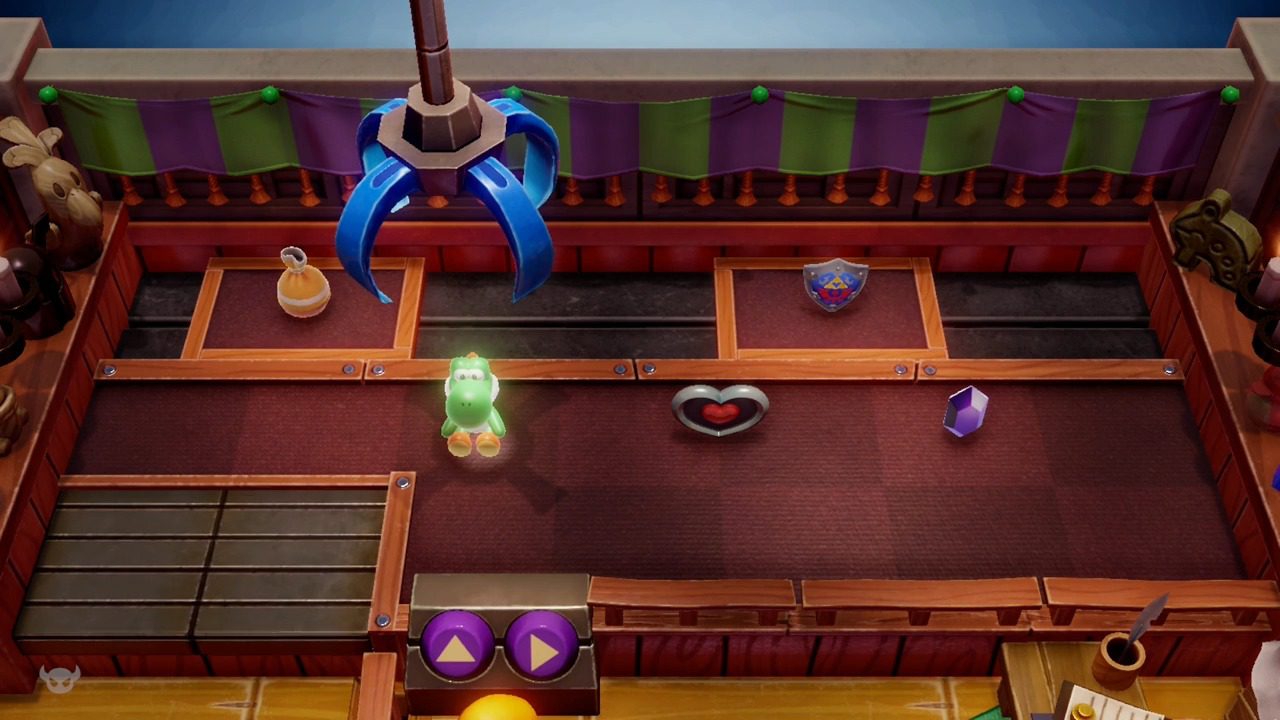
1. The Prize: Yoshi Doll
Where? Trendy Game Shop, Mabe Village.
How? Pony up 10 Rupees and test your skill (or luck!) at the crane game. Snag that Yoshi Doll sitting right there. Easy first step!
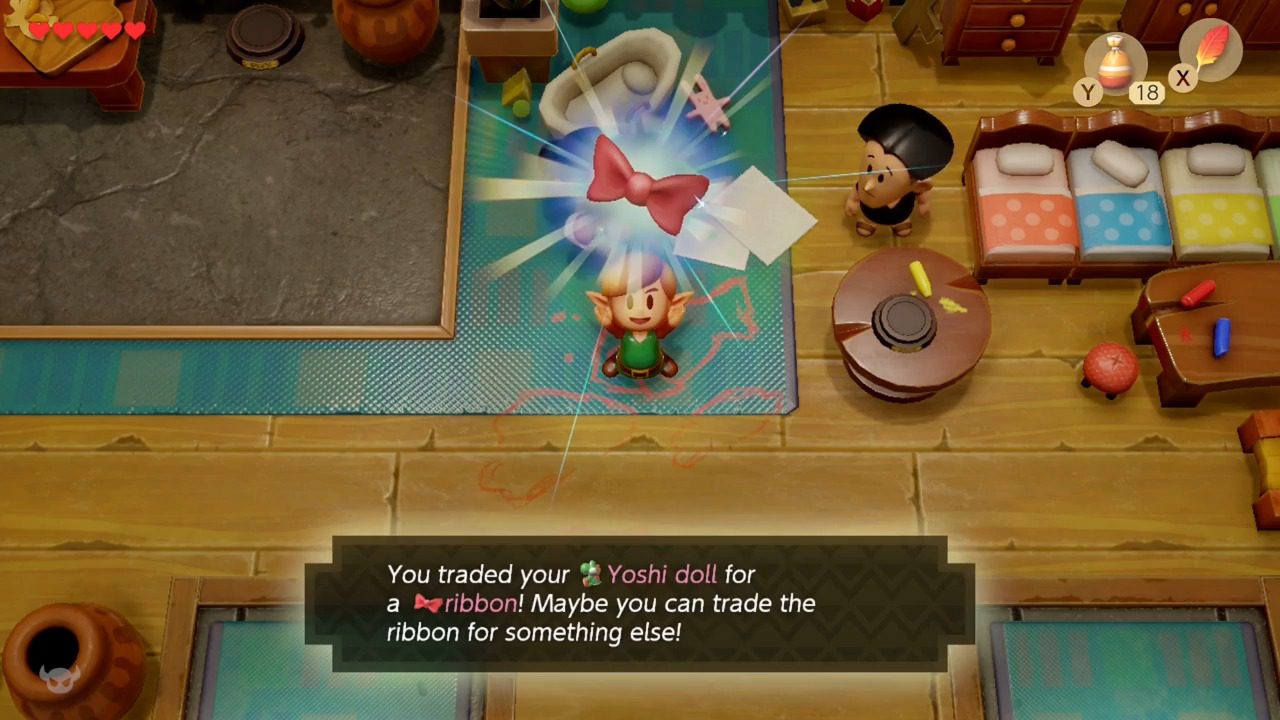
2. Trade Up: Ribbon
Who? Mamasha, in the northern house of Mabe Village.
What? She needs that Yoshi Doll to quiet her crying baby. Hand it over, and she’ll give you a pretty Ribbon.
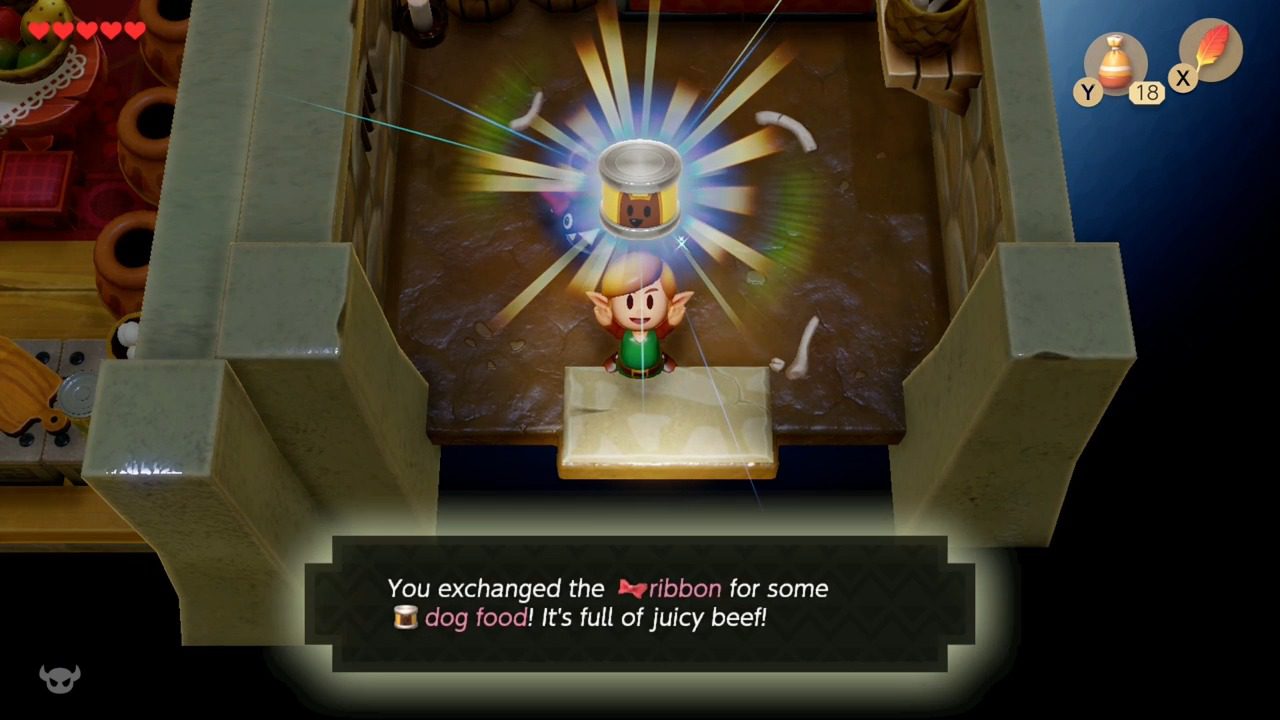
3. For the Pup: Dog Food
Who? CiaoCiao, the little dog in the small doghouse next to BowWow’s bigger one (Mabe Village).
What? CiaoCiao wants accessories! Your Ribbon fits the bill. She’ll swap it for a can of Dog Food.
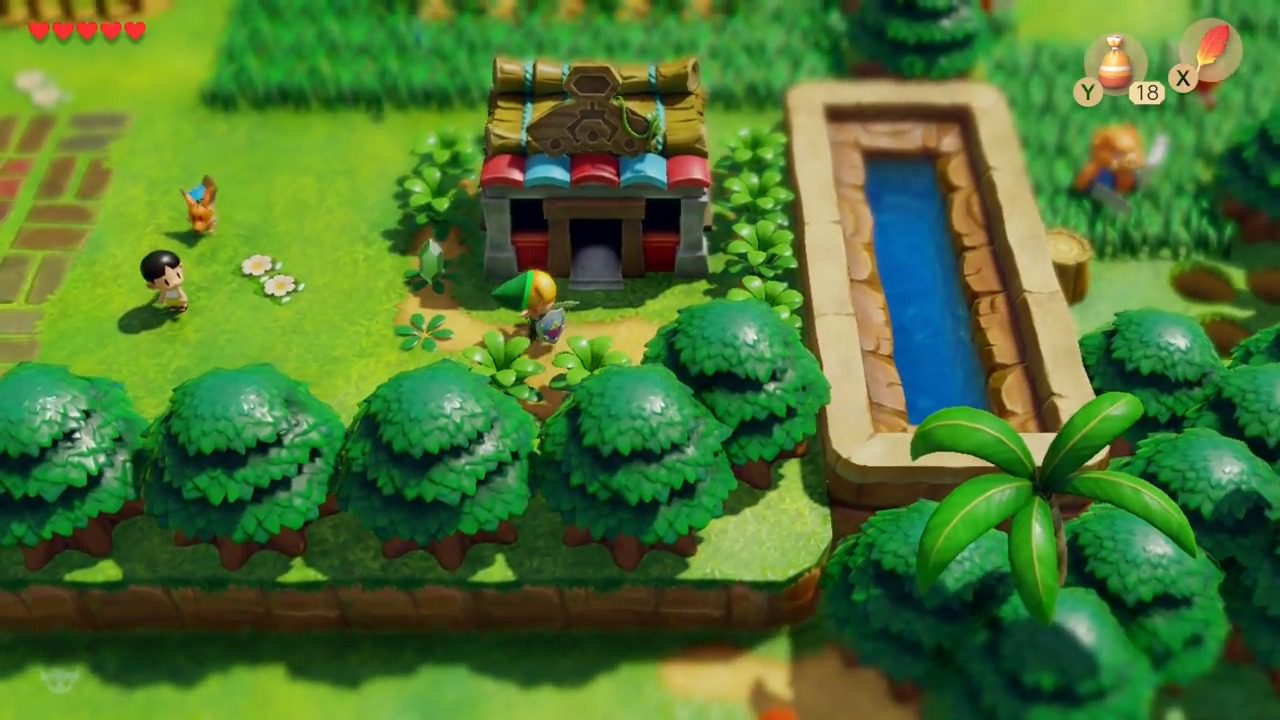
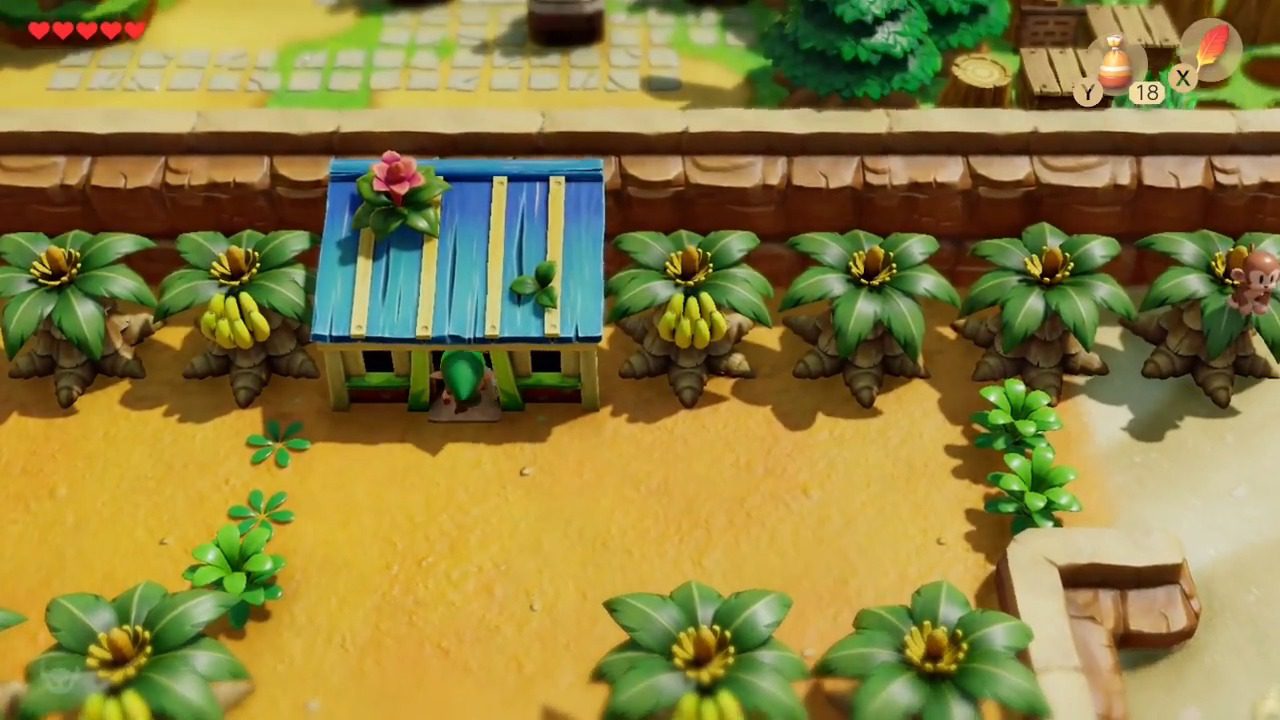
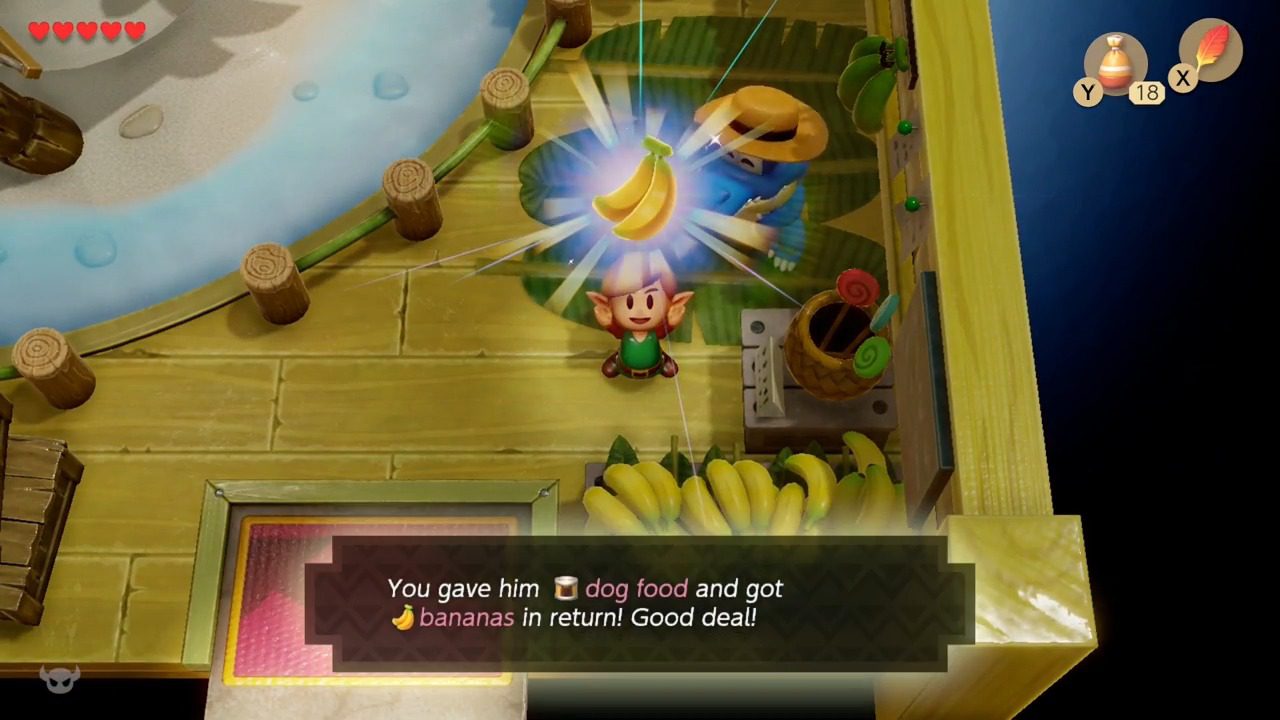
4. Croc’s Cravings: Bananas
Who? Sale, the crocodile living in a house on Toronbo Shores (east of where you found your sword).
What? Sale loves canned food. He’ll practically snatch that Dog Food from you and happily give you a bunch of Bananas in return.
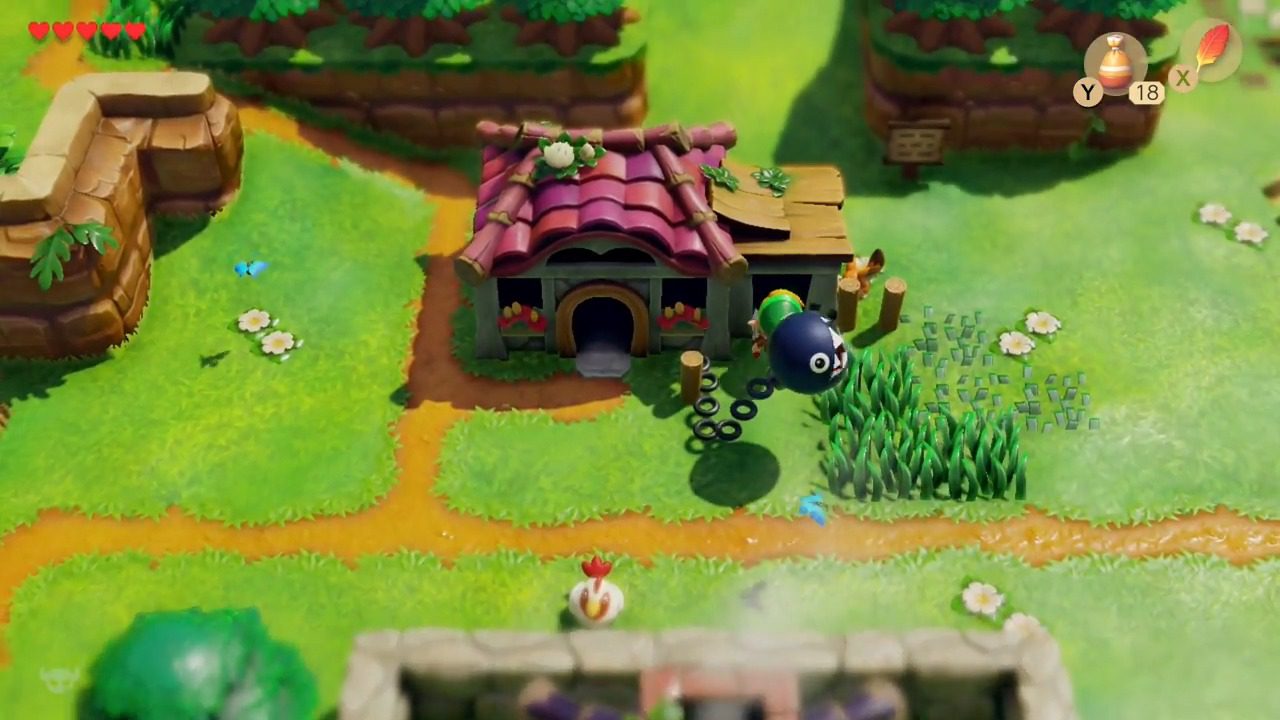
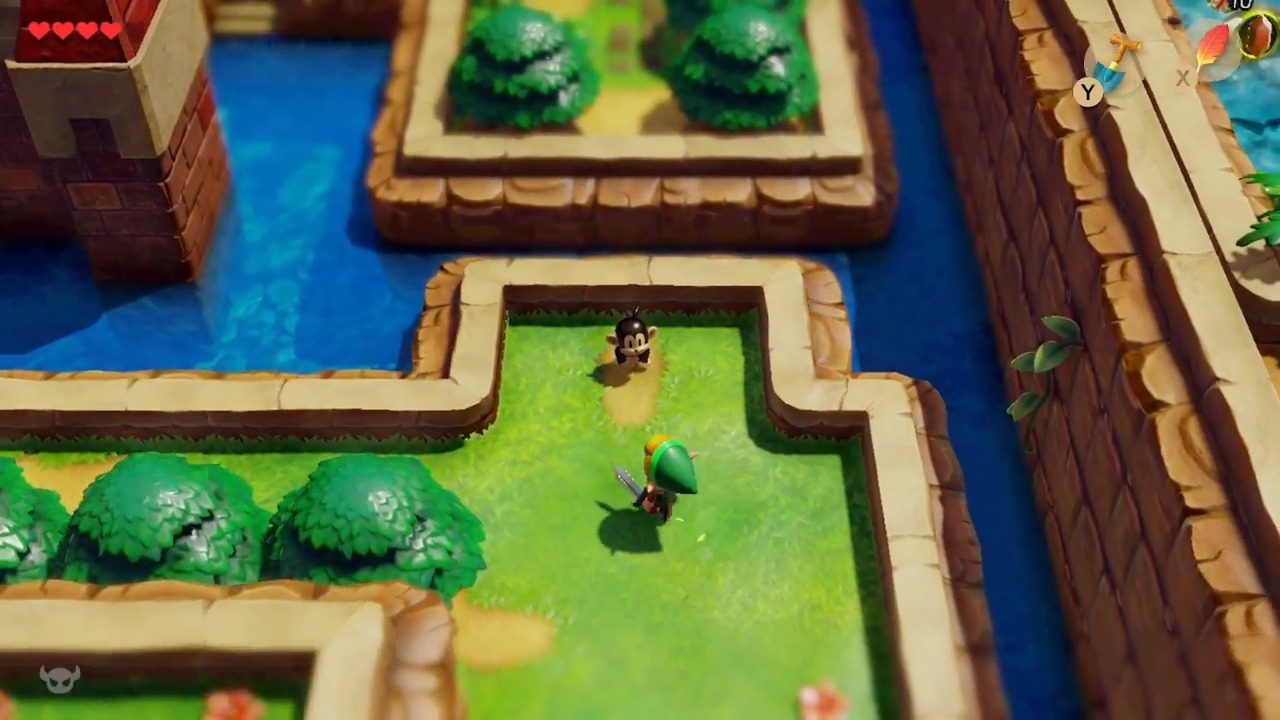
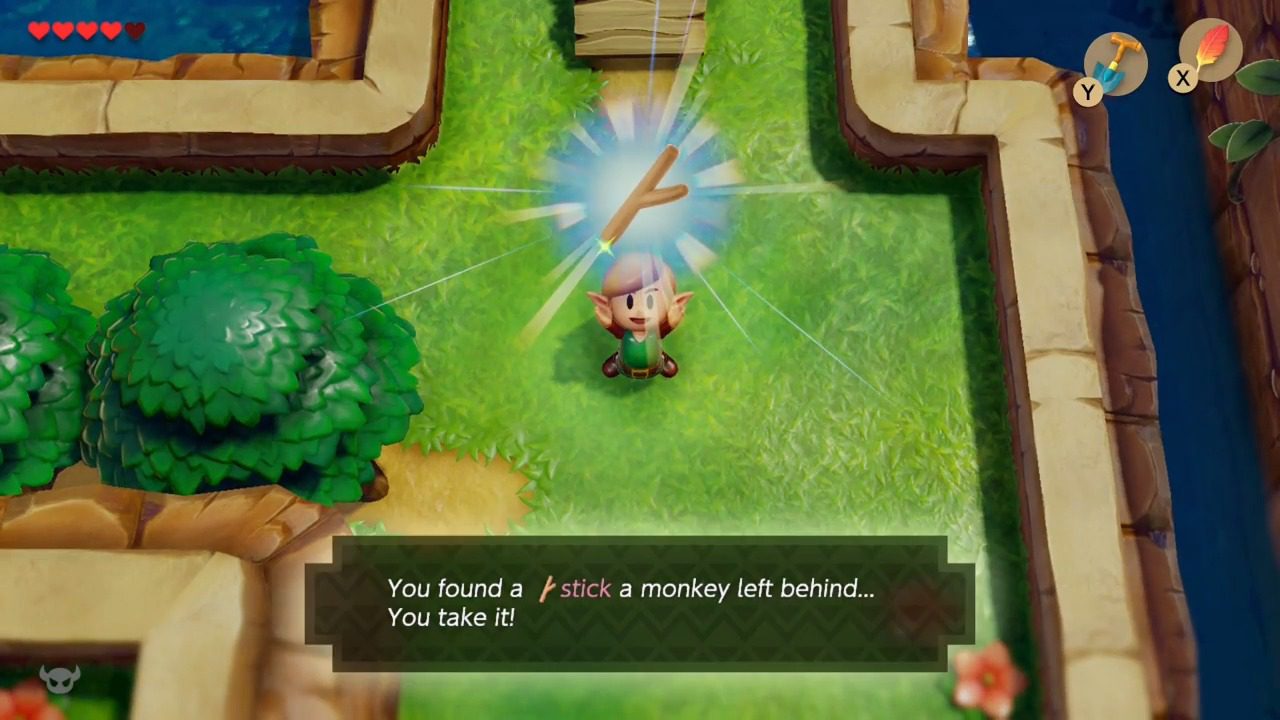
5. Monkey Business: Stick (Required for Story)
Who? Kiki the Monkey, near the broken bridge by Kanalet Castle.
Requires: Power Bracelet (from Bottle Grotto).
What? Kiki is starving! Offer those Bananas. He’ll be so thrilled, he and his pals will build you a bridge right quick. They’ll leave behind the Stick you need.
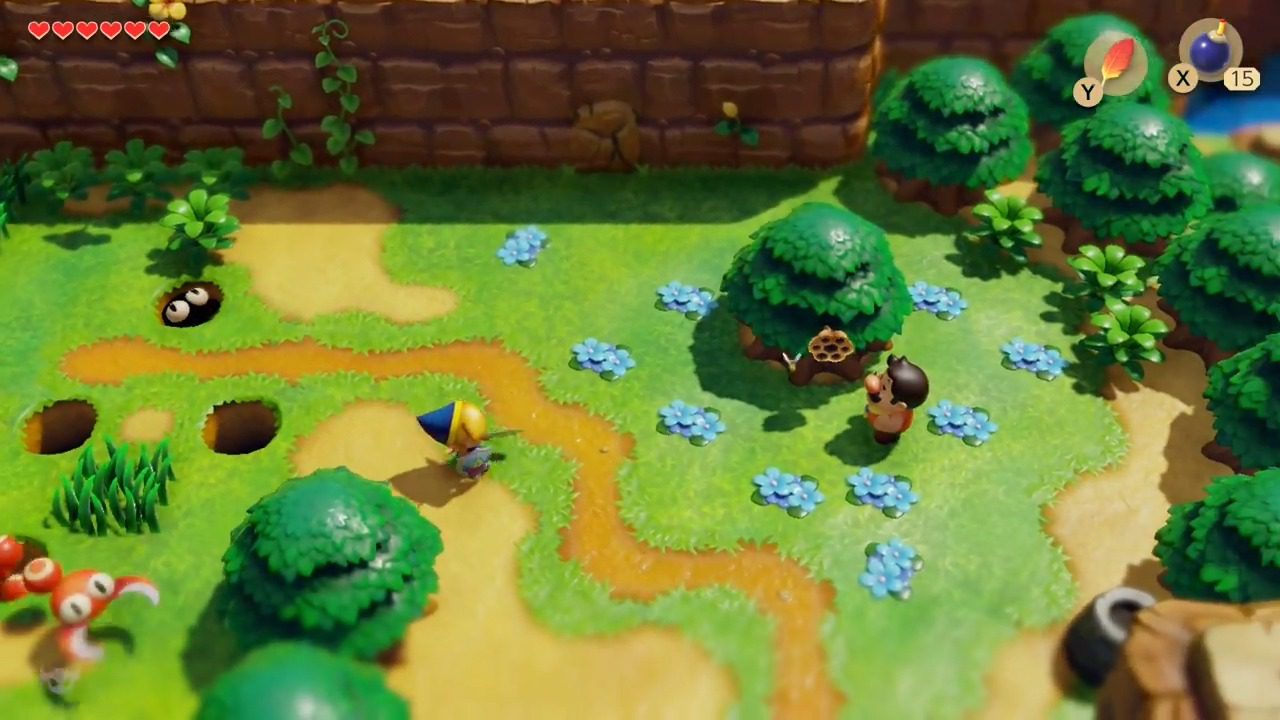
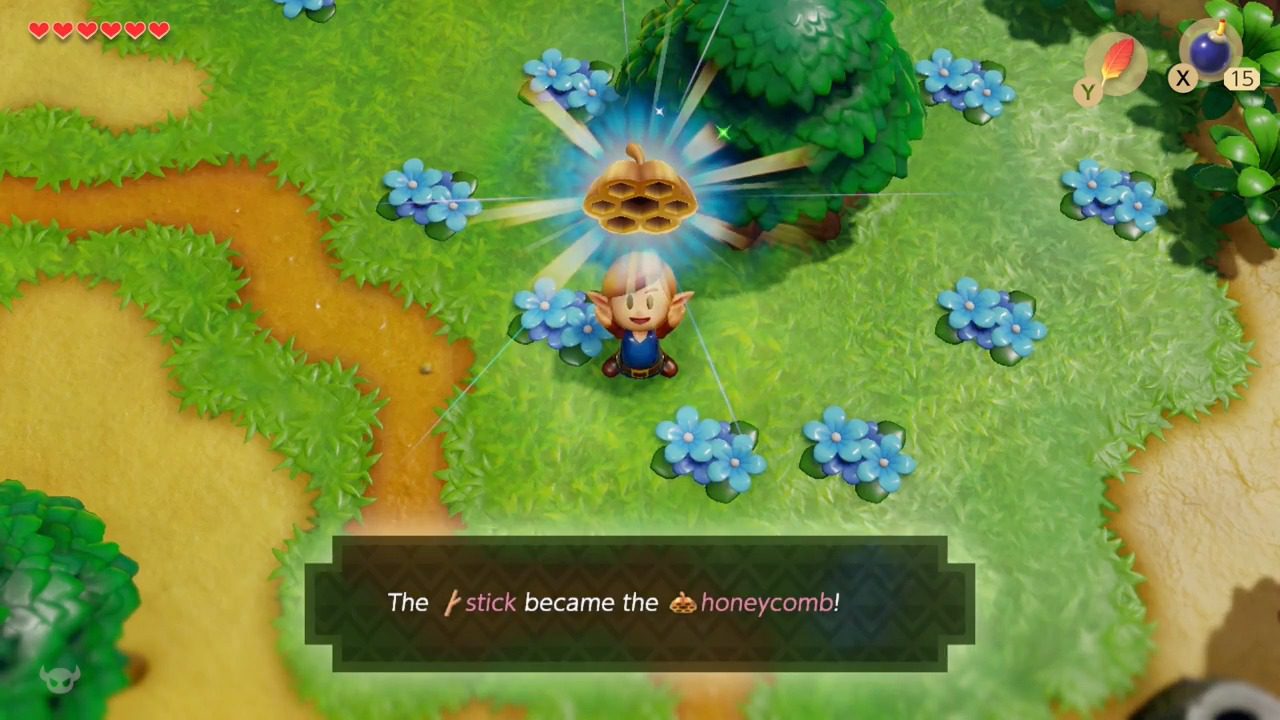
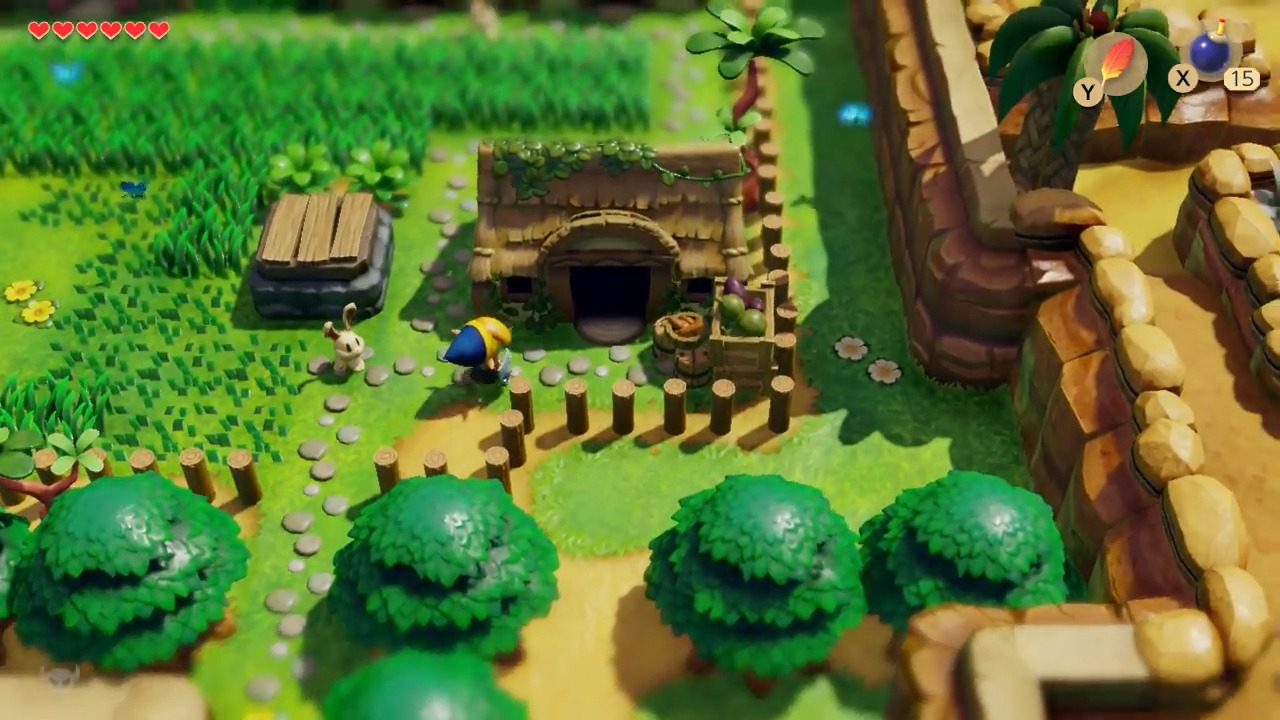
6. Sweet Surprise: Honeycomb
Who? Tarin (Marin’s Dad), near a tree southwest of Kanalet Castle / east of Mabe Village.
When? After you’ve been inside Kanalet Castle.
What? Tarin borrows your Stick to poke a beehive… with predictable, bee-chasing results. After he runs off, grab the Honeycomb left behind.
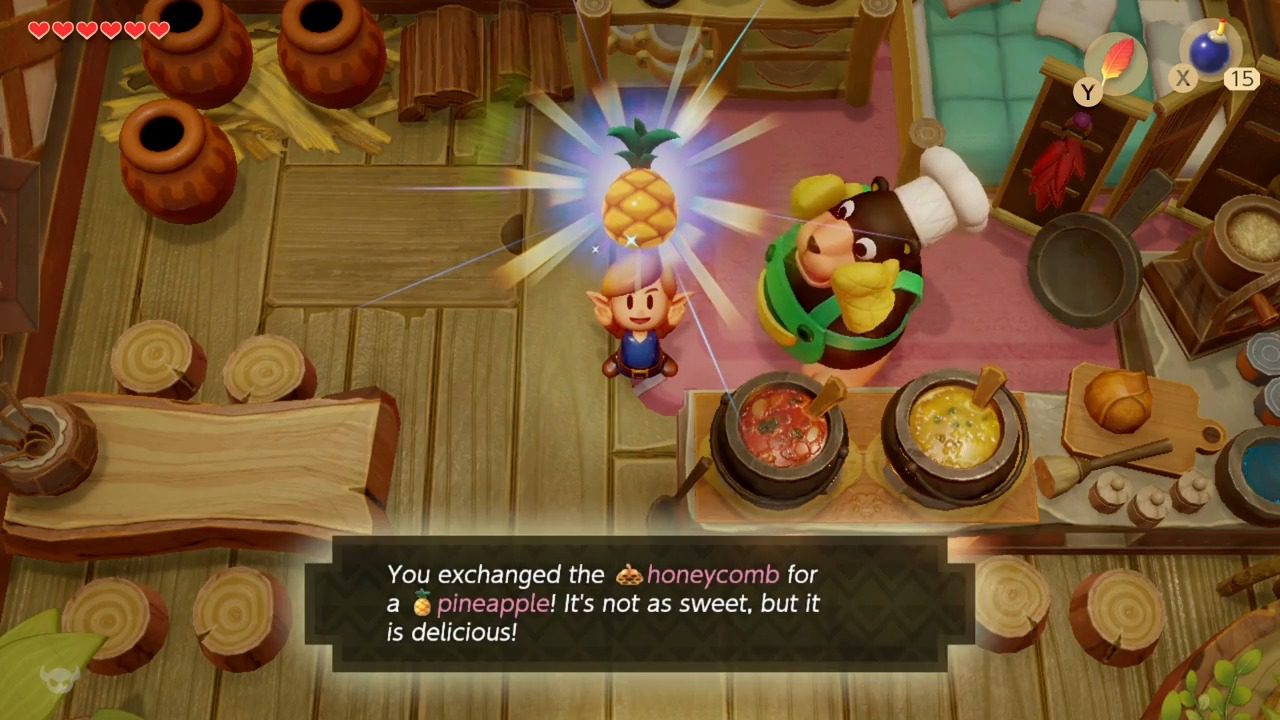
7. Bear Necessities: Pineapple
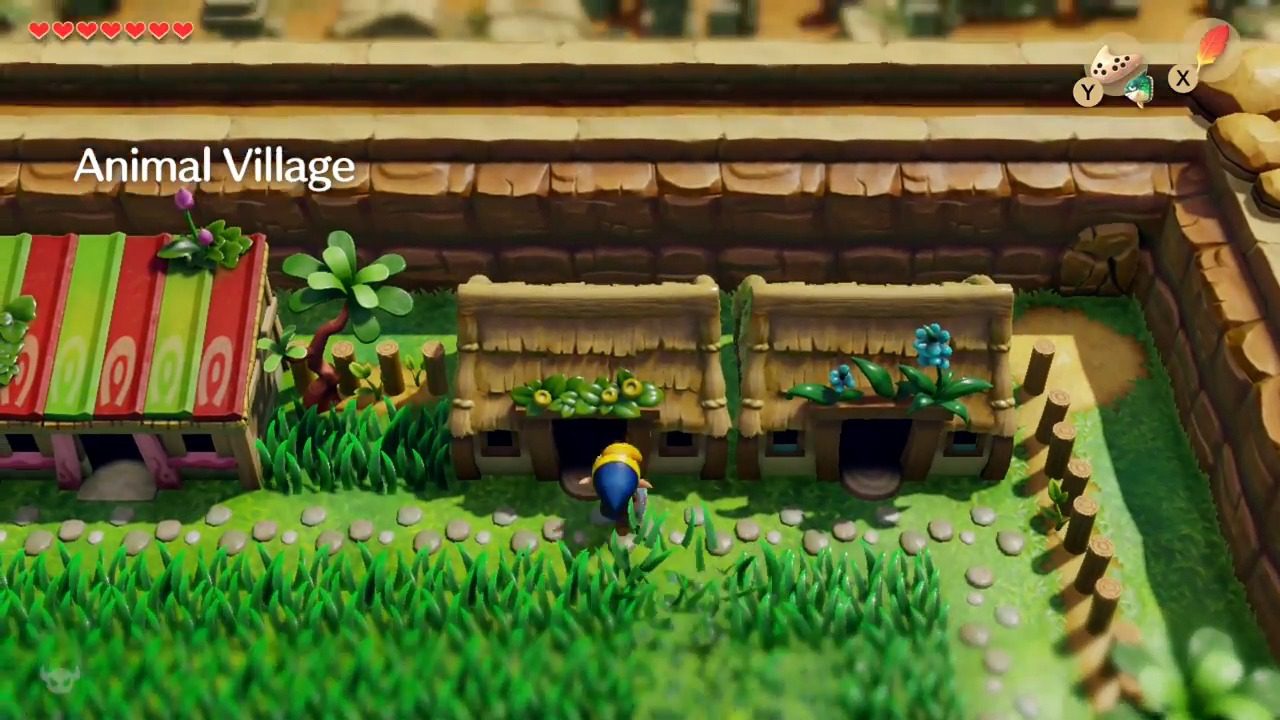
Who? Chef Bear, in the southeast house of Animal Village.
Requires: Pegasus Boots (from Key Cavern).
What? The Chef needs ingredients! Your Honeycomb is perfect. He’ll cook it up and thank you with a Pineapple.
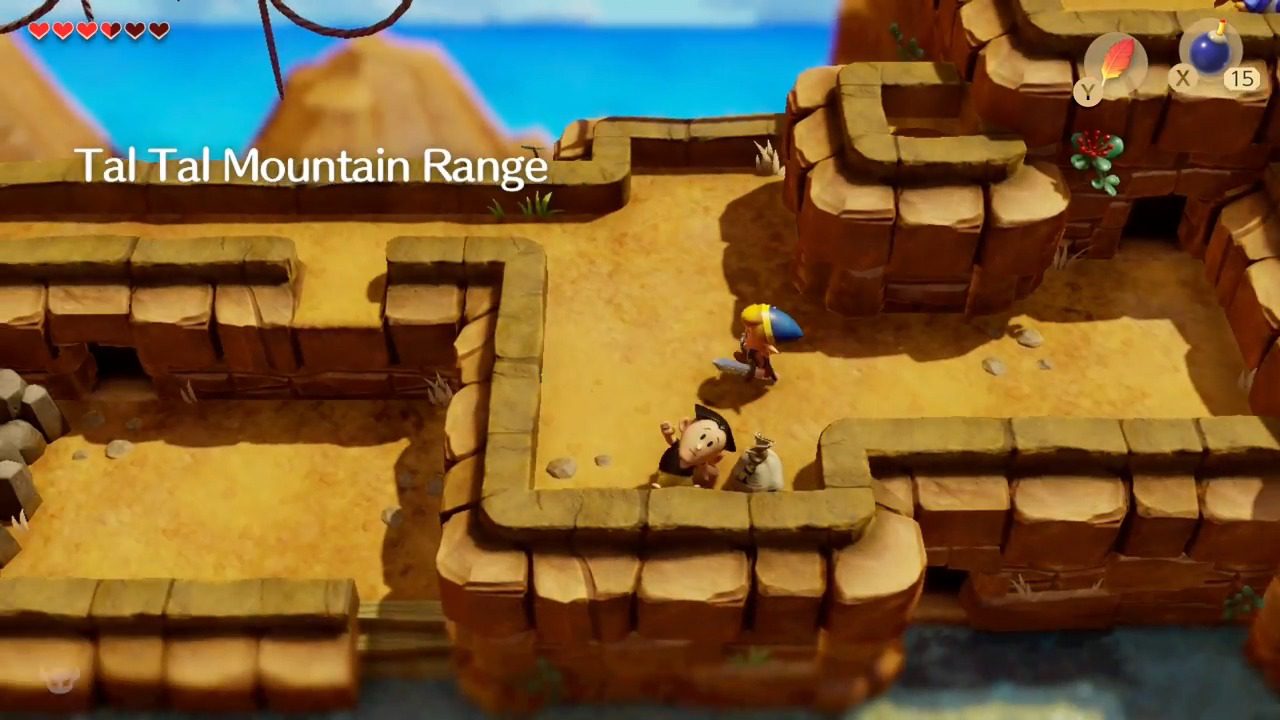
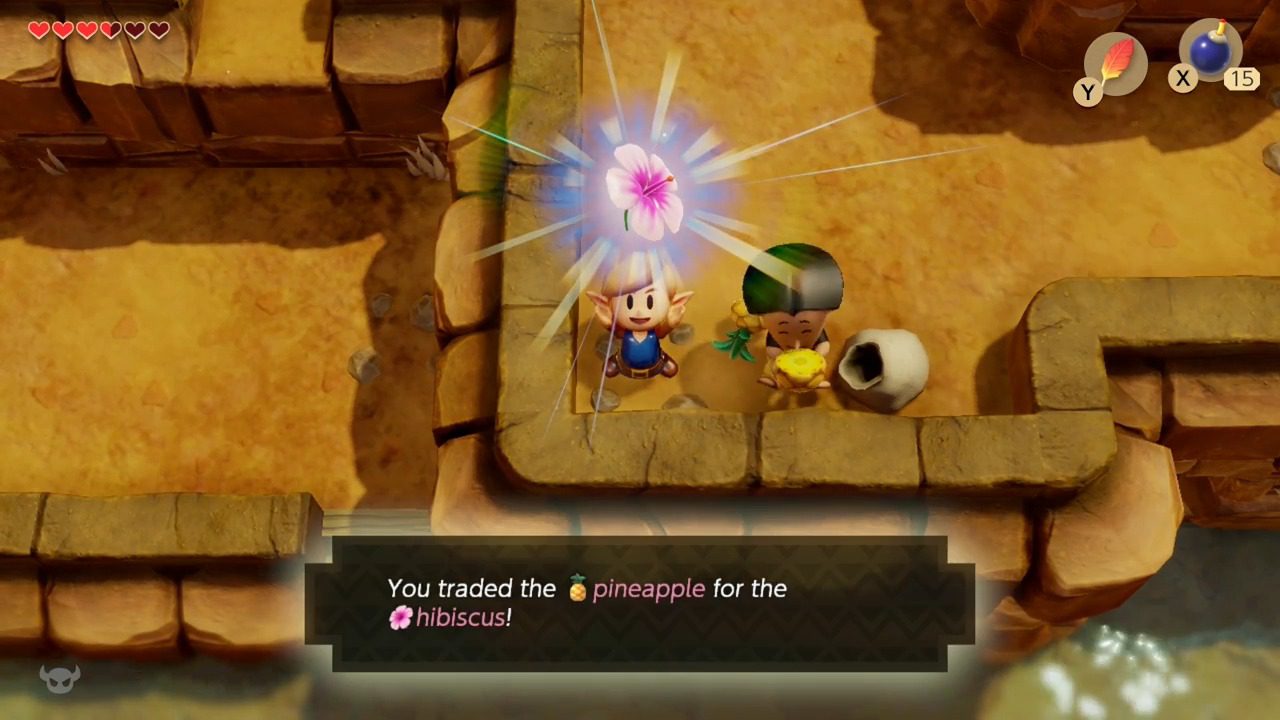
8. Mountain Munchies: Hibiscus
Who? Papahl, lost up on Tal Tal Mountain Range.
Requires: Pegasus Boots.
What? You’ll need to find your way through a cave or two to reach Papahl. He’s starving up there. Give him the Pineapple, and he’ll give you a lovely Hibiscus flower.
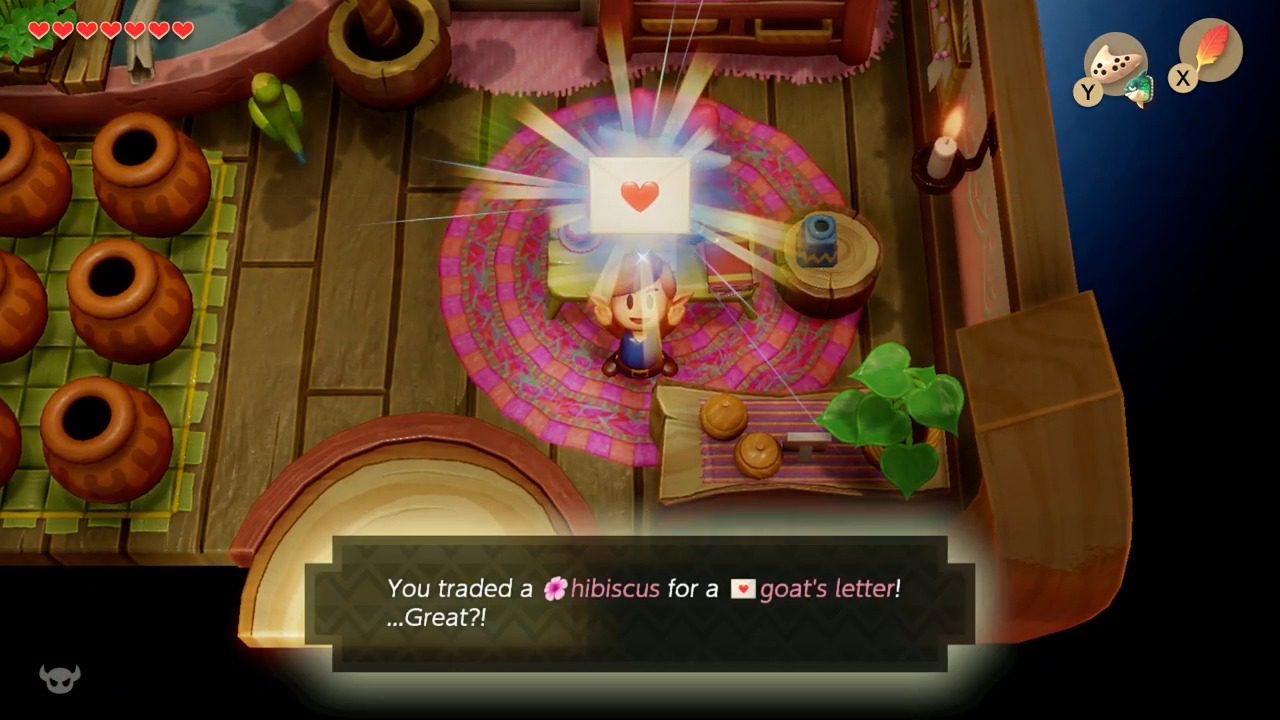
9. Love Letter: Goat’s Letter
Who? Christine, the goat in the house second-from-right in northeast Animal Village.
What? Christine adores flowers, especially the Hibiscus. She’ll ask you to do her a favor: deliver the Goat’s Letter she gives you to a certain Mr. Write.
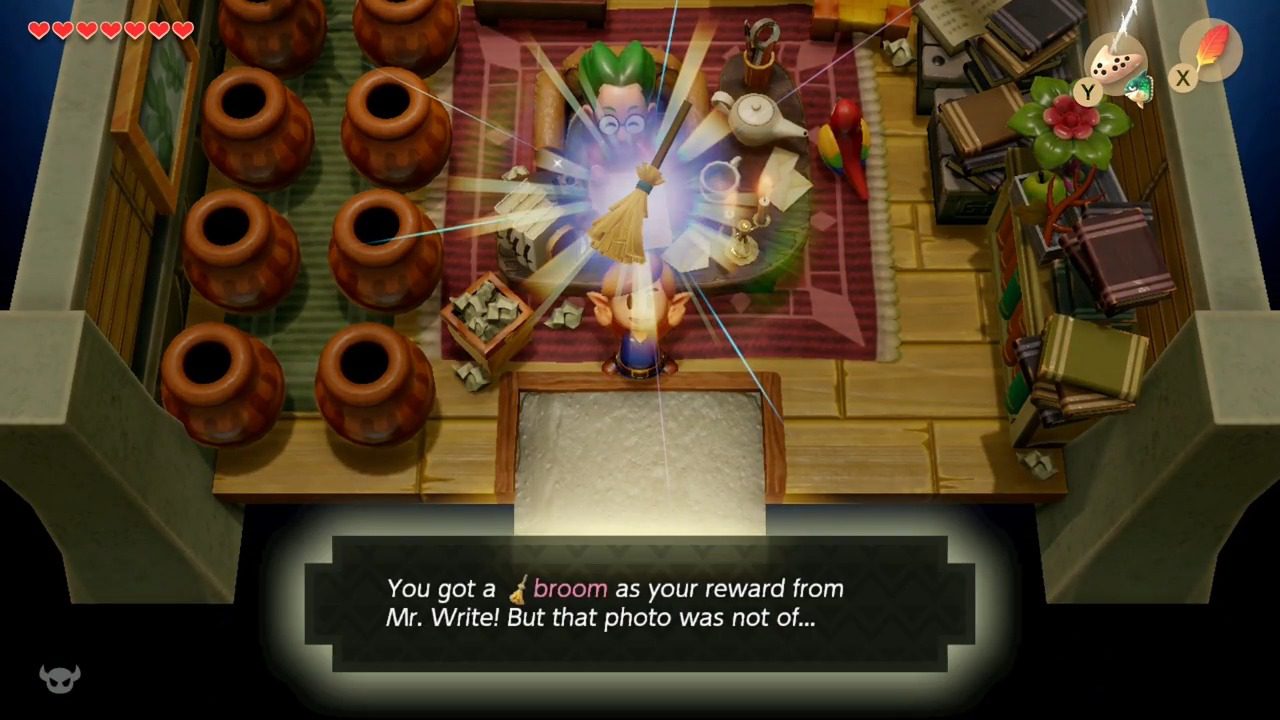
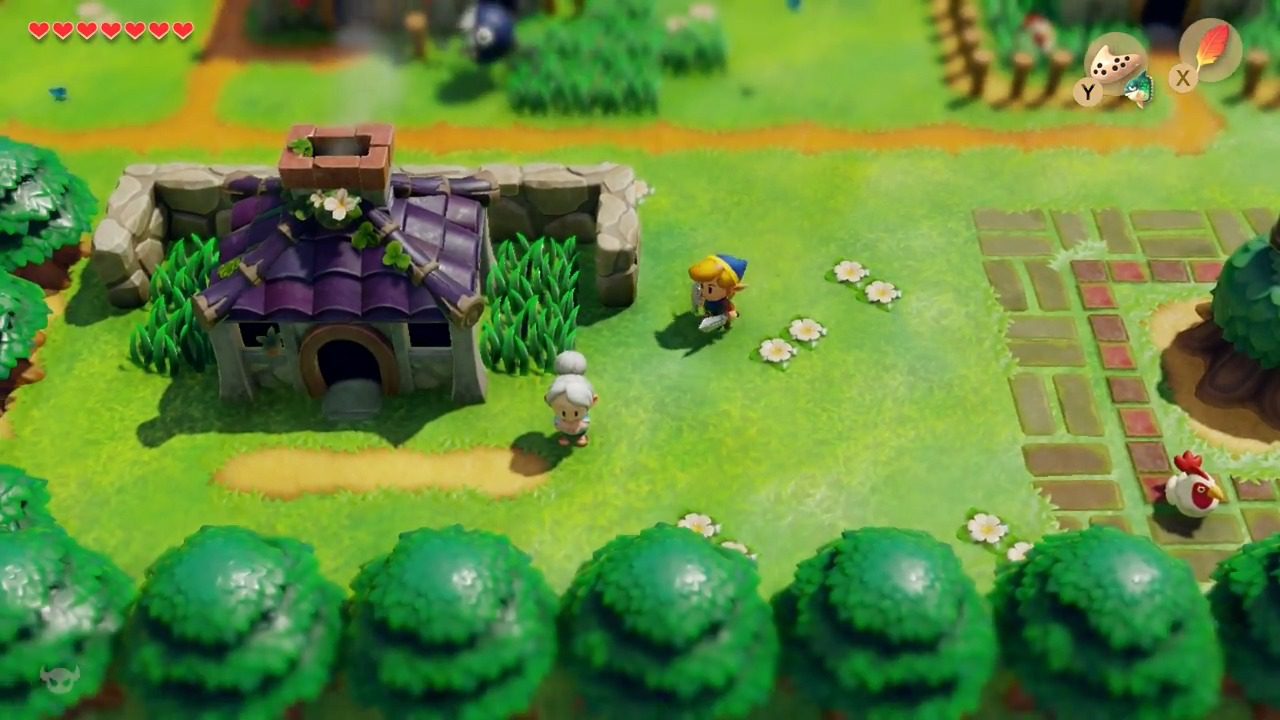
10. Special Delivery: Broom
Who? Mr. Write, in his house north of the Mysterious Forest (west side, jump the pit).
What? Give Mr. Write the Goat’s Letter. He’s thrilled, especially by the photo inside (which is hilariously not Christine, but Princess Peach!). As thanks, he hands over the only thing he has: a Broom.
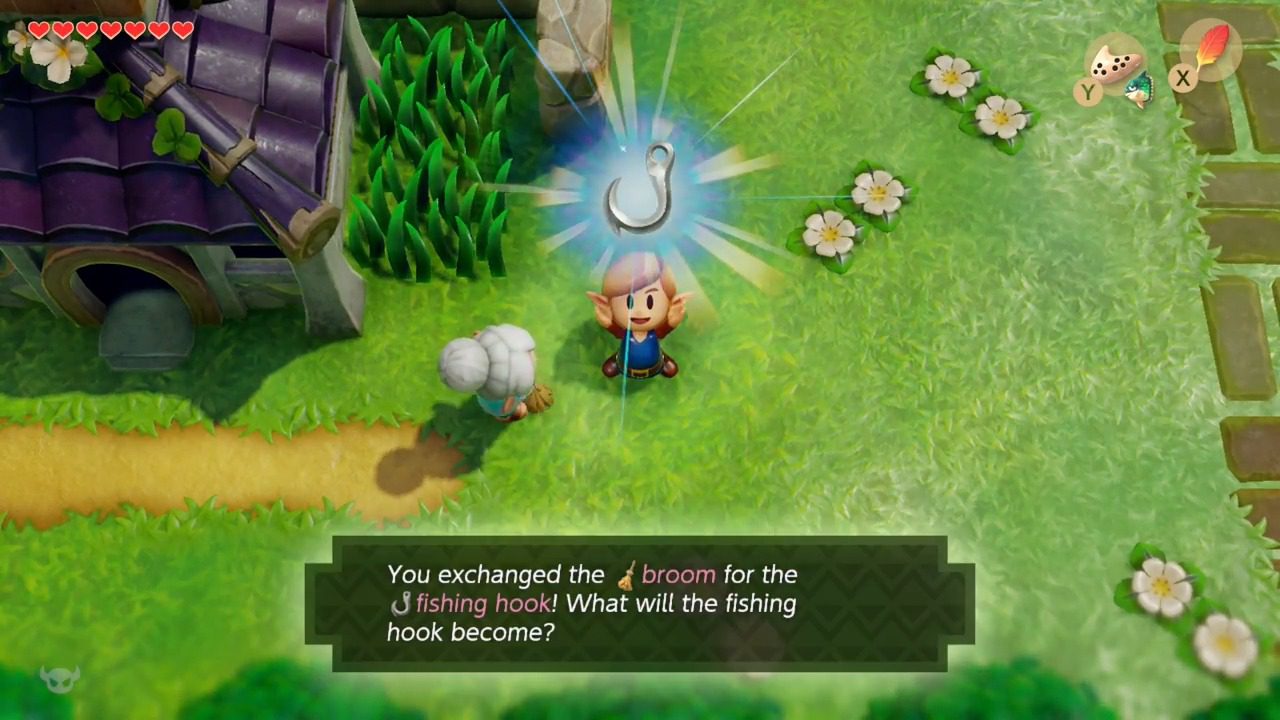
11. Clean Sweep: Fishing Hook
Who? Grandma Yahoo, usually sweeping outside near the weather vane in Mabe Village. (Note: She might move to Animal Village if you wait too long!)
What? She needs a new Broom badly. Yours is perfect! She’ll trade you a Fishing Hook she found while sweeping near the river.
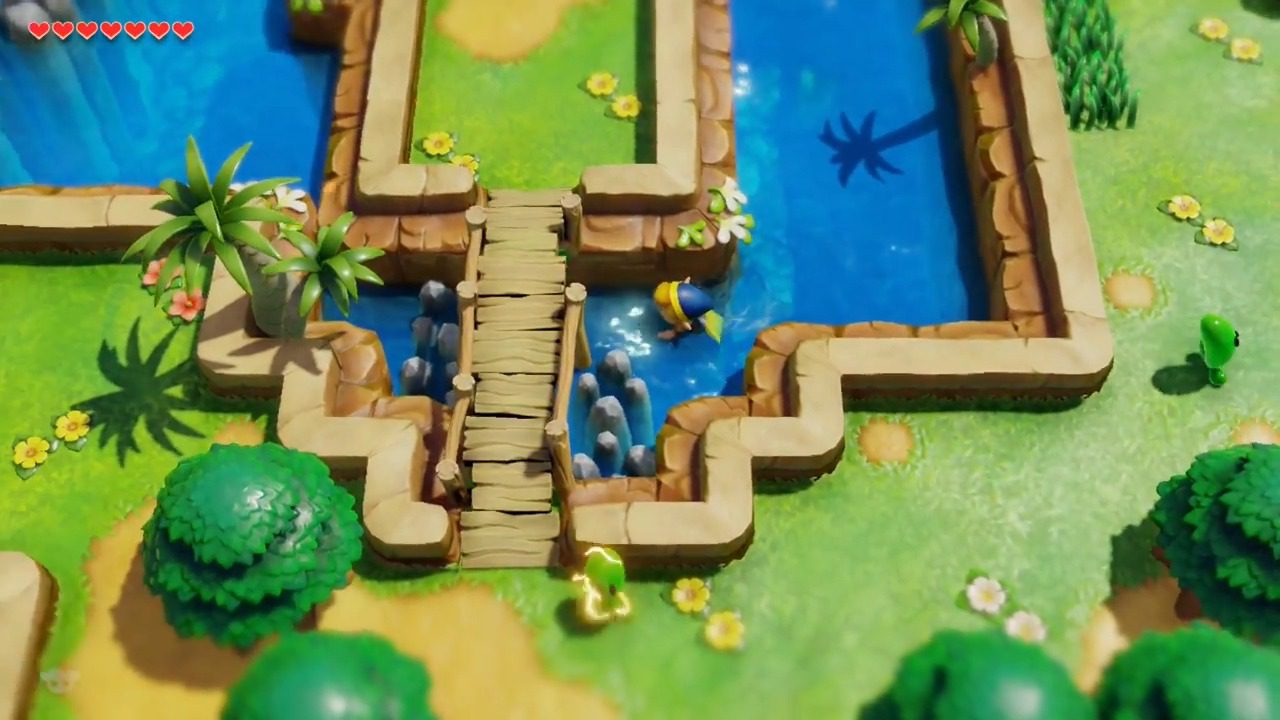
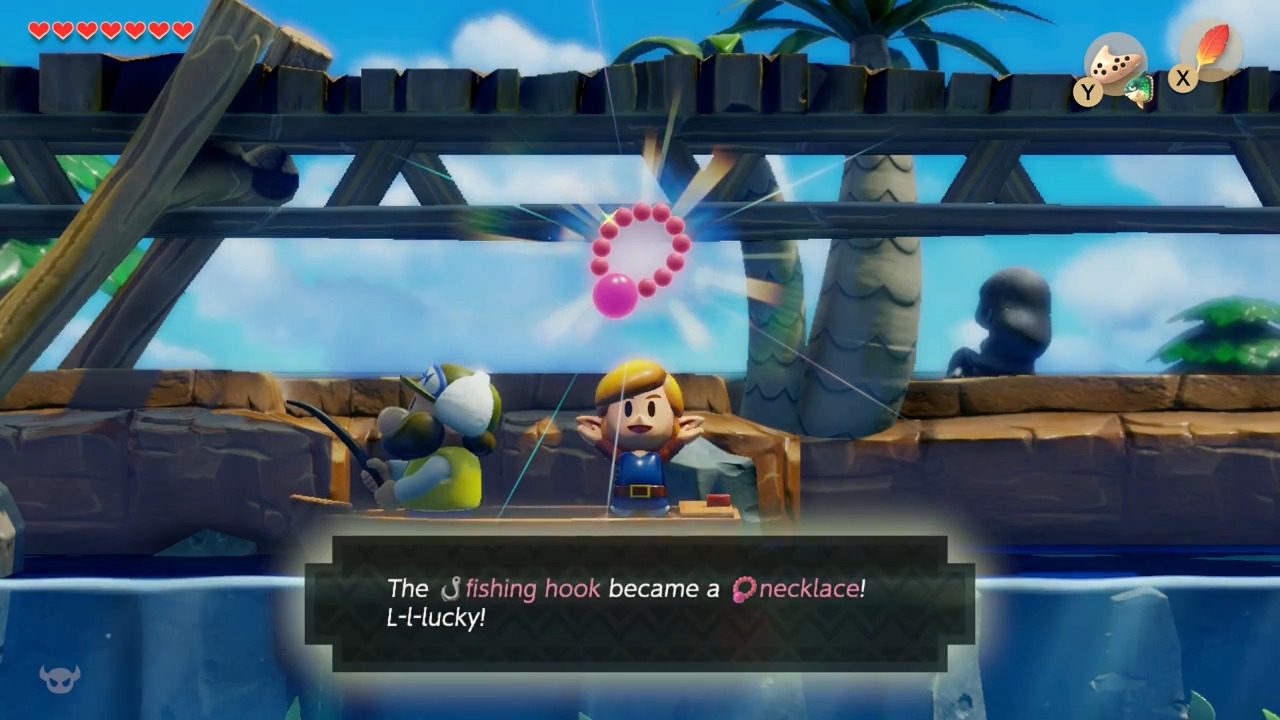
12. Surprise Catch: Mermaid’s Necklace
Who? The Fisherman under the bridge in Martha’s Bay (south part of the bay).
Requires: Flippers (from Angler’s Tunnel).
What? Swim under the bridge to find the Fisherman. He needs a hook! Give him yours. His very next catch is the sparkling Mermaid’s Necklace, which he gives to you.
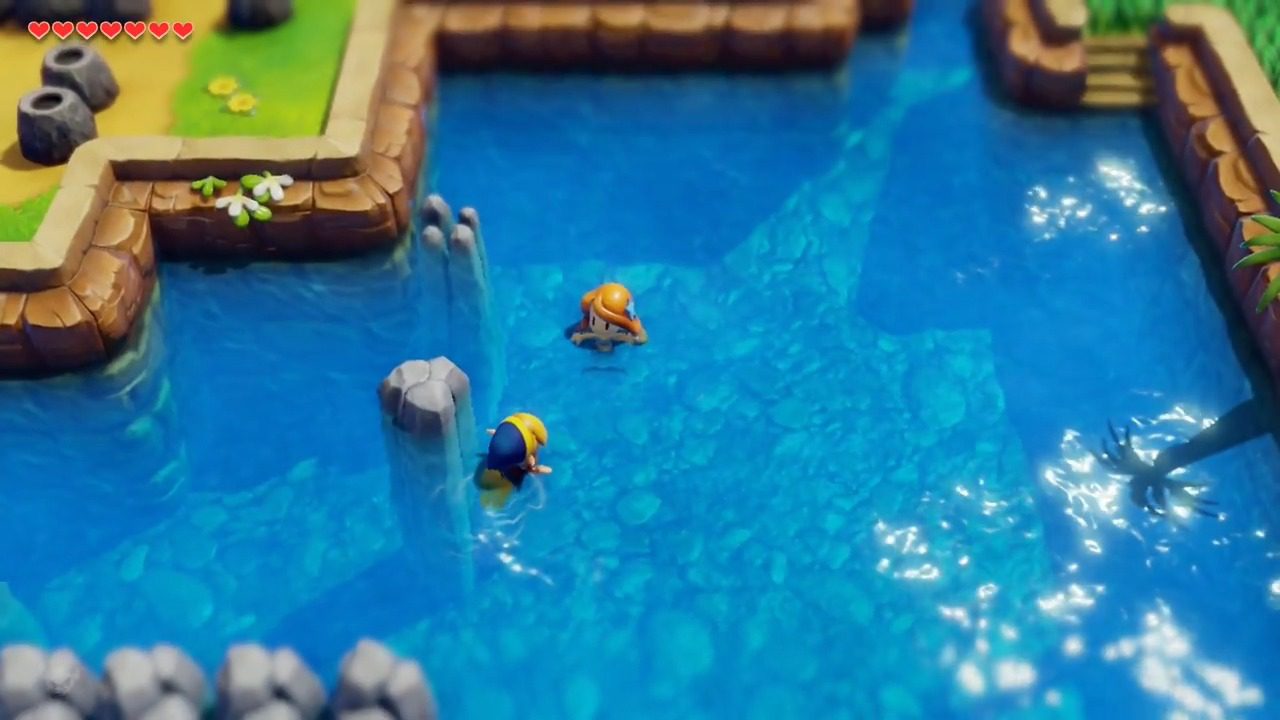
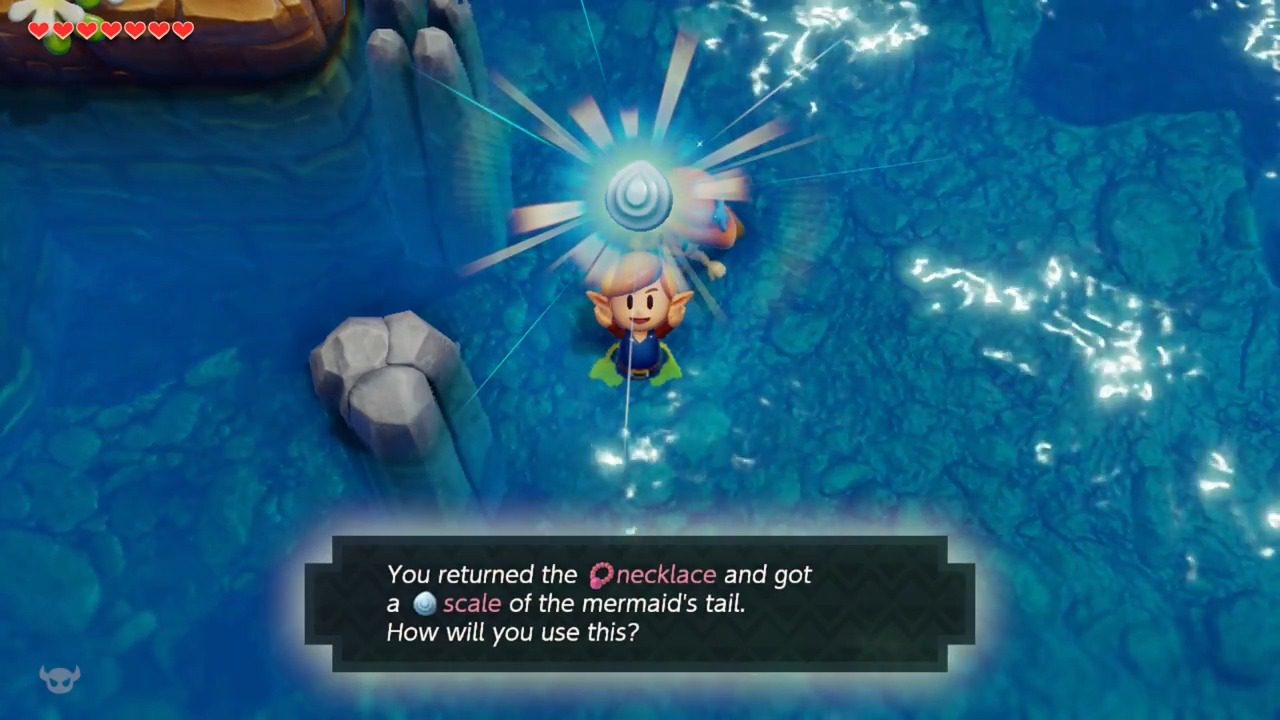
13. Mermaid’s Thanks: Mermaid’s Scale
Who? The Mermaid swimming in Martha’s Bay (usually north of the entrance to Catfish’s Maw).
What? Find the Mermaid – she’s missing her necklace! Return the Mermaid’s Necklace you just got. As a thank you, she lets you take one Mermaid’s Scale from her tail.
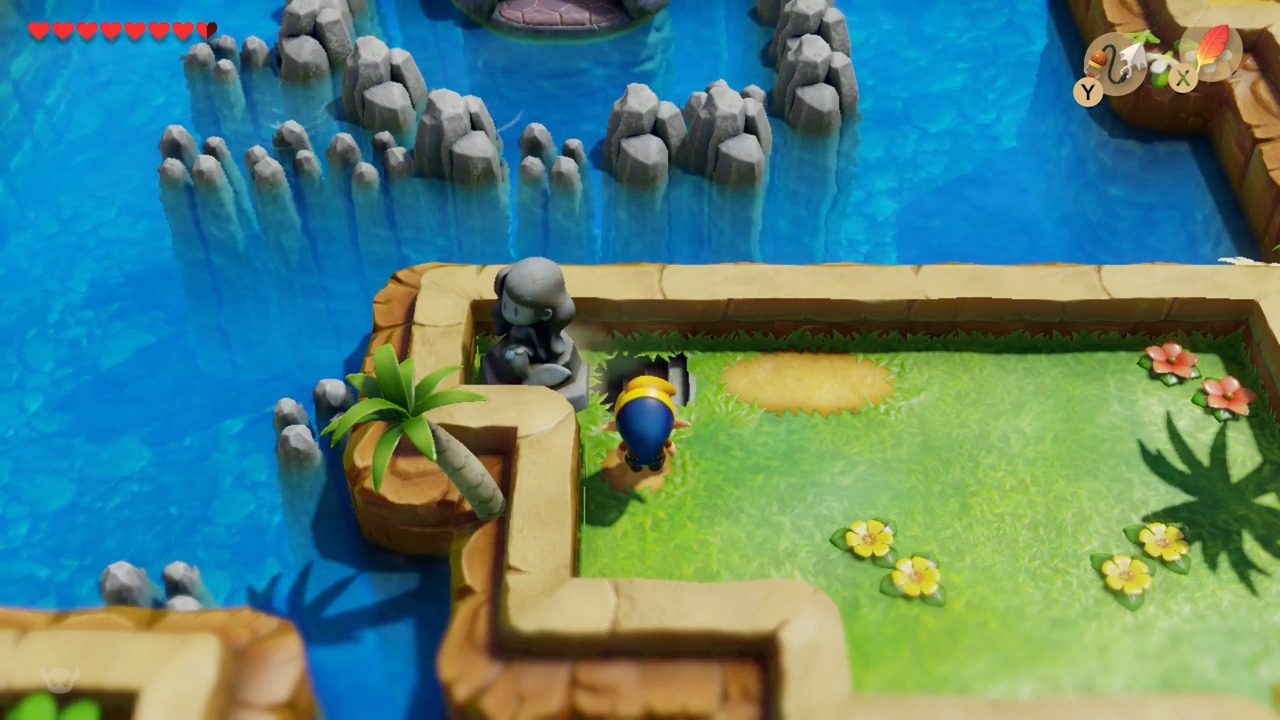
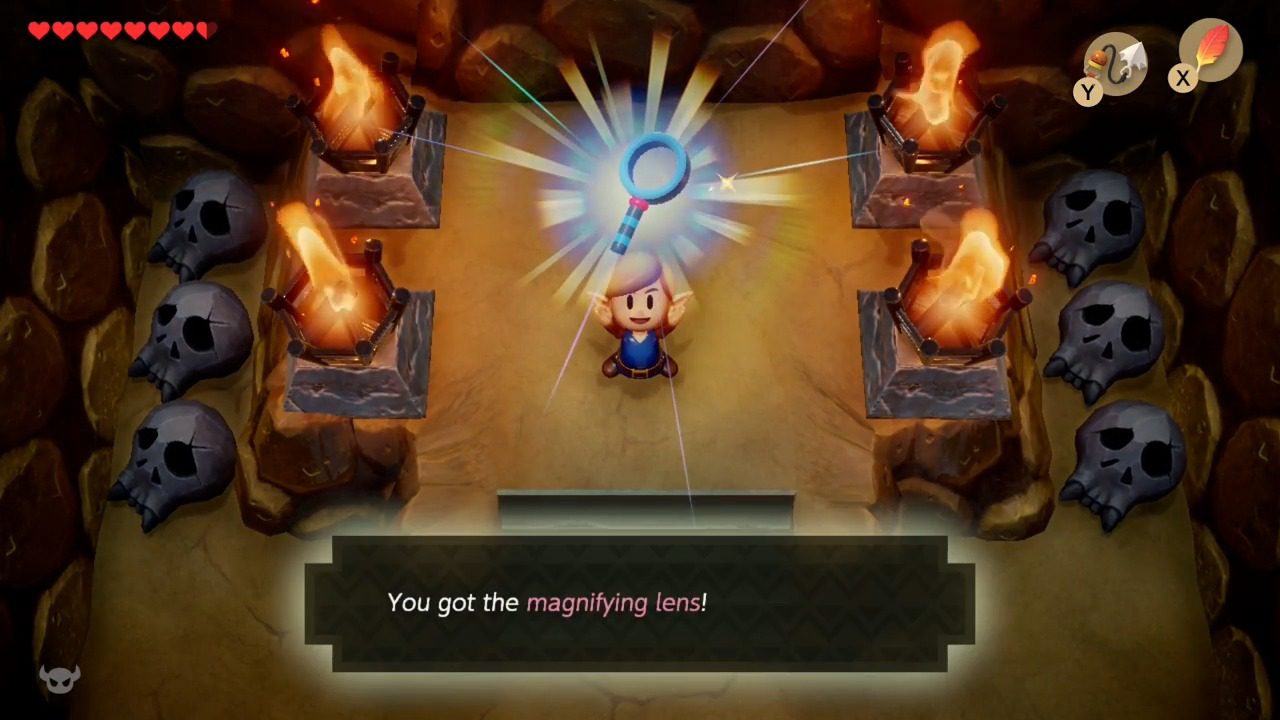
14. See the Unseen: Magnifying Lens (Crucial Reward!)
Where? Inside the hidden cave under the Mermaid Statue south of Martha’s Bay.
Requires: Mermaid’s Scale and Hookshot (from Catfish’s Maw).
How? Use the Hookshot to cross the gap to the statue. Place the Mermaid’s Scale on it. A path opens! Head down to claim the Magnifying Lens. This lets you see invisible things – including secret NPCs and the vital text in the library book!
The Ultimate Bonus: Boomerang
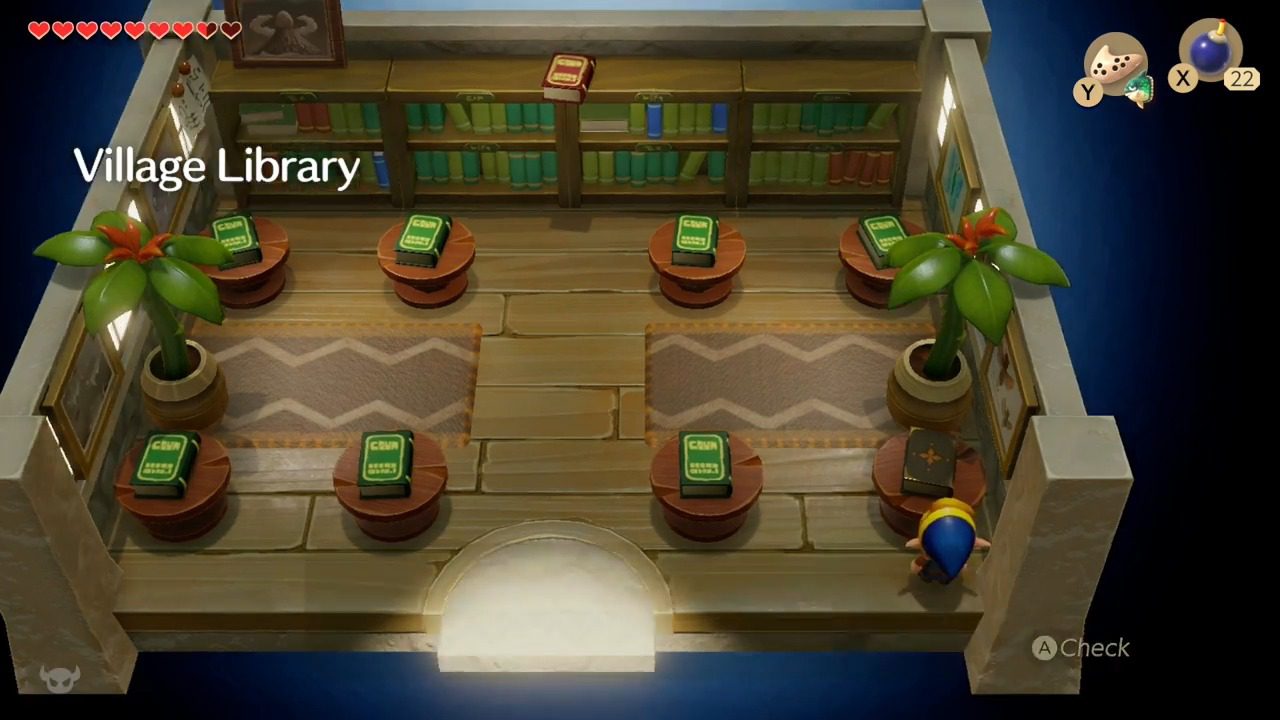
Perhaps the MOST critical function of the Magnifying Lens (obtained as item #14 in the sequence) is its ability to unlock Koholint’s final secret. Head to the Library in Mabe Village. With the Magnifying Lens equipped, you can now read the book in the bottom-right corner, often titled “Dark Secrets and Mysteries of Koholint”. Without the Lens, this book is unreadable.
The book reveals a sequence of directions (e.g., ←↑→↑…). This sequence is the unique, correct path through the confusing maze inside the Wind Fish’s Egg, the game’s final dungeon. Trying to navigate the Egg without following this specific path will result in looping corridors and dead ends, preventing you from reaching the Nightmare within.
Is the path random? Not entirely. The game selects one path from a small set (around 7 or 8 are known) of predetermined possible sequences when you create your save file. This means the path in *your* game is fixed, but it will likely be different from a friend’s game or a previous playthrough. You must read the book in your current game file to learn the correct sequence for that playthrough. Guessing is possible but extremely difficult and tedious.
Where? Find the hidden cave on Toronbo Shores. It’s behind a bombable wall along the cliffs just east of where you originally found your sword.
Requires: You MUST have the Magnifying Lens to even see the NPC inside.
How to Get It: Inside the cave, the Magnifying Lens reveals the Secret Goriya. This character offers to trade the Boomerang for one of the items currently assigned to your B button (original/DX) or X/Y buttons (Switch). Many players choose to trade the Shovel at this point, as its main uses (digging up seashells, the Key Cavern entrance) are often completed.
Getting Your Item Back: Don’t worry about permanently losing your traded item! You can always return to the Goriya and trade the Boomerang back to retrieve it. In the Nintendo Switch remake, you also have the convenient option to simply buy back your traded item for 300 Rupees, letting you keep both.
While technically optional, the Boomerang’s combination of combat prowess (especially its stunning capability) and utility makes it an incredibly useful tool for tackling the later dungeons and exploring the rest of Koholint Island. It’s a reward well worth the effort of the trading sequence!

And that’s the entire sequence! It’s a long haul, but tracking down each character and making the trades is classic Zelda fun, and the rewards – especially the Lens and Boomerang – are totally worth the effort. Good luck!