


I. Ascending Death Mountain and Reaching Goron City
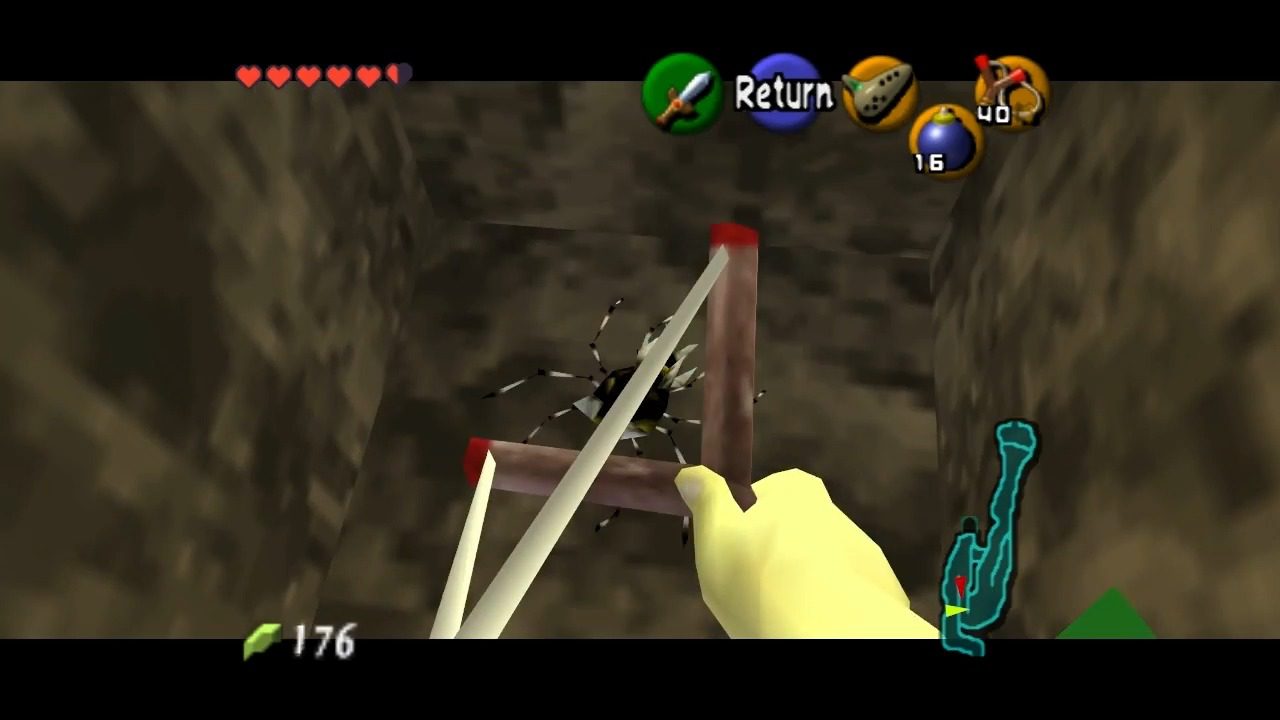
Leaving Dodongo’s Cavern, there’s a Gold Skulltula hidden as we head down Death Mountain Trail toward Kakariko Village. Keep an ear out for its tell-tale scratching sound. There’s a suspicious-looking wall that can be blown up with a bomb. This wall is located on the side of the trail where you can hear the Skulltula. Once you bomb the wall, defeat the creepy-crawly and climb up to collect your token.
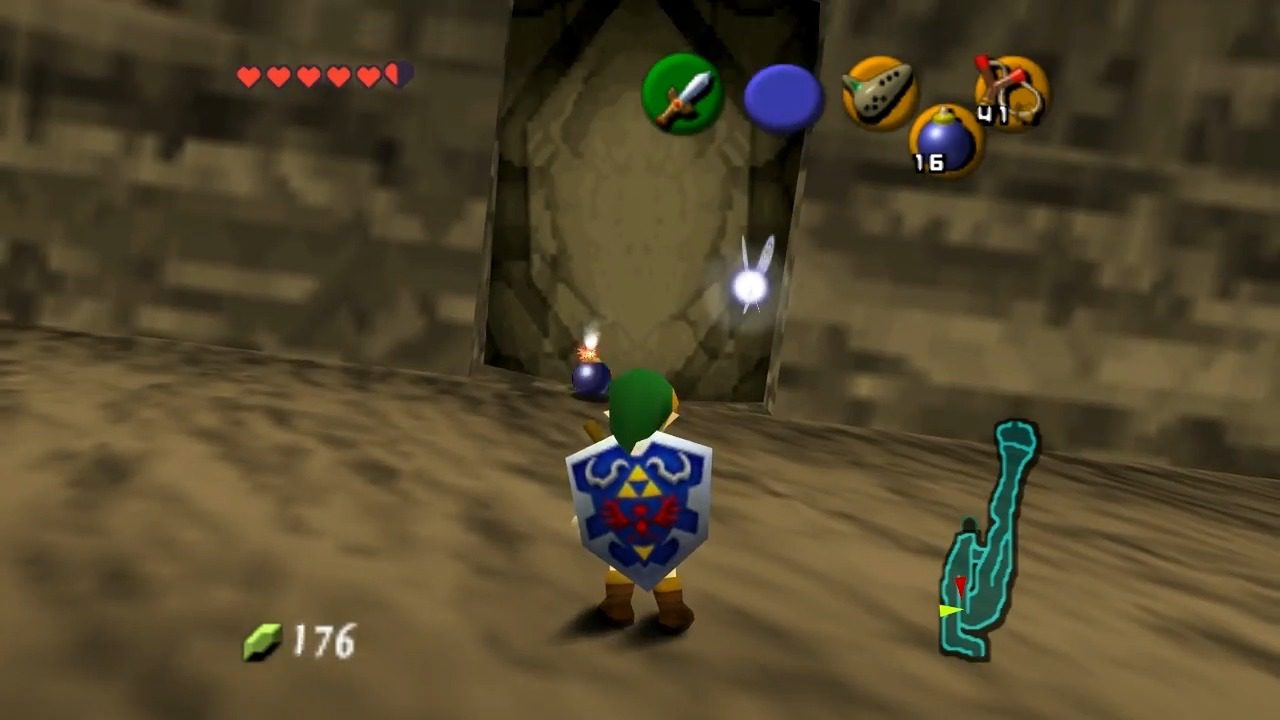
Heading back up toward Dodongo’s Cavern, at the entrance to the dungeon, there is a Soft Soil patch. Throw some bugs down, defeat the Gold Skulltula that appears, and collect it.
As you begin your ascent on Death Mountain Trail, keep your eyes peeled for Red Tektites. These critters are like giant, red spiders, and they have a nasty habit of hopping right at you. The best way to deal with them is to target them and, as they leap, give them a good whack with your sword. A well-timed vertical slash will usually do the trick.
Keep following the path upwards, and you’ll eventually see a massive entrance adorned with a red flag. This is Goron City, home to the rock-eating Goron tribe. Head on inside!
II. Goron City Business and Optional Goodies
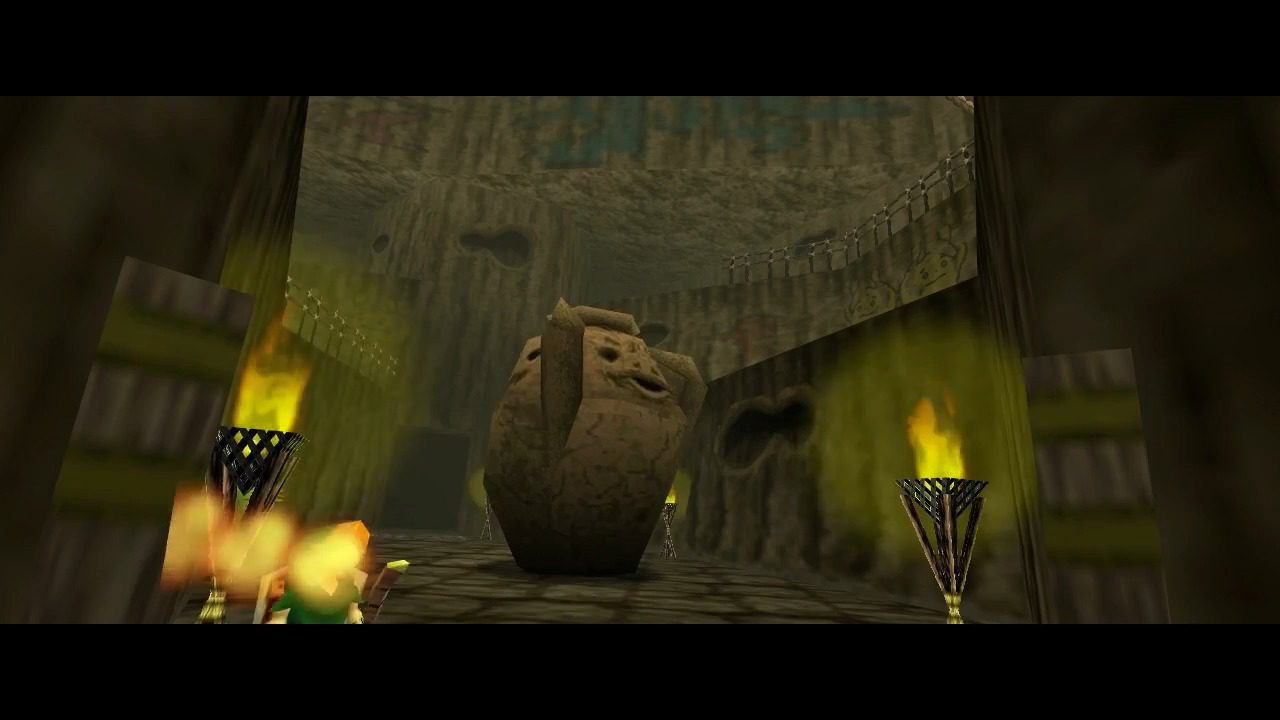
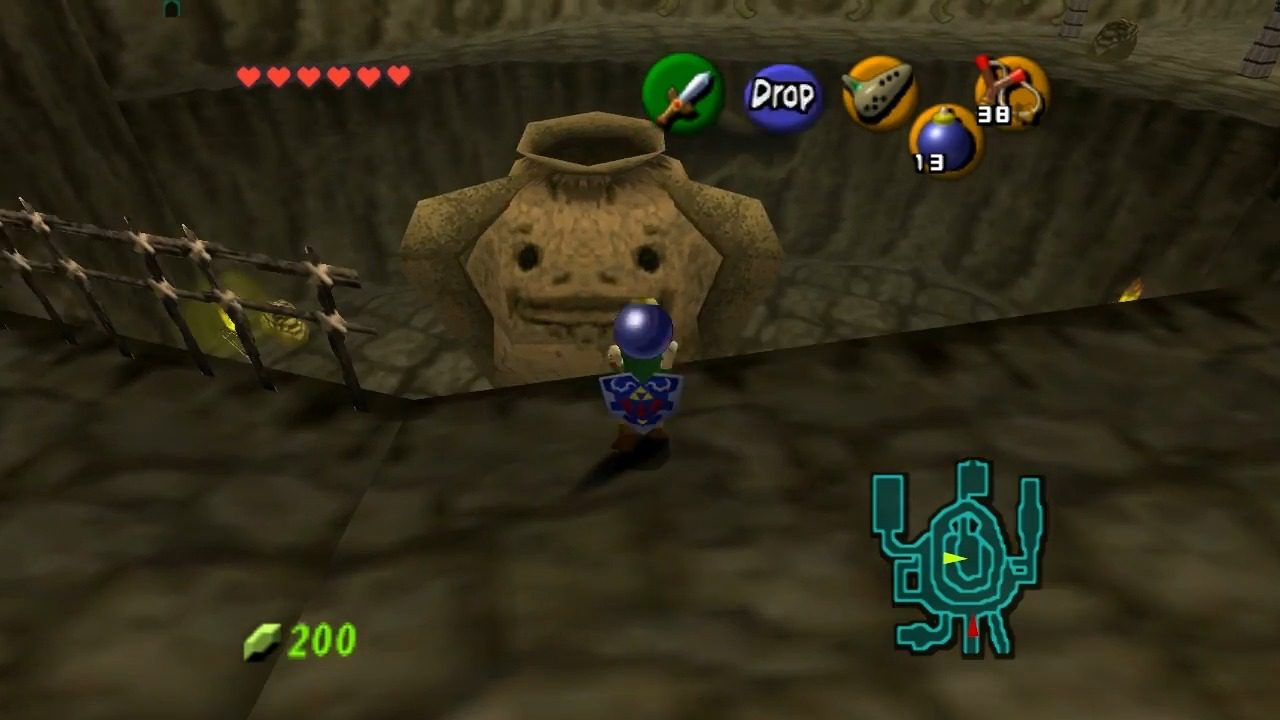
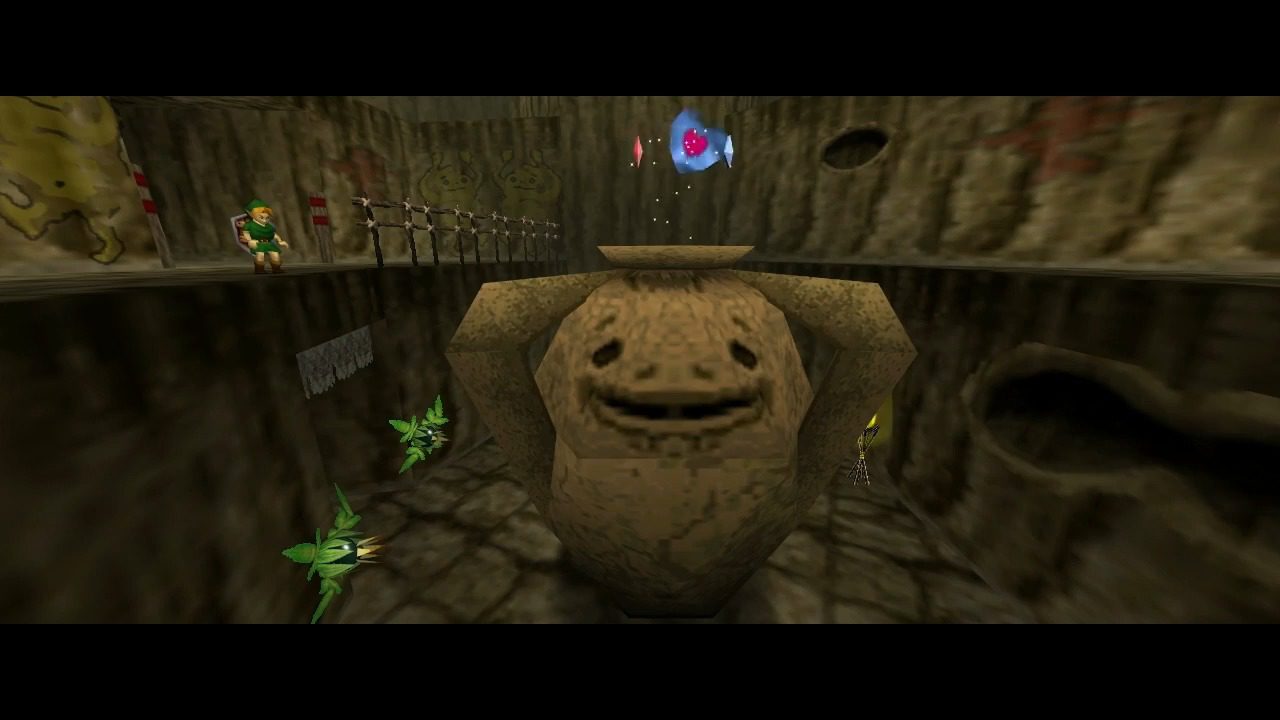
Welcome to Goron City! This place is built on multiple levels, so watch your step. Your immediate goal is to get to the bottom level, so feel free to jump down, but be aware that there’s another rolling Goron on the second tier, so try to avoid him. Head back into Darunia’s room. You’ll see a lit torch. Use a Deku Stick to carry the flame. Go back out to the main bottom level and look for a giant urn in the center of the room. Surrounding it are four unlit torches. Light all of these torches with your Deku Stick. Once all four are burning, the giant urn will start spinning.
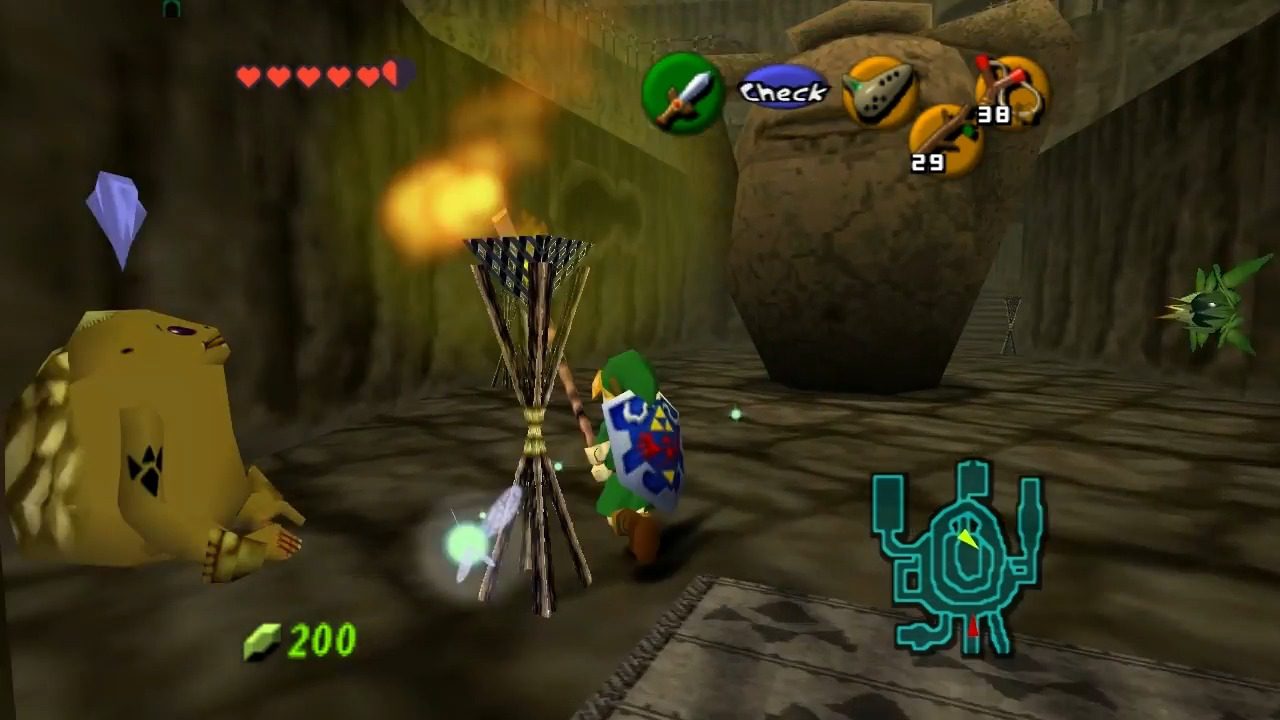
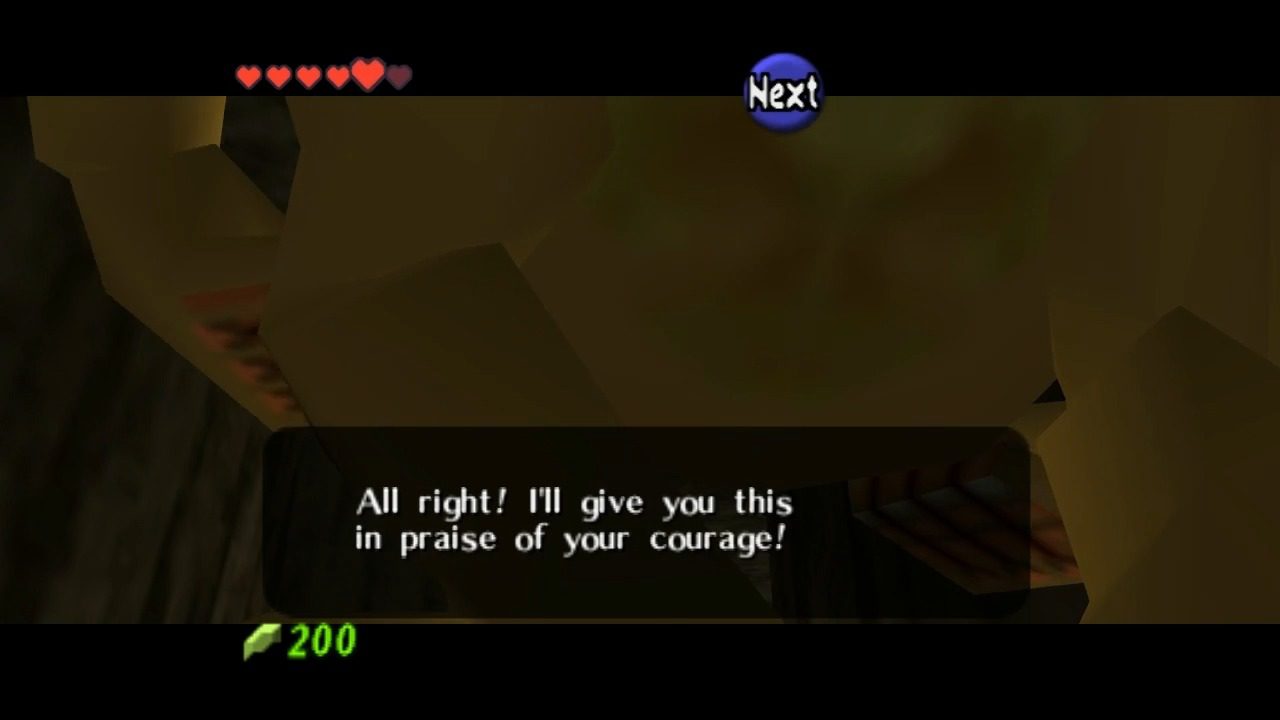
Now, climb up the steps to the second-to-bottom tier. Pull out a bomb and toss it into the spinning urn. You need the bomb to explode inside the urn when the smiling face on it is facing you. This might take a few tries, so don’t get discouraged. If you manage to nail the timing, a shiny Piece of Heart and some Rupees will pop out for you to collect.
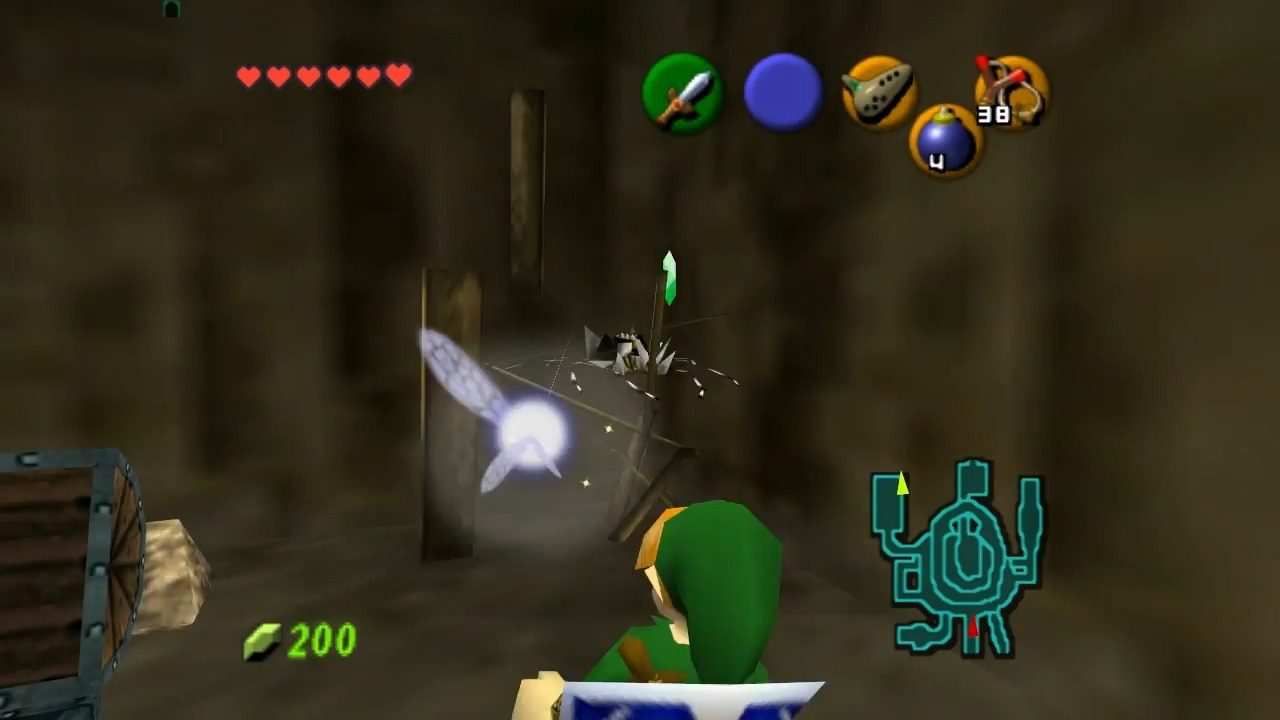
Next up, a Gold Skulltula. As Young Link, make your way to the top floor of Goron City. You’ll find a room filled with rocks. Navigate through the rocks until you find a crate. Give that crate a good roll by running into it, and a Gold Skulltula will appear for you to defeat and collect its token.
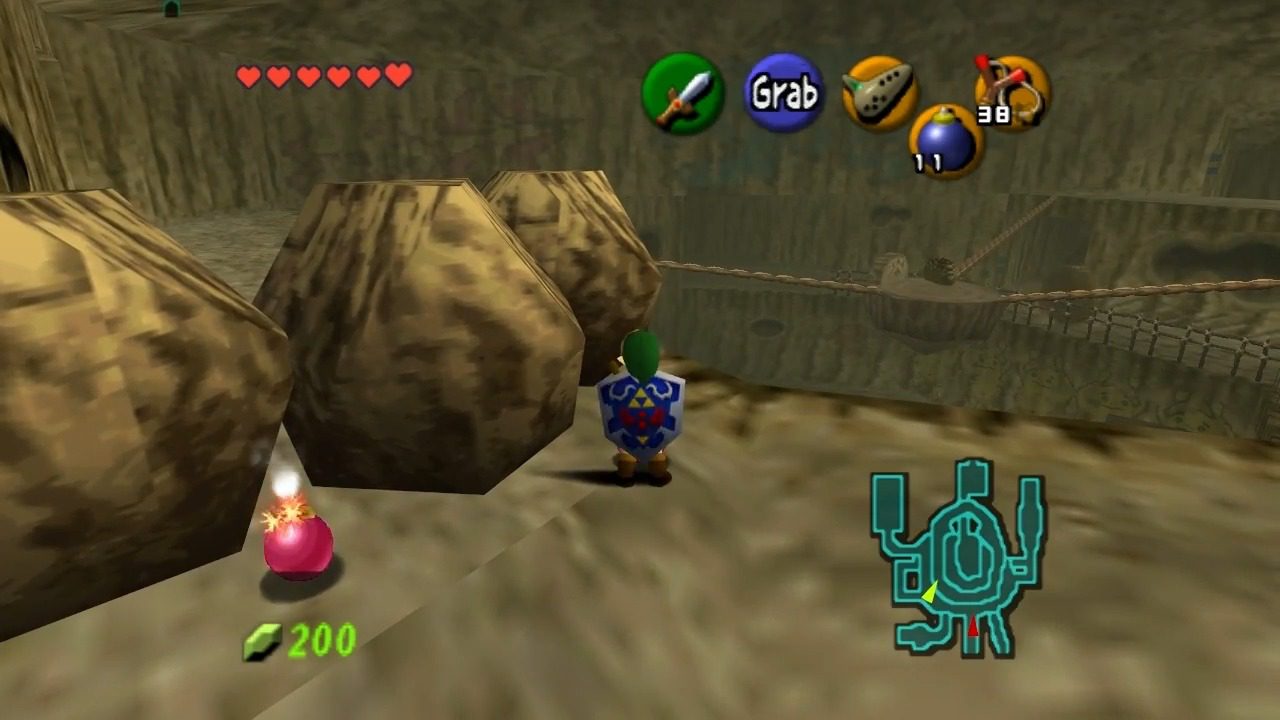

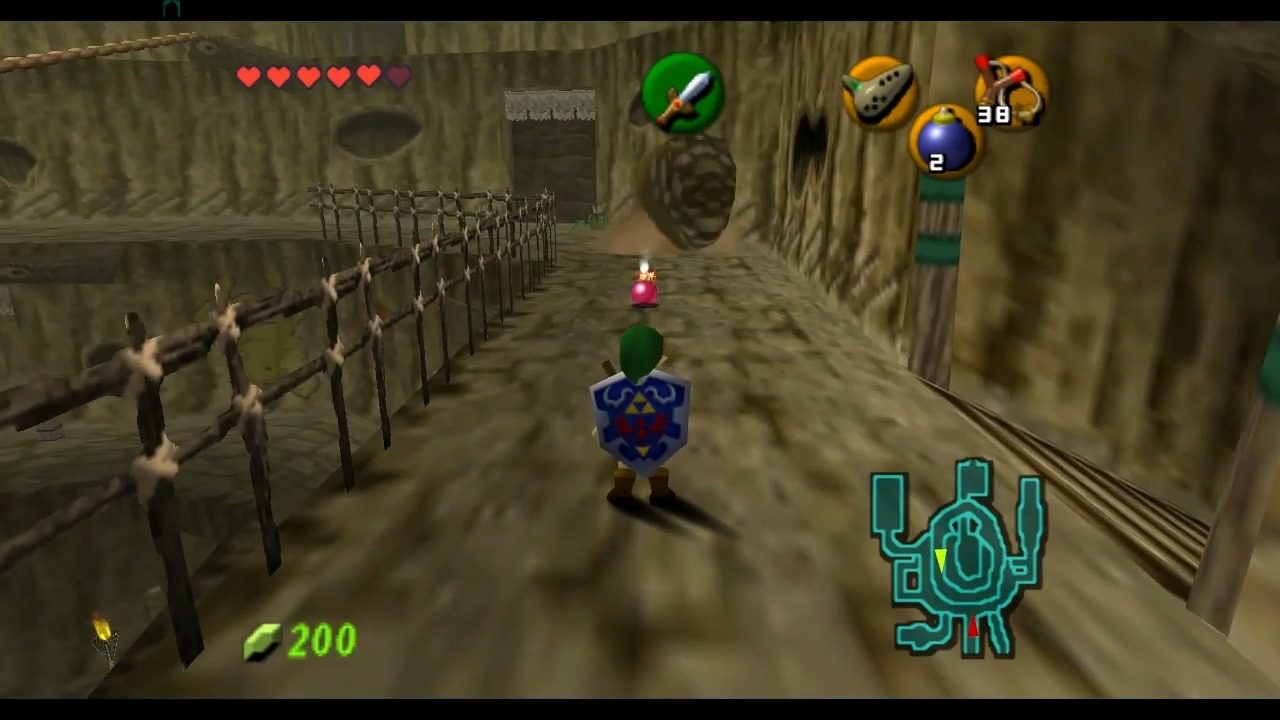
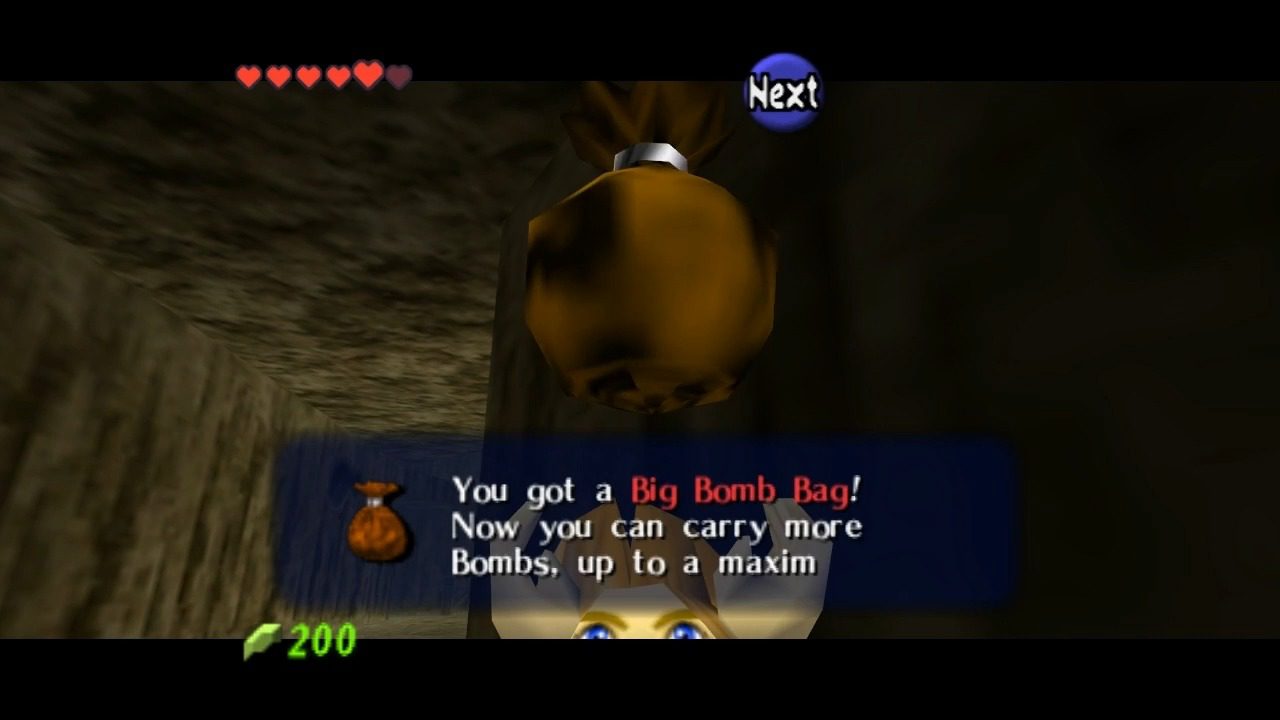
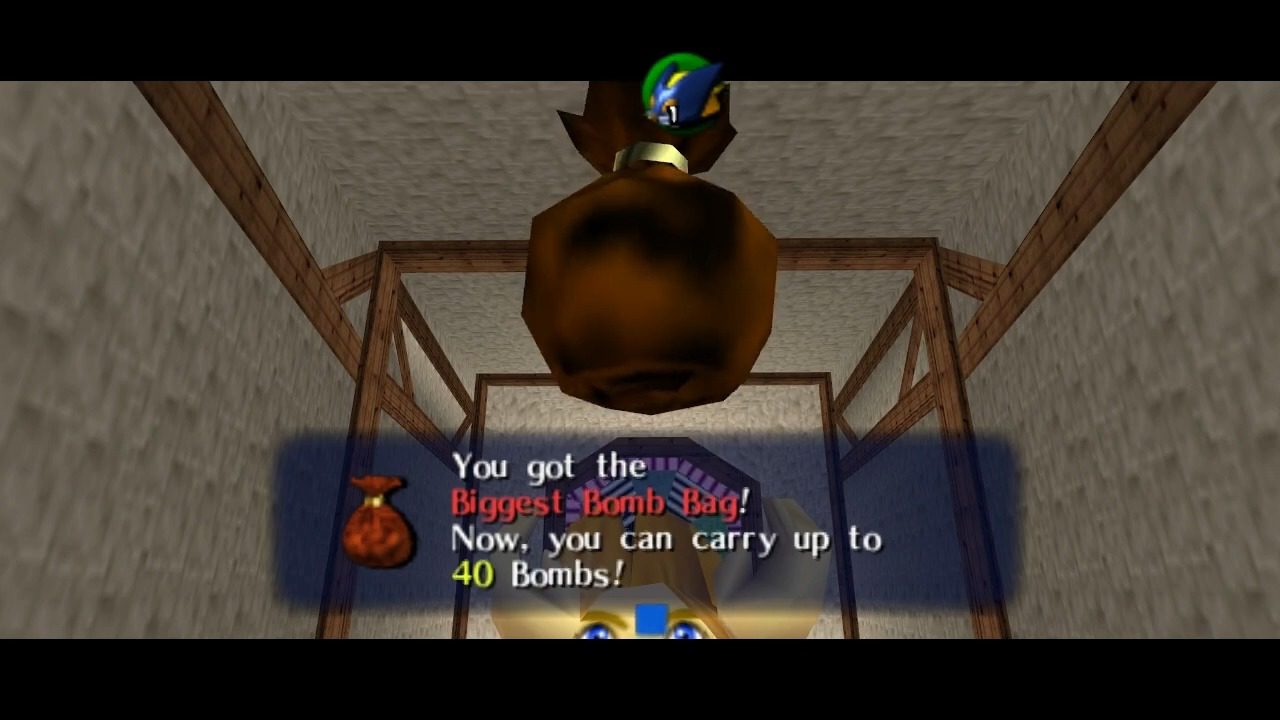
Walk down to the second floor. You’ll know you’re on the right level if you’re one level up from the Goron Vase (big spinning urn) at the bottom. Keep an eye out for a massive rolling Goron zooming around the circular path on this level. This is a Young Darunia’s Son (the future Biggoron Sword craftsman when you’re an adult). Equip your Bombs and have them ready. The goal is to stop the rolling Goron by timing the Bomb so that it explodes as he rolls over it. Drop the Bomb just before the Goron approaches. The Bomb’s explosion needs to hit him while he’s rolling, so time it carefully. Do this a few times and he’ll eventually reward you with the Big Bomb Bag.
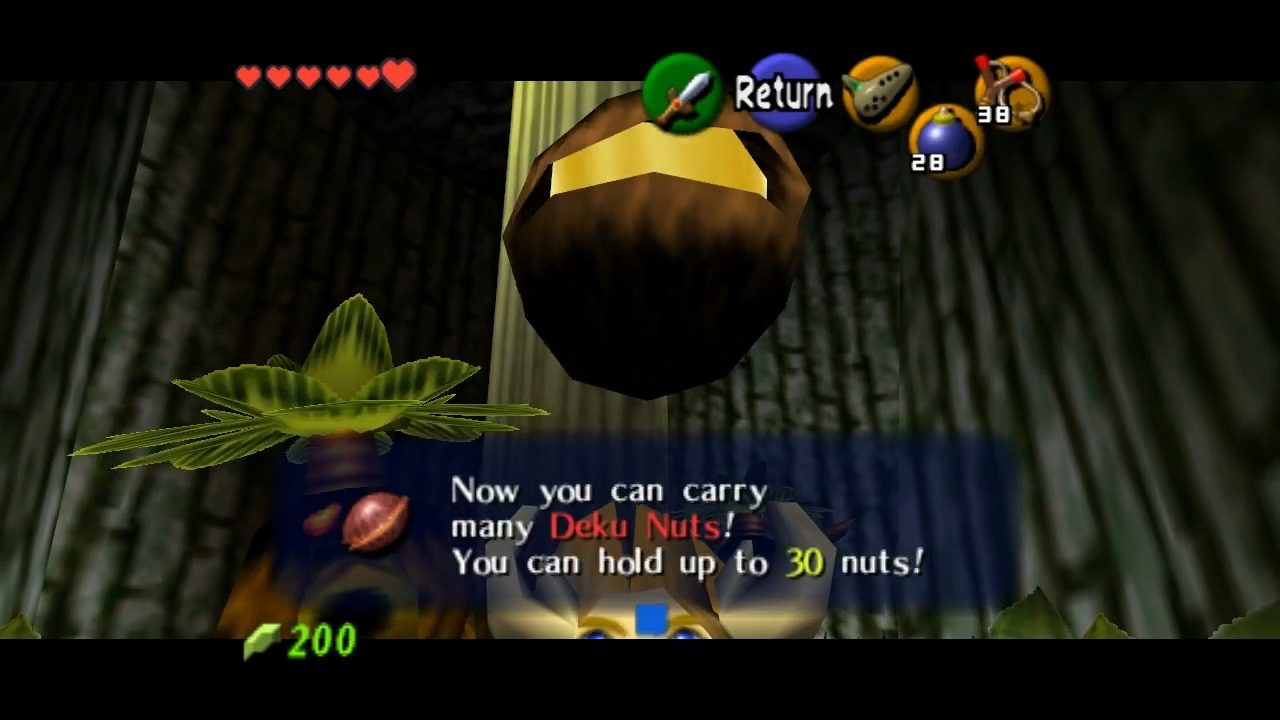
On the second level, look for a tunnel obstructed by rocks. This passage leads directly to the Lost Woods. Blow up the rocks with a bomb. Enter the Lost Woods and go left, left, straight, and left. Blow up the boulder in the corner with a bomb. Inside, you’ll encounter a Business Scrub. Deflect its attack with your shield to make it surrender. The Business Scrub will offer to increase your Deku Nut capacity for 40 Rupees. Accept the offer to expand your capacity from 30 to 40 nuts.
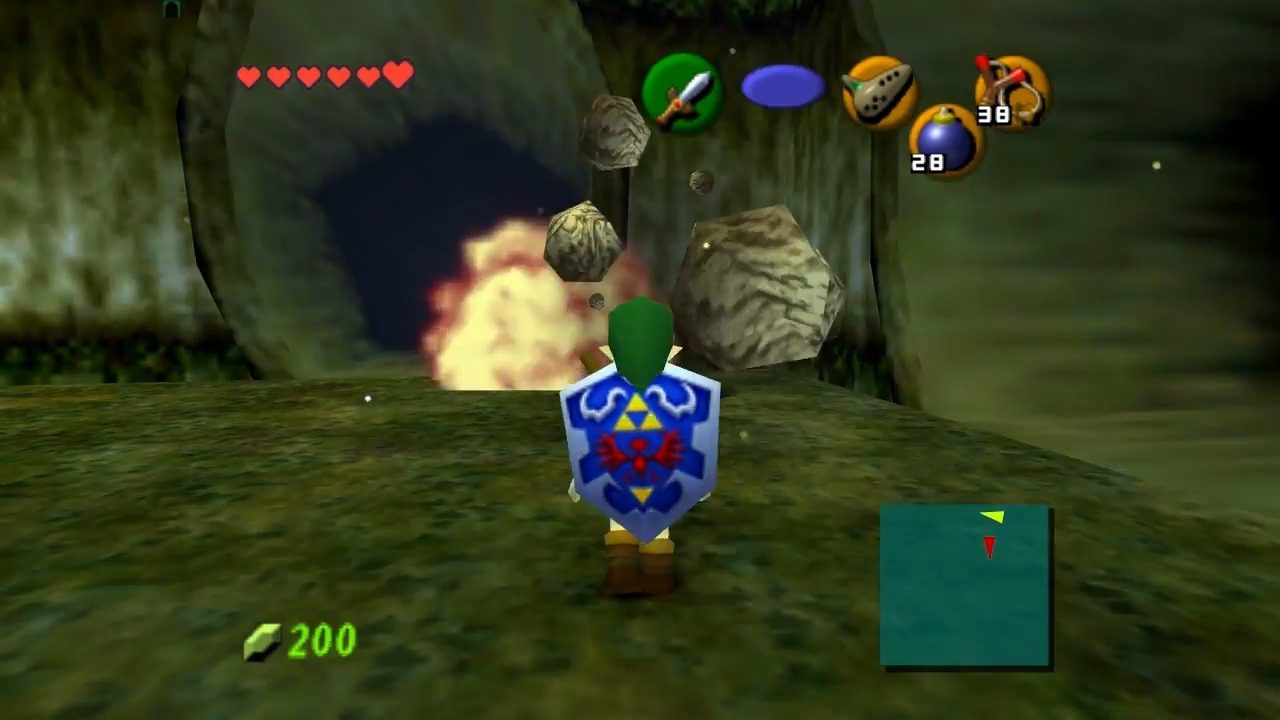
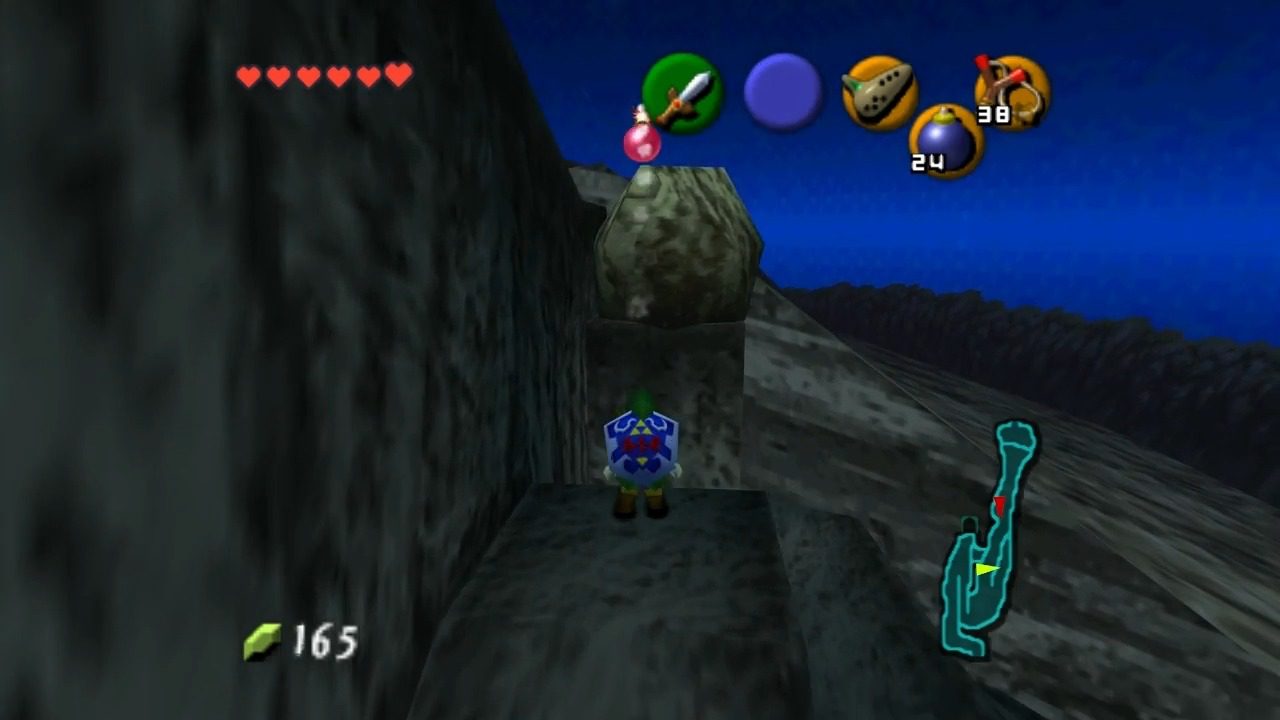
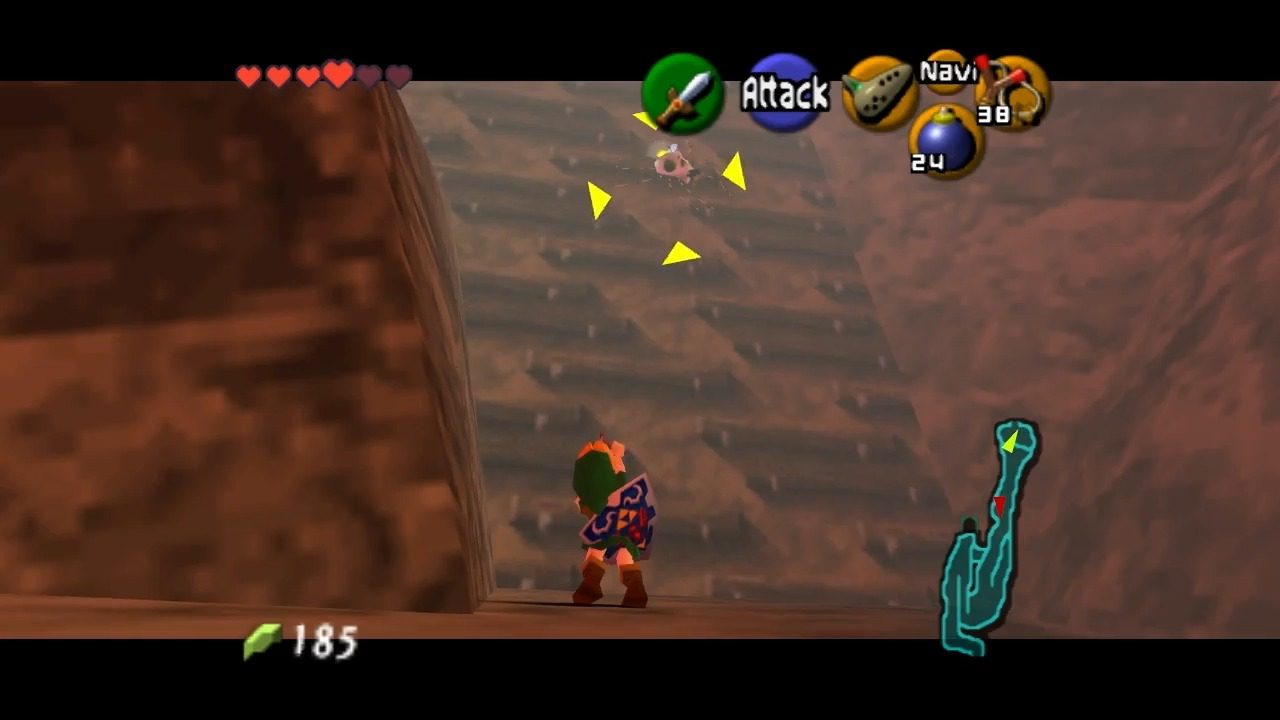
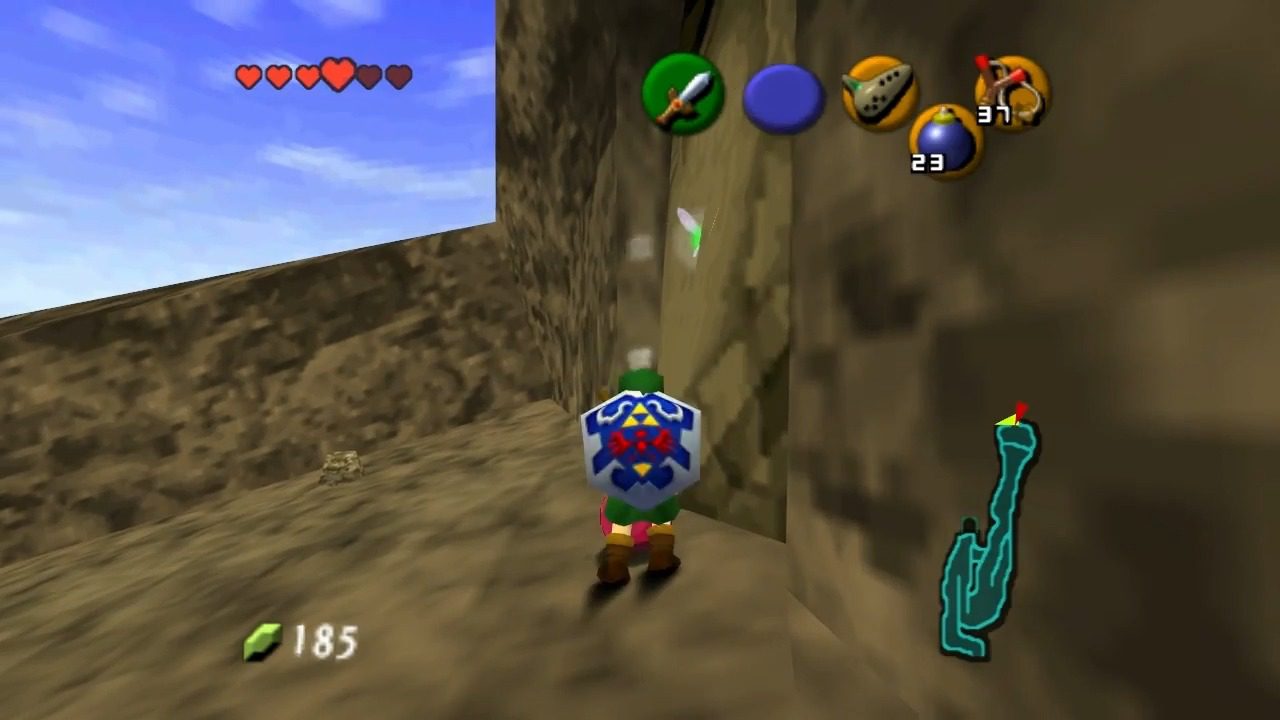
Head back to Goron City and exit it from the main entrance at the top level. Proceed upward along the Death Mountain Trail. Follow the path as it winds up the mountainside. Be prepared to encounter Tektites and other adversaries along the way. As you approach the summit, the volcano will begin to erupt, causing rocks to rain down. Equip your Hylian Shield, crouch, and use it to shield yourself during these eruptions. Advance during the brief pauses between eruptions. At the end of the trail, you’ll encounter a climbable wall guarded by Skullwalltulas. Use your Fairy Slingshot to eliminate them from a distance. Once the path is clear, climb up to reach the Death Mountain Summit.
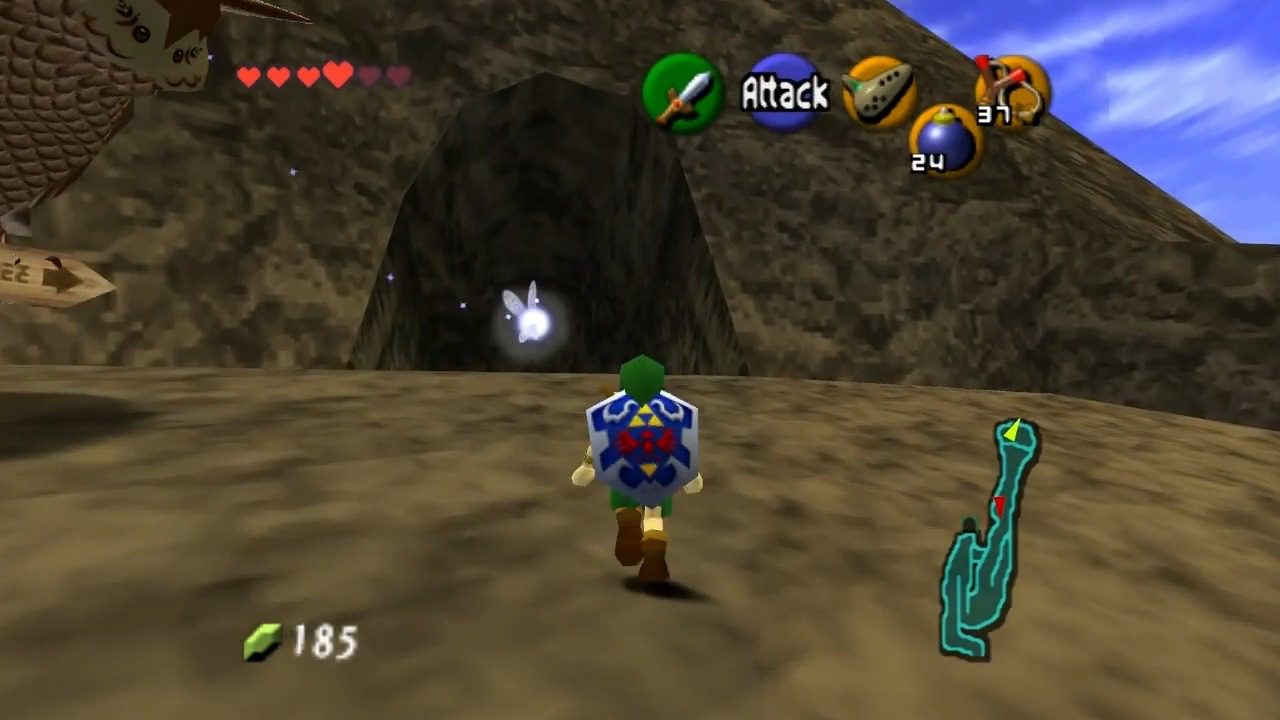
At the summit, you’ll find Kaepora Gaebora, the wise owl. Directly behind him is the entrance to Death Mountain Crater. Enter the crater; note you’ll have a limited time due to the intense heat. Immediately upon entering the crater, look to your left to find a wooden crate. Roll into or break the crate to reveal the Gold Skulltula hiding inside.

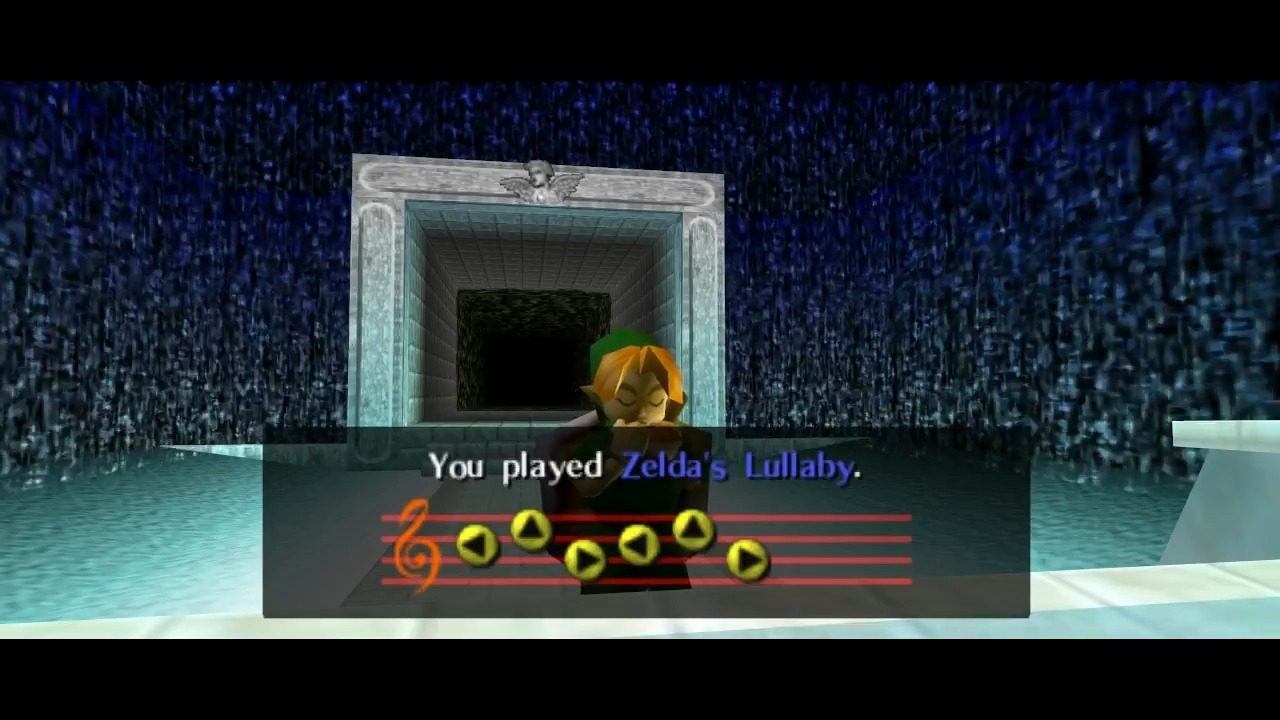
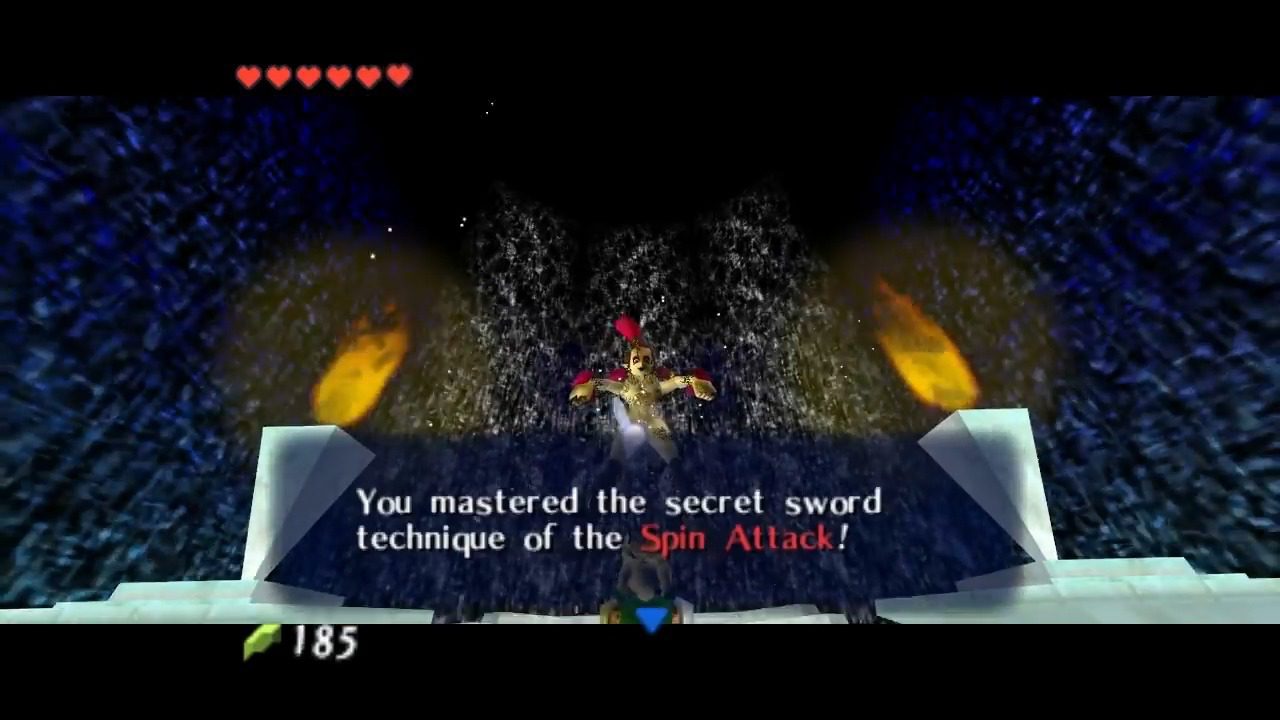
Turn around and head back out to the Death Mountain summit. To the left of the owl, there’s a cracked wall. Place a Bomb near this wall to reveal the entrance to the Great Fairy Fountain. Enter the fountain and stand on the Triforce symbol. Play Zelda’s Lullaby on your ocarina. The Great Fairy of Power will appear and grant you the Magic Meter and the Spin Attack ability.
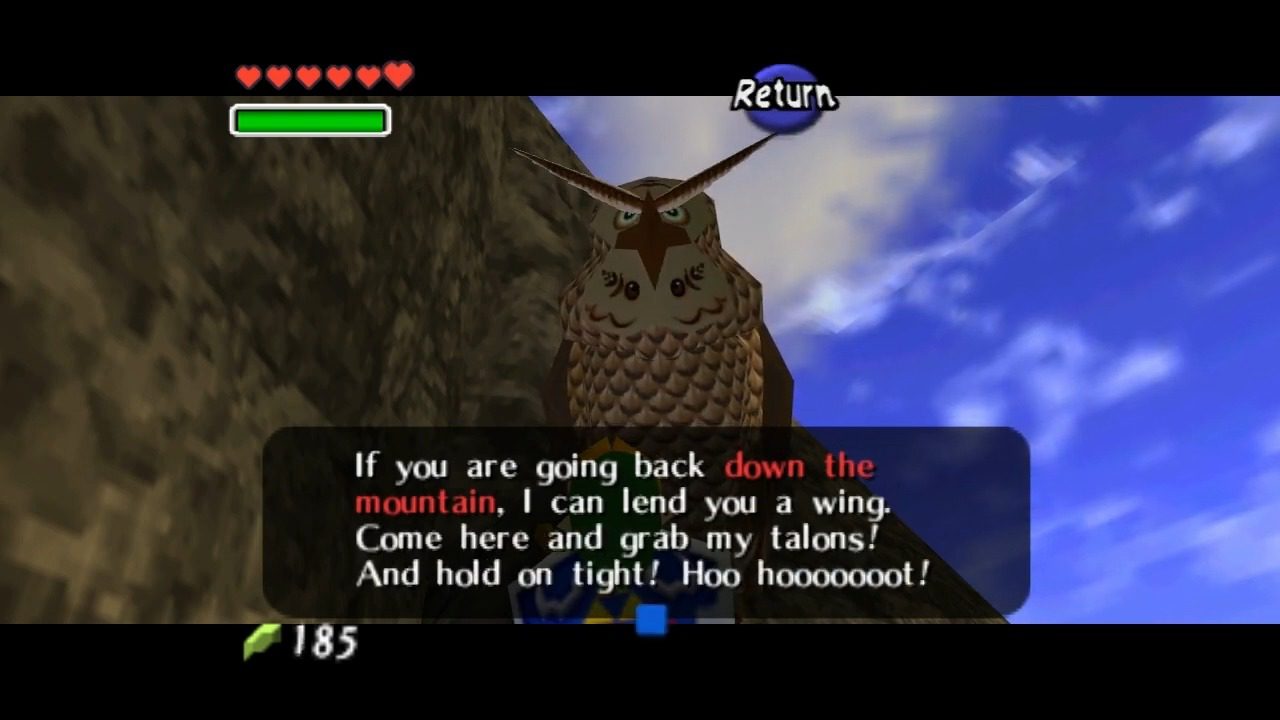
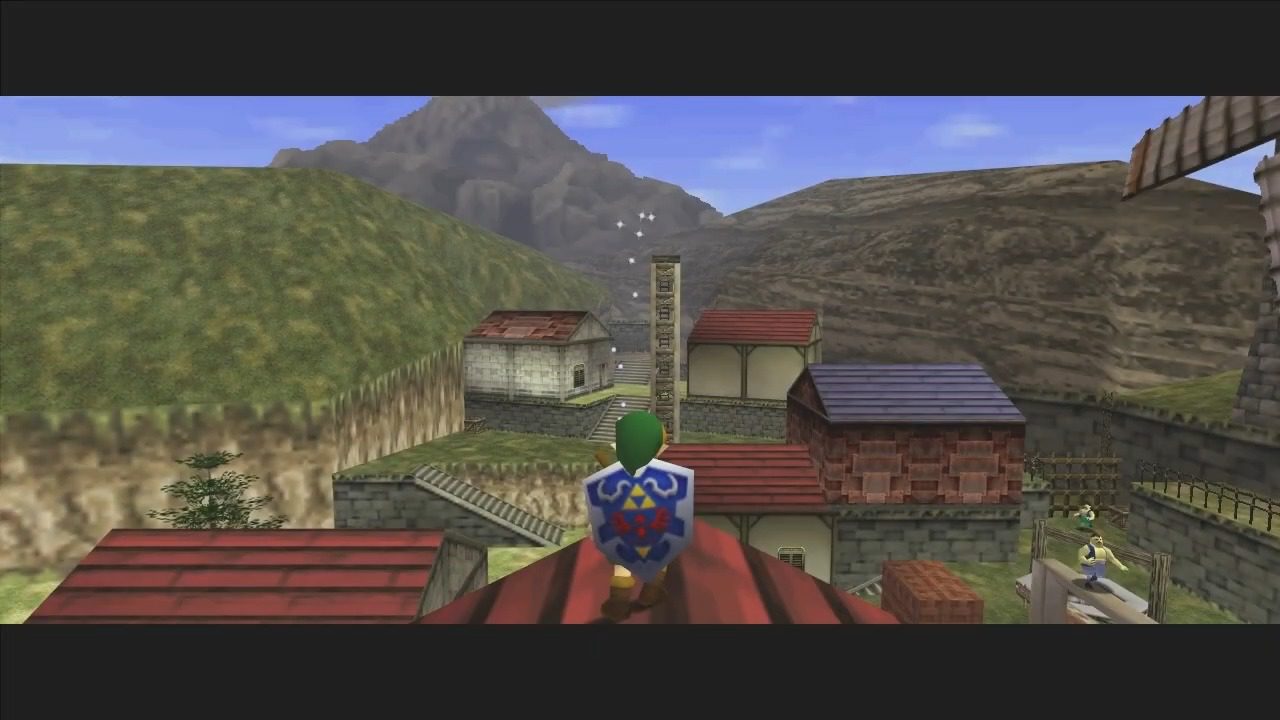
Head back out to the summit of Death Mountain and speak to Kaepora Gaebora. He’ll offer you a ride down to Kakariko Village. Run directly under him to grab ahold of his talons and accept the ride. He’ll drop you onto the rooftop of a house in Kakariko Village.
II. Kakariko Village and Optional Goodies
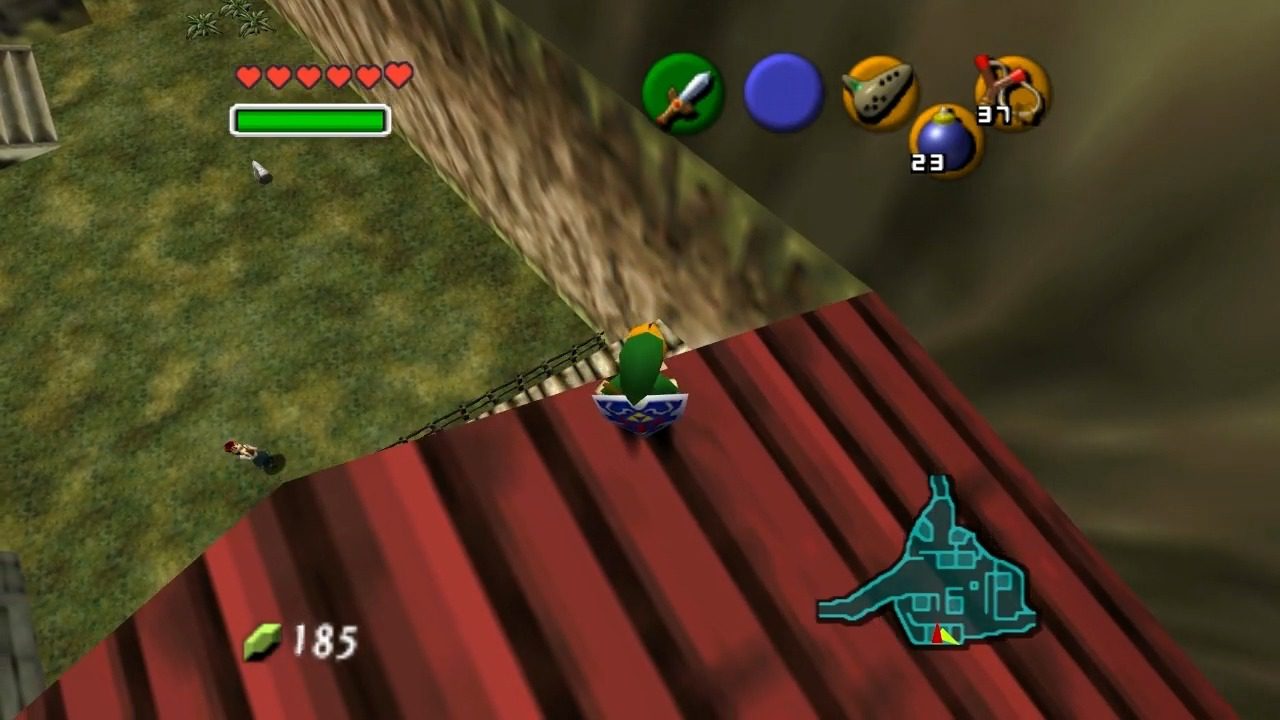
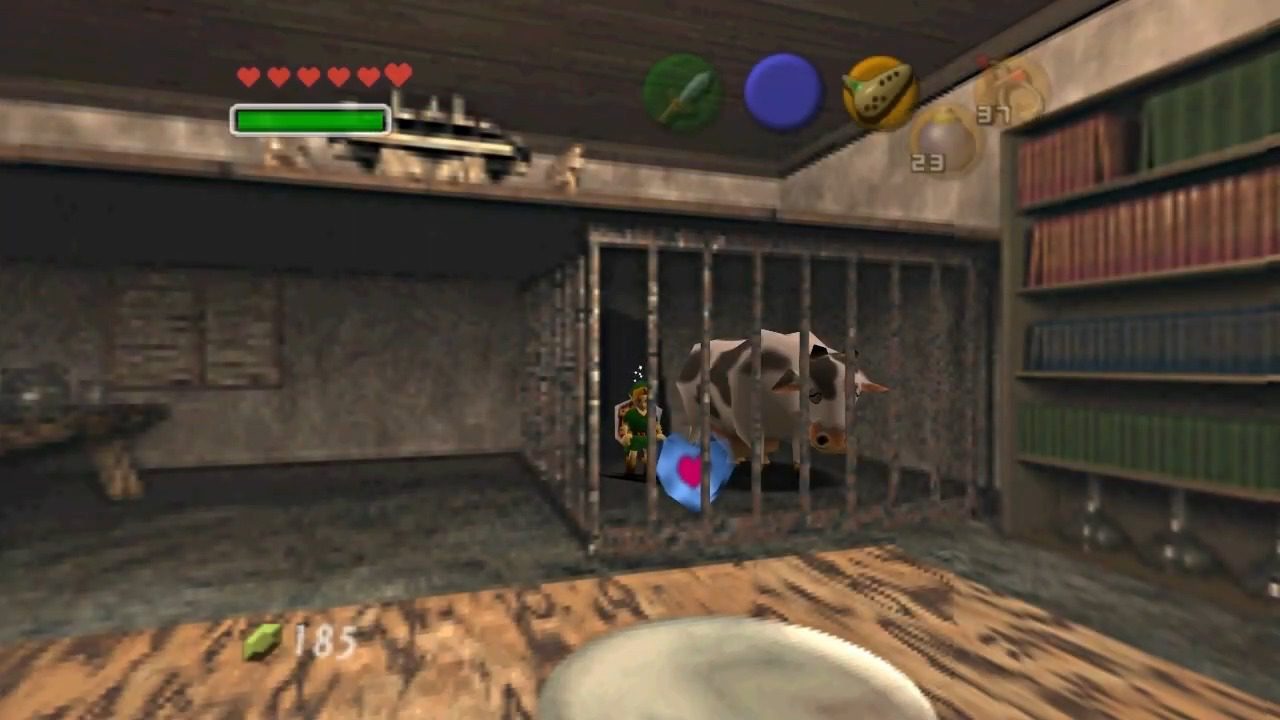
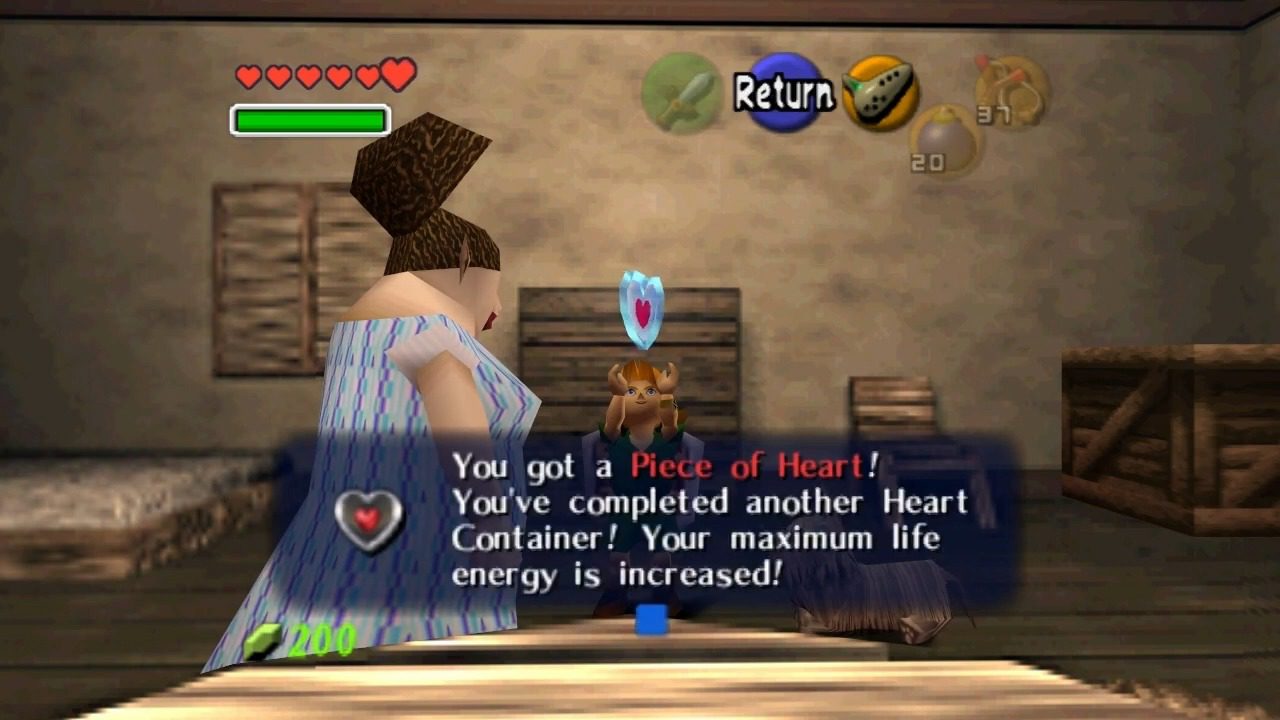
Upon landing on the roof, carefully move to the edge where you’ll see a small wooden awning below. Position yourself and drop down onto this awning. From here, you’ll notice an opening leading into the house. Enter through the opening to find yourself inside a caged area within the house, where a cow resides. In this room, you’ll discover the Piece of Heart waiting for you. Simply walk over and collect it to enhance your health.
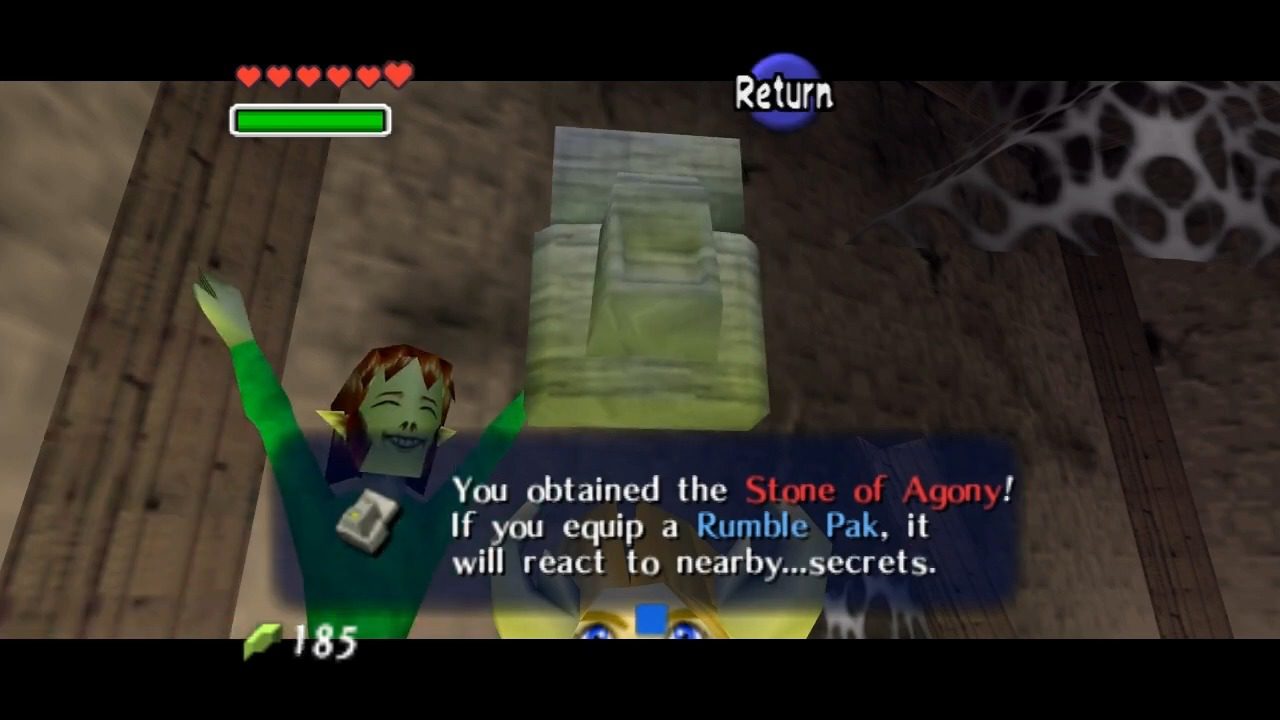
If you’ve been following this guide from the start and/or have 20 Gold Skulltulas in your inventory. Head over to the Skulltula House and receive your Stone of Agony.
II. Hyrule Market and Optional Goodies
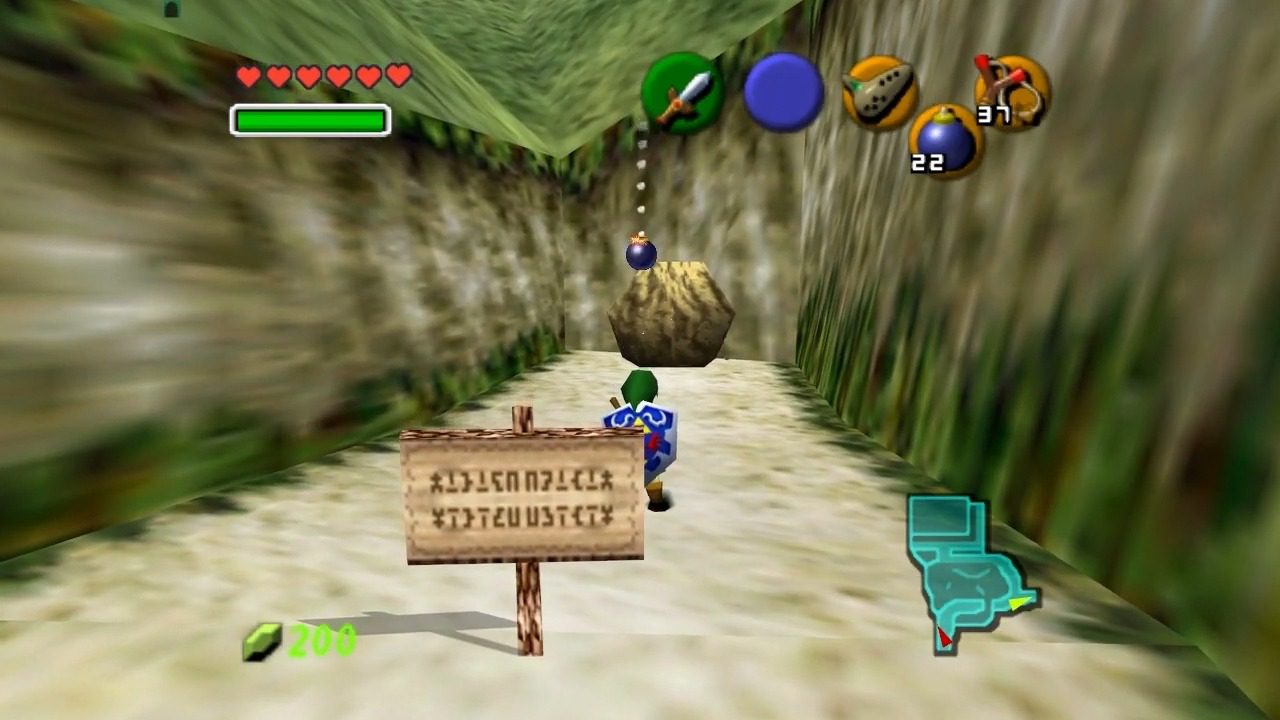
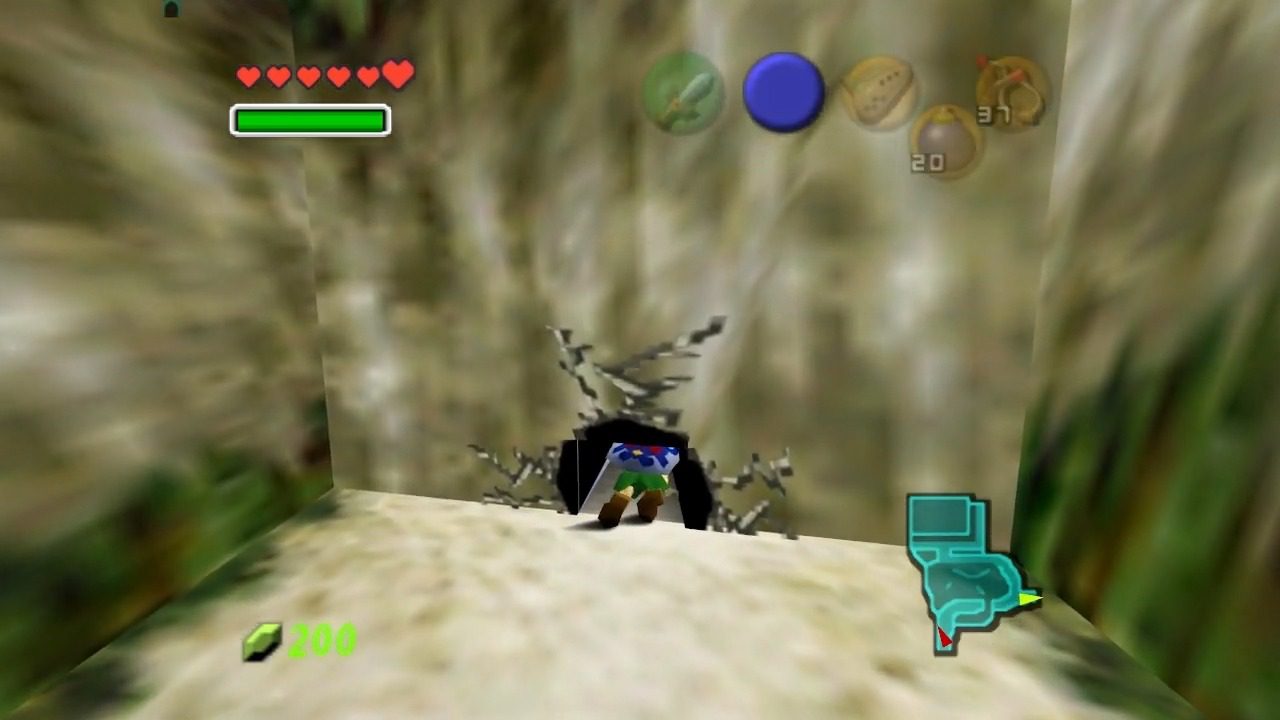
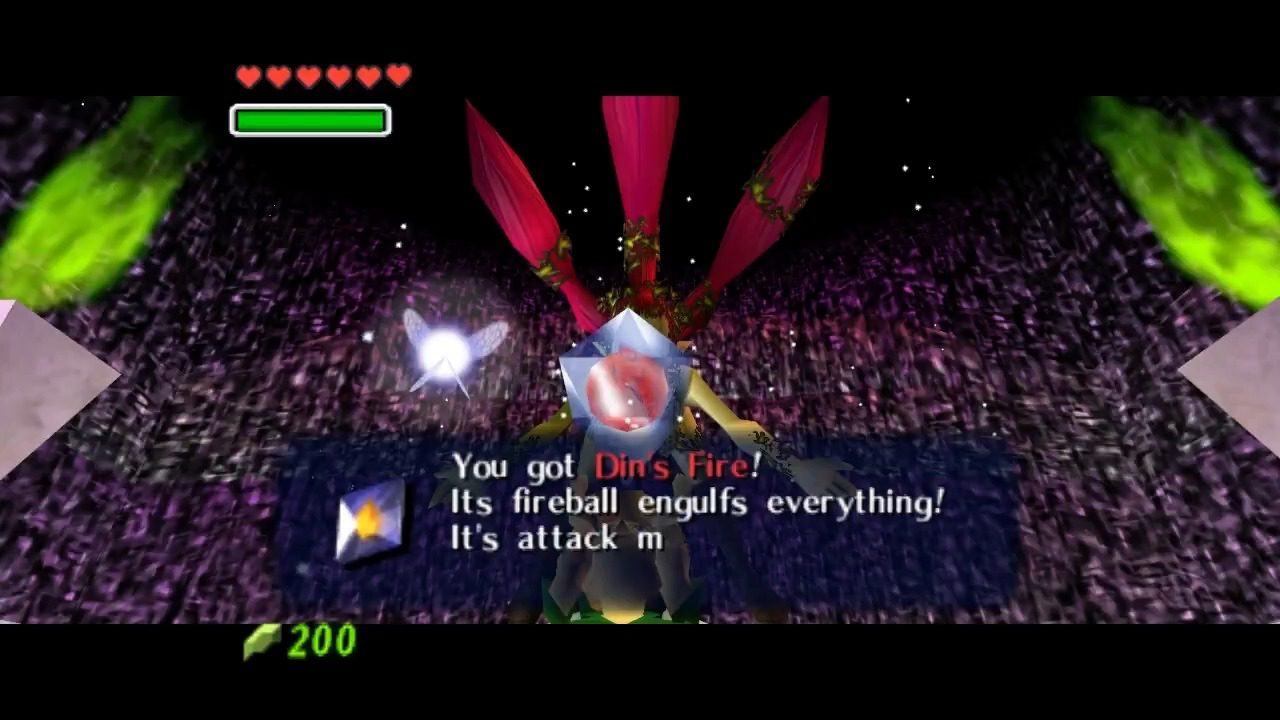
Leave Kakariko Village to Hyrule Field and head towards Hyrule Castle. Pass through the gate to Hyrule Castle and follow the main path until it splits. At the fork, take the right path. You’ll see a sign labeled “Dead End” and a large boulder blocking a small cave entrance. Use a Bomb to blow up the boulder, revealing the entrance to the Great Fairy’s Fountain. Go inside the cave to find the fountain. Stand on the Triforce symbol on the floor and play Zelda’s Lullaby on your ocarina. The Great Fairy of Magic will appear and grant you Din’s Fire, which consumes magic power when used.
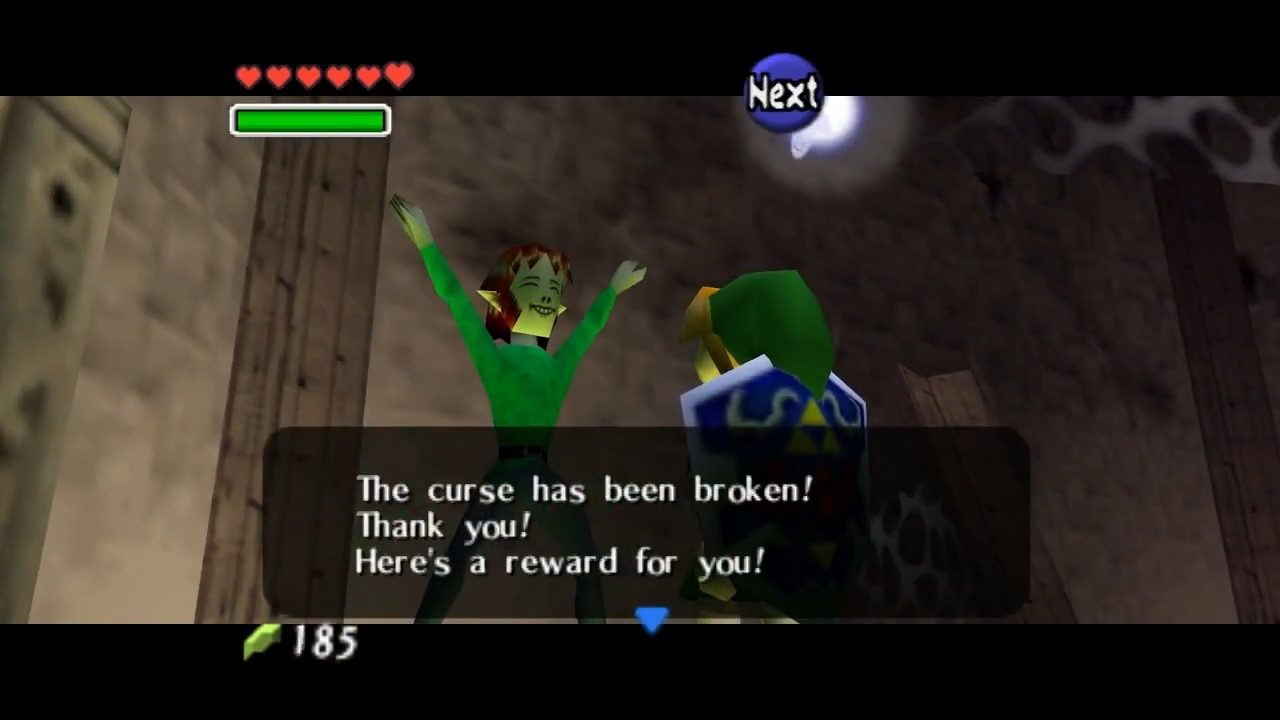
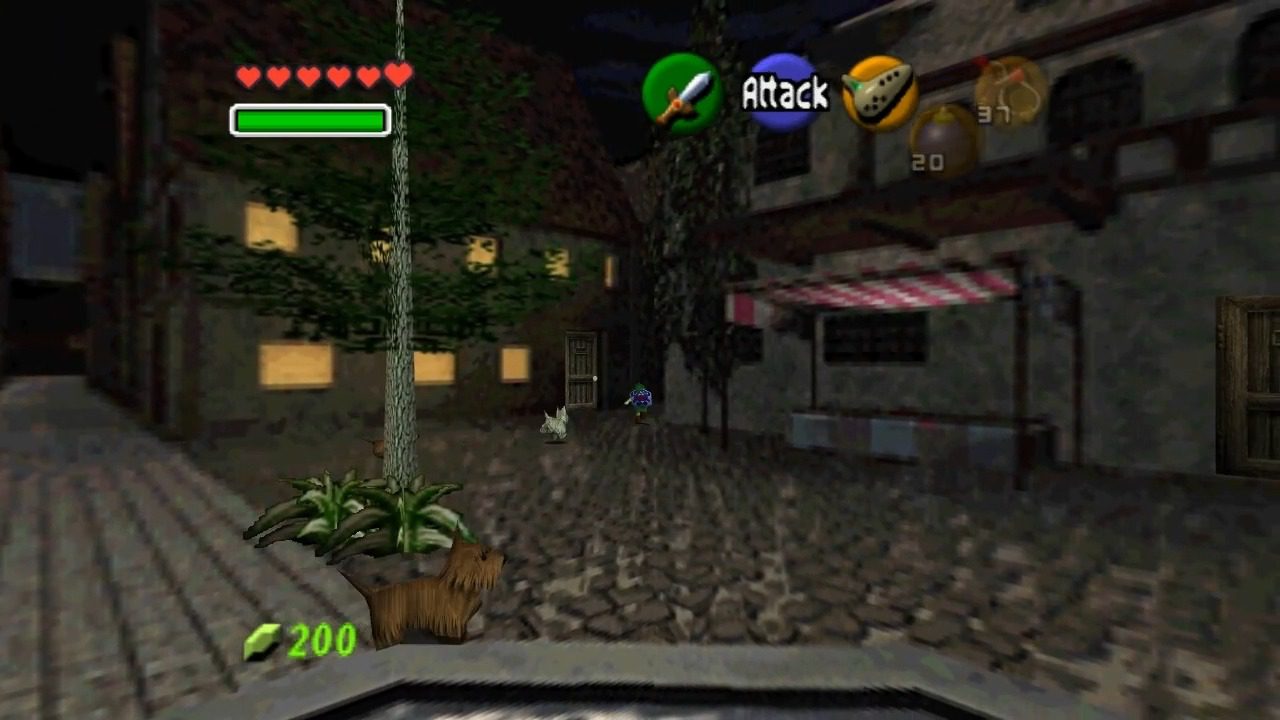
Head back into the Hyrule Market at night. Locate Richard, a small white dog found. Richard is behind a booth near the Bazaar. Approach him to have him start following you. Be sure to avoid other dogs because one dog can follow you at a time. If another dog starts following you, enter a building and exit to reset. Lead Richard to his owner, Mamamu Yan, in the Back Alley. From the Market entrance, head to the right side to find the Back Alley. Enter the door on the left side of the alley. Upon returning Richard, Mamamu Yan will thank you and reward you with a Piece of Heart.
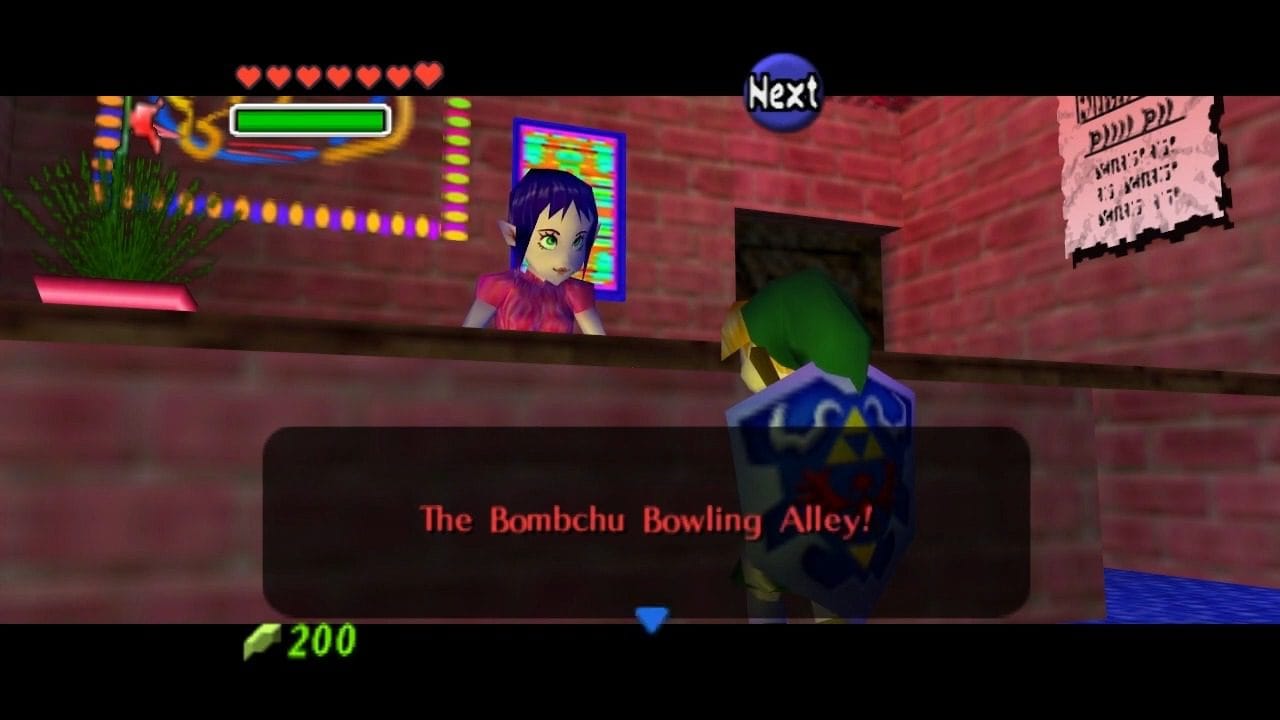
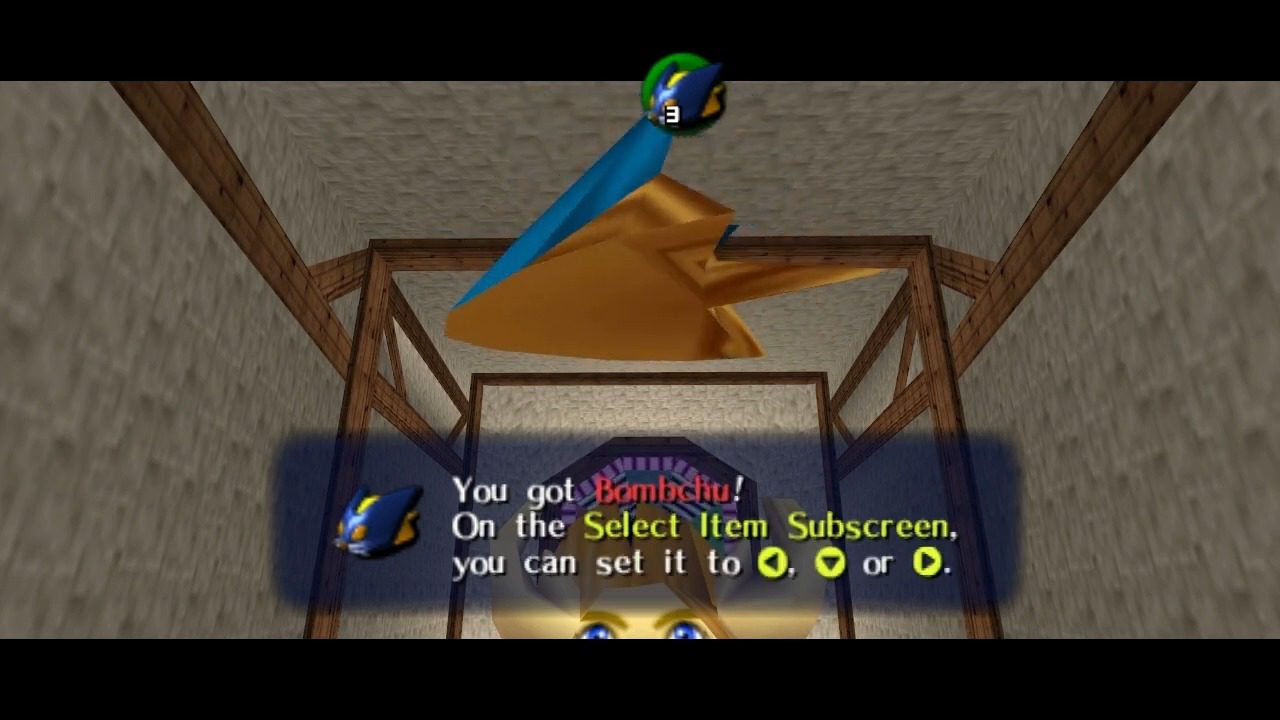
Once you’re in the Market, look for a building that houses the Bombchu Bowling Alley. This mini-game becomes available after you’ve successfully cleared Dodongo’s Cavern. Head inside and prepare to test your Bombchu-chucking skills. It costs 30 Rupees to play a round of Bombchu Bowling, and for that price, you’ll get 10 Bombchus. The objective is to use these little walking bombs to hit targets on a wall at the end of the alley, all while trying to avoid various obstacles like moving Blade Traps and pesky Cuccos. There are three rounds in total, and each one gets progressively more challenging.
For the first target, which is always in the center, the strategy is pretty straightforward: time your Bombchu release to avoid the Blade Trap that slides back and forth across the alley. The second target can appear in a few different spots – the center, the far left, the far right, or even on the top of the wall. This round requires a bit more finesse in your aiming, and you’ll also need to watch out for a Cucco that likes to wander across the alley. The third and final target is usually back in the center, but this time, you’ll have to contend with both a Blade Trap and a rather large Cucco that tends to stand right in front of the target. Timing is absolutely crucial in this round. Some players find success by aiming their Bombchu at an angle towards the left wall.
The prizes are given out randomly, but you can keep playing until you get what you want. For 100% completion, repeat the game until you’ve received the Piece of Heart, Big/Biggest Bomb Bag, and Bombchus. Here’s a rundown of the potential loot:
Table 1: Bombchu Bowling Rewards
Prize | Can be Won Multiple Times? |
|---|---|
Bombchus | Yes |
Big/Biggest Bomb Bag | No |
Purple Rupee (50) | Yes |
Piece of Heart | No |
Bombs | Yes |

Once you’ve had your fill of the Market and hopefully won some sweet prizes at Bombchu Bowling, it’s time to head east towards Zora’s River.